Various types of switches, levers, valves, and similar mechanisms that need to be activated to open a passage, remove a barrier blocking a path, etc.
Switches
Locations on Hebeth
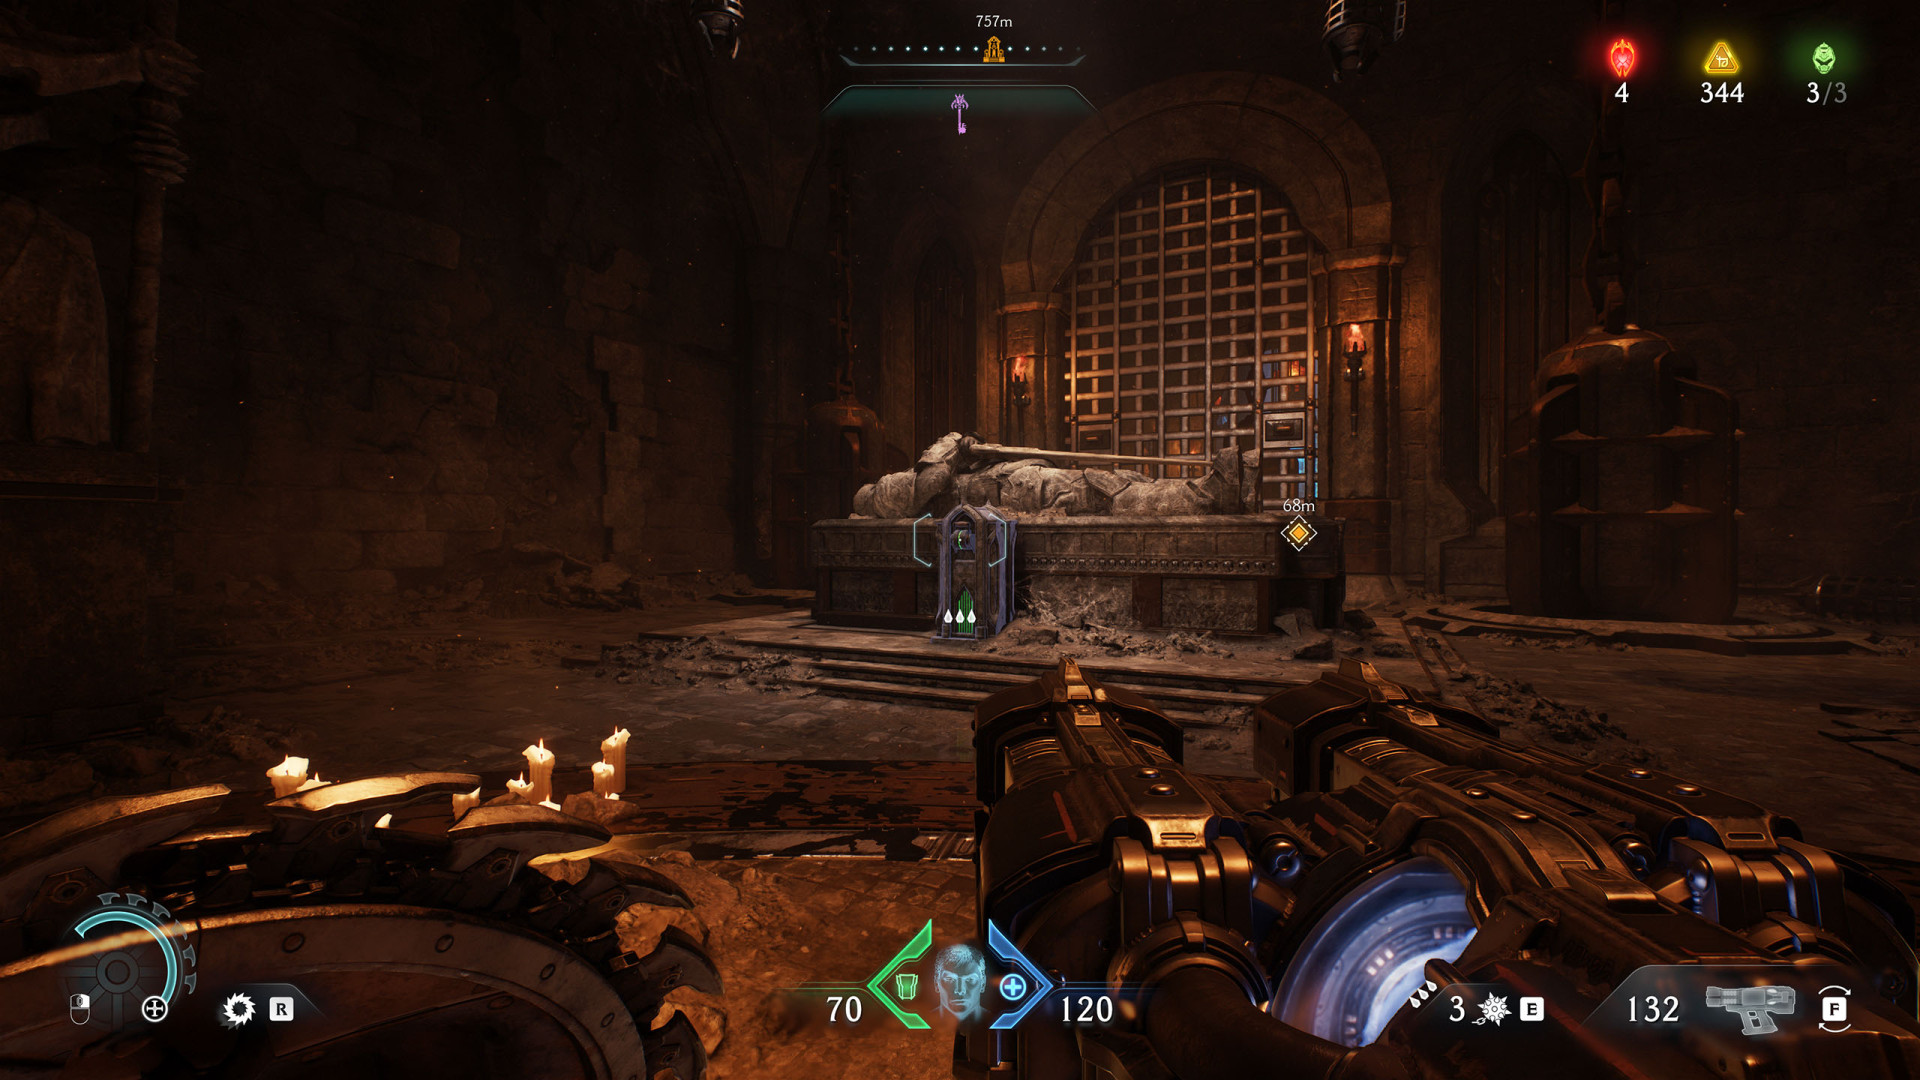
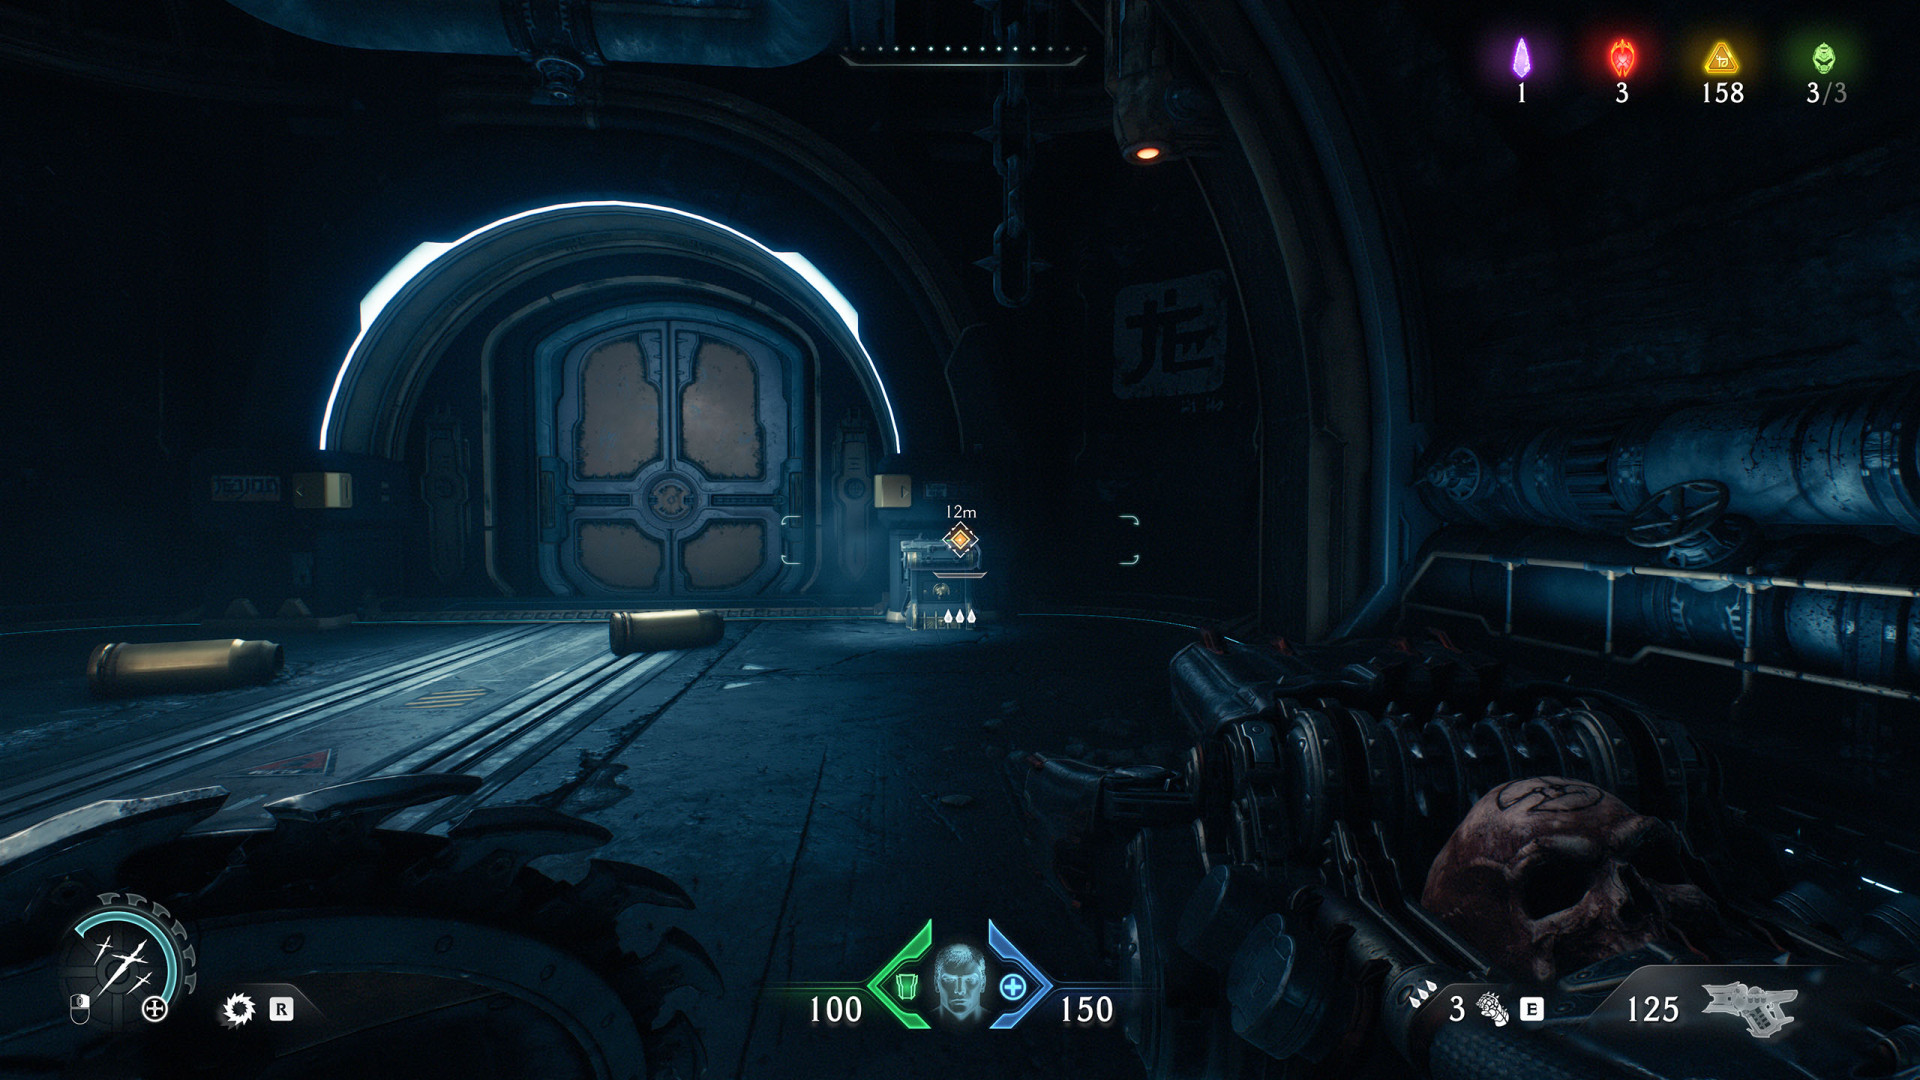
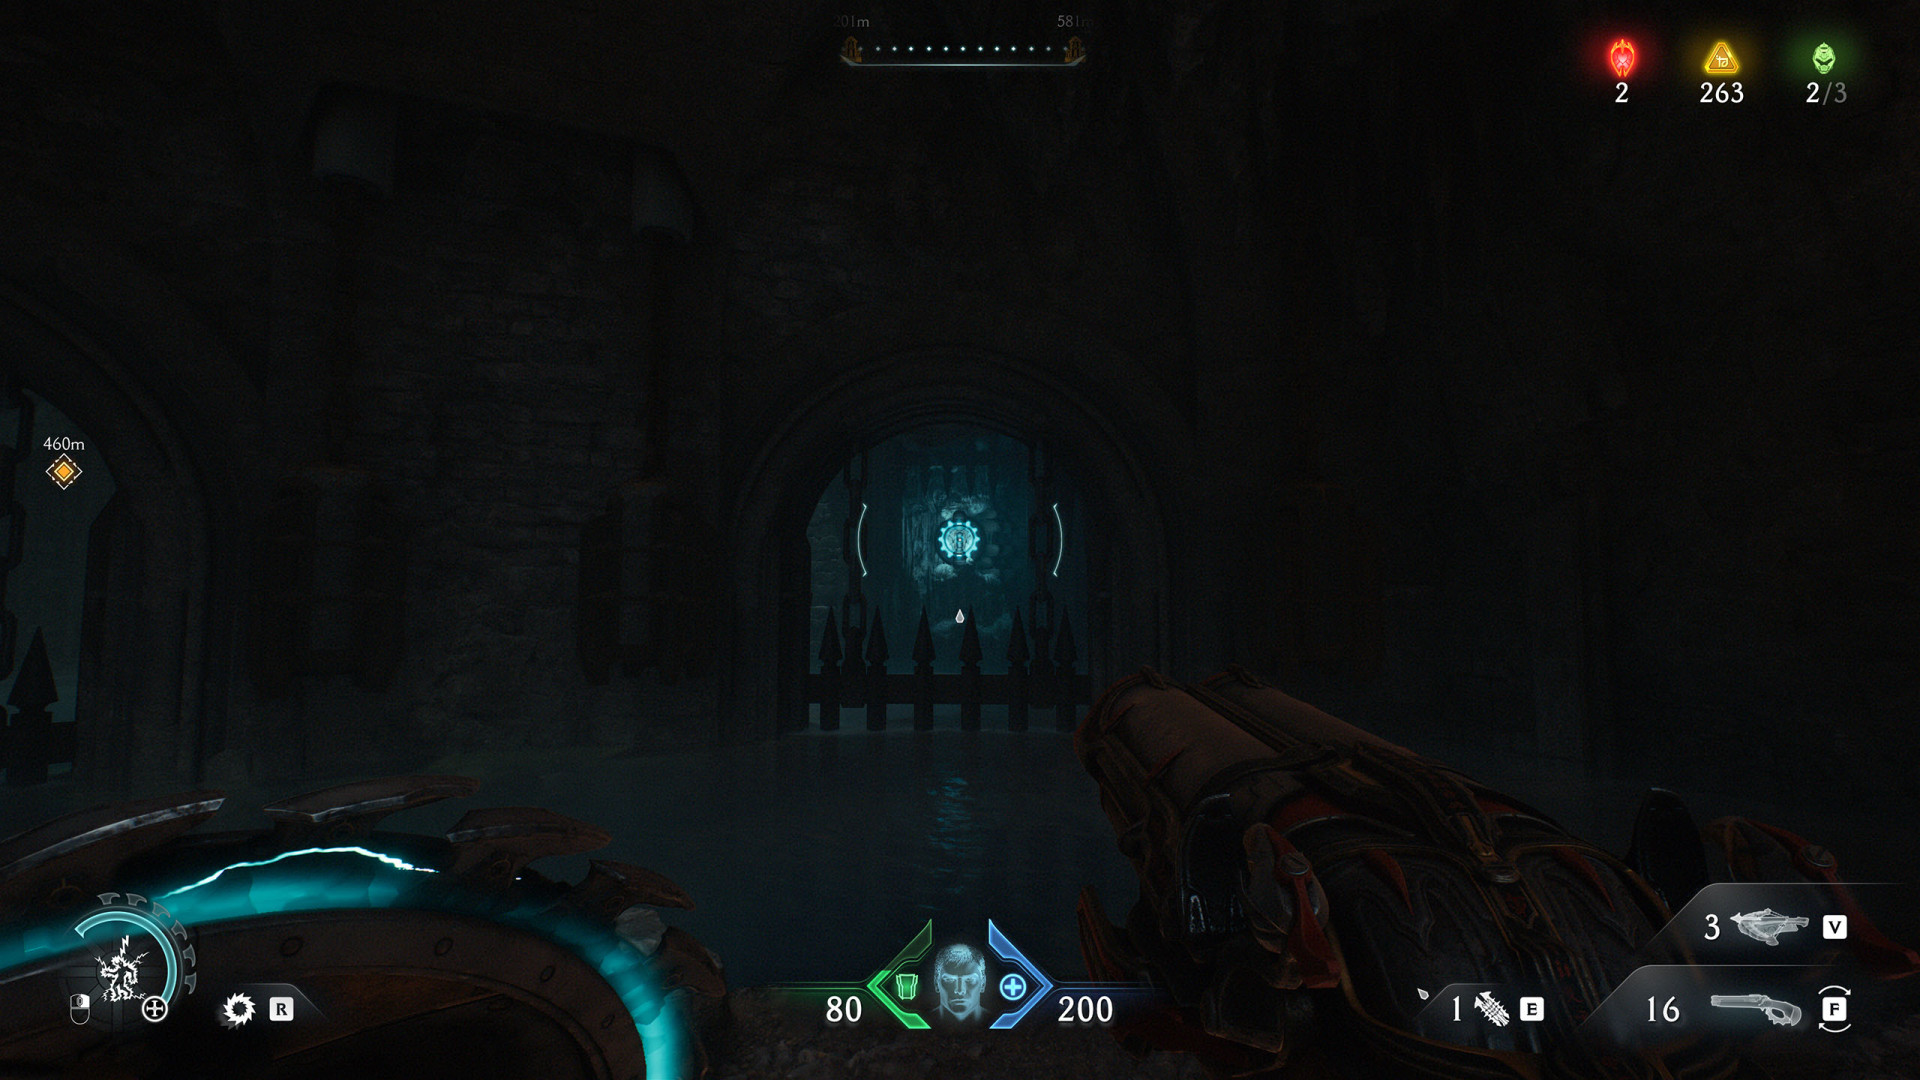
1 Switch (Hebeth #1)
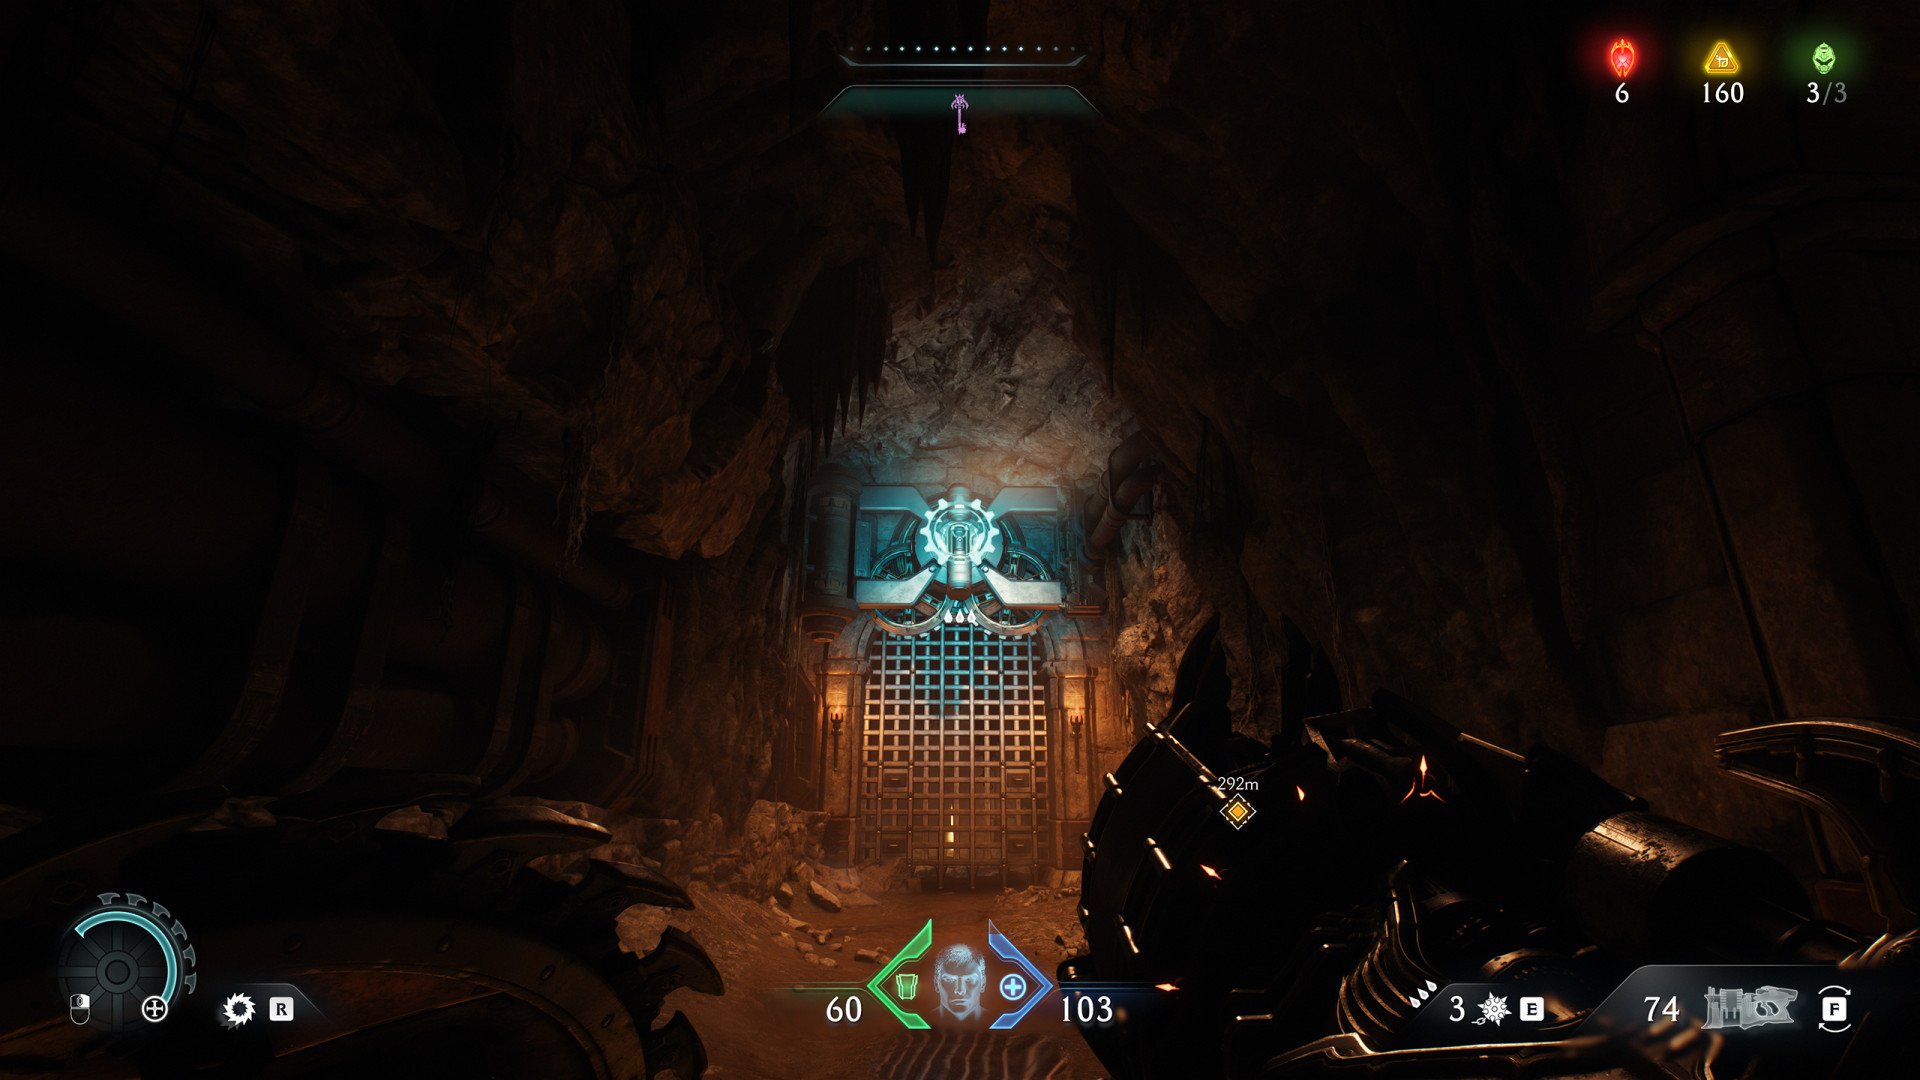
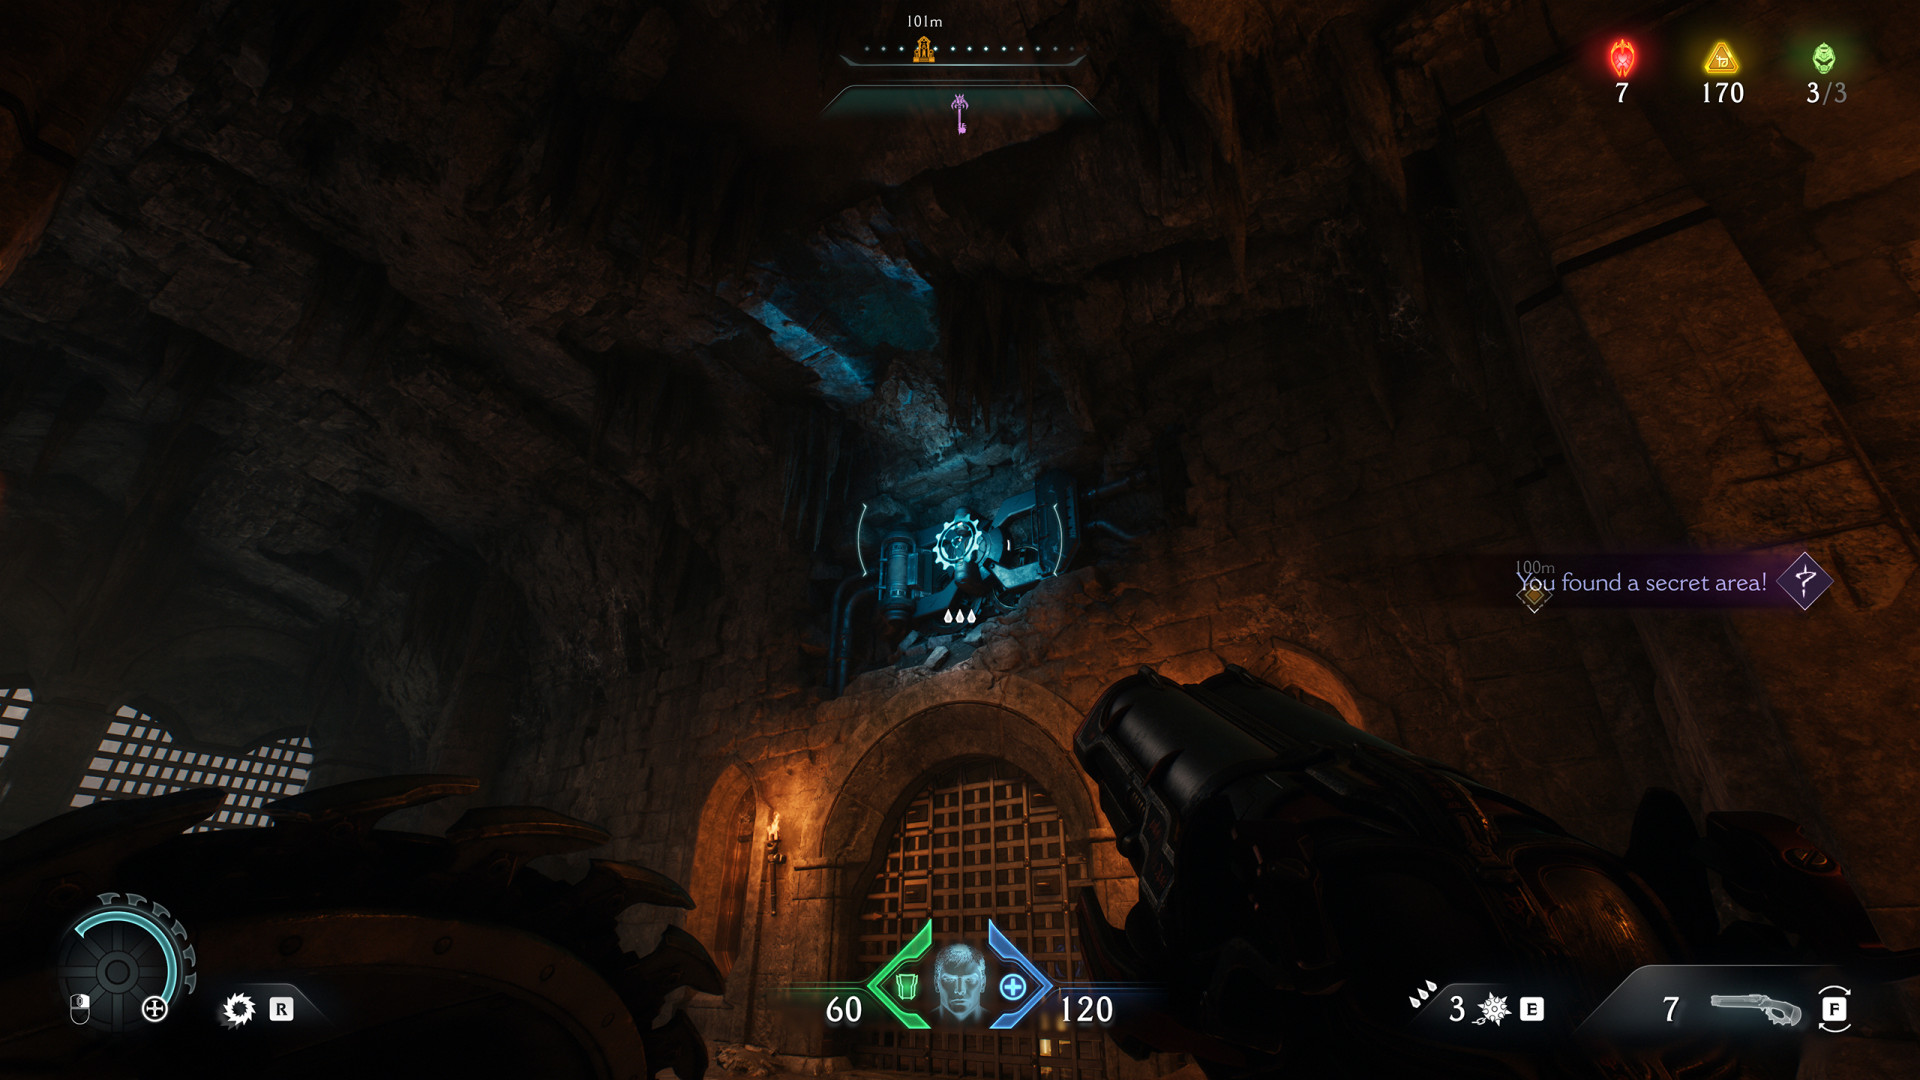
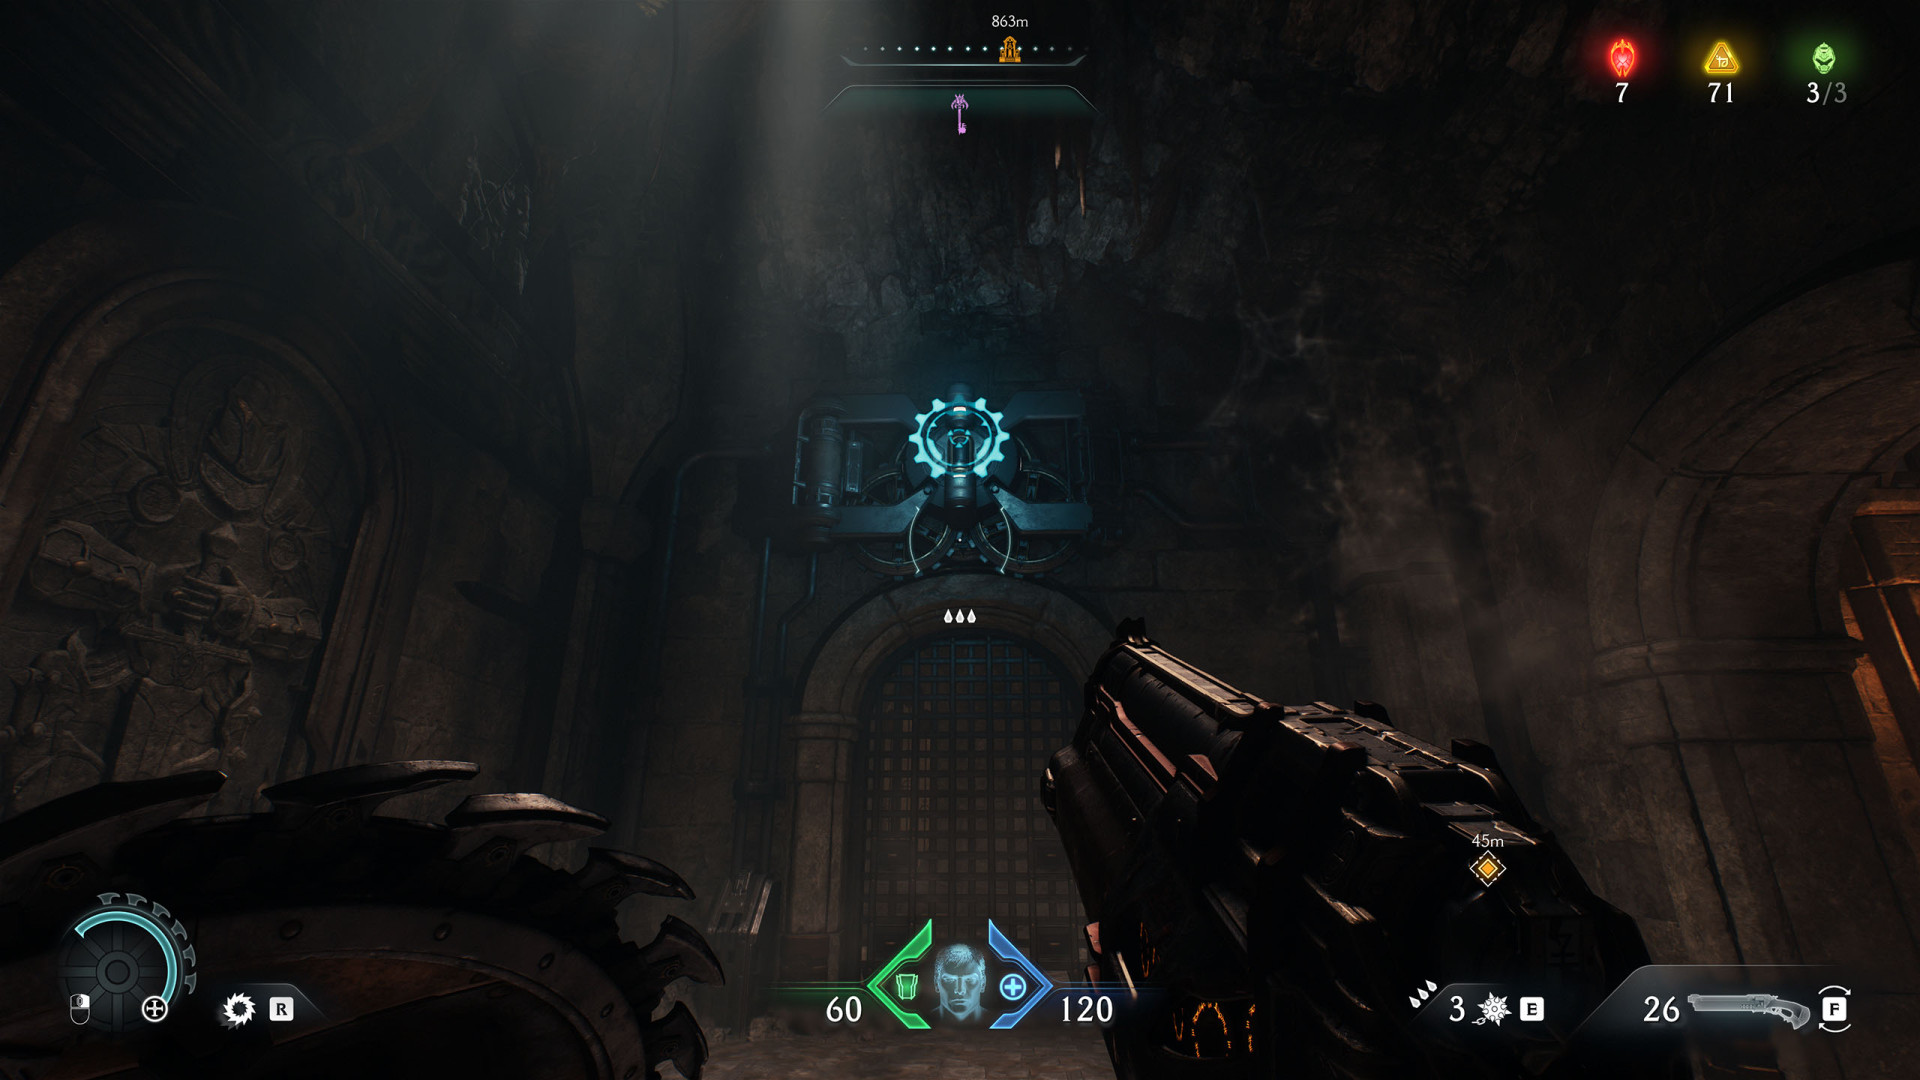
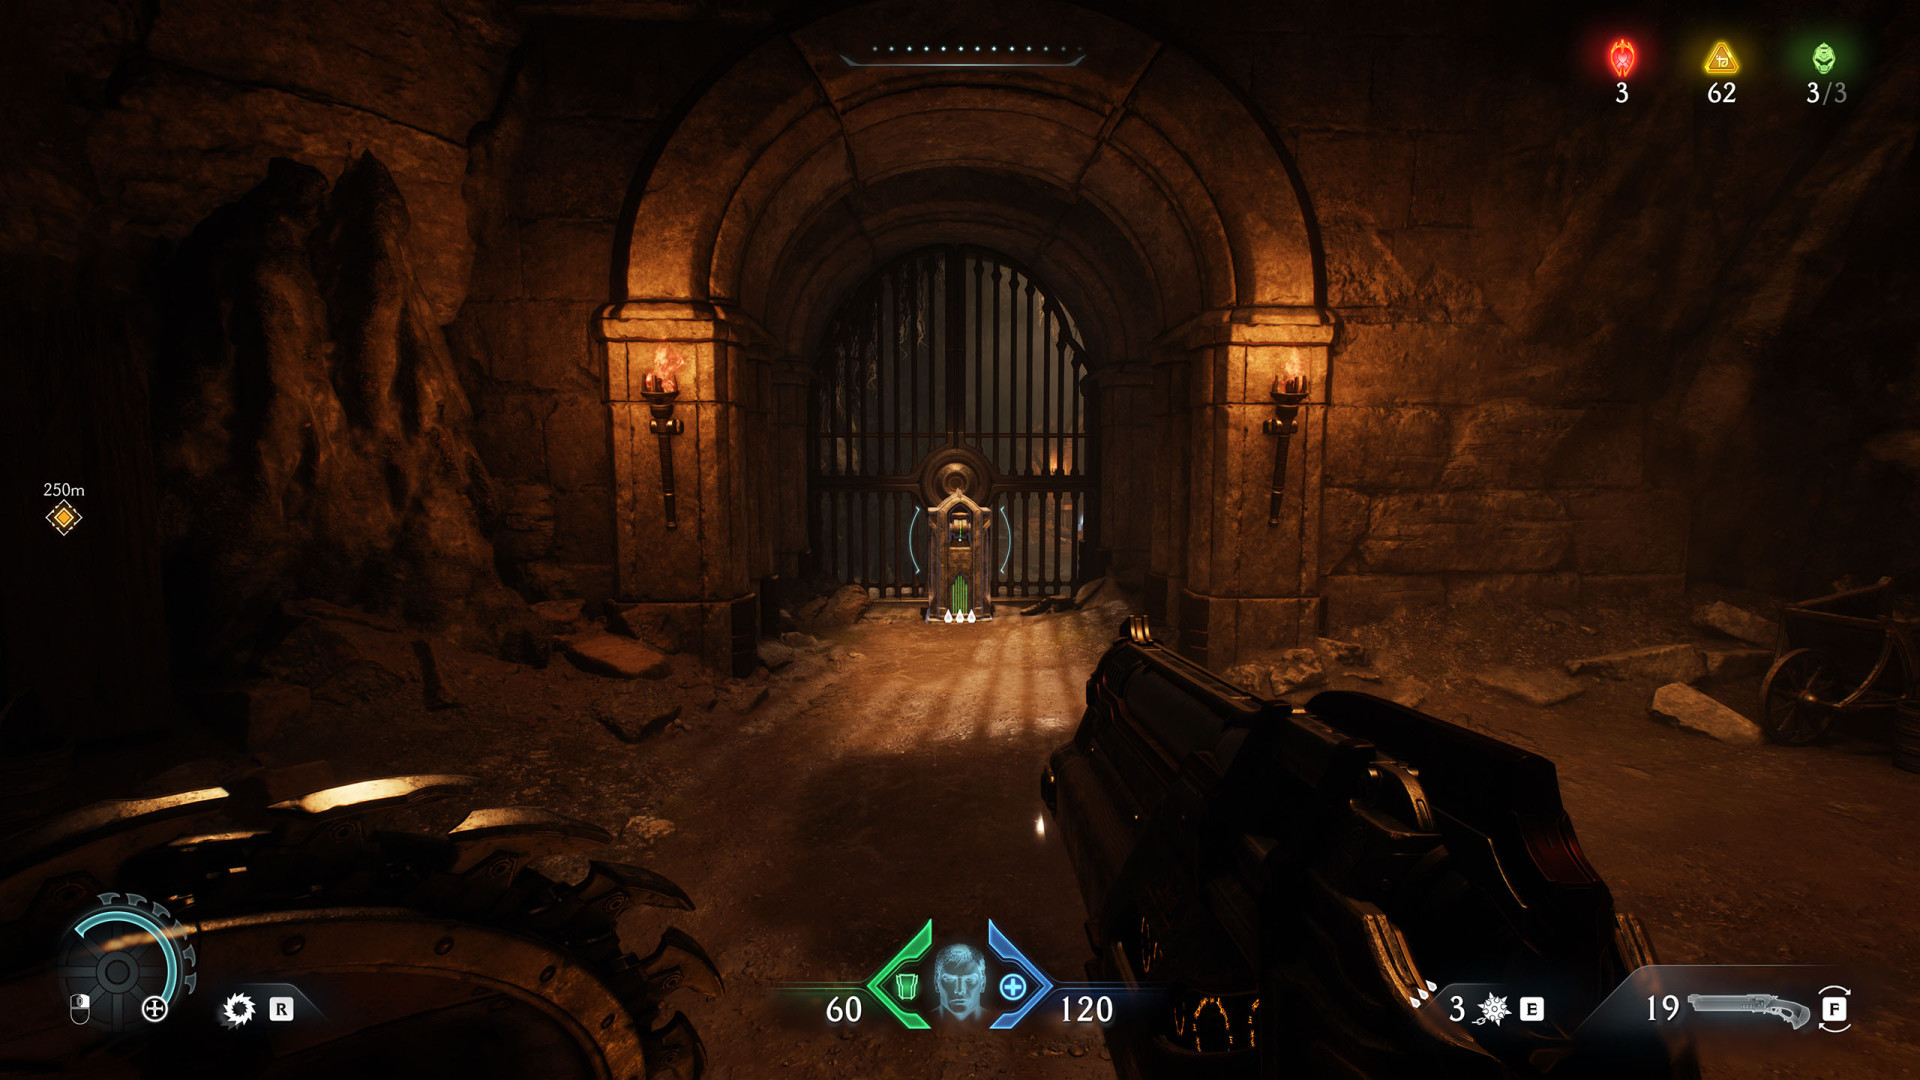
On the upper level. Unlocks the door it is located next to.
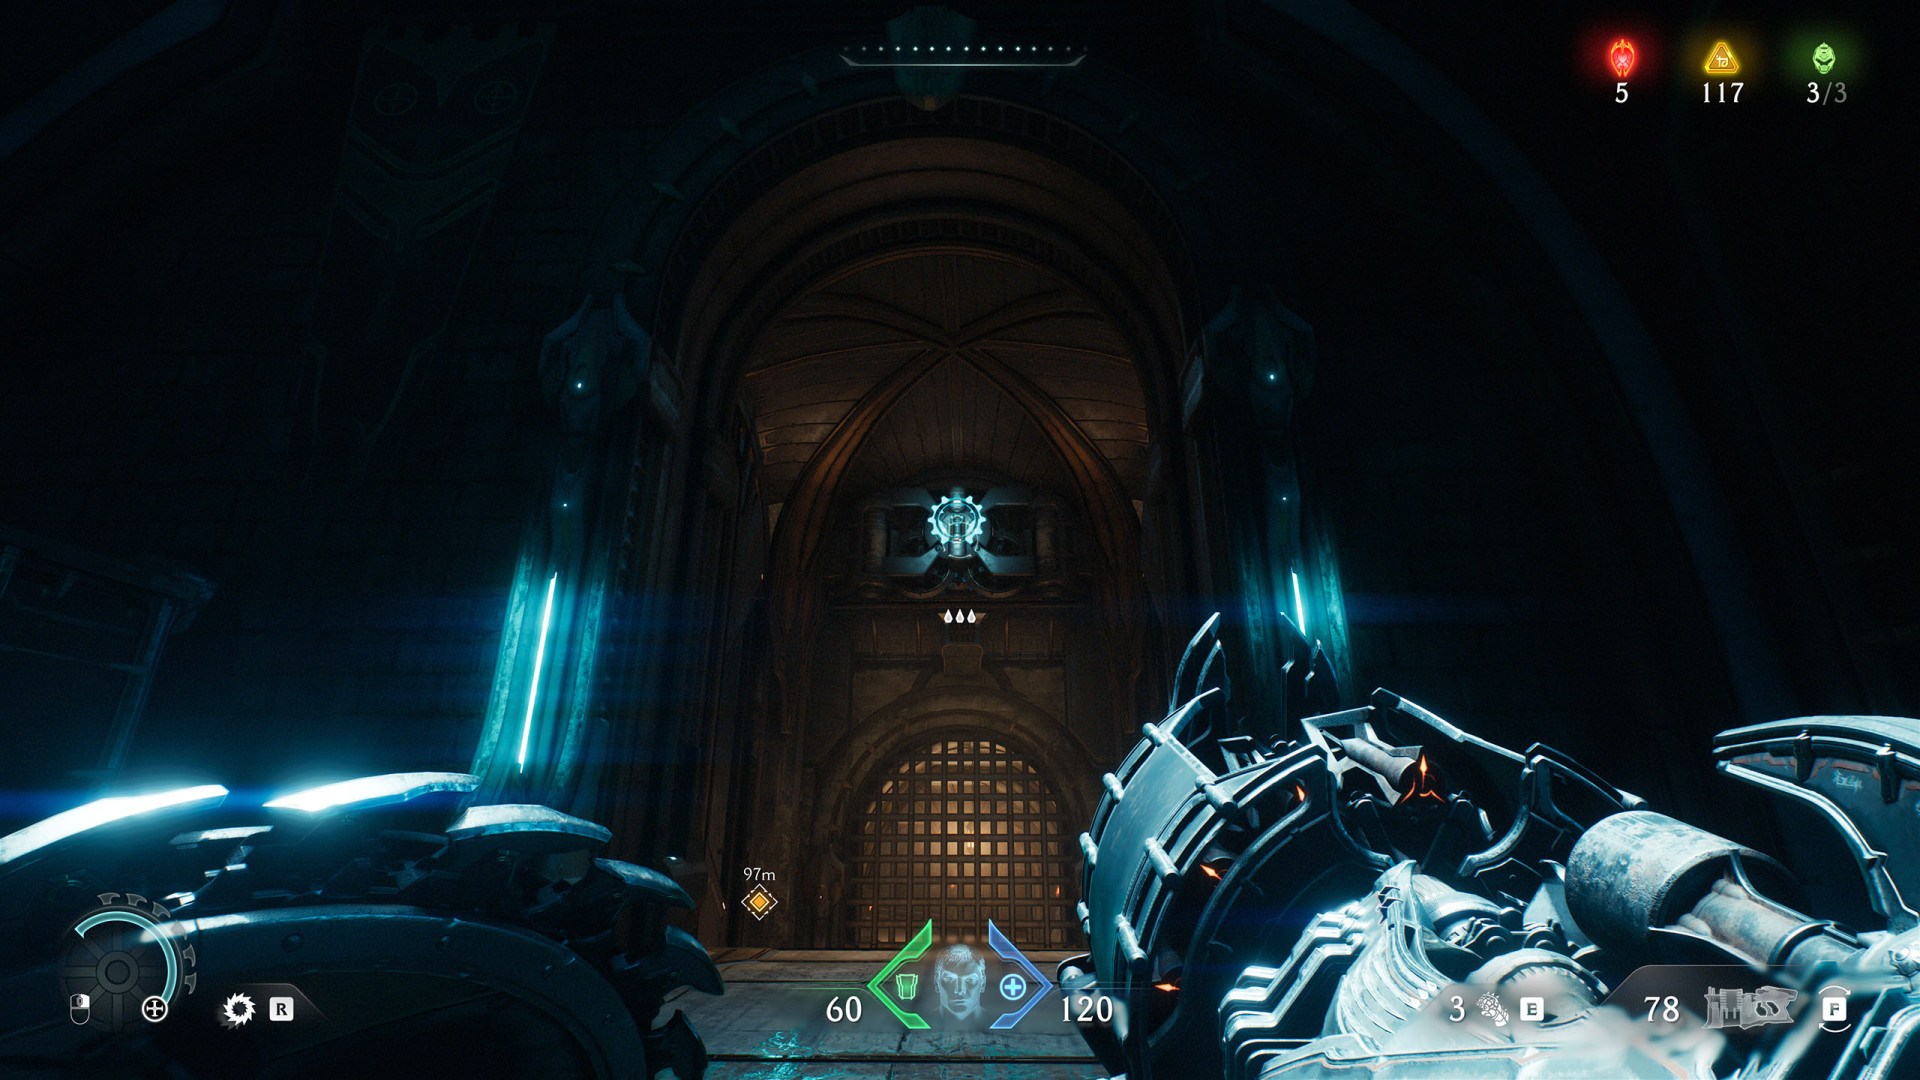
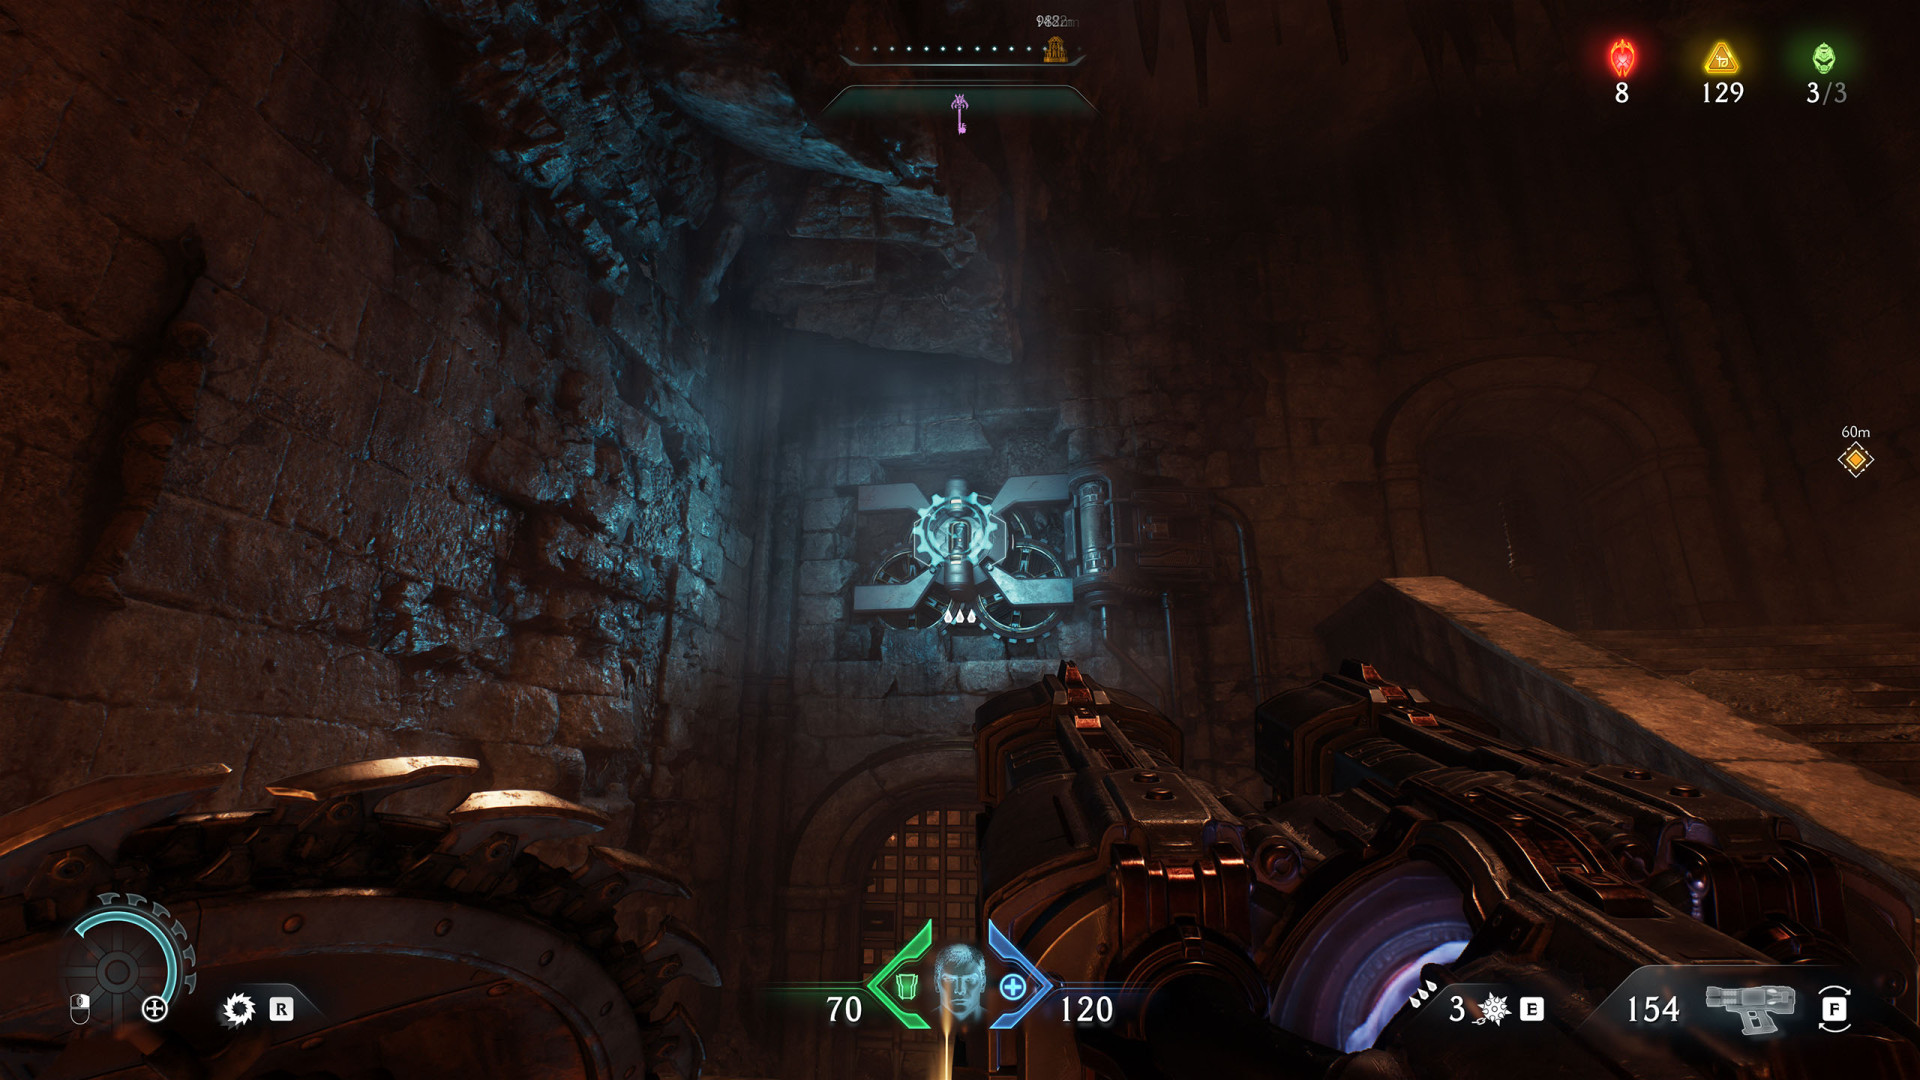
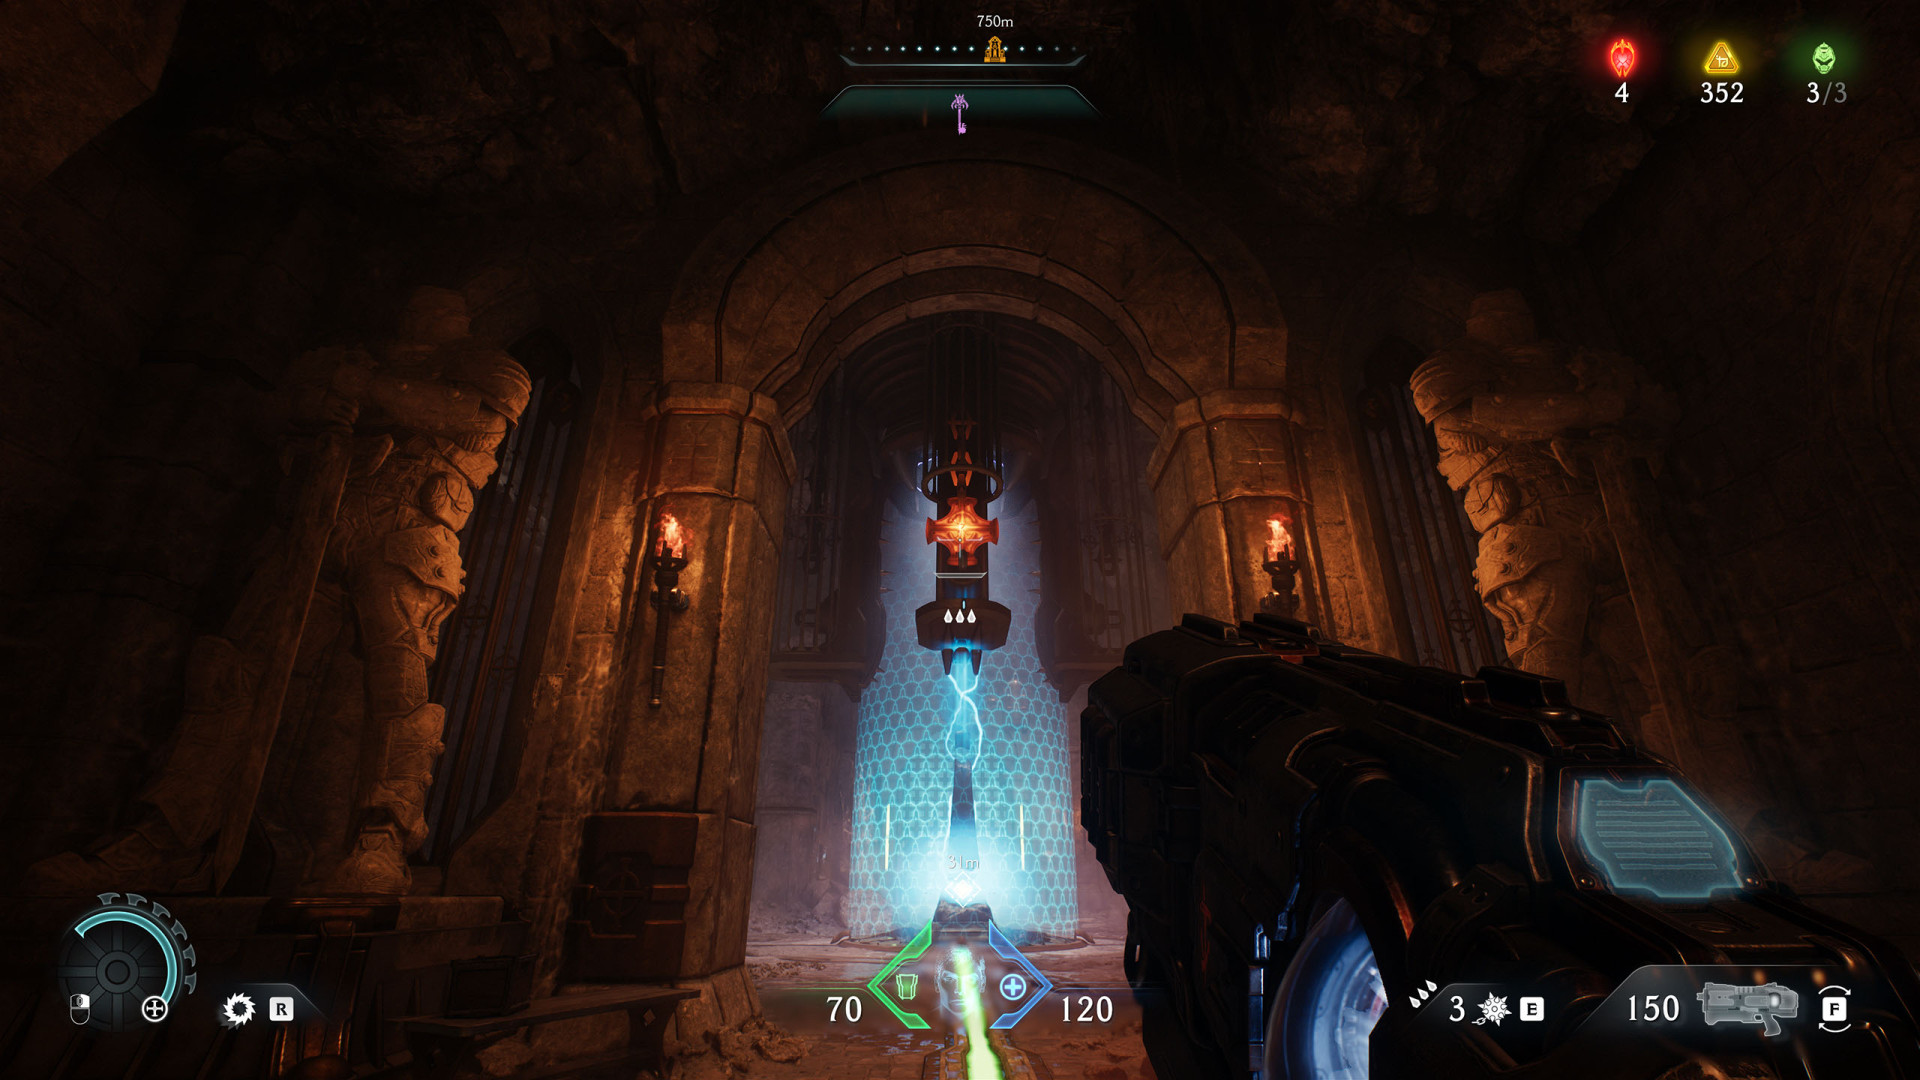
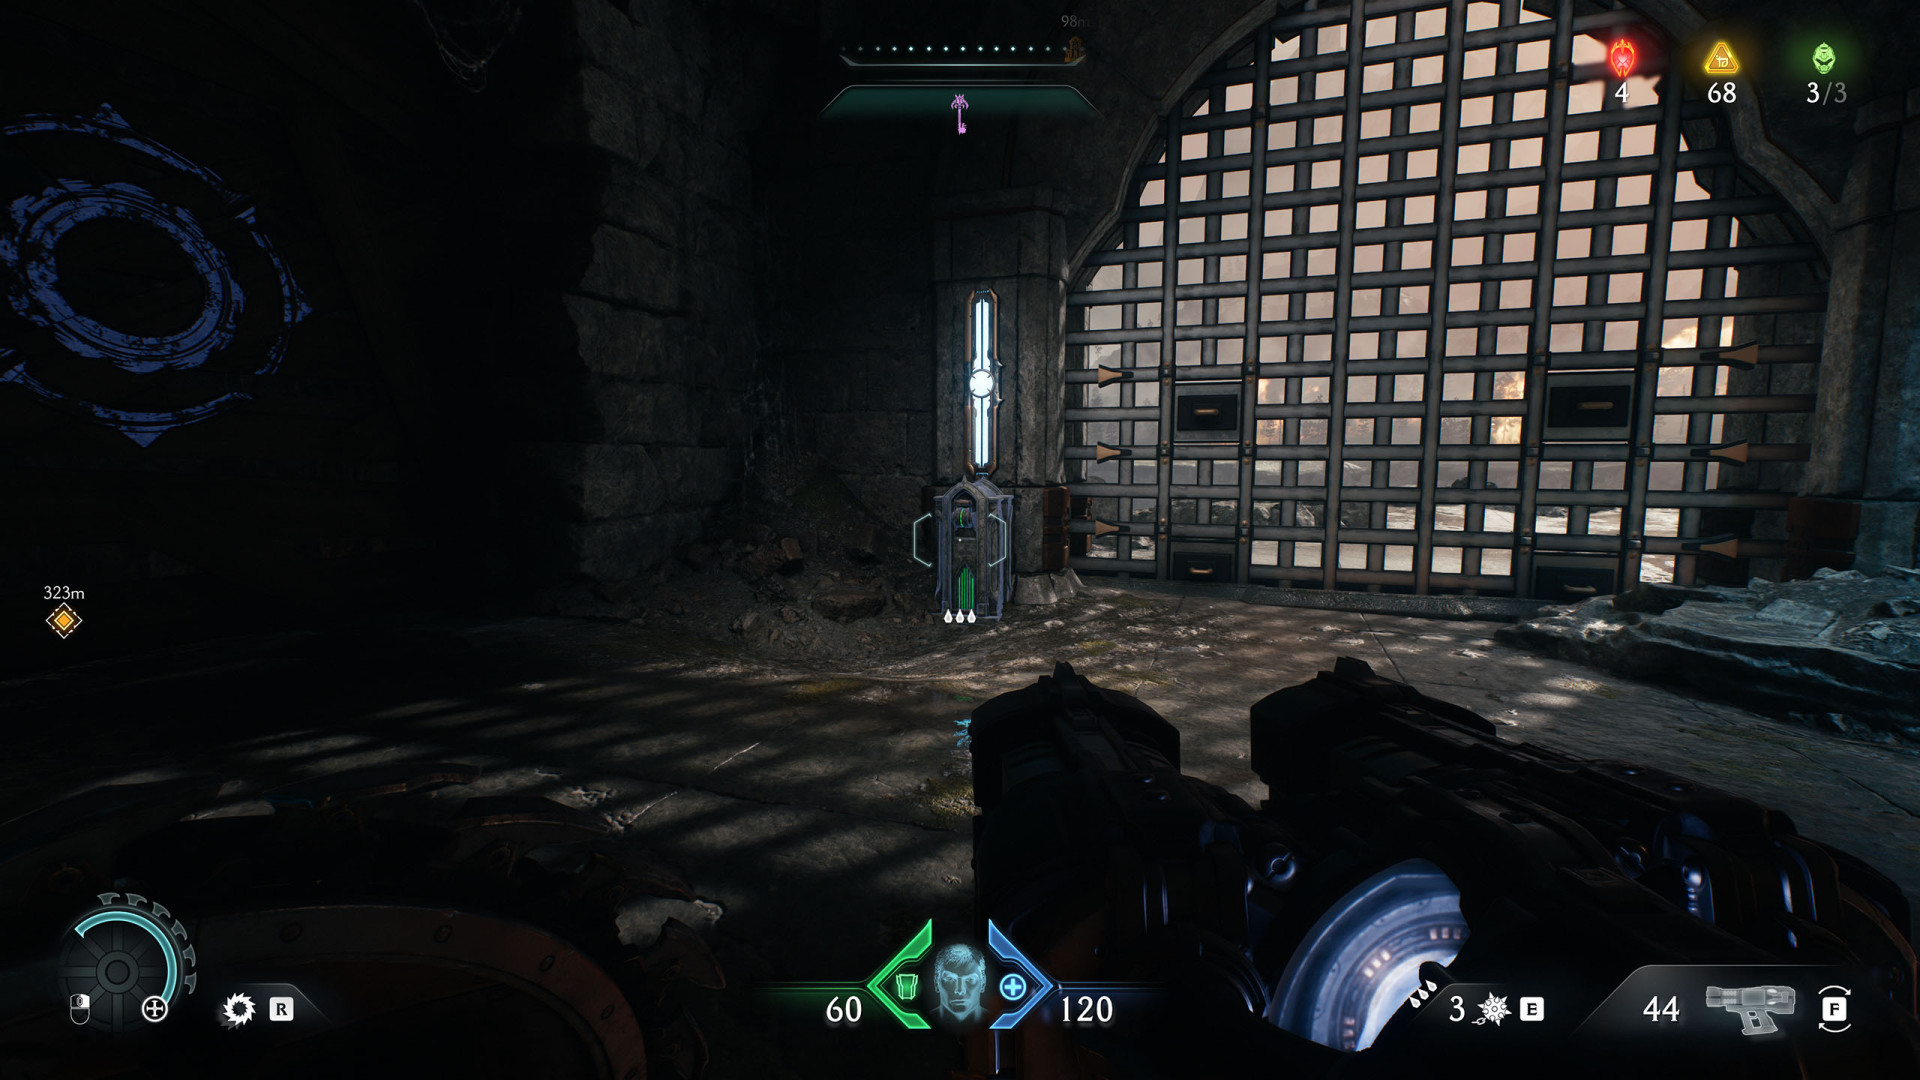
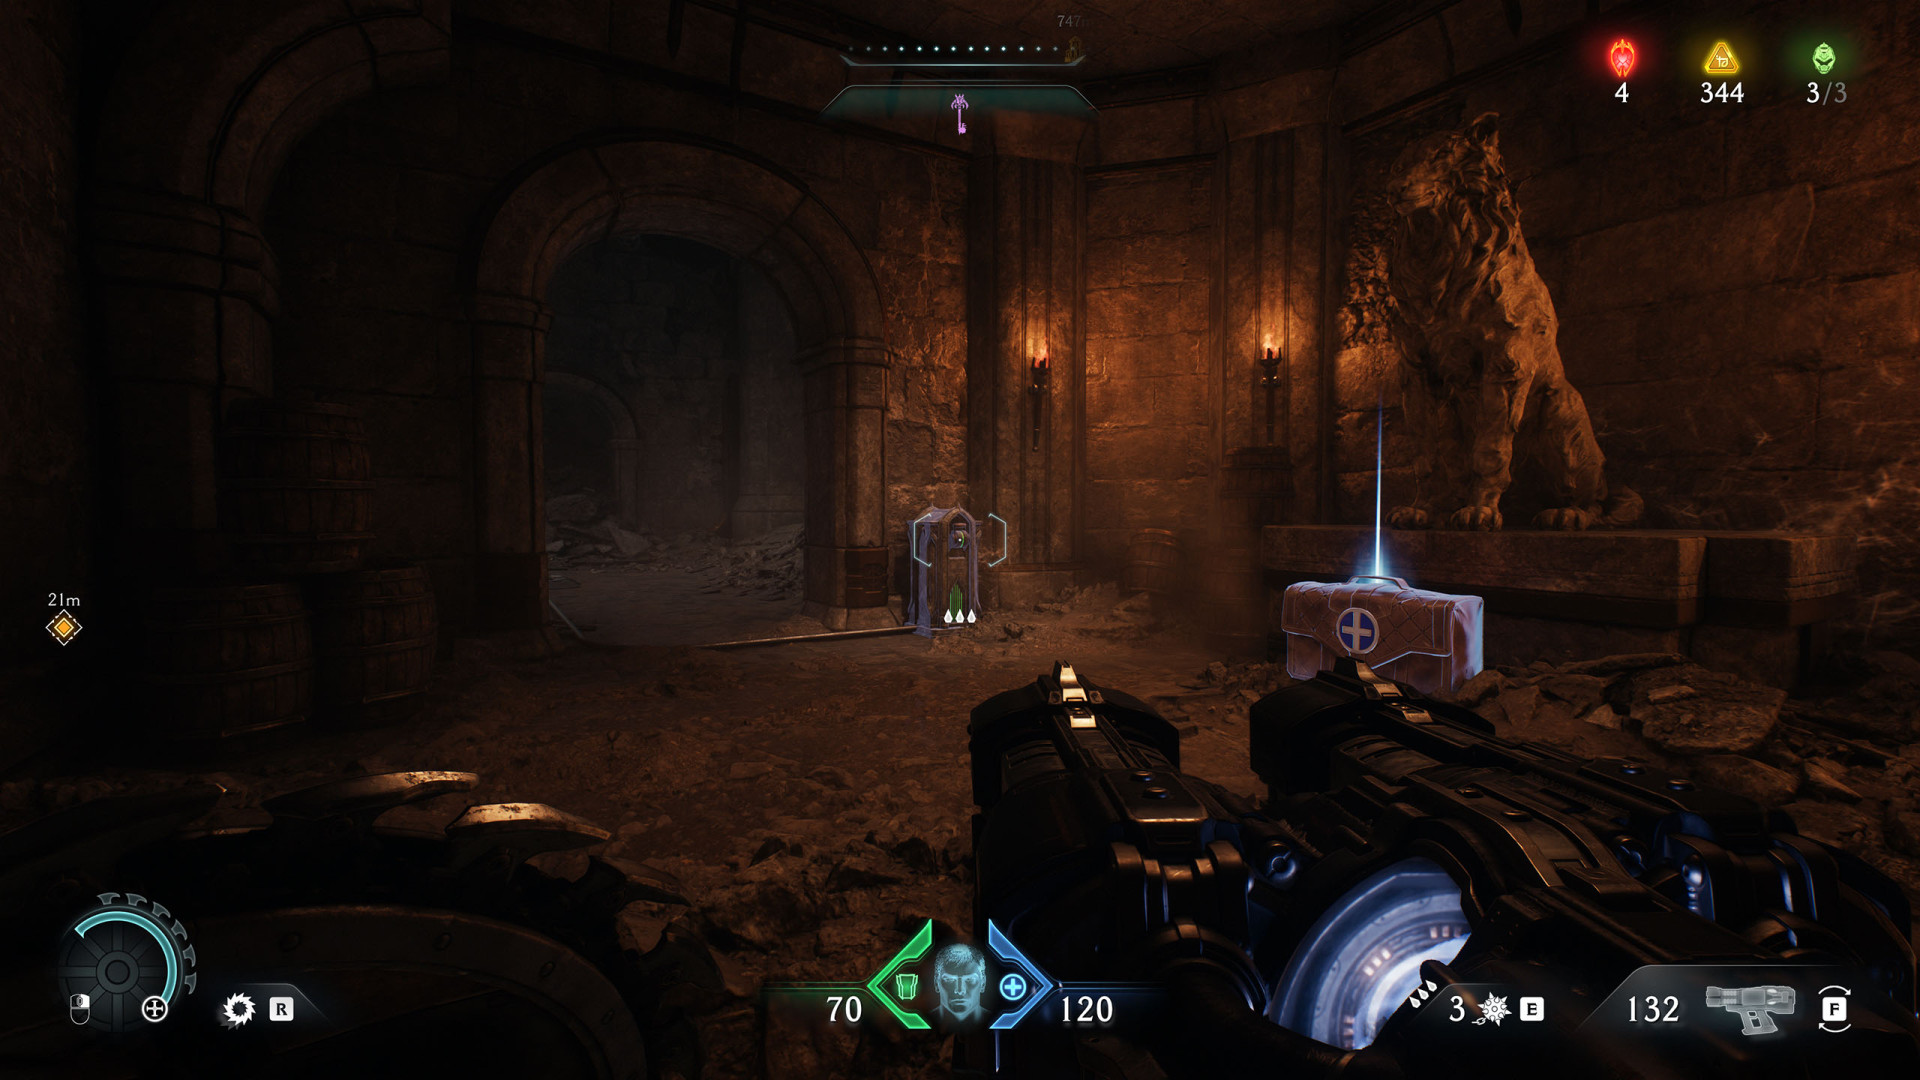
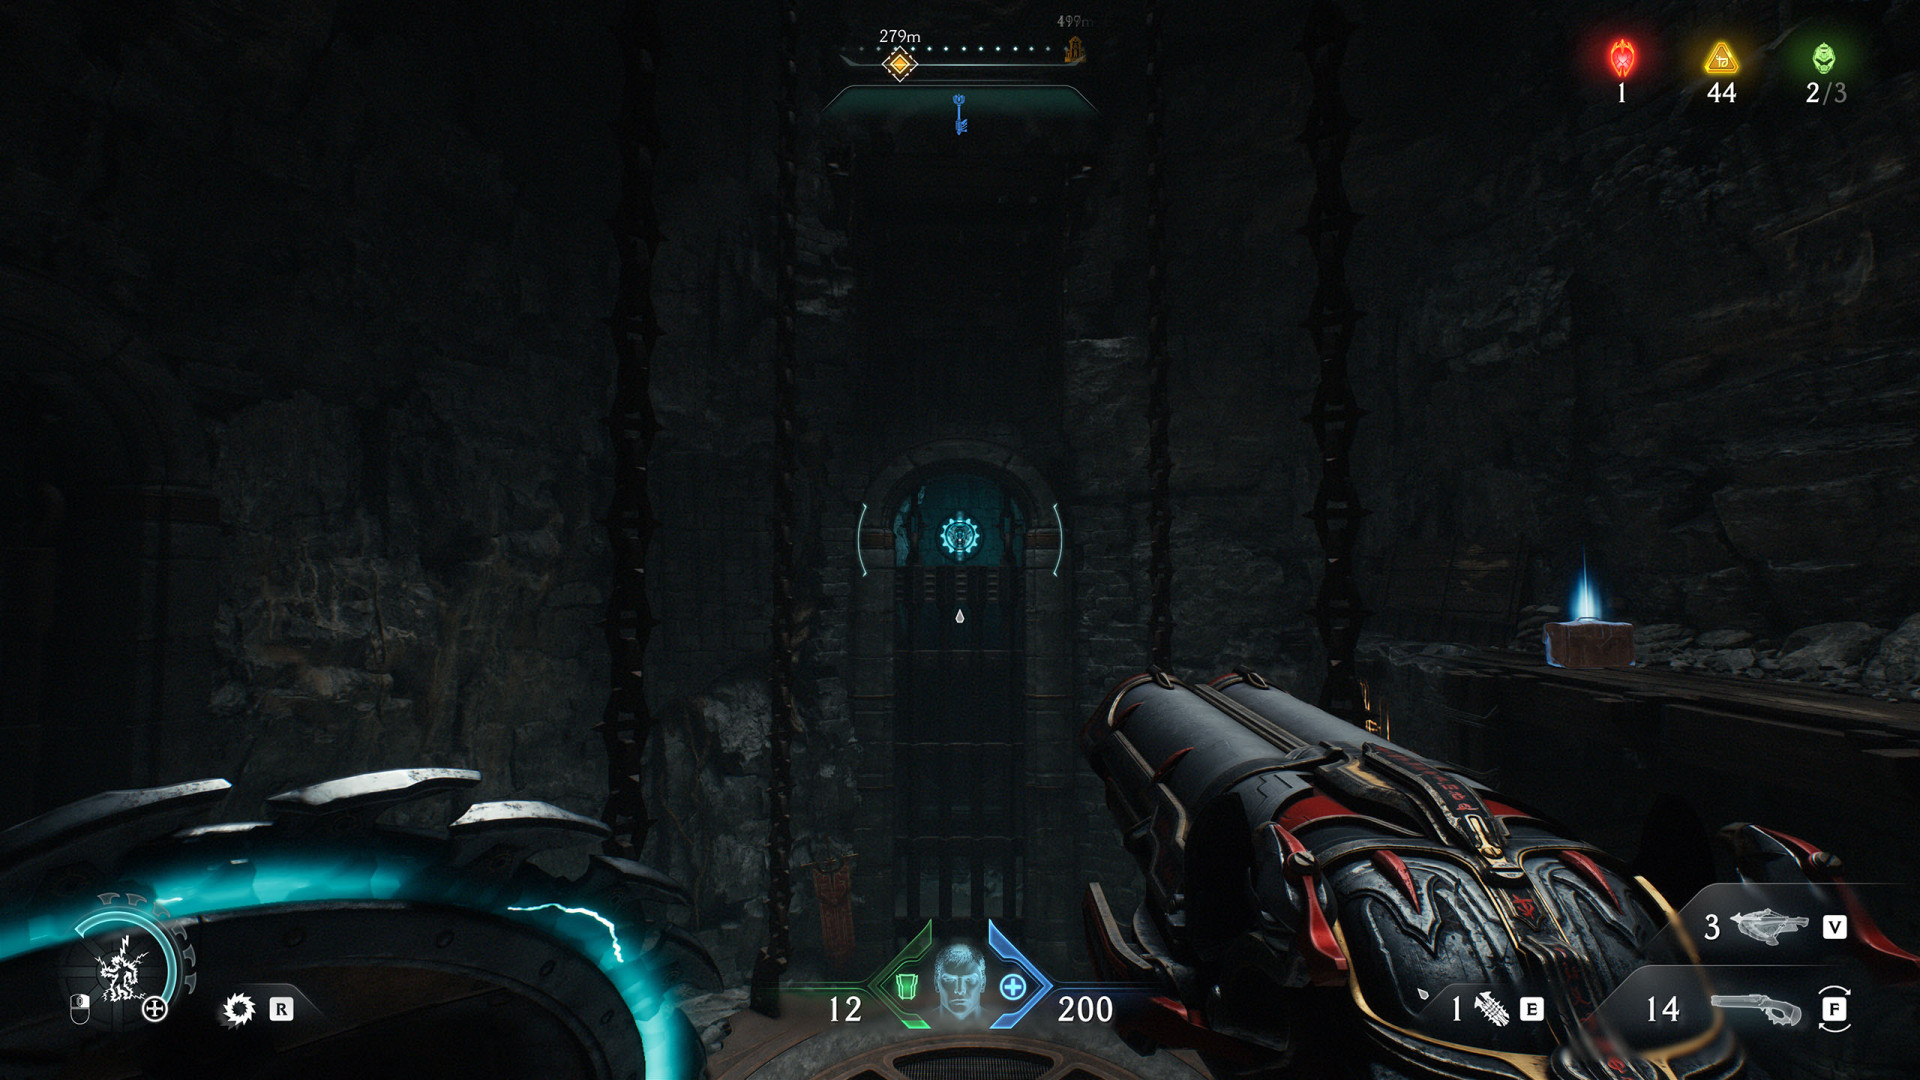
2Switch (Hebeth #2)
Unlocks the gate it is located next to, and another gate behind which there is a way to the higher level.
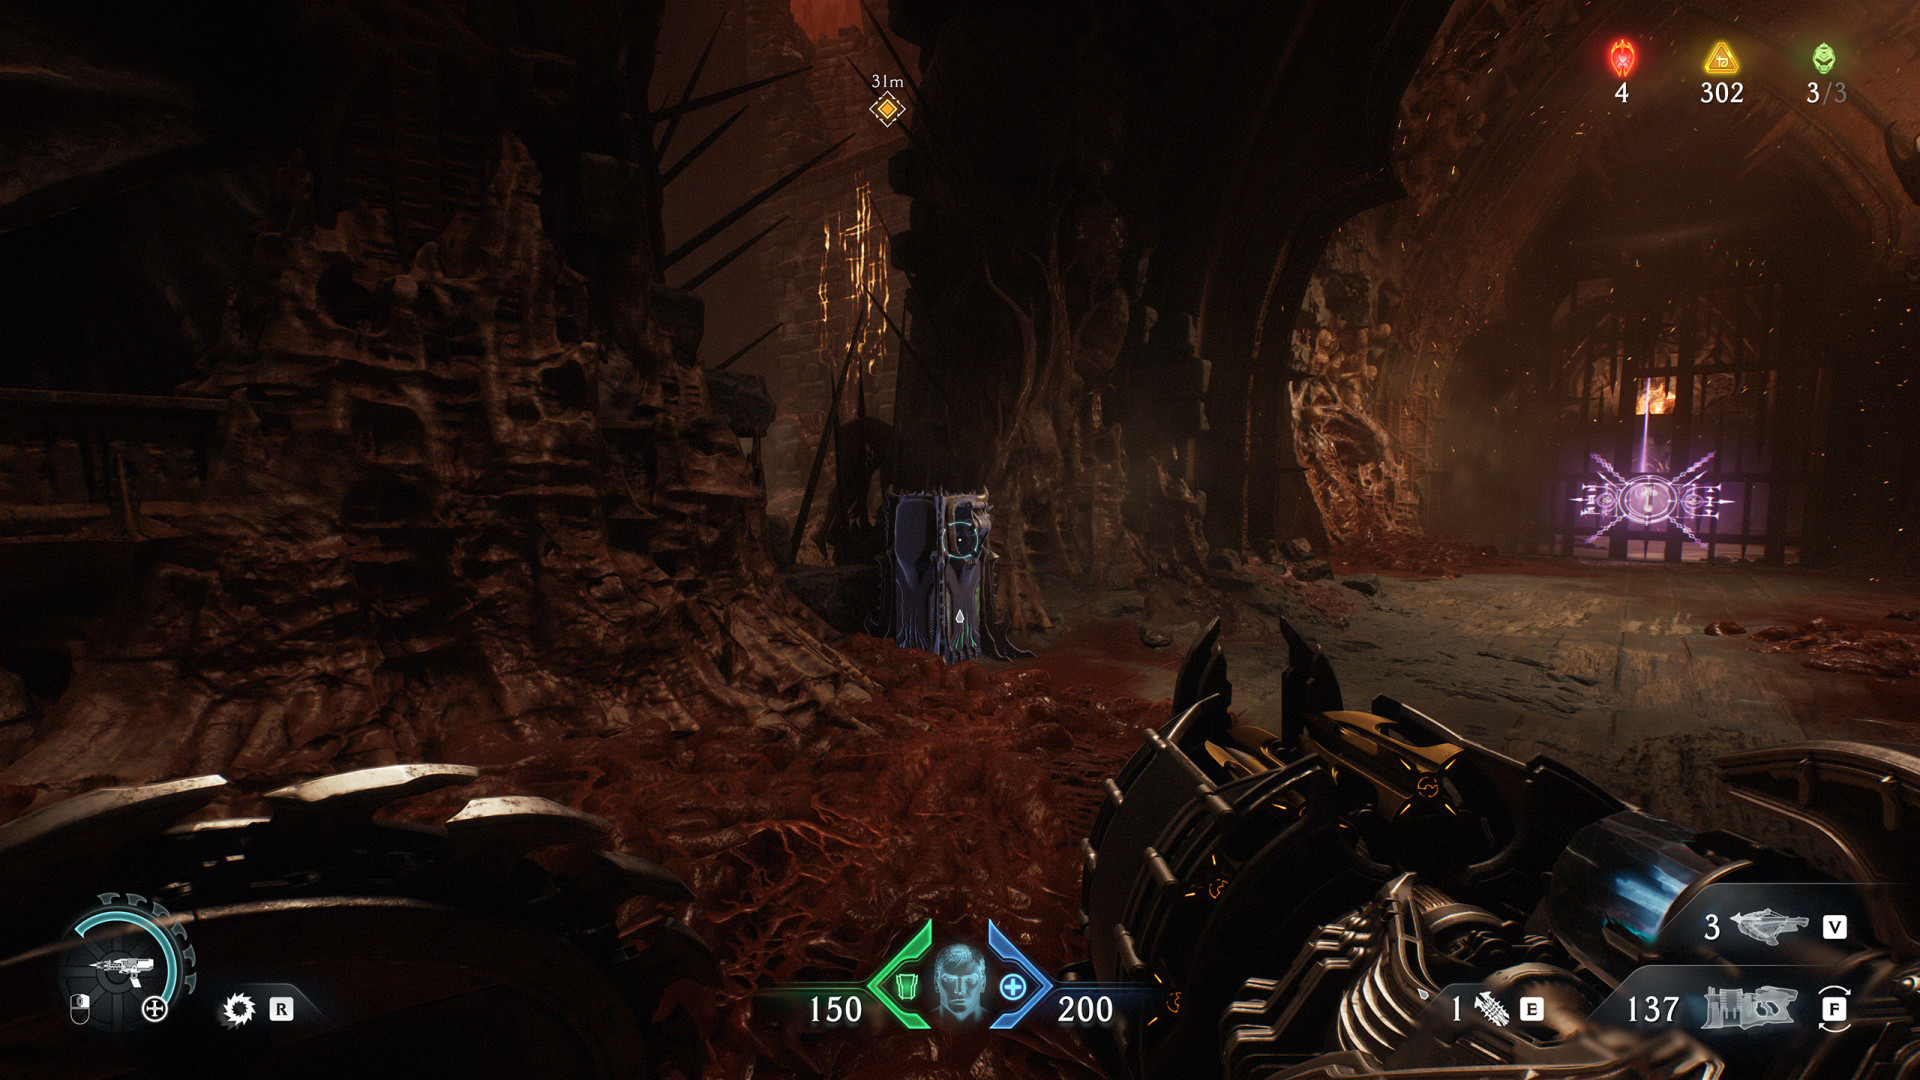
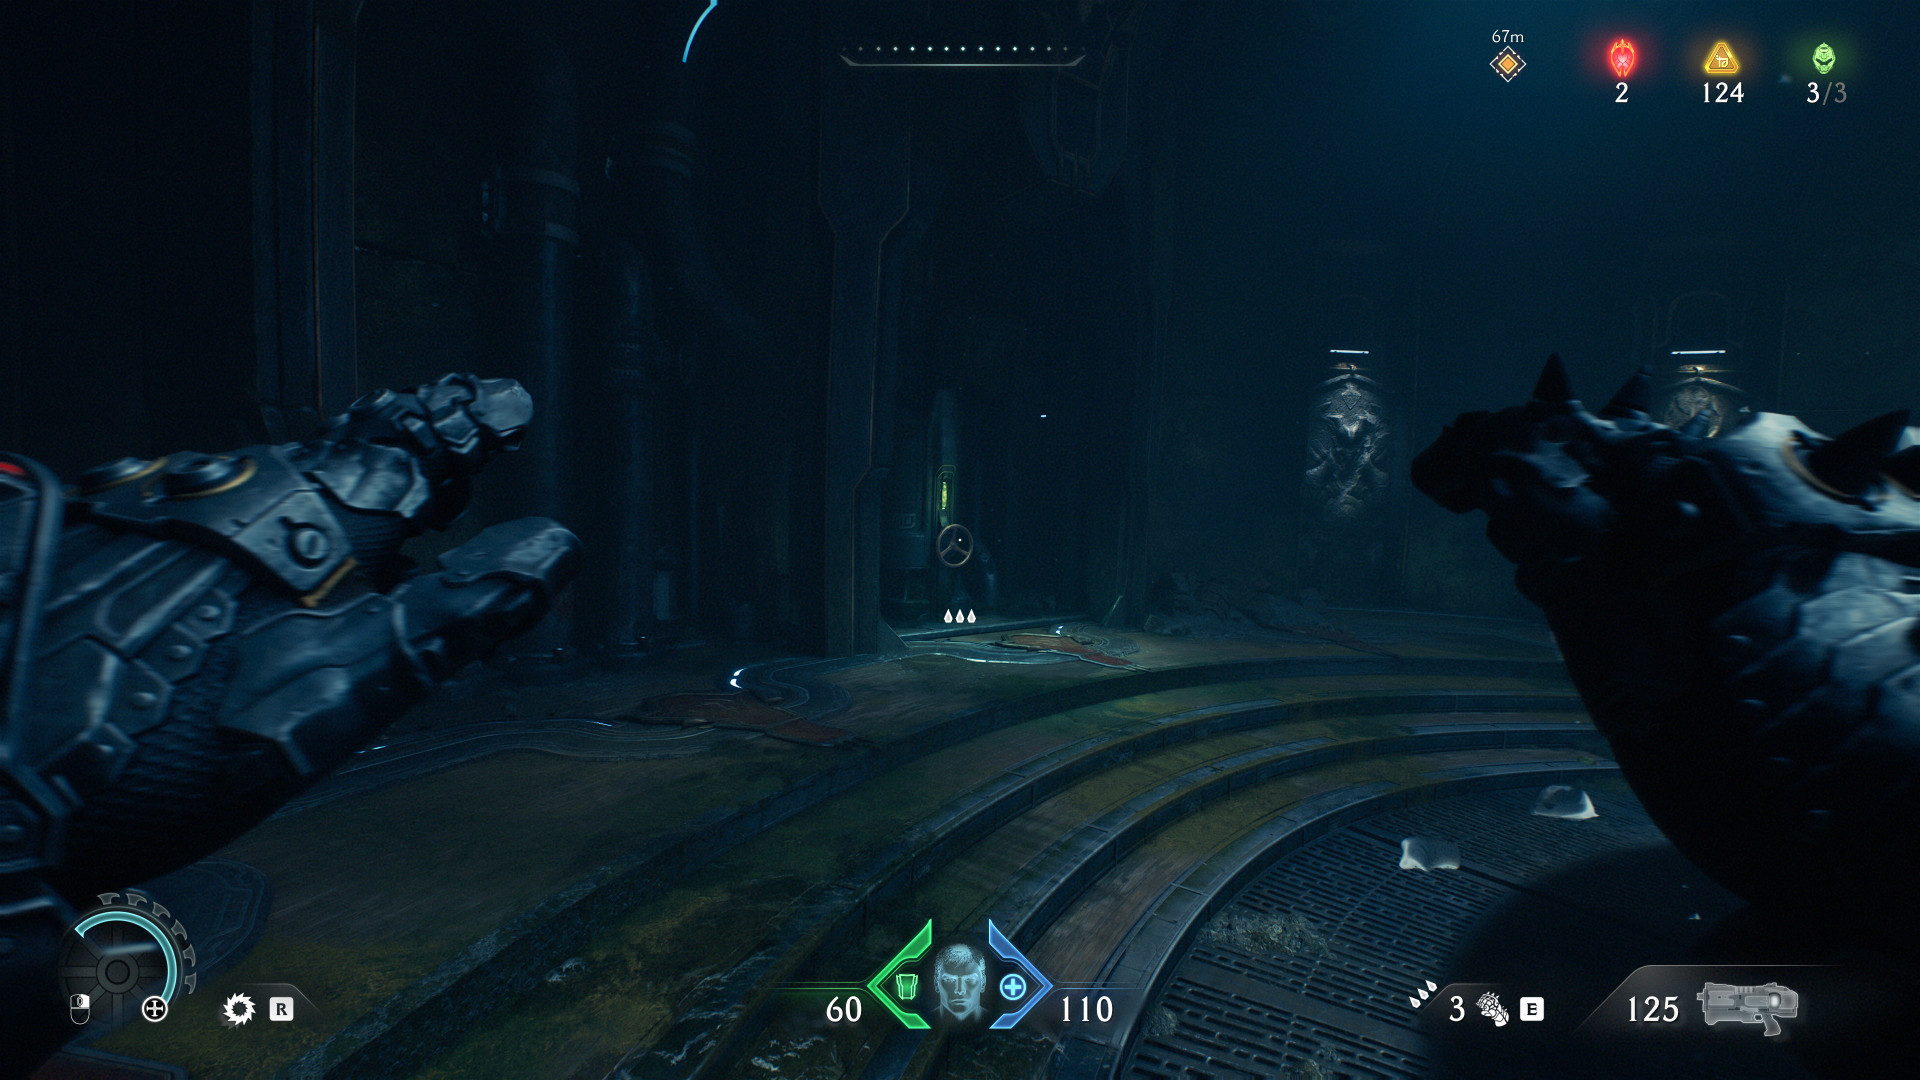
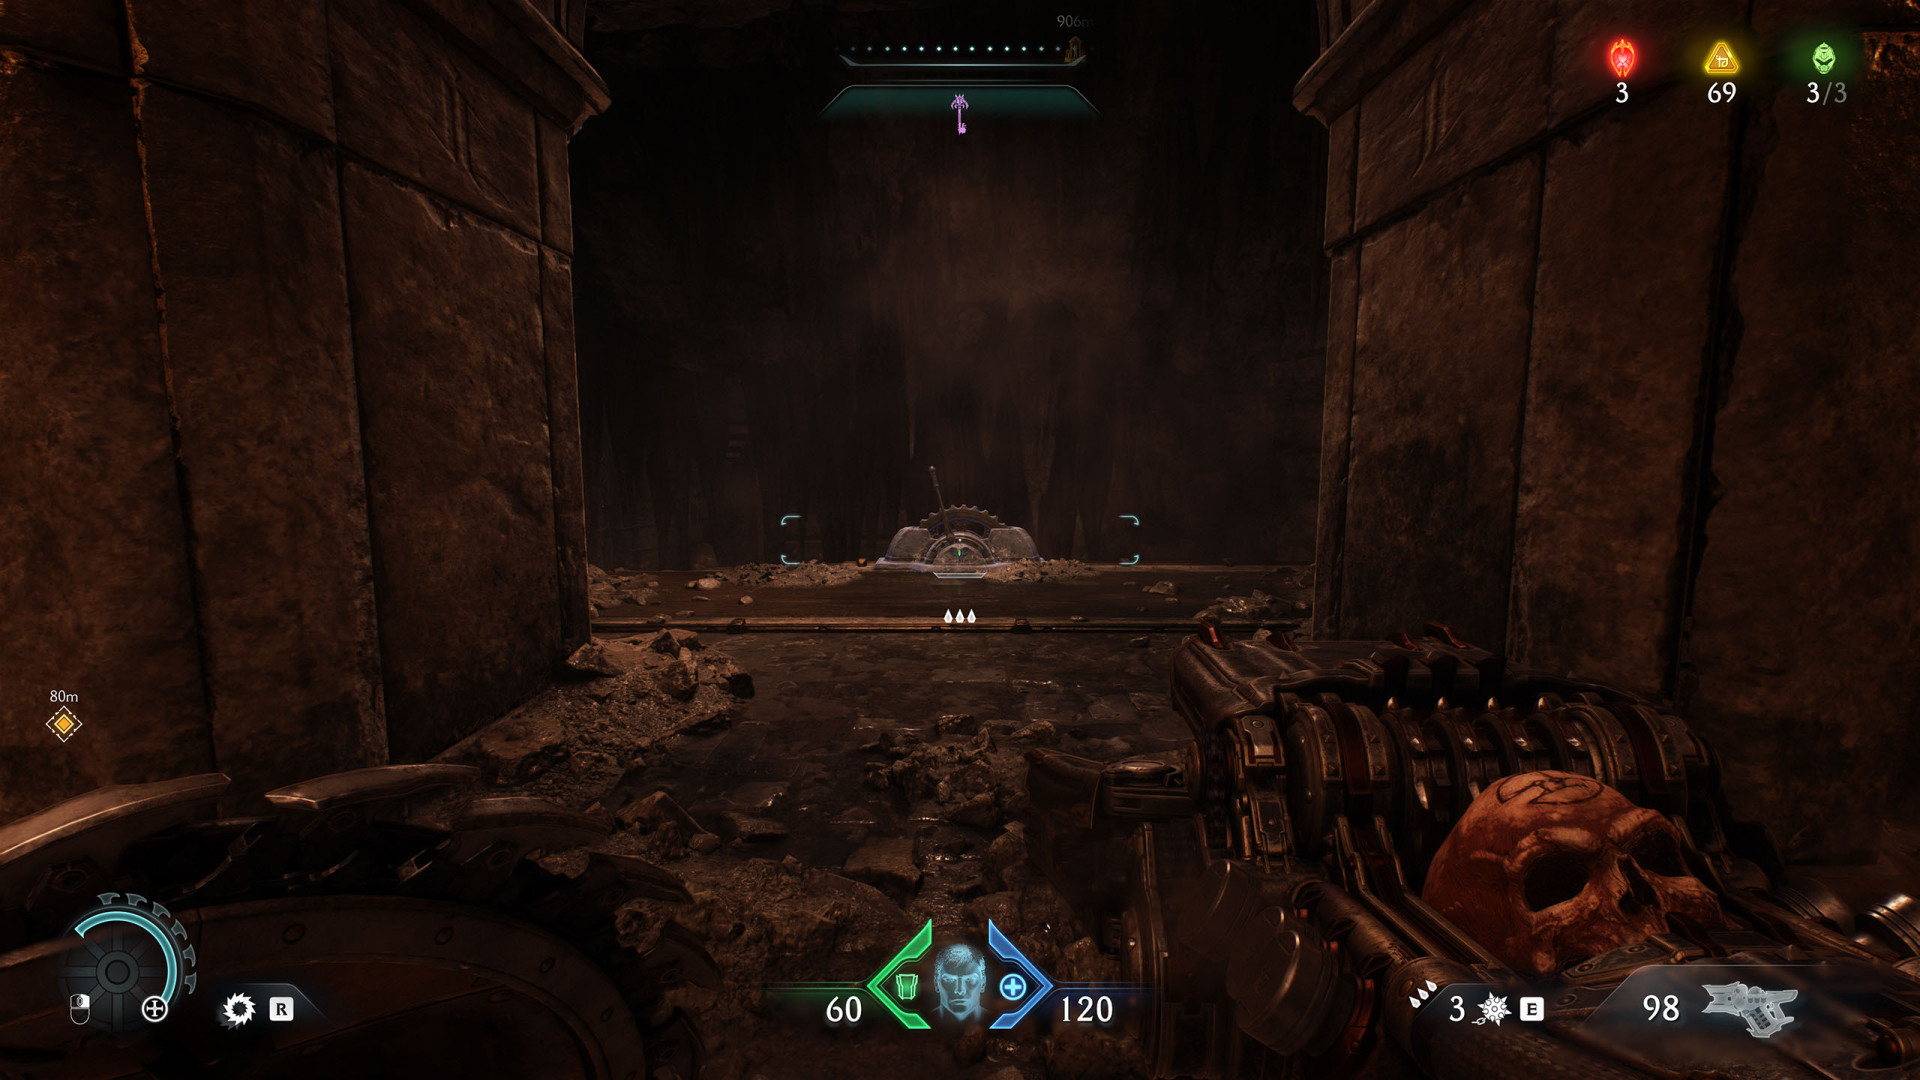
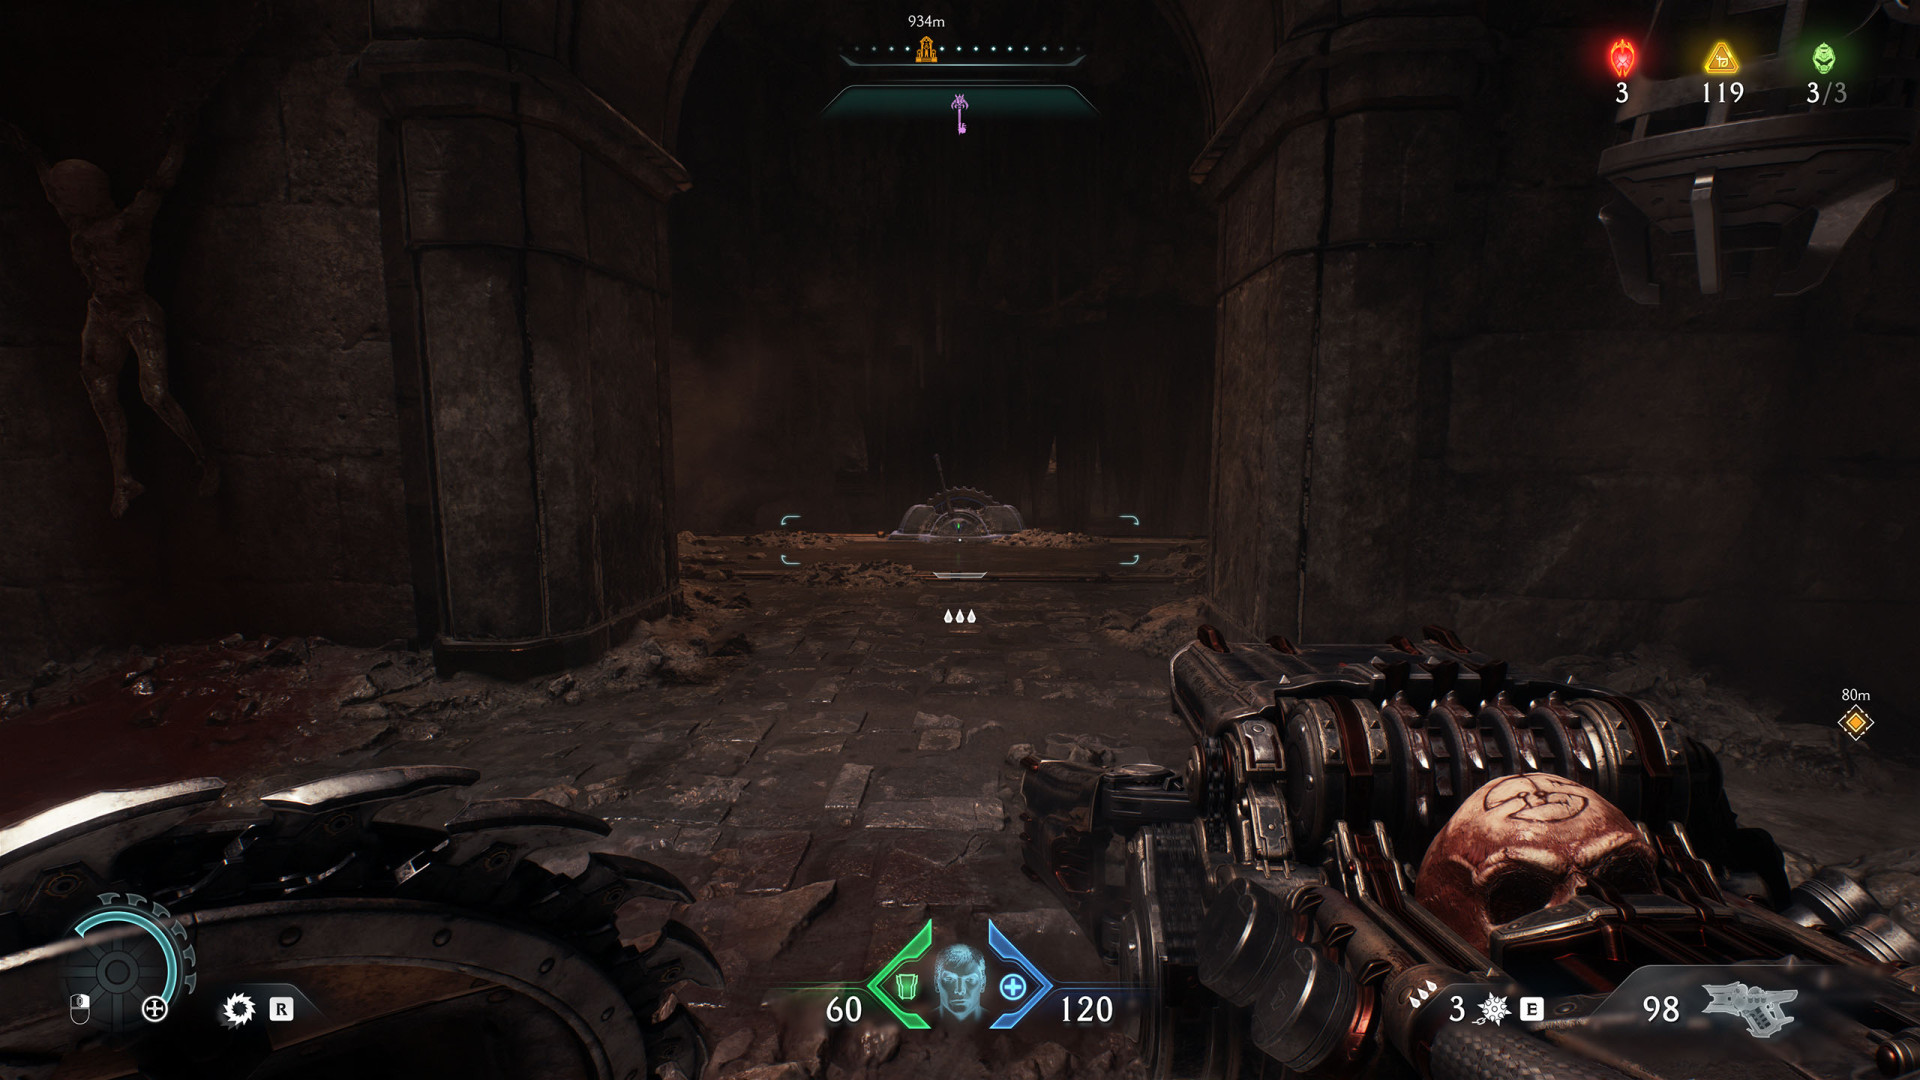
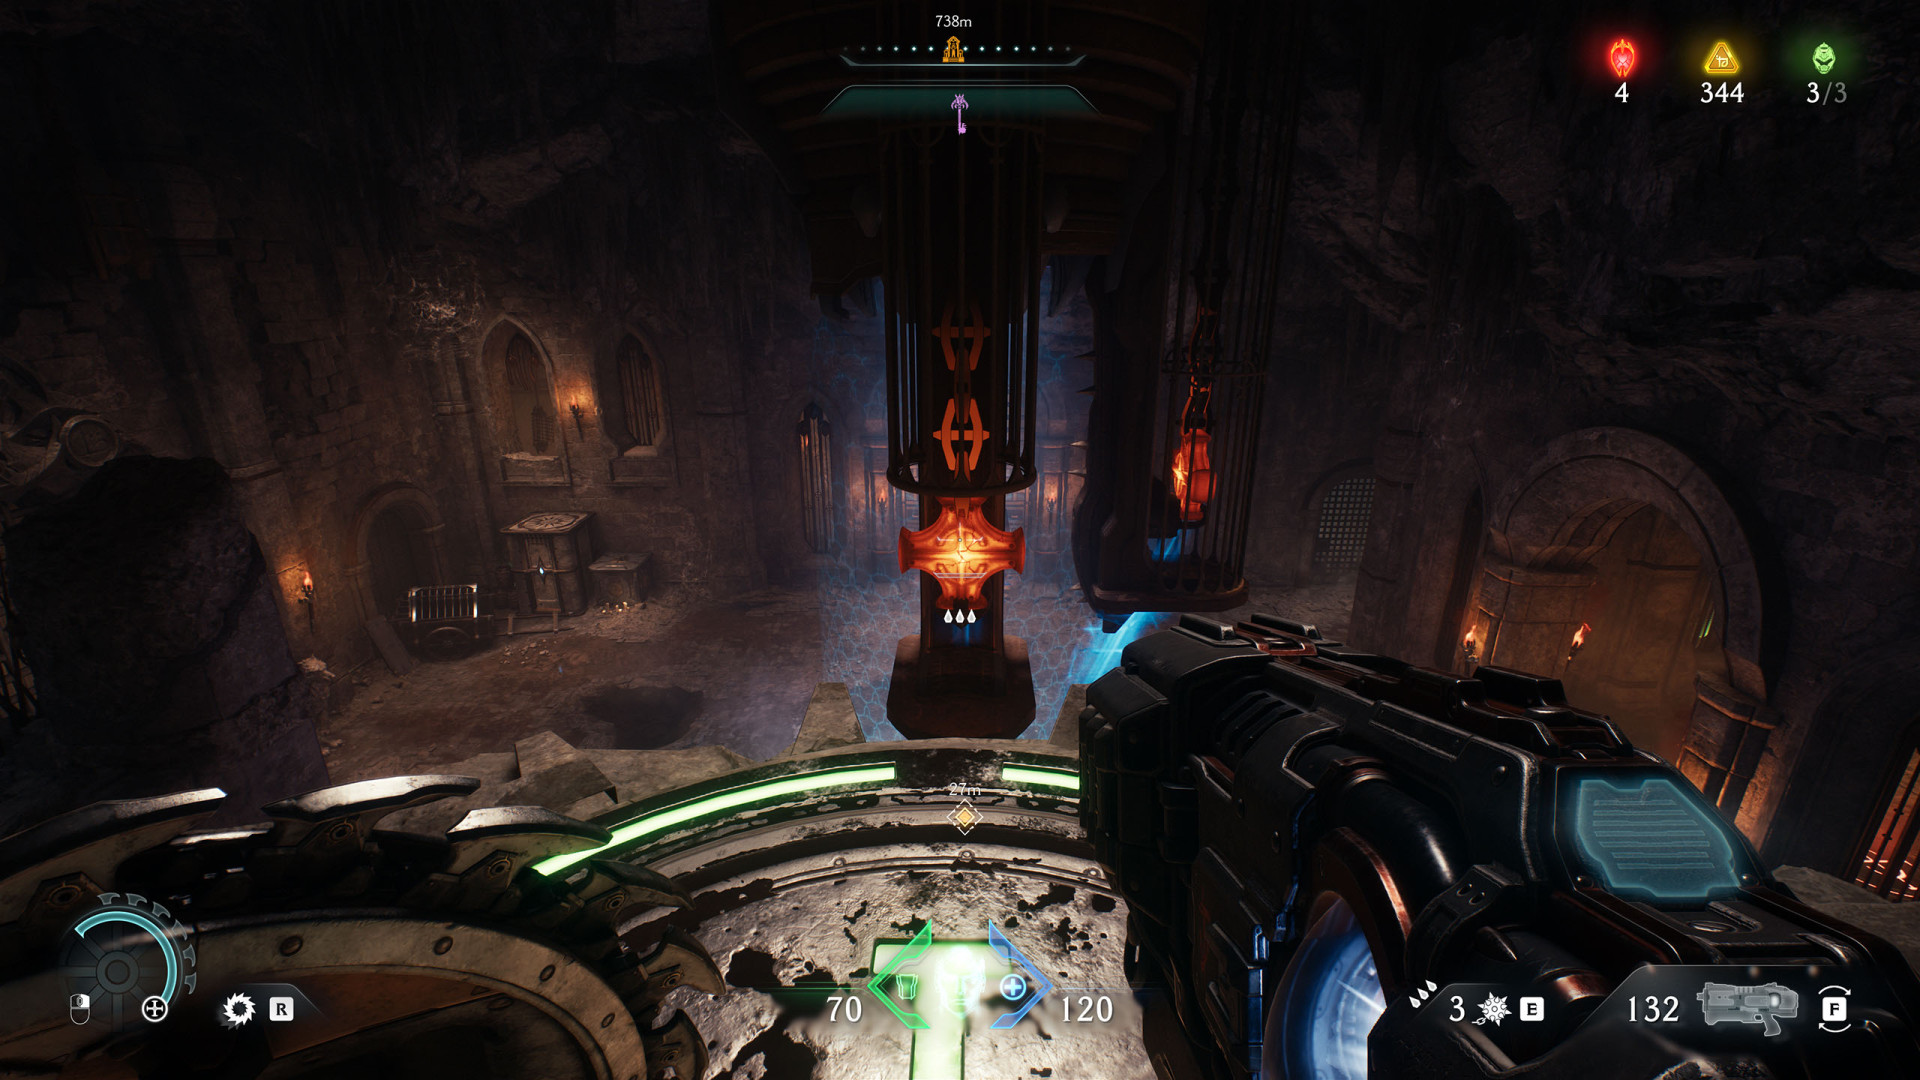
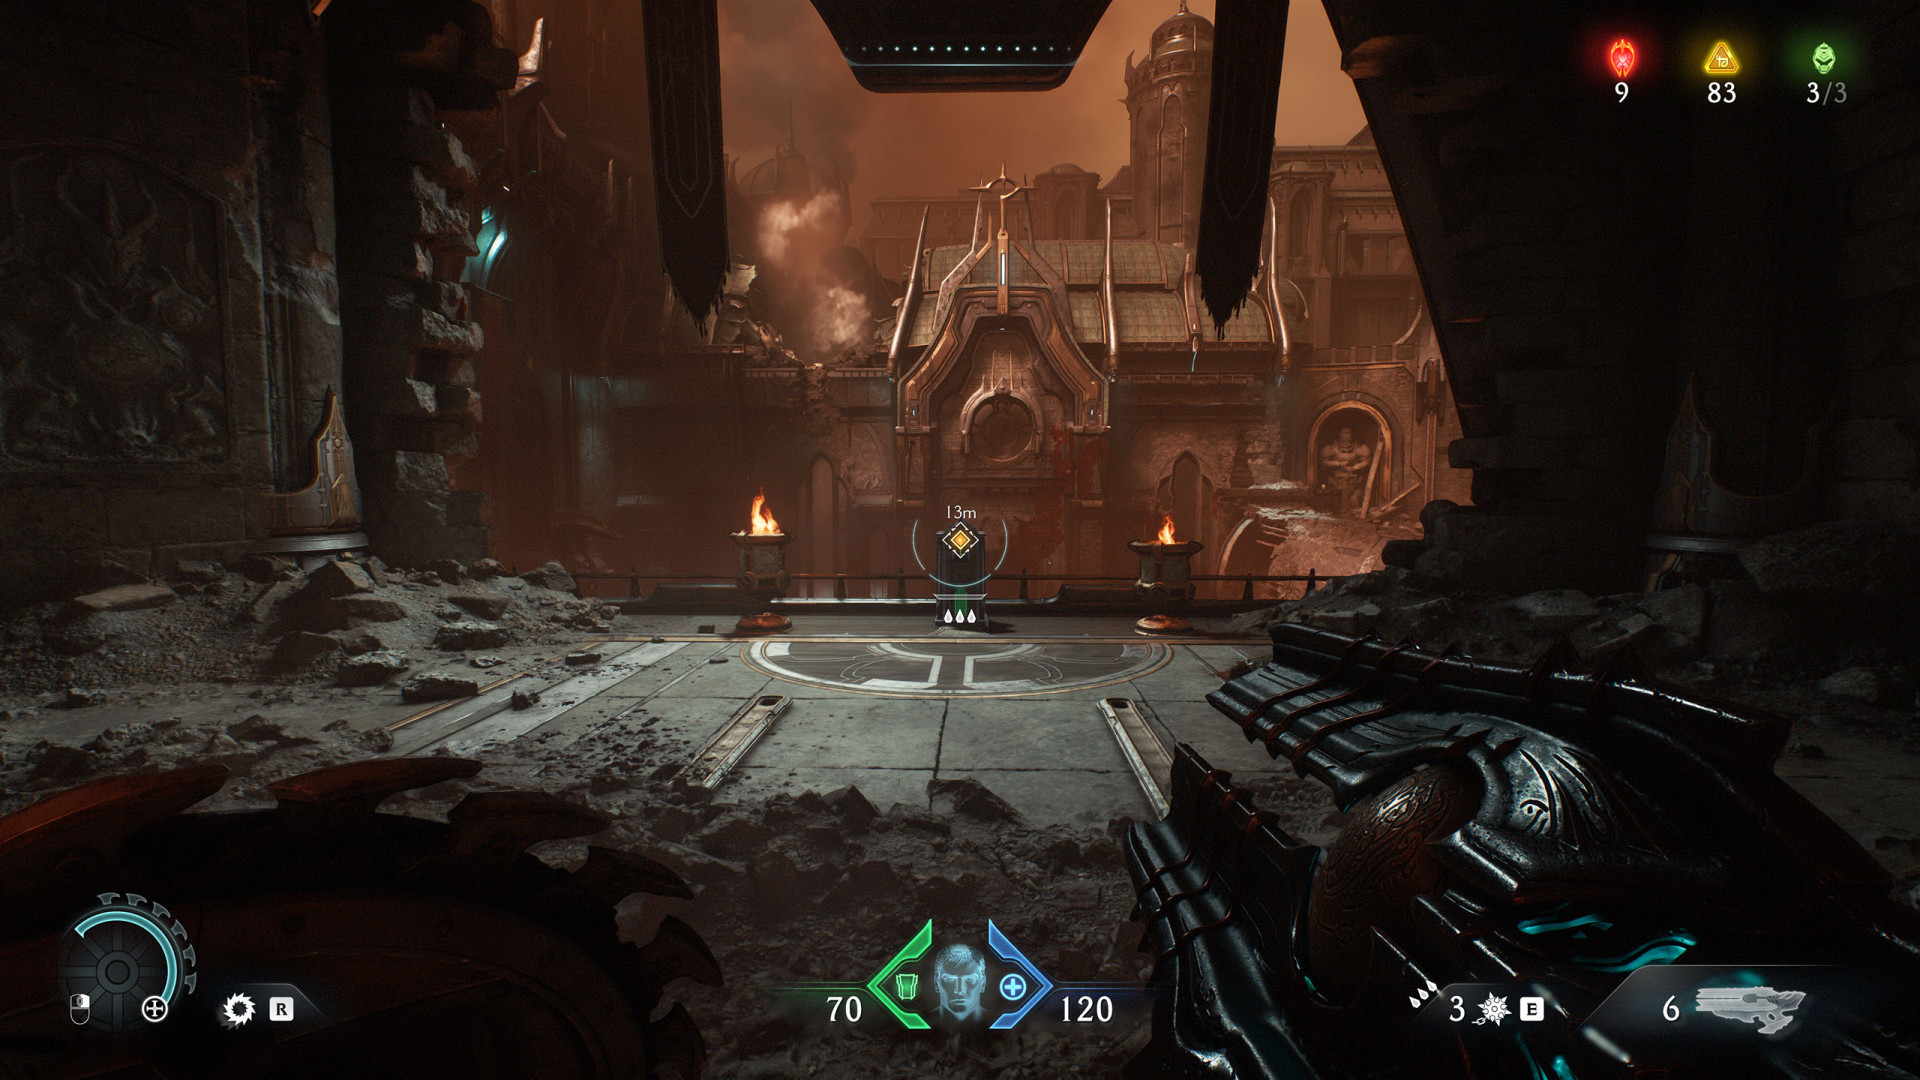
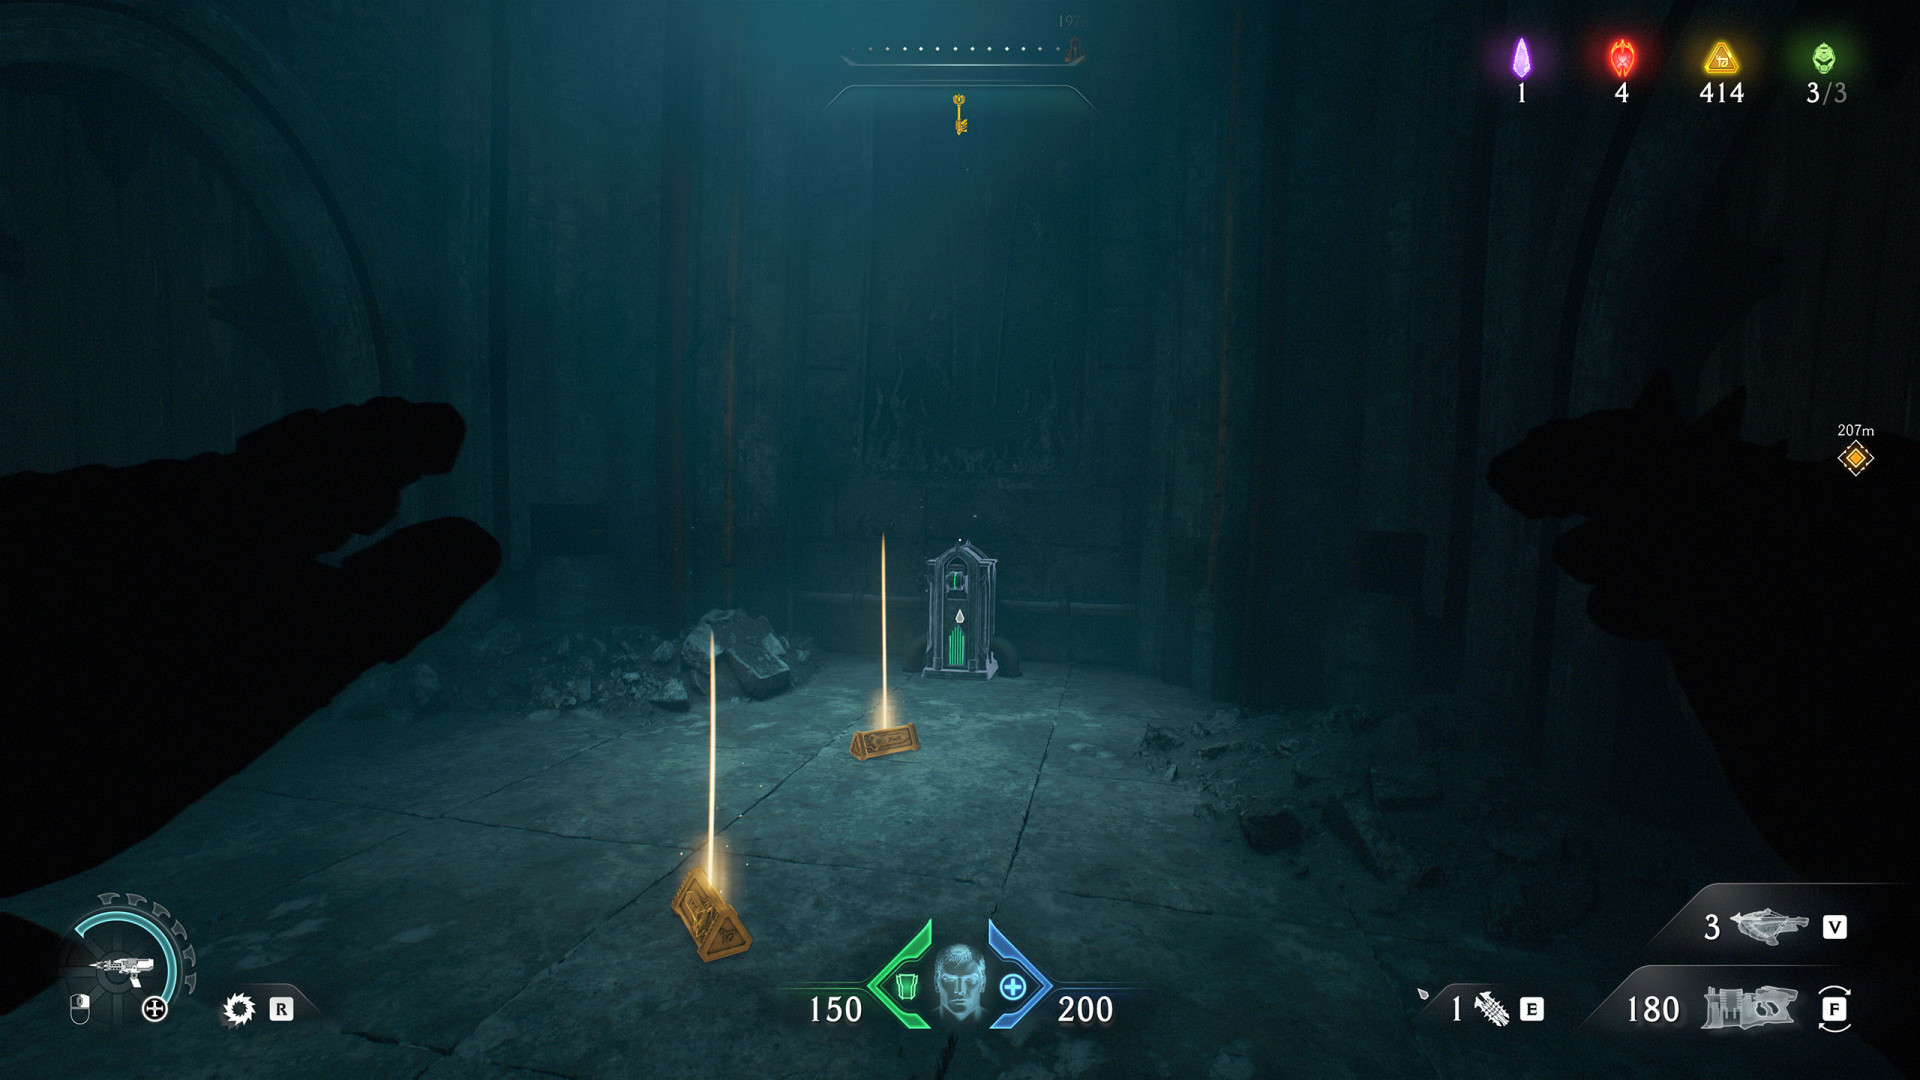
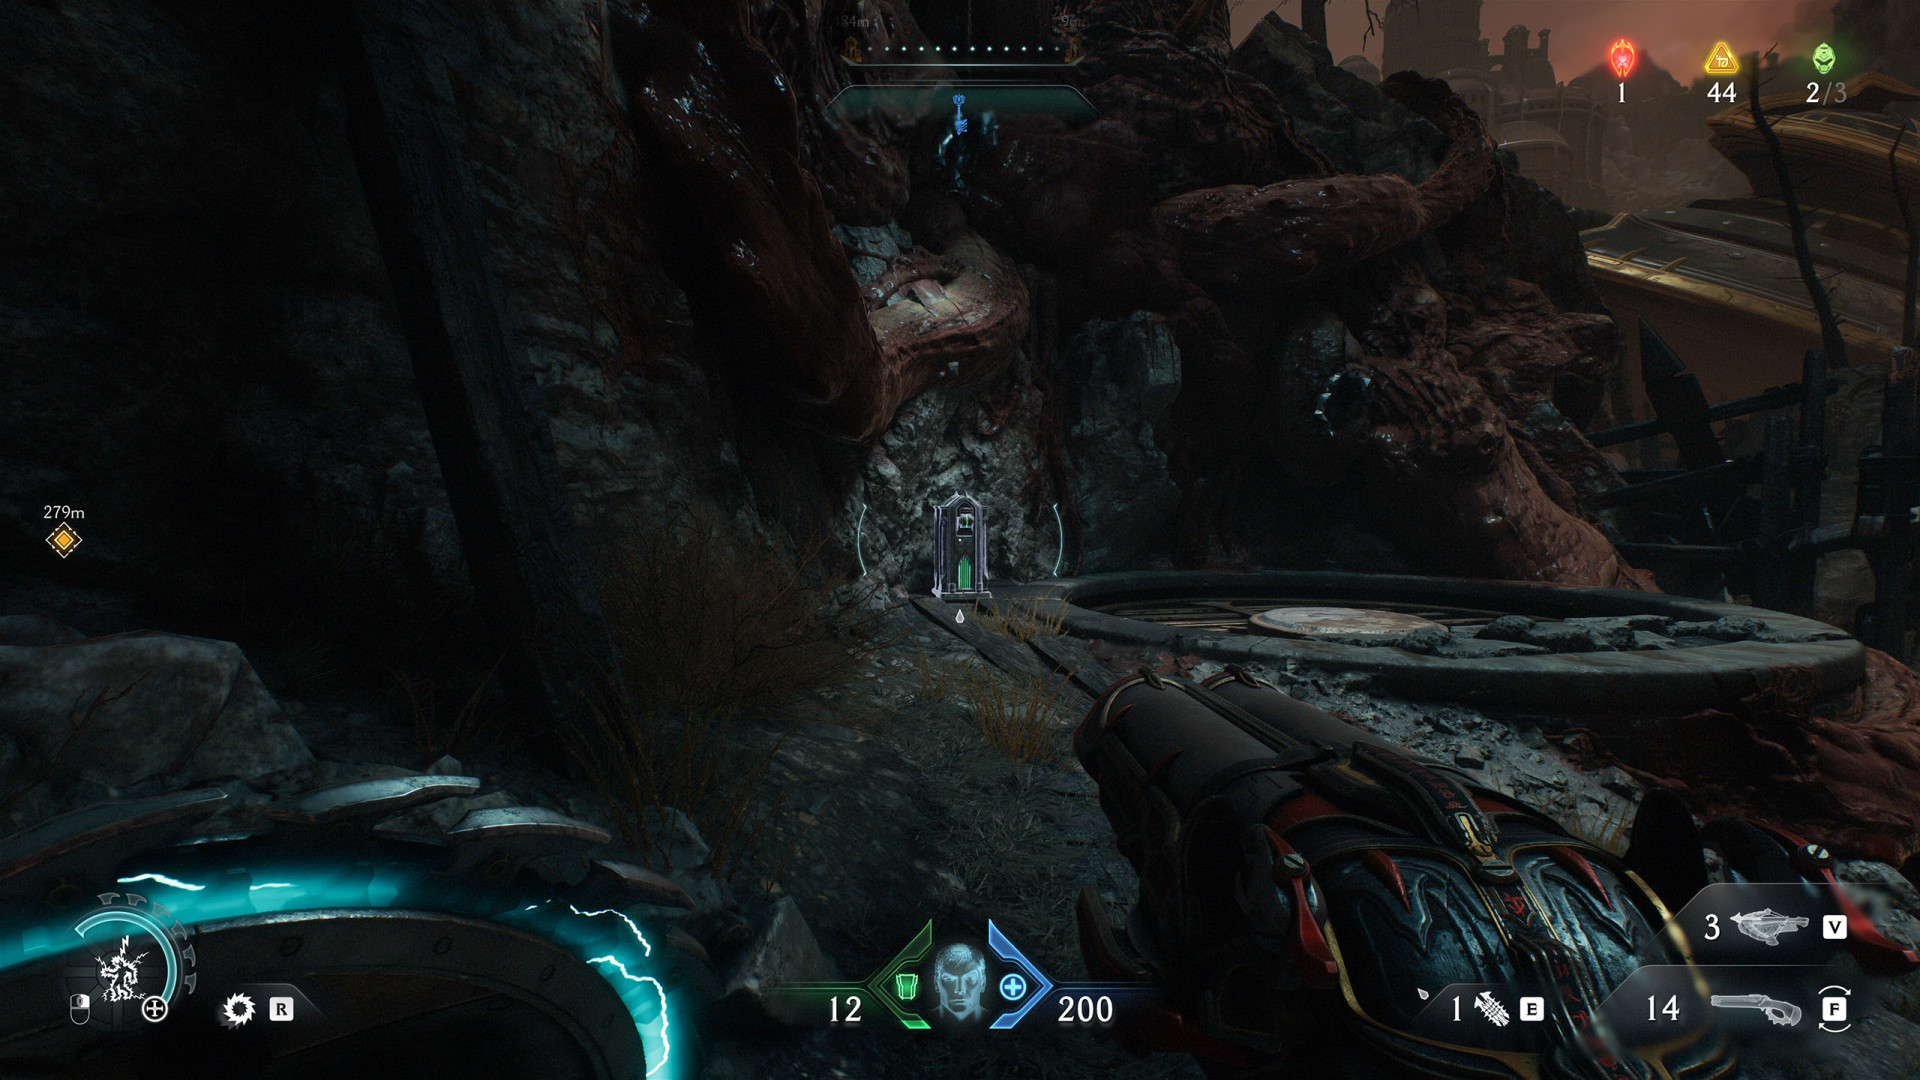
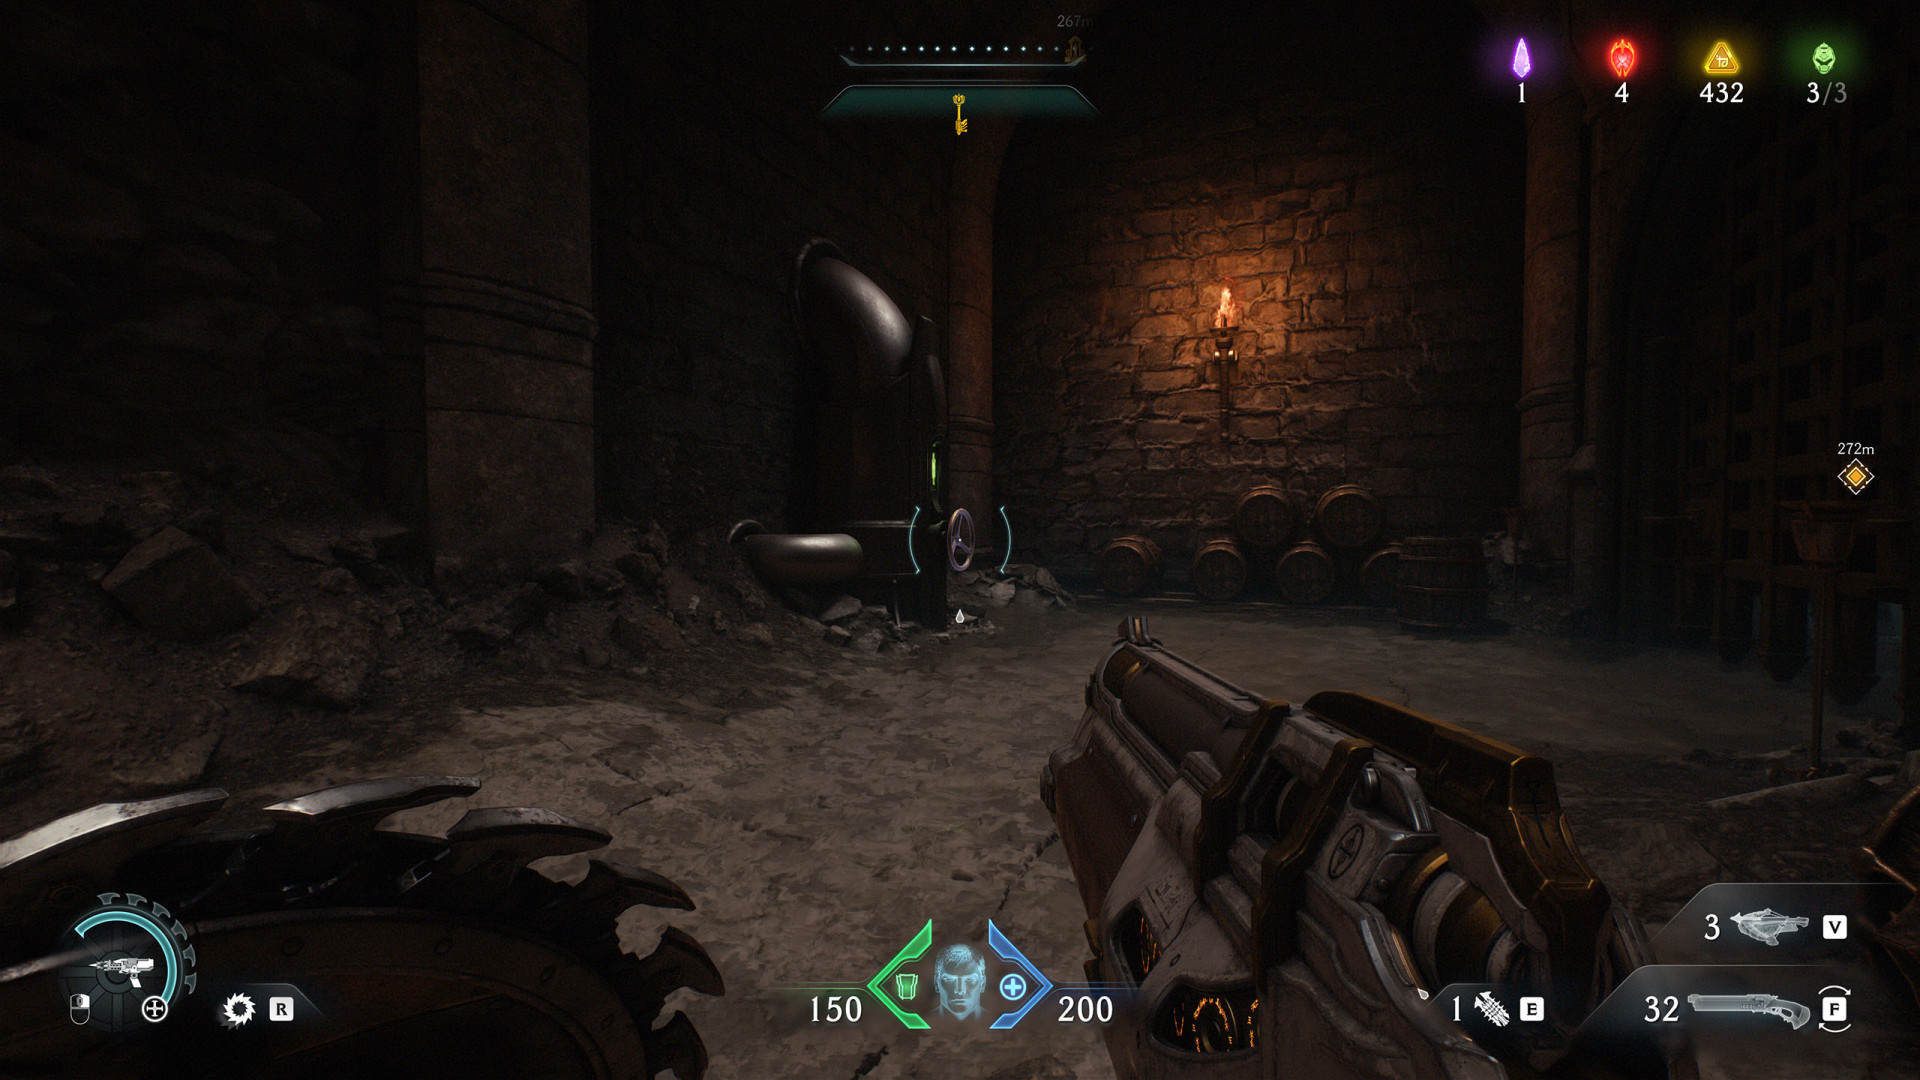
3Valve (Hebeth)
Turn it to get access to the Secret Area (Hebeth #6).
Locations on Sentinel Barracks
4Pressure Plate (Sentinel Barracks #1)
On the upper floor. Stand on it, then throw the shield saw to shatter the Metal Lock (Sentinel Barracks).
5Pressure Plate (Sentinel Barracks #2)
Use the Shield Recall Jump (Sentinel Barracks #3) and then push the crate which will stop on the plate, pressing it permanently.

6Switch (Sentinel Barracks)
Unlocks the door it is located next to.
Locations on The Holy City of Aratum
7Pressure Plate (The Holy City of Aratum #1)
8Pressure Plate (The Holy City of Aratum #2)
When you press this platform, the Metal Lock (The Holy City of Aratum #2) will be revealed.
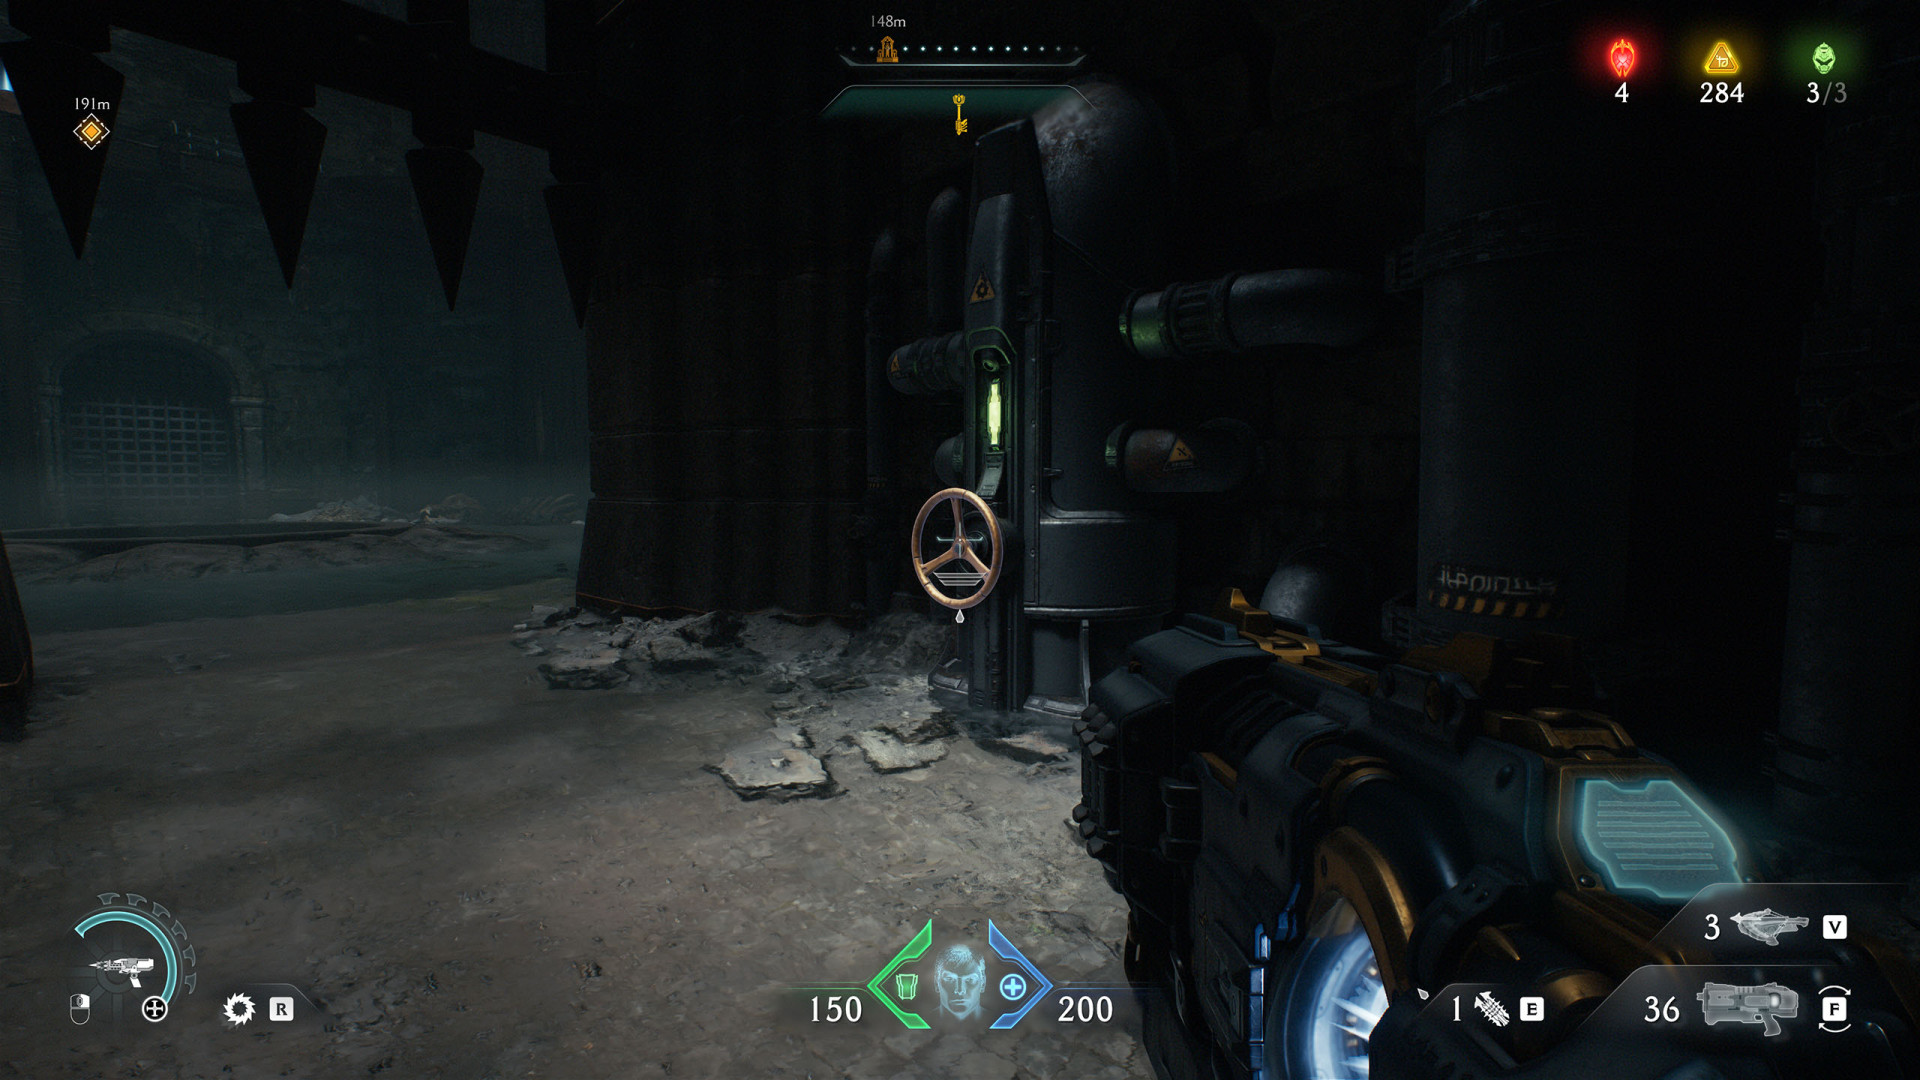
9Valve (The Holy City of Aratum)
Dive into the water tank and turn this valve to drain the water.
Locations on Siege - Part 1
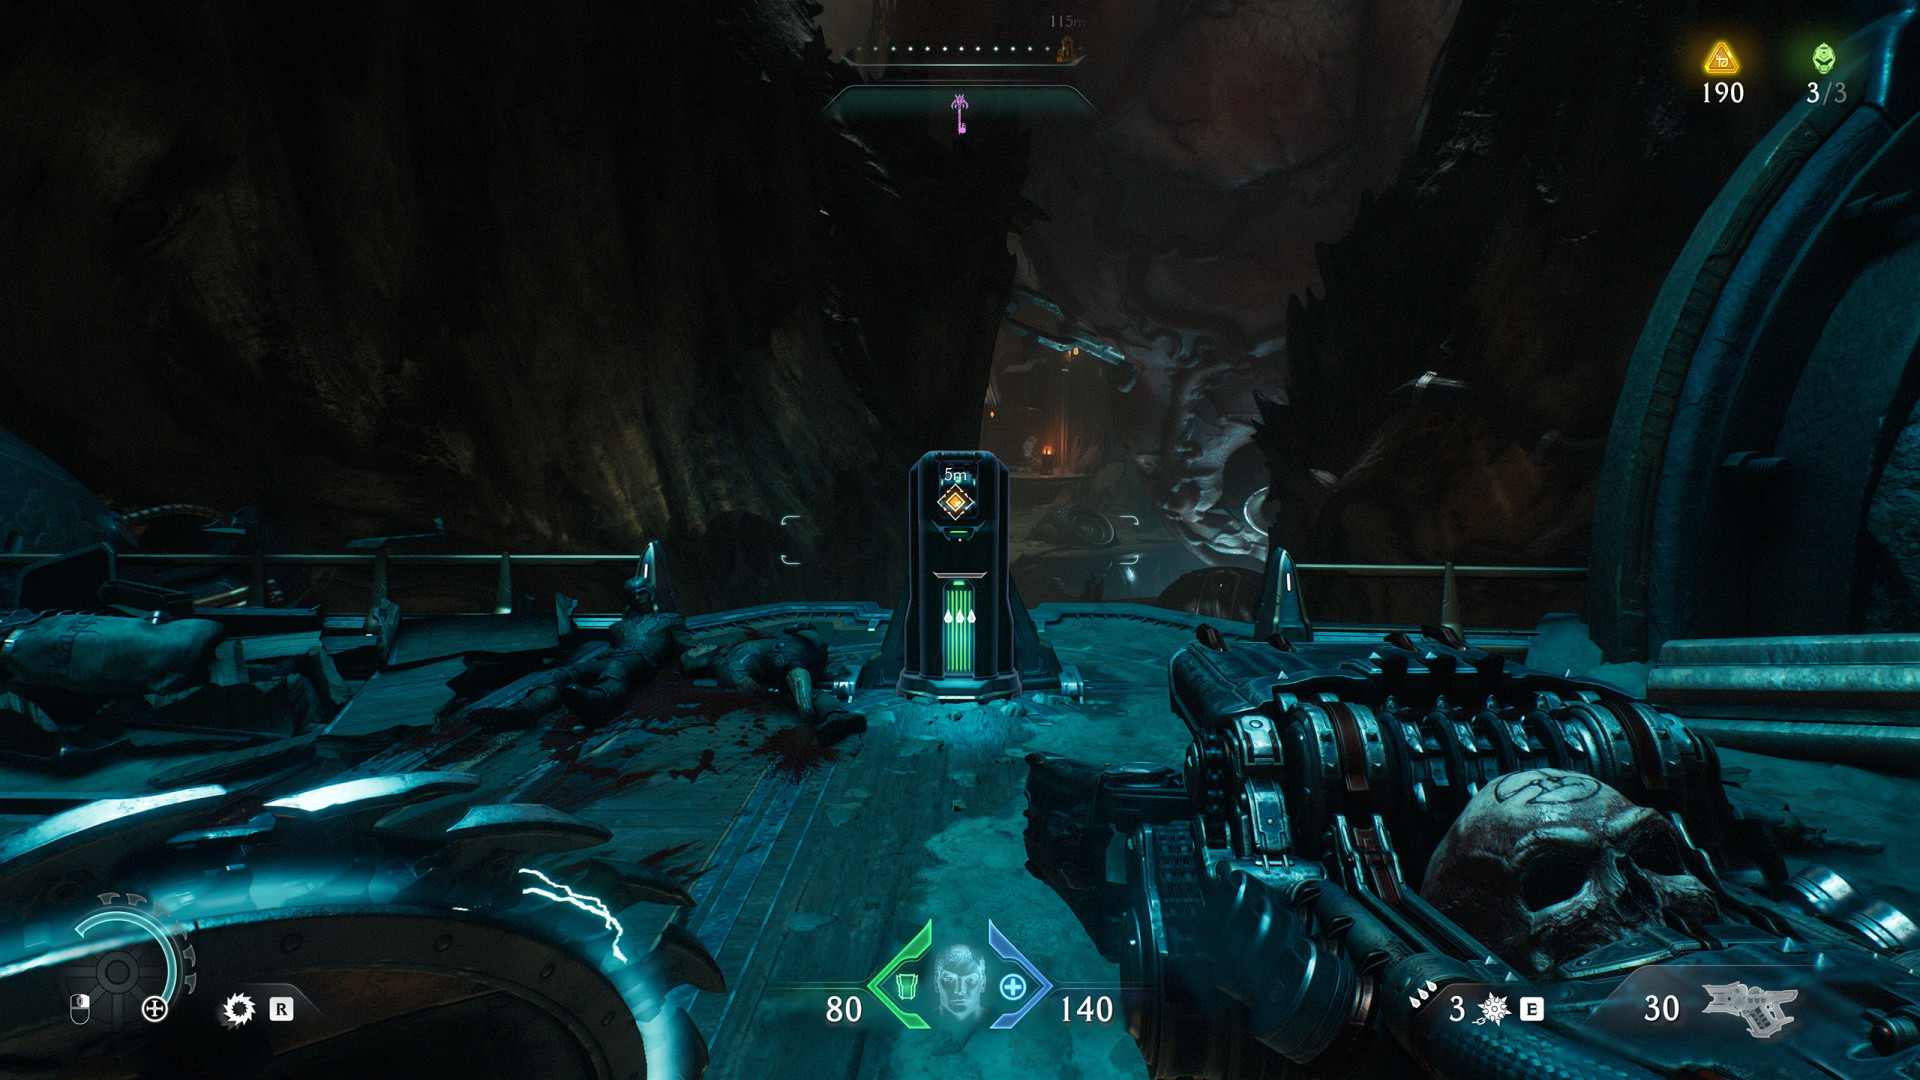
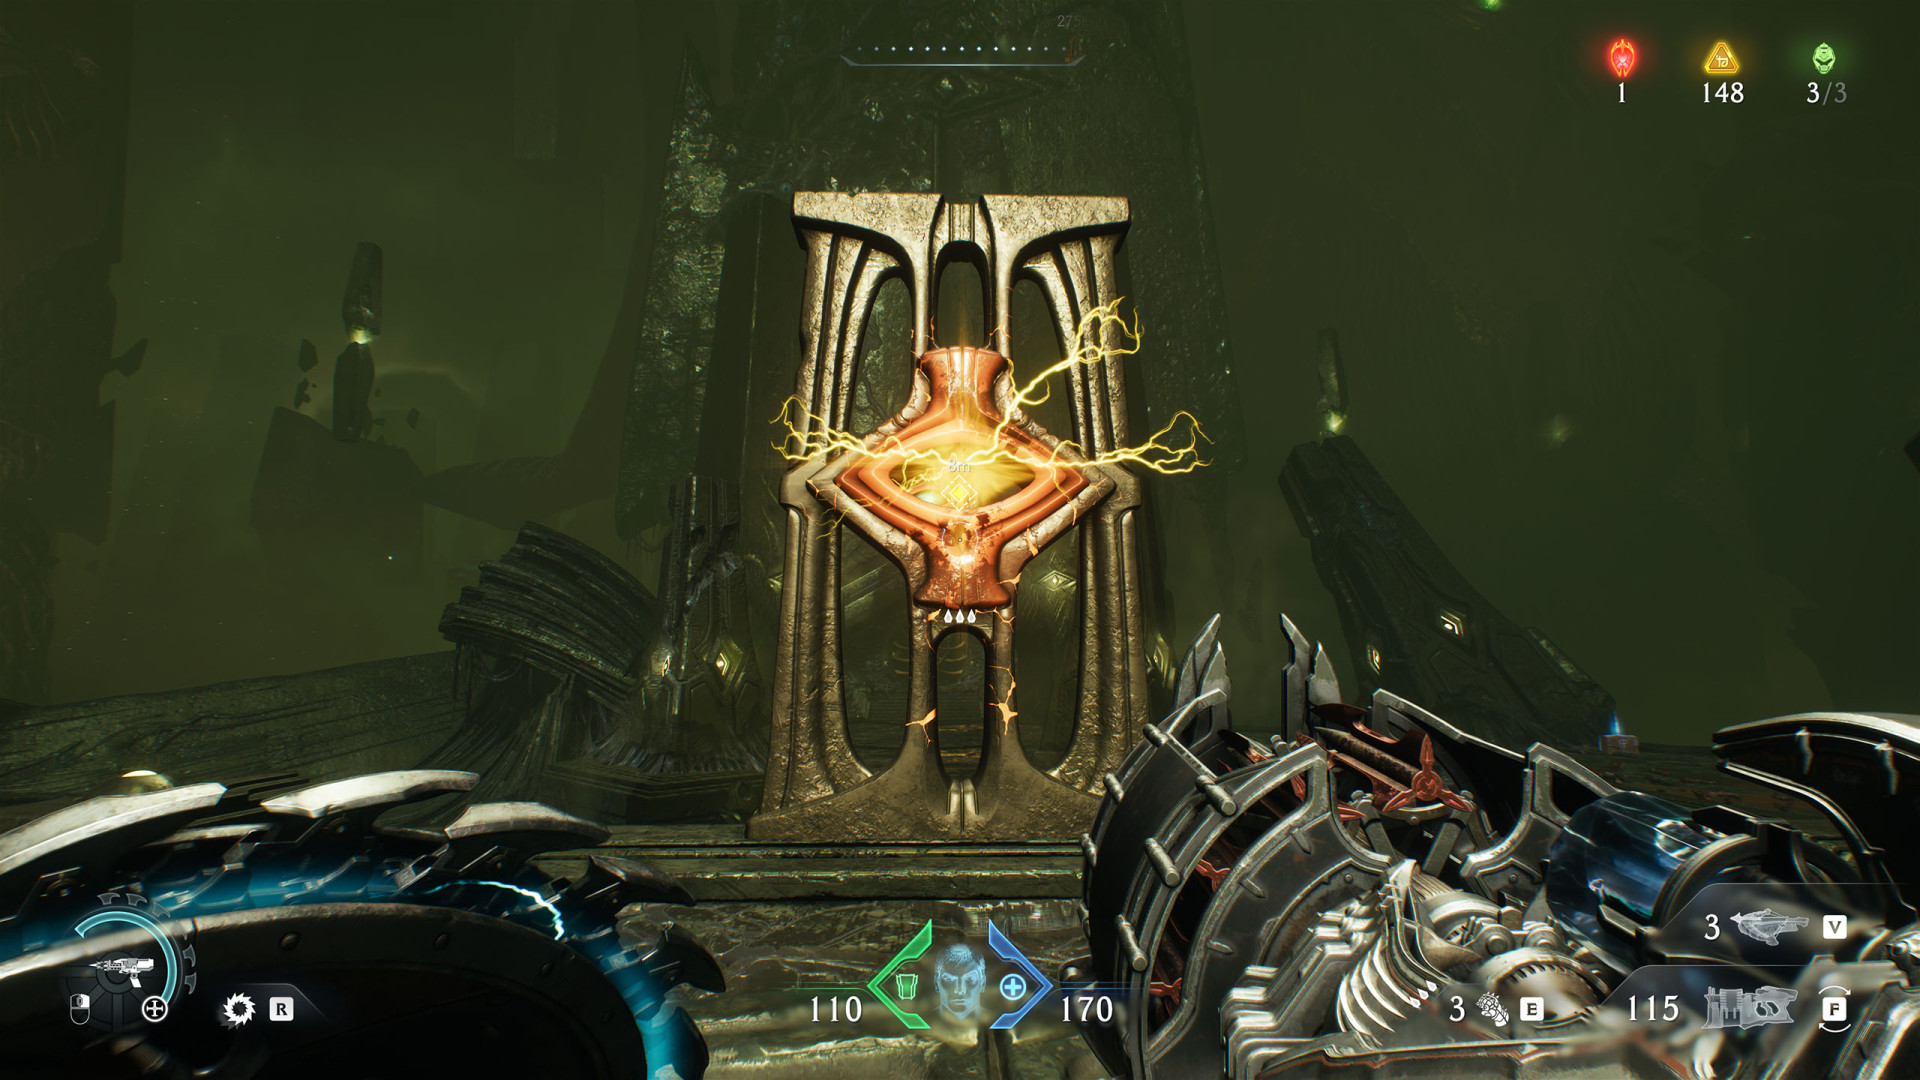
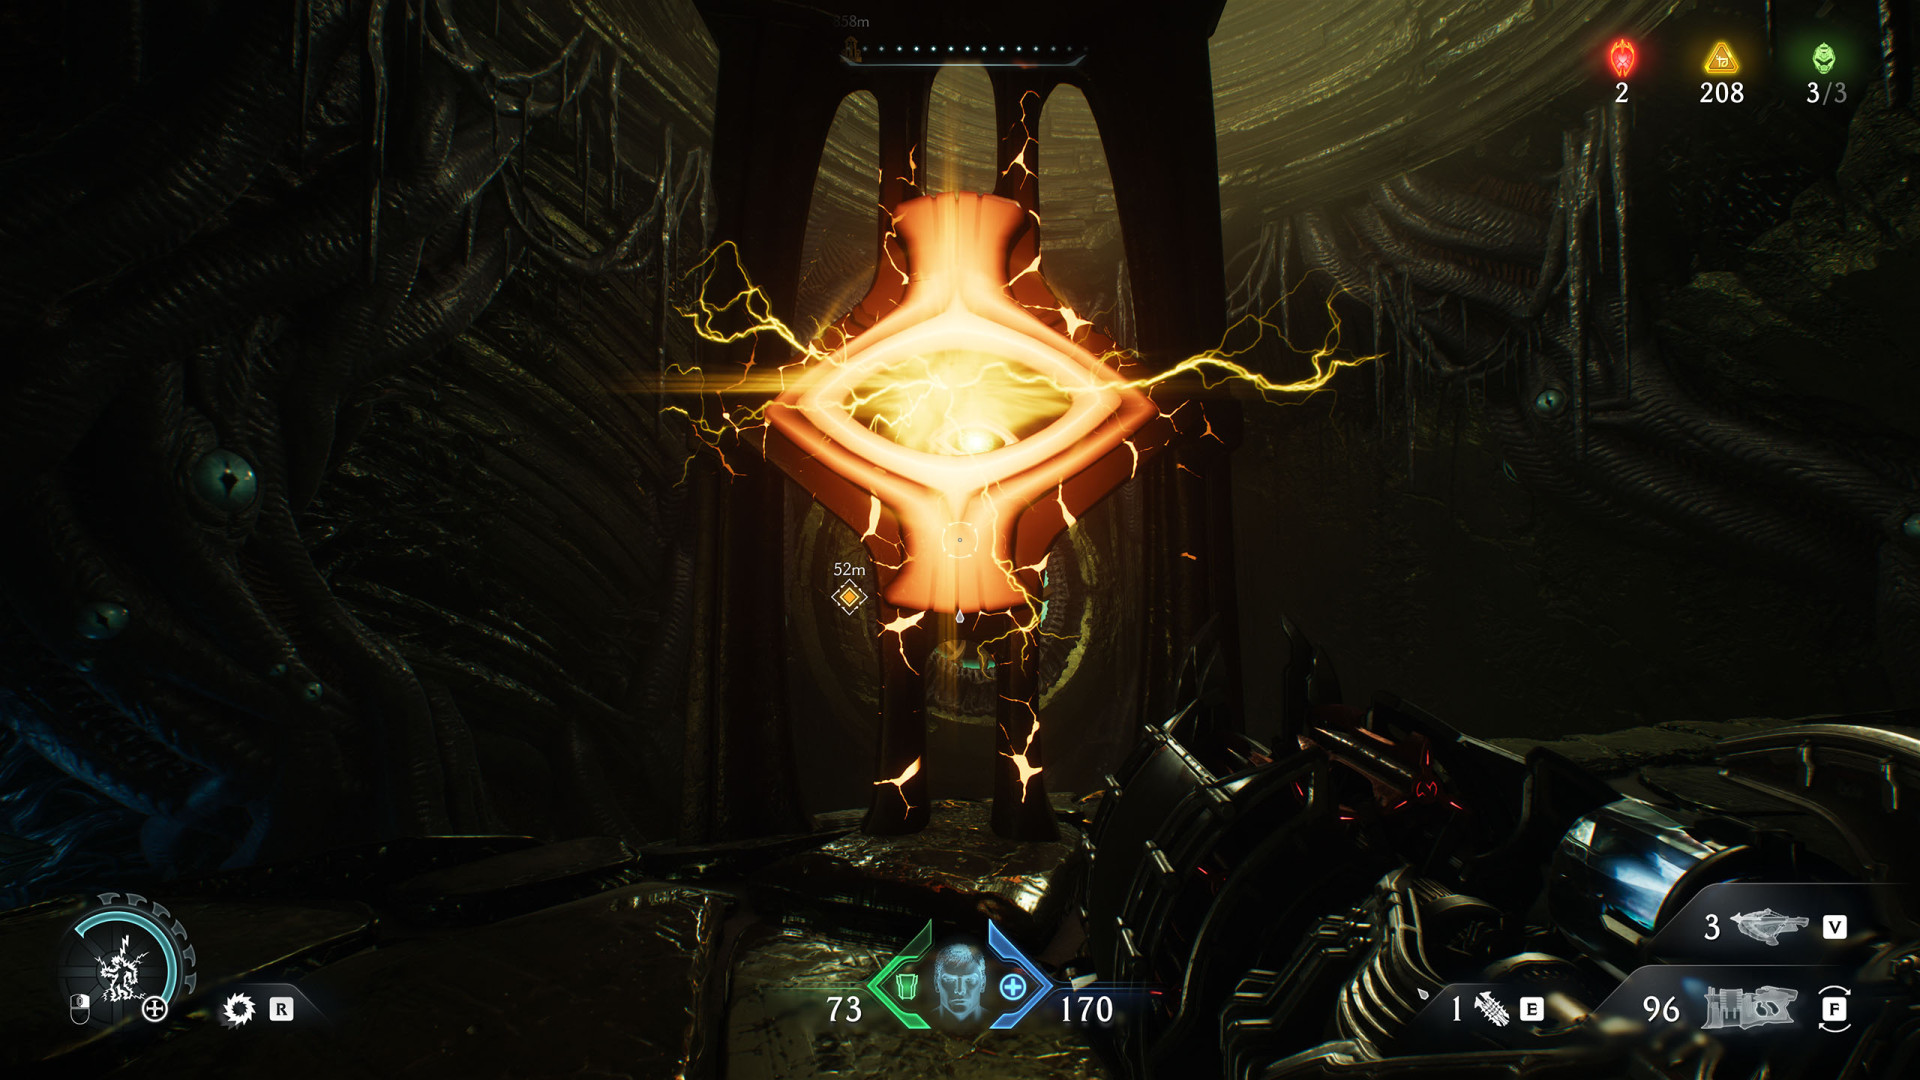
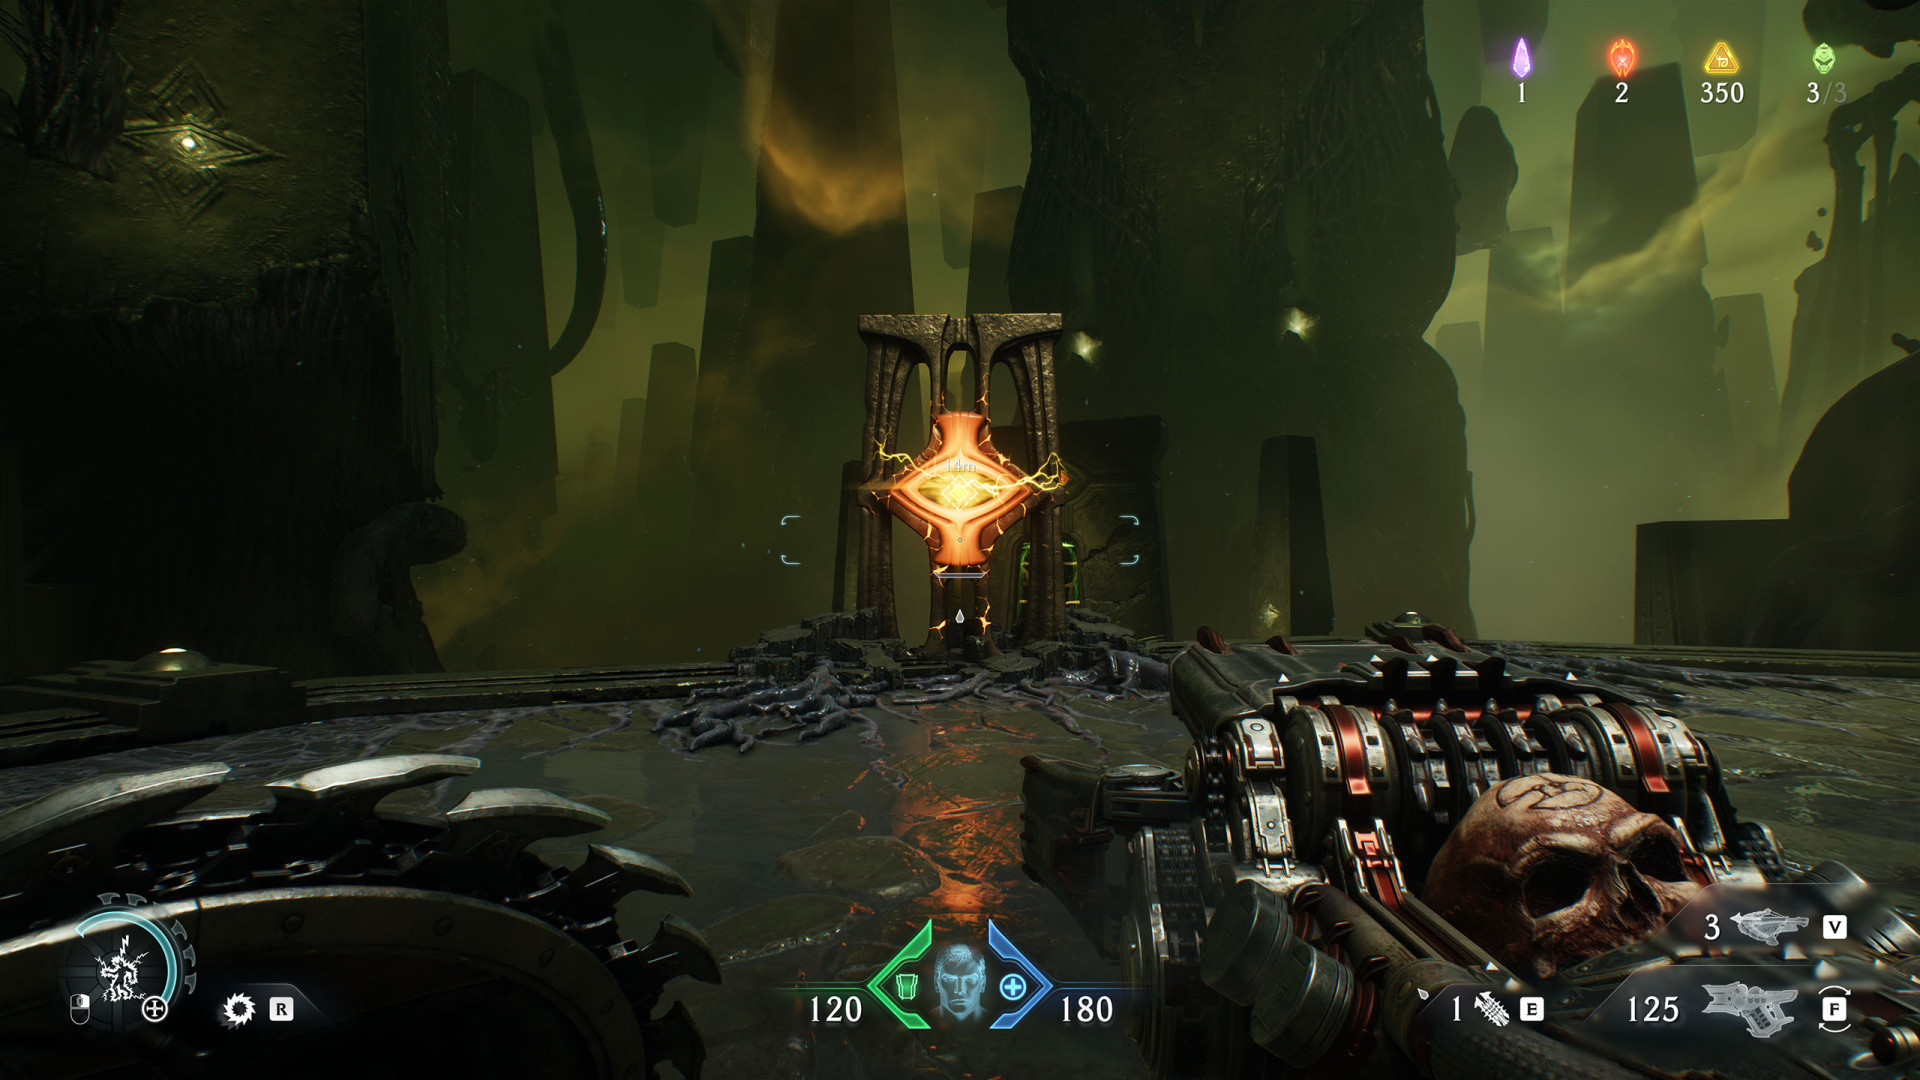
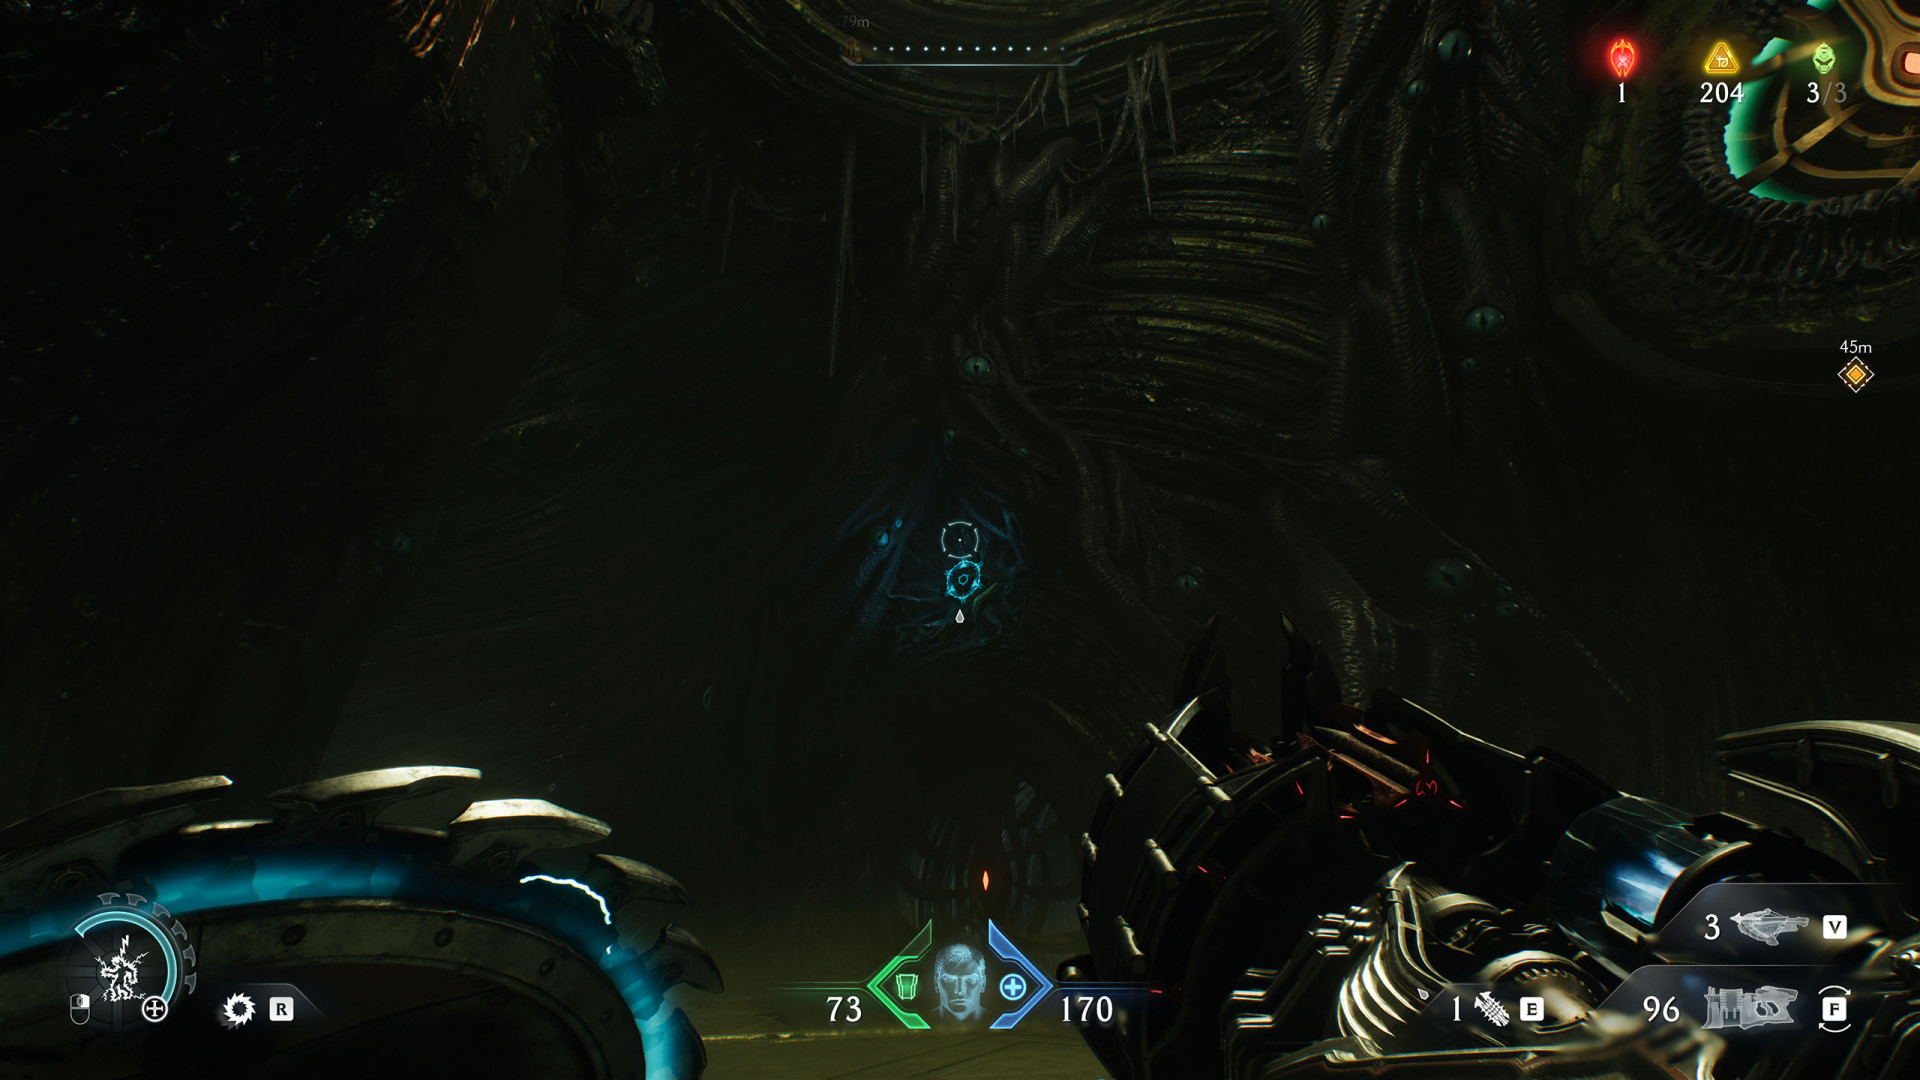
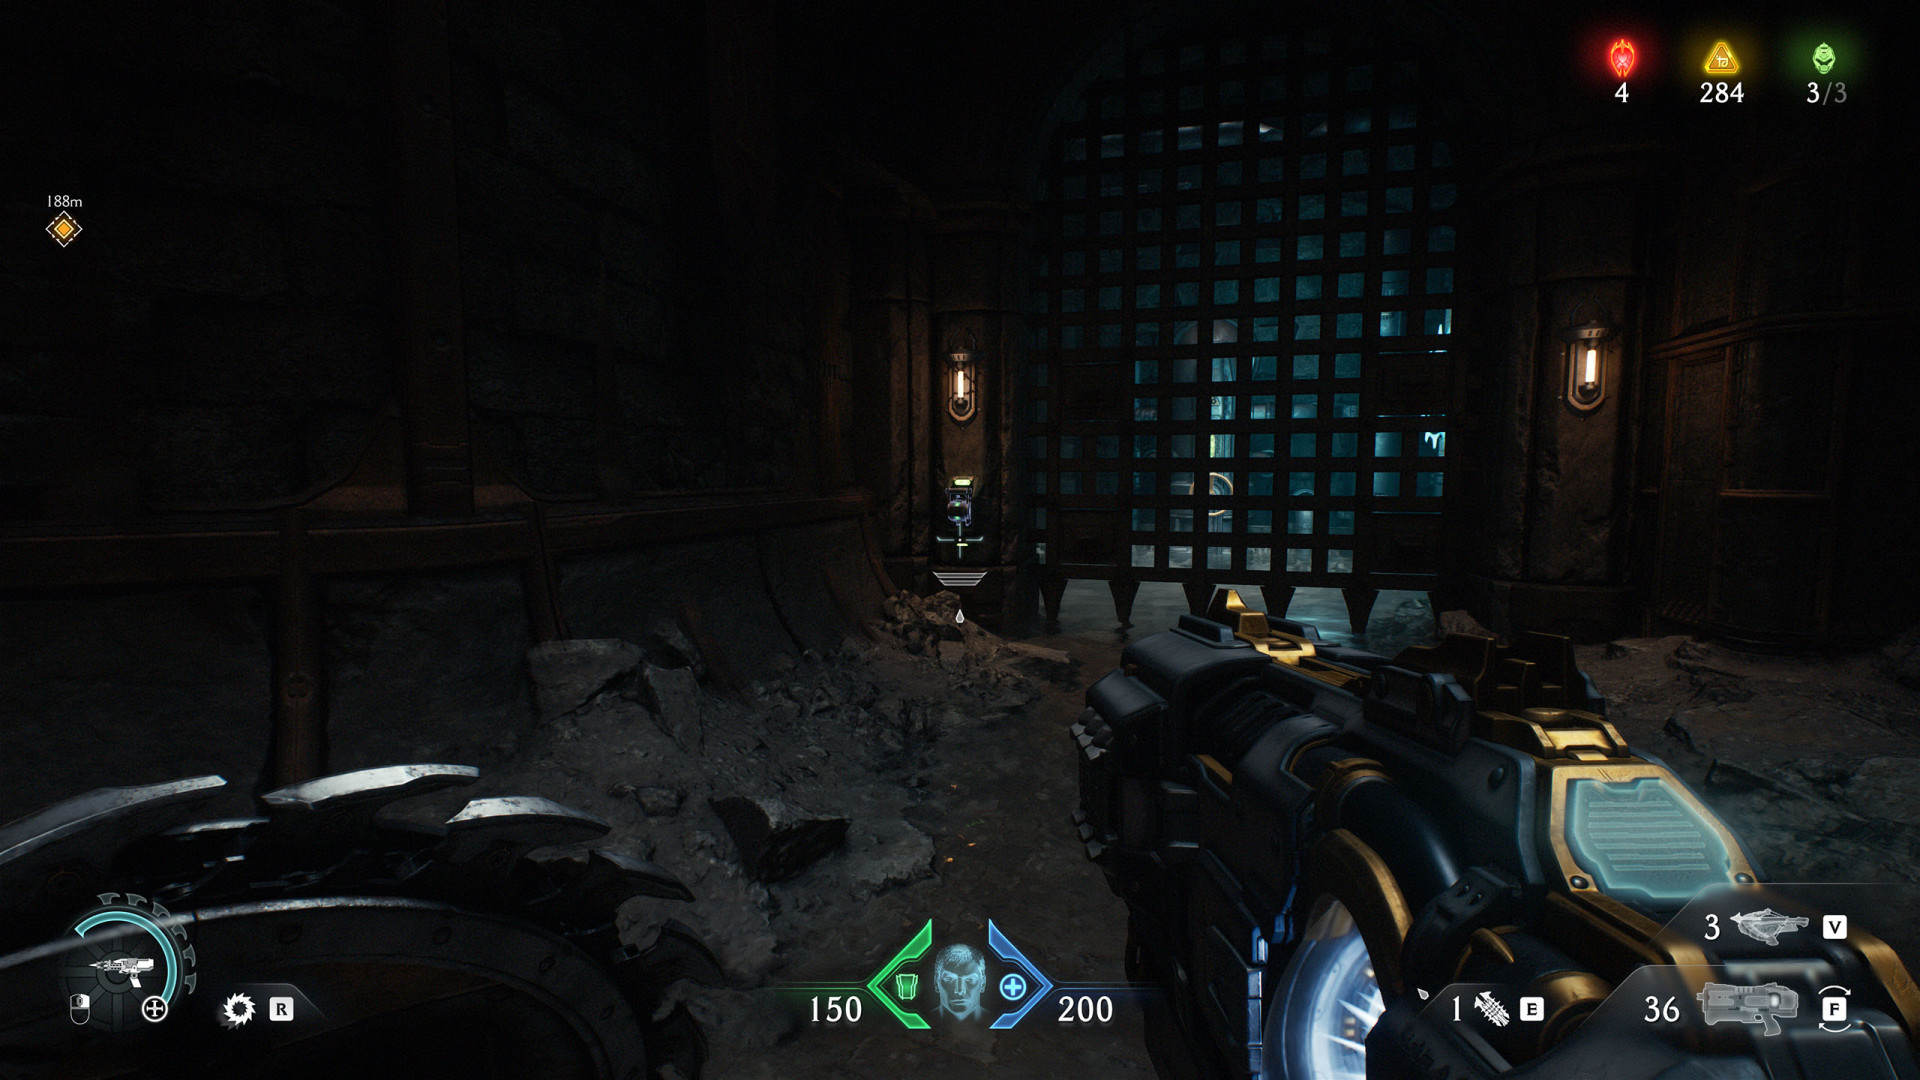
10Energy Node (Siege - Part 1 #1)
11Energy Node (Siege - Part 1 #2)
12Energy Node (Siege - Part 1 #3)
13Energy Node (Siege - Part 1 #4)
14Energy Node (Siege - Part 1 #5)
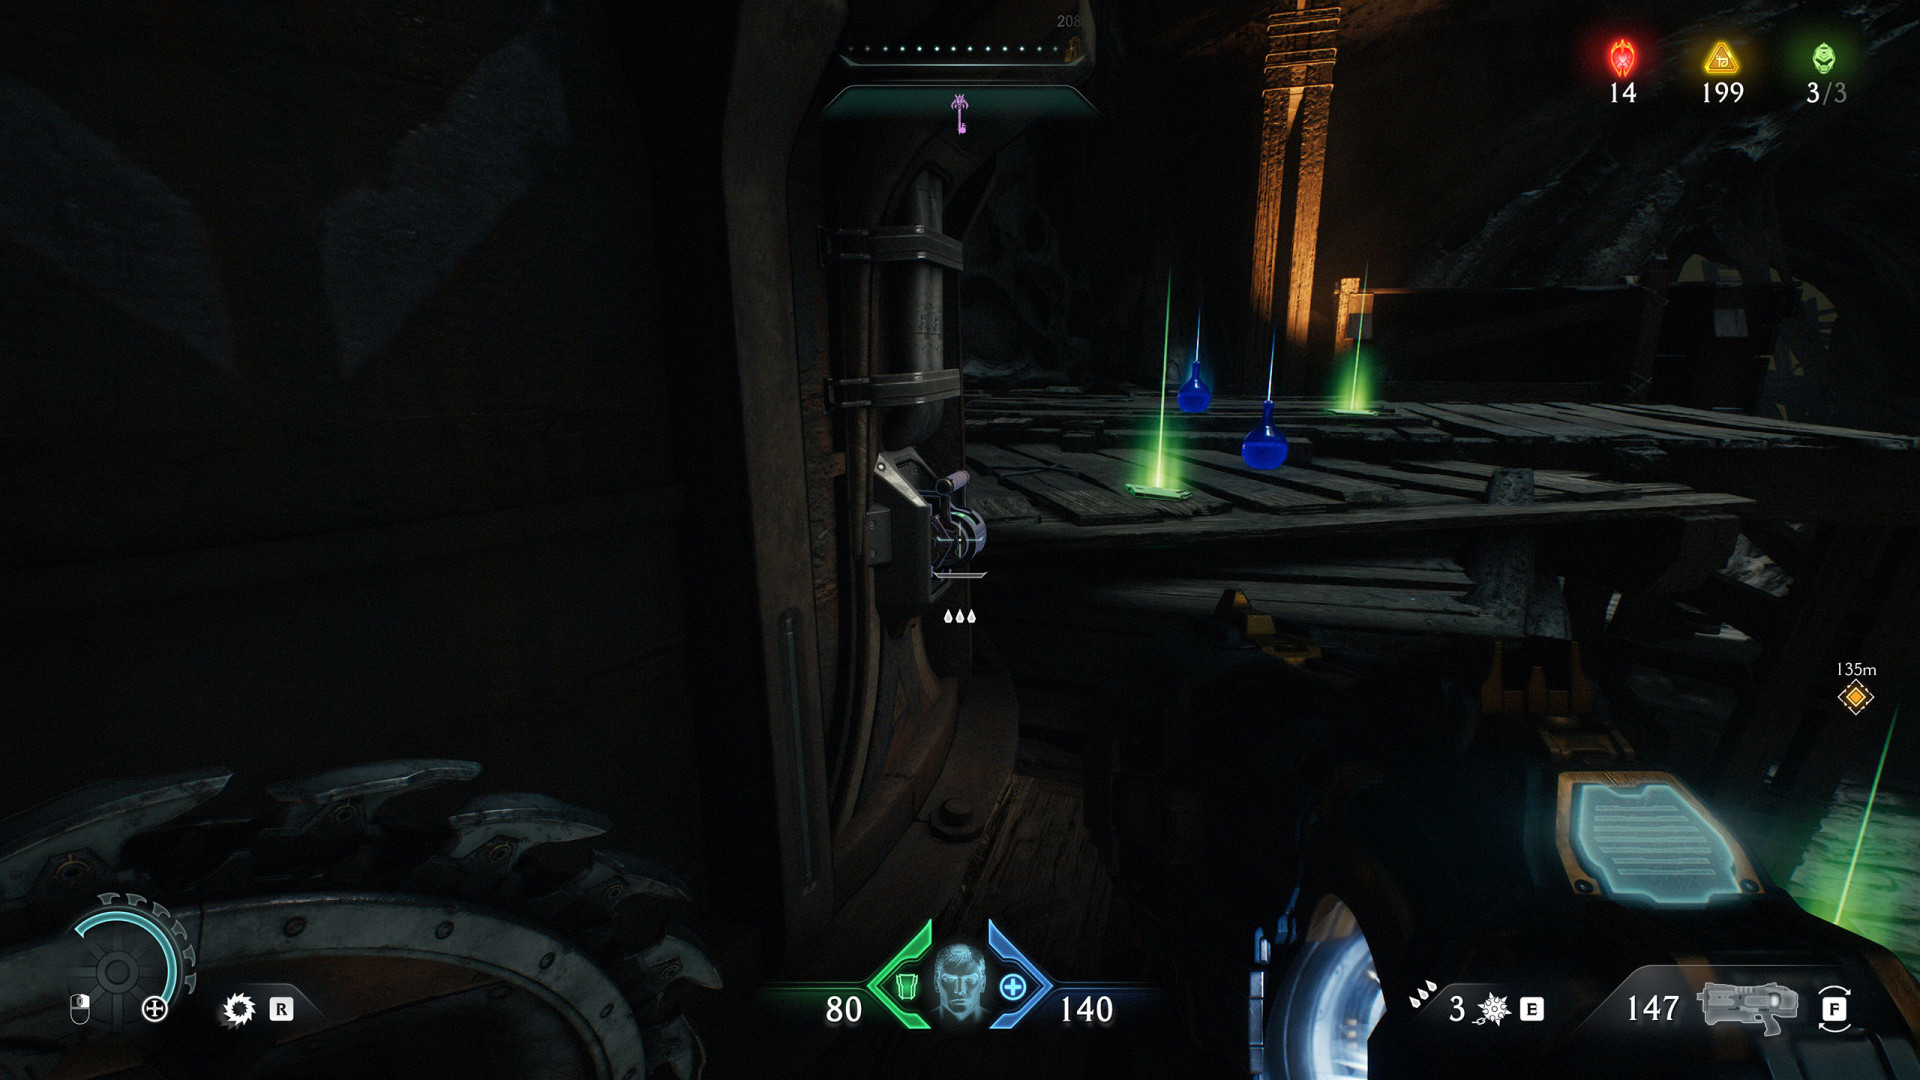
15Lever (Siege - Part 1 #1)
16Lever (Siege - Part 1 #2)
17Pressure Plate (Siege - Part 1 #1)
Stand on this pressure plate to expose one of the metal locks blocking access to the Chainshot.
18Pressure Plate (Siege - Part 1 #2)
Stand on this pressure plate to expose one of the metal locks blocking access to the Chainshot.

19Pressure Plate (Siege - Part 1 #3)
Stand on this pressure plate to expose one of the metal locks blocking access to the Chainshot.
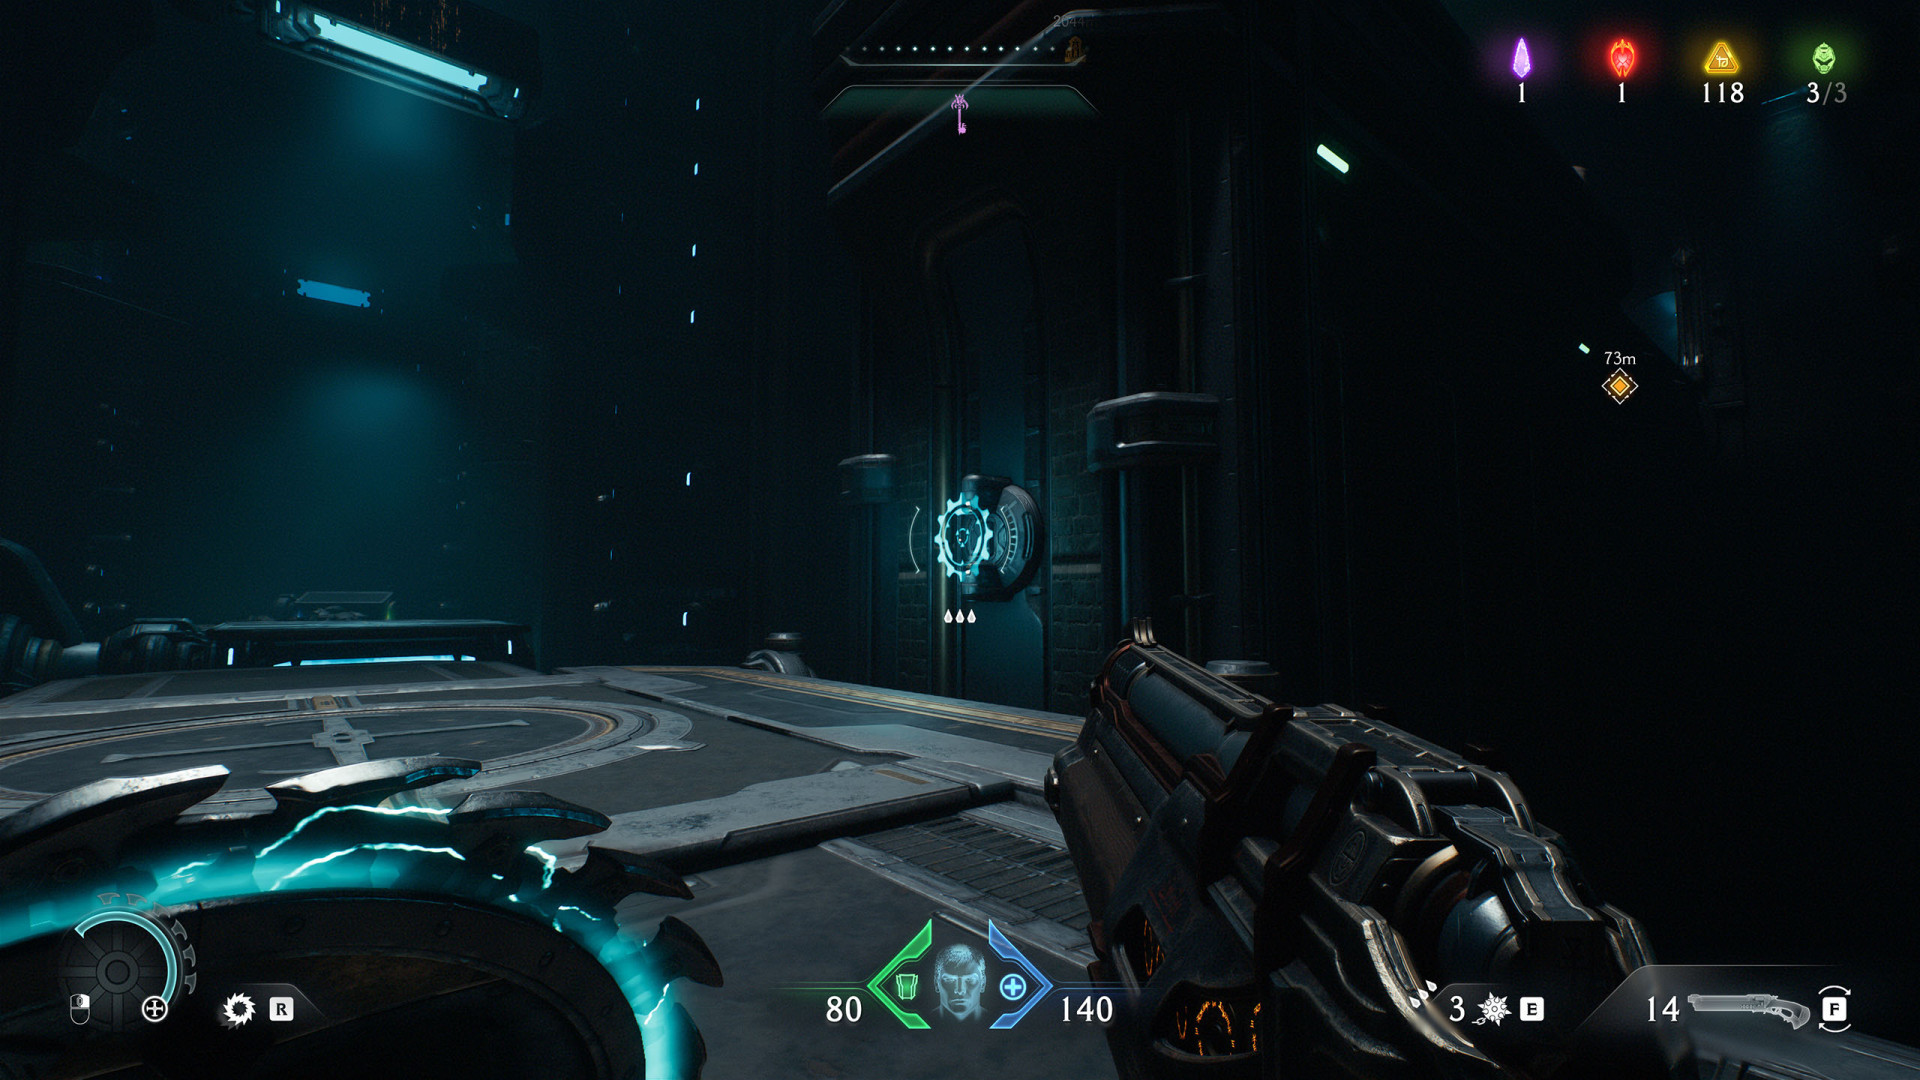
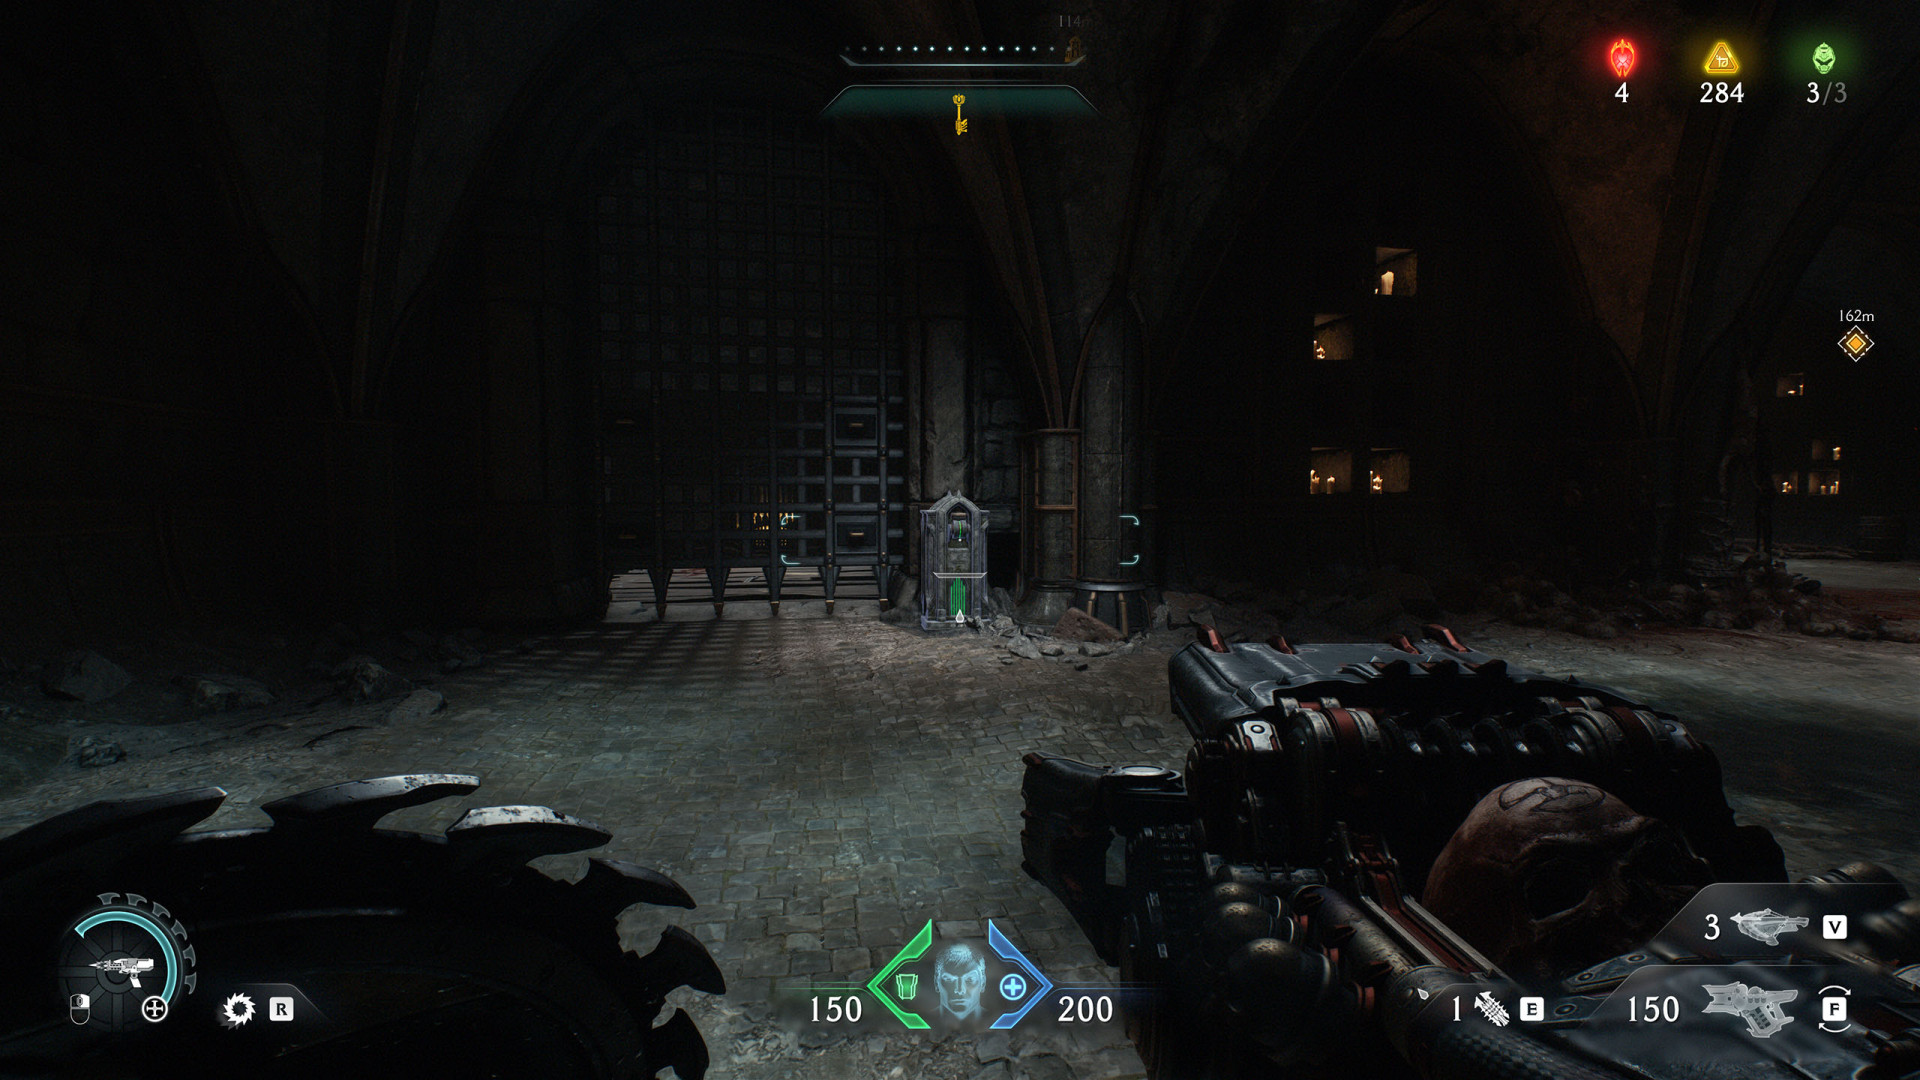
20Switch (Siege - Part 1 #1)
This switch will lower the cage containing the Ruby (Siege - Part 1 #2).
21Switch (Siege - Part 1 #2)
Opens the gate through which you can leave the underground.
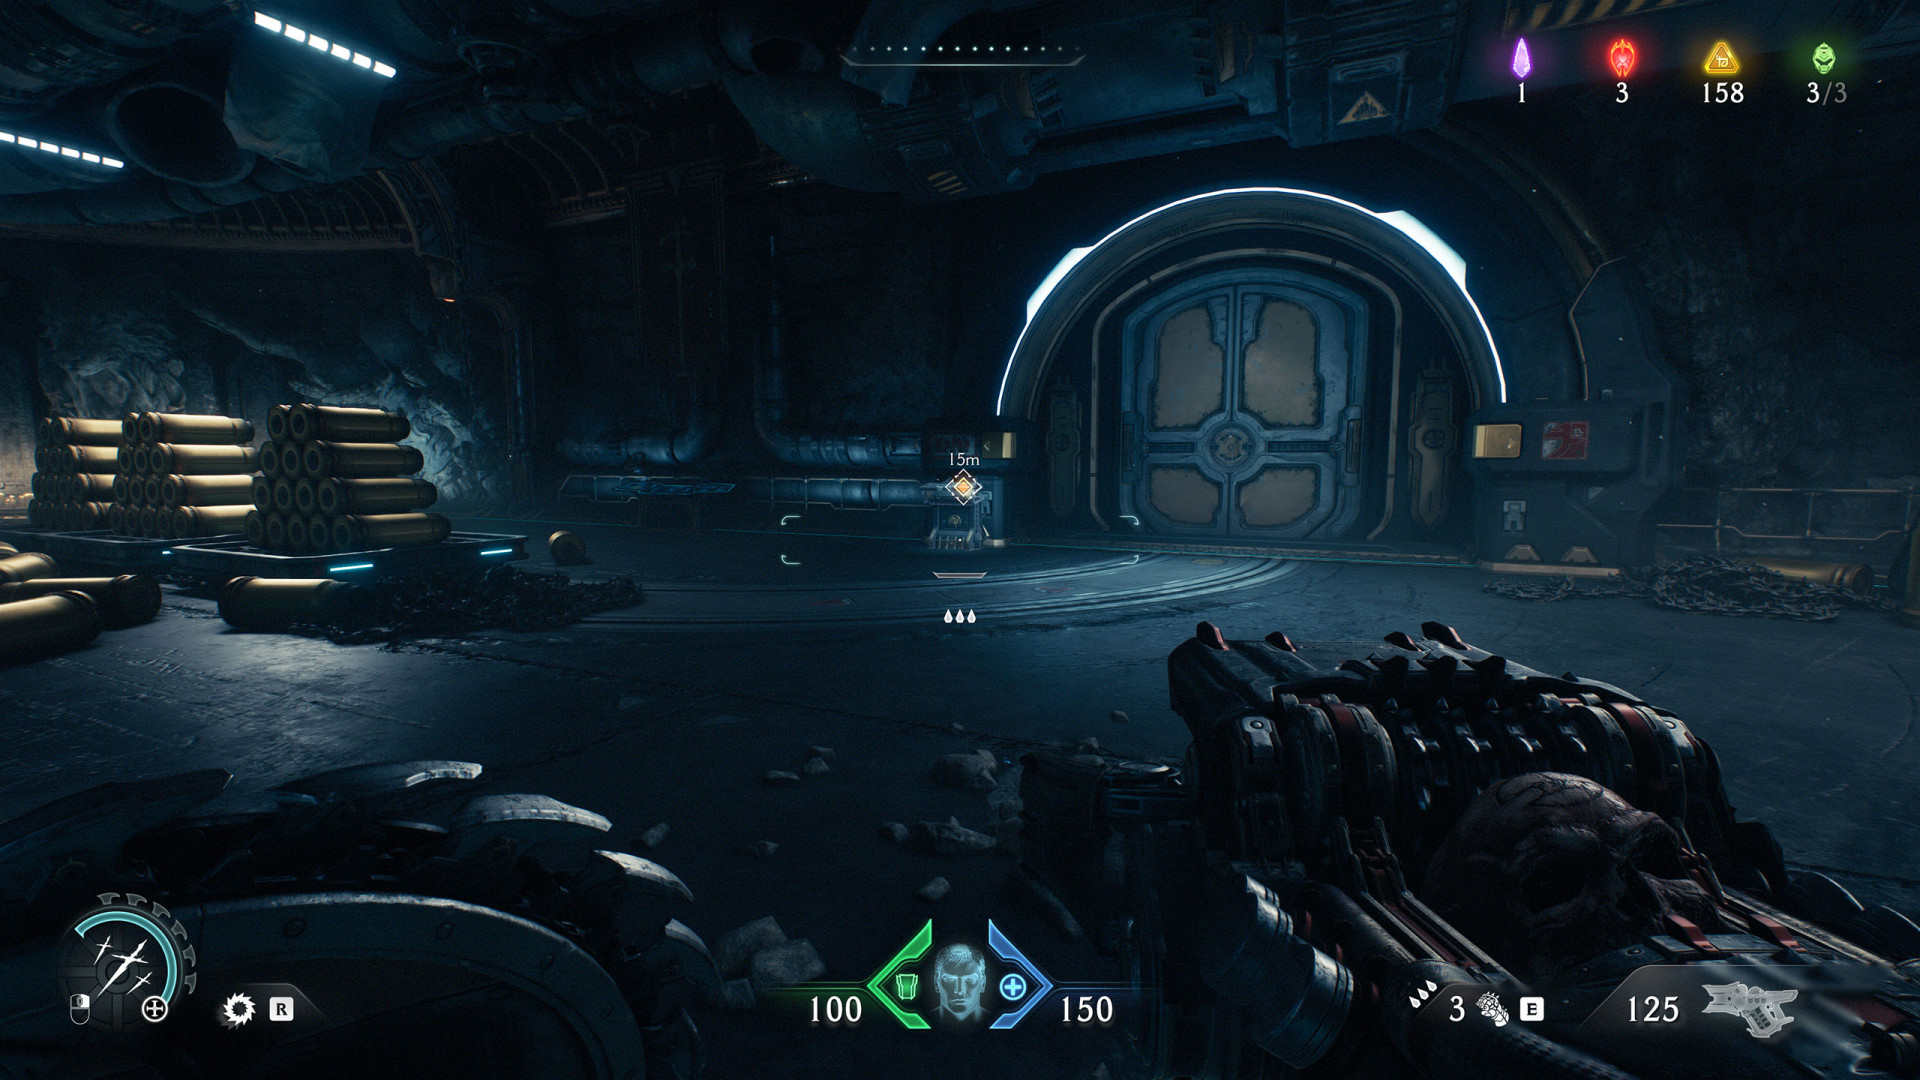
22Switch (Siege - Part 1 #3)
23Switch (Siege - Part 1 #4)
It activates the launch pad that will take you to the upper level.
Locations on Siege - Part 2
24Switch (Siege - Part 2)
Locations on Abyssal Forest
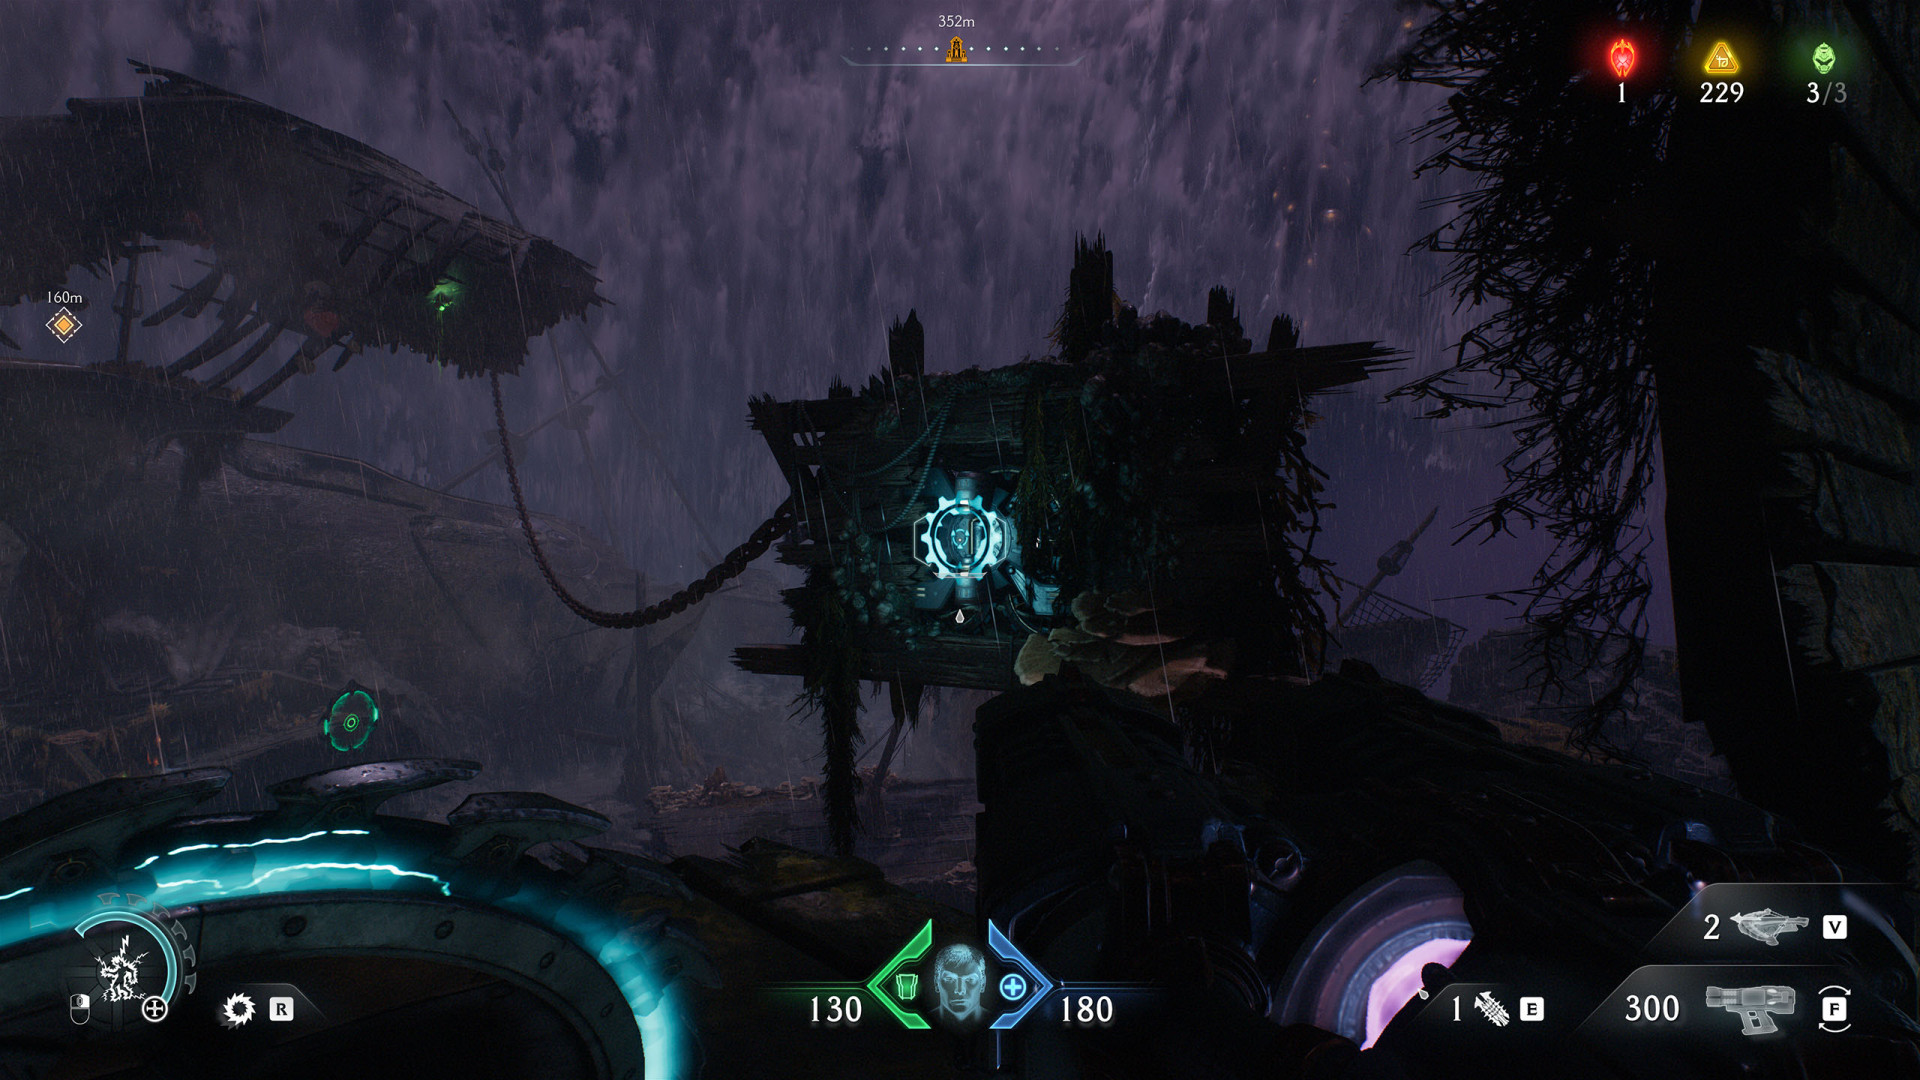
25Energy Node (Abyssal Forest)
Locations on Ancestral Forge
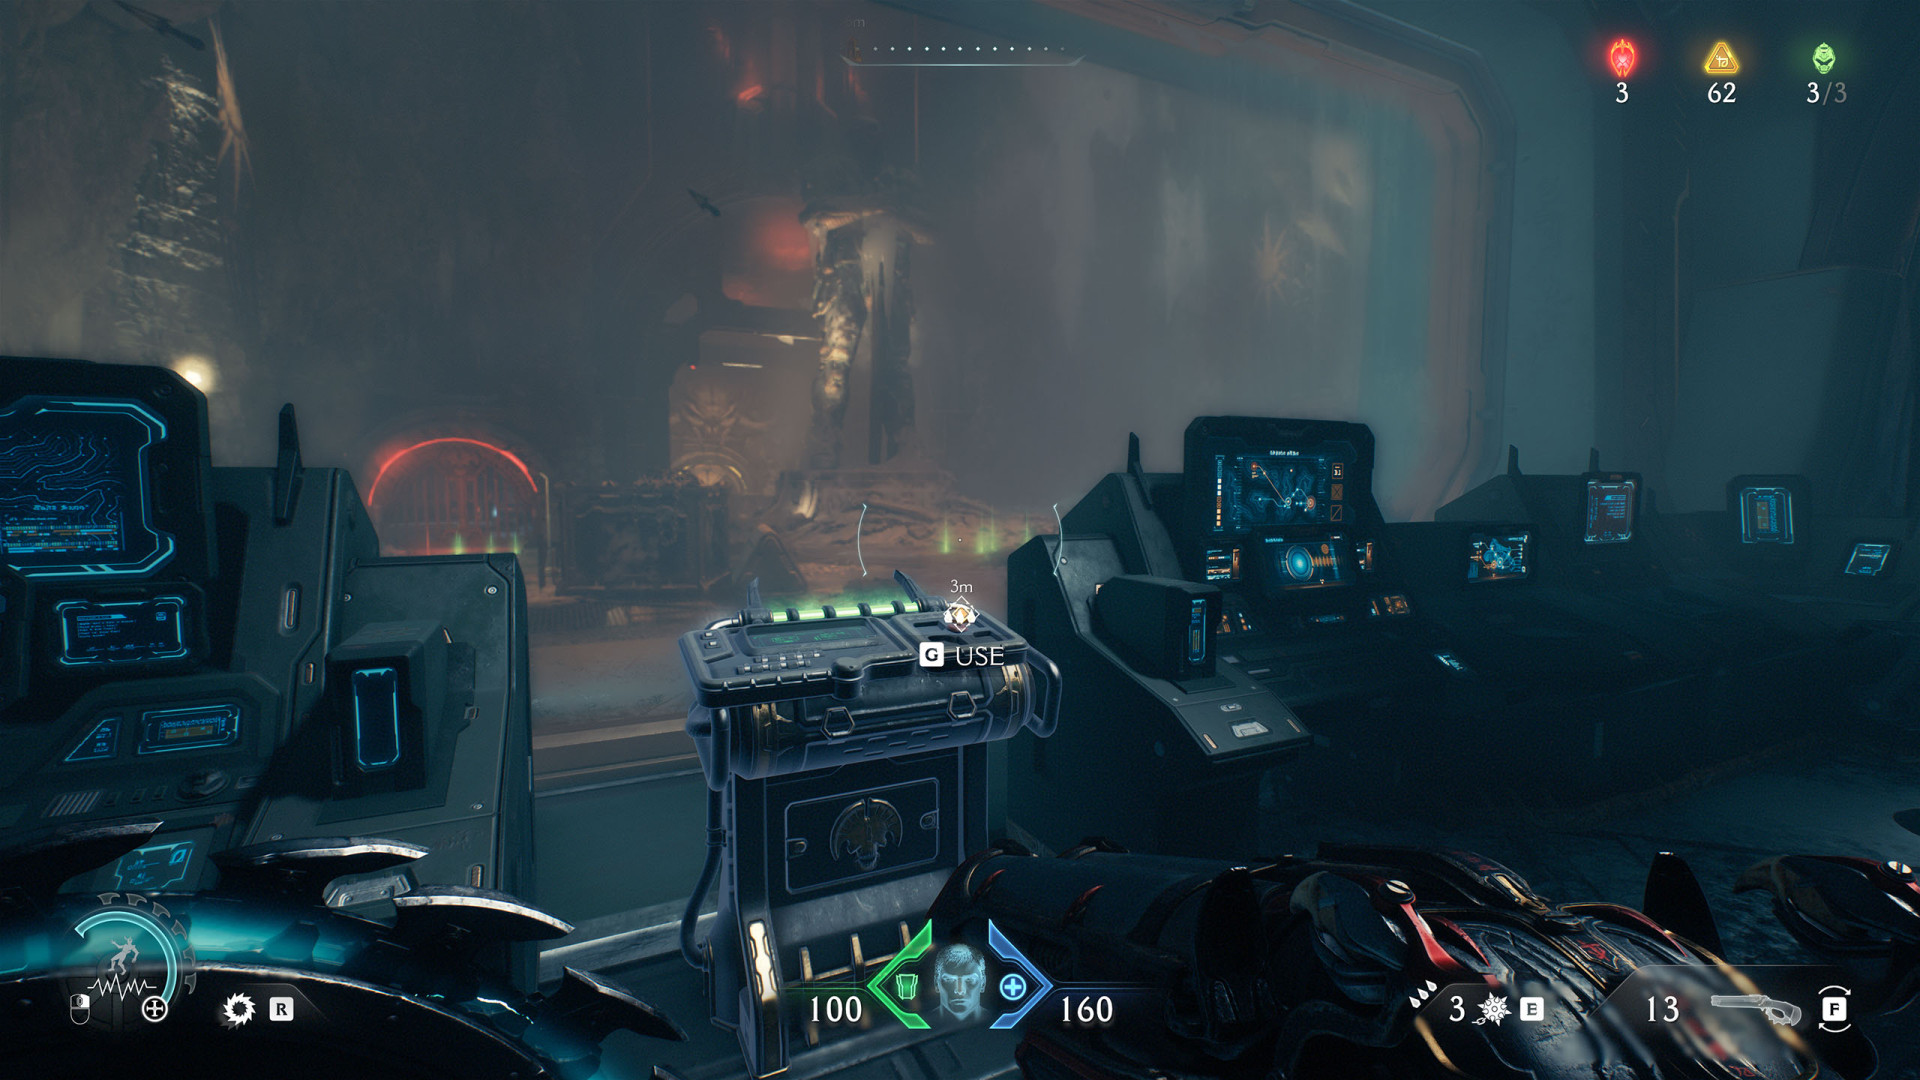
26Crane Switch (Ancestral Forge)
Use it to drop Life Sigil (Ancestral Forge #2) to the ground.
27Energy Node (Ancestral Forge #1)

28Energy Node (Ancestral Forge #2)
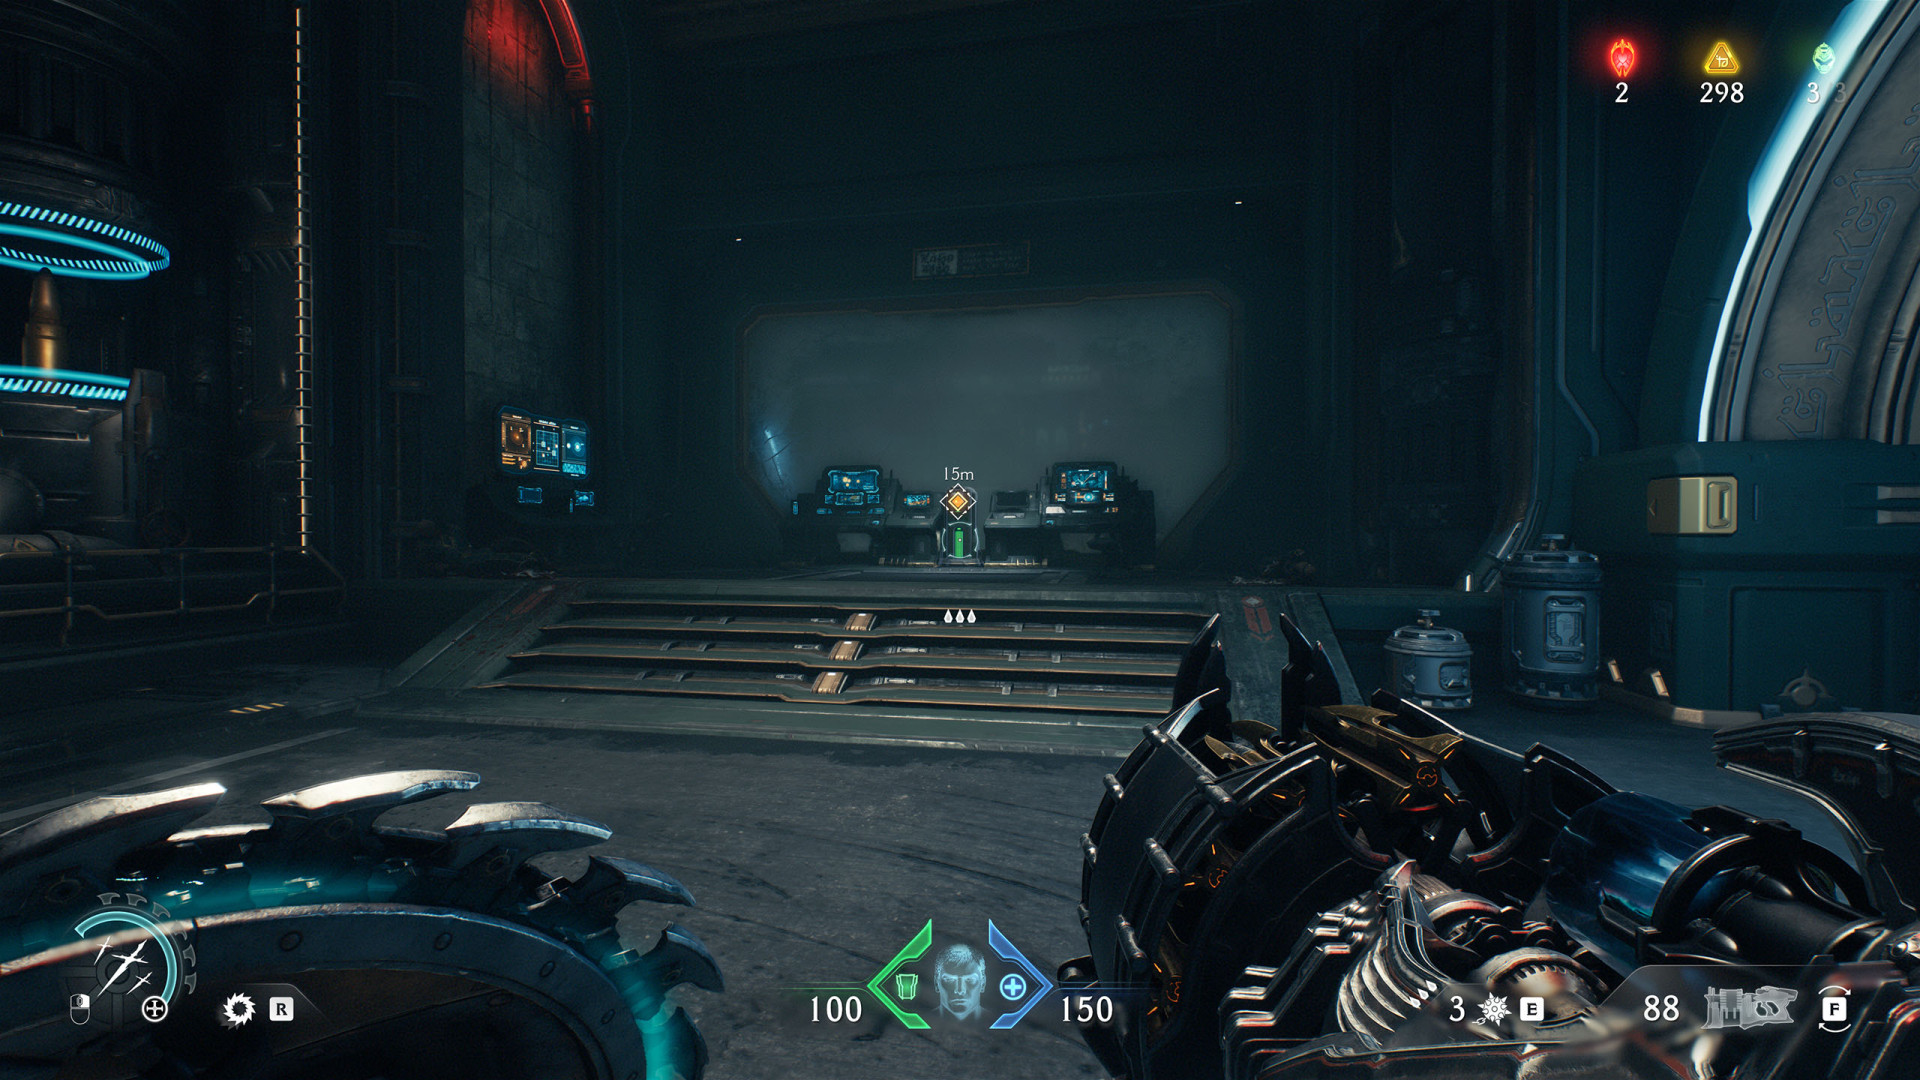
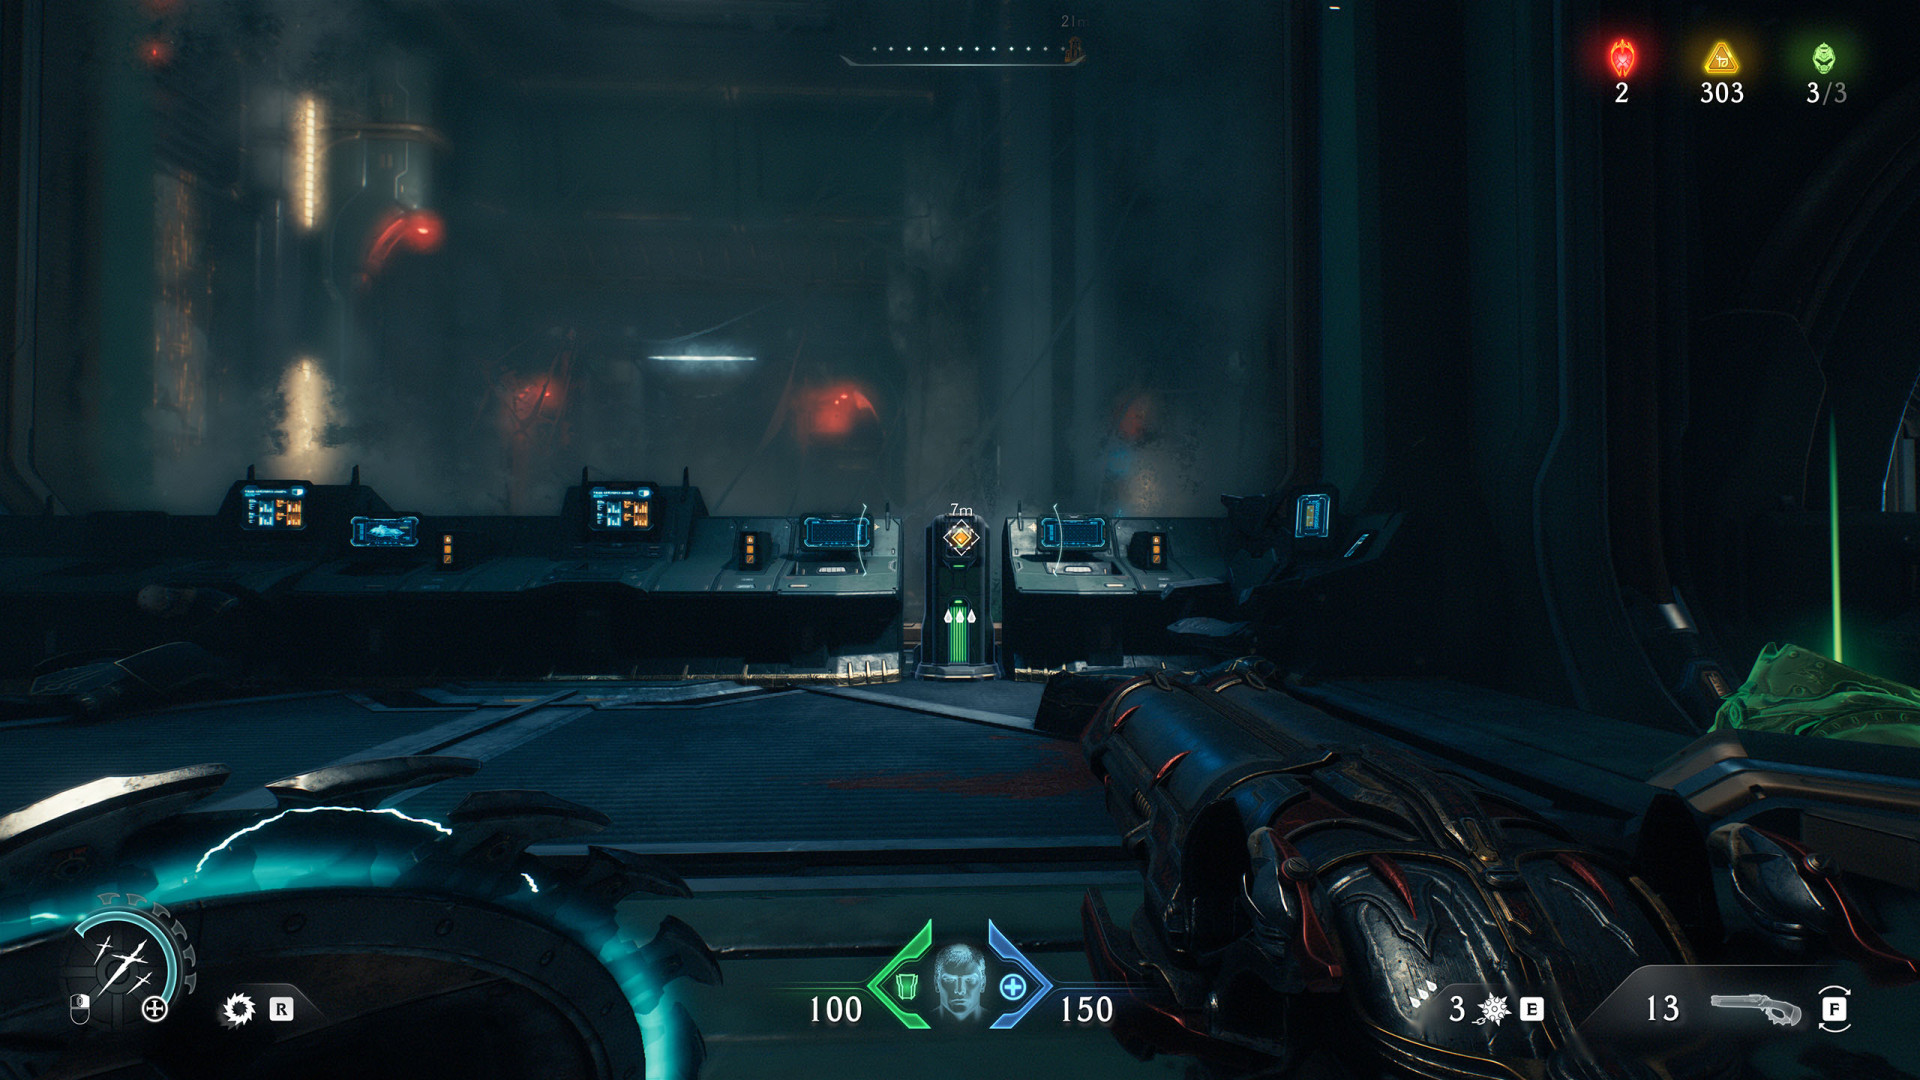
29Power Core Switch #1
One of the three switches that activate the Ancestral Heart.

30Power Core Switch #2
One of the three switches that activate the Ancestral Heart.
31Power Core Switch #3
One of the three switches that activate the Ancestral Heart.

Locations on Sentinel Command Station
32Switch (Sentinel Command Station #1)
33Switch (Sentinel Command Station #2)
34Switch (Sentinel Command Station #3)
It opens the gate through which you can proceed.
35Switch (Sentinel Command Station #4)
Opens the entrance to the ventilation duct through which you can proceed further.
36Switch (Sentinel Command Station #5)
Locations on Spire of Nerathul
37Lever (Spire of Nerathul)
Pull this lever to lower the water level and access the Stasis Emitter #2.
38Pressure Plate (Spire of Nerathul)
Drop the crate hanging above it onto this plate. This will grant you an access to the Launch Pad and Secret Area (Spire of Nerathul #7).
39Switch (Spire of Nerathul)
Use the switch to lower the water level.
Locations on City of Ry'uul
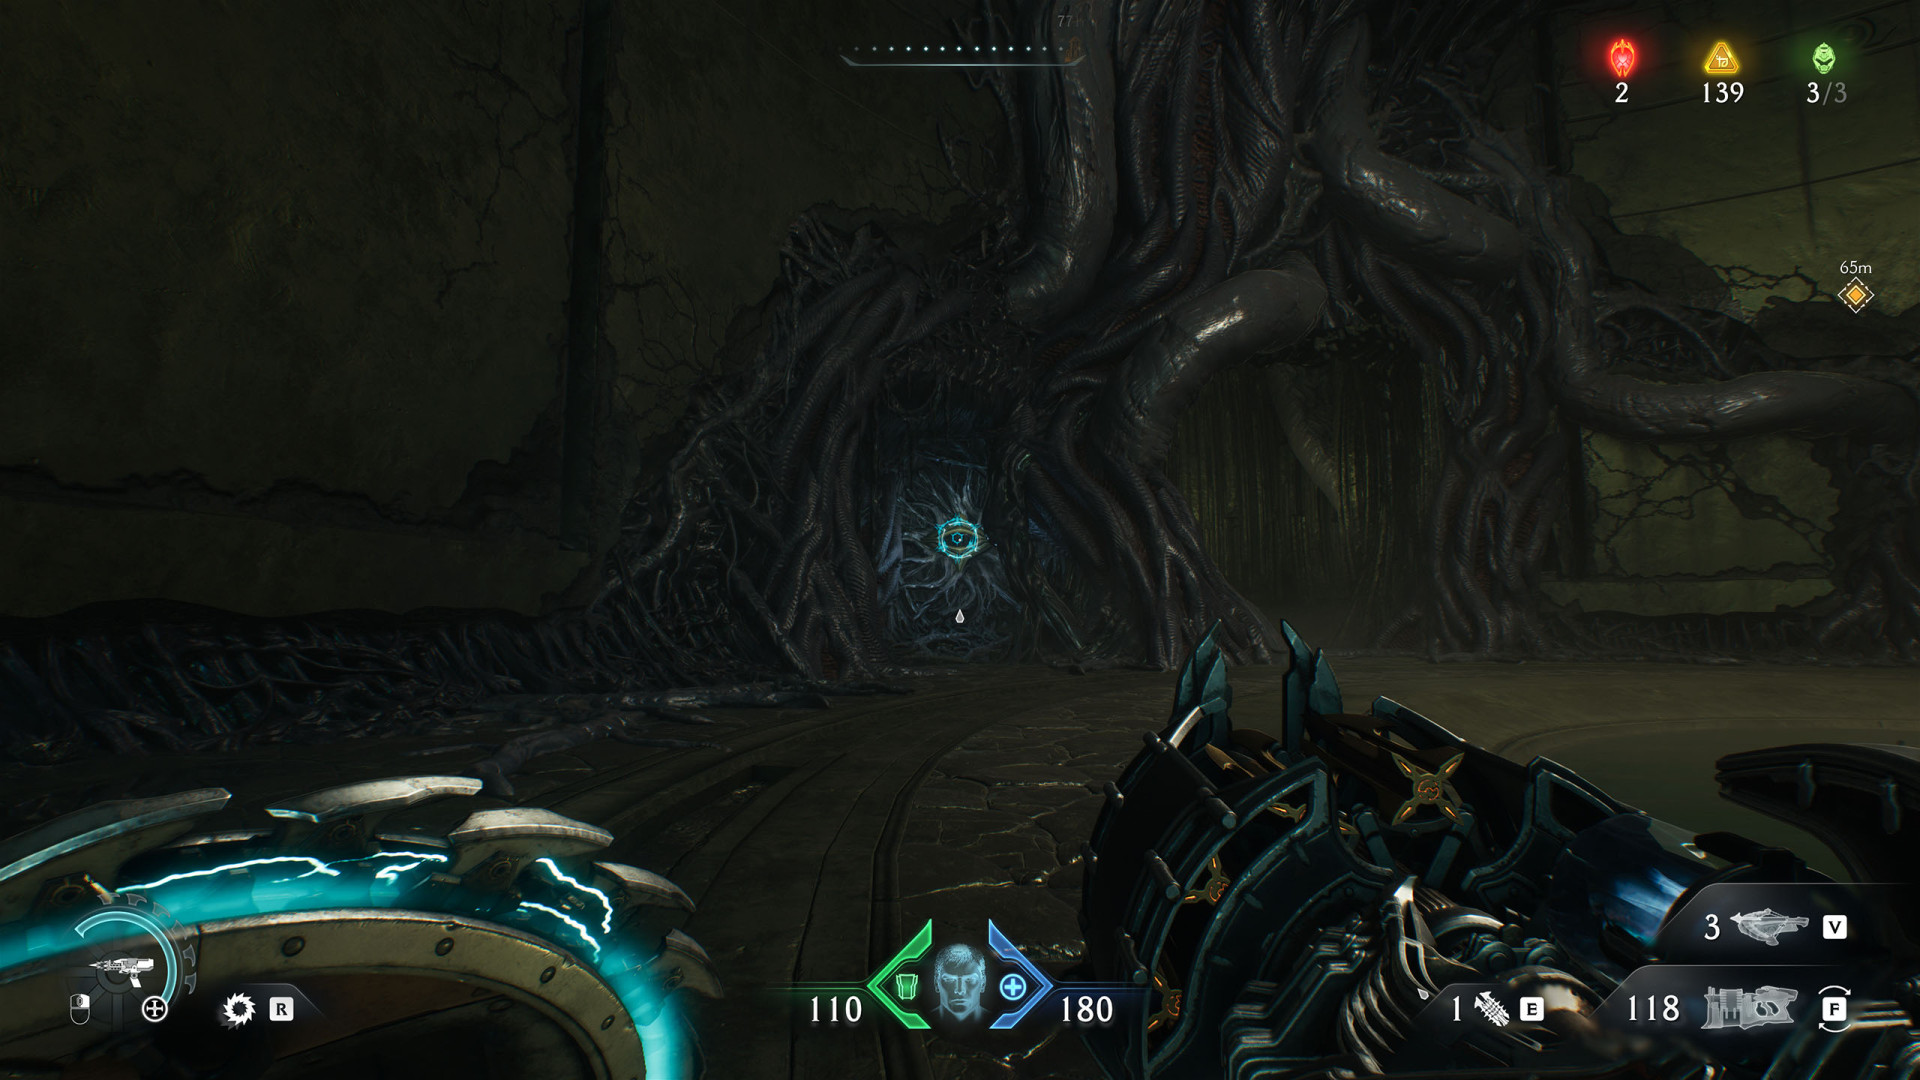
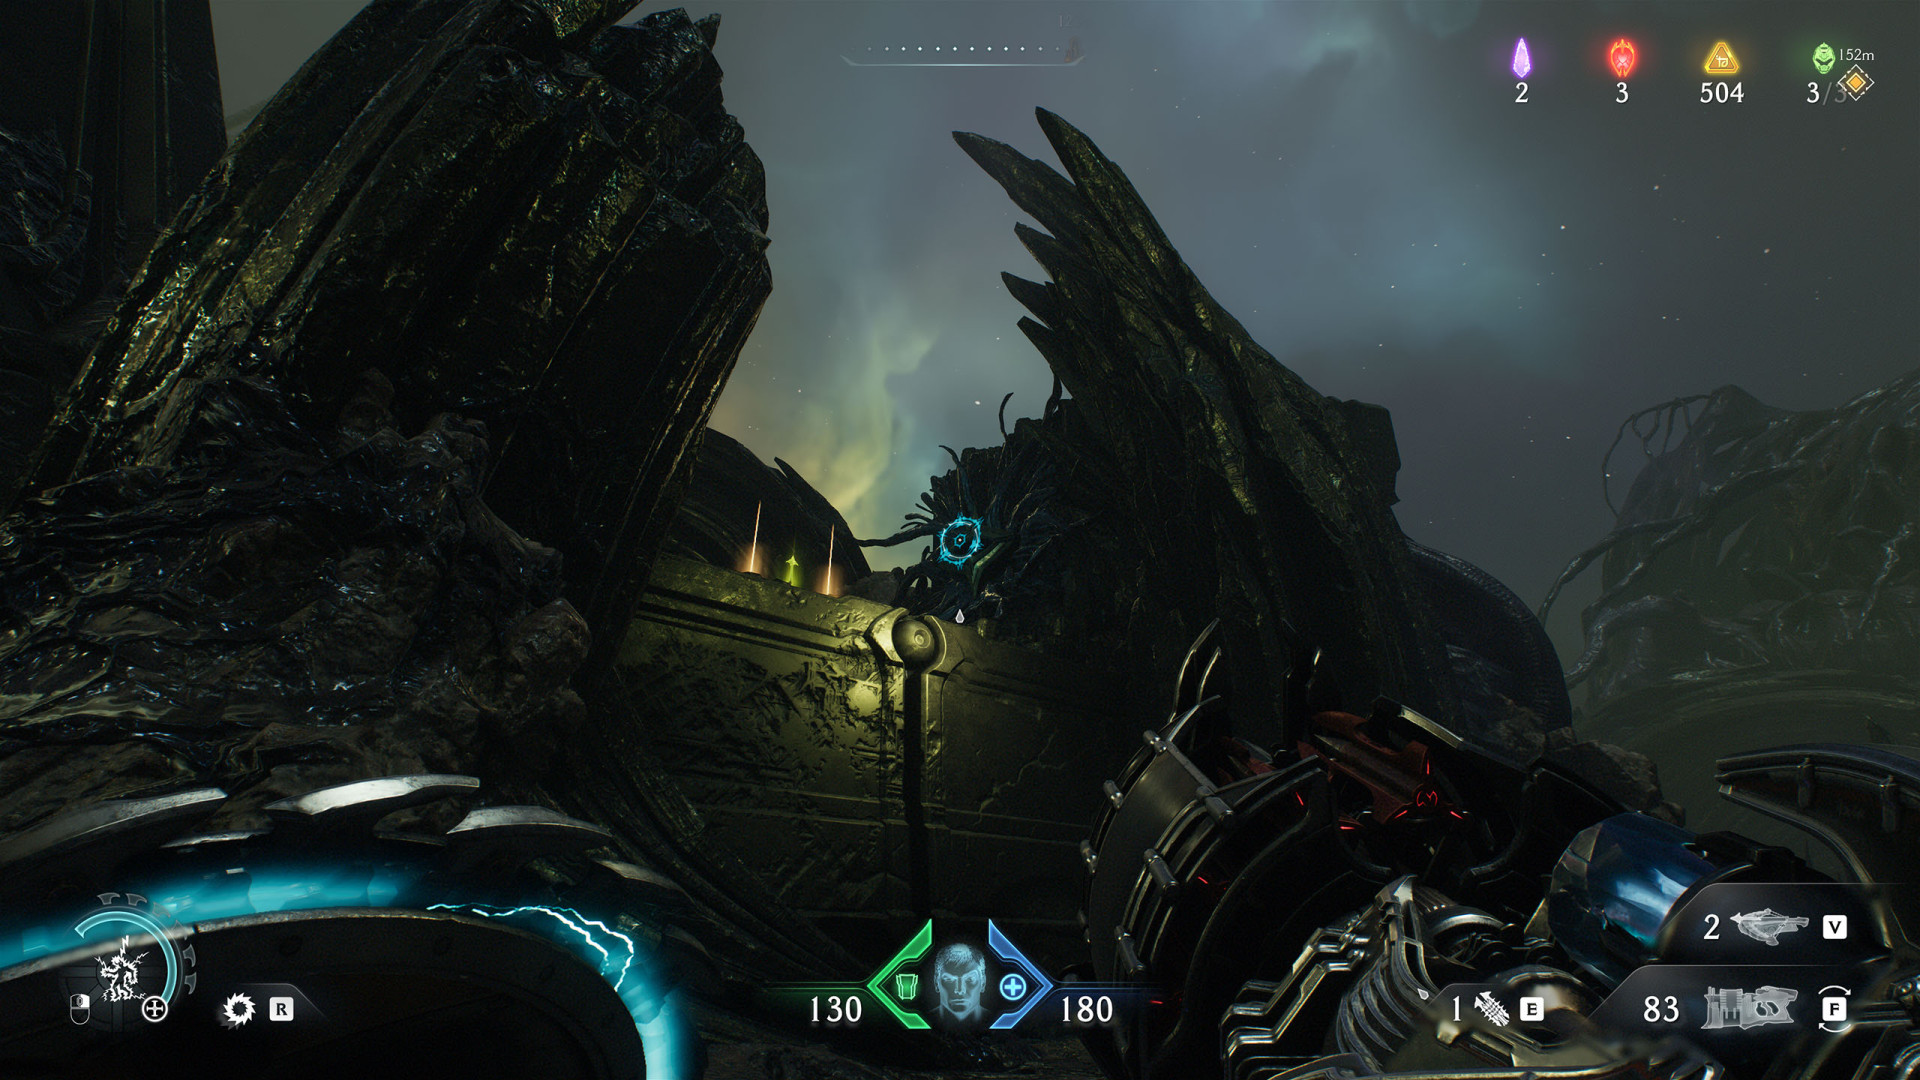
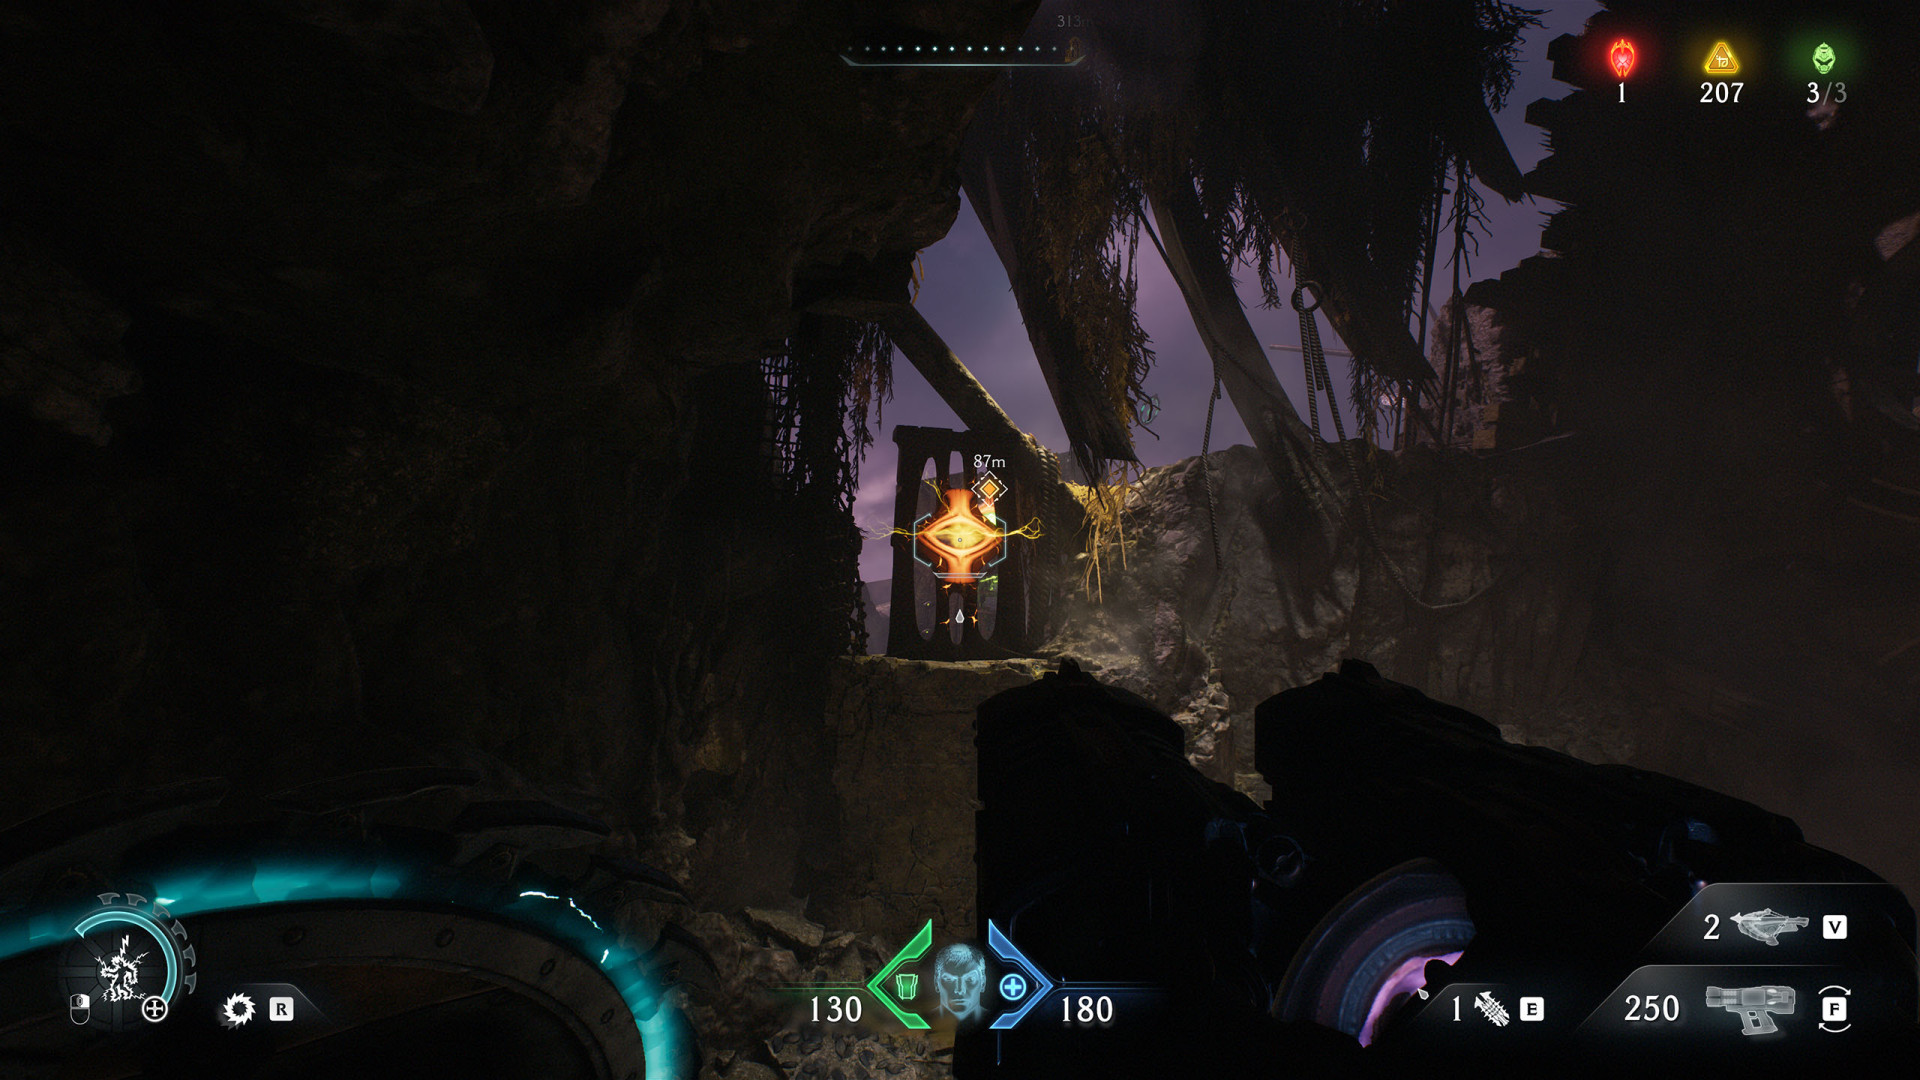
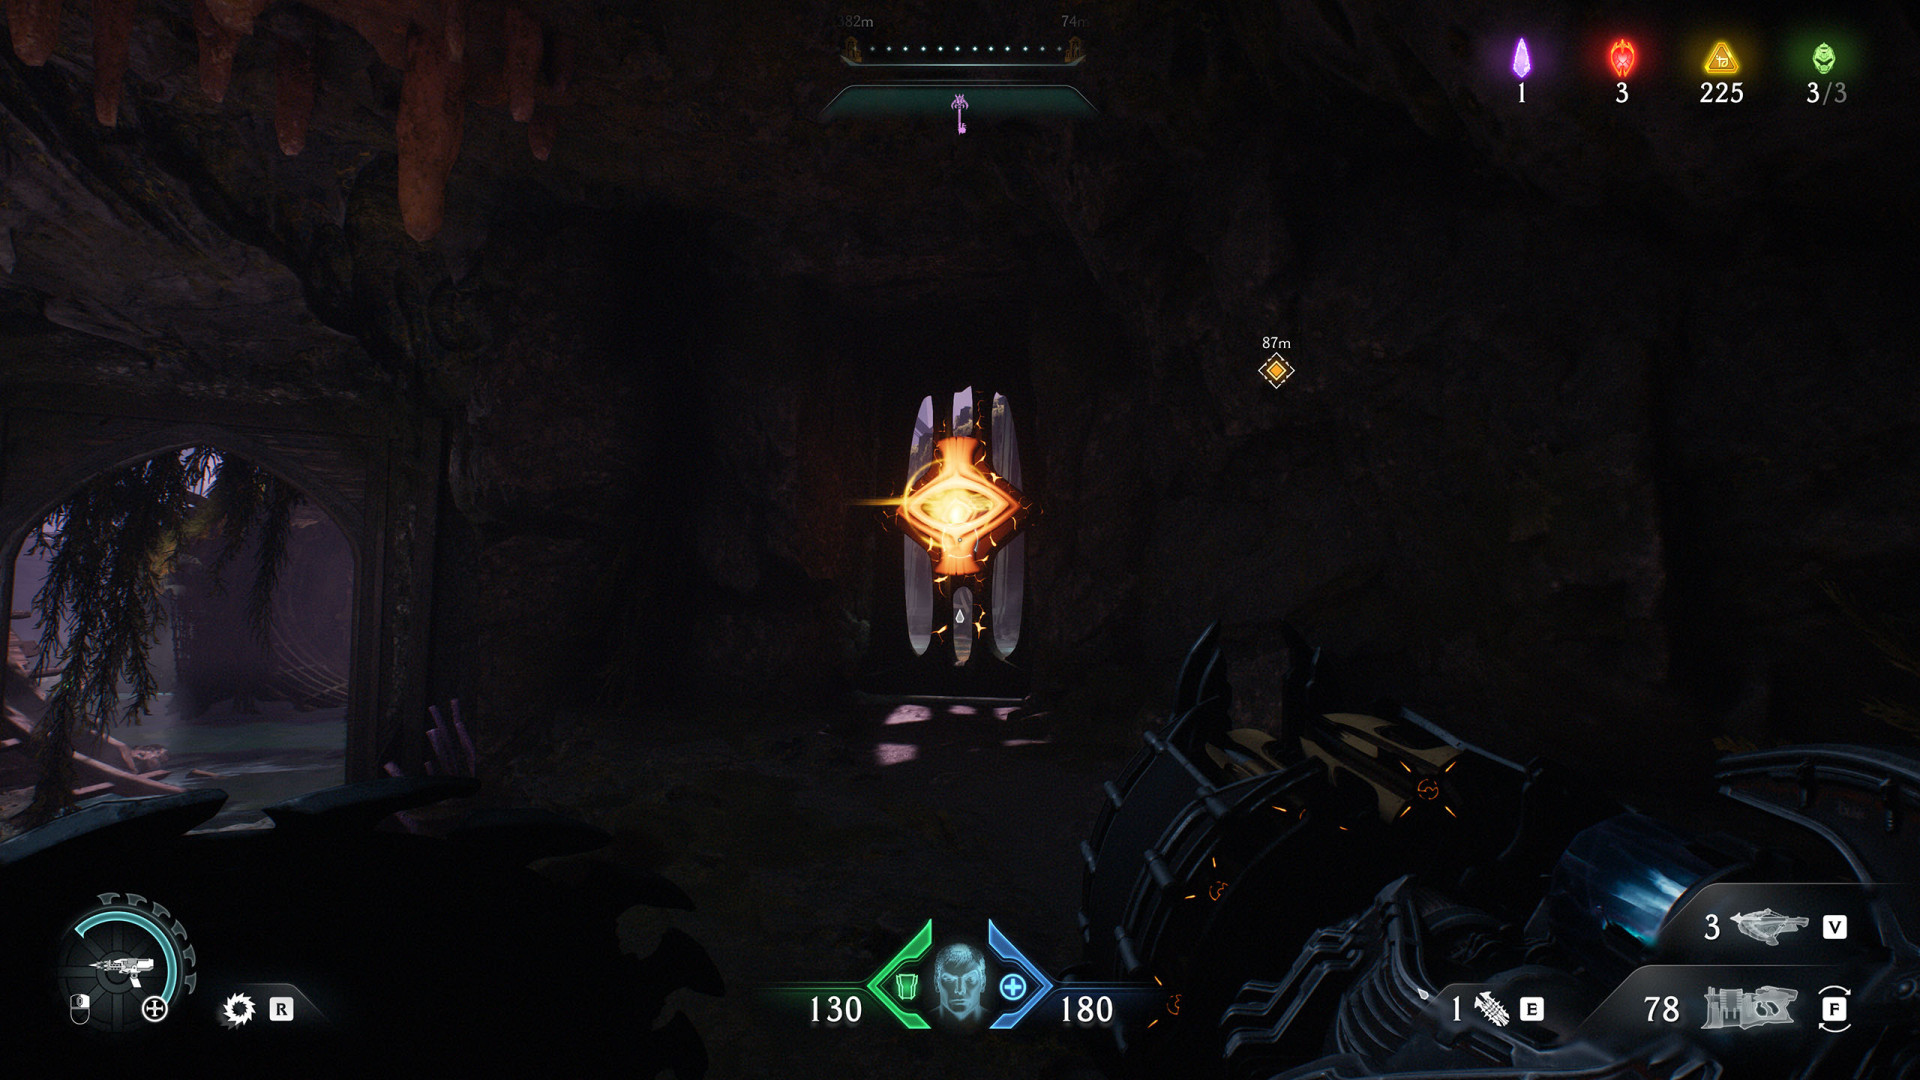
40Cosmic Eye (City of Ry'uul #1)
41Cosmic Eye (City of Ry'uul #2)
42Cosmic Eye (City of Ry'uul #3)
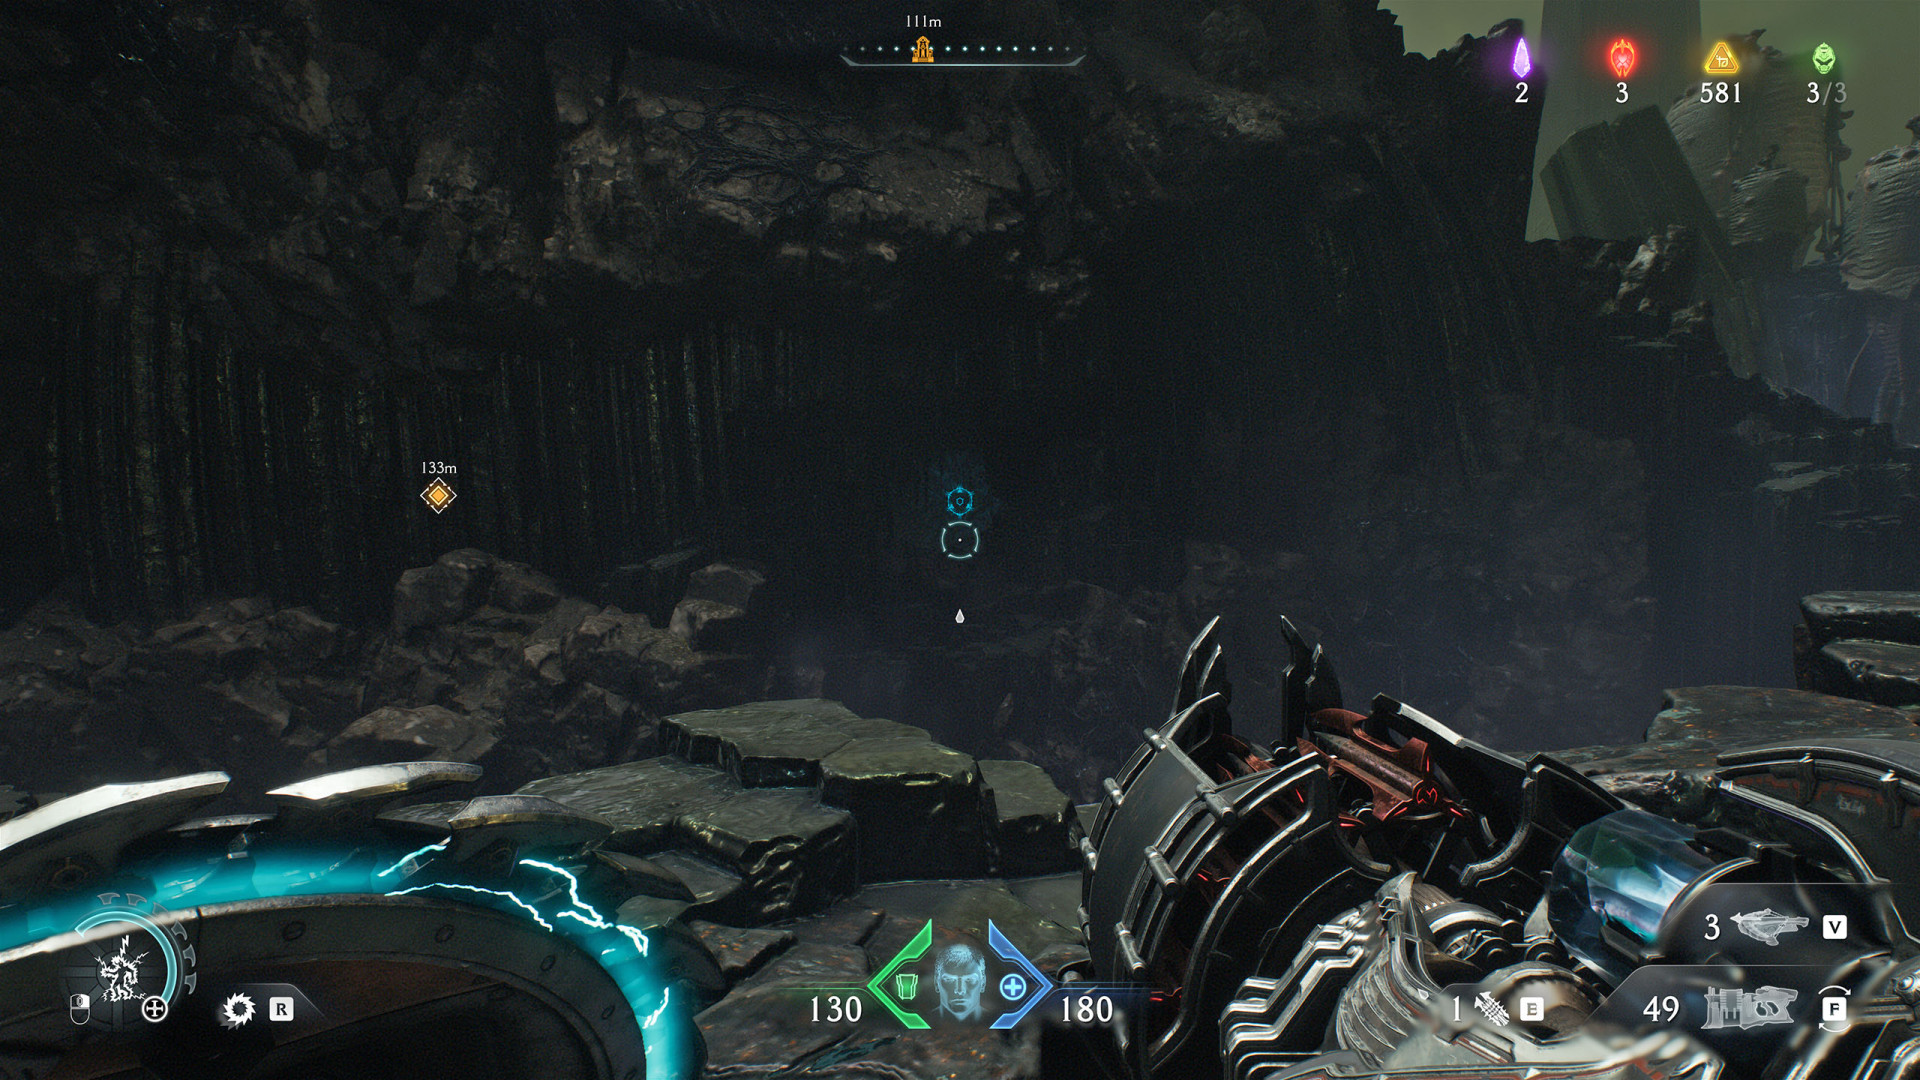
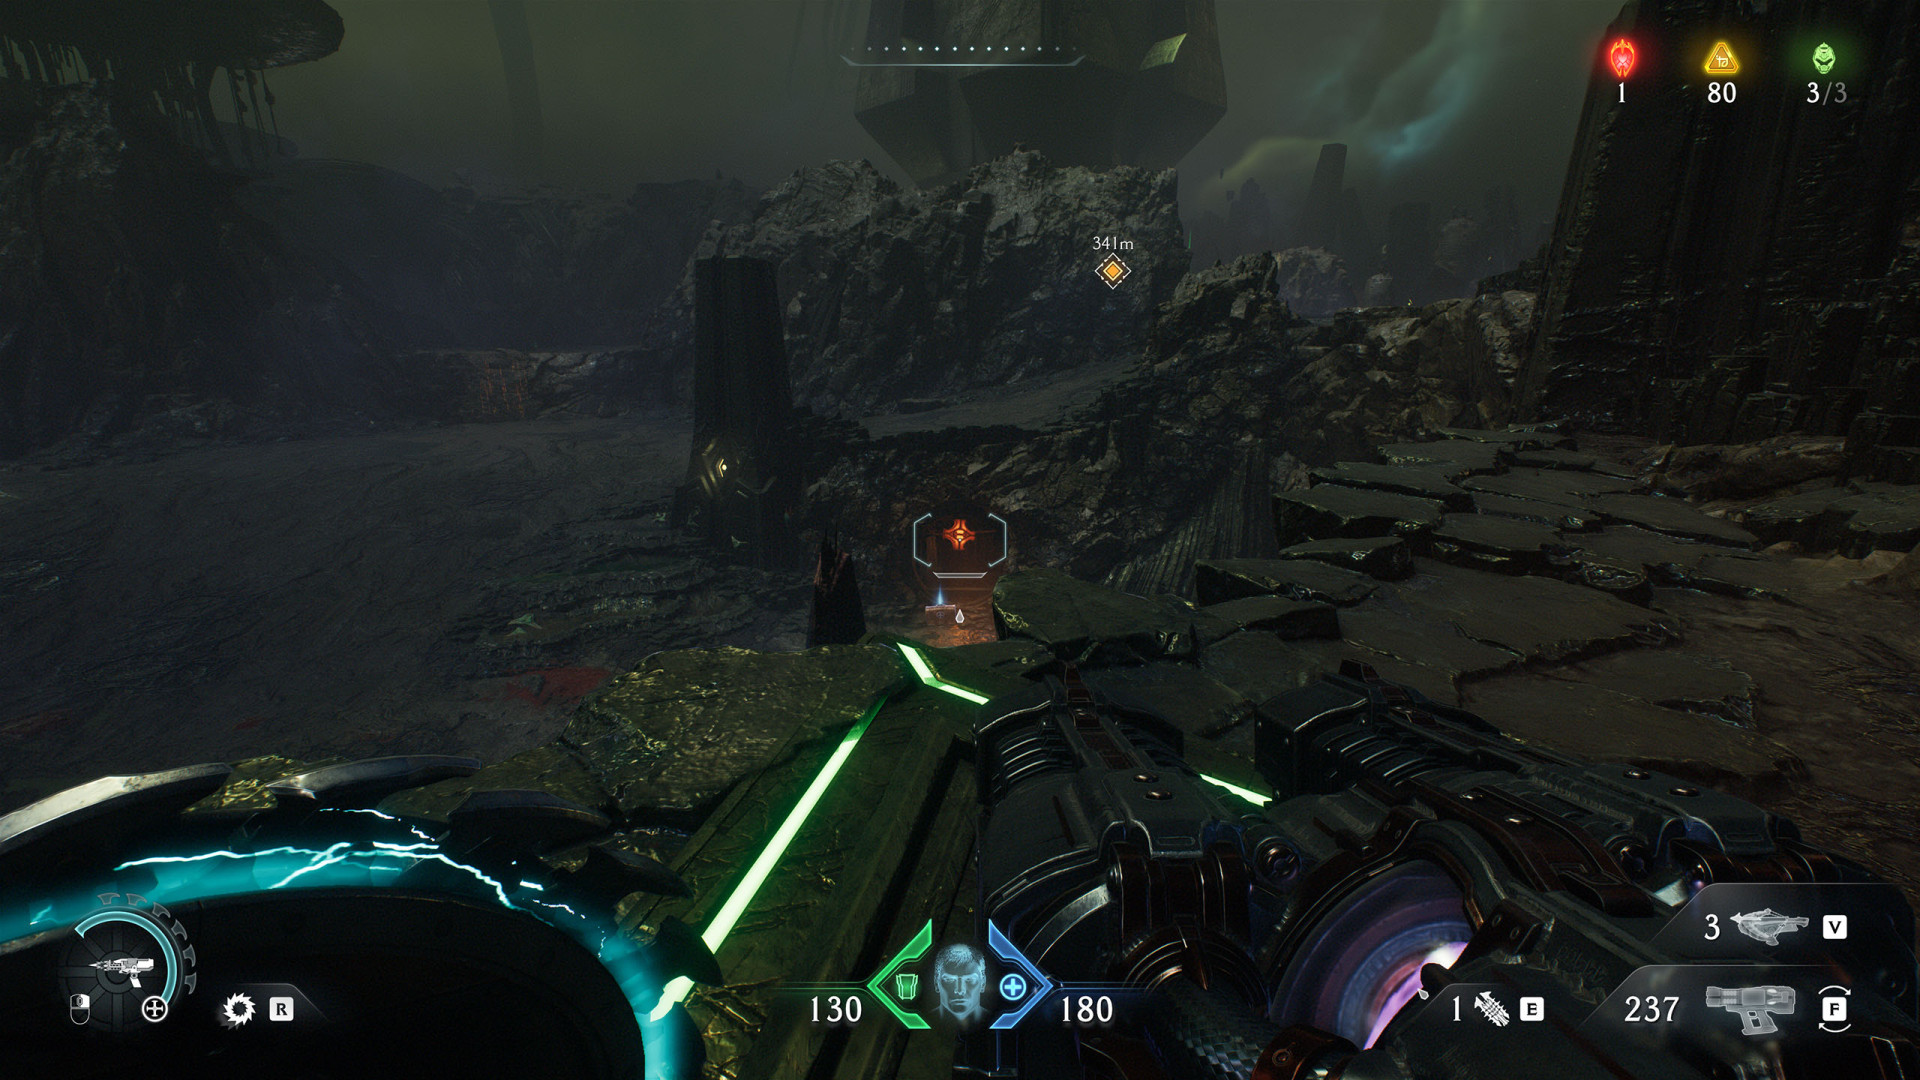
43Energy Node (City of Ry'uul #1)
44Energy Node (City of Ry'uul #2)
45Energy Node (City of Ry'uul #3)
Activates the launch pad that will allow you to reach the higher level.
46Switch (City of Ry'uul #1)
Activates the launch pad that will allow you to get to the Secret Area (City of Ry'uul #2).
Locations on The Kar'Thul Marshes
47Energy Node (The Kar'Thul Marshes #1)
48Energy Node (The Kar'Thul Marshes #2)
49Pressure Plate (The Kar'Thul Marshes #1)
Locations on Temple of Lomarith
50Cosmic Eye (Temple of Lomarith #1)
51Cosmic Eye (Temple of Lomarith #2)
Available once you move the box with the Cacodemon Hybrid toy.

52Cosmic Eye (Temple of Lomarith #3)
53Energy Node (Temple of Lomarith #1)
Locations on Belly of the Beast
54Energy Node (Belly of the Beast #1)

55Energy Node (Belly of the Beast #2)
56Energy Node (Belly of the Beast #3)
57Energy Node (Belly of the Beast #4)
Locations on Harbor of Souls
58Energy Node (Harbor of Souls #1)
59Energy Node (Harbor of Souls #2)
60Pressure Plate (Harbor of Souls #1)
61Switch (Harbor of Souls #1)
62Switch (Harbor of Souls #2)
Locations on Resurrection
63Energy Node (Resurrection #1)
Use it to open the grate. To be able to do this, you must first interact with the Switch (Resurrection #1).
64Energy Node (Resurrection #2)
65Energy Node (Resurrection #3)
This will become available when you interact with the Switch (Resurrection #3).

66Switch (Resurrection #1)
67Switch (Resurrection #2)
Interact with it to open the hatch of the Secret Area (Resurrection #6).
68Switch (Resurrection #3)
69Switch (Resurrection #4)
70Valve (Resurrection #1)
Turn it to fill the room with water, which will open the way forward.
71Valve (Resurrection)
Locations on Reckoning
72Energy Node (Reckoning #1)
73Energy Node (Reckoning #2)
74Energy Node (Reckoning #3)

75Energy Node (Reckoning #4)
76Lever (Reckoning #1)
77Pressure Plate (Reckoning #1)
78Pressure Plate (Reckoning #2)
79Switch (Reckoning #1)
Use it to unlock the Locked Gate (Story).