Closed passages, such as gates that require a key or specific actions to open.
Locked Passages
Locations on Village of Khalim
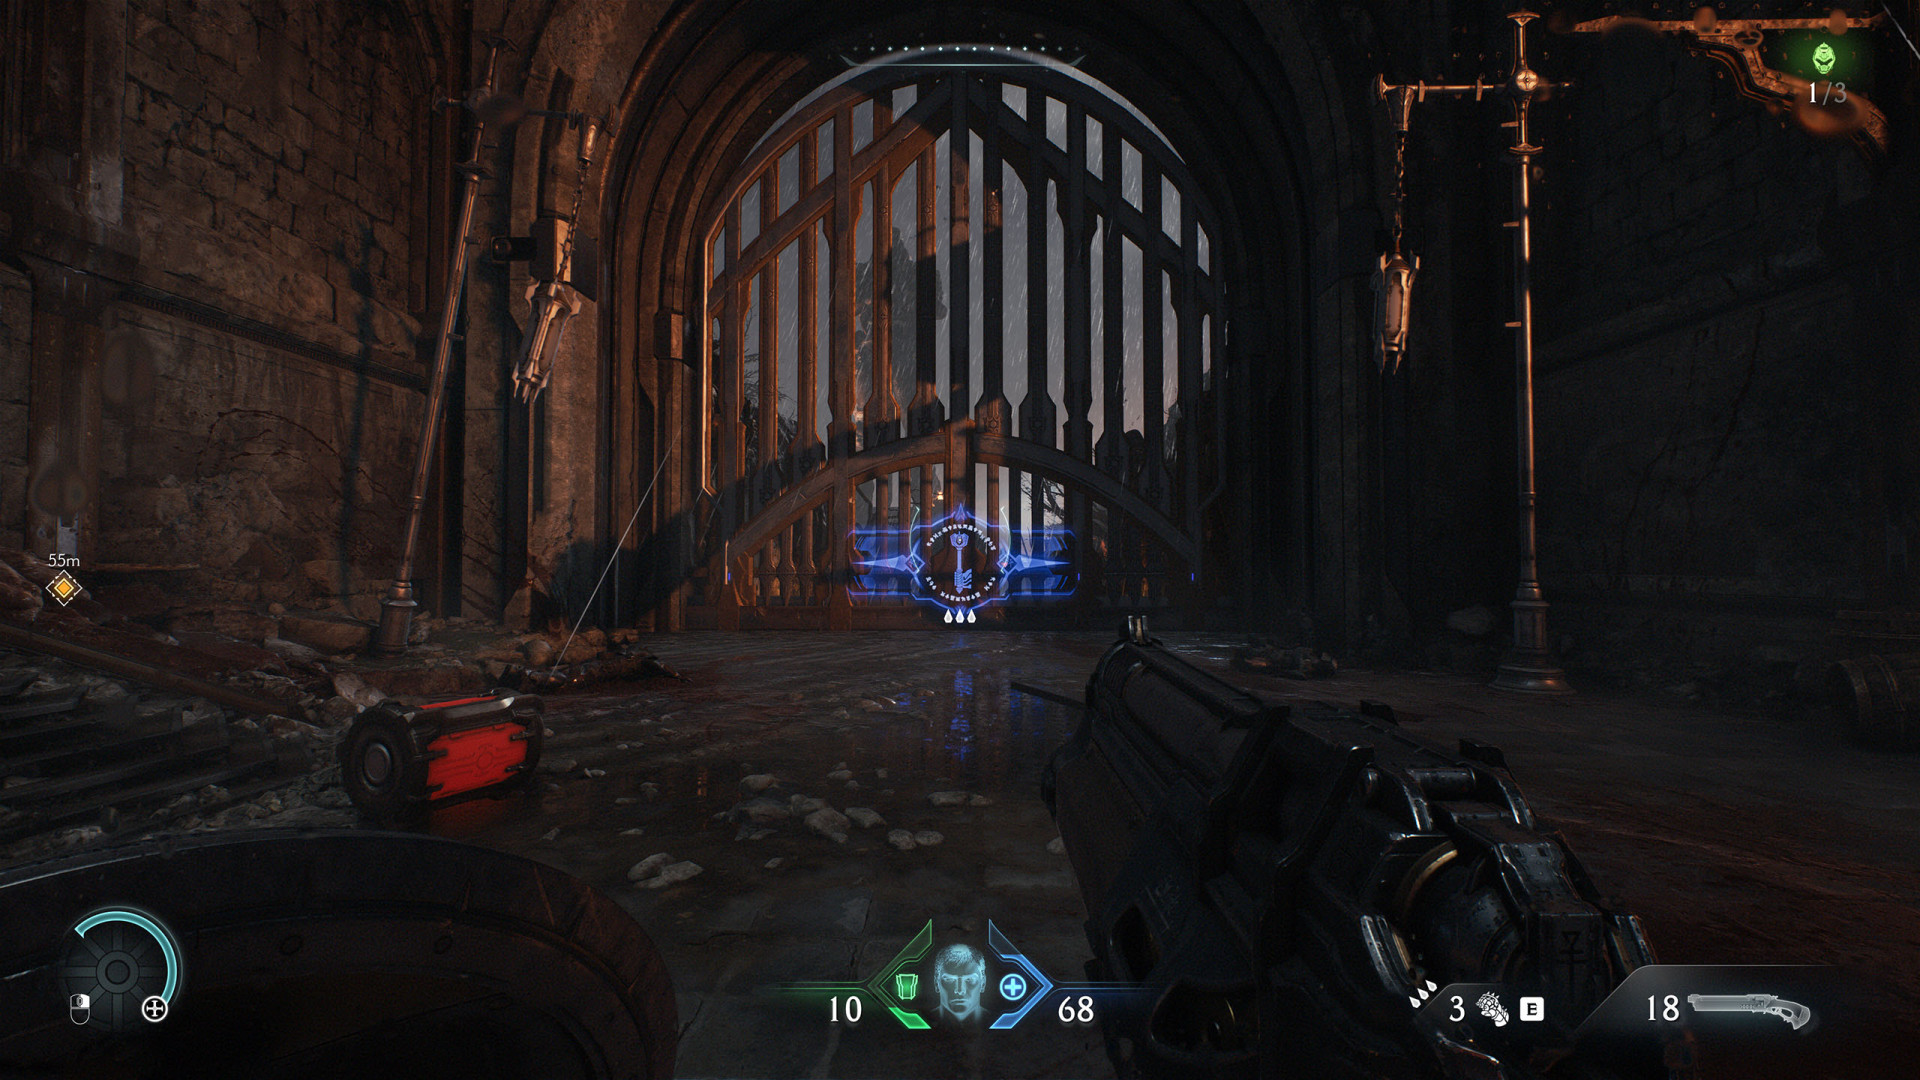
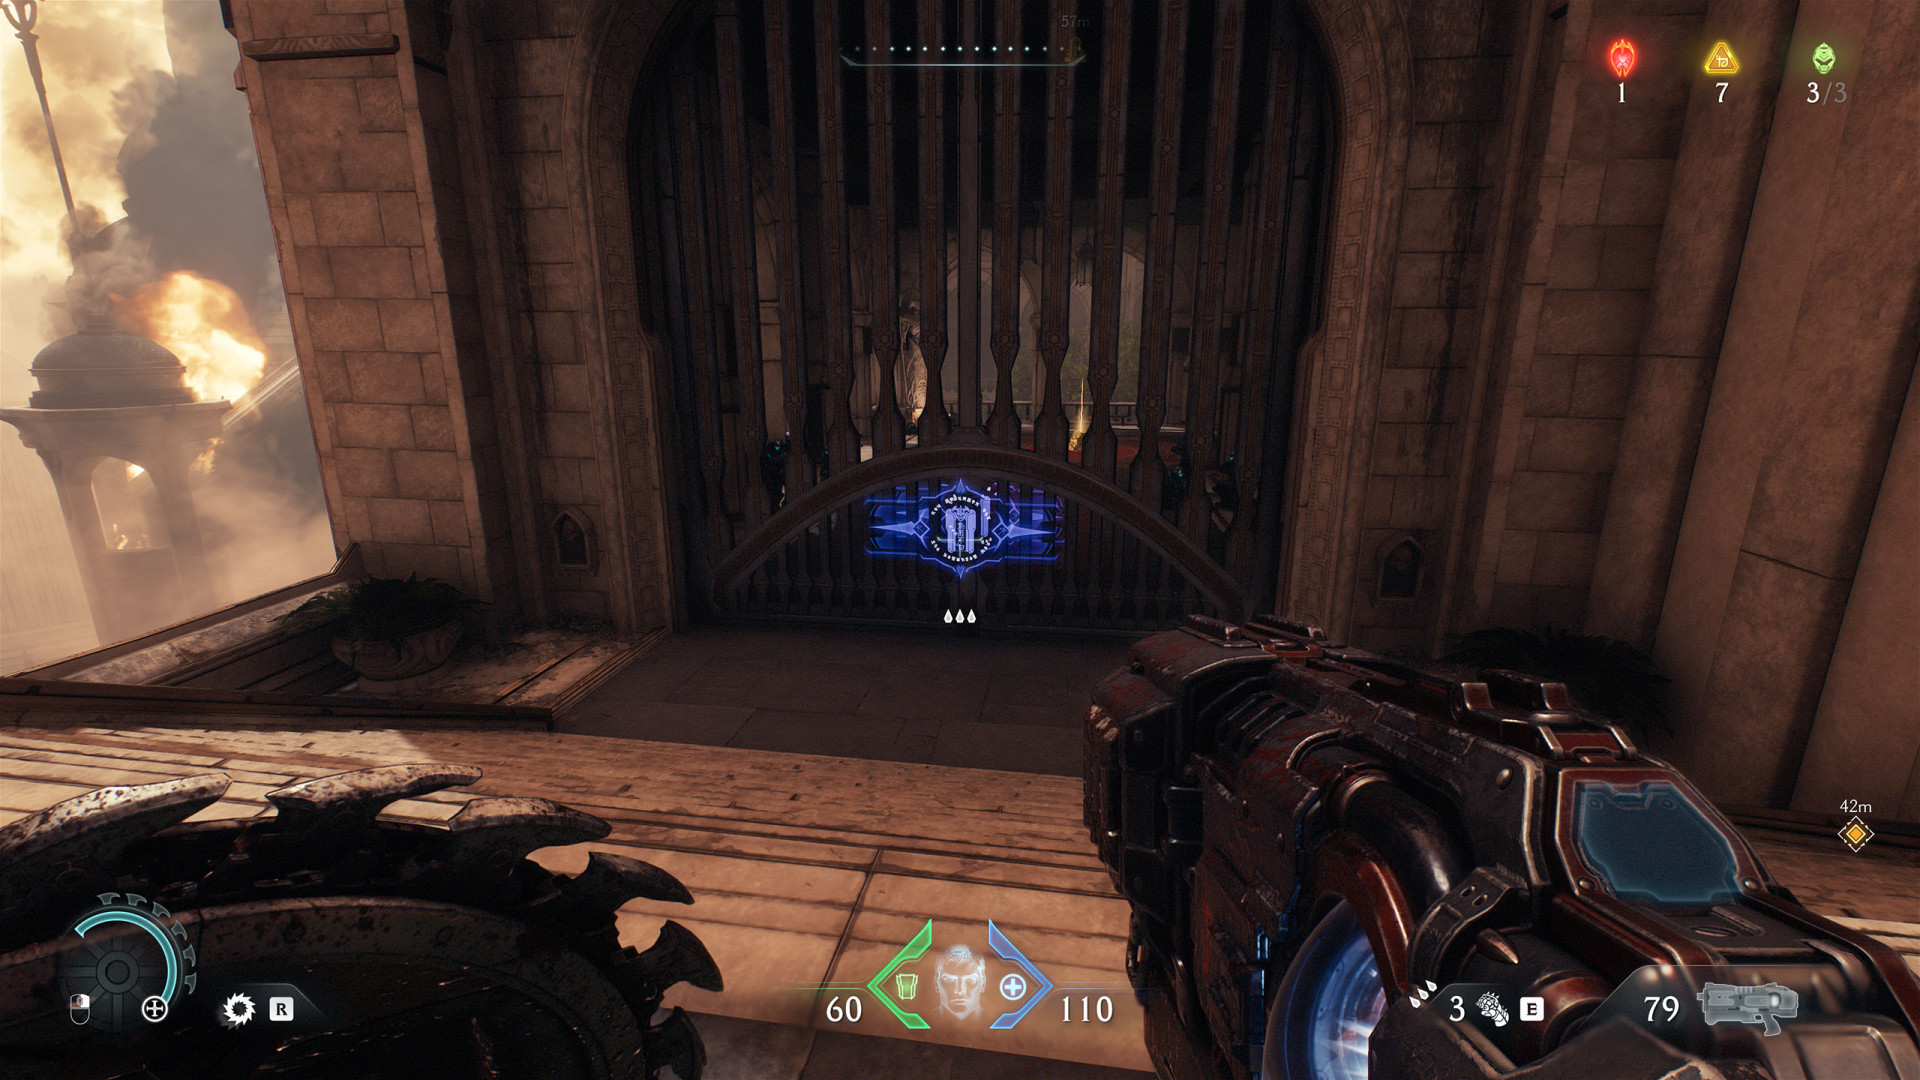
1 Locked Gate (Blue Key)
Key required: Blue Key (Village of Khalim).
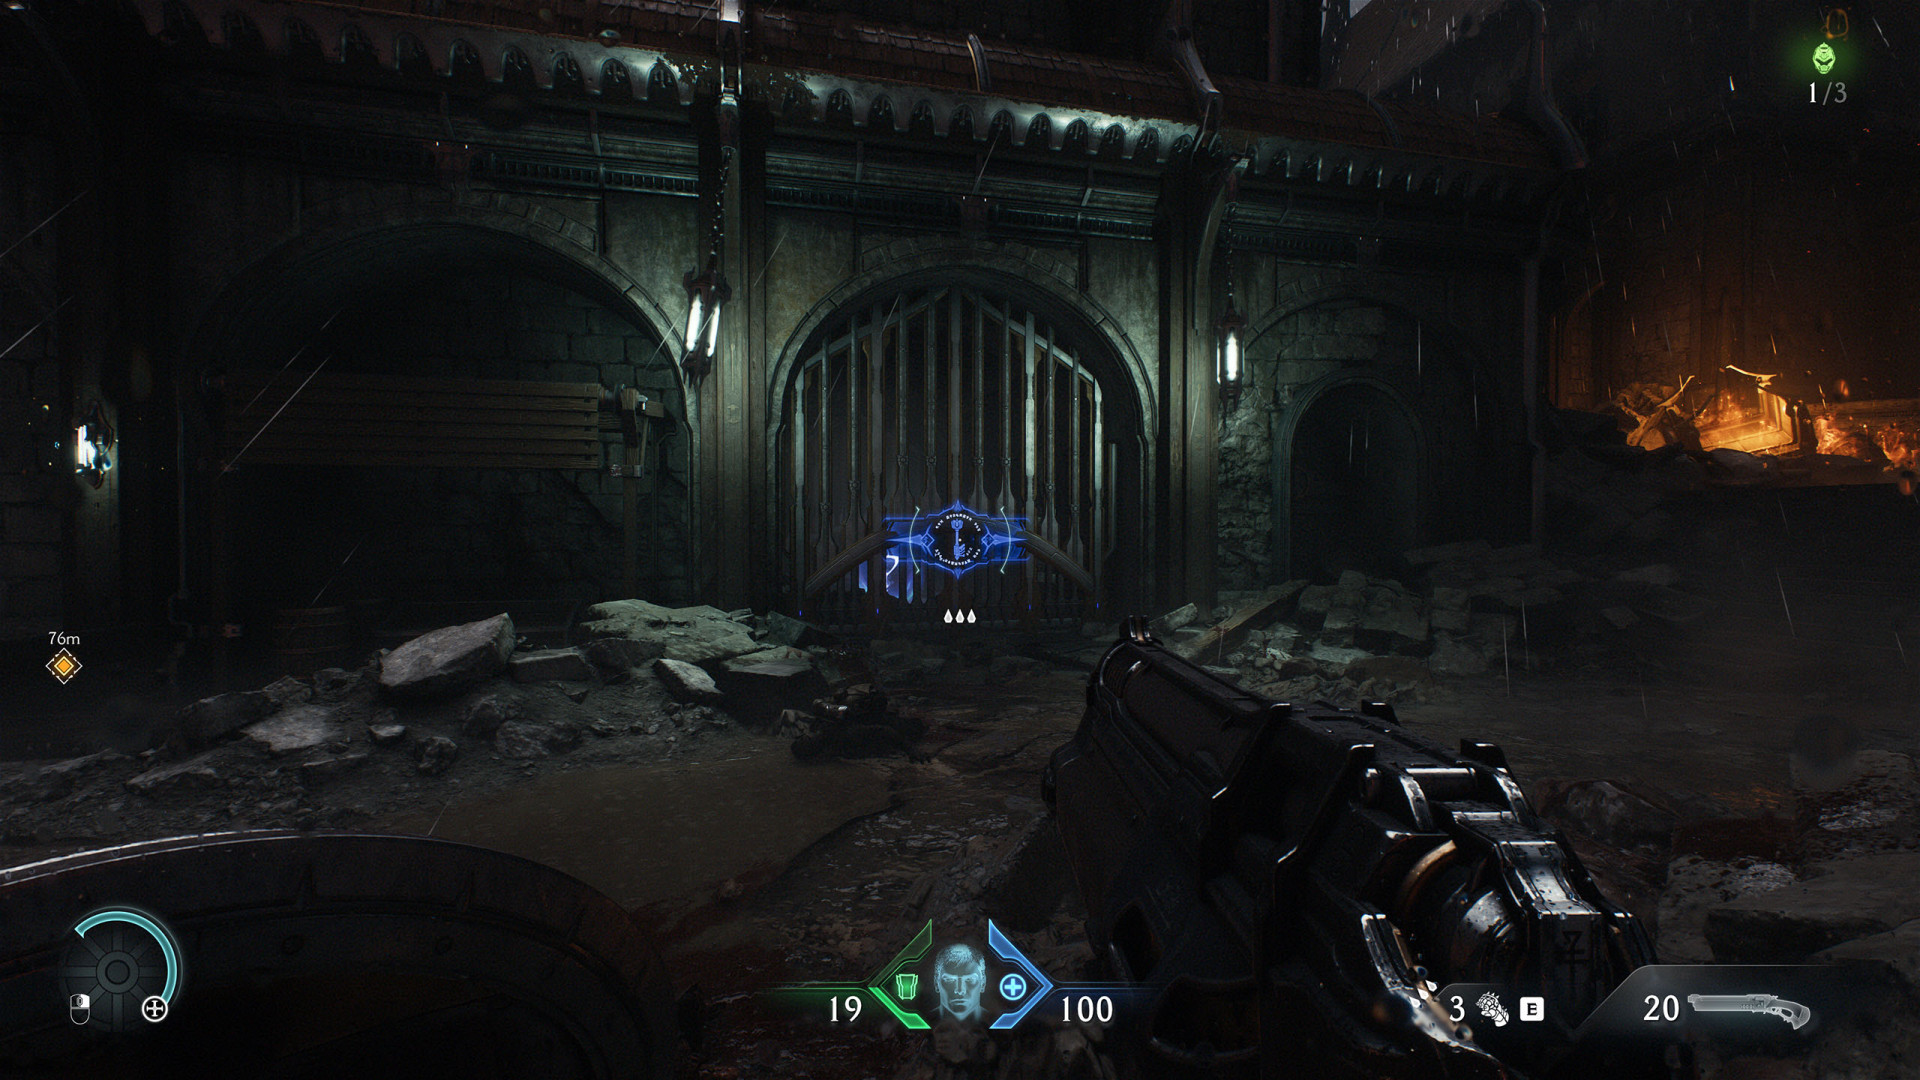
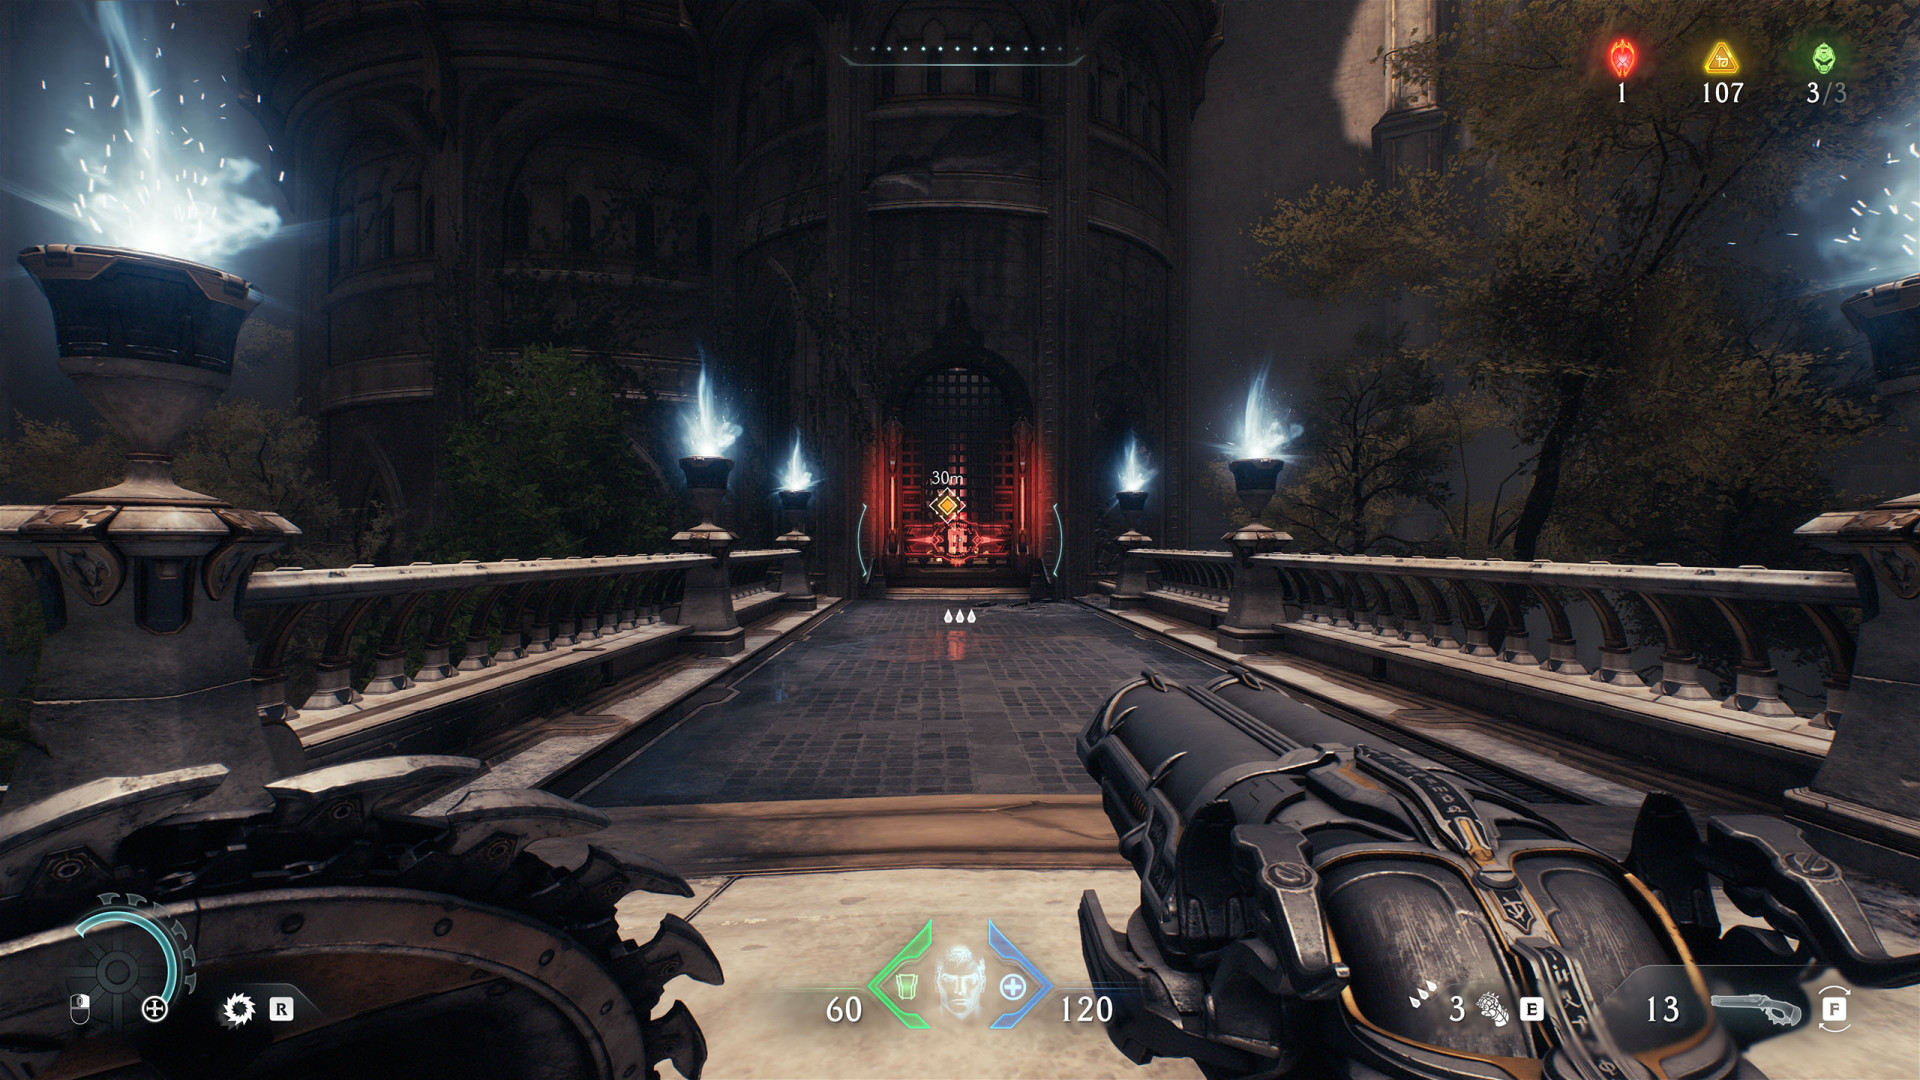
2Locked Gate (Blue Key)
Key required: Blue Key (Village of Khalim).
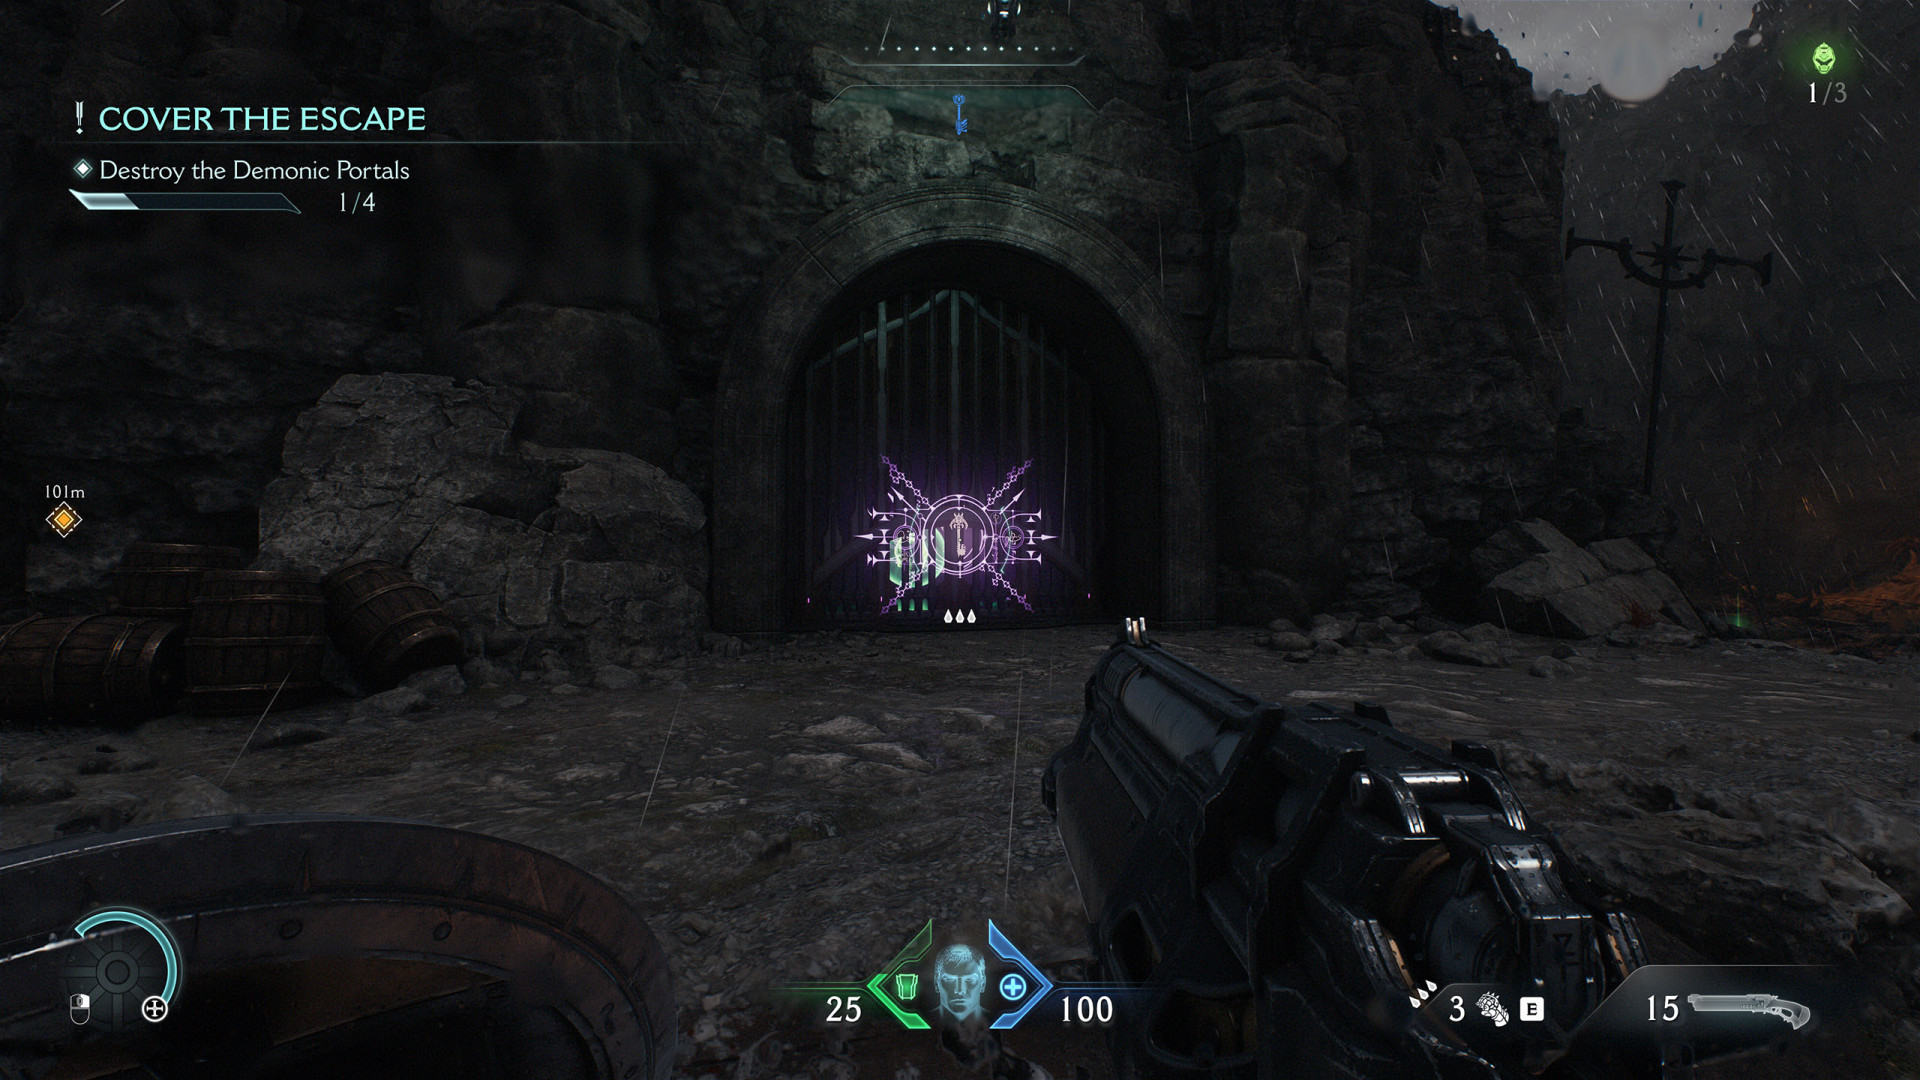
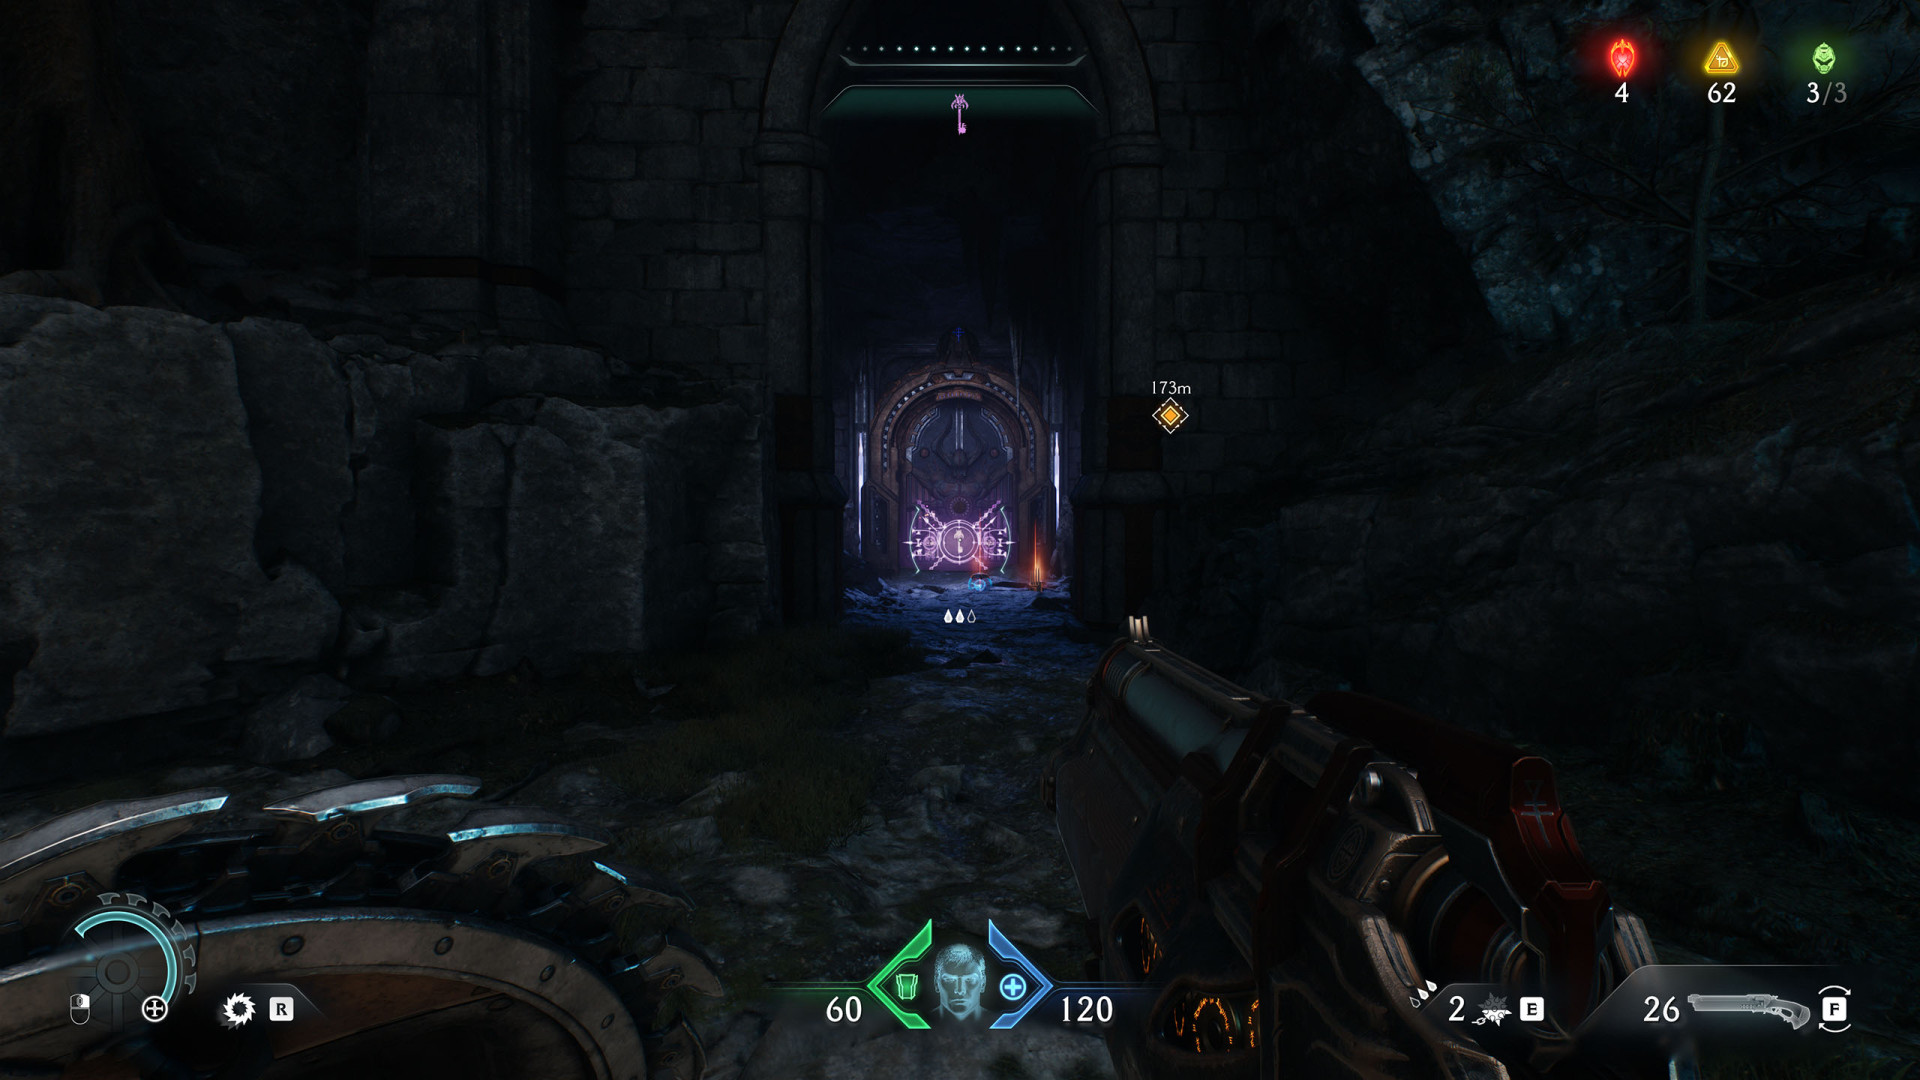
3Locked Gate (Secret Key)
Key required: Secret Key (Village of Khalim).
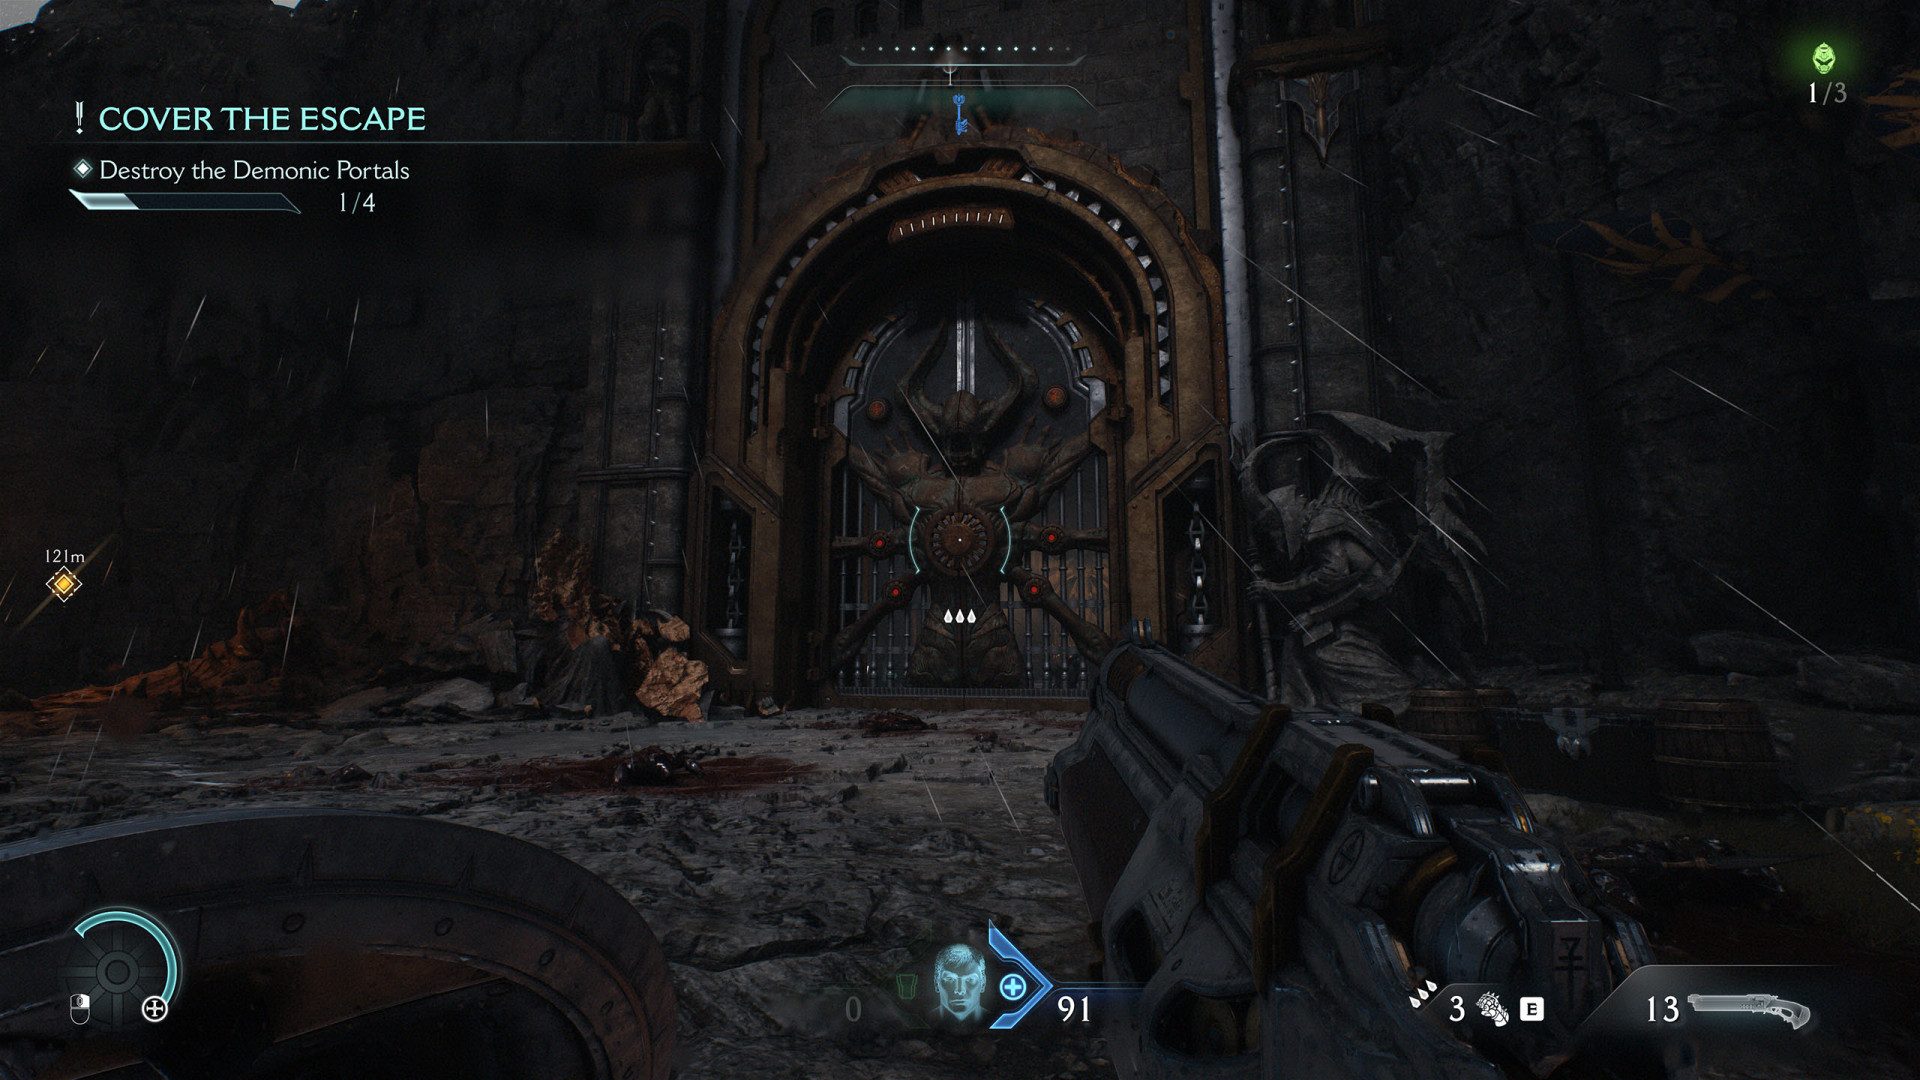
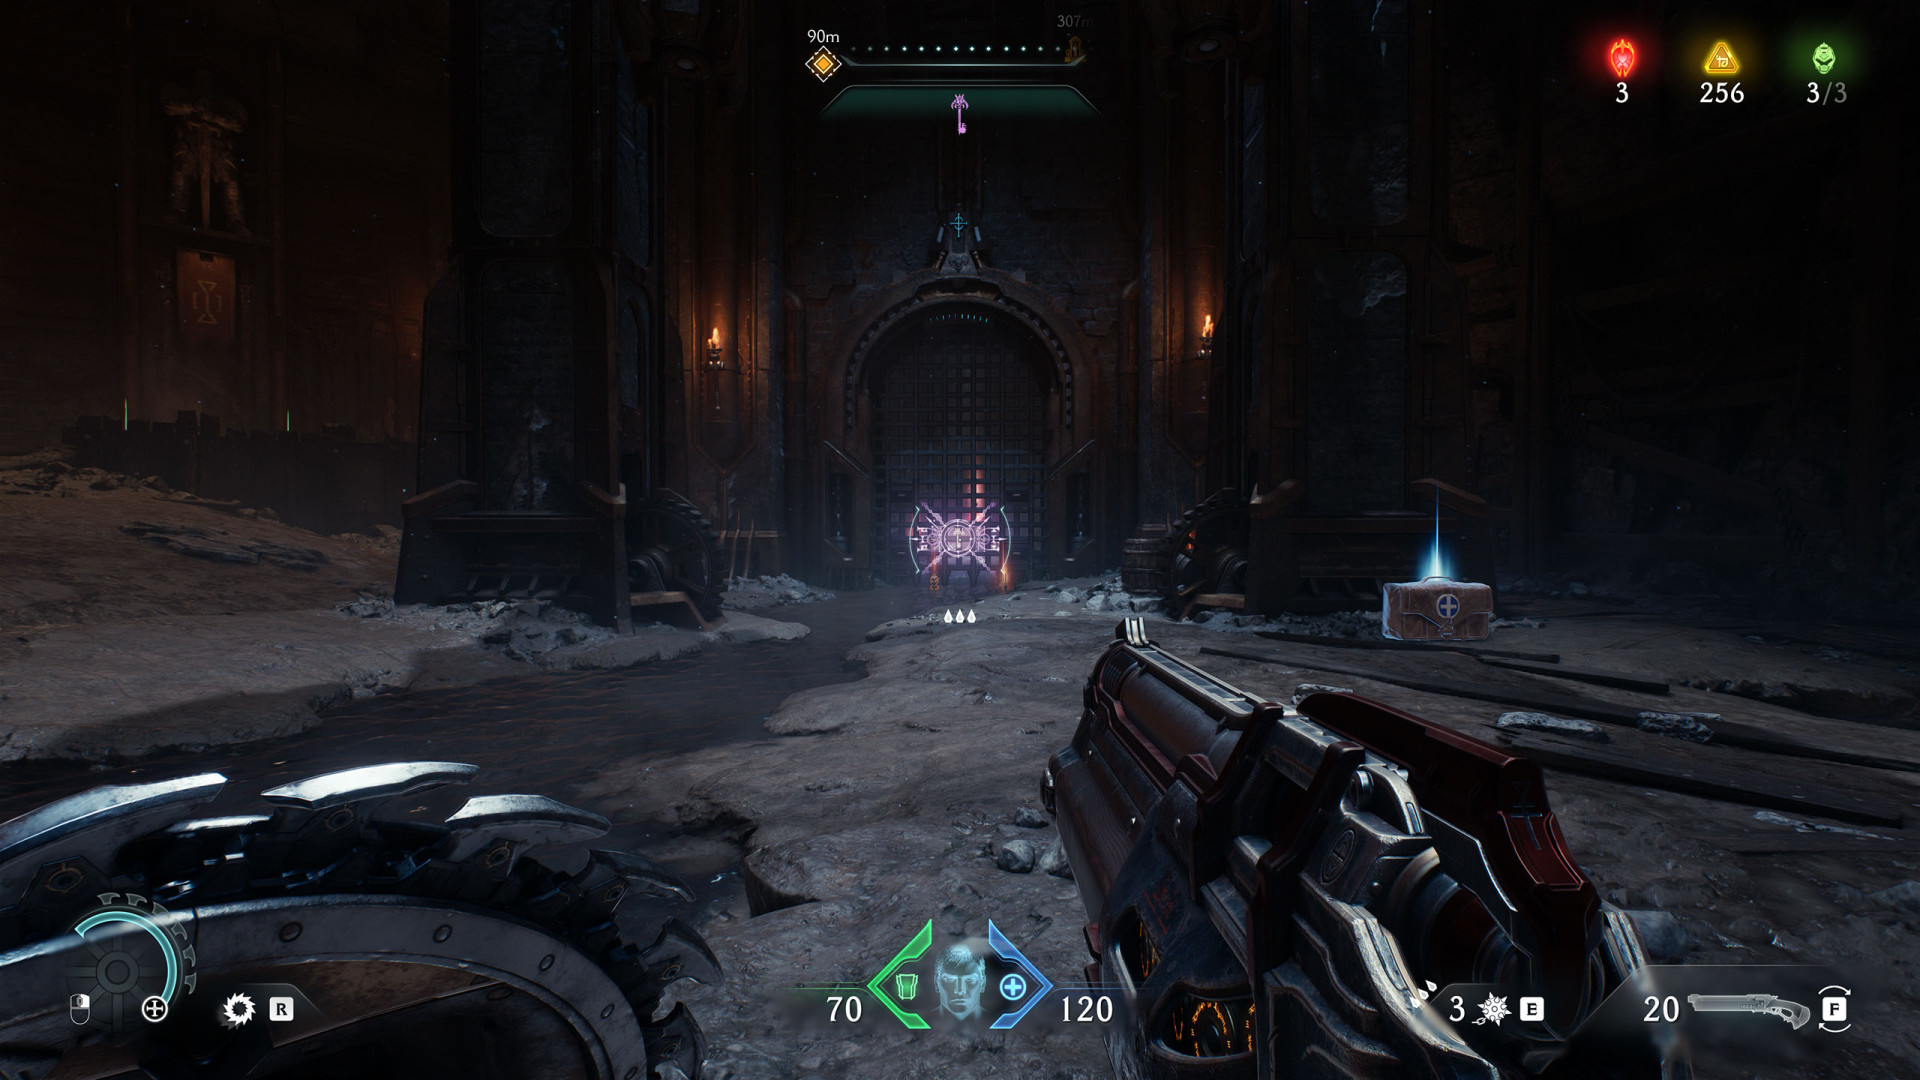
4Locked Gate (Story)
To open this gate, you must kill four groups of enemies to destroy four demon portals: Small Encounter (Village of Khalim #4), Small Encounter (Village of Khalim #5), Small Encounter (Village of Khalim #6), and Small Encounter (Village of Khalim #7).
Locations on Hebeth
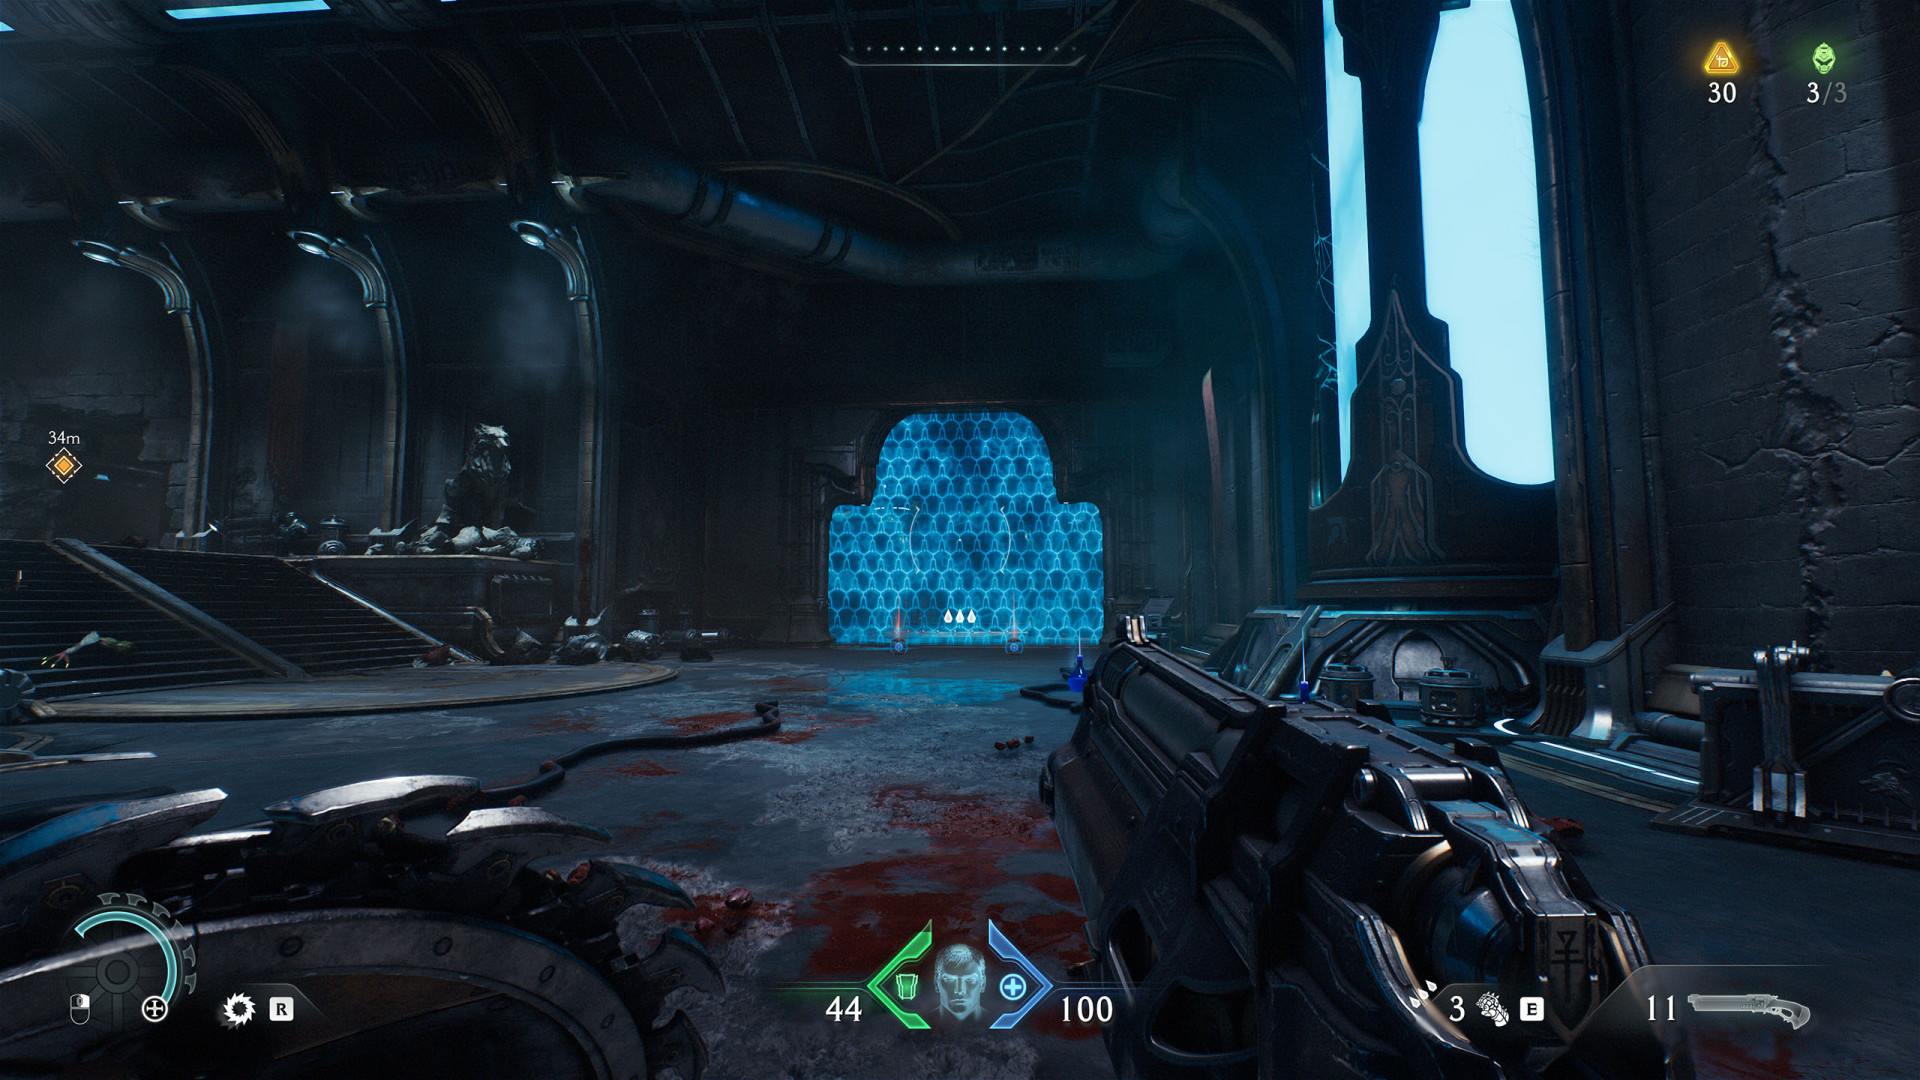
5Force Field (Story)
This passage will unlock once you collect the Accelerator.
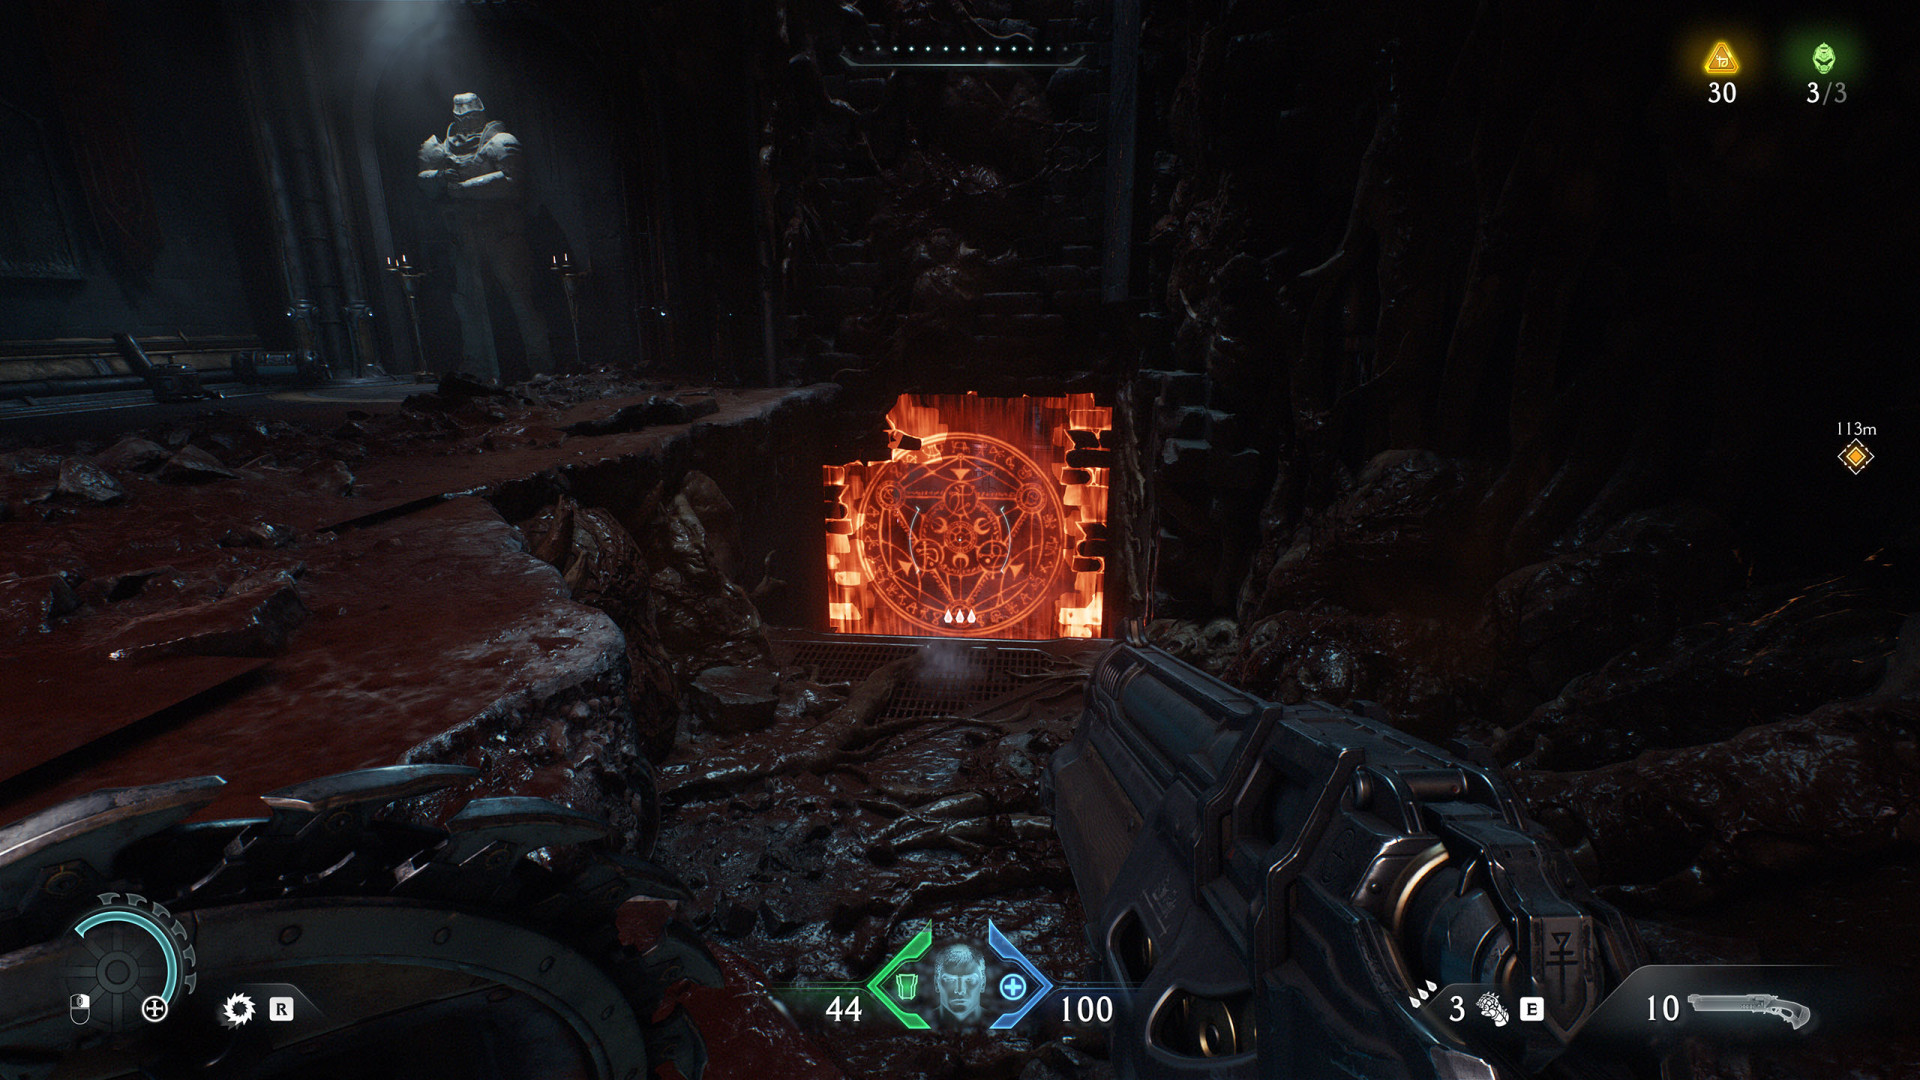
6Force Field (Story)
This passage will unlock once you collect the Accelerator.
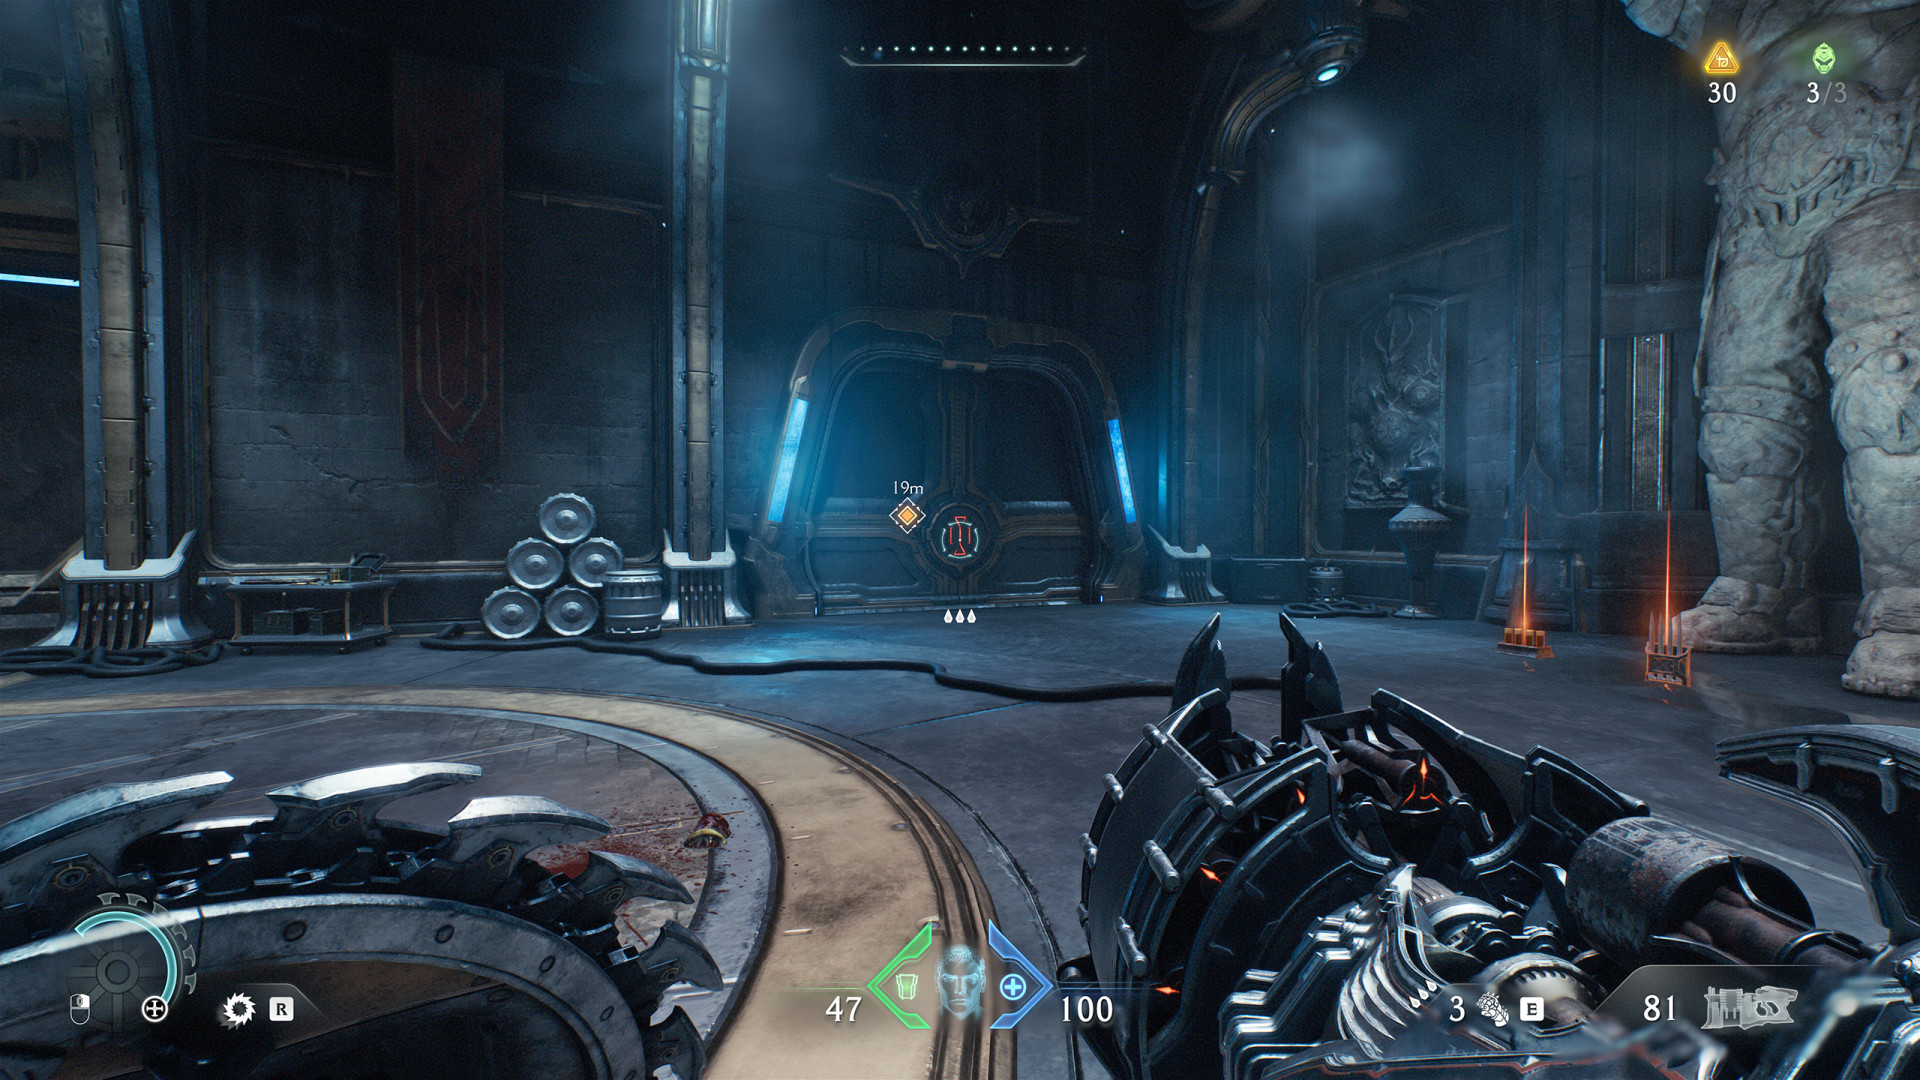
7Locked Door (Story)
They will be automatically unlocked after collecting the Blue Keycard (Hebeth) and defeating the Small Encounter (Hebeth #2).
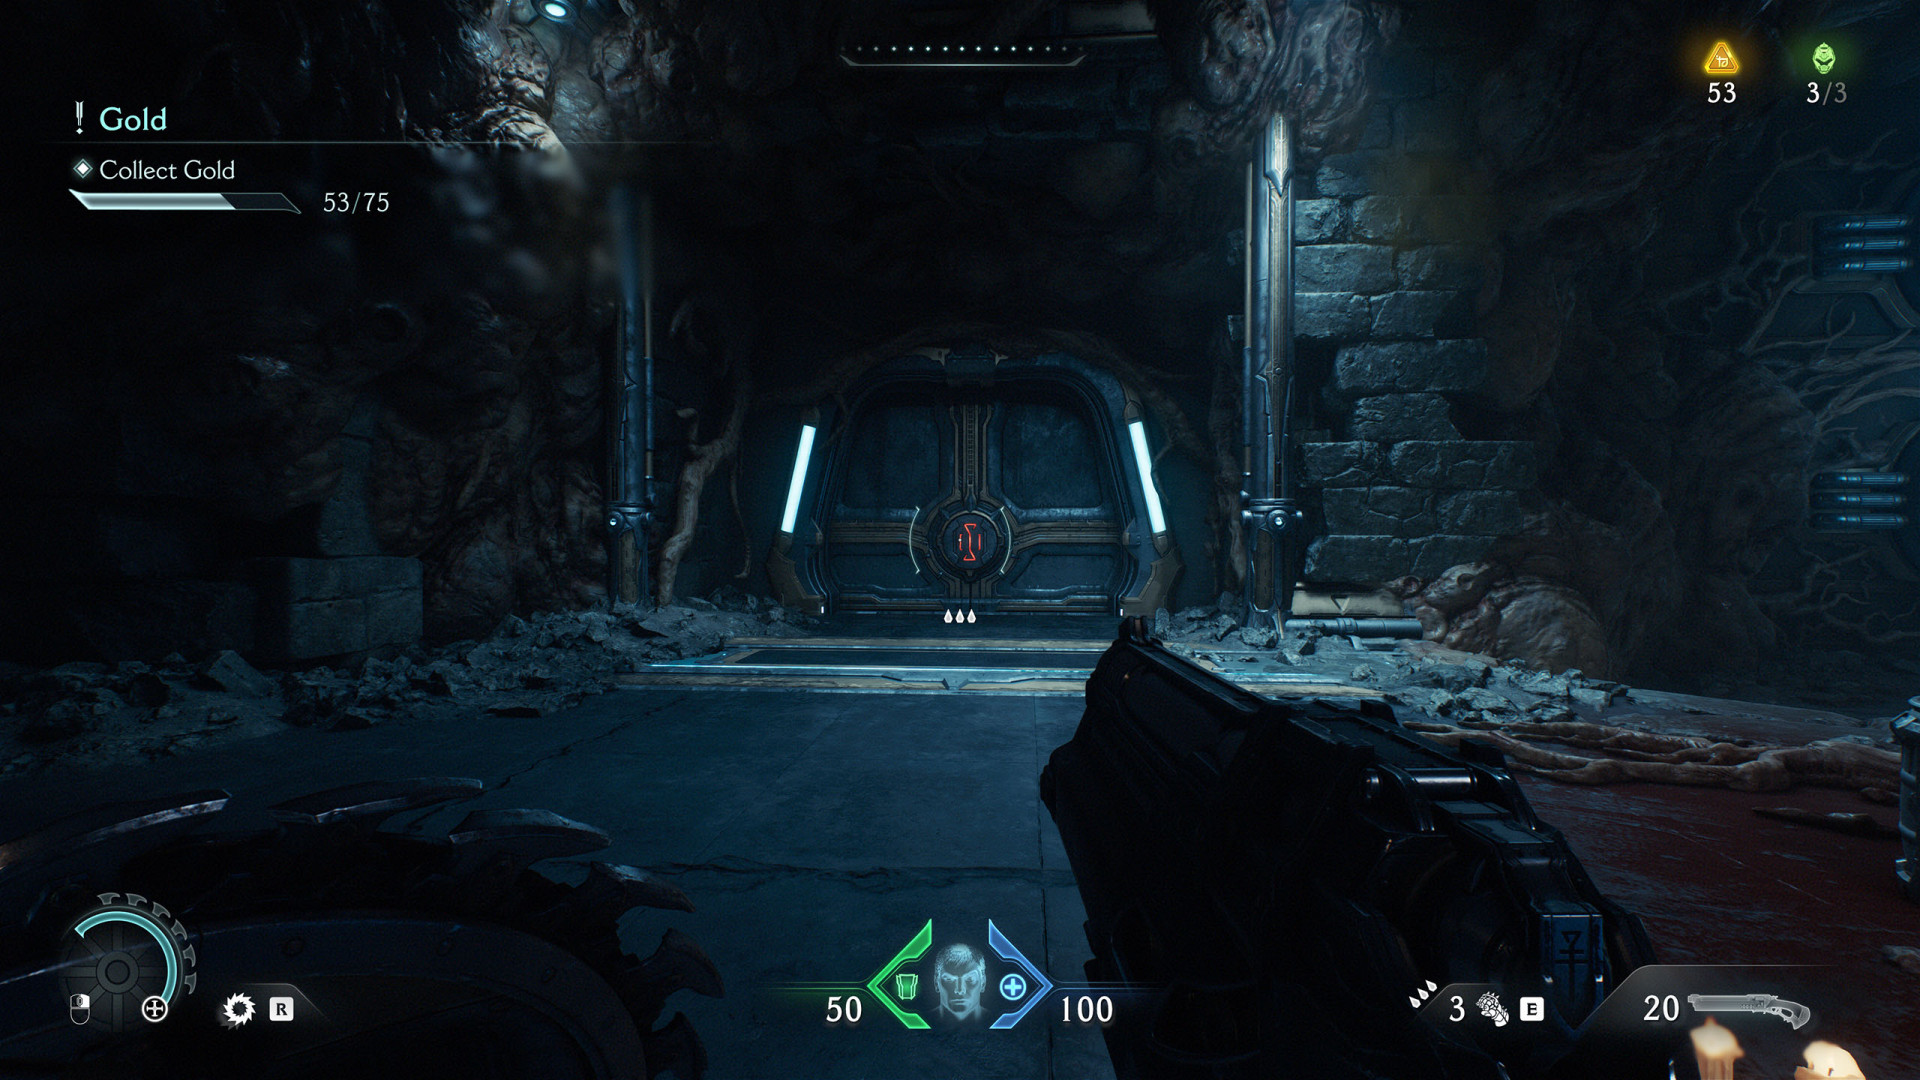
8Locked Gate
The gate will be unlocked when you collect 75 gold and make your first upgrade in the Sentinel Shrine (Hebeth #1).
9Locked Gate (Blue Keycard)
Key required: Blue Keycard (Hebeth).

Locations on The Holy City of Aratum
10Locked Gate (Blue Keycard)
Key required: Blue Keycard (The Holy City of Aratum).
11Locked Gate (Red Keycard)
Key required: Red Keycard (The Holy City of Aratum).
Locations on Siege - Part 1
12Locked Door (Secret Key)
Key required: Secret Key (Siege - Part 1).
13Locked Gate (Secret Key)
Key required: Secret Key (Siege - Part 1).
14Locked Gate (Secret Key)
Key required: Secret Key (Siege - Part 1).
Locations on Siege - Part 2
15Locked Gate (Secret Key)
Key required: Secret Key (Siege - Part 2).
16Locked Gate (Secret Key)
Key required: Secret Key (Siege - Part 2).
Locations on Abyssal Forest
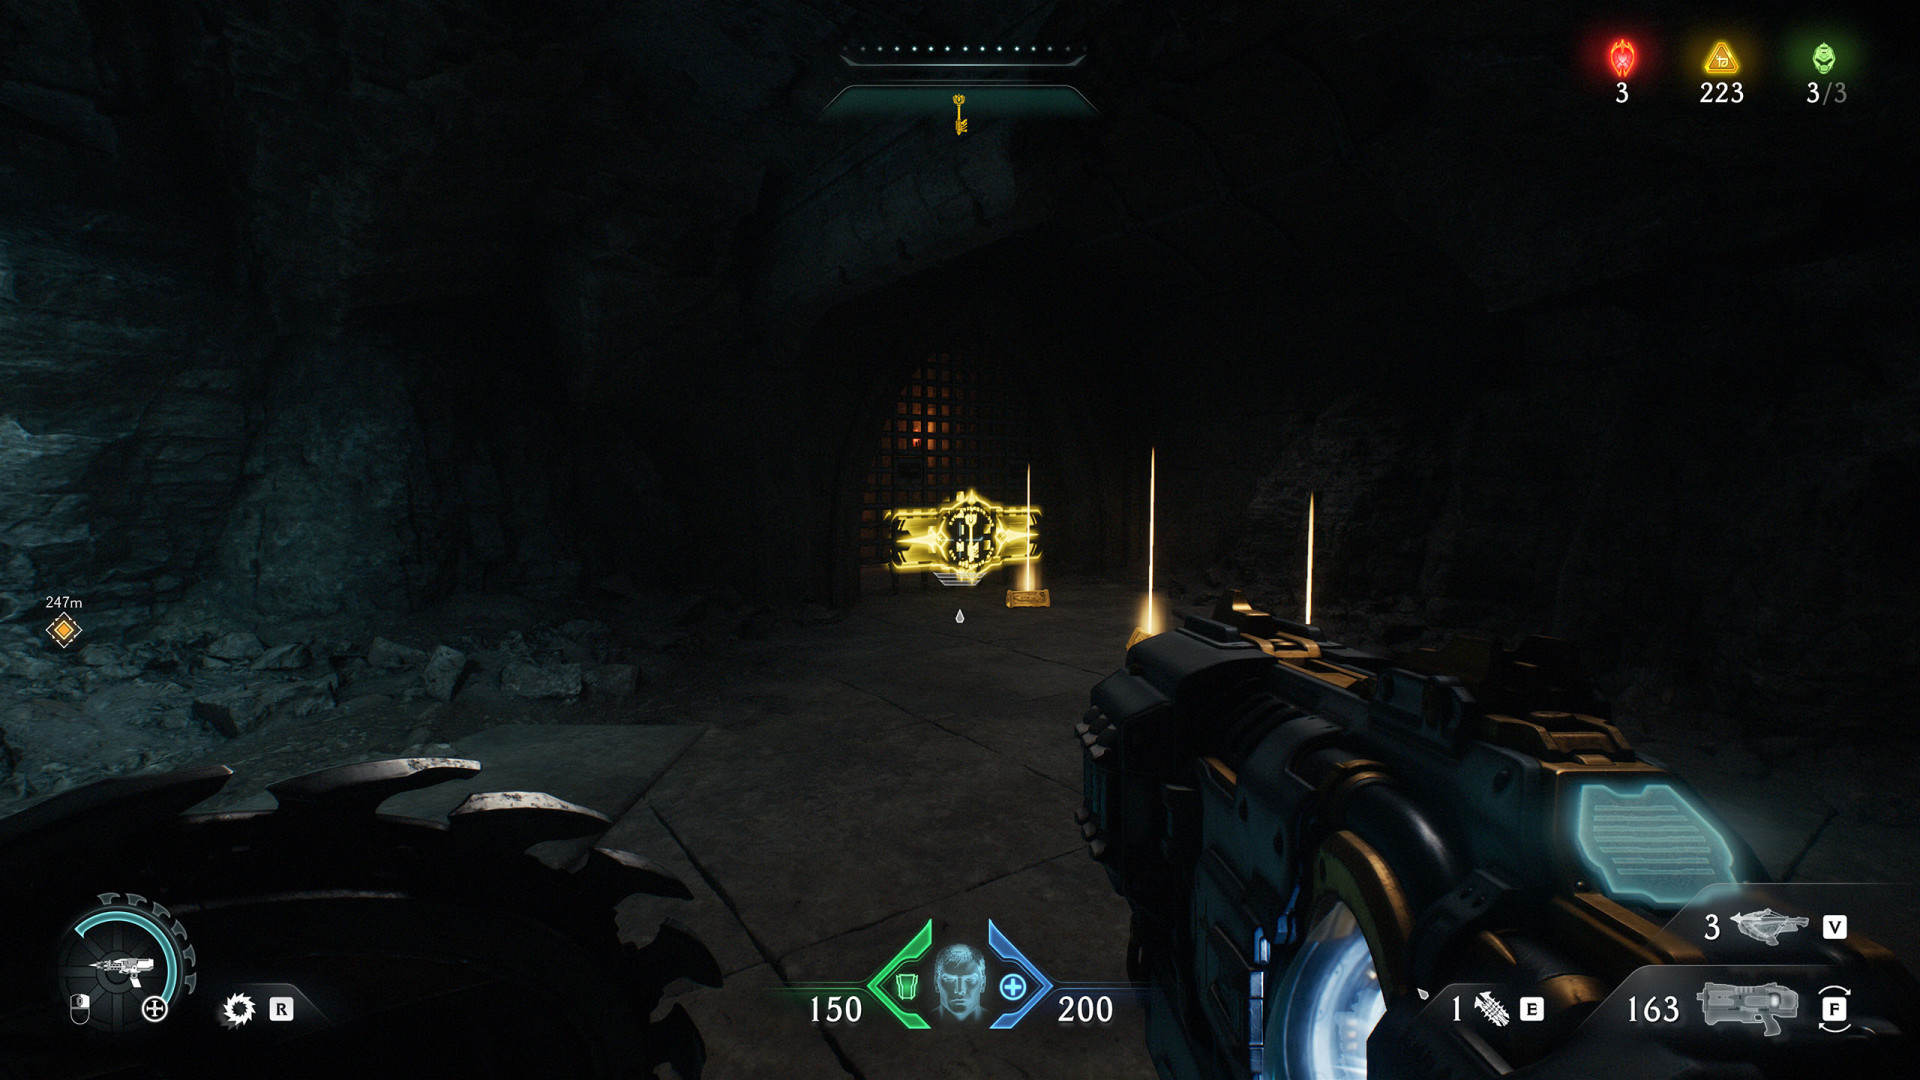
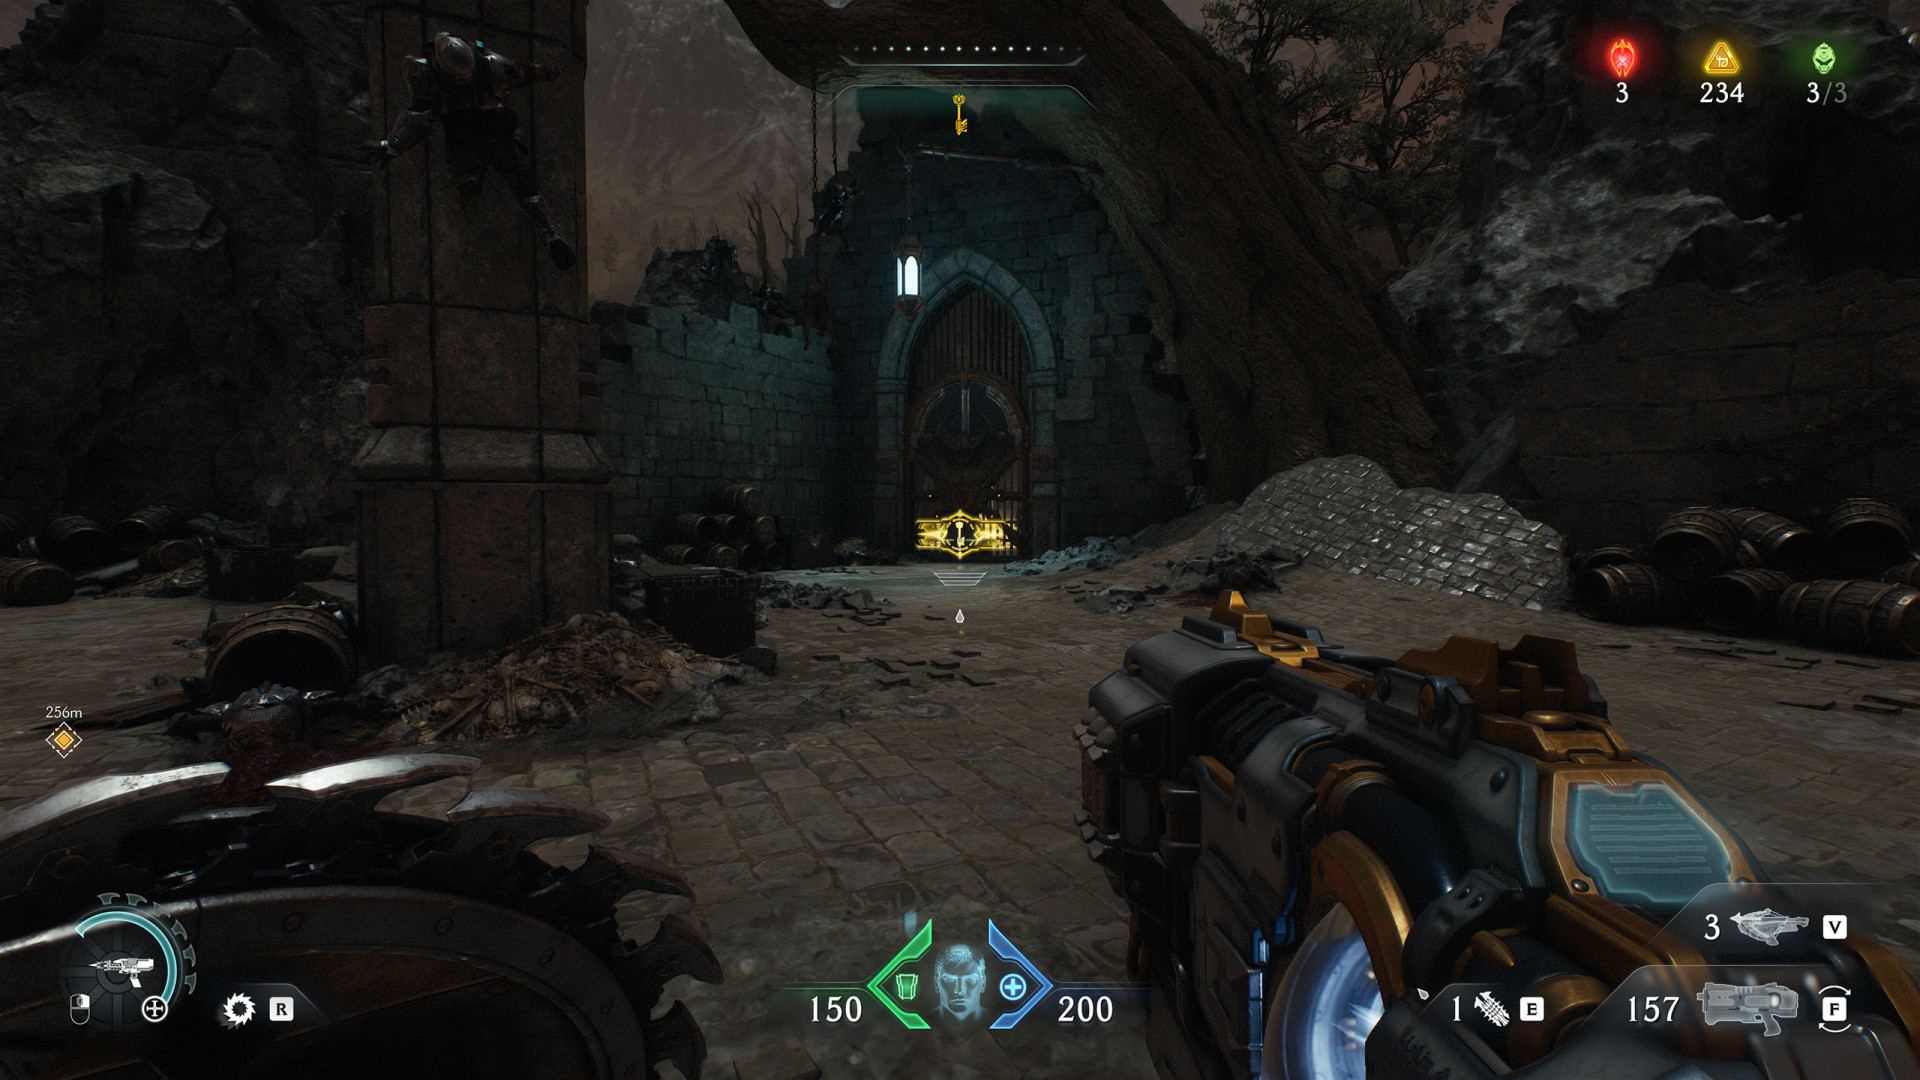
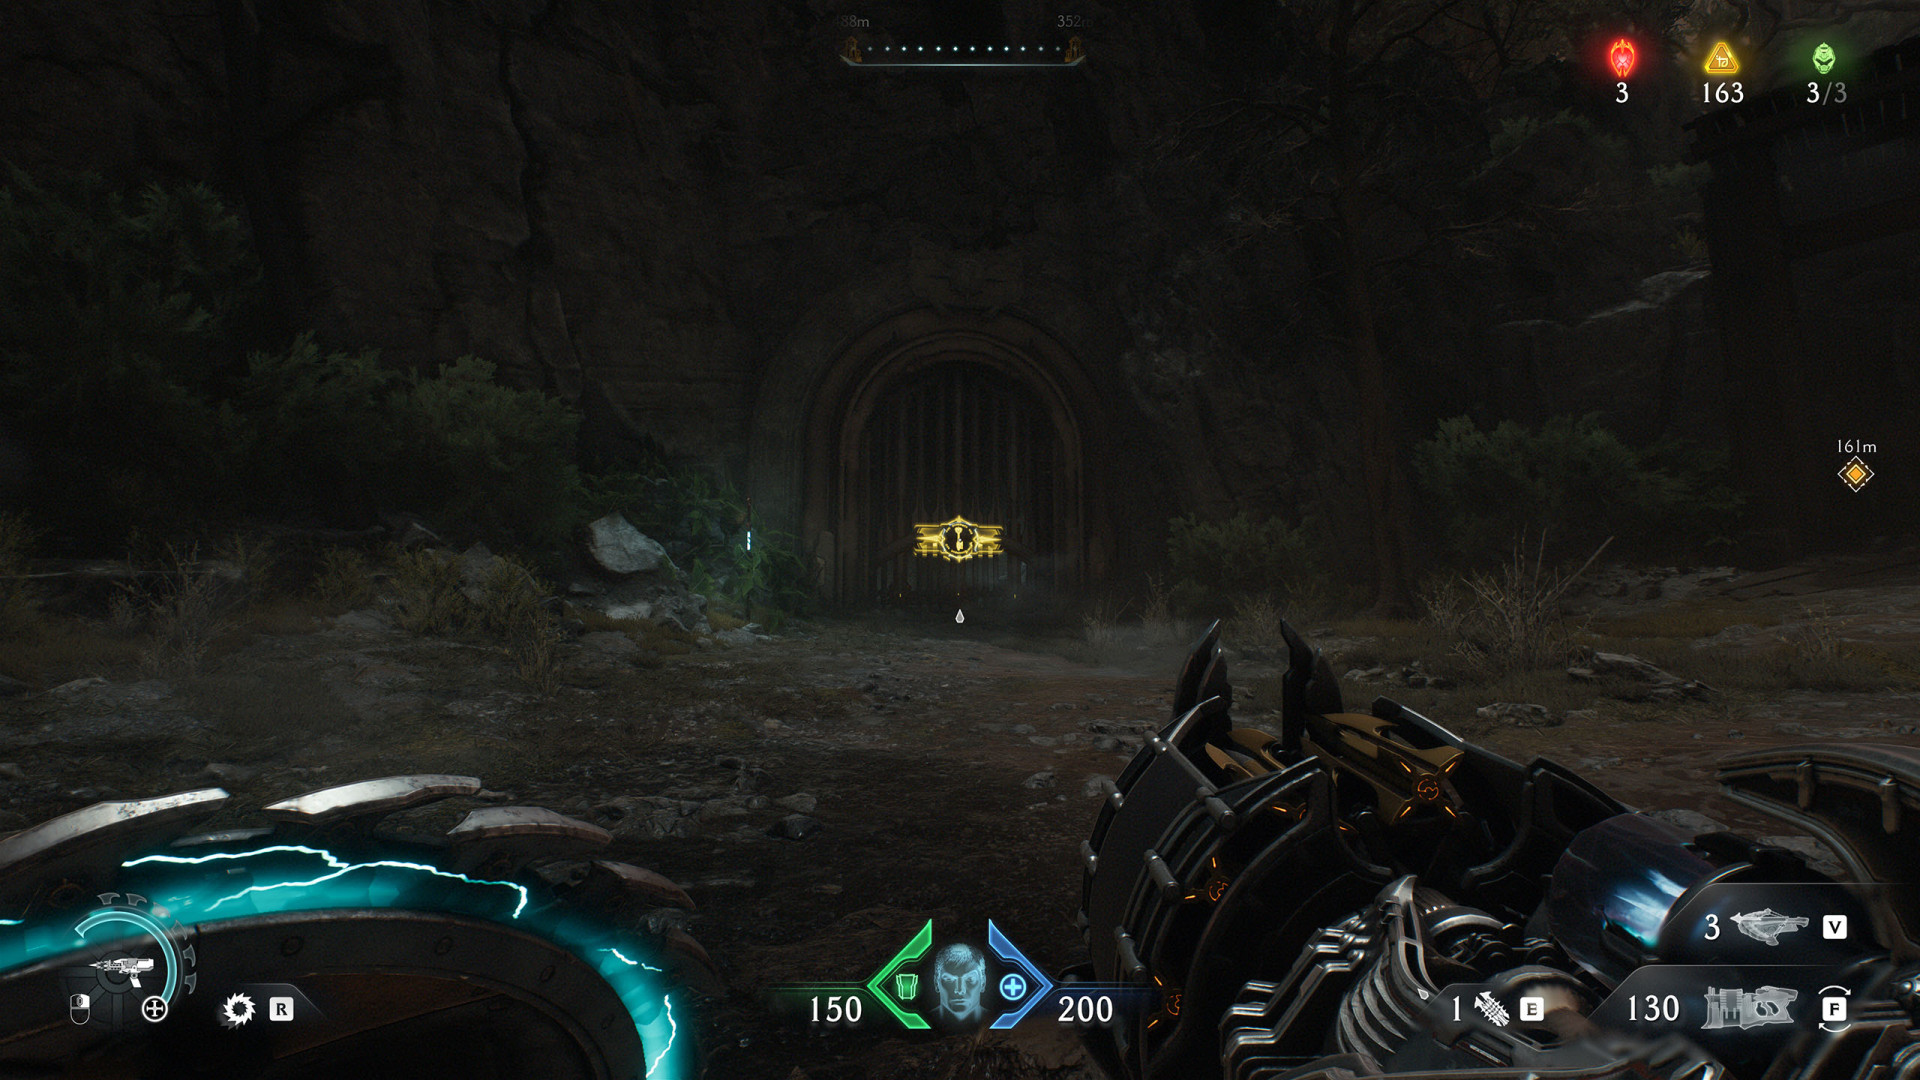
17Locked Door (Yellow Key)
Key required: Yellow Key (Abyssal Forest).
Locations on Ancestral Forge
18Locked Gate (Secret Key)
Key required: Secret Key (Ancestral Forge).
19Locked Gate (Secret Key)
Key required: Secret Key (Ancestral Forge).
20Locked Gate (Secret Key)
Key required: Secret Key (Ancestral Forge).
21Locked Gate (Story)
Activate the Ancestral Heart to unlock it.
Locations on The Forsaken Plains
22Locked Gate (Secret Key)
Key required: Secret Key (The Forsaken Plains).
23Locked Gate (Secret Key)
Key required: Secret Key (The Forsaken Plains).
24Locked Gate (Secret Key)
Key required: Secret Key (The Forsaken Plains).

Locations on Sentinel Command Station
25Locked Door (Yellow Keycard)
Key required: Yellow Keycard (Sentinel Command Station).
26Locked Door (Yellow Keycard)
Key required: Yellow Keycard (Sentinel Command Station).
27Locked Gate (Secret Key)
Key required: Secret Key (Sentinel Command Station). You must open this door to complete the "Skeleton Key" mission challenge.

28Locked Gate (Secret Key)
Key required: Secret Key (Sentinel Command Station). You must open this door to complete the "Skeleton Key" mission challenge.

29Locked Gate (Story)
To open this gate interact with the Switch (Sentinel Command Station #5).
Locations on Temple of Lomarith
30Locked Gate (Secret Key)
Key required: Secret Key (Temple of Lomarith).

Locations on Harbor of Souls
31Elevator (Blue Skull)
Key required: Blue Skull (Harbor of Souls).
32Locked Gate (Blue Skull)
Key required: Blue Skull (Harbor of Souls).
33Locked Gate (Red Skull)
Key required: Red Skull (Harbor of Souls).
34Locked Gate (Red Skull)
Key required: Red Skull (Harbor of Souls).
Locations on Resurrection
35Locked Gate (Blue Key)
Key required: Blue Key (Resurrection).
36Locked Gate (Blue Key)
Key required: Blue Key (Resurrection).
37Locked Gate (Blue Key)
Key required: Blue Key (Resurrection).
38Locked Gate (Yellow Key)
Key required: Yellow Key (Resurrection).
39Locked Gate (Yellow Key)
Key required: Yellow Key (Resurrection).
40Locked Gate (Yellow Key)
Key required: Yellow Key (Resurrection).
Locations on Reckoning
41Locked Gate (Blue Skull)
42Locked Gate (Blue Skull)
Key required: Blue Skull (Reckoning).
43Locked Gate (Secret Key)
Key required: Secret Key (Reckoning).

44Locked Gate (Secret Key)
Key required: Secret Key (Reckoning).
45Locked Gate (Secret Key)
Key required: Secret Key (Reckoning).

46Locked Gate (Secret Key)
Key required: Secret Key (Reckoning).
47Locked Gate (Secret Key)
Key required: Secret Key (Reckoning).

48Locked Gate (Secret Key)
Key required: Secret Key (Reckoning).
49Locked Gate (Secret Key)
Key required: Secret Key (Reckoning).
50Locked Gate (Secret Key)
On the lower level, you will reach this place after defeating the Large Encounter (Reckoning #1). Key required: Secret Key (Reckoning).
51Locked Gate (Story)
52Locked Gate (Story)
