The remaining locations marked on the Doom: The Dark Ages maps, not classified in the other categories.
Other
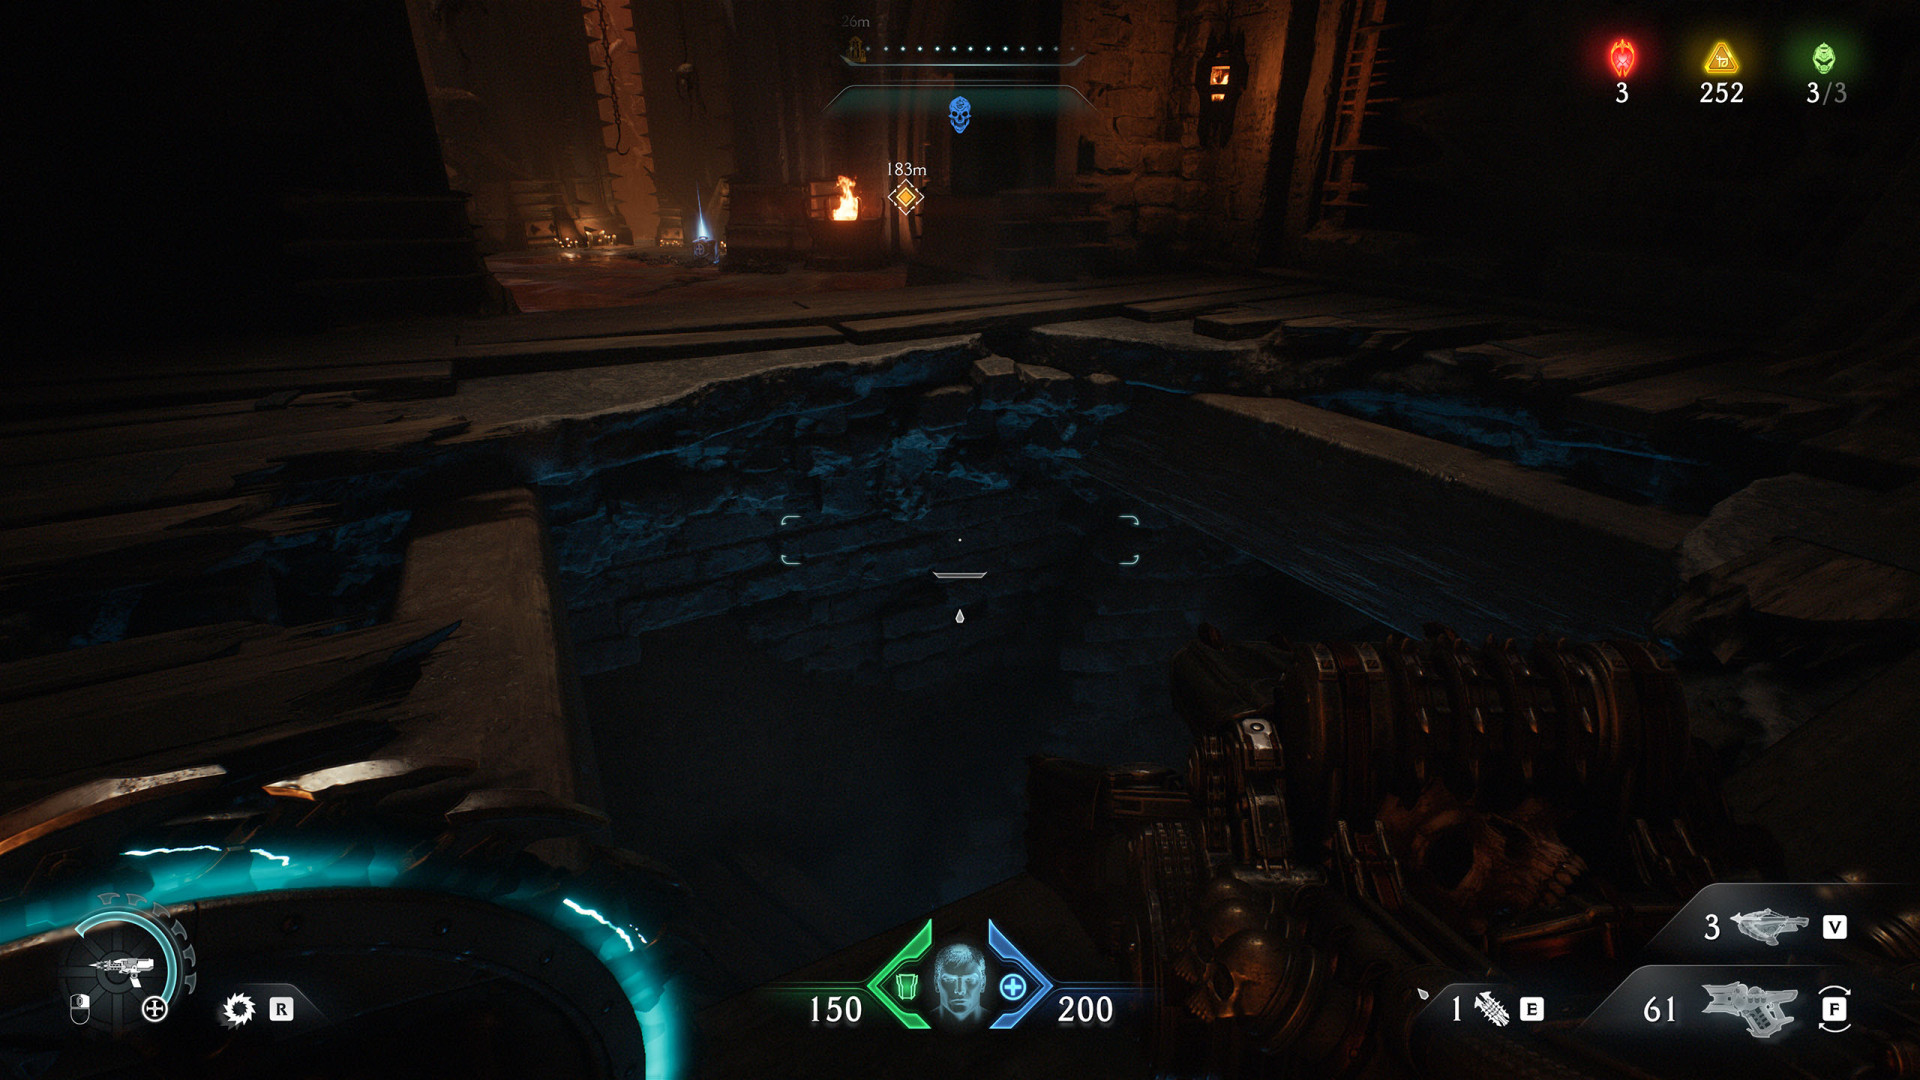
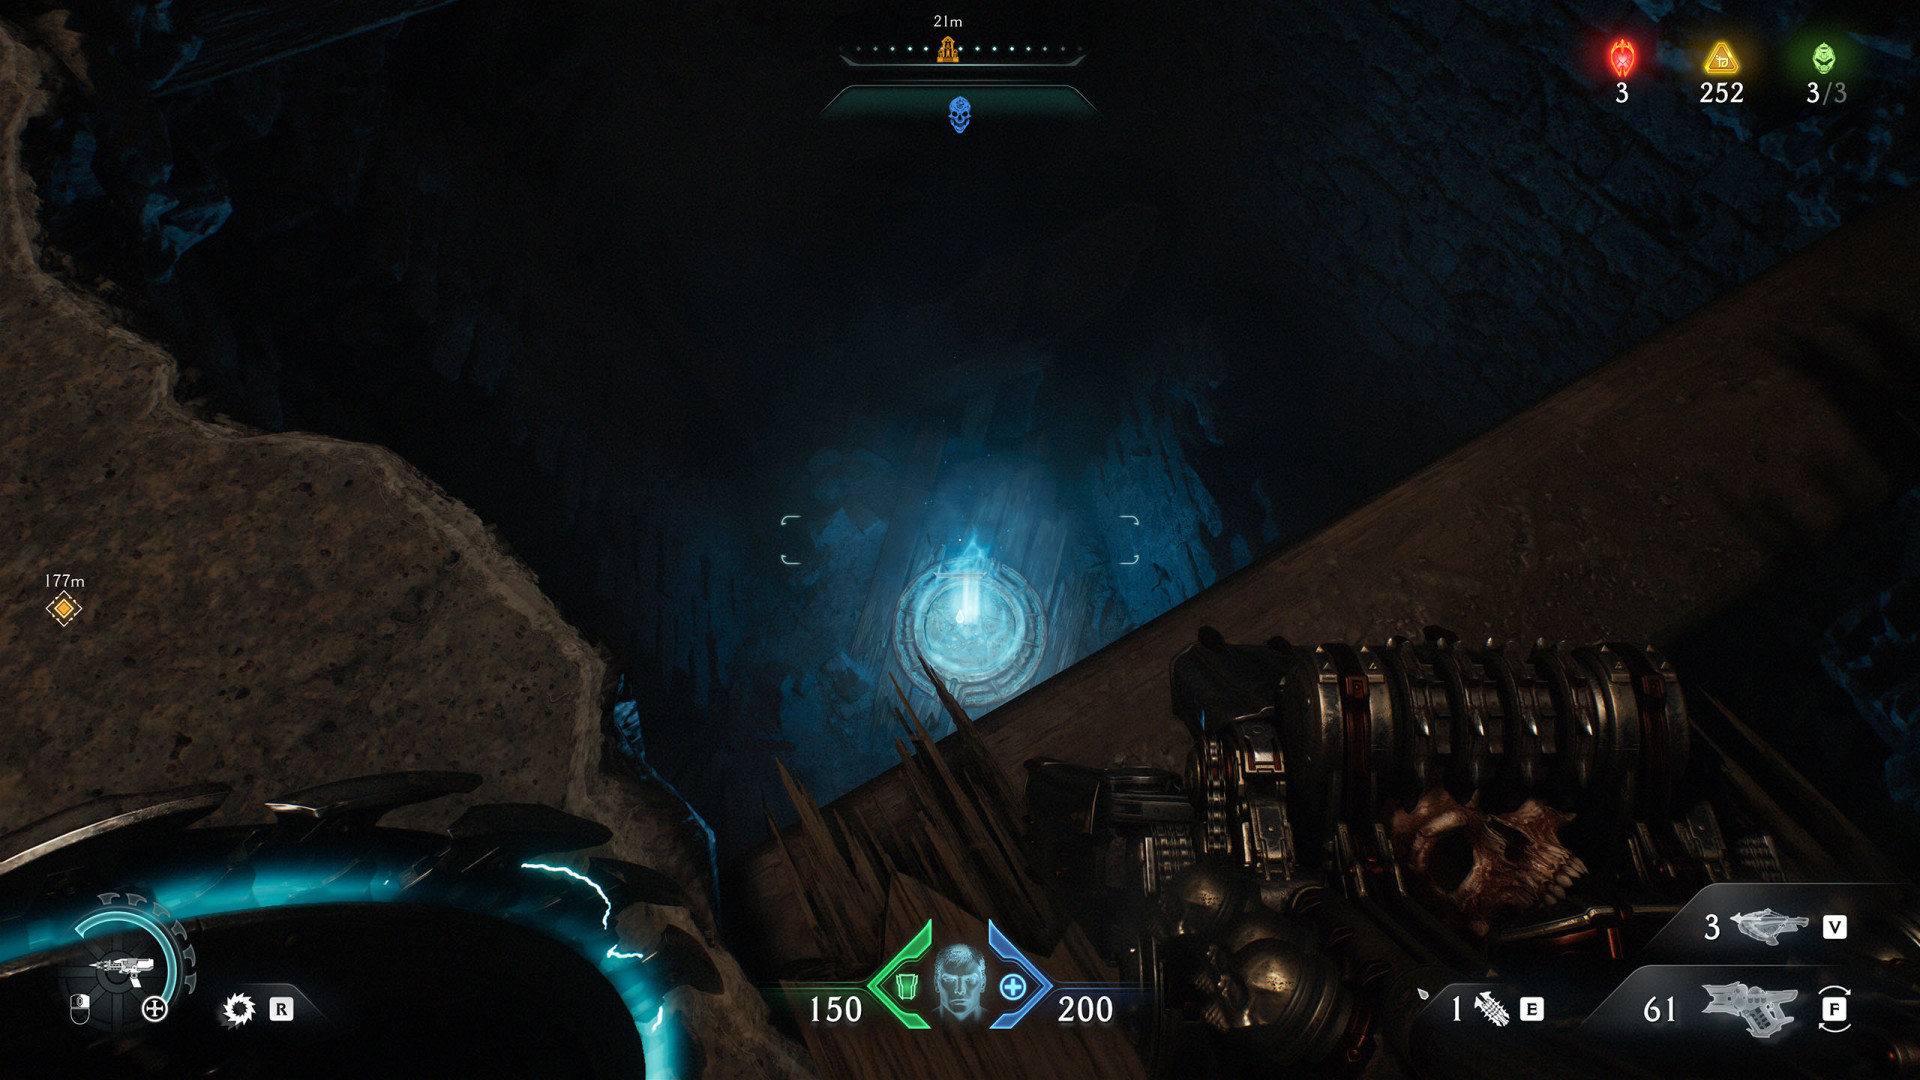
Locations on Barrier Core
1 Power Core
When you pick up the core, the blue force field will disappear and you will be able to move on.
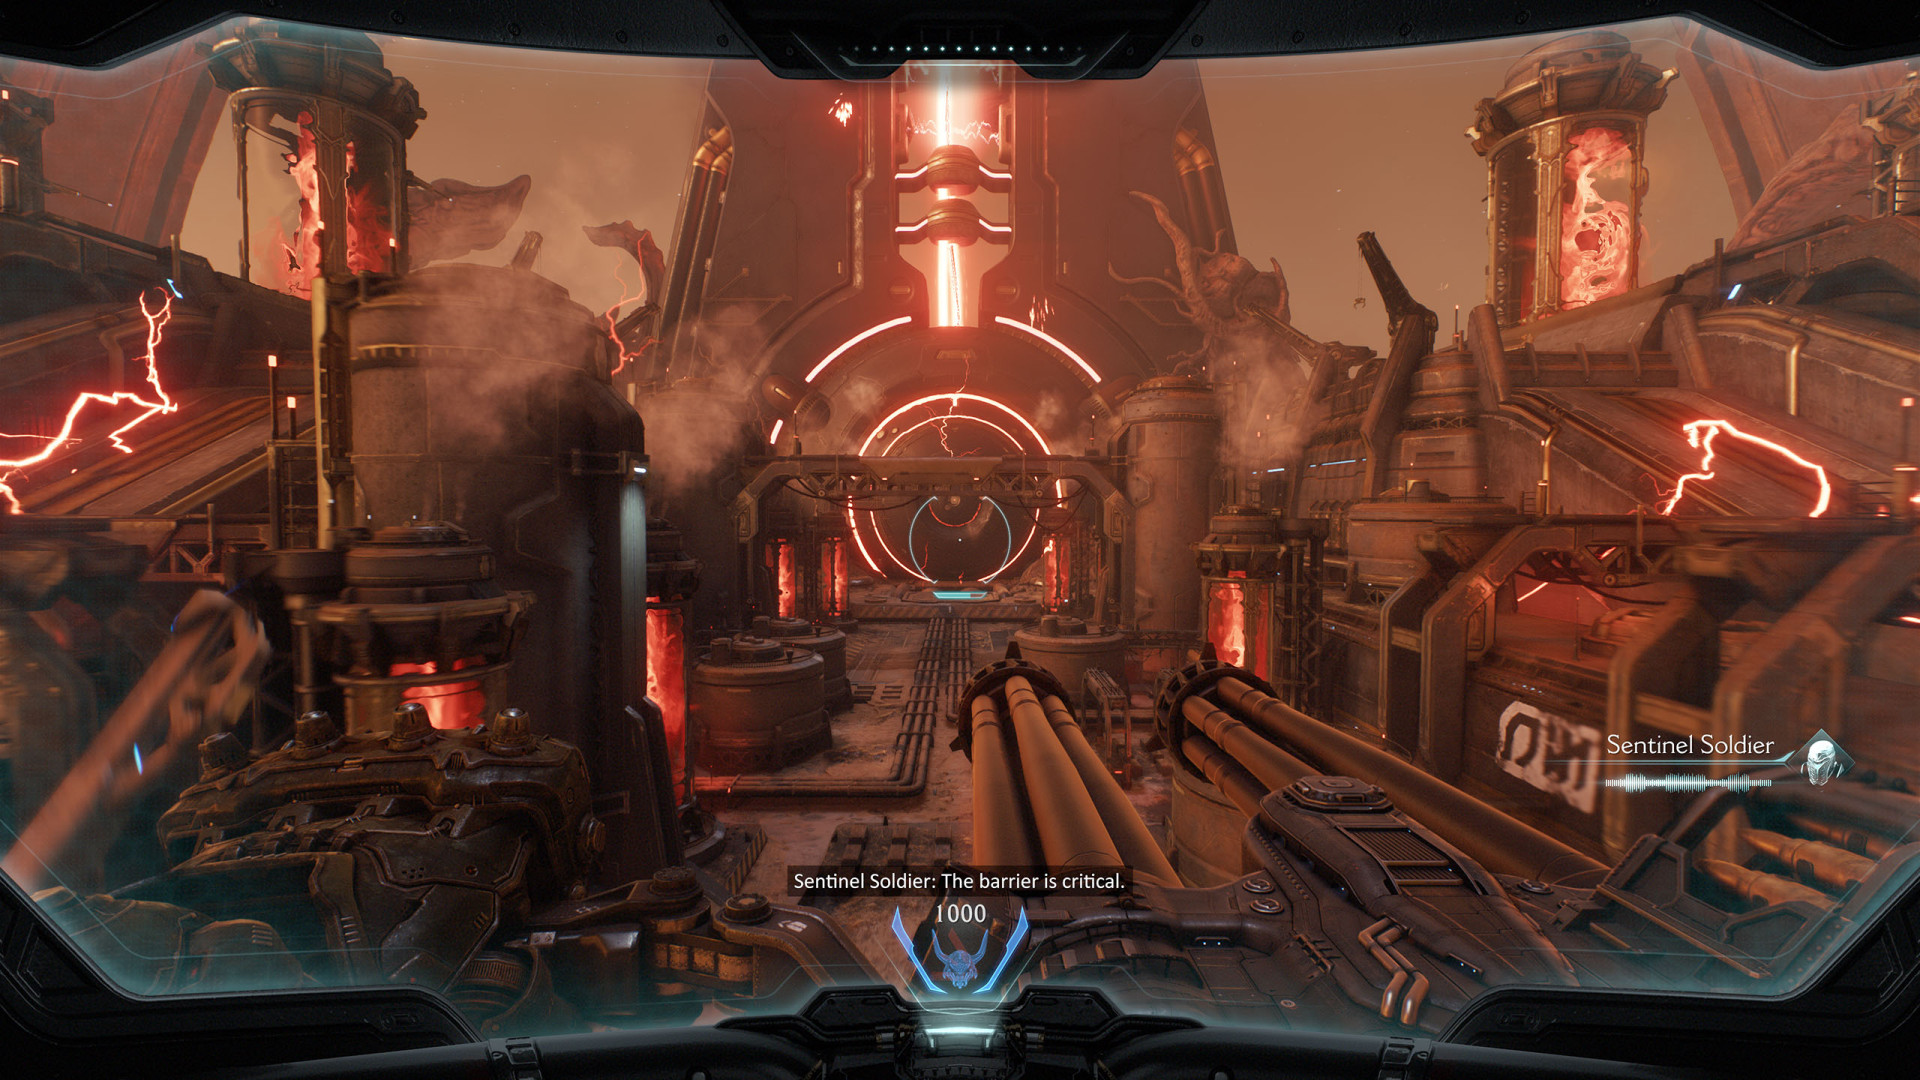
Locations on Sentinel Barracks
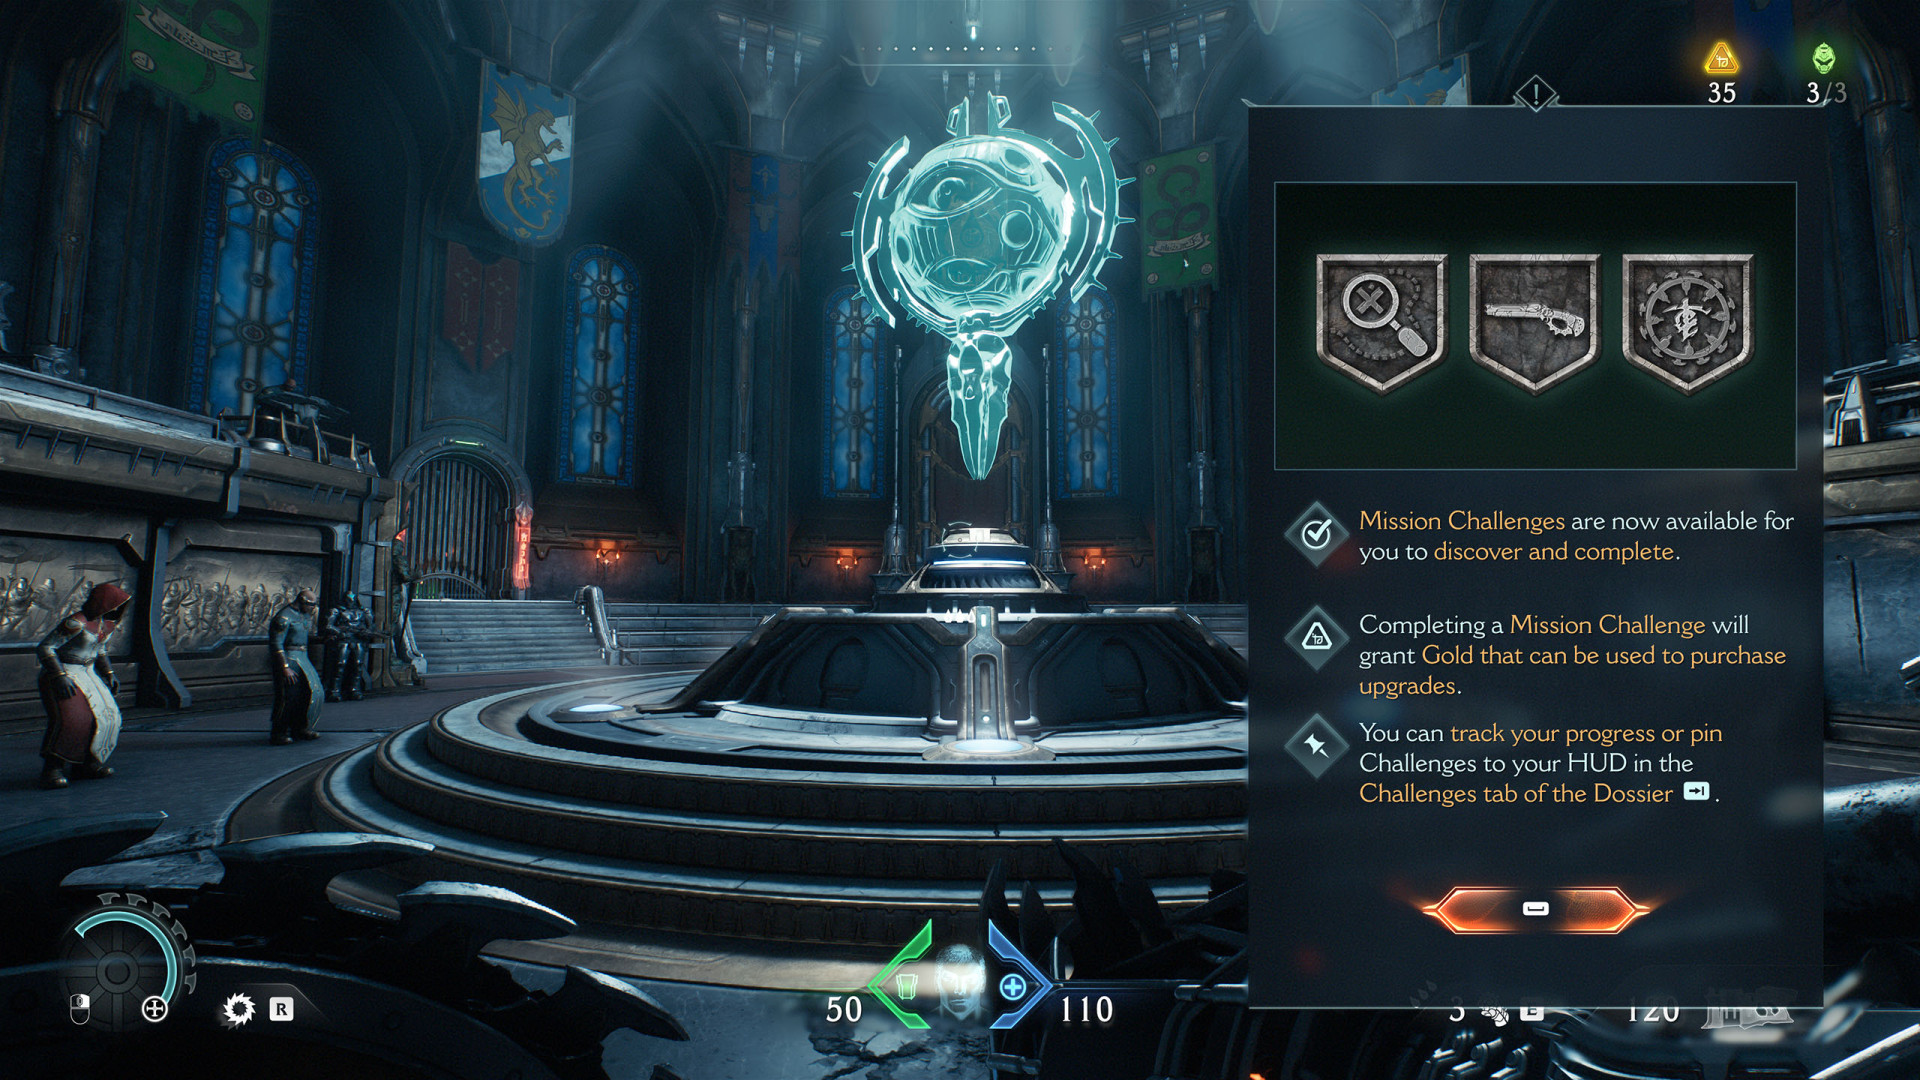
2Mission Challenges
When you reach this point, which will happen shortly after the start of Chapter 4, the mission challenges will be unlocked.
Locations on Siege - Part 1
3Artillery Cannon (Siege - Part 1 #1)
One of the four artillery cannons you must destroy to complete the "Siege Breaker" challenge.
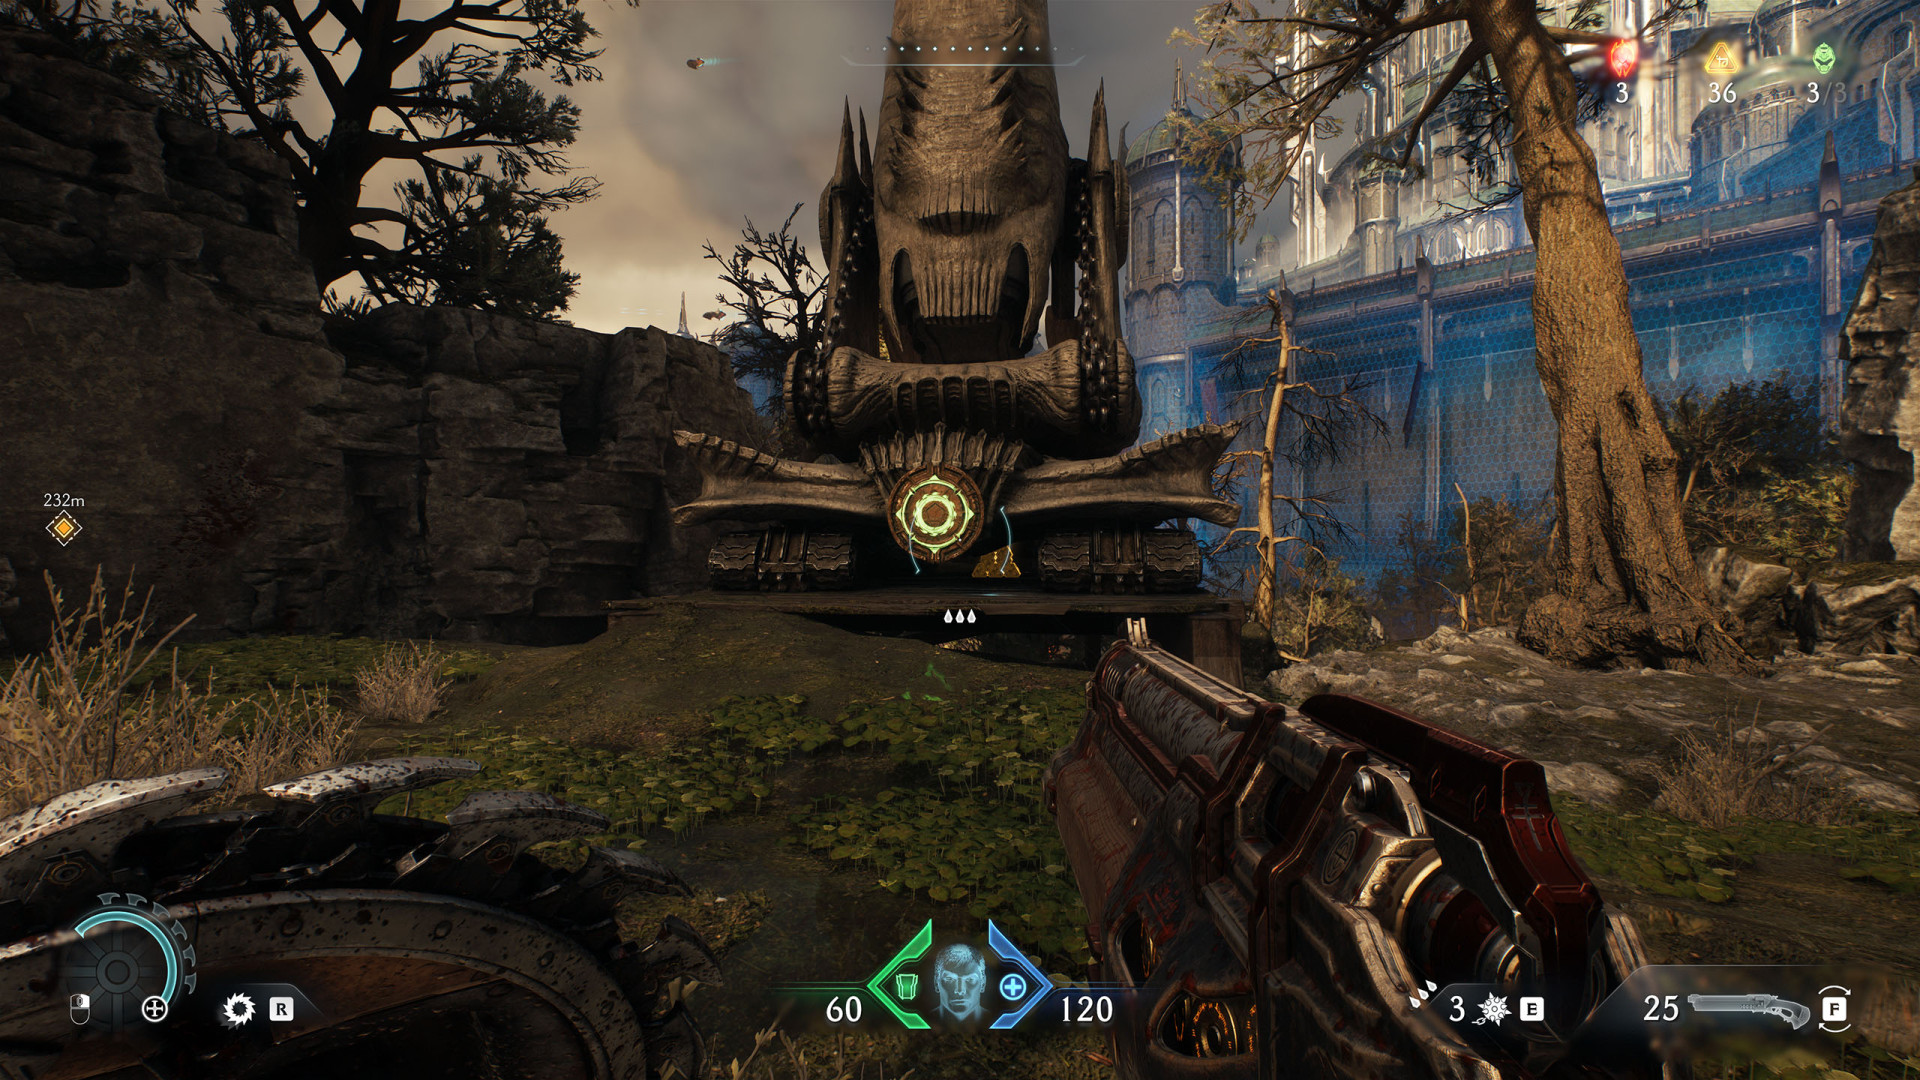
4Artillery Cannon (Siege - Part 1 #2)
One of the four artillery cannons you must destroy to complete the "Siege Breaker" challenge.
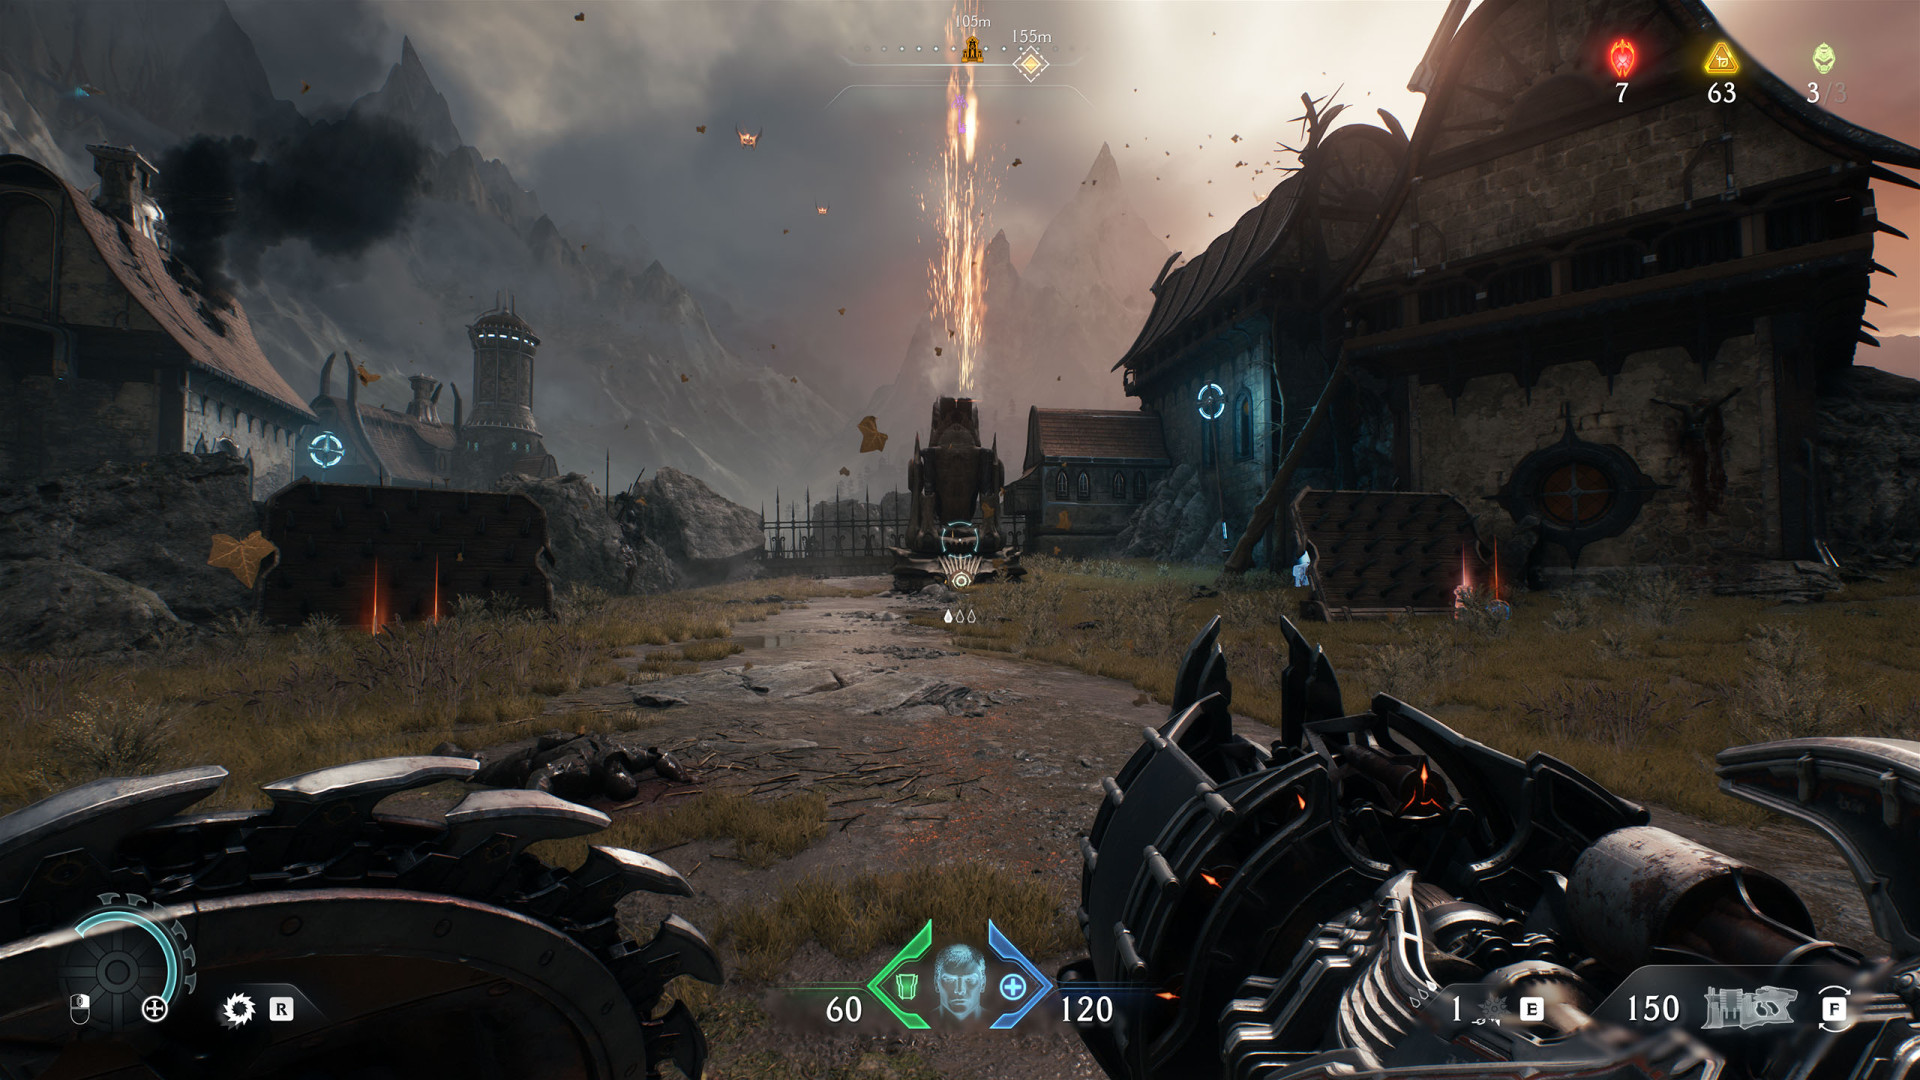
5Artillery Cannon (Siege - Part 1 #3)
One of the four artillery cannons you must destroy to complete the "Siege Breaker" challenge.
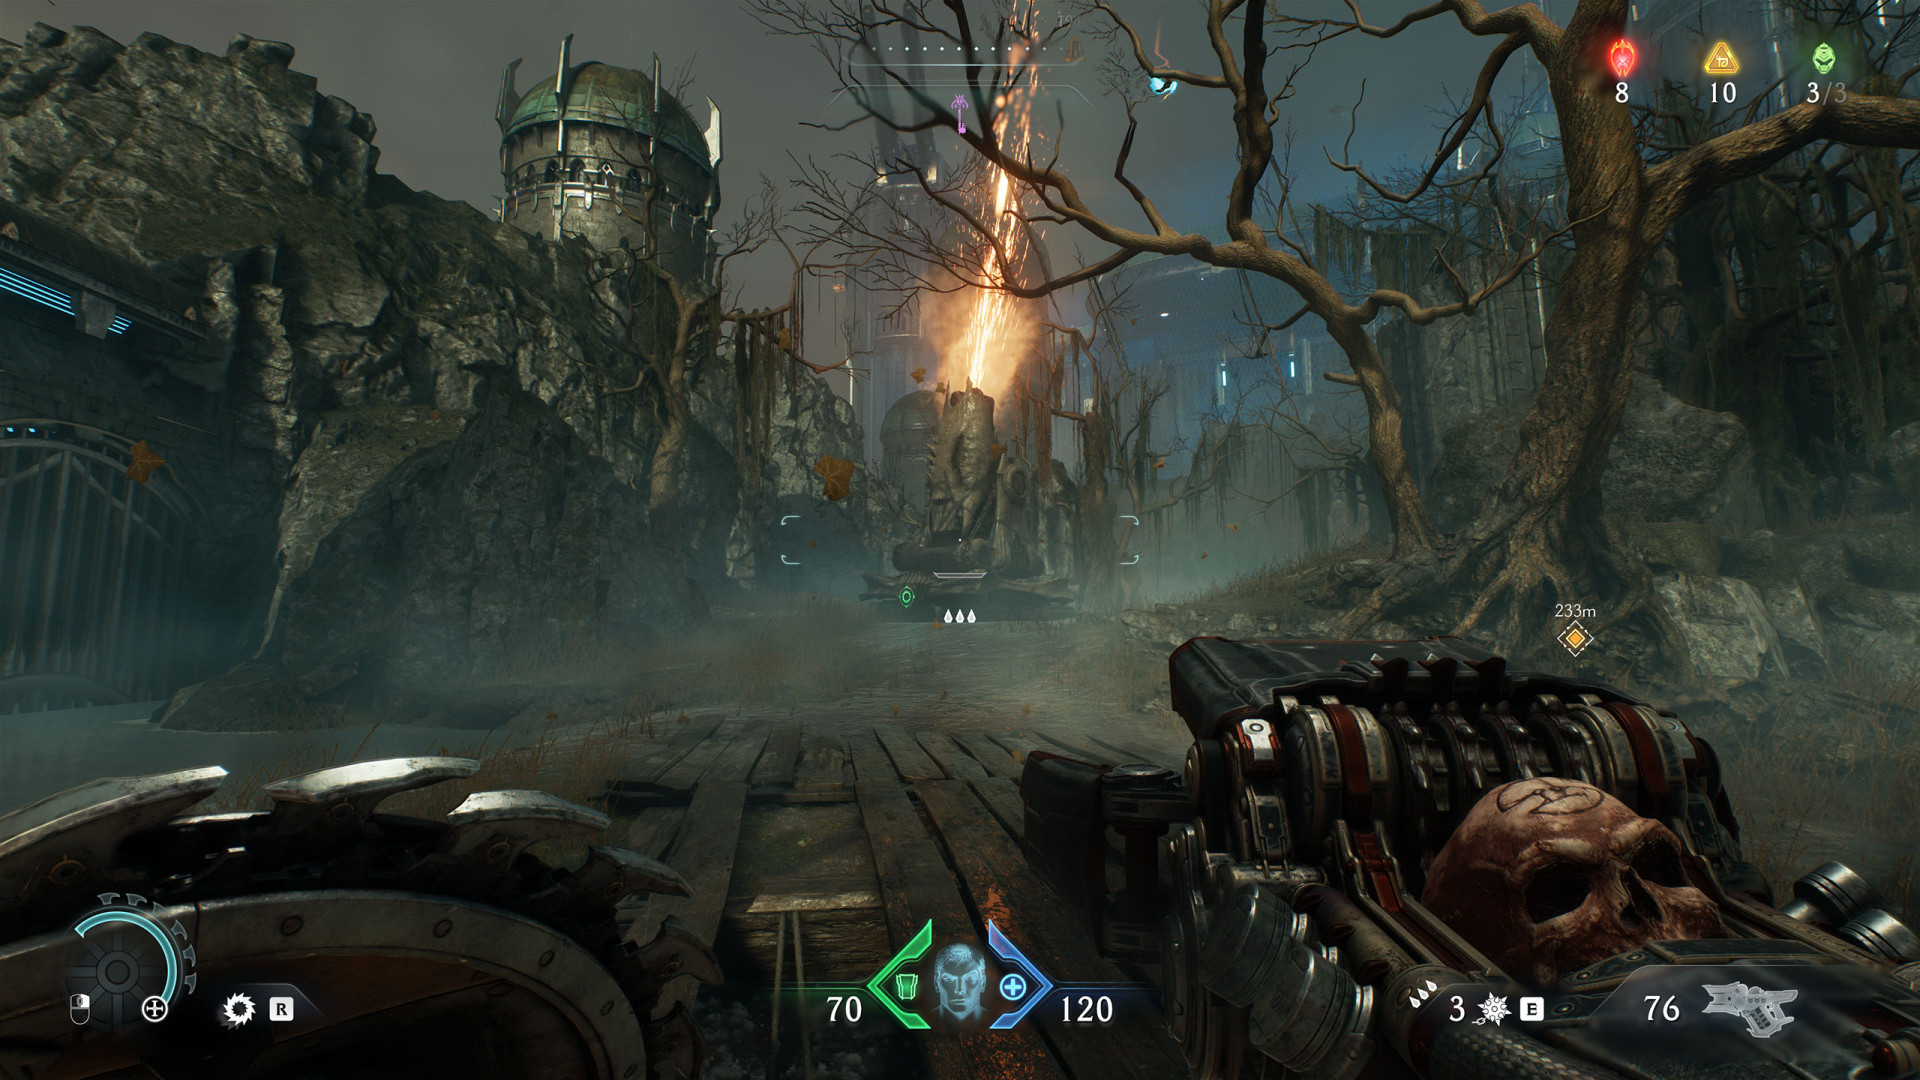
6Artillery Cannon (Siege - Part 1 #4)
One of the four artillery cannons you must destroy to complete the "Siege Breaker" challenge.
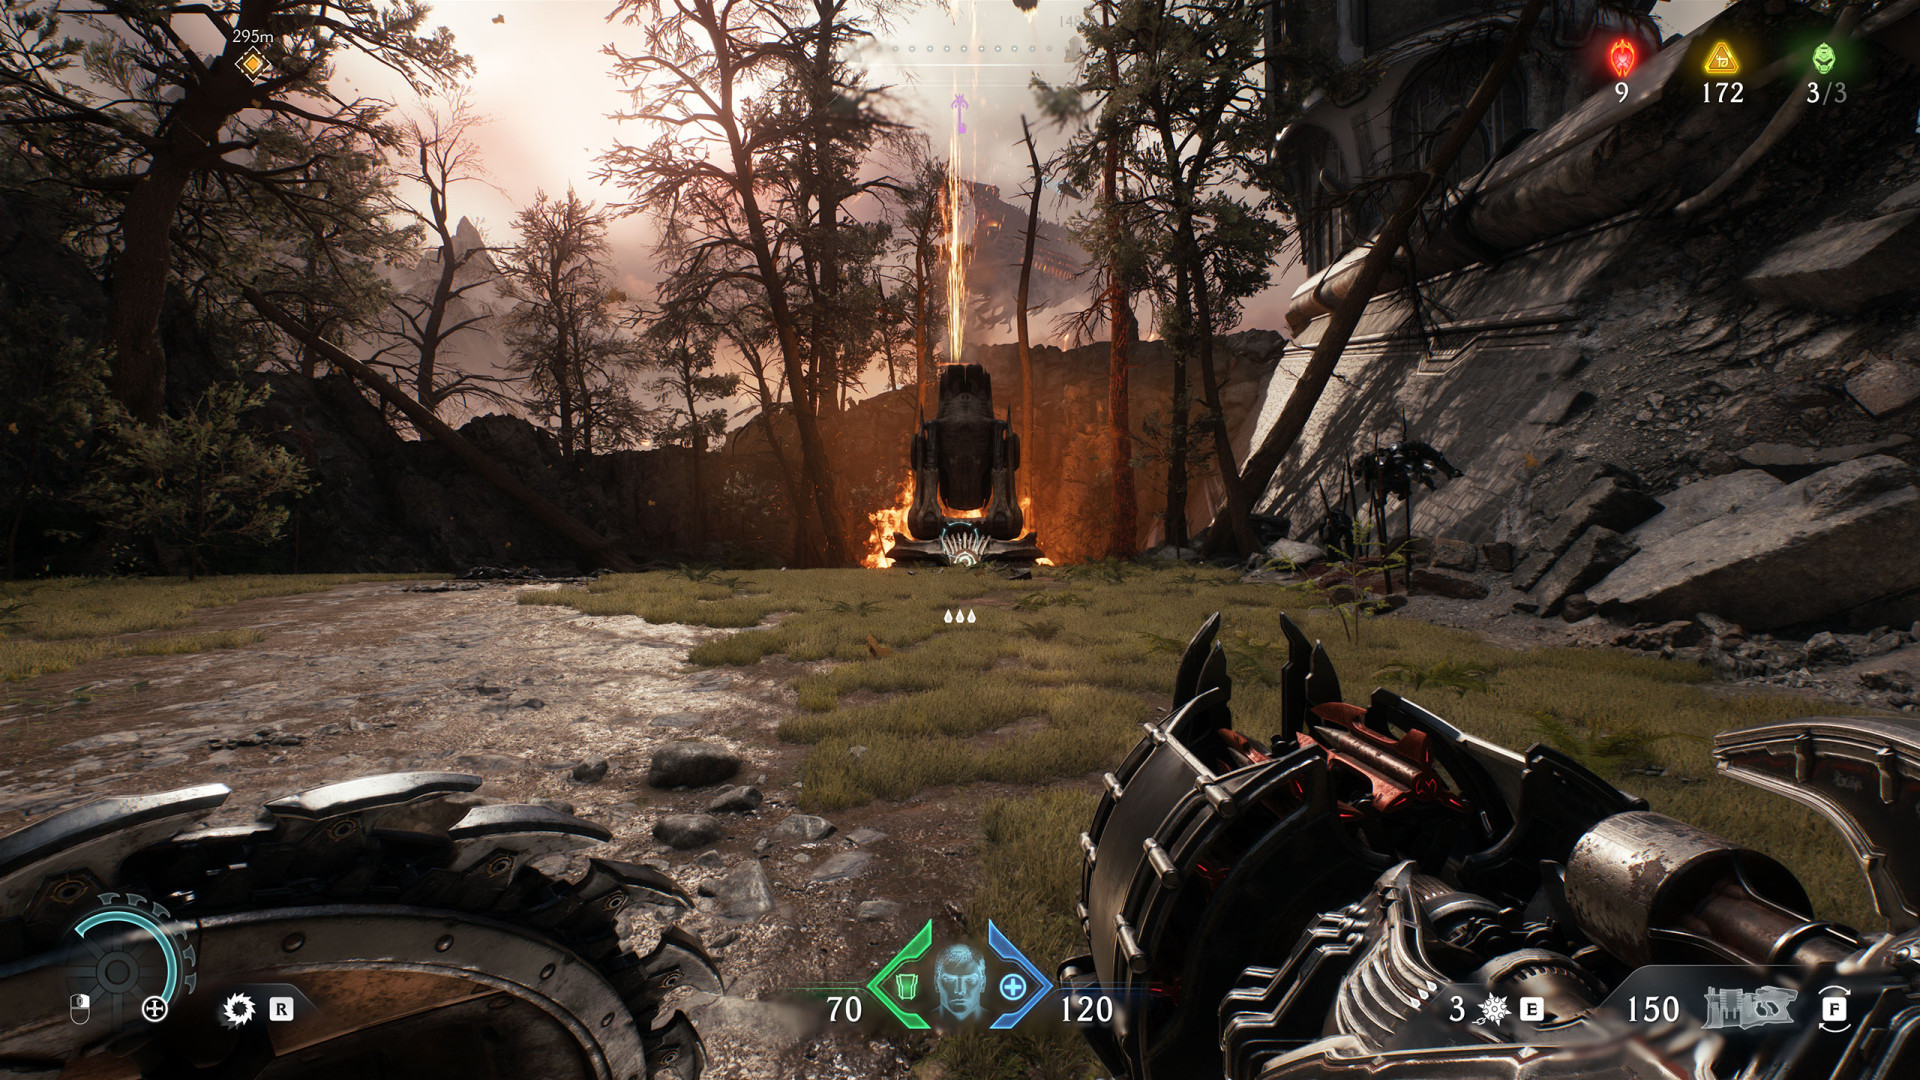
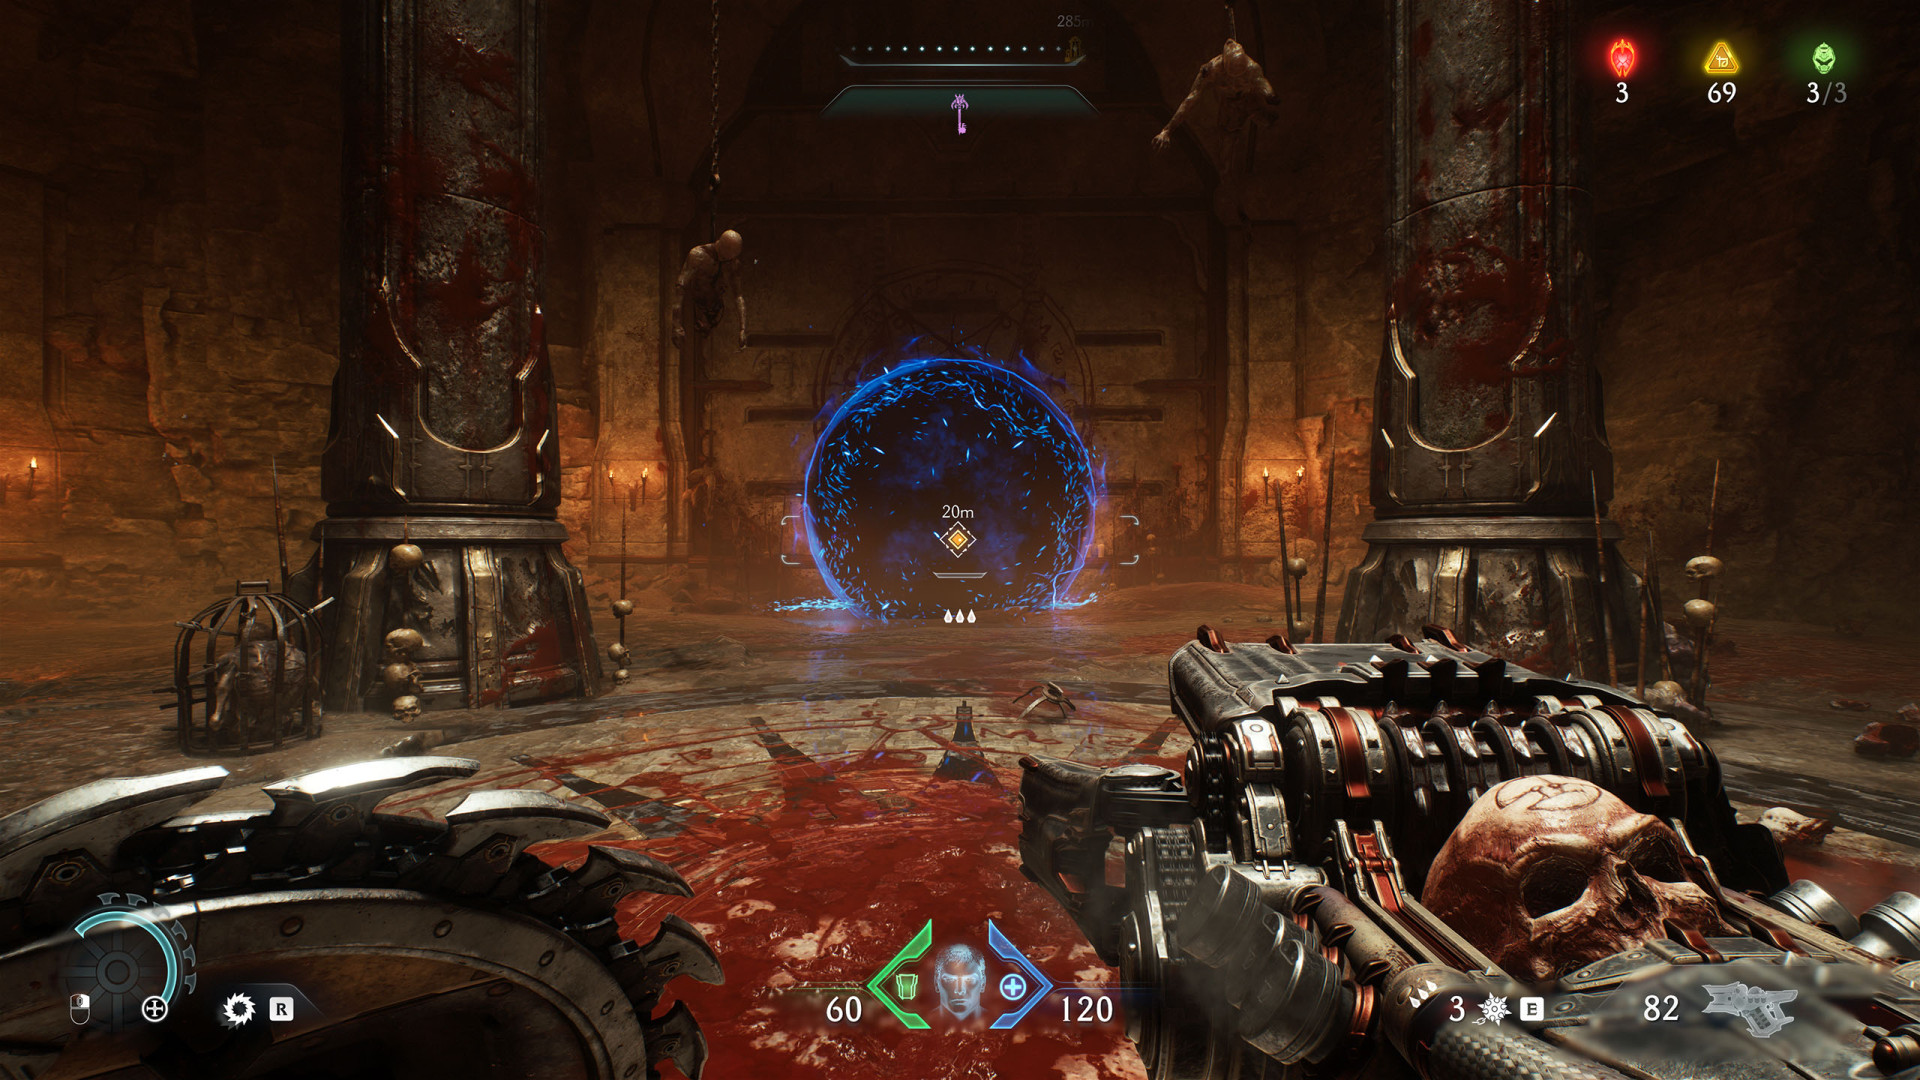
7Portal A
After defeating the Small Encounter (Siege - Part 1 #1), this portal will open and when you enter it, it will take you to a secret location where the Gore Portal is located.
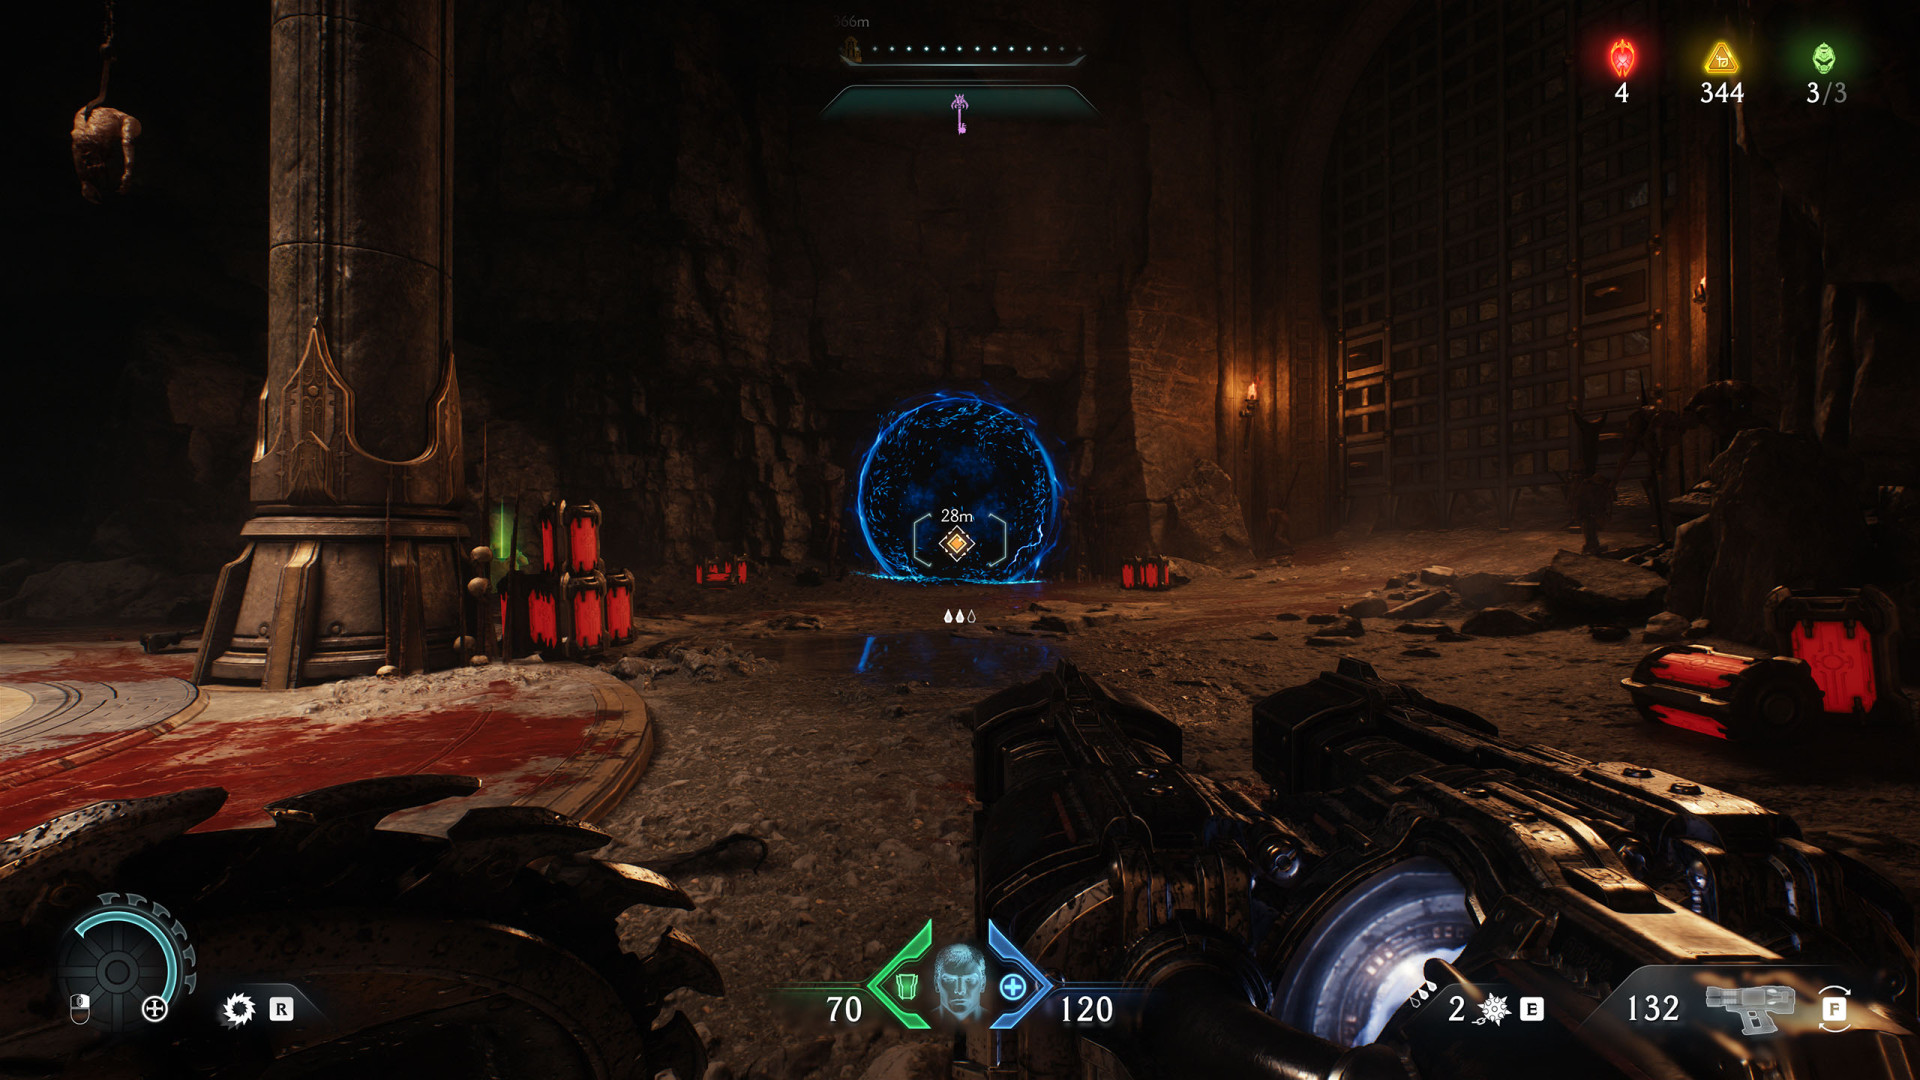
8Portal B
After defeating the Small Encounter (Siege - Part 1 #2), this portal will open and when you enter it, it will take you to a secret location where the Gore Portal is located.
Locations on Siege - Part 2
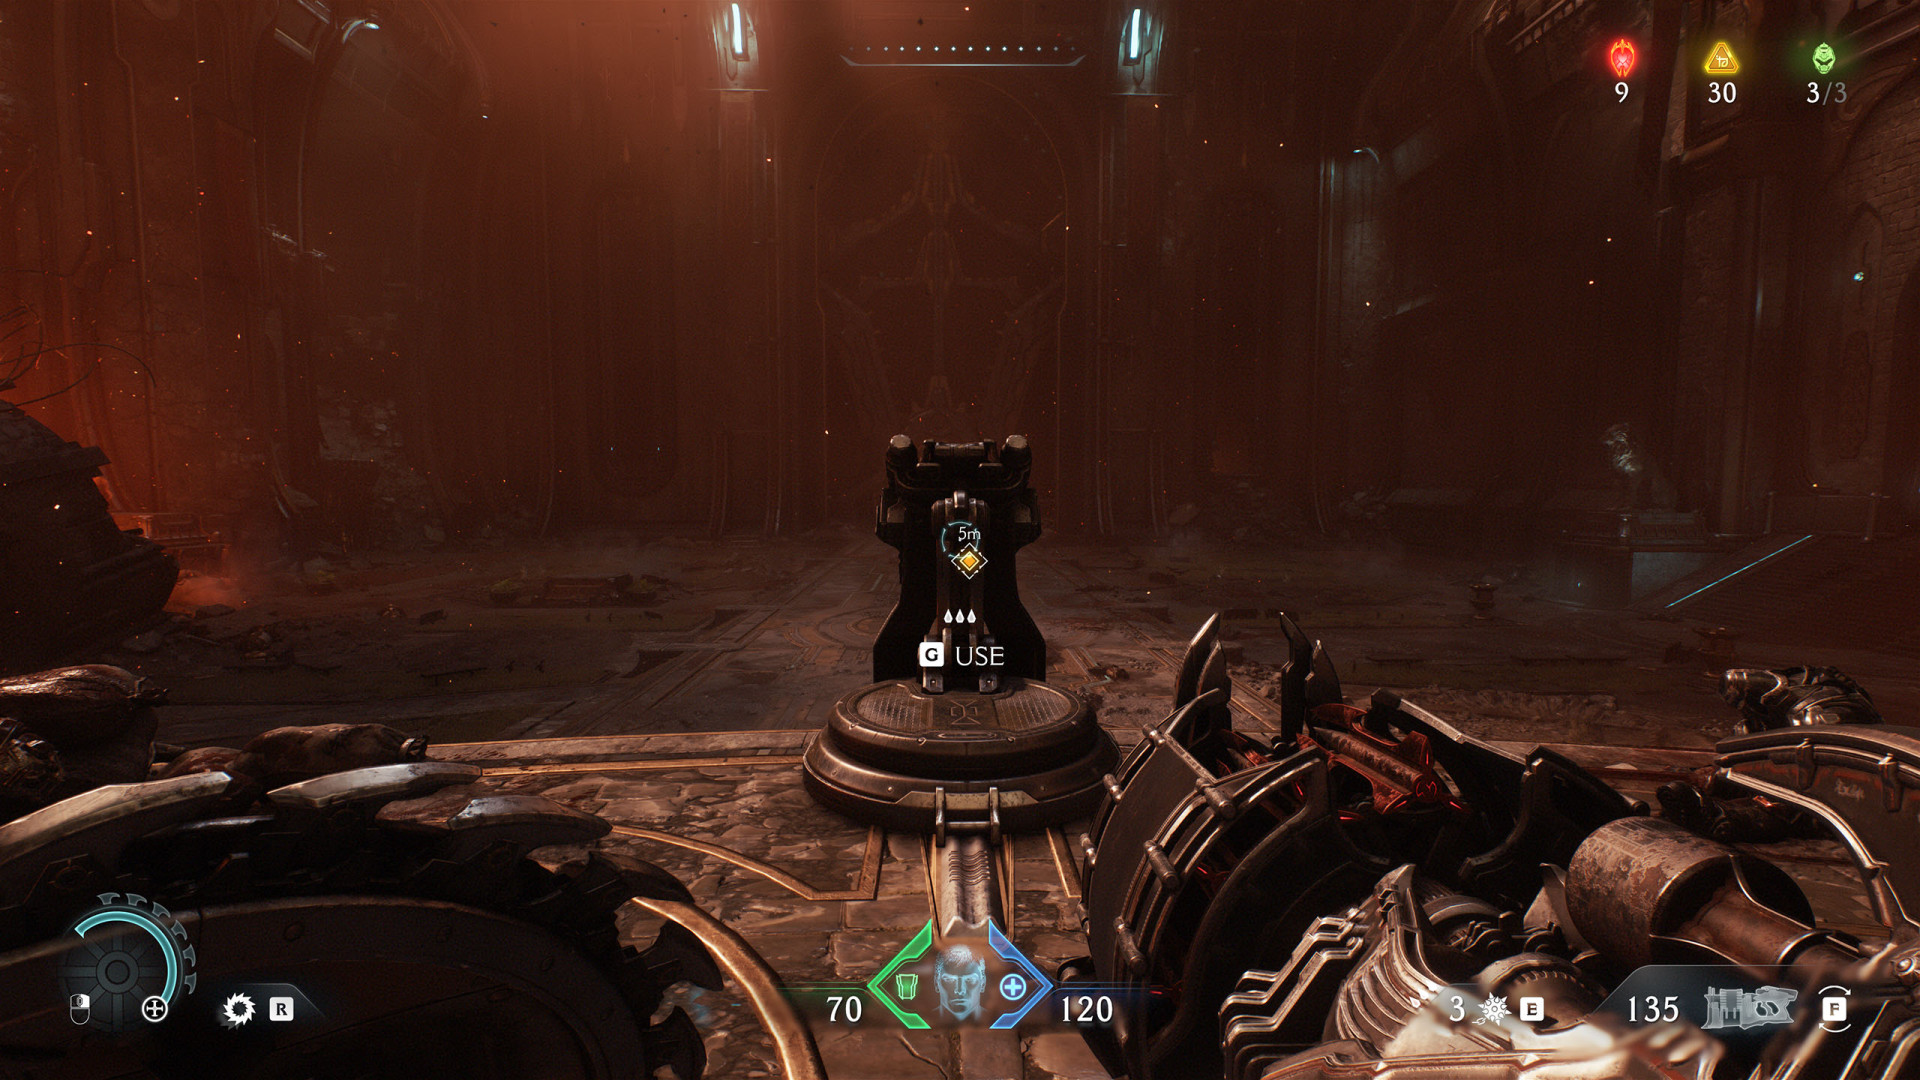
9Turret
Locations on Abyssal Forest
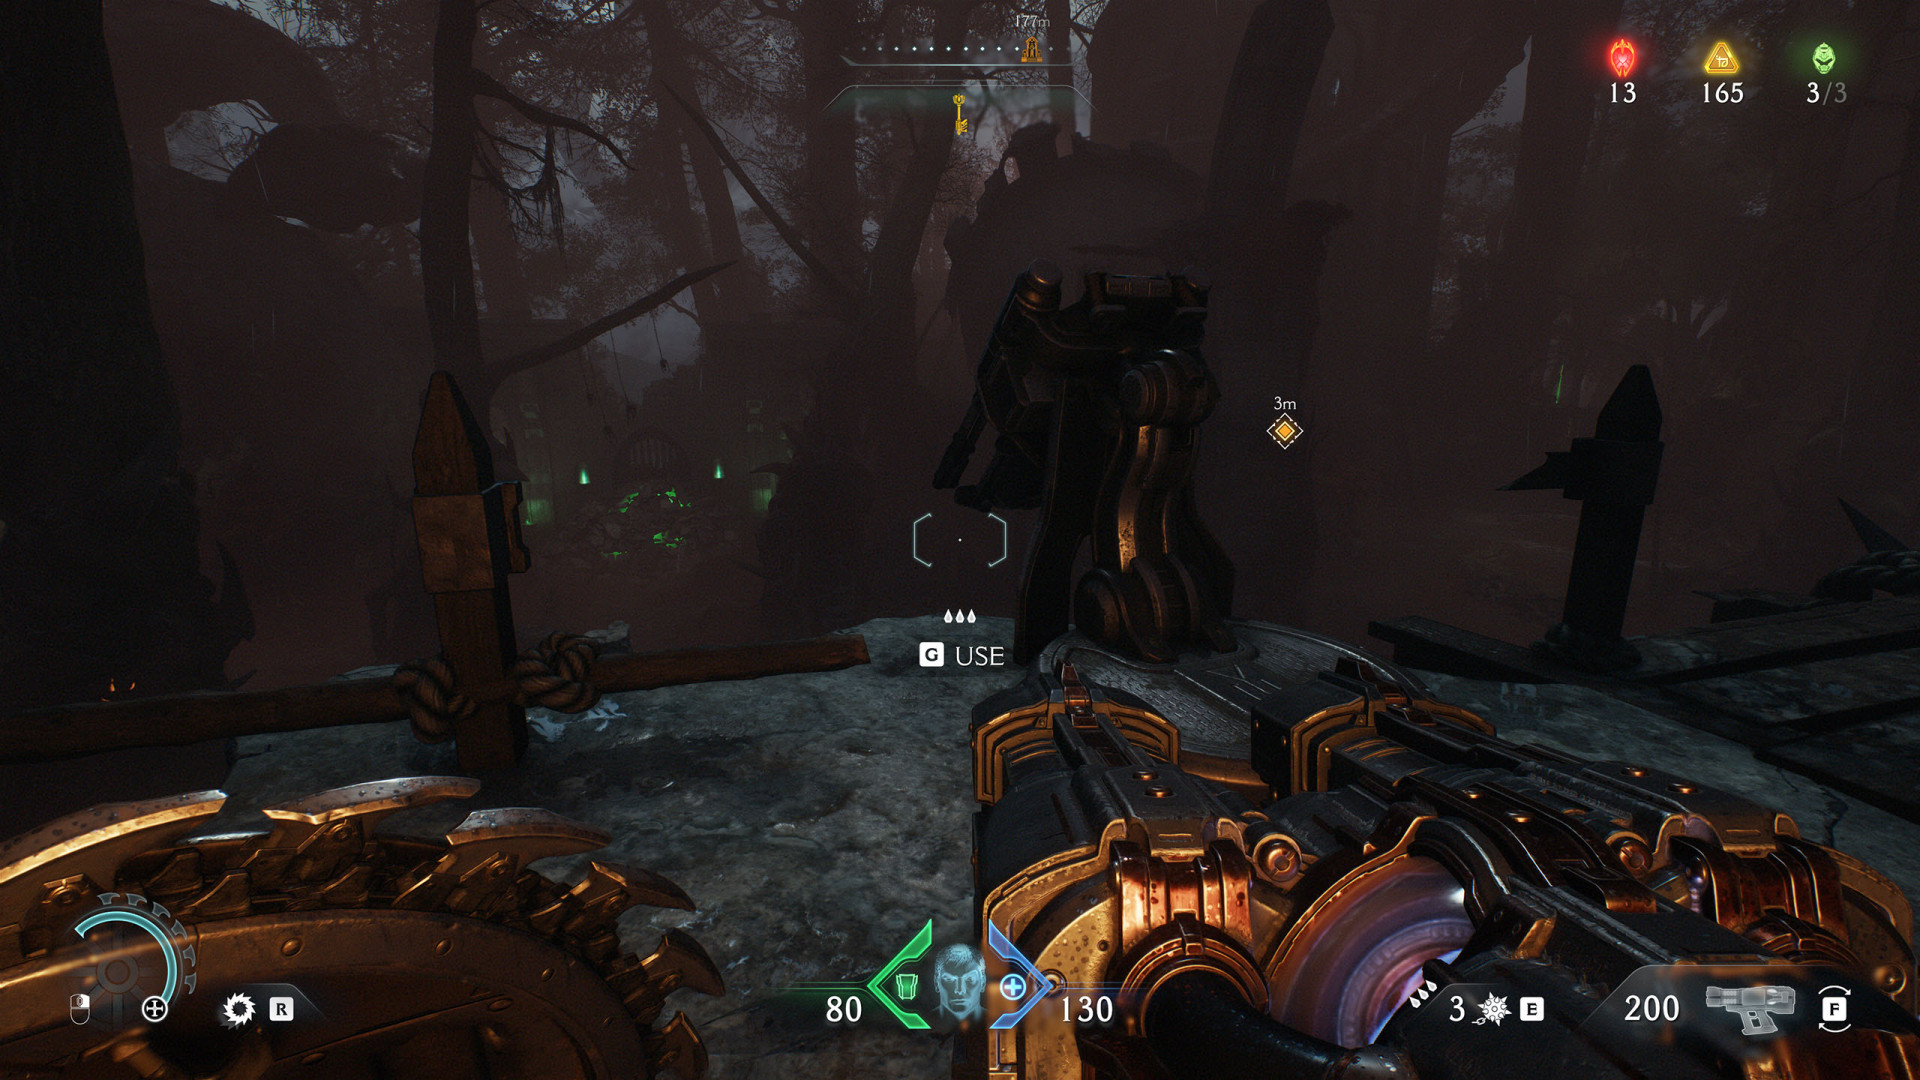
10Cannon
Locations on The Forsaken Plains
11Atlan Core
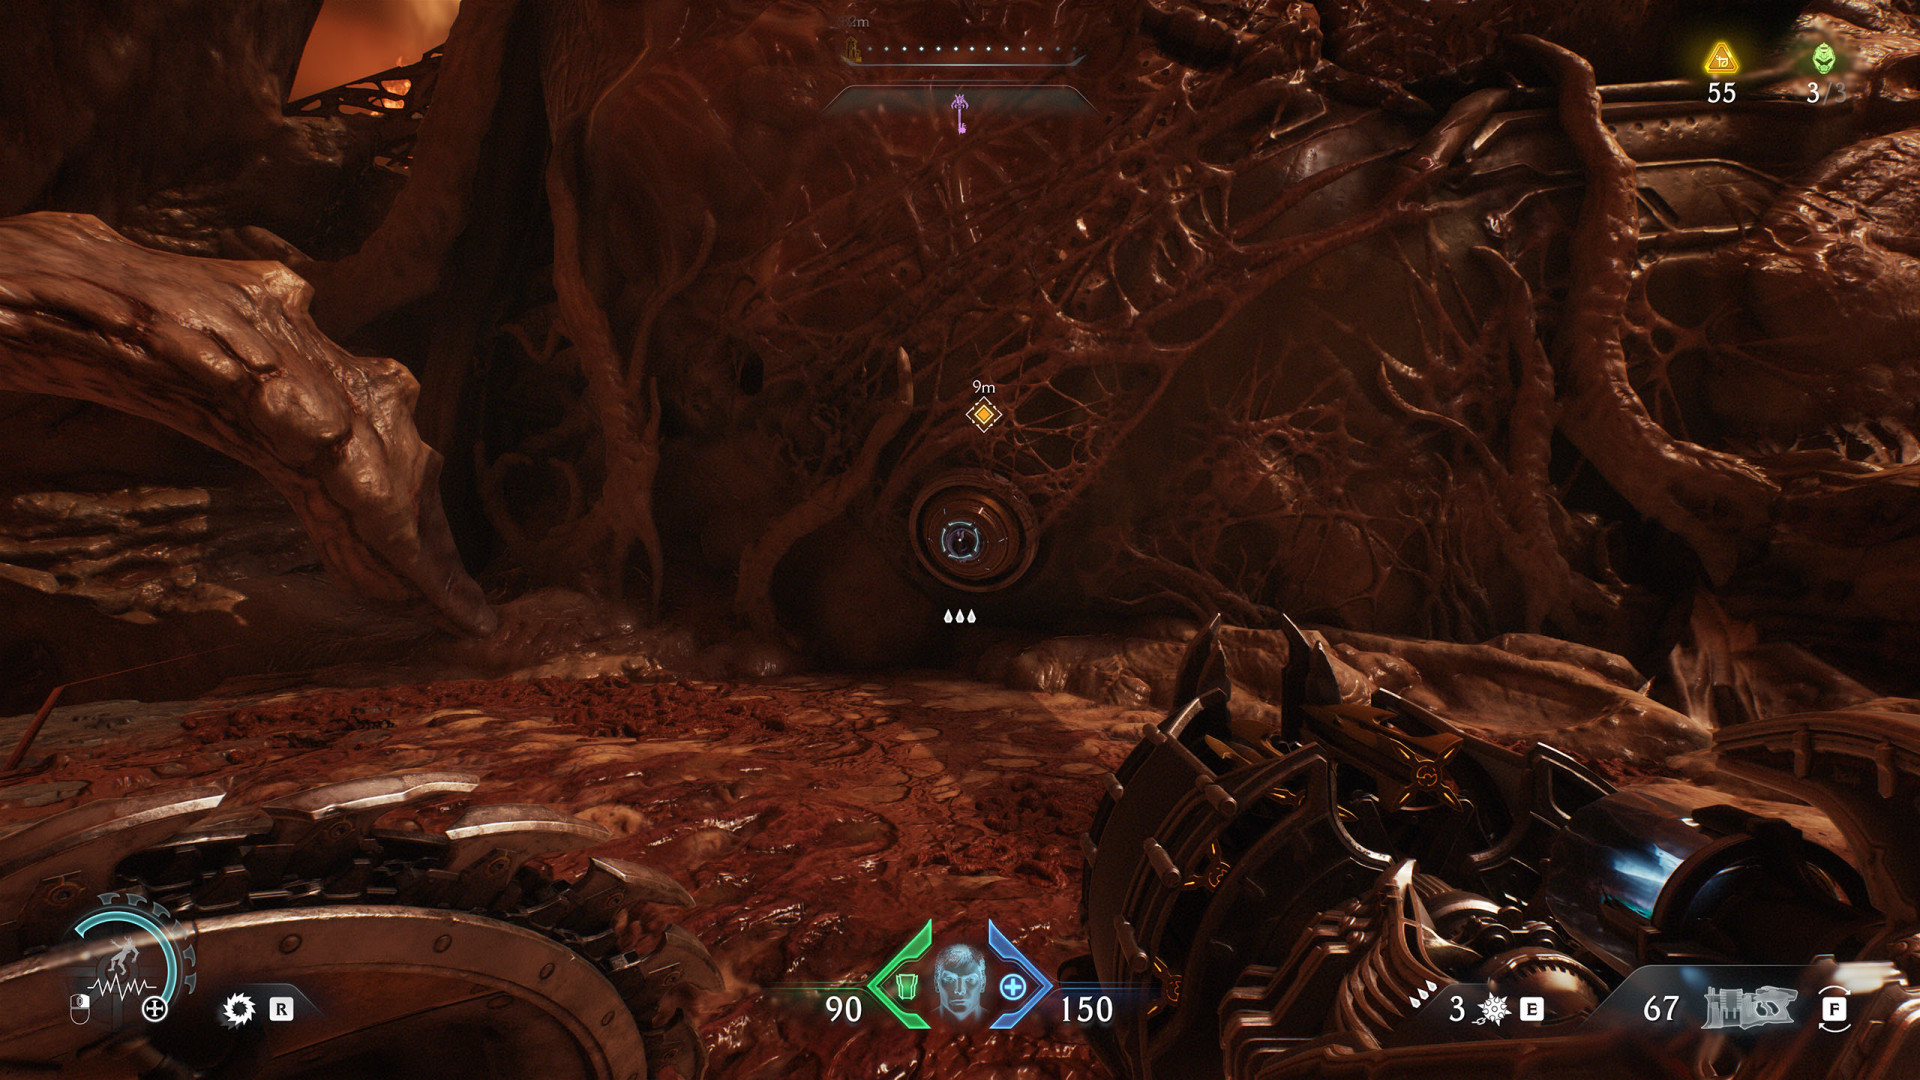
12Hell Cannon
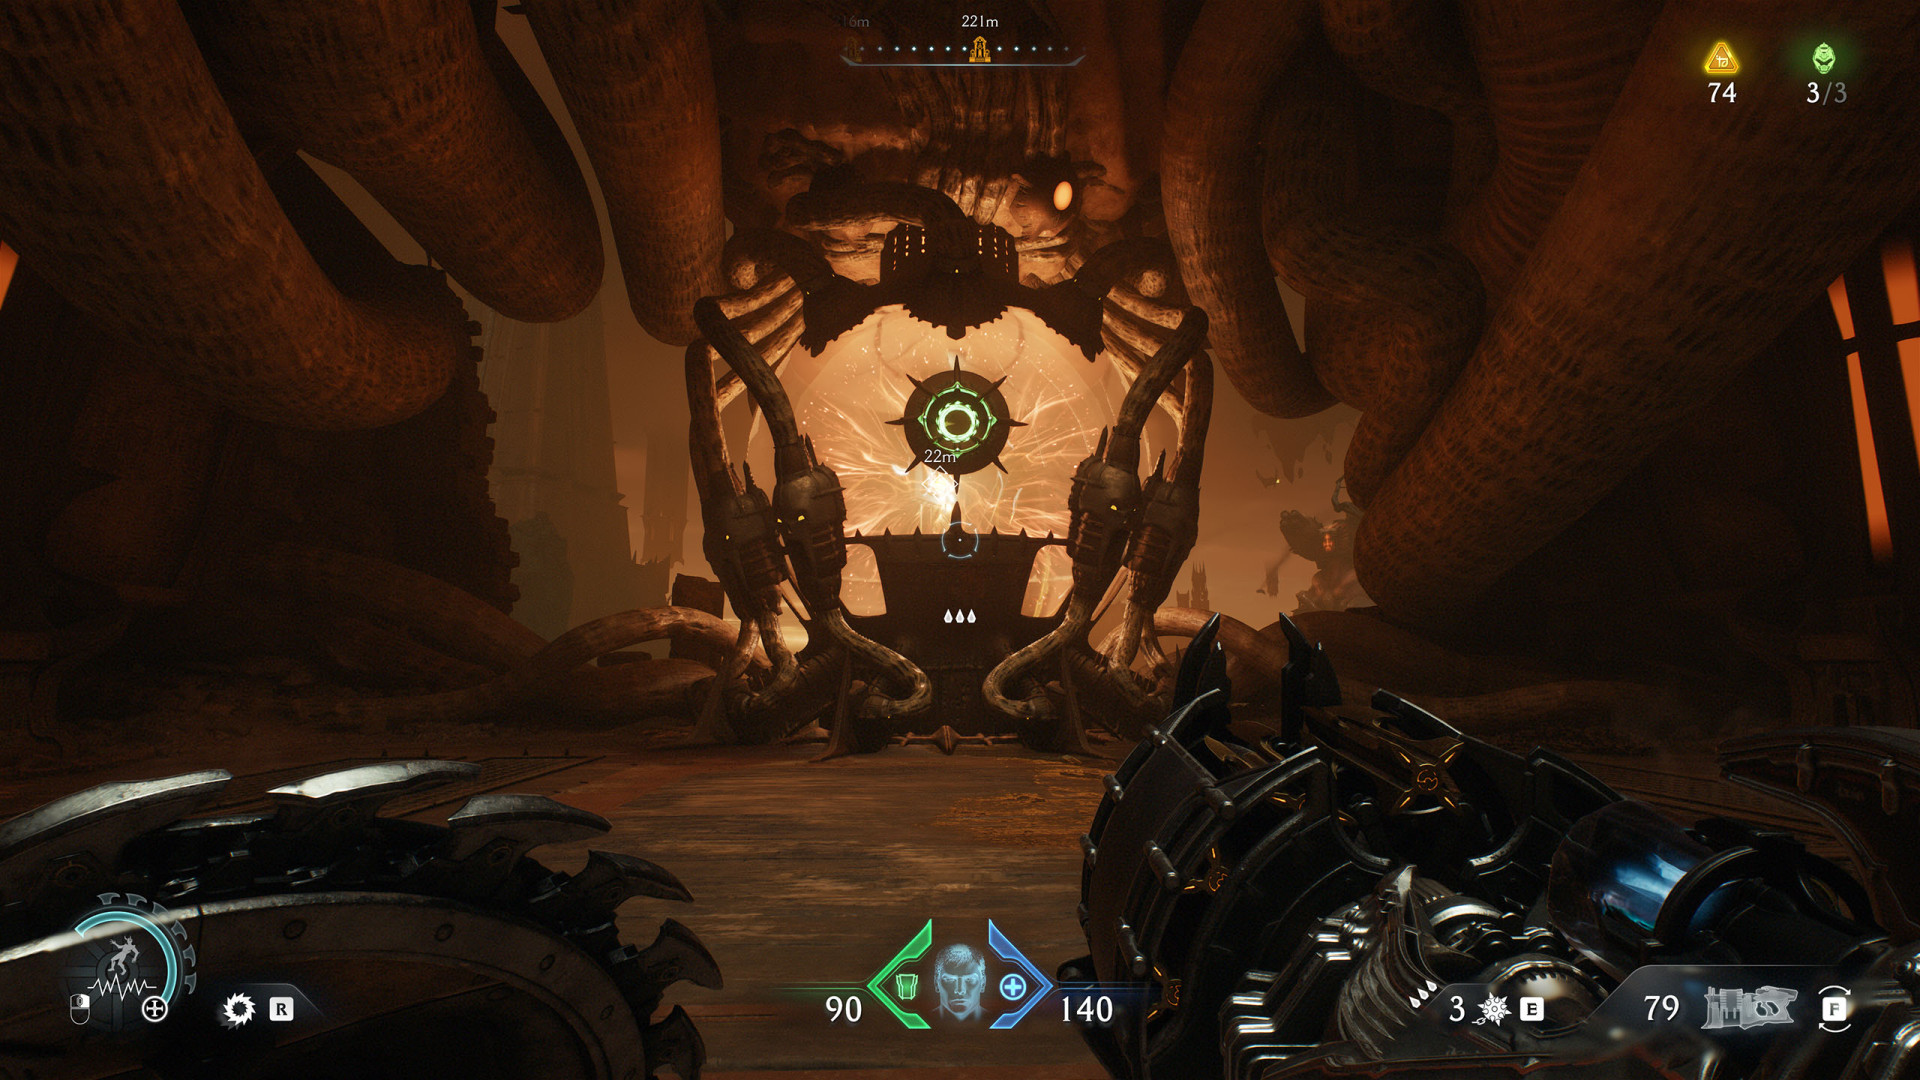
13Hell Cannon
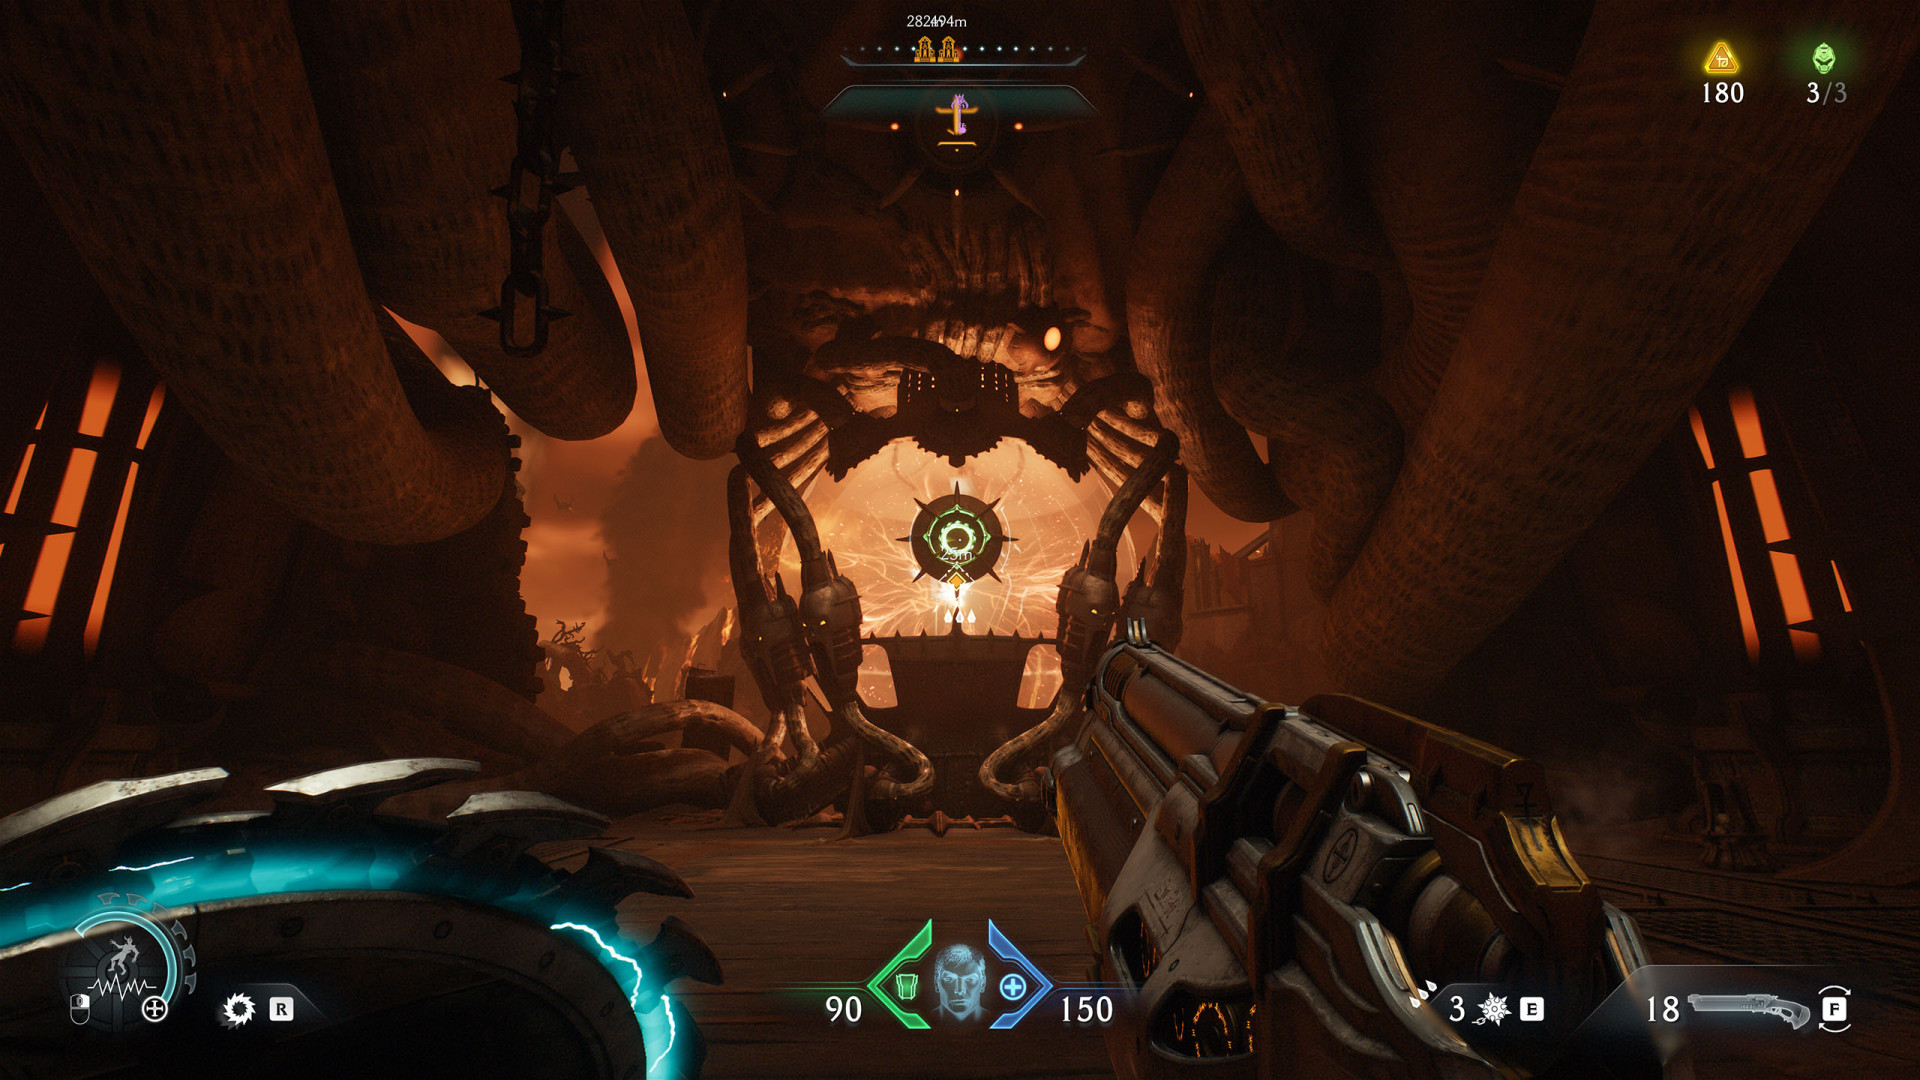
Locations on Spire of Nerathul
14Launch Pad
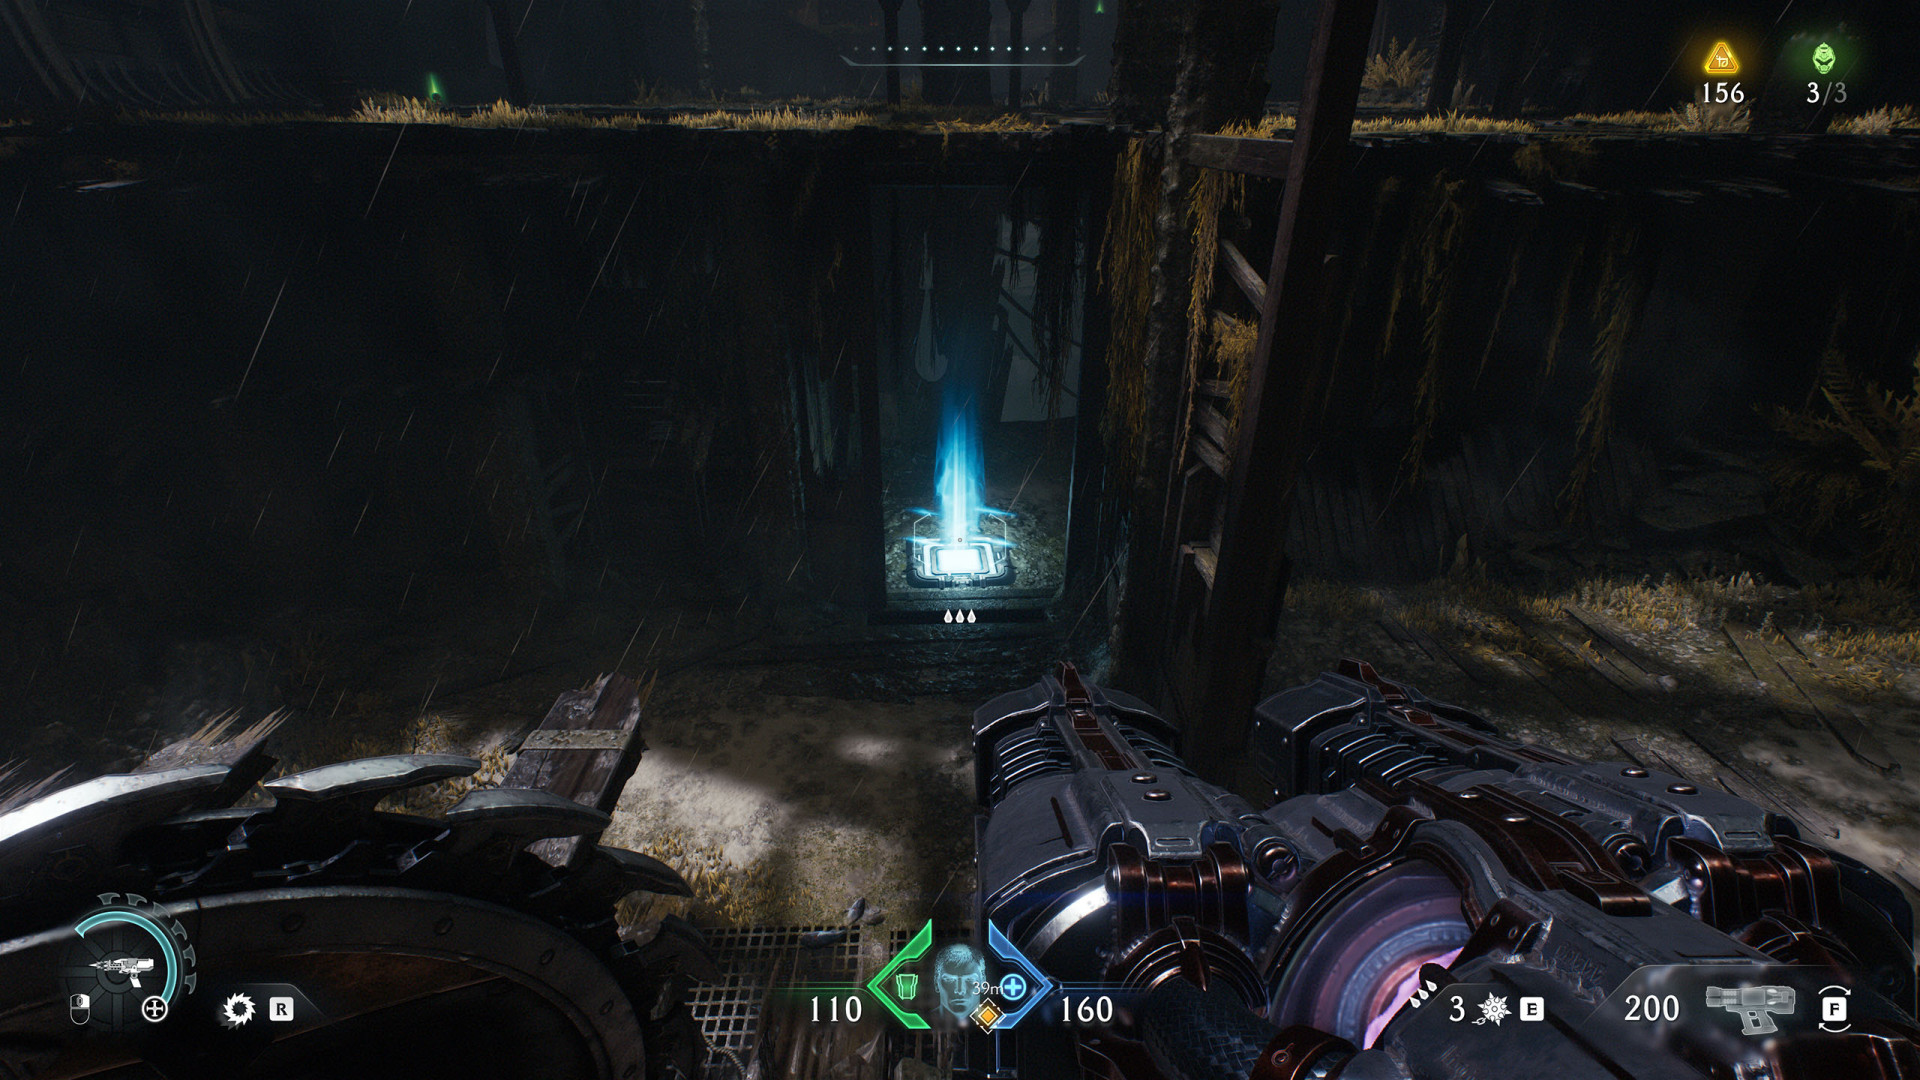
15Stasis Emitter #1
Kill the demons in the area, then approach the emitter and interact with it to destroy it.
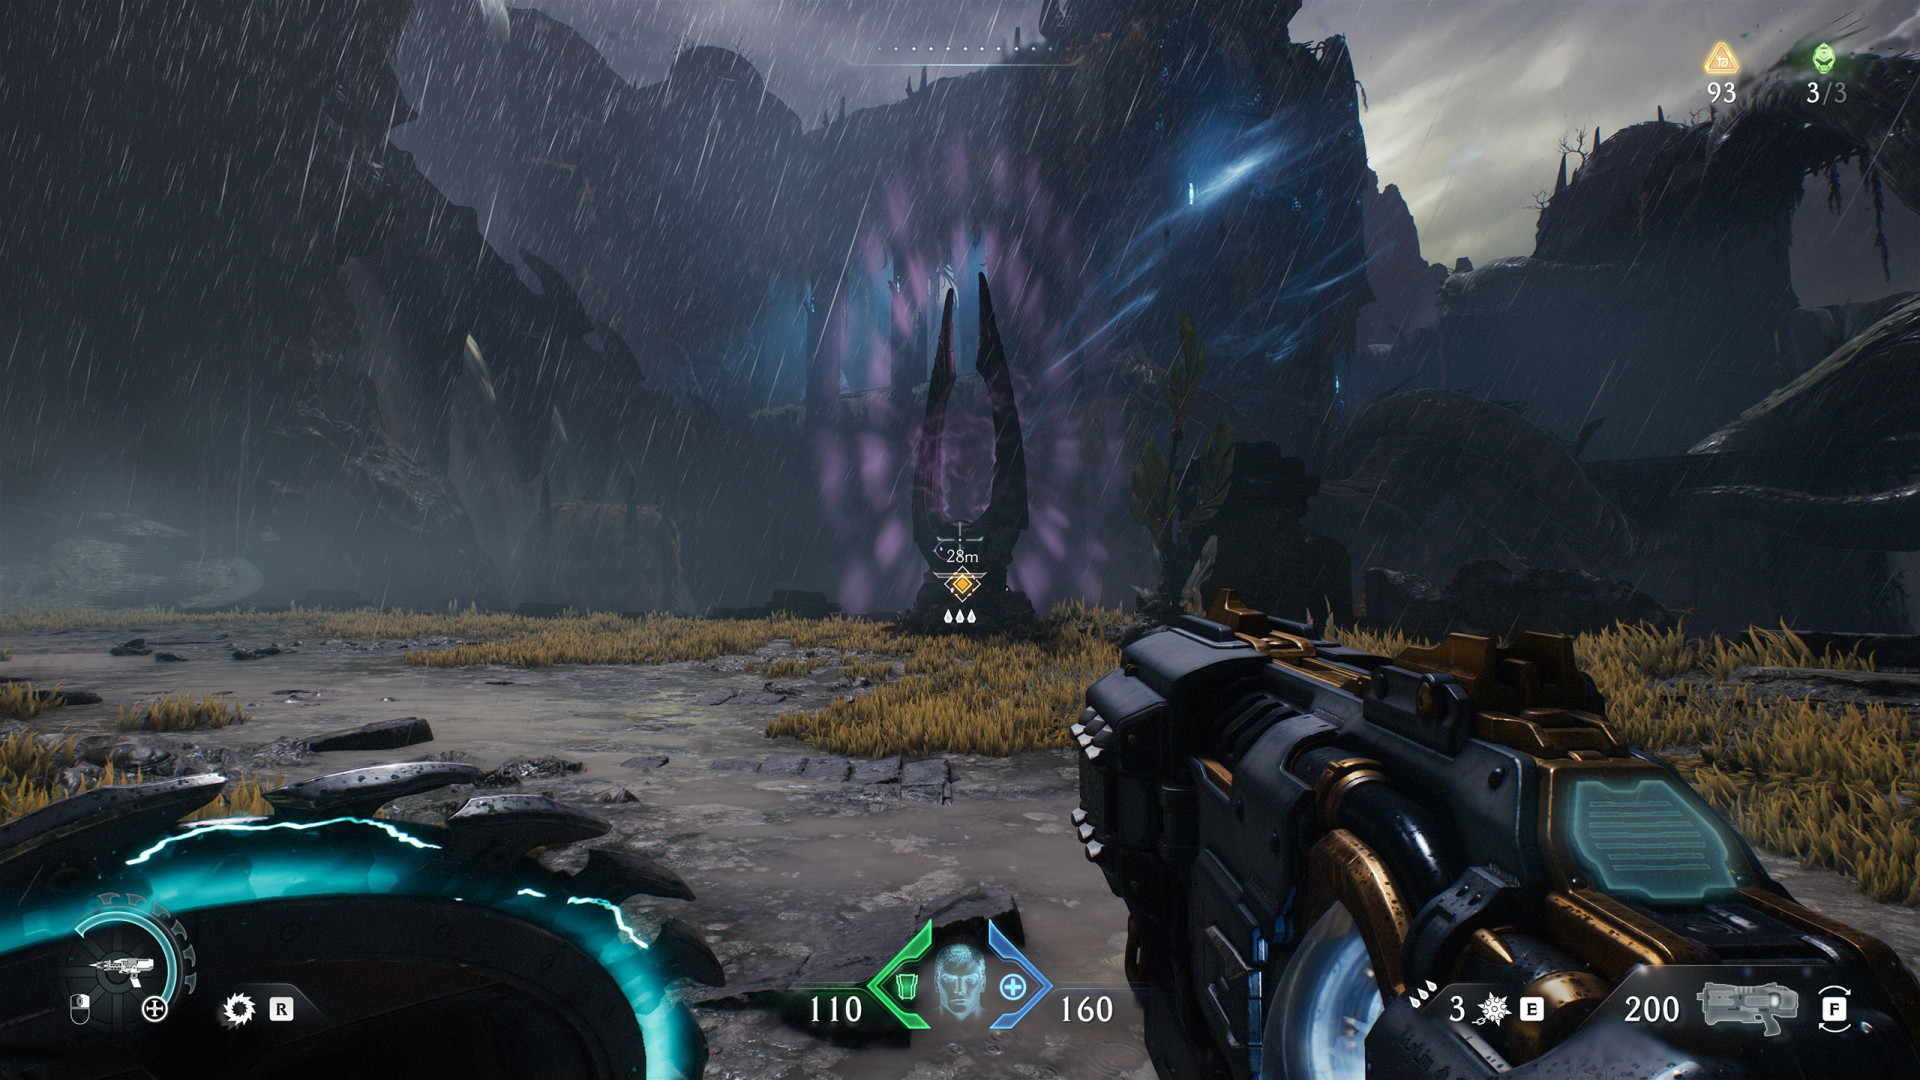
16Stasis Emitter #2
Kill the demons in the area, then approach the emitter and interact with it to destroy it.
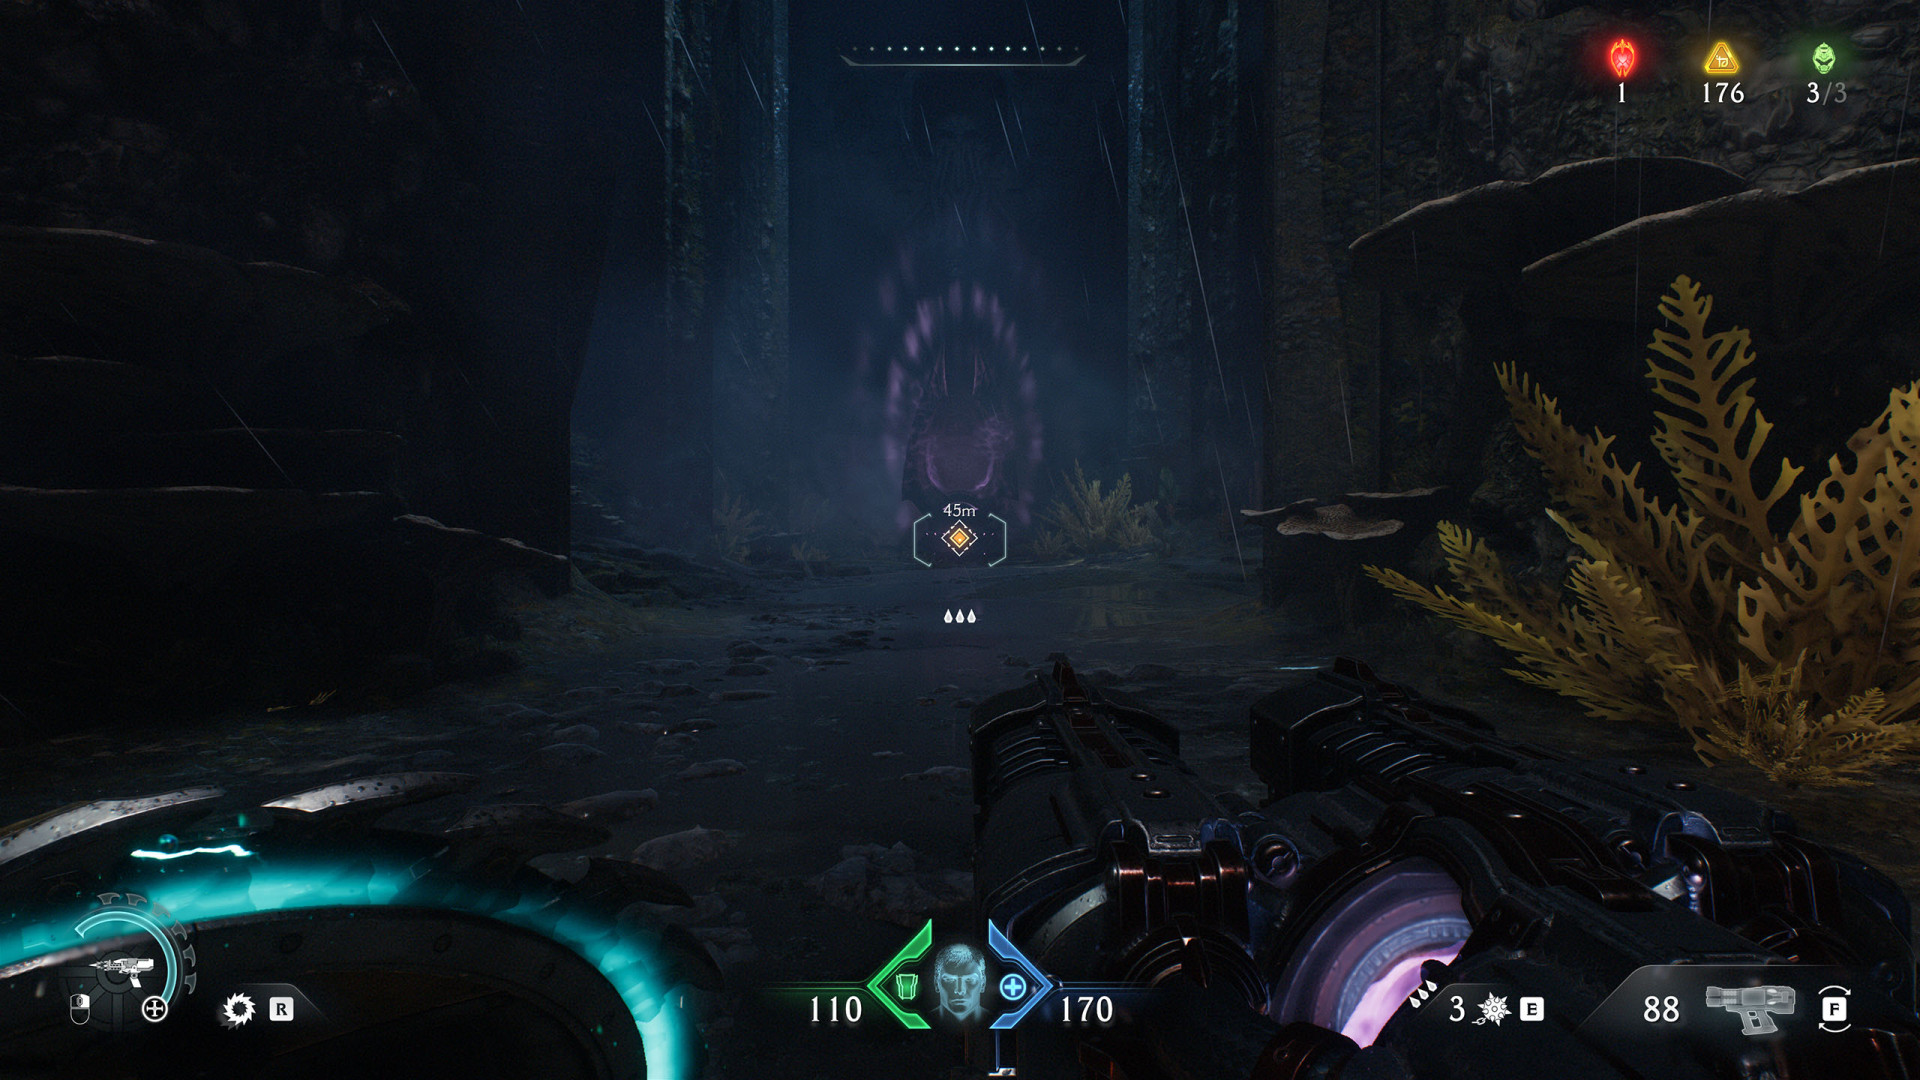
17Stasis Emitter #3
Kill the demons in the area, then approach the emitter and interact with it to destroy it.
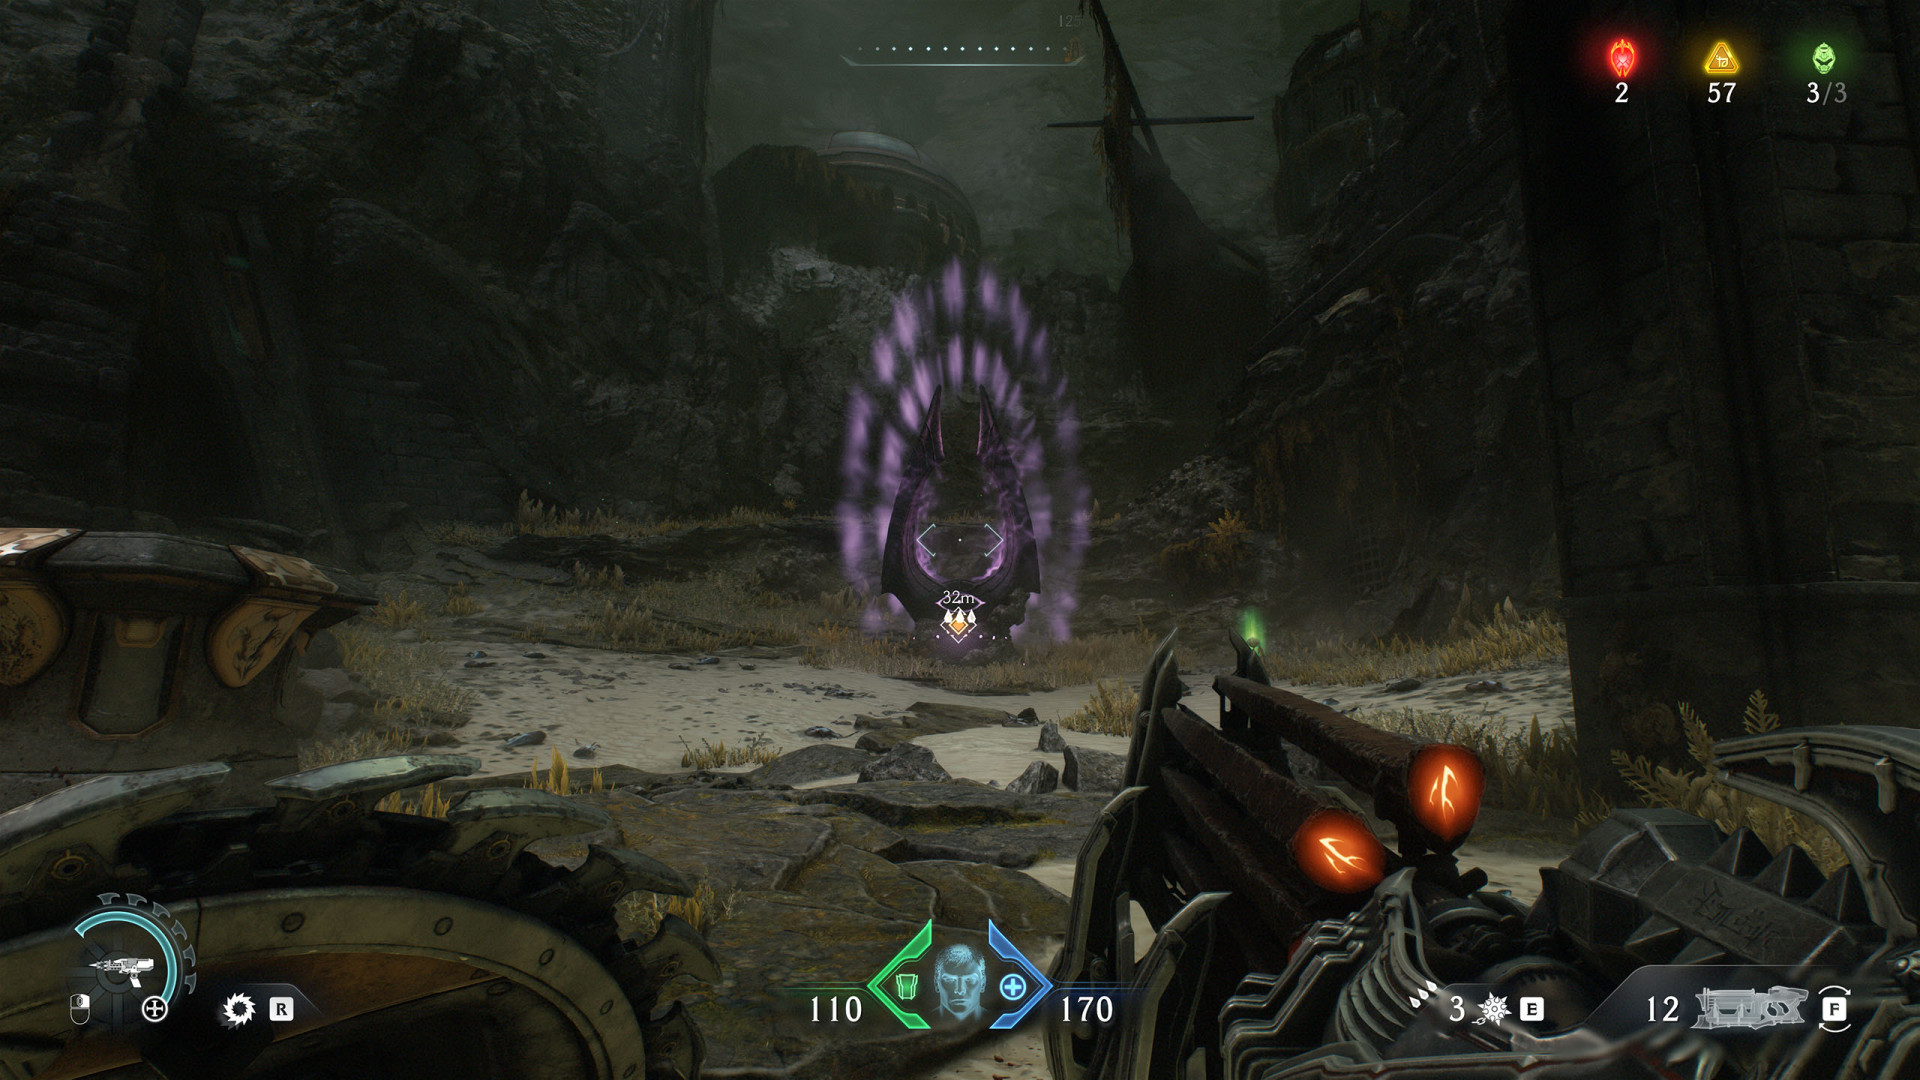
Locations on City of Ry'uul
18Elevator
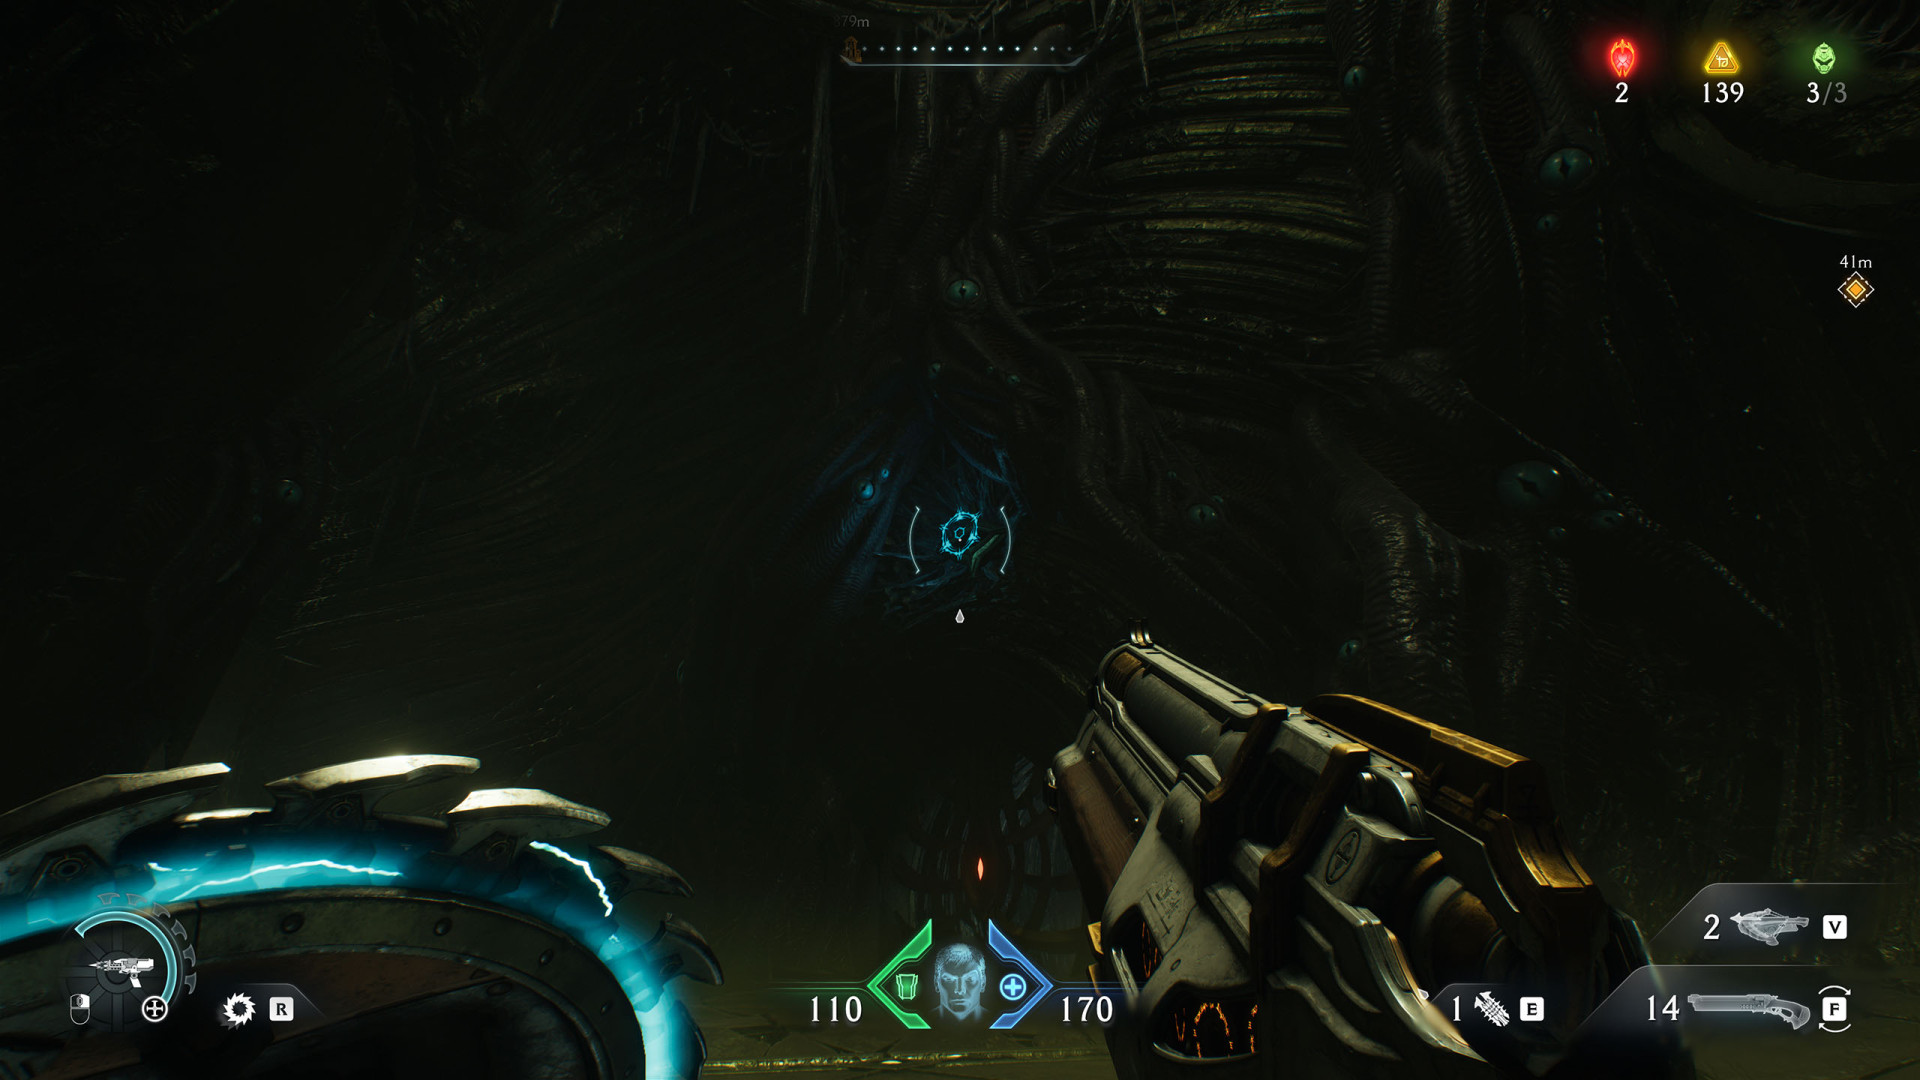
Locations on The Kar'Thul Marshes
19BFC Arrow
Ammo for the BFC you may need to complete the "Roundup" challenge.
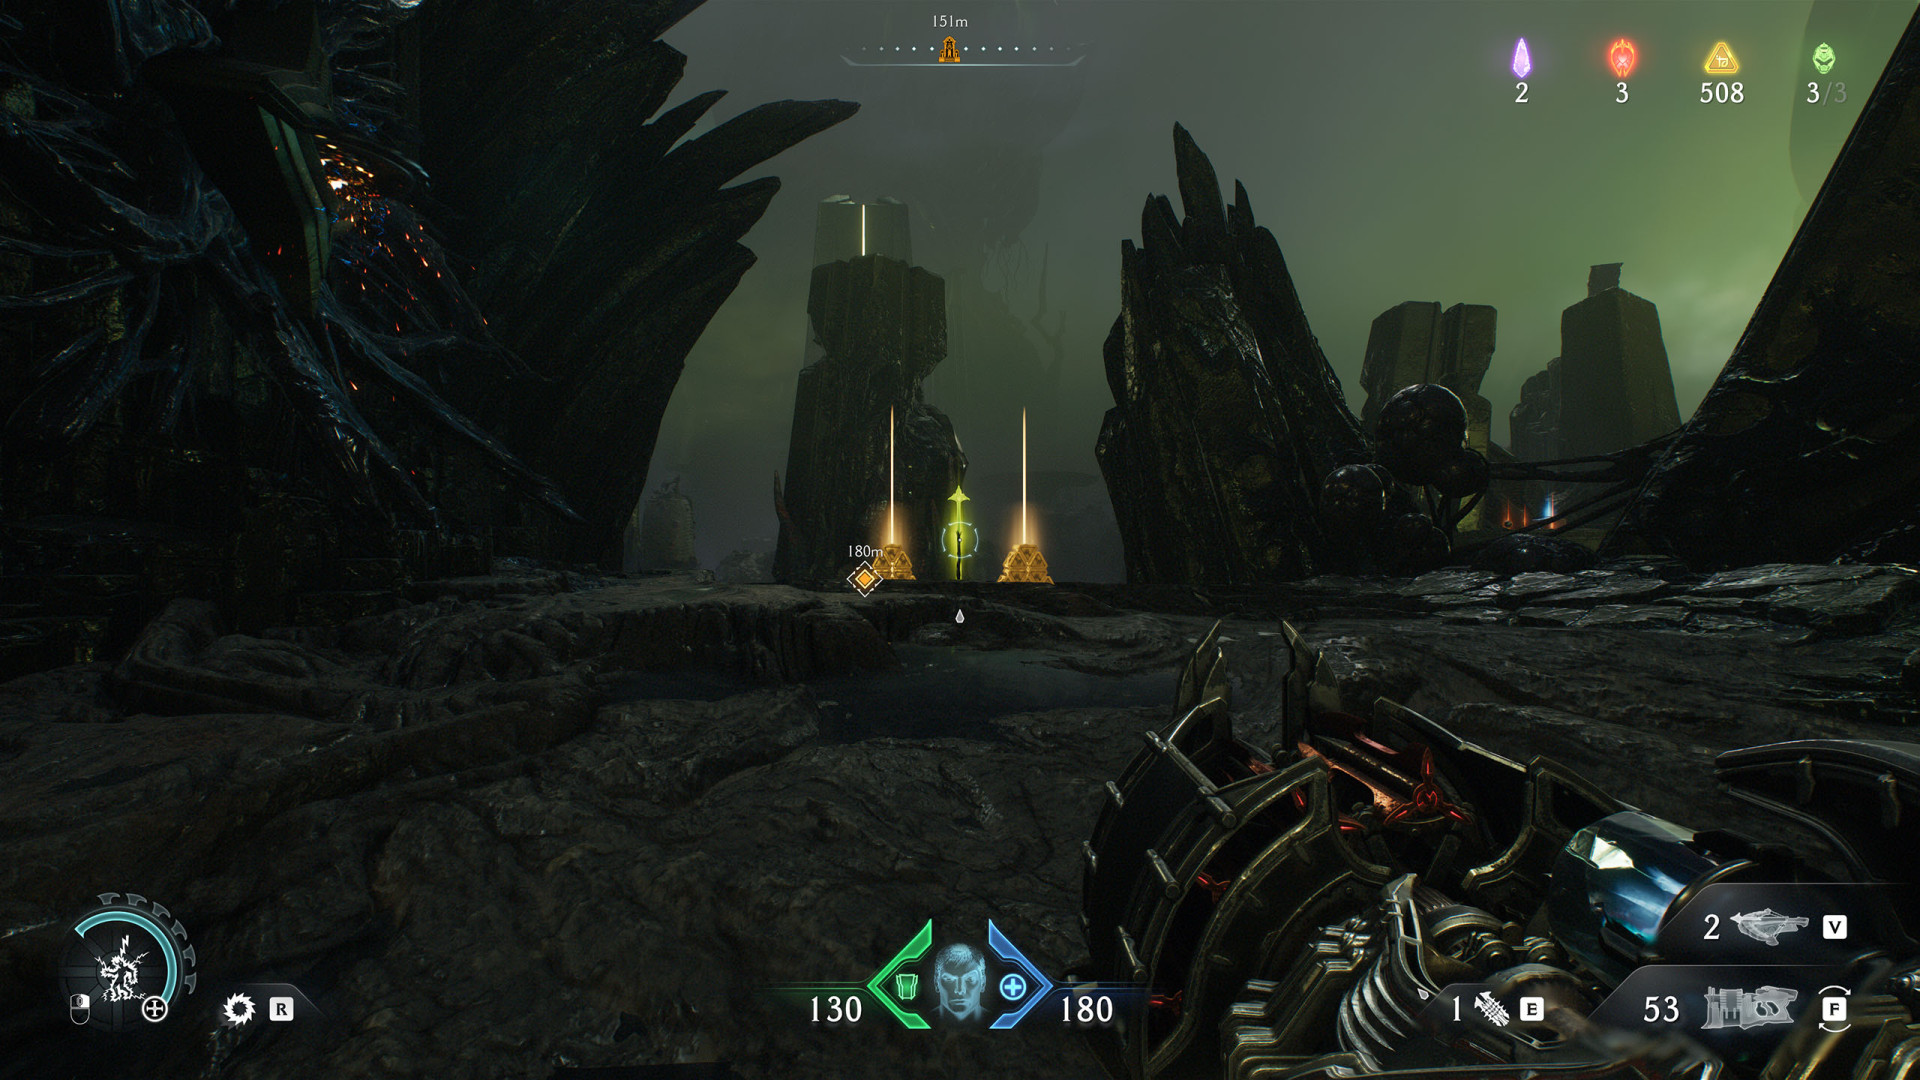
20Relic Fragment
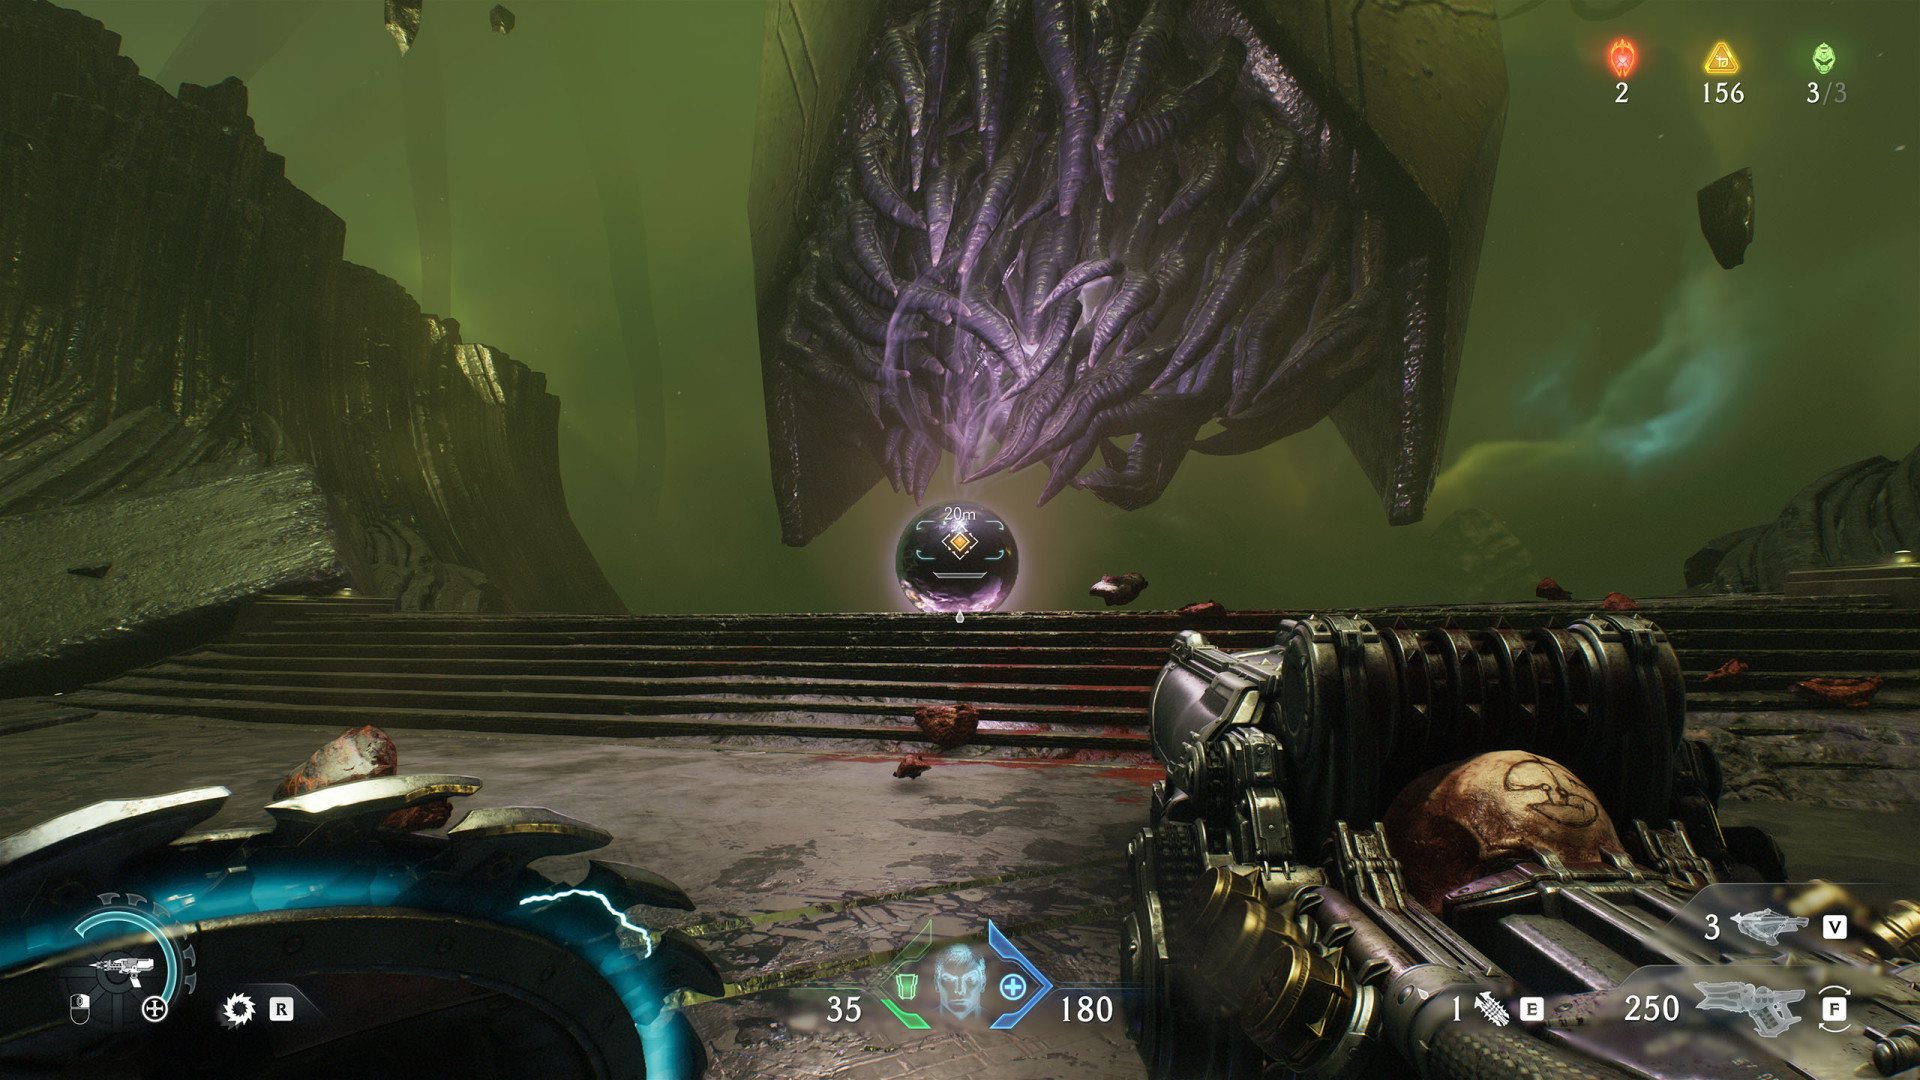
21Relic Fragment
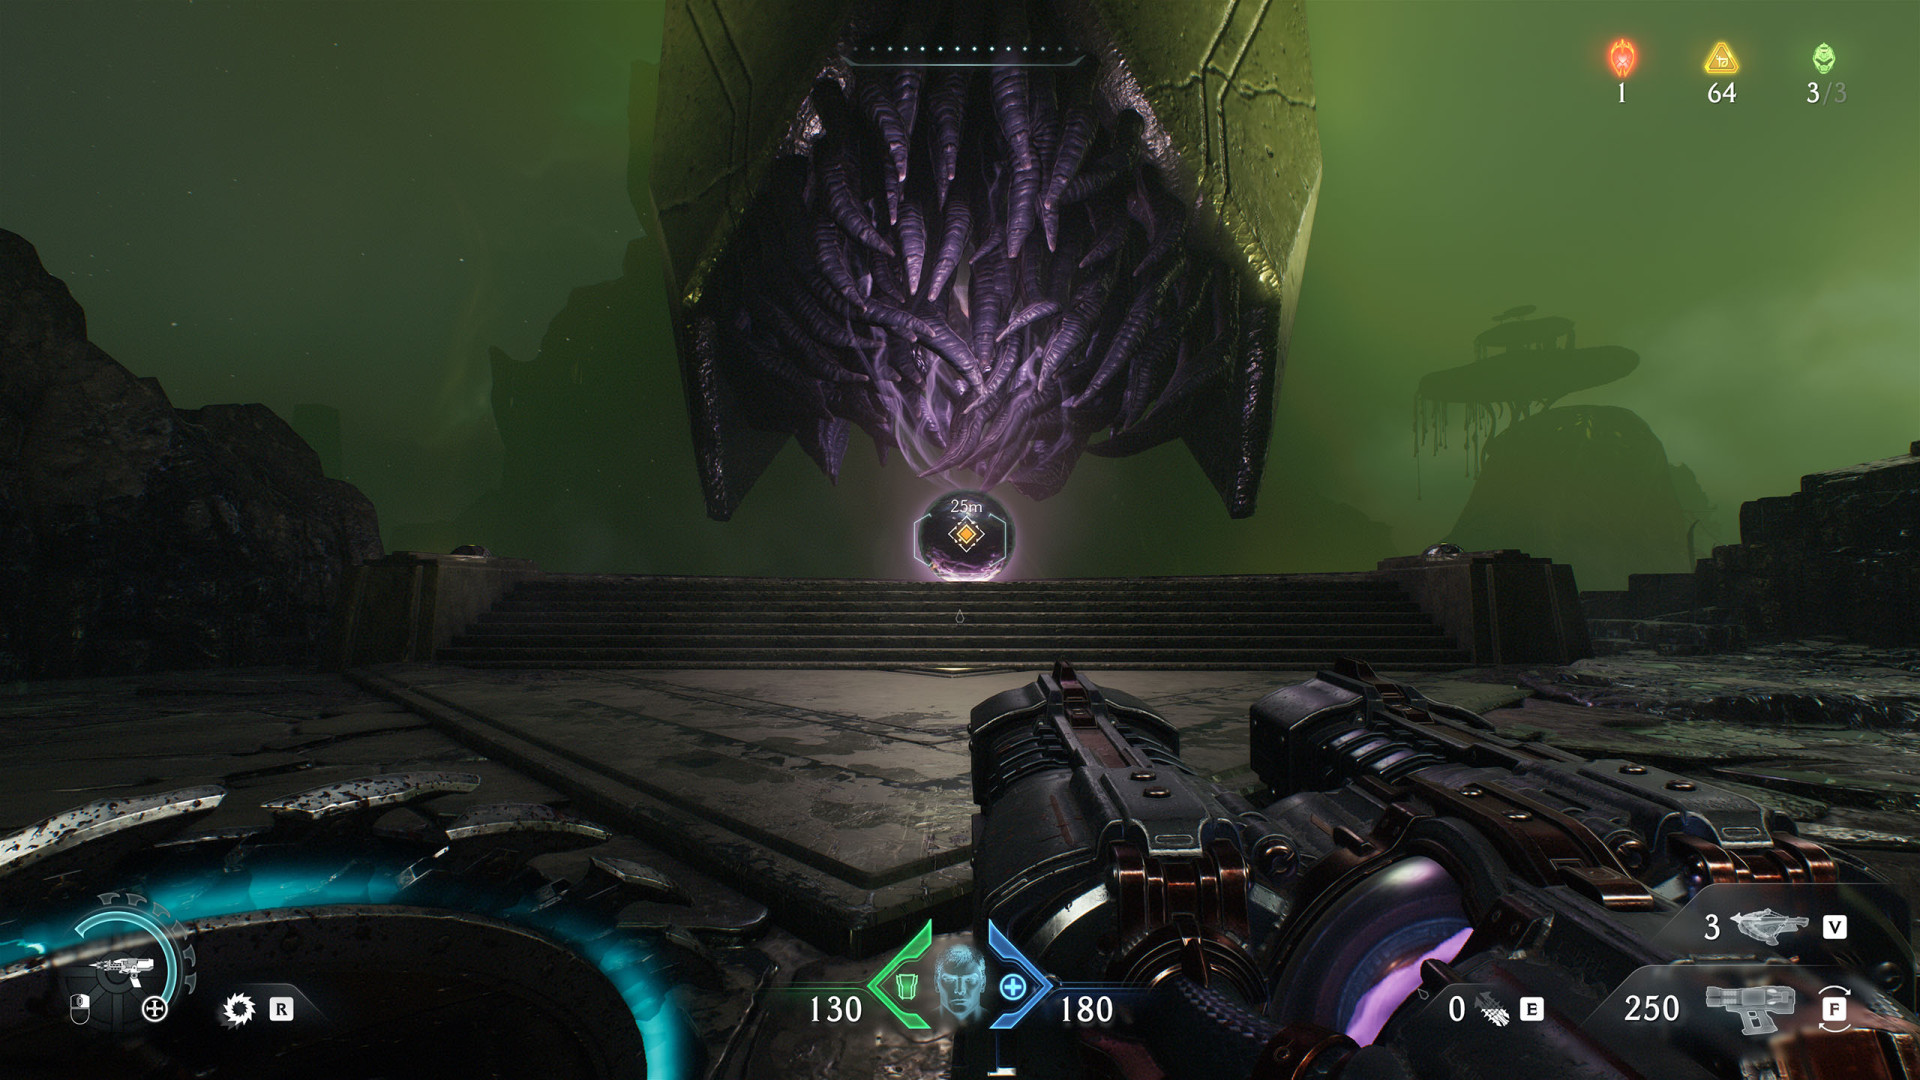
Locations on Harbor of Souls
22Berserk Rune (Harbor of Souls #1)
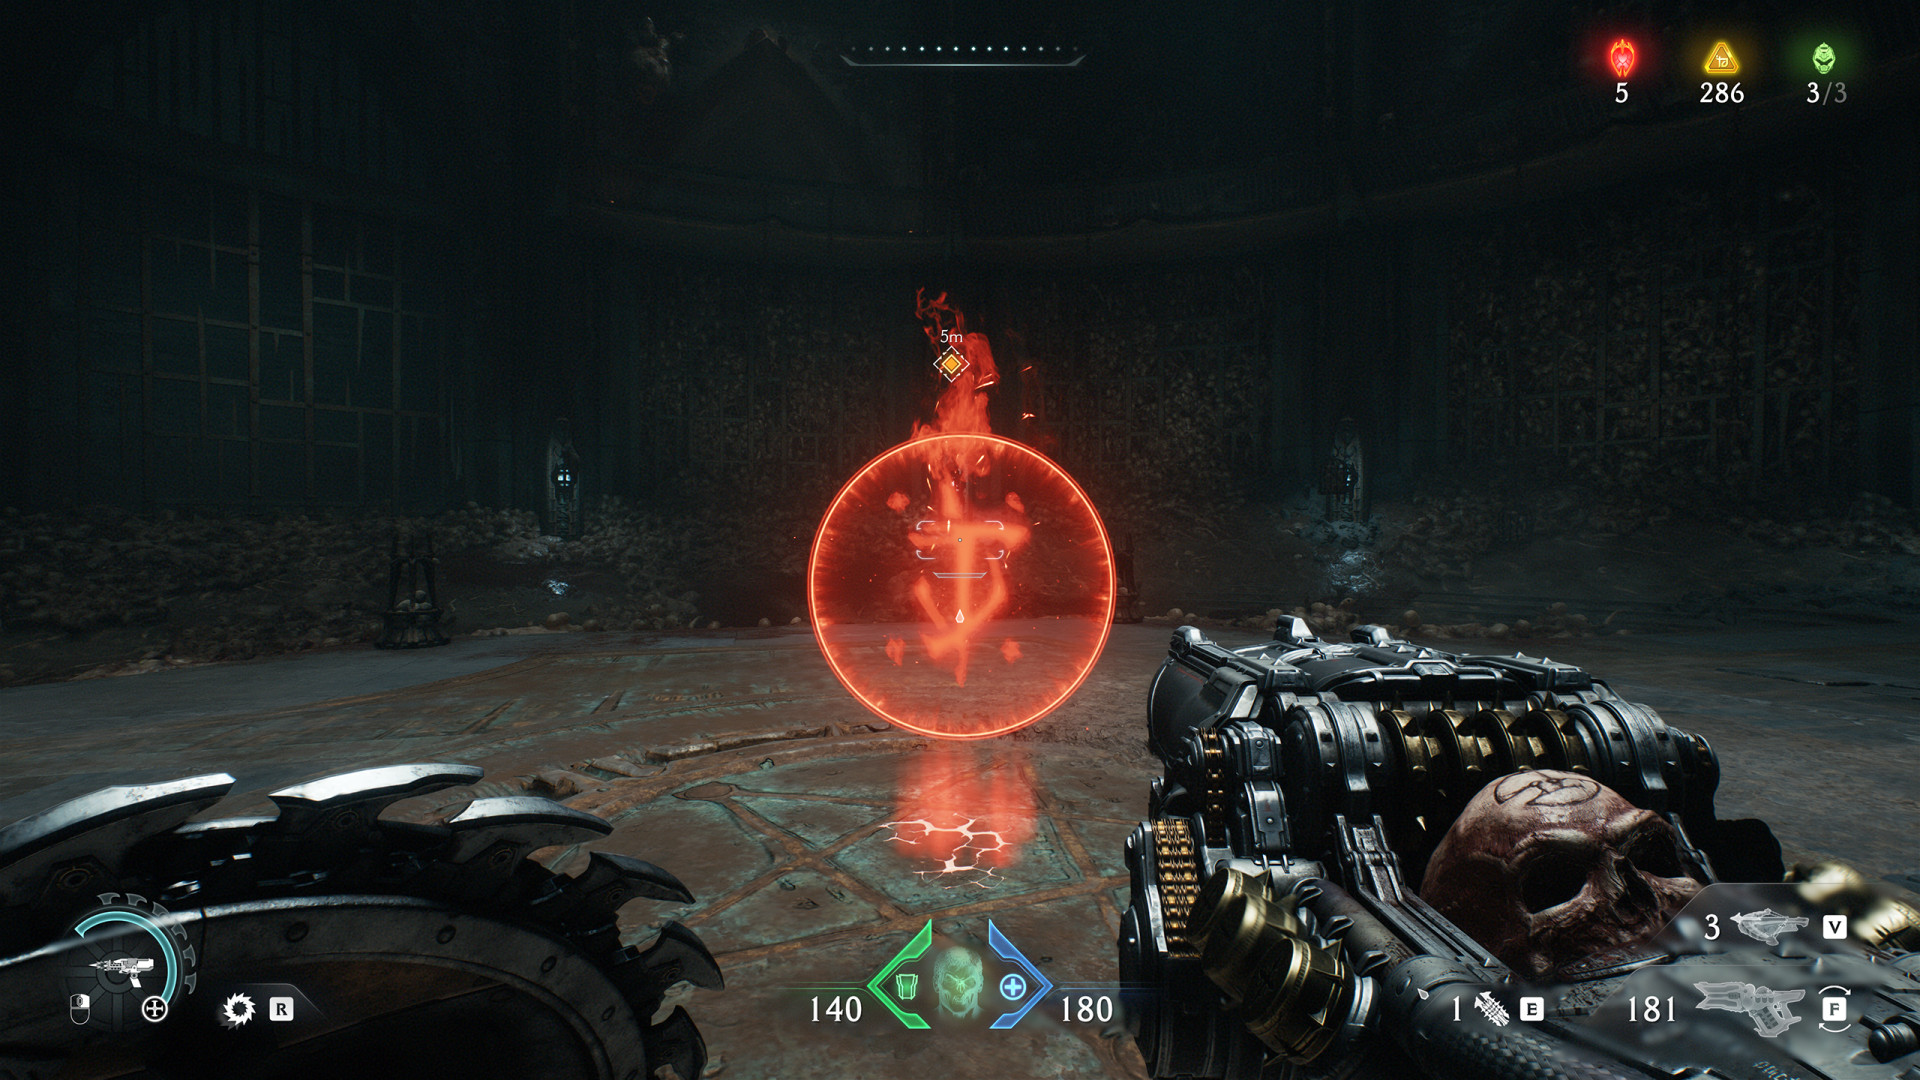
23Berserk Rune (Harbor of Souls #2)
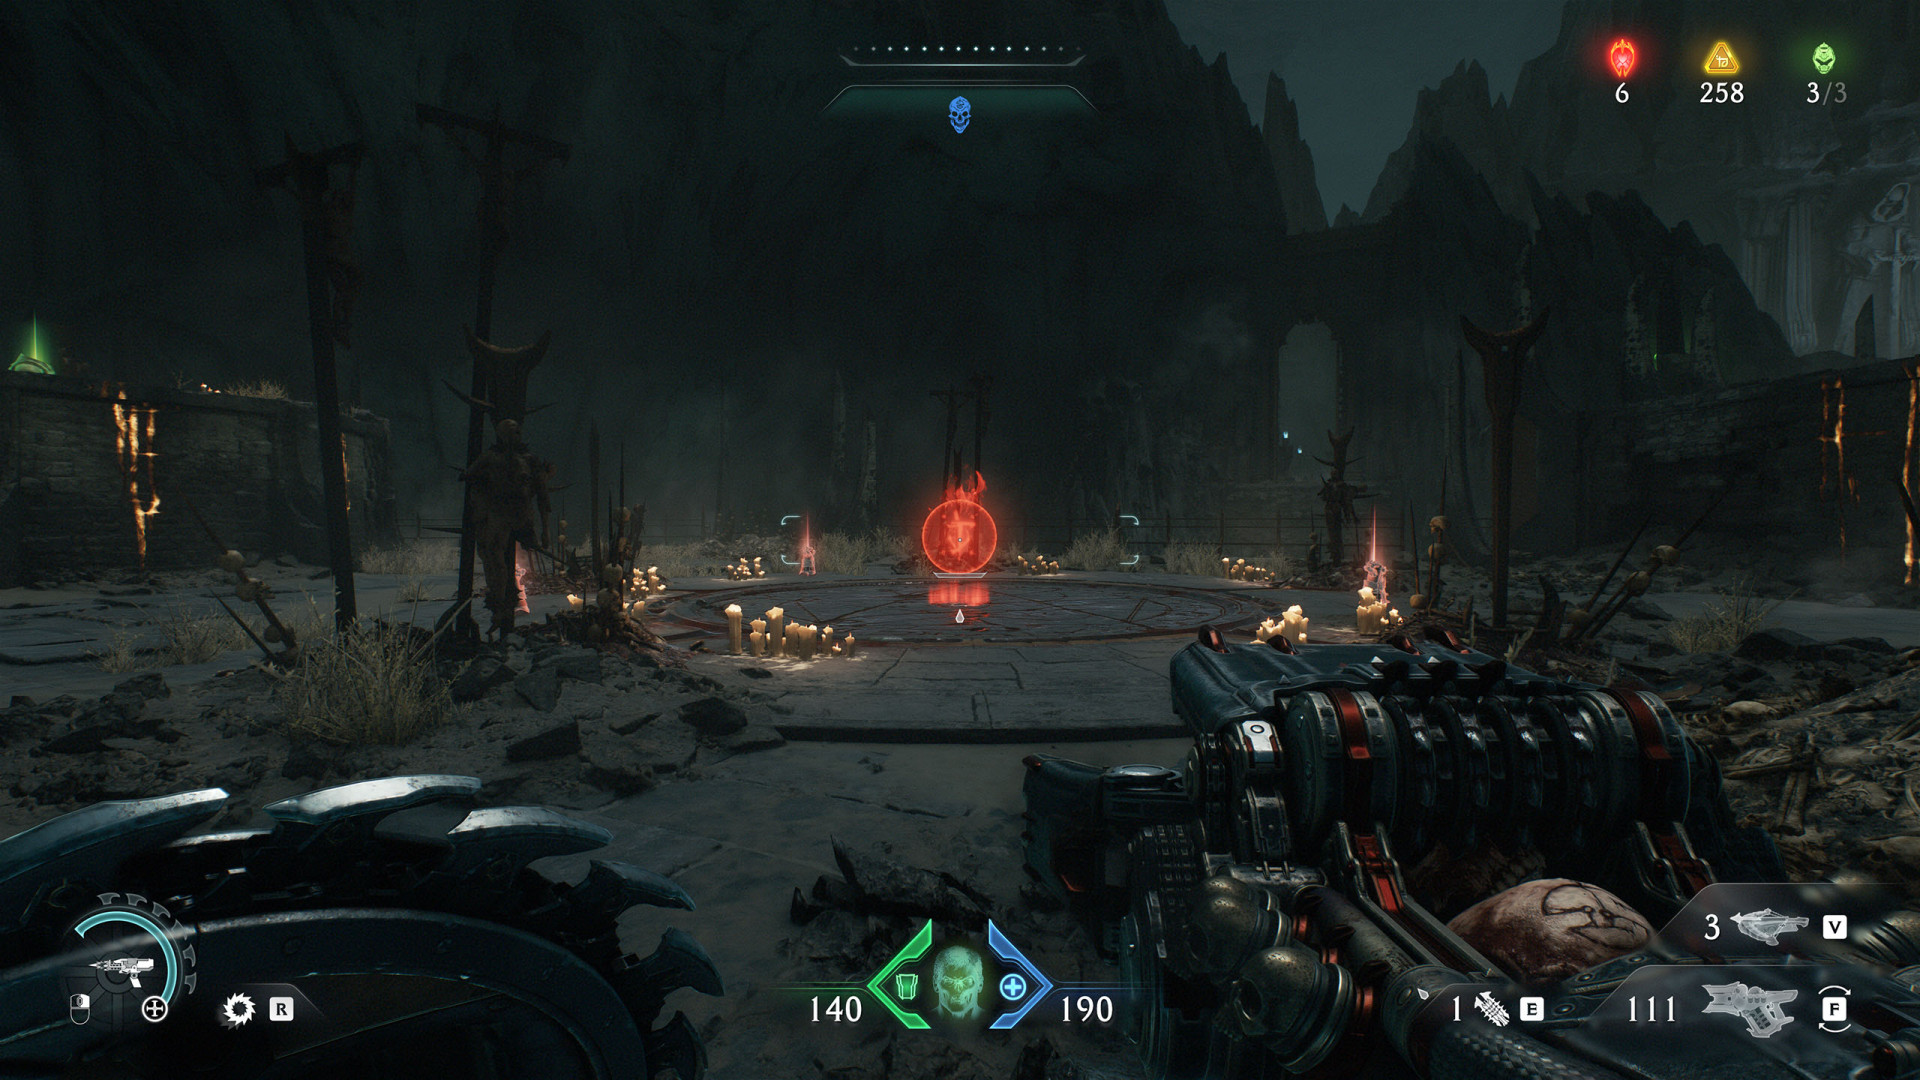
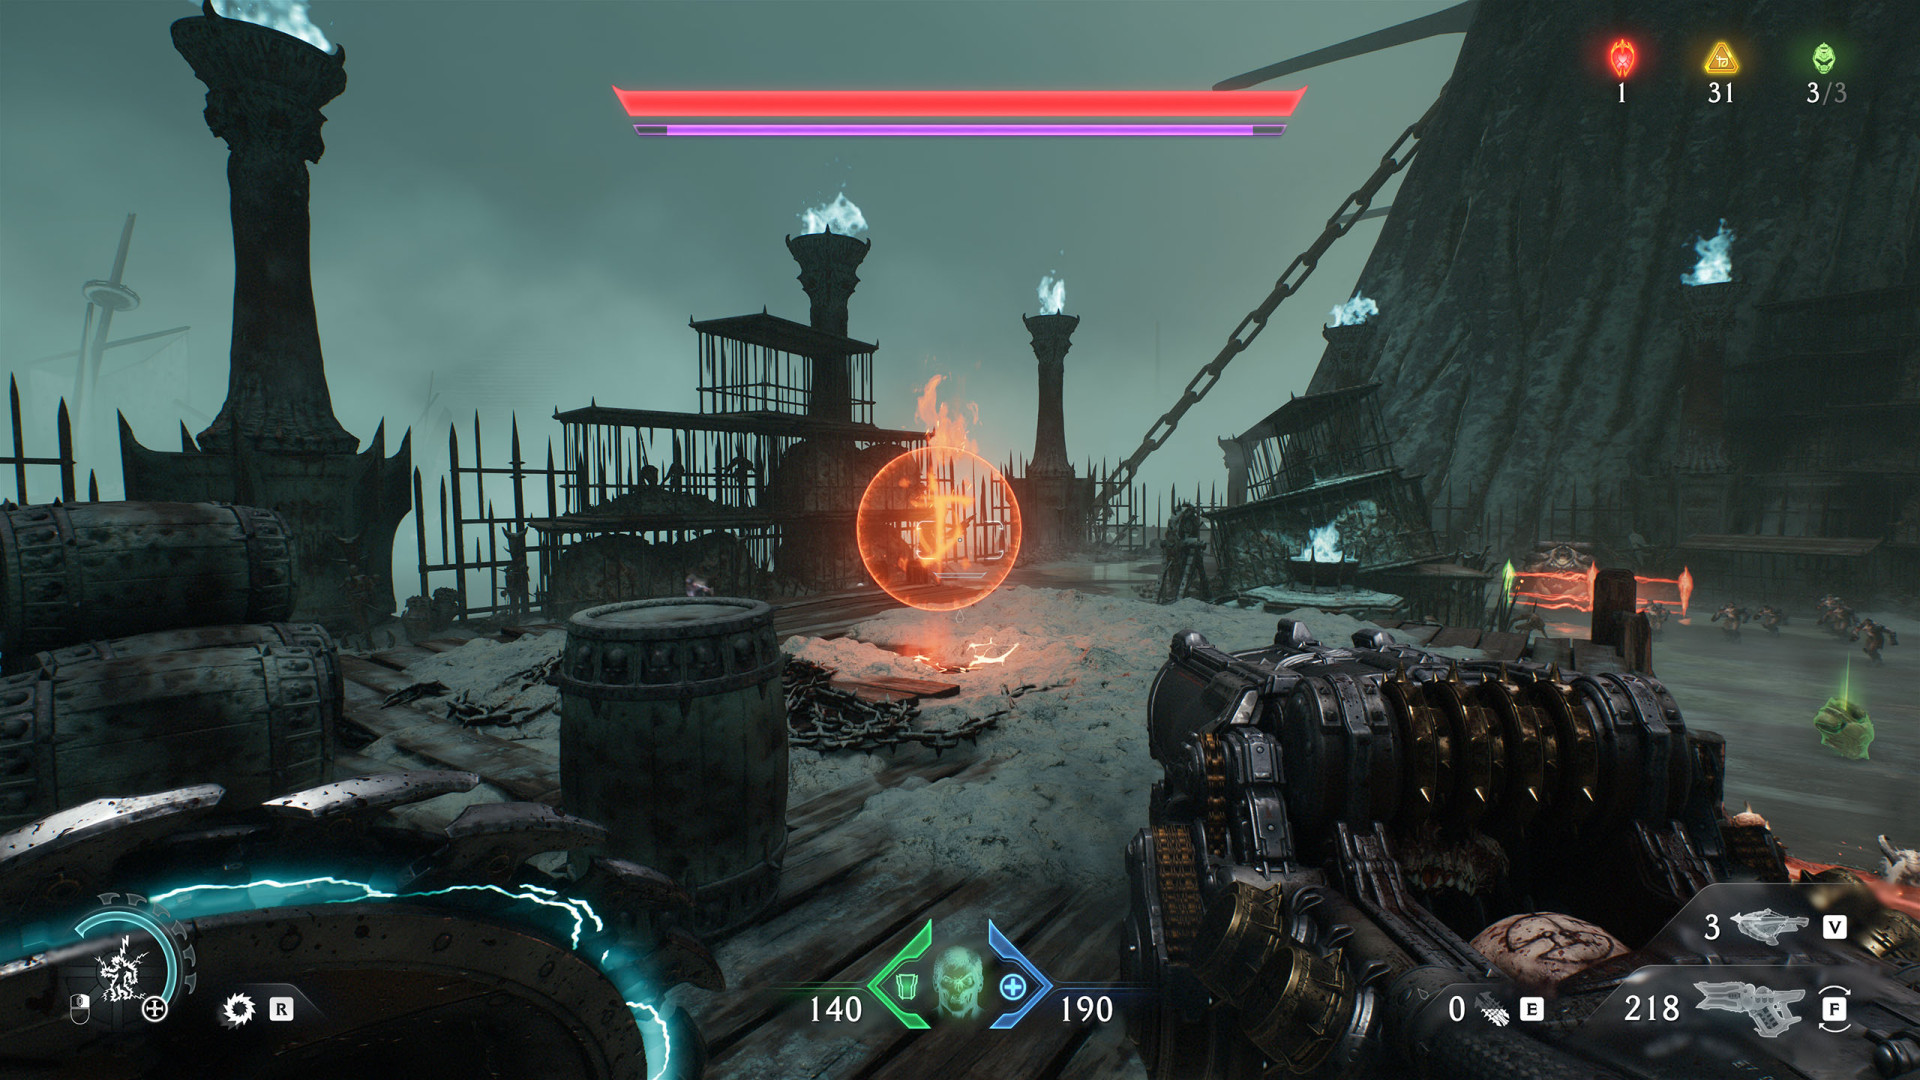
24Berserk Rune (Harbor of Souls #3)
Locations on Resurrection
25Artillery Cannon (Resurrection #1)
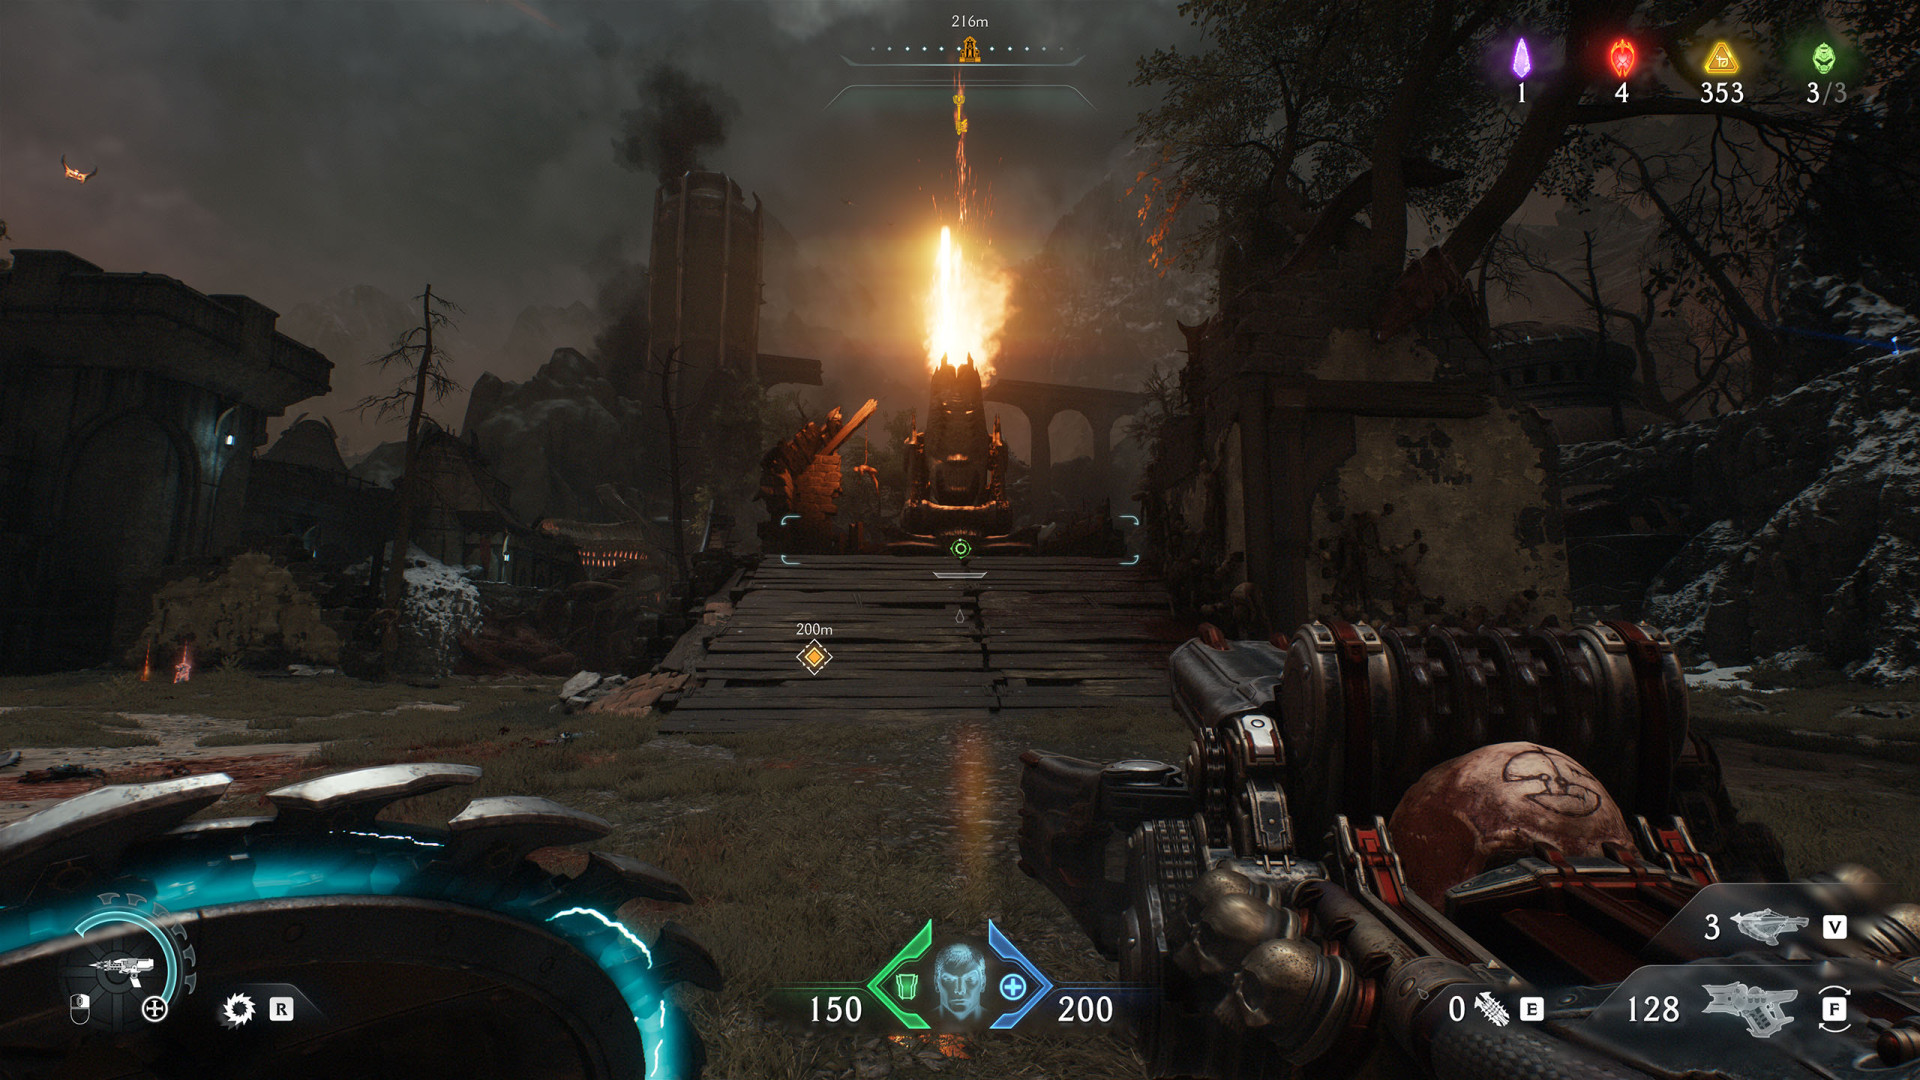
26Artillery Cannon (Resurrection #2)
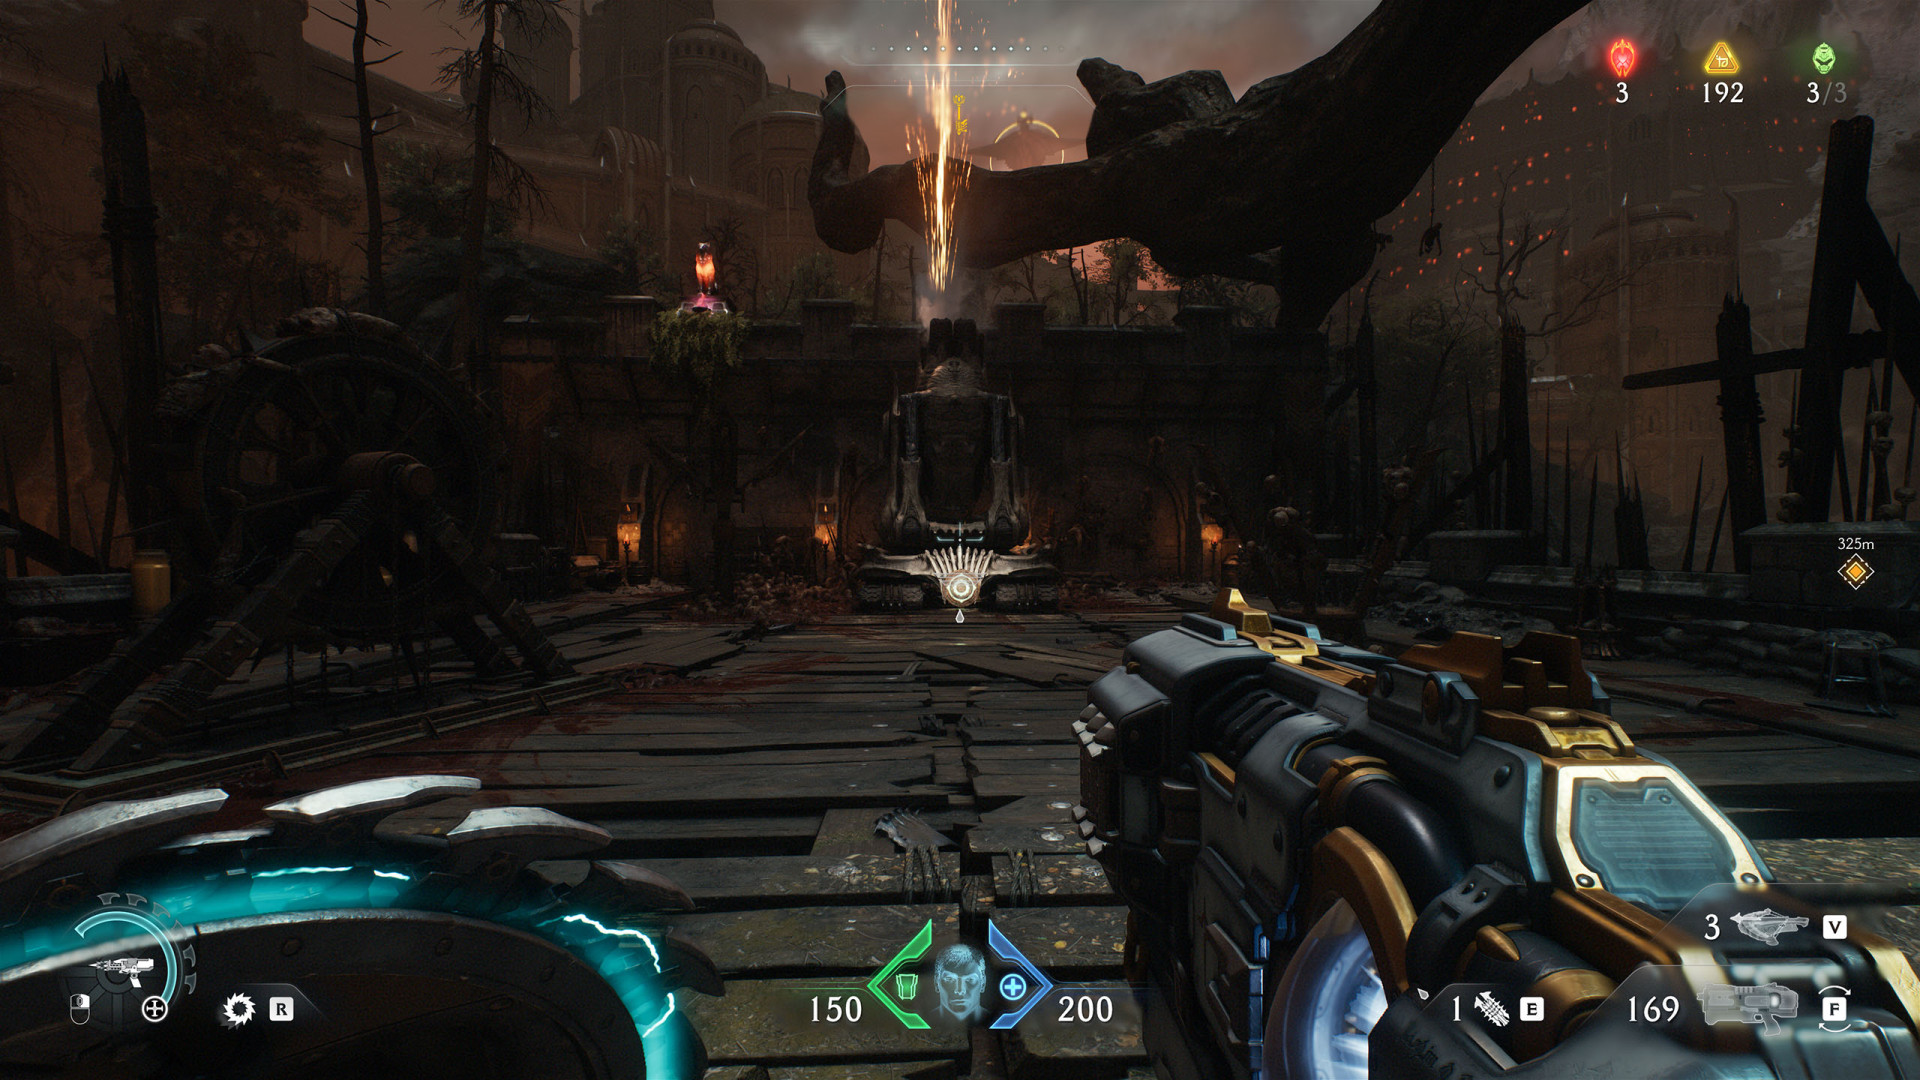
27Artillery Cannon (Resurrection #3)
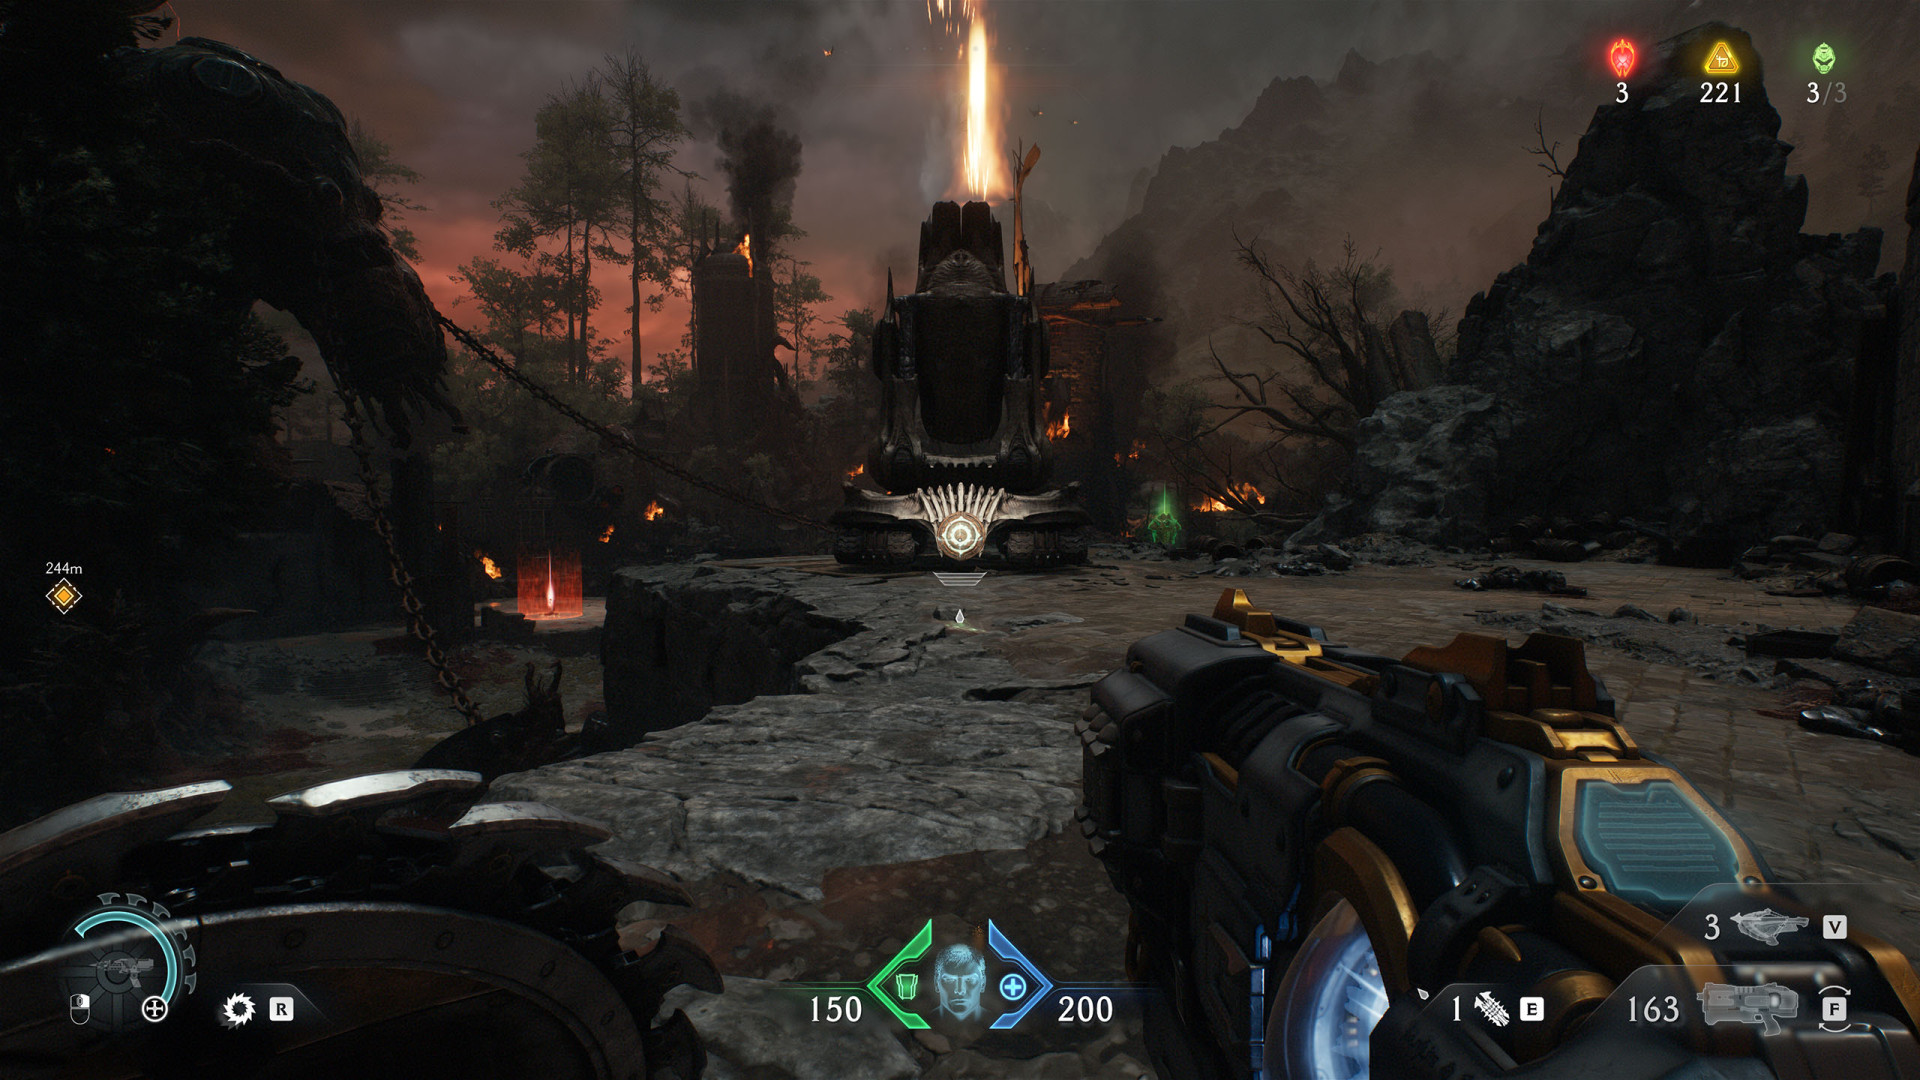
28Berserk Rune (Resurrection)
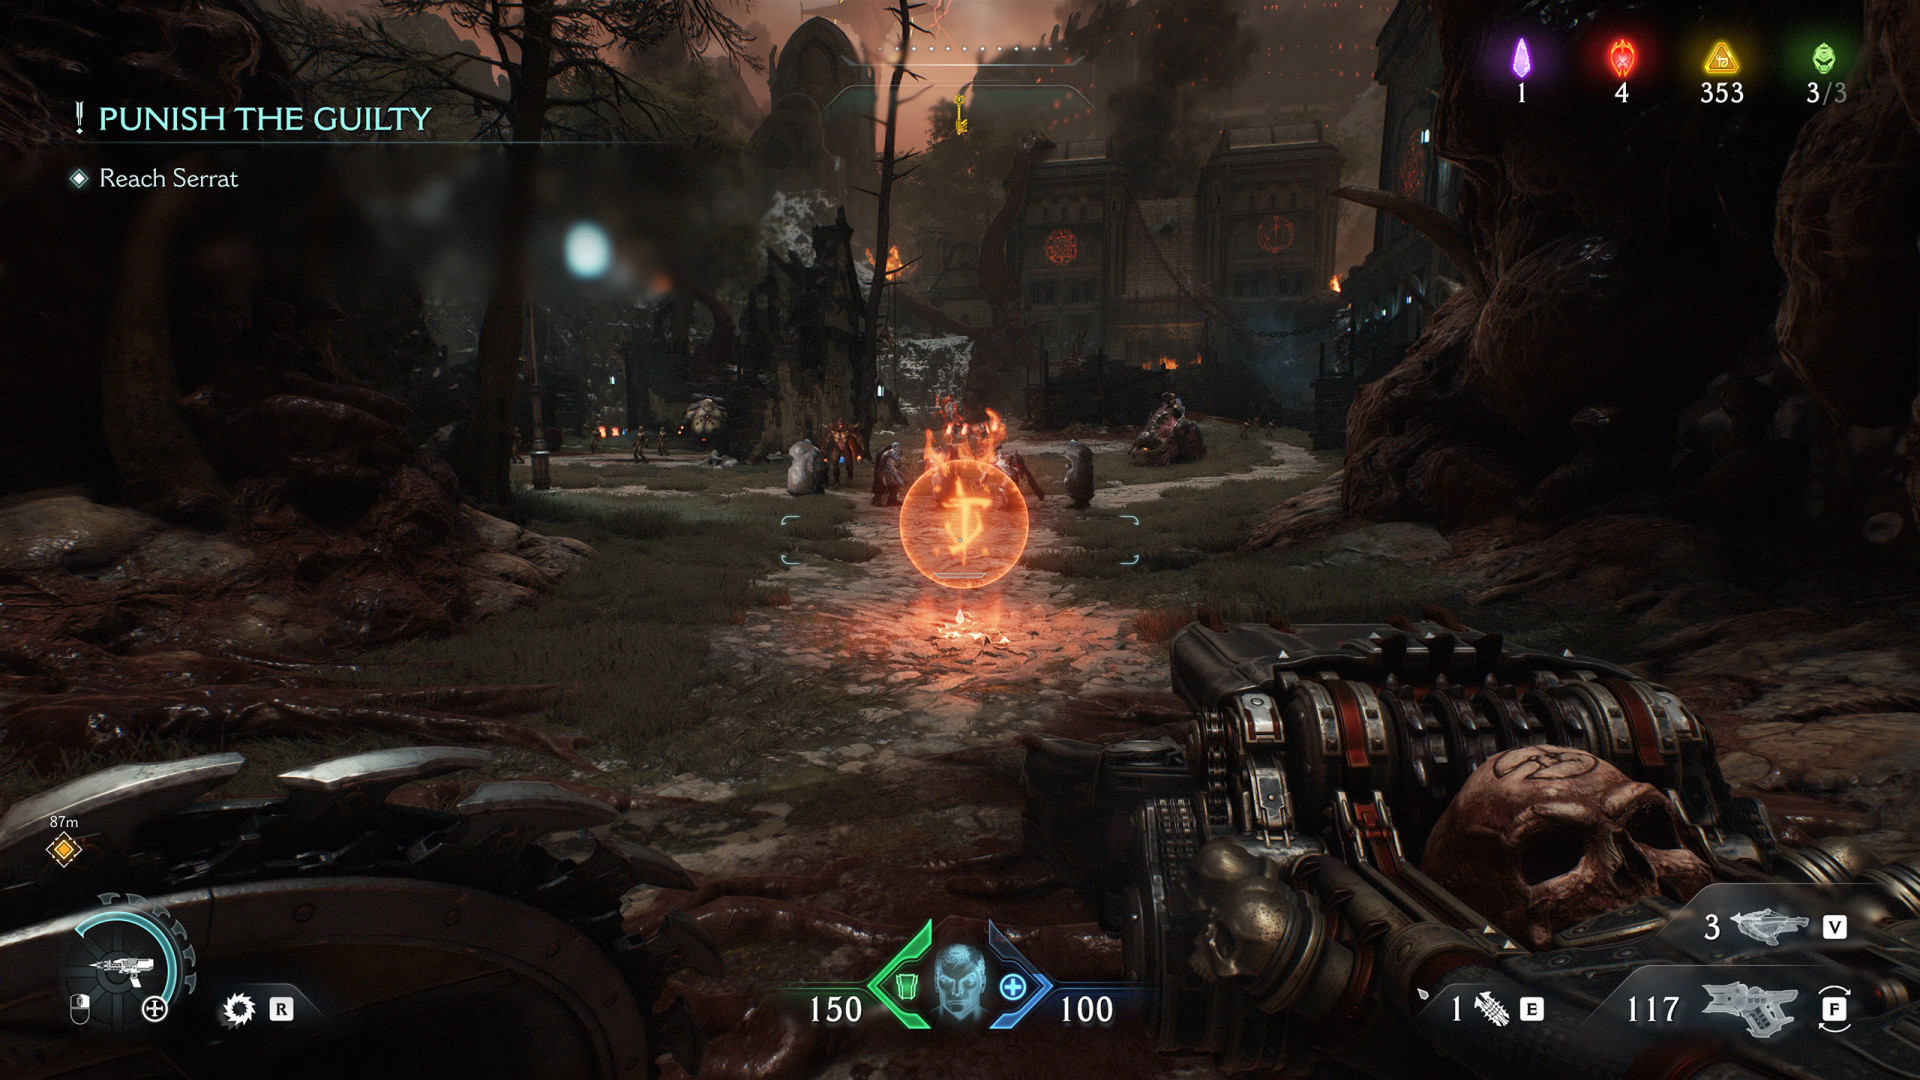
29Berserk Rune (Resurrection)
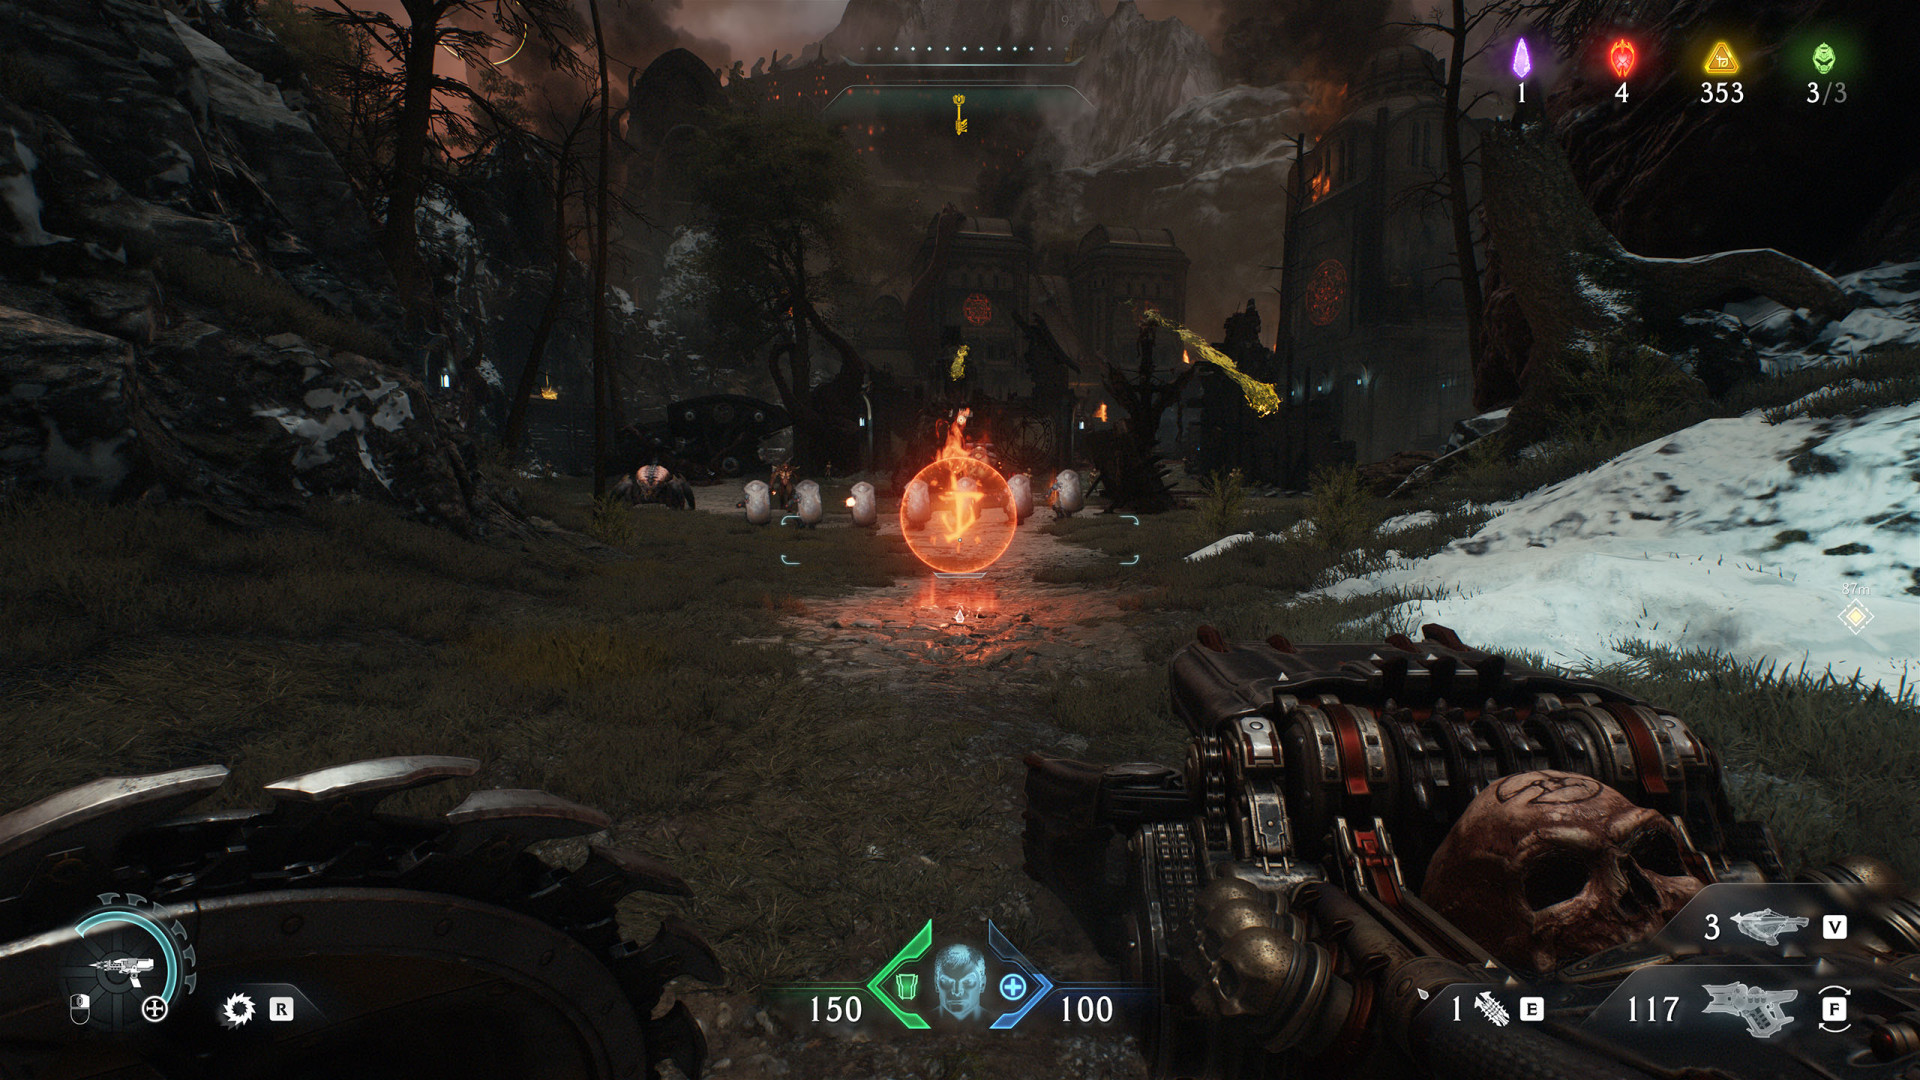
Locations on Final Battle
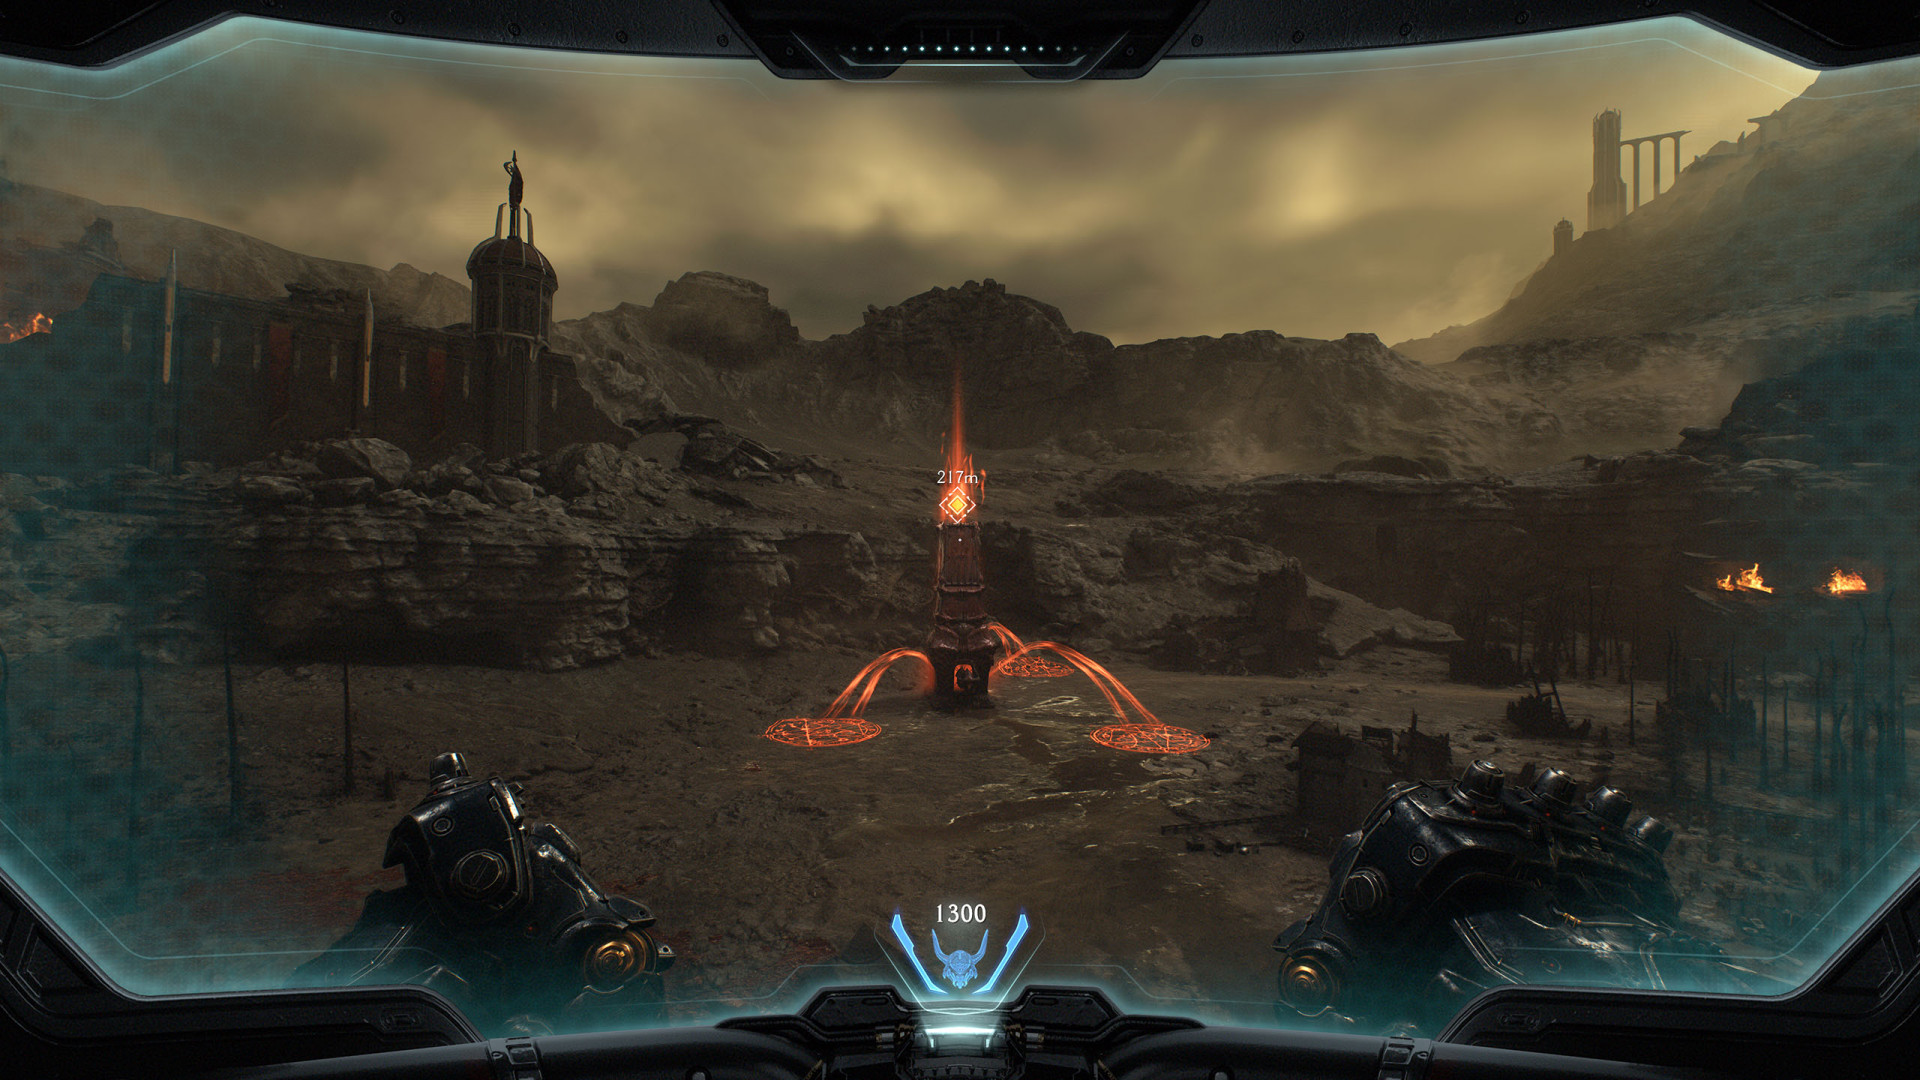
30Hellgate Generator #1
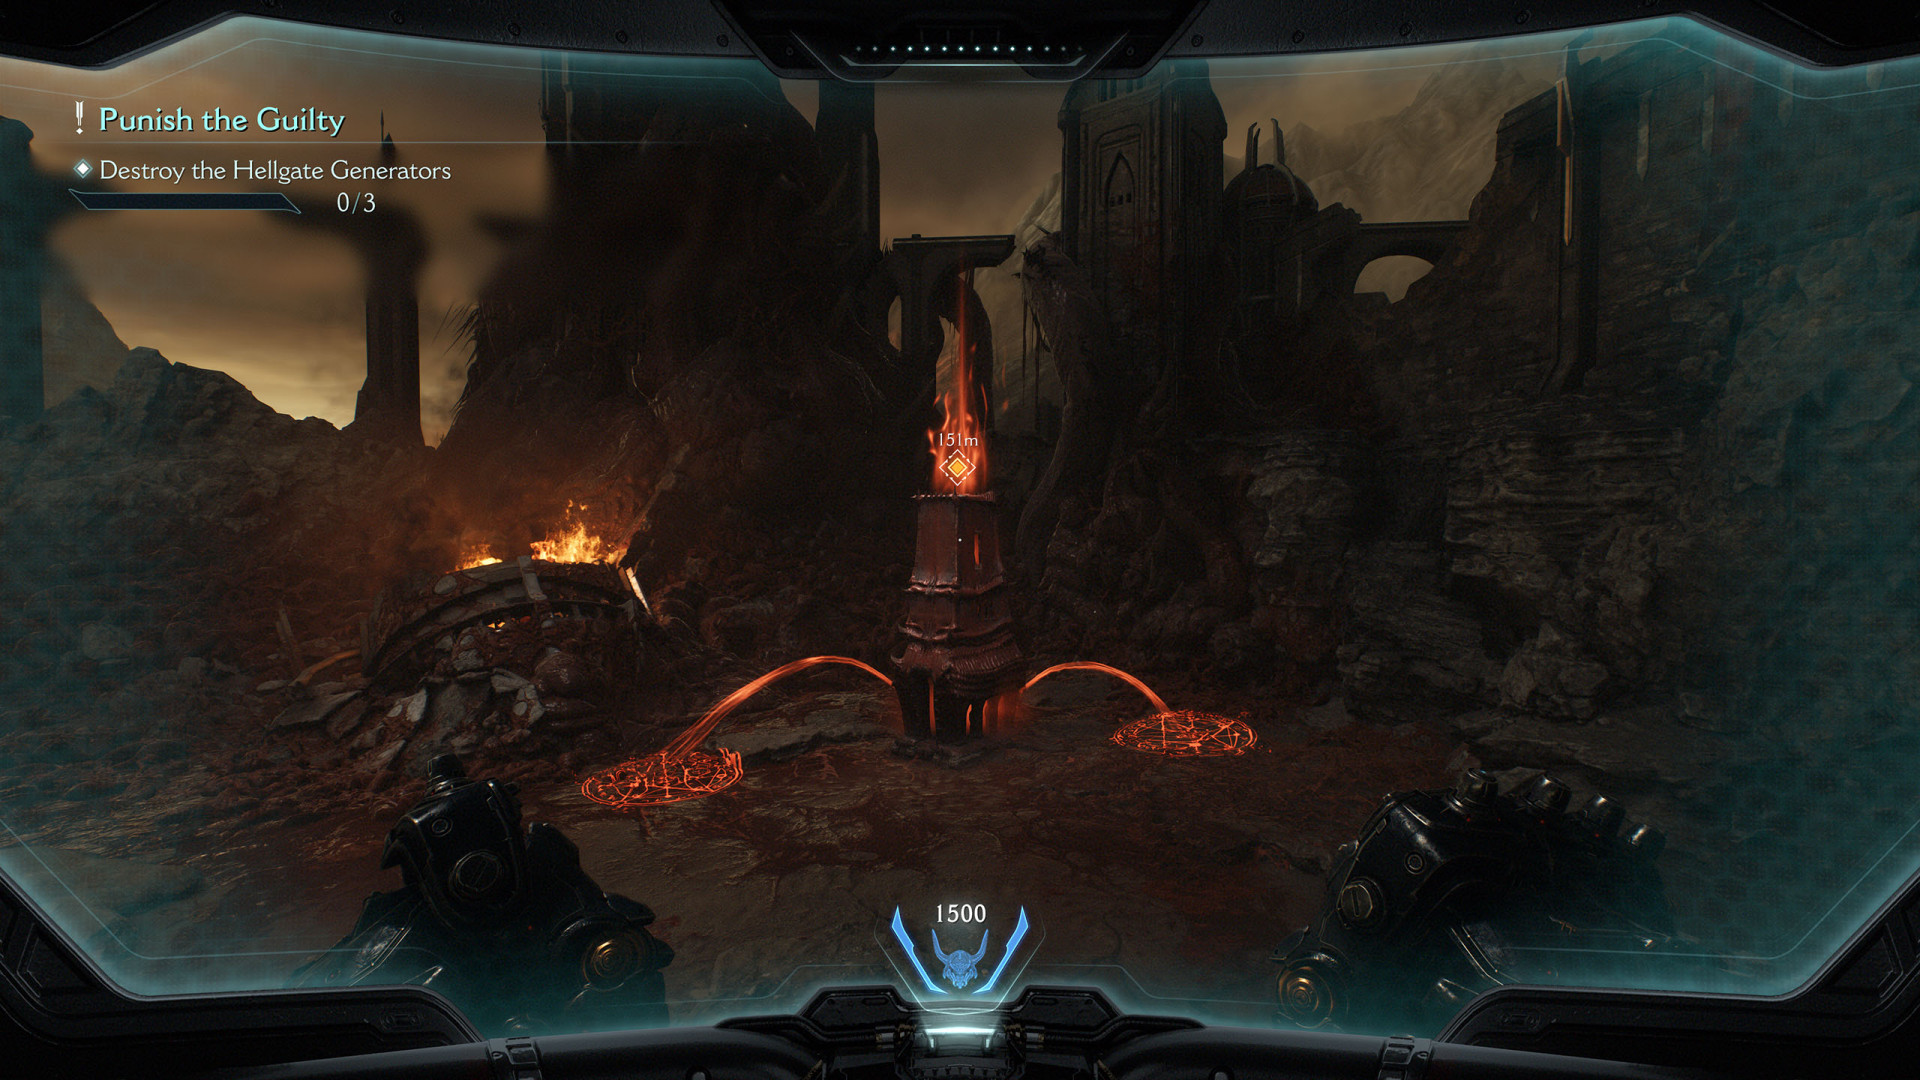
31Hellgate Generator #2
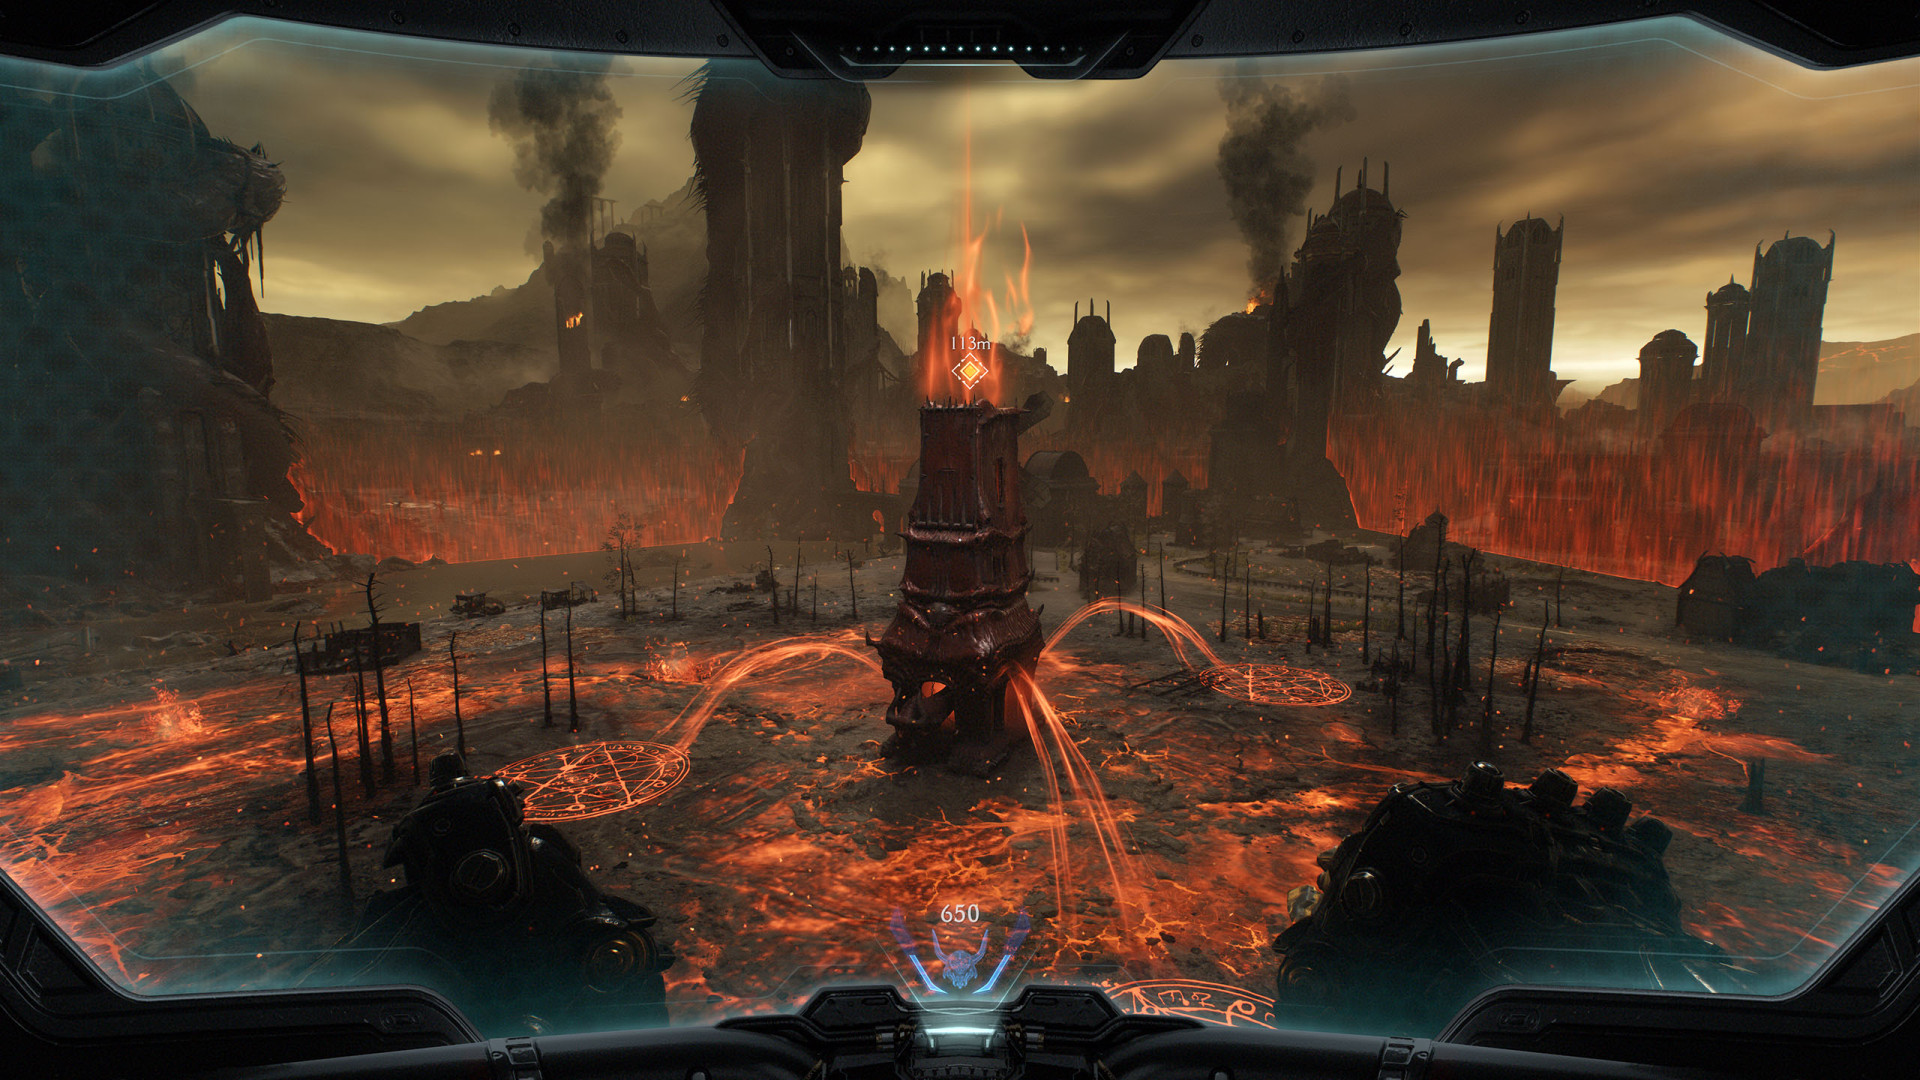
32Hellgate Generator #3
Locations on Reckoning
33Berserk Rune
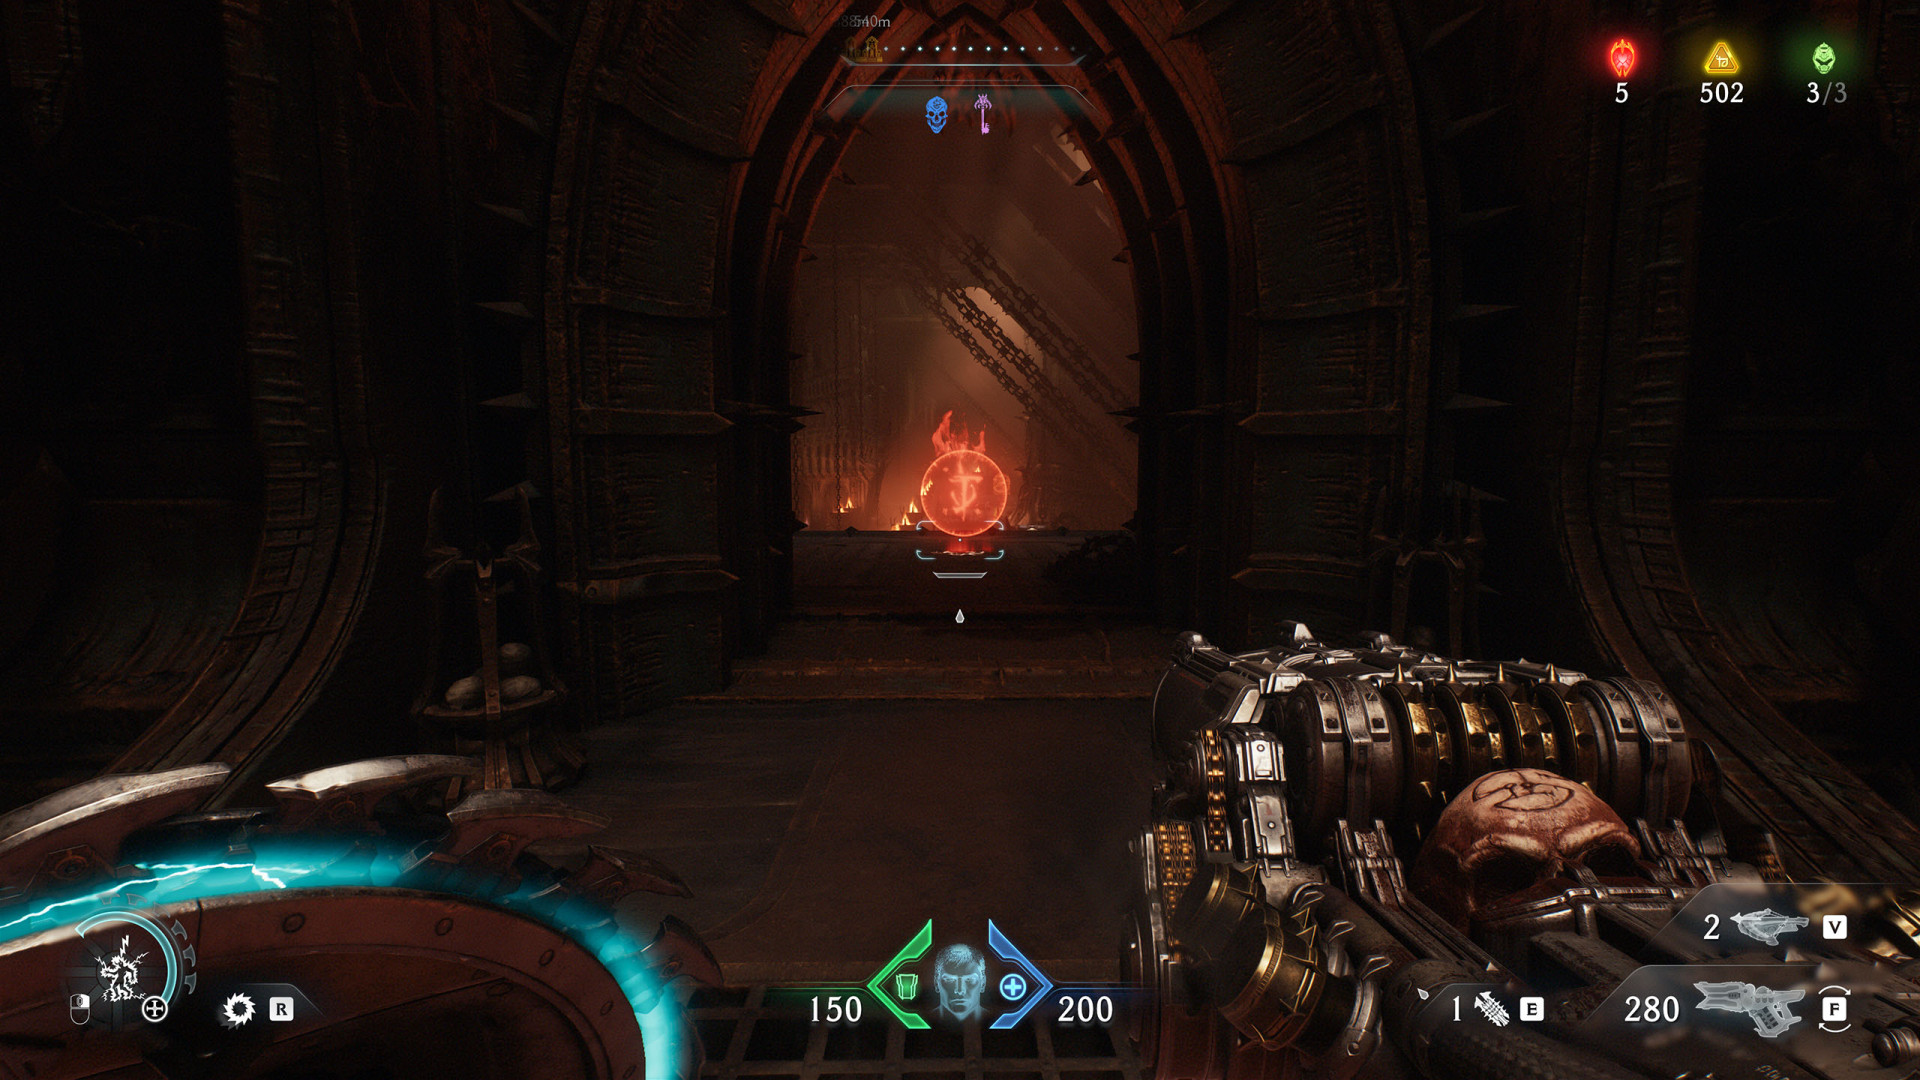
34Elevator
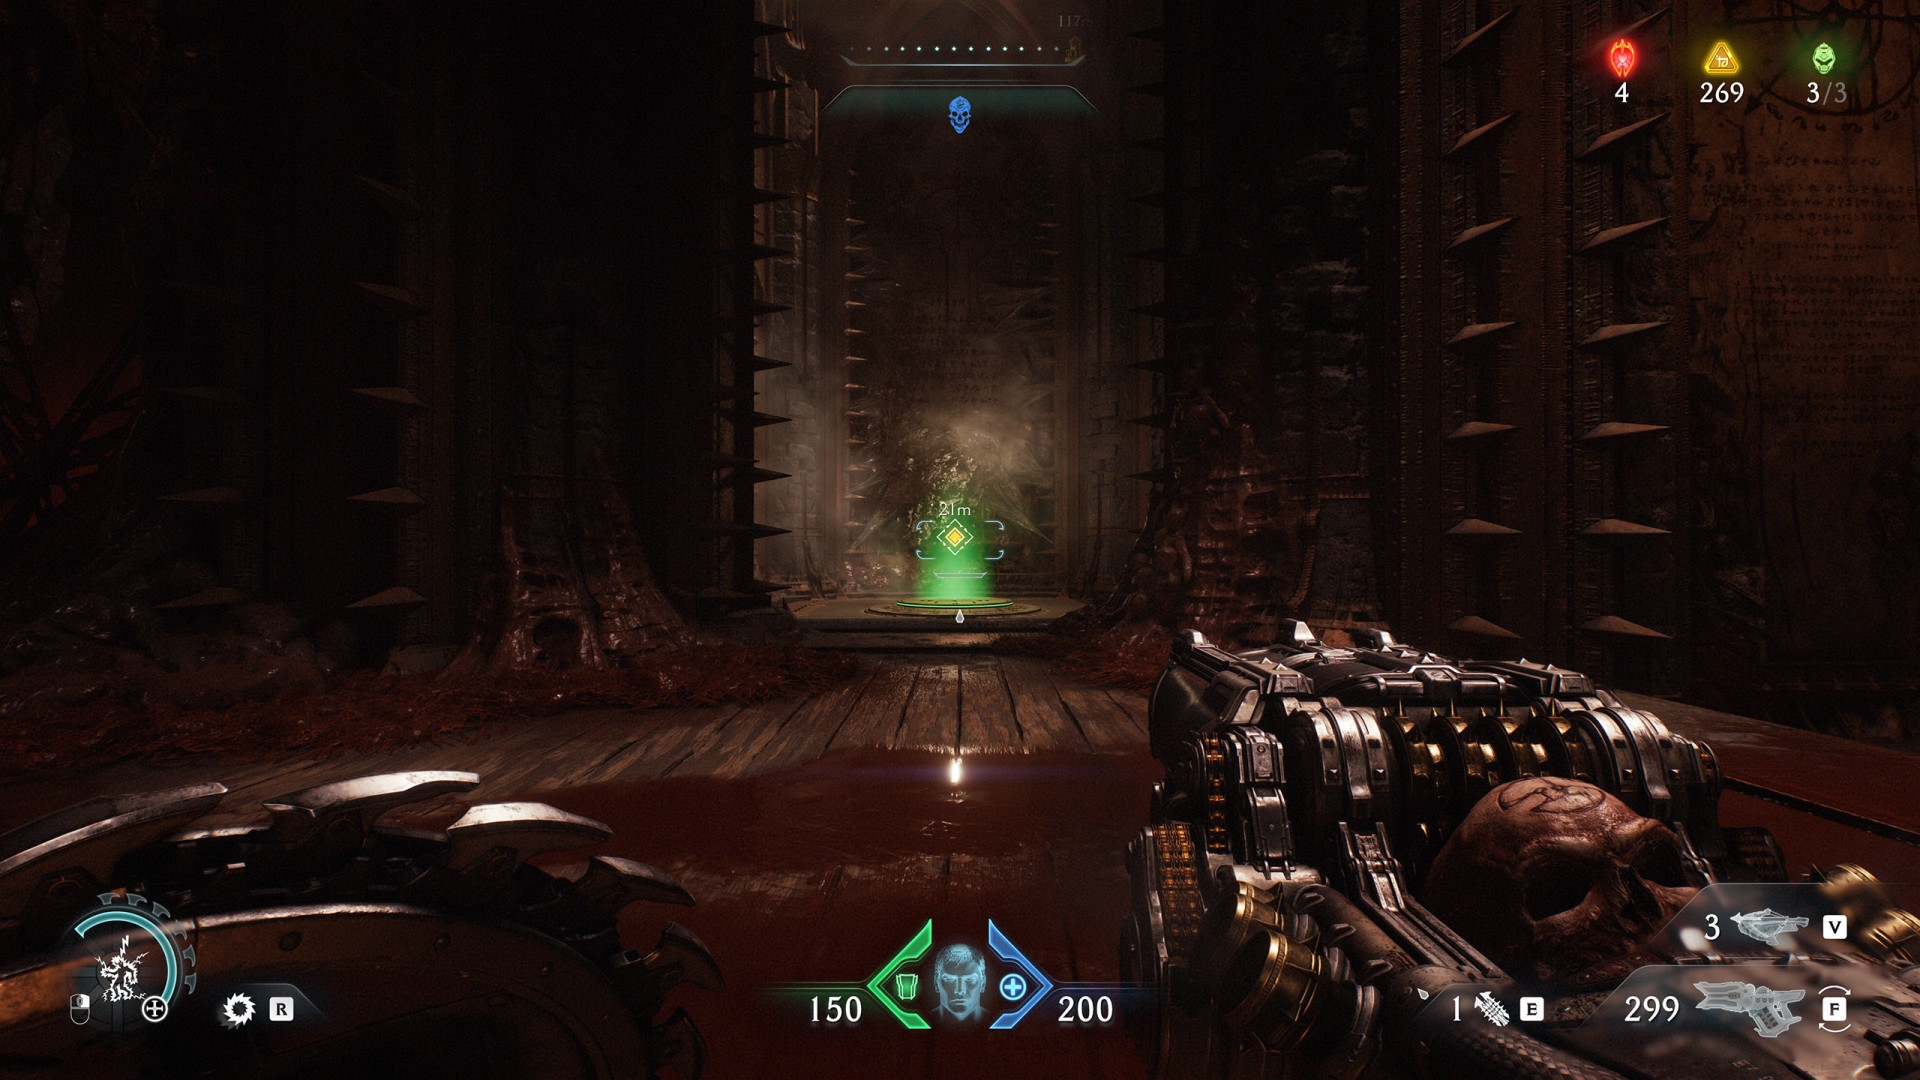
35Launch Pad