Welcome to guides4gamers.com

All Weapons in Doom: The Dark Ages

This collection includes every marker from the Arsenal category of points of interest in DOOM: The Dark Ages, all placed on interactive maps created specifically for the game.

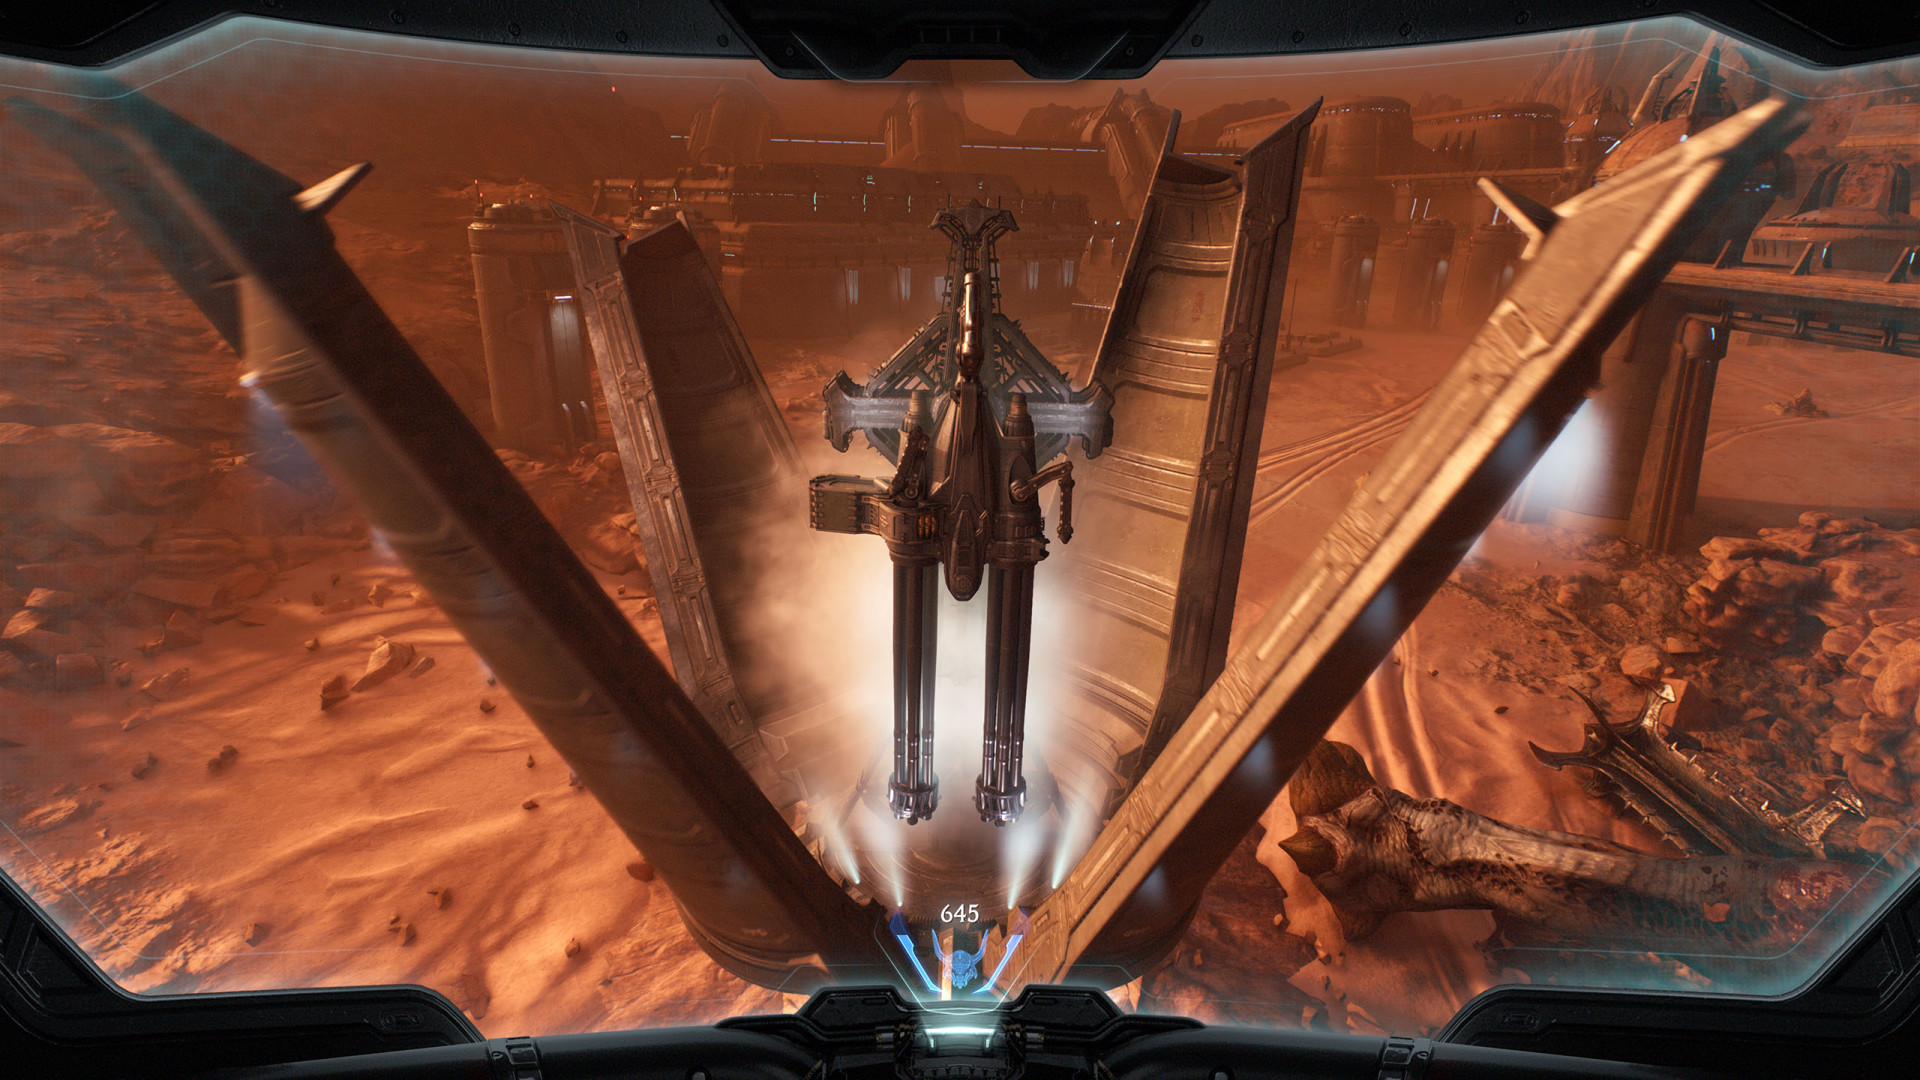
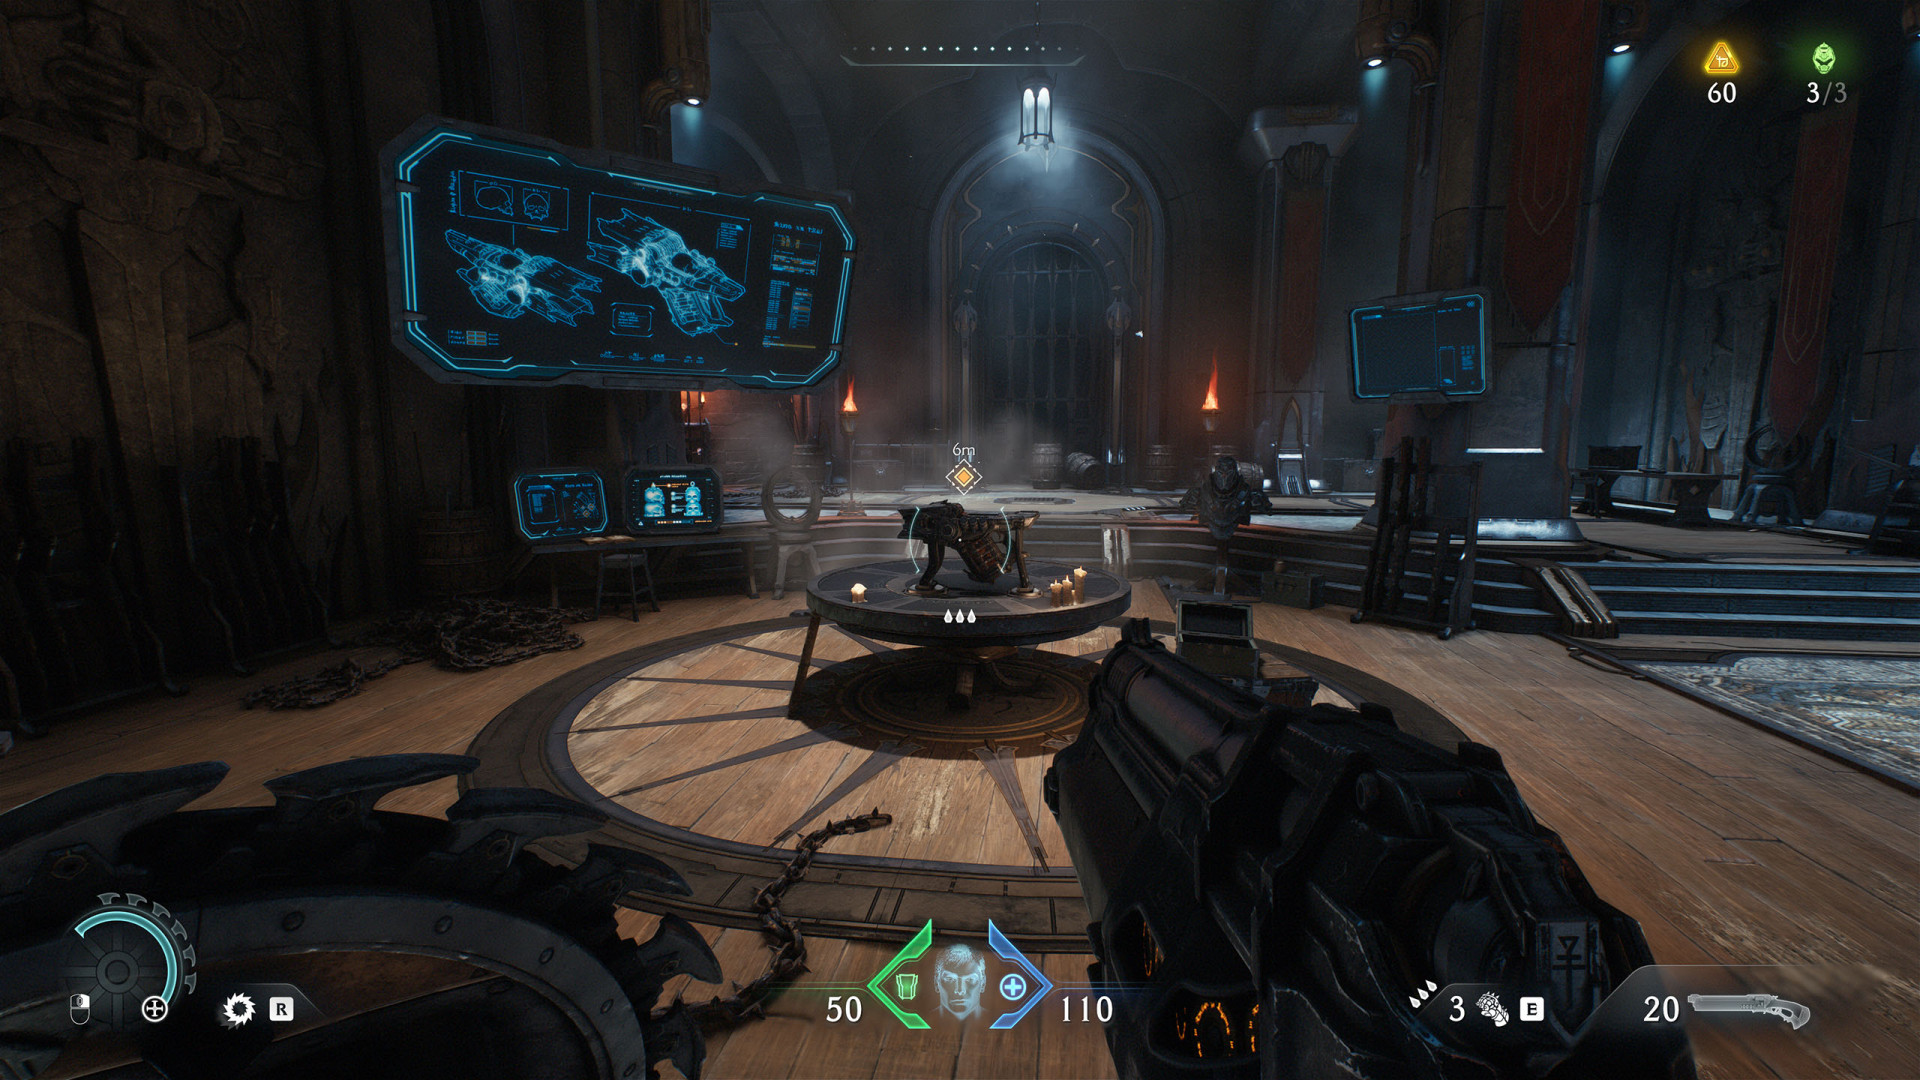
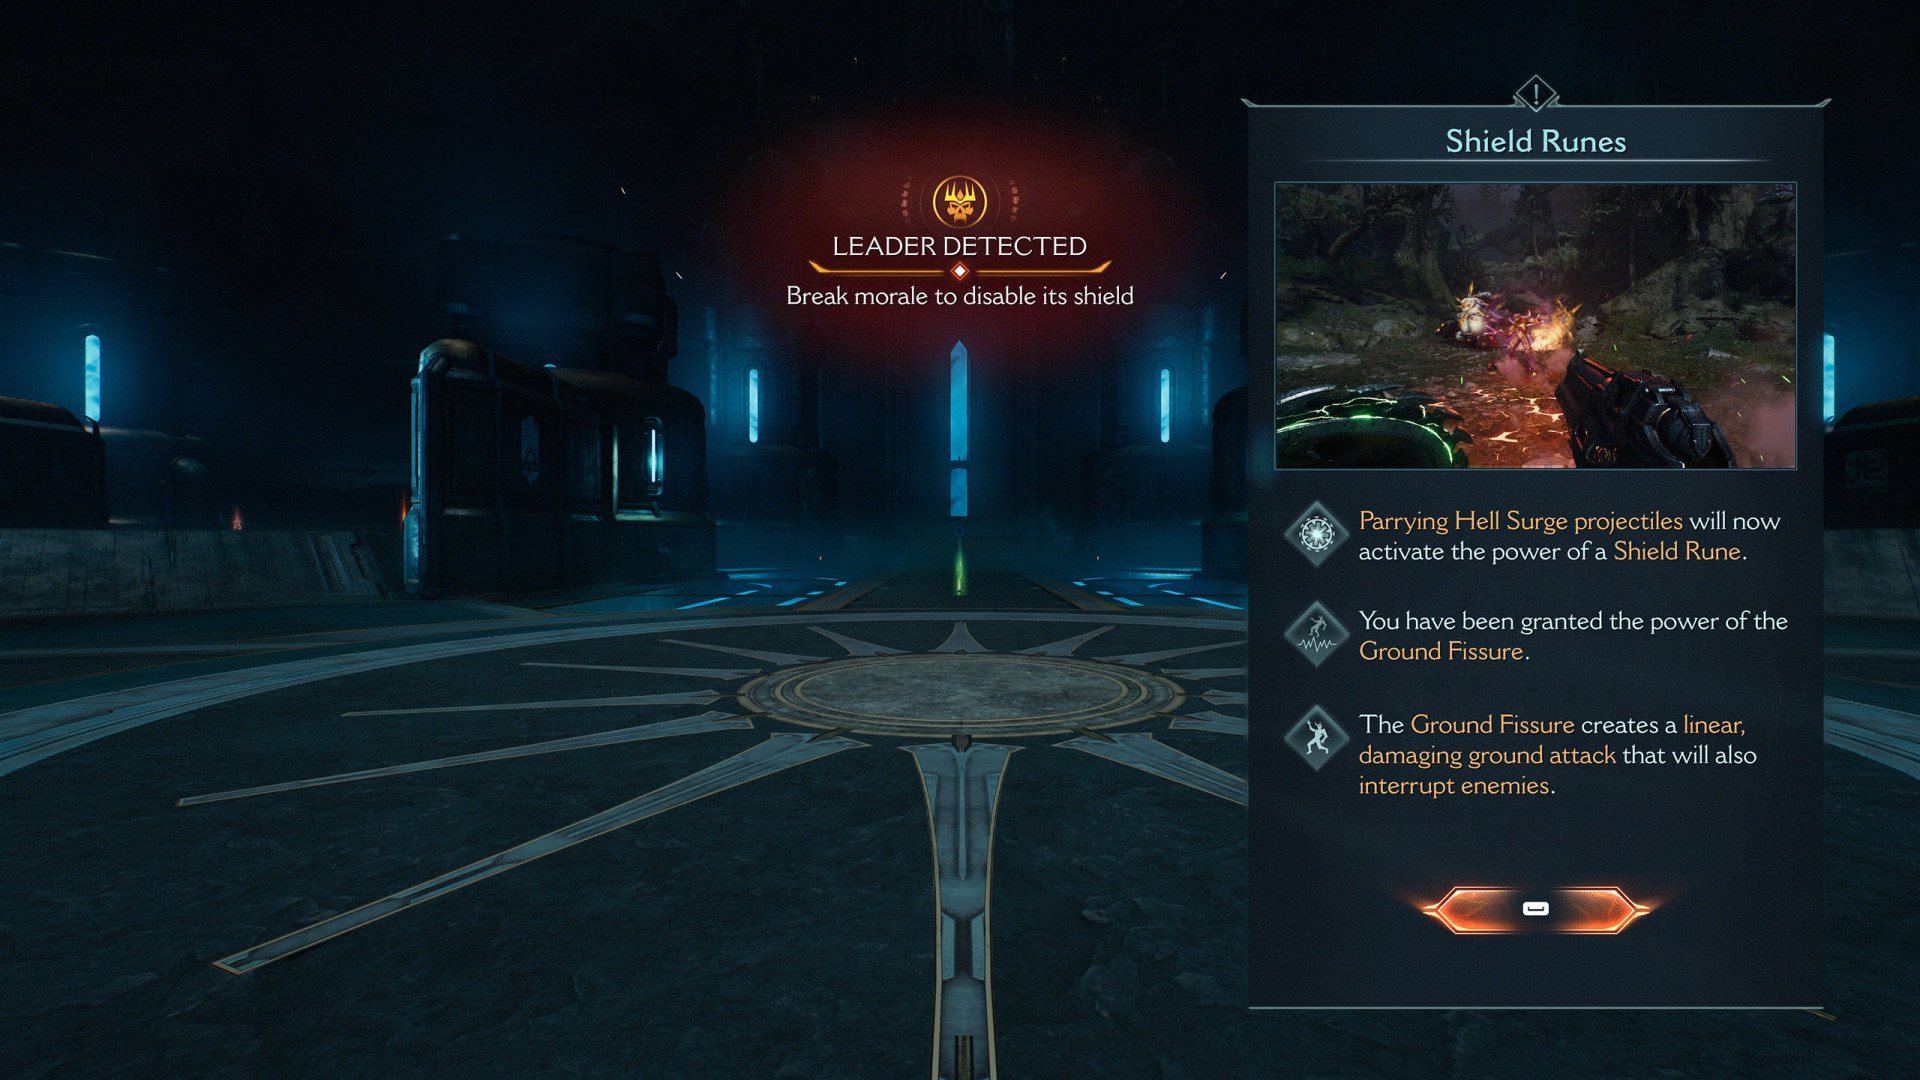
In Doom: The Dark Ages, the Doom Slayer's arsenal comprises 23 weapons, including ranged firearms, melee weapons, a shield with runes, and temporary Atlan mech weapons.

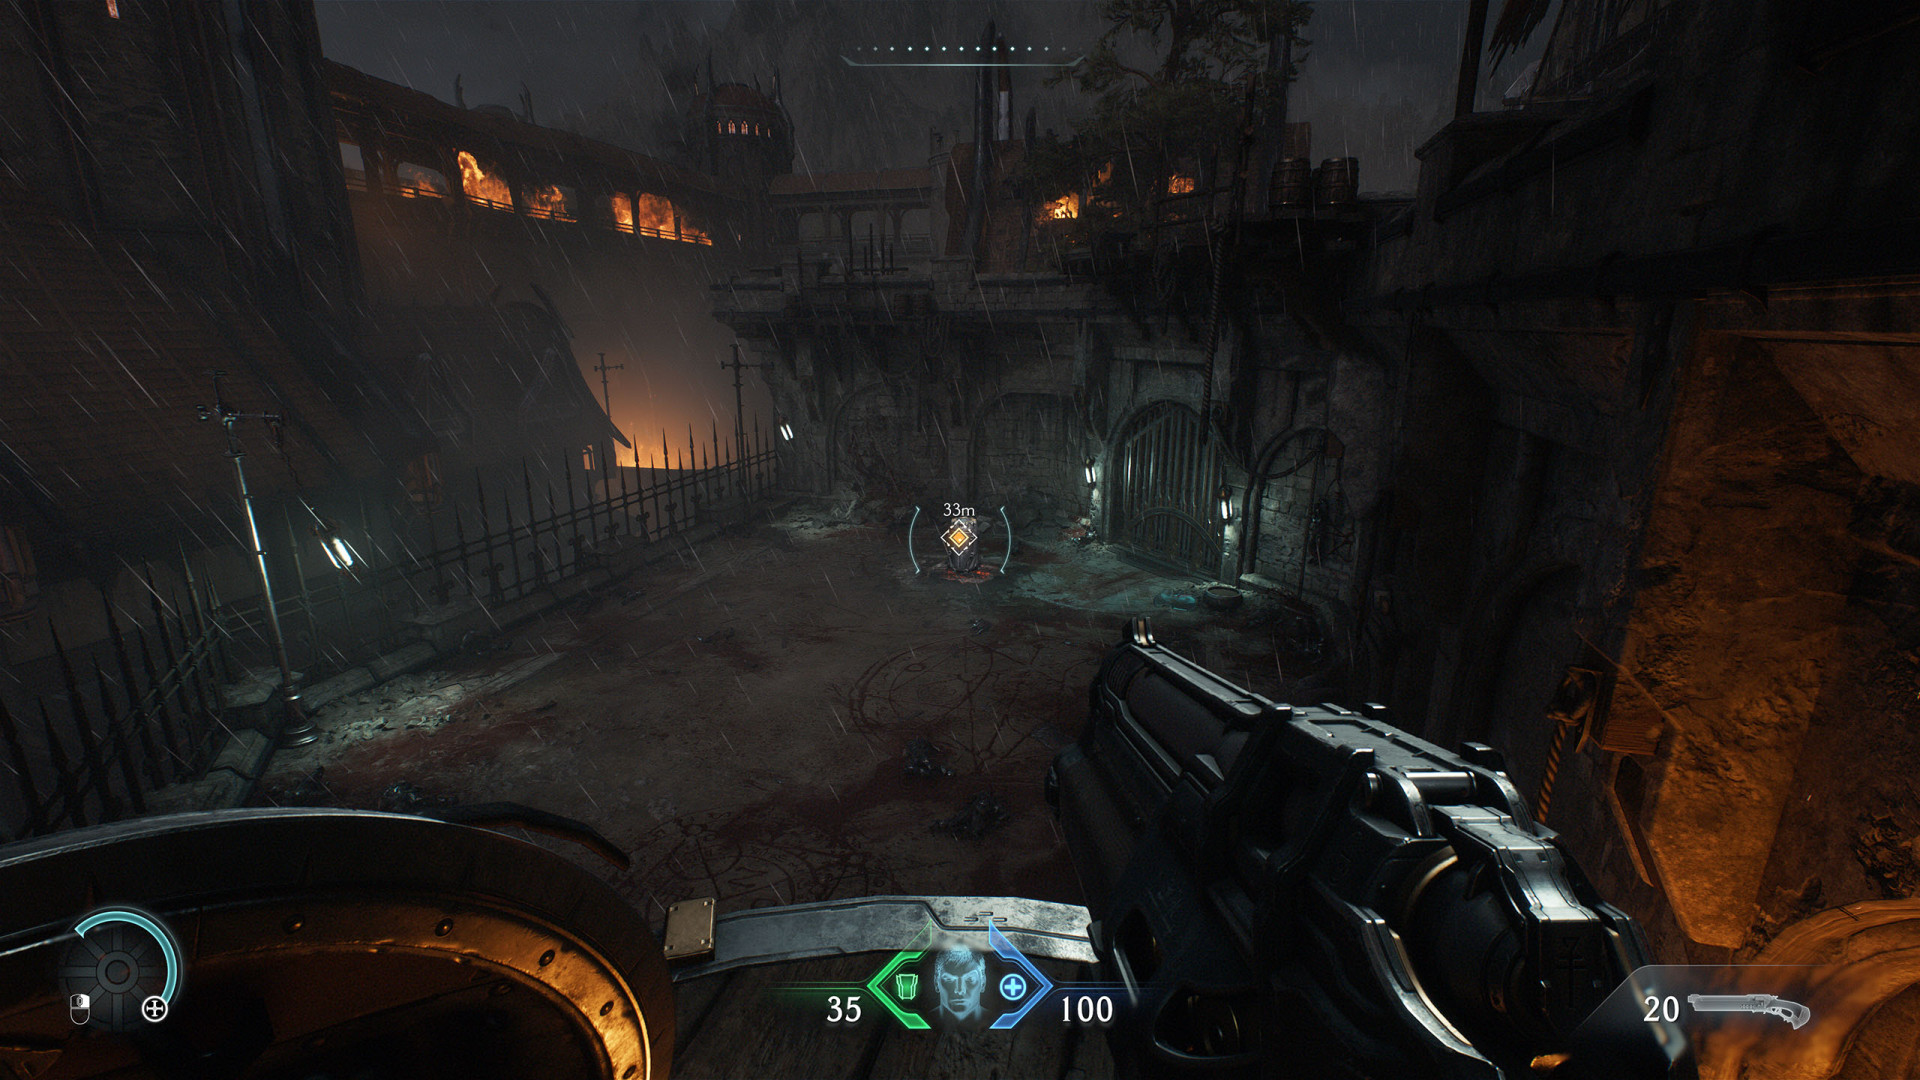
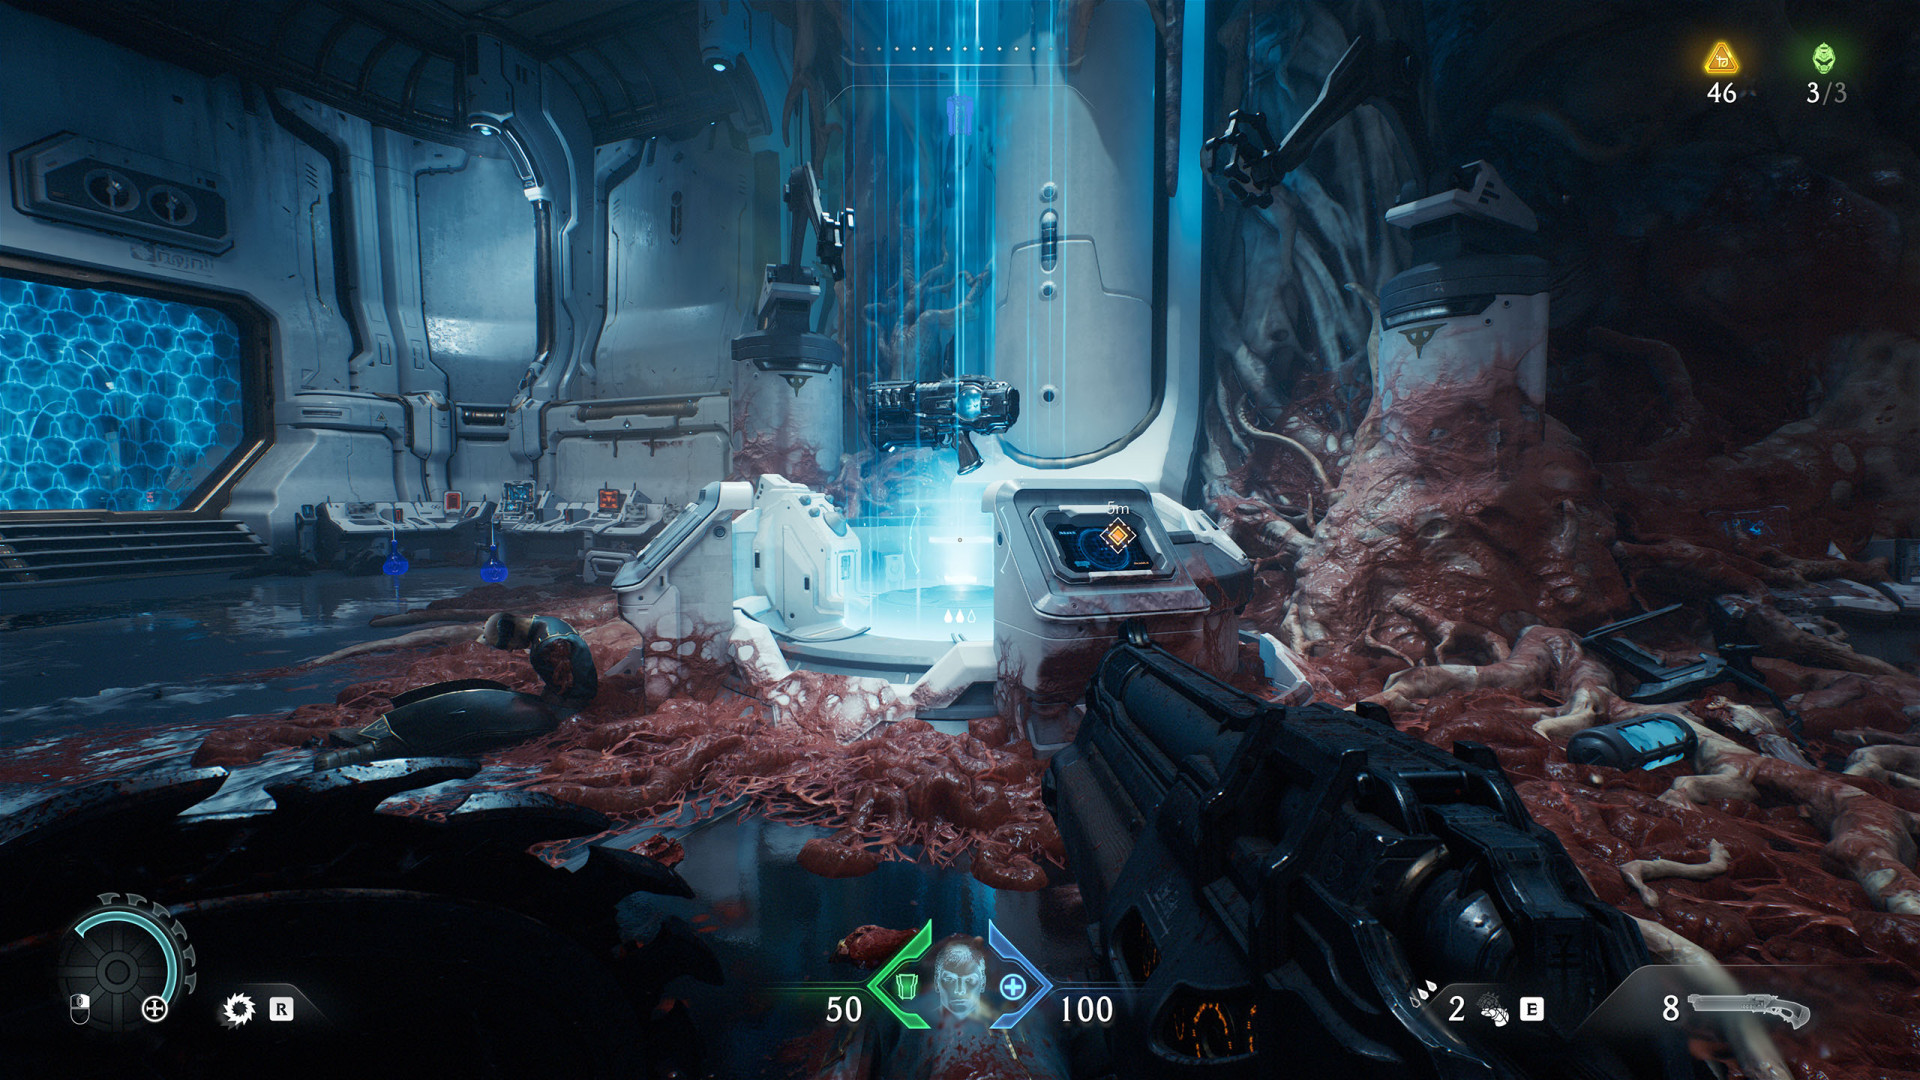
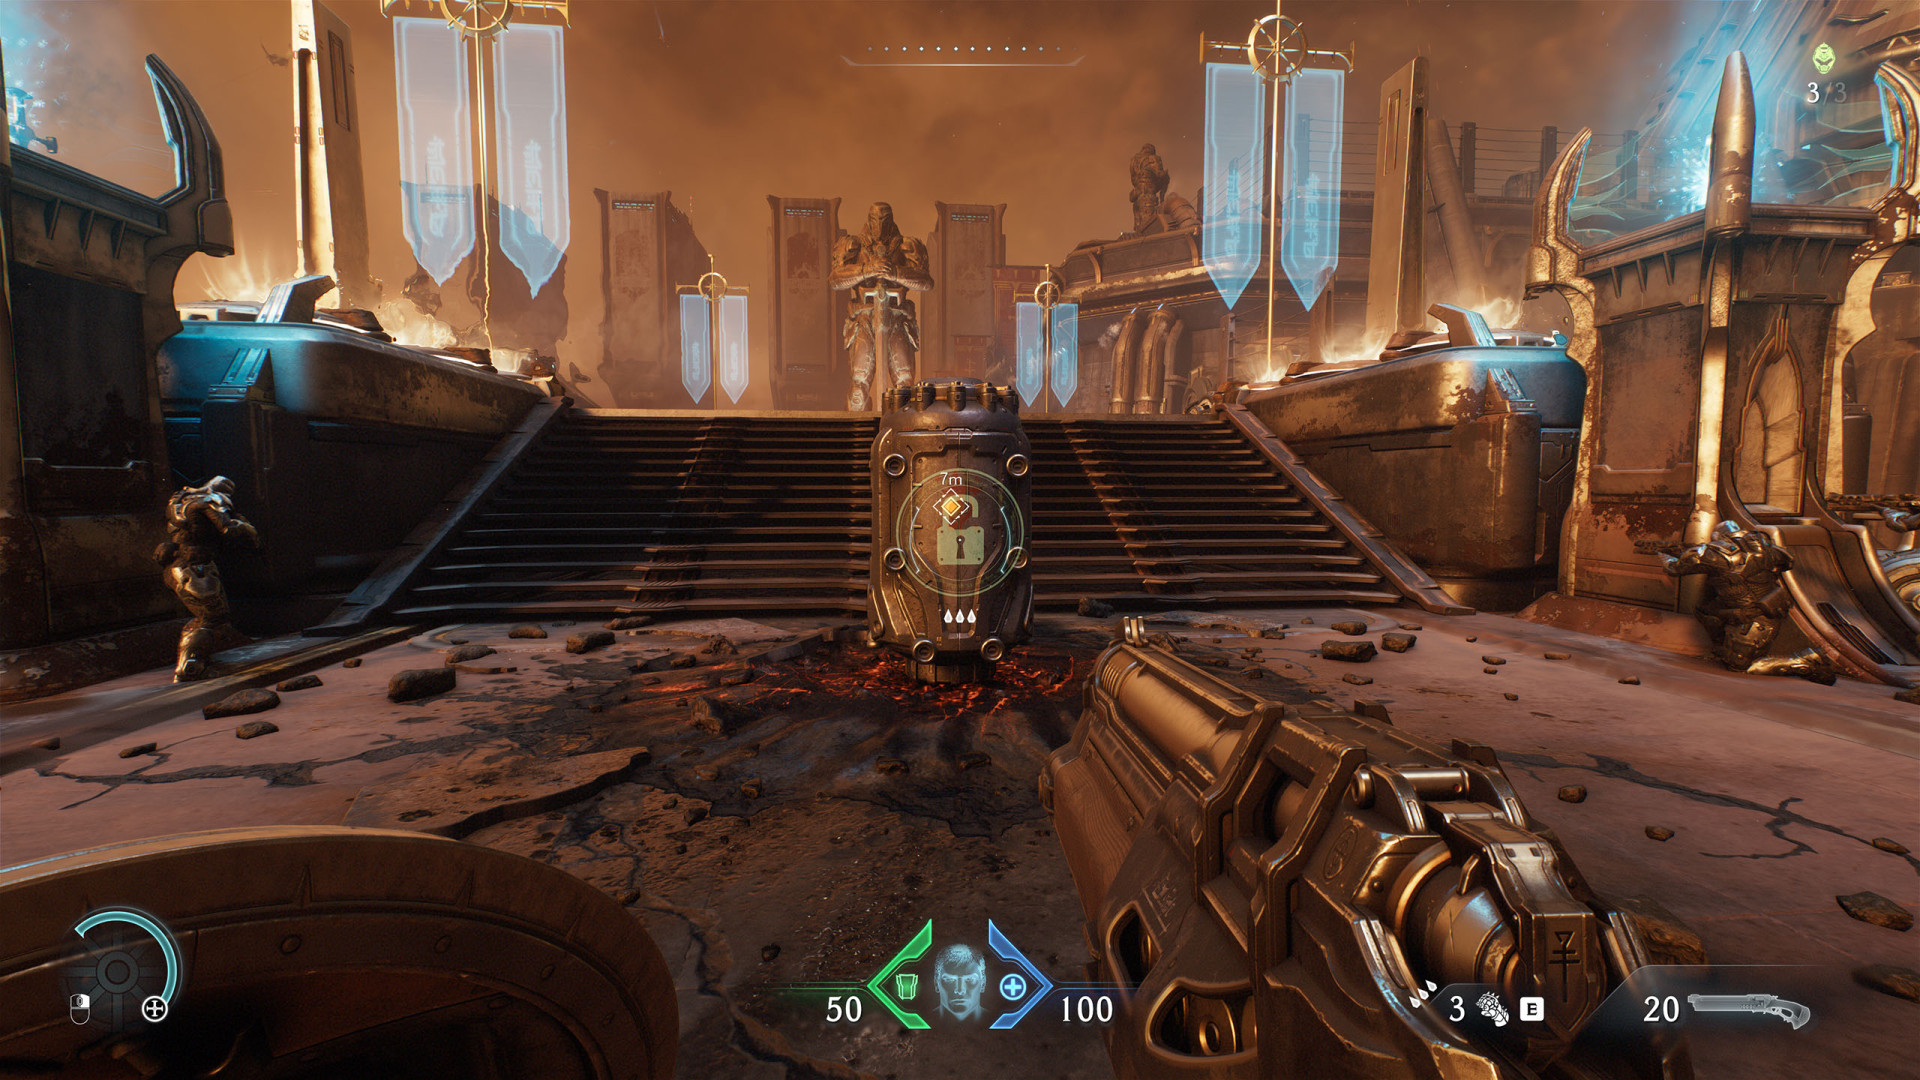
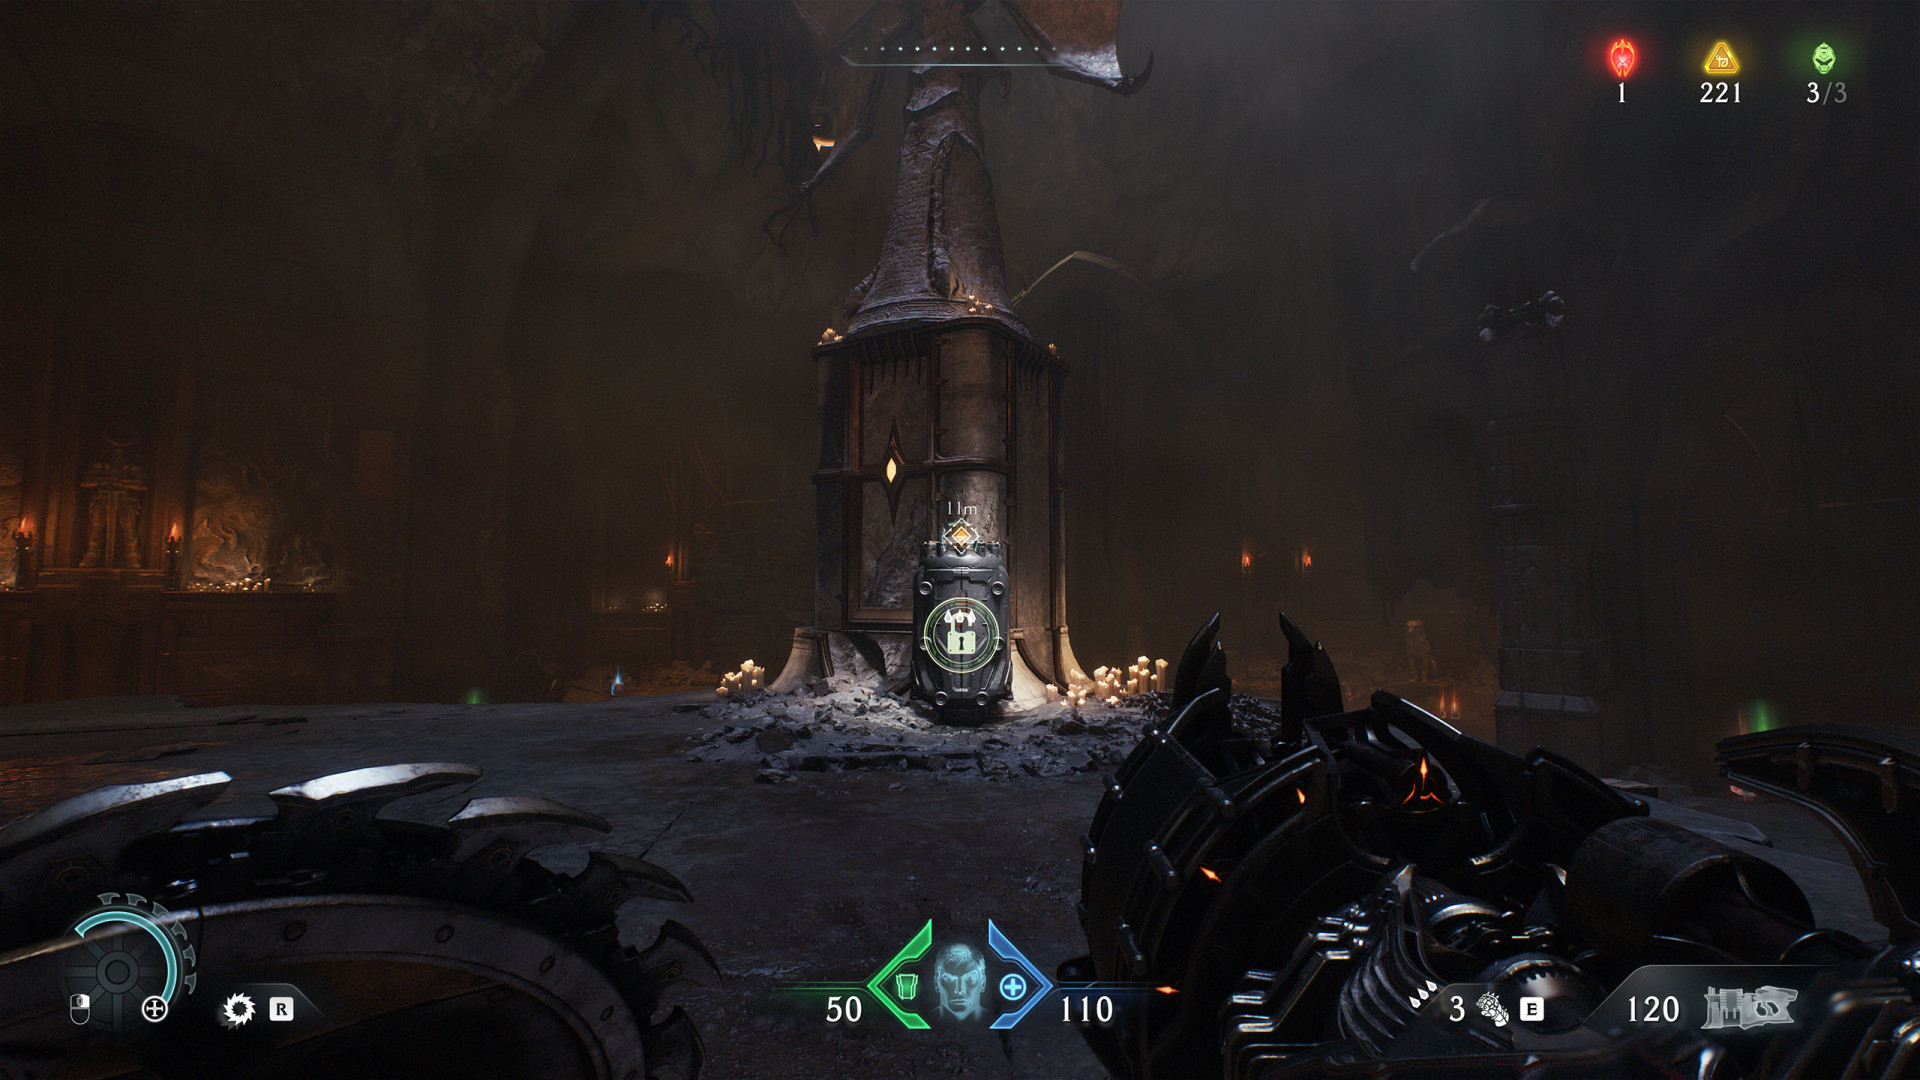
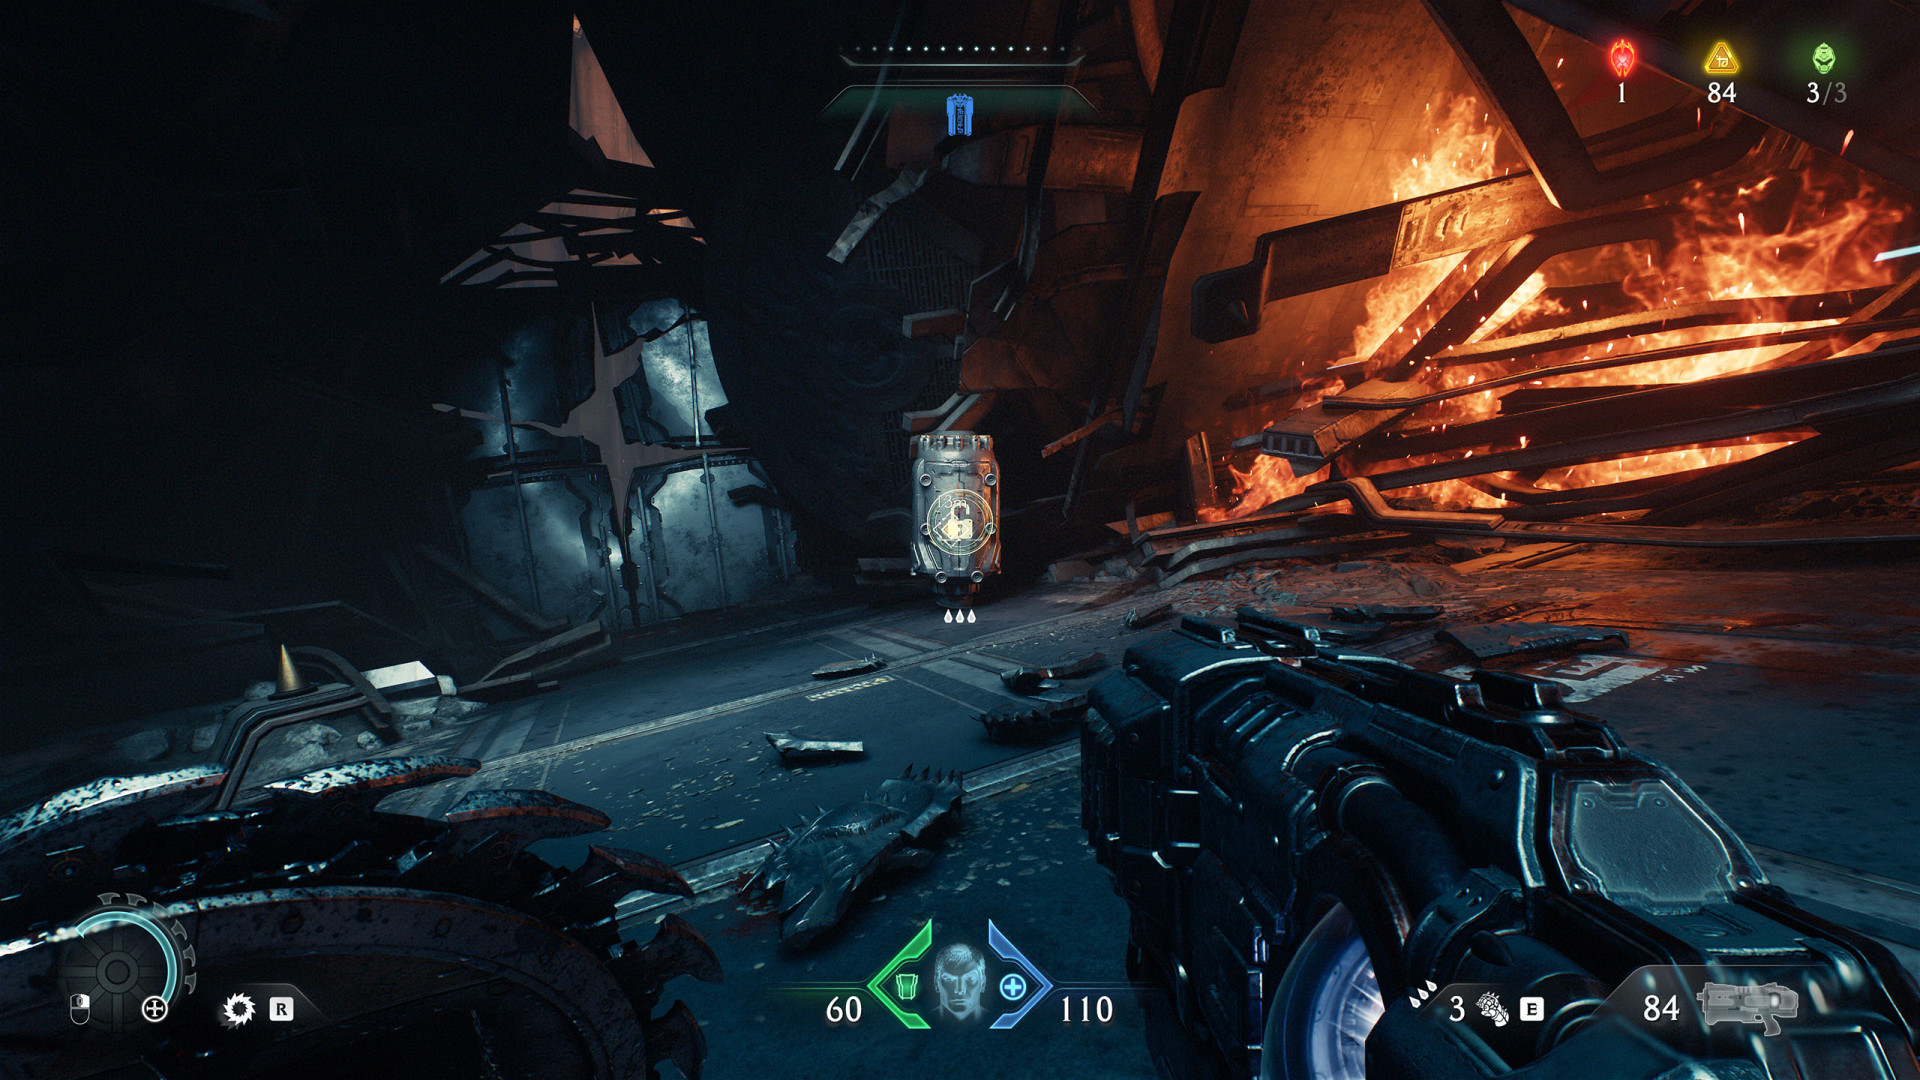
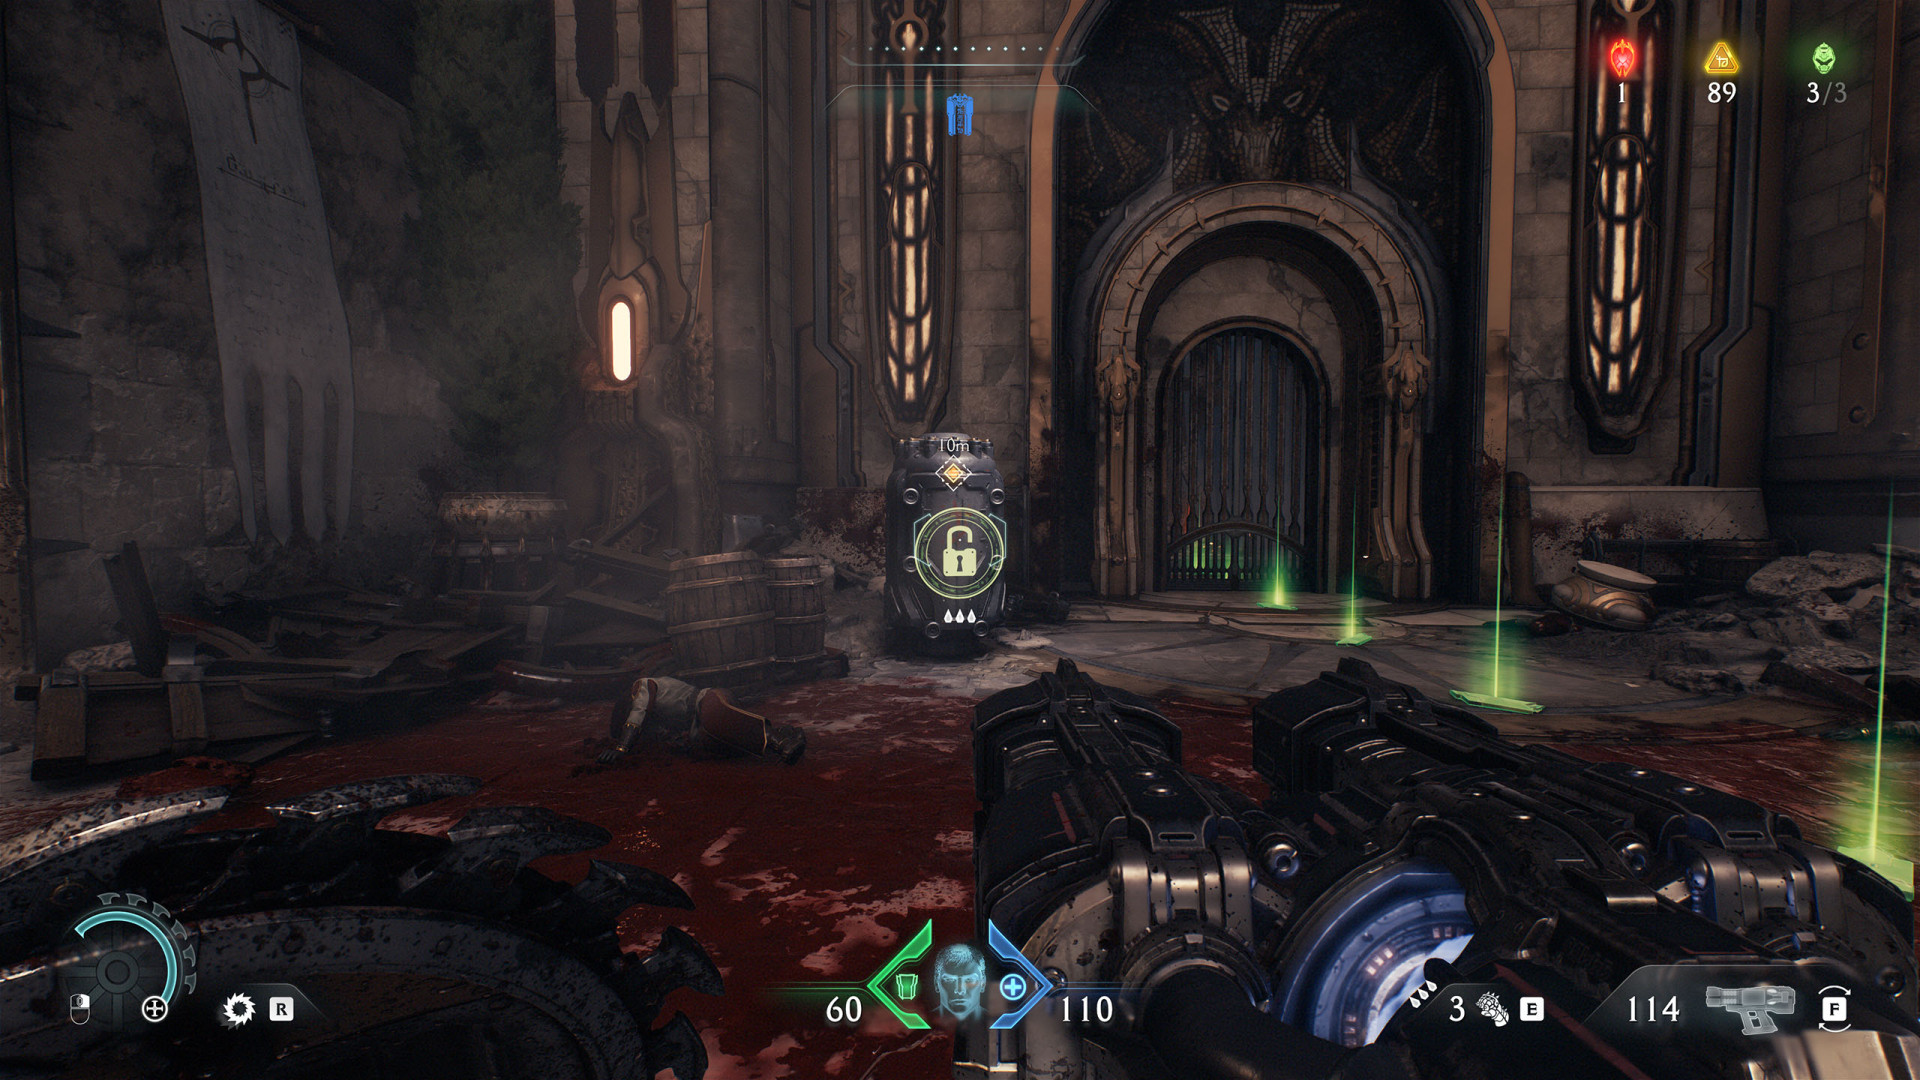
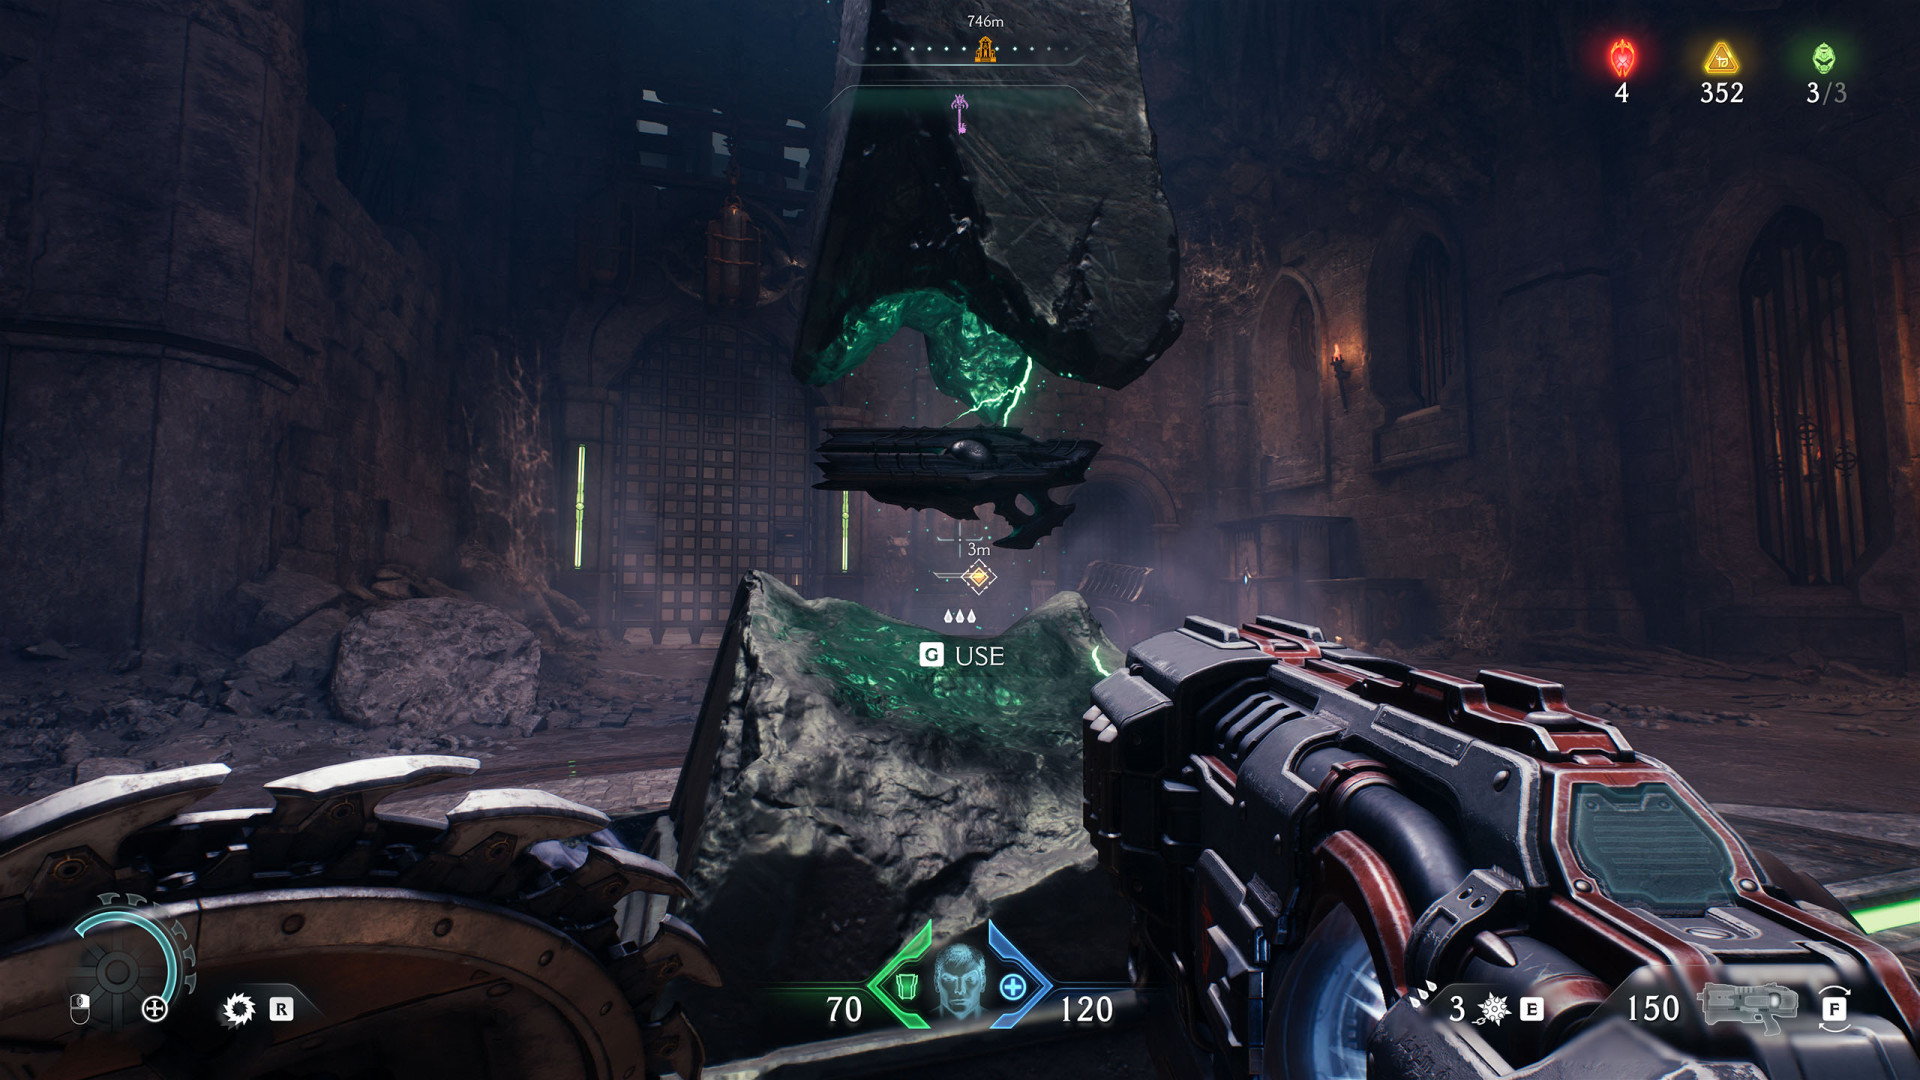
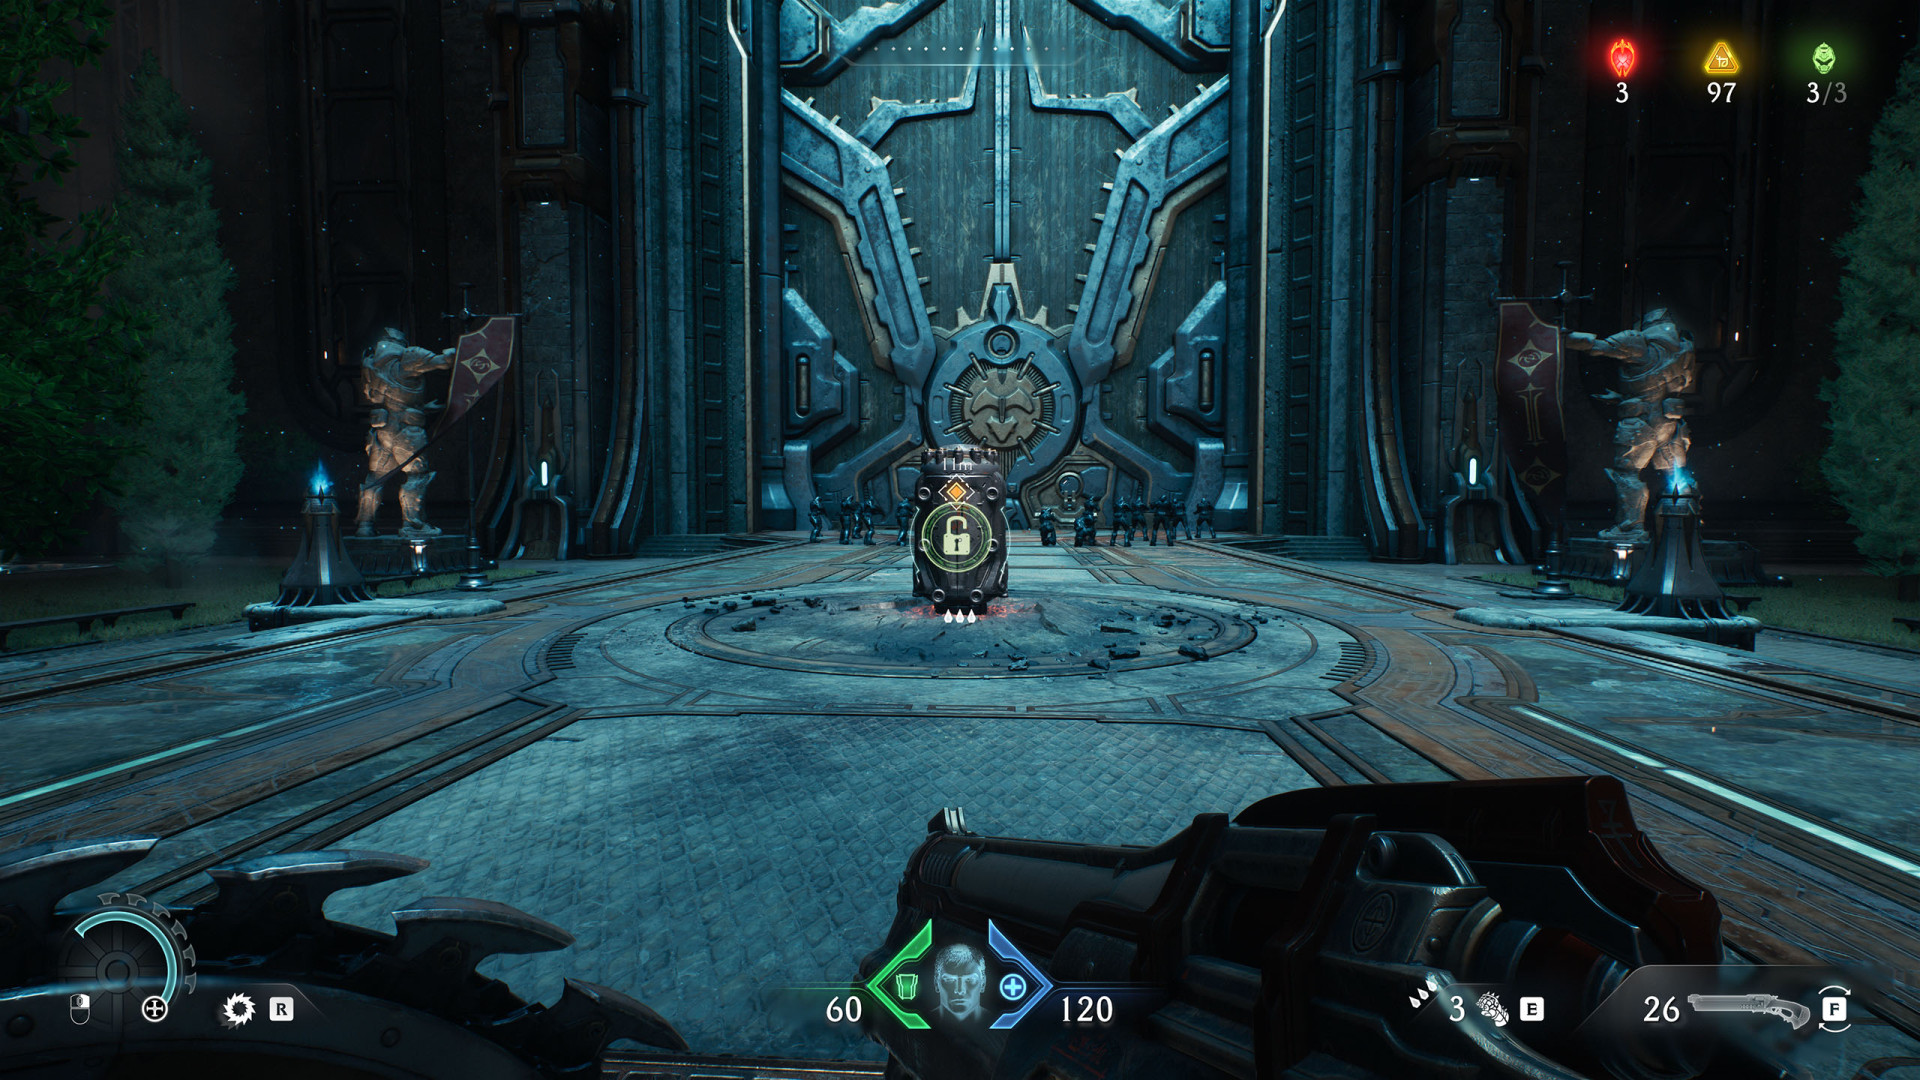
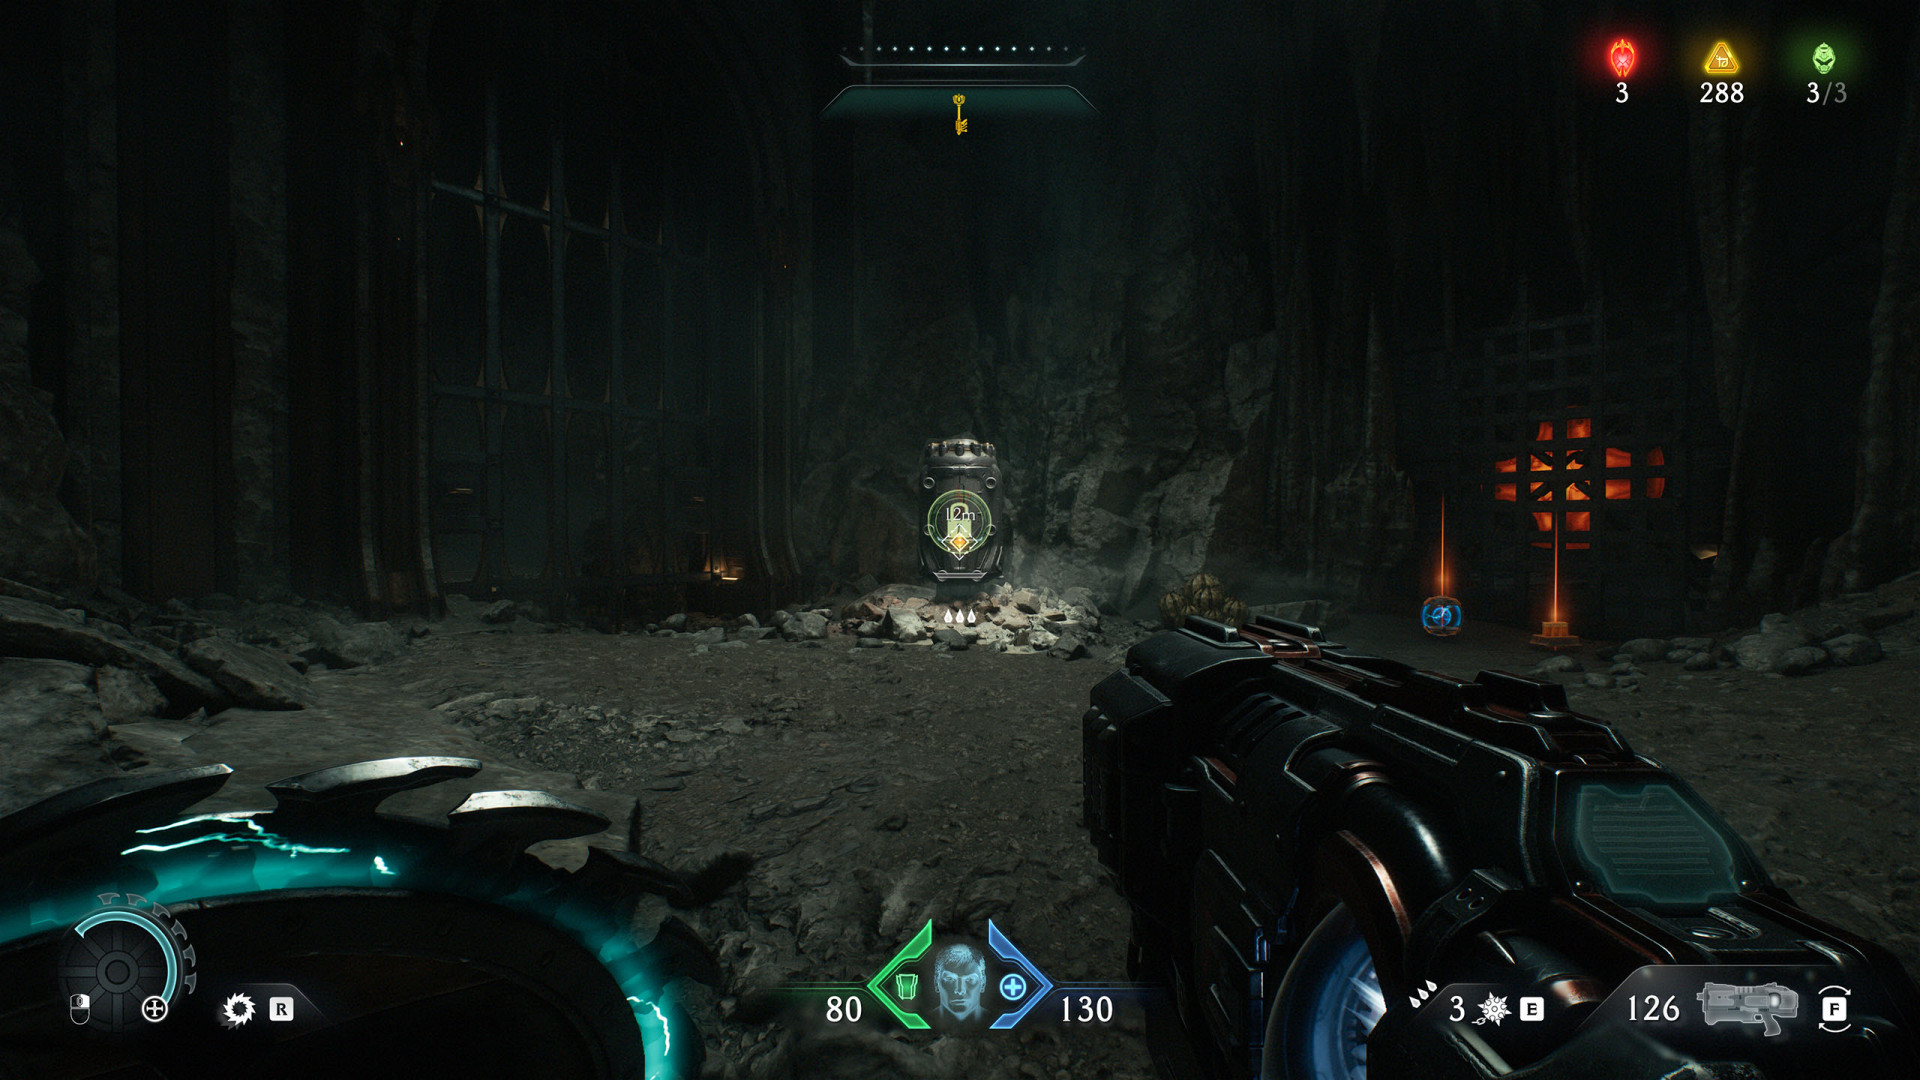
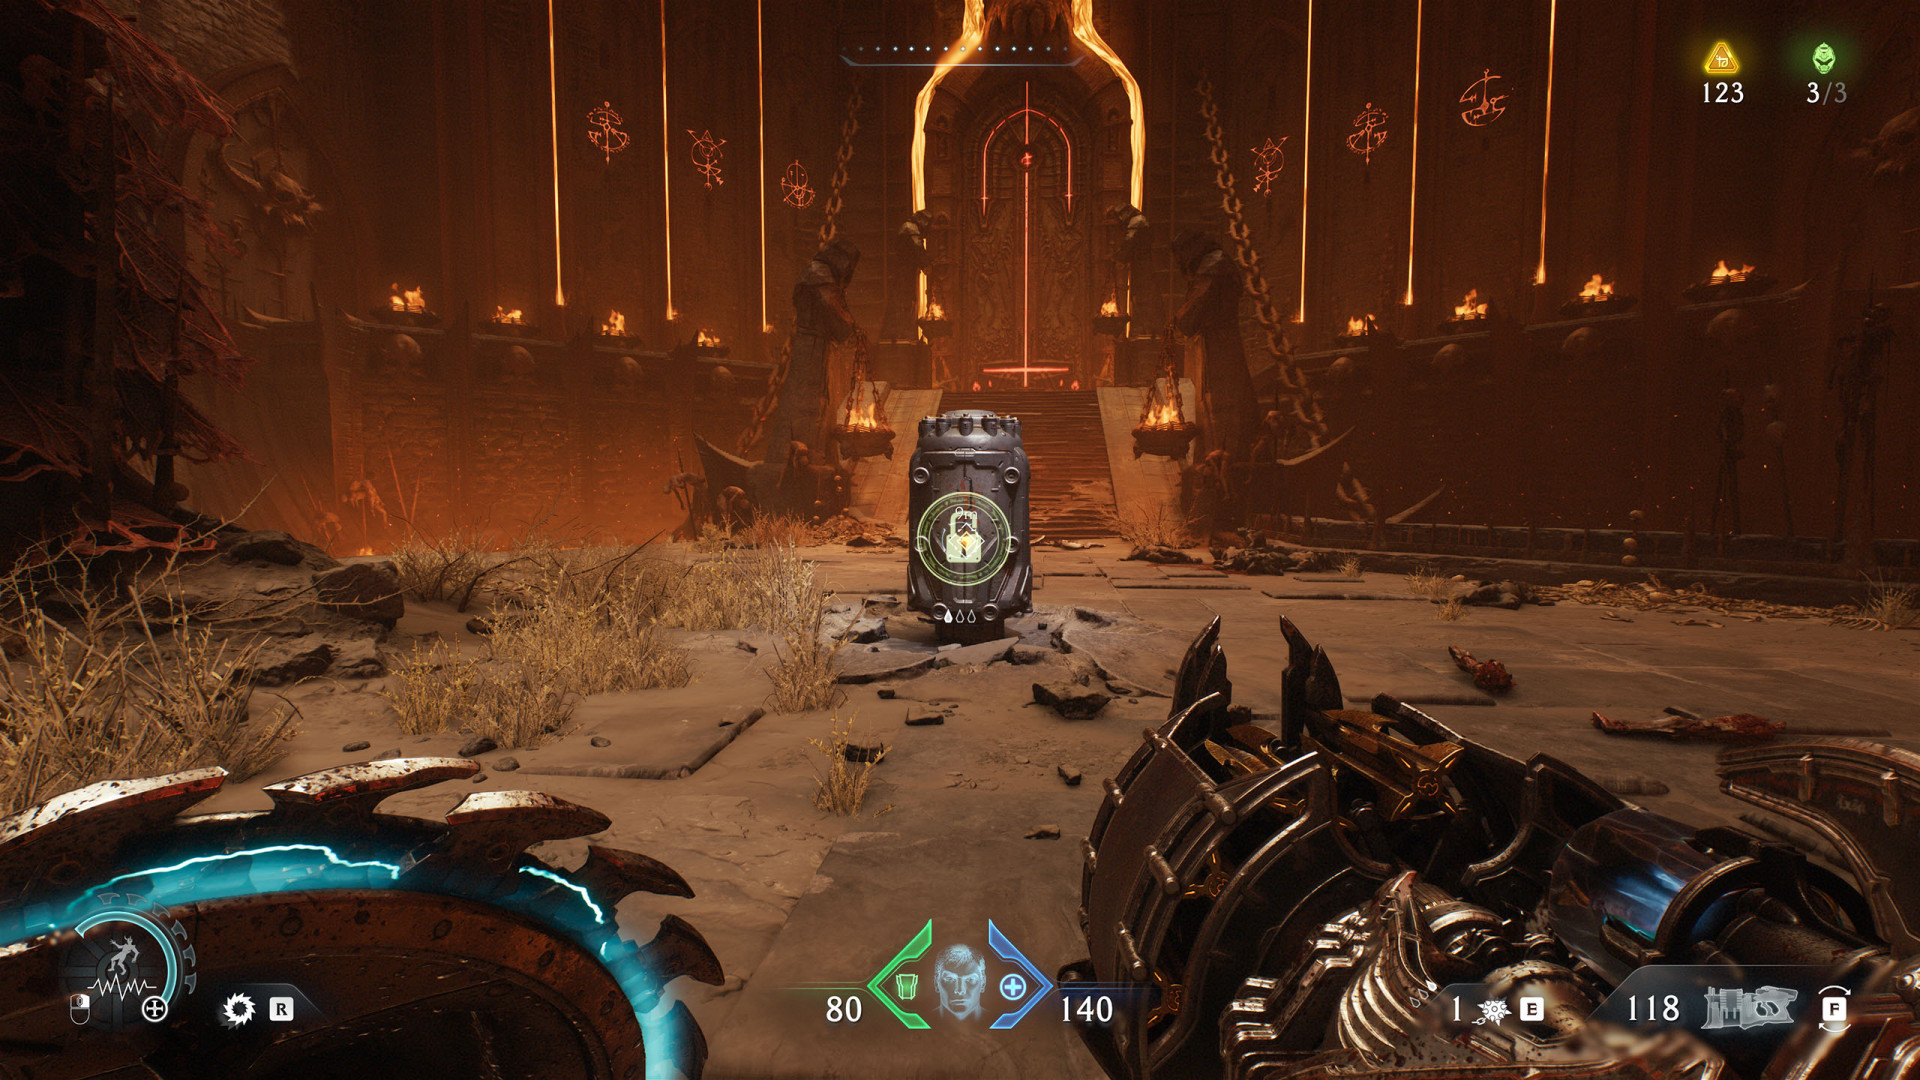
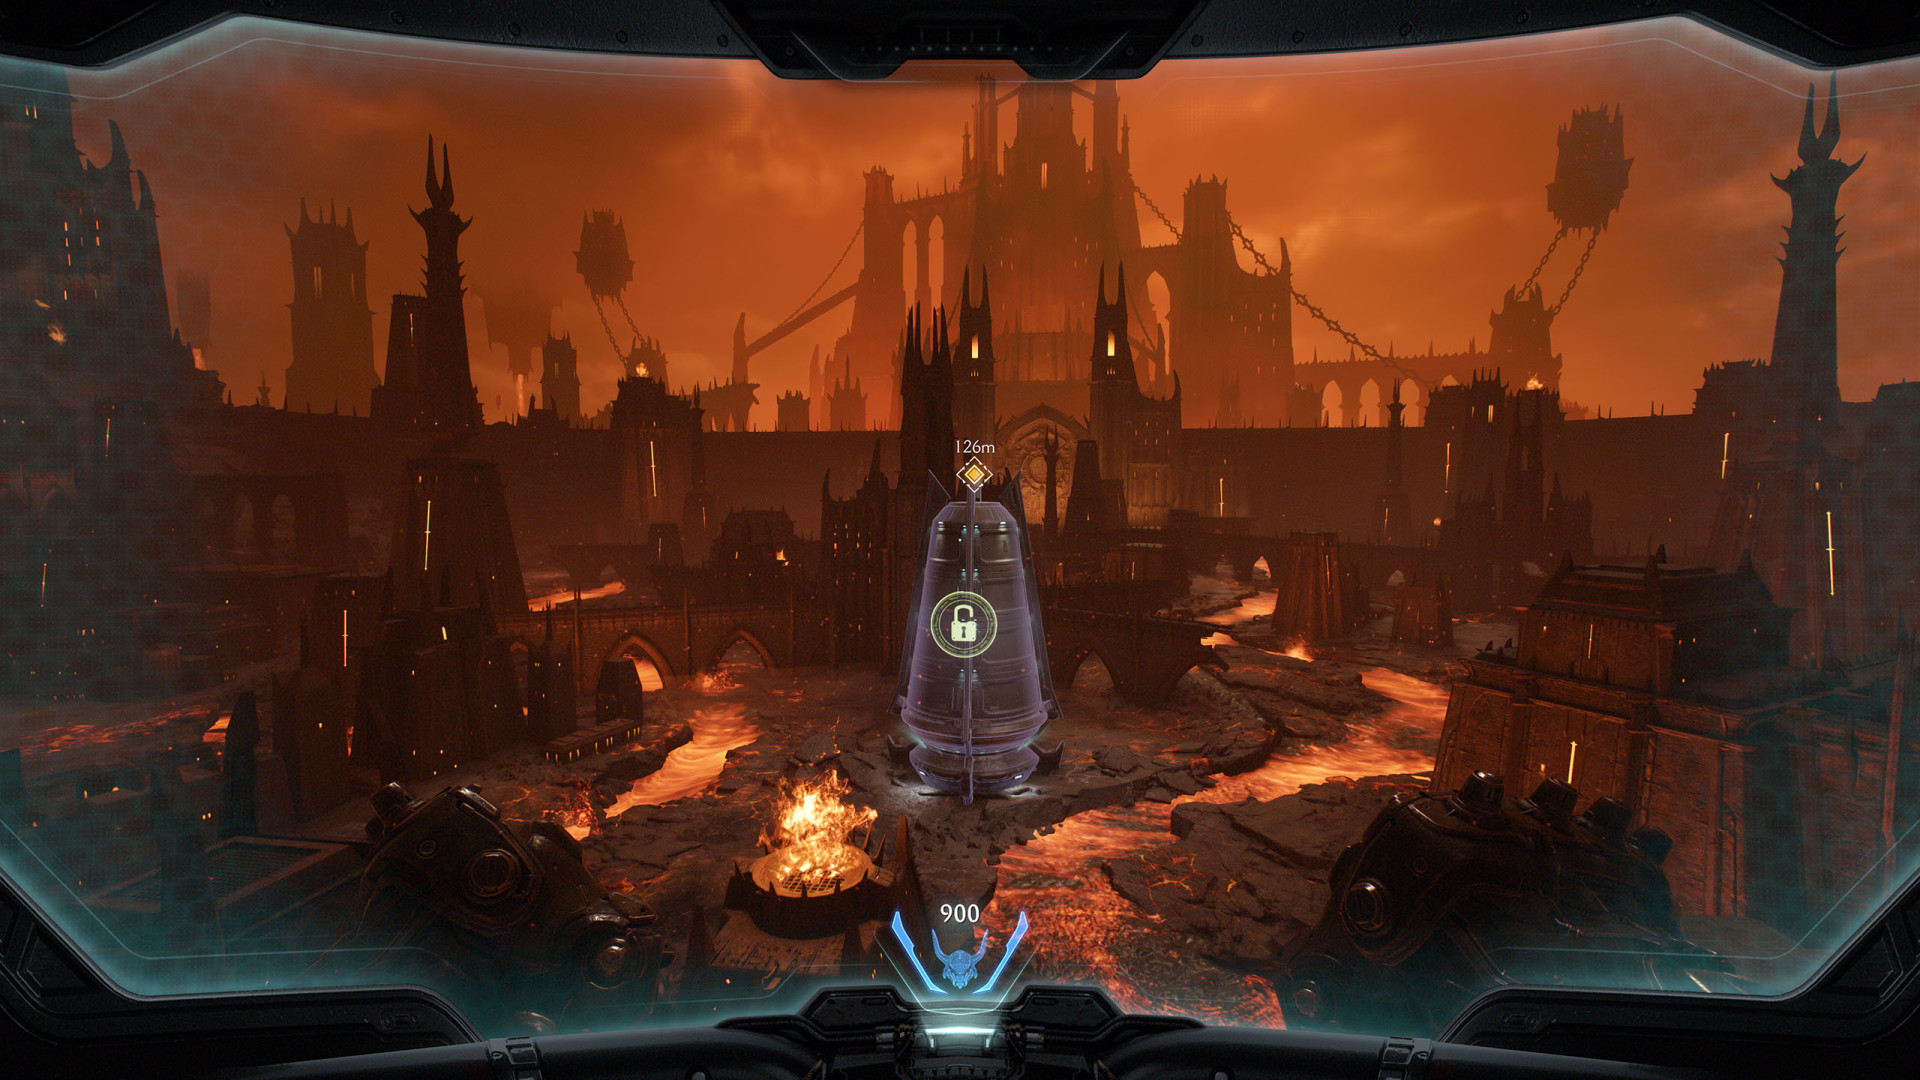
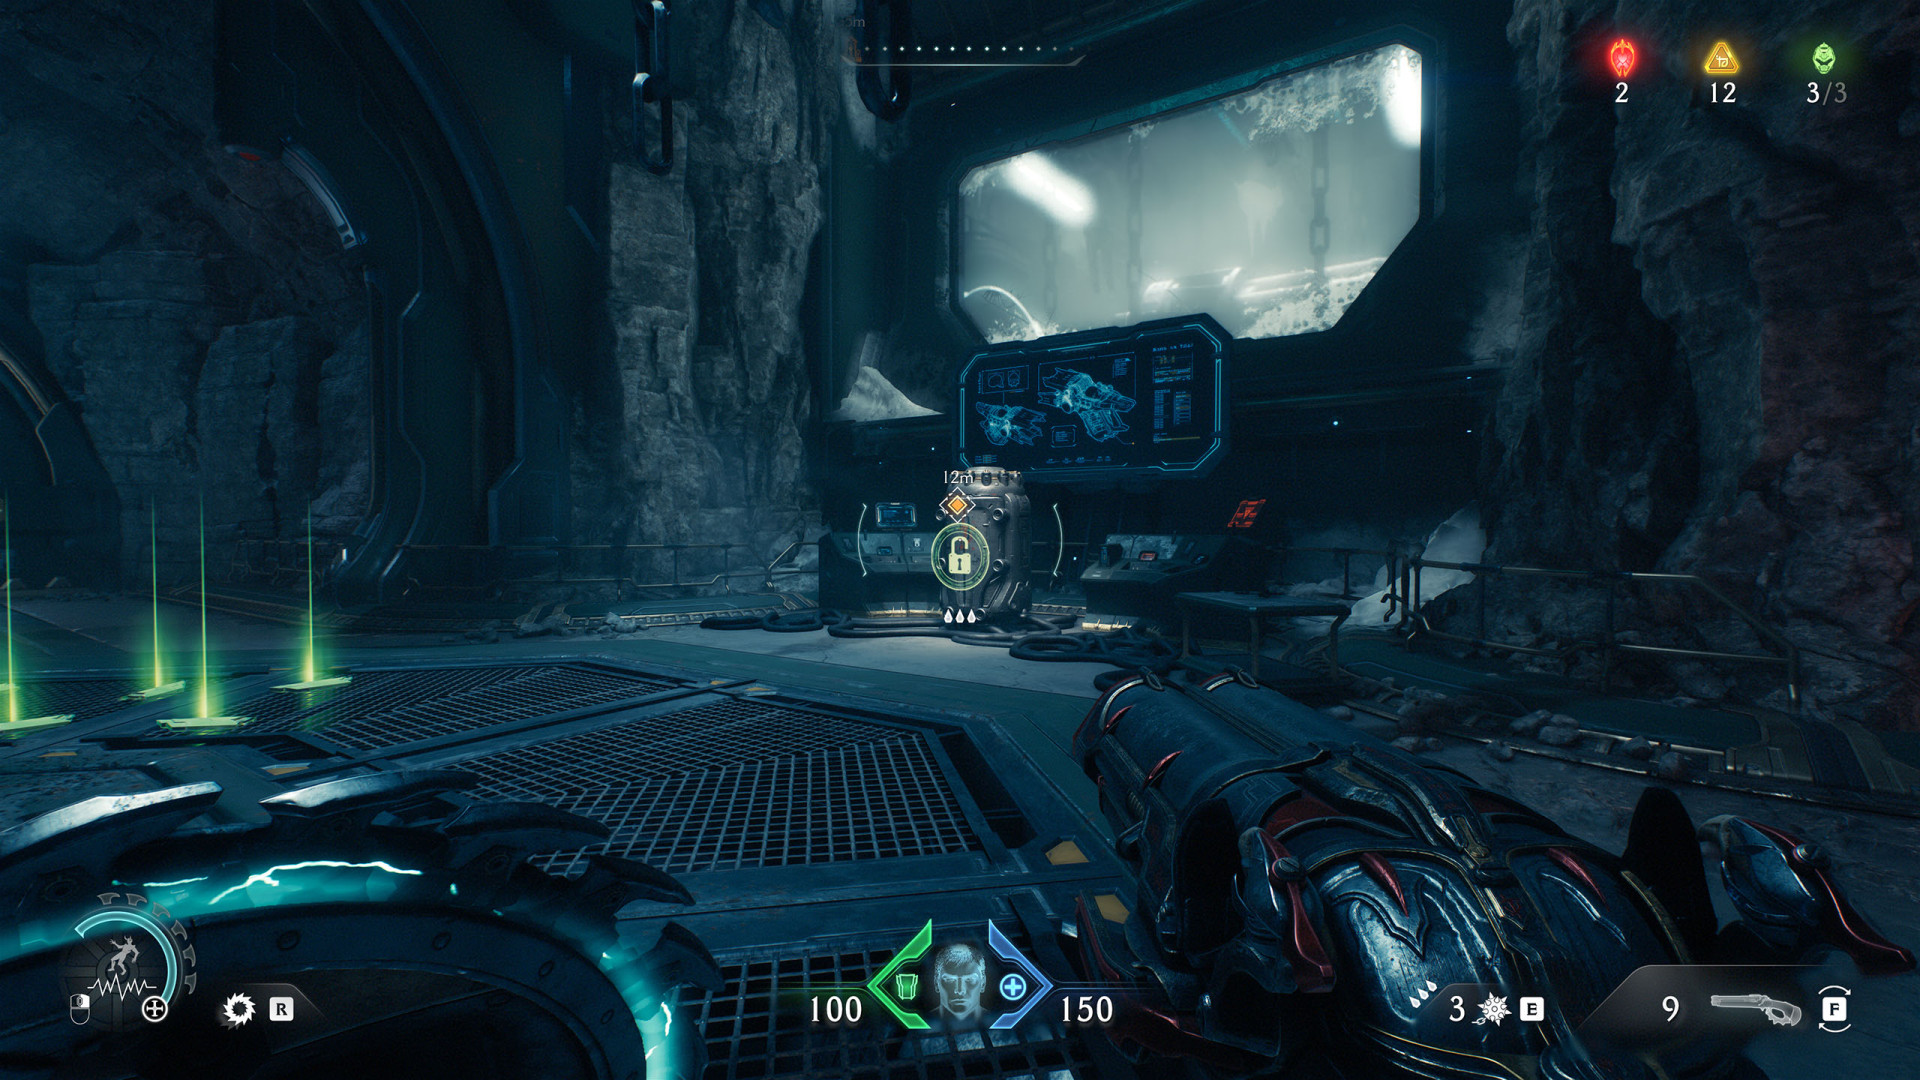
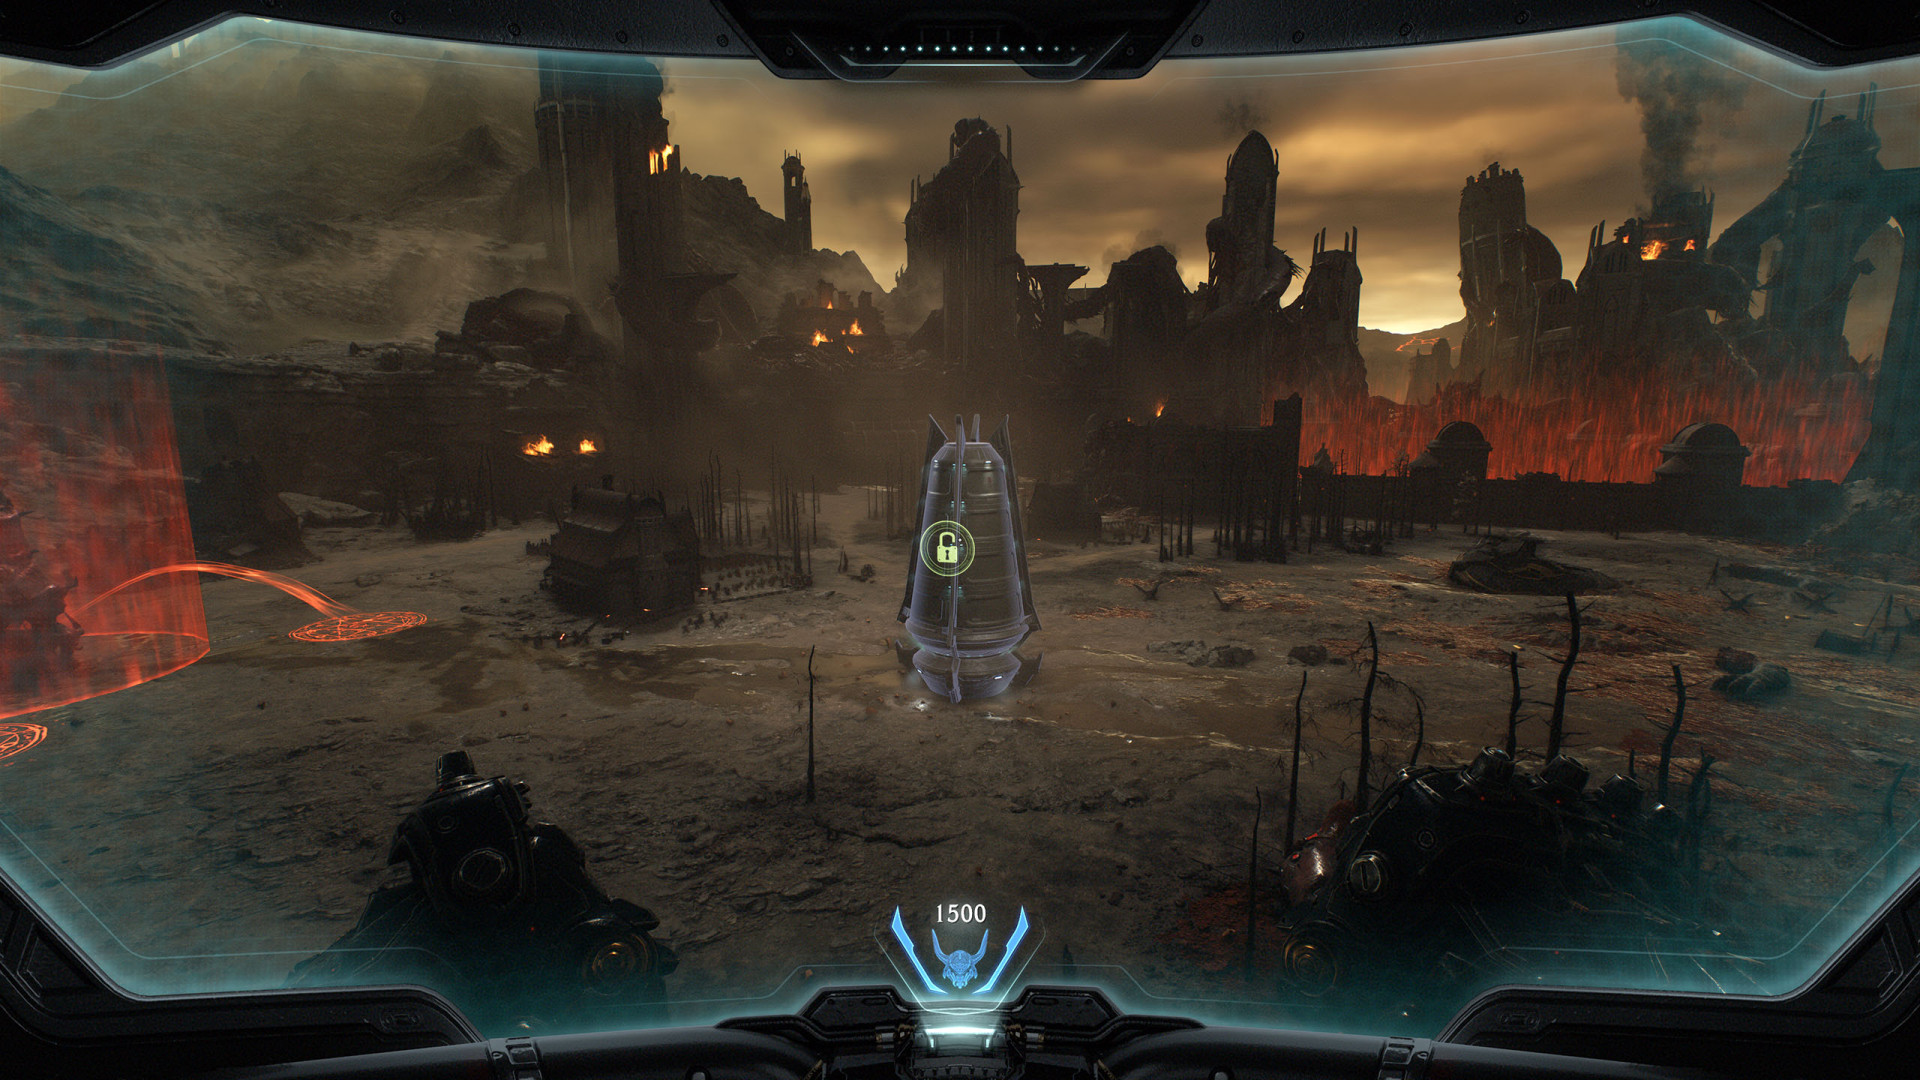
You start the game with a Combat Shotgun, and all other weapons are acquired automatically during the campaign, usually through drop pods or story events, so you won't miss any of them.

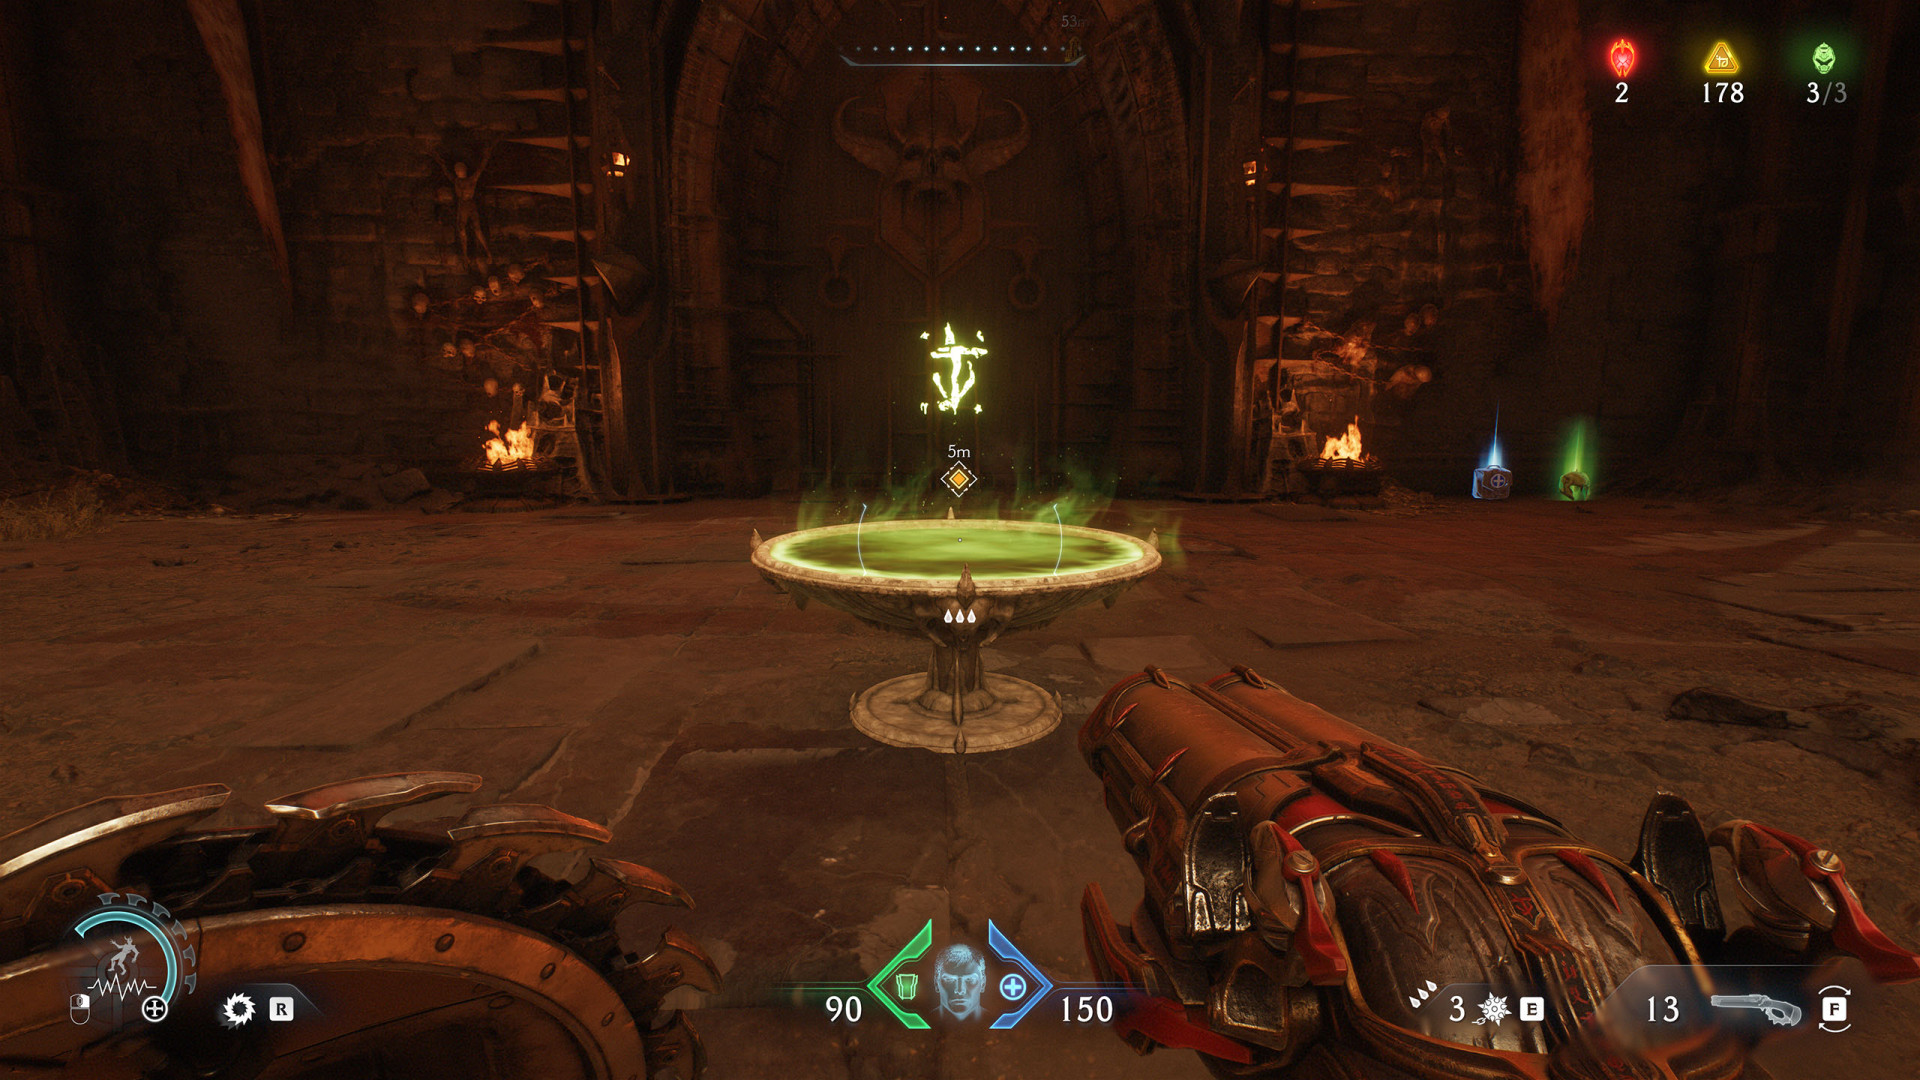
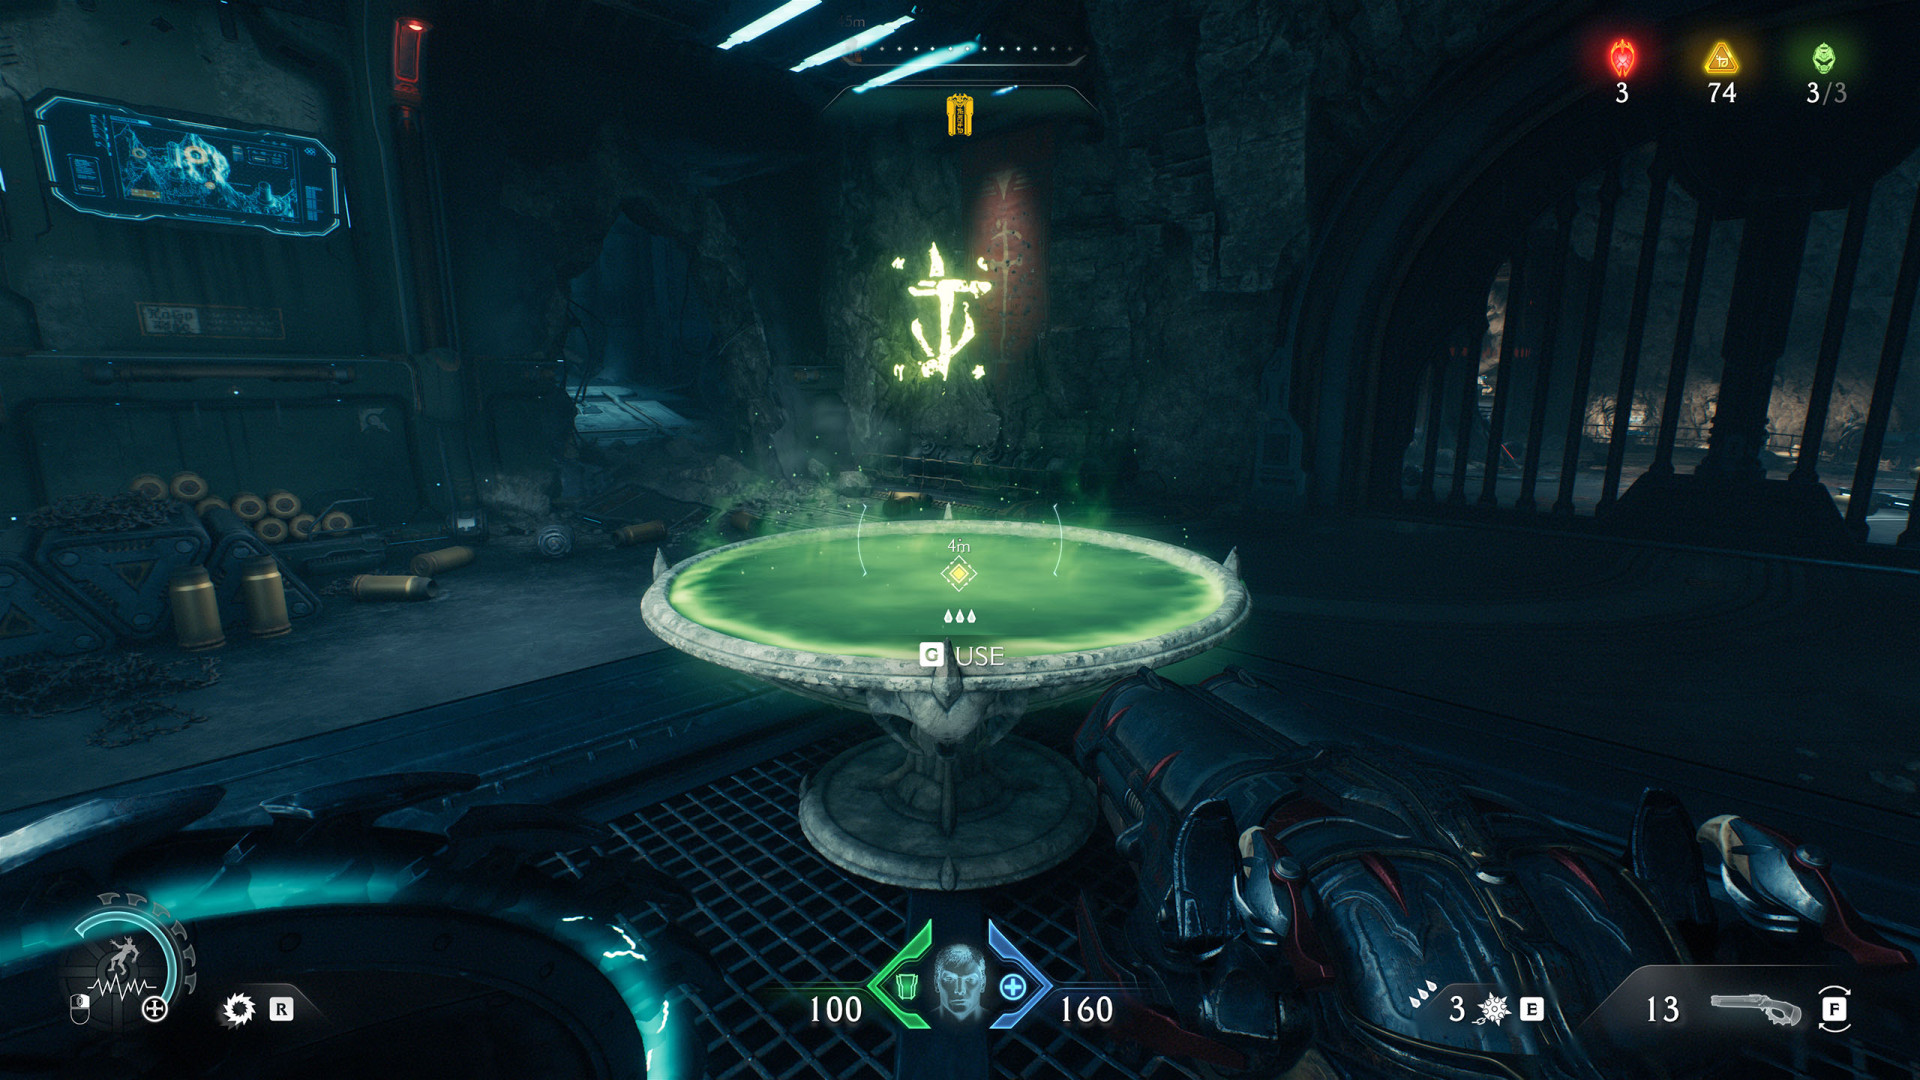
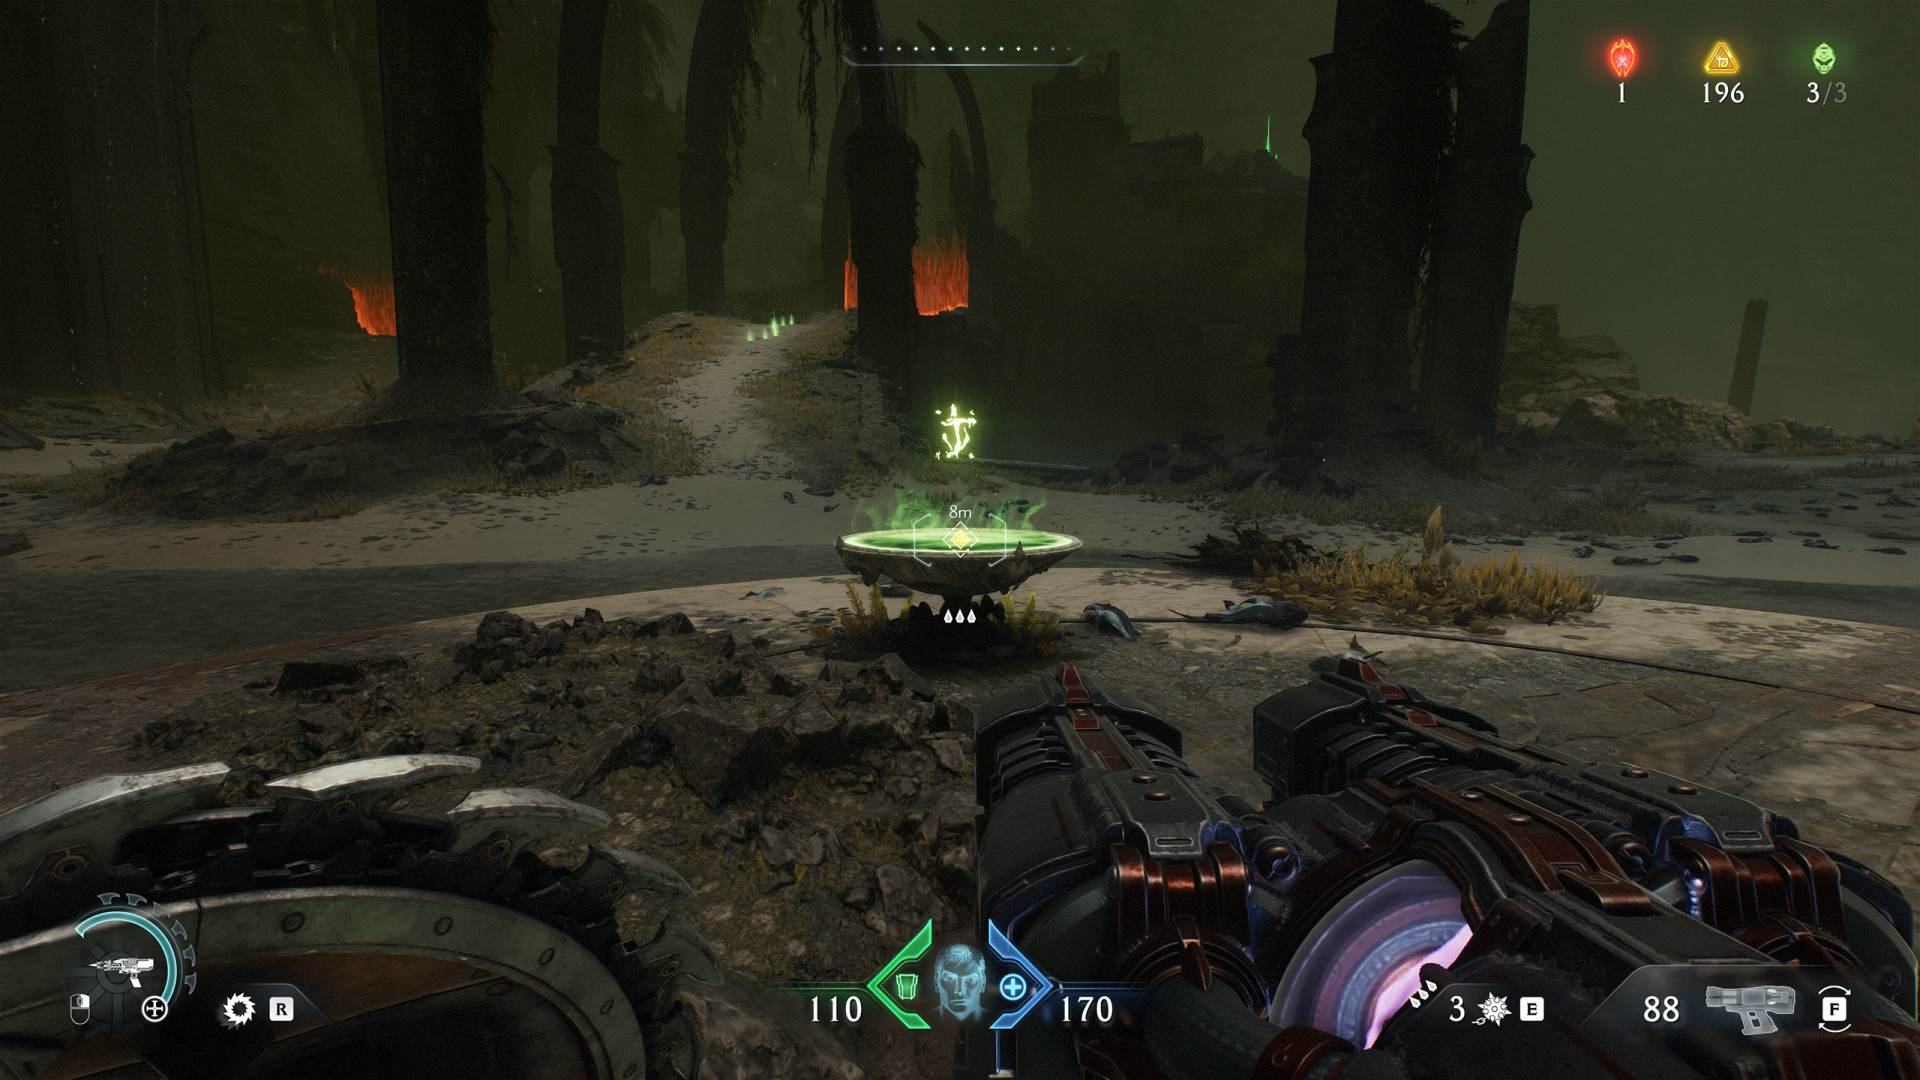
Weapons can be upgraded at Sentinel Shrines with Gold, Rubies, and Wraithstones, enhancing damage, fire rate, ammo, or adding alternate modes. Each weapon suits specific enemies - energy weapons for shields, heavy weapons for armor, melee for resources - encouraging tactical switching.

Index

The index below enables quick navigation to the desired marker / point of interest.

All known locations on the map - Village of Khalim

ArsenalPower Gauntlet

Class: Melee Weapon.

Press [E] to perform a melee attack with your Power Gauntlet and consume a charge. The Power Gauntlet can store up to three charges, allowing for damaging melee combos. Striking a demon with a melee attack will drop ammo for all of your weapons.

The Power Gauntlet charges regenerate over time or by finding Melee Ammo in the world. Demons hit by the Power Gauntlet can Falter, creating an opening for additional combo attacks and damage.

Power Gauntlet

Show the map

ArsenalShredder

Class: Rail Spike.

The Shredder is a full-auto weapon that launches a barrage of barbed spikes at enemies. It is equally effective from close to long range so long as you can stay on-staget.

Shredder

Show the map

All known locations on the map - Hebeth

ArsenalAccelerator

Class: Plasma Rifle.

The Accelerator shoots out plasma energy at a very high rate of fire. It has moderate spread, making it less effective at long range. As a Plasma weapon, it can also quickly overload Energy Shields to generate an explosion.

Accelerator

Show the map

ArsenalShield Saw

Class: Shield.

Press [R] to throw the Shield Saw at a demon. It will embed itself in stronger demons, stunning them for a short time. Weaker demons will be sliced in half.

Deal damage to Metal to trigger a Superheated state. Throwing the Shield saw at Superheated Metal will instantly shatter it. Shattering metal objects will open up paths in the environment.

Shield Saw

Show the map

All known locations on the map - Barrier Core

ArsenalAtlan: Machine Gun

Class: Atlan.

It's a temporary weapon, you'll lose it when you reach the Power Core.

Atlan: Machine Gun

Show the map

All known locations on the map - Sentinel Barracks

ArsenalImpaler

Class: Rail Spike.

The Impaler is a precision weapon that delivers high damage with a slow rate of fire. Headshots will deal significant bonus damage.

Impaler

Show the map

ArsenalPulverizer

Class: Skullcrusher.

The Pulverizer throws shards of bone in a wide arc. It can damage several demons at once, making it effective agains groups.

Pulverizer

Show the map

All known locations on the map - The Holy City of Aratum

ArsenalCycler

Class: Plasma Rifle.

The Cycler fires powerful plasma spikes at a moderate rate of fire. As a Plasma weapon, it can also quickly overload Energy Shields to generate a damaging explosion.

Cycler

Show the map

ArsenalSuper Shotgun

Class: Shotgun.

The Super Shotgun deals devastating damage at close-range. It reloads slowly and is much less effective at long range.

Super Shotgun

Show the map

All known locations on the map - Siege - Part 1

ArsenalChainshot

Class: Reaver.

The Chainshot fires a dense, spherical core that deals damage on contact before being retracted. Hold [LMB] to charge up the core, greatly increasing its damage, max range, and speed. Fully charged shots will deal significant damage to metal shields and armor.

Chainshot

Show the map

ArsenalFlail

Class: Melee Weapon.

Flail strikes deal additional damage to metal shields and armor. On contact, the Flail will also generate a damaging blast that affects nearby enemies. The Flail recharges slower then the Power Gauntlet. Parrying Hell Surge attacks will grant a melee charge.

Flail

Show the map

All known locations on the map - Abyssal Forest

ArsenalGrenade Launcher

Class: Launcher.

The Grenade Launcher fires an arcing projectile that can be deal high direct hit and explosive damage. Grenades can bounce multiple times before detonating but will detonate immediately when they hit an enemy.

Grenade Launcher

Show the map

All known locations on the map - Ancestral Forge

ArsenalShield Rune: Ground Fissure

Class: Shield Rune.

Parrying Hell Surge projectiles will now activate the power of a Shield Rune. The Ground Fissure creates a linear, damaging ground attack that will also interrupt enemies.

Shield Rune: Ground Fissure

Show the map

All known locations on the map - The Forsaken Plains

ArsenalRocket Launcher

Class: Launcher.

The Rocket Launcher fires slow projectiles that explode and deal heavy damage on contact. Using it at close-range can be riskt as the explosions will also damage you.

Rocket Launcher

Show the map

All known locations on the map - Hellbreaker

ArsenalAtlan: Shotgun

Class: Atlan.

Temporary weapon that can only be used during encounter that occur once you pick up this weapon.

Atlan: Shotgun

Show the map

ArsenalShield Rune: Holy Swarm

Class: Shield Rune.

When activated, the Holy Swarm will launch out seeking blades in a wide arc. These blades will haunt down and deal damage to targets.

Shield Rune: Holy Swarm

Show the map

All known locations on the map - Sentinel Command Station

ArsenalRavager

Class: Skullcrusher.

The Ravager focuses a hail of bone shards into a tighter spread. The fire rate ramps up over time, allowing for massive damage output at the cost of movement speed. Damaging enemies at close range enhances damage.

Ravager

Show the map

ArsenalShield Rune: Auto Turret

Class: Shield Rune.

When activated, a shoulder-mounted Auto turret is summoned to fire at your enemies for a short time. It will automatically select targets closest to where you are aiming.

Shield Rune: Auto Turret

Show the map

All known locations on the map - Spire of Nerathul

ArsenalBallistic Force Crossbow

Class: Crossbow.

Press [V] to equip the BFC and deliver massive damage to demons in your vicinity. The BFC has very limited ammo, which can be found in the world to replenish your stock. Your Shield is unavailable while you have the BFC equipped.

Ballistic Force Crossbow

Show the map

ArsenalShield Rune: Heaven Splitter

Class: Shield Rune.

Paried Hell Surge projectiles are now converted into bolts of Lightning. When the Lightning Bolt impacts a target, it will trigger a lightning strike that stuns nearby enemies.

Shield Rune: Heaven Splitter

Show the map

All known locations on the map - City of Ry'uul

ArsenalDreadmace

Class: Melee Weapon.

The Dreadmace delivers massive damage to your target and nearby enemies. It has a maximum of a single charge and will refil your guns to full ammo capacity on hit. Parrying Hell Surge attack will accelerate the recharge time for the Dreadmace strike.

It has the longest recharge time between strikes of all of your melee weapons. Picking up Melee Ammo will reduce the charge time.

Dreadmace

Show the map

All known locations on the map - Final Battle

ArsenalAtlan: Machine Gun (2)

Atlan: Machine Gun (2)

Show the map