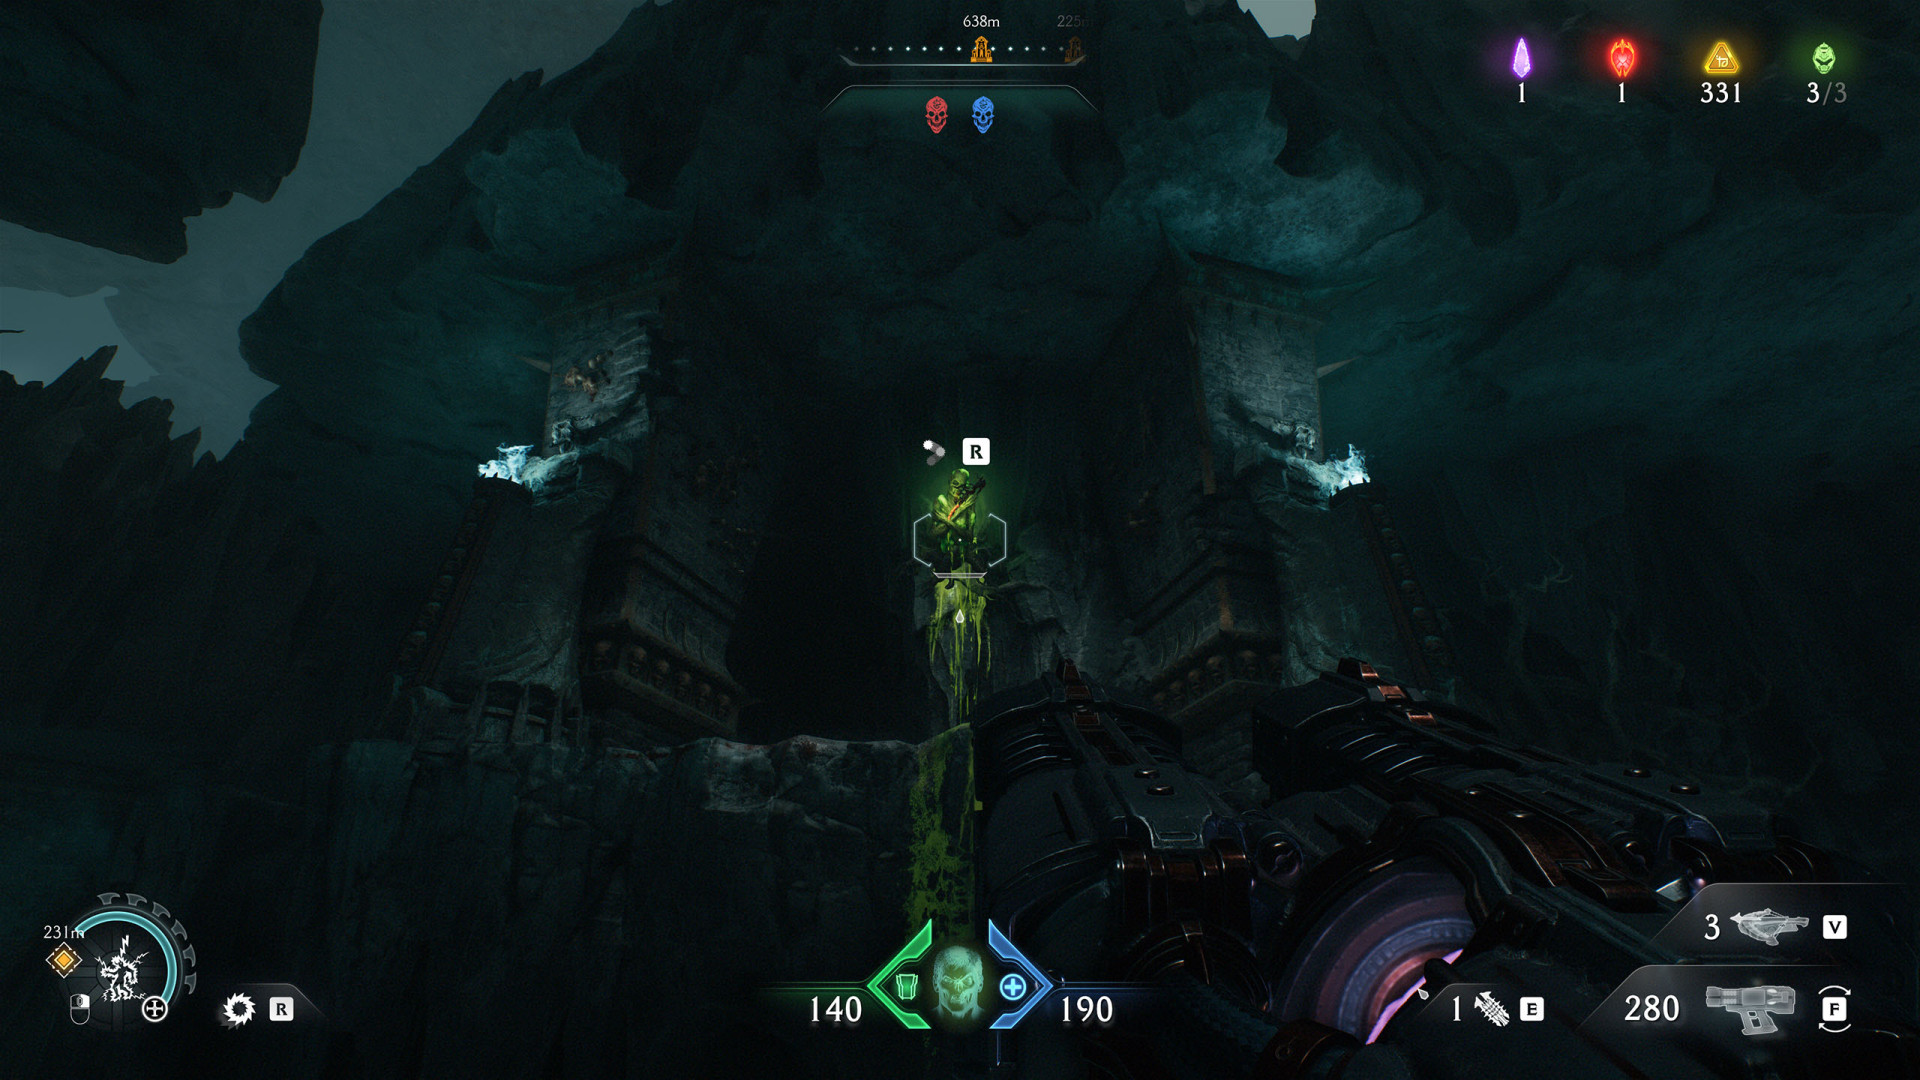
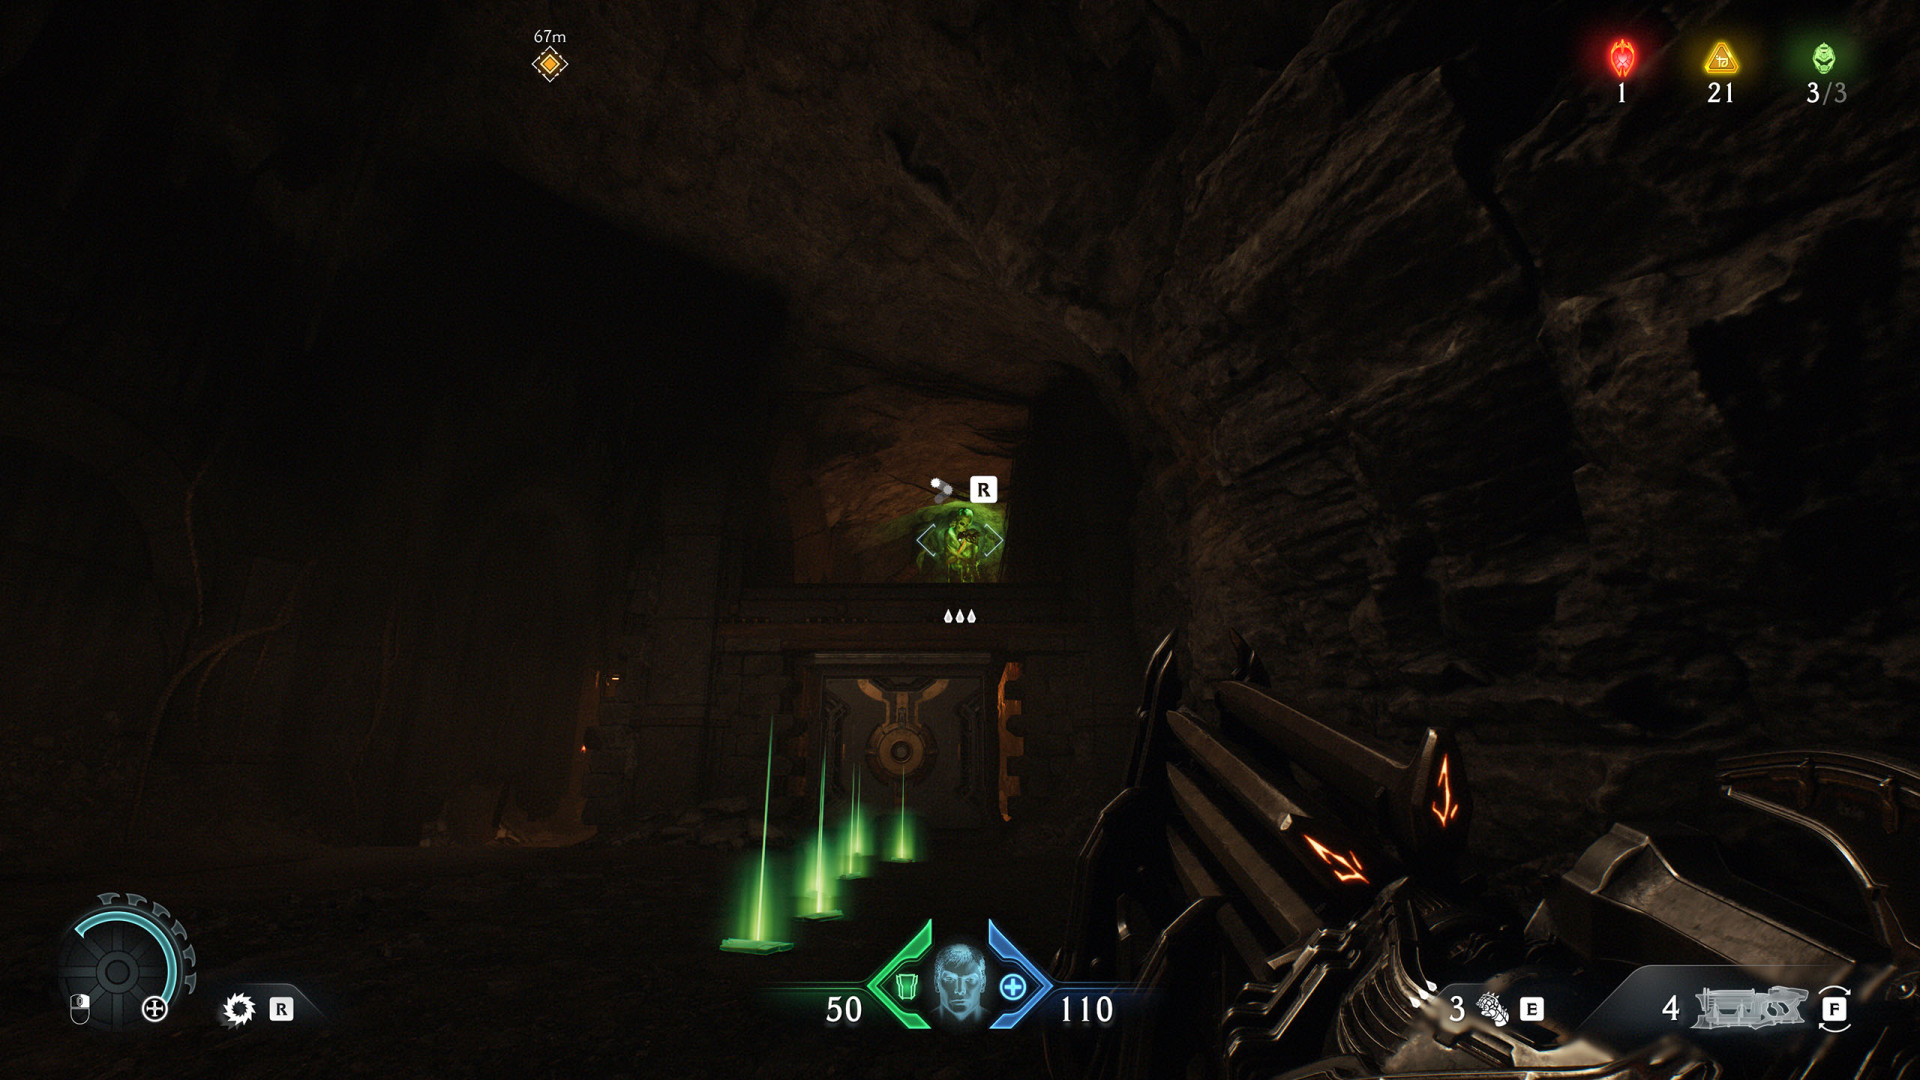
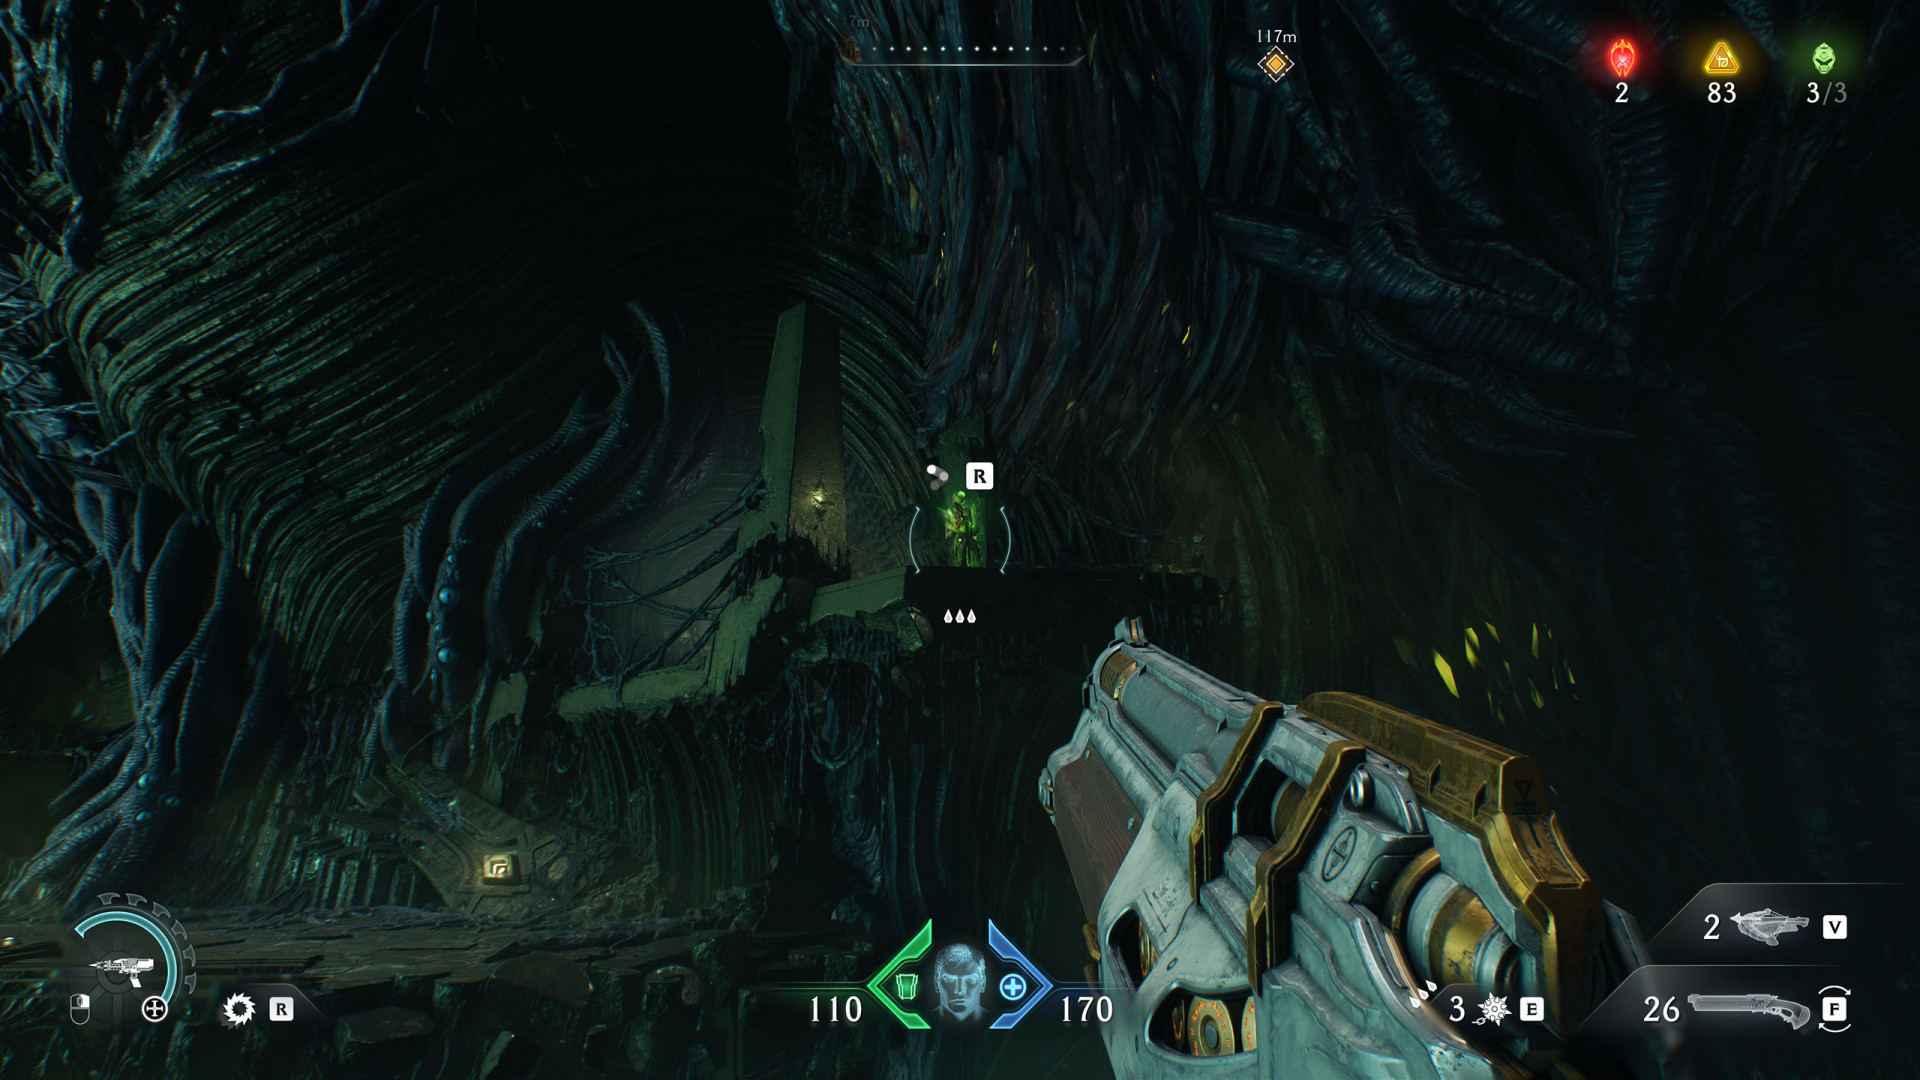
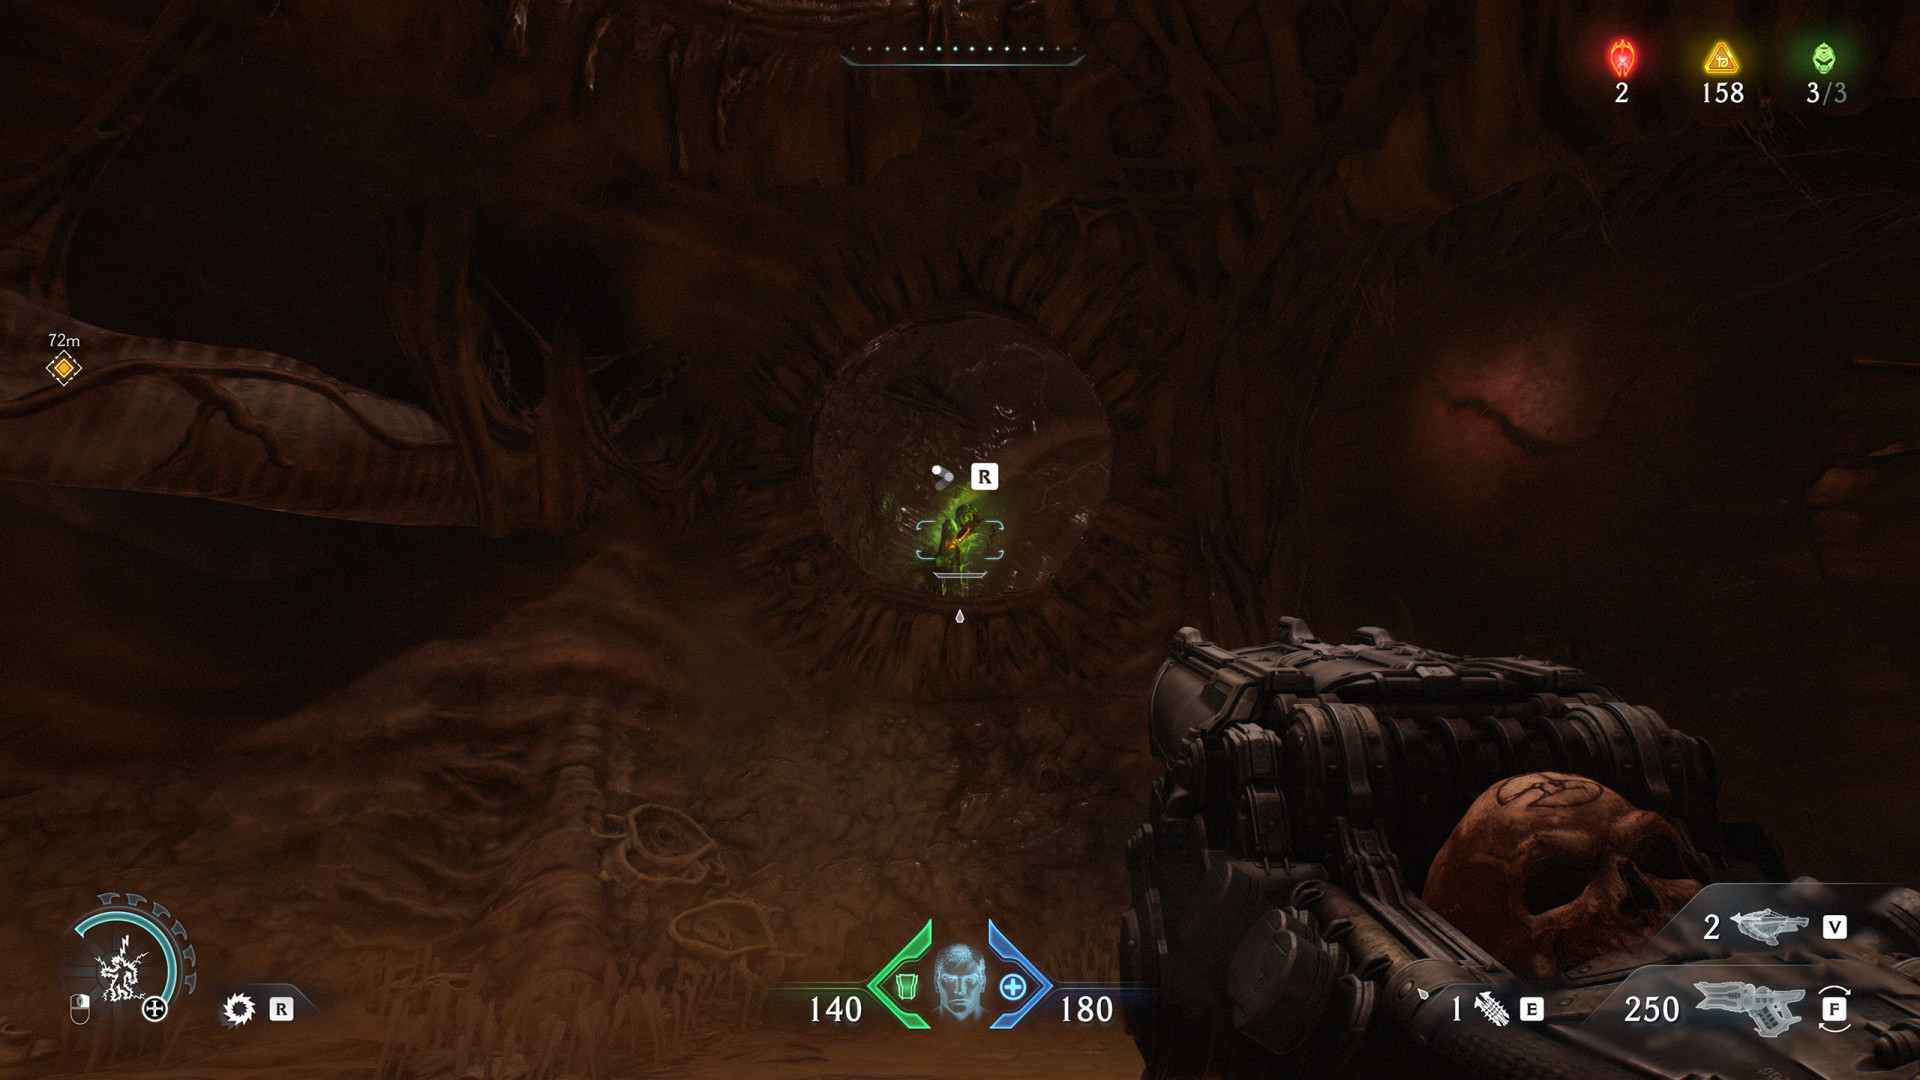
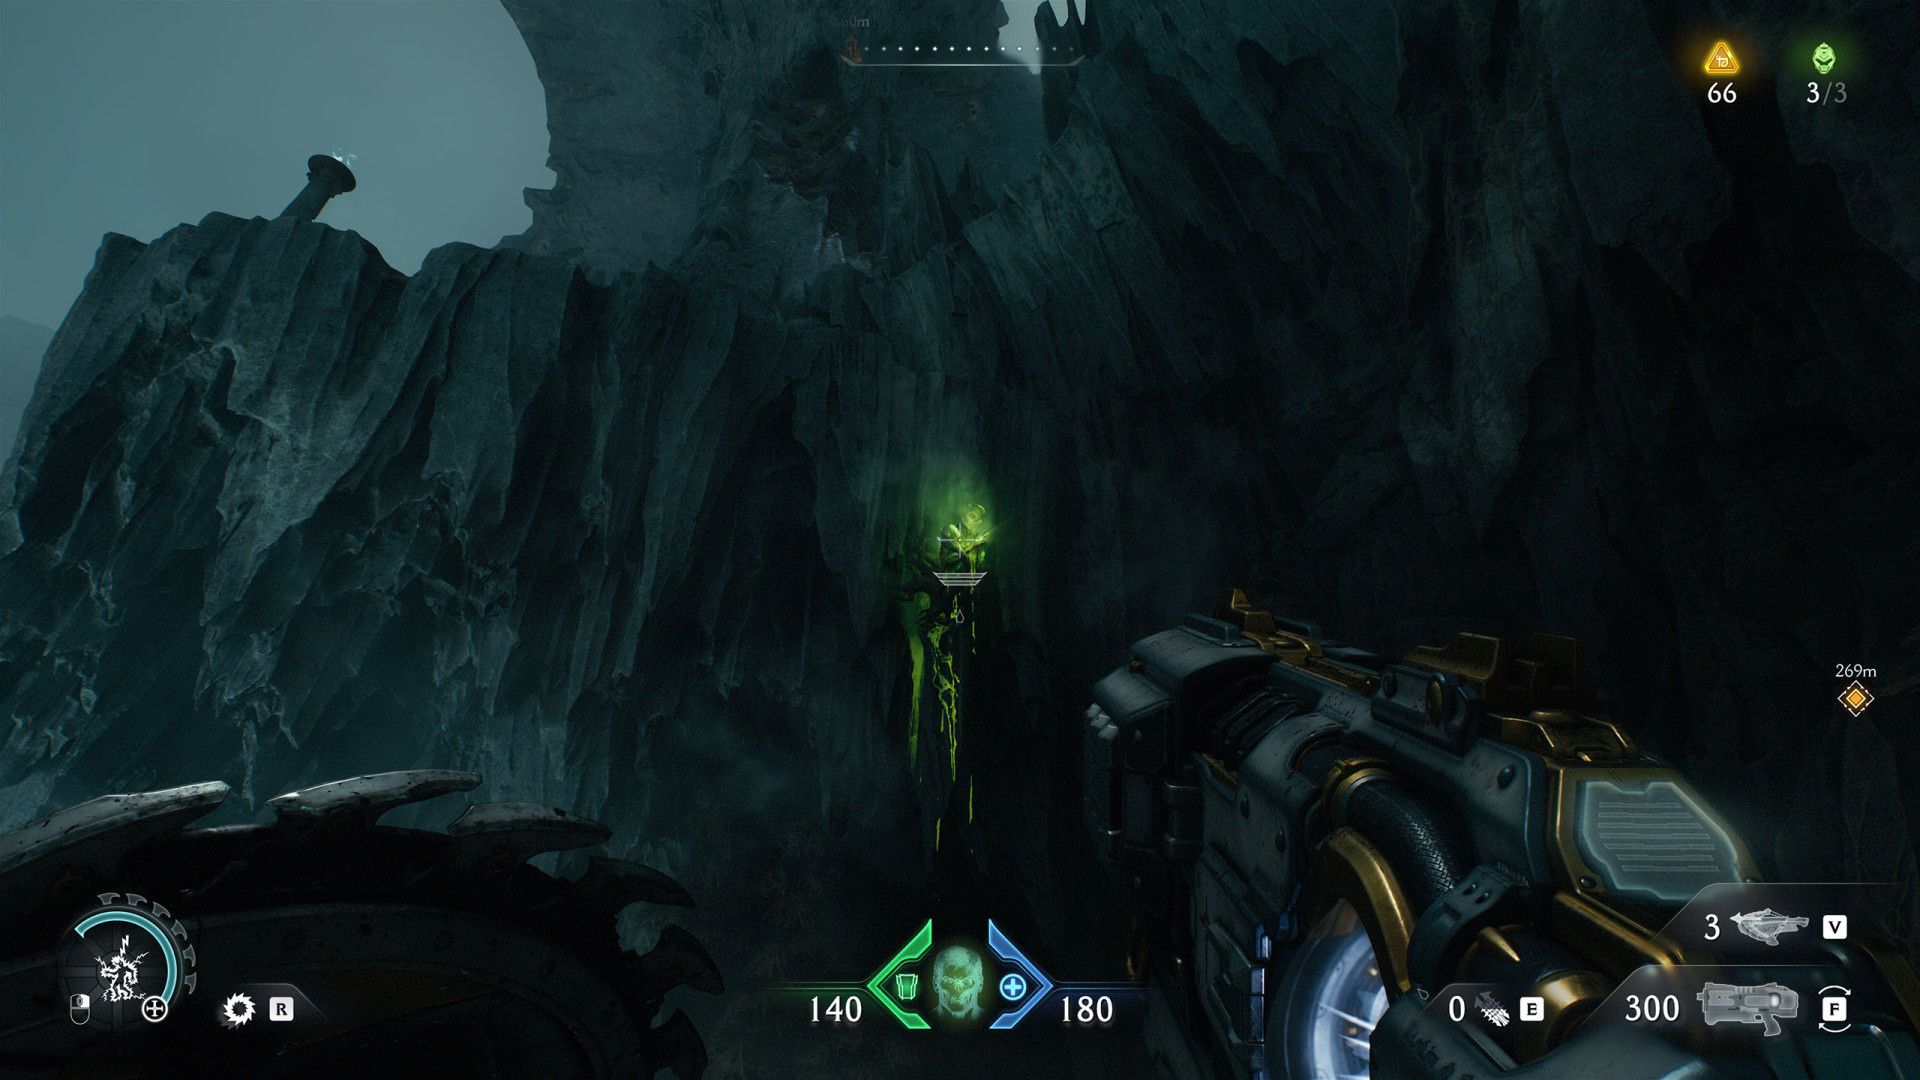
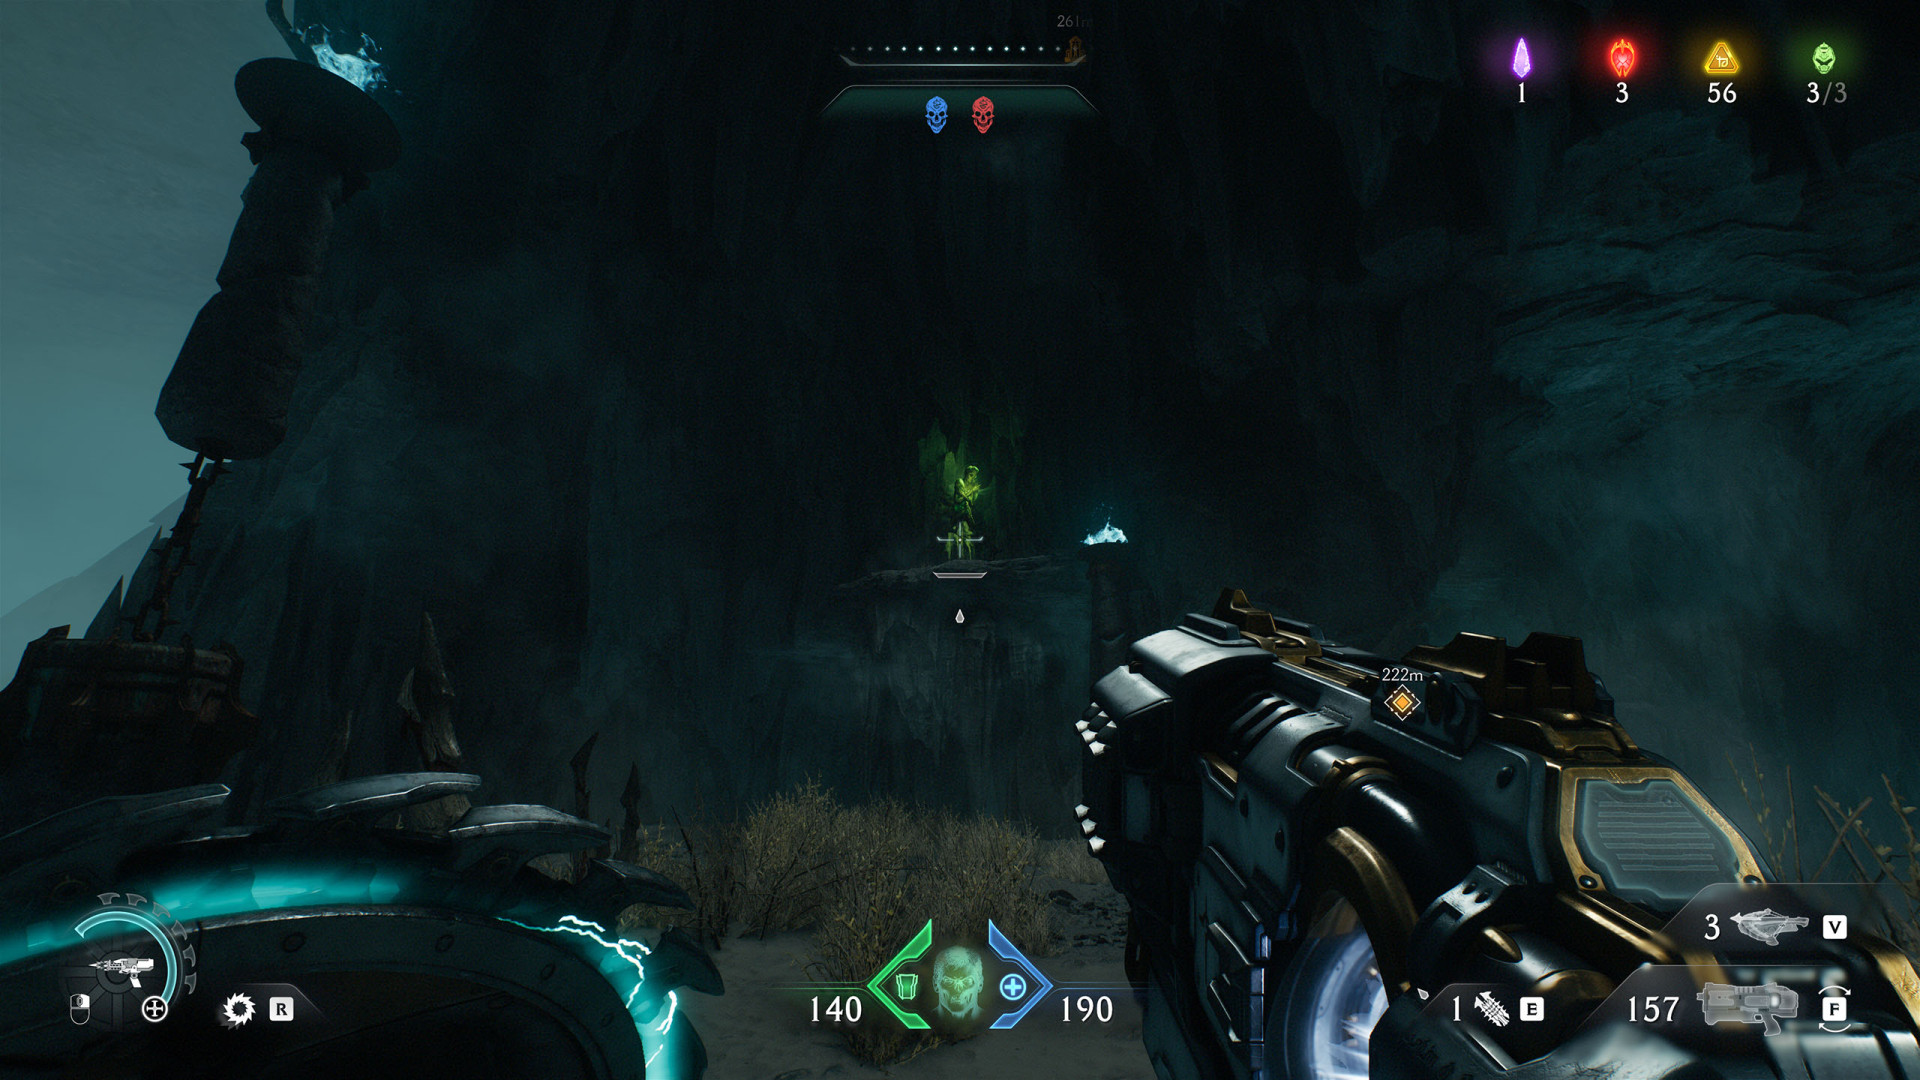
In Doom: The Dark Ages, using the Shield Recall Jumps enables you to traverse wide gaps and reach higher elevations with ease. Hurl the Shield Saw at green flash nodes to lodge the shield into them. While the shield is embedded in the green flesh, press the shield throw button again to pull yourself toward it.
Shield Recall Jumps
Locations on Hebeth
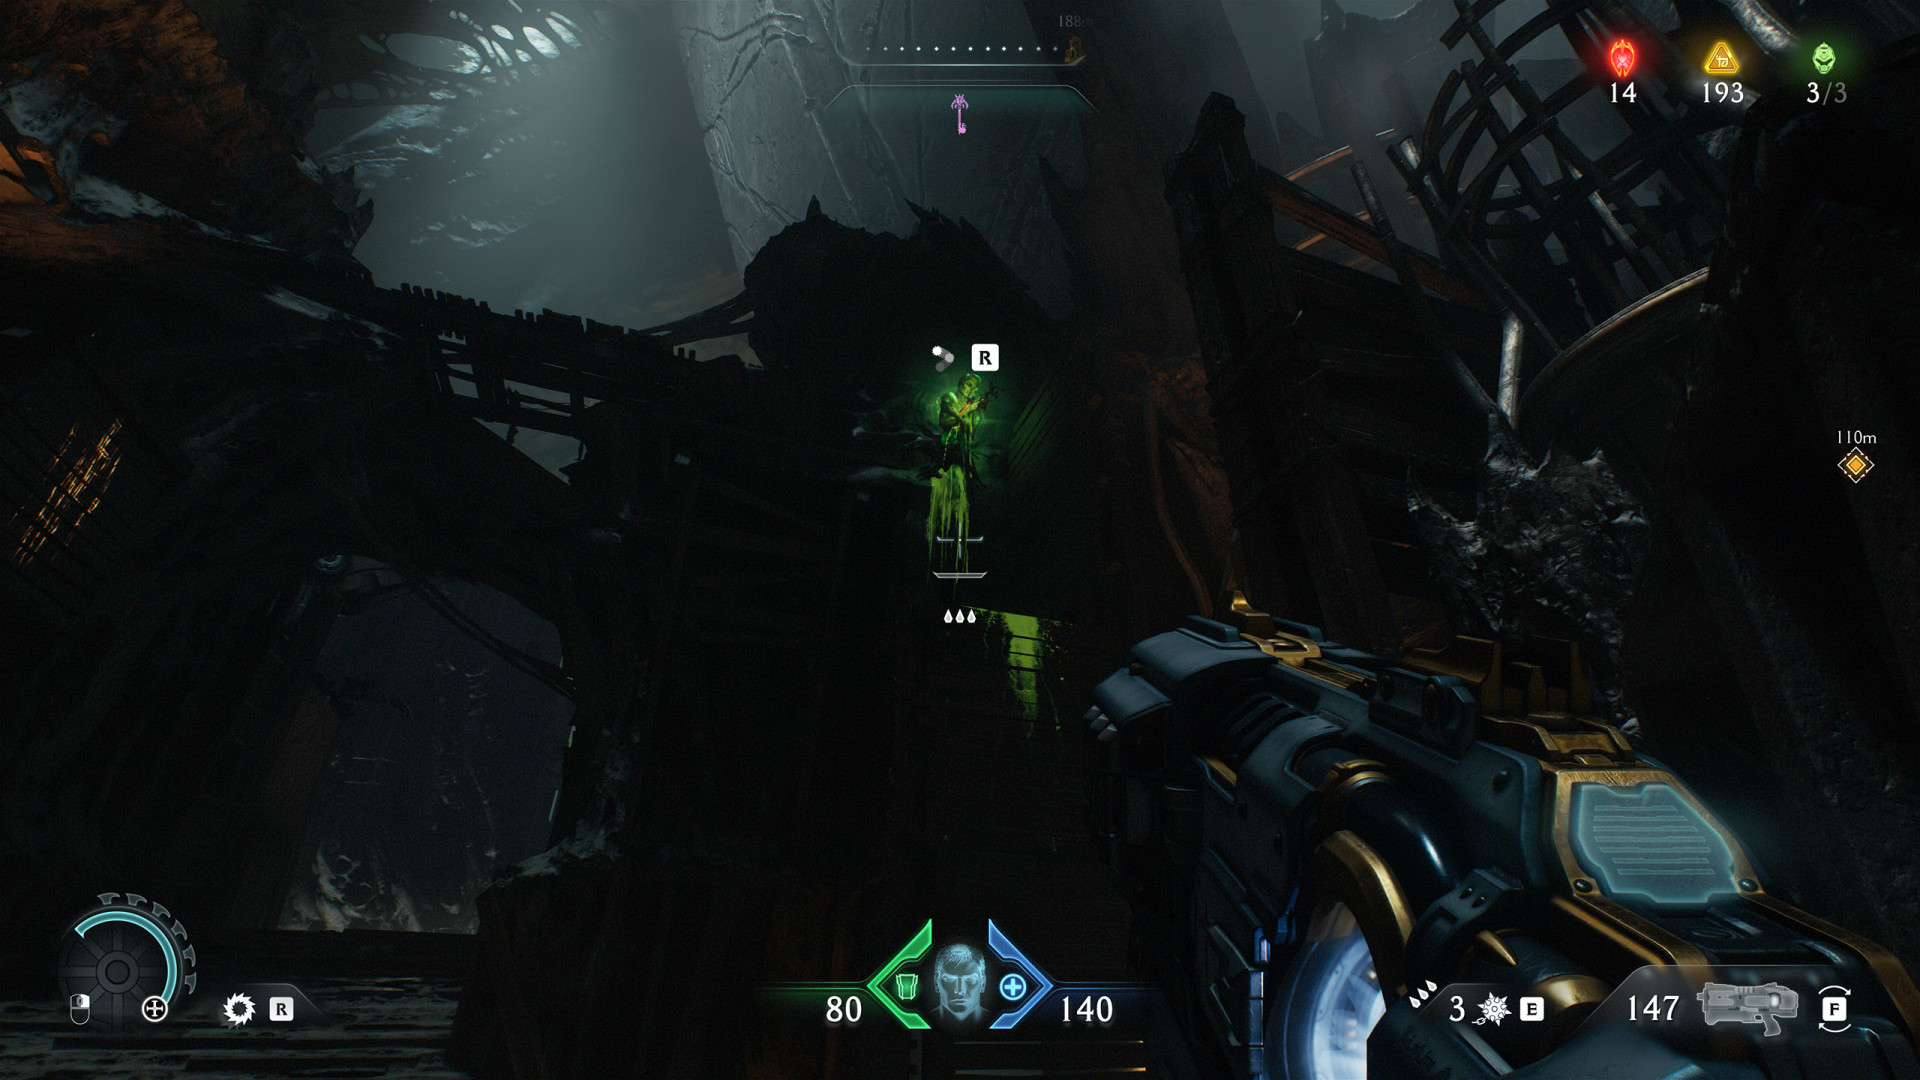
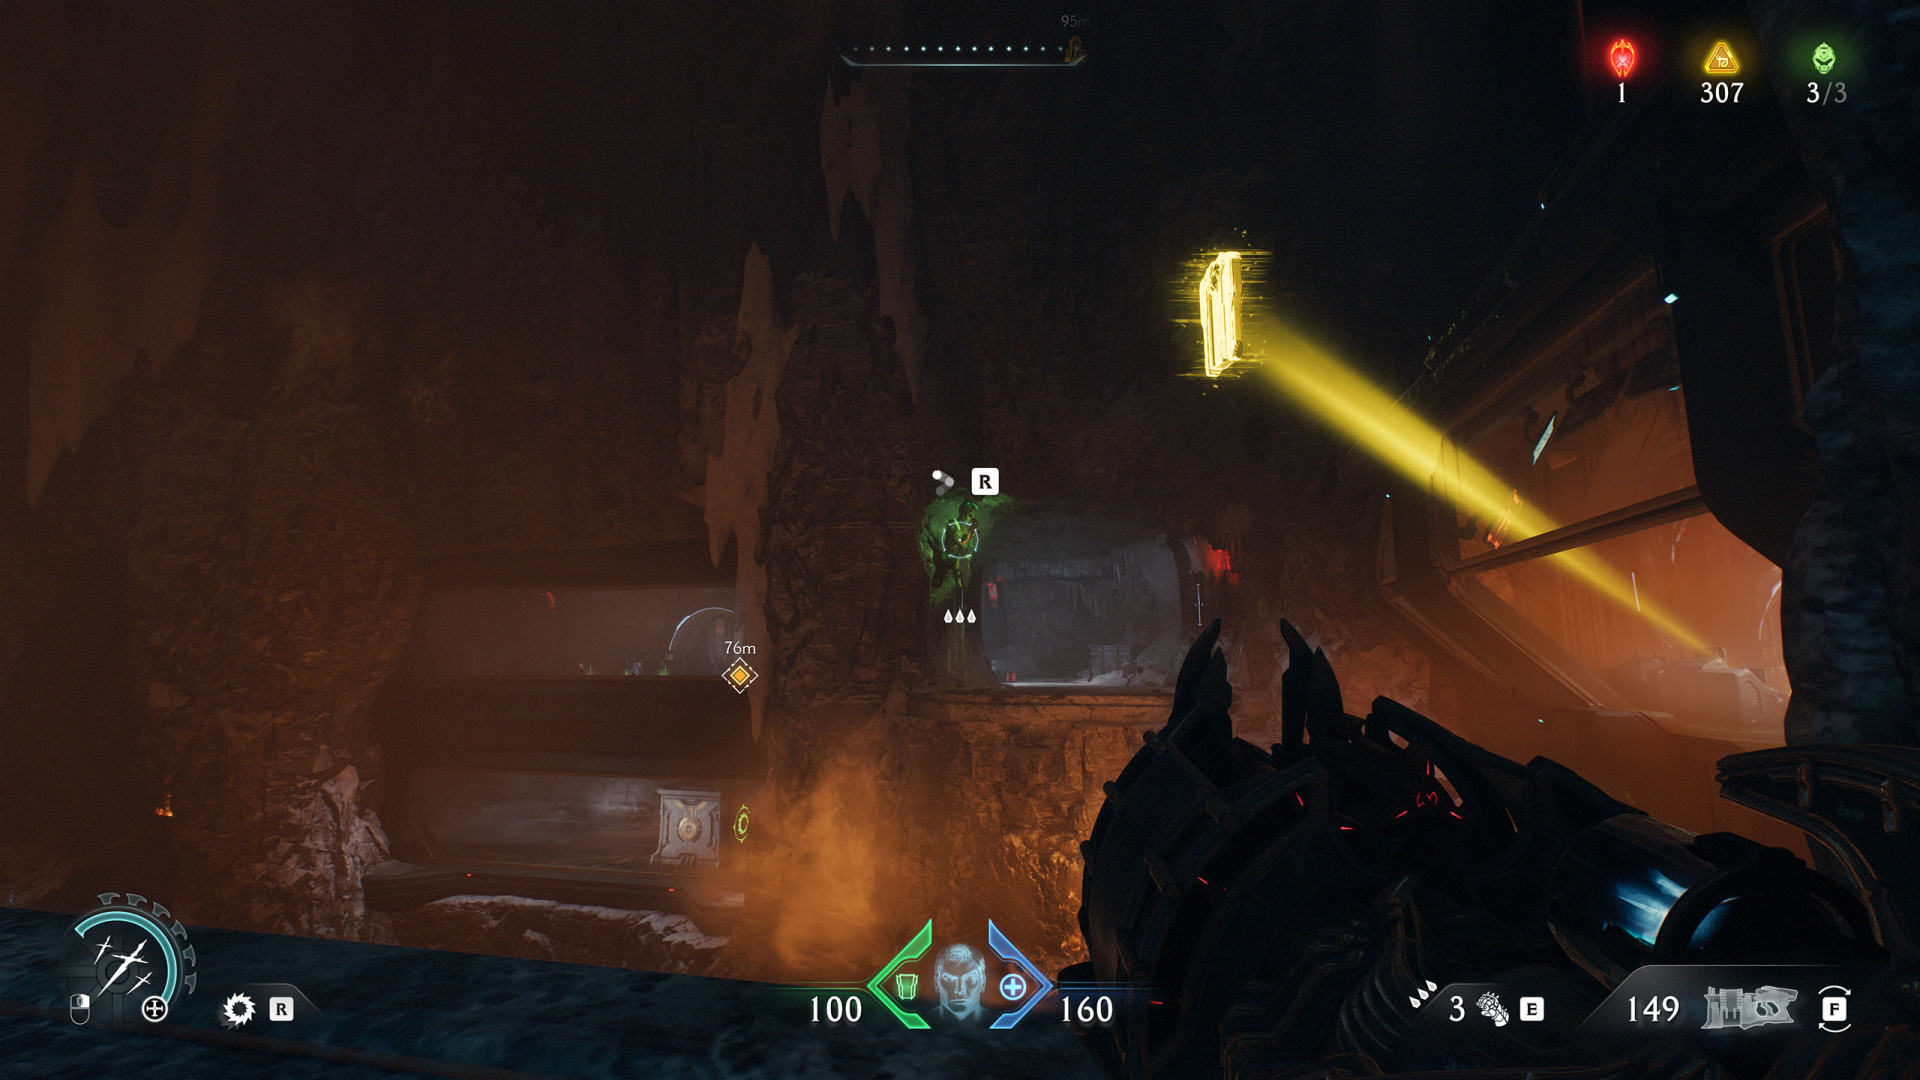
1 Shield Recall Jump (Hebeth)
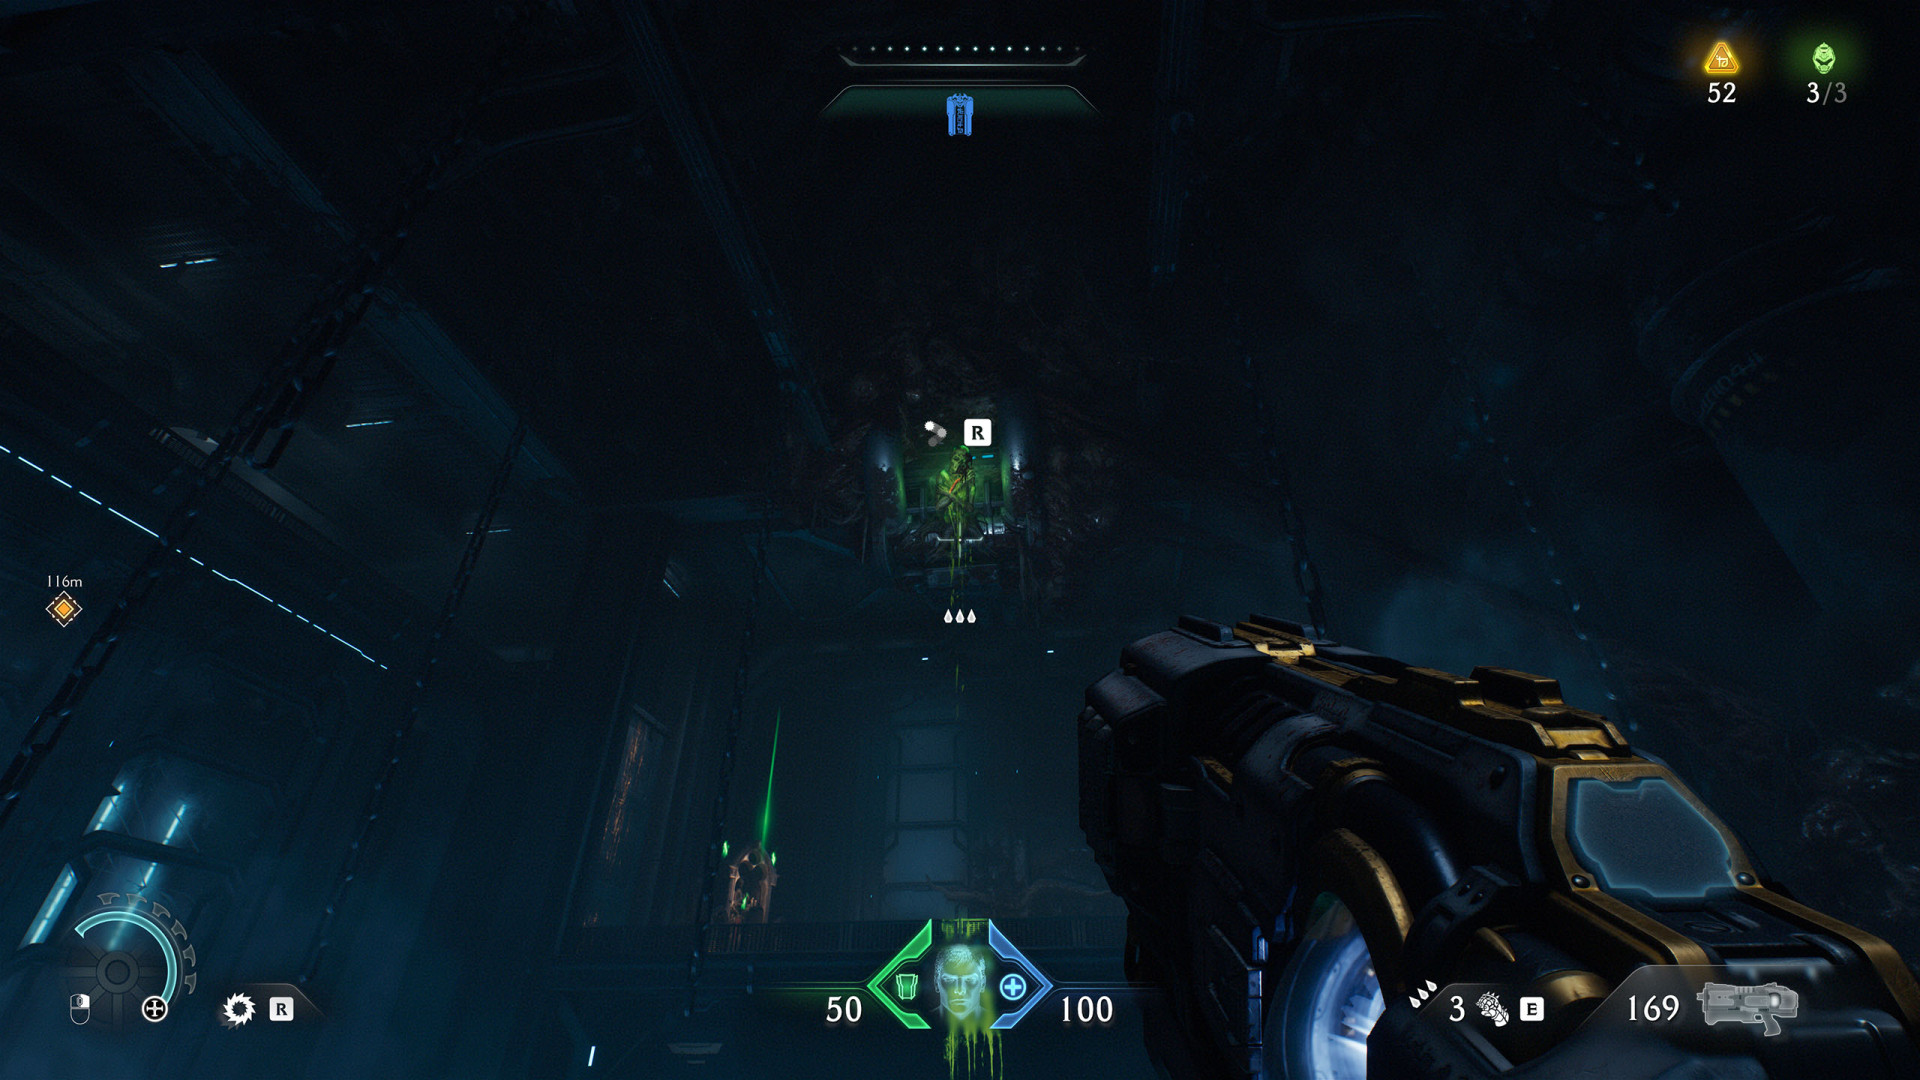
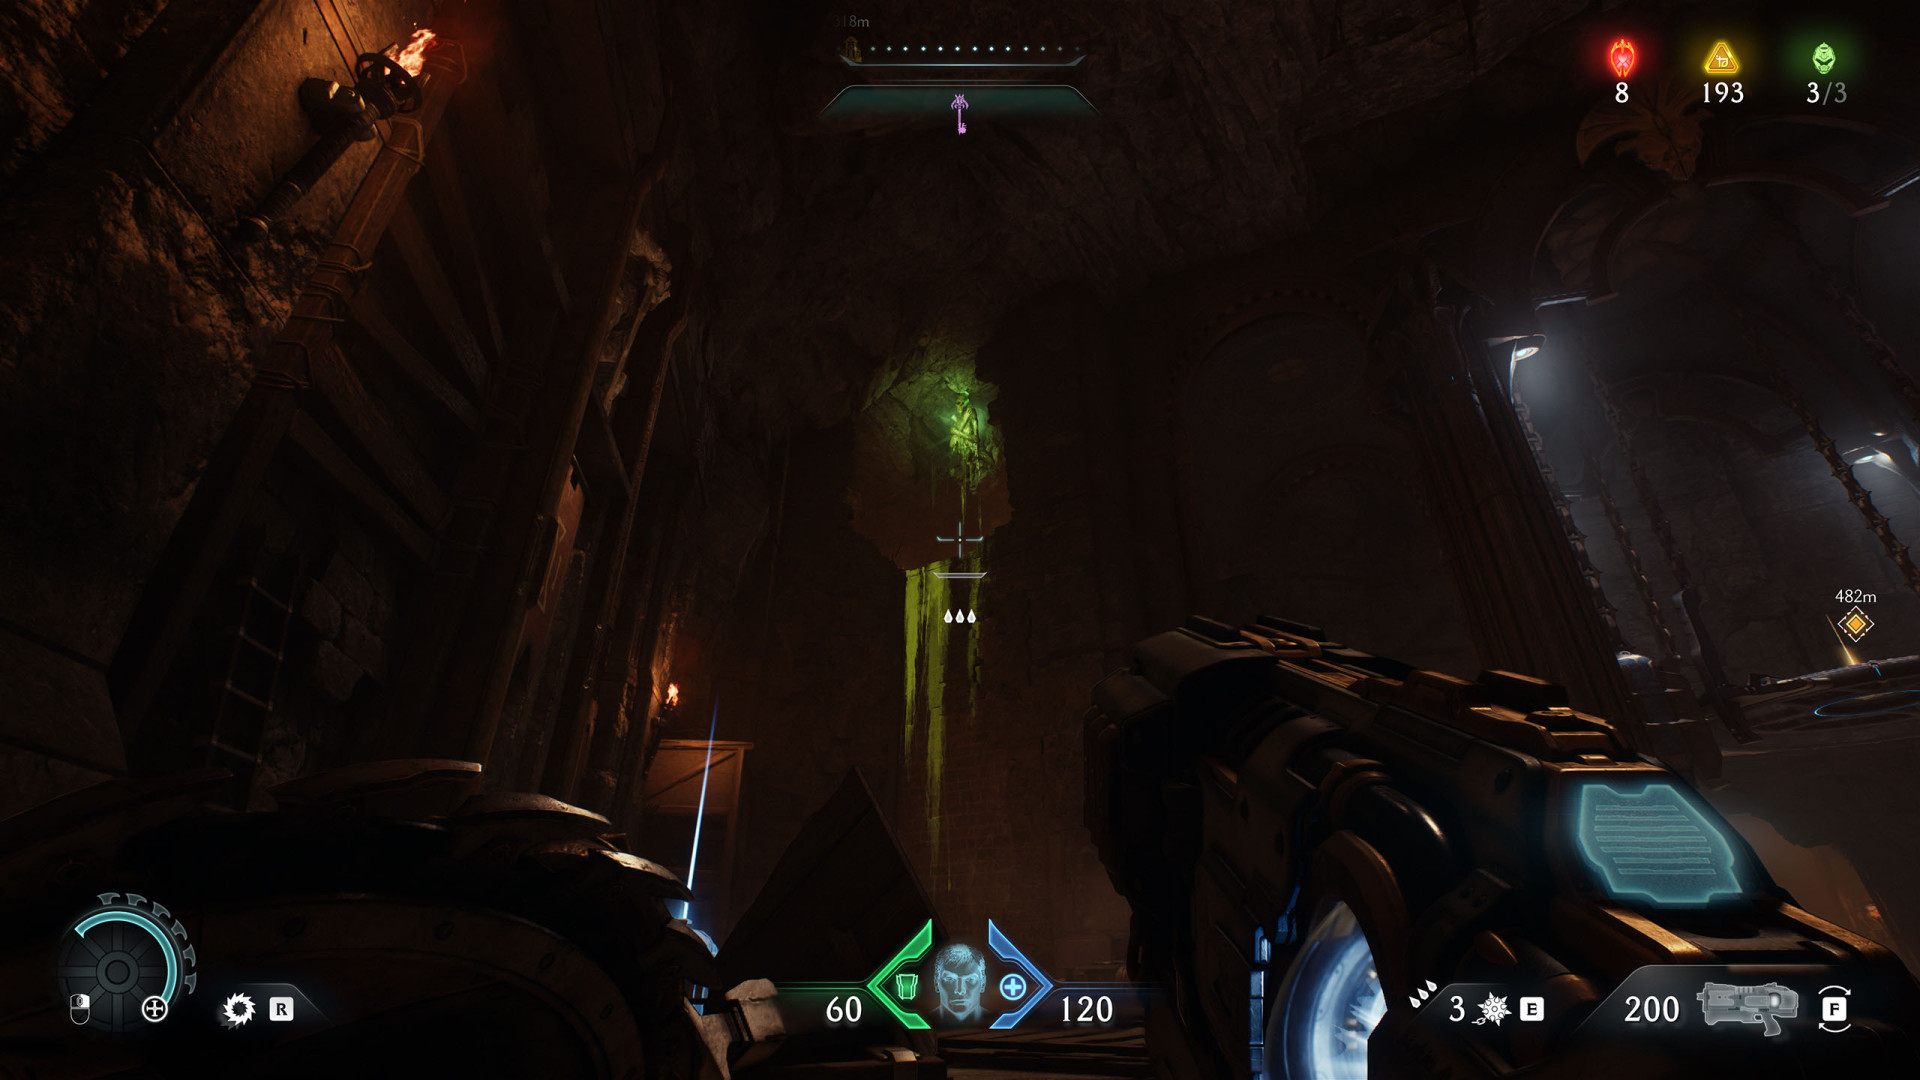
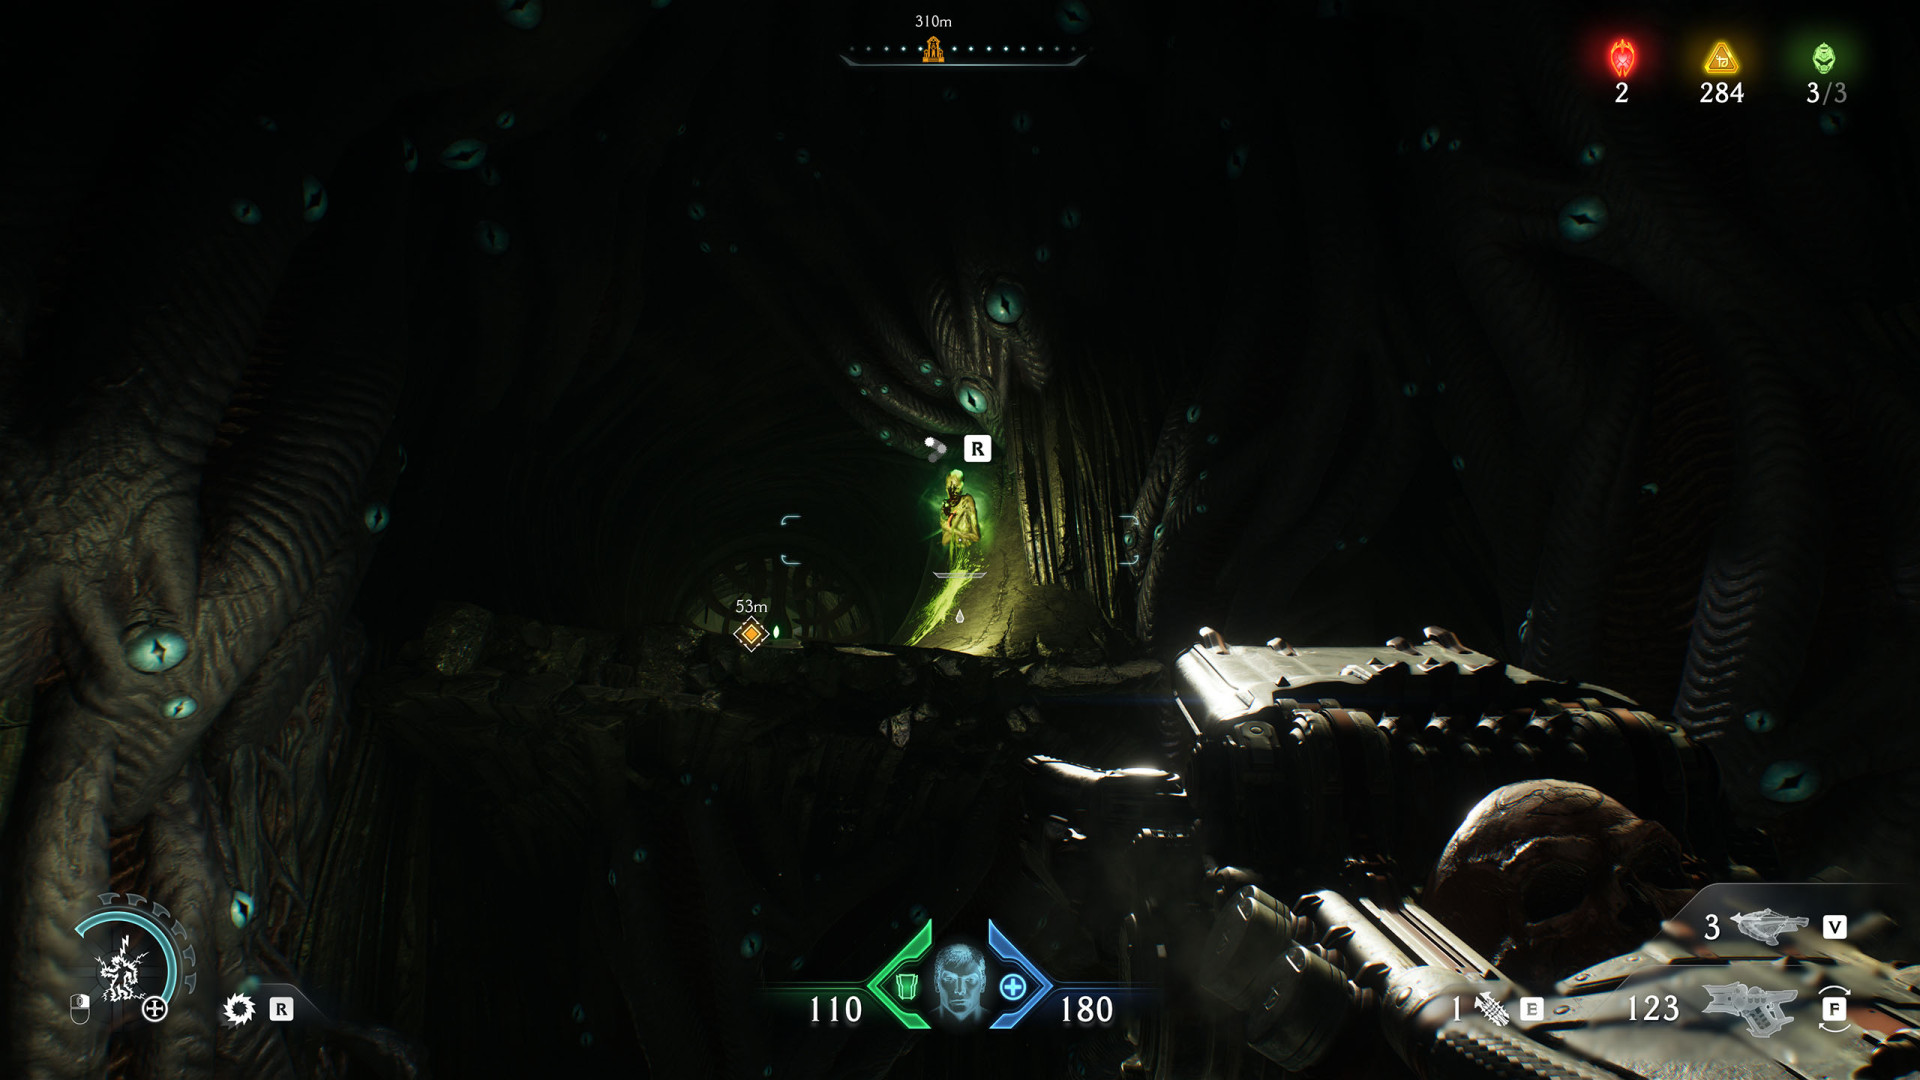
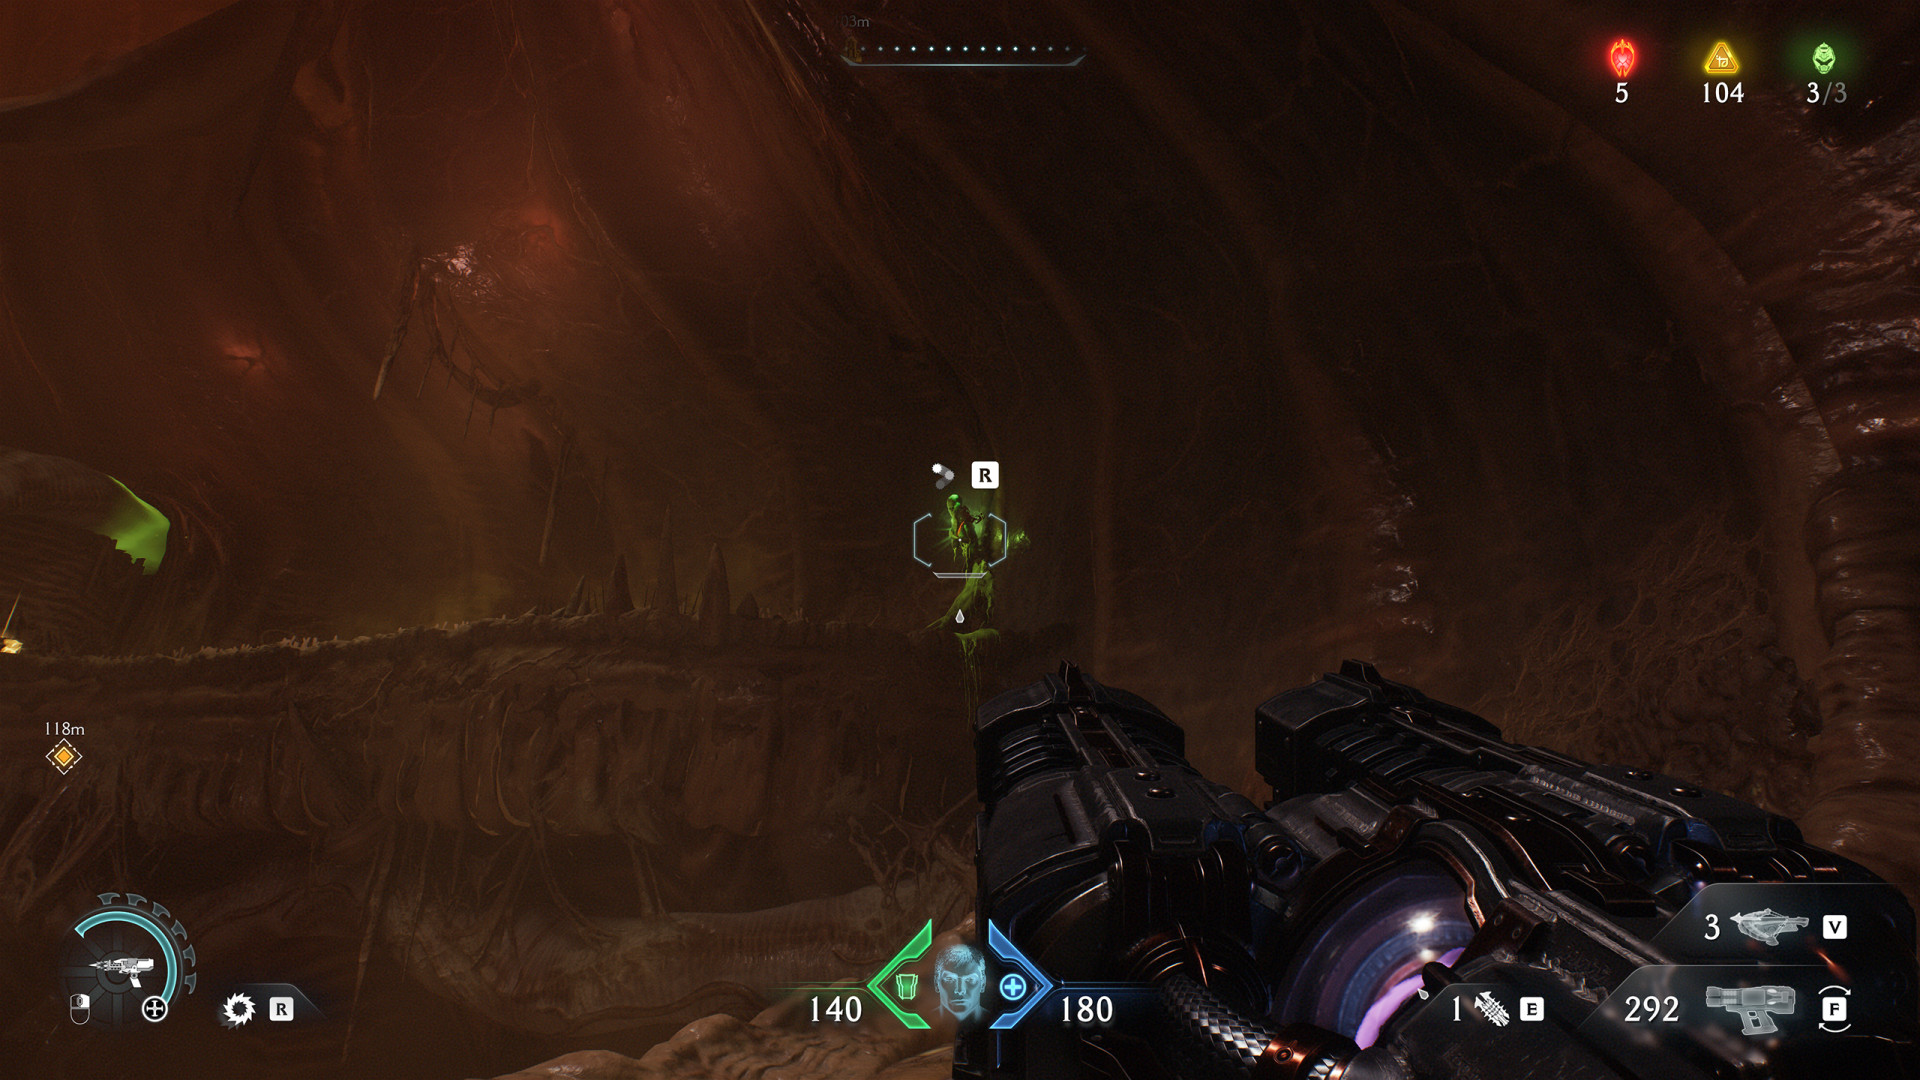
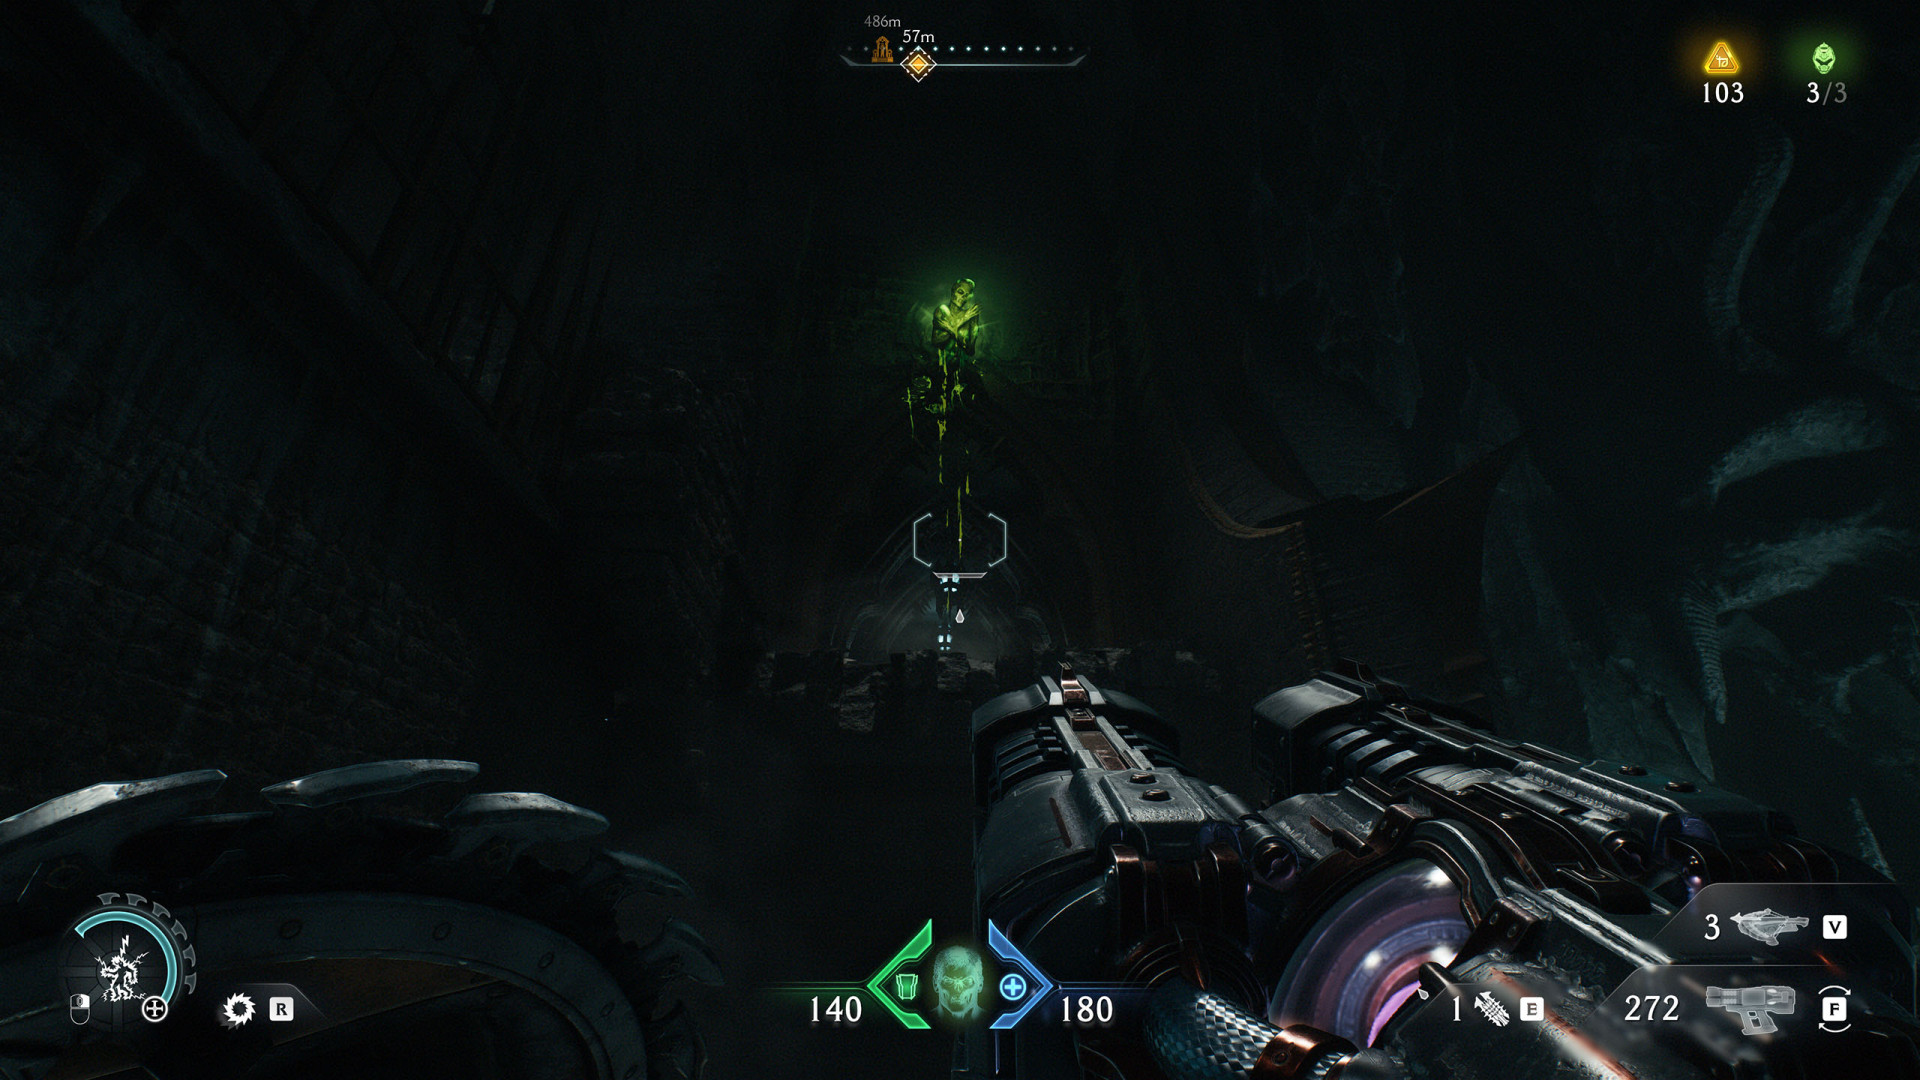
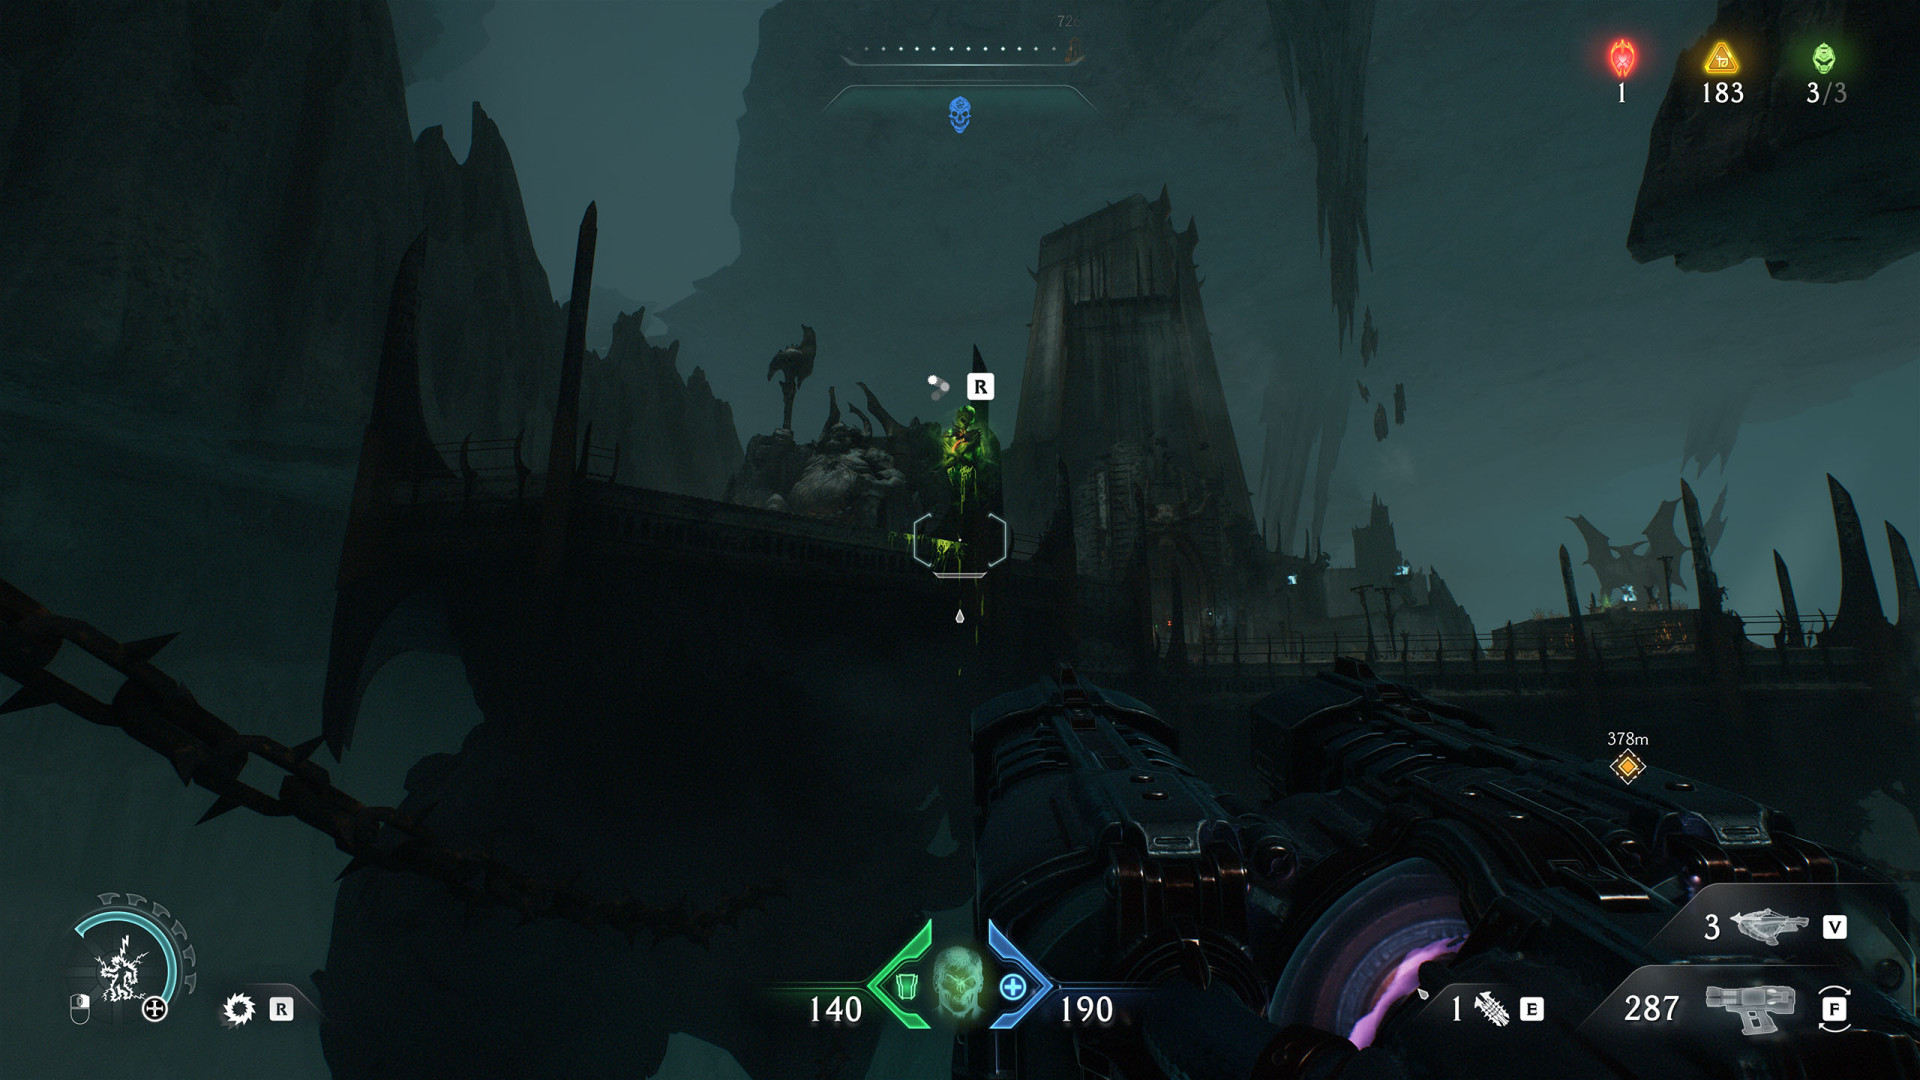
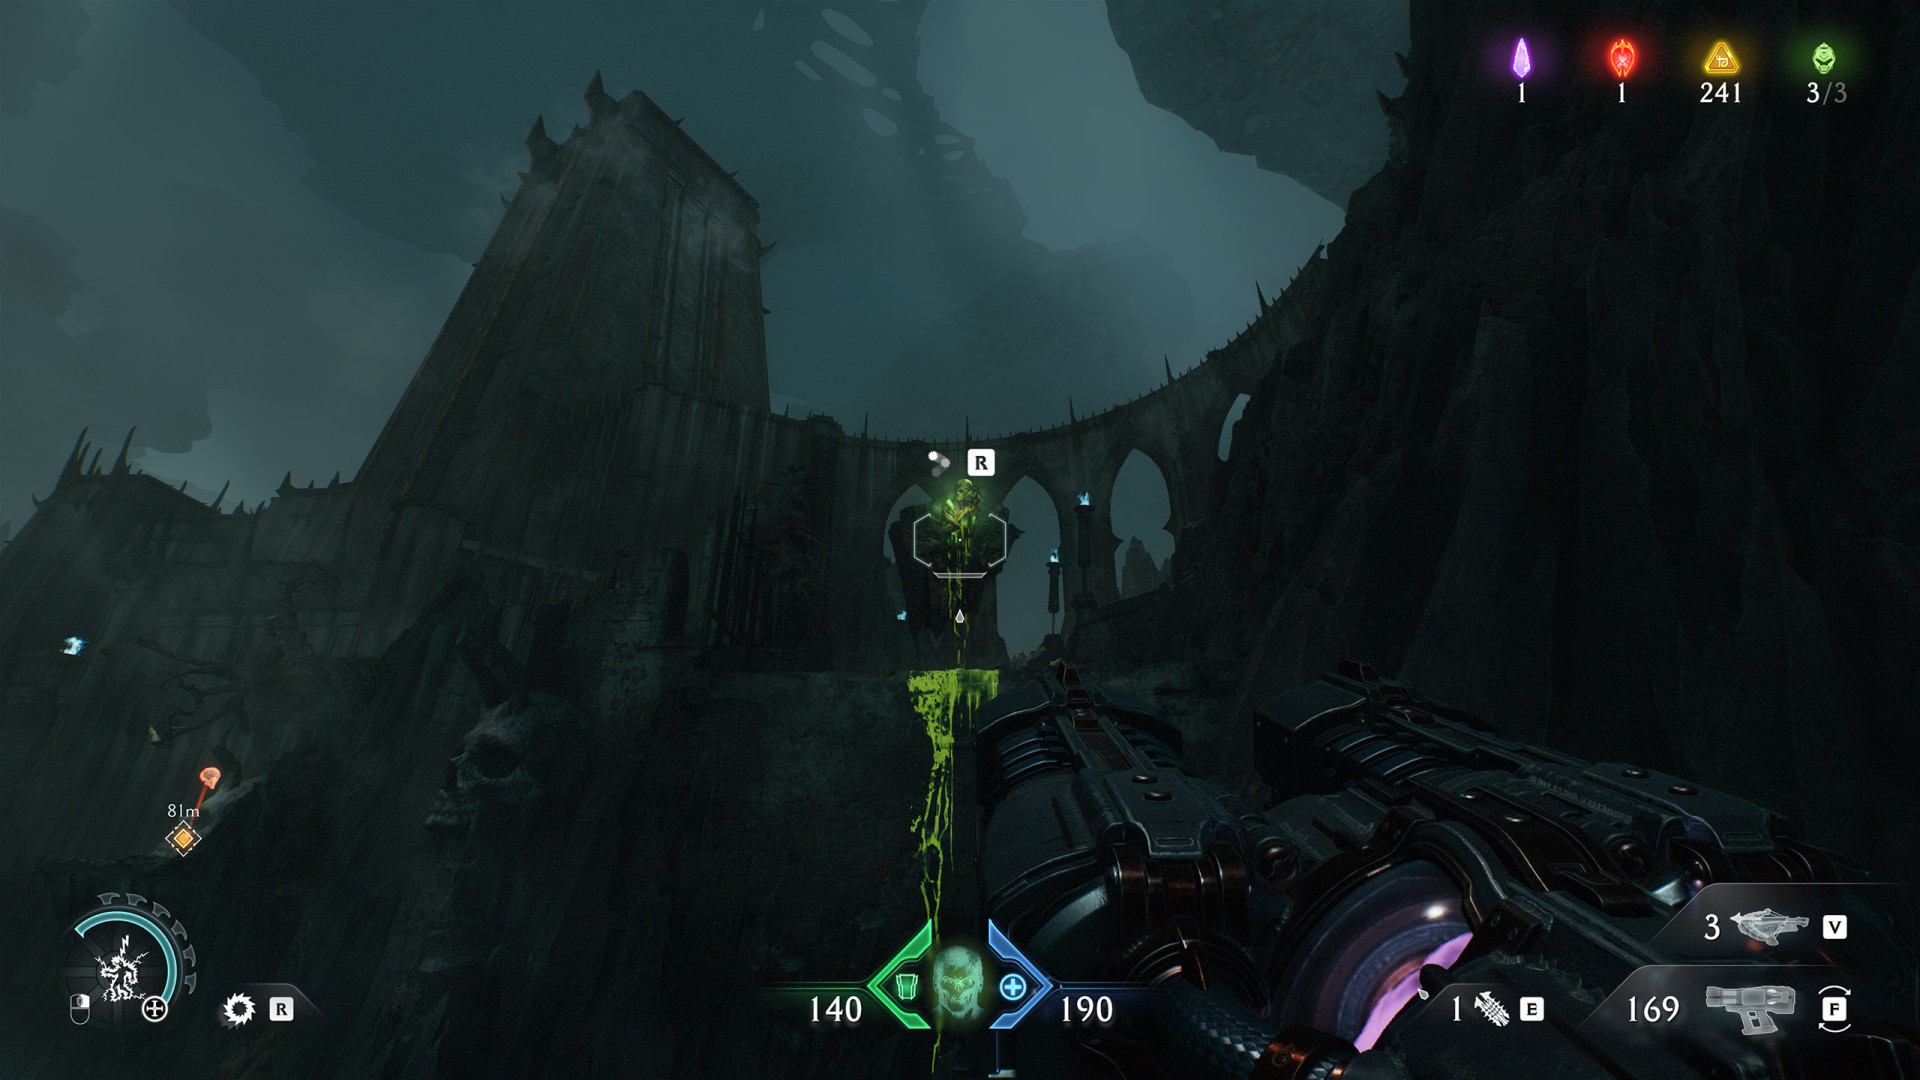
Locations on Sentinel Barracks
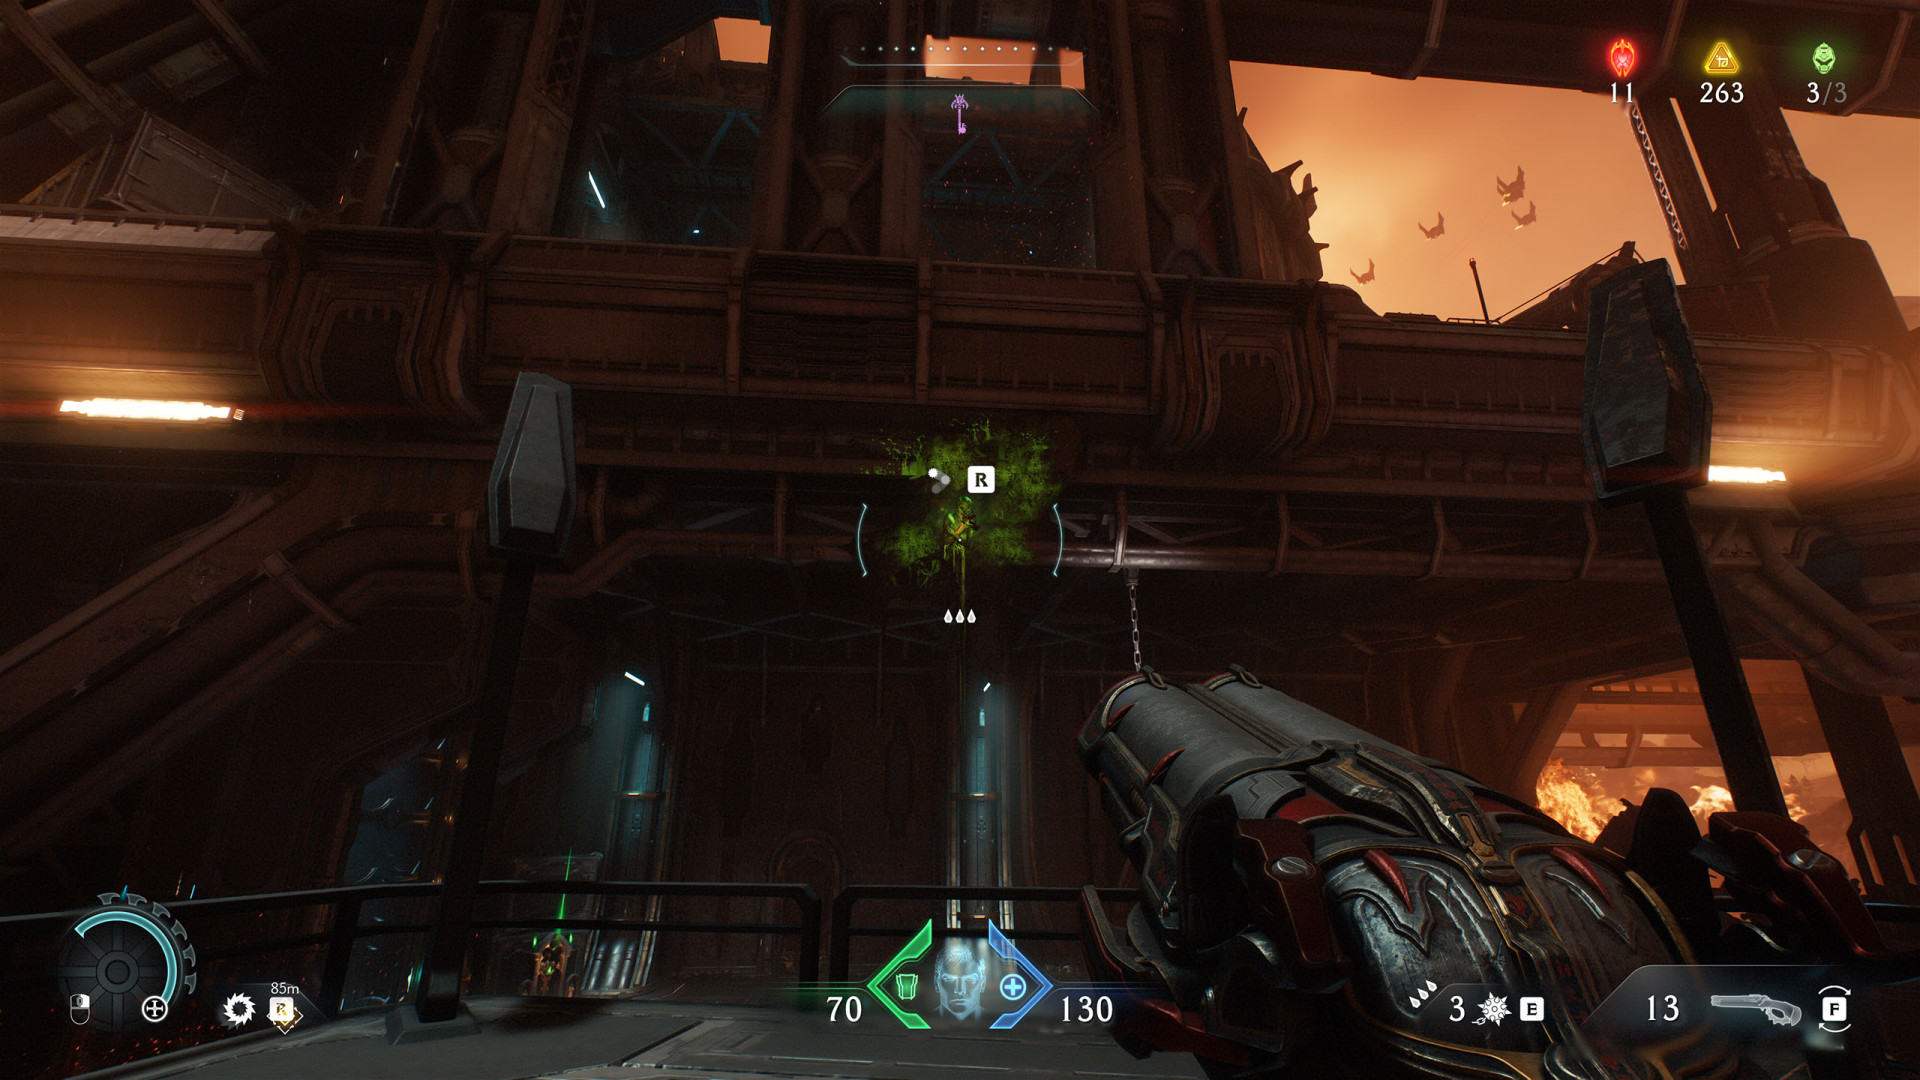
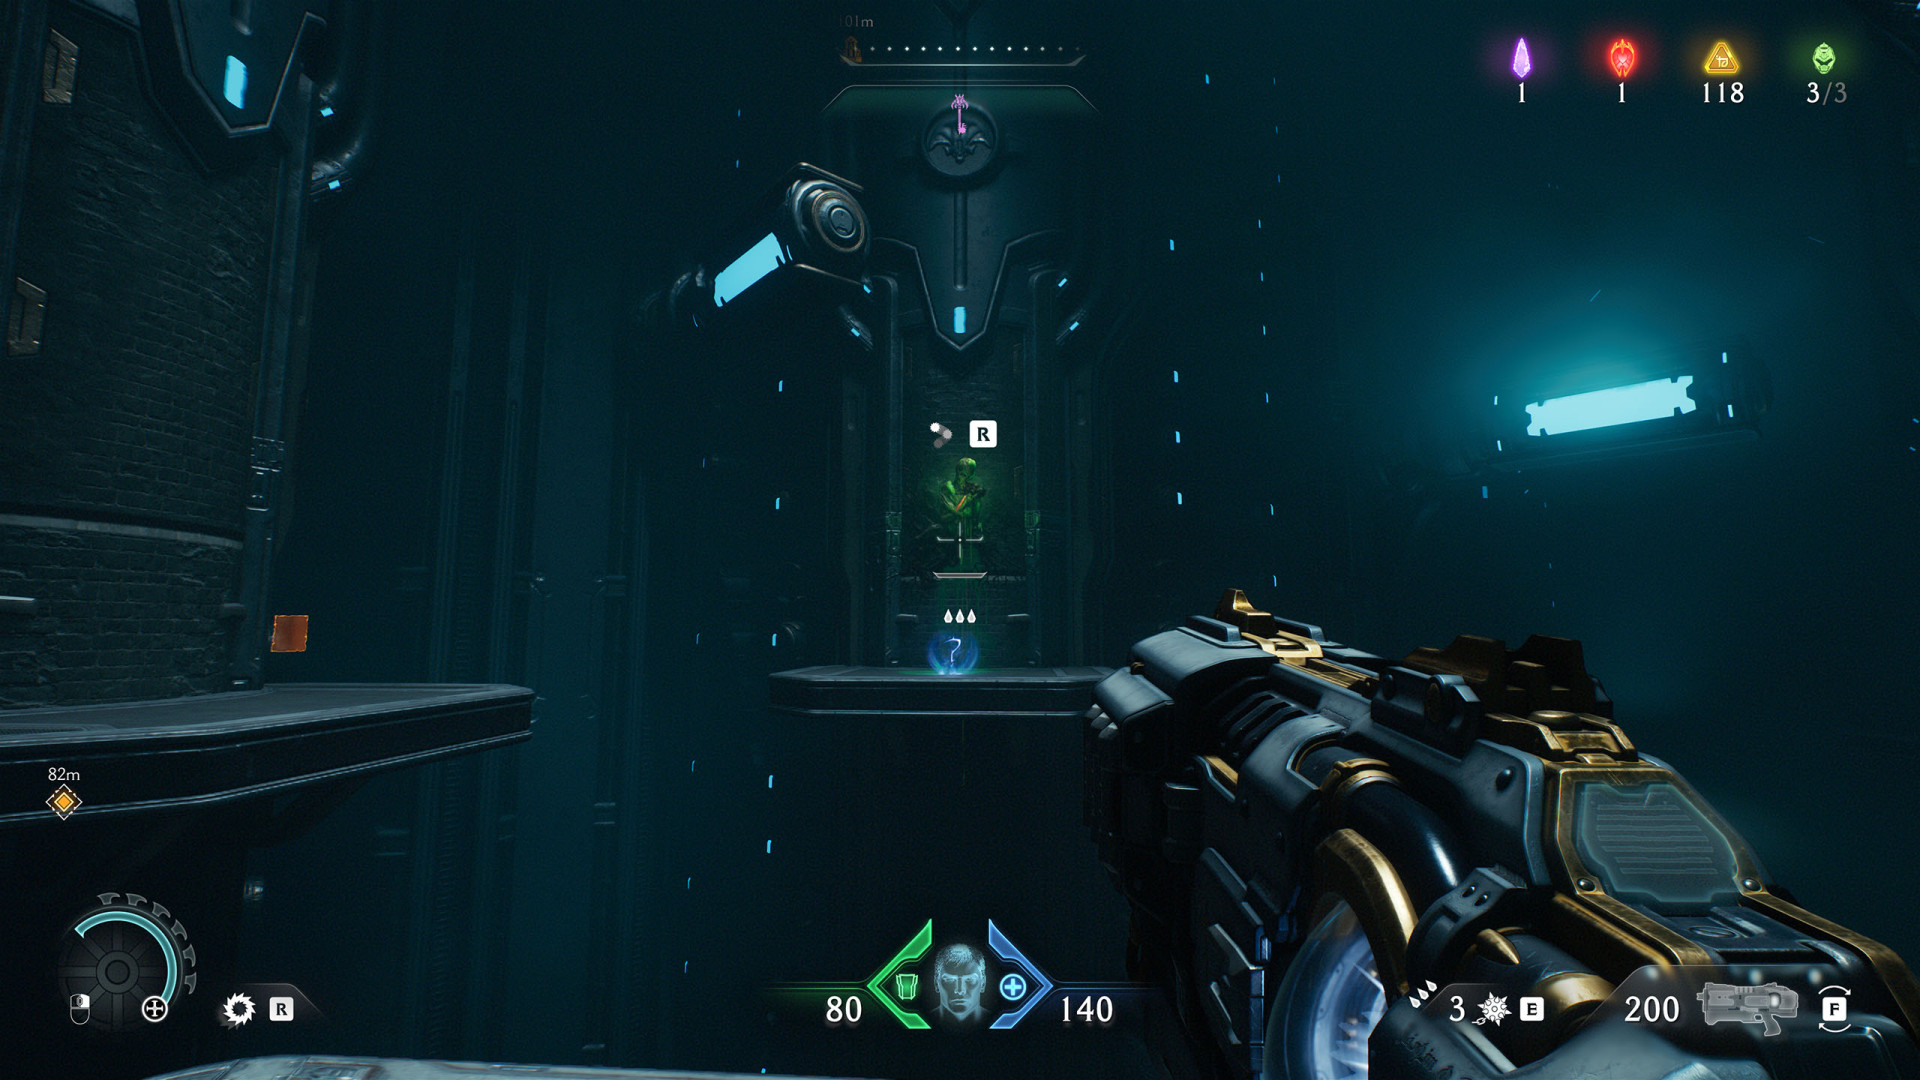
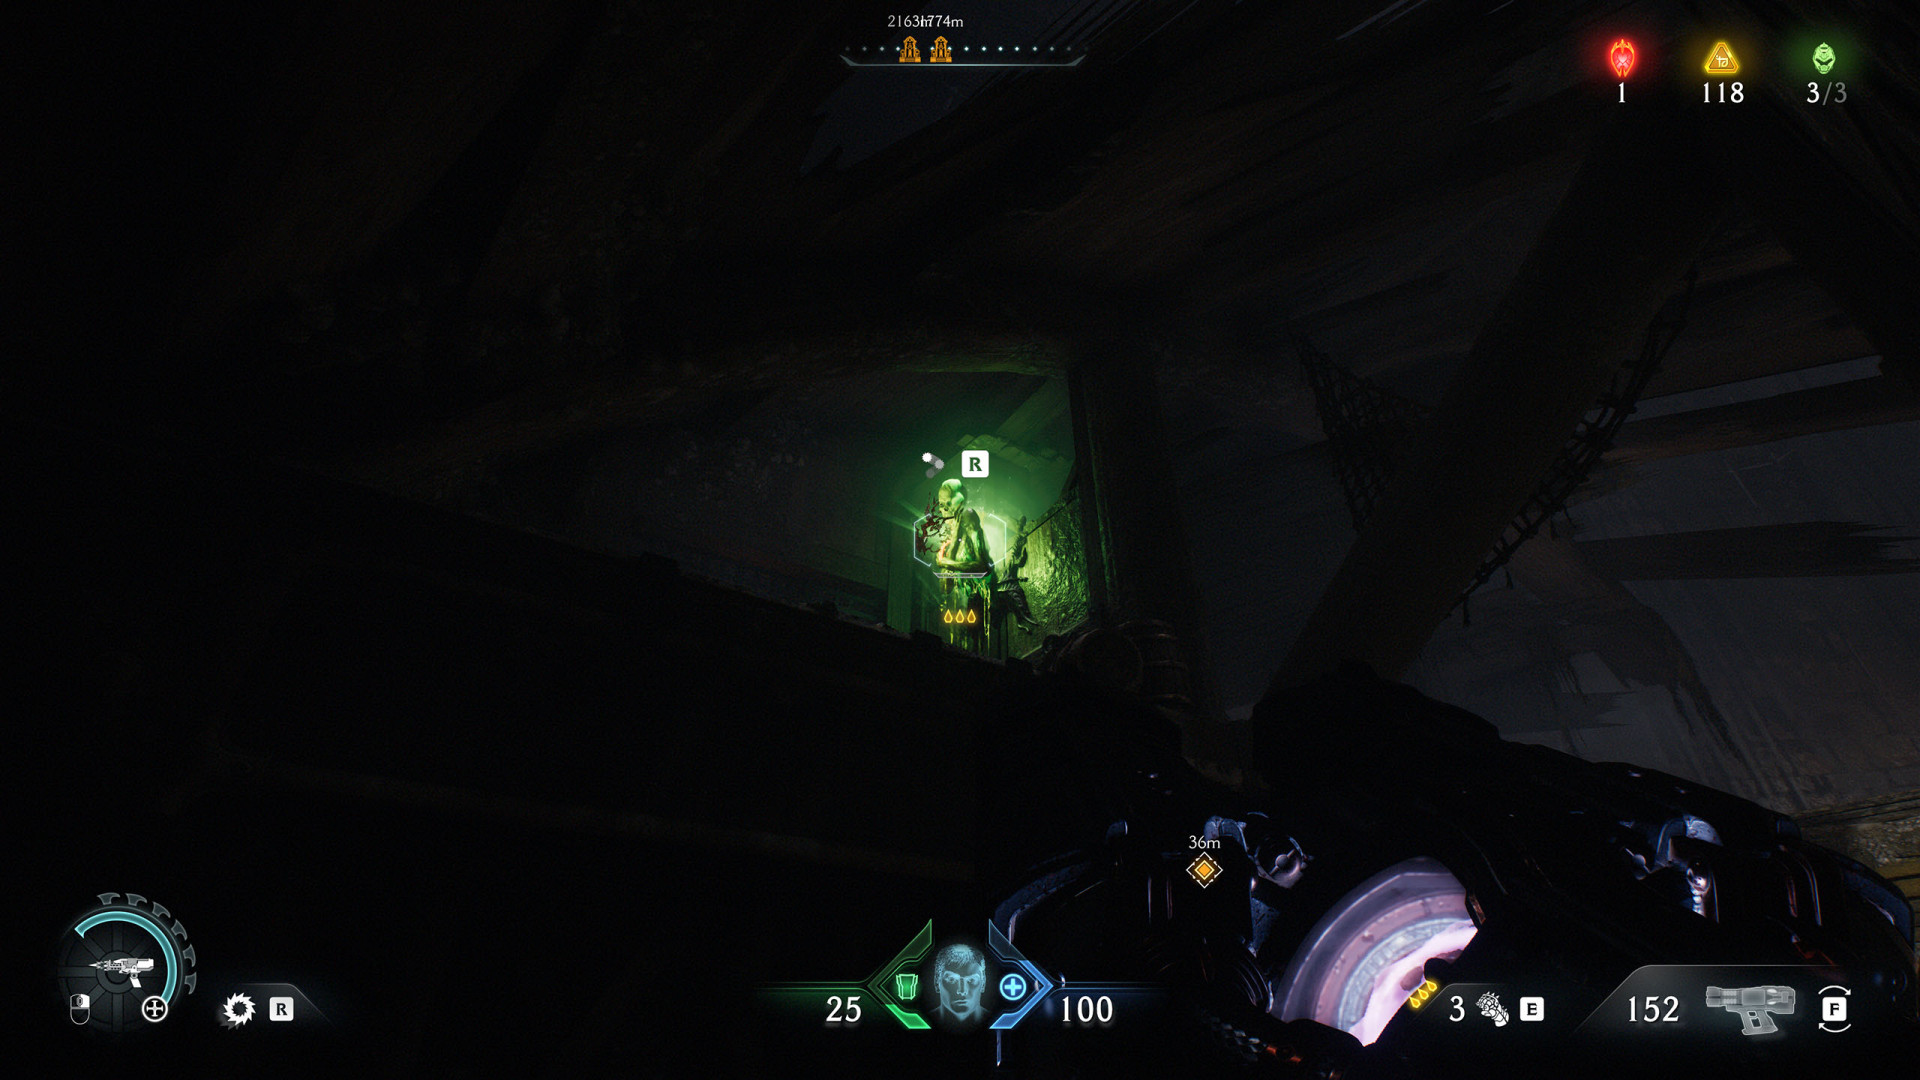
2Shield Recall Jump (Sentinel Barracks #1)
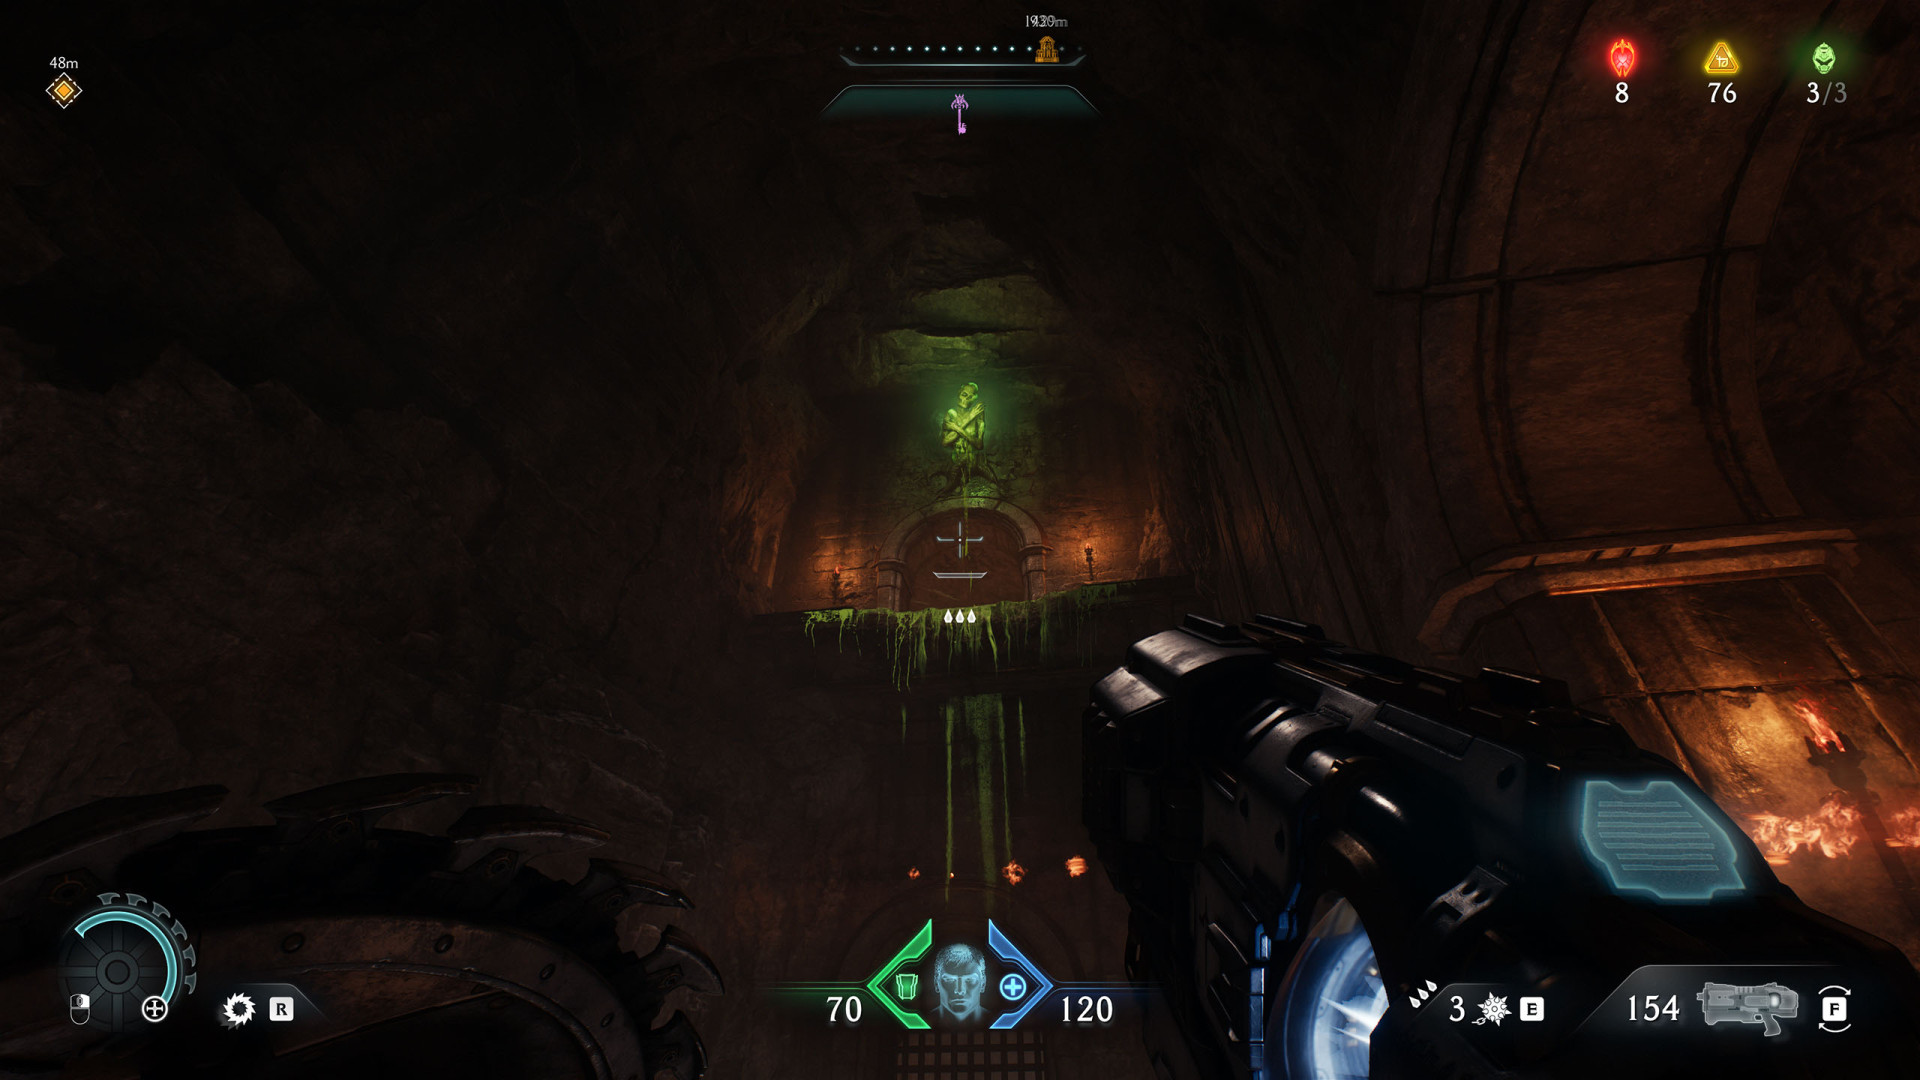
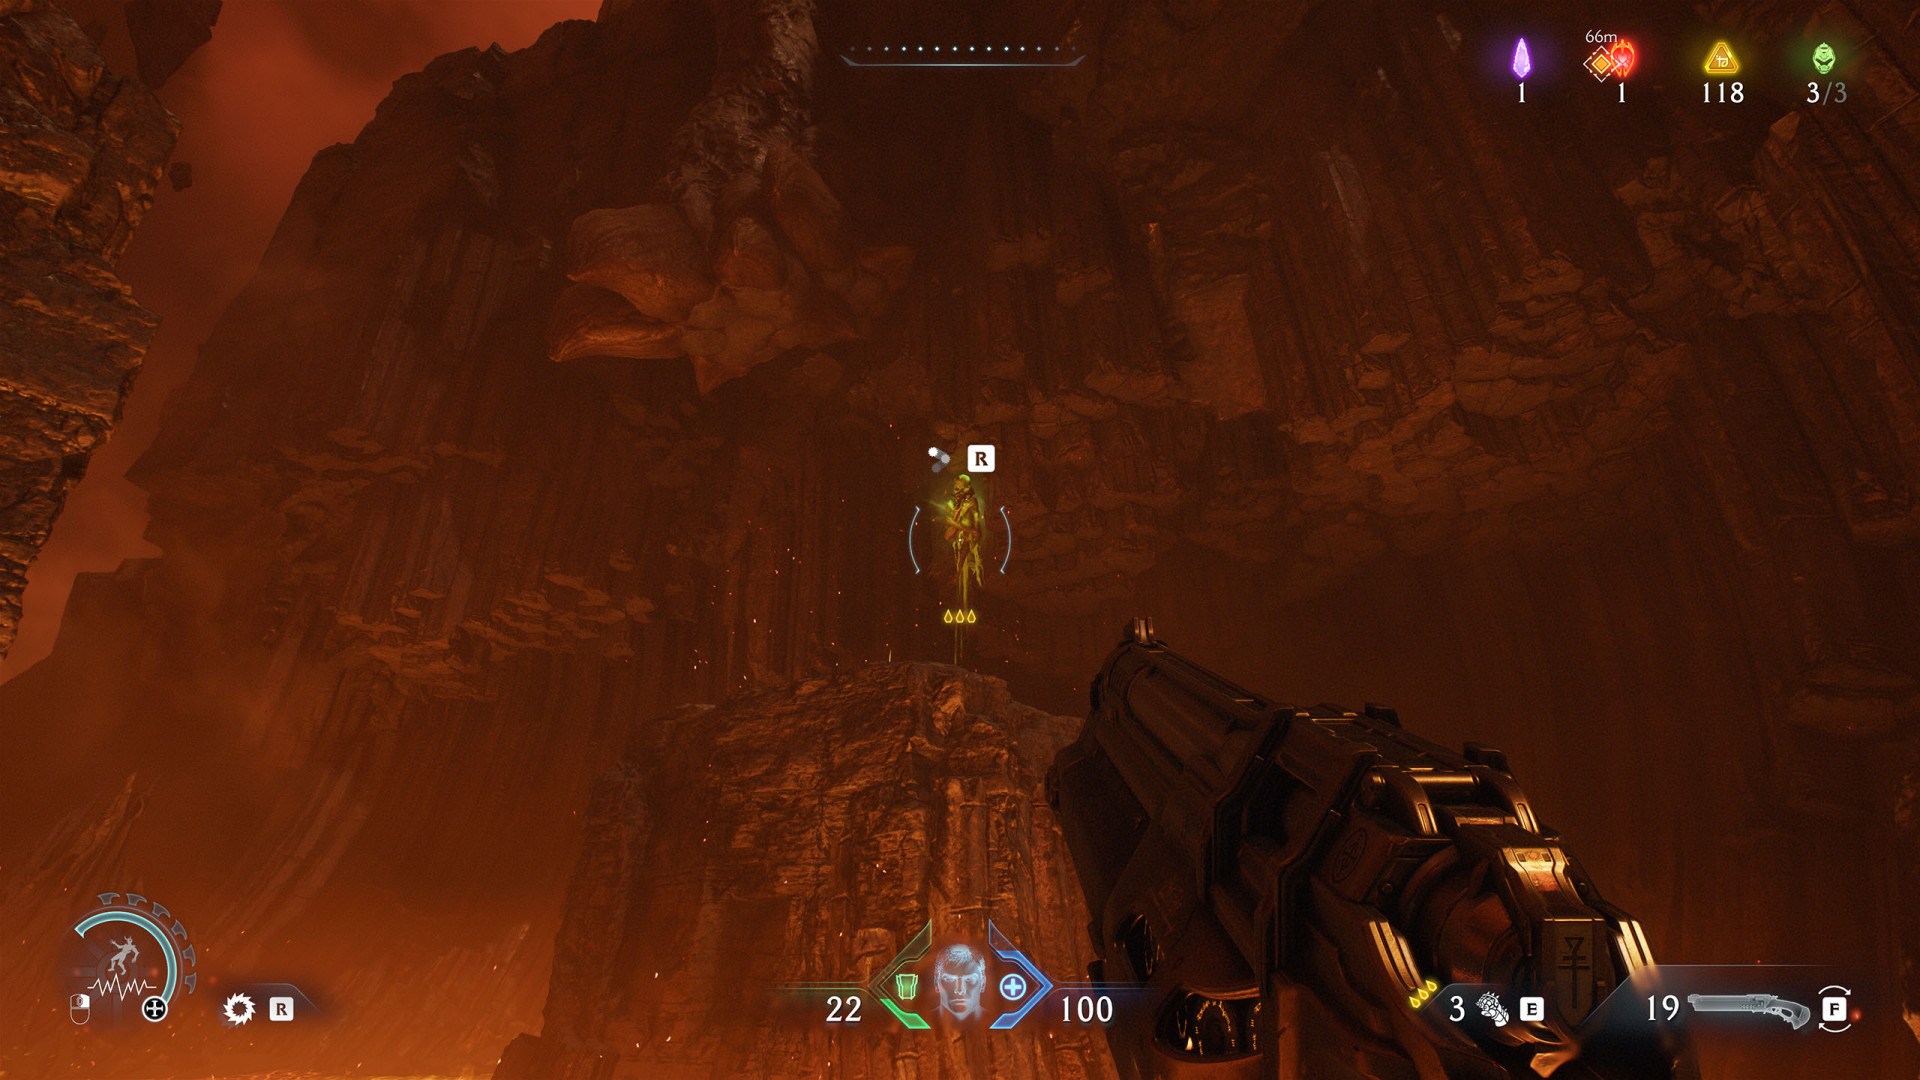
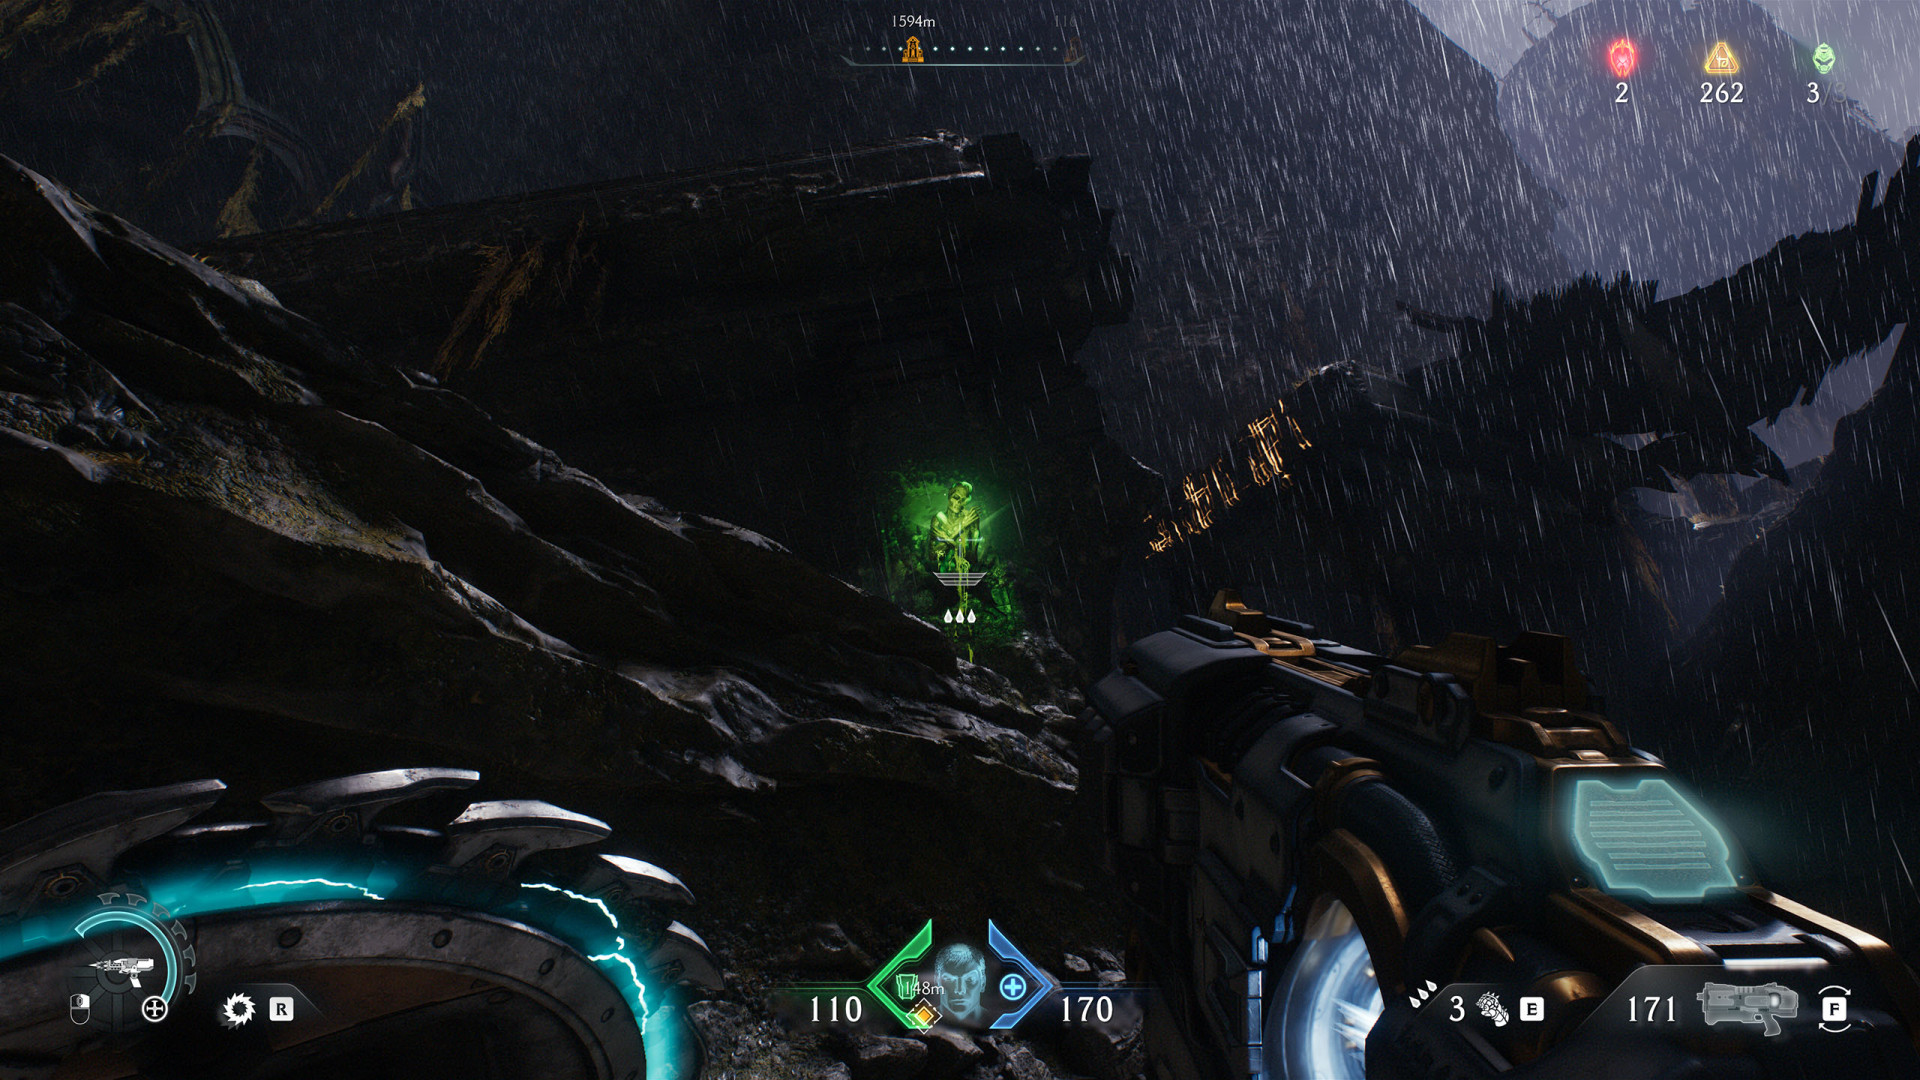
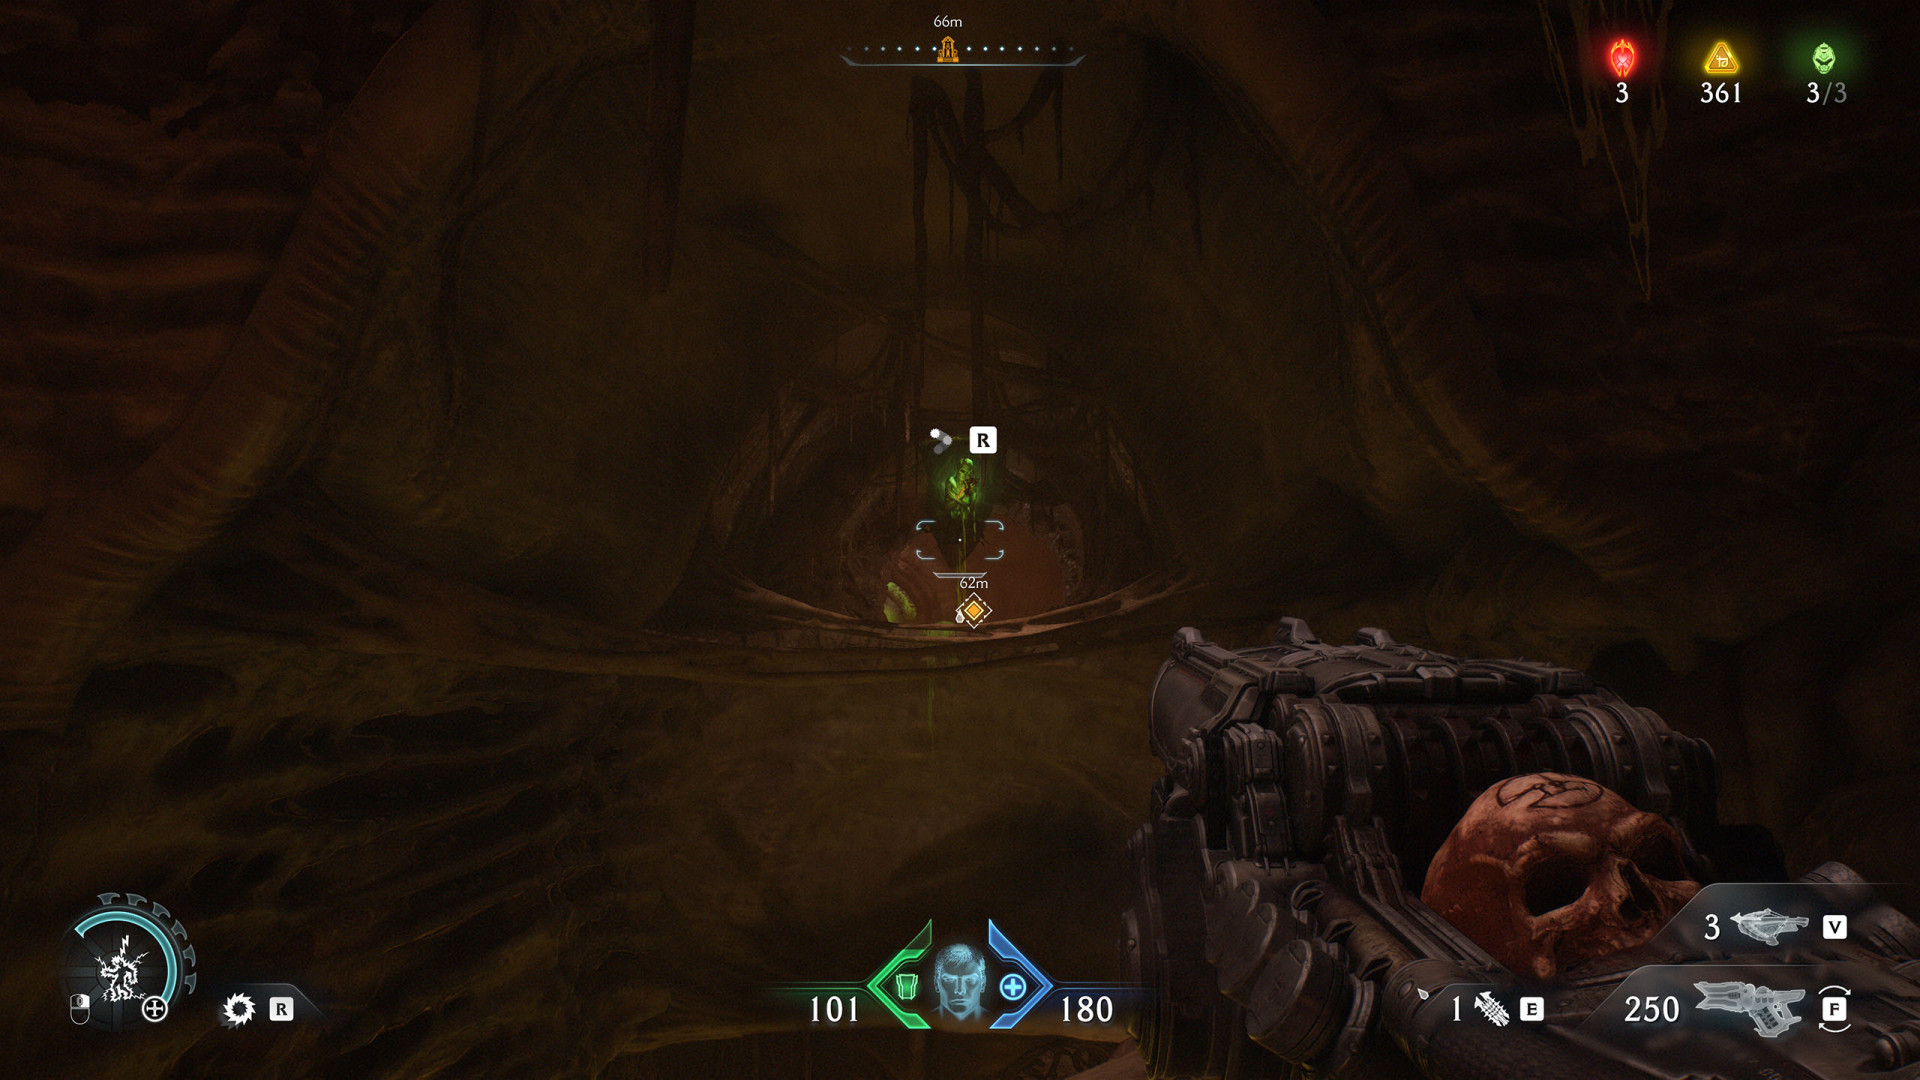
3Shield Recall Jump (Sentinel Barracks #2)
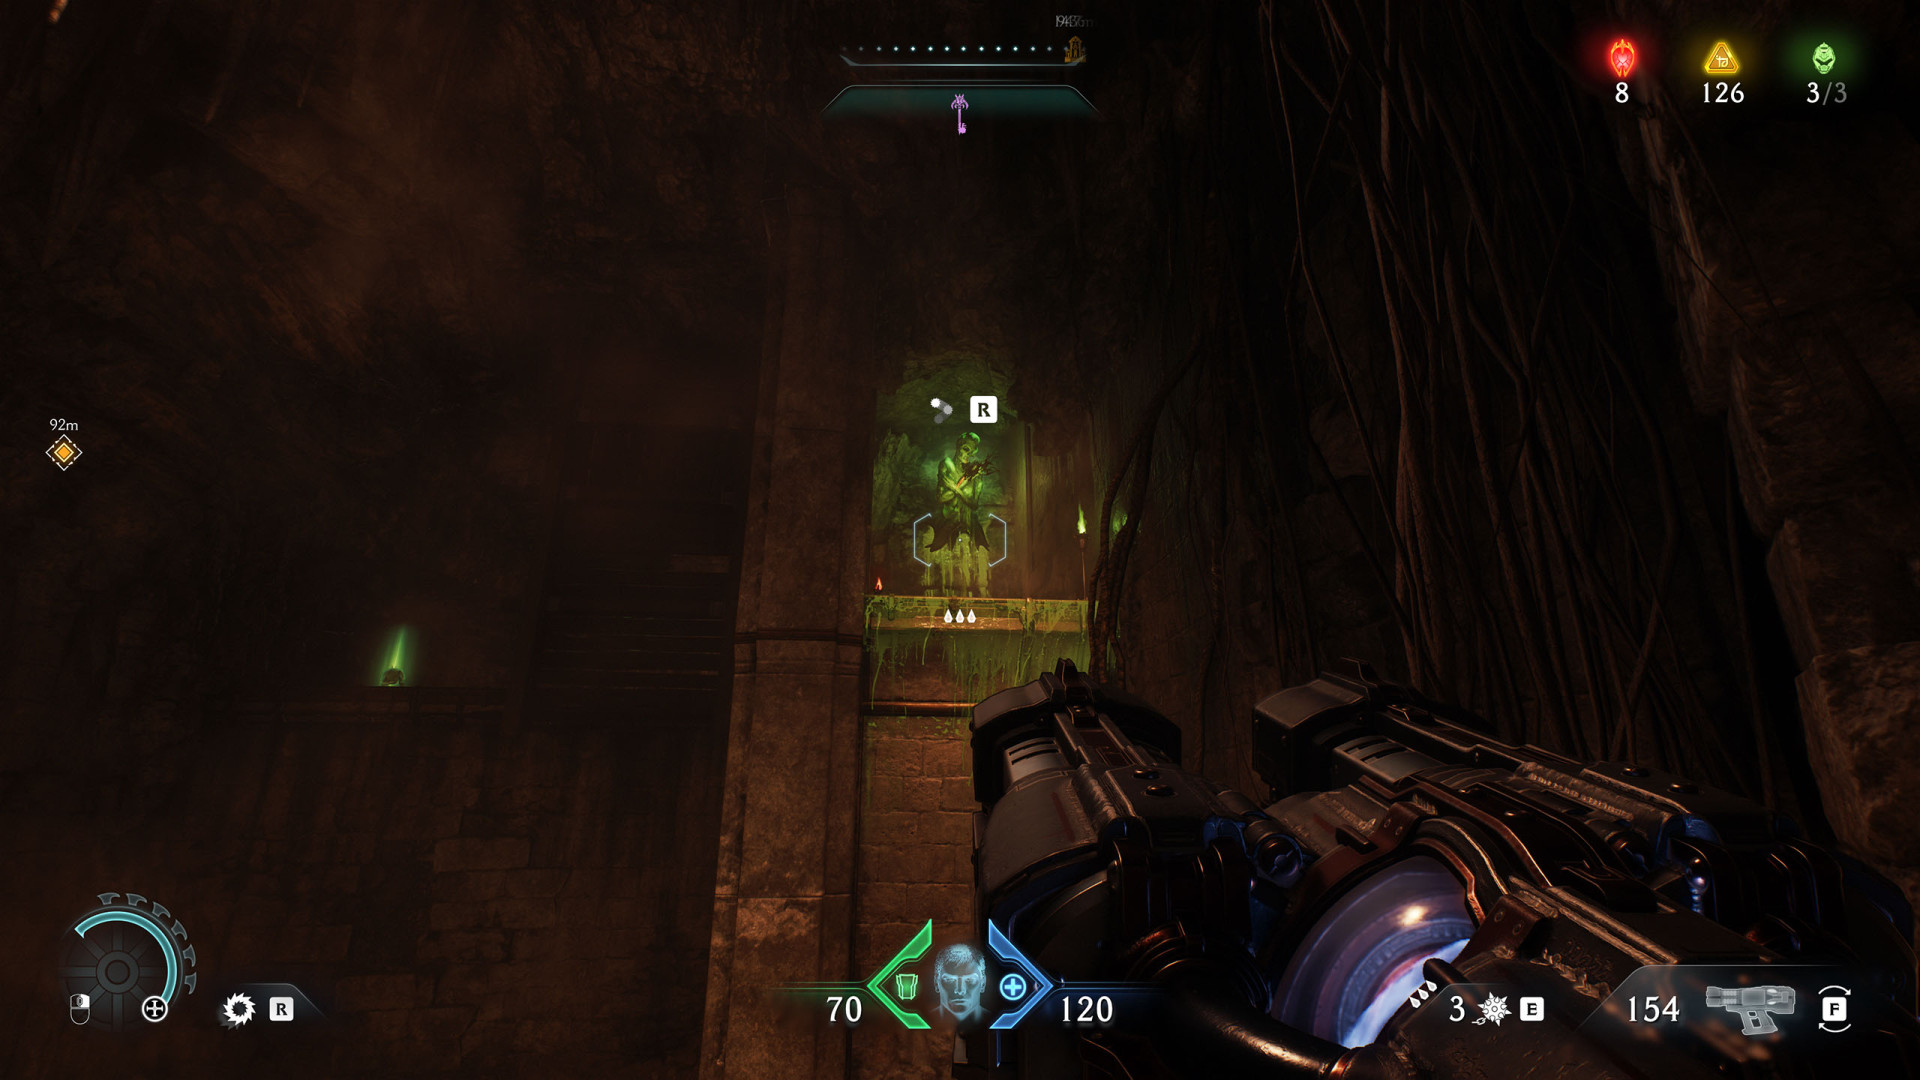
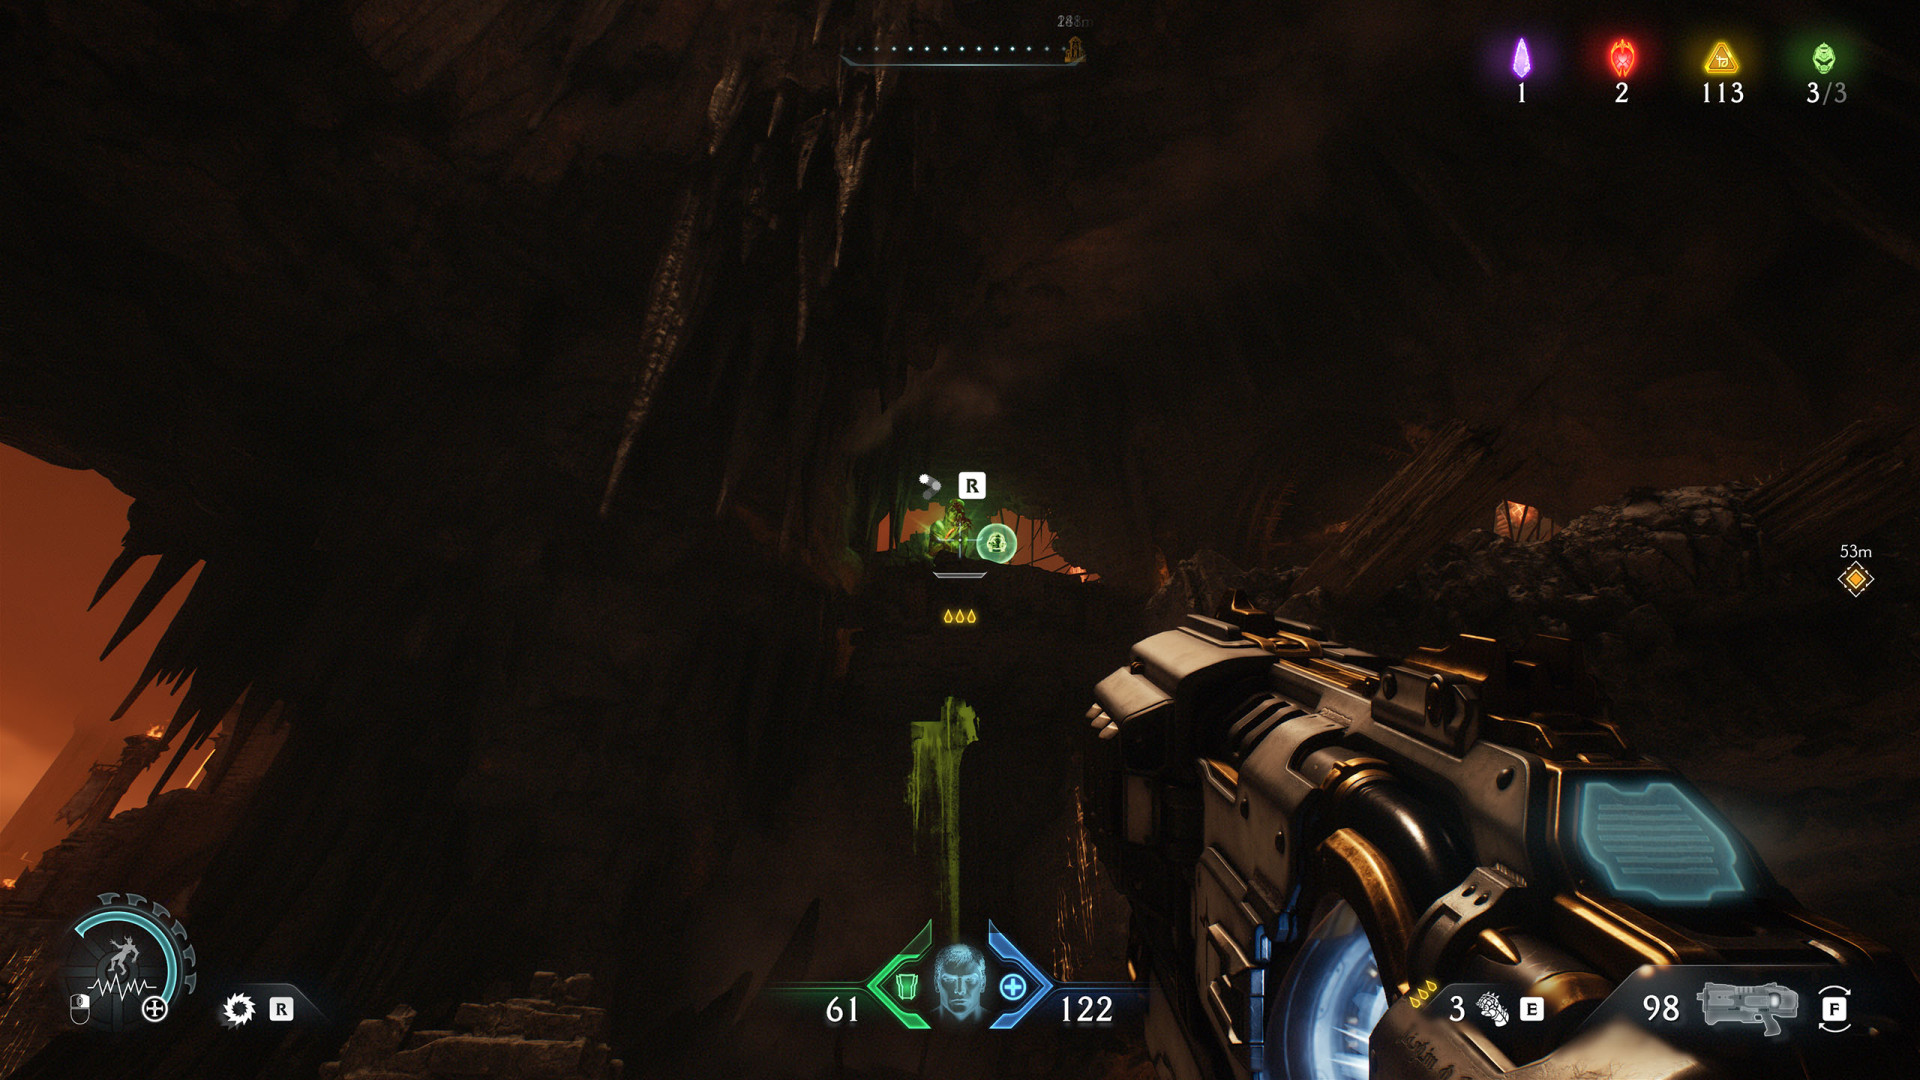
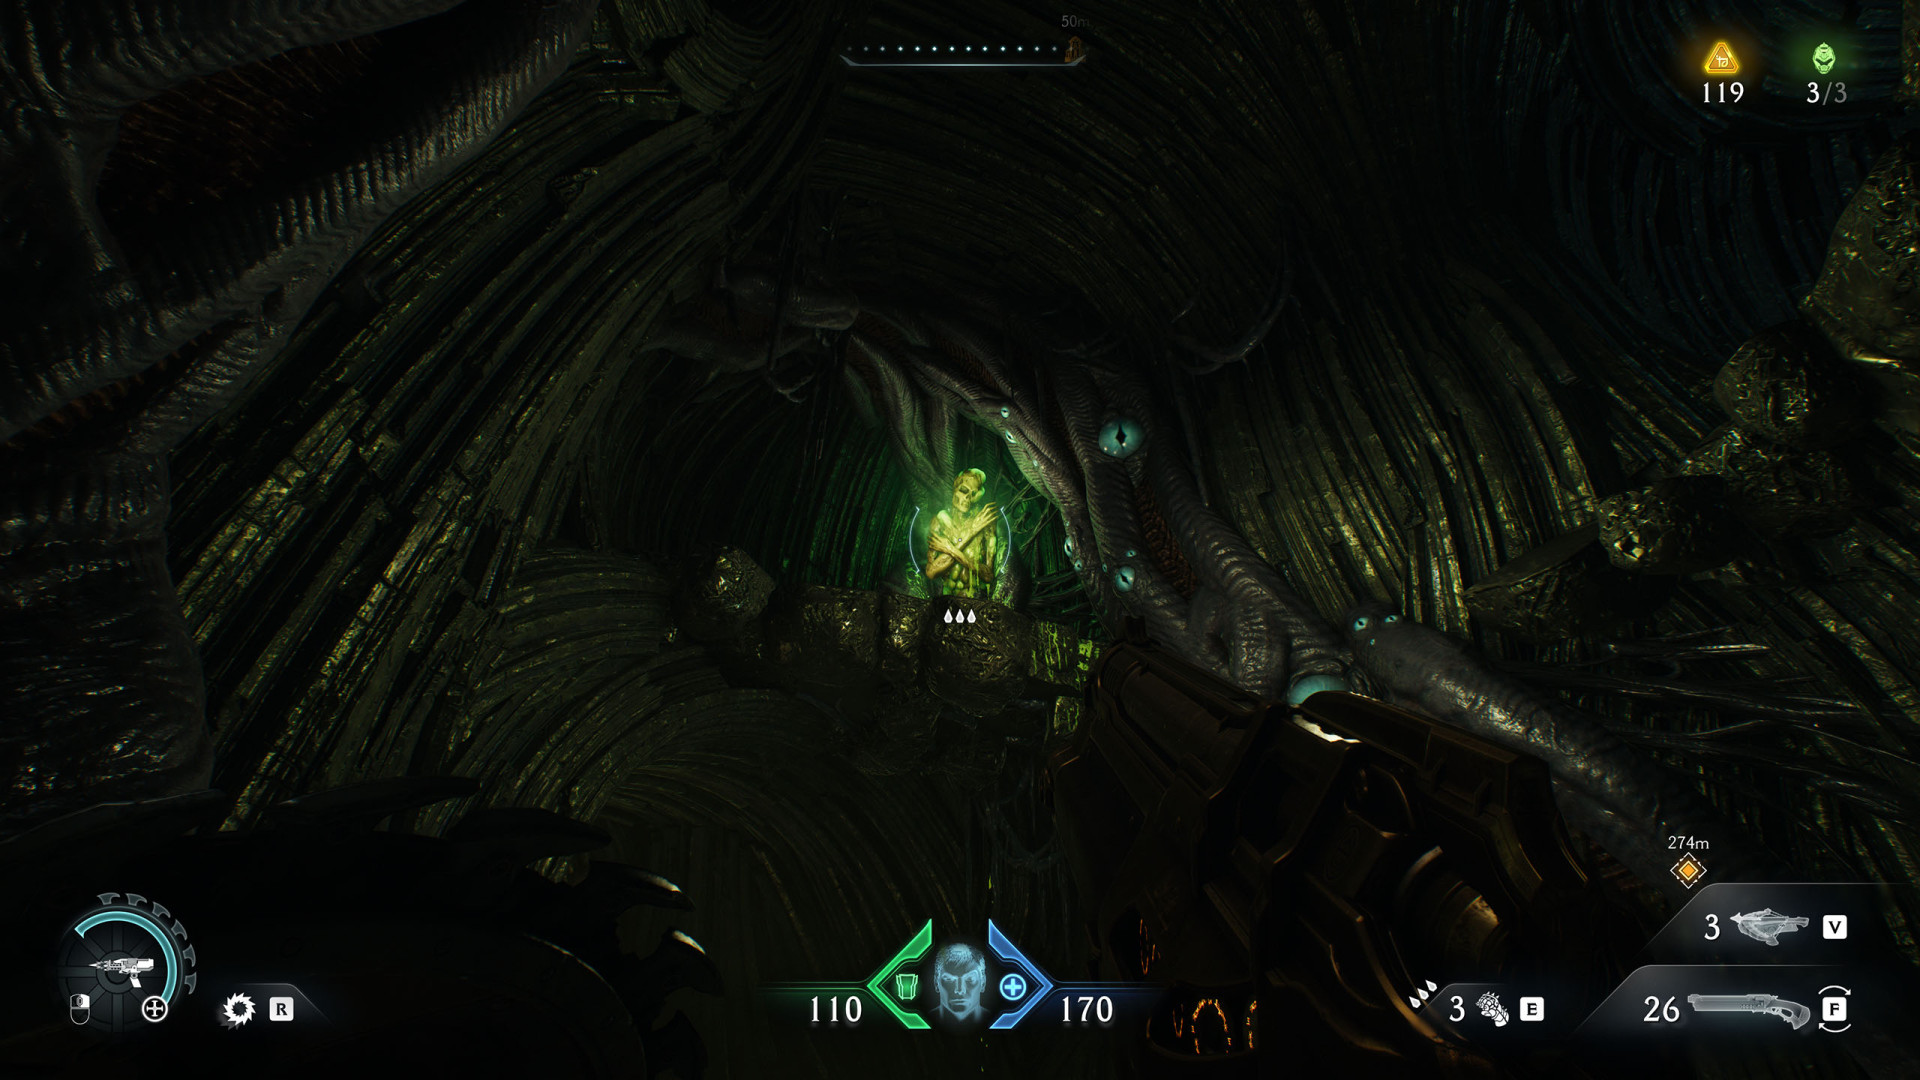
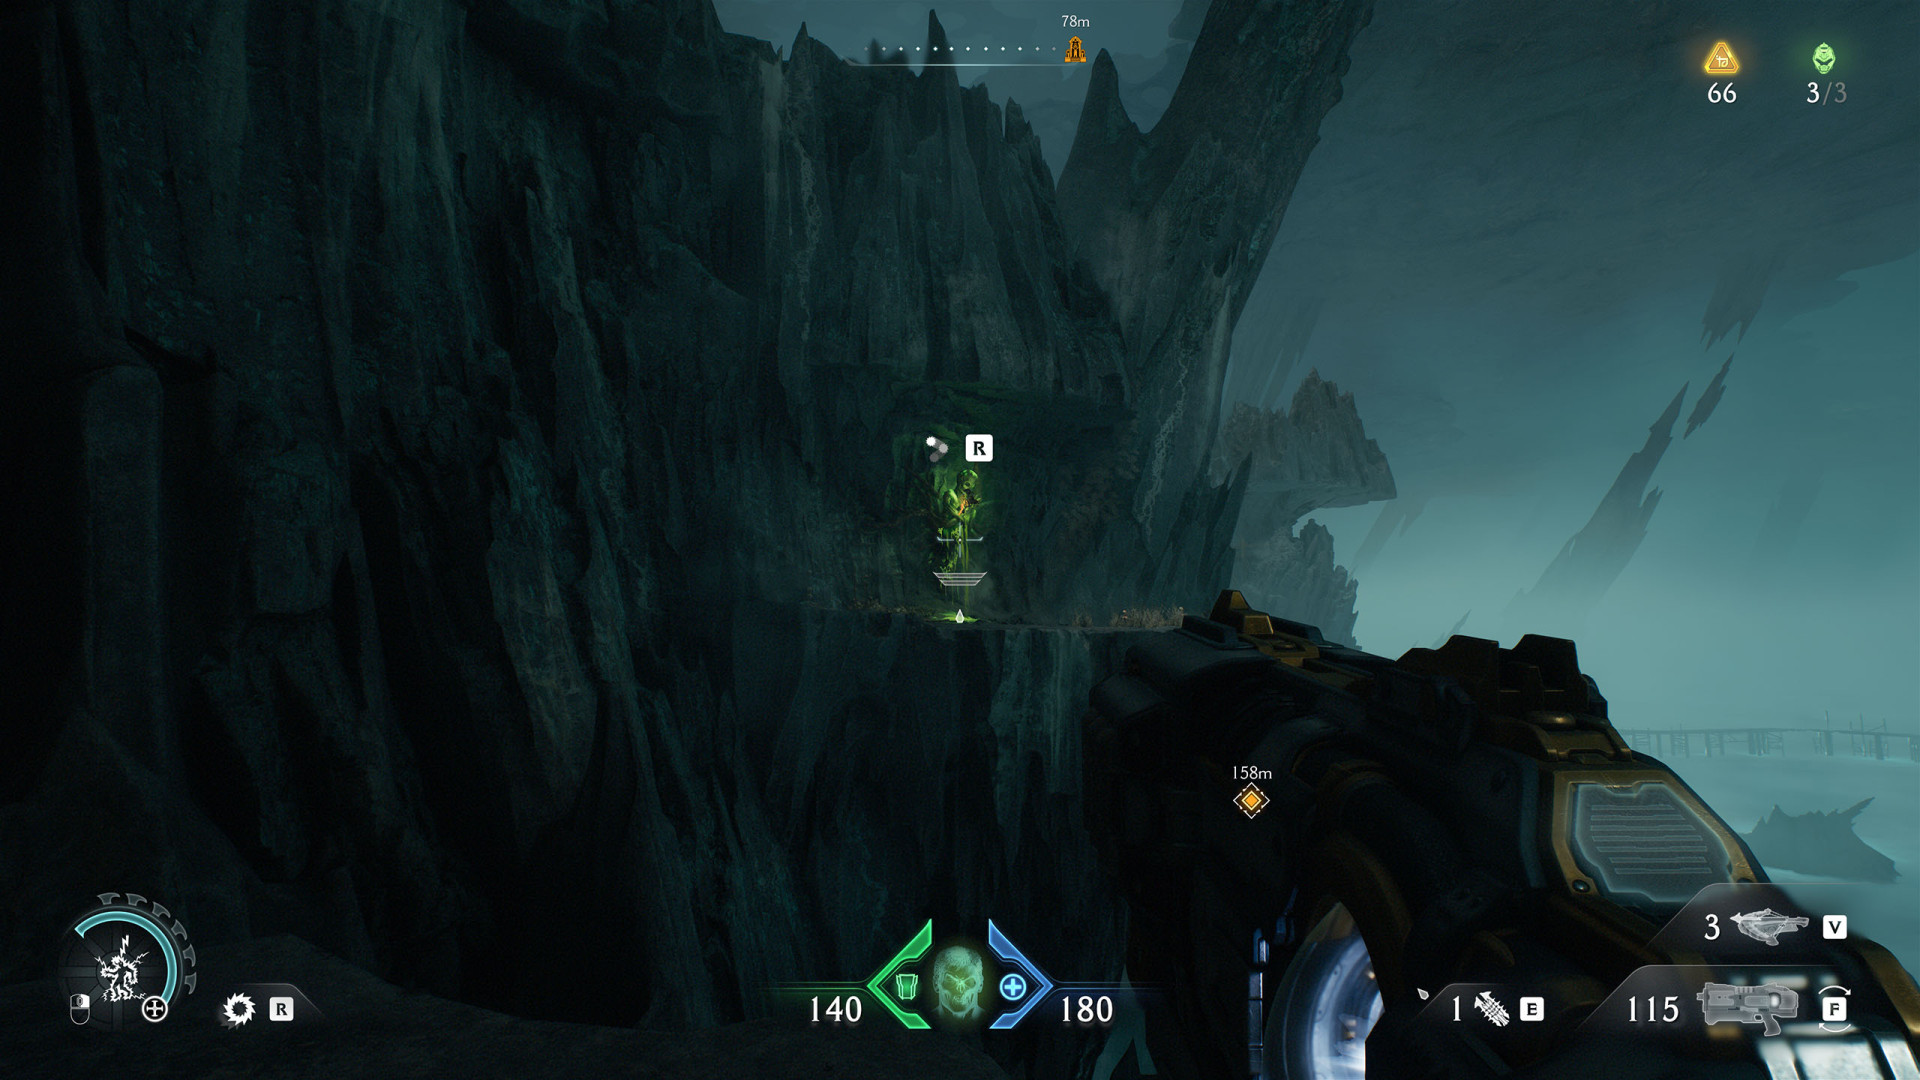
4Shield Recall Jump (Sentinel Barracks #3)
5Shield Recall Jump (Sentinel Barracks #4)

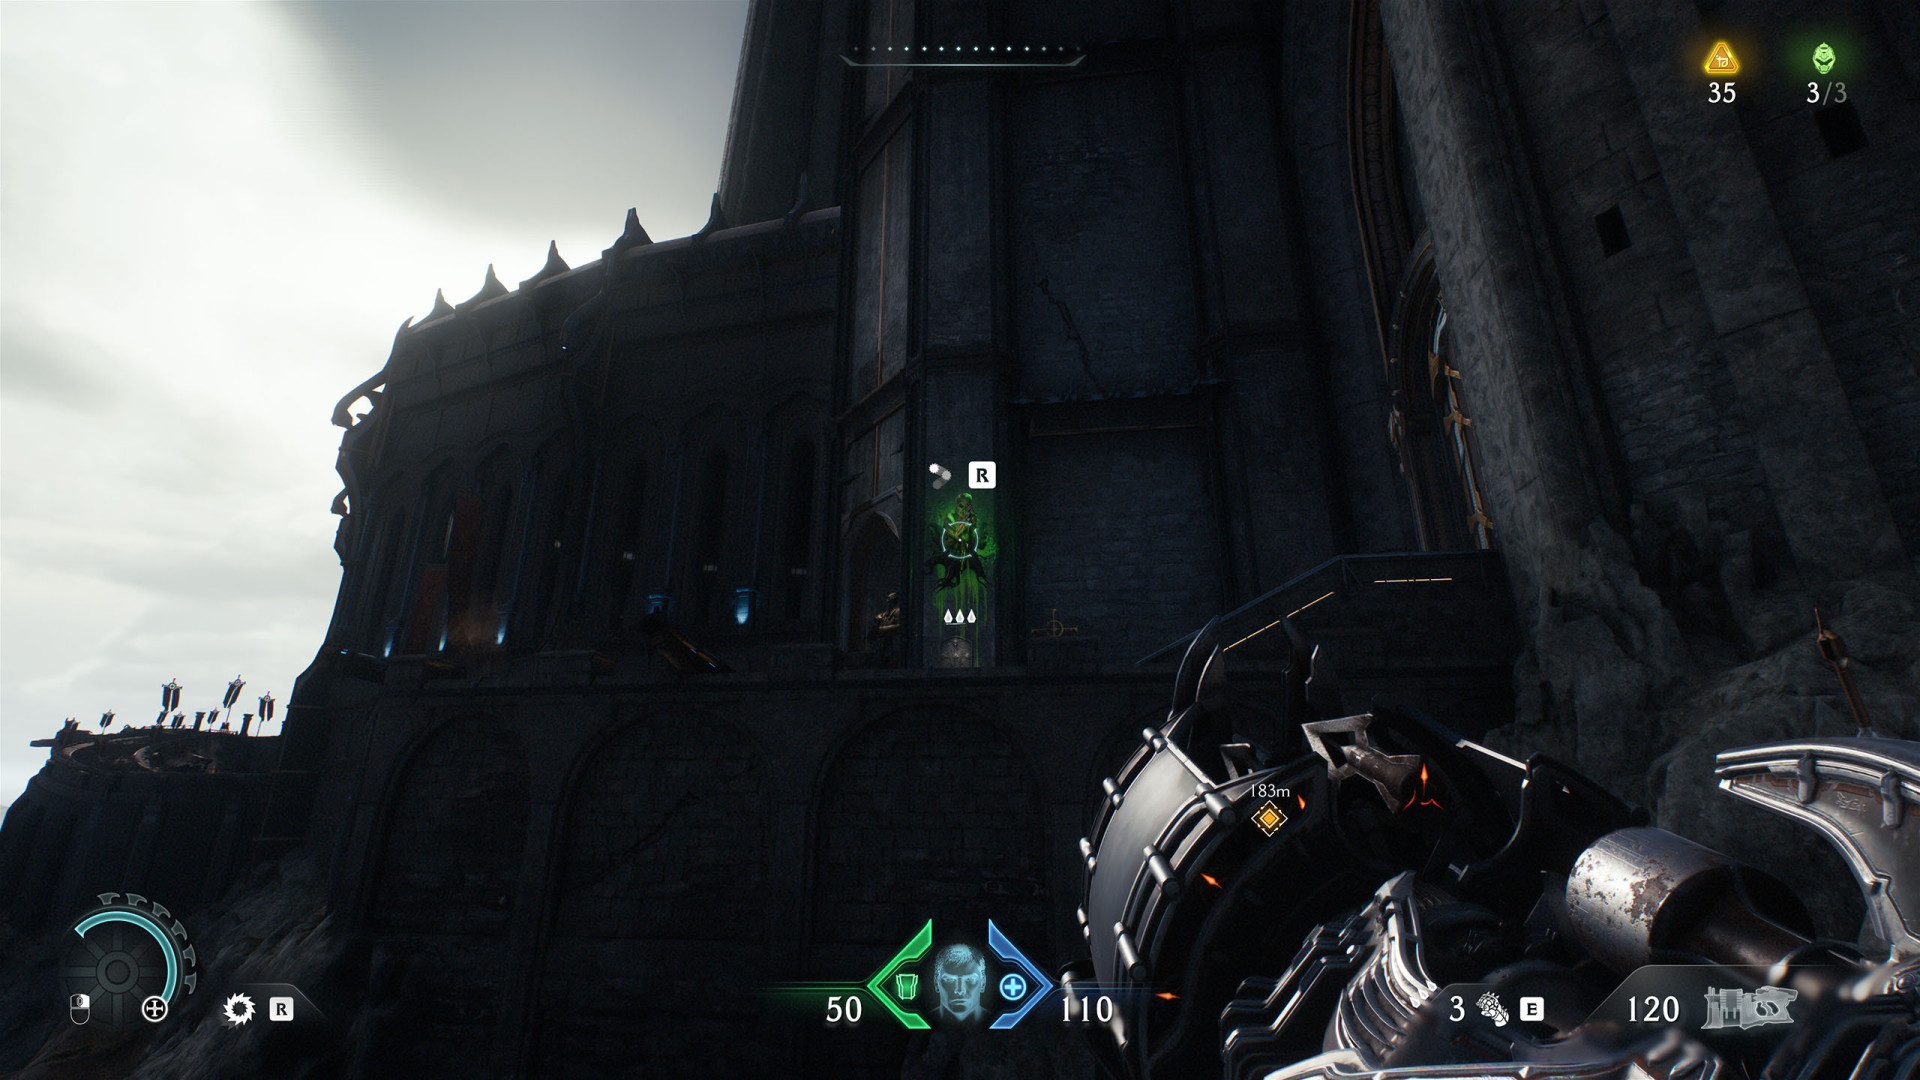
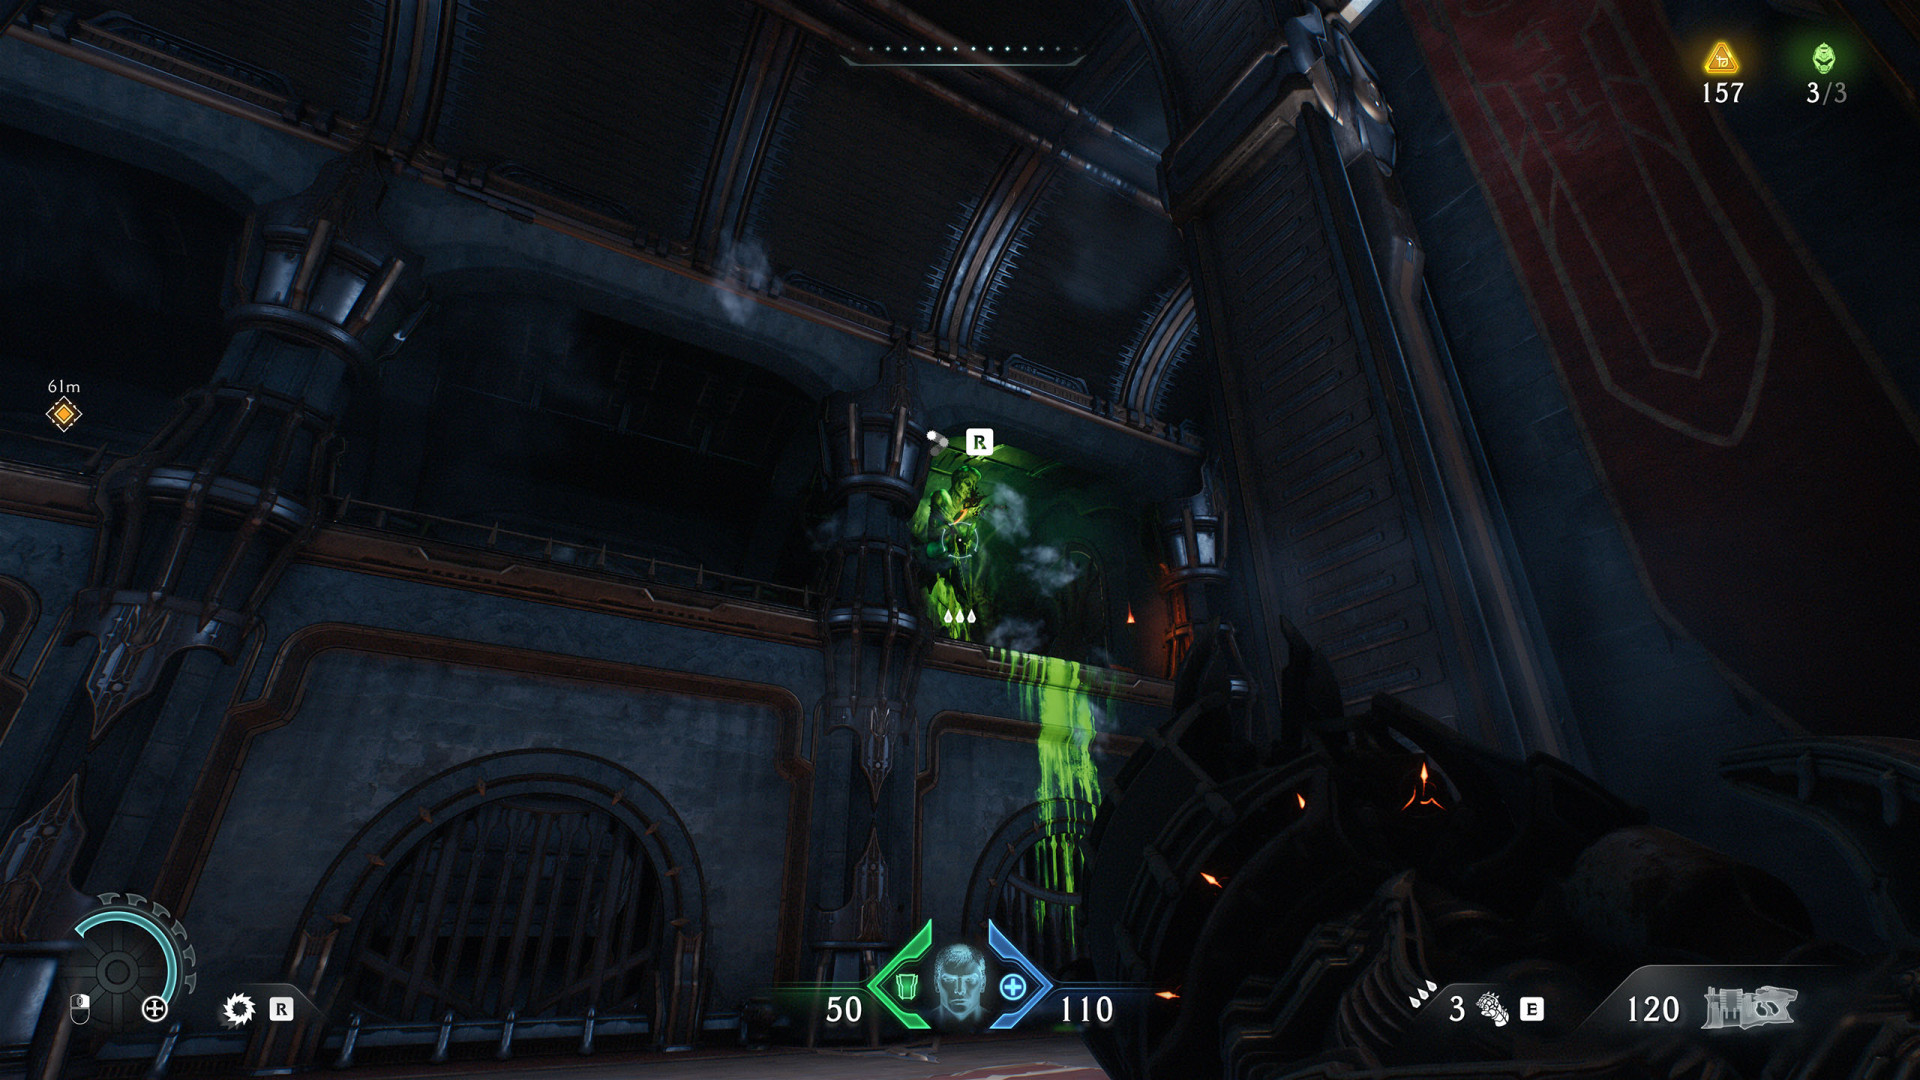
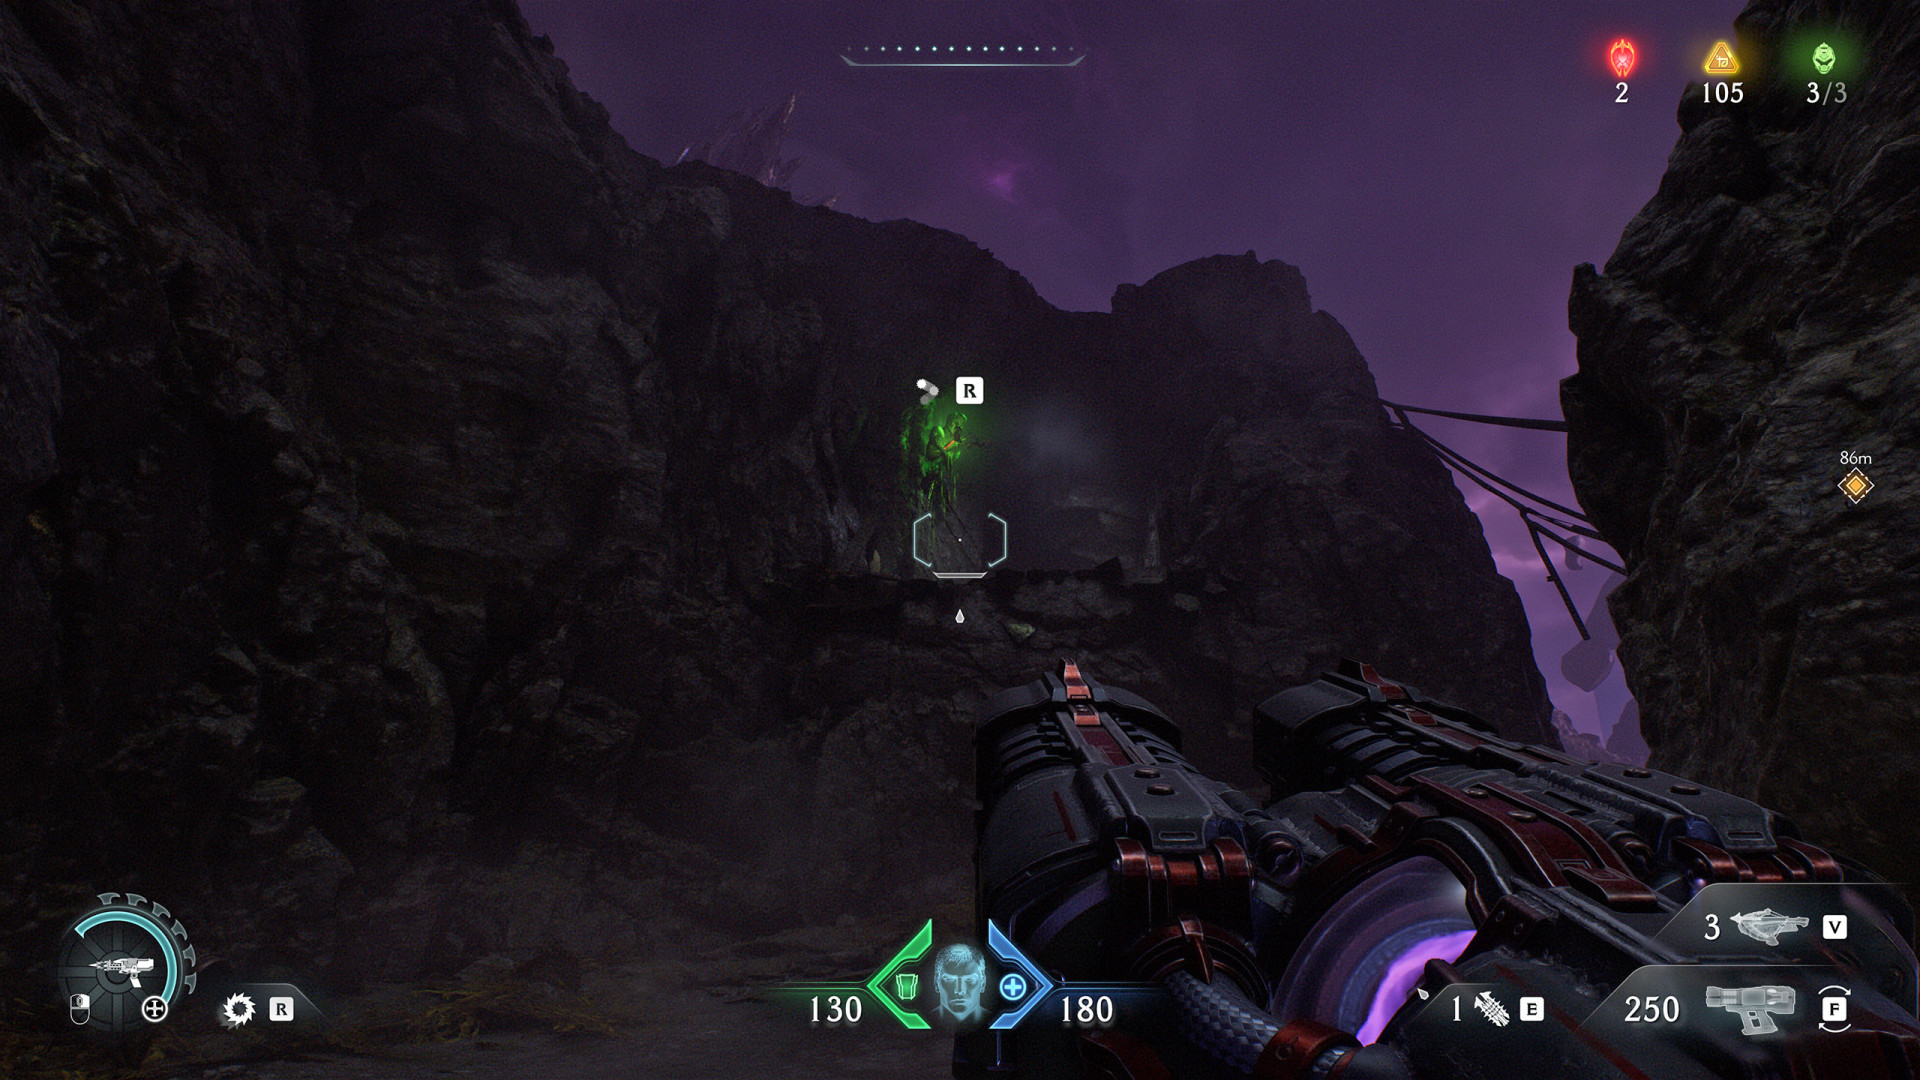
Locations on Siege - Part 1
6Shield Recall Jump (Siege - Part 1 #1)
7Shield Recall Jump (Siege - Part 1 #2)
8Shield Recall Jump (Siege - Part 1 #3)
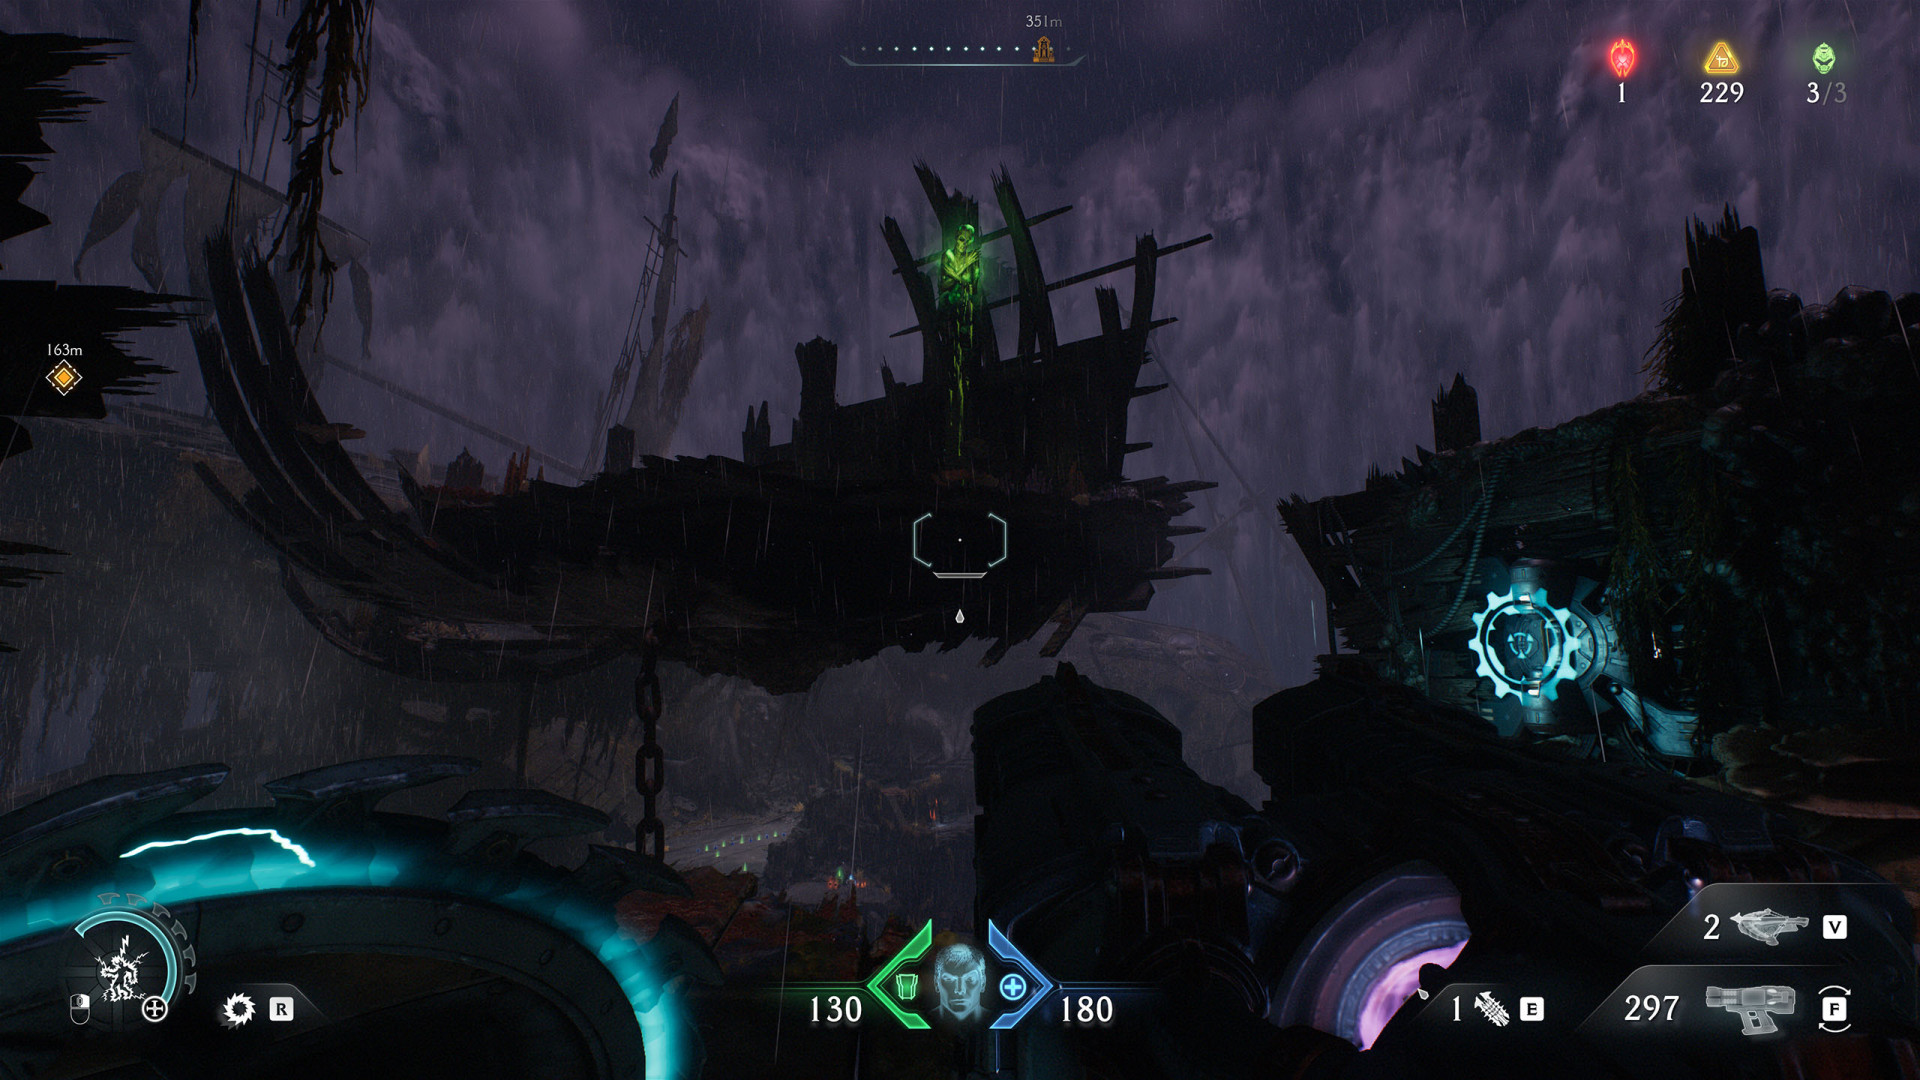
Locations on Siege - Part 2
9Shield Recall Jump (Siege - Part 2)
Locations on Abyssal Forest
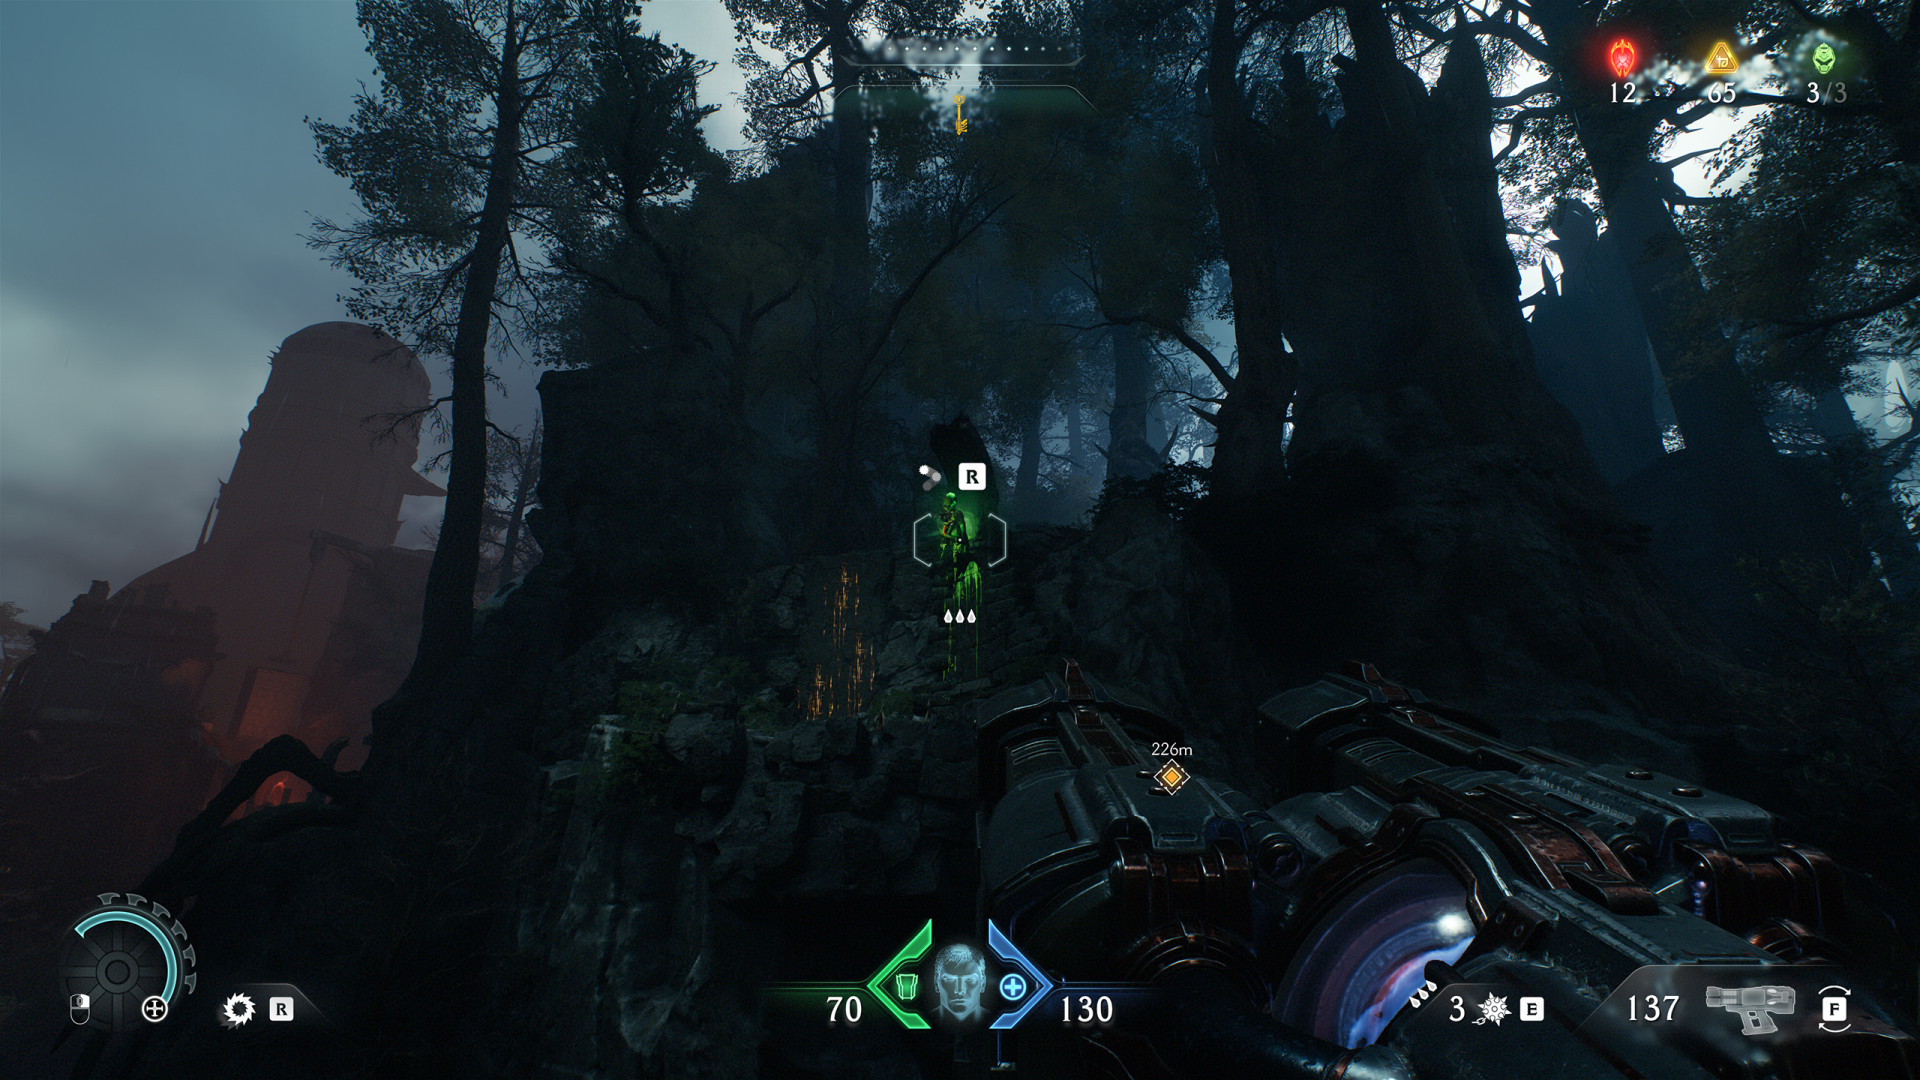
10Shield Recall Jump (Abyssal Forest #1)
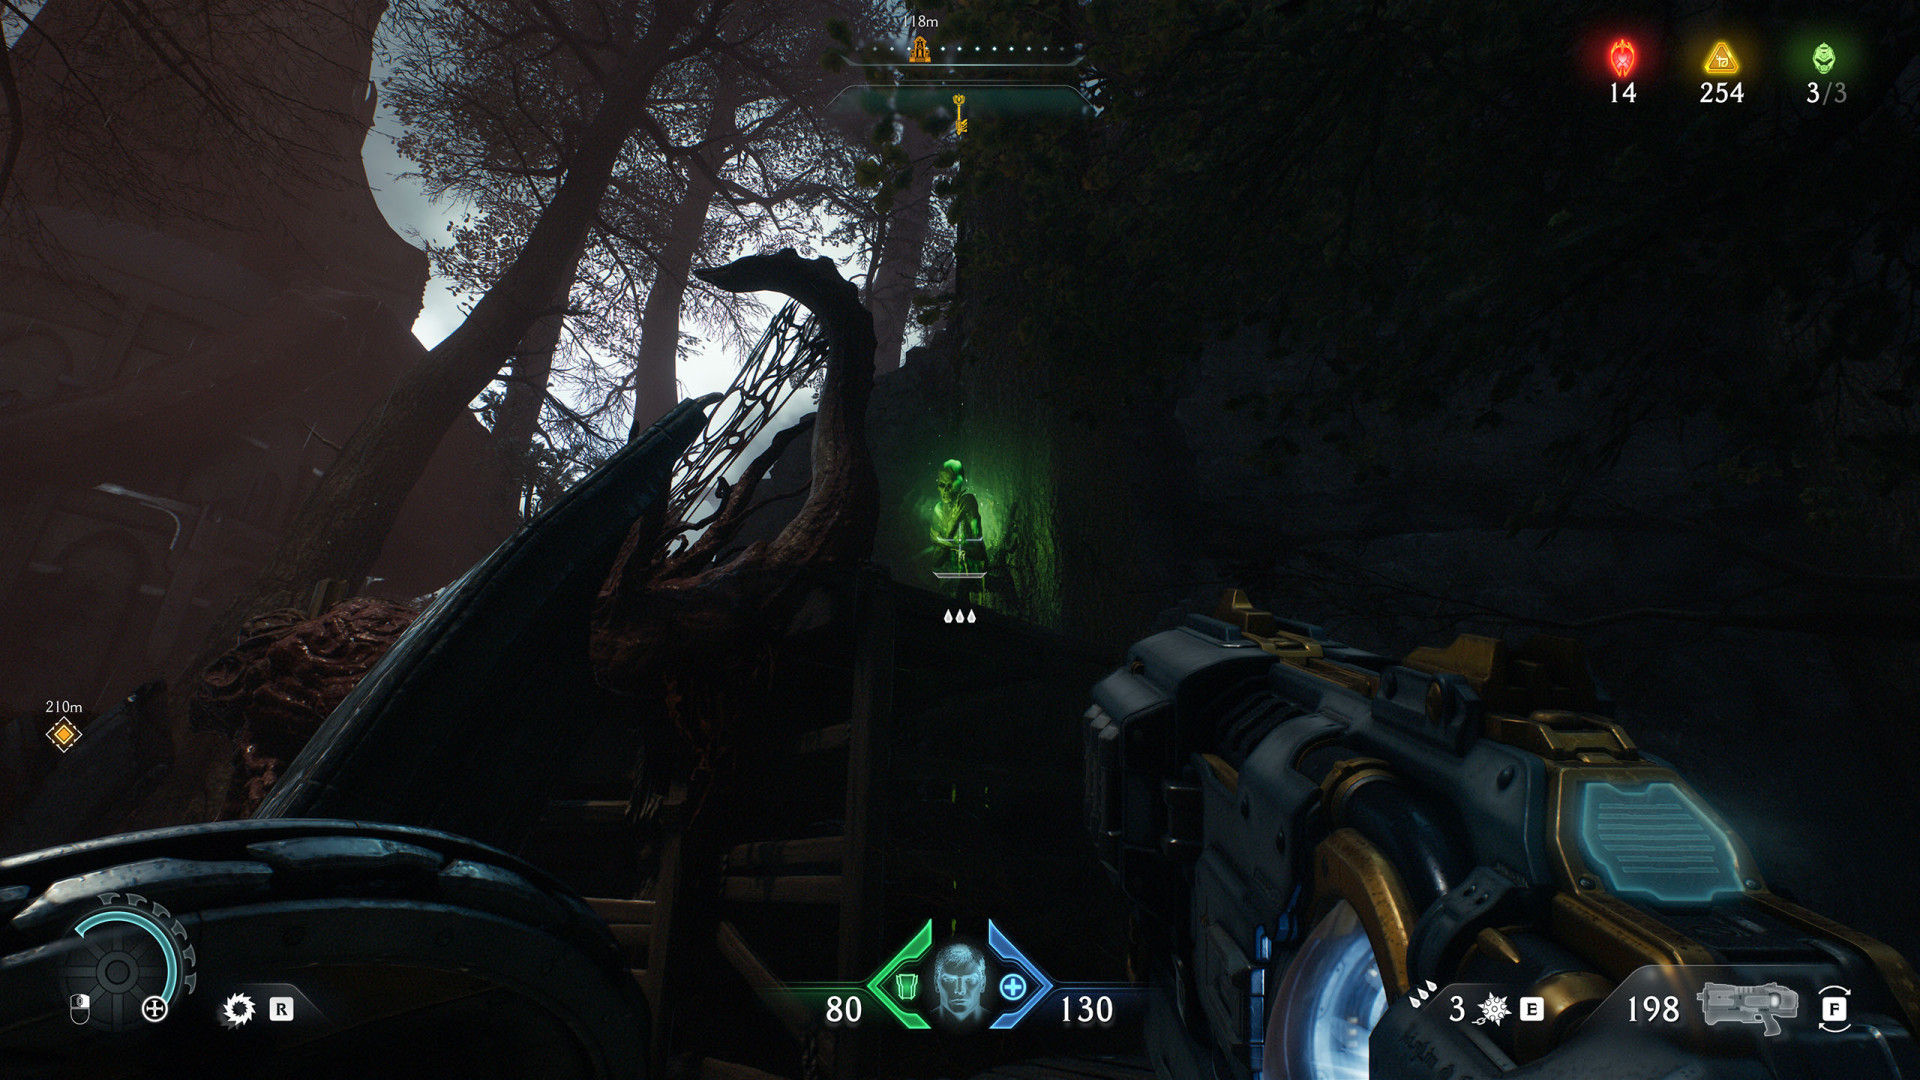
11Shield Recall Jump (Abyssal Forest #2)
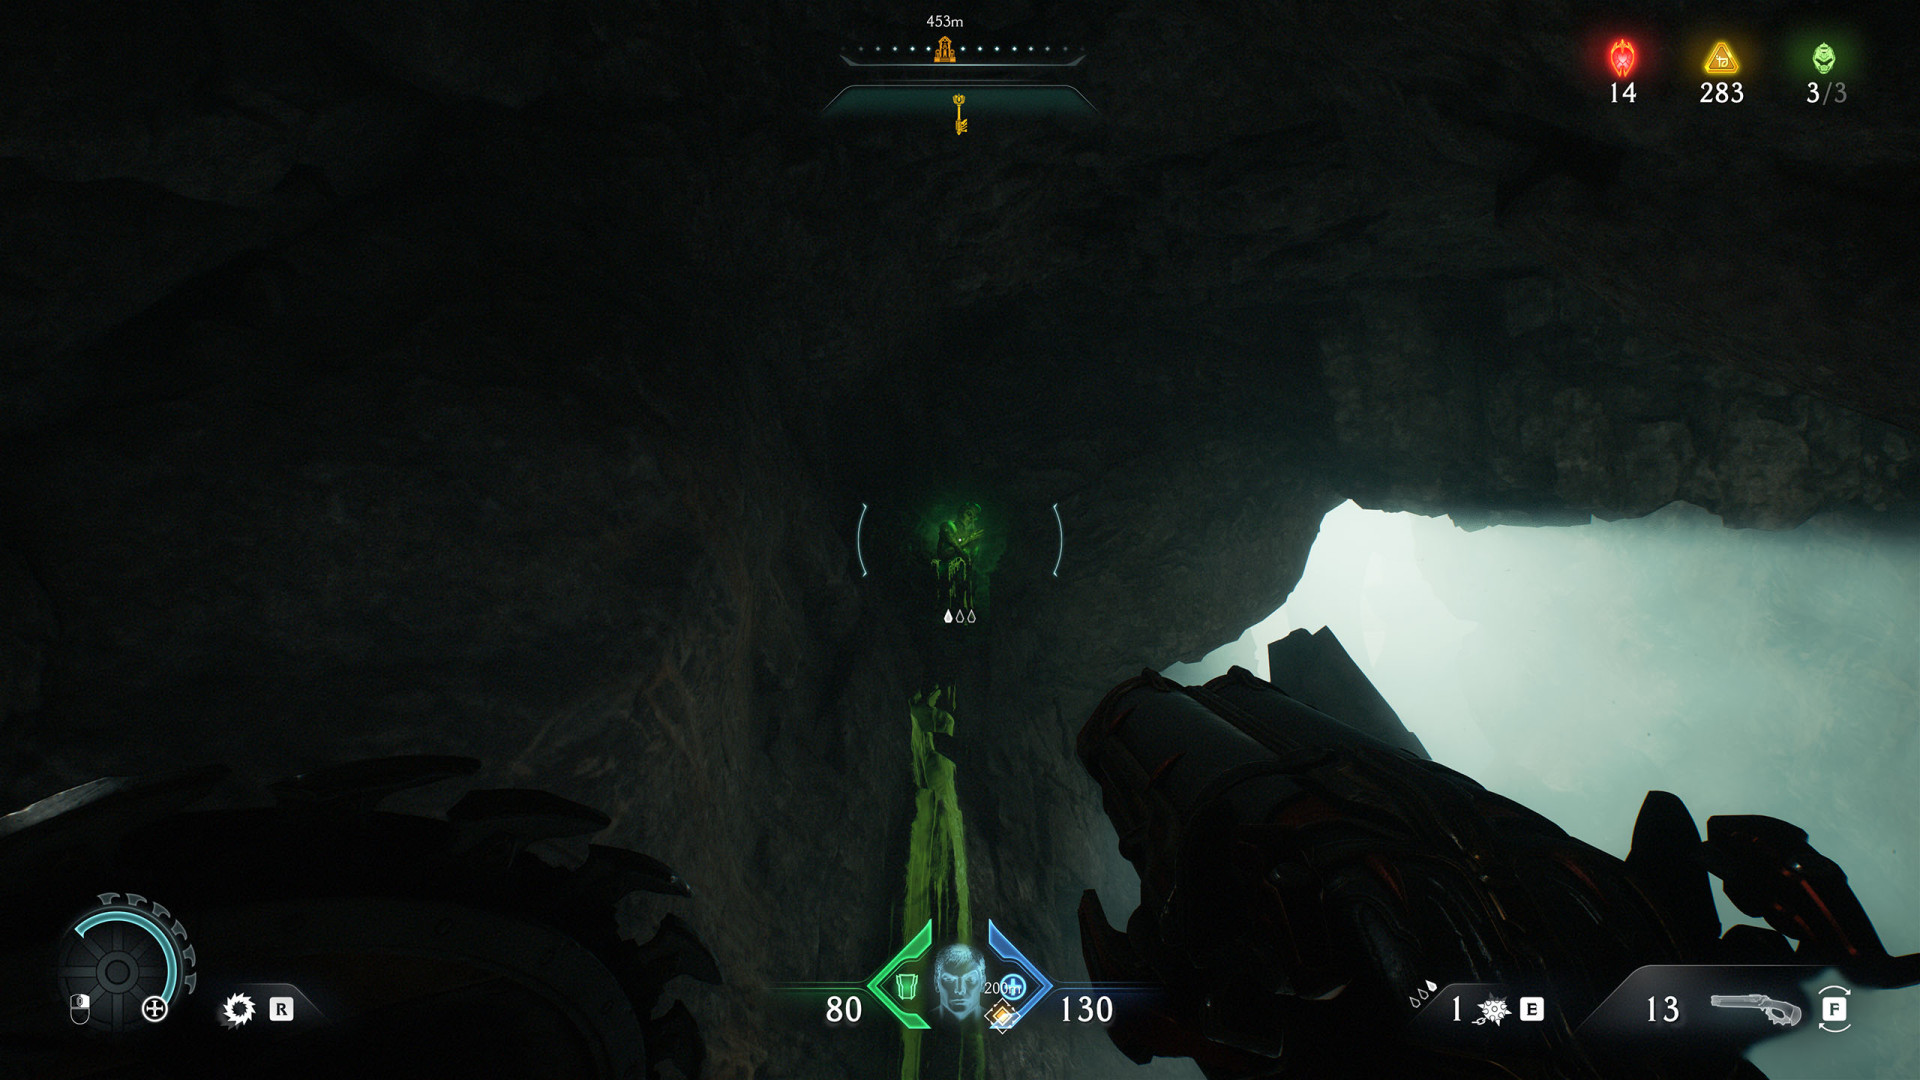
12Shield Recall Jump (Abyssal Forest #3)
Locations on Ancestral Forge
13Shield Recall Jump (Ancestral Forge #1)
14Shield Recall Jump (Ancestral Forge #2)

15Shield Recall Jump (Ancestral Forge #3)
Locations on The Forsaken Plains
16Shield Recall Jump (The Forsaken Plains #1)
17Shield Recall Jump (The Forsaken Plains #2)
18Shield Recall Jump (The Forsaken Plains #3)

Locations on Sentinel Command Station
19Shield Recall Jump (Sentinel Command Station #1)
Locations on Spire of Nerathul
20Shield Recall Jump (Spire of Nerathul #1)
21Shield Recall Jump (Spire of Nerathul #2)
Locations on City of Ry'uul
22Shield Recall Jump (City of Ry'uul #1)
23Shield Recall Jump (City of Ry'uul #2)
24Shield Recall Jump (City of Ry'uul #3)
Locations on Temple of Lomarith
25Shield Recall Jump (Temple of Lomarith #1)
26Shield Recall Jump (Temple of Lomarith #2)
Locations on Belly of the Beast
27Shield Recall Jump (Belly of the Beast #1)
28Shield Recall Jump (Belly of the Beast #2)

29Shield Recall Jump (Belly of the Beast #3)
30Shield Recall Jump (Belly of the Beast #4)
Locations on Harbor of Souls
31Shield Recall Jump (Harbor of Souls #1)
32Shield Recall Jump (Harbor of Souls #2)
33Shield Recall Jump (Harbor of Souls #3)
34Shield Recall Jump (Harbor of Souls #4)
35Shield Recall Jump (Harbor of Souls #5)
36Shield Recall Jump (Harbor of Souls #6)
37Shield Recall Jump (Harbor of Souls #7)