Welcome to guides4gamers.com

All Rubies in Doom: The Dark Ages

This collection includes every marker from the Rubies category of points of interest in DOOM: The Dark Ages, all placed on interactive maps created specifically for the game.

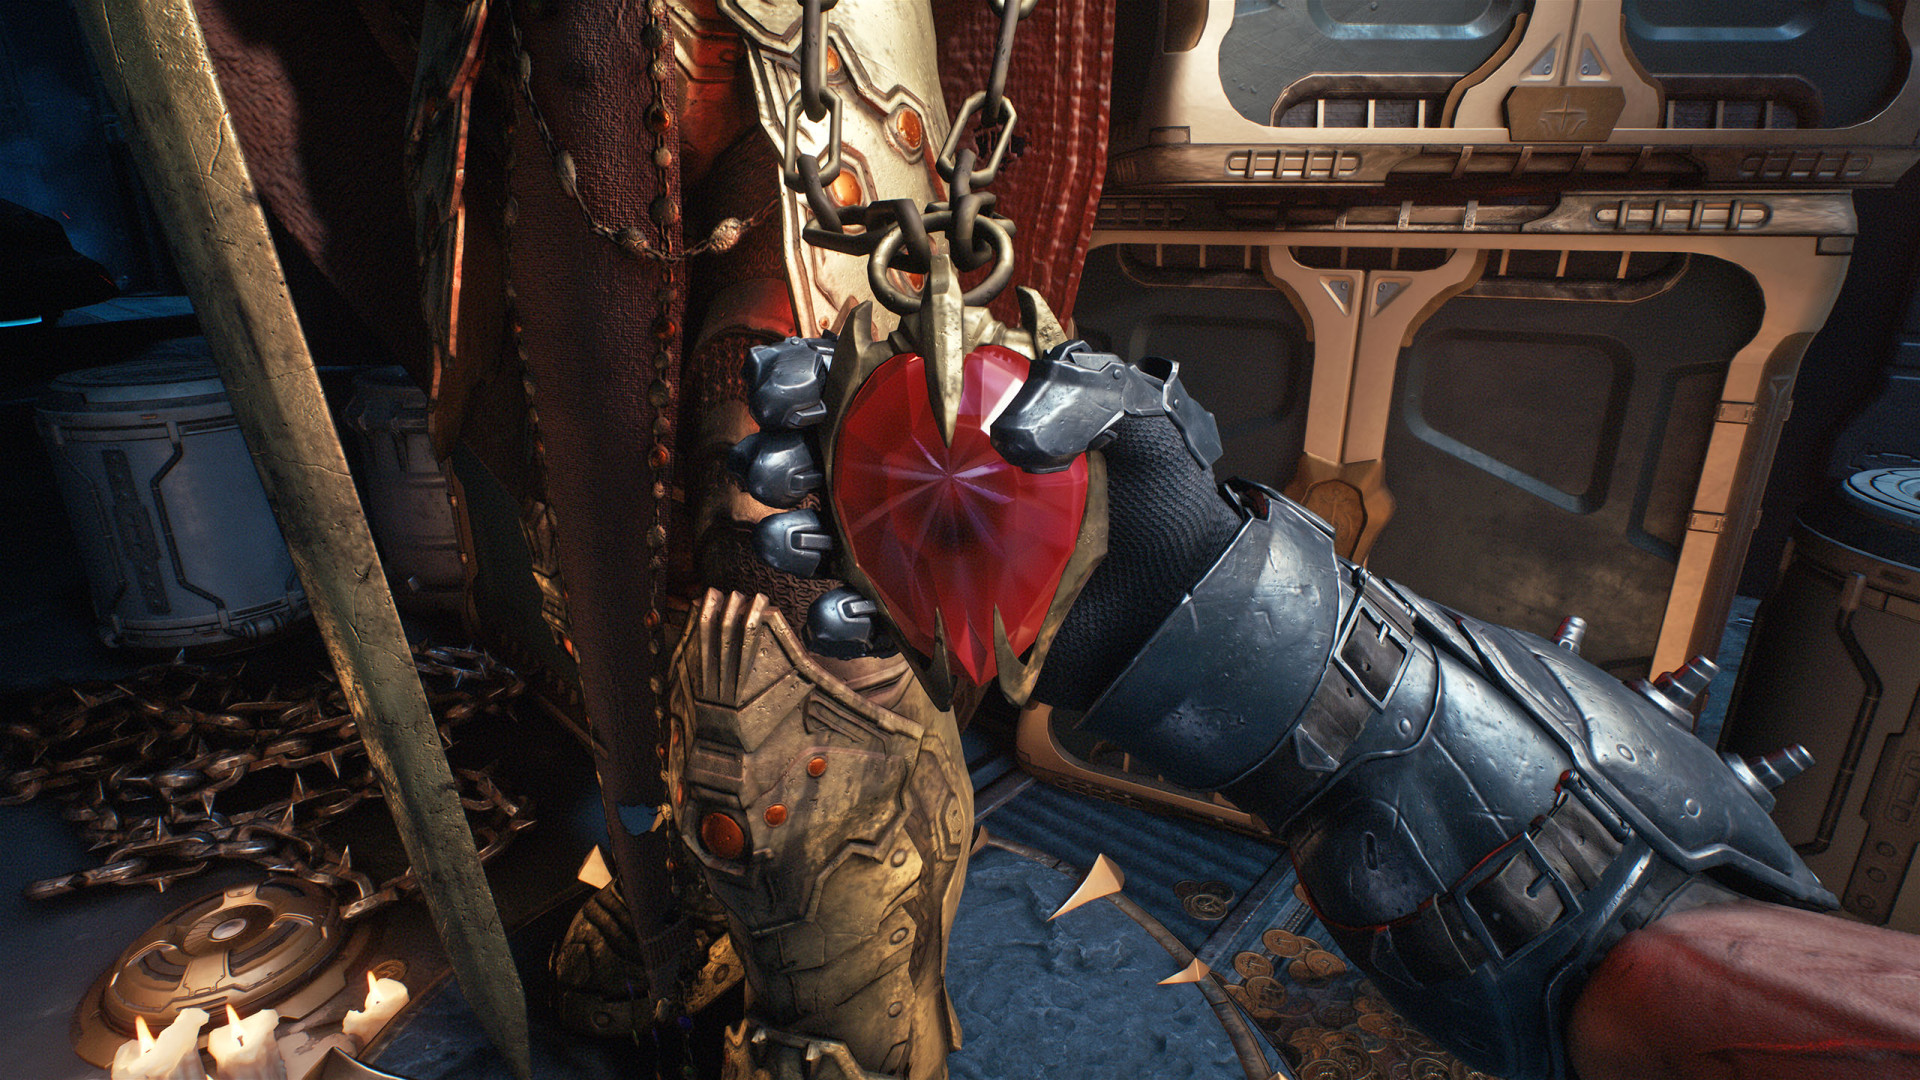
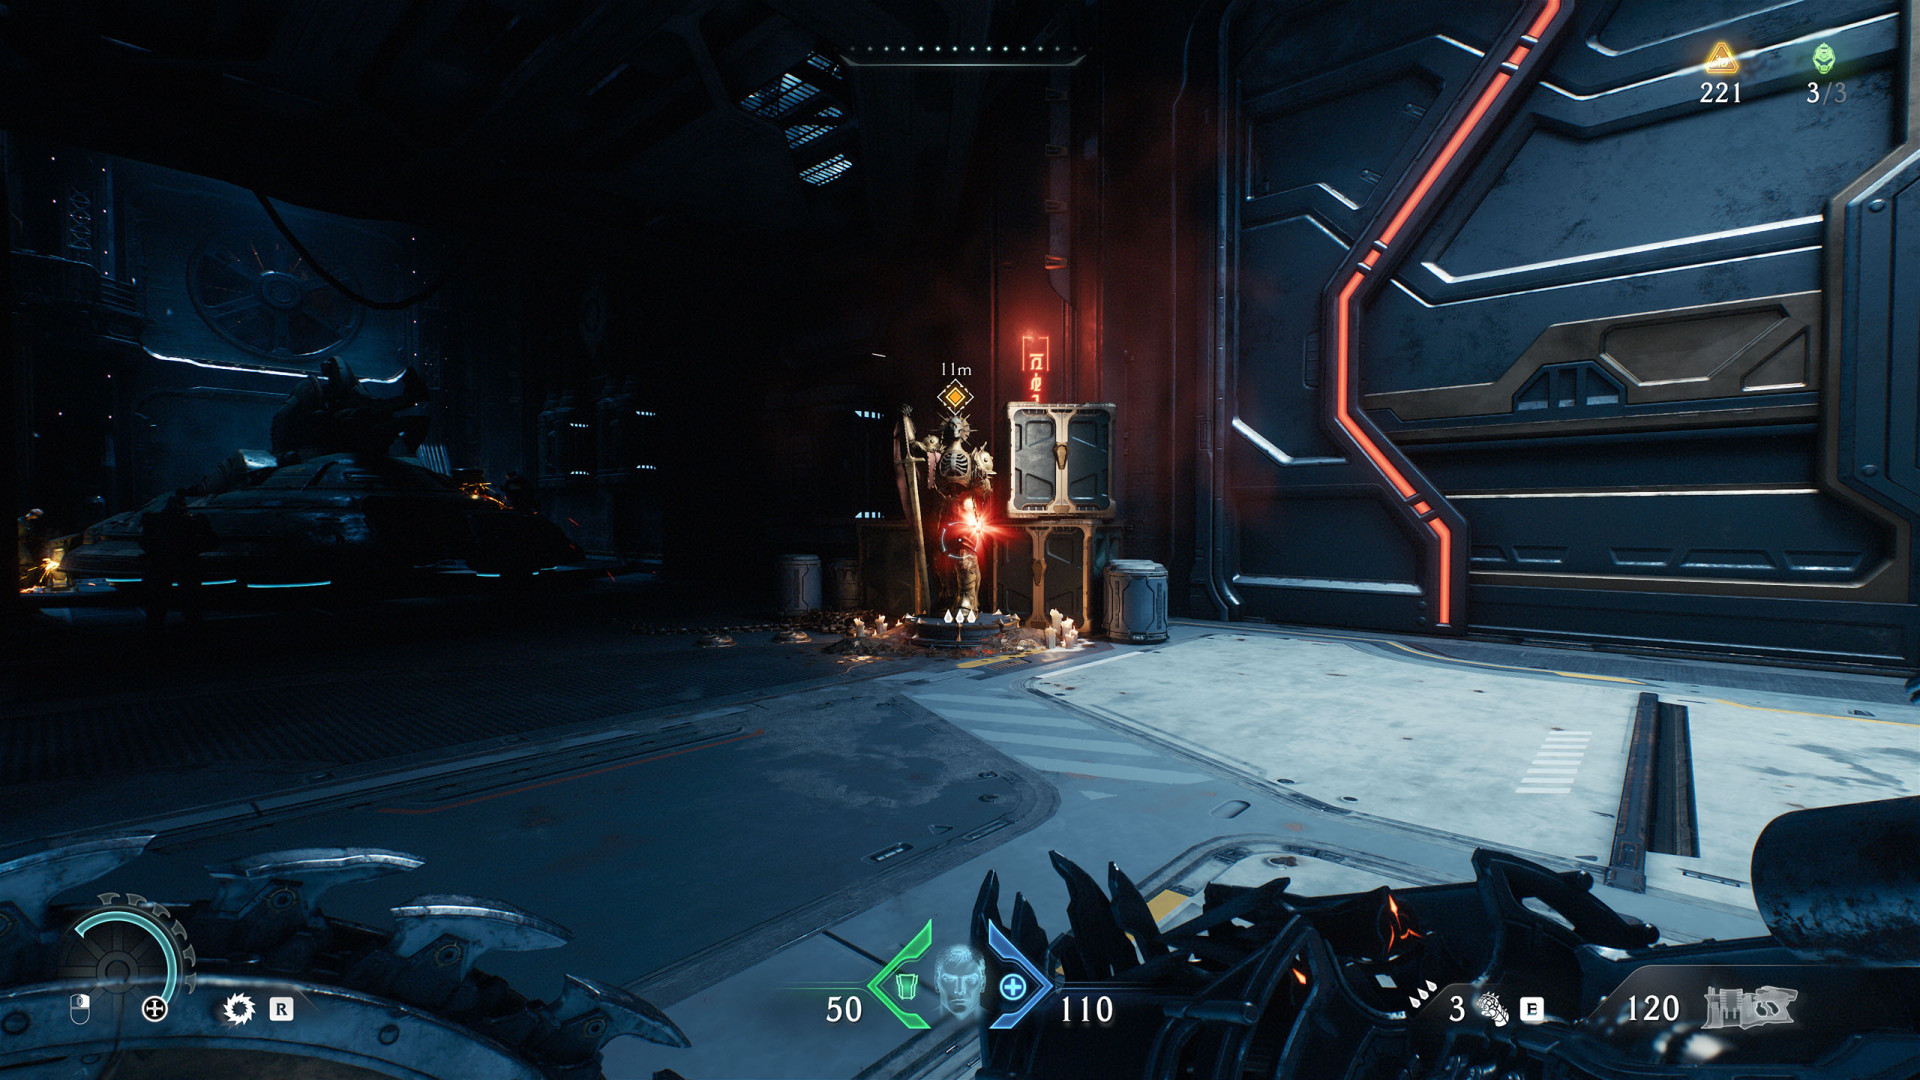
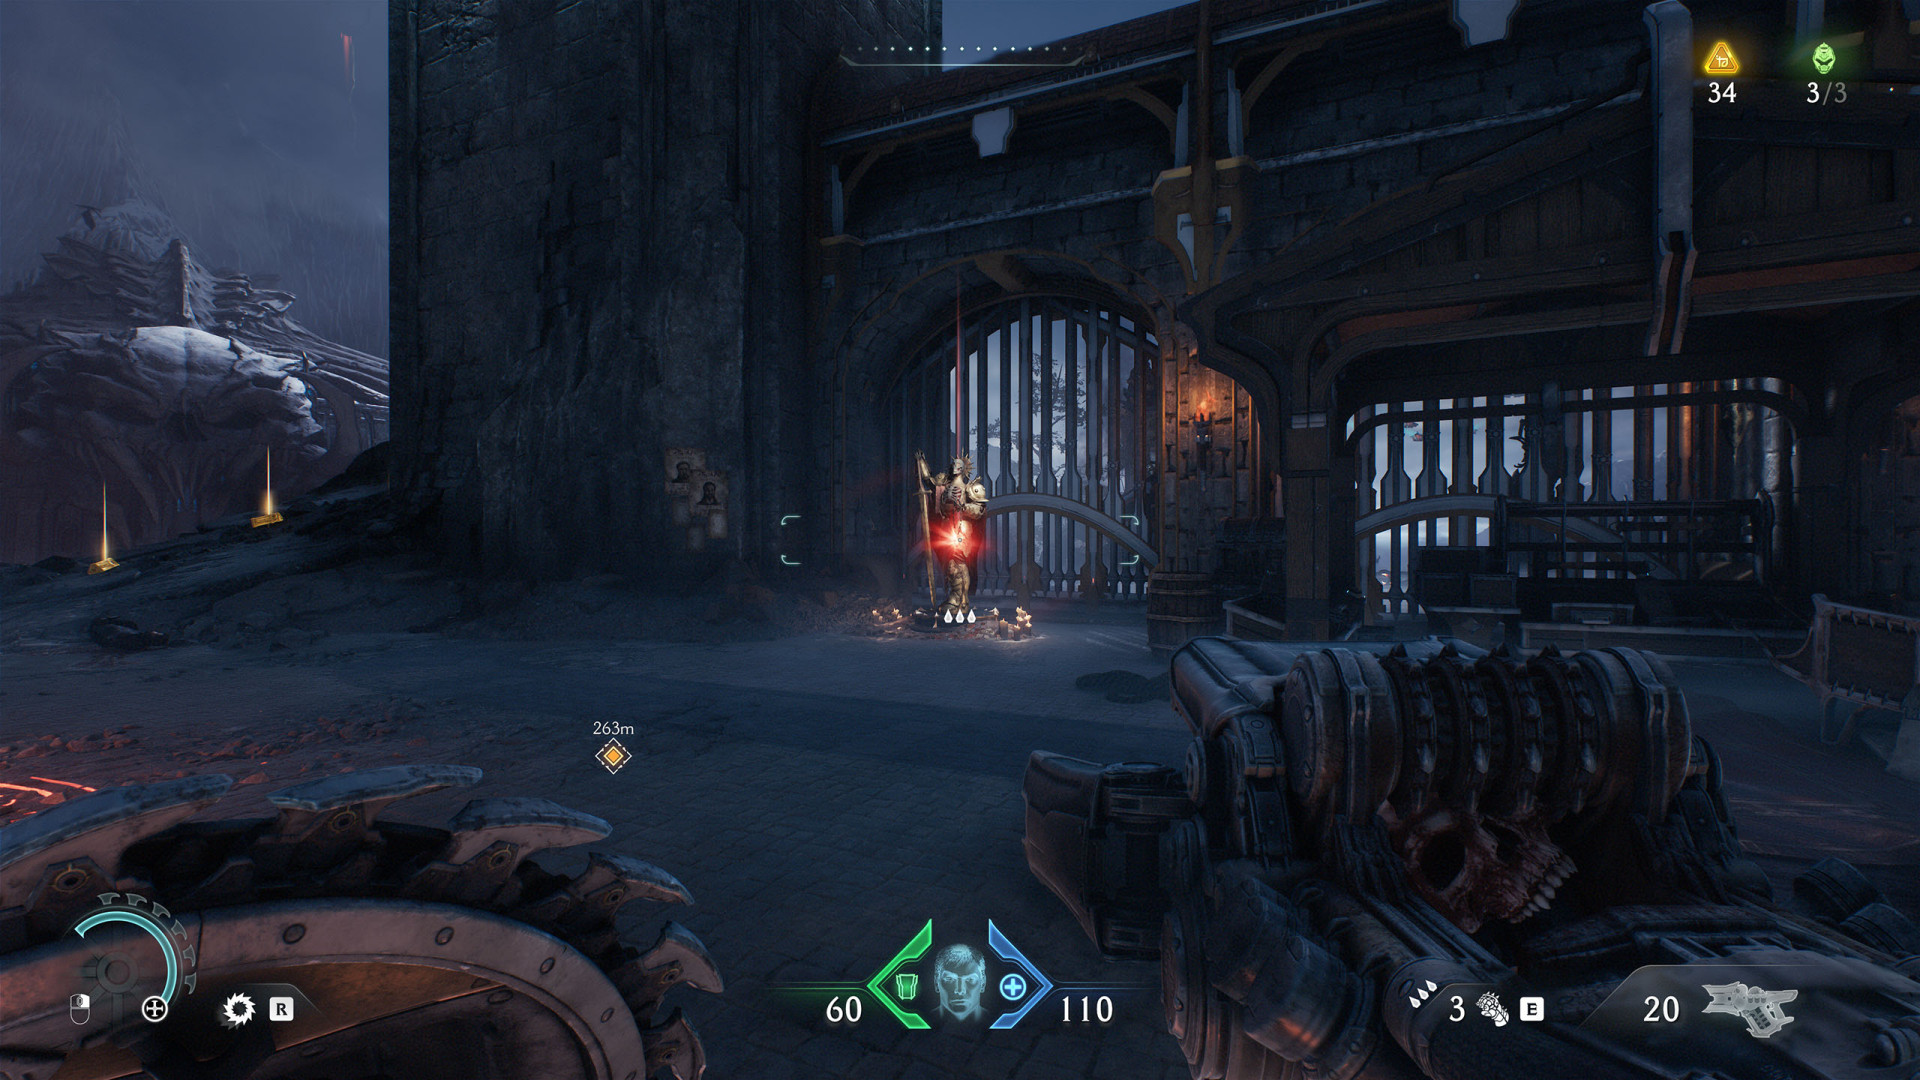
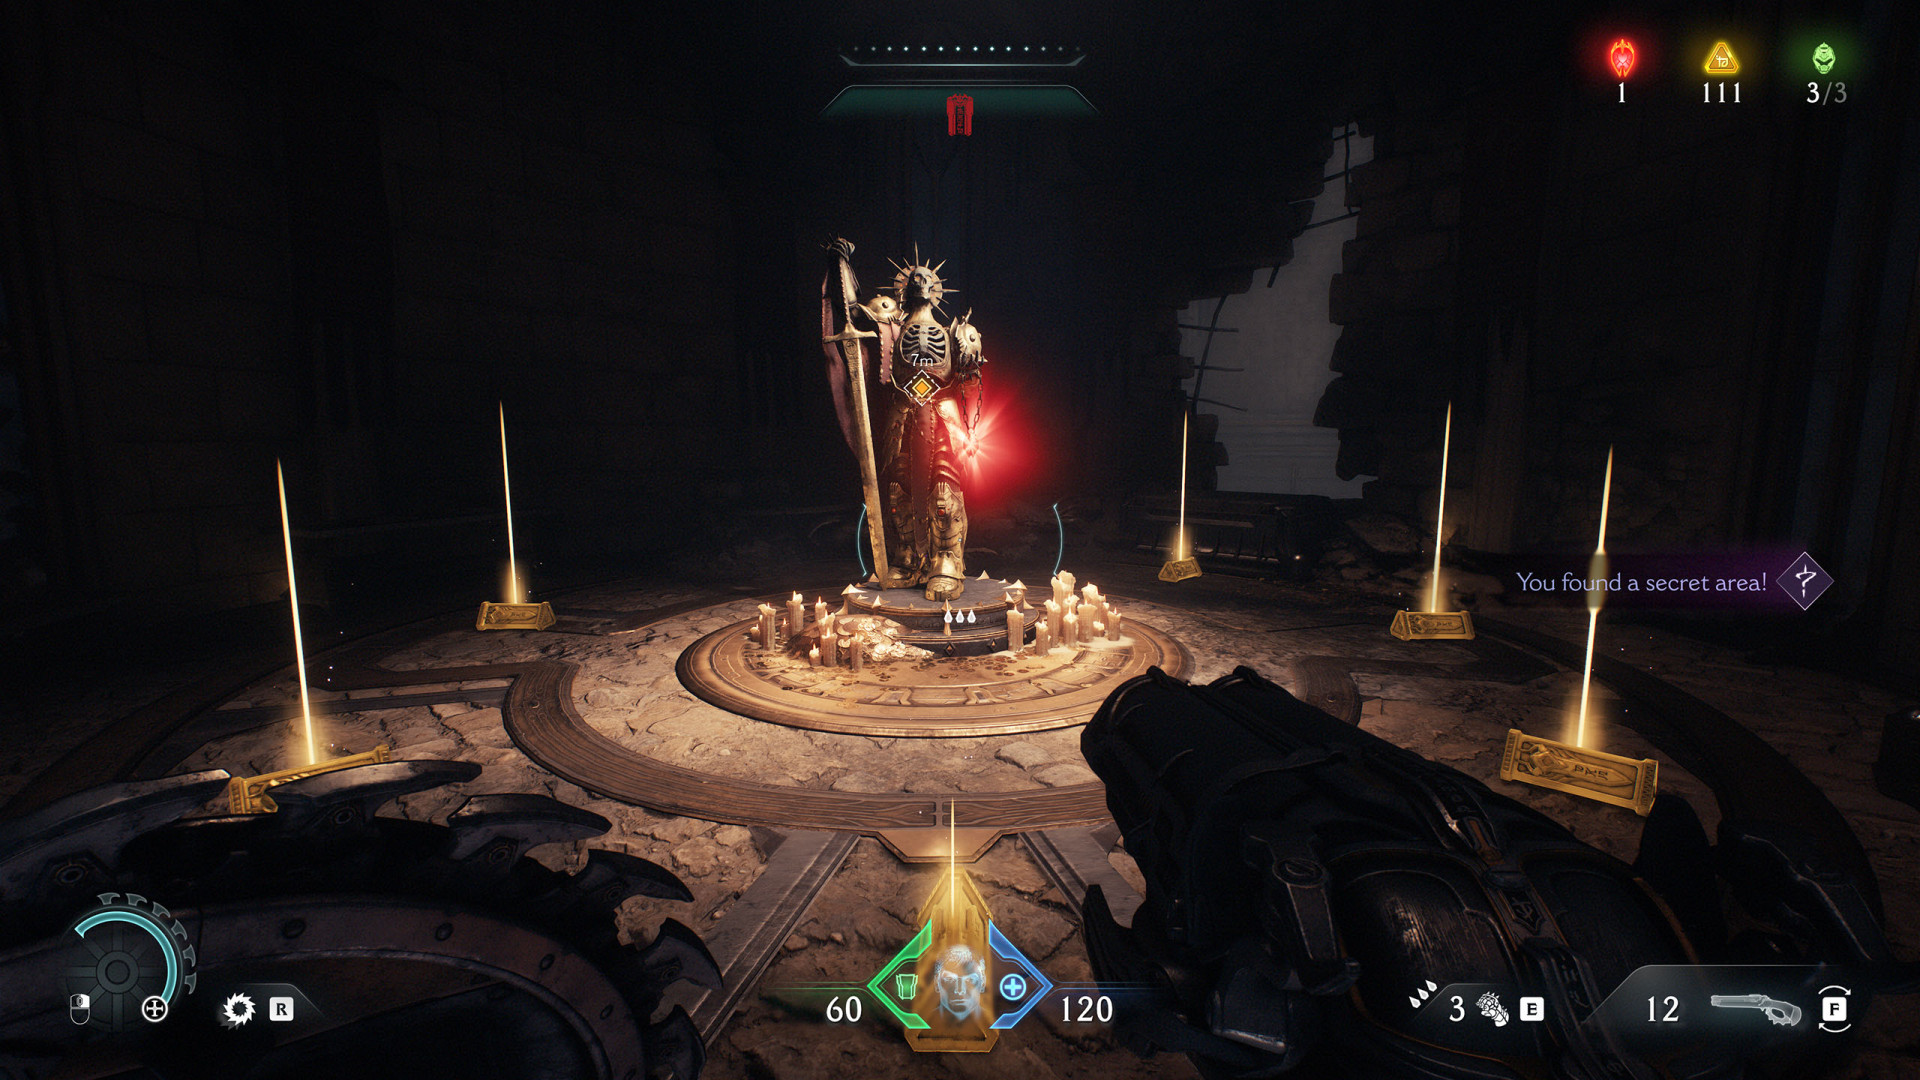
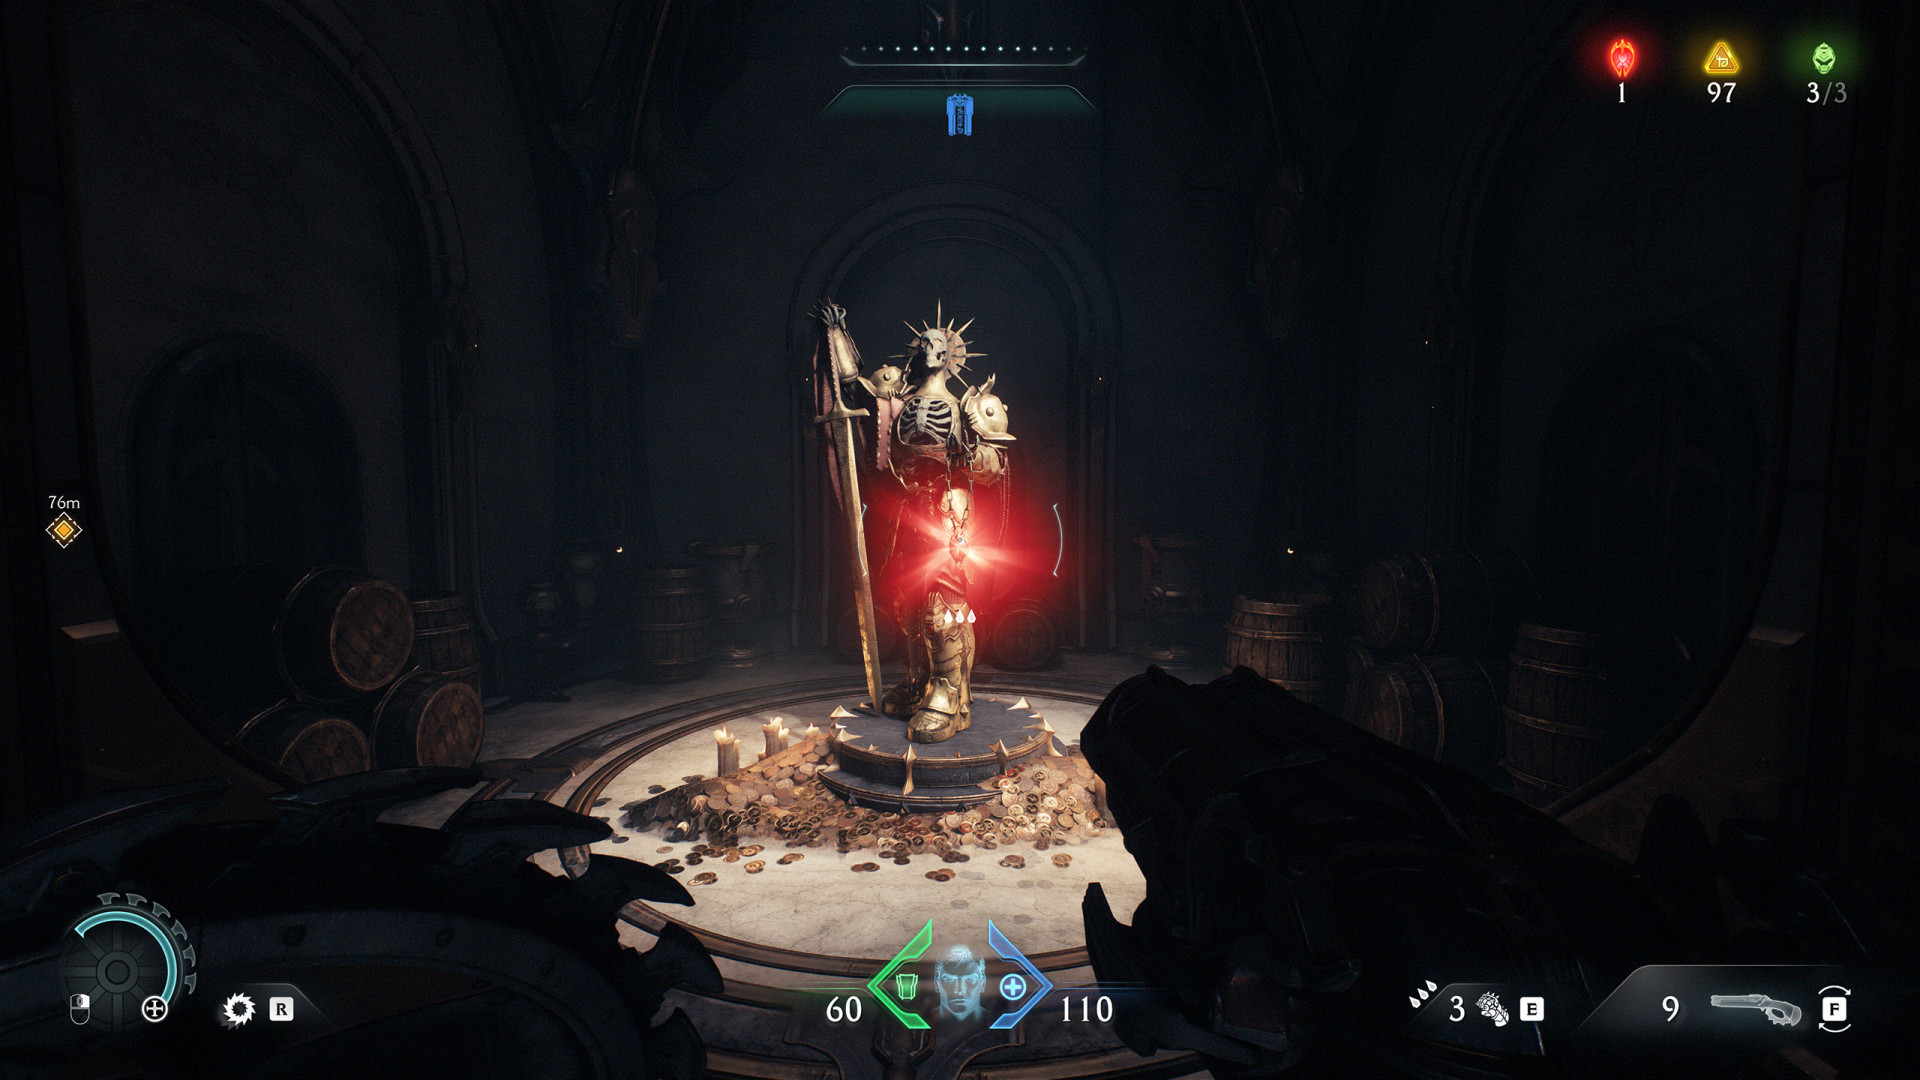
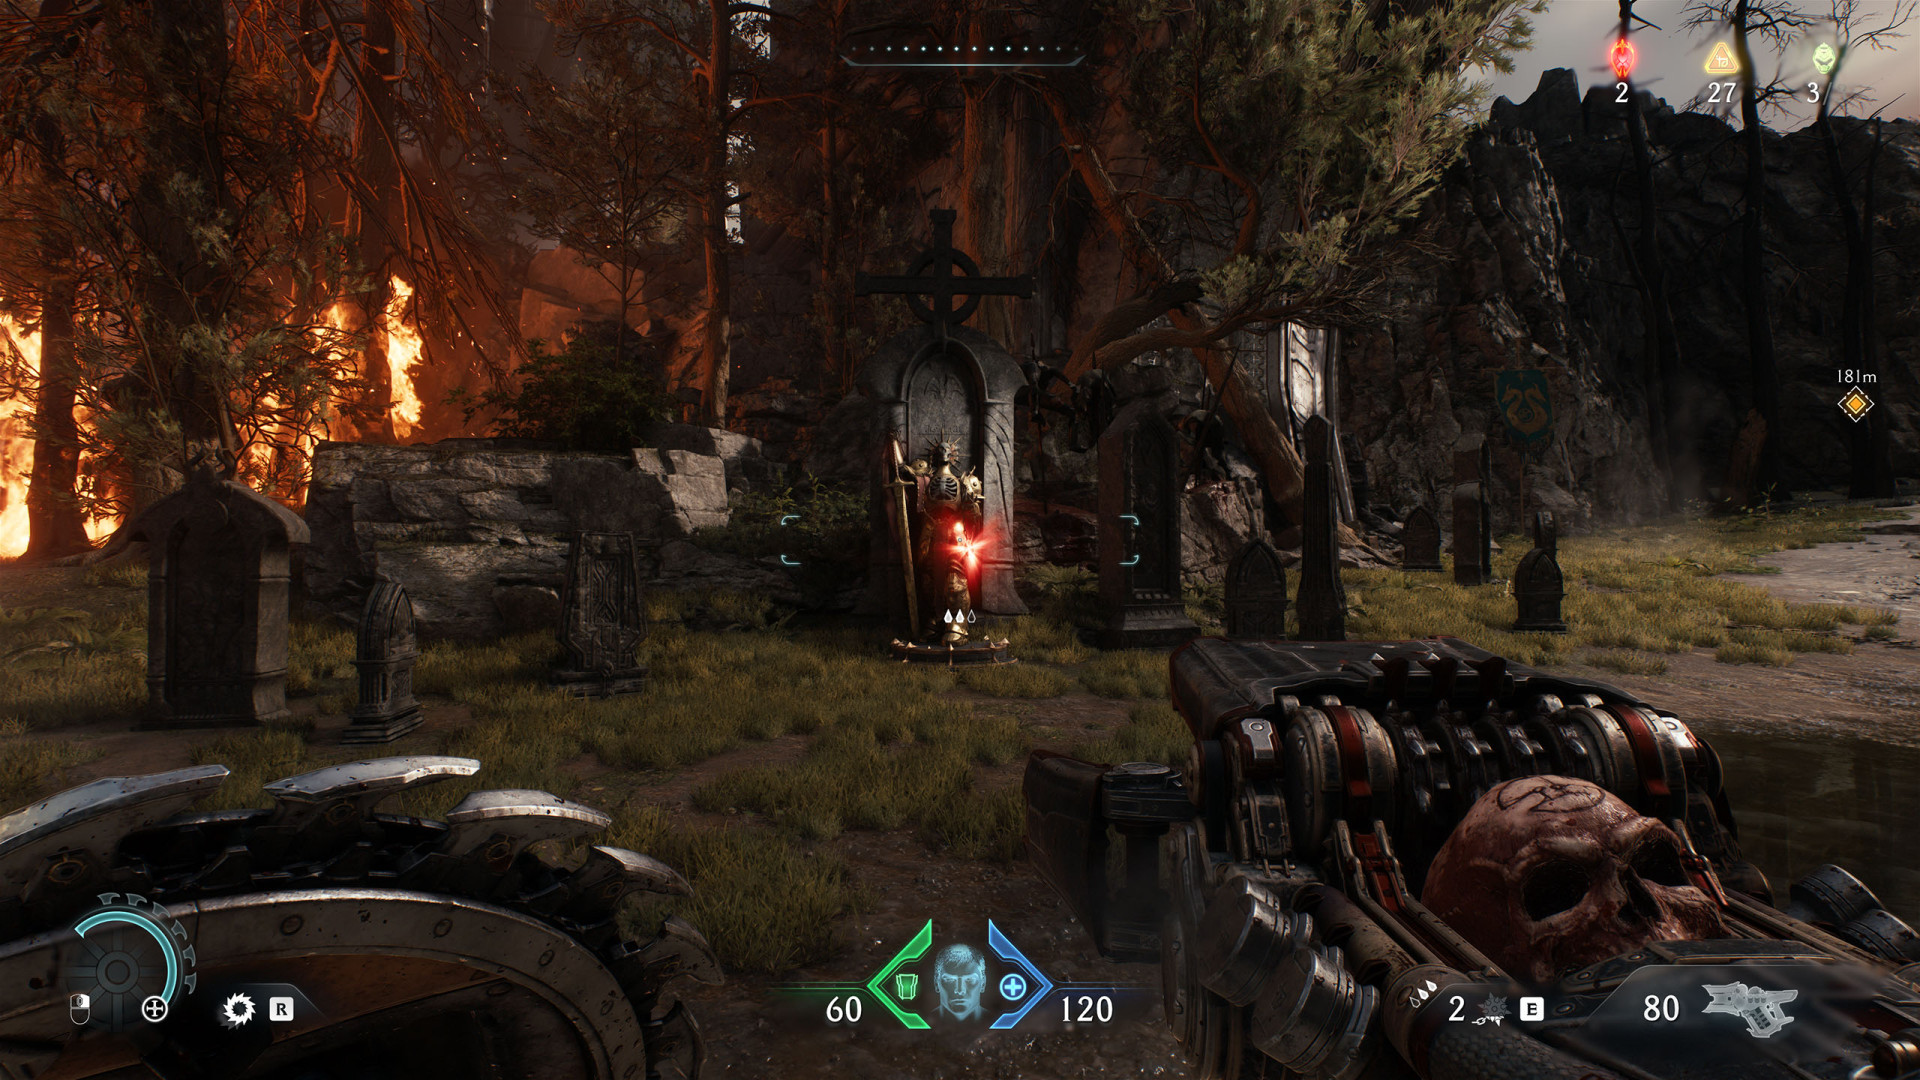
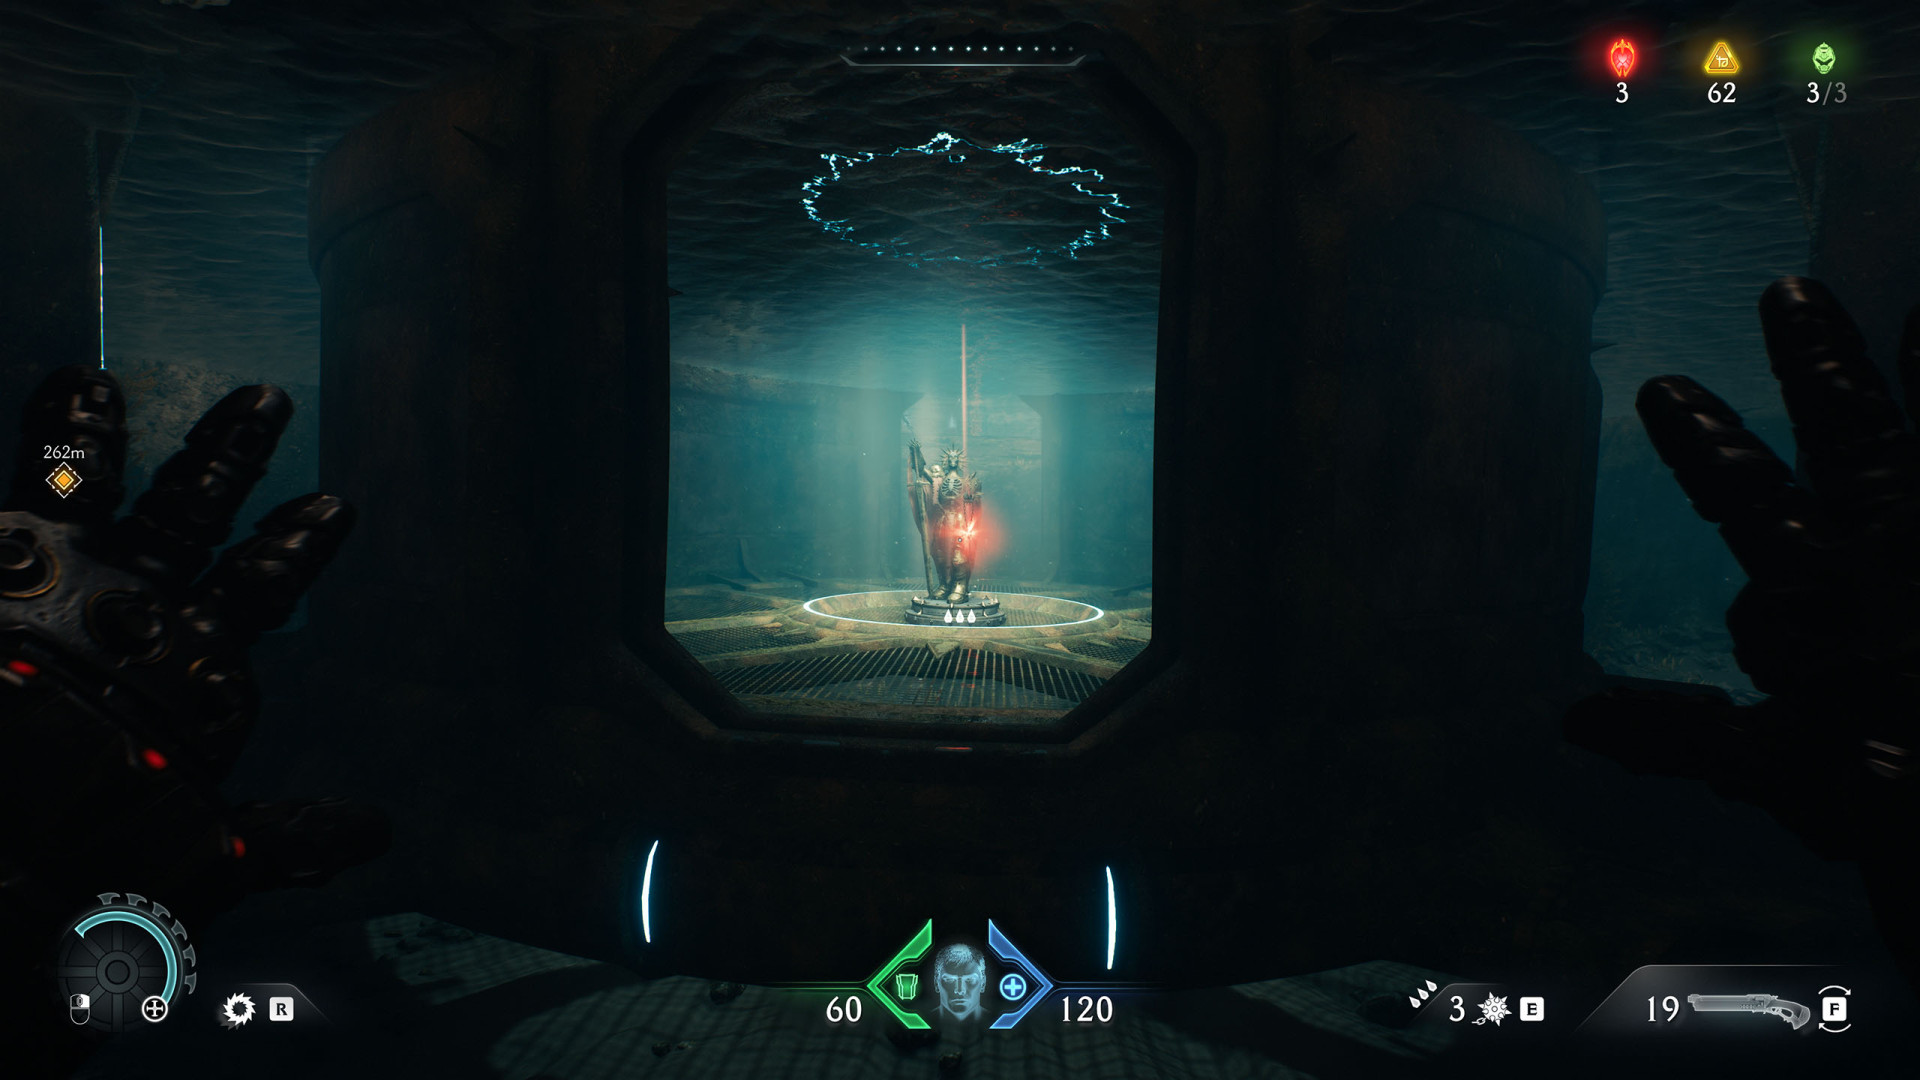
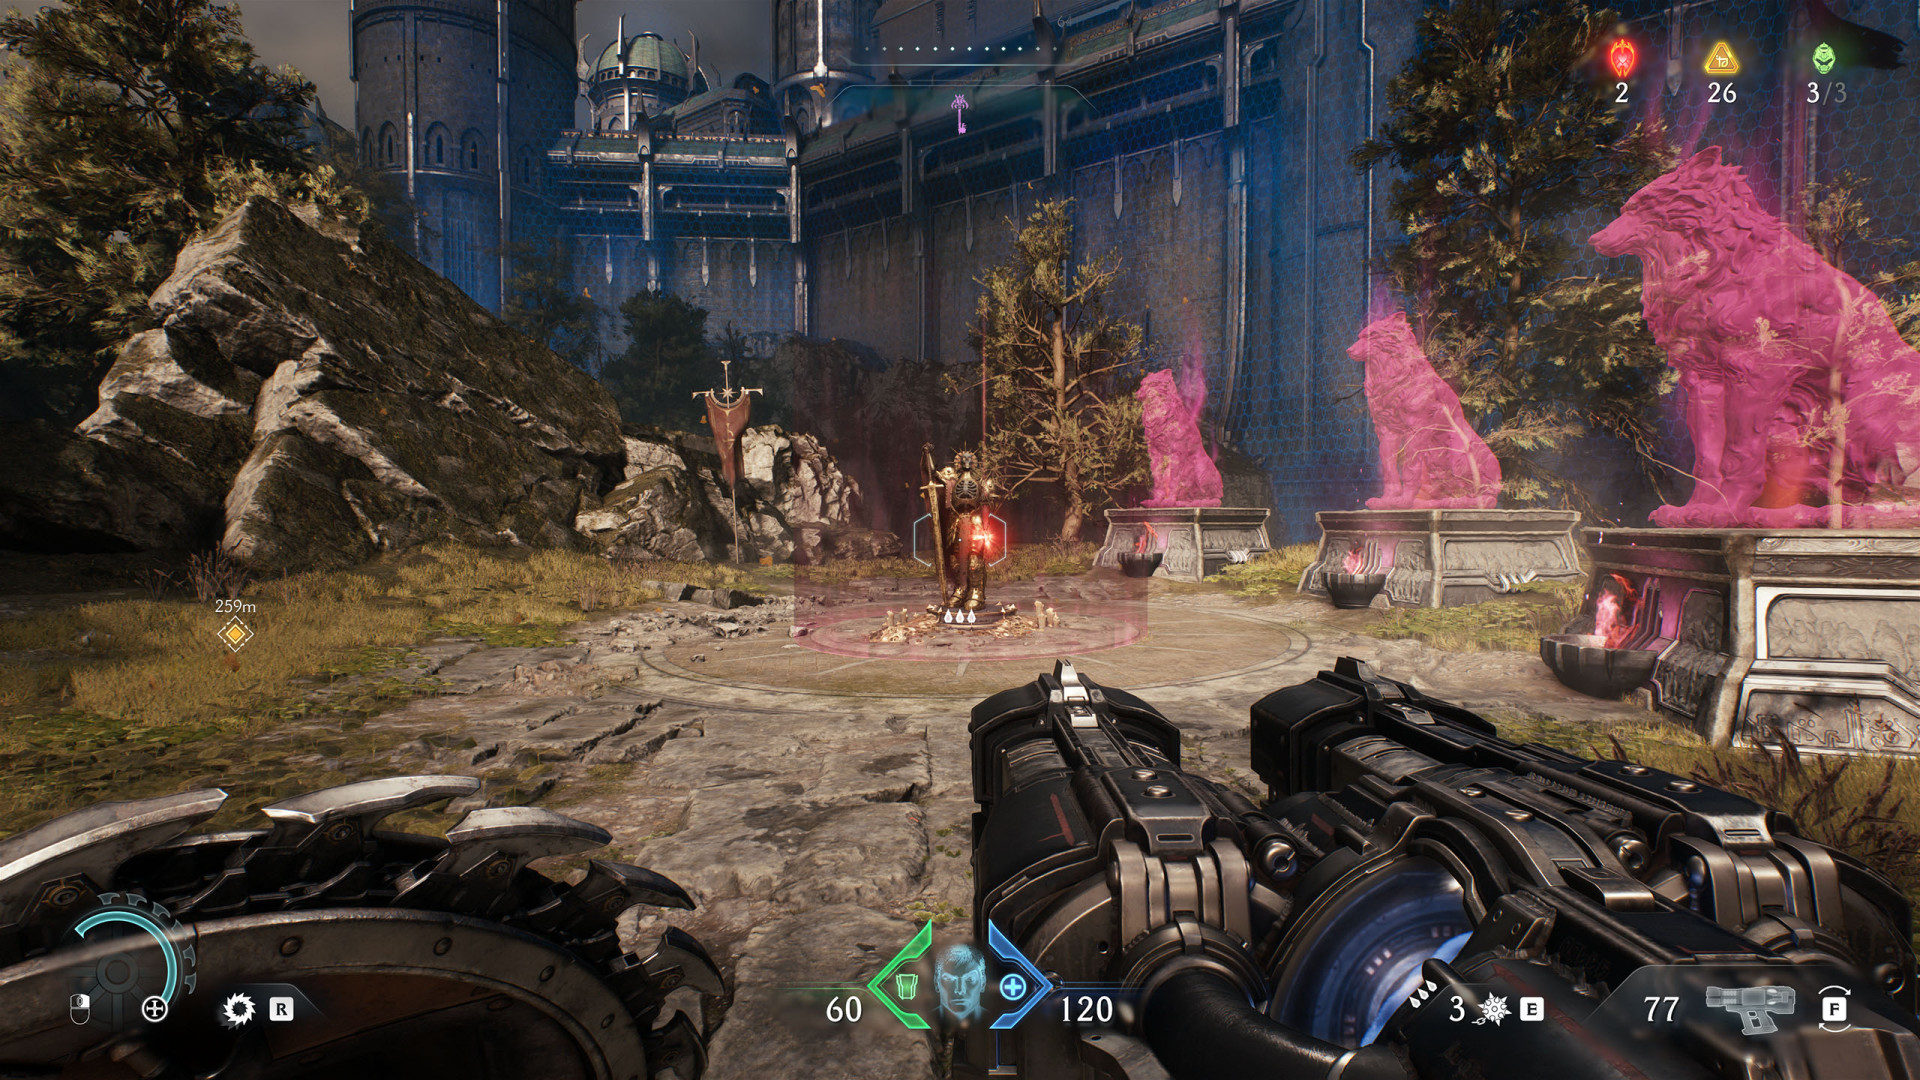
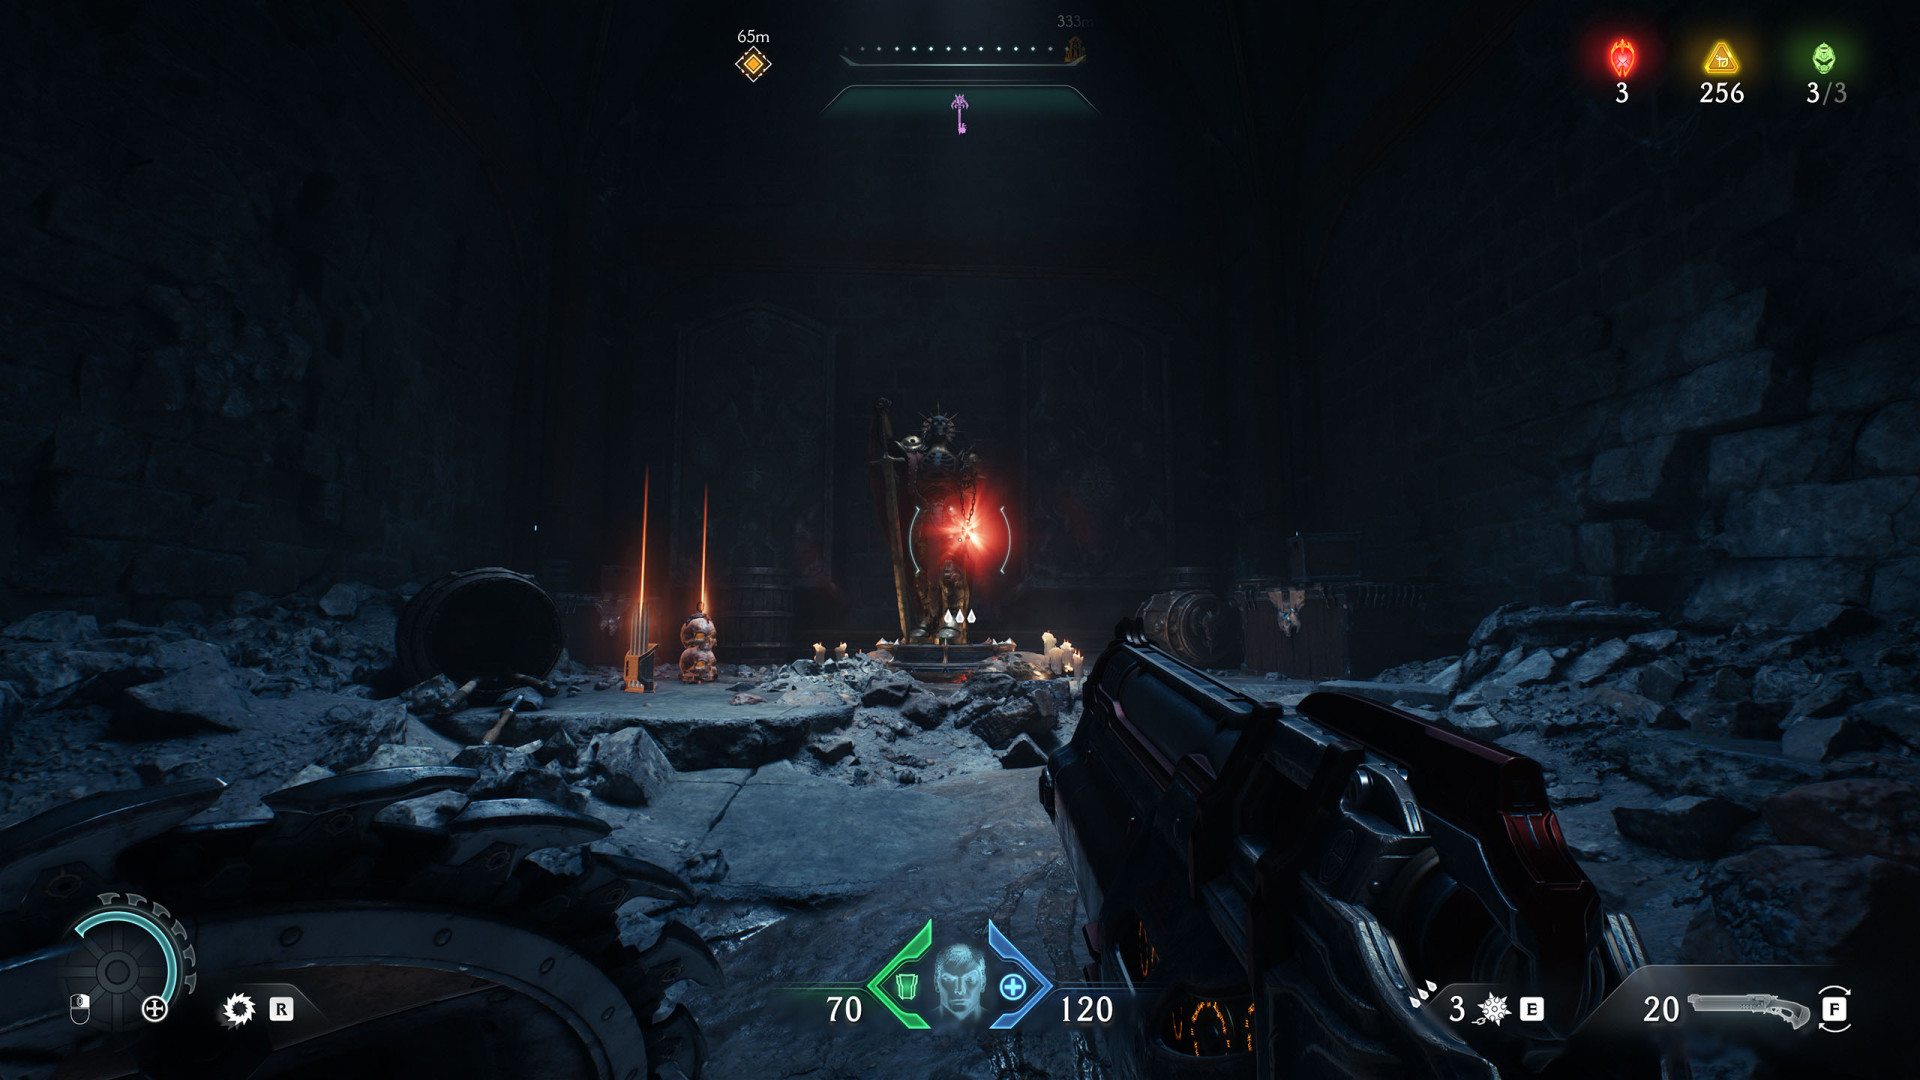
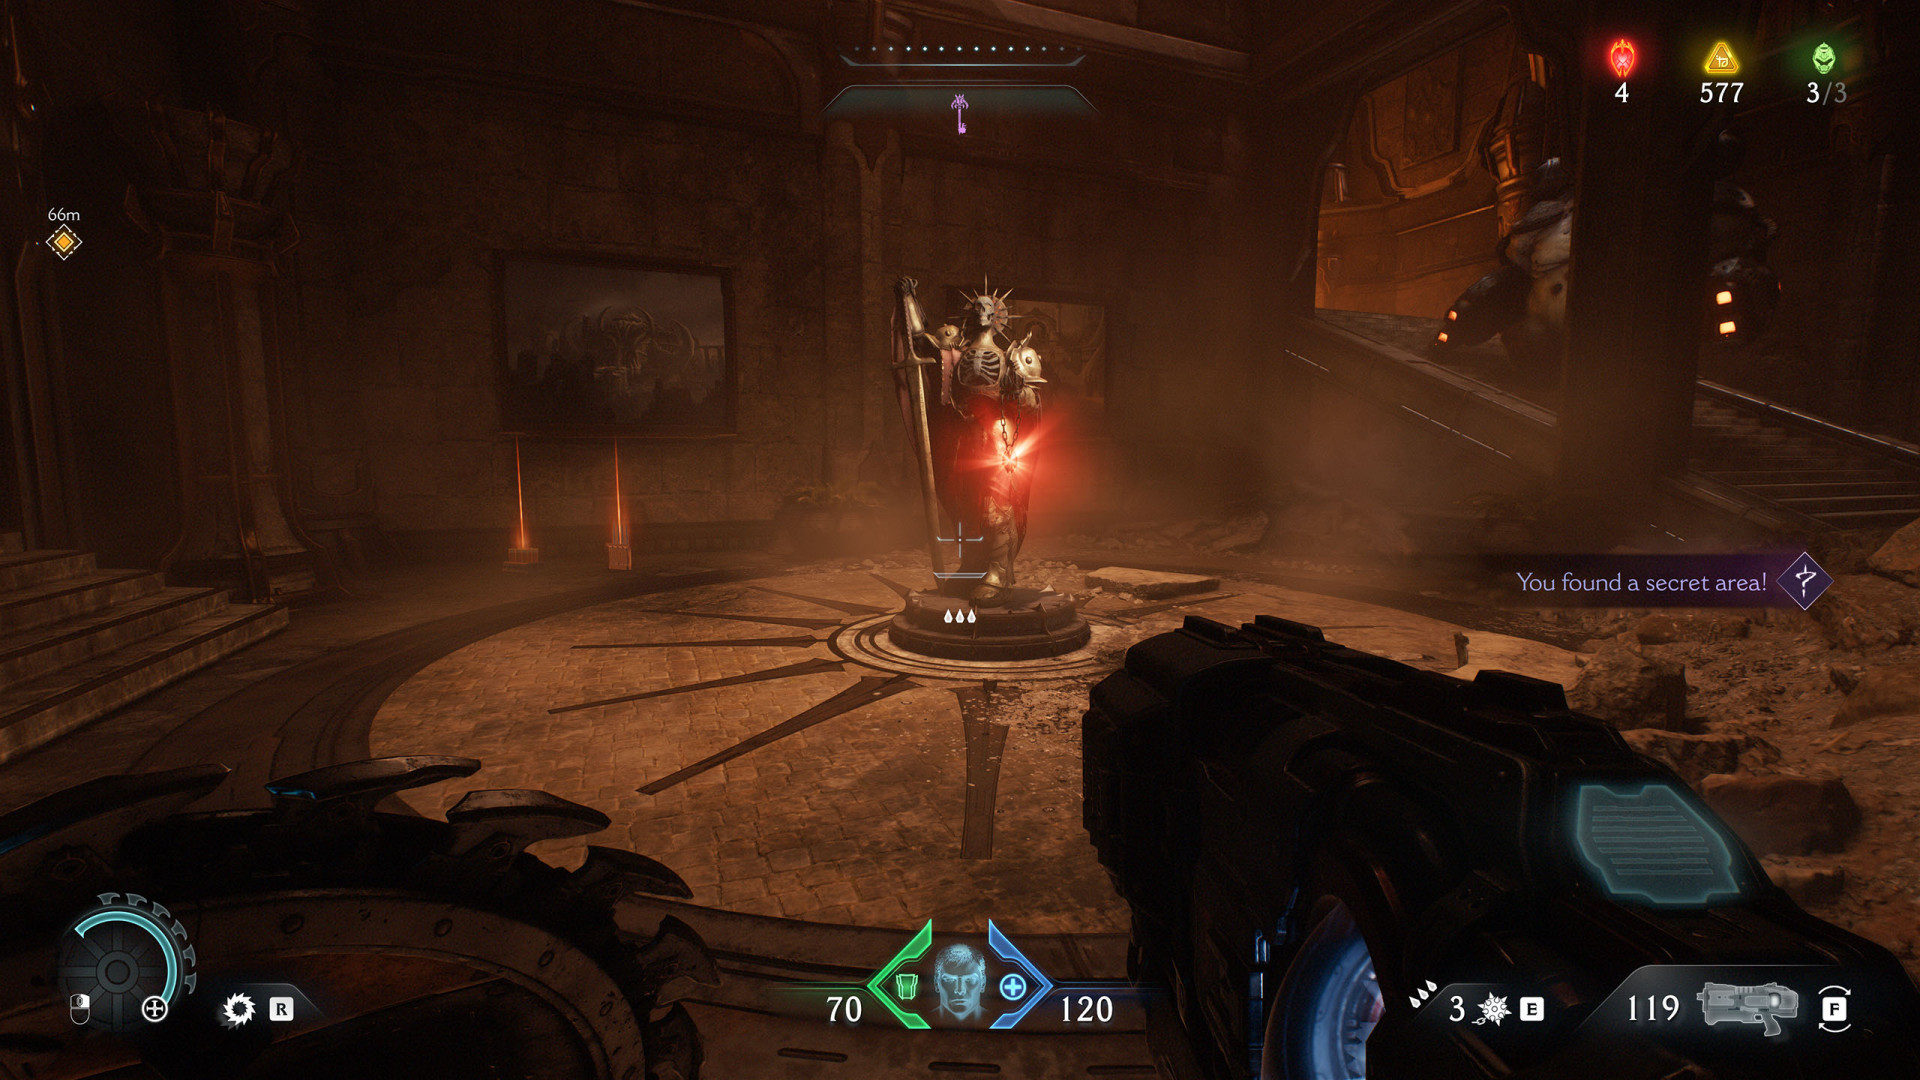
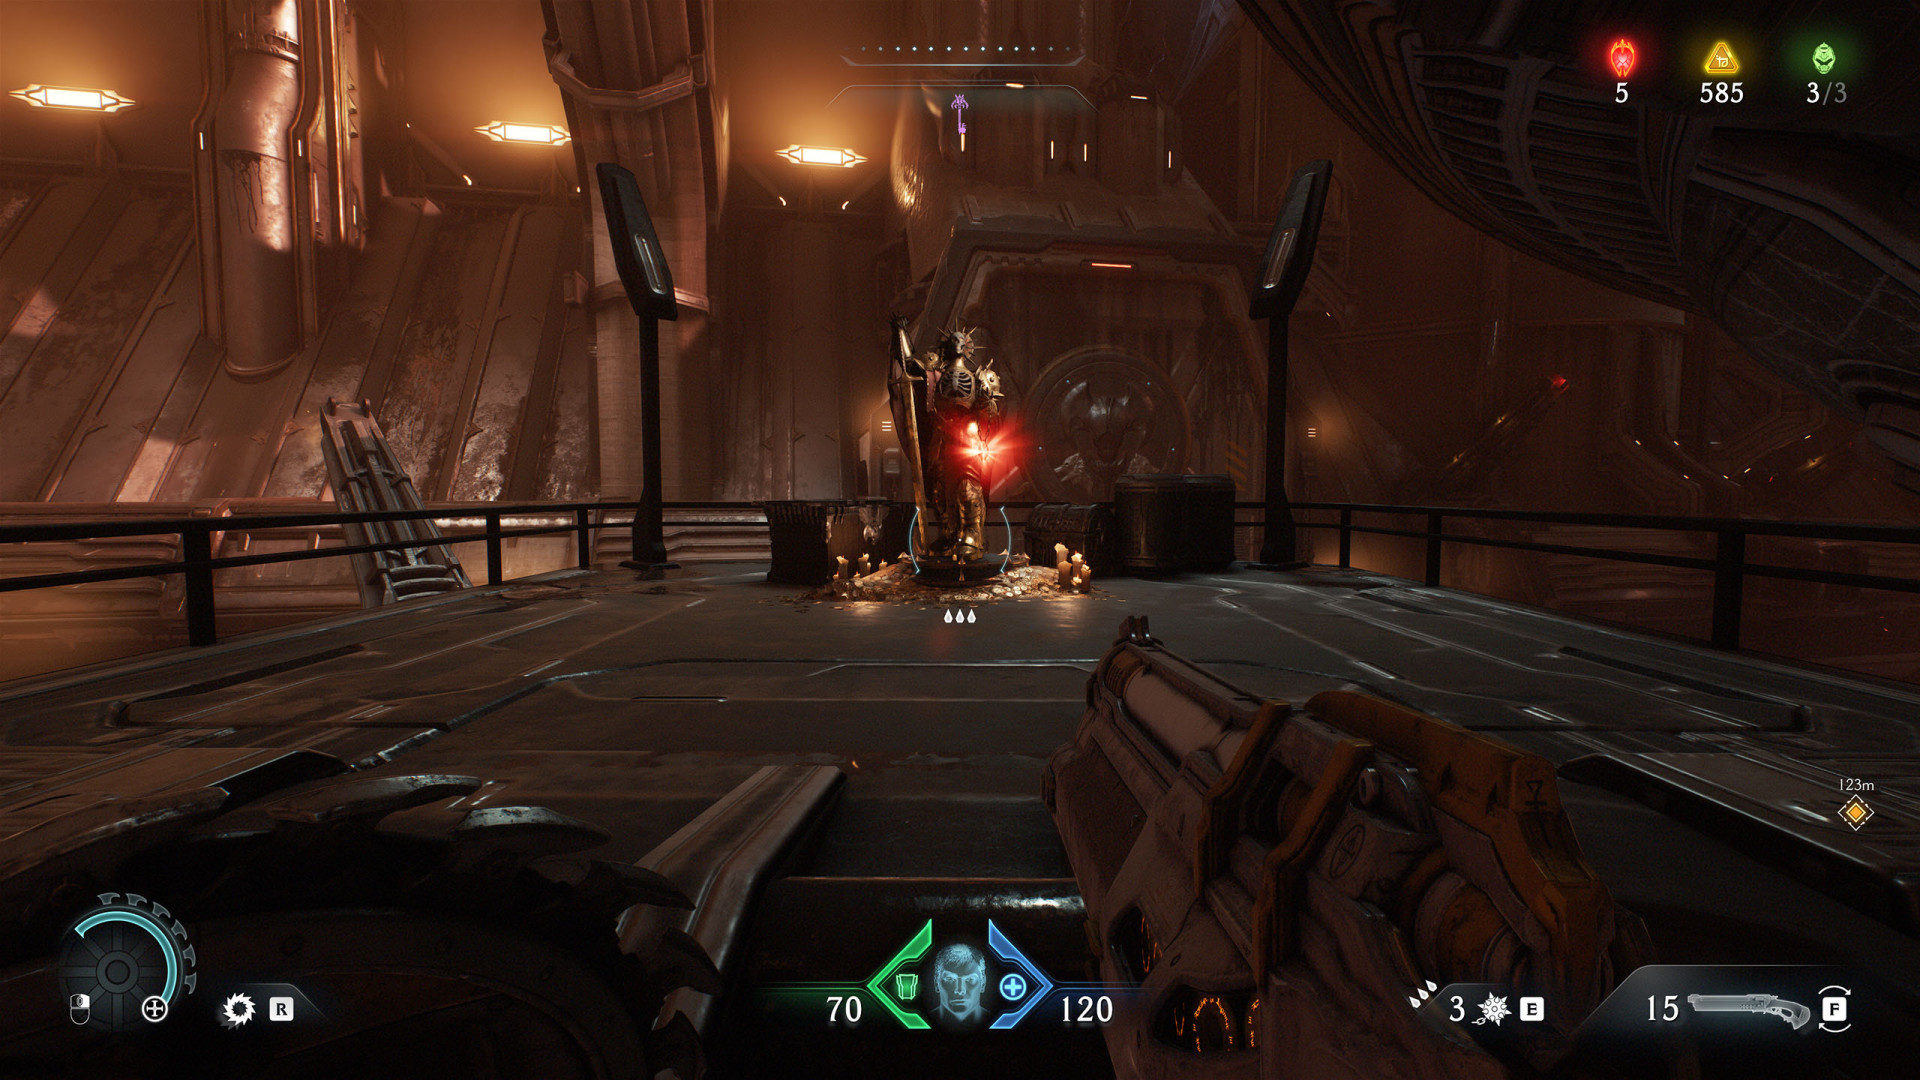
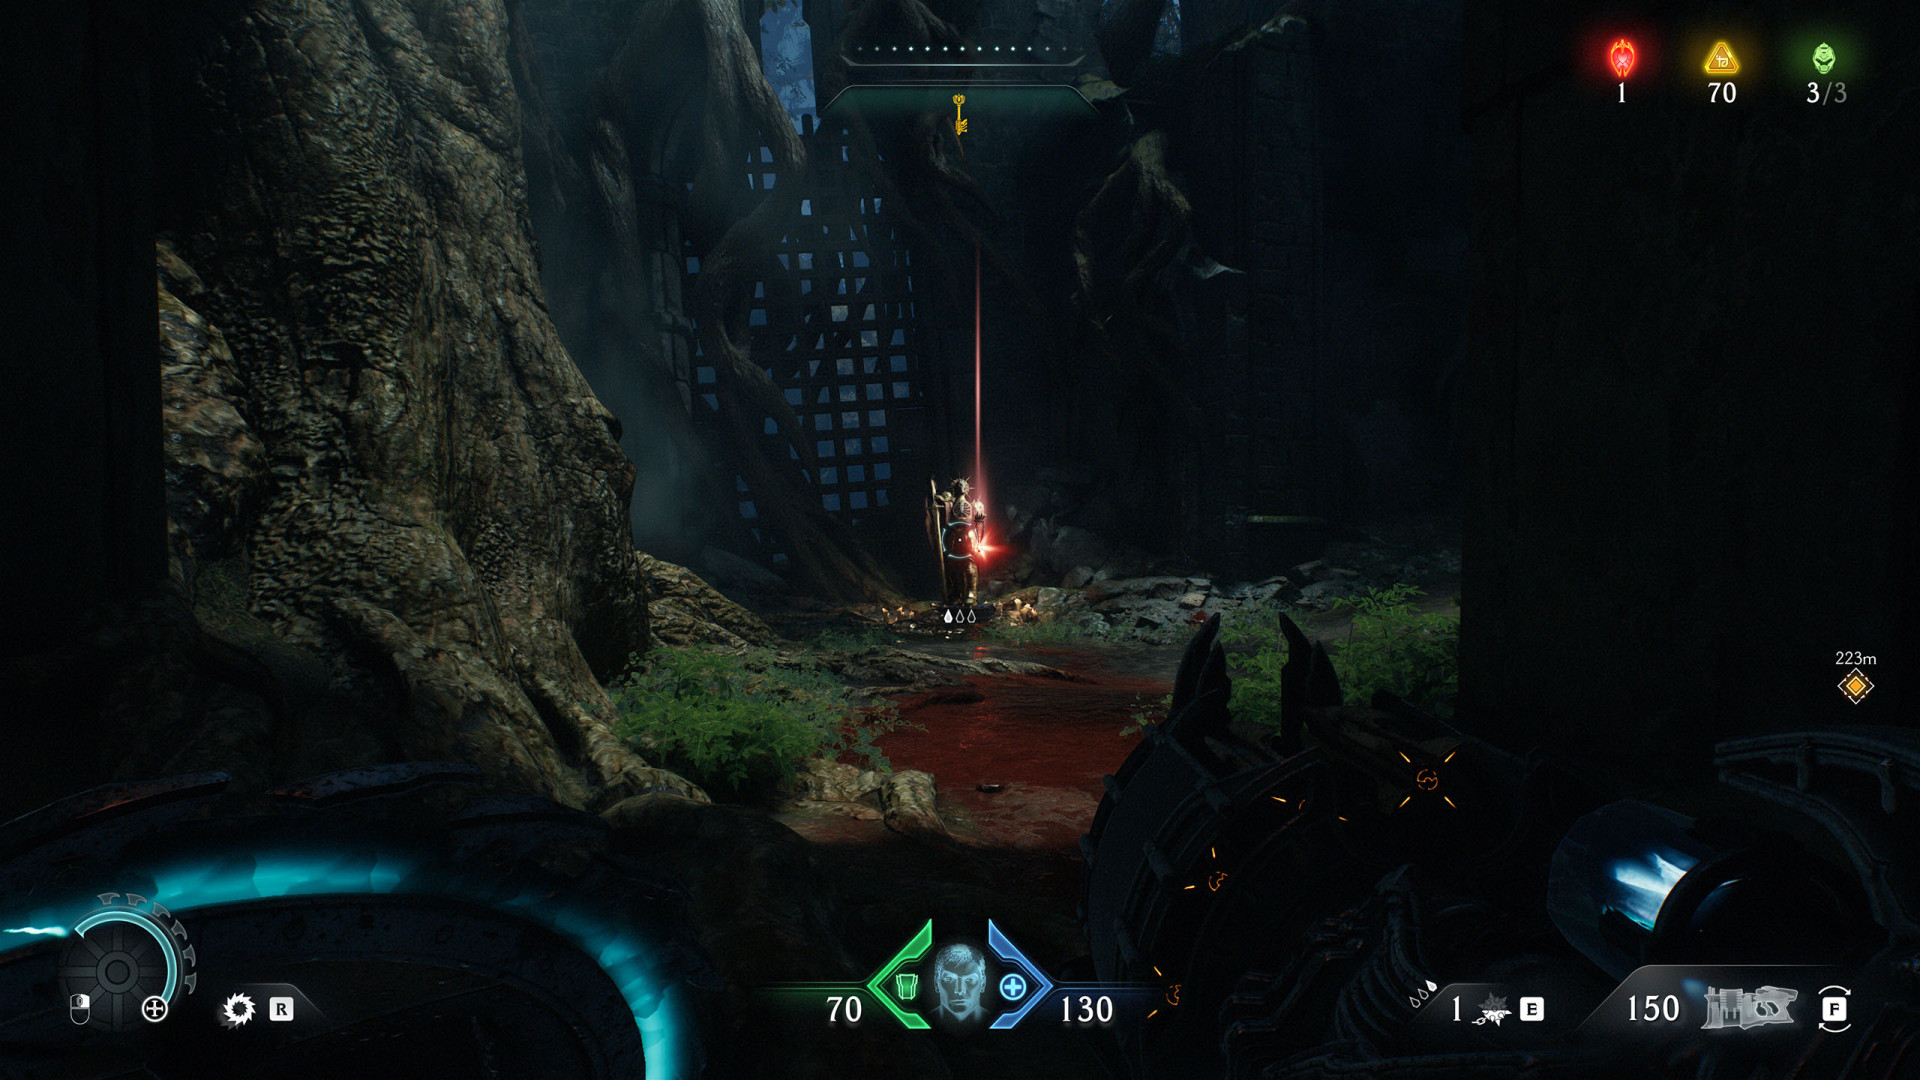
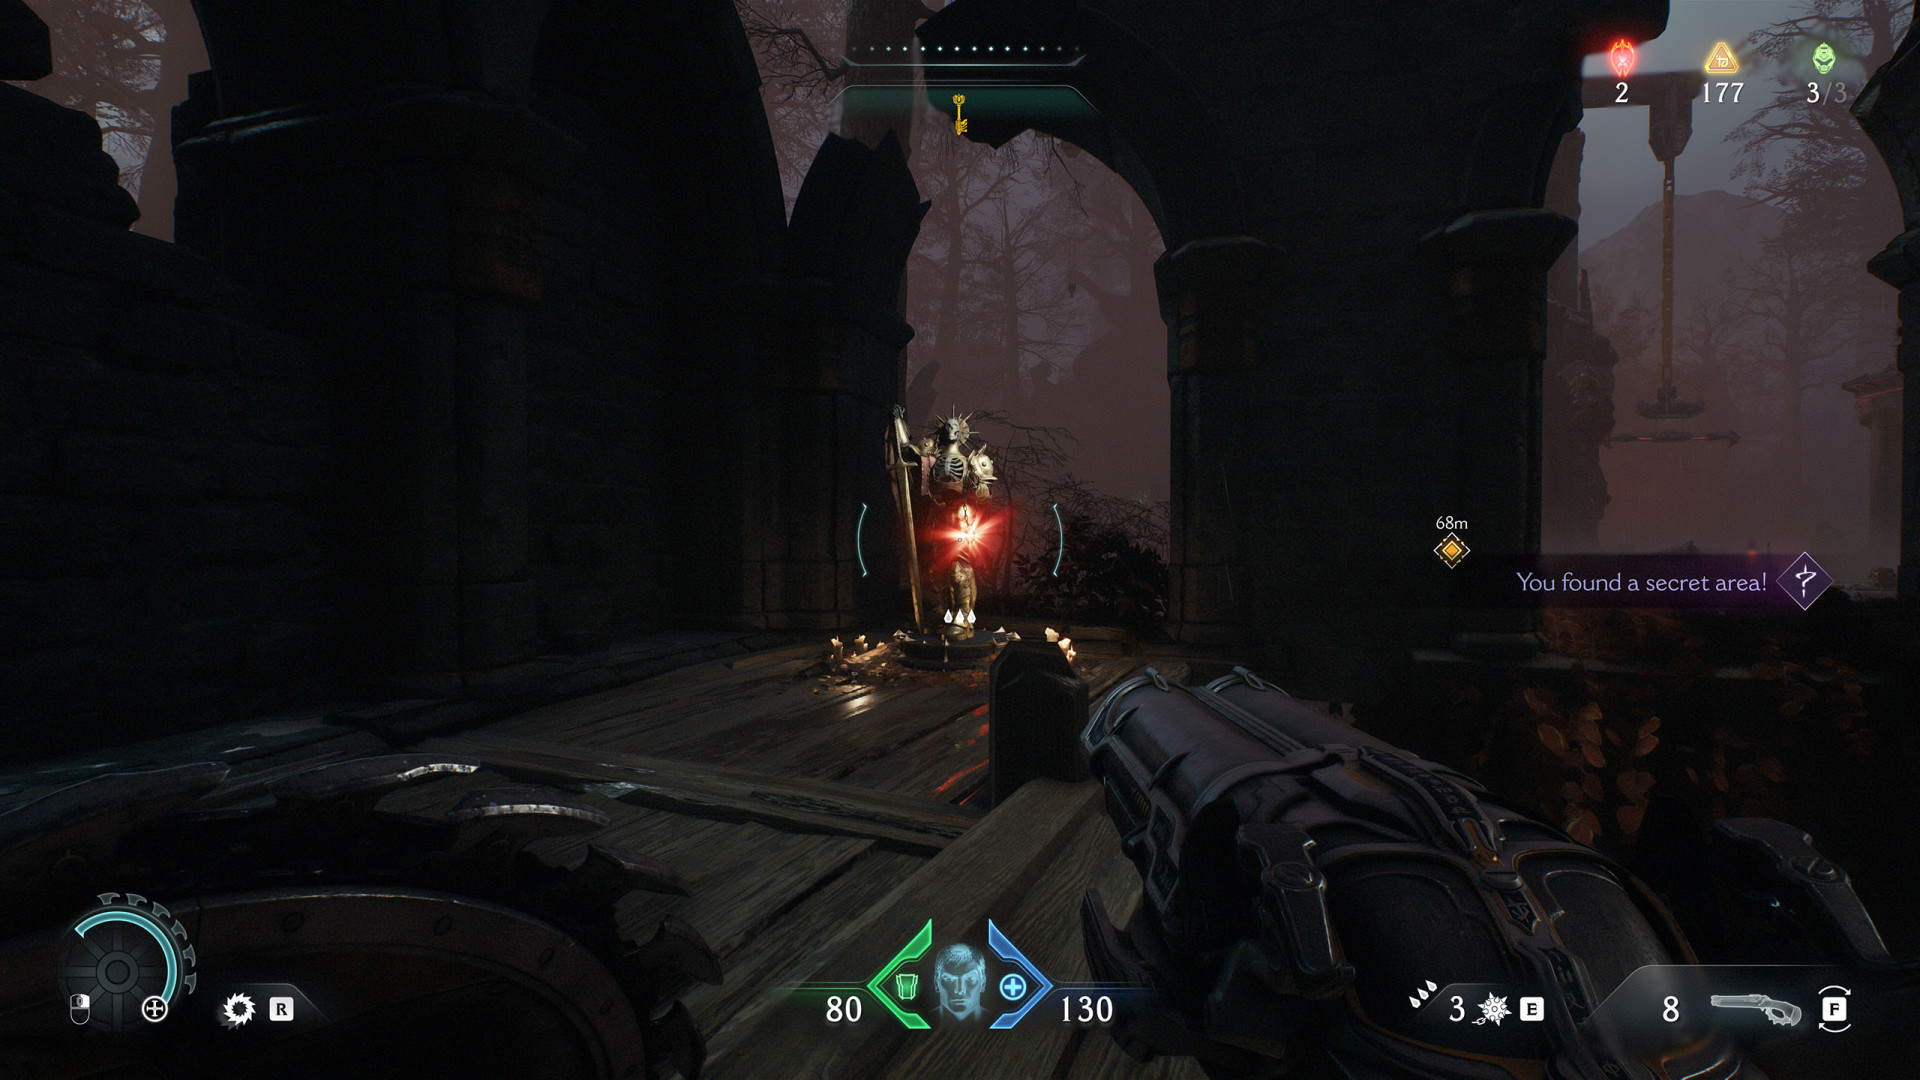
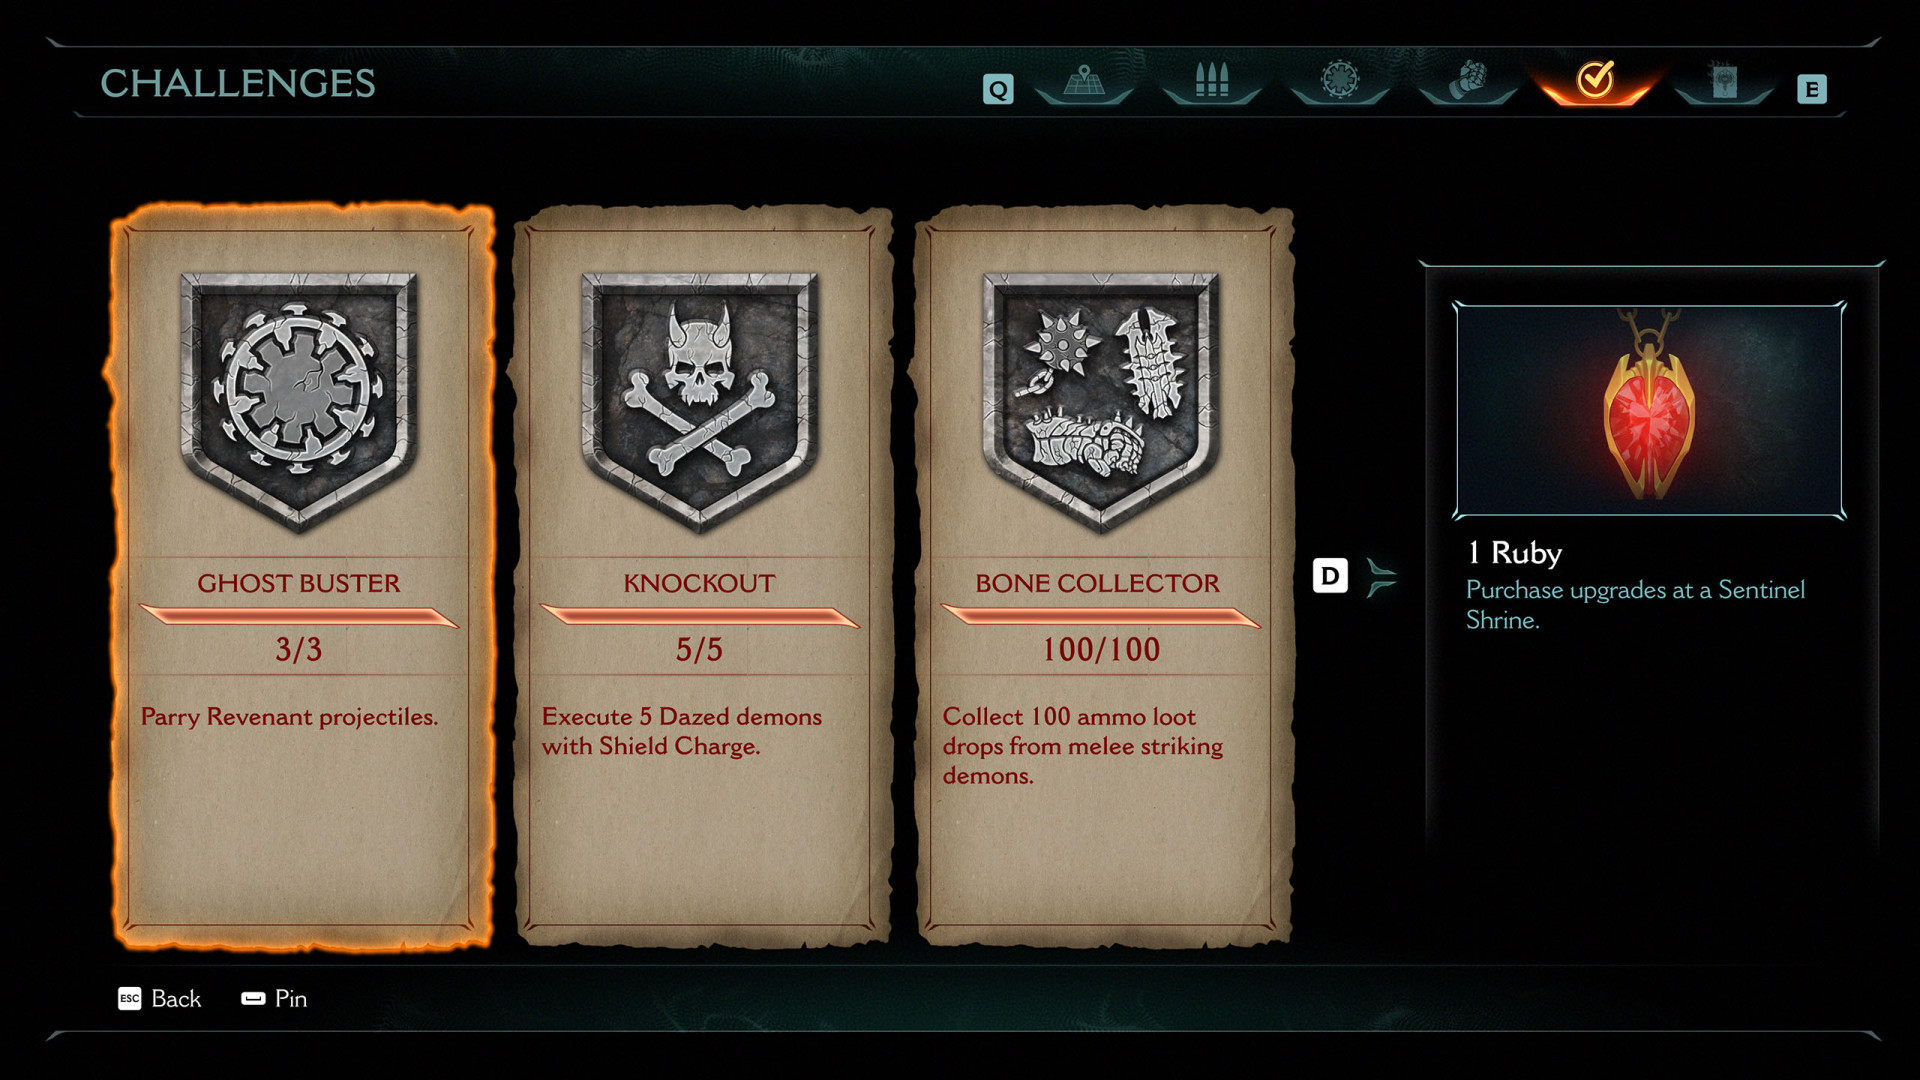
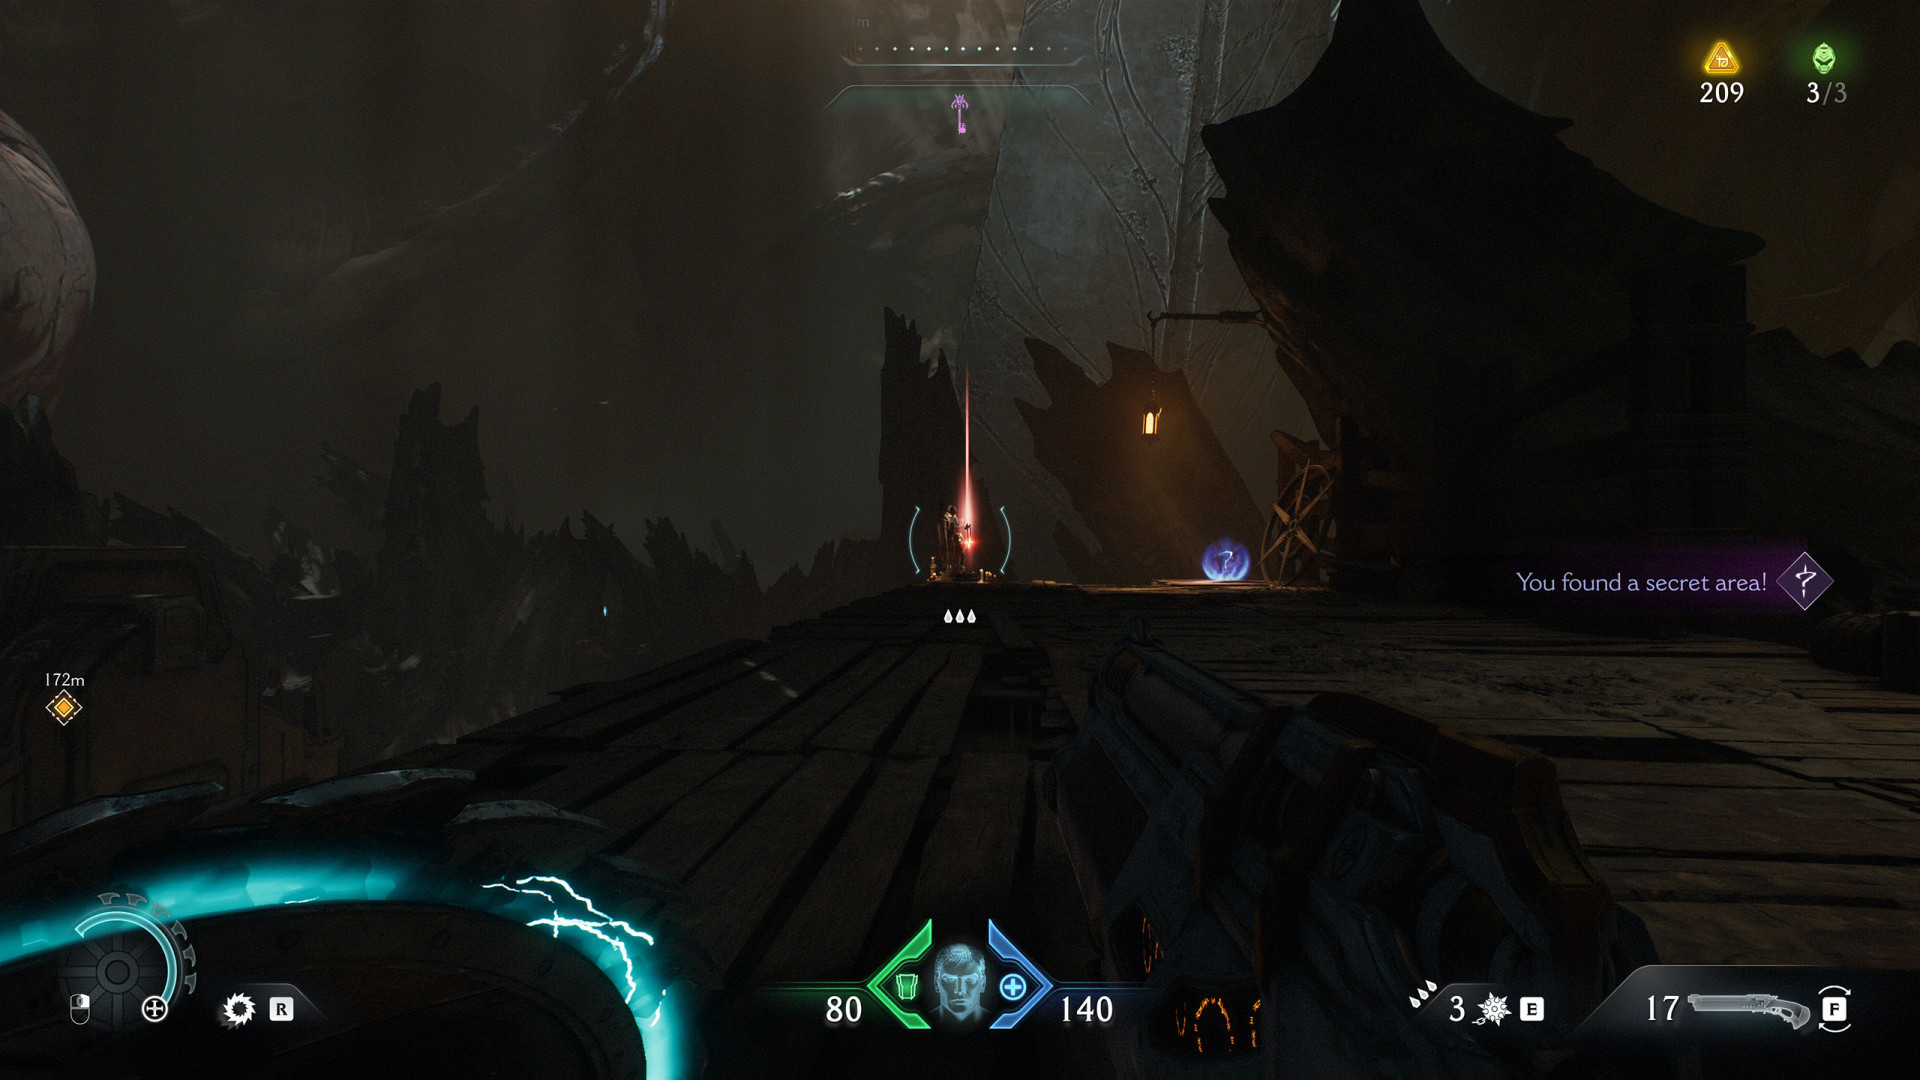
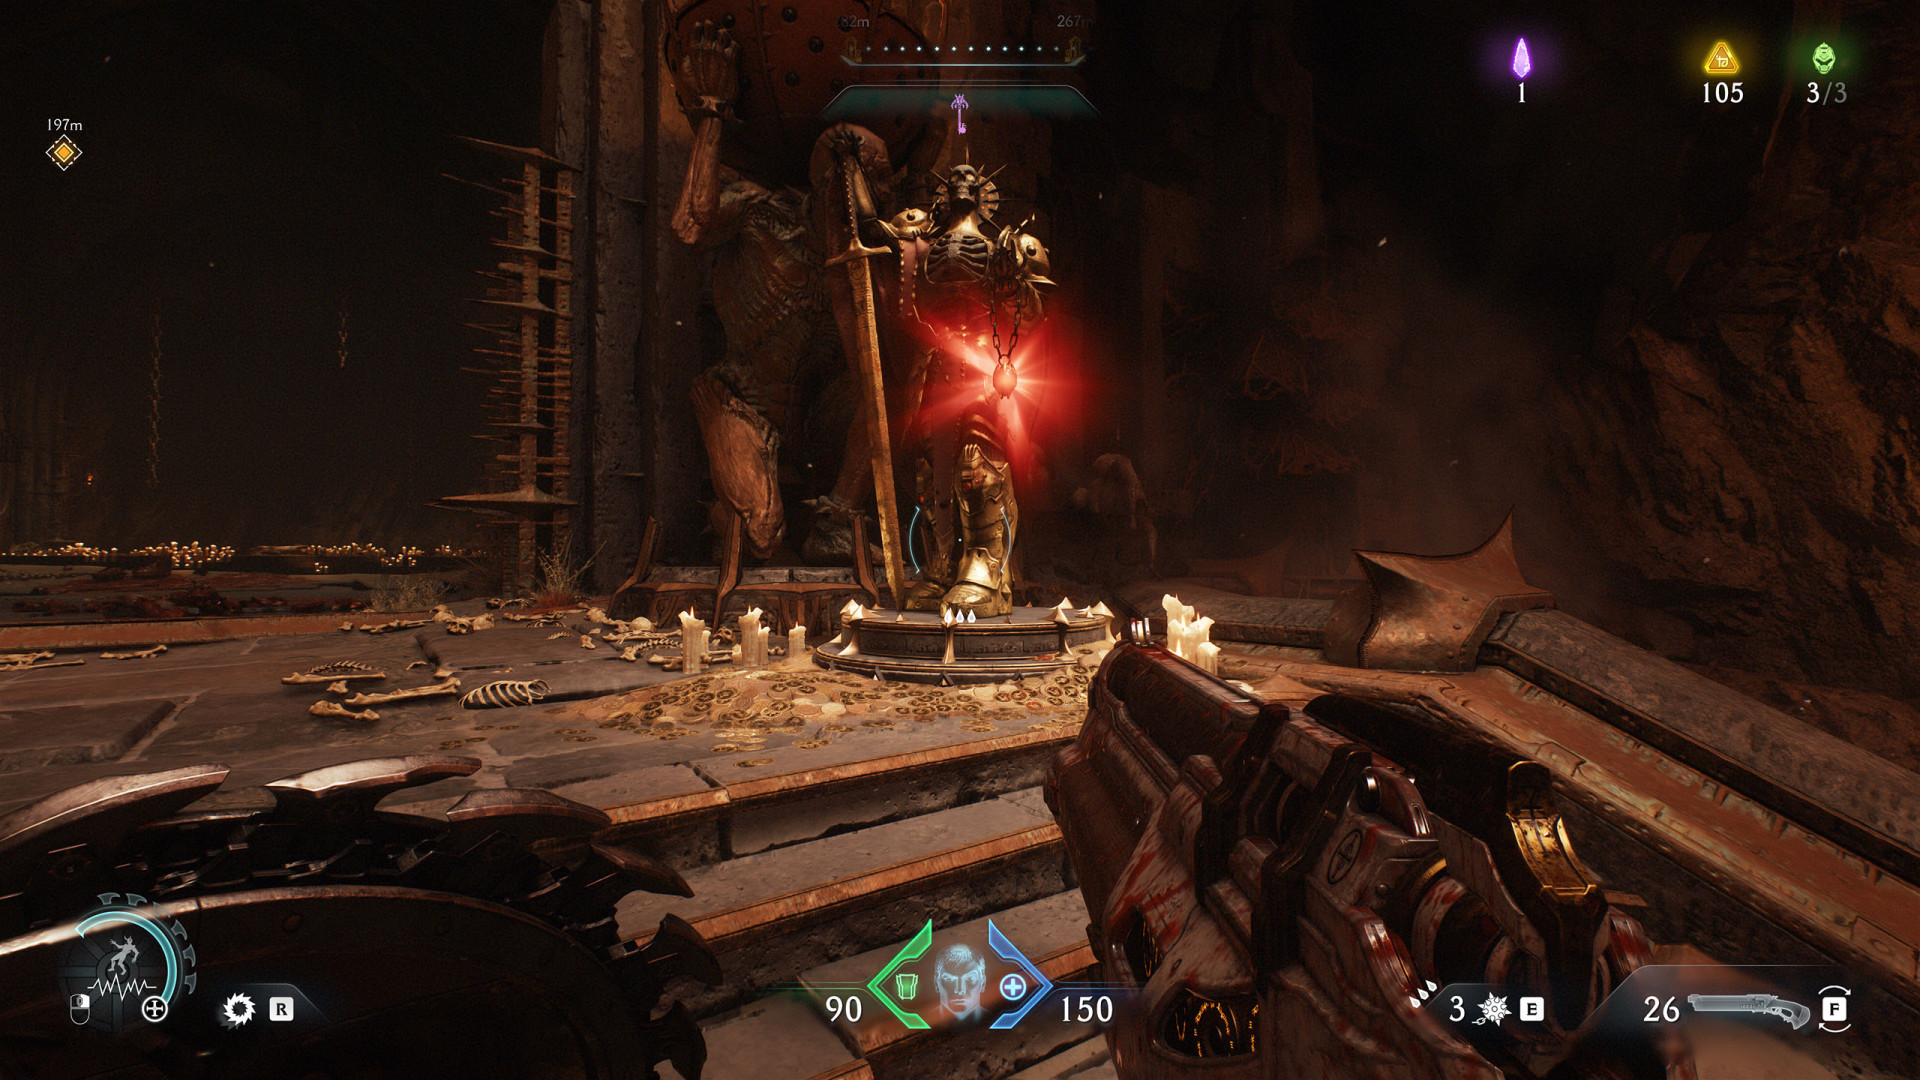
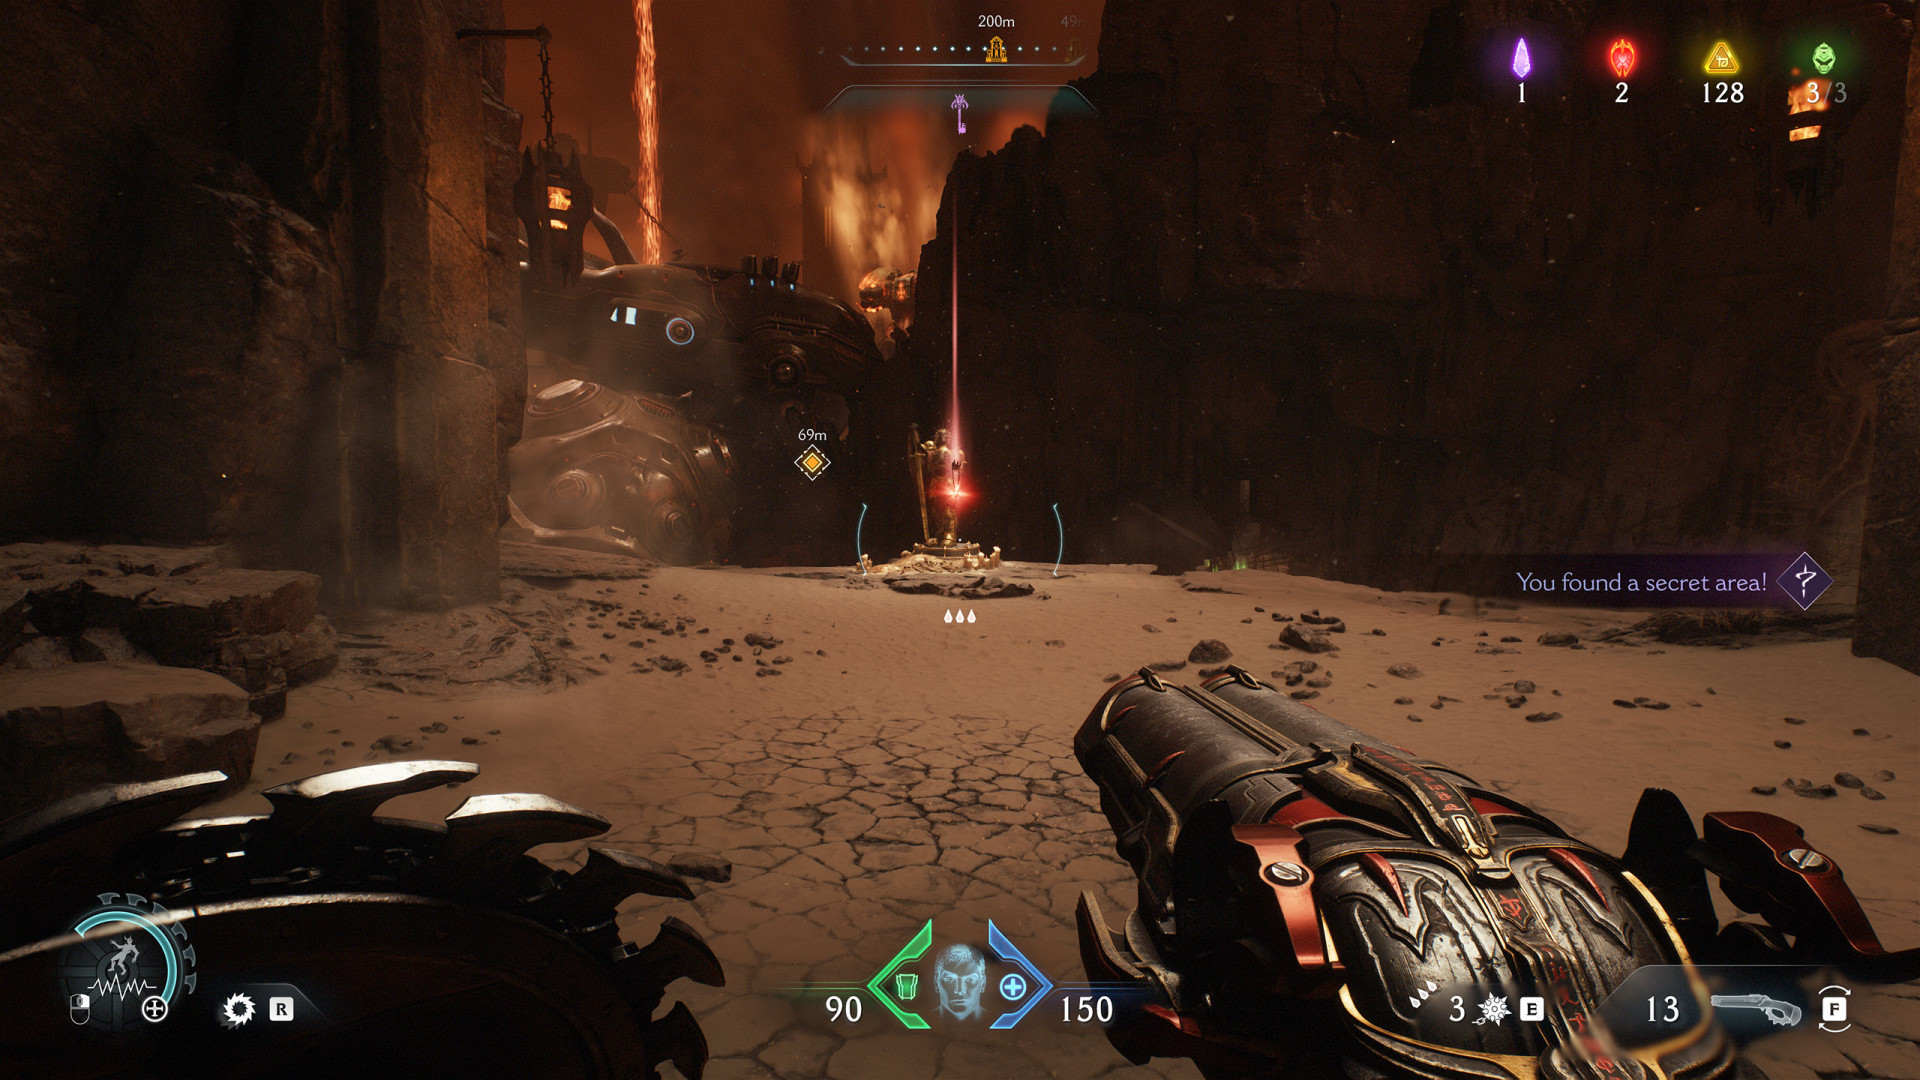
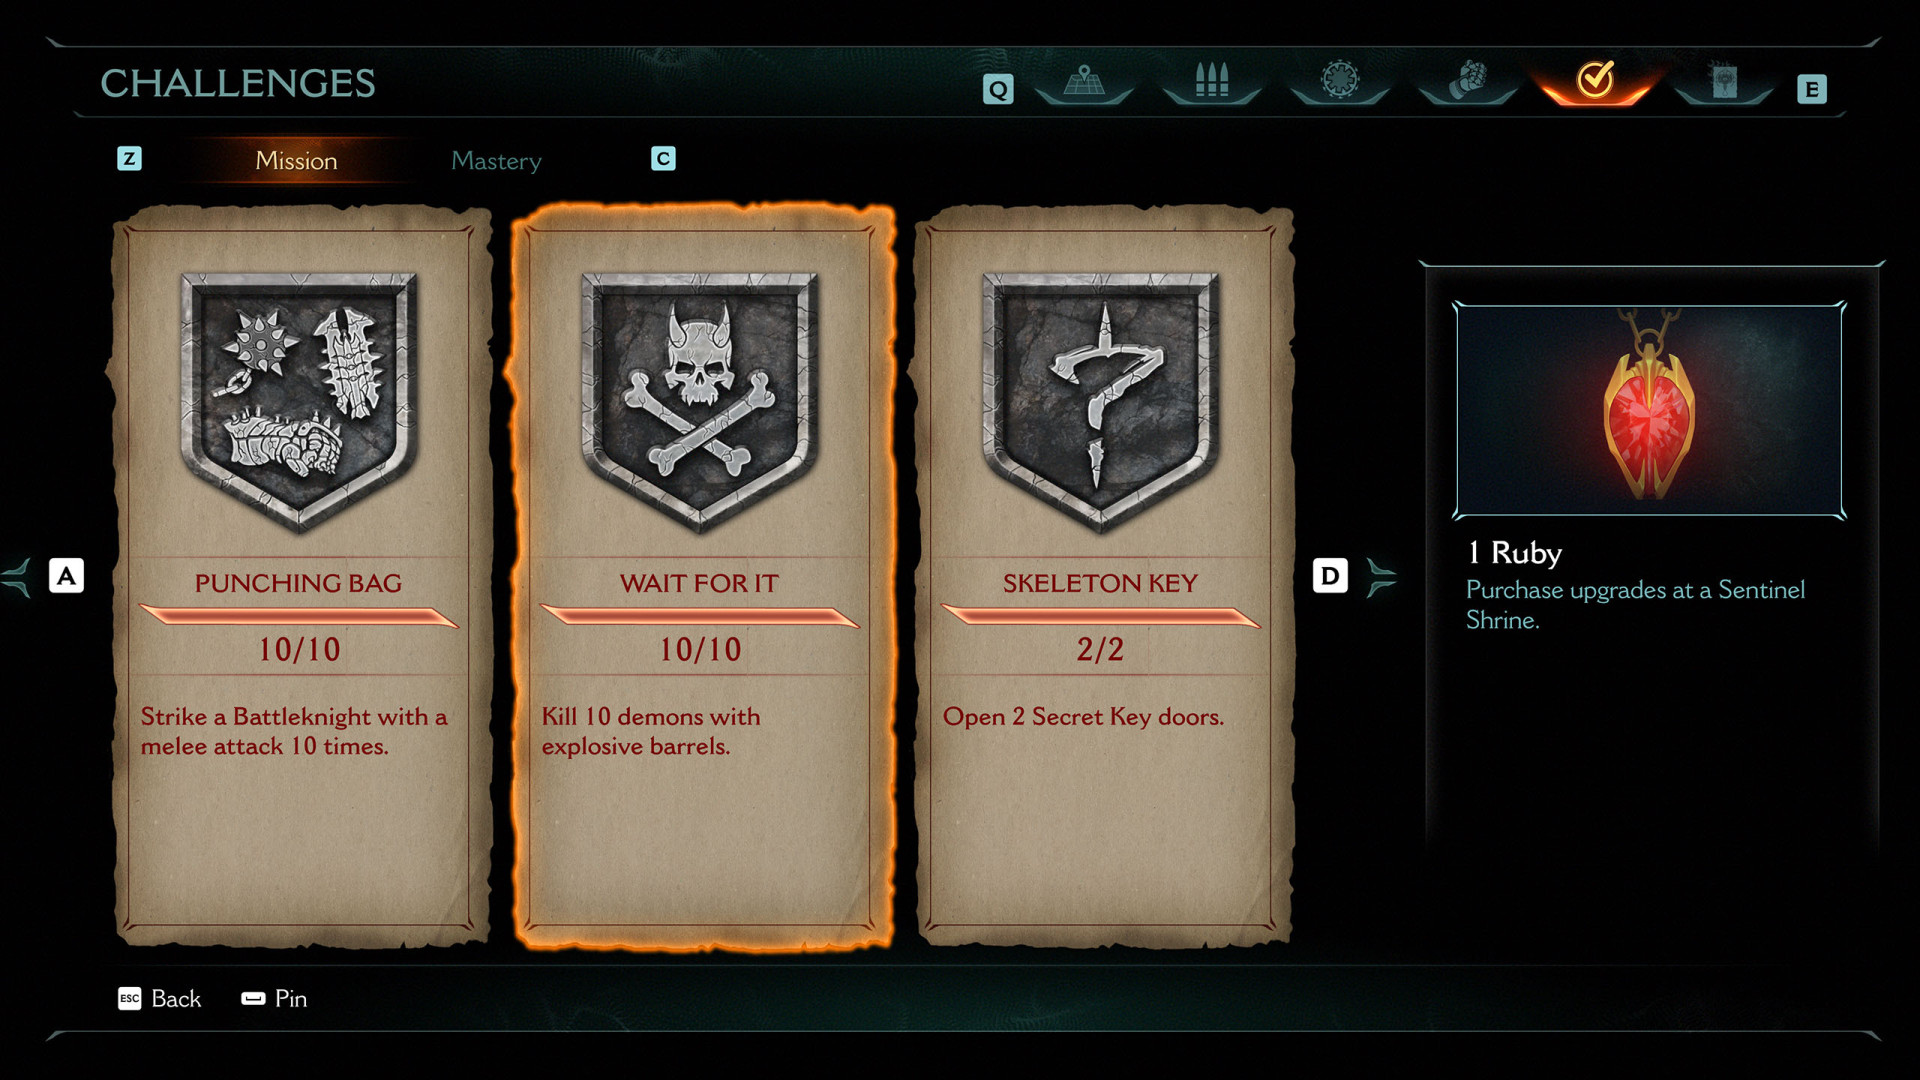
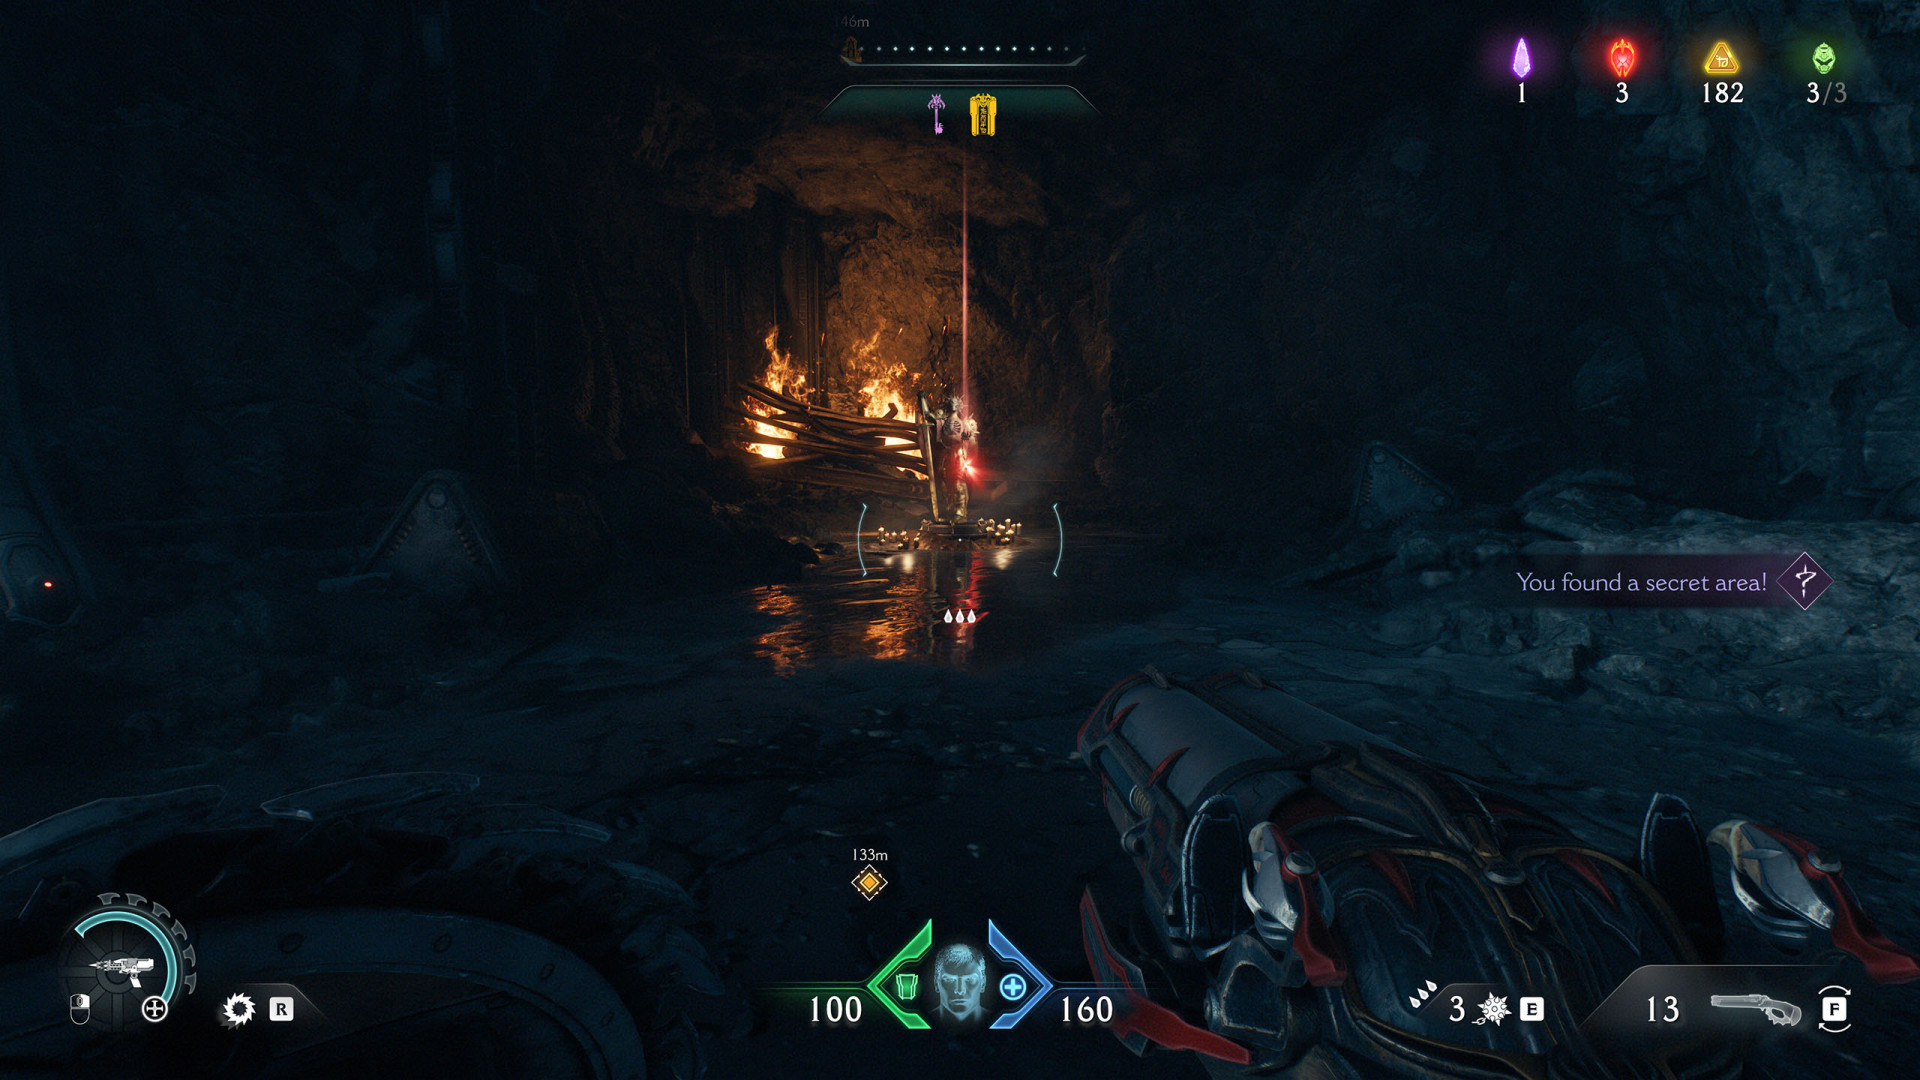
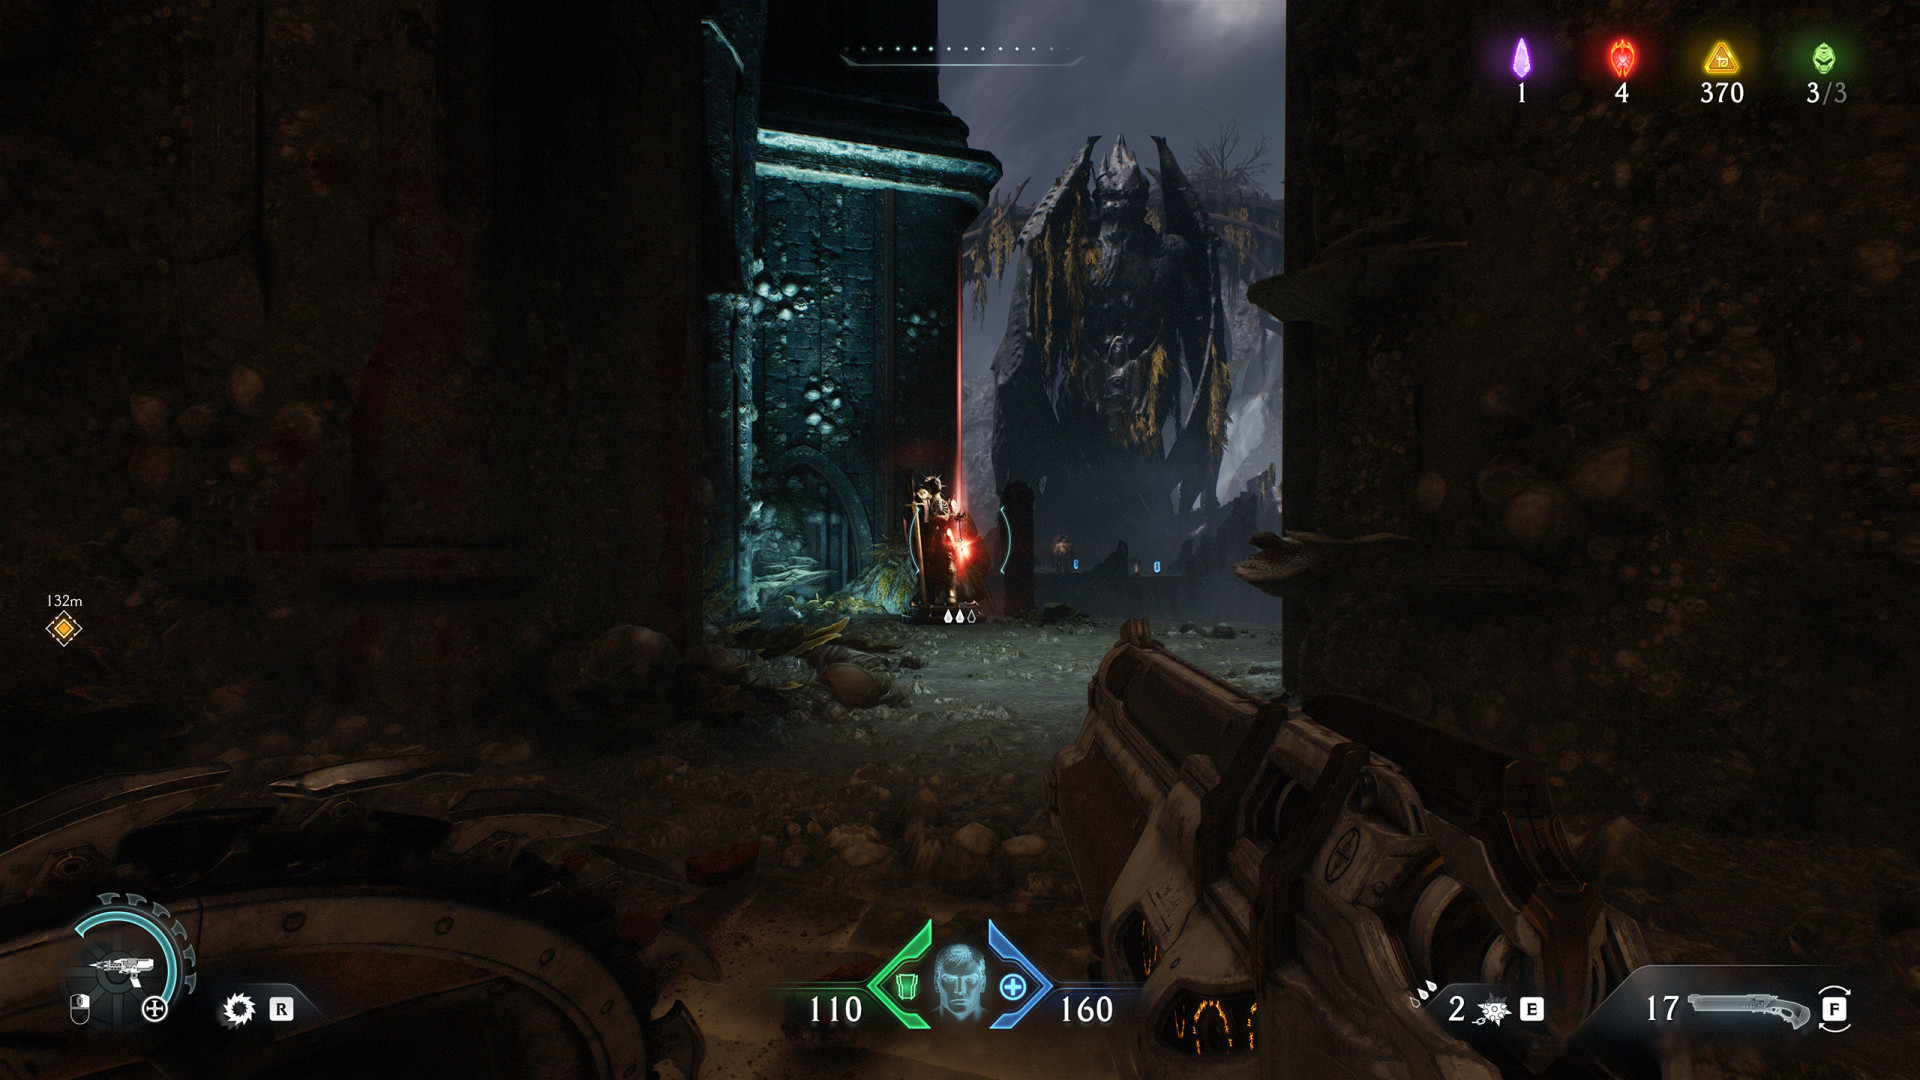
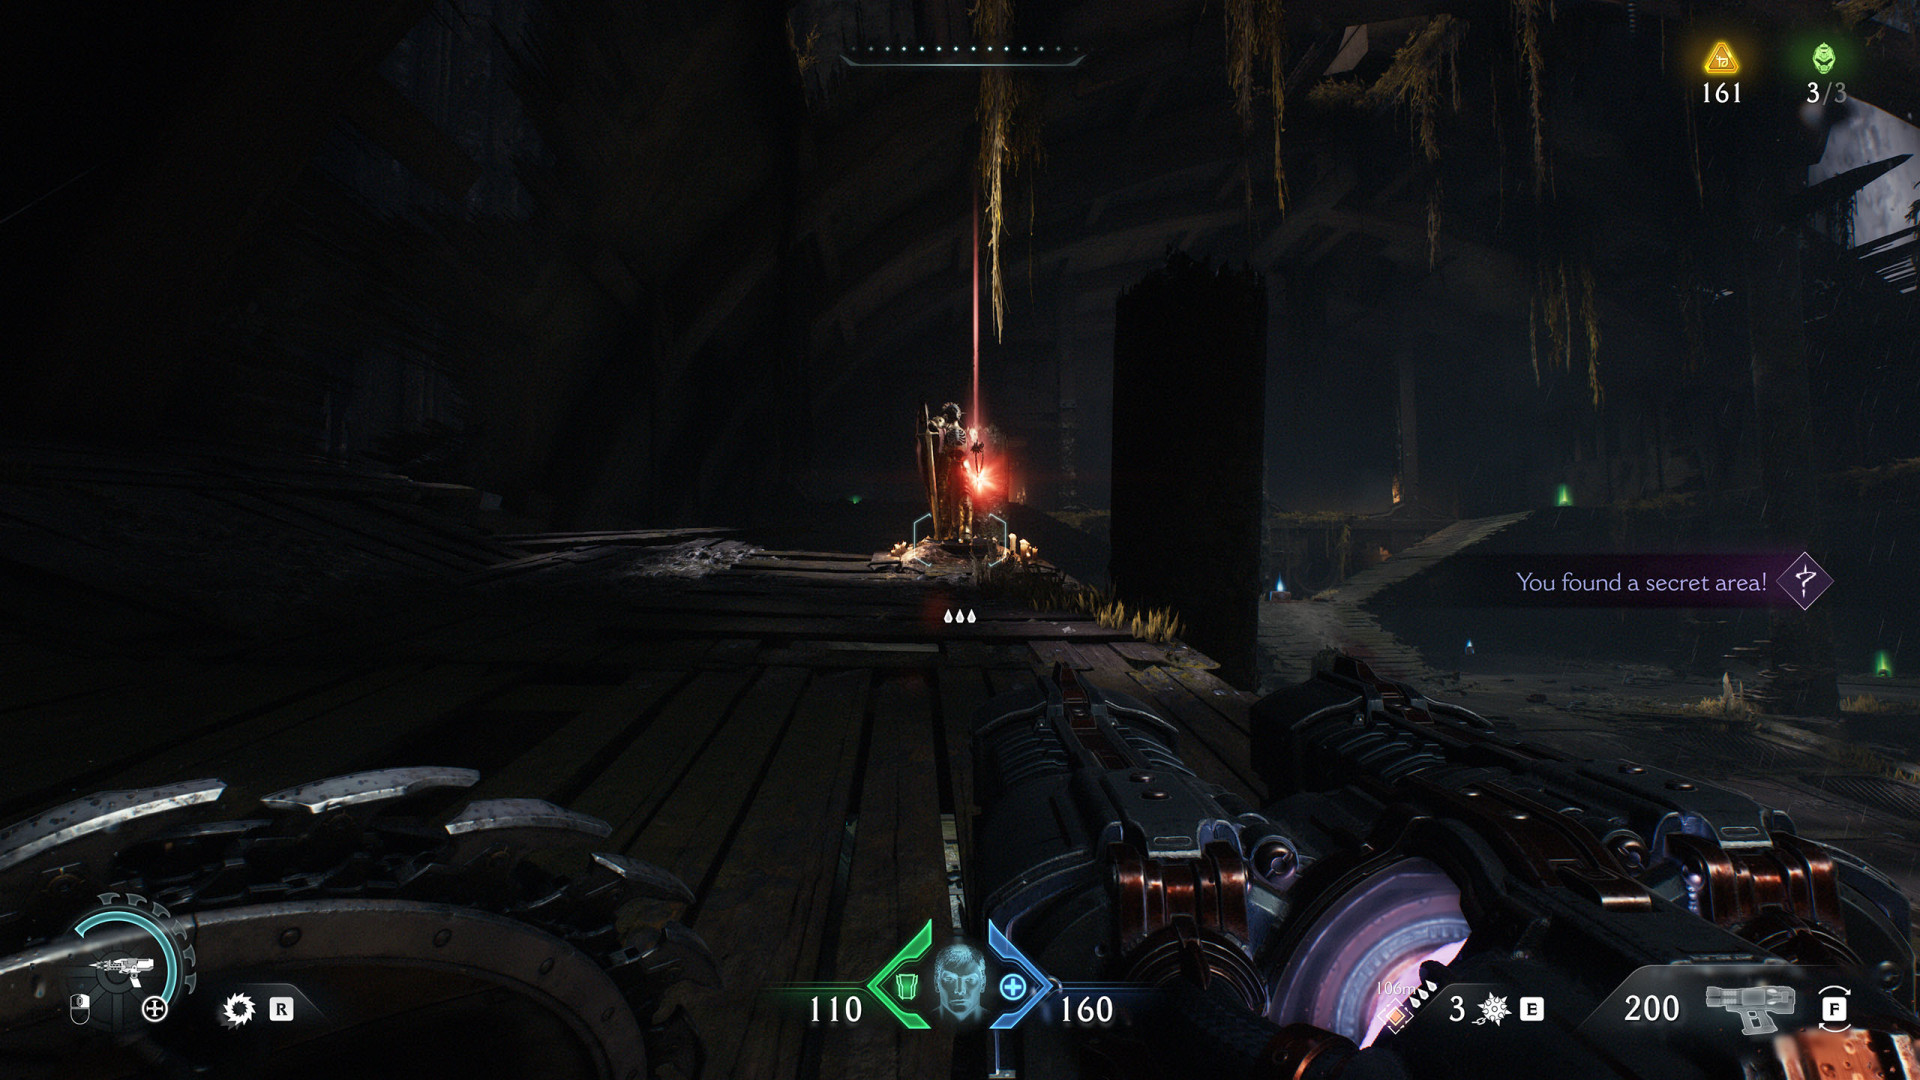
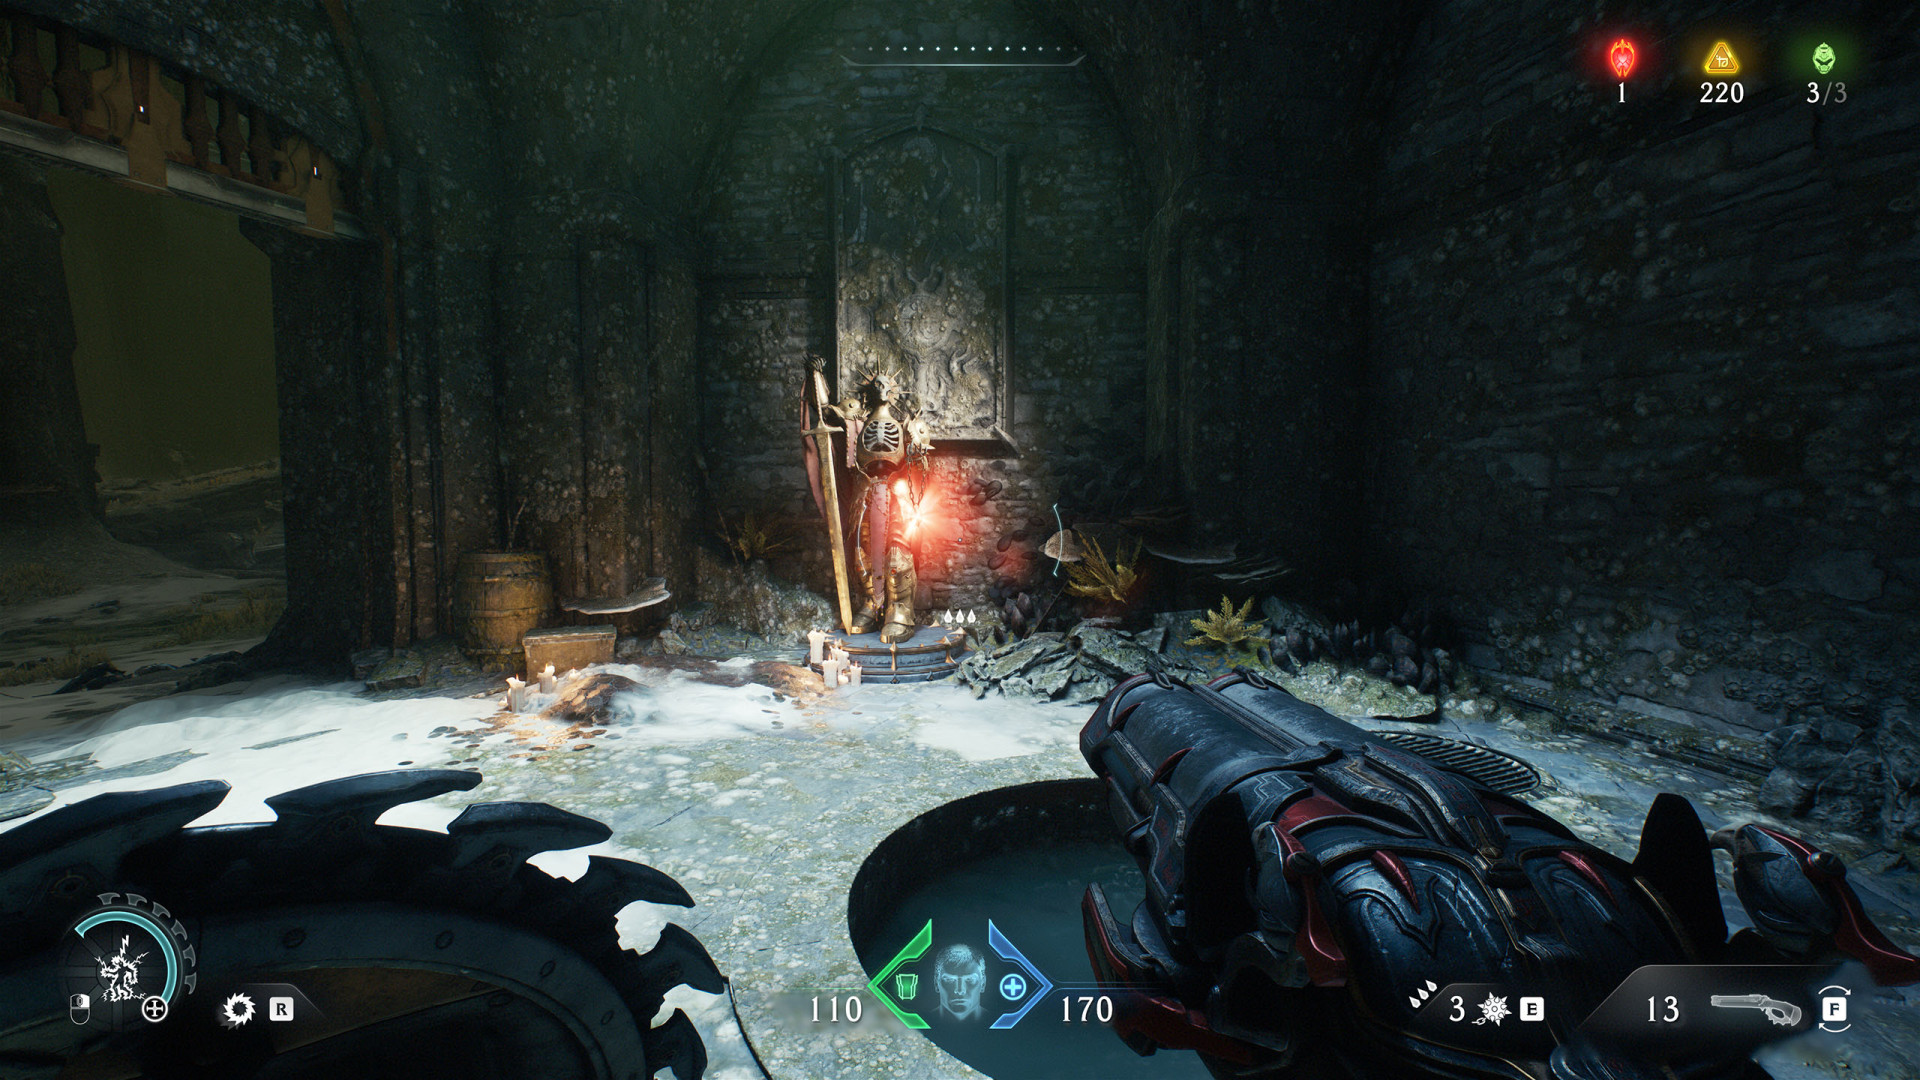
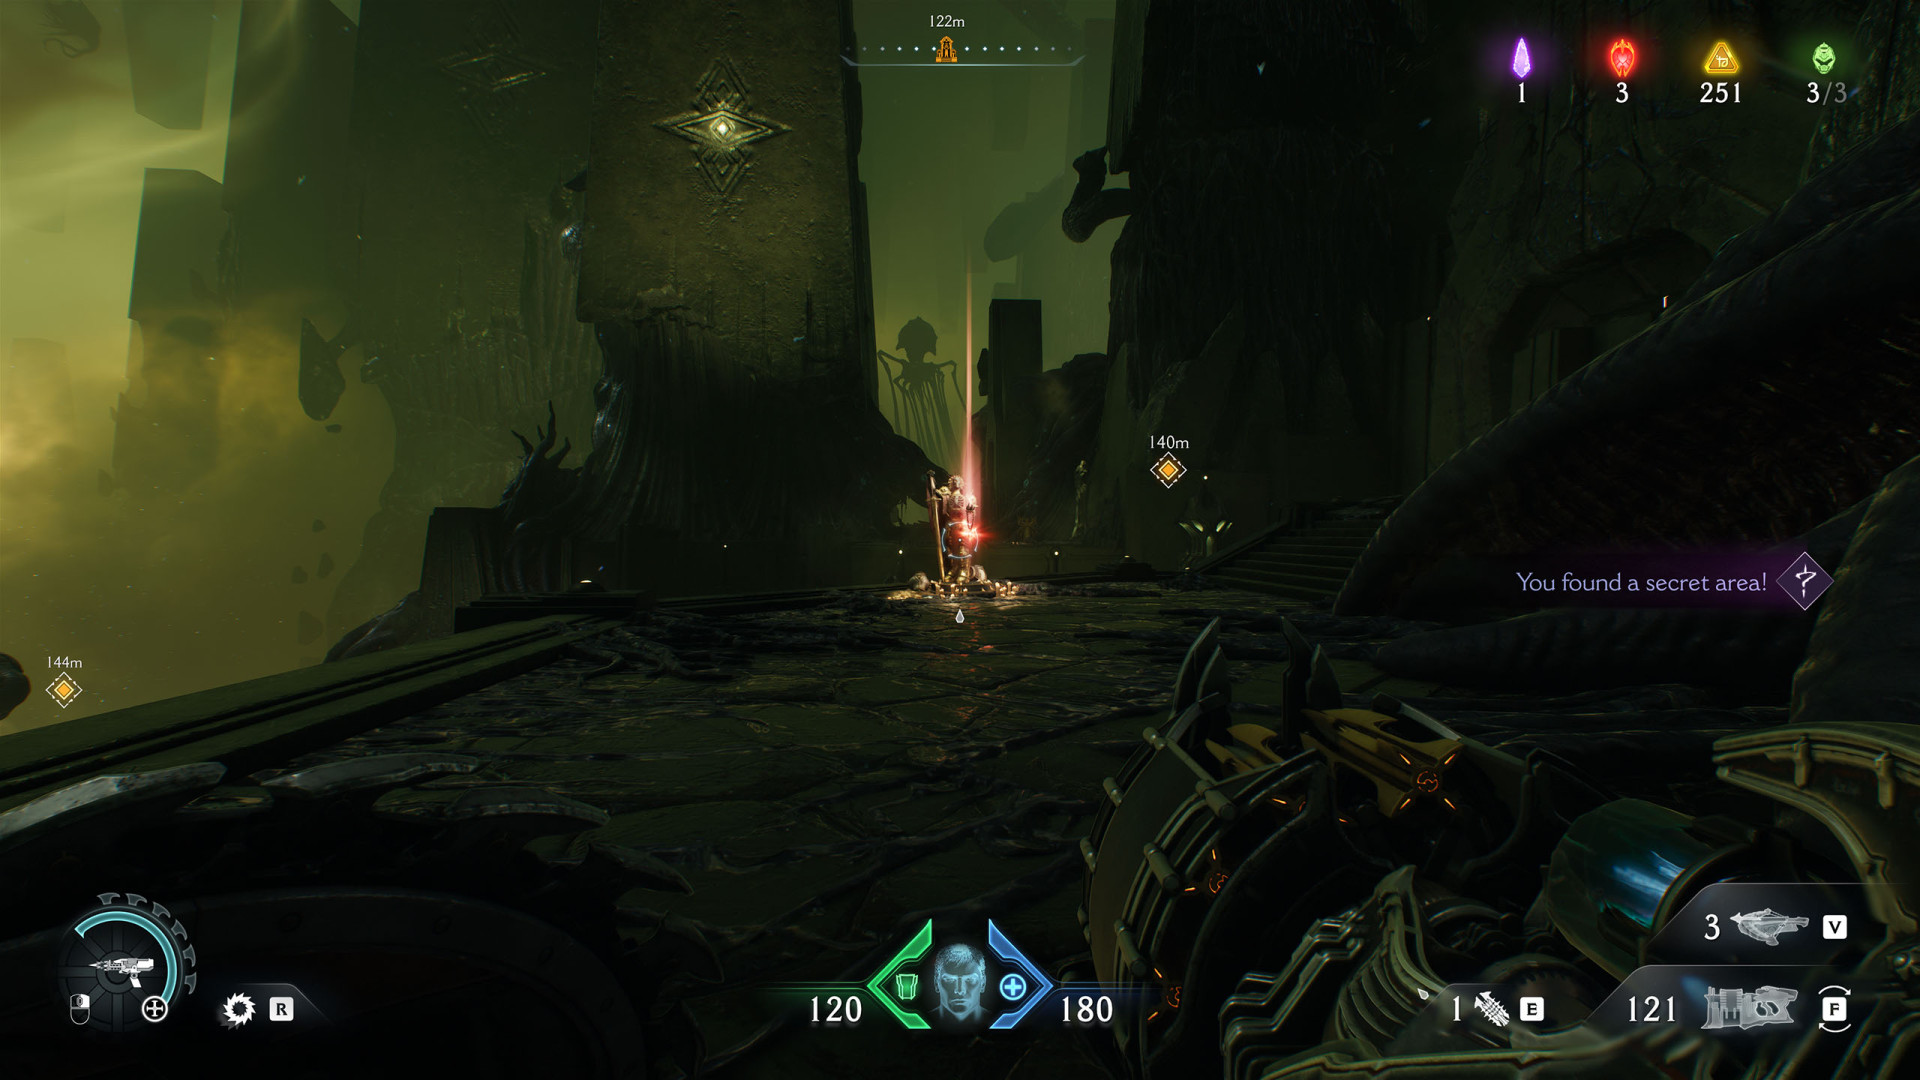
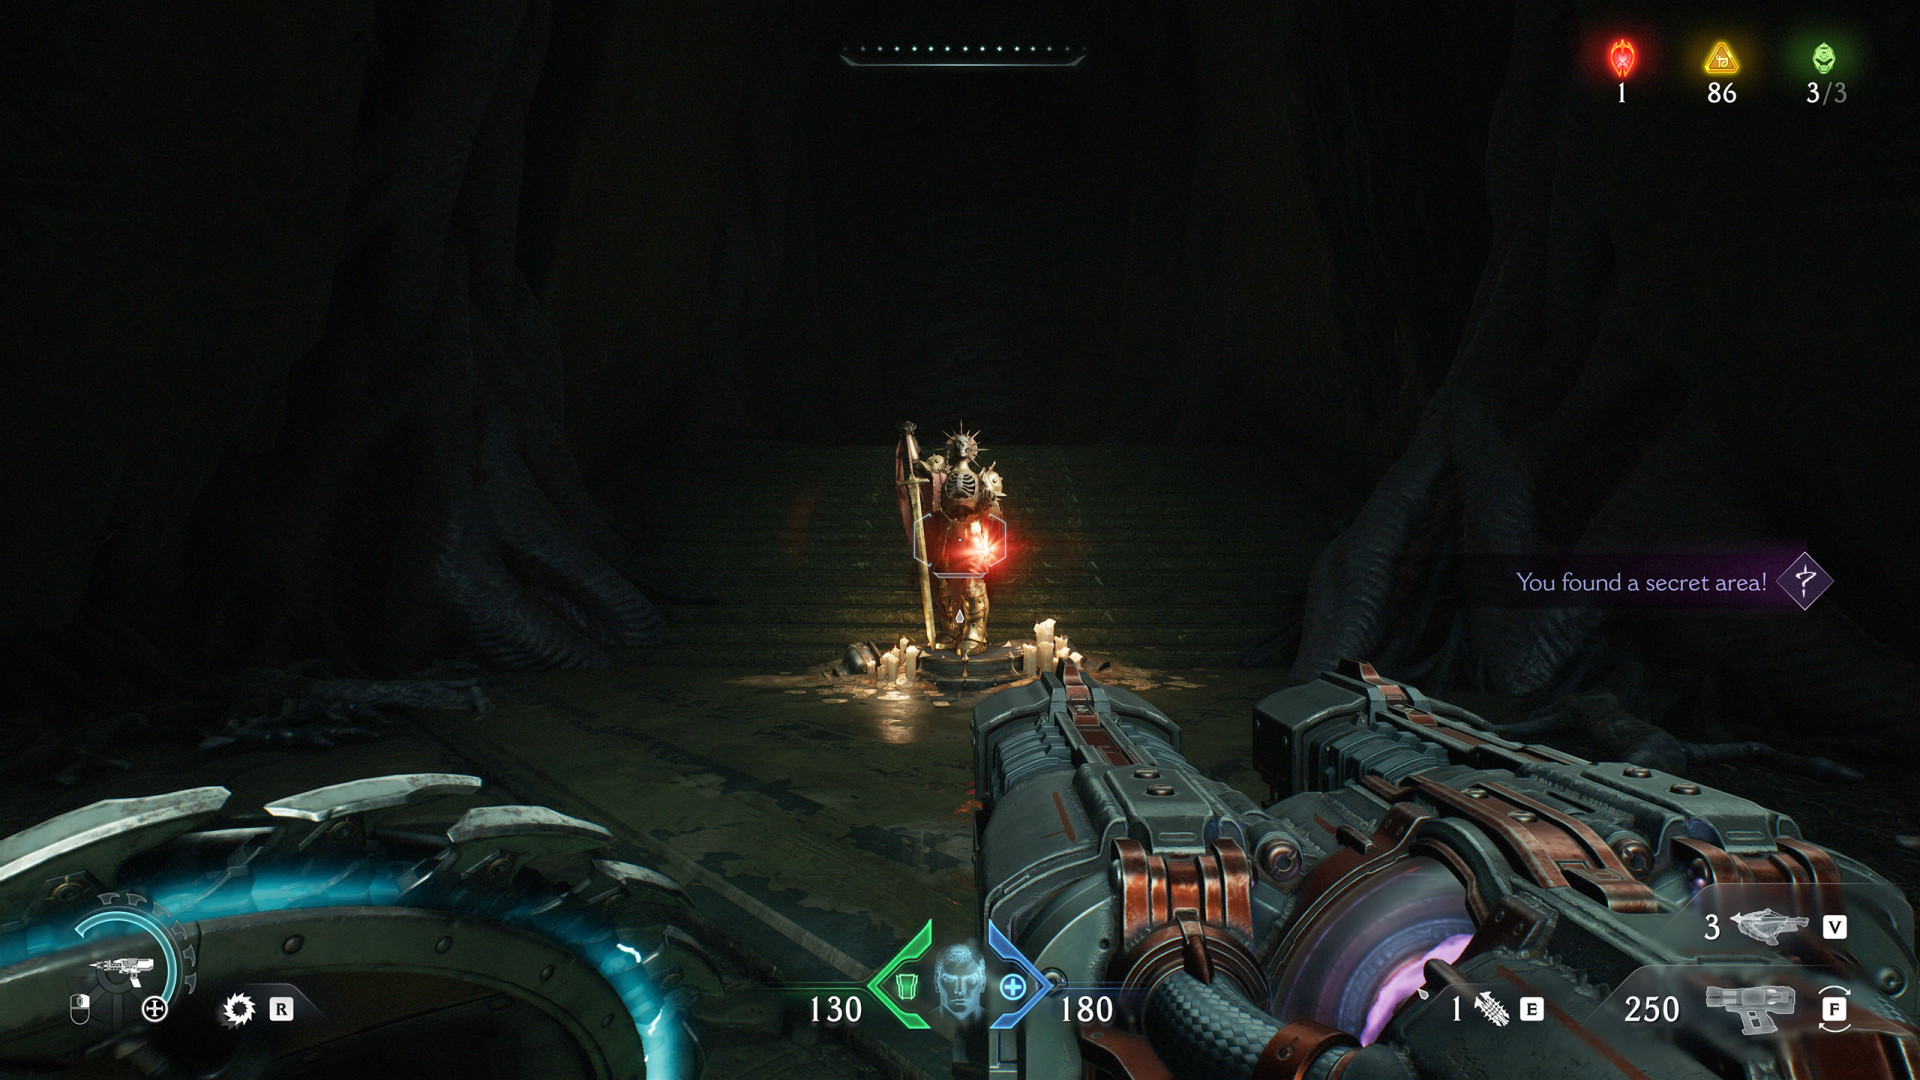
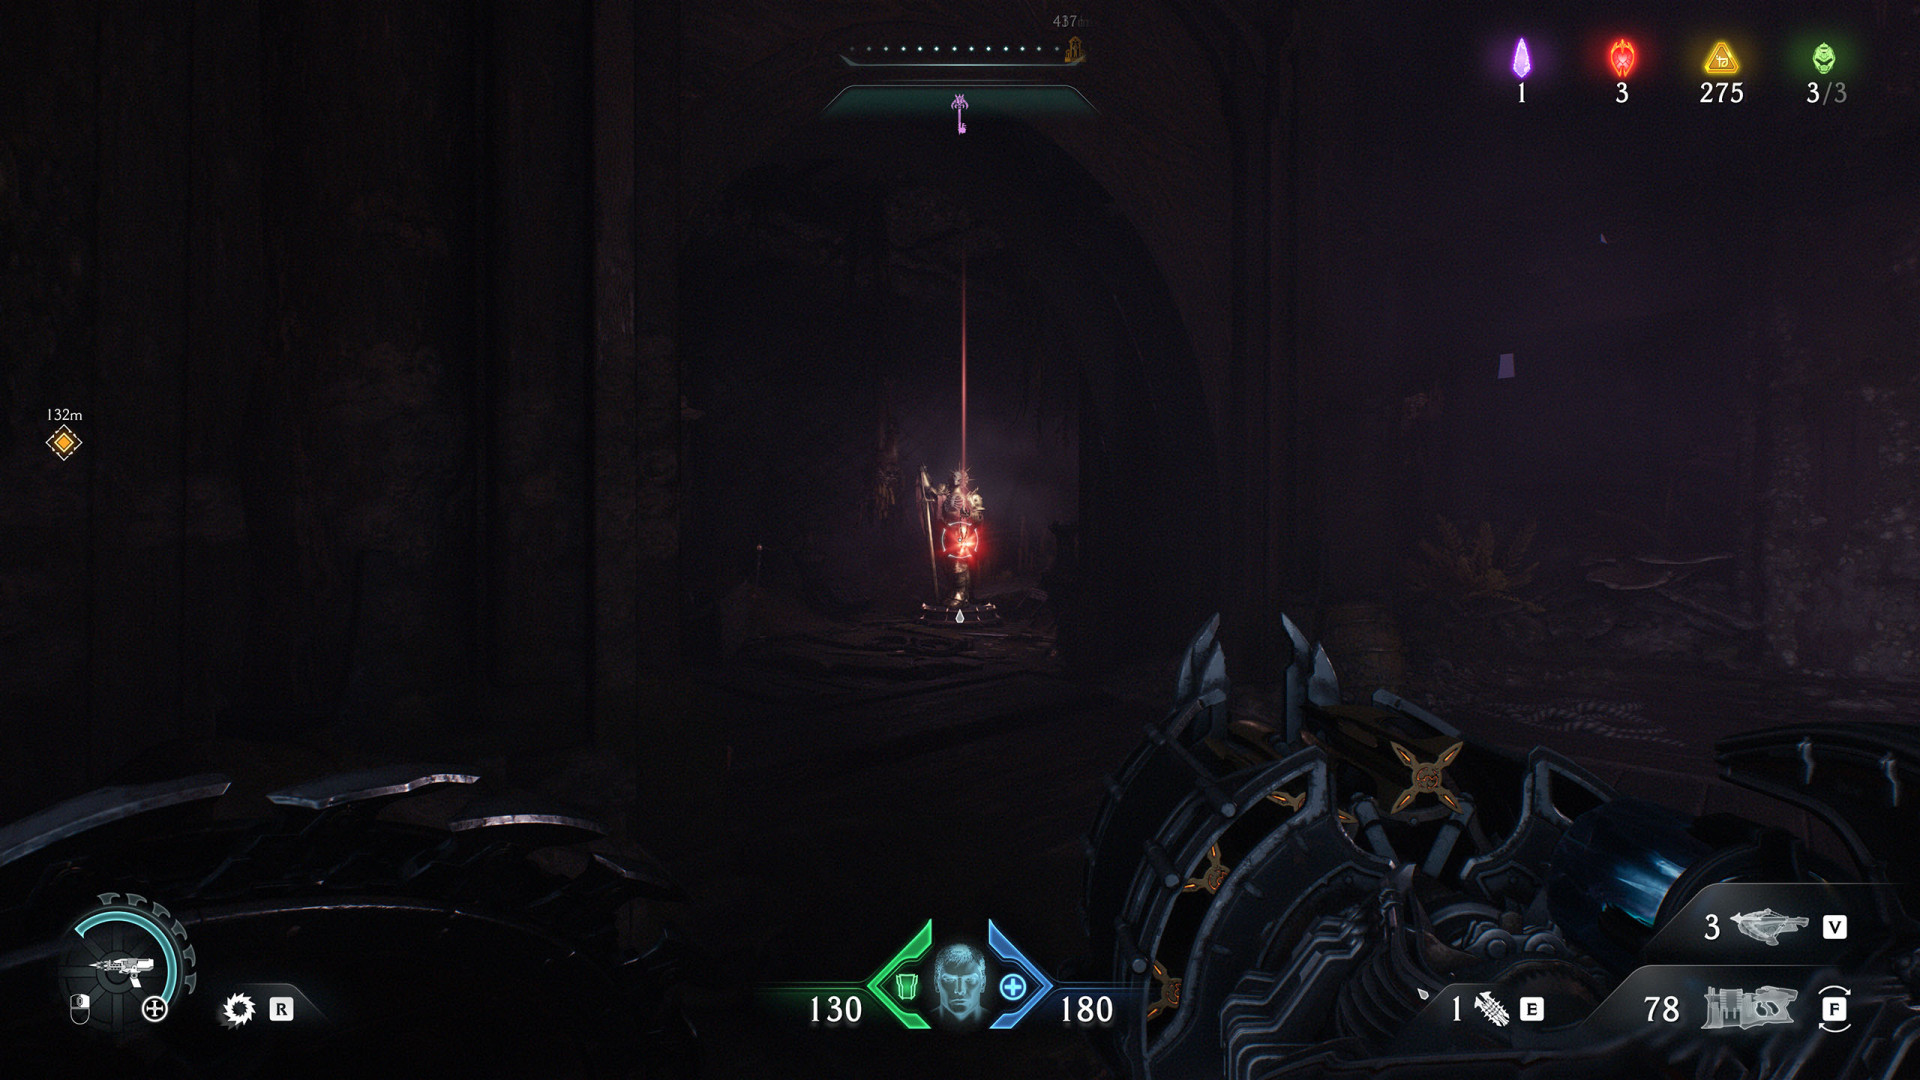
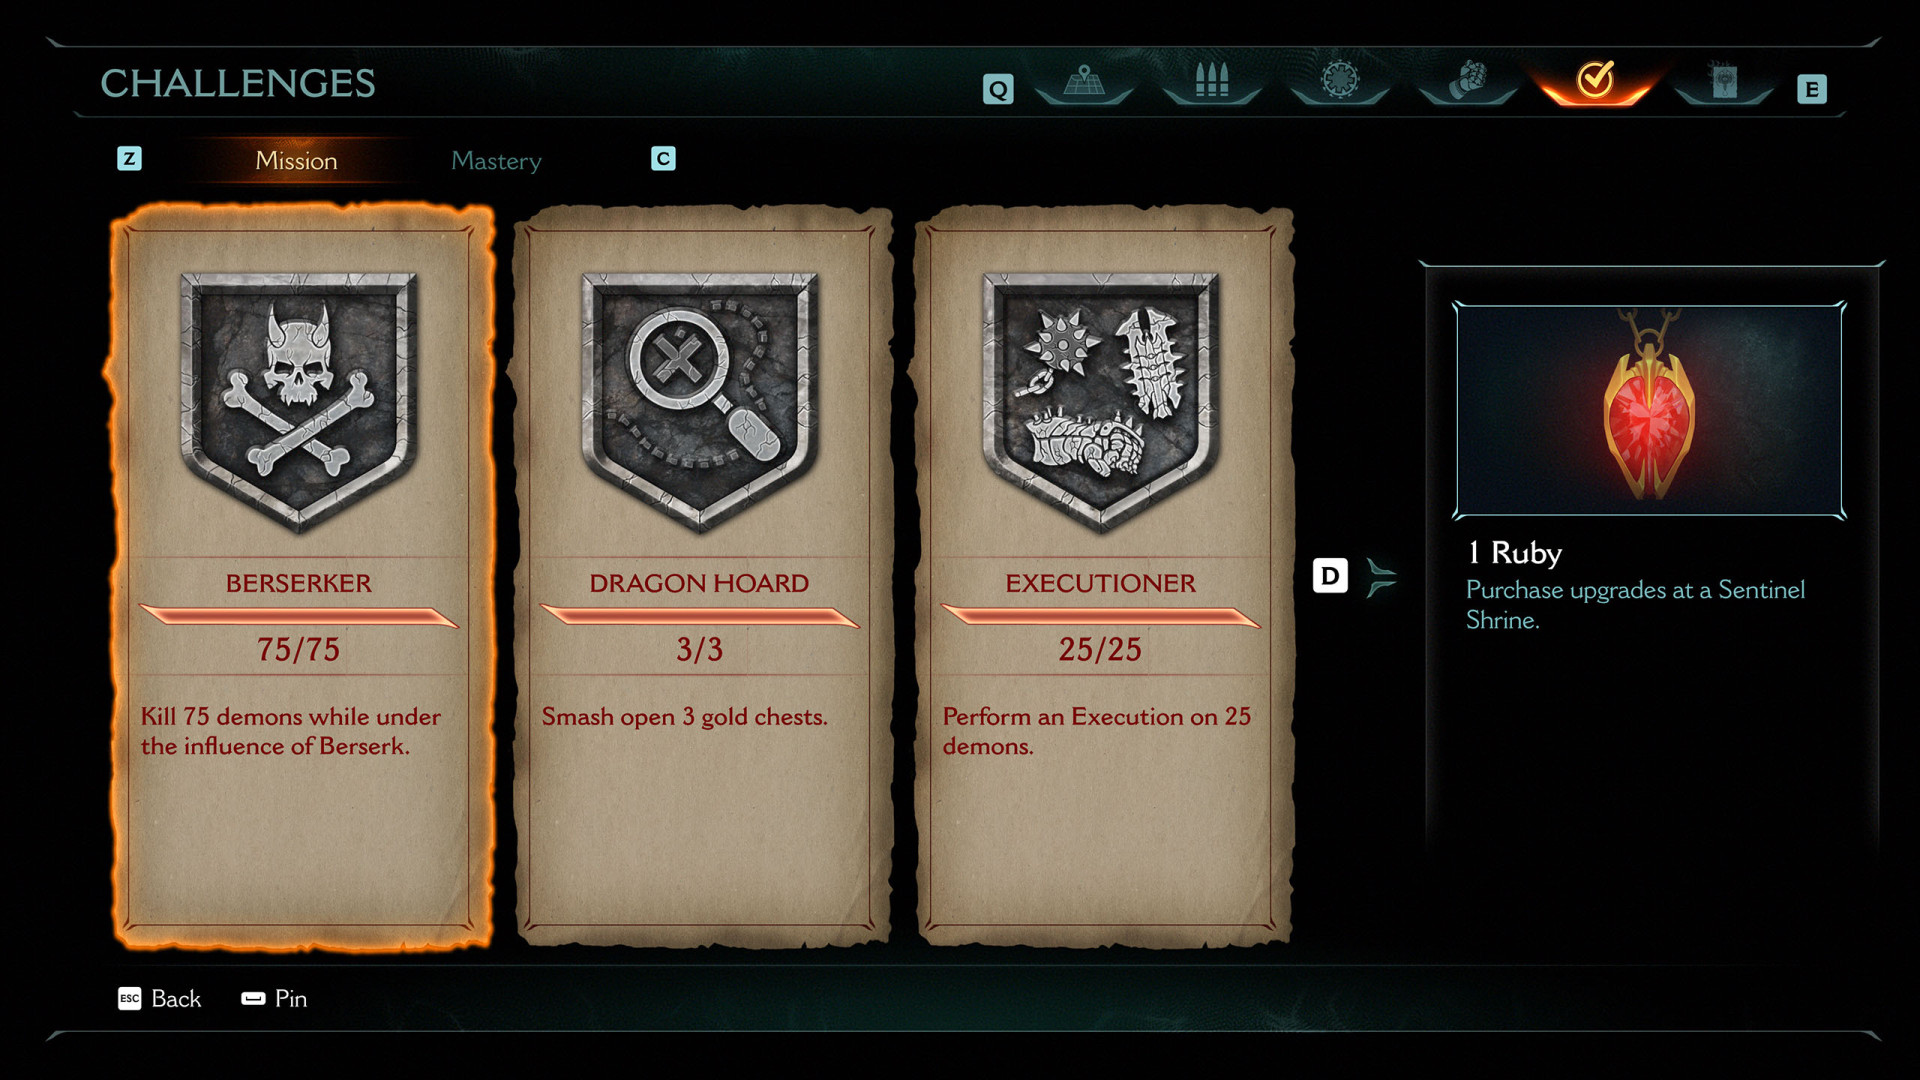
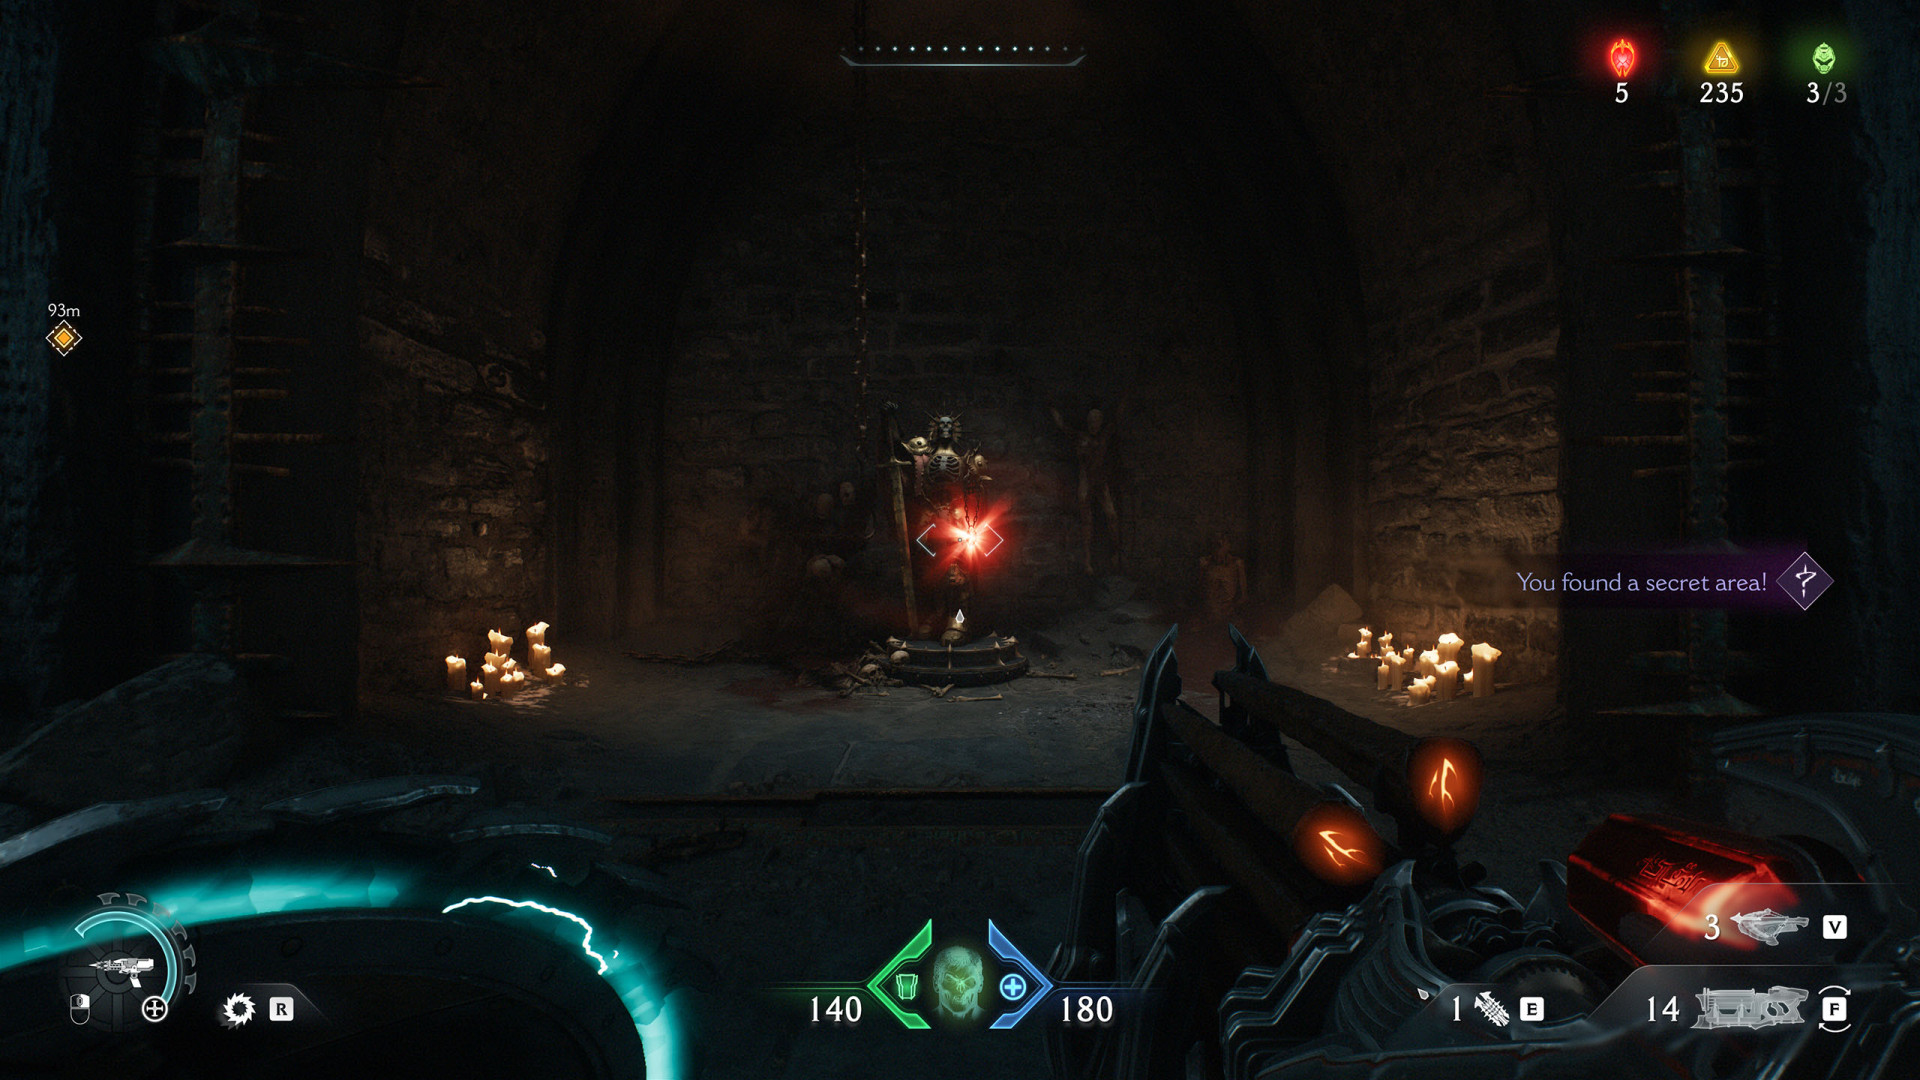
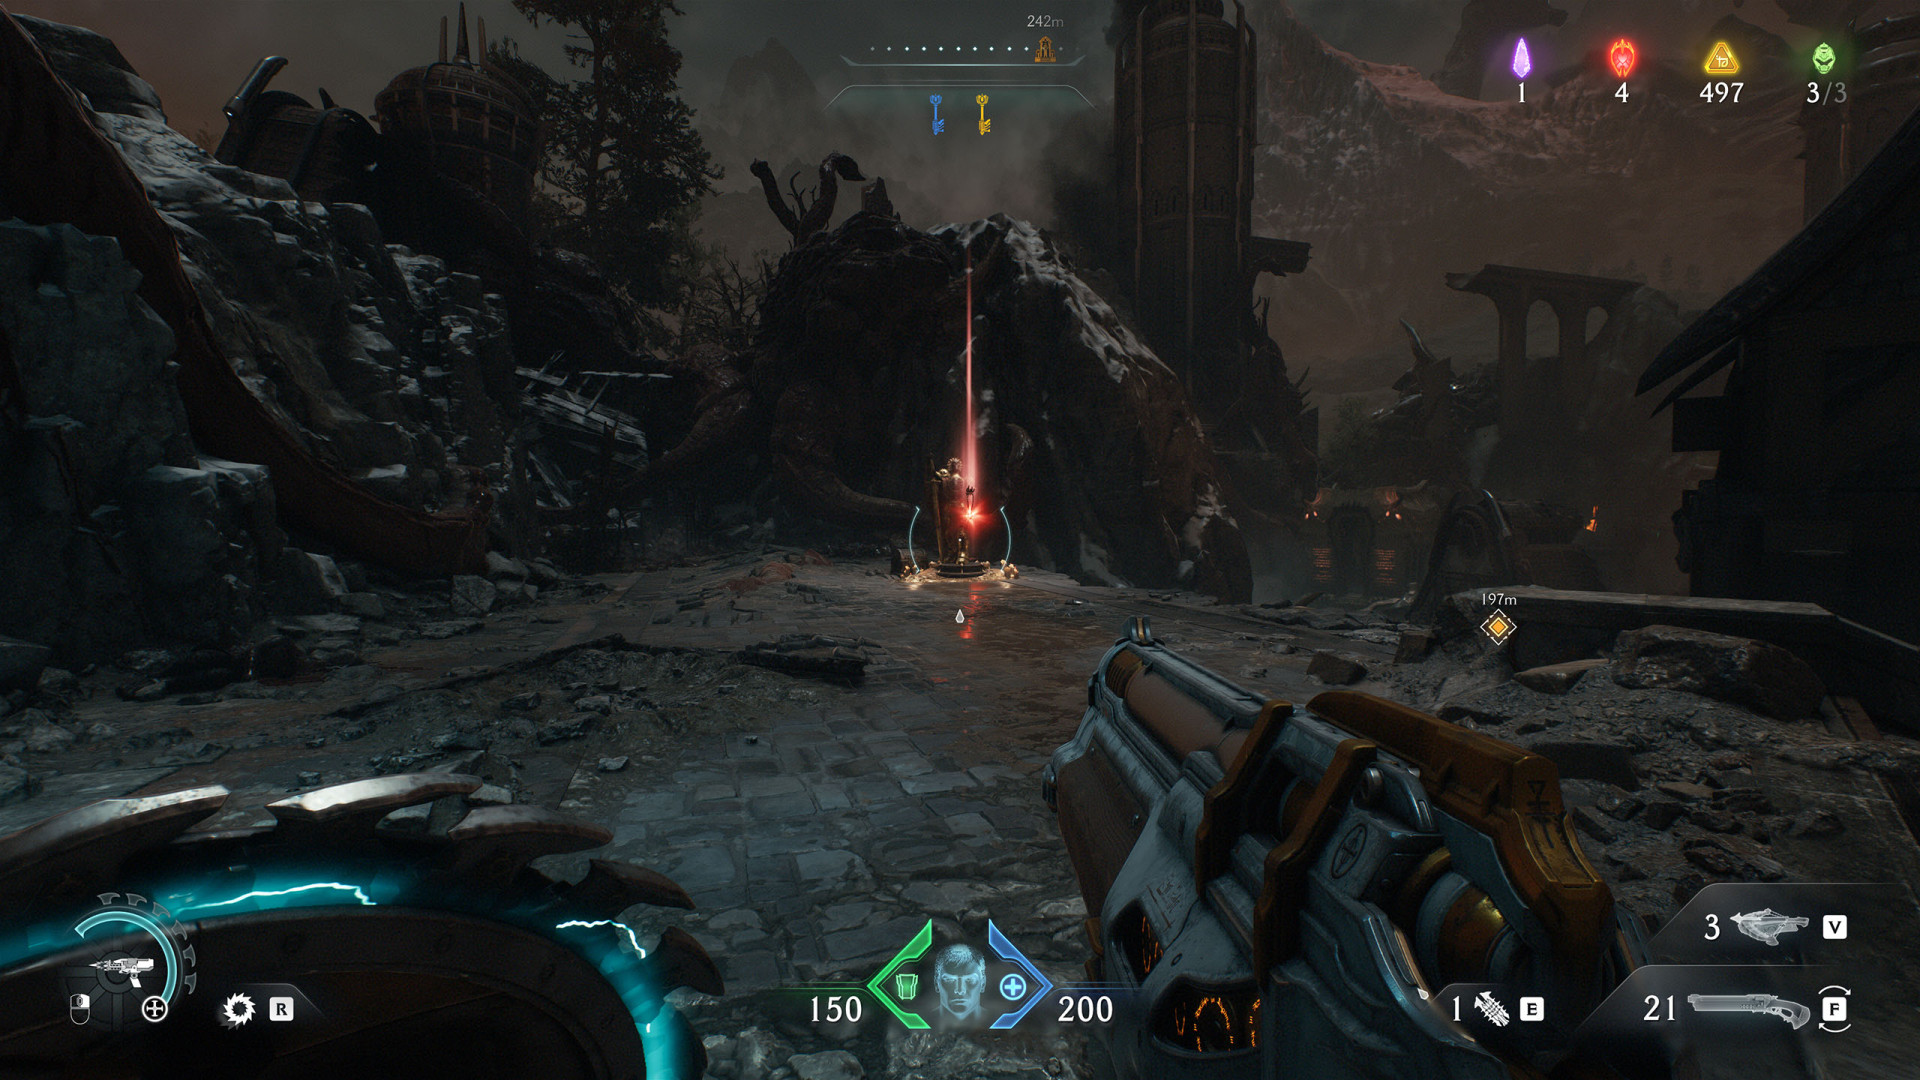
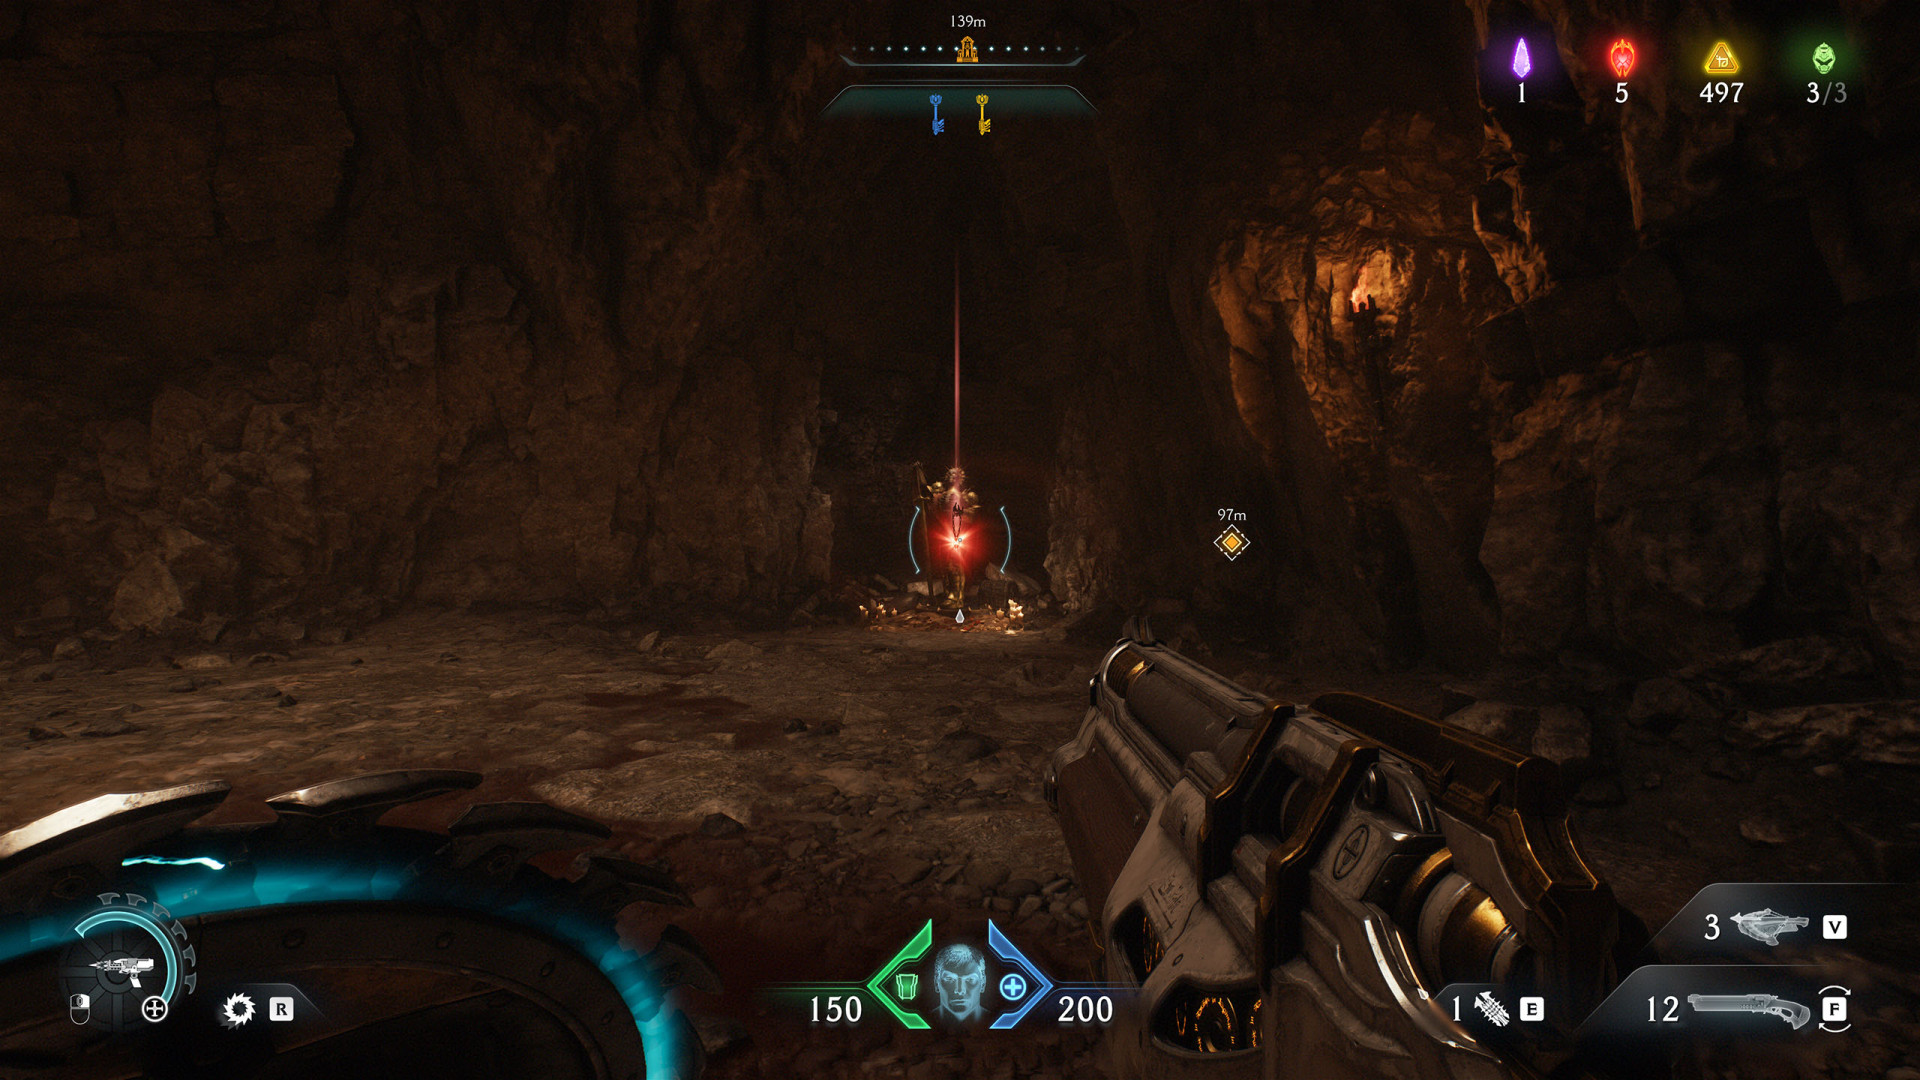
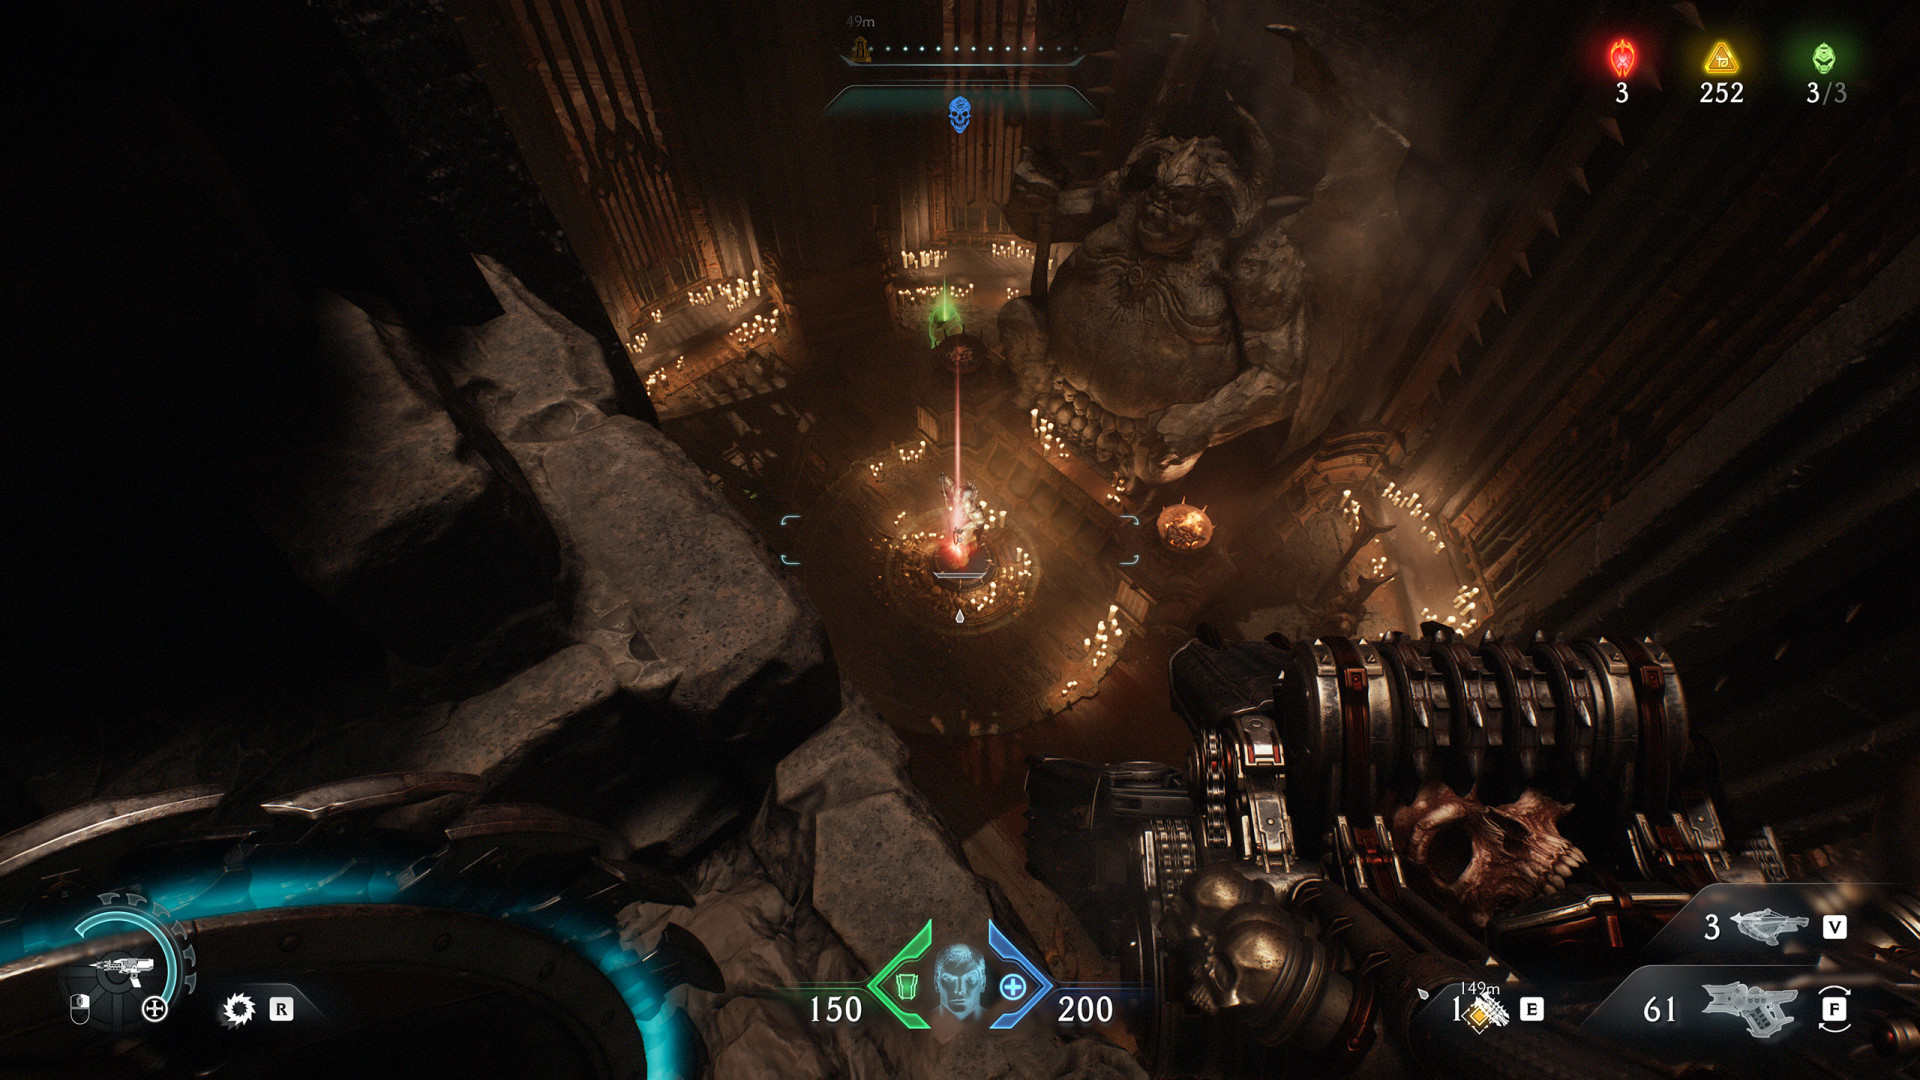
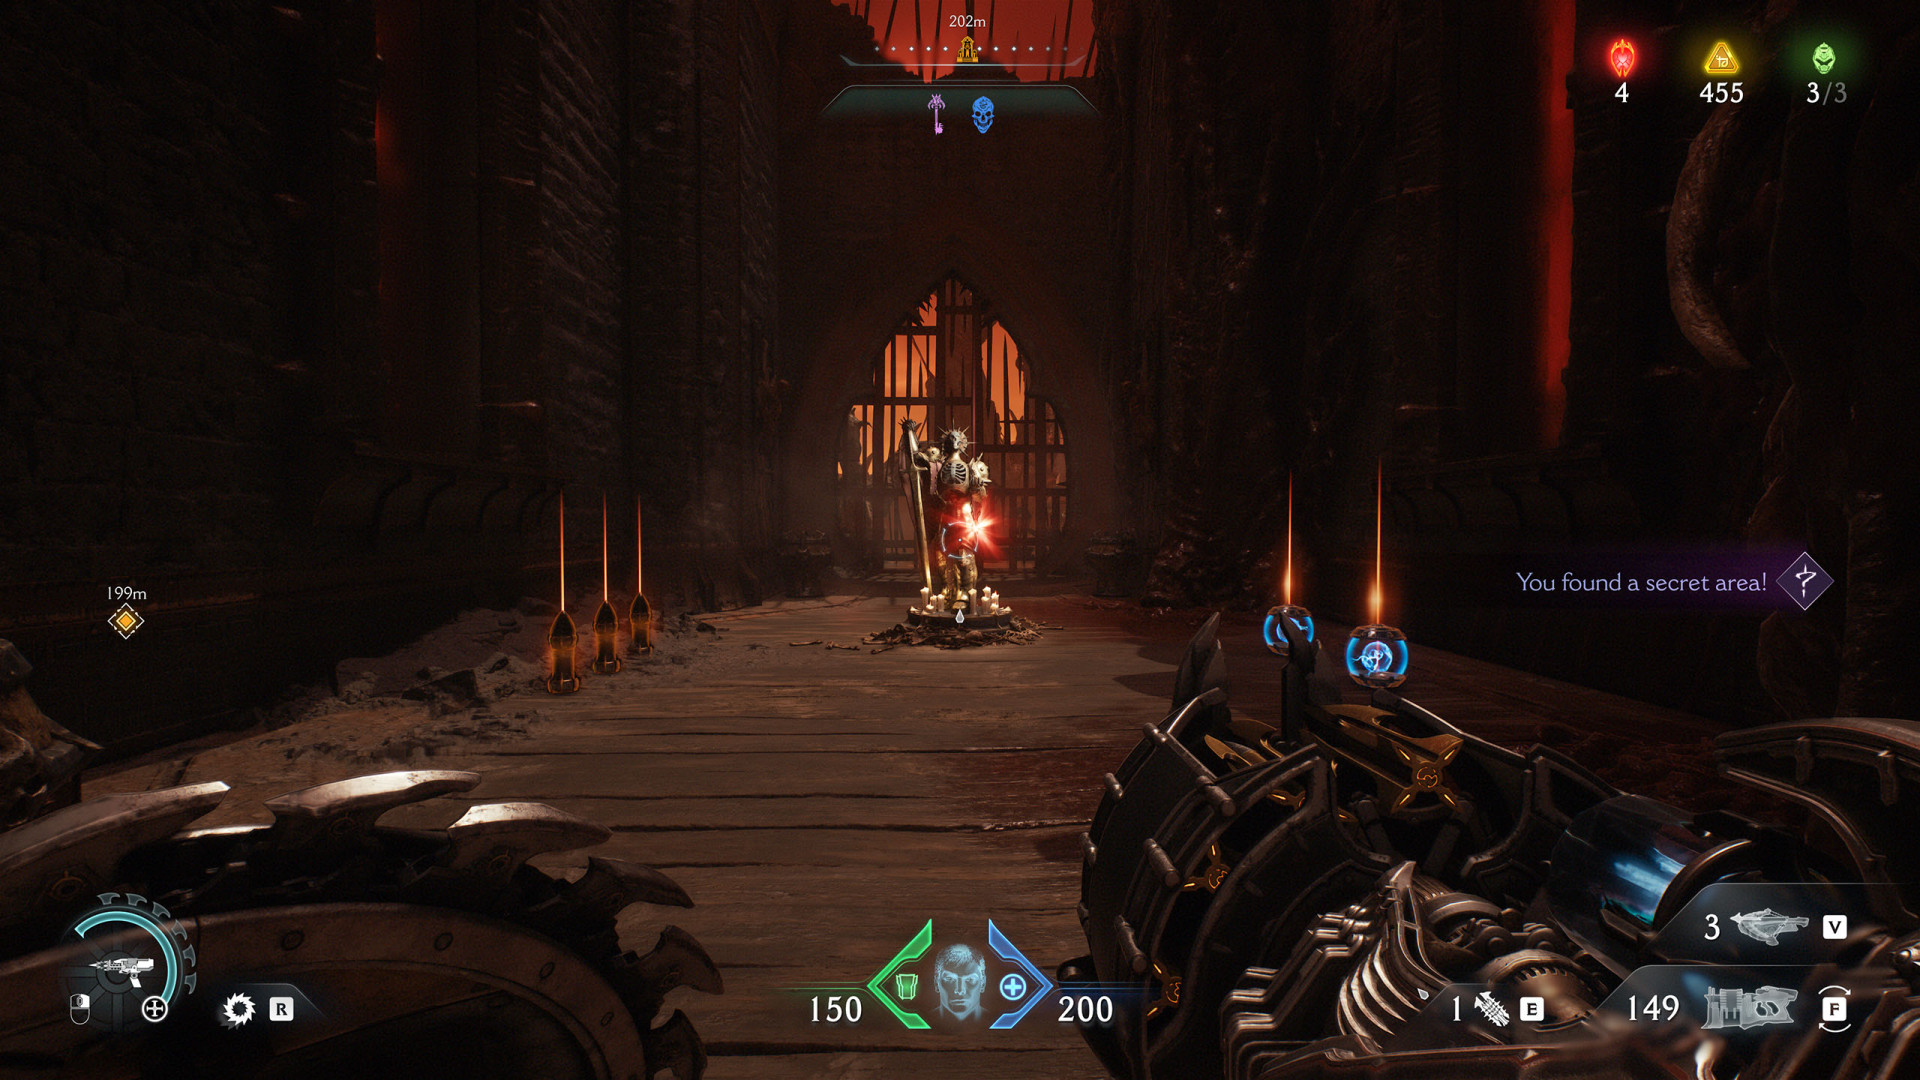
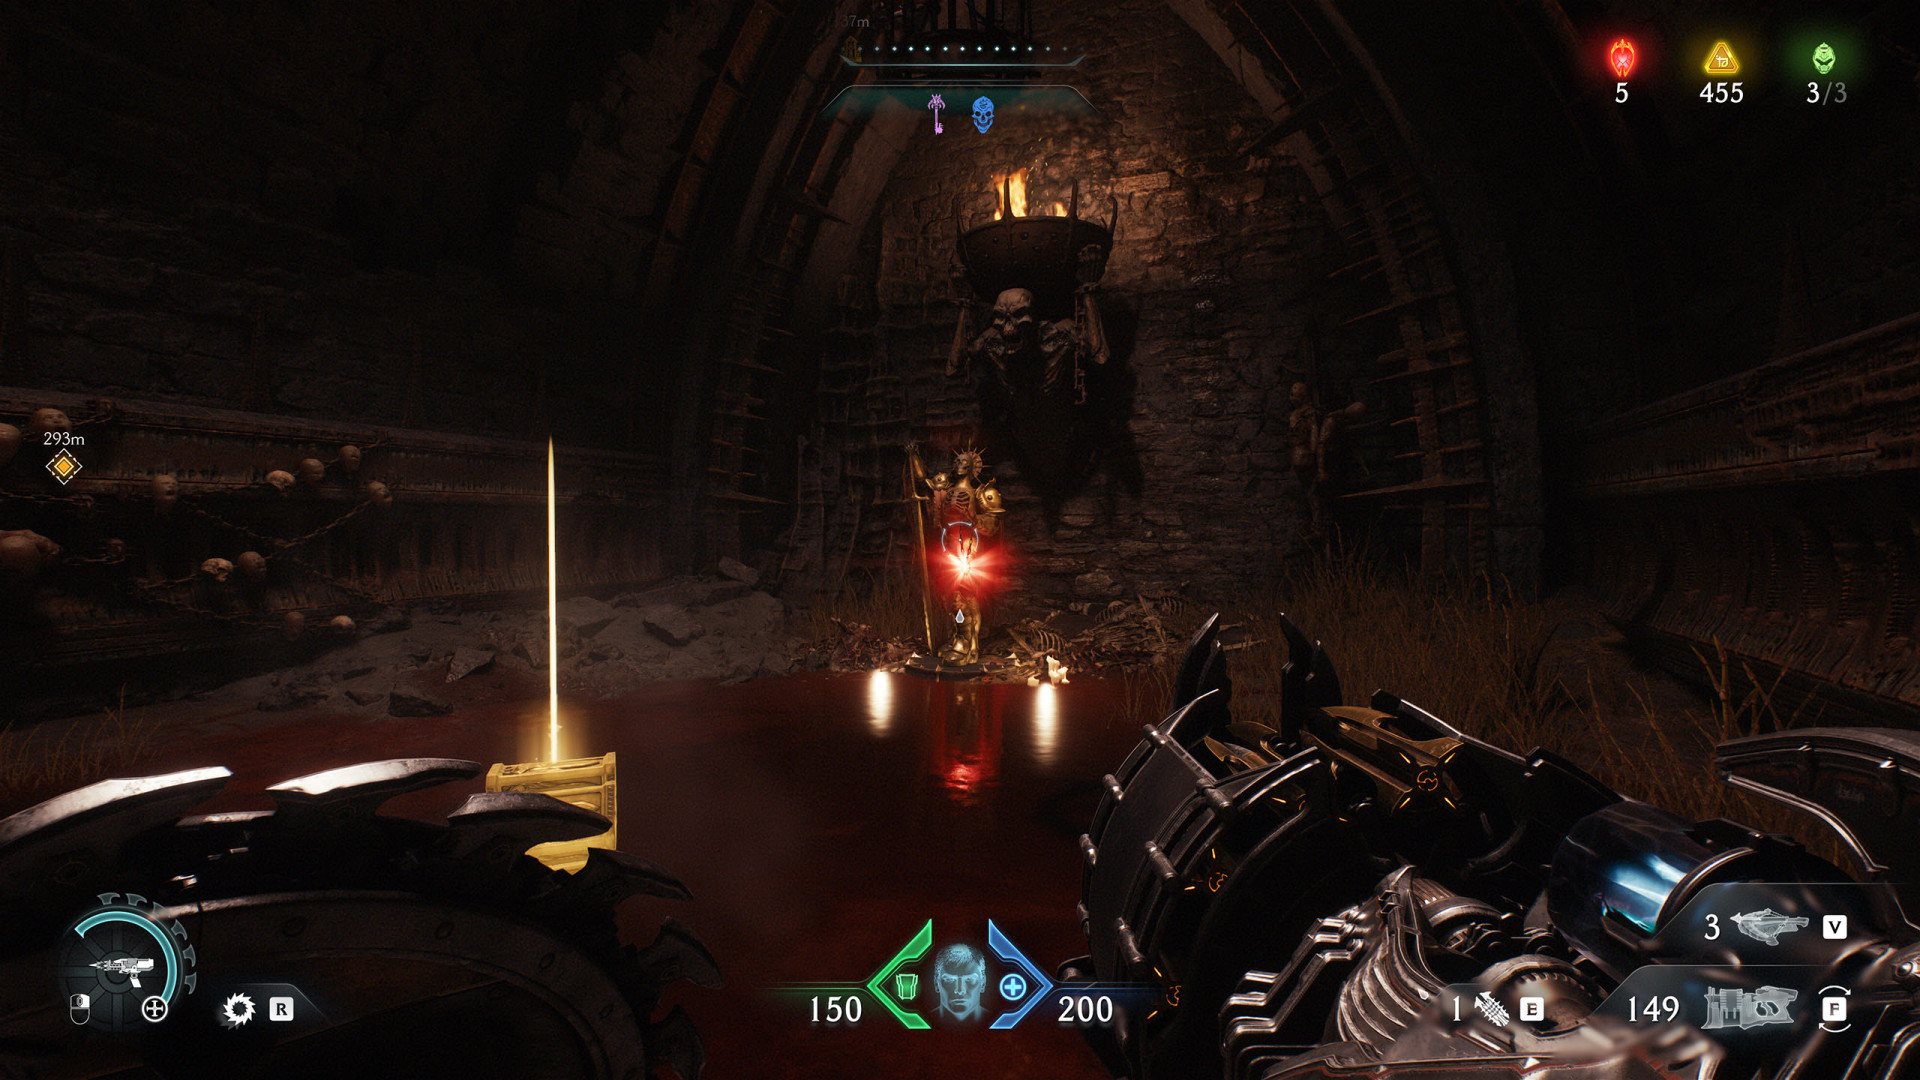
In Doom: The Dark Ages, Rubies are rare collectibles used to upgrade weapons, shield, and melee abilities at Sentinel Shrines, enabling mid-tier enhancements. Found in secret areas, puzzles, or guarded by enemies, they glow red on statues.

Upgrades that require Rubies

  1. Combat Shotgun - Tune Up (The Combat Shotgun fires in rapid, three-round bursts) / Flare Up (The ombat Shotgun instantly applies Burn to fodder demons) - 1 Ruby
  2. Super Shotgun - Shatter (The Super Shotgun deals increased damage to armor) - 3 Rubies
  3. Shredder - No Frills (The Shredder's rate of fire is increased) - 1 Ruby
  4. Impaler - Salvage (Picking up Impaler ammo dropped as a result of yuor Melee and Shield attacks empowers your next shot) / Chronospike (Holding [LMB] slows down time. Impaler projectiles fired during slow time deal more damage) - 2 Rubies
  5. Accelerator - Heatblast (Releasing [LMB] at maximum Charge fires a damaging Heatblast that consumes all remaining Charge. Demons killed by Heatblast drop Accelerator ammo) / Mega Cell (The time it takes for the Accelerator to lose Charge is increased) - 1 Ruby
  6. Cycler - Fulmination (The duration of Shock applied by the Cycler is increased. Additionally, killing a Shocked demon with the Cycler generates more lightning arcs) - 2 Rubies
  7. Pulverizer - Runic Strike (Melee strikes now build and maintain Charge) - 2 Rubies
  8. Ravager - Ignition (The Ravager takes less time to reach maximum fire rate and the movement penalty while firing is removed) / Slow Burn (The Ravager's maximum rate of fire is increased but it takes longer to achieve. The movement penalty while firing is more significant) - 3 Rubies
  9. Chainshot - Gravitational Flux (The Chainshot deals more damage to armor at maximum Charge) - 3 Rubies
  10. Grenade Launcher - Rupture (Direct hits with the Grenade Launcher drop Cluster Grenades when hitting a demon affected by the Shield Saw) - 3 Rubies
  11. Rocket Launcher - Cooked (Parrying a Hell Surge projectile empowers your next shot) / Blood Sacrifice (Rocket Launcher projectiles deal increased splash damage at the cost of more self-damage) - 3 Rubies
  12. Shield - Harvester (Killing multiple fodder demons with Shield Throw will empower your next Shield Charge, allowing it to deal increased damage to the primary target) - 1 Ruby
  13. Shield - Blade Master (The stun duration of the Shield Saw is increased) - 2 Rubies
  14. Power Gauntlet - Encore (Your Power Gauntlet combo gains a 4th hit. This additional swing is only accessible when acquiring a melee charge from a parried attack) - 1 Ruby
  15. Flail - Engulf (Every Flail strike also scorches nearby demons and causes them to drop armor) - 2 Rubies
  16. Dreadmace - Riposte (Successfullyparrying a Hell surge attack when the Dreadmace is charged will grant you an additional Dreadmace attack. This bonus swing is available for a limited time. This effect cannot be triggered again for a short duration) - 3 Rubies

Rubies

Index

The index below enables quick navigation to the desired marker / point of interest.

All known locations on the map - Sentinel Barracks

RubyRuby (Sentinel Barracks #1)

At the lowest level.

Ruby (Sentinel Barracks #1)

Show the map

RubyRuby (Sentinel Barracks #2)

In the Secret Area (Sentinel Barracks #5).

Ruby (Sentinel Barracks #2)

Show the map

All known locations on the map - The Holy City of Aratum

RubyRuby (The Holy City of Aratum #1)

In the Secret Area (The Holy City of Aratum #2). To get here you need to find the Red Keycard (The Holy City of Aratum).

Ruby (The Holy City of Aratum #1)

Show the map

RubyRuby (The Holy City of Aratum #2)

In the Secret Area (The Holy City of Aratum #7). To get here use the Metal Lock (The Holy City of Aratum #10) and the Pressure Plate (The Holy City of Aratum #1).

Ruby (The Holy City of Aratum #2)

Show the map

RubyRuby (The Holy City of Aratum #3) (Challenge)

It's a reward for completing the "Countercult" mission challenge.

Related cultist circles: Cultist Circle (The Holy City of Aratum #1), Cultist Circle (The Holy City of Aratum #2), and Cultist Circle (The Holy City of Aratum #3).

Ruby (The Holy City of Aratum #3) (Challenge)

Show the map

All known locations on the map - Siege - Part 1

RubyRuby (Siege - Part 1 #1)

Ruby (Siege - Part 1 #1)

Ruby (Siege - Part 1 #1)

Show the map

RubyRuby (Siege - Part 1 #2)

In order to lower the cage in which the ruby is located and access it, you need to toggle the Switch (Siege - Part 1 #1).

Ruby (Siege - Part 1 #2)

Show the map

RubyRuby (Siege - Part 1 #3)

Ruby (Siege - Part 1 #3)

Show the map

RubyRuby (Siege - Part 1 #4)

Ruby (Siege - Part 1 #4)

Show the map

All known locations on the map - Siege - Part 2

RubyRuby (Siege - Part 2 #1)

Ruby (Siege - Part 2 #1)

Show the map

RubyRuby (Siege - Part 2 #2)

Ruby (Siege - Part 2 #2)

Show the map

All known locations on the map - Abyssal Forest

RubyRuby (Abyssal Forest #1)

Ruby (Abyssal Forest #1)

Show the map

RubyRuby (Abyssal Forest #2)

Ruby (Abyssal Forest #2)

Show the map

RubyRuby (Abyssal Forest #3) (Challenge)

It's a reward for completing the "Ghost Buster" mission challenge.

Ruby (Abyssal Forest #3) (Challenge)

Show the map

All known locations on the map - Ancestral Forge

RubyRuby (Ancestral Forge #1)

Ruby (Ancestral Forge #1)

Show the map

RubyRuby (Ancestral Forge #2)

Ruby (Ancestral Forge #2)

Show the map

All known locations on the map - The Forsaken Plains

RubyRuby (The Forsaken Plains #1)

The barrier will disappear when you complete the large encounter.

Ruby (The Forsaken Plains #1)

Show the map

RubyRuby (The Forsaken Plains #2)

Ruby (The Forsaken Plains #2)

Show the map

RubyRuby (The Forsaken Plains #3)

Ruby (The Forsaken Plains #3)

Show the map

All known locations on the map - Sentinel Command Station

RubyRuby (Sentinel Command Station #2) (Challenge)

It's a reward for completing the "Wait For It" mission challenge.

Ruby (Sentinel Command Station #2) (Challenge)

Show the map

RubyRuby (Sentinel Command Station)

Ruby (Sentinel Command Station)

Show the map

All known locations on the map - Spire of Nerathul

RubyRuby (Spire of Nerathul #1)

Ruby (Spire of Nerathul #1)

Show the map

RubyRuby (Spire of Nerathul #2)

Ruby (Spire of Nerathul #2)

Show the map

RubyRuby (Spire of Nerathul #3)

Ruby (Spire of Nerathul #3)

Show the map

All known locations on the map - City of Ry'uul

RubyRuby (City of Ry'uul #1)

In the Secret Area (City of Ry'uul #2).

Ruby (City of Ry'uul #1)

Show the map

RubyRuby (City of Ry'uul #2)

In the Secret Area (City of Ry'uul #6).

Ruby (City of Ry'uul #2)

Show the map

All known locations on the map - The Kar'Thul Marshes

RubyRuby (The Kar'Thul Marshes)

Ruby (The Kar'Thul Marshes)

Show the map

All known locations on the map - Temple of Lomarith

RubyRuby (Temple of Lomarith #1)

Ruby (Temple of Lomarith #1)

Show the map

RubyRuby (Temple of Lomarith #2)

Ruby (Temple of Lomarith #2)

Show the map

All known locations on the map - Belly of the Beast

RubyRuby (Belly of the Beast)

Ruby (Belly of the Beast)

Show the map

All known locations on the map - Harbor of Souls

RubyRuby (Harbor of Souls #2) (Challenge)

It's a reward for completing the "Berserker" mission challenge.

Ruby (Harbor of Souls #2) (Challenge)

Show the map

RubyRuby (Harbor of Souls)

Ruby (Harbor of Souls)

Show the map

All known locations on the map - Resurrection

RubyRuby (Resurrection #1)

In the Secret Area (Resurrection #4).

Ruby (Resurrection #1)

Show the map

RubyRuby (Resurrection #2)

In the Secret Area (Resurrection #5).

Ruby (Resurrection #2)

Show the map

RubyRuby (Resurrection #3)

Ruby (Resurrection #3)

Show the map

All known locations on the map - Reckoning

RubyRuby (Reckoning #1)

Secret Area (Reckoning #3)

Ruby (Reckoning #1)

Show the map

RubyRuby (Reckoning #2)

Secret Area (Reckoning #6)

Ruby (Reckoning #2)

Show the map

RubyRuby (Reckoning #3)

Secret Area (Reckoning #7)

Ruby (Reckoning #3)

Show the map