Locations on Vale Sangora

1A Bulwark Against Darkness

Show the map

2A Closer Look

Show the map

3A Pilgrimage for Power

The uriashi left a few glyphs in the places they considered important. While travelling in the mountains, I should be on the lookout for those.

Objectives:

Find all the sacred stones - If I want to unlock the full potential of this magic, I need to find all the glyphs. In order to do it, I must first locate every uriashi sacred stone.Ask the Bakr Elder about the glyphs - Maybe I can learn more about the uriashi glyphs - and who's better to ask than the Elder?Find the sacred pond - There is a small pond somewhere in the mountains - the uriashi consider it sacred. And it's where the murderer from Tavr Clan has supposedly gone.Find the one-horned murderer - I was able to find the sacred pond. But where is the uriashi murderer?Defeat the one-horned murderer - He tried to ambush me, but I was prepared. Time to end this.

Show the map

4A Pilgrimage for Power: Bear Trouble

While in the mountains, I found an uriashi path leading towards one of their sacred places. Maybe I should make the climb?

Objectives:

  • Follow the windchimes - Nothing to it but to follow the windchimes and make the climb - who knows what I'll find at the top?
  • Defeat the bear - As they always say - when in the mountains, be wary of bears. Well, now I know exactly why.
  • Explore the top of the hill - The trail seems to be leading to the very top of the hill. I wonder what I'll find there.
  • Inspect the uriashi glyph (2T) - I should take a look at the glyph, see if I can learn anything from it.
  • Investigate the uriashi corpse using Focus Mode - I spotted an uriashi corpse nearby. I should inspect it.
  • Investigate the bear carcass - I should take a closer look at the dead bear.
  • Talk with the wounded uriash - I was approached by a heavily wounded uriash. What does he want?

Endings:

  • I was able to copy the uriashi glyph.
  • I was never able to finish the trek up the mountain.
Show the map

5A Pilgrimage for Power: Dark-Thing

Show the map

6A Pilgrimage for Power: Fanatics

Show the map

7A Pilgrimage for Power: The Ritual

Show the map

8A Study in Crimson

Show the map

9Ambrus's Dungeons

Show the map

10Ambrus's Prisoner Transports

Show the map

11Ambrus's Transports: Roadside Surprise

Ambrus's soldiers are busy transporting barrels of blood. I could make sure they don't reach their destination.

Objectives:

  • Defeat the guards - I've got to kill the soldiers guarding Ambrus's blood barrels.
  • Check the barrels (3T) - Time to make sure these barrels never get into Ambrus's hands.

Endings:

When I got to destroying the blood barrels, I certainly didn't expect to find a man hiding inside one of them. He wanted to join the manumits, and I encouraged him to pursue this goal. We need men like him.

When I got to destroying the blood barrels, I certainly didn't expect to find a man hiding inside one of them. He wanted to join the manumits and I tried to talk him out of it - we don't need more people throwing their lives away like that.

When I got to destroying the blood barrels, I certainly didn't expect to find a man hiding inside one of them. He wanted to join the manumits - a dream he will never fulfil because I killed him.

I decided to leave the soldiers be and instead go after their master, Brencis.

Rewards:

  • 250 XP
  • Skill Point
  • Kobold's Blood
Show the map

12Bakir's Headhunters: Secret Stash

Show the map

13Blasphemy

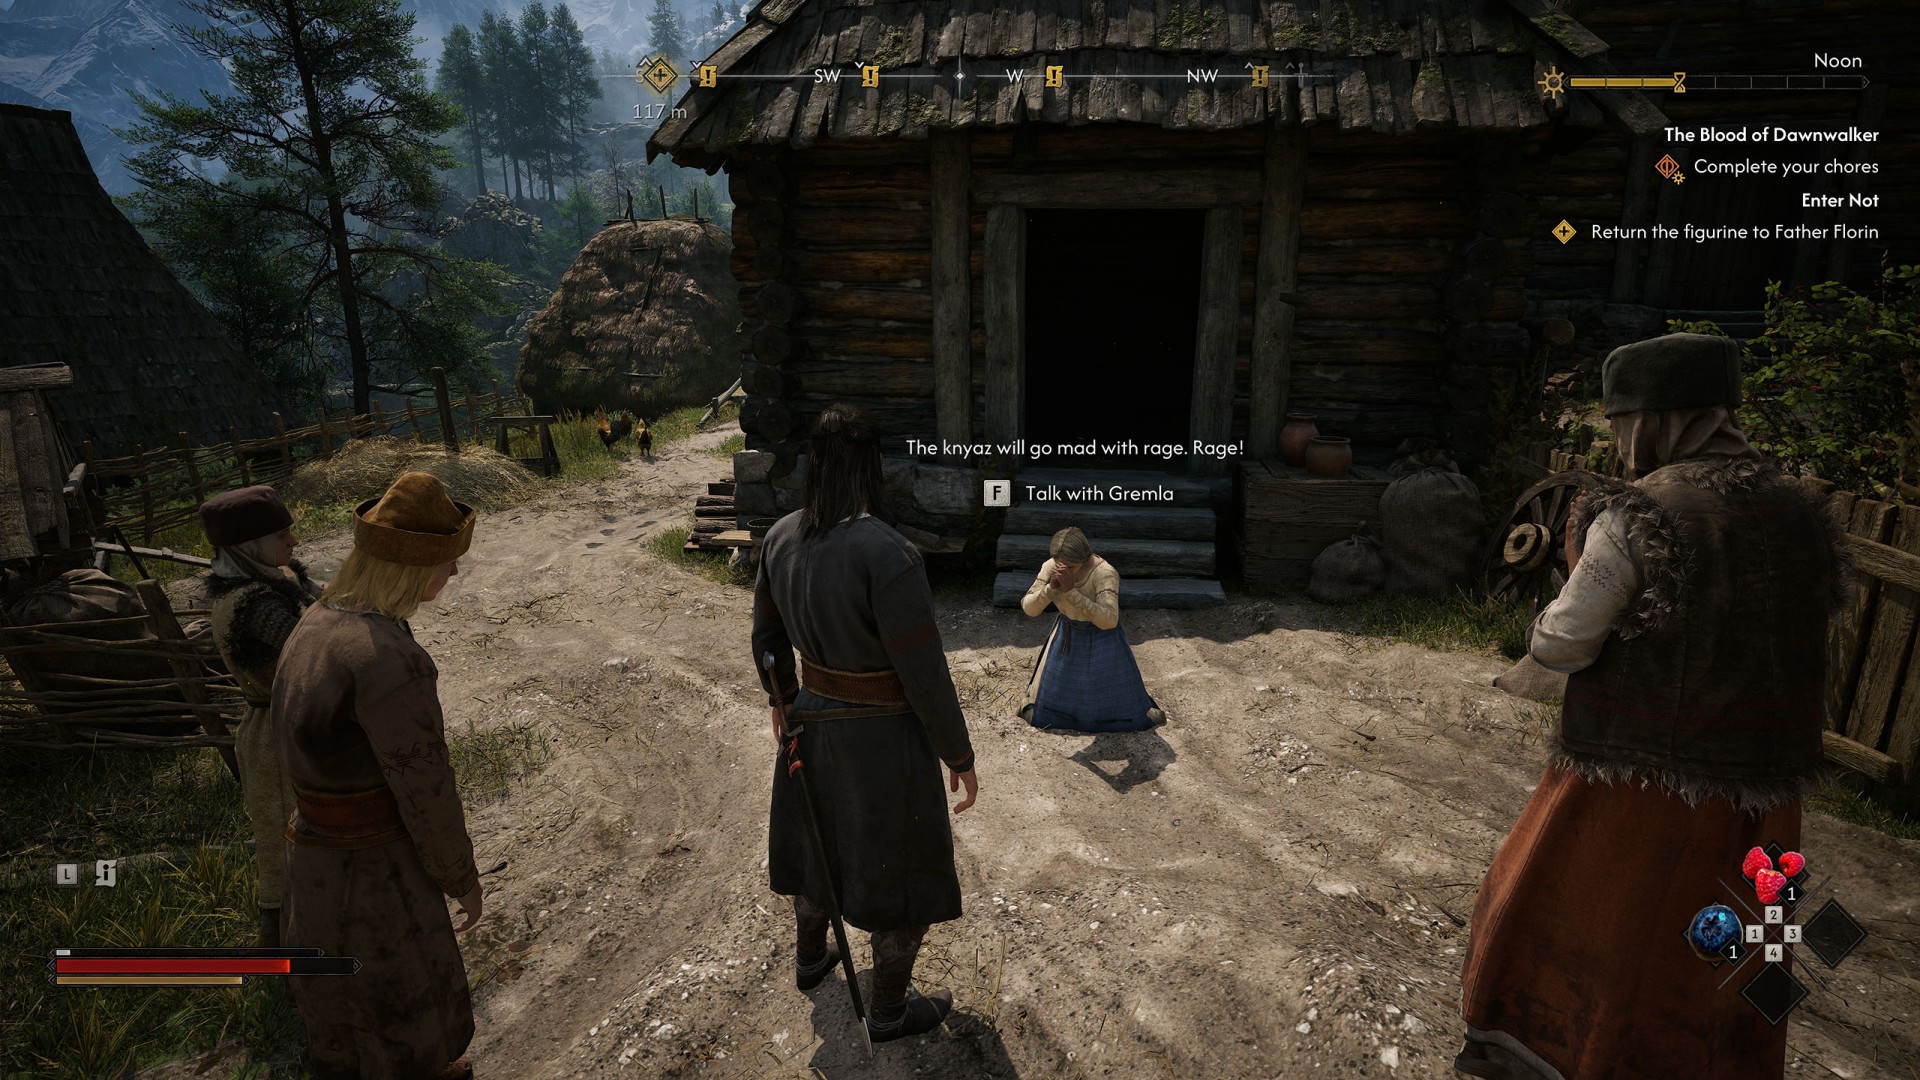
How to start: Talk to Gremla.

Blasphemy

Someone stole the banner Gremla was weaving on Brencis's request. The knyaz will be furious when he finds out...

Objectives:

  • Investigate Gremla's shed and its surroundings using Focus Mode - The banner was stolen from Gremla's shed. I need to check it for clues.
  • Search for villagers with walking canes using Focus Mode - The banner was stolen by someone who used a walking cane and hurt their hand. There can't be too many people who match the description around Laslea.
  • Speak with Alois - Alois might know something about the missing banner. I should speak with him.
  • Speak with Otokar - Otokar might know something about the missing banner. I should speak with him.
  • Speak with Dana - Dana might know something about the missing banner. I should speak with her.
  • Speak with Premysl - Premysl might know something about the missing banner. I should speak with him. (1T) Reward: Daylight Amulet + 500XP or 250 XP)
  • Report Premysl to Gremla or keep his secret - I found out that Premysl stole the banner in order to spite the vrakhiri. Now I need to decide what to do about him... (75XP or 250XP + 25 Denarius)

Turns out Premysl was behind it all – he stole the banner to spite the vrakhiri. He had noble intents, no doubt... But was he right to act on them?

Show the map

14Buried Past

Show the map

15Burrow Sorrows

Show the map

16Come Hither

Show the map

17Deep down

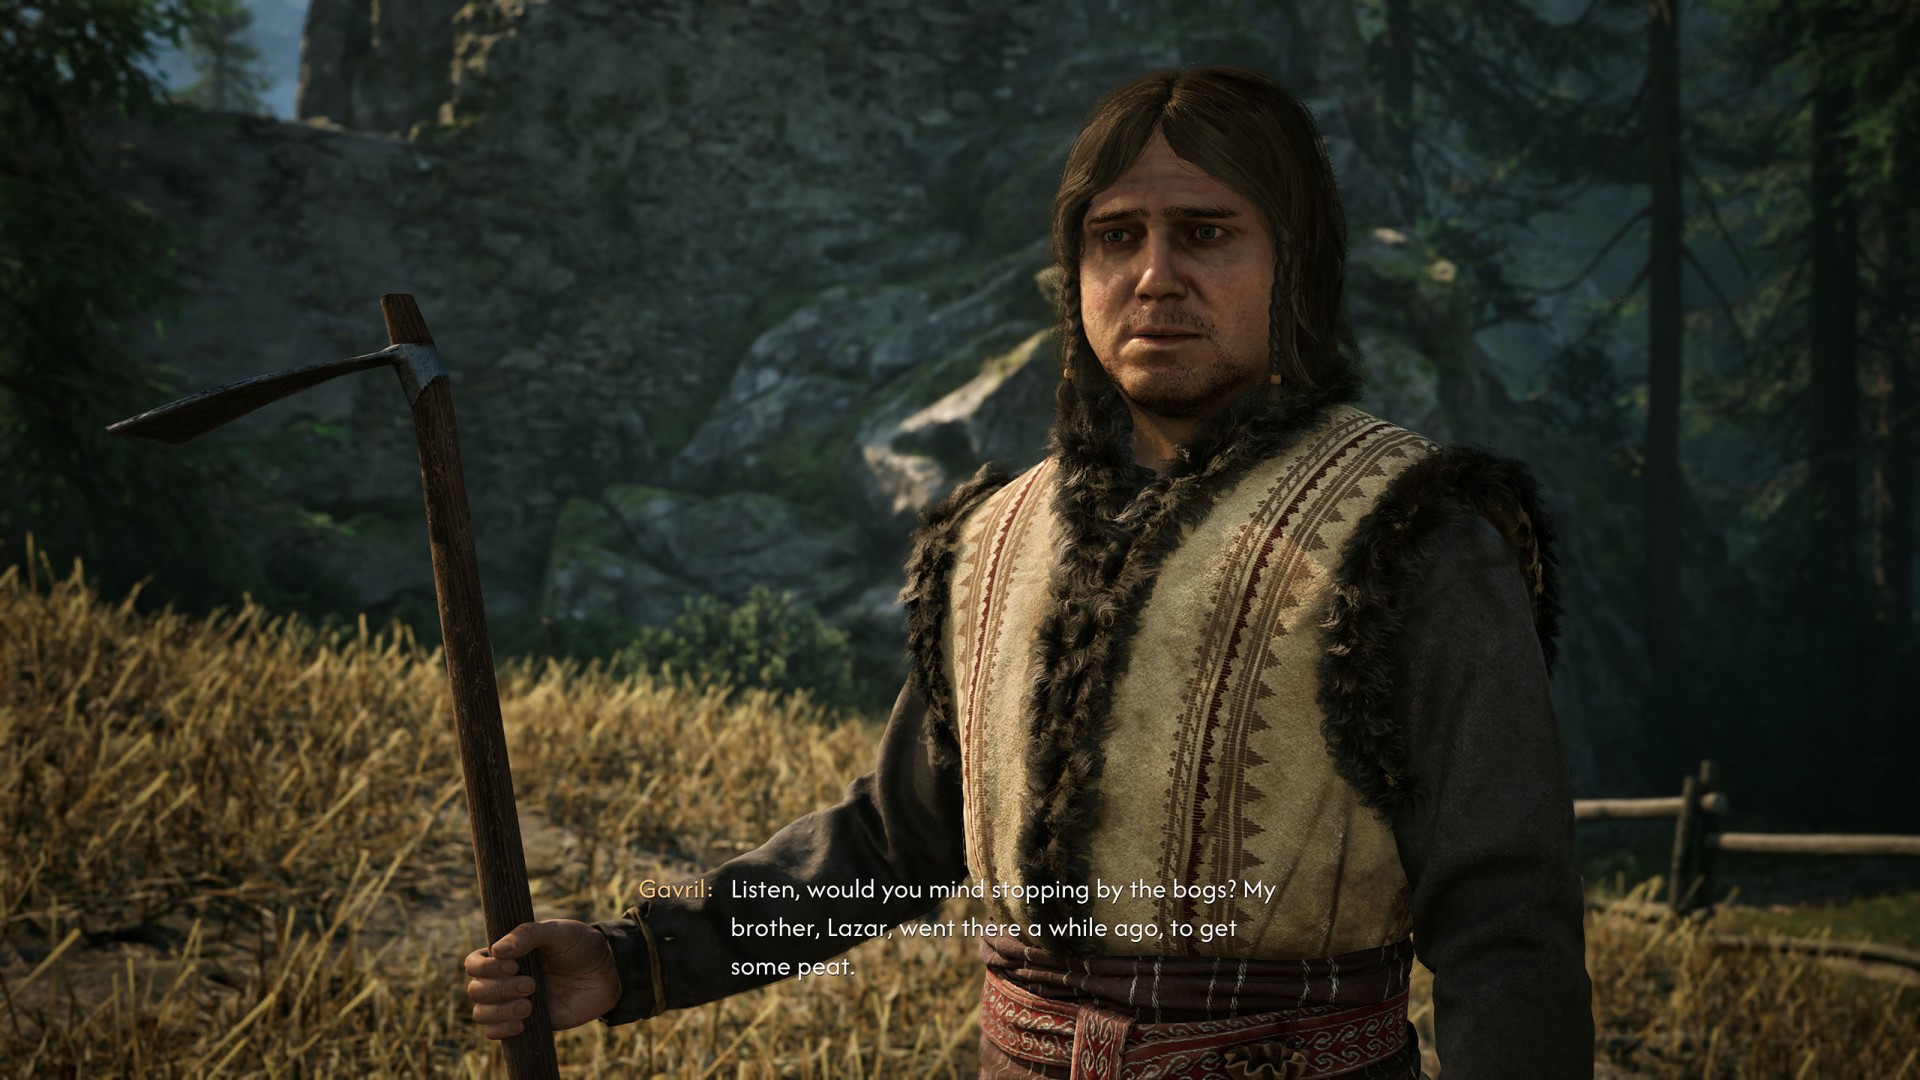
How to start: Talk to Gavril.

Even though I lived in Laslea my whole life, the area around it still held many secrets. Some of them buried deeper than others...

Objectives:

  • Search for Lazar by the peat bogs - Lazar headed out to the bogs to gather some peat, I should start my search there.
  • Follow Lazar's tracks using Focus Mode - Seems like Lazar ran into some sort of danger. I've got to follow his tracks.
  • Look for Lazar underground - Lazar's tracks led me to the cave entrance. He must've fallen in there.
  • Find a way out of the ruins - I need to find a way out of these ruins.
  • Find a way out - I need to find a way out of this cave.
  • Return to Gavril - I should tell Gavril about what happened.
  • Speak with Zdislav about the ruins - I should let Zdislav know about the ruins – he's the village Elder, he'll know what to do about them.

Endings:

  • I found Lazar – but I was too late. I need to tell Gavril of his passing.
  • I found Lazar alive and led him out of the ruins. What a dreadful place it was!
  • I didn't have the time to see this through – there's only so much one can fit in a day.
Show the map

18Deep down

Show the map

19Distant Shadows

Show the map

20Disturbed

Show the map

21Don't Kill the Messenger

Show the map

22Enter Not

How to start: Approach the door of the ruined house.
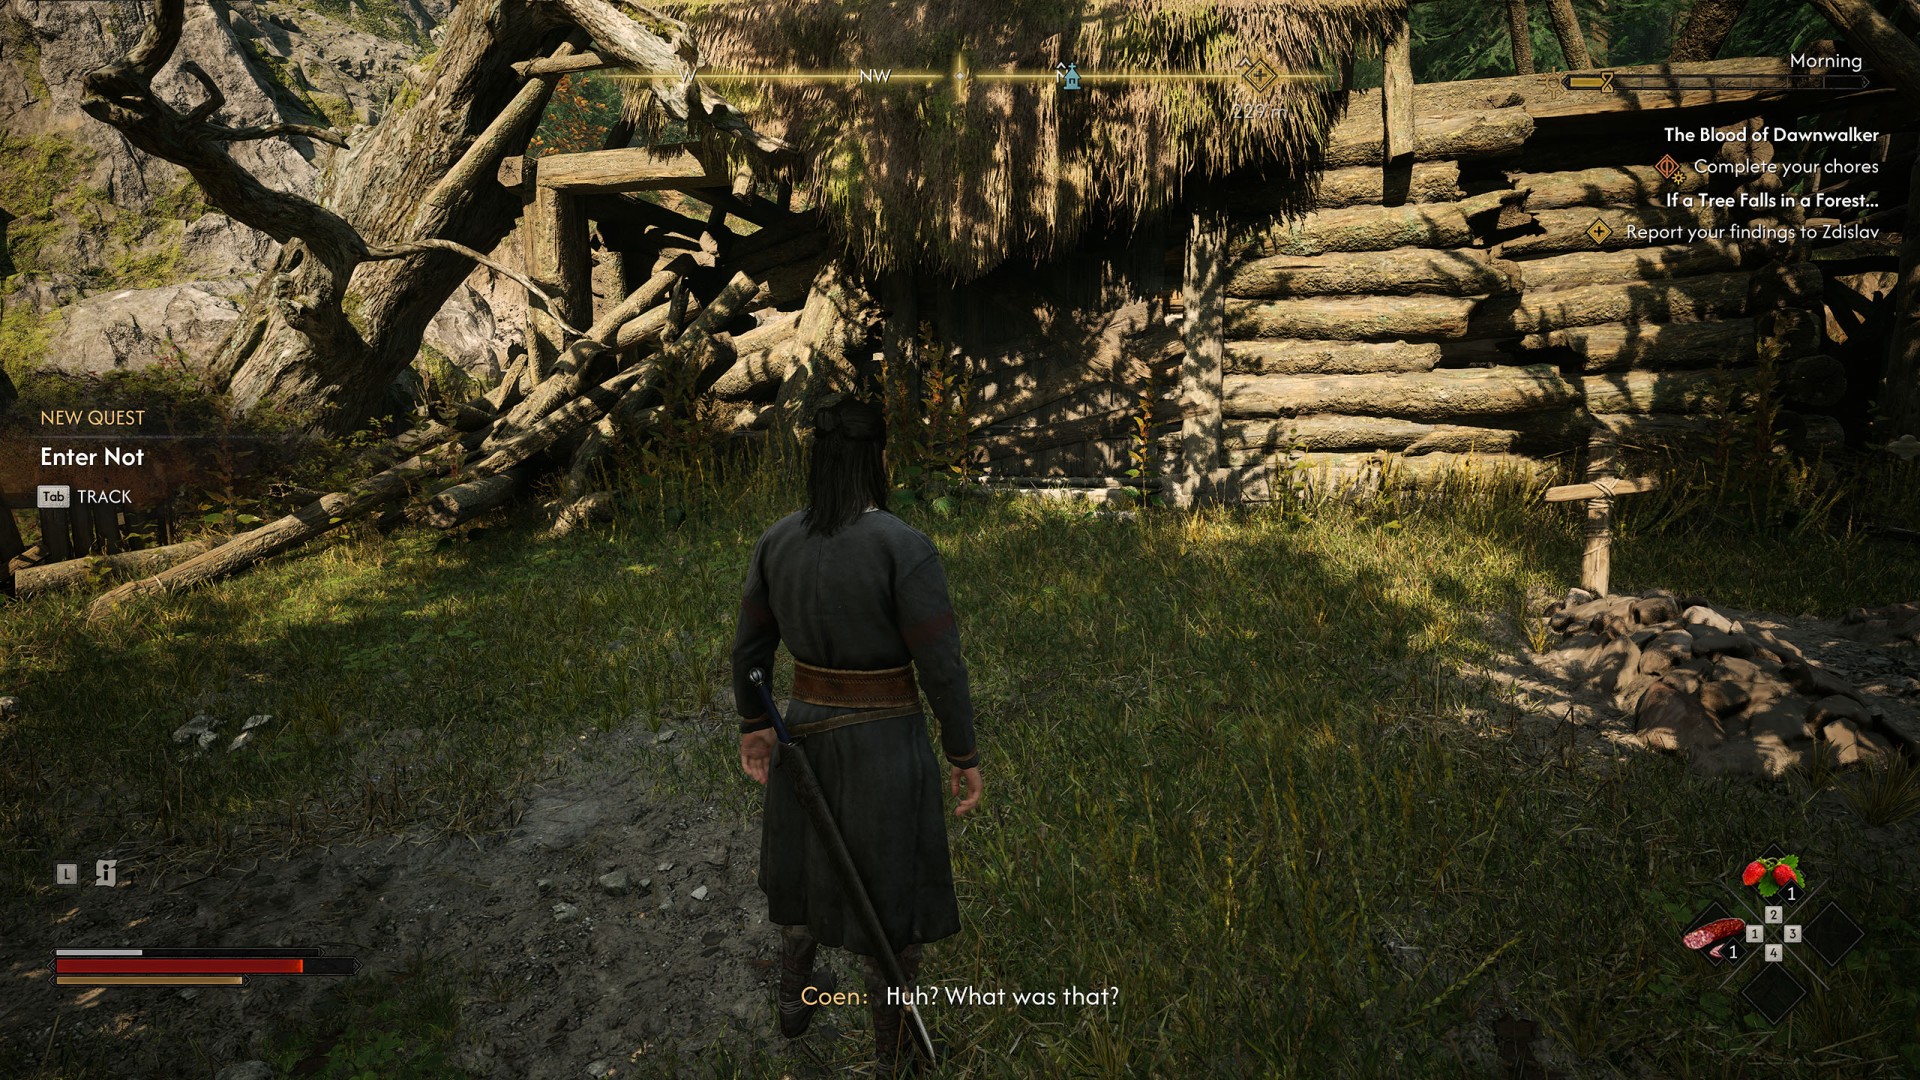
Enter Not

The house by the path to the peat bogs looks abandoned... And yet, there are sounds coming from inside it. Curious... And potentially worth a look.

Objectives:

  • Find a way inside the house - The doors are locked shut... But maybe there's another way in?
  • Investigate the house using Focus Mode - What's going on here? What's making all those sounds? I need to look around.
  • Return the figurine to Father Florin - Ursula's dying wish was for the St. Jude figurine to be returned to Laslea Church. Father Florin is already there – I need to talk to him about this.

I fulfilled Ursula's dying wish and returned the statuette to Father Florin, back at Laslea Church... Only to hear he will destroy it, in accordance with the vrakhiri laws.

Reward: 100 XP

Show the map

23Finders Keepers

Show the map

24Forge It Anew: Do Not Disturb

Show the map

25Forge It Anew: Executive Order

Show the map

26Forge It Anew: Hostile Takeover

Show the map

27From Above

From Above

I noticed a tower nearby. Maybe I'll spot something worthwhile from the top.

Objectives:

  • Reach the tower - The tower looks like a fine vantage point. It shouldn't be hard to reach.
  • Climb to the top of the tower - I've reached the tower. Now - how to get to the top?
  • Scout the area from the vantage point - What a view... Now, let's take a closer look.

Ending:

  • Climbing that tower paid off. If I stumble upon other towers, I may use them the same way.
Show the map

28Good Home

Suspicious lights started to appear in the forest ahead of me, marking mushroom fairy rings, as if they meant to guide me somewhere.

Show the map

29If a Tree Falls in a Forest...

How to start: Inspect the corpse of the man crushed by a tree.
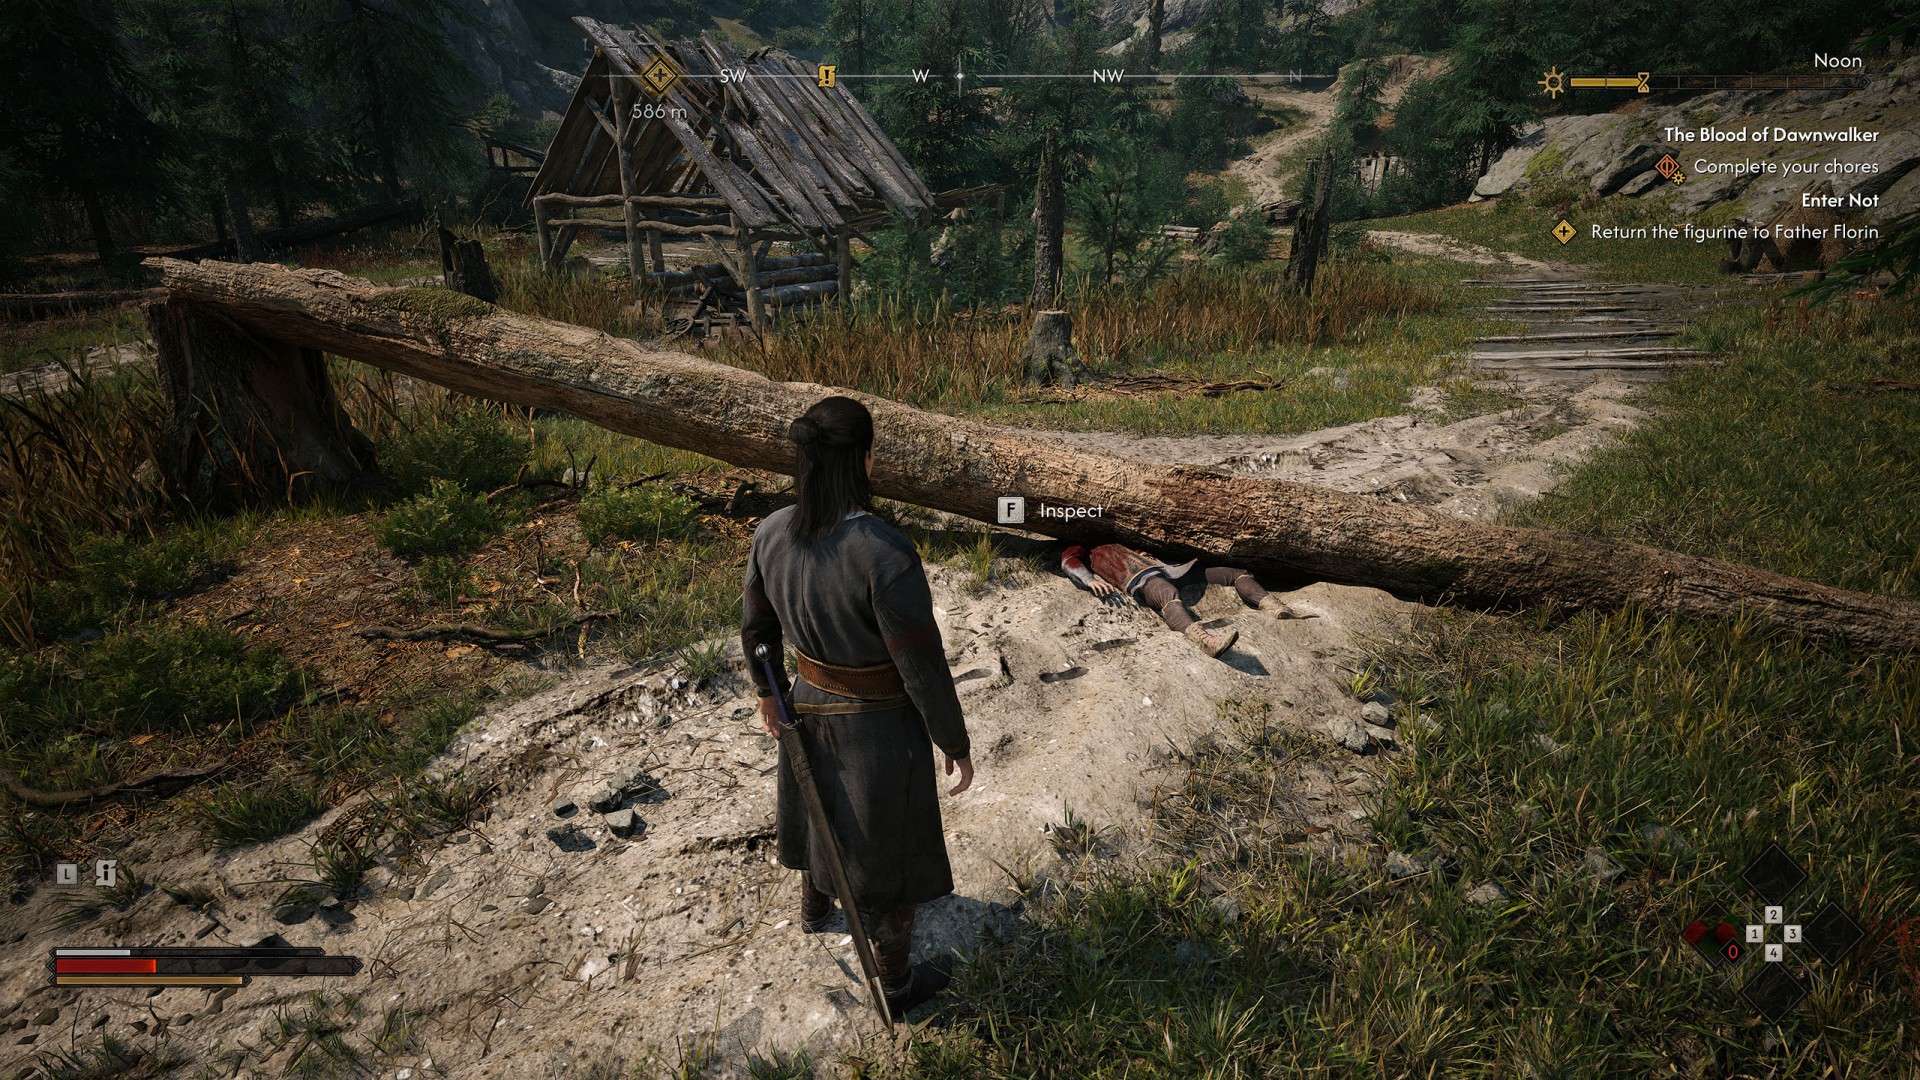
If a Tree Falls in a Forest...

I have a feeling something bad has happened in the woods by the peat bogs. Maybe I should take a closer look?

Objectives:

  • Follow the tracks - The logging site is abandoned, and the tracks lead deeper into the forest... If I want to find out what happened here, I need to follow them.
  • Report your findings to Zdislav - I found bodies of Brencis's men – but I'm not sure what killed them. I need to report this to Zdislav – otherwise, the vrakhiri might pin these deaths on our village.

I found a few of Brencis's men – dead, but by whose hand, I have no idea. I reported it to Zdislav, lest it's pinned on our village.

Show the map

30Into the Den

I found a wolves's den - and there's a body inside it...

Objectives:

  • Investigate the body - There's a body inside the den. Might be worth a look...
  • Inspect the flat rock marked with X (1T) - I found the spot marked by the rock - I could check if something is indeed buried underneath.
  • Find a secret cache marked with X - There was a letter on the body - it speaks of a cache inside a hut at an old logging site. If I come across it, I should keep my eyes peeled for a big stone and the sign "X"

Ending:

Huh. Weapons, silver, provisions - looks like a manumit cache. What are they up to?

Show the map

31Letters to Lunka

Show the map

32Like Father, Like Son

Show the map

33Live Bait

How to Start: Speak to your siblings during the "Withering Away" main quest, and agree to help them.

Live Bait

Description: Dad told Yanna and the kids to go catch some trout. Maybe I should help them out? Yanna hates baiting the hooks.

Objectives:

  • Walk your siblings to the river - I agreed to go fishing with my siblings. First, we need to get down to the river.
  • Catch Mirto - I need to tag Mirto.
  • Catch Lunka - I need to tag Lunka.
  • Look for the fishing rods using Focus Mode - Dad said he hid the rods in the reeds by the river. I've got to find them.
  • Set up the fishing rods by the river - The kids won't have the patience to hold the rods – so I'd better set them up by the river.
  • Bait the hooks with worms - Before we can start fishing, I need to bait the hooks.

Fishing can be a calming experience – but not this time. We were accosted by Brencis's men – and it could've ended badly, were it not for the uriash who led them. Funny, I thought they were mindless beasts...

Show the map

34Lost Blood

Show the map

35Night Terrors

Show the map

36Of Wolves and Men

Show the map

37Old Friends, New Friends

Show the map

38On the Run

Show the map

39Page-Turner

How to start: When visiting Anca during the "Withering Away" quest, choose to read Latin with her.
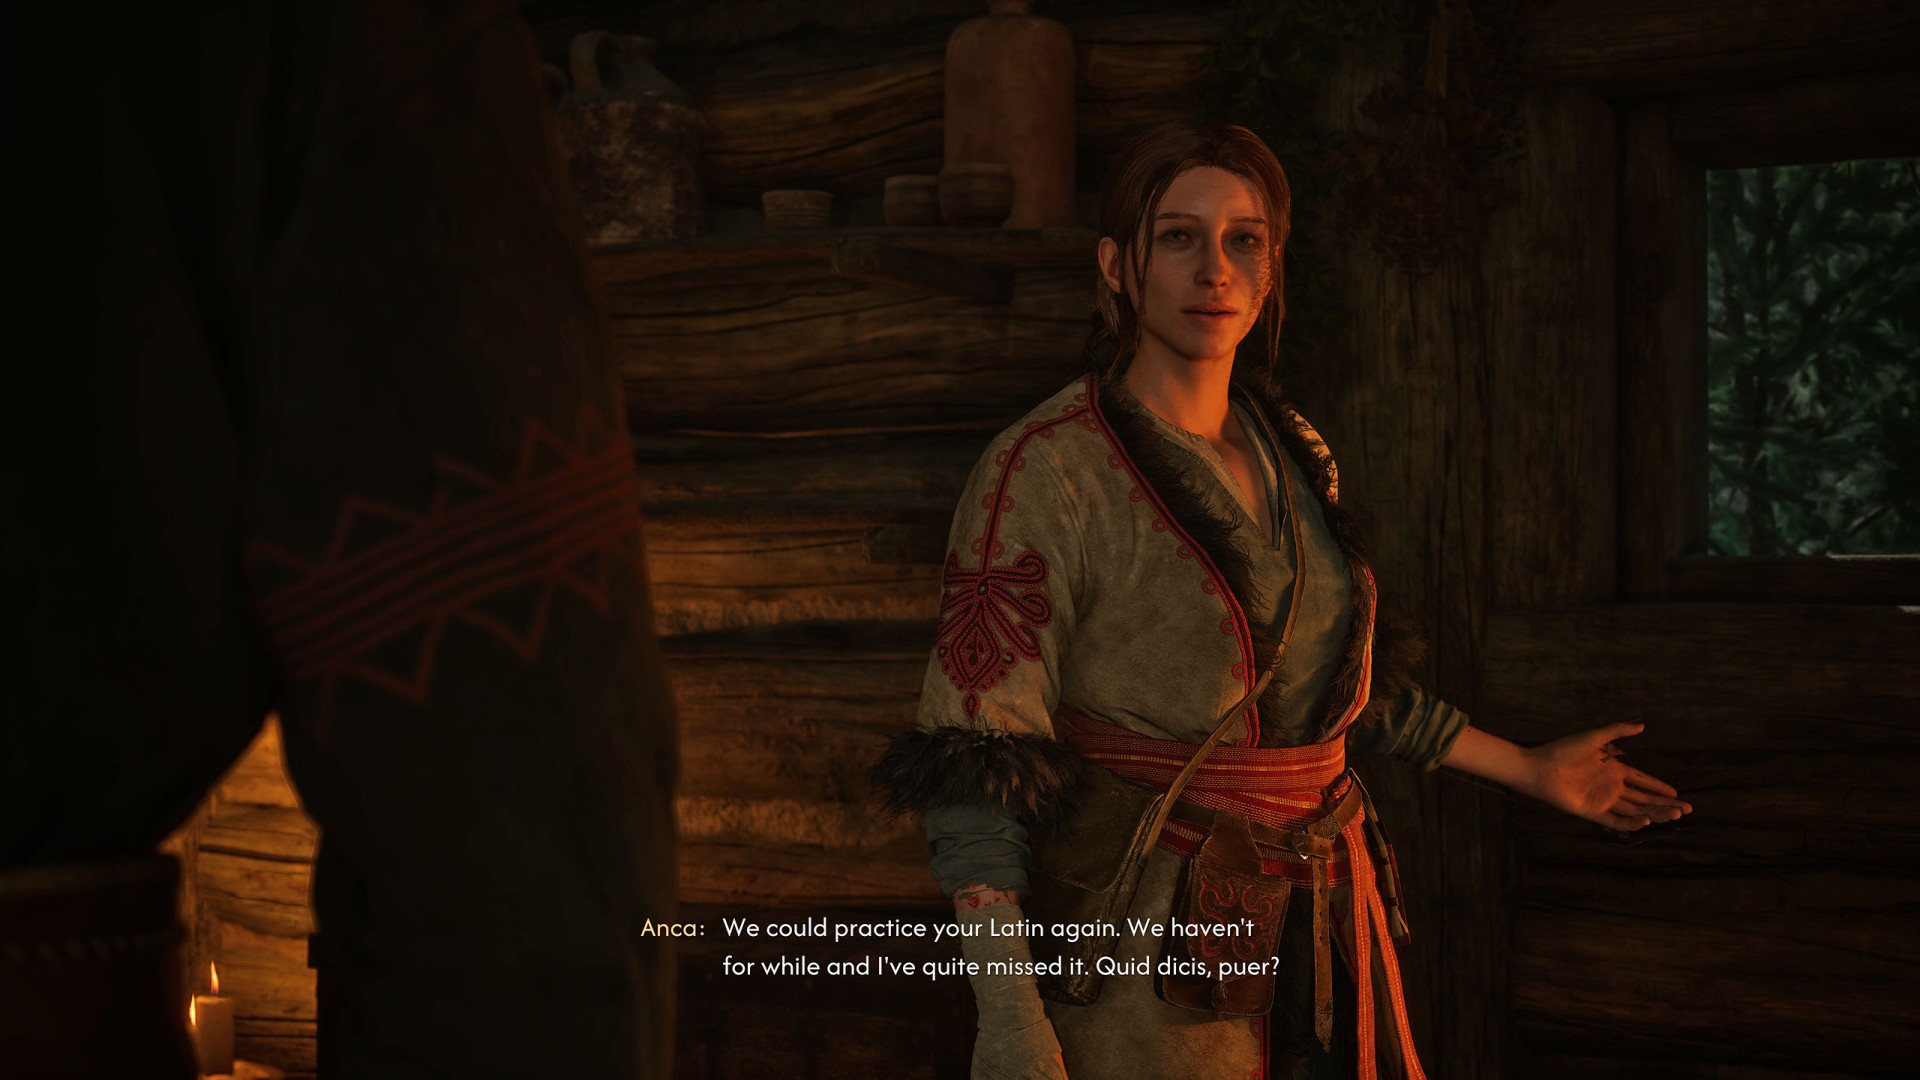
Anca suggested we make the best of the weather and go back to practising my Latin.

Objectives:

  • Take Latin lessons with Anca - Anca invited me to stay over and practise Latin with her.
  • Gather herbs from Anca's shed - A tree fell on Anca's shed. I need to help her collect all the herbs she had stored inside.
  • Help Anca - Something happened to Anca – I need to check on her. - Reward: 100XP

Endings:

  • I learned a few more Latin words... And got to know Anca a bit better. So, time well spent, I say!
  • I didn't have the time to see this through – there's only so much one can fit in a day.
Show the map

40Pearly and Precious

Show the map

41Someone Needs a Lesson

How to start: Approach the Vasil.

Someone Needs a Lesson

Vasil is picking on me again. I've just about had it.

Objectives:

  • Deal with Vasil - Vasil keeps pestering me – again. Maybe it's time I taught him a lesson?
  • Catch Vasil - I've got to catch Vasil and tell him to piss off.
  • Defeat Atanas - Atanas doesn't take no for an answer! I need to defend myself.

Now I know why Vasil acts the way he does – it's the fault of his father, Atanas... Who was likely abused by his own father, and so it goes, generations back.

Show the map

42Star-Crossed Lovers

Show the map

43The Beast of Balaur

Show the map

44The Cursed Chasm

Show the map

45The Good Samaritan

Show the map

46The Hedgehog Herb

Show the map

47The Highland Grave

Show the map

48The Night of Horrors

Show the map

49The Price of Magic

Show the map

50The Ring

Show the map

51Tiny Dancer

Show the map

52Trouble with Silver

Show the map

53Under Watchful Eyes

Mert was caught by the soldiers and taken to Stoneward Post for questioning. I need to speak with him, maybe help him get out of there... But it won't be easy. The place is heavily guarded.

Objectives:

  • Get the key to Mert's cell - It's disgusting what they did to poor Mert. I should at least try to free him from that damn cell, but I must find a way to get the keys to the cells. The overseer should have them.
  • Free Mert (3T) - I've got the key to Mert's cell. Time to free him.
  • Escort Mert through the Stoneward Post's main gate - I freed Mert from his cell. Now I need to get him out of Stoneward Post safely.
  • Retrieve your weapons - The soldier at the gate of Stoneward Post confiscated my weapons. I need to retrieve them.

Endings:

I managed to free Mert from Stoneward Post, but he won't be returning to the manumits. He's too wounded and scared now.

I tried, but in the end I failed to save Mert. May he rest in peace.

I was too late to save the miller. May his soul rest in peace.

I was not able to finish rescuing Mert as other things took priority.

Show the map

54Unquenchable Thirst

Show the map

55Where Loyalty Lies

I stand ready to join the manumits. Their leader will likely assign me some tasks before we can fight Brencis together.

Objectives:

  • Raise your notoriety to Notorious or higher - Crake deemed that I haven't done enough to be trusted. I must prove myself further against Brencis before he allows me to join the manumit ranks.
Show the map