A list of transition points in Indiana Jones and the Great Circle, such as climbing spots, doors, zip lines, and other passages.
Transitions
Locations on The Vatican
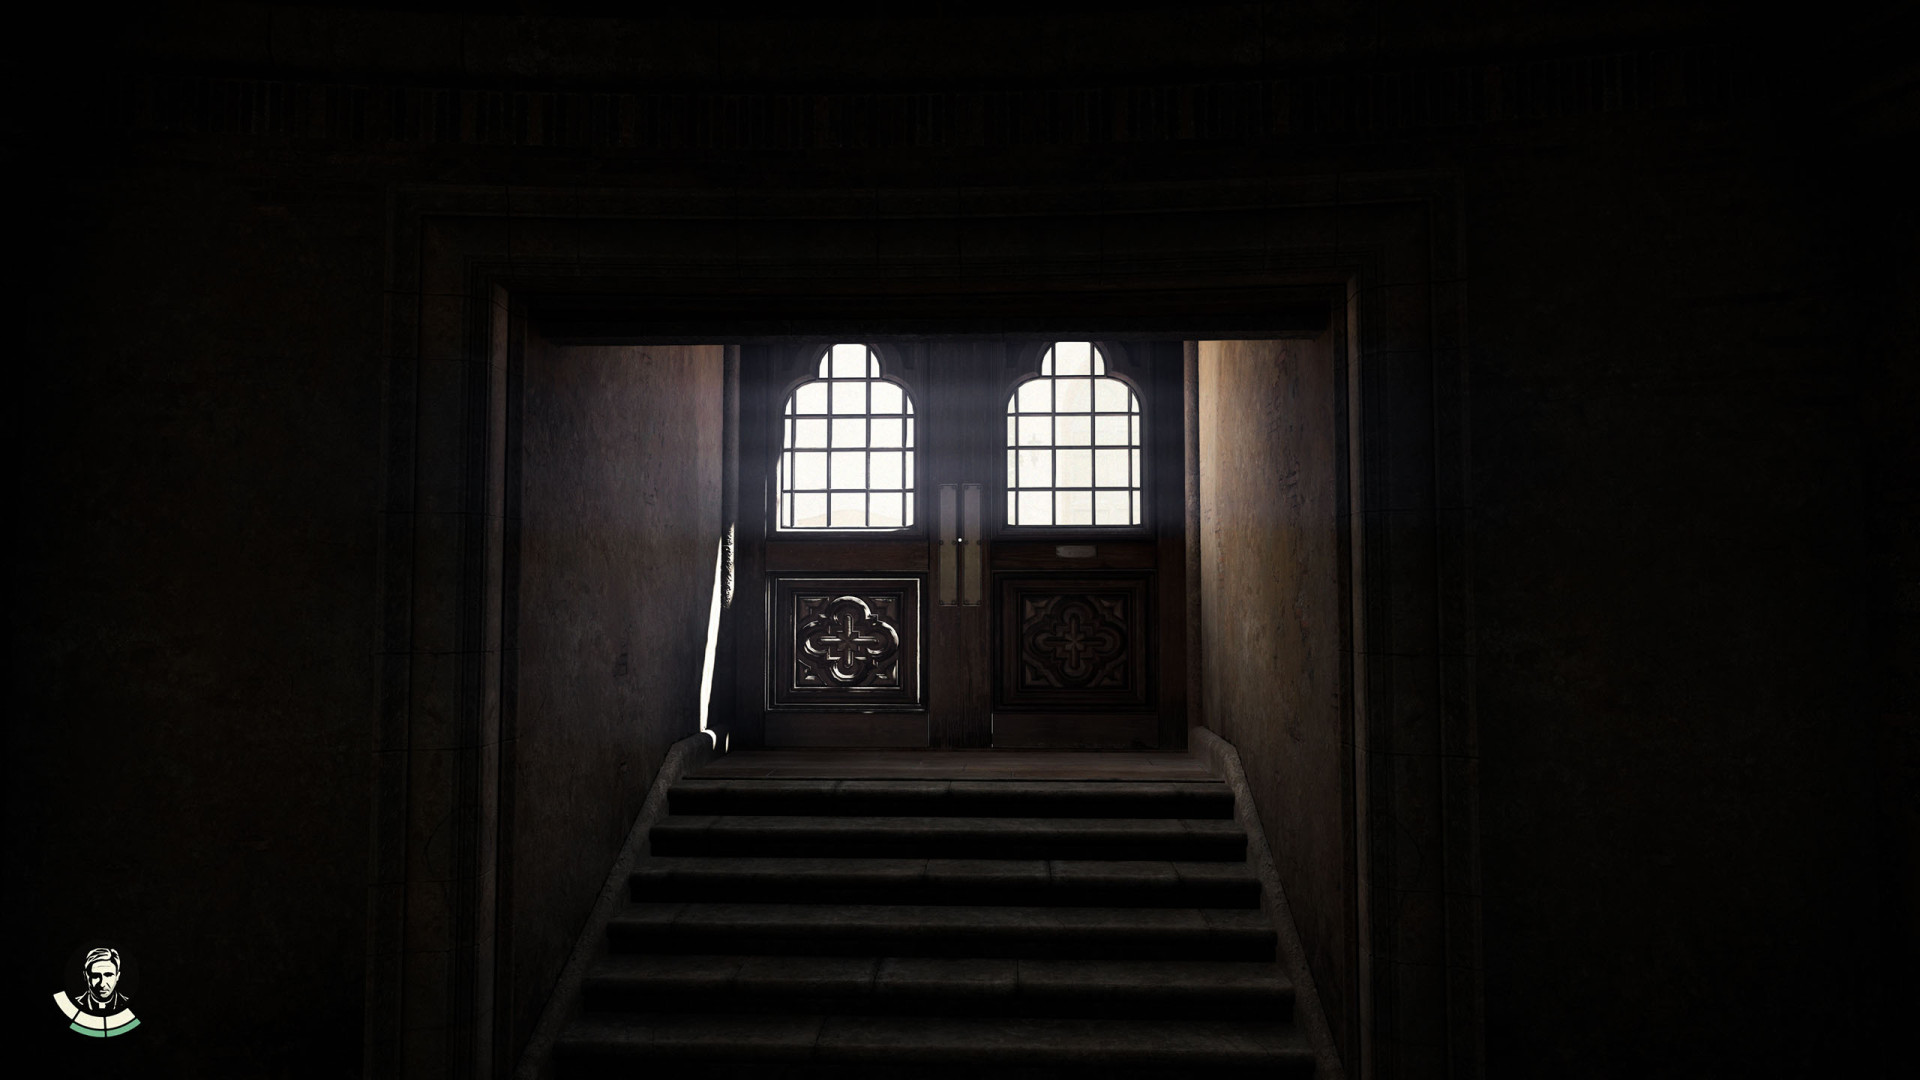
1 Apostolic Library
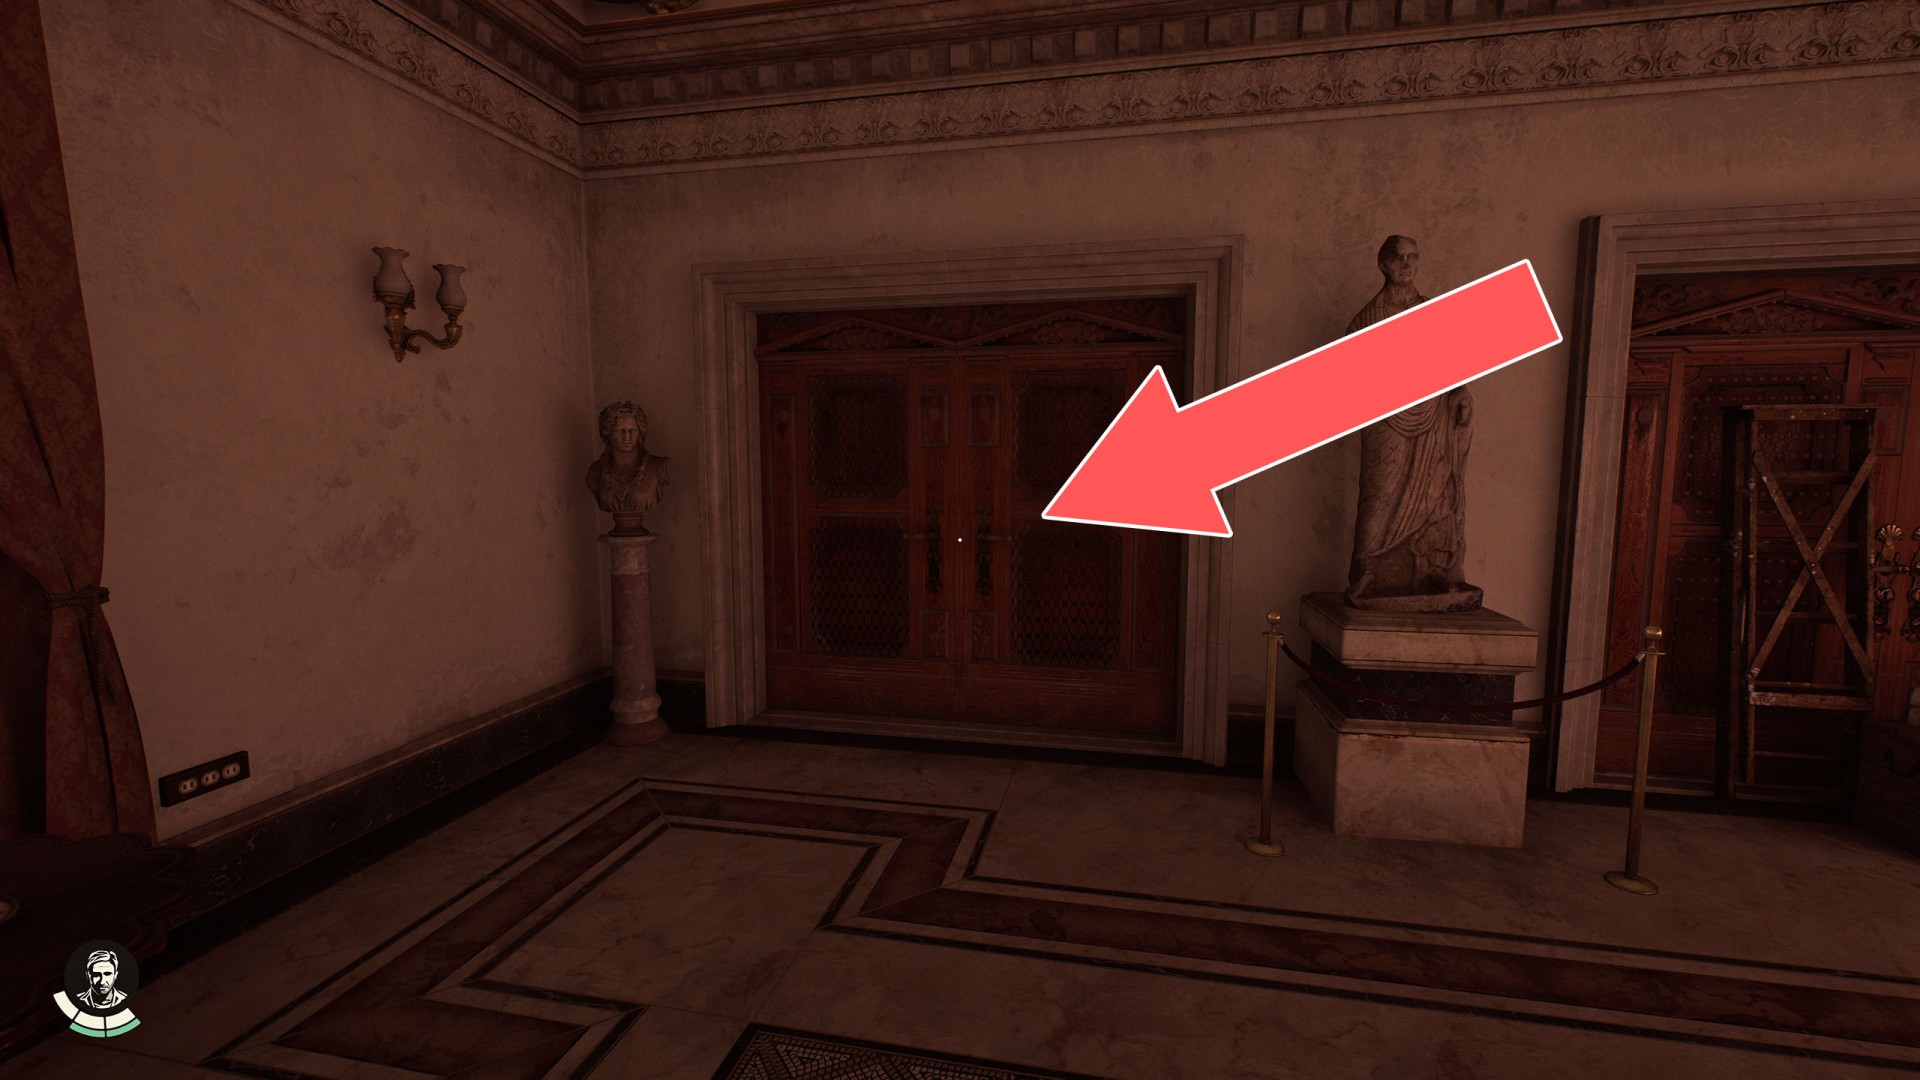
Entrance to the Apostolic Library.
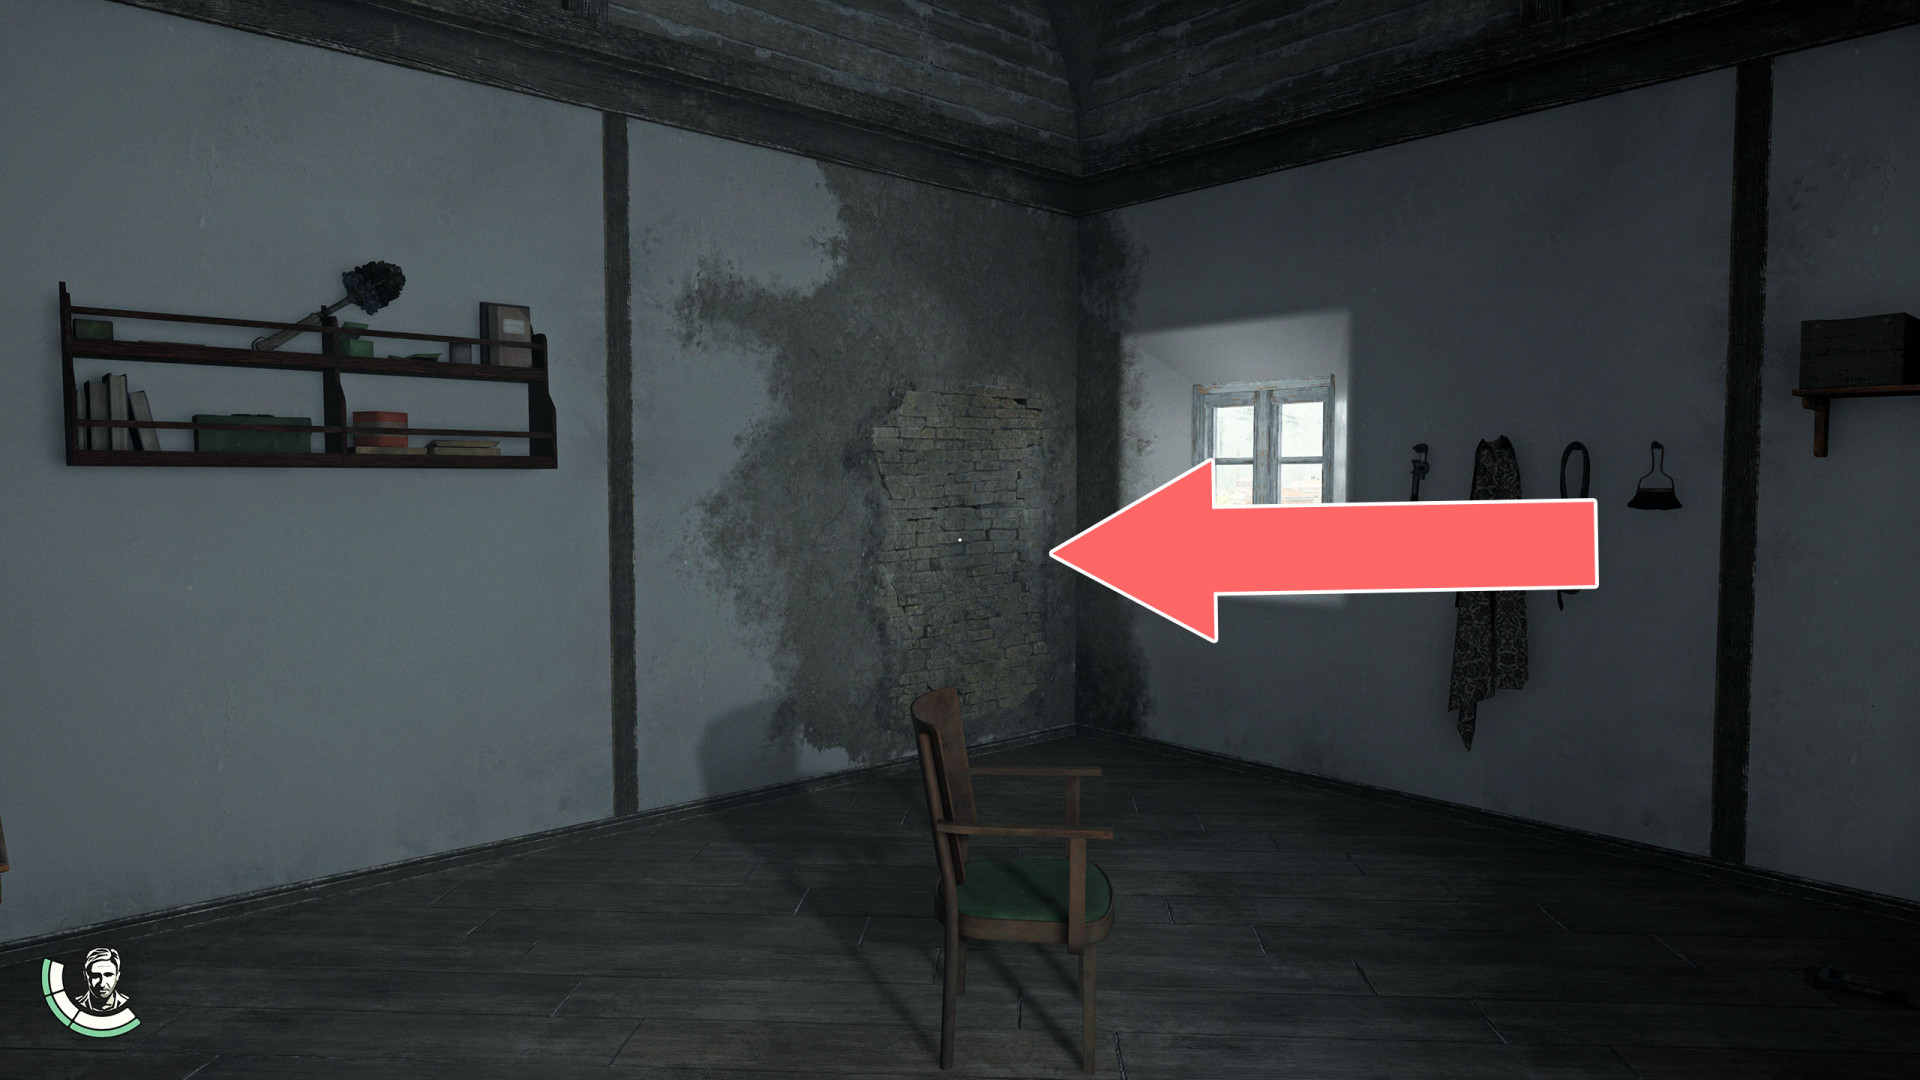
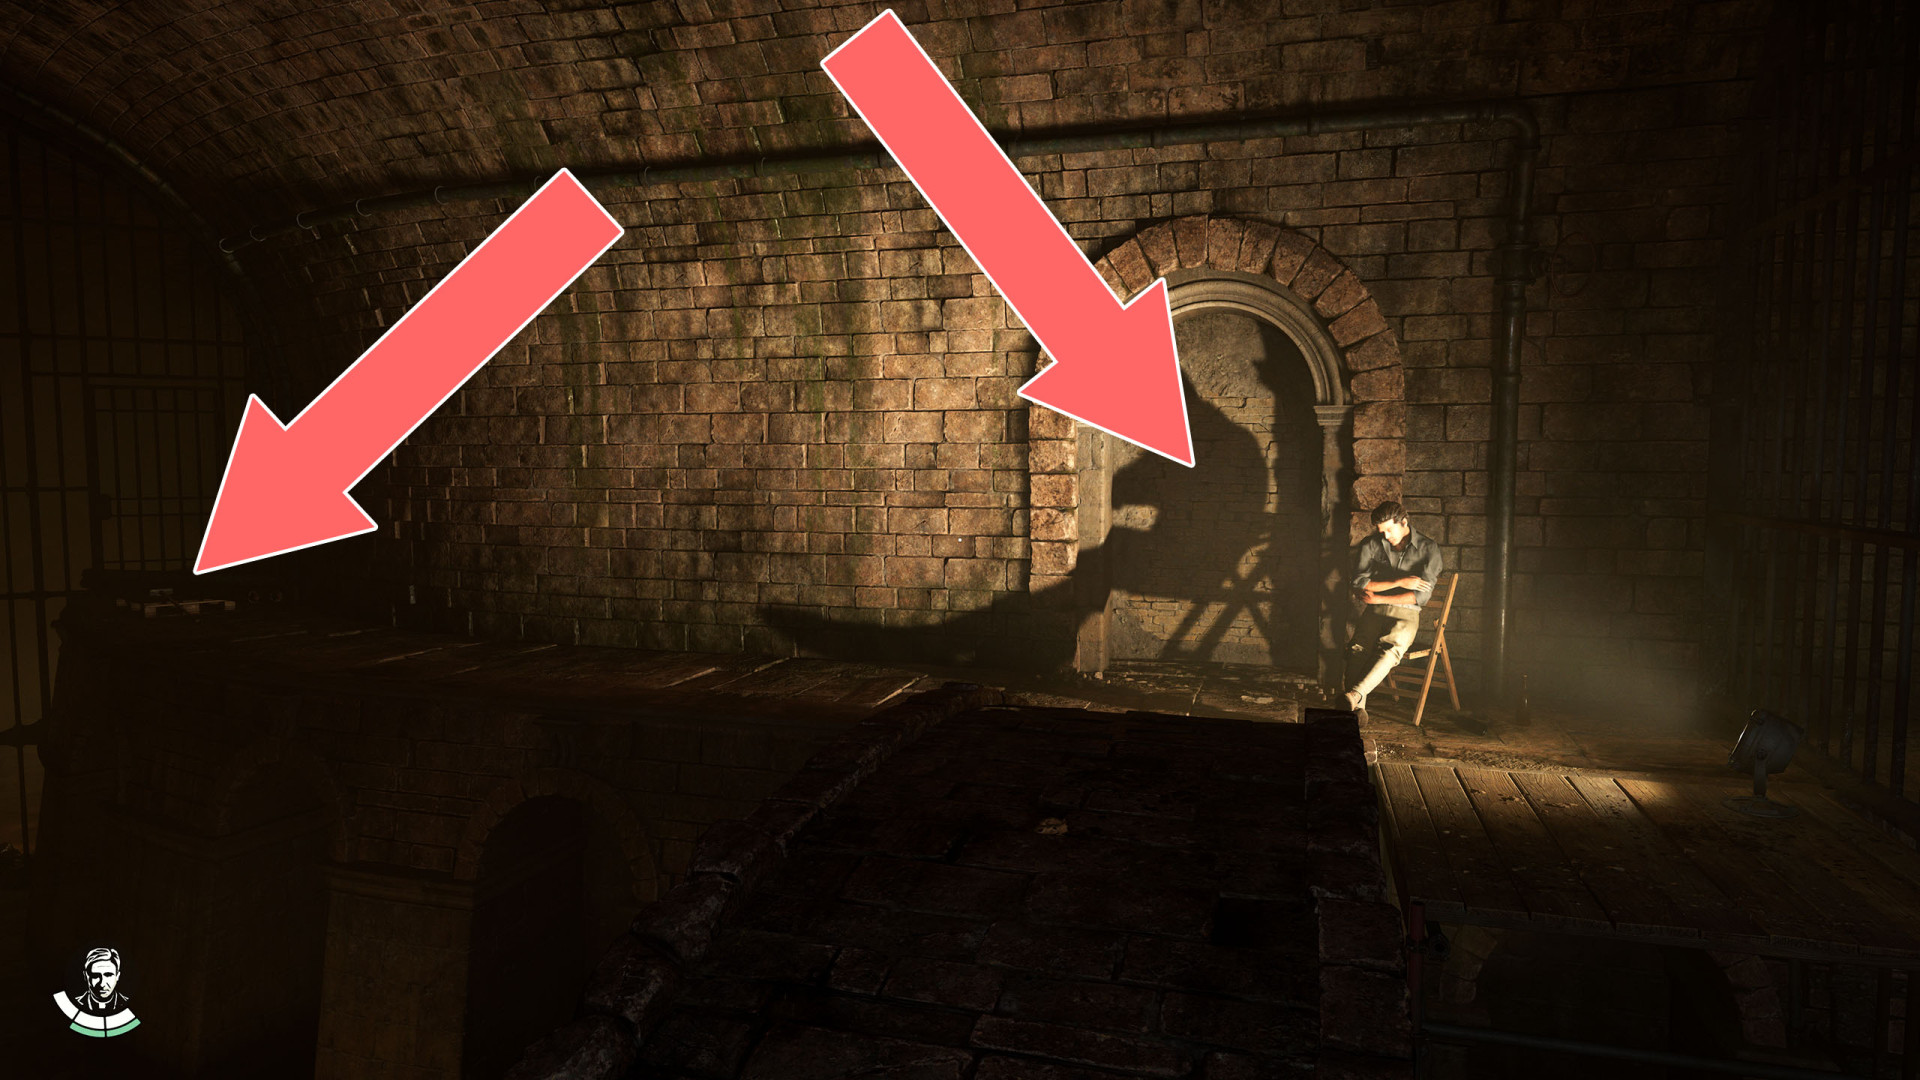
2Breakable Wall
In the room where Giuliana was interrogated. In the adjacent room you will find a hammer that you can use to smash the wall.
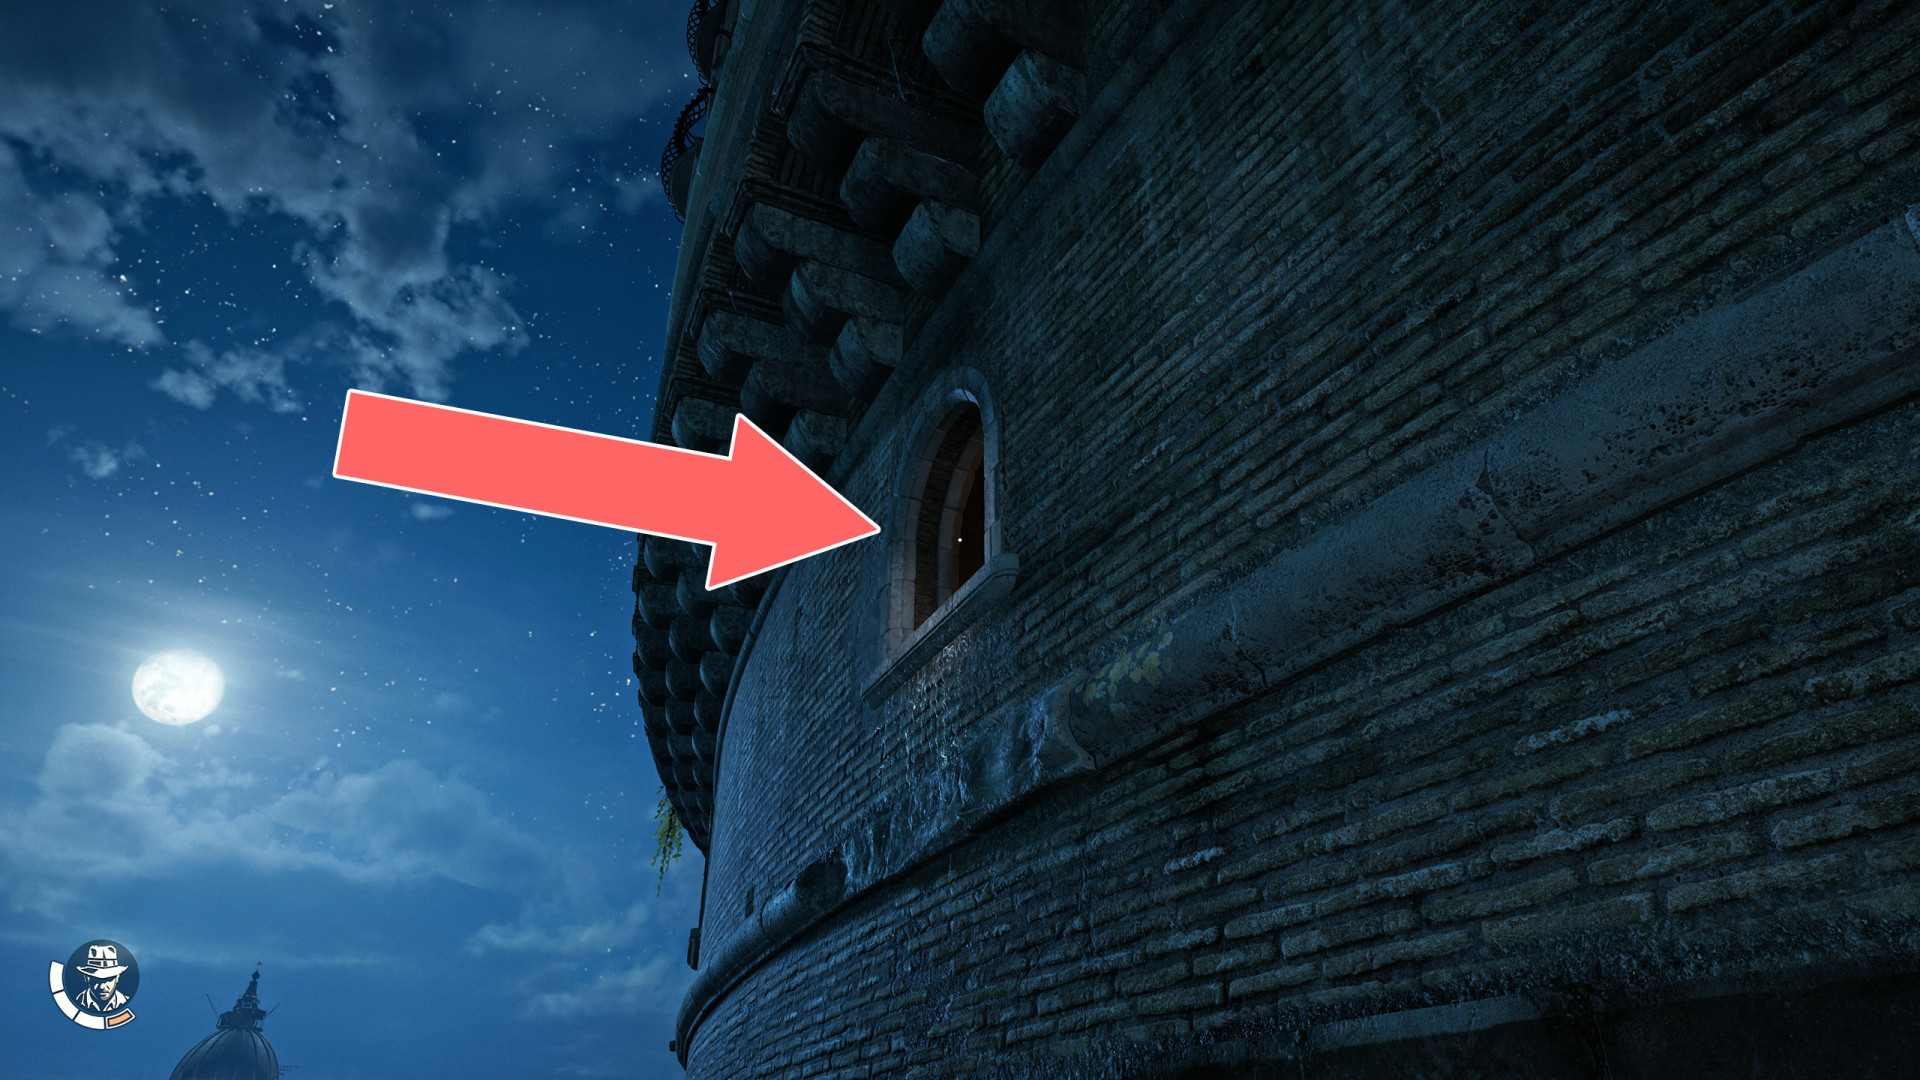
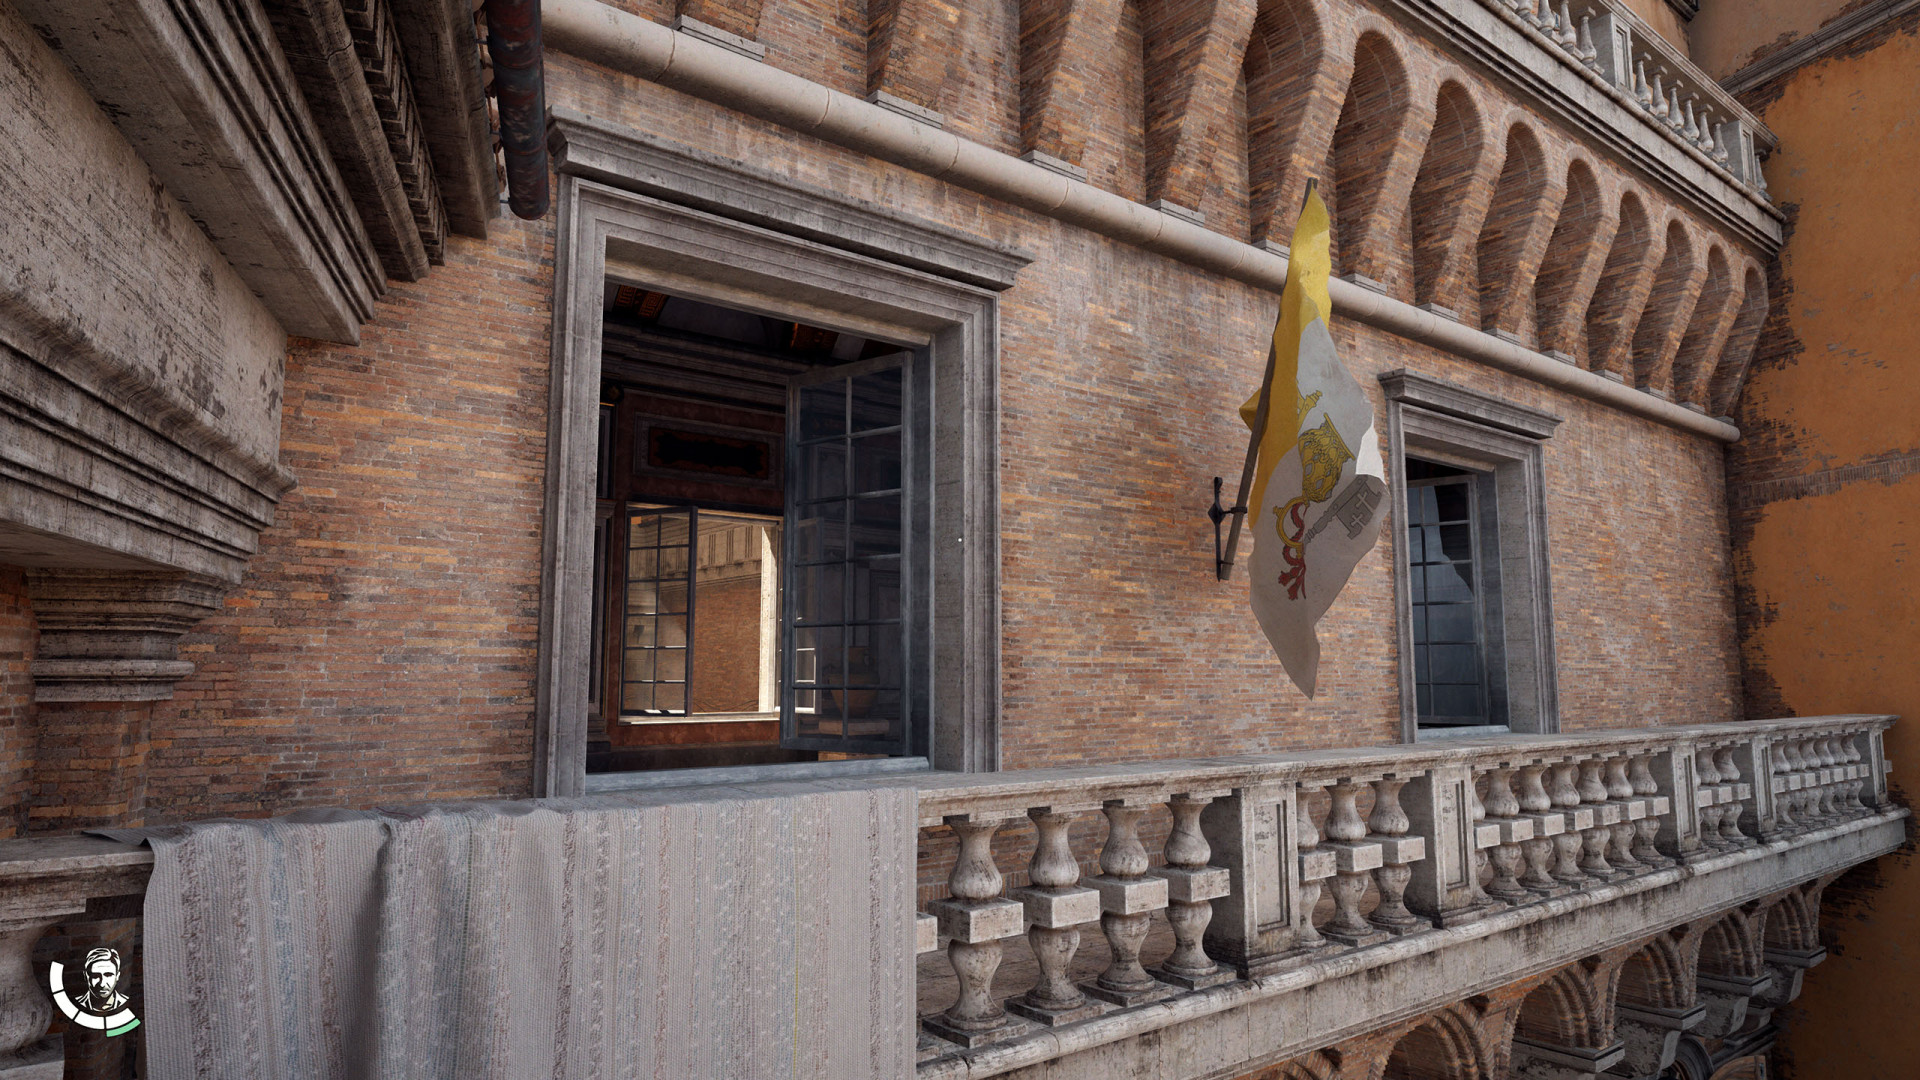
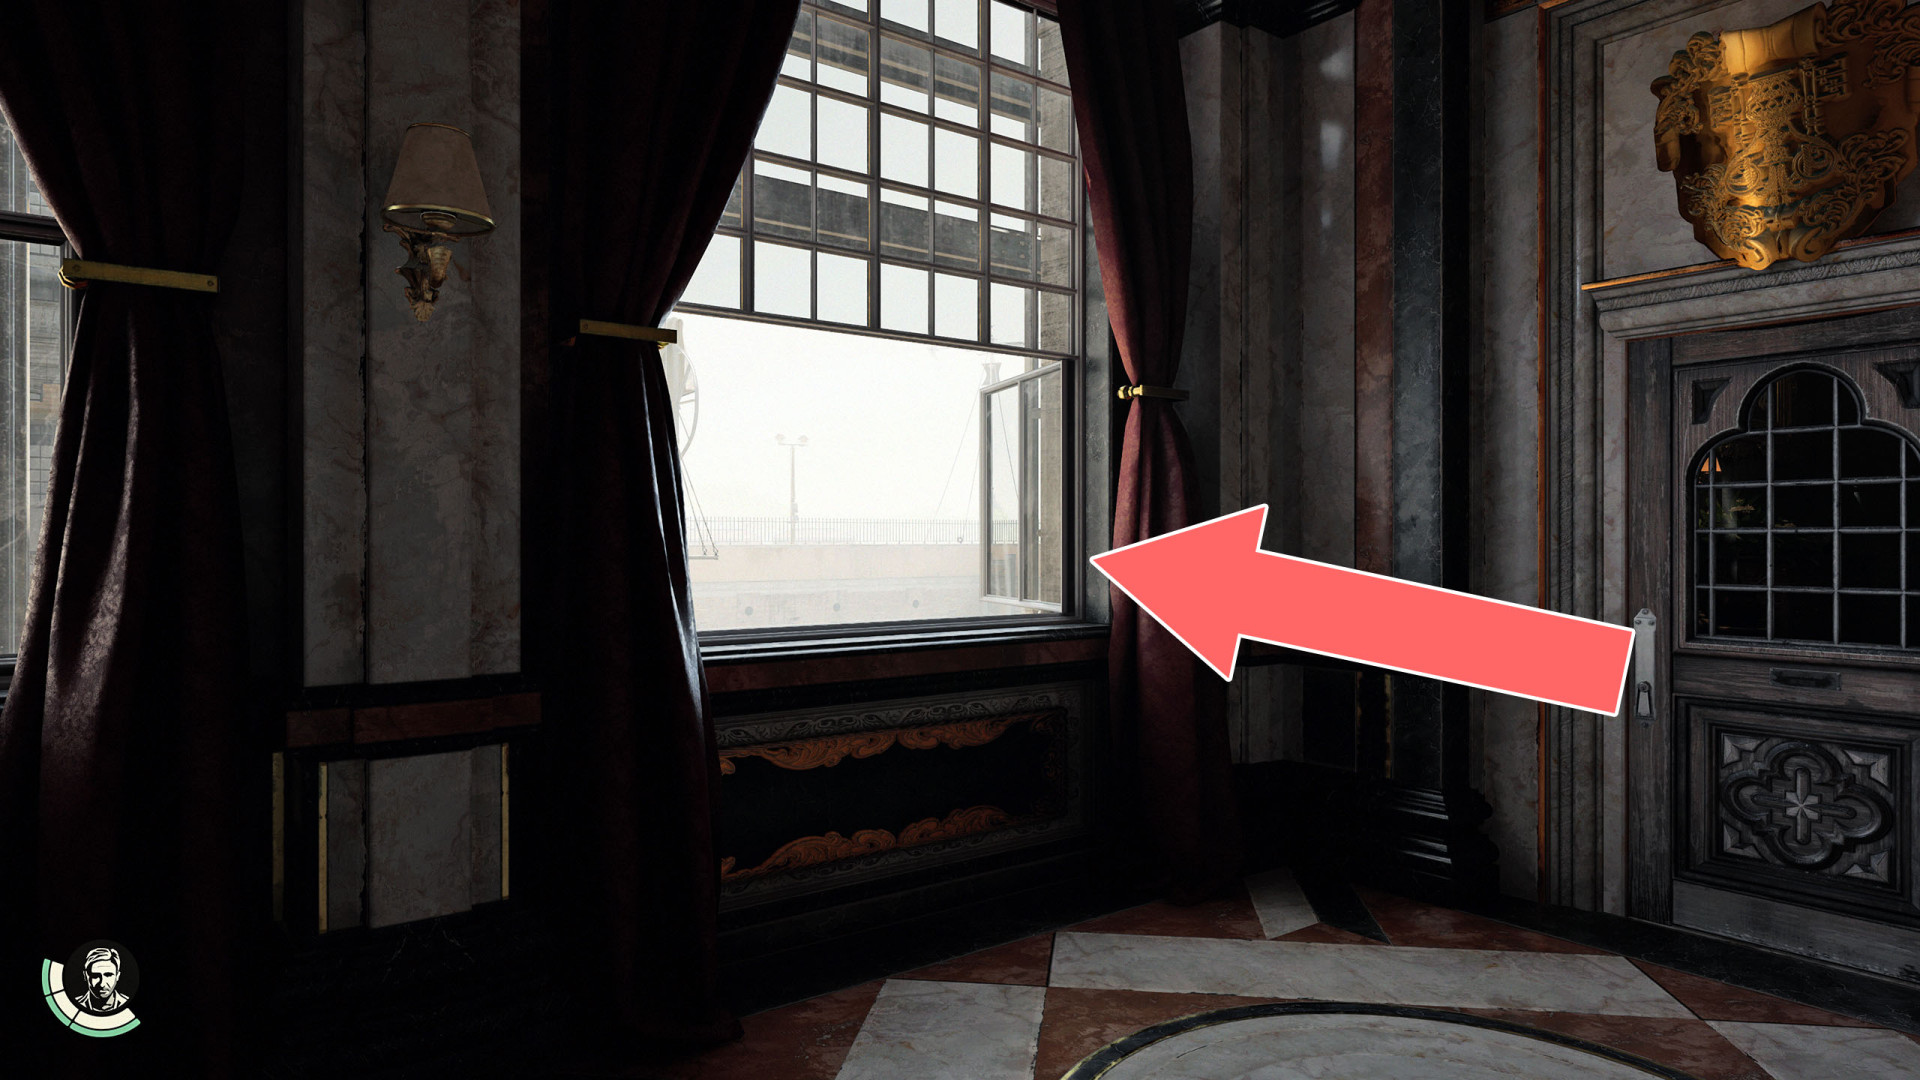
3Castle Window
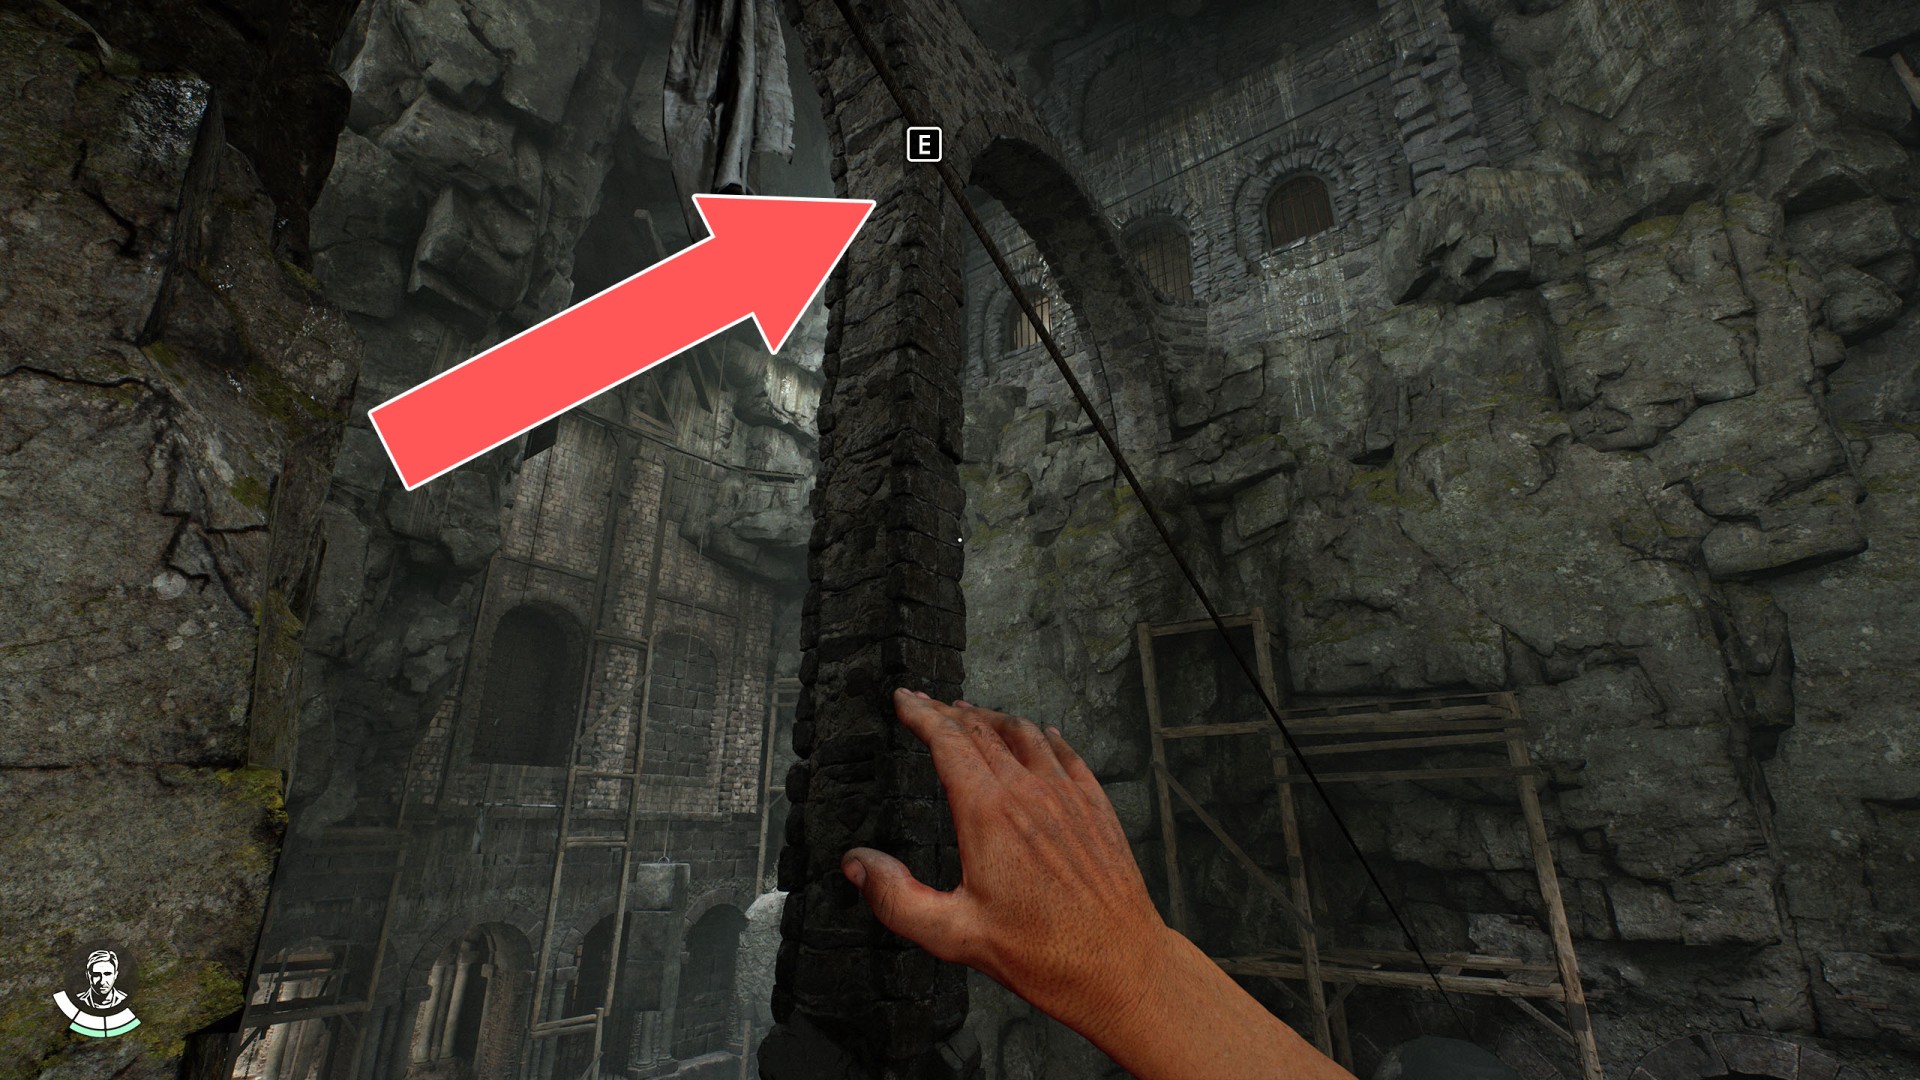
4Climbing Spot
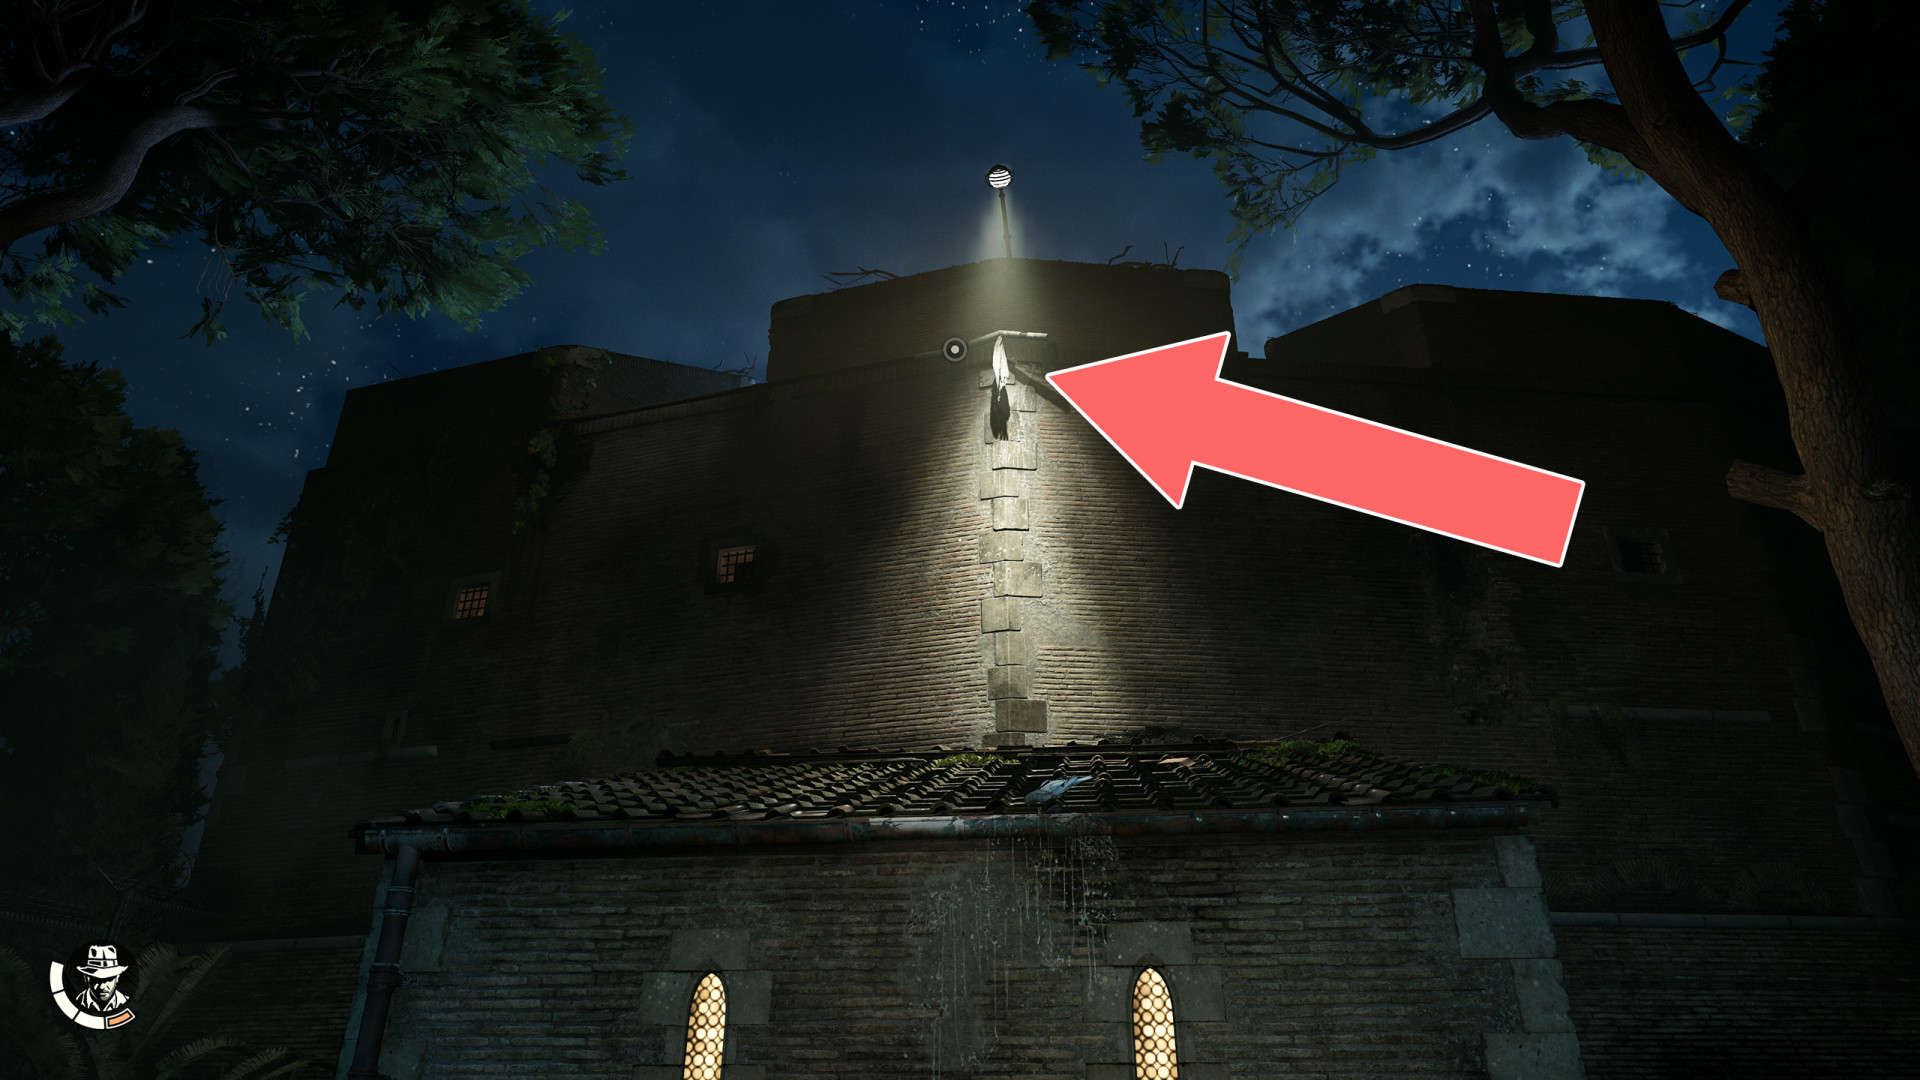
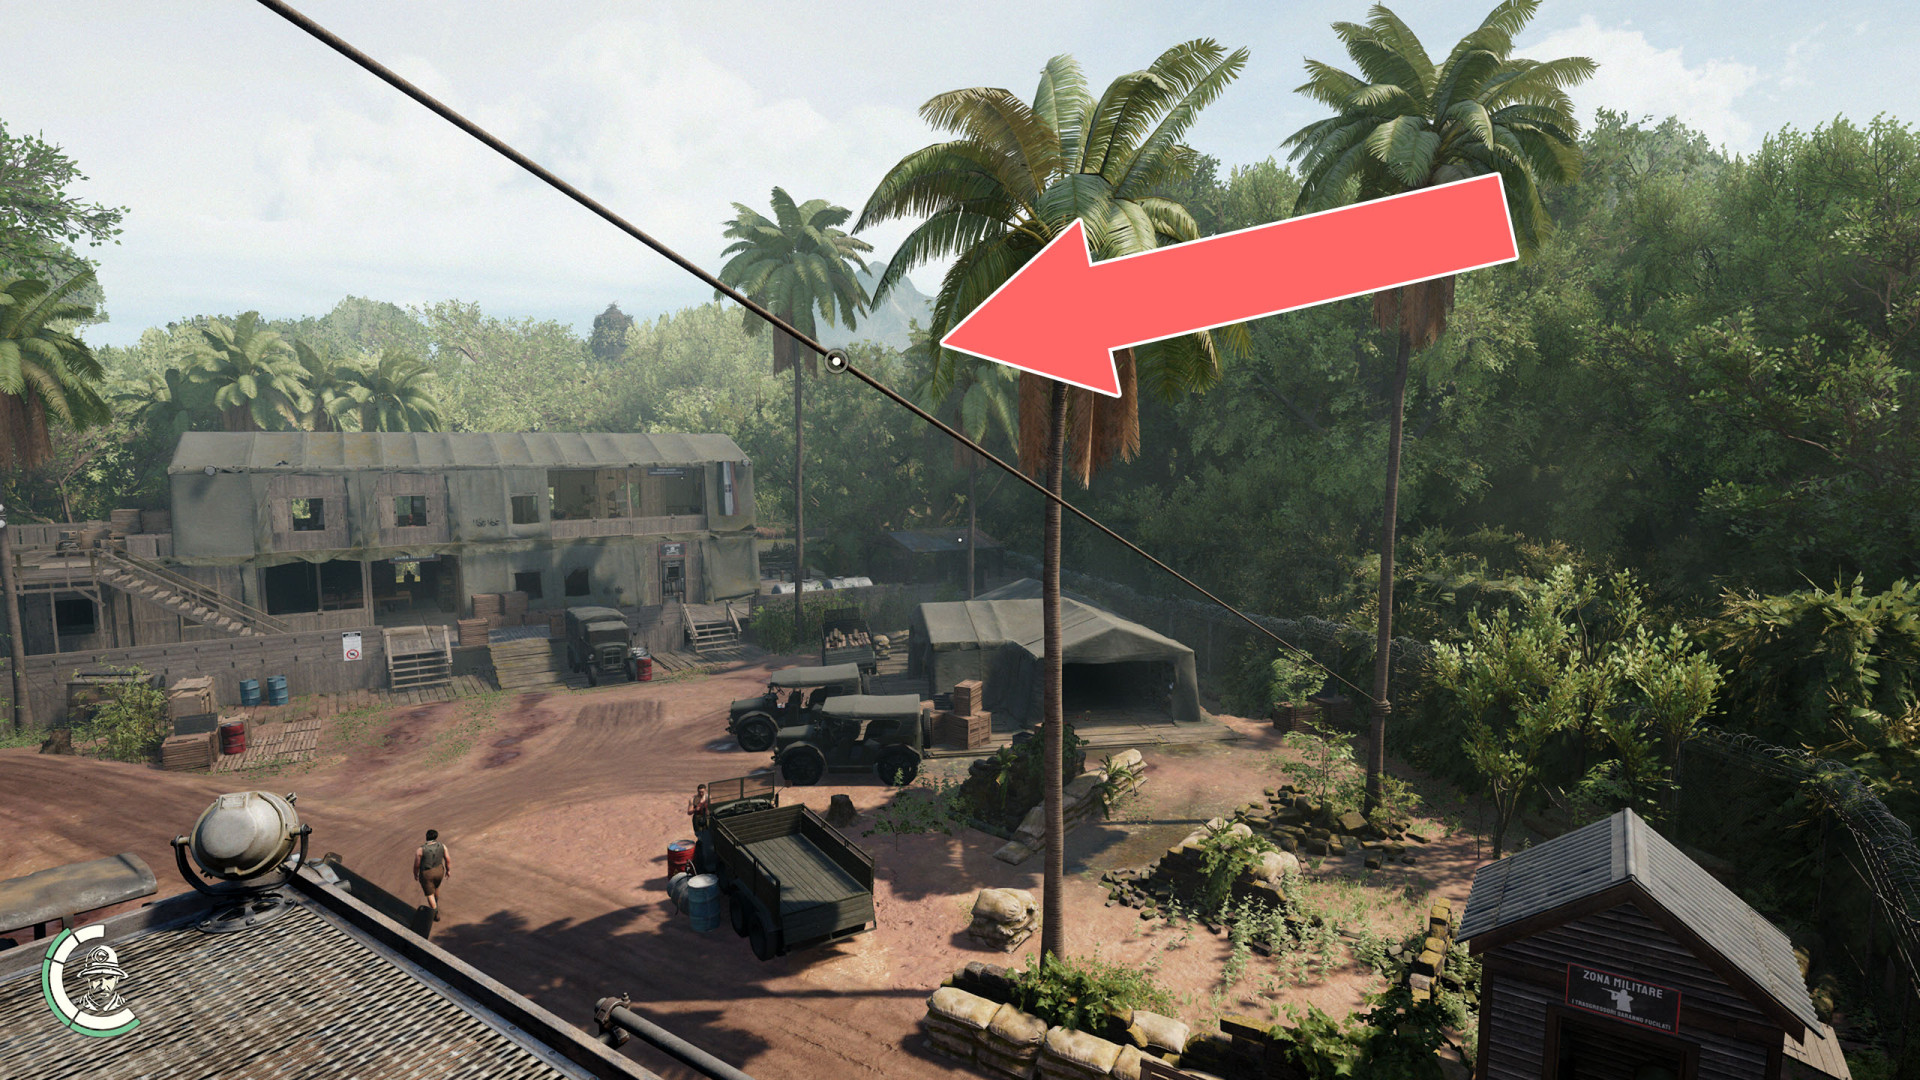
Climb to the roof of the small building, use the whip to hook into the grappling point, climb up and move to the left side.
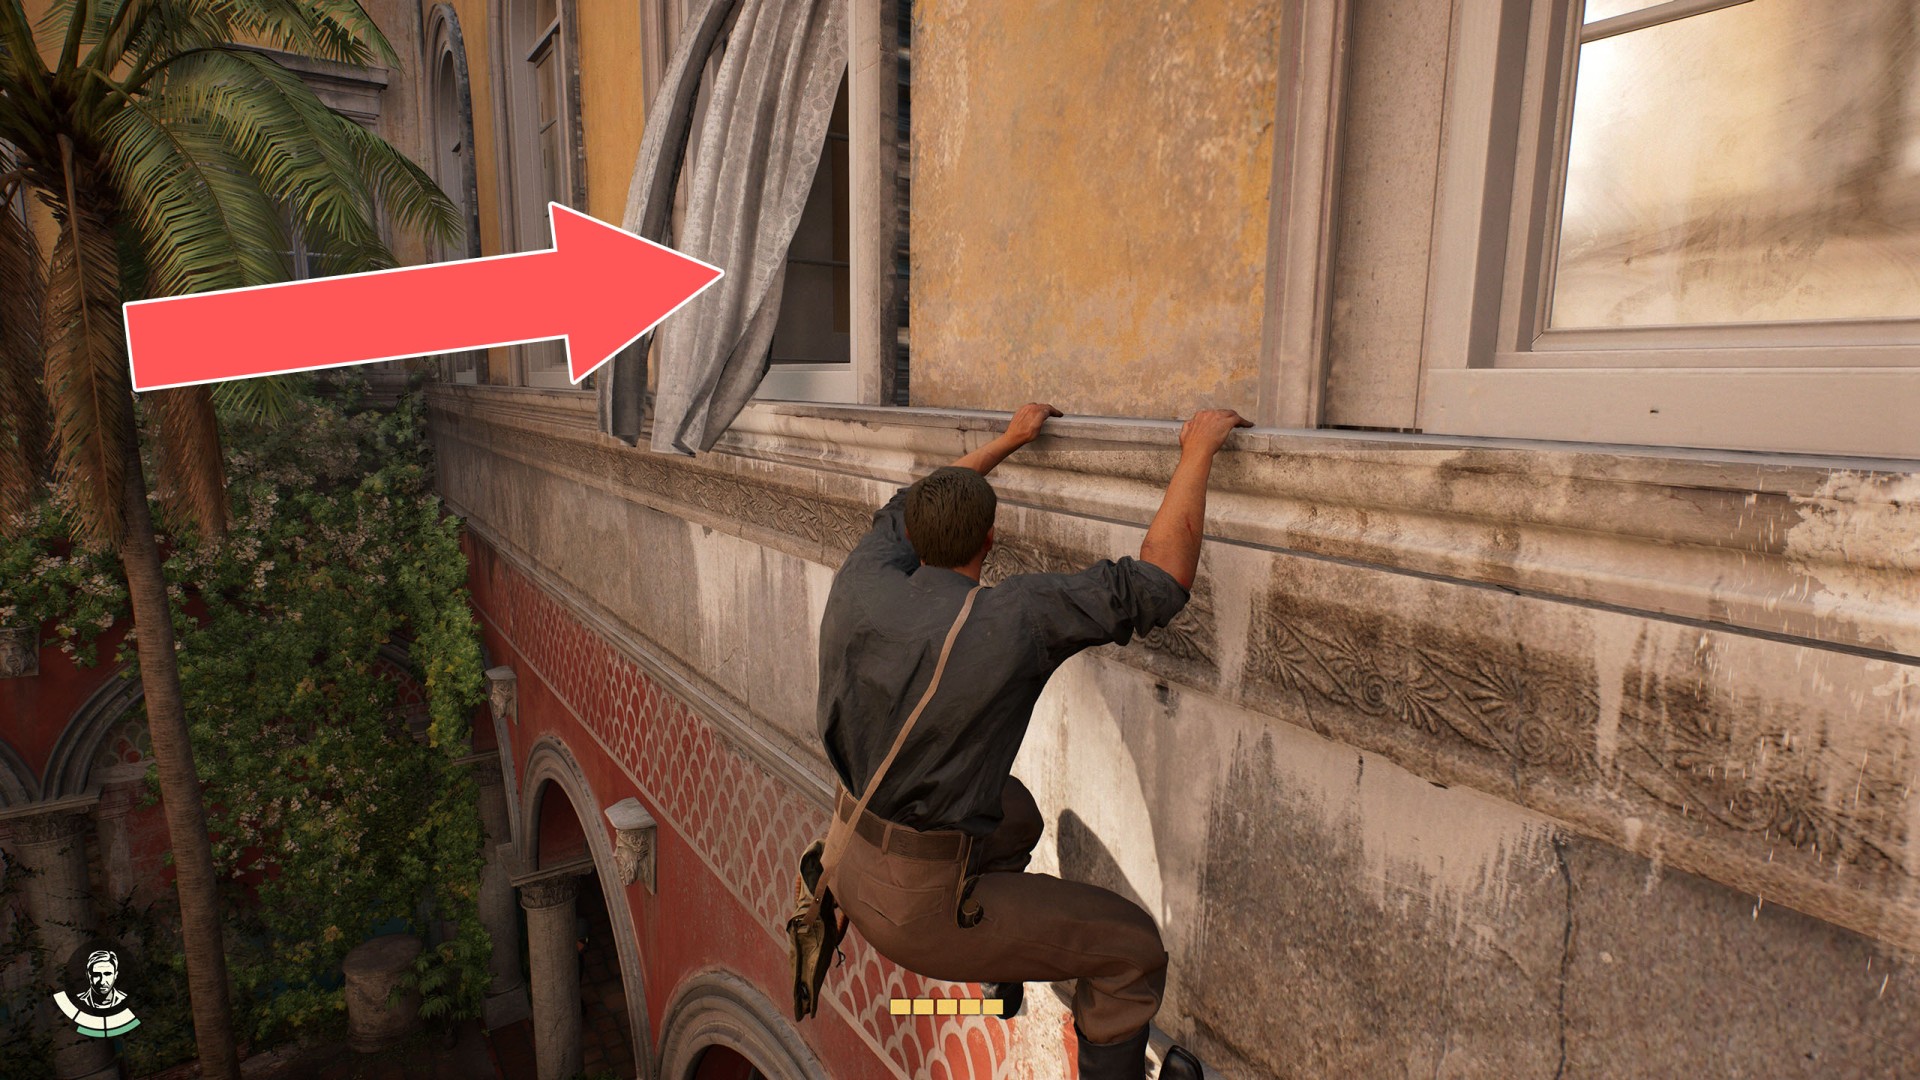
5Climbing Spot
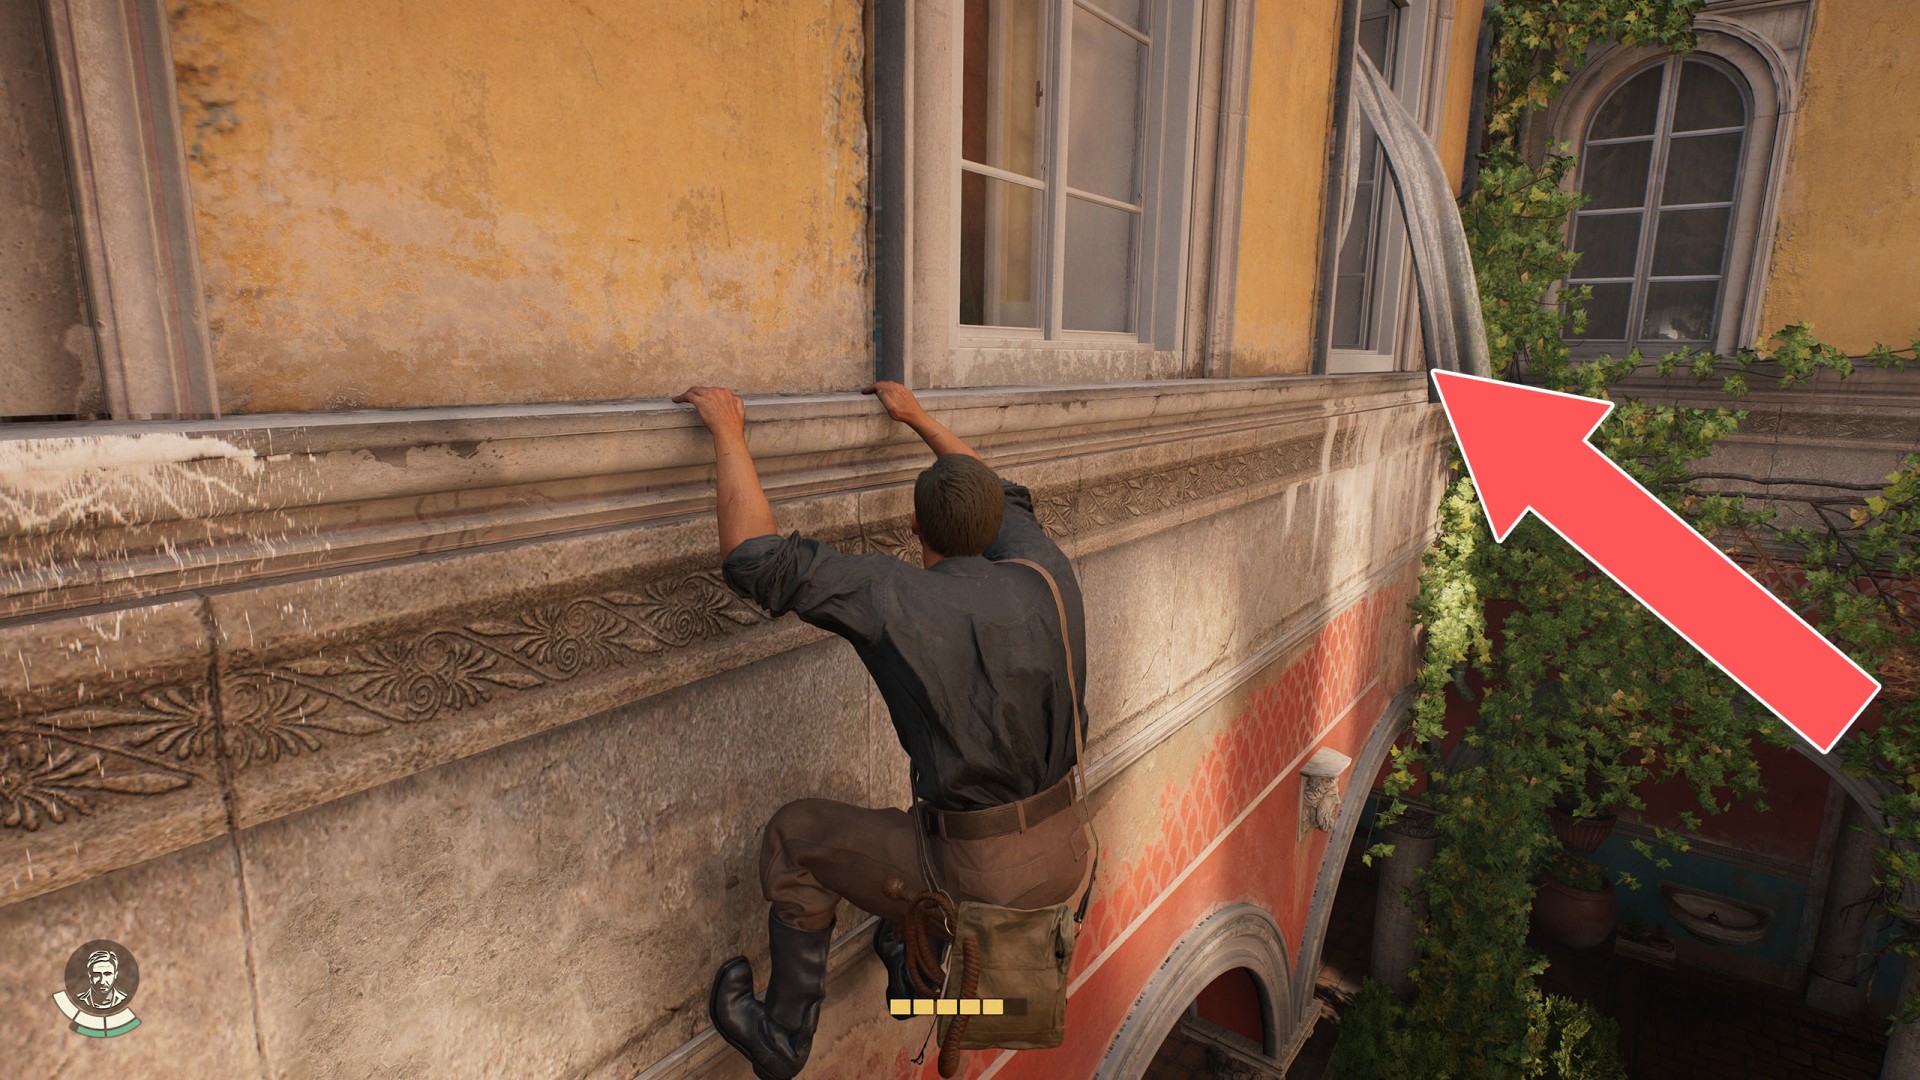
6Climbing Spot
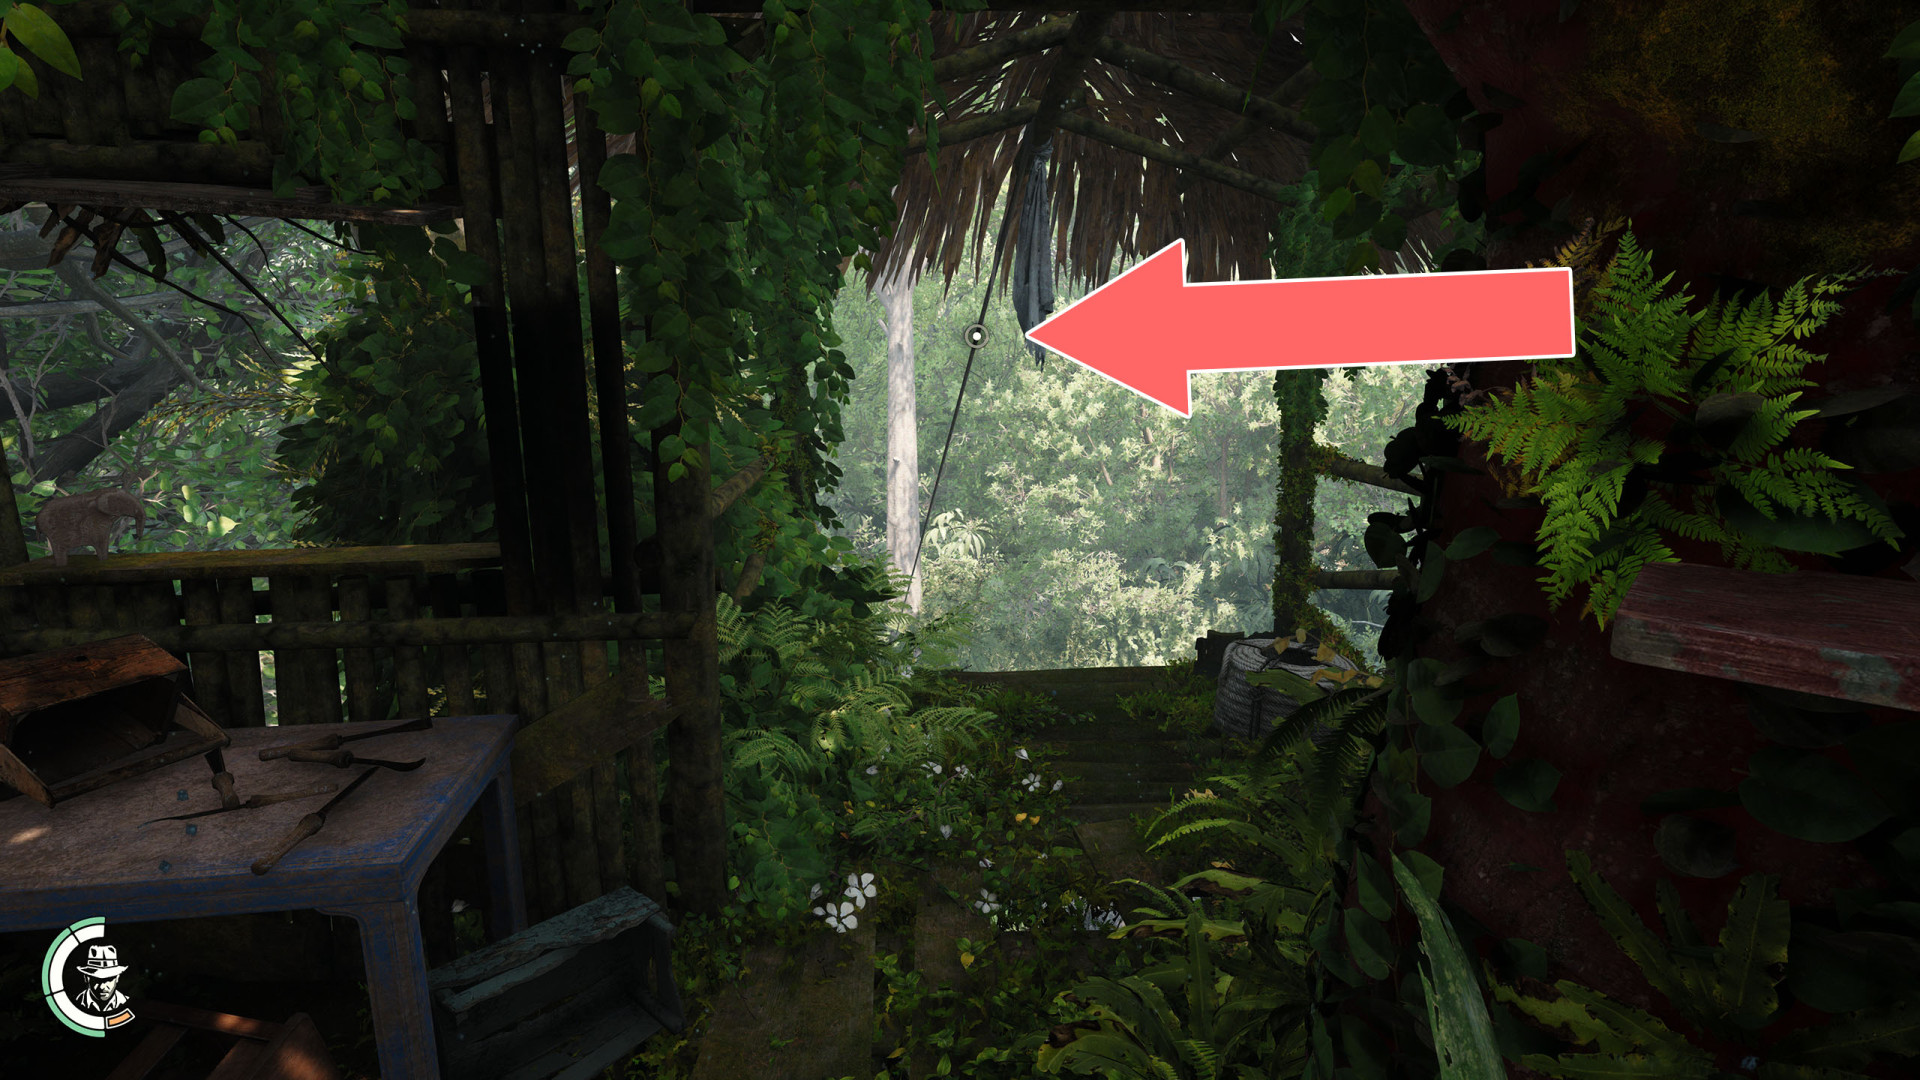
First climb along the edge and then along the pipe.
7Diving Spot
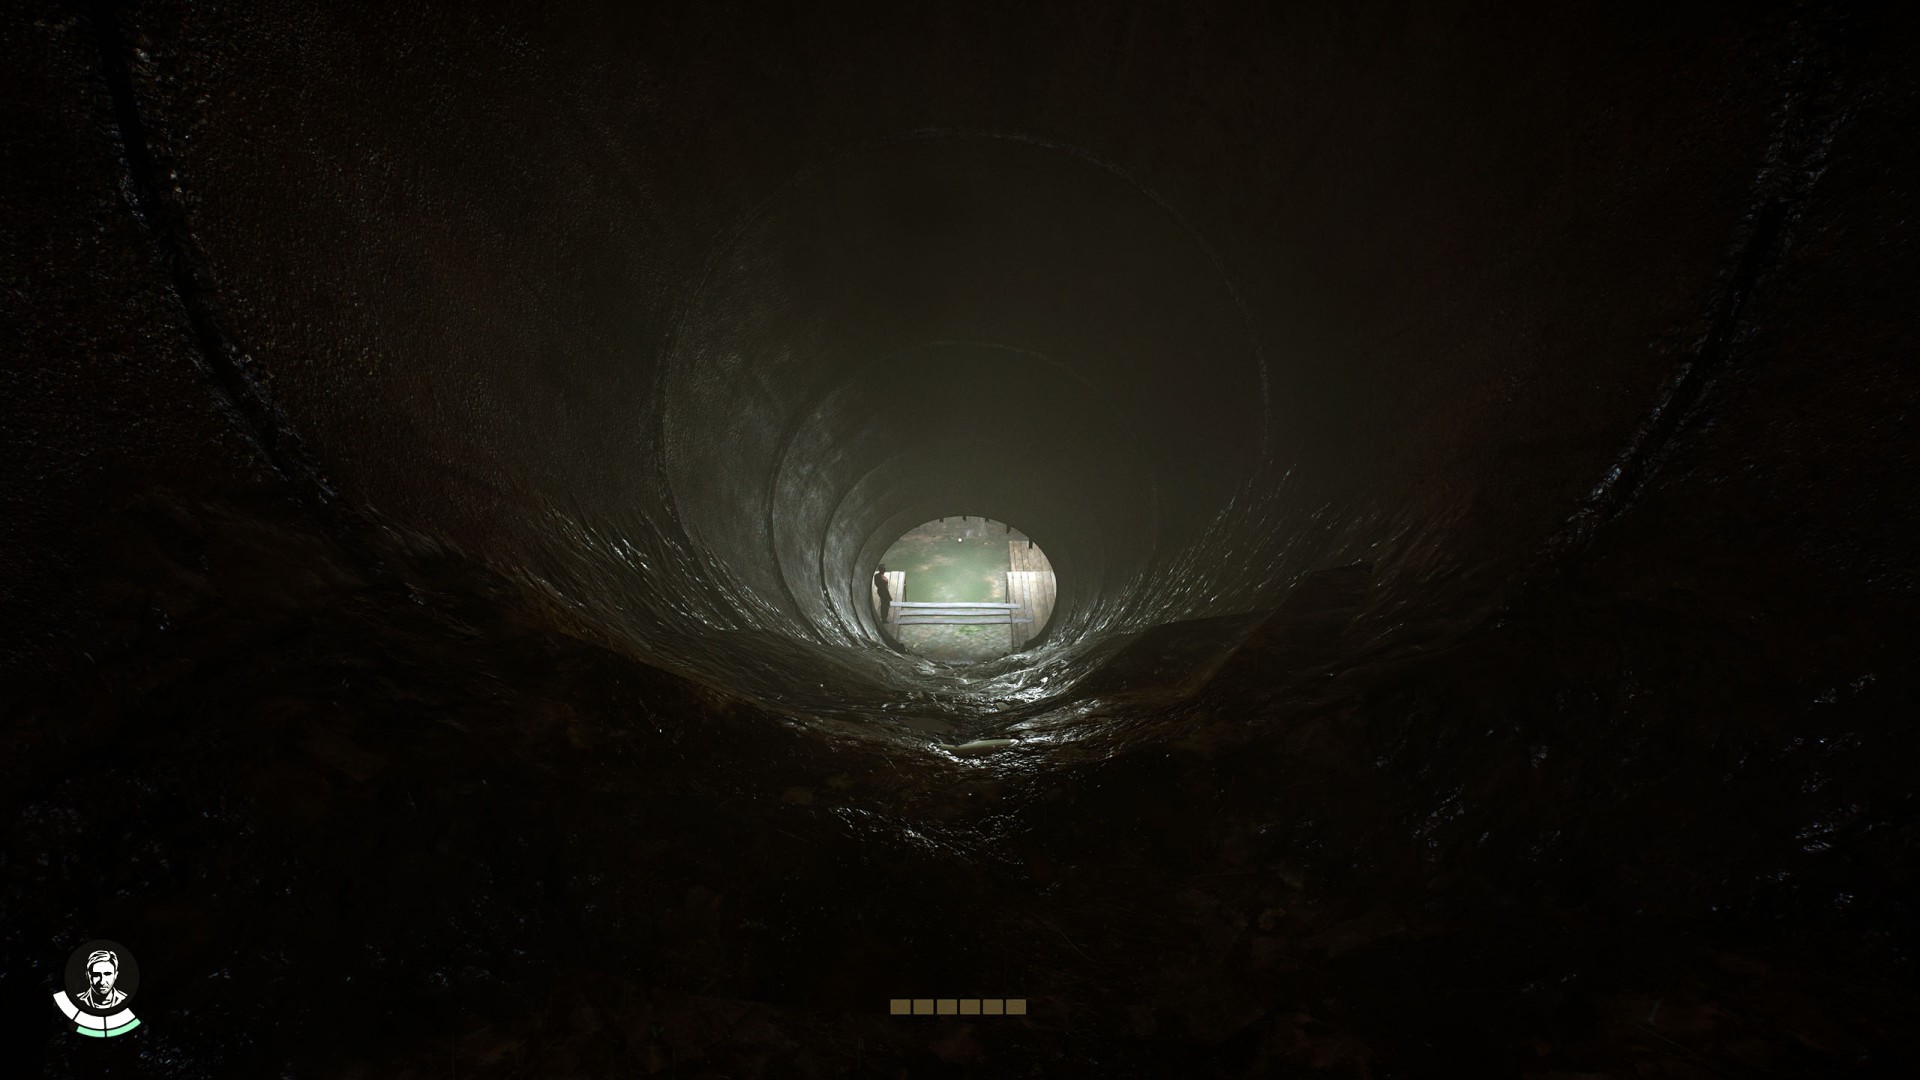
8Diving Spot
Jump into the water and swim through the tunnel to the room on the other side.

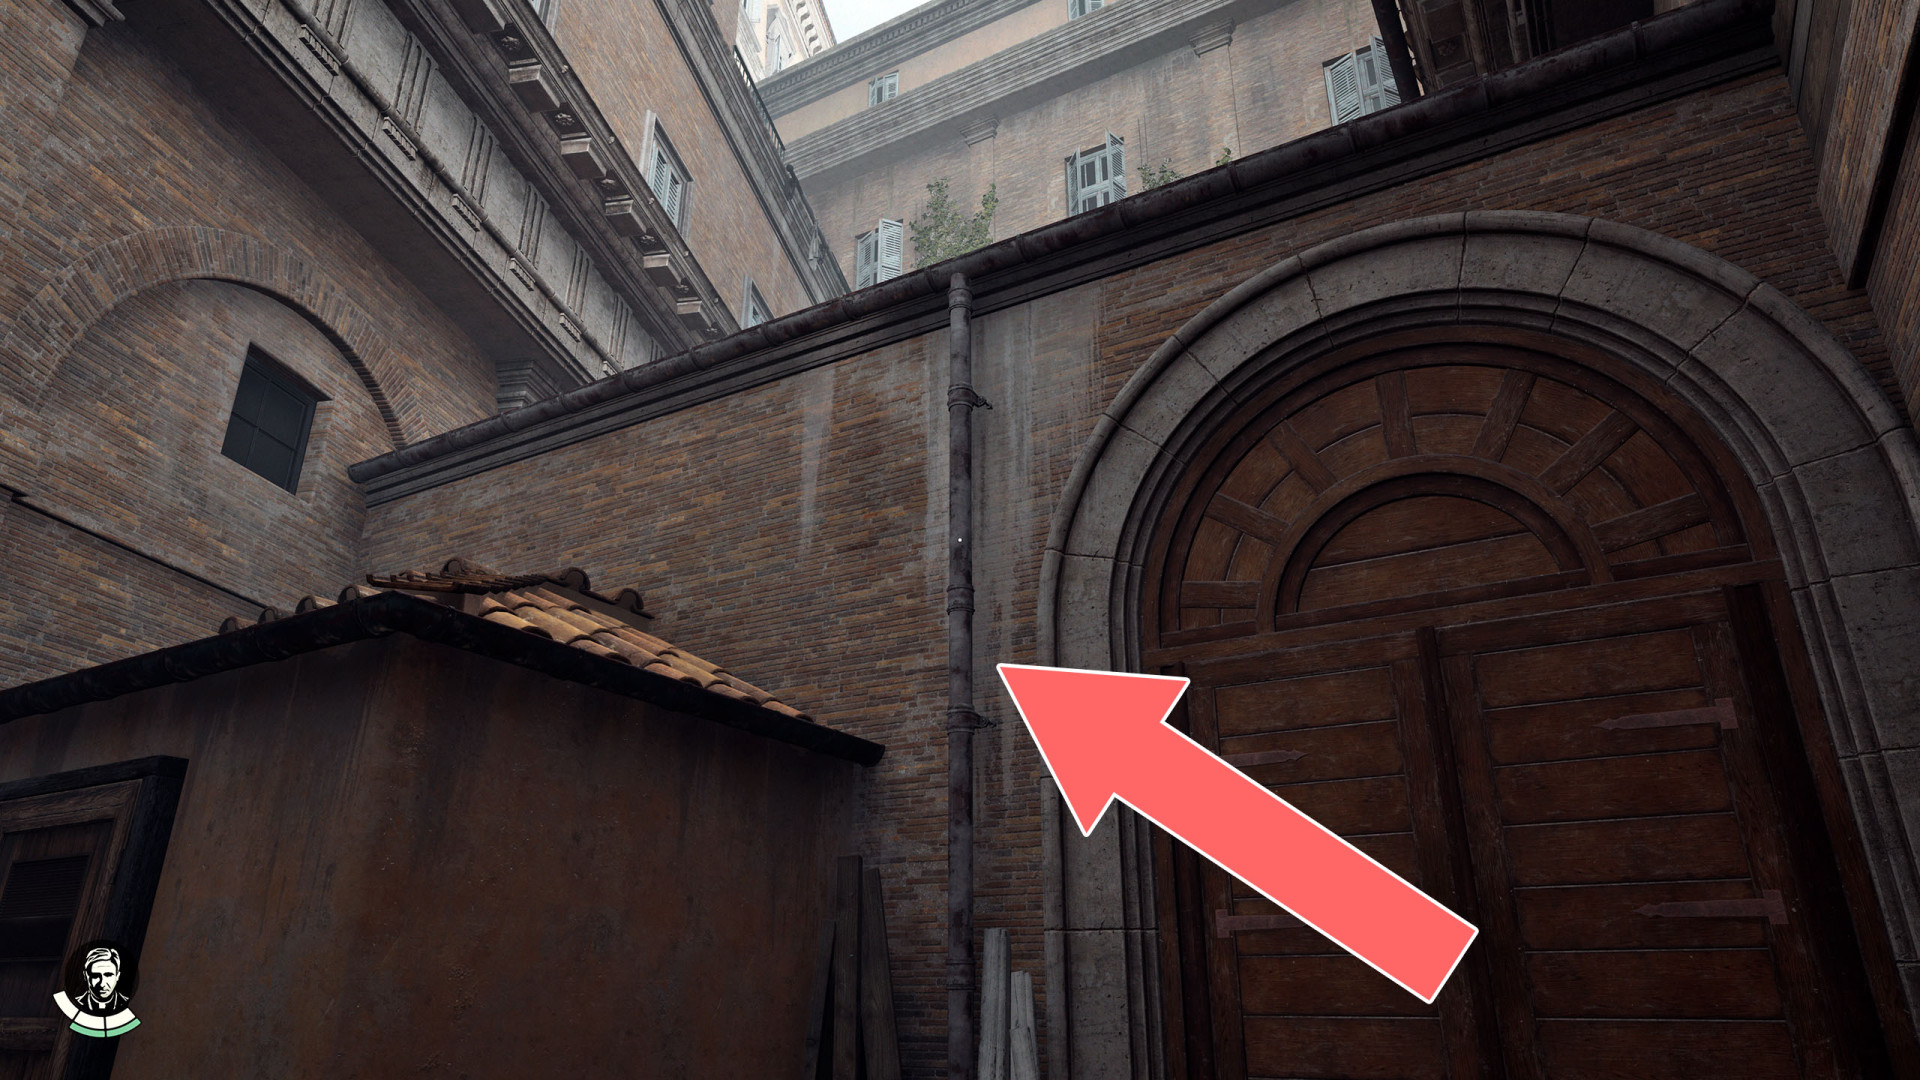
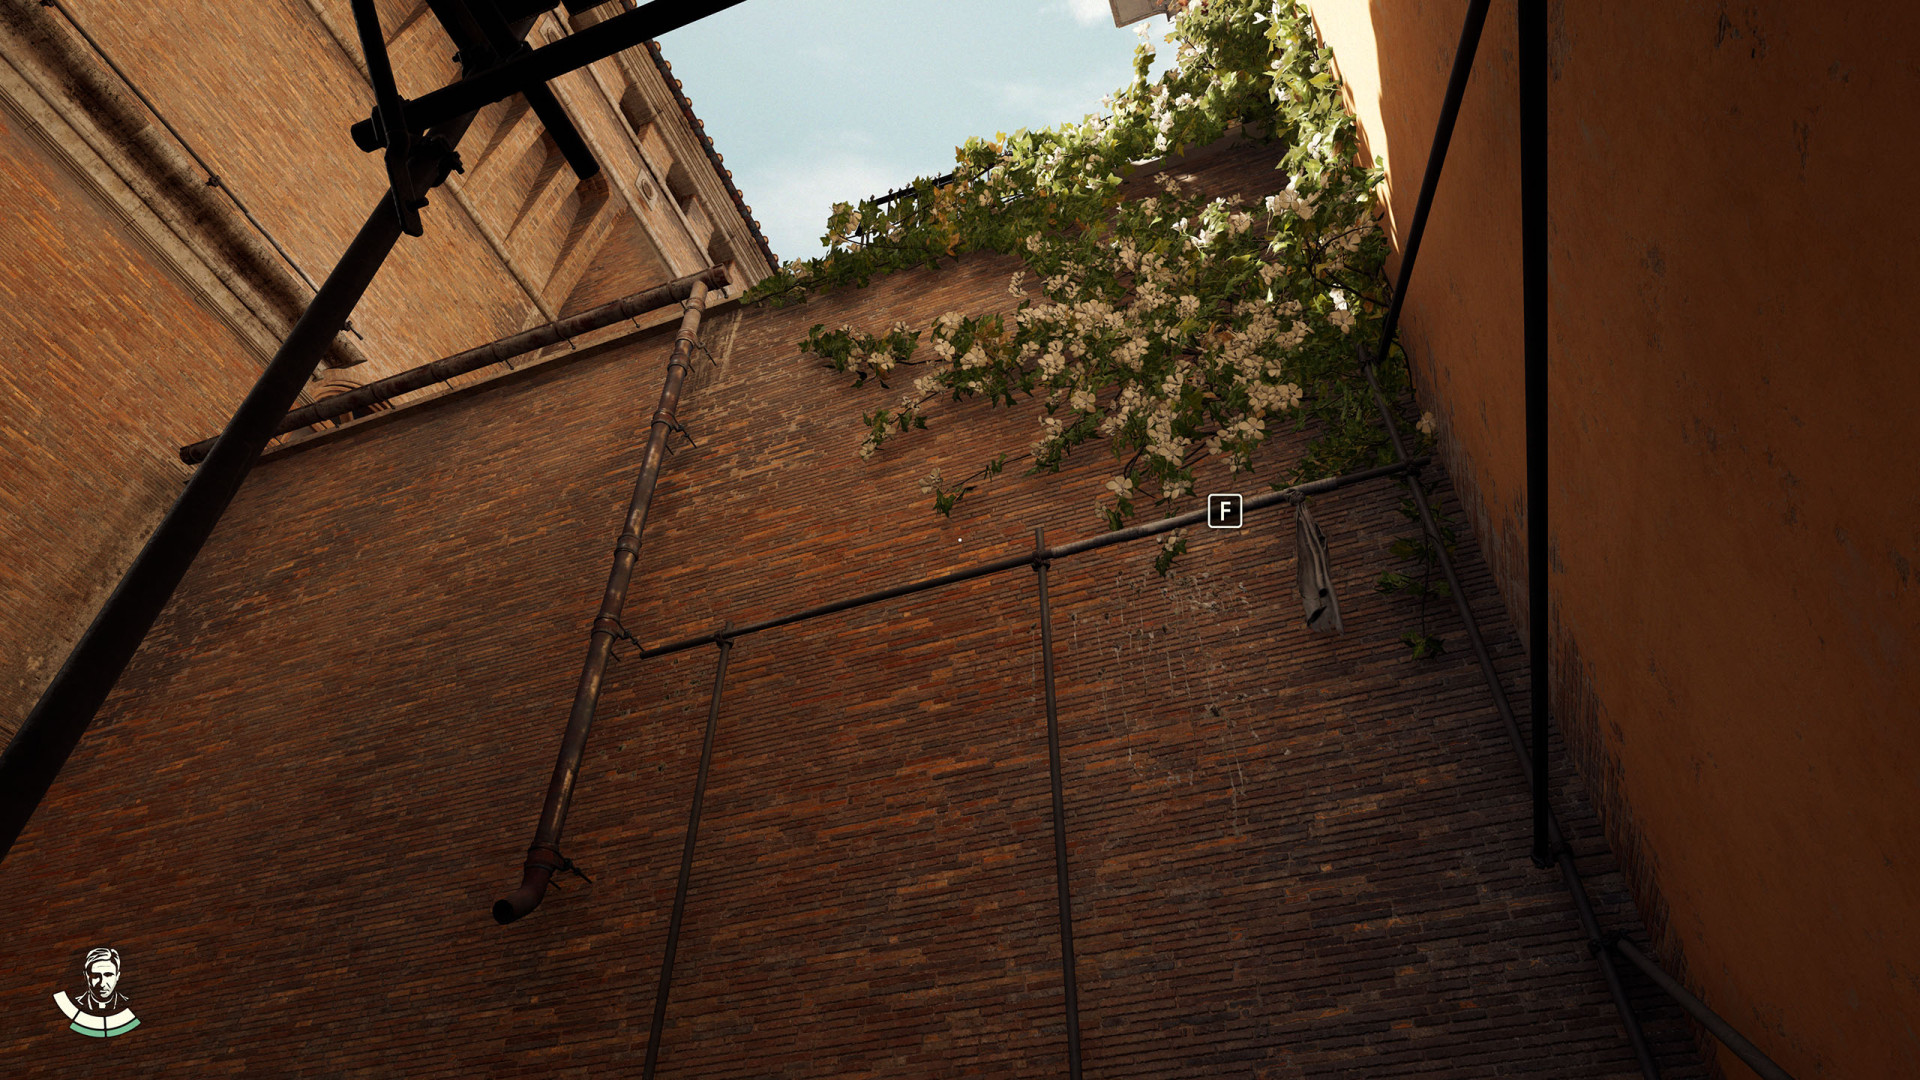
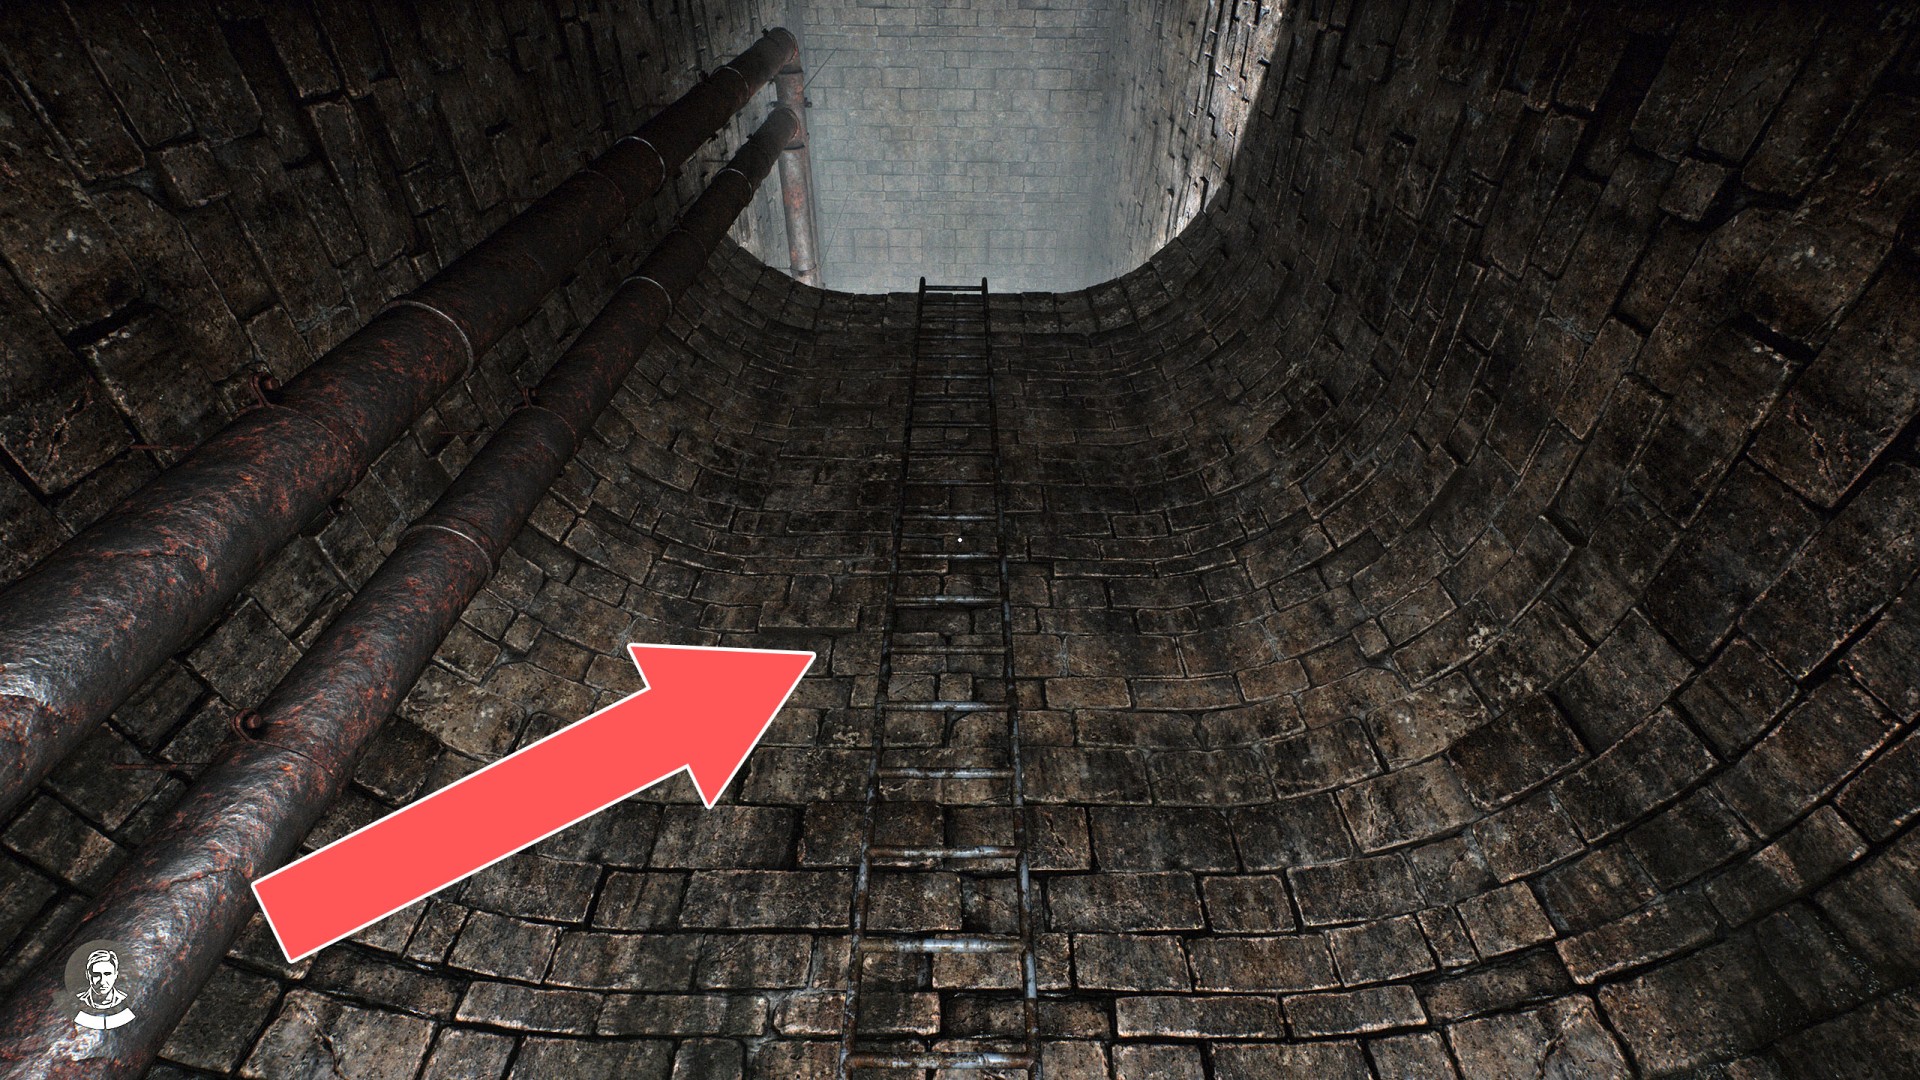
9Drainpipe
You can climb on it to the roof.
10Entry Under the Building
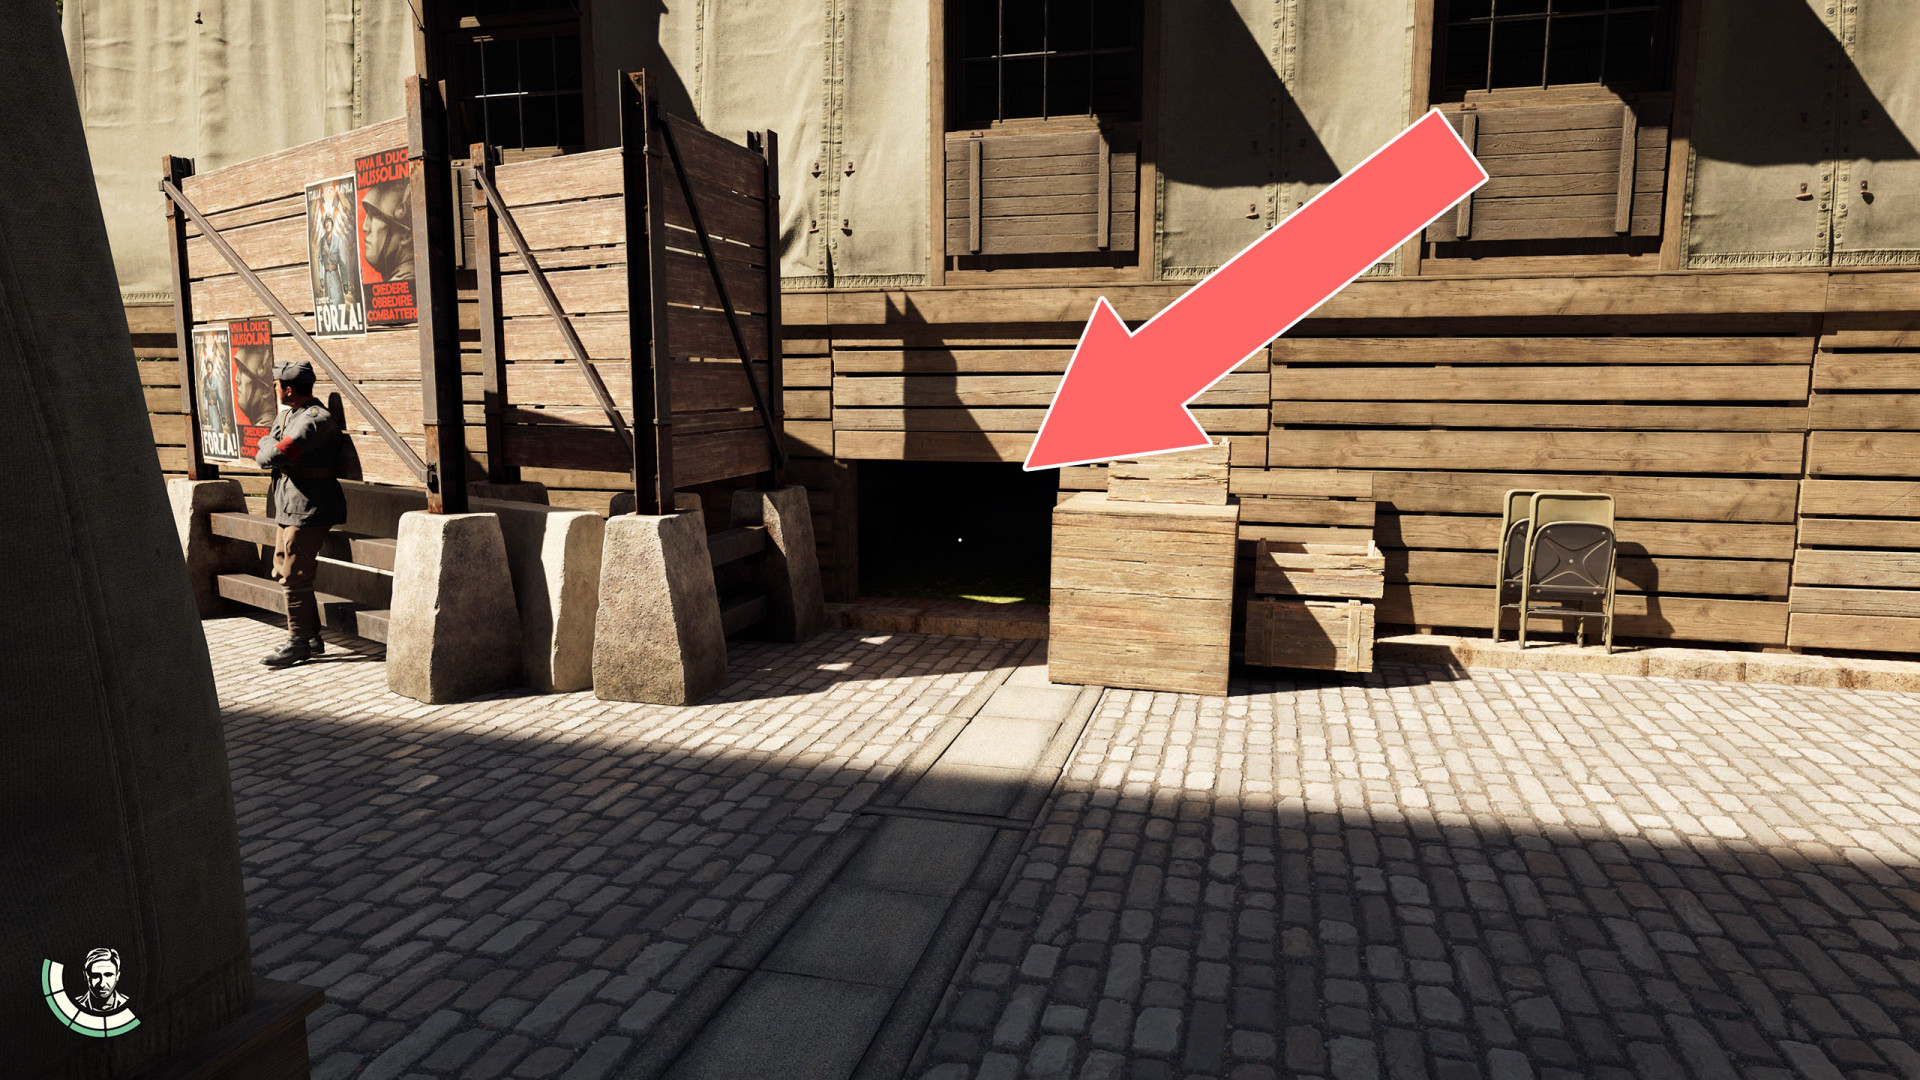
11Entry Under the Building
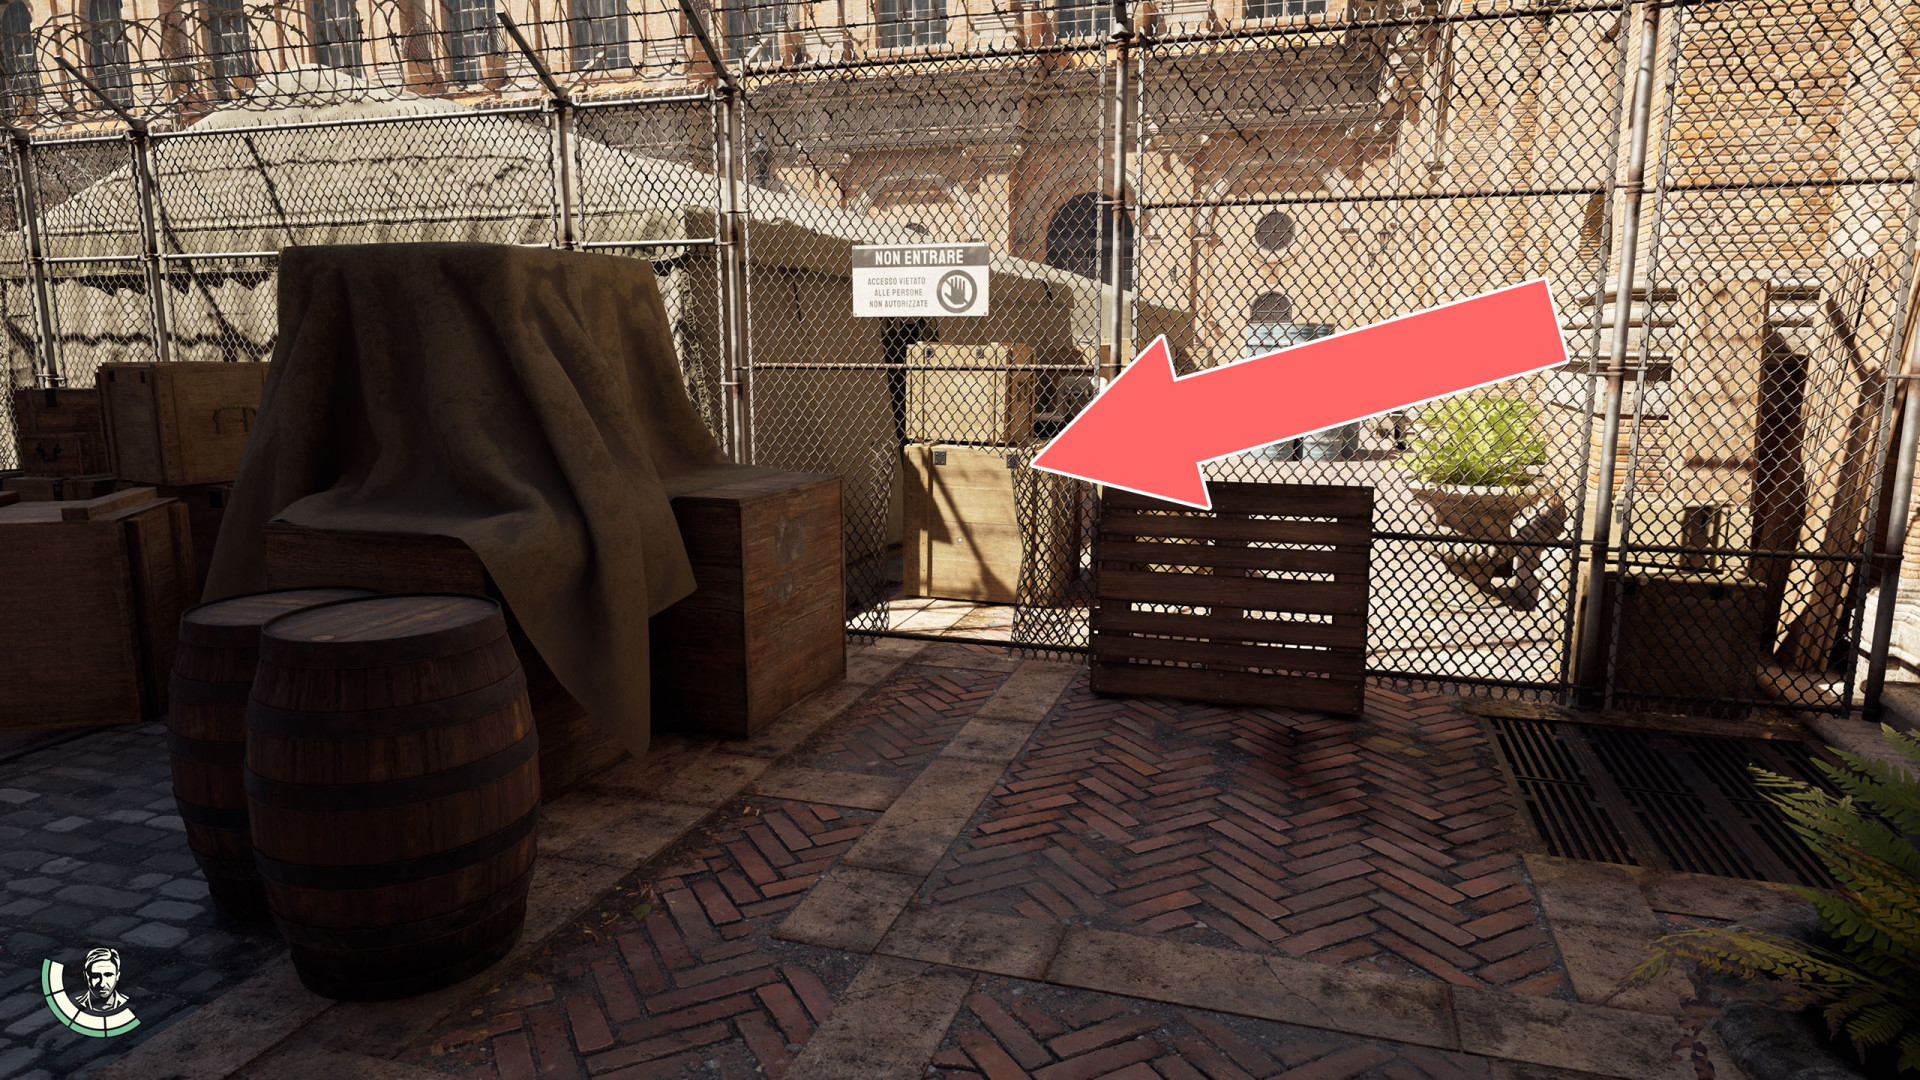
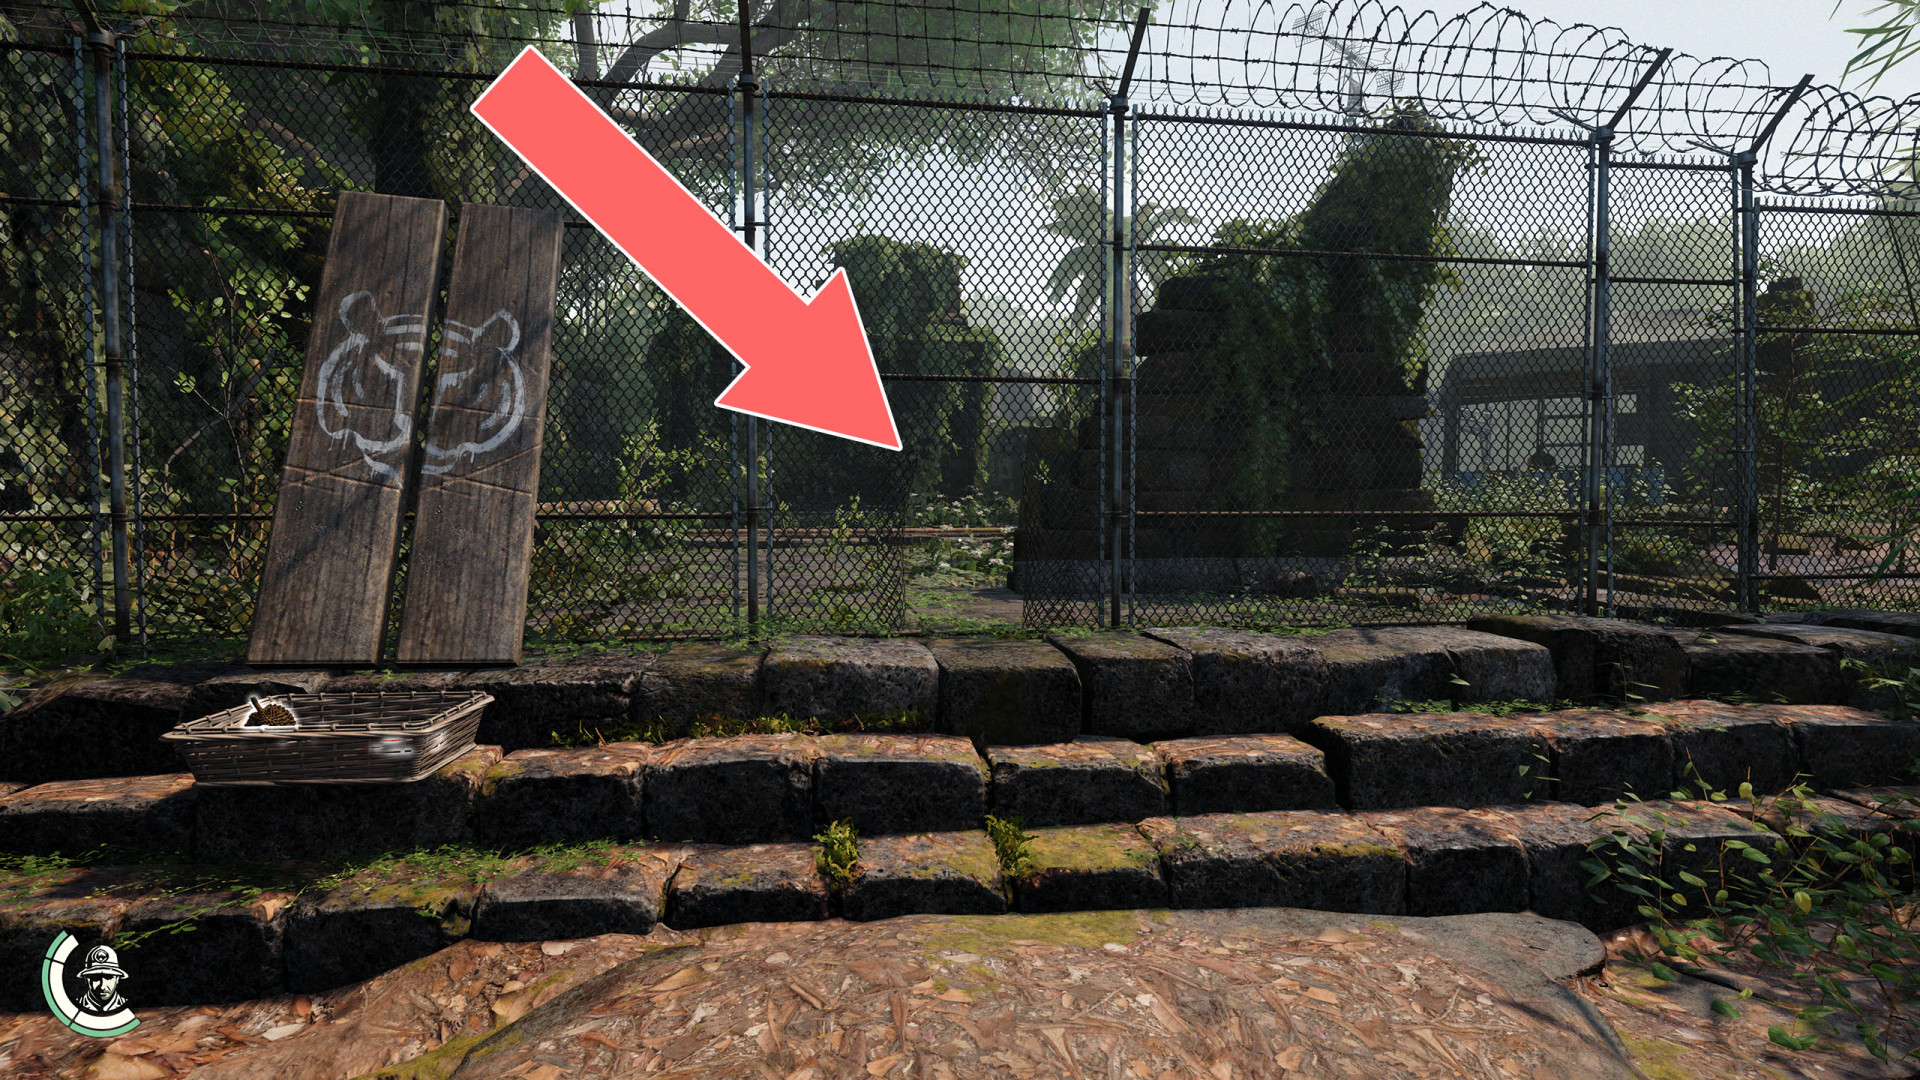
12Fence Hole

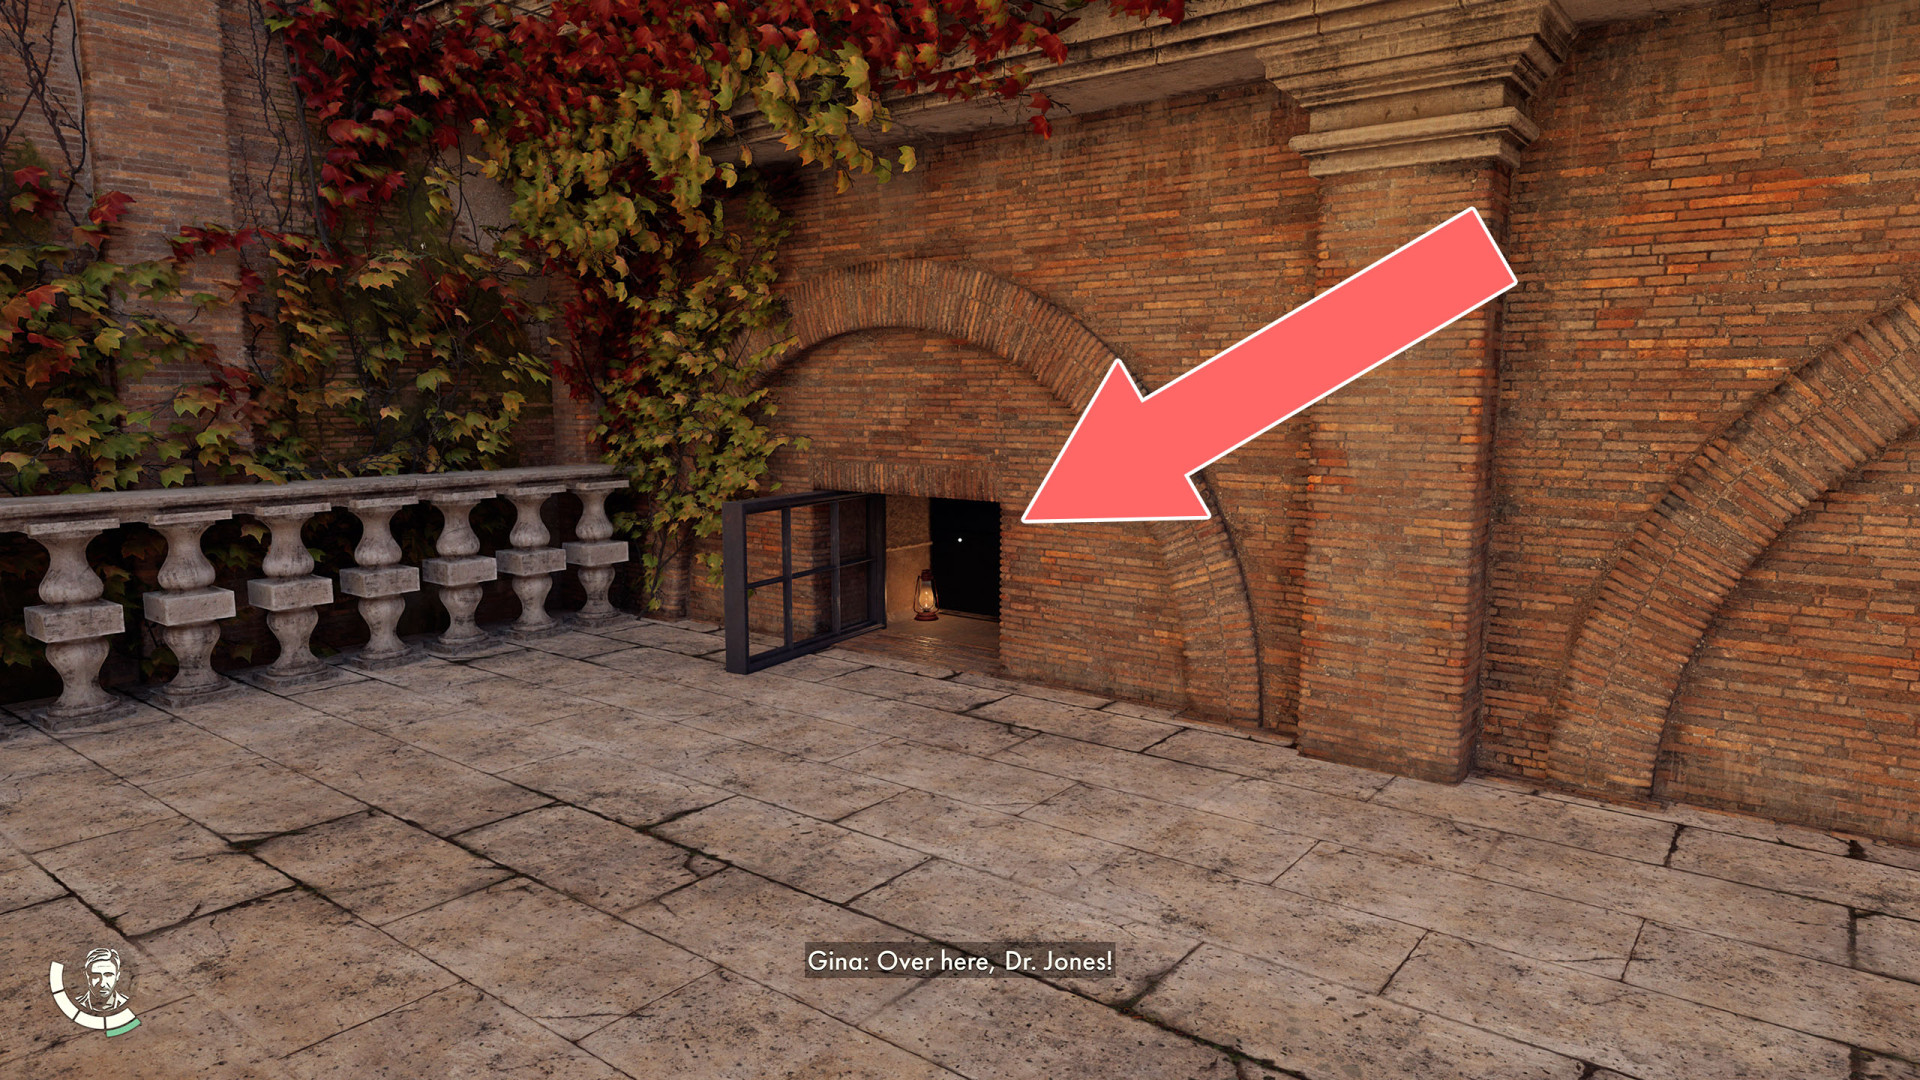
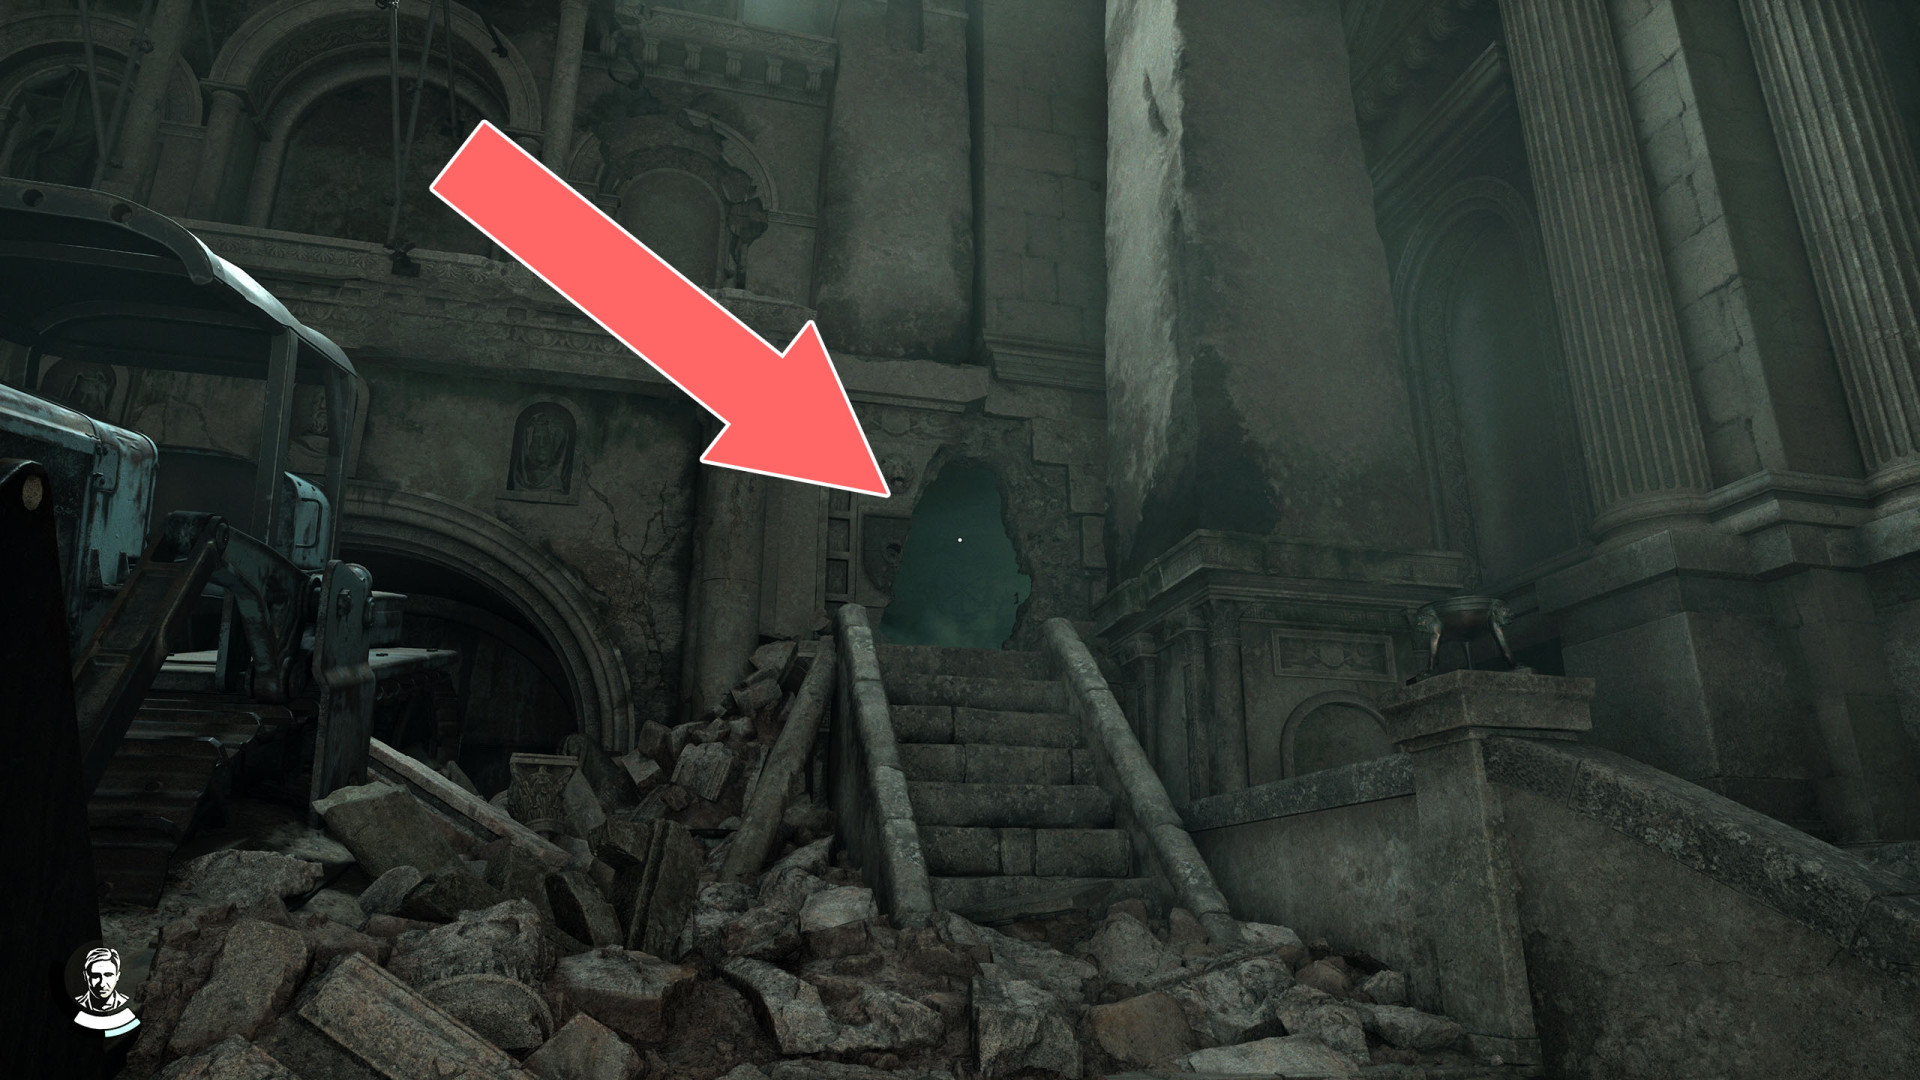
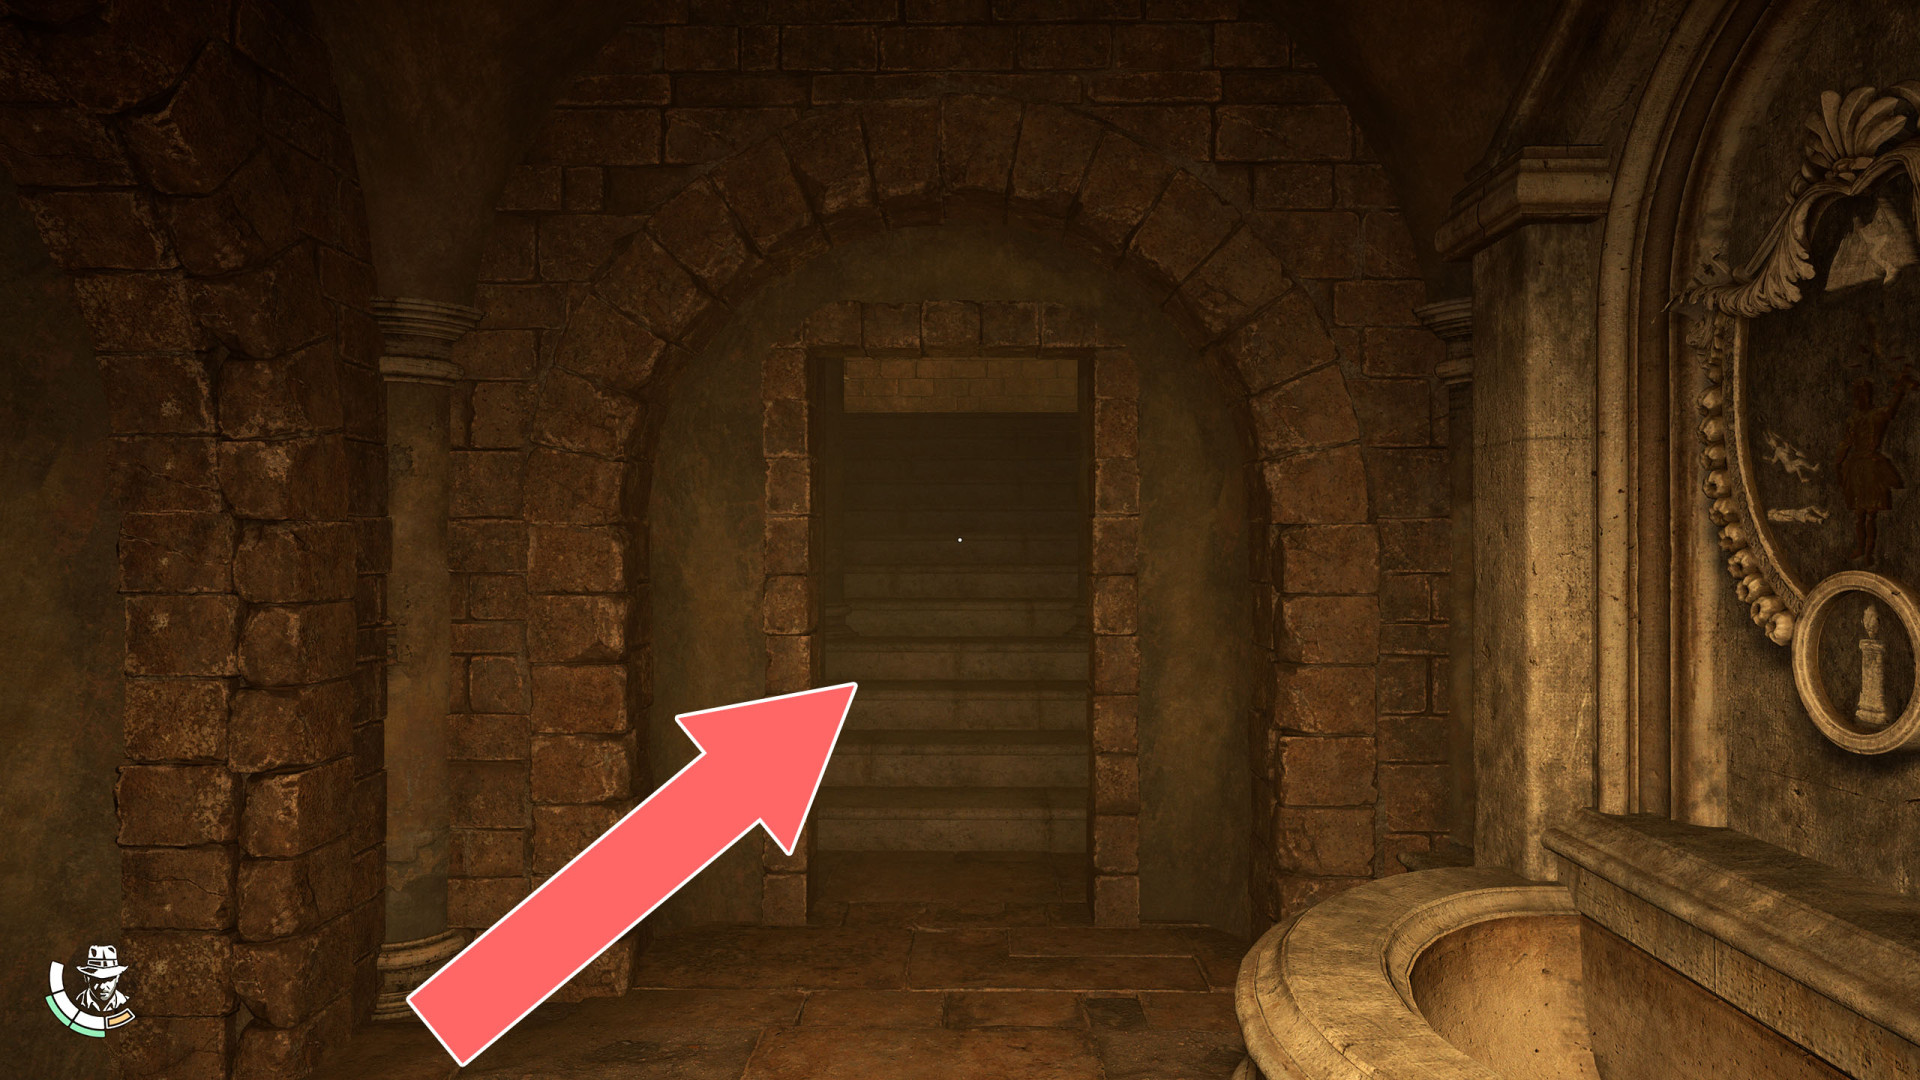
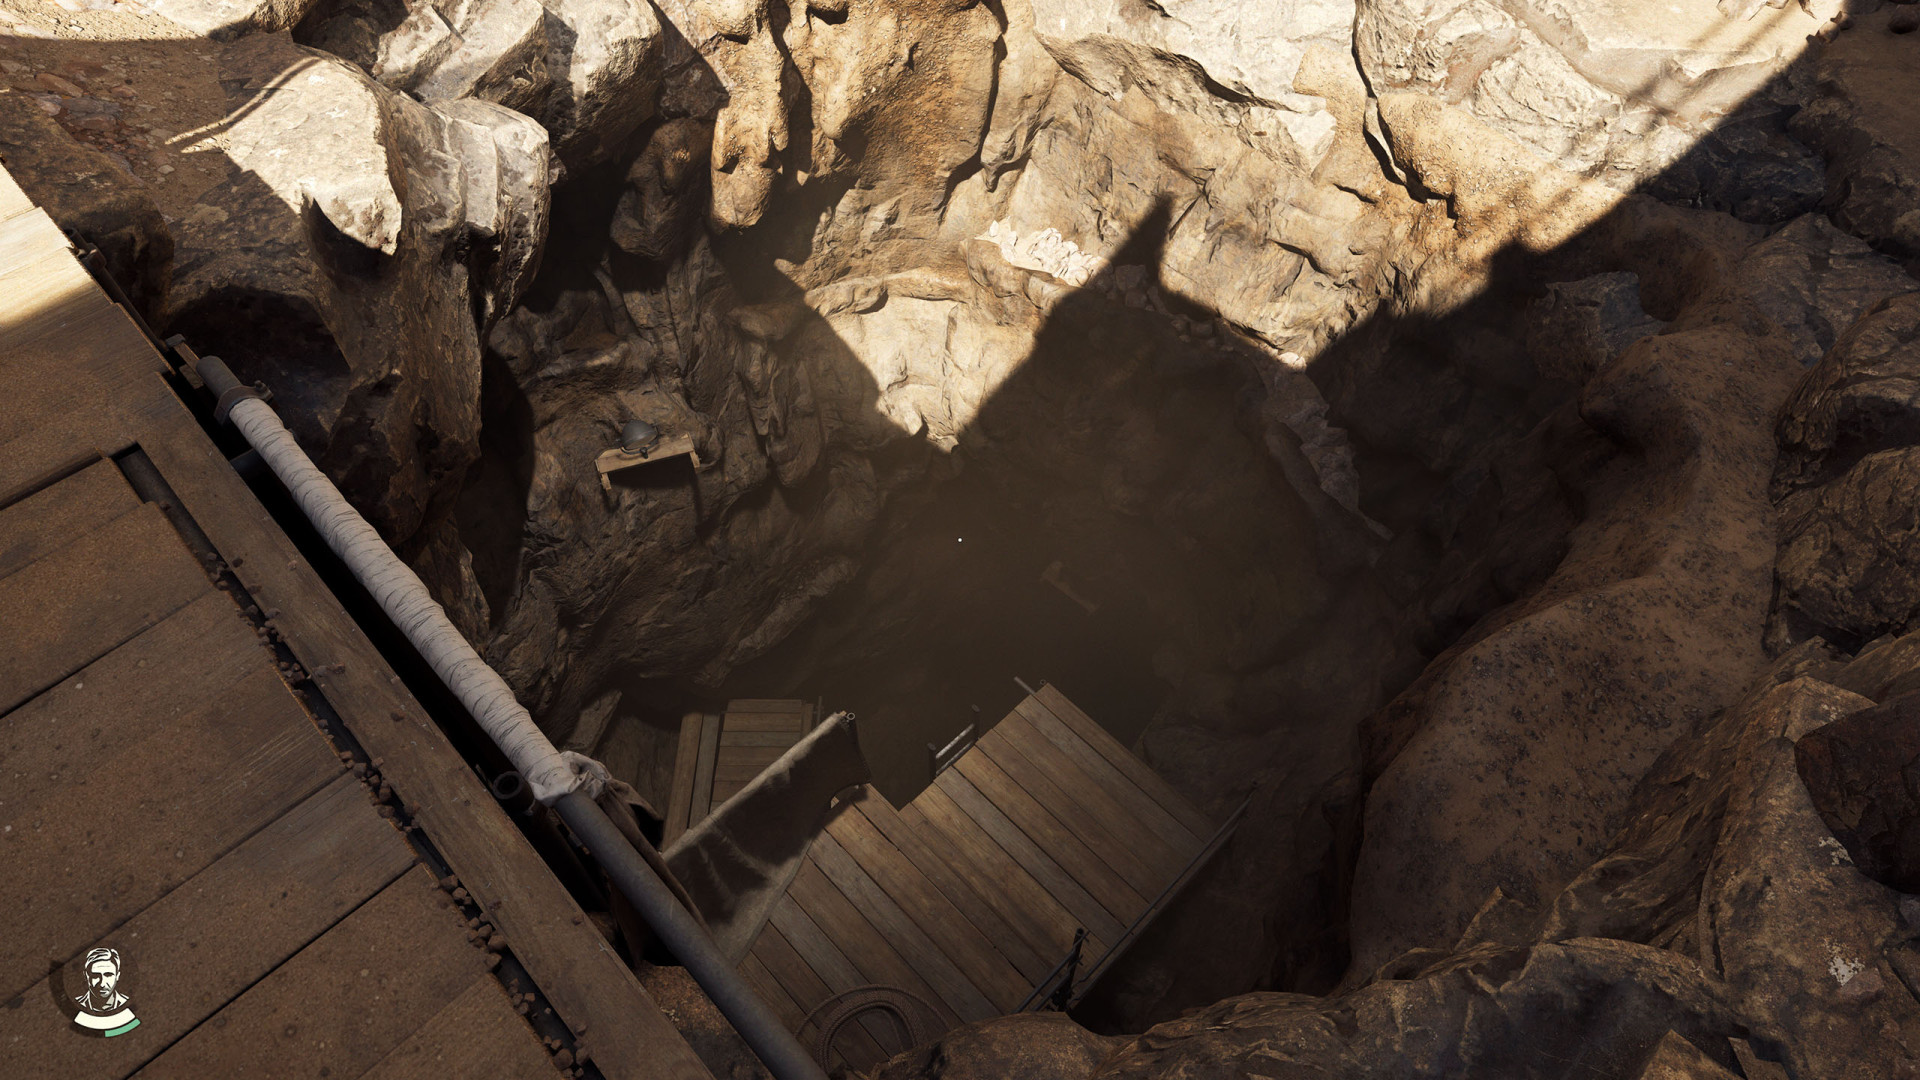
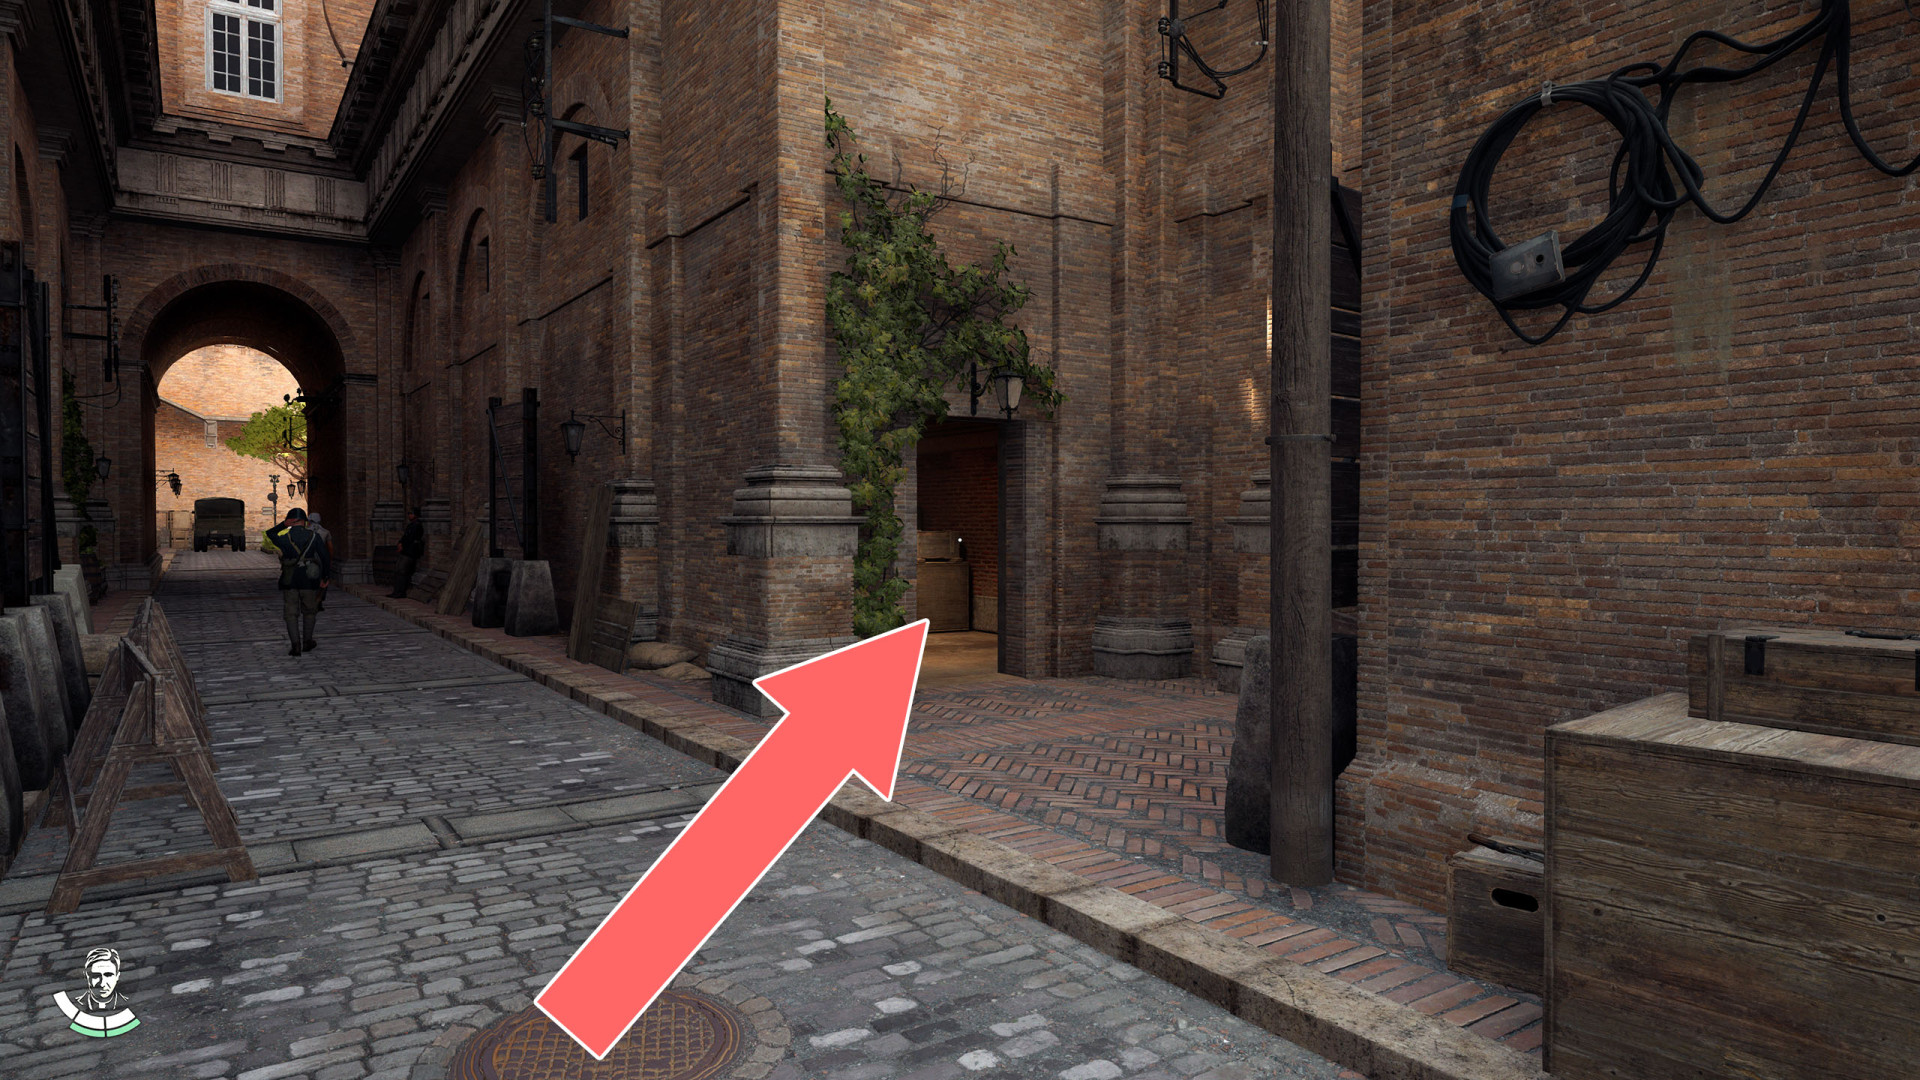
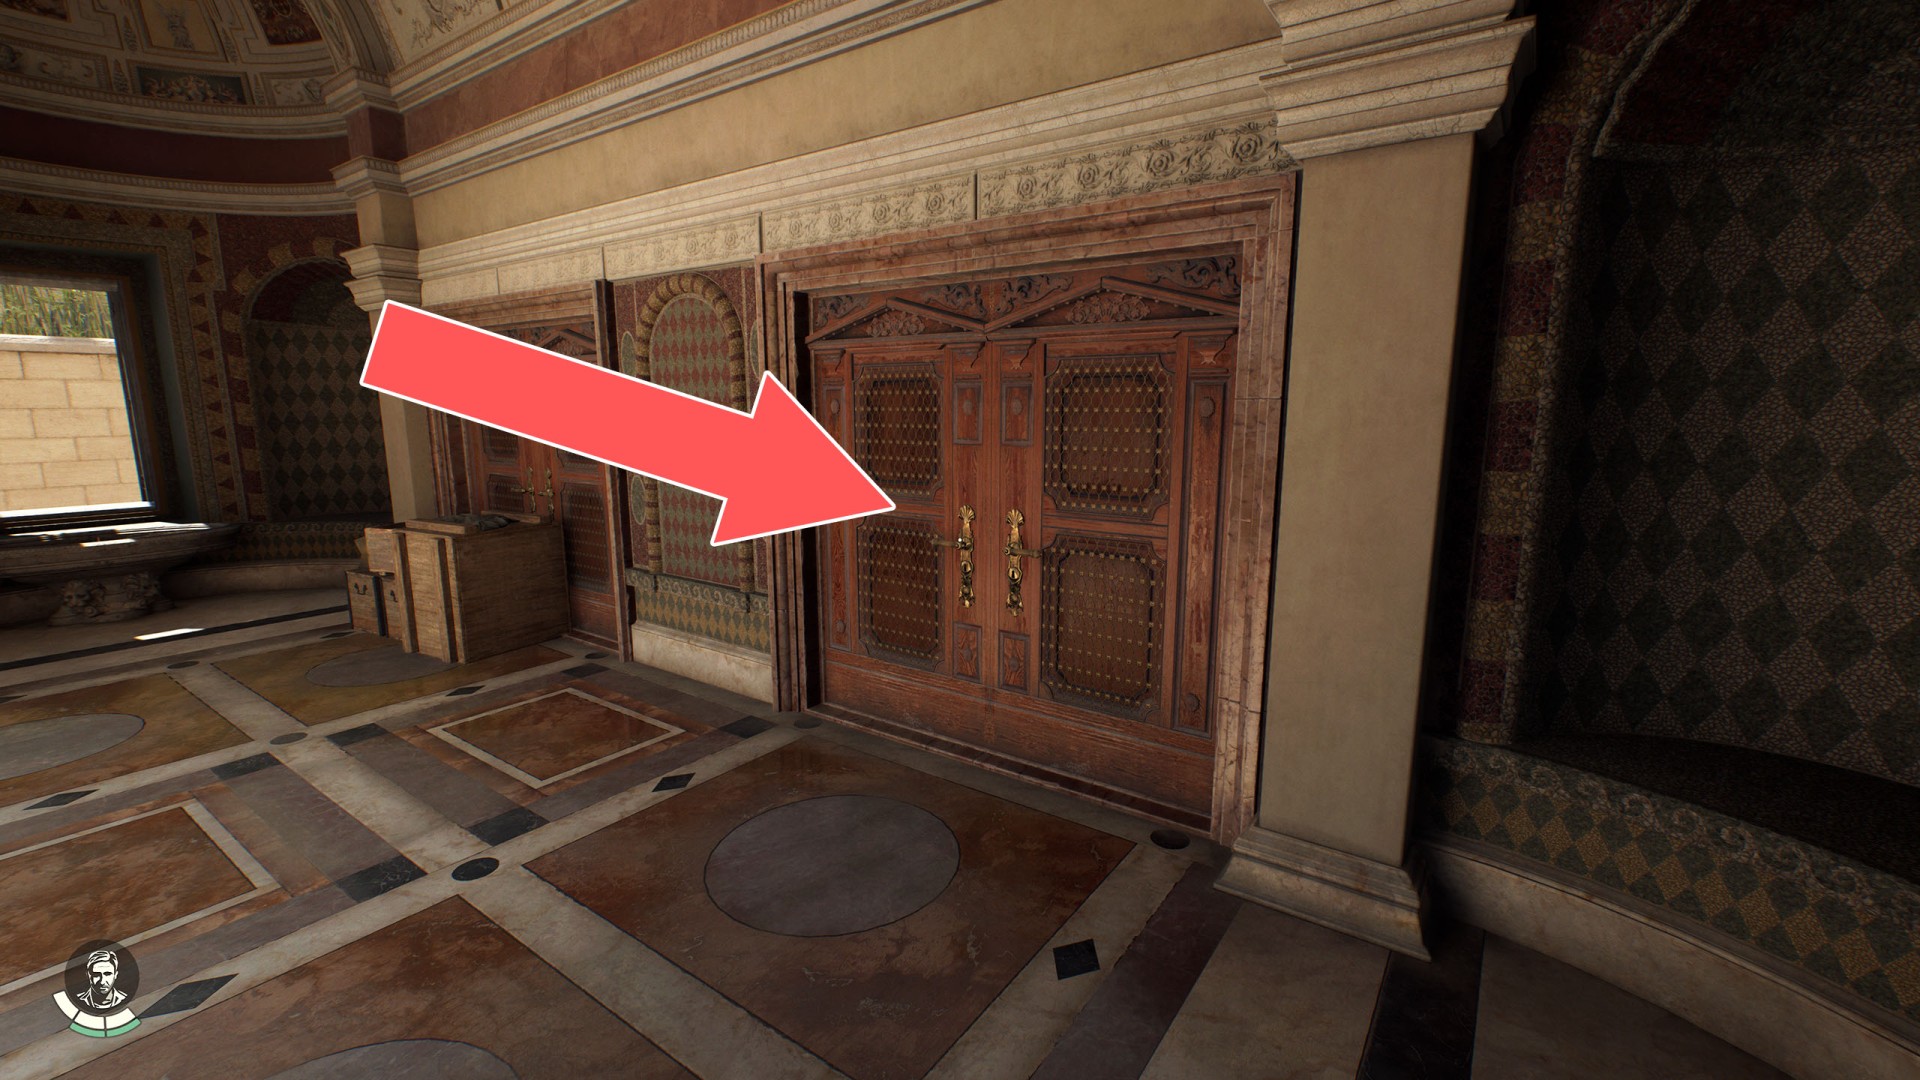
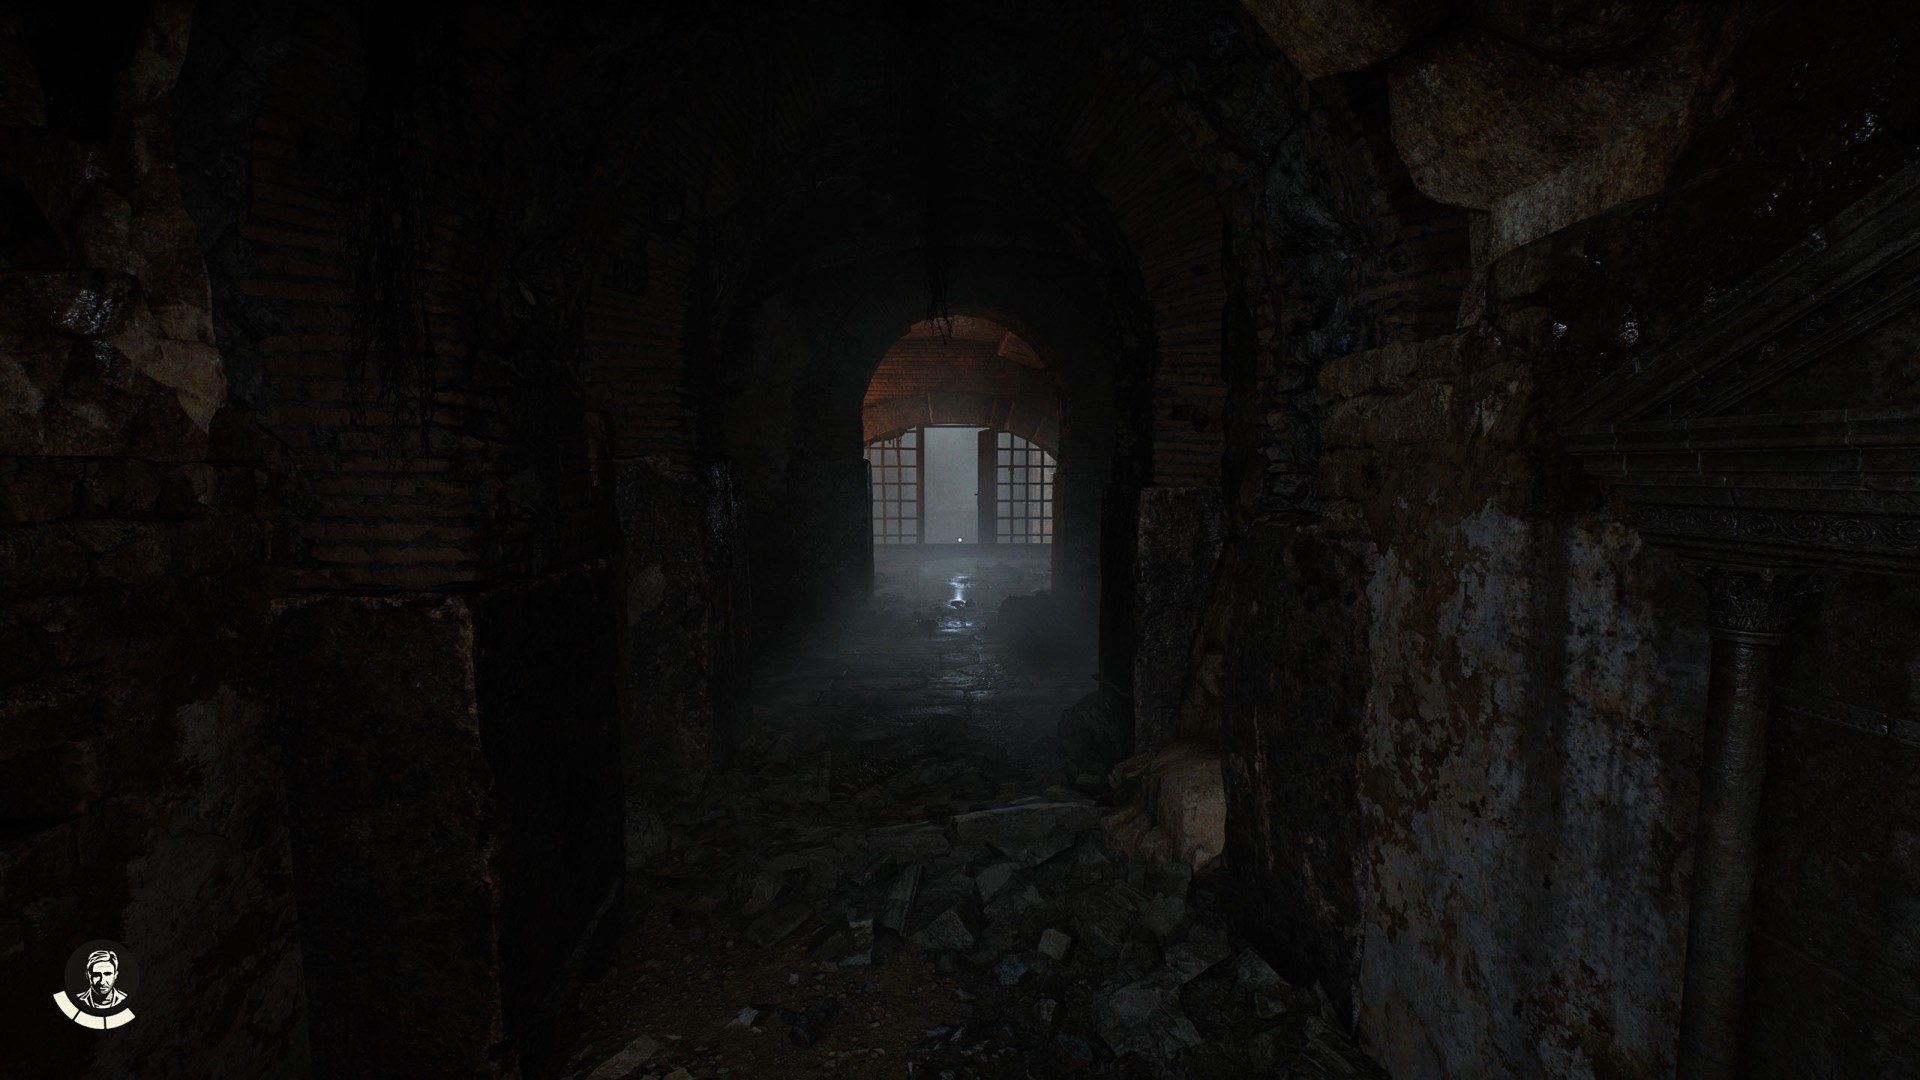
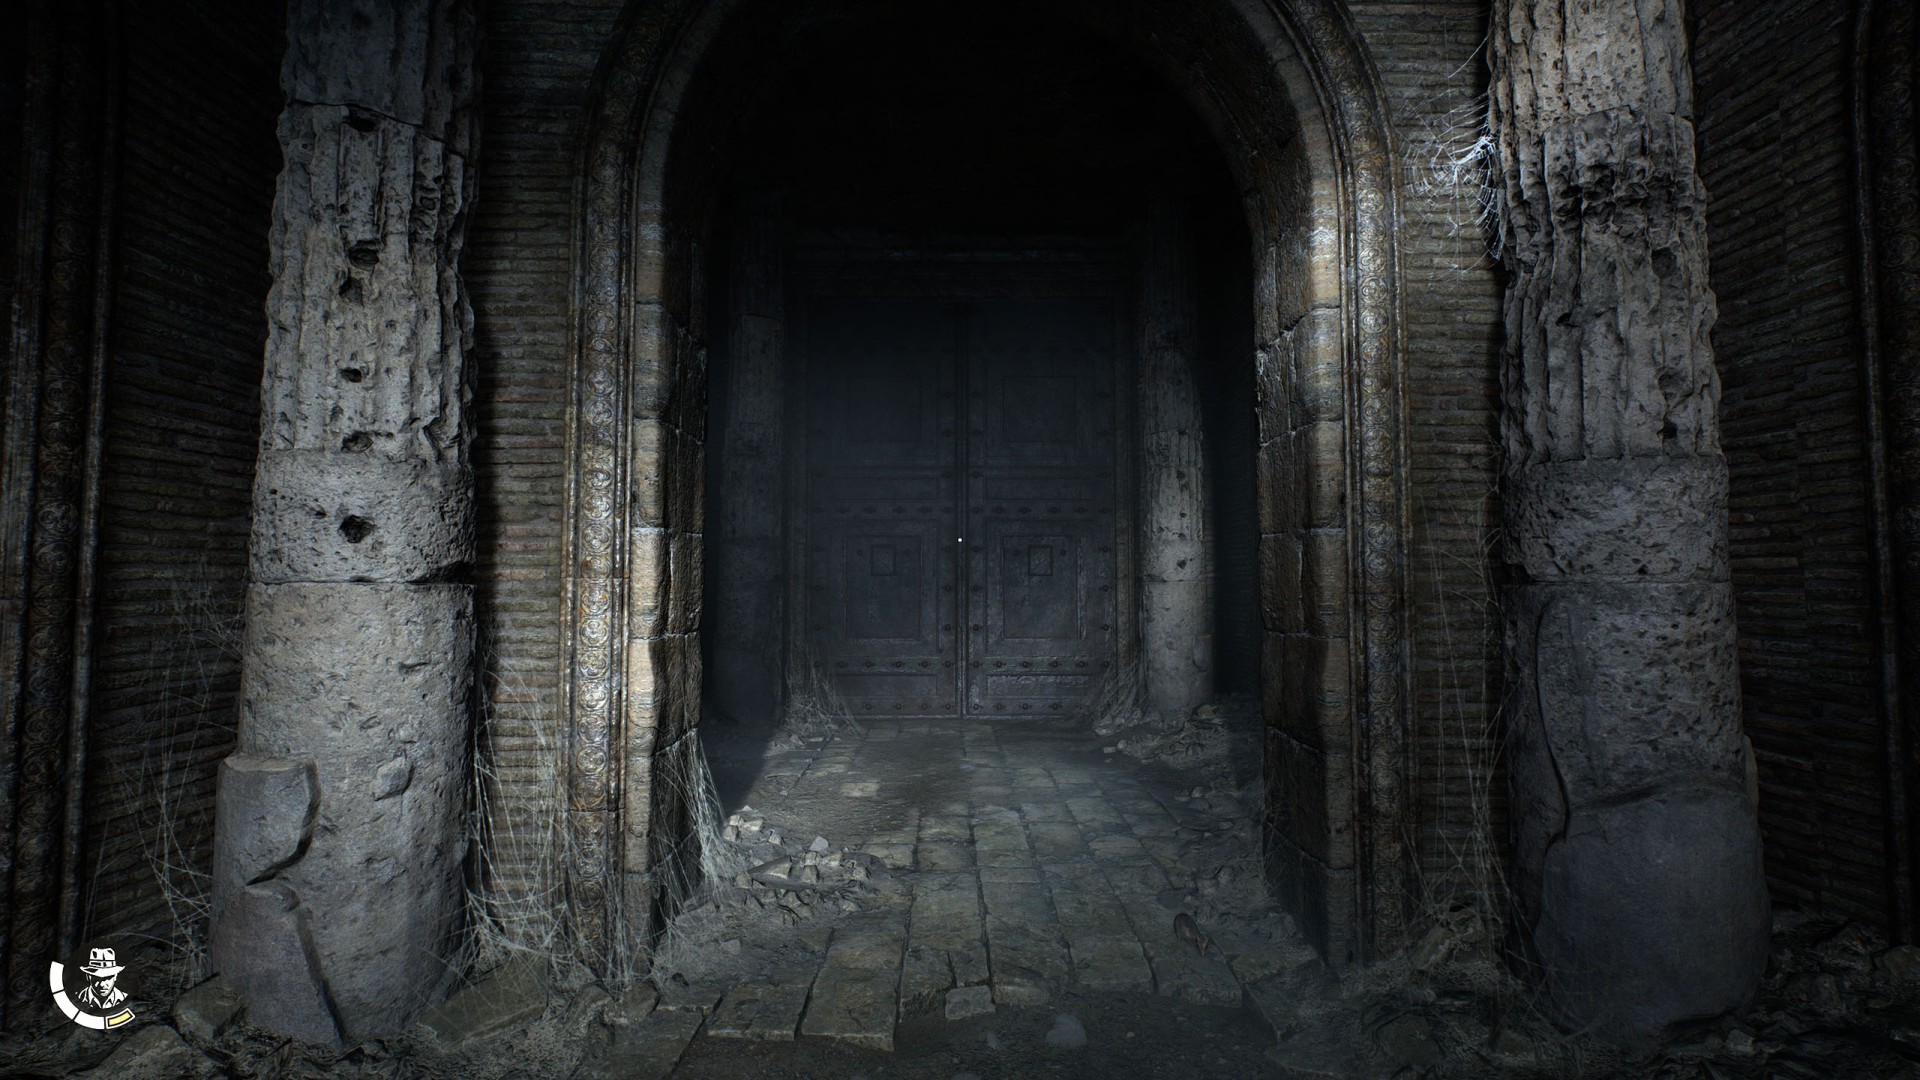
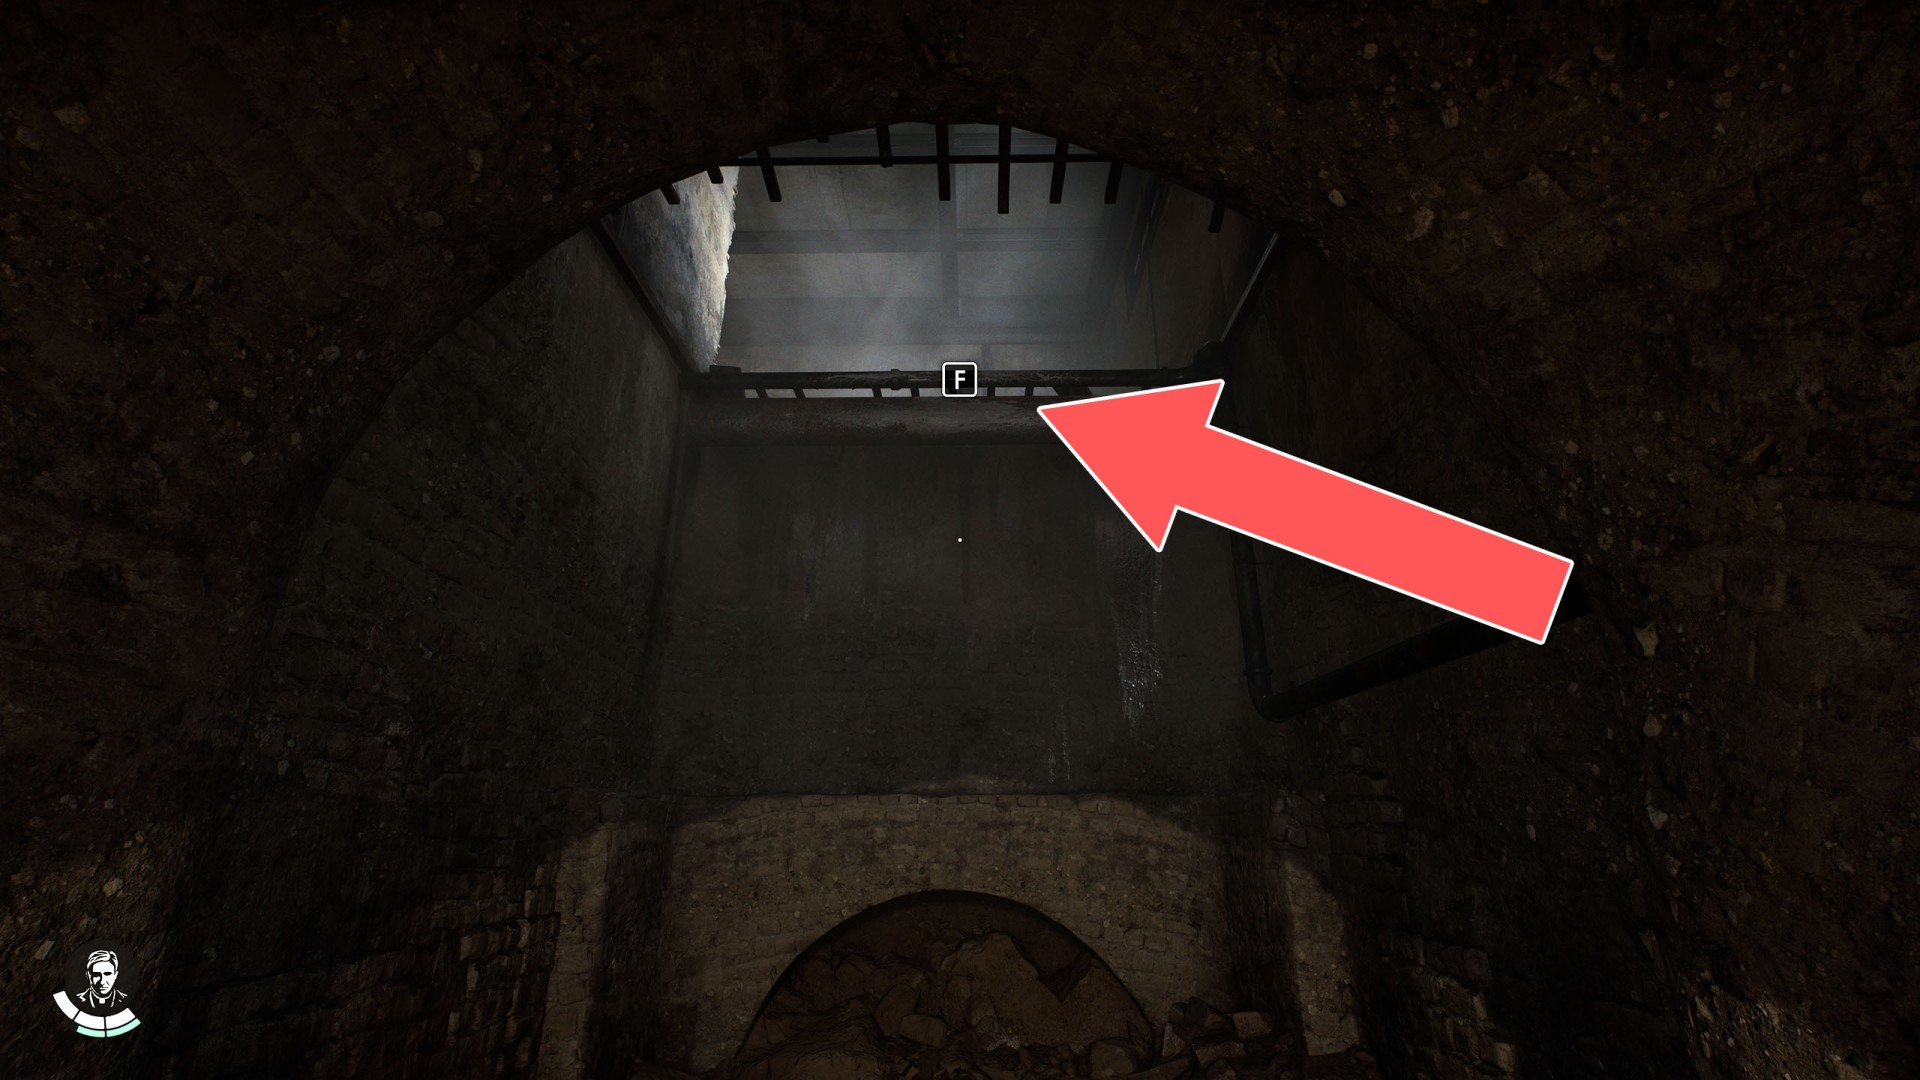
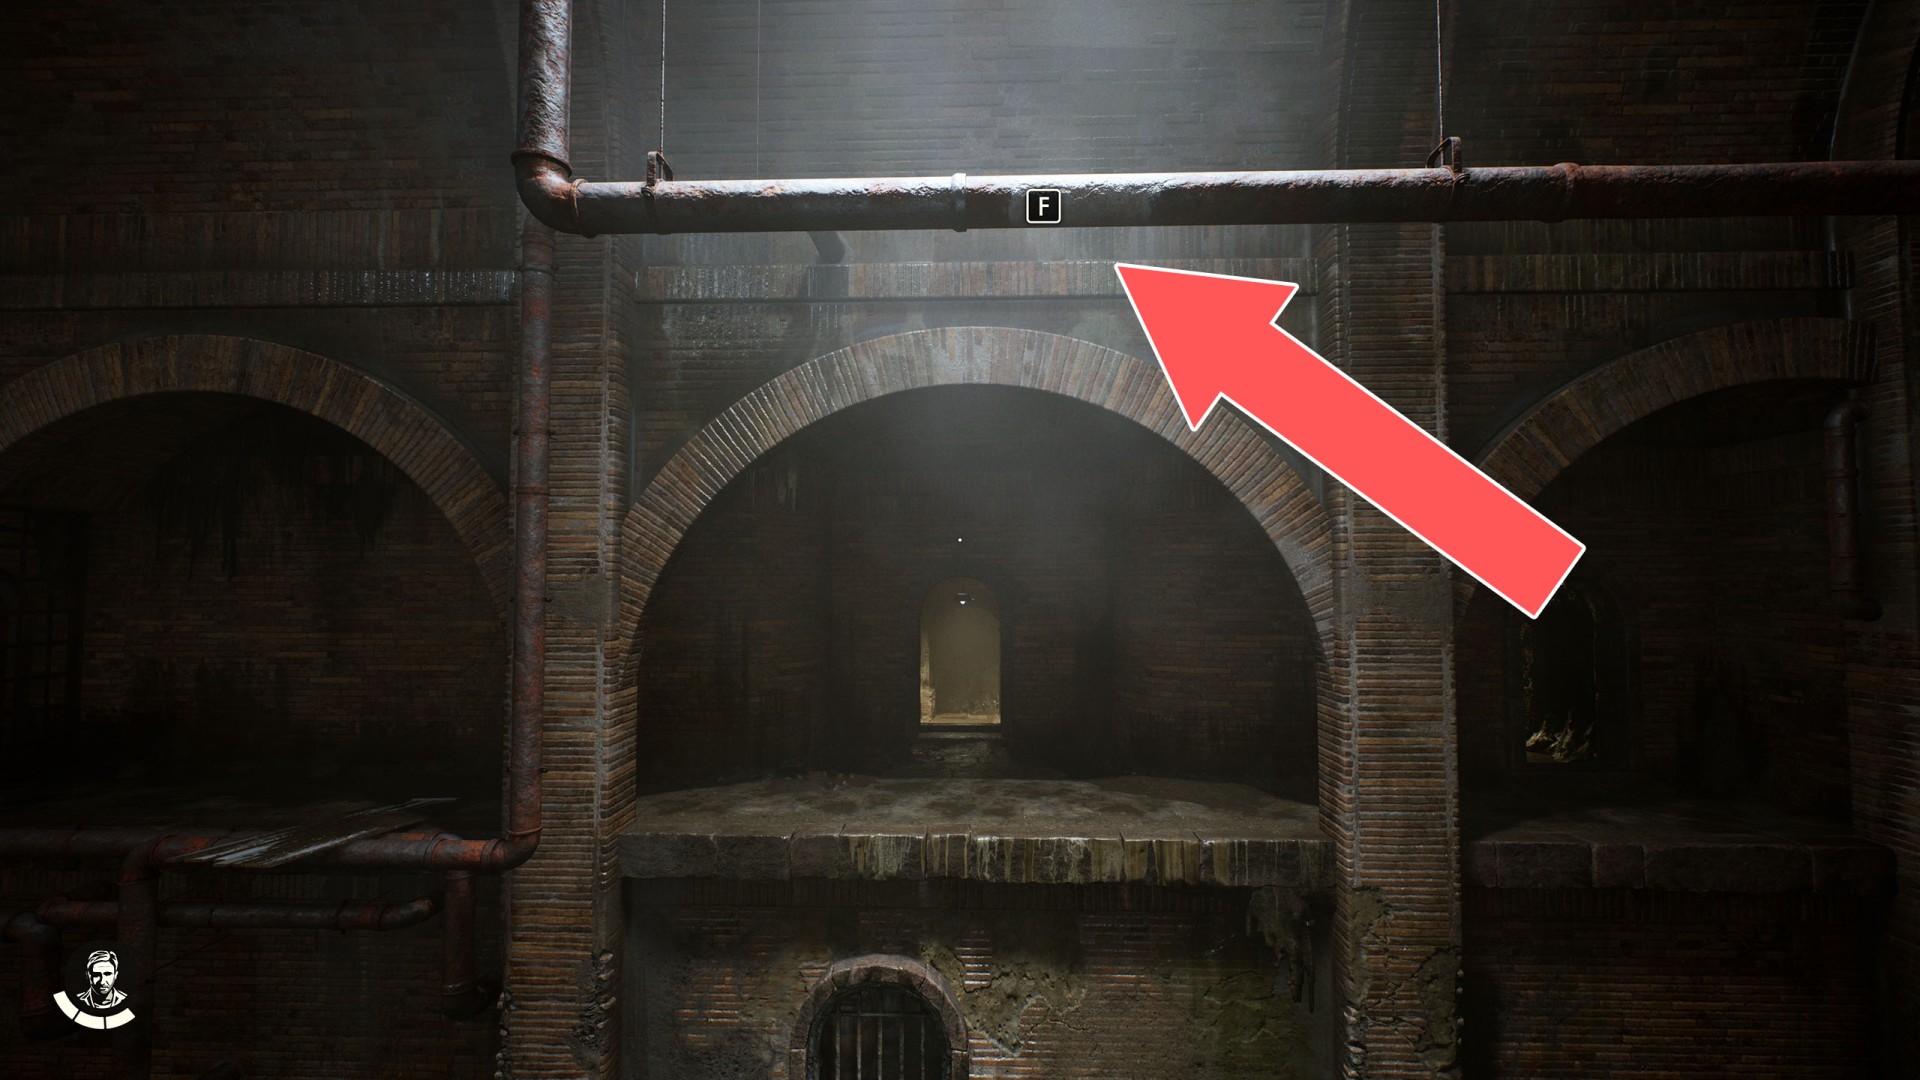
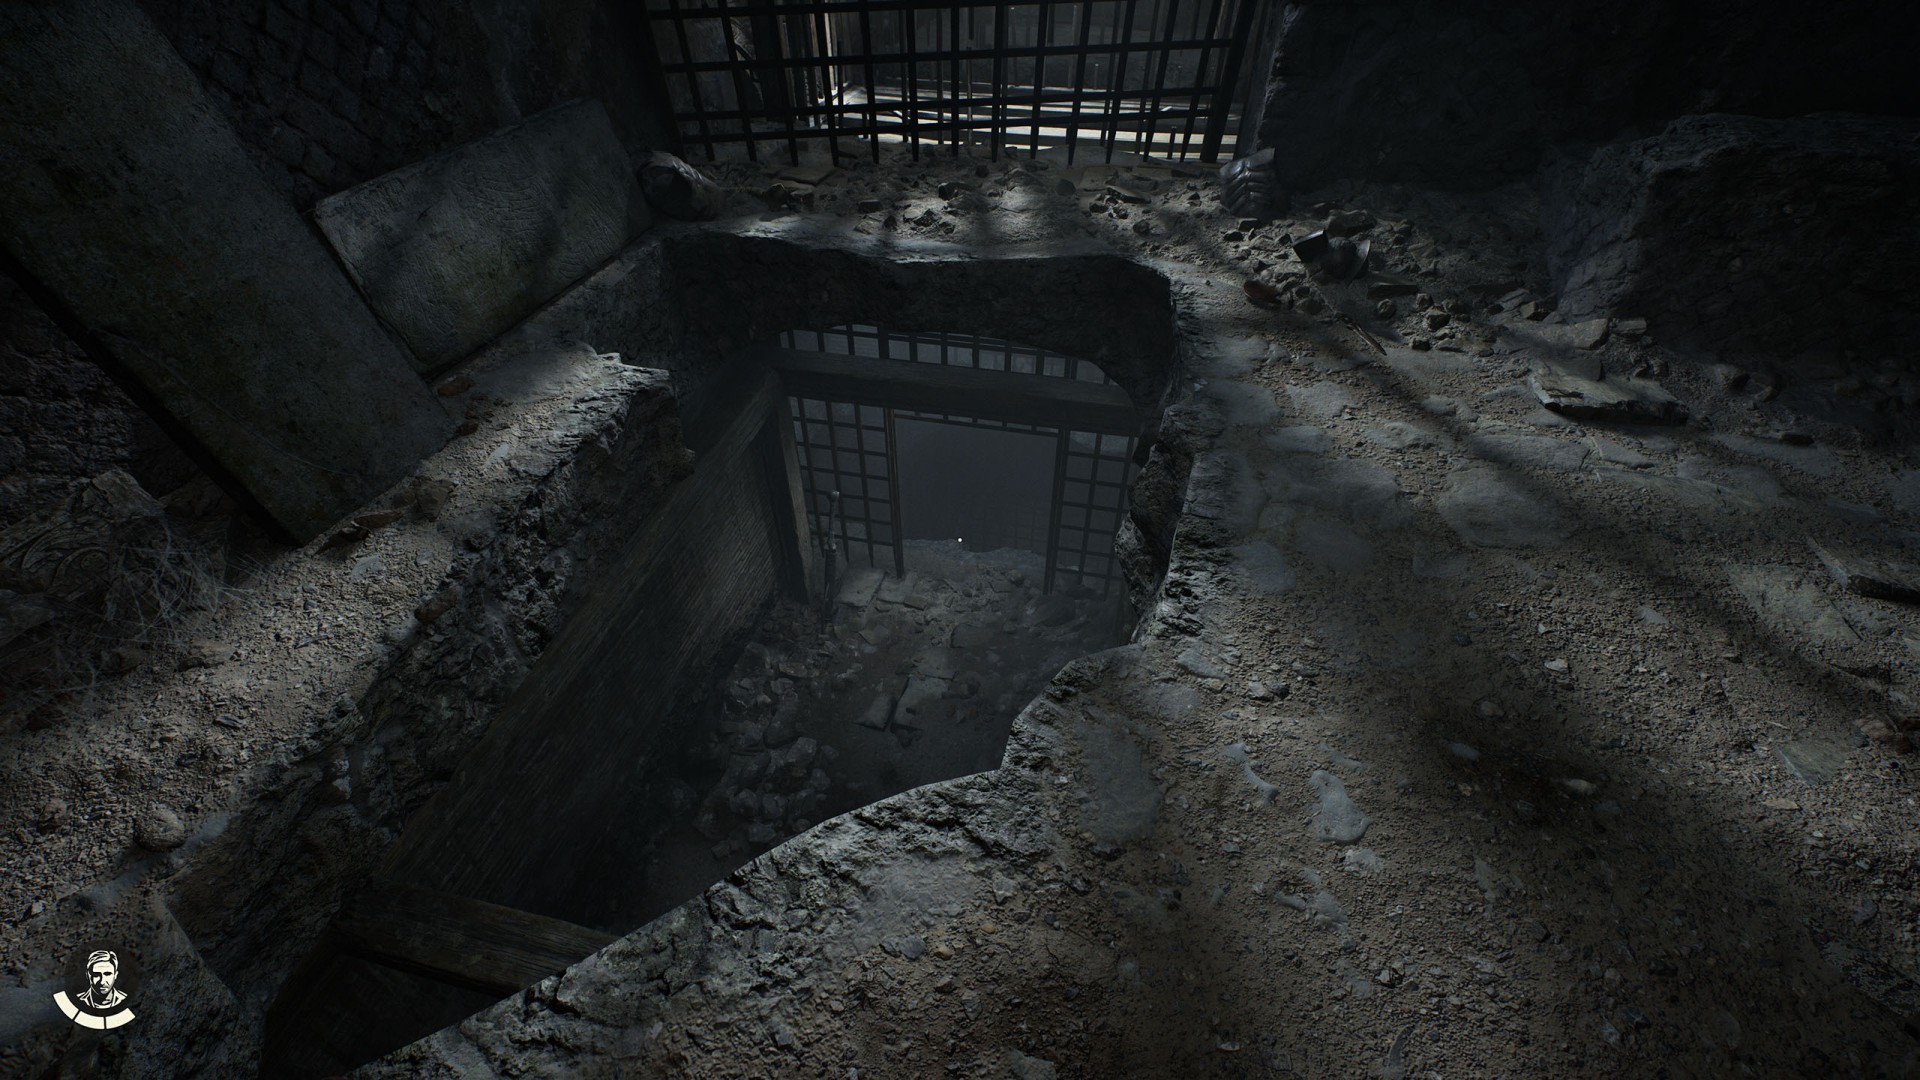
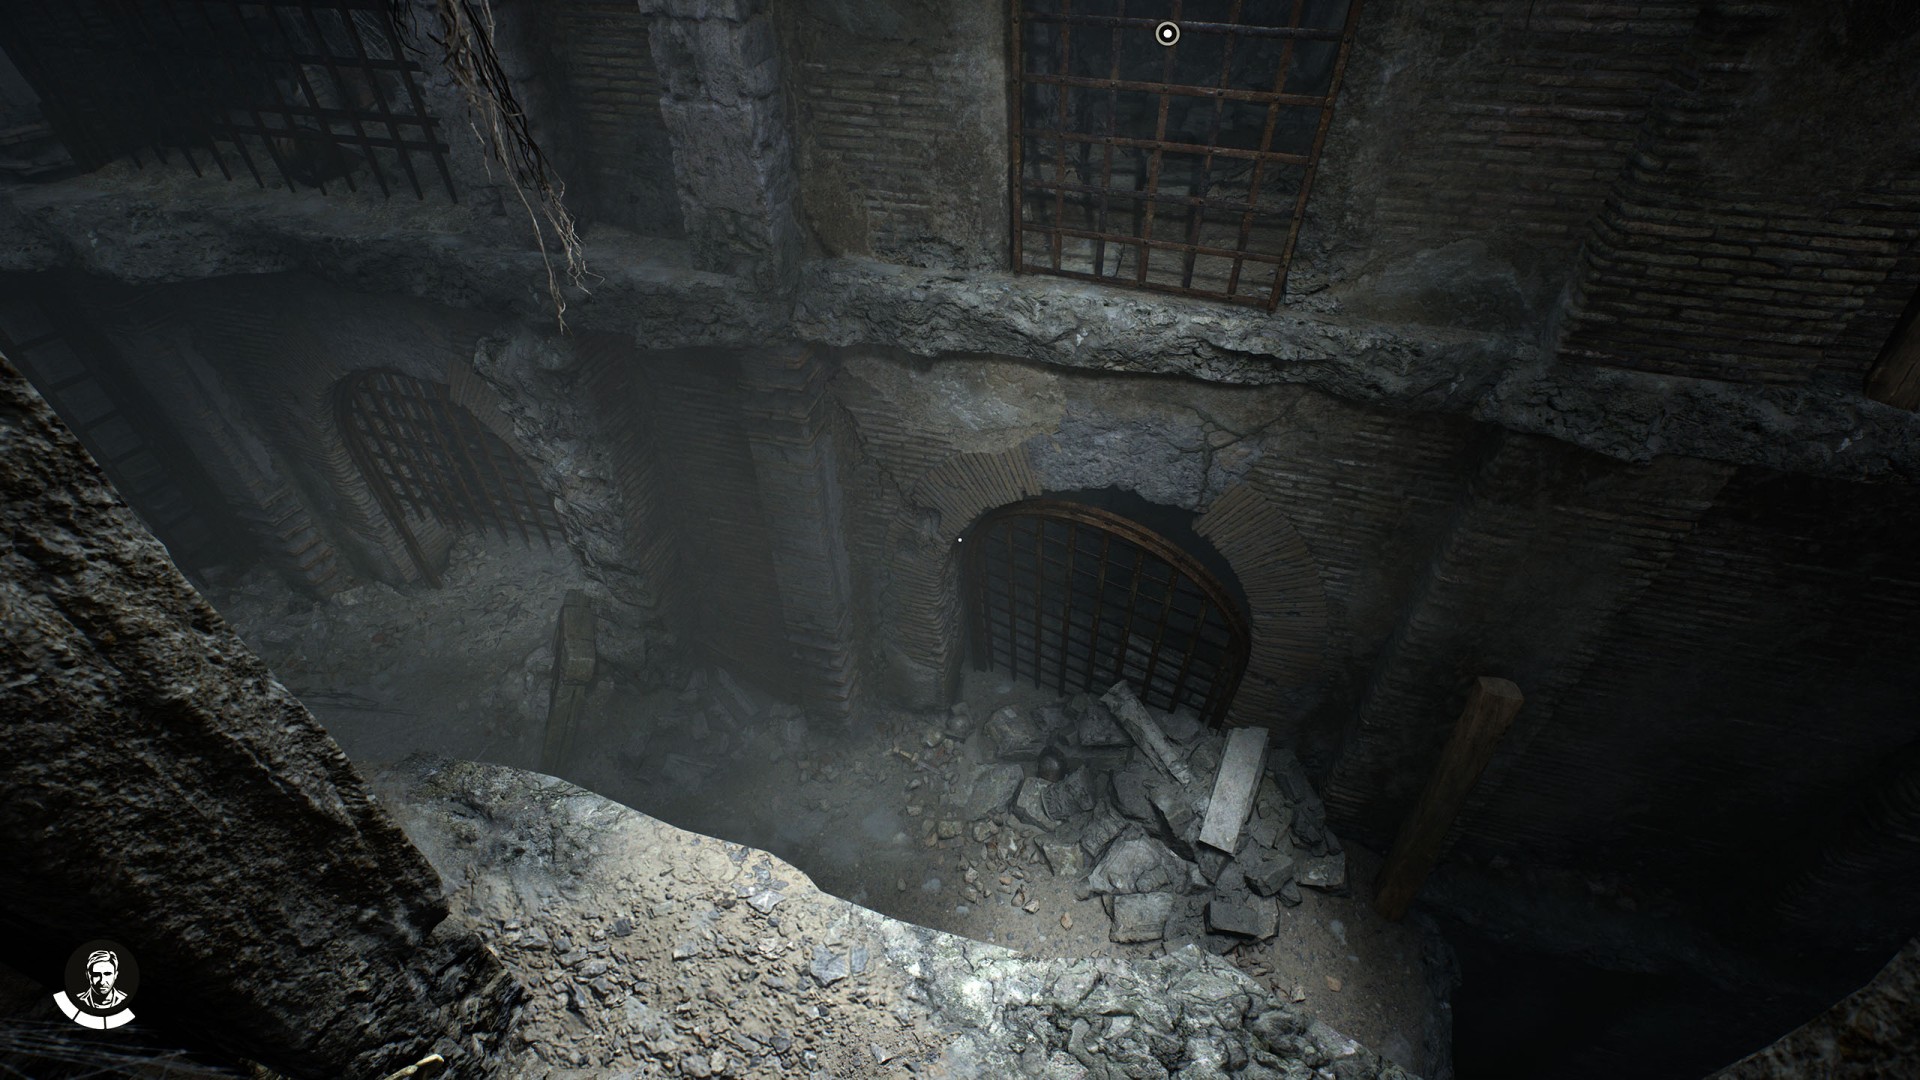
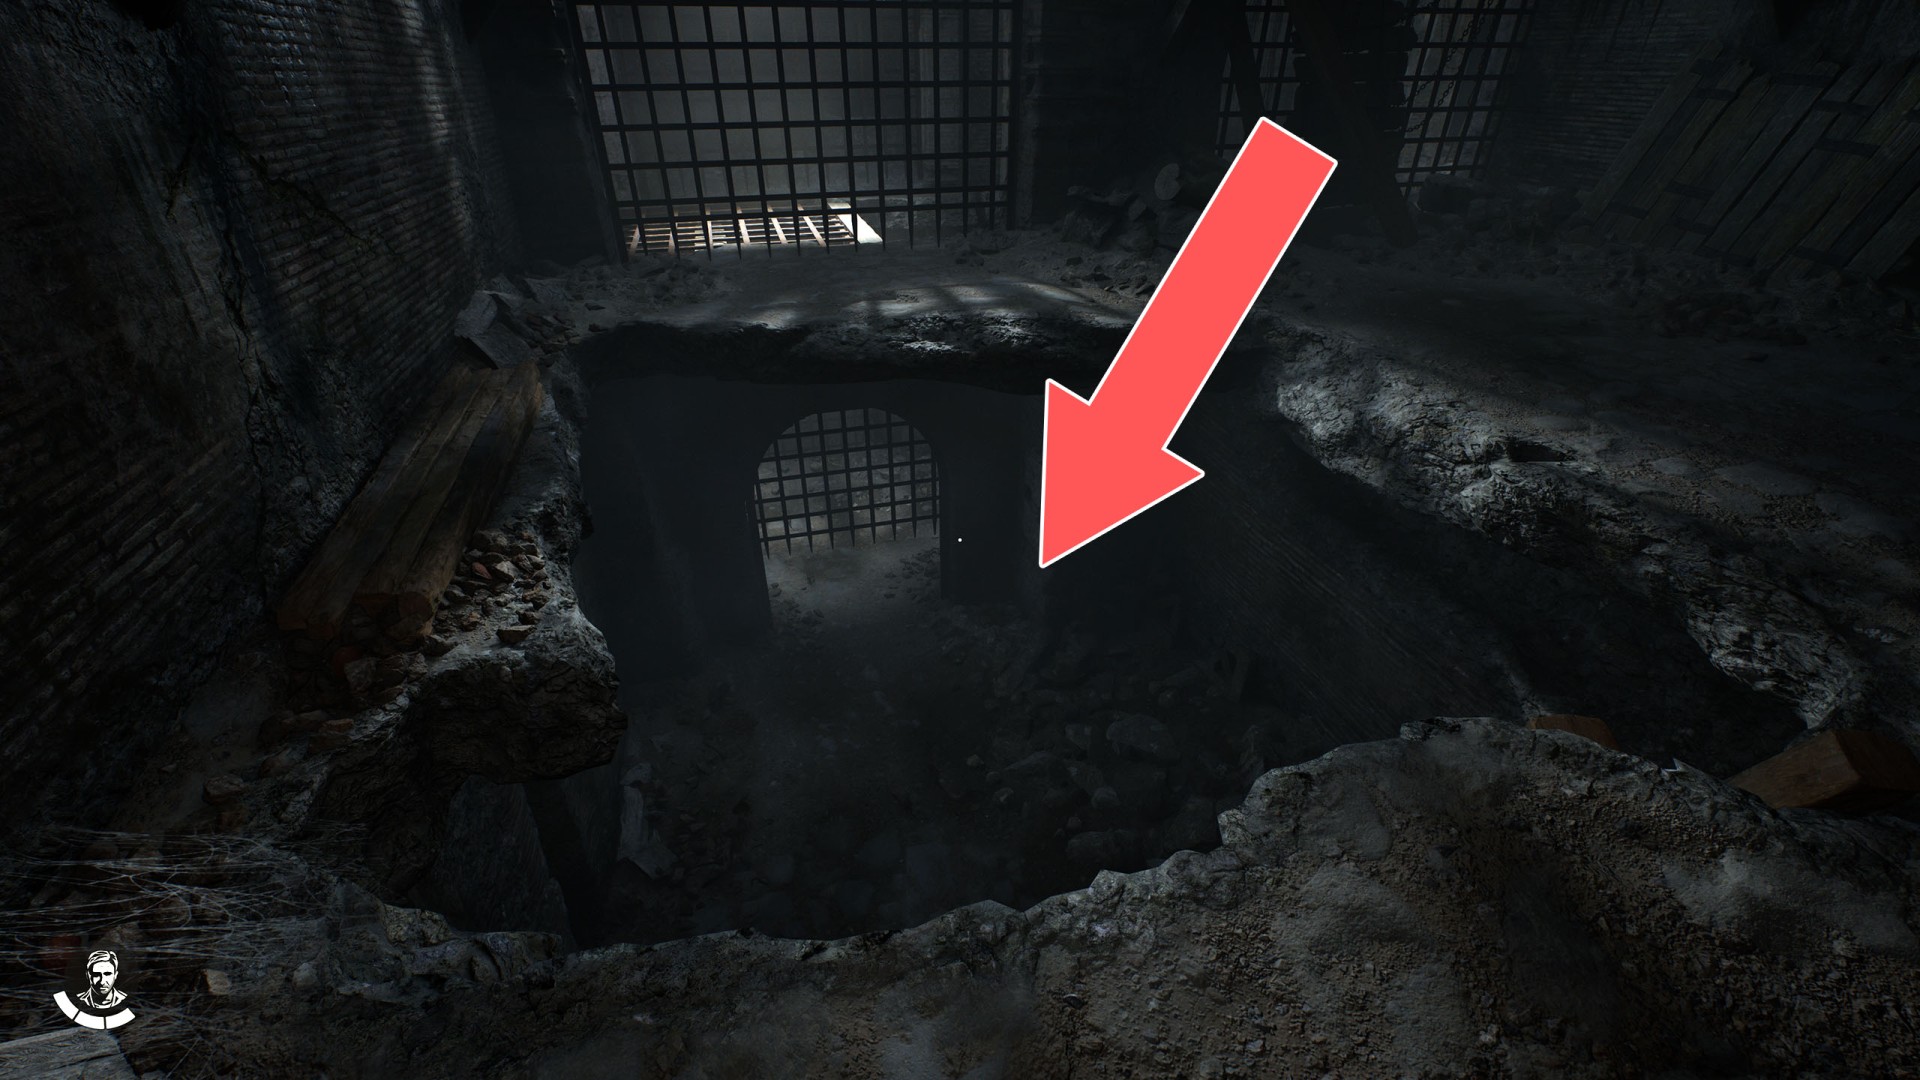
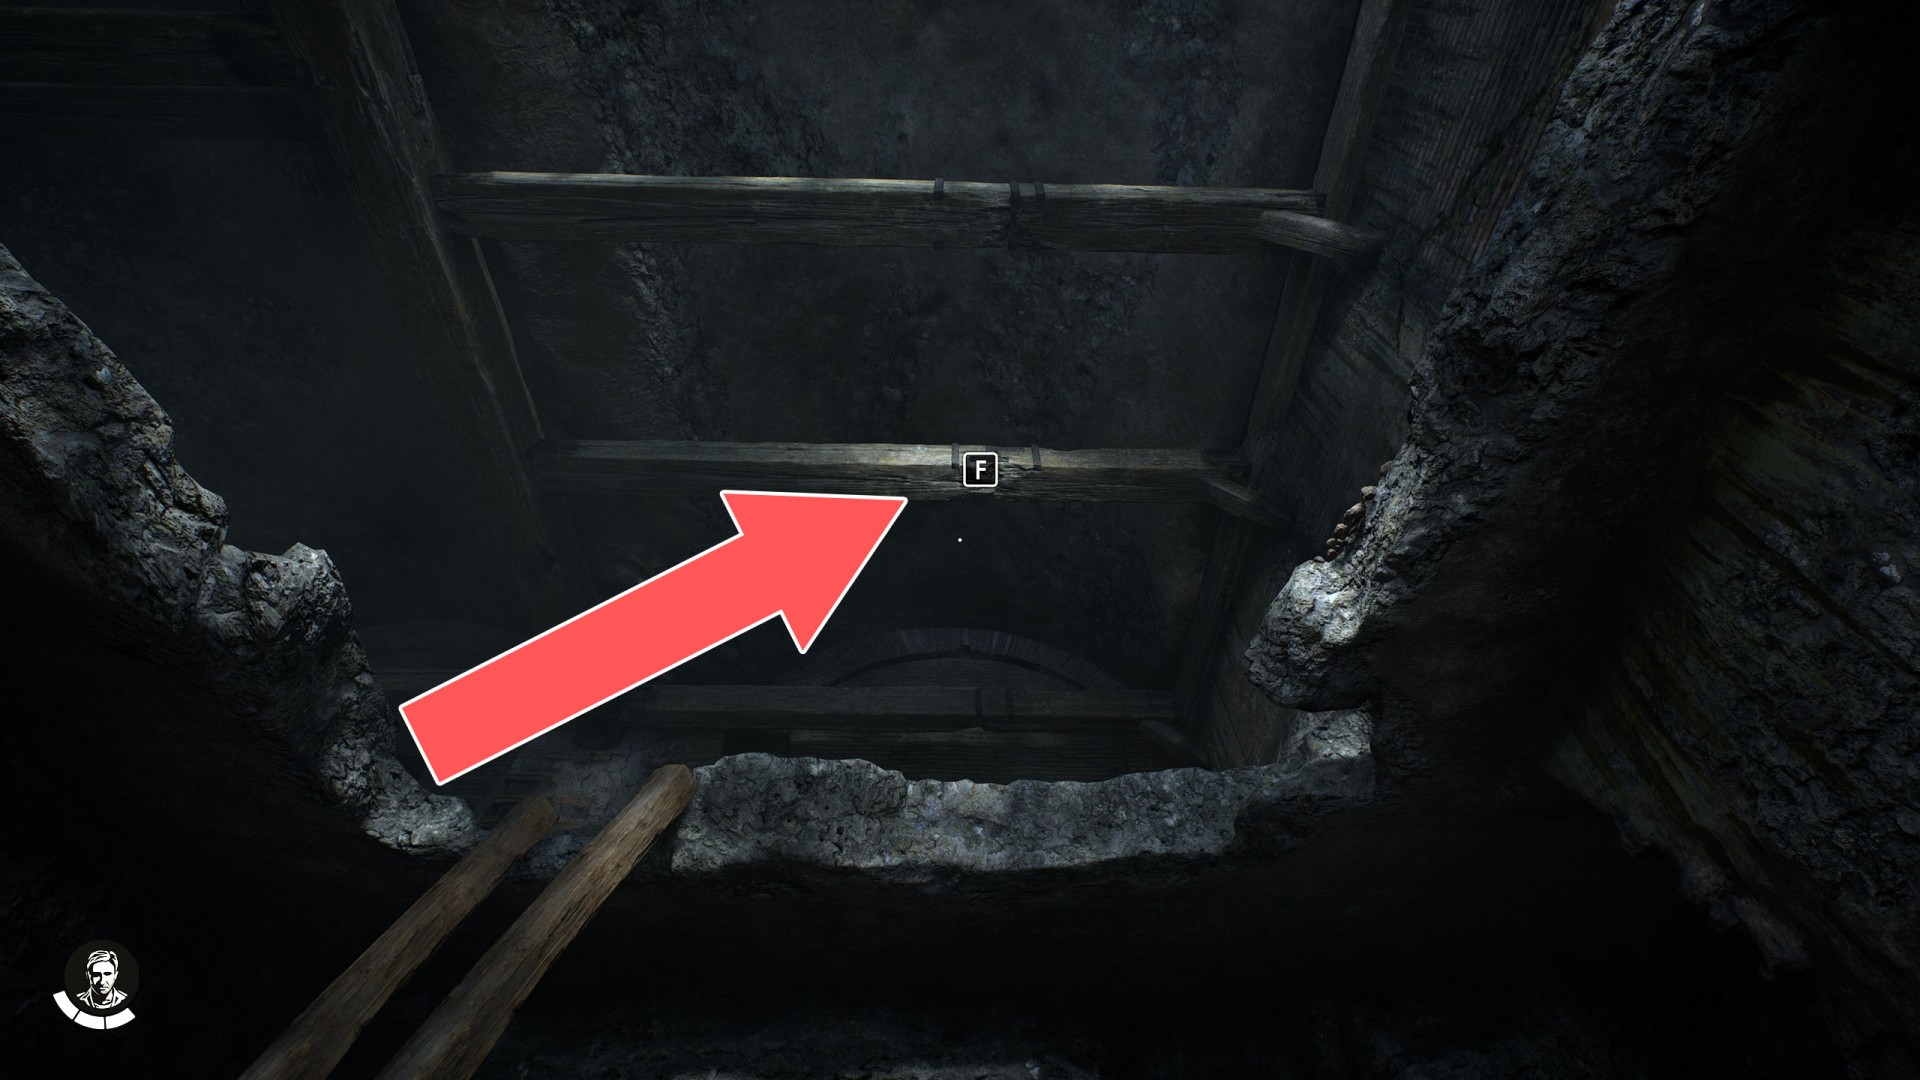
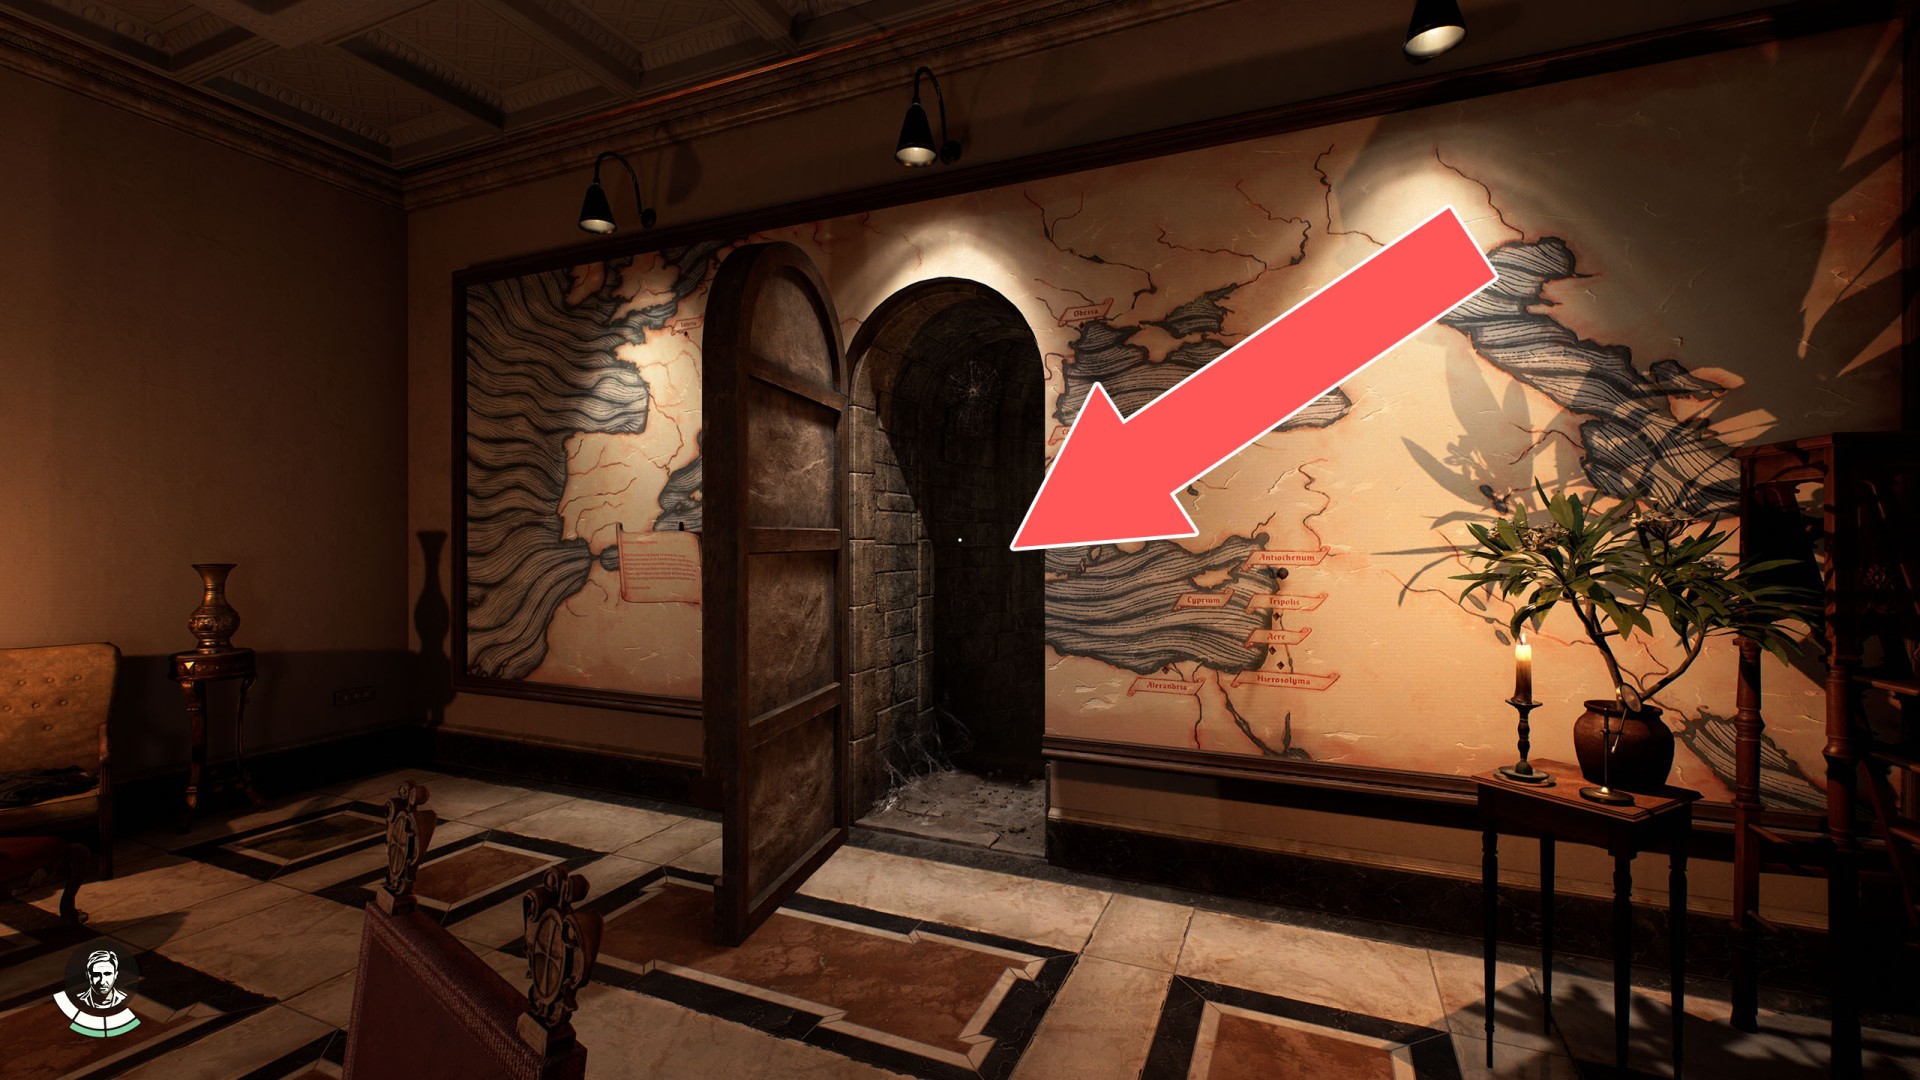
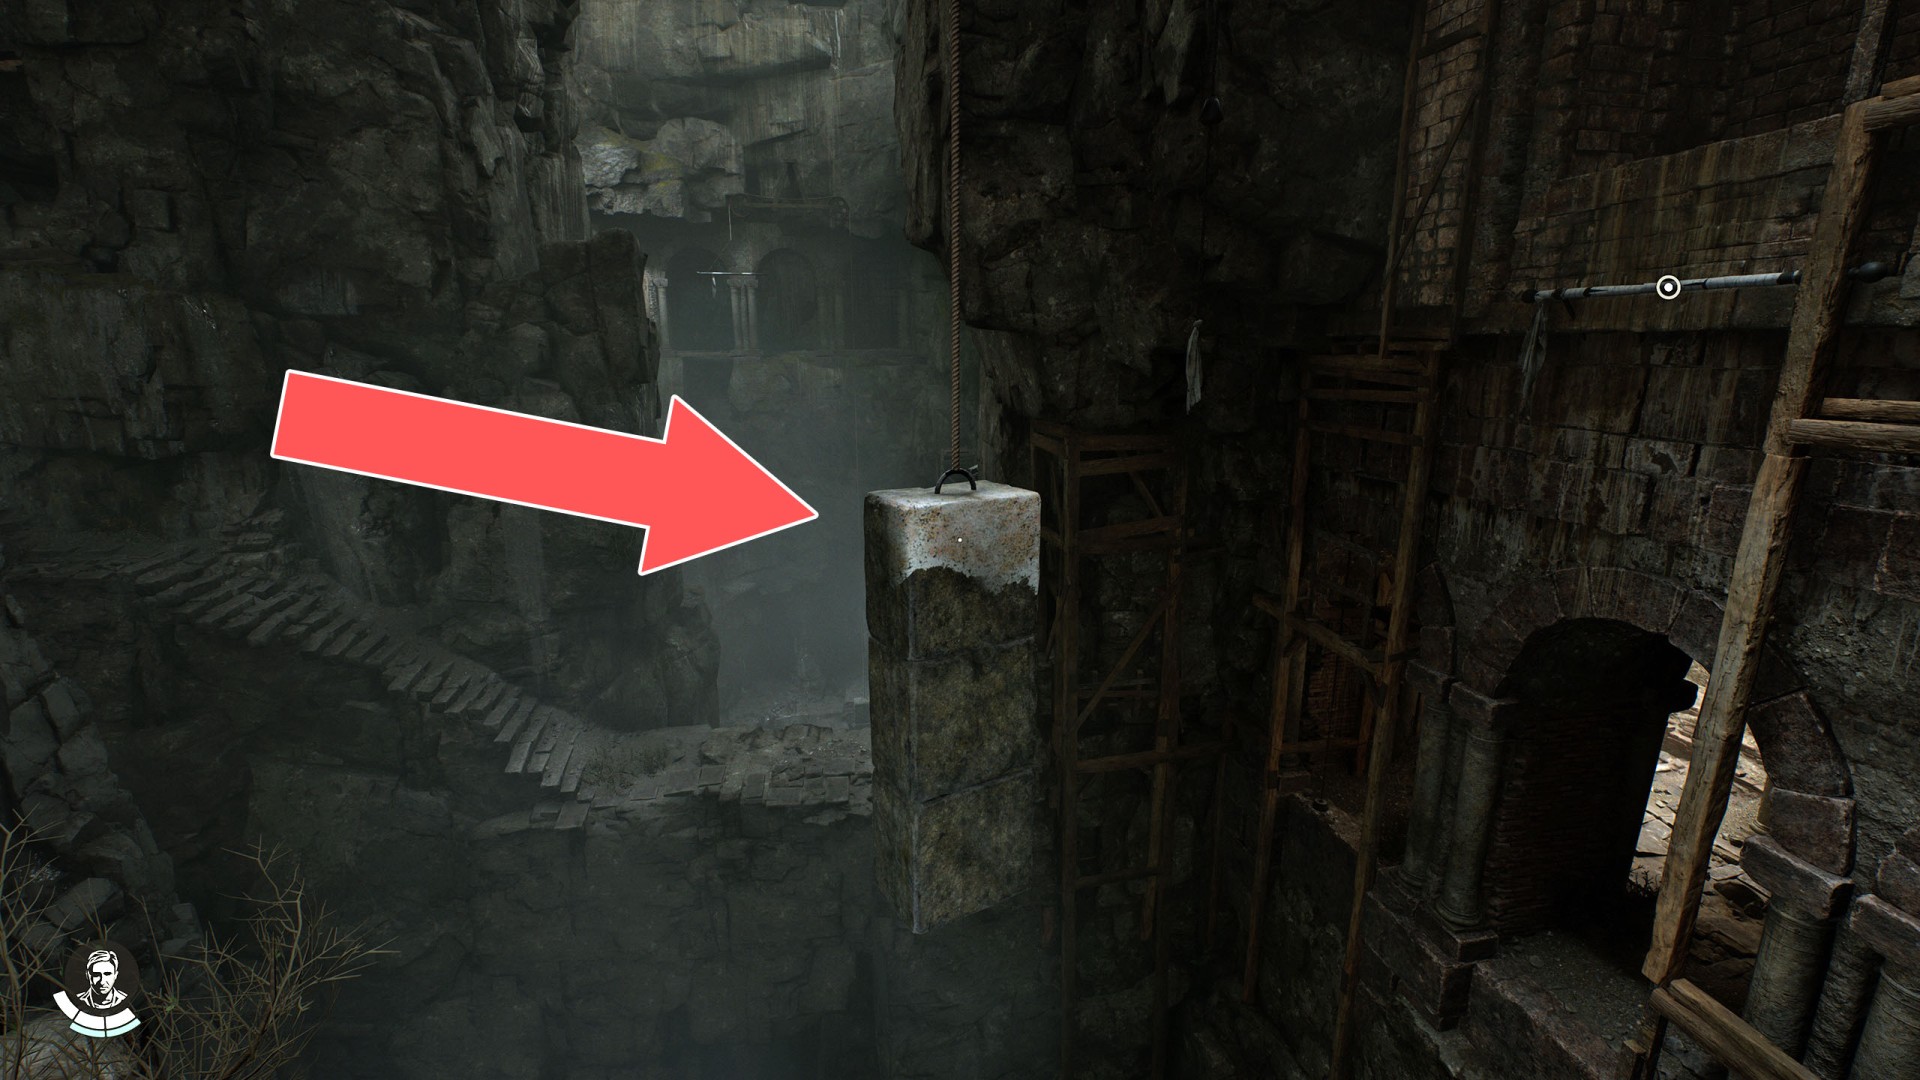
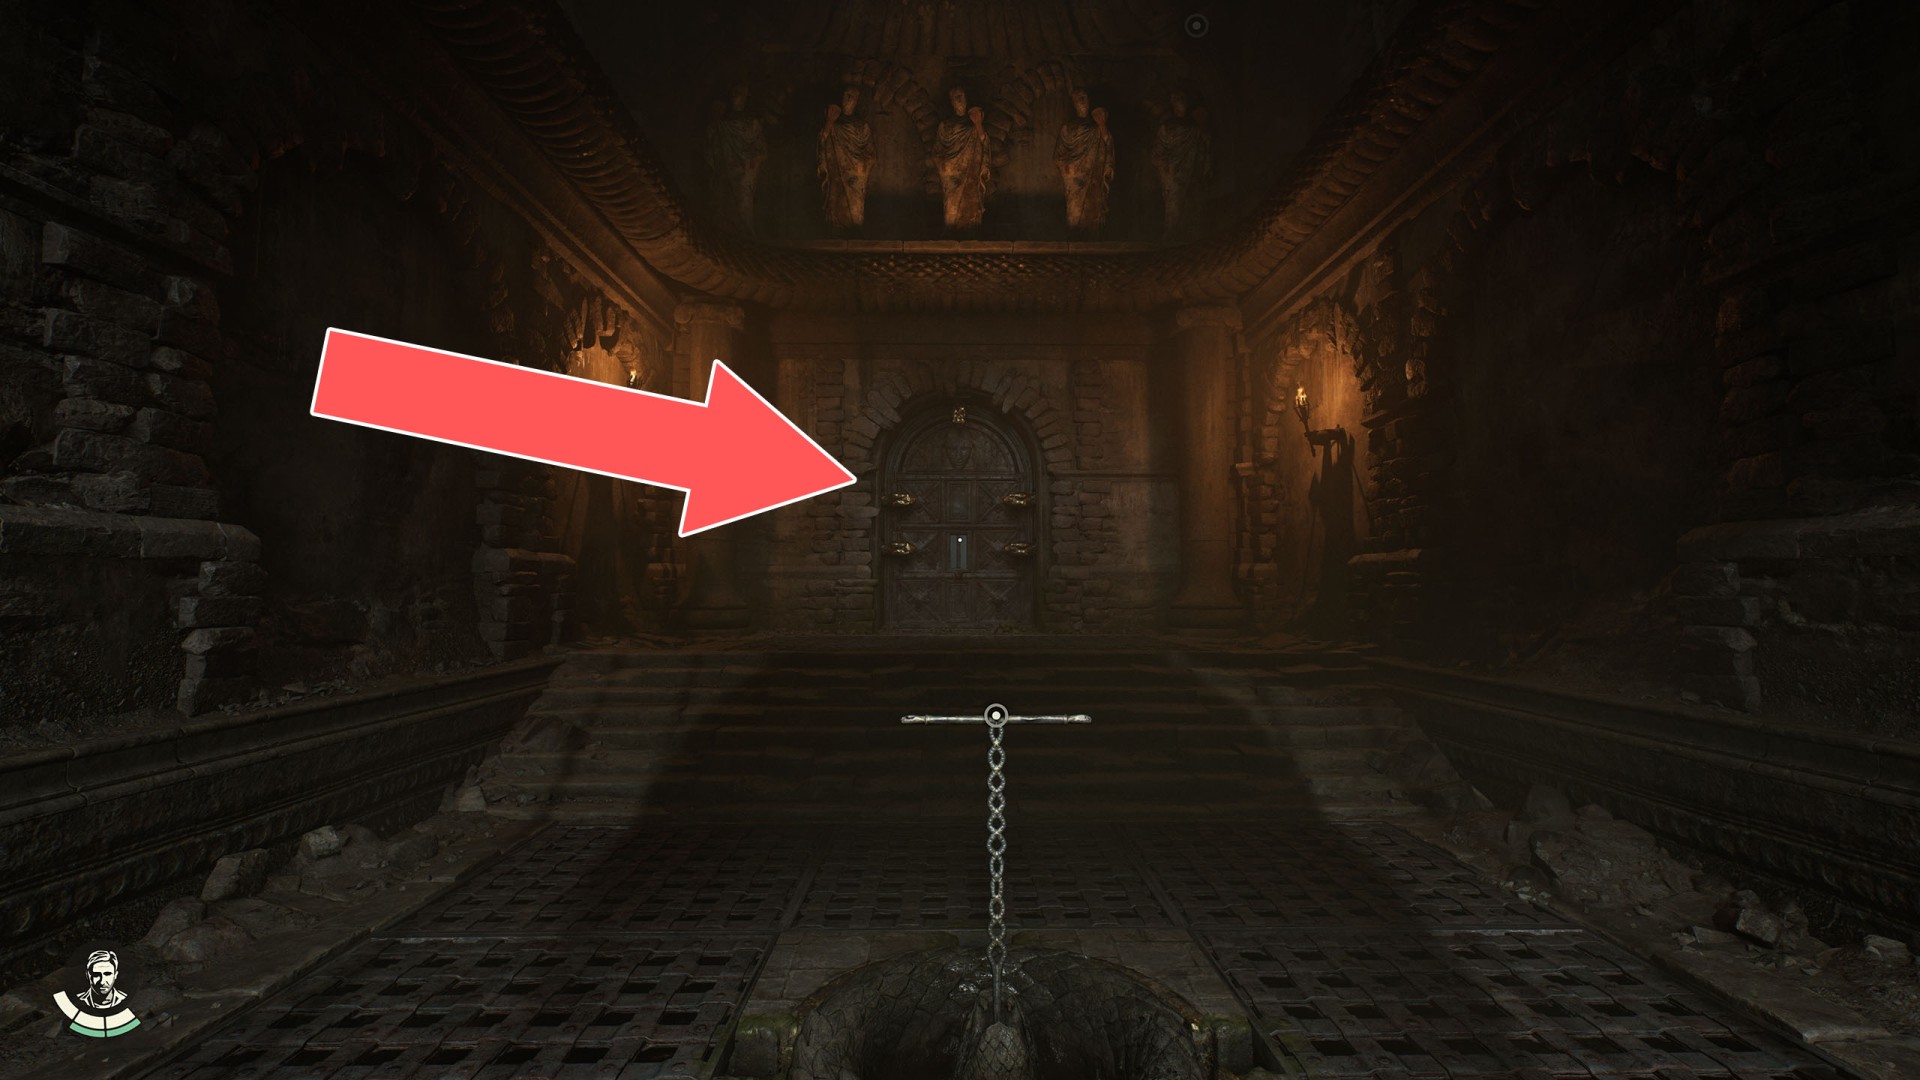
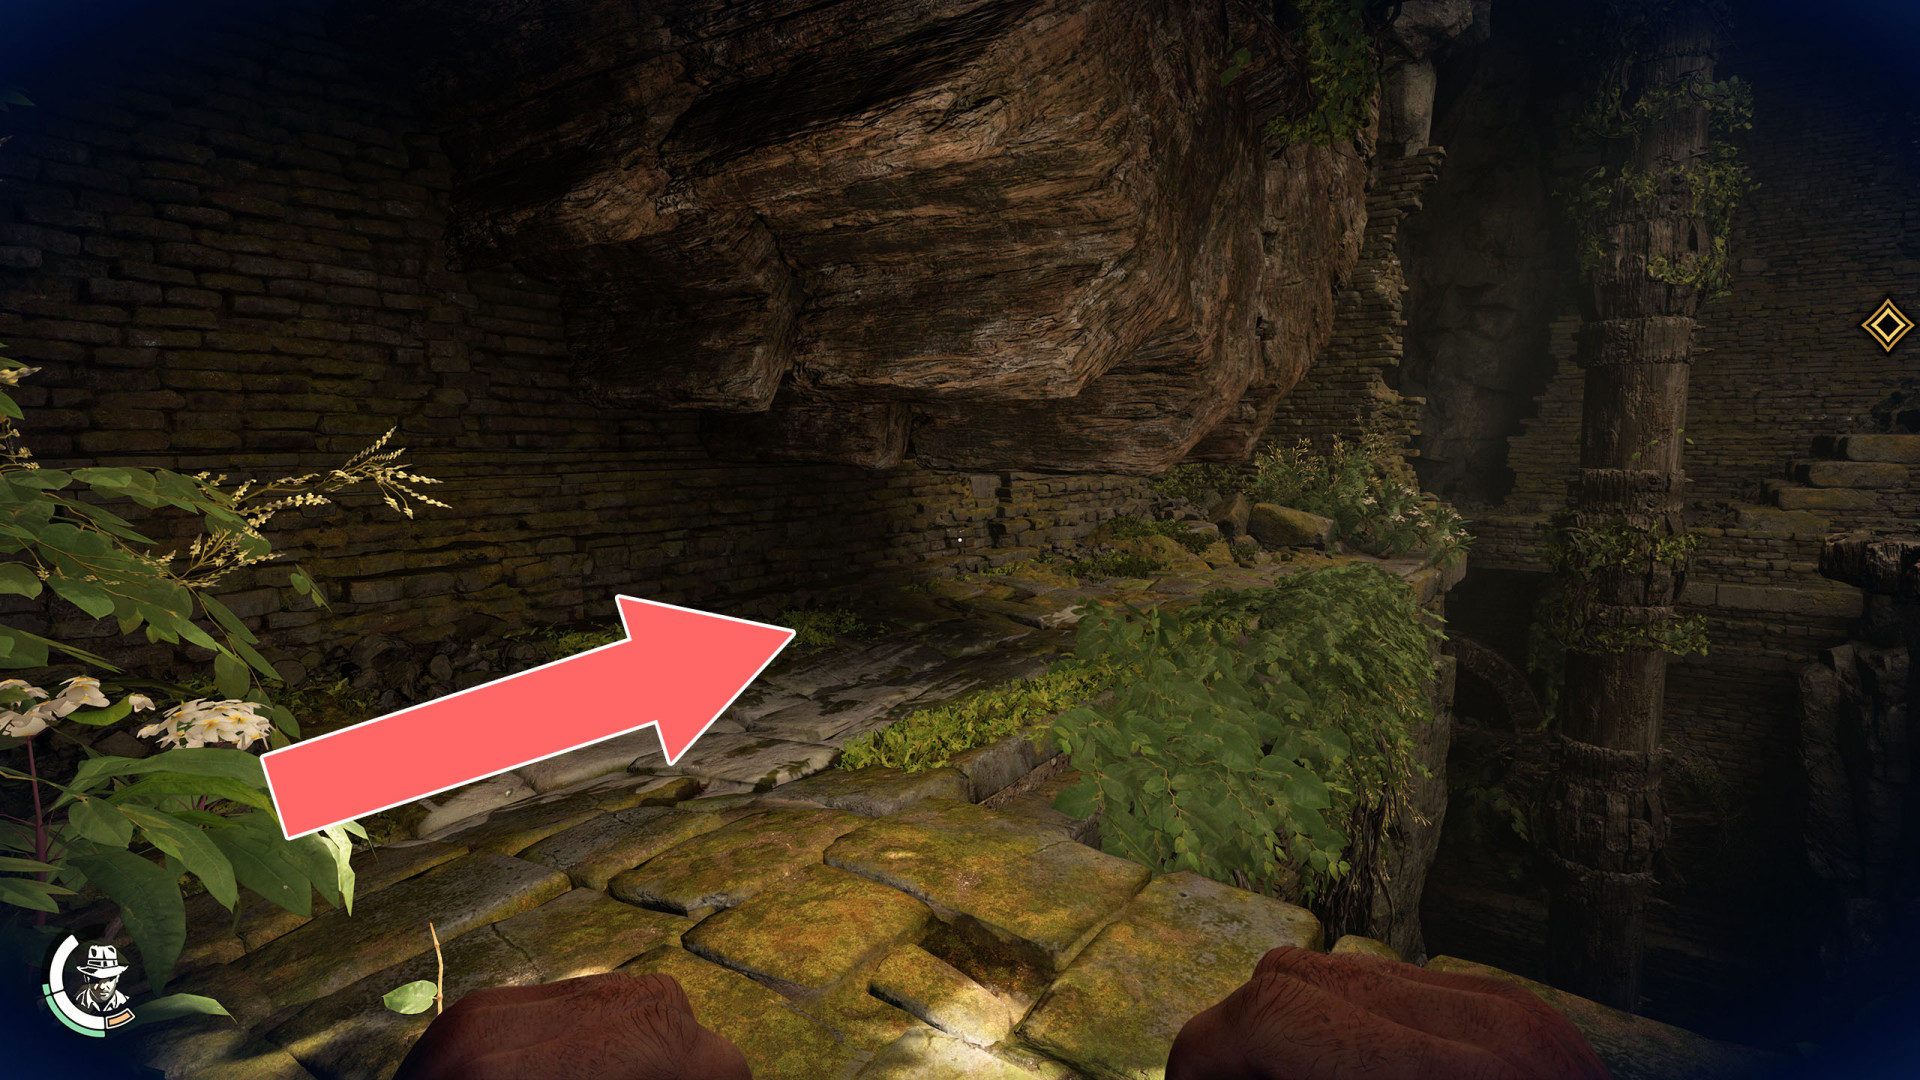
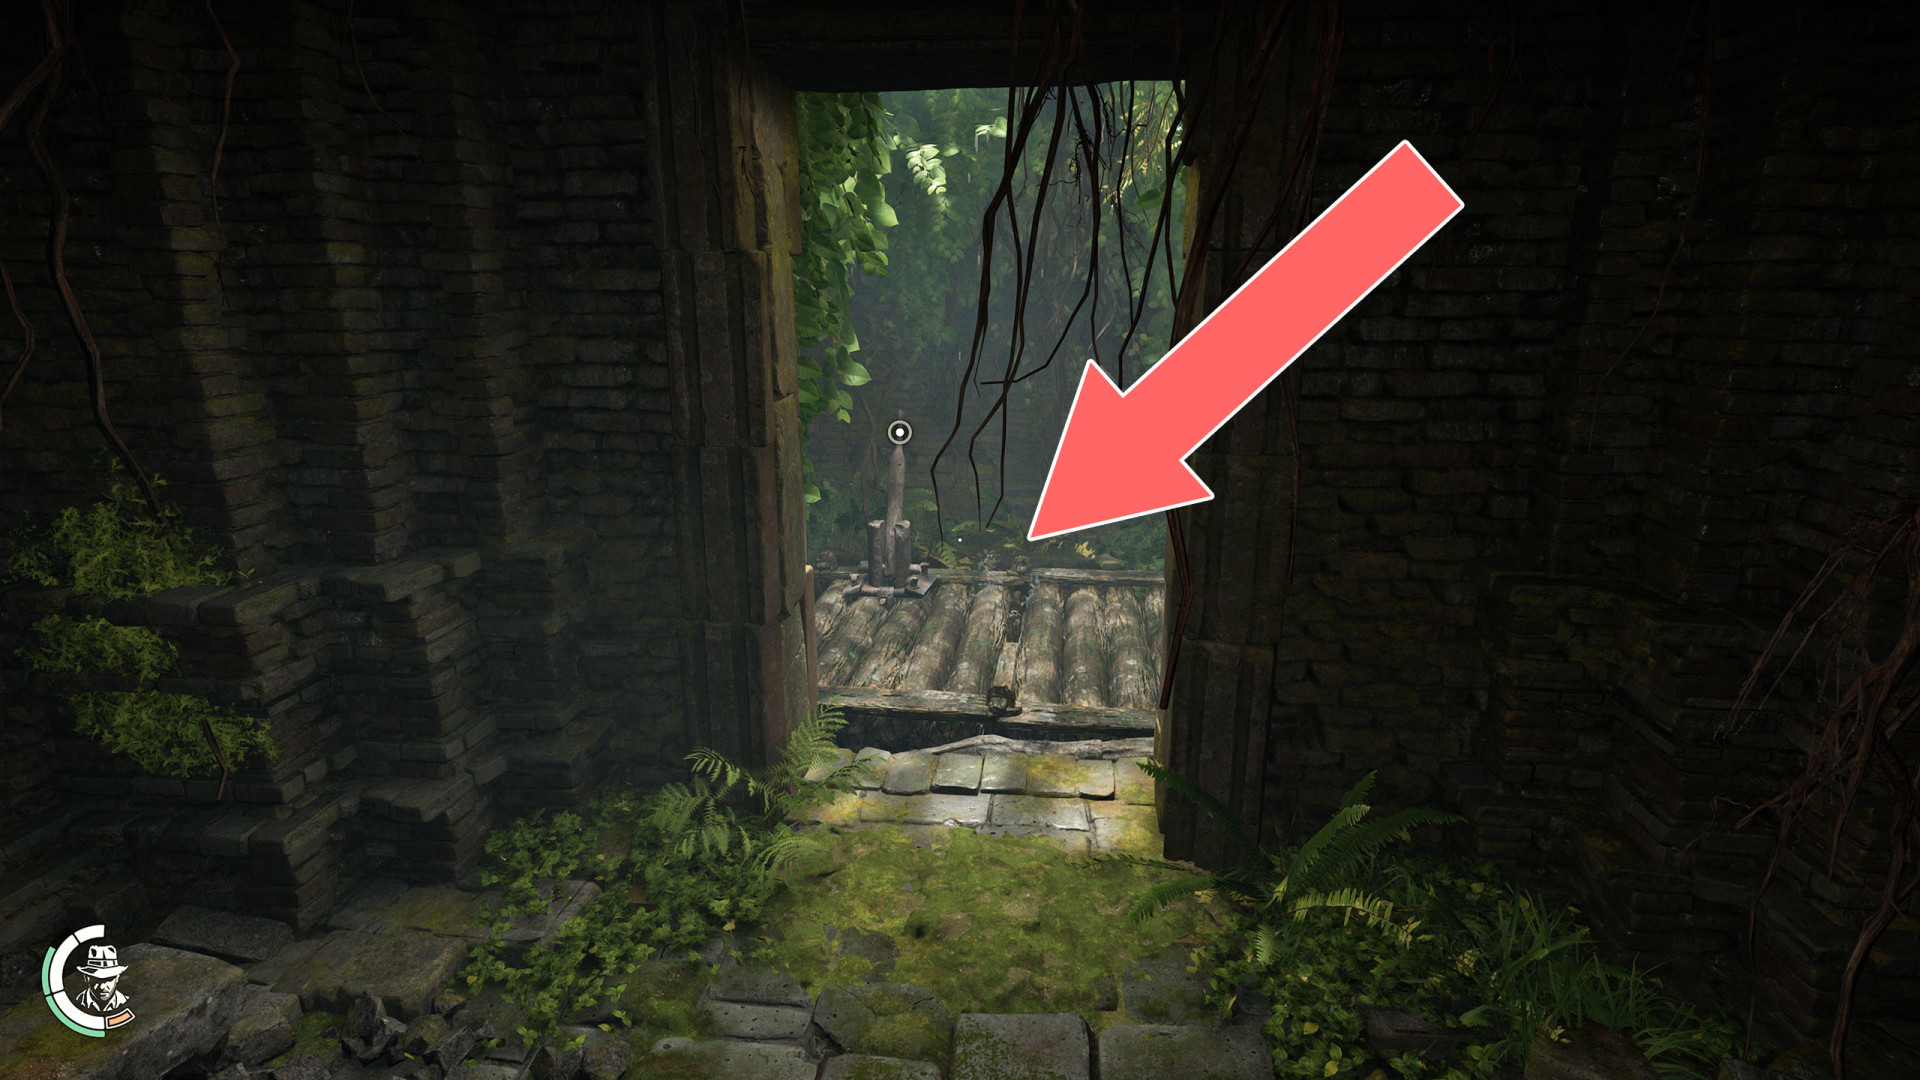
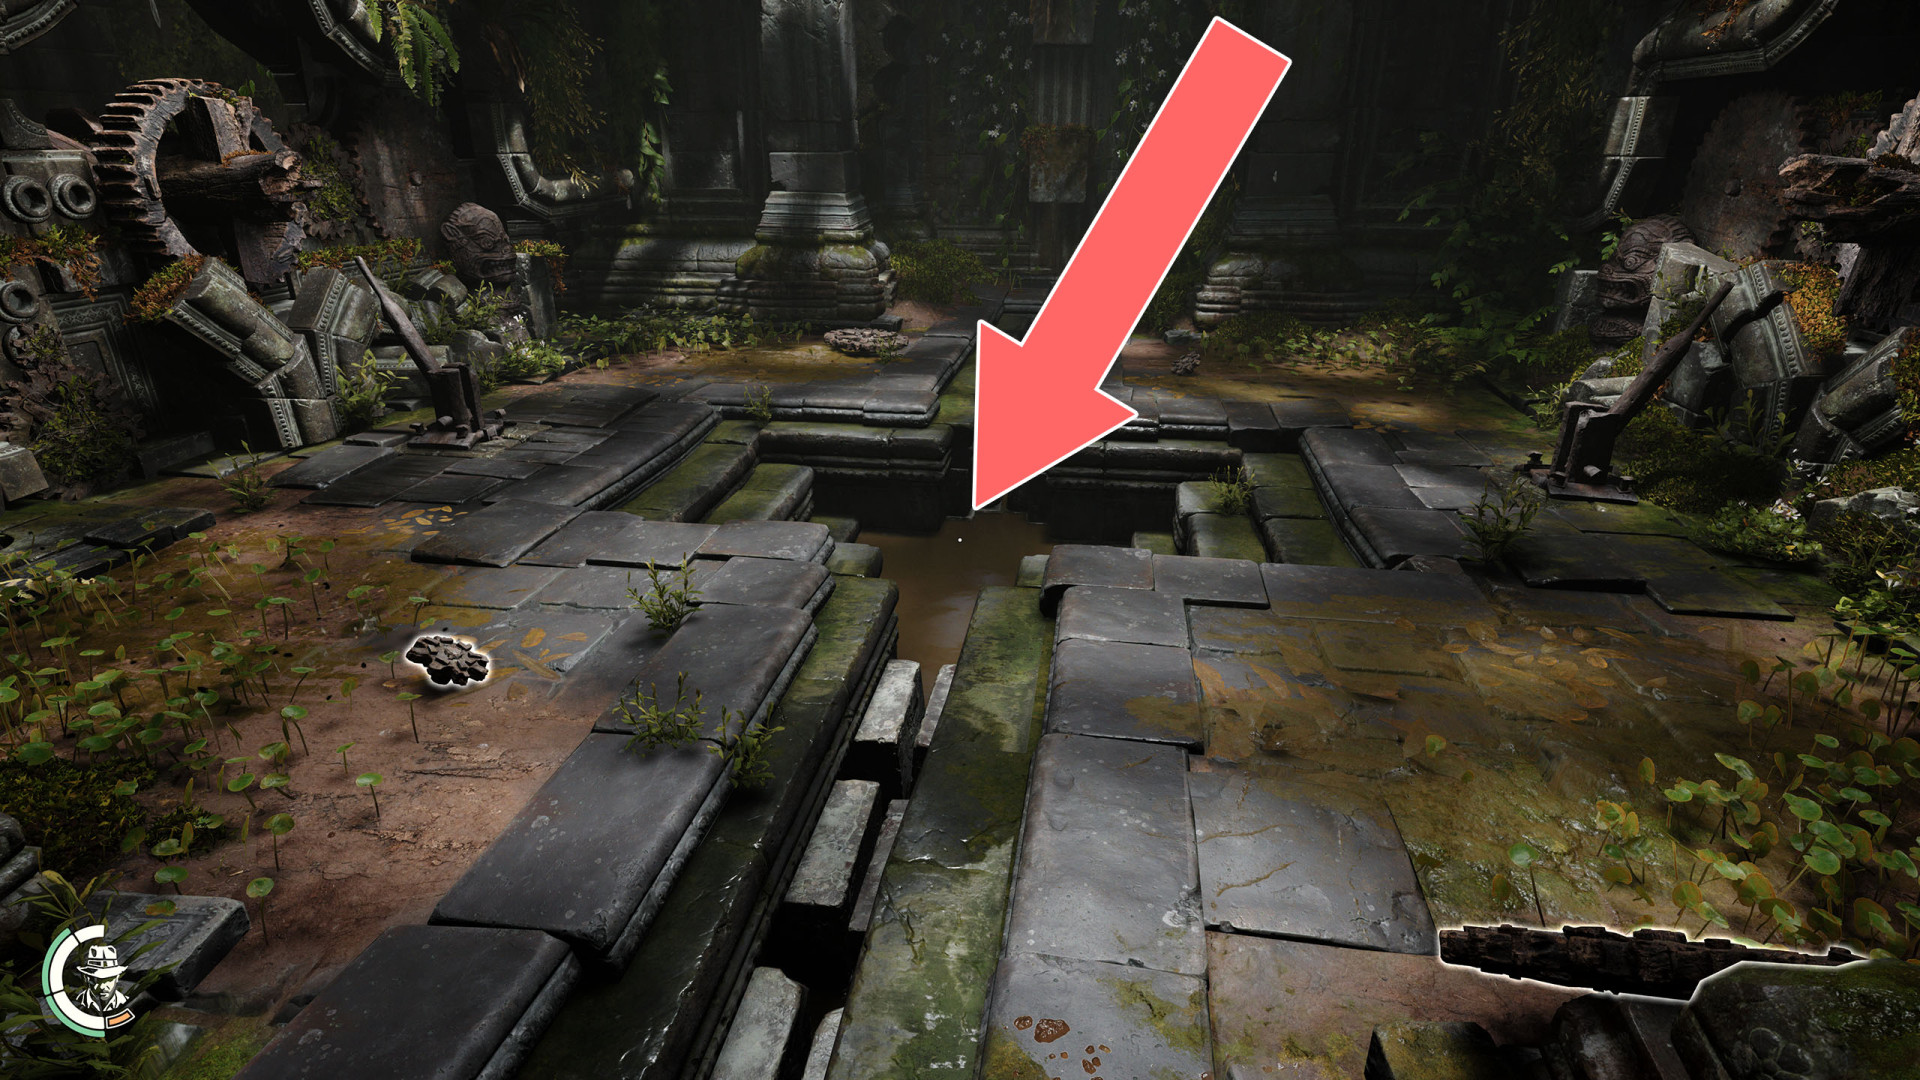
13 Fountain Underground Entrance
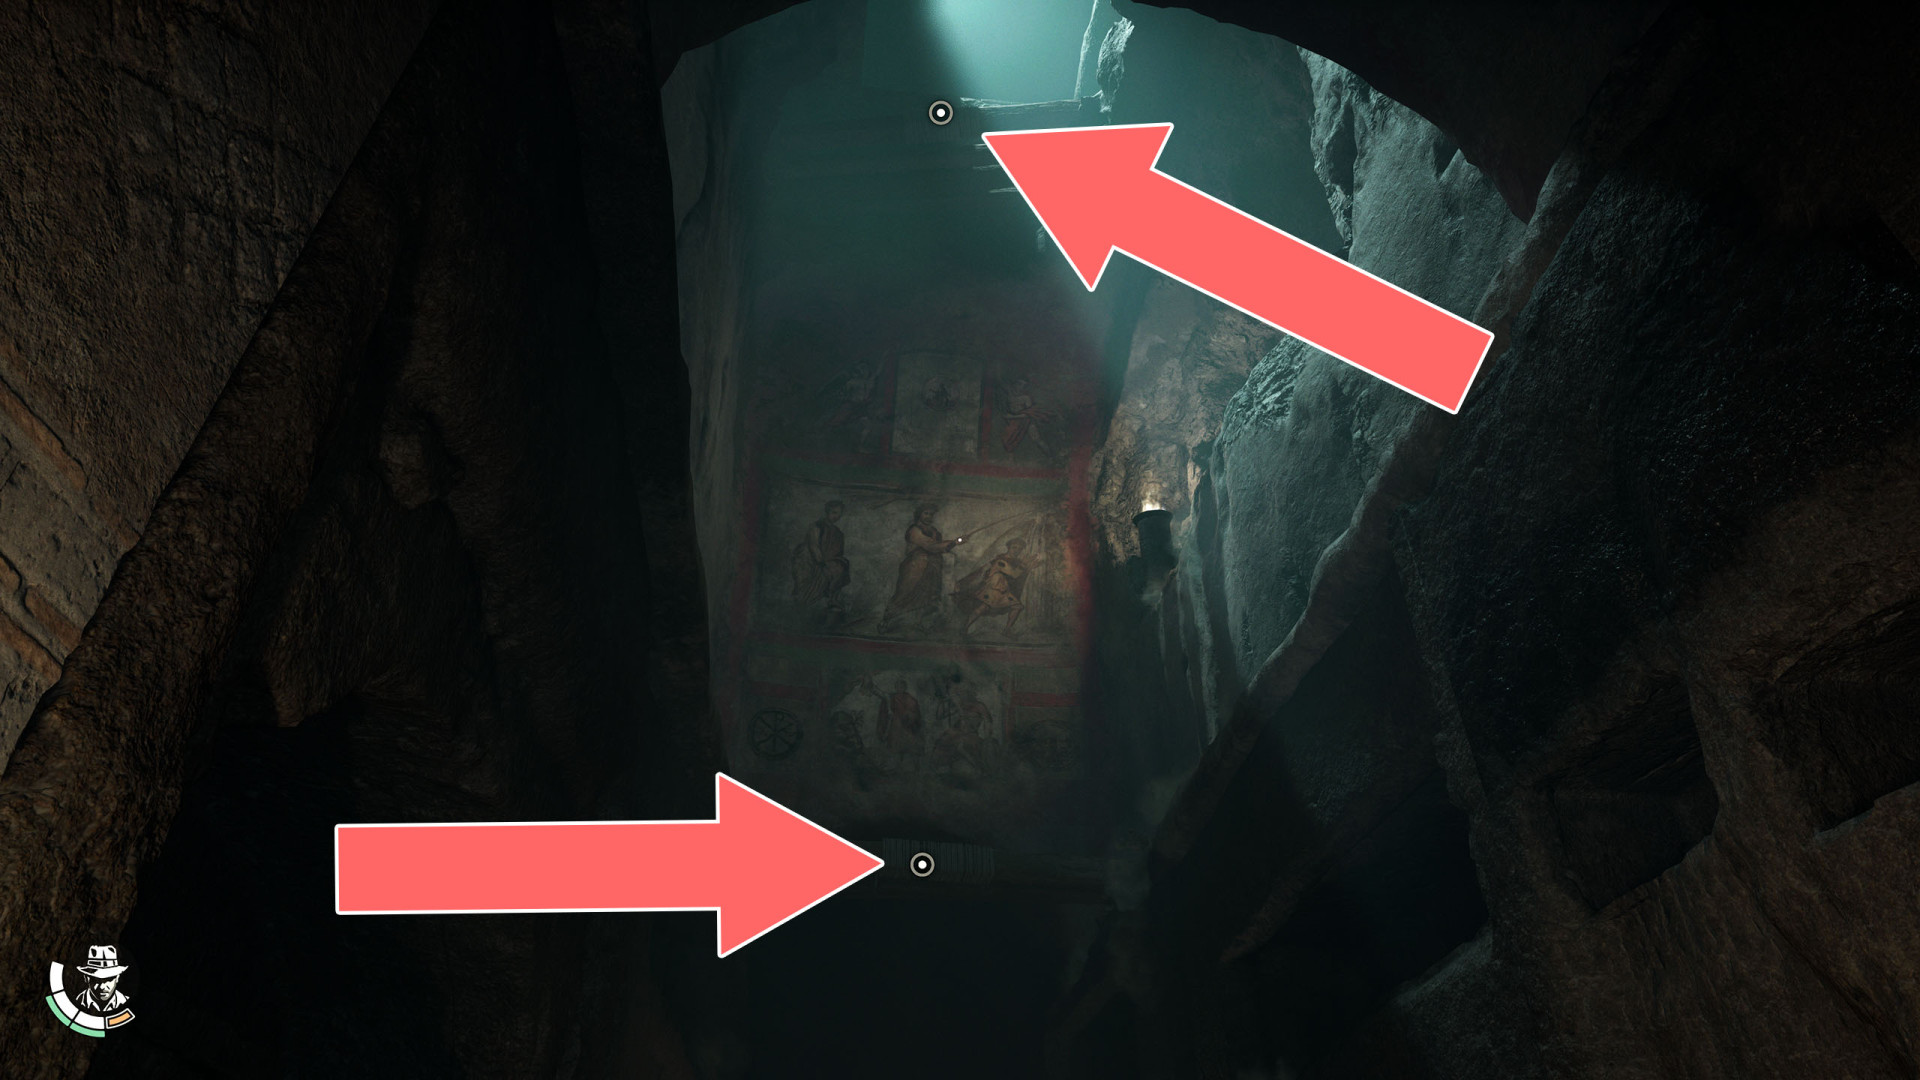
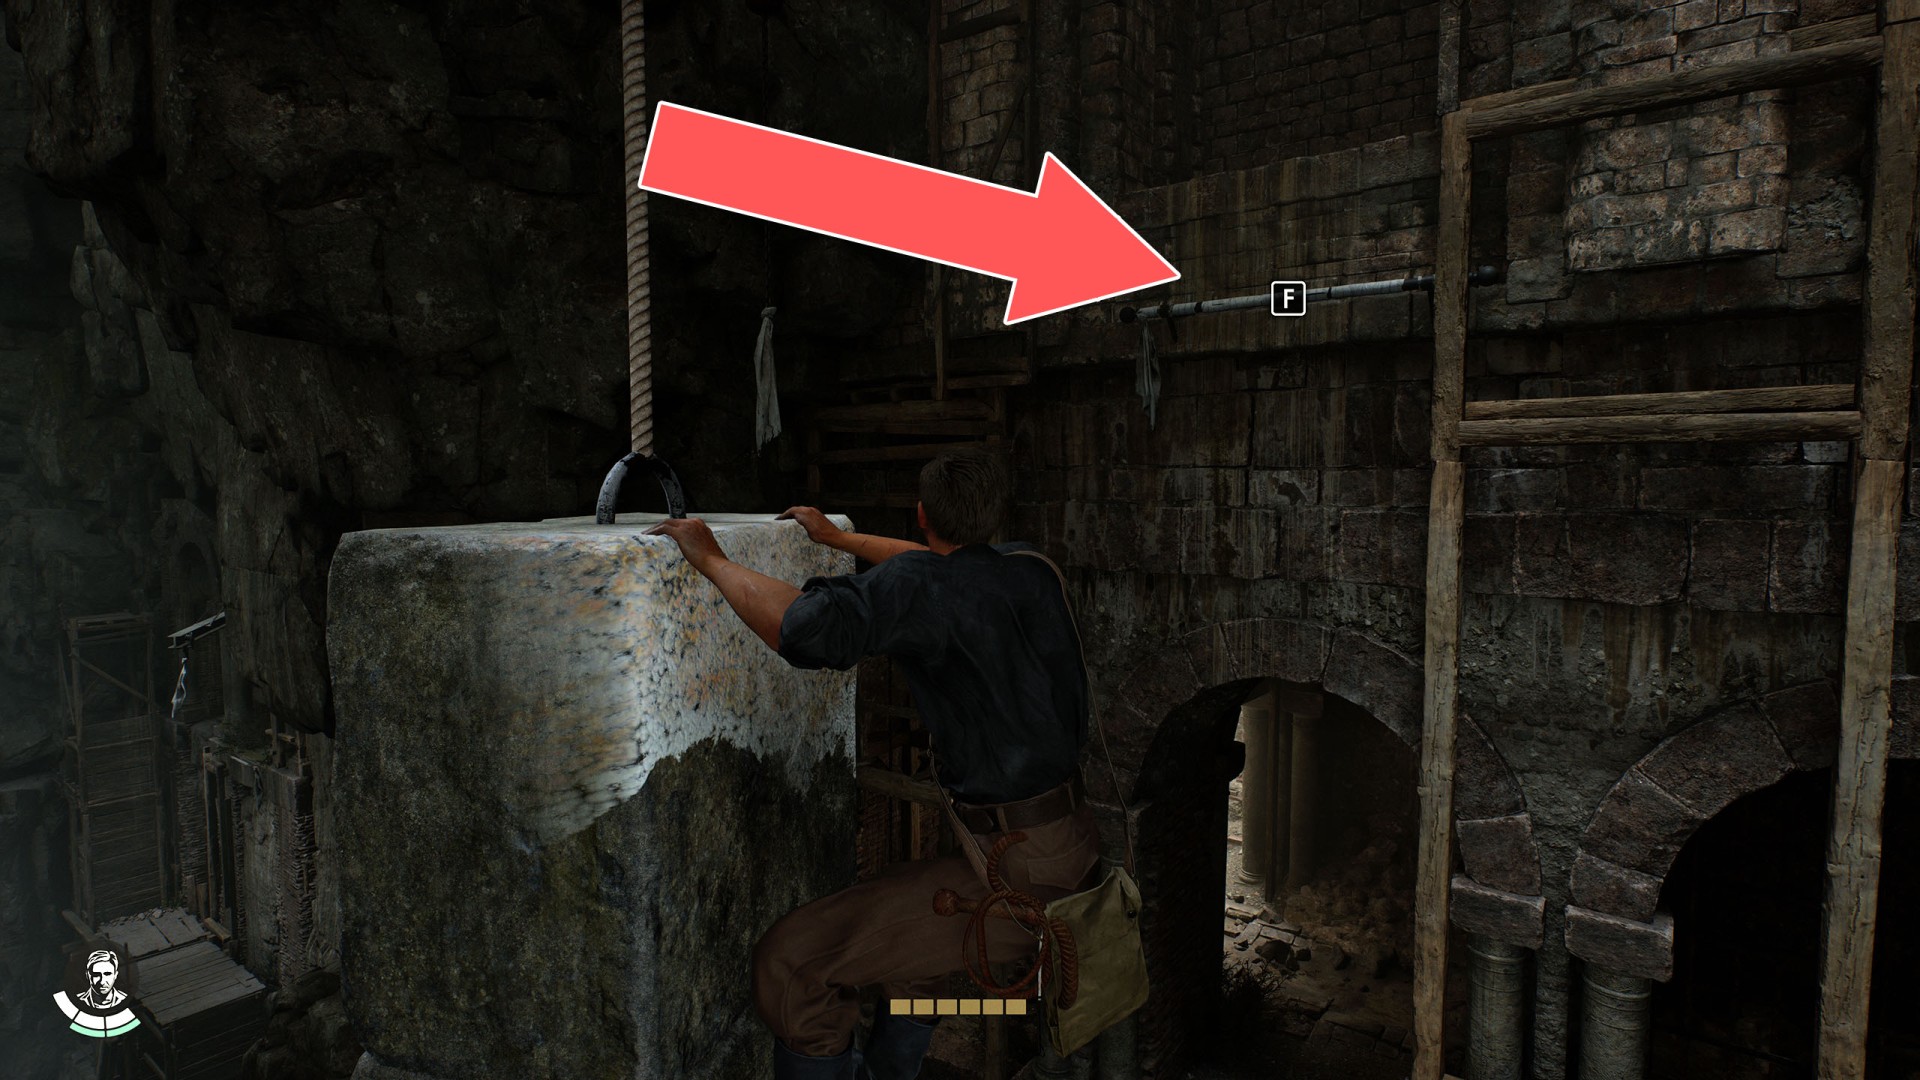
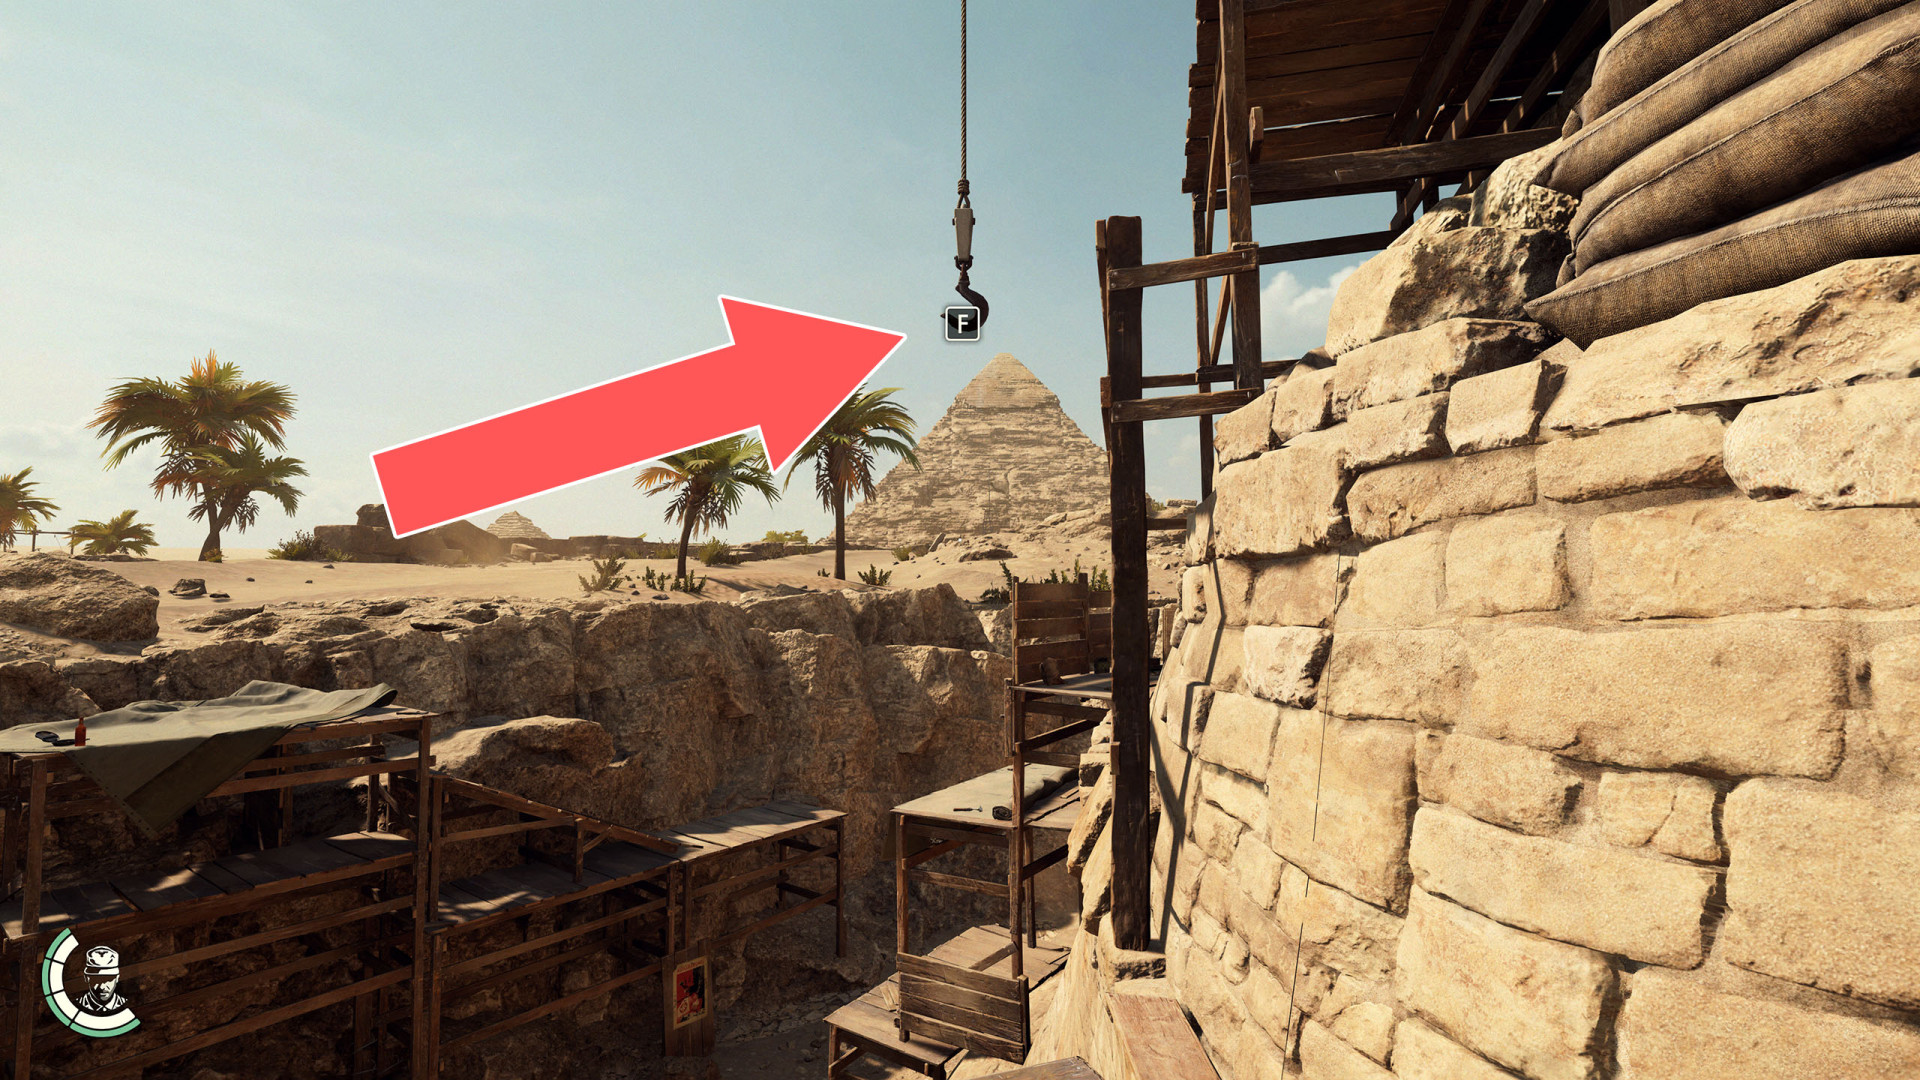
14Grappling Hook
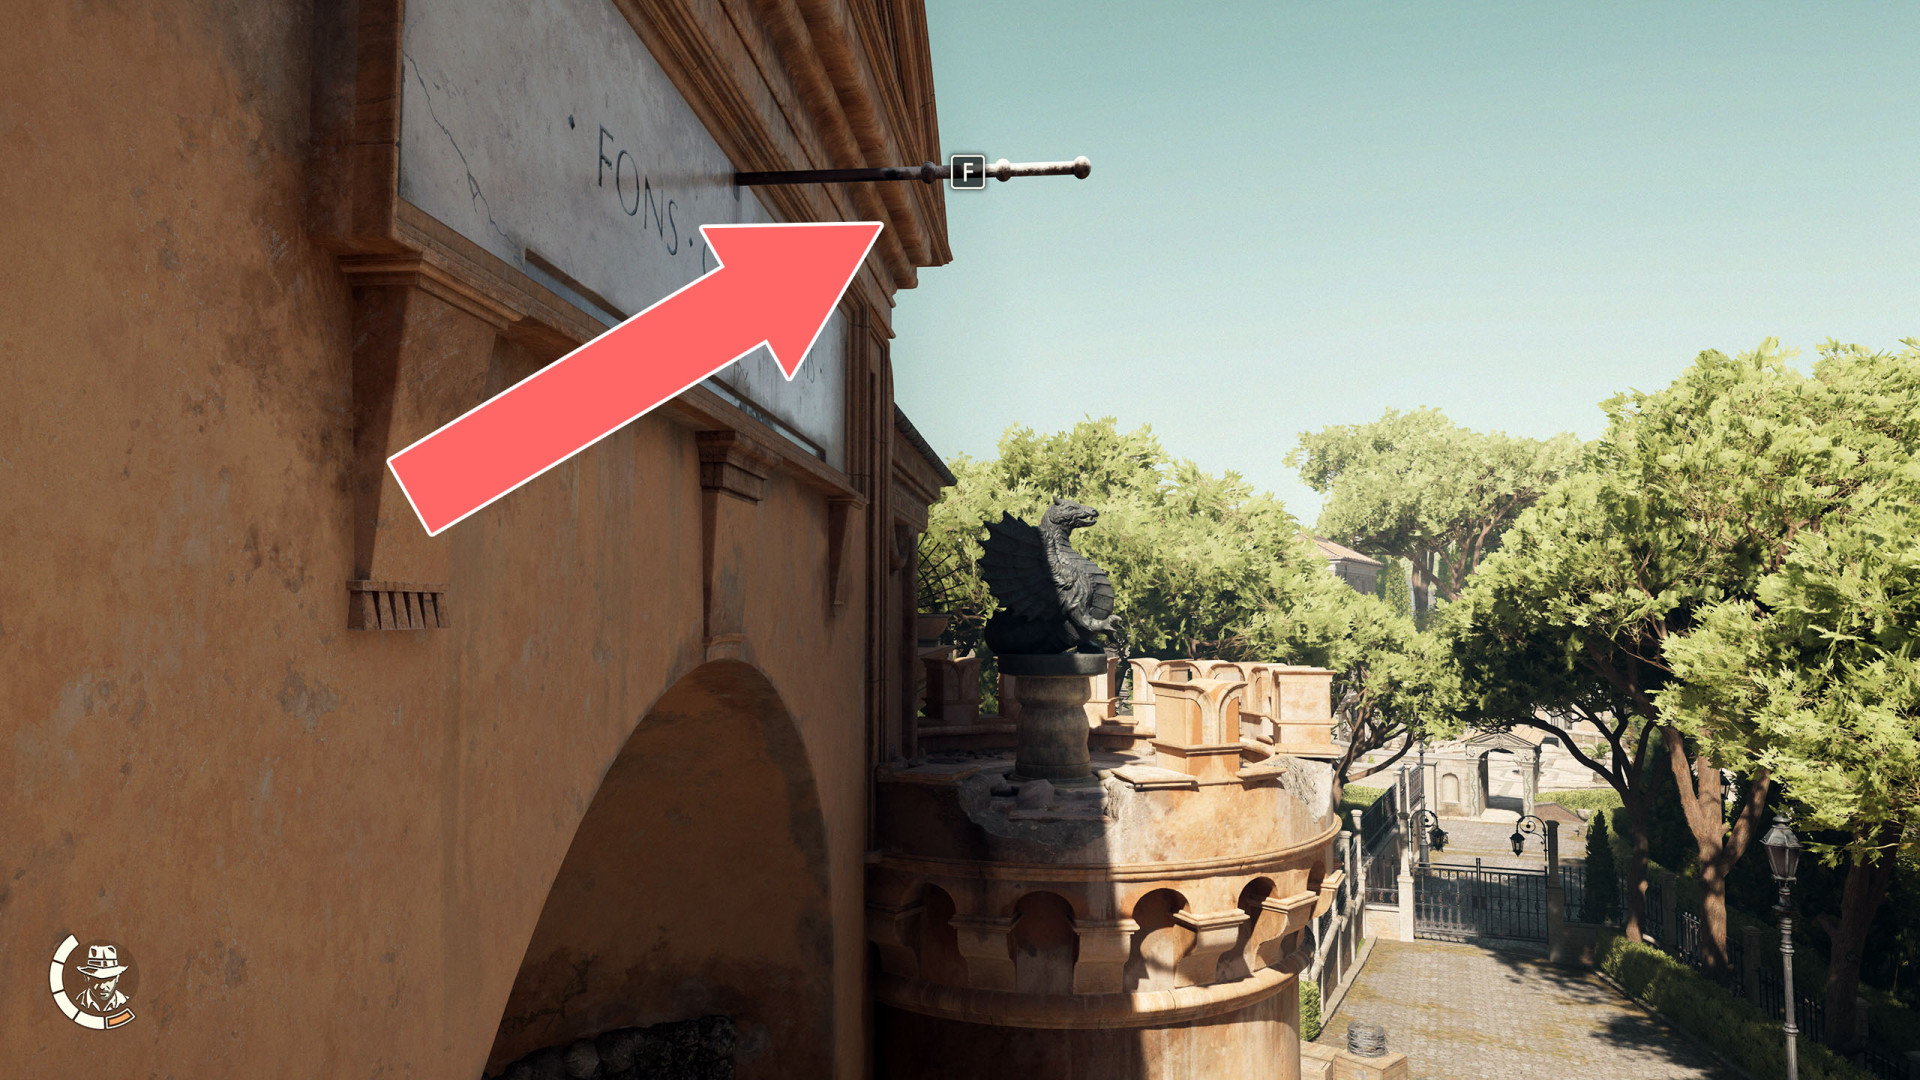
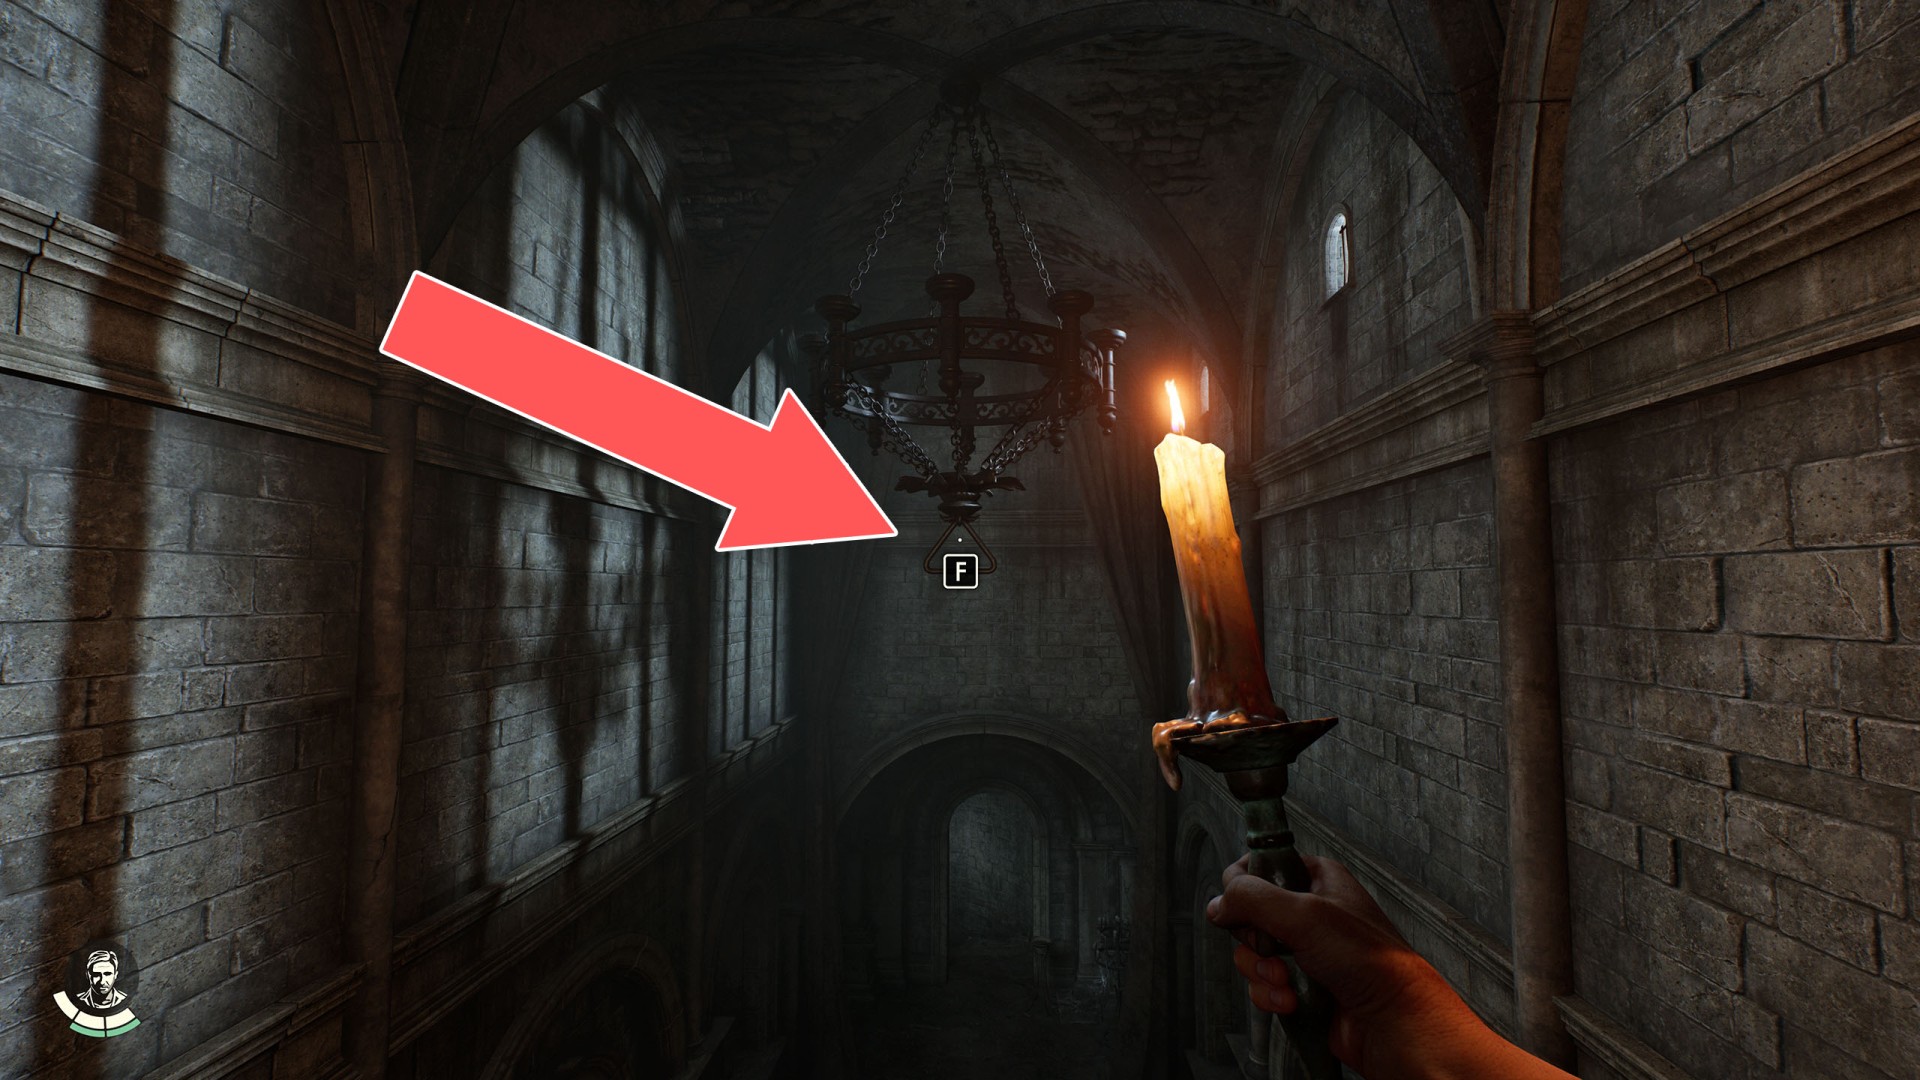
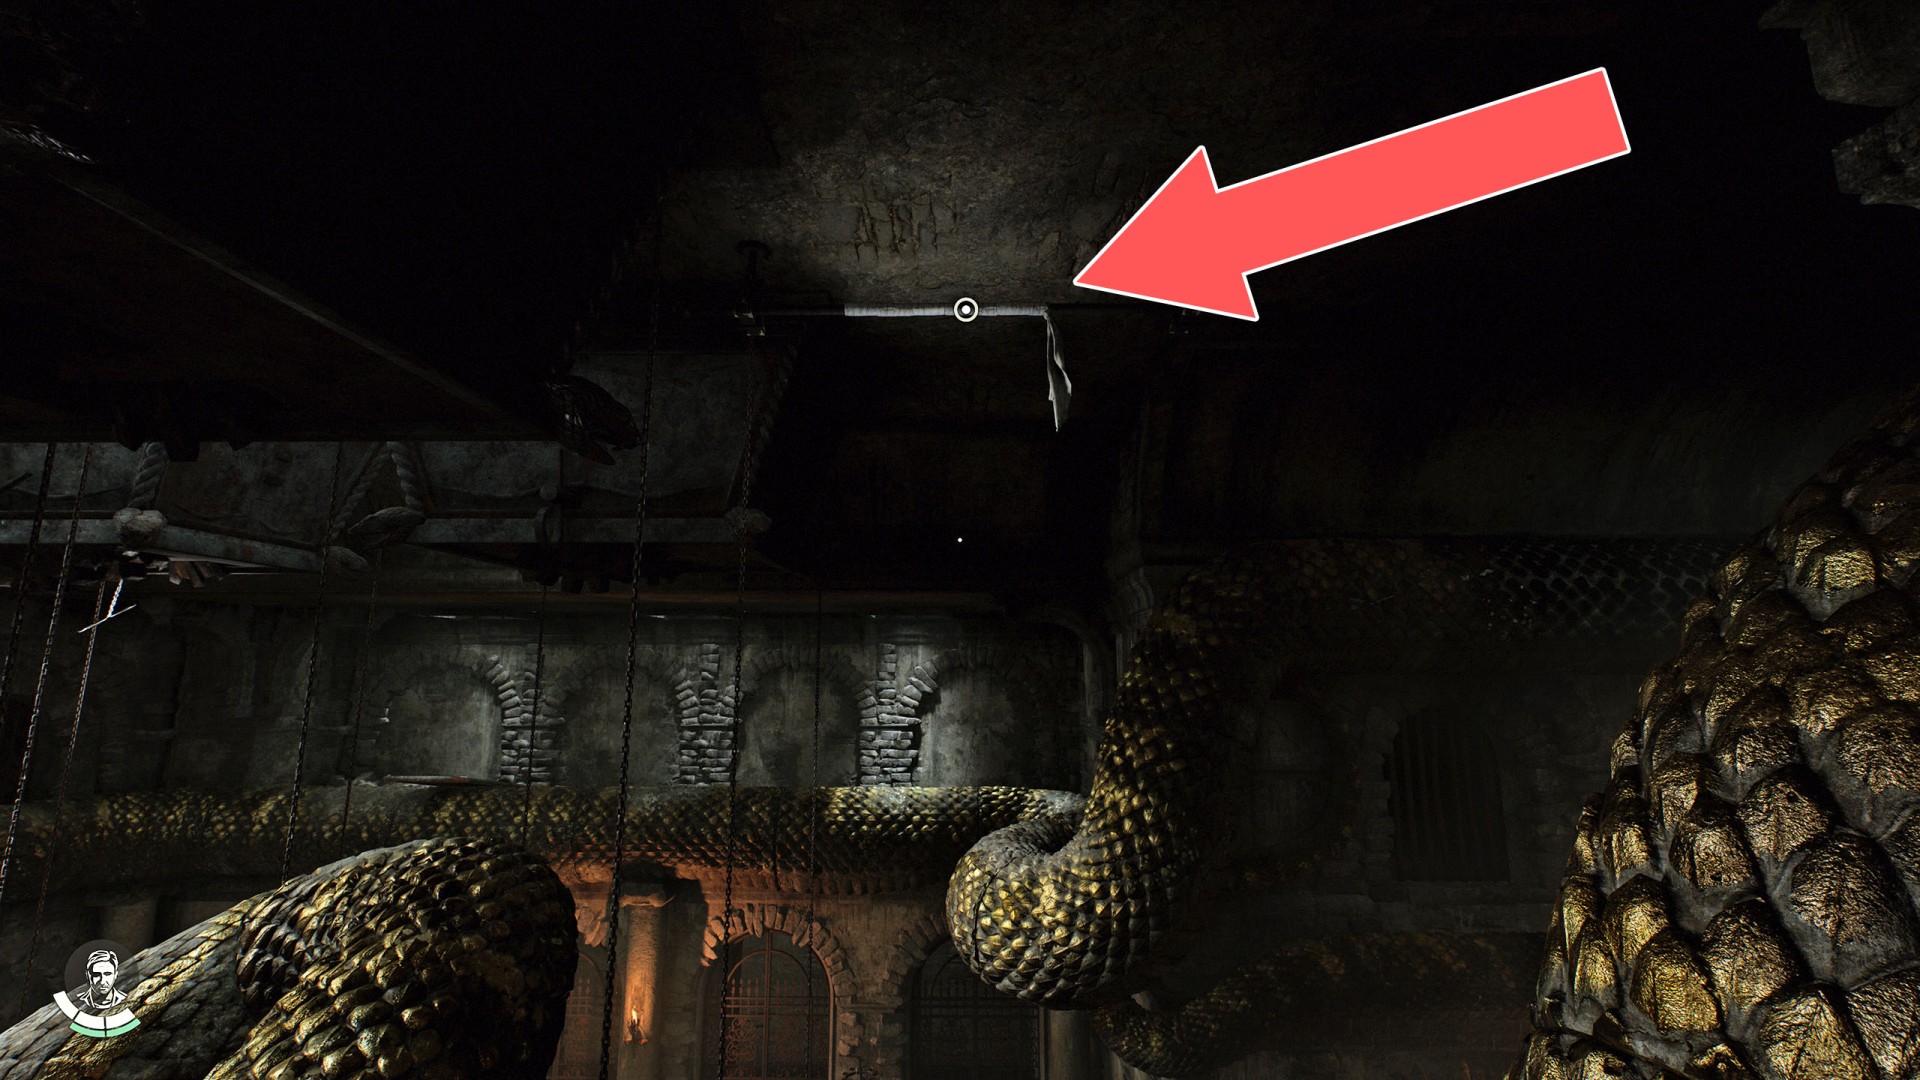
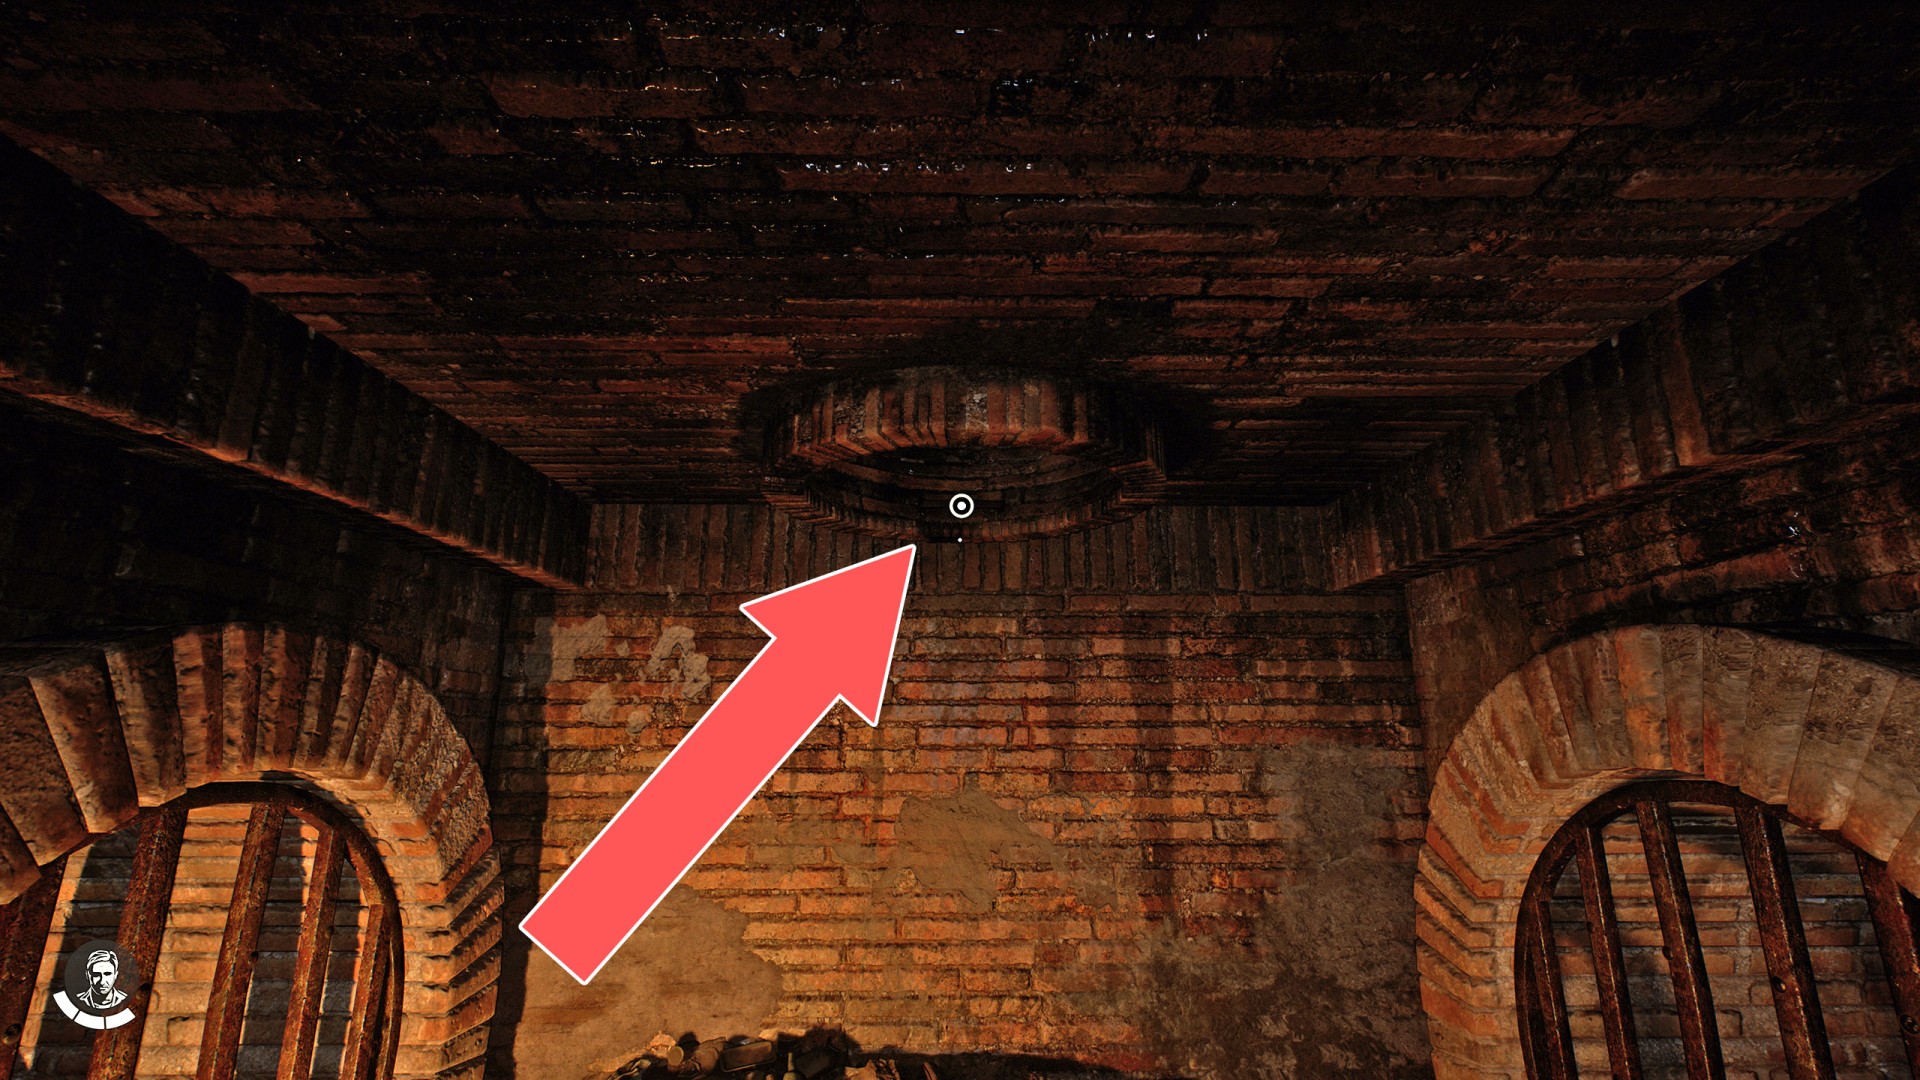
15Grappling Point
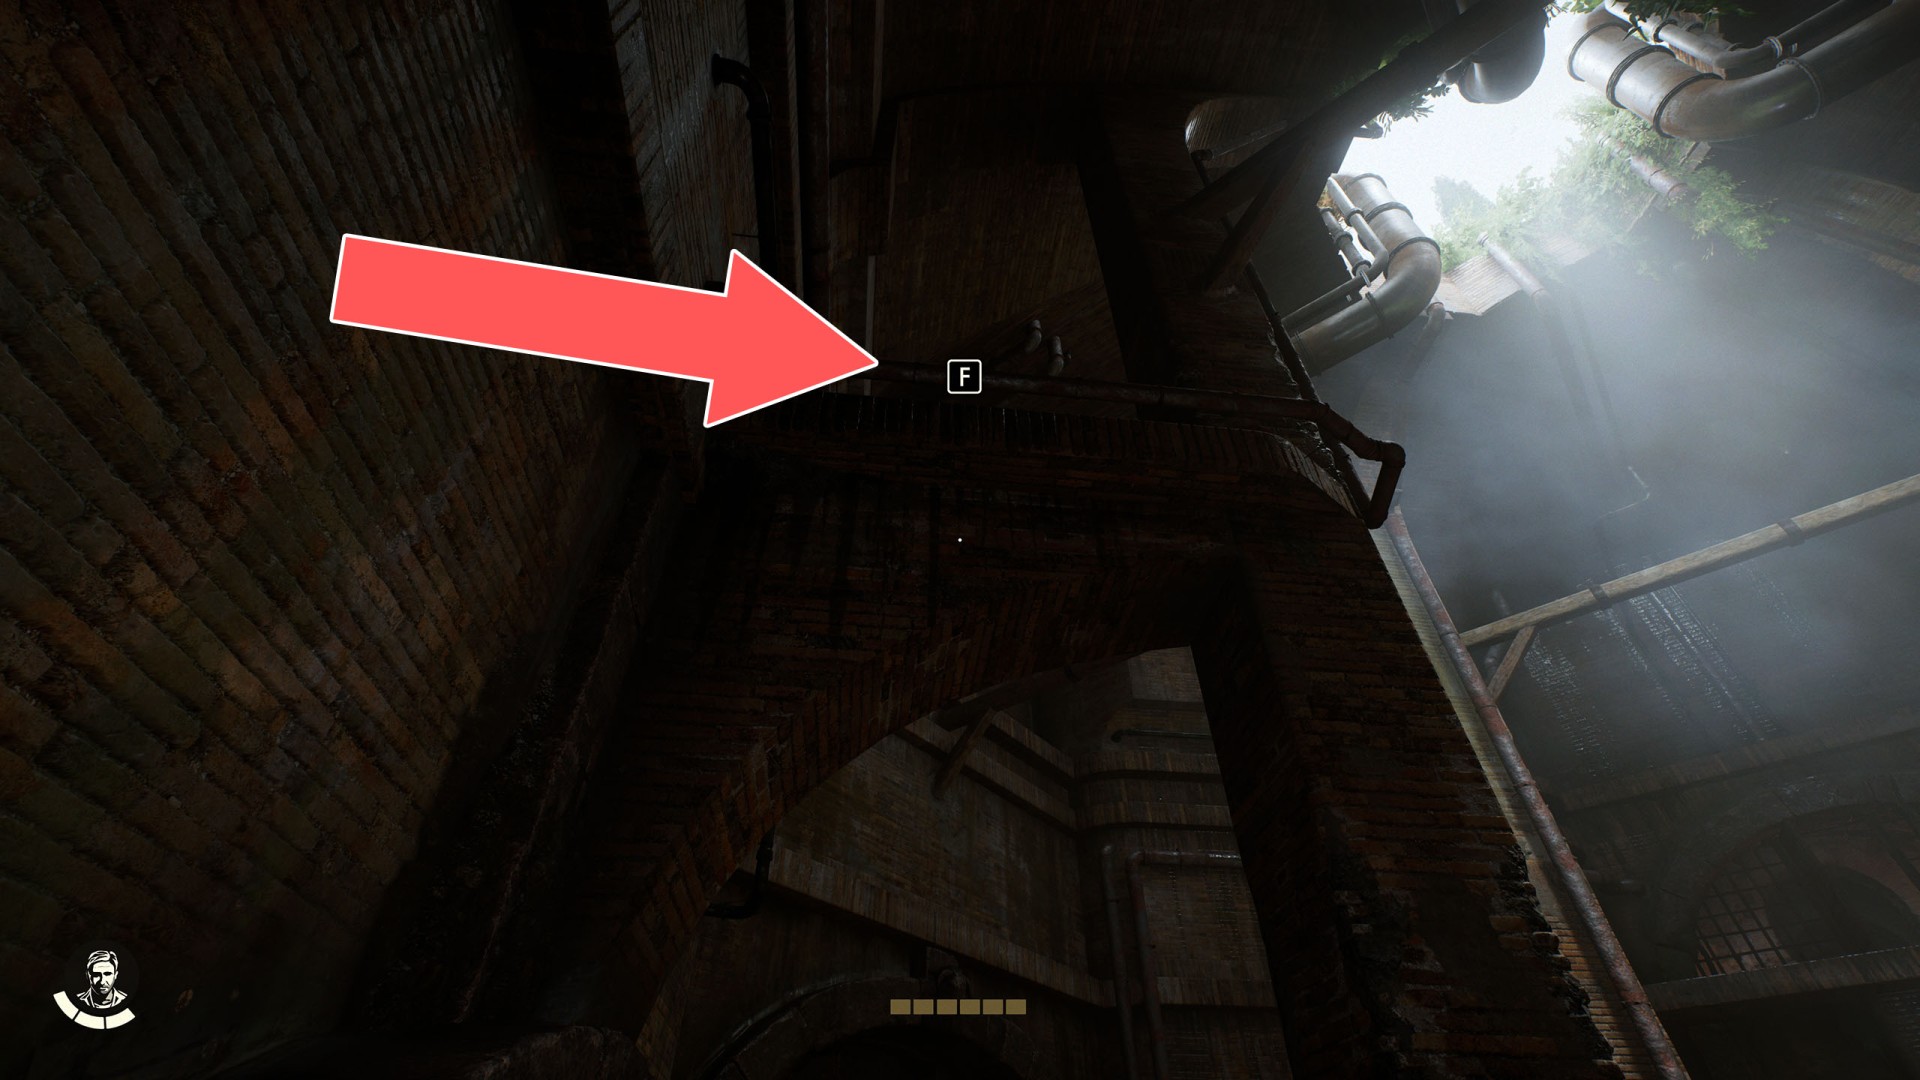
16Grappling Point
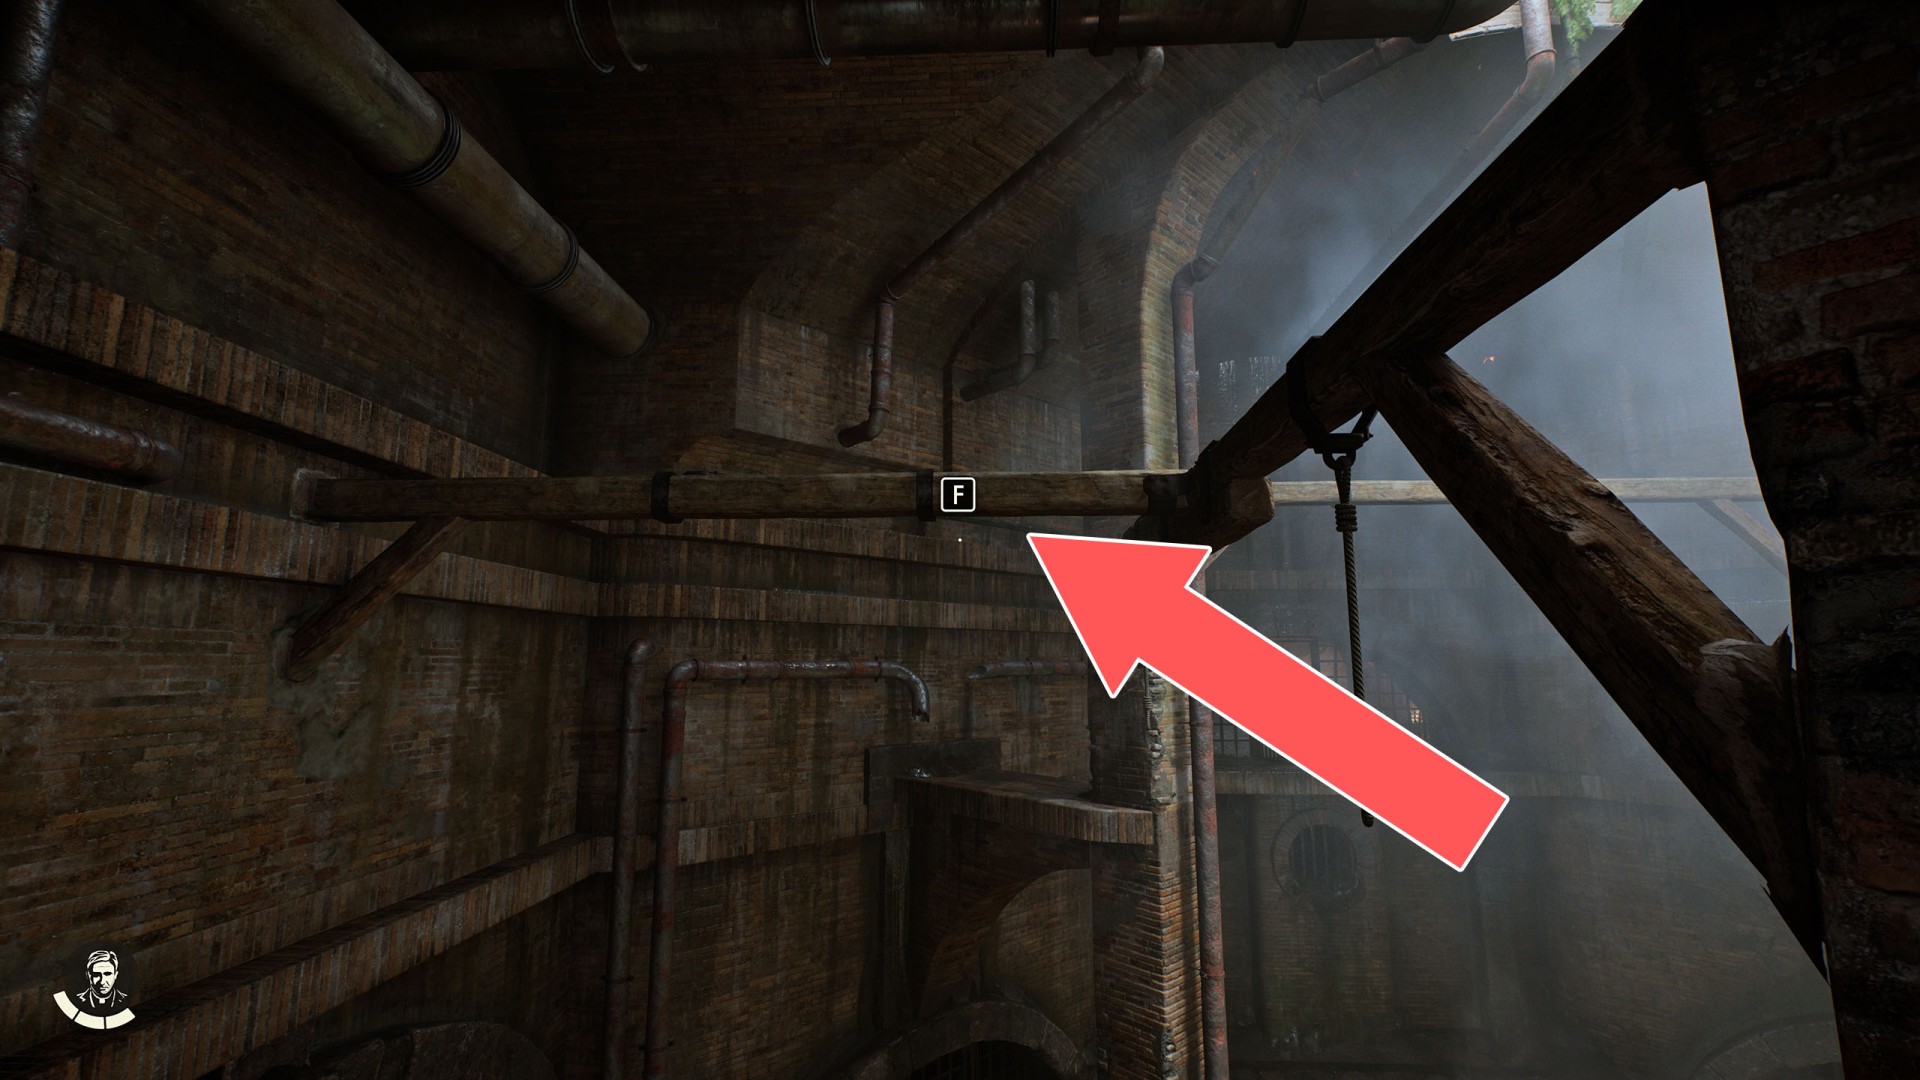
17Grappling Point
18Grappling Point
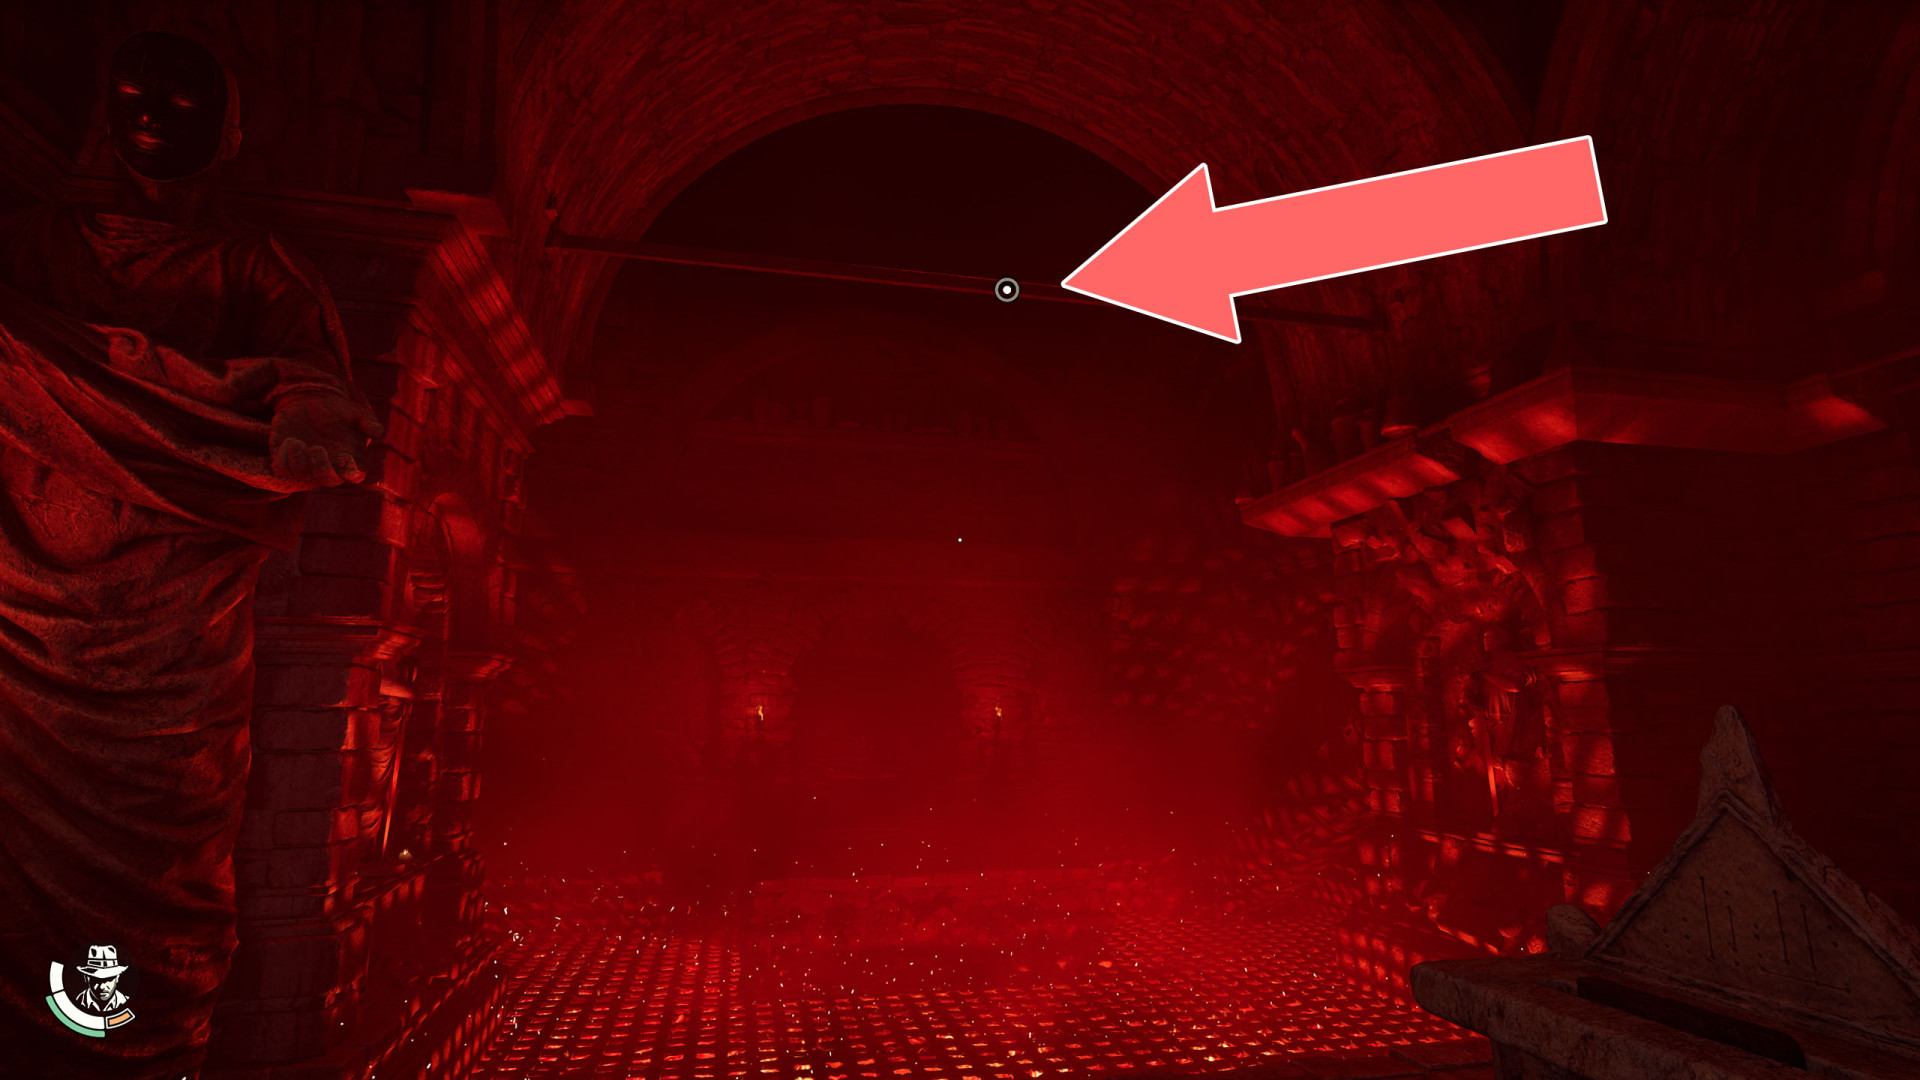
19Grappling Point
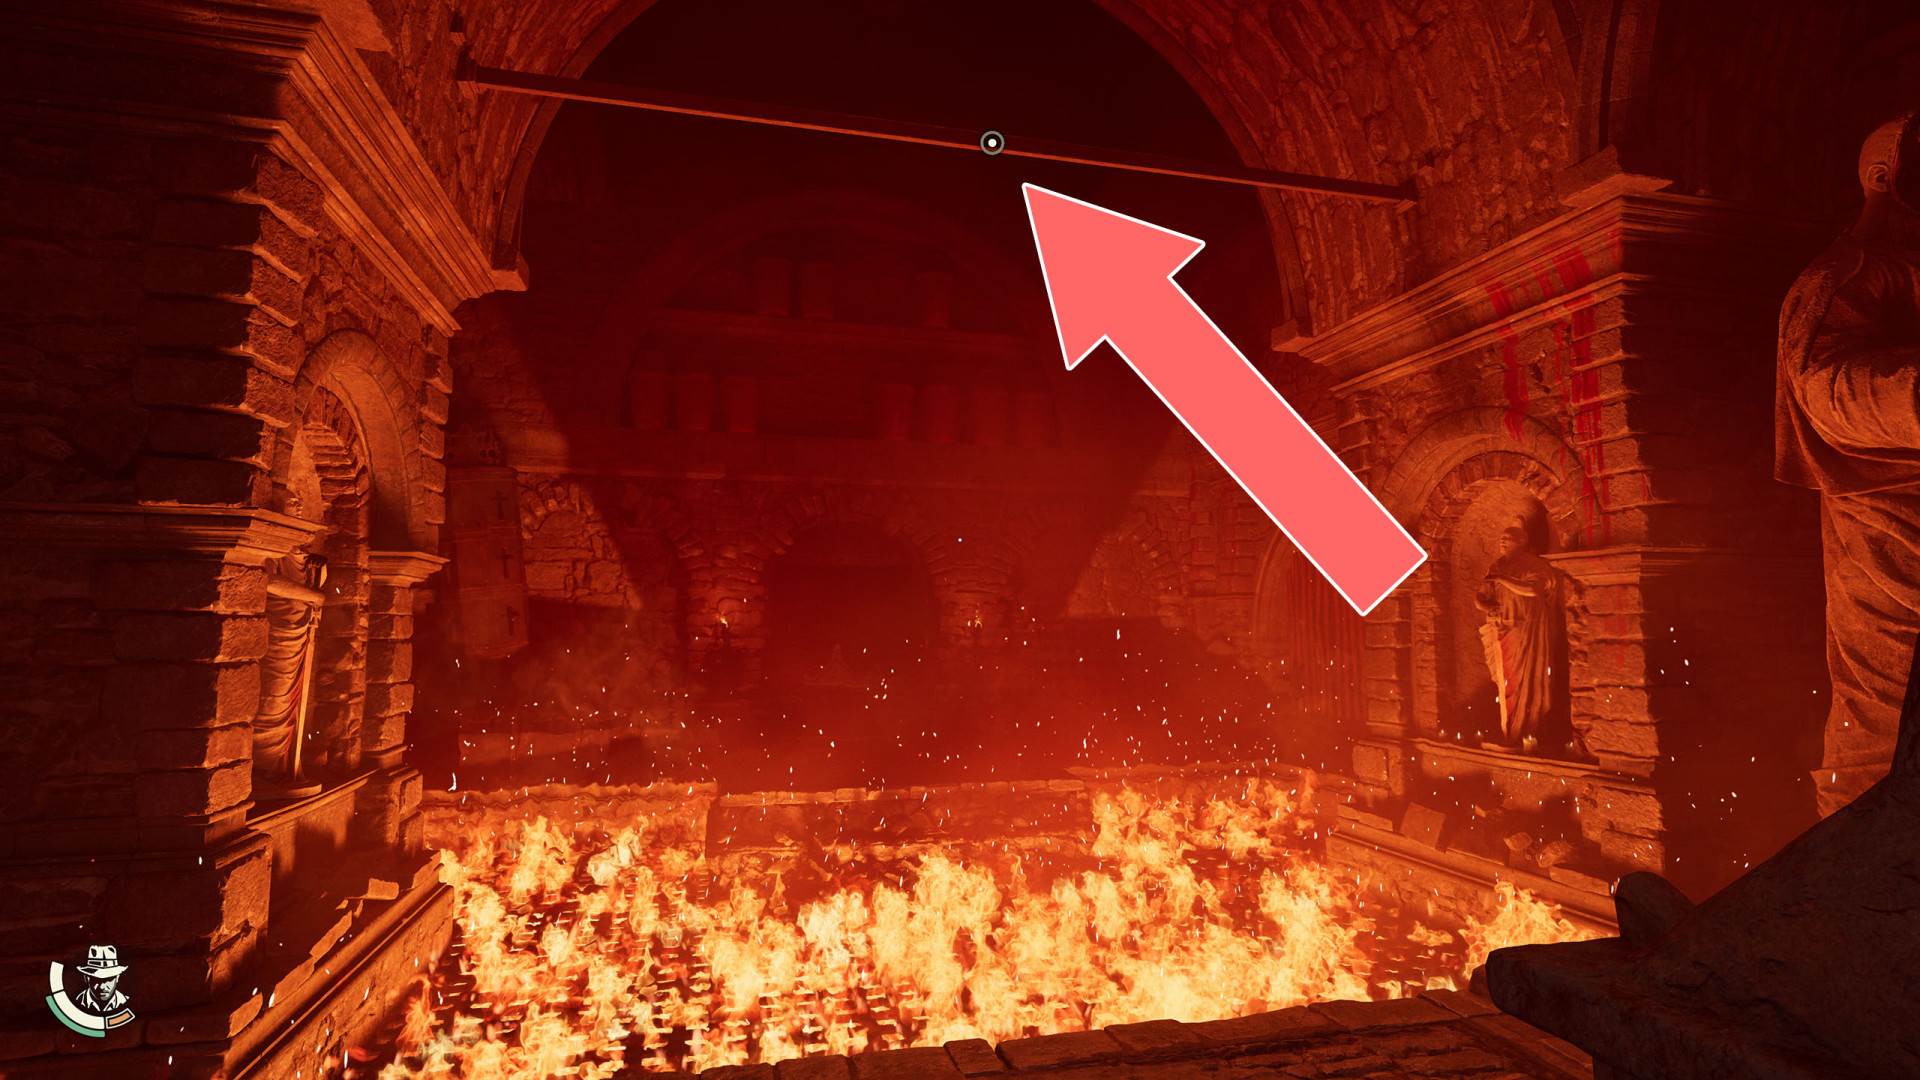
20Grappling Point
21Grappling Point
22Grappling Point
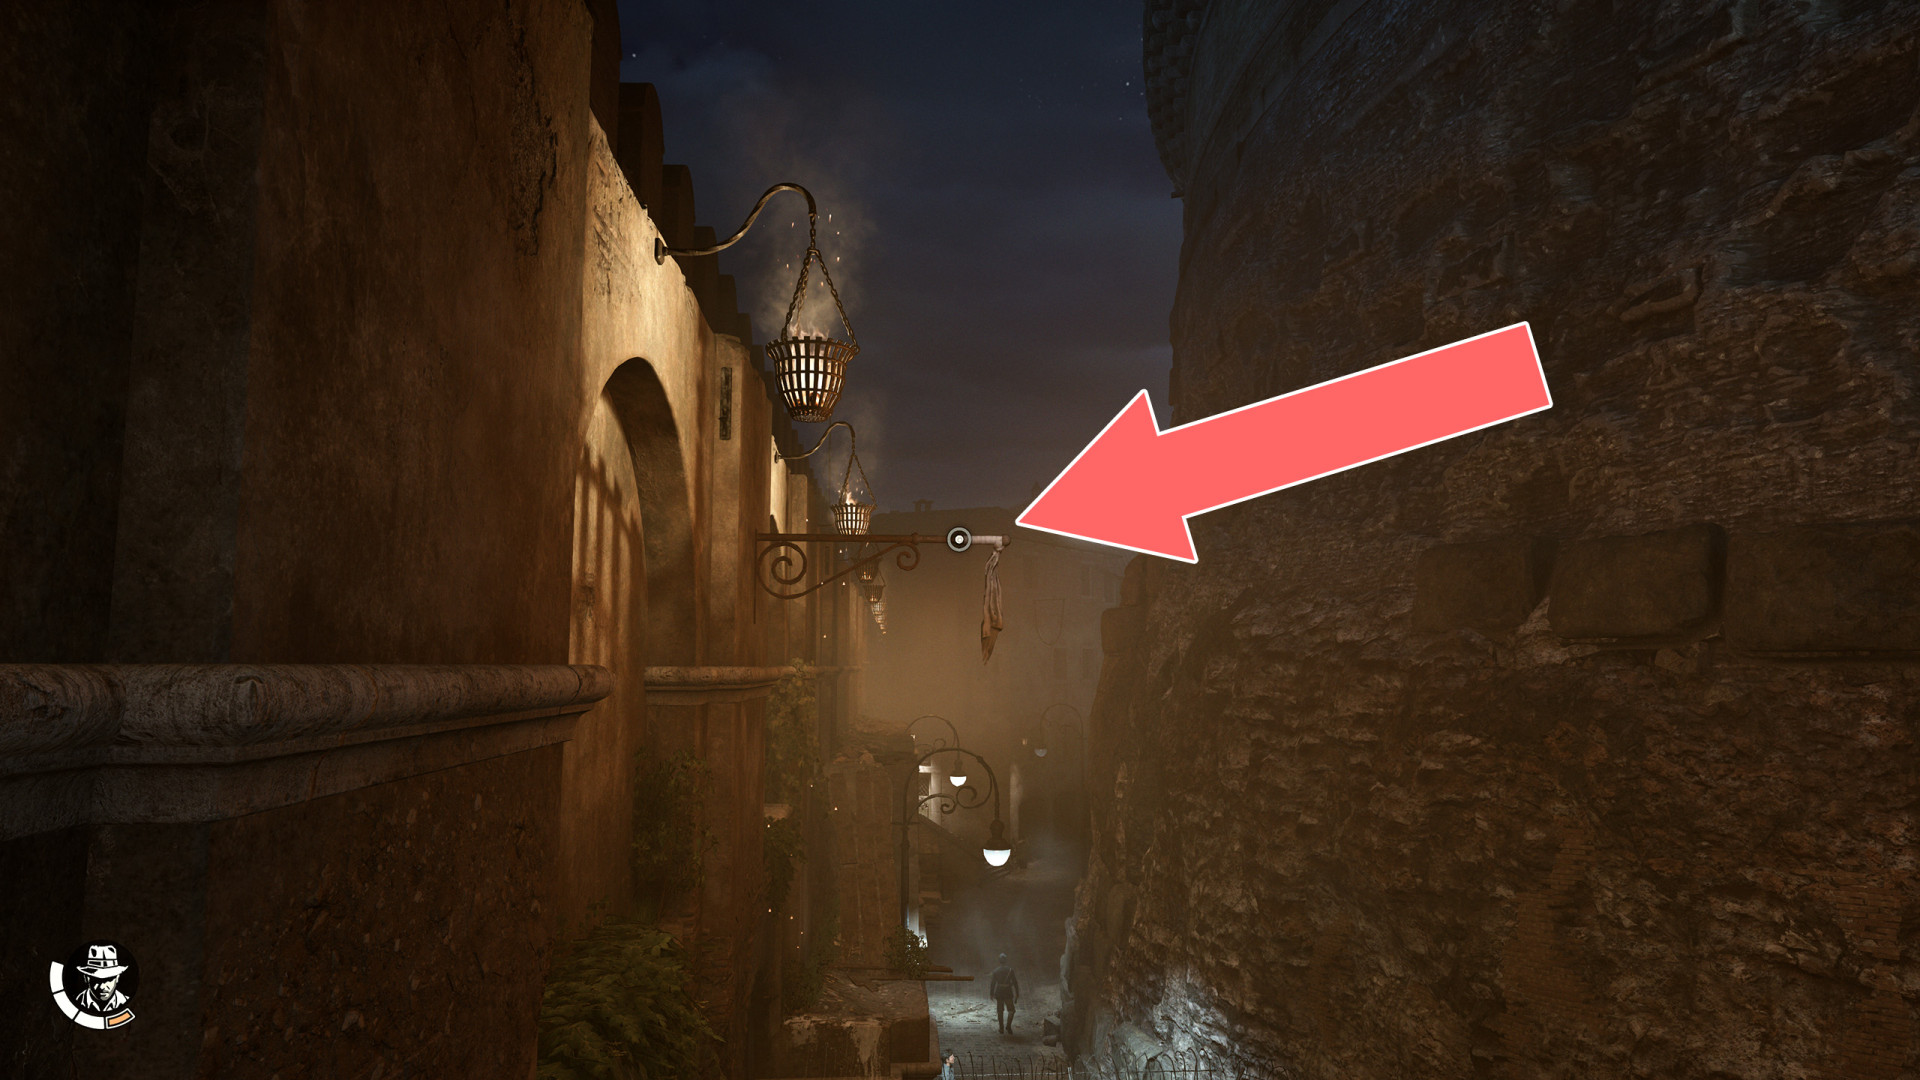
23Grappling Point
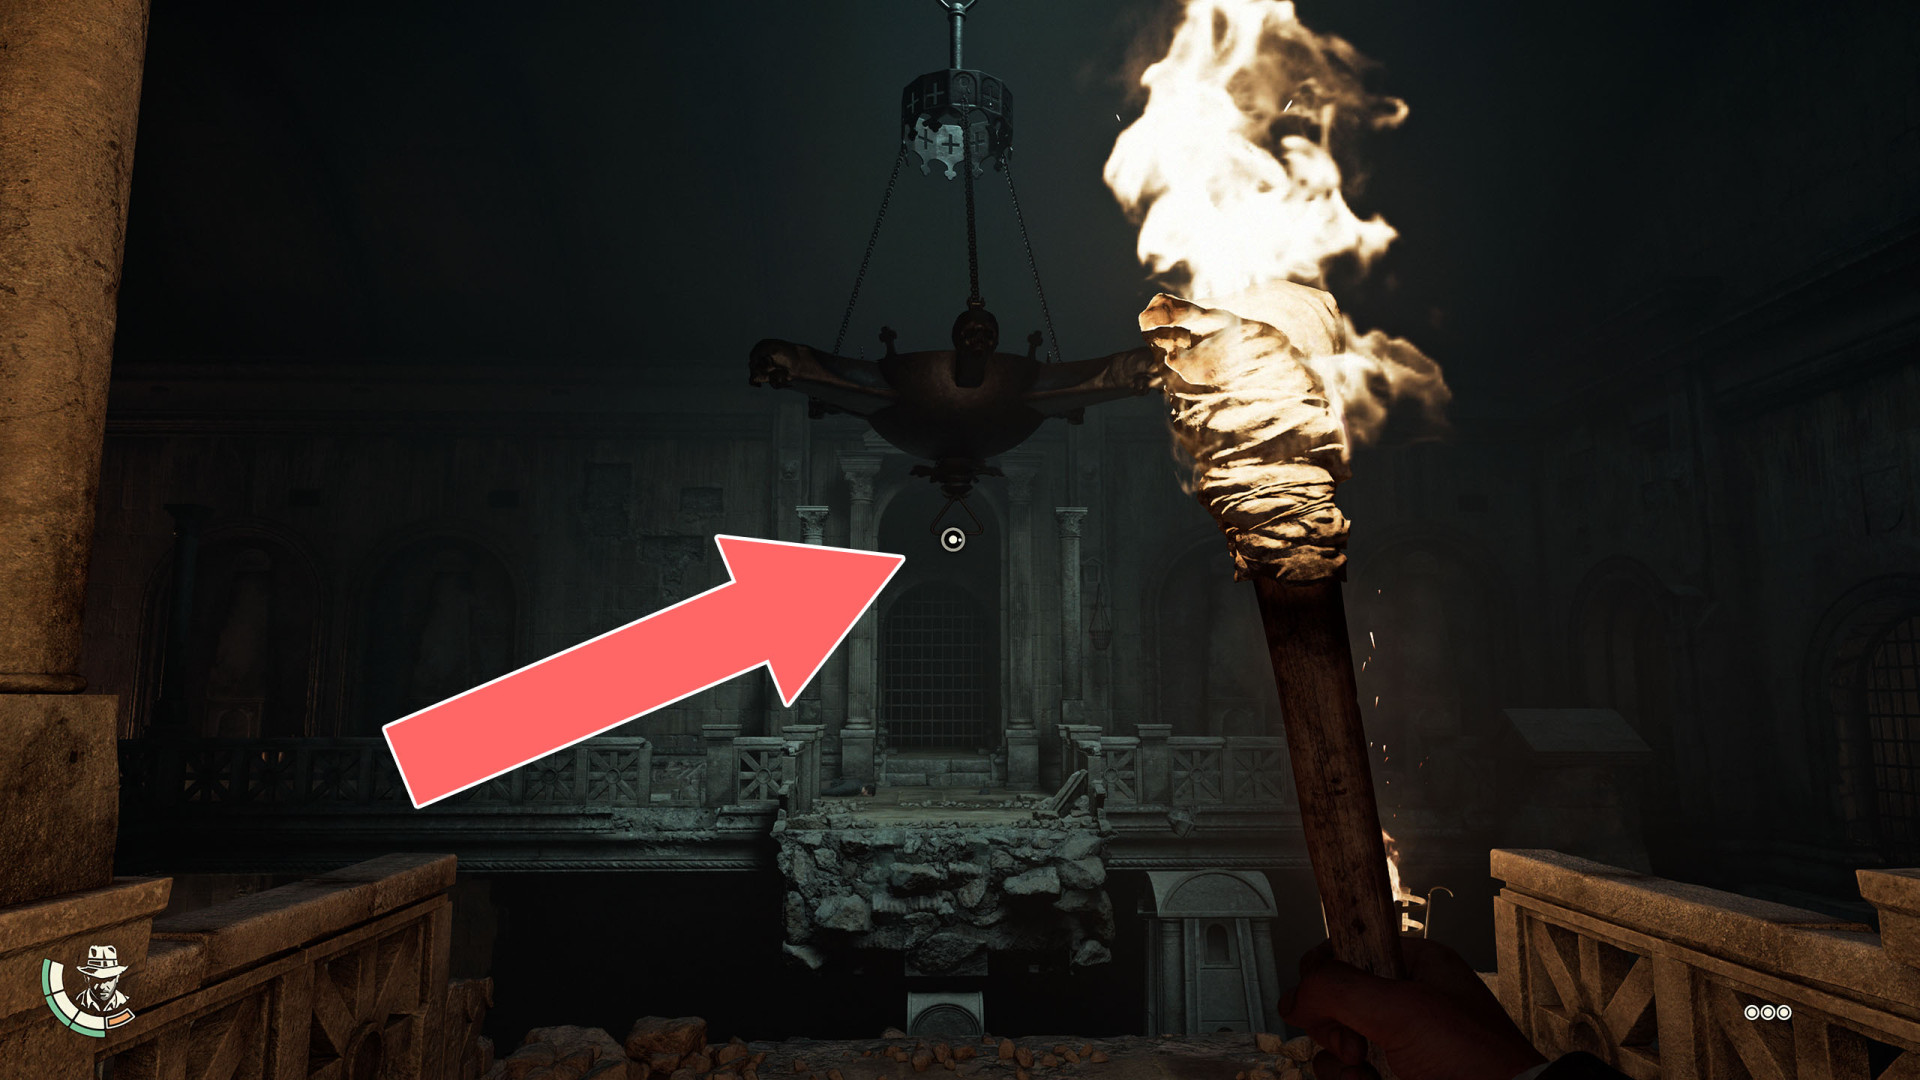
24Grappling Point
25Grappling Point
26Grappling Point
27Grappling Point
28Grappling Point
29Grappling Point
30Grappling Point
31Grappling Point
32Grappling Point
33Grappling Point
34Grappling Point
35Grappling Point & Drainpipe
36Grappling Point & Hole

37Grappling Point x 2
38Grappling Point x 2
39Grappling Point x 2
40Grappling Point x 2
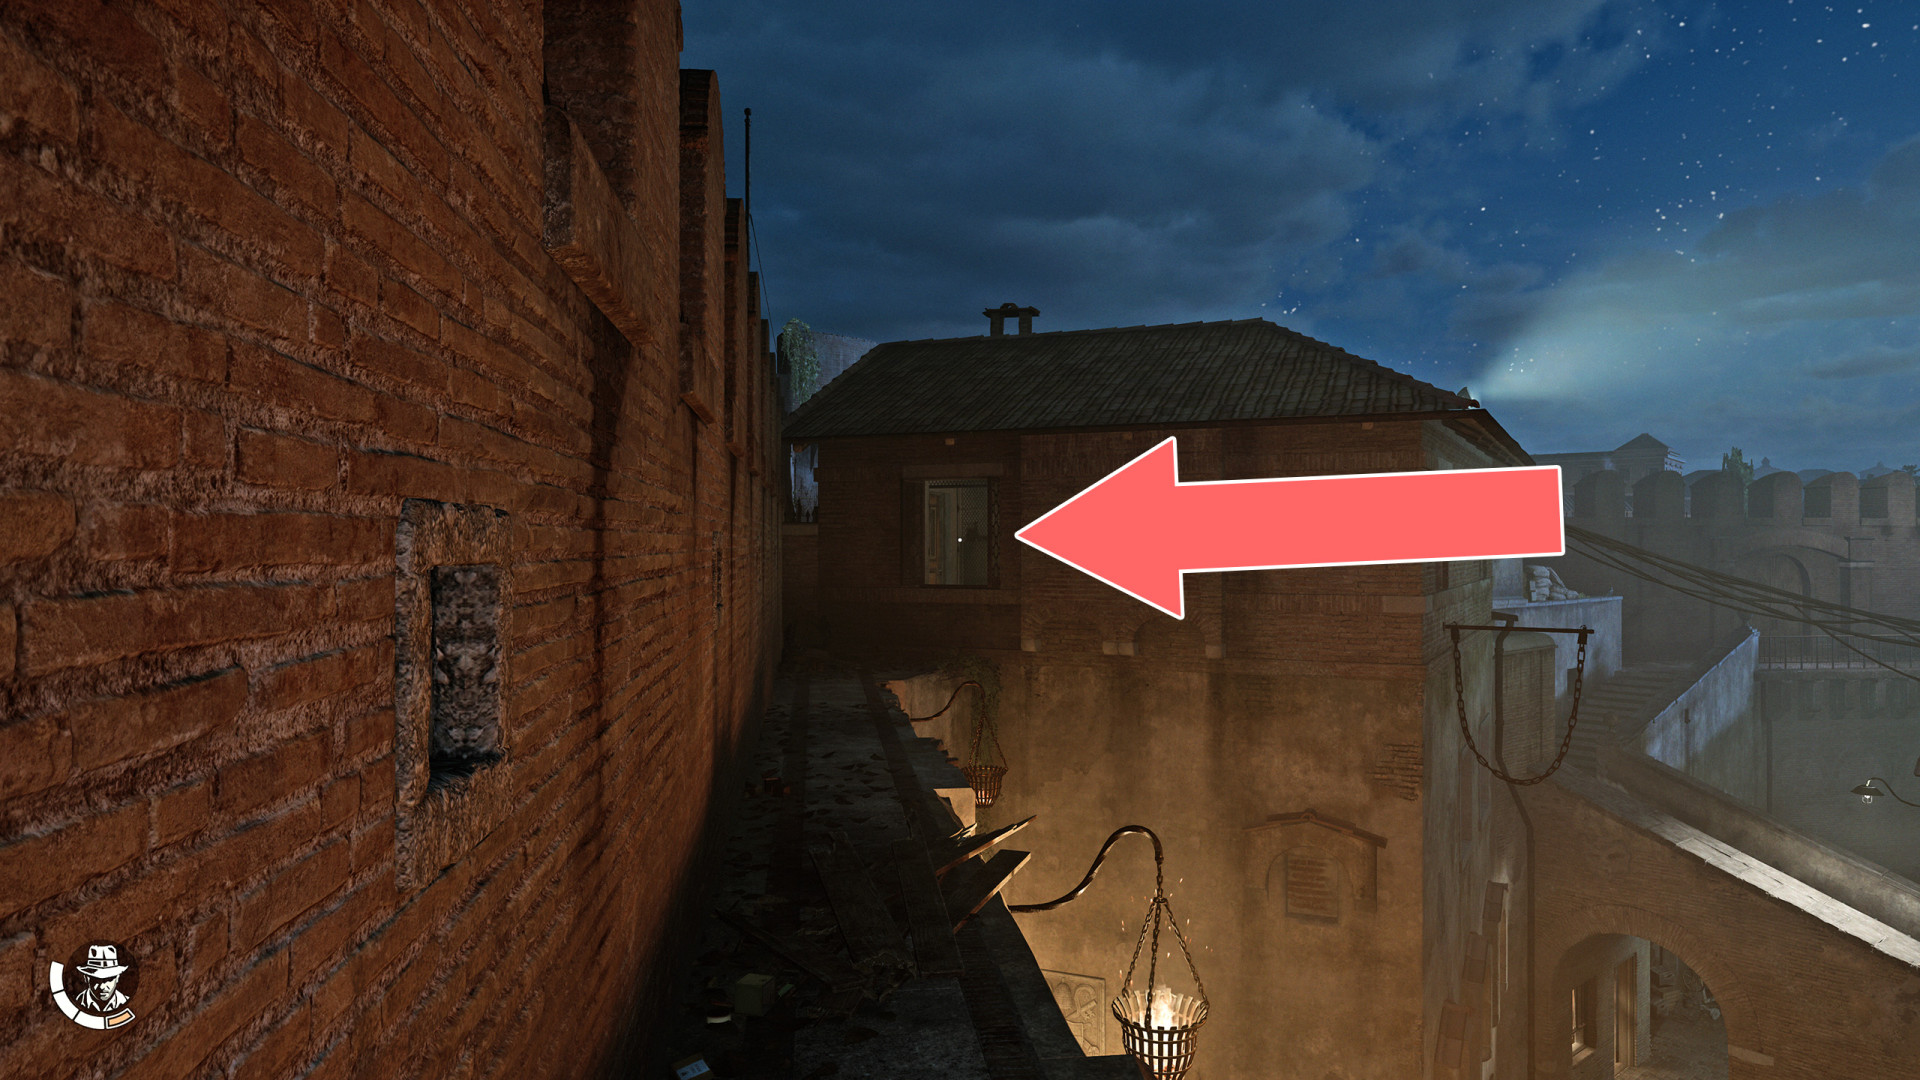
41Guard House Window
Through this window you can access the guard house from the ramparts.
42Hole

43Hole
44Hole in the Fence
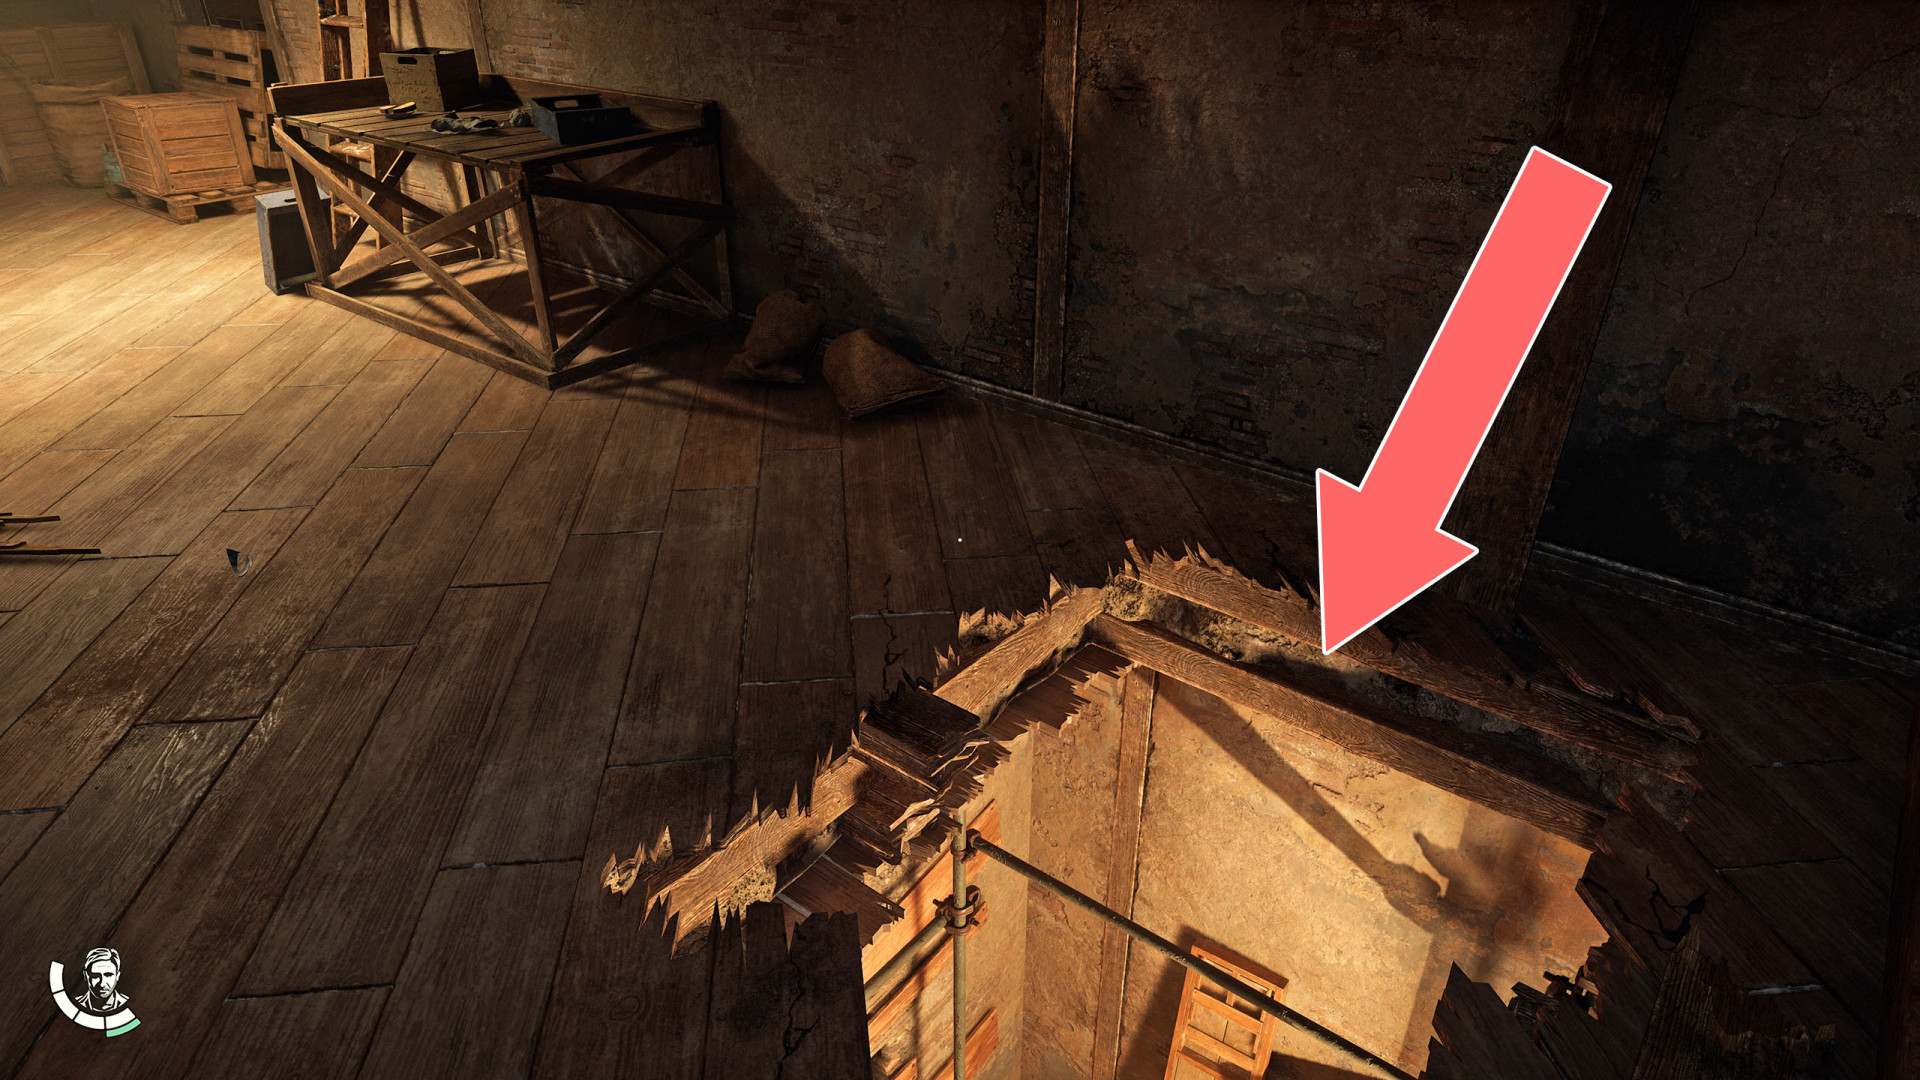
45Hole in the Floor

46Hole in the Floor
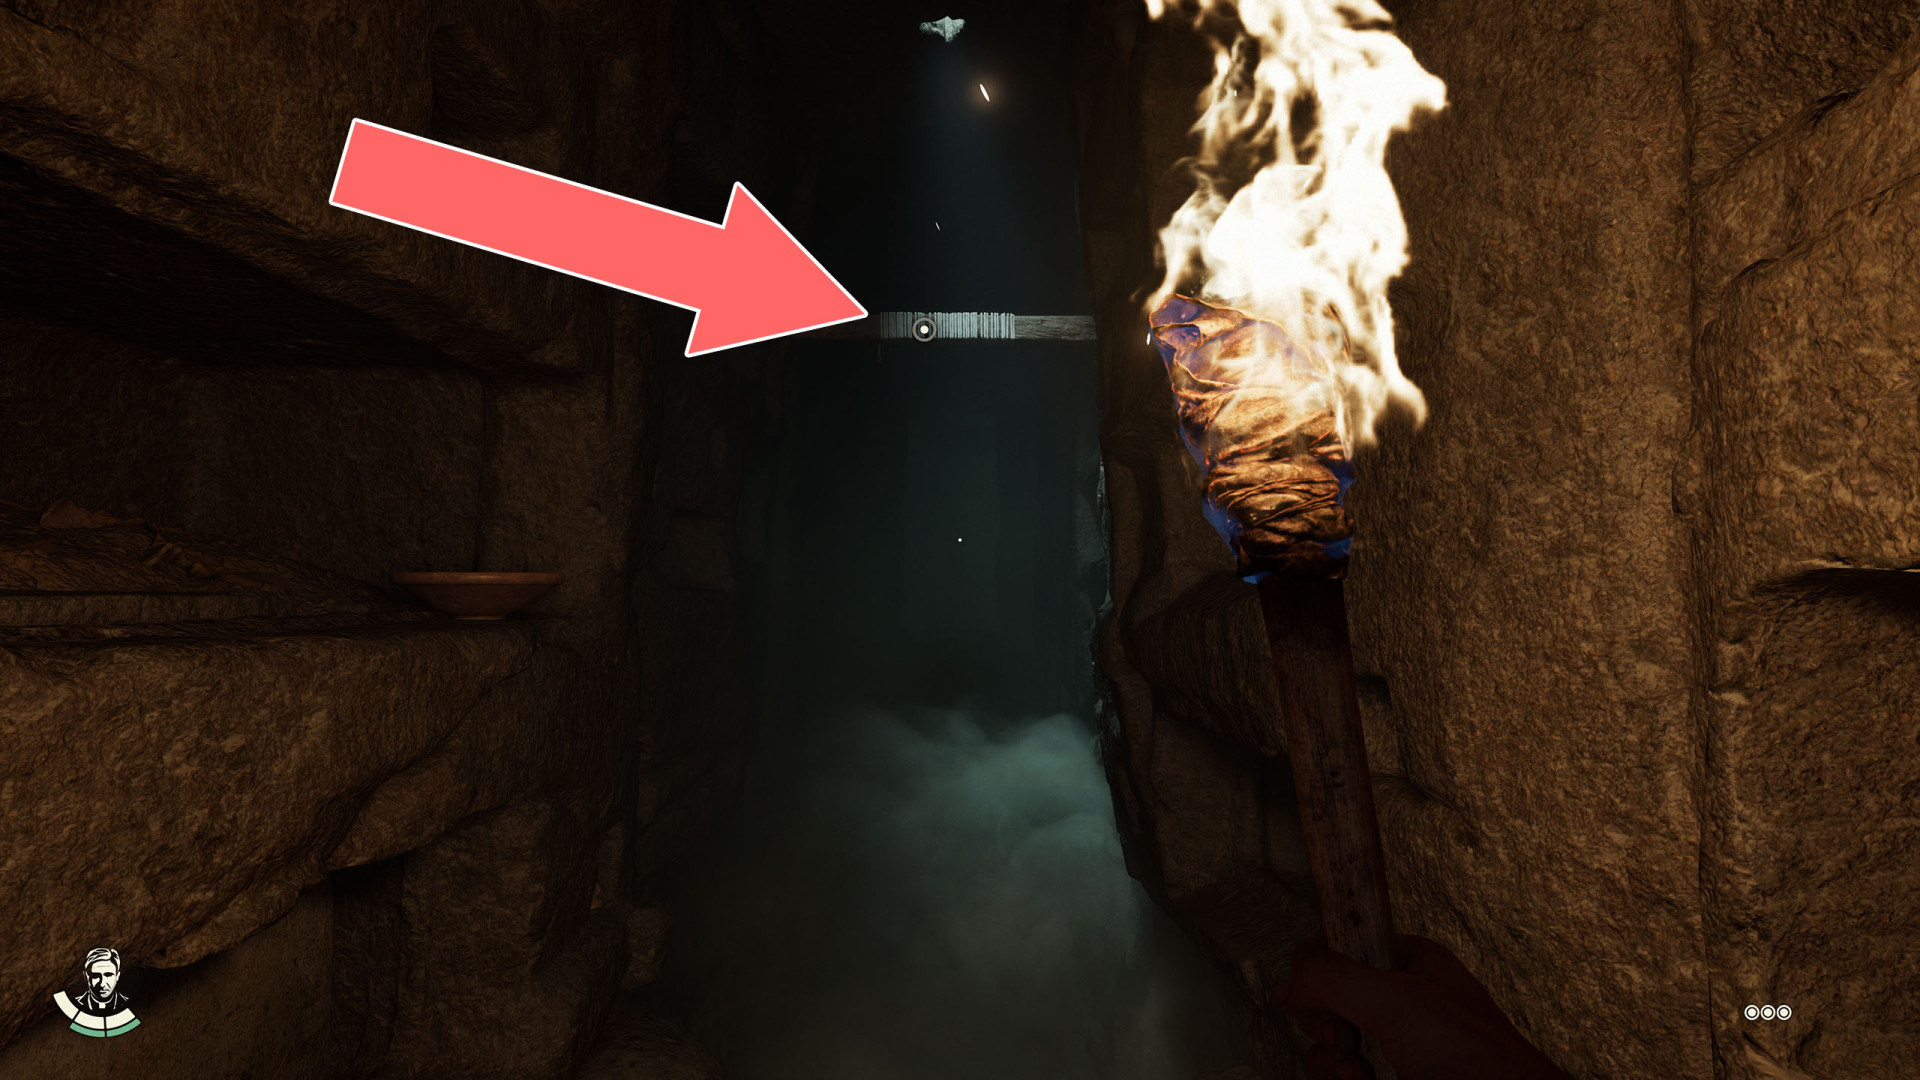
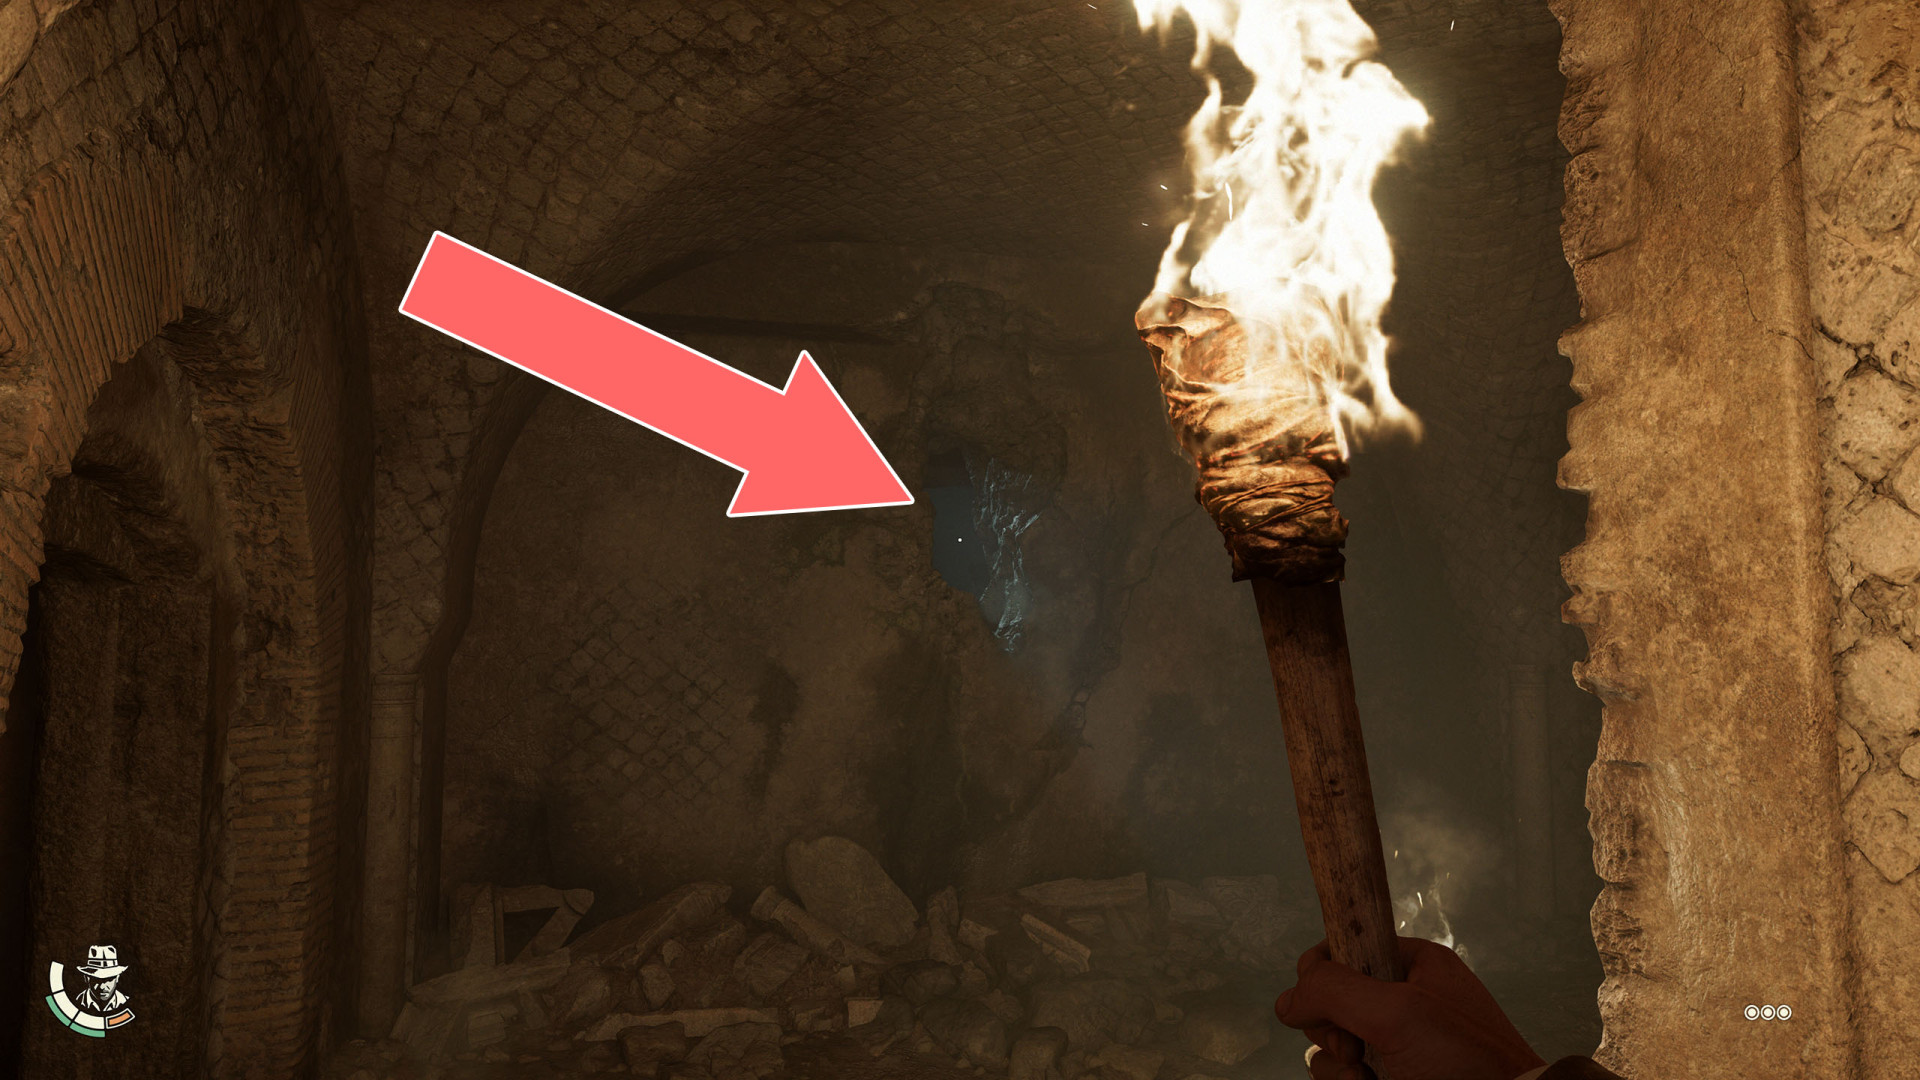
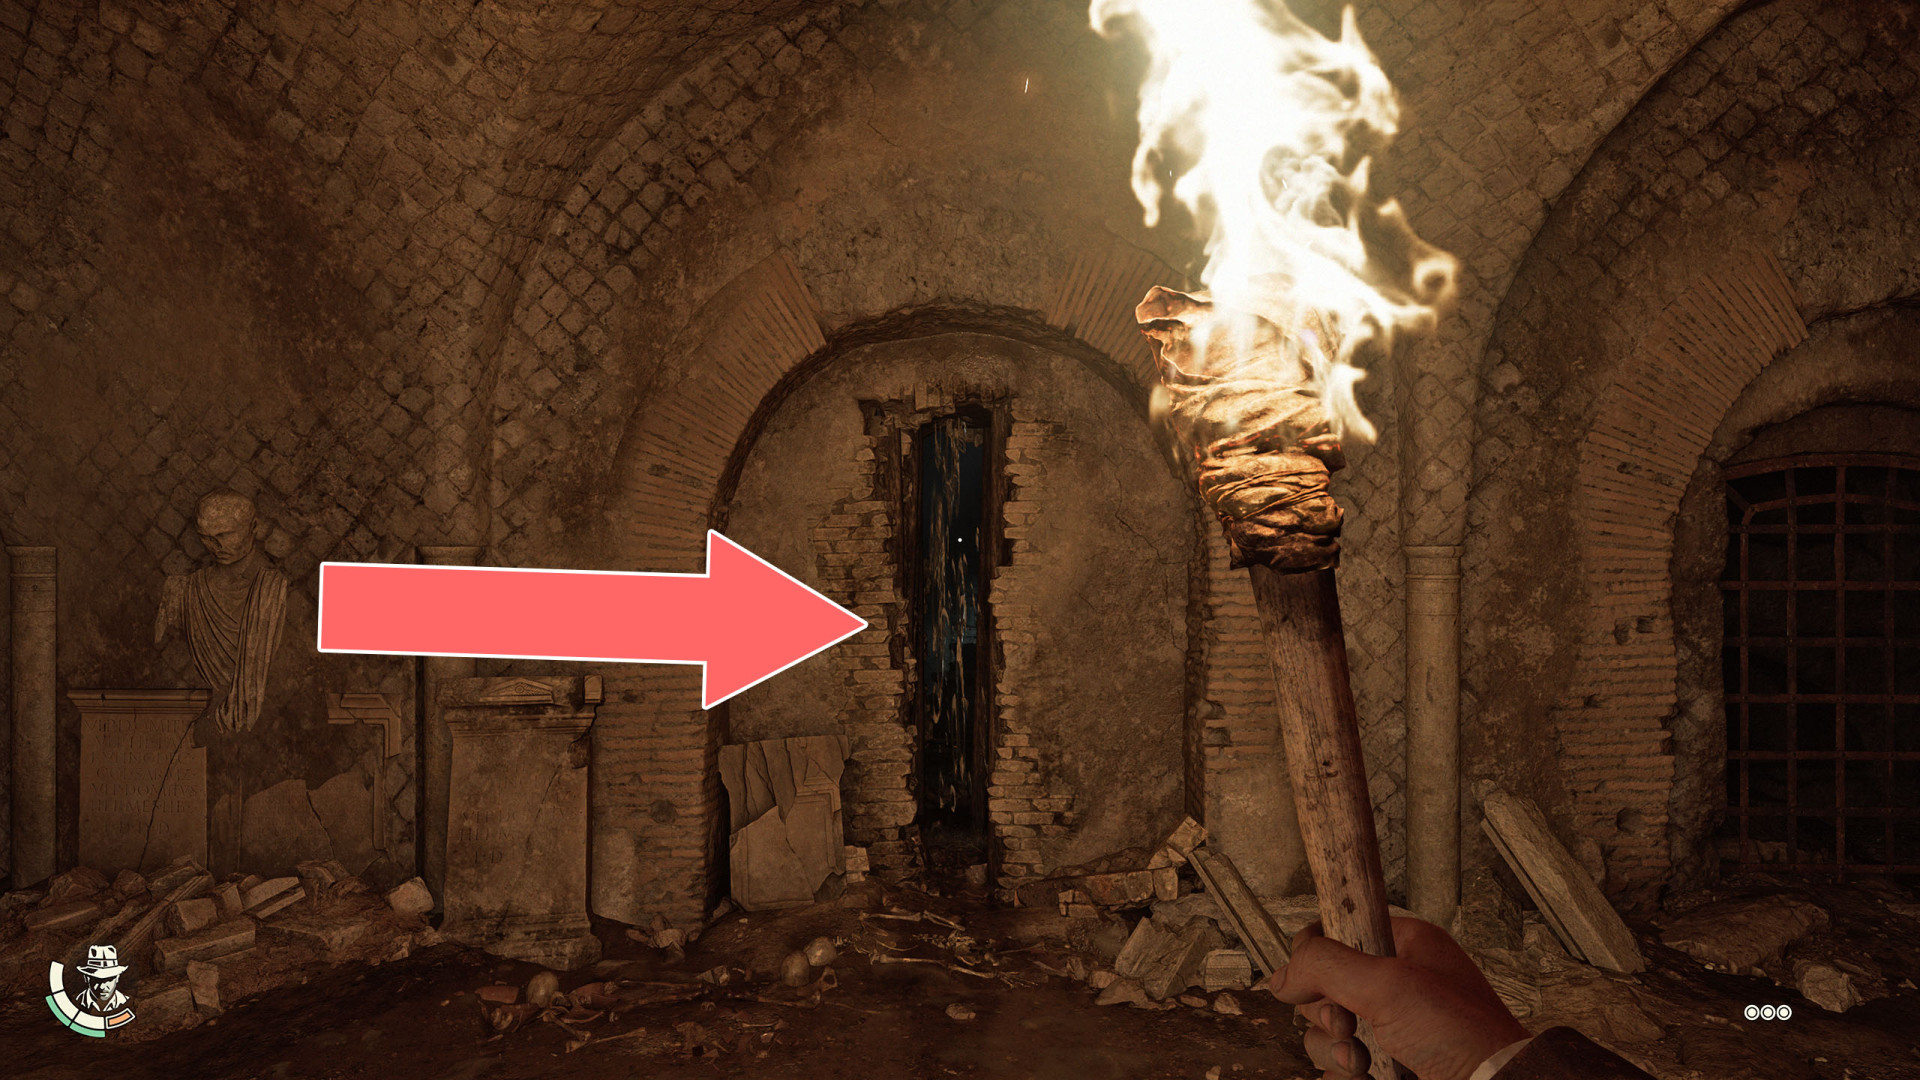
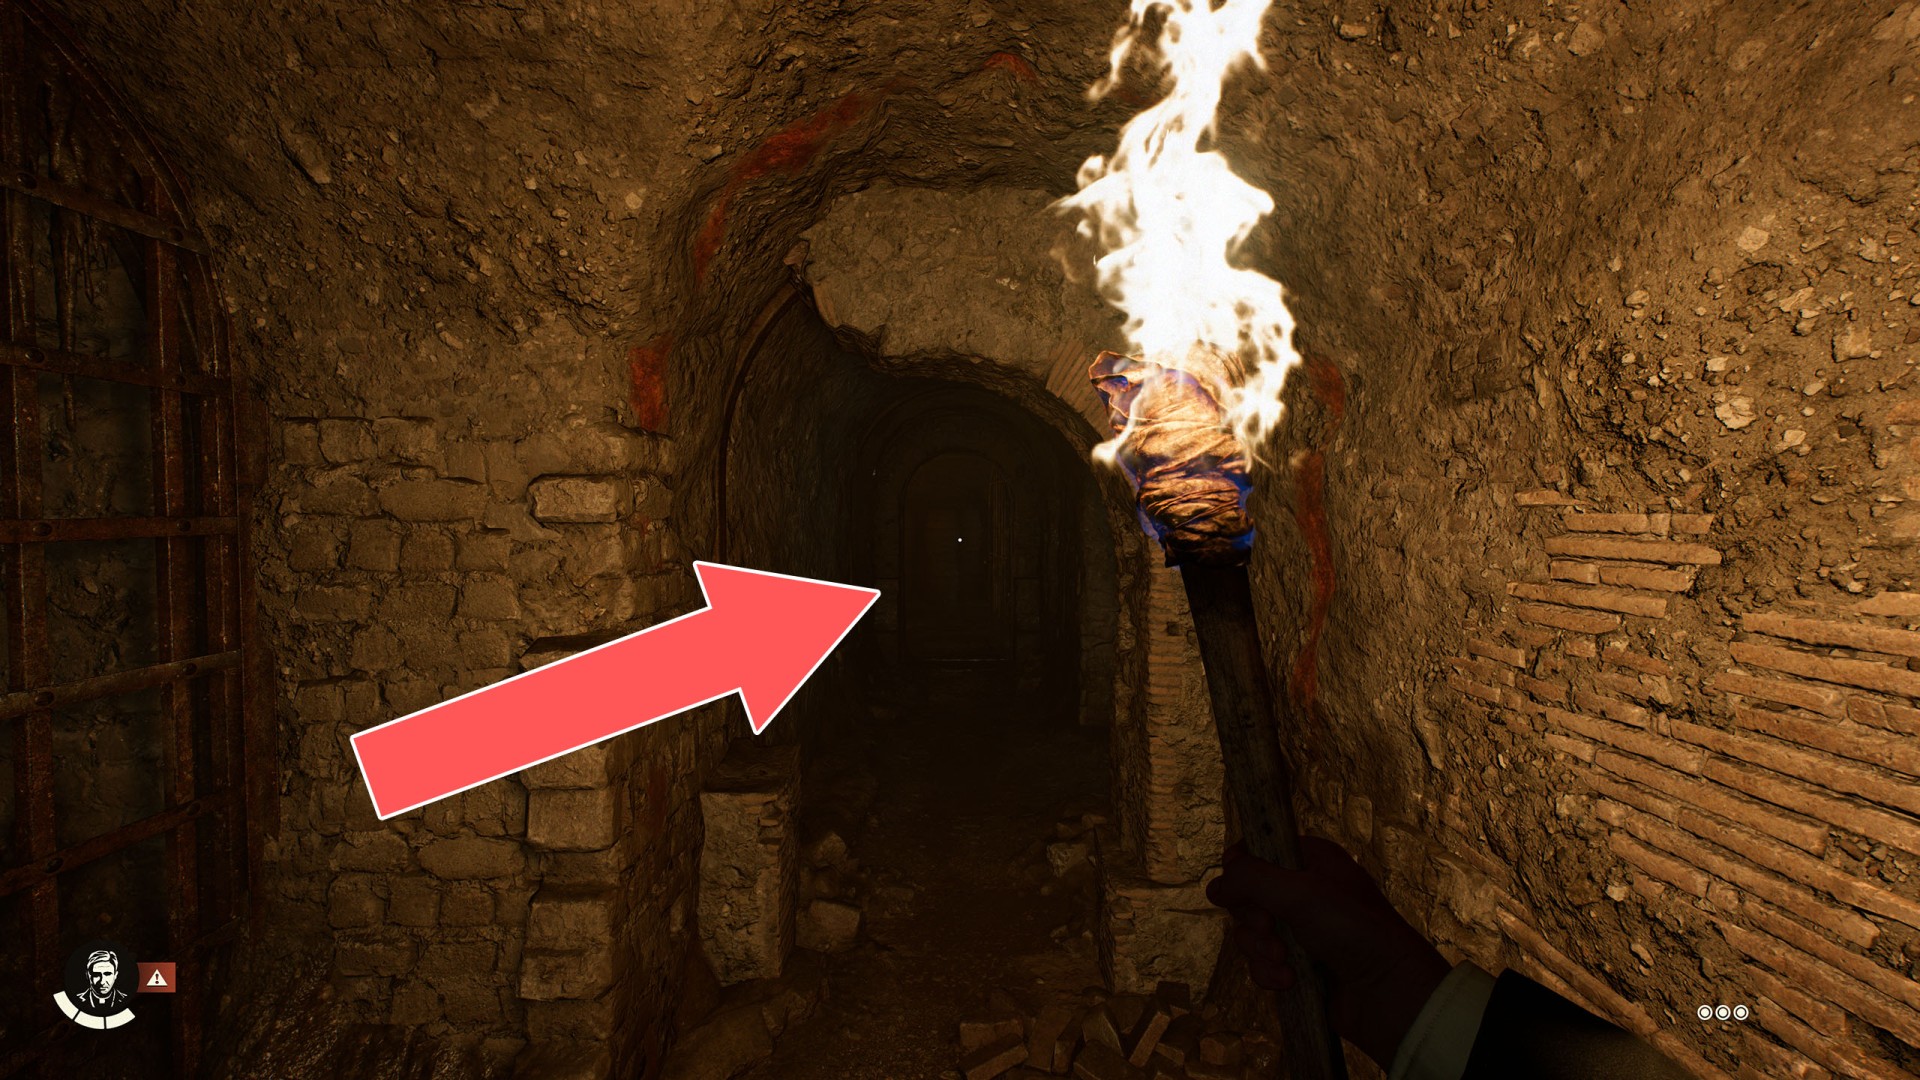
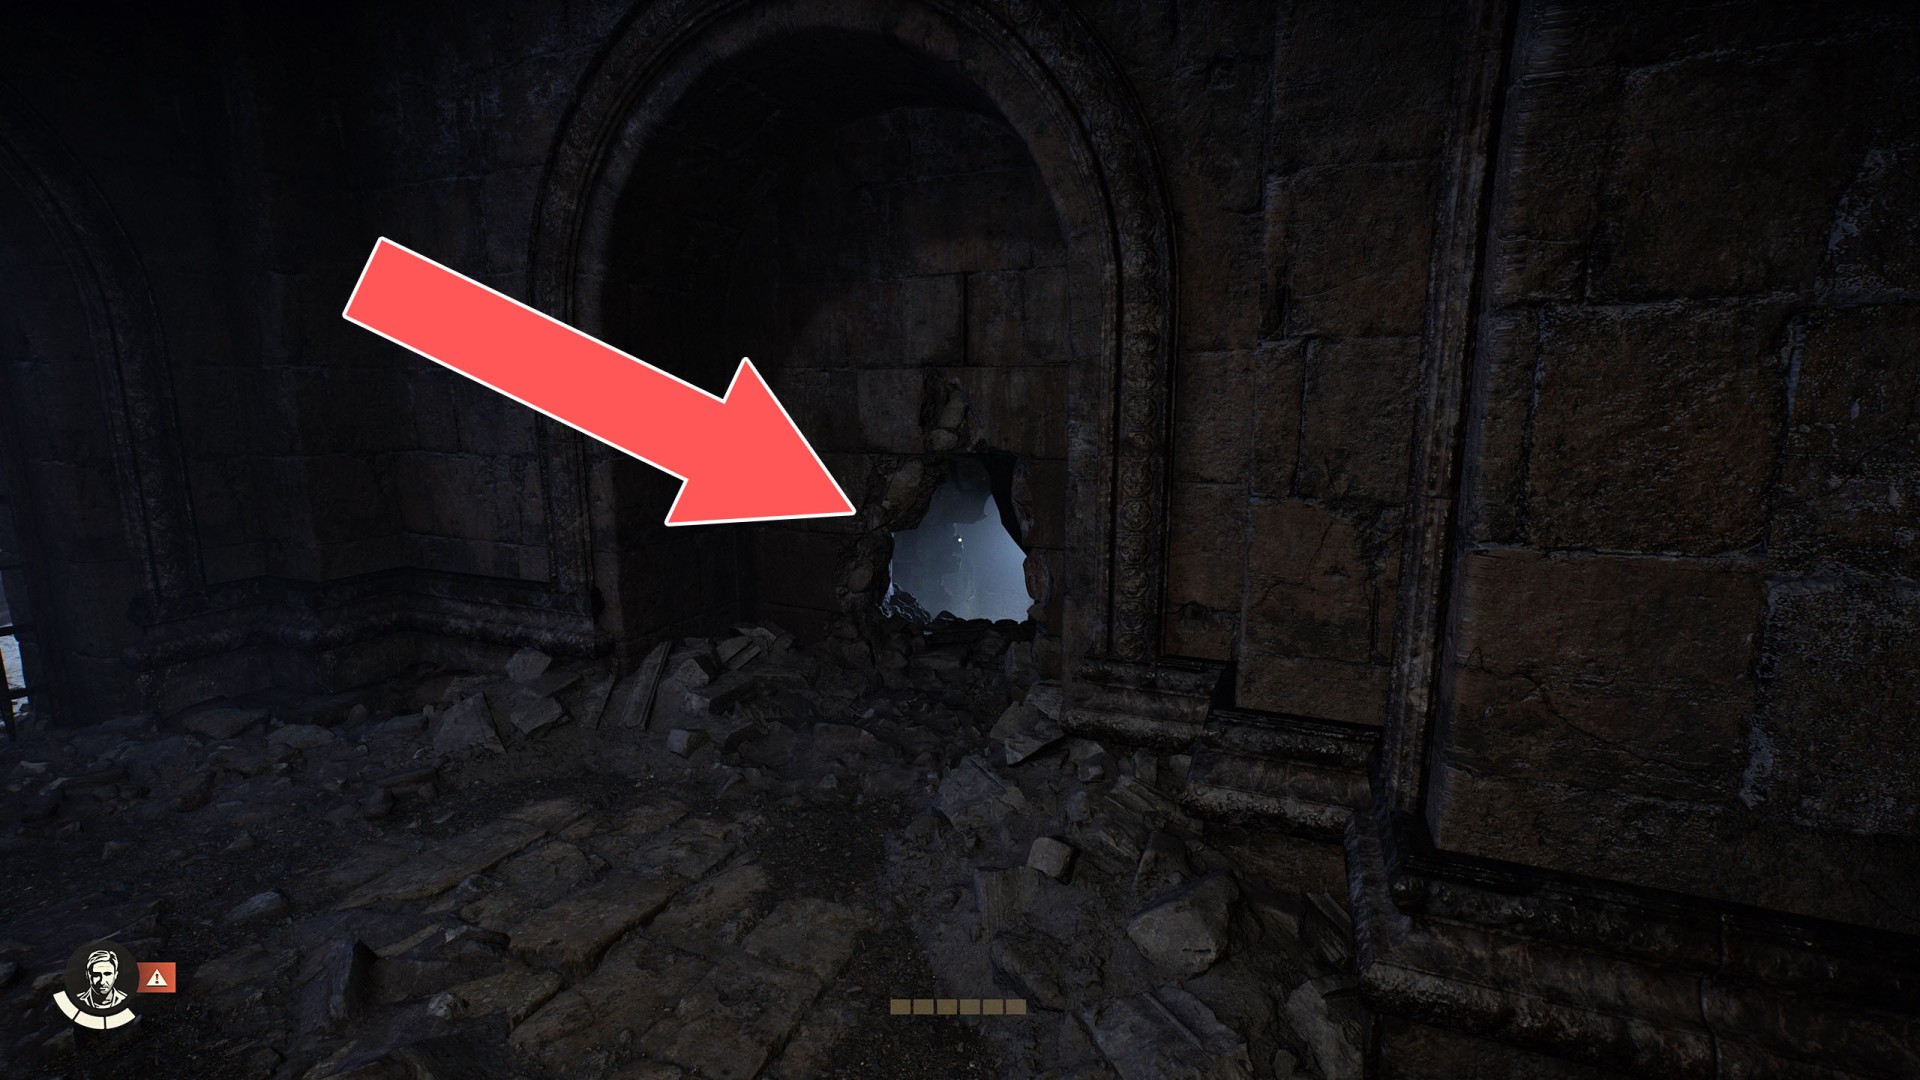
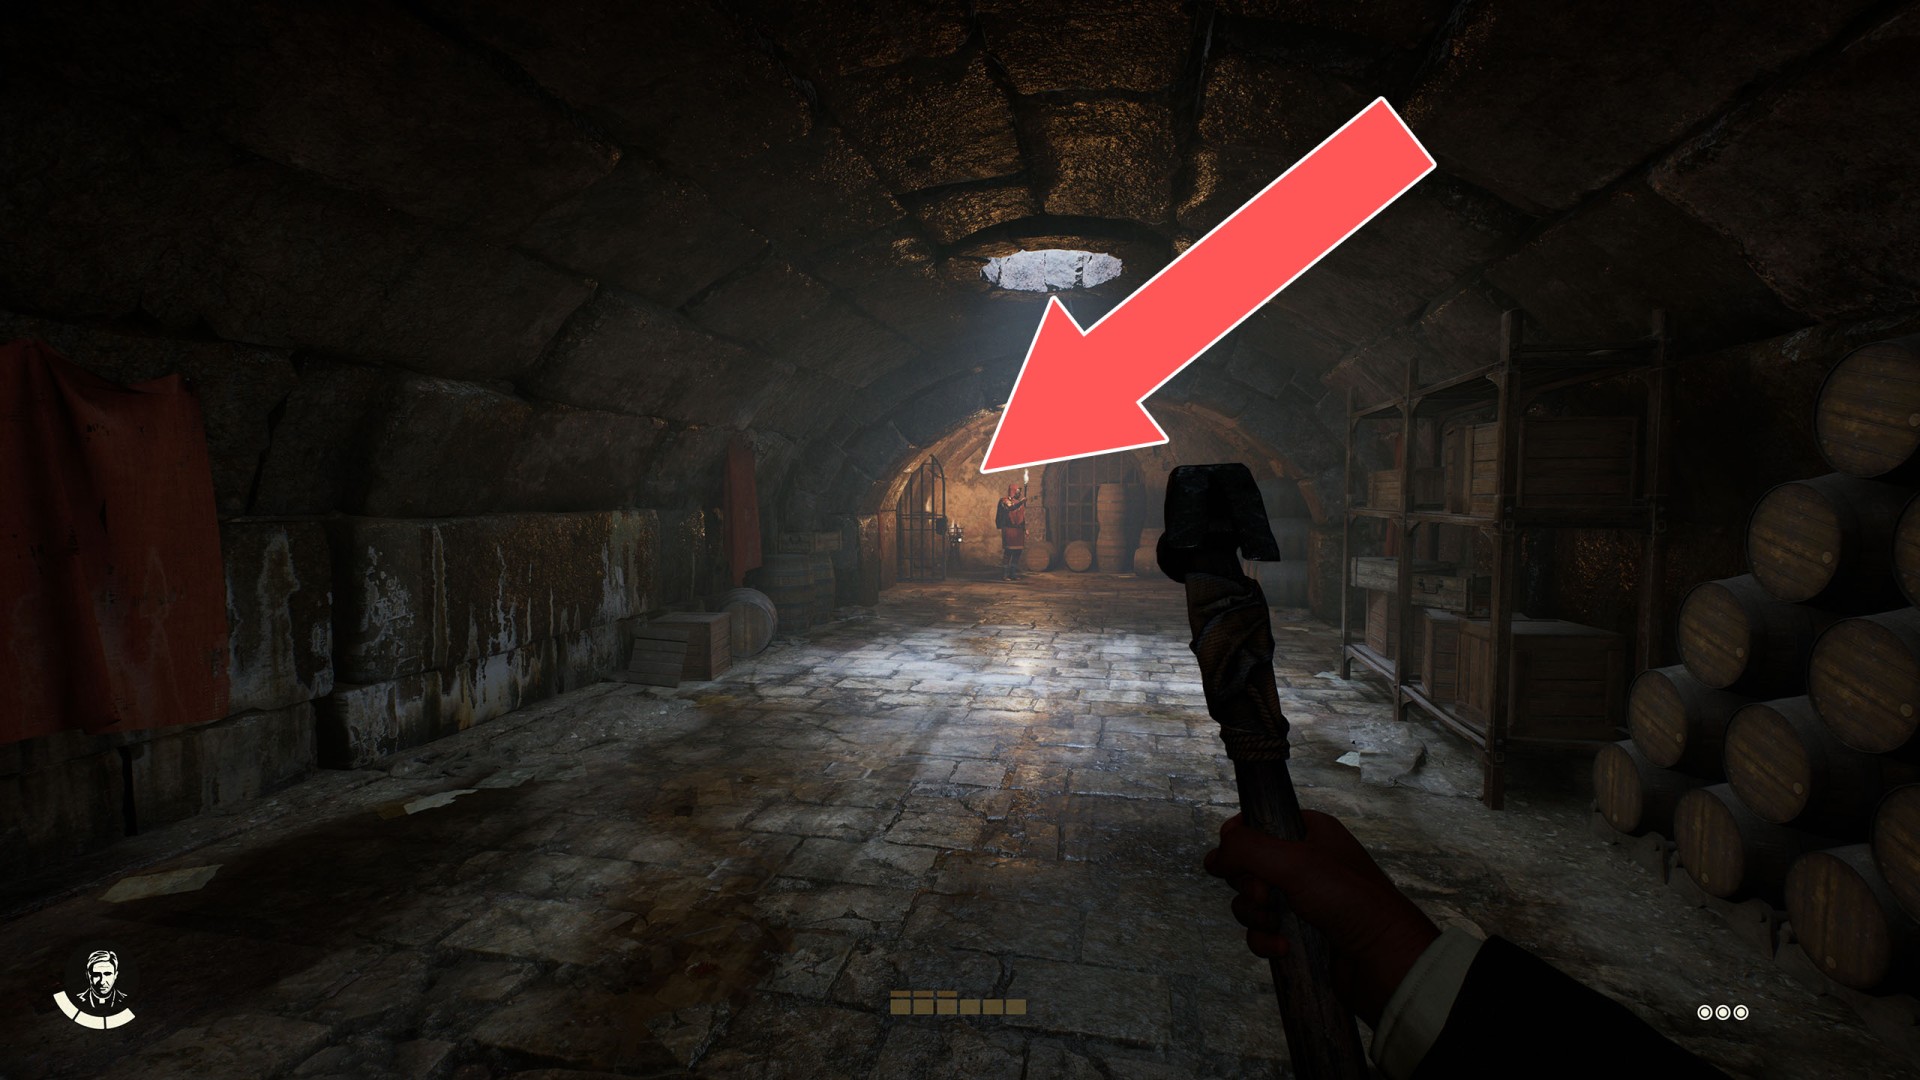
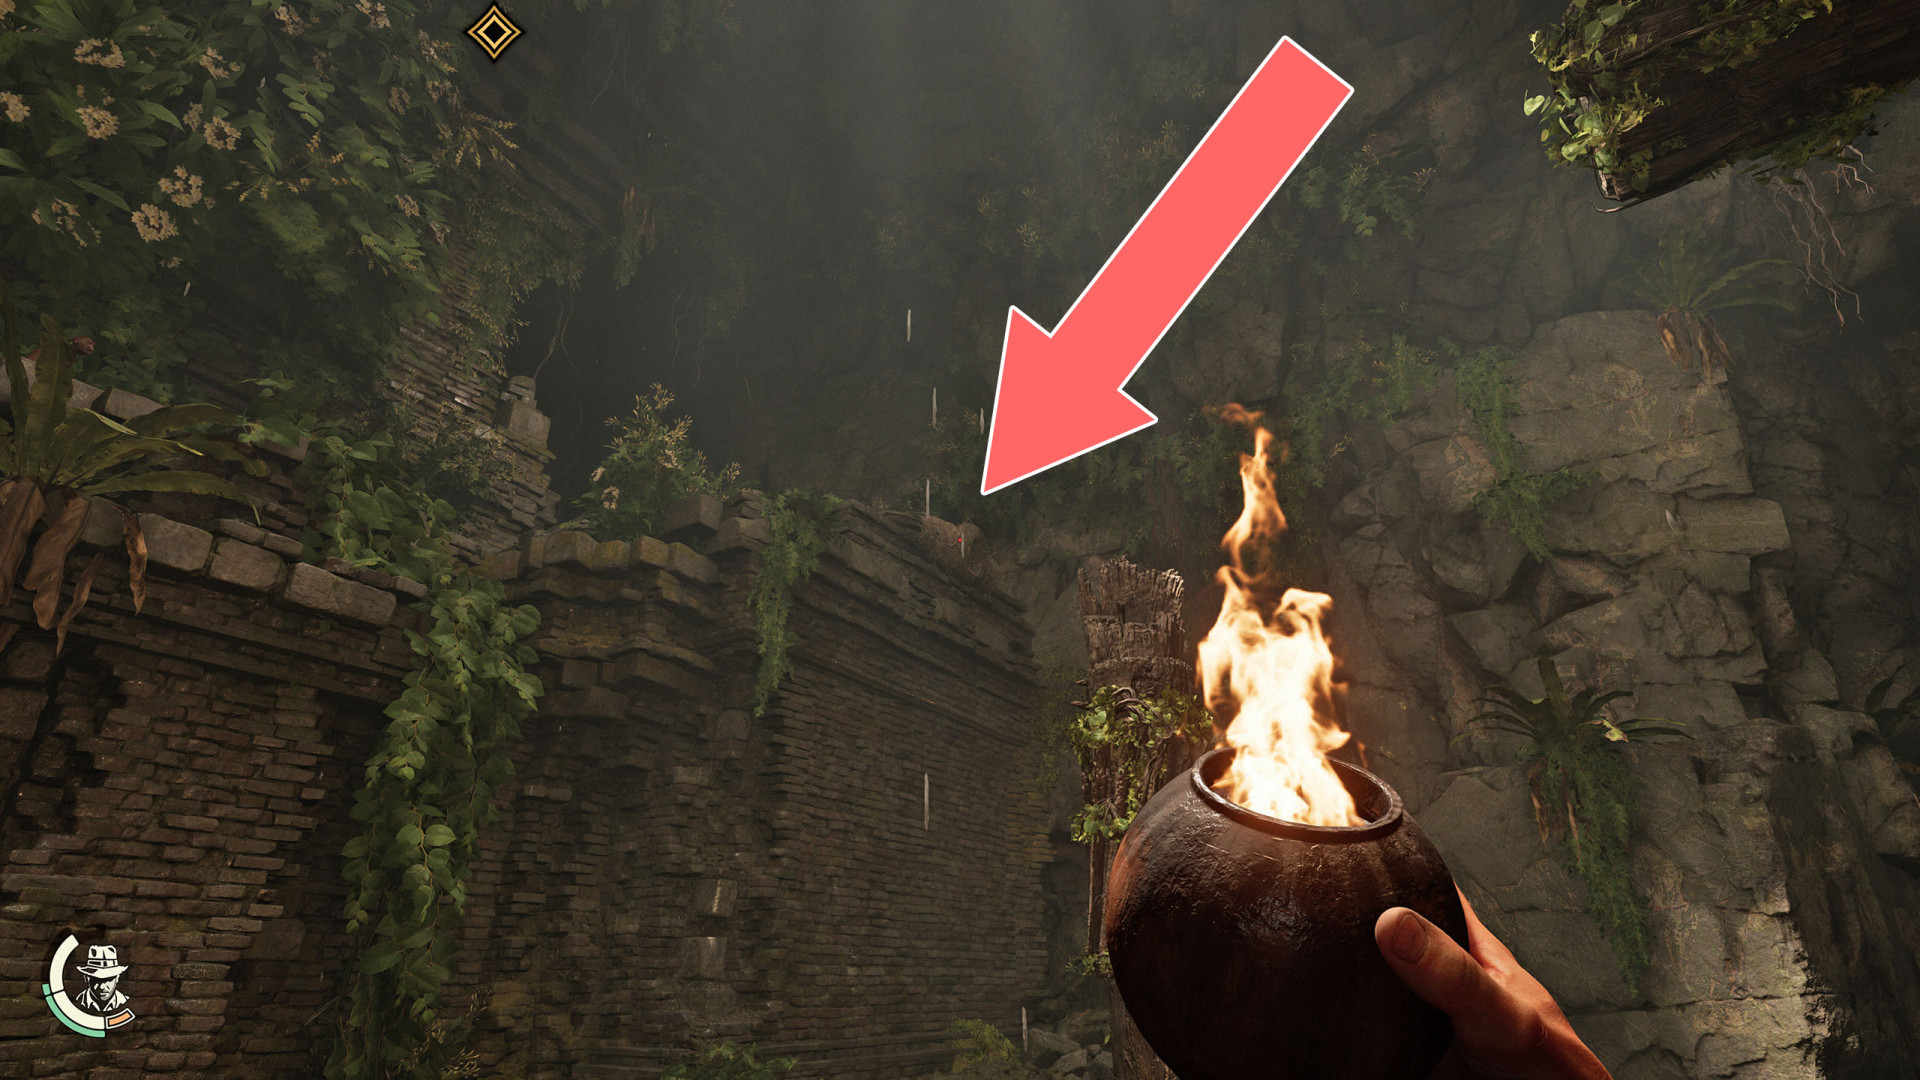
47Hole in the Wall
Through this hole you can throw a torch into the room on the other side. The torch will not go out so you will be able to use it to burn down the Burnable Door.
48Lower Necropolis Starting Point
This is where you will end up after destroying the Tomb of a Giant Warrior.
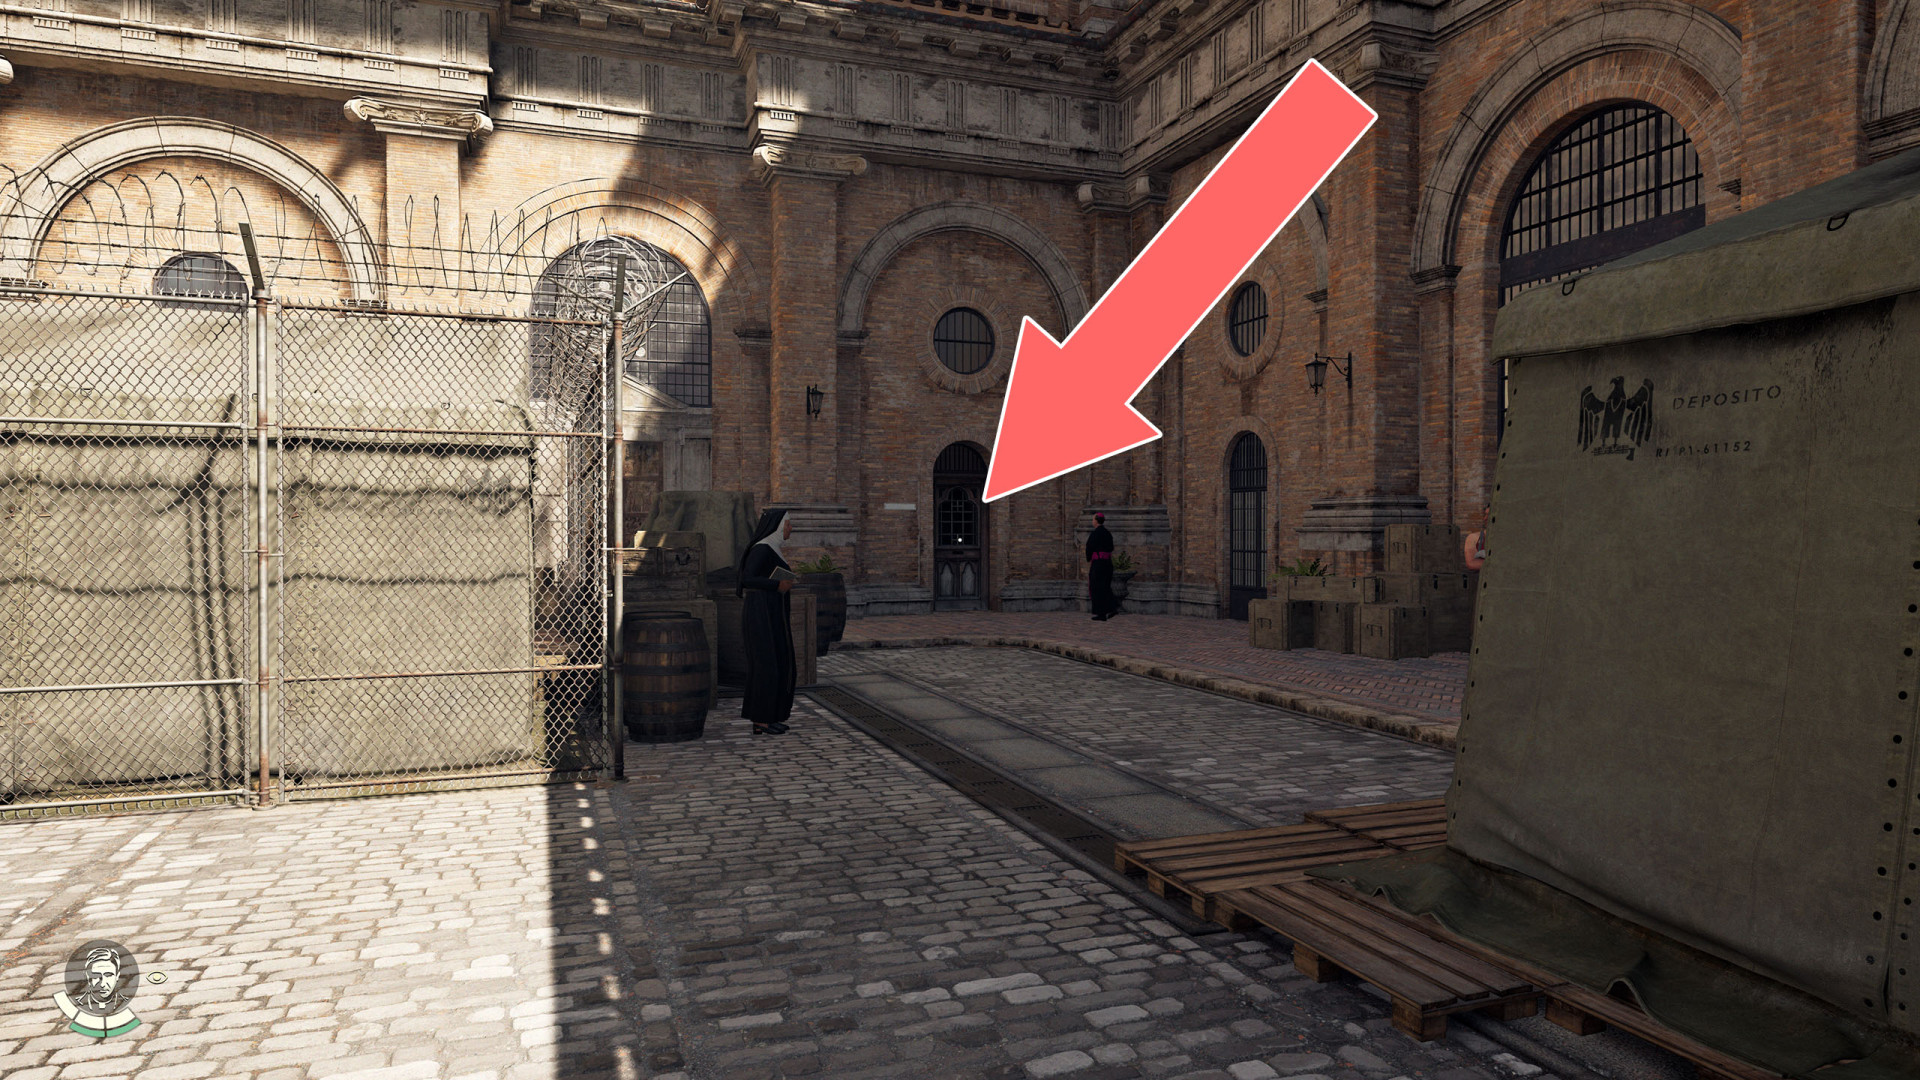
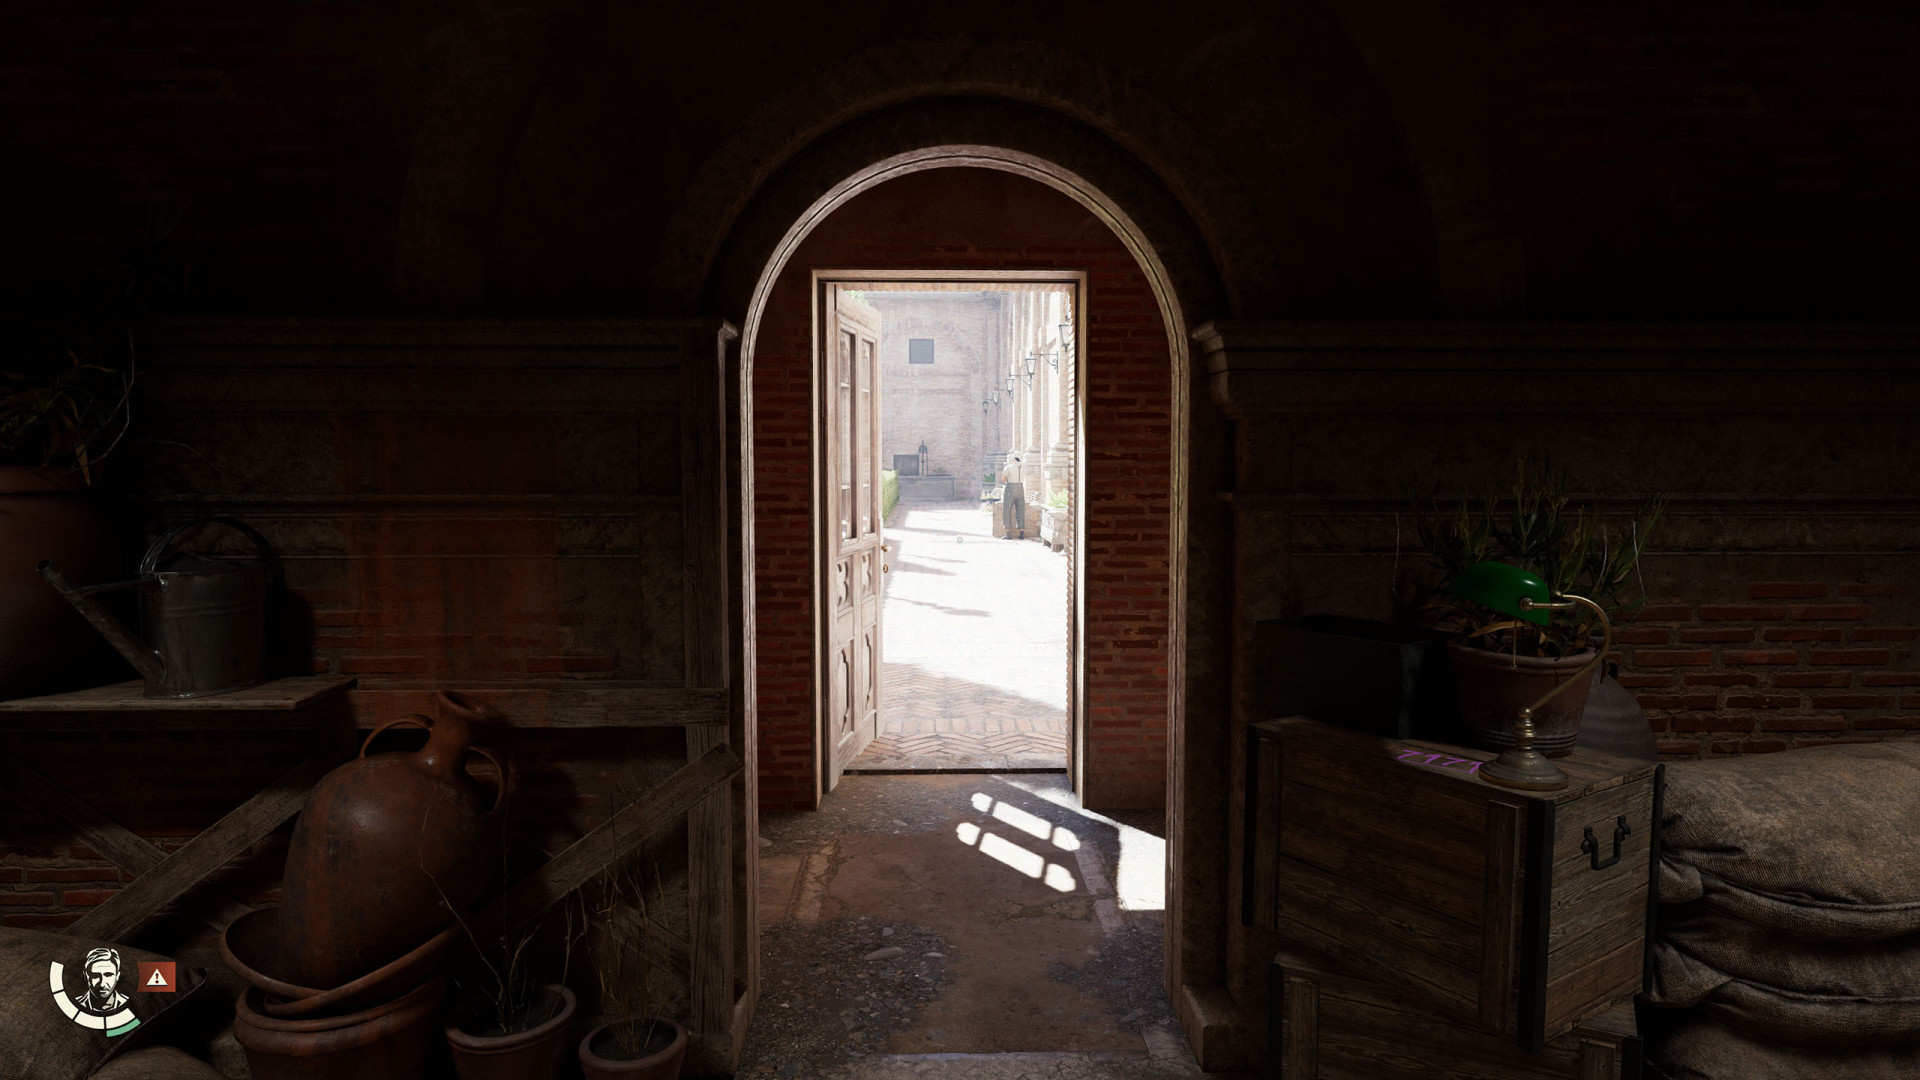
49Museum Entrance
Show the map
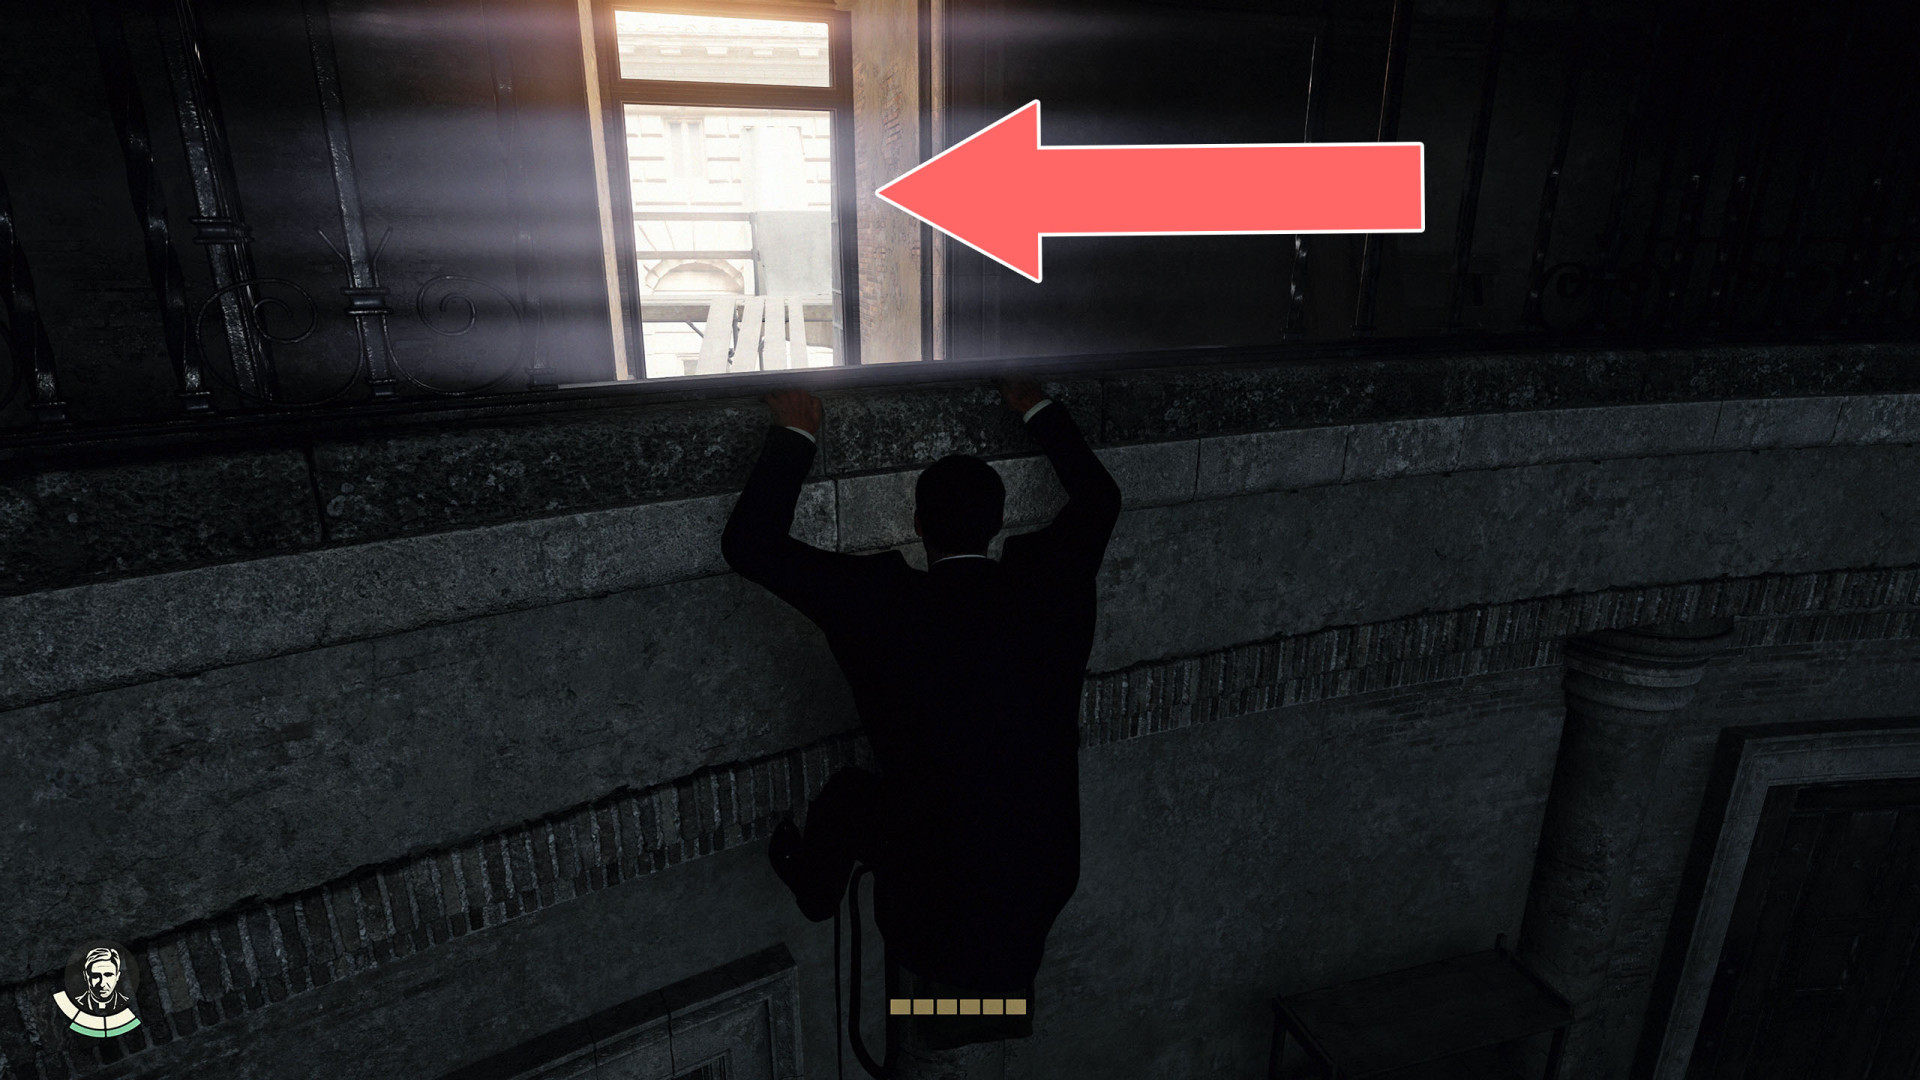
50Museum Window
51Open Window
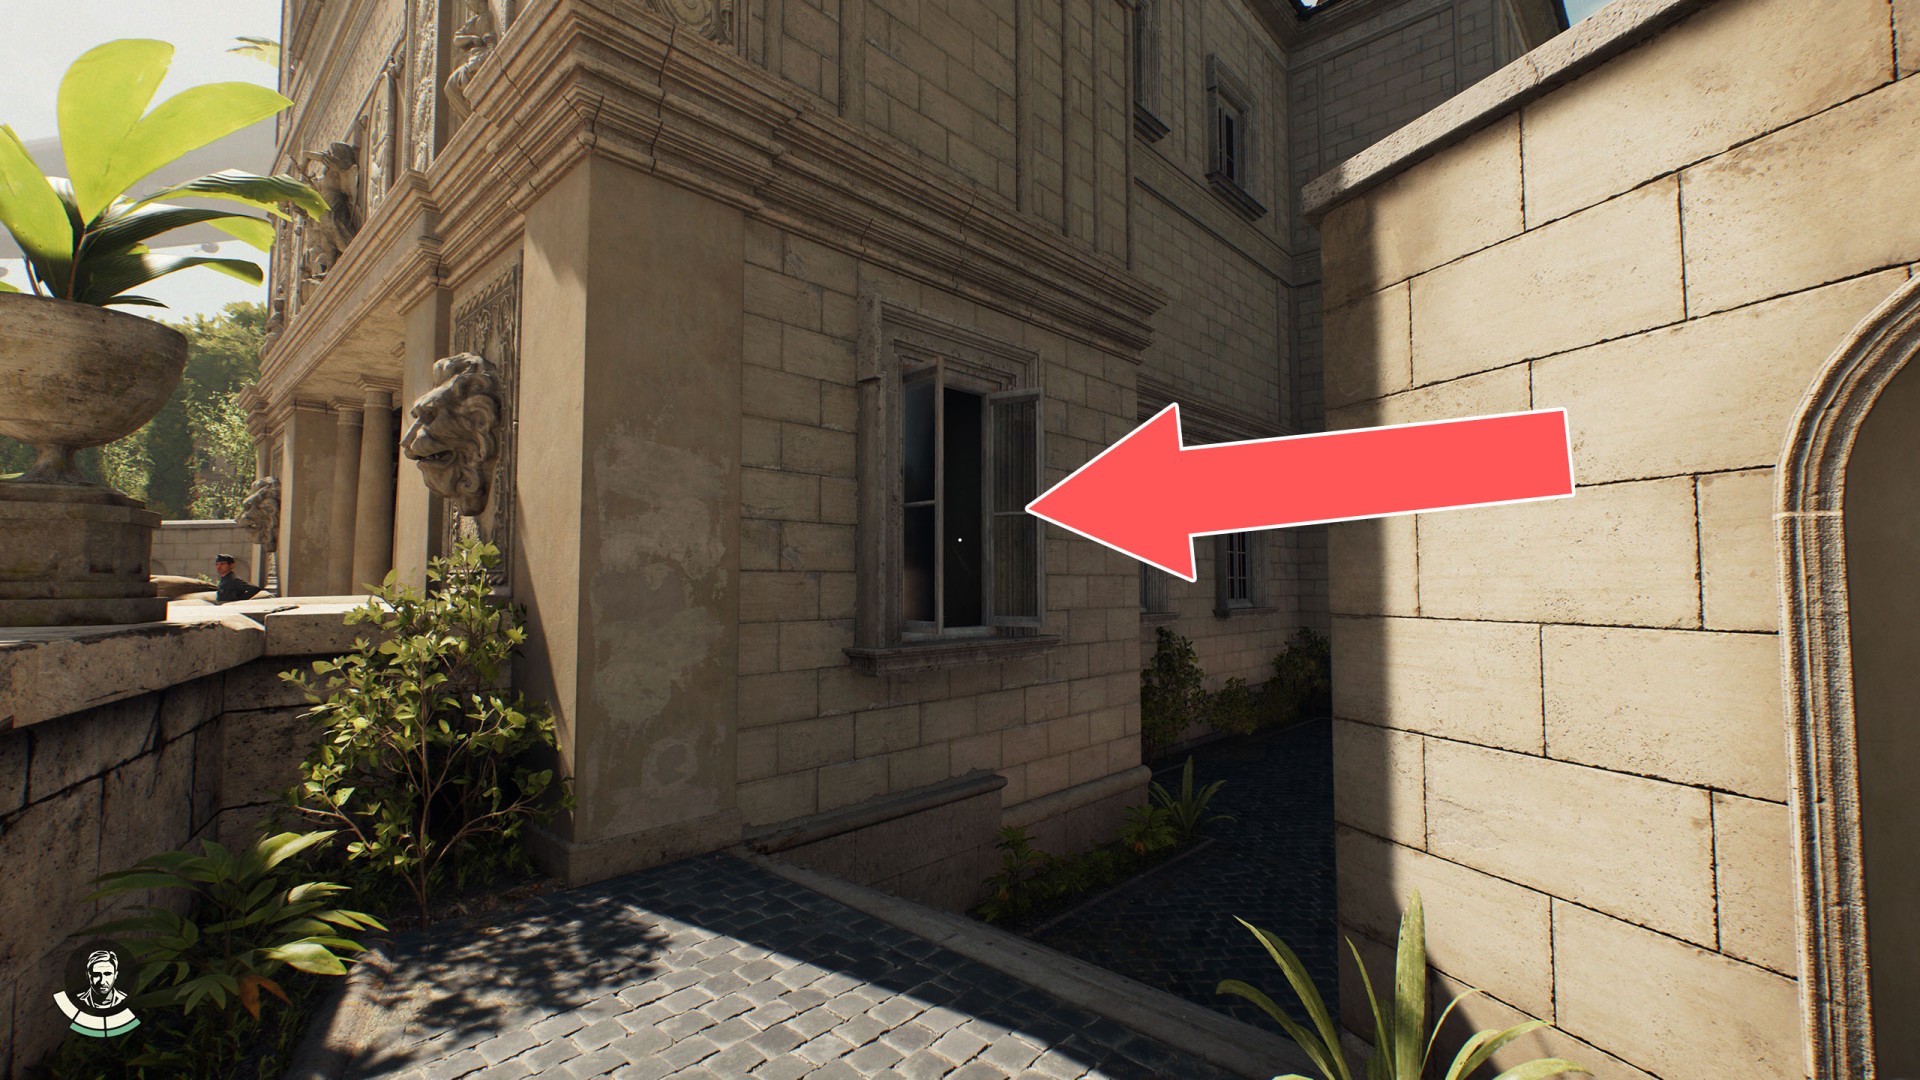
52Open Window
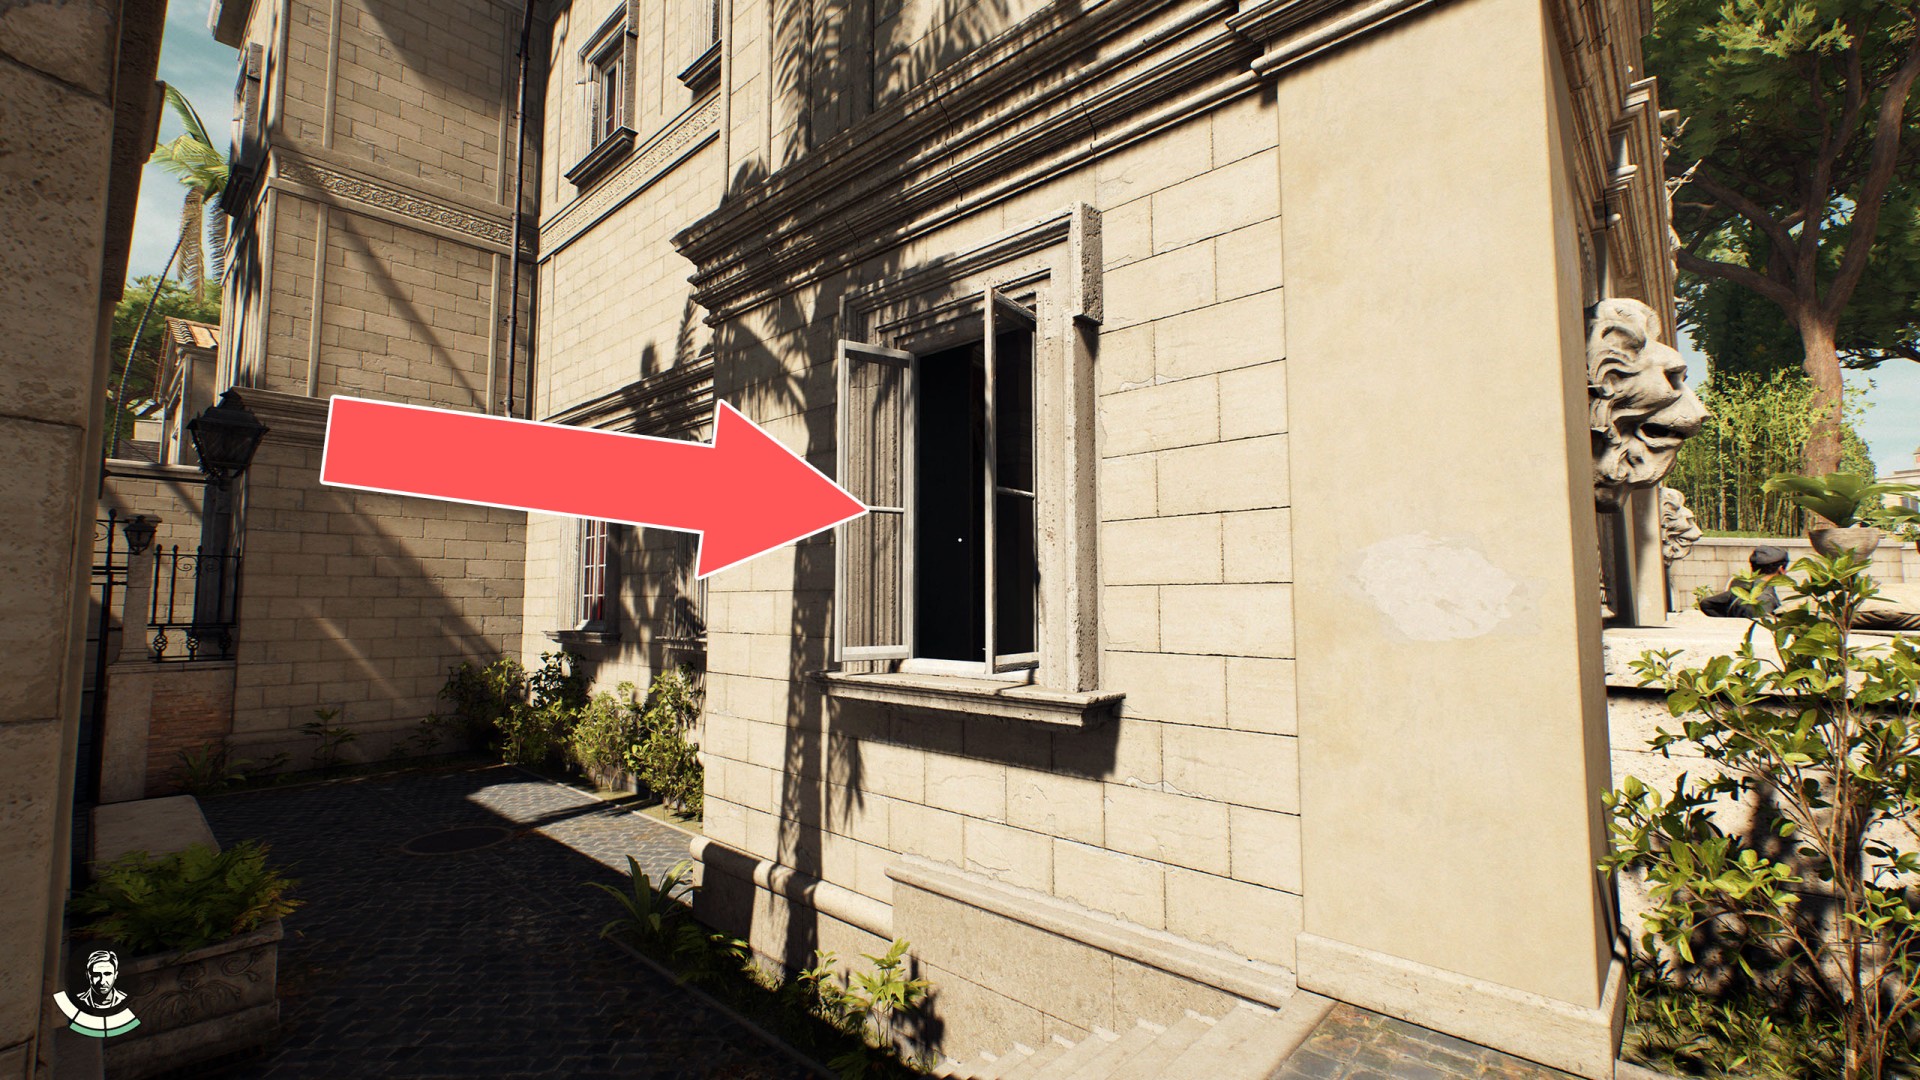
53Open Windows
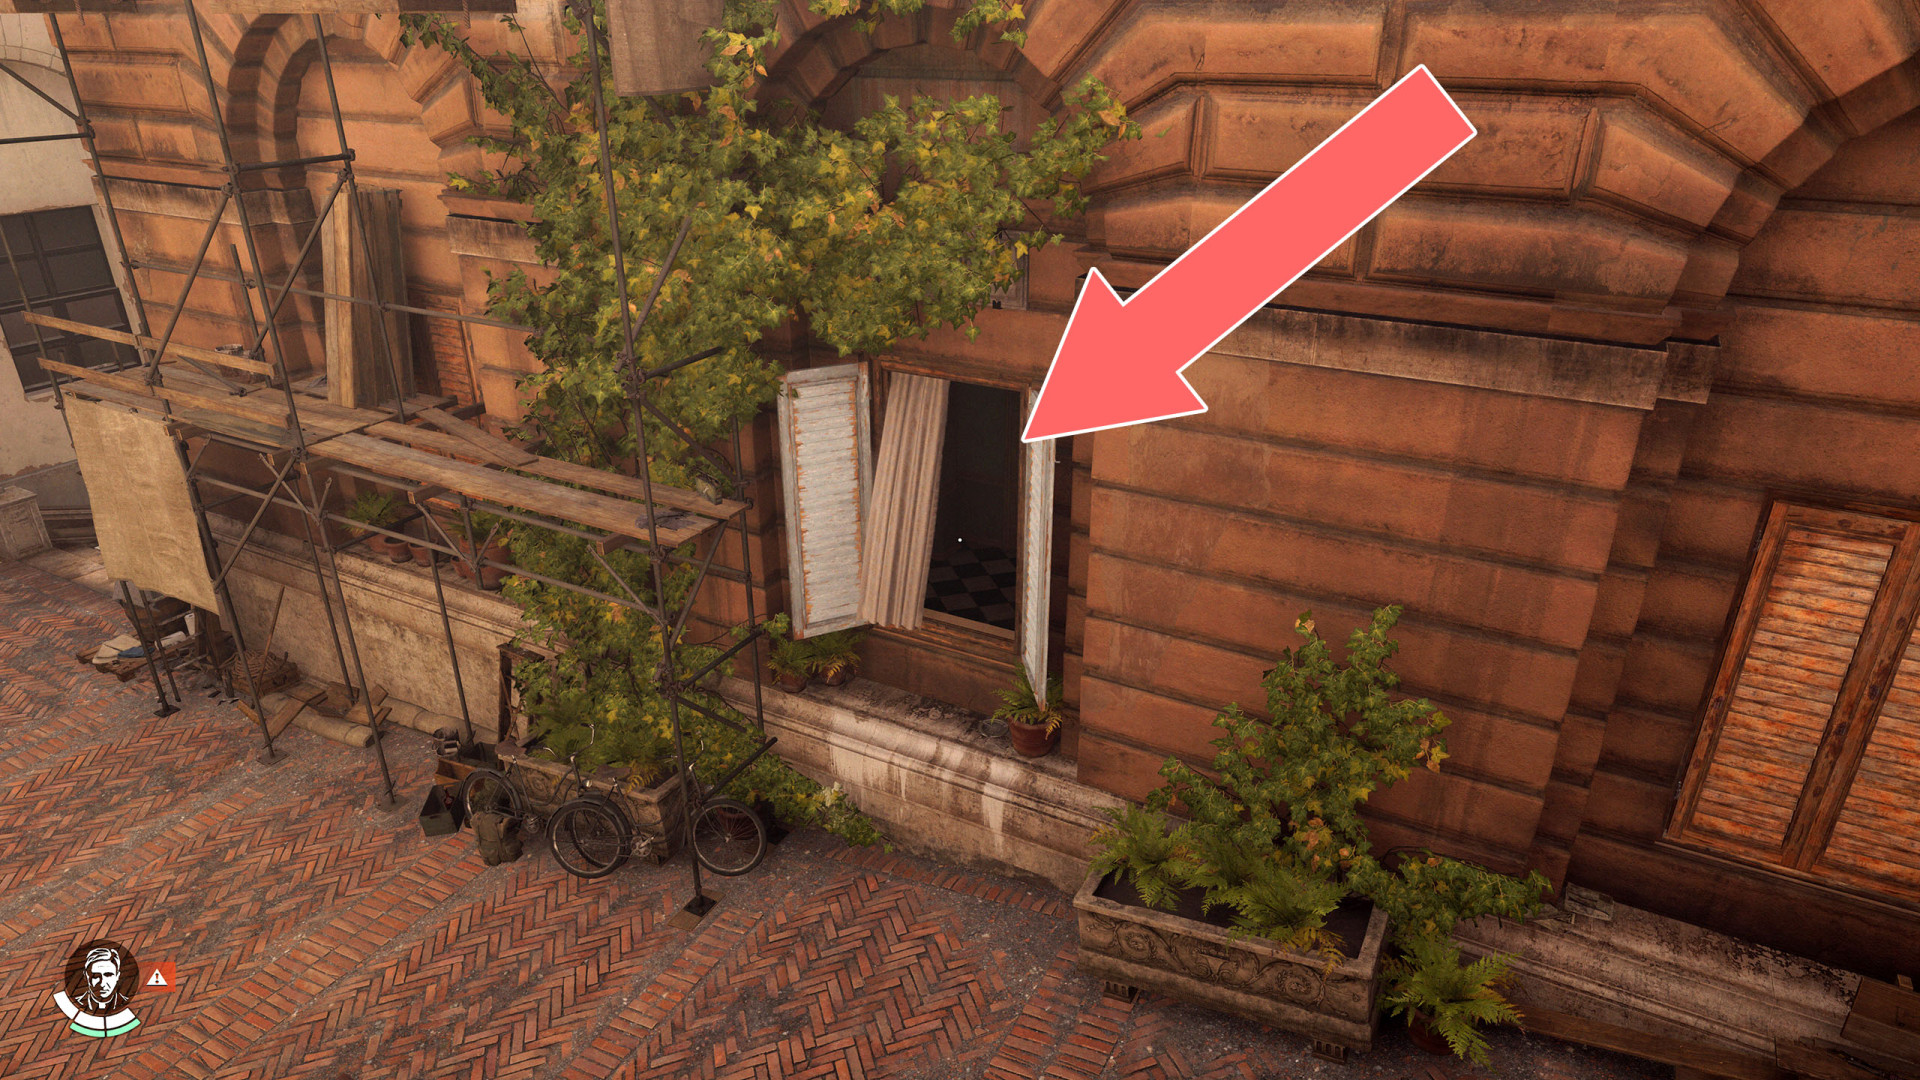
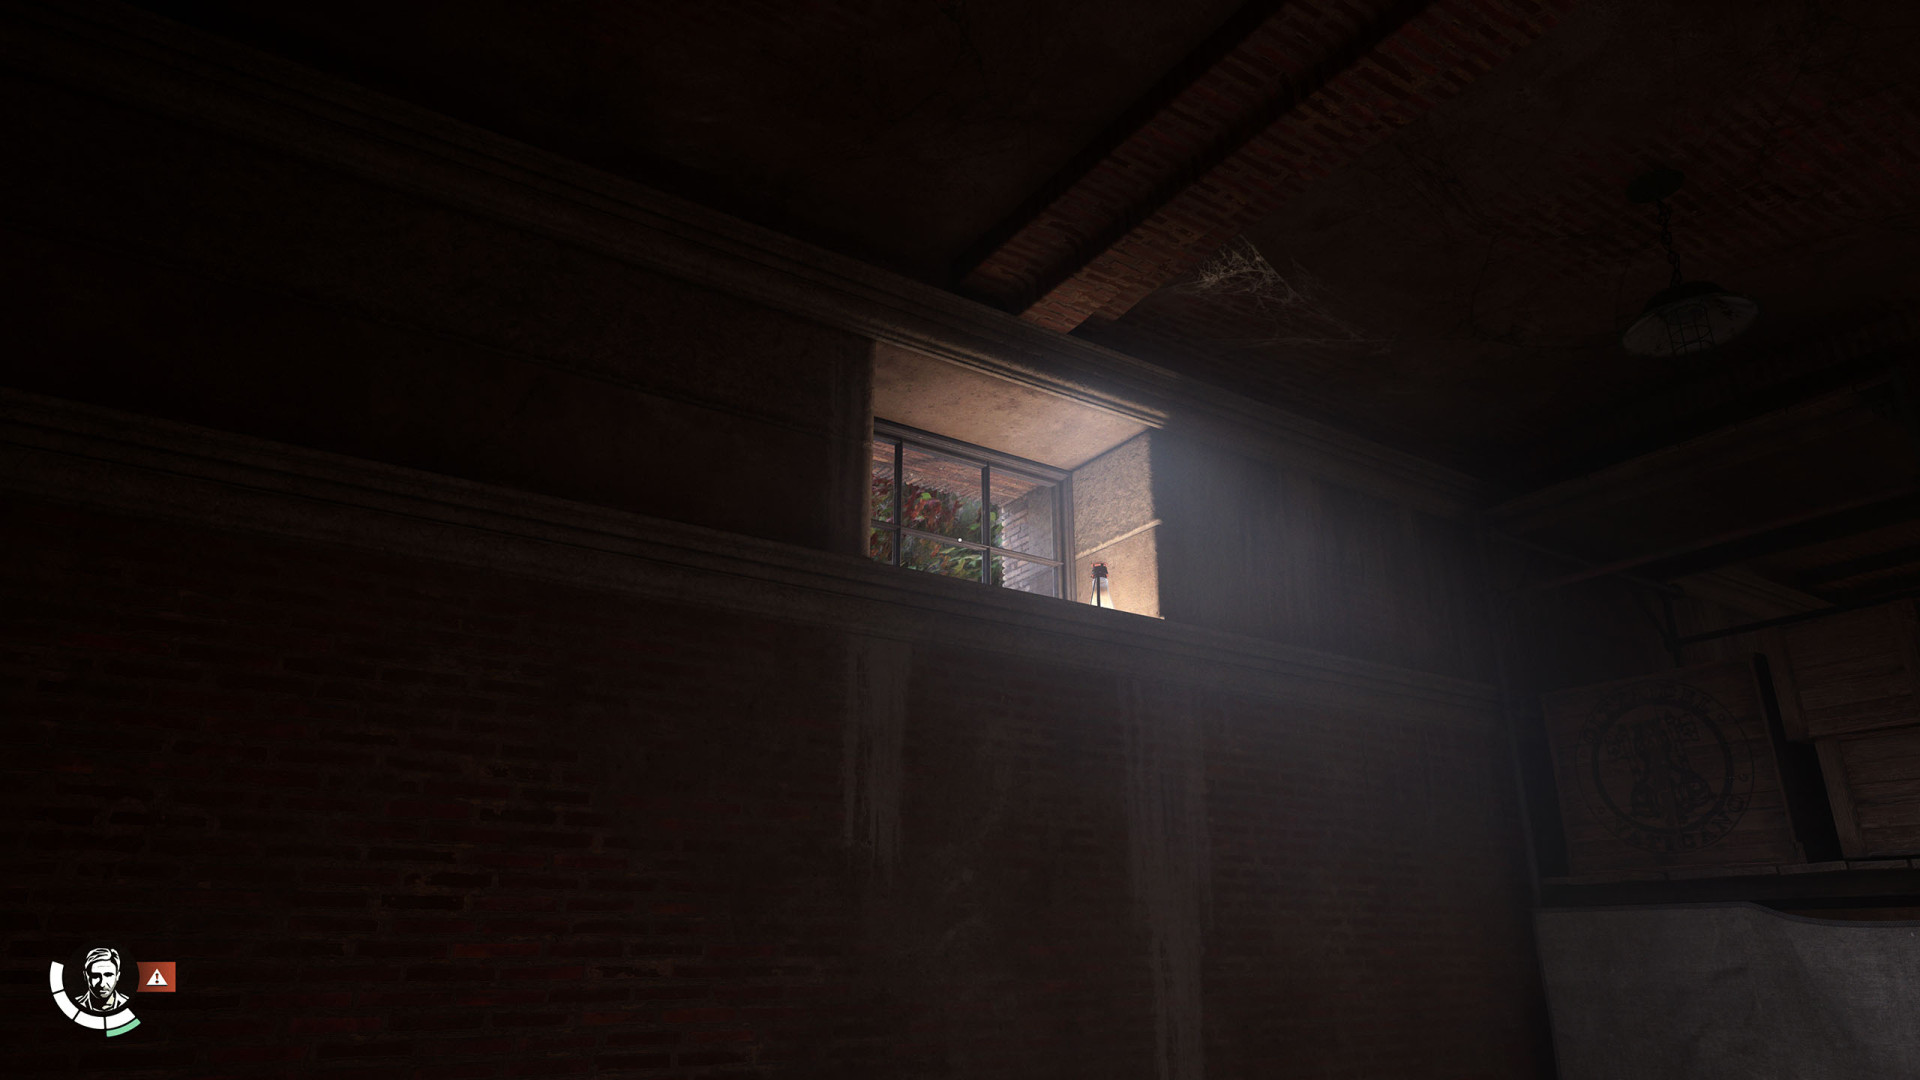
54Post Office Window
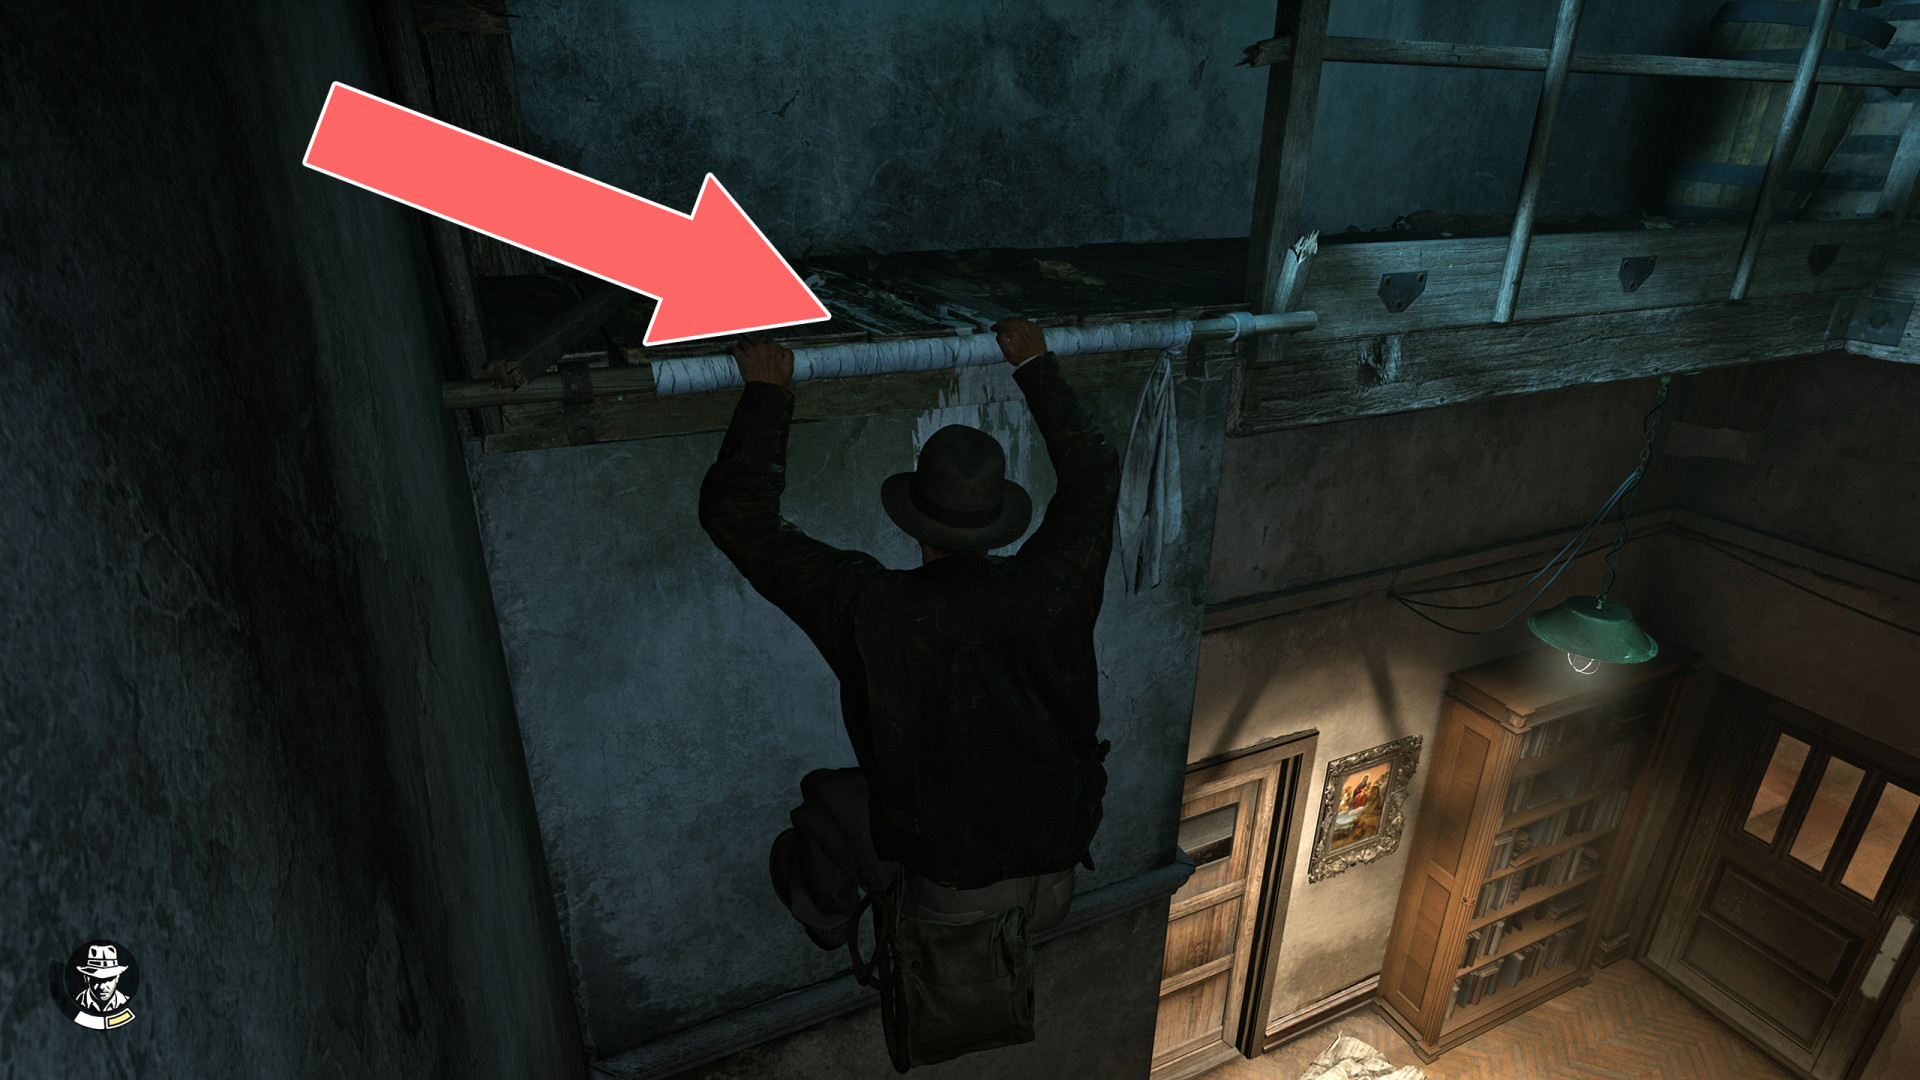
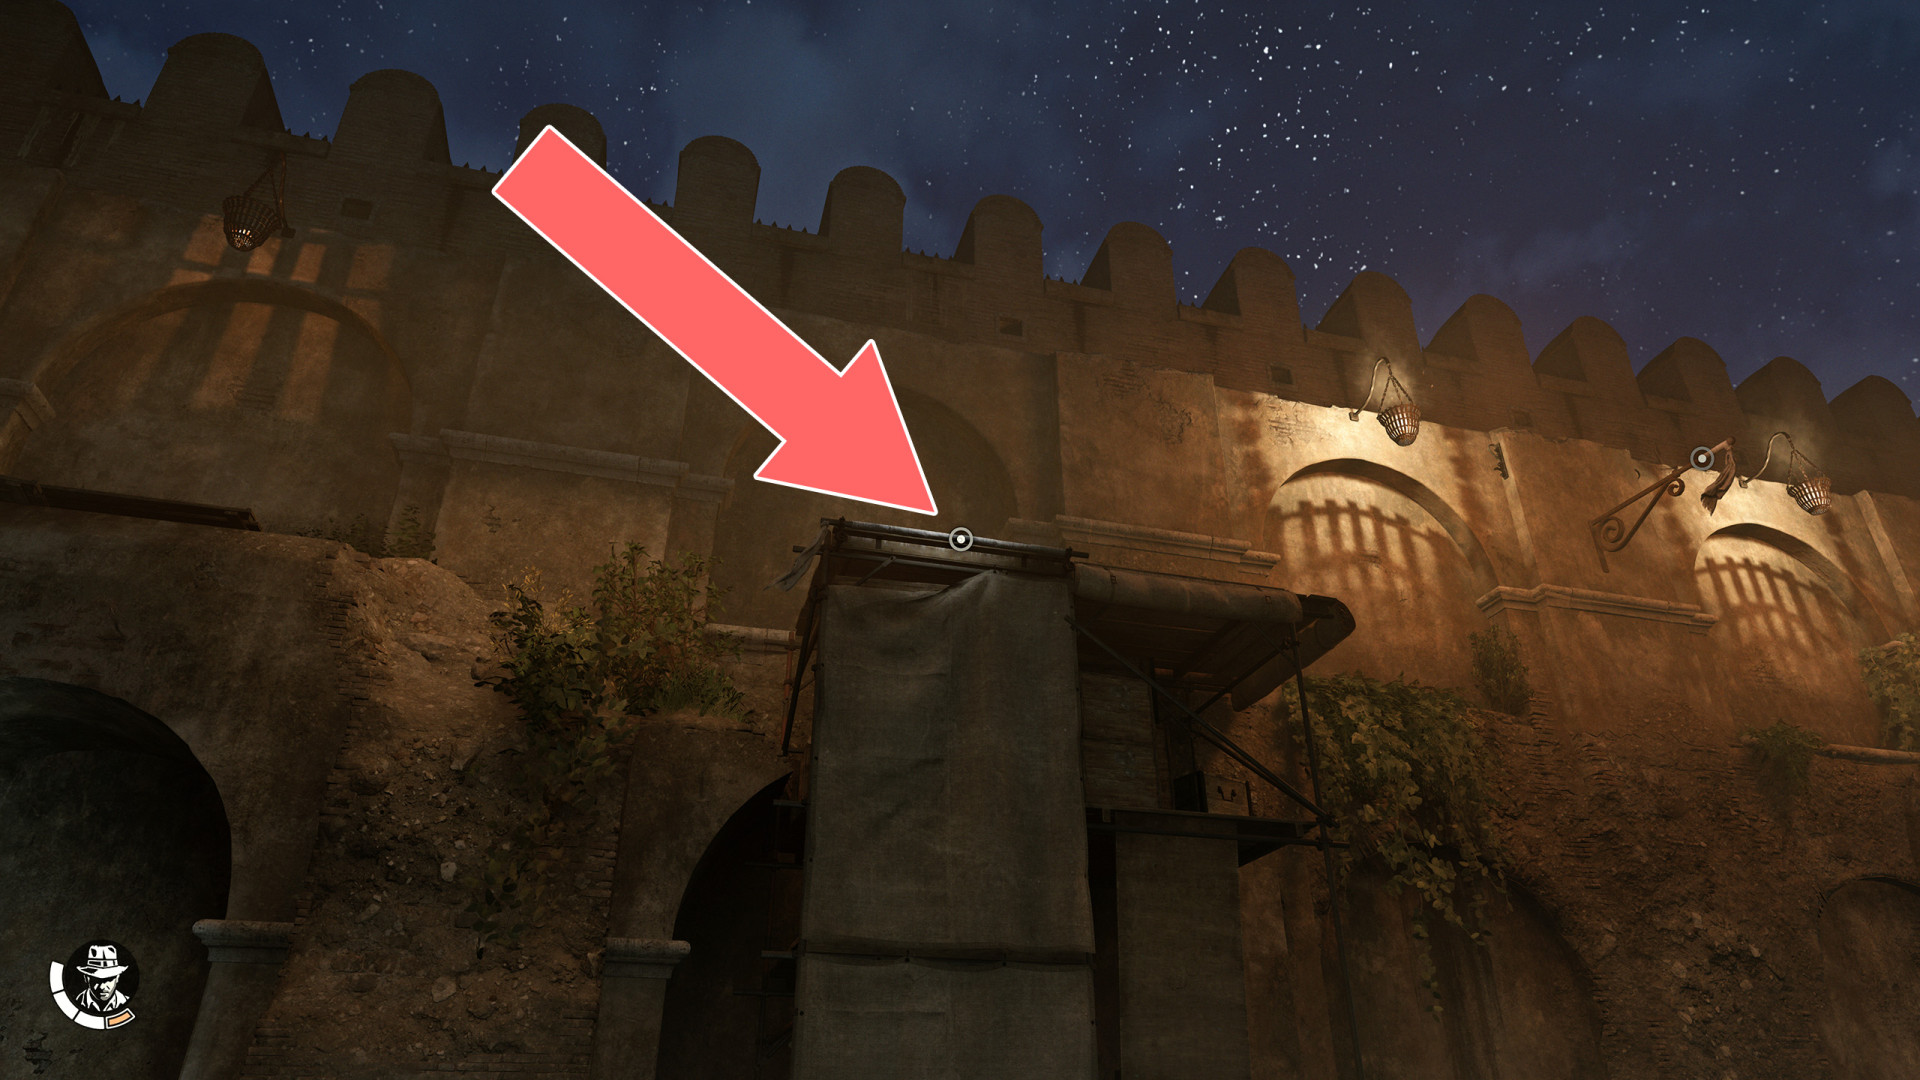
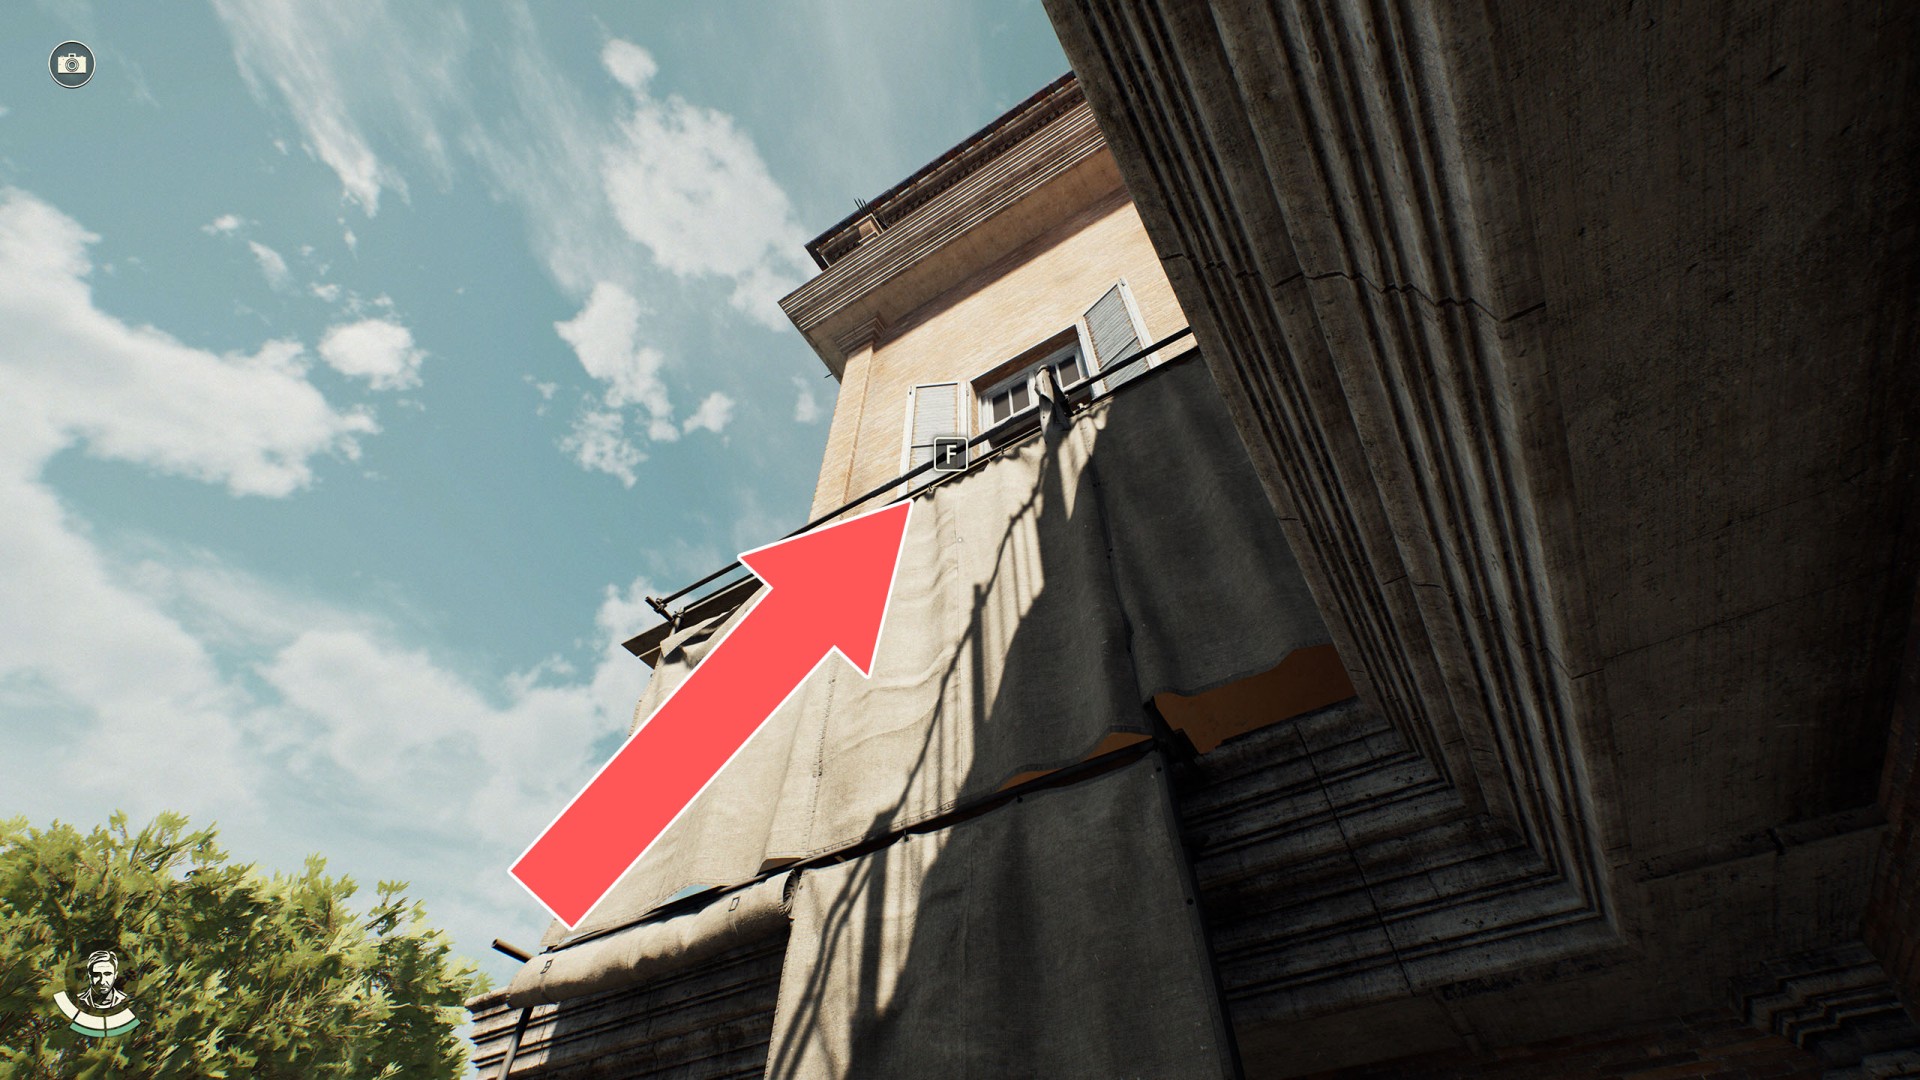
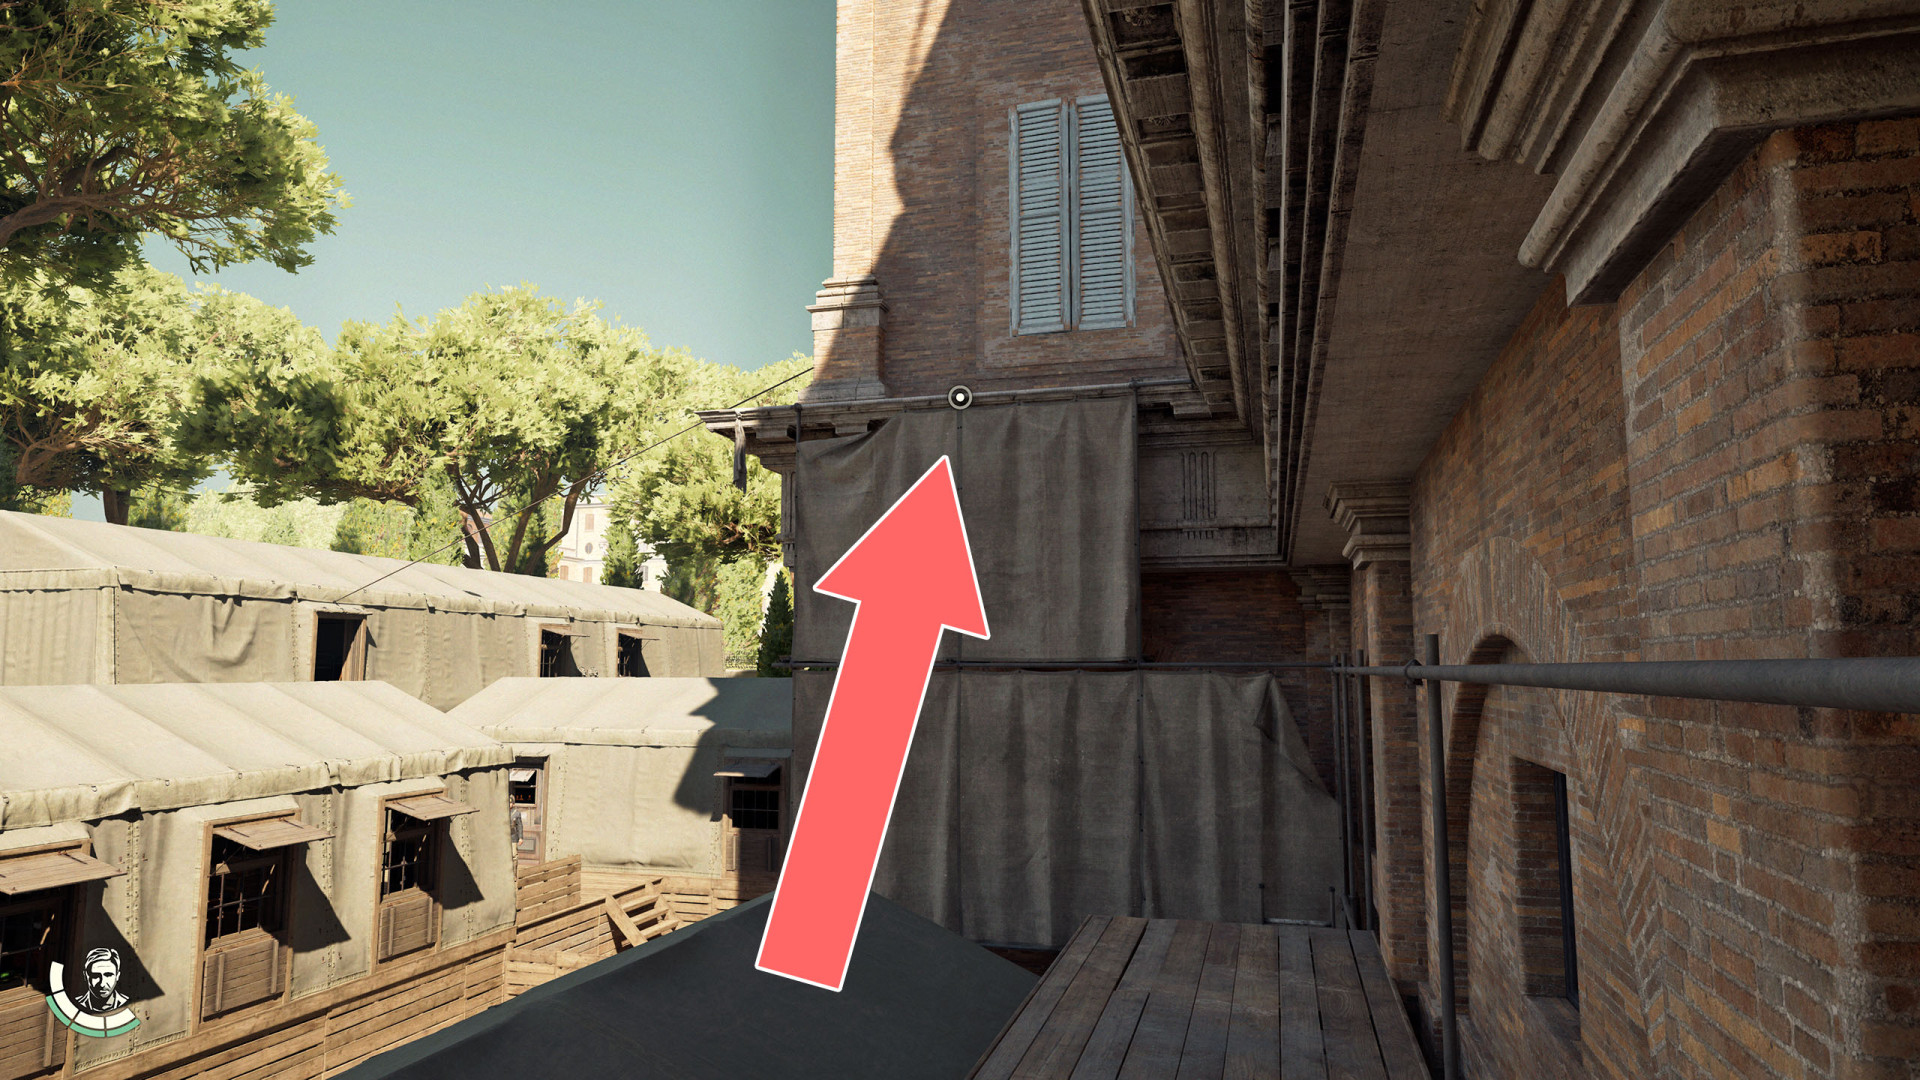
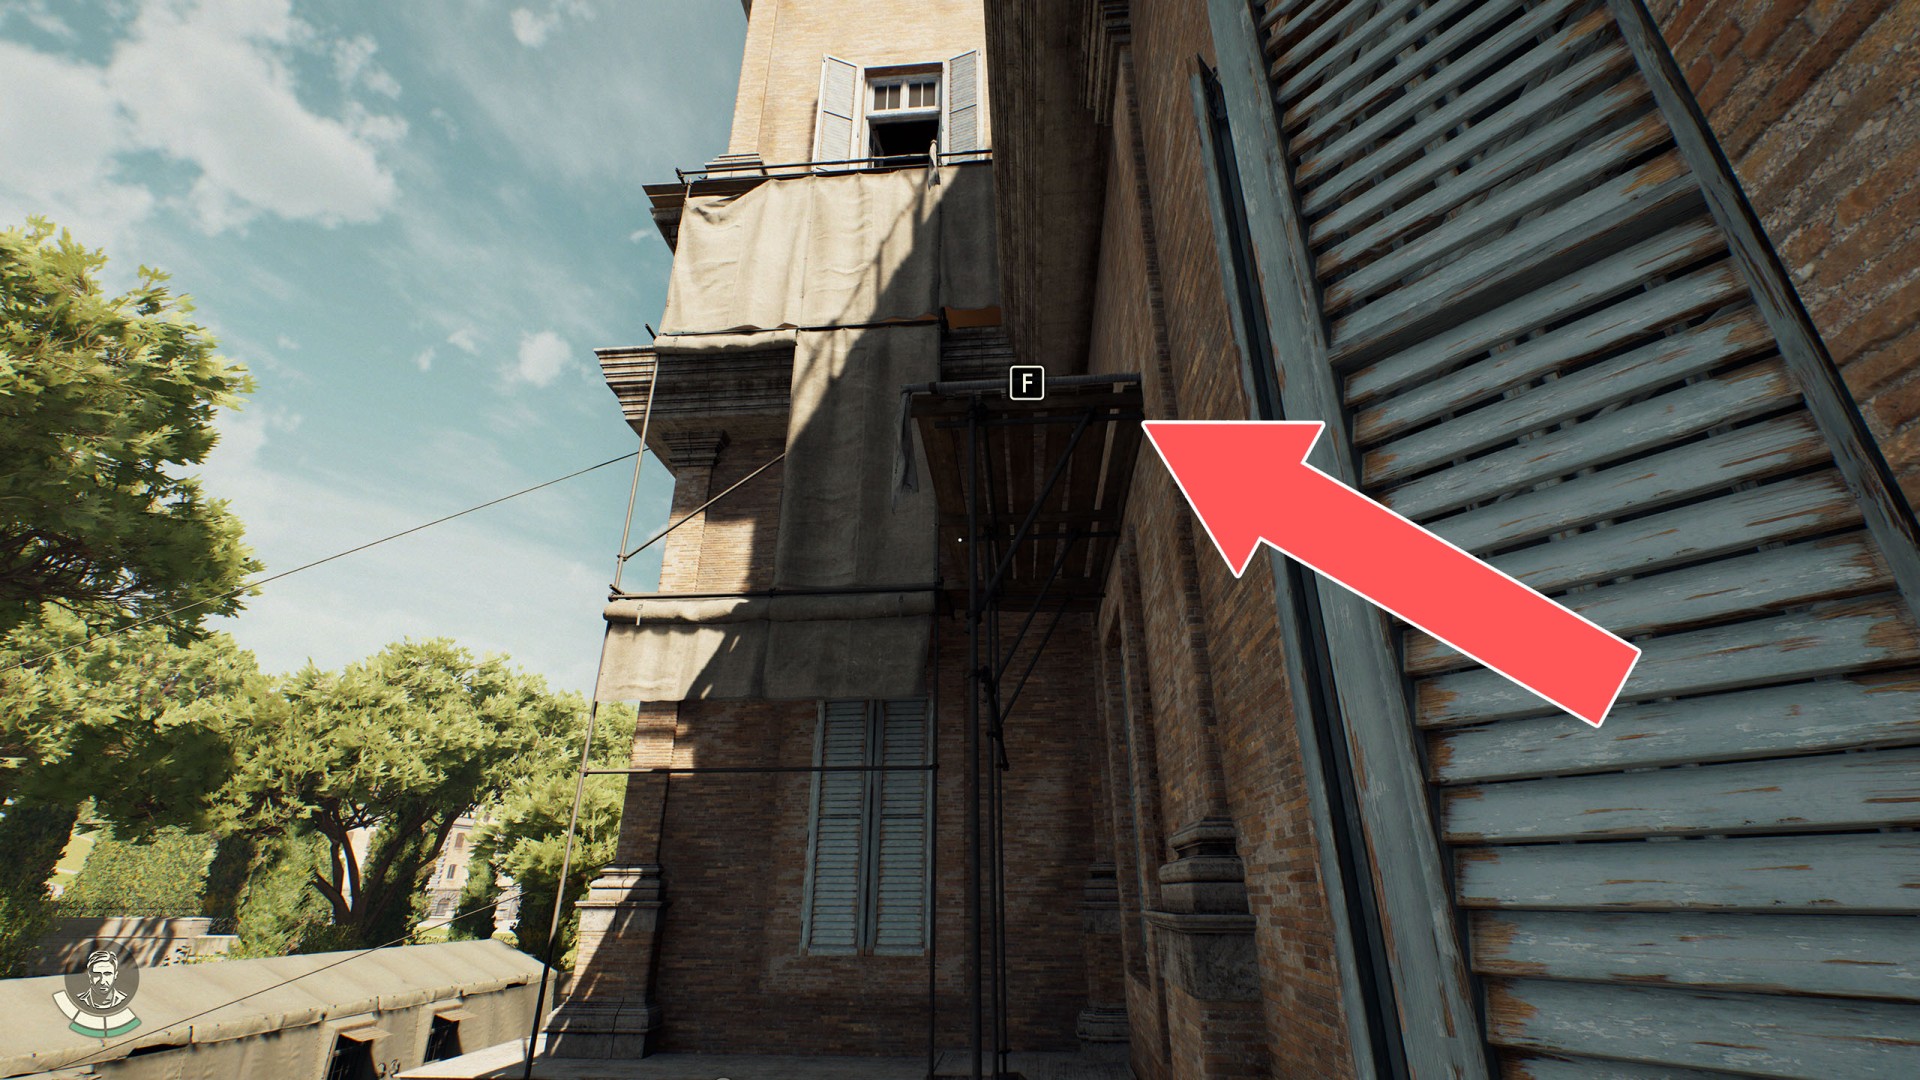
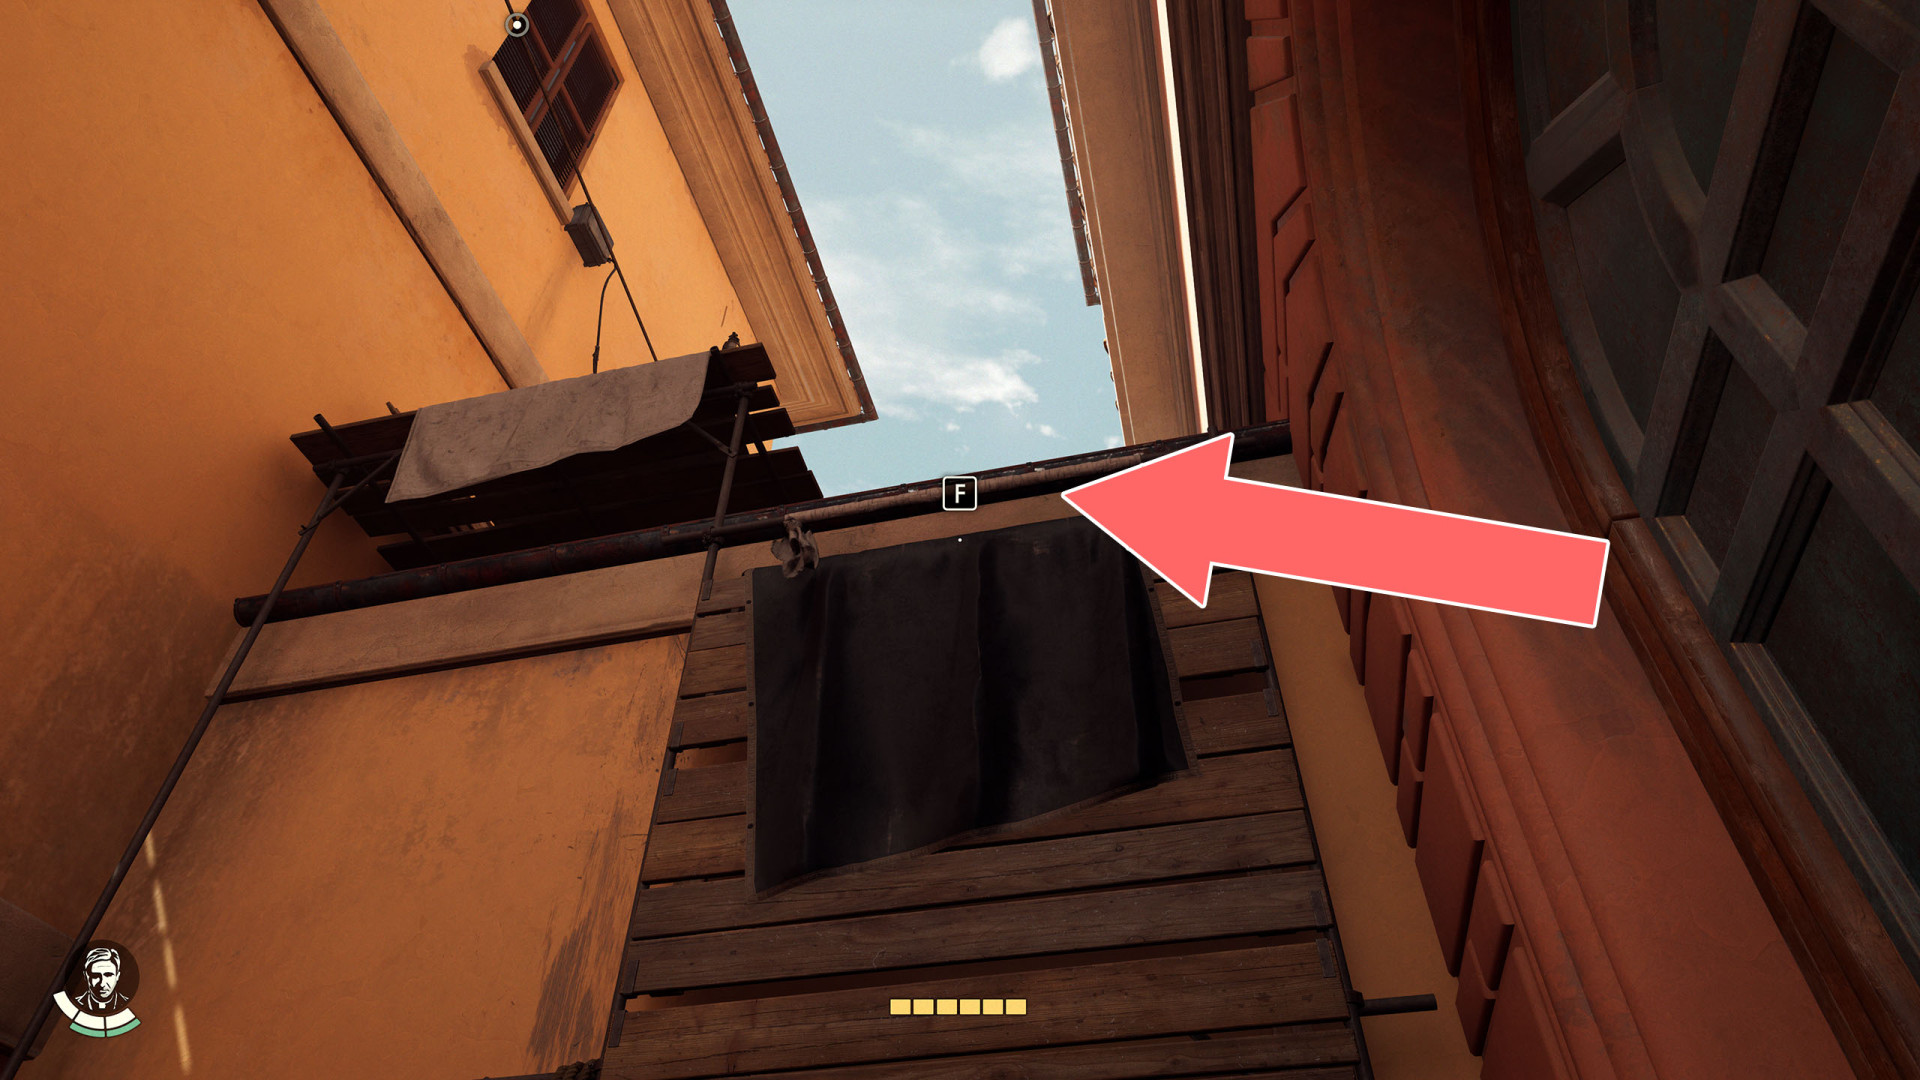
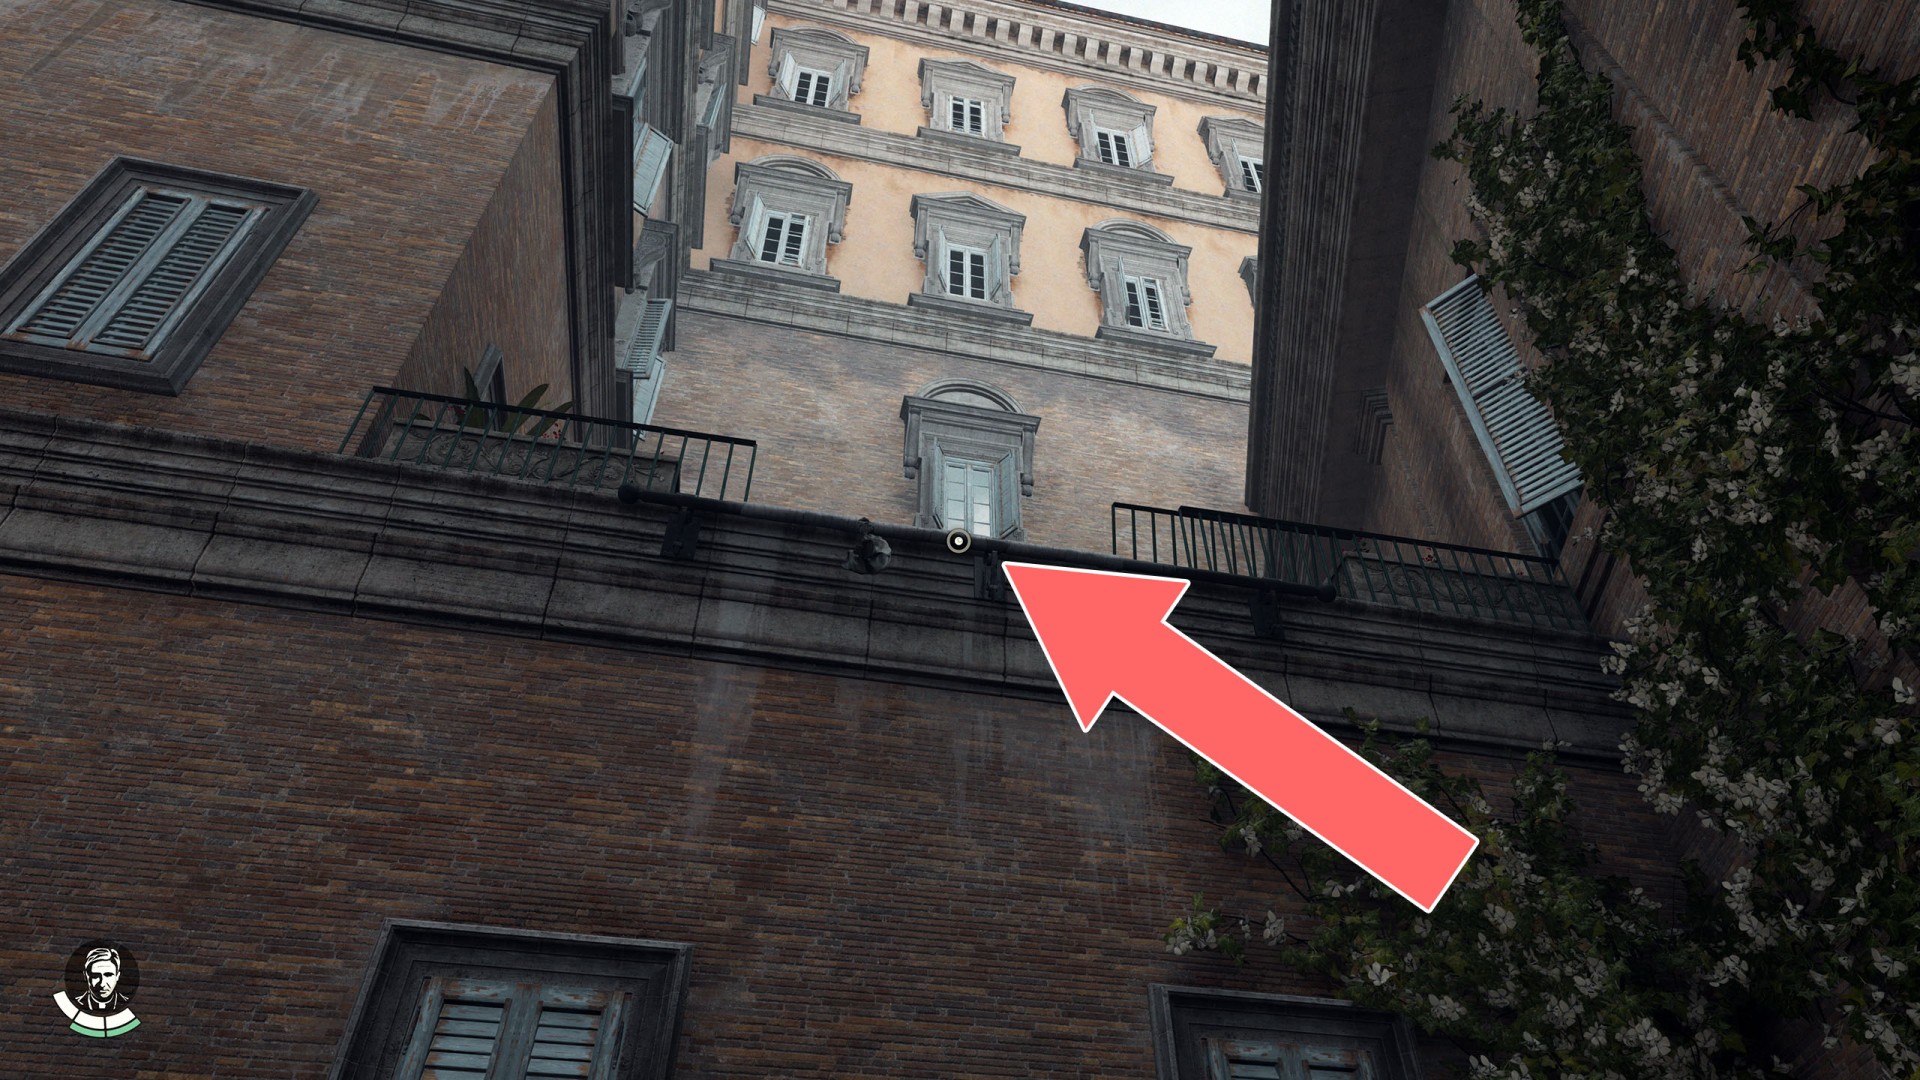
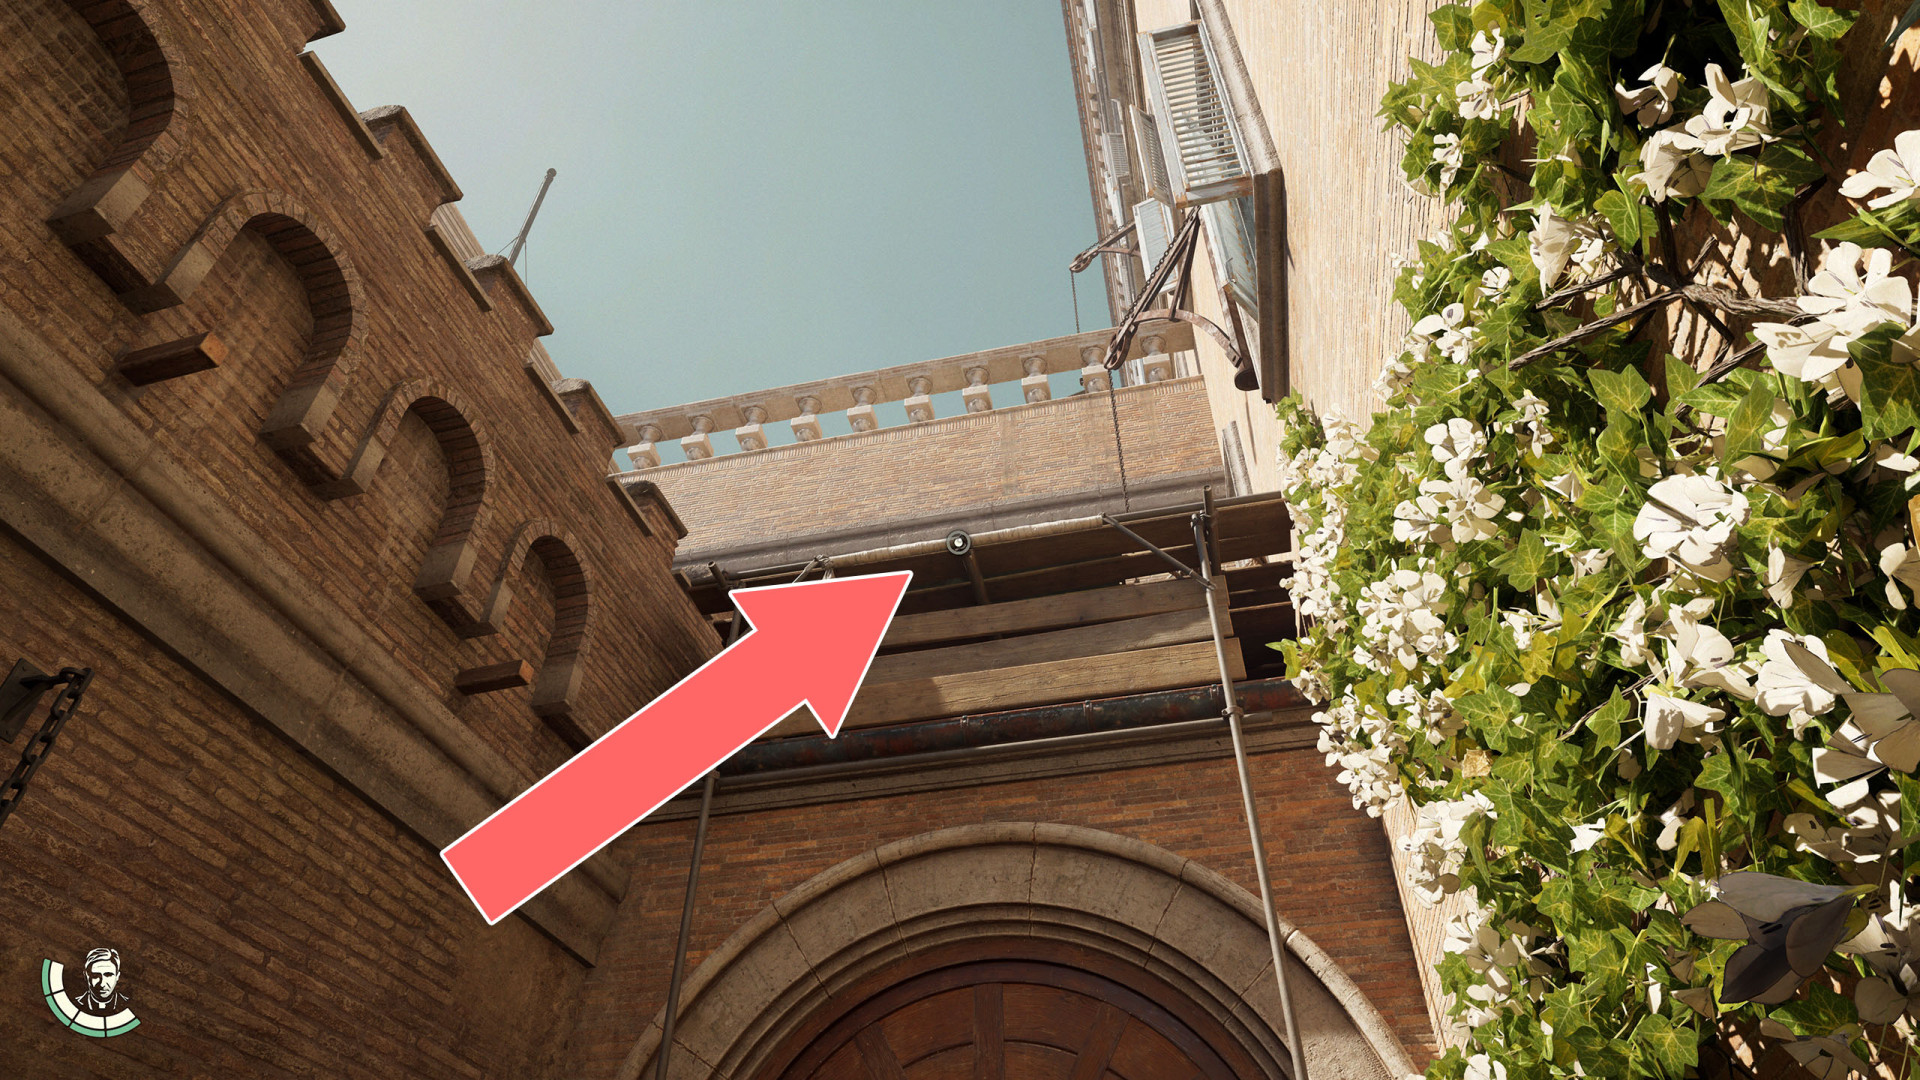
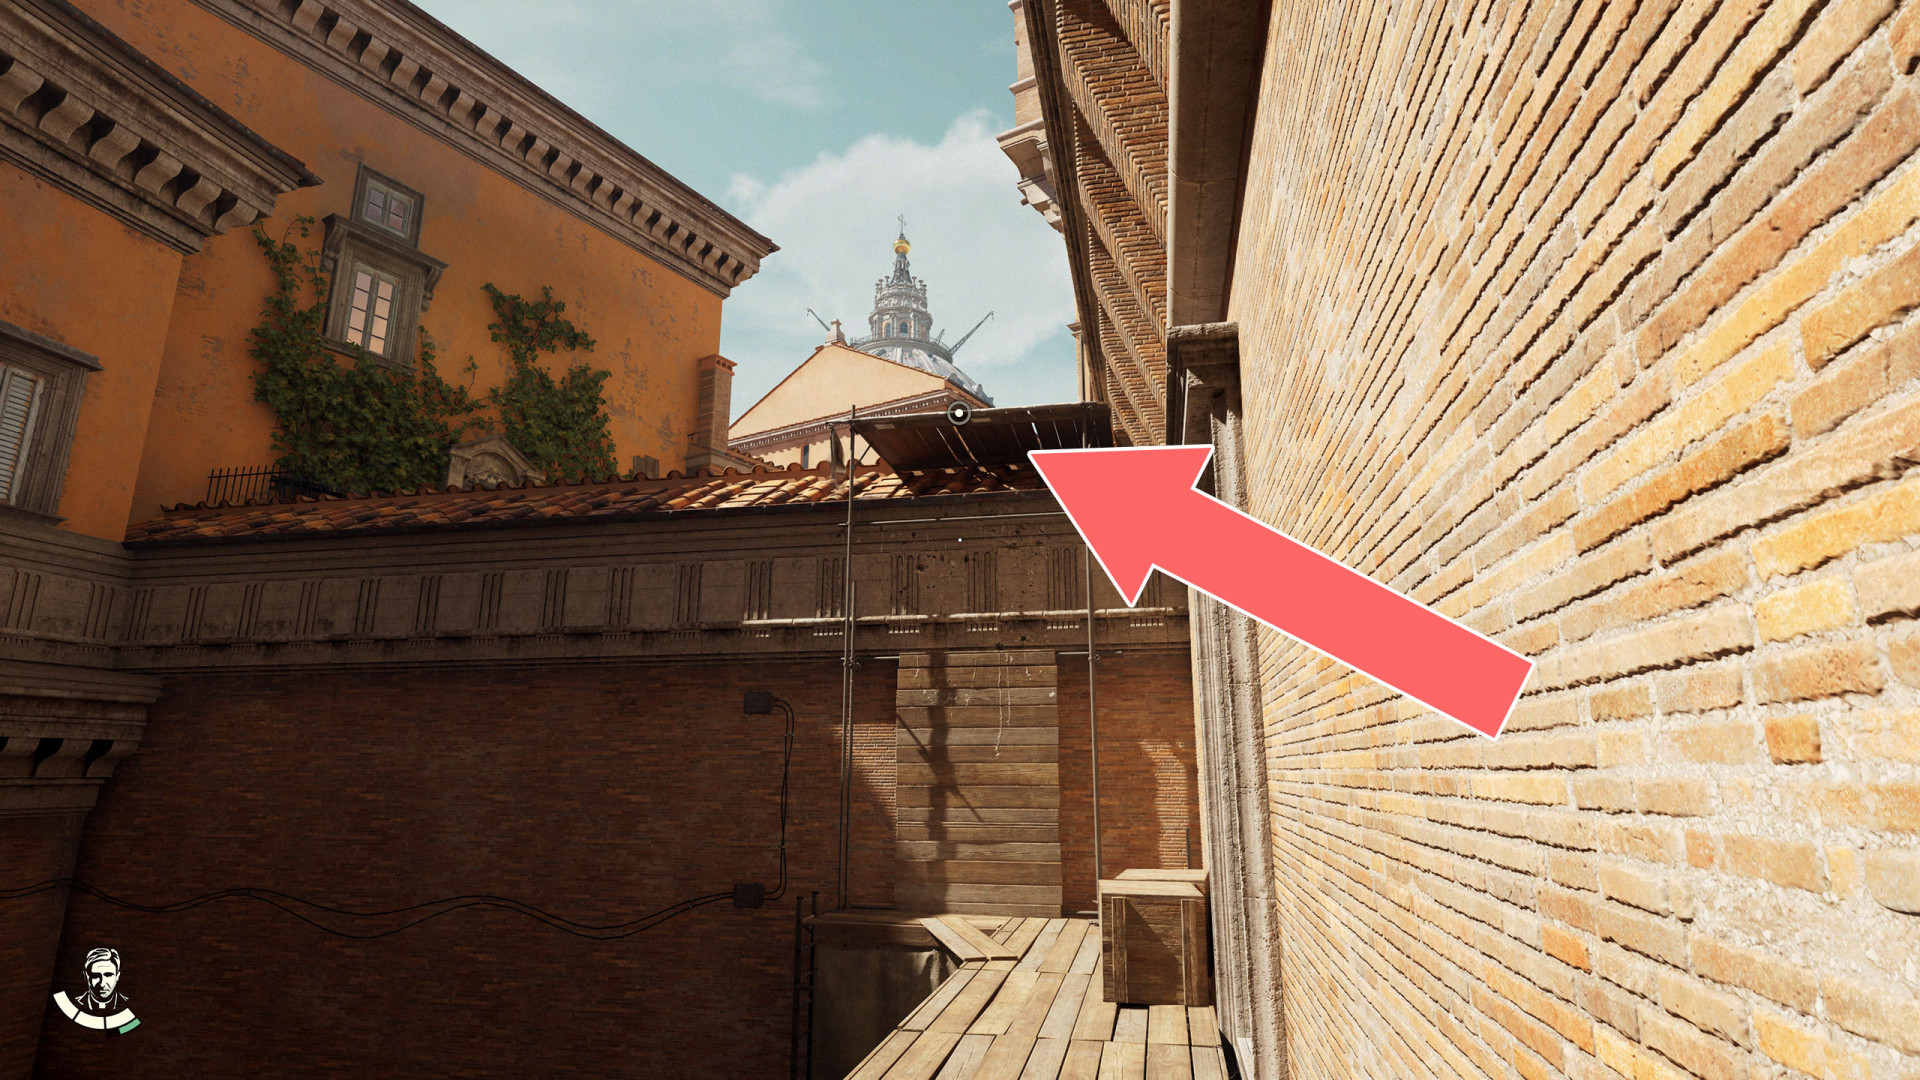
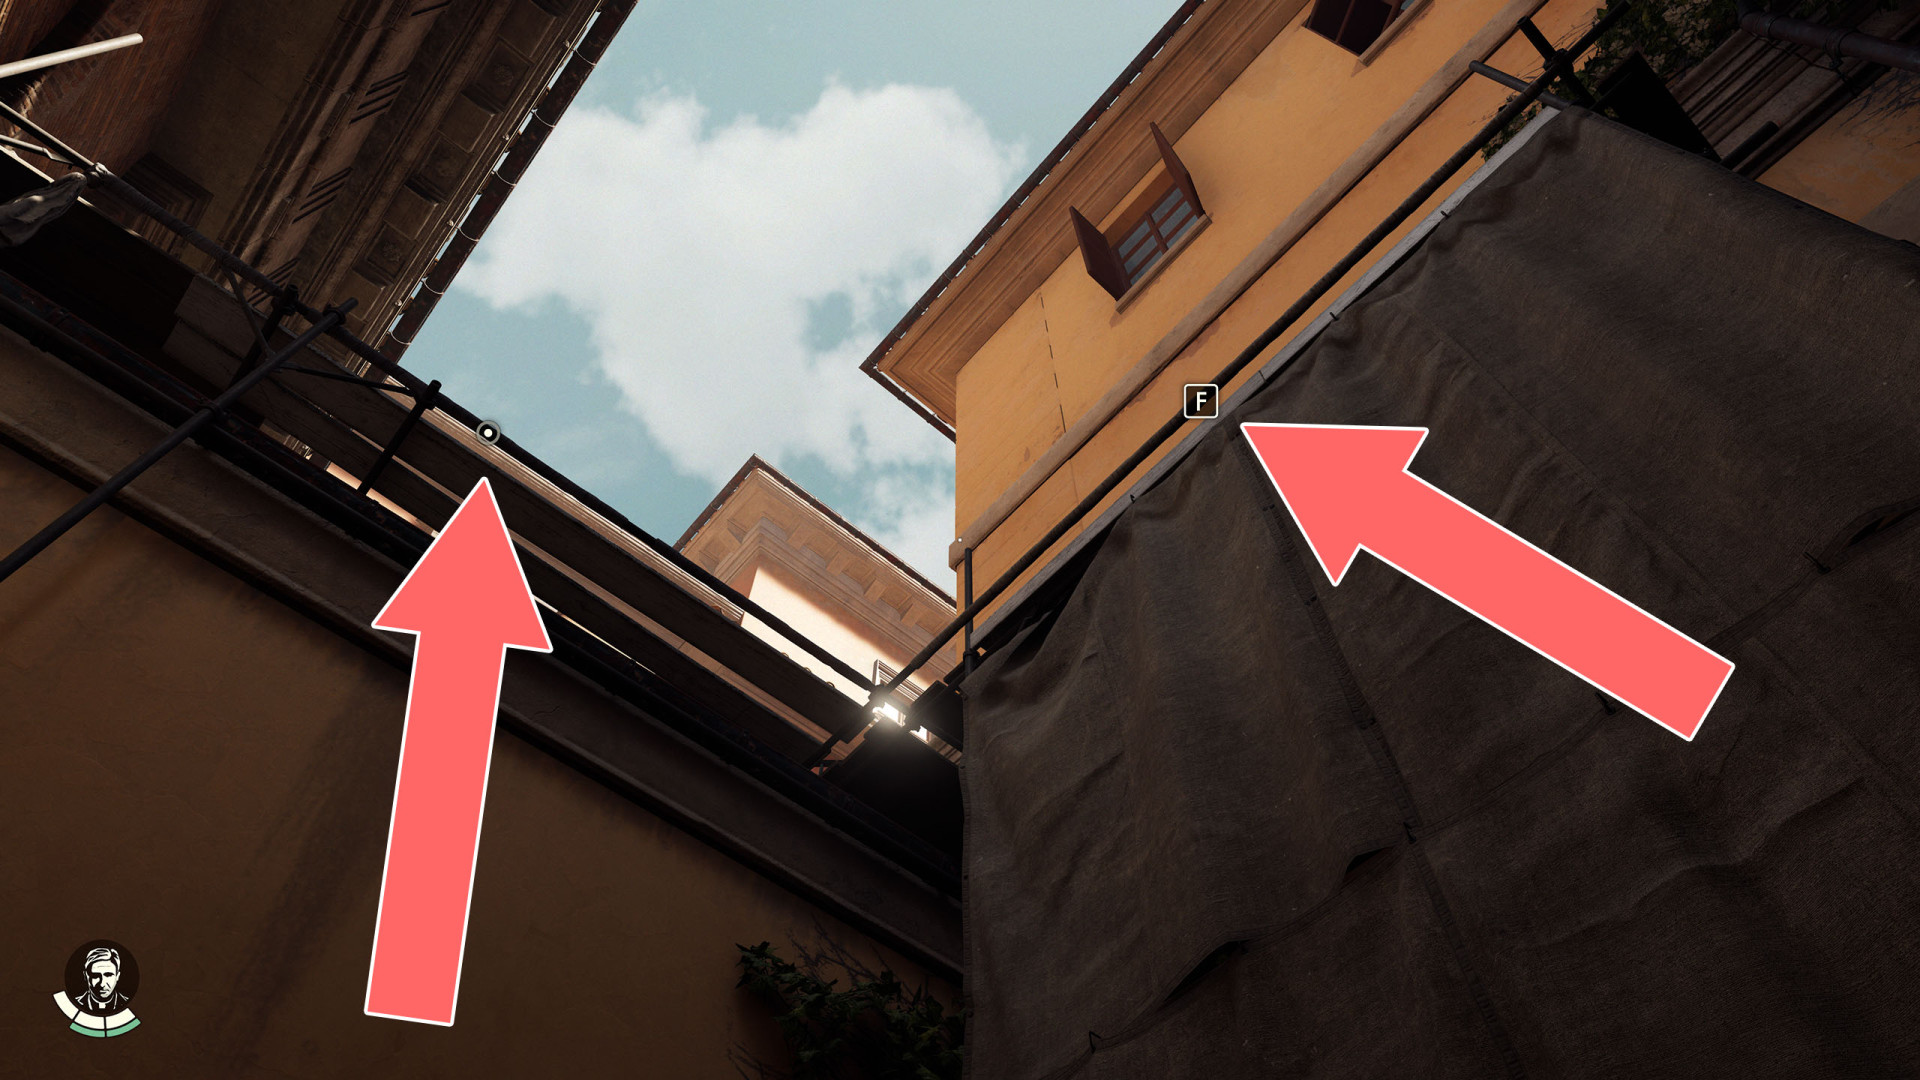
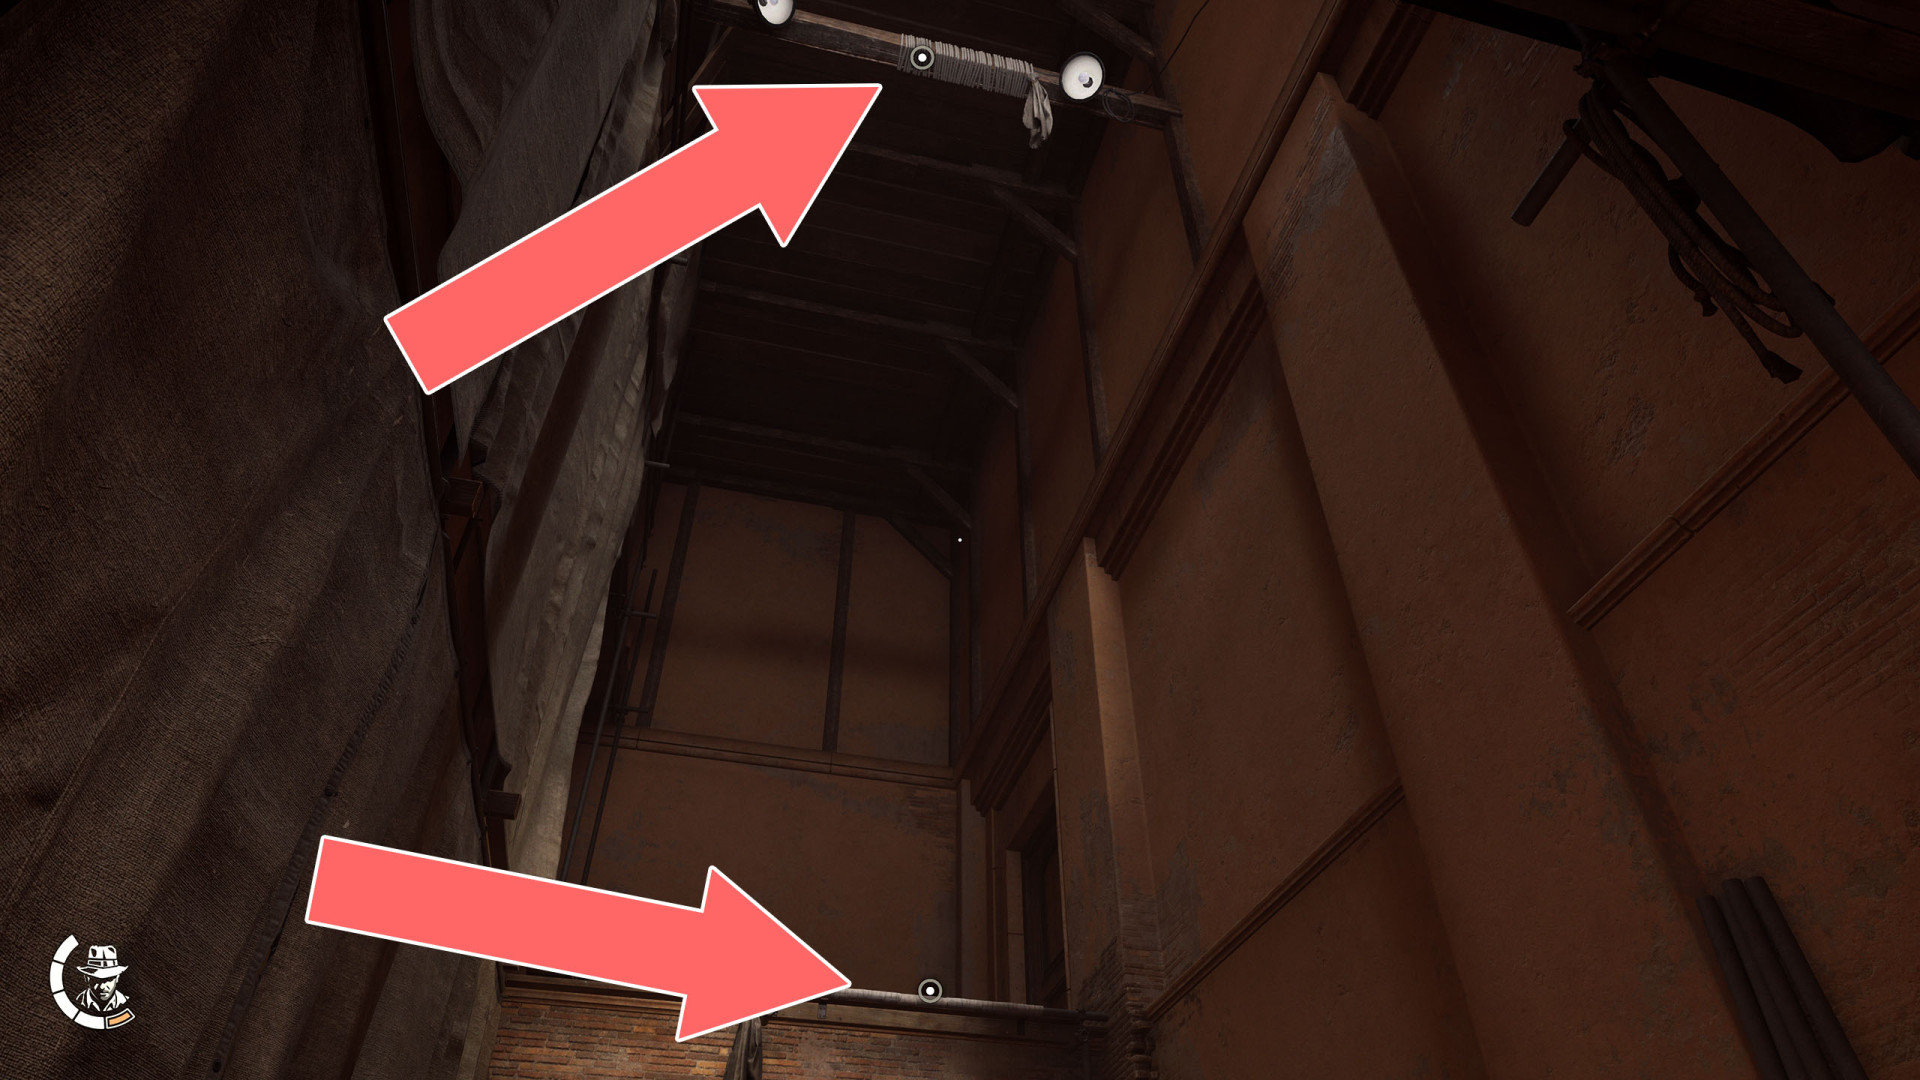
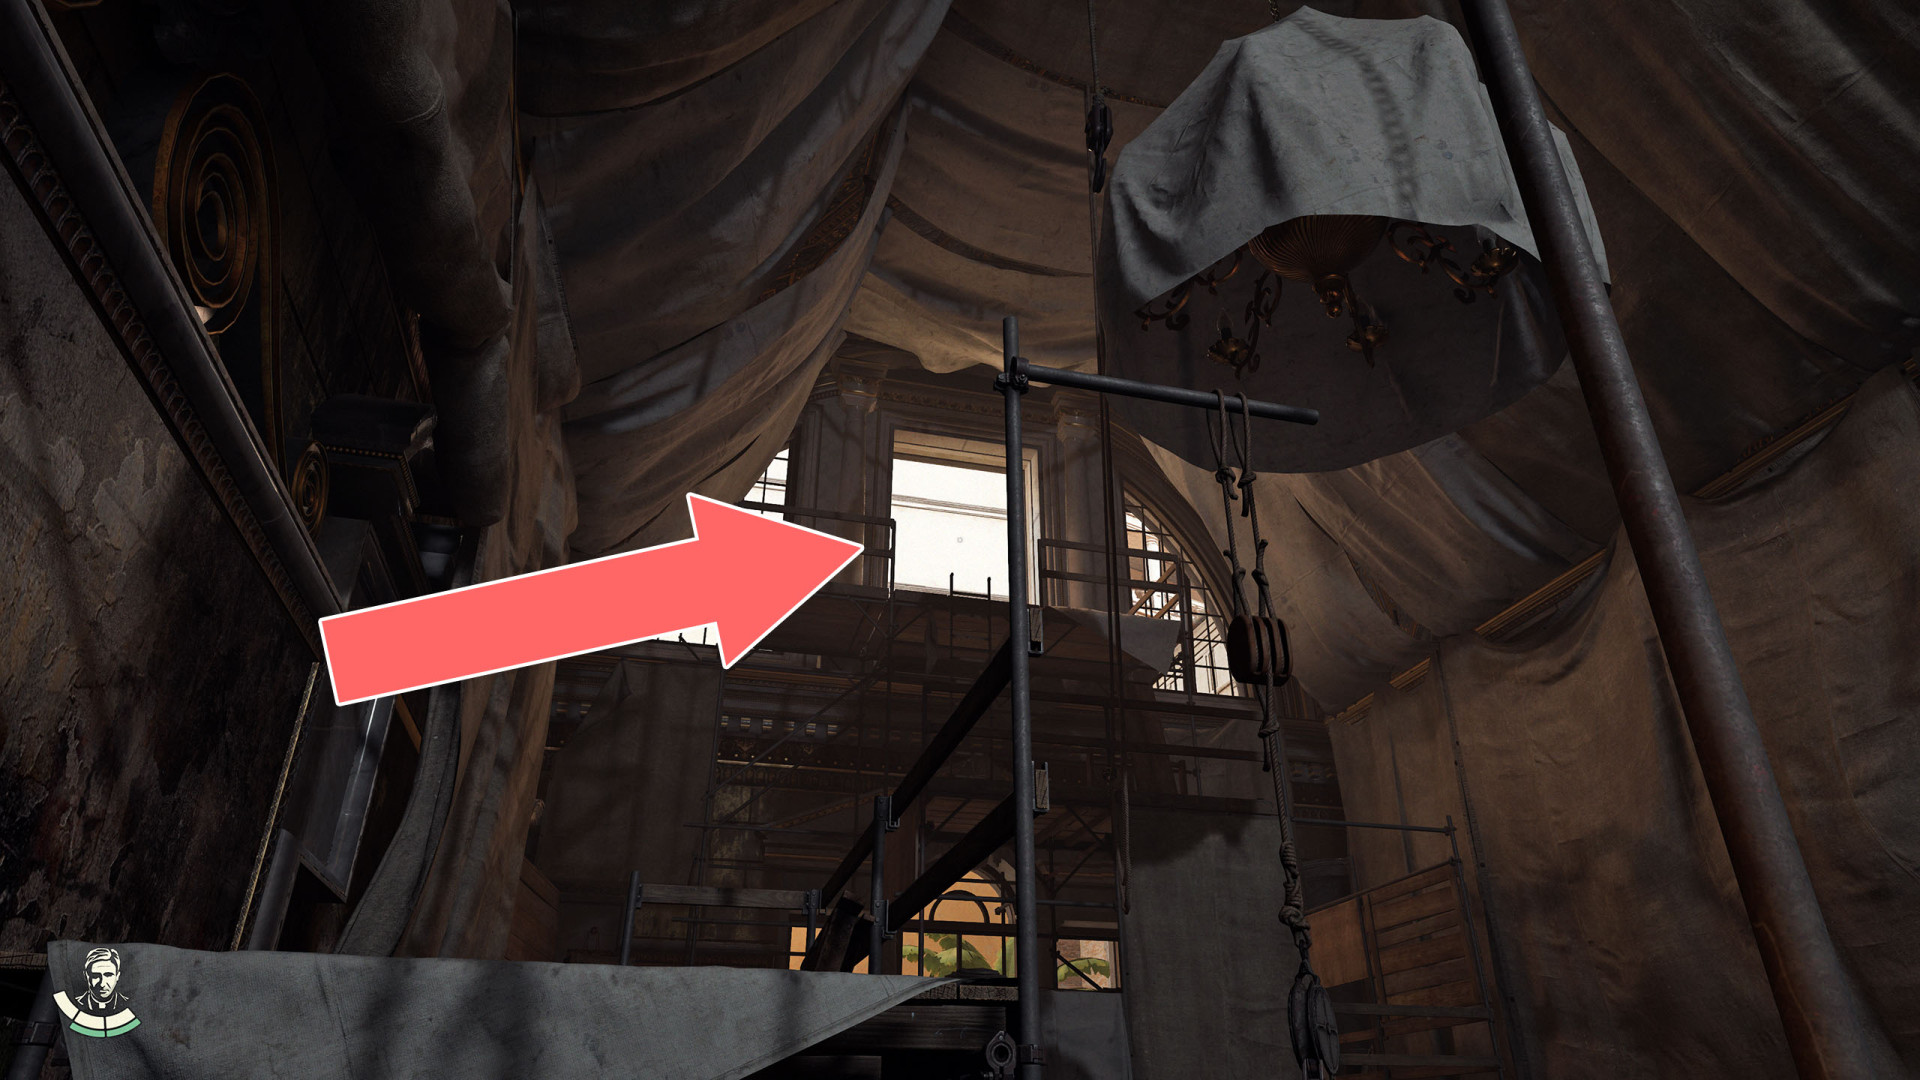
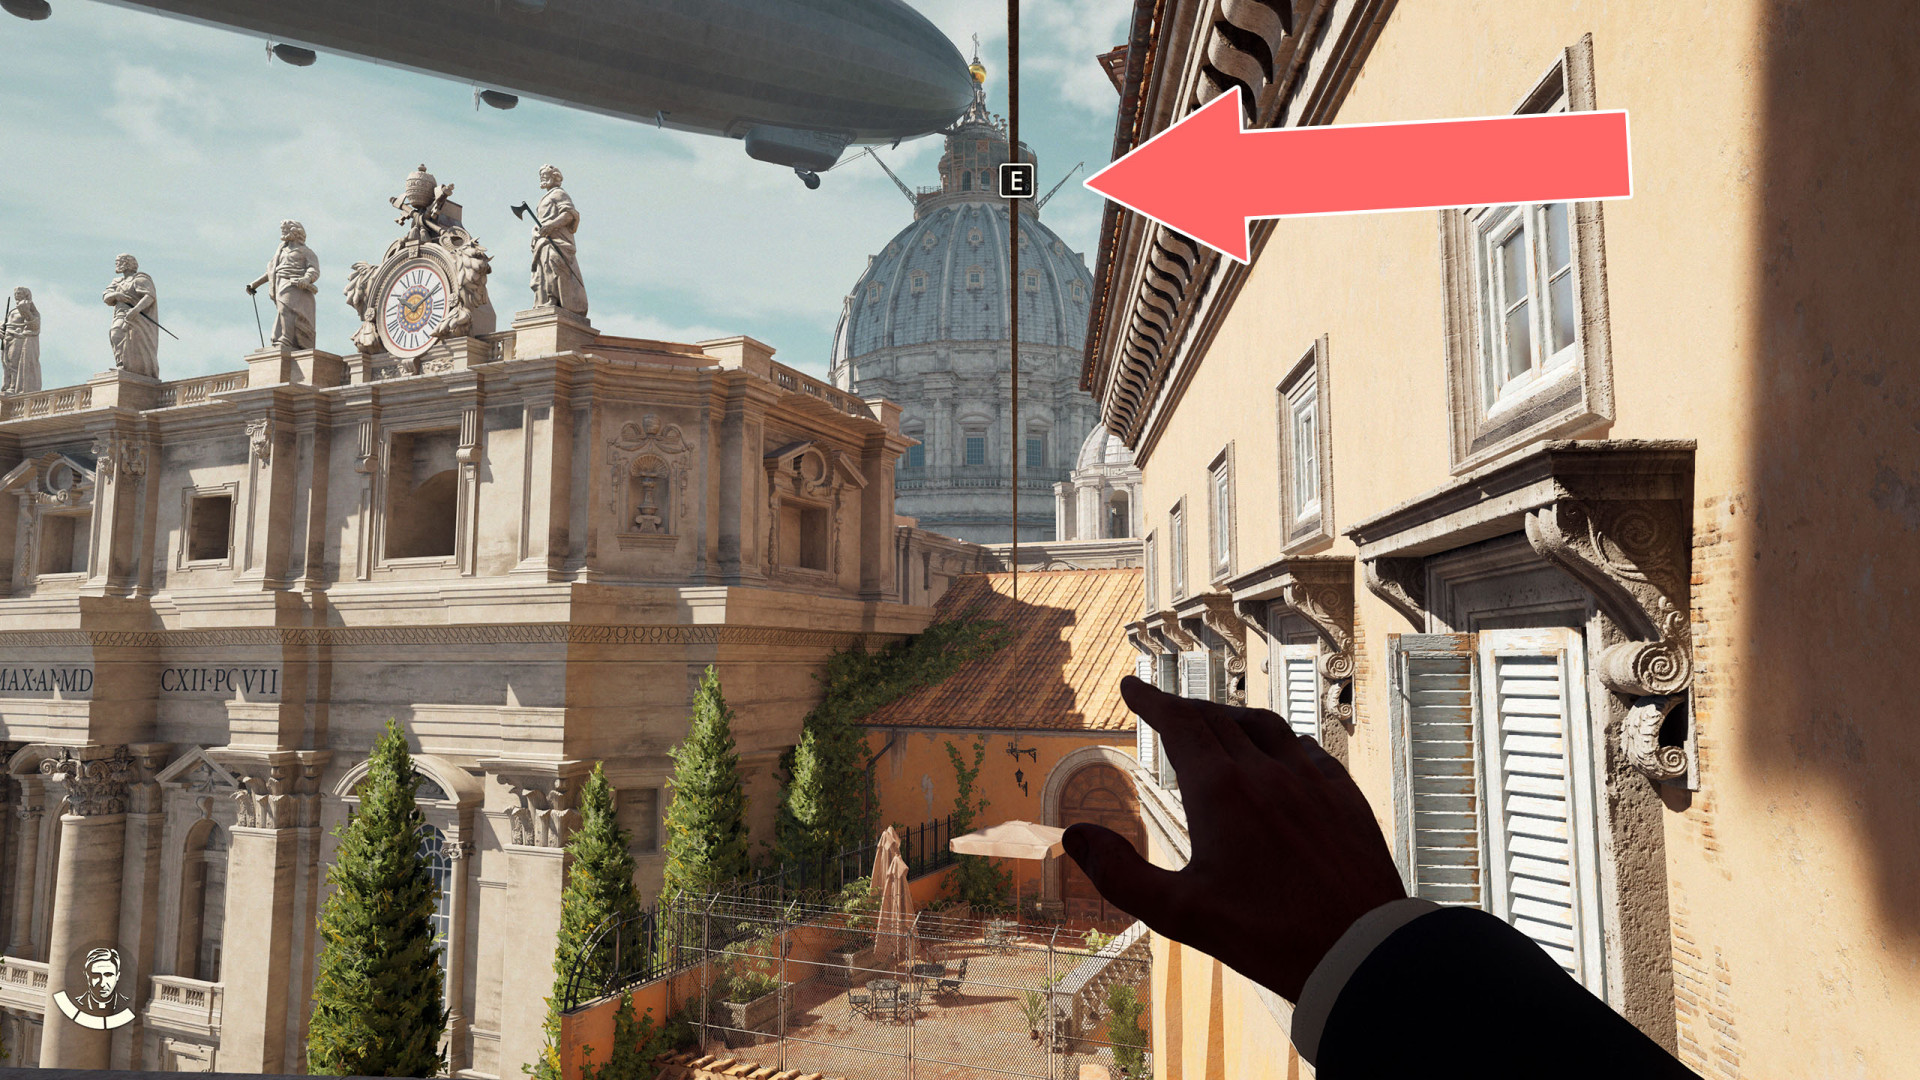
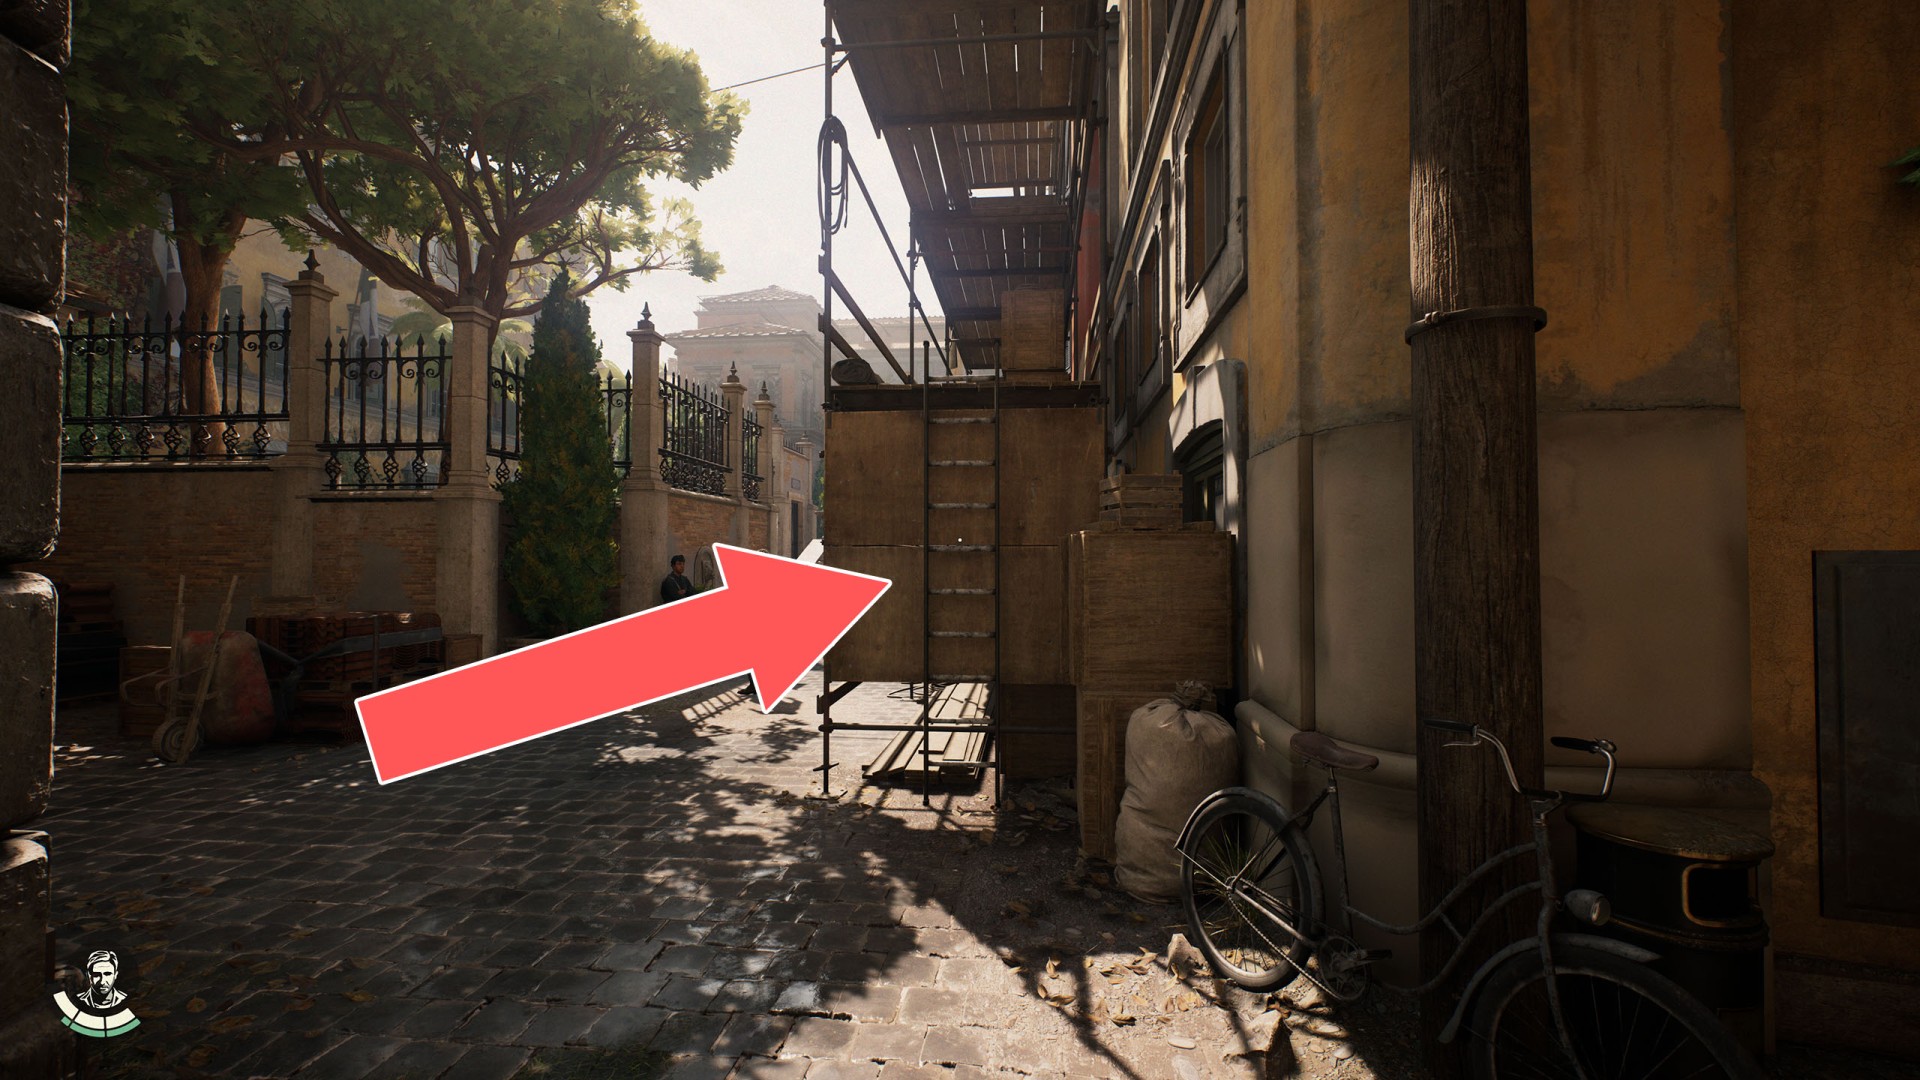
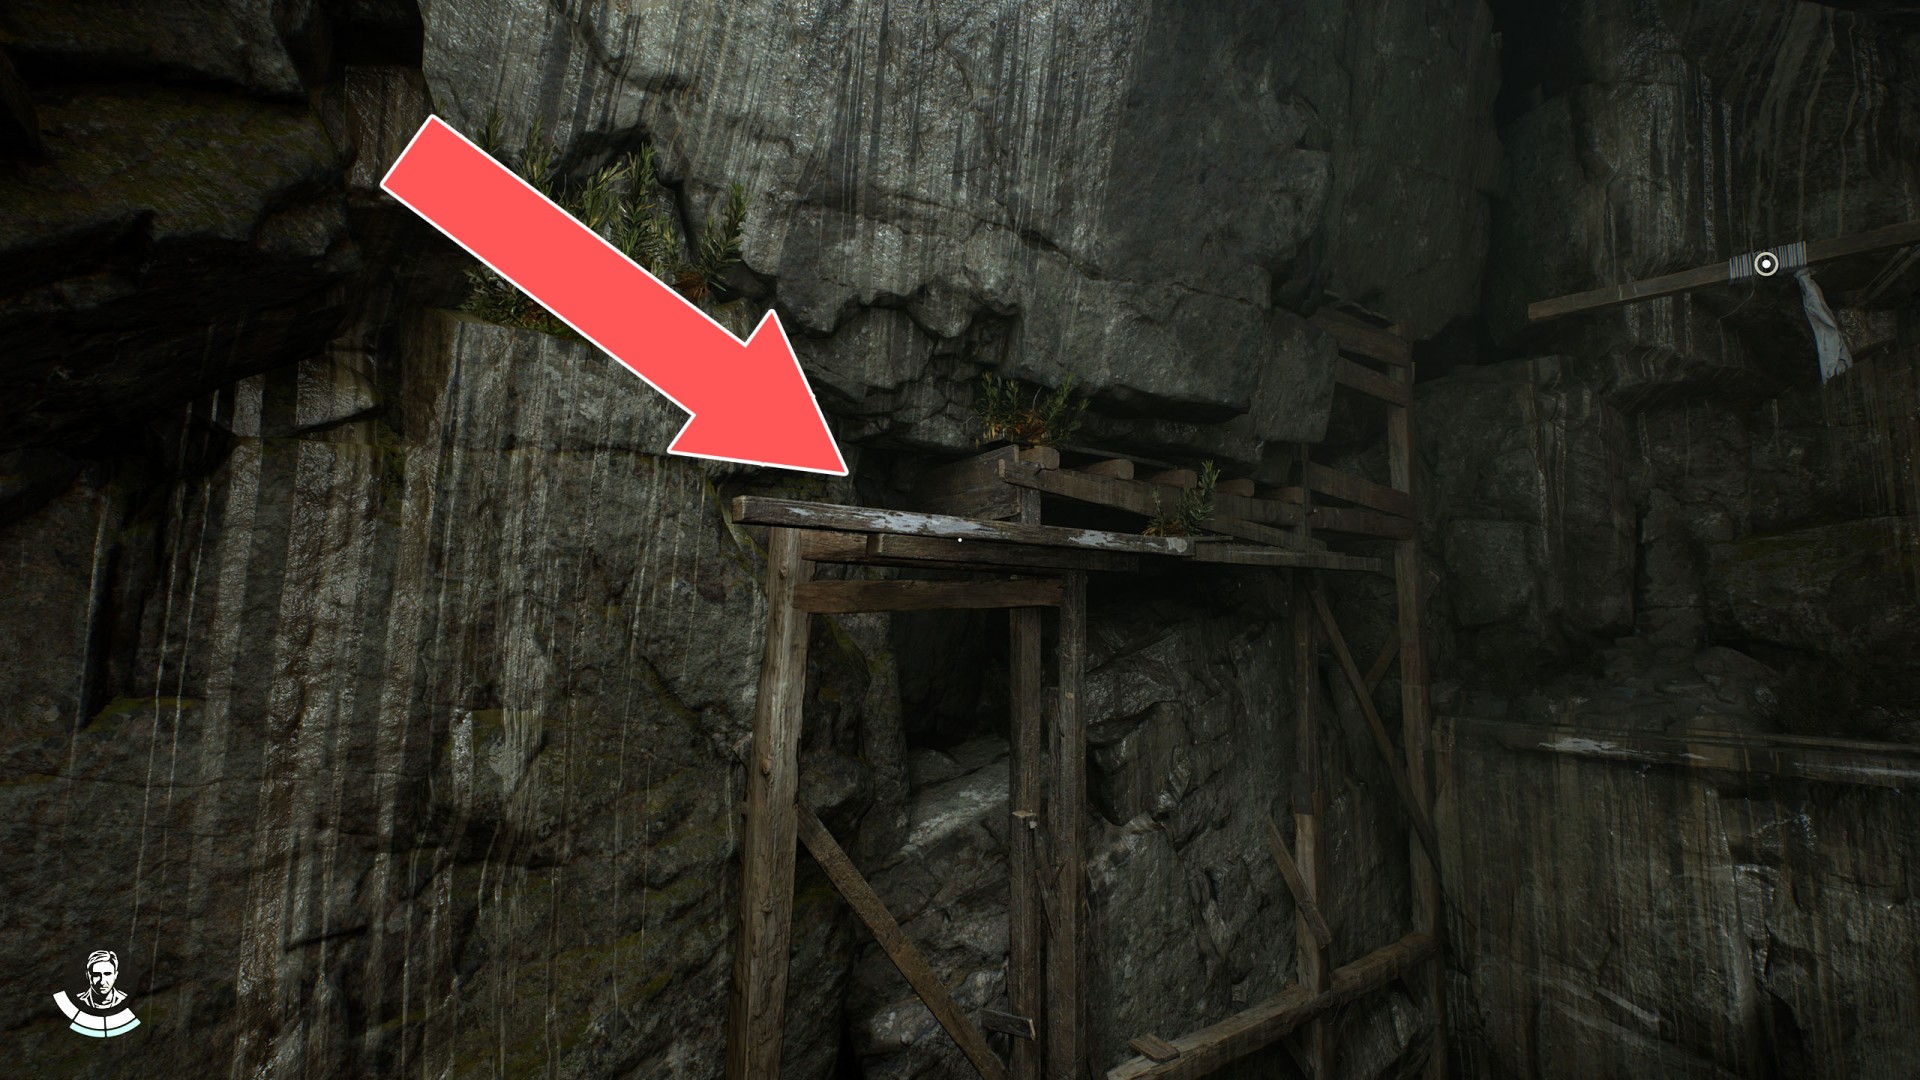
55Scaffolding
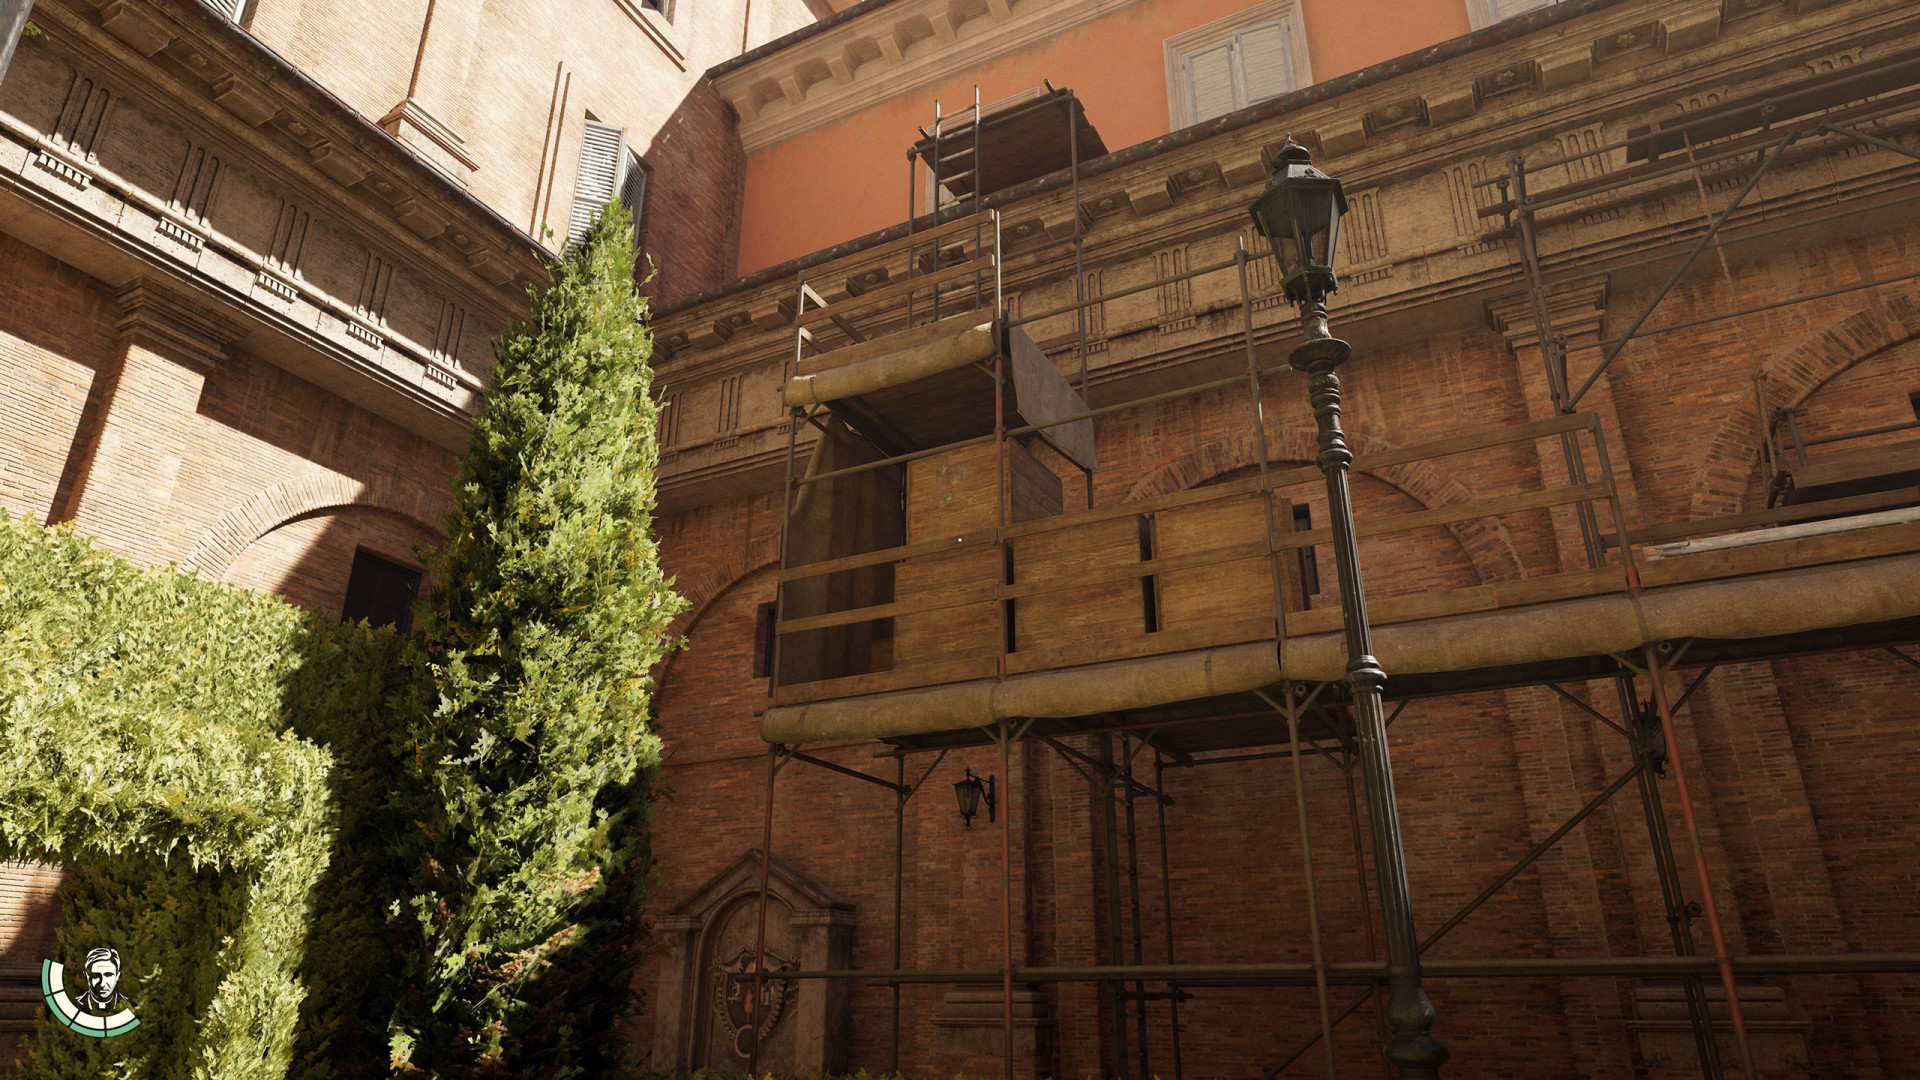
56Scaffolding
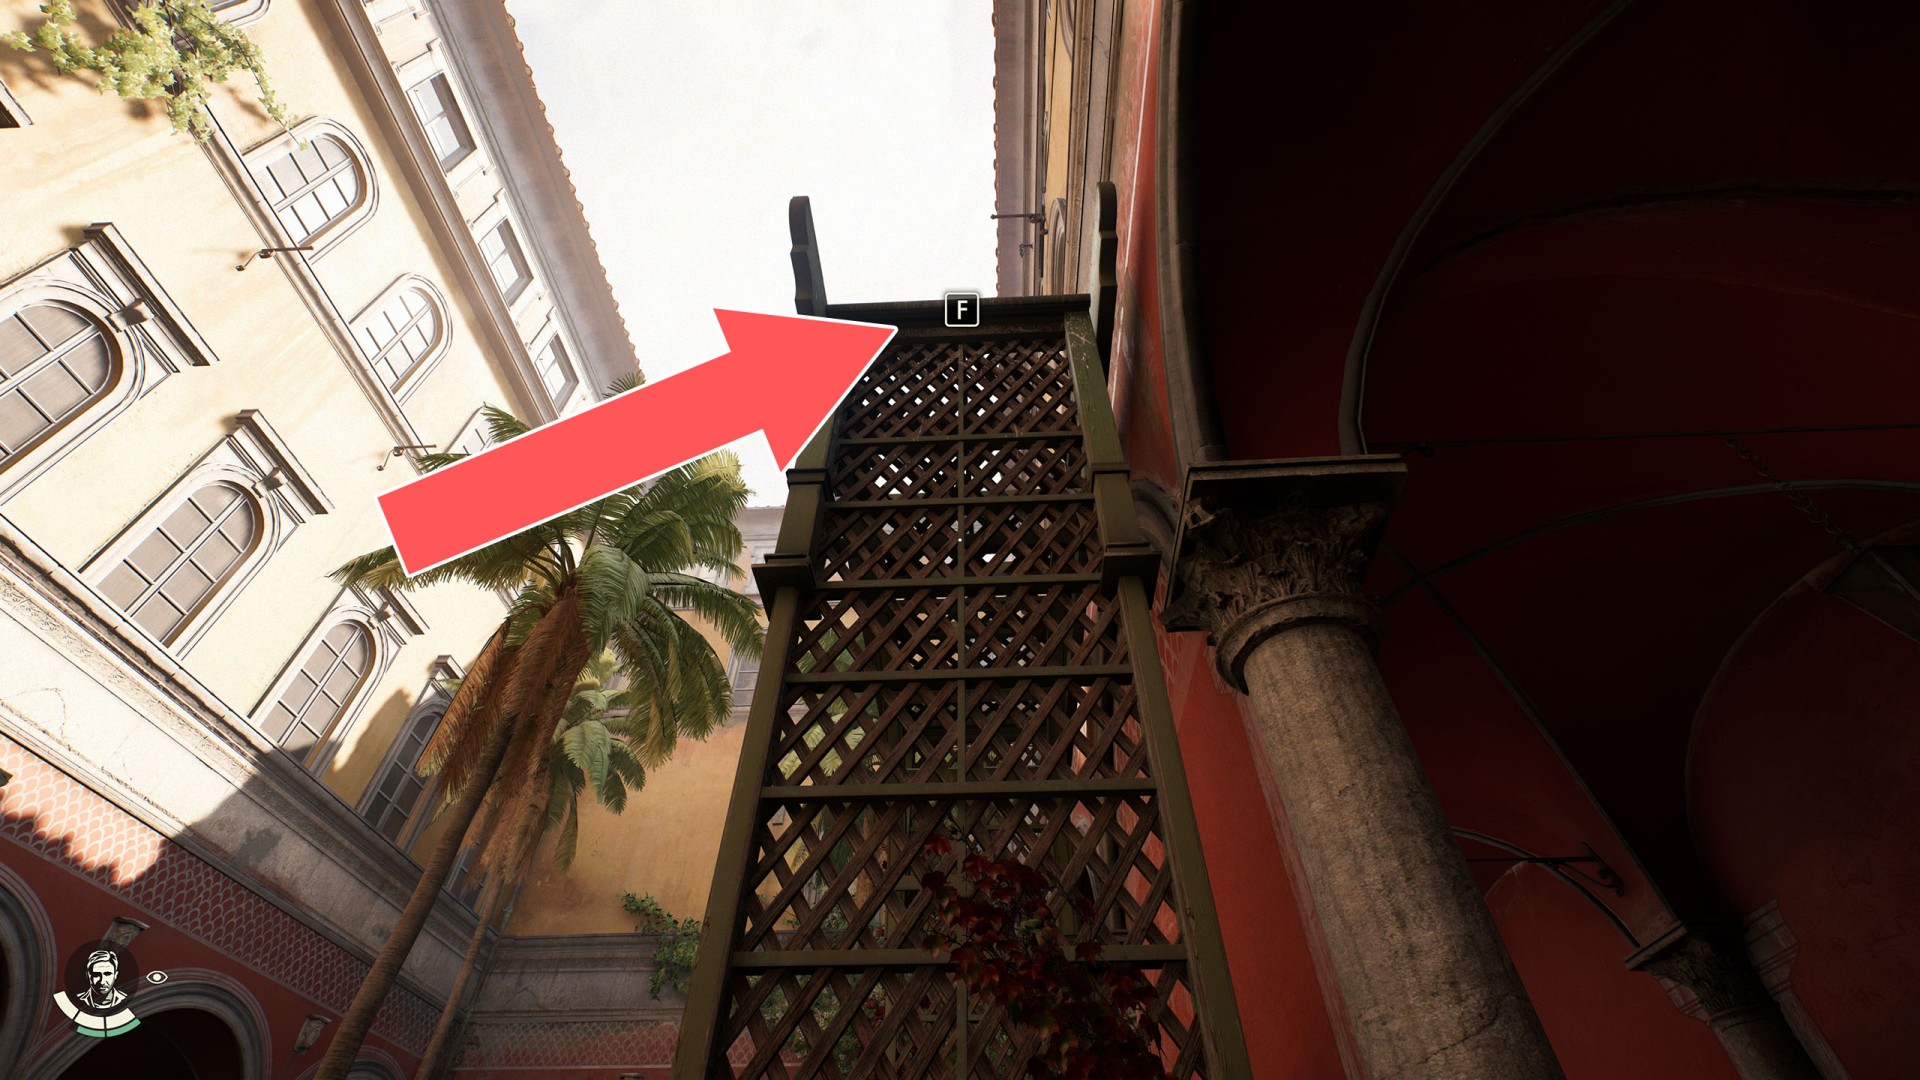
57Scaffolding
A scaffolding that you can climb up to the balcony above.
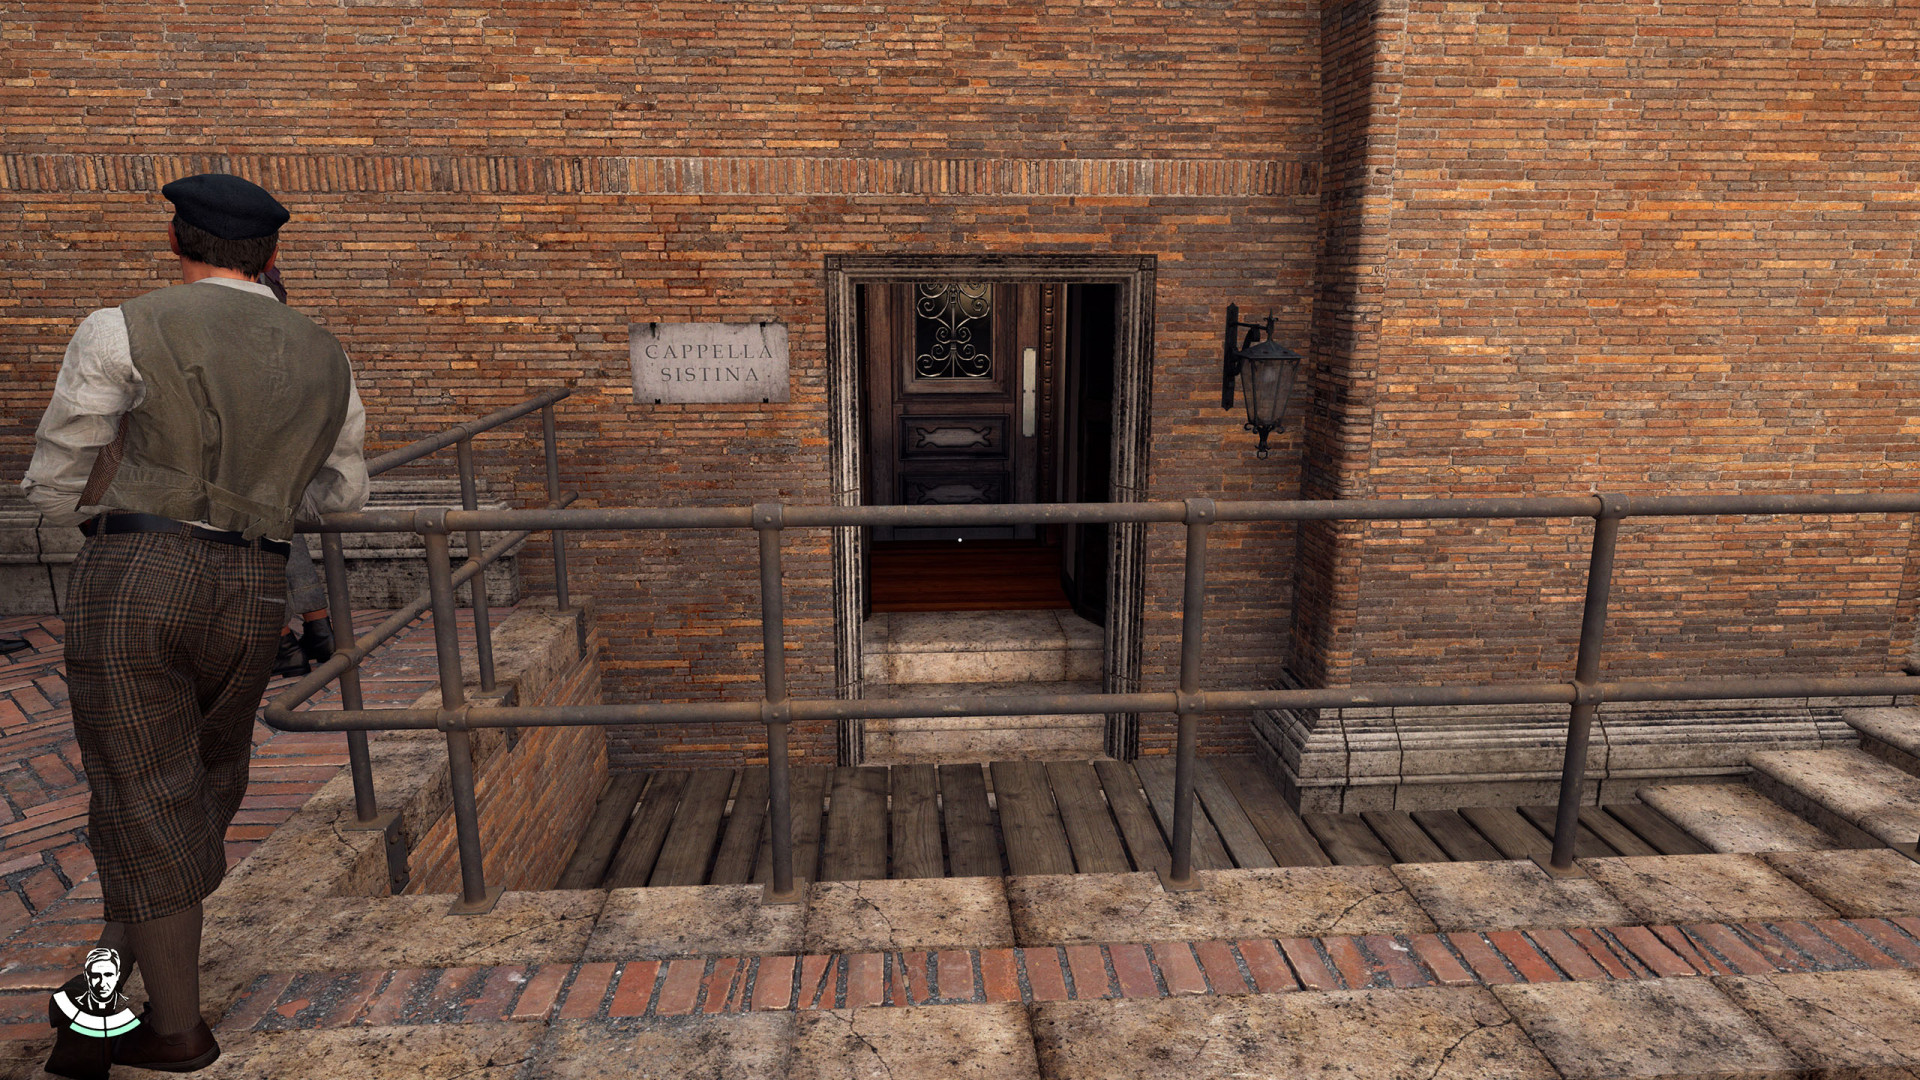
58Sistine Chapel Back Entrance
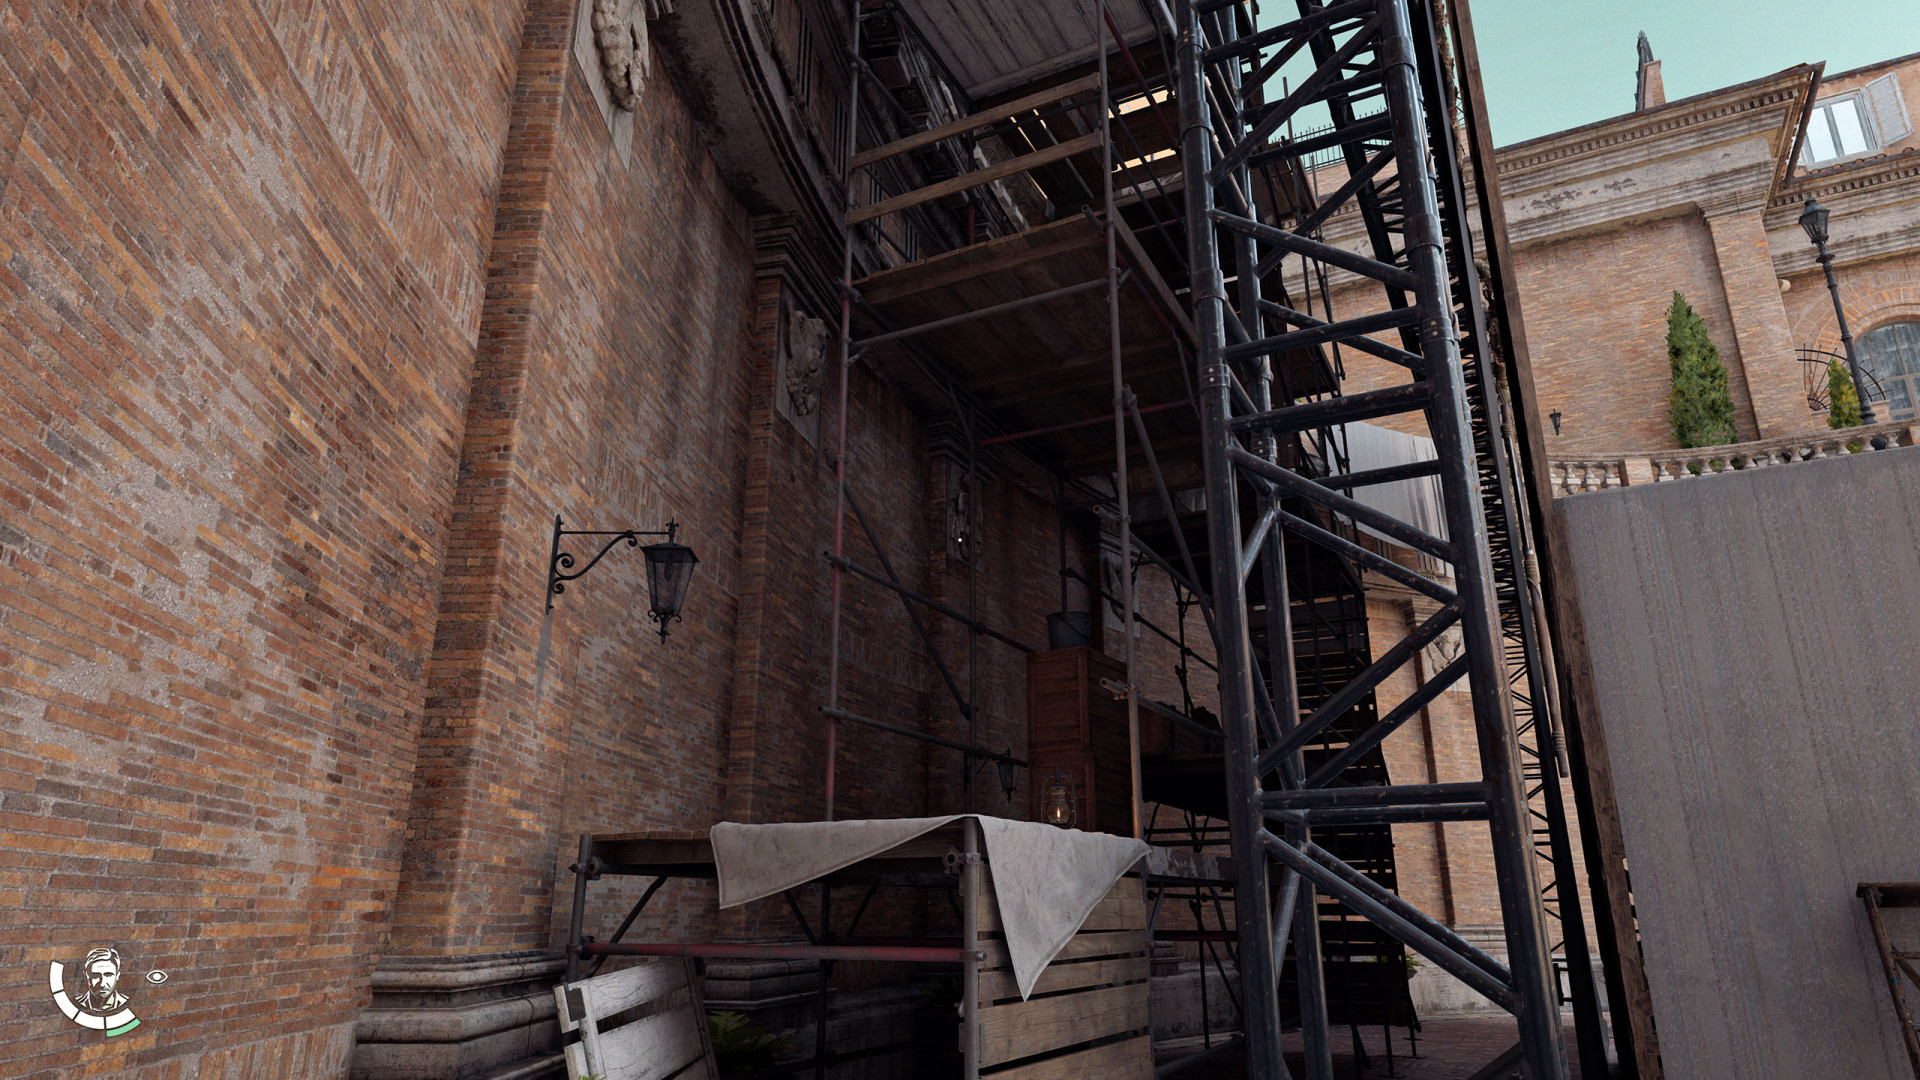
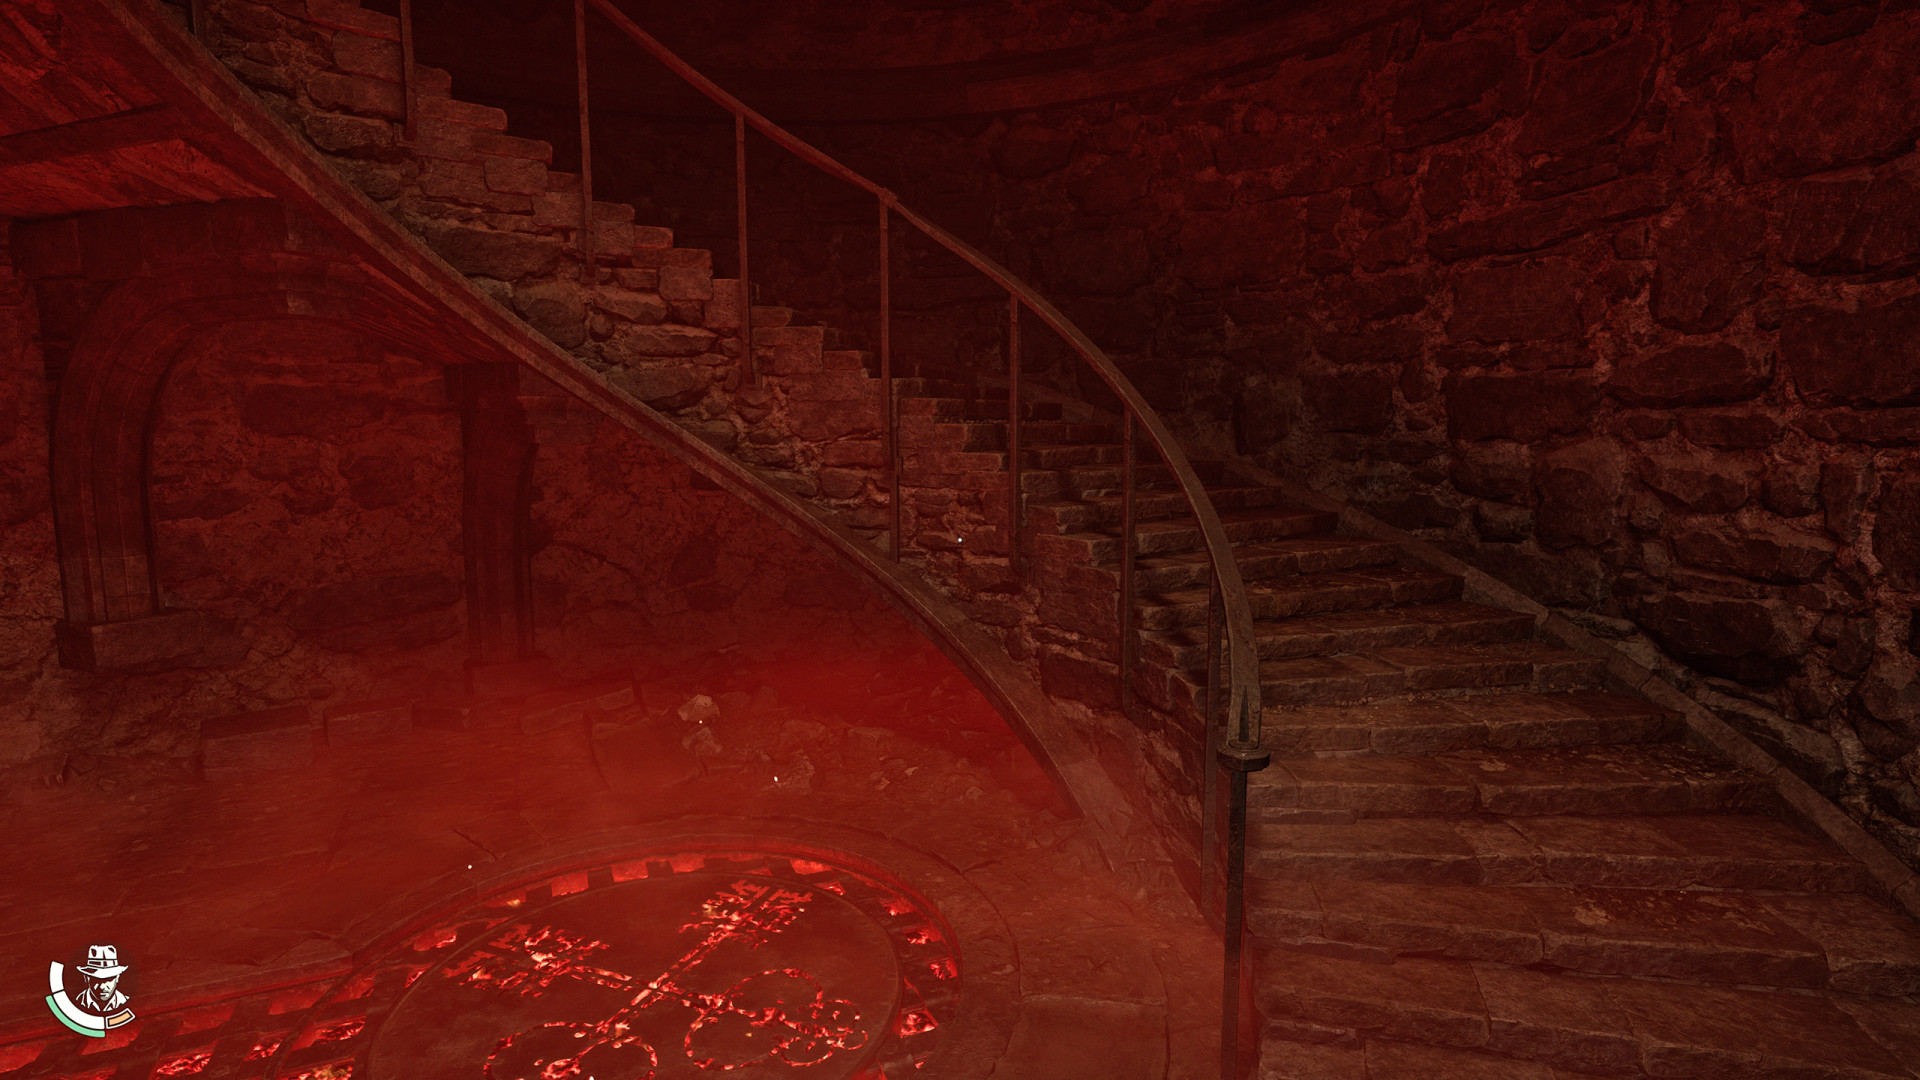
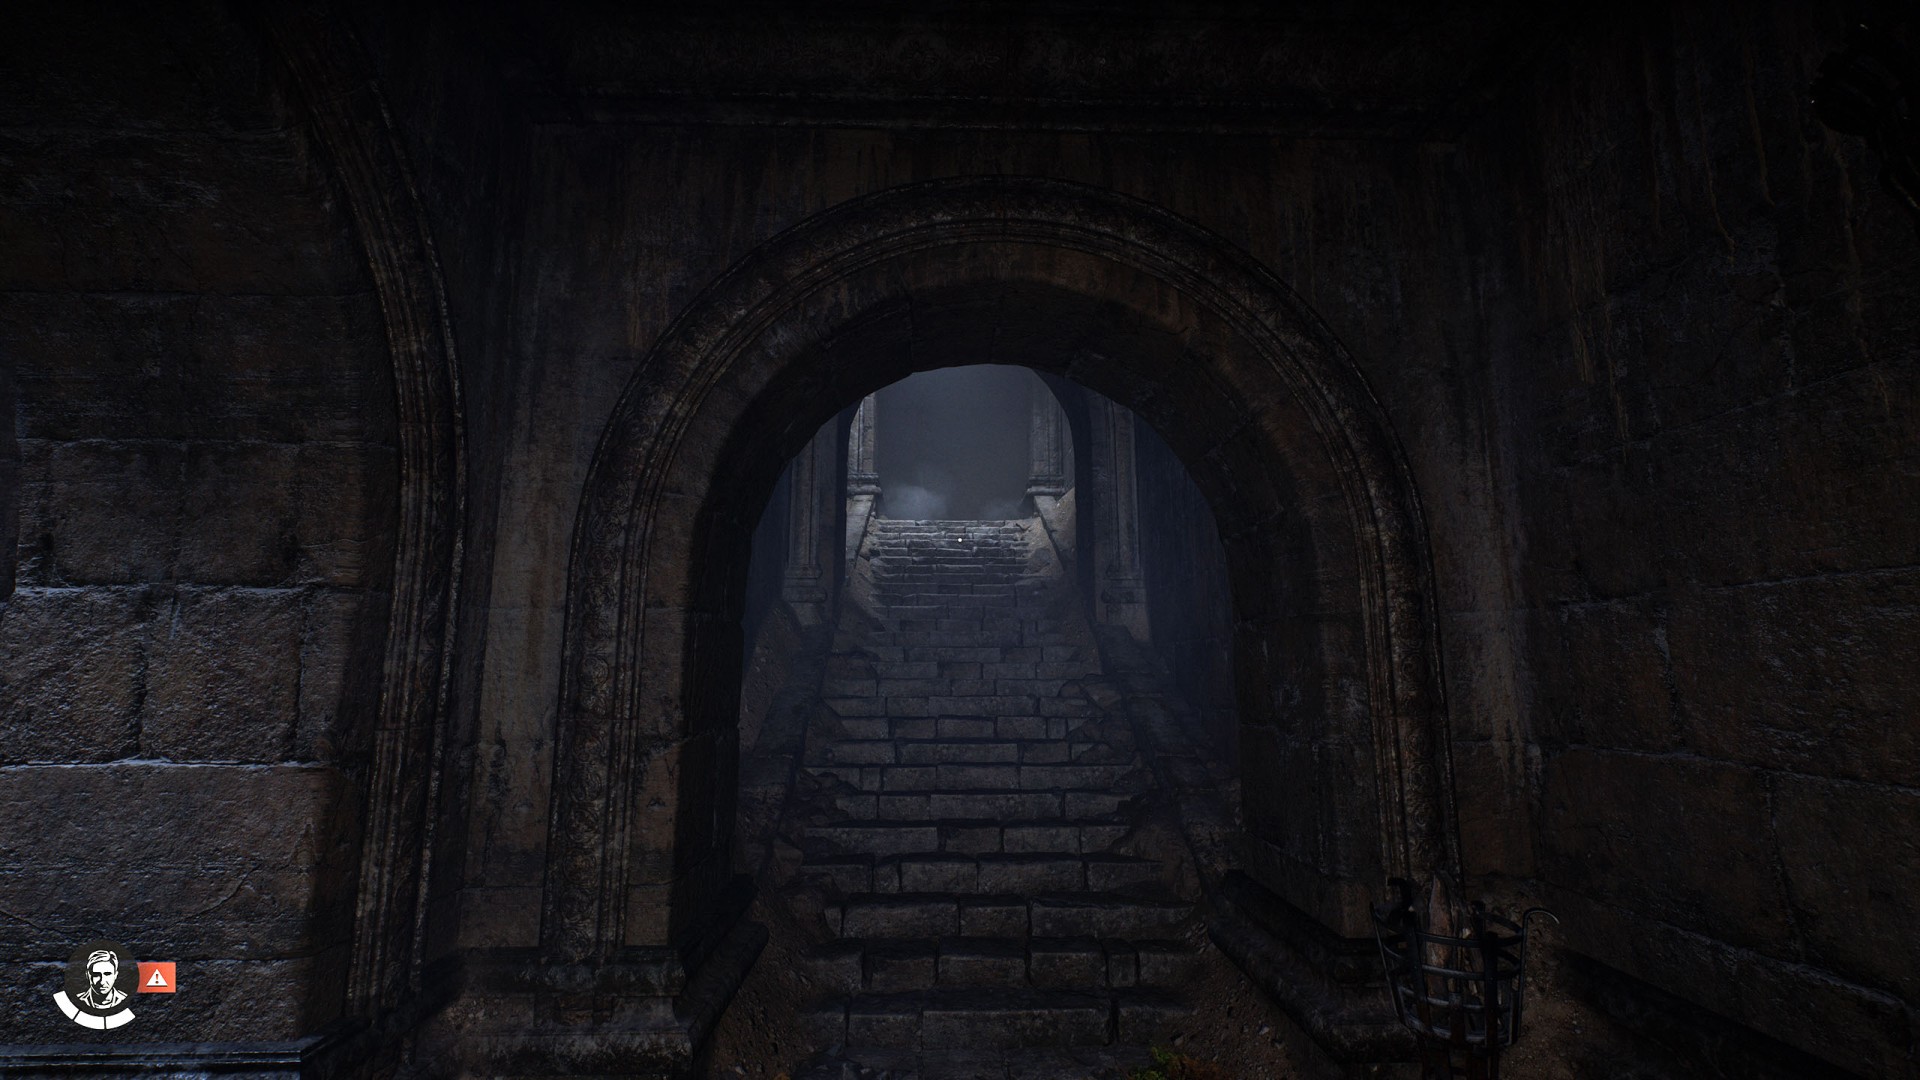
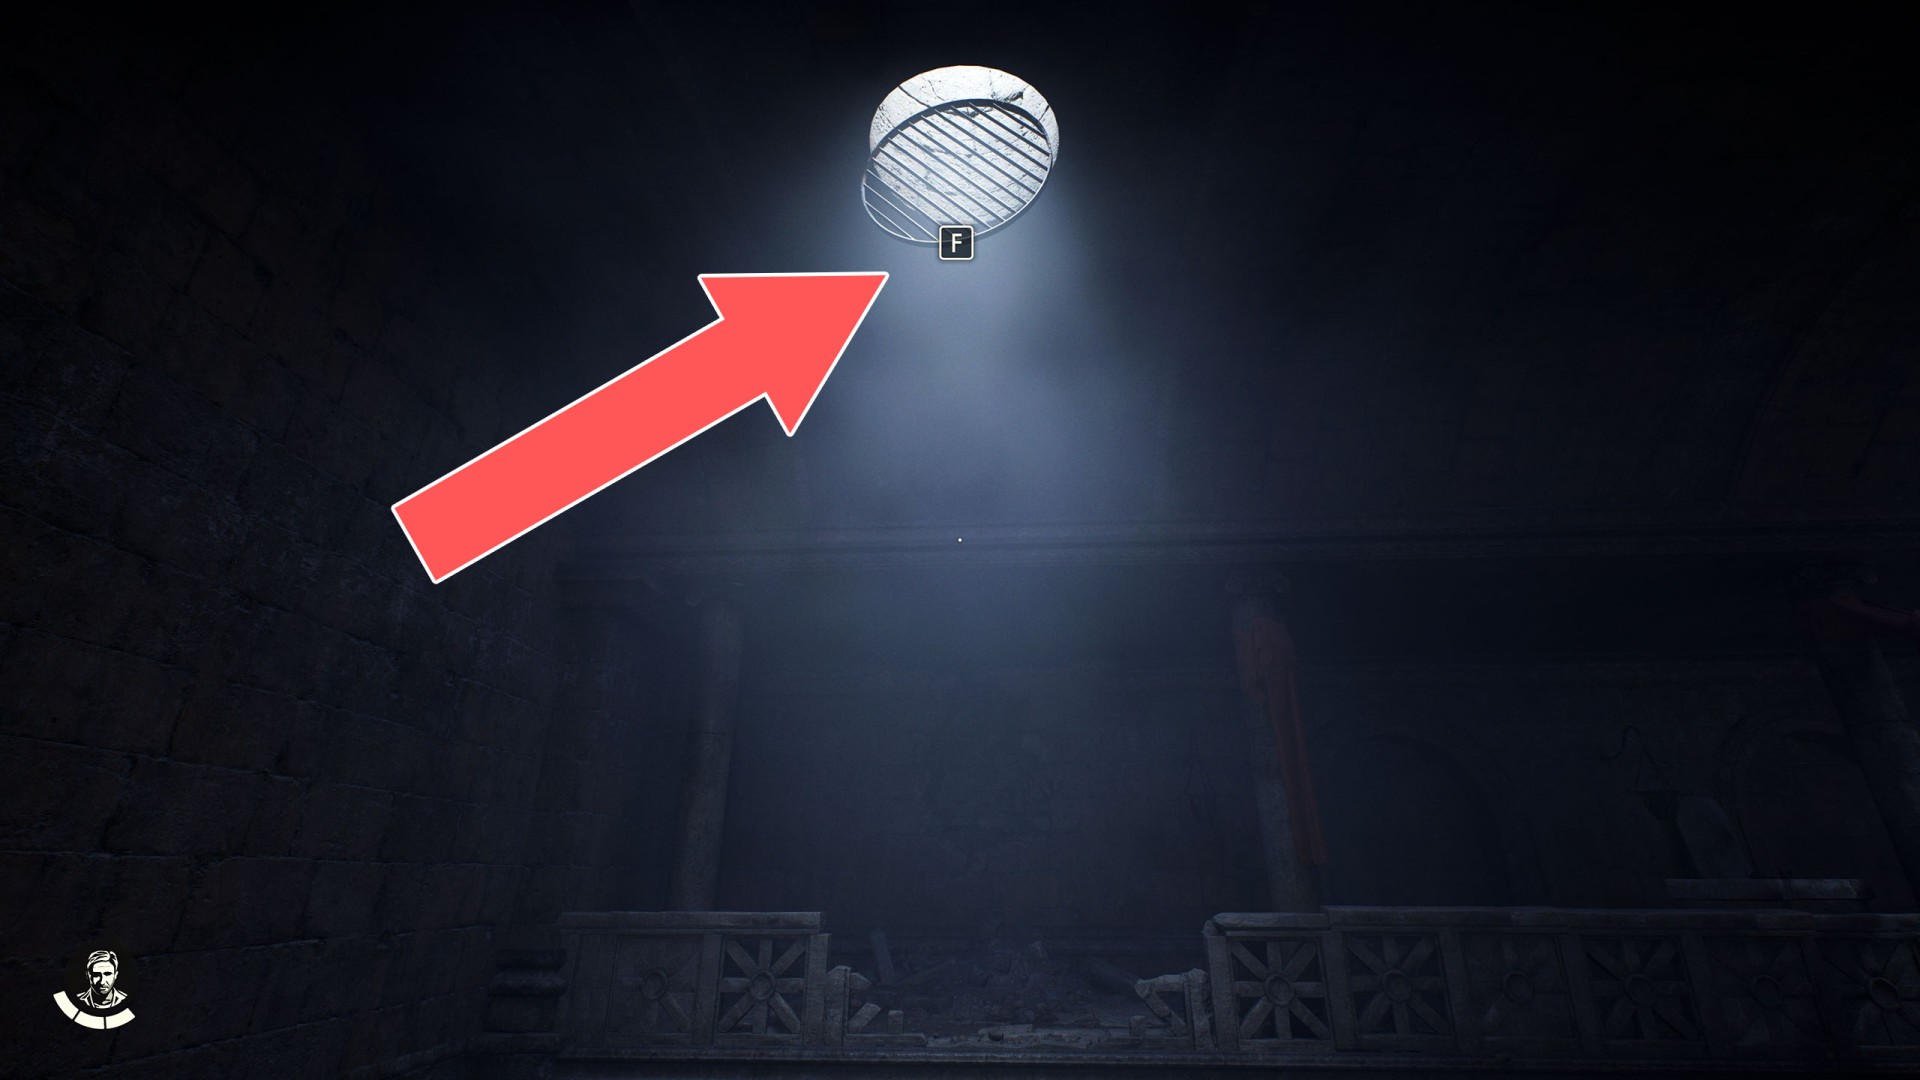
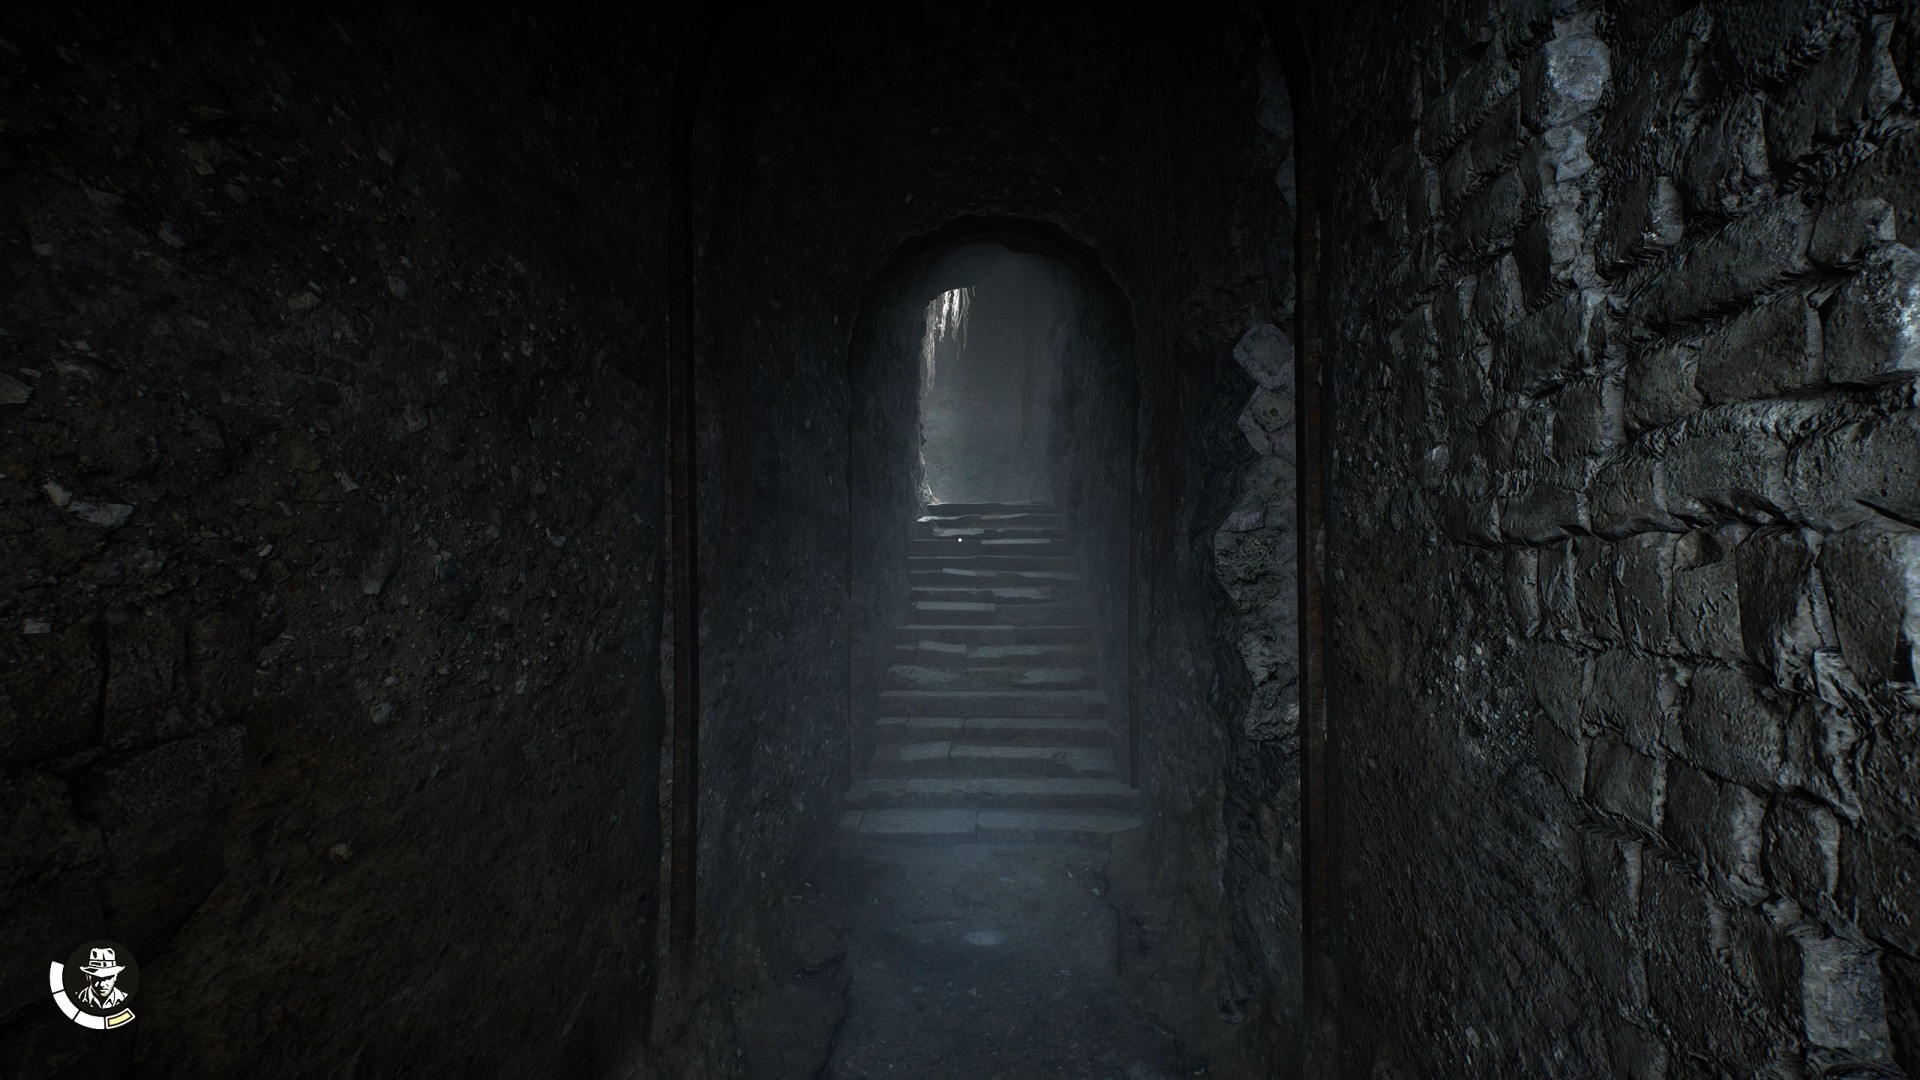
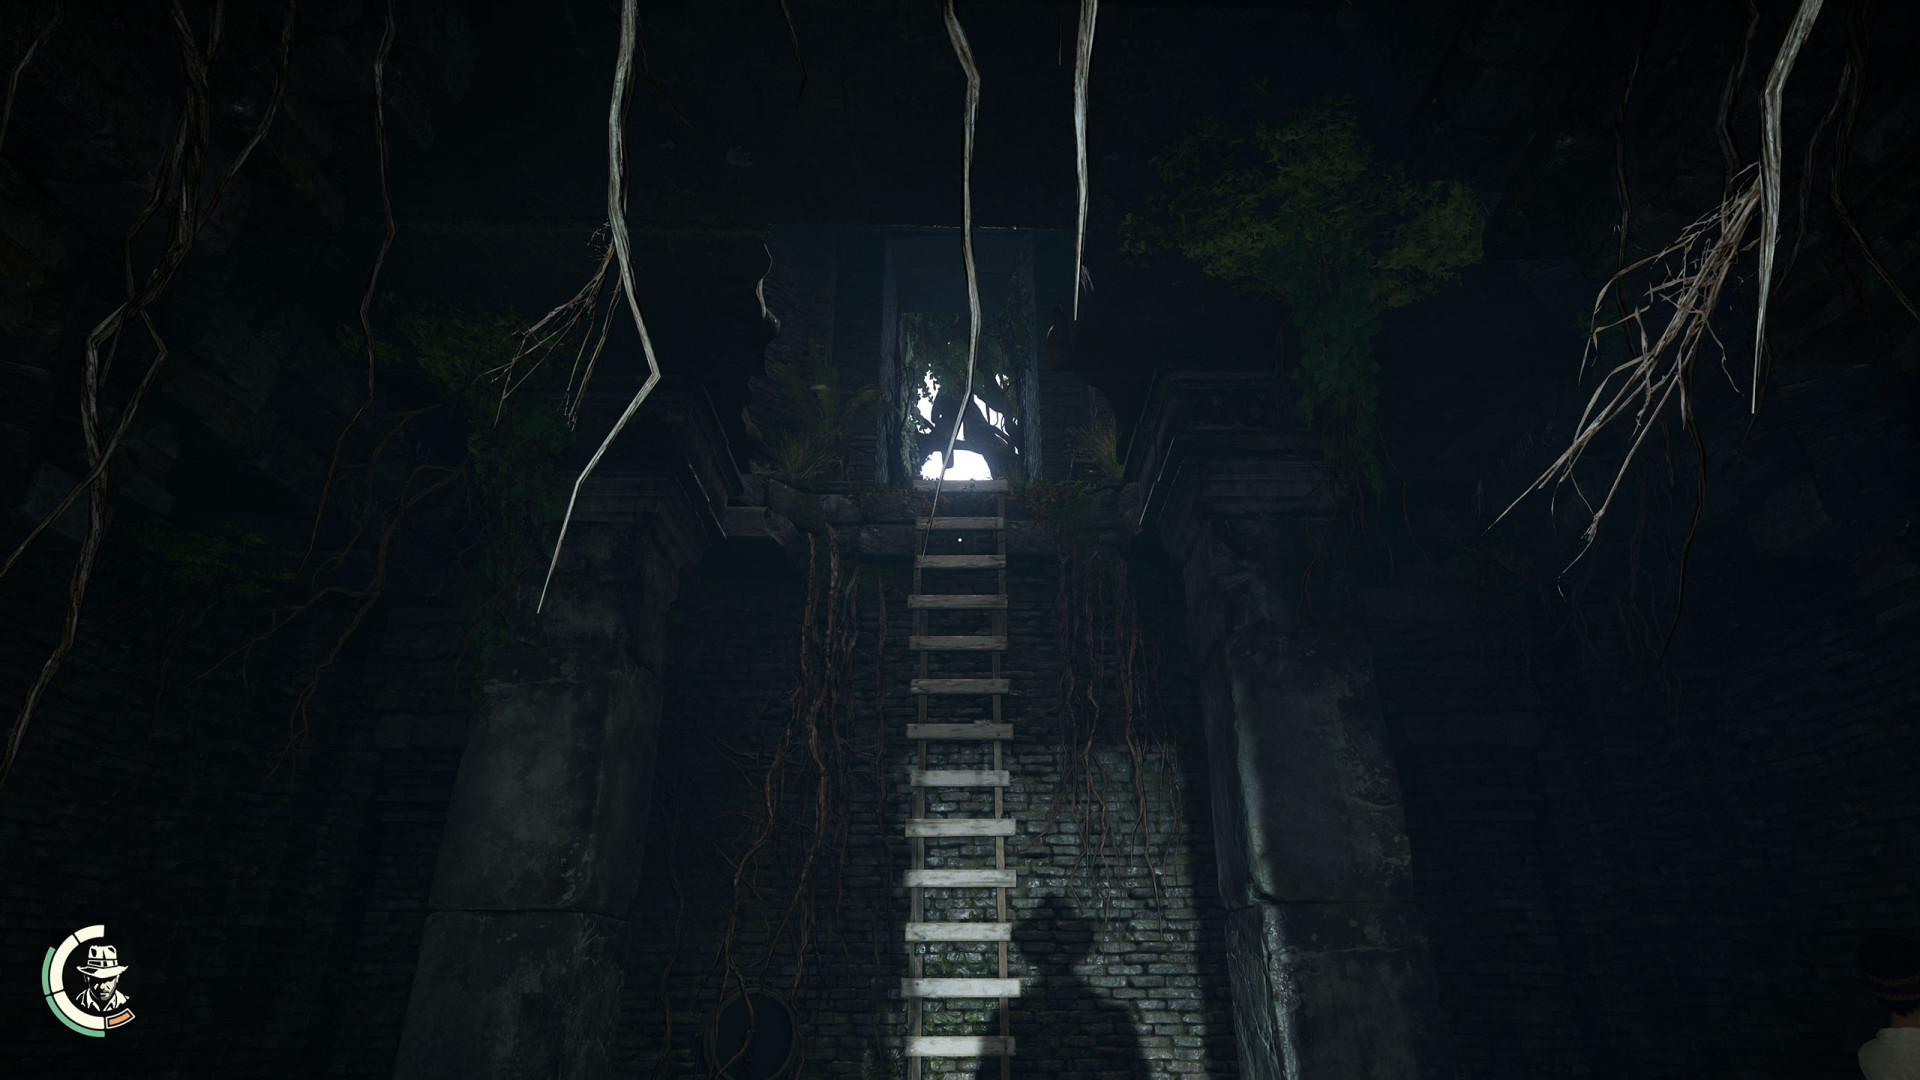
59Spiral Staircase
Related transition: Fountain Underground Entrance.
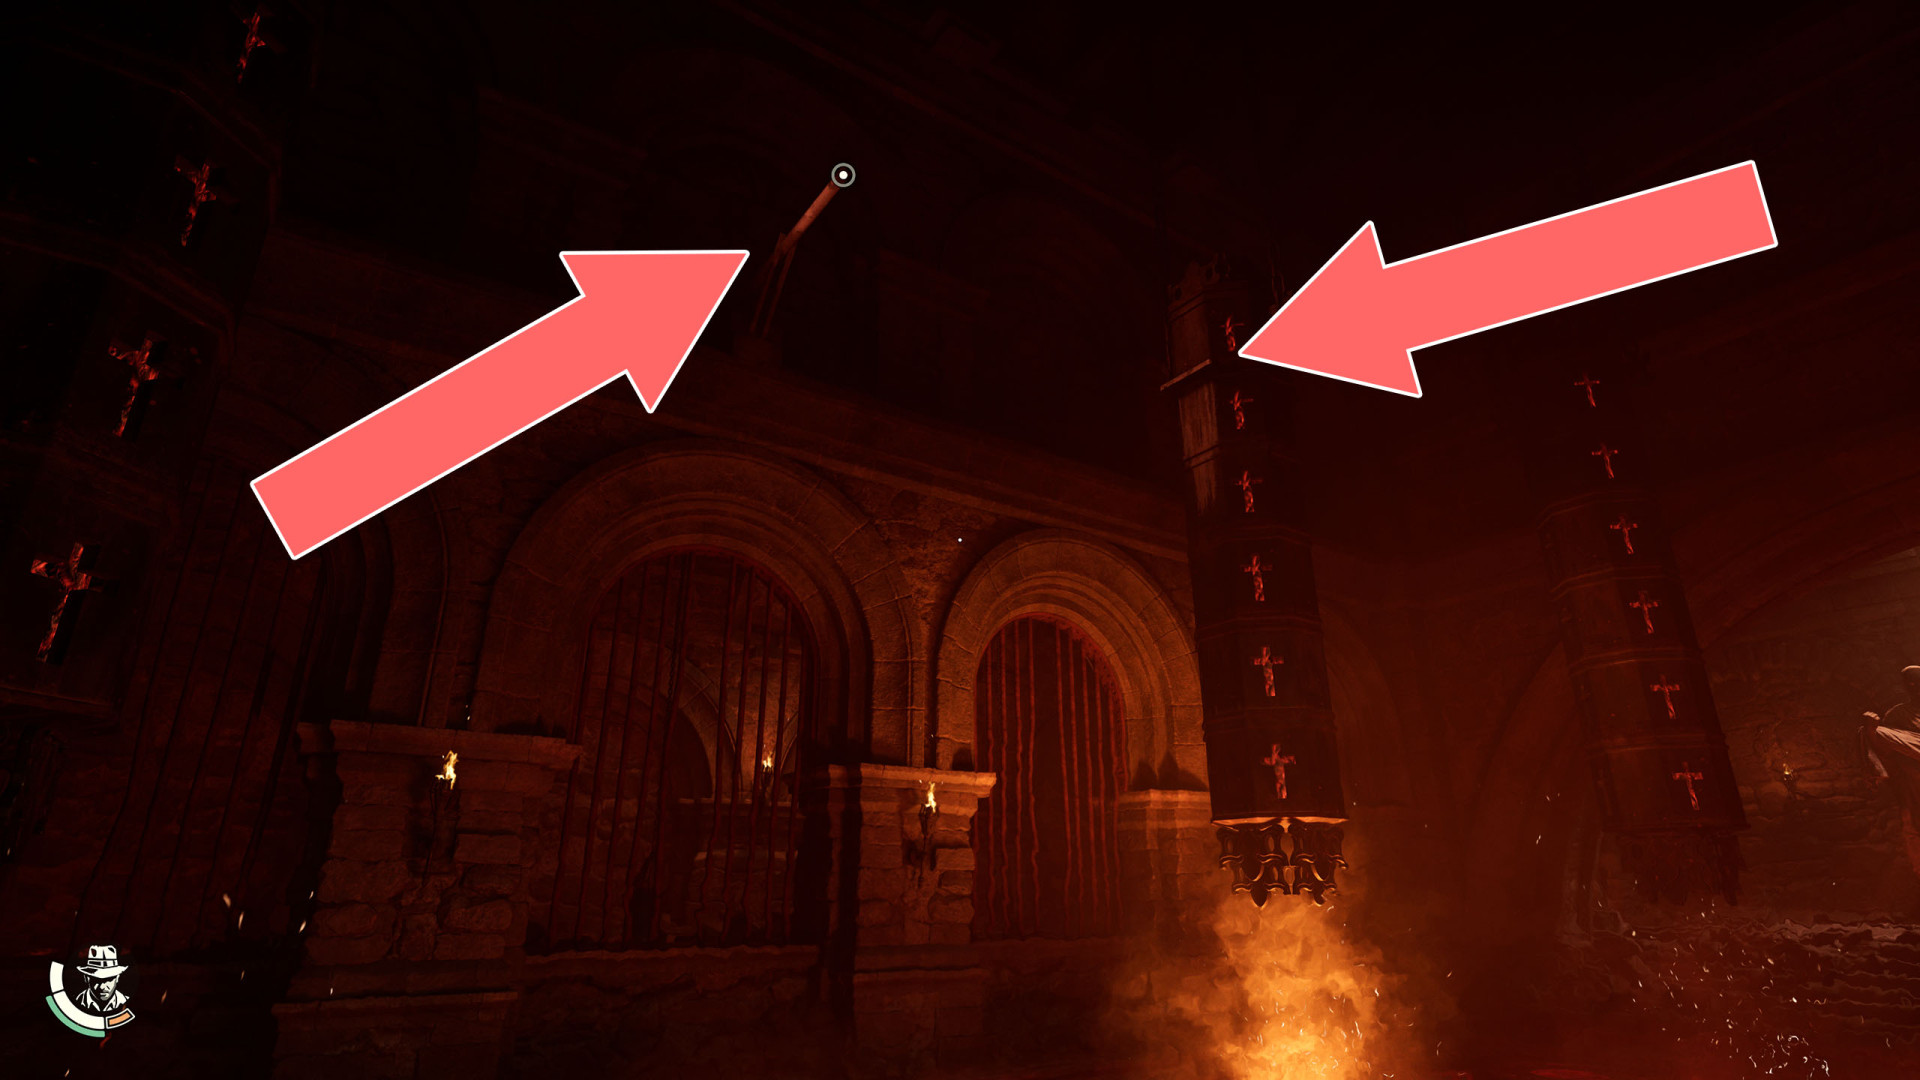
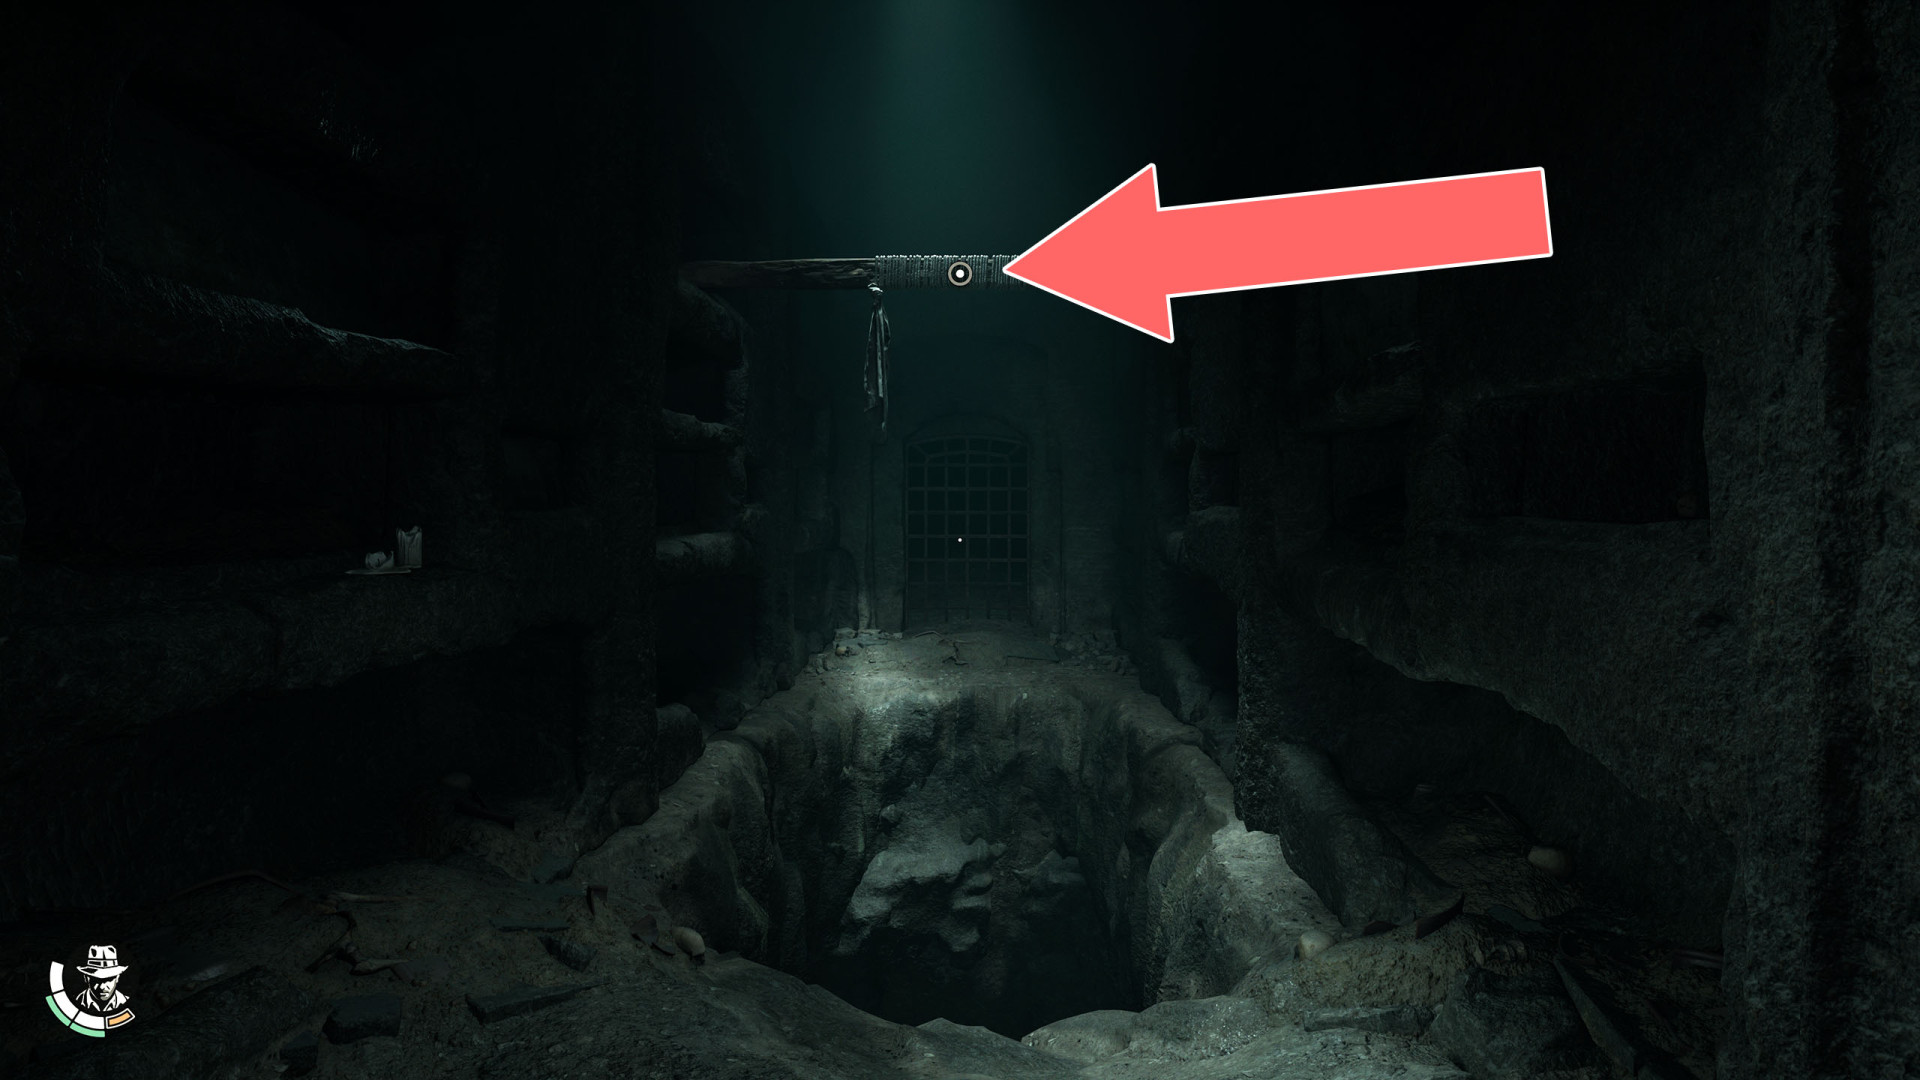
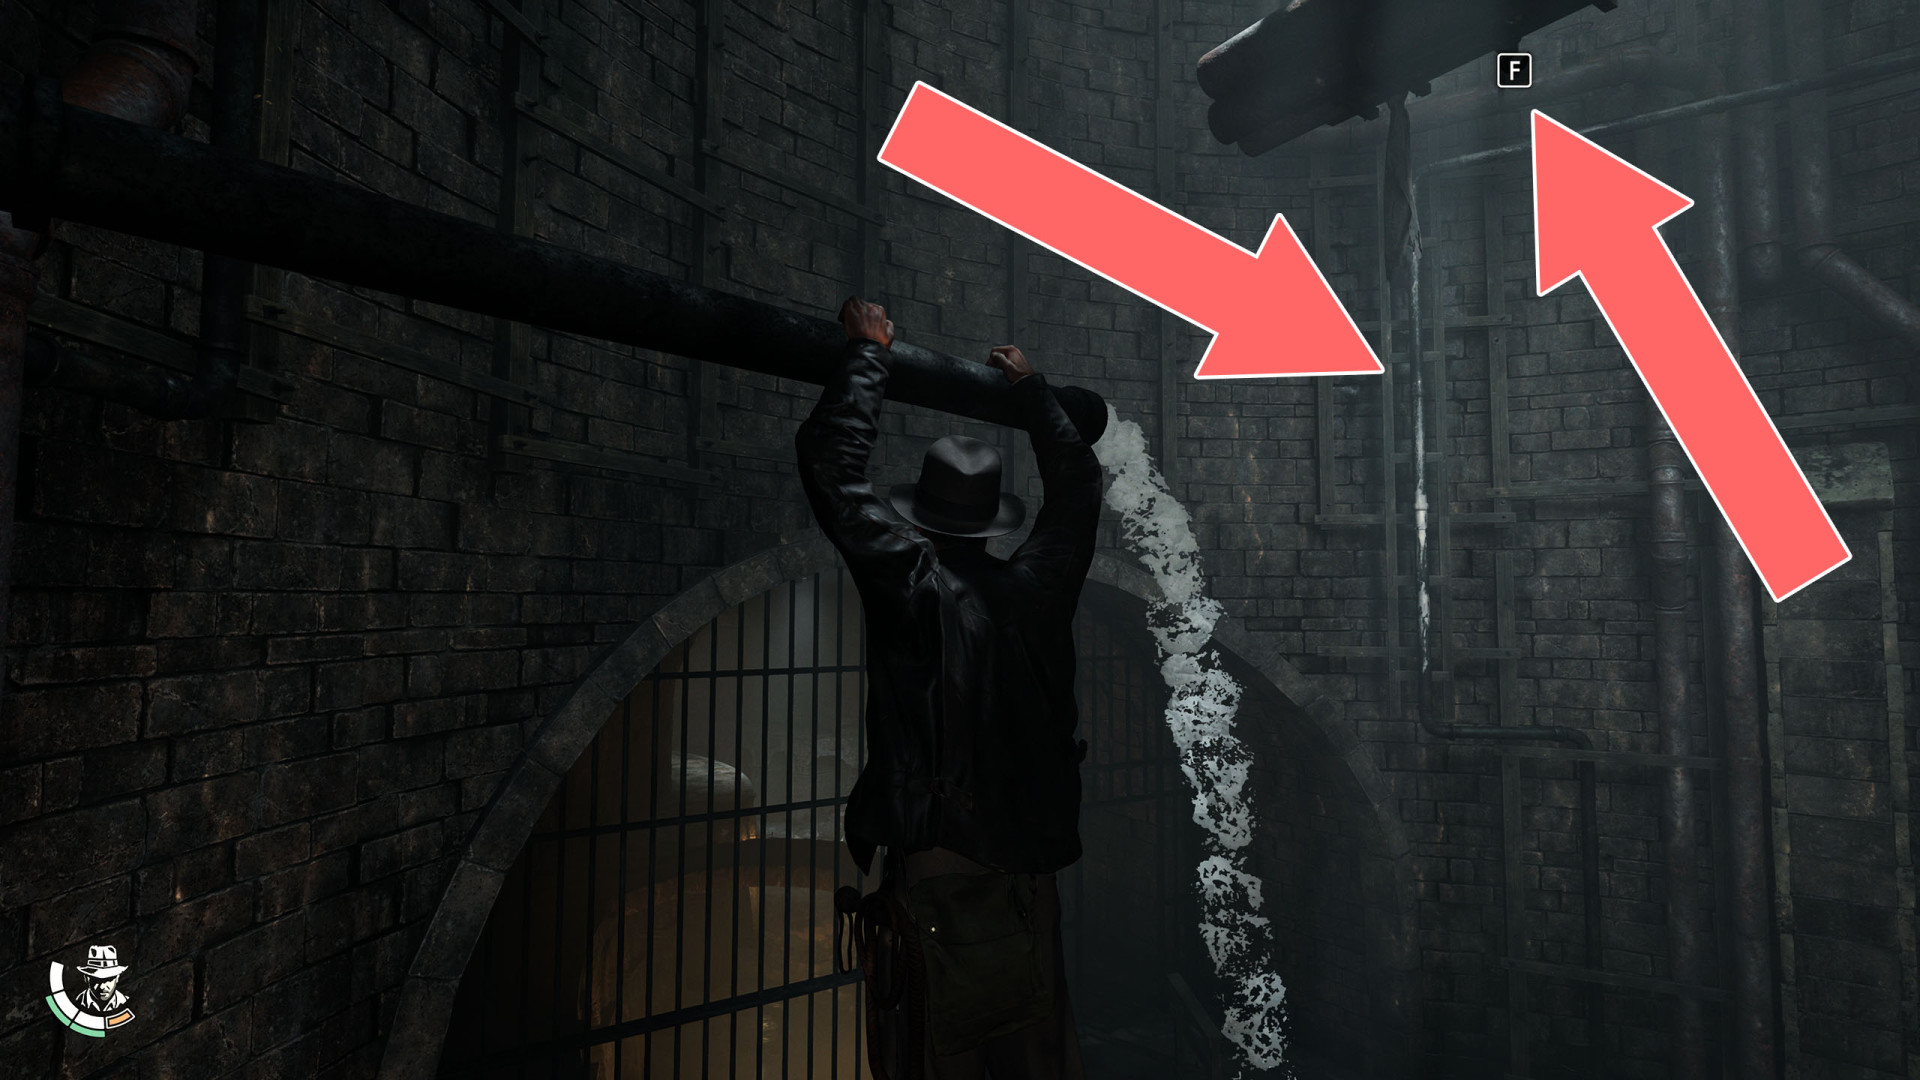
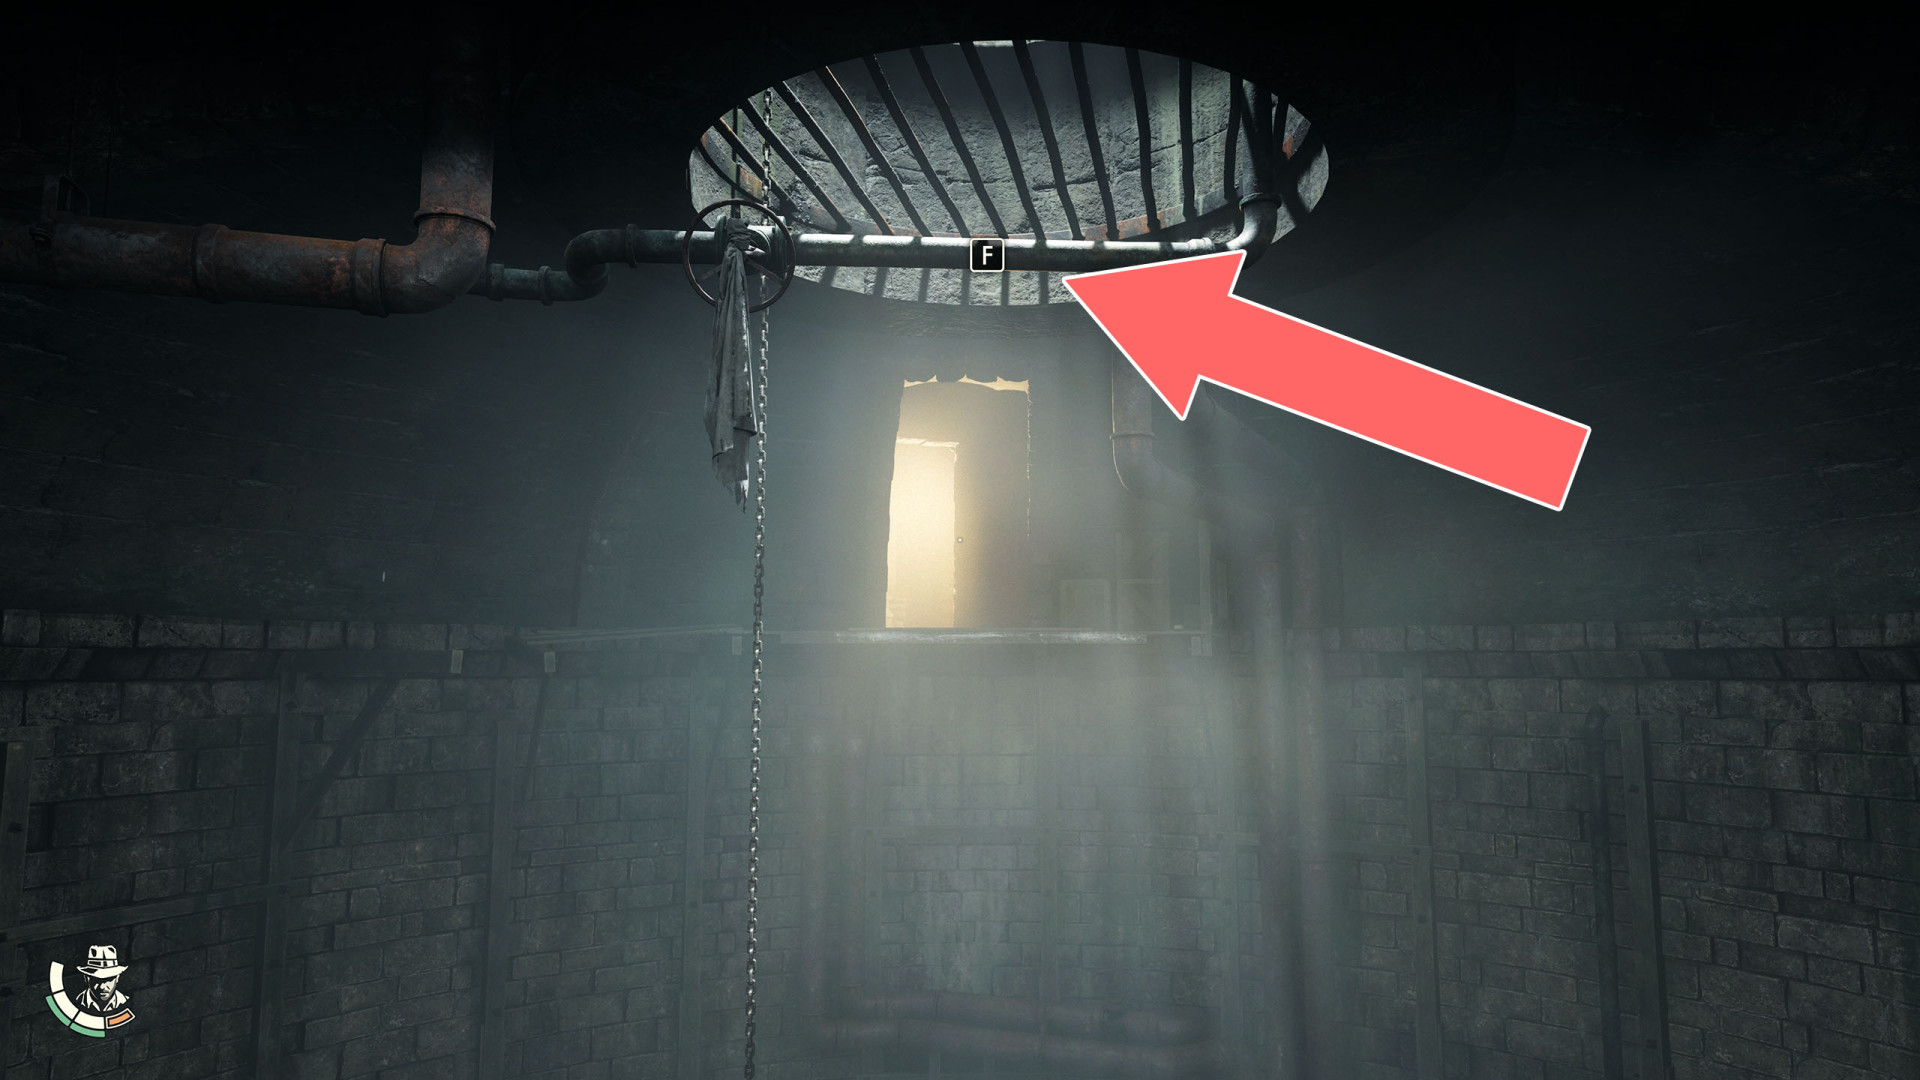
60Swing Point
Use the whip to swing to the pipe on the other side.
61Swing Point
62To Airship (Gizeh)
63To Castel Sant'Angelo

64To Lower Necropolis
Show the map
65To Necropolis

66To Necropolis
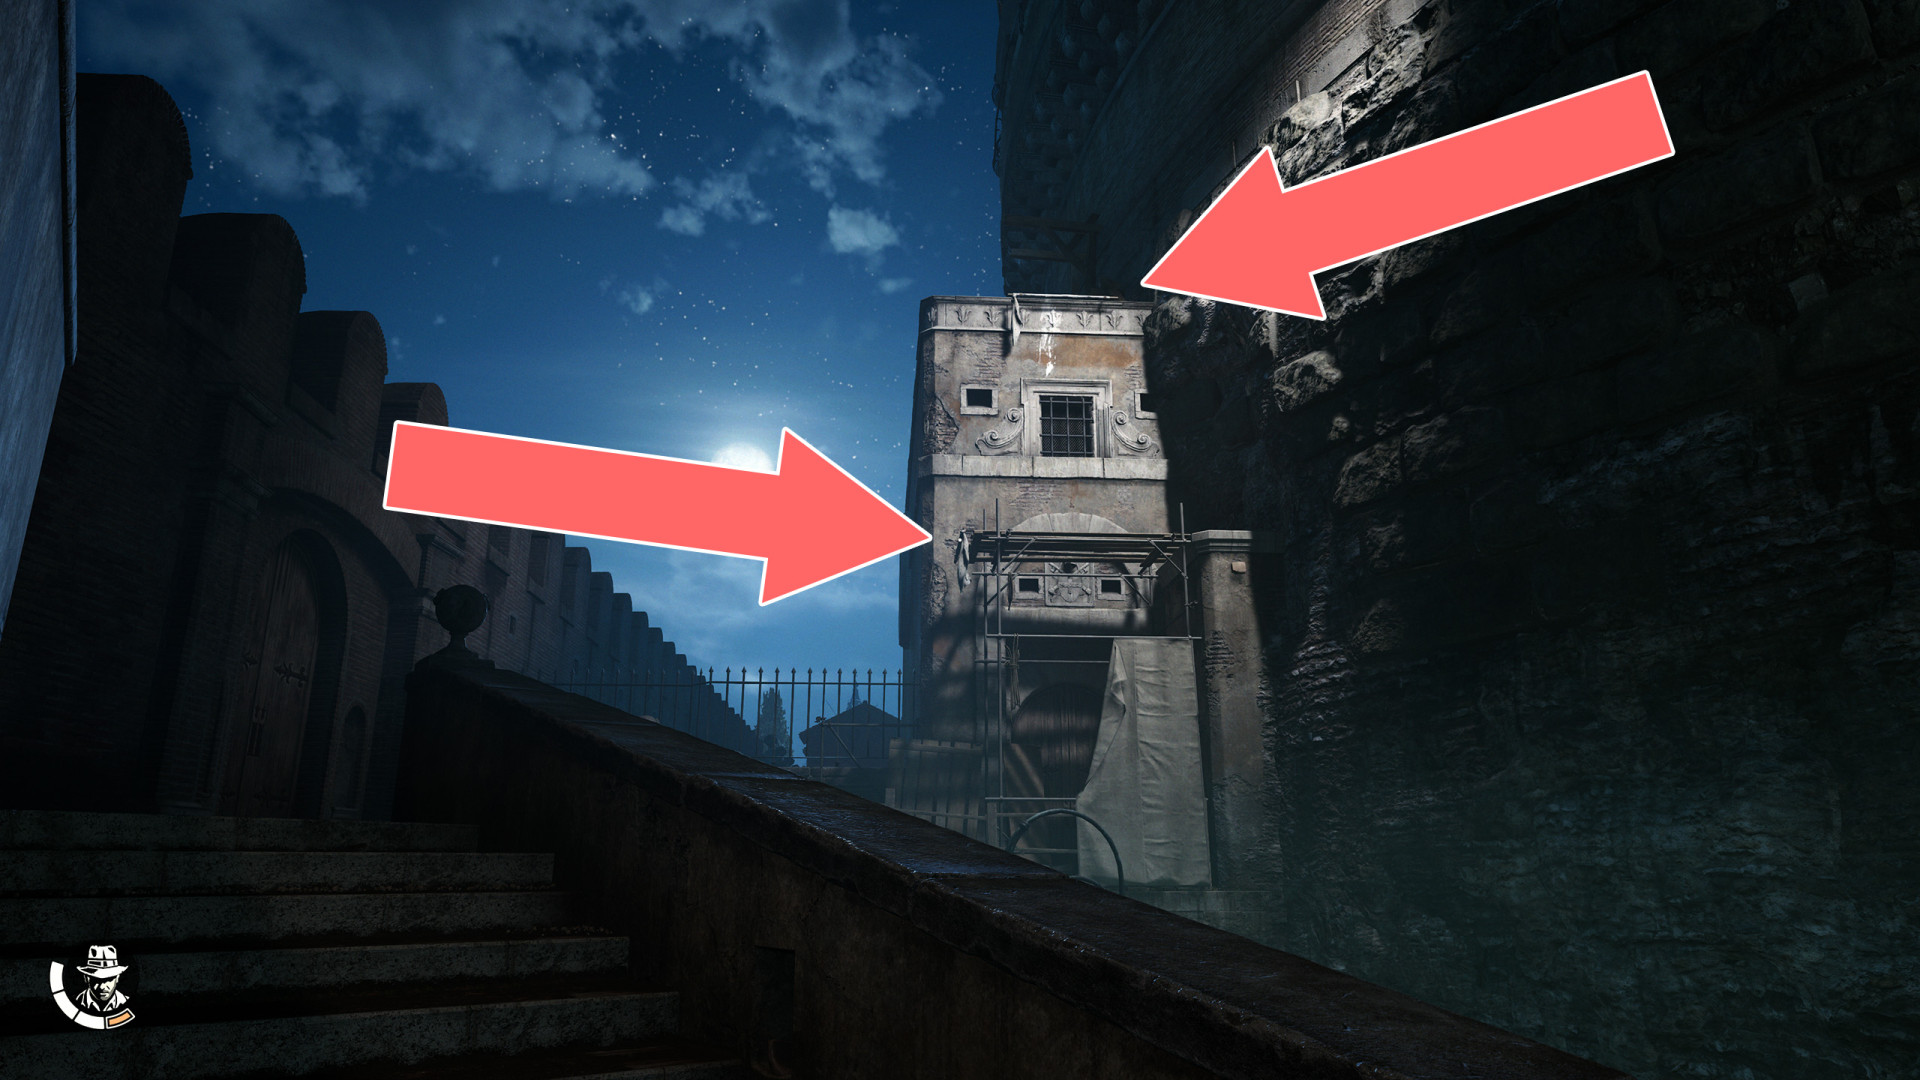
67To the Tower of Nicholas V
68To the Tower of Nicholas V (Scaffolding)
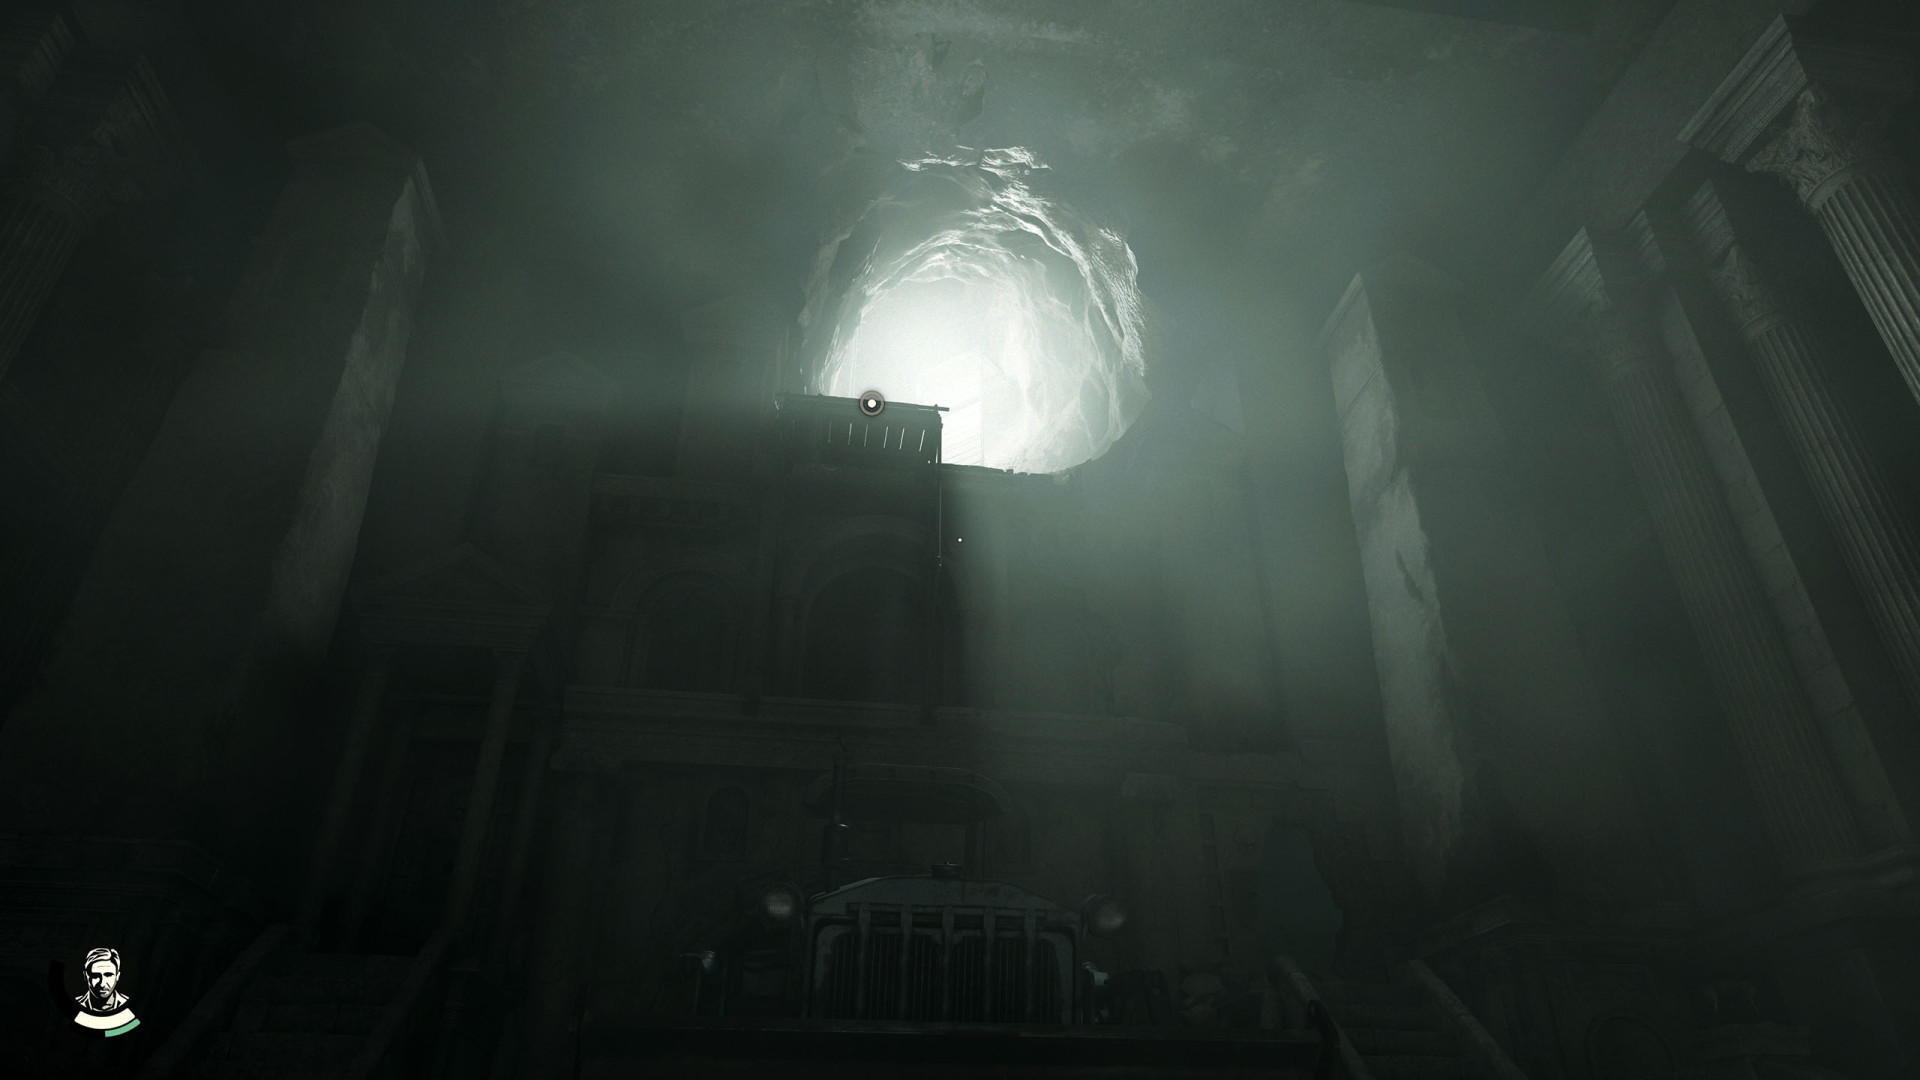
69To the Underworld
Show the map
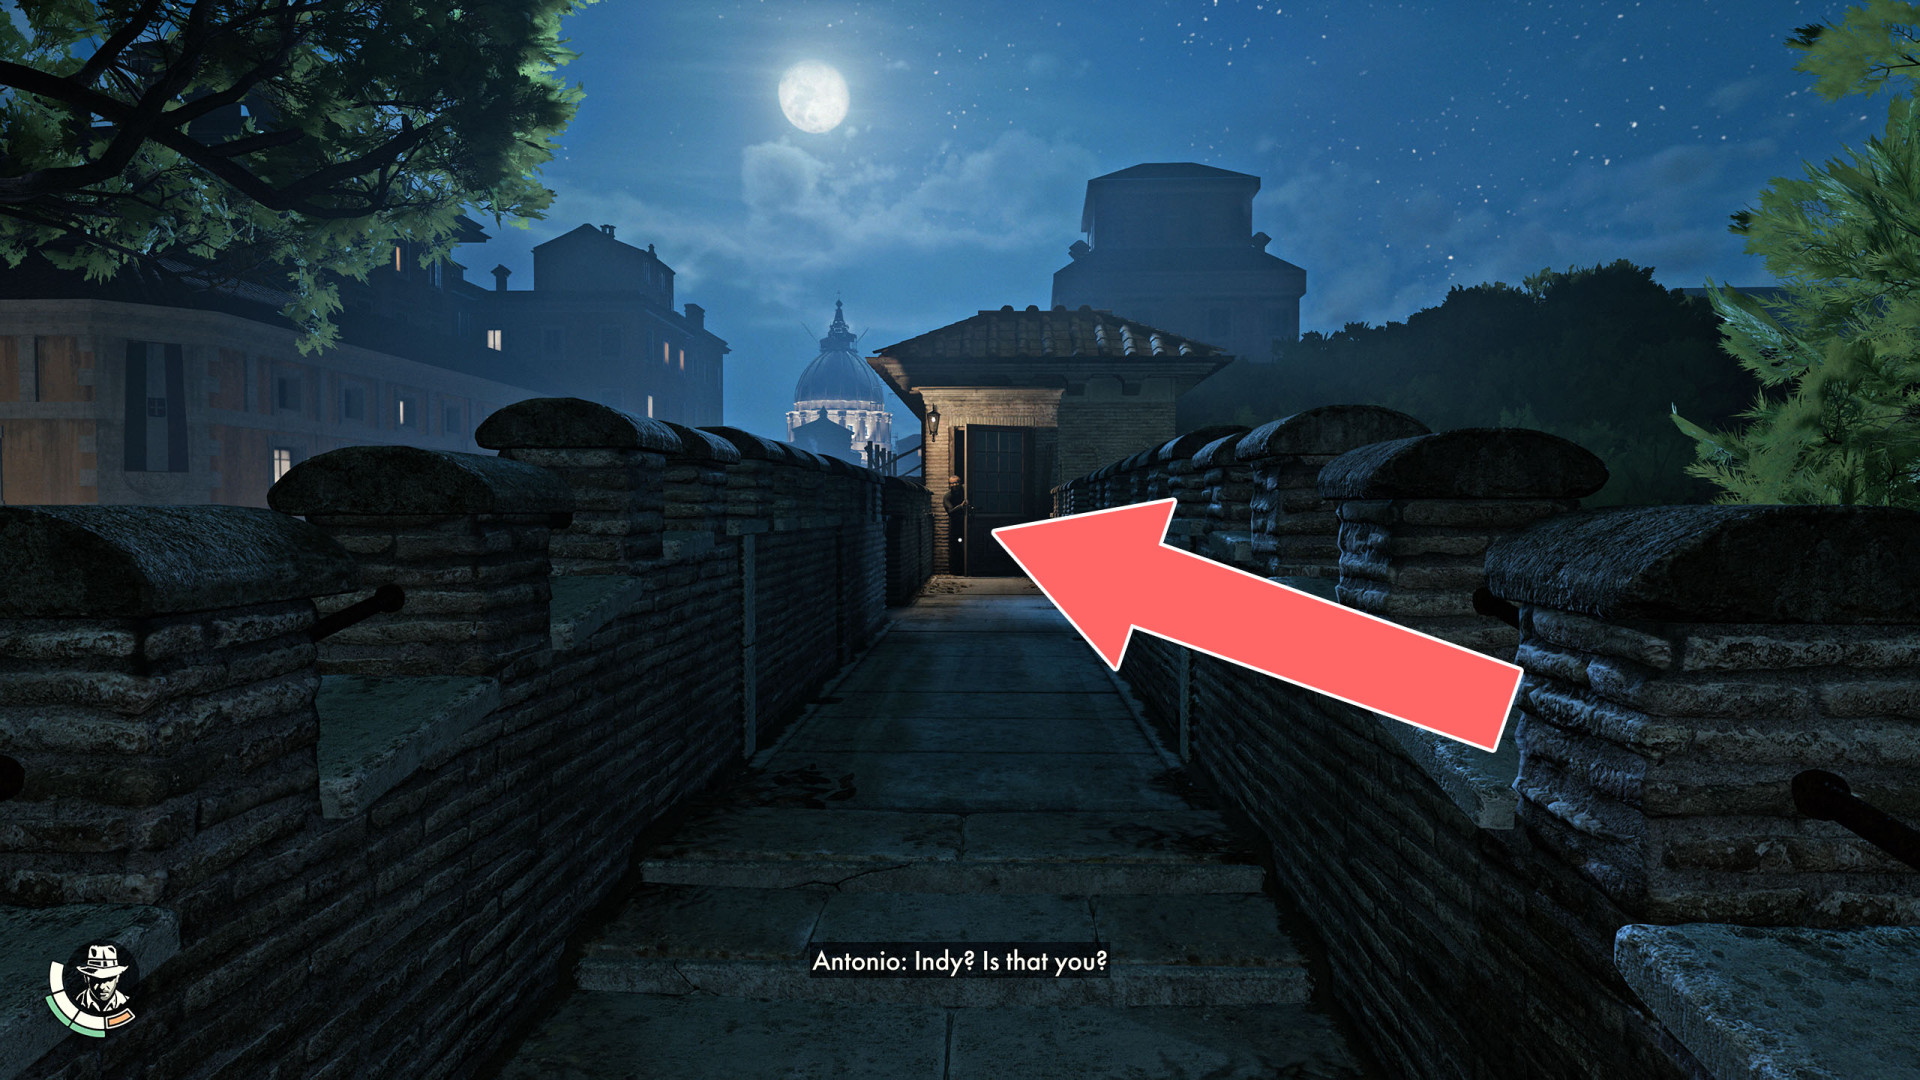
70To the Vatican
Antonio is waiting for you here.
71To the Vatican (Apostolic Palace)
72To the Vatican (Main Entrance)
73To the Vatican (Museum Exit)
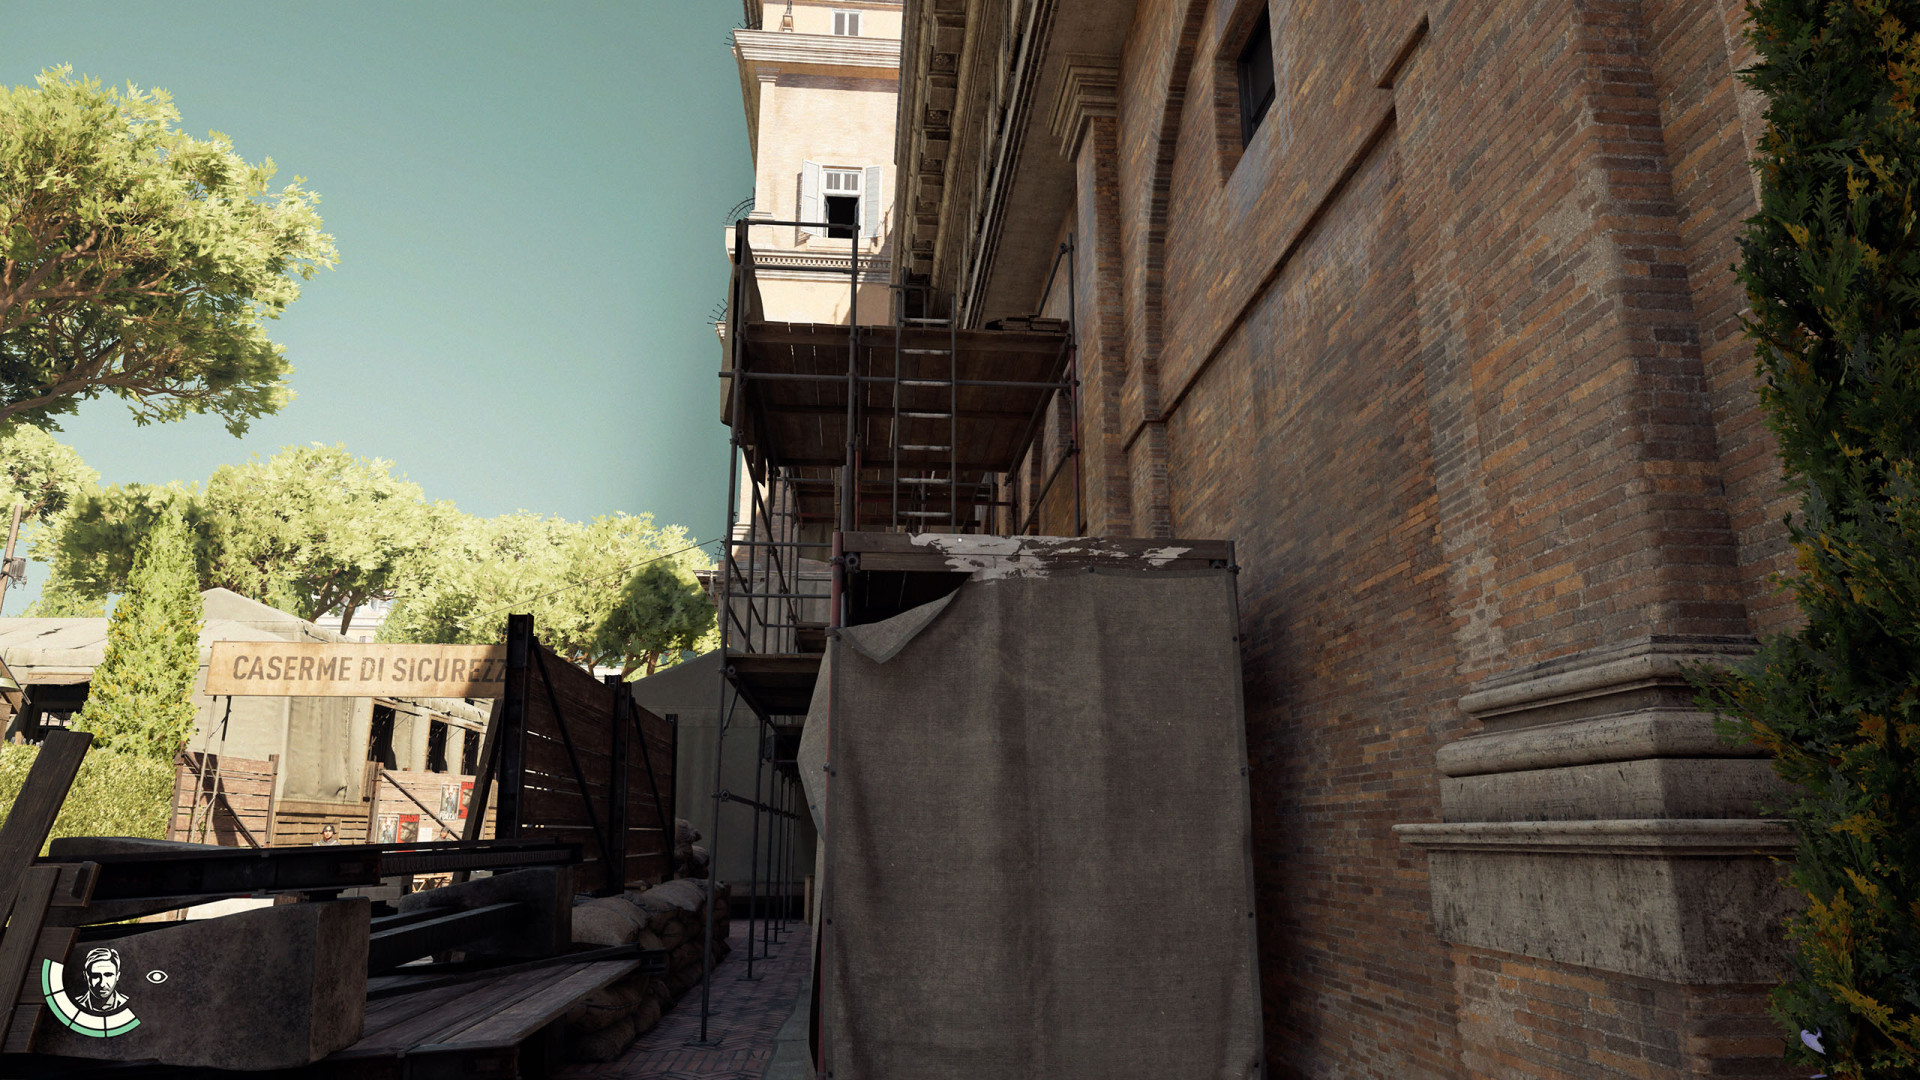
74To the Vatican (Scaffolding)
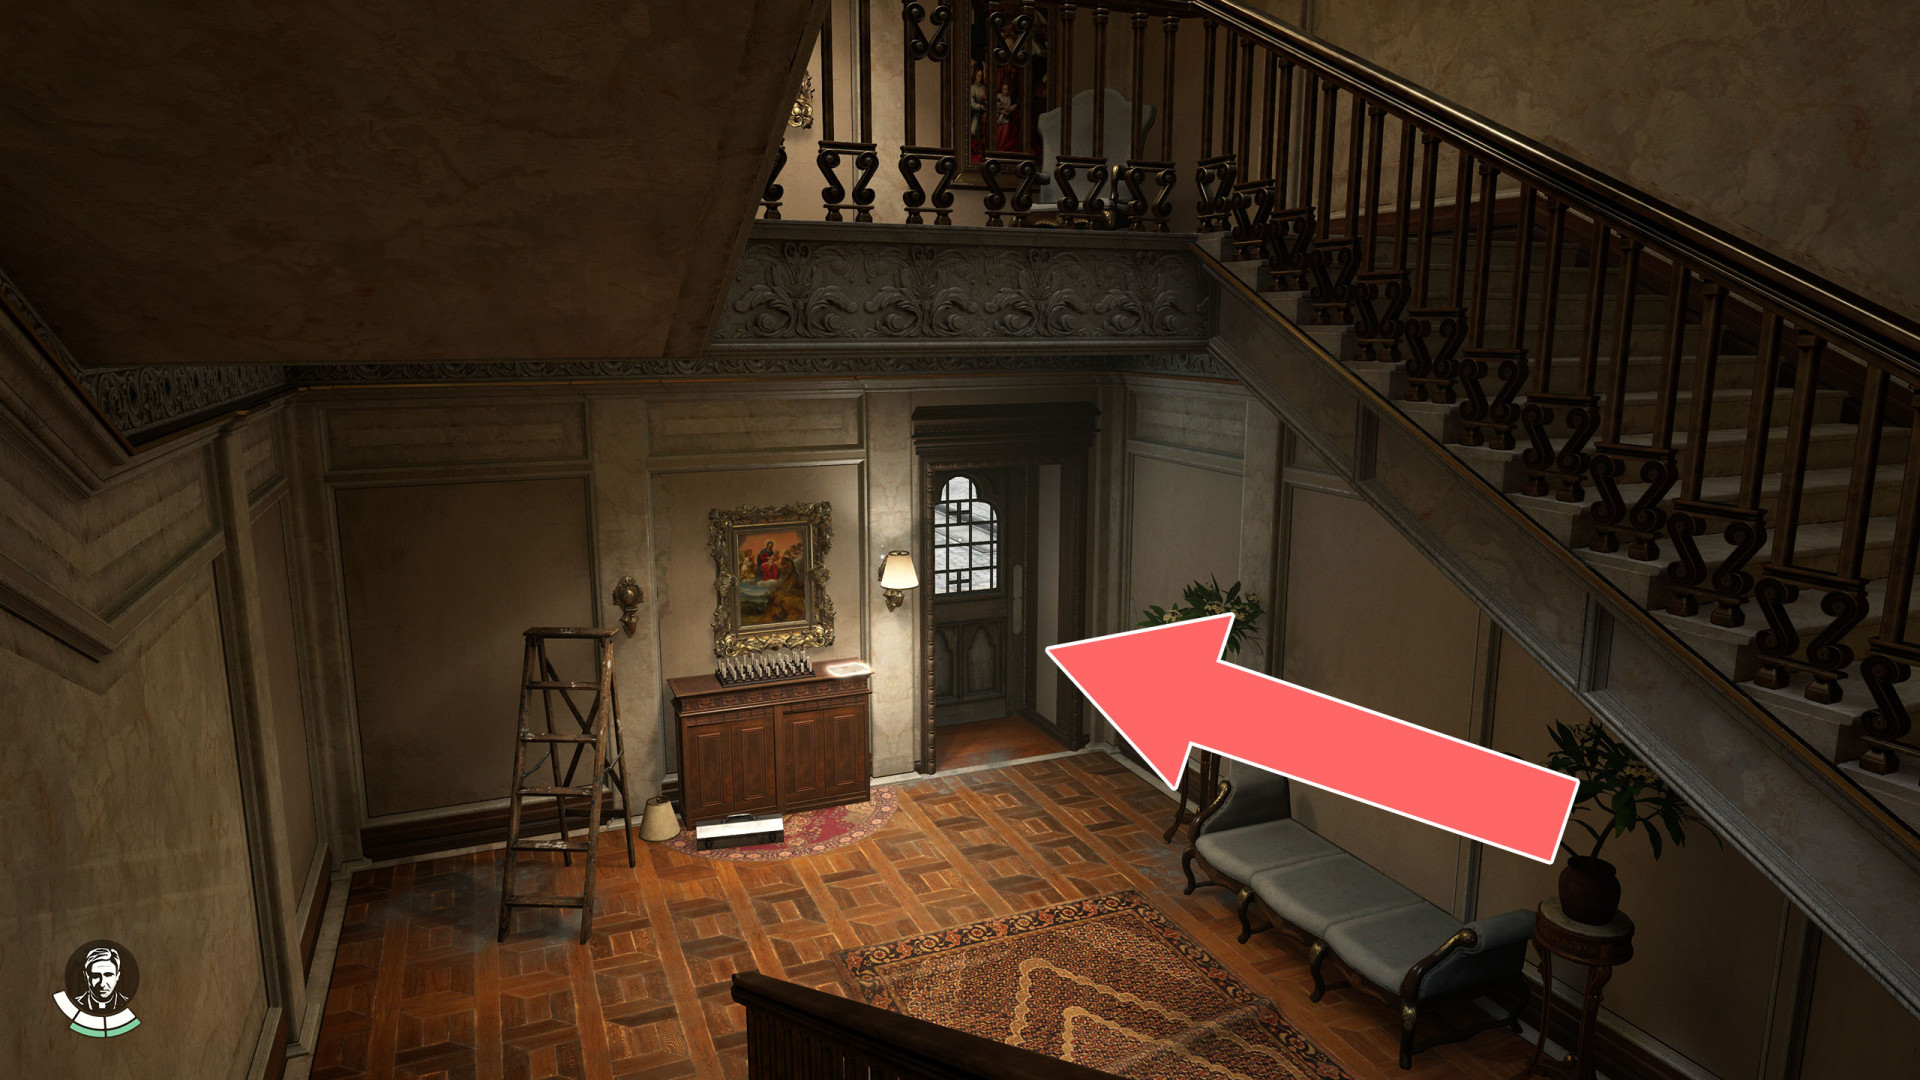
75To the Vatican City
Exit from the library to the city area. The door is located at the bottom of the staircase.
76To Underworld
77To Vatican City
Related marker: To Underworld.
78Tower of Nicholas V Main Entrance
79Underground
80Underwater Passage
To pass this way you need to revisit the Vatican after you reach the Sukhothai and buy the Rebreather. Dive, equip the Rebreather, swim inside, move the beam blocking the way and swim forward.
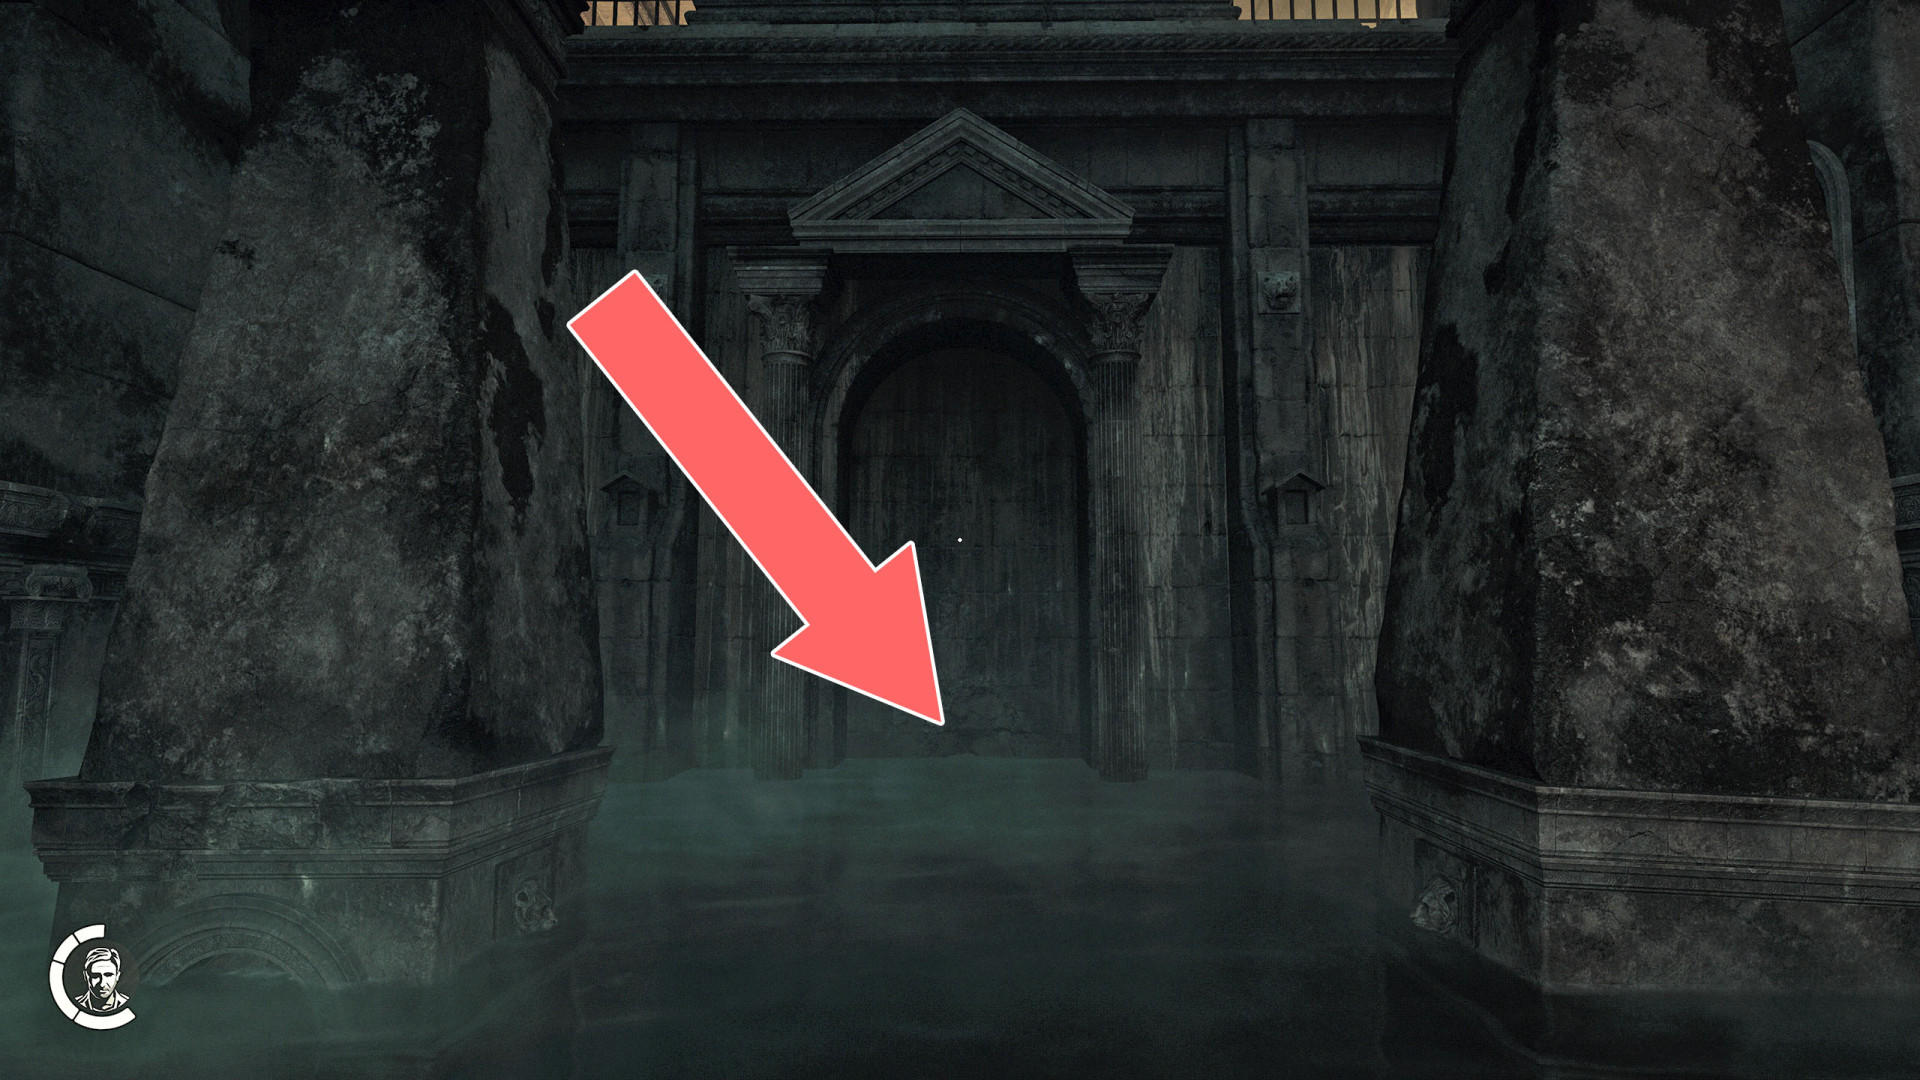
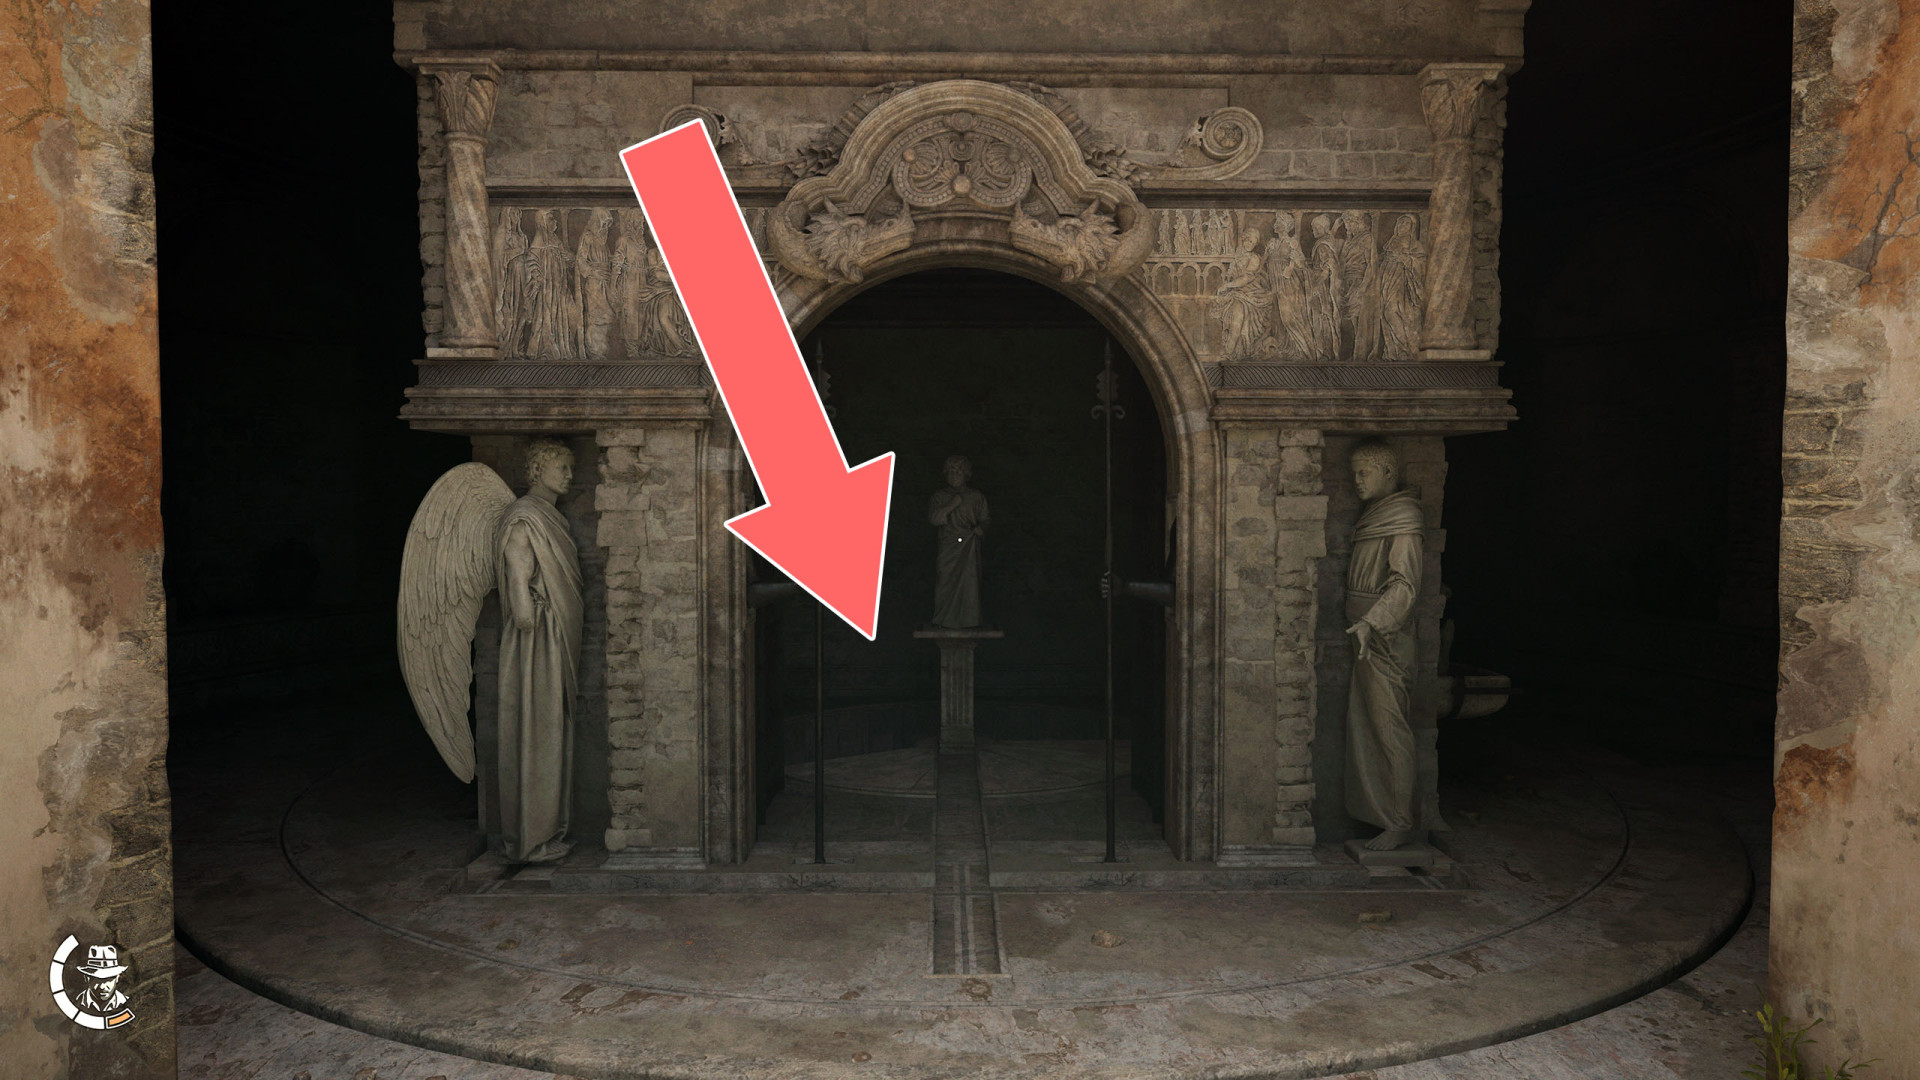
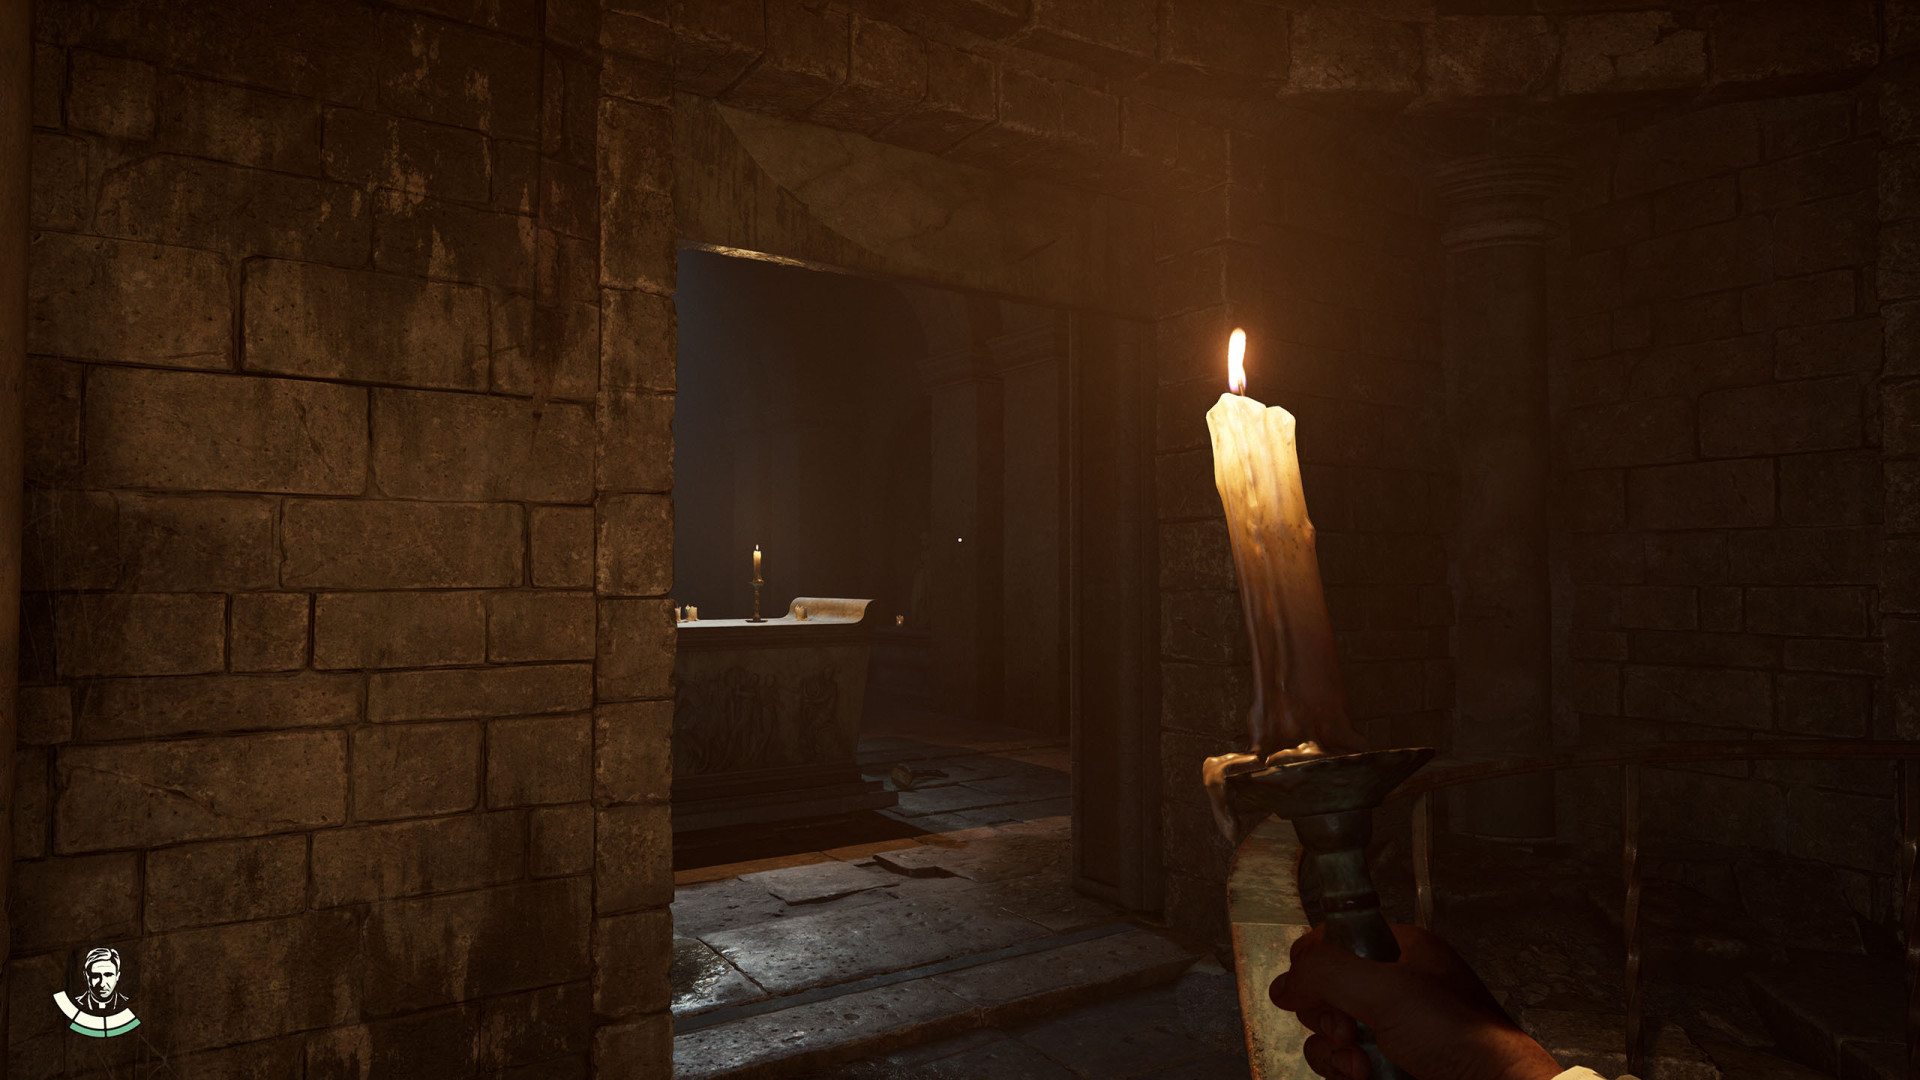
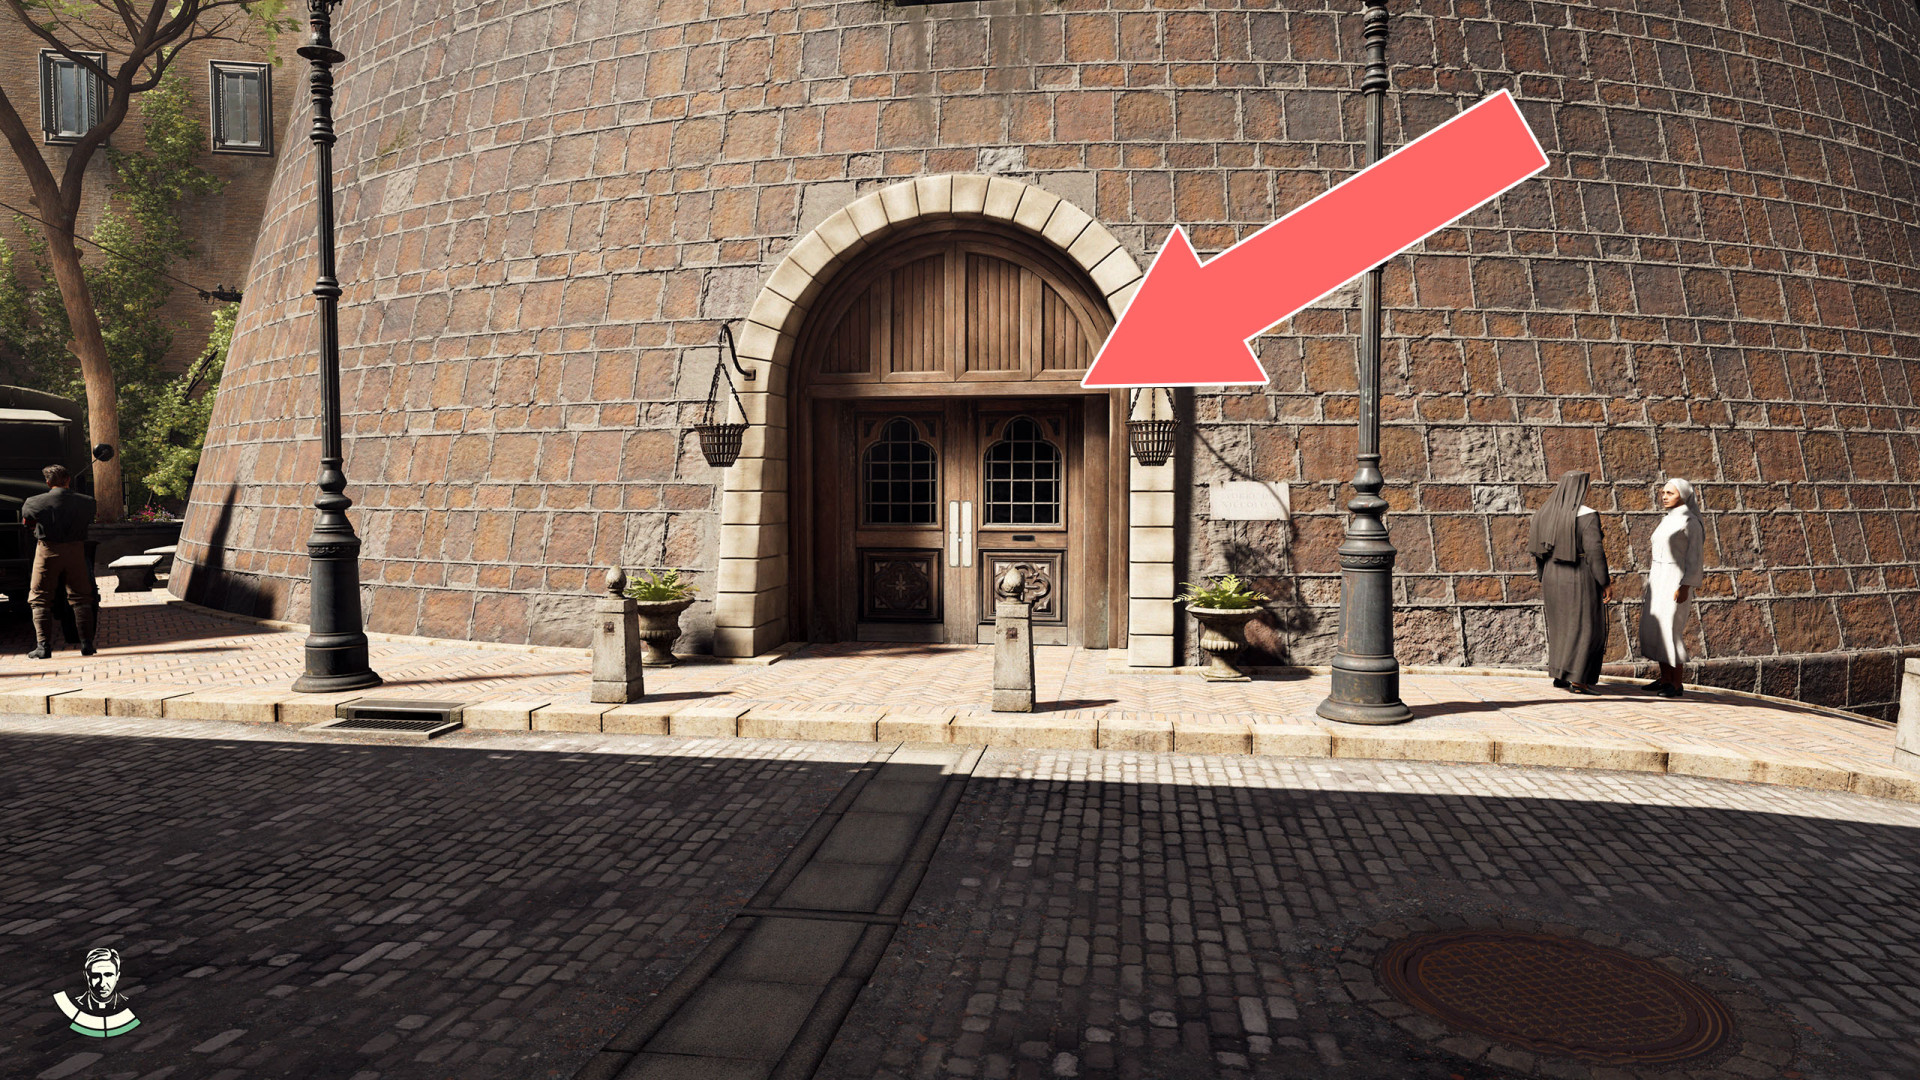
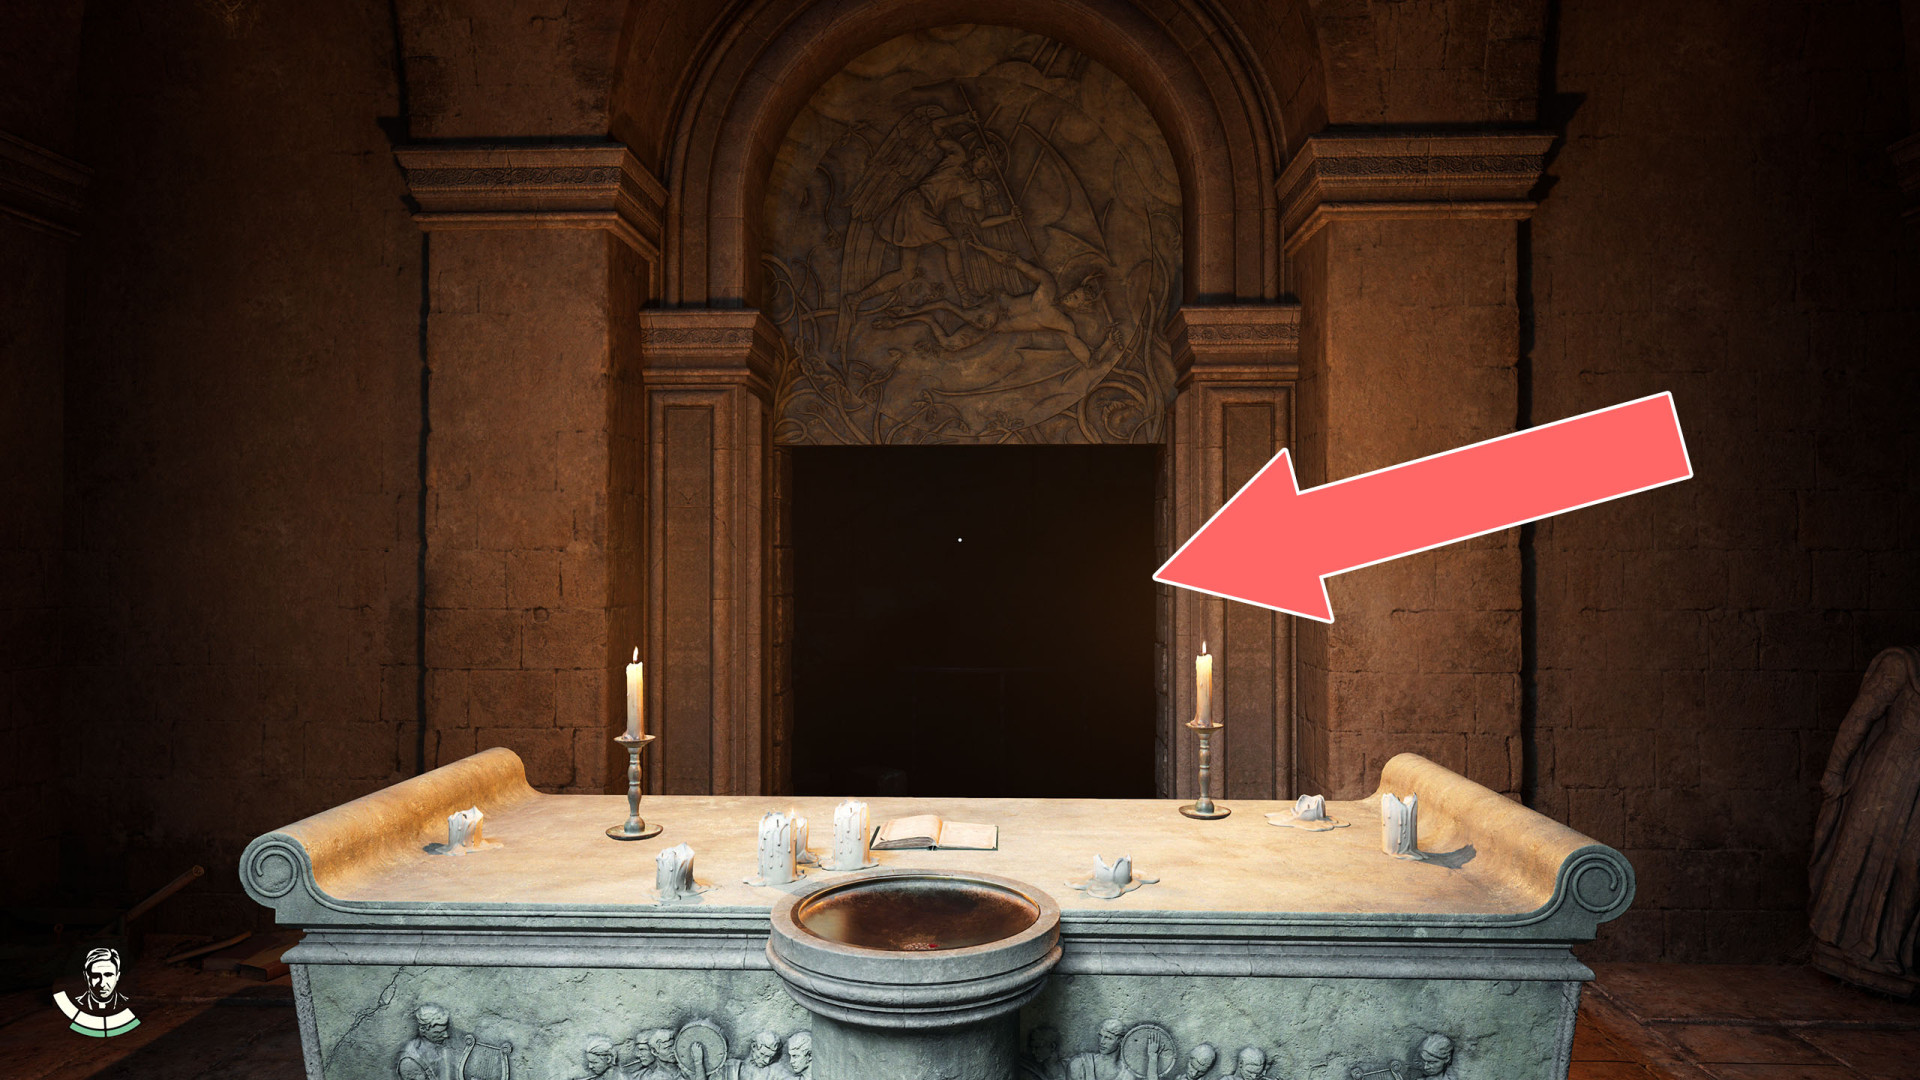
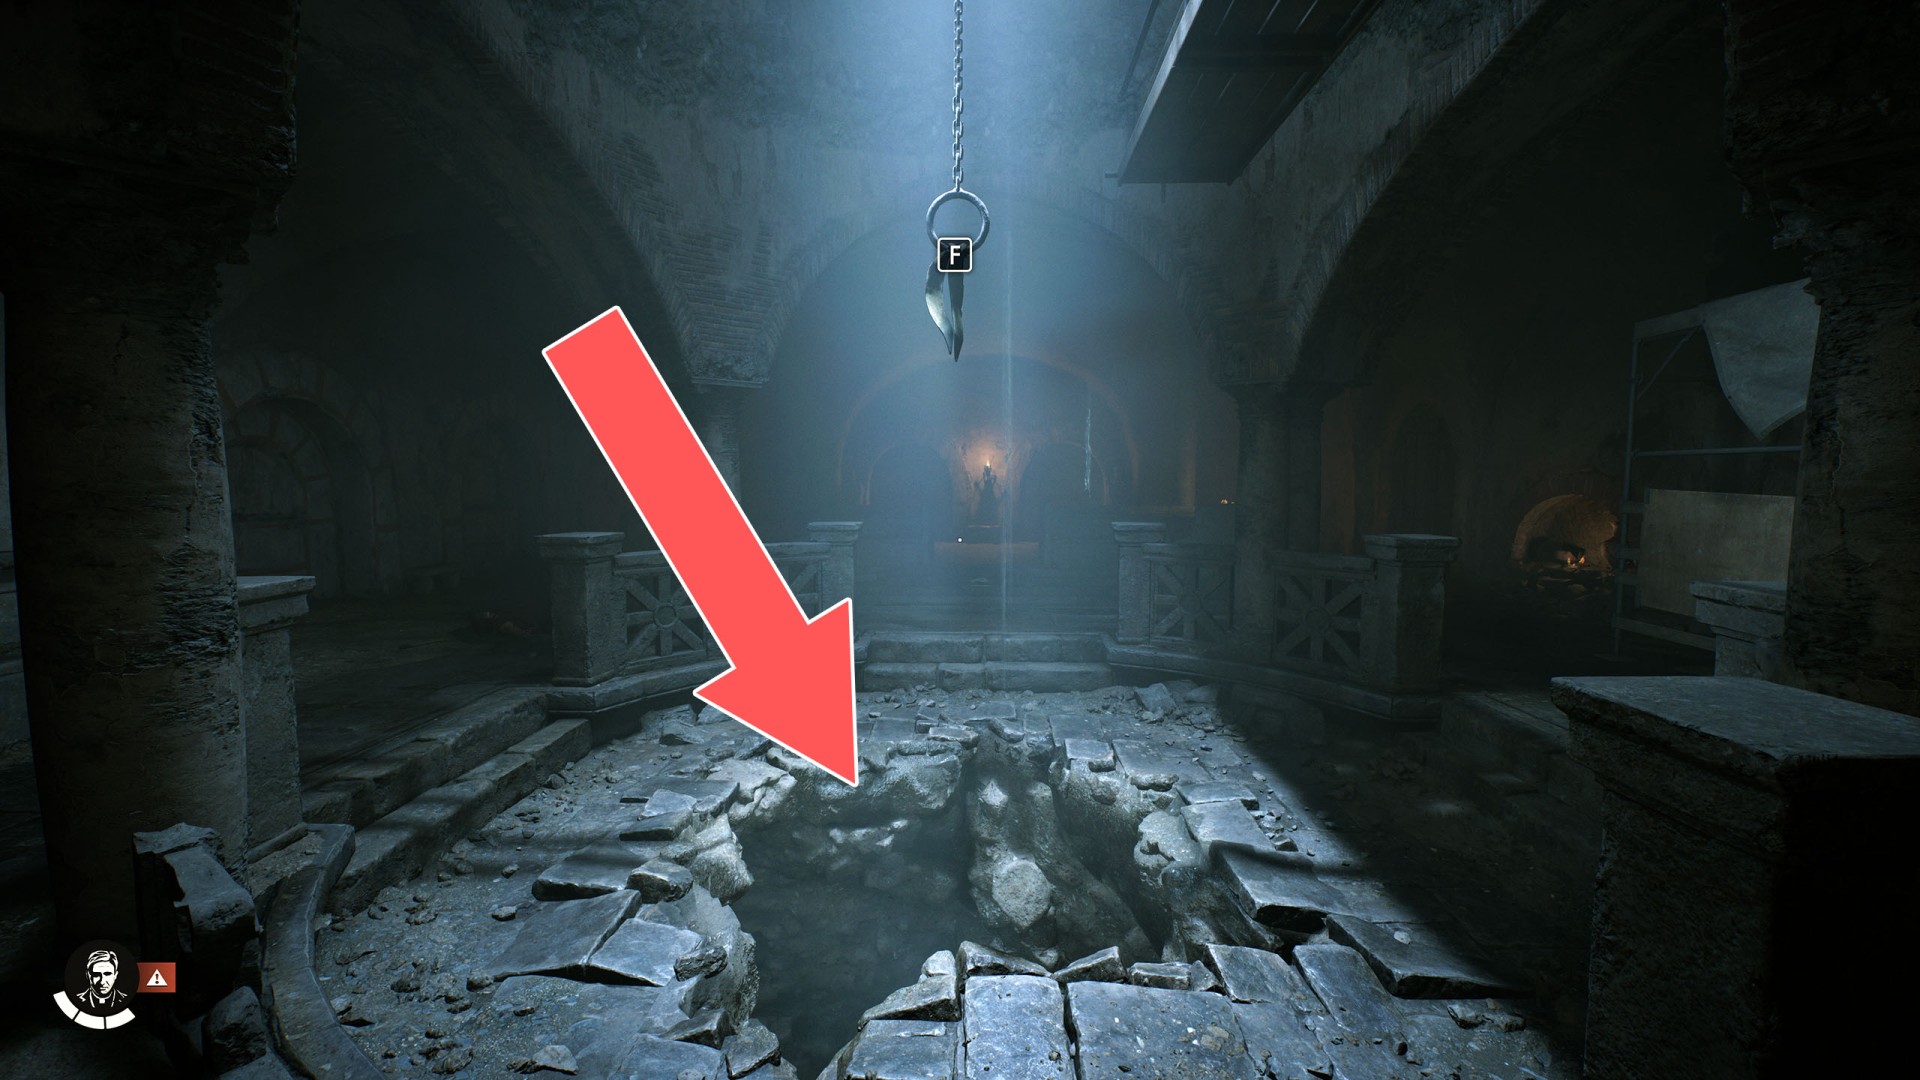
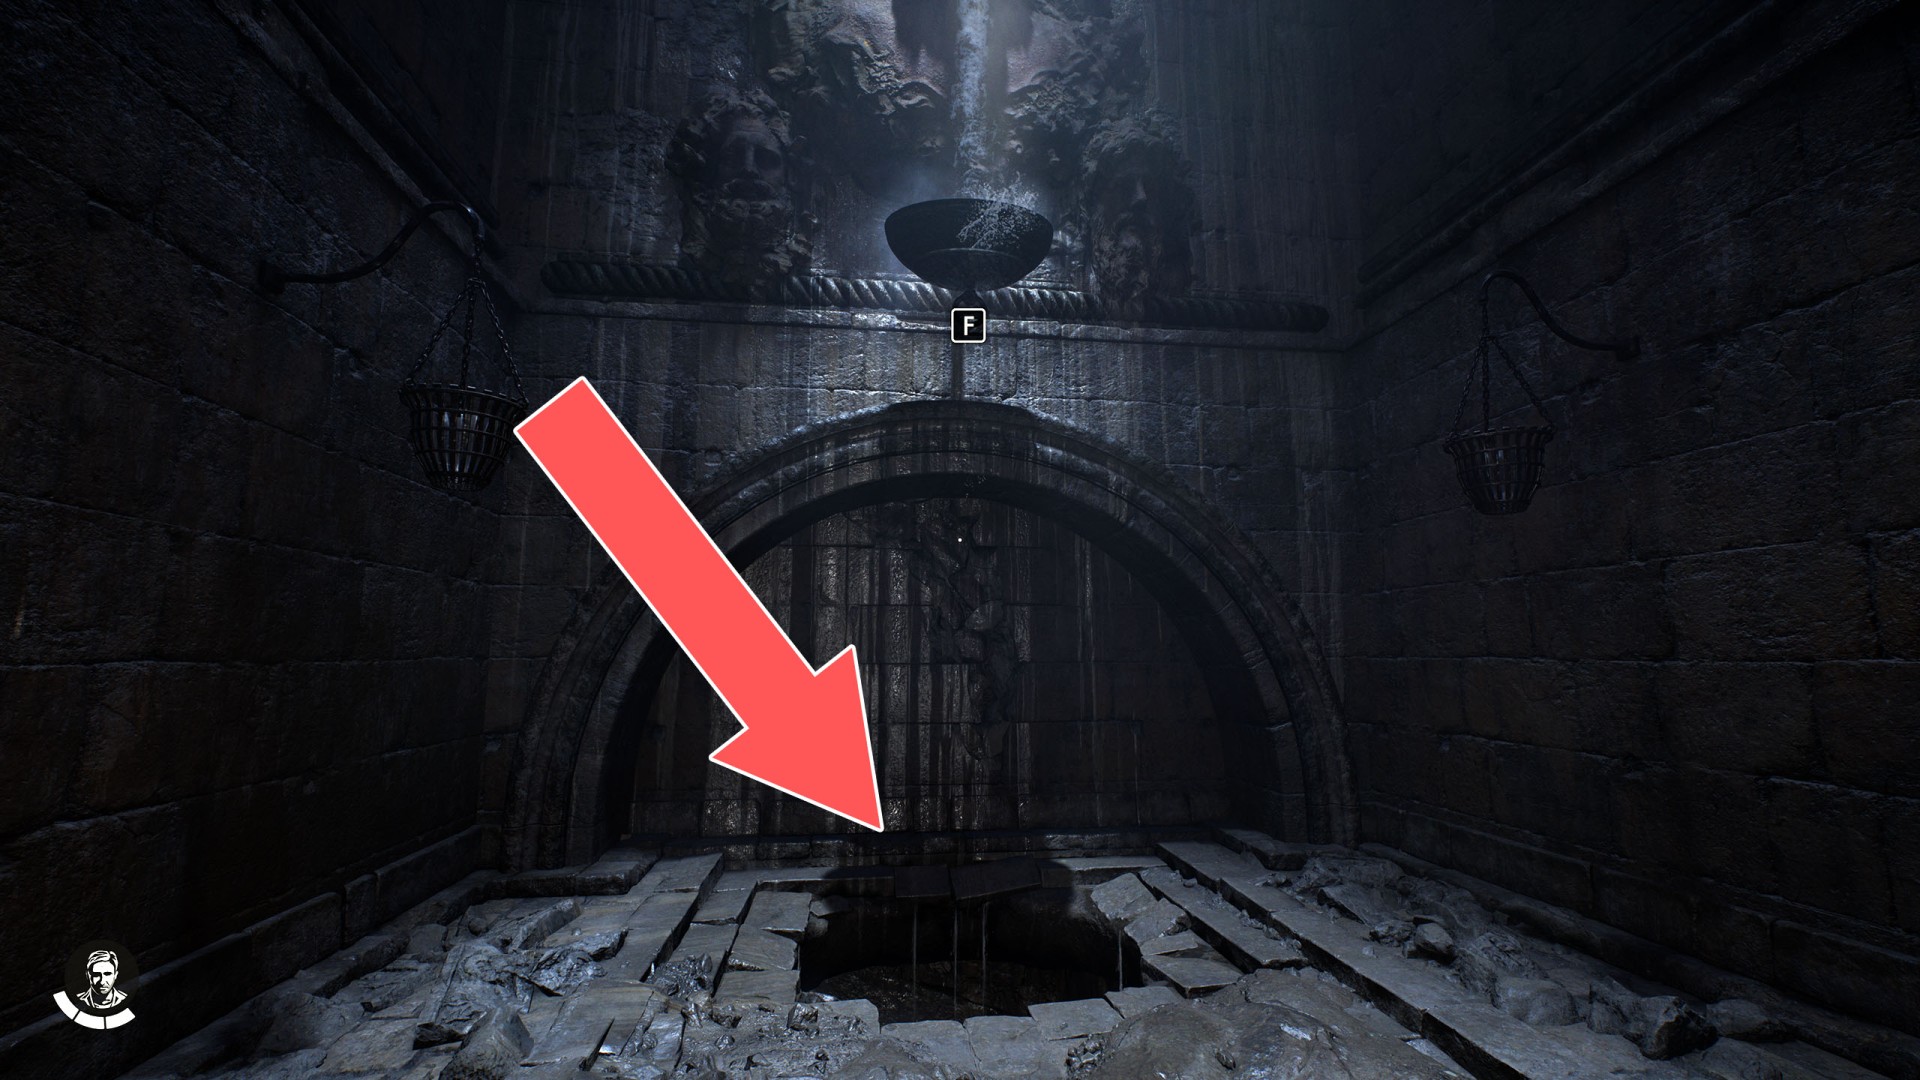
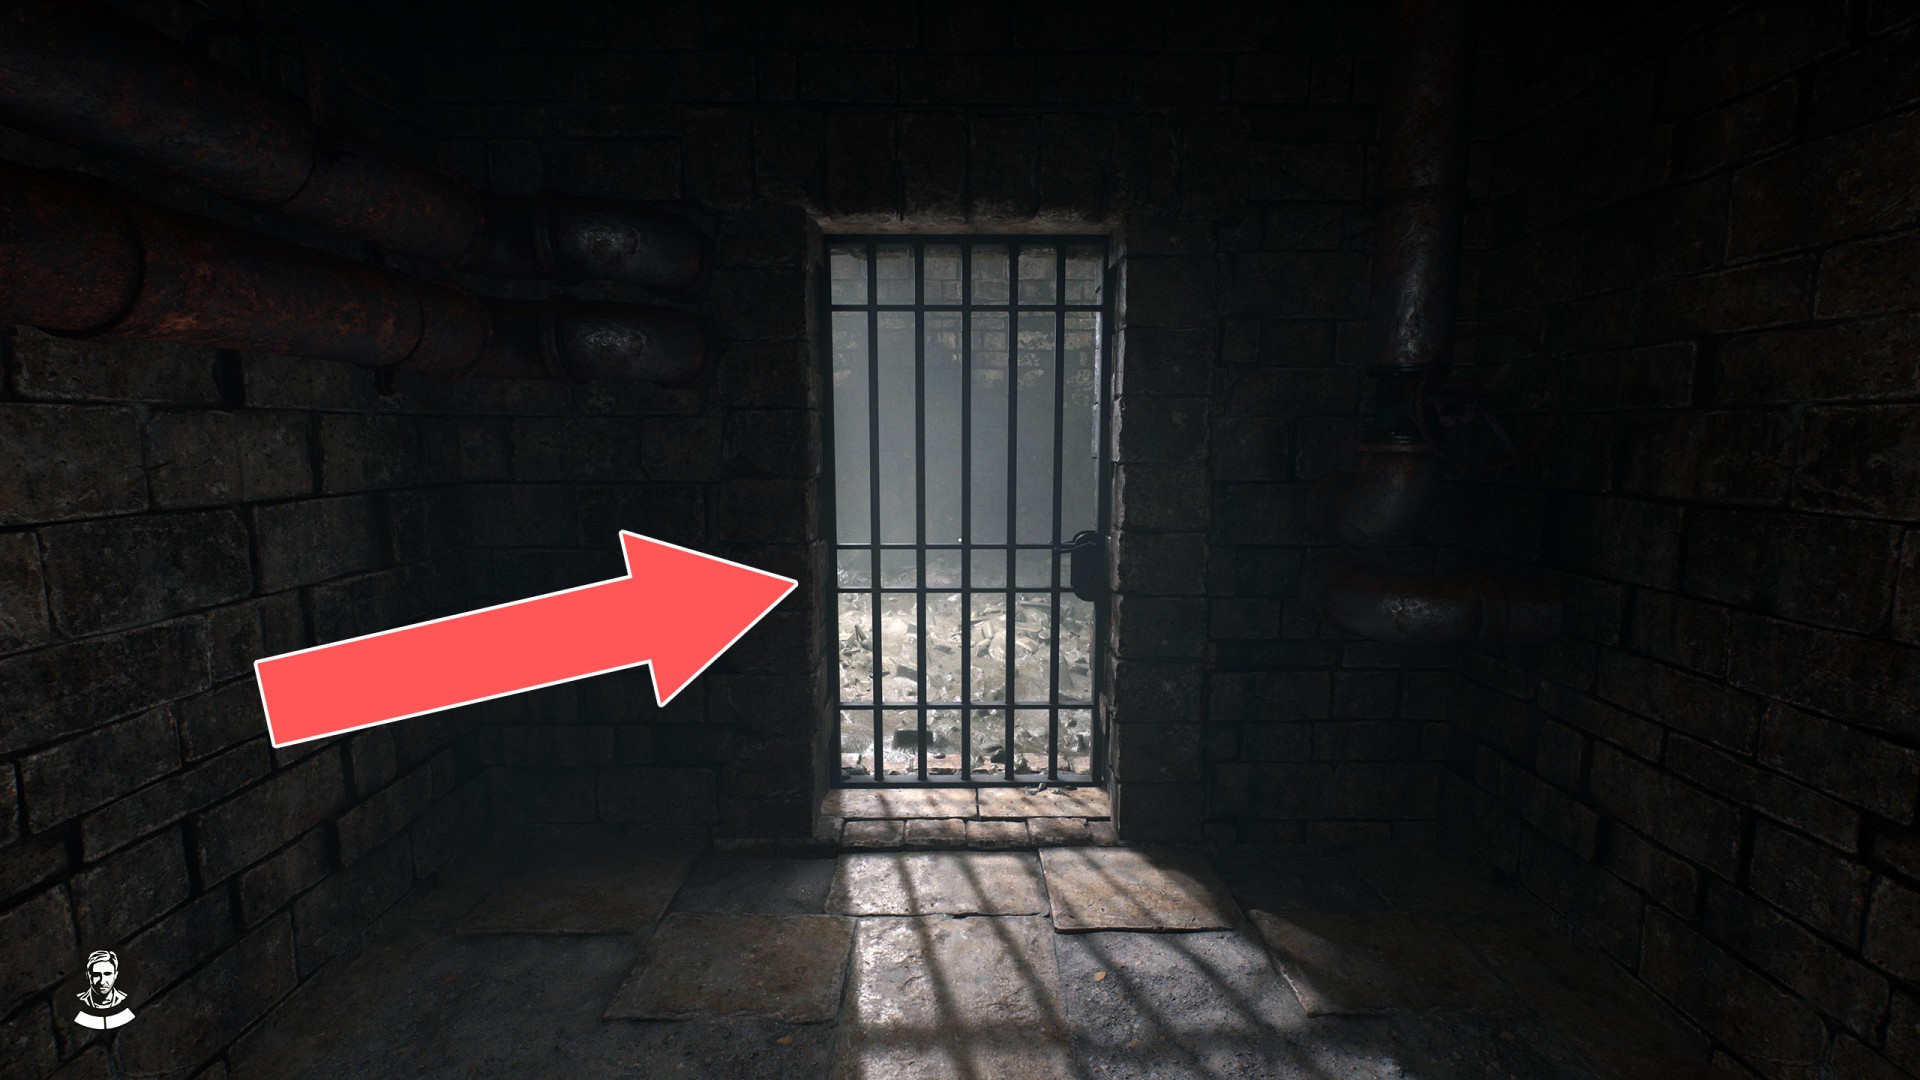
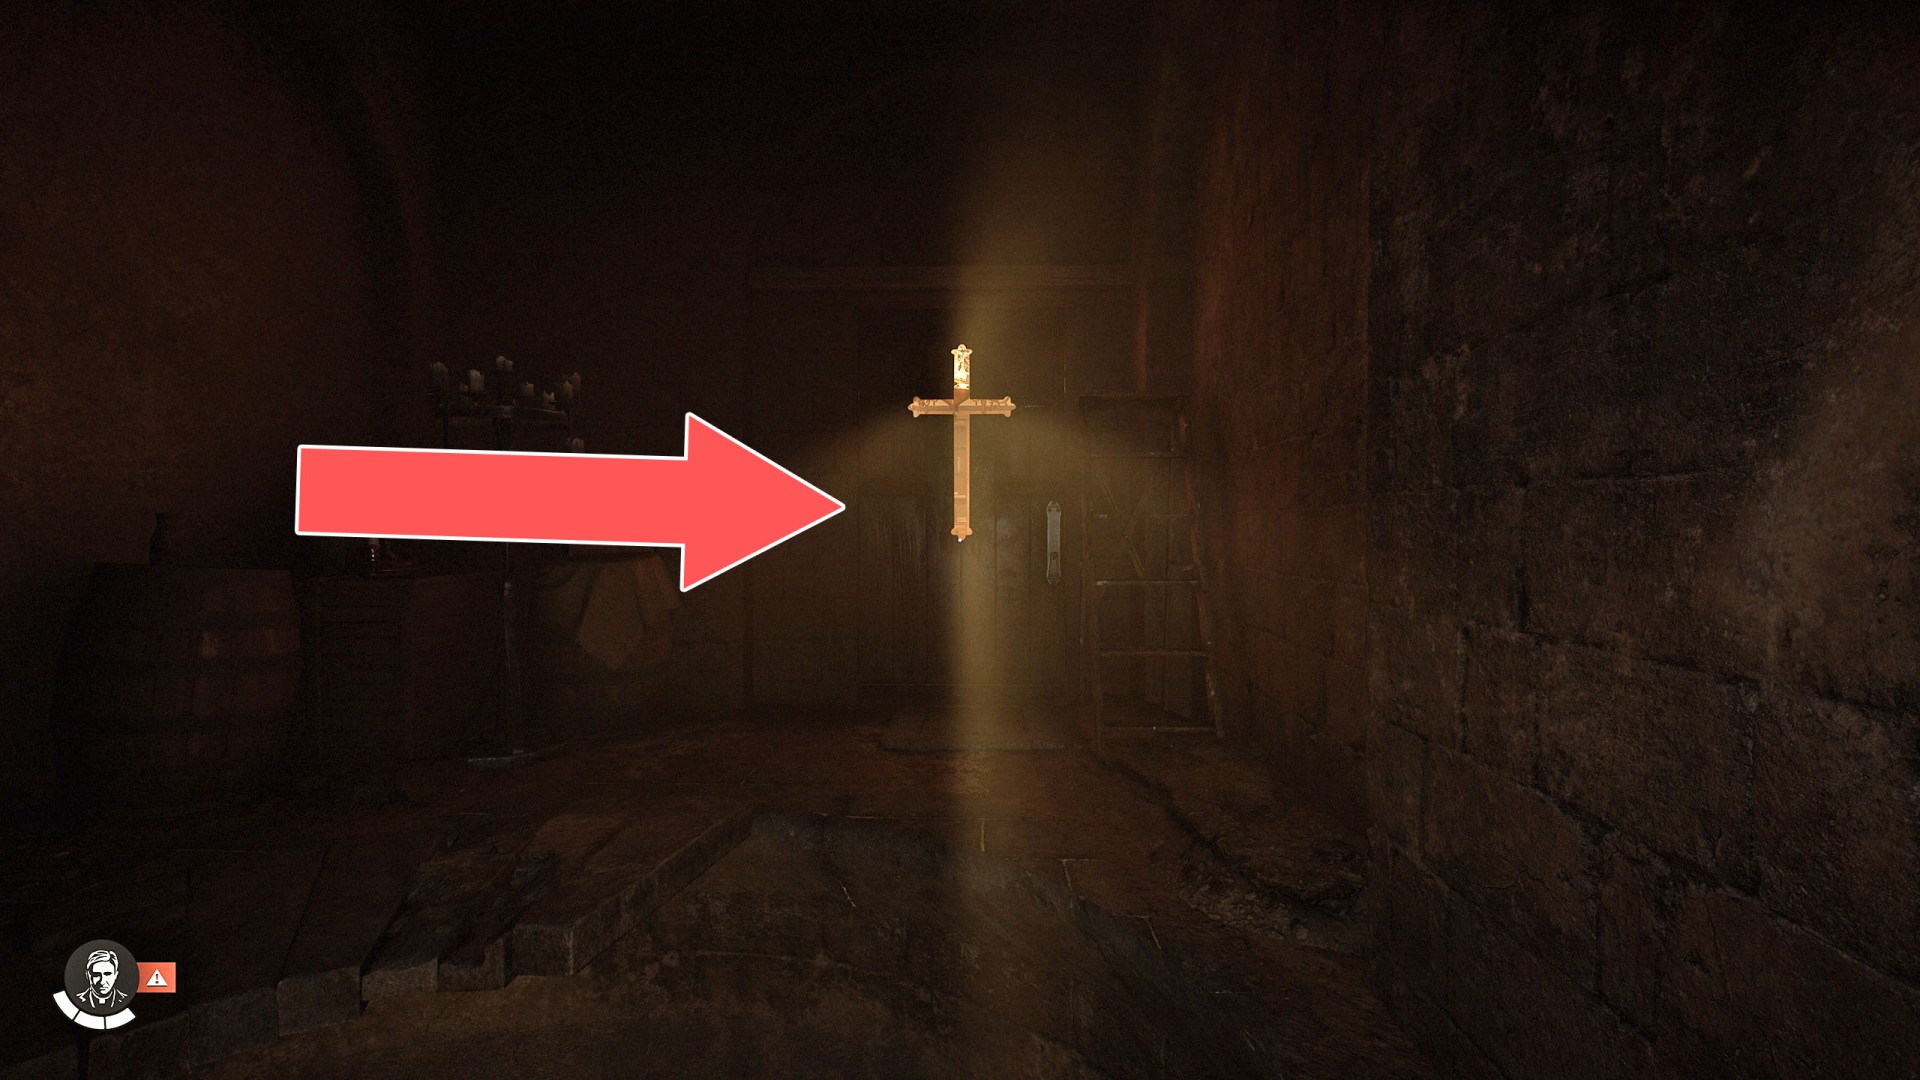
81Underworld Entrance
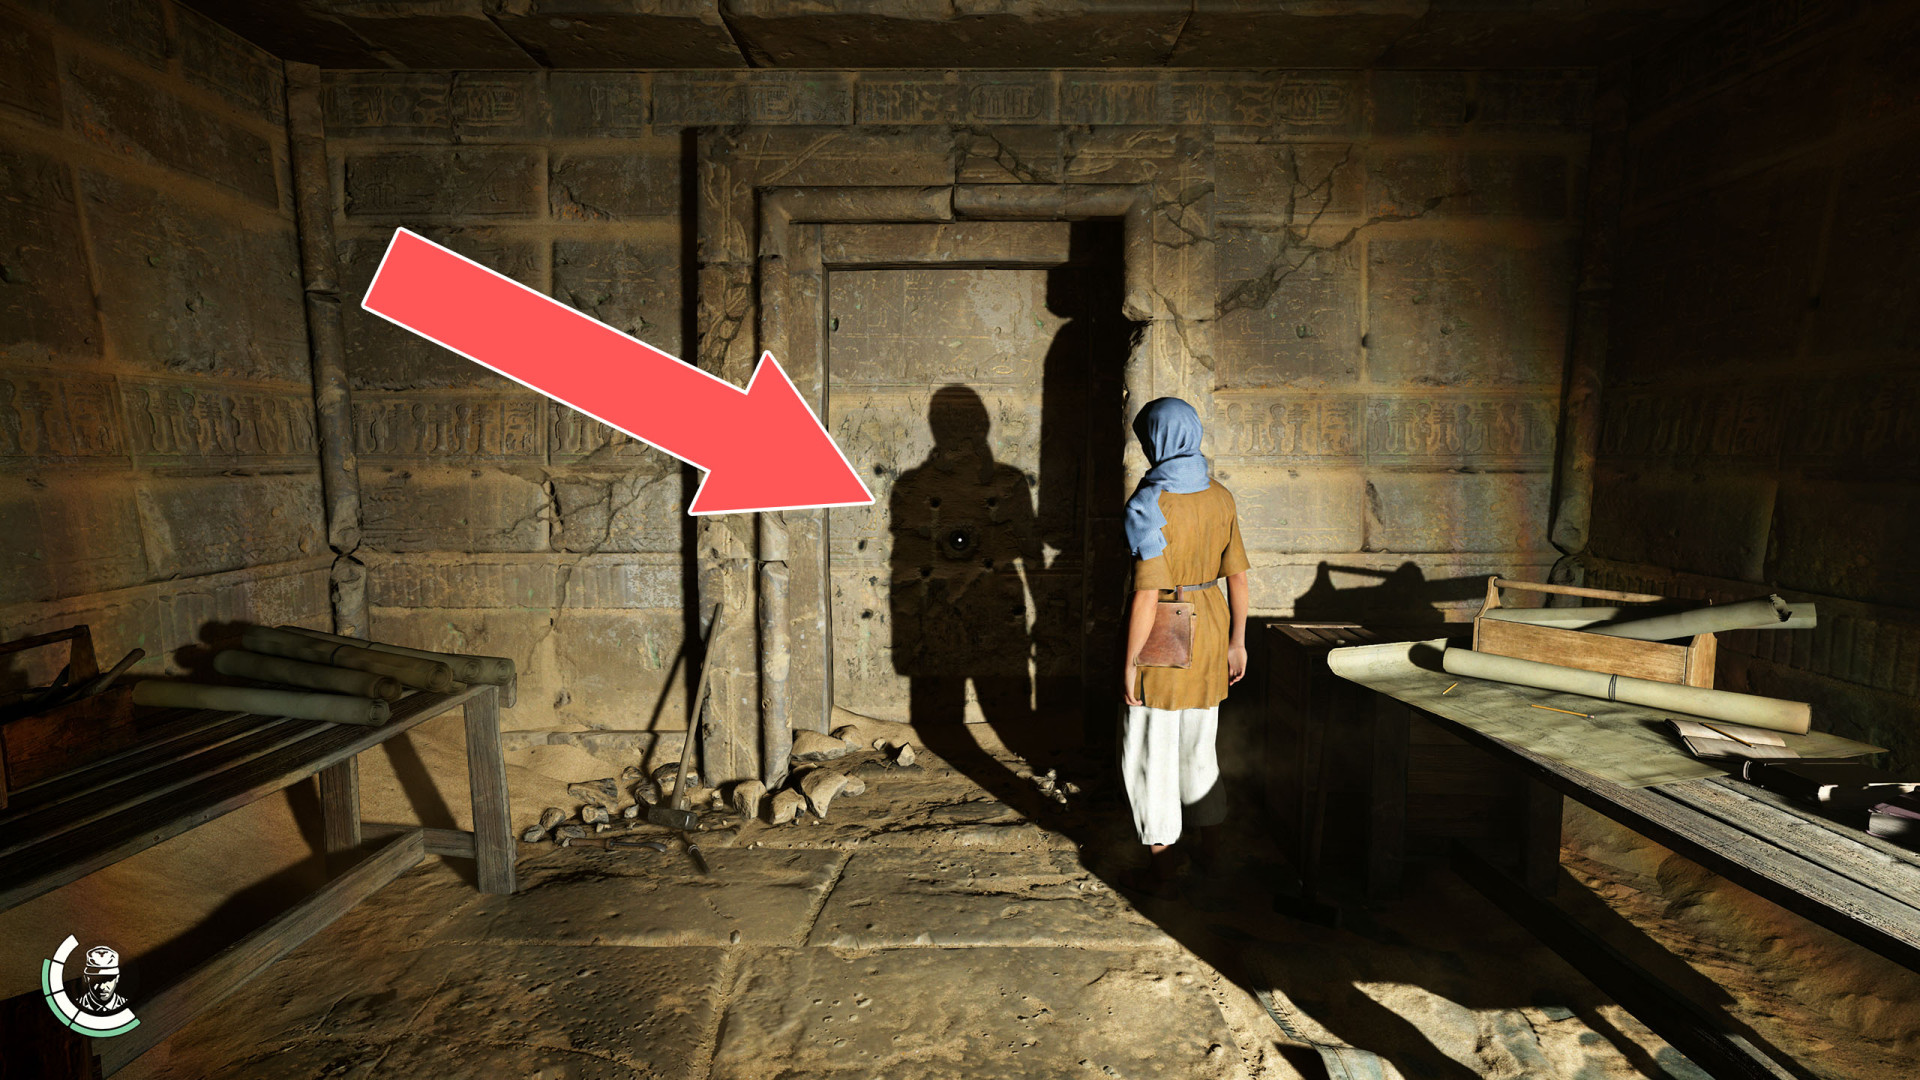
The door can be unlocked during the "The Stolen Cat Mummy" quest. Pour the wine that Antonio gave you into the bowl at the front of the altar and turn the large disk on the door until the angel is on top.
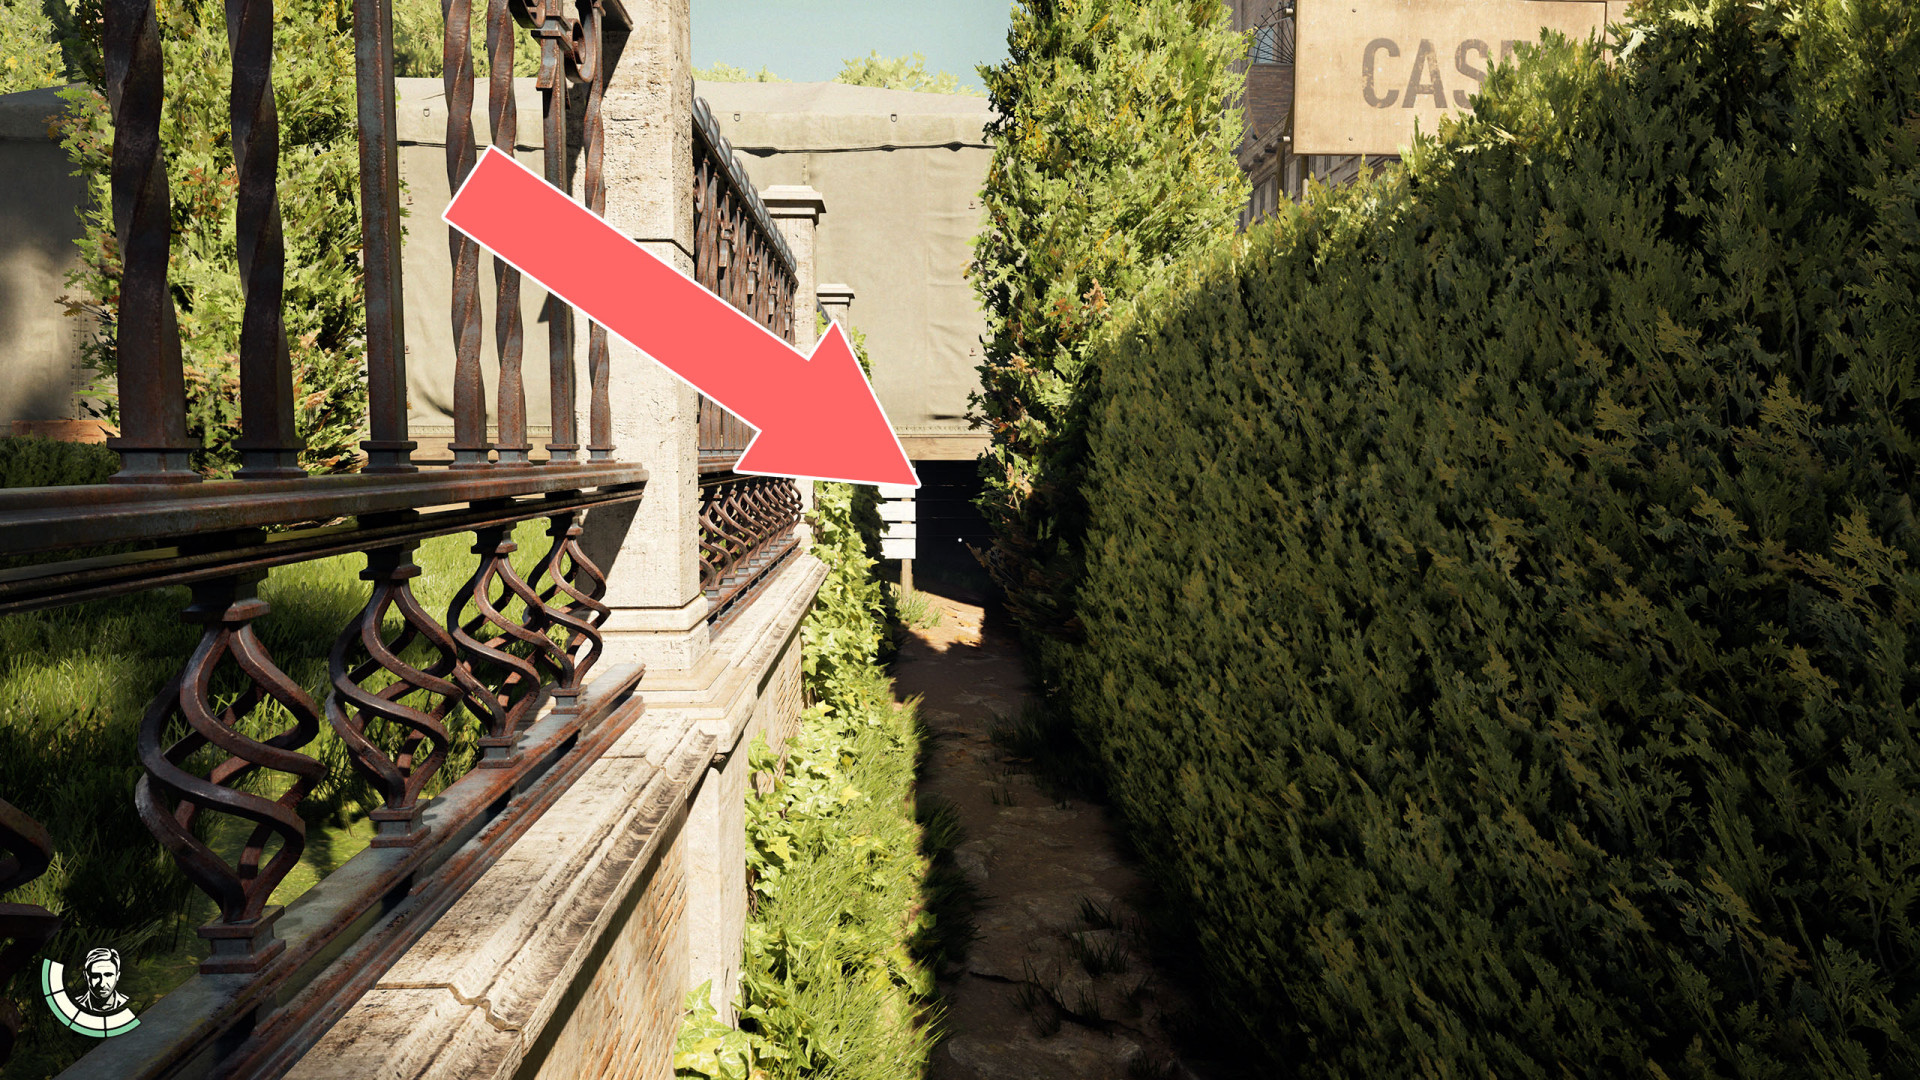
82Villa Pia Entrance
Key required to open it: Ricci's Casina Key.
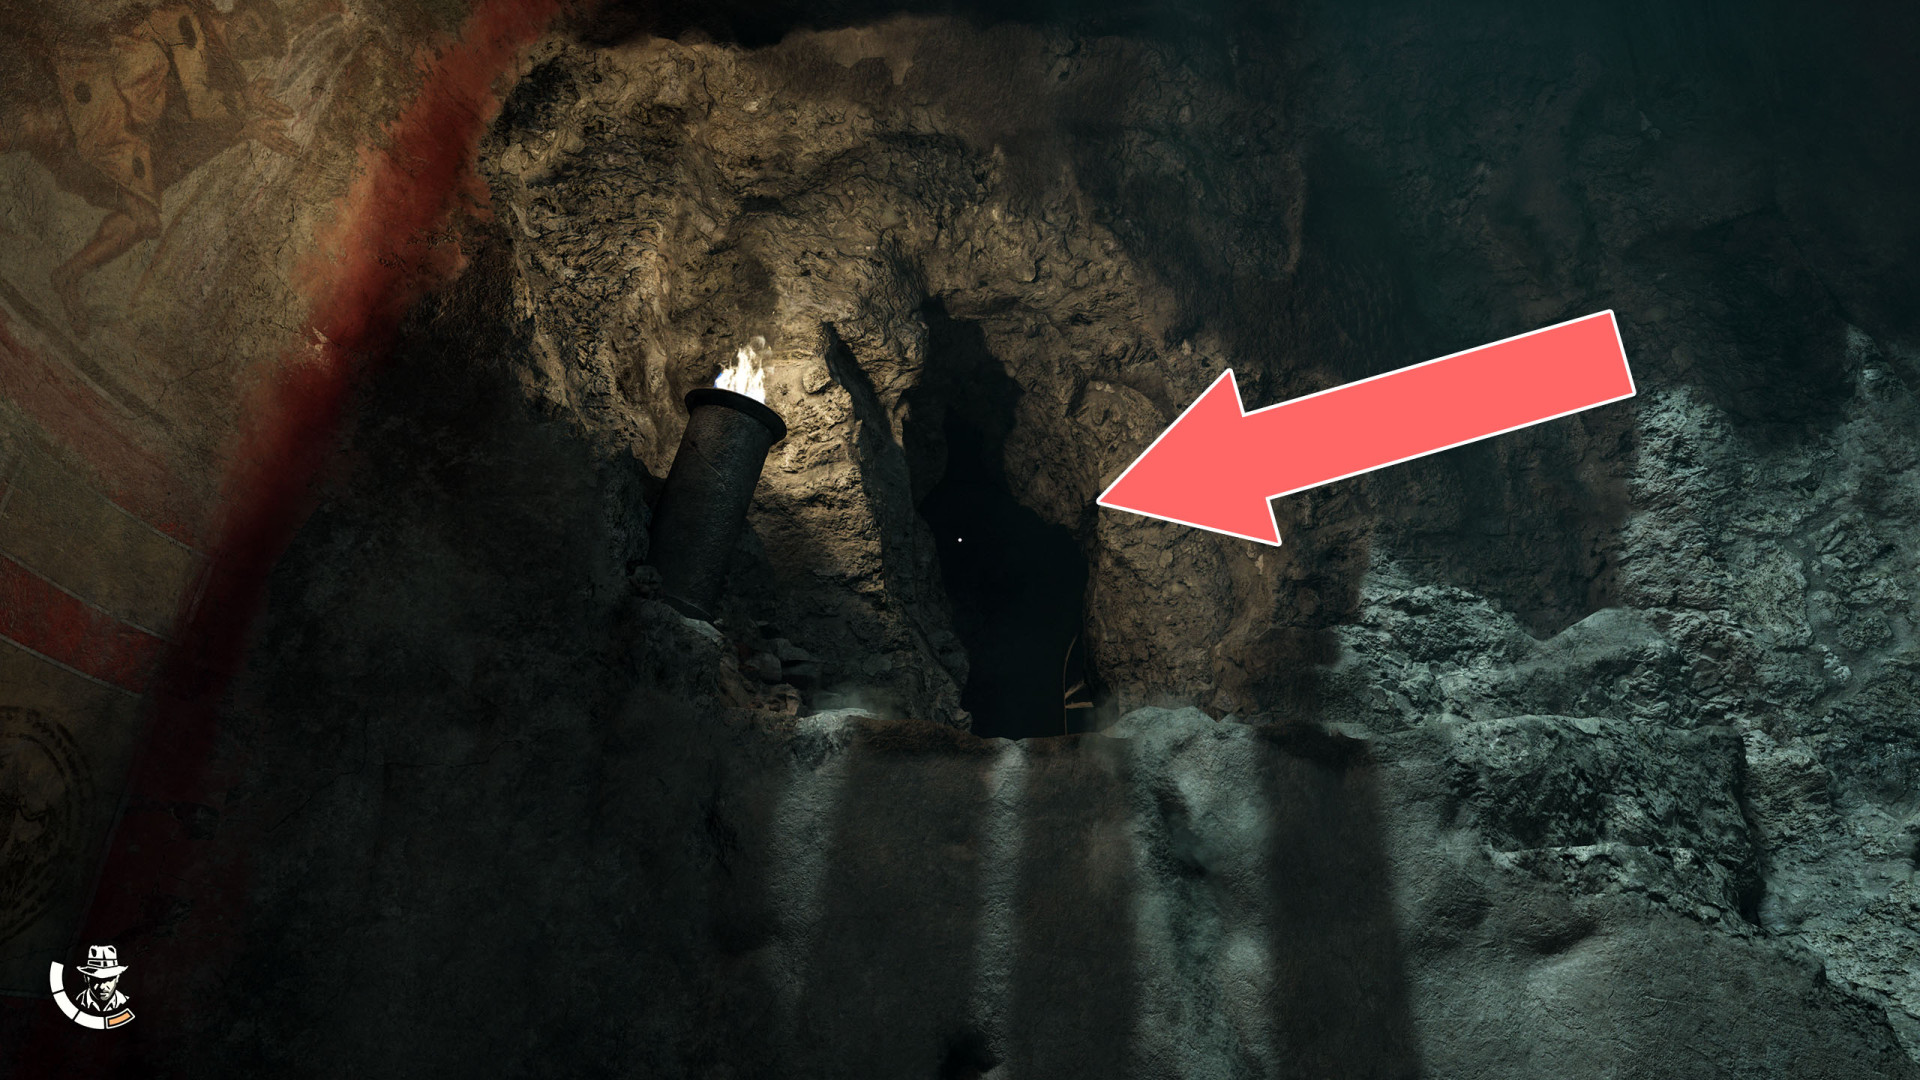
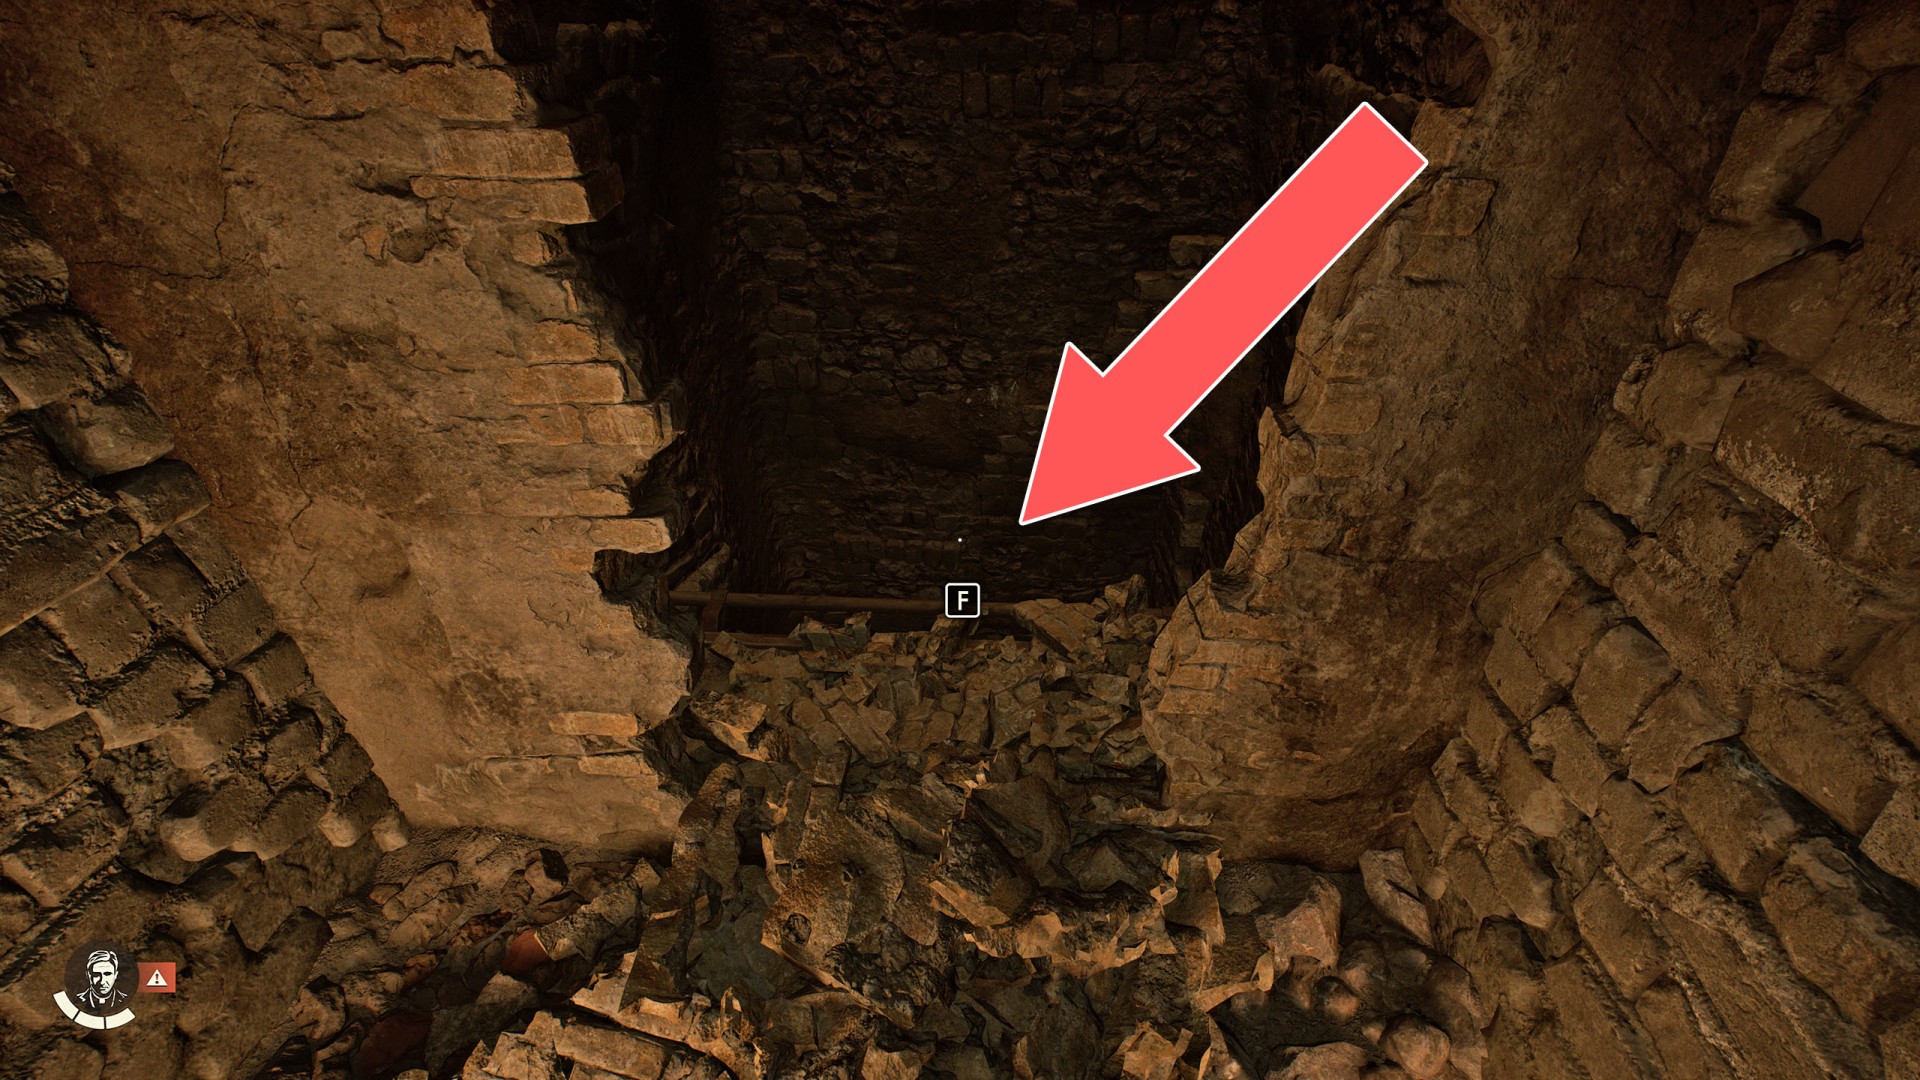
83Wall Crack
You can't walk this way with a torch because it will be extinguished by water.
84Wall Crack
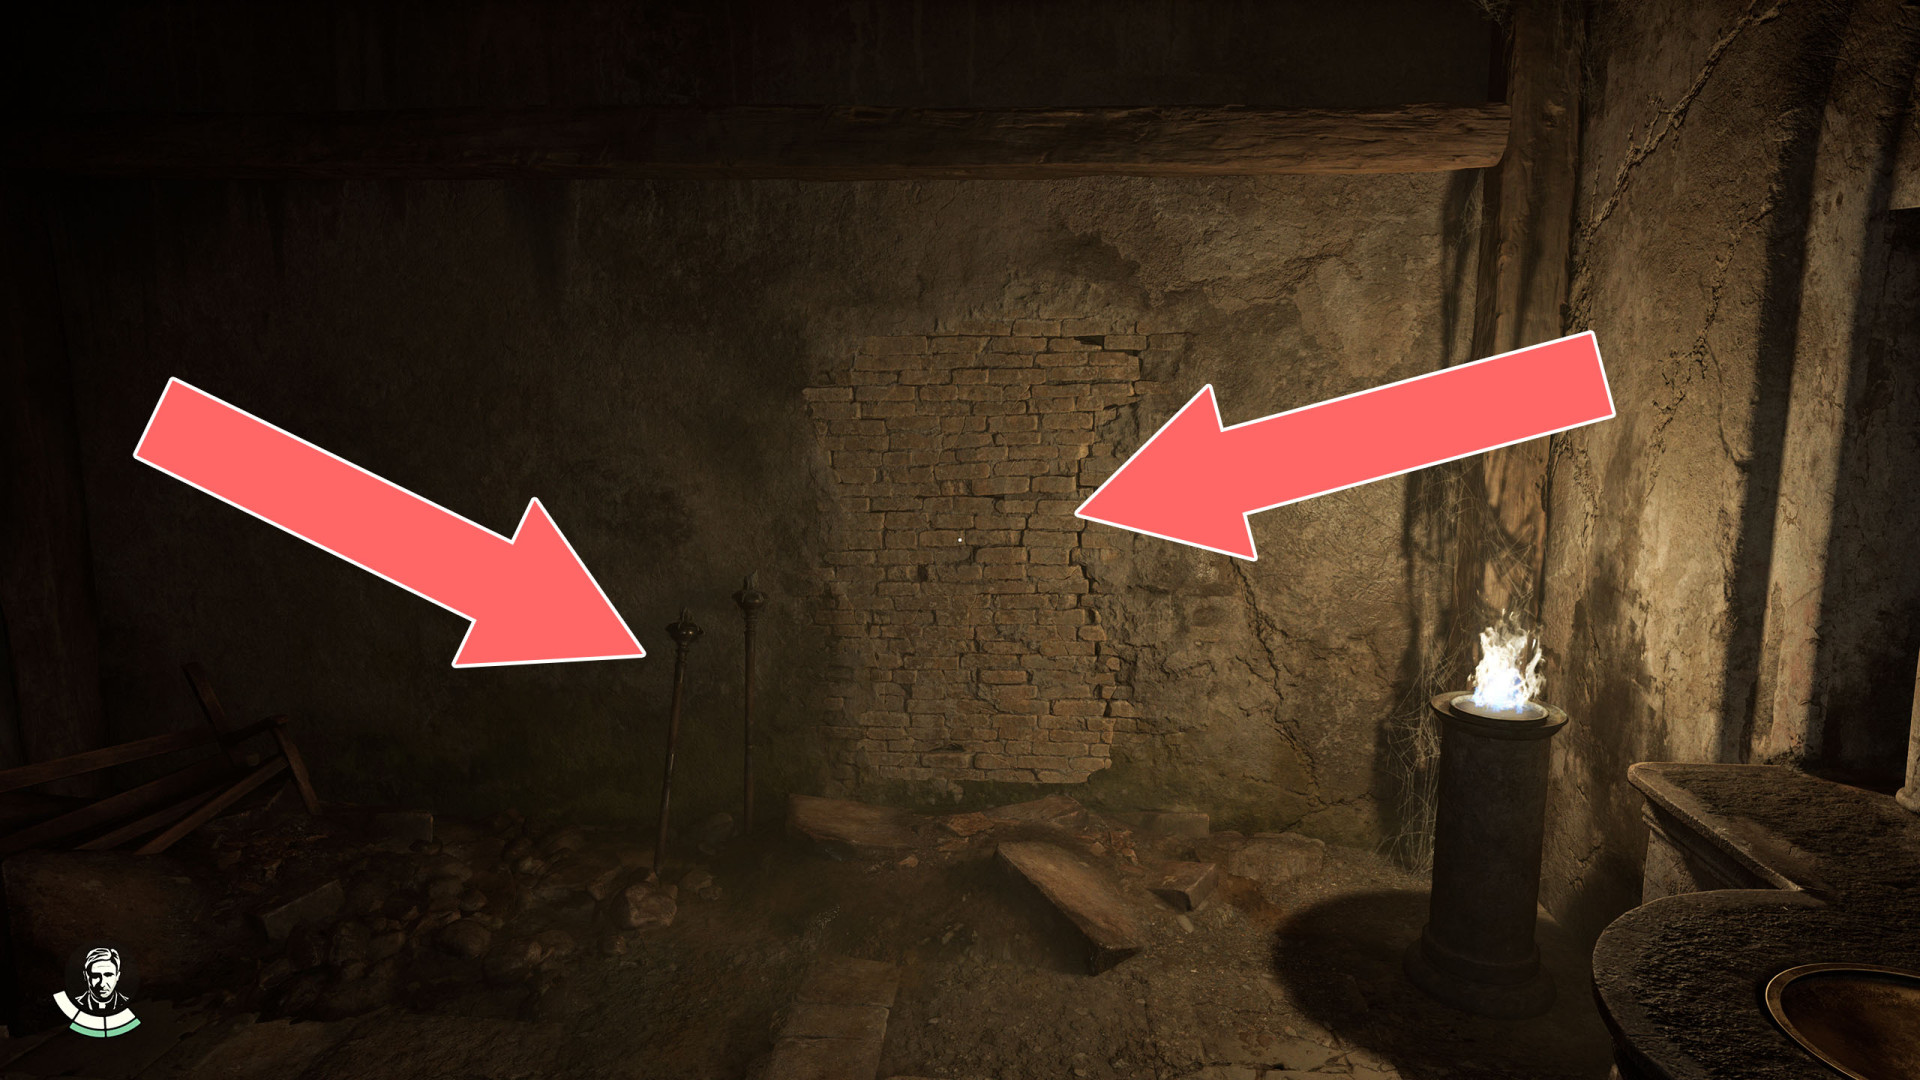
85Weak Wall
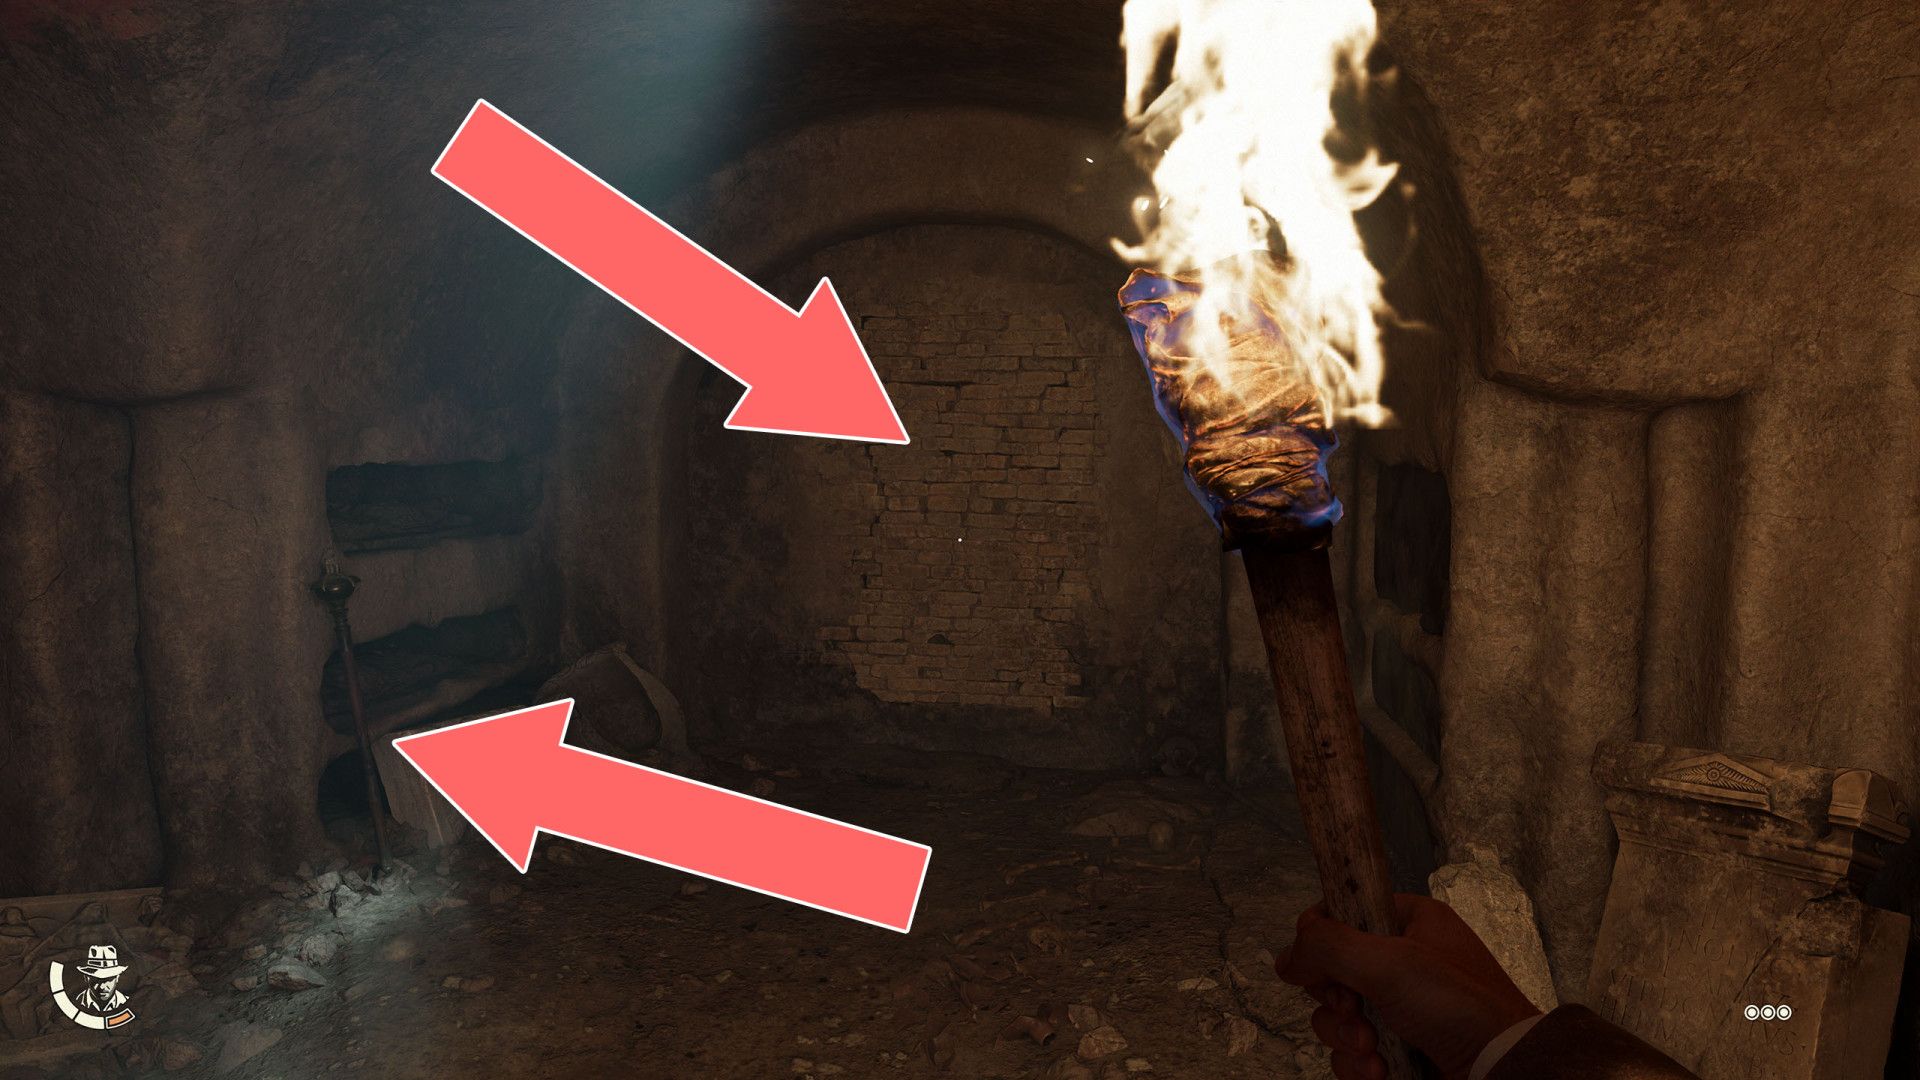
86Weak Wall
To break down this wall, use the hammer that you can find a little further to the left on the ledge.
87Weak Wall
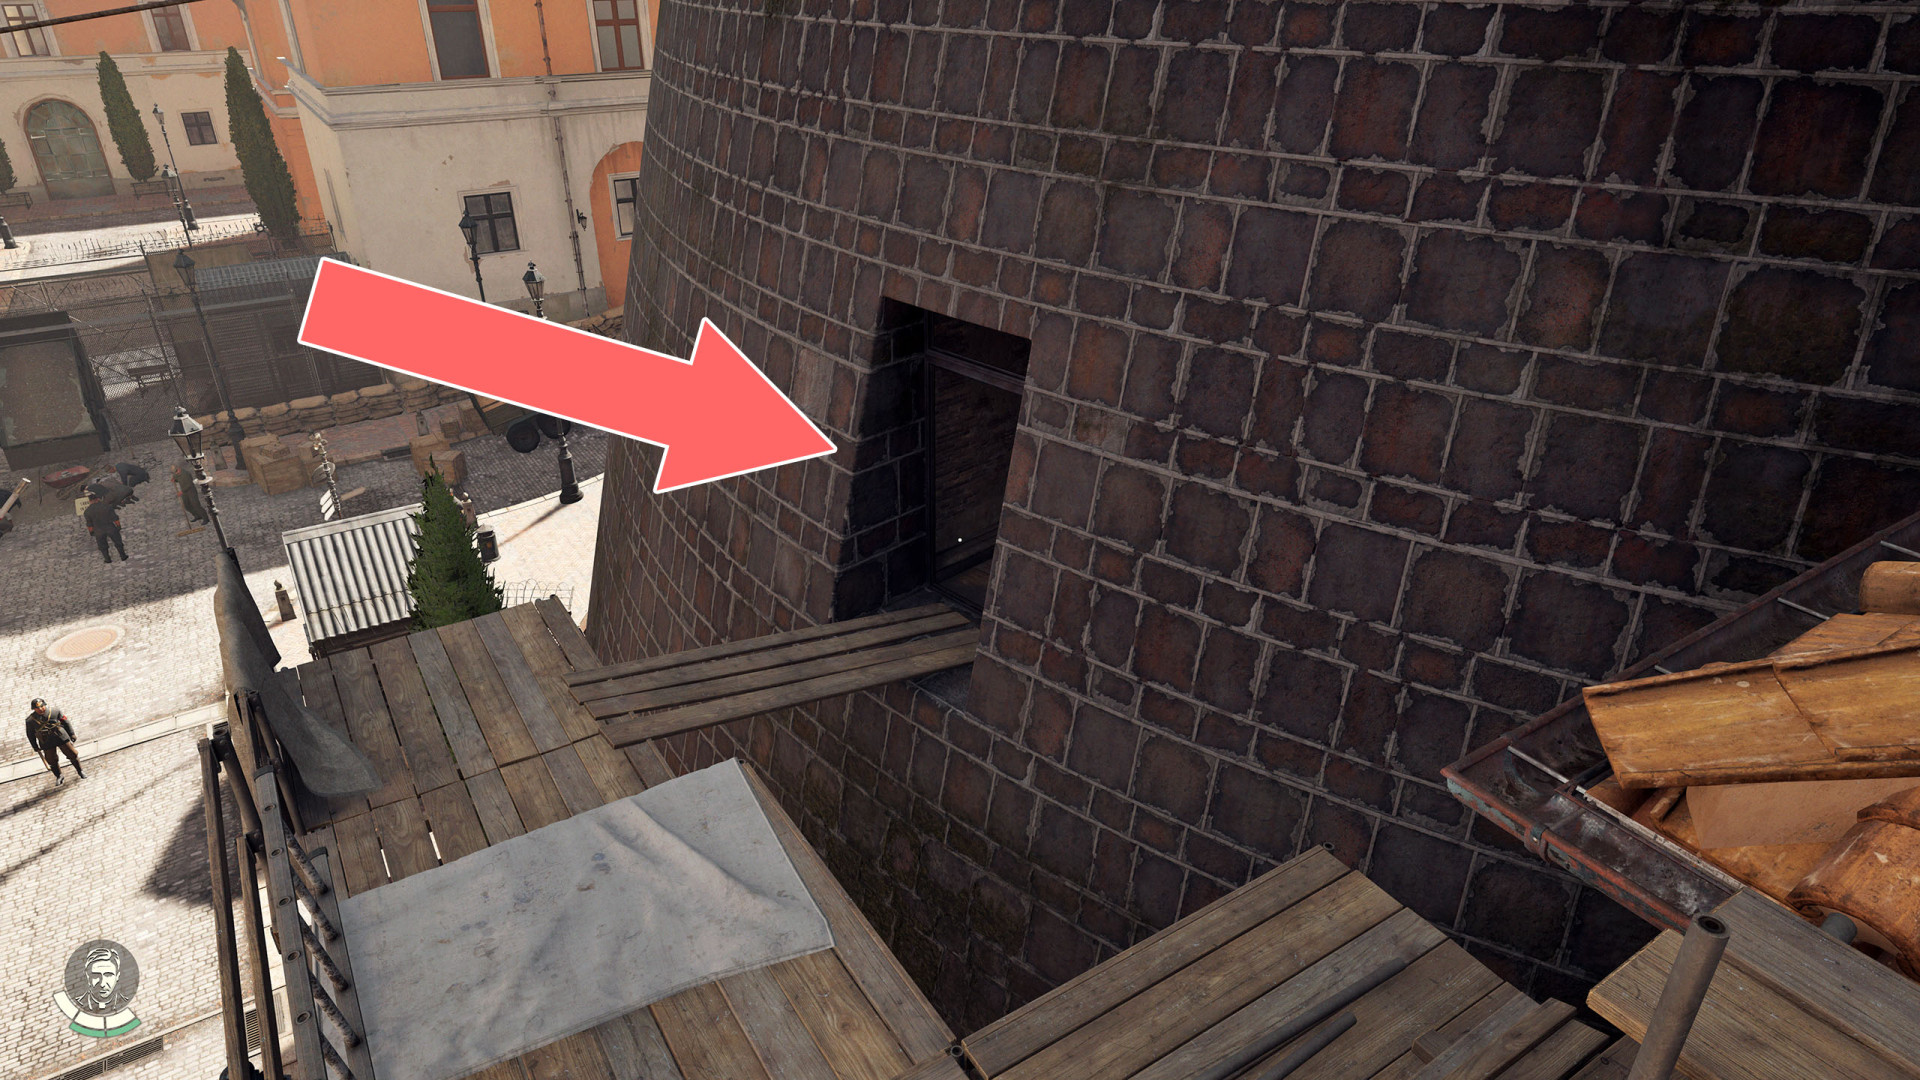
88Window
The window through which you get inside the museum during the "A Nun in Trouble" fieldwork. You cannot exit this way.
89Window
90Window
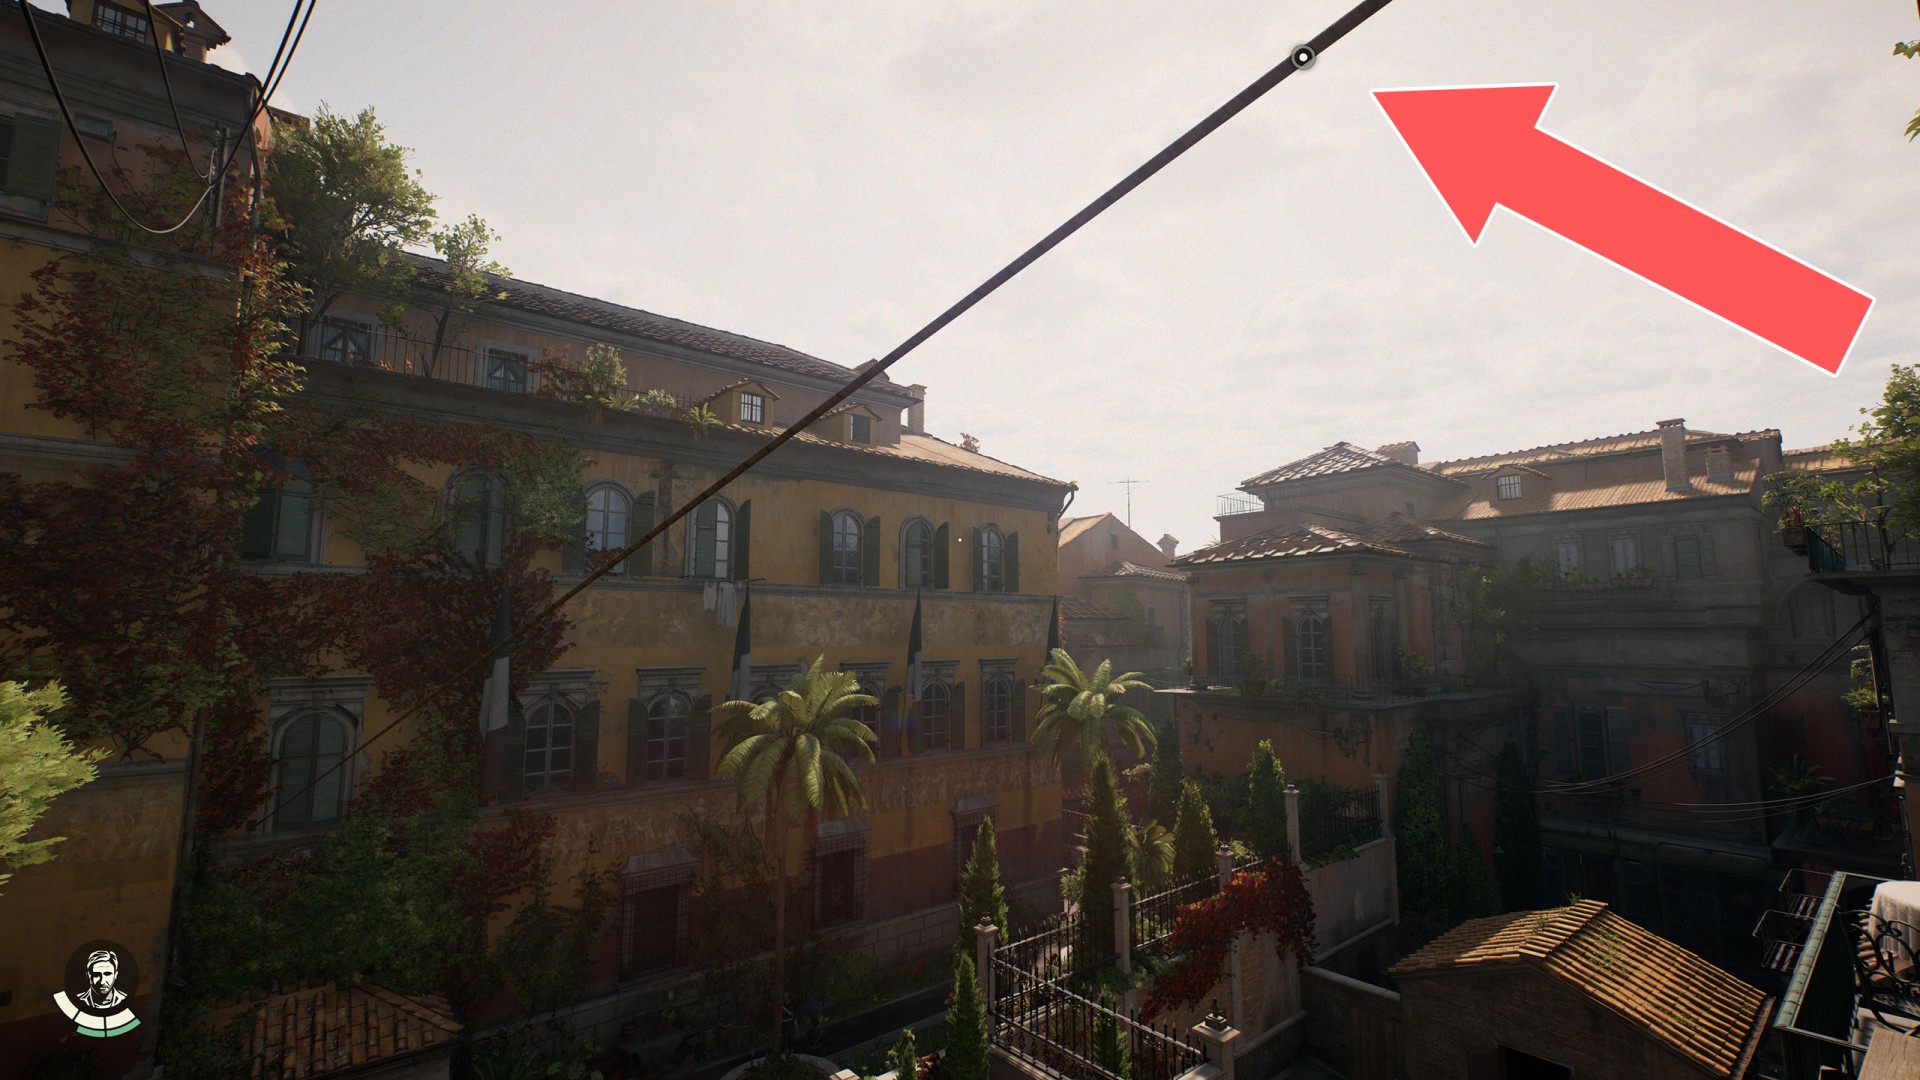
91Zipline
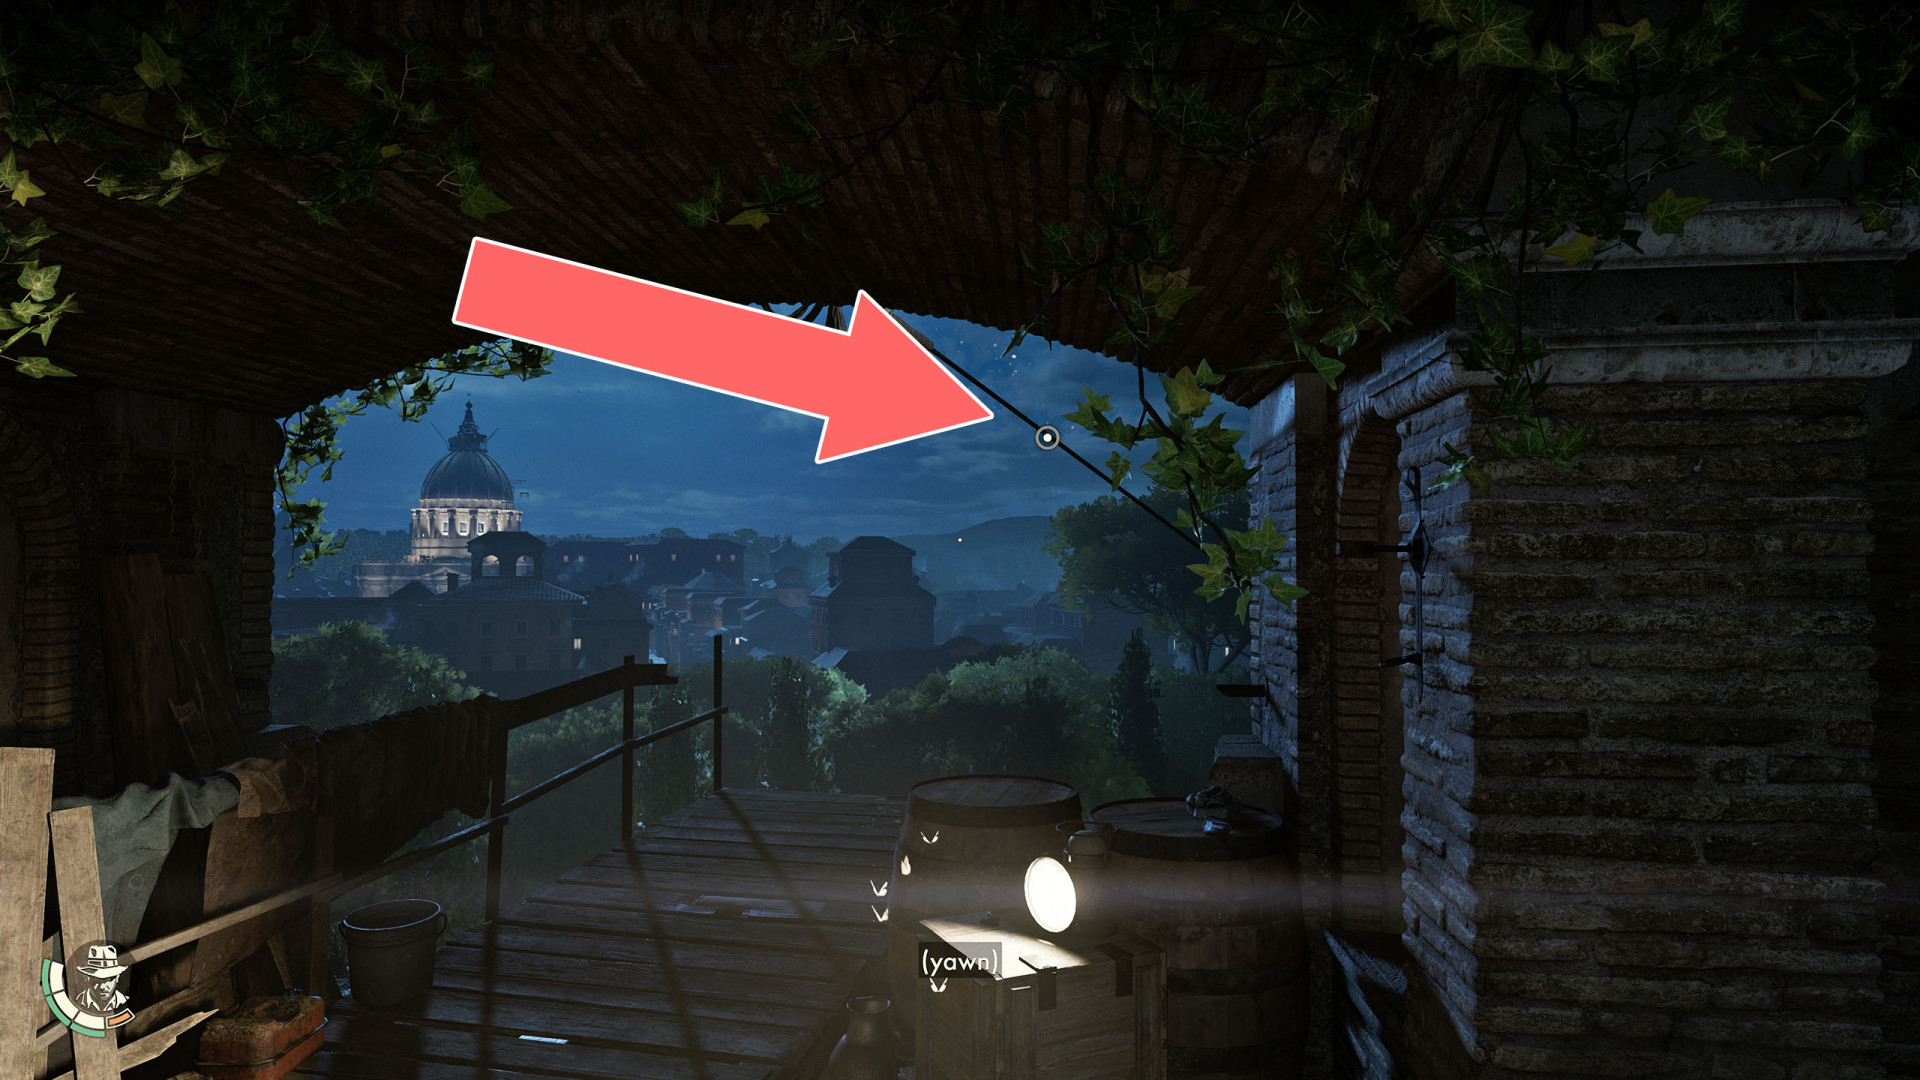
92Zipline
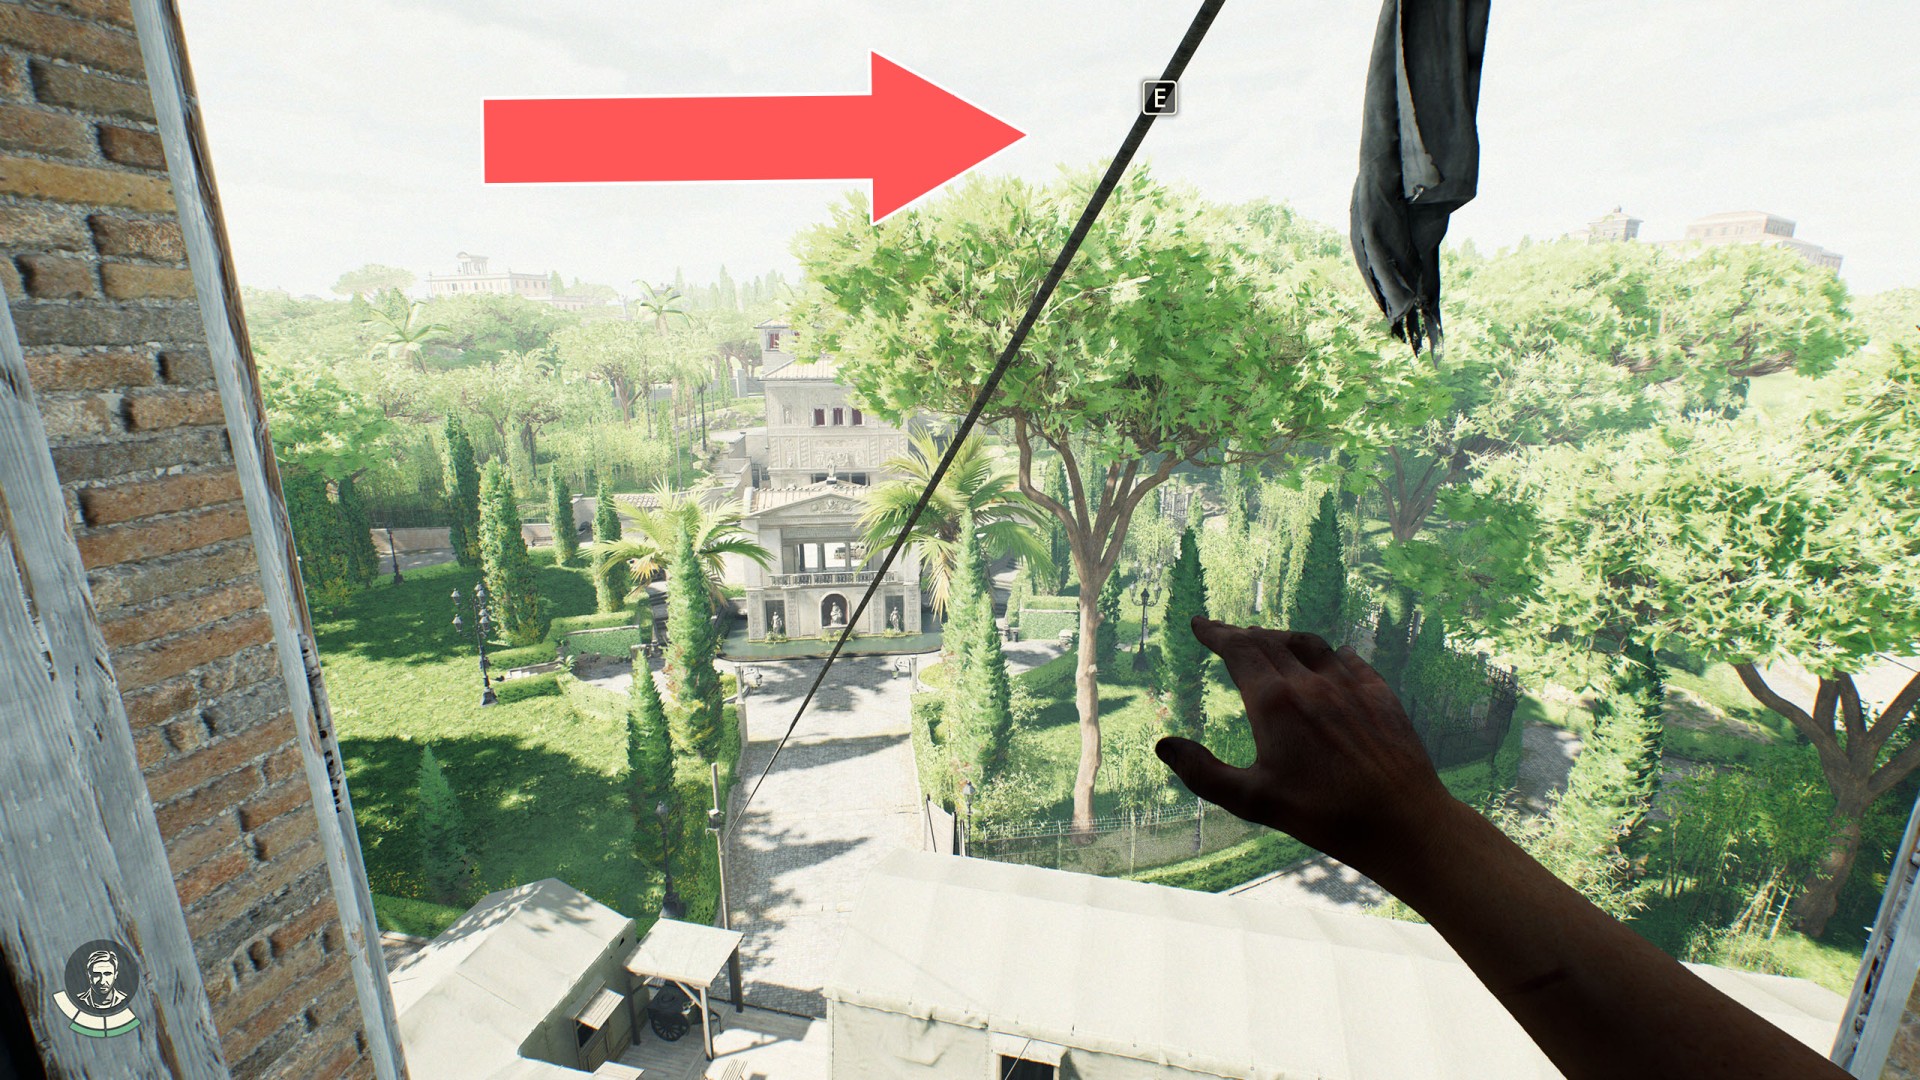
93Zipline
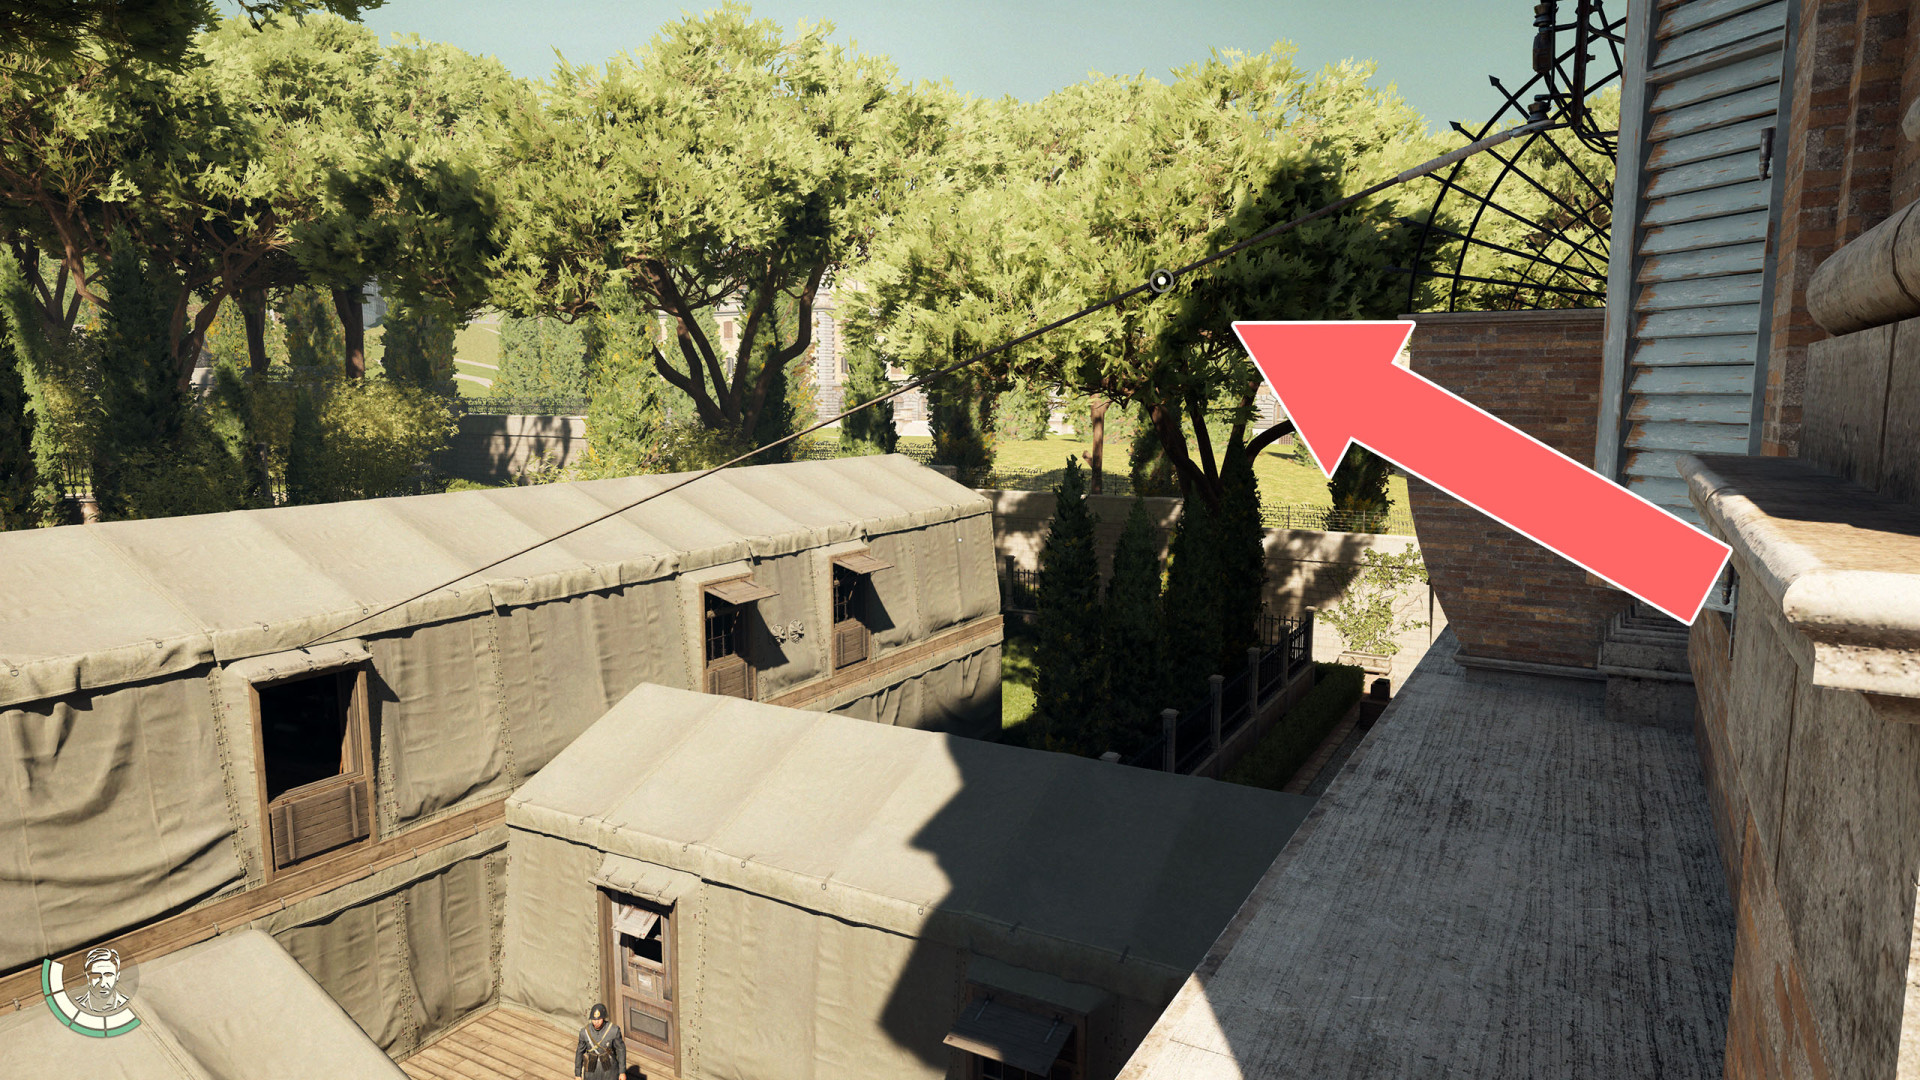
94Zipline
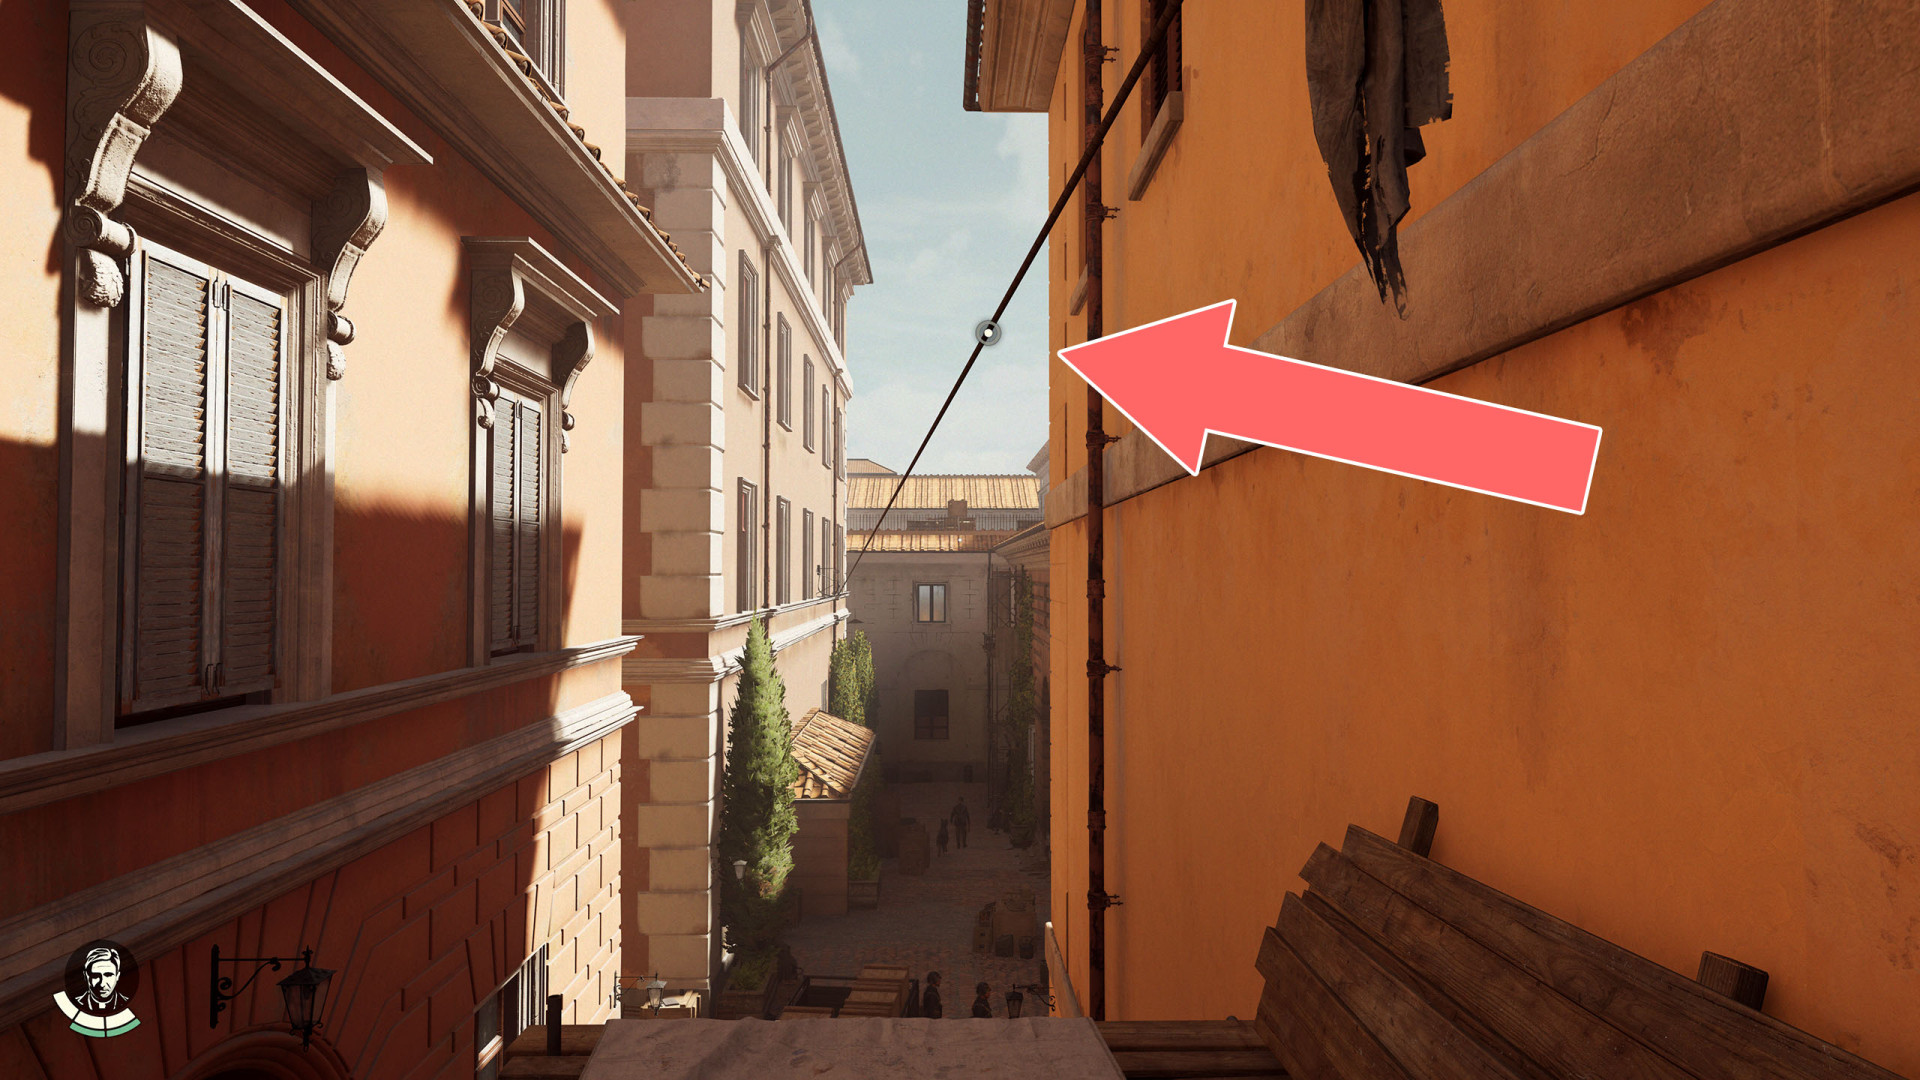
95Zipline
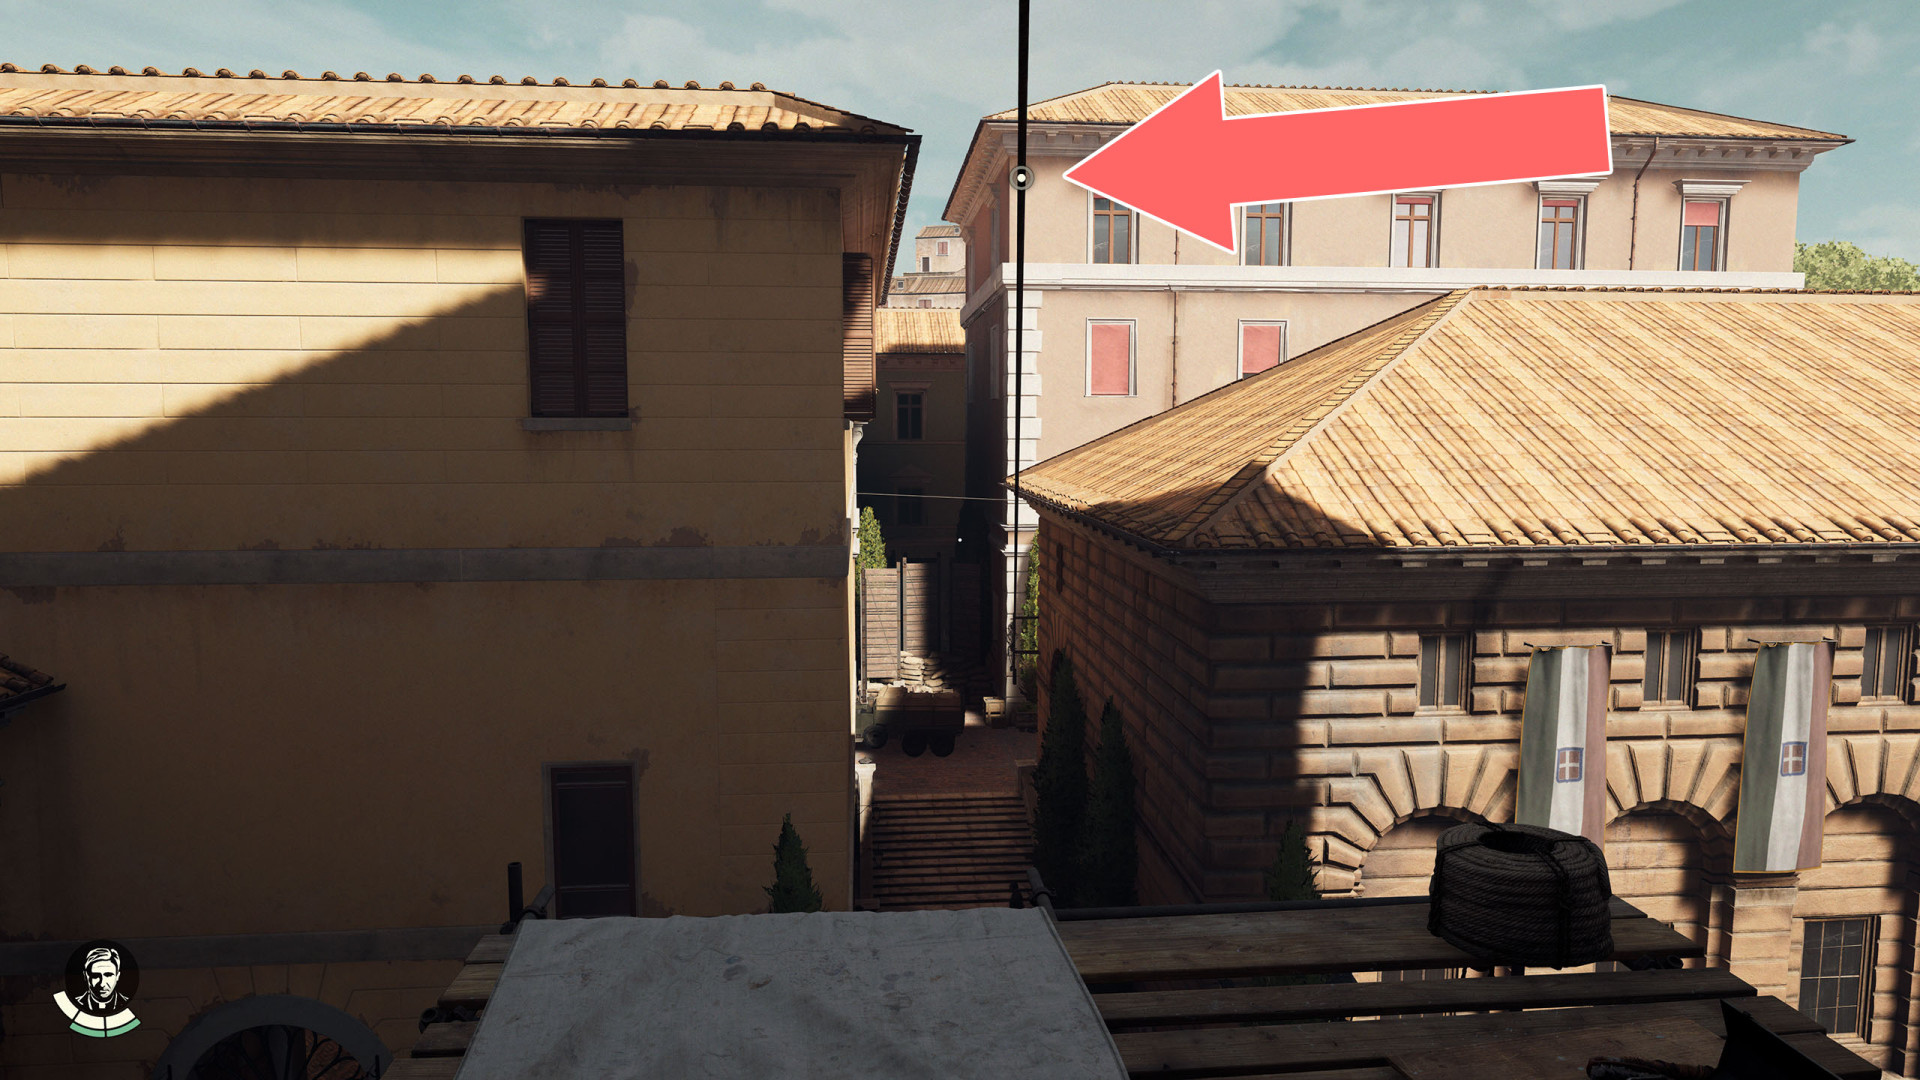
96Zipline
97Zipline
98Zipline
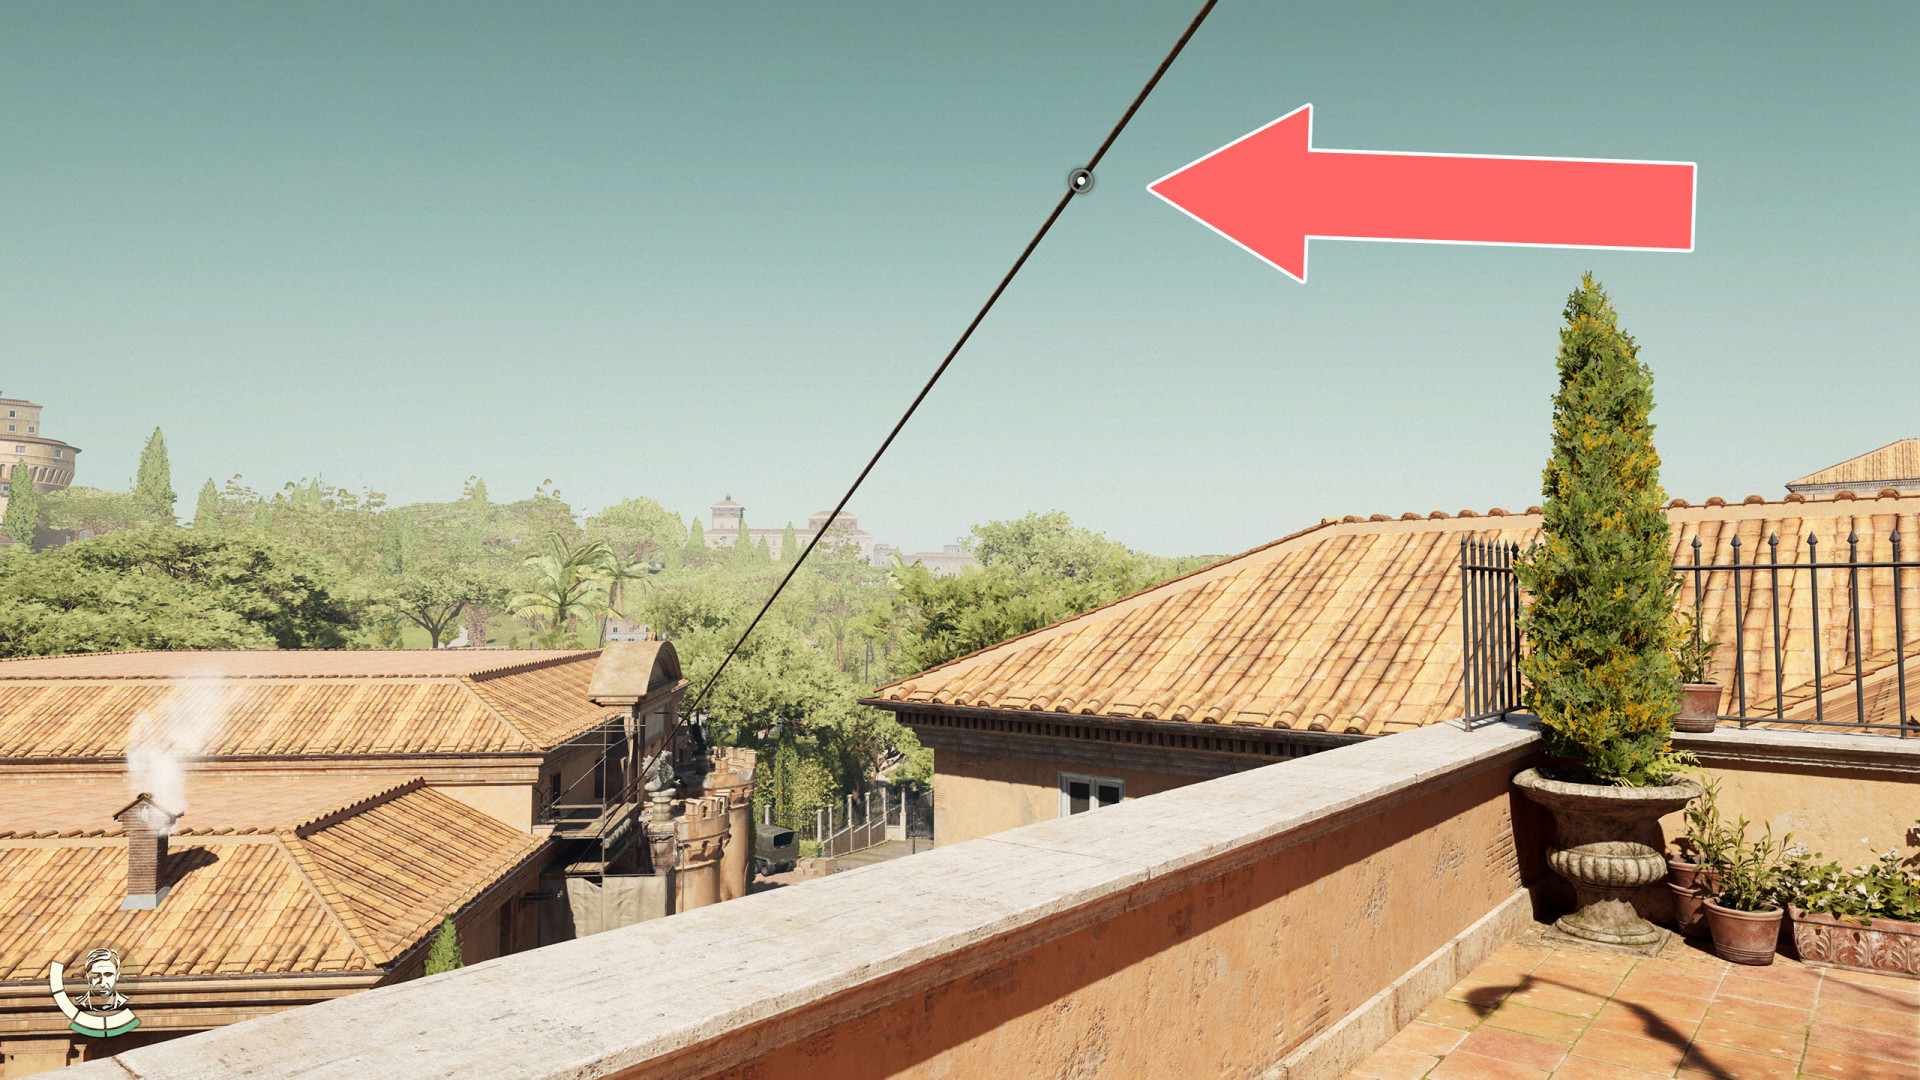
99Zipline
Locations on Rome
100Climbable Wall
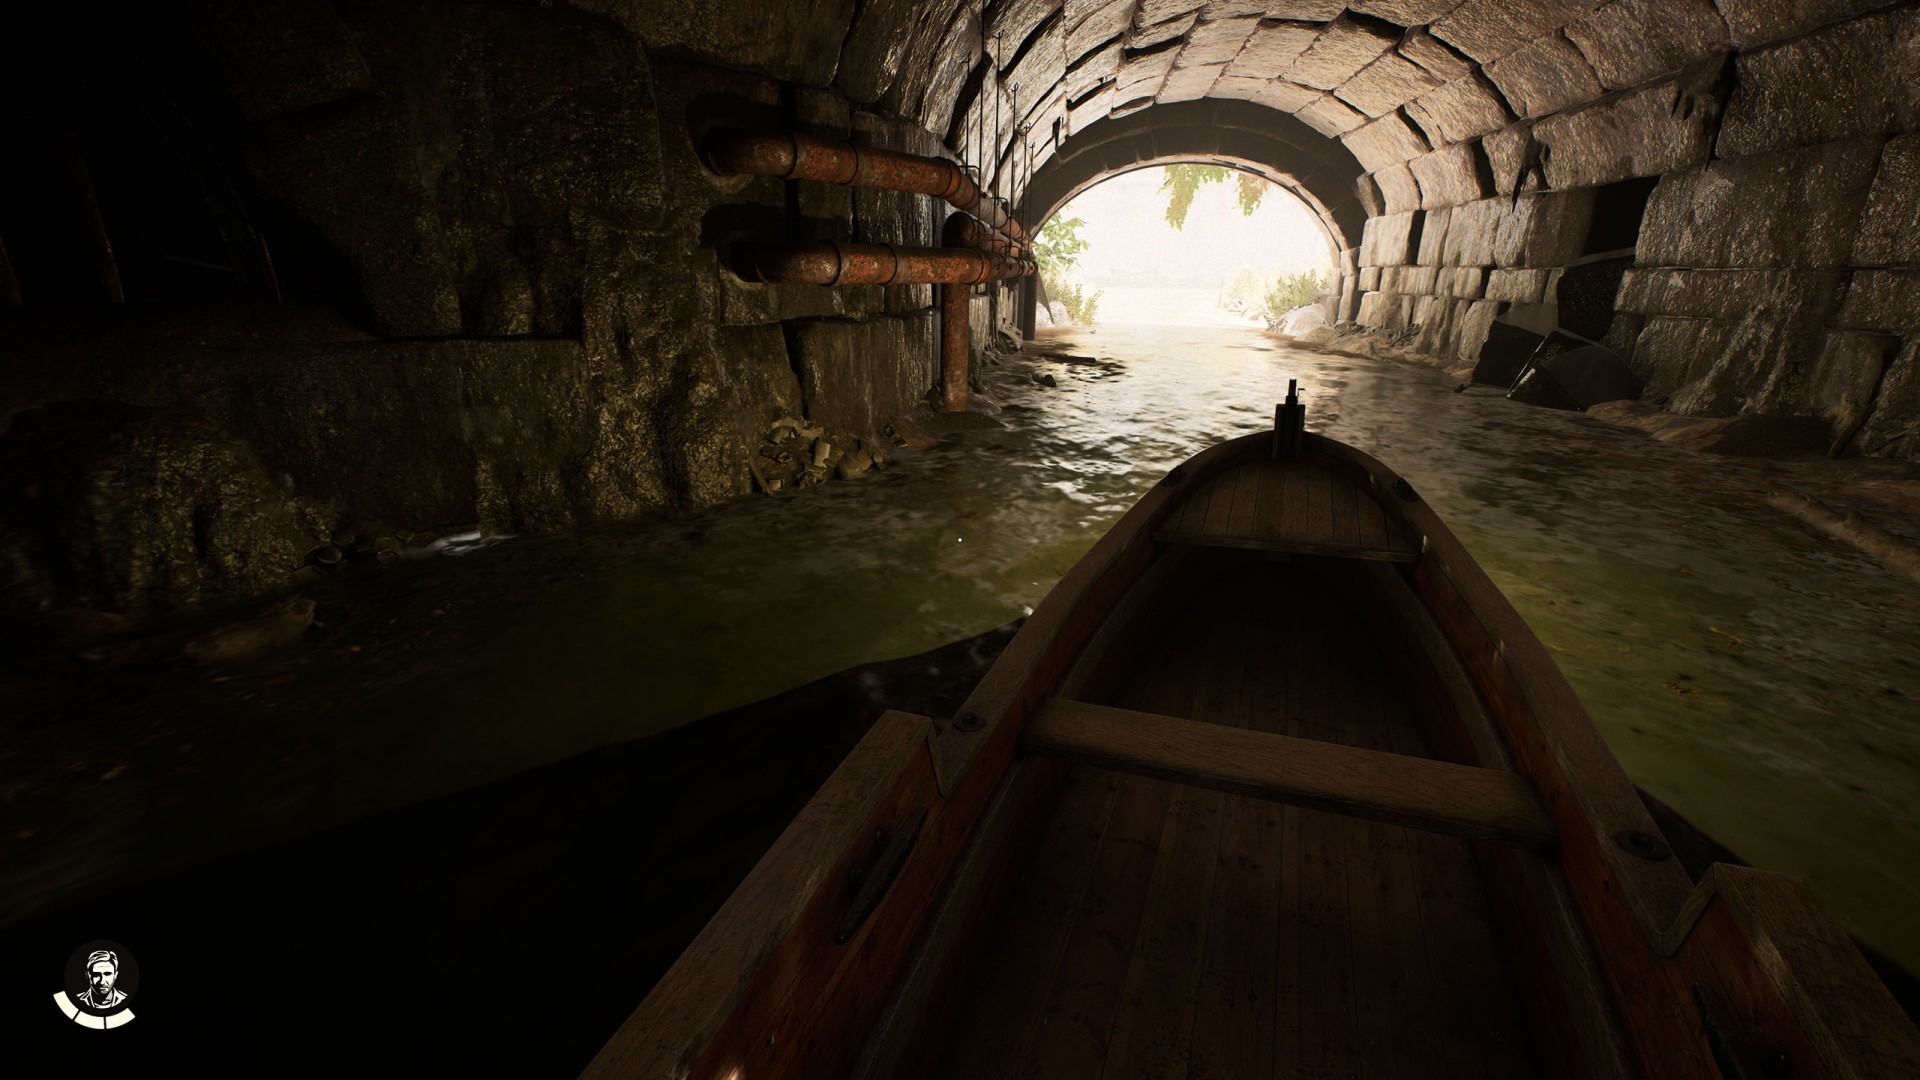
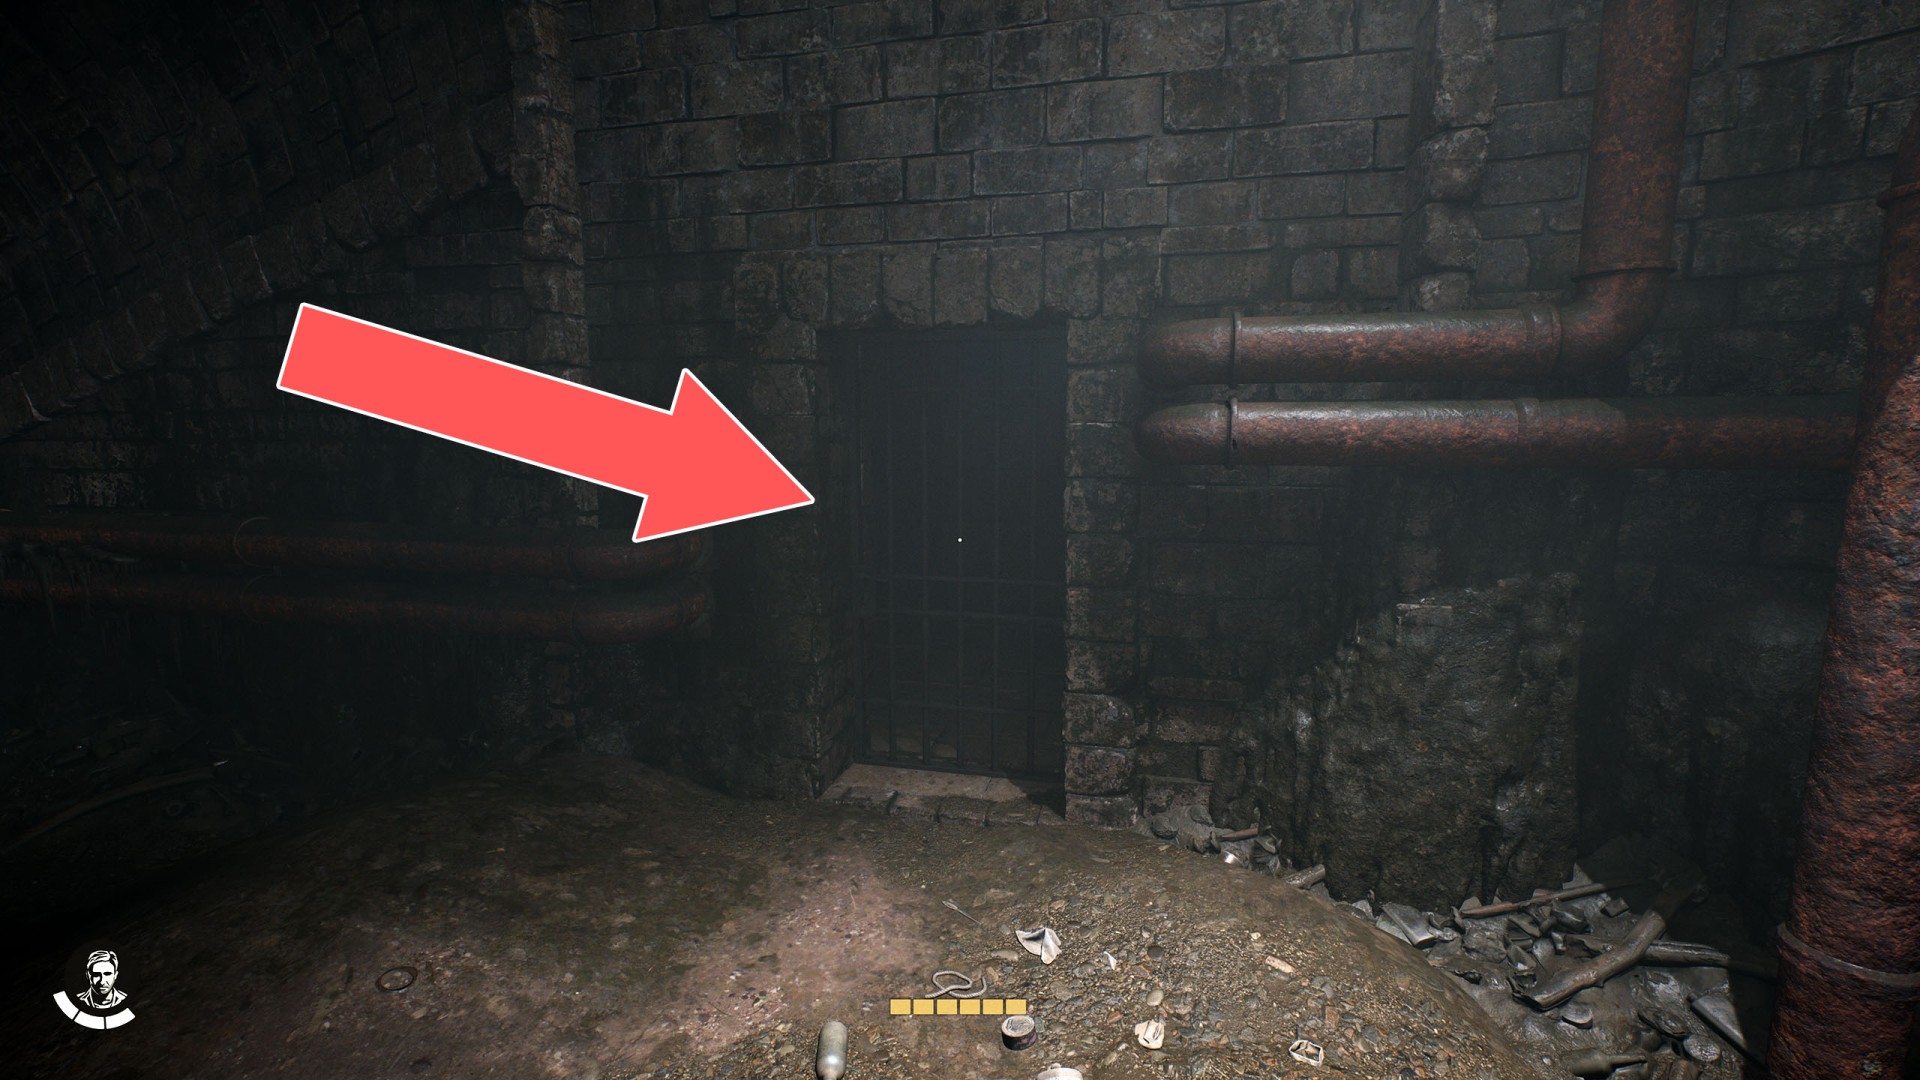
101Cloaca Maxima
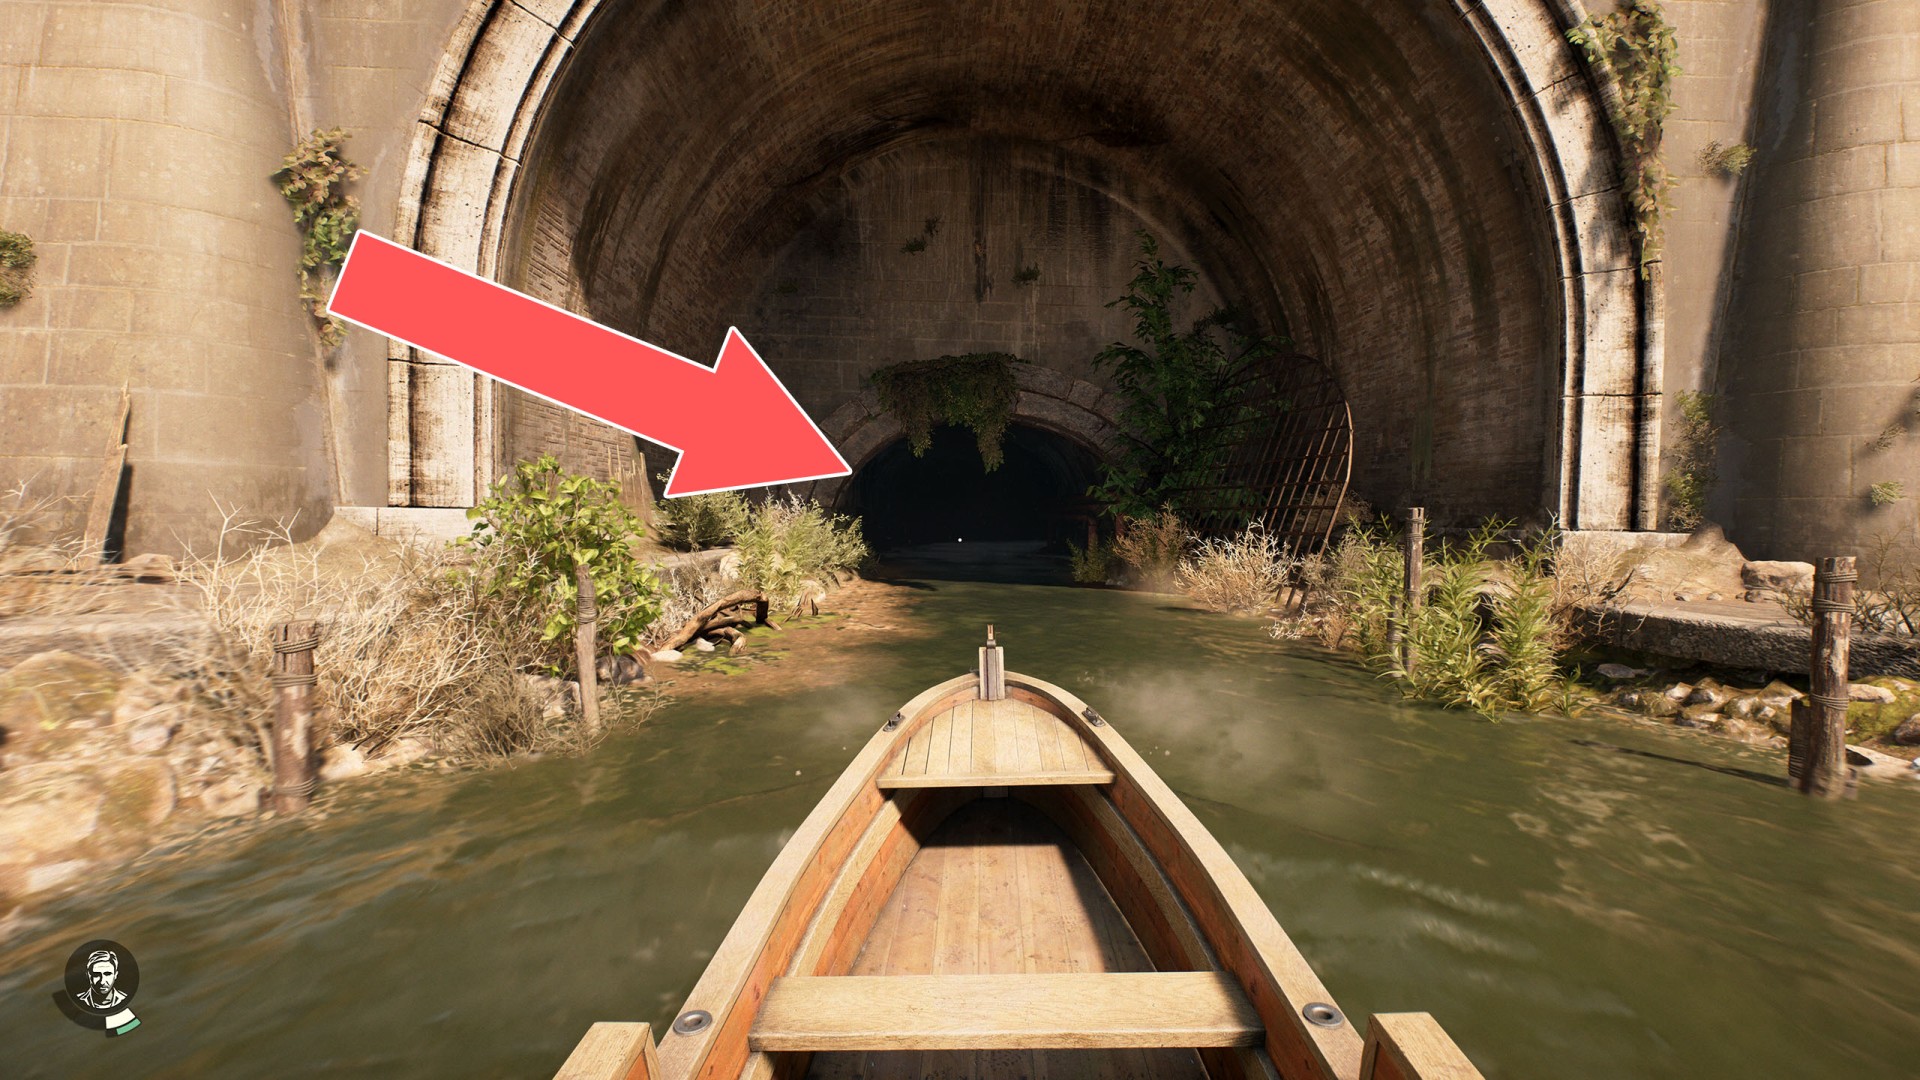
102Cloaca Maxima
103Cloaca Maxima
104Cloaca Maxima
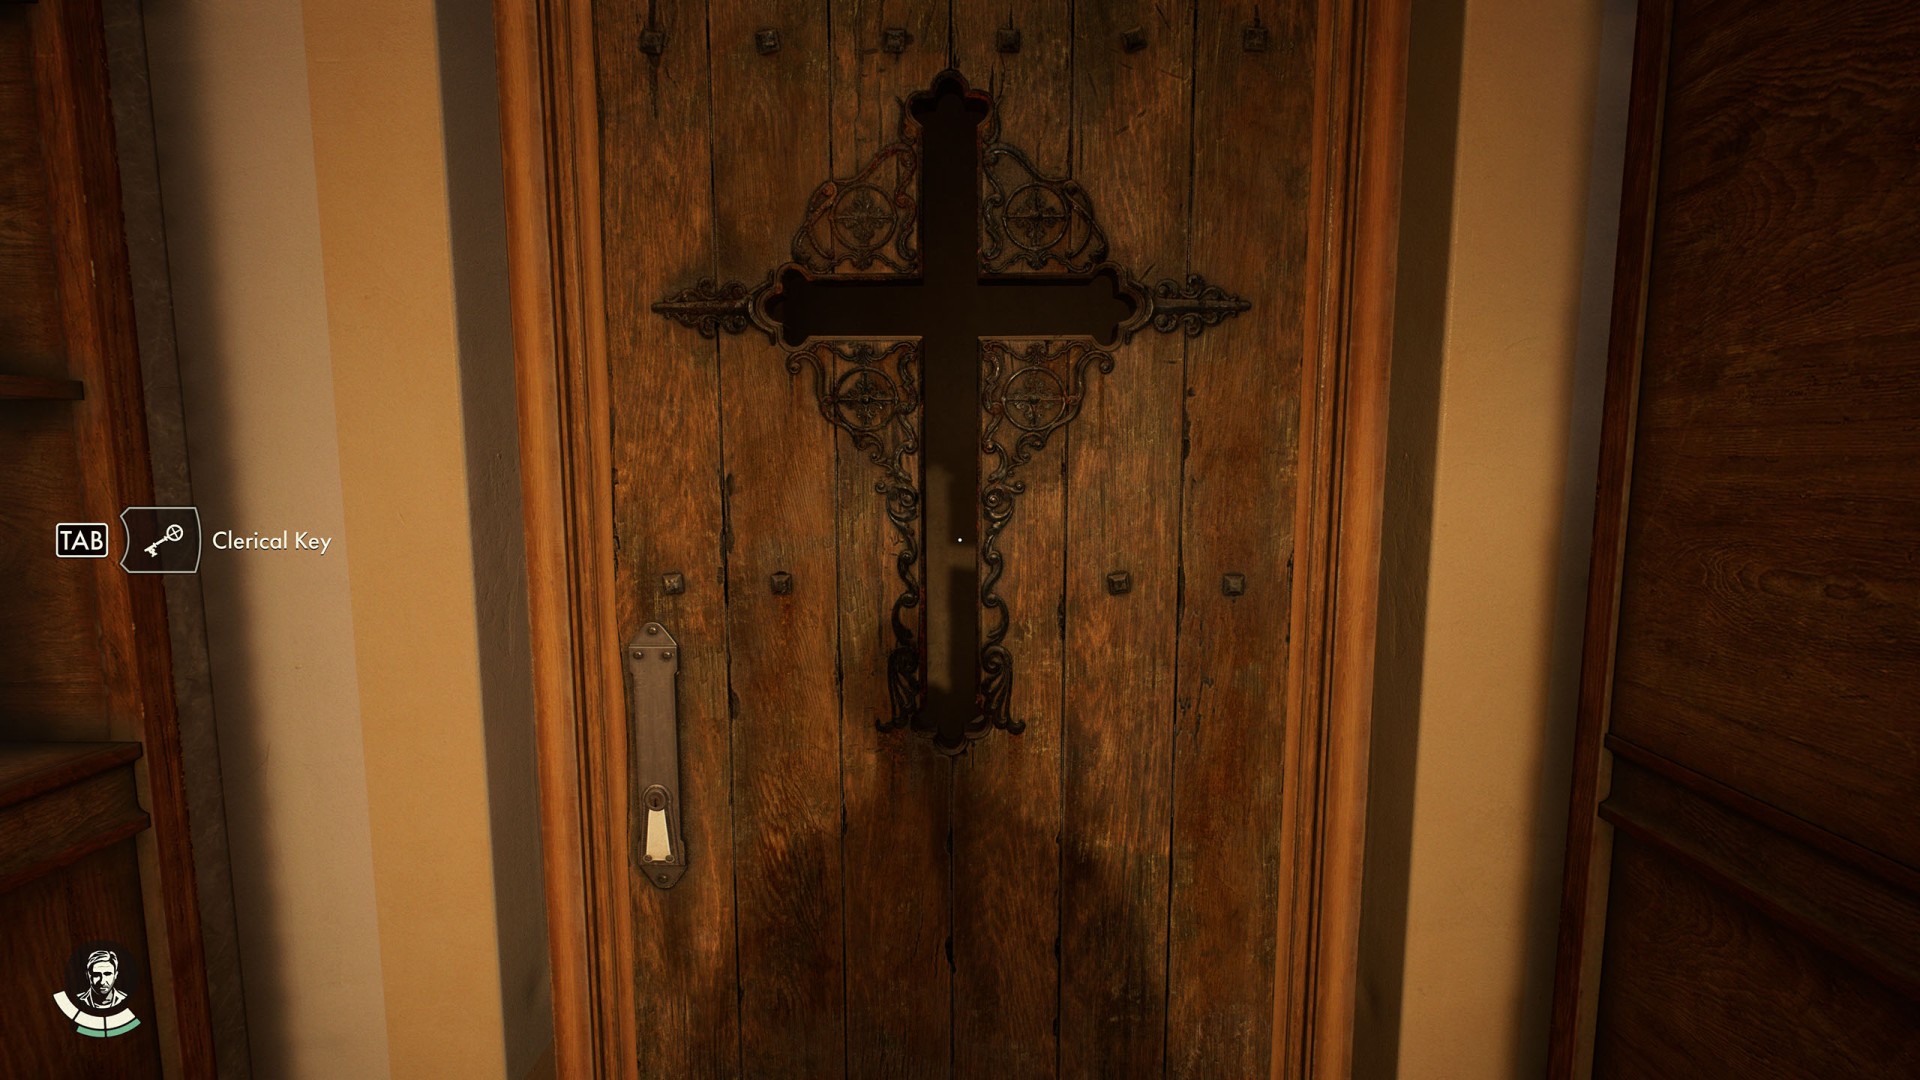
105Cloaca Maxima
The passage is behind the bookshelf. It will take you down to the Ricci's basement in Cloaca Maxima. Required key: Clerical Key.
106Colosseum
Behind this door, the final battle of The Order of Giant DLC awaits you.
107Crawl Space

108Crawl Space
109Crawl Space
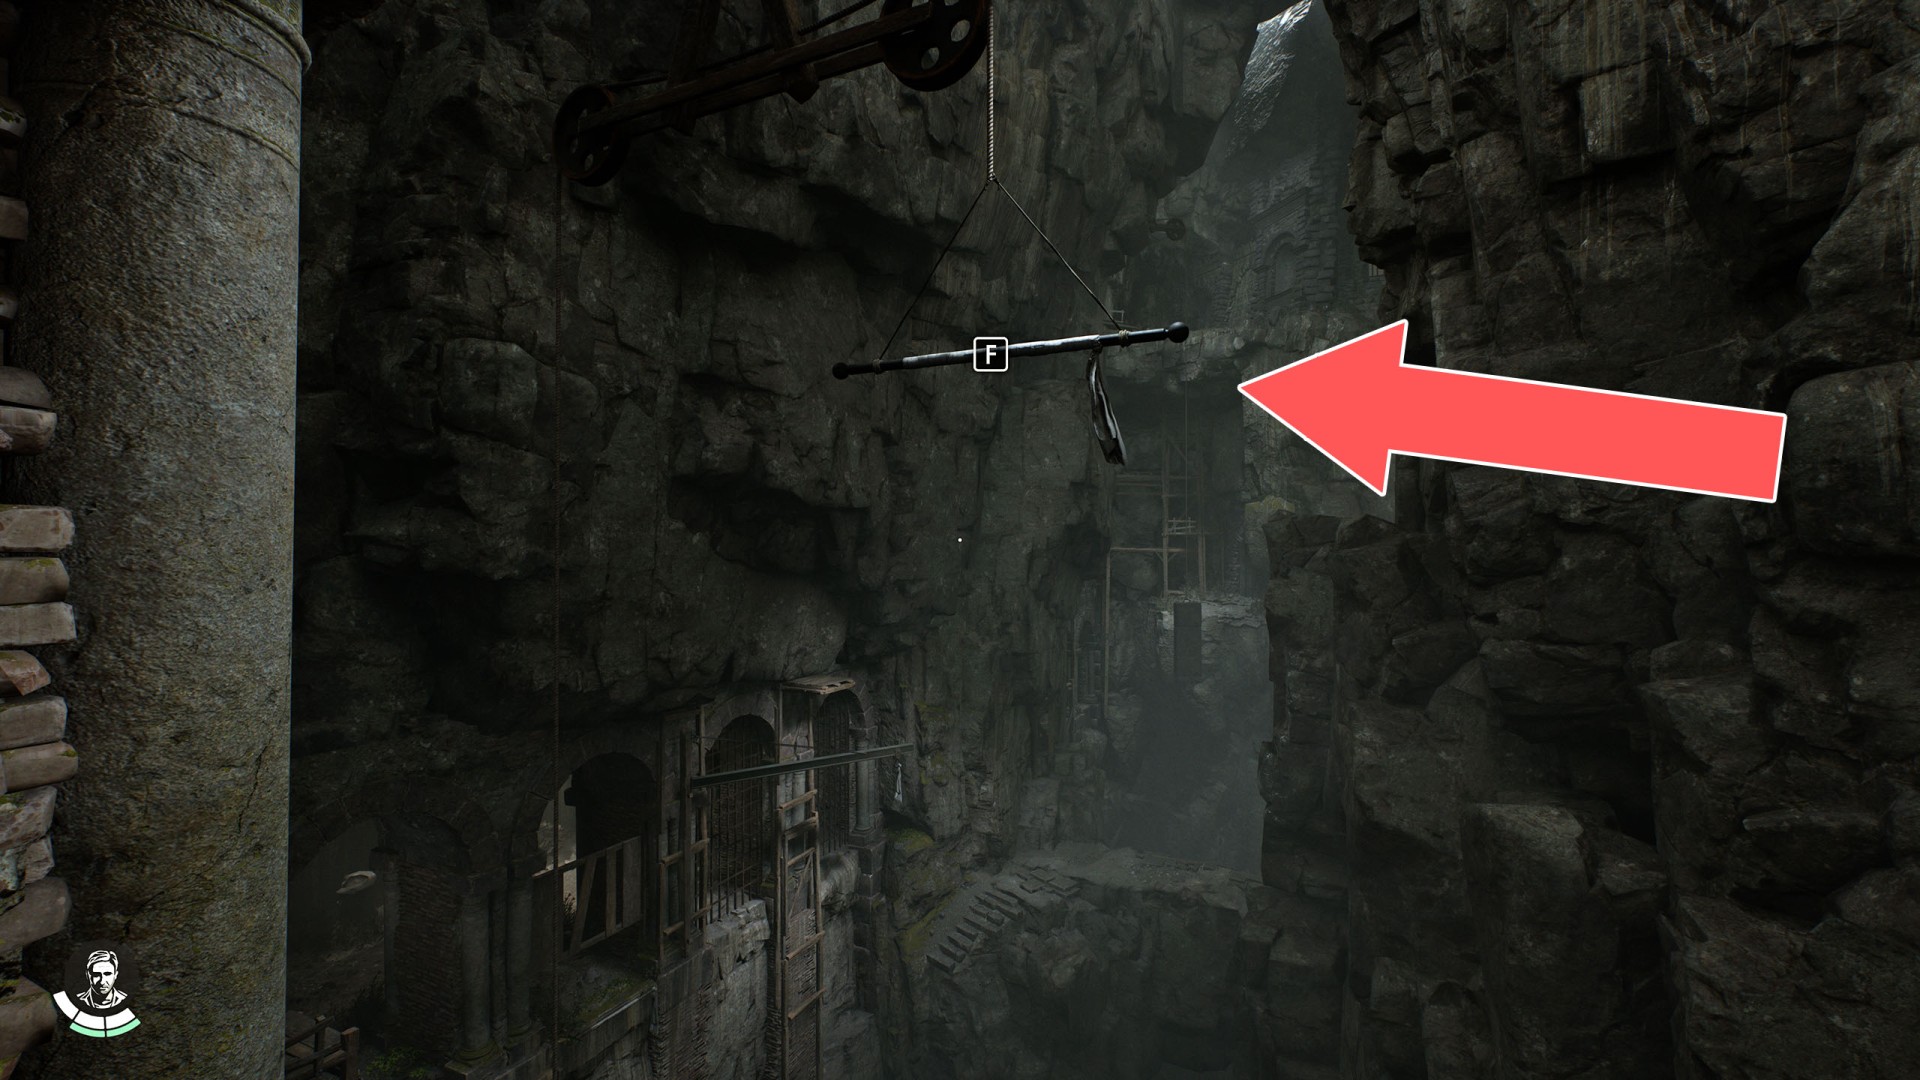
110Grappling Point
111Grappling Point
112Grappling Point
Hook yourself in here to ride down.
113Grappling Point
114Grappling Point
115Grappling Point
116Grappling Point

117Grappling Point
118Grappling Point
119Grappling Point
120Grappling Point
121Grappling Point
122Grappling Point
123Grappling Point
124Grappling Point
125Grappling Point
126Grappling Point

127Grappling Point
Use this point to get into the alcove where you can take a picture of the Sewer Cat.
128Grappling Point
129Grappling Point
130Grappling Point

131Grappling Point
132Grappling Point
133Grappling Point
134Grappling Point
Thanks to it, you can safely descend and then return back up.
135Hole in the Wall
136Hypogeum
137Hypogeum (Lower Level)
138Hypogeum (Lower Level)
139Hypogeum (Lower Level)
140Hypogeum (Lower Level)
141Hypogeum (Upper Level)
142Ladder
143Ladder
144Lower Mithraeum
145Lower Mithraeum
You cannot go back this way, you can only move down.
146Mithraeum
The gate will be opened by one of the cultists at a certain stage of the game.
147Open Window
148Open Window
149Ramp
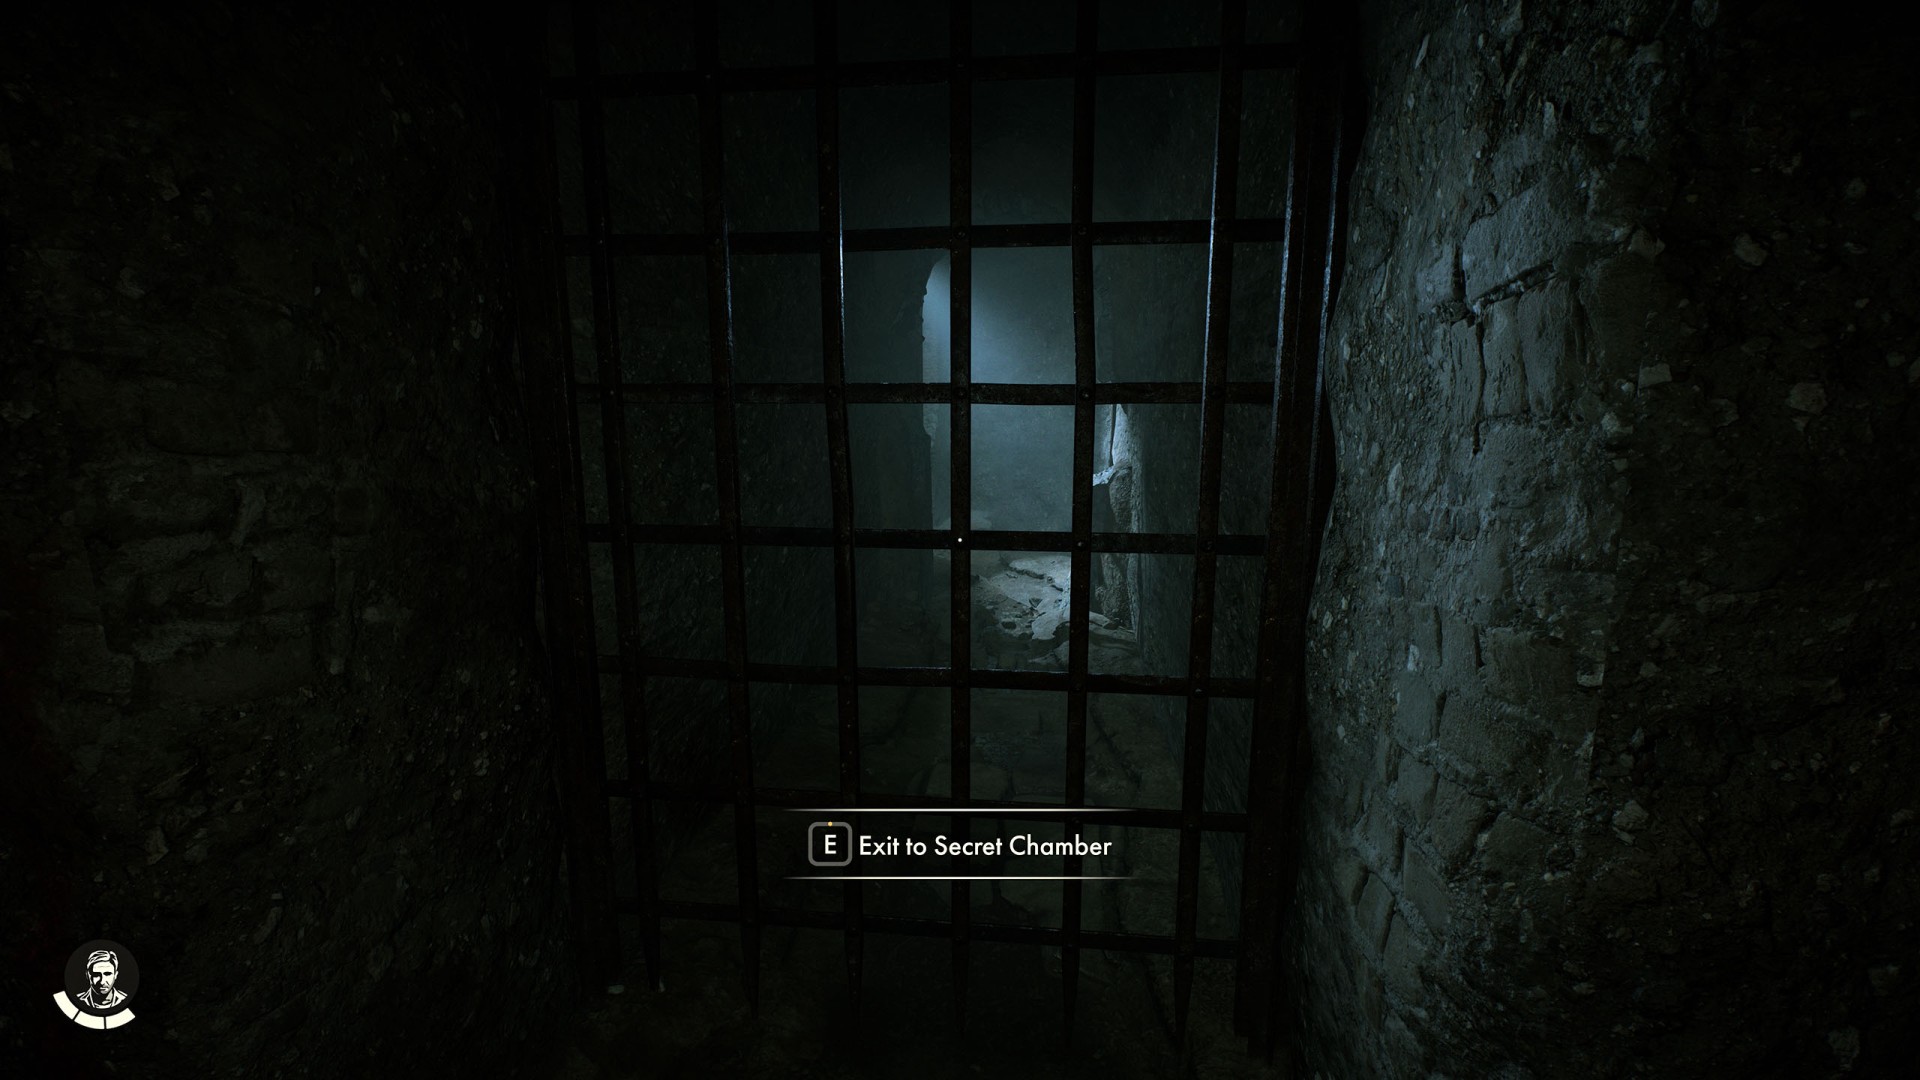
150Secret Chamber Entrance
To open this passage, you must take two figurines: Crusader Figurine and Pope Figurine, and place them in slots Antioch Slot and Rome Slot, respectively.
151Shrine of the Gladiator
152Shrine of the Gladiator (Lower Level)
You can only go down using the rope, it's not possible to get back up this way.
153Stone Block
154Stone Block
155The River Tiber
156The River Tiber
157The Vatican
You start here, it's also a way back to the Vatican.
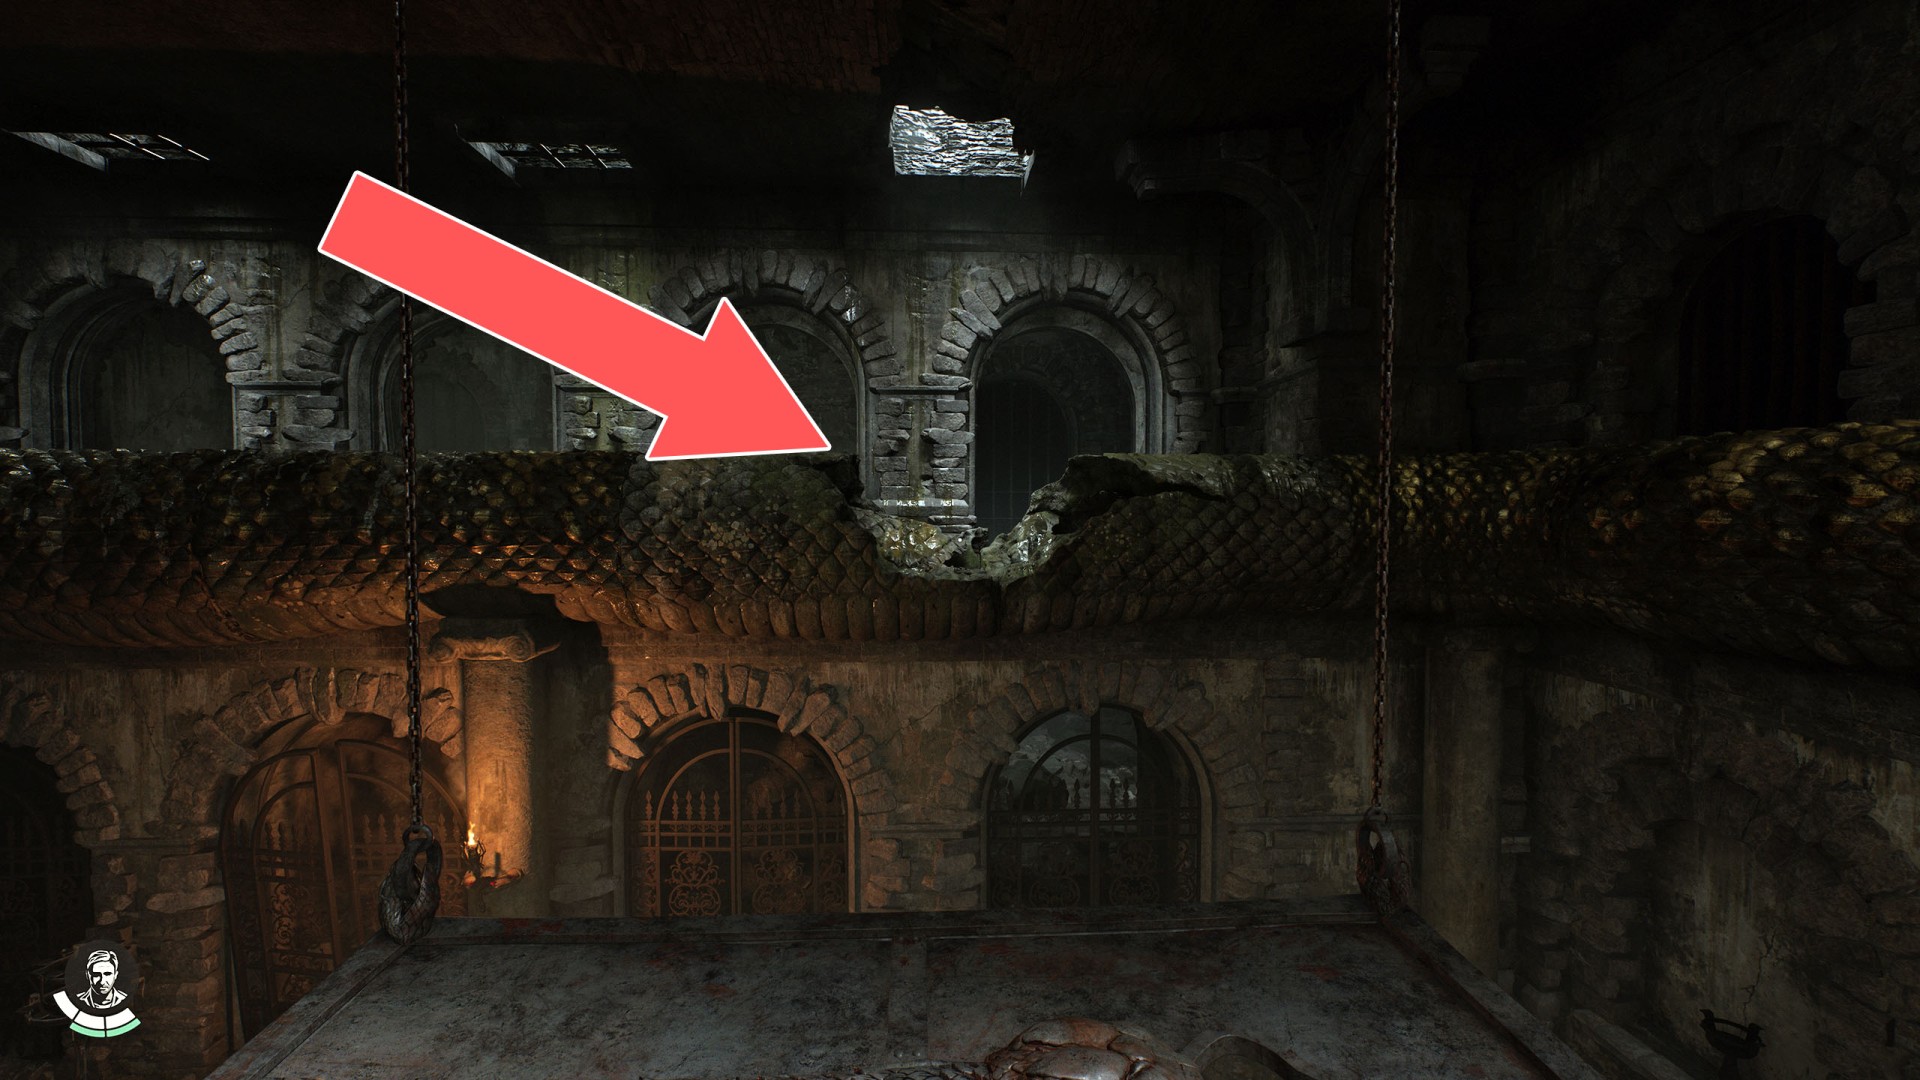
158The Water Serpent Gate
The gate will open once The Water Serpent has been solved.
159Tomb of Gibborim
160Tomb of Junia
161Via Giulia
162Via Giulia
Sewer manhole. You can only get through here once, during the main storyline of the game.
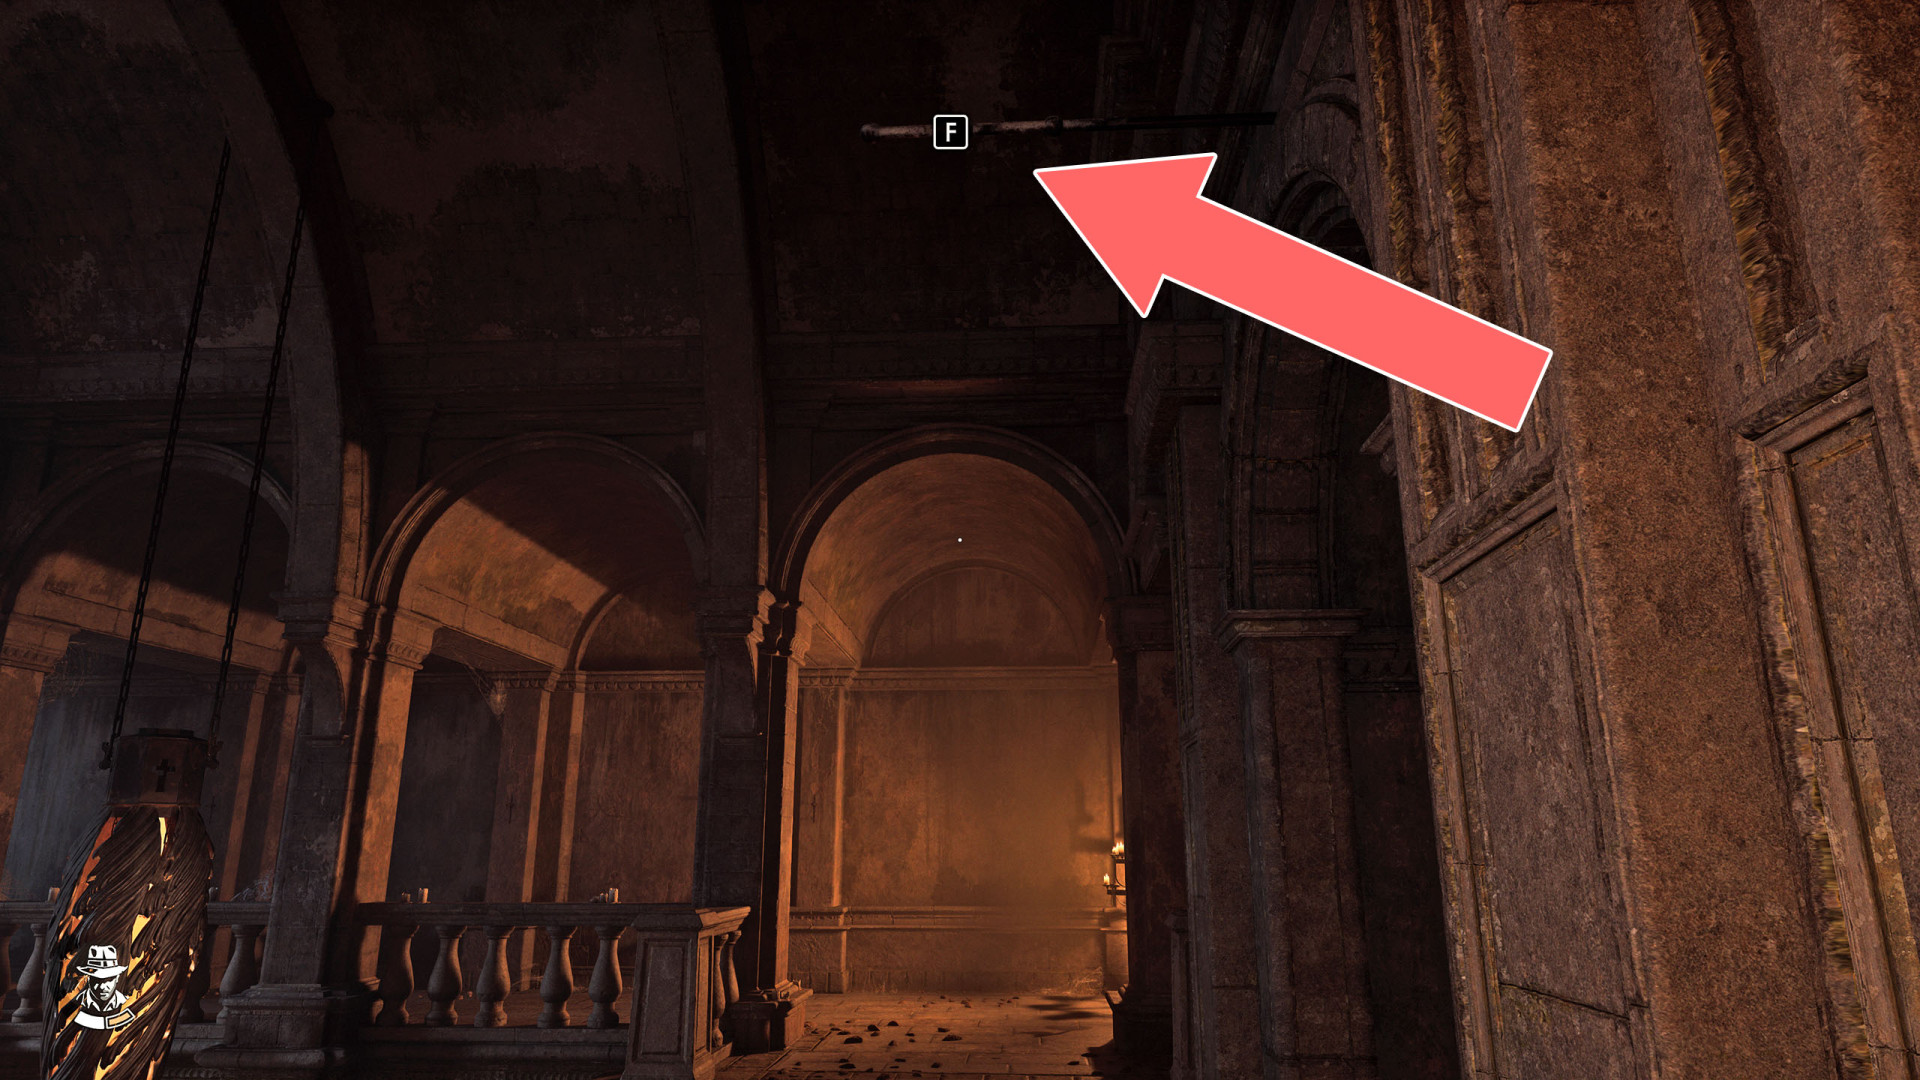
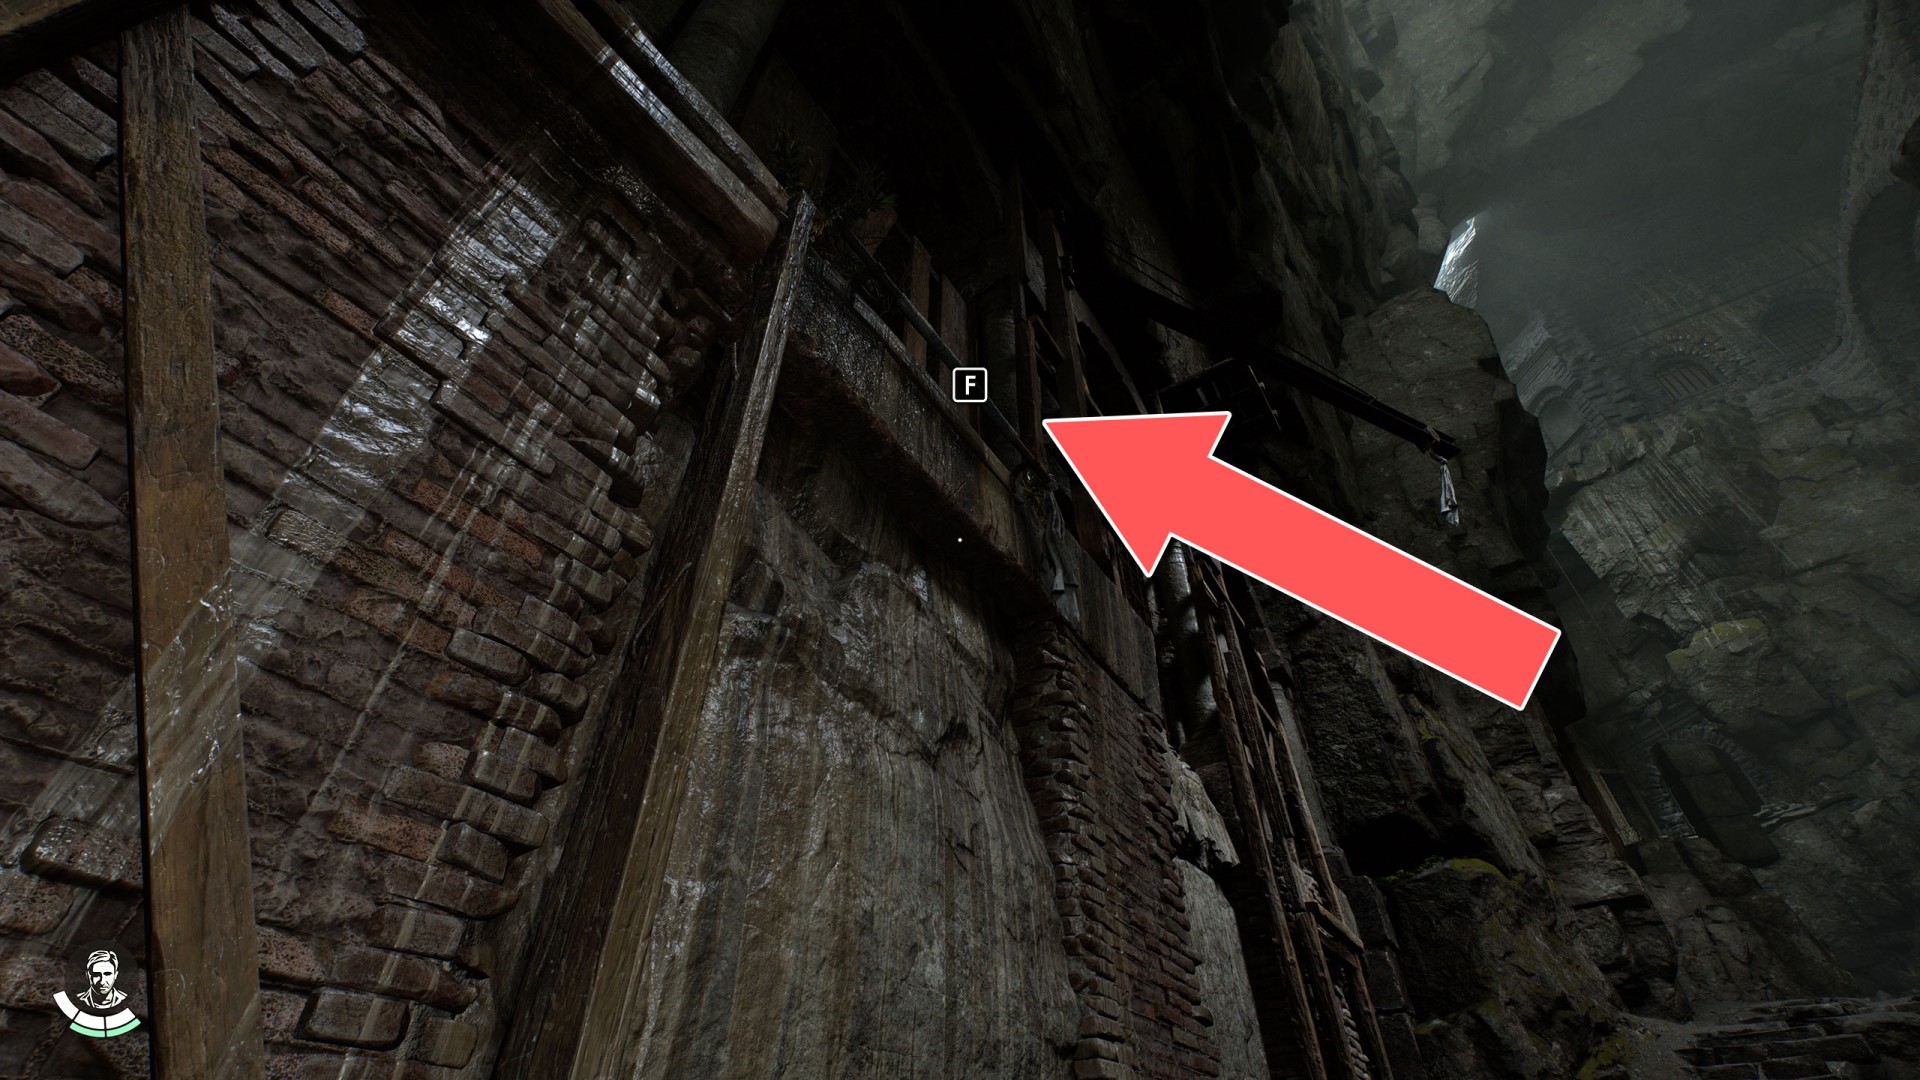
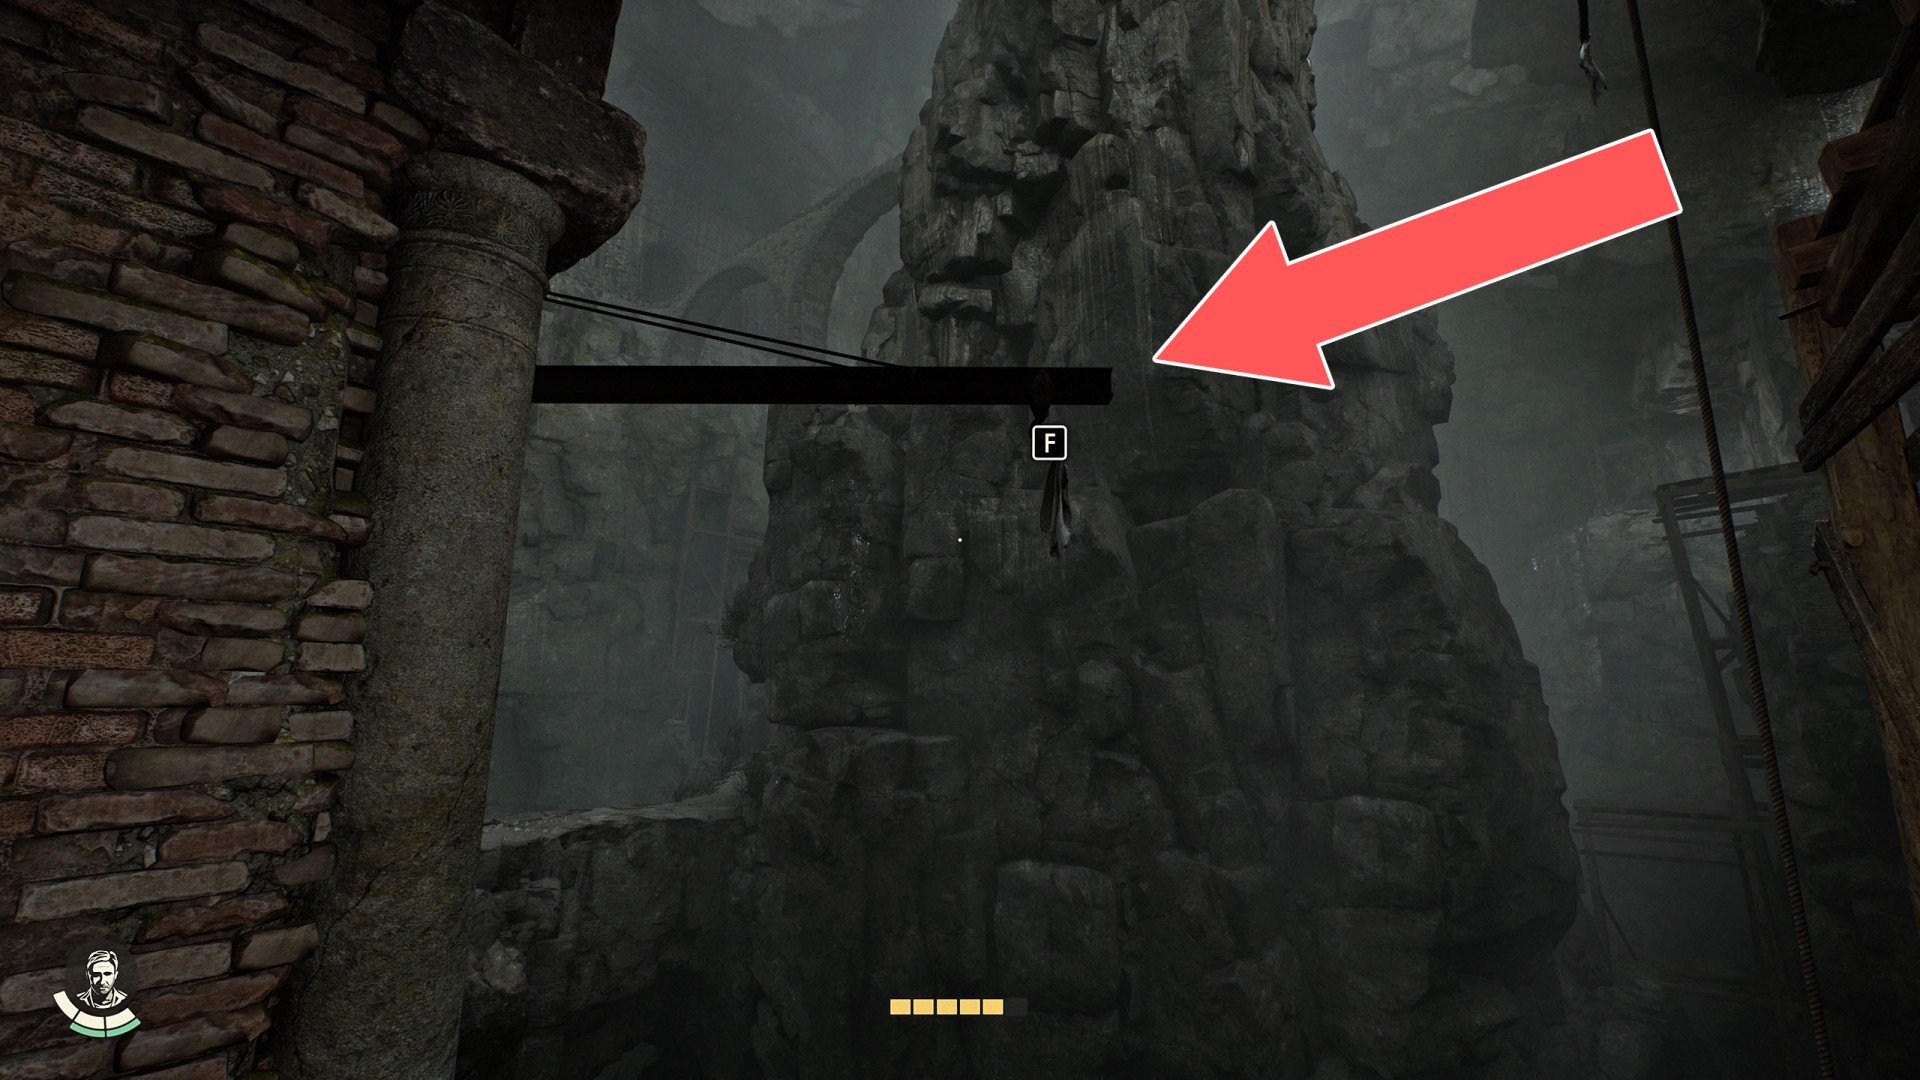
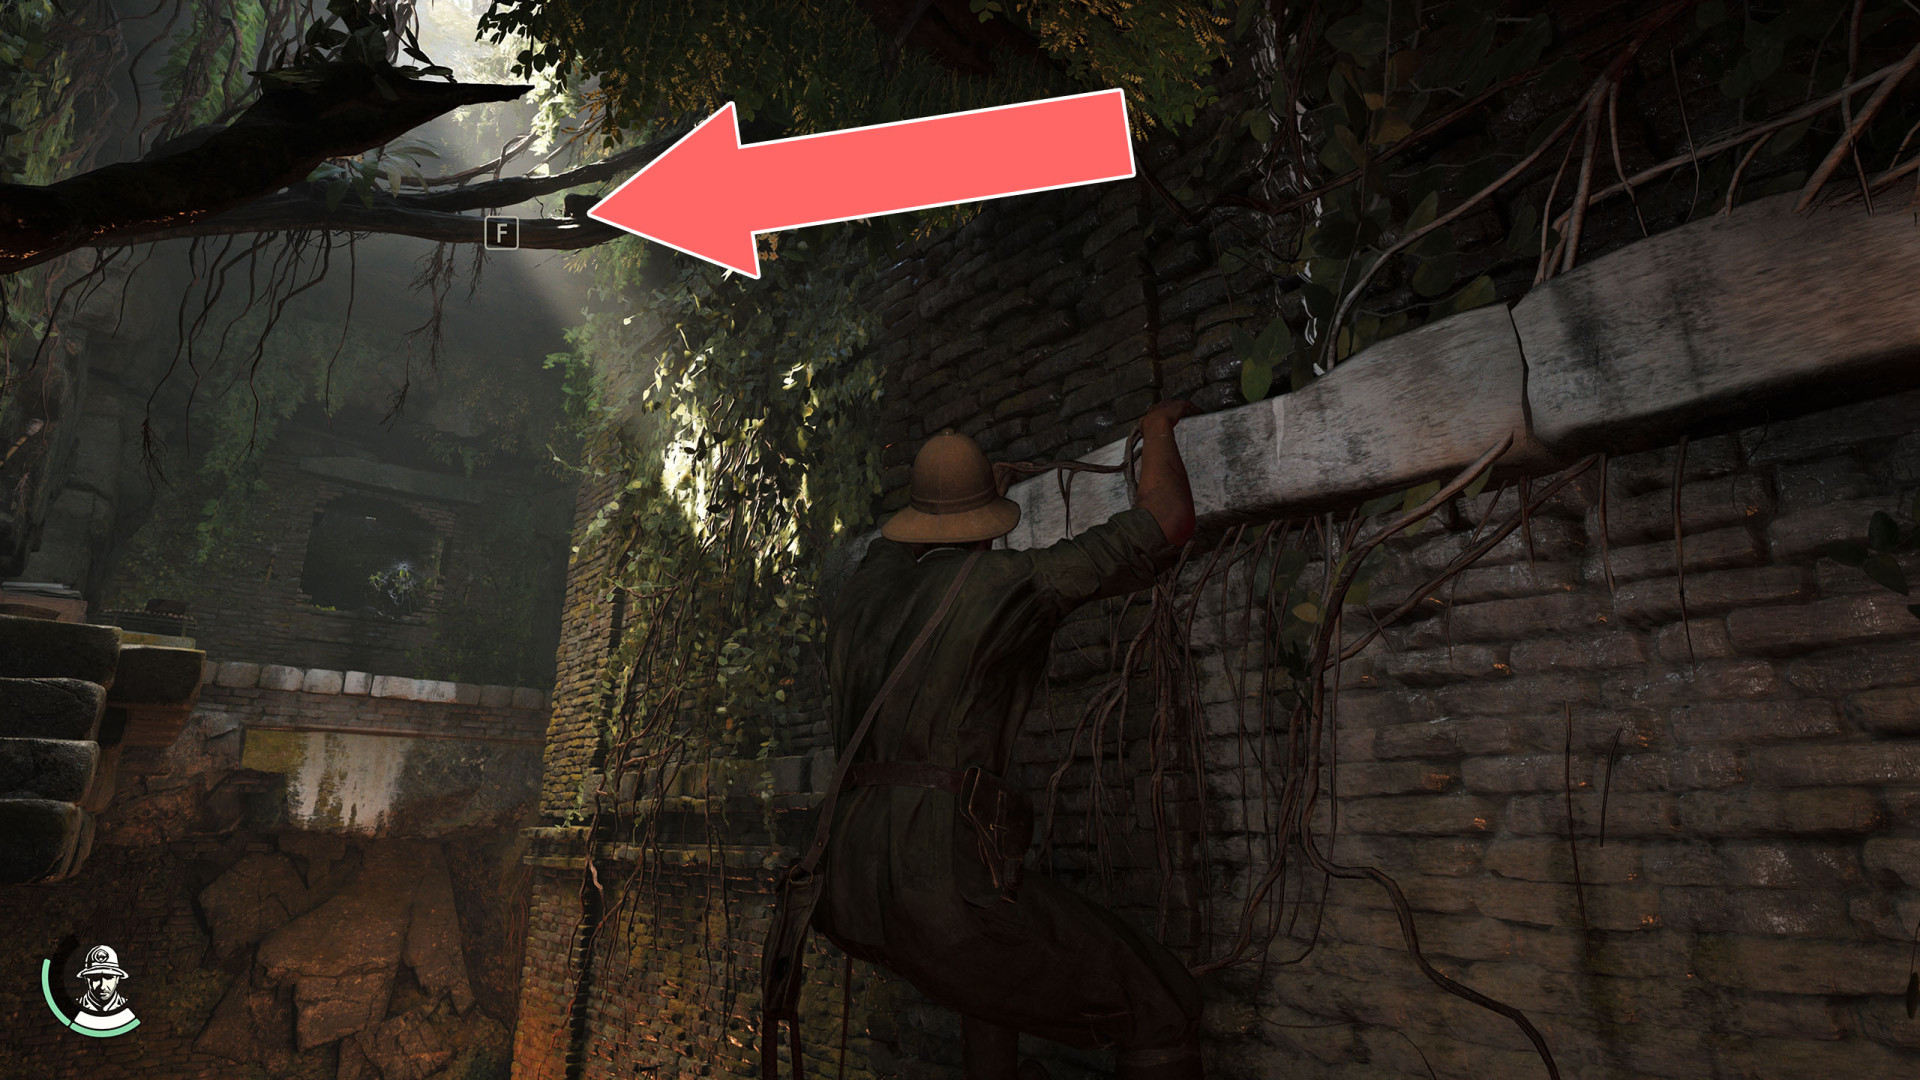
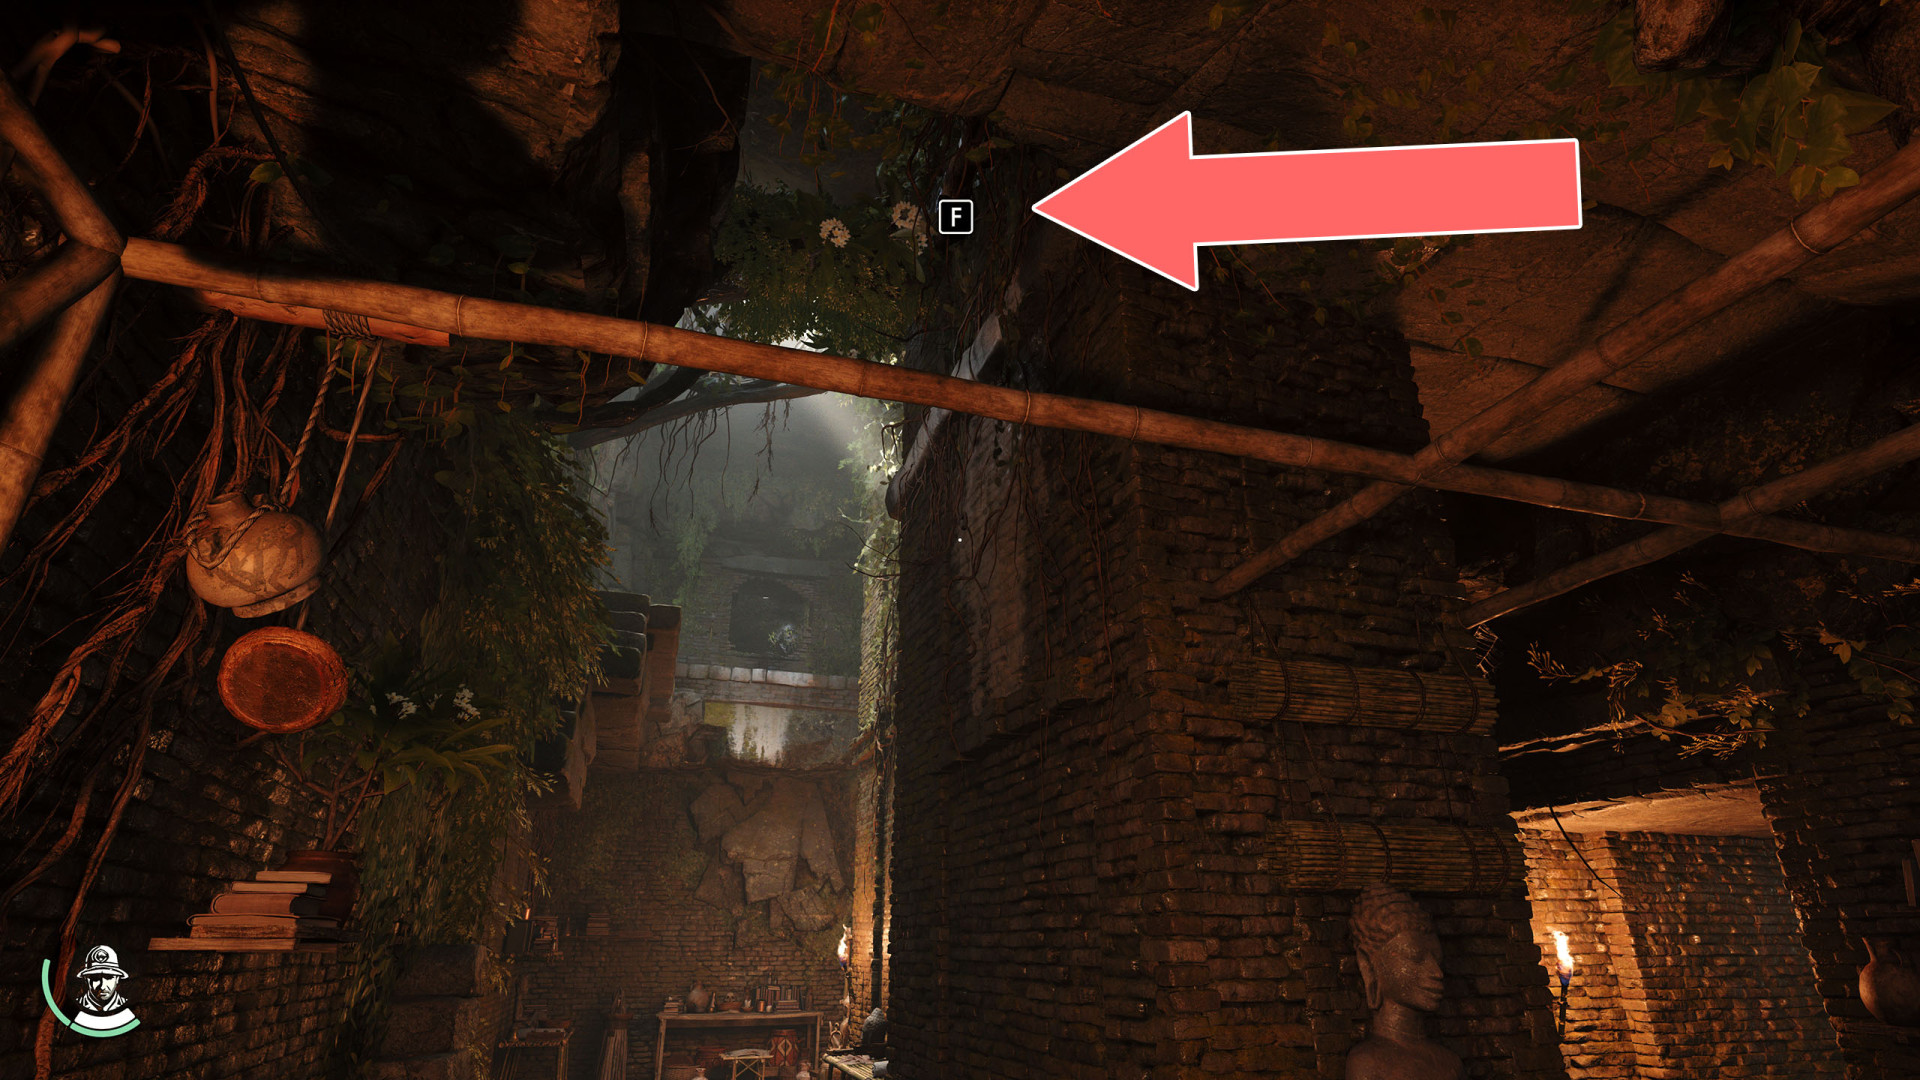
163Wooden Beam
164Zipline

165Zipline
166Zipline
Locations on Gizeh
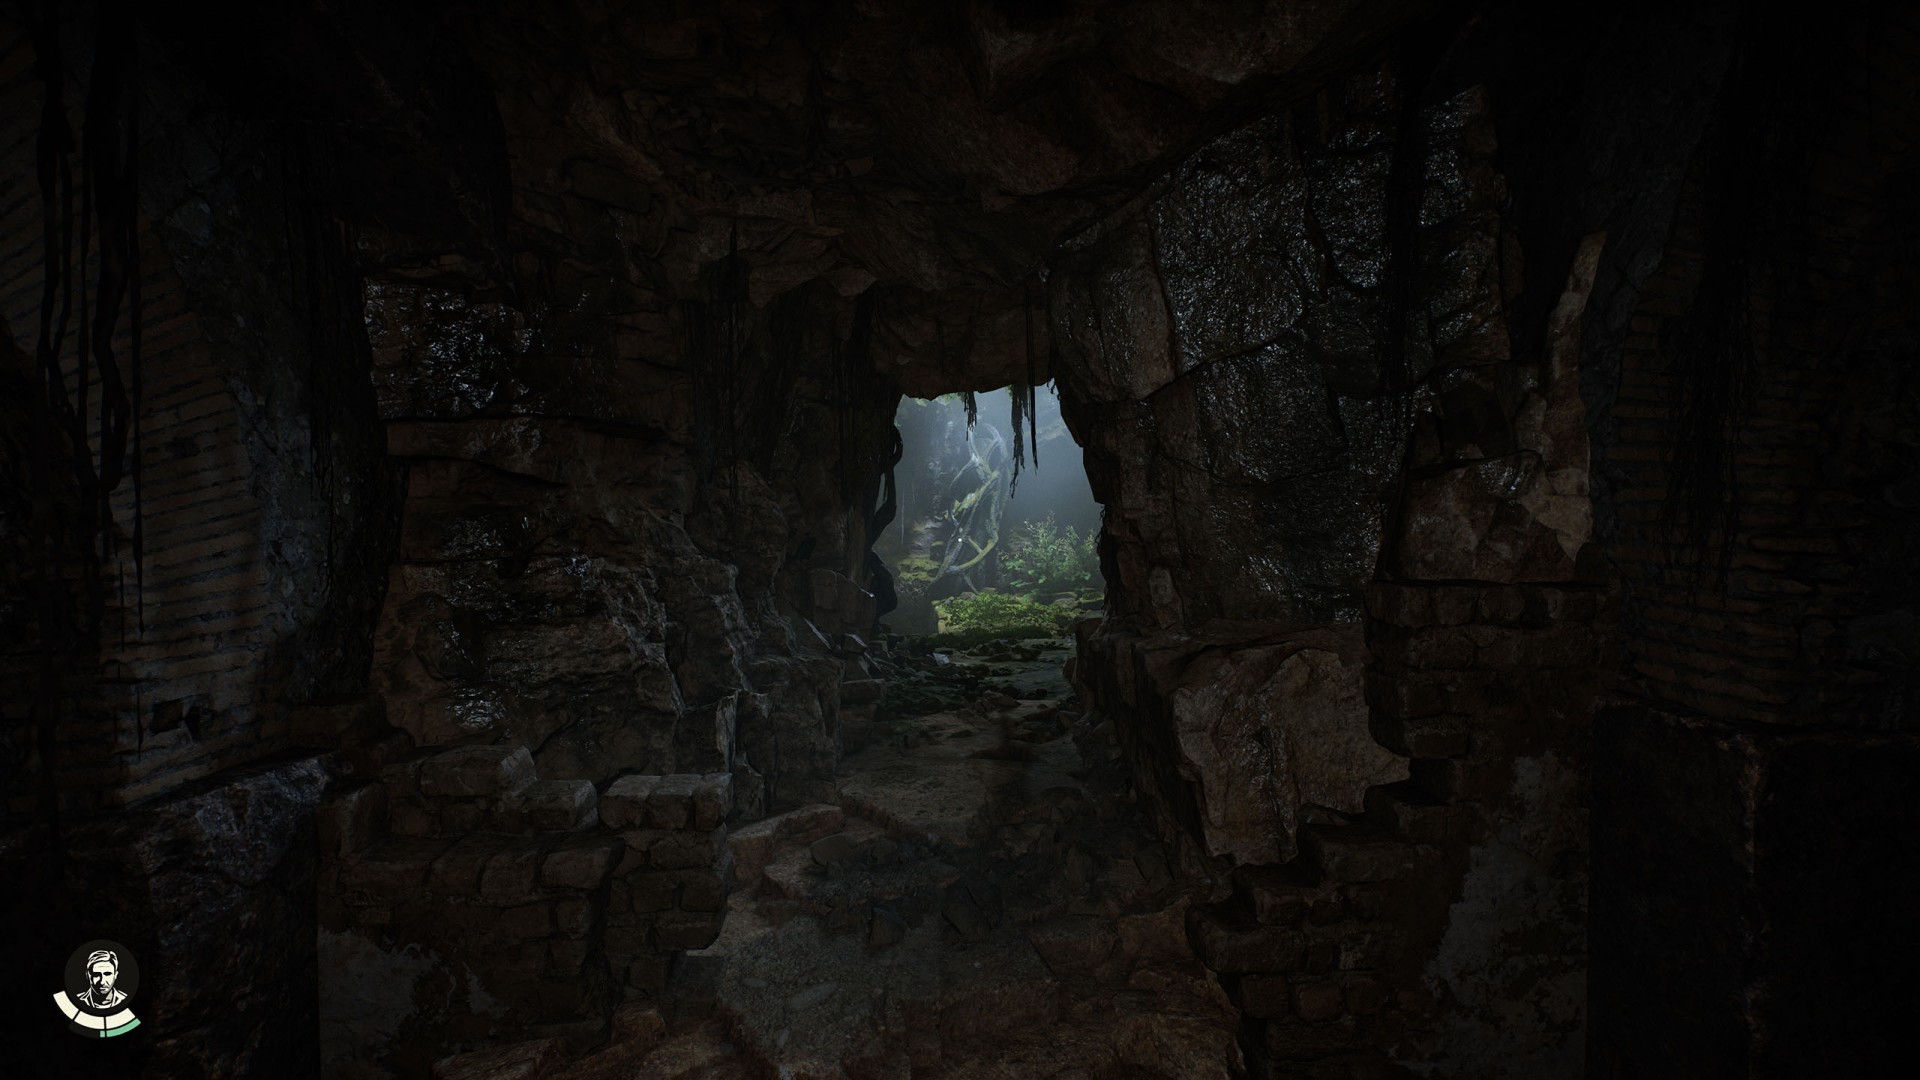
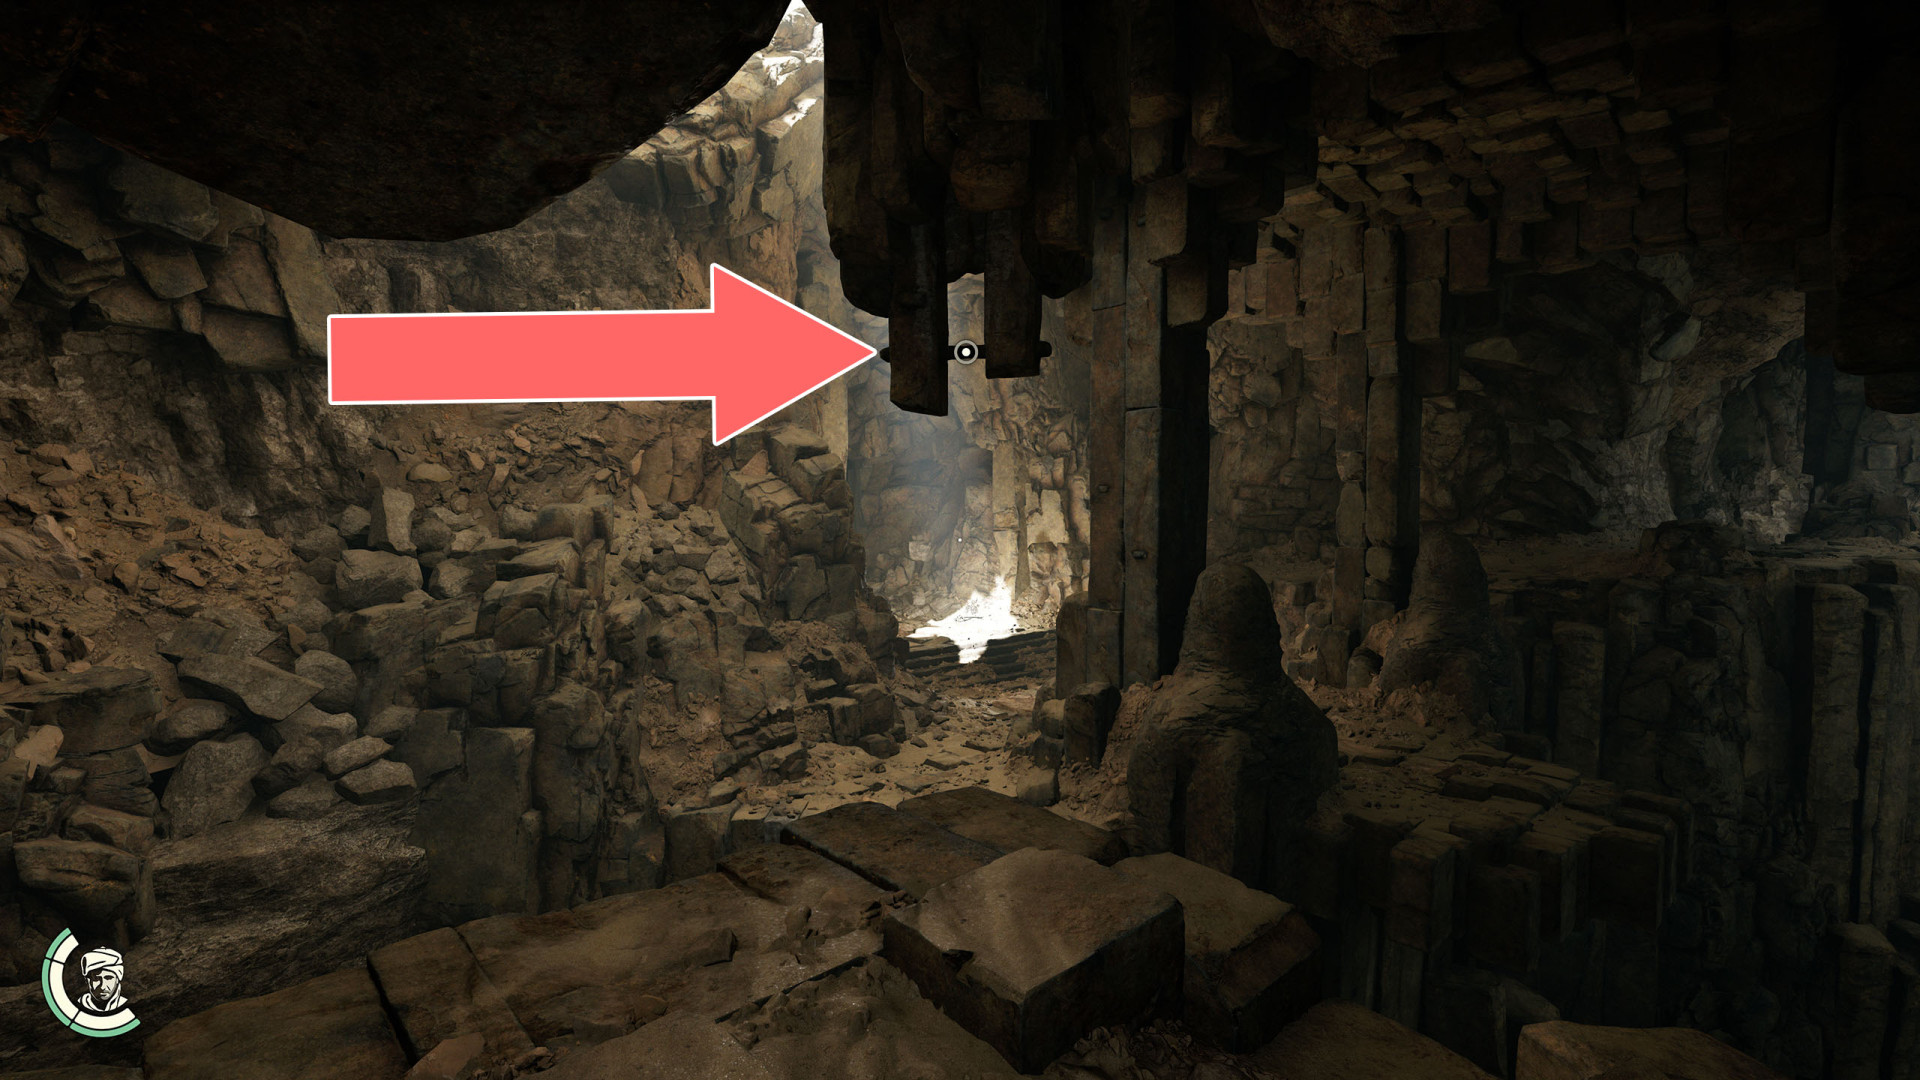
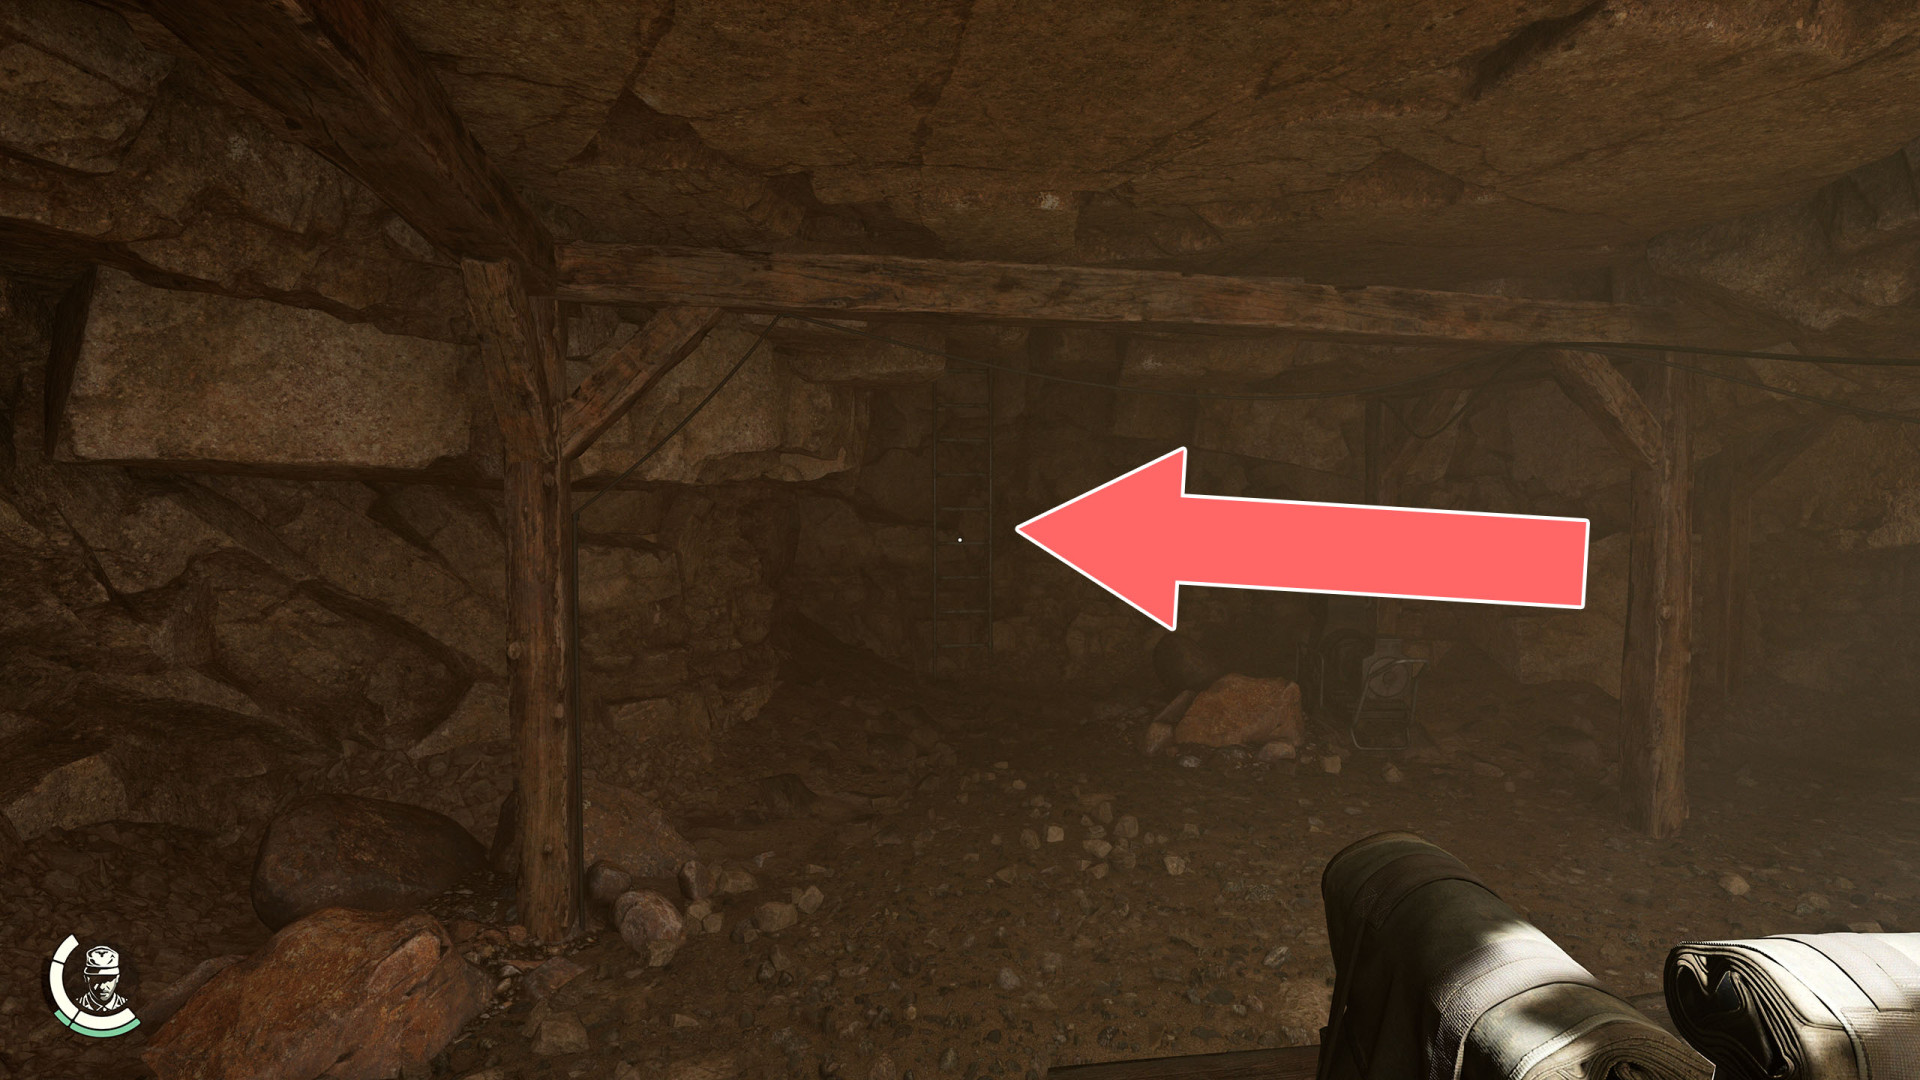
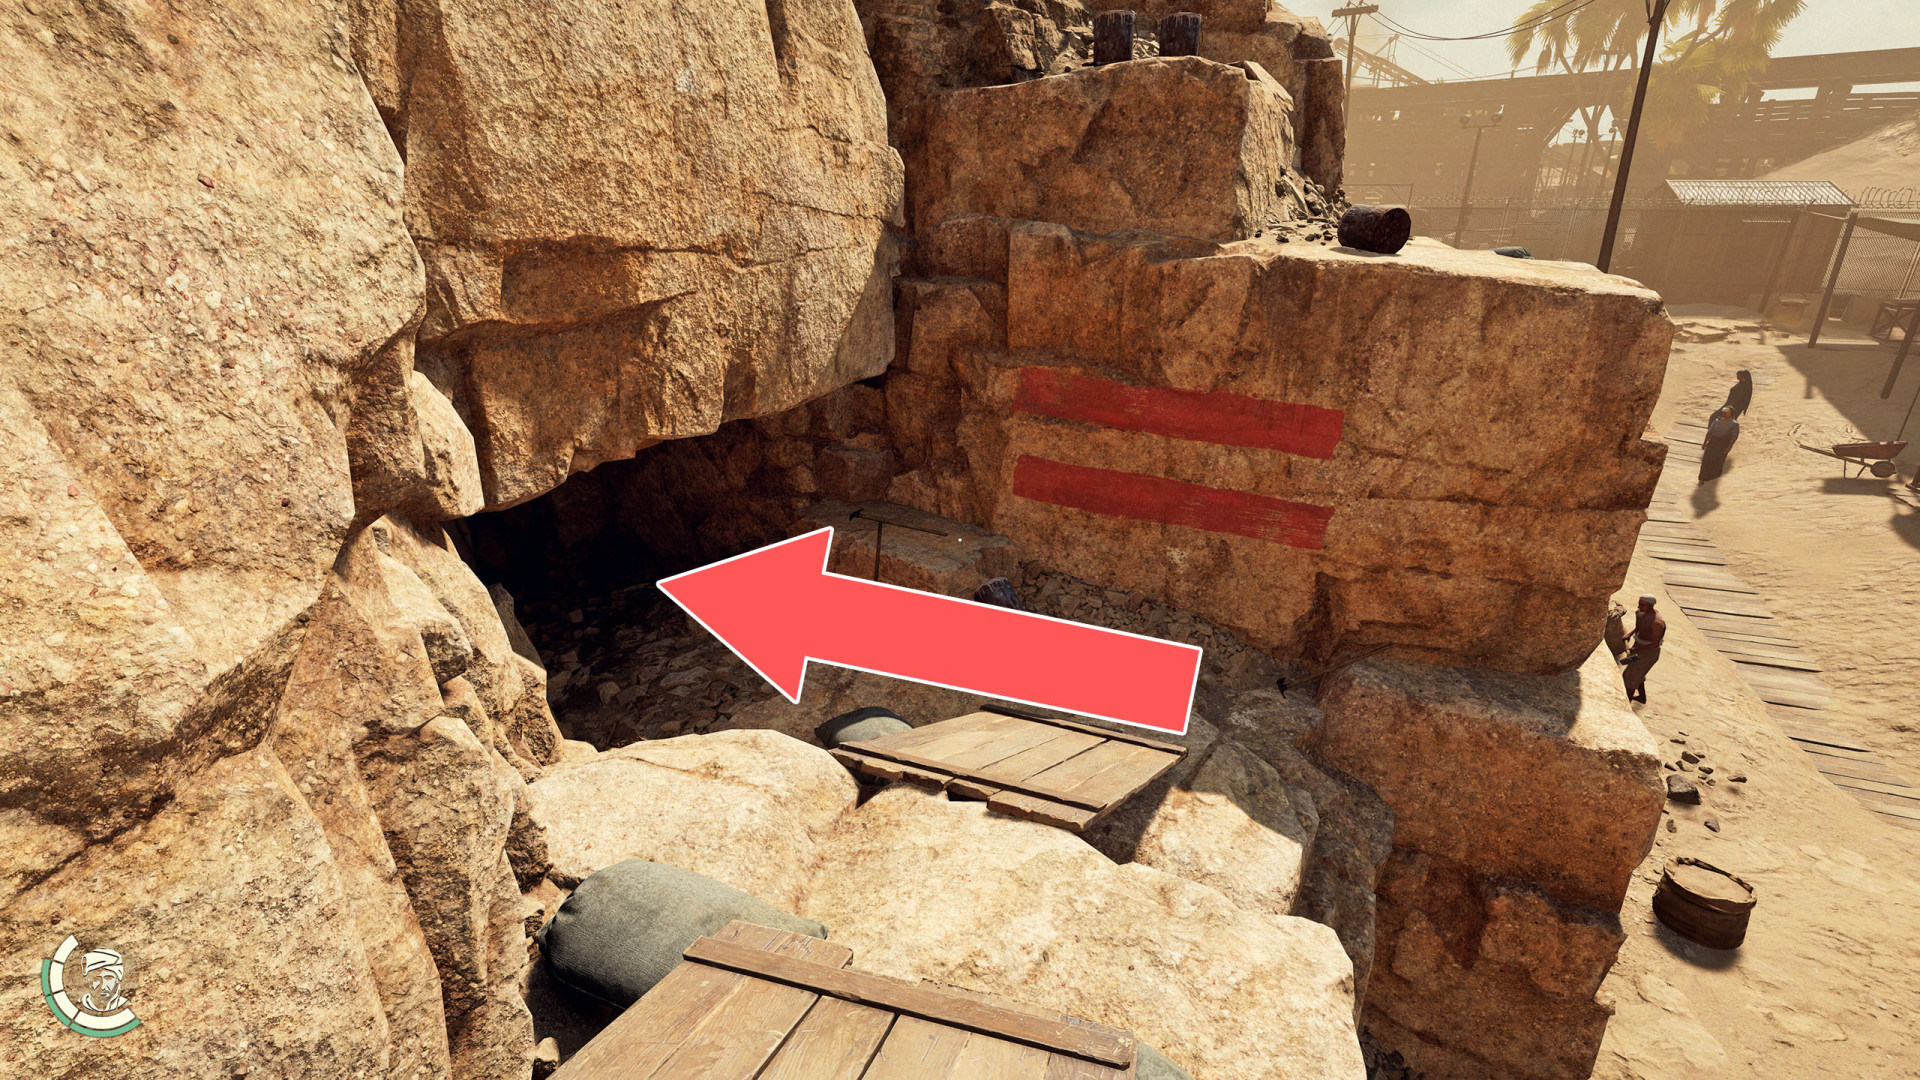
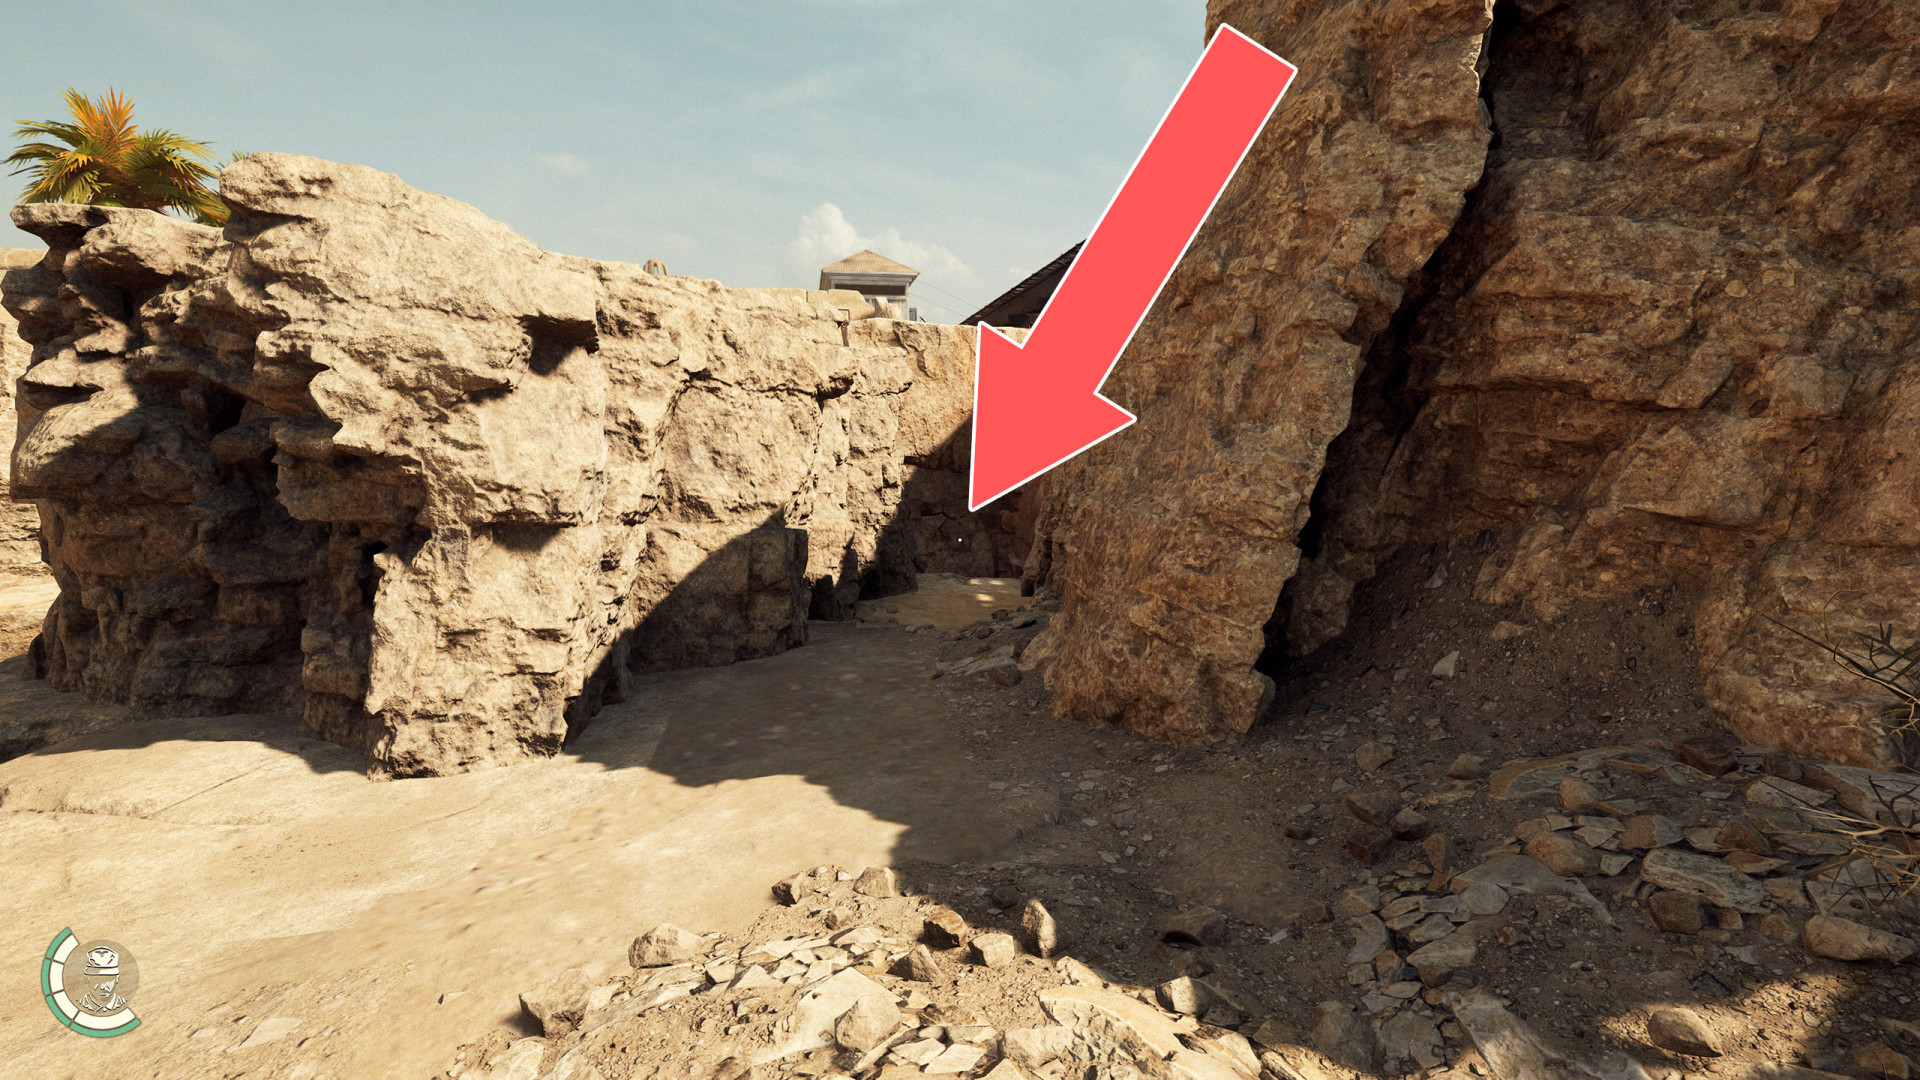
167Ancient Caves Entrance
Related transition: Ancient Caves Exit.
168Ancient Caves Exit
Related transition: Ancient Caves Entrance.
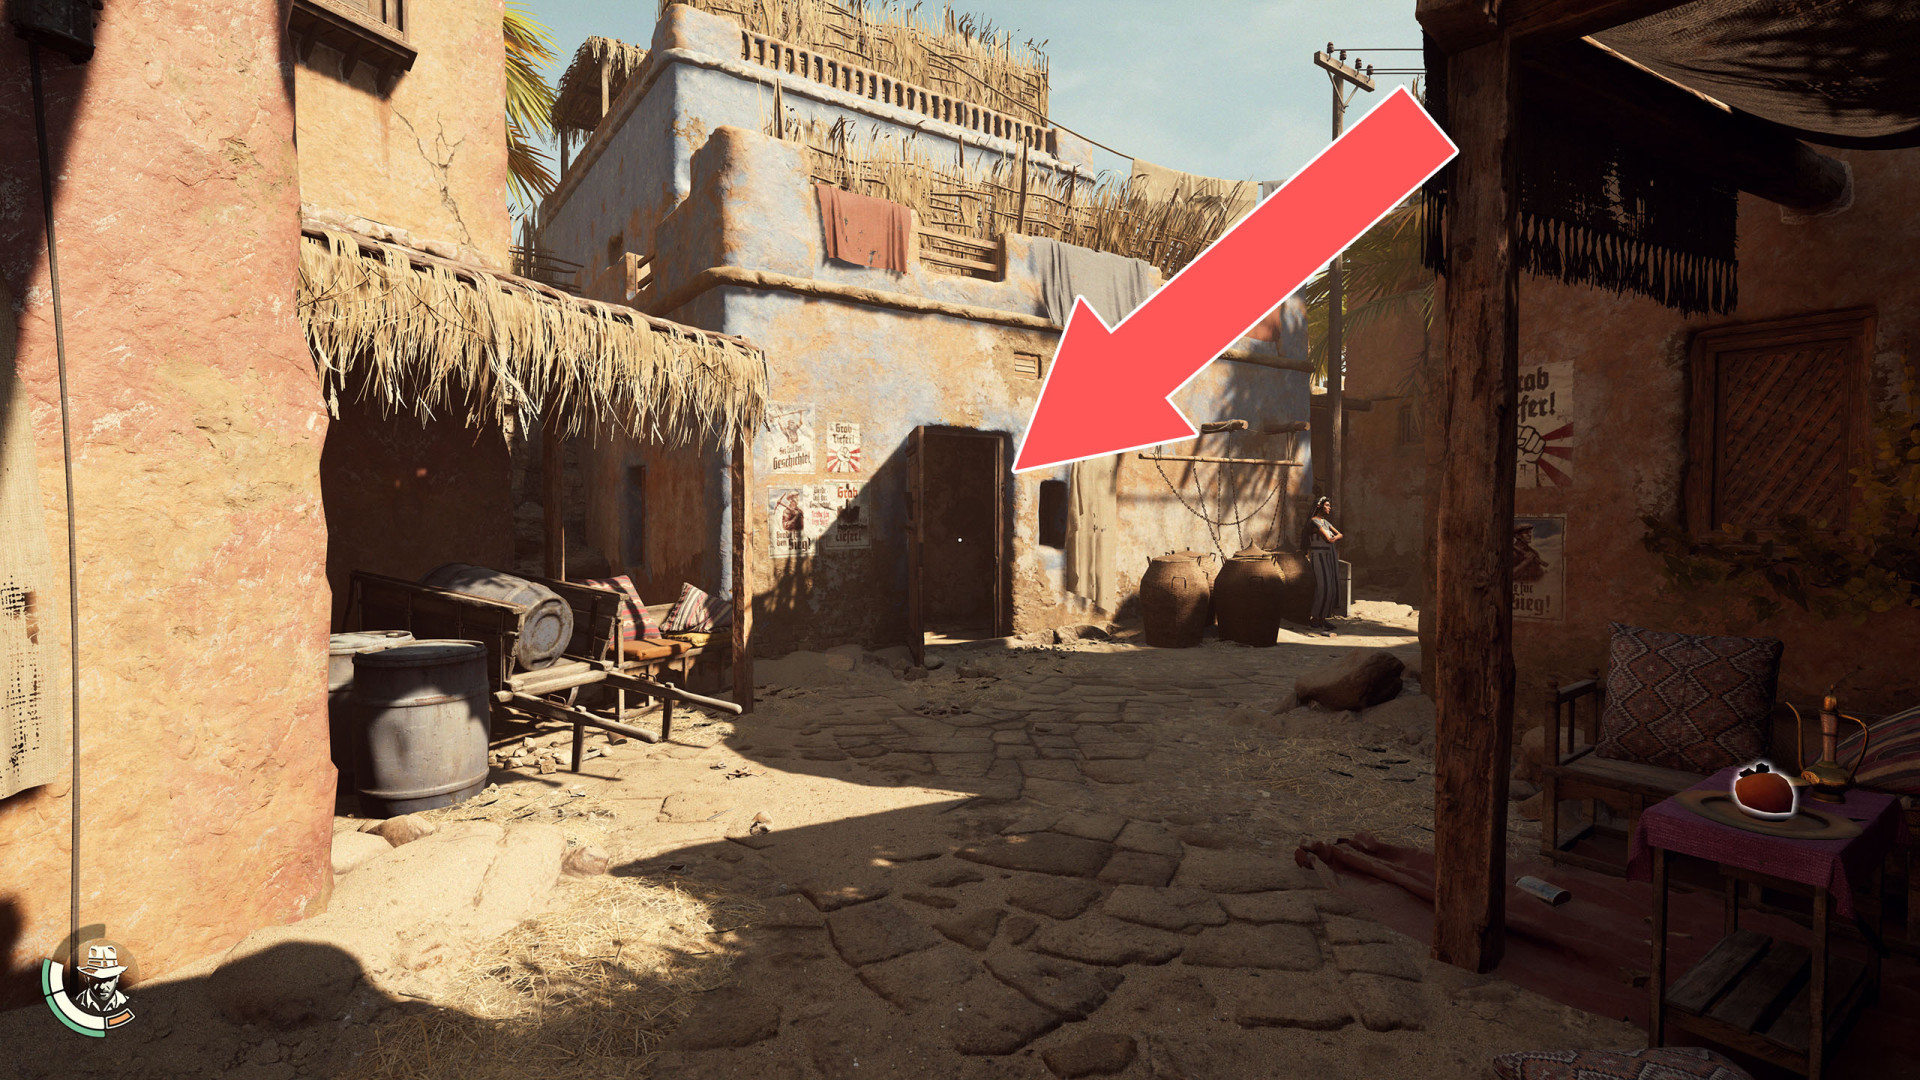
169Basement Entrance
170Breakable Wall
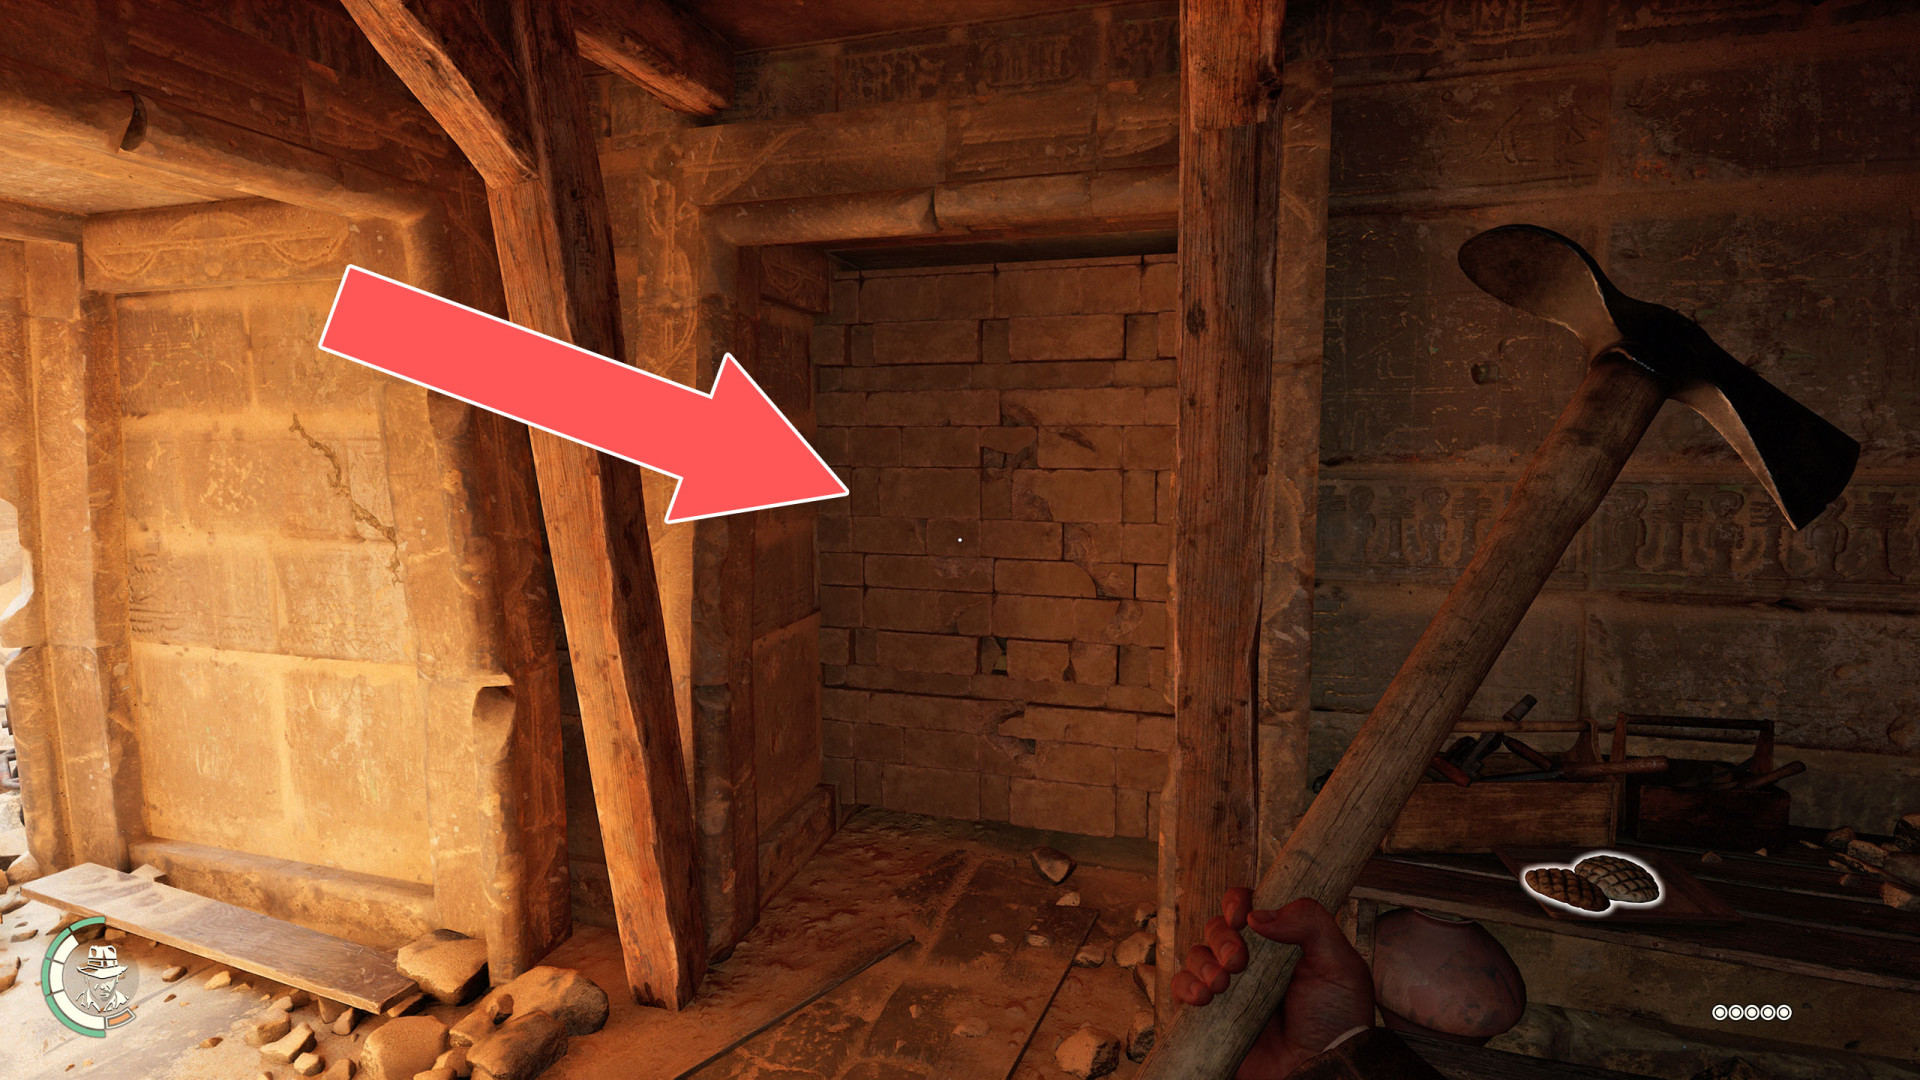
171Breakable Wall
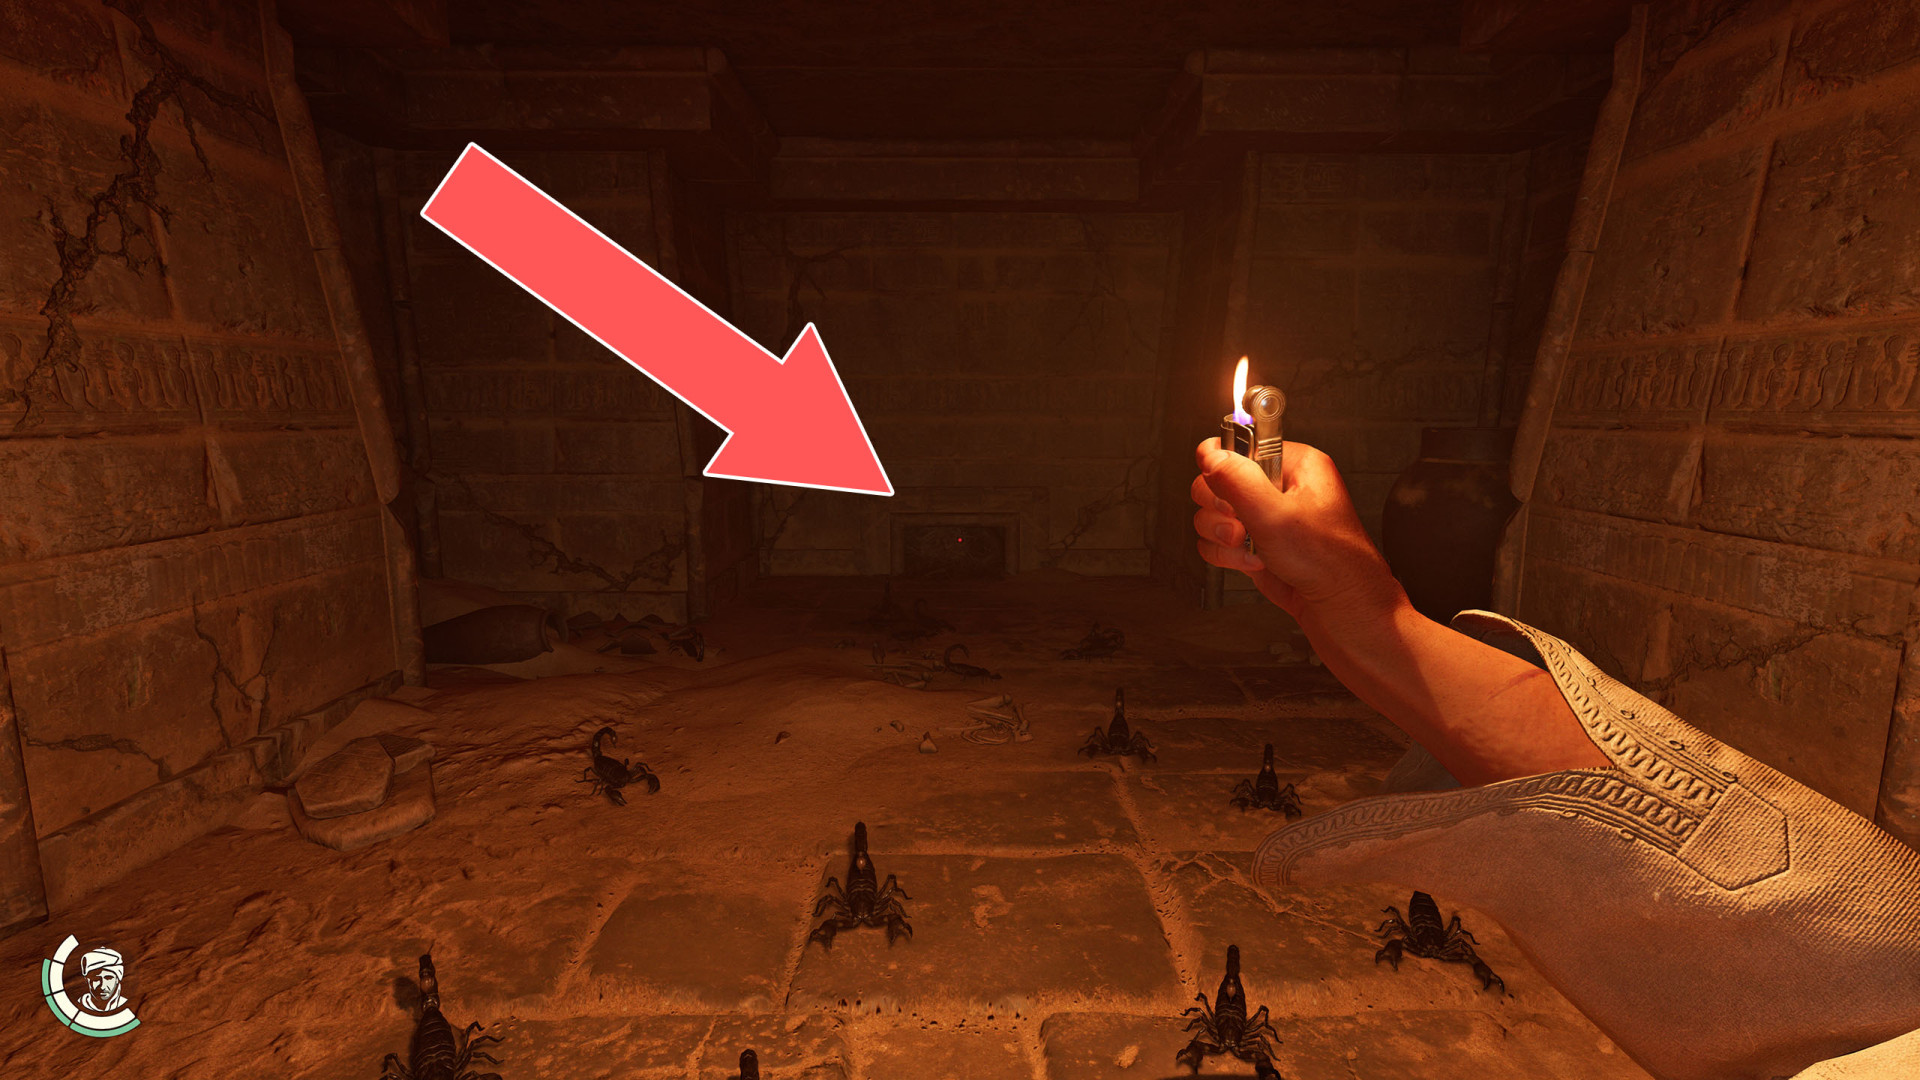
172Crawl Hole
173Crawl Hole
174Crawl Hole
175Crawl Hole
176Crawl Hole
177Crawl Hole
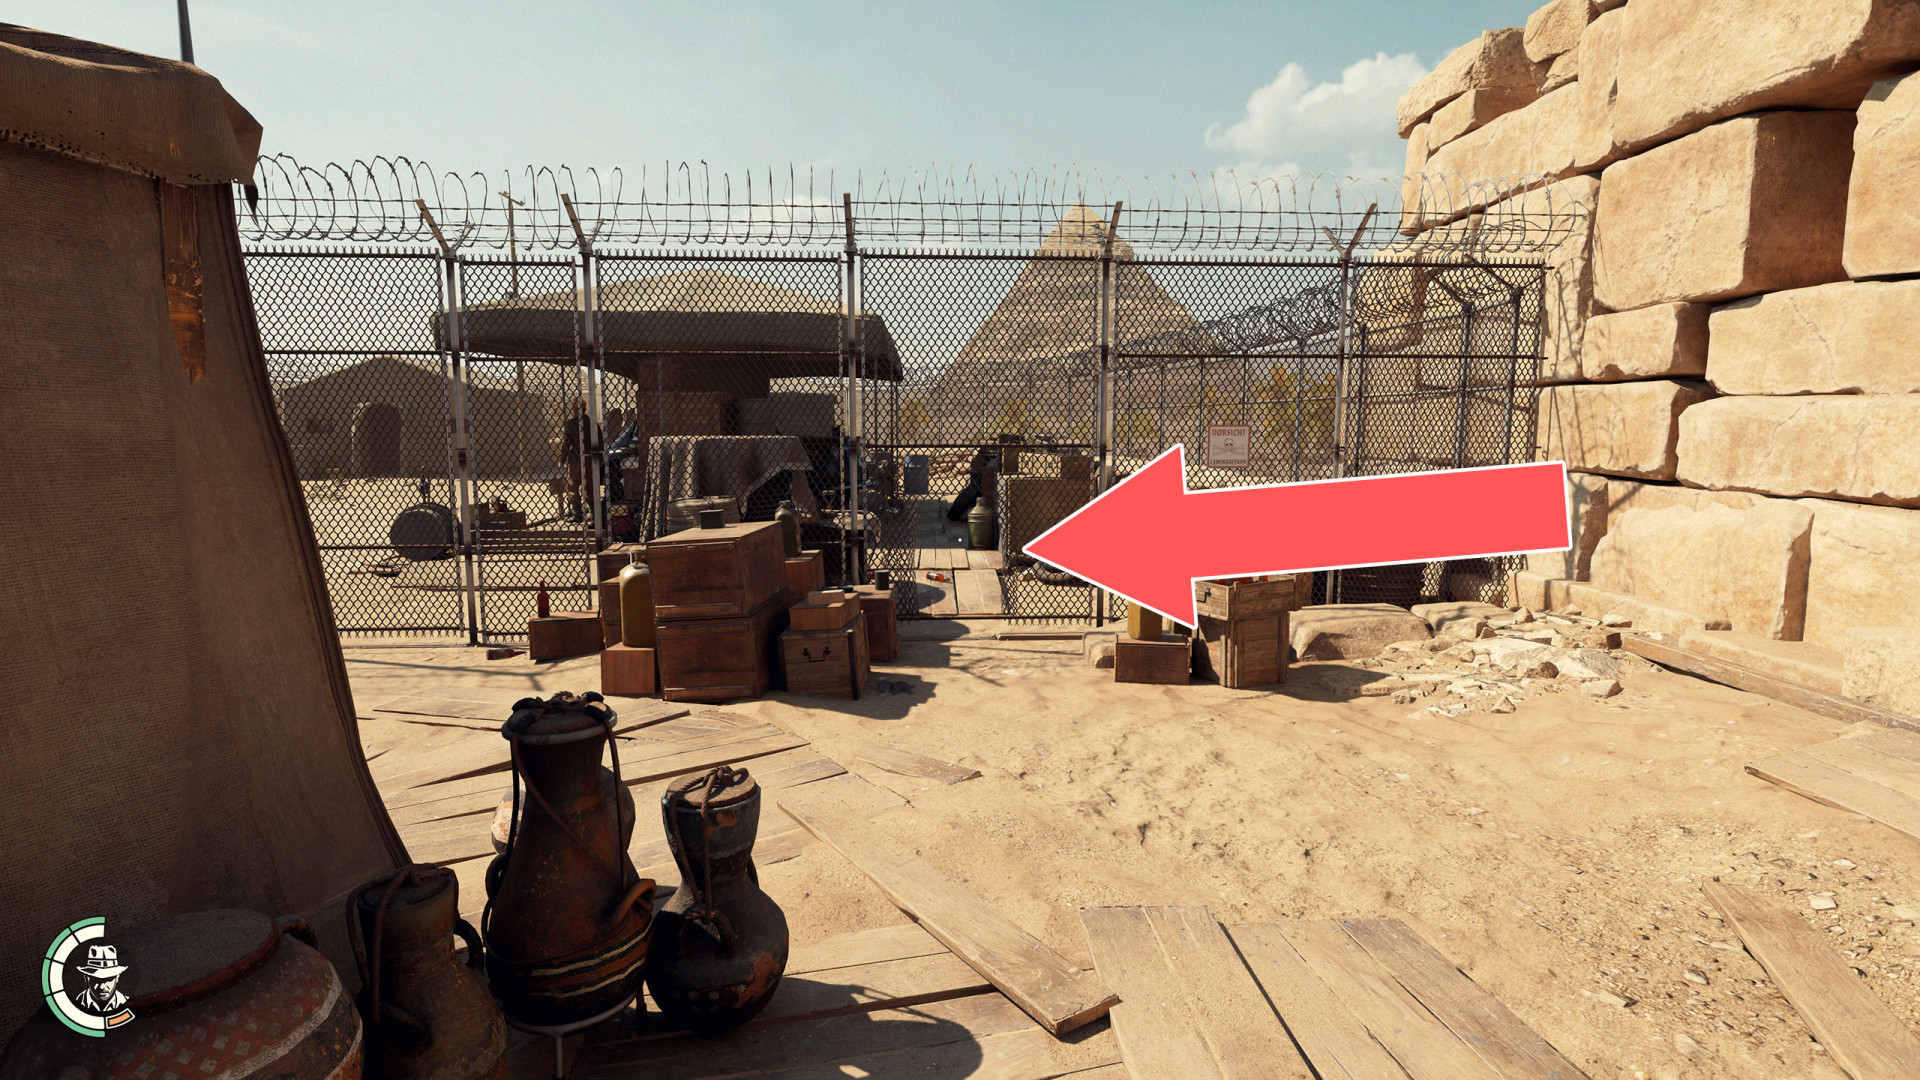
178Fence Hole
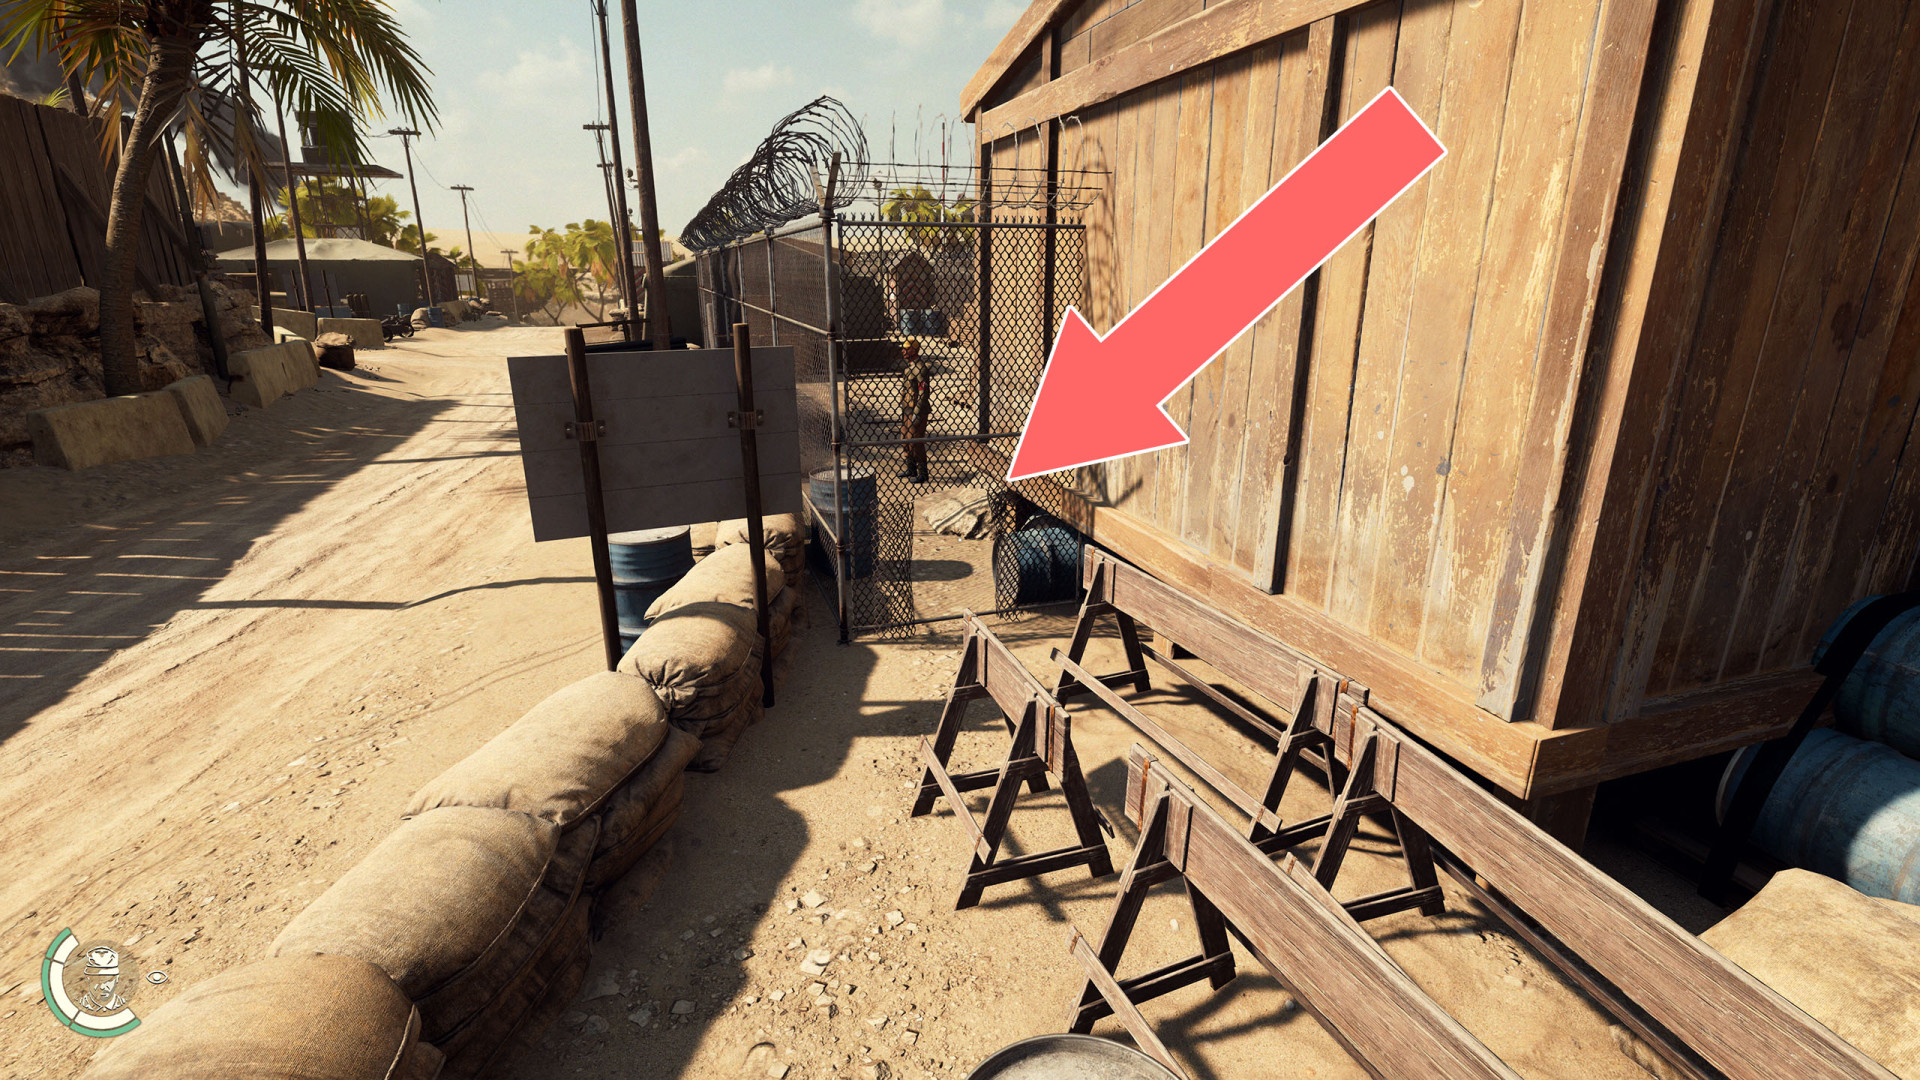
179Fence Hole
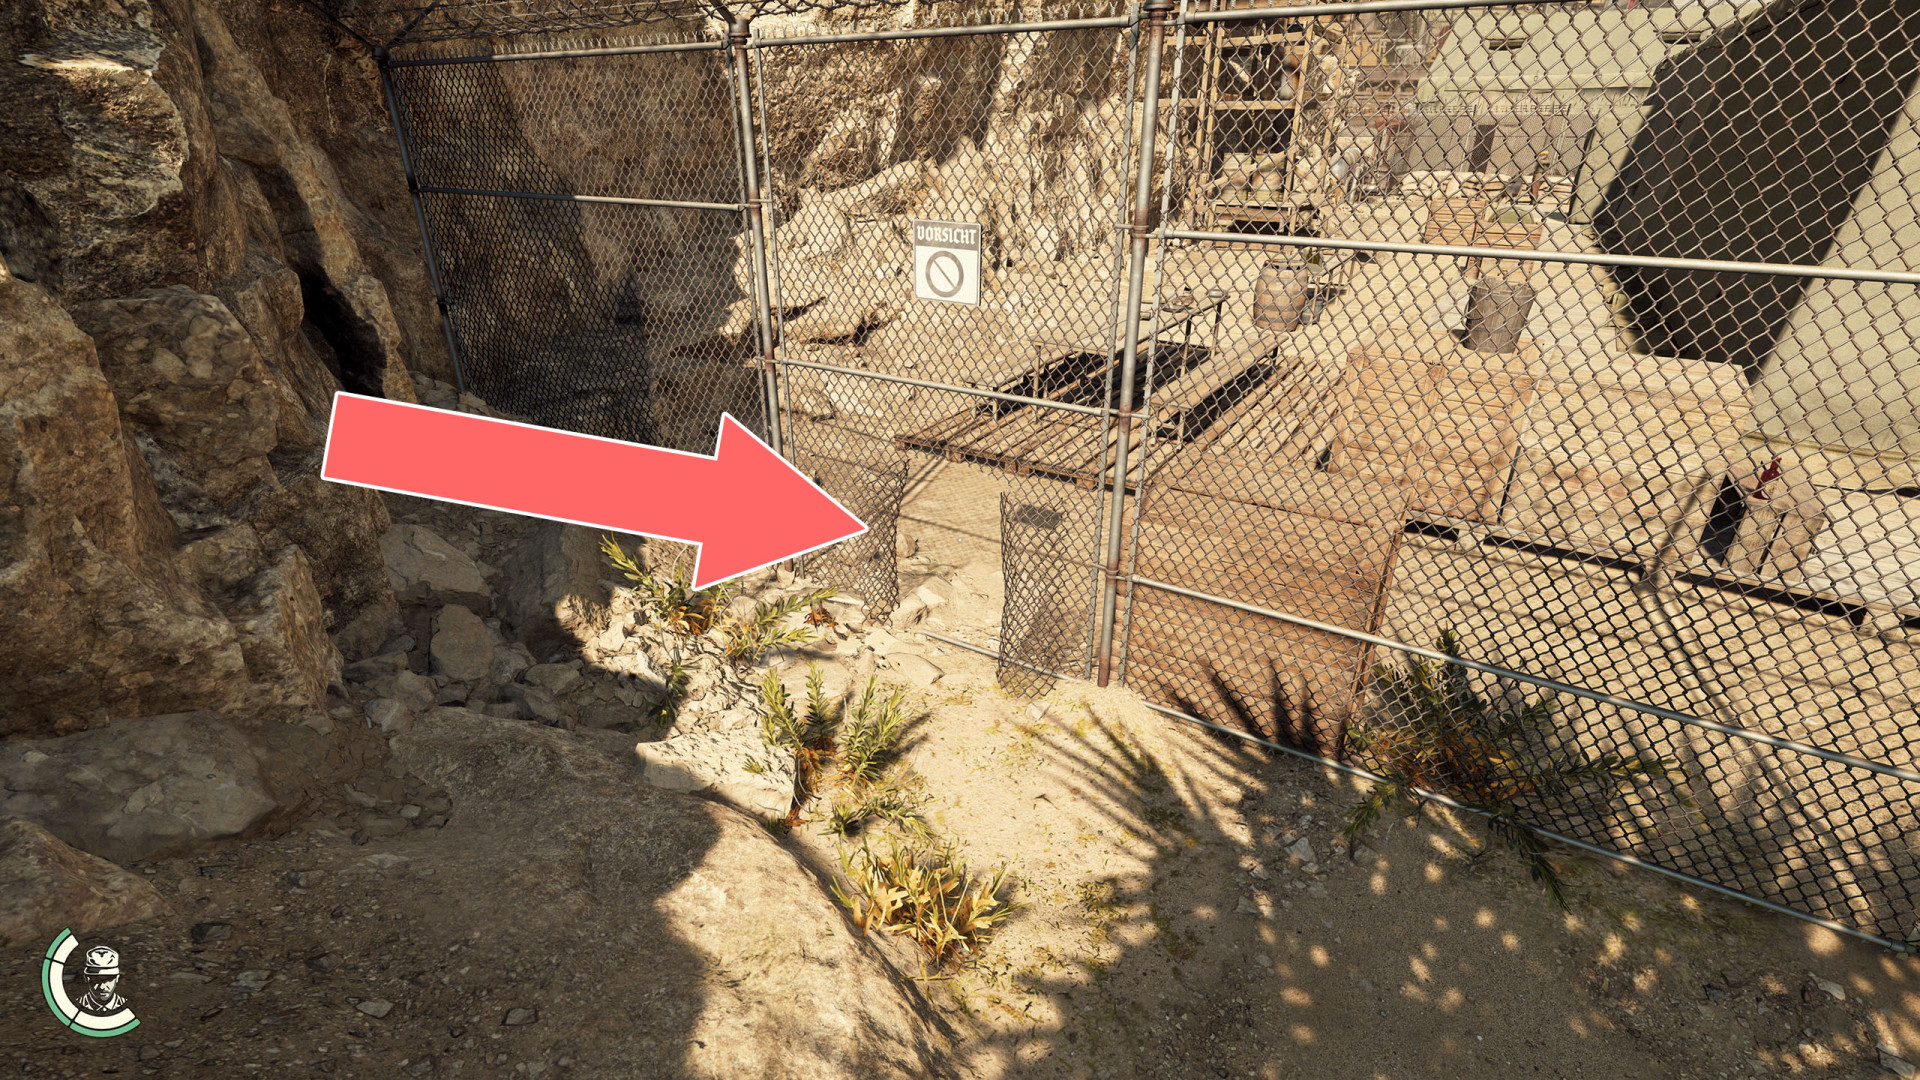
180Fence Hole
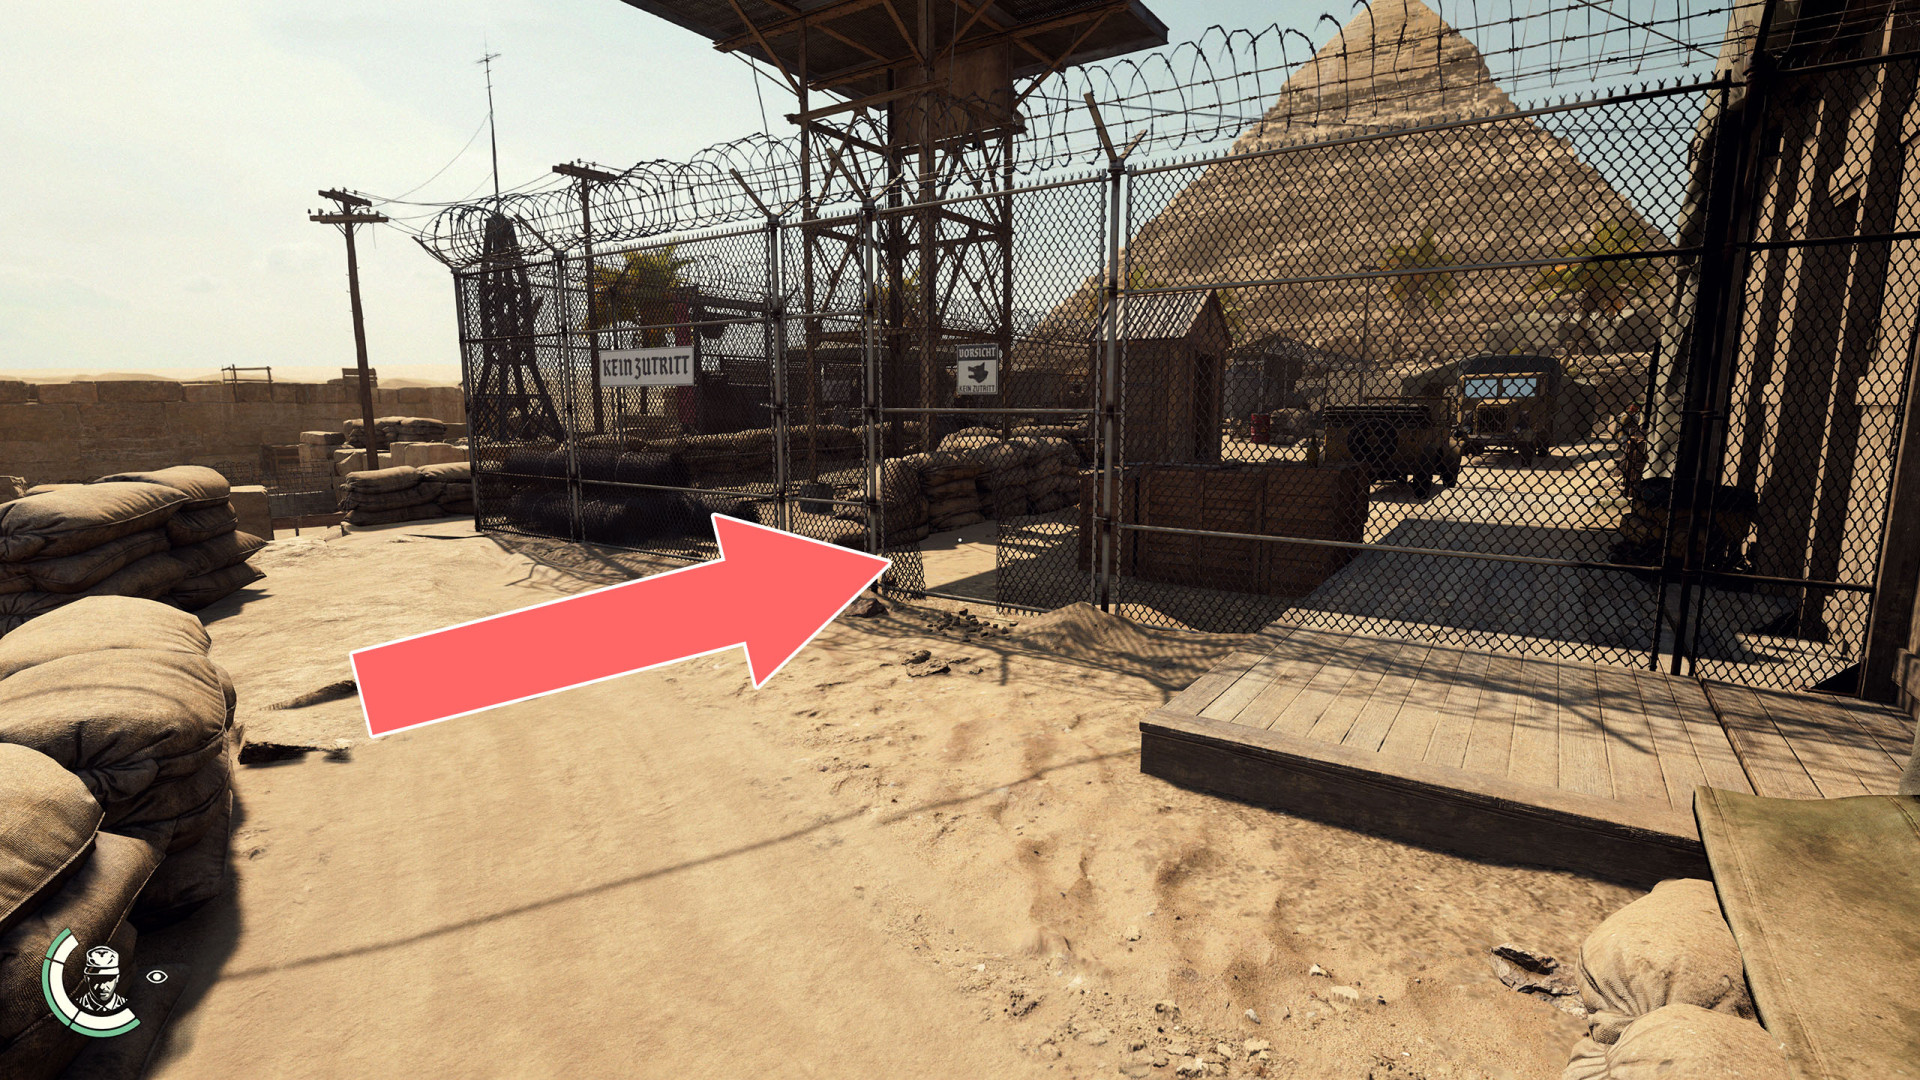
181Fence Hole
182Grappling Point
183Grappling Point
184Grappling Point
185Grappling Point
186Grappling Point
187Grappling Point
188Grappling Point
189Grappling Point
190Grappling Point
191Grappling Point
192Grappling Point
193Grappling Point

194Grappling Point
195Grappling Point
196Grappling Point
197Grappling Point
198Grappling Point
199Grappling Point
200Grappling Point
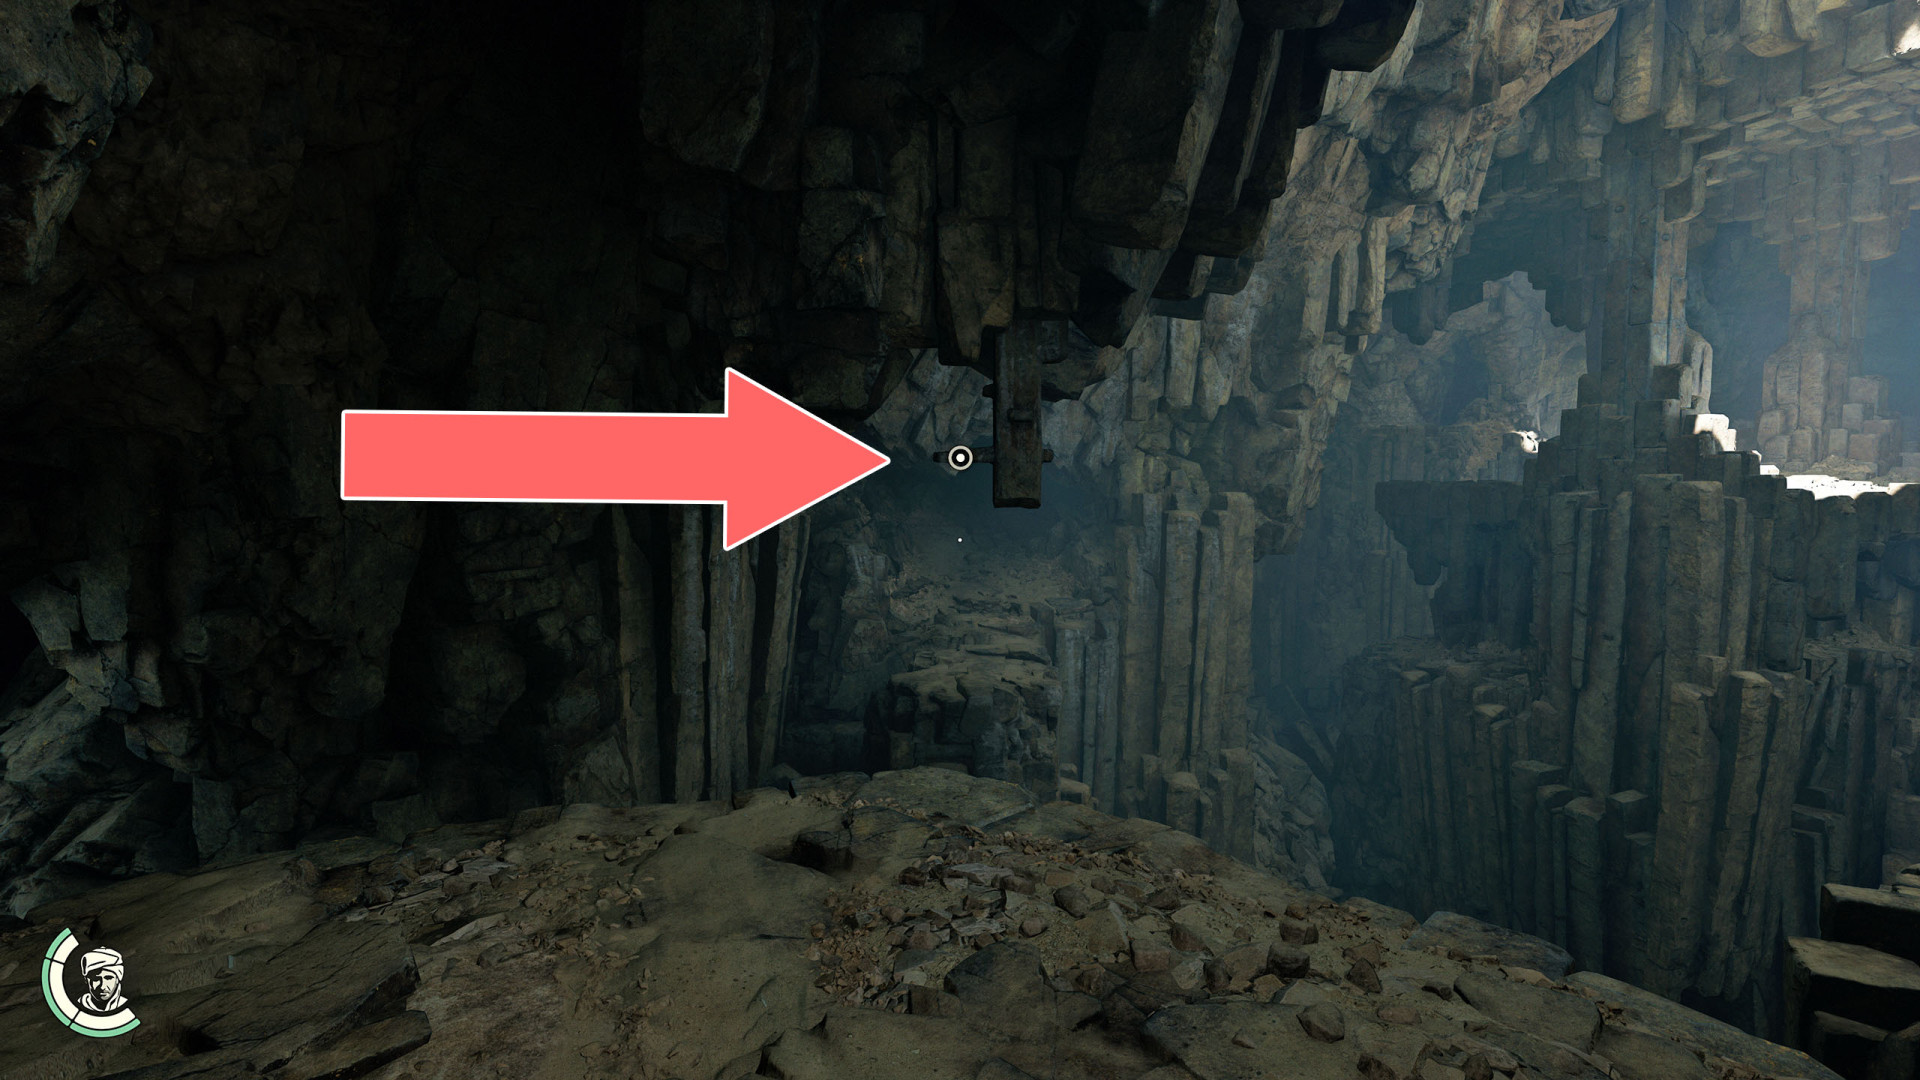
201Grappling Point
202Grappling Point
203Grappling Point
204Grappling Point x 2
205Grappling Point x 2
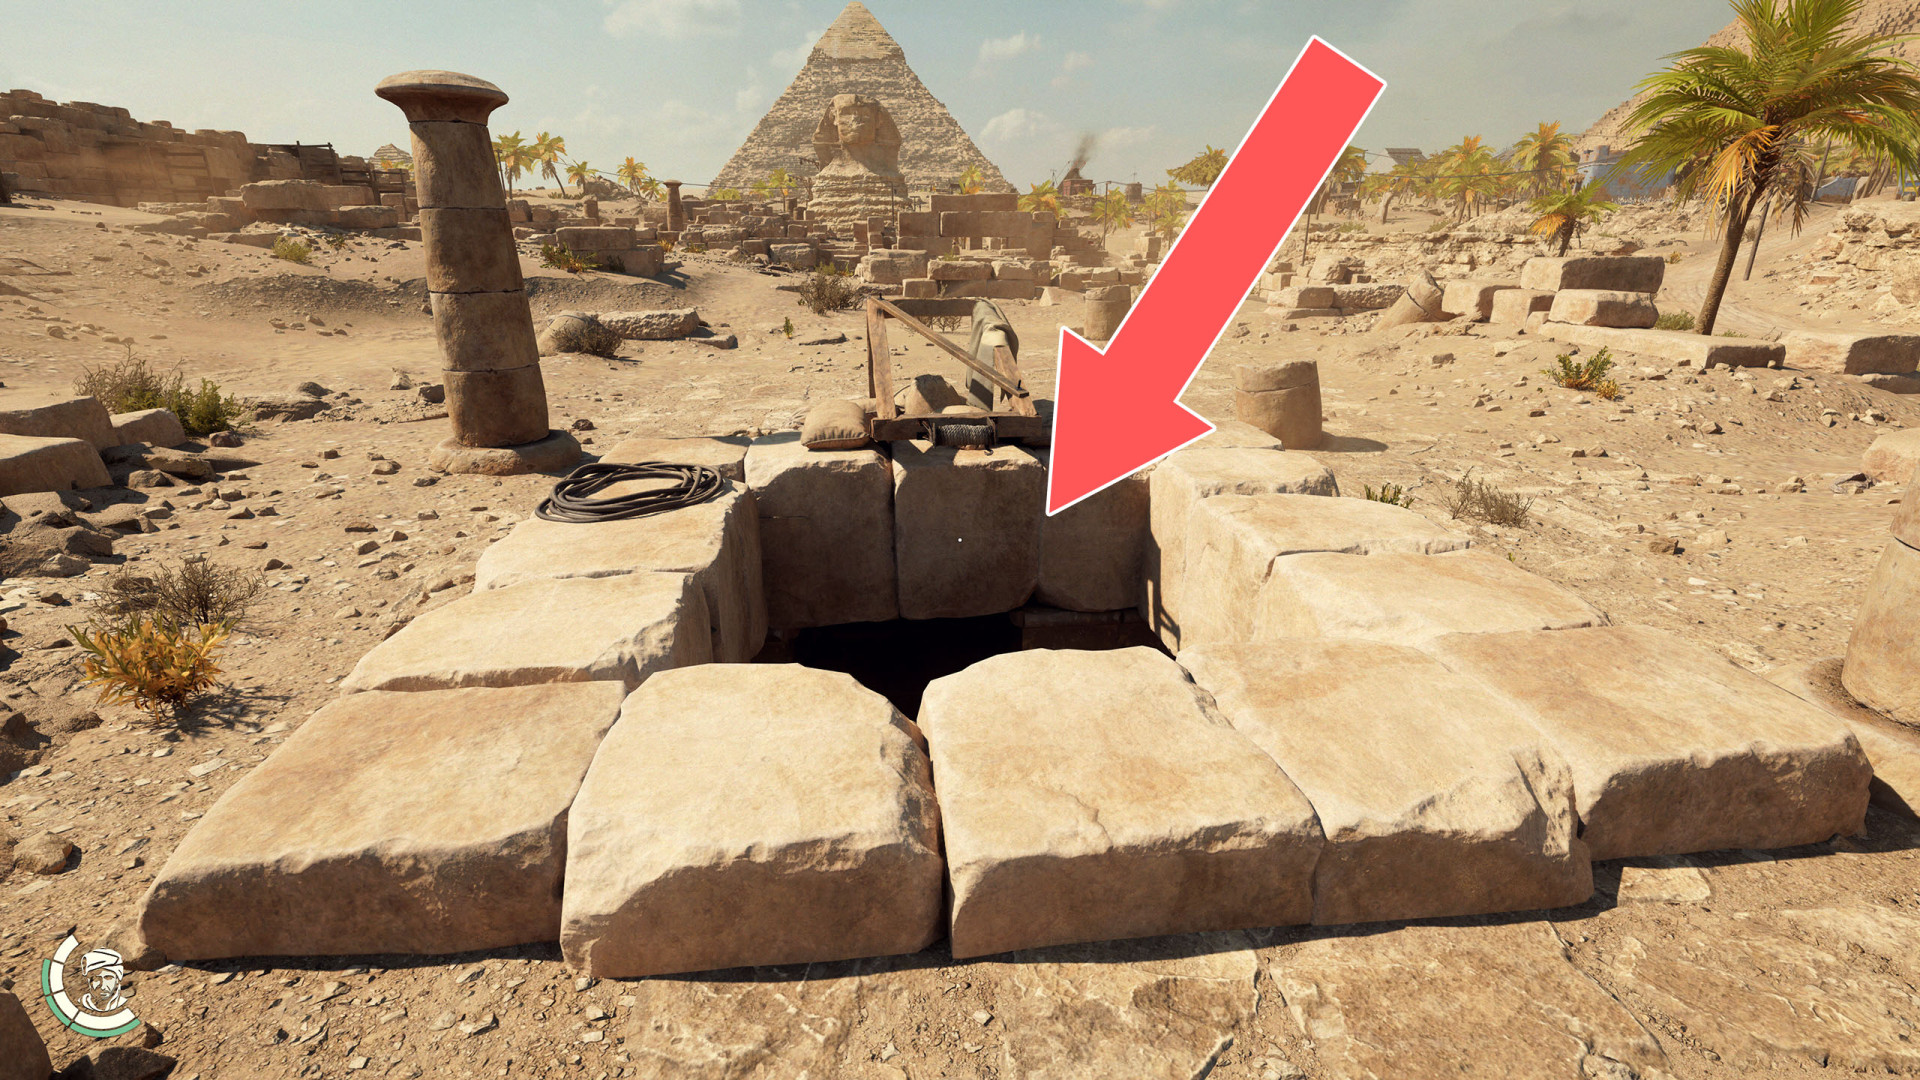
206Great Sphinx Underground Entrance
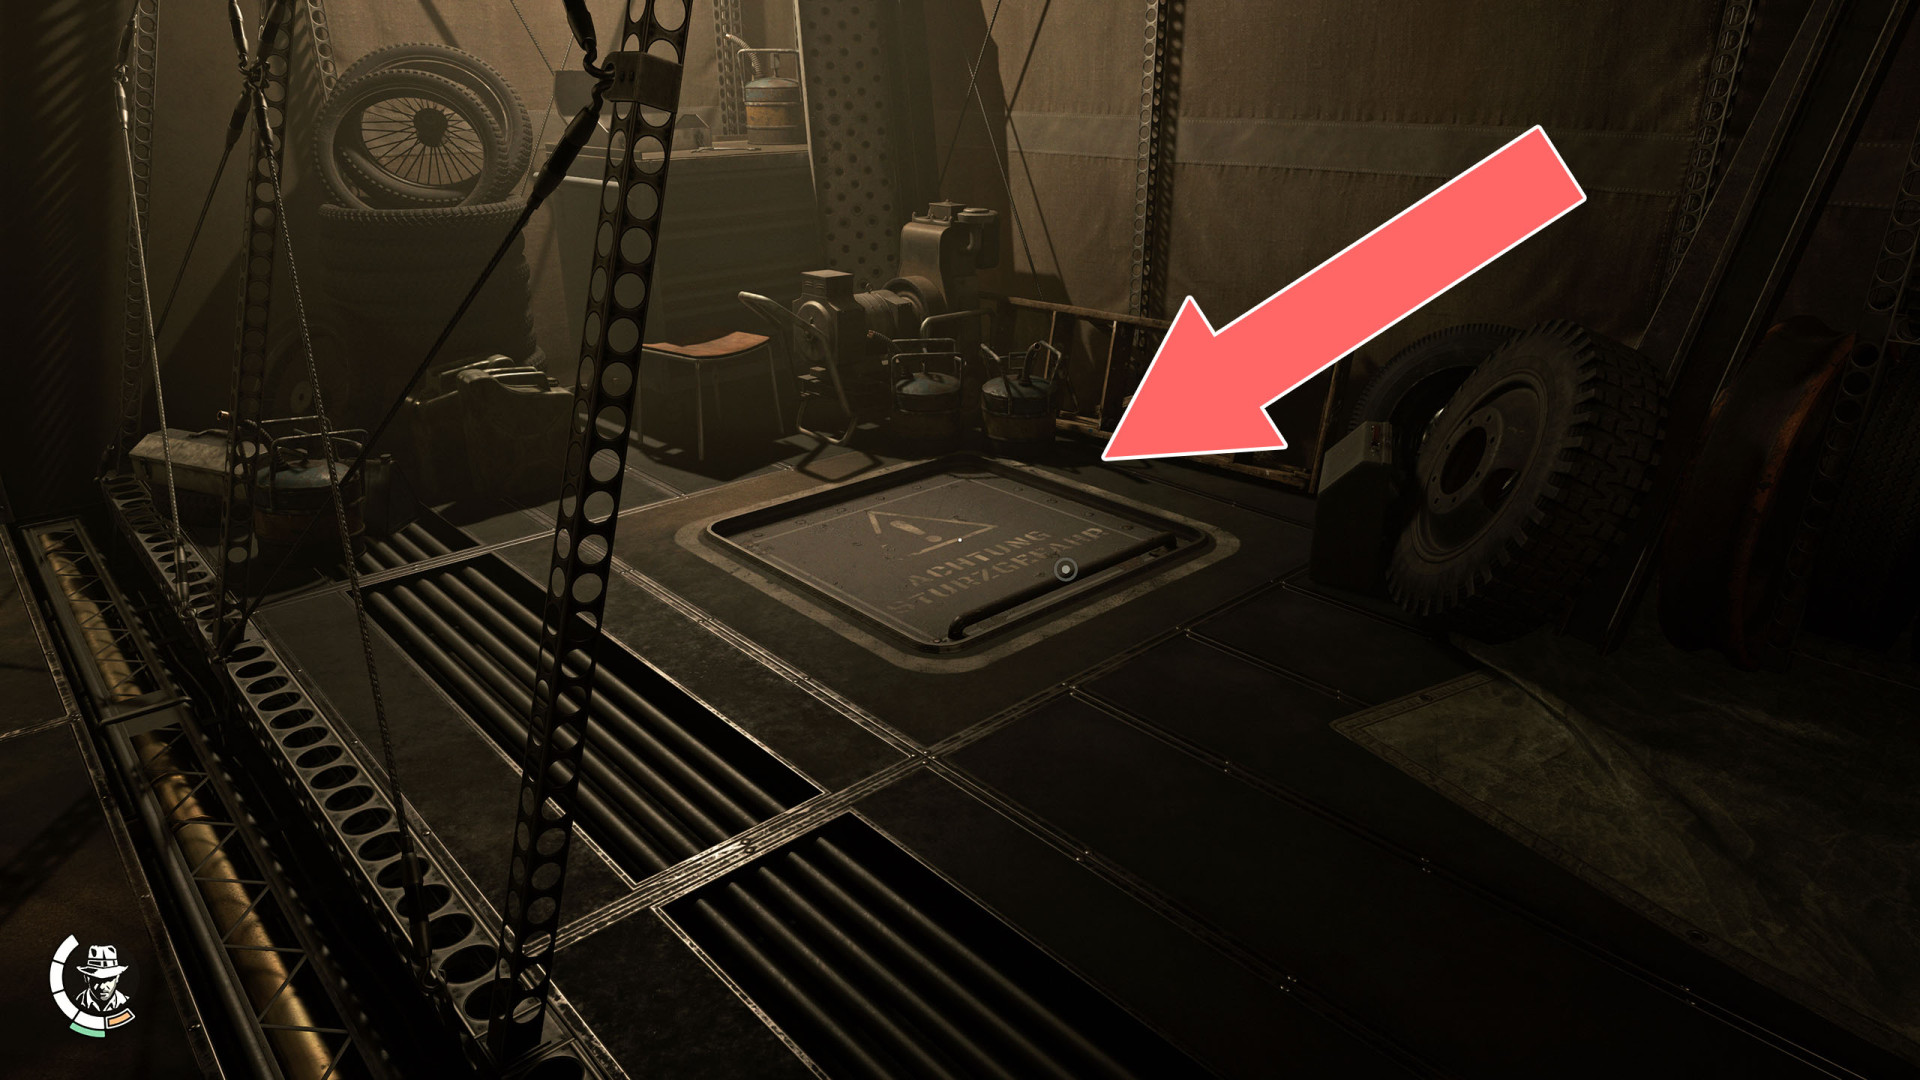
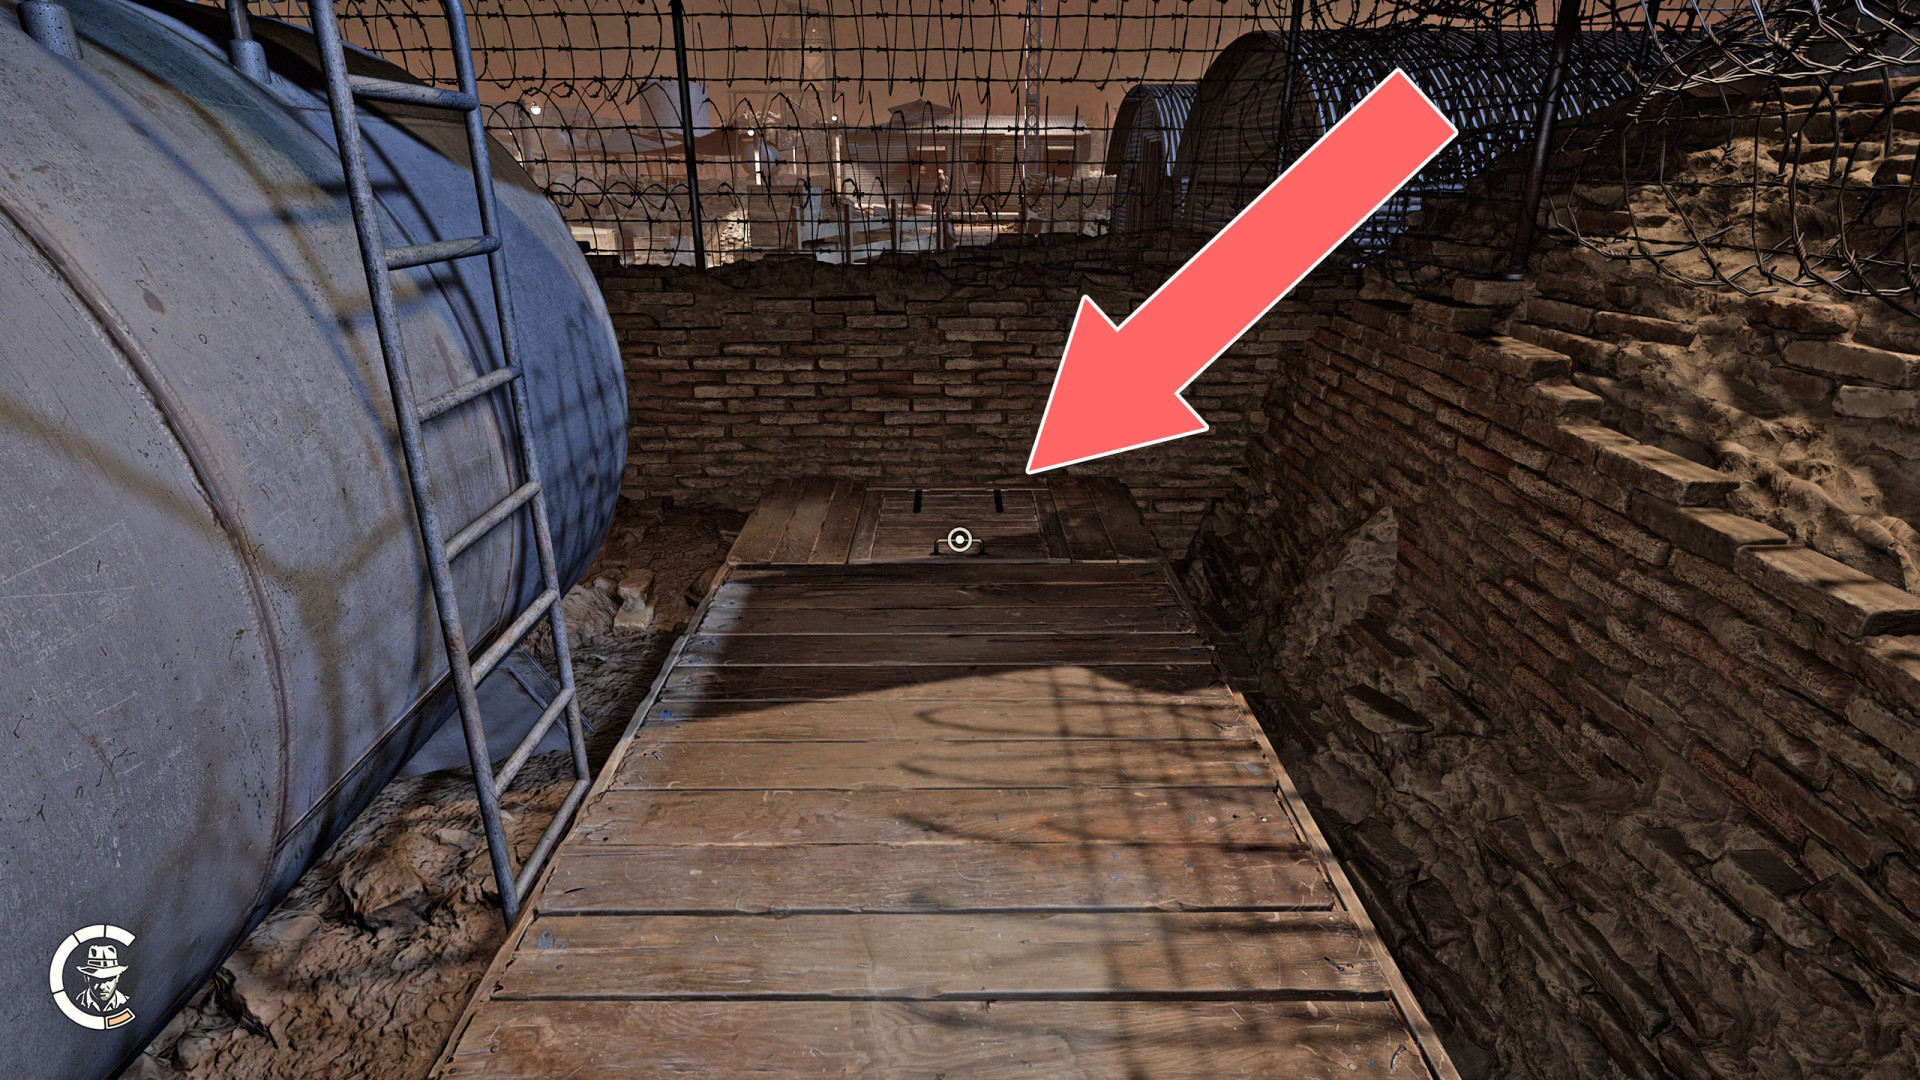
207Hatch
208Ladder
209Ladder
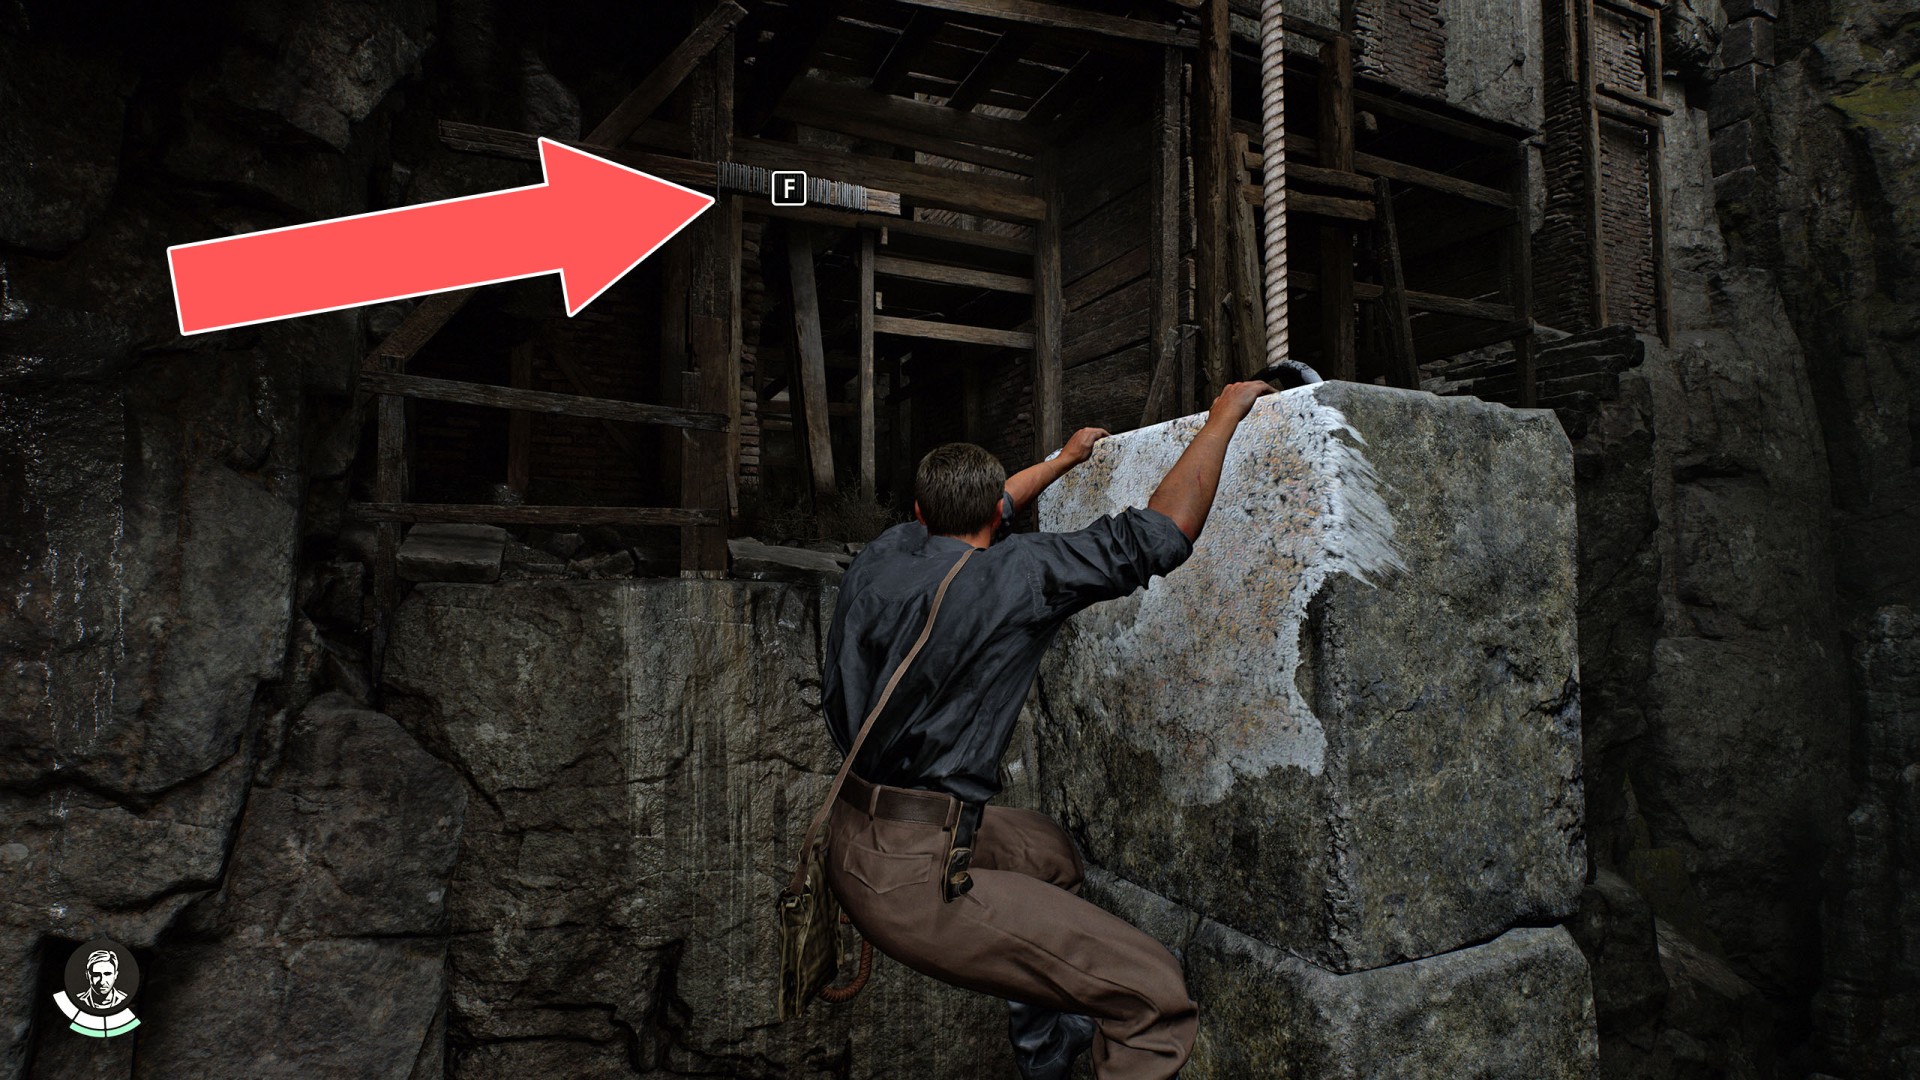
210Ledge
211Lever
212Narrow Passage
213Sanctuary Door
Related fieldwork: Sanctuary of the Guardians.
214Sanctuary Entrance
215Secret Room Entrance

216Service Hatch
217Starting Point
This is where you start your adventure after leaving the airship.
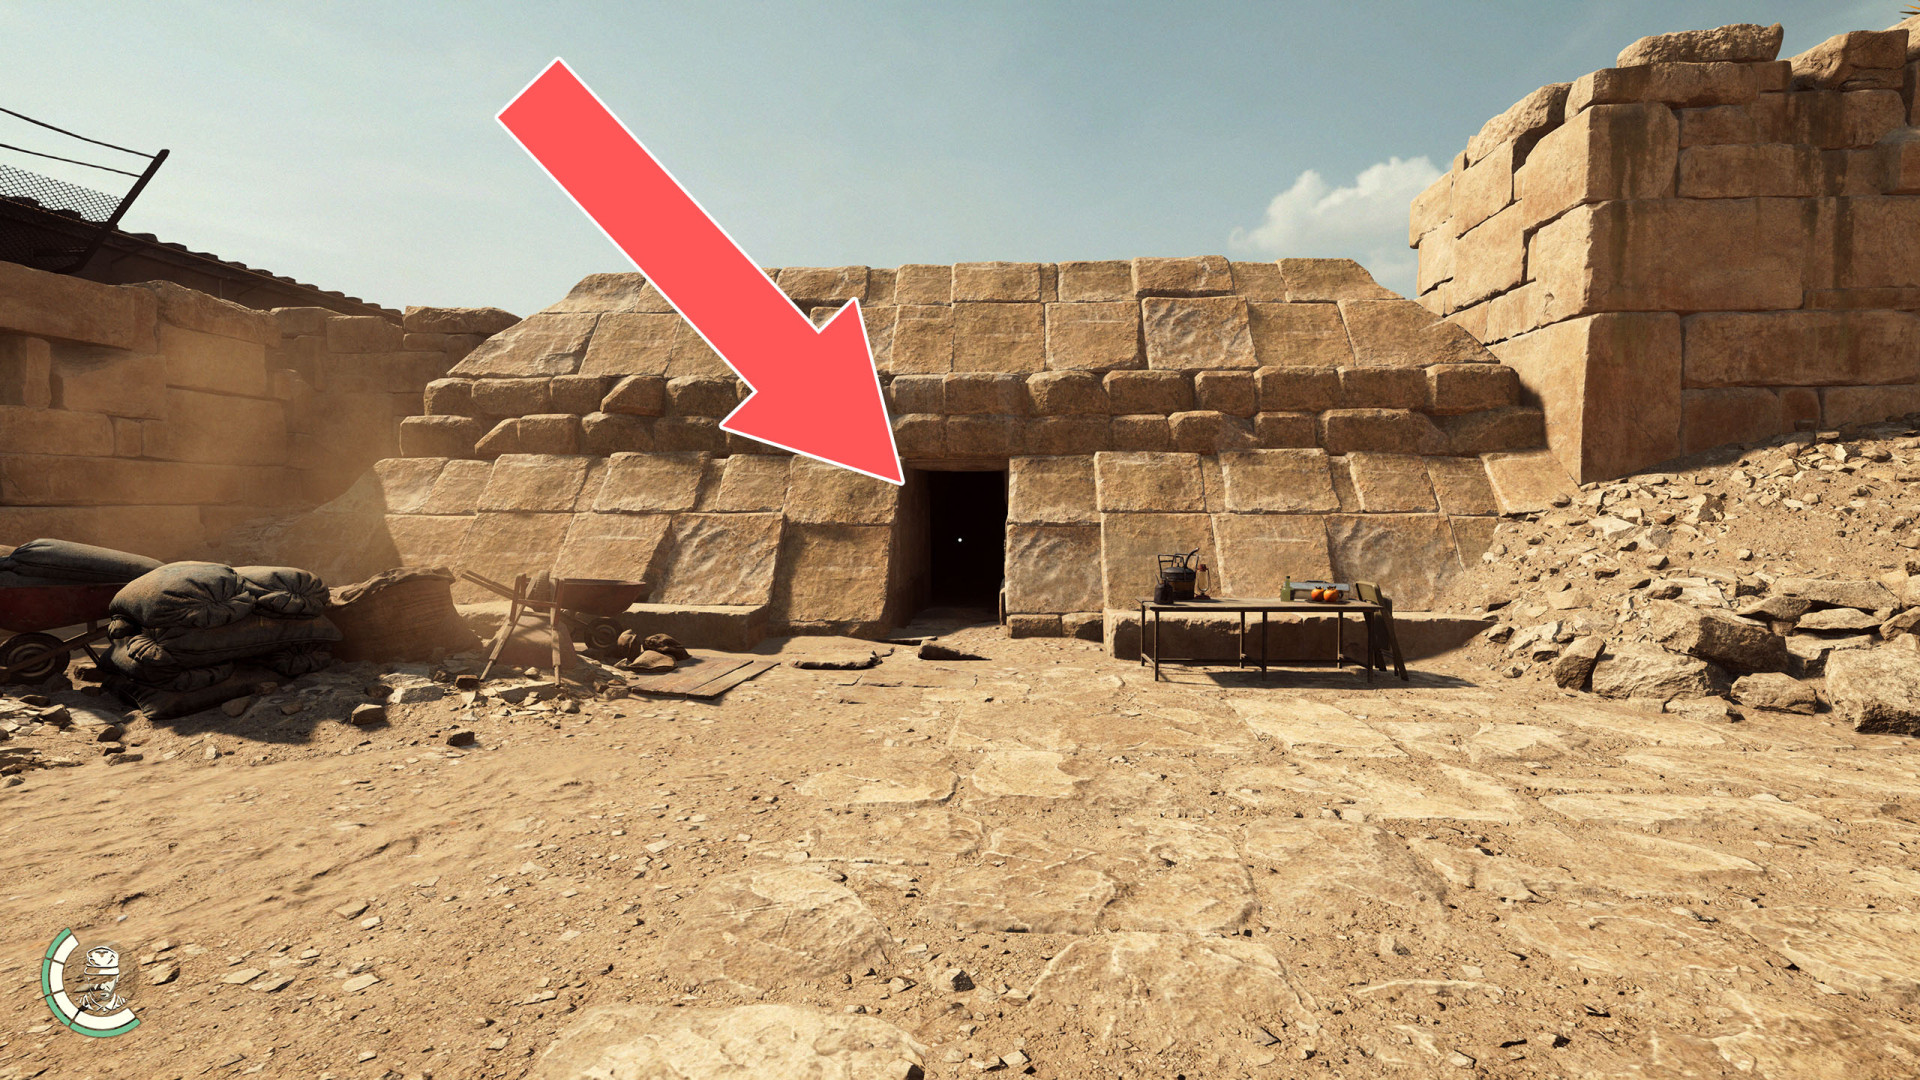
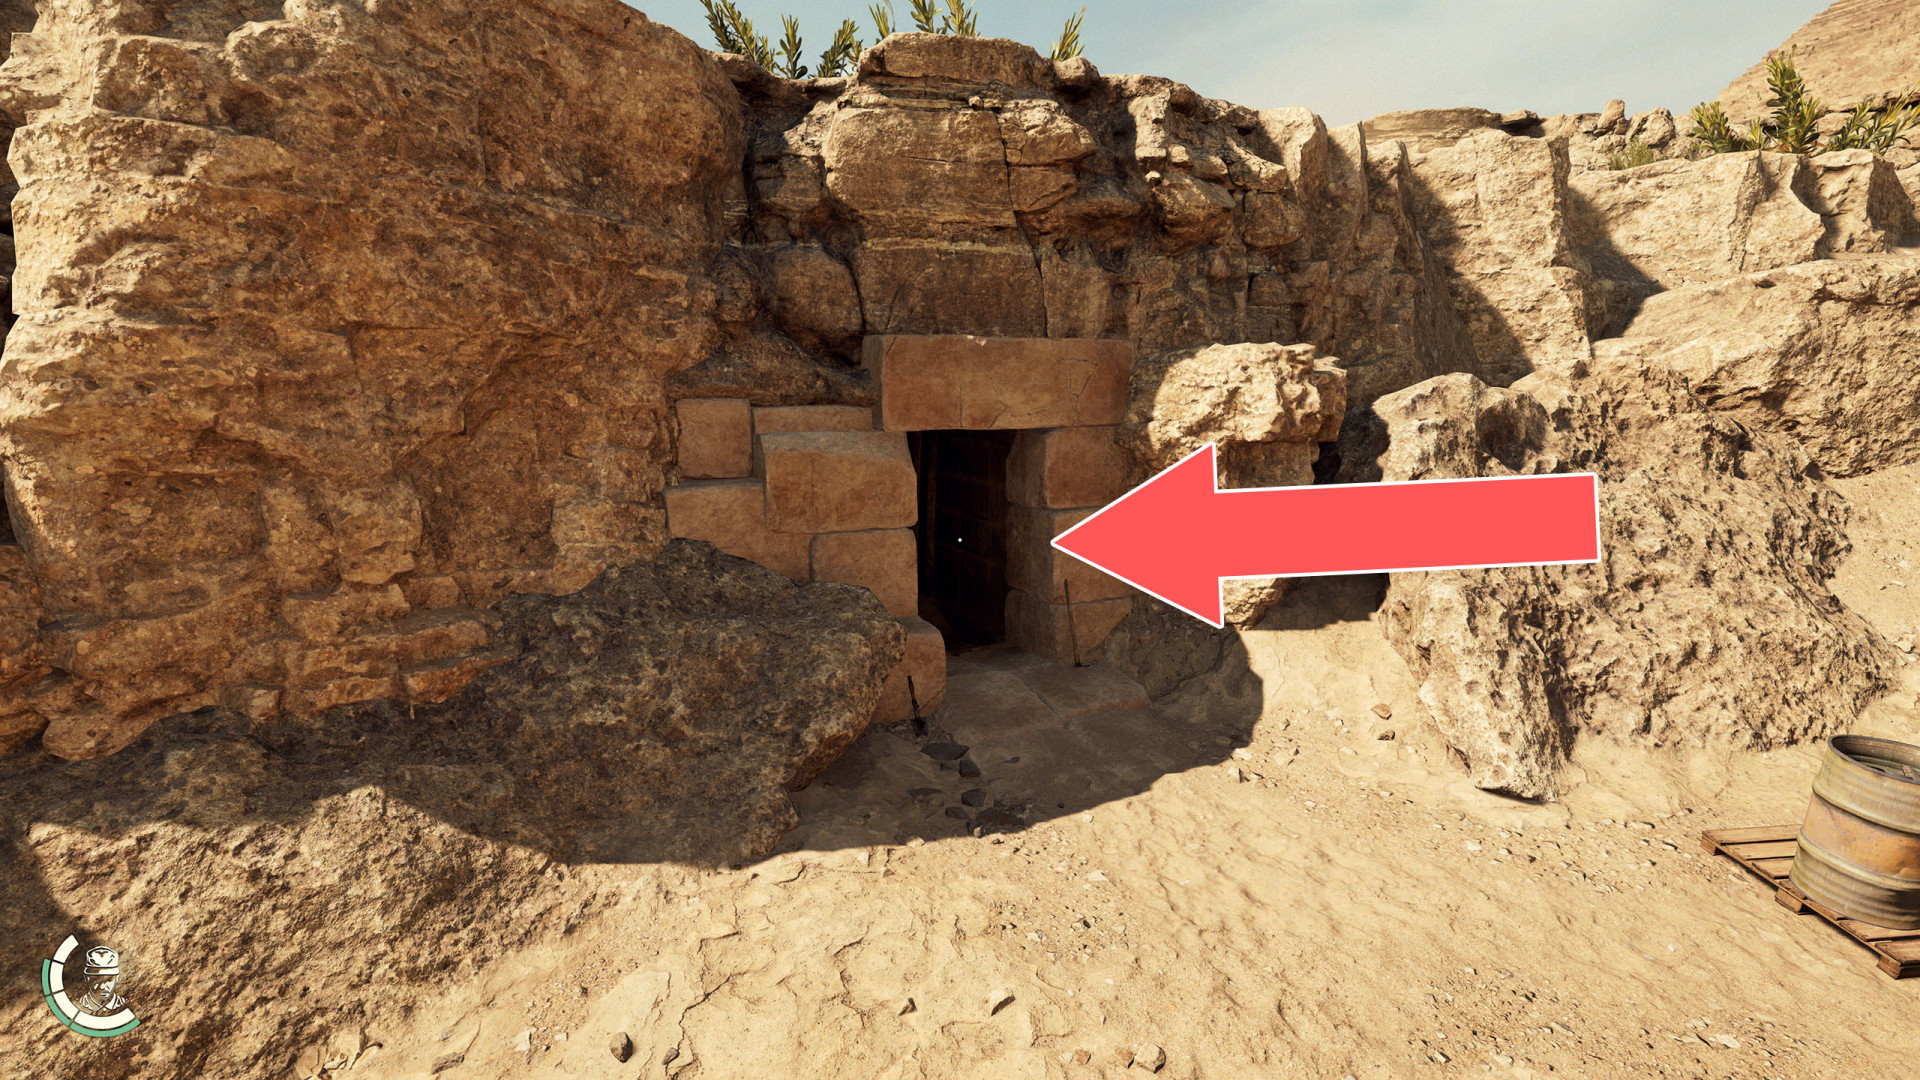
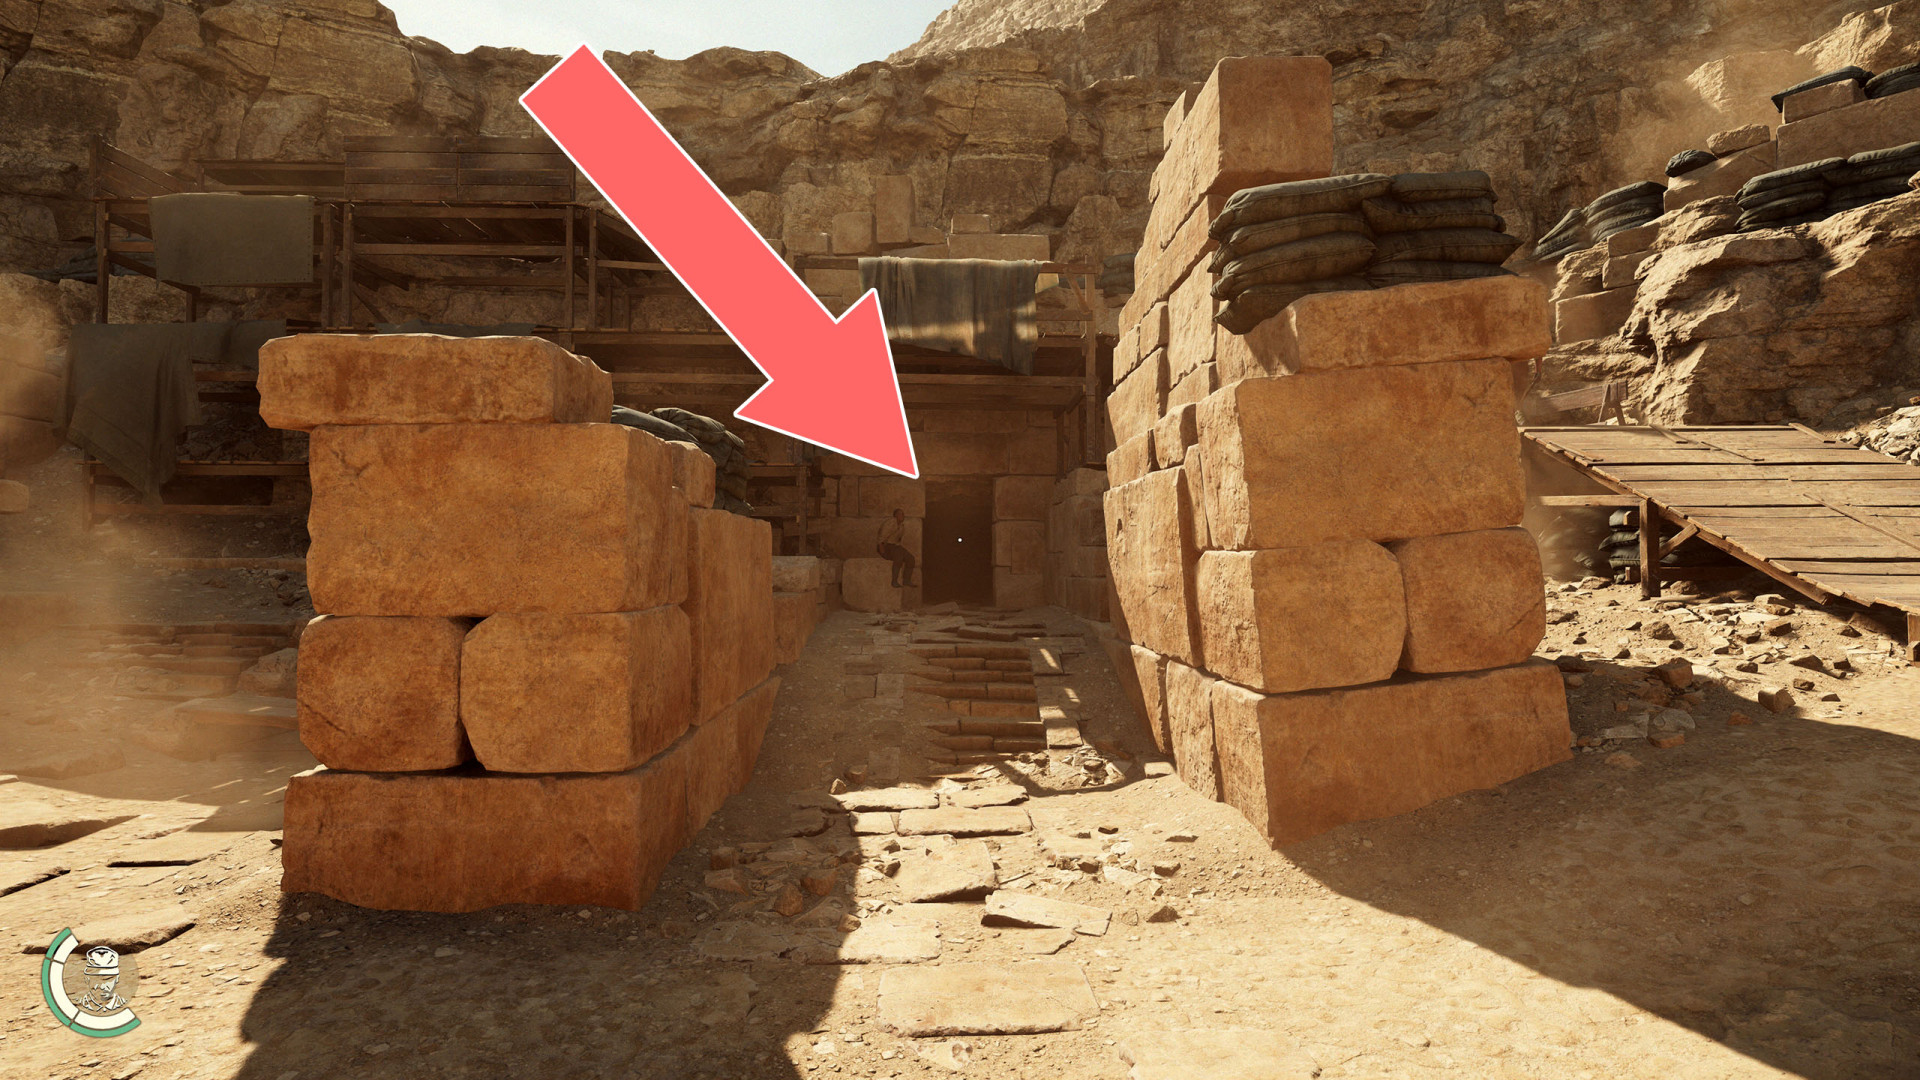
218Tomb Entrance
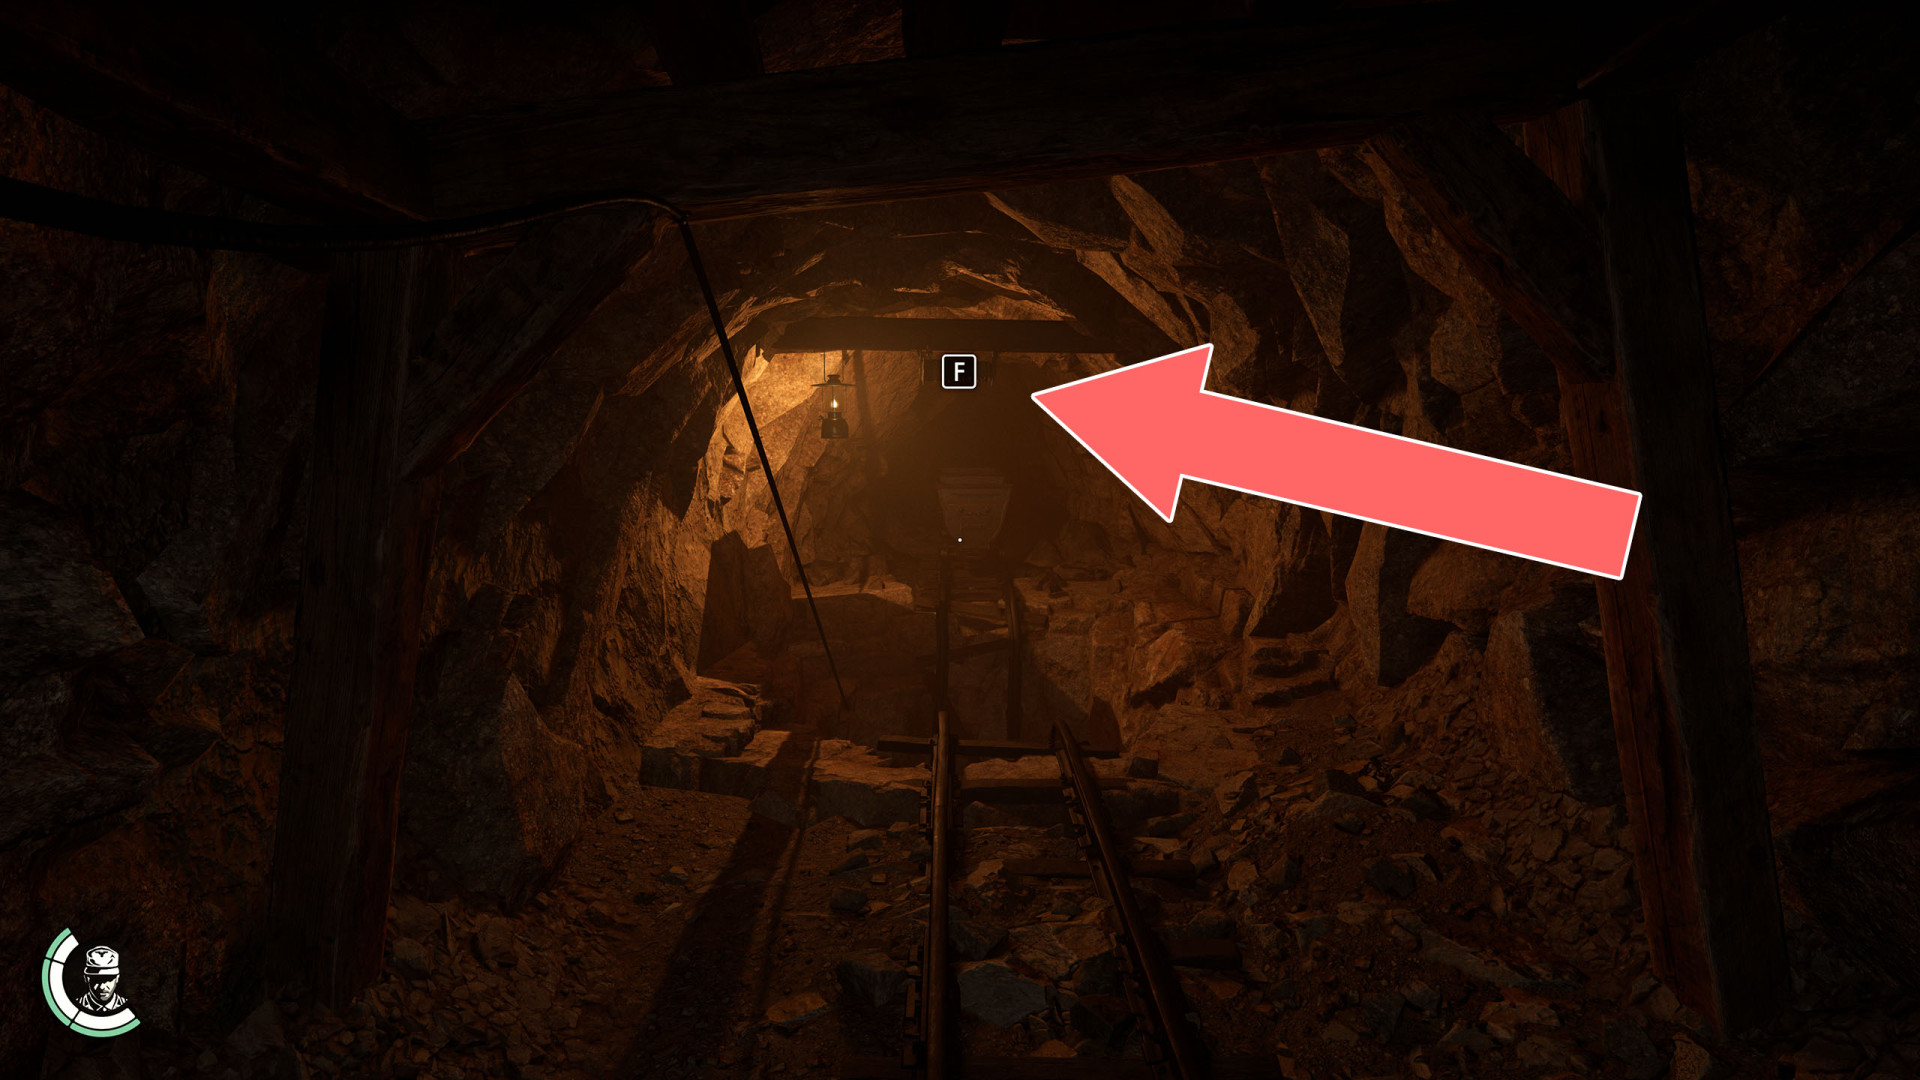
219Tunnel Entrance
220Tunnel Entrance
221Tunnel Entrance
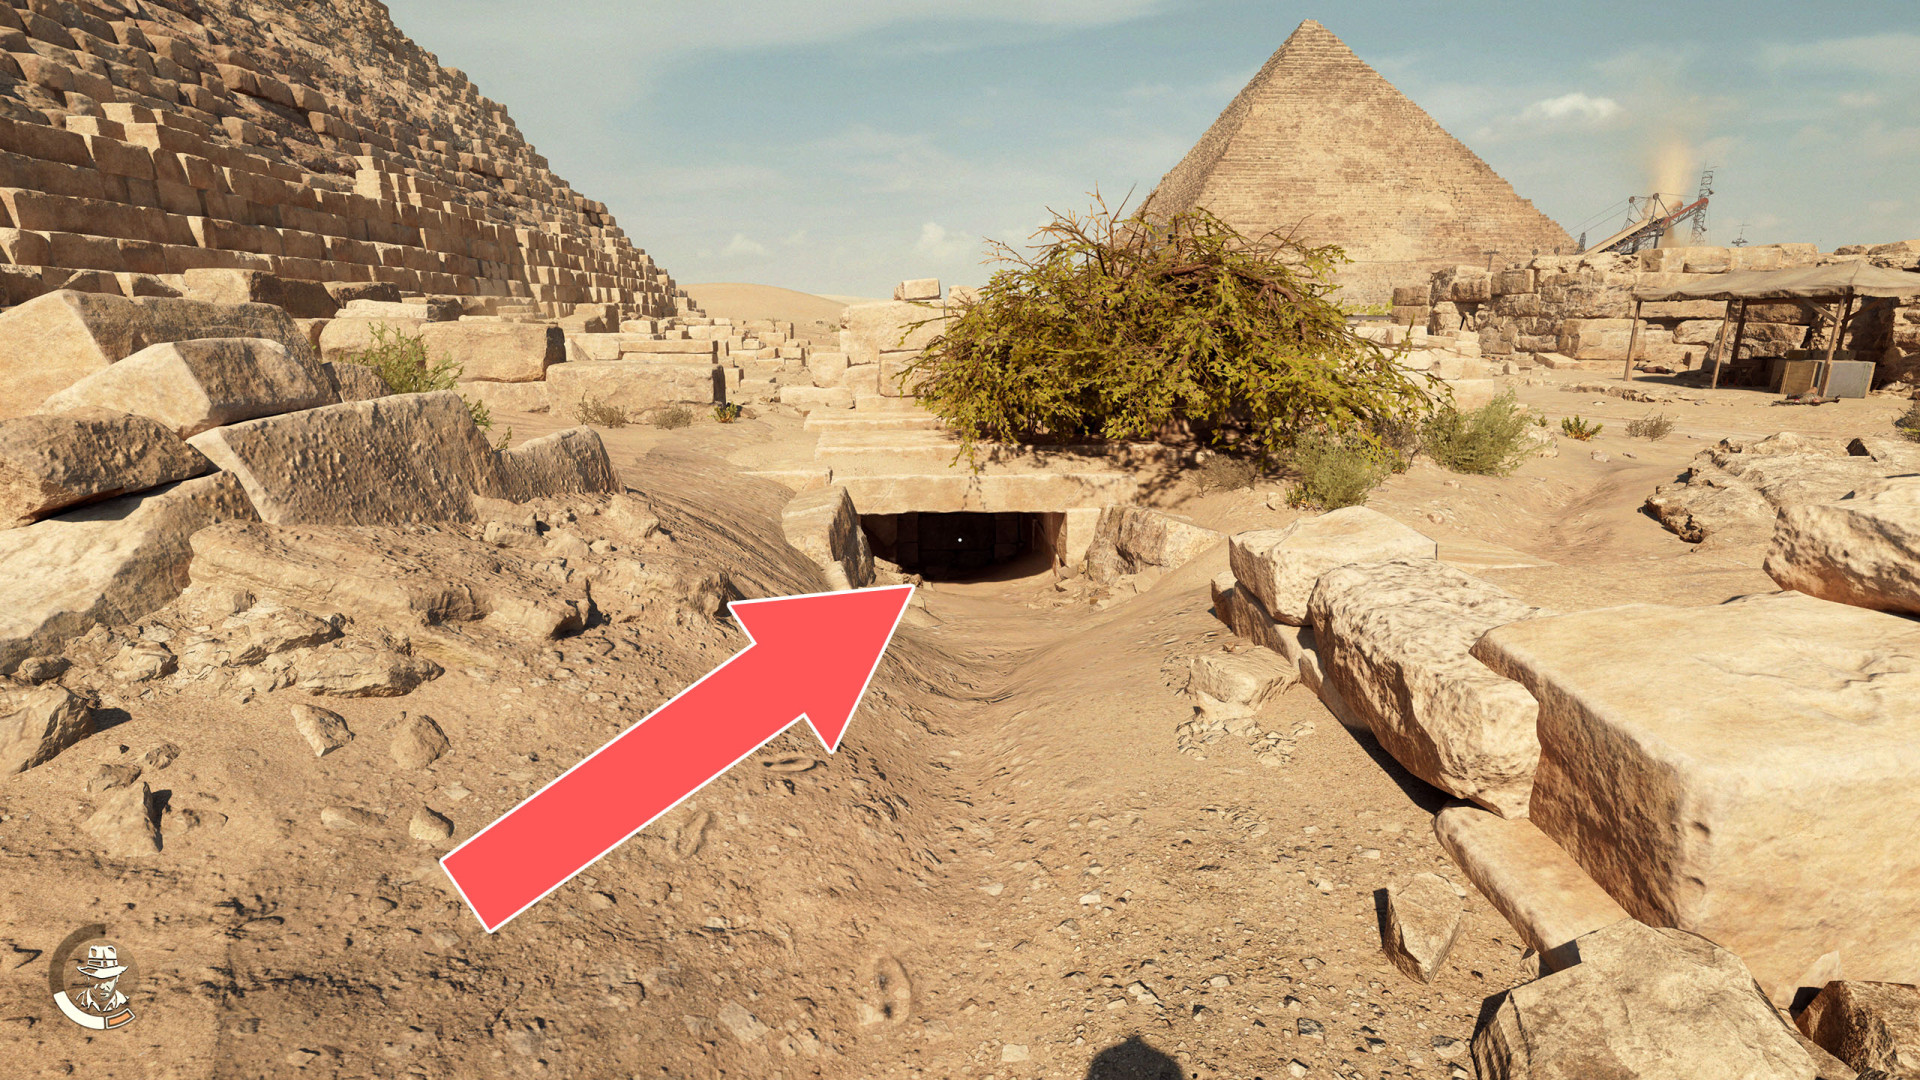
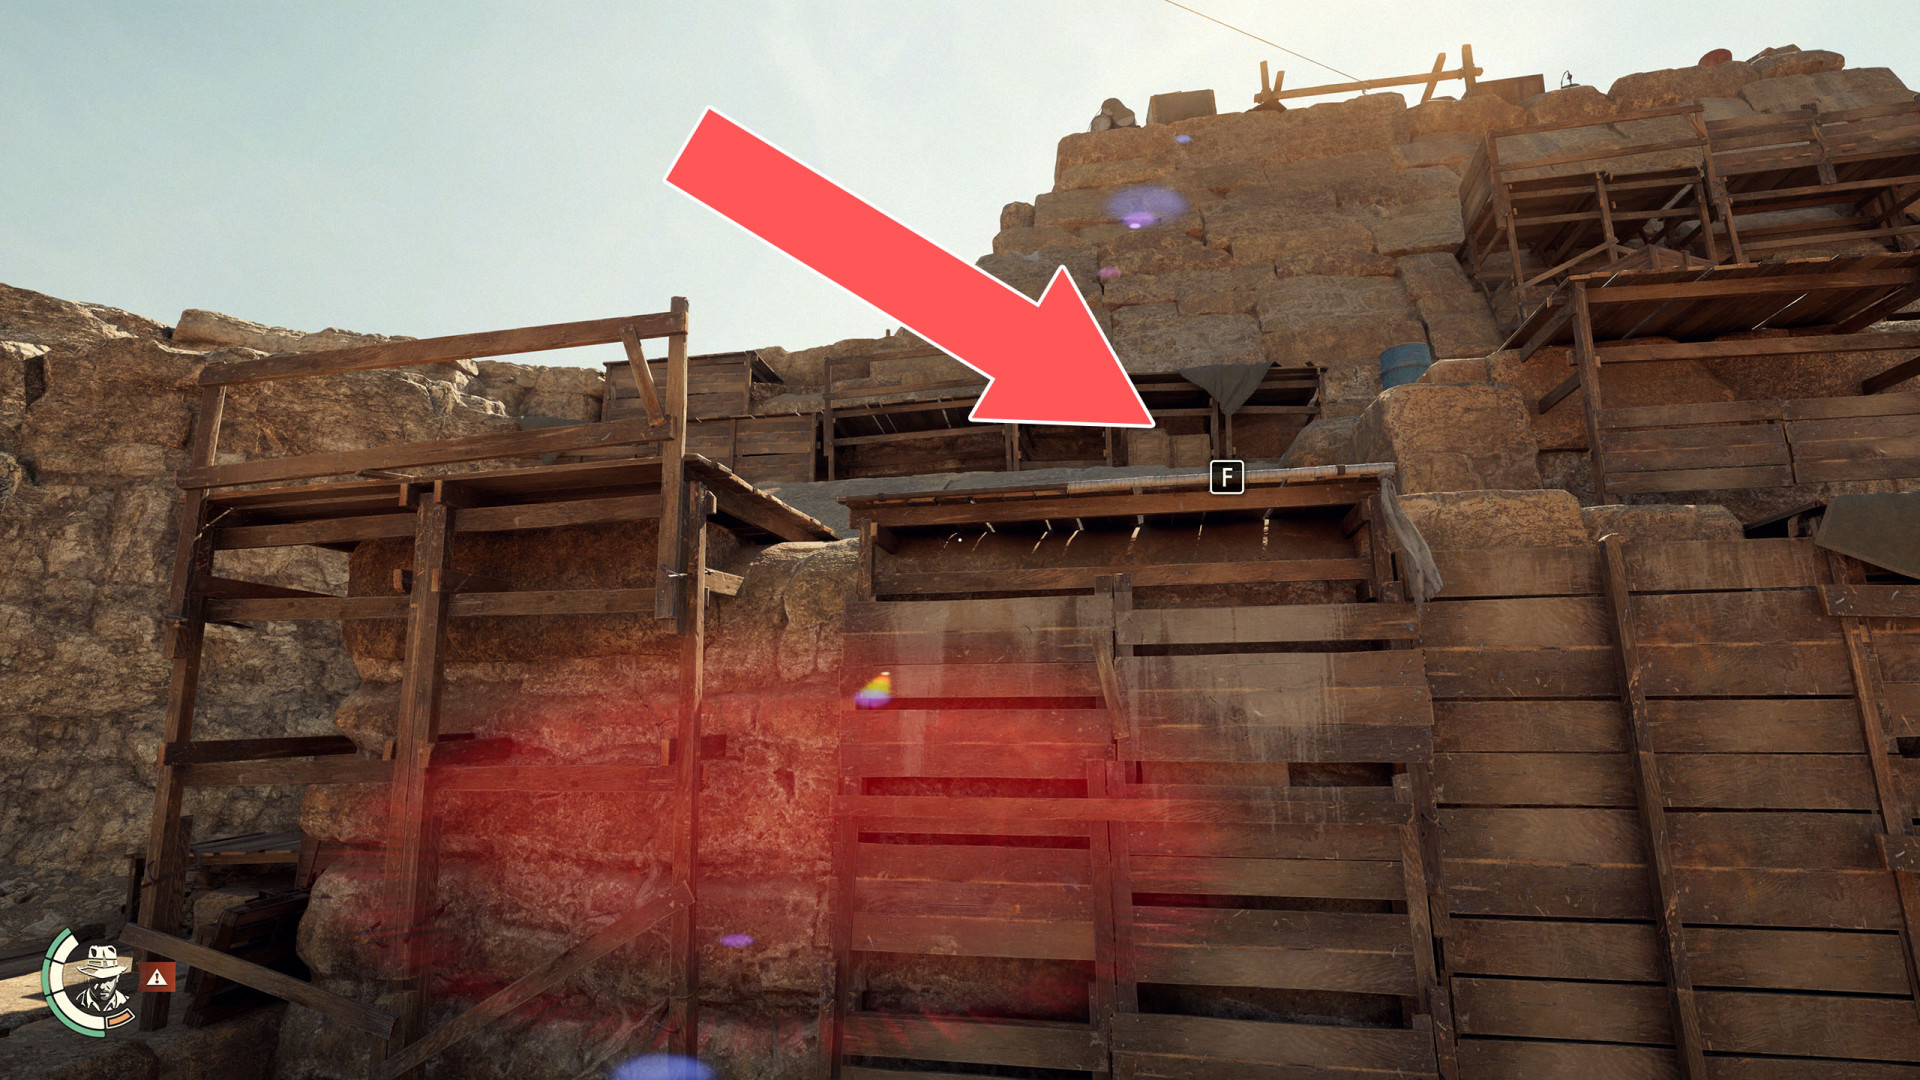
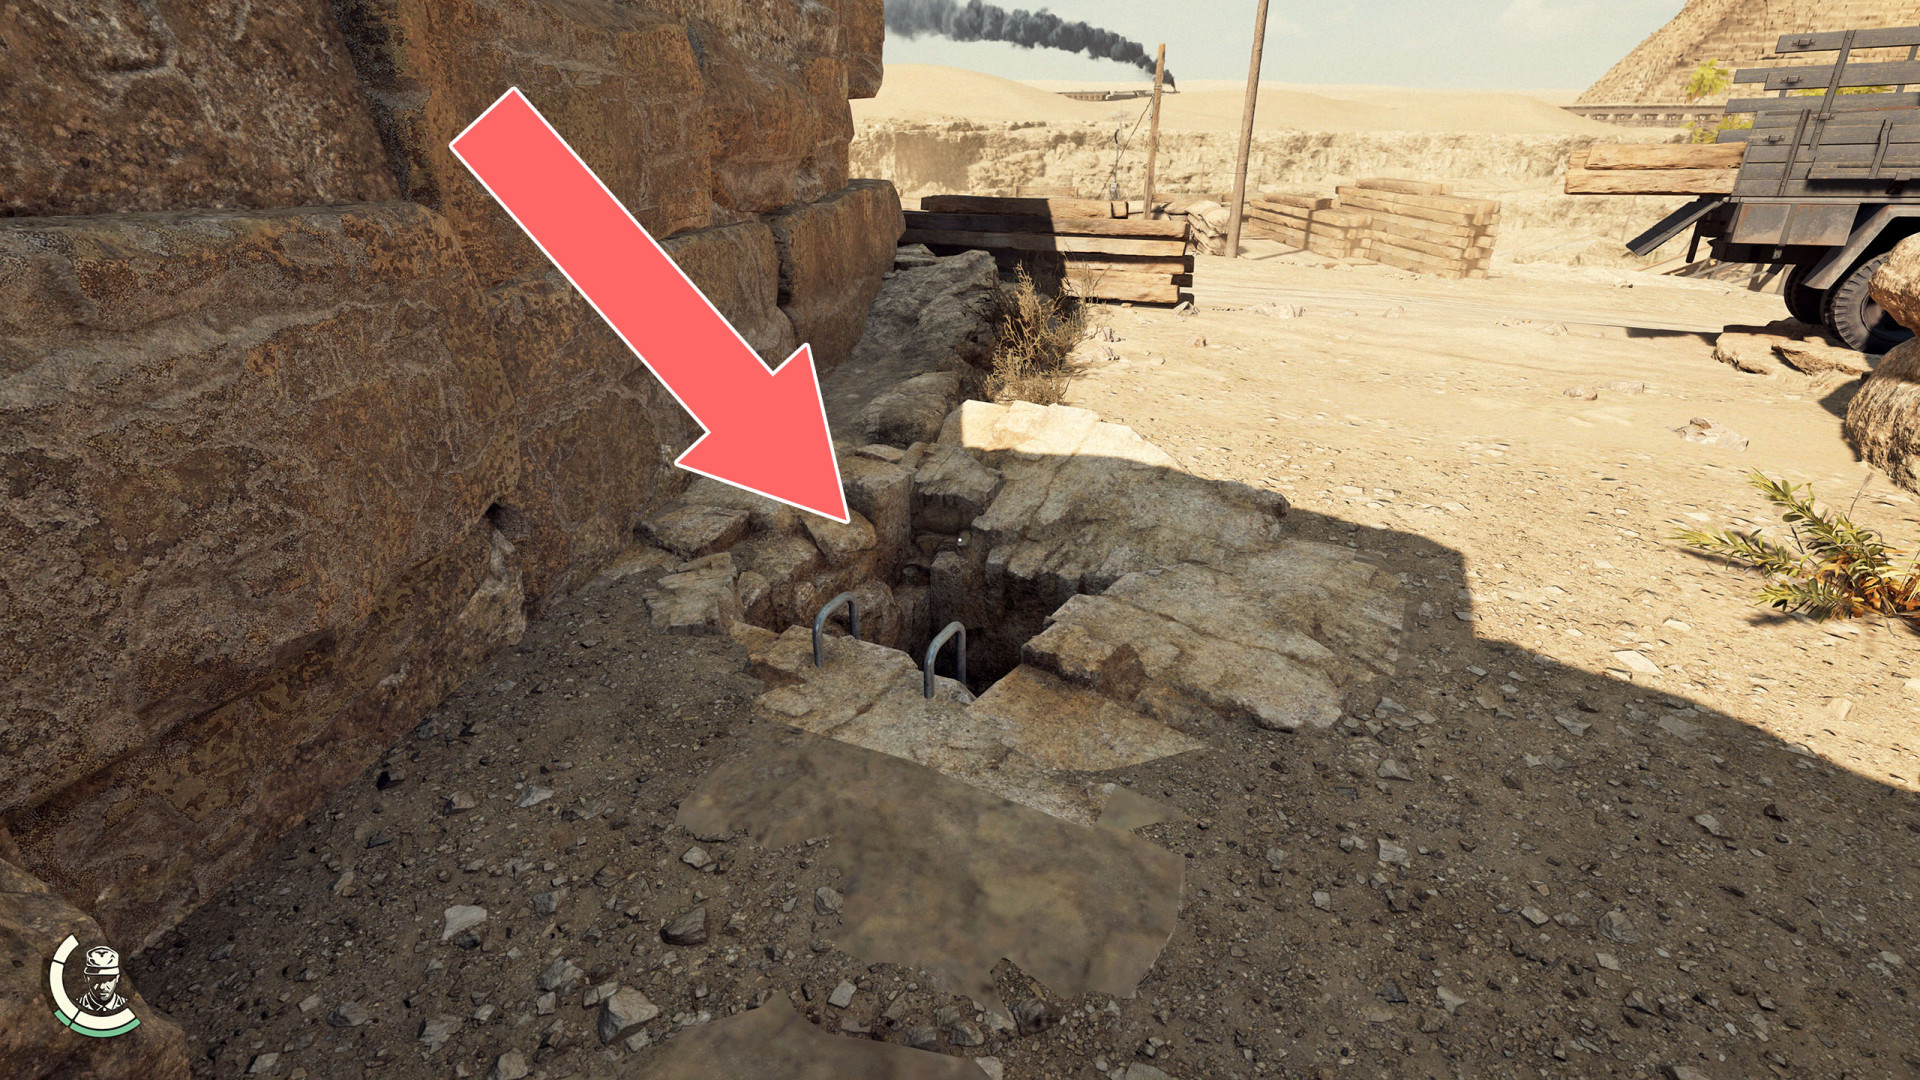
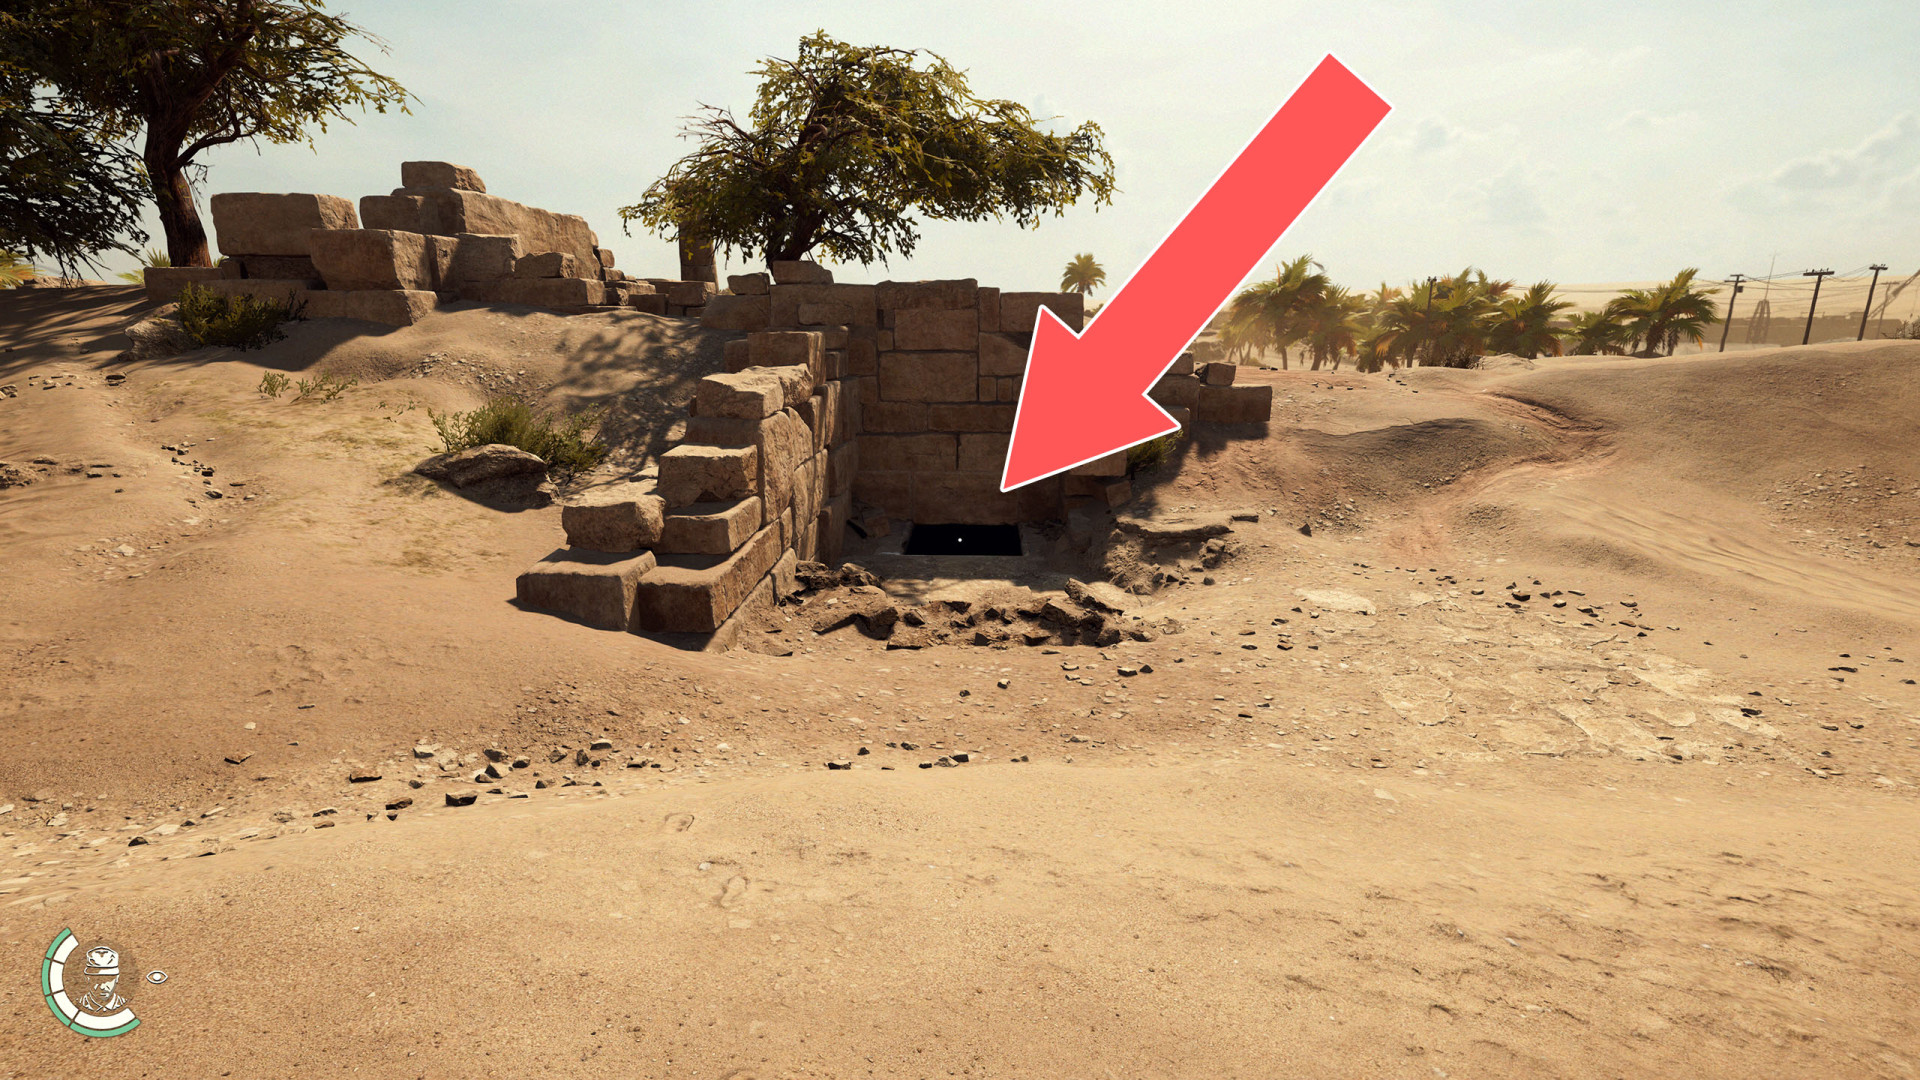
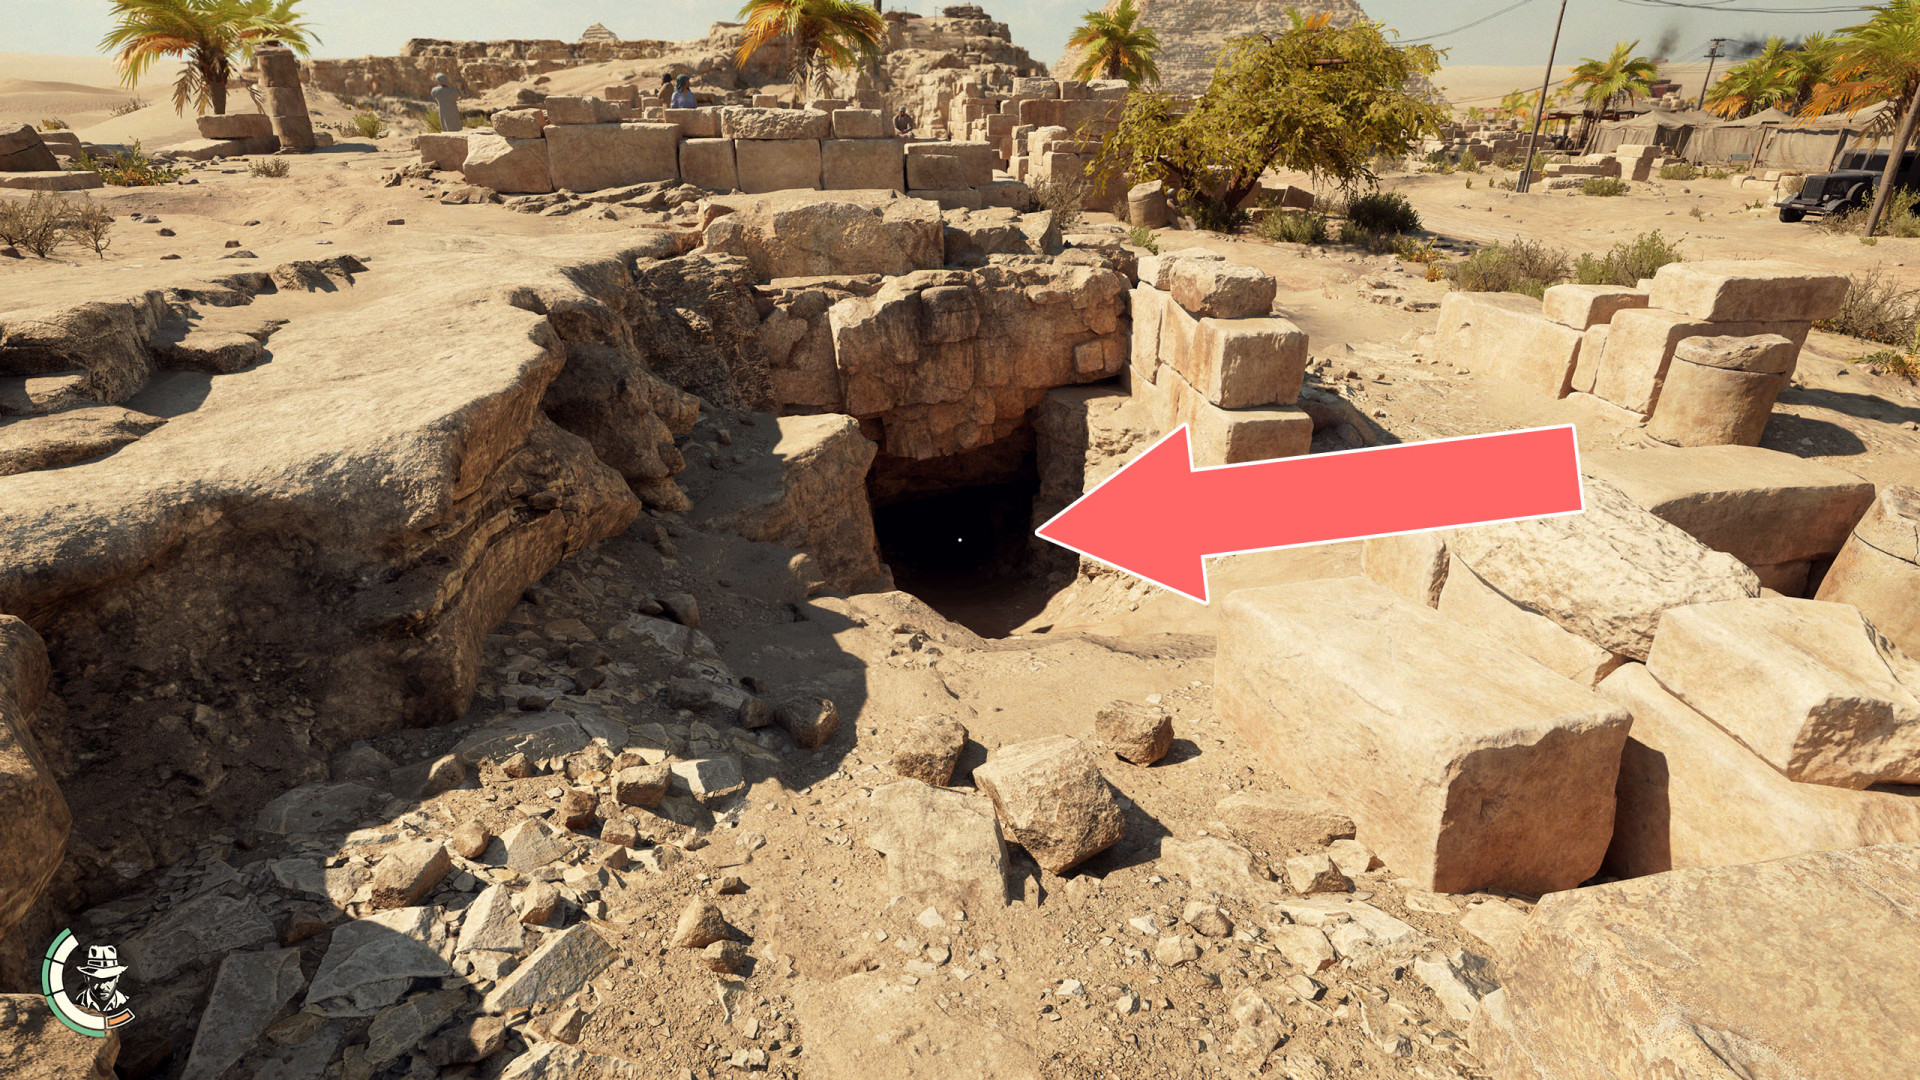
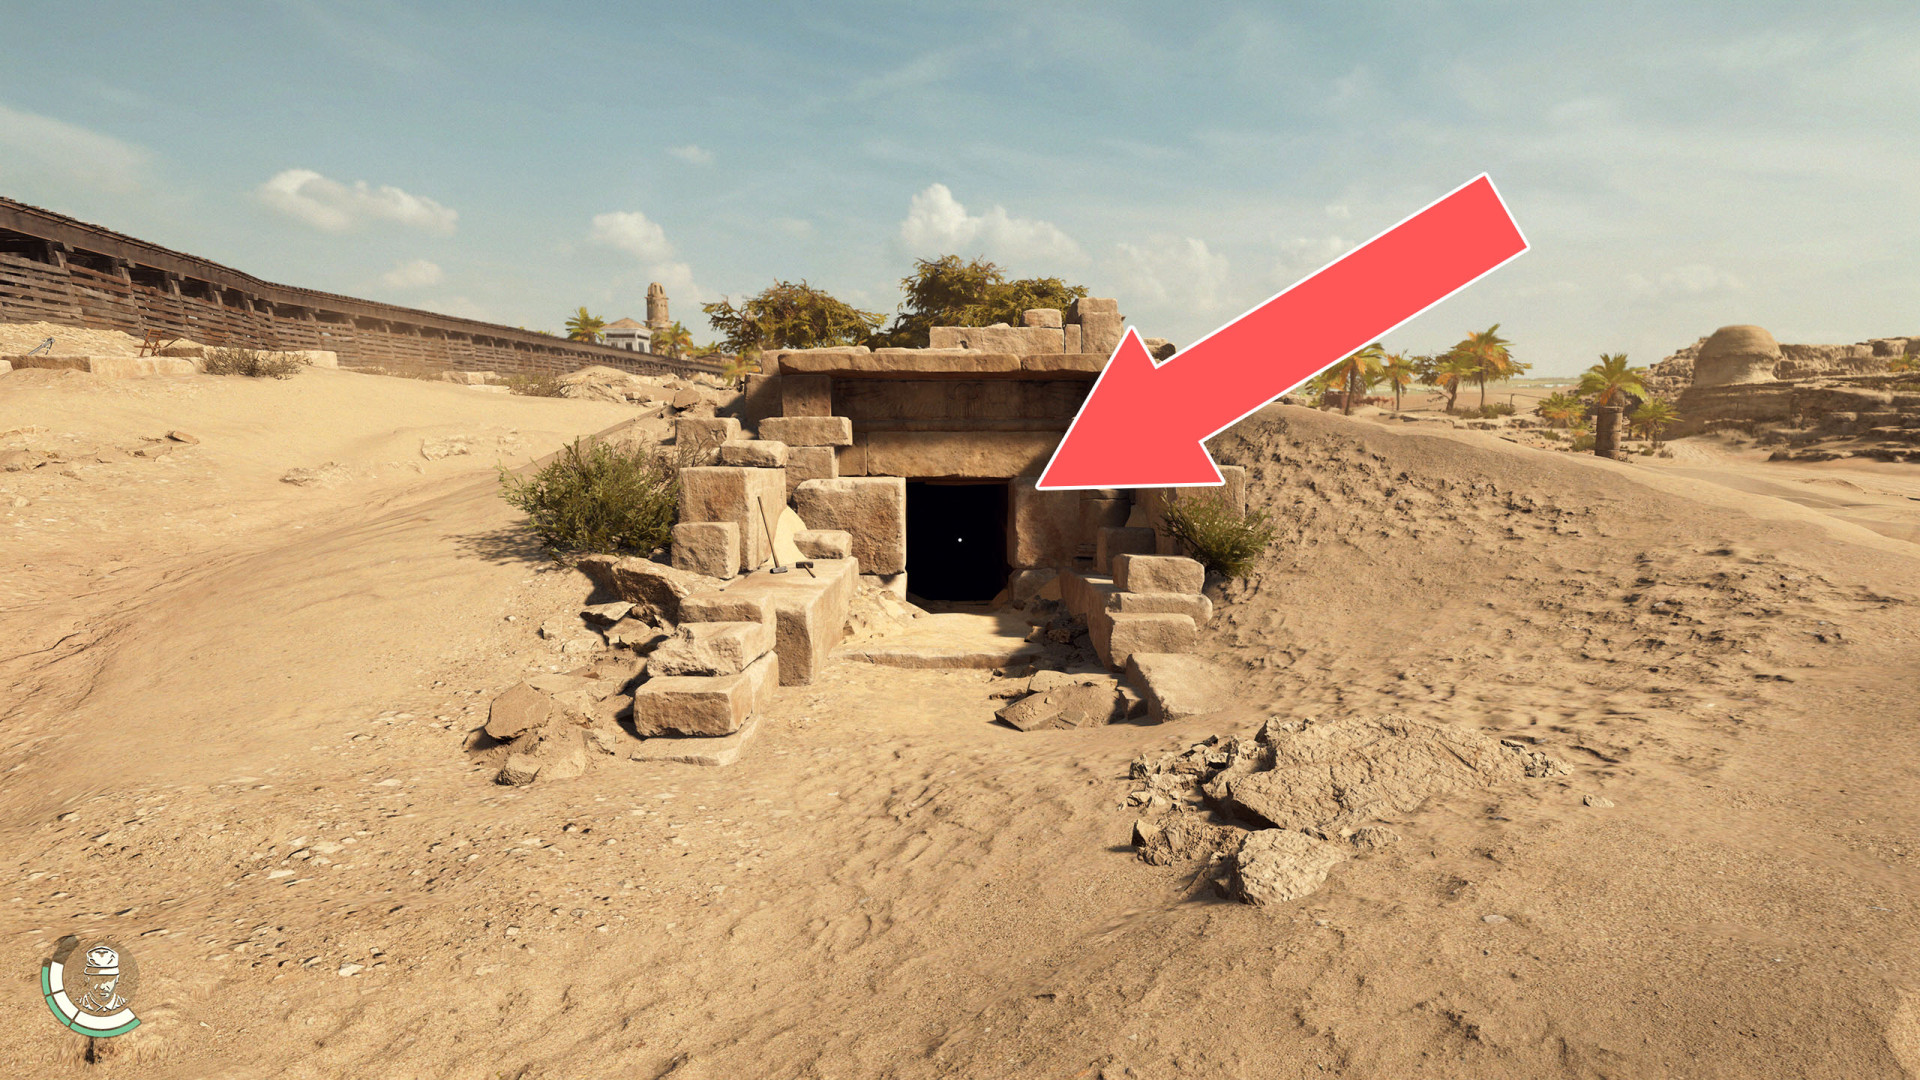
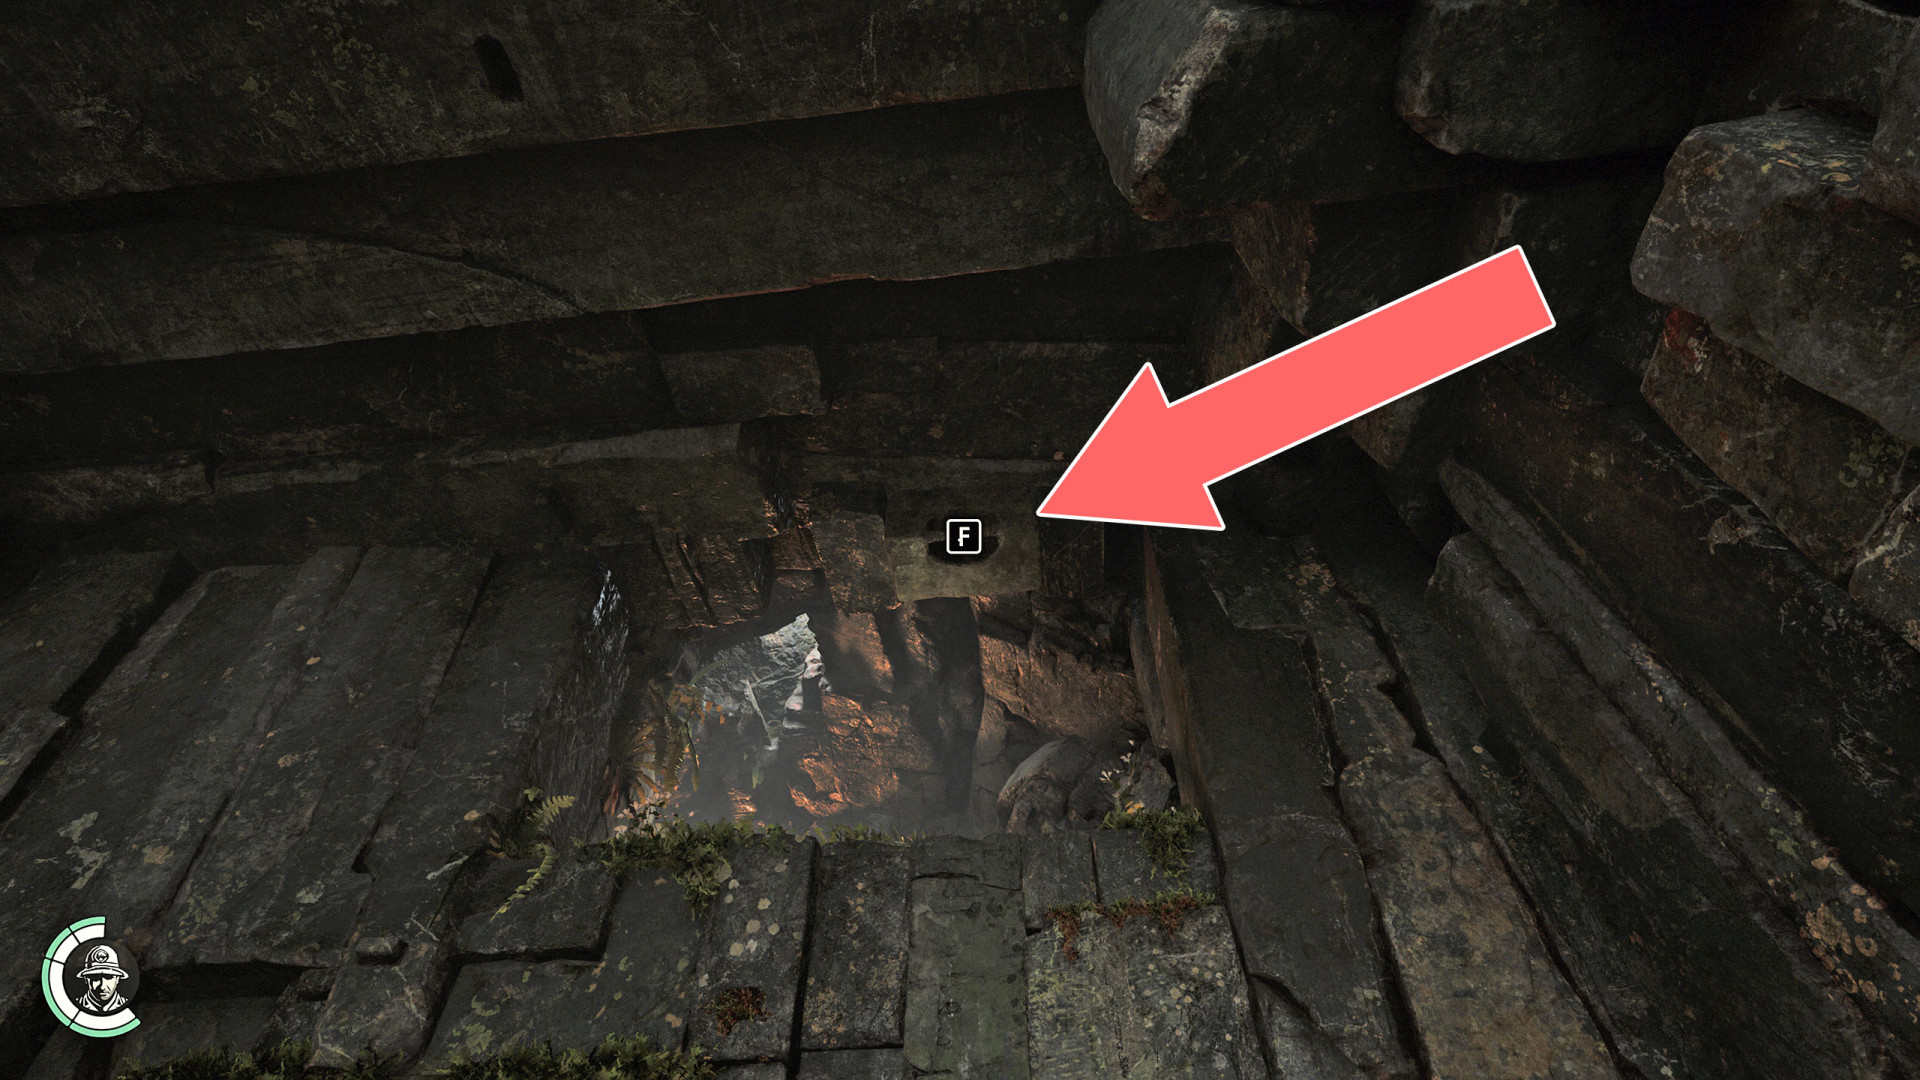
222Underground Entrance
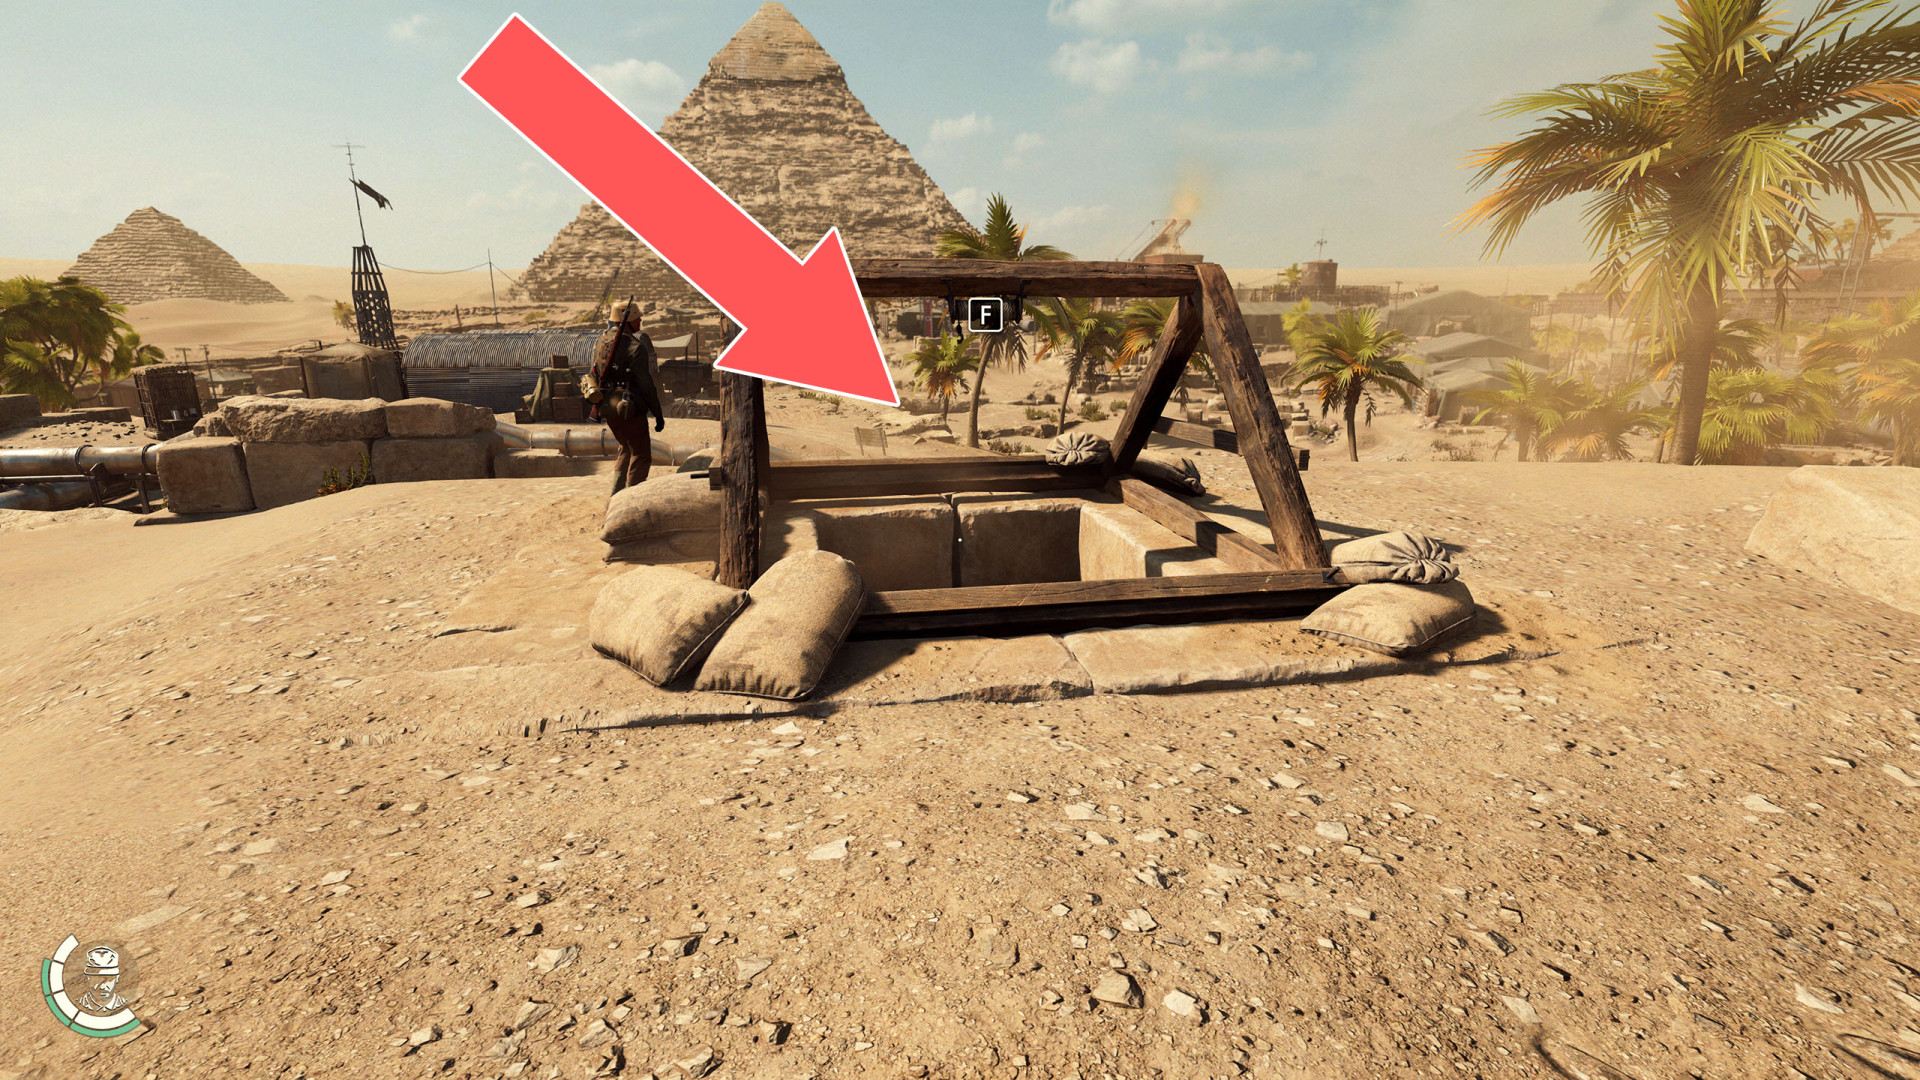
223Underground Entrance
224Underground Entrance
225Underground Entrance
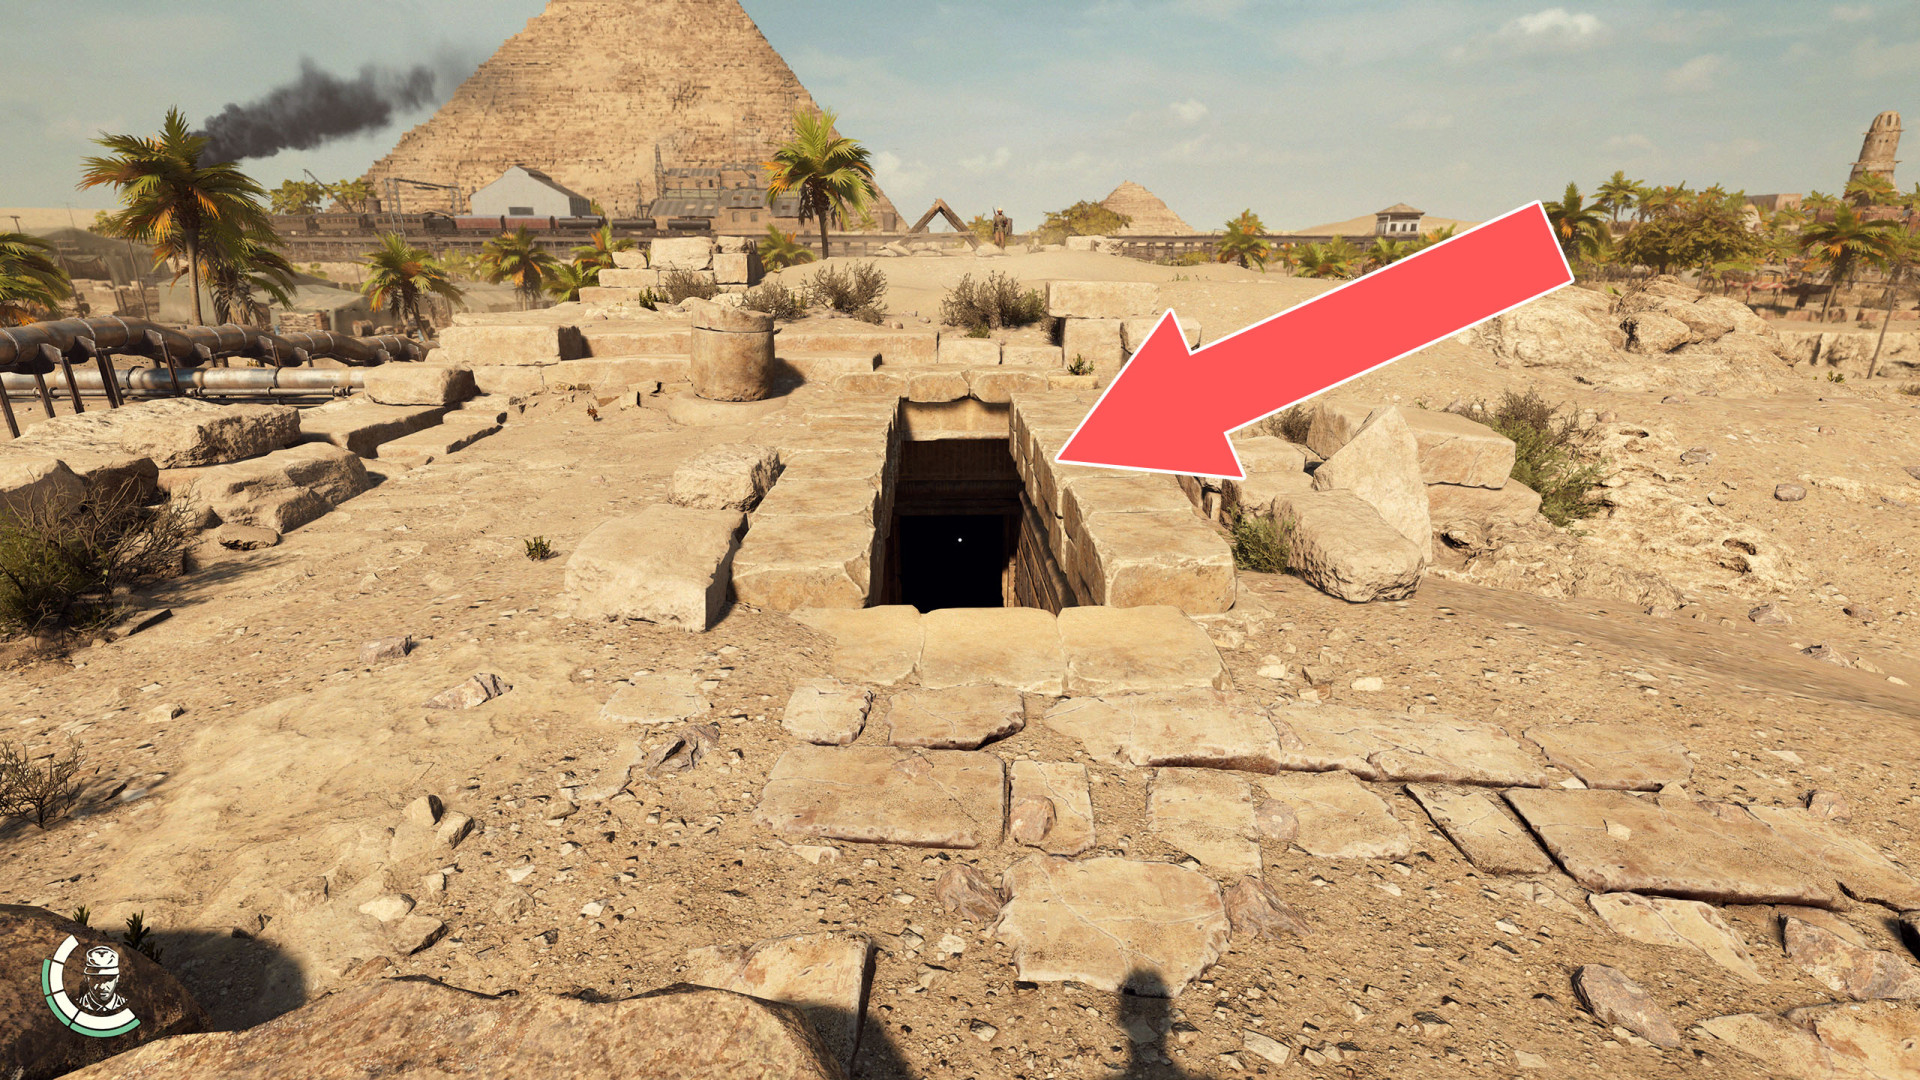
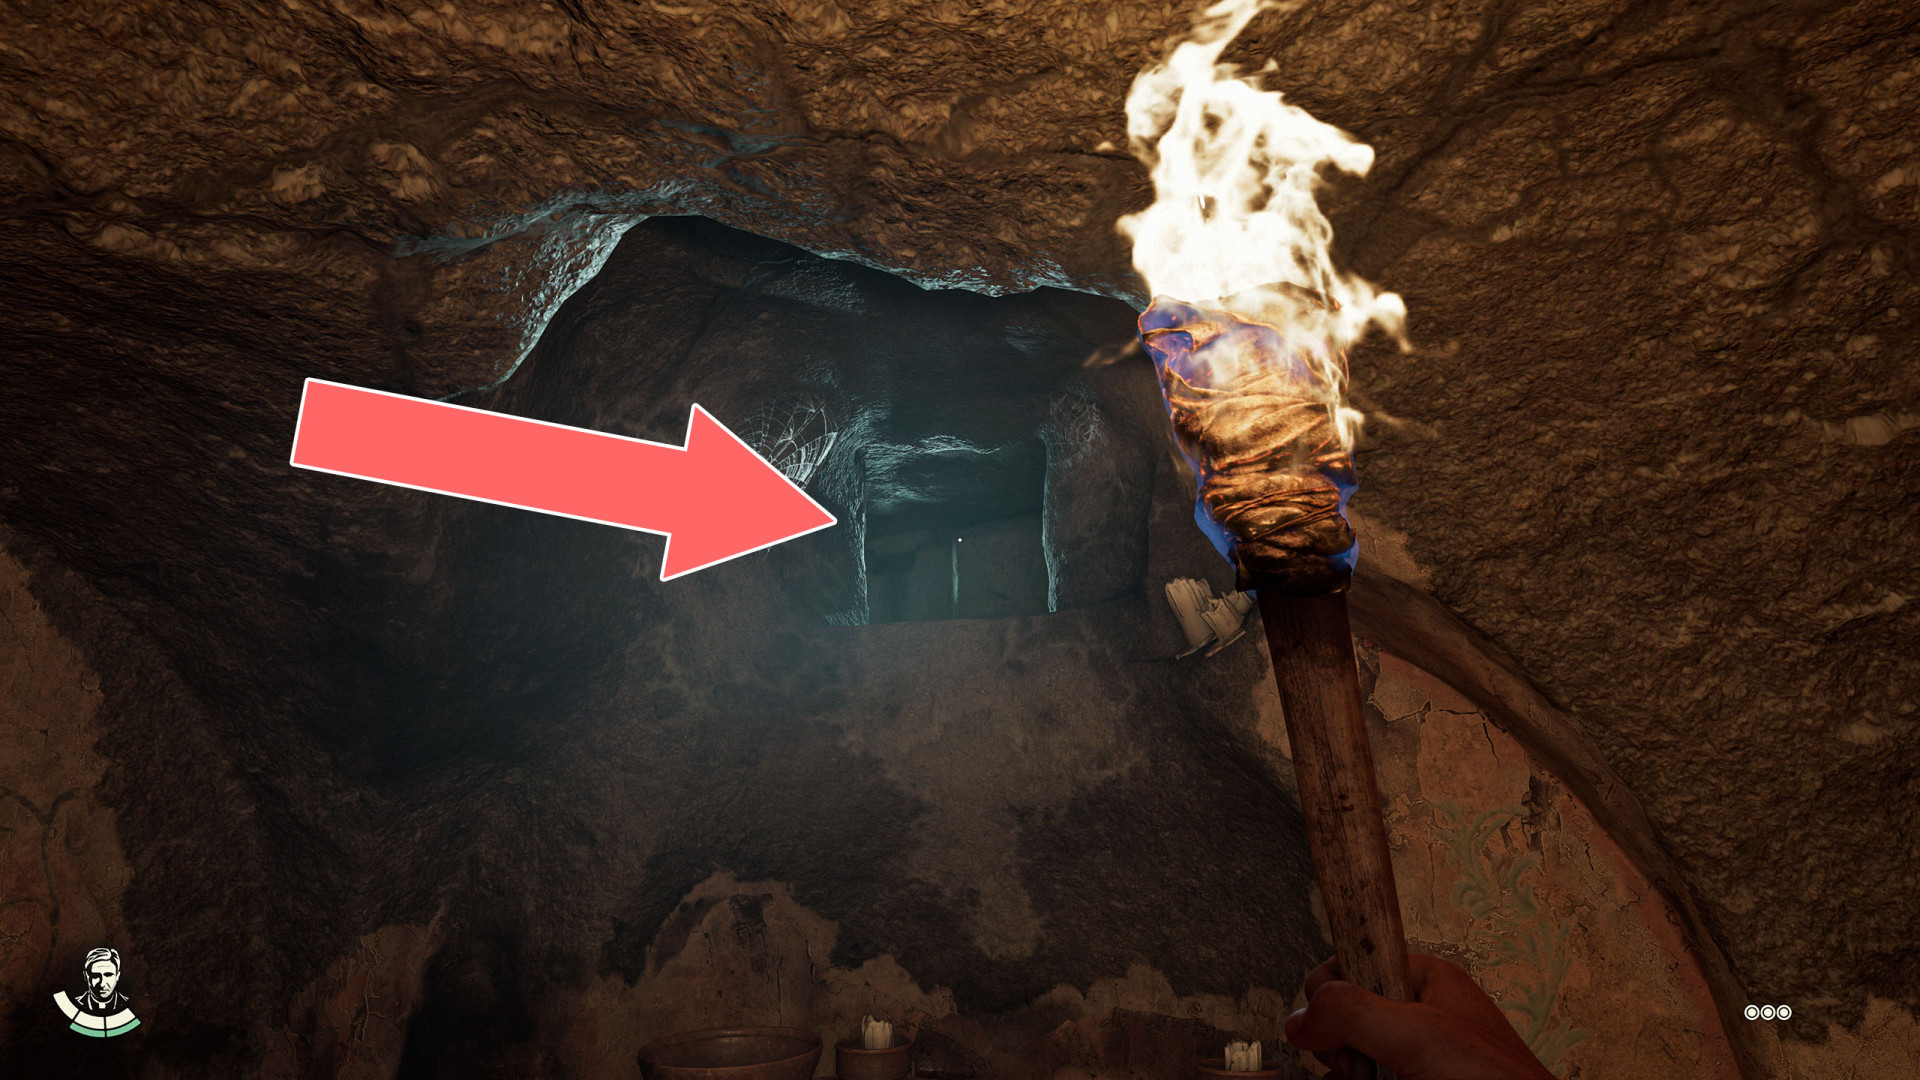
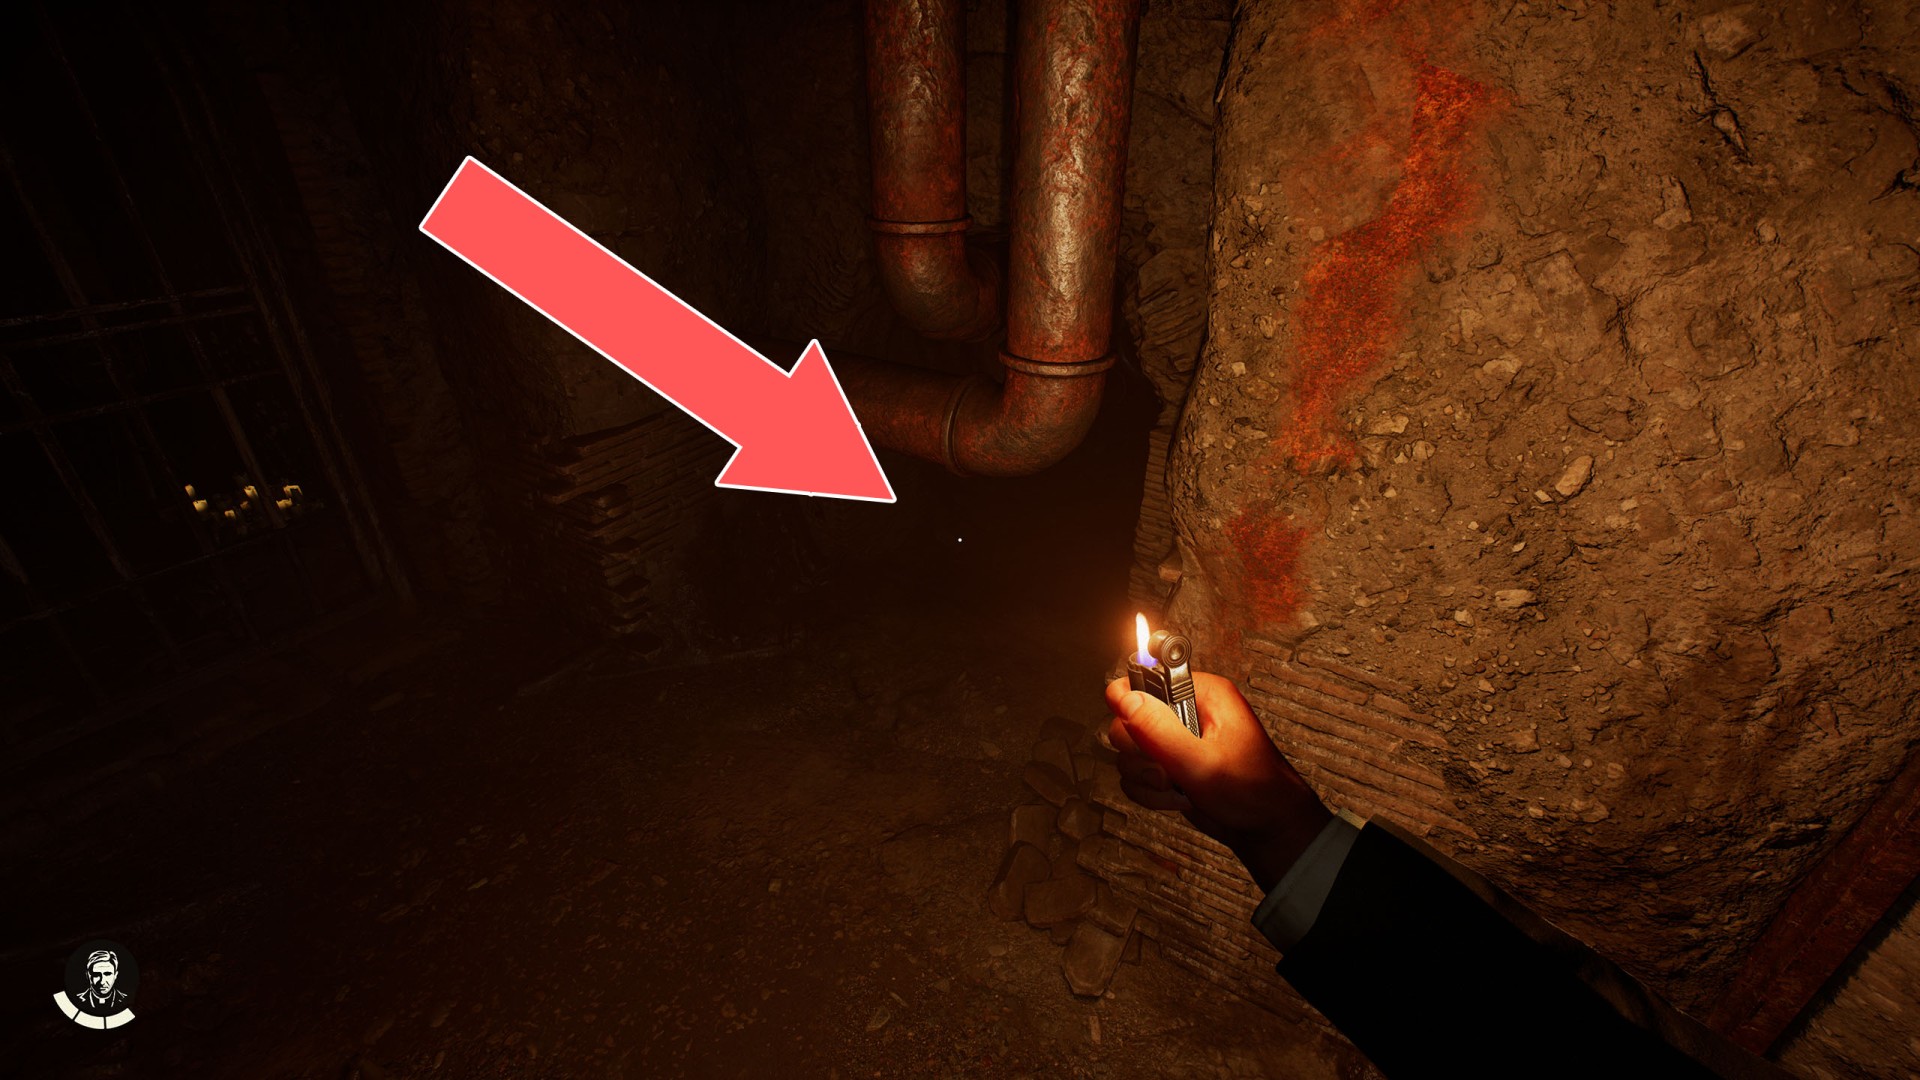
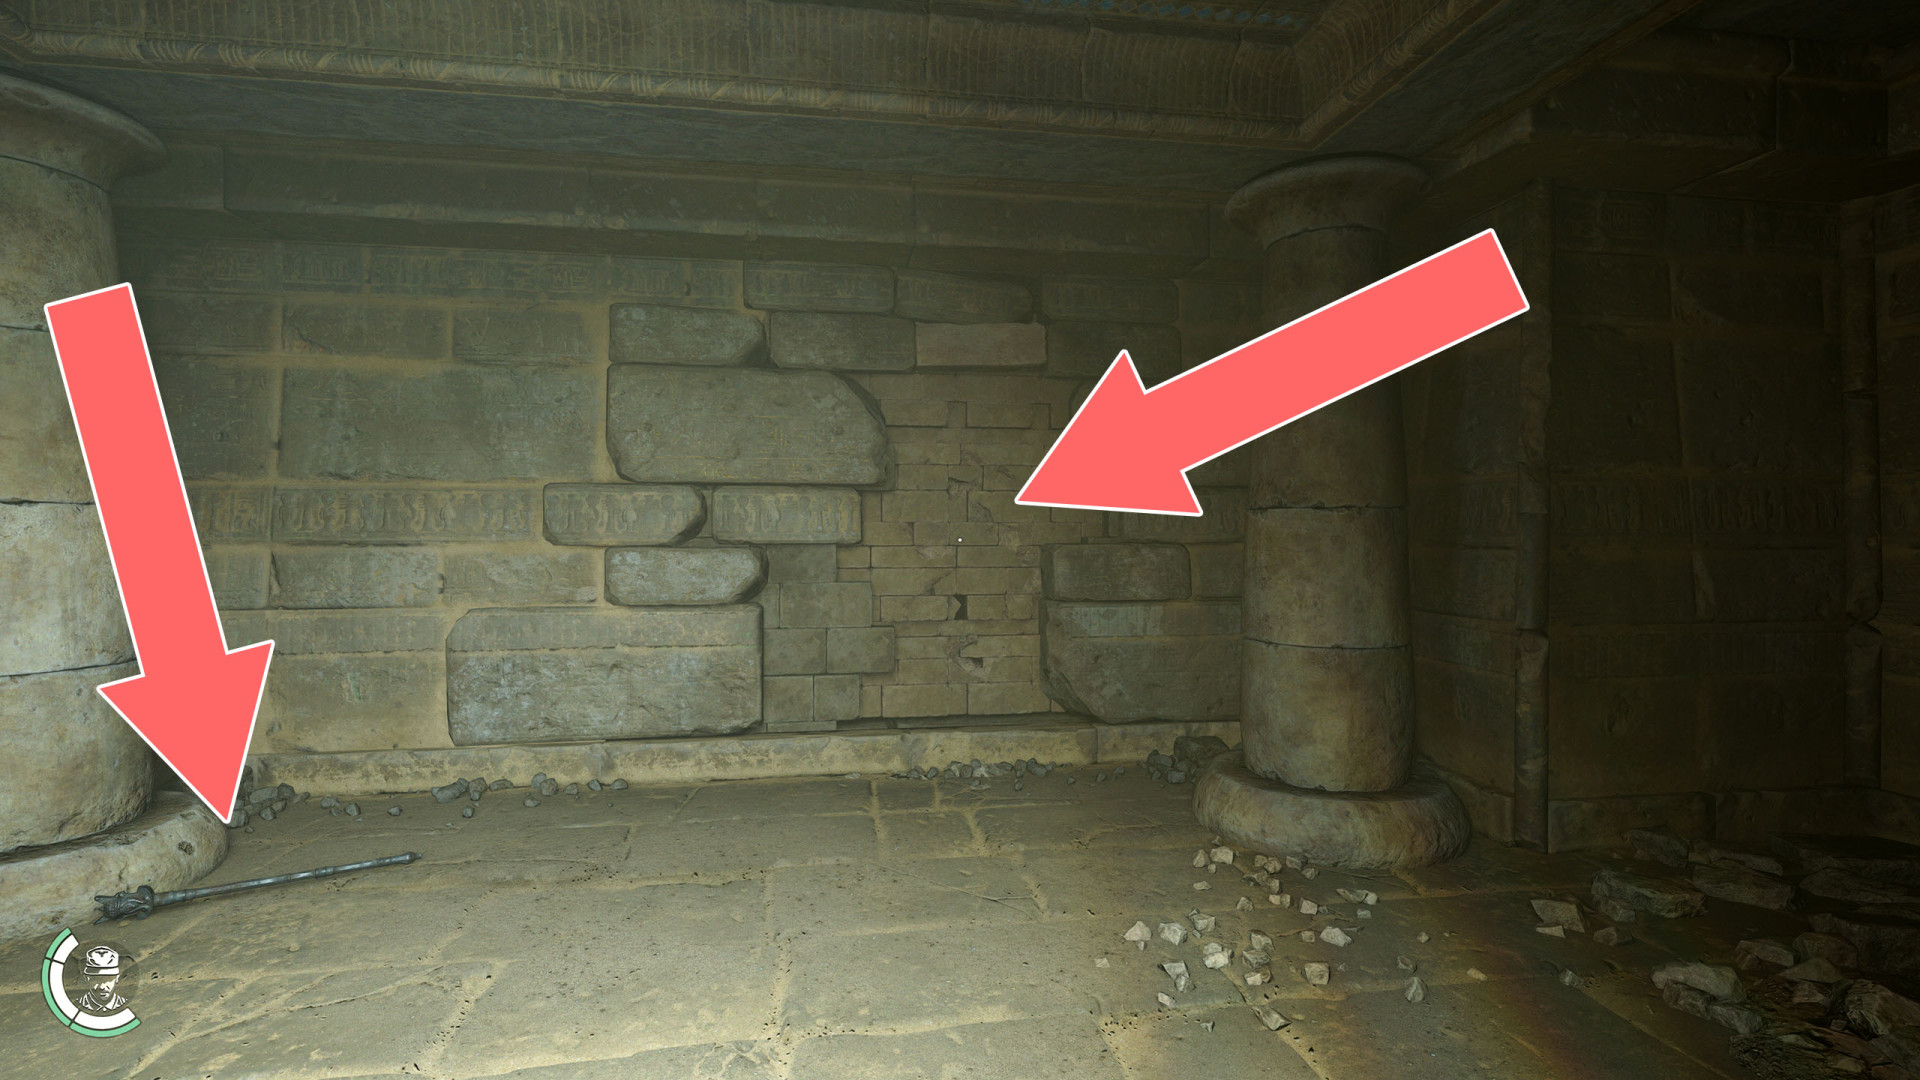
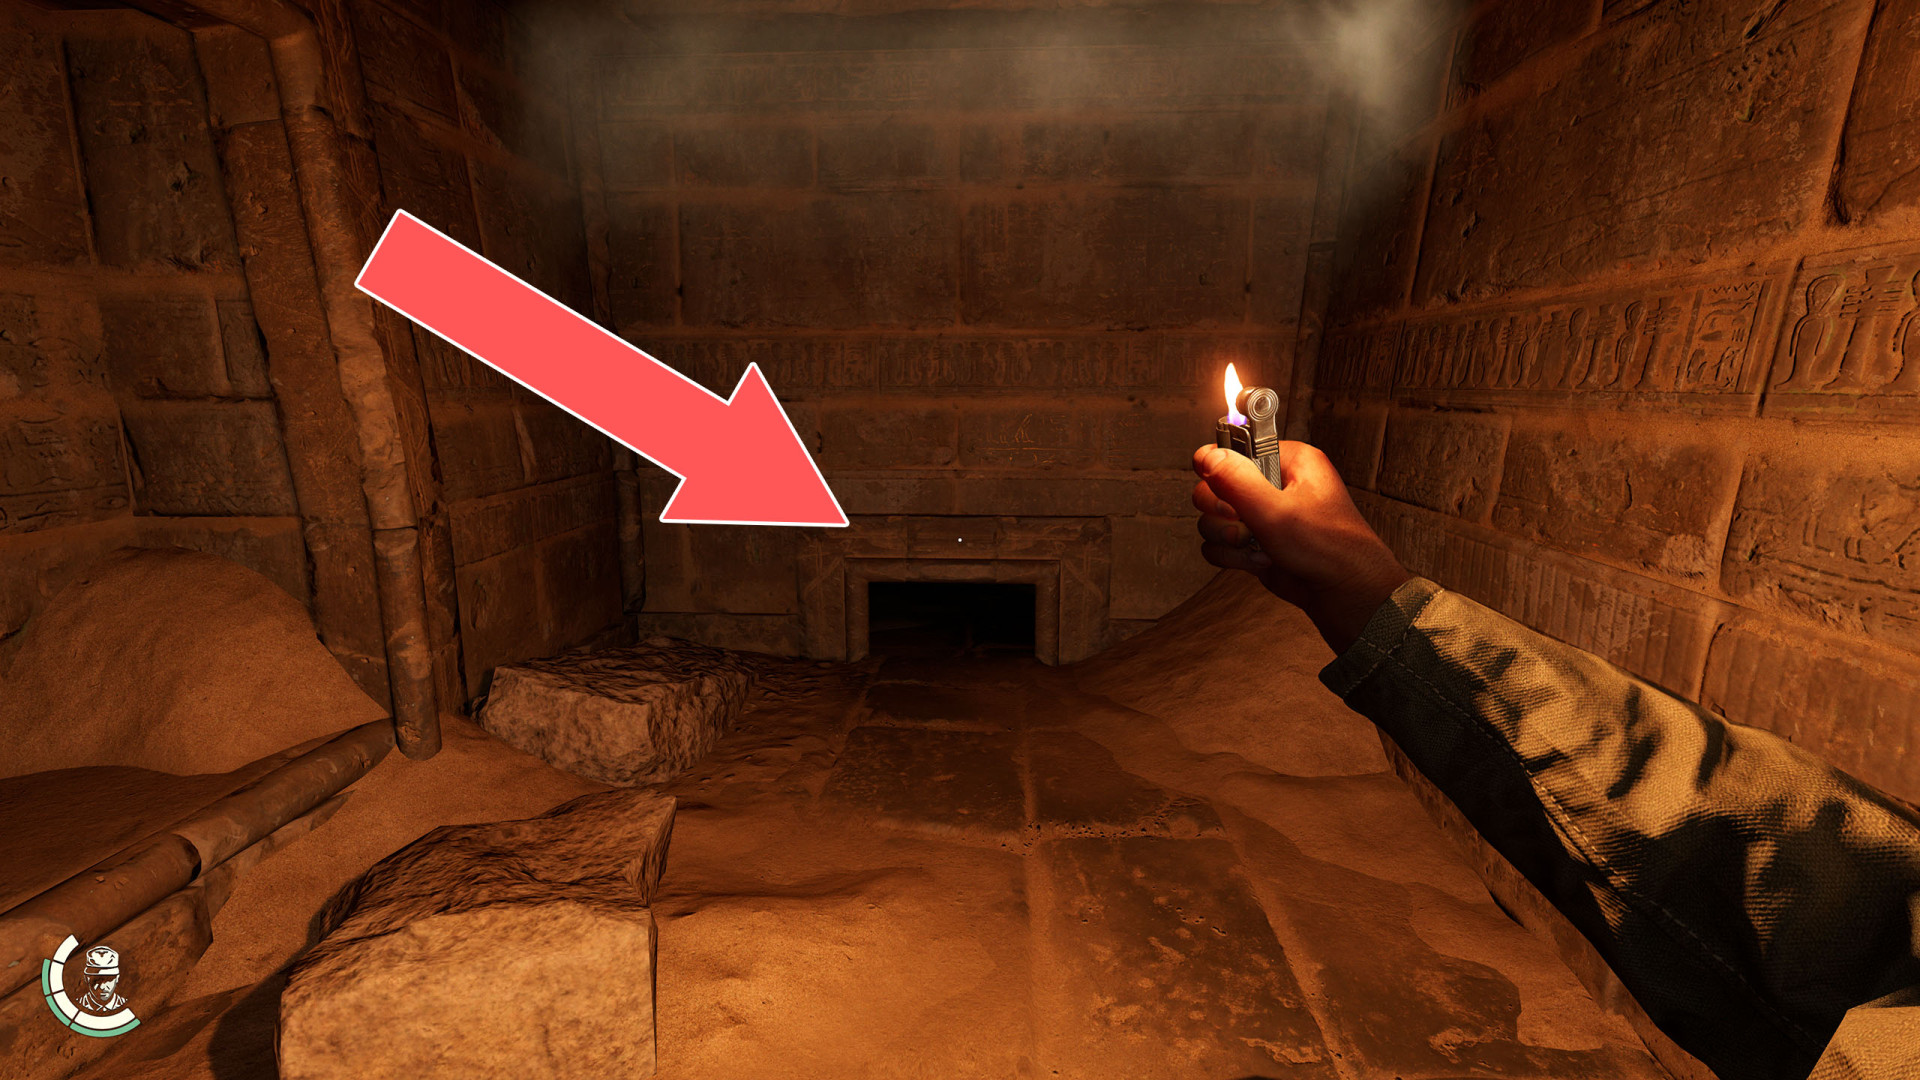
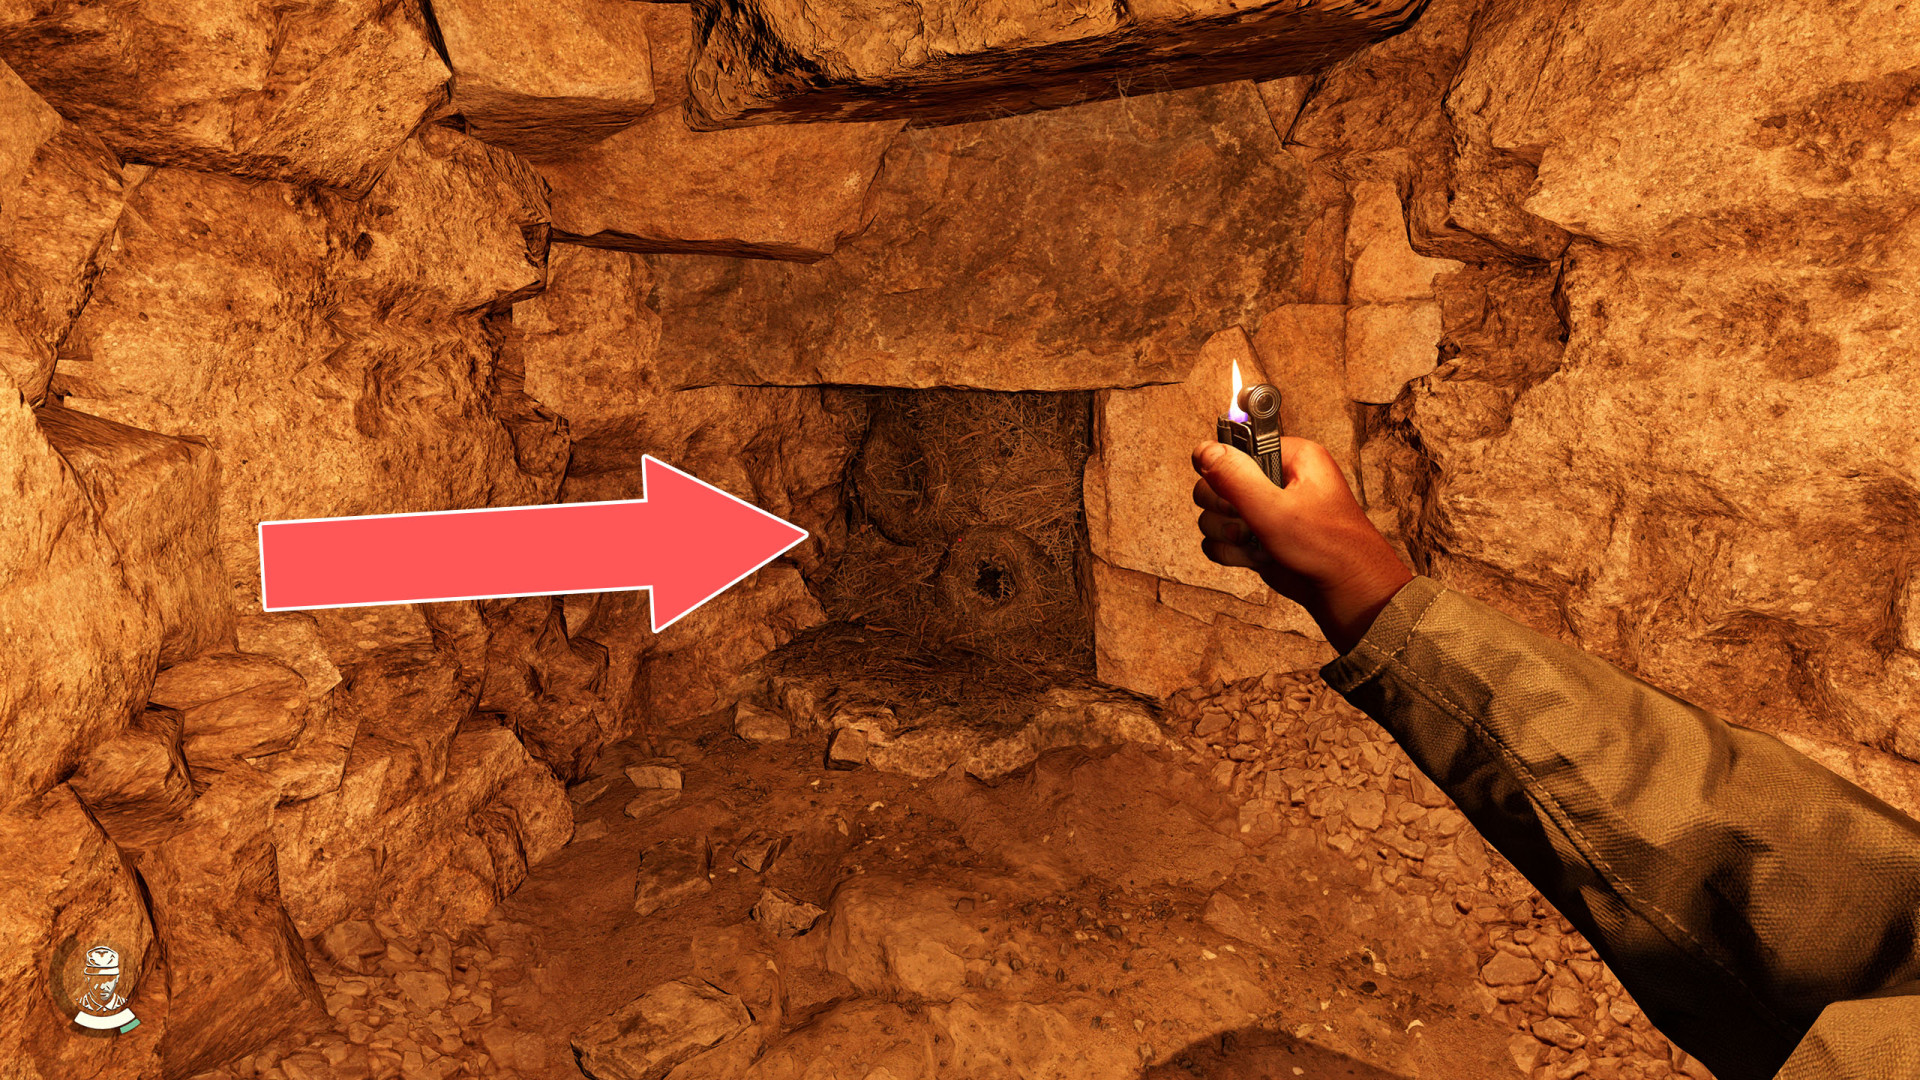
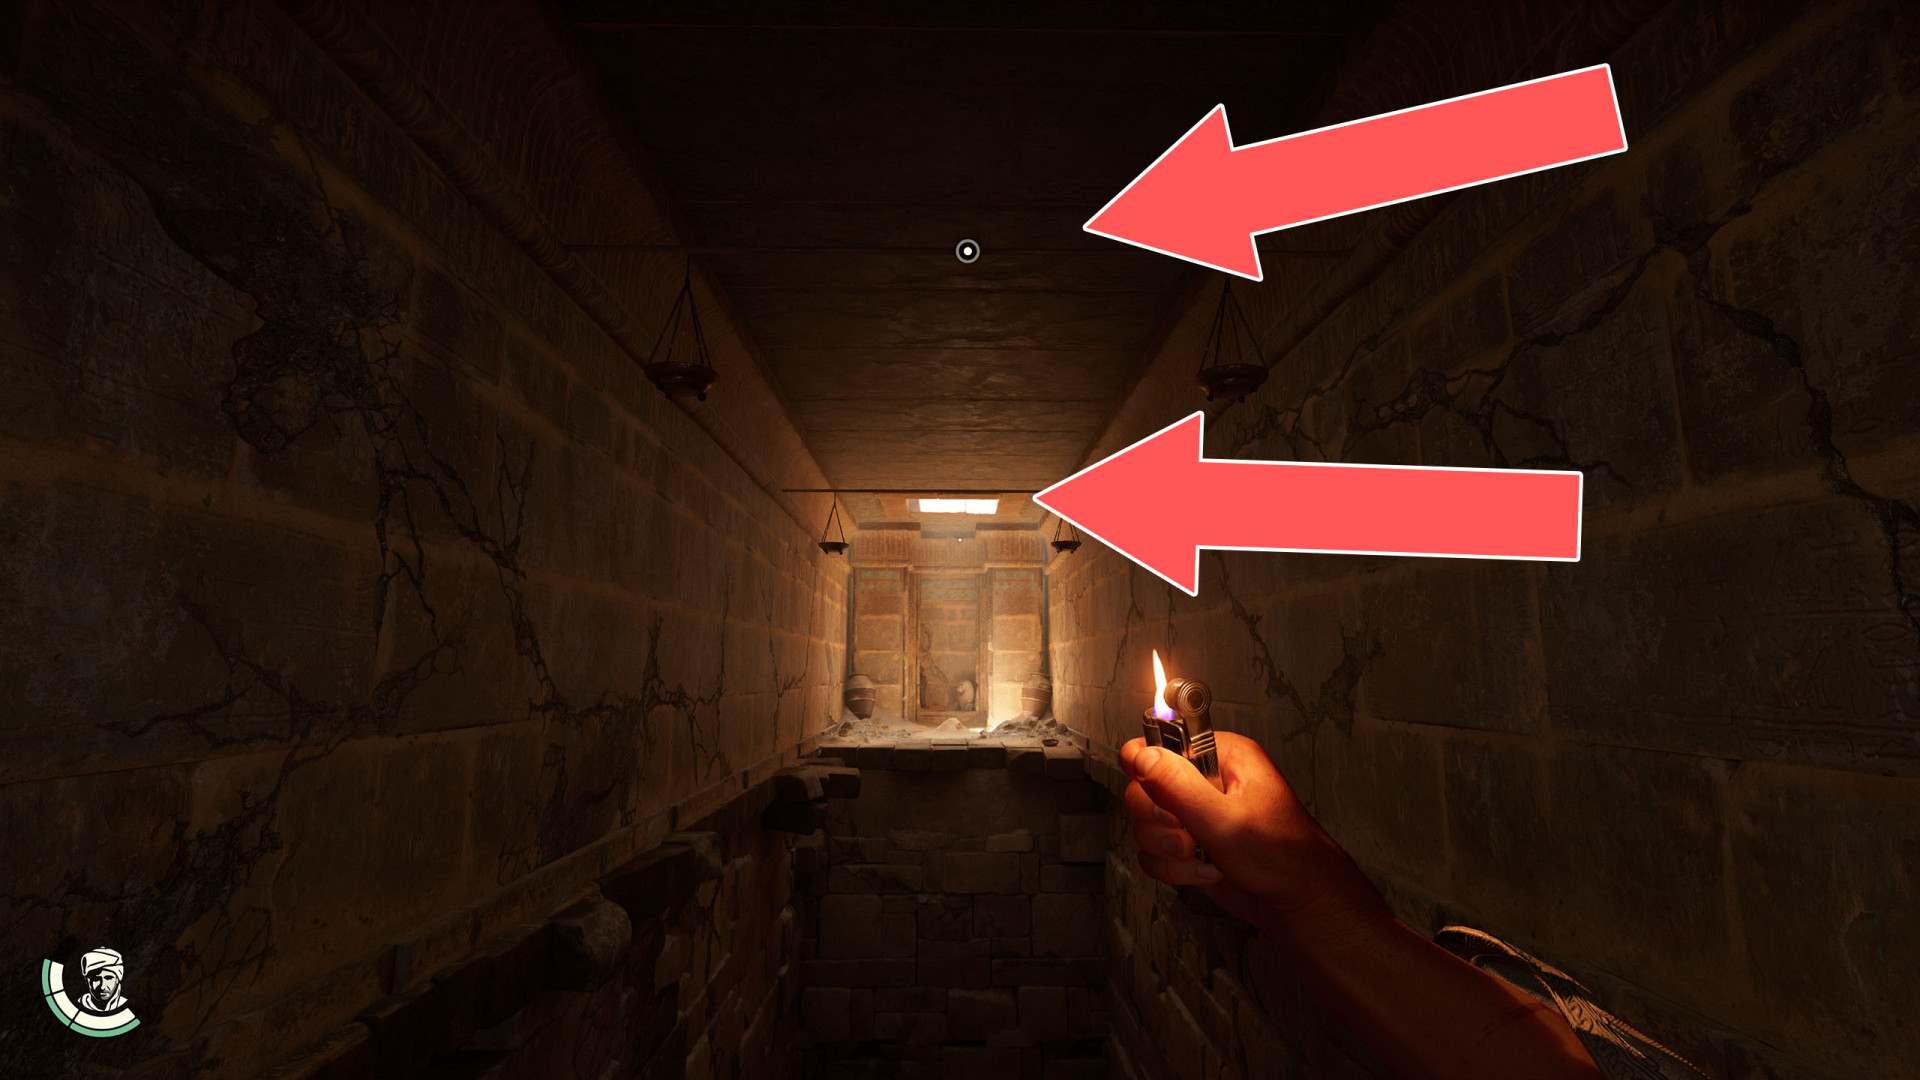
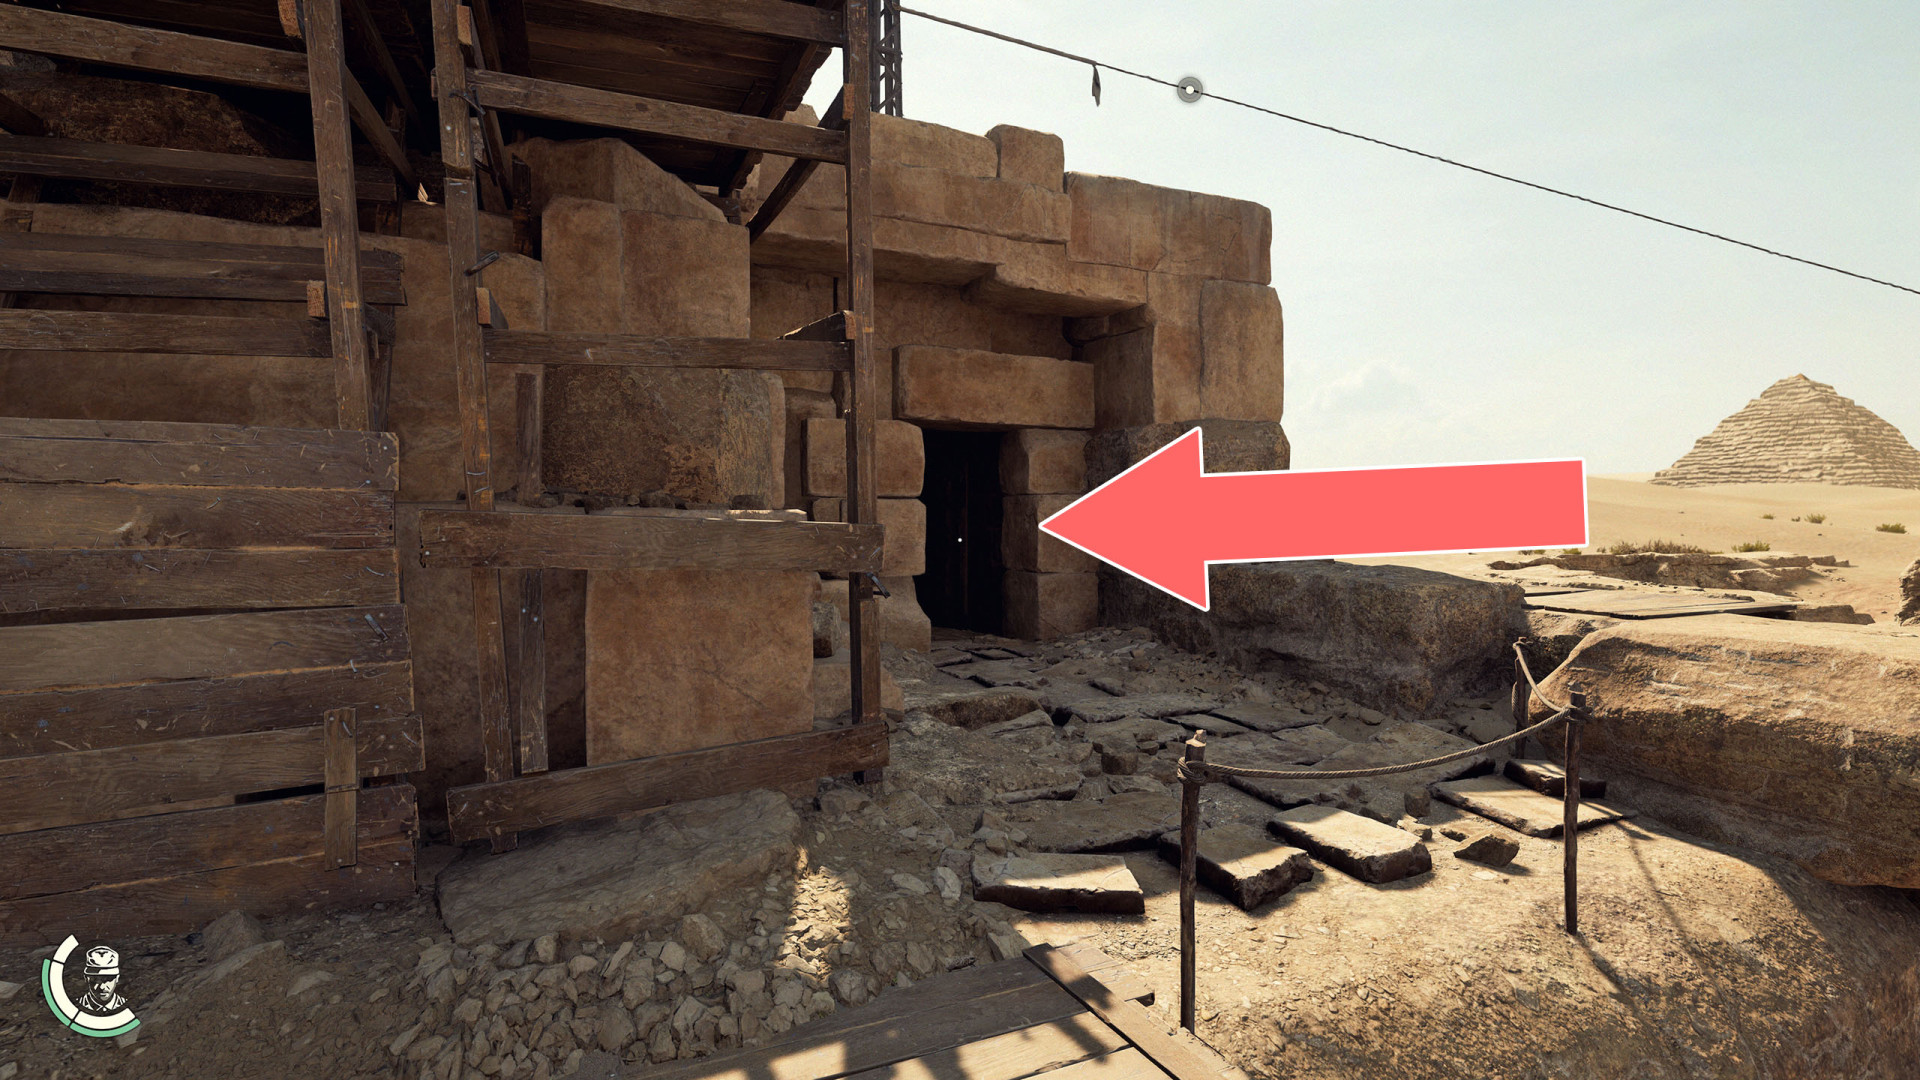
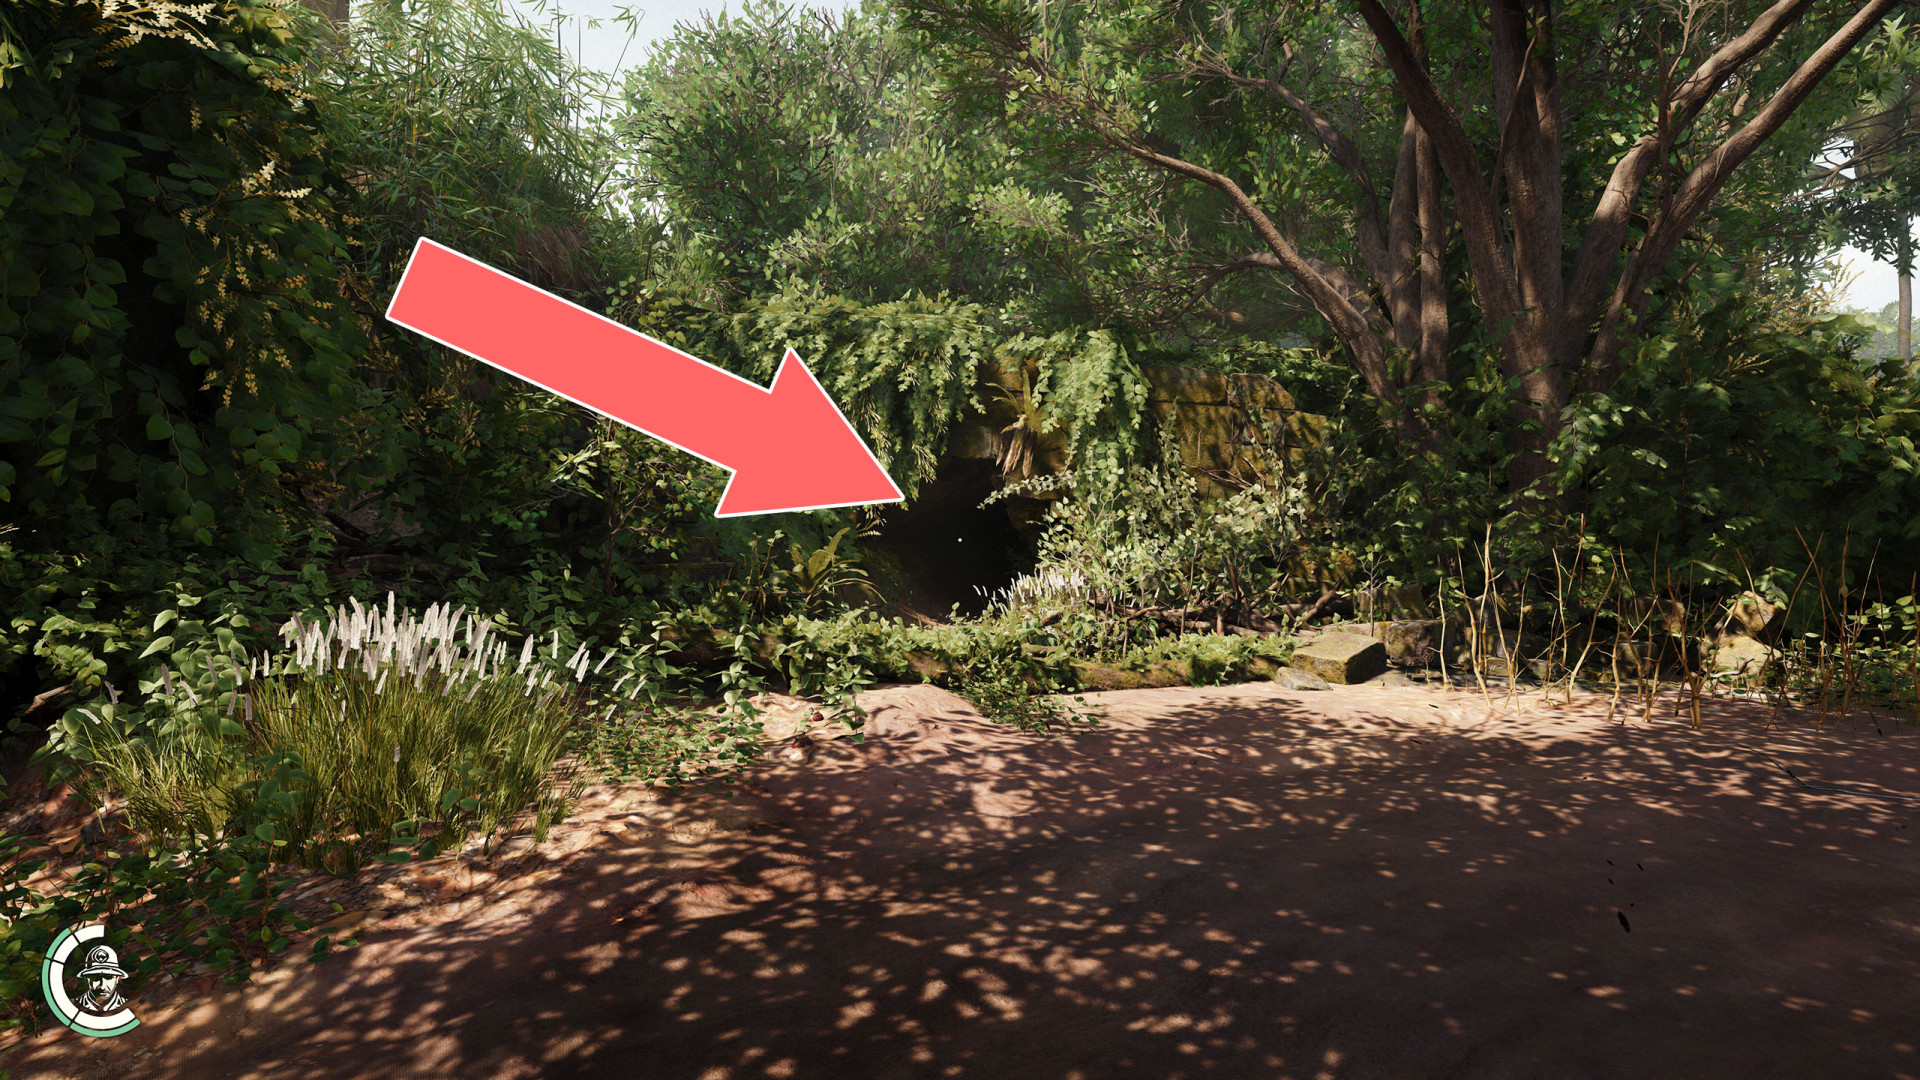
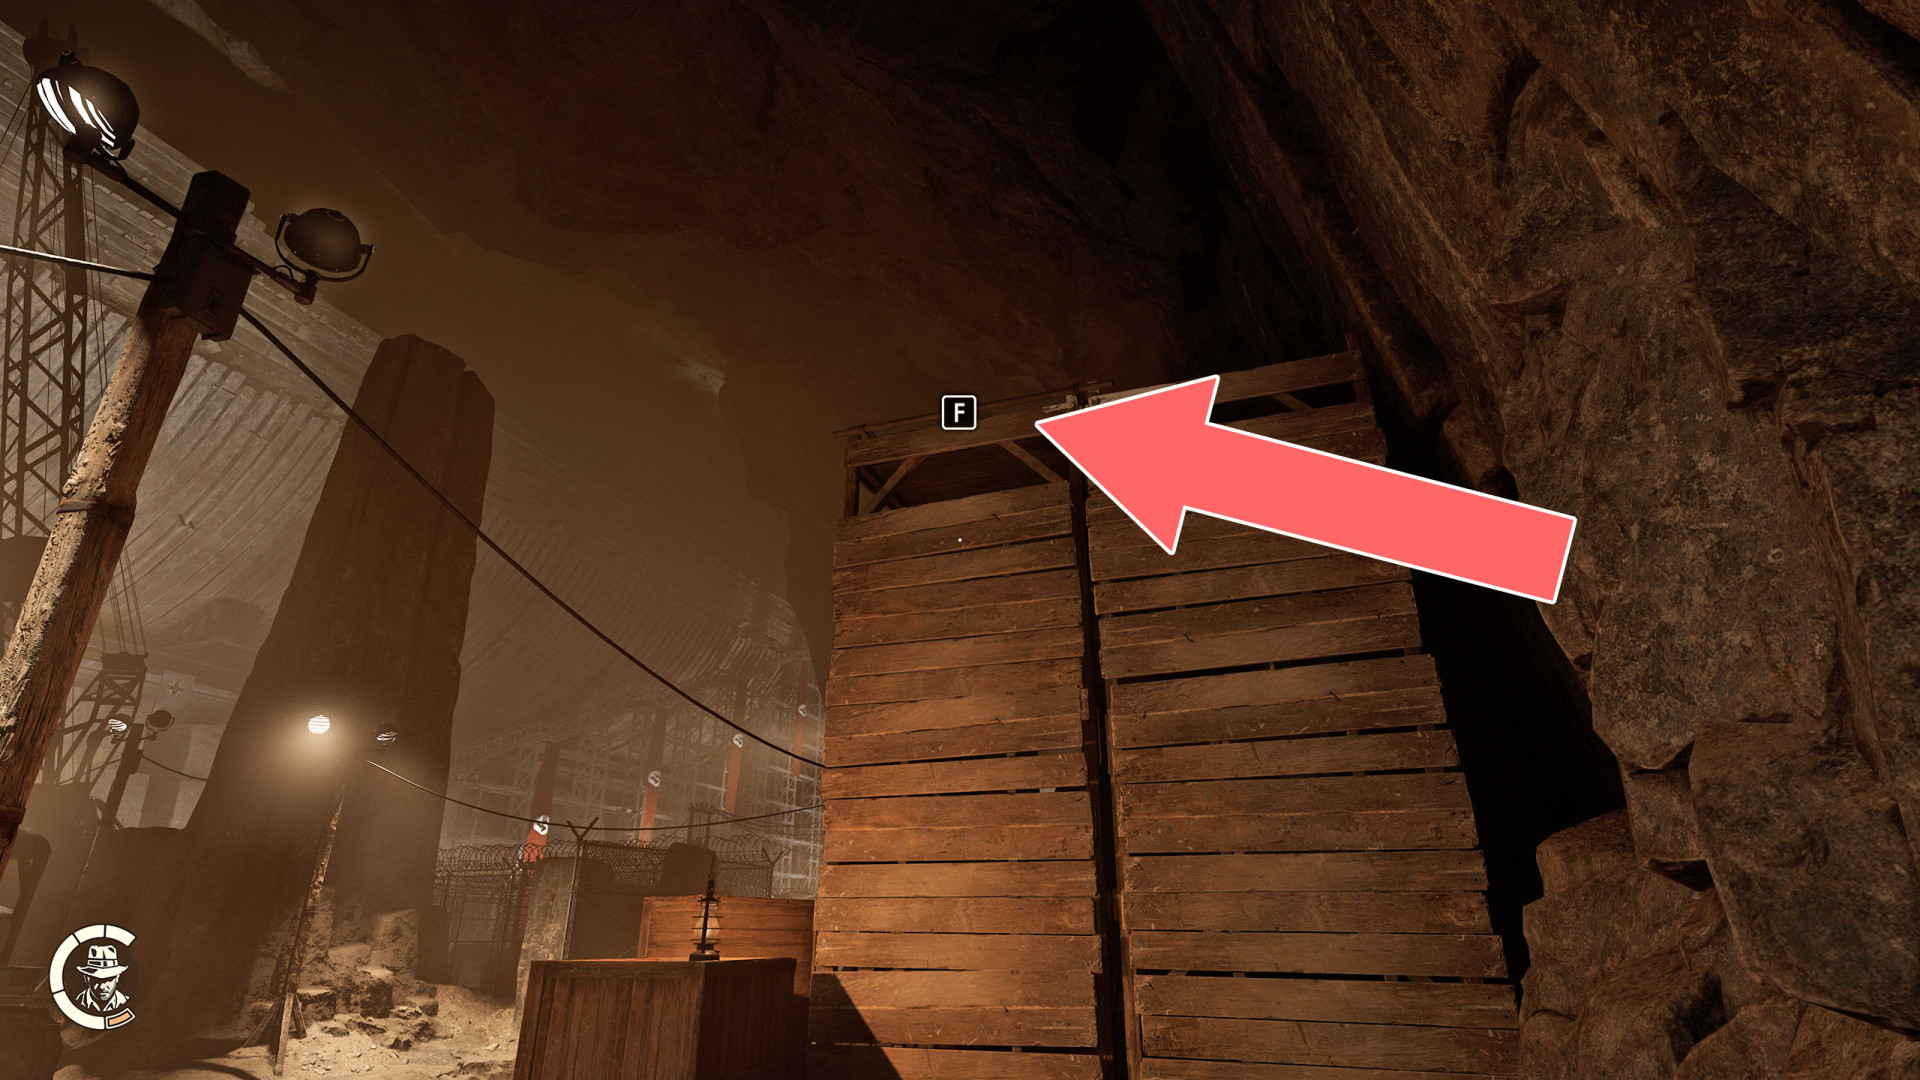
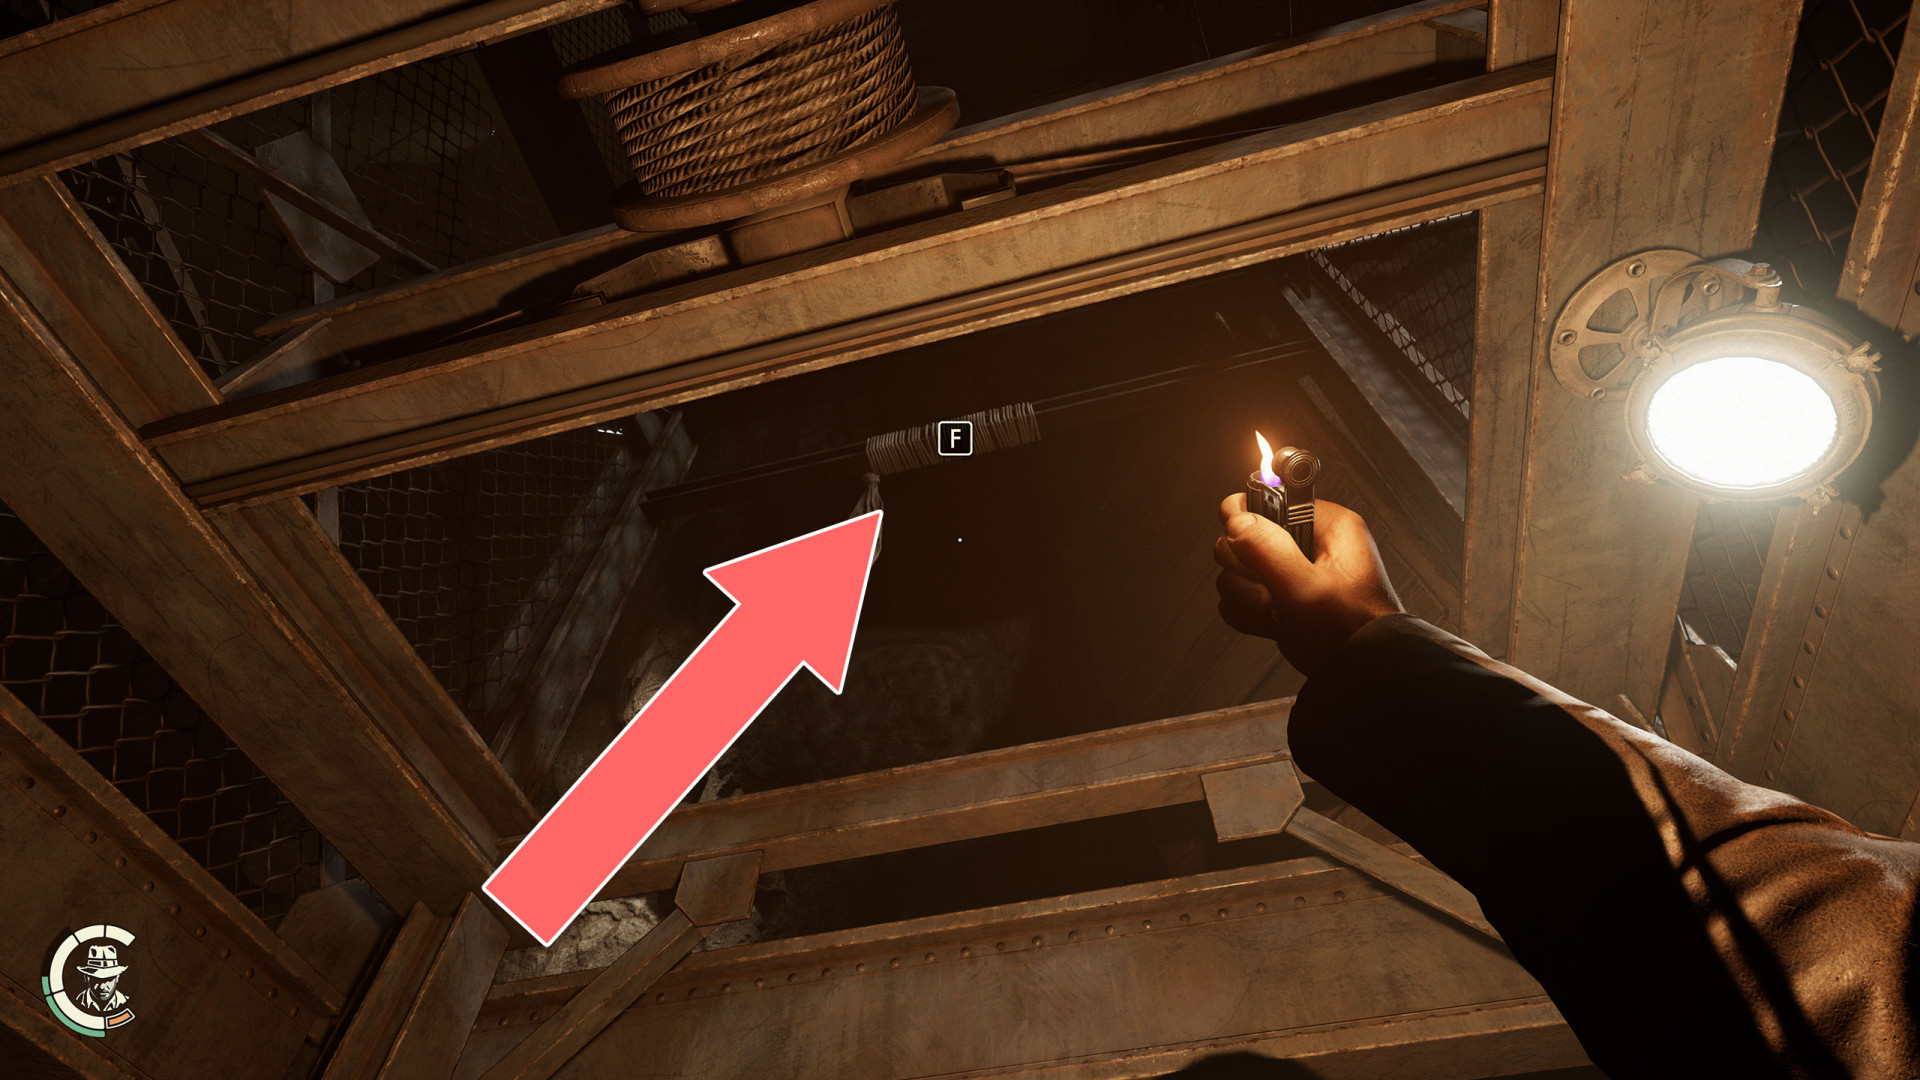
226Underground Entrance
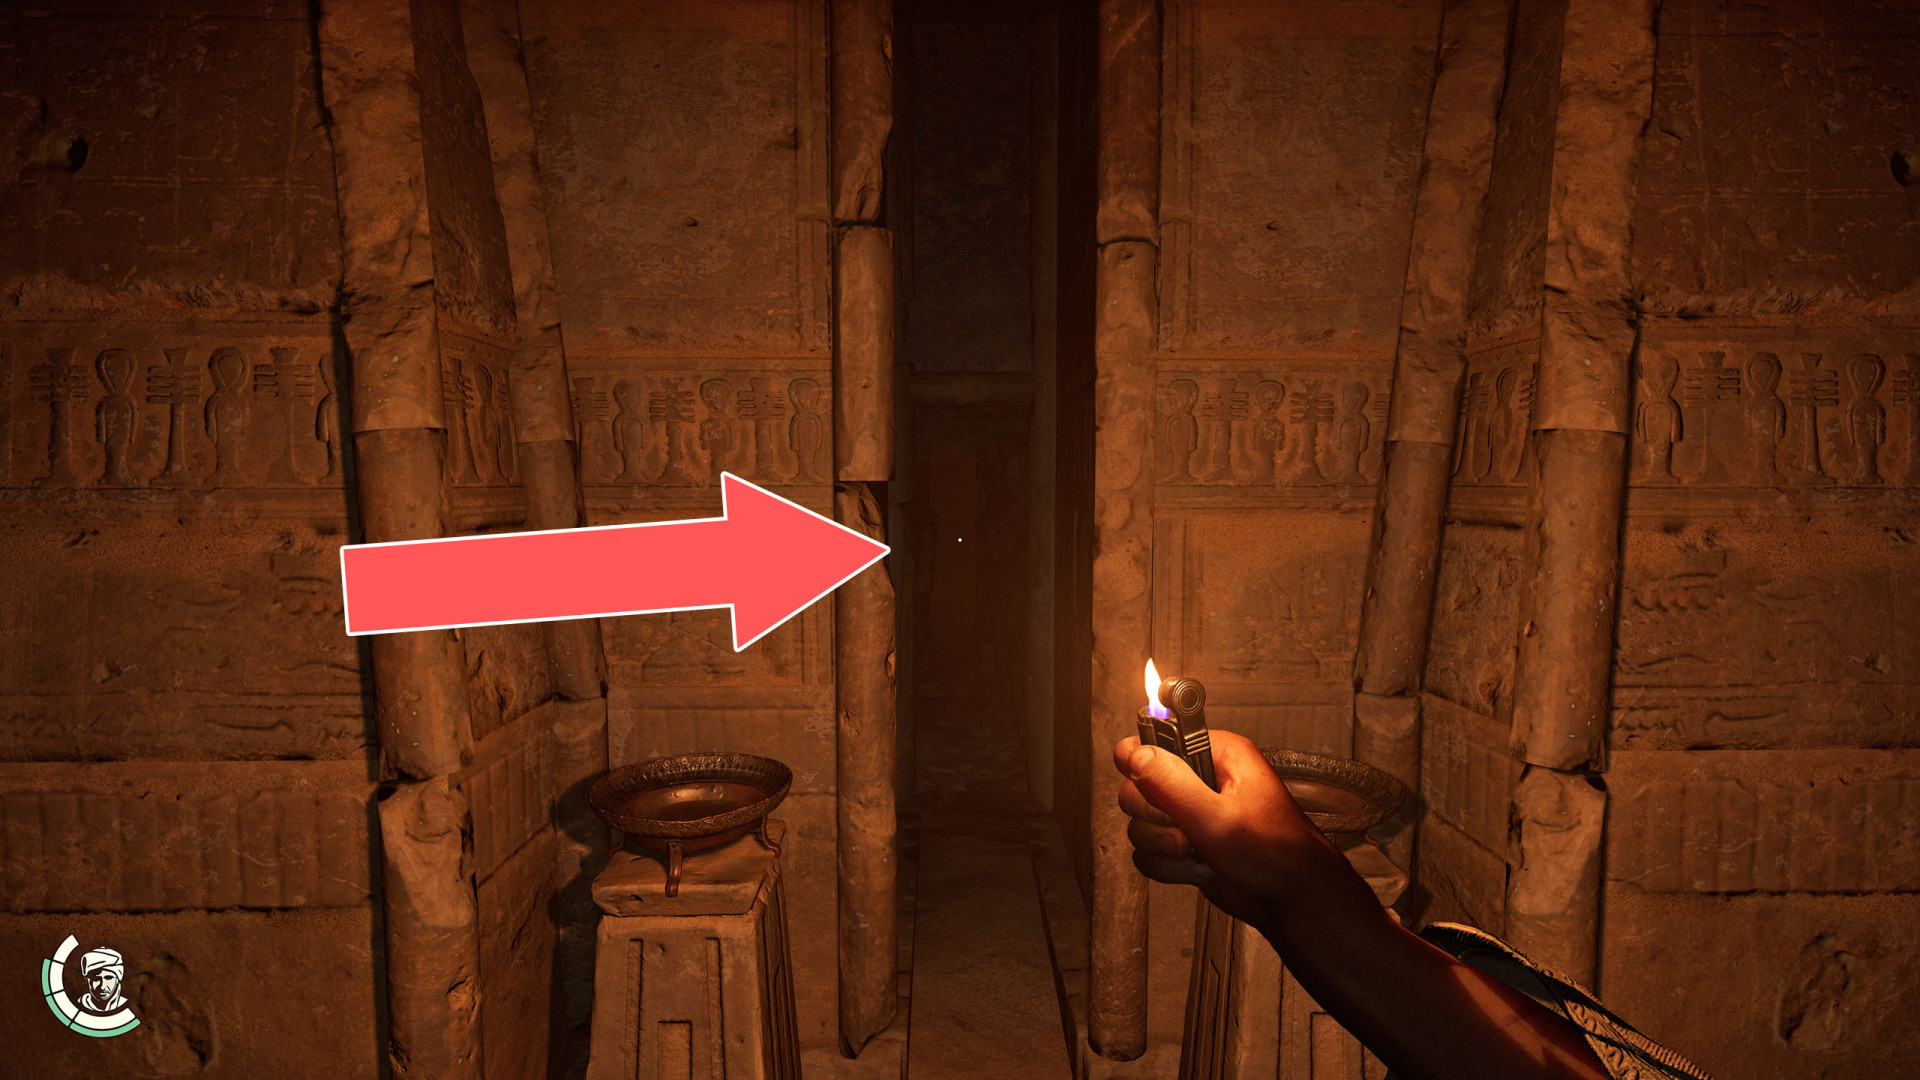
Before you go inside, buy a Lighter. Inside, approach the small opening near the floor. The grass blocking the passage will ignite from the lighter and you will be able to crawl further in.
227Underground Entrance
228Underground Entrance
229Underground Entrance (Giant Stele)
230Underground Entrance (Sebek Stele)
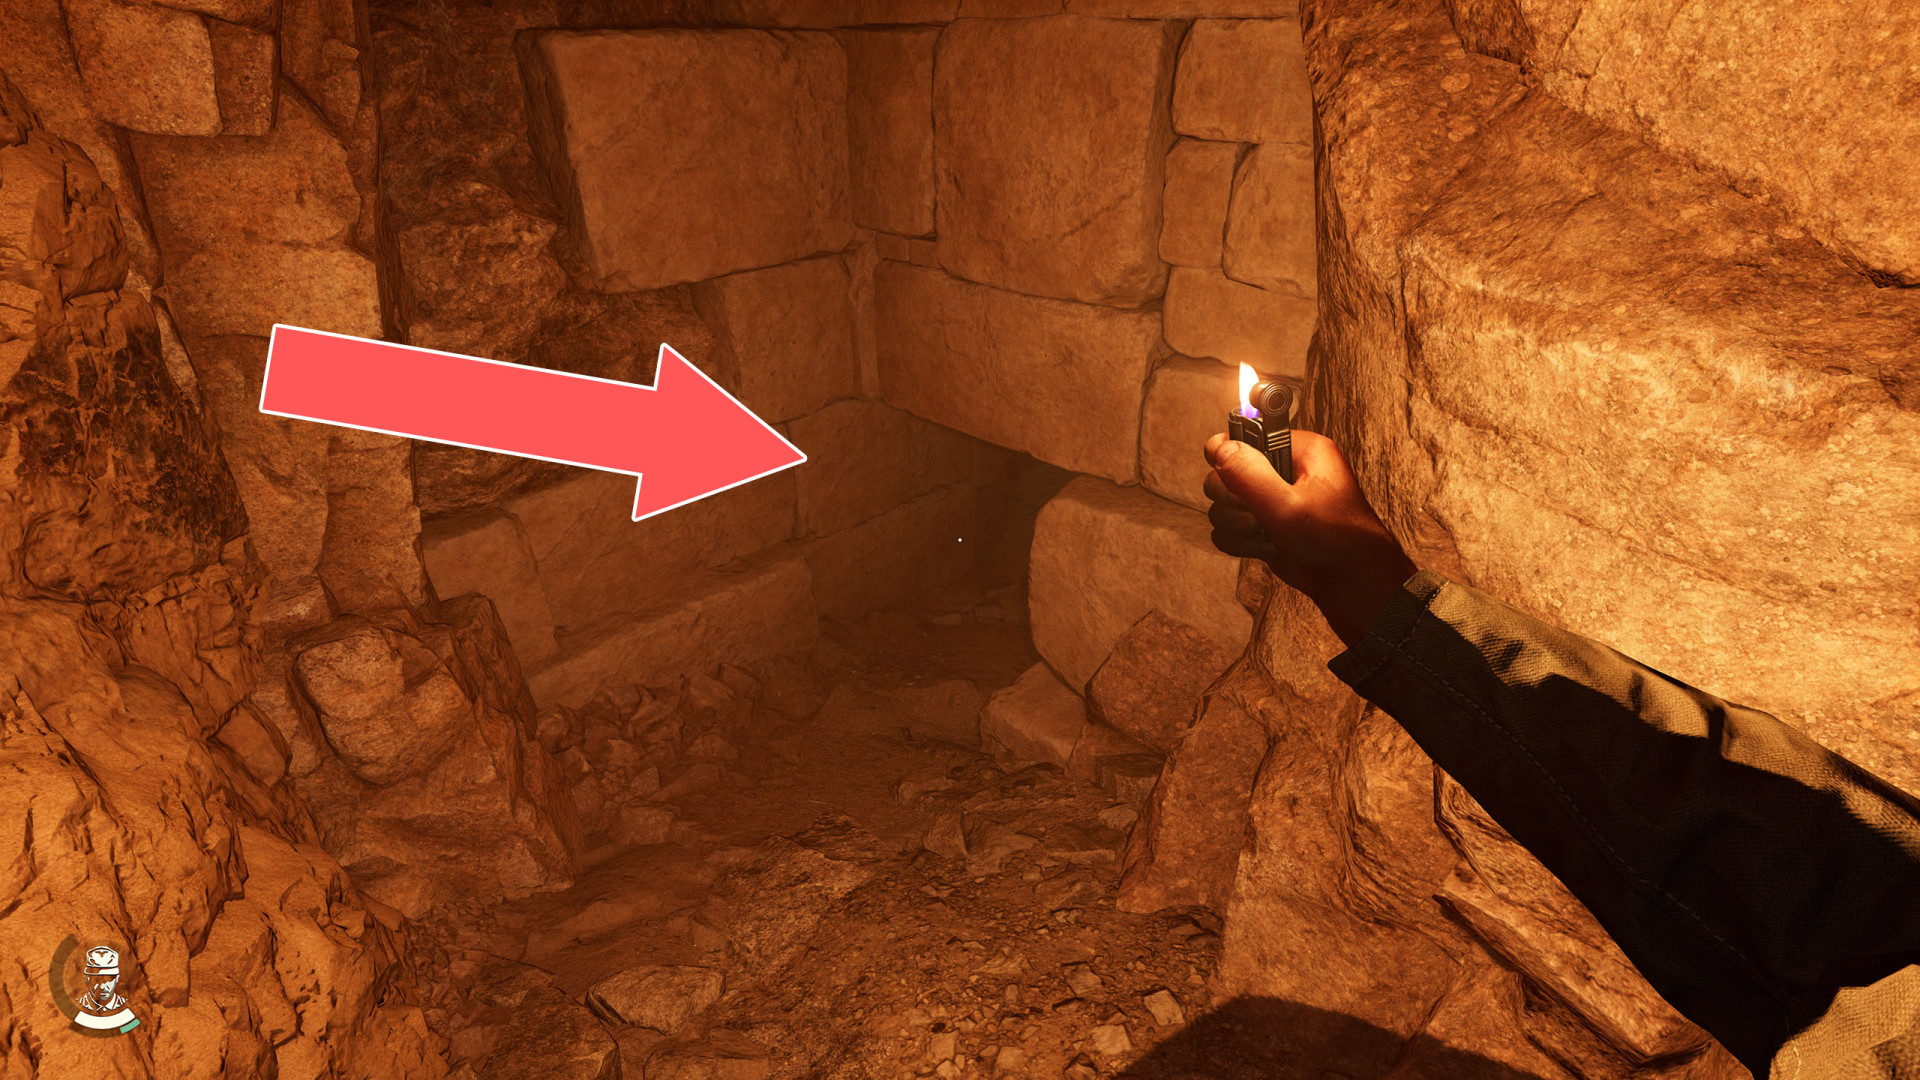
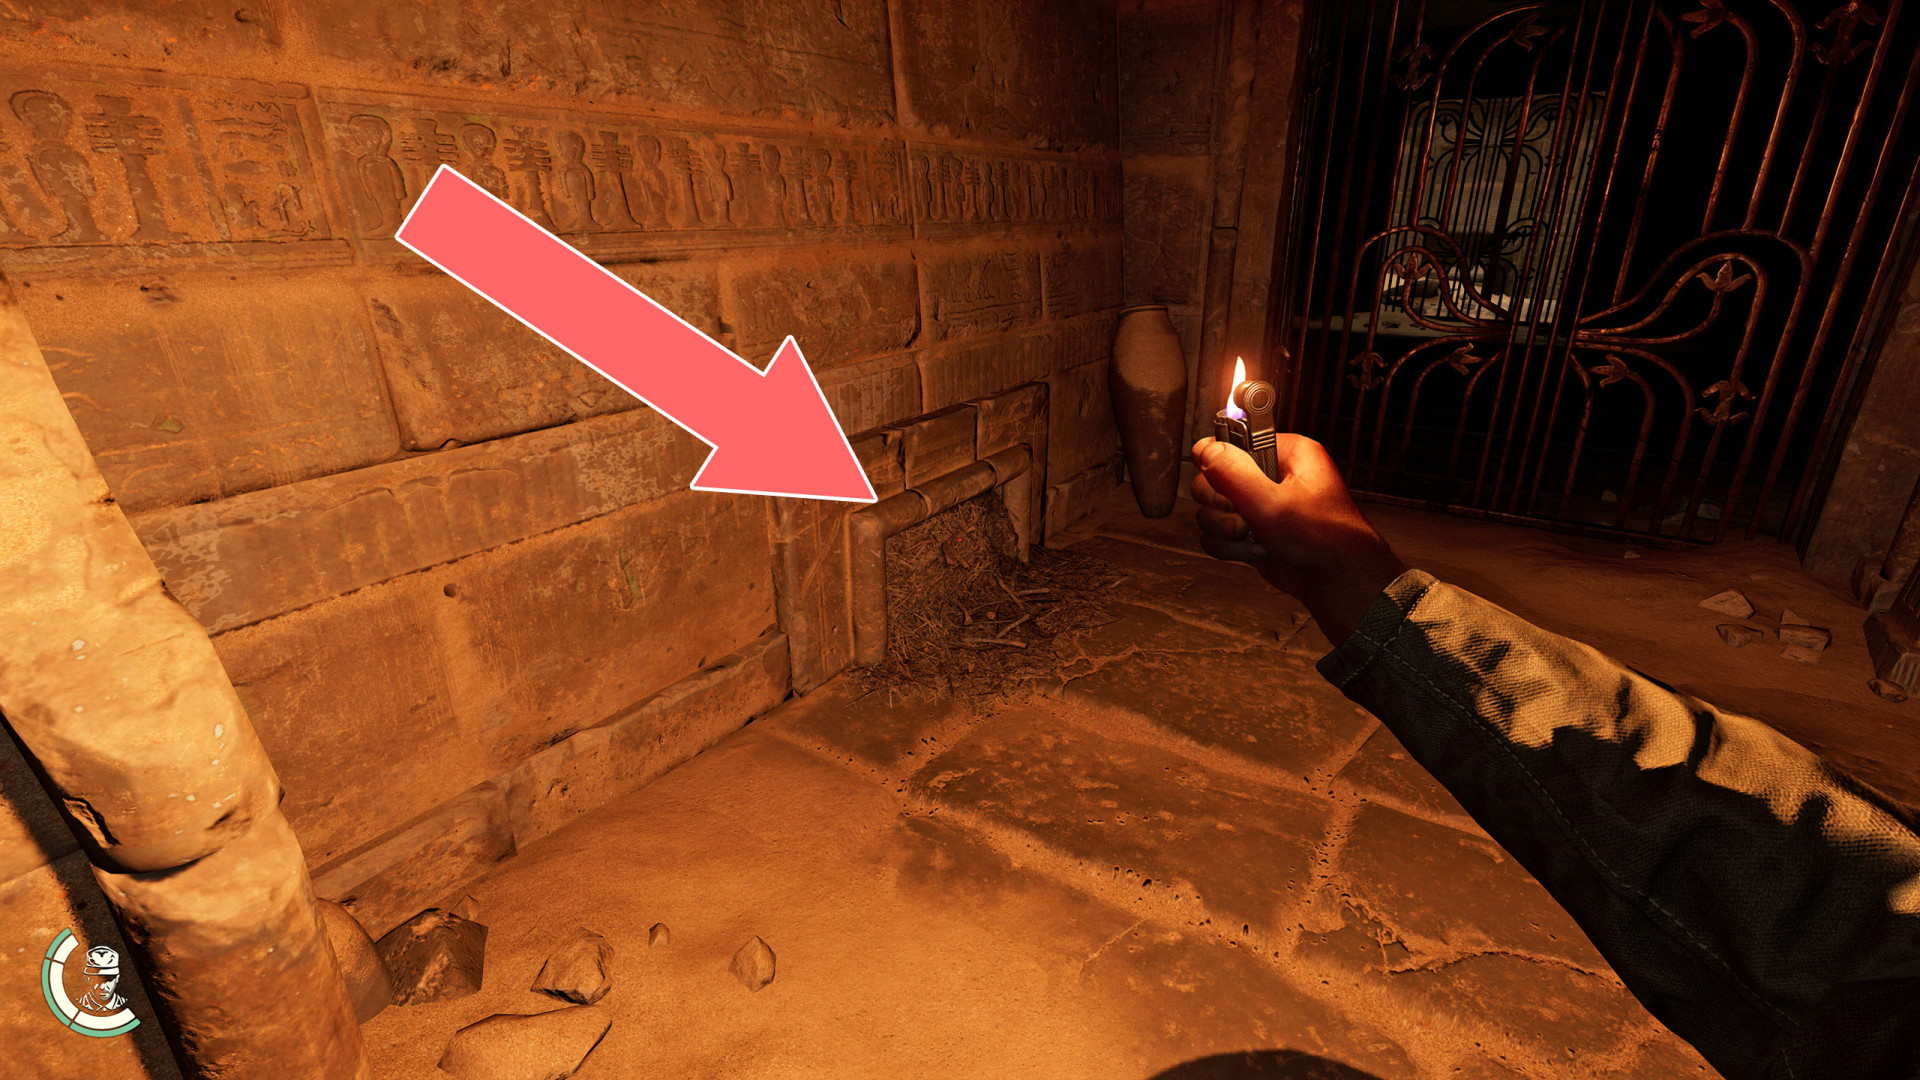
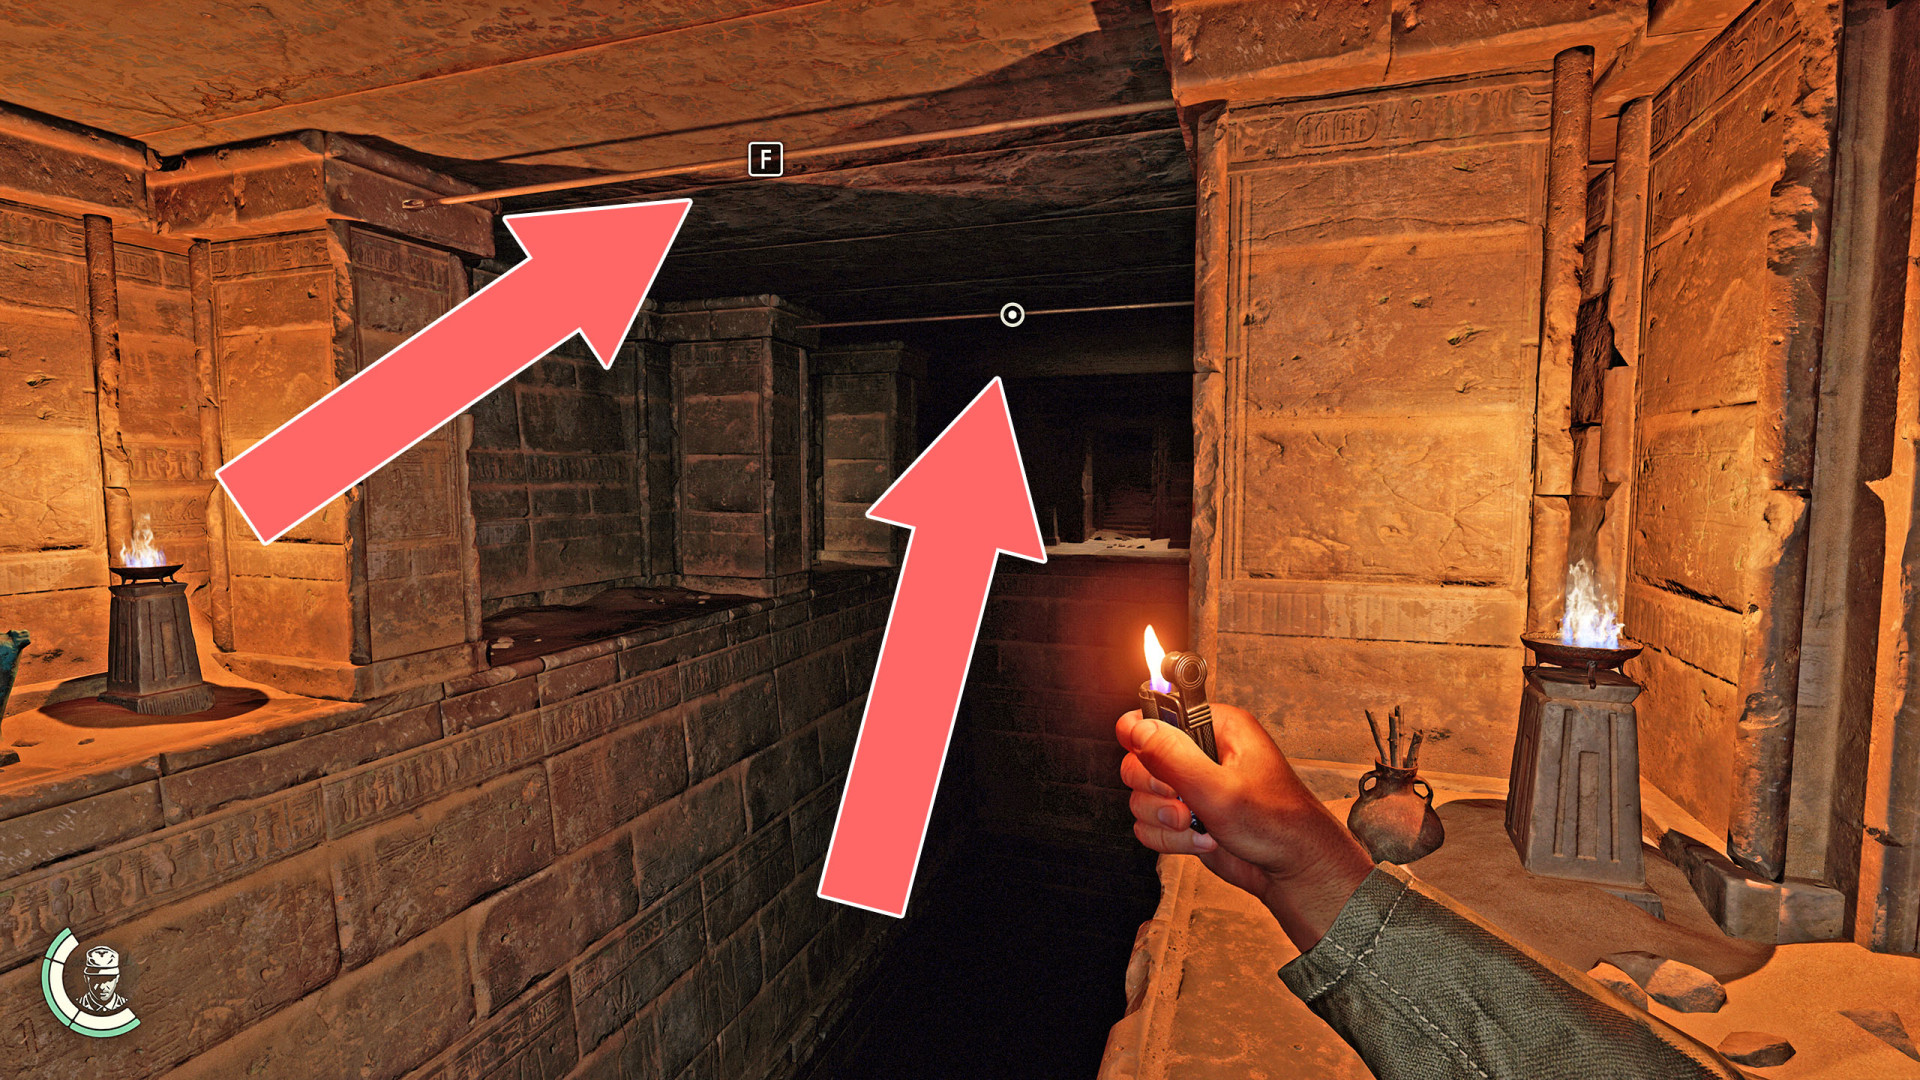
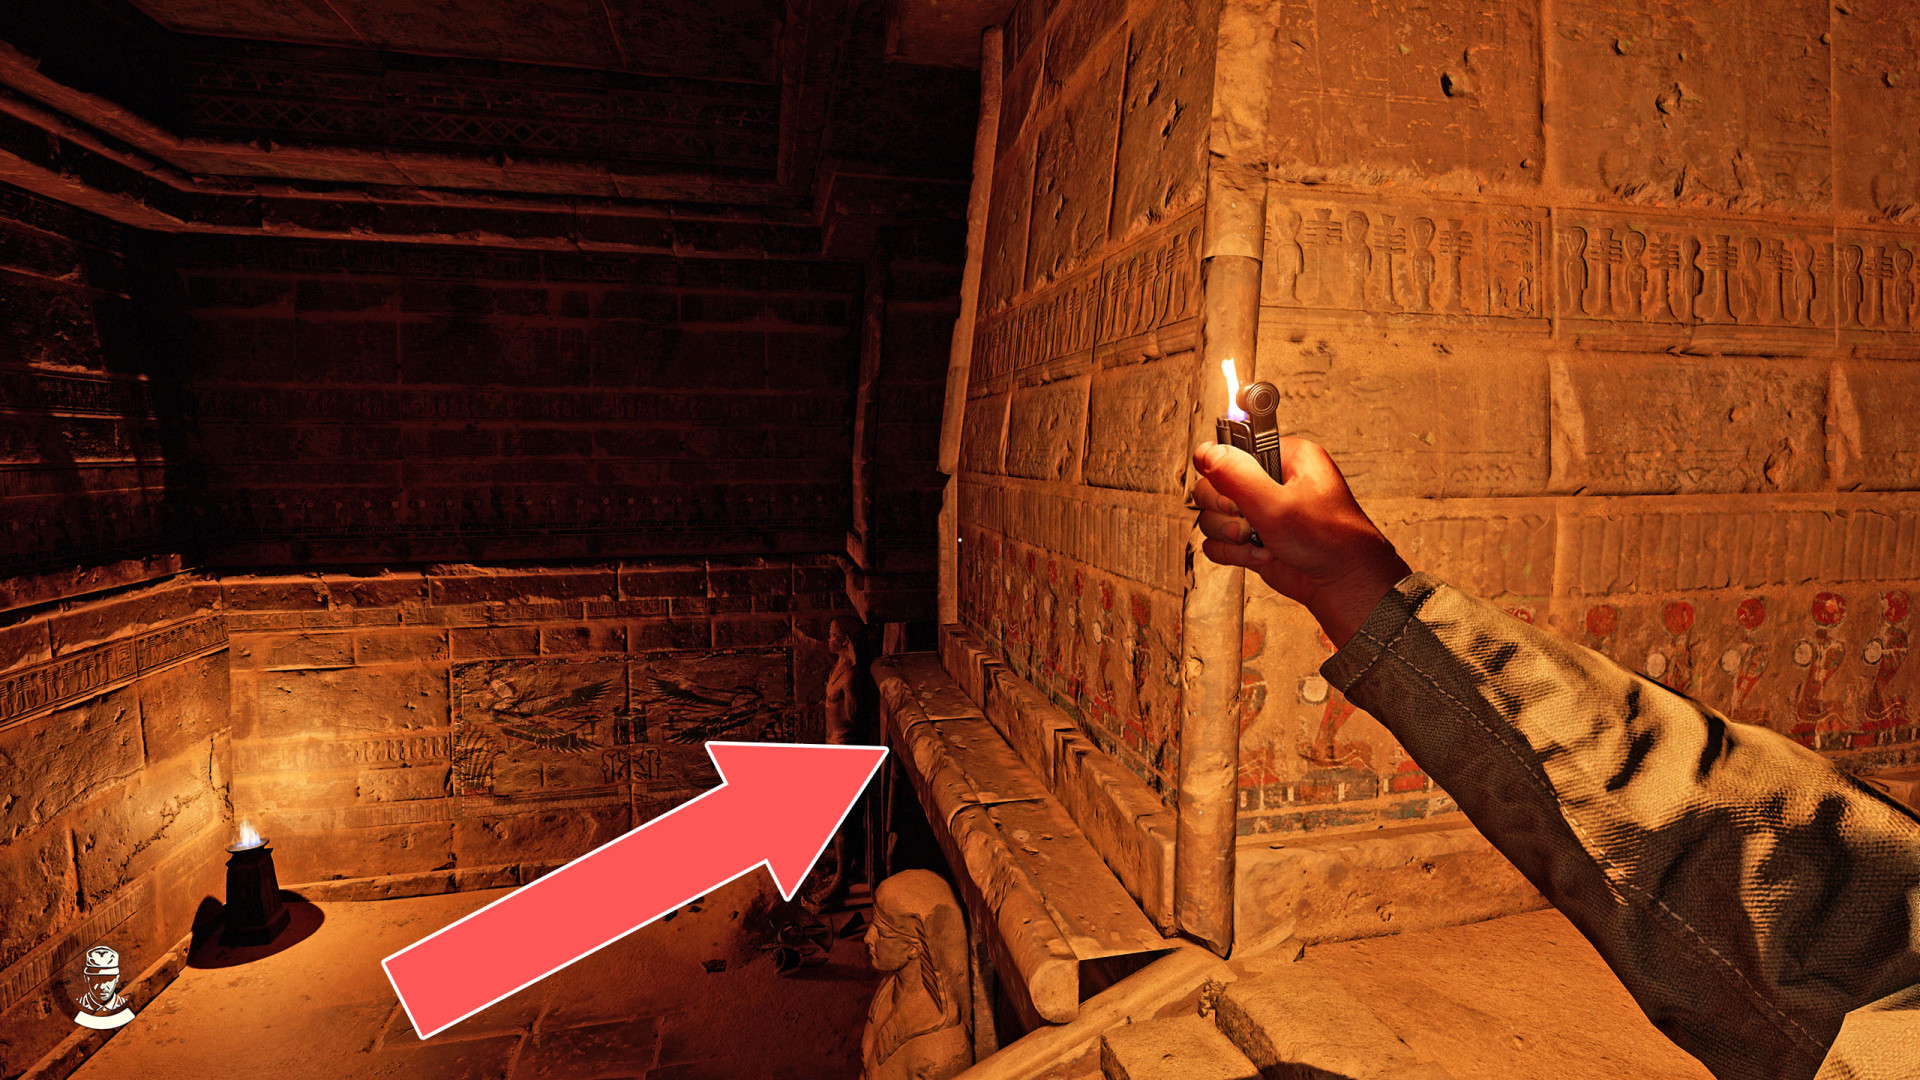
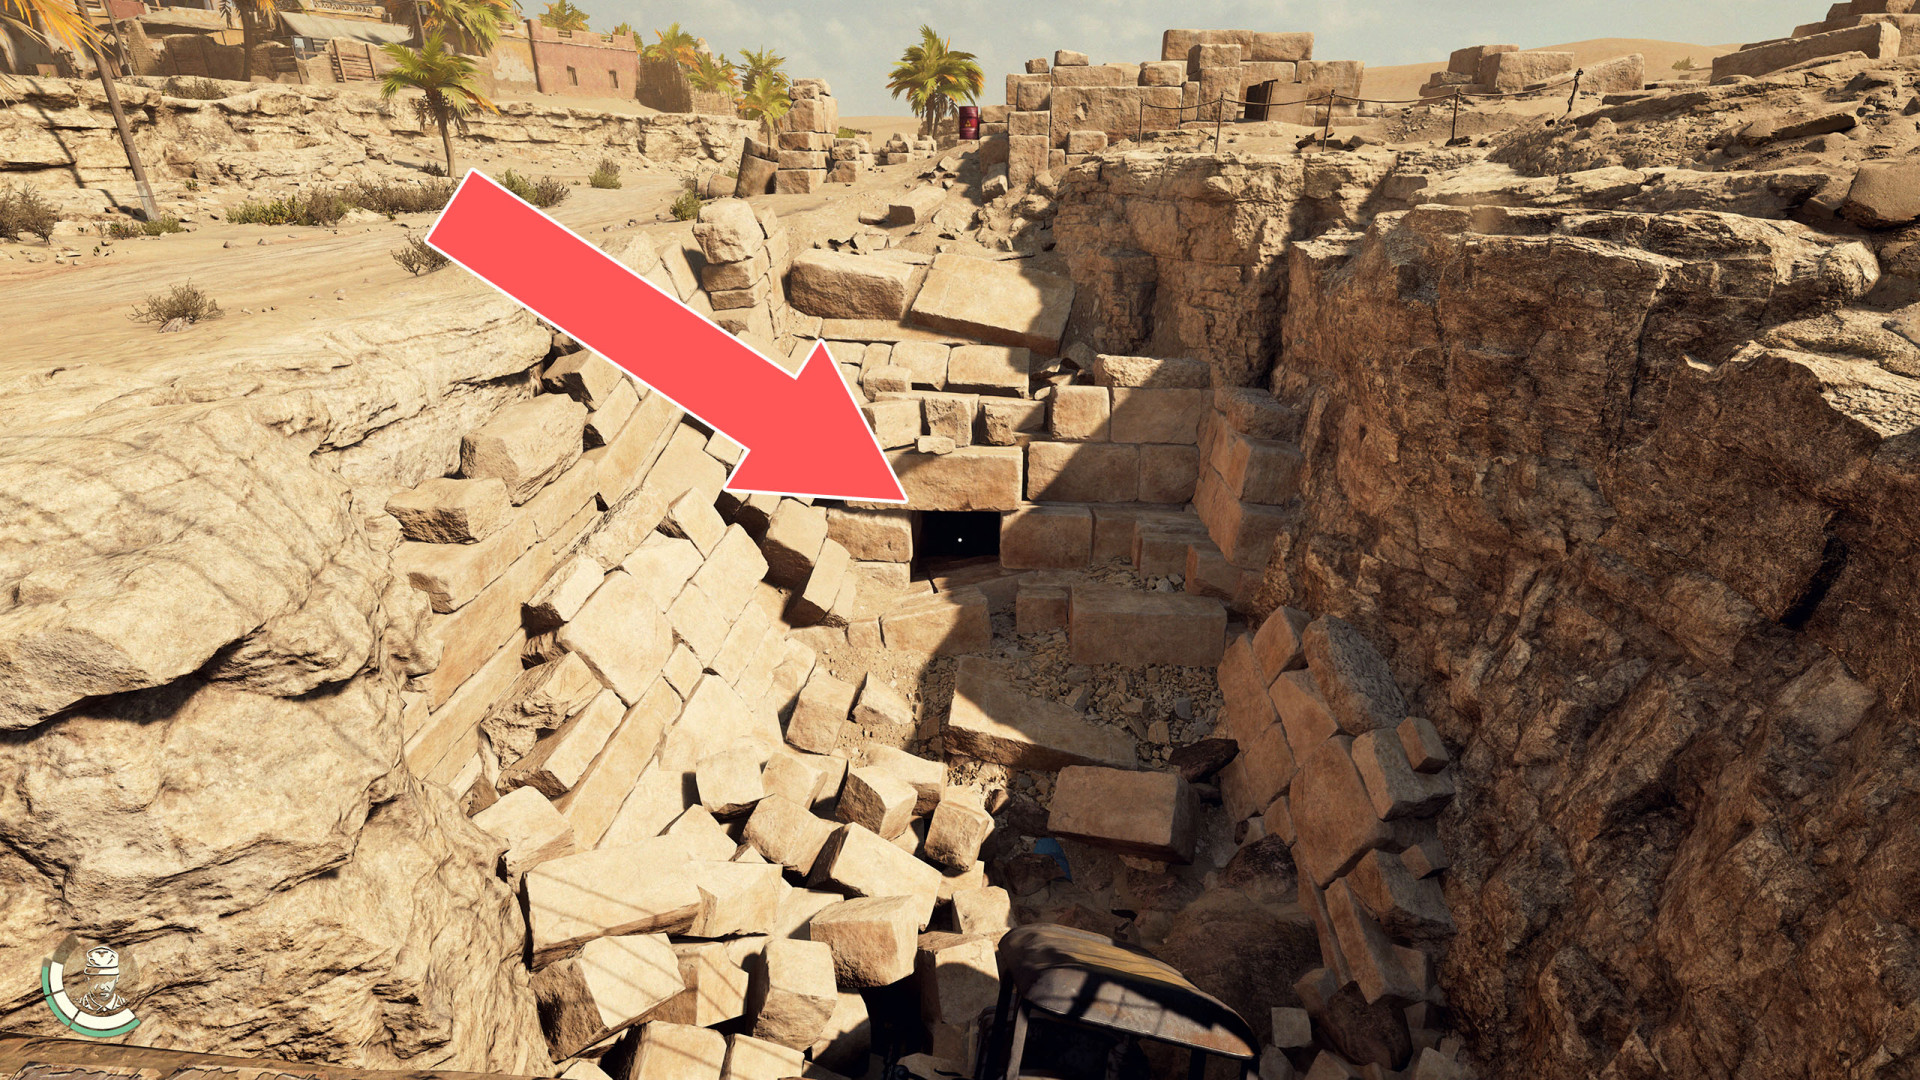
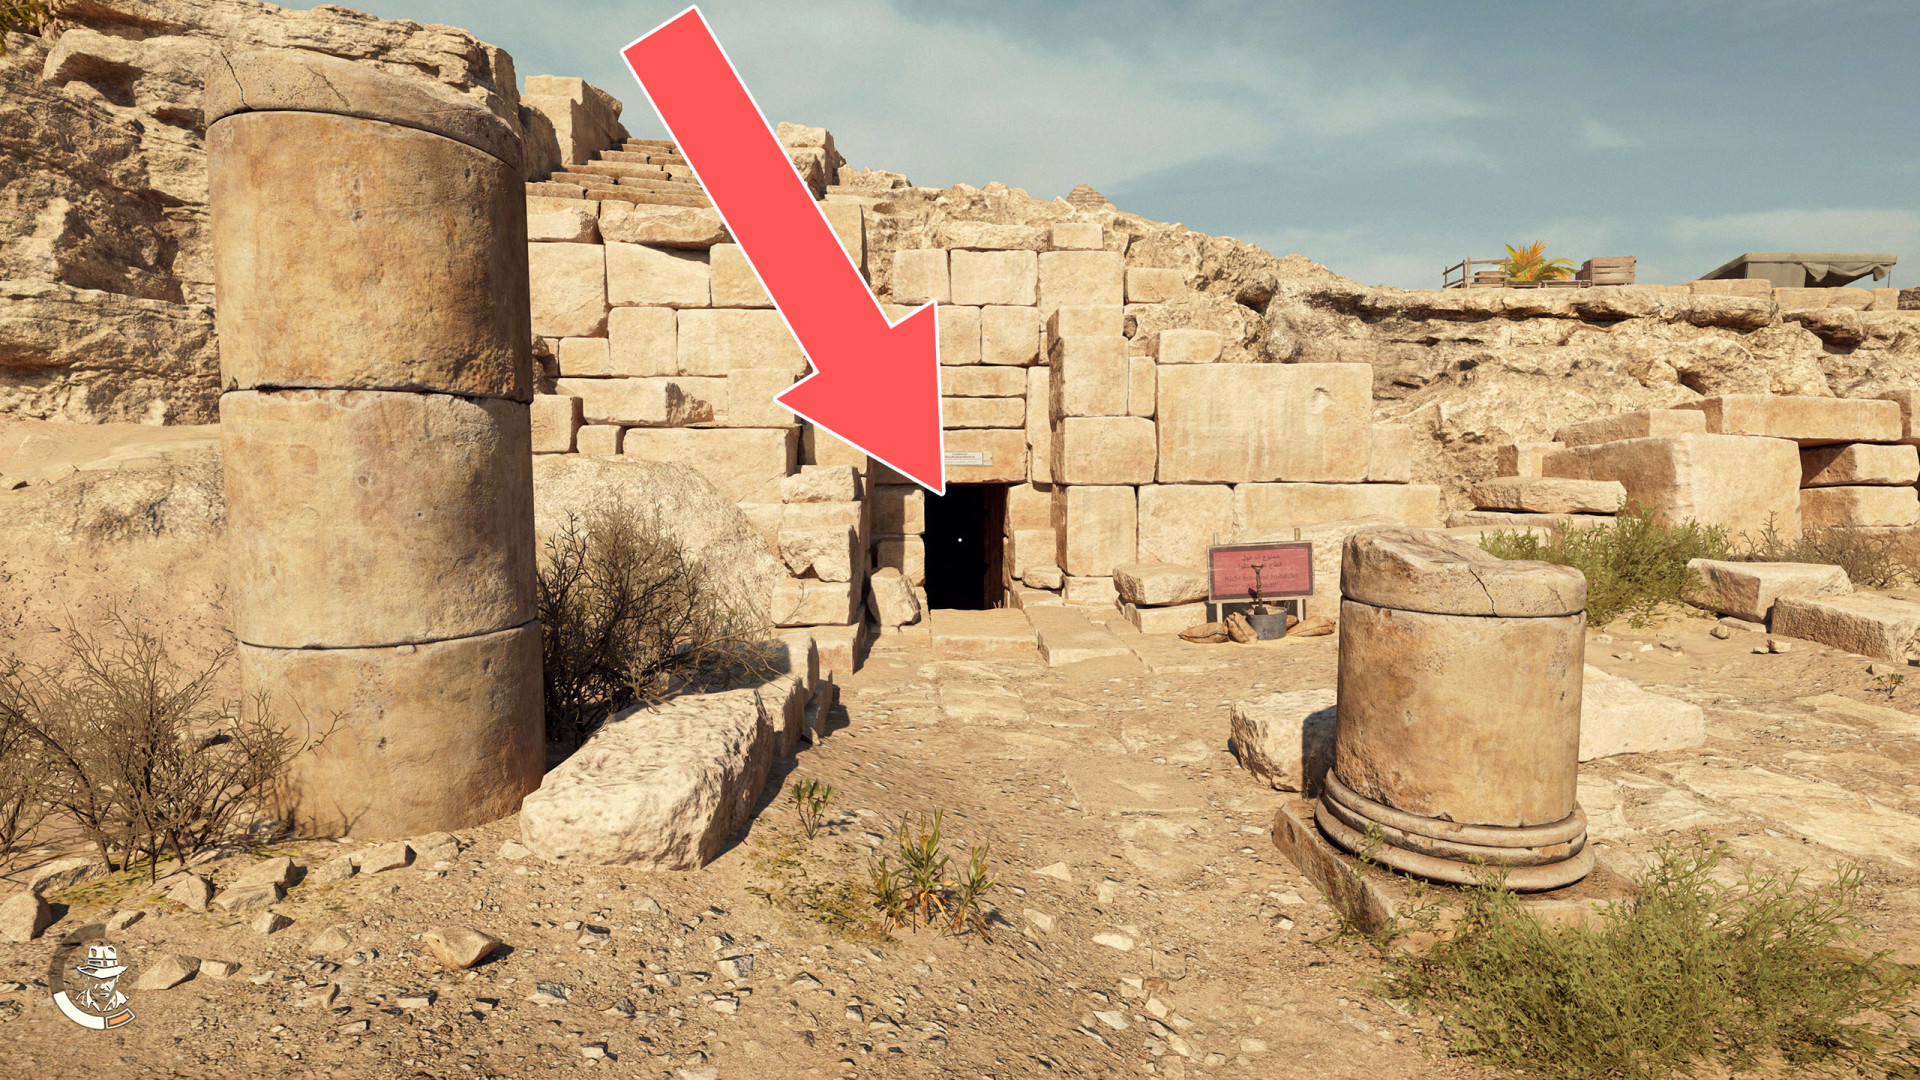
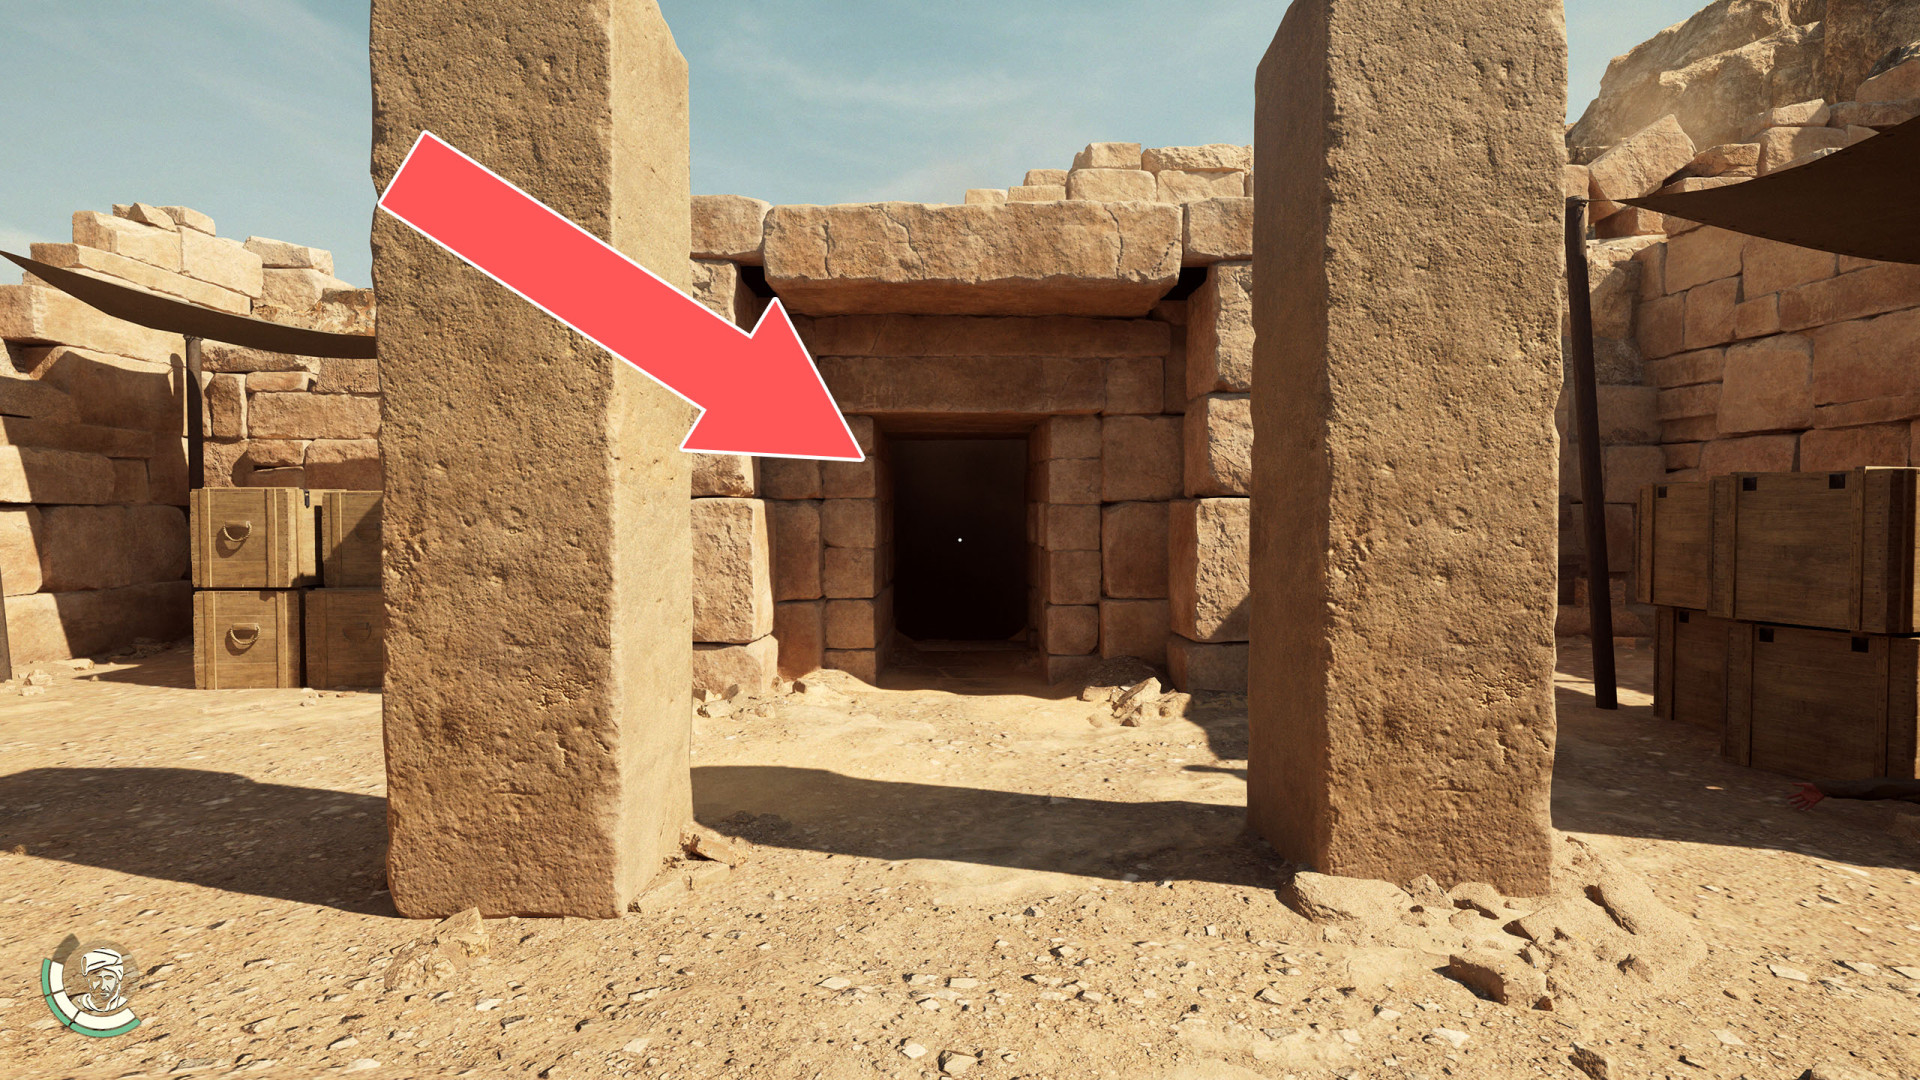
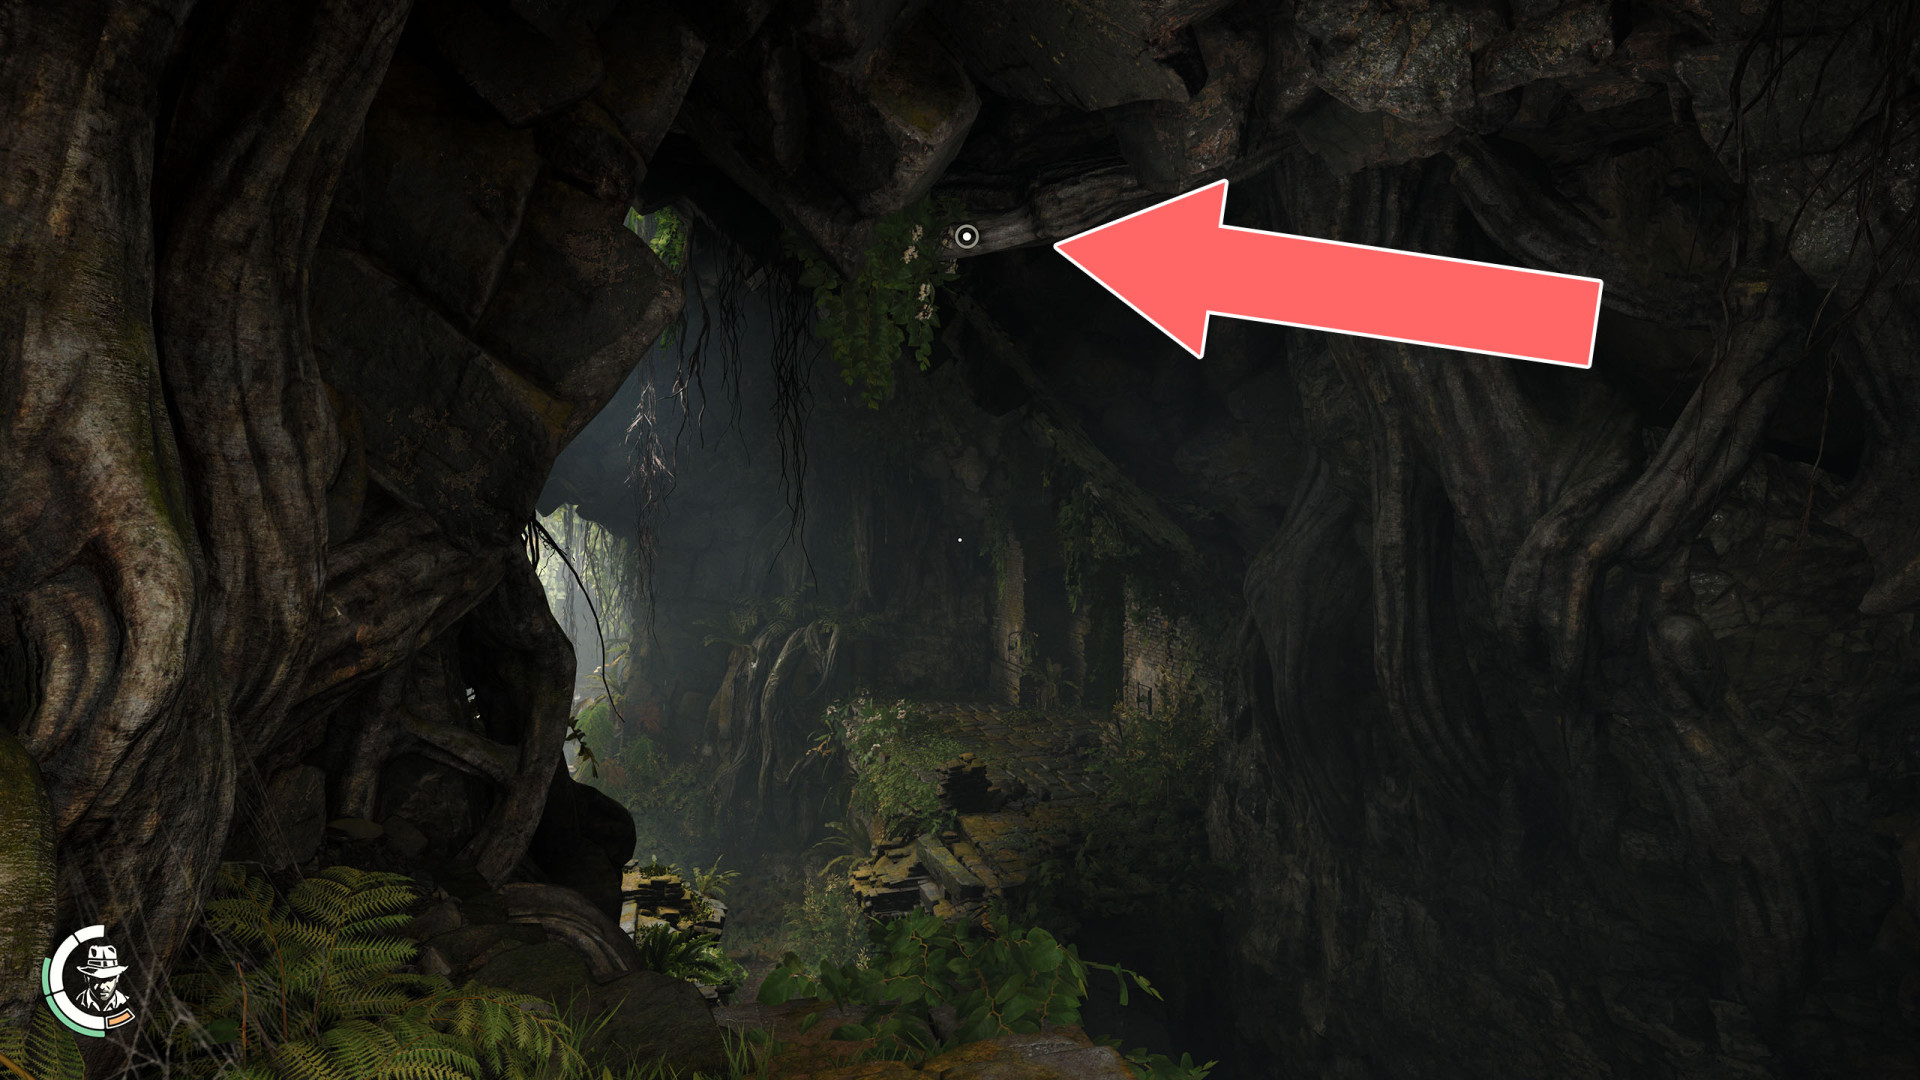
231Underground Entrance (Sphinx Temple Ruins)
You need a lighter to be able to explore this underground.
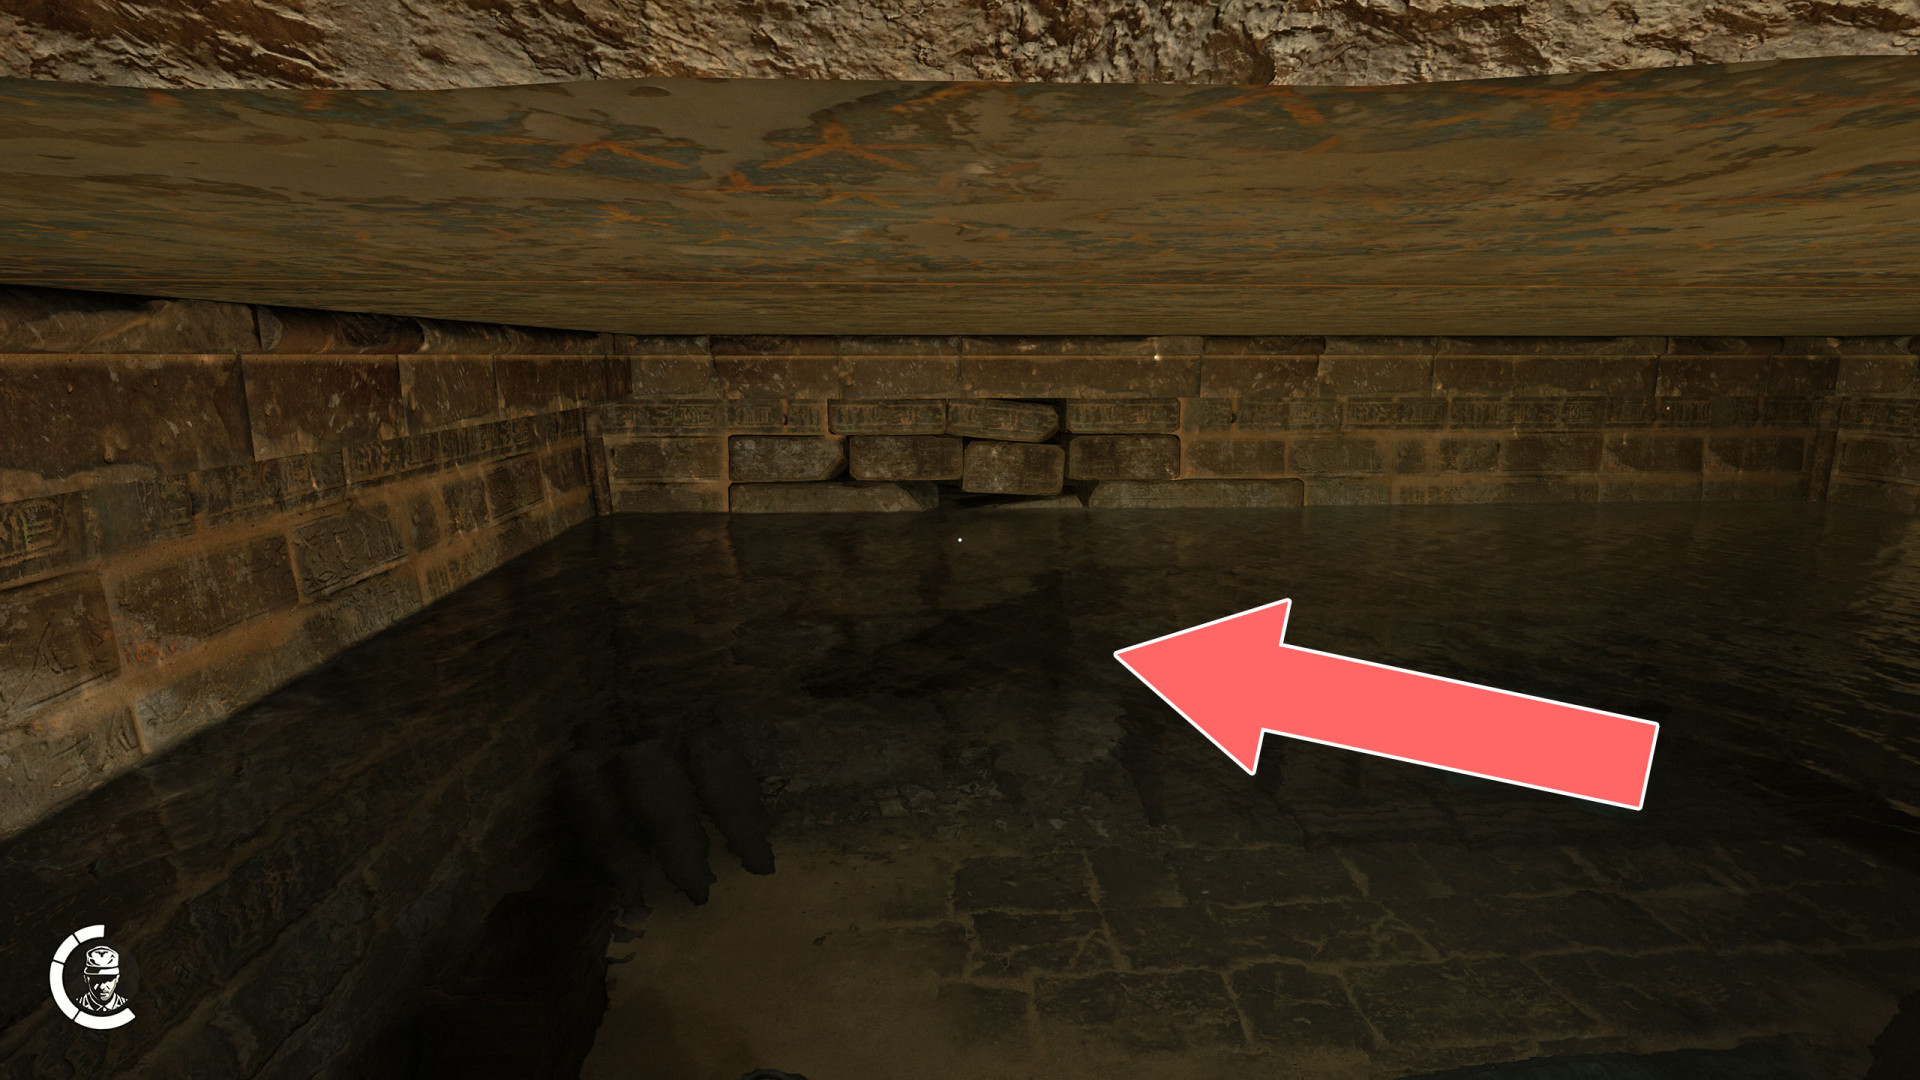
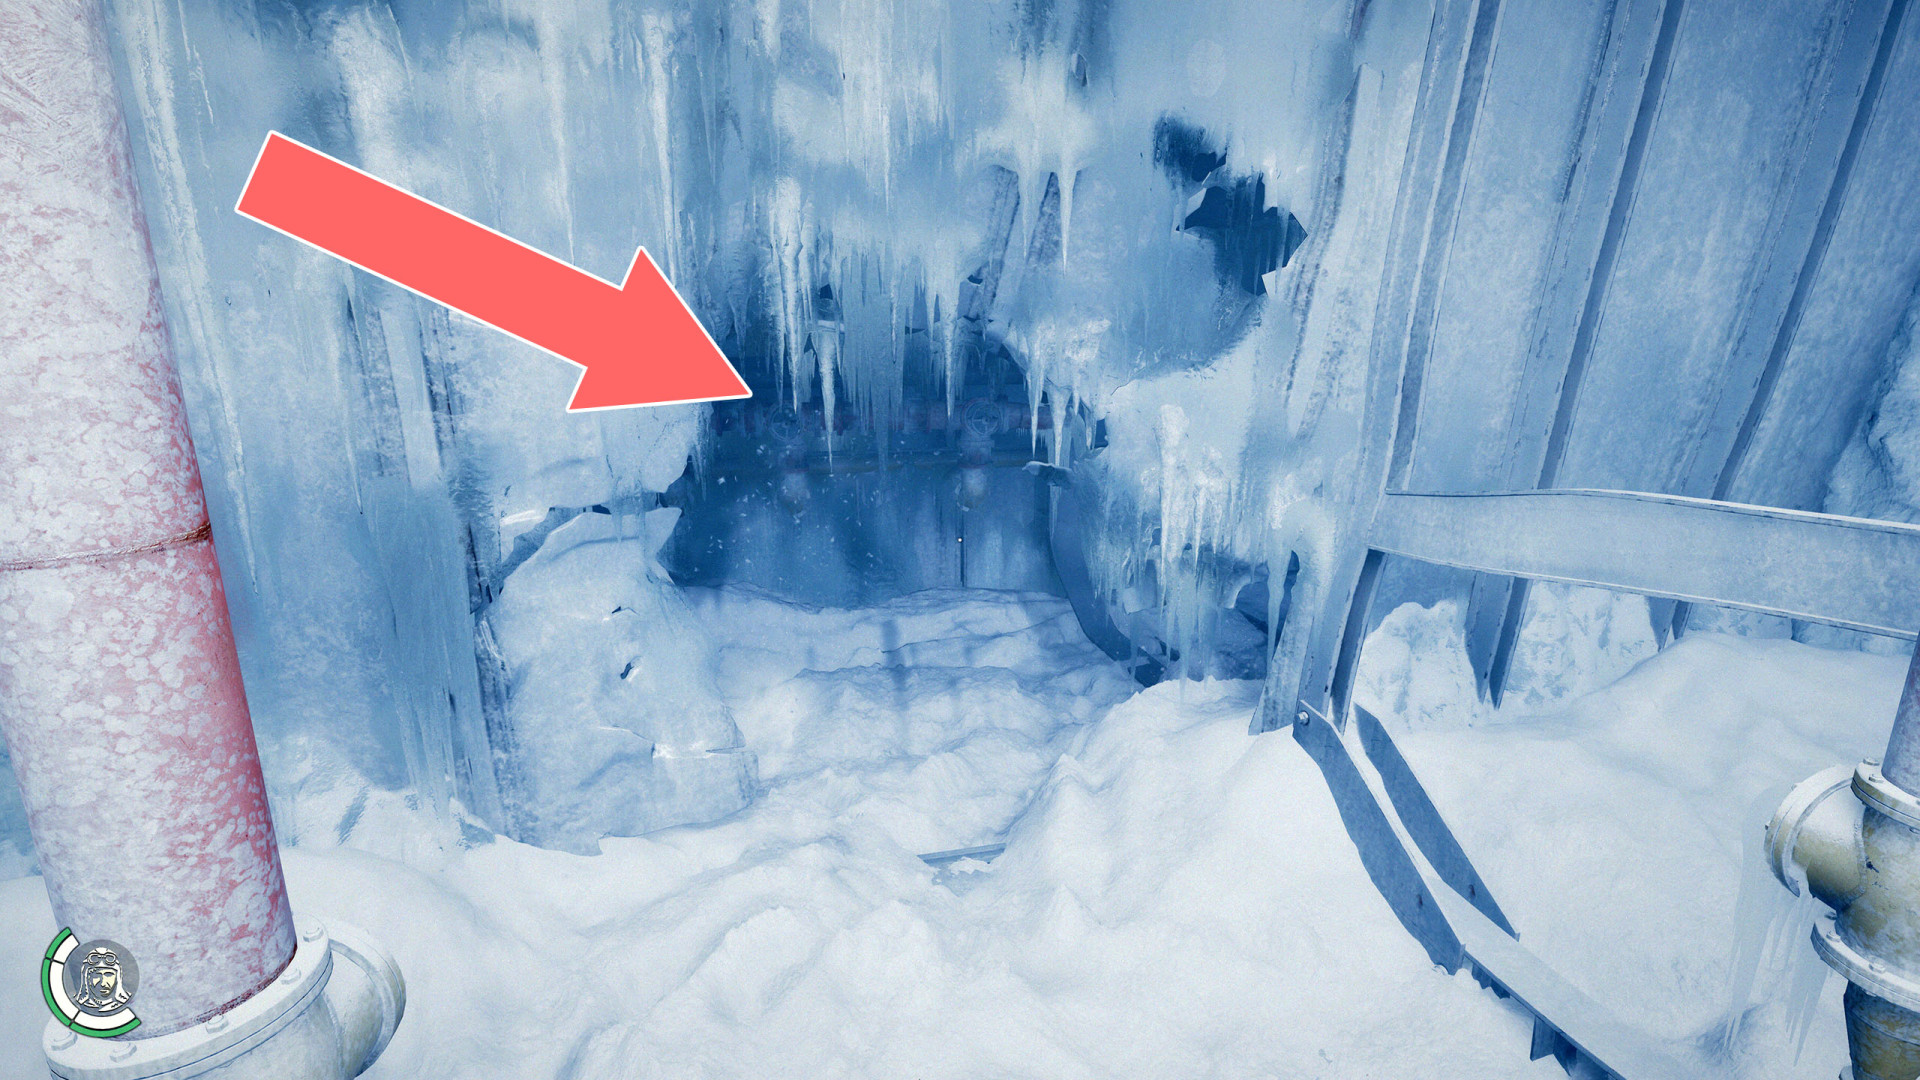
232Underwater Passage
To pass this way you need to revisit Gizeh after you reach the Sukhothai and buy the Rebreather. Dive, equip the Rebreather, move the beam blocking the way and swim through.
233Upper Temple Entrance
234Water Pumping Station
235Zipline
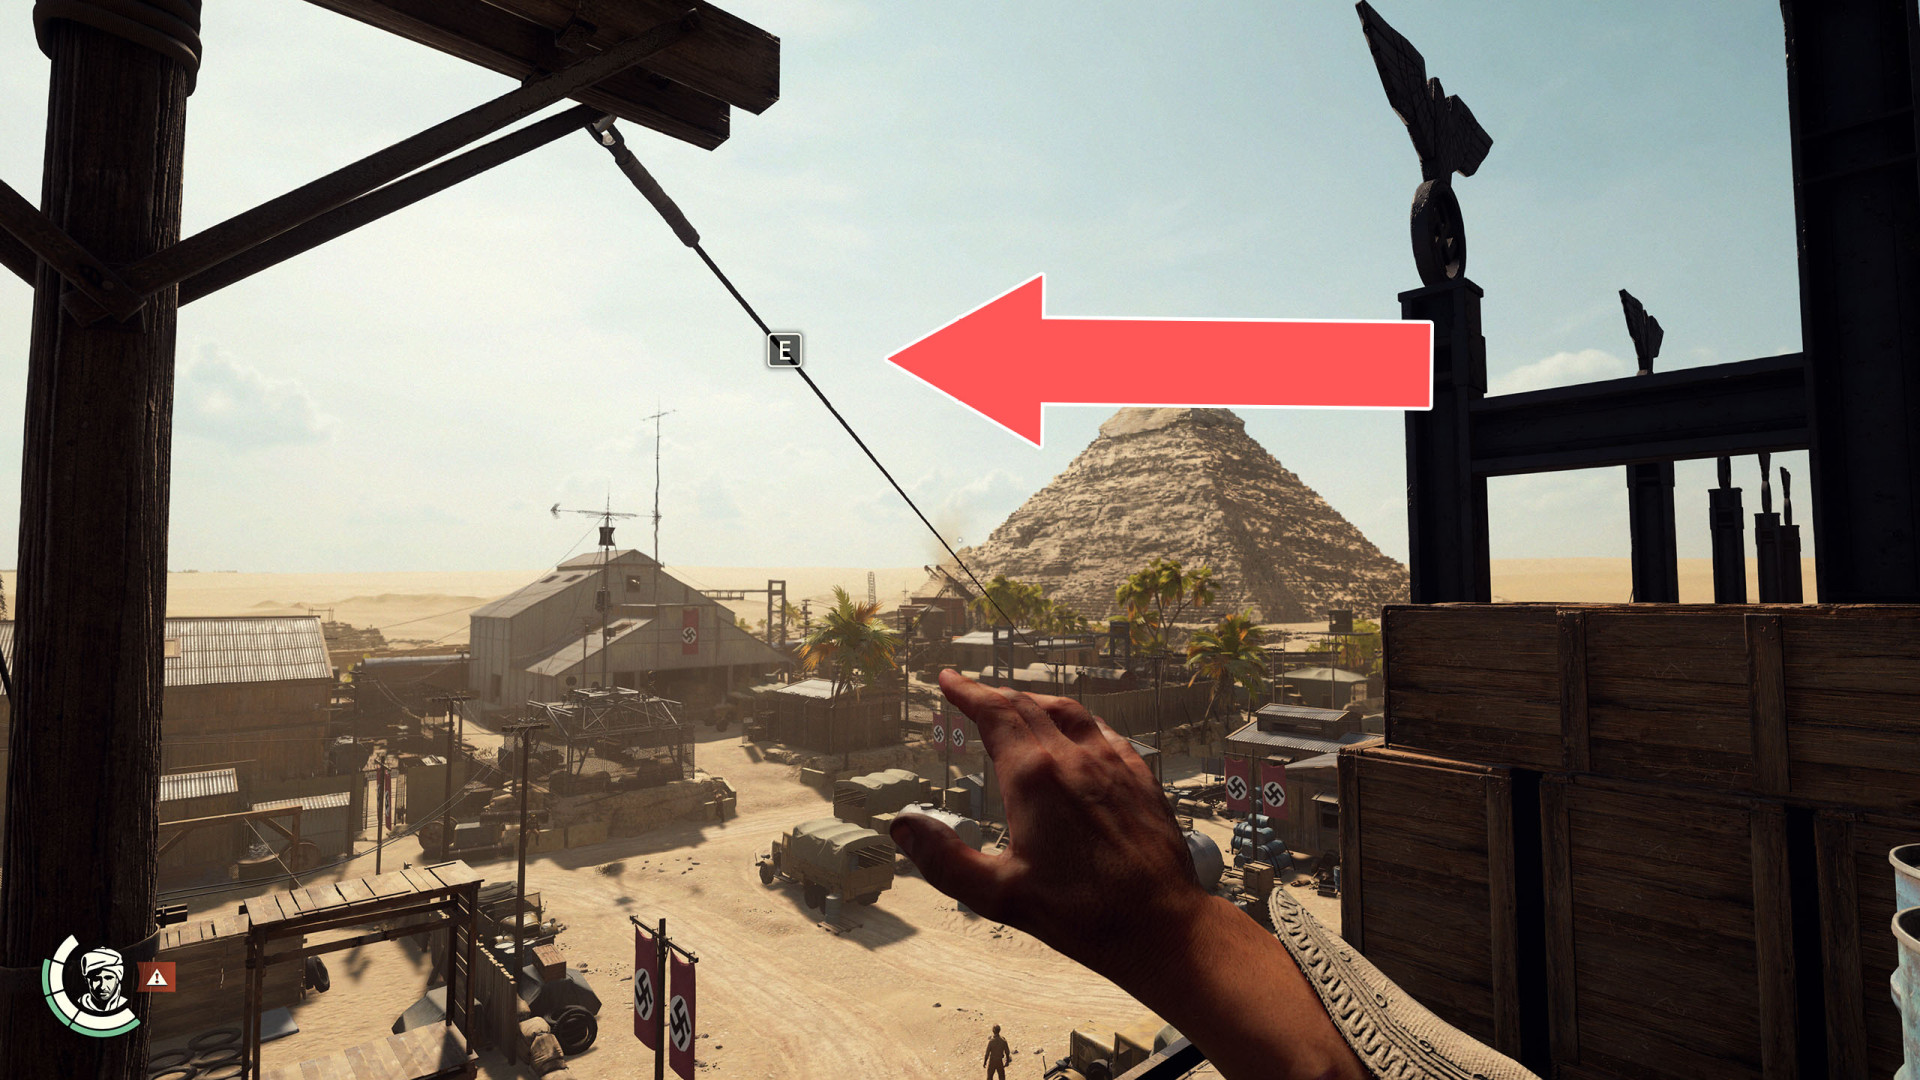
236Zipline

237Zipline
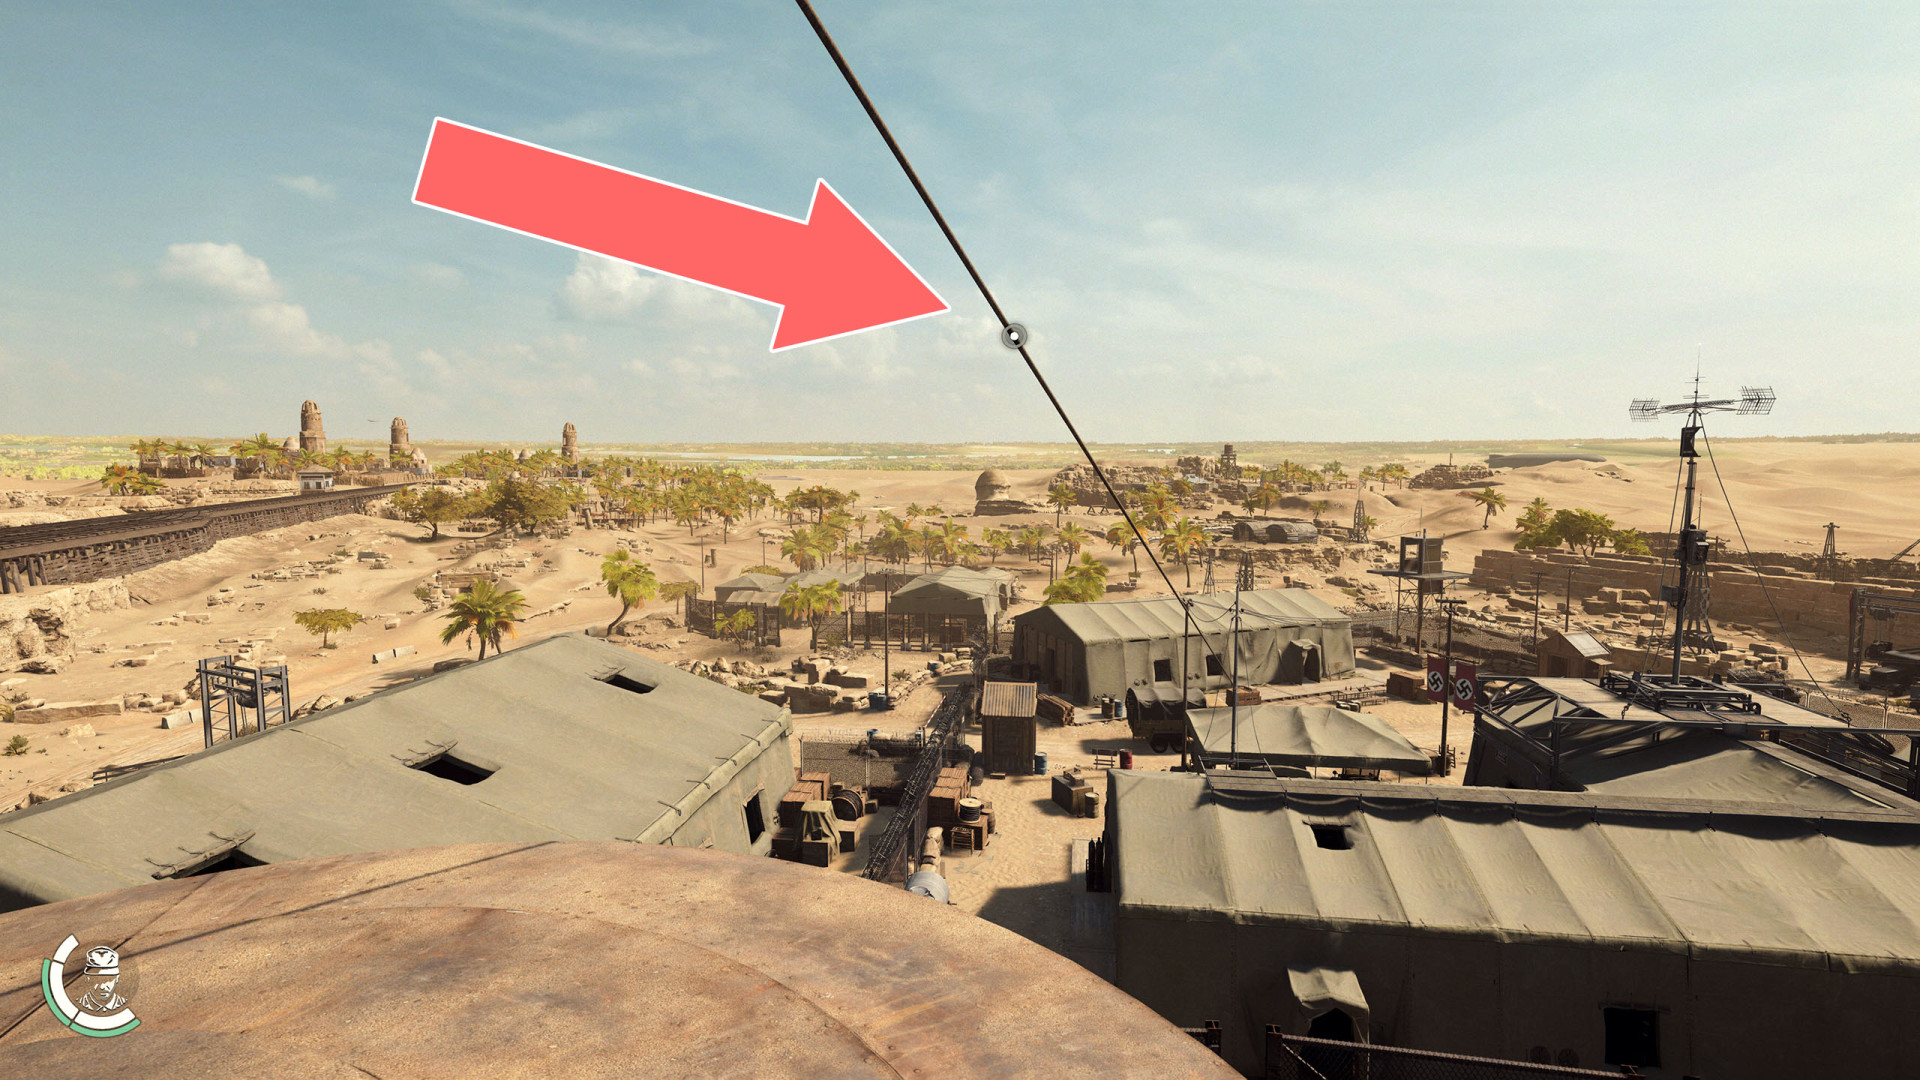
238Zipline
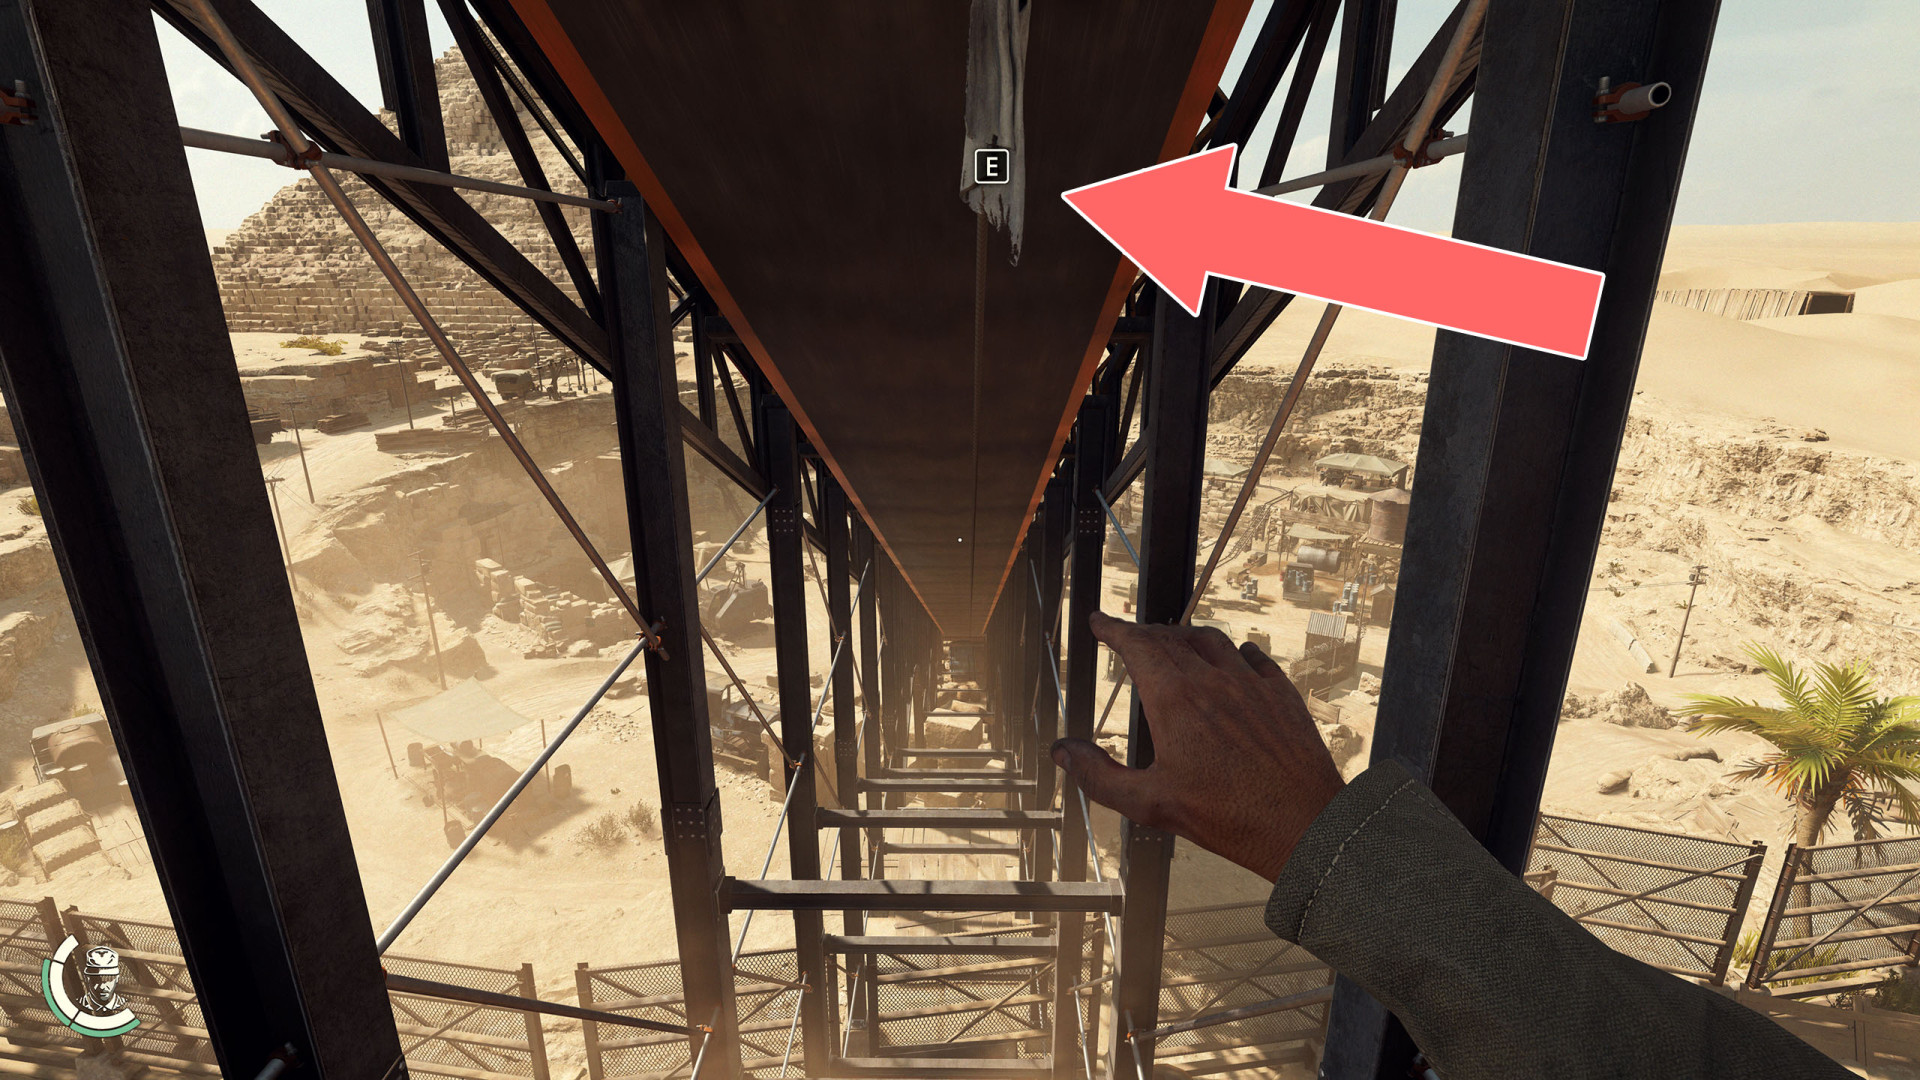
239Zipline
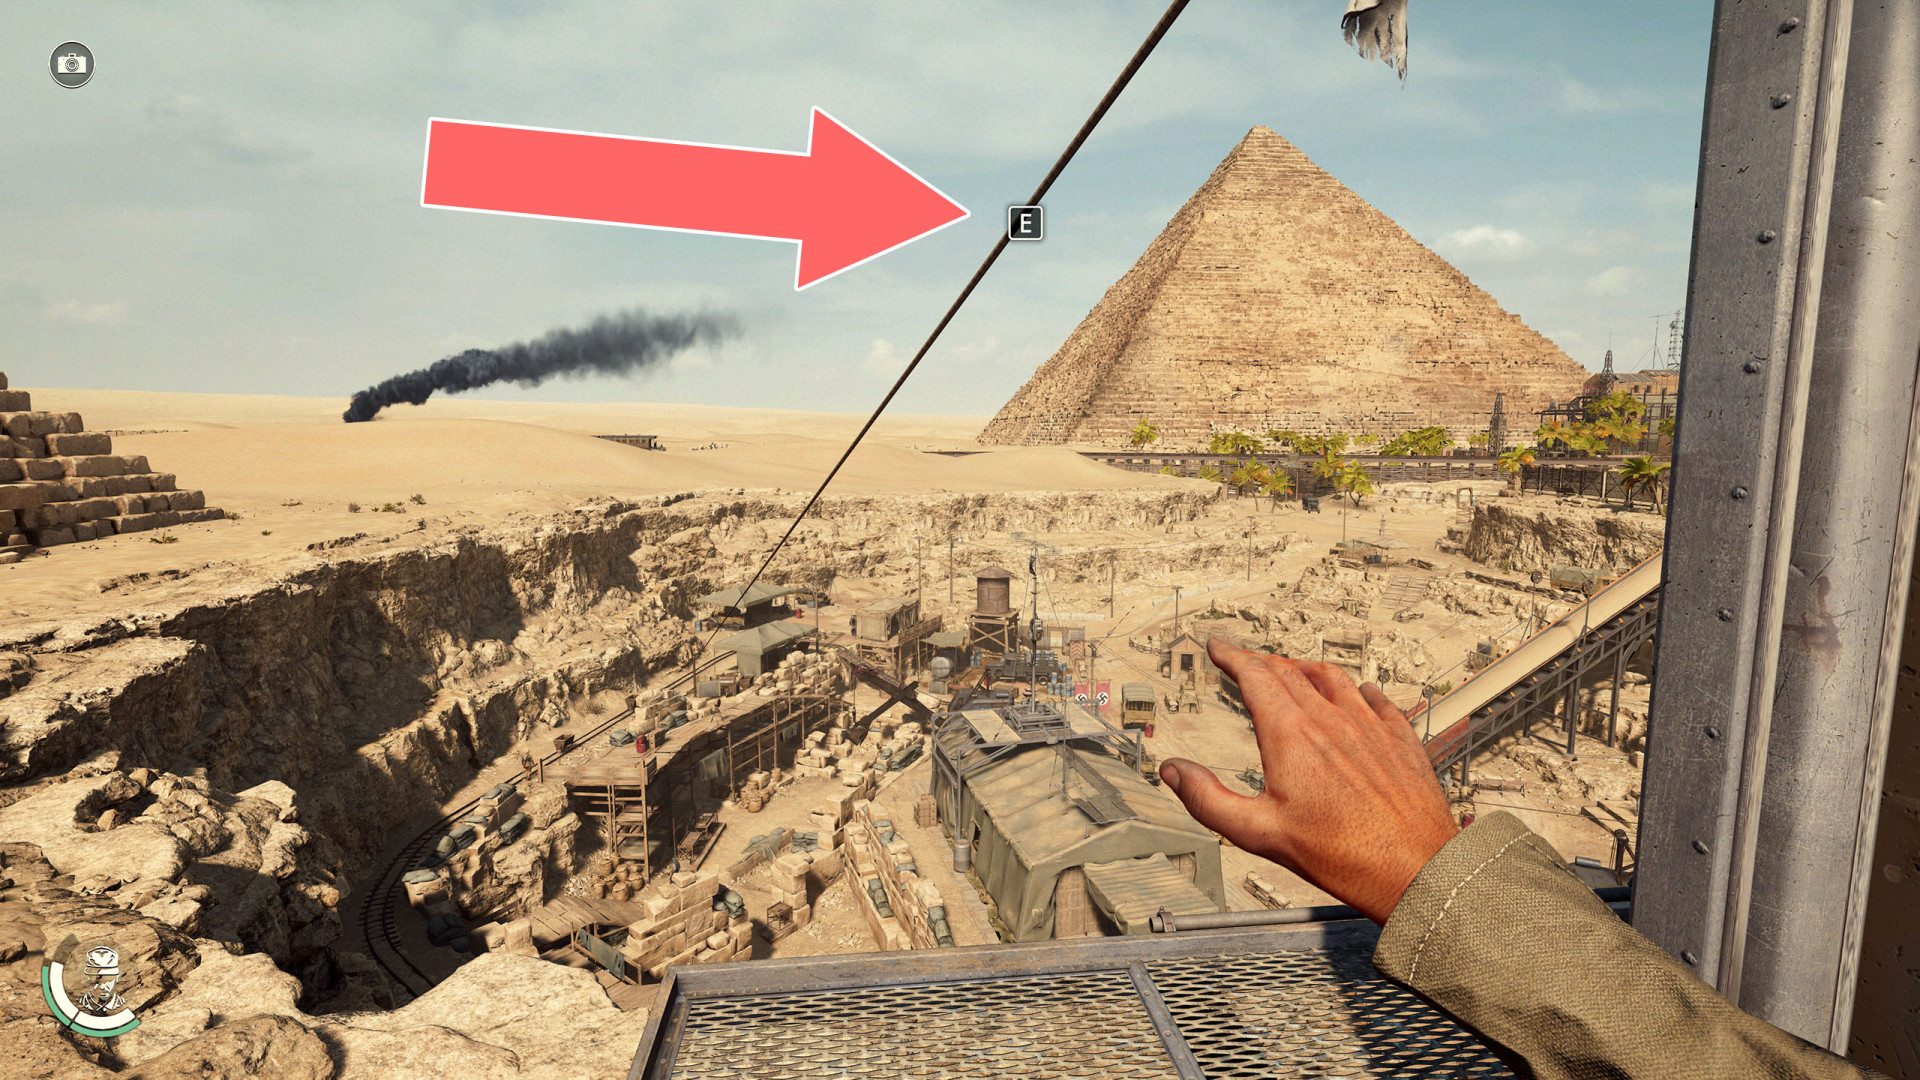
240Zipline
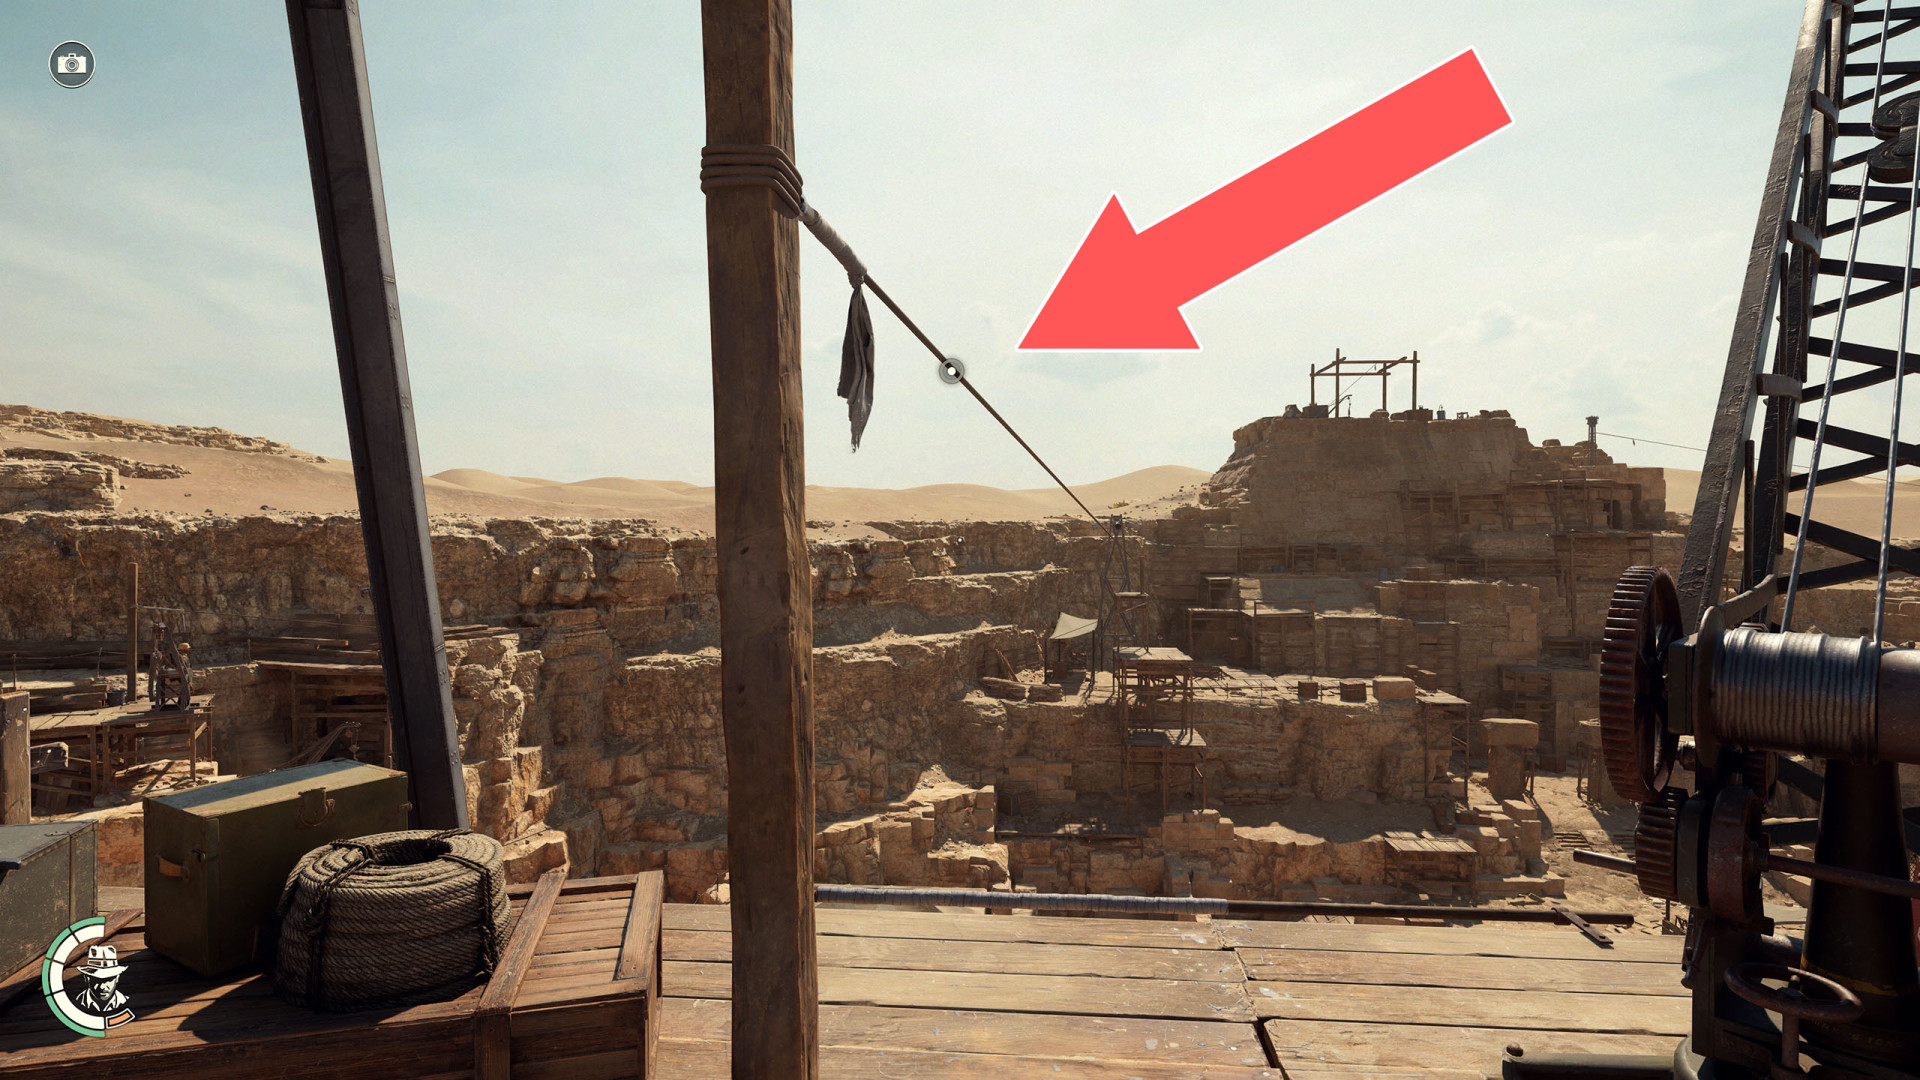
241Zipline
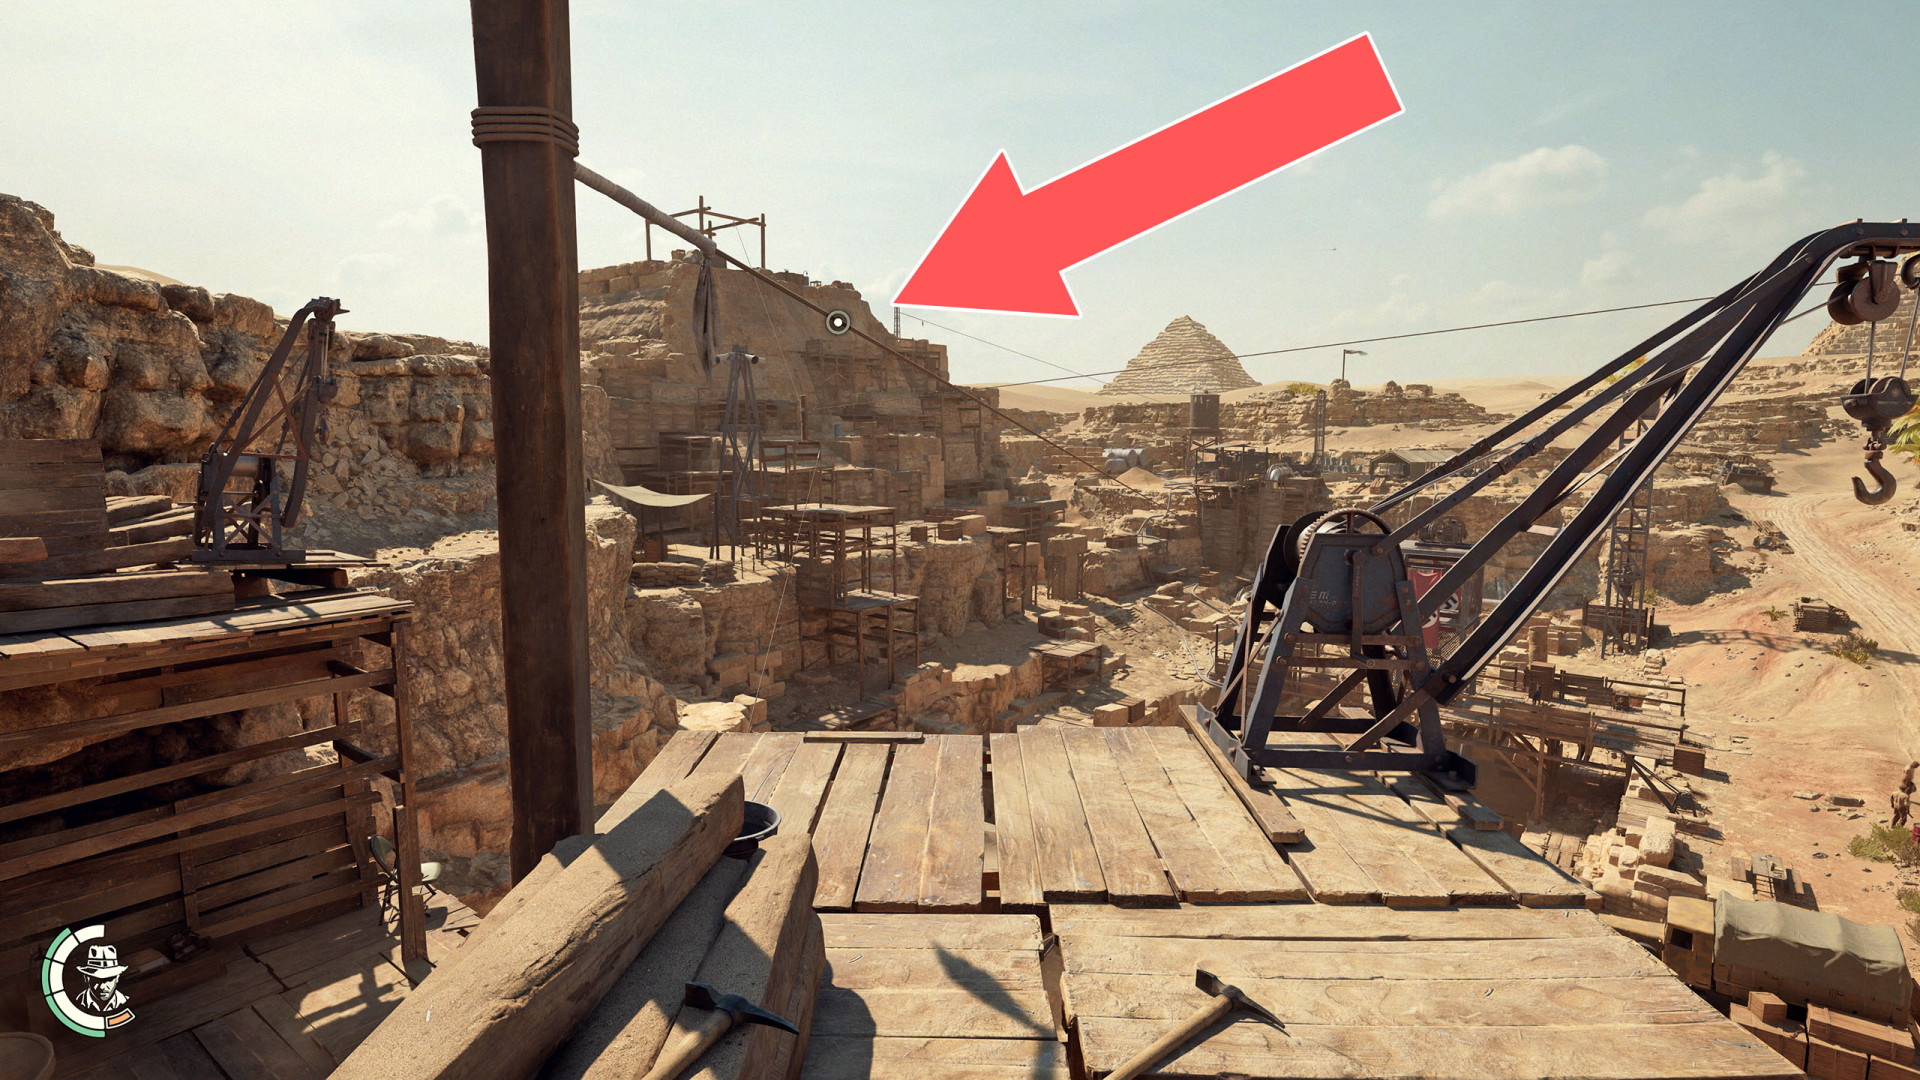
242Zipline
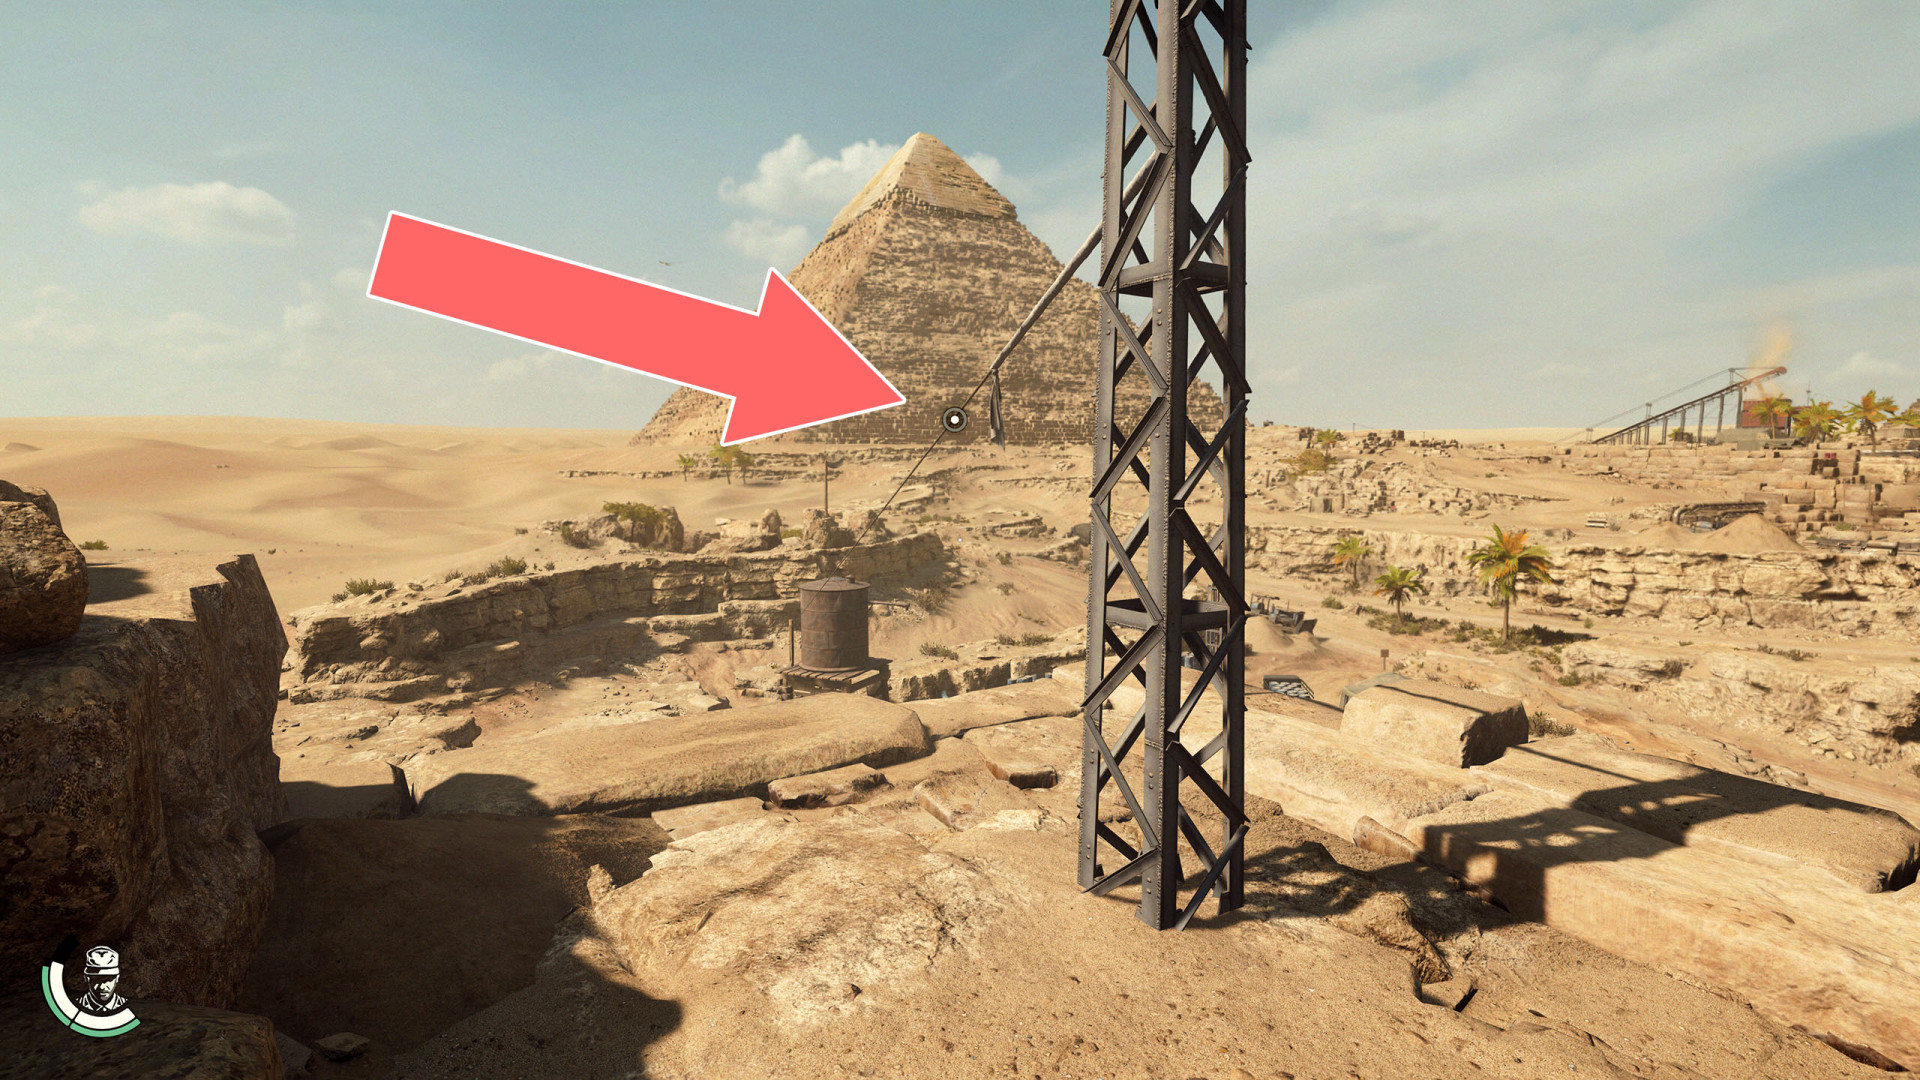
243Zipline
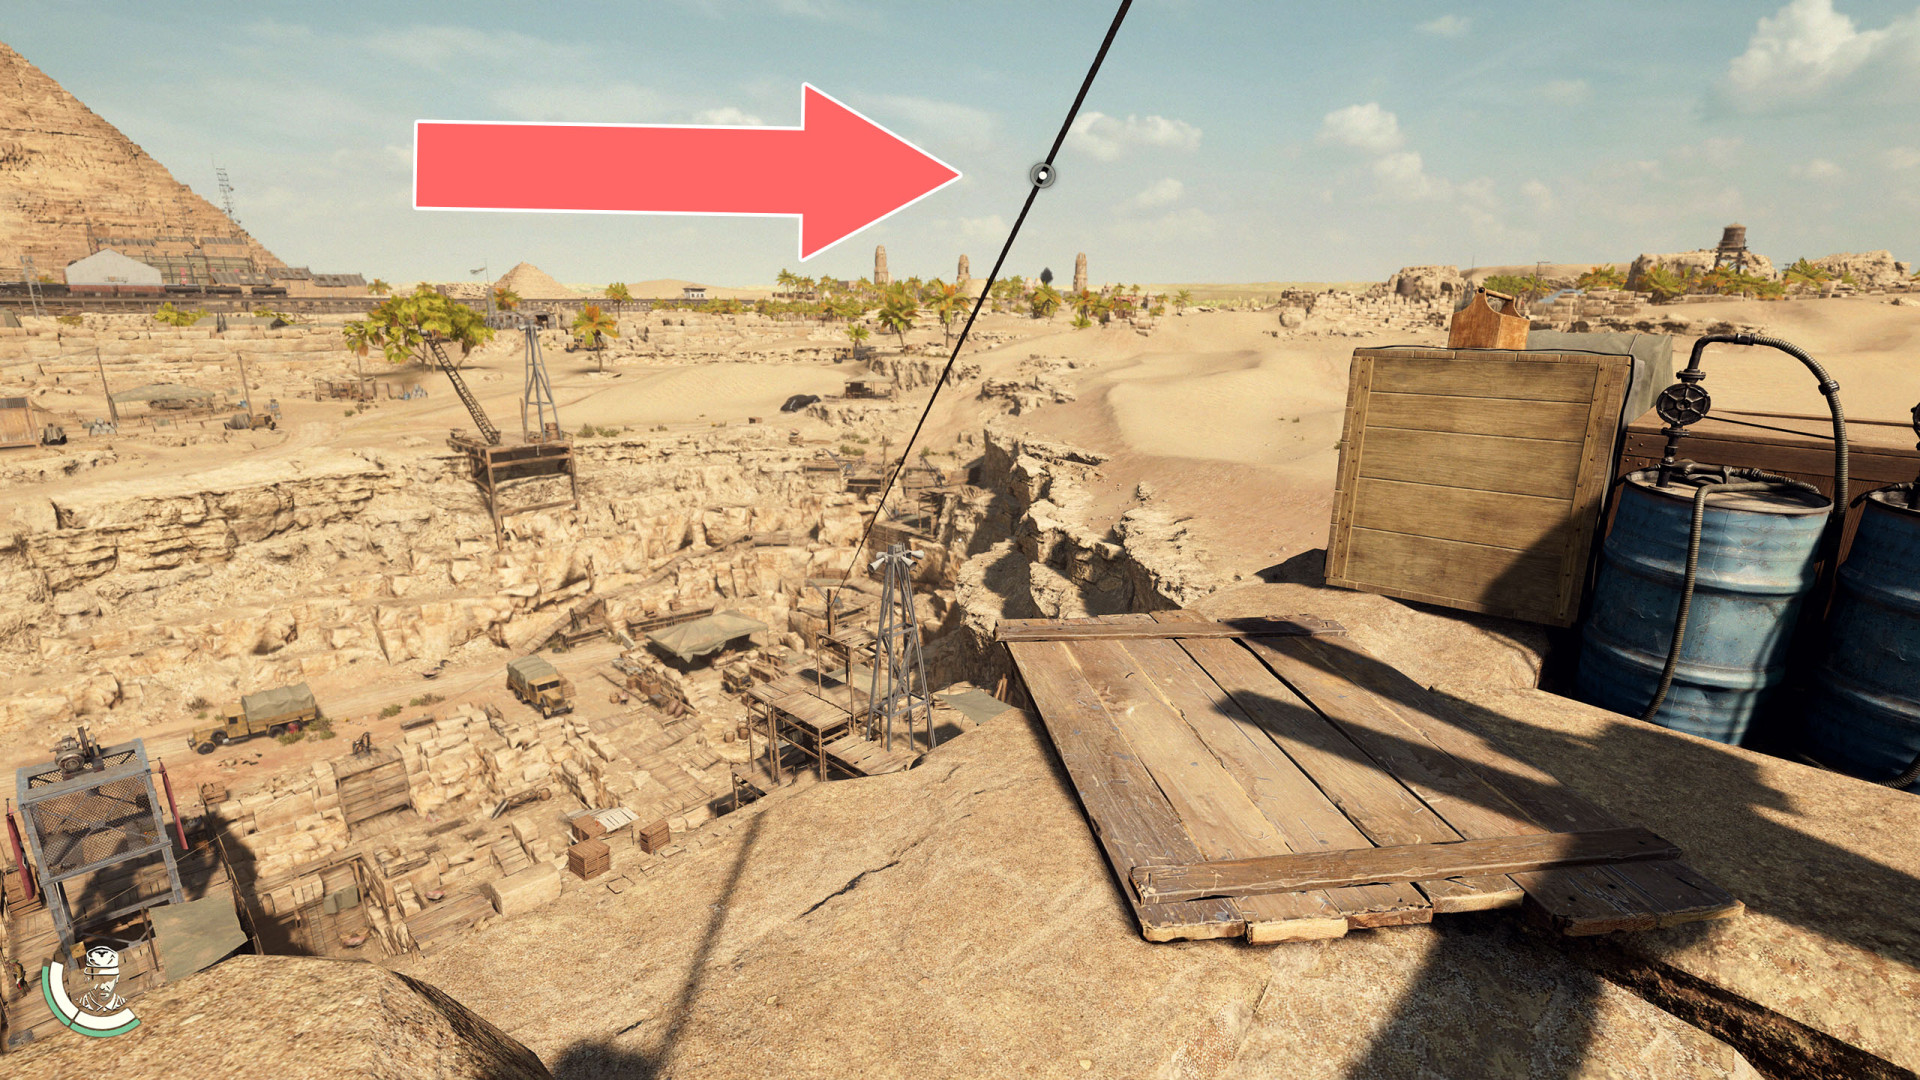
244Zipline

Locations on The Himalayas
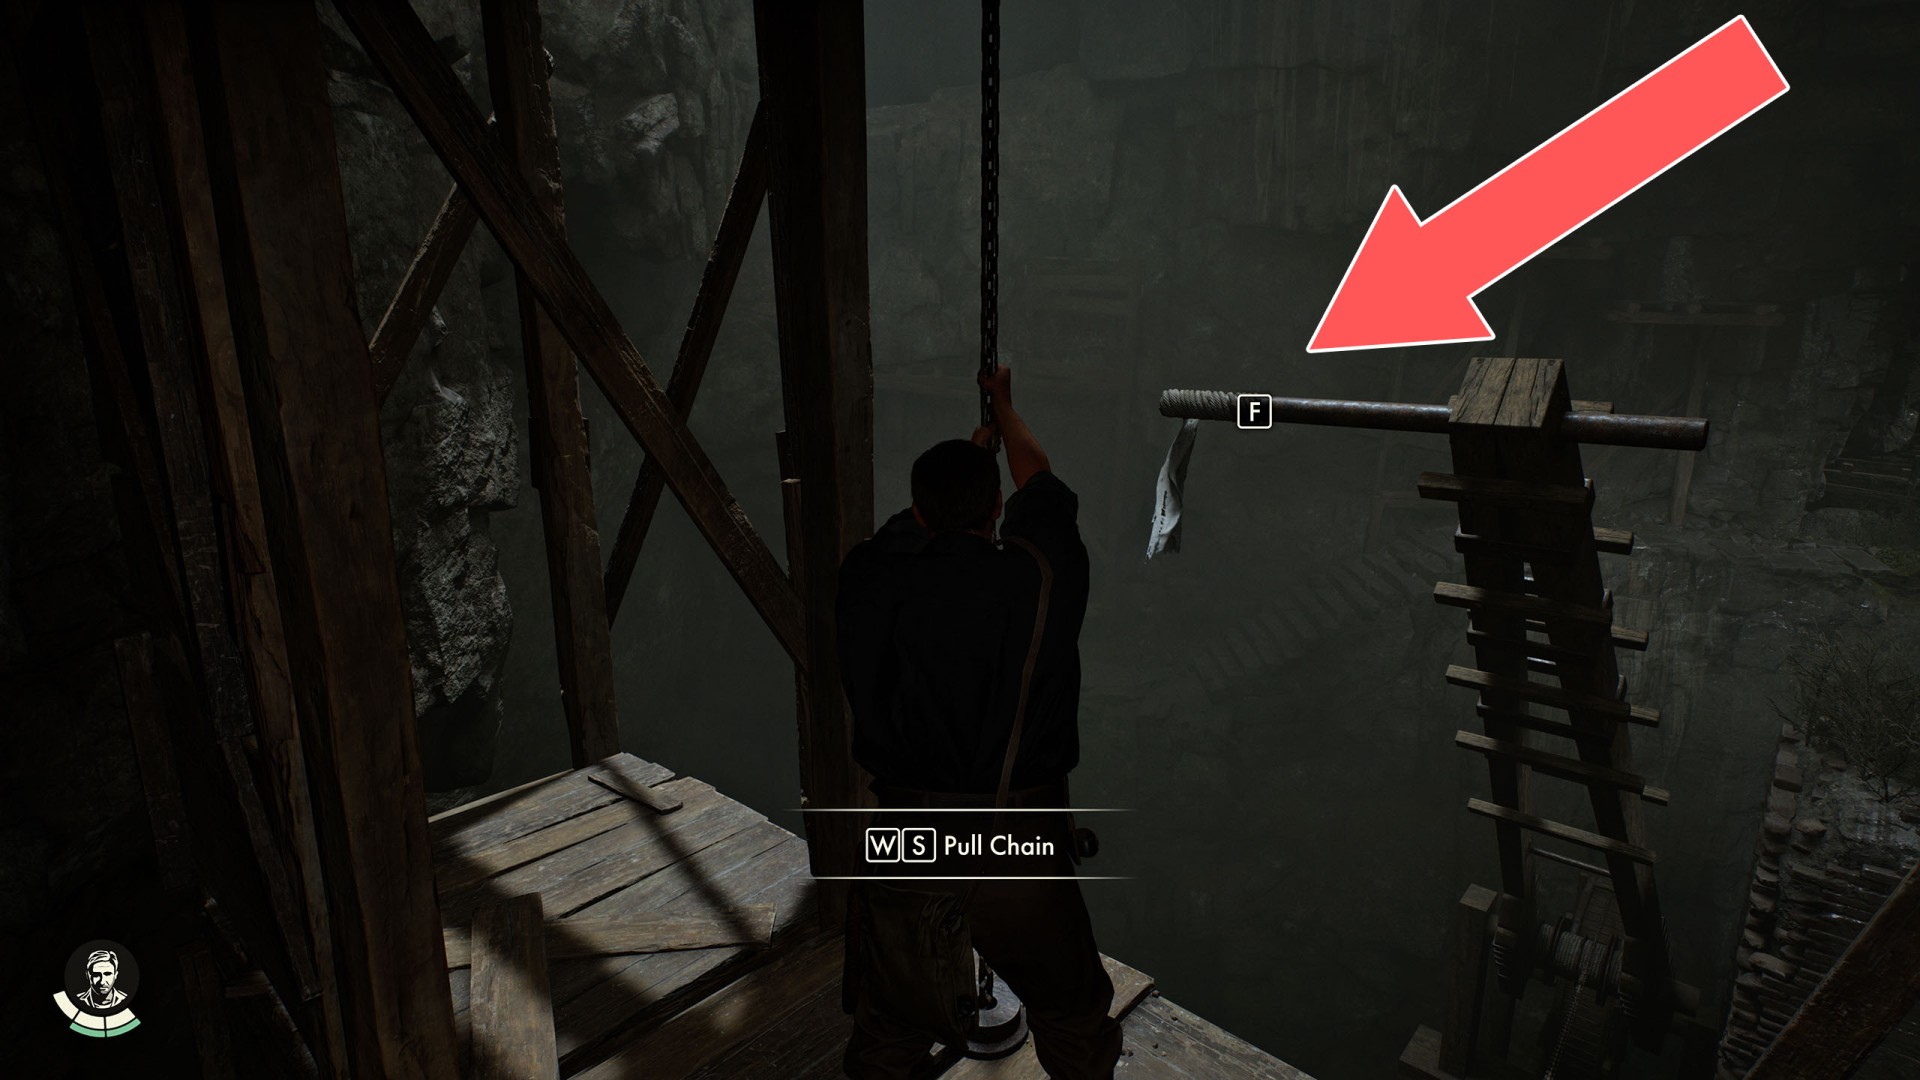
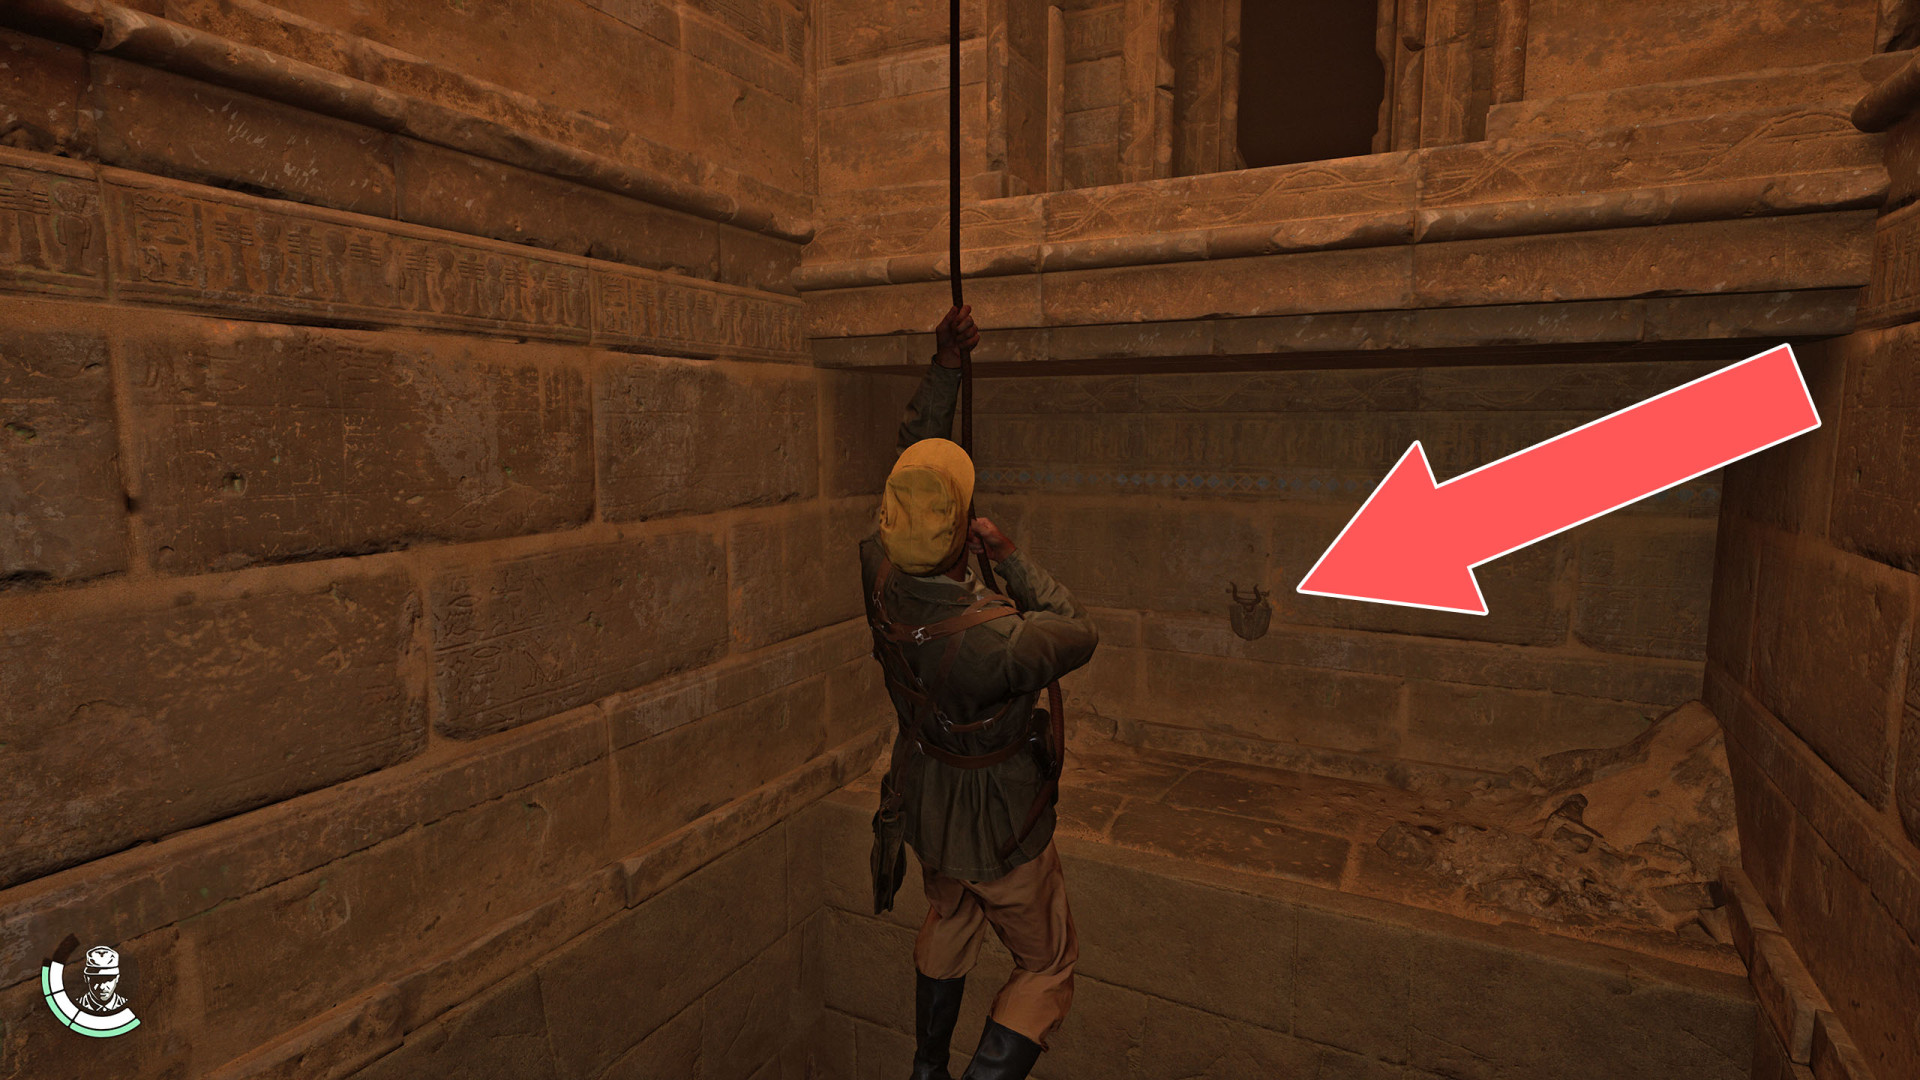
245Anchor Hole
In order to be able to walk thence you must lower the anchor by removing two rivets.
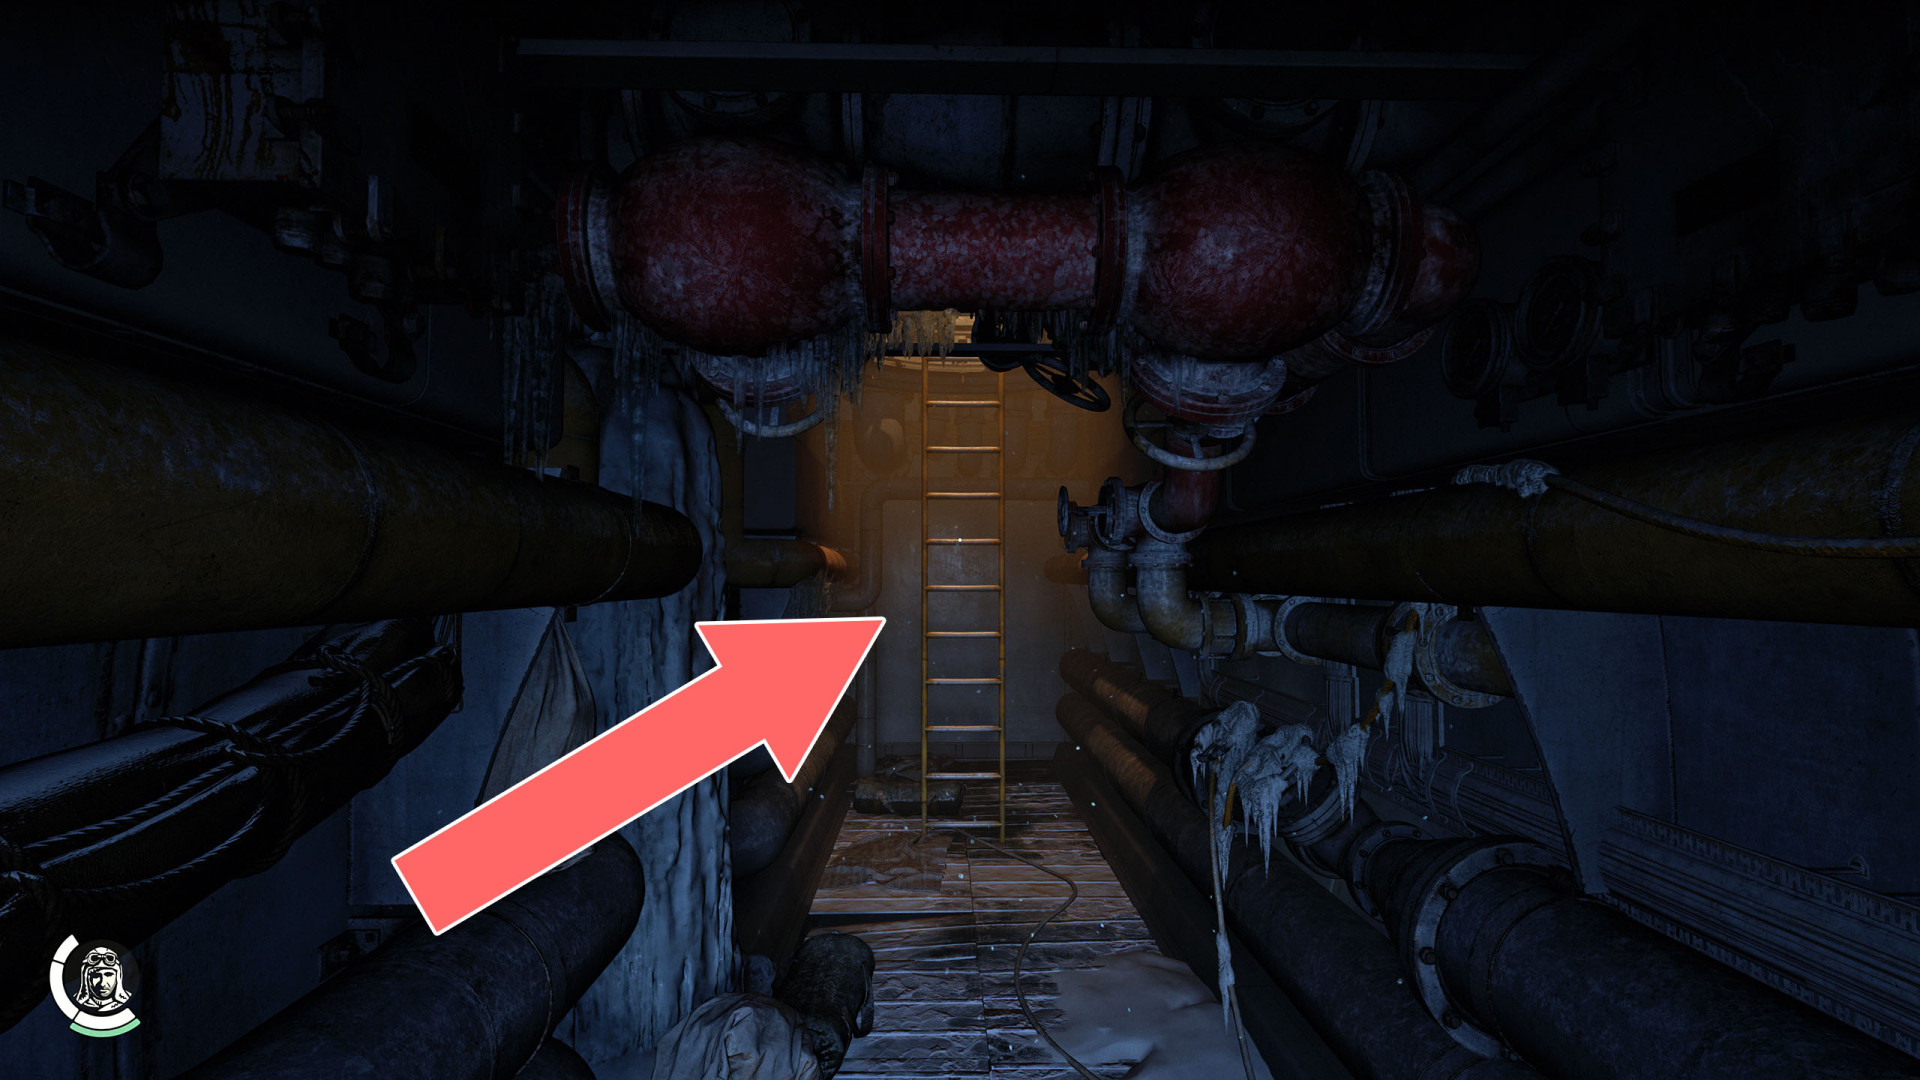
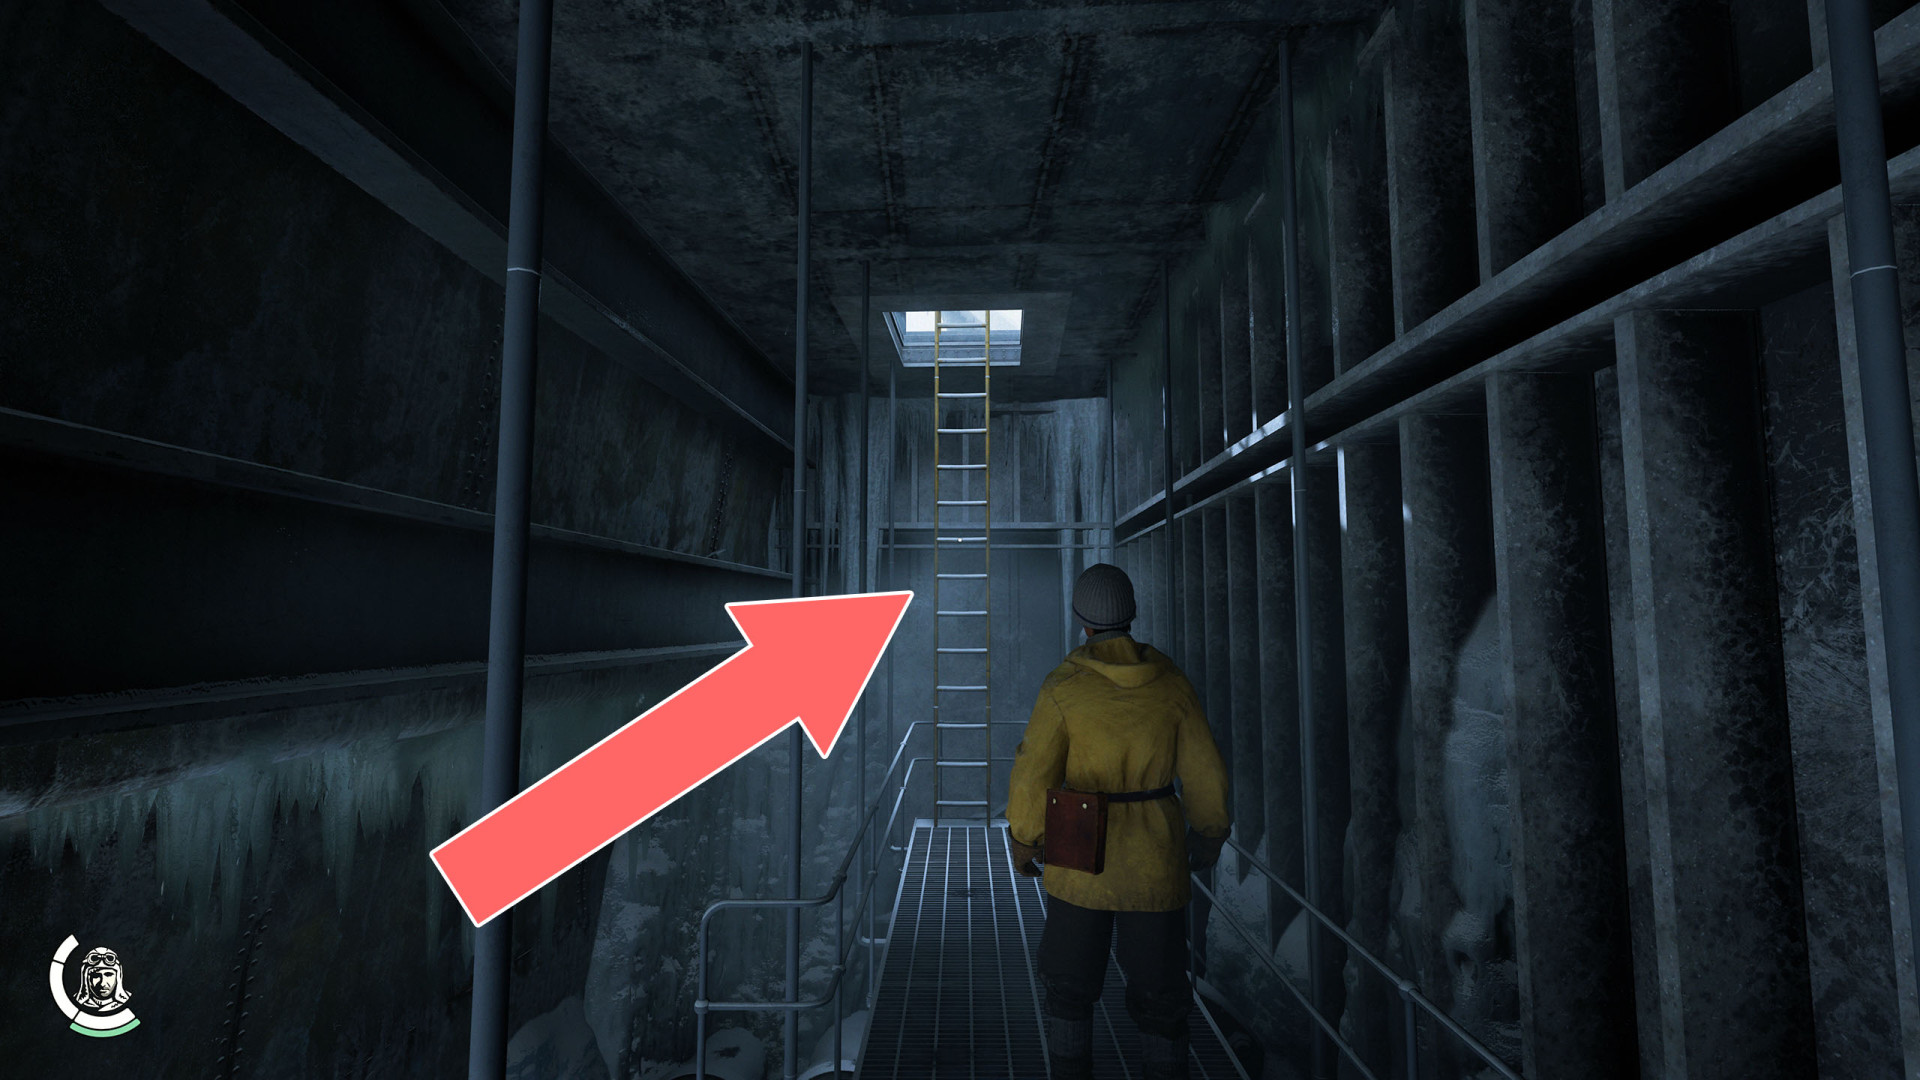
246Conning Tower Ladder
247Crawl Hole
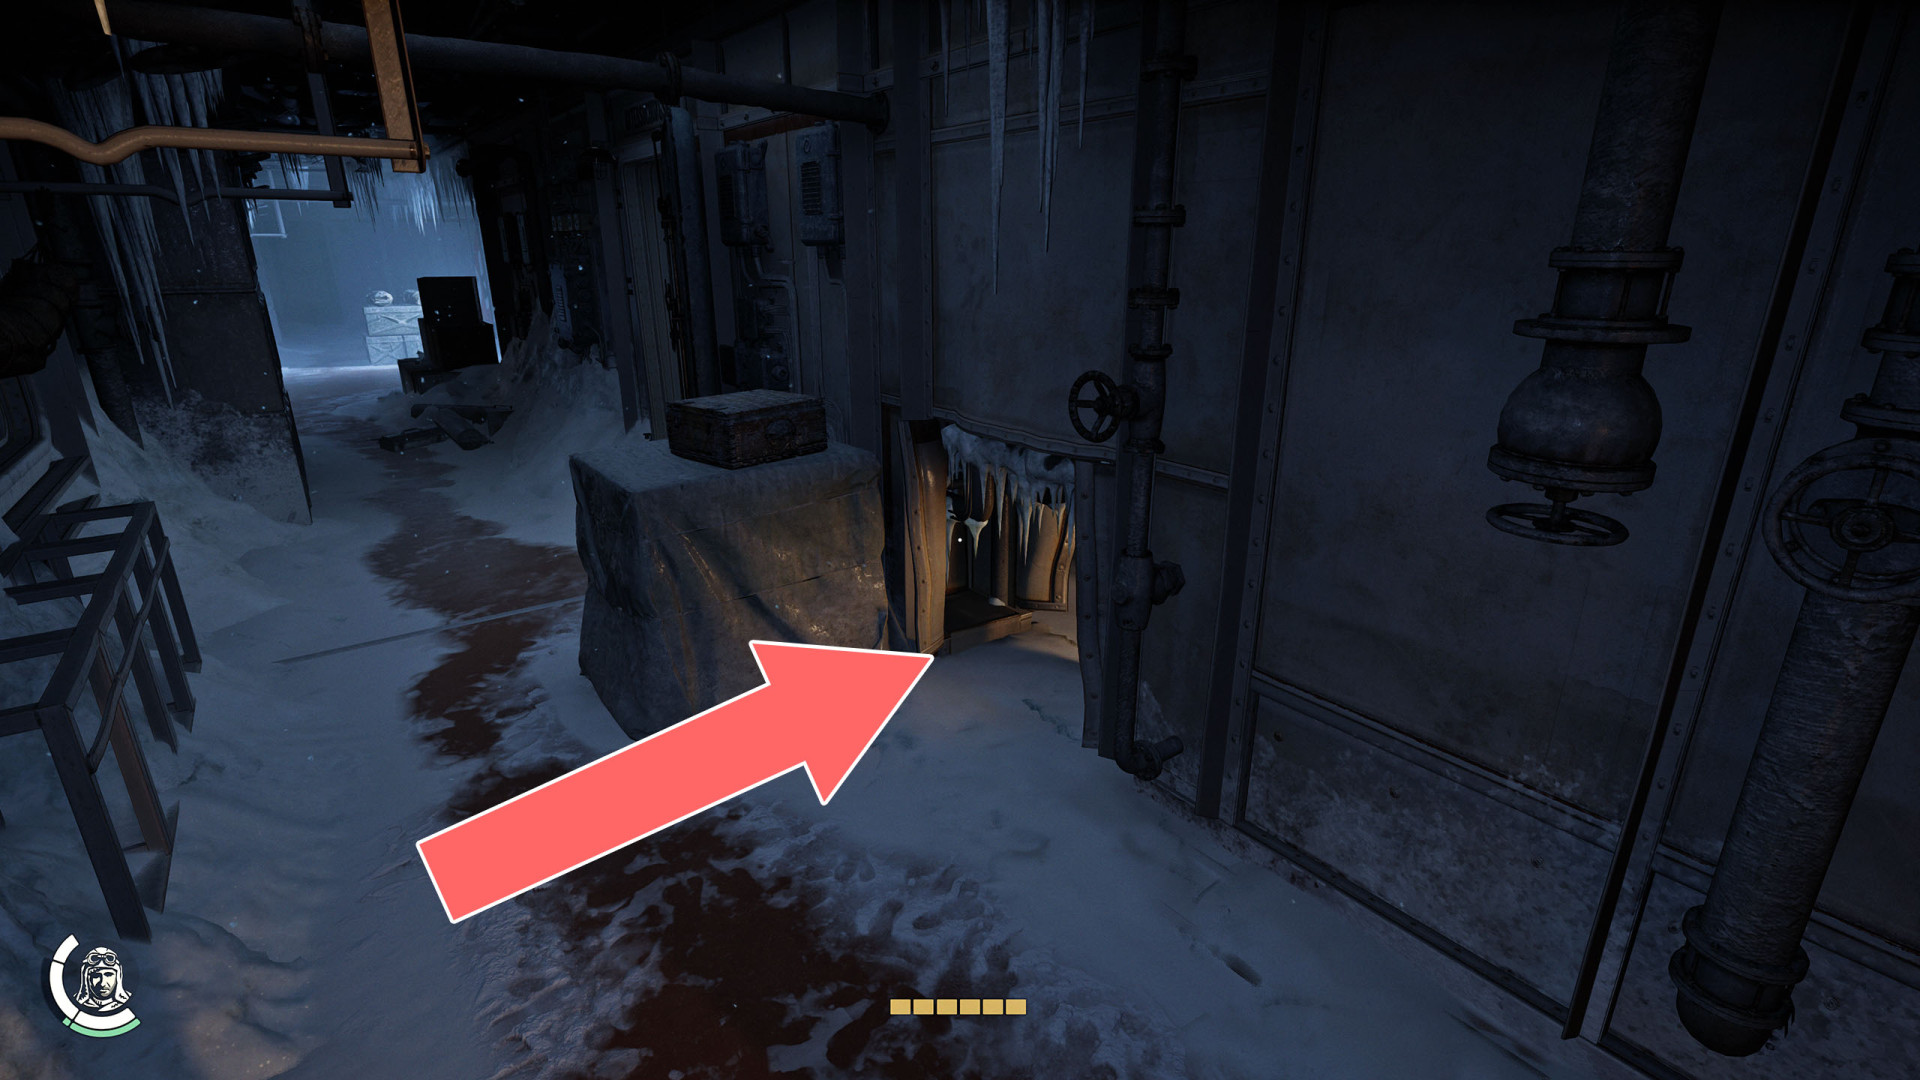
248Crawl Hole
249Crawl Hole
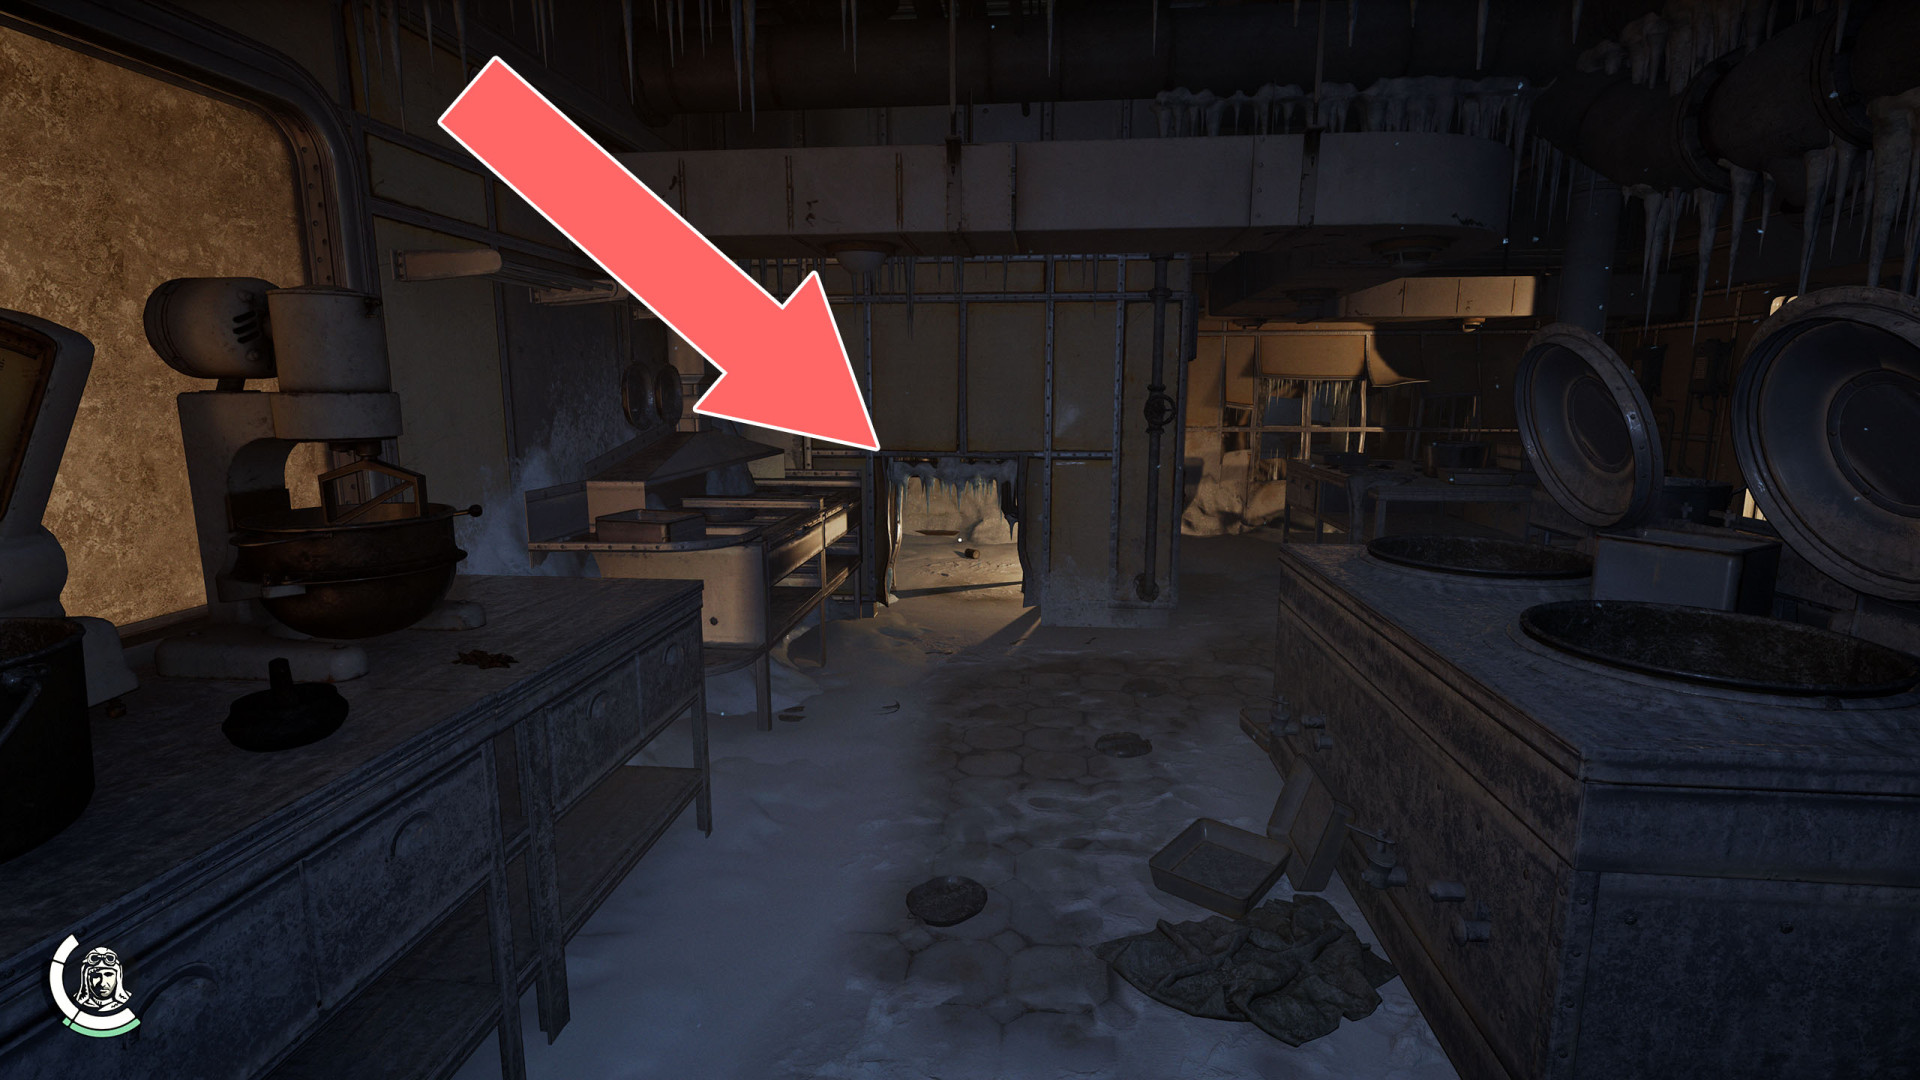
250Crawl Hole
251Crawl Hole
252Crawl Hole
253Crawl Hole
254Crawl Hole
255Crawl Hole
256Grappling Point

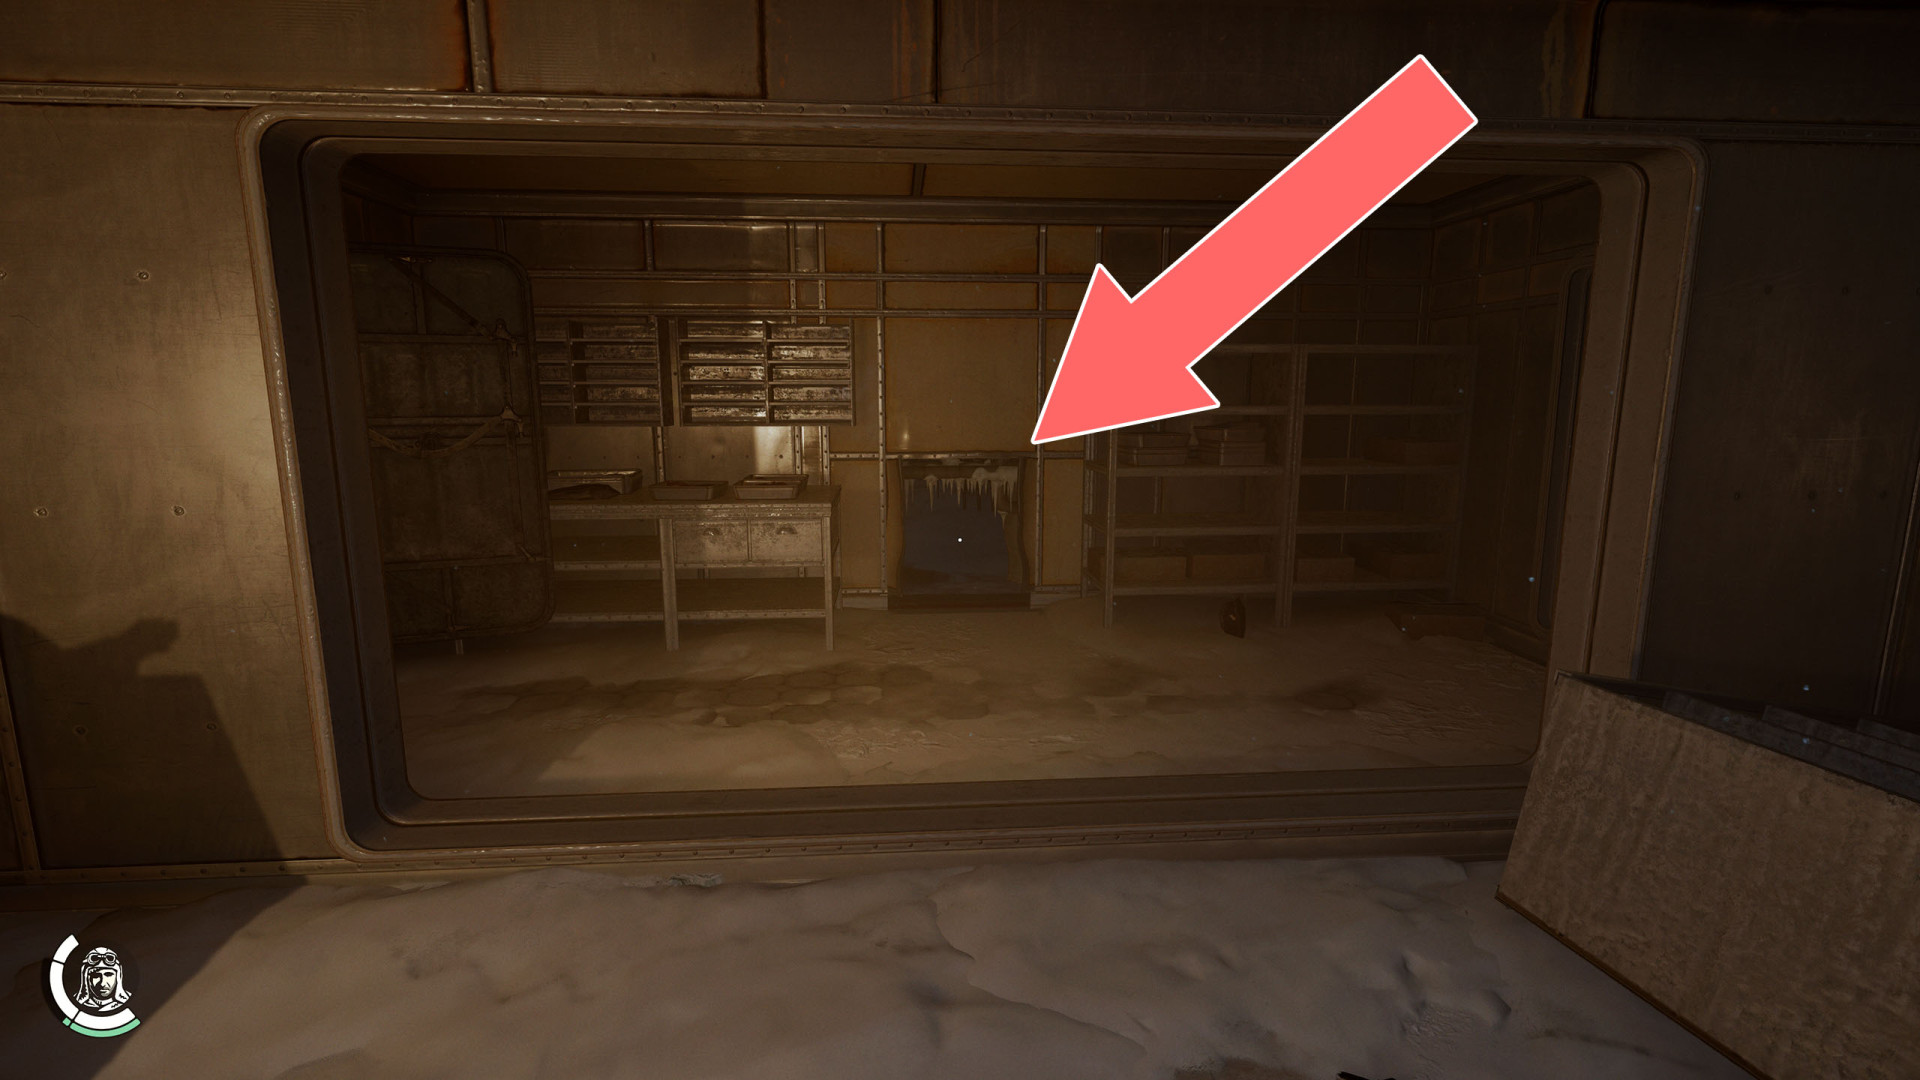
257Hole
258Ladder
259Ladder
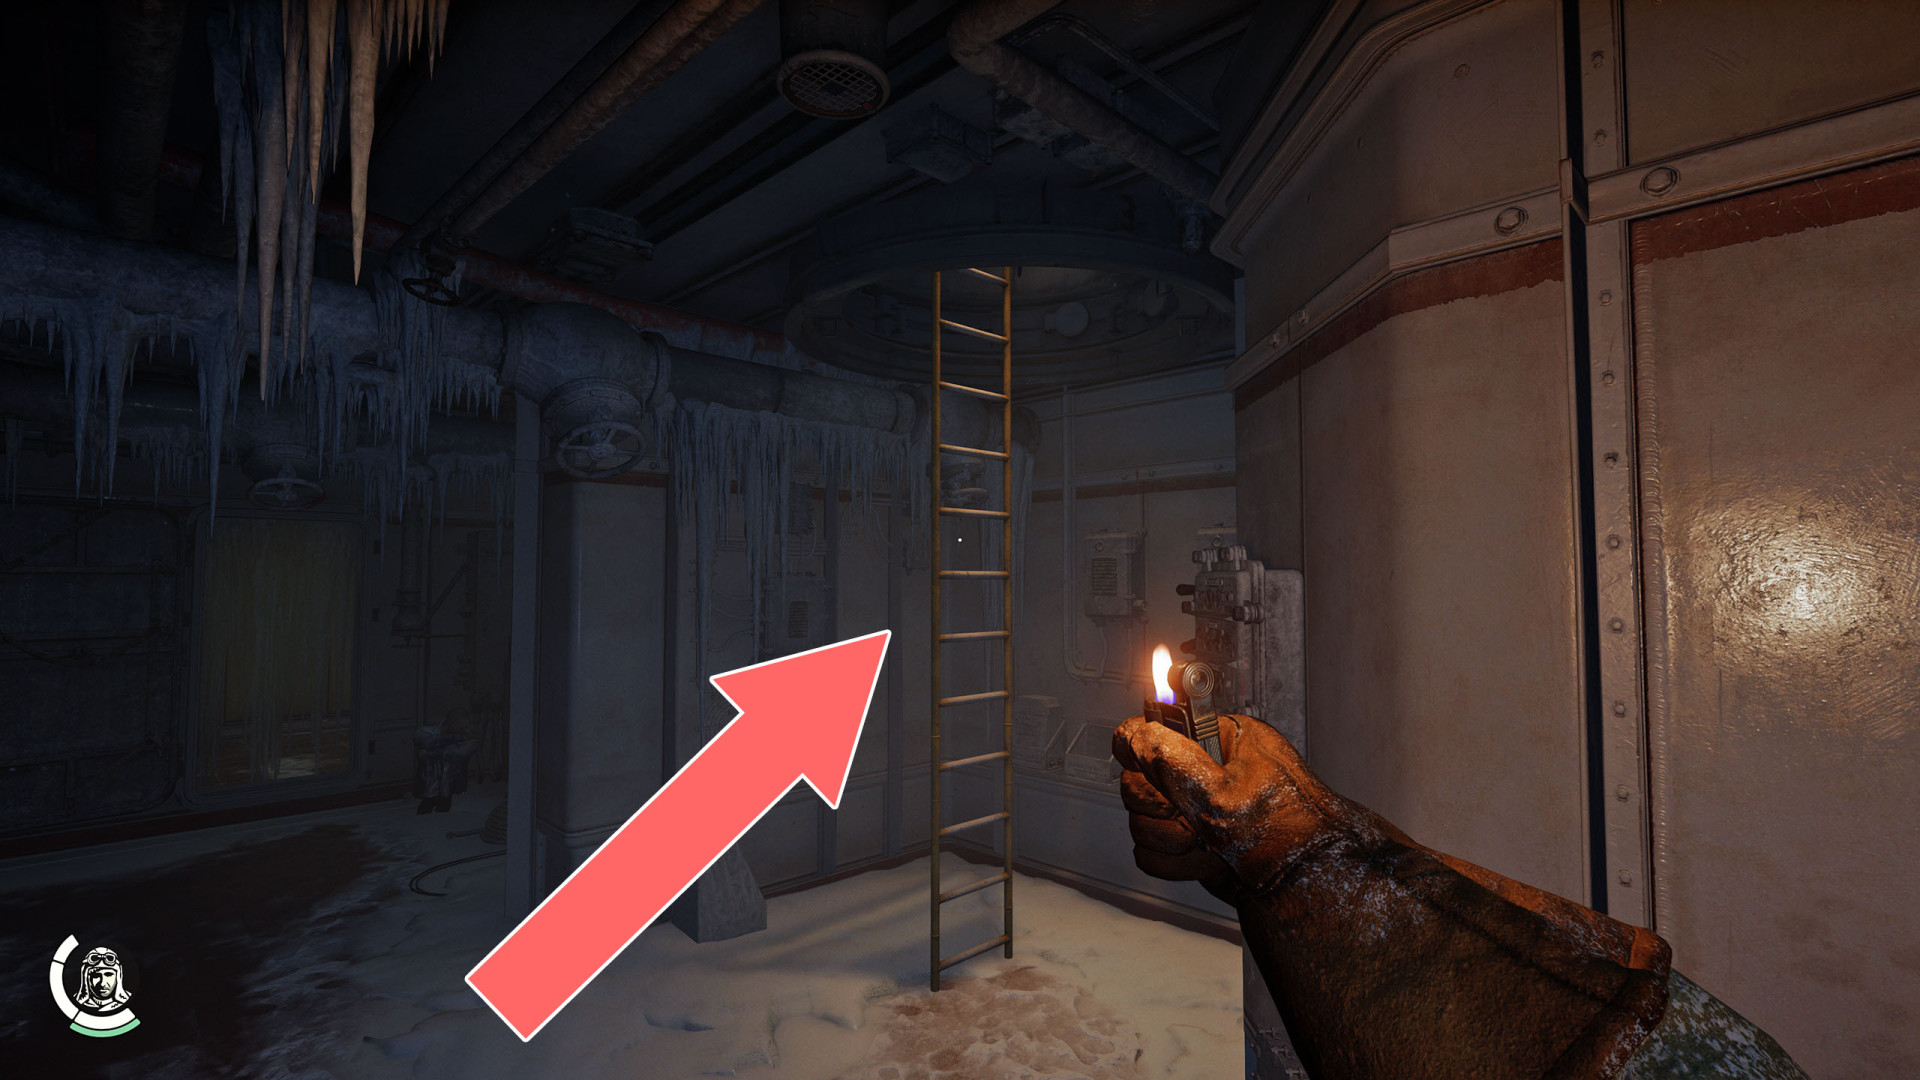
260Ladder
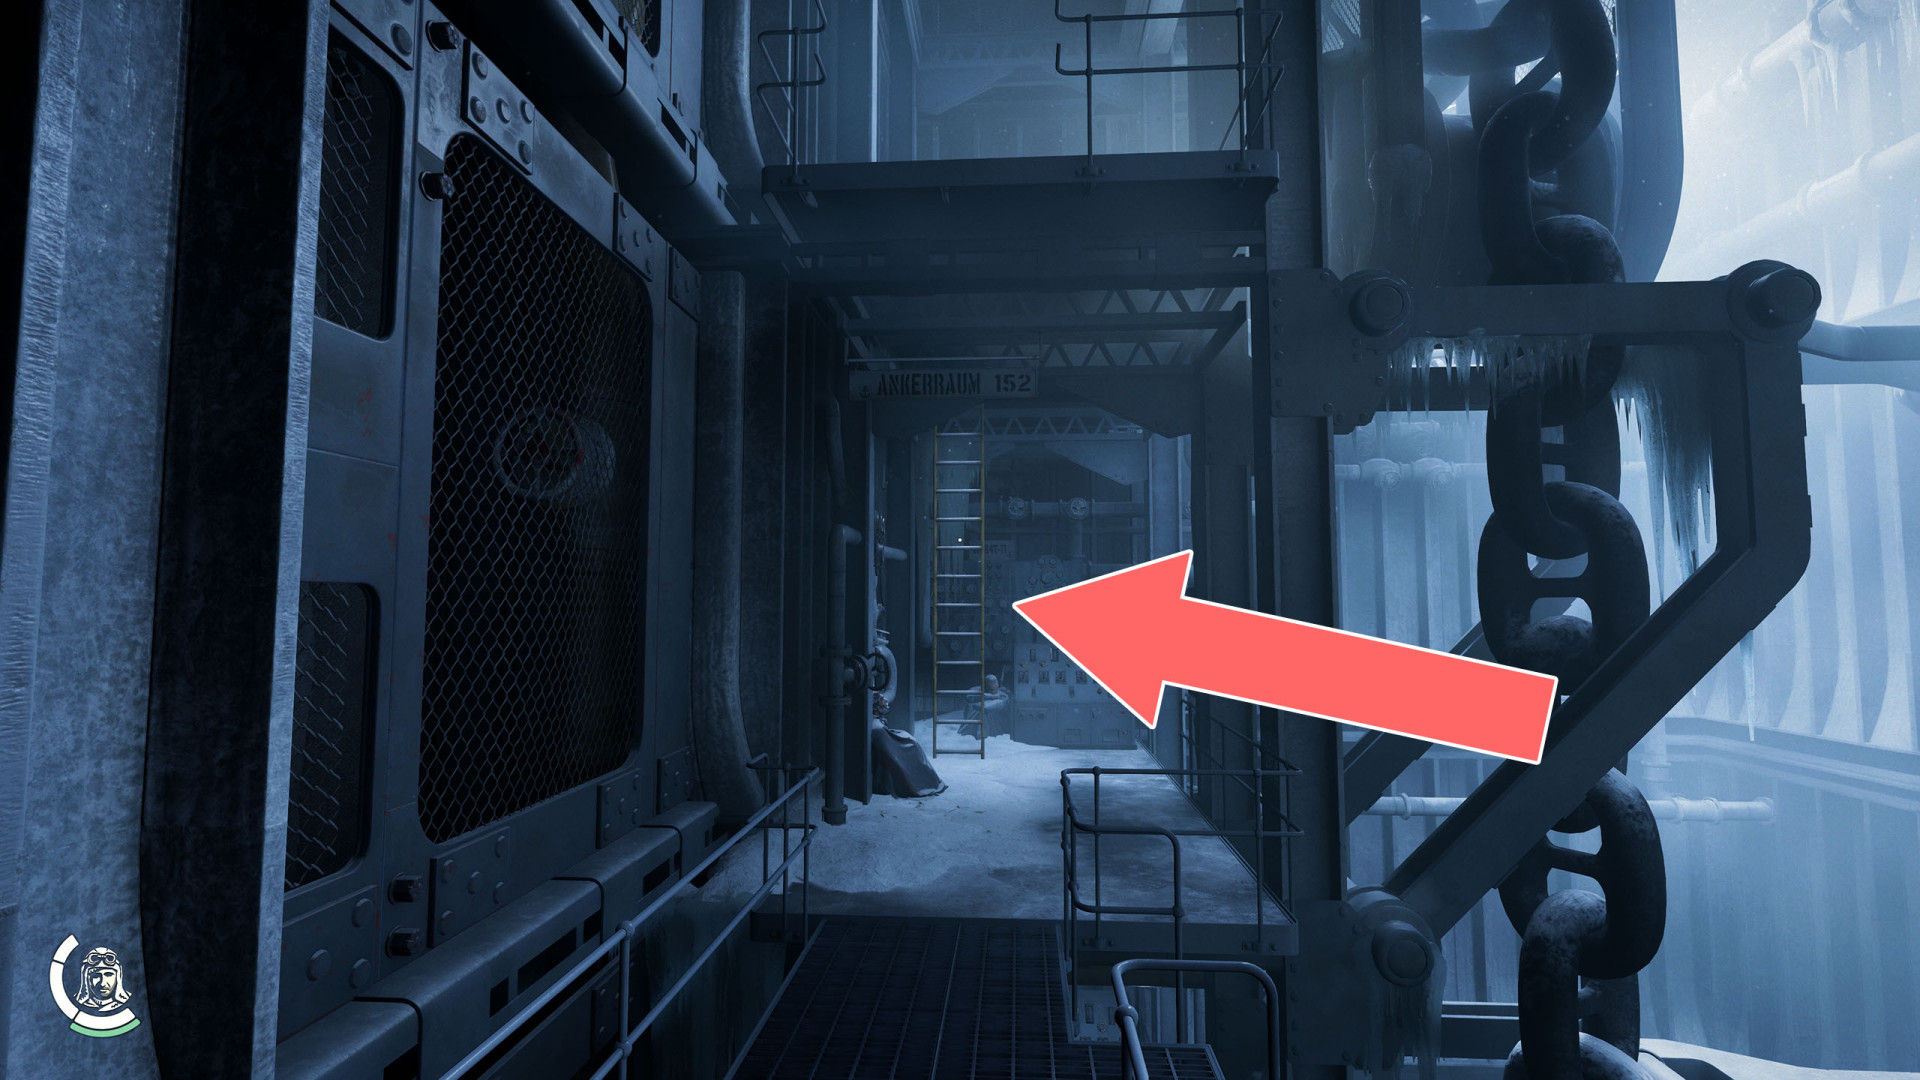
261Ladder
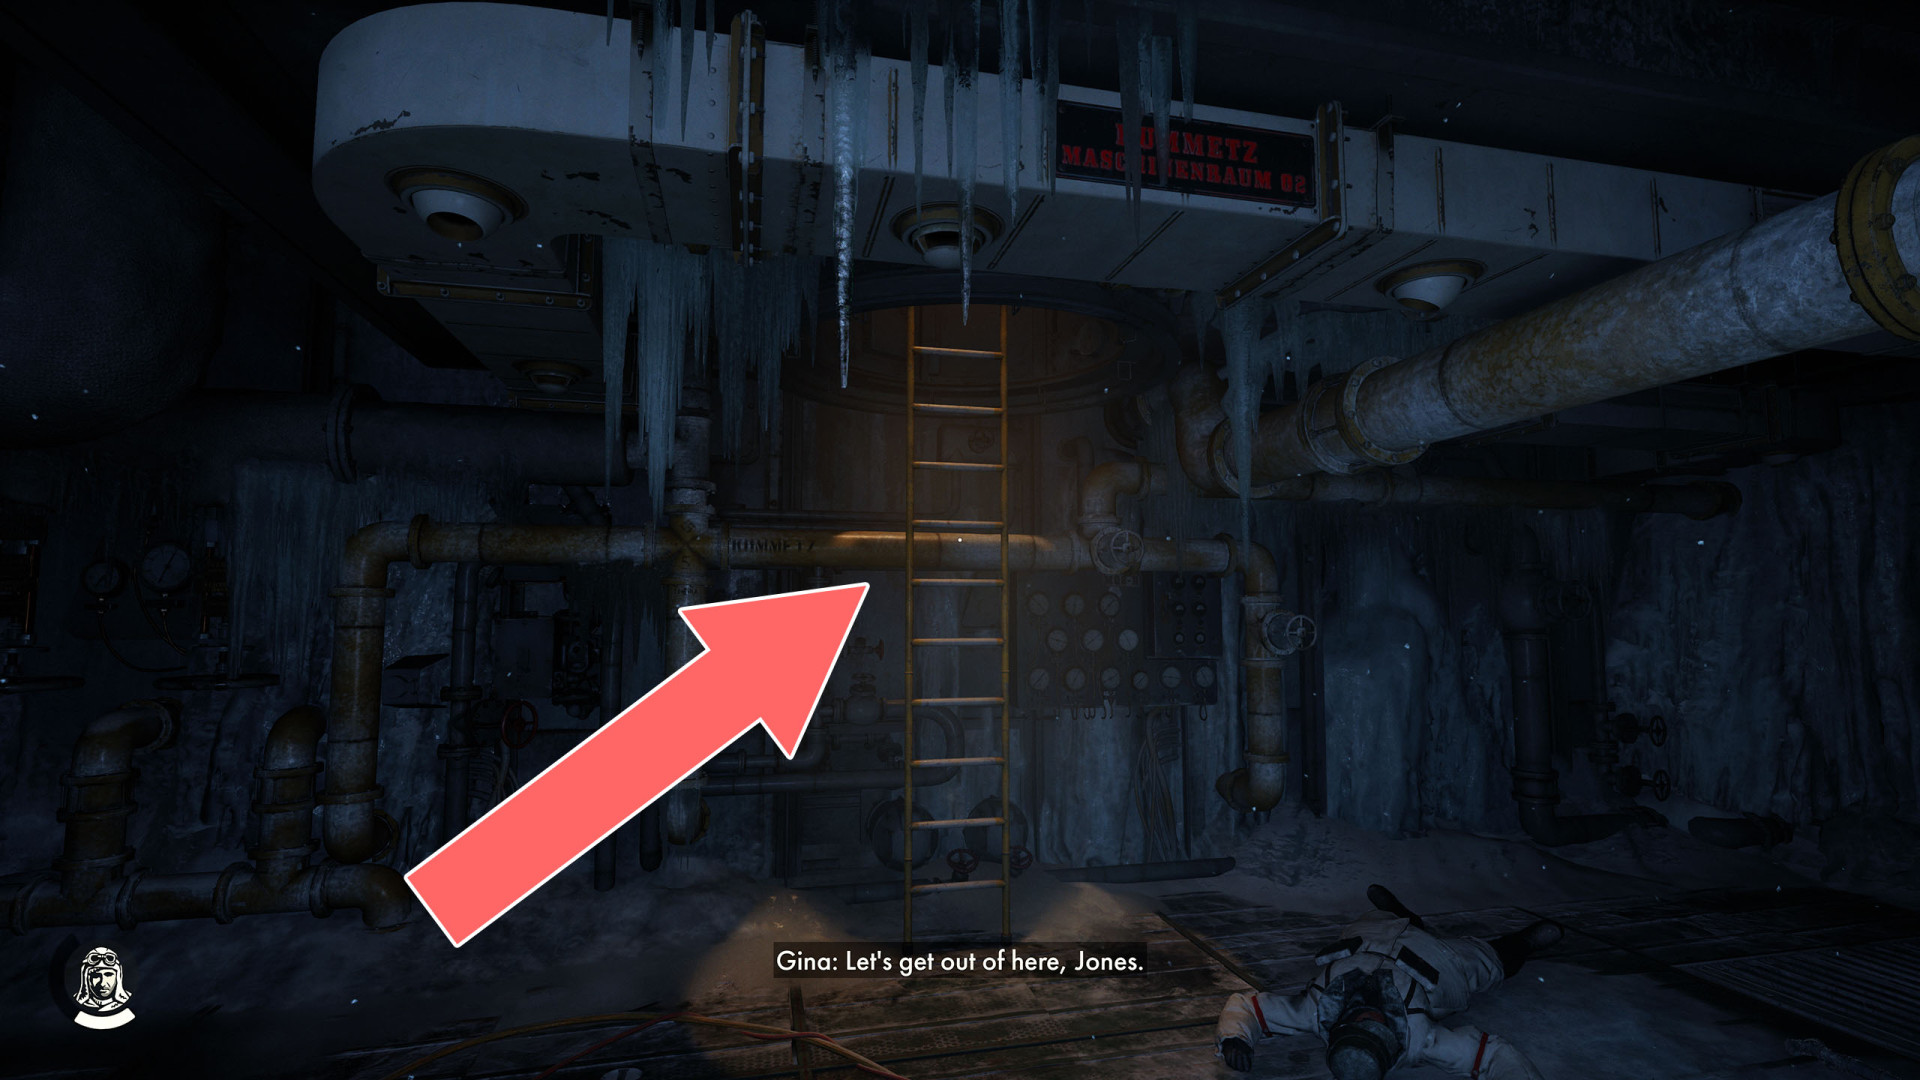
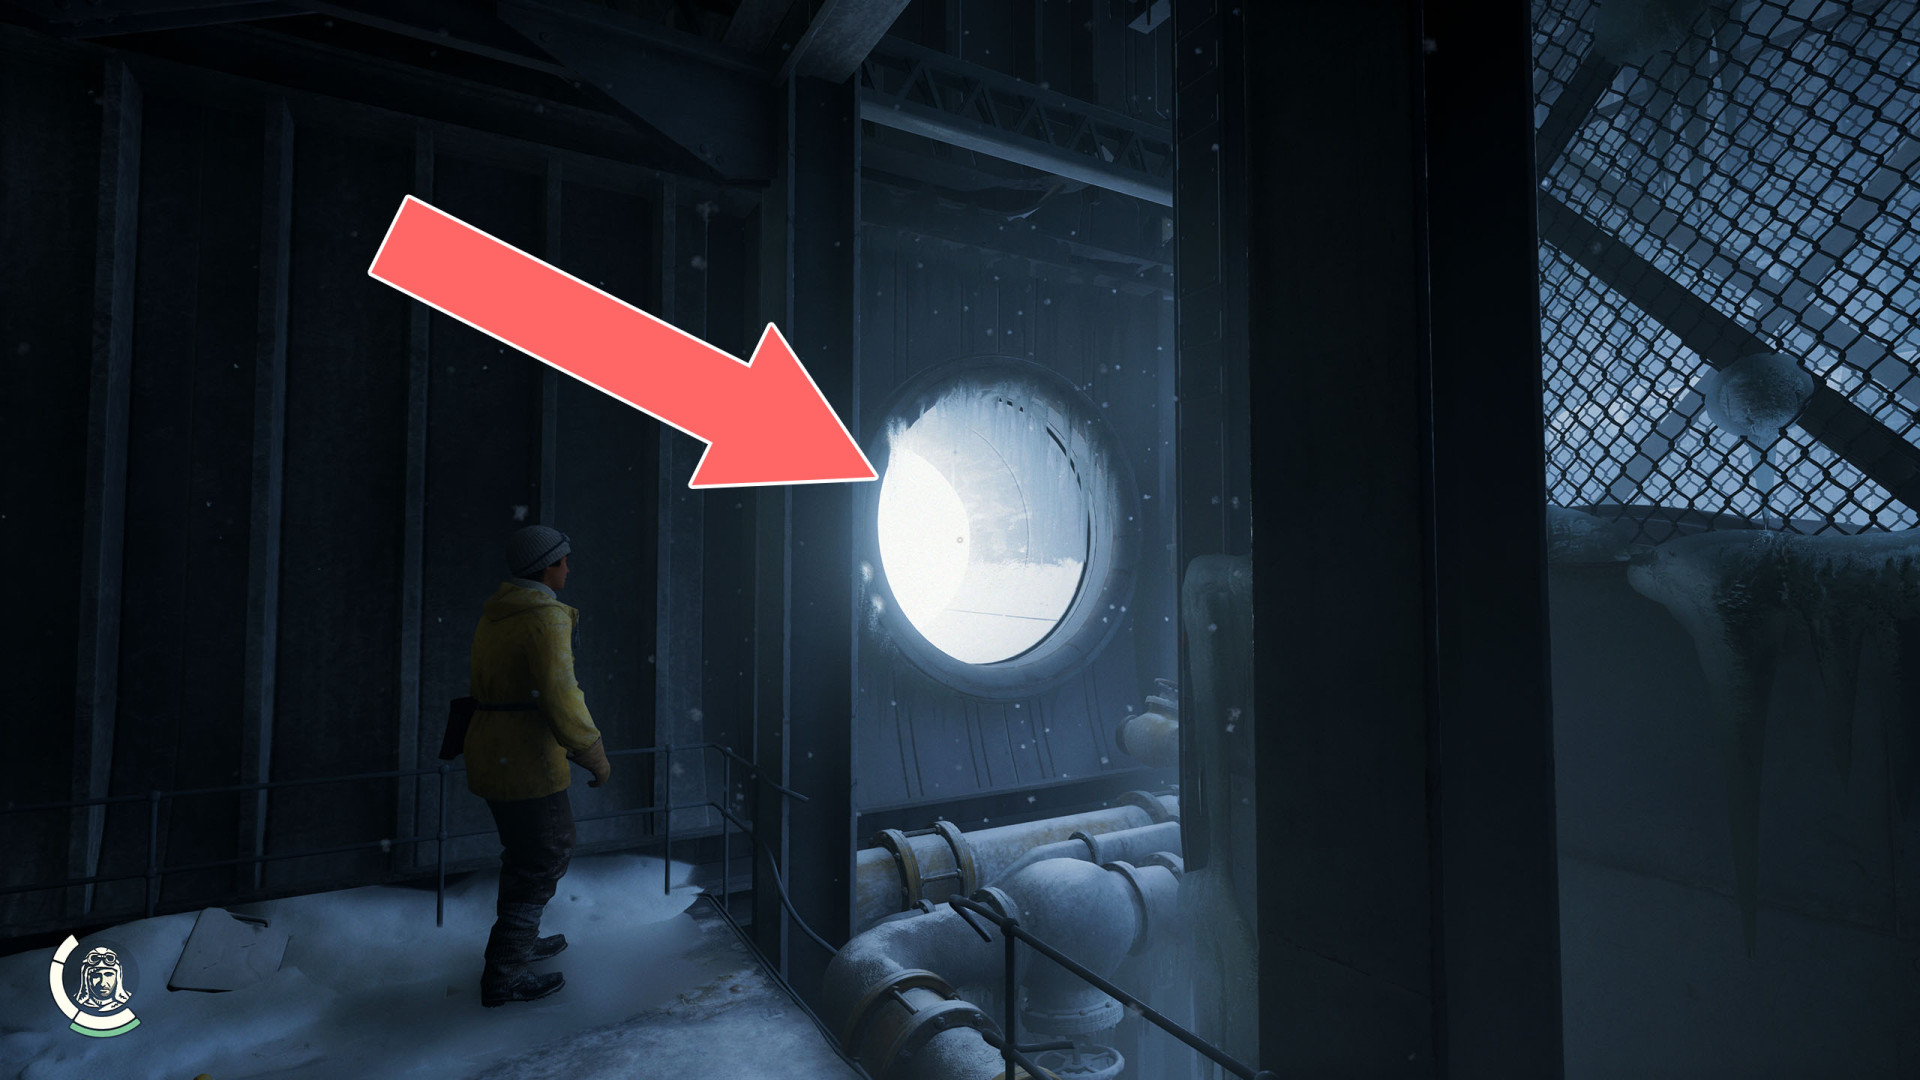
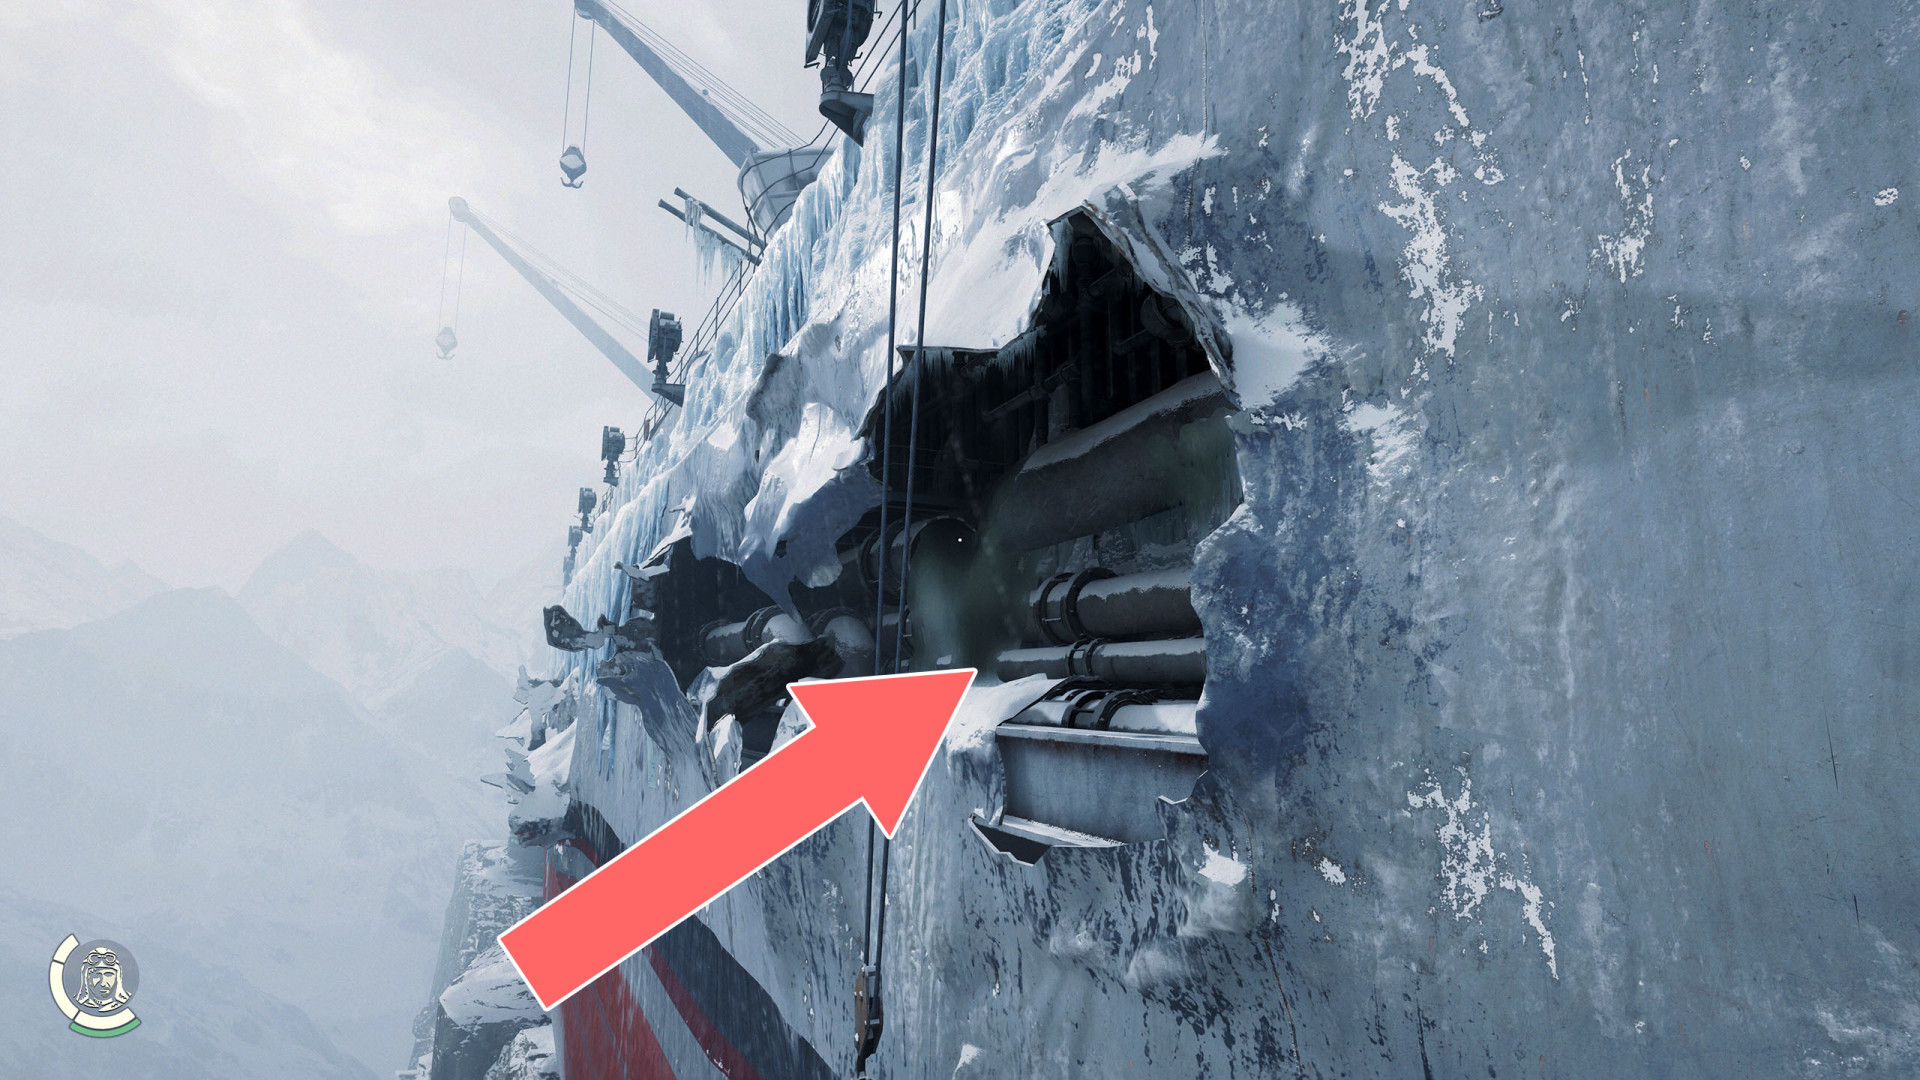
262Ship Entrance
A breach through which you get inside the KMS Kummitz.
263Upper Deck Entrance
Locations on Shanghai
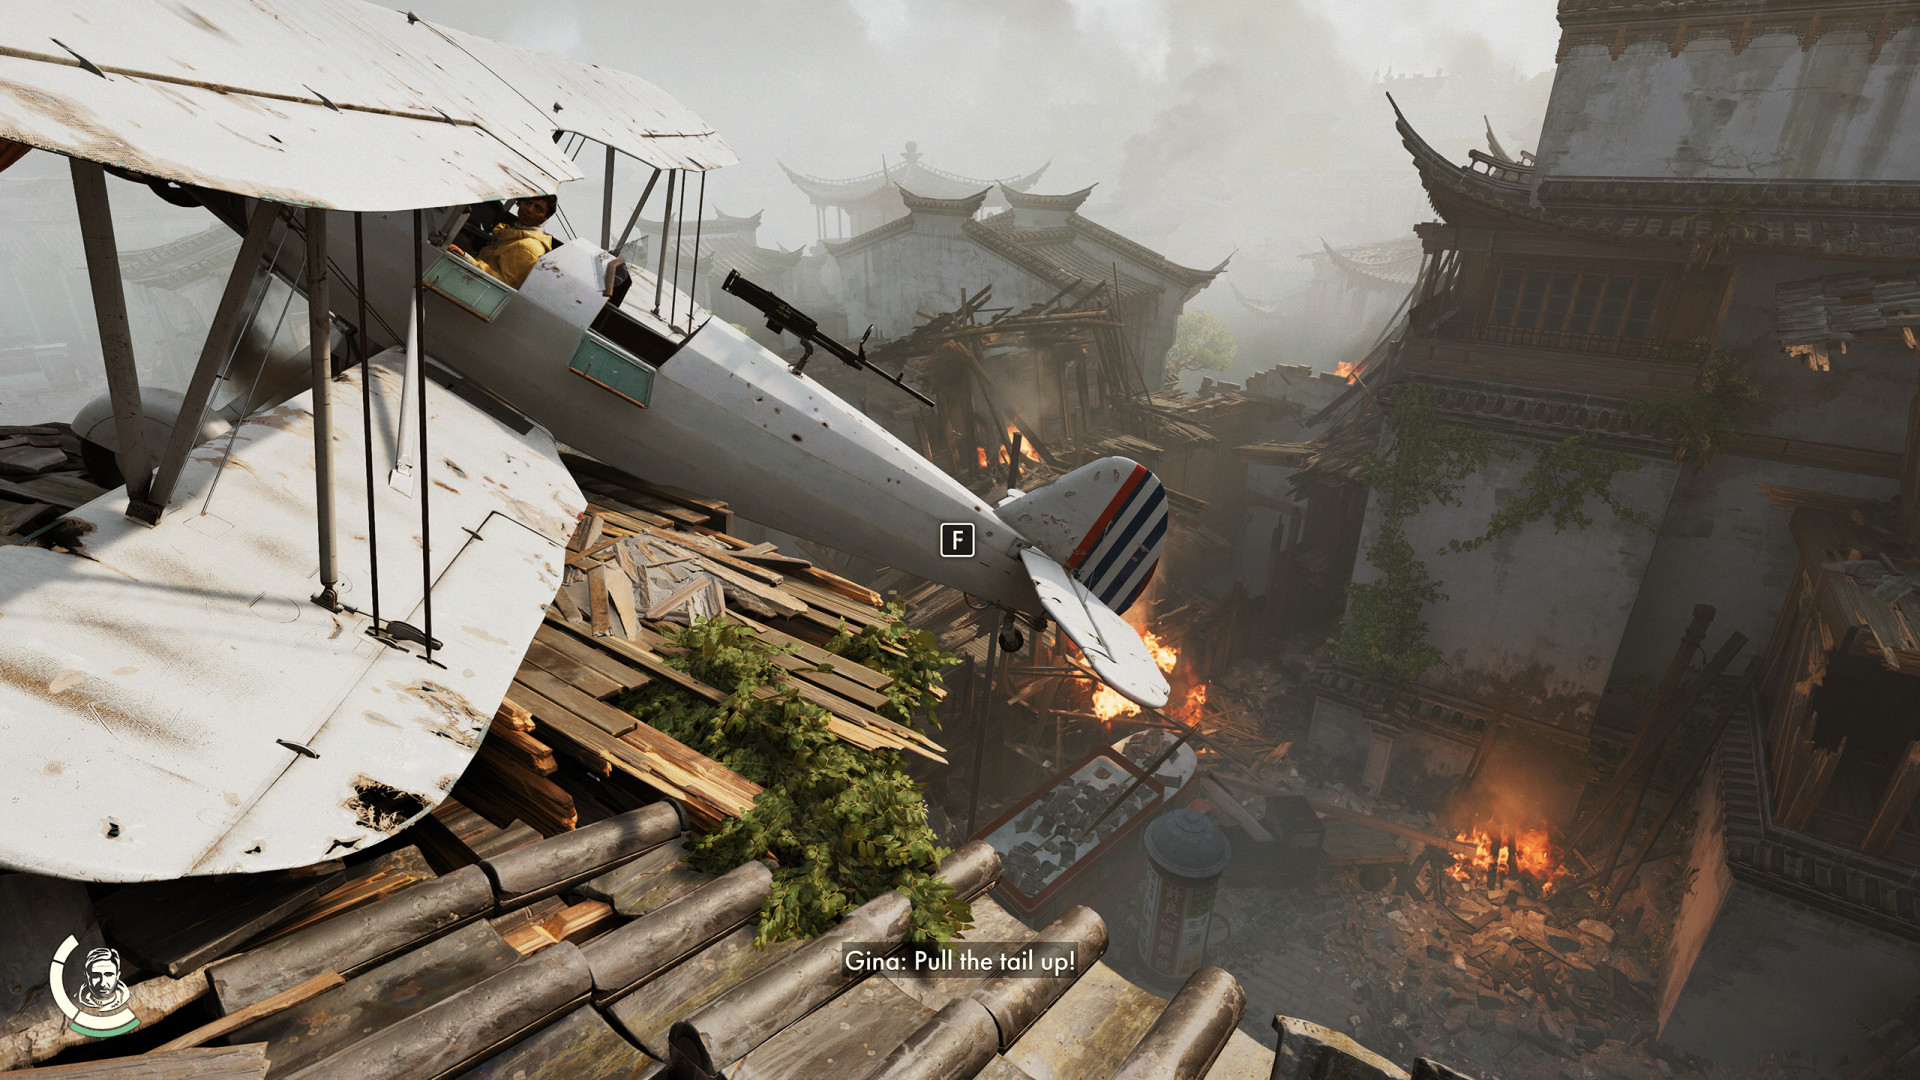
264Biplane
The plane you will use to leave Shanghai.
265Door

266Grappling Point
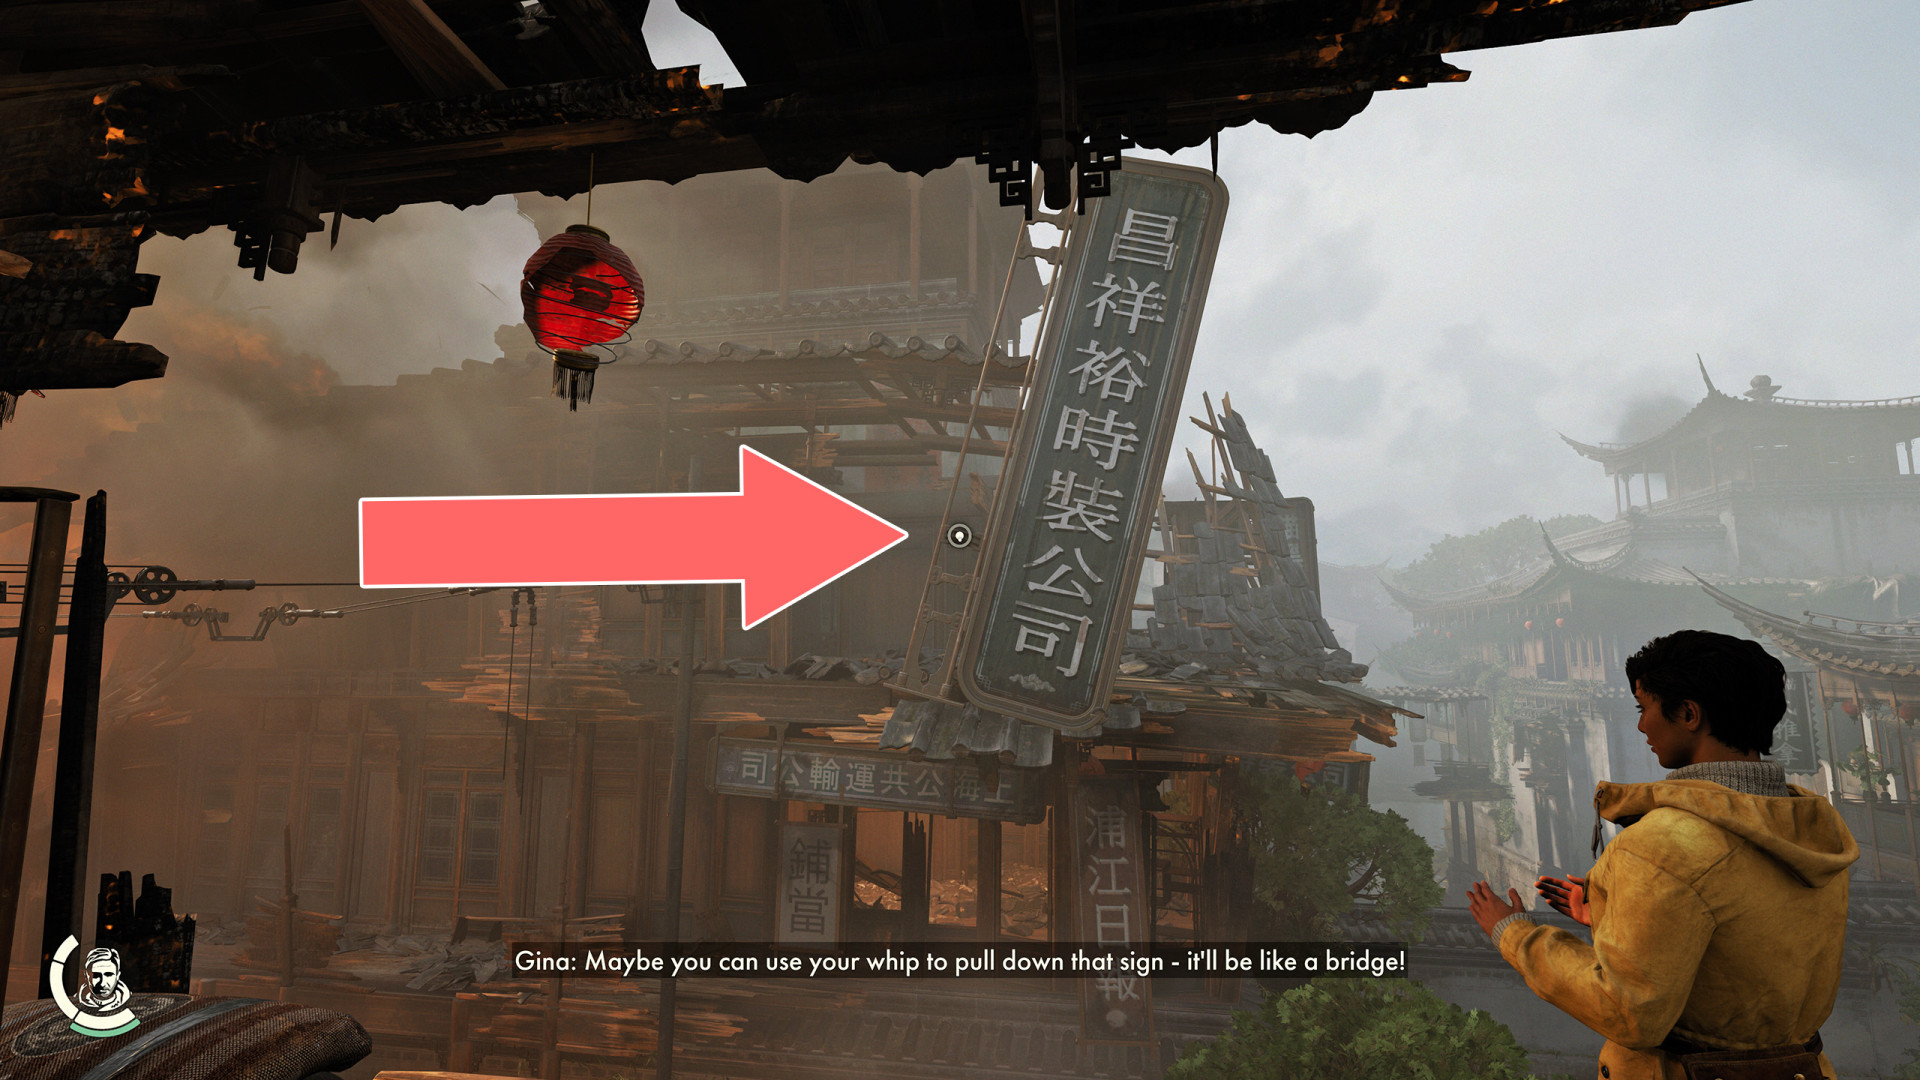
267Sign / Bridge
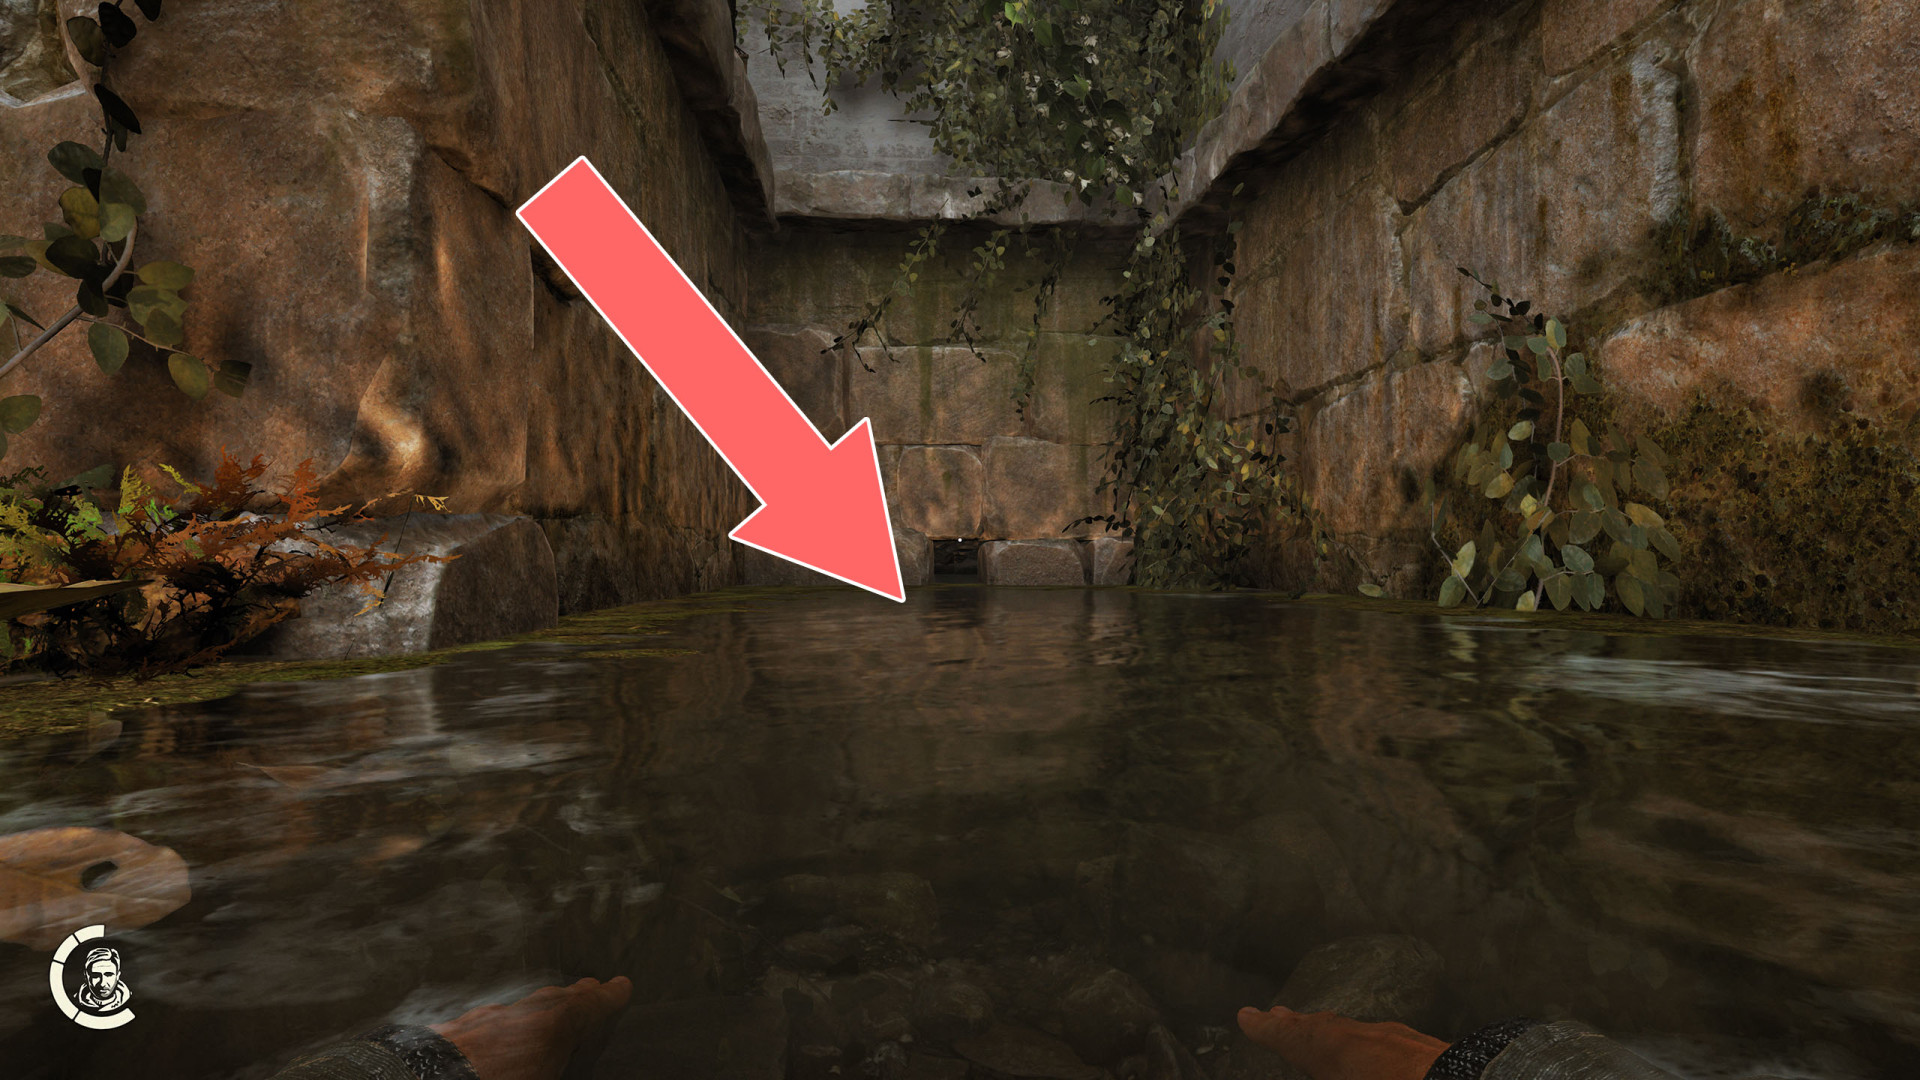
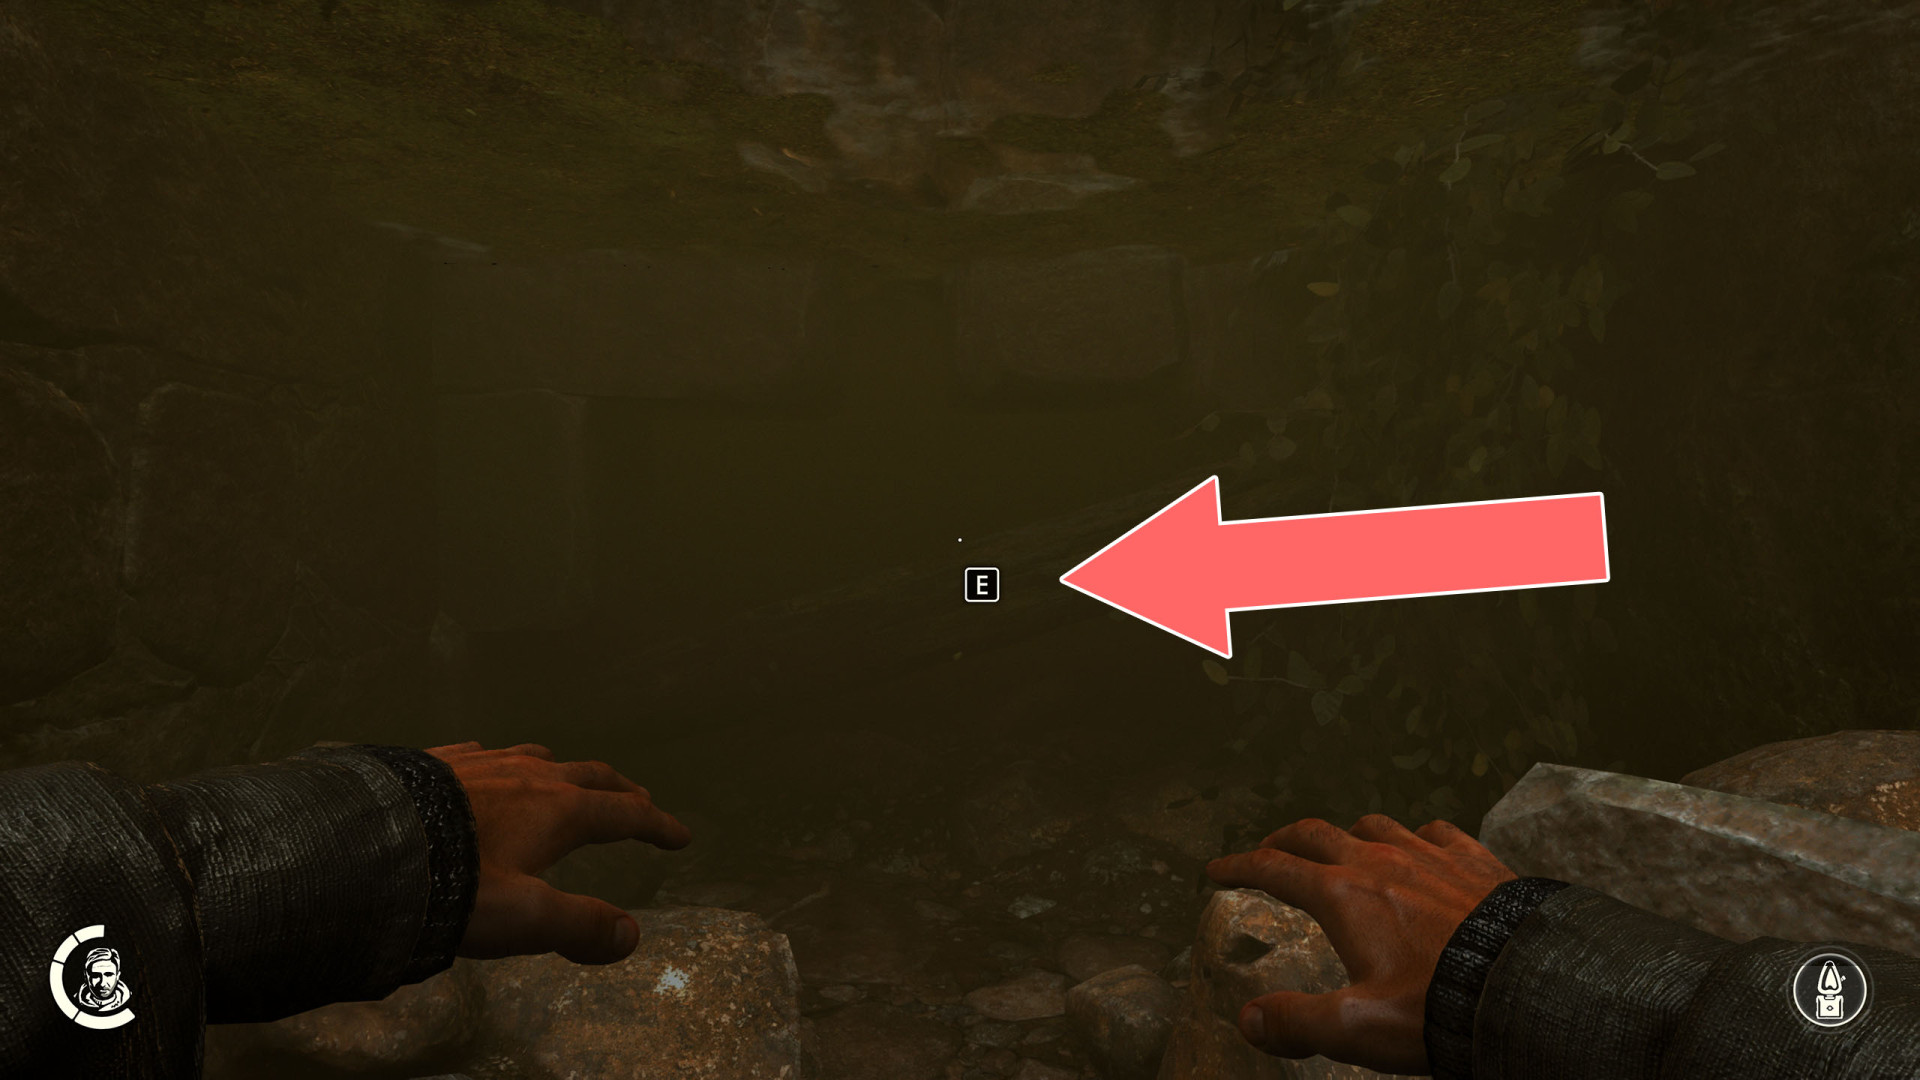
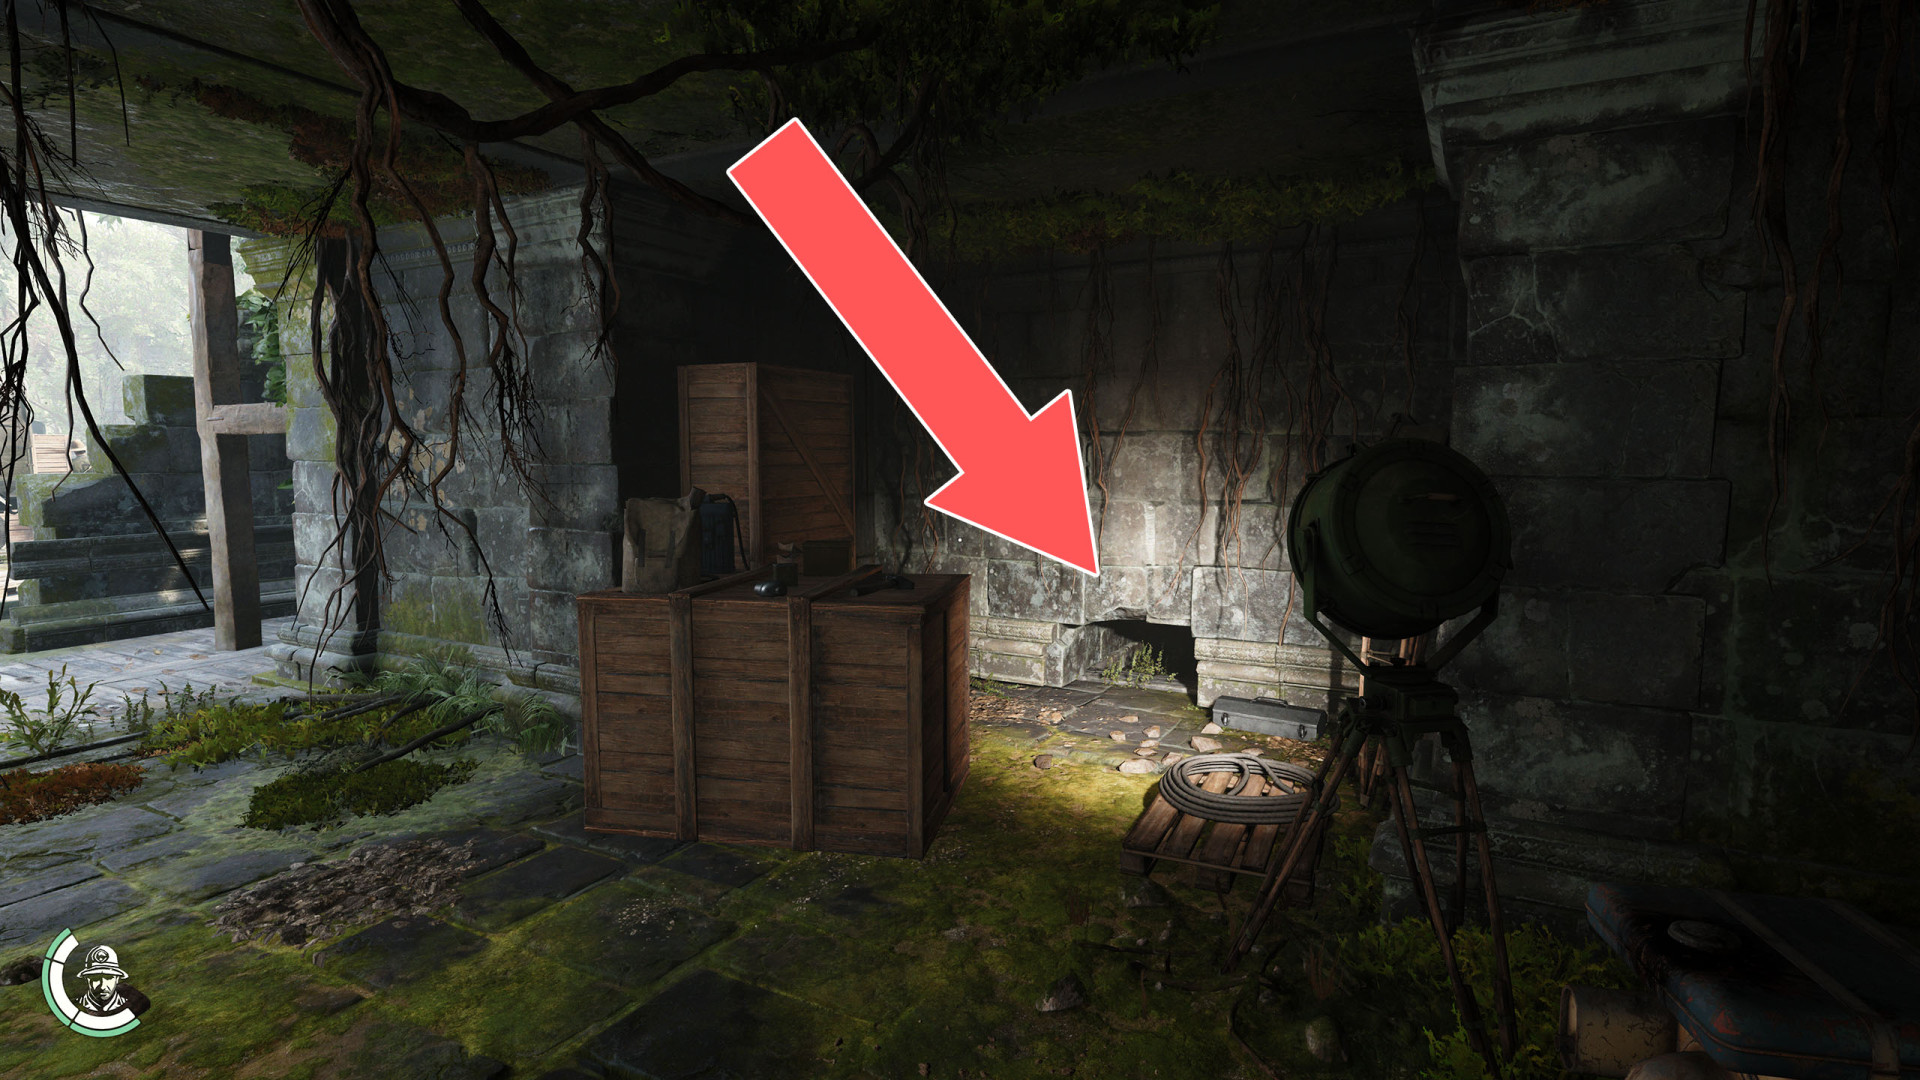
268Underwater Passage
To pass this way you need to revisit Shanghai after you reach the Sukhothai and buy the Rebreather. Dive, equip the Rebreather, move the beam blocking the way and swim inside.
Locations on Sukhothai
269Crawl Hole
270Crawl Hole
271Crawl Space
272Crawl Space
273Crawl Space

274Crawl Space
275Crawl Space
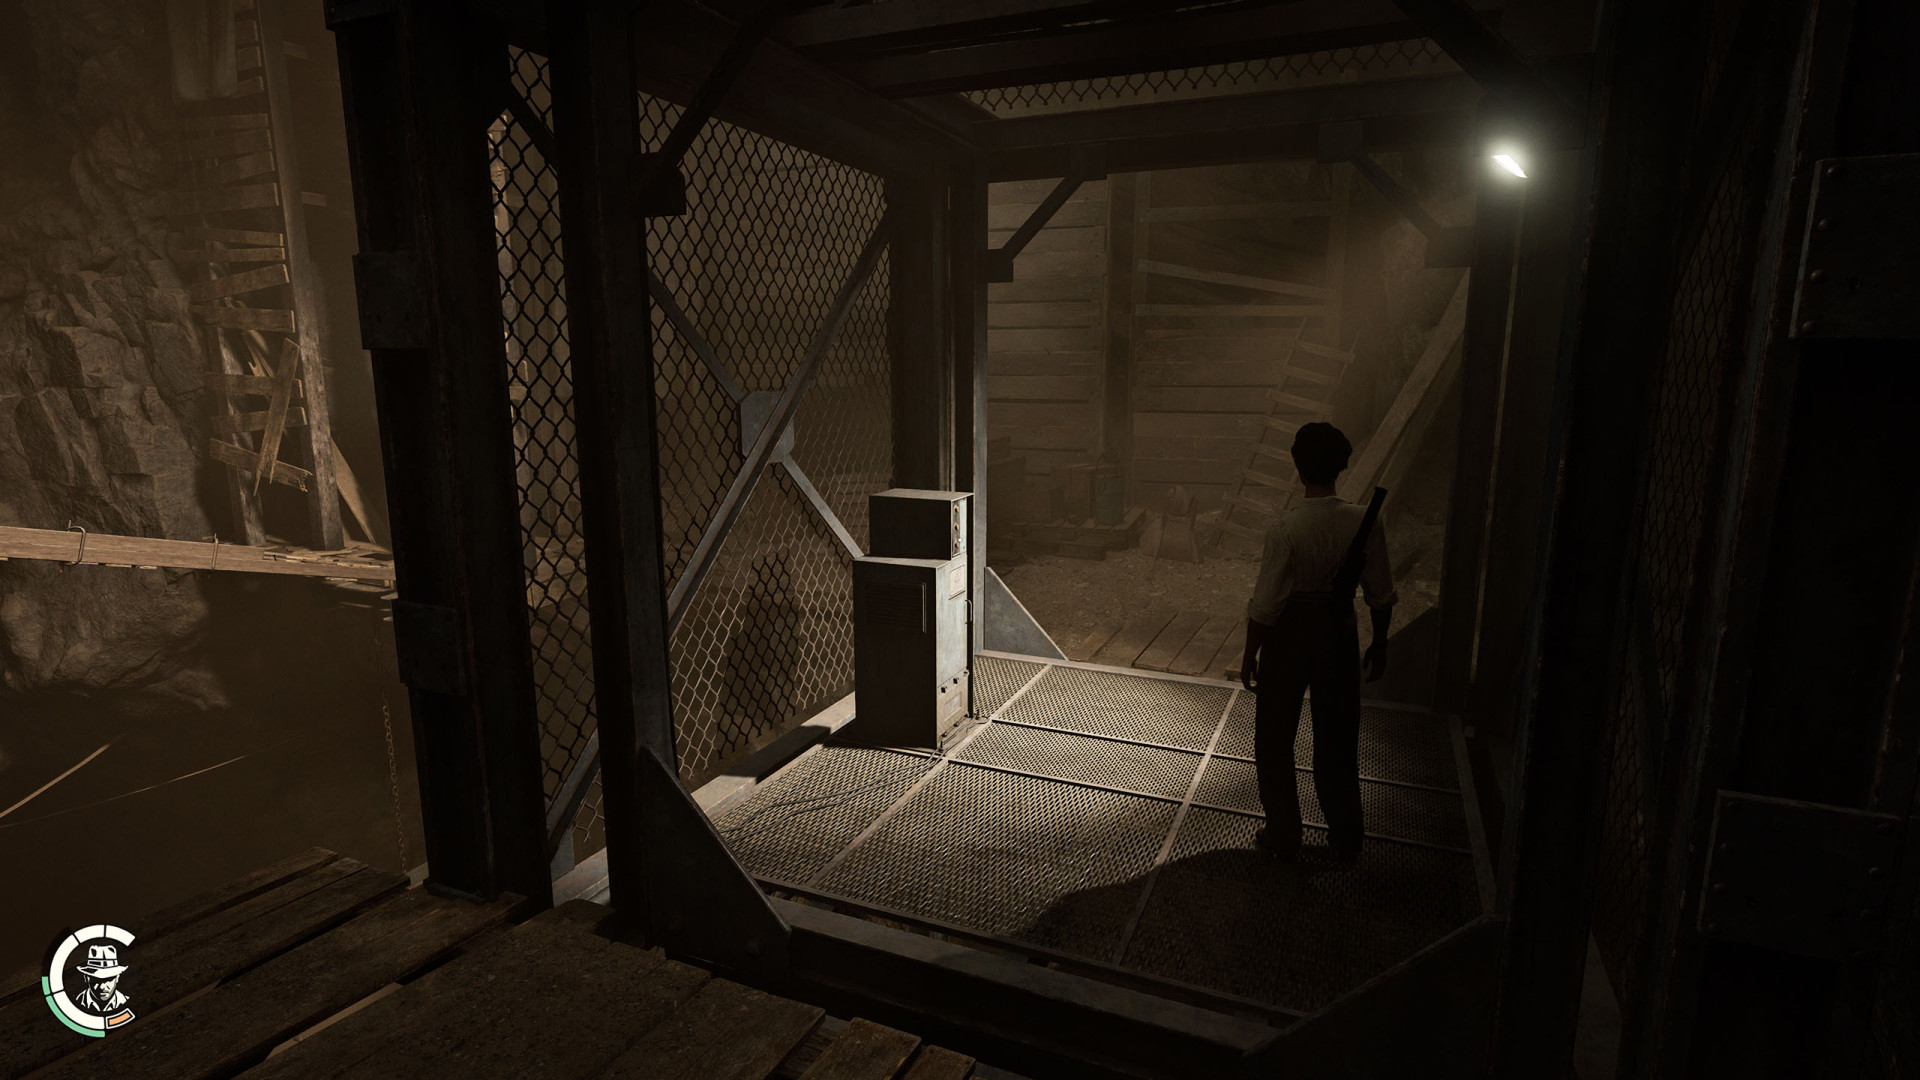
276Elevator
277Fence Hole
278Fence Hole
279Fence Hole
280Grappling Point
281Grappling Point
282Grappling Point
283Grappling Point
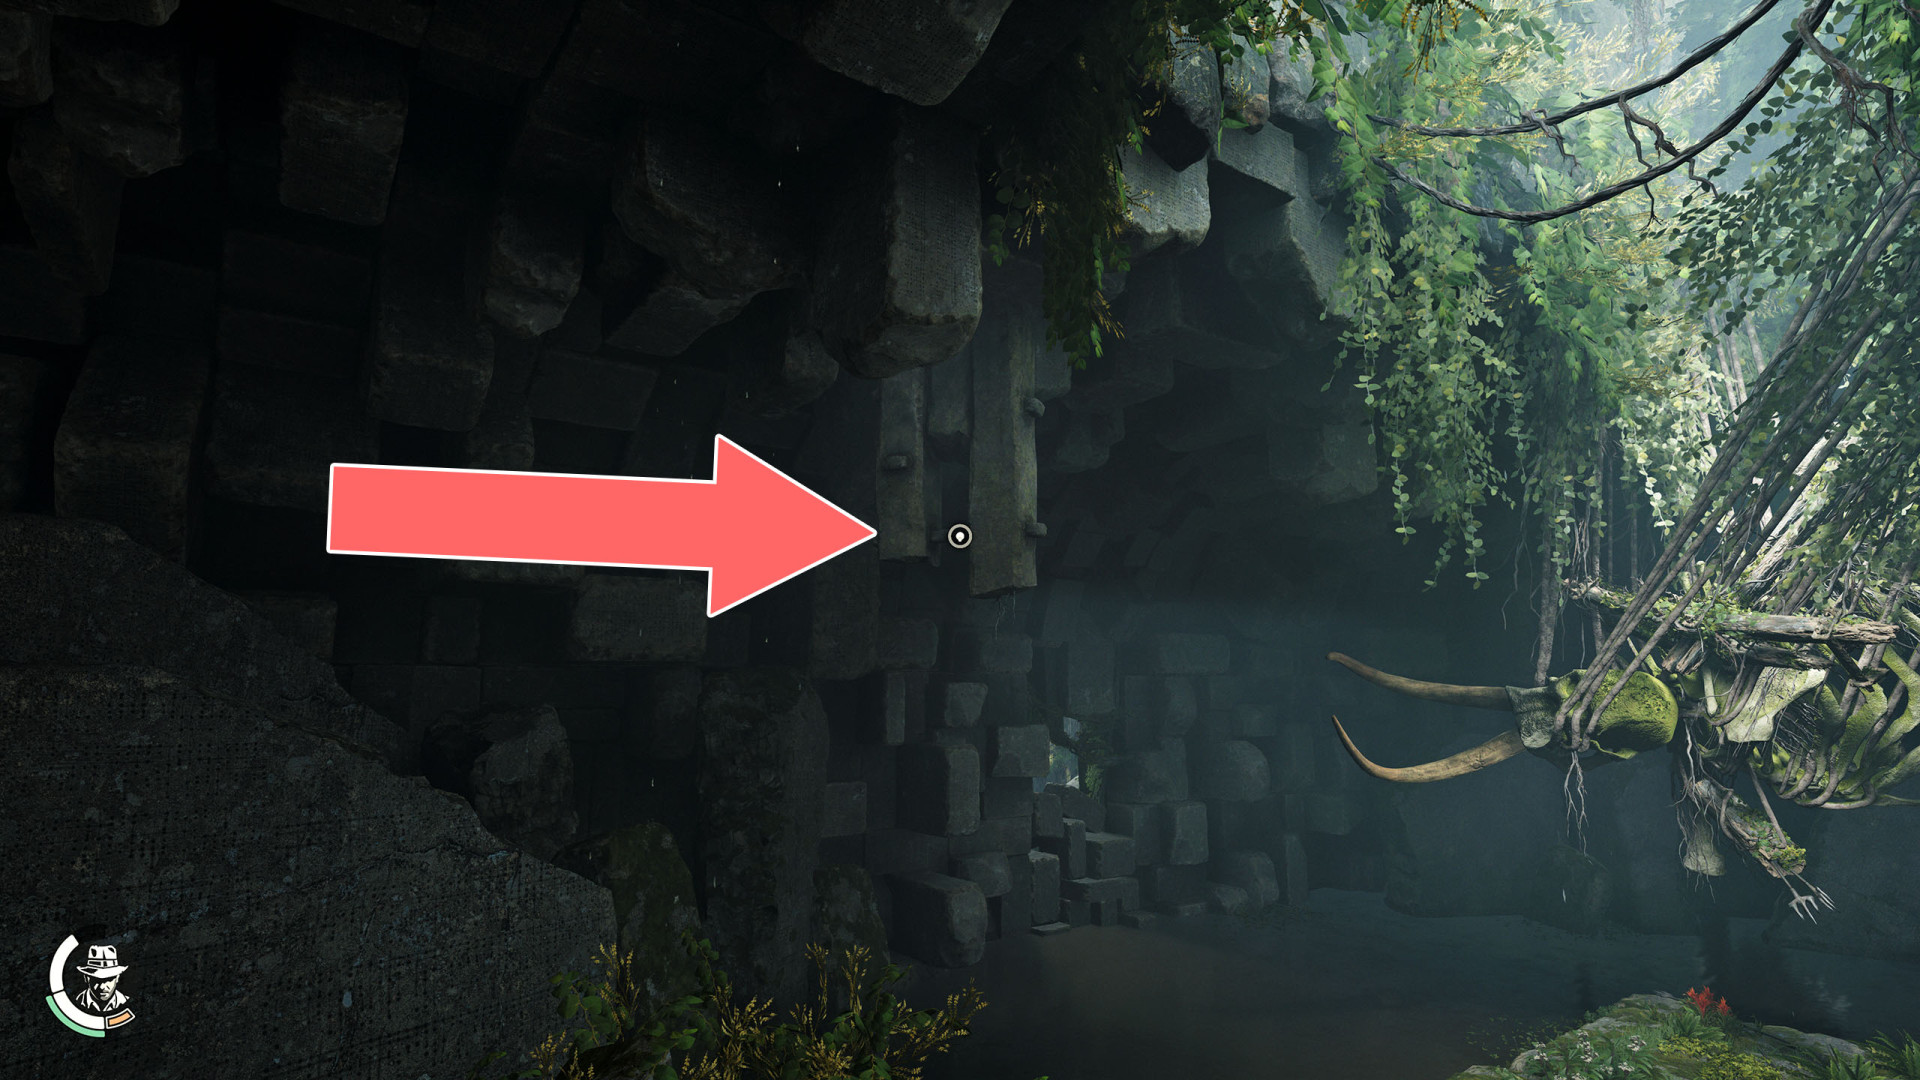
284Grappling Point
285Grappling Point
286Grappling Point
287Grappling Point
288Grappling Point
289Grappling Point
290Grappling Point
291Grappling Point
292Grappling Point
293Grappling Point
294Grappling Point
295Grappling Point
296Grappling Point
297Grappling Point
298Grappling Point
299Grappling Point
300Grappling Point
301Grappling Point
302Grappling Point
303Grappling Point
304Grappling Point
305Grappling Point
306Grappling Point
307Grappling Point
308Grappling Point
After you throw a lit torch to Gina.
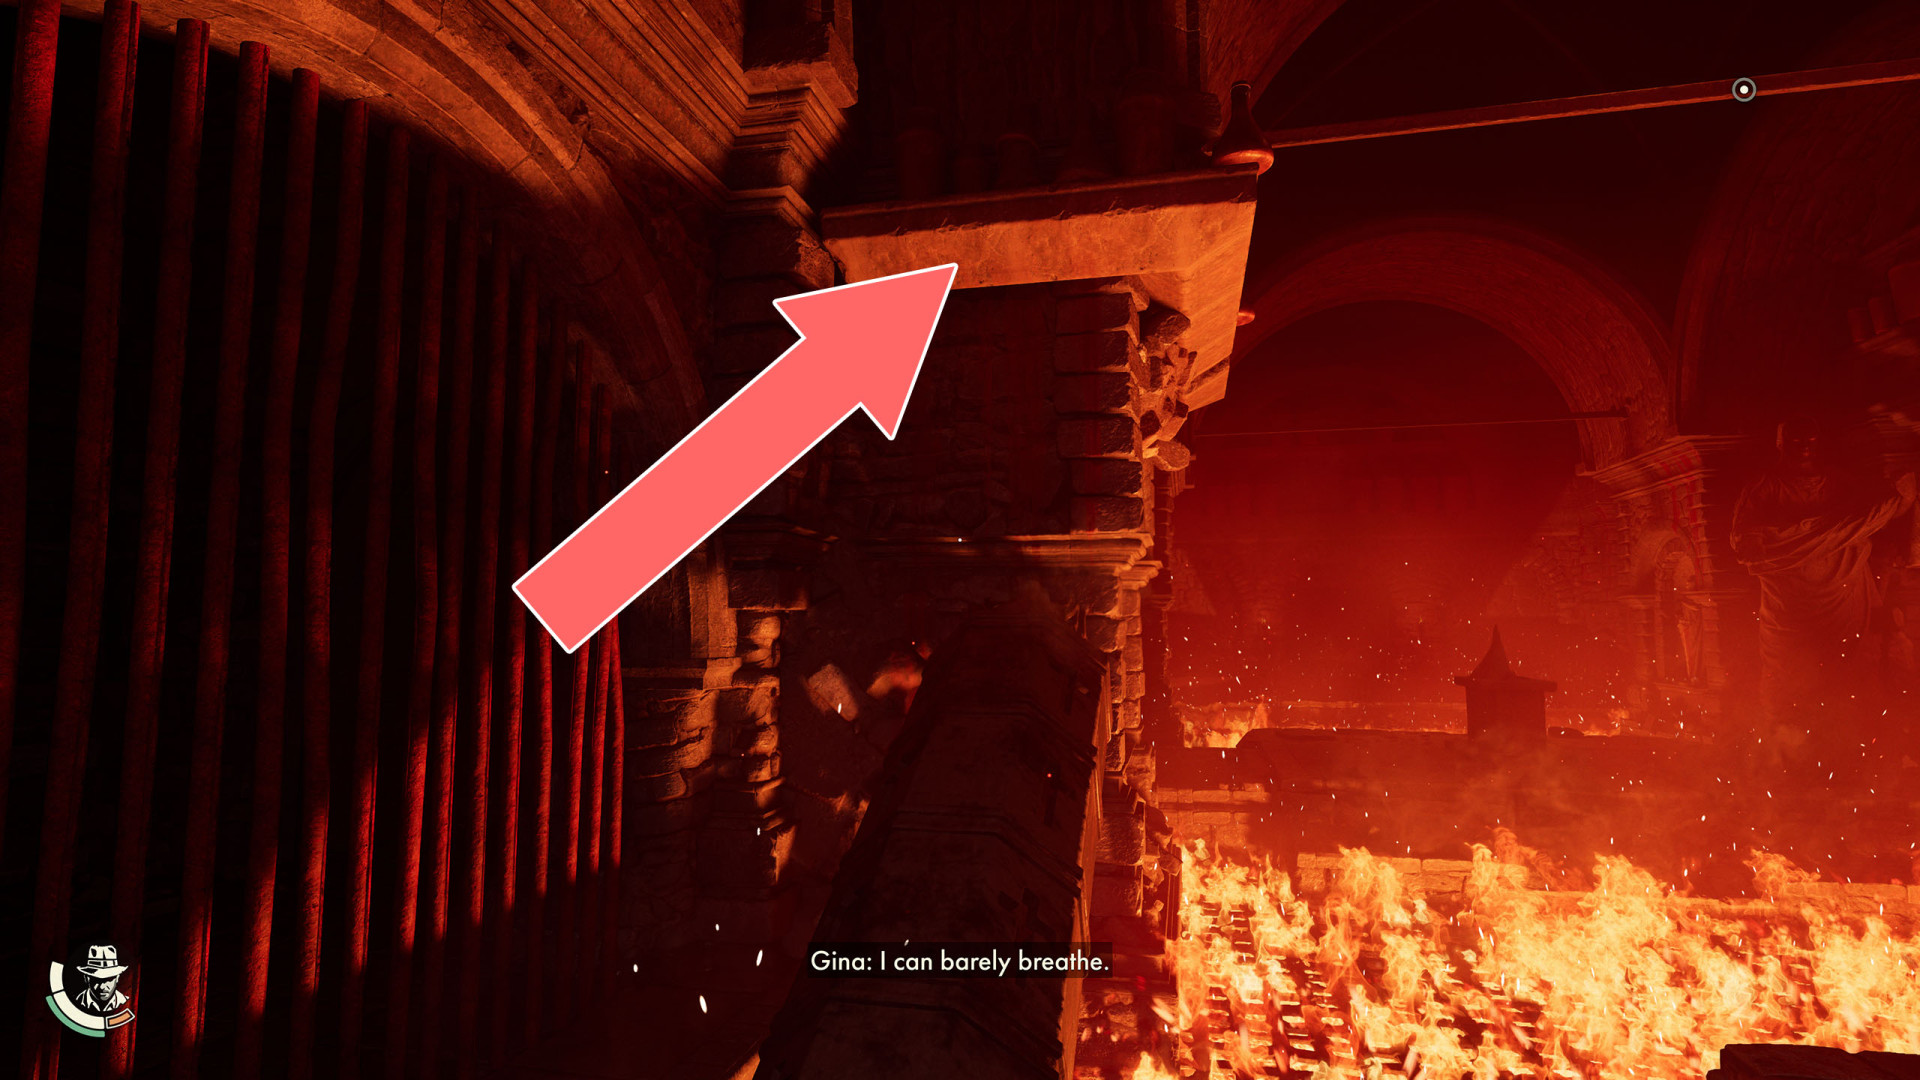
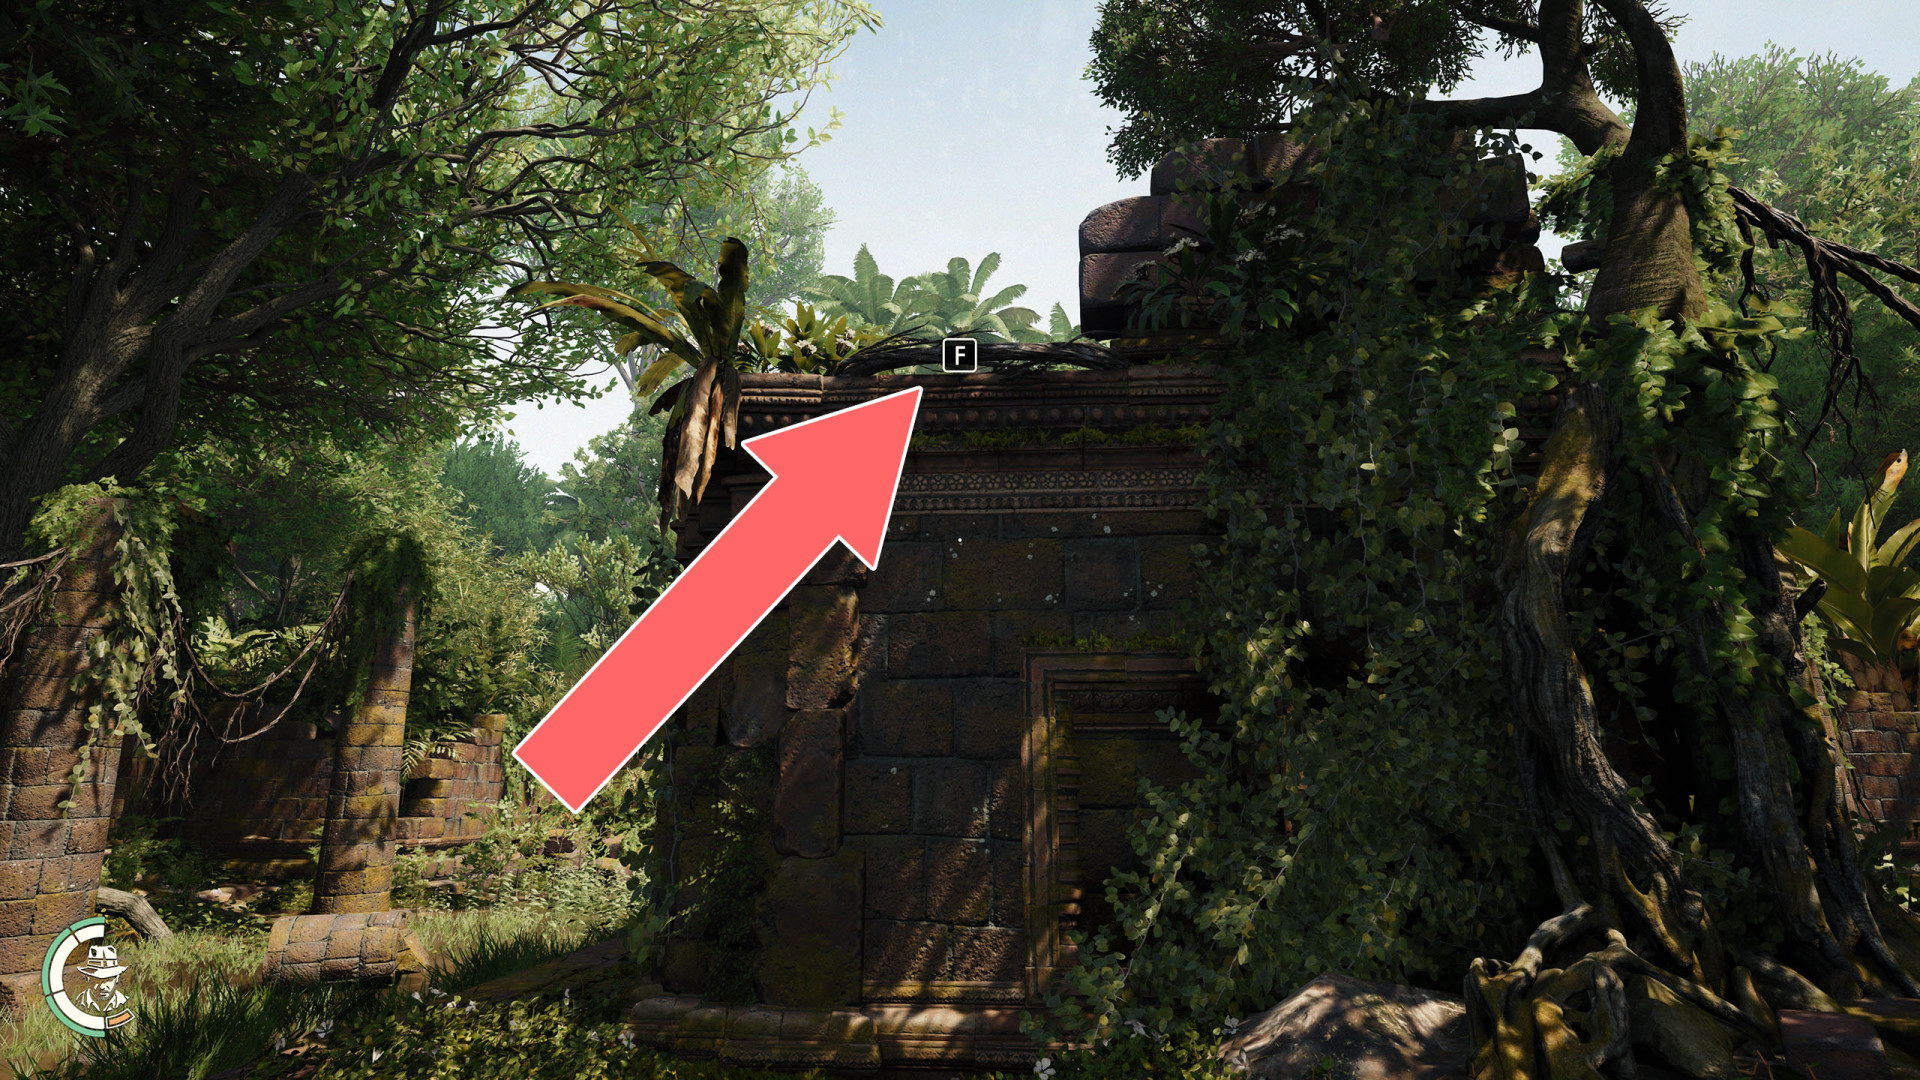
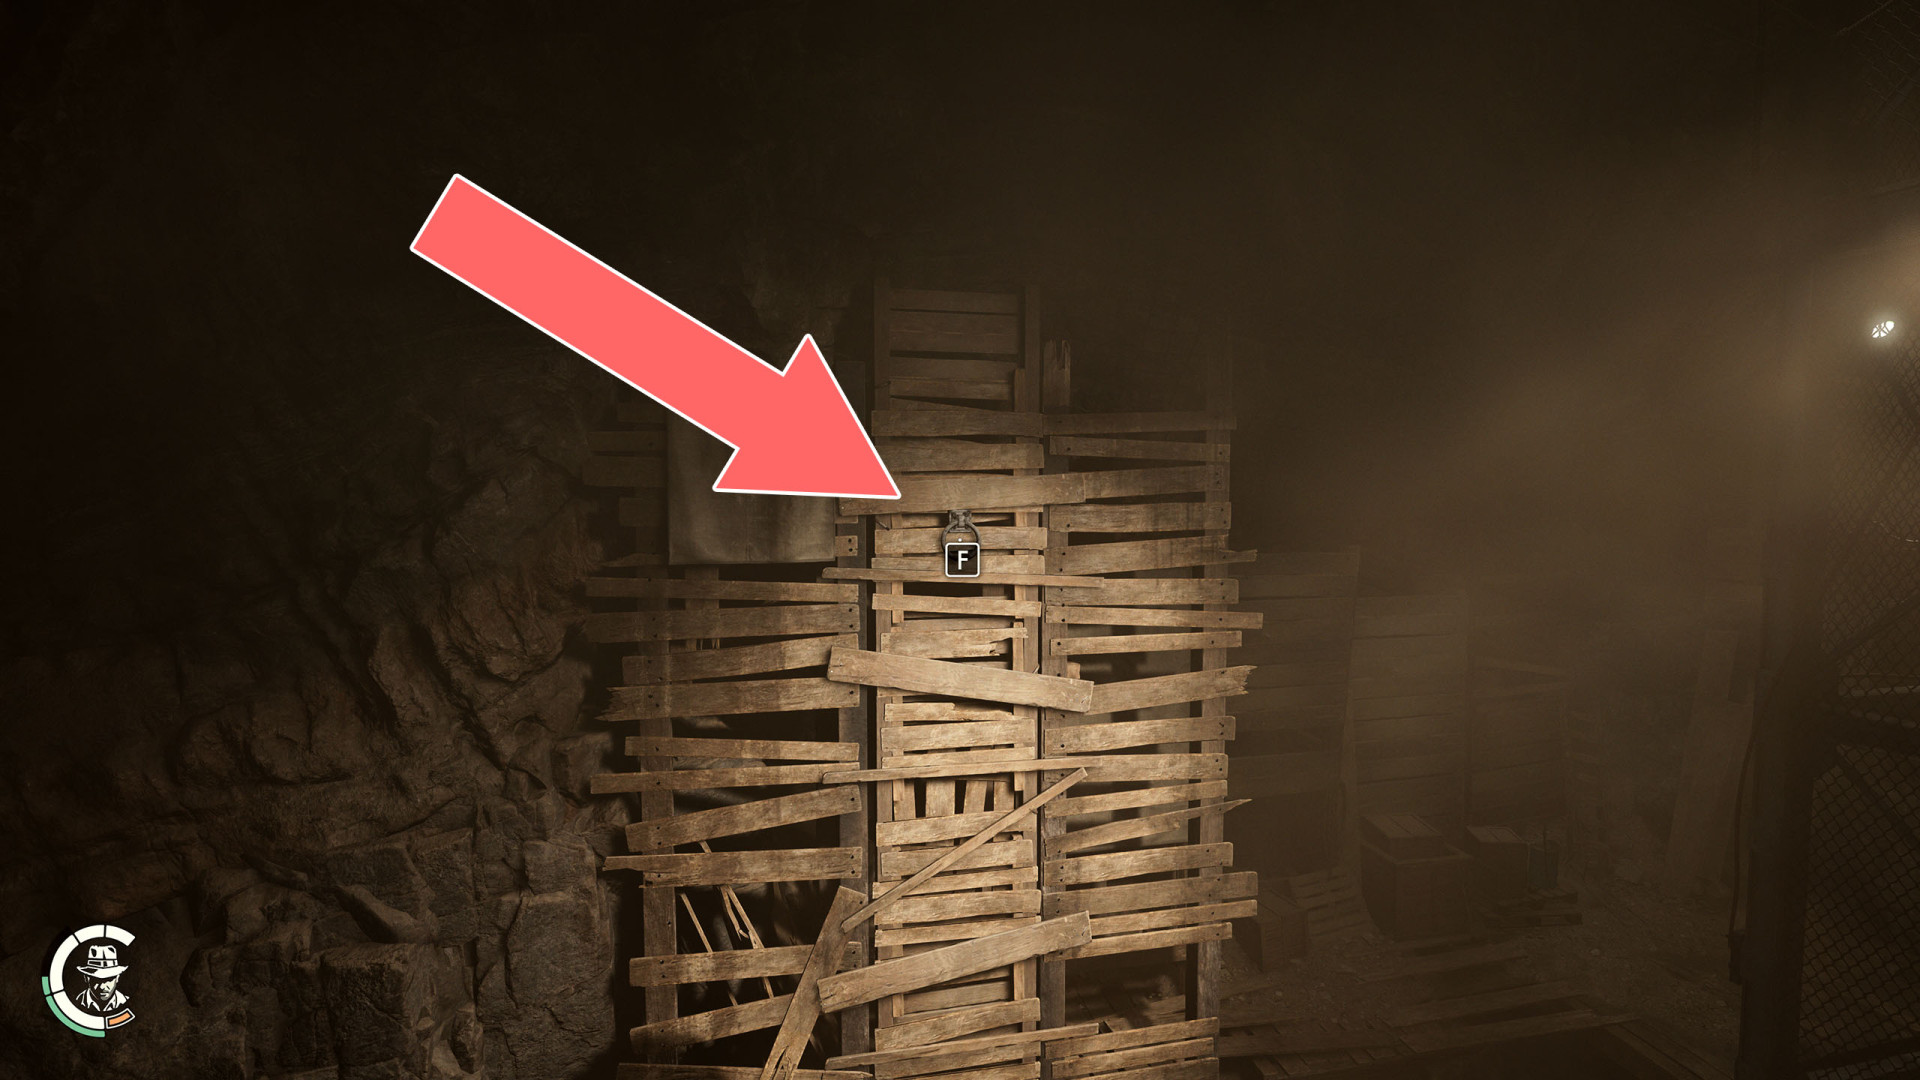
309Grappling Point
To unlock it, go around the room, approach it from the top and burn the hay covering it.

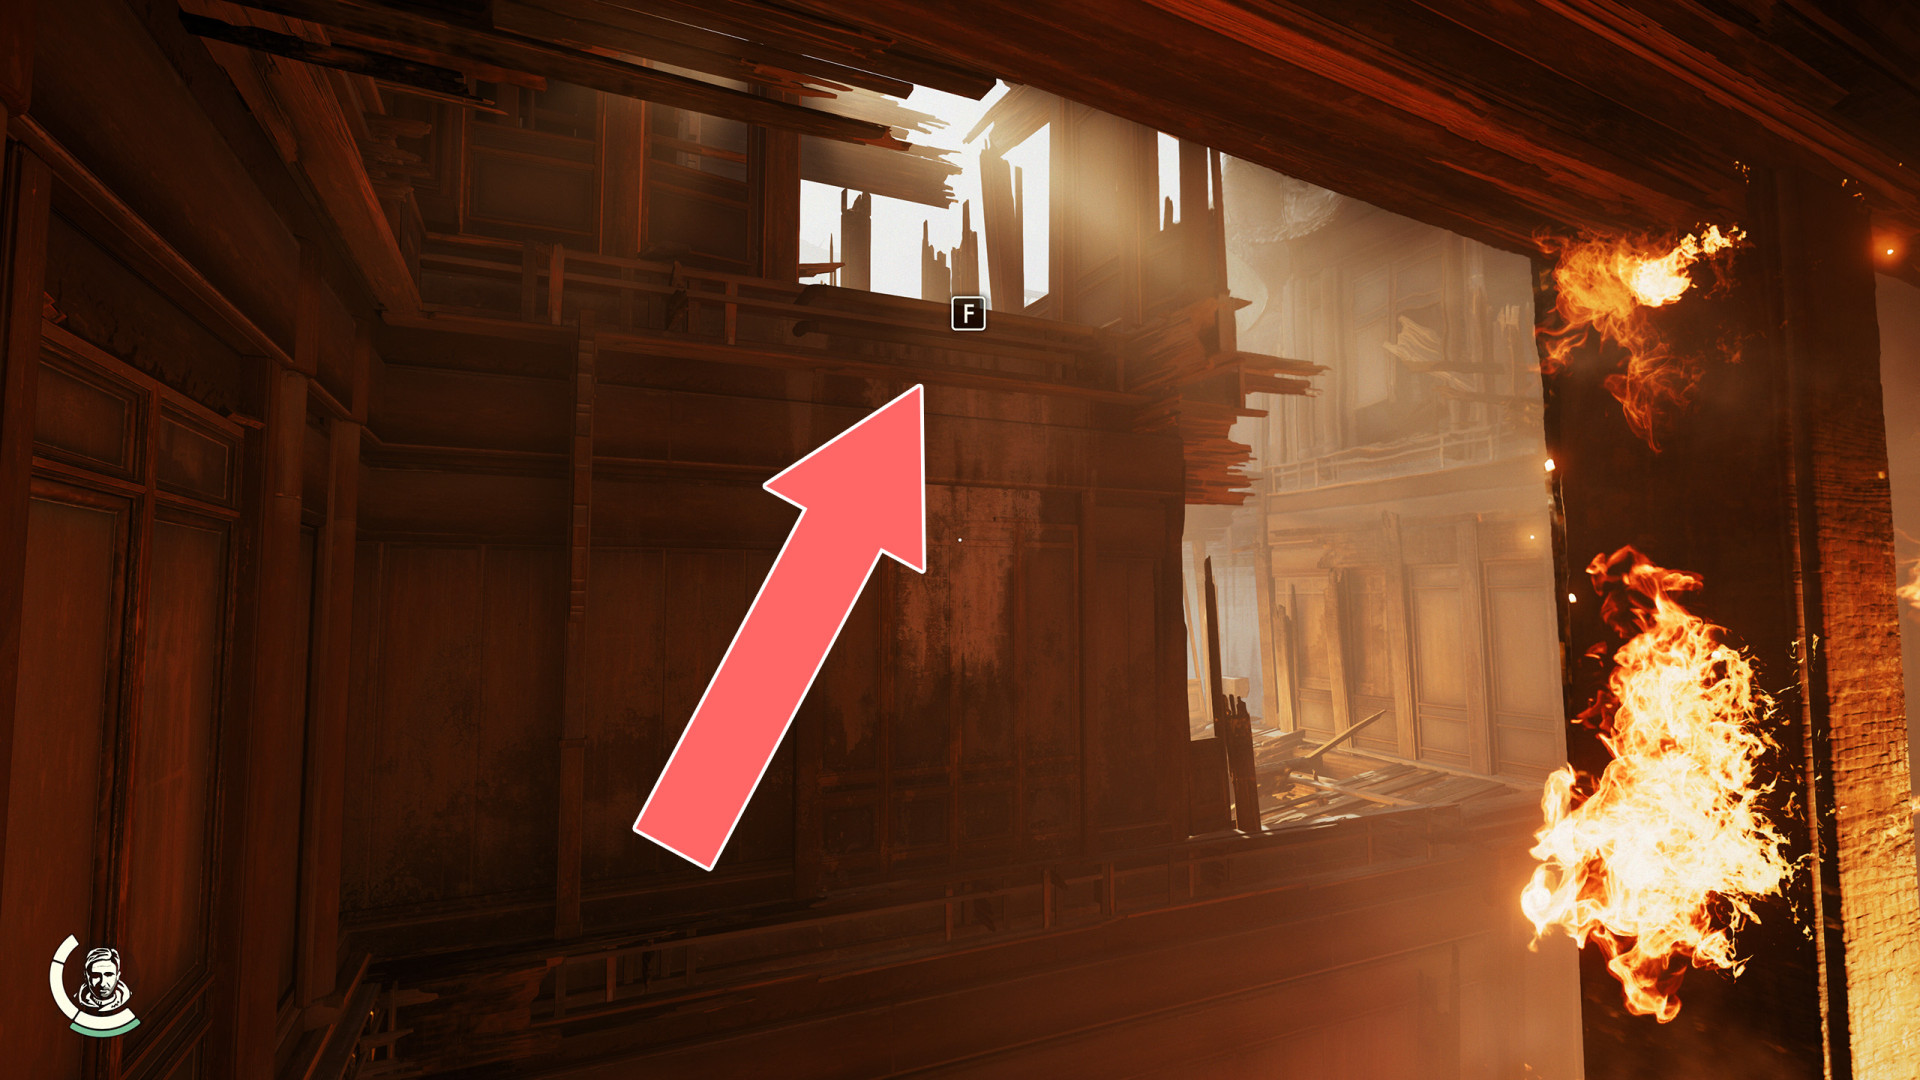
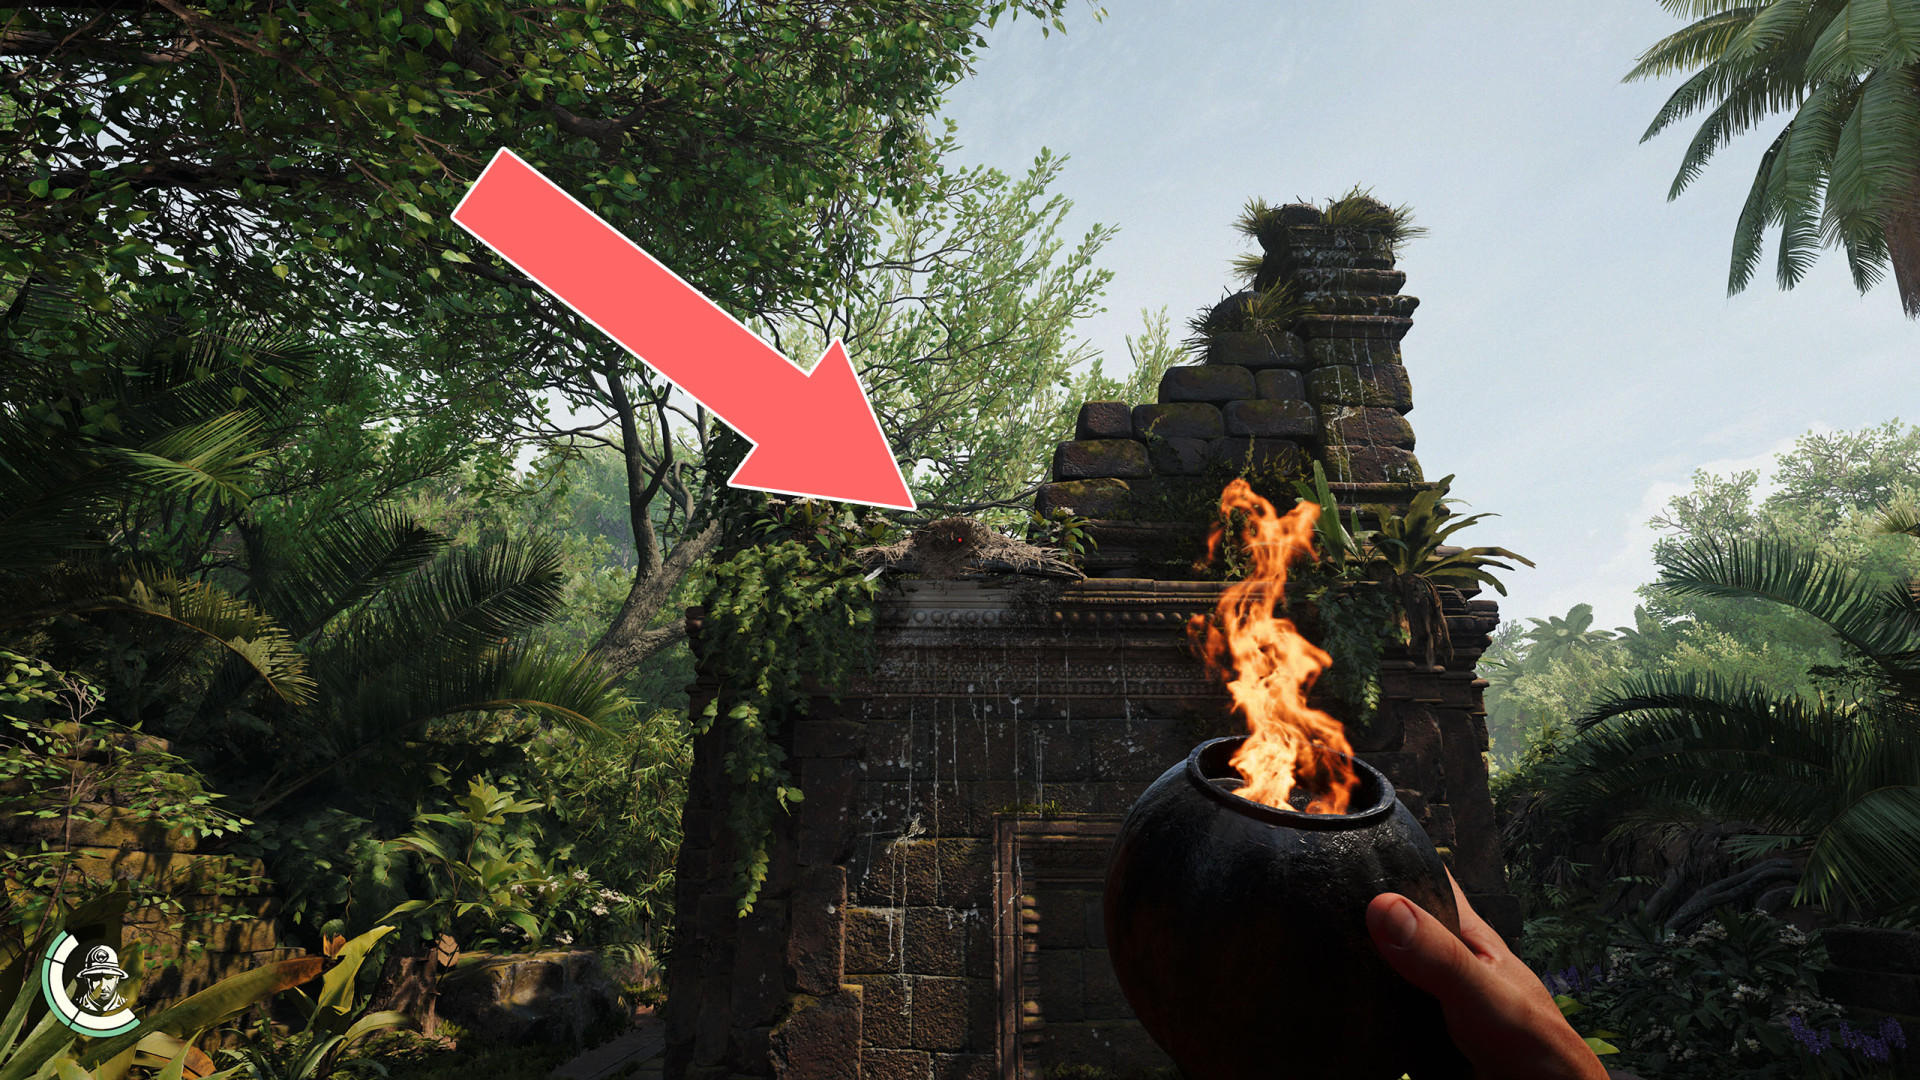
310Grappling Point
311Grappling Point
Get one of the Tar Jars, set it on fire and throw it to burn the hay covering the point.
312Grappling Point
313Grappling Point
314Grappling Point (X)

315Grappling Point (Y)
316Hidden Temple Entrance
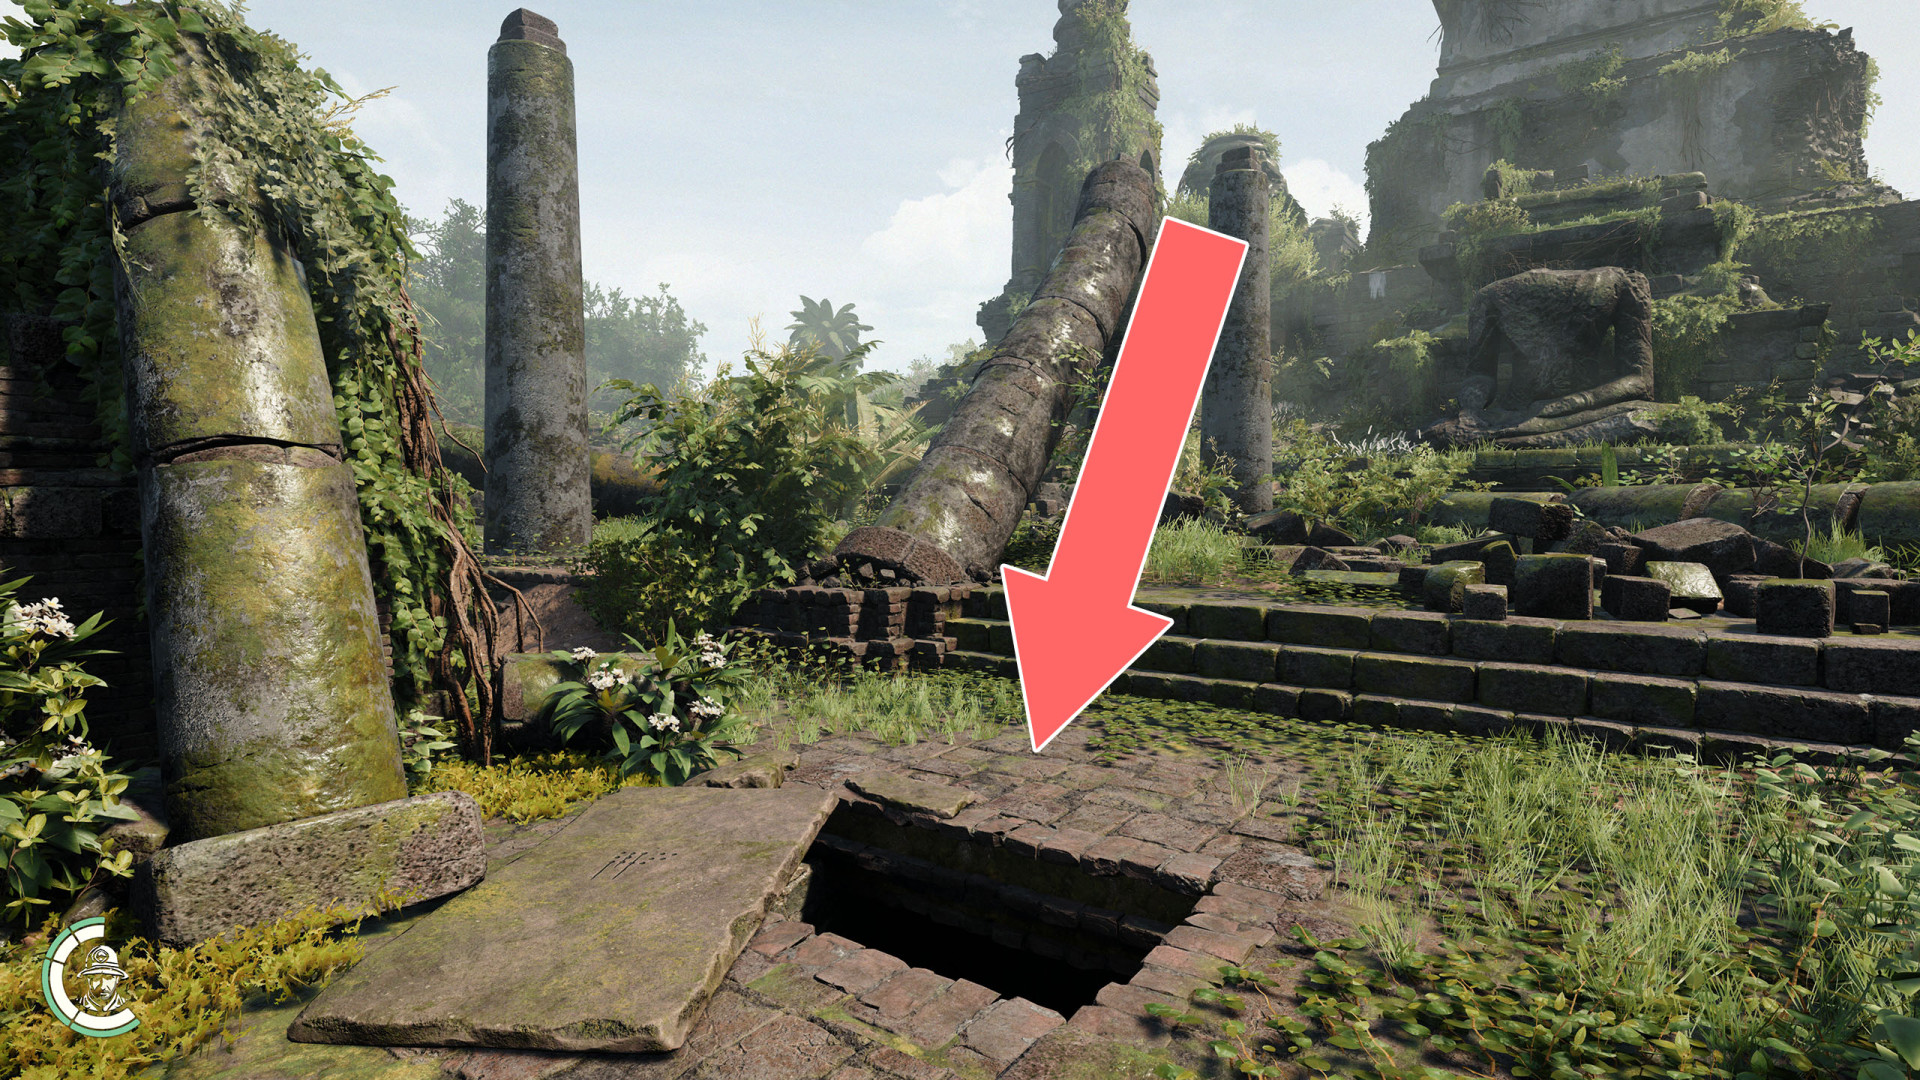
317Hidden Temple Entrance
318Khmer Vault Entrance
319Khmer Vault Entrance
320Khmer Warrior Temple

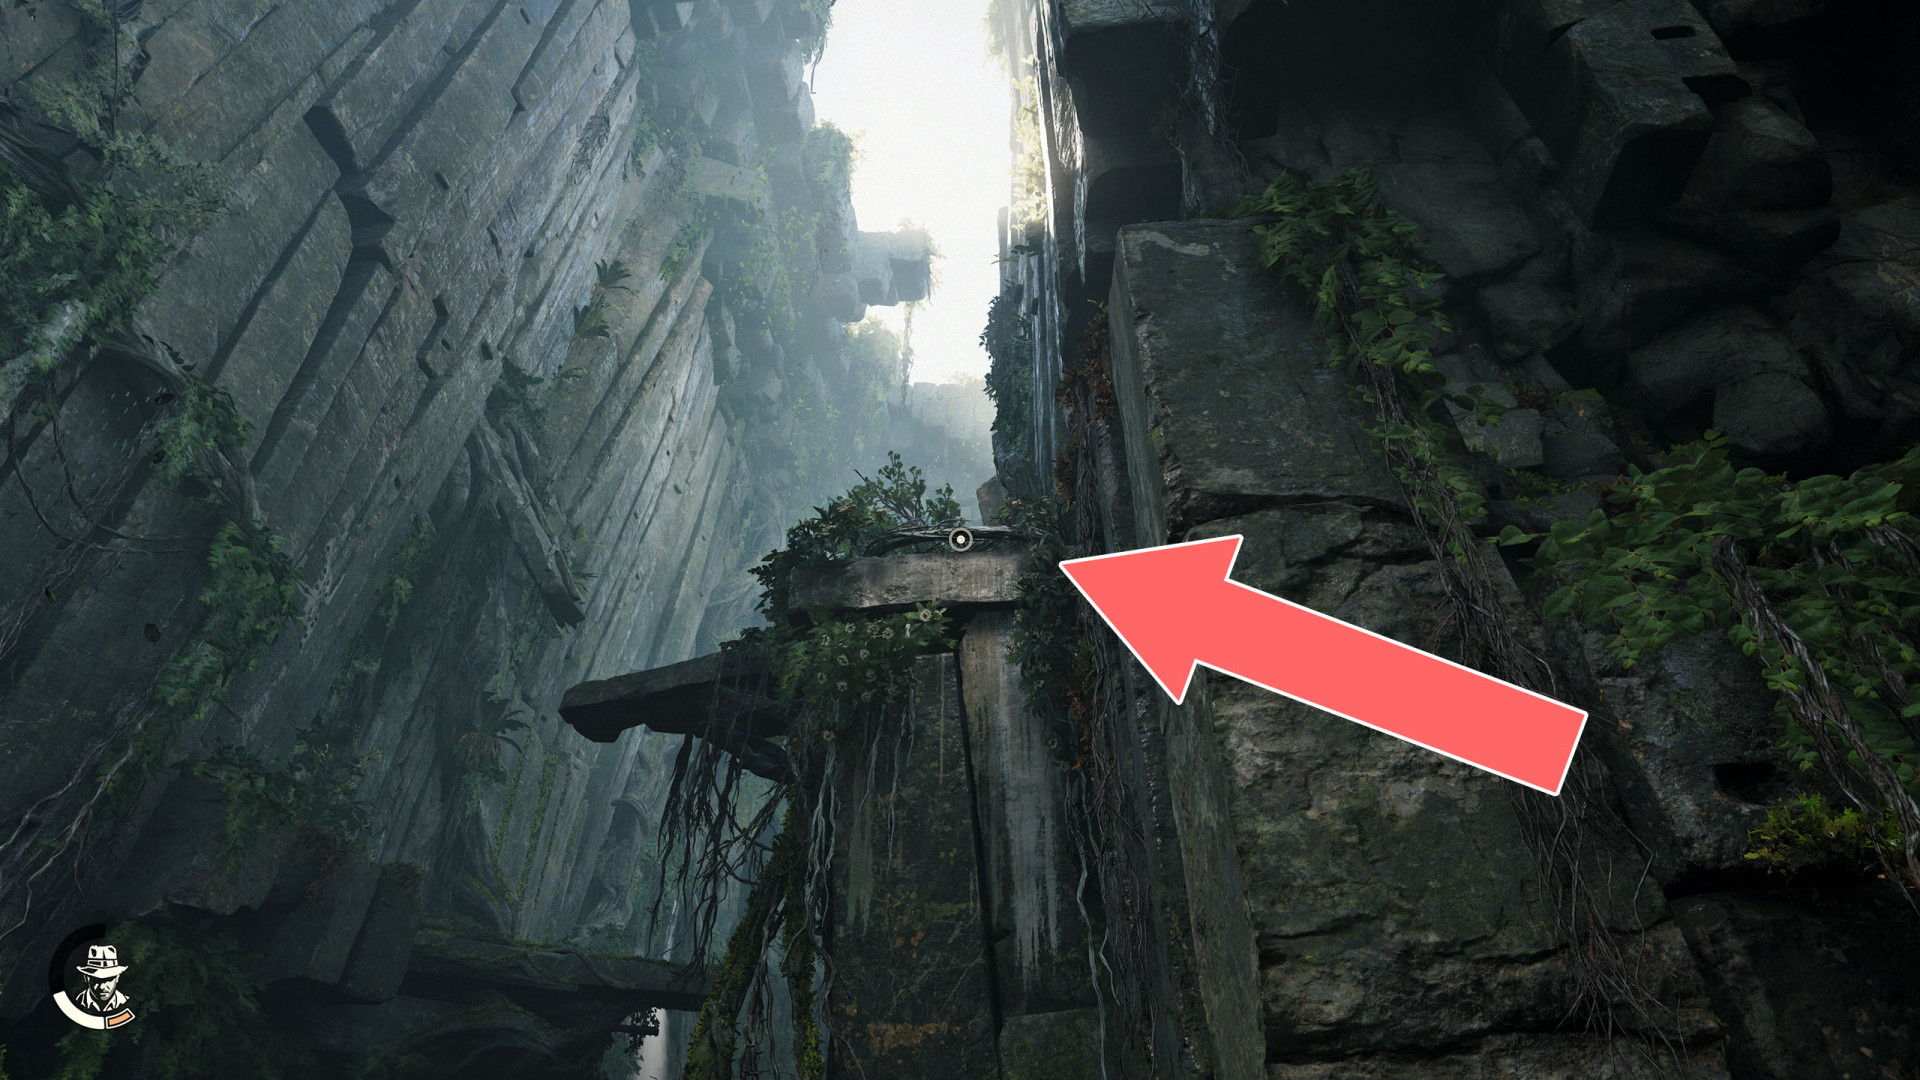
321Ledge
322Ledge
323Shaft
324To Sukhothai
325To the Village
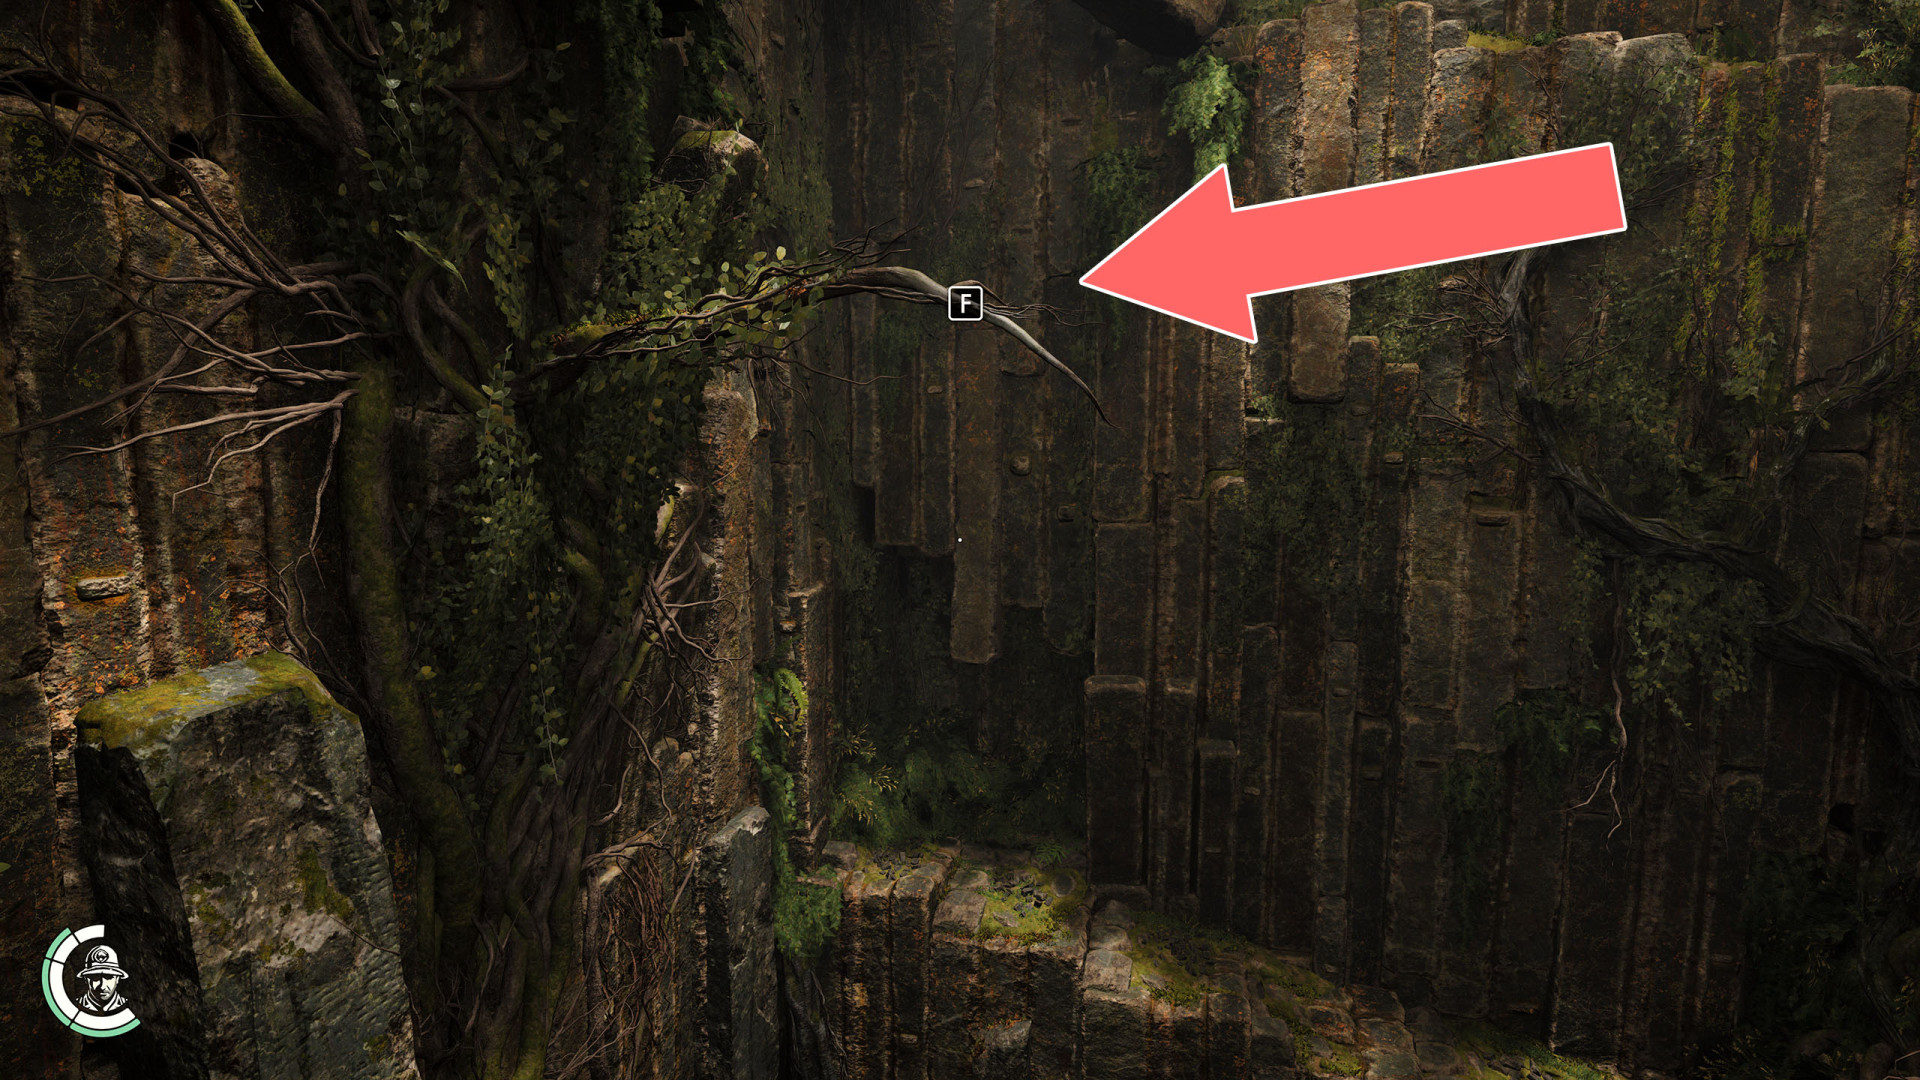
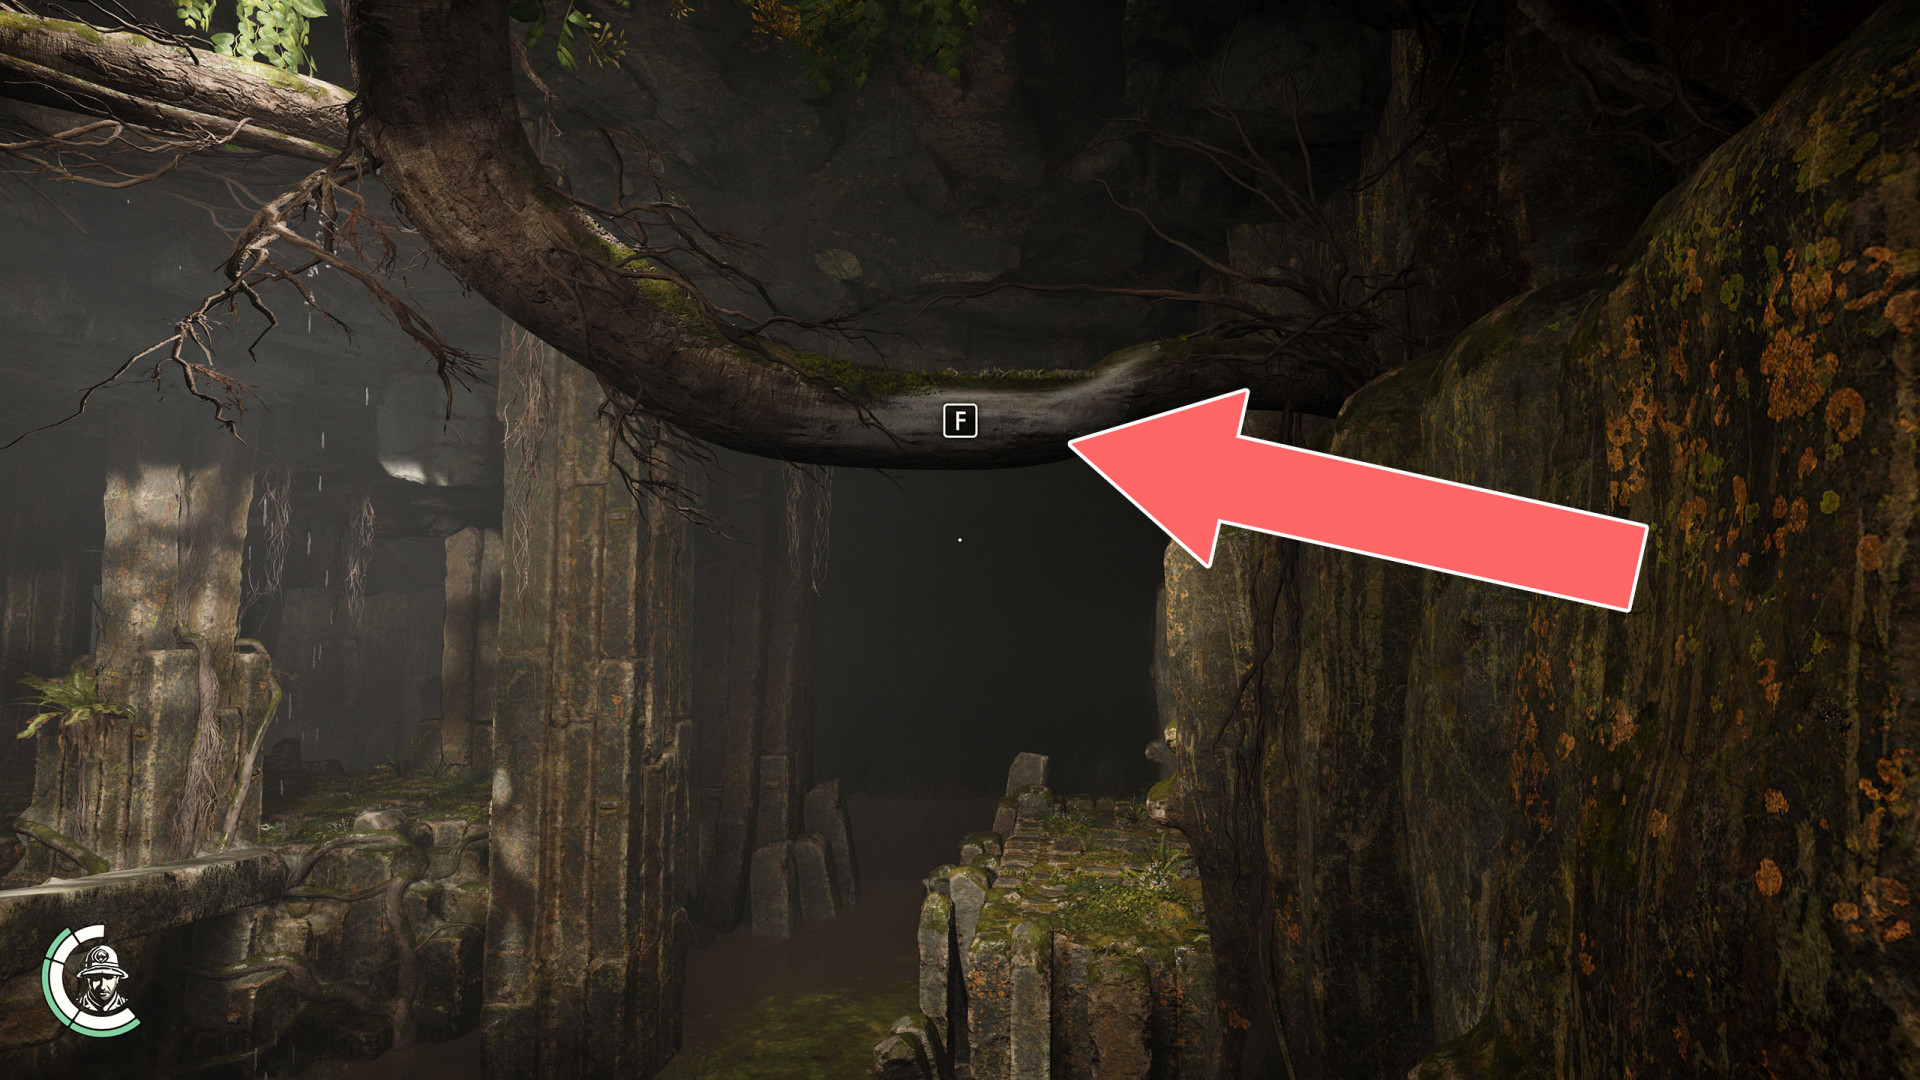
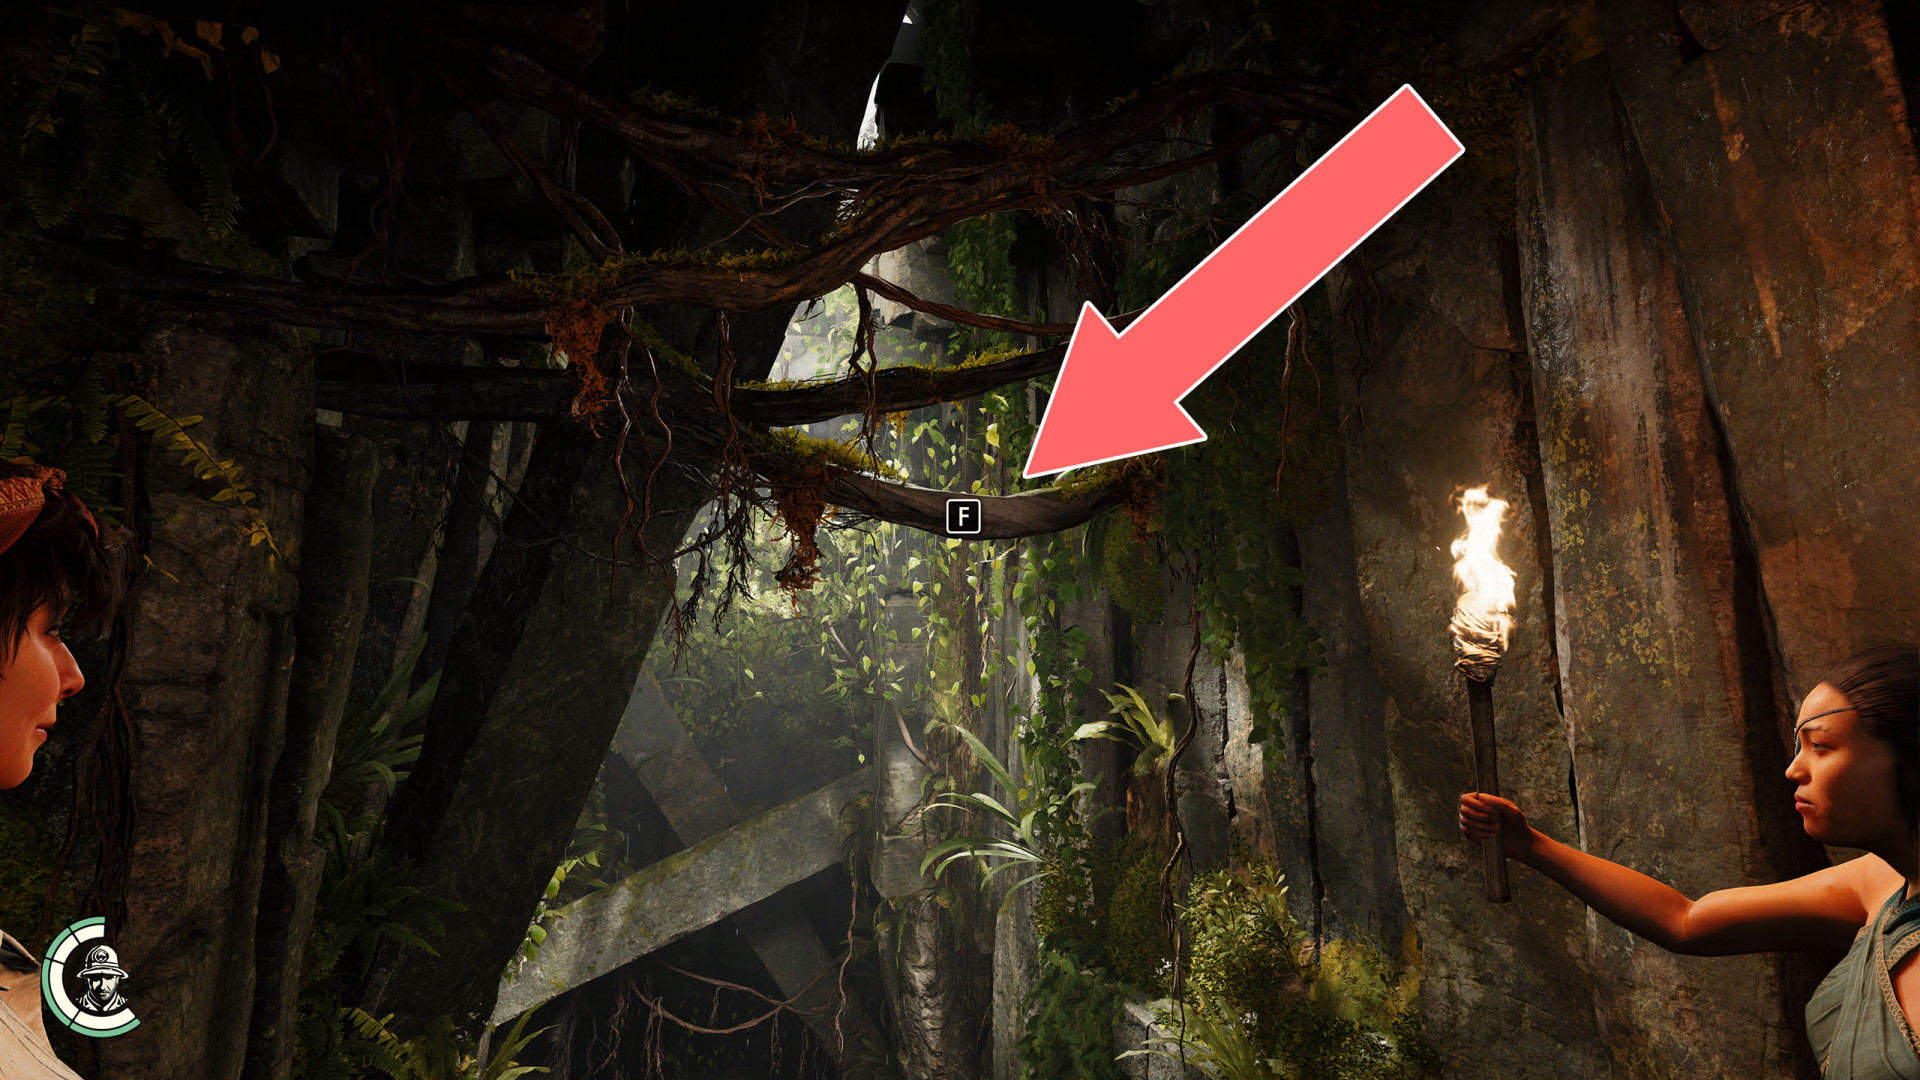
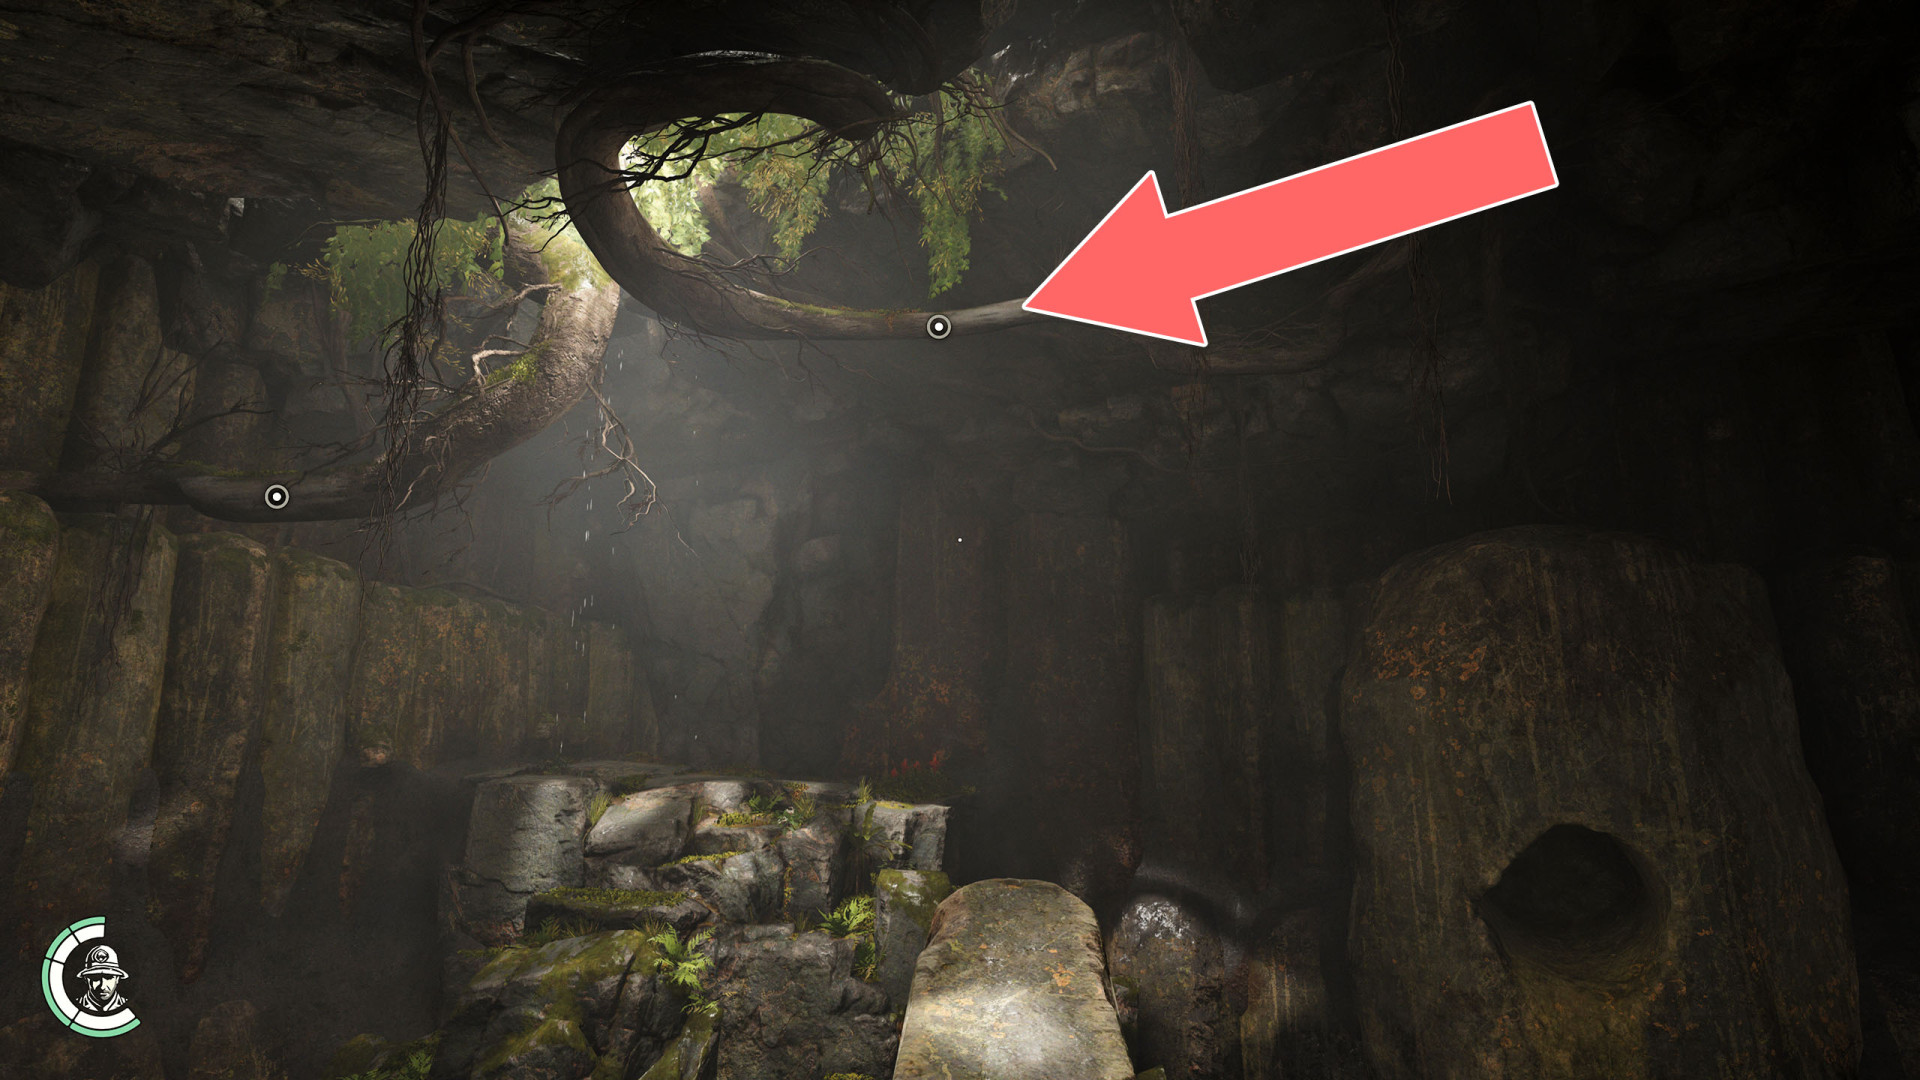
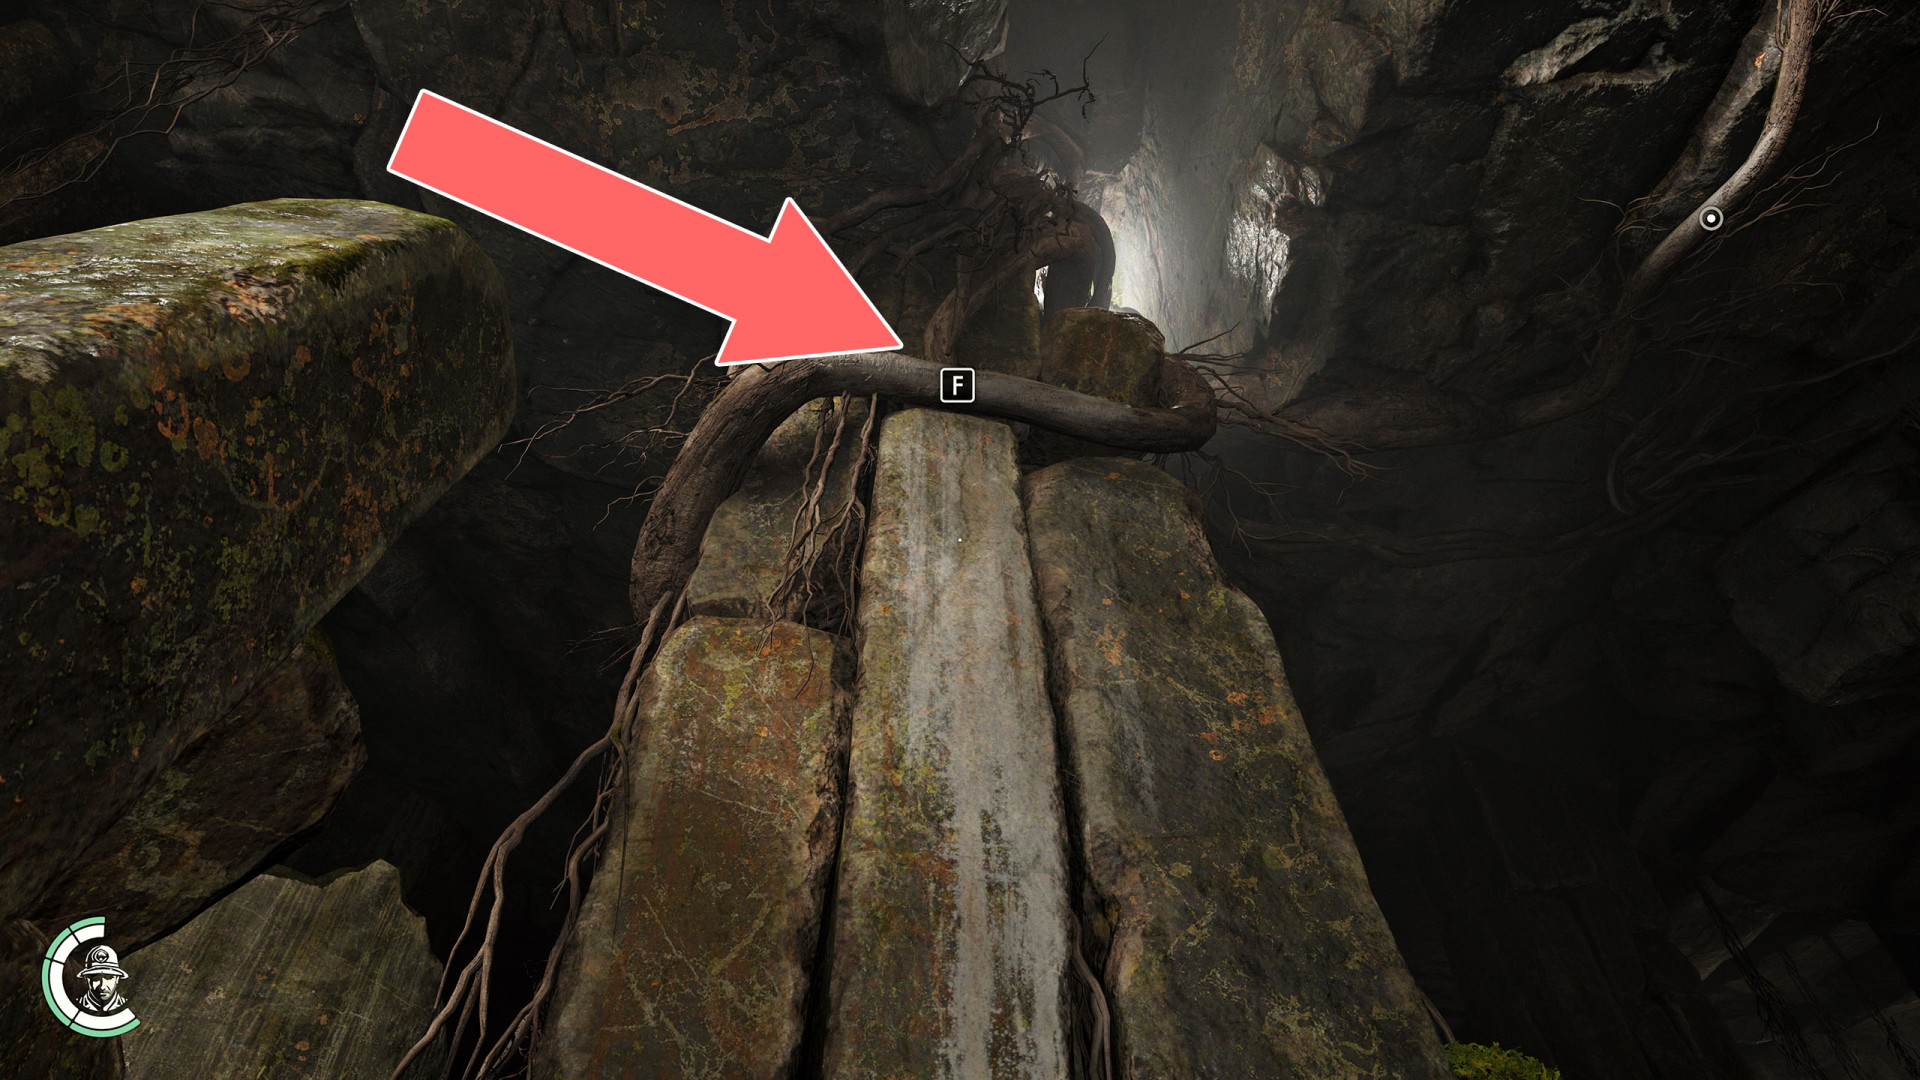
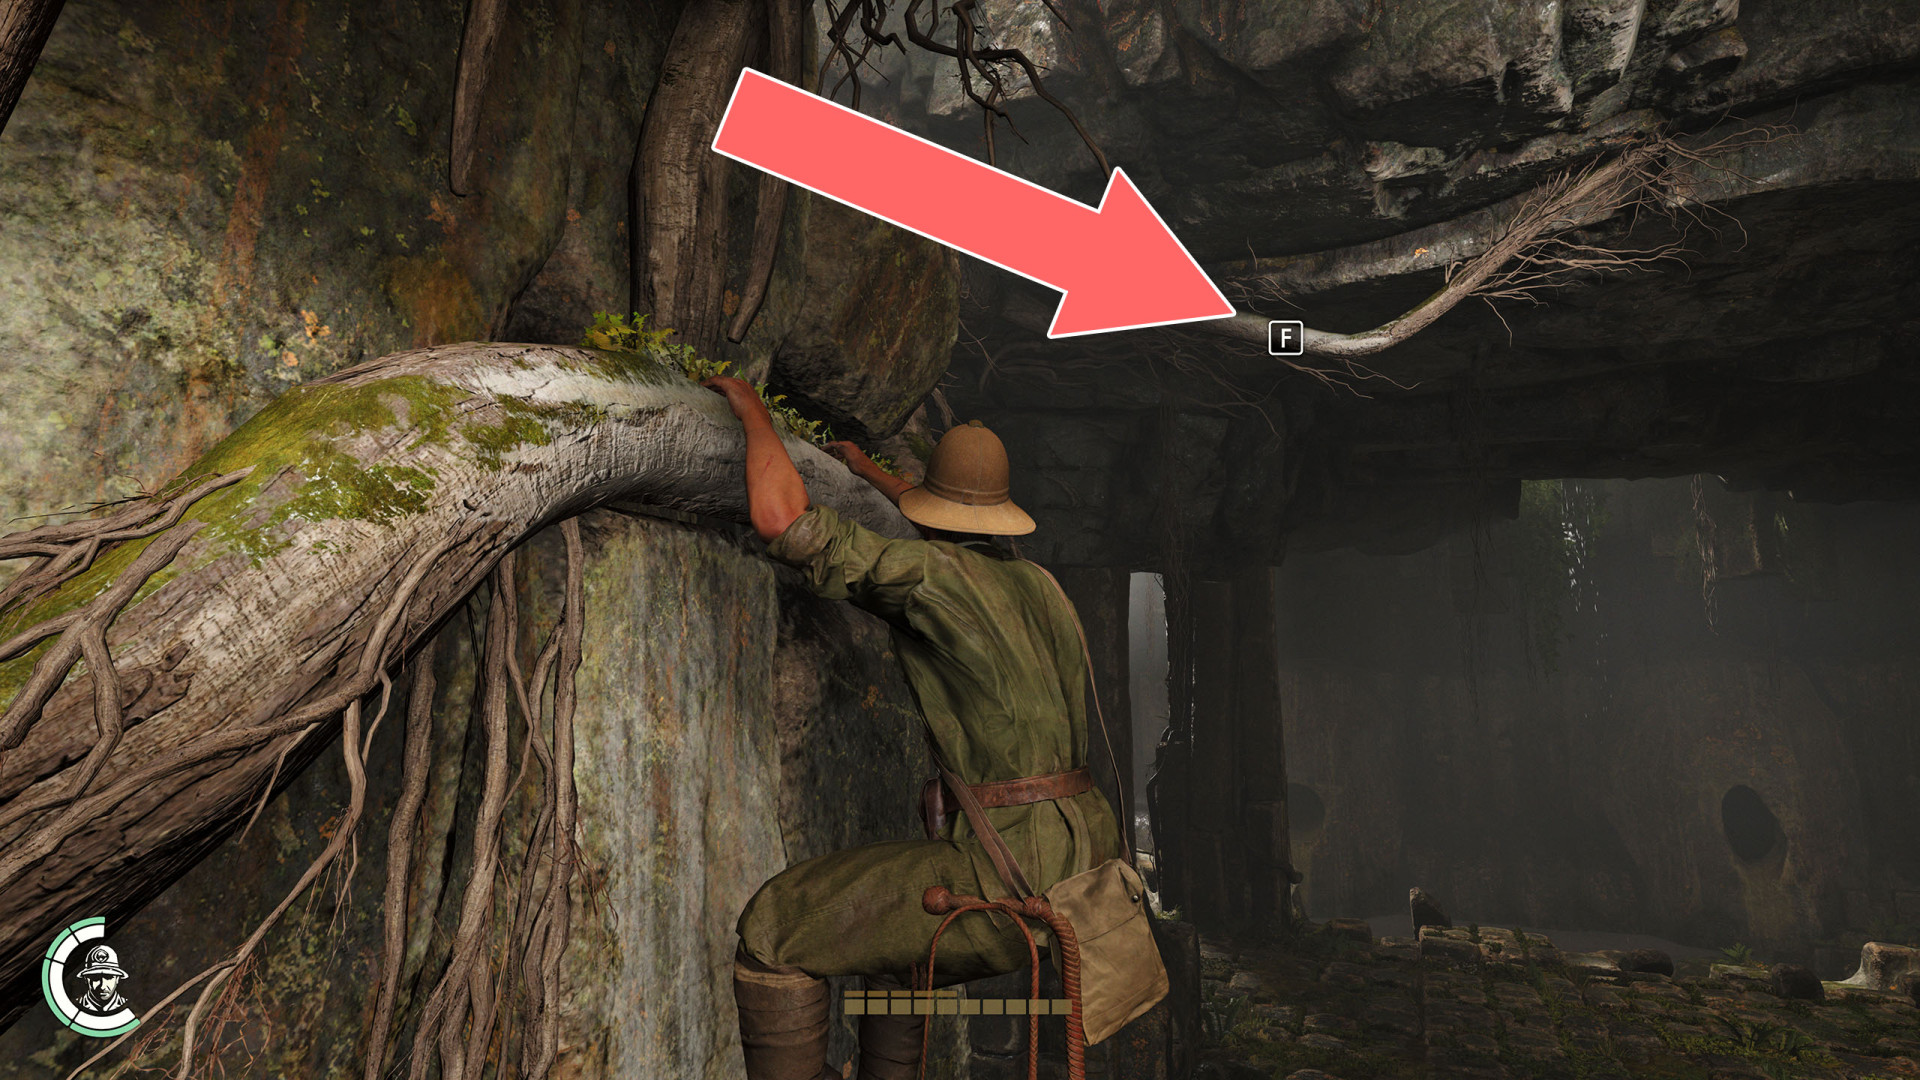
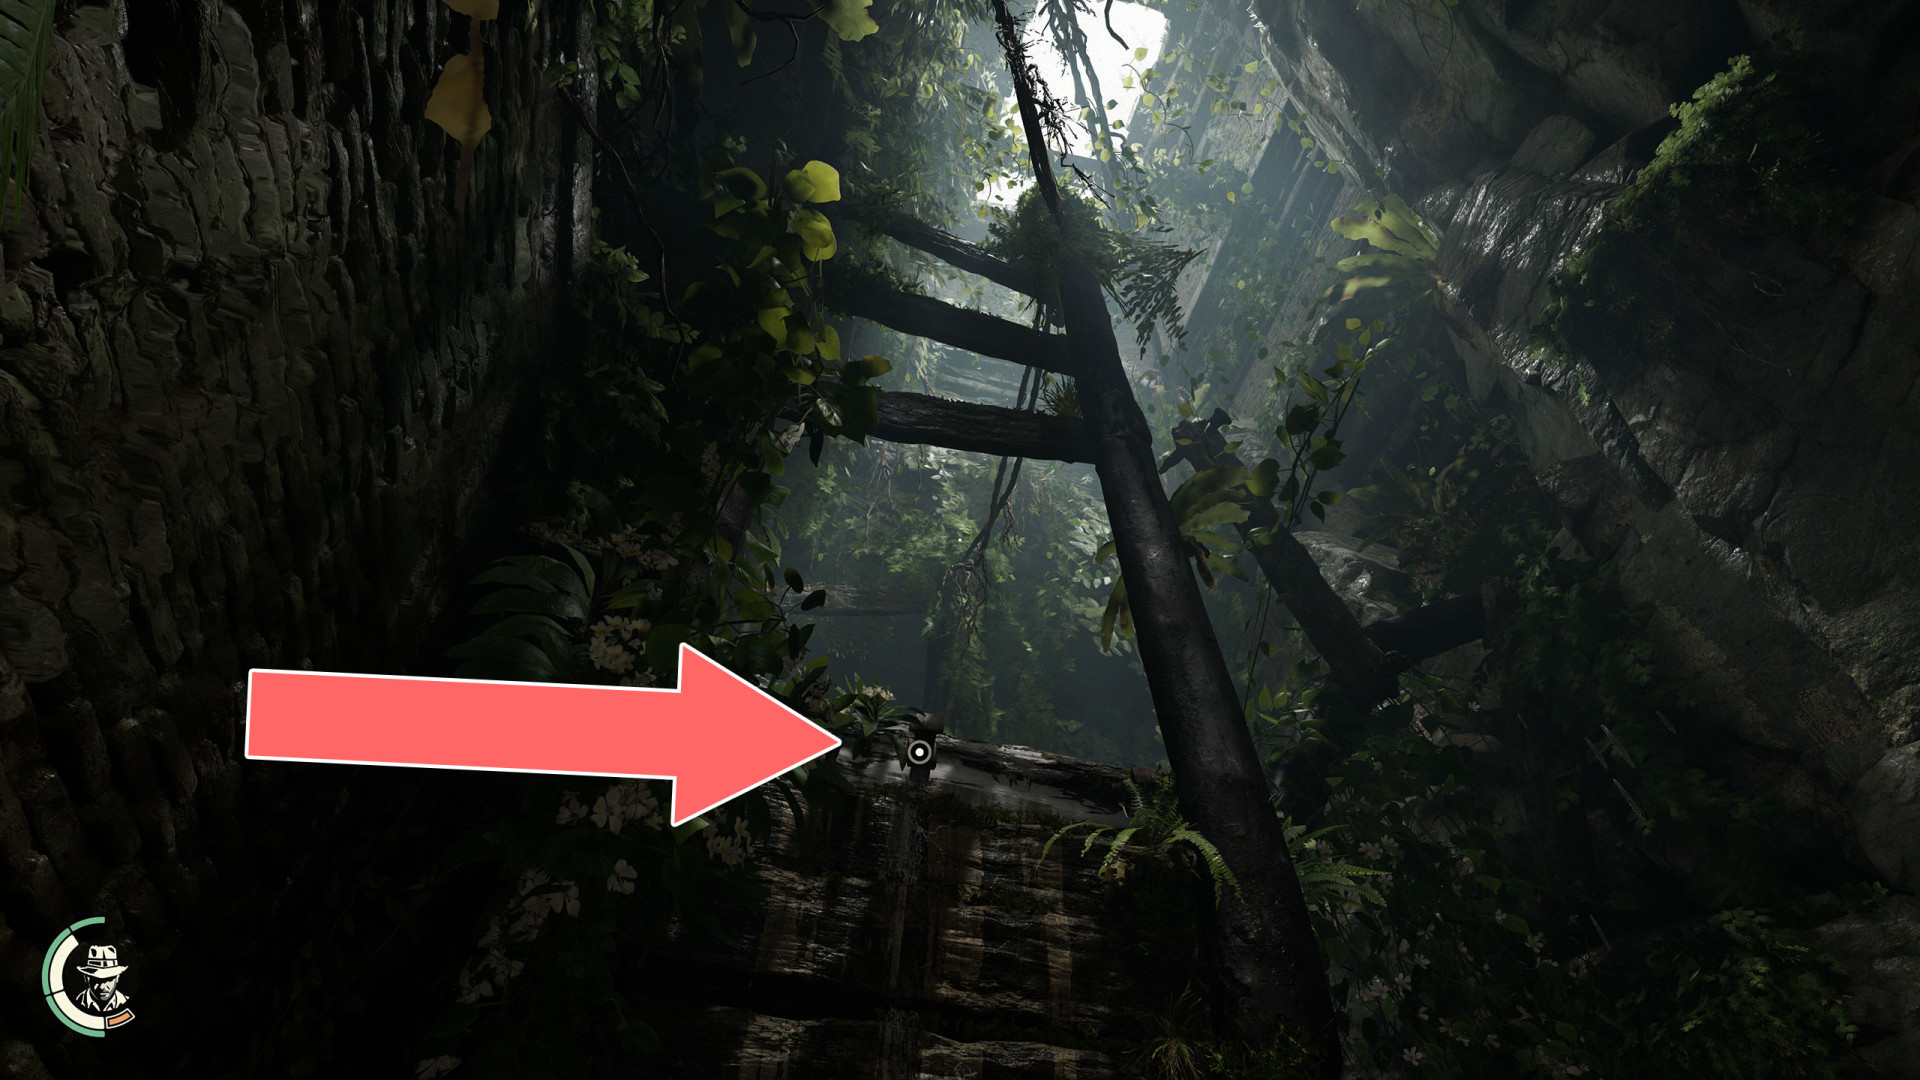
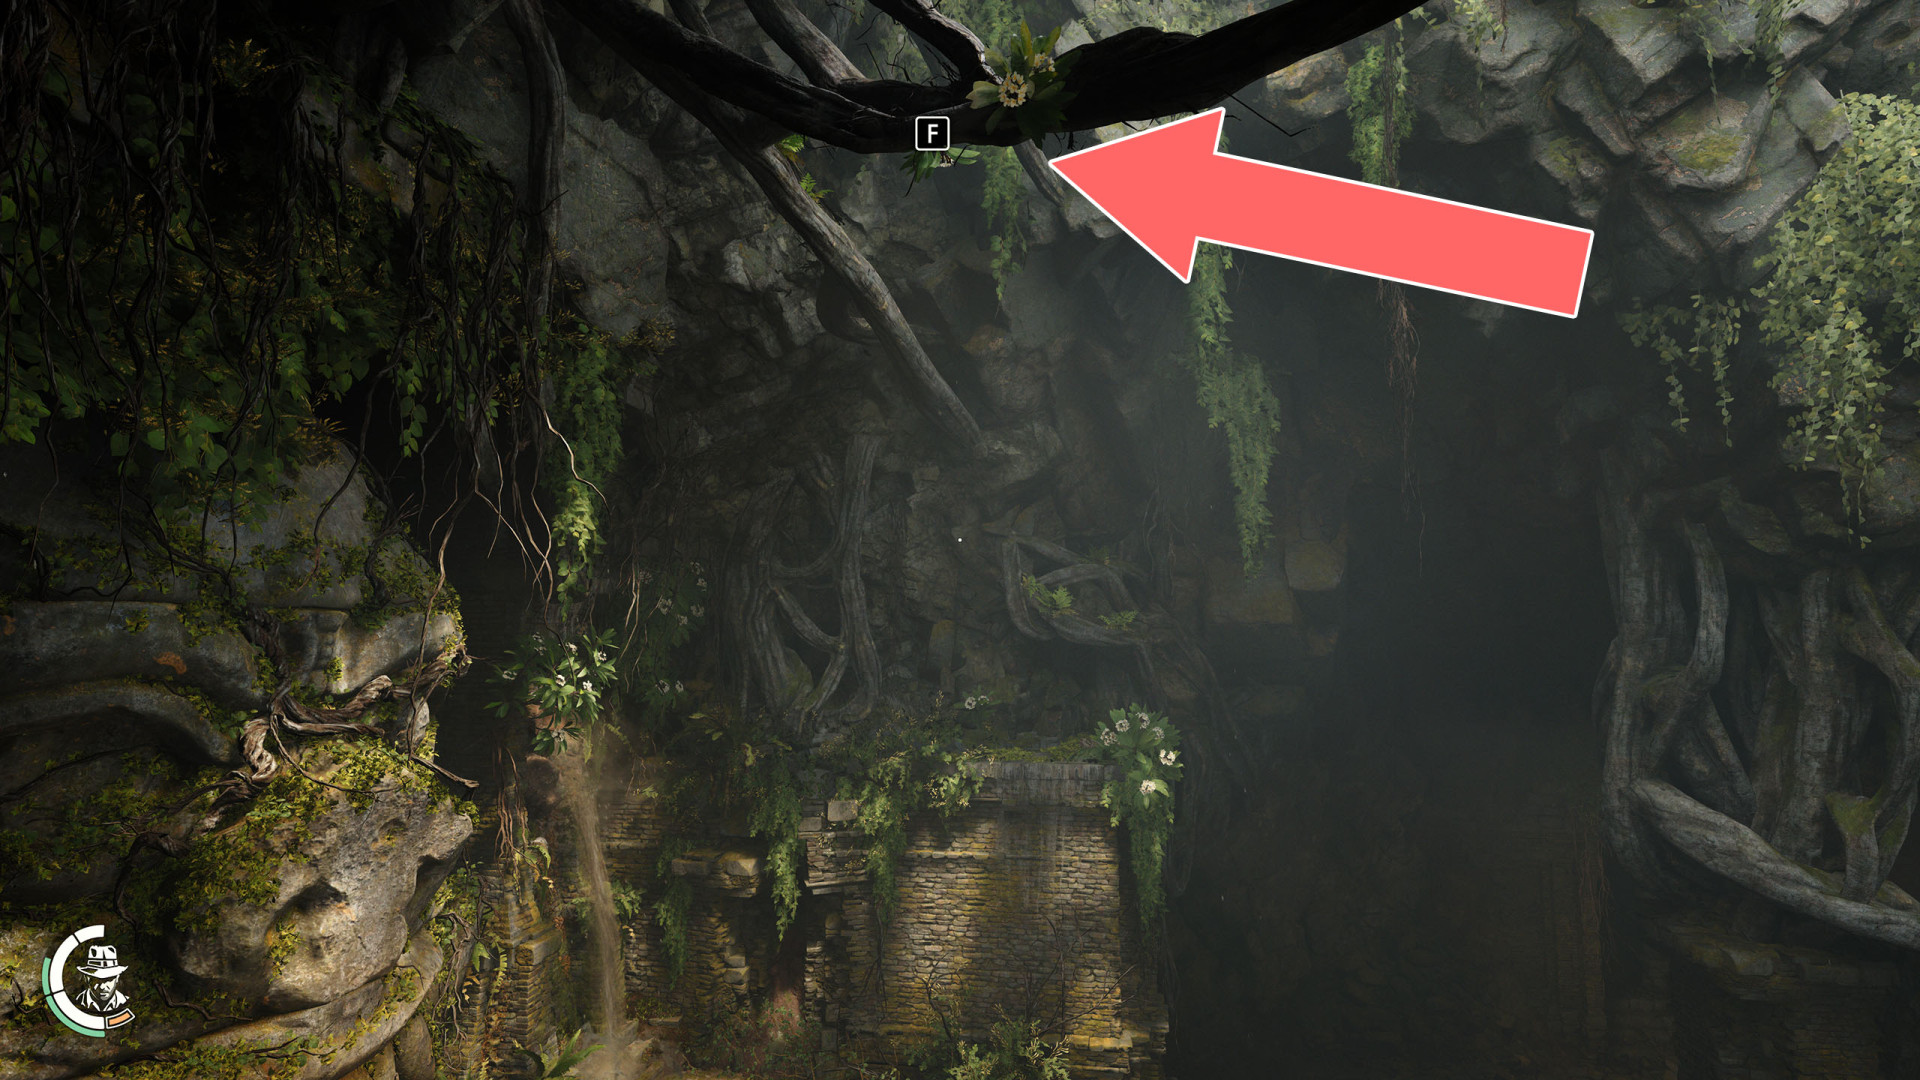
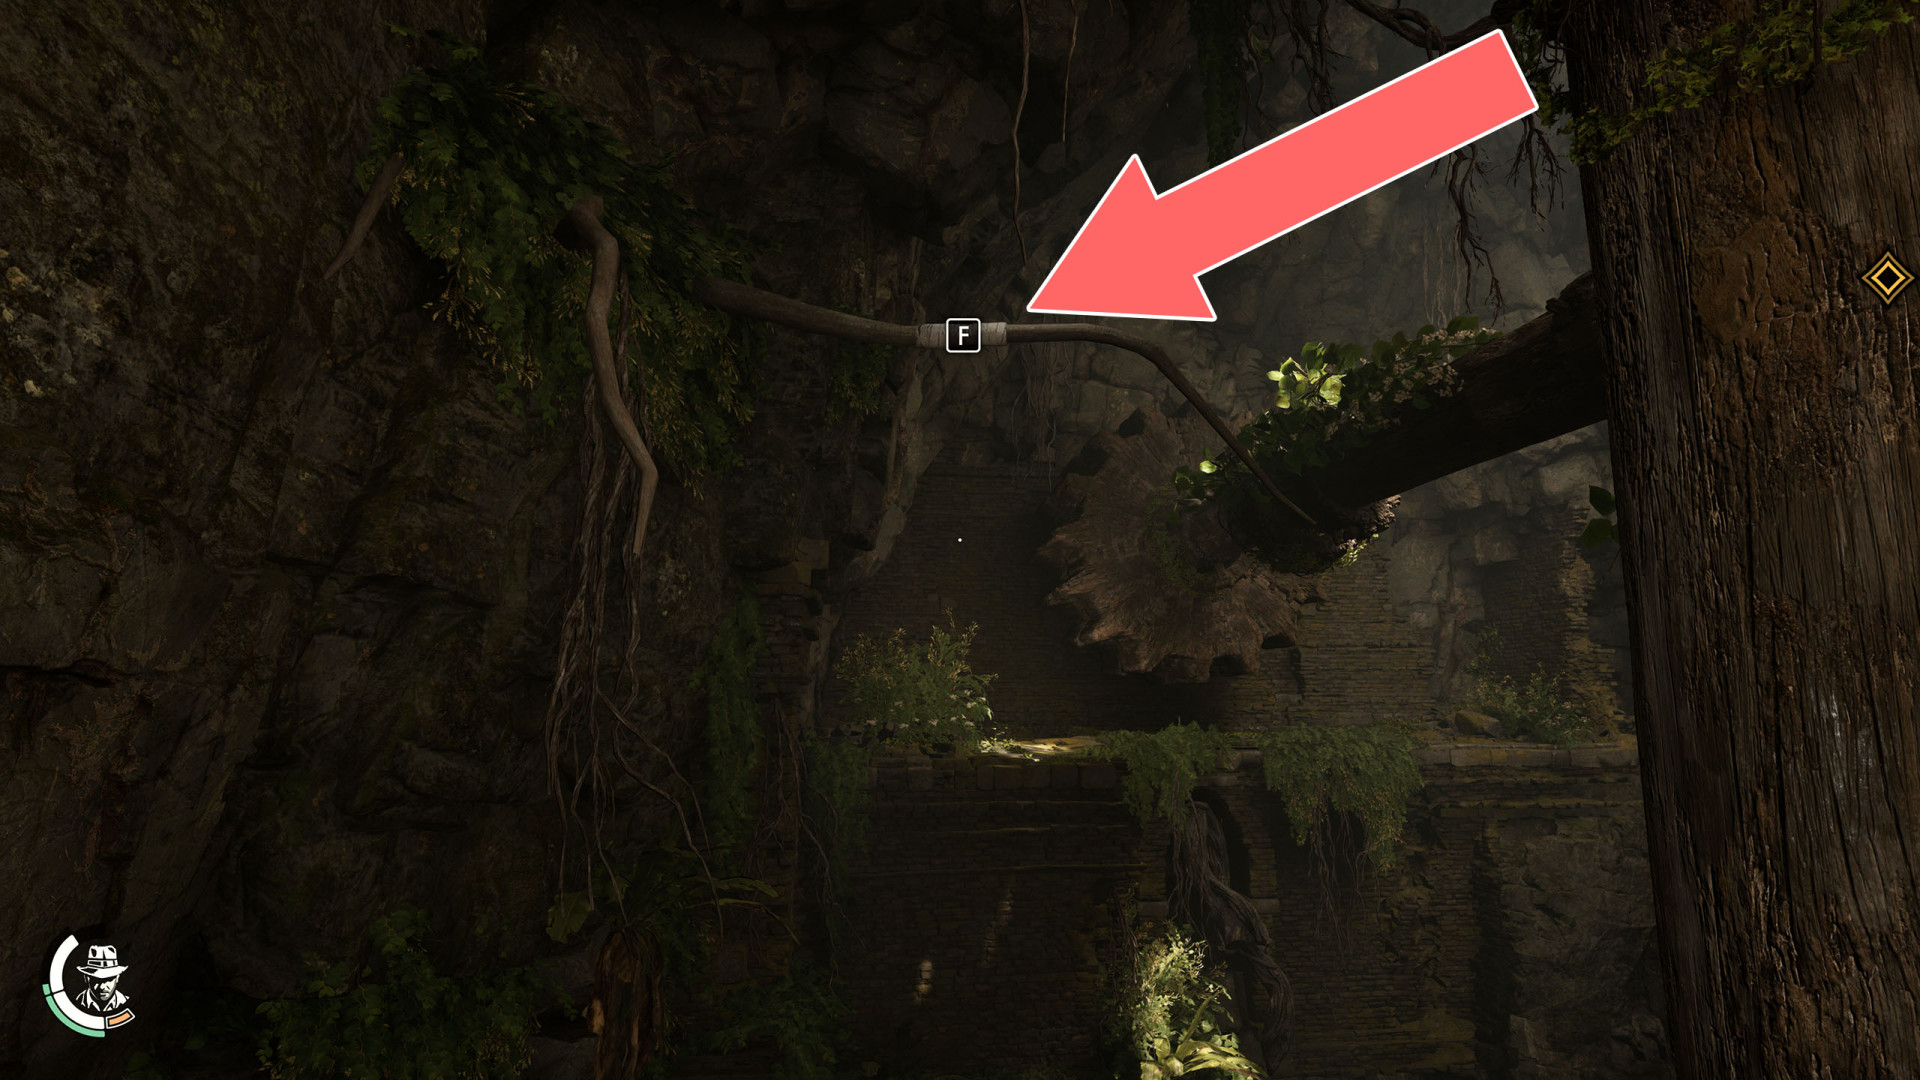
326Tree Branch
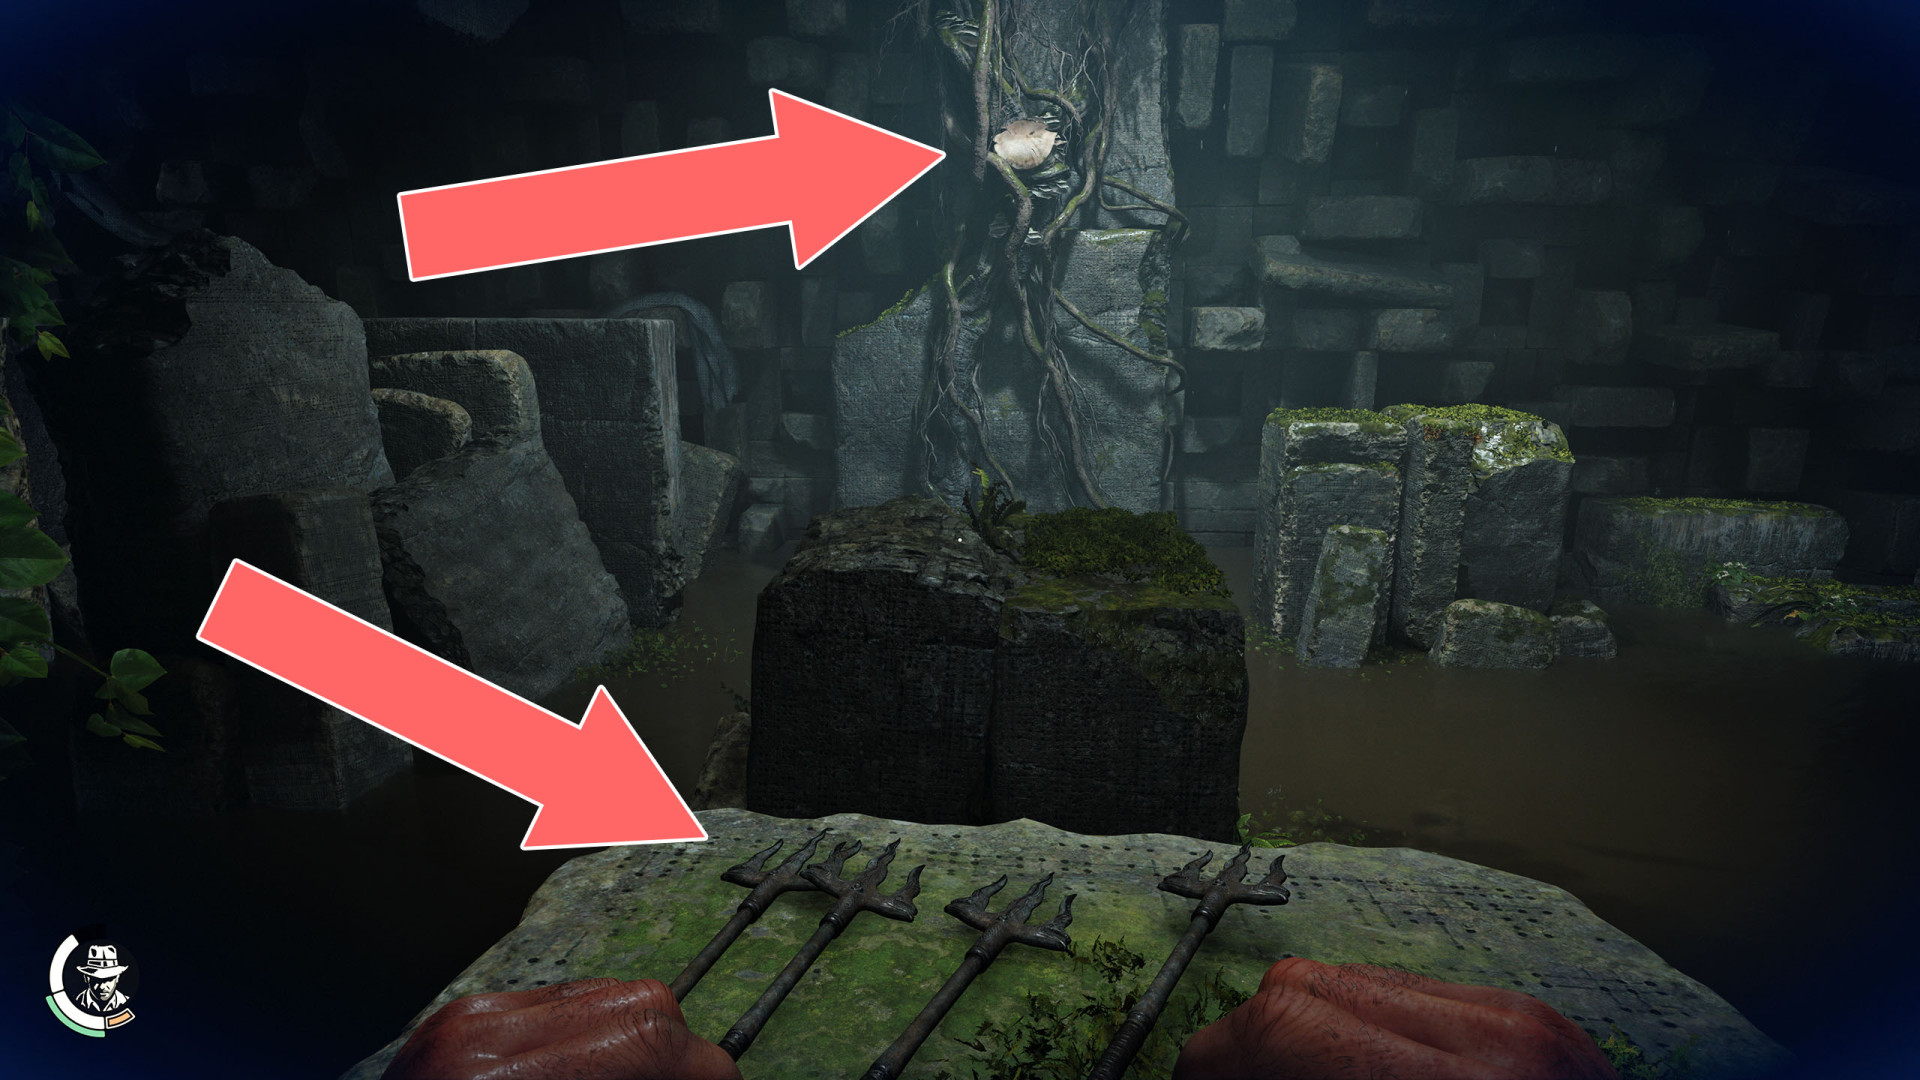
327Trident
To create this grappling point throw the trident into the mushroom on the other side.

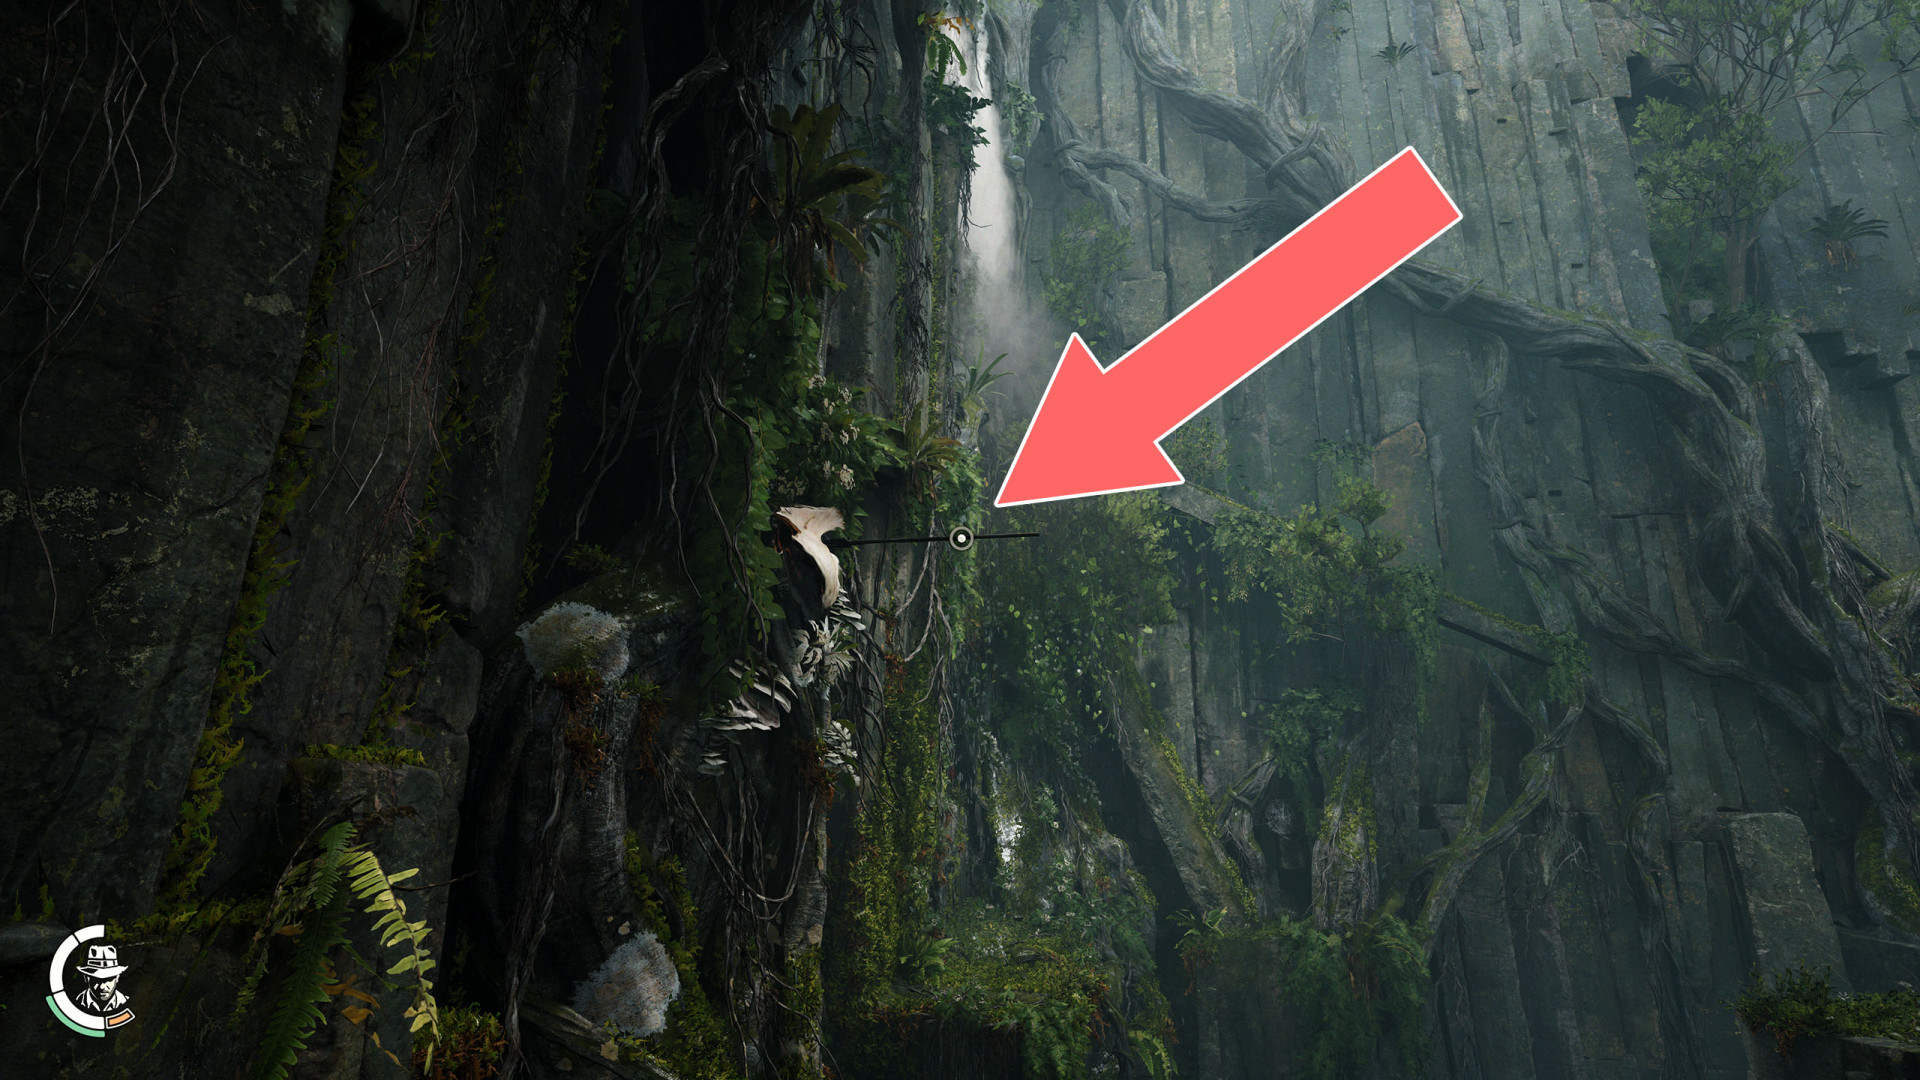
328Trident
Grab the trident lying on the ground and throw it into the giant mushroom.
329Trident
330Trident

331Tunnel
332Underwater Hole
333Underwater Paht (Start)
334Underwater Path (End)
335Underwater Tunnel
To swim through it you need a Rebreather.
336Underwater Tunnel
337Underwater Tunnel

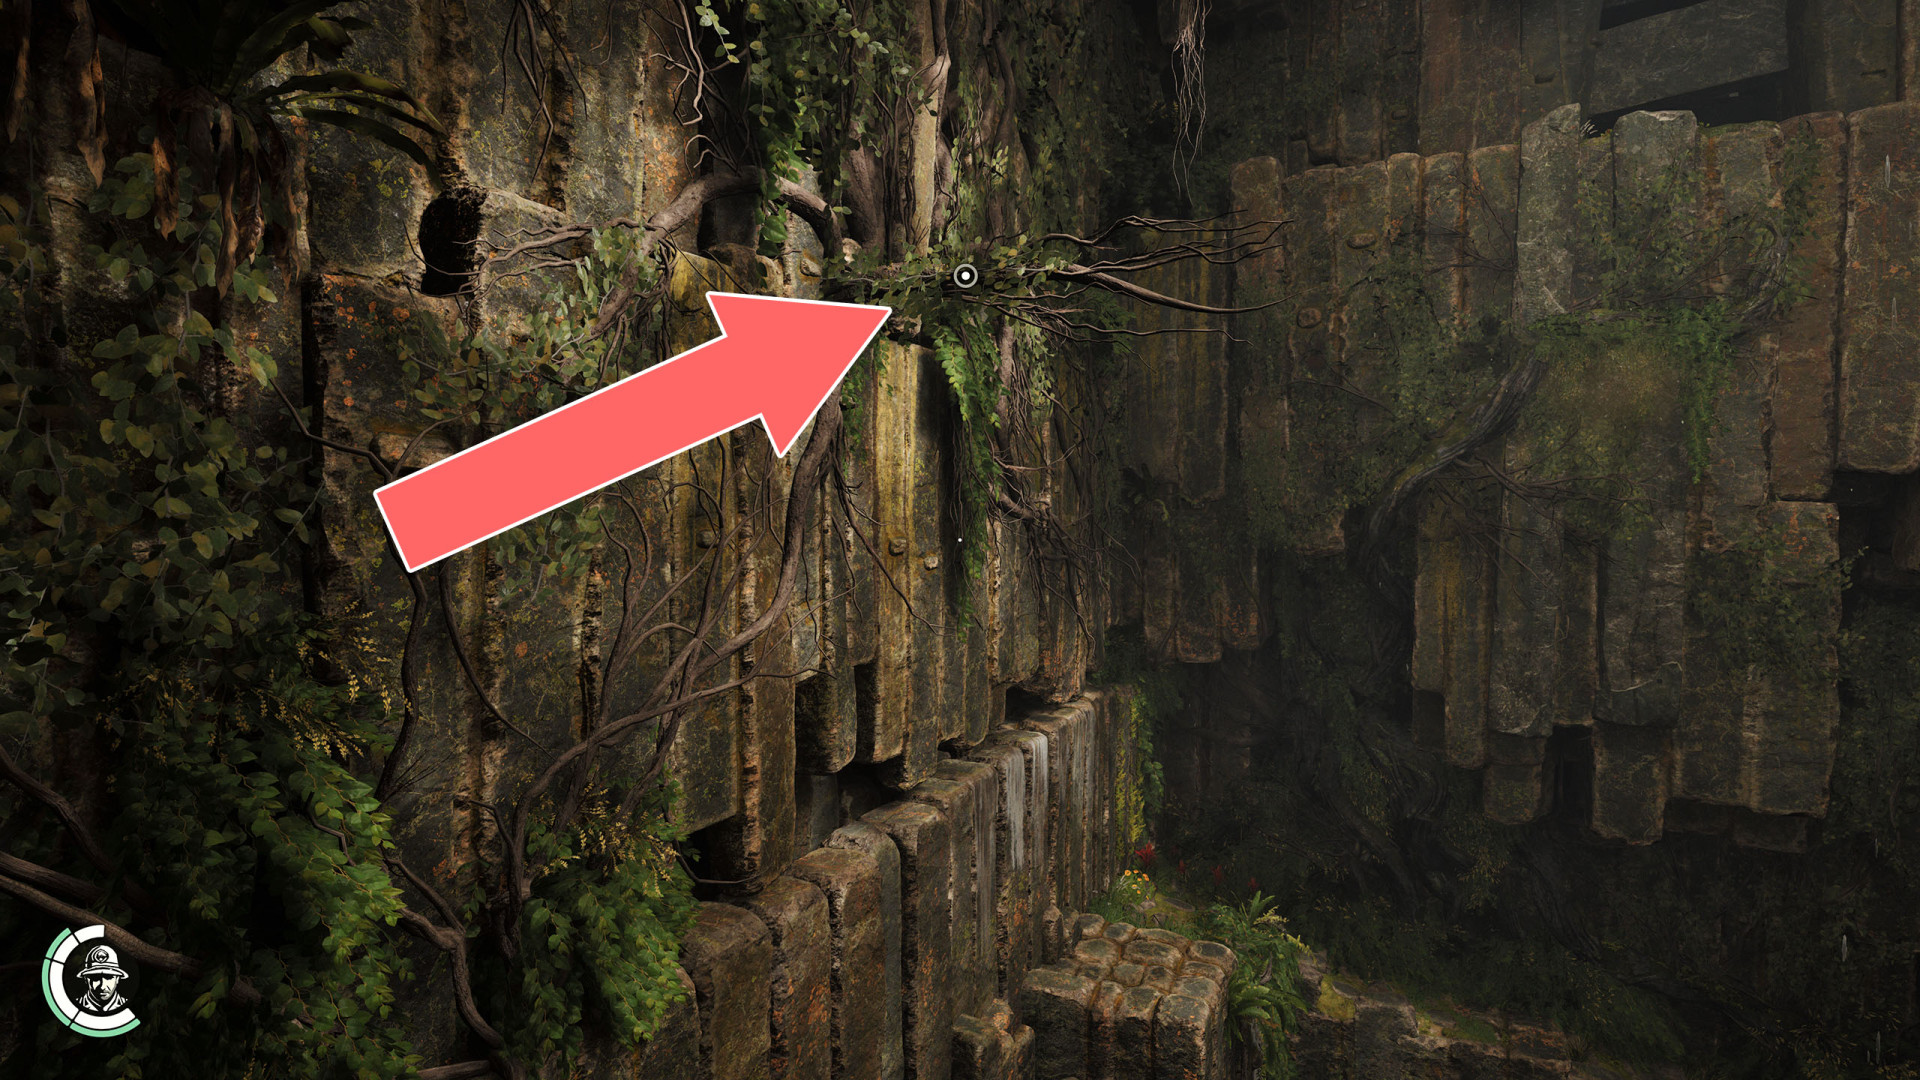
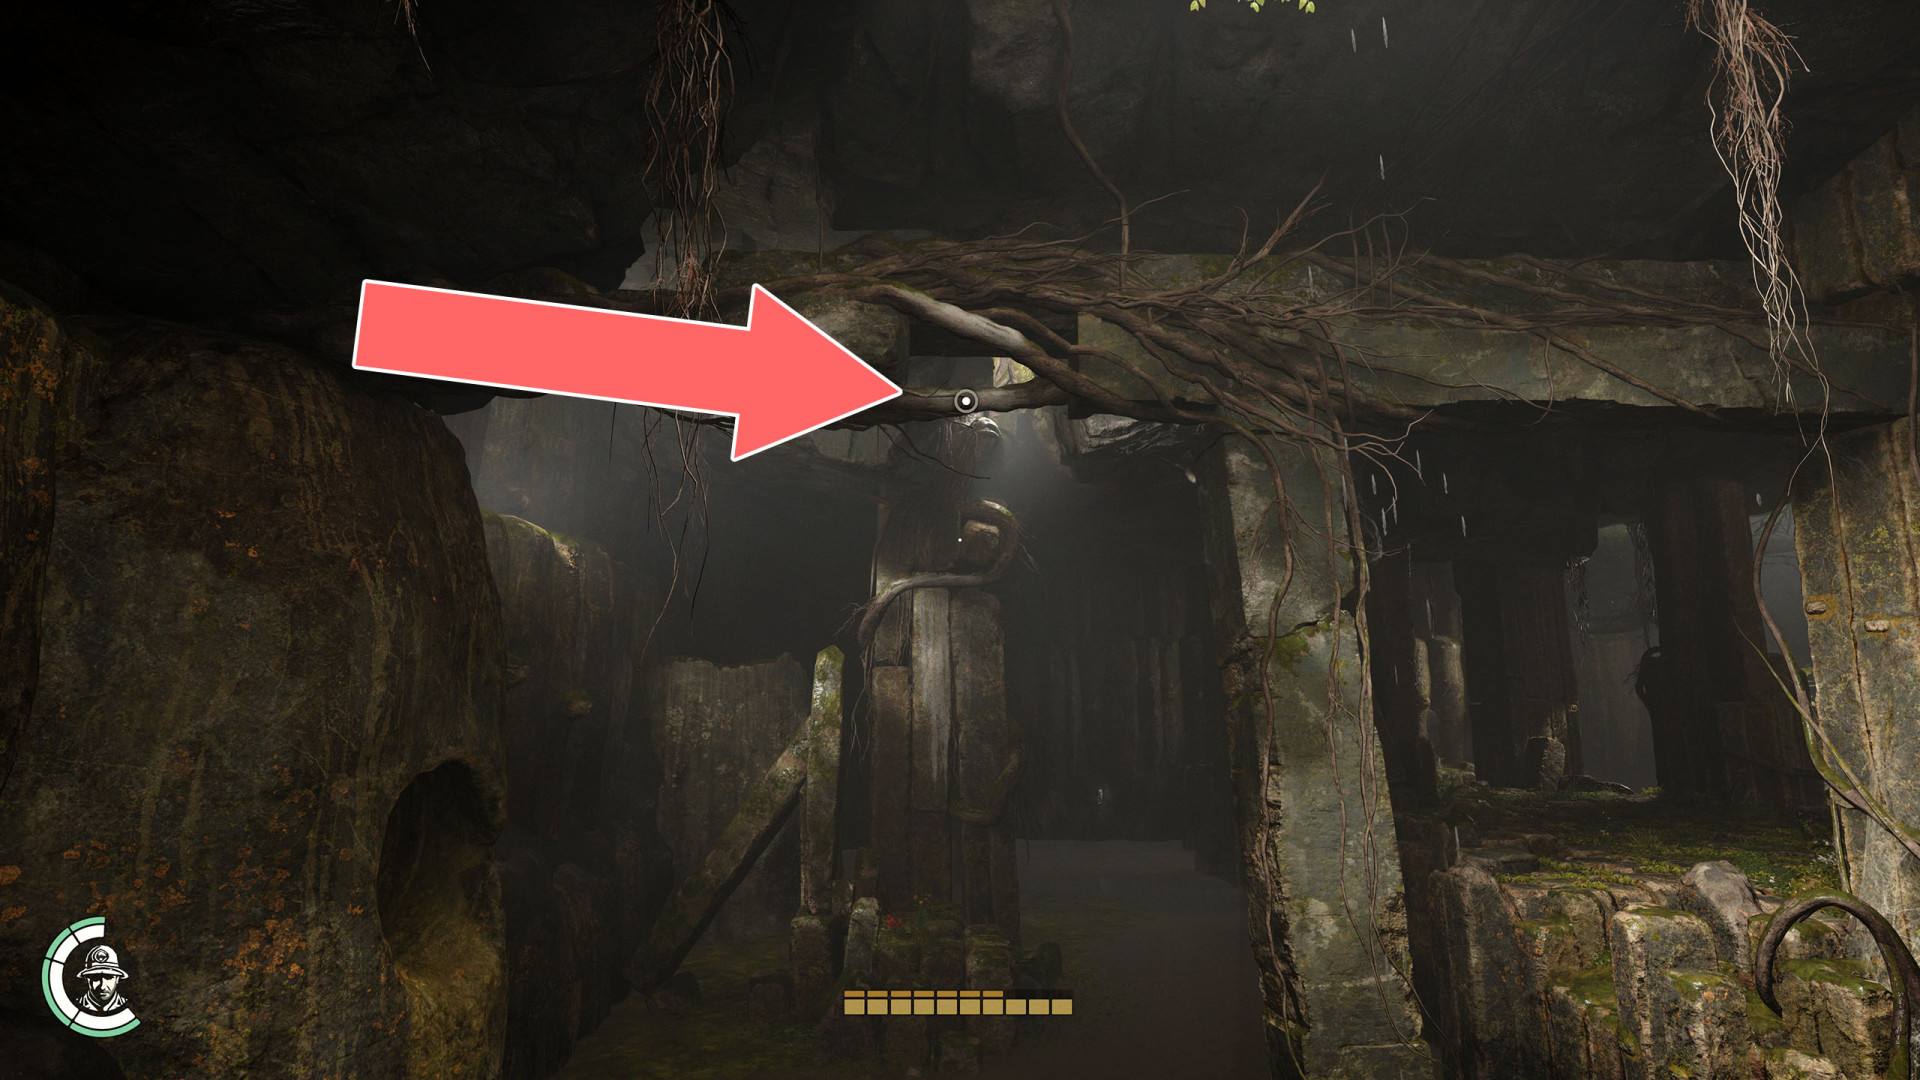
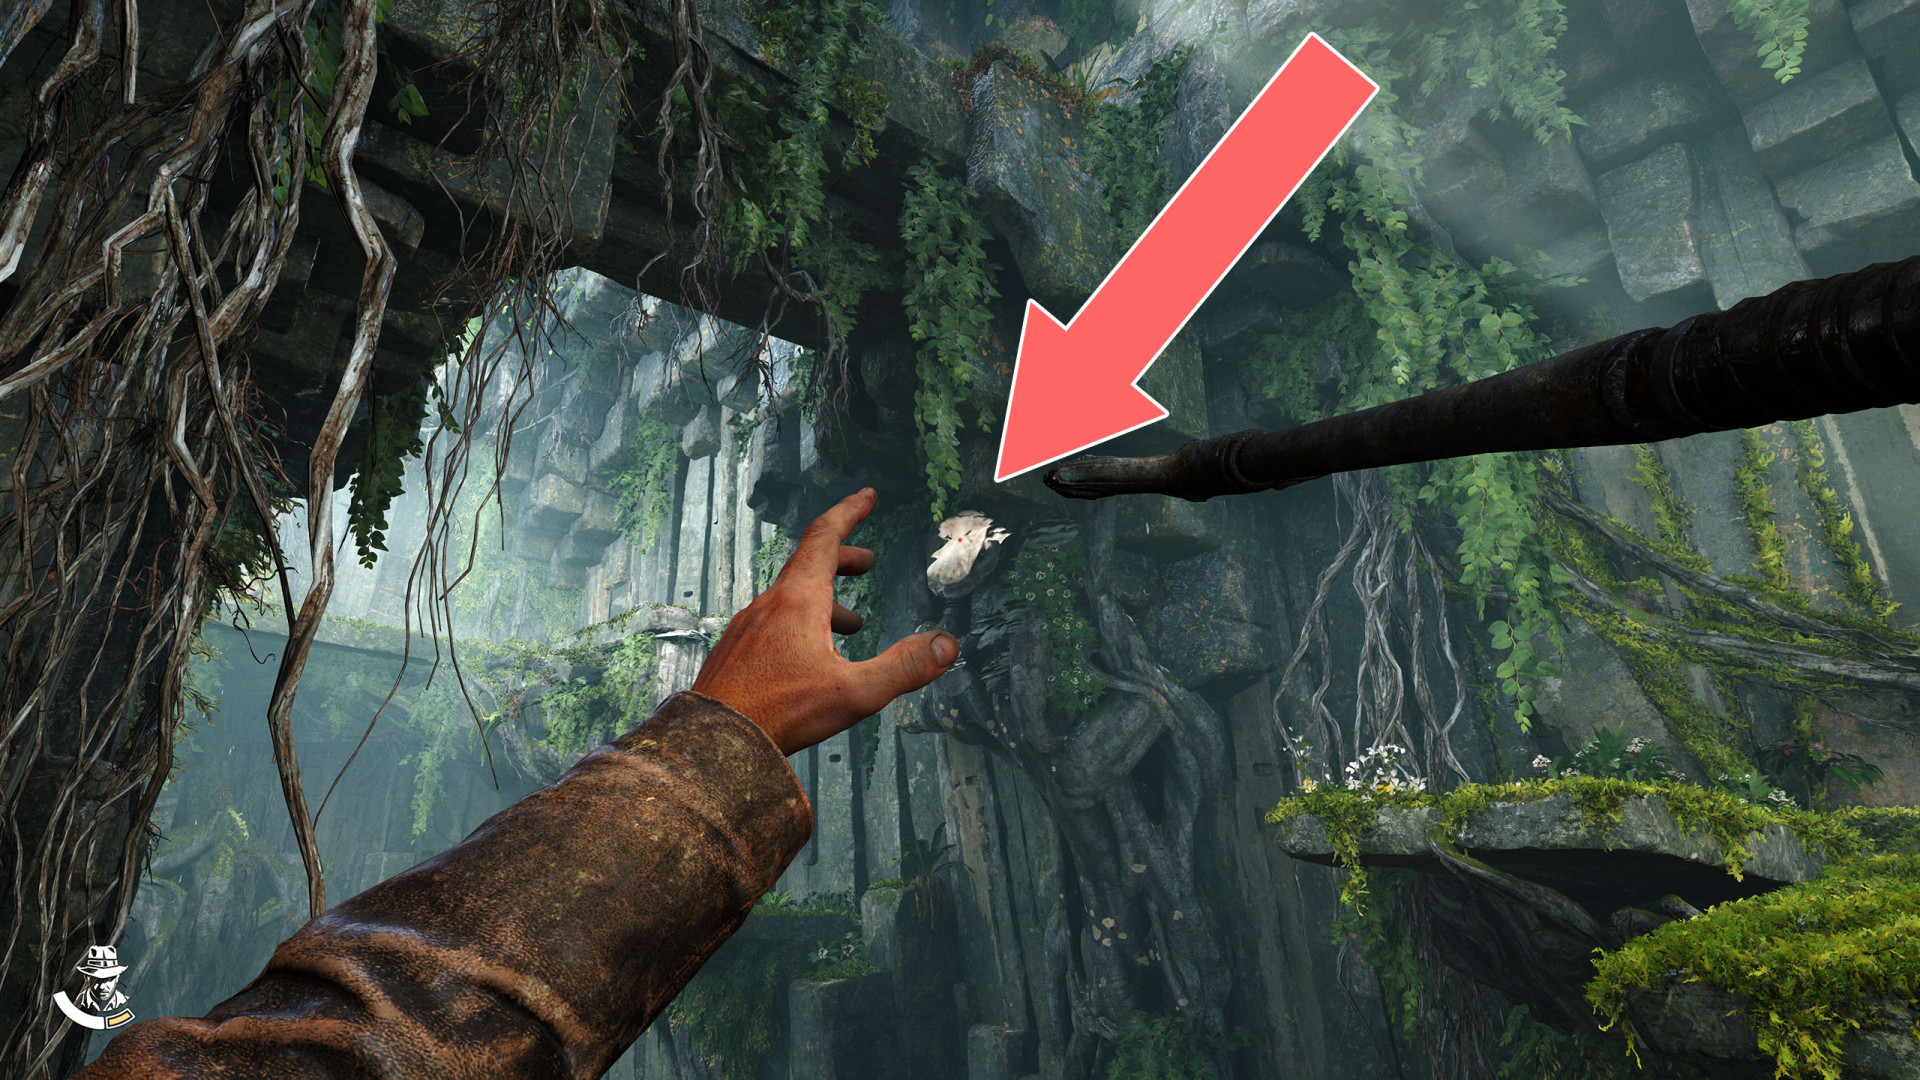
338Vine & Grappling Point

339Warrior Temple Entrance
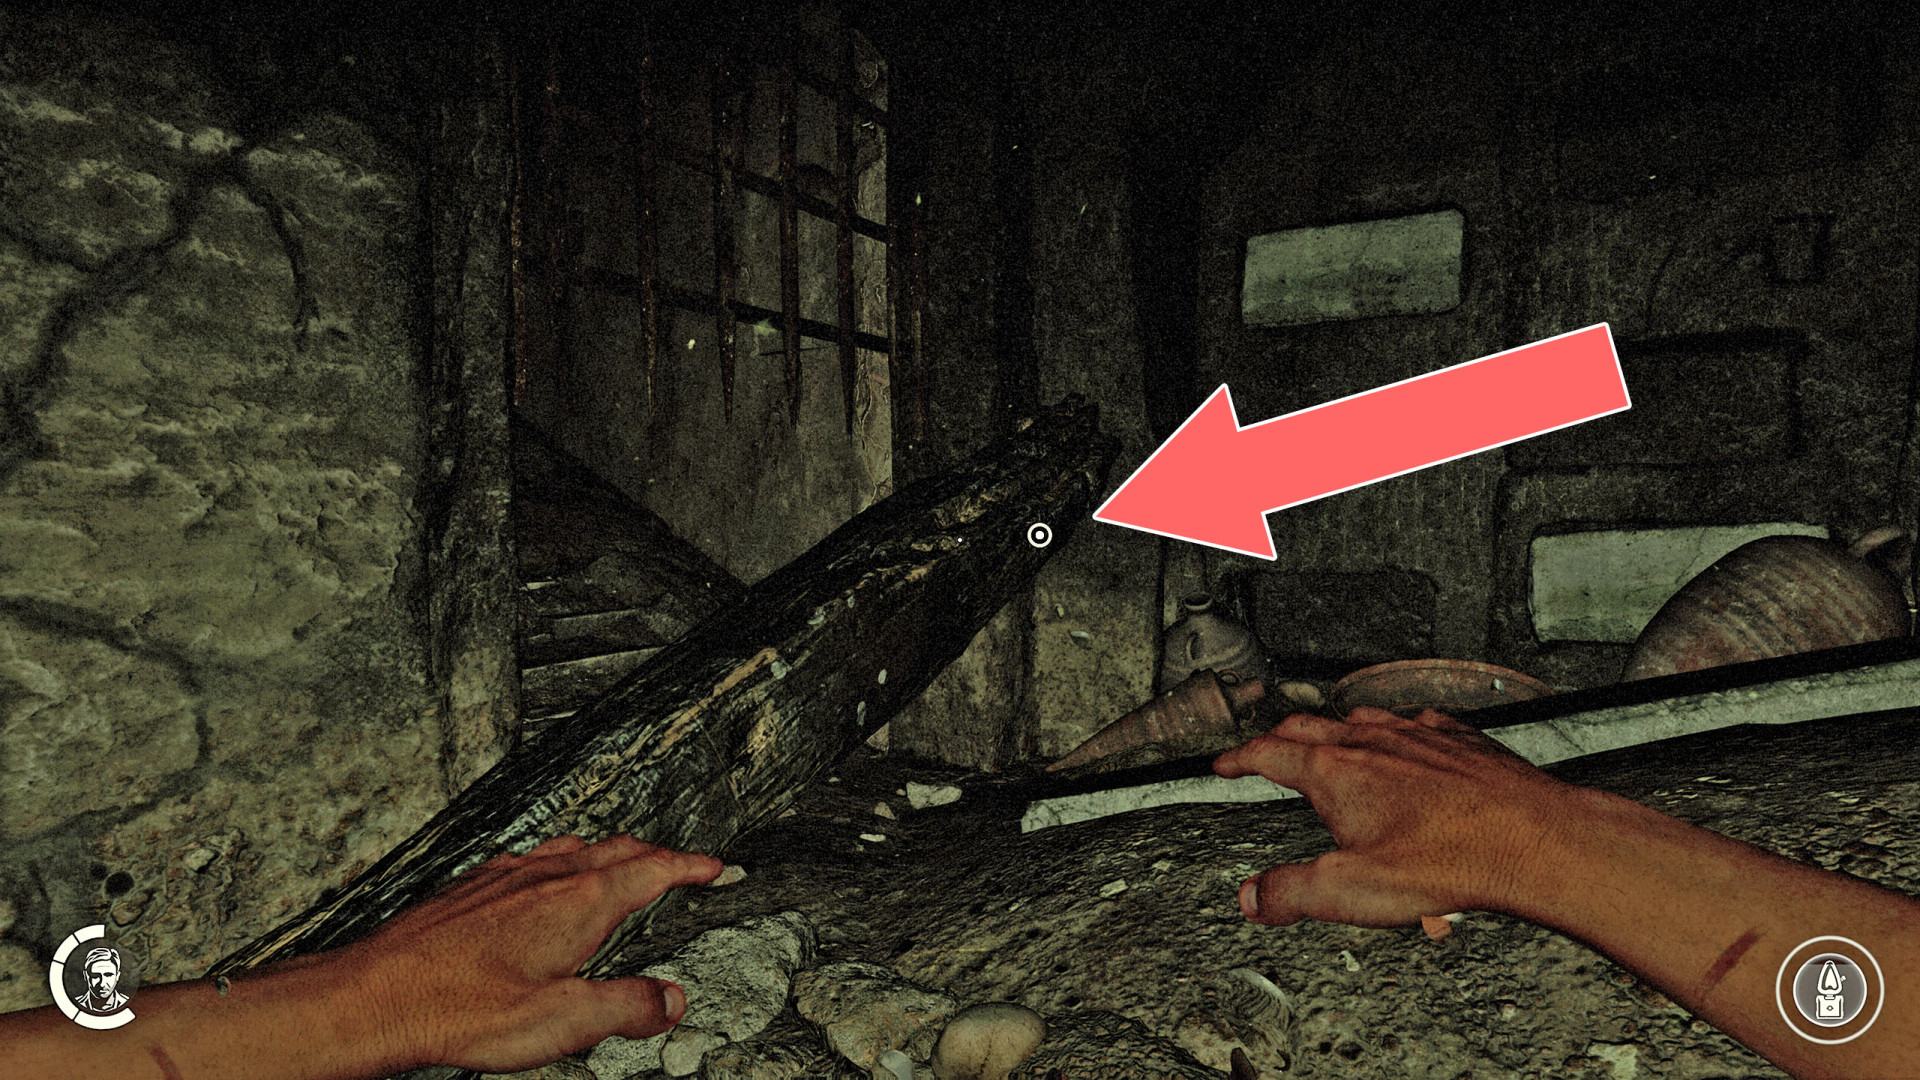
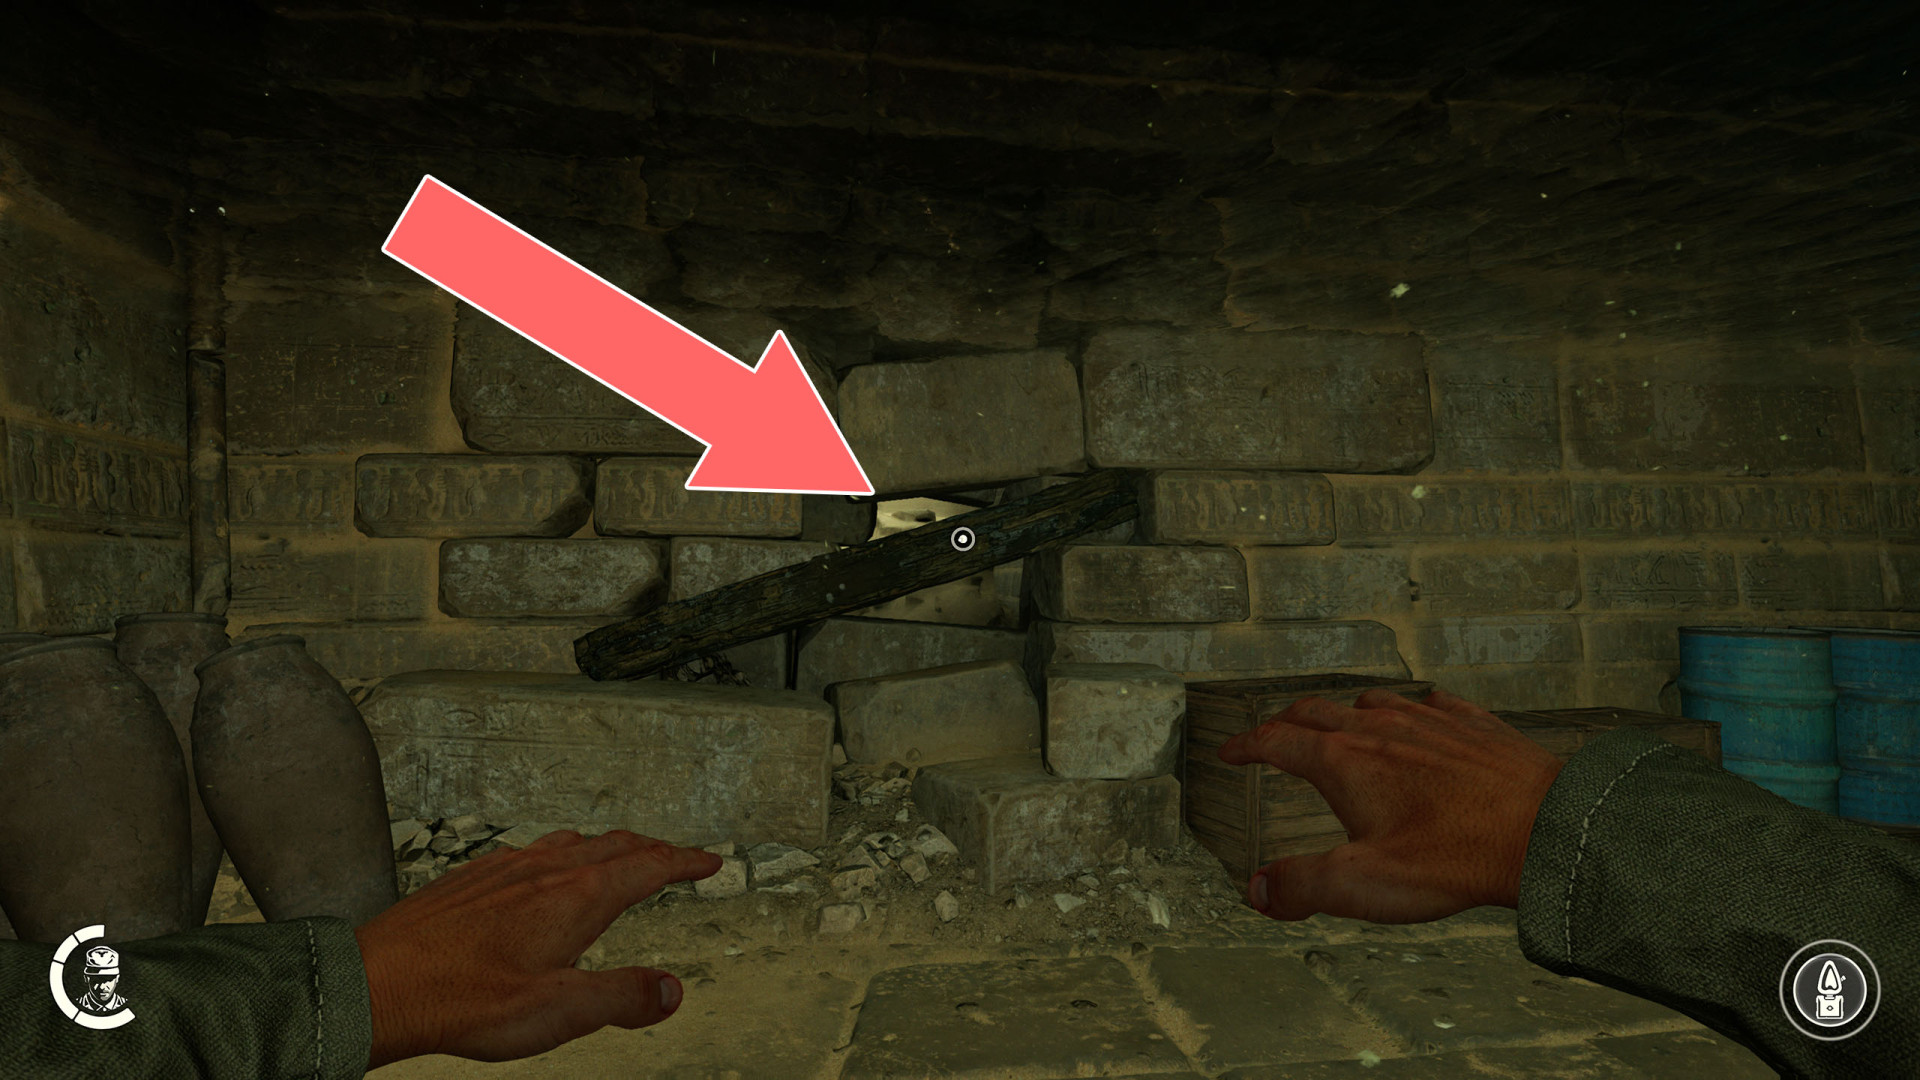
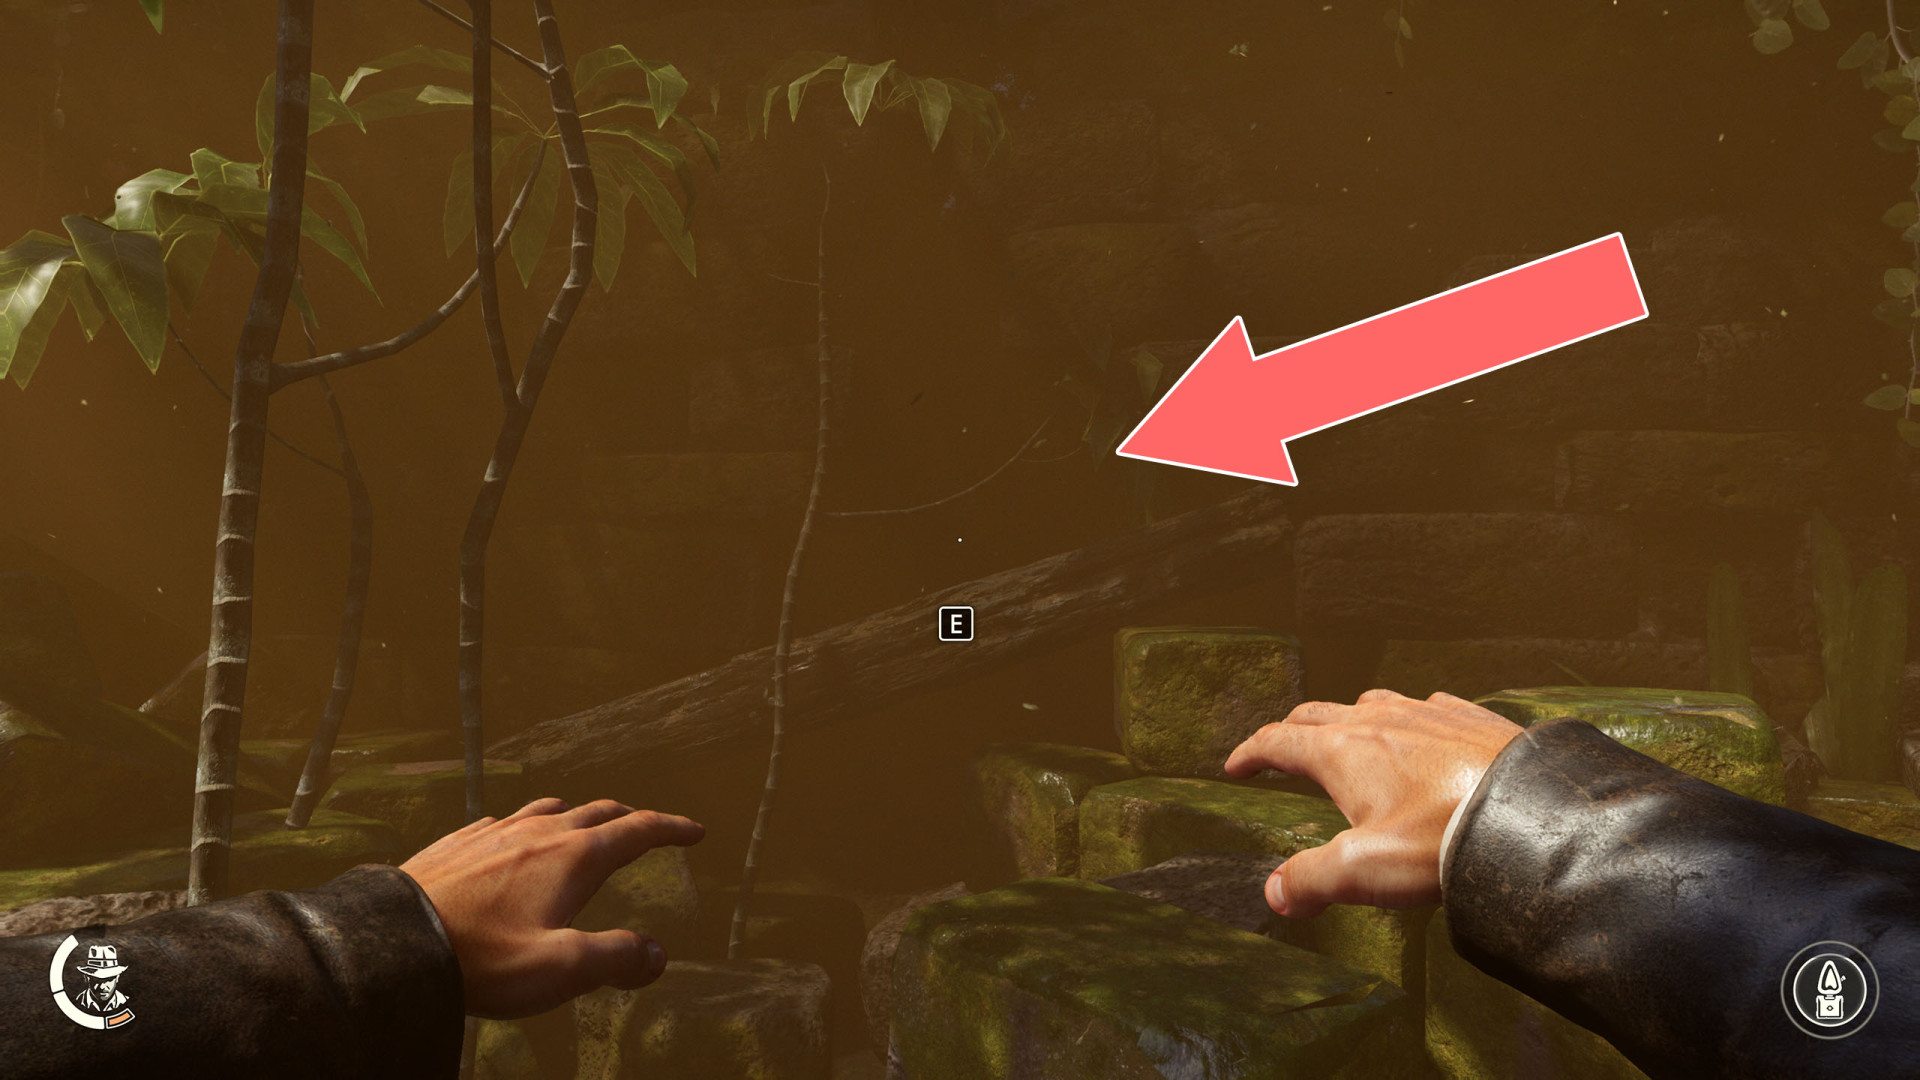
340Weak Wall
When the water floods the room remove the log and a passage will then be created.
341Zipline
342Zipline
343Zipline
Locations on Iraq
344Elevator
345Elevator
346Elevator
You can use it once you restore power.
347Footbridge
Whip yank the handle.
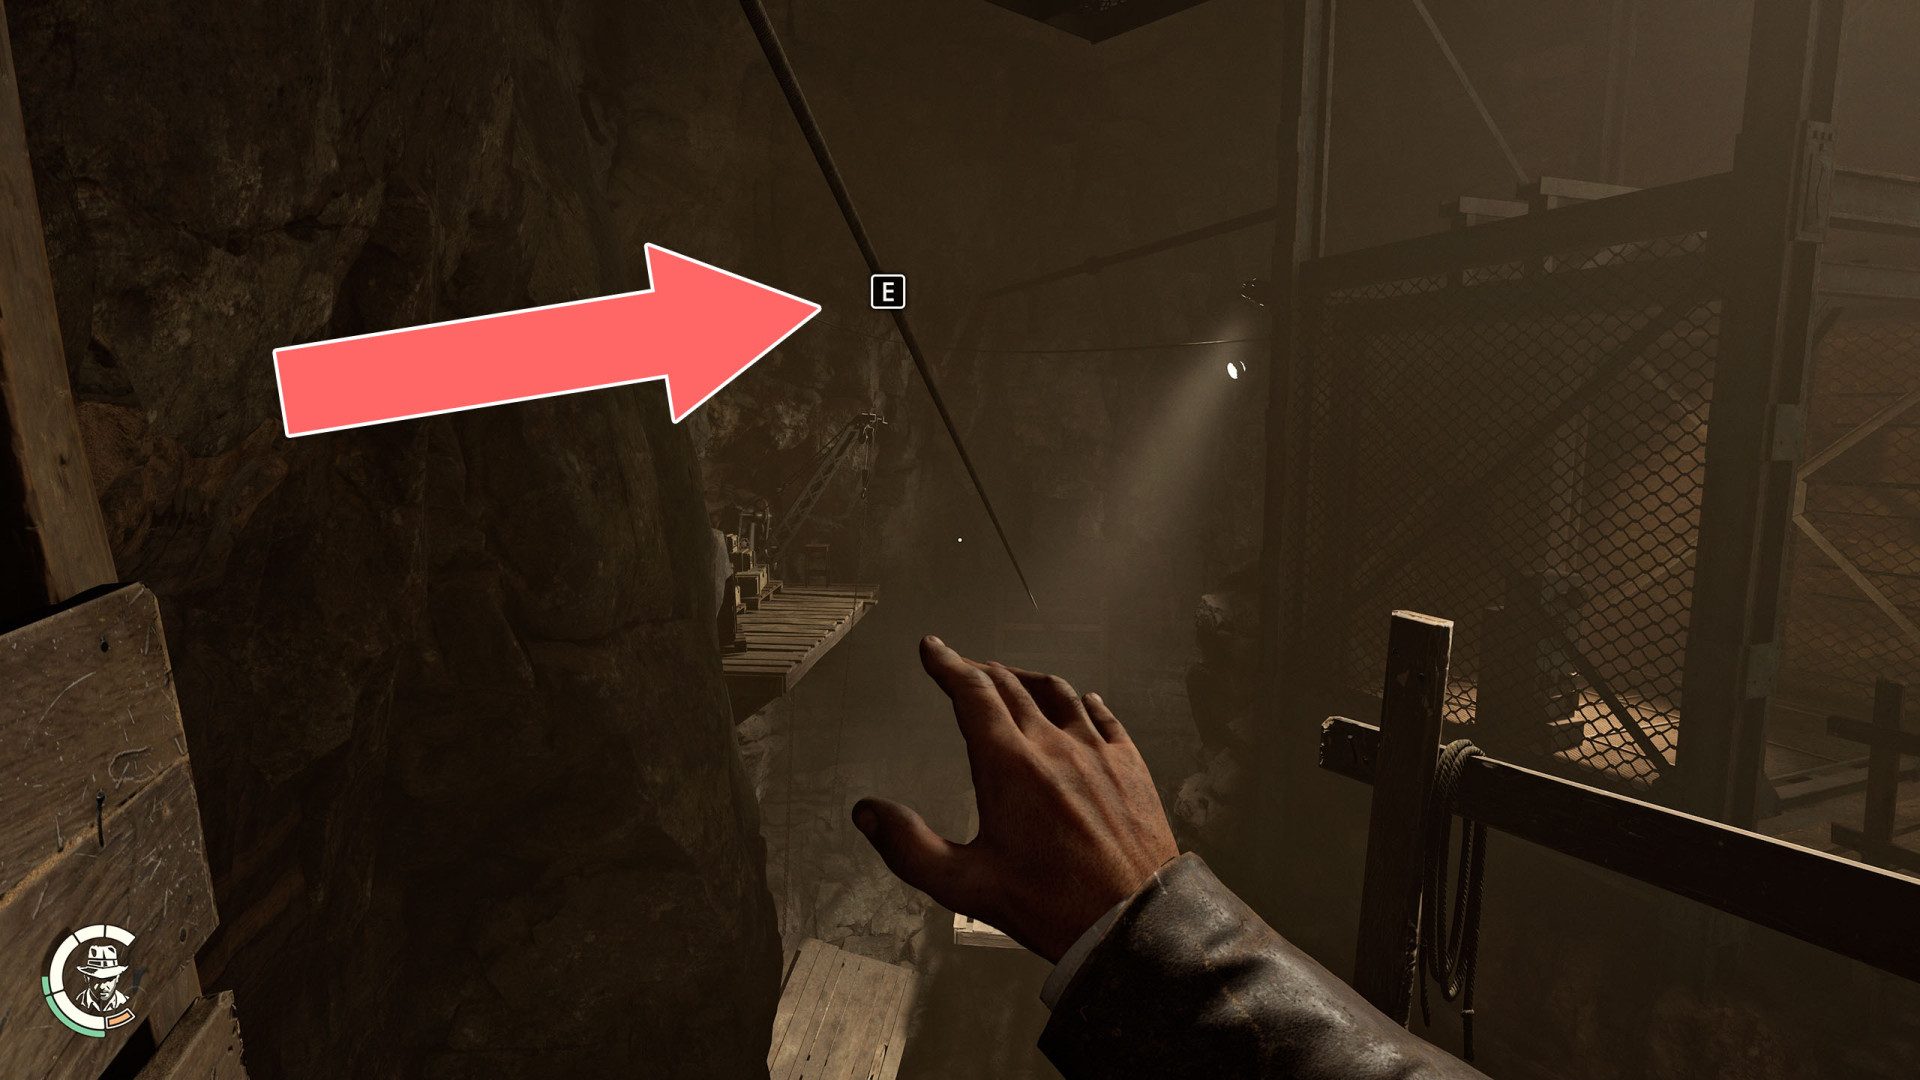
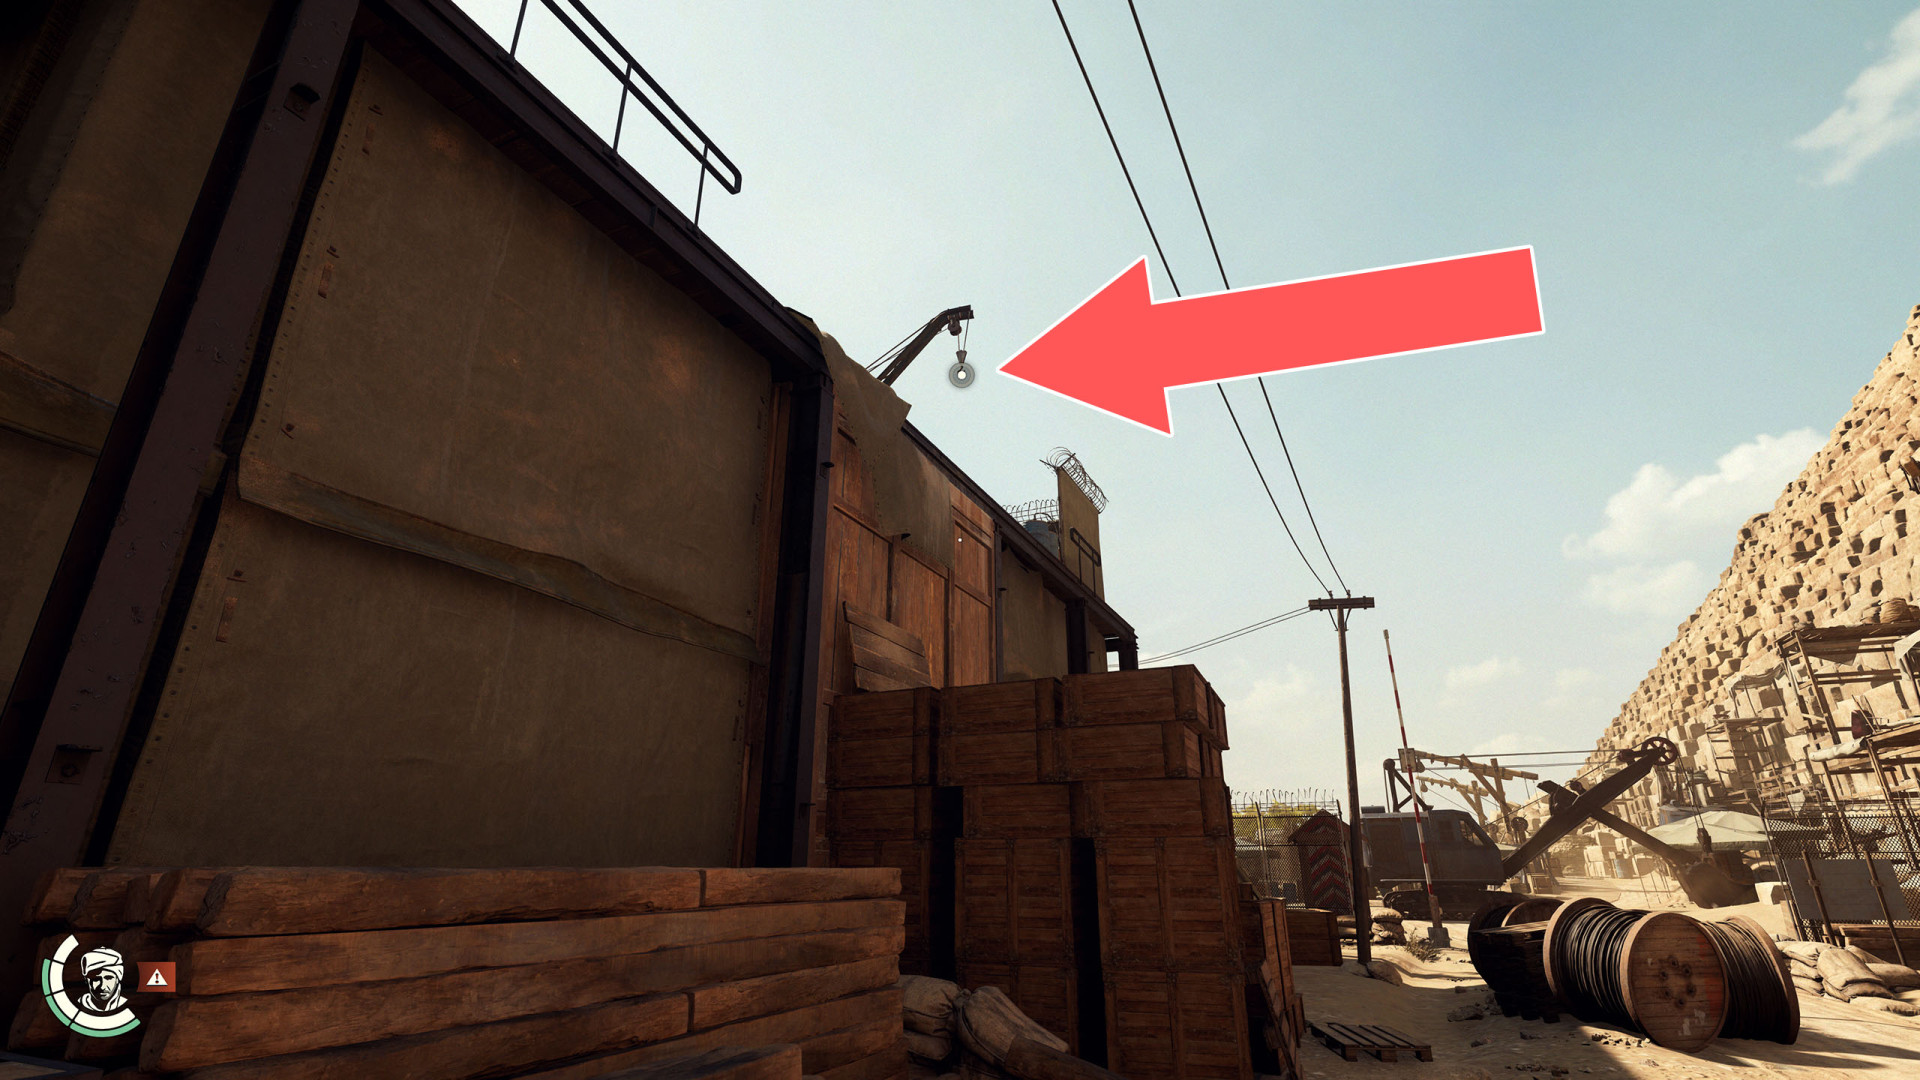
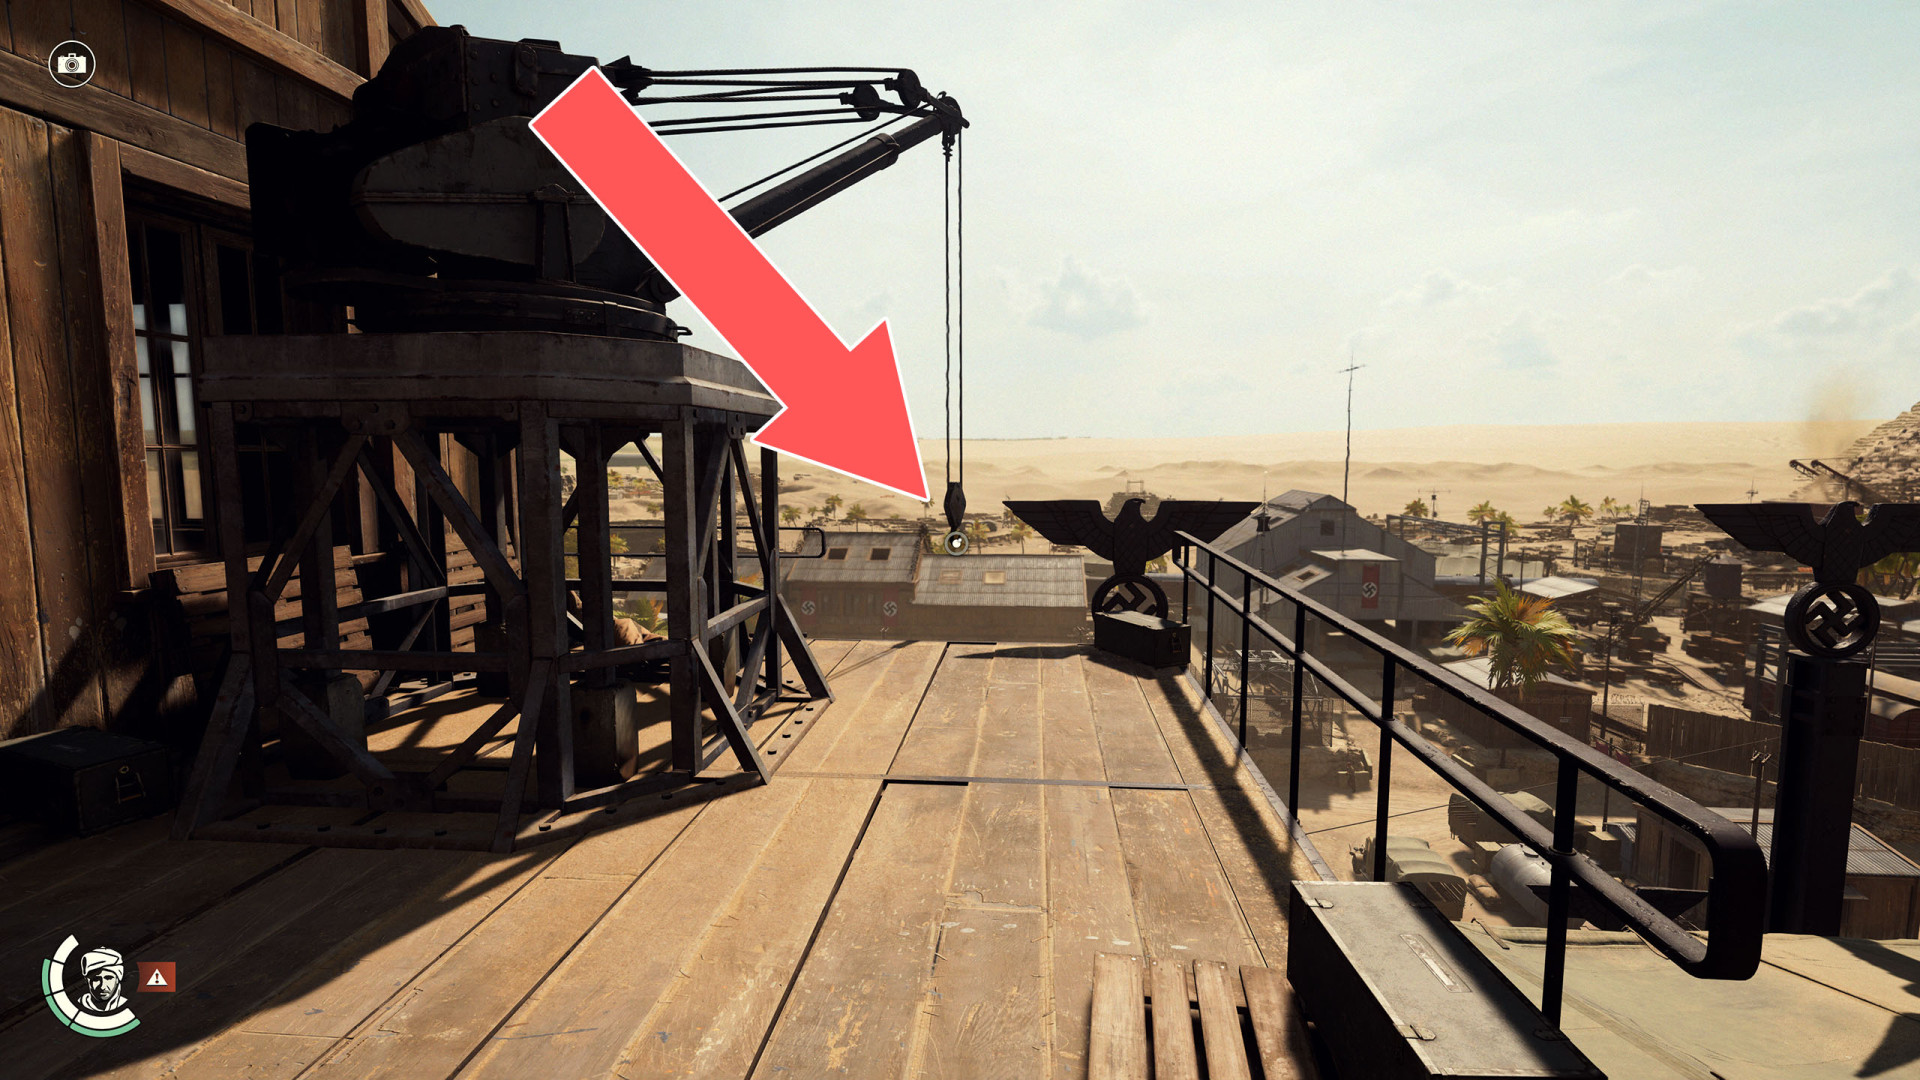
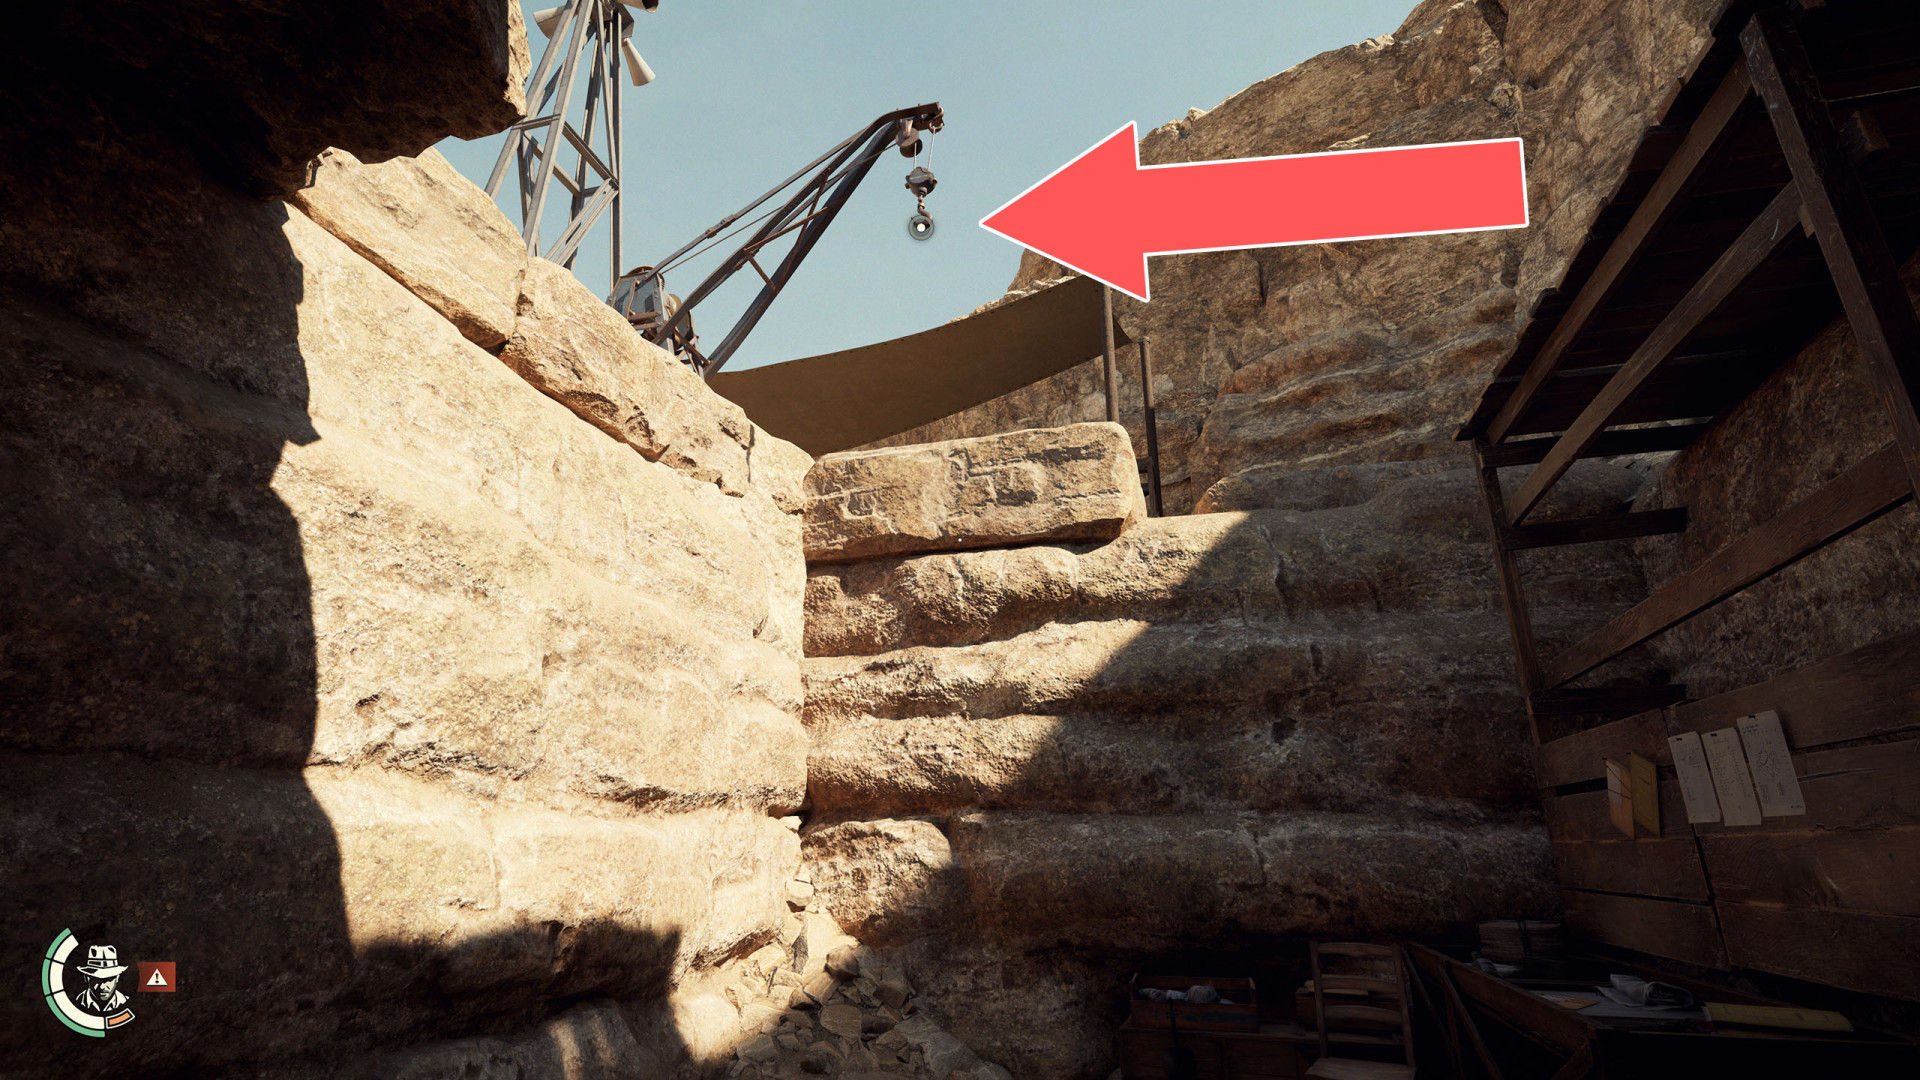
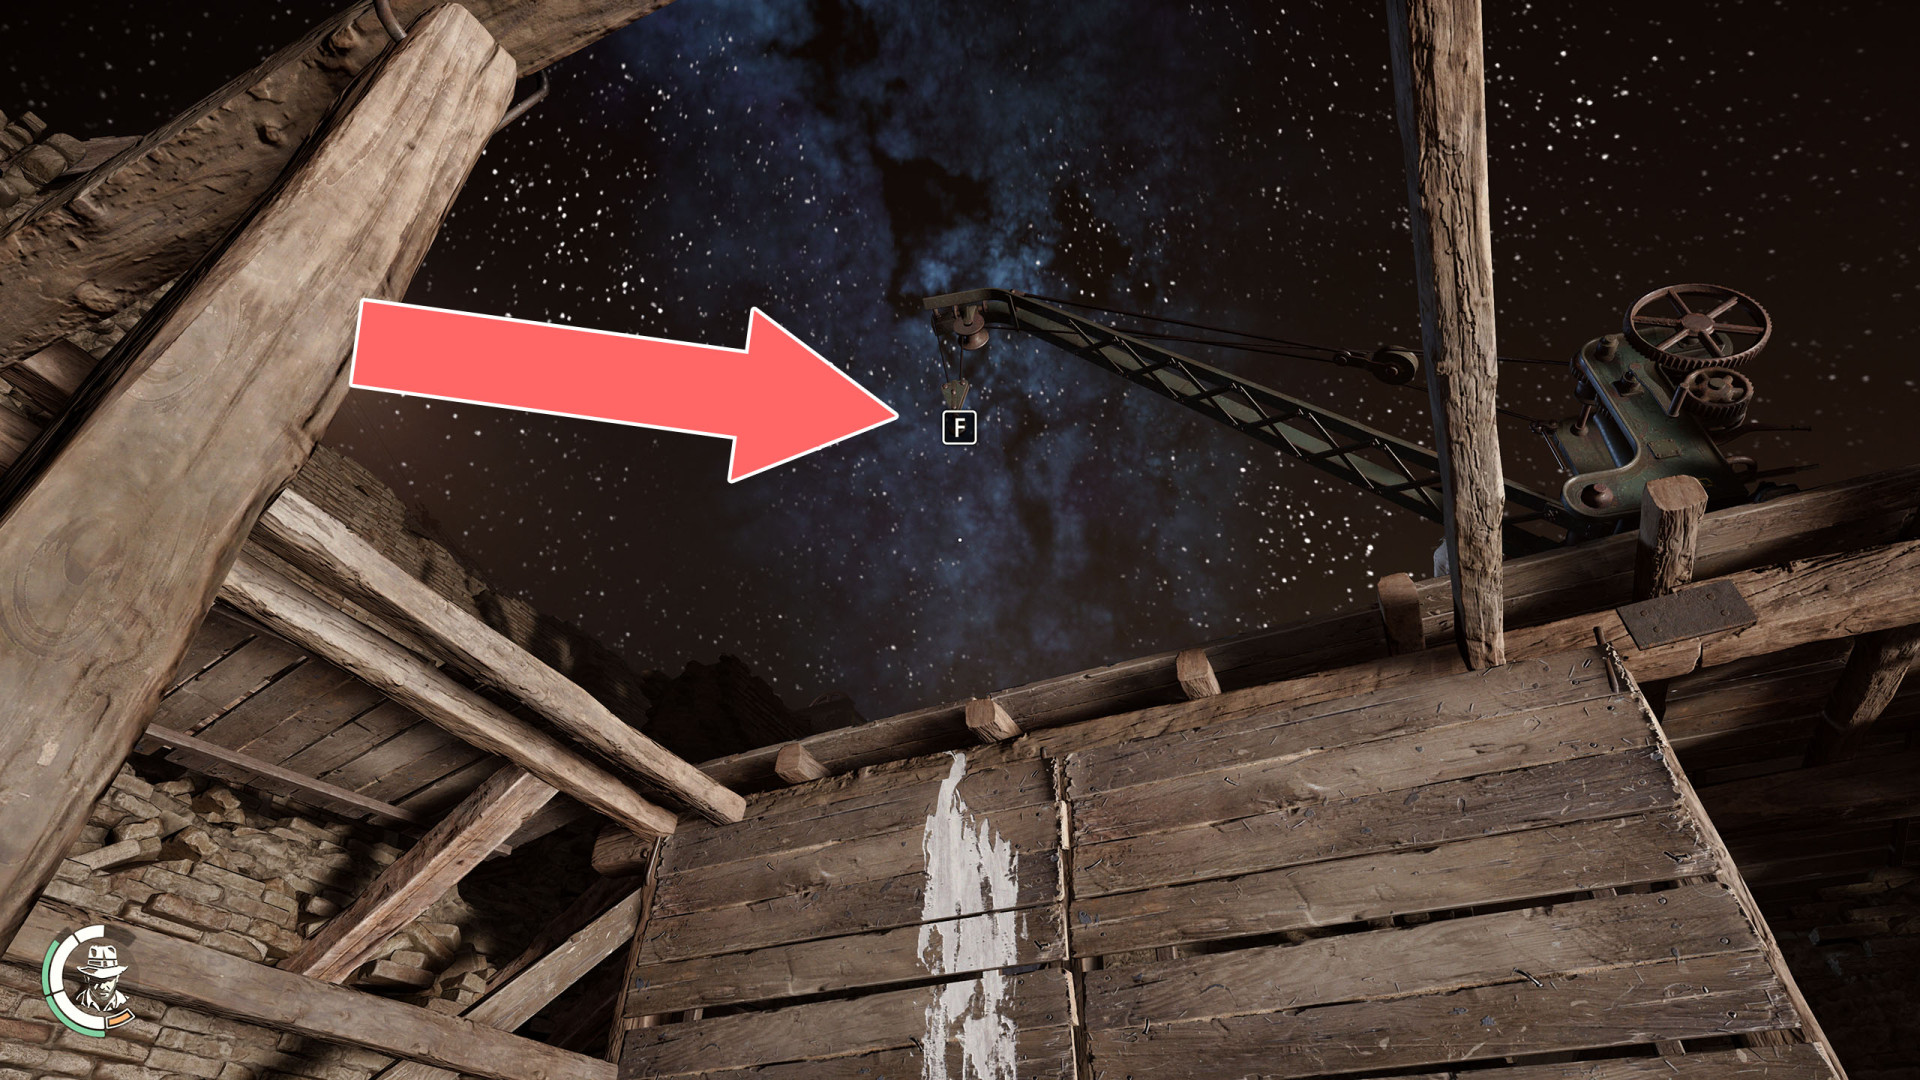
348Grappling Point
Help Gina get up here, and then she will move the crane so you can use it.
349Grappling Point
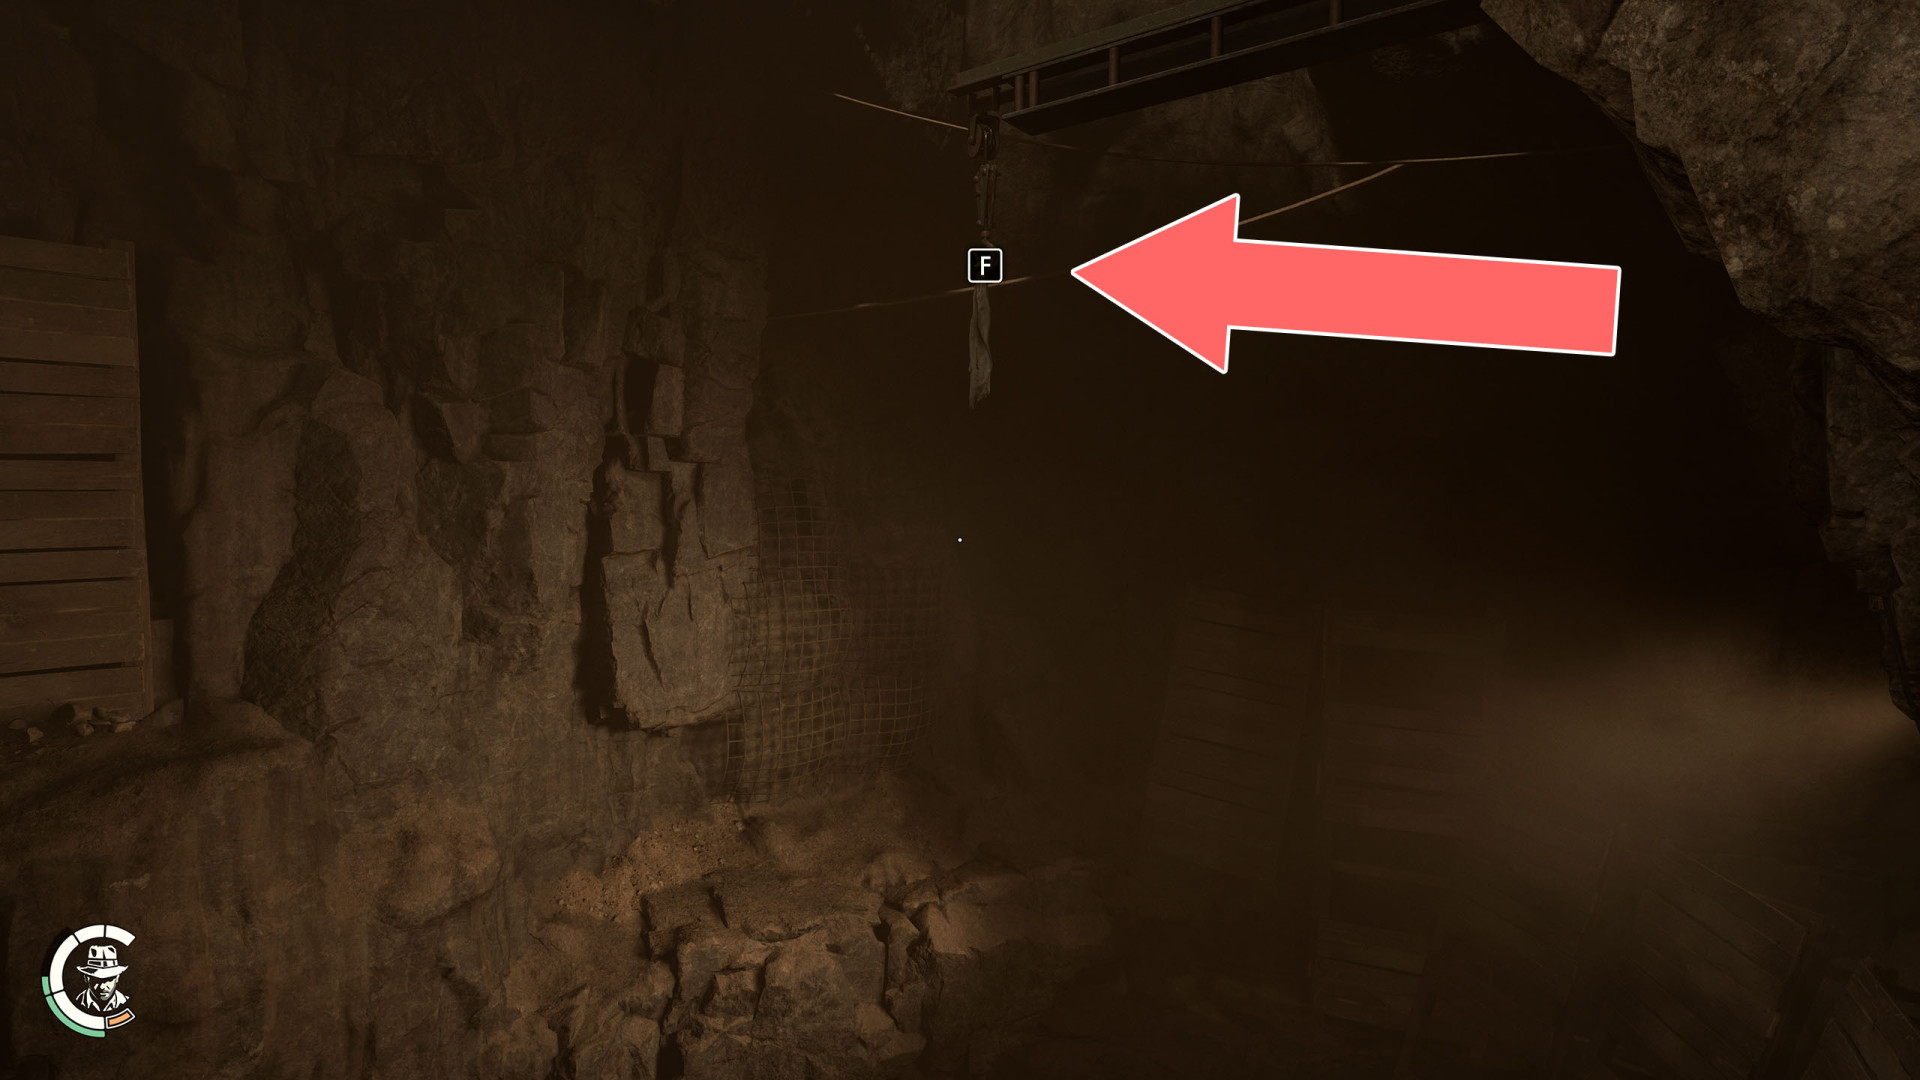
350Grappling Point
351Grappling Point
352Hatch
353Narrow Passage
Narrow passage between the elevator and the wall.
354To Lower Level
355Wooden Platforms
356Zipline