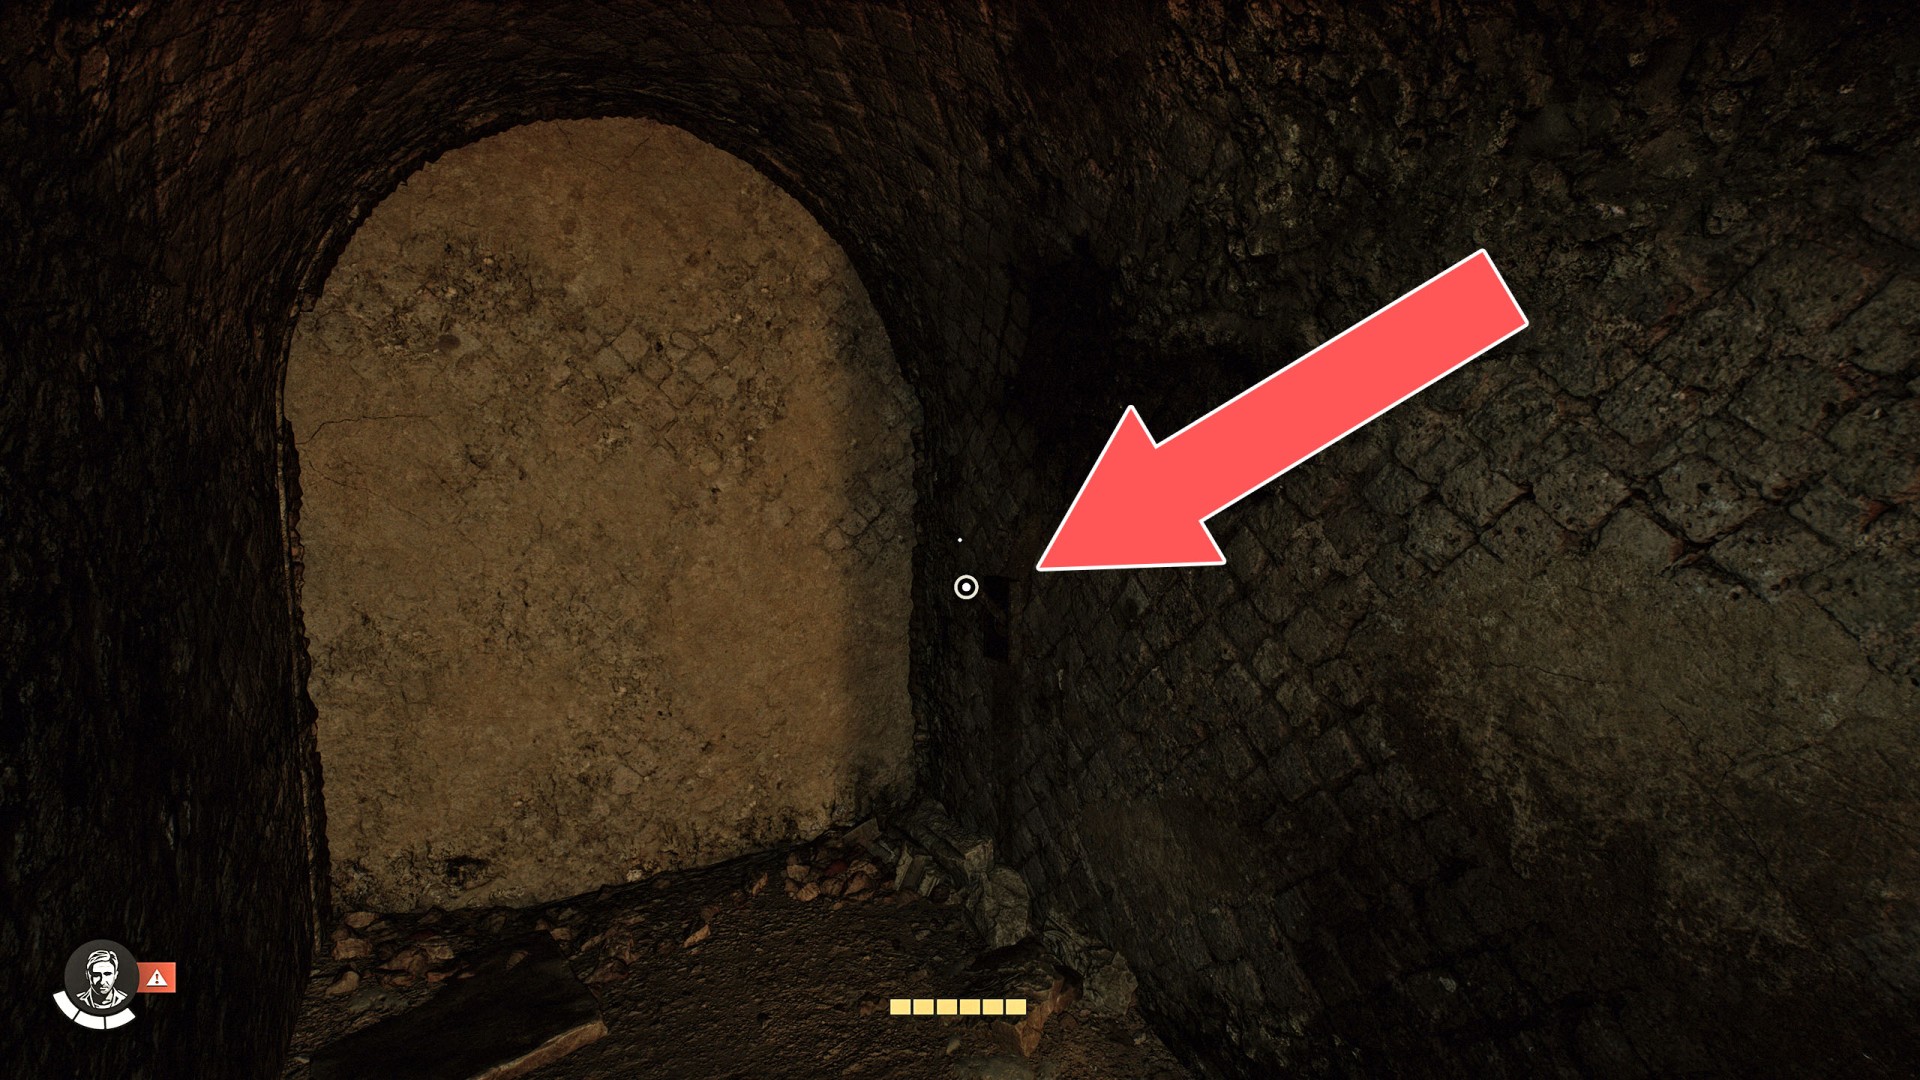
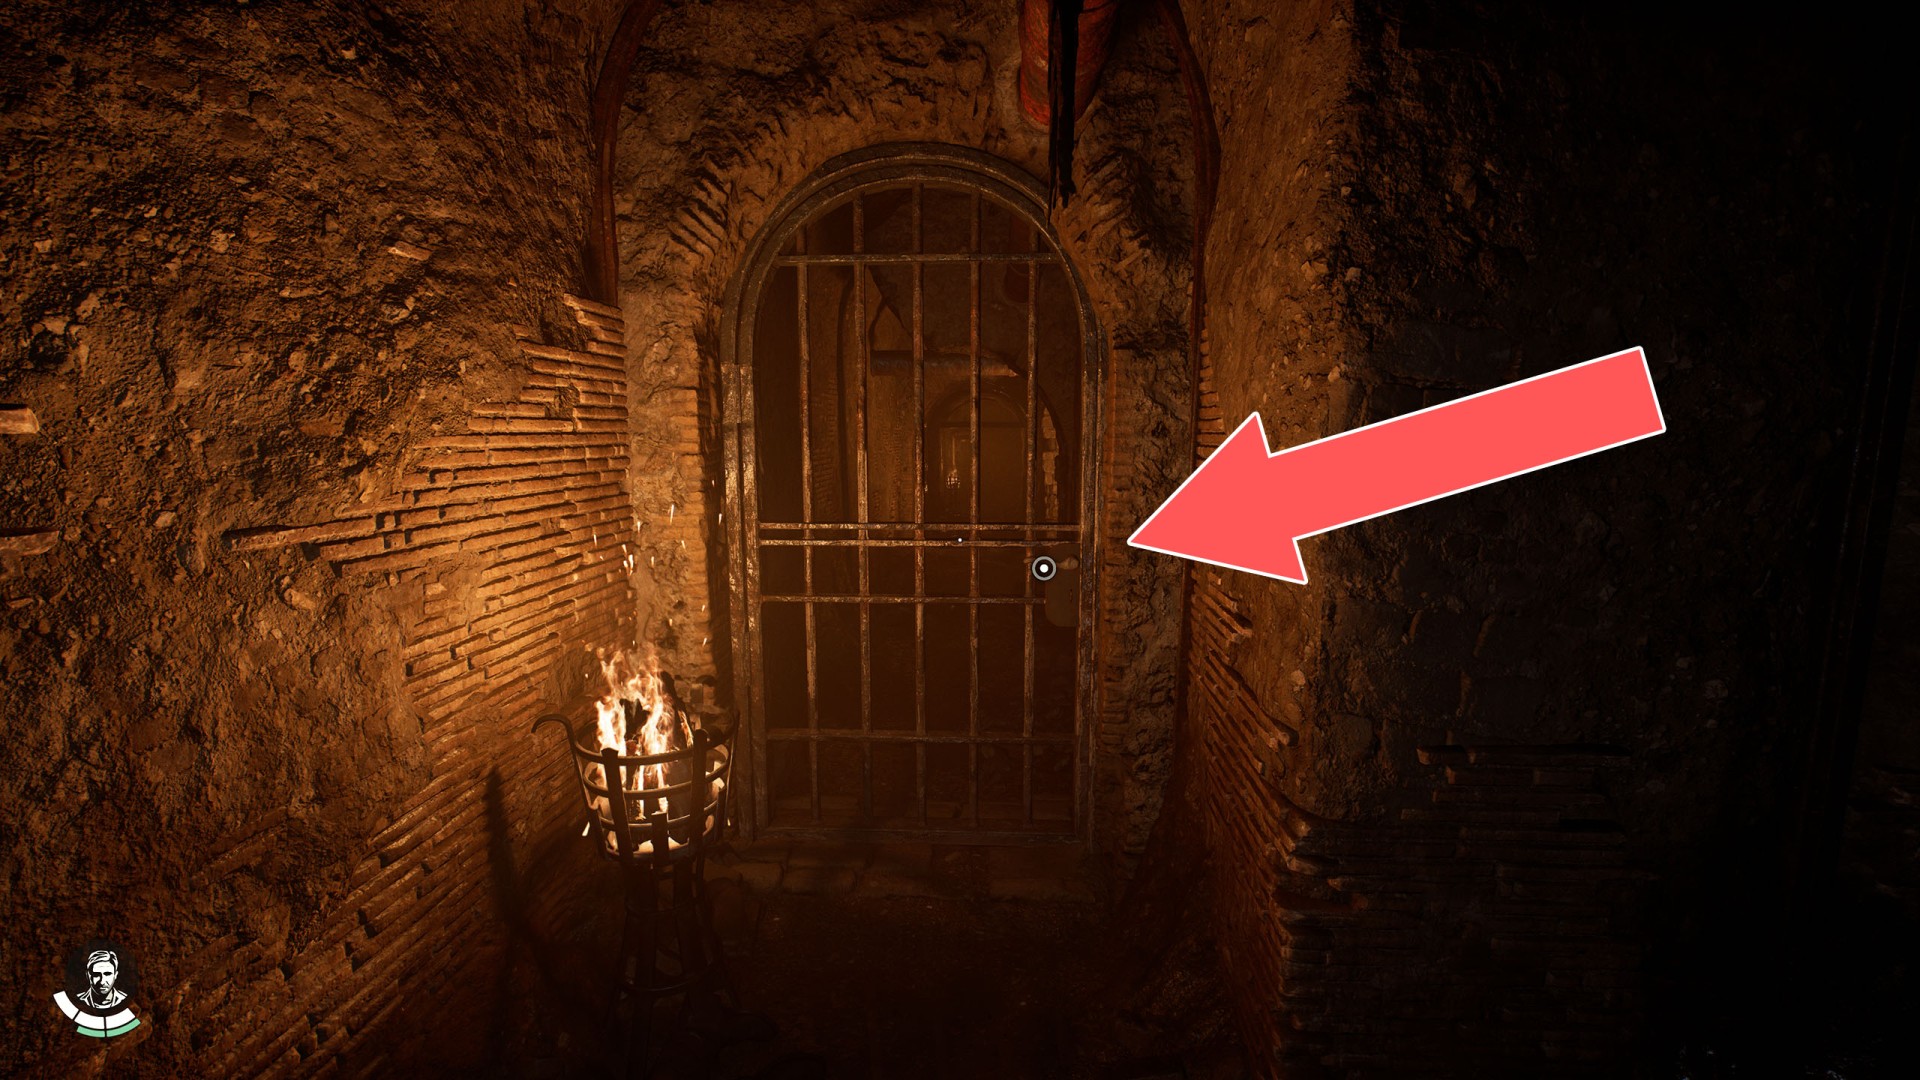
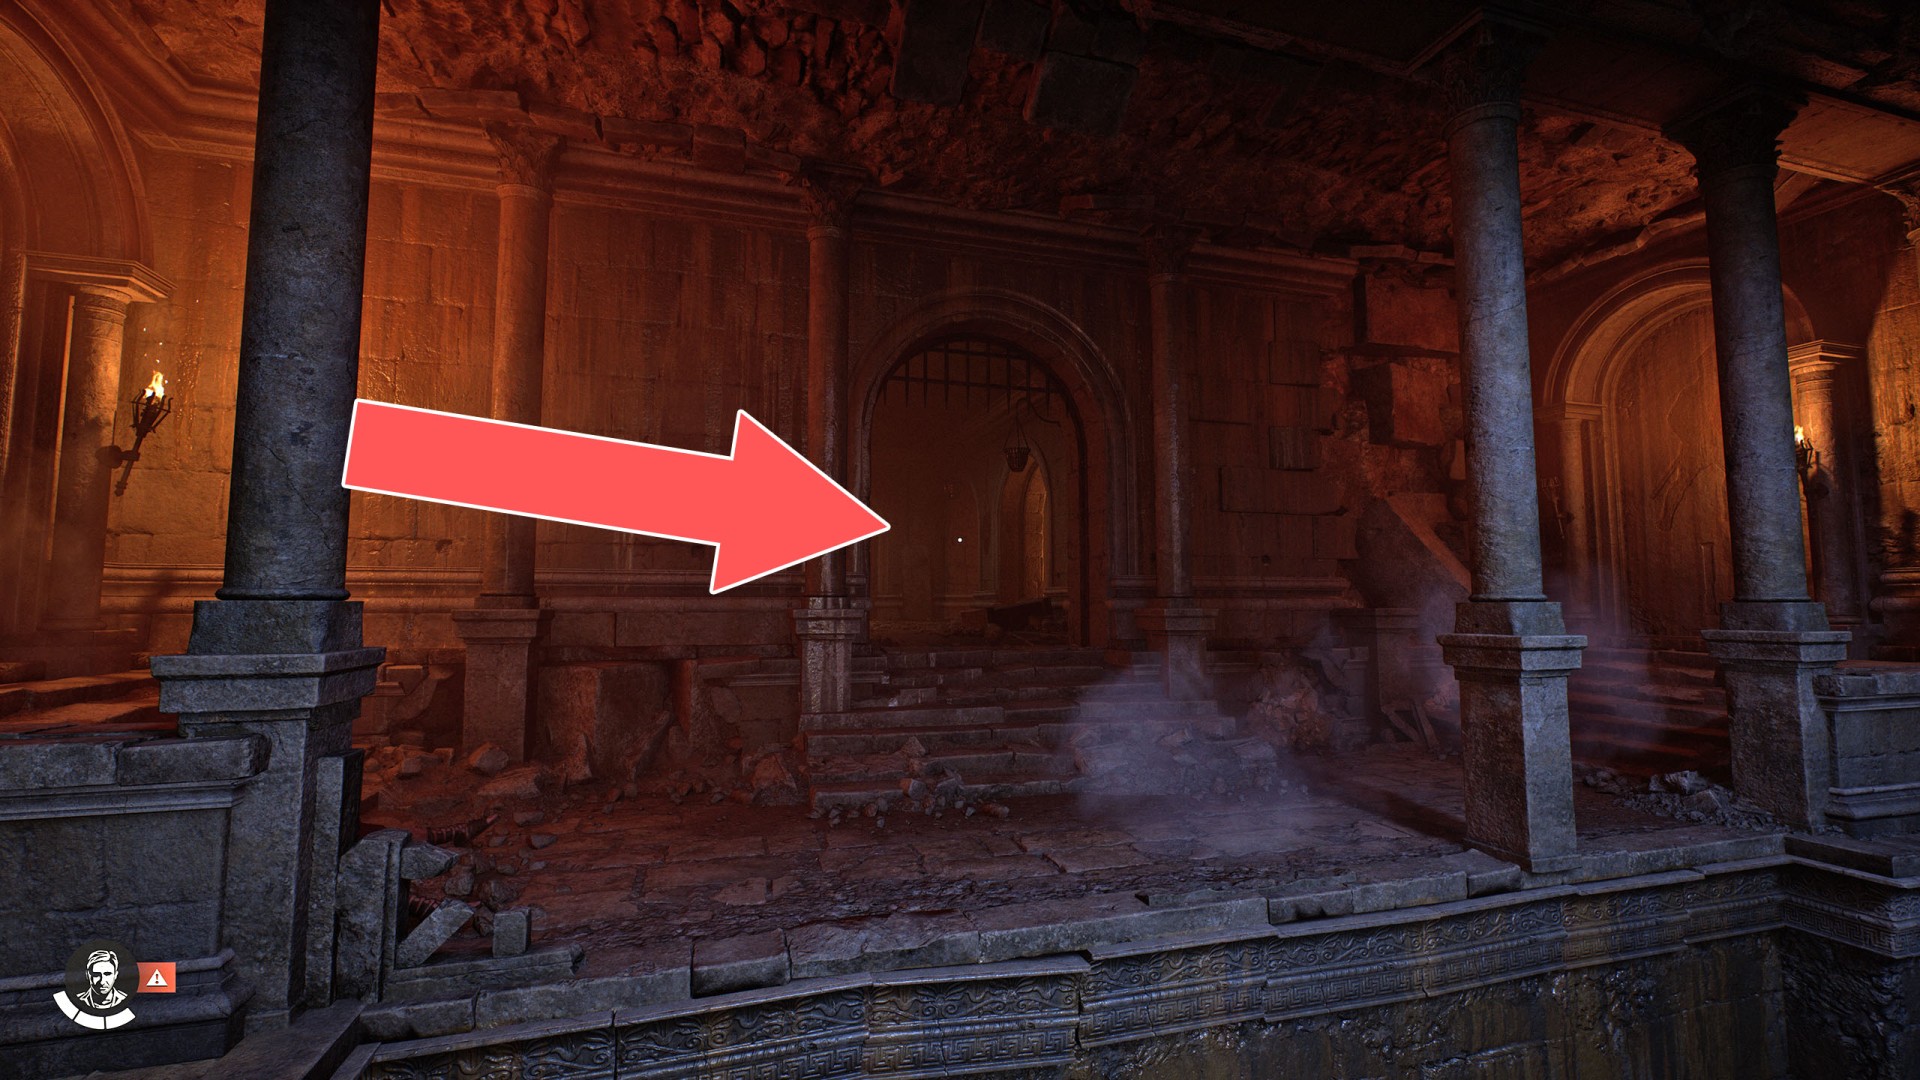
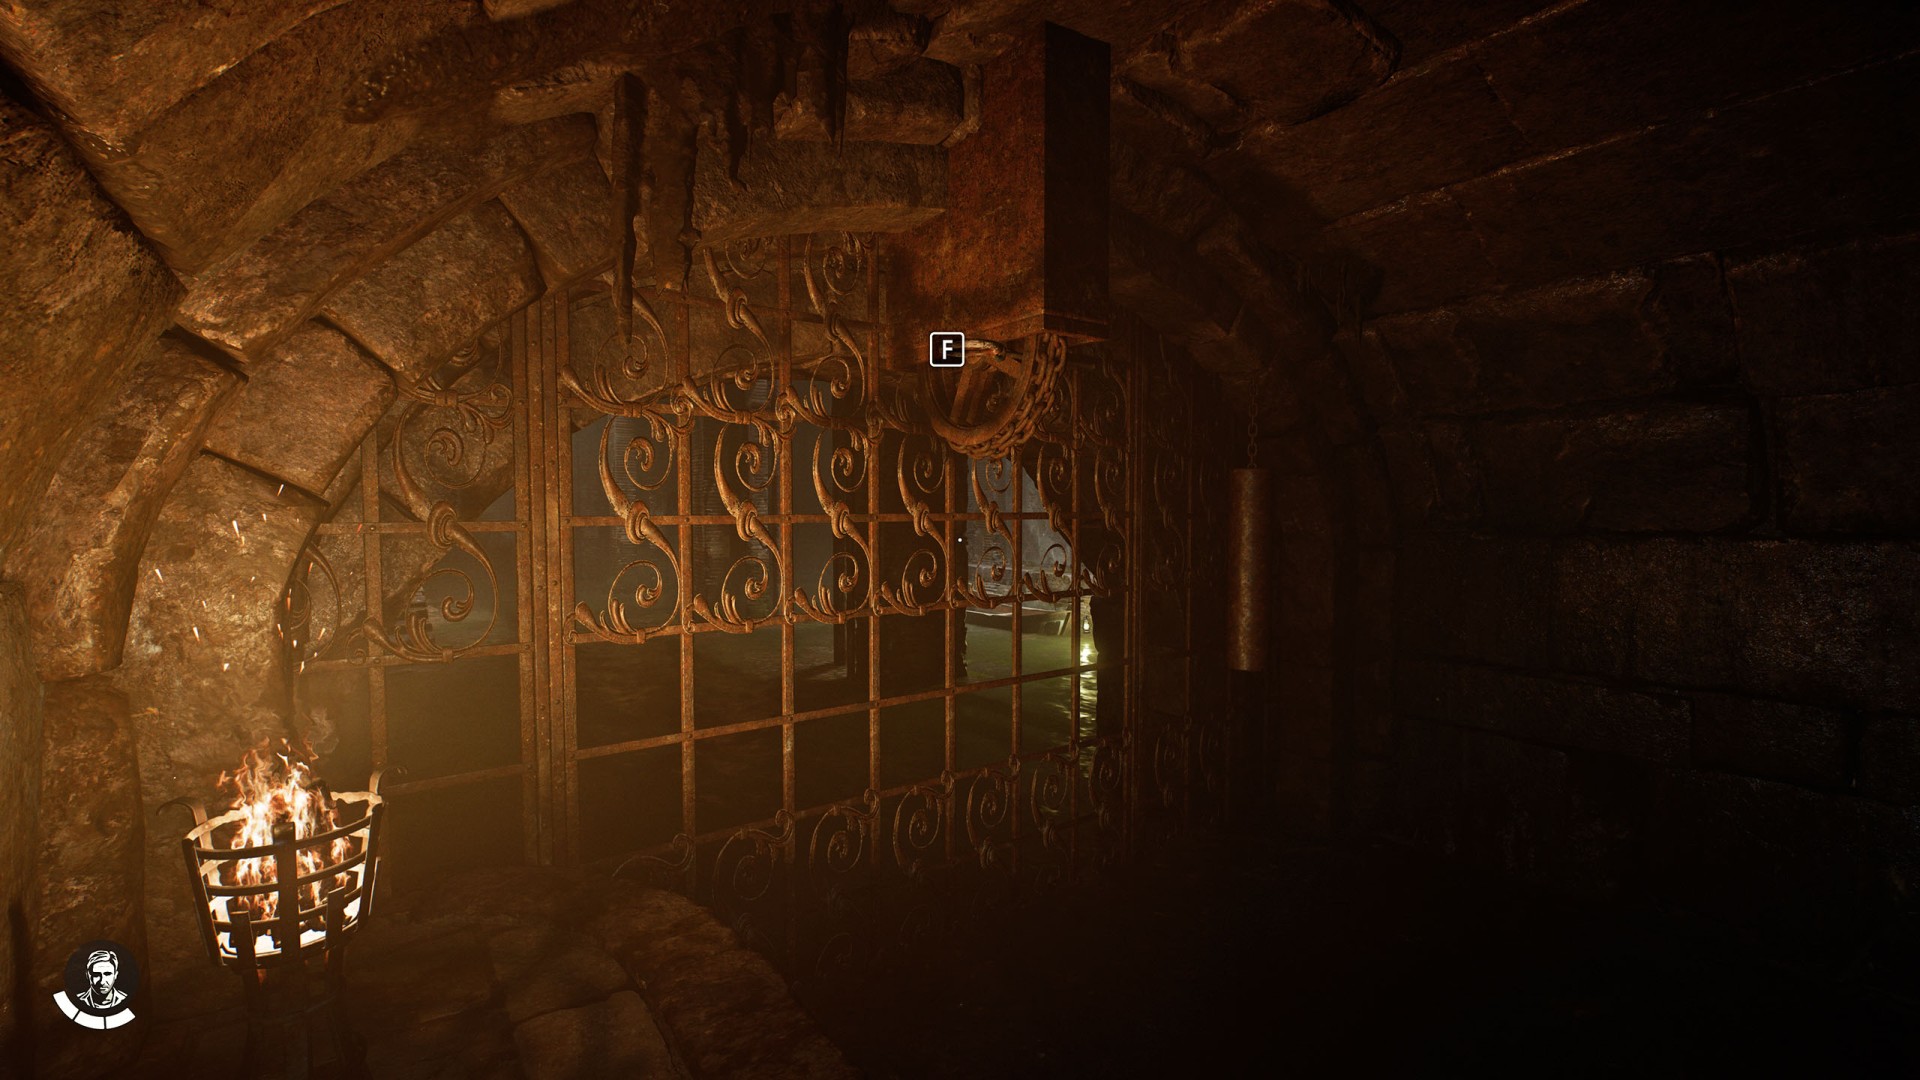
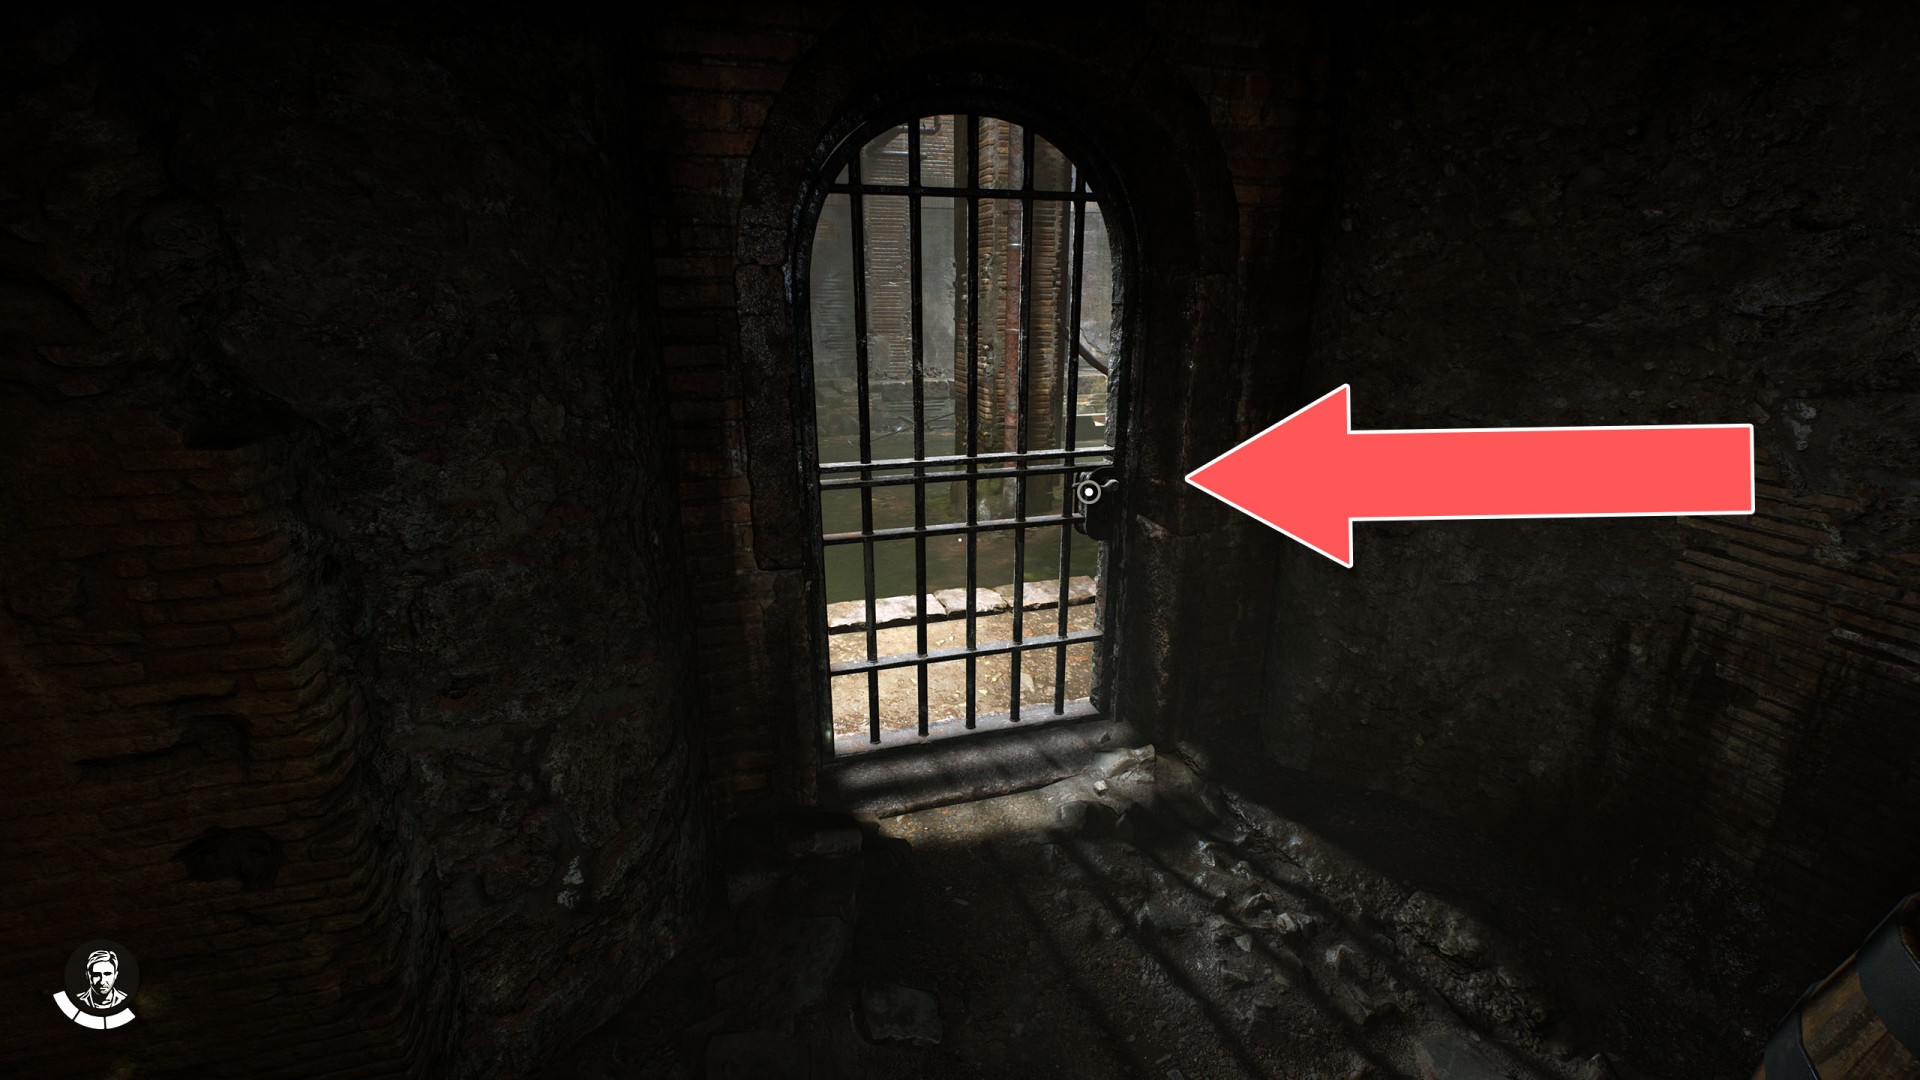
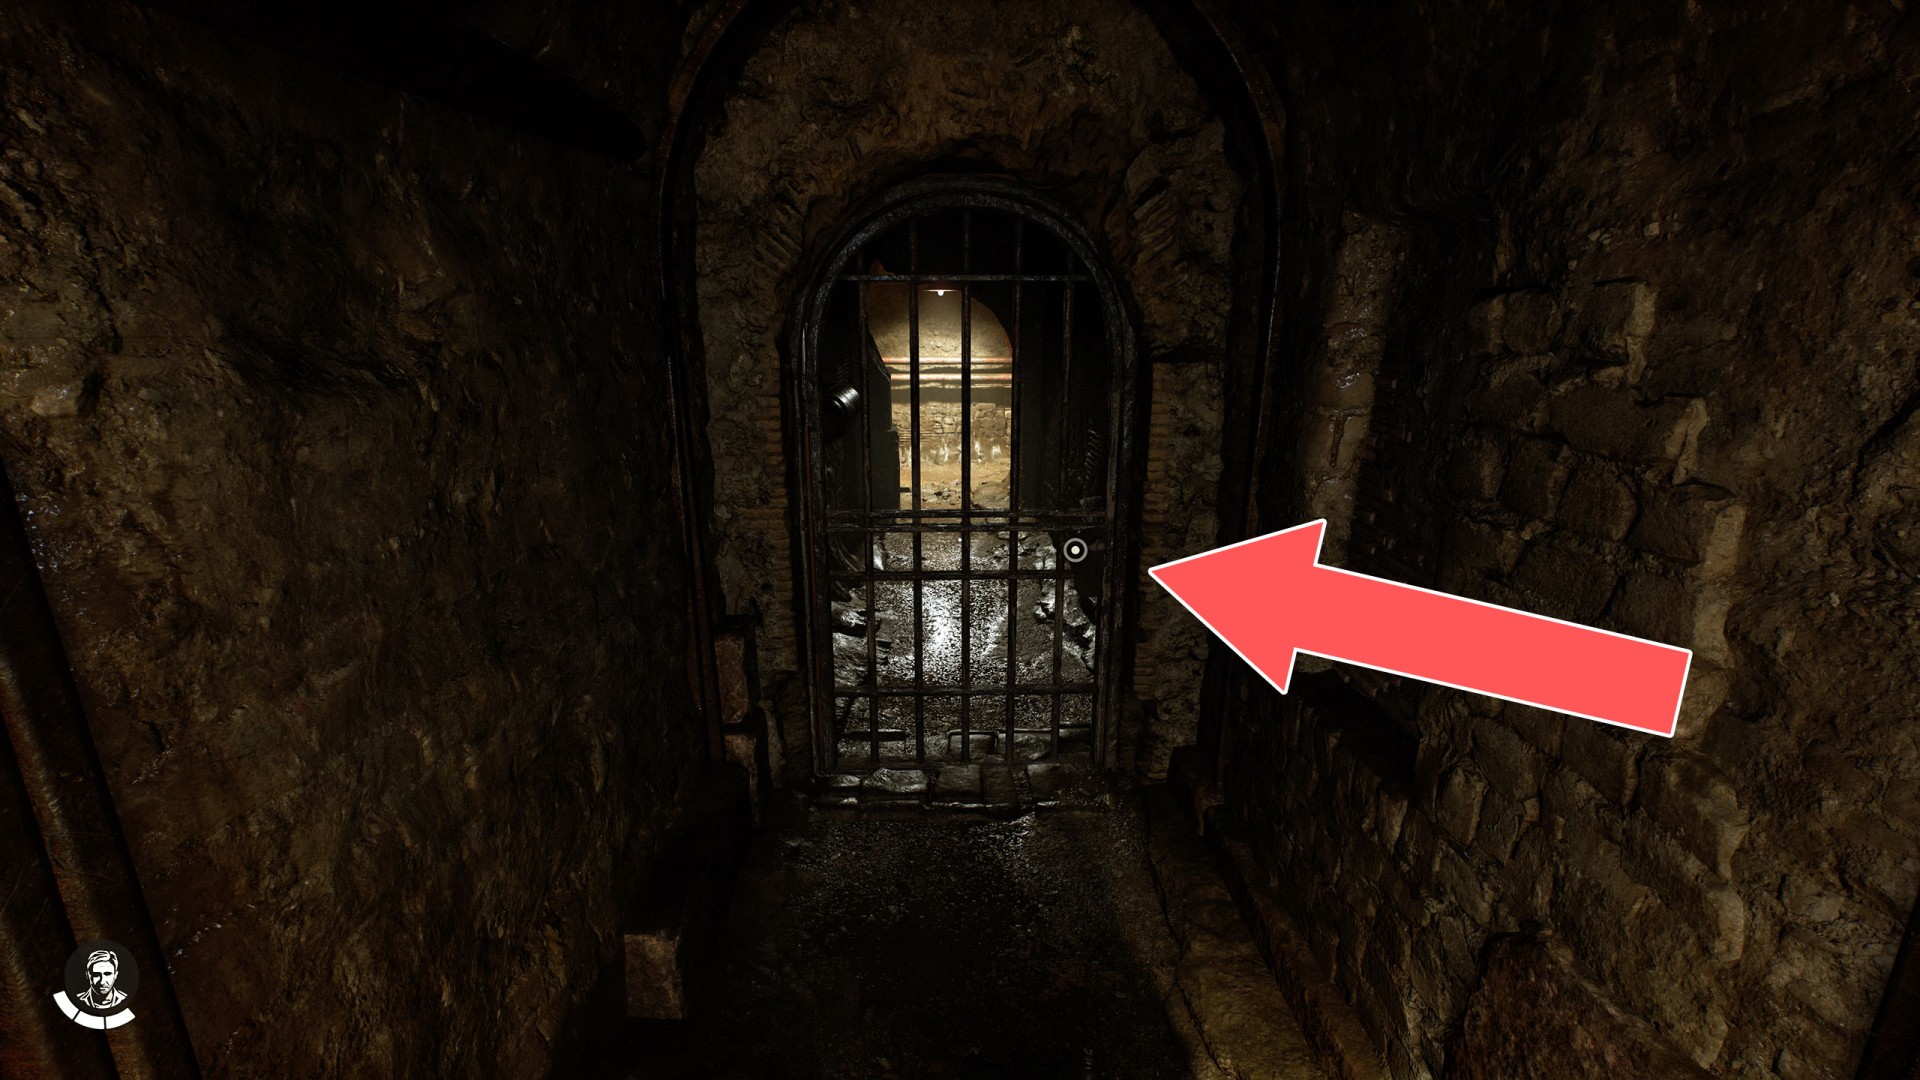
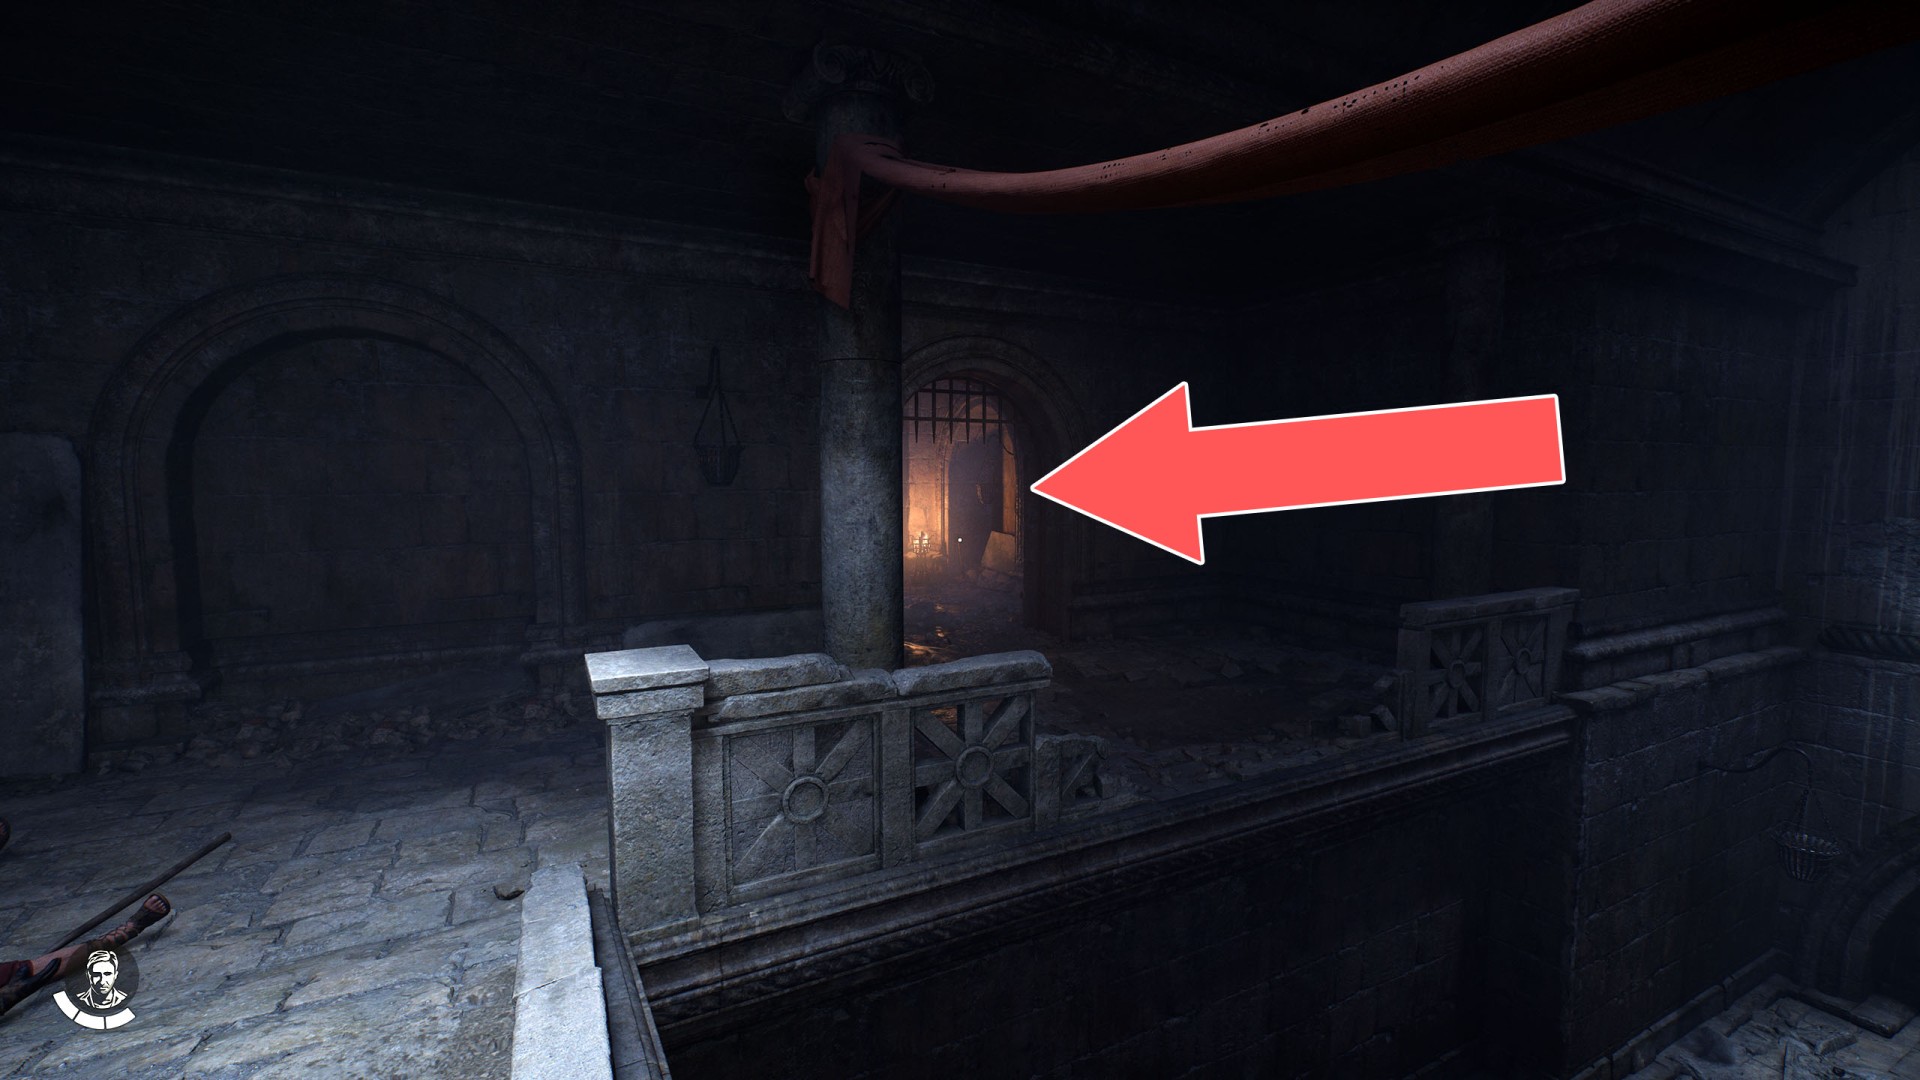
Various locked or blocked passages. Some of them can be opened with the right key. Some can only be unlocked from a certain side. Others can be unblocked by, for example, using a large hammer or setting them on fire.
Locked Passages
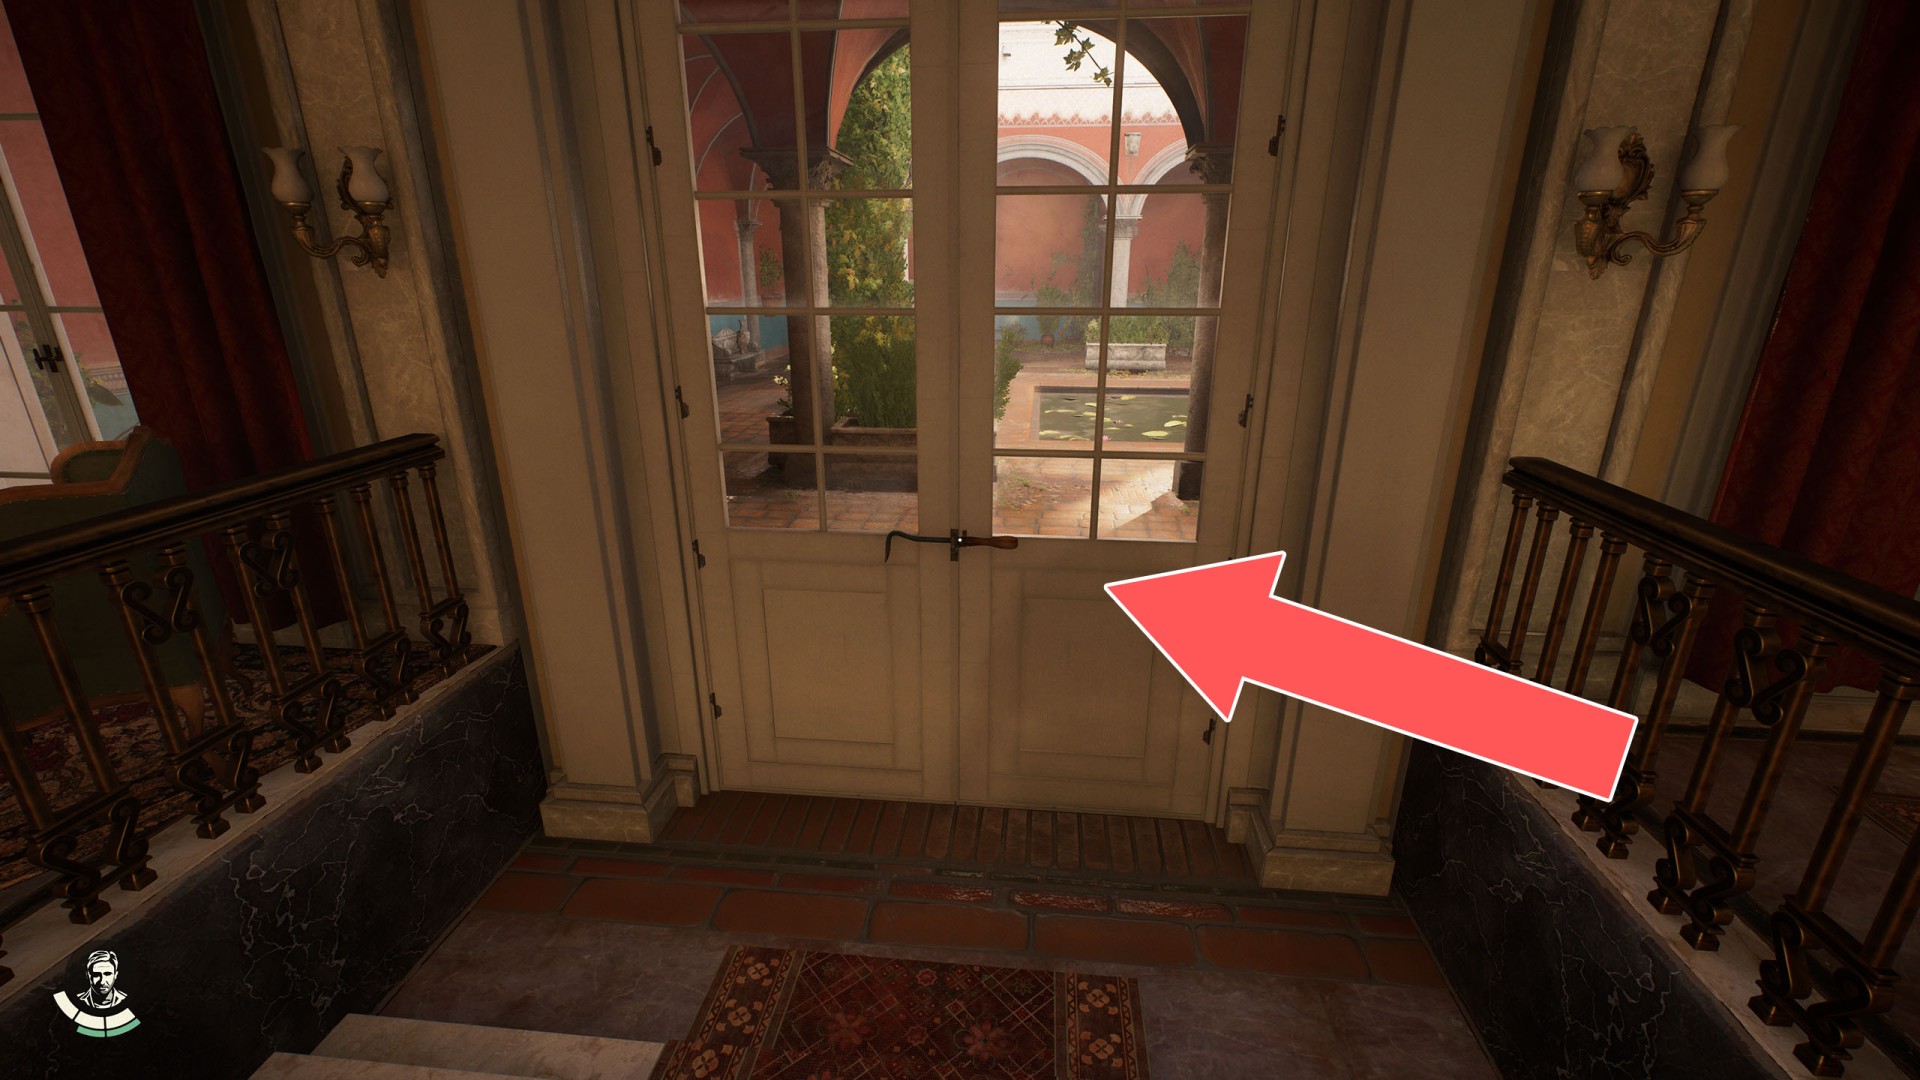
Locations on The Vatican
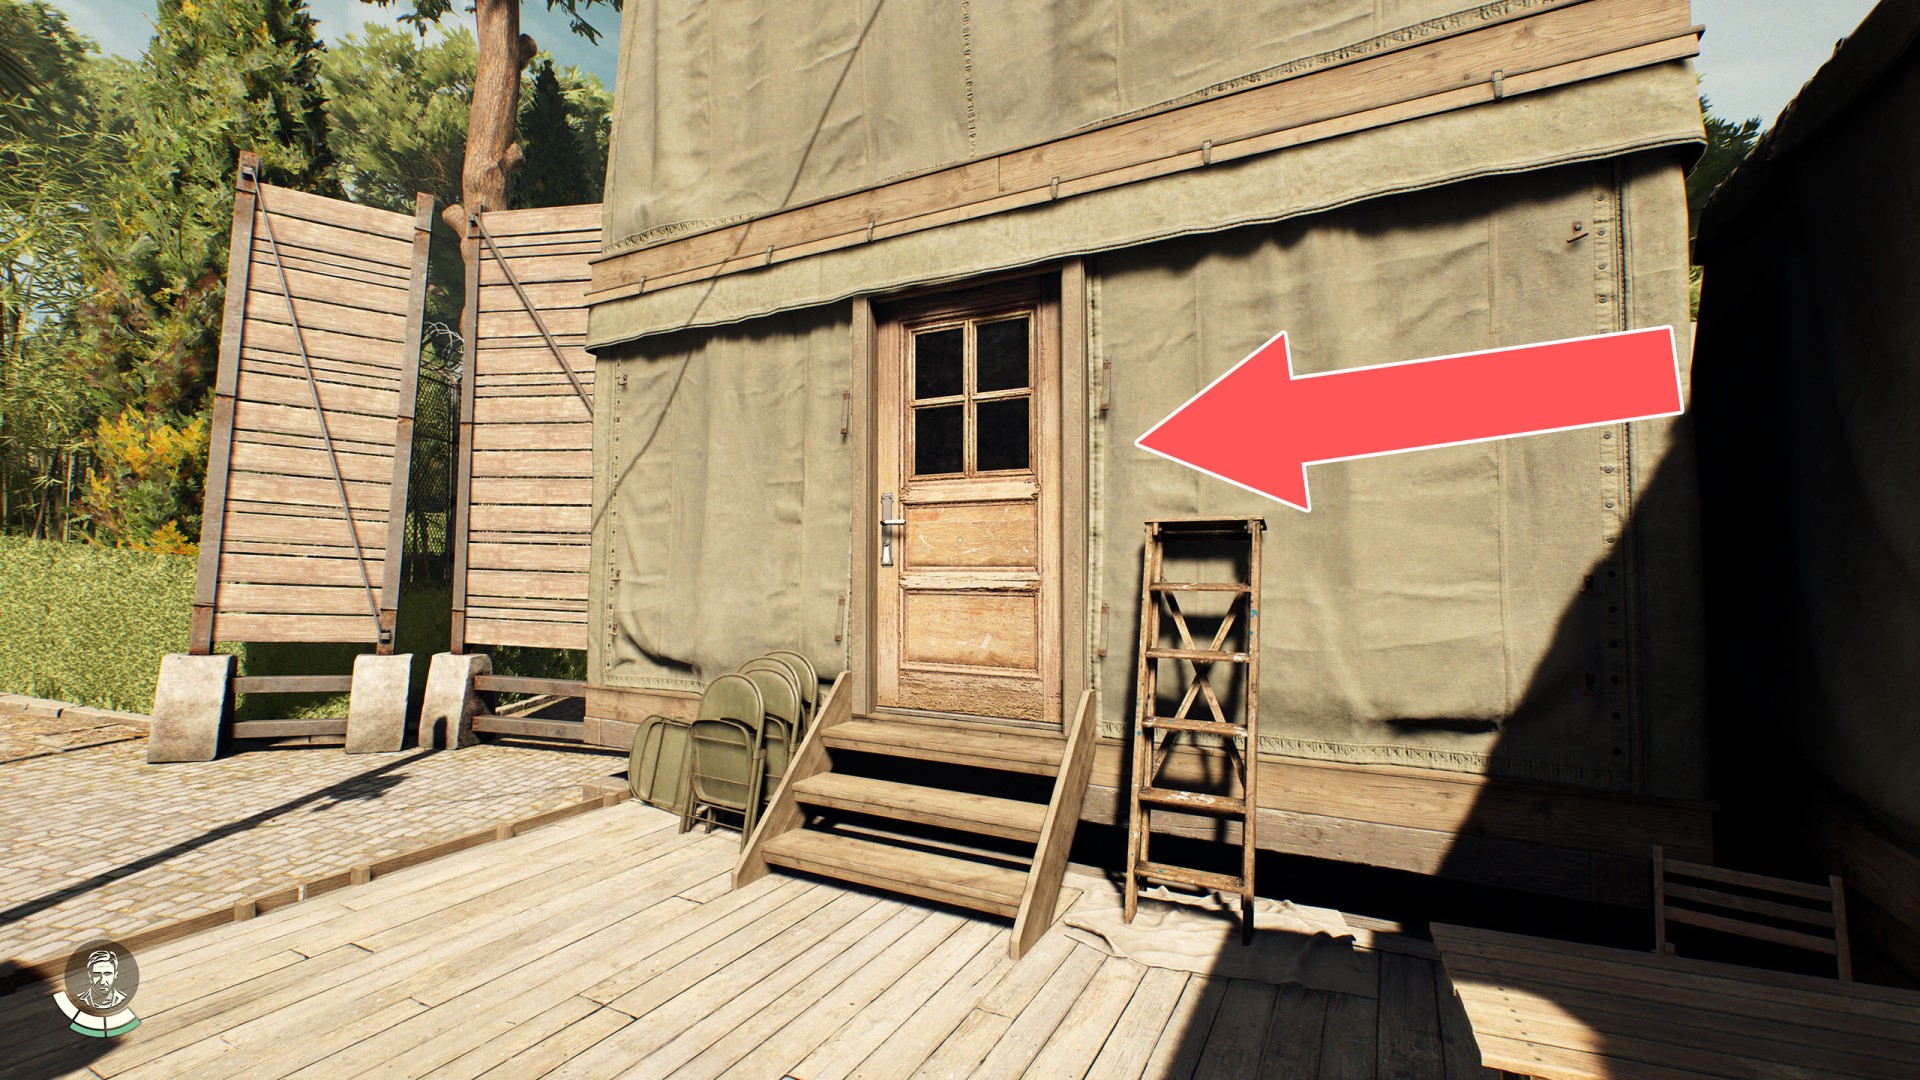
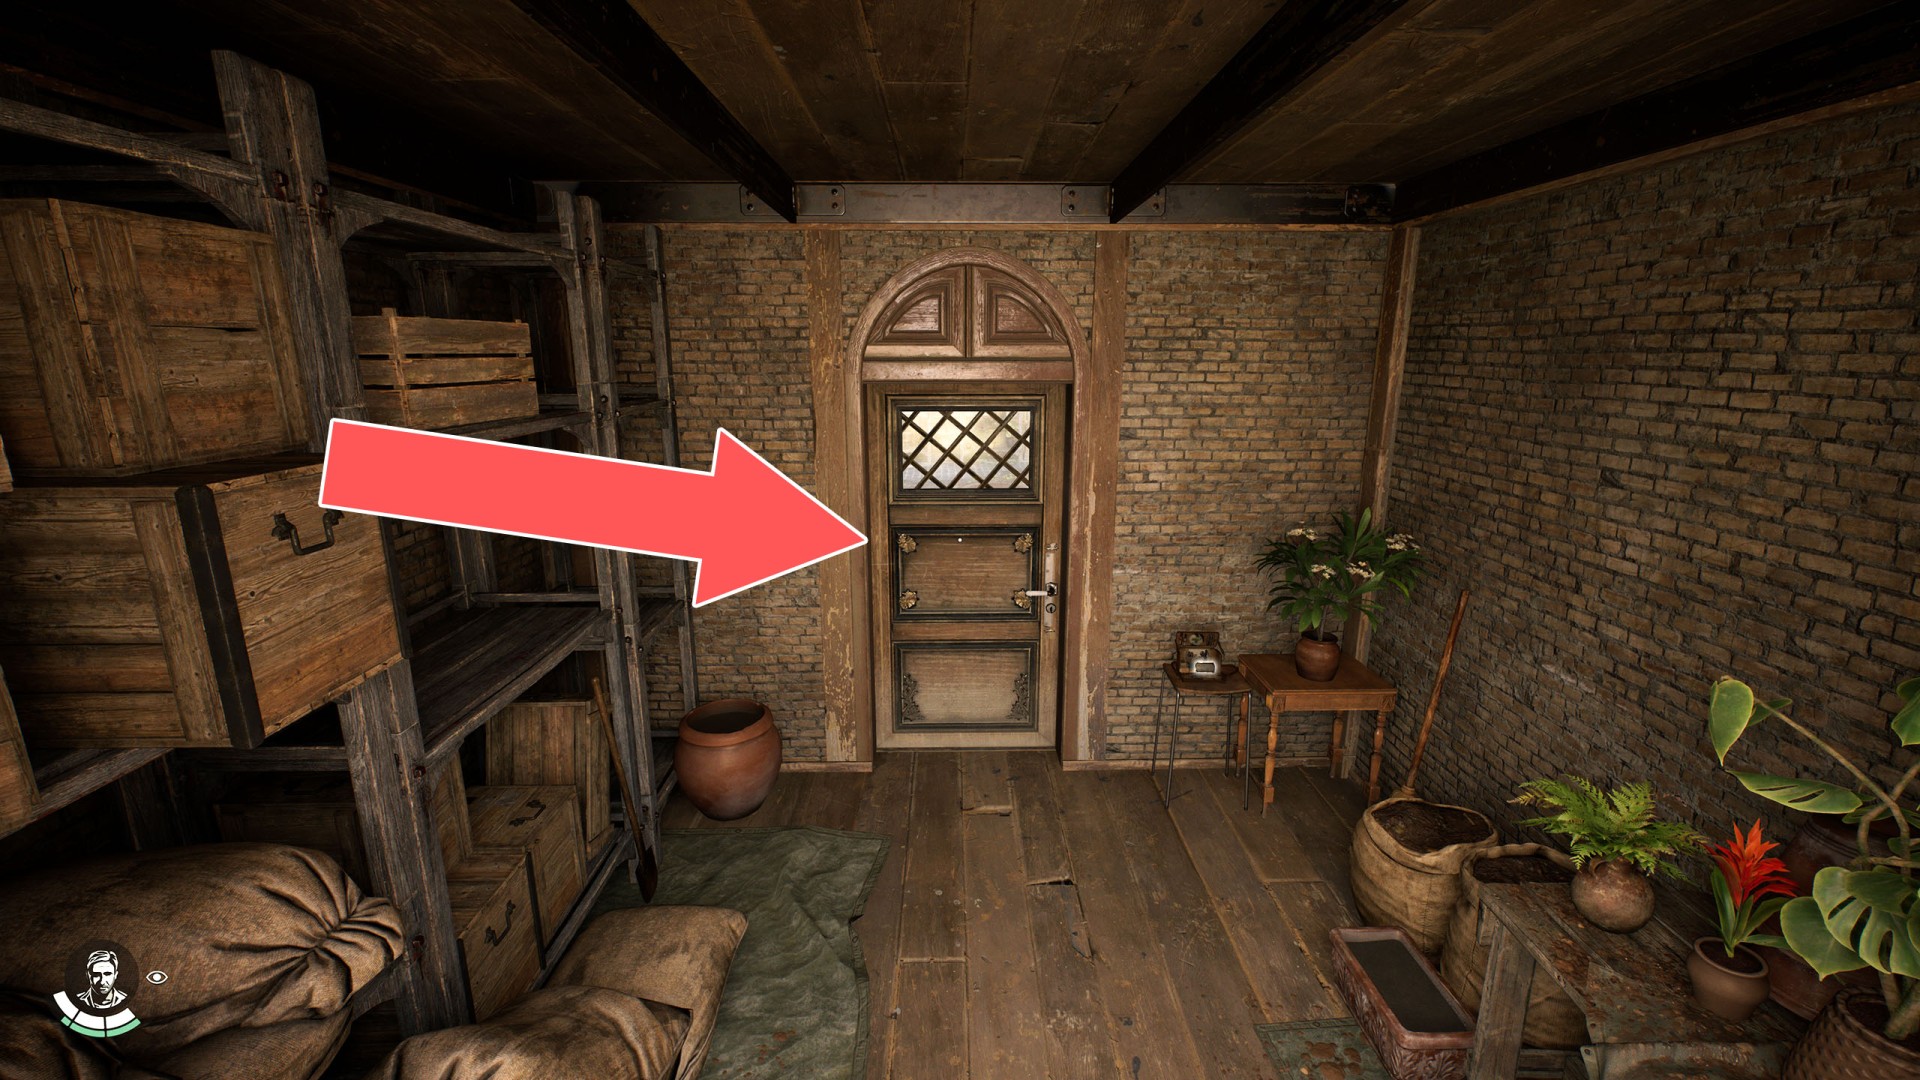
1 Agency Room Locked Door

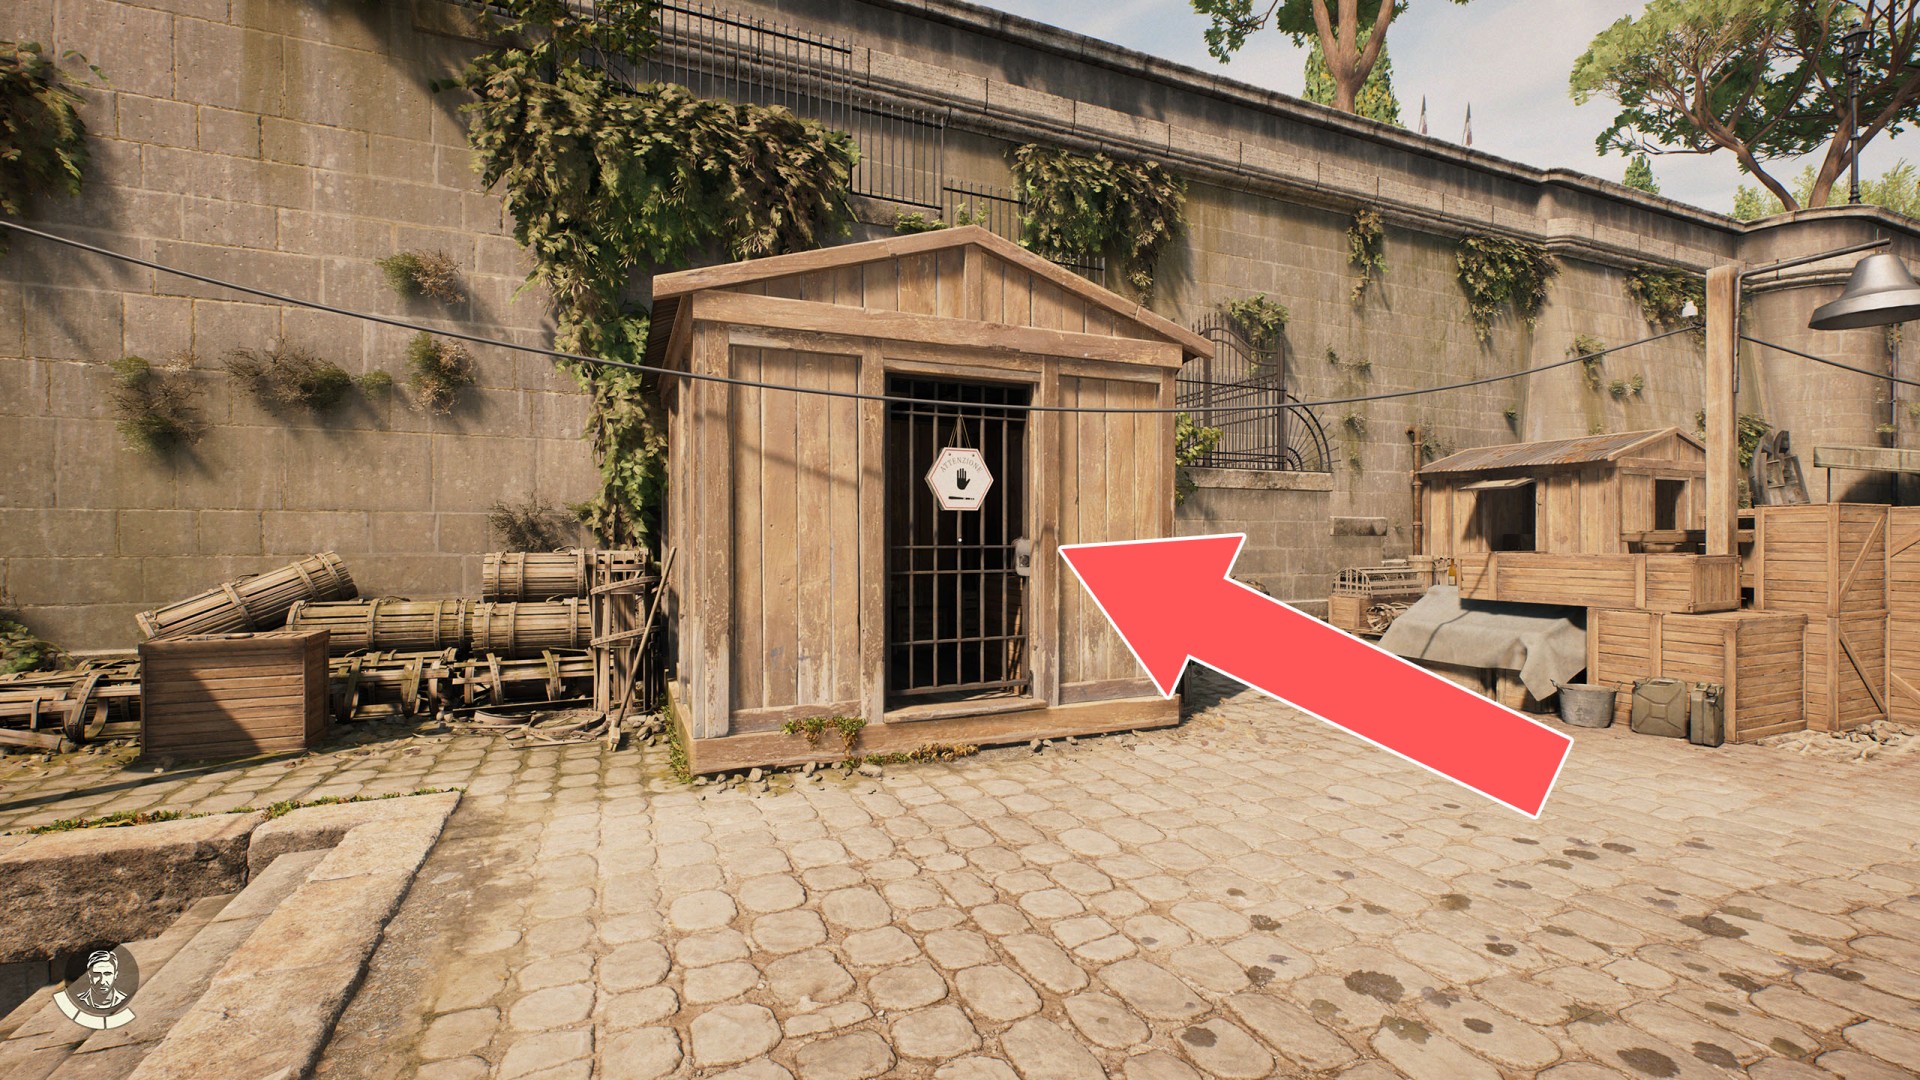
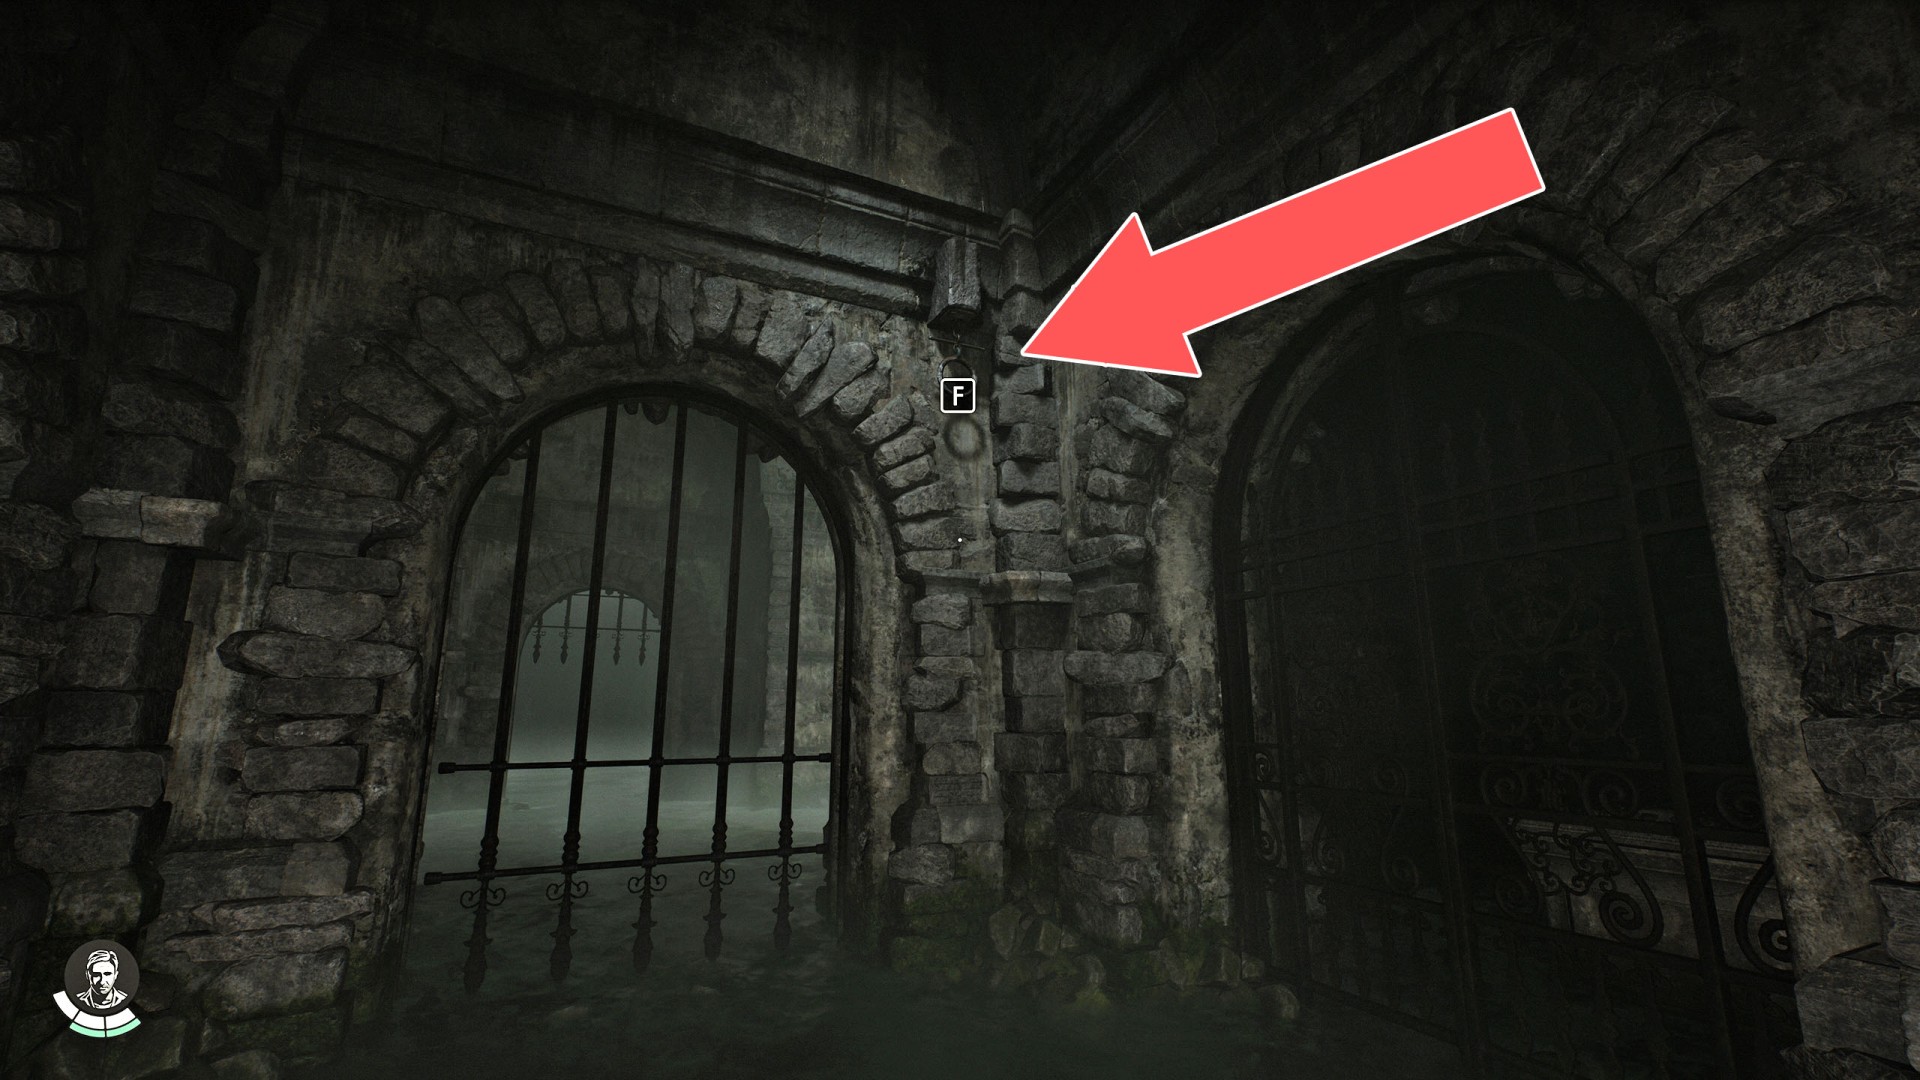
2Angel Courtyard Gate
Key required to open it: Captain's Key.

3Apostolic Palace Door
This door can be opened from the inside during the quest "The Mad Priest".


4Barracks Backdoor
Key required to open it: Barracks Key.
5Borgia Tower Locked Door

6Borgia Tower Locked Door
This door can be opened from the inside during the "A Nun in Trouble" fieldwork.

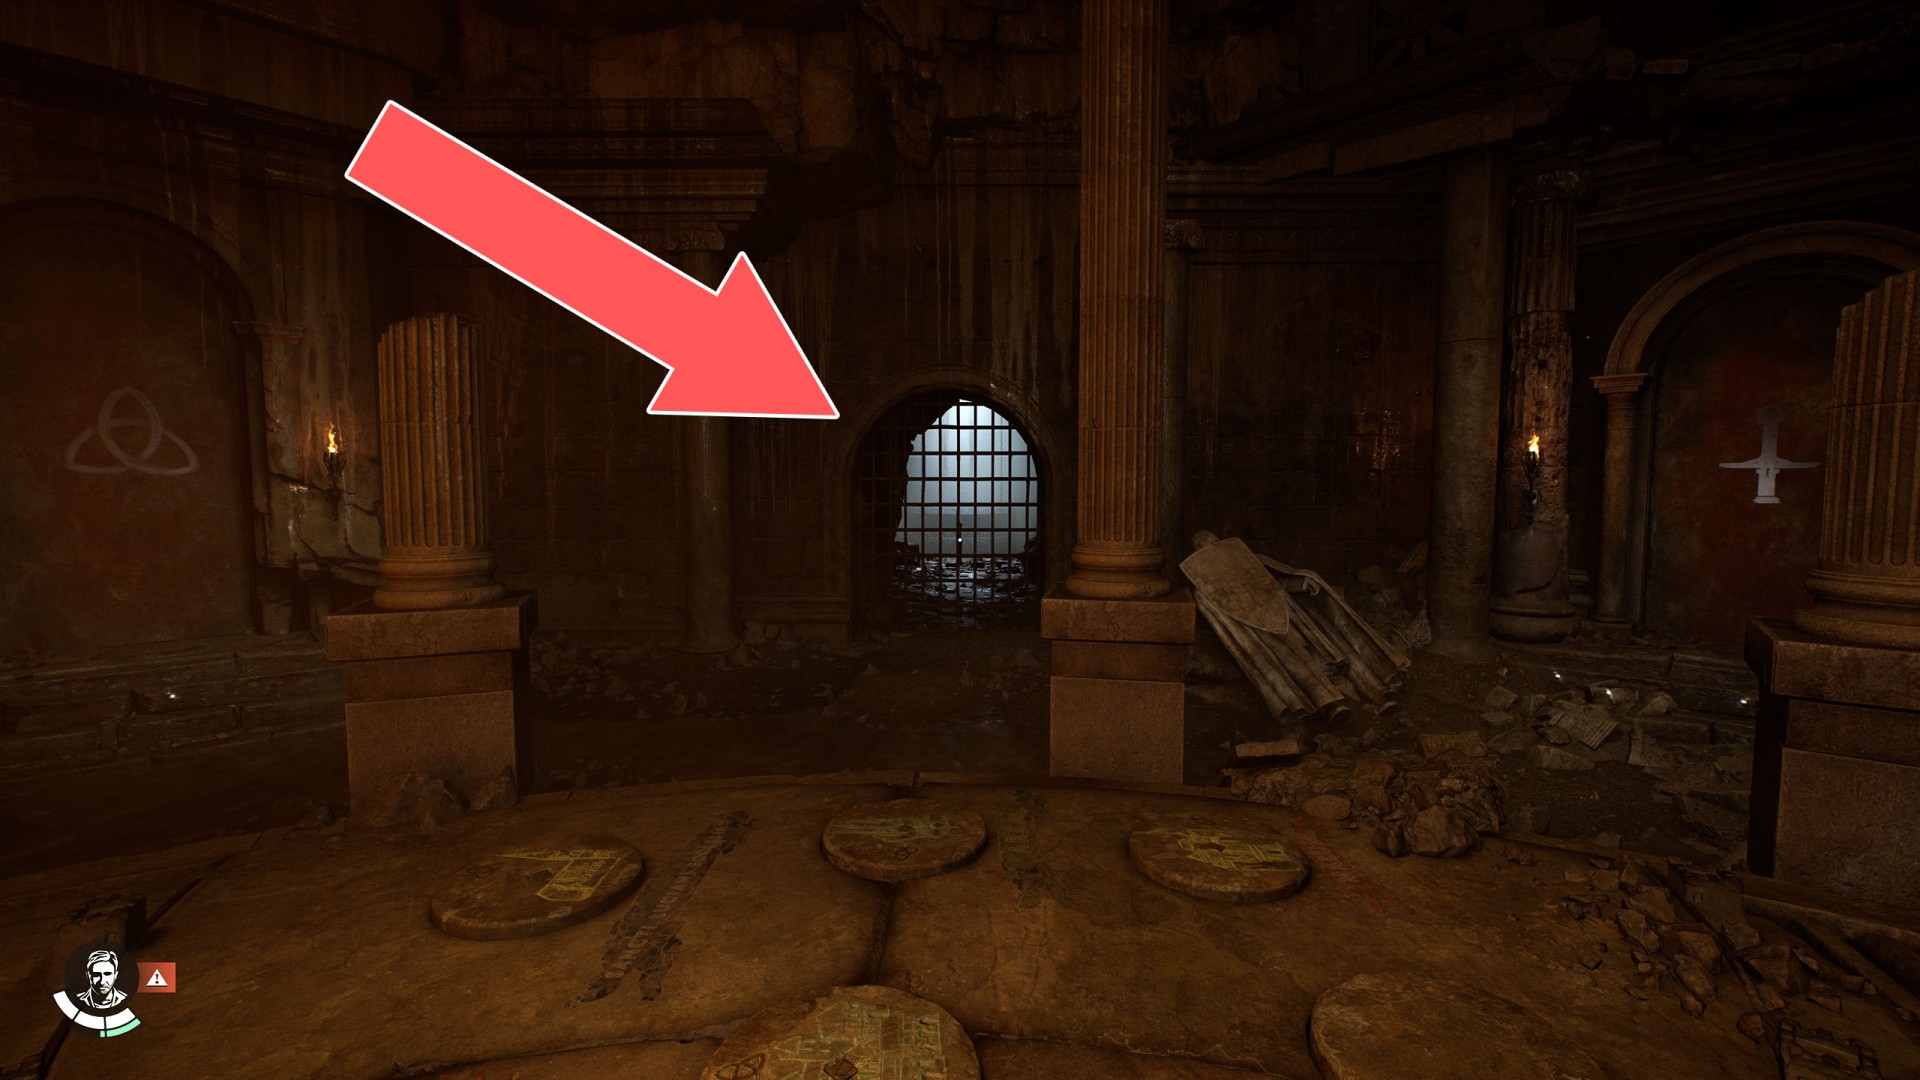
7Burial Chamber Gate
Key required to open it:Burial Chamber Key.

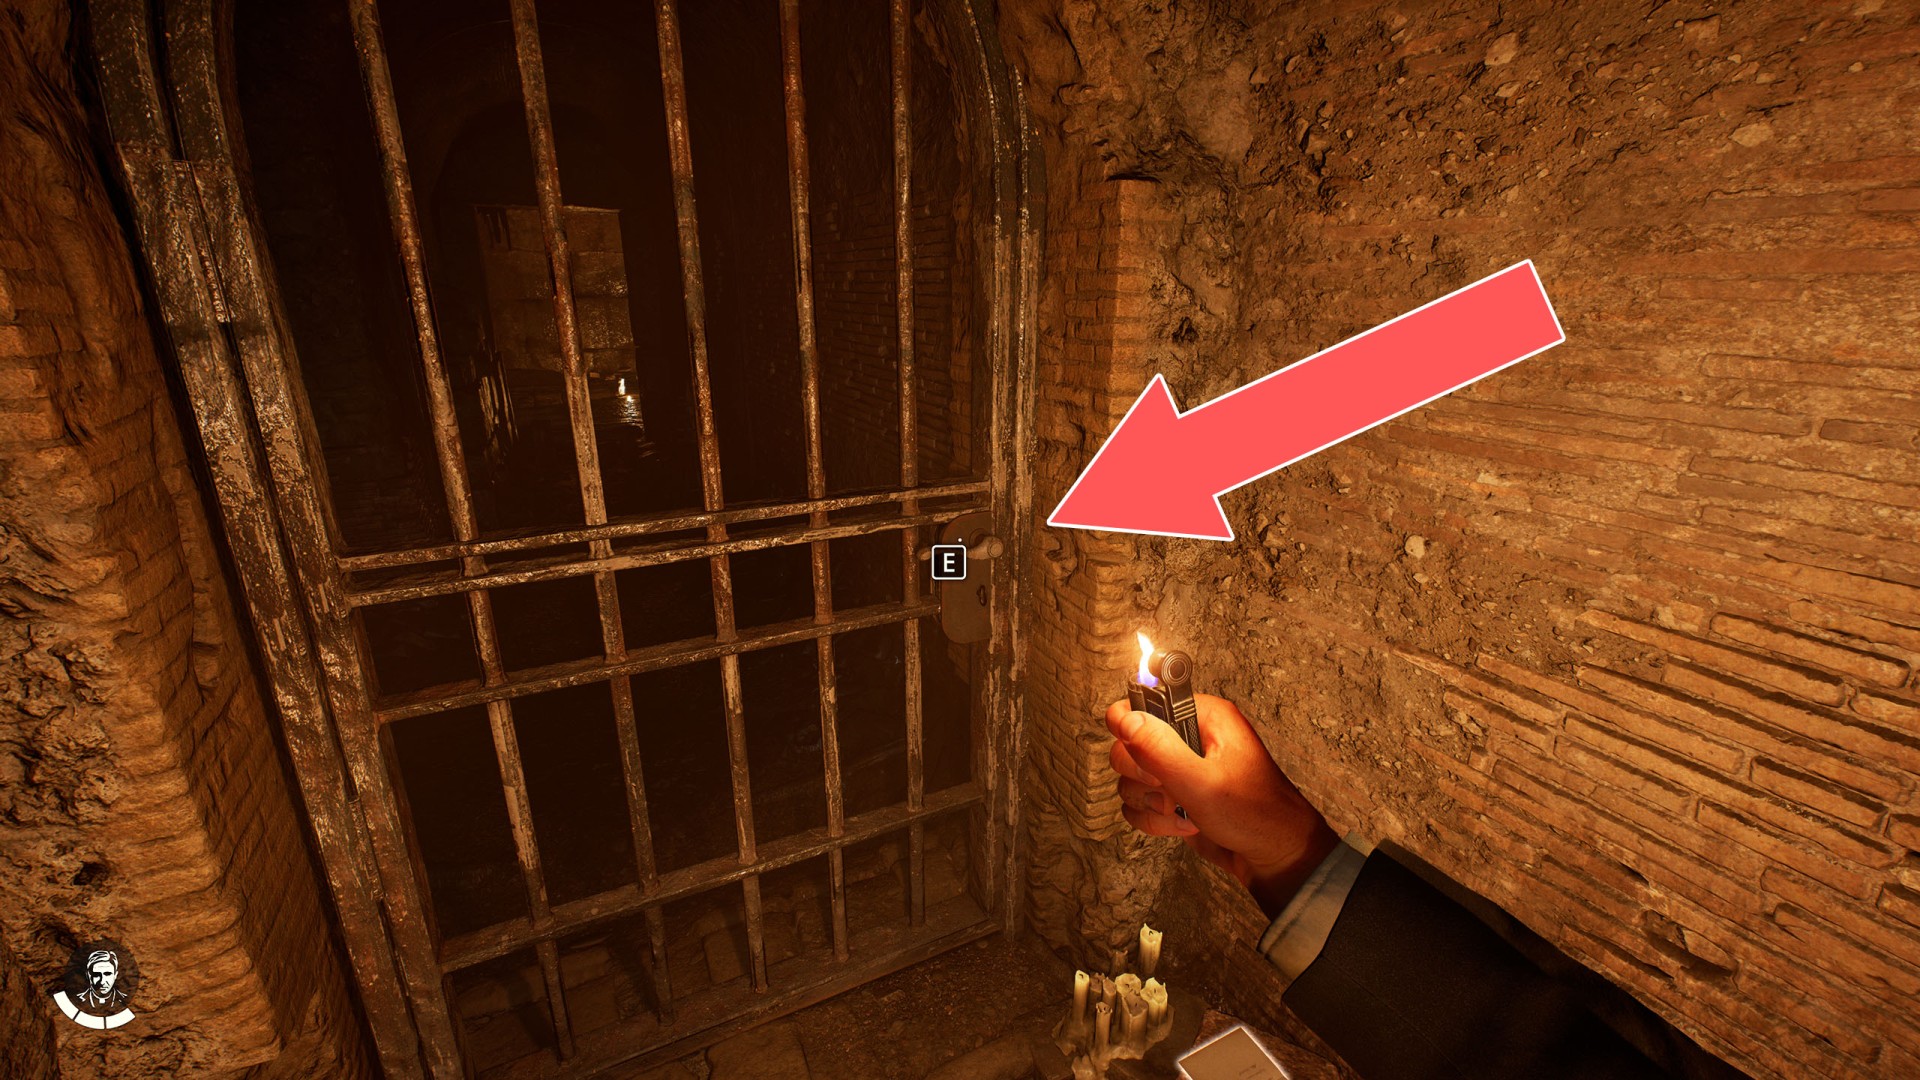
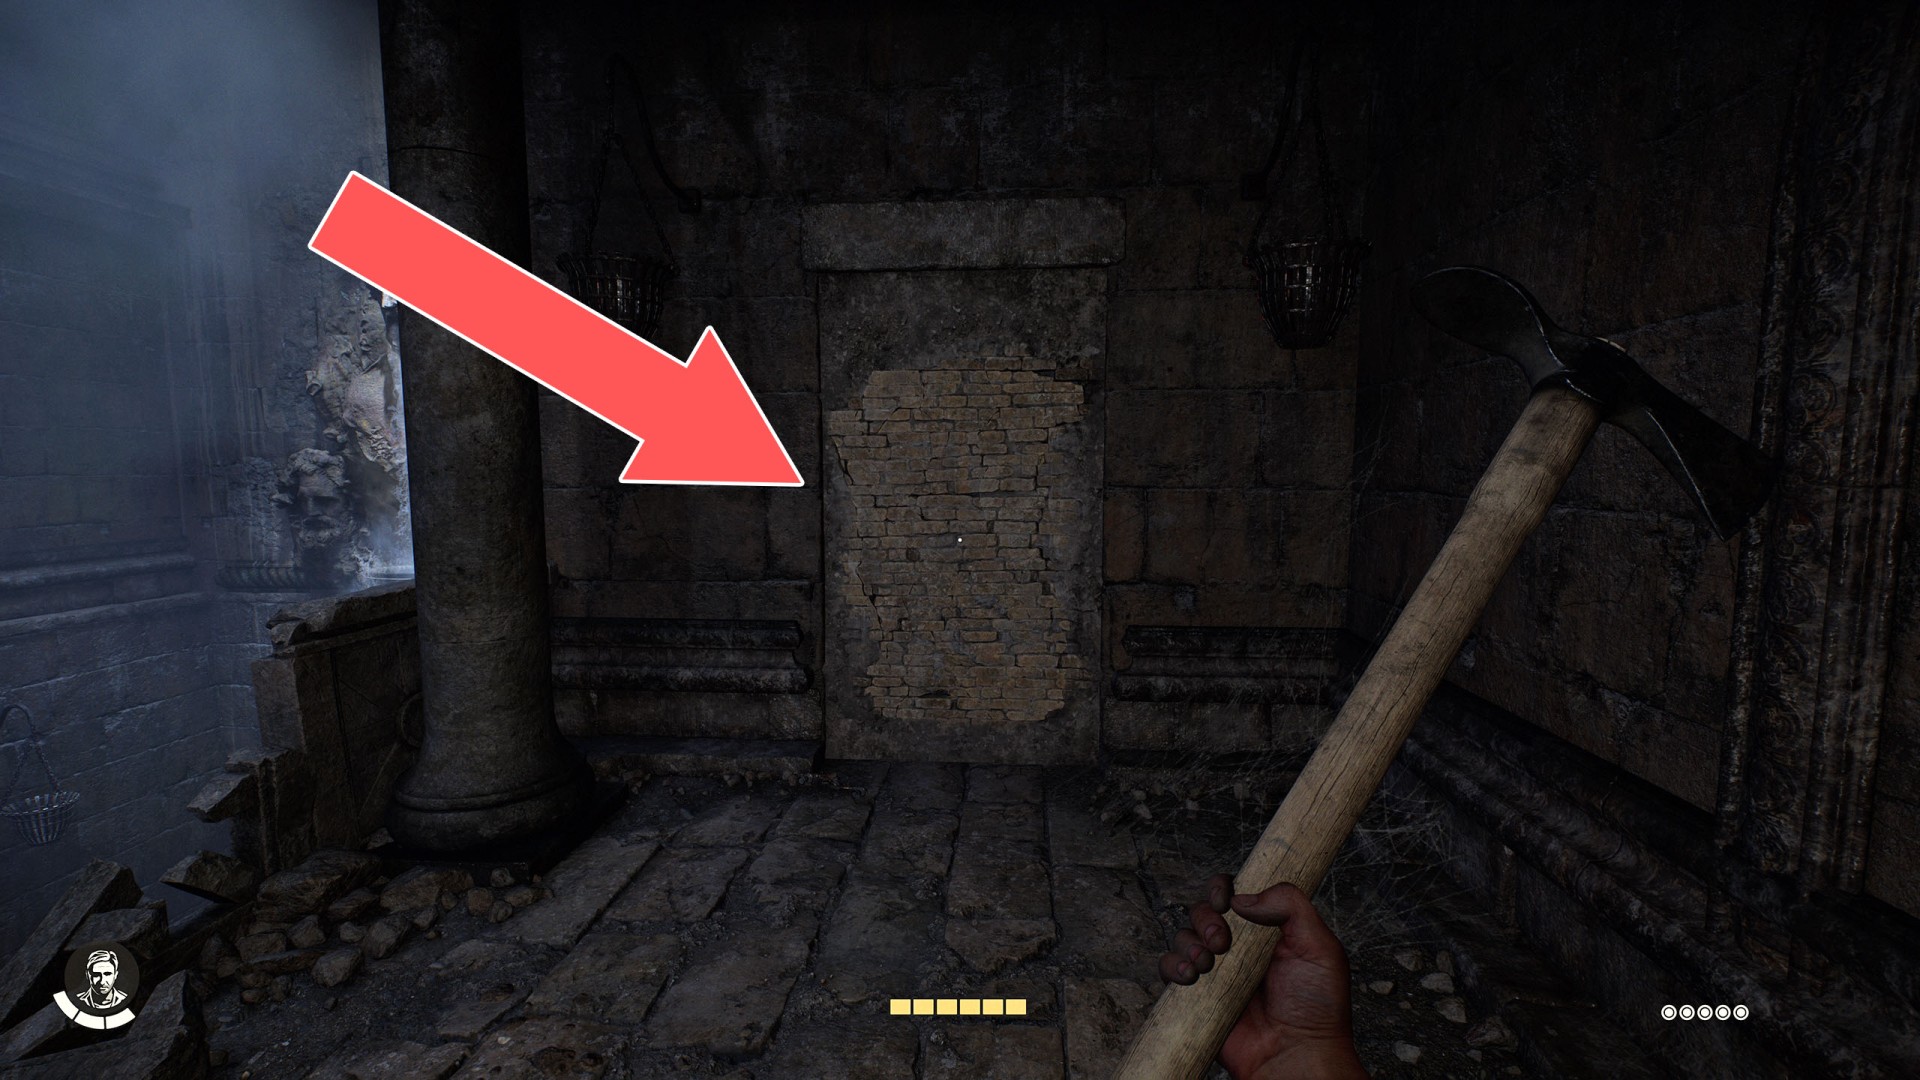
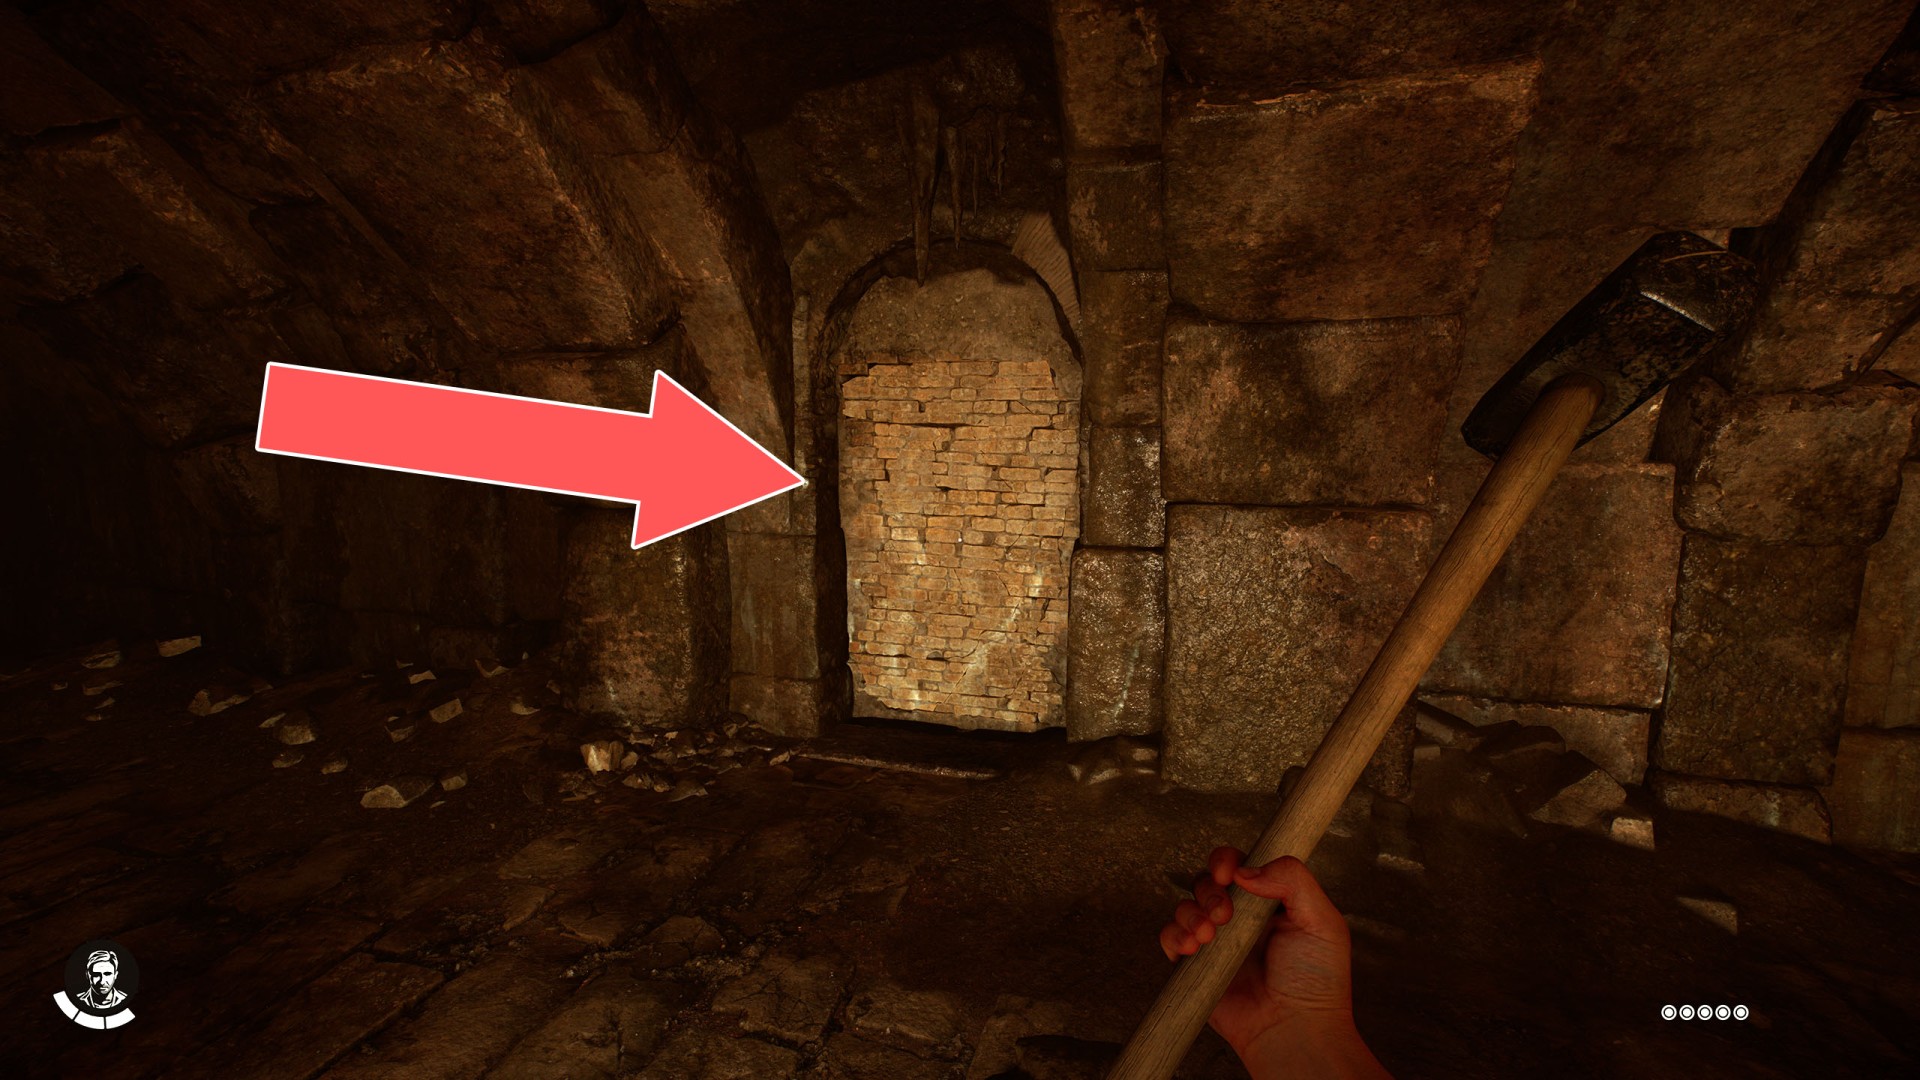
8Burnable Door
You can burn them and thus create a passage when you approach them with a torch. You can throw the torch into the room through a hole in the wall and then enter the room through a gap with pouring water.

9Burnable Door

10Burnable Wall

11Clerical Door
Key required to open it: Clerical Key.

12Clerical Door

13Clerical Door

14Clerical Door
Key required to open it: Clerical Key.

15Clerical Door
Key required to open it: Clerical Key.

16Clerical Door x 2


17Courtyard Gate
Key required to open it: Blackshirt Key.

18Gold Trial Door

19Golden Dragon Path

20Guard House Door (Lowest Floor)
Key required to open it: Guard House Key.

21Guard House Door (Middle Floor)
Key required to open it: Guard House Key.

22Guard House Door (Top Floor)
Key required to open it: Guard House Key.

23Guarded Gate
The gate will open as you progress through the storyline, when you reach the post office by an alternative route and talk to Ernesto. Then also the area around the post office will no longer be restricted.

24Jail Cell Locked Door

25Locked Door
It is in the attic of the chapel. This door can be unlocked from the west side. You will be able to do this once you use the Zipline.

26Locked Door

27Locked Door
Gina will unlock it for you.

28Locked Door
Gina will unlock it after investigating all five clues.

29Locked Door
Gina will open this door for you during the "A Nun in Trouble" fieldwork.

30Locked Door
Key required to open it: Giuliana's Key.
31Locked Door

32Locked Gate

33Locked Gate
This gate can be unlocked from the western side. You will be able to do this when you use the Zipline.

34Locked Gate

35Locked Gate

36Locked Gate
This gate can be unlocked from the east side by pulling the lever on the wall.

37Locked Gate

38Locked Gate

39Locked Gate

40Locked Gate

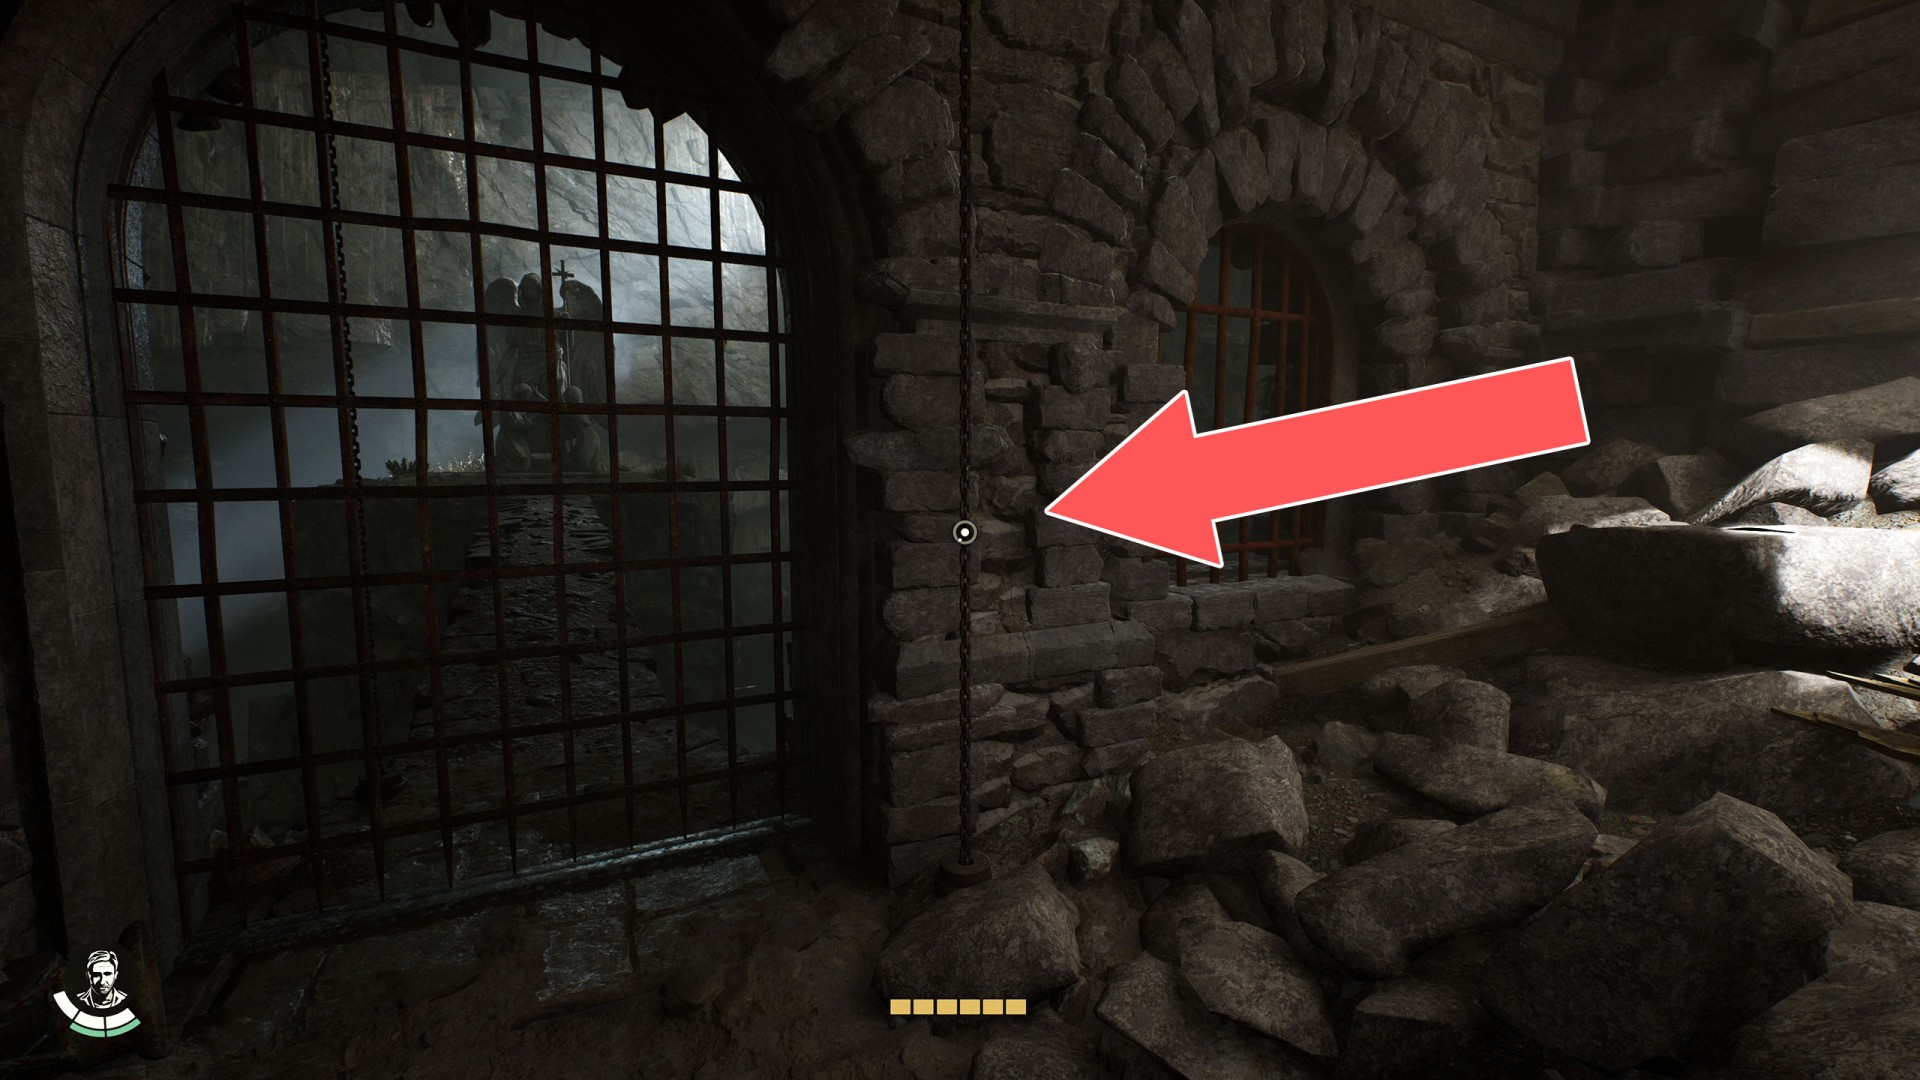
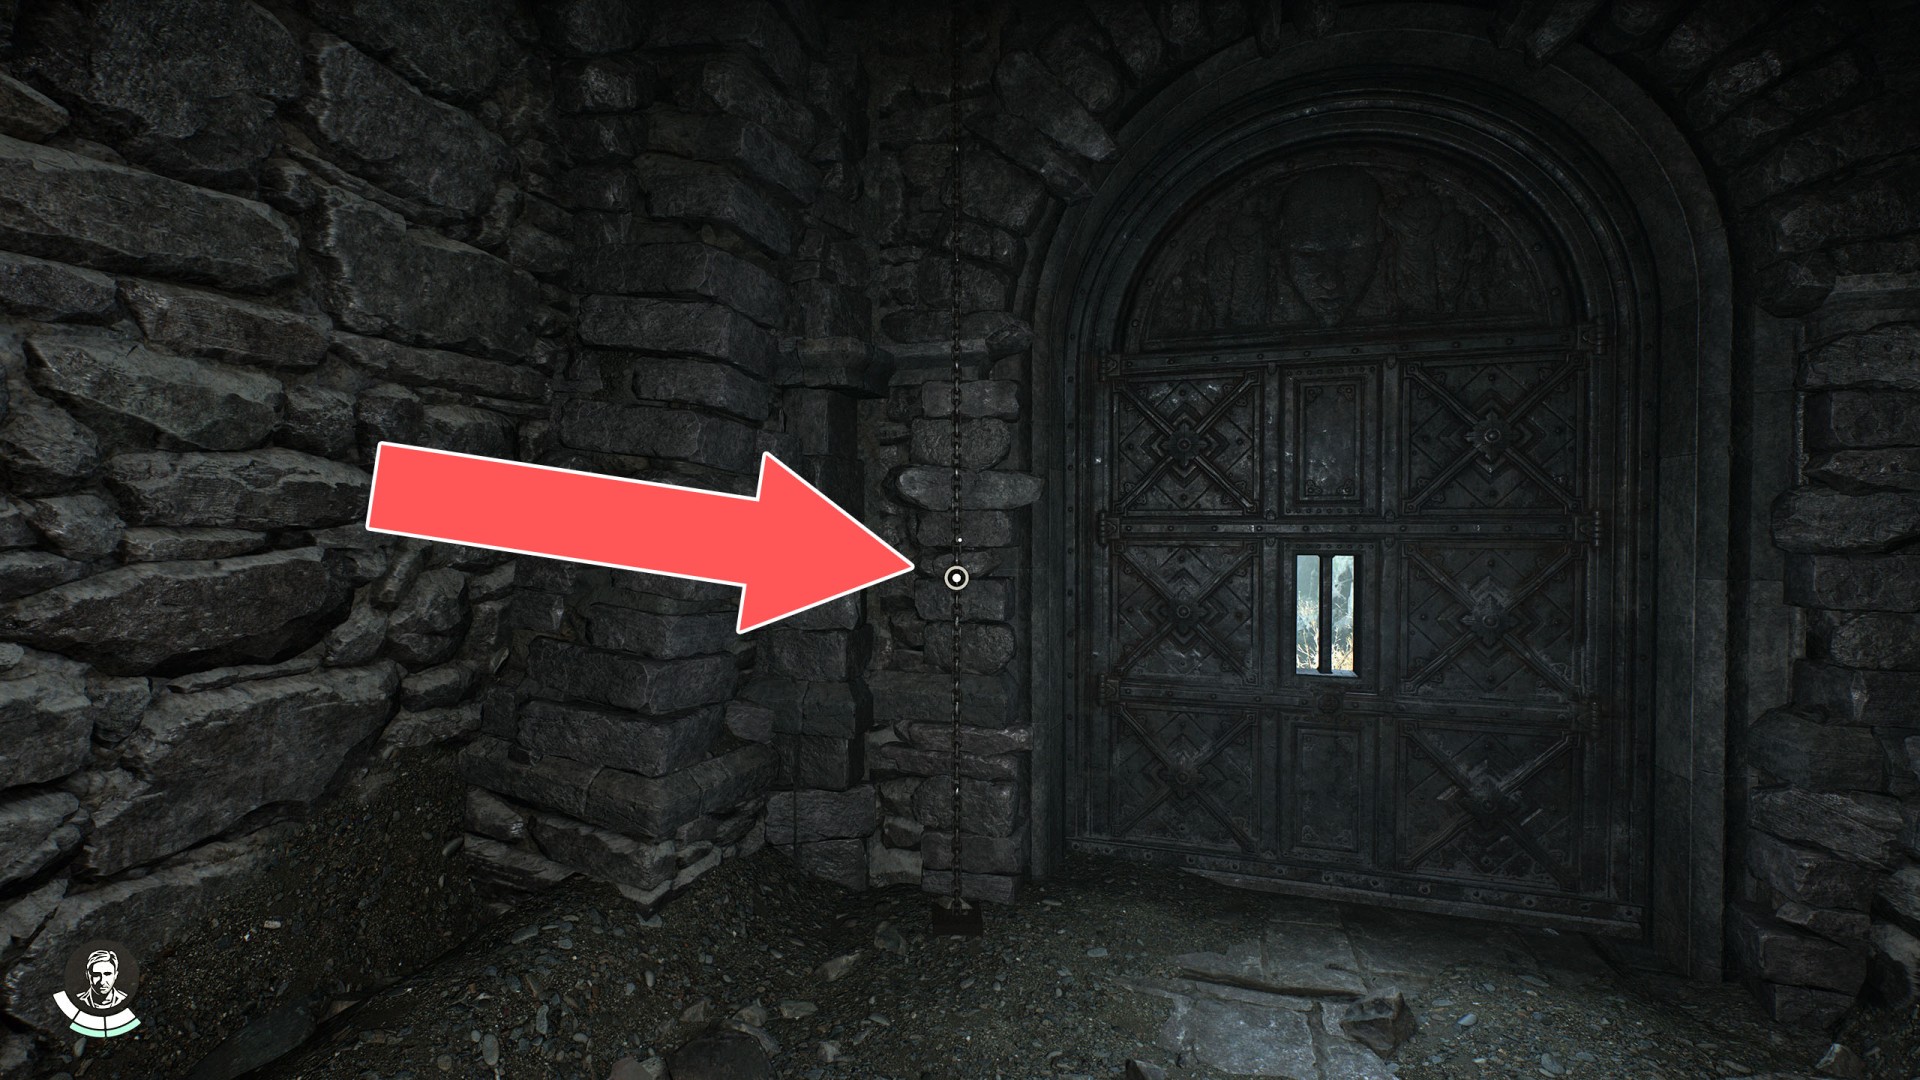
41Locked Gate
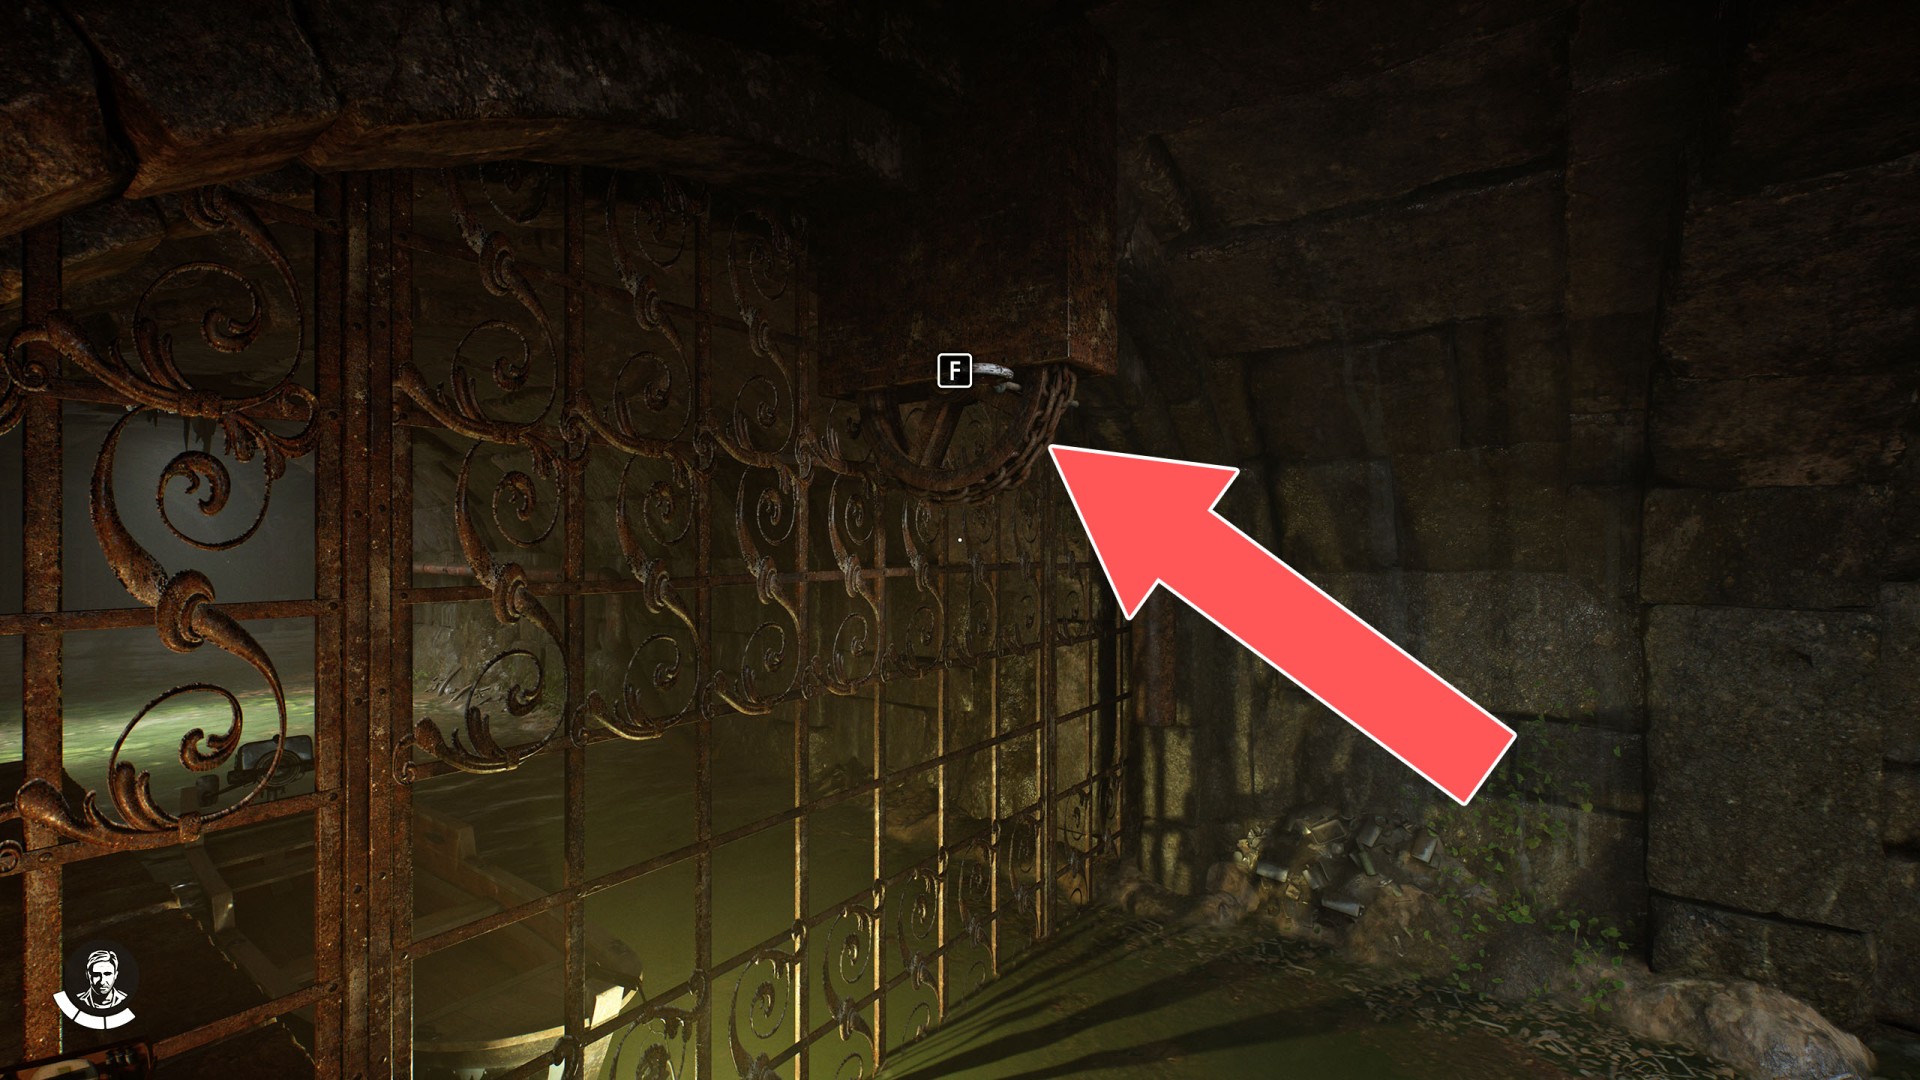
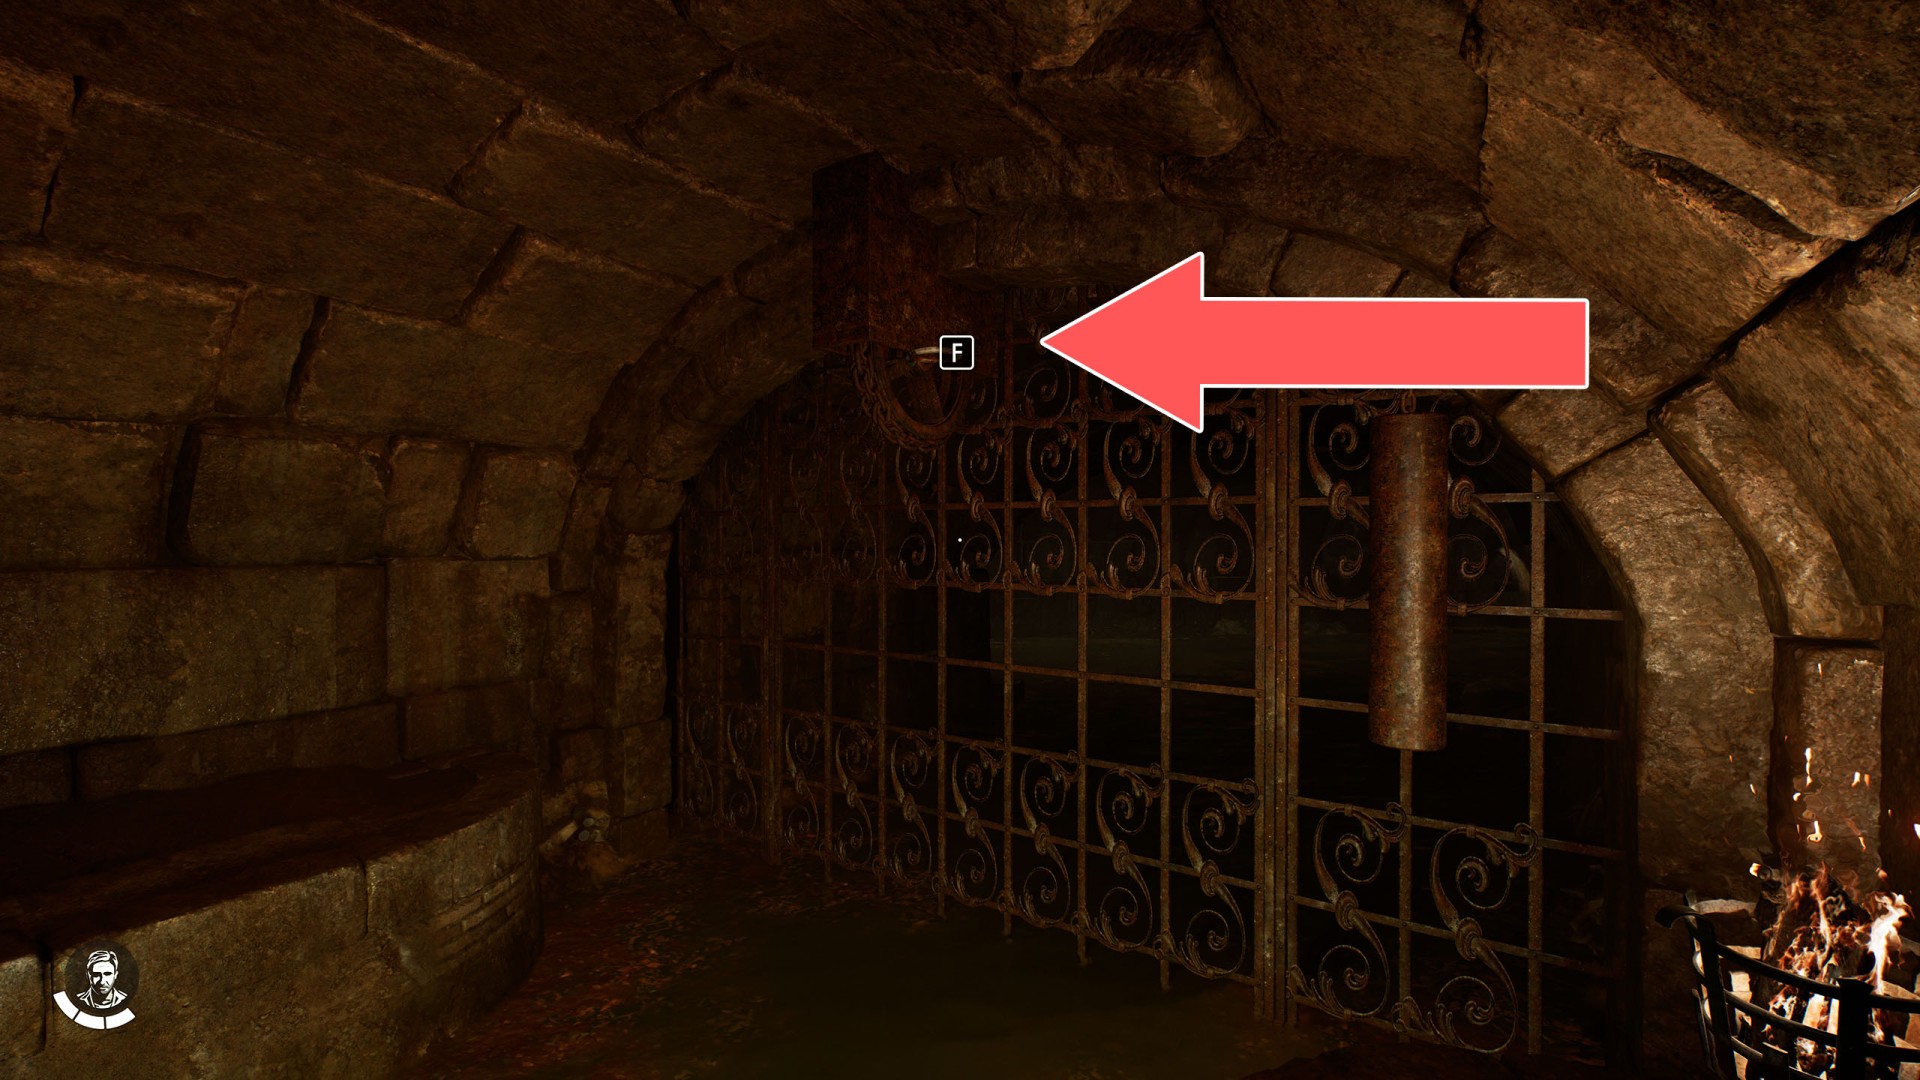
To open the gate, jump into the water at the Diving Spot and swim to the other side of the tunnel and then use the whip to pull the chain.

42Locked Gate

43Locked Gate
To open this gate place the Antique Bust (Underworld) on the Pedestal (Underworld).

44Locked Gate
Show the map

45Locked Gate
It can be unlocked from the inside after going through the Tower of Nicholas V and the sewers.

46Locked Gate

47Monastery Gate

48Museum Entrance
Unlocks automatically while following Gina during the "A Nun in Trouble" fieldwork.

49Post Office Cellar
Key required to open it: Cellar Key.

50Post Office Door
Key required to open it: Clerical Key.

51Rampart Gate
Key required to open it: Rampart Key.

52Scriptorium Door

53Secret Entrance
Use the Giant's Symbol to unlock it.

54Sewers Gate
Key required to open it: Sewers Key.

55Silver Dragon Path

56Silver Trial Door

57Sliding Wall
It can be opened from the tunnel on the south side by pulling the lever.

58Storage Room
Key required to open it: Fountain Gate Key.

59The Bulls of Blood Hidden Door
To open this door turn both paintings upside down so that the brown bulls are on top. Related mystery: The Bulls of Blood.

60Underground Boxing Ring

61Ventura's Office
On the second floor of the Apostolic Palace. This door can be opened from inside the office.

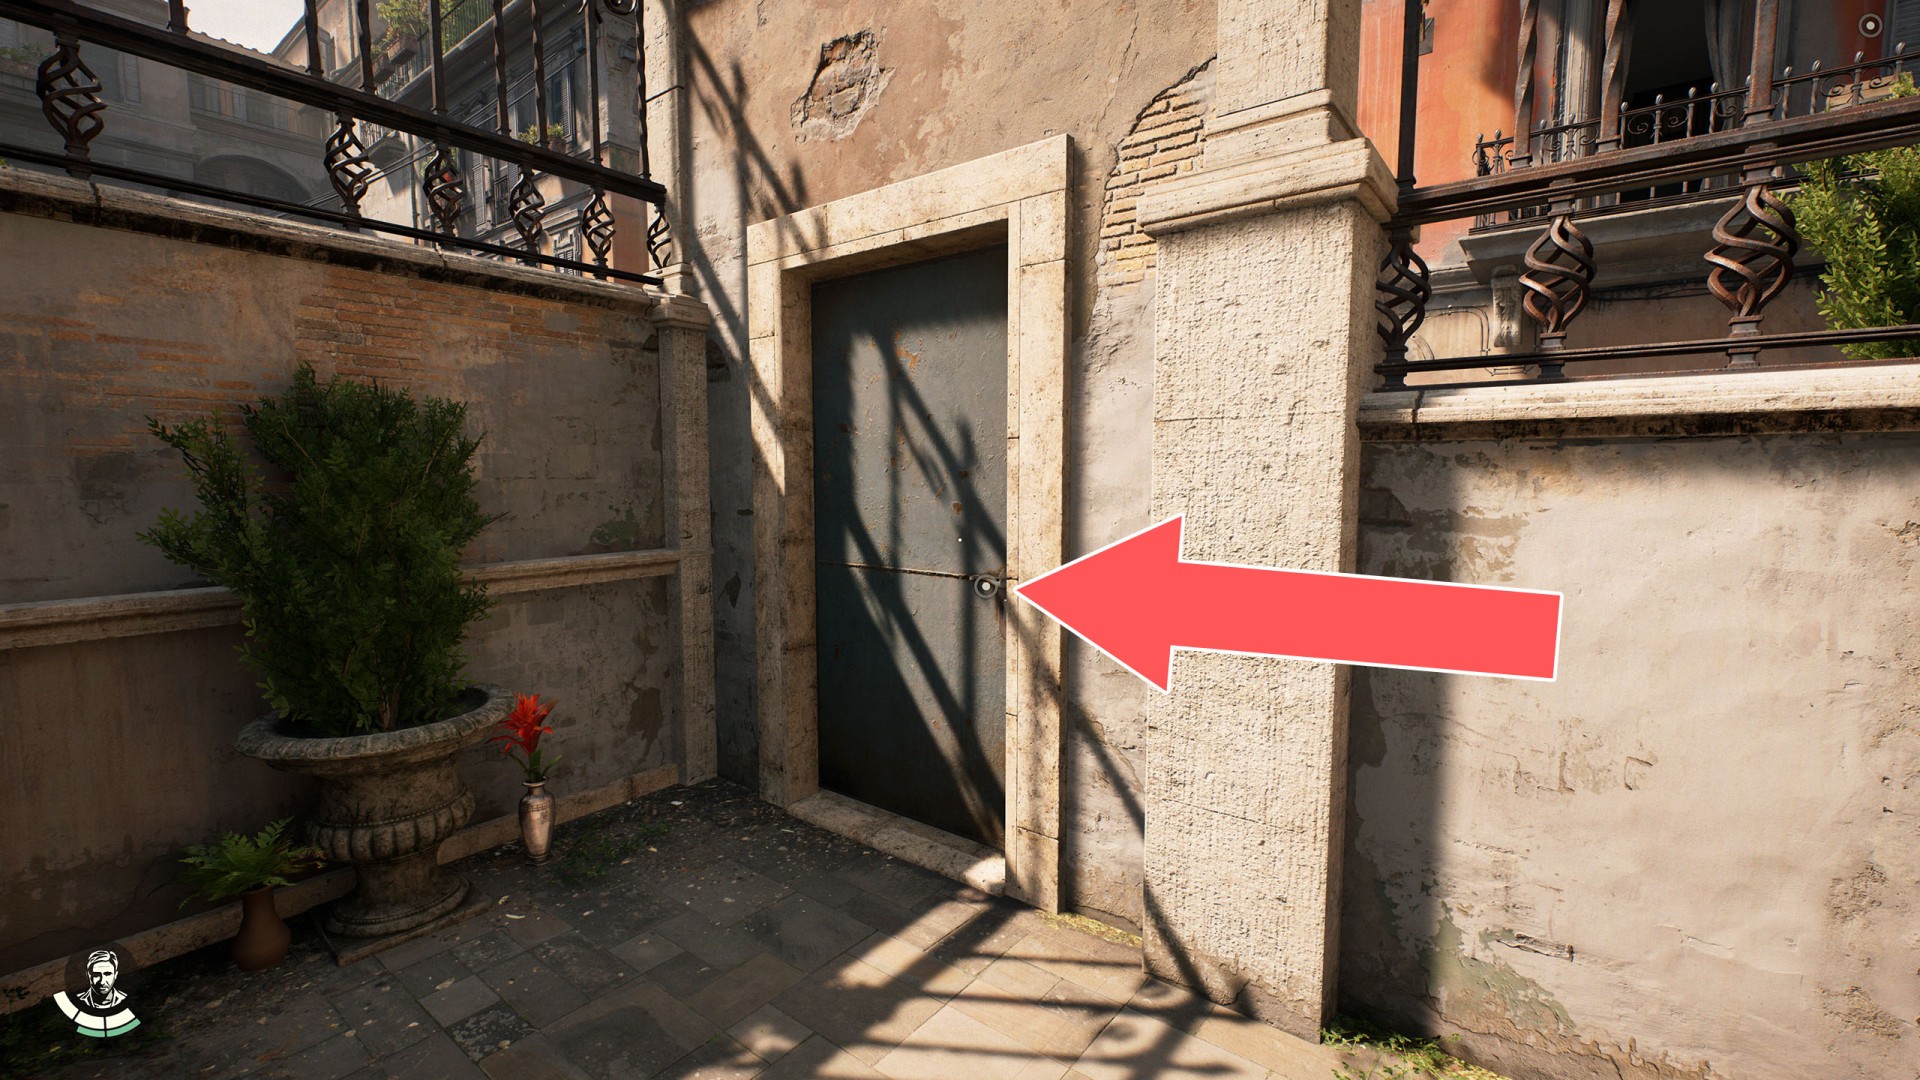
Locations on Rome
62Burnable Wall
You can come back here once you have obtained the Lighter and set fire to the barrier.
63Clerical Door
Required key: Clerical Key.
64Grating
Use the whip to yank the gating open and make a passage.
65Hidden Passage
It can be unlocked from the east side.
66Locked Door
The gate will be open when you are leaving the tomb.
67Locked Door
It can be unlocked from the south side.
68Locked Door
It can be unlocked from the east side.
69Locked Door
It can be unlocked from the north side.
70Locked Gate
Required key: Blackshirt Key.
71Locked Gate
You will unlock this gate on your way to get the Cylinder Piece (Tomb of Junia).
72Locked Gate
It can be unlocked from the east side.
73Locked Gate
It can be unlocked from the south side.
74Locked Gate
It can be unlocked from the west side.
75Locked Gate
It can be unlocked from the west side.
76Locked Gate
The gate will unlock when you are leaving the undergrounds of the shrine.
77Locked Gate
It can be unlocked from the north side.

78Locked Gate
You can open this gate by pulling out the pin located on its north side.
79Locked Gate
It can be unlocked from the north side.
80Locked Gate
This gate will open once you collect the Cylinder Piece (Shrine of the Gladiator).
81Locked Gate
You can open this gate by pulling out the pin located on its north side.
82Locked Gate
You can open this gate by pulling out the pin located on its east side.
83Locked Gate
It can be unlocked from the south side. You can get here via a passageway, the entrance to which is located on the upper level, on the west side.
84Locked Gate
It can be unlocked from the east side.
85Locked Gate
The gate will unlock when you are leaving the shrine.
86Locked Gate
Required key: Mithraeum Key.

87Locked Gate
Required key: Mithraeum Key.
88Locked Gate
Required key: Mithraeum Key.
89Locked Gate (Shield Scepter Trial)
Related puzzle: Tomb of Gibborim.
90Locked Gate (Tomb of Gibborim Exit)
It will open when you solve the Tomb of Gibborim puzzle.
91Locked Gate (Trinity Scepter Trial)
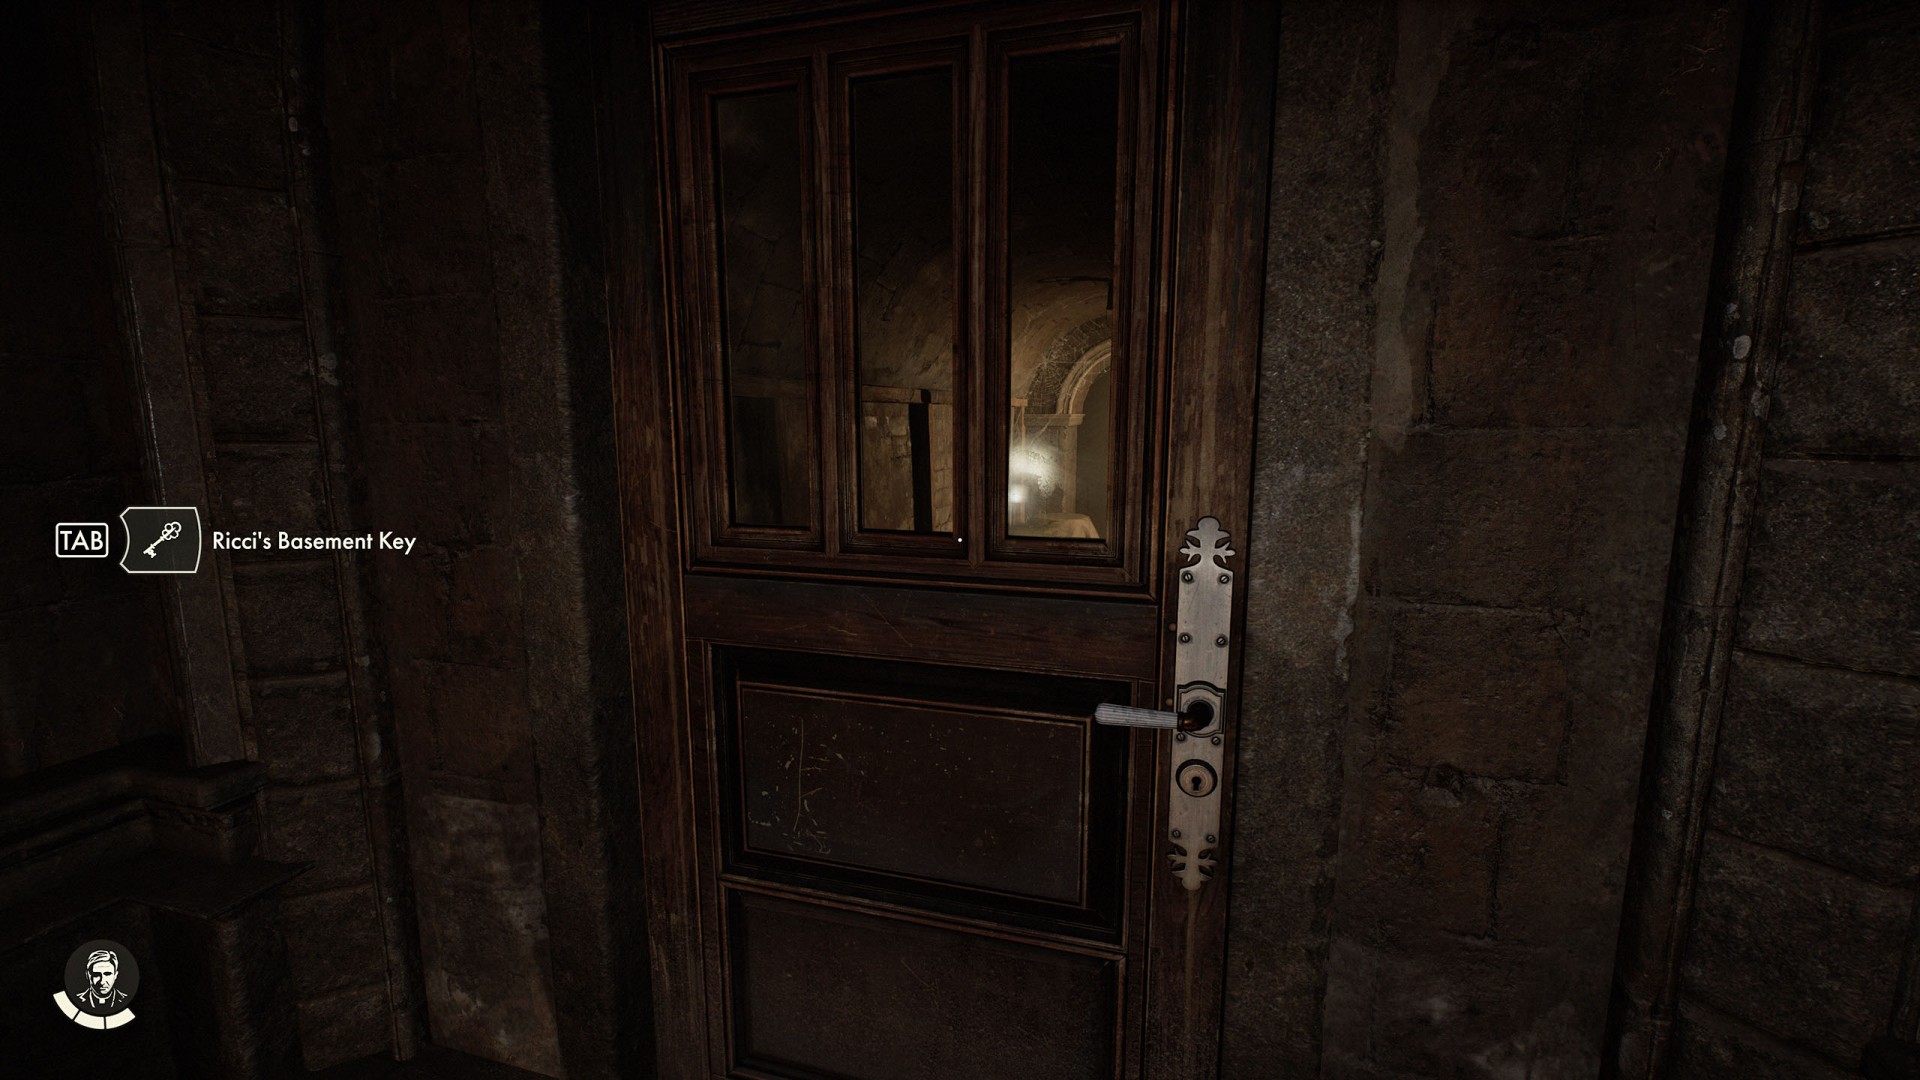
92Ricci's Basement Door
The doors will be closed at a later stage of the game. Required key: Ricci's Basement Key.
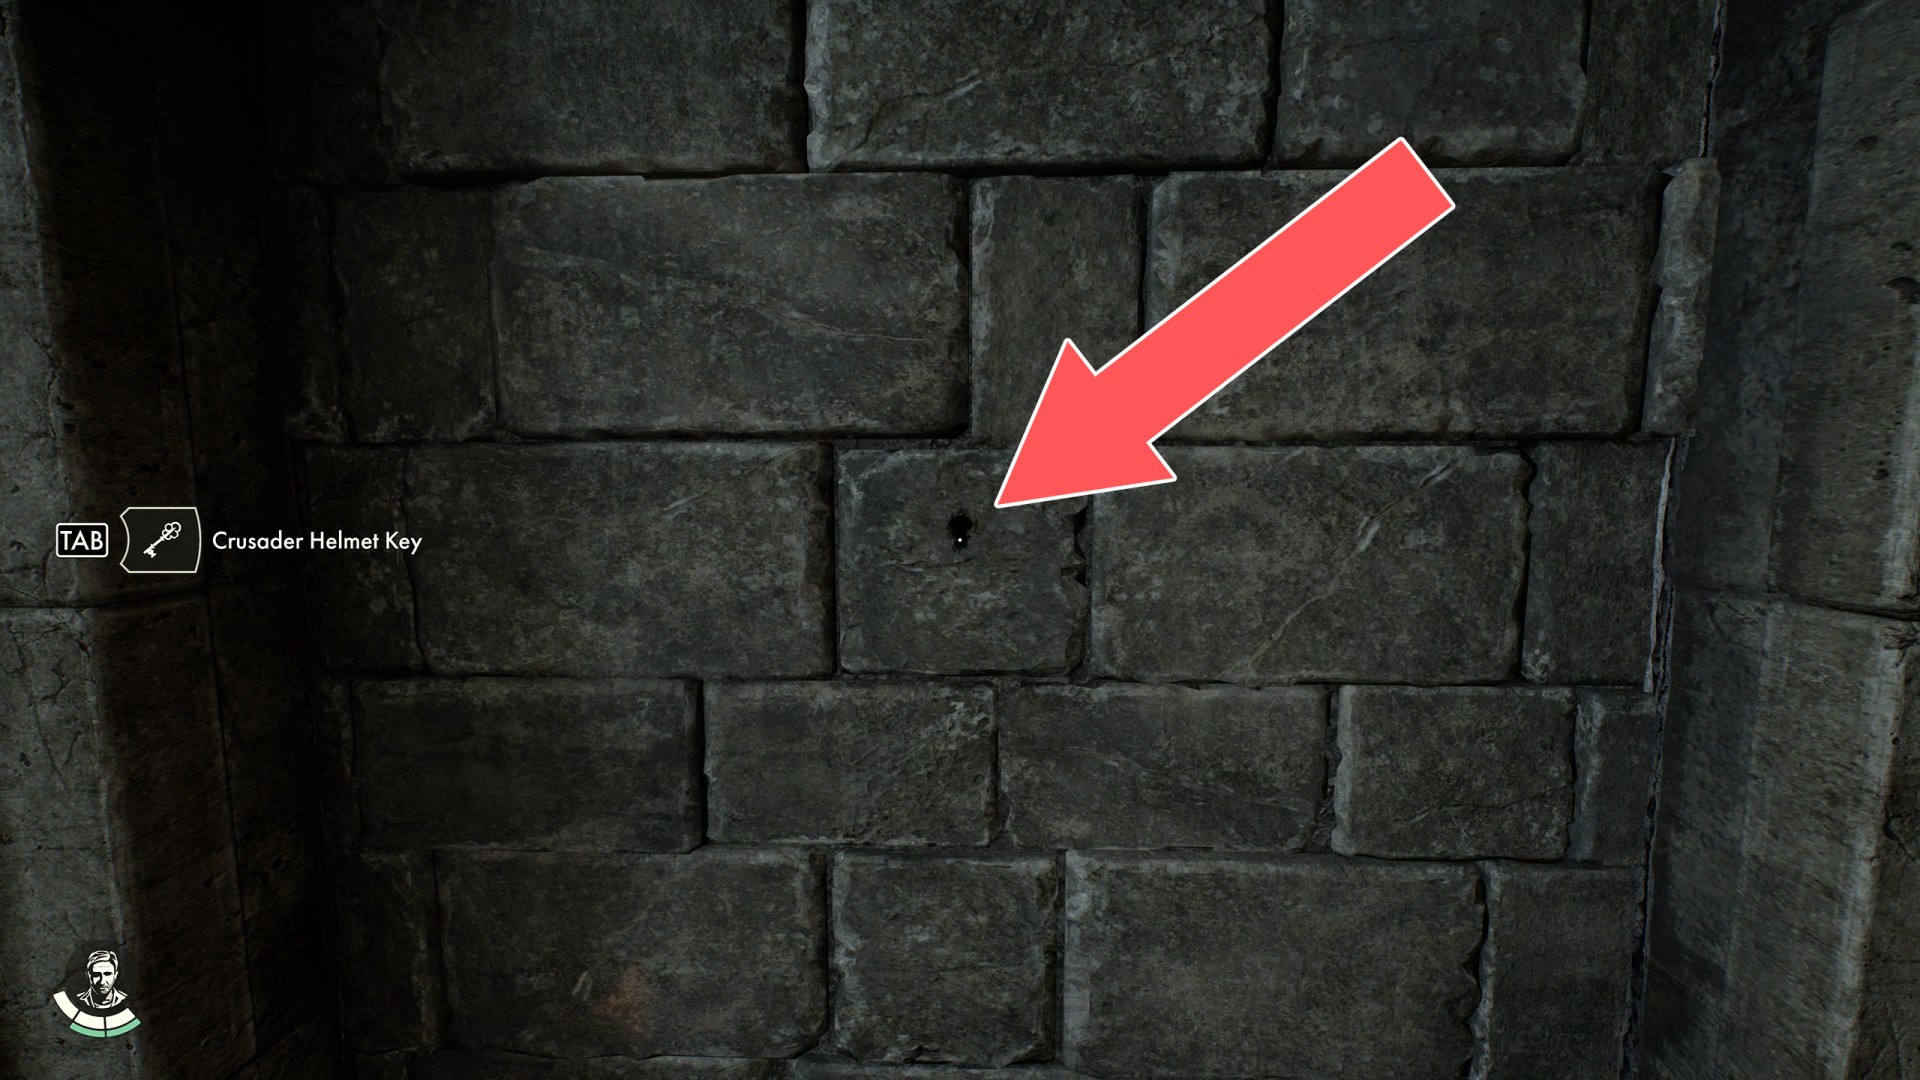
93Secret Passage
There is a small keyhole in the wall. You need to use the Crusader Helmet Key here.
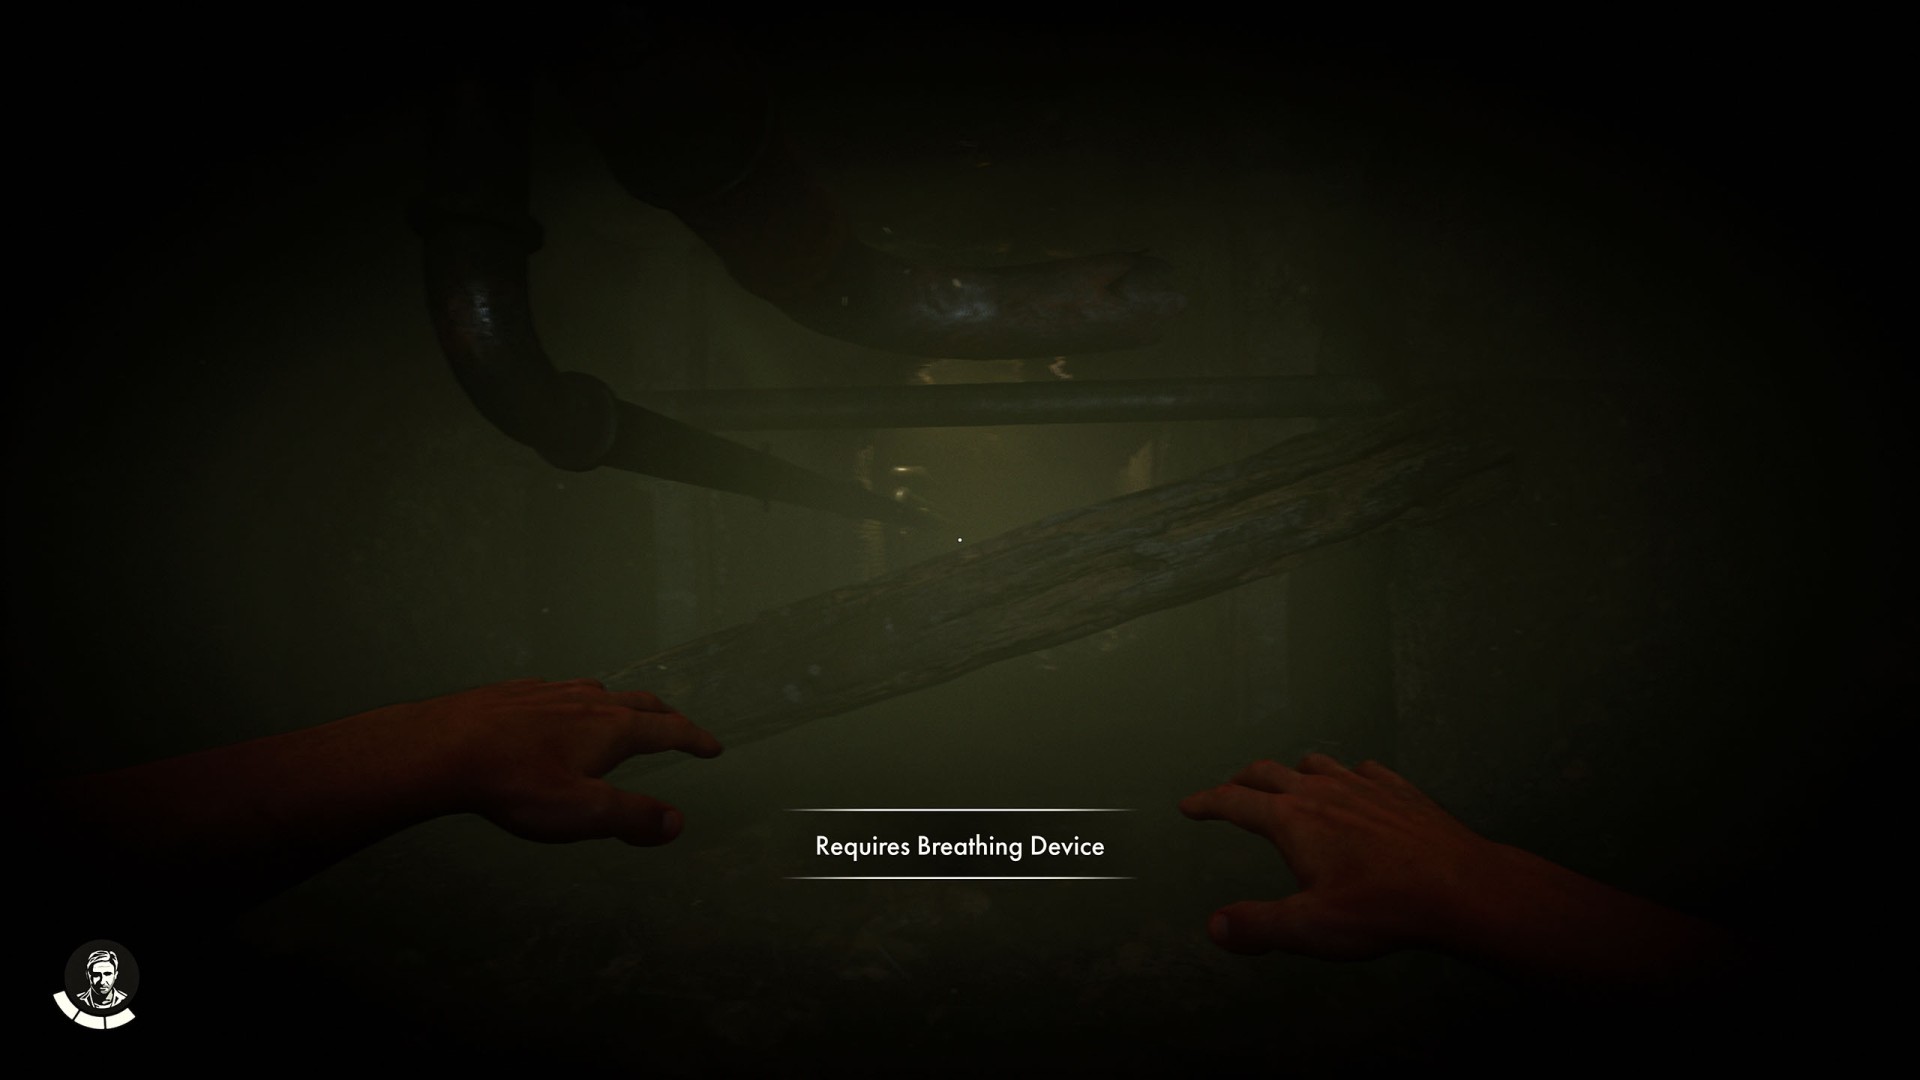
94Uderwater Passage
To unlock this passage and swim further, you will need the Rebreather.
95Weak Wall
Use the Pickaxe to destroy it.
96Weak Wall
To destroy it, you can use the Large Hammer lying nearby.
97Weak Wall
To destroy it, you can use the Large Hammer.

98Weak Wall
To destroy it, you can use the Large Mace.

Locations on Gizeh
99Breakable Wall

100Breakable Wall

101Breakable Wall

102Breakable Wall

103Breakable Wall
Use the hammer to destroy it after completing the Mural Puzzle.

104Breakable Wall

105Breakable Wall

106Burnable Wall

107Crawl Hole
To get inside you must buy a Lighter, which you use to burn the hay blocking the entrance.

108Crawl Hole
109Crawl Hole
To get inside you must buy a Lighter, which you use to burn the hay blocking the entrance.

110Crawl Space

111Detention Center Door
Key required to open it: Detention Center Key.

112Great Pyramid Excavation Gate

113Haunted Tomb
Key required to open it: Haunted Tomb Key.

114Knuckle Duster Den

115Left Locked Door

116Locked Gate
Key required to open it: Wehrmacht Key.

117Locked Door

118Locked Door

119Locked Door

120Locked Door
Show the map
121Locked Door


122Locked Gate

123Locked Gate
The lever is in the secret room where the ancient relic is.

124Locked Gate

125Locked Gate
It can be unlocked from the south side.

126Locked Gate
It can be unlocked from the east side.

127Locked Gate

128Locked Gate
It can be unlocked from the east side.

129Locked Gate
It can be unlocked from the south side.

130Locked Gate

131Mirror Gate

132Movable Wall

133Right Locked Door

134Watchtower Wehrmacht Door
They can be opened from the inside with the Wehrmacht Key. You can enter the watchtower using the grappling point at the back of the tower.

135Wehrmacht Door
Key required to open it: Wehrmacht Key.

136Wehrmacht Door
Key required to open it: Wehrmacht Key.

137Wehrmacht Door
Key required to open it: Wehrmacht Key.

138Wehrmacht Door
Key required to open it: Wehrmacht Key.

Locations on The Himalayas
139Blocked Passage
Just approach the pipe and move it.

140Combination Lock Door
Lock combination: 3666.

141Icy Wall

142Icy Wall
At the bottom of the anchor room.

143Icy Wall
Use the Pipe or your revolver to shatter it.

144Icy Wall

145Locked Door
Use the Valve Wheel to unlock it.

Locations on Sukhothai
146Breakable Wall

147Breakable Wall

148Burnable Wall

149Closed Door
To open them, all you have to do is use force.

150Closed Door
Aran will open it from the inside at the end of the "The Kid Who Vanished" fieldwork.

151Equipment Room Door
Key required to open it: Equipment Room Key.

152Hidden Chamber Entrance
Aran will unlock it at the end of the "The Kid Who Vanished" fieldwork.

153Jungle Bruiser Pit

154Locked Door
155Royal Army Door
Key required to open it: Royal Army Key.

156Royal Army Door
Key required to open it: Royal Army Key.

157Royal Army Door
Key required to open it: Royal Army Key.

158Secret Door

159Secret Door

160Secret Passage

161Secret Passage
To open this passage turn the Handle and insert the Pipe Segment (2) into the Pipe Slot #B1.

162Secret Passage
You can open it by rotating the handle on the right side of the passage during the "The Kid Who Vanished" quest. Gina will rotate the second handle.

163Secret Passage

164Secret Passage

165Secret Passage

166Secret Passage

167Stone Door
In a cave hidden behind a waterfall. To open it use the ancient relics you have to push out all the pins on the panel on the right.

Locations on Iraq
168Excavation Camp Gate

169Storage Room Door
Key required to open it: Storage Room Key.
