Puzzles and riddles that need to be solved to push the game storyline forward, gain access to new places, etc.
Puzzles
Locations on Marshall College
1 The Exhibit
Solution: There are four relics on the floor, pick them up and place them on the stands in the display cases. Starting from the left, place the following:
- Bastet Statue
- Terracotta Relief
- Funerary Mask
- Leave it empty
- Ivory Case
Related quest: The Break-in.

Locations on The Vatican
2Fountain of Confession
Solution:
- Get the Fountain Gate Key, enter storage room, climb up to the scaffolding and get the Dragon Claw.
- Climb to the top of the left tower and place the Dragon Claw on the white dragon and rotate it.
- Use the lever that comes out to rotate the white dragon statue so that it faces the black dragon located on the right tower.
- Get to the right tower and turn the black dragon's claw so that the lever comes out and then use it to turn that dragon so that it faces the white dragon. This will cause the little dragon in the fountain to rotate.
-= continued in full description =-
Solution (continued):
- Go down and use the whip to yank the handle located on the small dragon.
- Use the large lever on the base of the fountain to turn it left, showing the Baptism scene.
- Move the figure representing the baptized person to the right.
- Yank the ring over the man with the bucket to fill it with water.
- Push the man with the bucket to the left, toward the baptized child. After a while puzzle should rotate.
- Again, use the large lever on the base of the fountain to turn it to the right and showing the Ark of Bulrushes.
- Now you must move the rings around and help the man in the boat reach the right side. There are three rings you can rotate.
- Spin the outermost ring three times counterclockwise.
- Spin the middle ring one time clockwise.
- Spin the innermost ring two times in either direction.
- Yank the right chain to bring the boat to the other side. After a while puzzle should rotate.
- Push the cental statue straight forward.
3Gold Trial
Solution:
- Go to the west side, and pull two chains to position two tubes over the hearths.
- Use the grappling point on the left side, climb up and jump onto the tube that has a grip. Gina will move it to the east side.
- From the tube, use the grappling point on the other side, go through the hole under the ceiling and jump down. There you will find two more chains you can use to move the other two tubes. Position them above the hearths.
- Return to the main room and pull the lever located next to the door.

4Sacred Wounds
Solution: Pour some wine into the bowl in front of the Sacred Wounds Mural. Five levers will be revealed around different parts of Jesus' body. Then pour some wine into the bowls in front of other five murals to reveal numbers.
- Right Foot (Walking on Water) - III
- Left Foot (Anointment of Jesus) - IV
- Left Hand (Holy Chalice) - II
- Right Hand (Body of Christ) - II
- Chest (Spear of Longinus) - III

5Silver Trial
Solution:
- Get the Stone Tablet and place it on the altar in the middle of the room.
- Use the eastern grappling point to get to the second Stone Tablet. Take it and give it to Gina through the bars.
- Return to the central platform by climbing over the edges of the wall.
- Use the western grappling point to get to the other side get the stone tablet from Gina.
- Place the stone tablet in the western altar.
- Return to the central platform using the grappling point and exit the room.
Locations on Rome
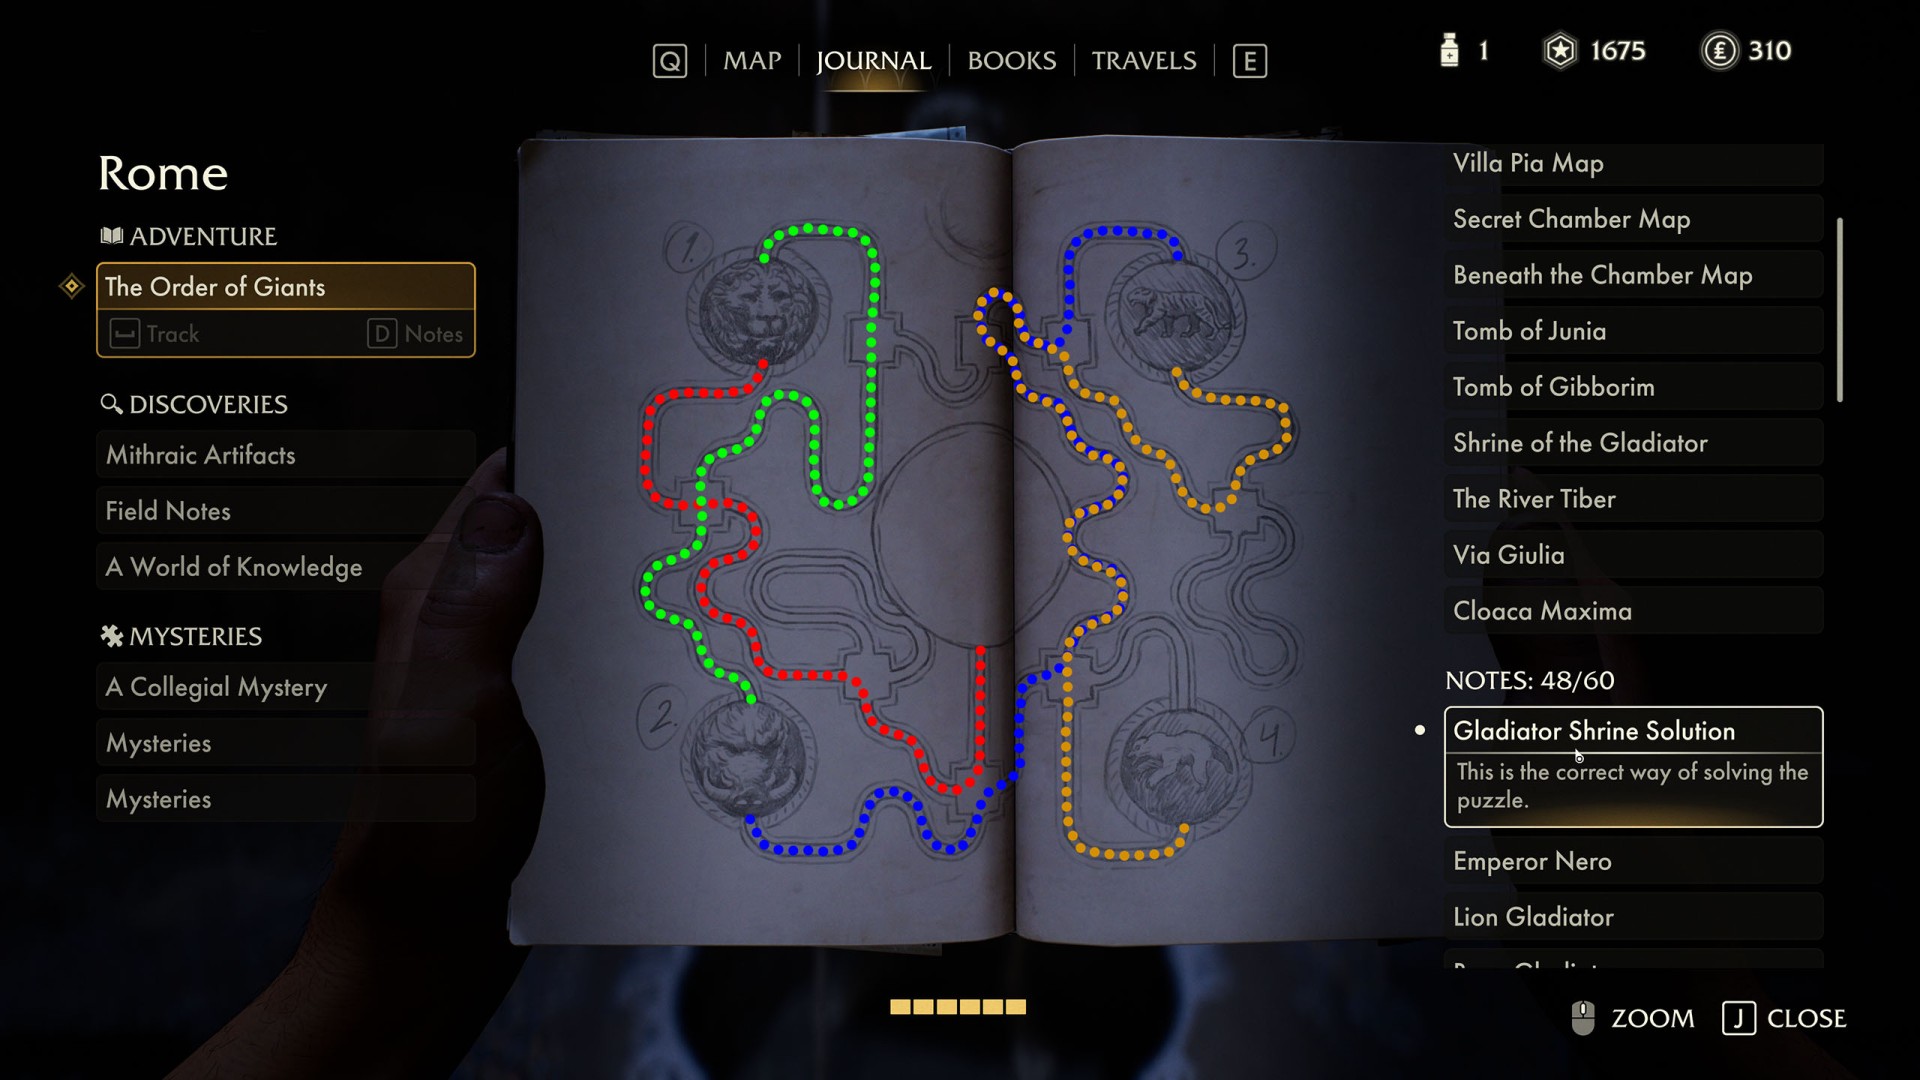
6Gladiator Shrine
Pick up the Giant Blade and insert it into the Statue's Hand. Whip‑yank the Raised Sword to release the rolling flaming ball.
Your goal is to guide the ball through four gladiator statues in a specific order. Murals around show the correct order: Lion - Boar - Tiger - Bear.
You have three track pieces (two curved, one straight). You must place them on intersections so the ball rolls along a path visiting each statue in the correct order without falling. Since there are only three pieces and you will pass through some intersections multiple times, you have to rearrange them while the ball is rolling.
Once the ball hits all four statues in order, a statue of Emperor Nero will lower its arm and you can pick up the Cylinder Piece (Shrine of the Gladiator) from its hand.
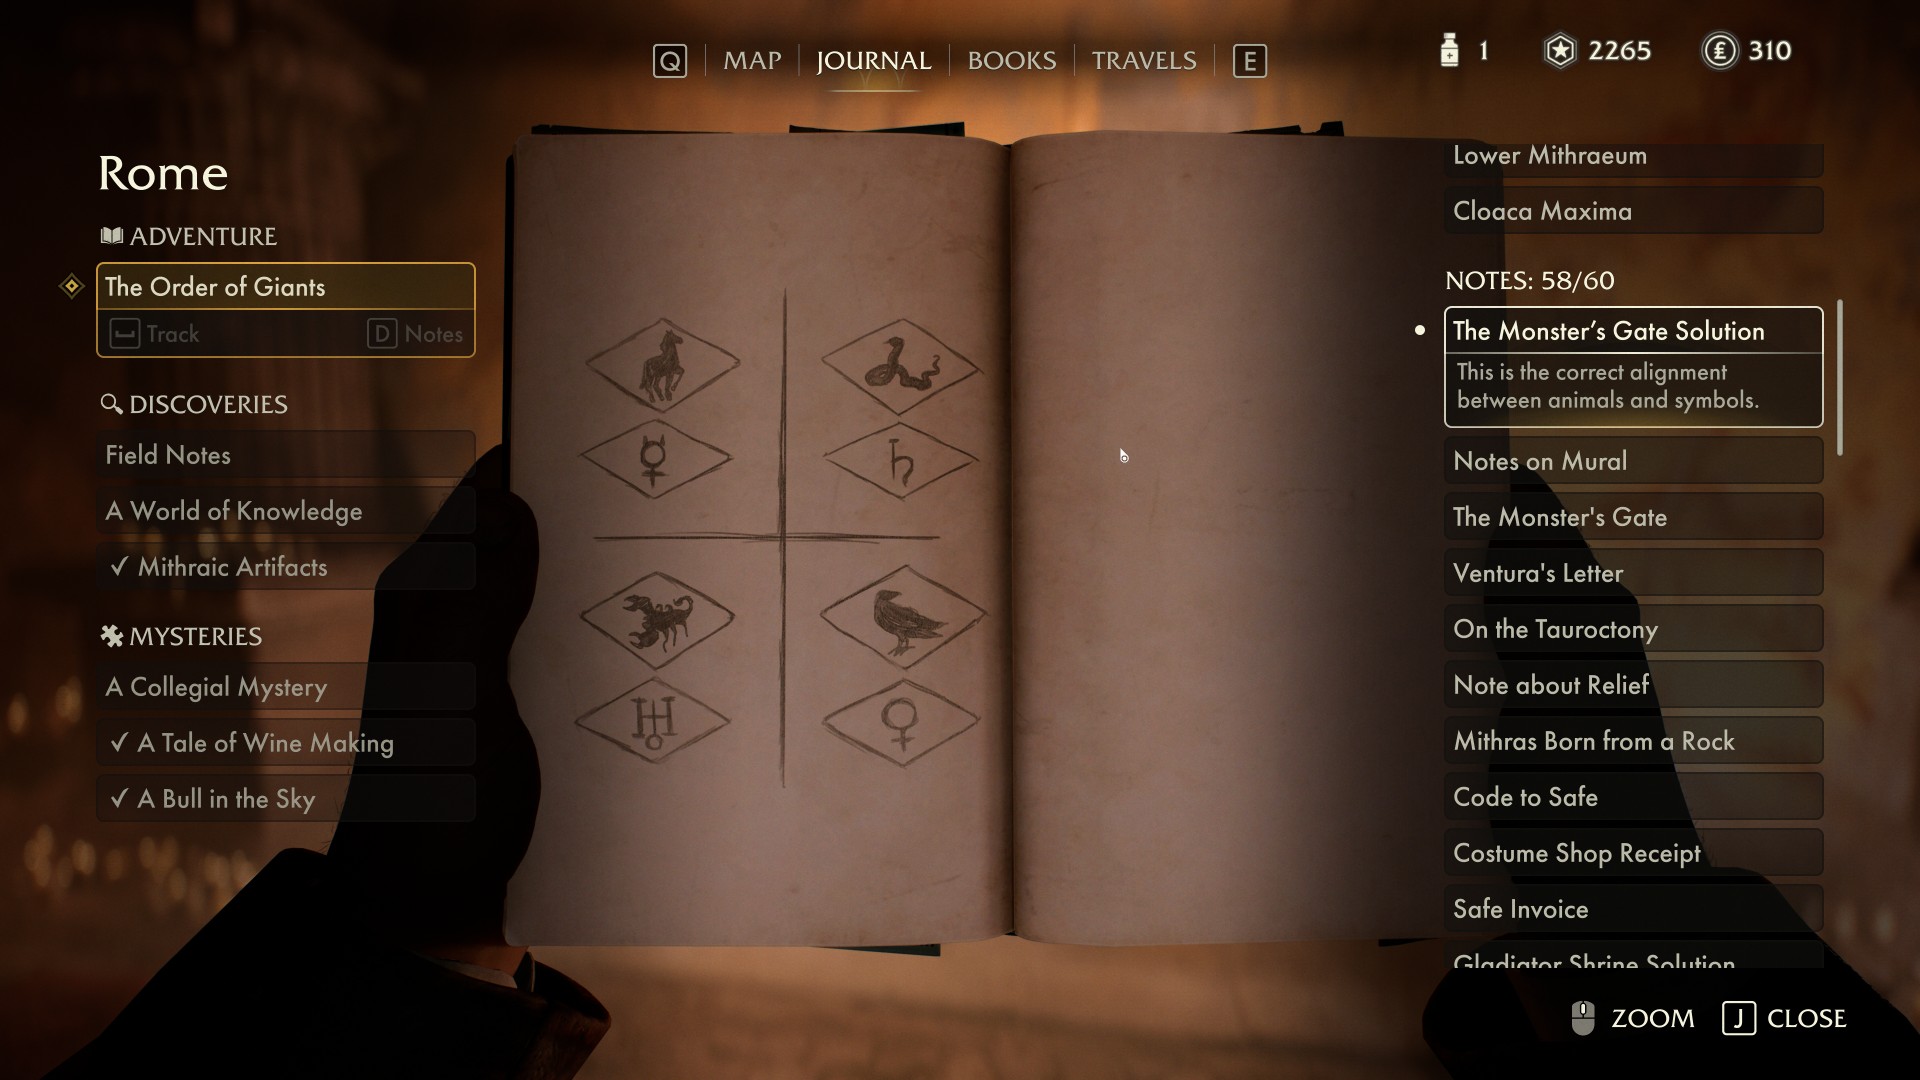
7Monster's Gate
There are five tiles around on the ground need the gate. Pick them up and place them back into their correct slots. Fitting them in completes the mural and reveals a hidden Wooden Cog. Pick up this cog and install it on the podium in front of the mural.
Look at the Roman numeral next to each animal on the mural: Snake = II, Horse = III, Raven = V, Scorpion = VI.
For each animal repeat steps below:
- Place the Cylinder Roll into the Cylinder Roll Slot (Console) and rotate it so that the number of one of the animals is at the top. Circles on mural will also rotate. Note the symbol that appears on the mural on the inner circle next to animal symbol.
- Around the room are four stone pillars, each with one of the four animals carved near the top. At the base of each pillar is a rotatable section with several symbols on its faces. For each animal pillar, rotate the cube until the symbol you found on the mural for that animal is directly underneath the carving.
Once all four pillars have the correct symbol beneath their animal, go back to the mural and insert the Cylinder Roll into the Cylinder Roll Slot (Mural) and turn it.
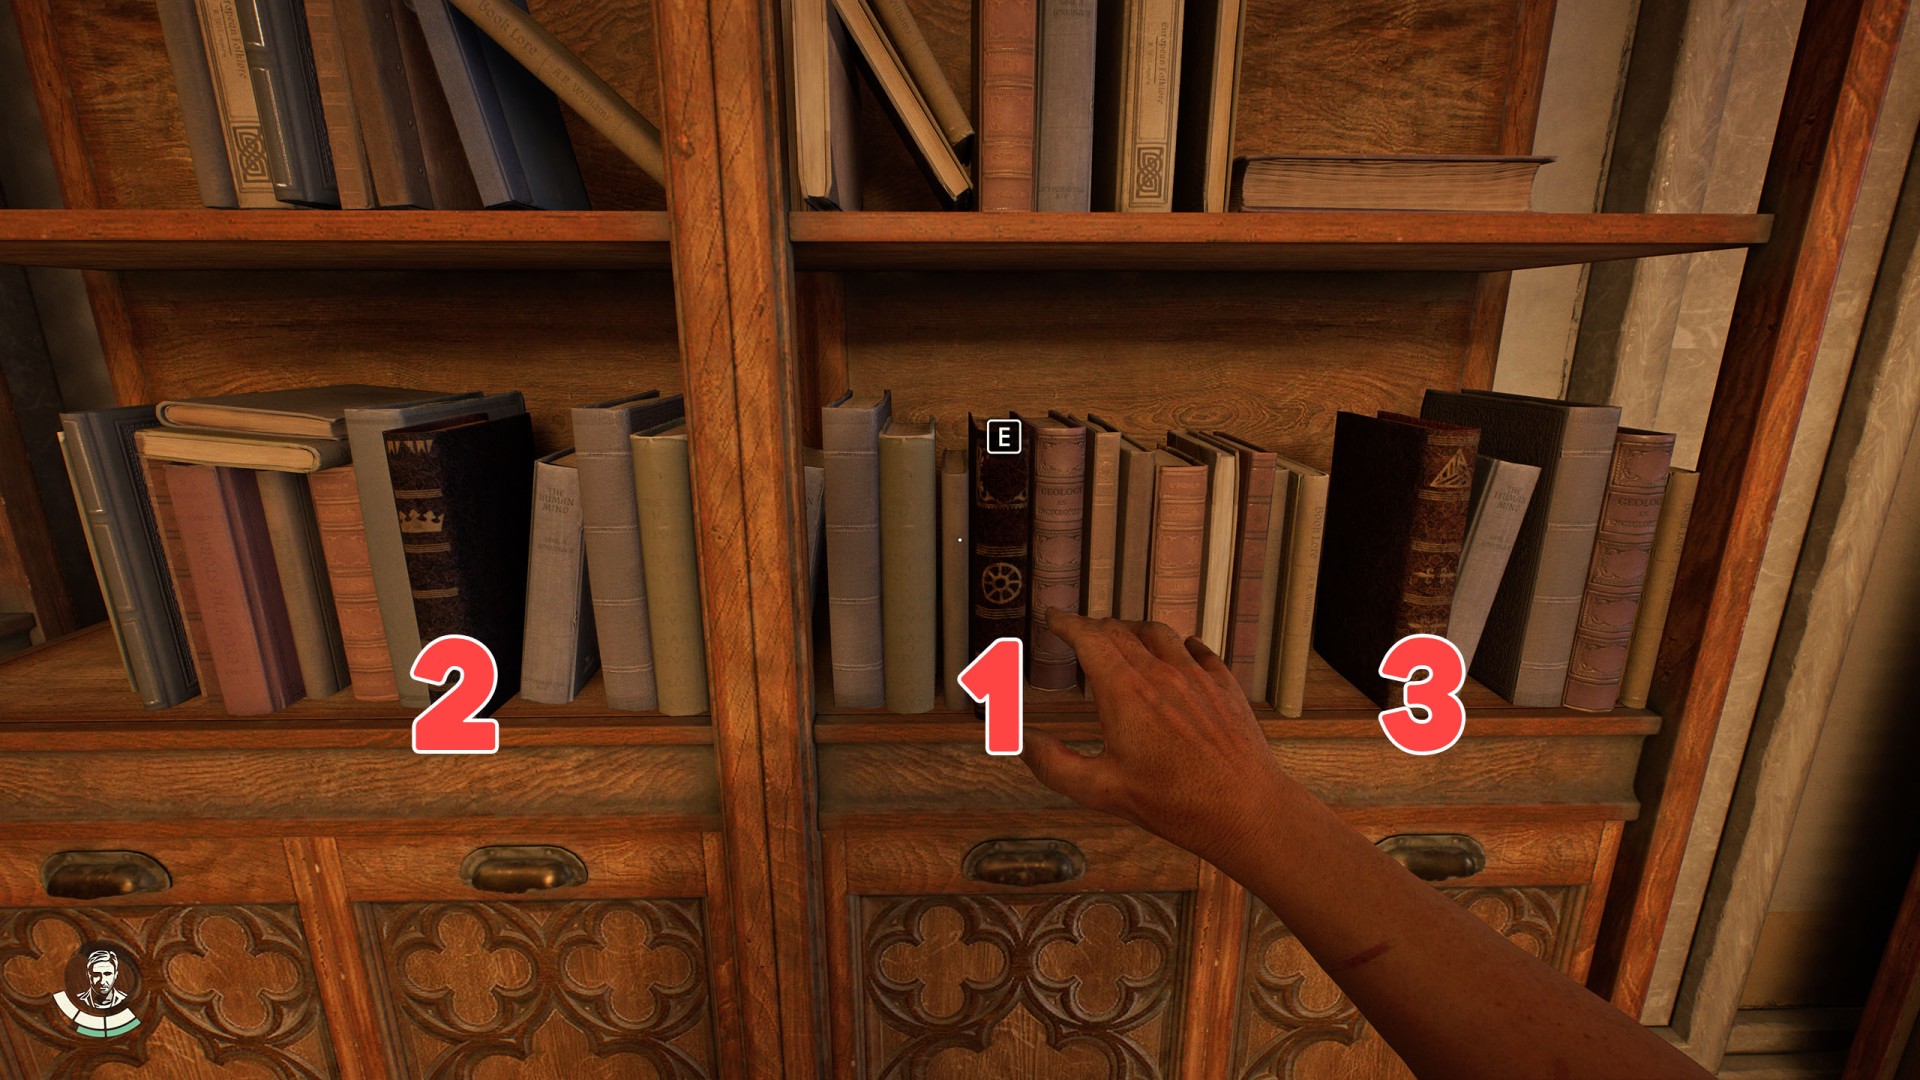
8Ricci's Library Bookshelf
Pull the books in the following order: Circle - Crown - Triangle. A tip regarding the order can be found on the Burned Paper.
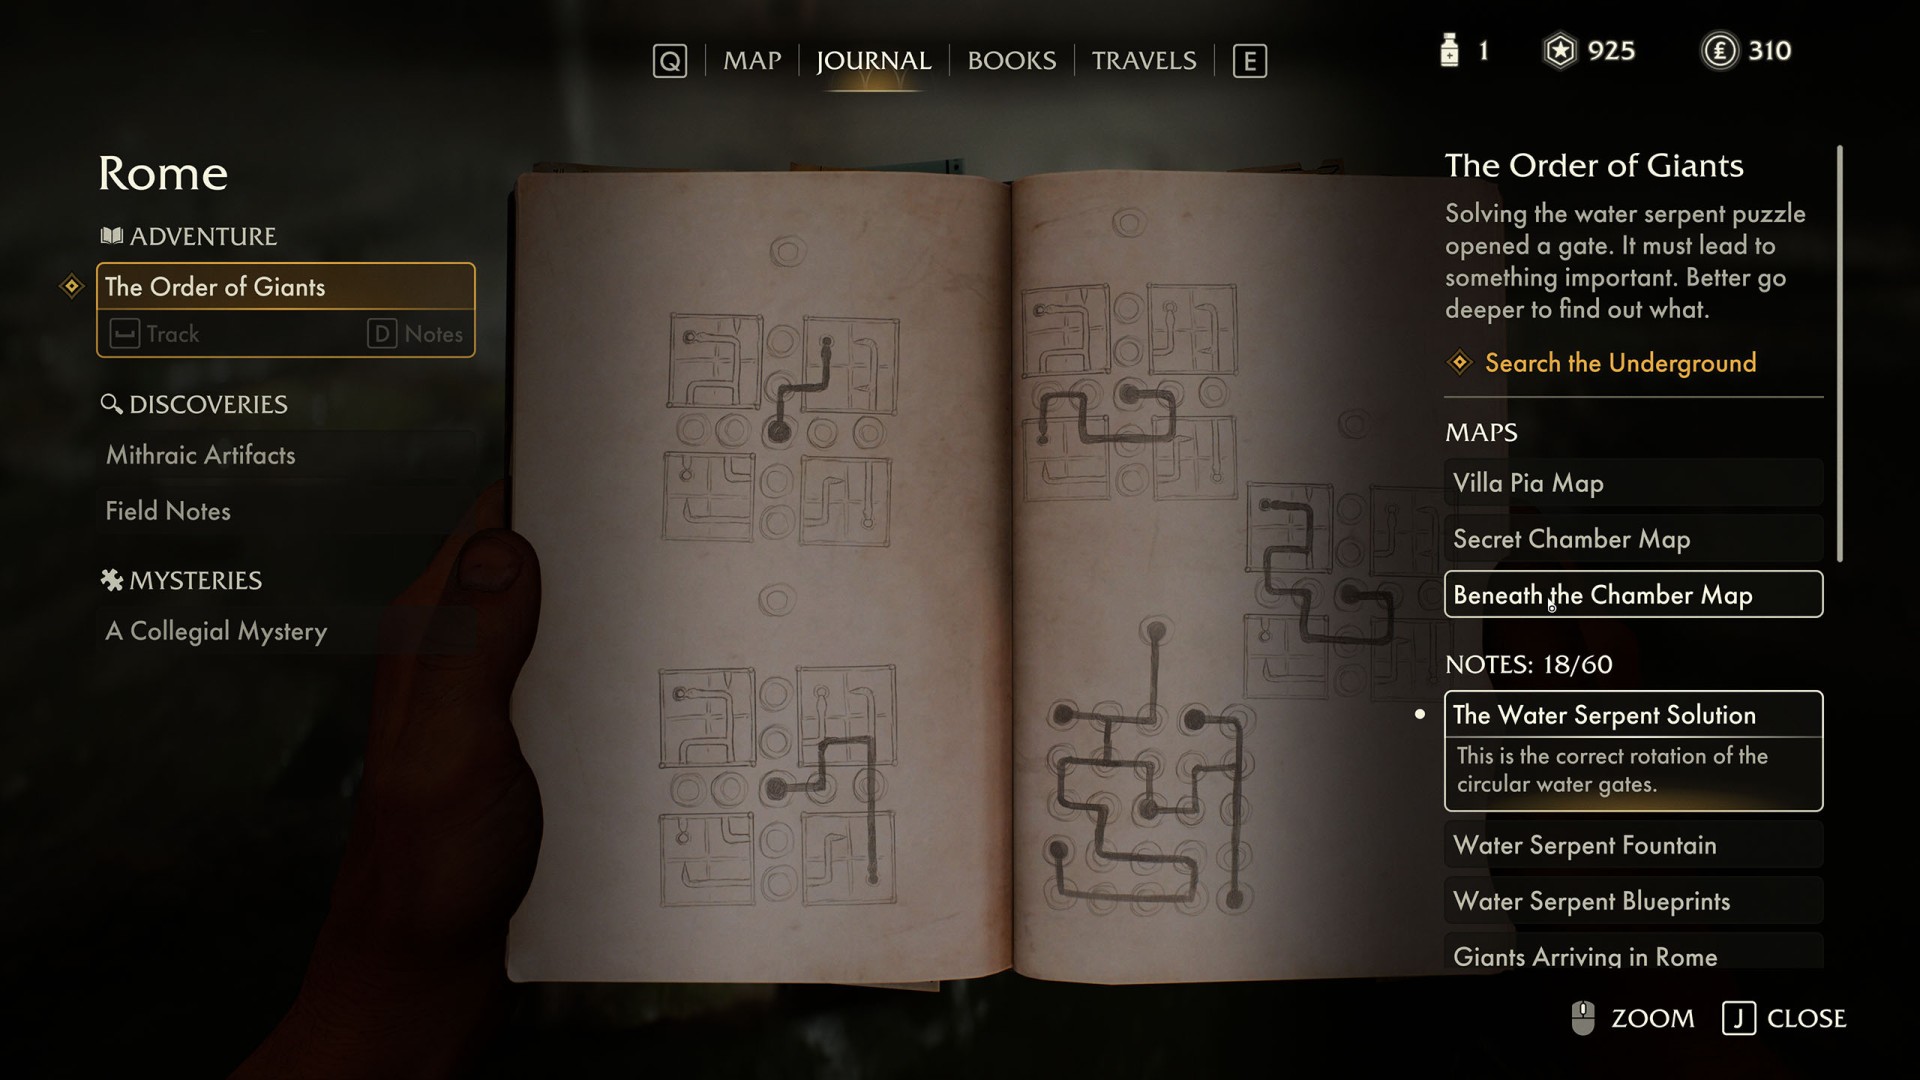
9The Water Serpent
You must use the Serpent Wrench to redirect the water between the containers in order to lift all four platforms and then fill all the containers with water.
To lift a platform, redirect the water to the snake's mouth on the platform. In the case of one of the platforms, you also need to remove the blockage from the mechanism.
How to redirect the water in all five cases is shown in the image and video below.
10Tomb of Gibborim
This puzzle is a complex challenge requiring you to use four scepters (Cross Scepter, Shield Scepter, Sword Scepter, and Trinity Scepter) to rotate floor discs based on clues from murals.
Below you will find complete step-by-step instructions on how to complete this puzzle.
Solution:
- Pick up the Cross Scepter and place it into the Cross Slot.
- Take a photo of the Crusader Cross Mural and then pick the cross scepter back up.
- Put the cross scepter into the Halygast Slot and turn it to the right or left twice.
- Put the cross scepter into the Aethopolis Slot and turn it to the right or left twice.
- Head through the now open Locked Gate (Shield Scepter Trial) and pull the Lever (Shield Scepter Trial).
- While running around the fire, turn all handles on the shields (Shield Handle #1, Shield Handle #2, Shield Handle #3) to unlock the shield scepter.
- Take the Shield Scepter, return to the main chamber and put it into the Shield Slot.
- Take a photo of the Shield Mural and then pick the shield scepter back up.
- Put the shield scepter into the Nakhala Pagus Slot and turn it to the right or left twice.
- Put the shield scepter into the Hori Castrum Slot and turn it to the right or left twice.
- Head through the now open Locked Gate (Trinity Scepter Trial).
- Pick up the Sword Scepter, return to the main chamber and put it into the Sword Slot.
- Take a photo of the Sword Mural and pick the sword scepter back up.
- Put the sword scepter into the Al-Mansur Castra Slot and turn it to the right once.
- Put the sword scepter into the Pugna Slot and turn it to the right or left twice.
- Put the sword scepter into the Rudera Slot and turn it to the right once.
- Go back to the room where you found the Sword Scepter and pull the Lever (Trinity Scepter Trial) to start the trial.
- In the center of the room, there are handles that need to be turned in a certain order that match the symbols and numbers on the wall. Correct order is: Keys Symbol Handle (1), Shield Symbol Handle (2), Apple Symbol Handle (3), and Snake Symbol Handle (4).
- Take the Trinity Scepter and put it into the Trinity Slot.
- Take a photo of the Trinity Mural and pick the trinity scepter back up.
- Put the trinity scepter into the Custodis Fastigium Slot and turn it to the right once.
- Put the trinity scepter into the Malum Slot and turn it to the left once.
- Put the trinity scepter into the Sancti Luciani Ecclesia Slot and turn it to the right or left twice.
- Pick up The Sword of Gibborim and stab the statue.
Locations on Gizeh
11Mural Puzzle
Solution: You must place the three stone glyphs in the mural slots in a specific order:
- Top Slot (Air): Stone Glyph (Bird)
- Middle Slot (Earth): Stone Glyph (Snake)
- Bottom Slot (Water): Stone Glyph (Fish)

12Sanctuary Throne Room Mirrors
Solution:
- Move Mirror #A3 to light Mirror #A4
- Move Mirror #A6 to light Mirror #A1
- Move Mirror #A1 to light Mirror #A5
- Move Mirror #A4 to light Mirror #A2

13Statue of Light
Solution:
- Move the Mirror #B1 to light the Mirror #B2 located above the right side door.
- The door won't open, so help Gina enter the room through the hole in the wall. Gina will provide a brass mirror.
- Move the Mirror #B1 to light the Mirror #B3 located above the left side door.
- Use the brass mirror provided by Gina to fix the Mirror #B4.
- Move the Mirror #B1 to light the mirror Gina is holding.
14The Resonance Chamber
Solution:
Take photos of three tablets in the main room: "Leneph", "Hat sha-Athon", and "Vuha".
Get through the crawl hole and take photos of two more tablets: "Eo-shohd", and "Lezeem".
Pick up the Tablet Piece, use it to fix the "Al haht sheram" tablet, and take photo of it.
Approach the central statue and spread out six photos you took. Use them in the following order:
- "Heed"
- "The Lord's"
- "Oath"
- "Protect"
- "The Secret"
- "Of the name"
Once the puzzle is solved, you'll fall into an underground tunnel.
15Three Eyed Gate
Solution:
- Move the Mirror #C1 so the ray iluminates the symbol in the upper right corner of the door, which will open the door on the left side of the room.
- Head through the door that opened and move the Mirror #C2 so that the ray passes through the gap and illuminates the Mirror #C3.
- Move the Mirror #C3 so the ray iluminates the top left symbol on the door and move the Mirror #C1 so that ray illuminates the middle right symbol on the door, which will open the door on the right side of the room.
- Head through the right door and grab the Brass Mirror. Use it to fix the Mirror #C4. It will illuminate the Mirror #C5.
- Use three mirrors to unlock one by one the three symbols in the middle of the door. You will unlock each of them by illuminating such three symbols located on the sides which, when overlapped, form the symbol in the middle.

Locations on The Himalayas
16Captain's Cipher
Solution:
Read the Captain's Code, you will lear the key word: JÖGM.
Pick up four code wheels and place them in the cipher machine in the right order - so that a code can be formed from them. Starting from the left, these will be the circles with letters:
- JBSRCDOÄ
- ÖLÜFHEKT
- GUVZOAHI
- MTNXßPWY
Close the cipher machine and adjust each code wheel so that the top line letters matches the key word.
Using one of the code tables (Code Table & Code Table), find the combination of digits for the word from the bottom line of the cipher machine: BLUT. It will be 3666.
Use the code to unlock the Combination Lock Door.

Locations on Sukhothai
17Hidden Gate
Solution:
- Pick up two cogwheels from the central room: Cogwheel (Hidden Pyramid #1), and Cogwheel (Hidden Pyramid #2).
- Crawl through the crawl space located near the Left Gear Train.
- Climb the wall and pick up the Cogwheel (Hidden Pyramid #3) that you can find up there.
- Use your whip and open the Plugged Pipe.The water will flow.
- Place the cogwheels on the left or right gear train in the layout that is show on the picture below and pull the lever.
- Do the same with the other gear train.


18Hidden Platform Cogwheel Puzzle
Number of cogwheels: 7
Position the large and small cogwheels as shown in the picture below and then pull the lever. After completing the puzzle, don't forget to take the small cogwheels to use them in the next puzzle.

19Khmer Pipeworks
Solution:
- Turn the Handle (2) to make water flow.
- Place Pipe Segment (5) (T-shaped) into Pipe Slot #C1 in such a way that the water flows to the left and to the right.
- Place the Pipe Segment (6) (L-shaped) into Pipe Slot #C2 in such a way the water flows towards the door. It will open that door.
- Get the Pipe Segment (7) (straight) and place it into the Pipe Slot #C2 (so you have to remove the Pipe Segment (6) from this slot) that the water flows into the left grate.
- Place the Pipe Segment (6) into the Pipe Slot #C3 in such a way the the water flows to to central grate.
- Place the Pipe Segment (4) into the Pipe Slot #C4 in such a way the the water flows to to right grate.
20Nephilim Game
Show the map
21River Bank Cogwheel Puzzle
Number of cogwheels: 10
Position the large and small cogwheels as shown in the picture below and then pull the lever.

22Sealed Sarcophagus
Solution:
- Complete the Symbol Pedestal #3 - Use the Cross & Circle Key to line up all symbols.
- Complete the Symbol Pedestal #4 - Use the Cross & Circle Key to lineup cross and diamond symbols then use the Circle Key to line up all symbols.
- Complete the Symbol Pedestal #5 - A. Use the Cross & Diamond Key to line up diamond symbol with the line on the outer ring. B. Use the Cross & Circle Keykey to line up dimond symbol and cross symbol. C. Use the Circle Key to line up all symbols.
- Complete the Symbol Pedestal #6
23Story of the Ancients
Solution:
- Interact with the stone pillar in the center of the cave and complete the dream sequence.
- After returning to the real world, rotate the stone blocks to match the screenshot below.
- Collect the Golden Fishing Hook.

24The Great Game
Solution: Position other people as in the picture below and stand yourself in the place pointed by the arrow.

25Village Cogwheel Puzzle
Number of cogwheels: 5
Position the large and small cogwheels as shown in the picture below and then pull the lever. After completing the puzzle, don't forget to take the small cogwheels to use them in the next puzzle.

26Wat Mahathat Cogwheel Puzzle
Number of cogwheels: 5
Position the large and small cogwheels as shown in the picture below and then pull the lever. After completing the puzzle, don't forget to take the small cogwheels to use them in the next puzzle.

27Wat Si Sawai Cogwheels
Number of cogwheels: 6
Position the large and small cogwheels as shown in the picture below and then pull the lever. After completing the puzzle, don't forget to take the small cogwheels to use them in the next puzzle.

28Waterfall Ruins Cogwheel Puzzle
Number of cogwheels: 4
Position the large and small cogwheels as shown in the picture below and then pull the lever. After completing the puzzle, don't forget to take the small cogwheels to use them in the next puzzle.

Locations on Iraq
29Secret Vault
Solution: To complete this puzzle you need all 50 Ancient Relic (The Serpent's Chest). The puzzle requires placing ancient relics in slots and rotating them to eject all pins on all 4 diagrams. The screenshots below show one of the possible solutions.


