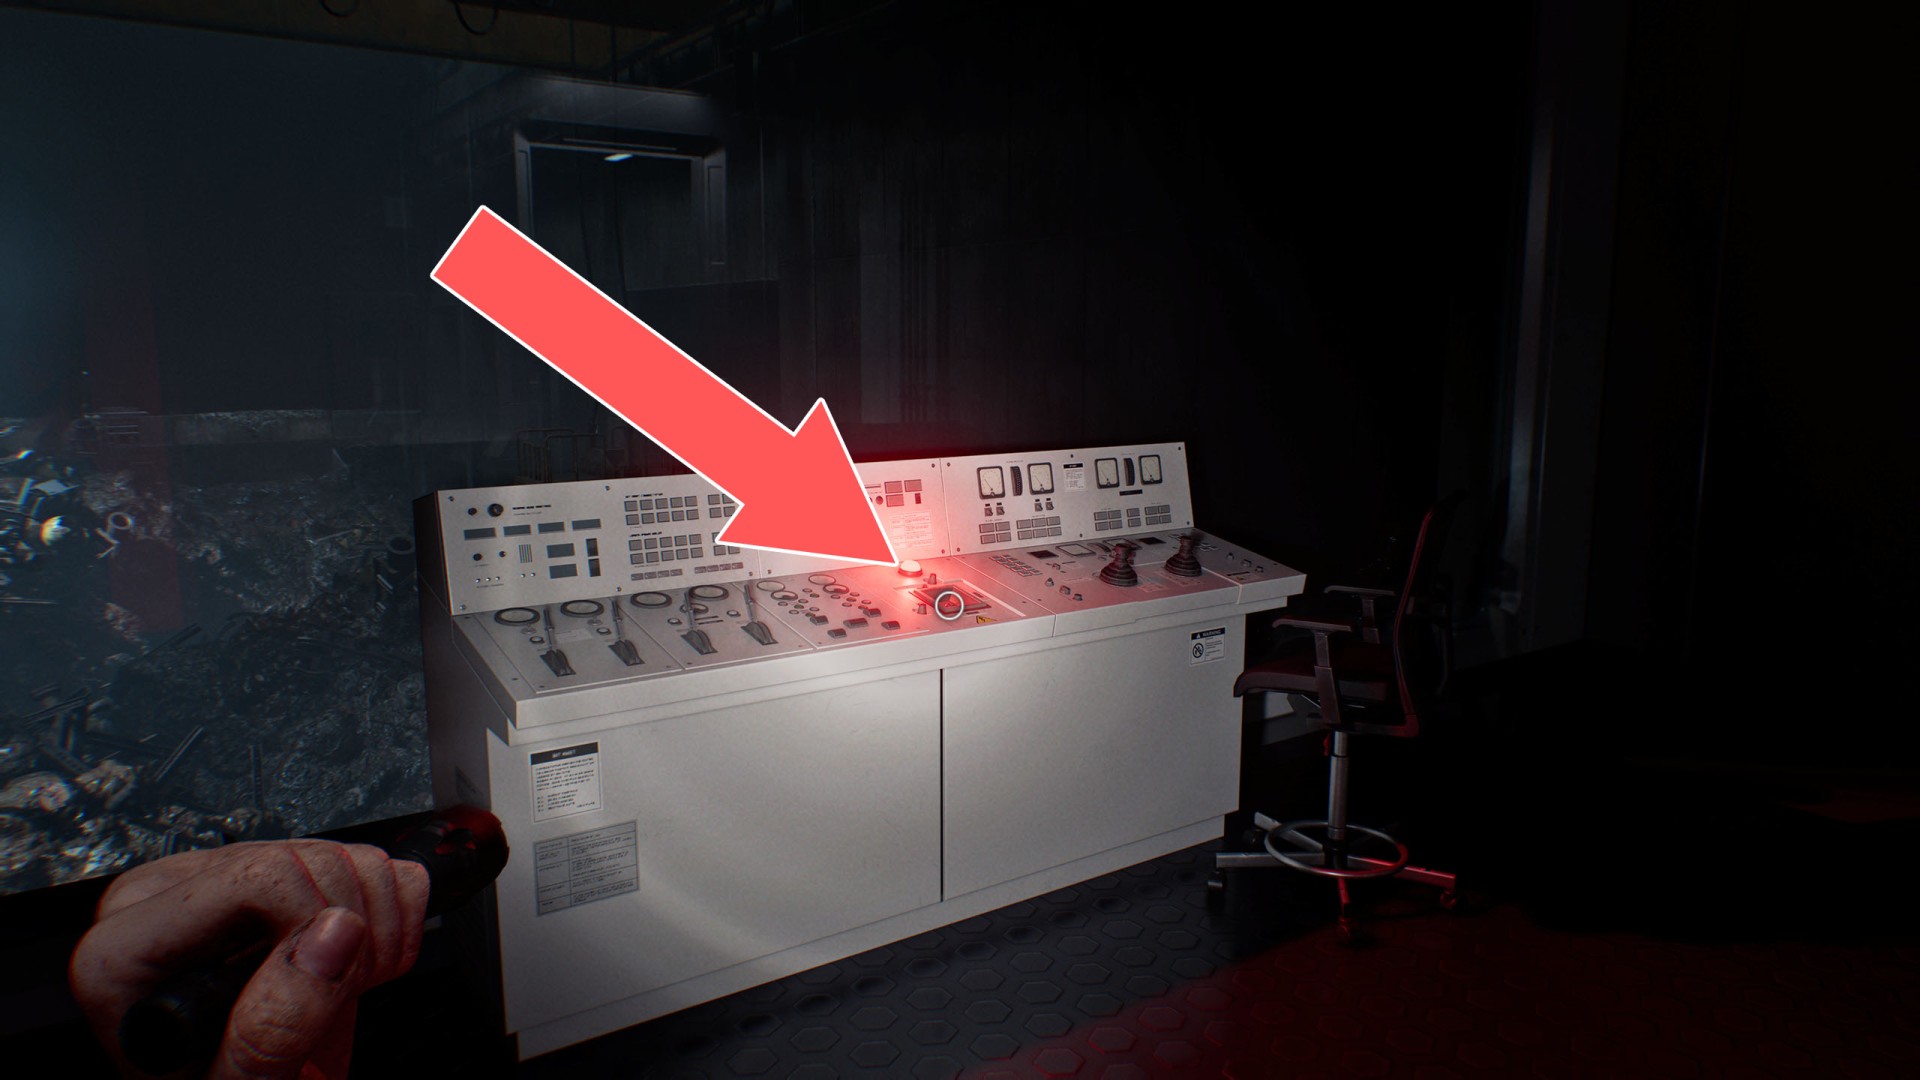
Resident Evil Requiem features various interactable objects that can be toggled or activated, such as light switches, levers, and control consoles. While some can be operated through a simple interaction, others require a specific item to function - such as a key, a battery, or a fuel canister filled with gasoline.
Switchable Mechanisms
Locations on Rhodes Hill
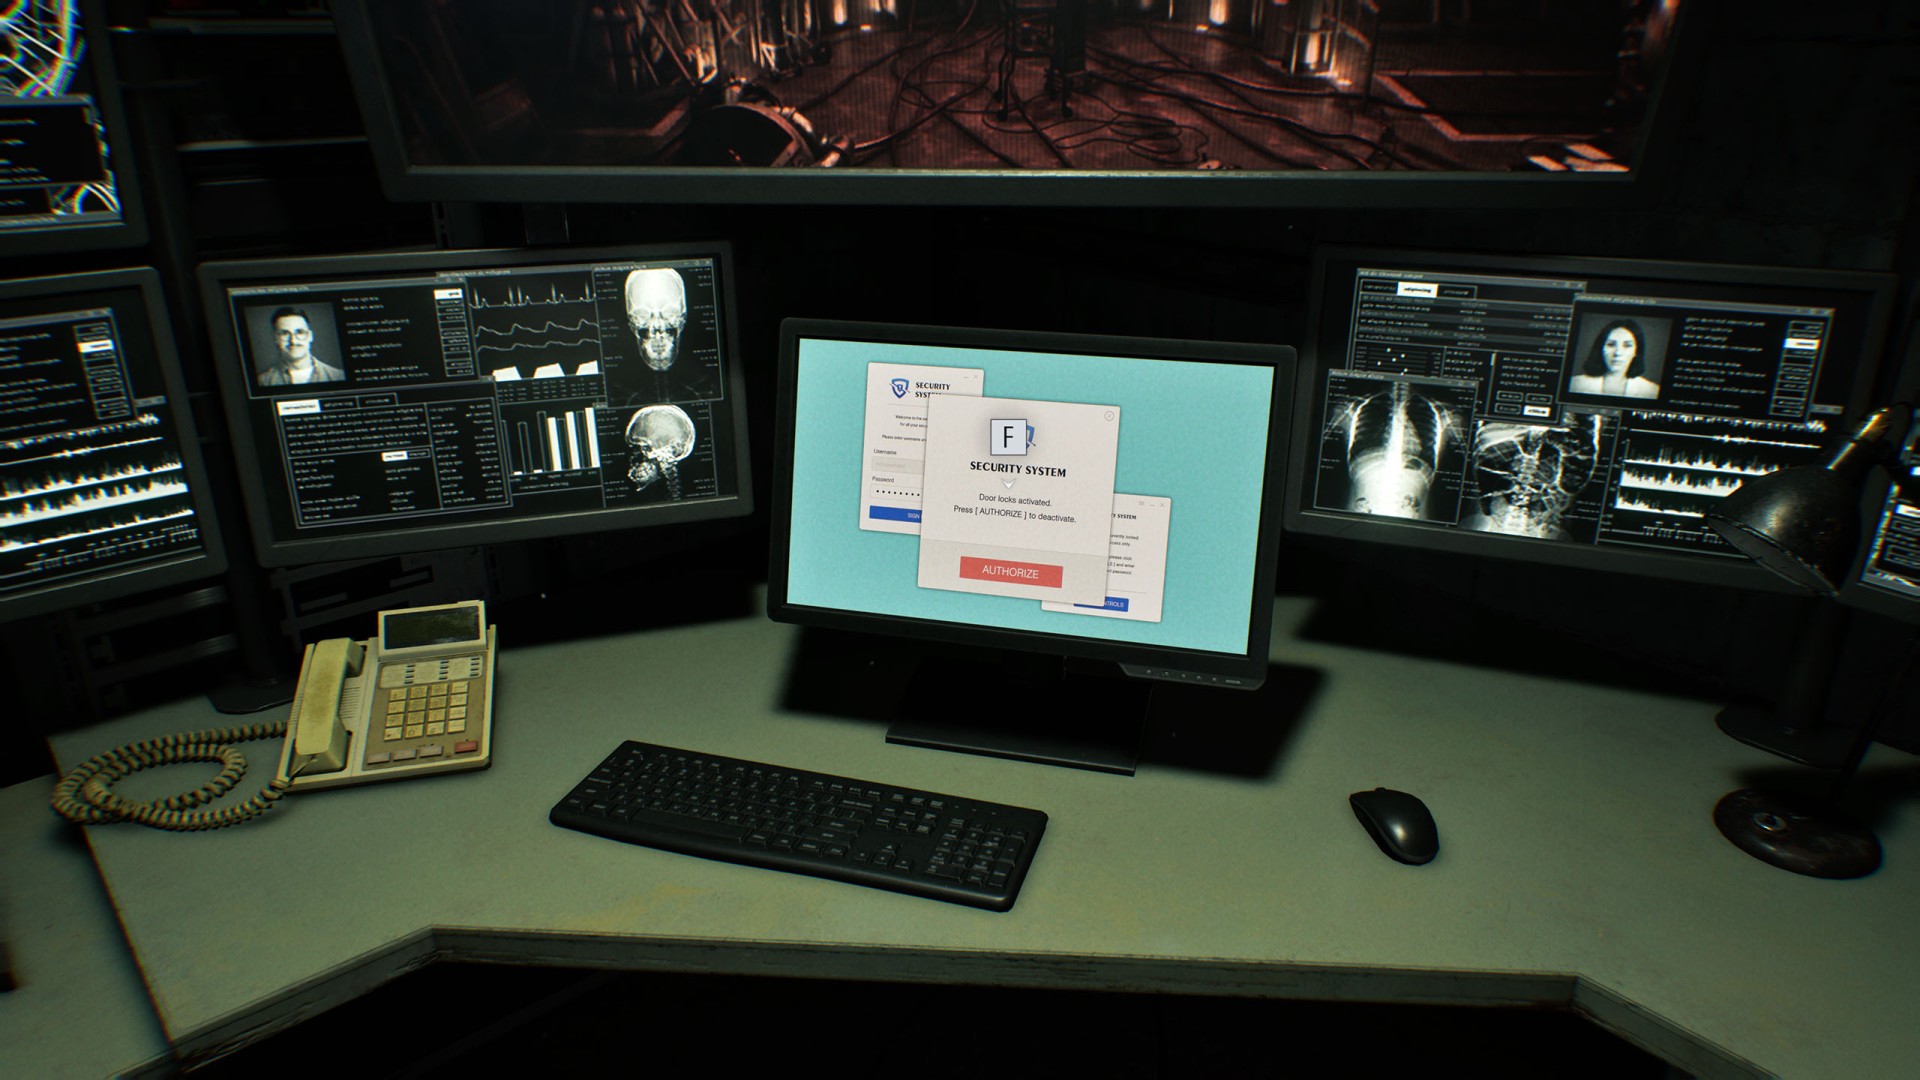
1 Computer Terminal
You must use it to unlock the nearby Control Room Door.
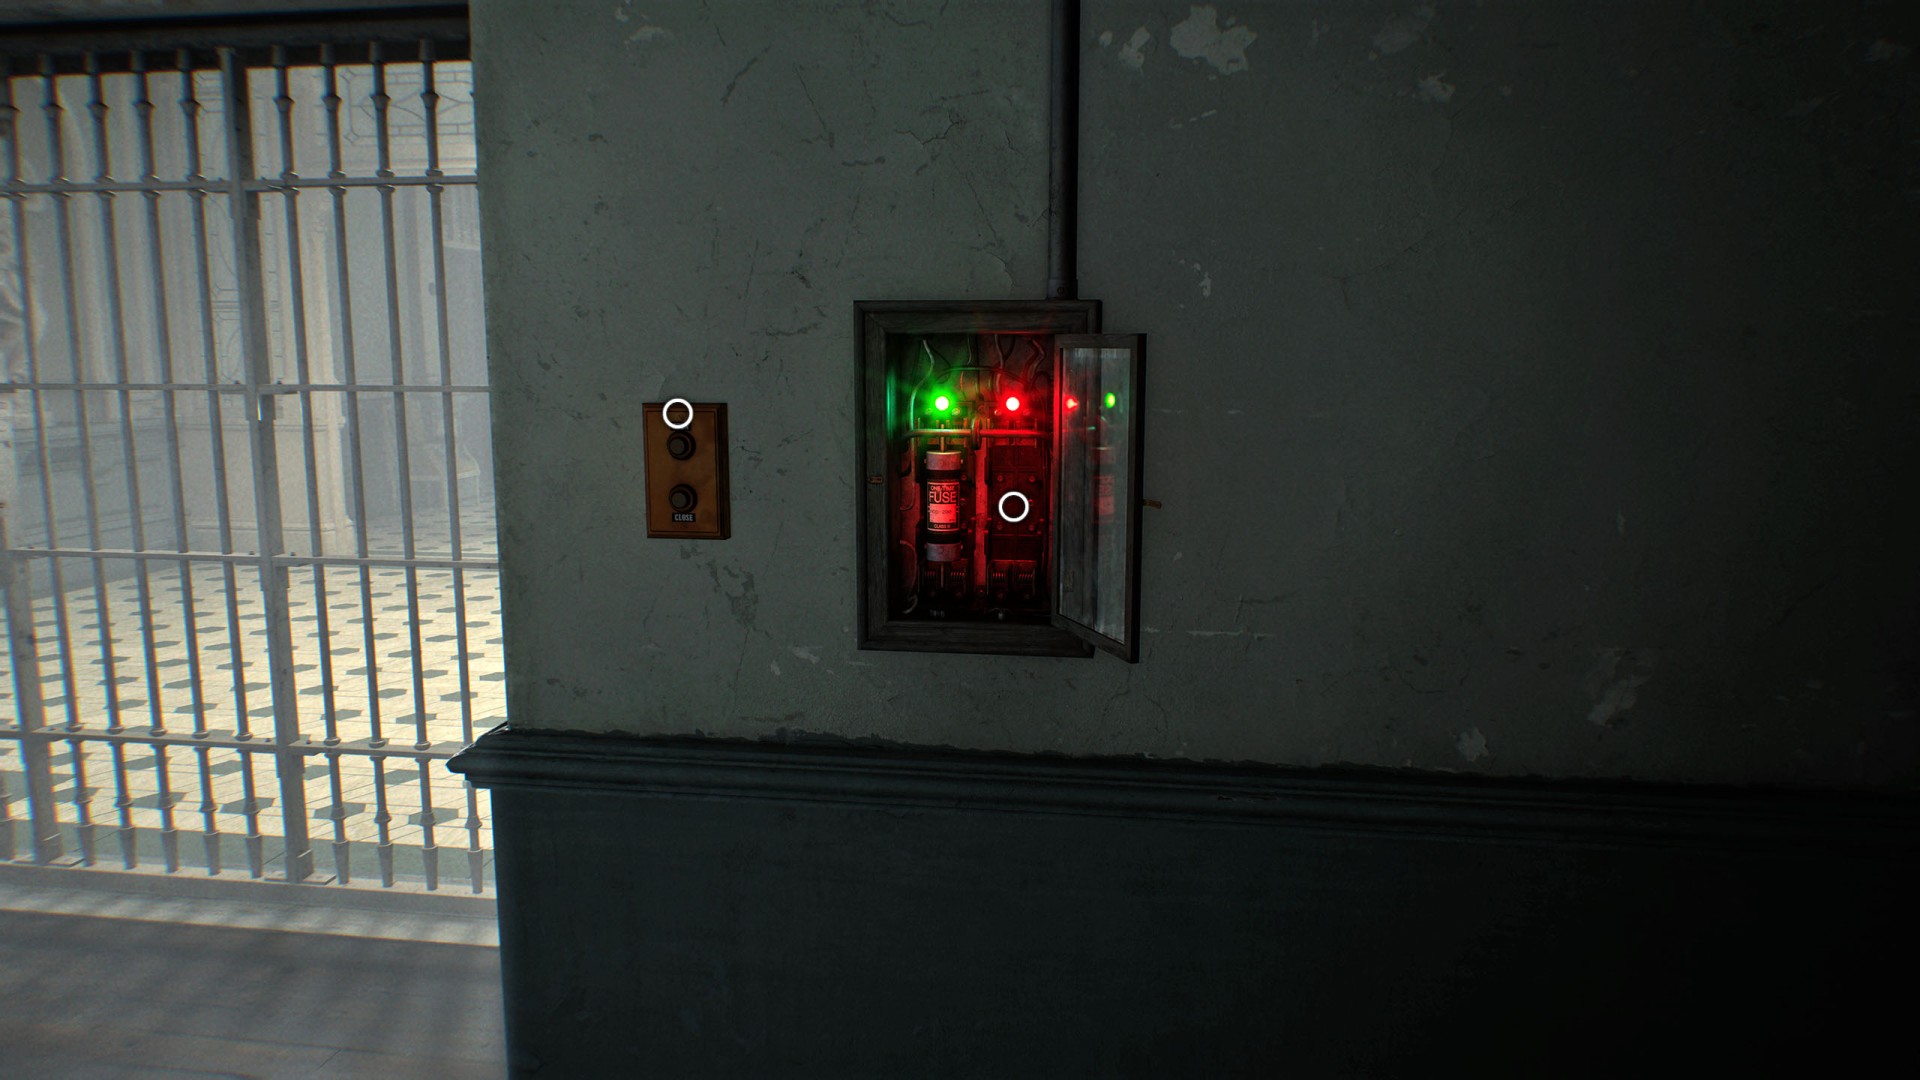
2Fuse Box
One fuse is missing. You need to get a fuse from Fuse Box (Locked) in room 201.
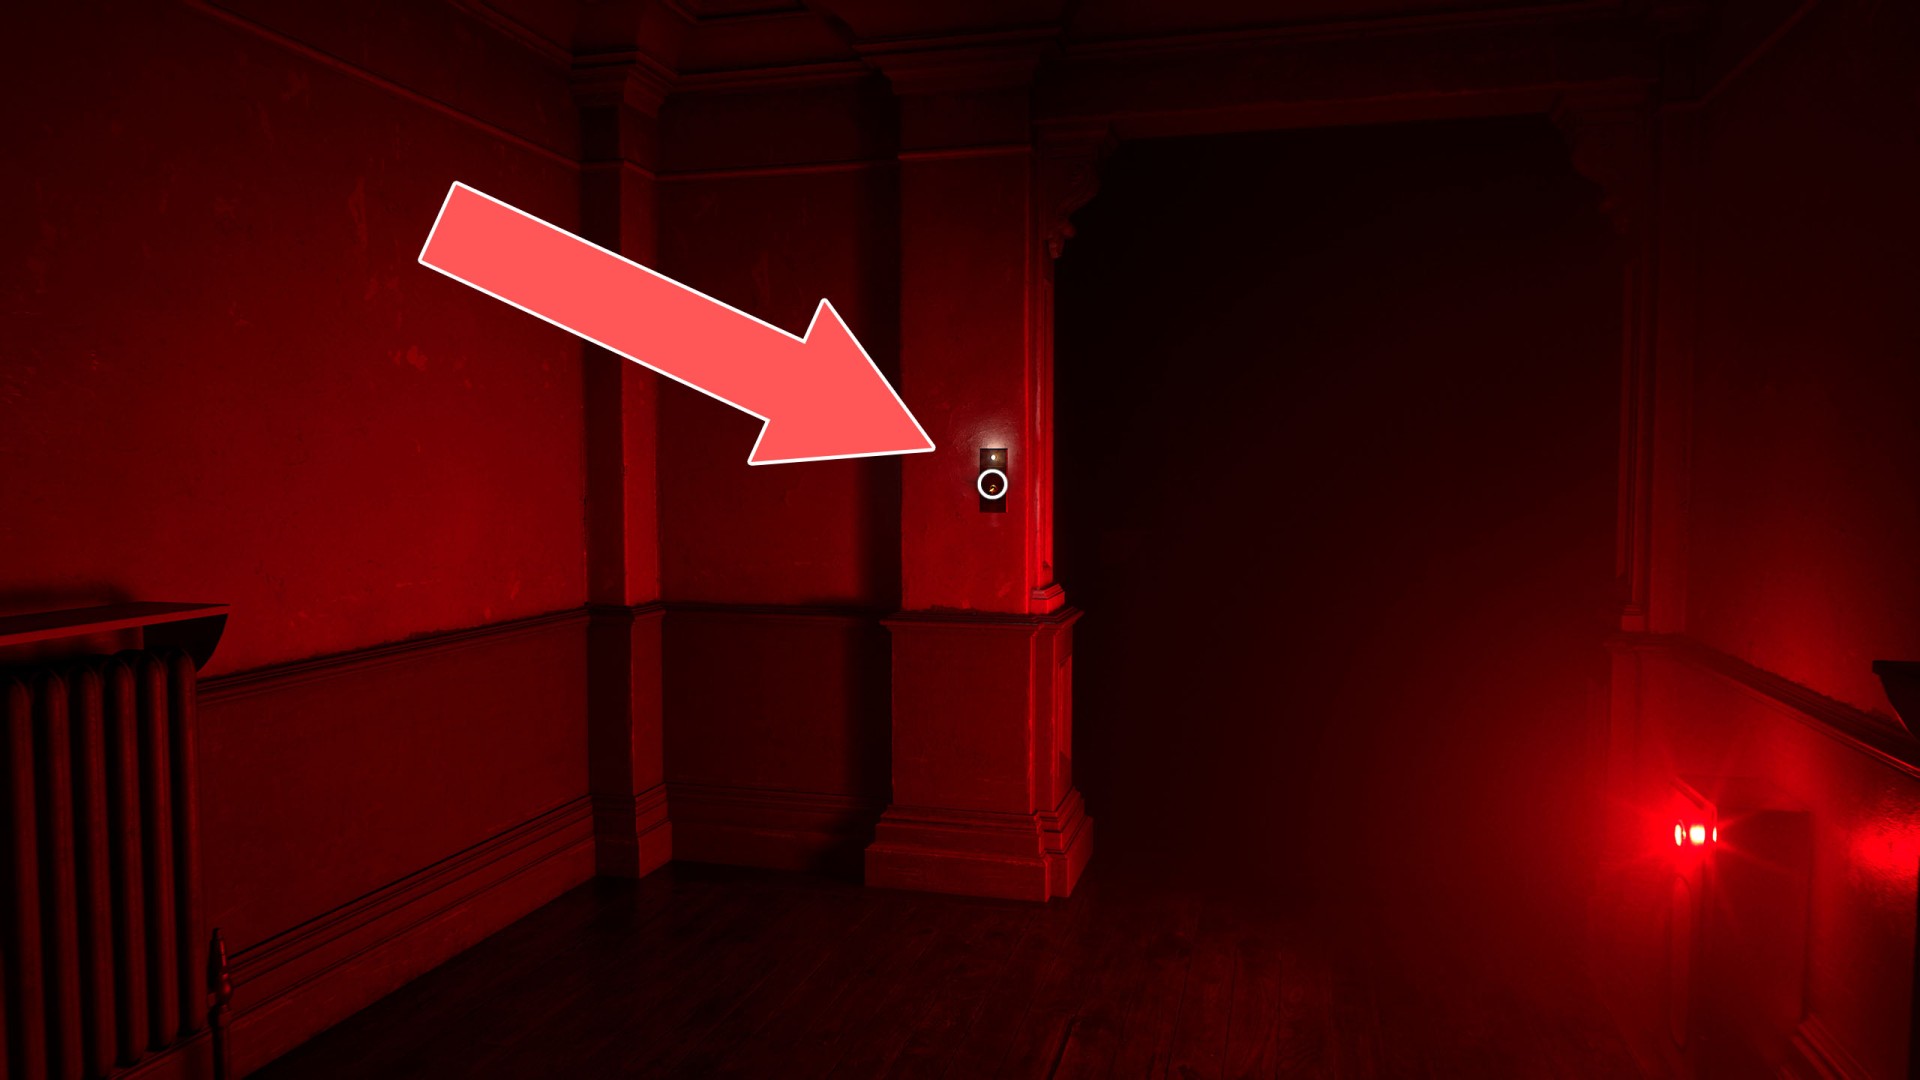
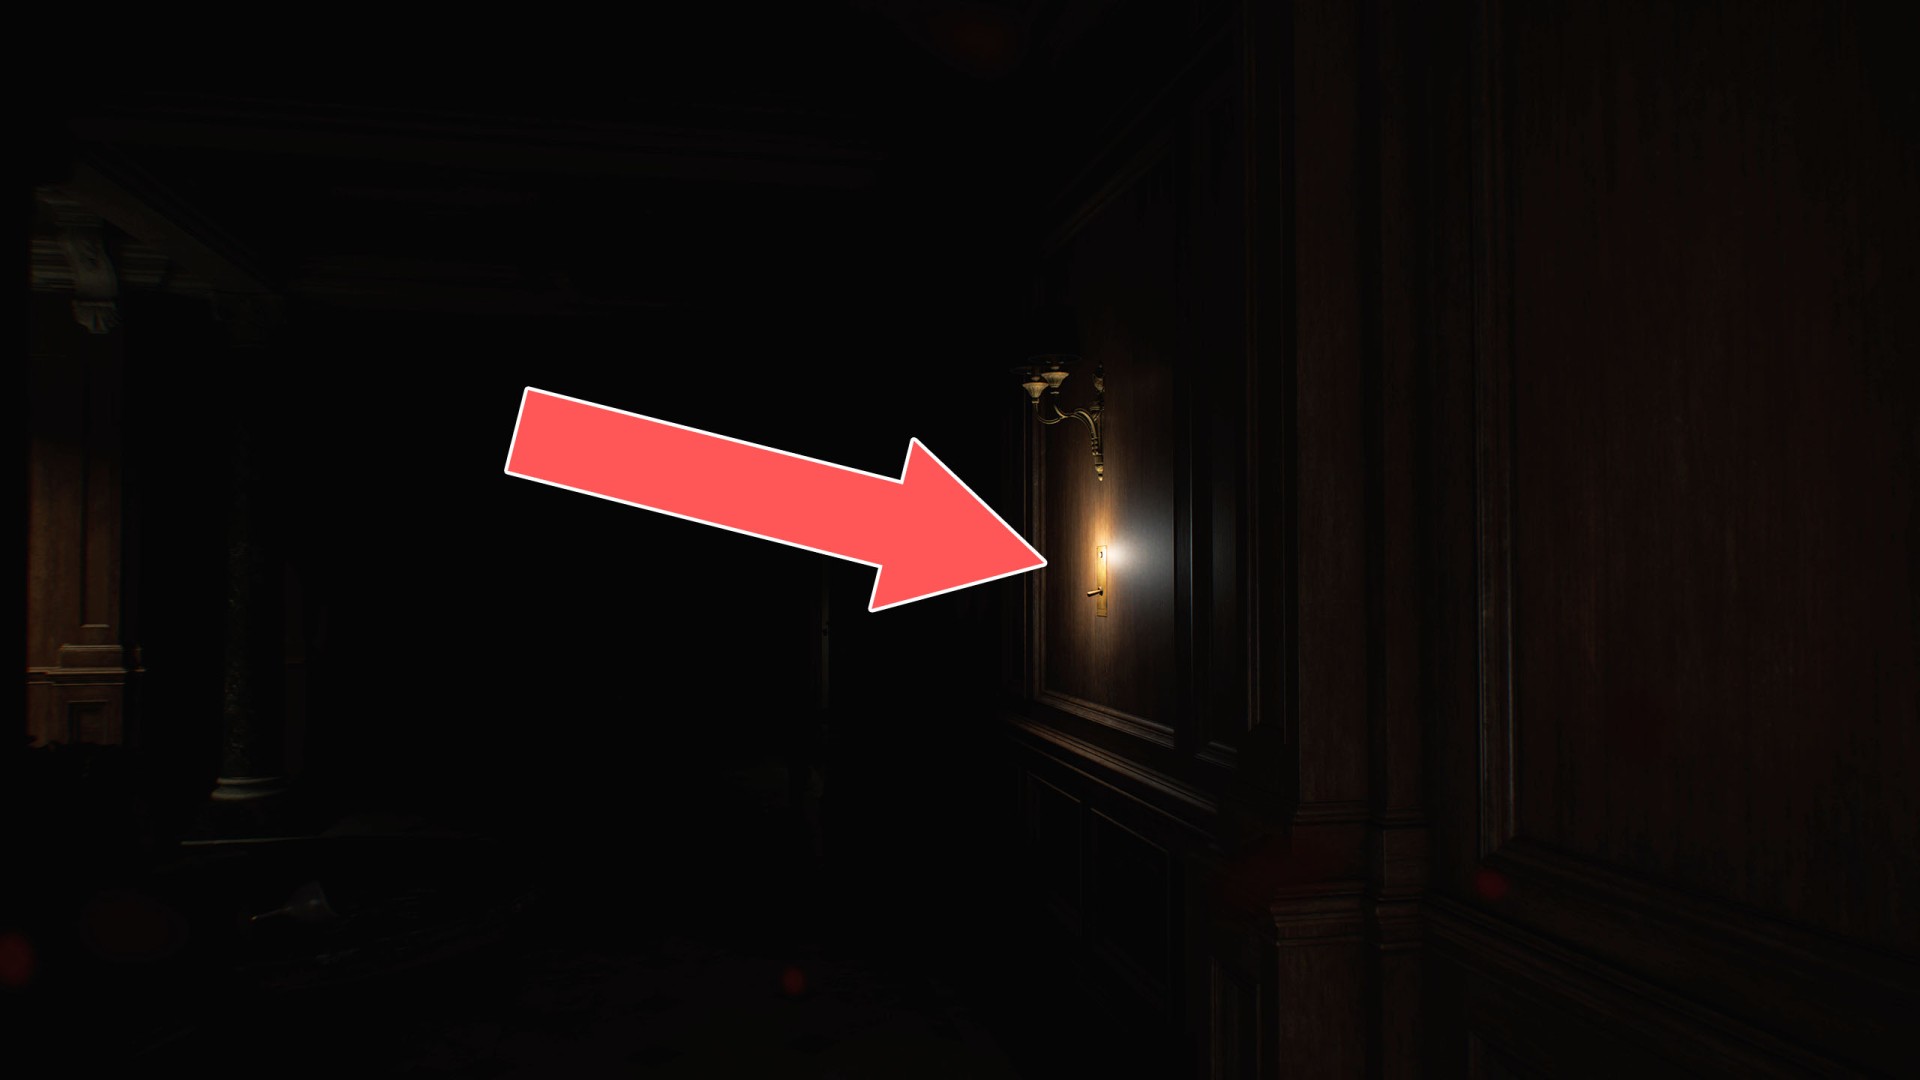
3Light Switch
Flip it to turn on the light in the hallway.
4Light Switch
It can be used to distract the infected man, who can't stand light.
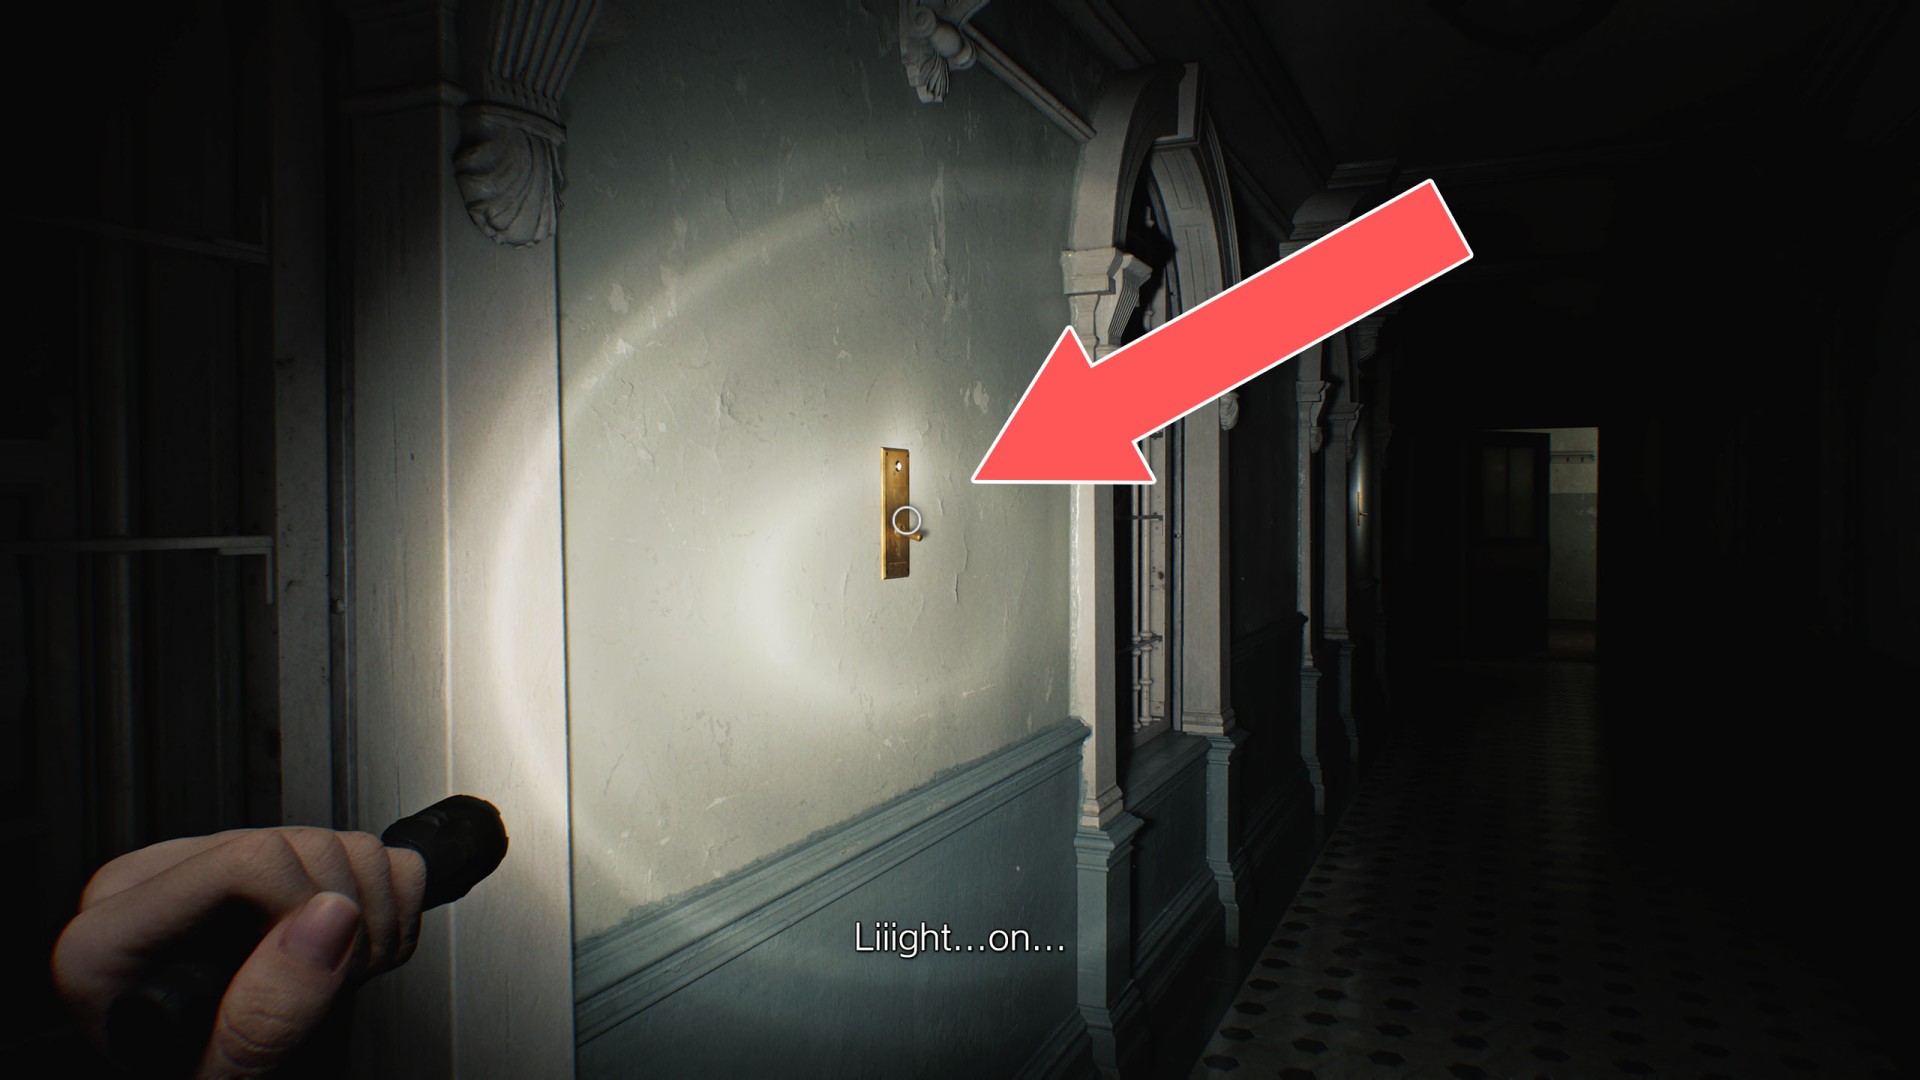
5Light Switch
It can be used to distract the infected man, who can't stand light.
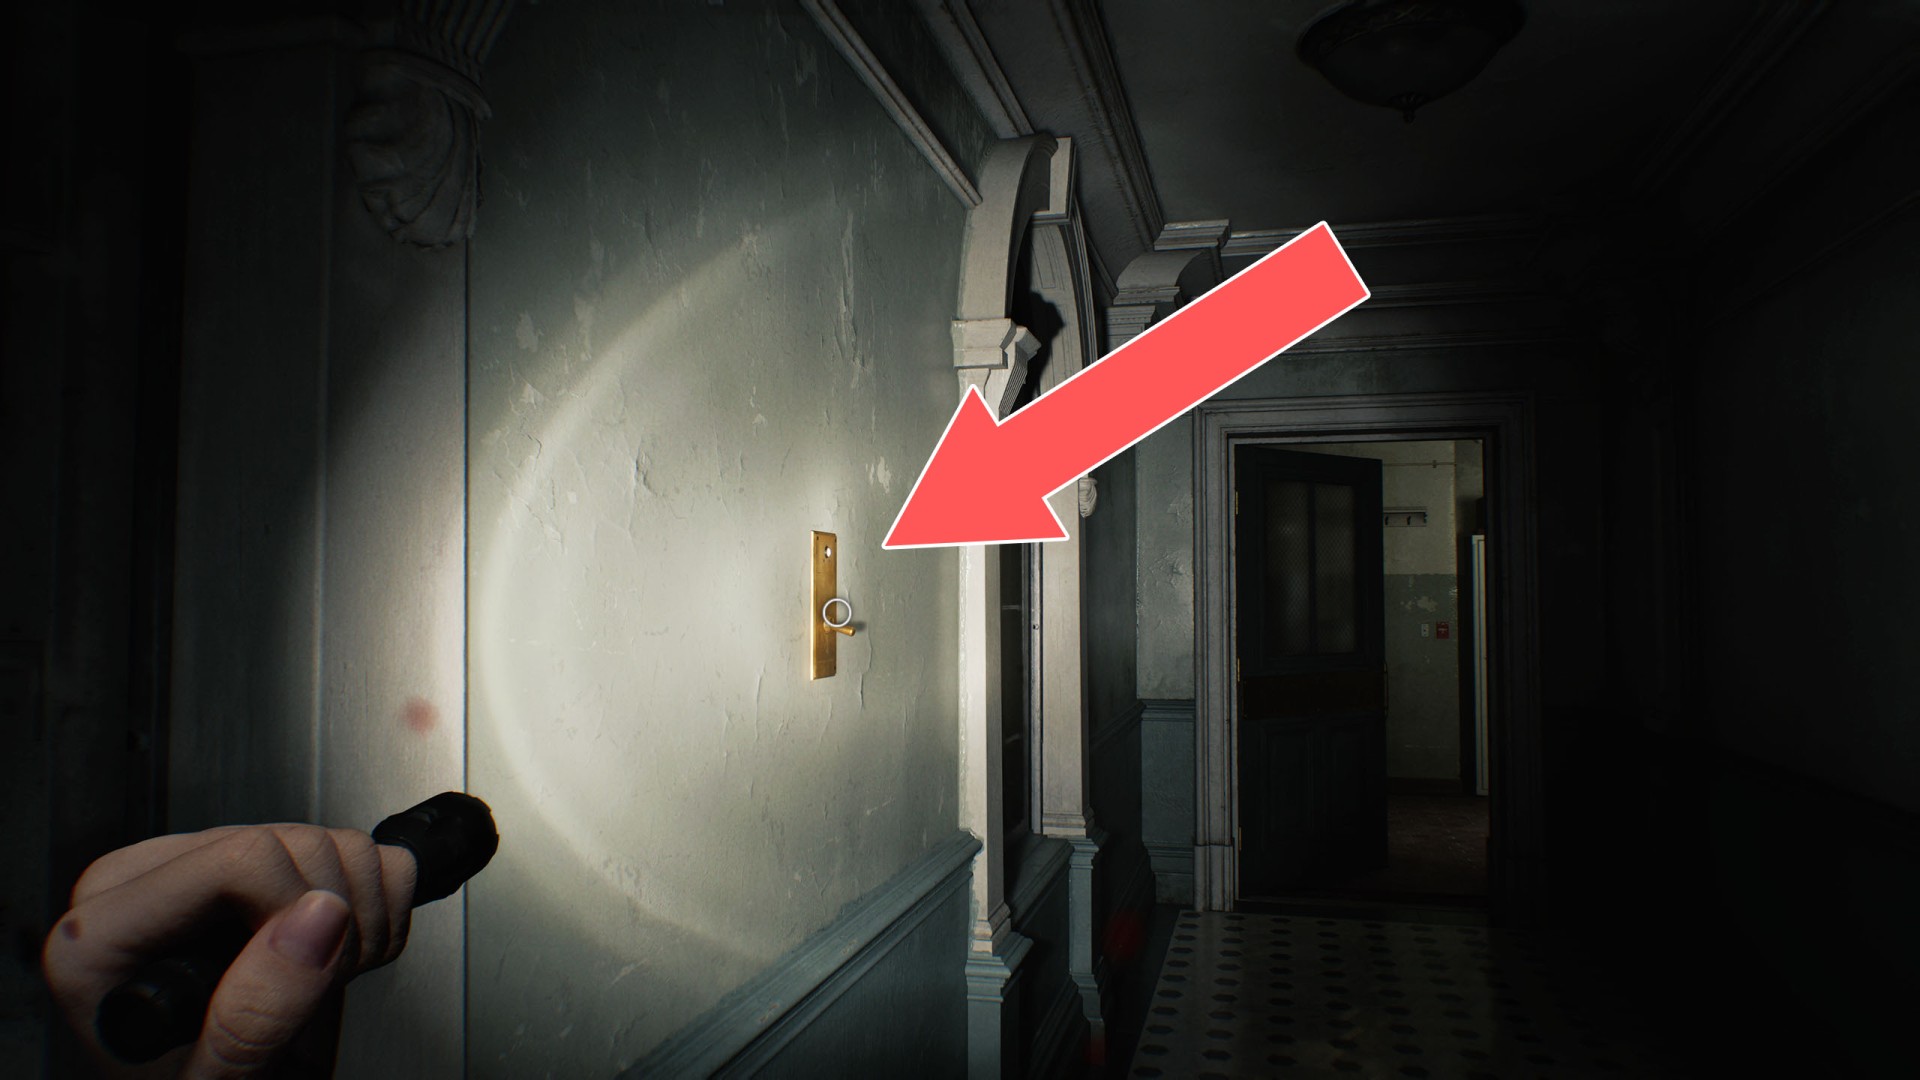
6Light Switch
It can be used to distract the infected man, who can't stand light.
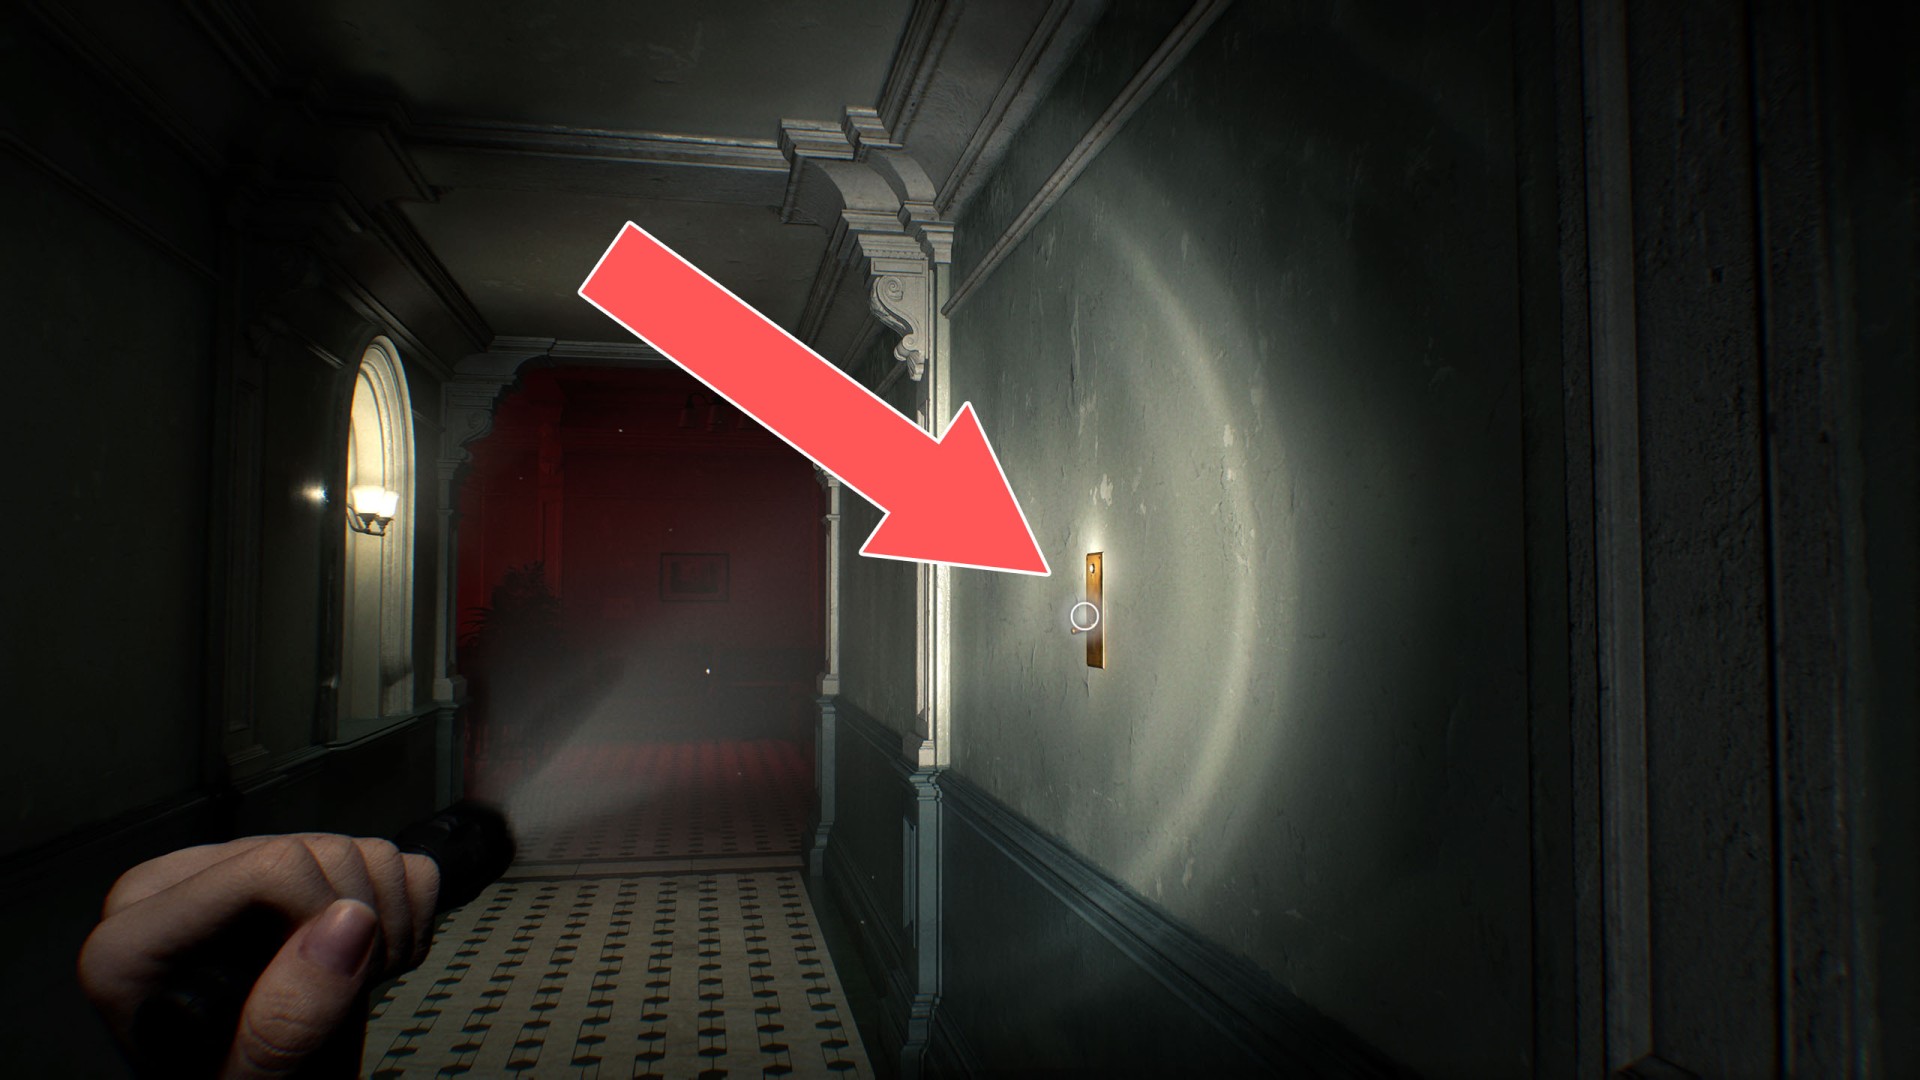
7Light Switch
It can be used to distract the infected man, who can't stand light.
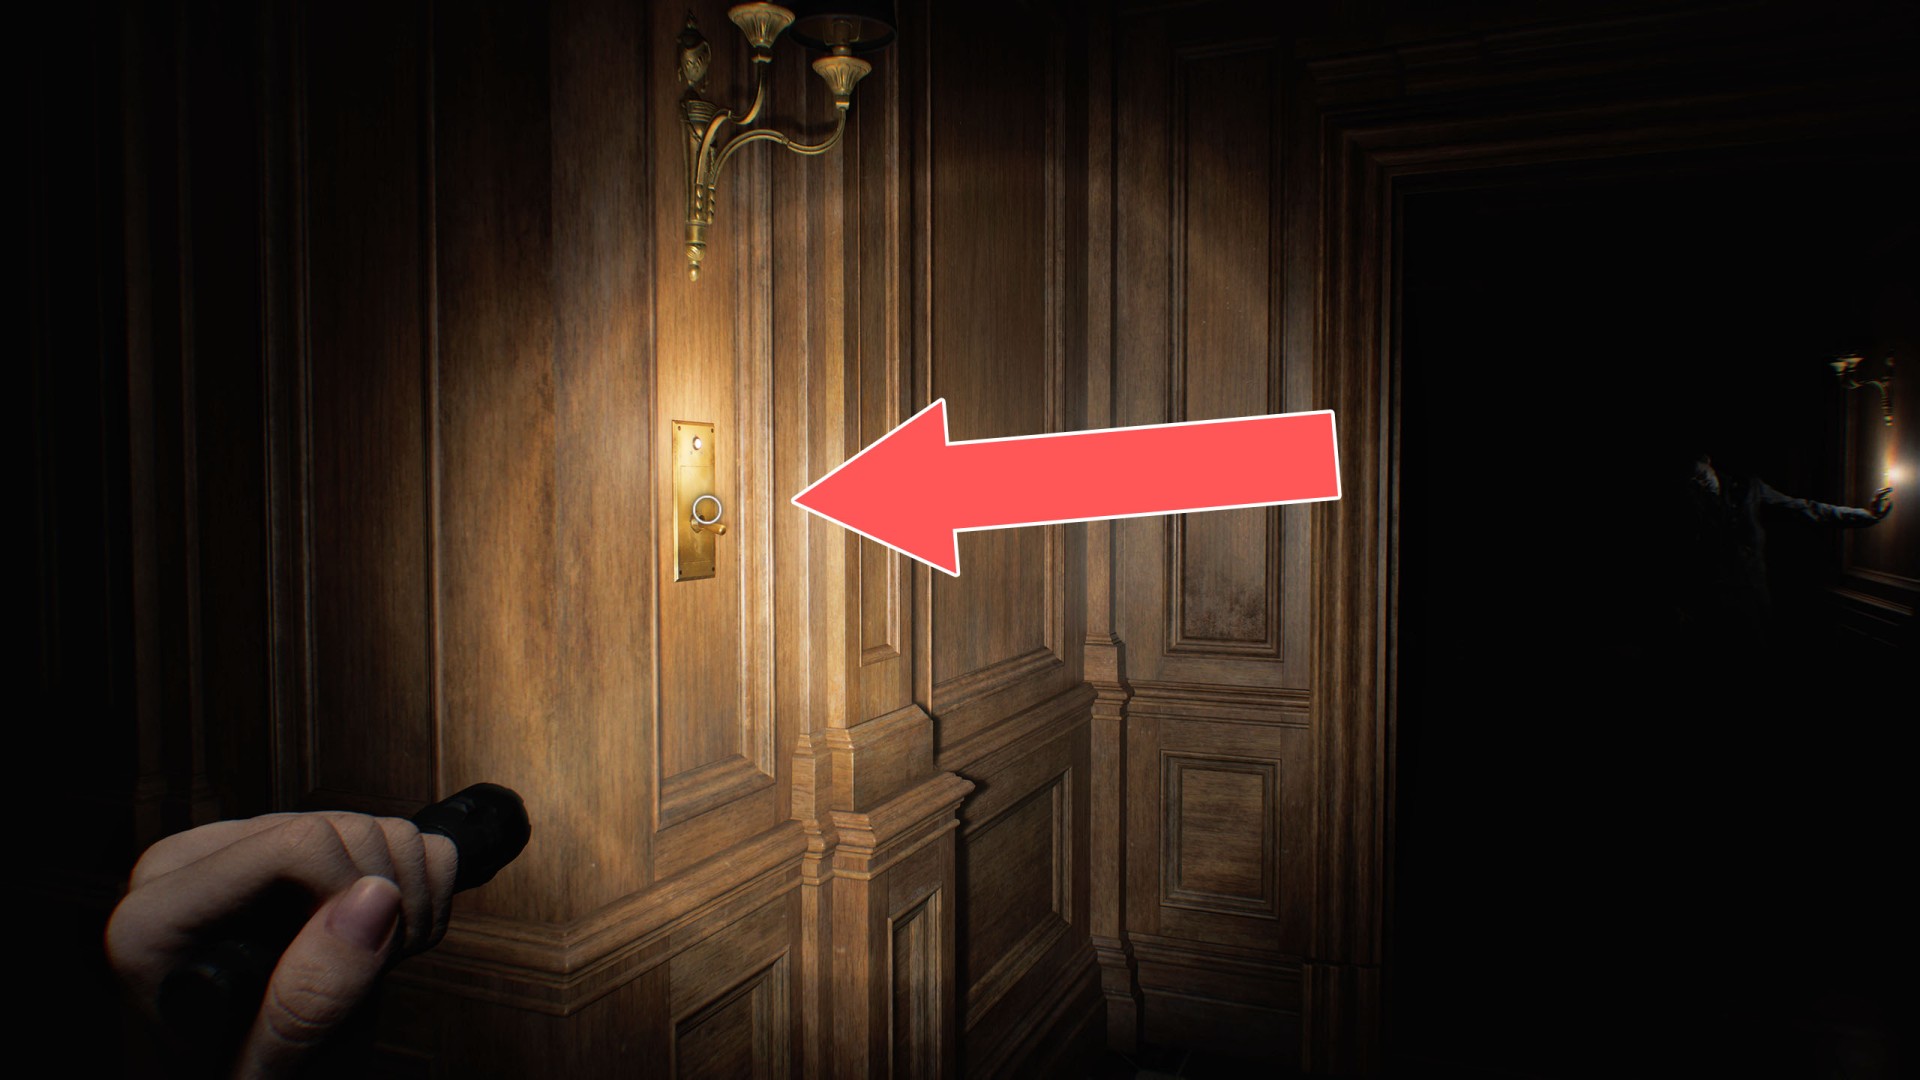
8Light Switch
It can be used to distract the infected man, who can't stand light.
9Power Distribution Unit #1
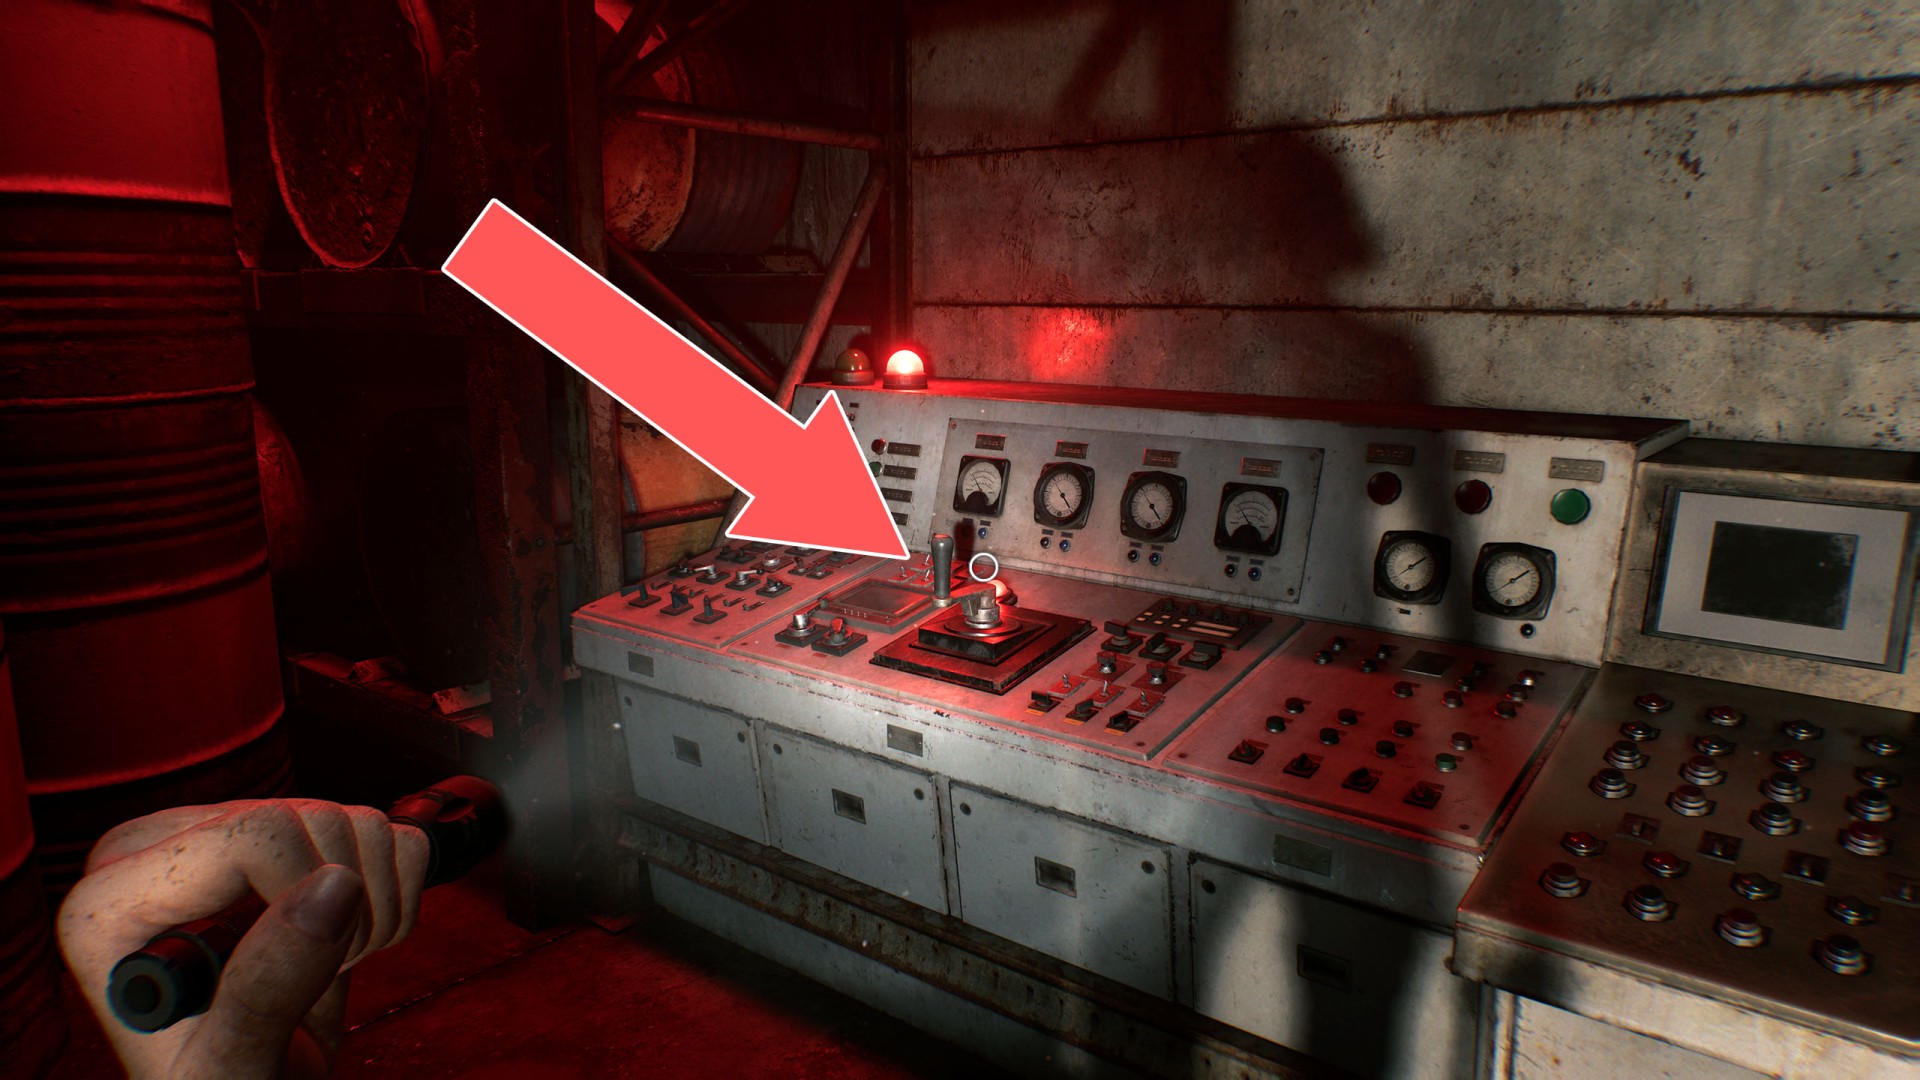
10Power Distribution Unit #2
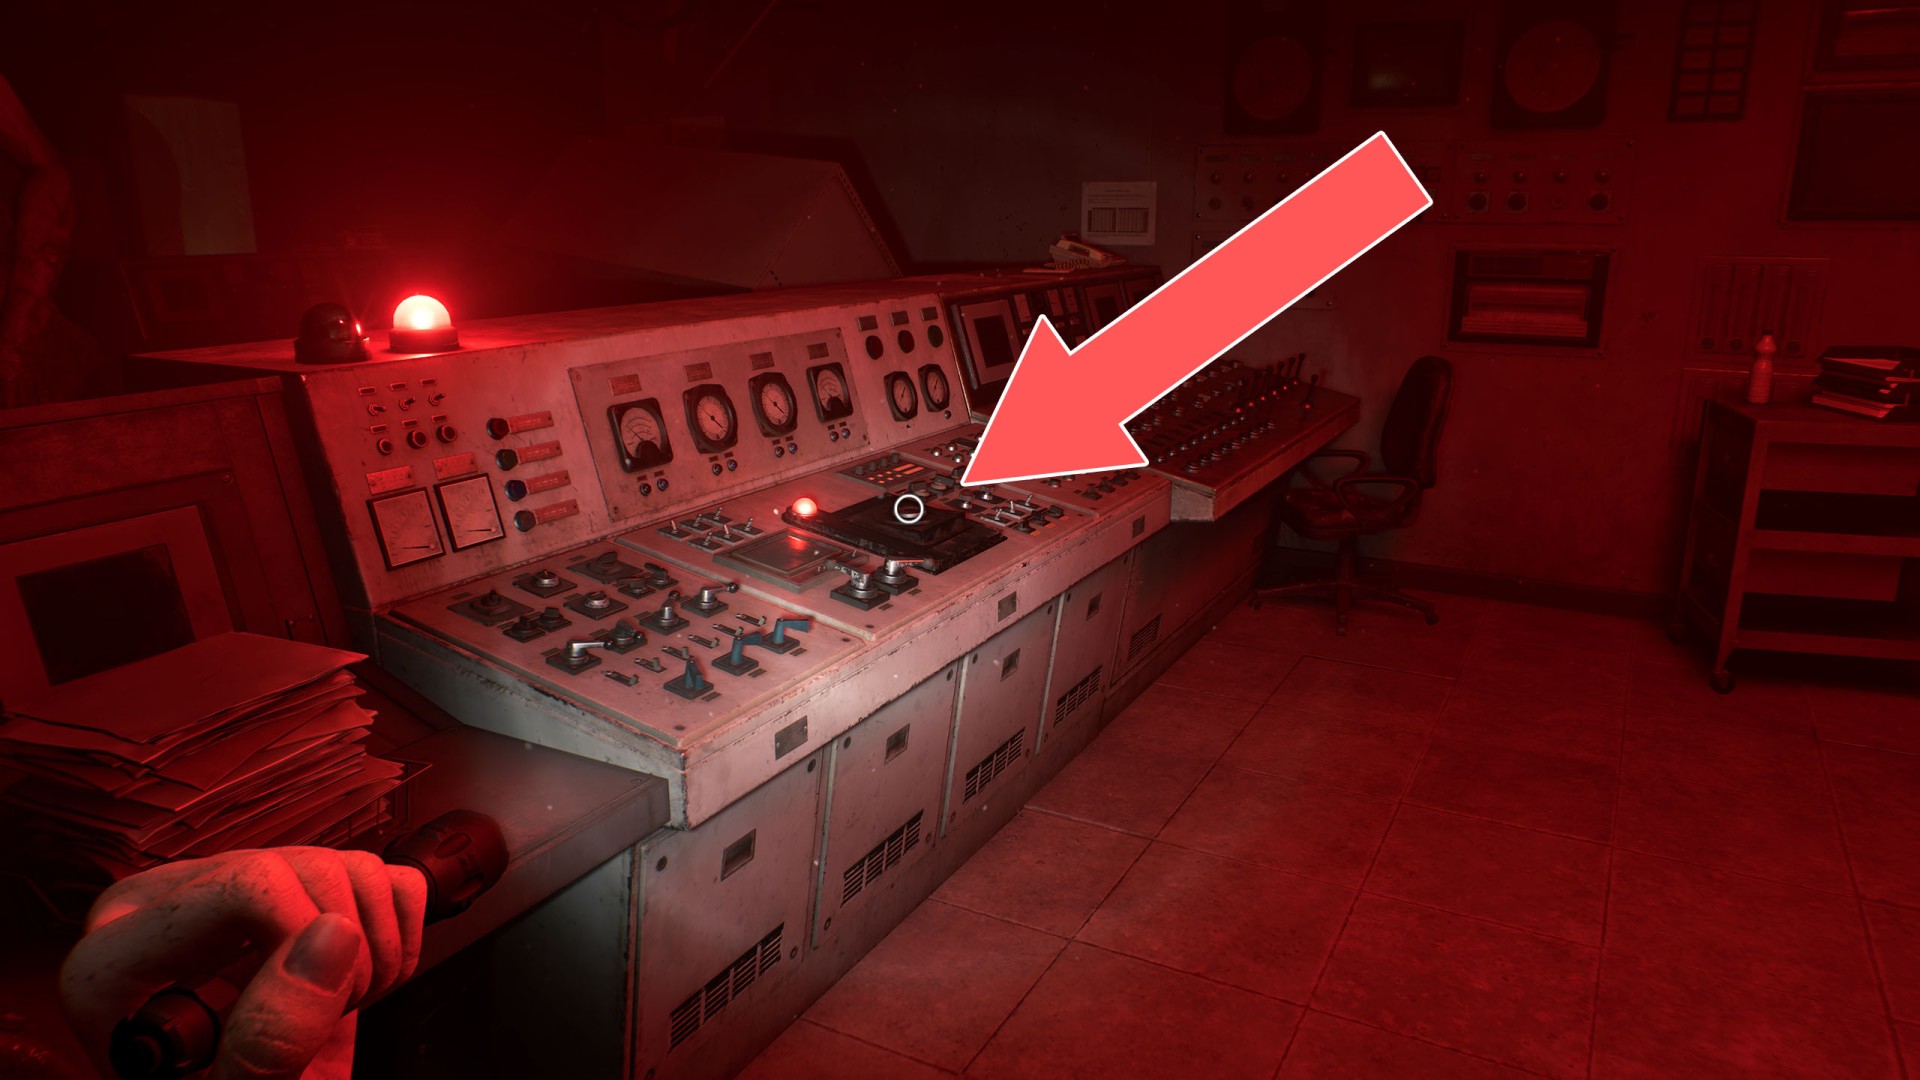
11Power Distribution Unit #3
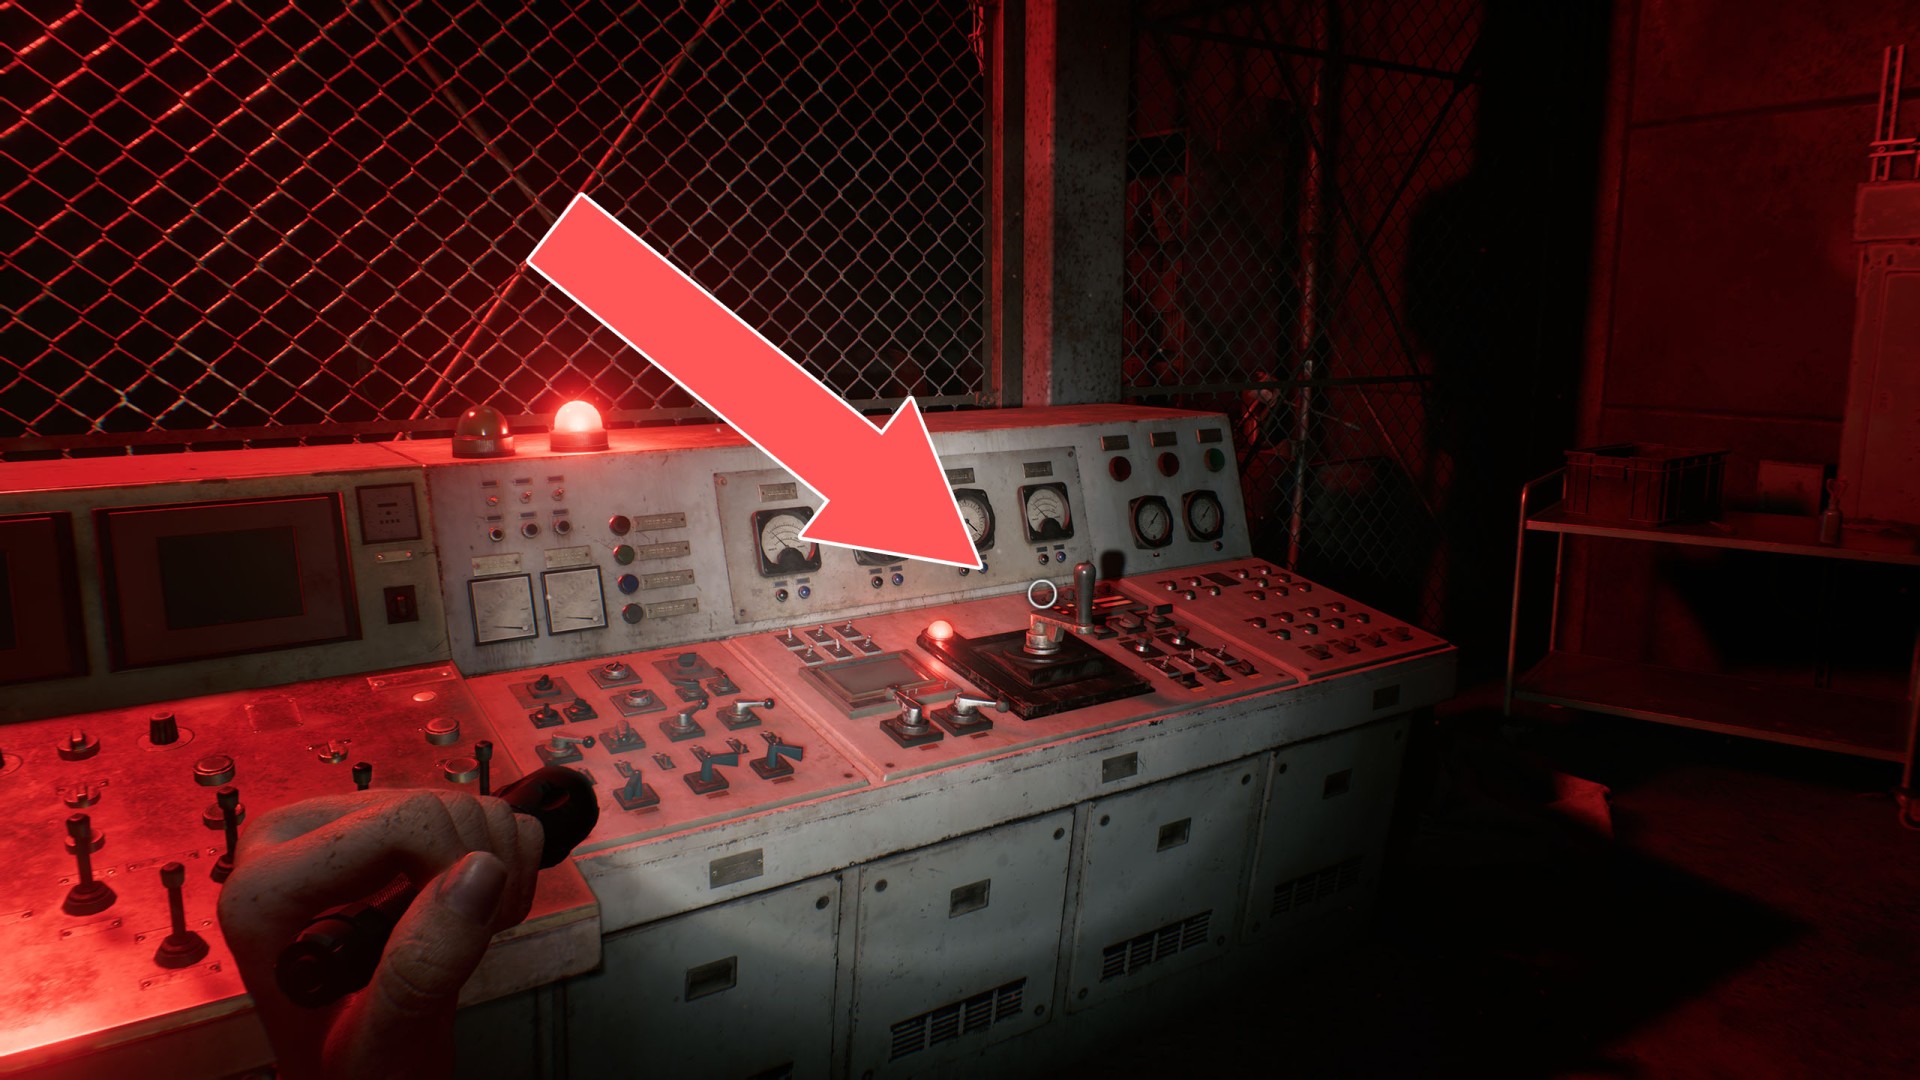
12Power Distributor
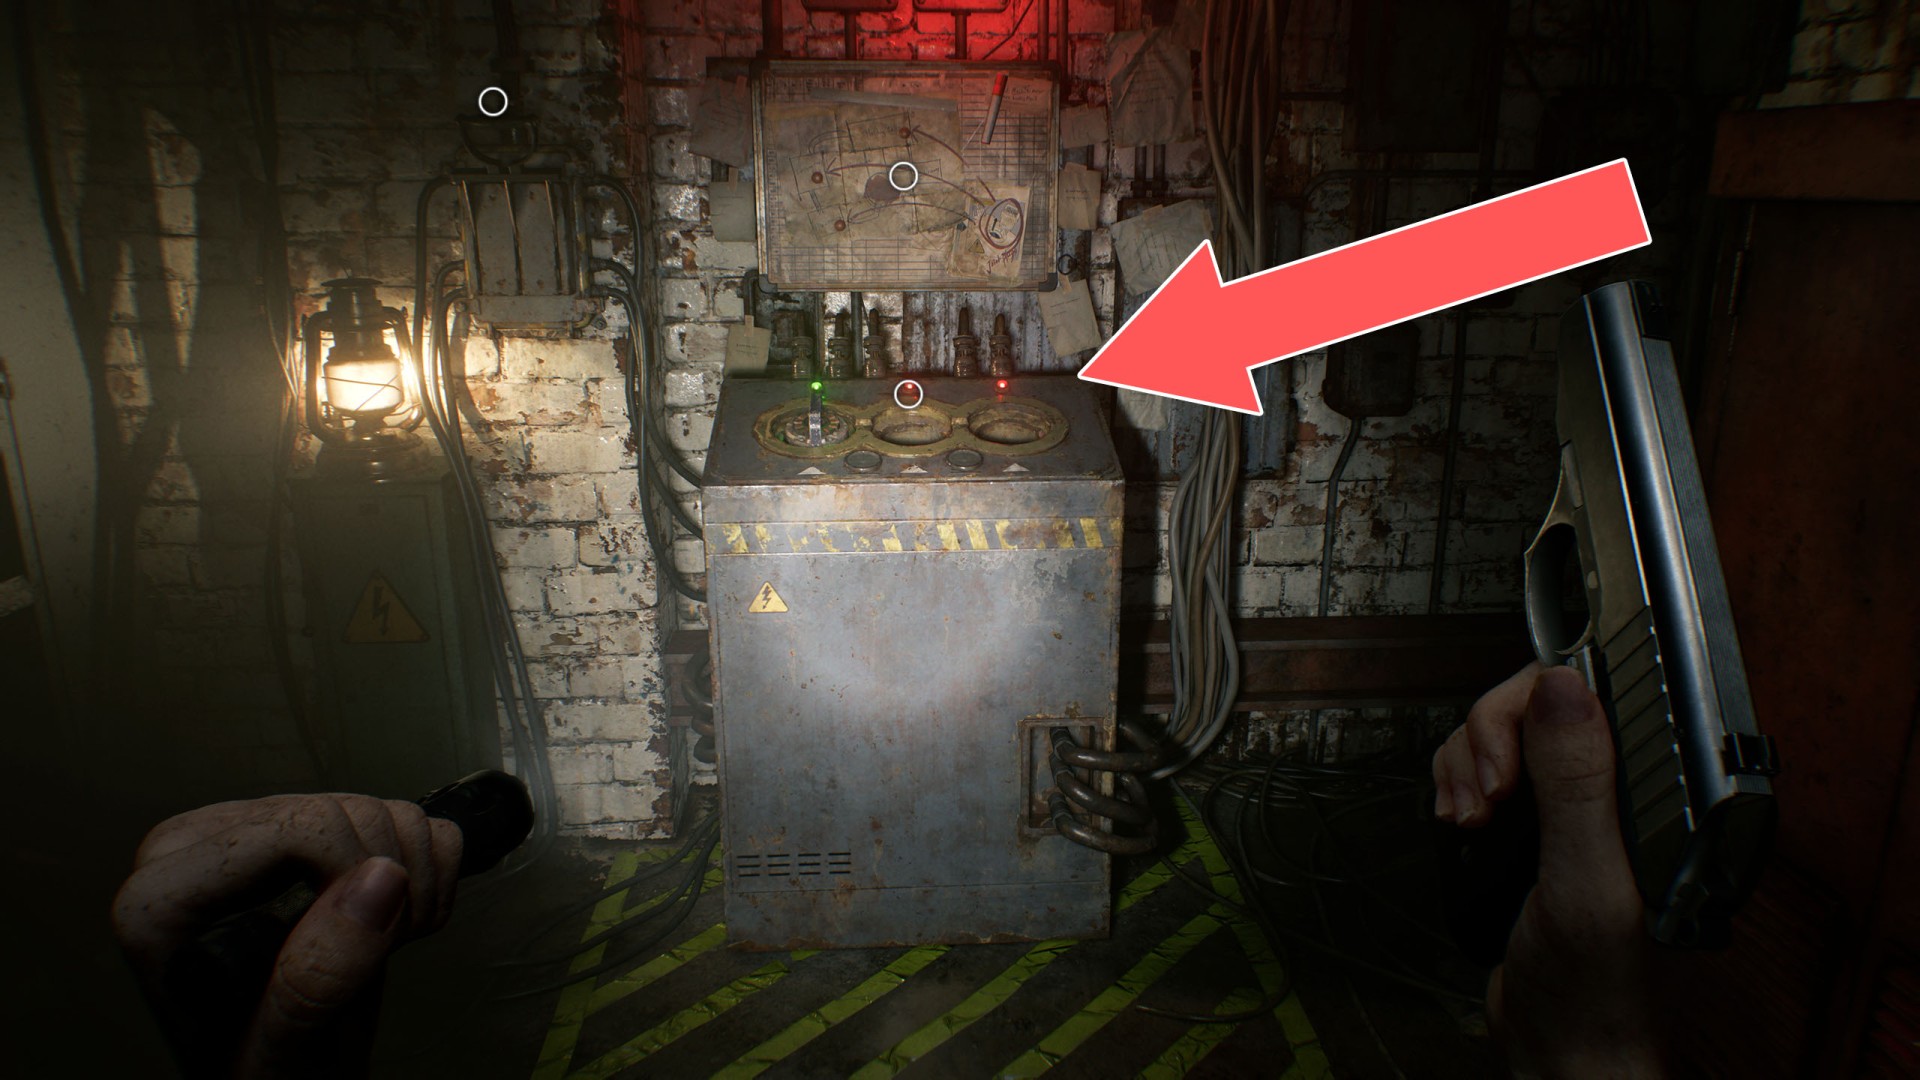
13Power Distributor
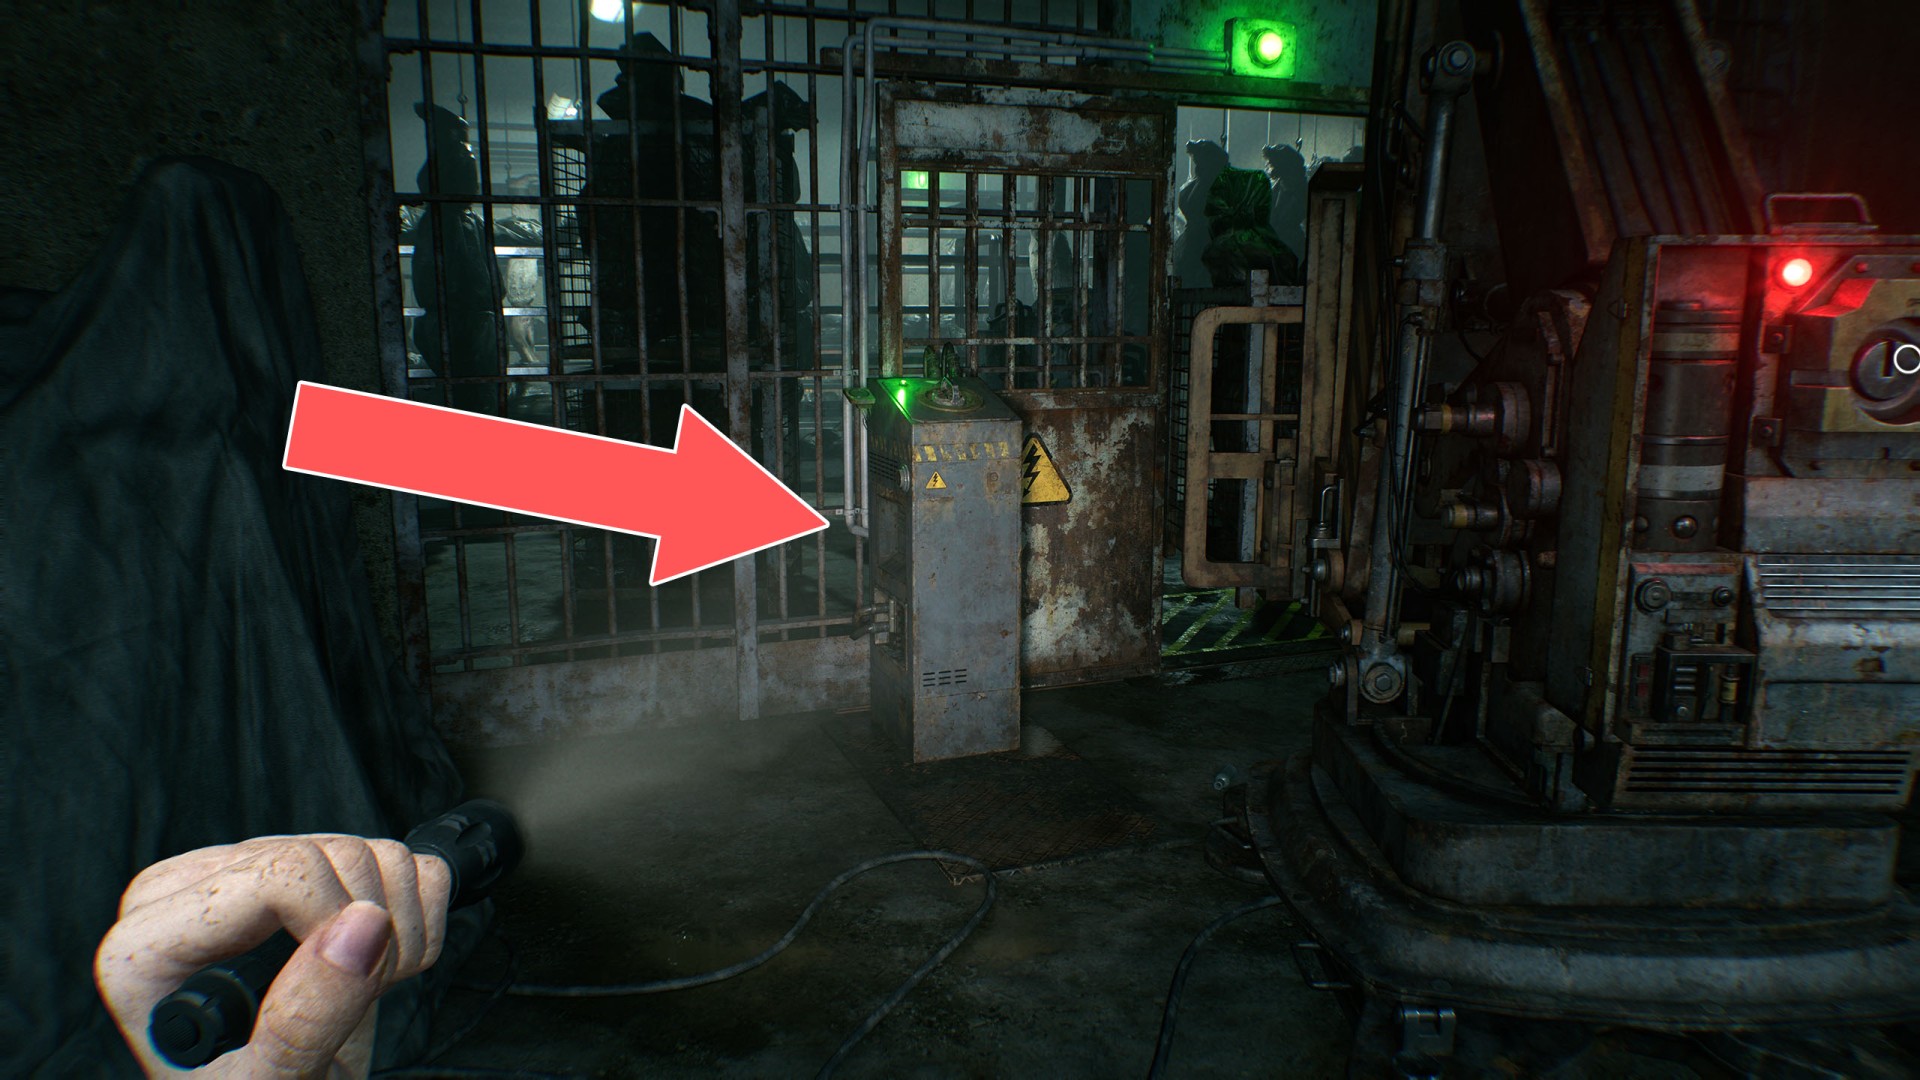
14Power Distributor
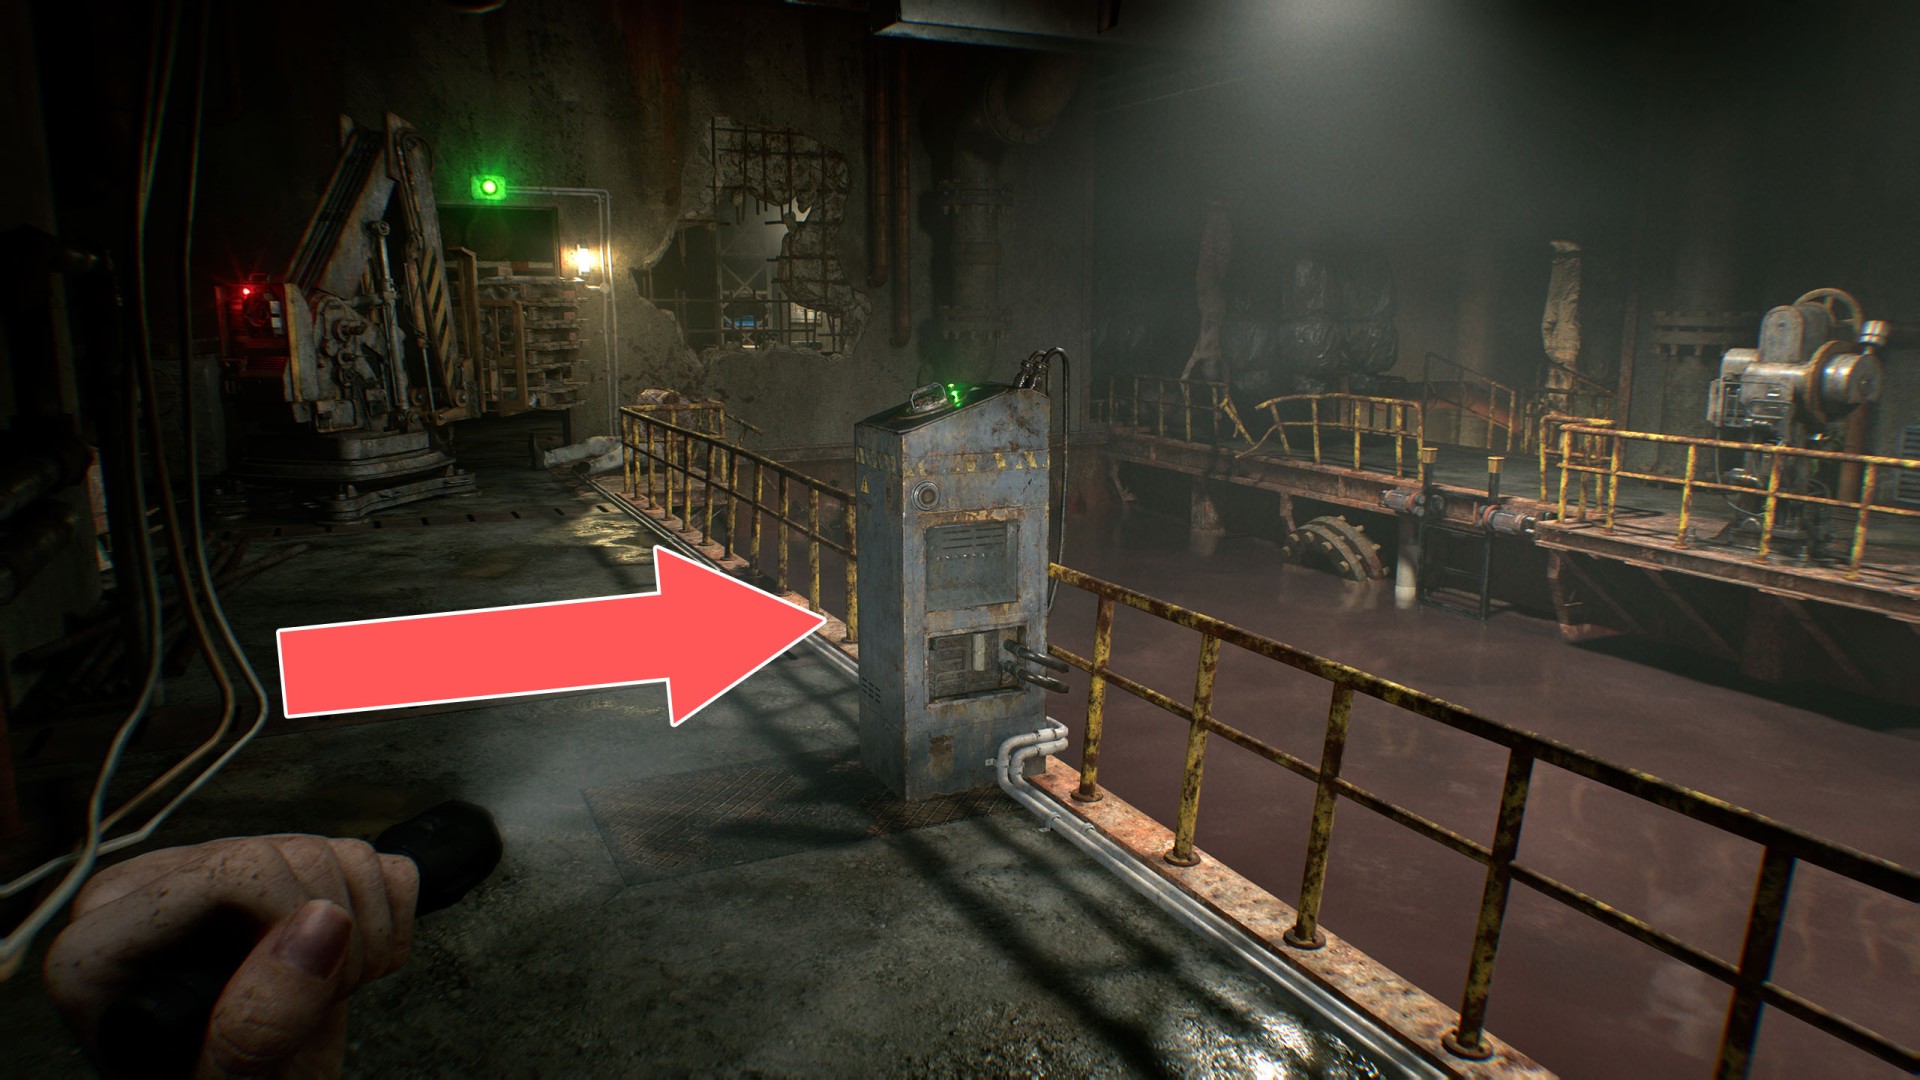
15Power Distributor (Bolted)
First, you must obtain the Square Socket Wrench to open it. To activate it, you will need to have two joint plugs.
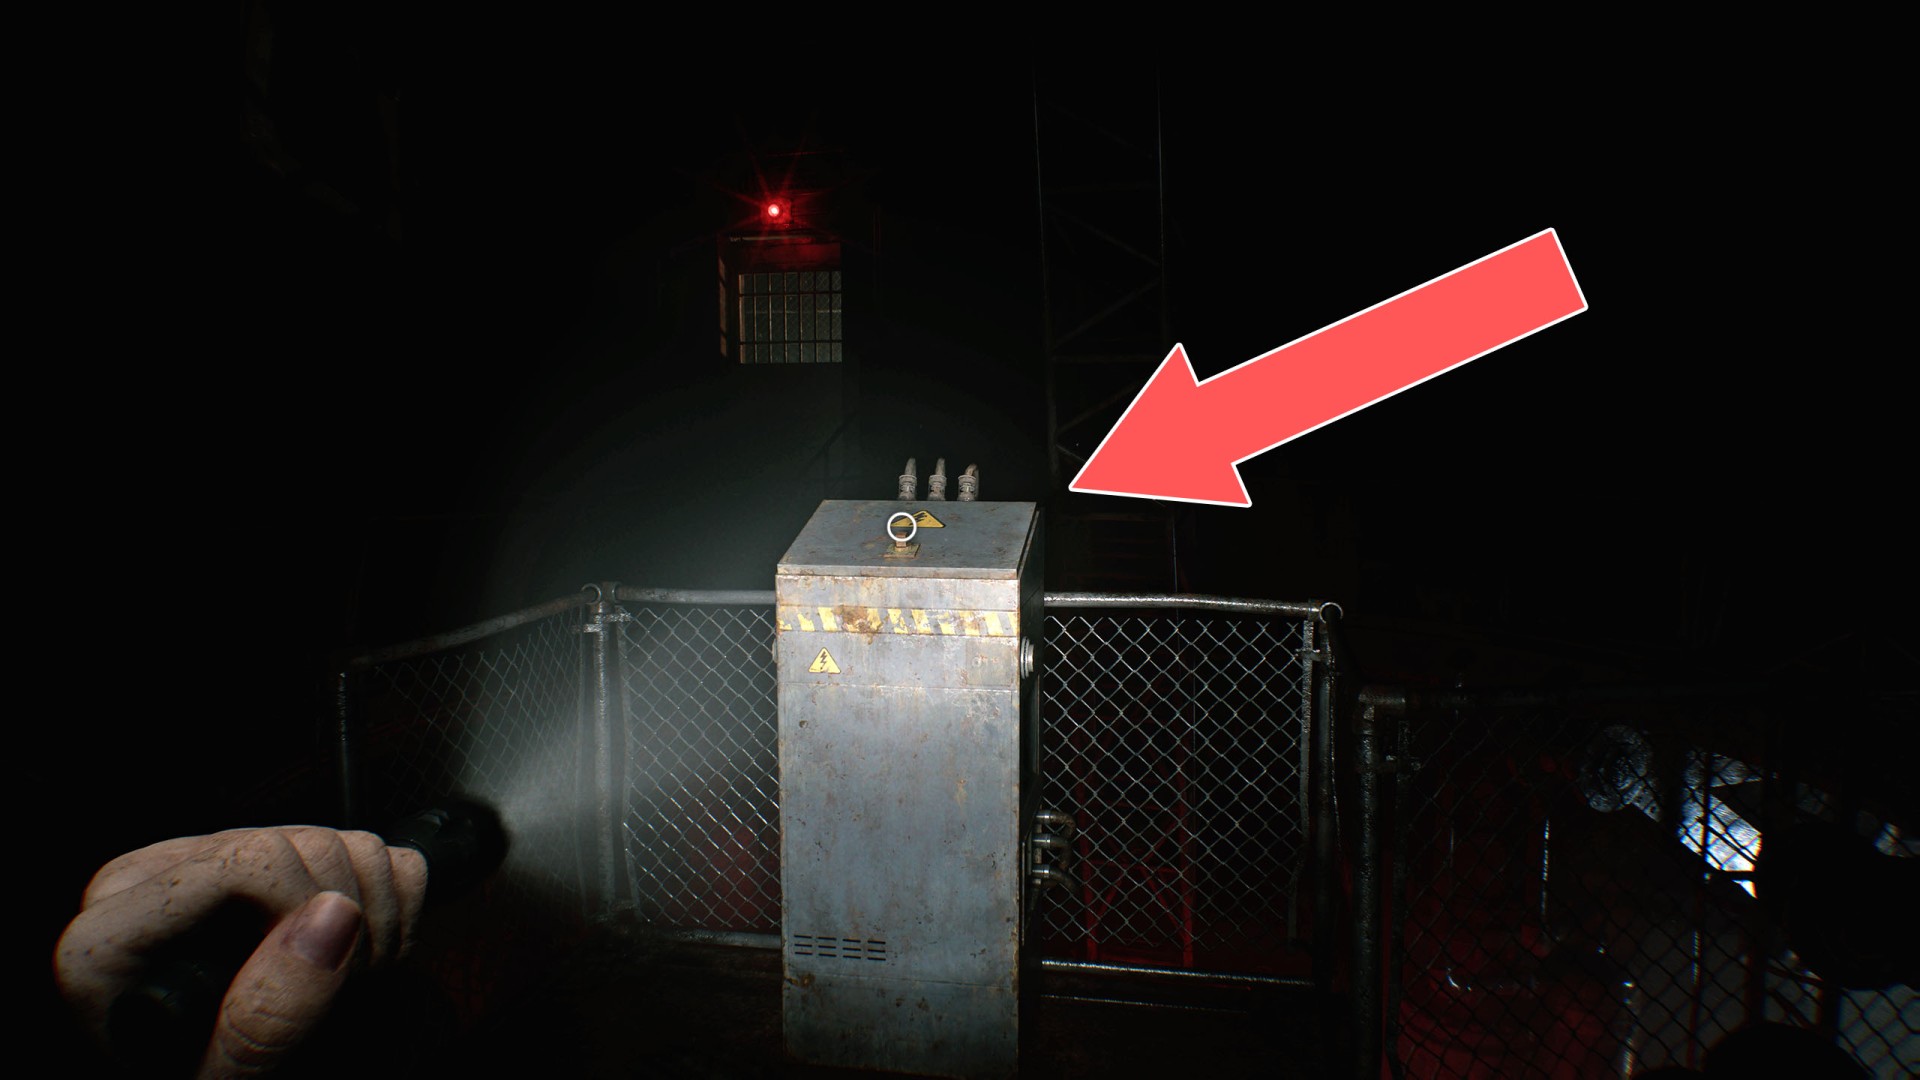
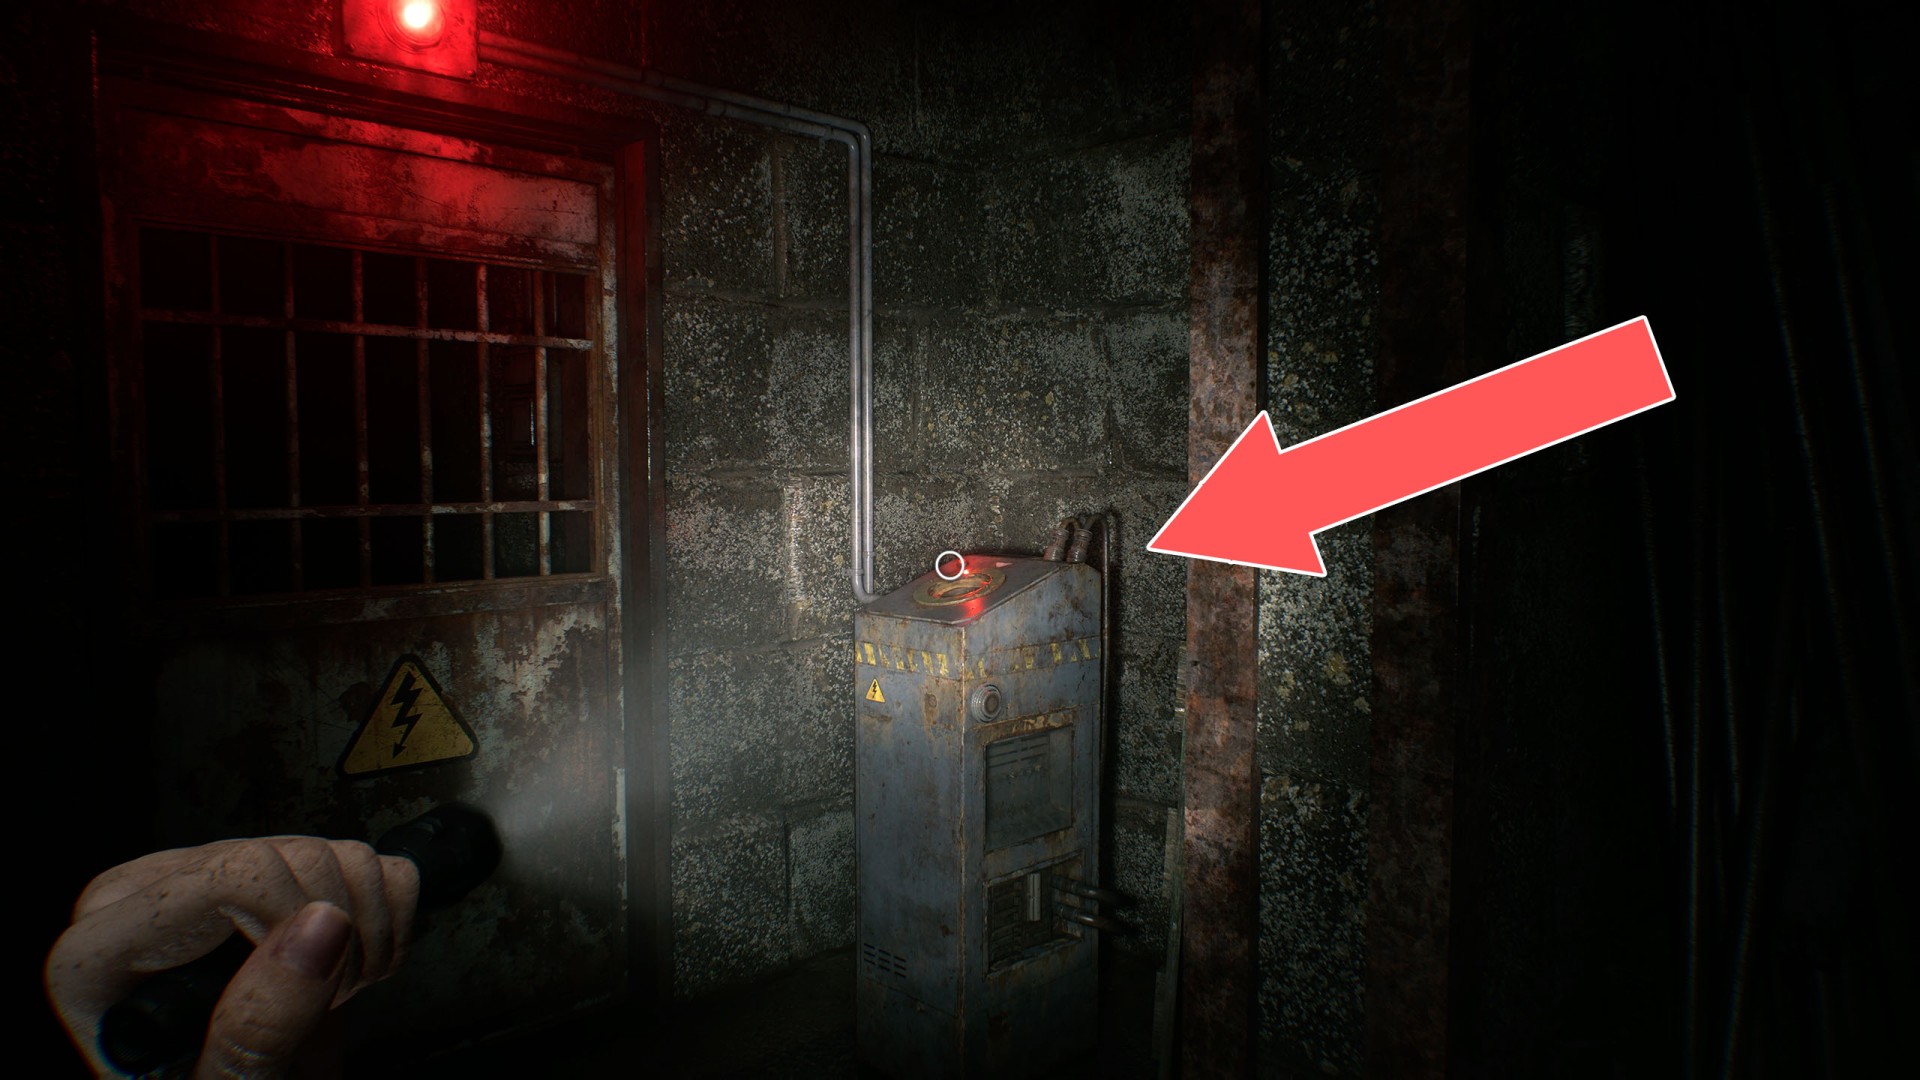
16Power Distributor 1
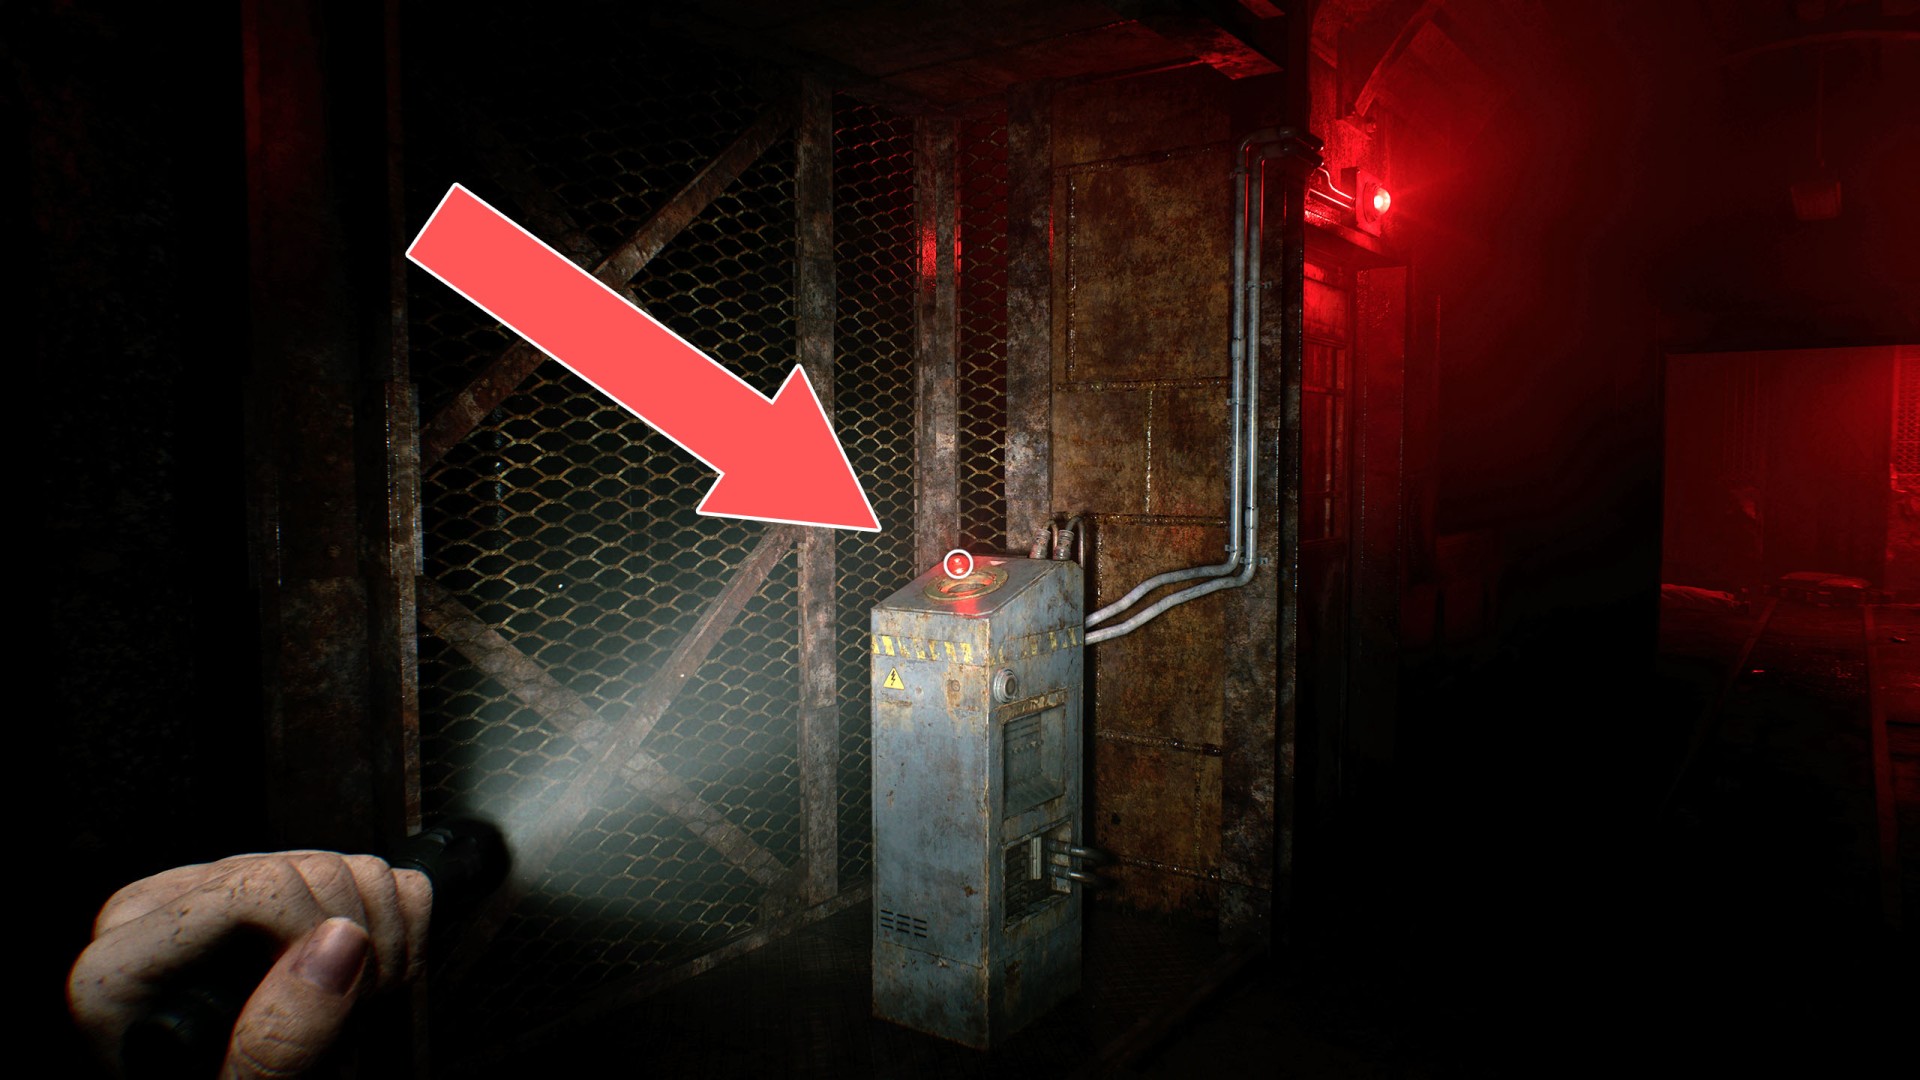
17Power Distributor 2
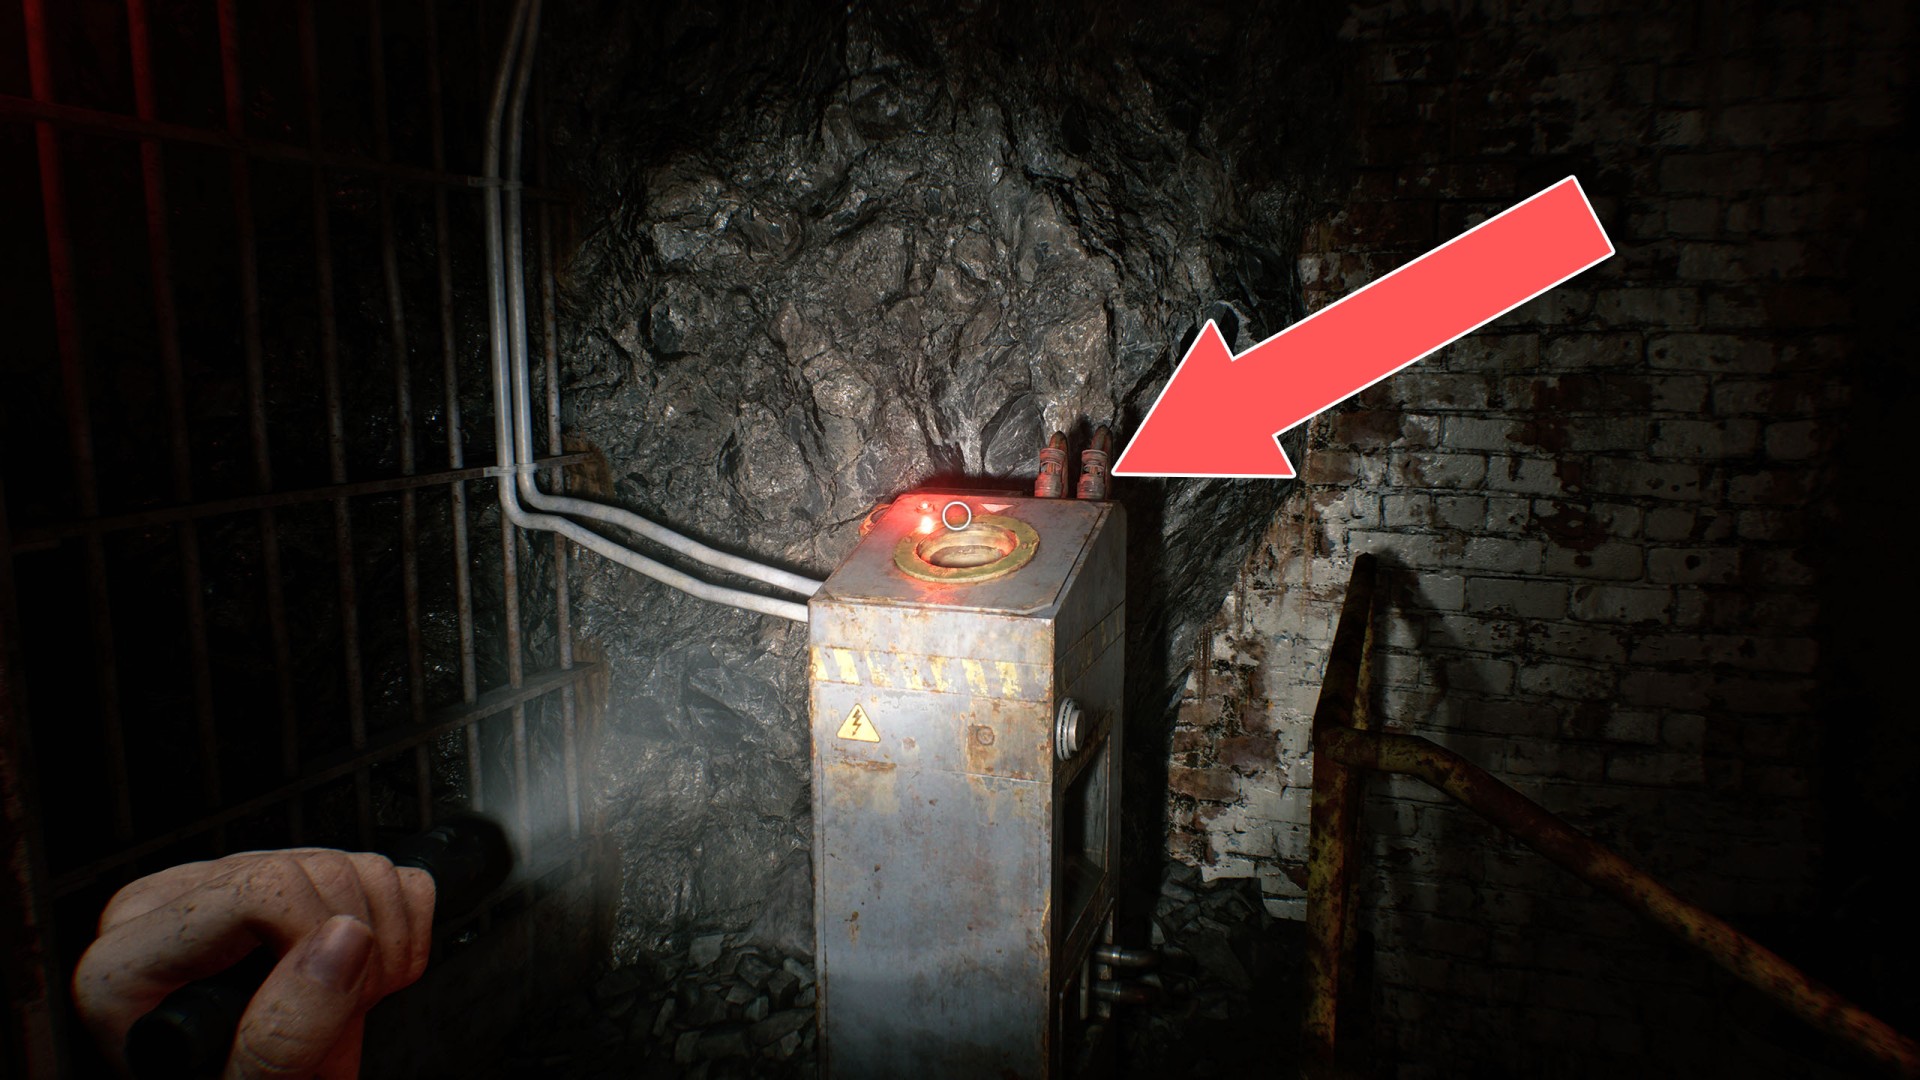
18Power Distributor 3
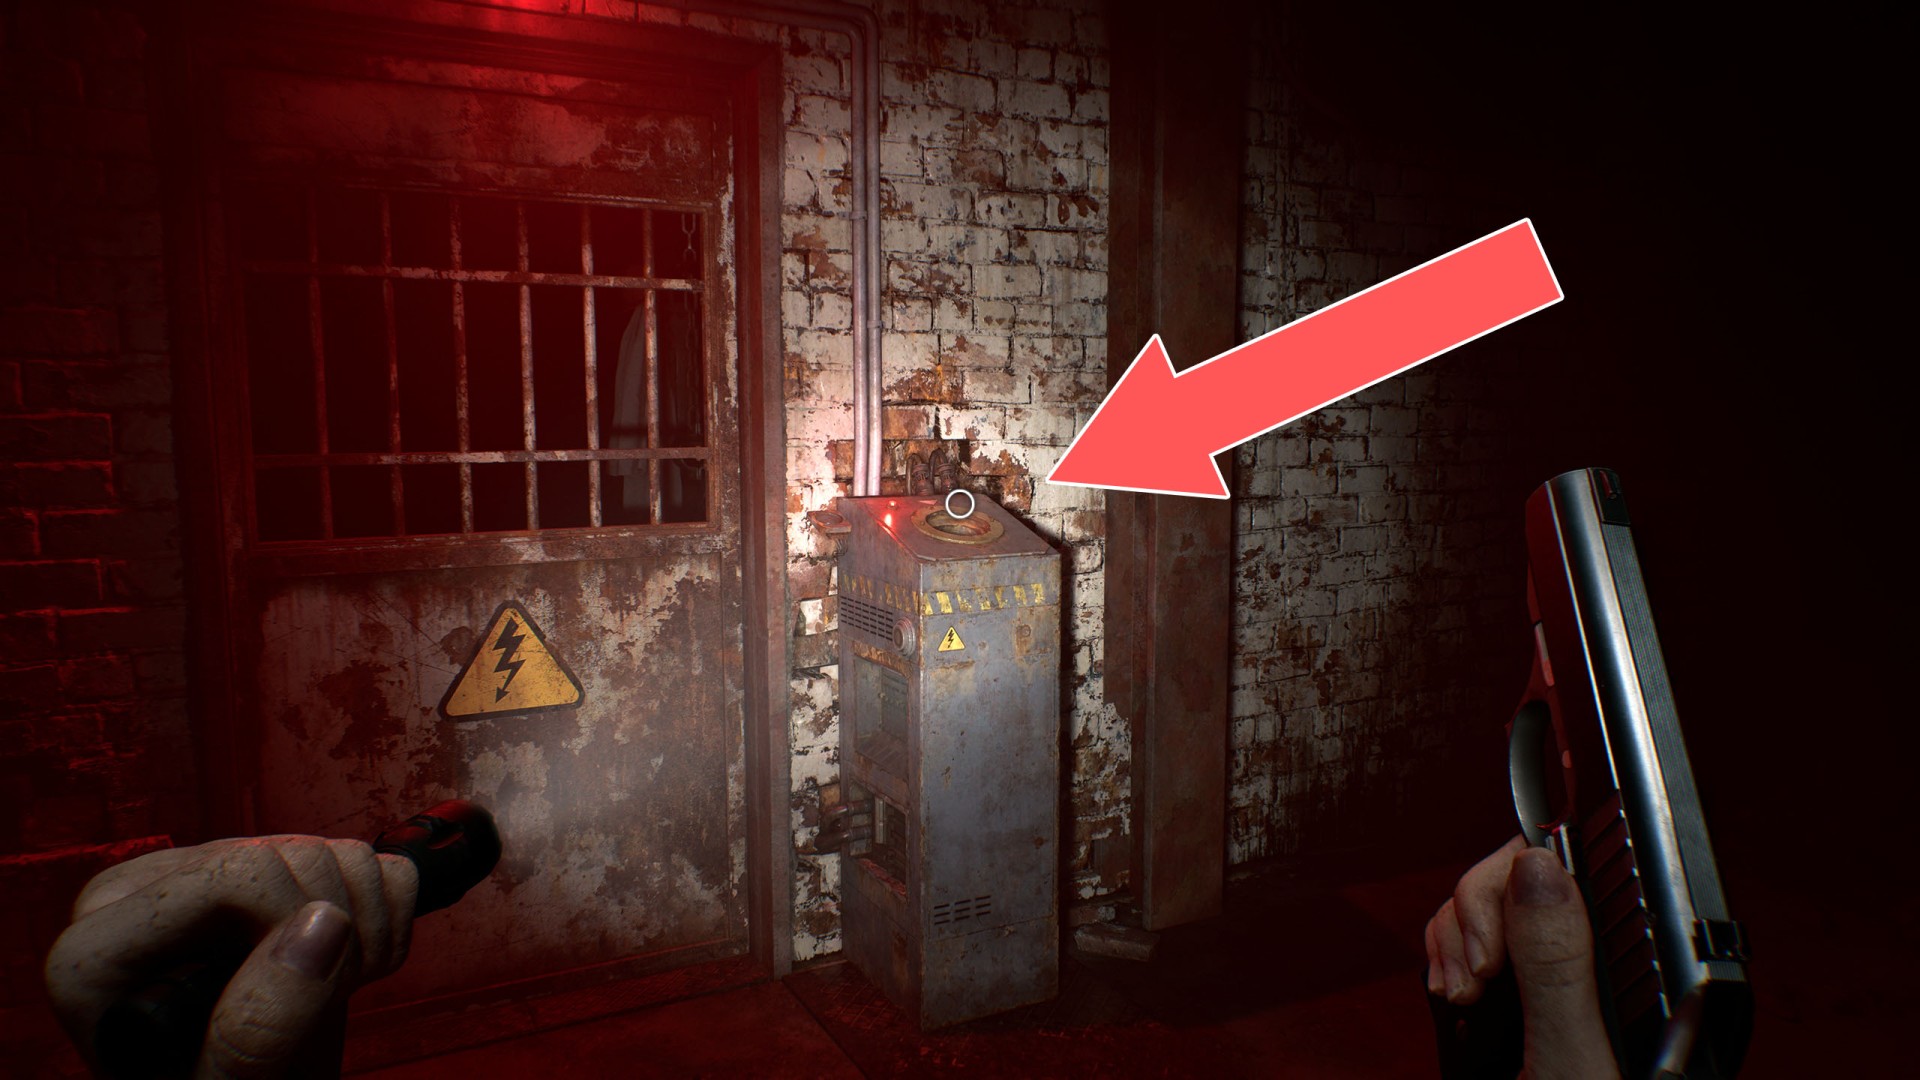
19Power Distributor 4
20Roof Hatch Controls
To restore power, you must interact with: Power Distribution Unit #1, Power Distribution Unit #2, and Power Distribution Unit #3.
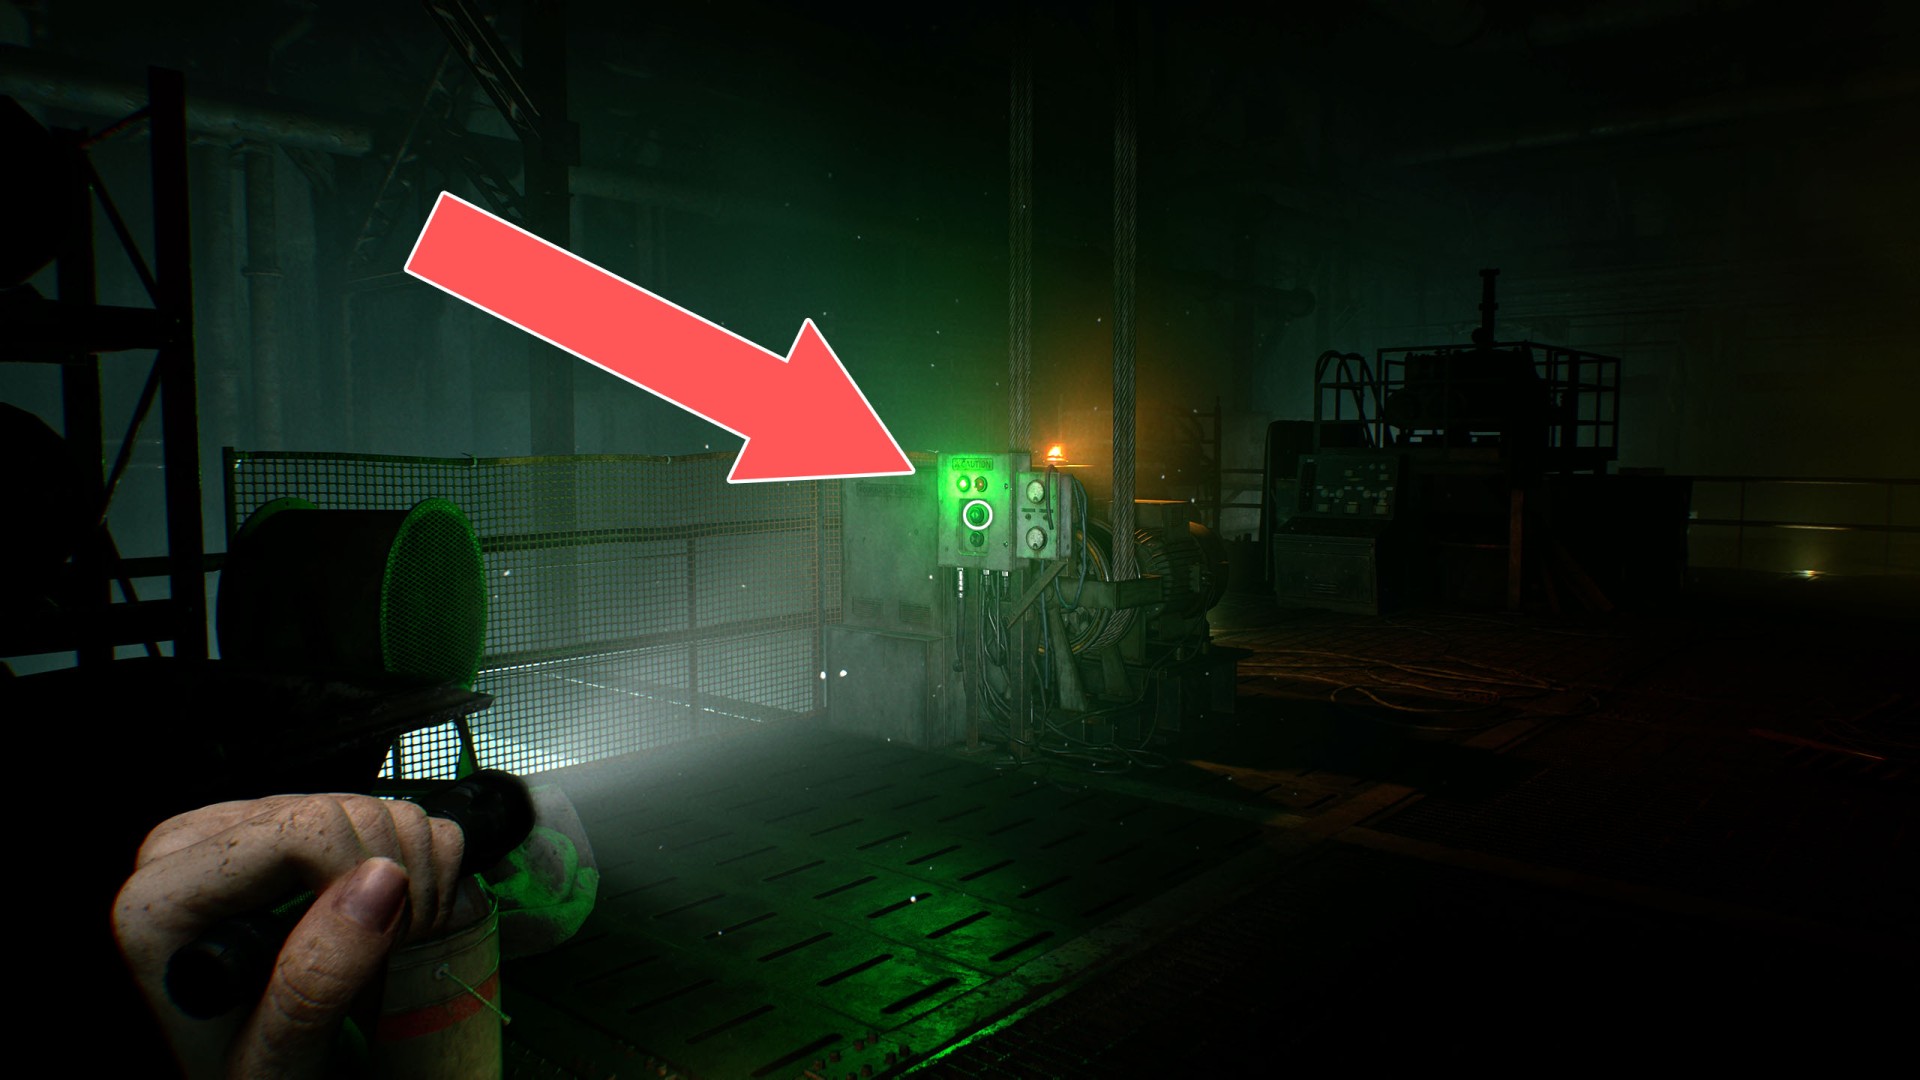
21Spotlight
Turn it on to fend off The Girl. It will turn off after a short while.
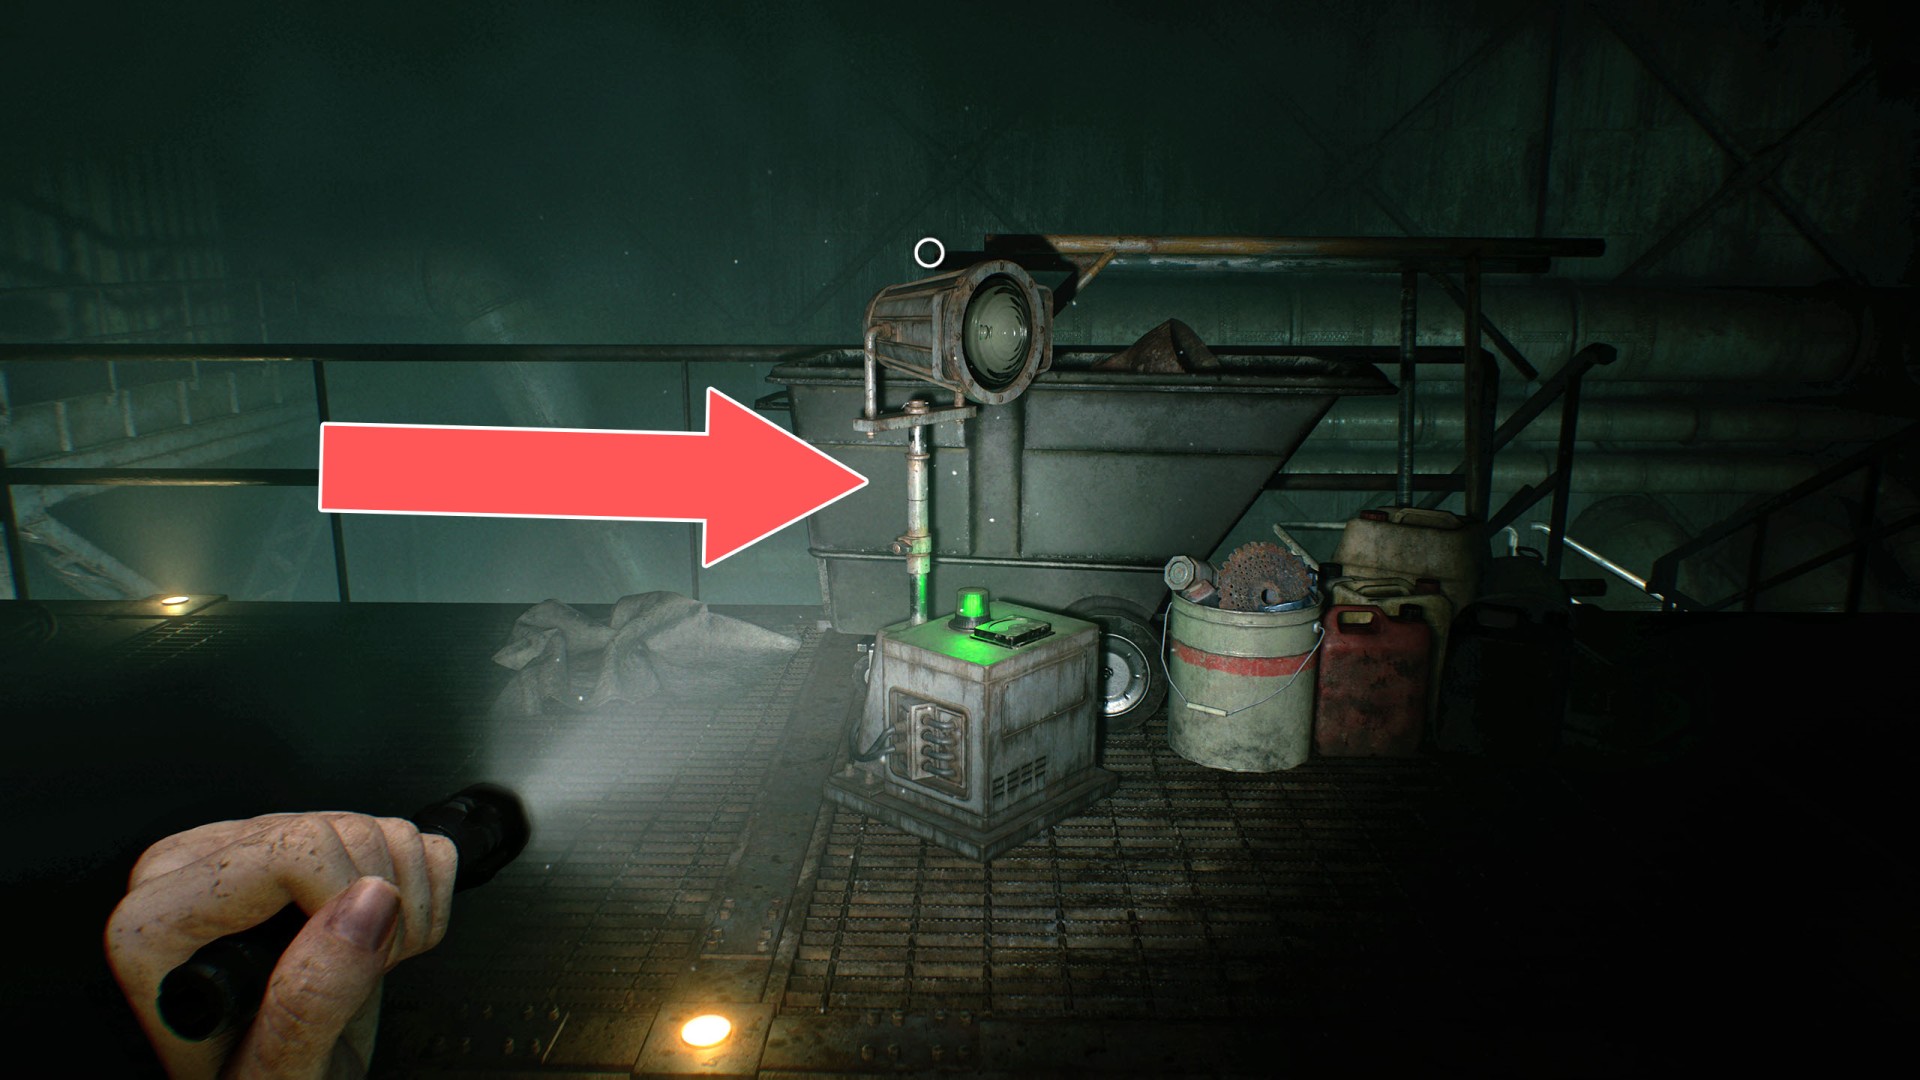
22Spotlight
Turn it on to fend off The Girl. It will turn off after a short while.
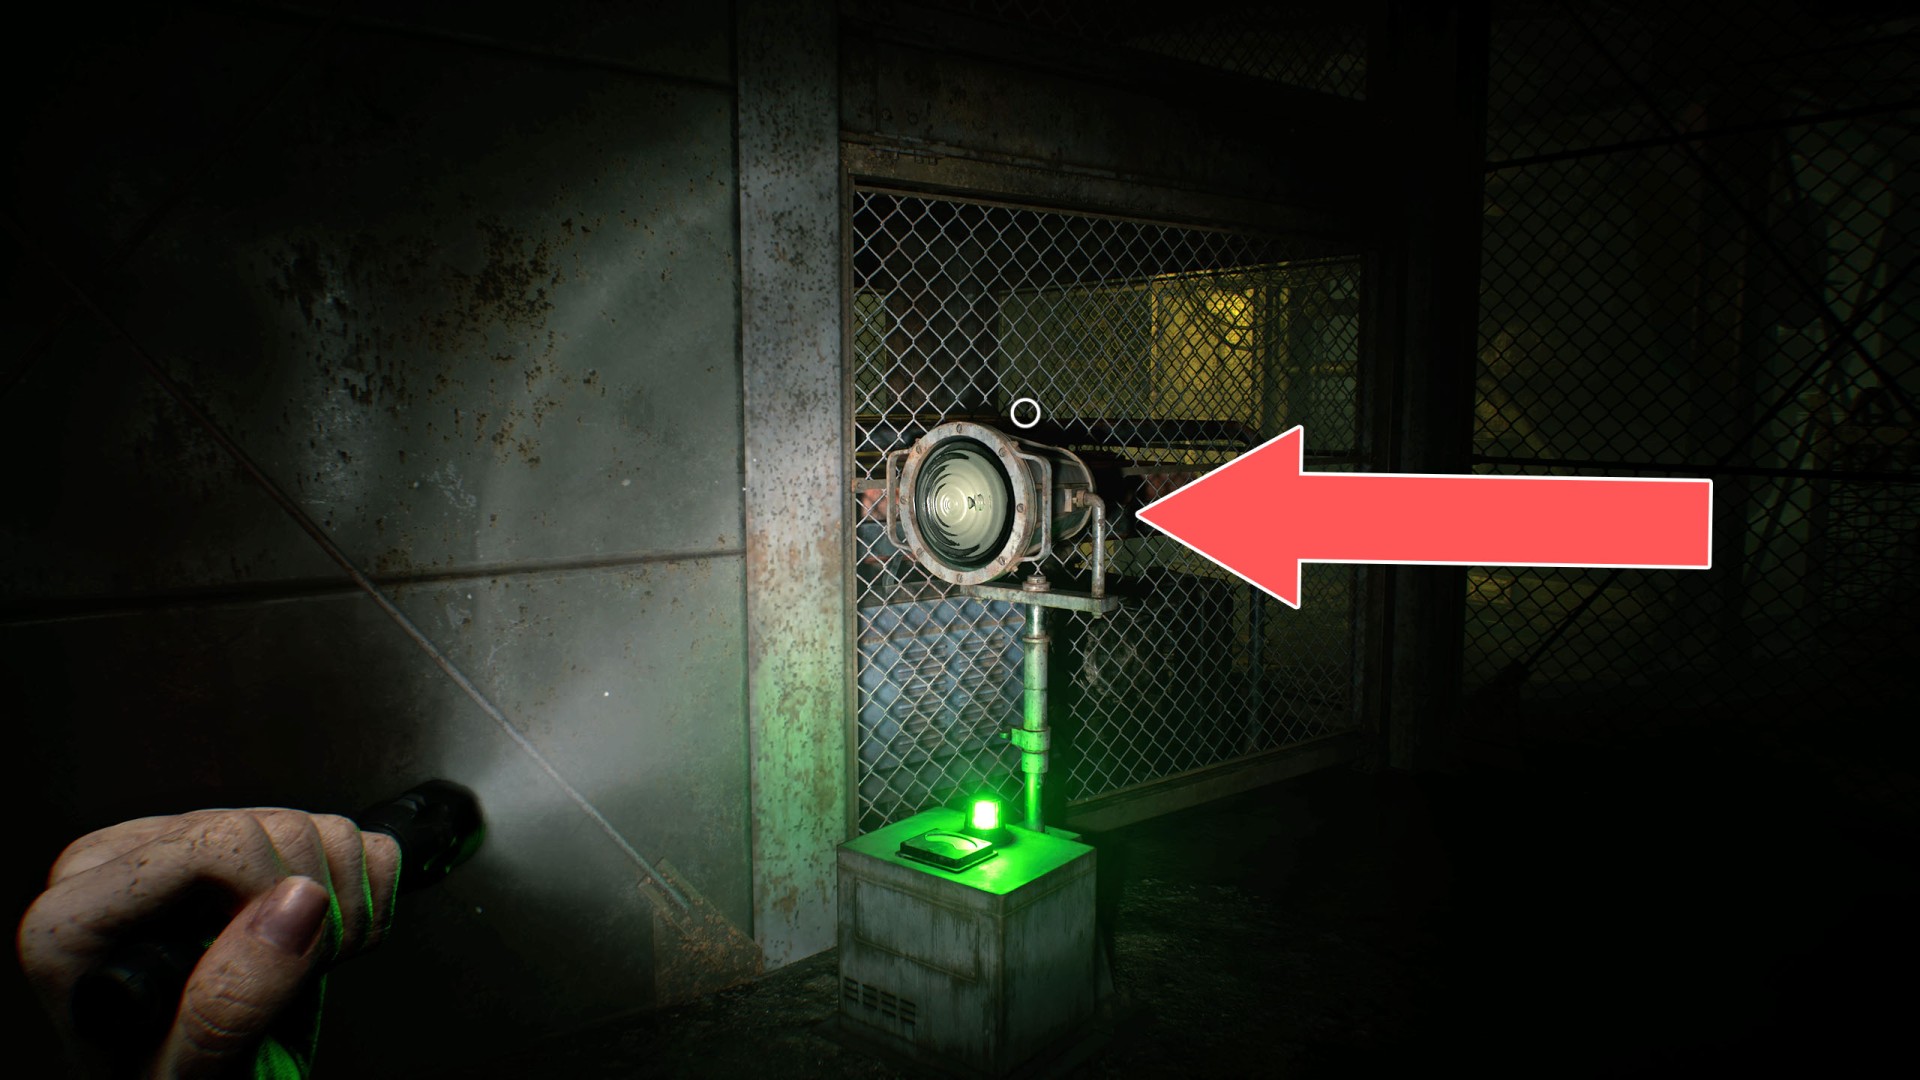
23Spotlight
Turn it on to fend off The Girl. It will turn off after a short while.
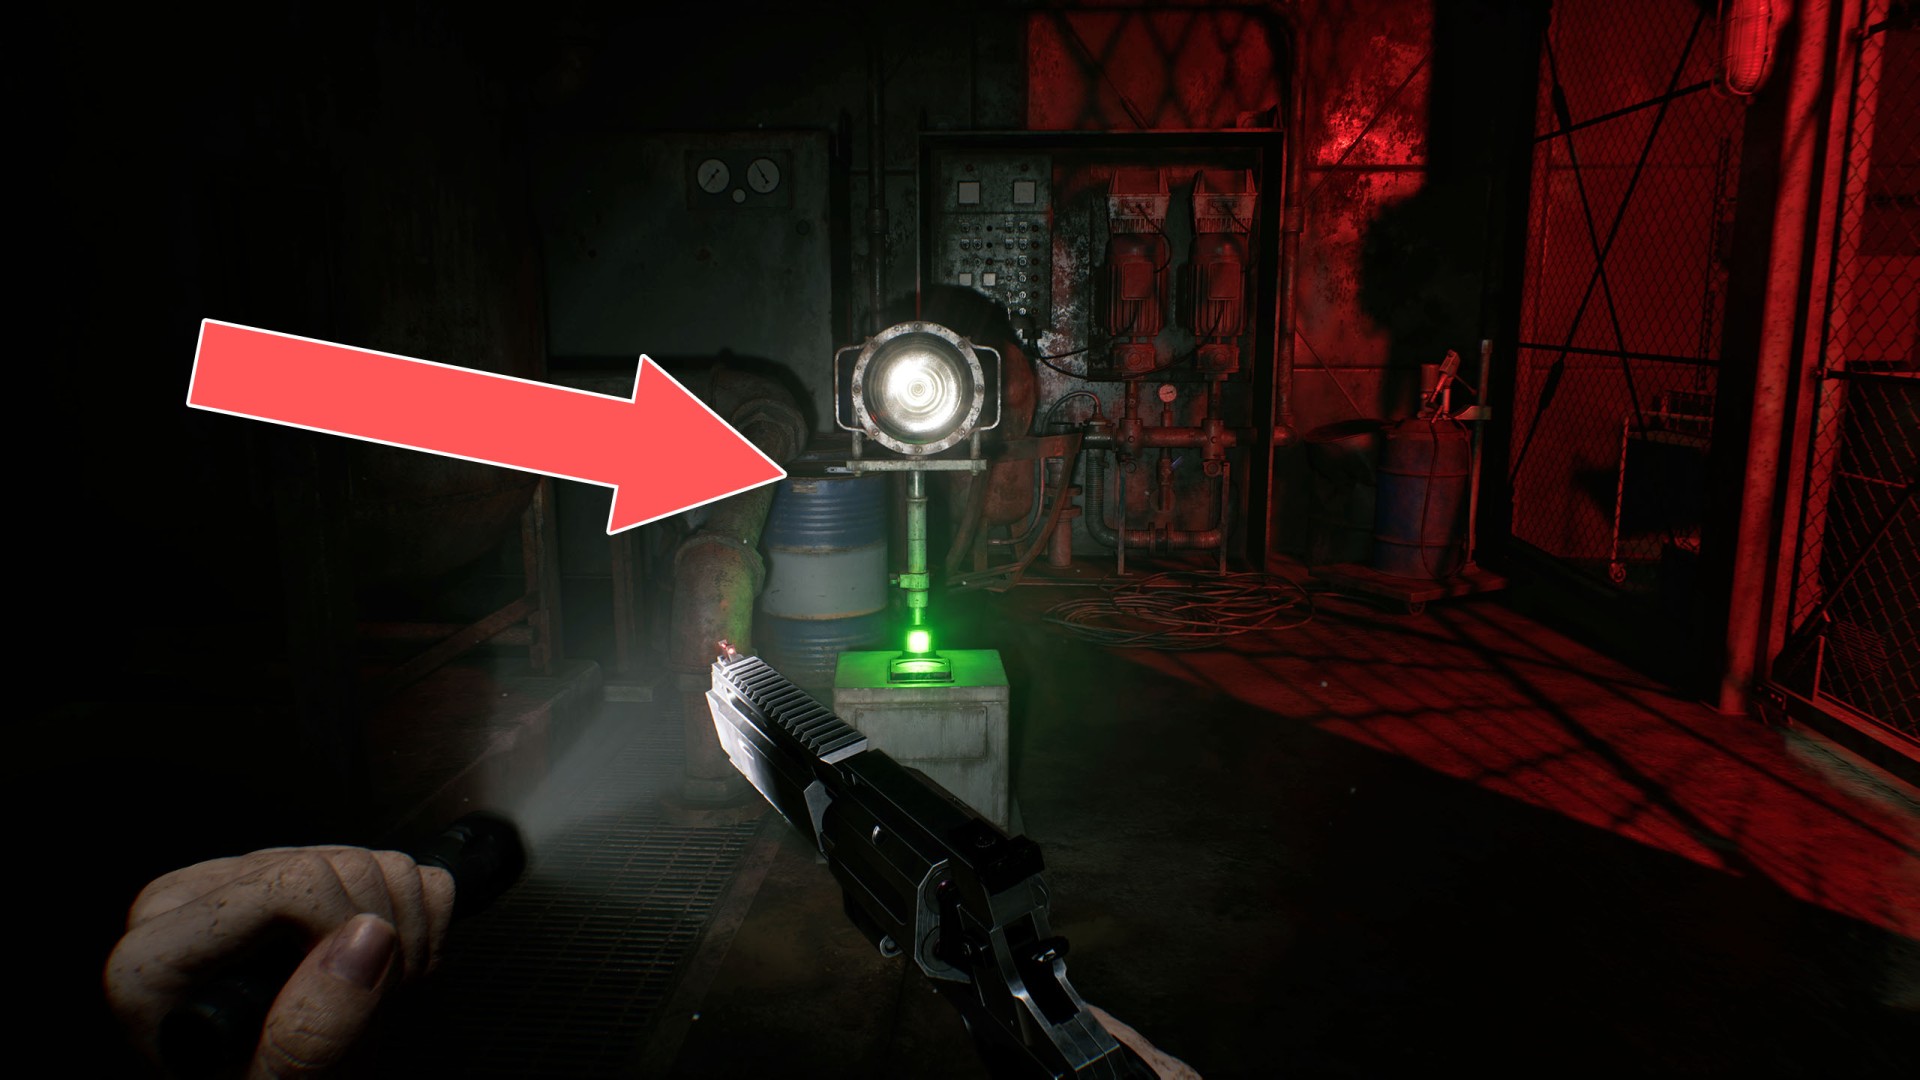
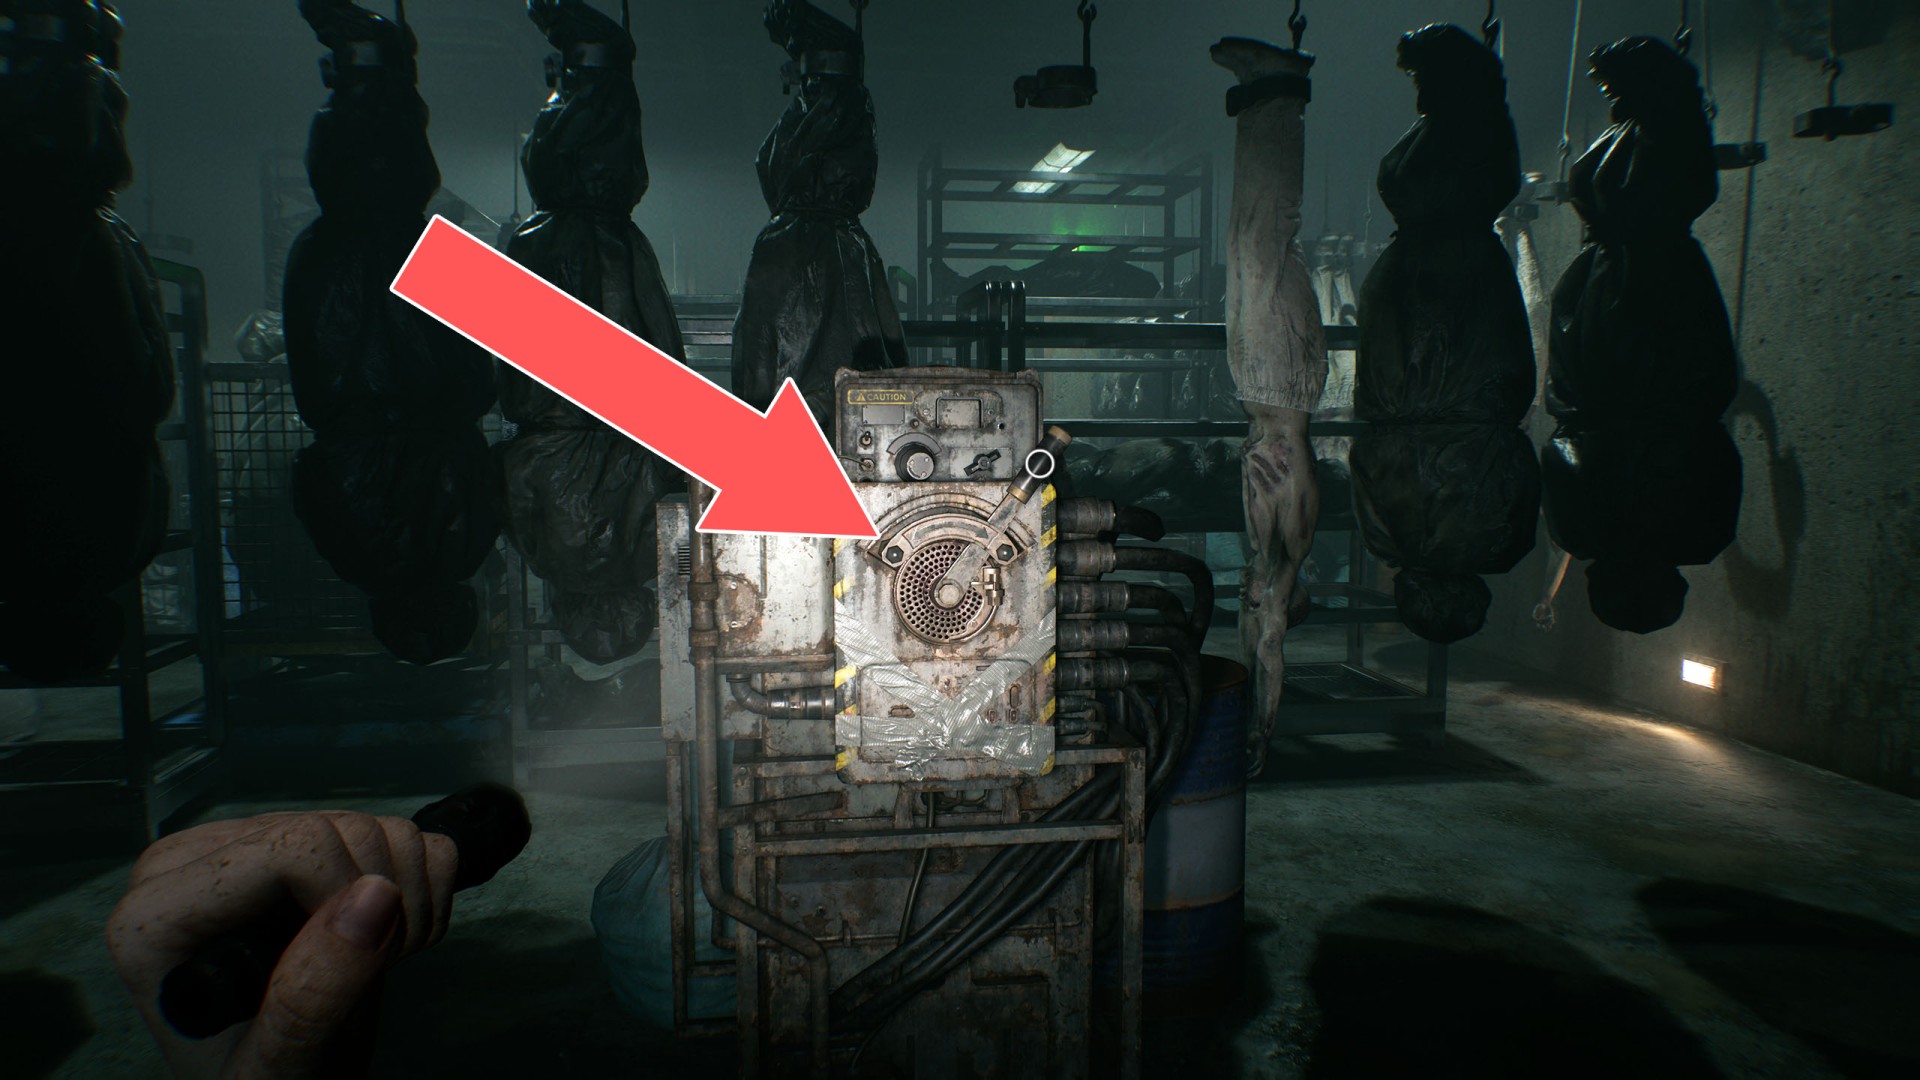
24Switch
It is used to change the direction of the conveyor belt.
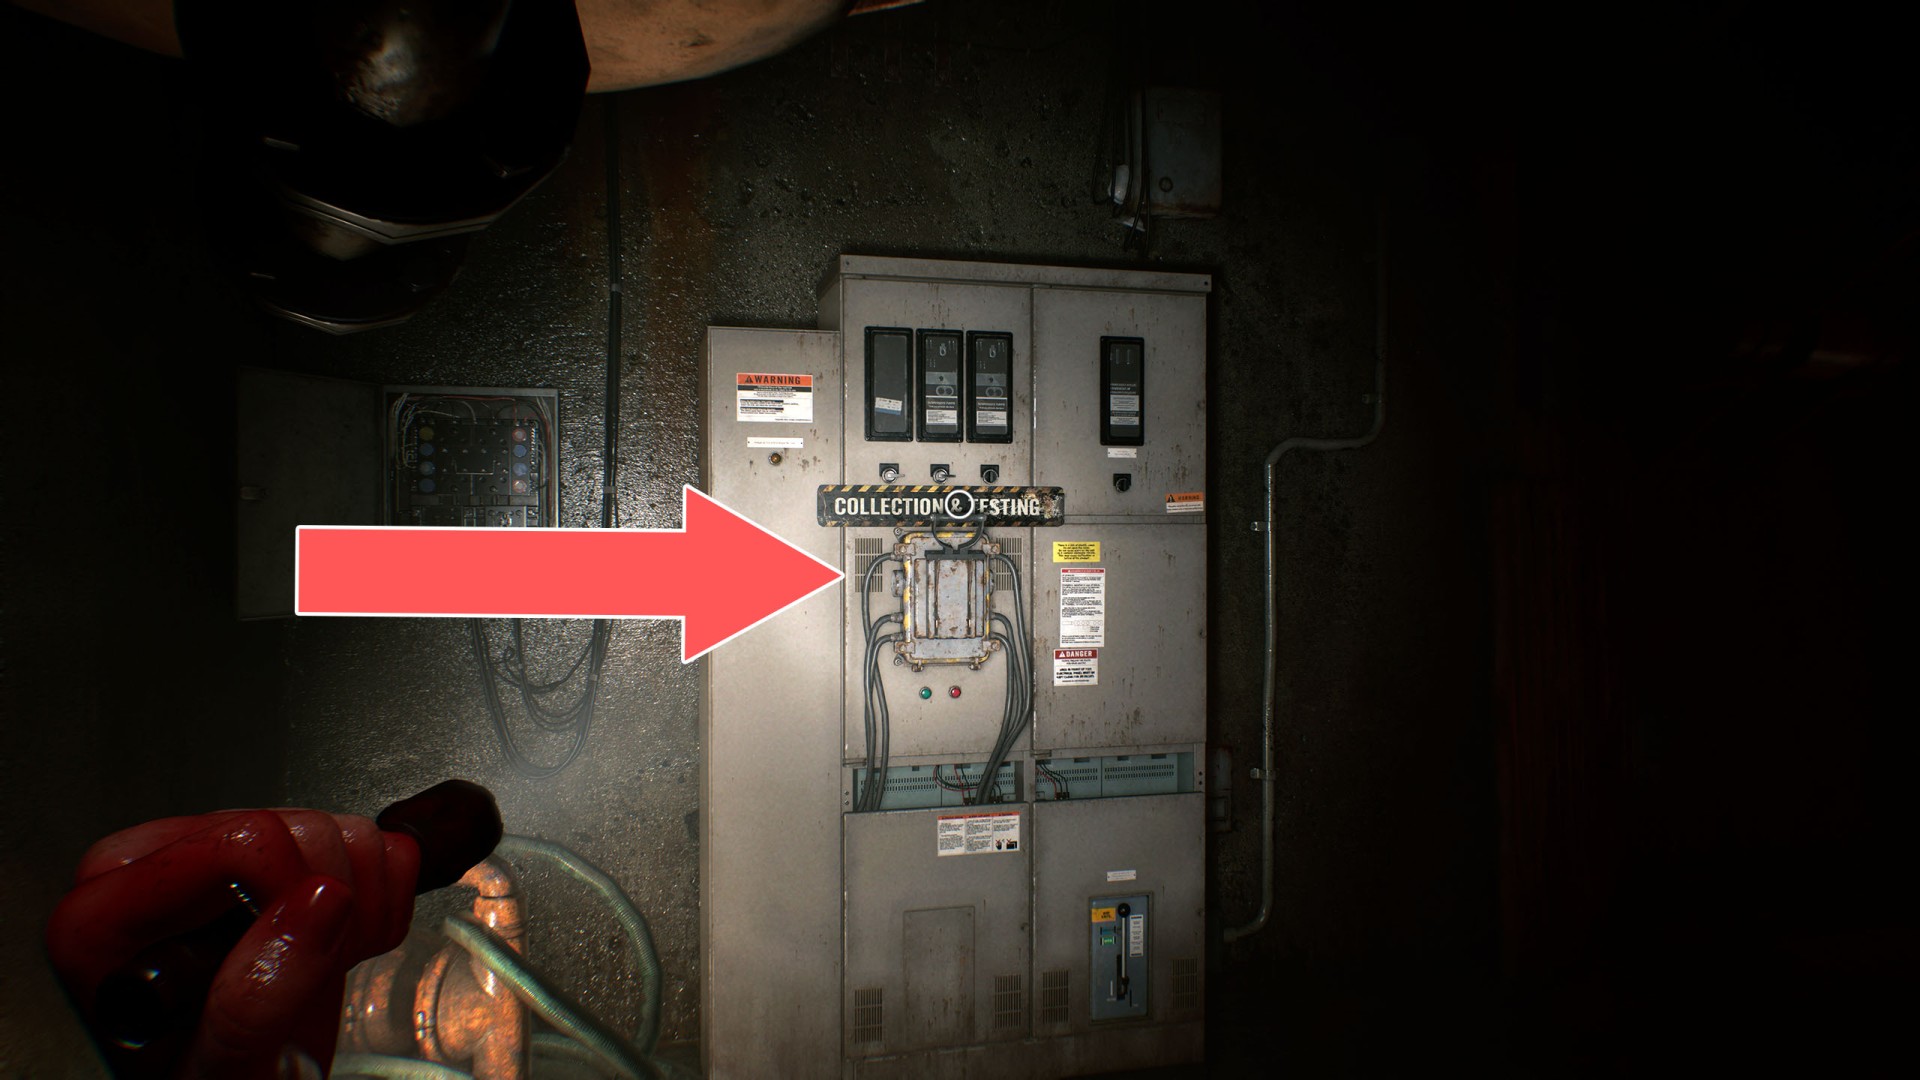
25Switch
It is located on the lower level. Use it to drain the main tank, which will grant you access to a large amount of infected blood.
Locations on Raccoon City
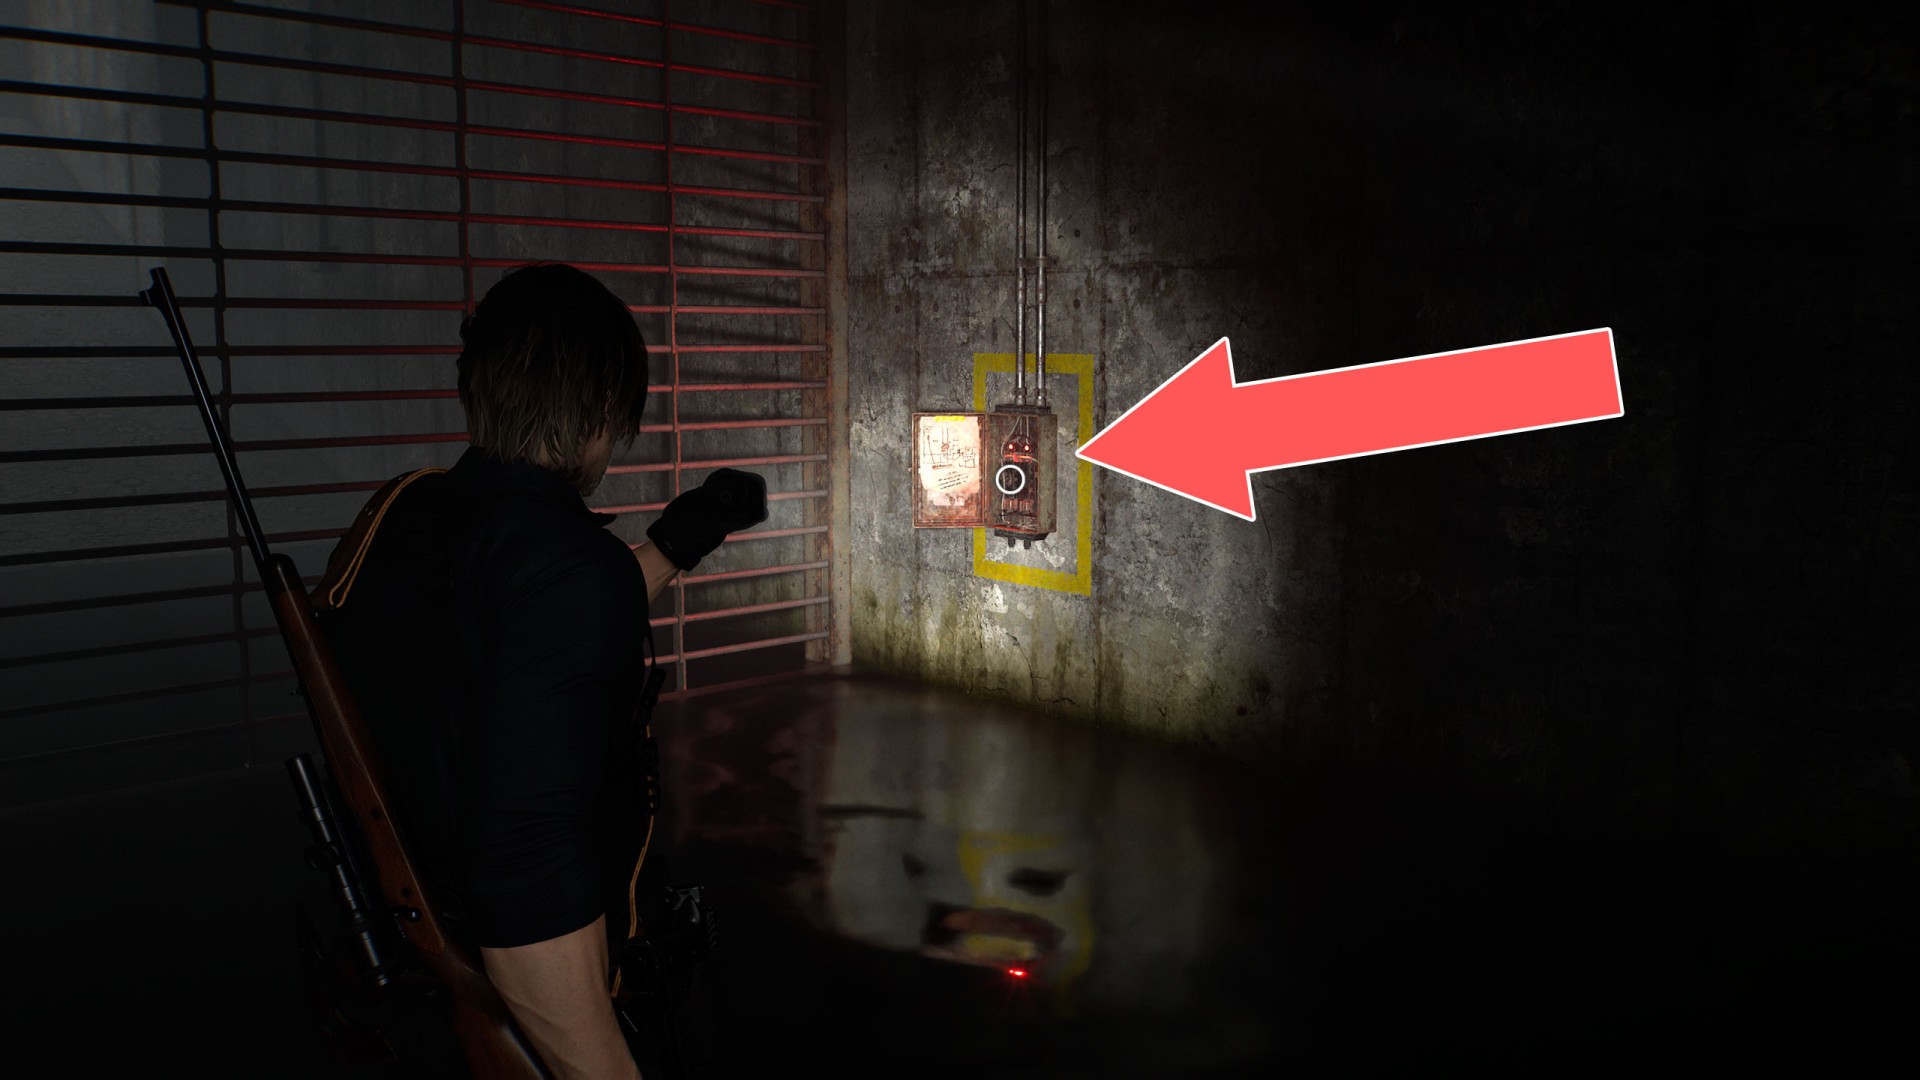
26Battery Box
Unlocks: Locked Gate. Requires: Battery #1 and Battery #2.
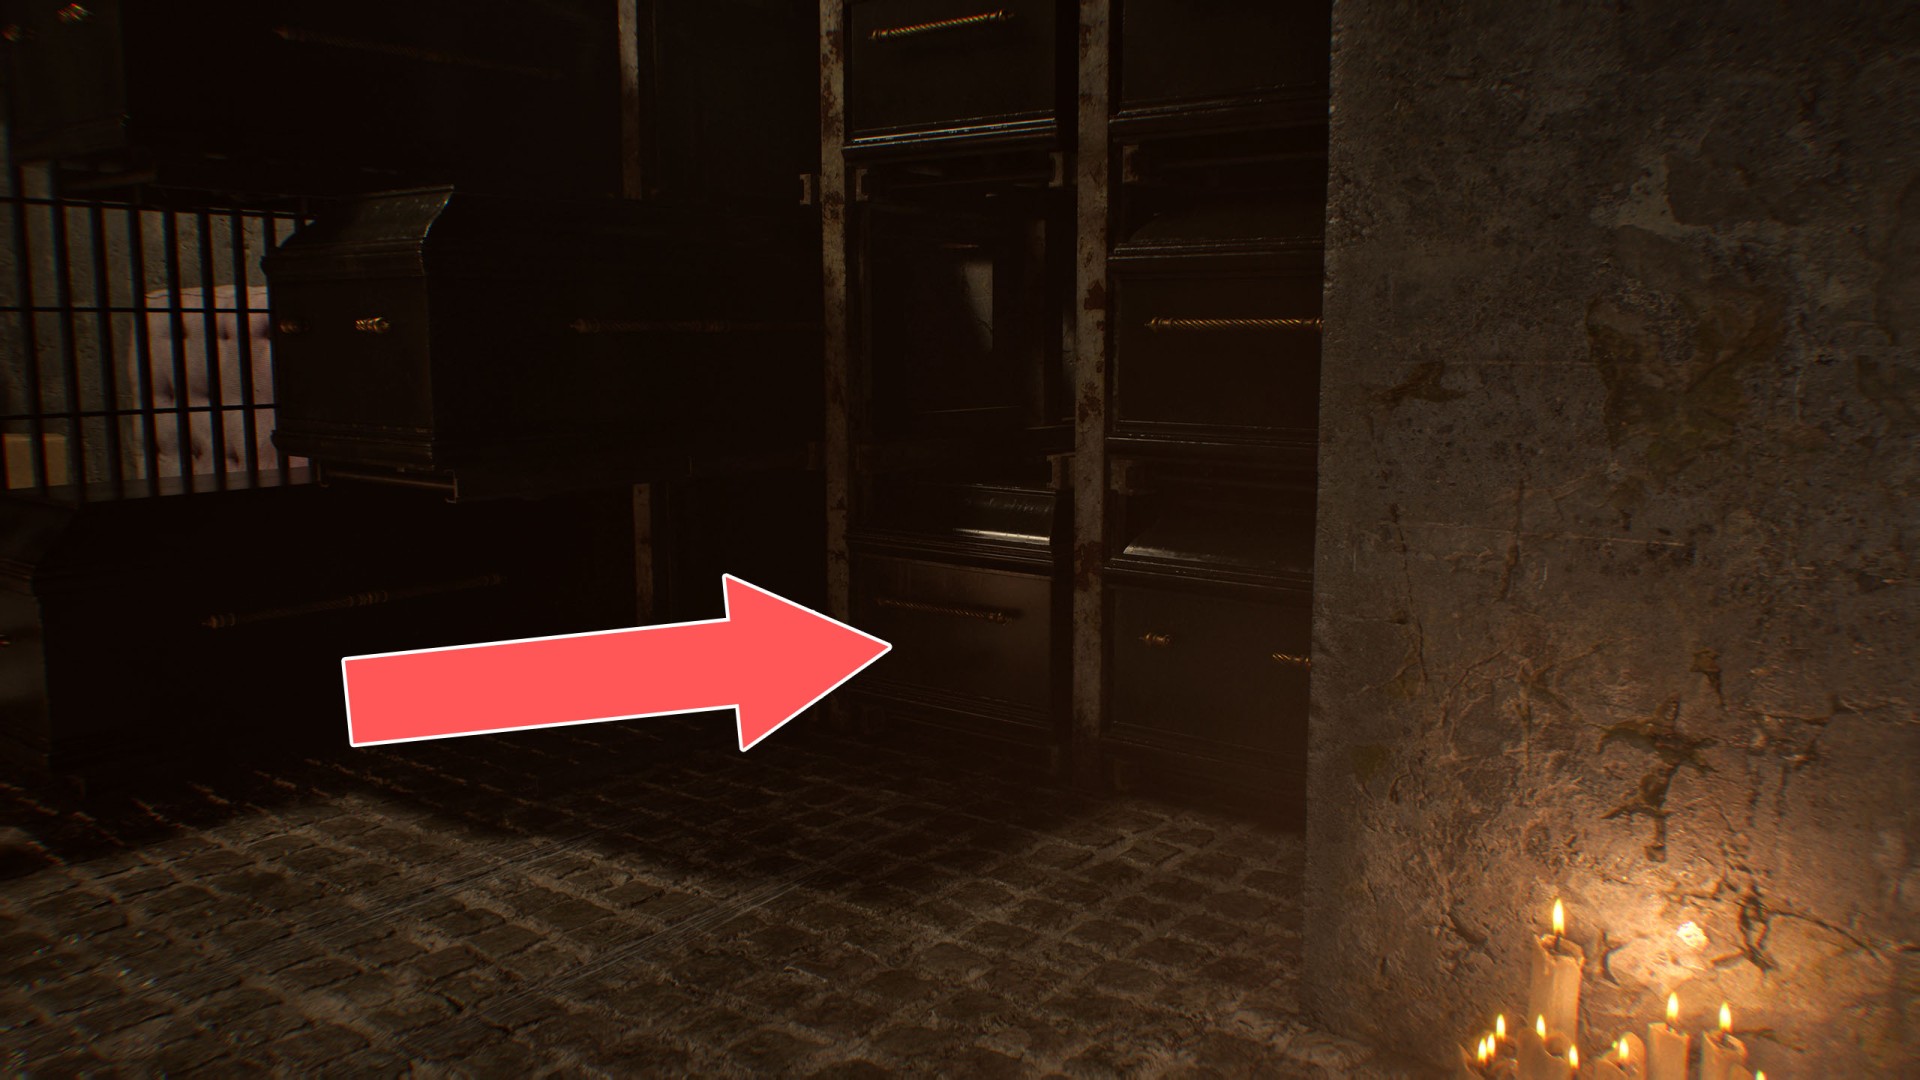
27Coffin
You can pull it out to climb over it and the other coffins to reach the other side of the fence.
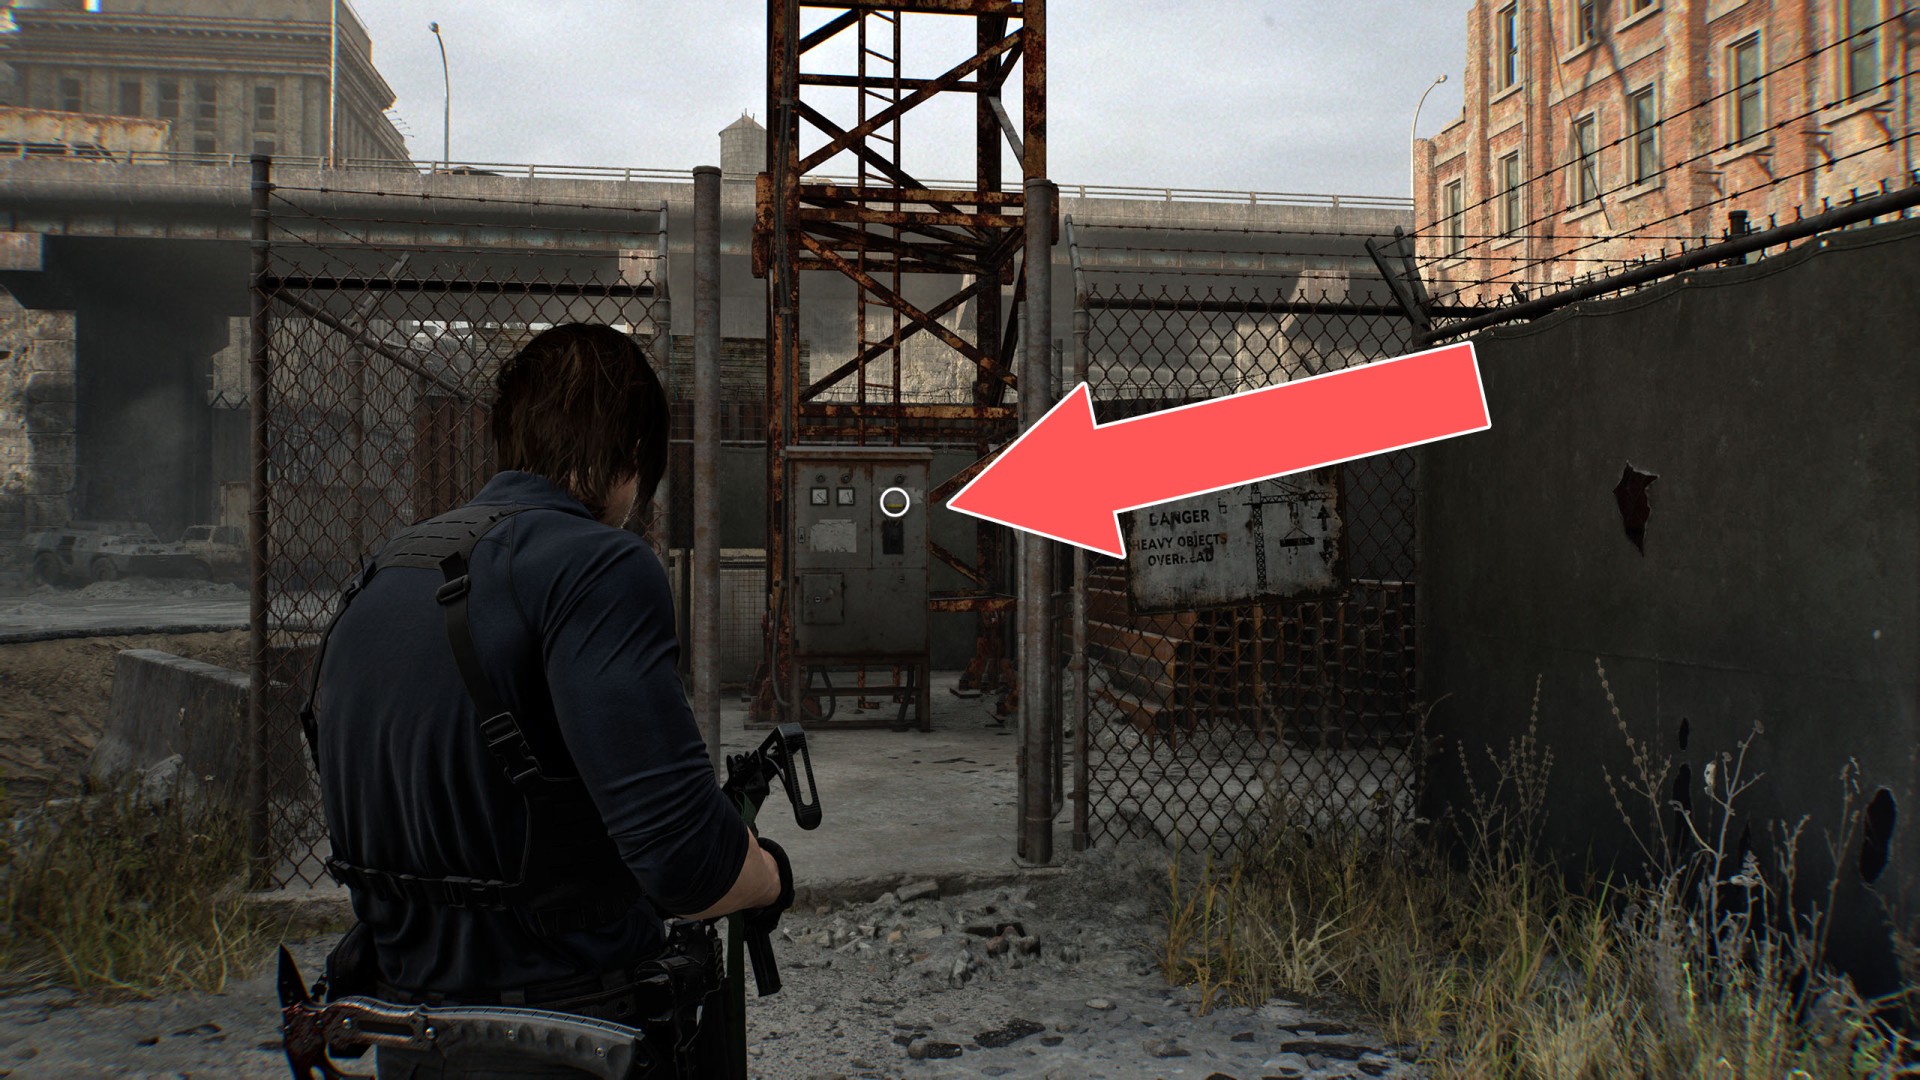
28Crane Controls
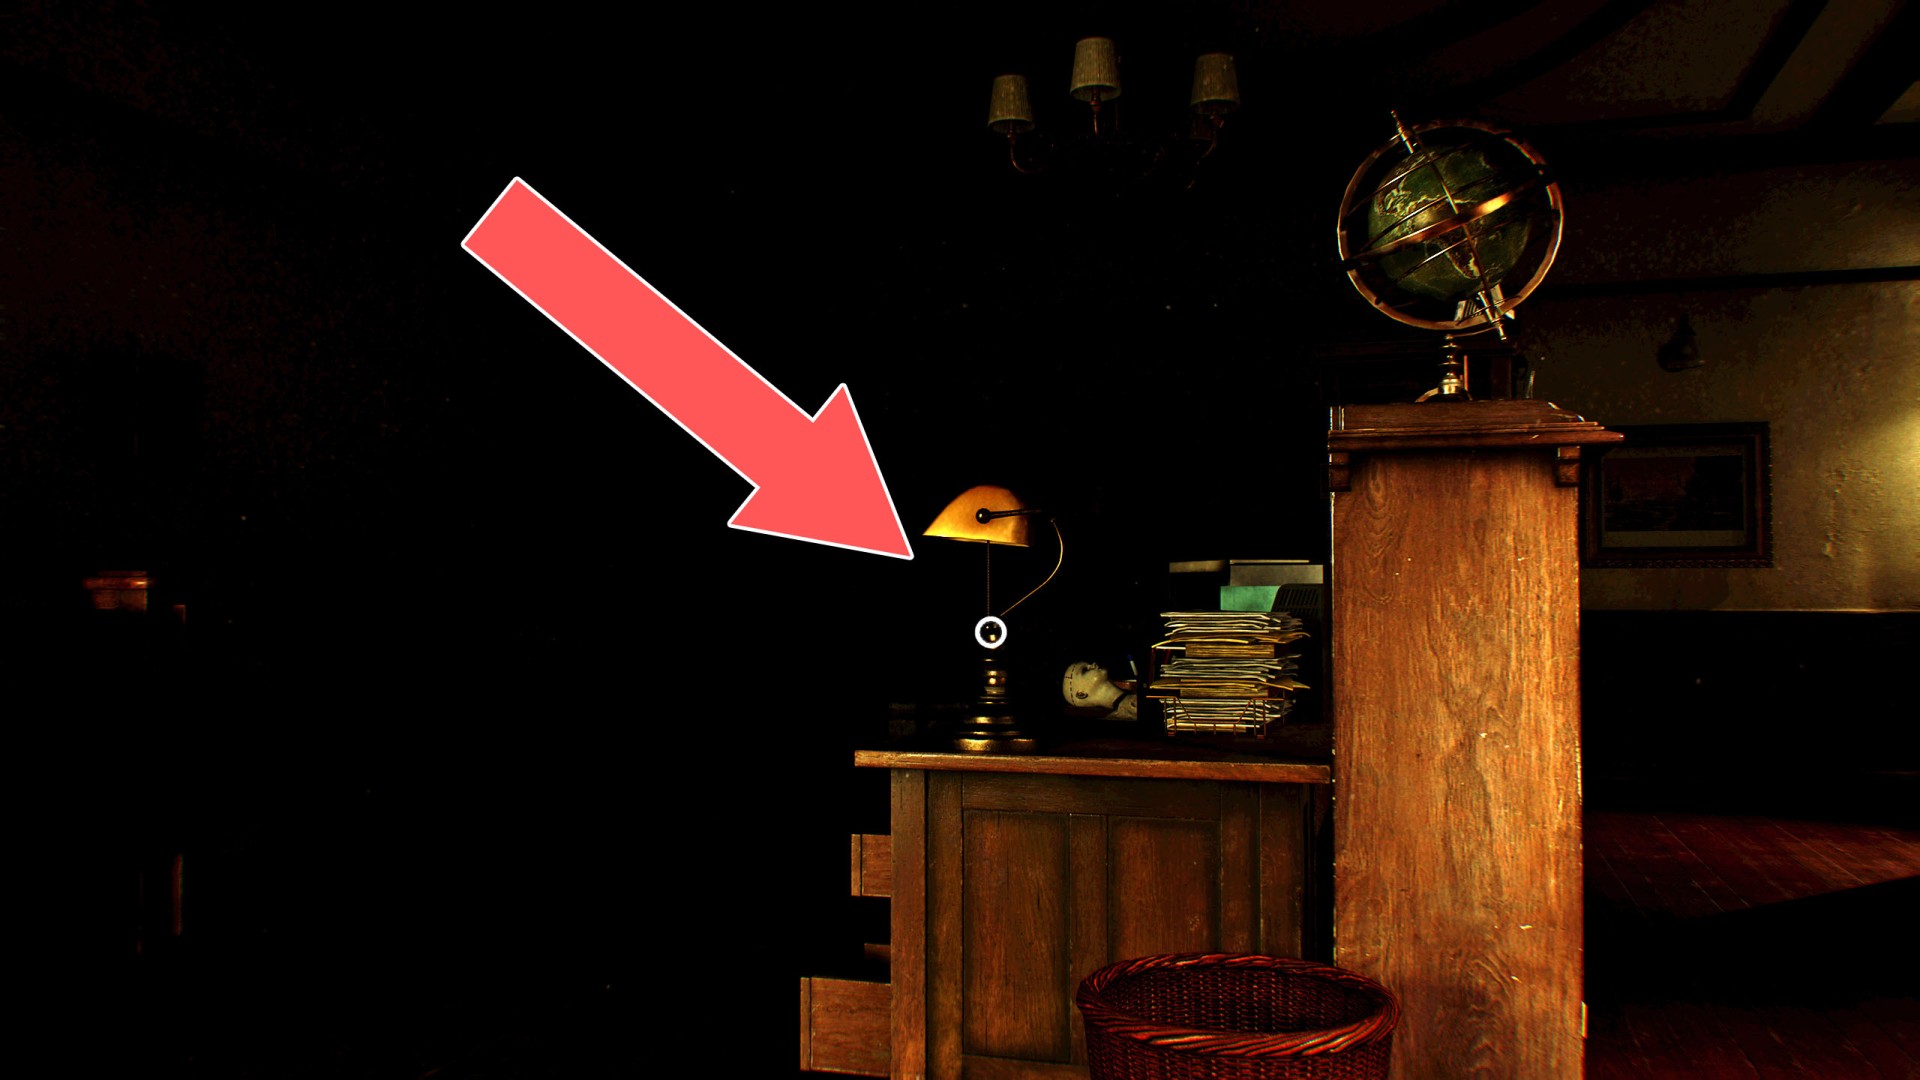
29Desk Lamp
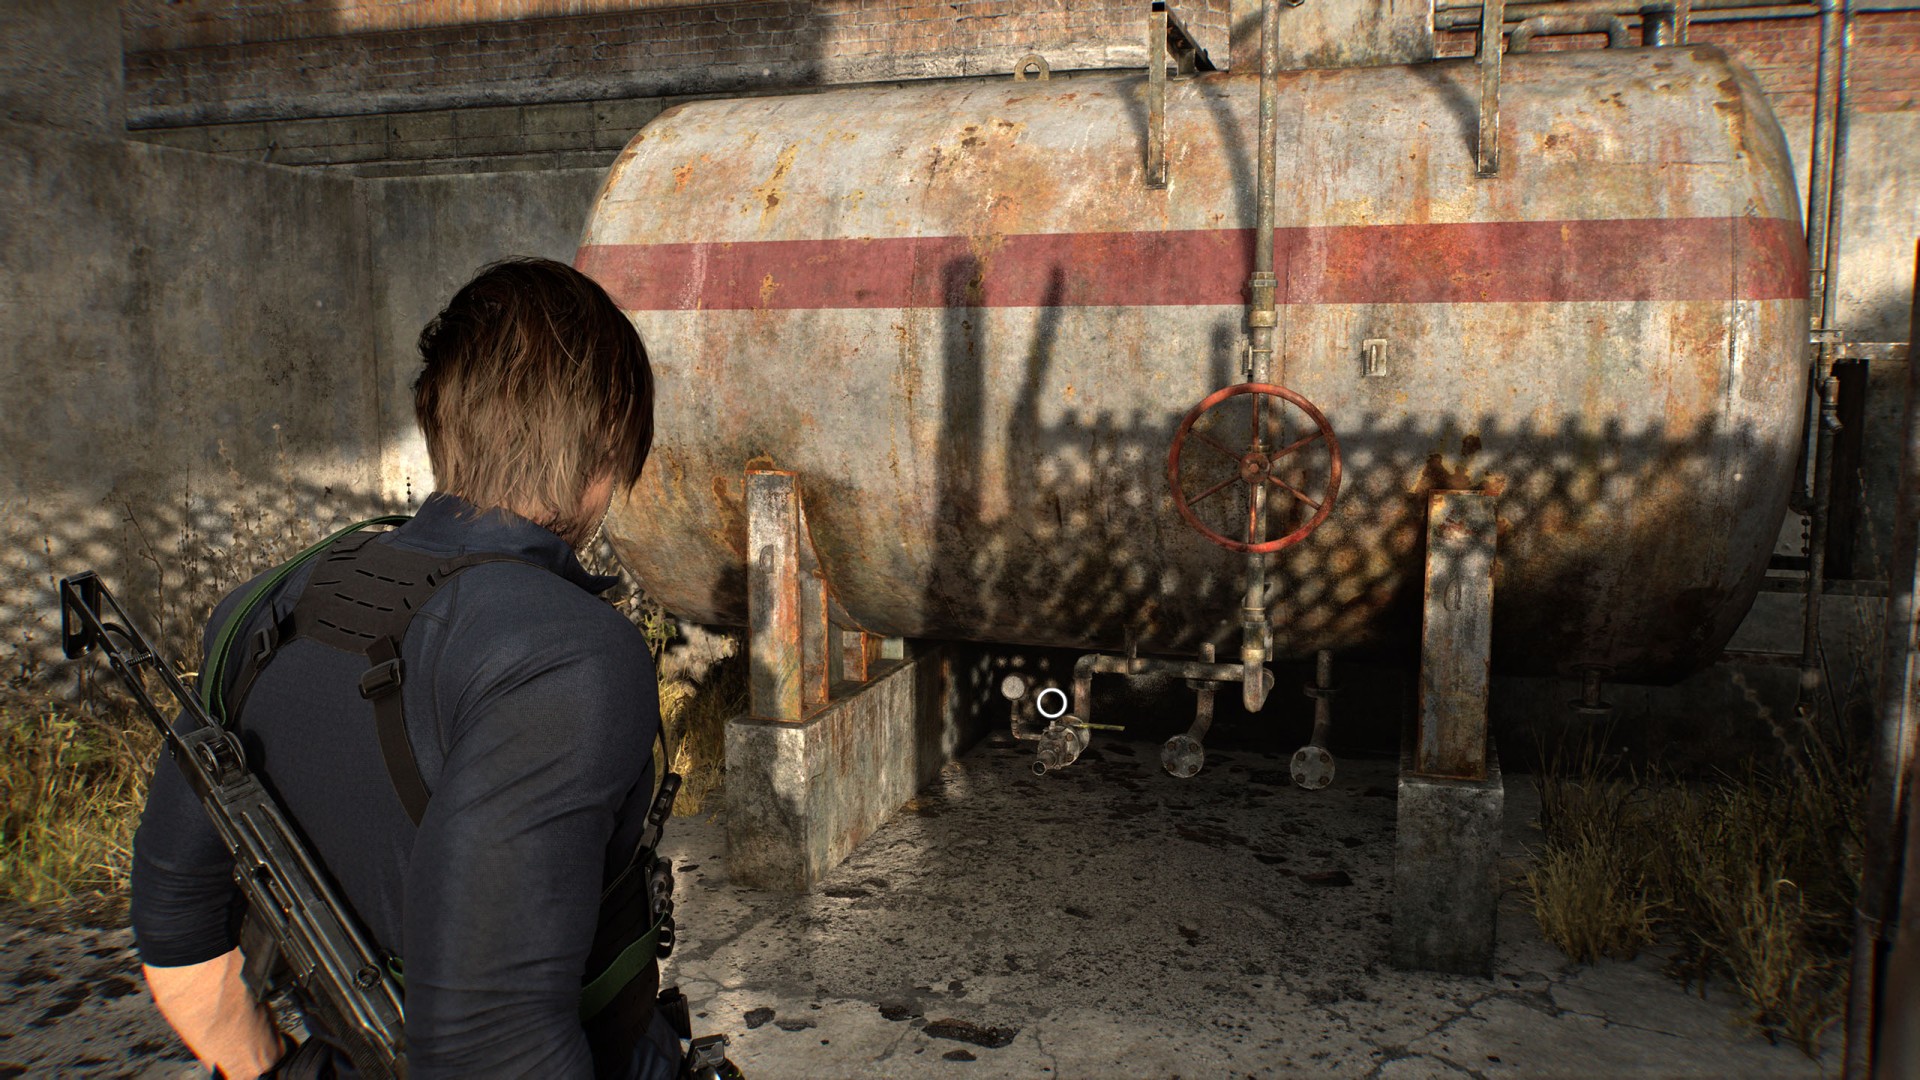
30Fuel Tank
You can fill up your Gas Can here.
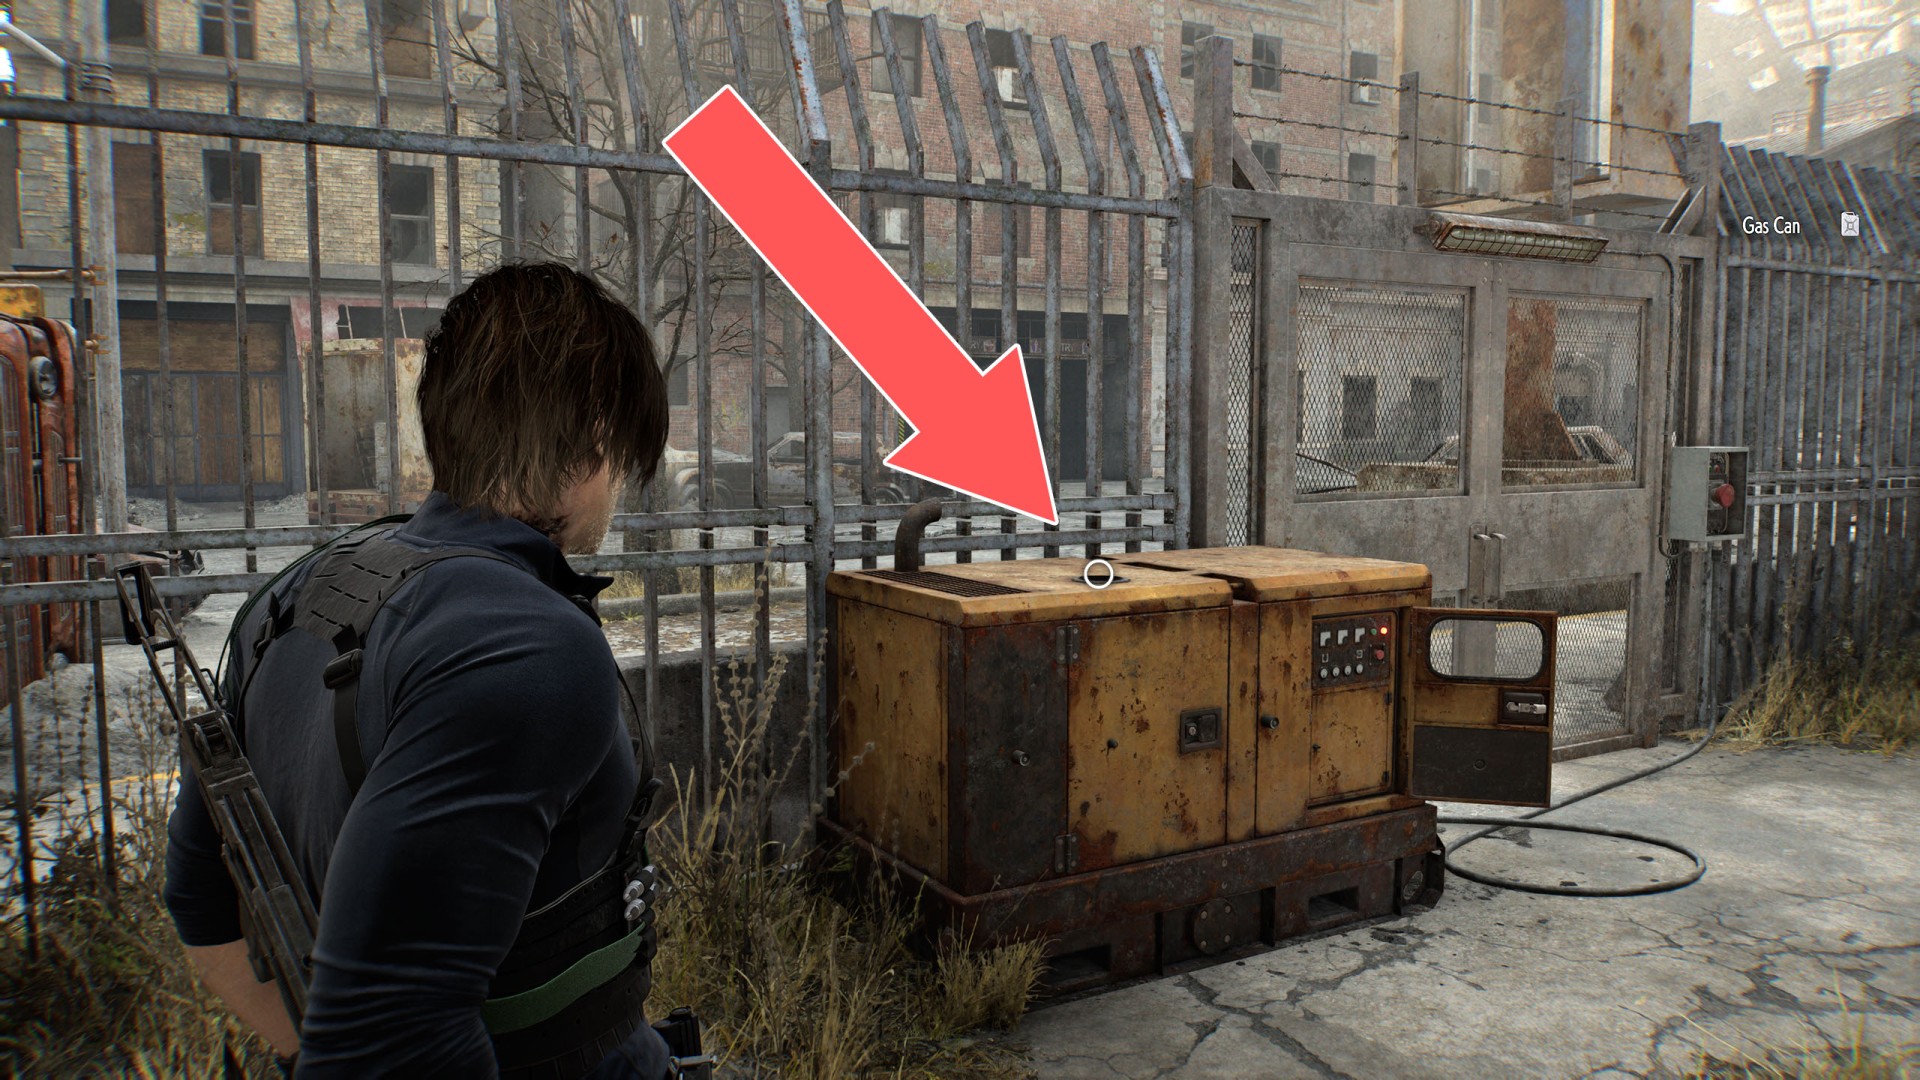
31Gas Powered Generator #1
This generator will allow you to open the nearby gate, but first, you must find a Gas Can and fill it at the Fuel Tank.
32Gas Powered Generator #2
This generator will allow you to open the nearby gate, but first, you must find a Gas Can and fill it at the Fuel Tank.
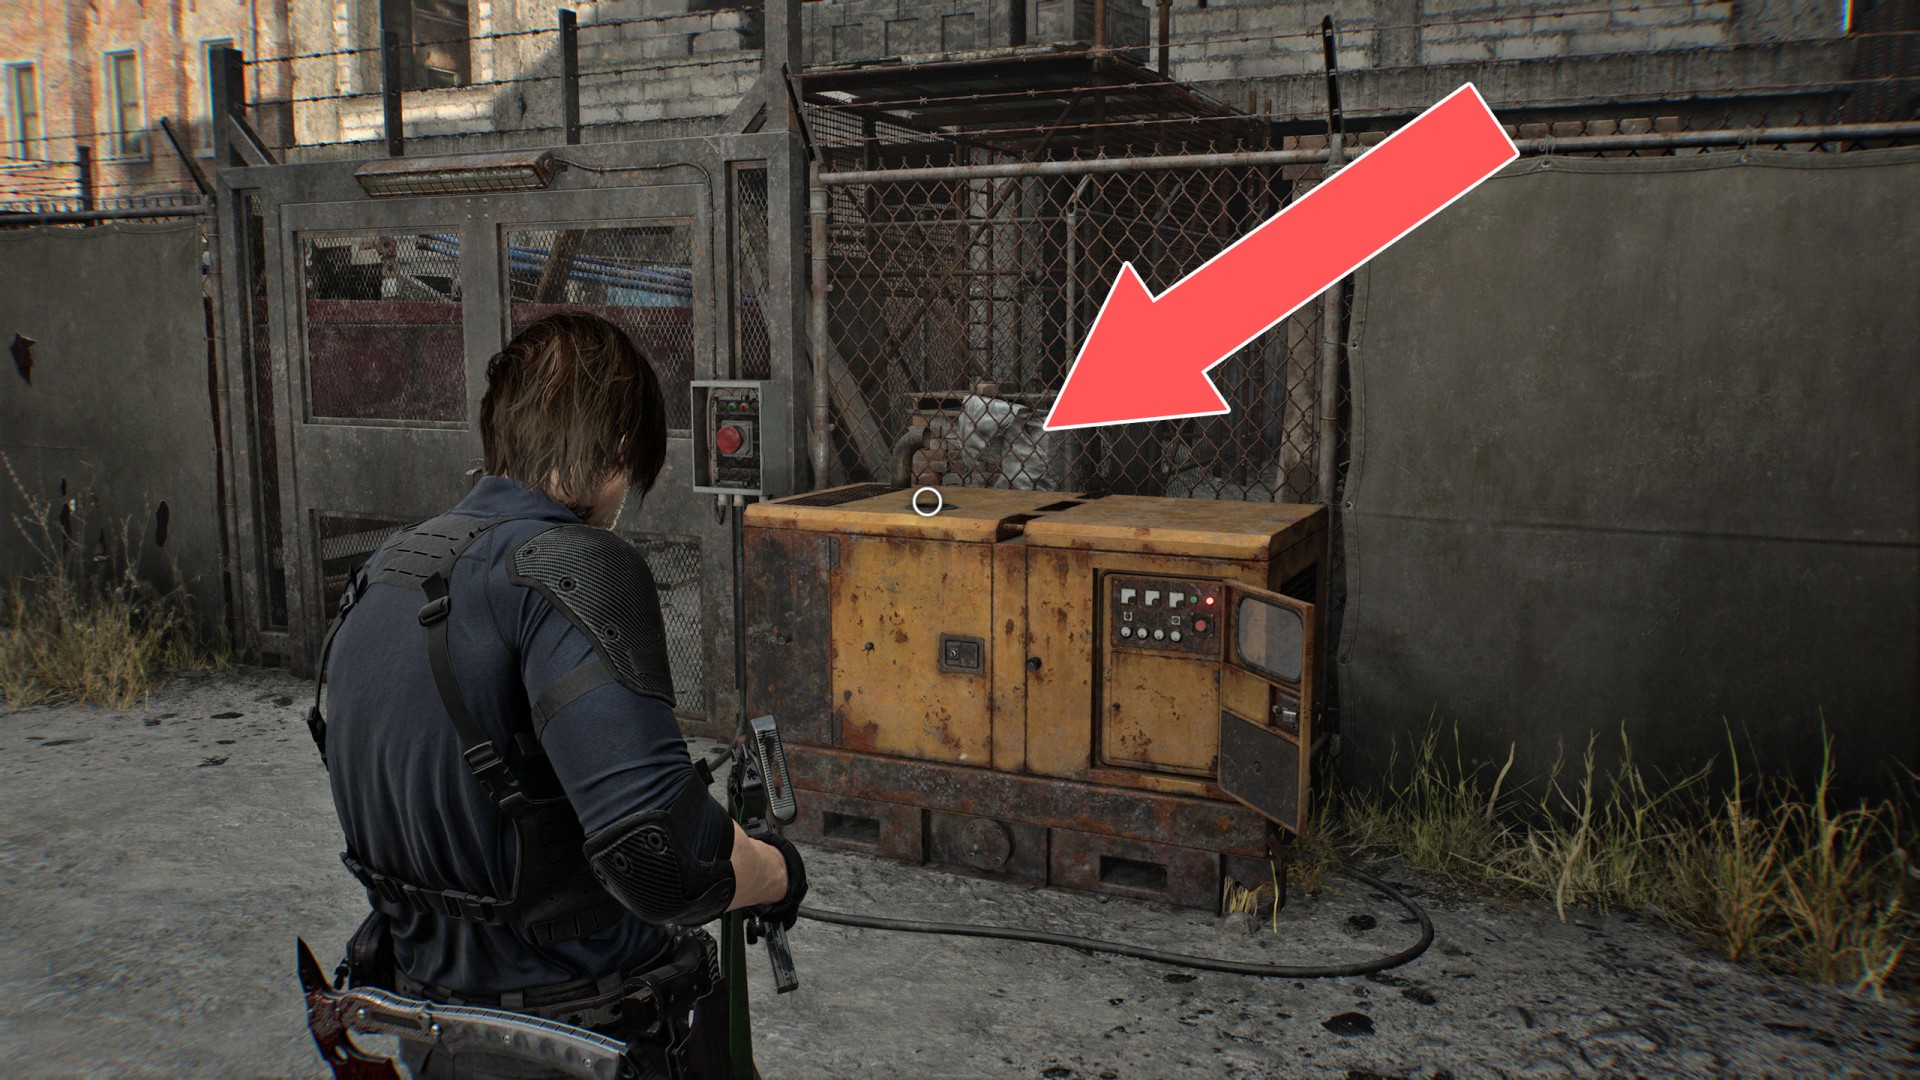
33Gas Powered Generator #3
This generator will allow you to open the nearby gate, but first, you must find a Gas Can and fill it at the Fuel Tank.
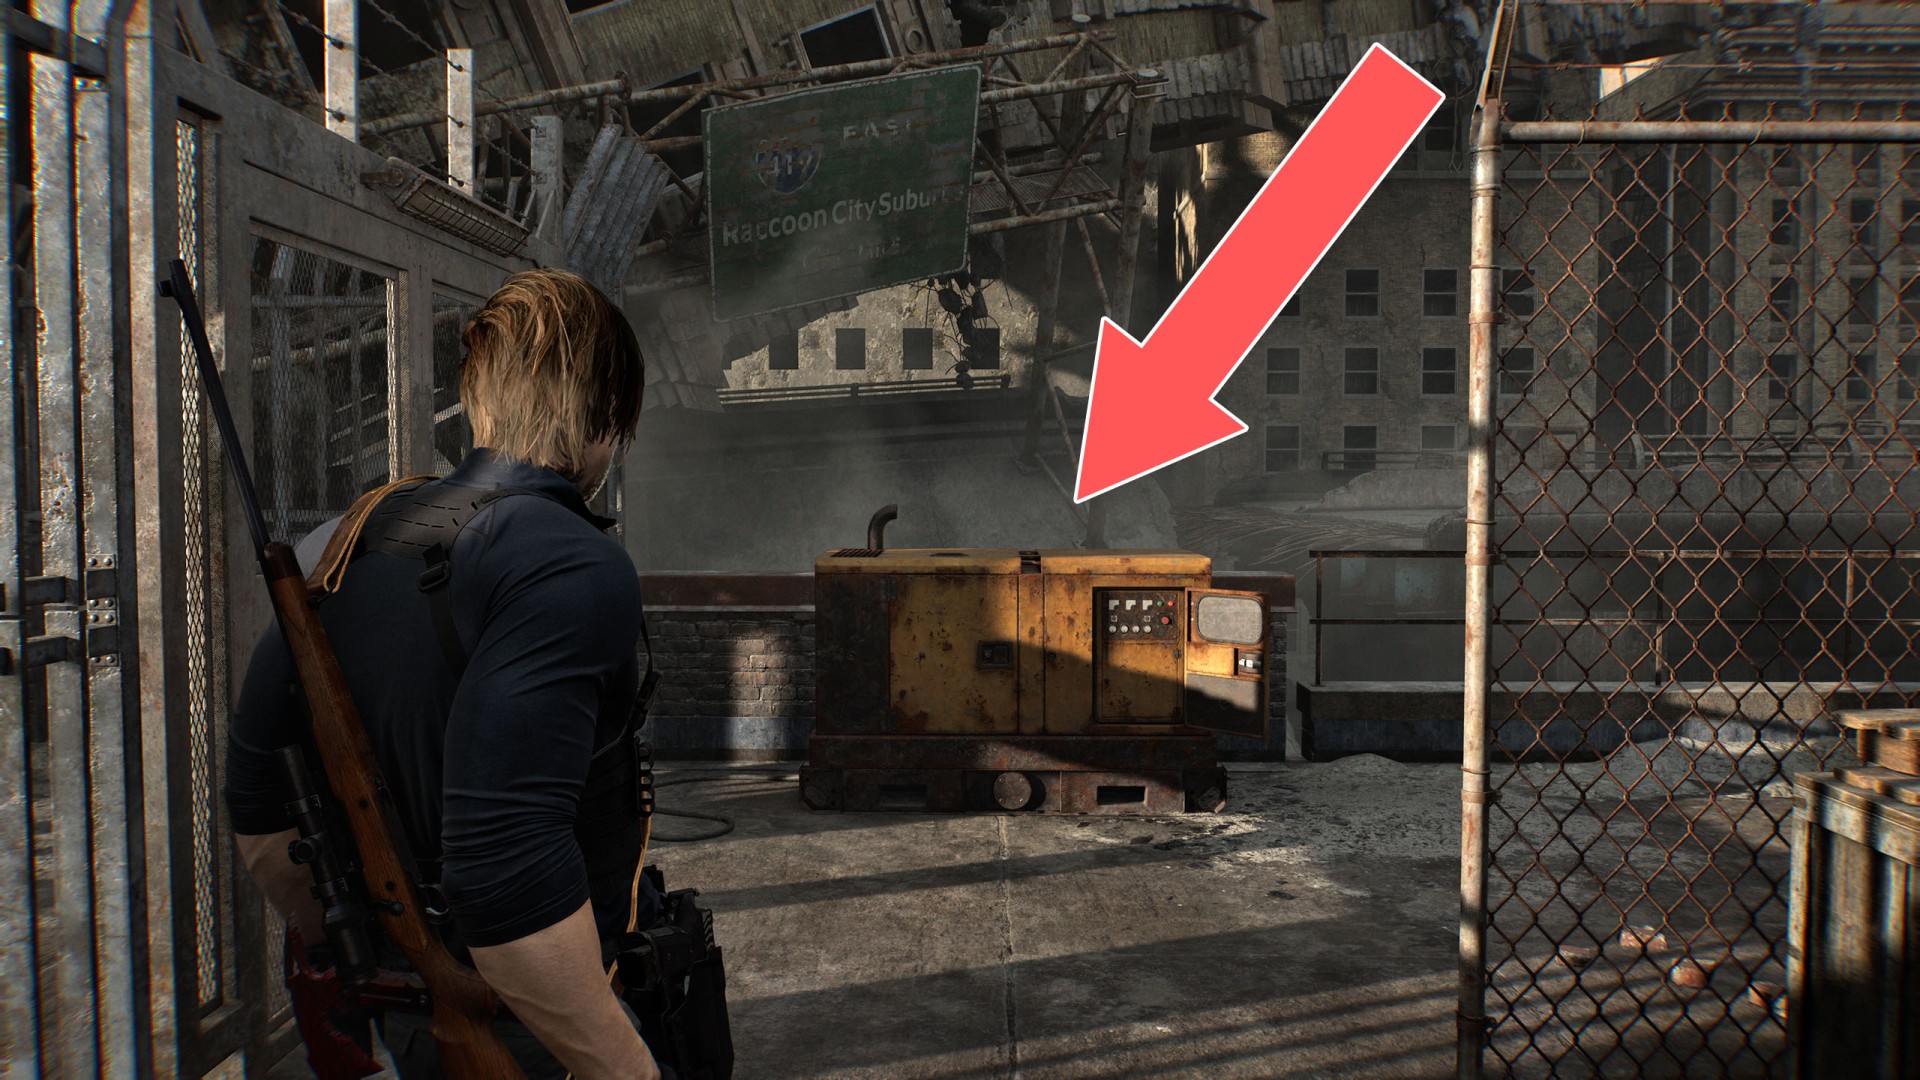
34Lift Controls
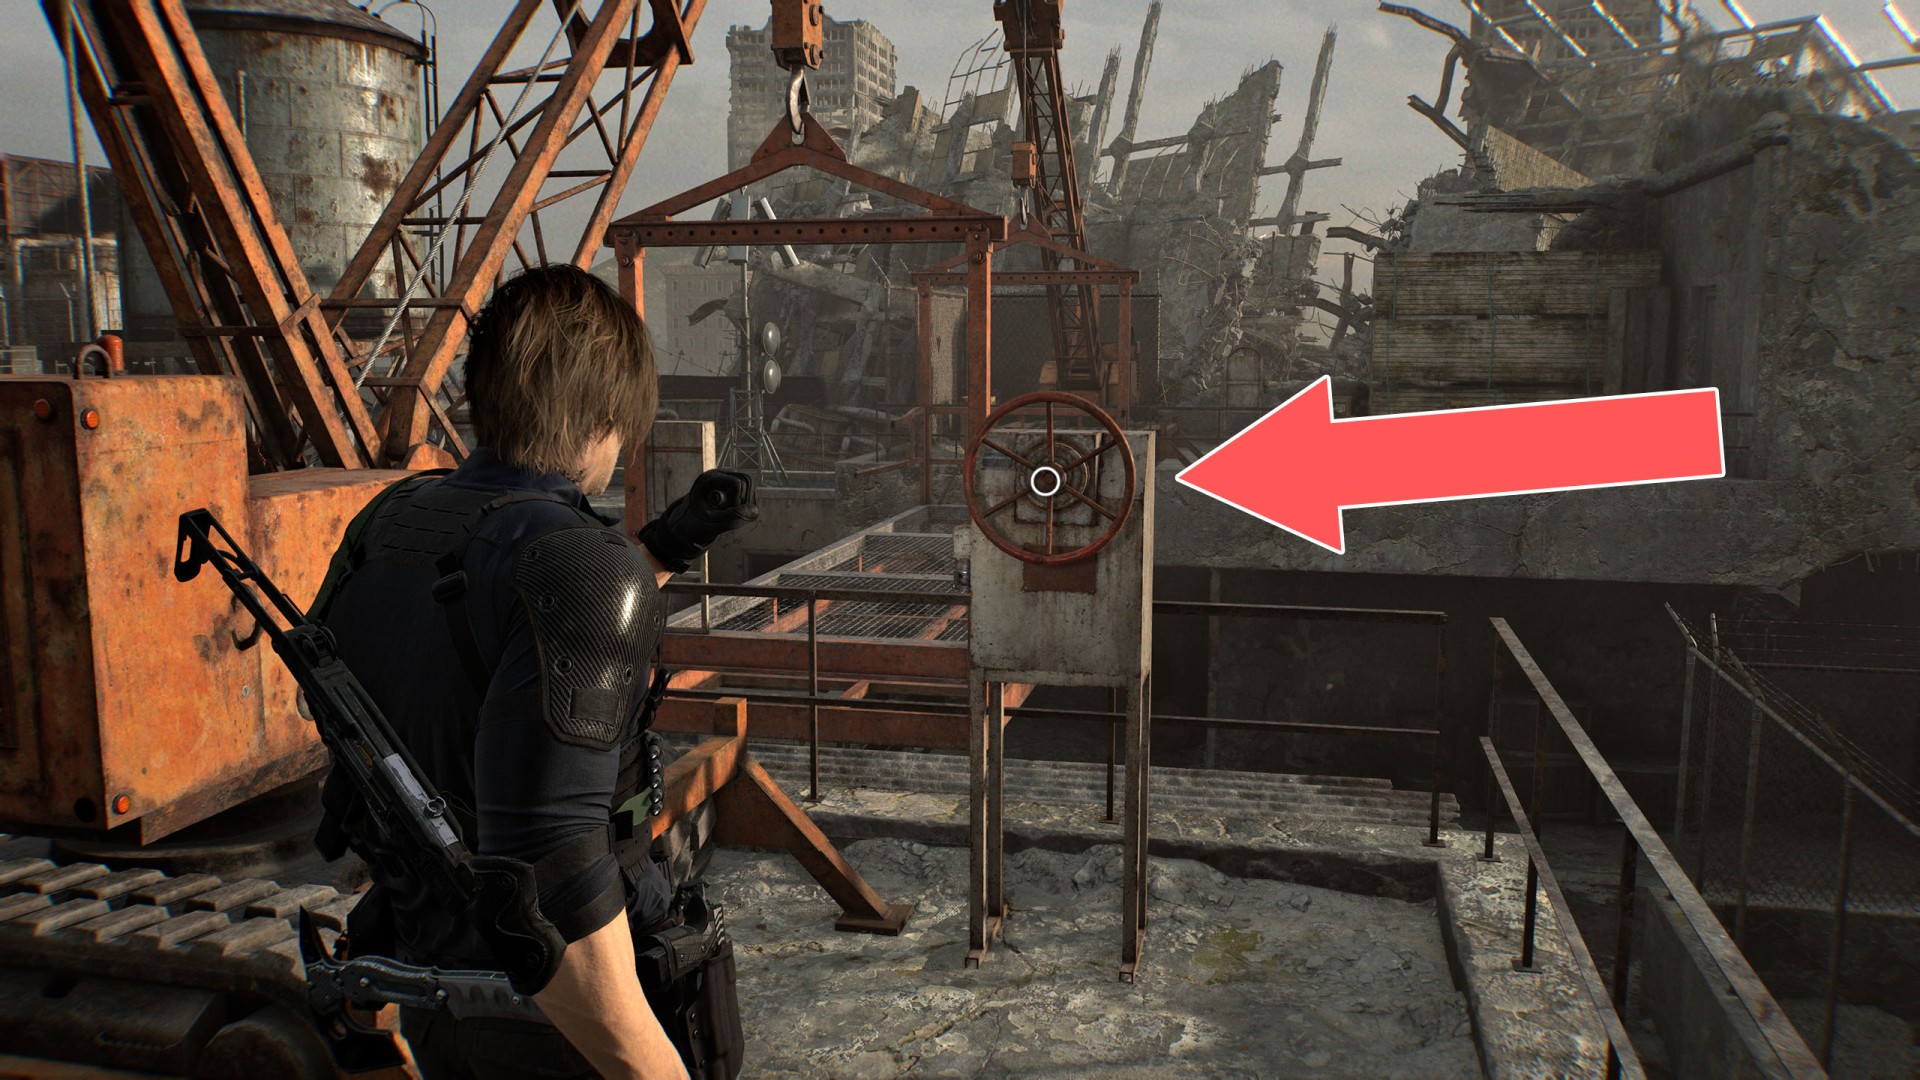
35Lift Controls
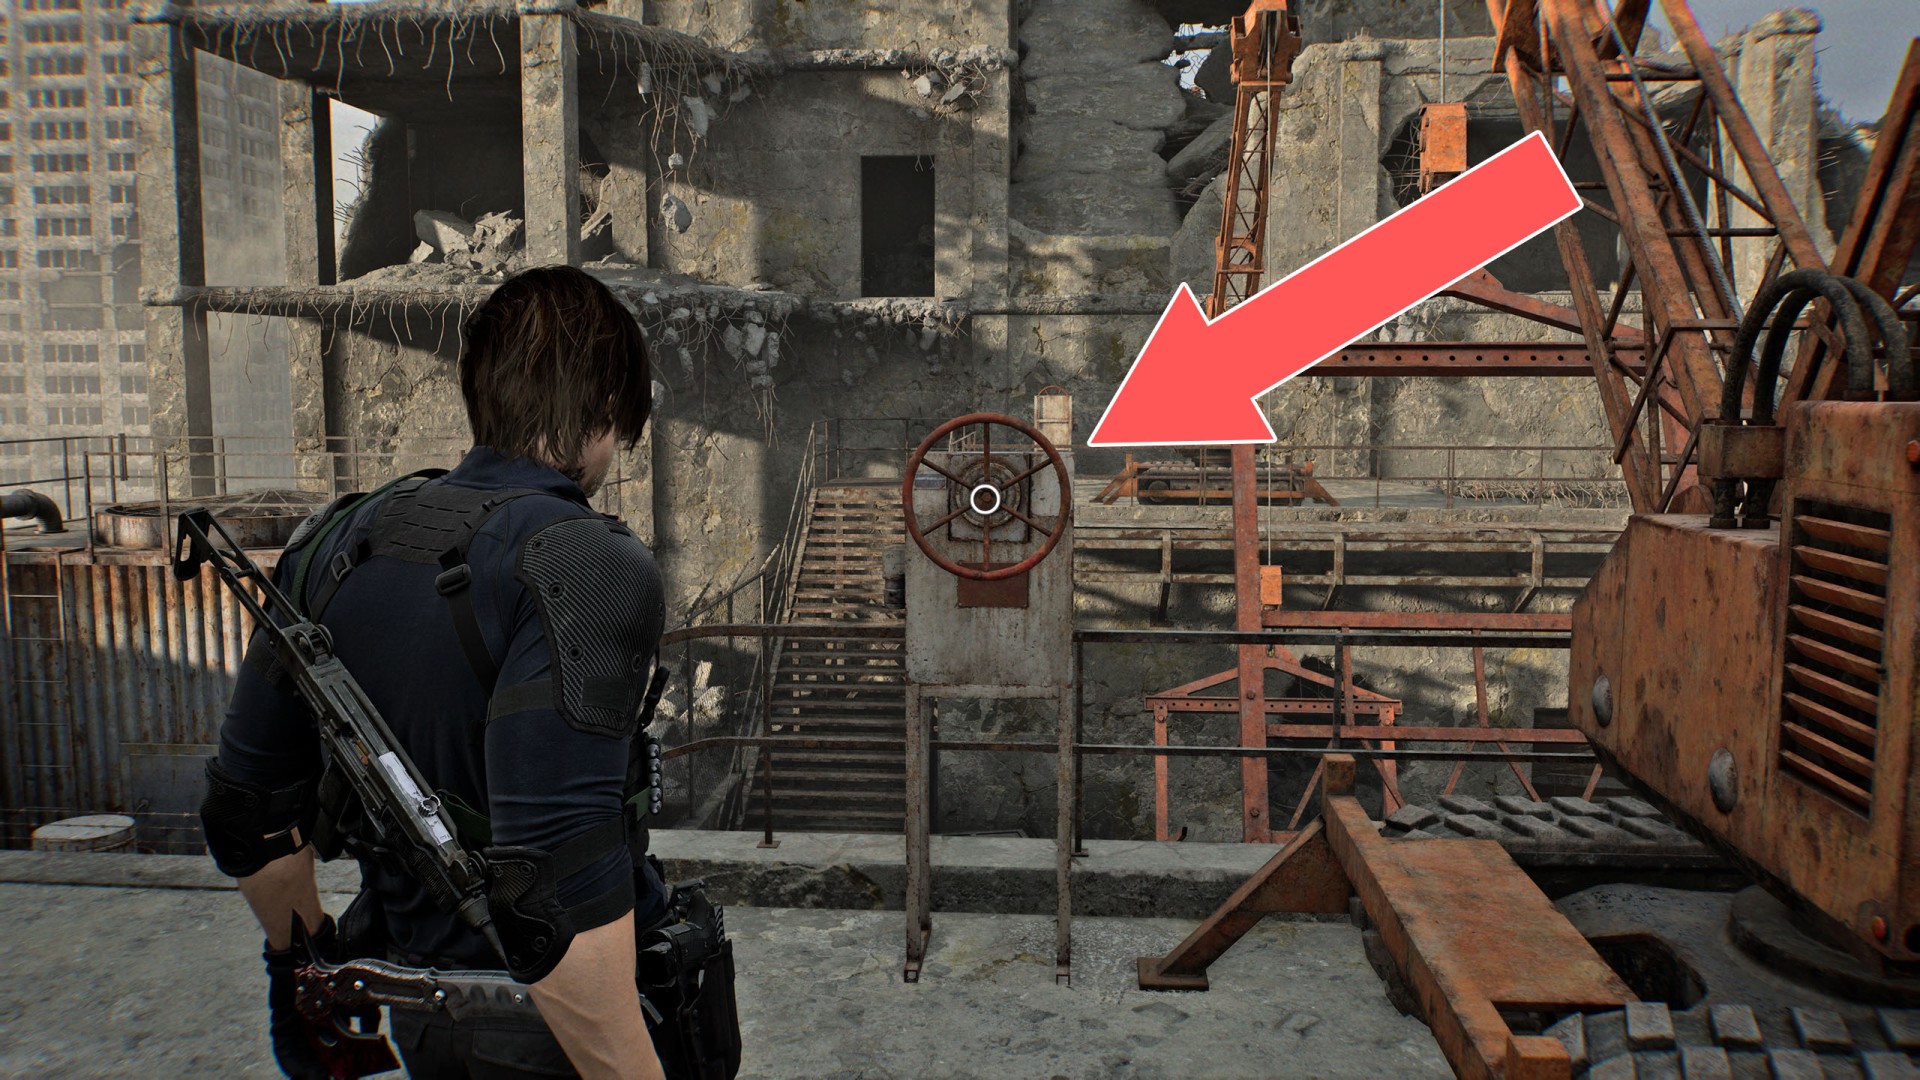
36Power Generator
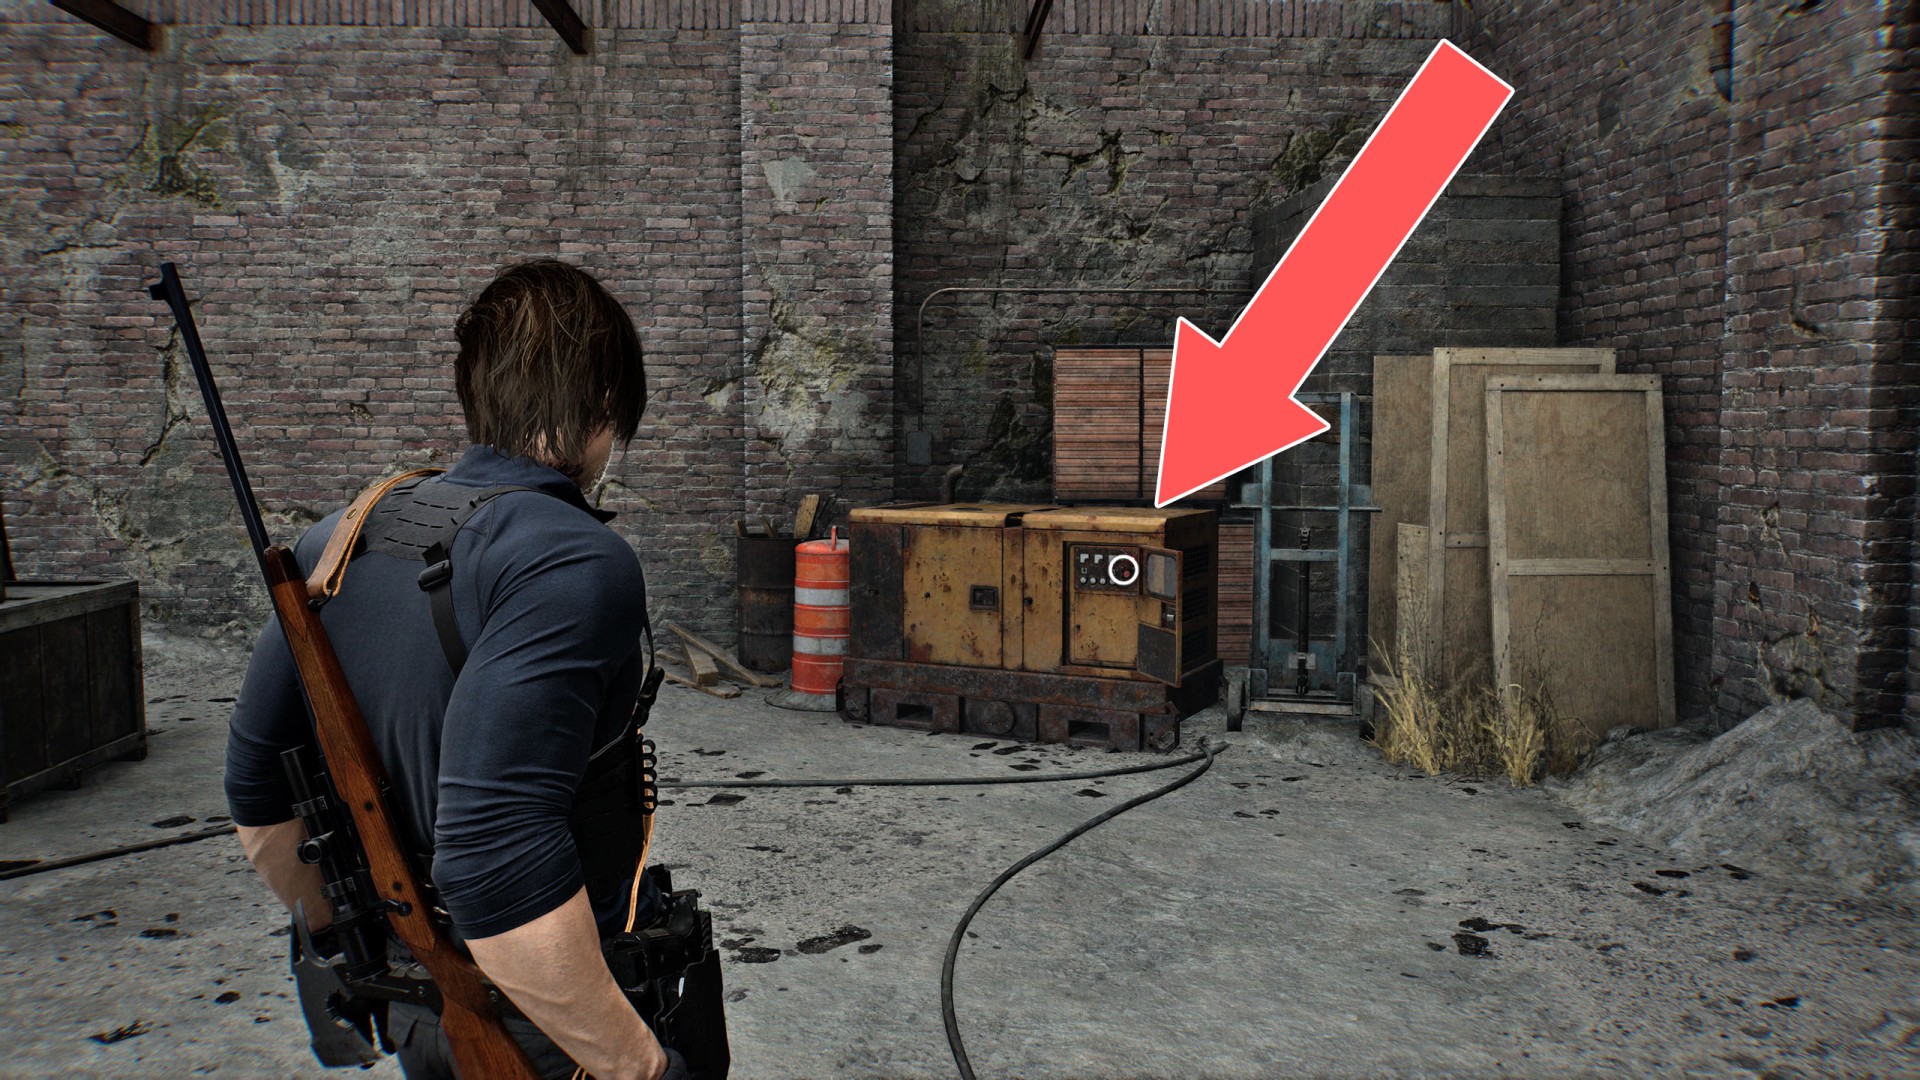
37Underground Chapel Switch
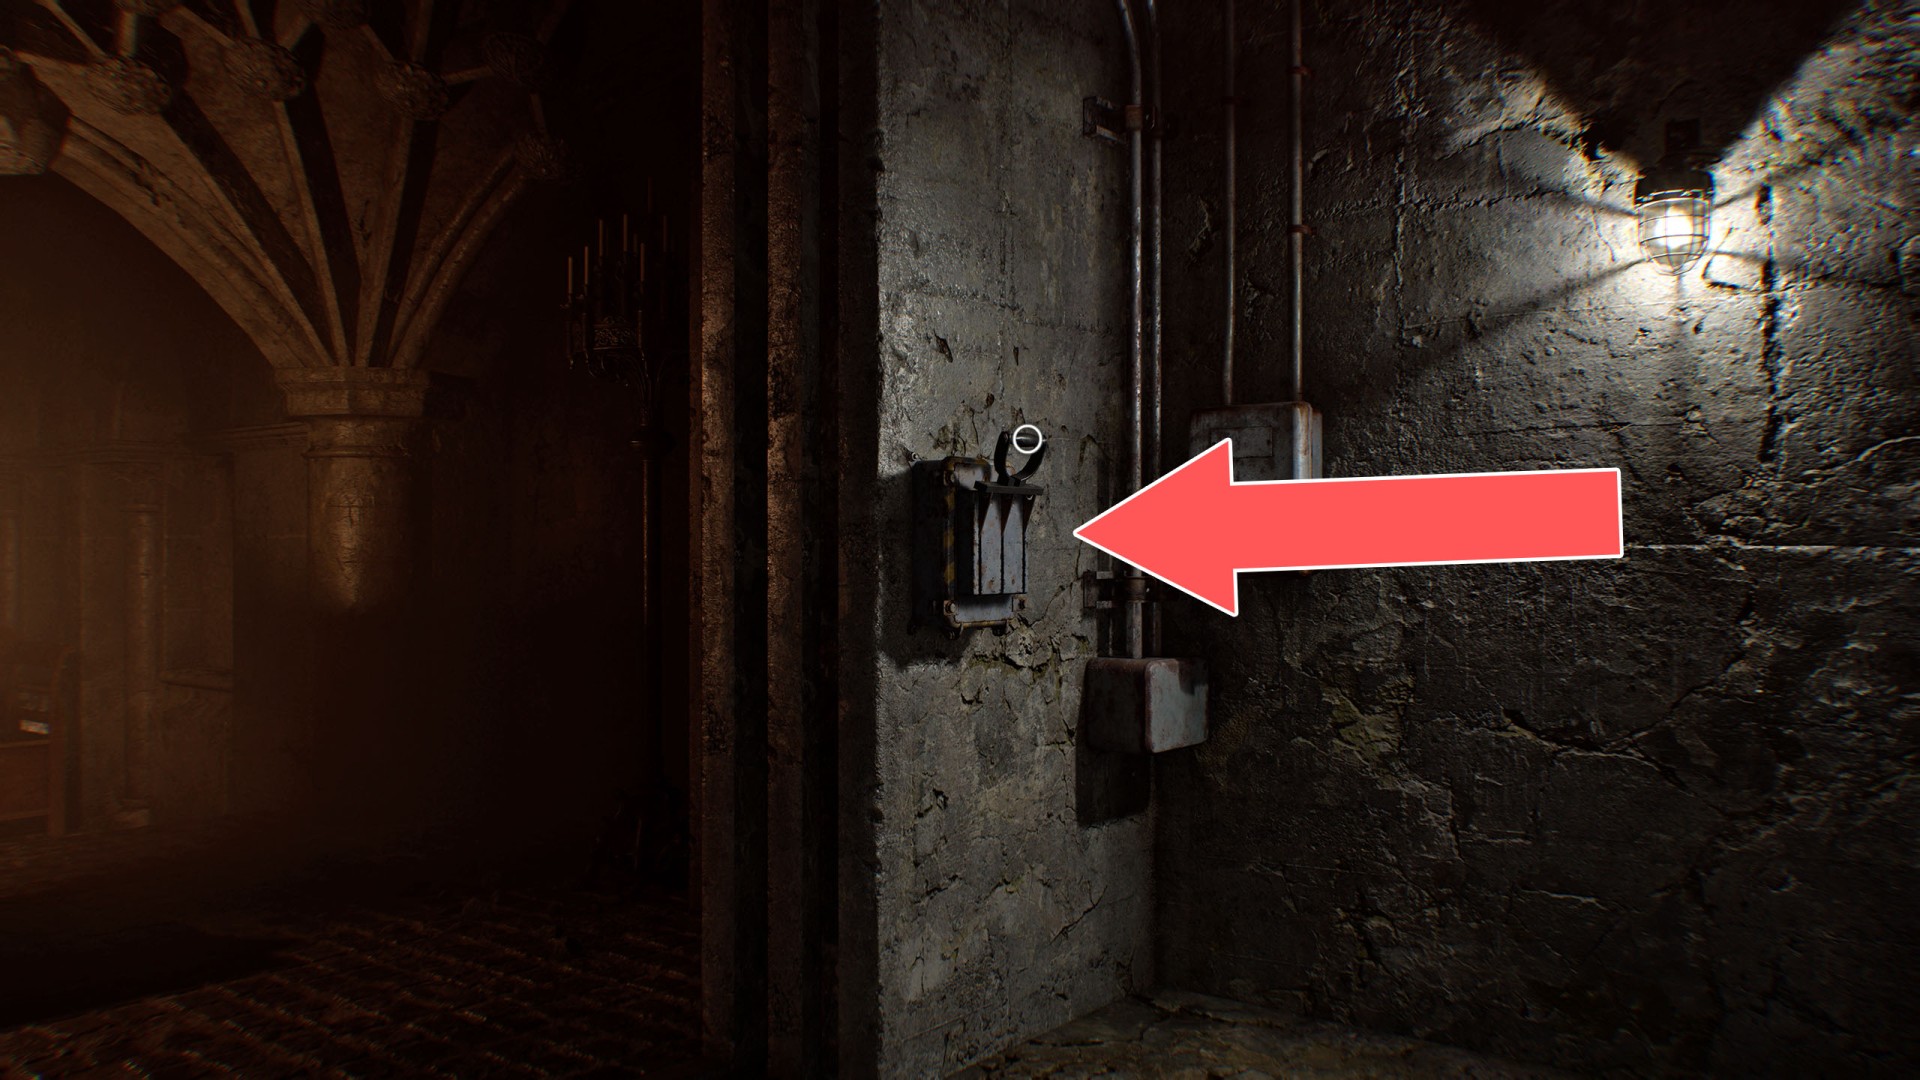
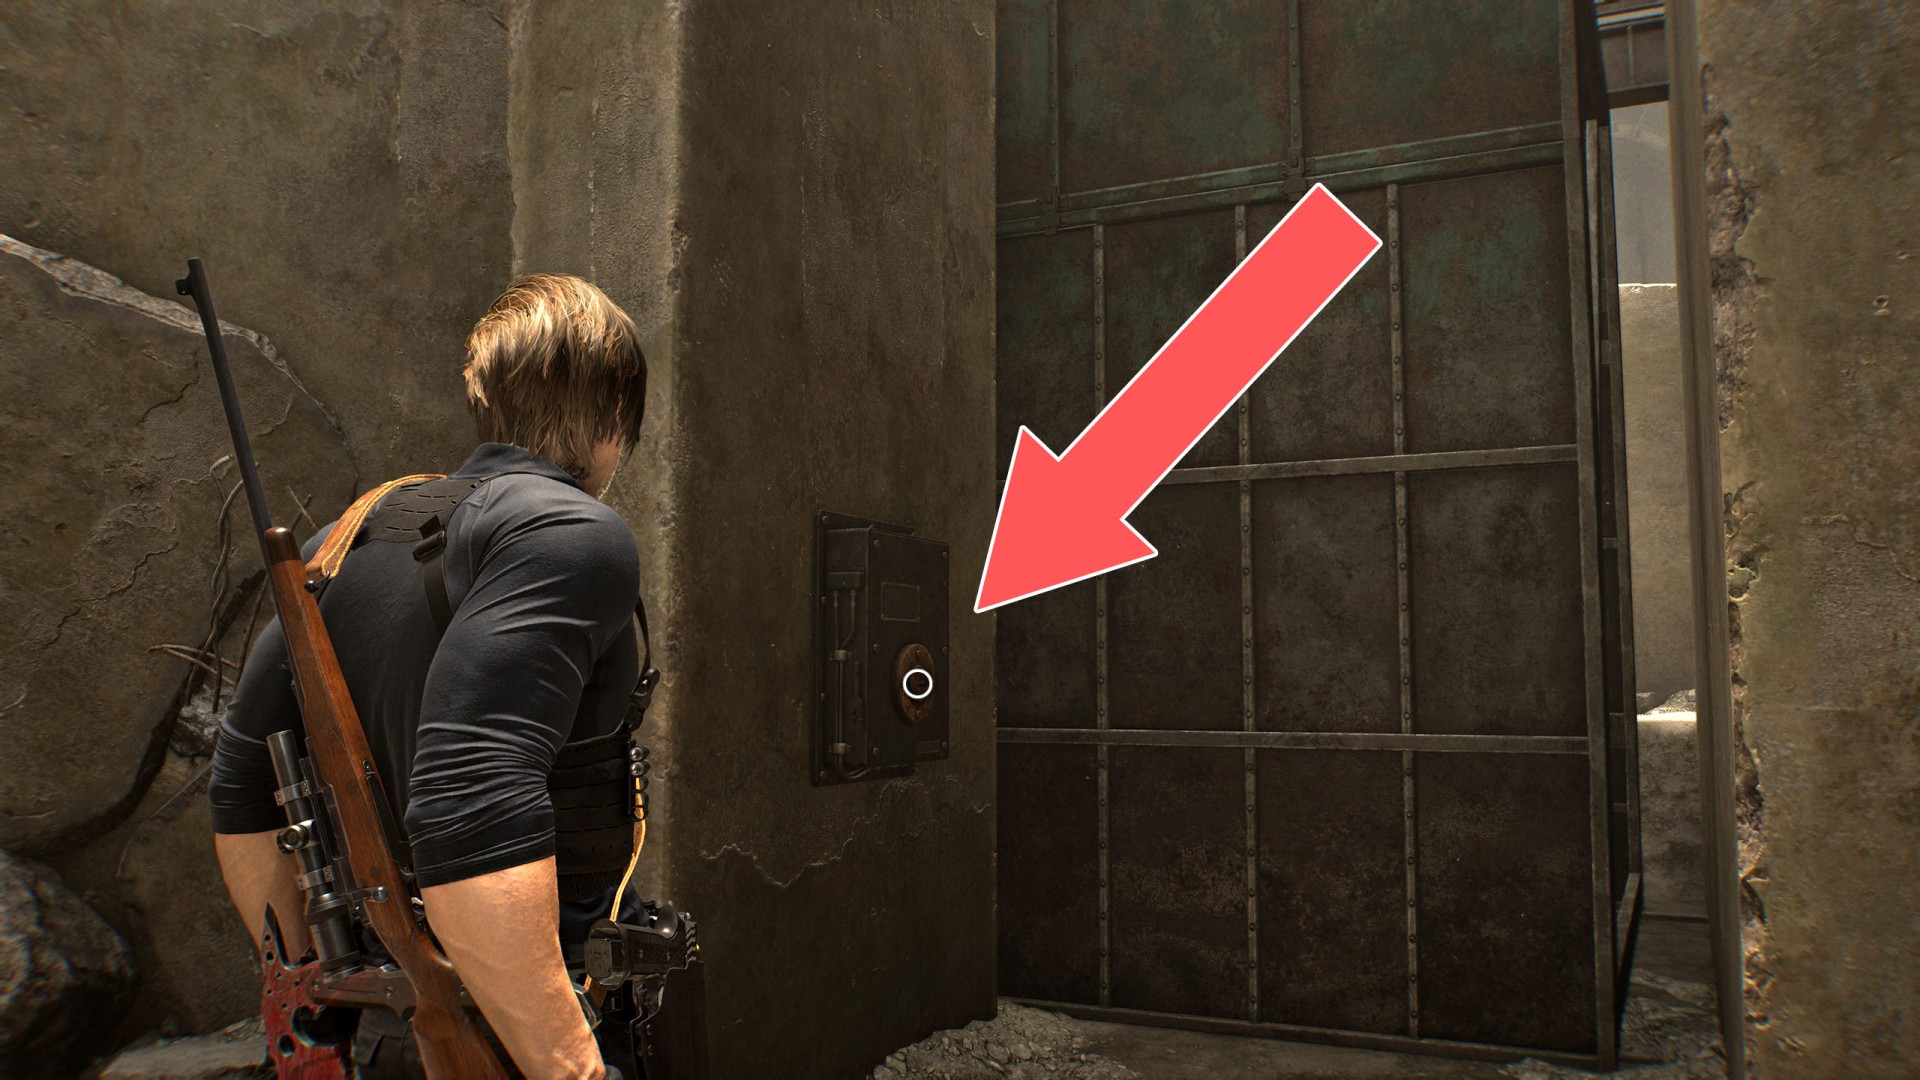
38Valve Handwheel Slot
Requires: Valve Handwheel.
Locations on ARK
39Bioweapon Repository Console #1
Press the button to open the Bioweapon Repository 12 Passage #1.
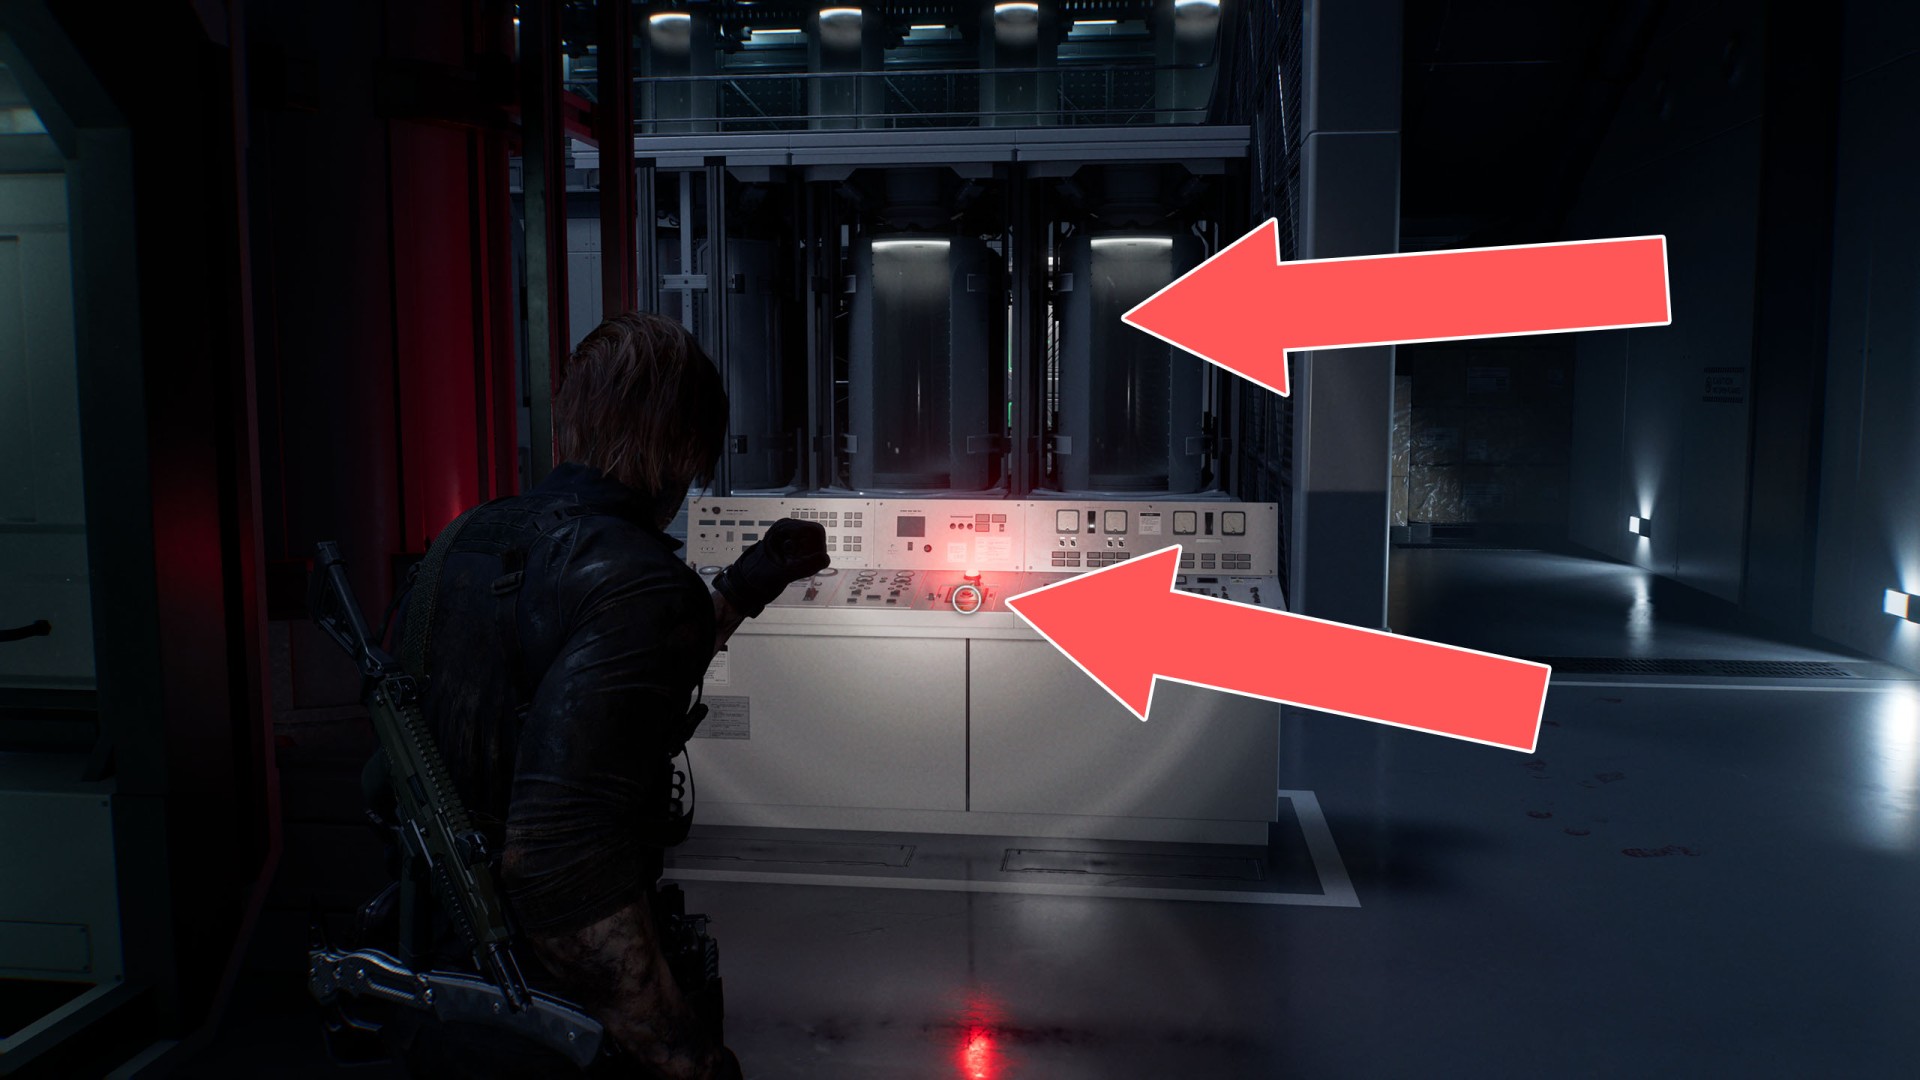
40Bioweapon Repository Console #2
Press the button to open the Bioweapon Repository 12 Passage #2.
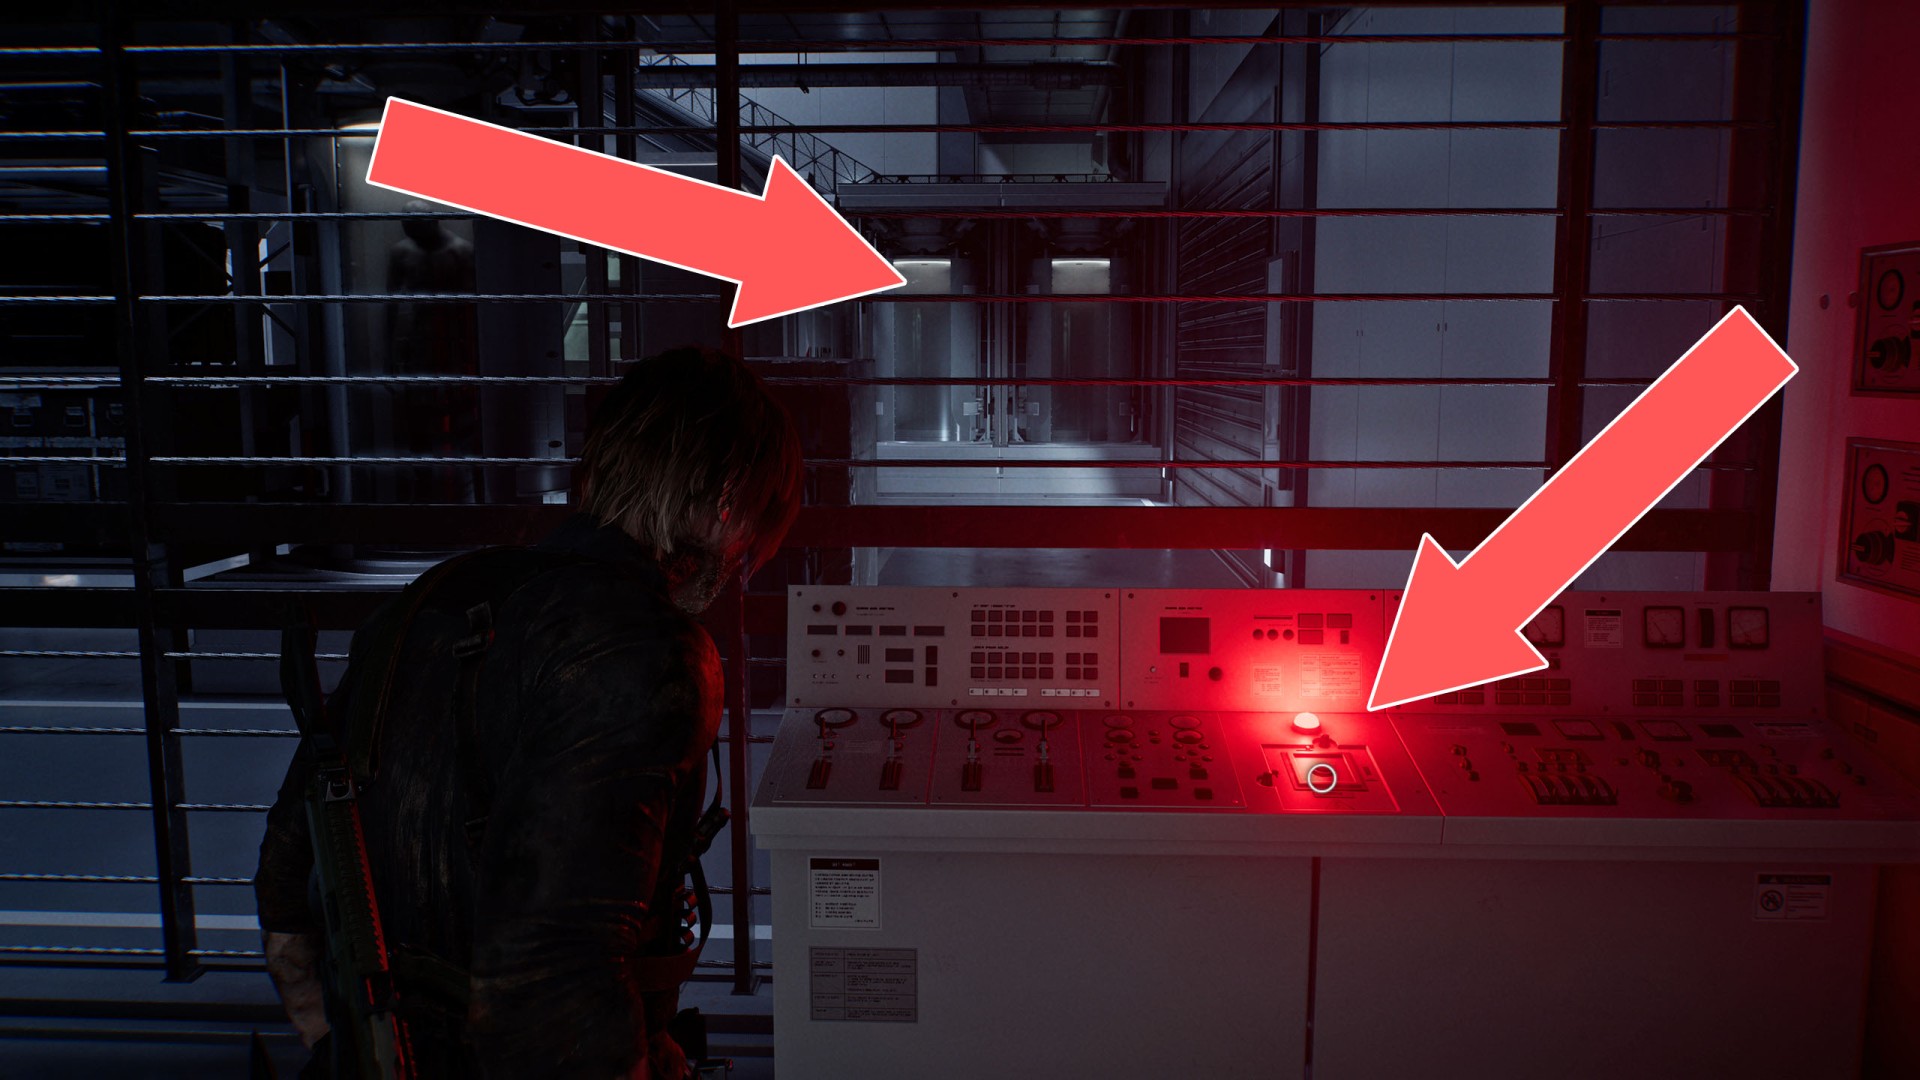
41Container Opening Button
The button on the container that opens it and reveals its contents.
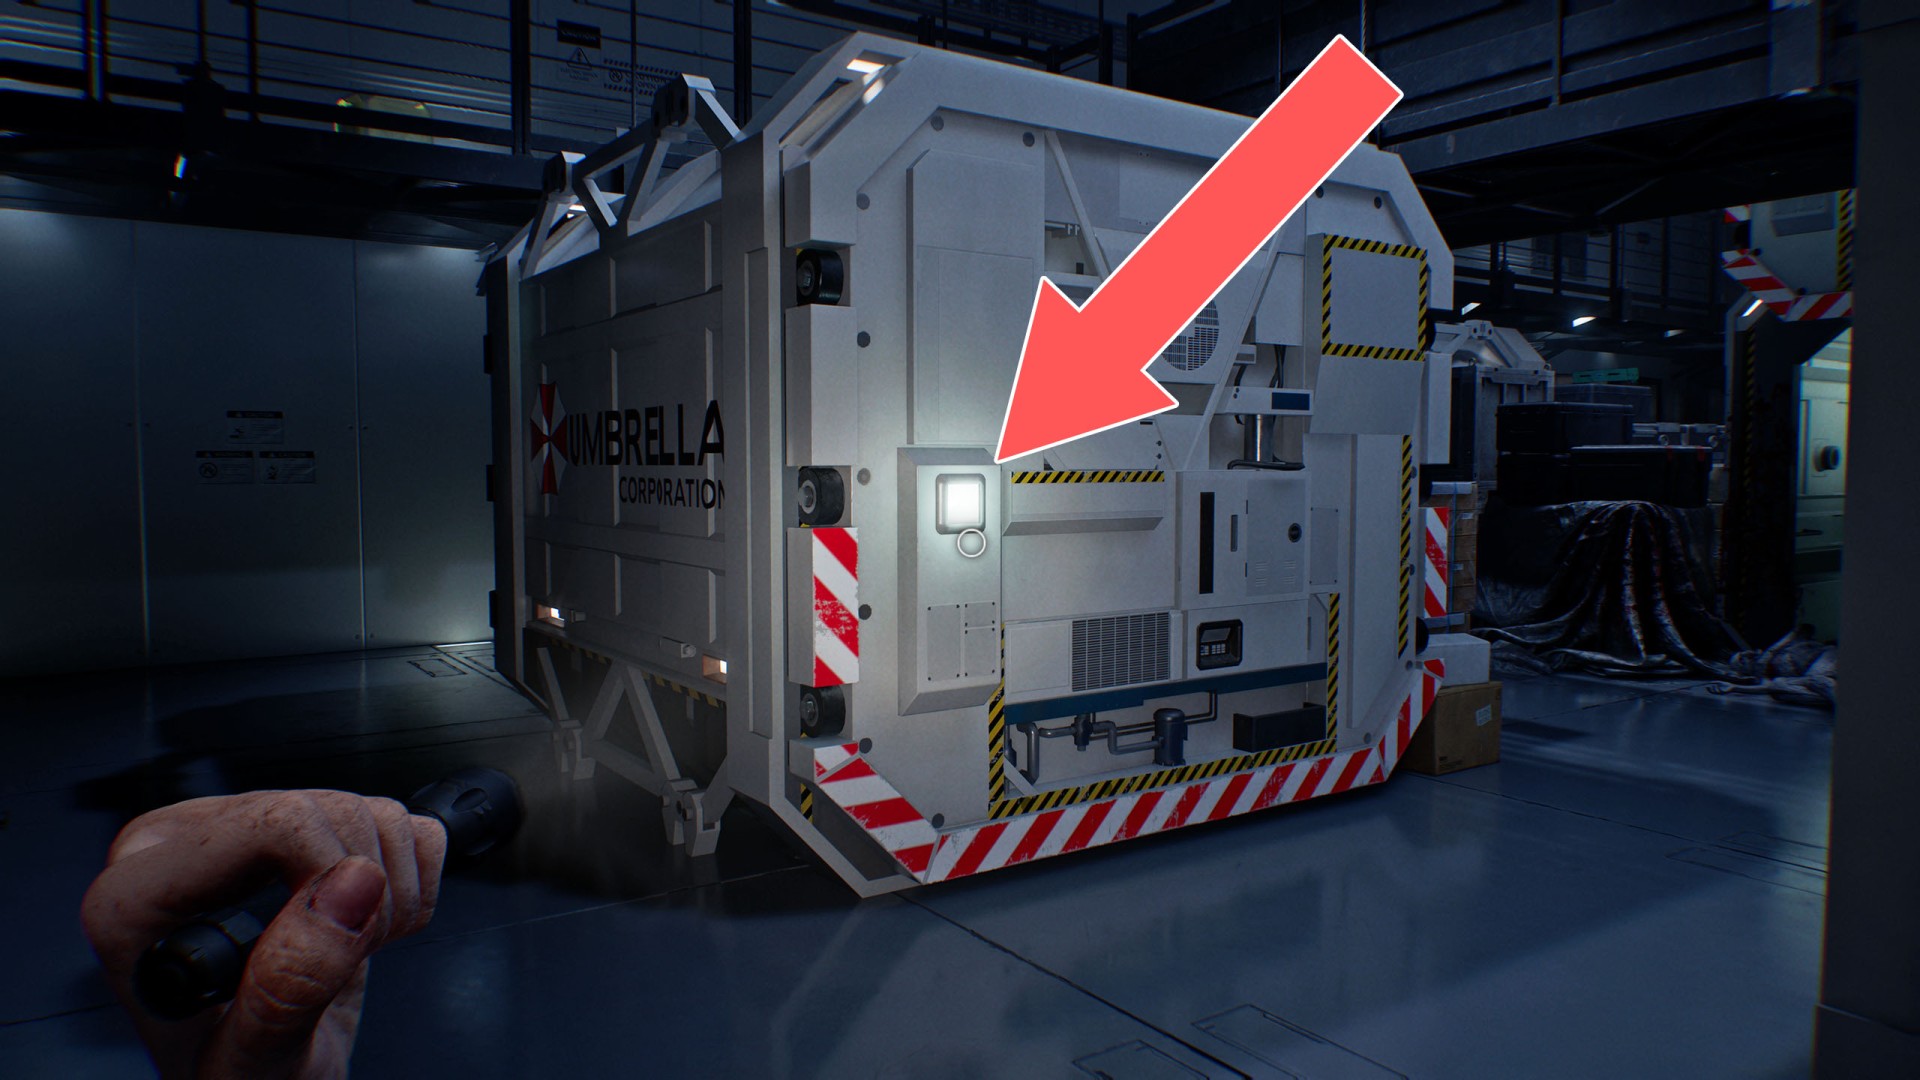
42Container Opening Button
The button on the container that opens it and reveals its contents.
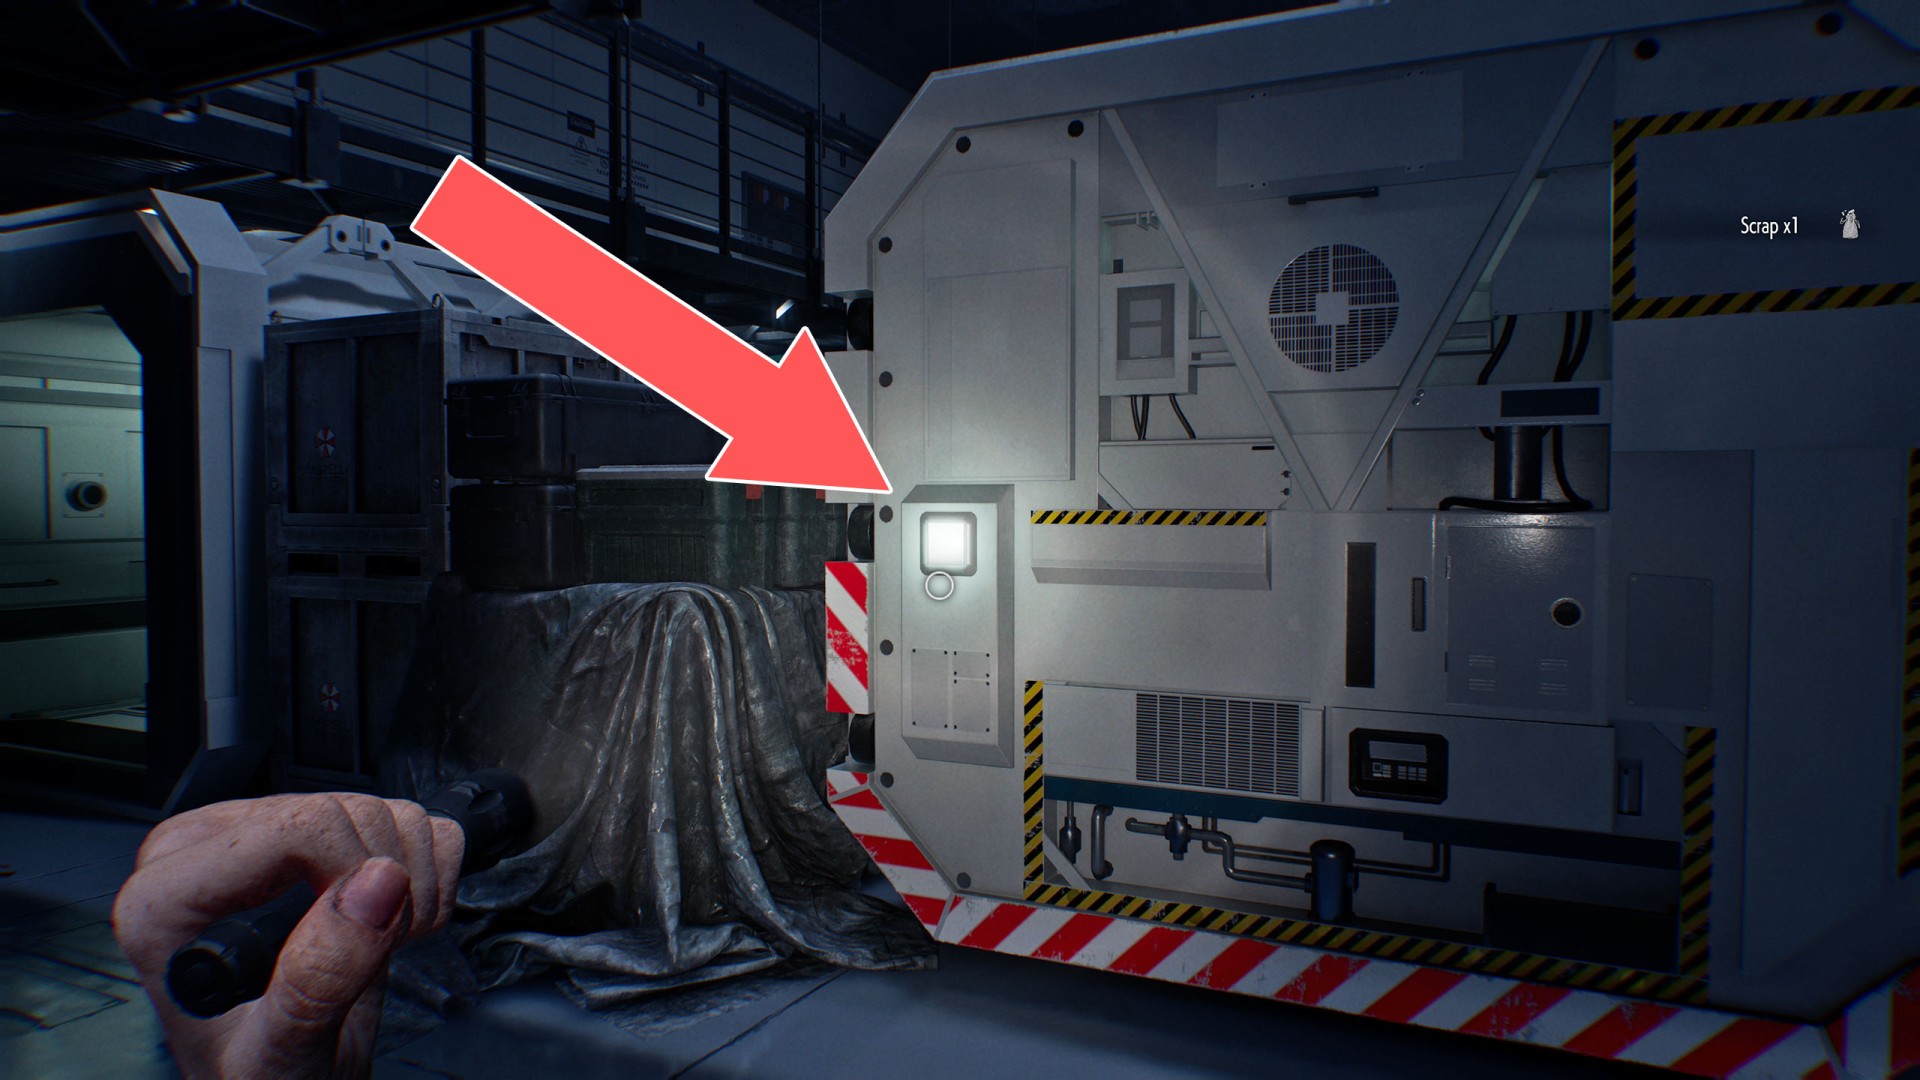
43Container Opening Button
The button on the container that opens it and reveals its contents.
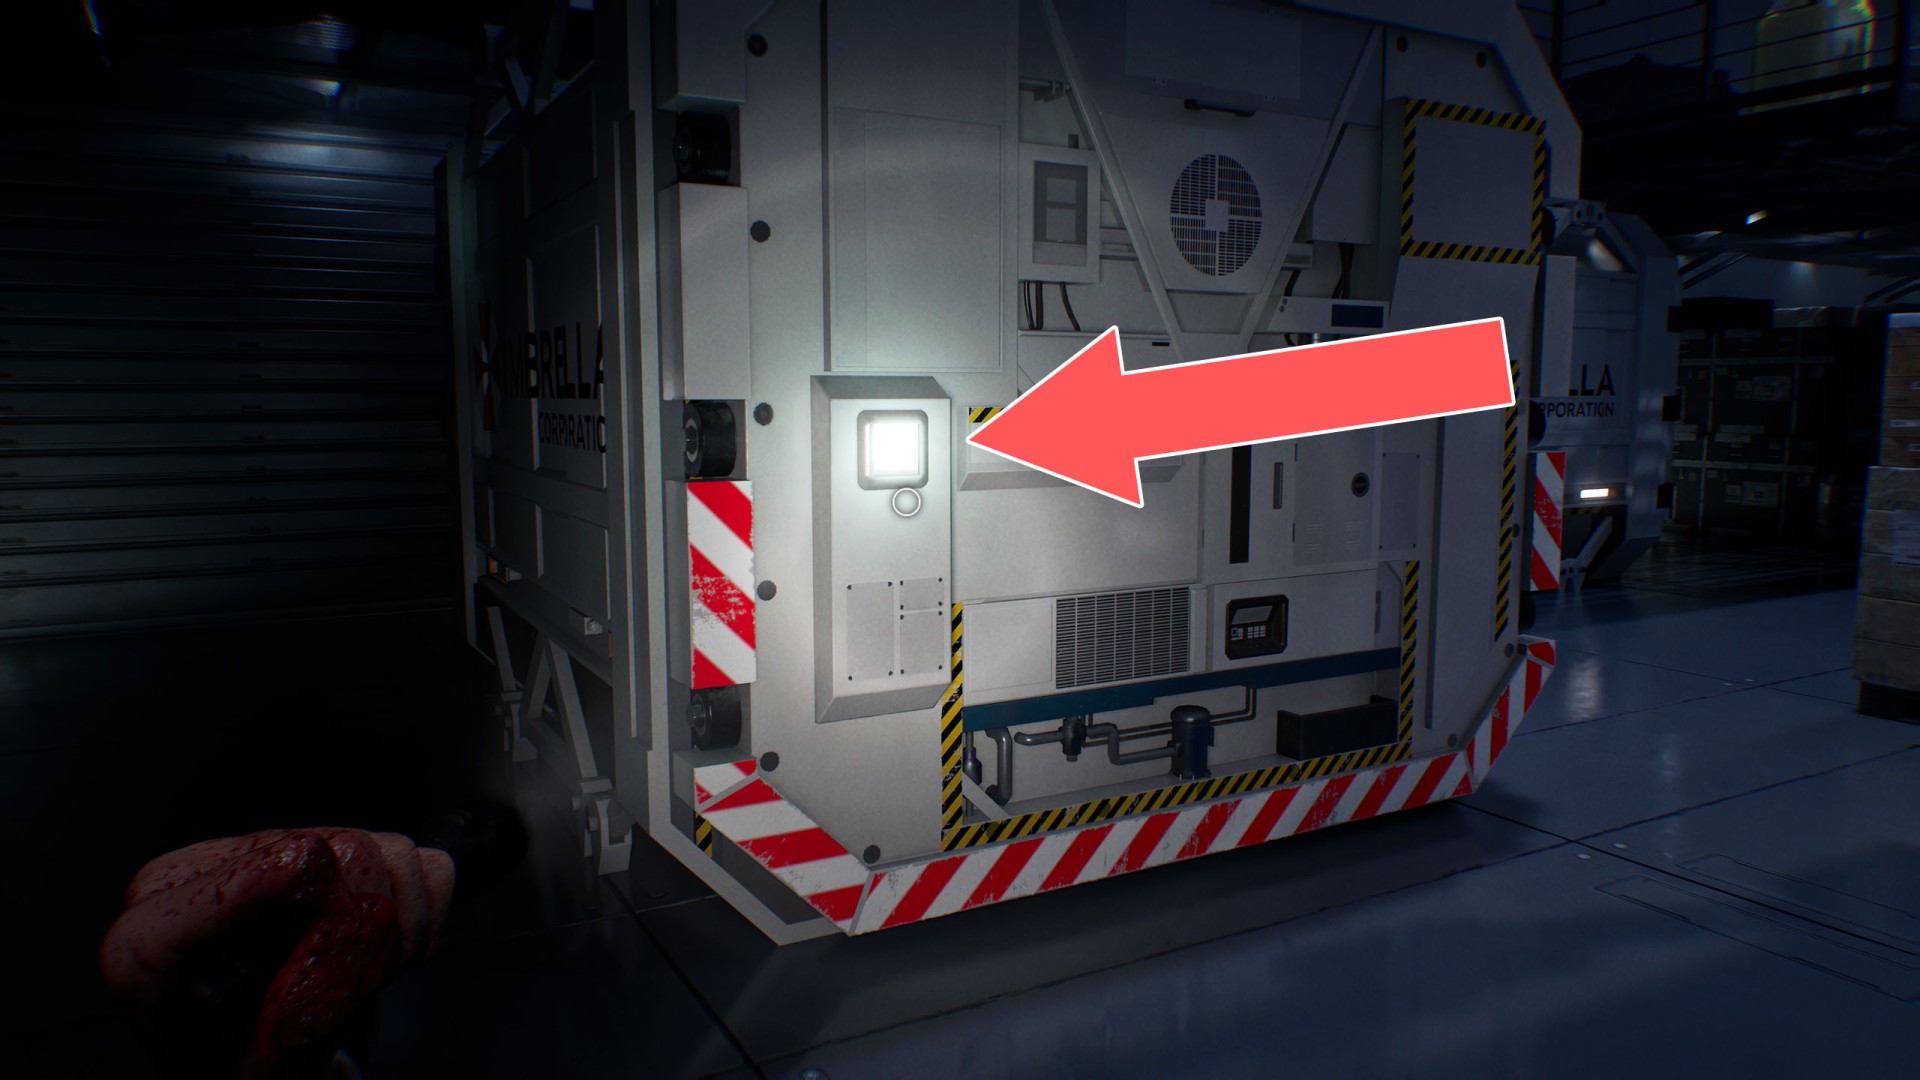
44Container Opening Button
The button on the container that opens it and reveals its contents.
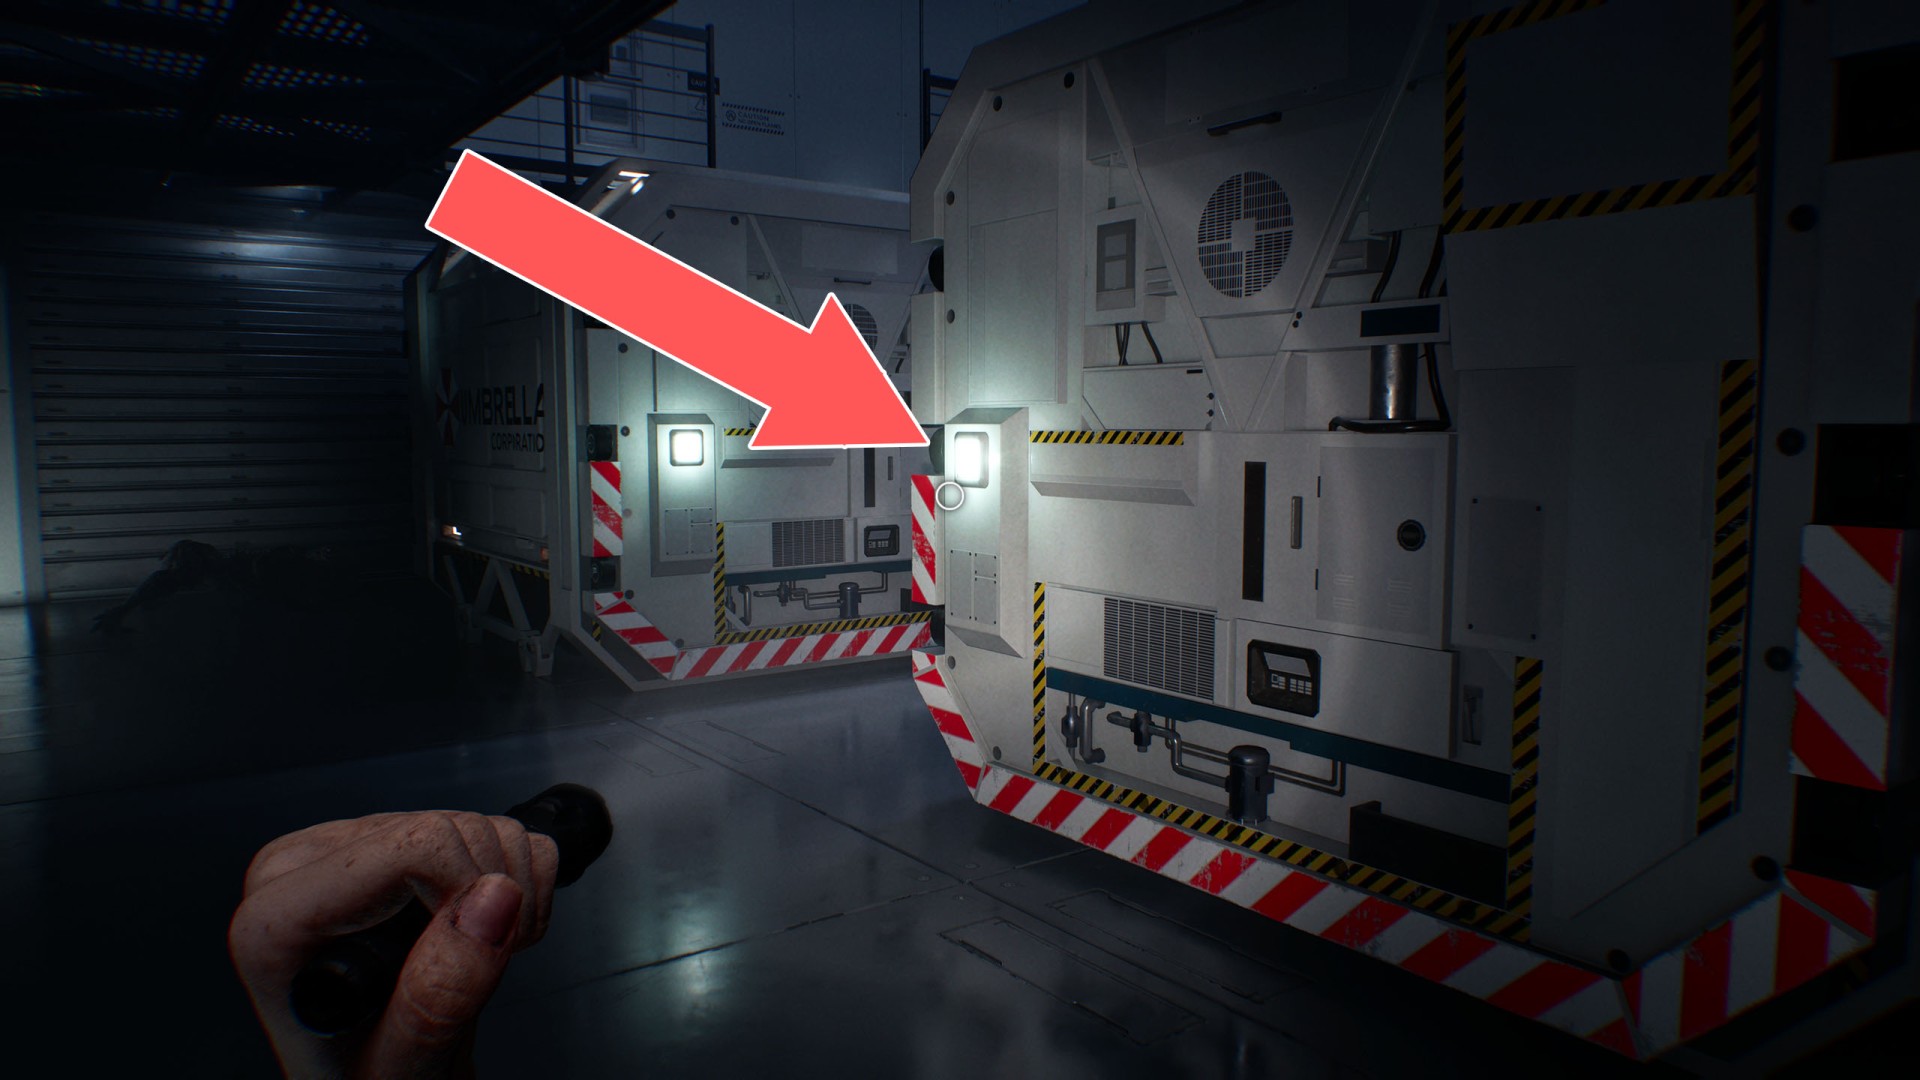
45Dump Control Room Panel
This panel will restore power to the room, but you need the Override Key (Dump Control Room) to use it.