Locked Passages in Resident Evil Requiem are all locked doors, gates, barred areas, and other passages requiring keys, ID wristbands, fuses, tools, puzzles, or special actions (e.g., chainsaw for bolts) to open.
Locked Passages
Locations on Wrenwood
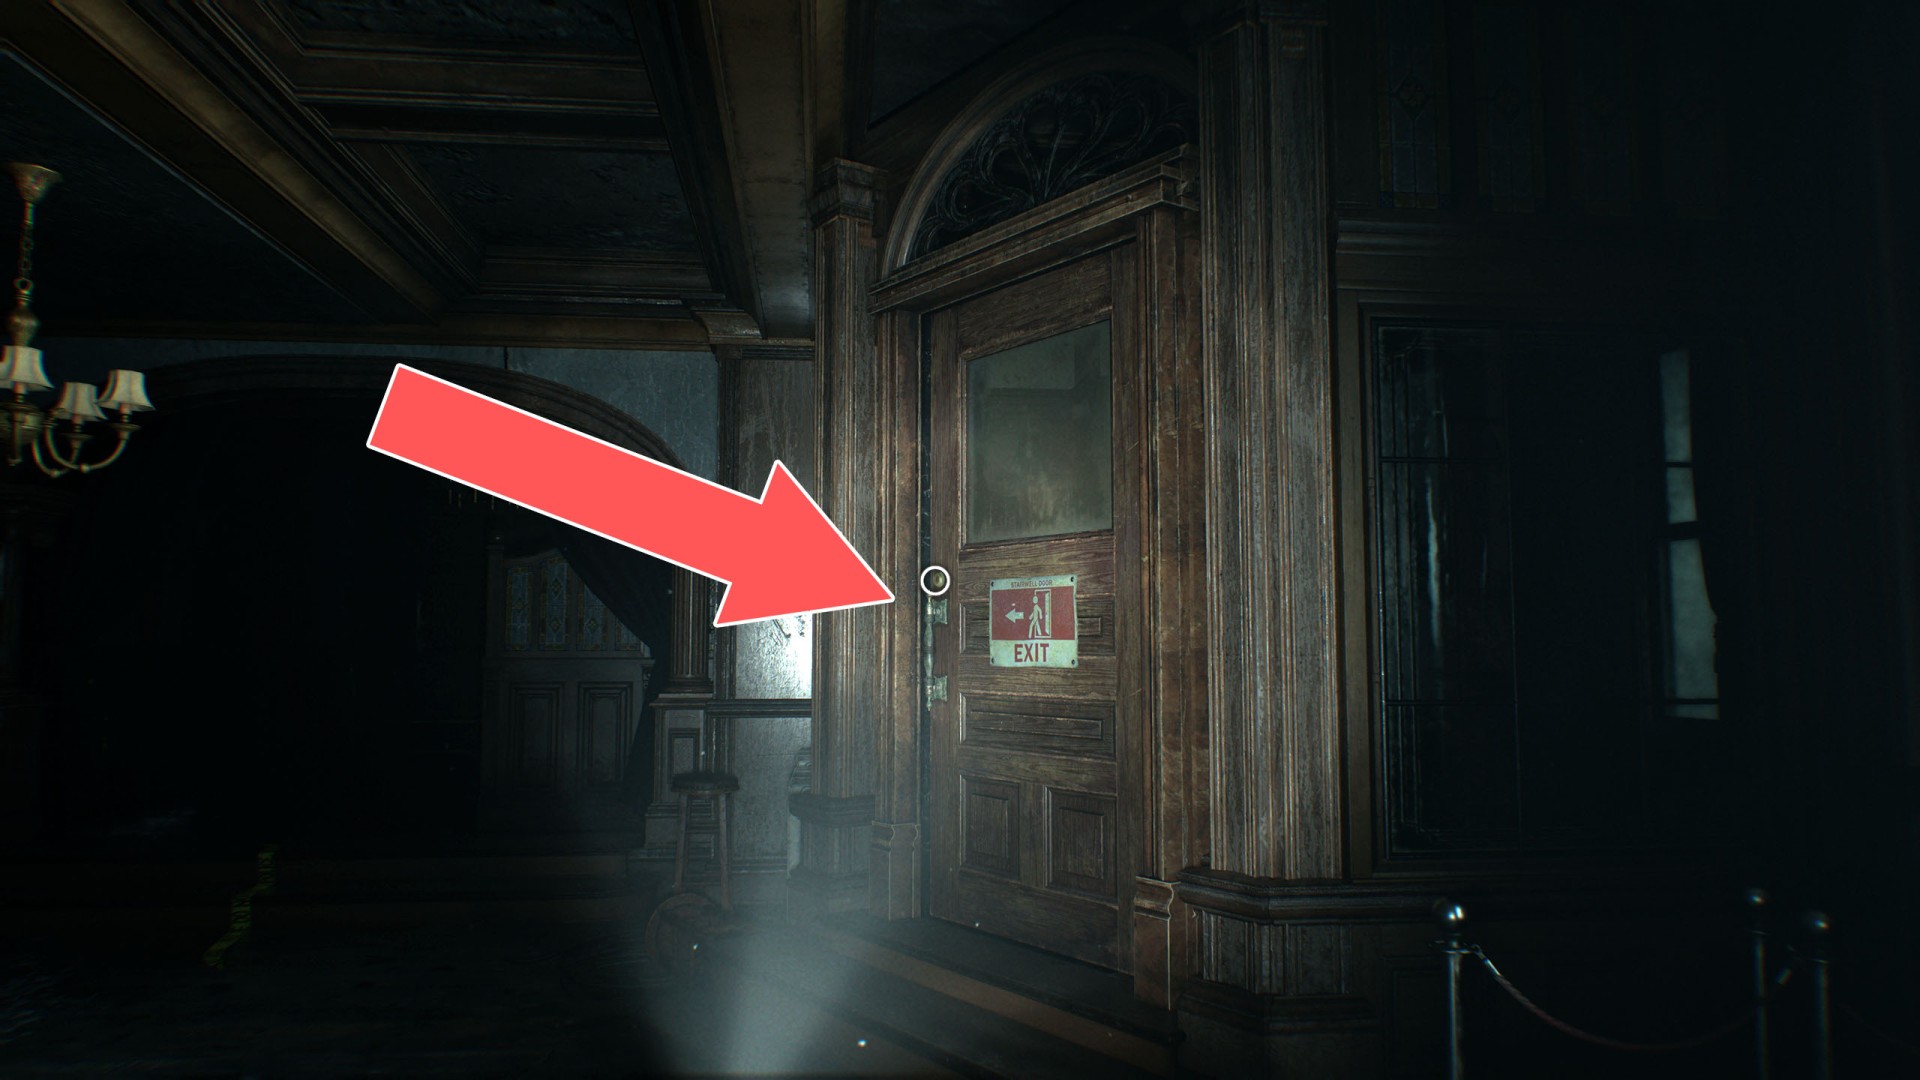
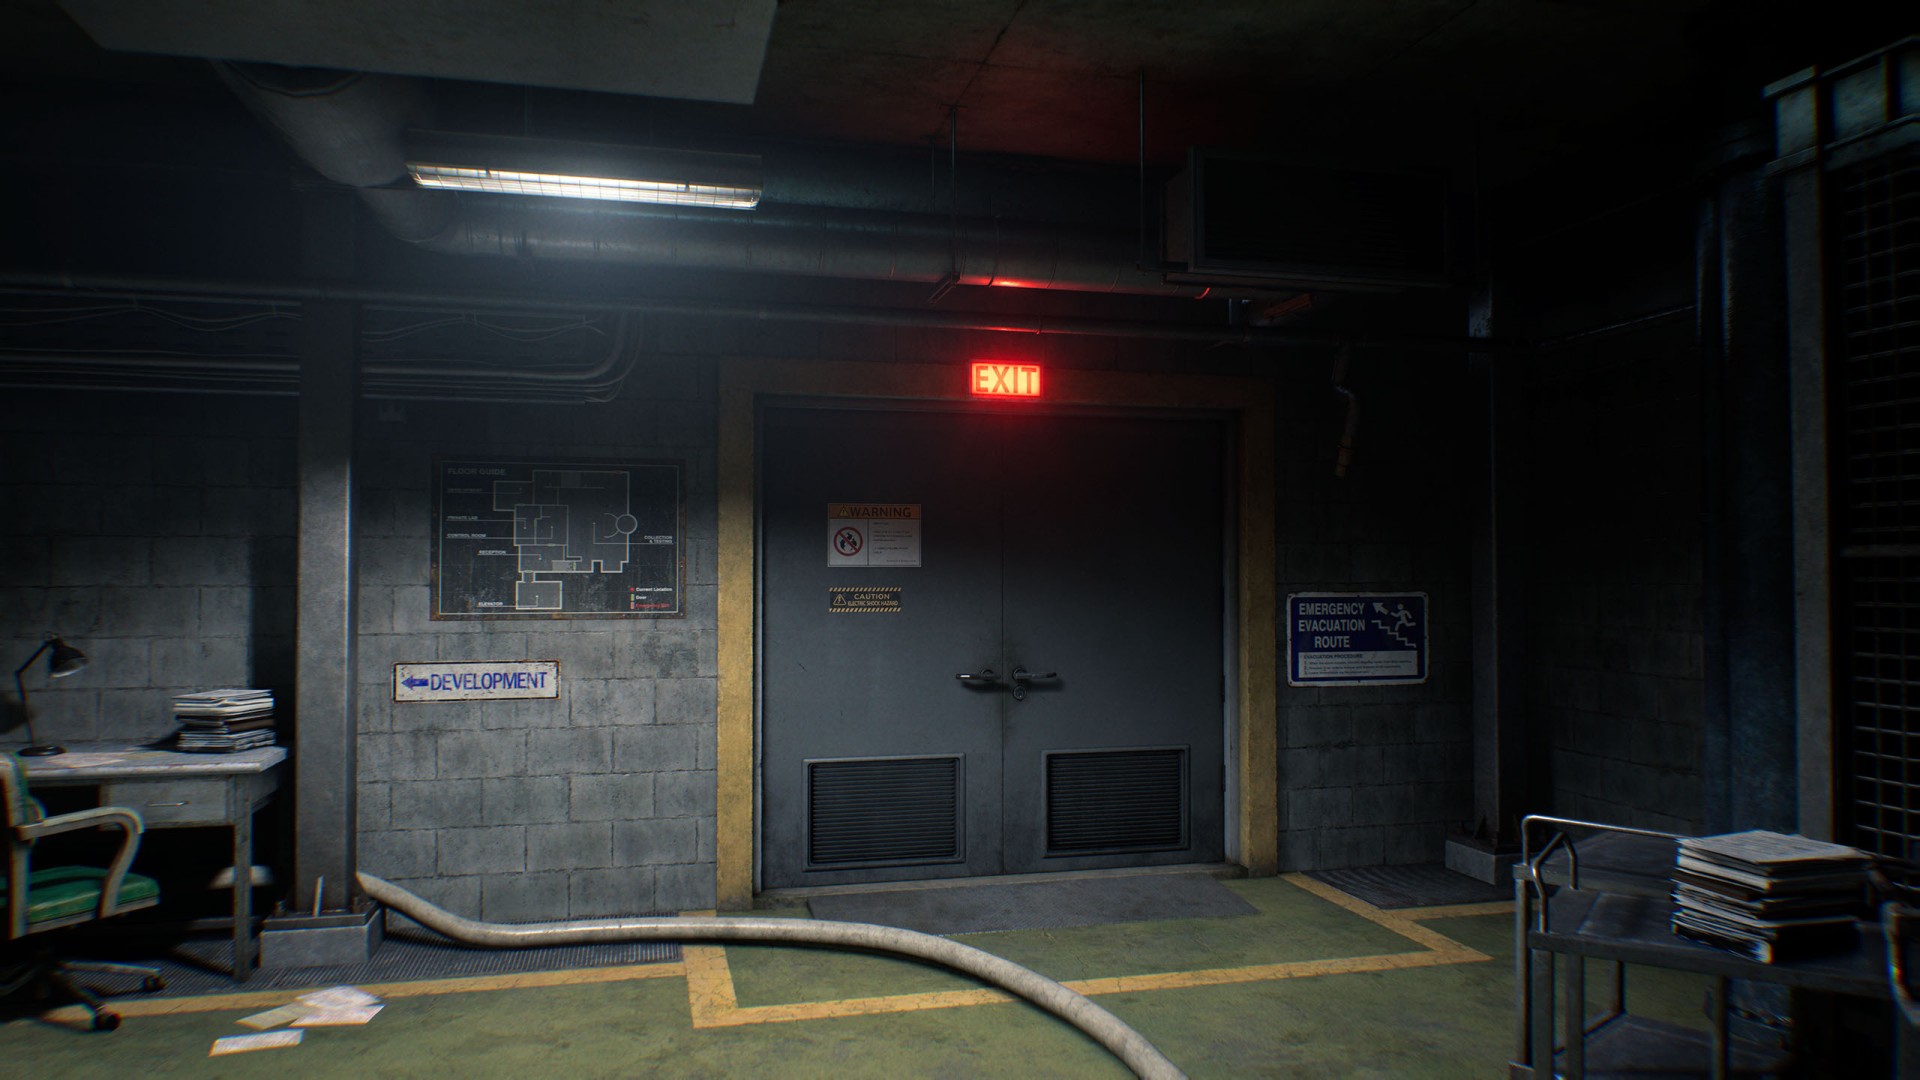
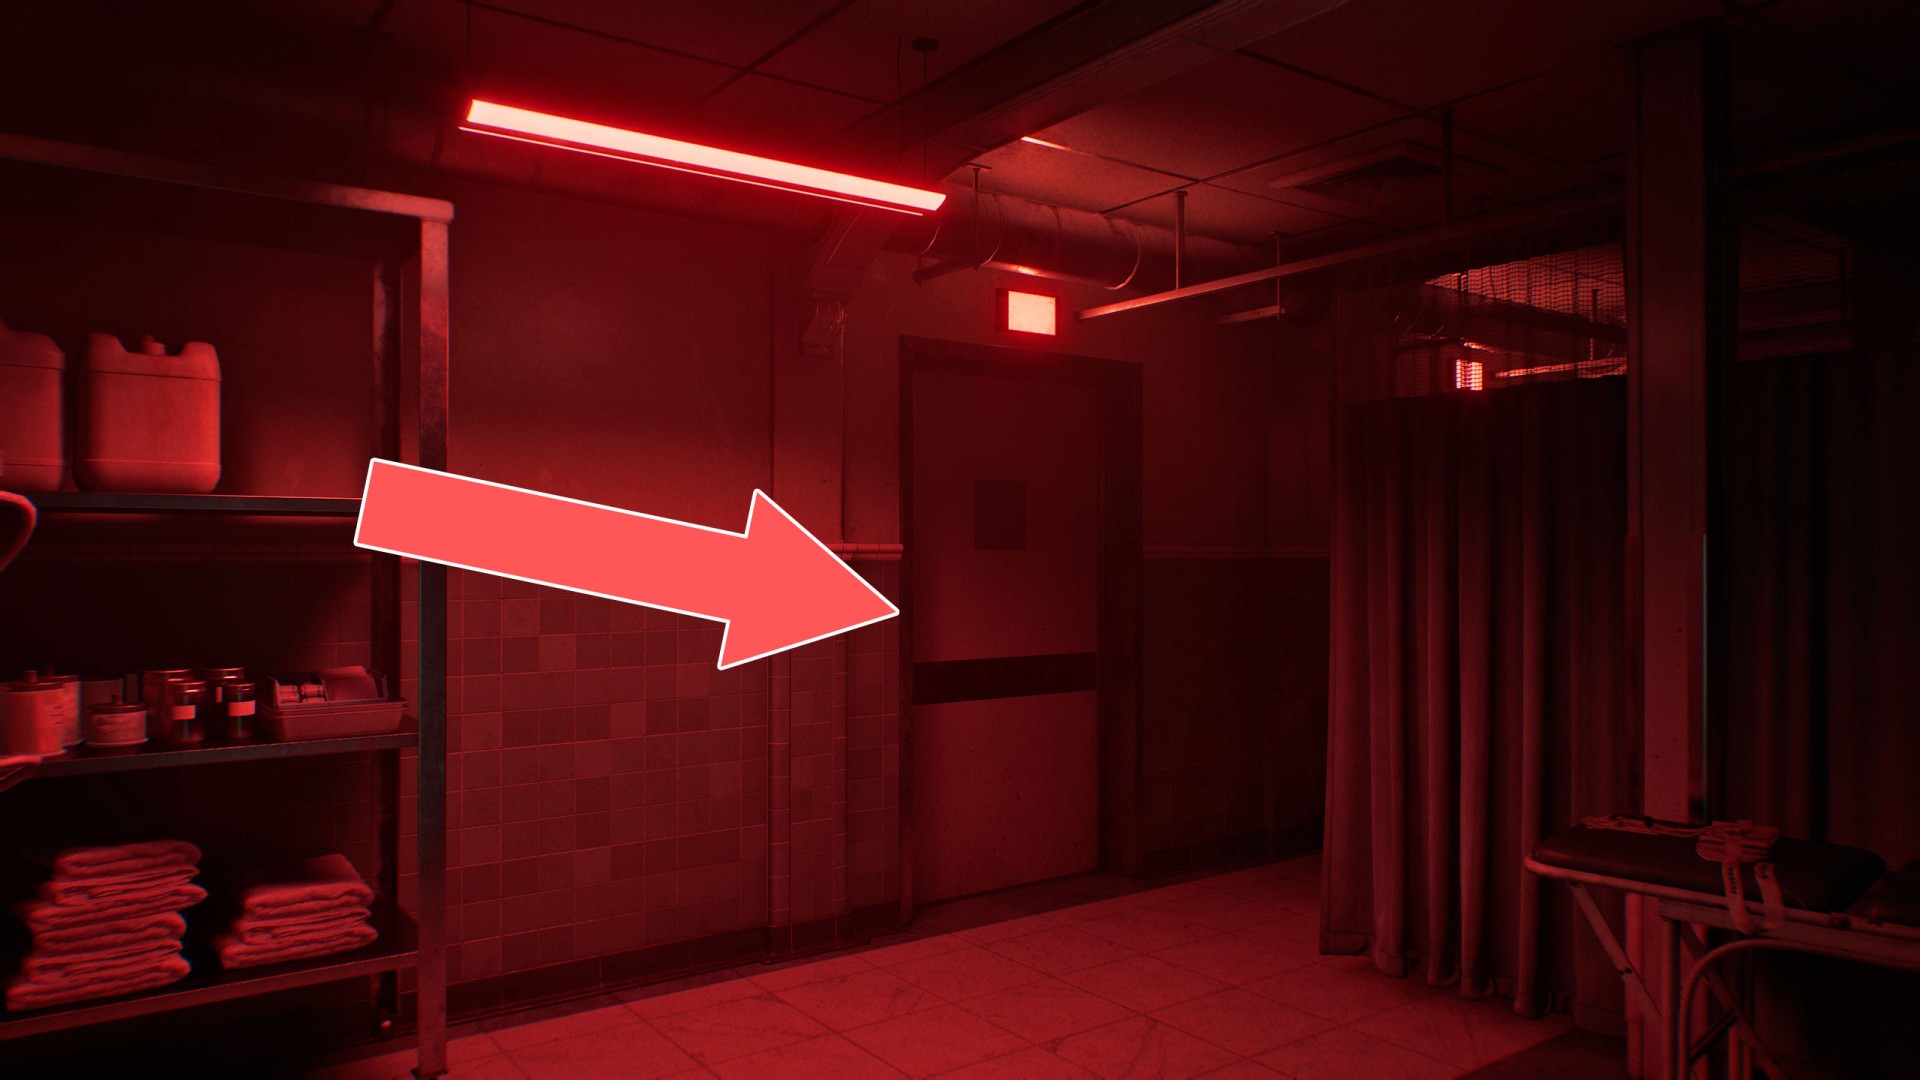
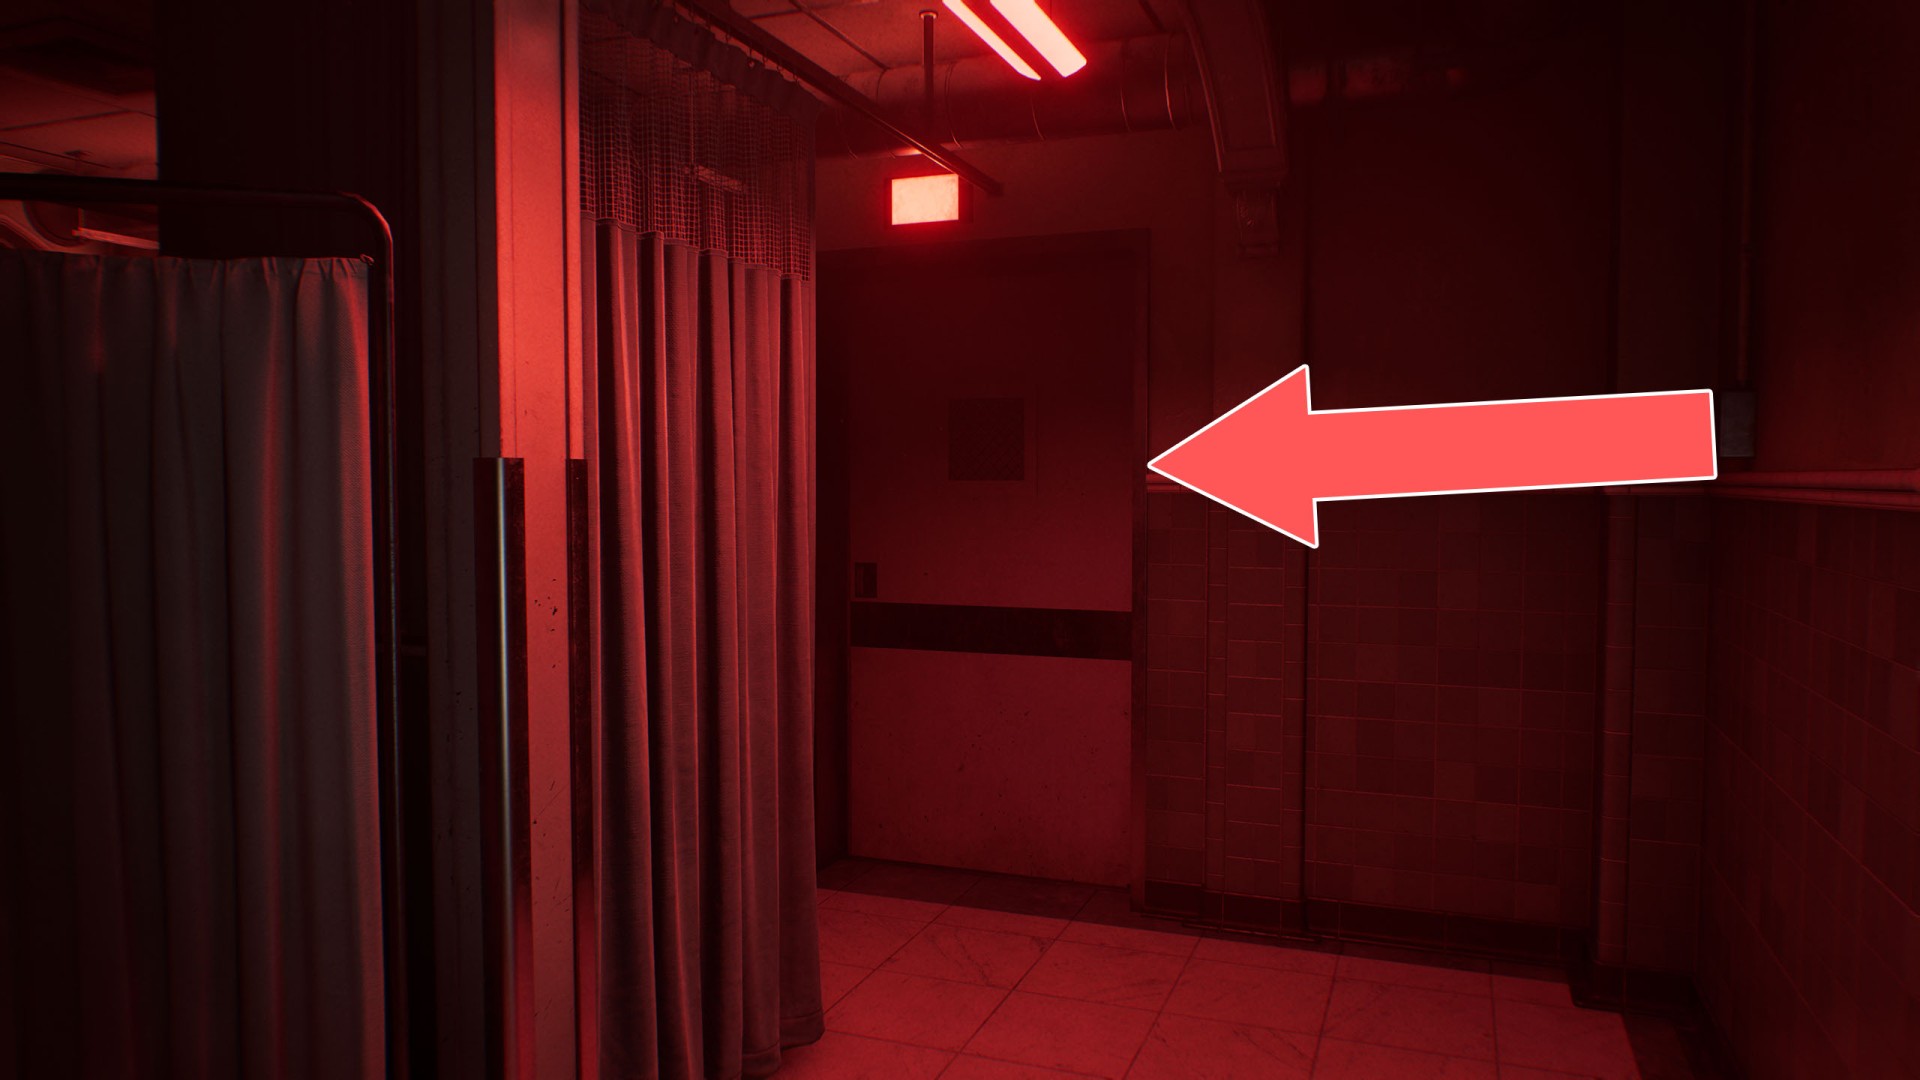
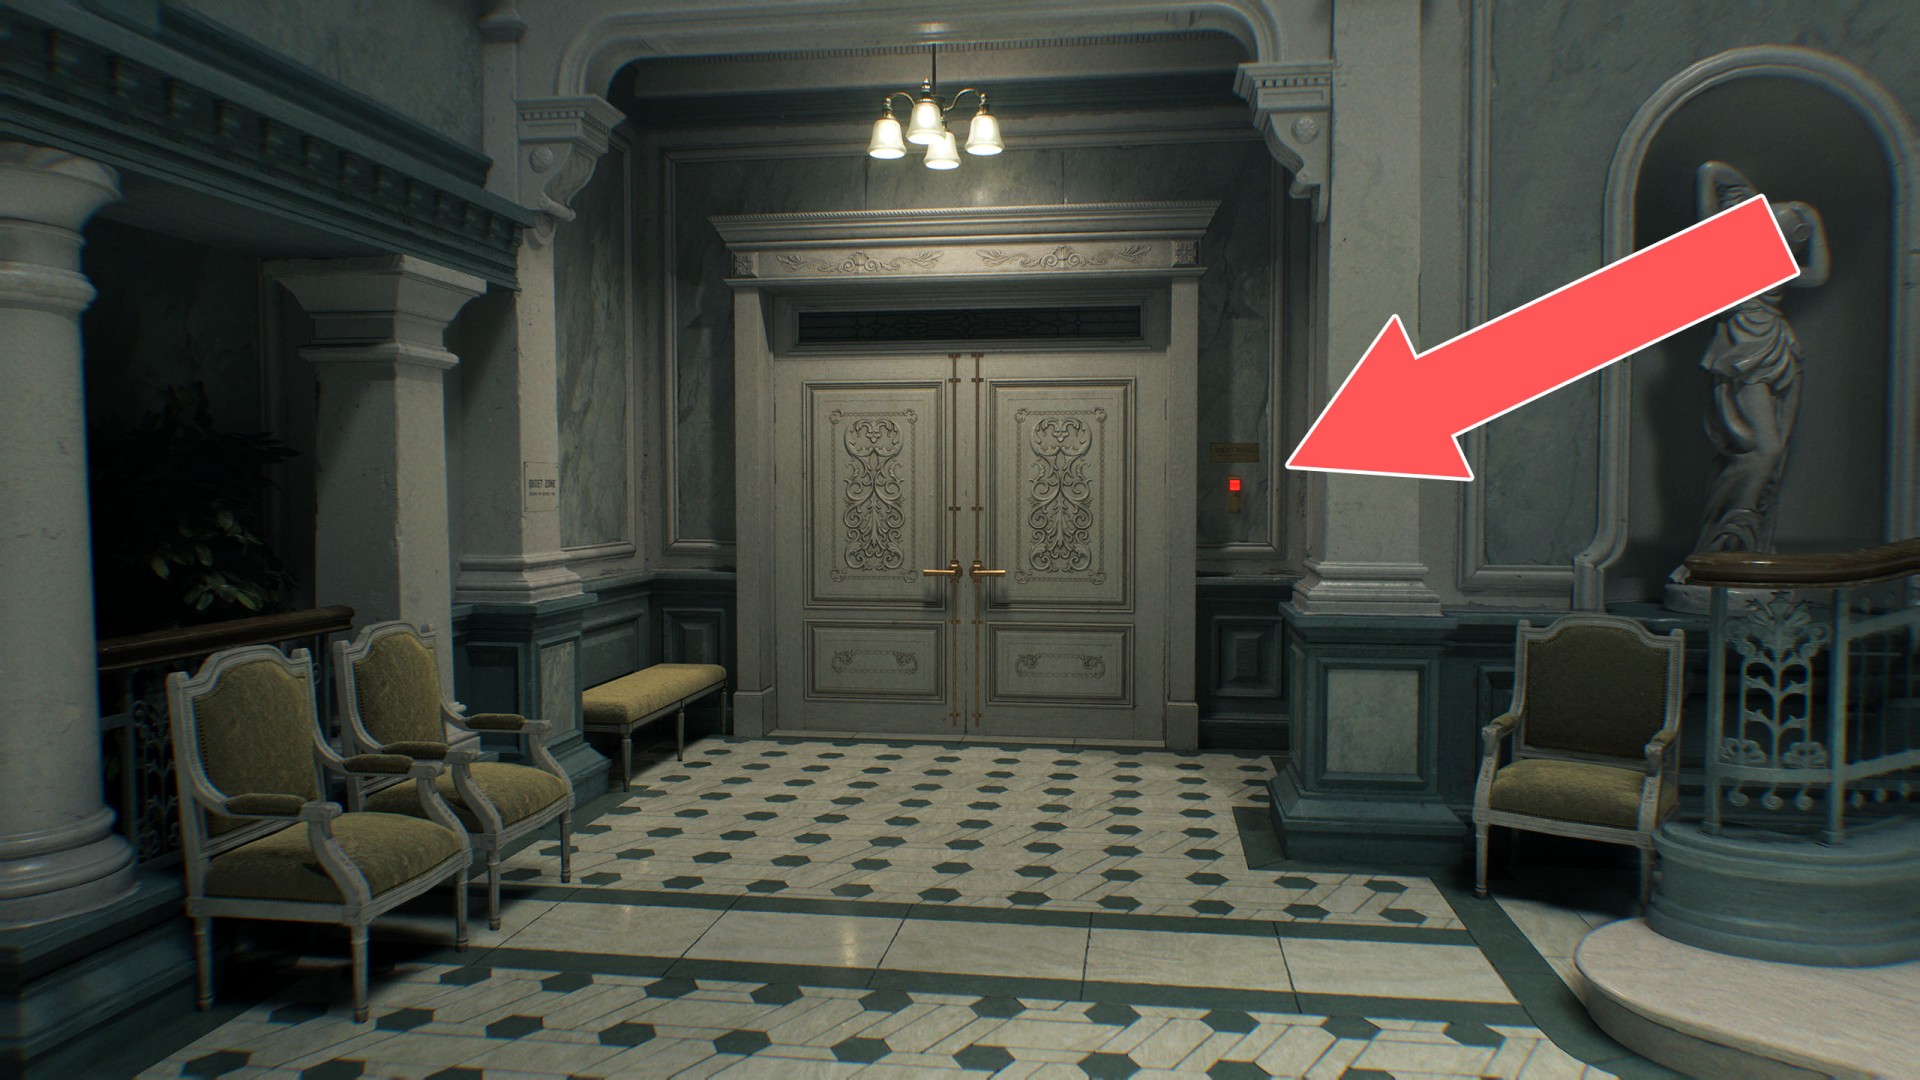
1 Emergency Exit Door
To unlock it, you need to use the Emergency Exit Key.
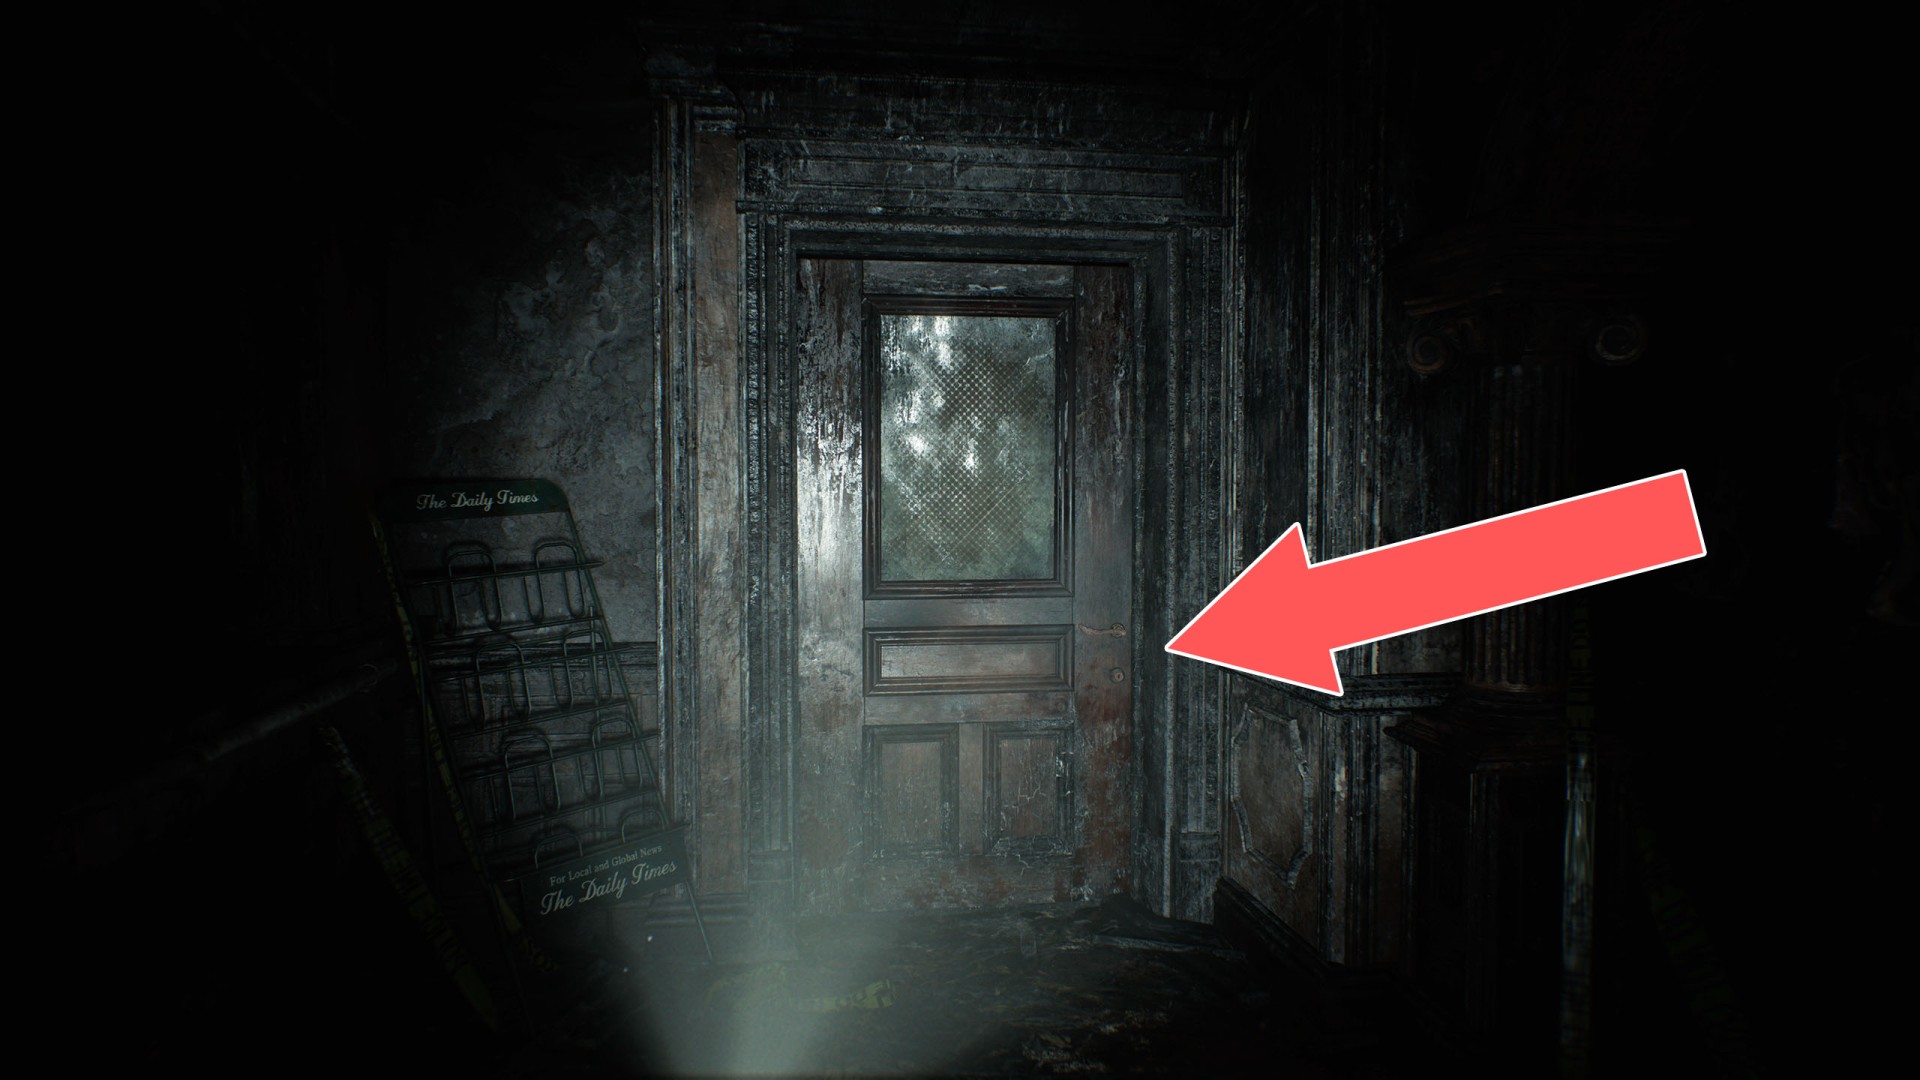
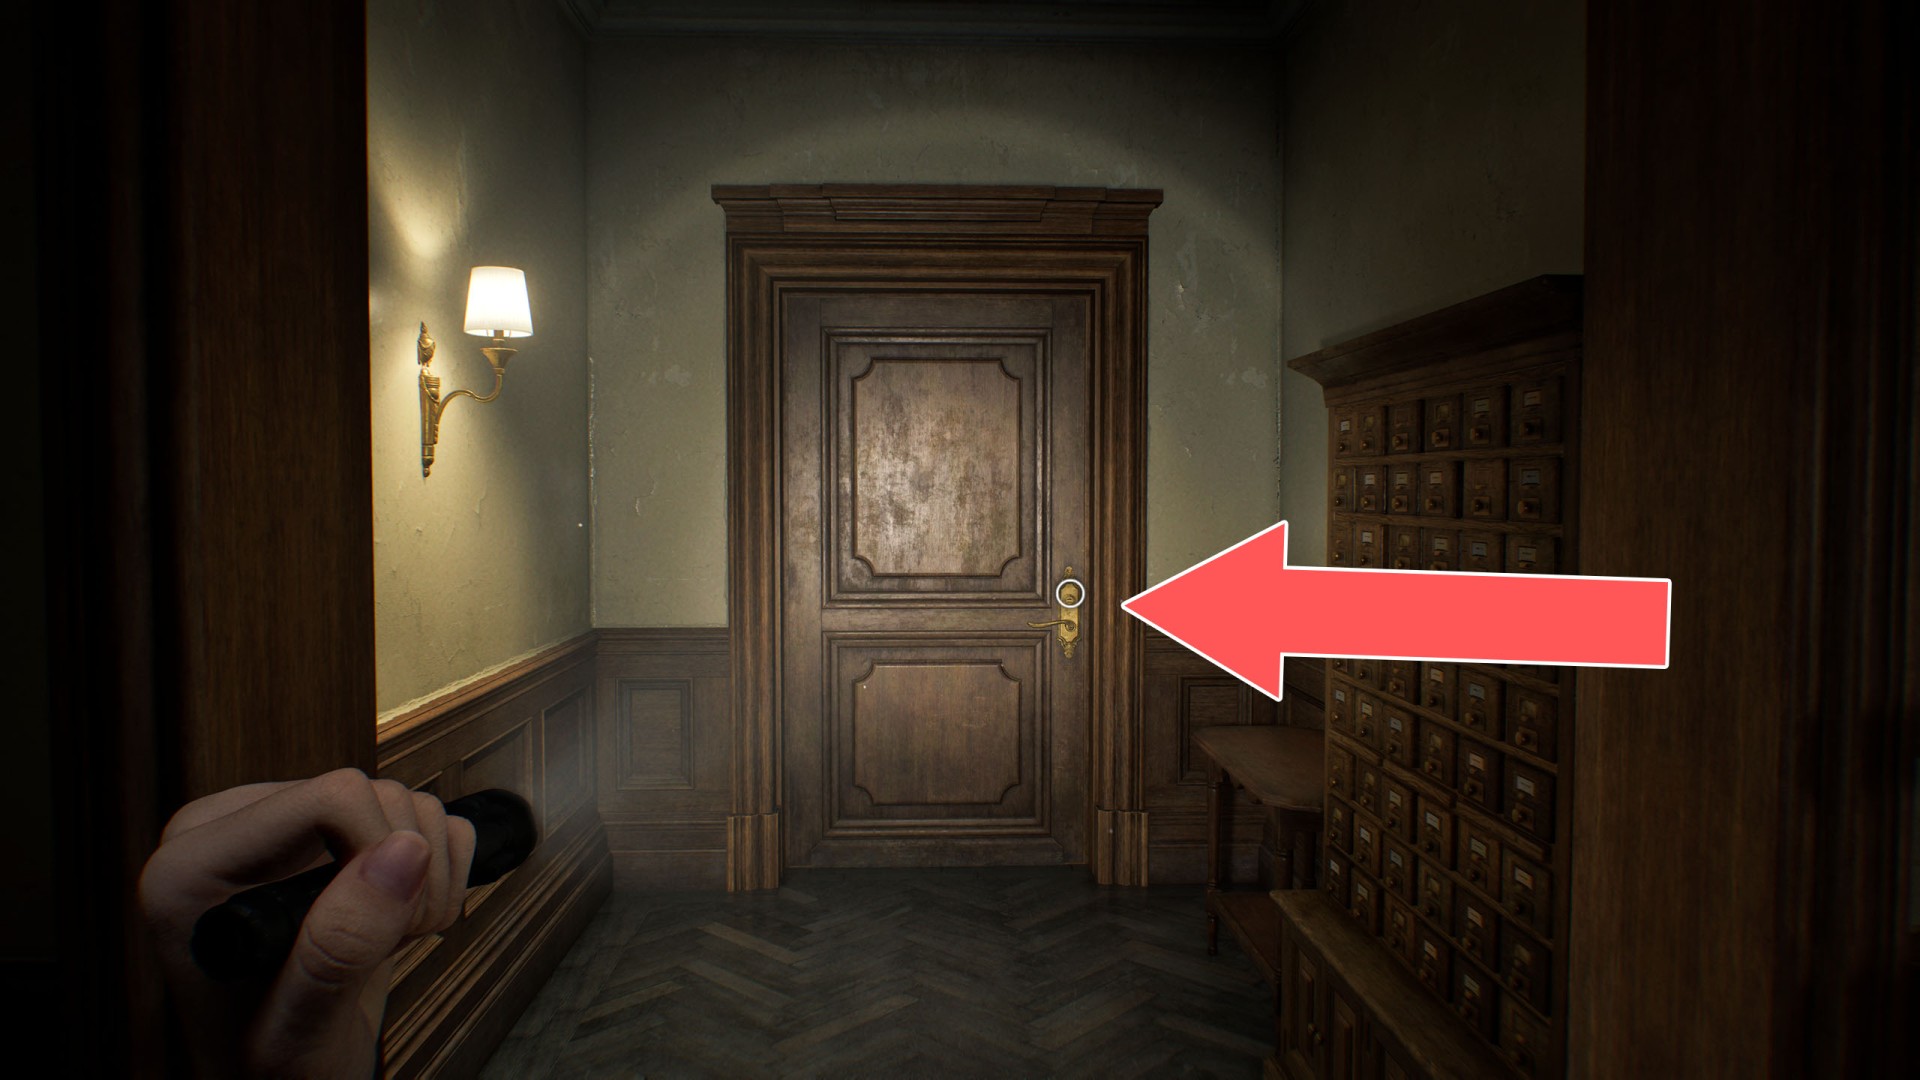
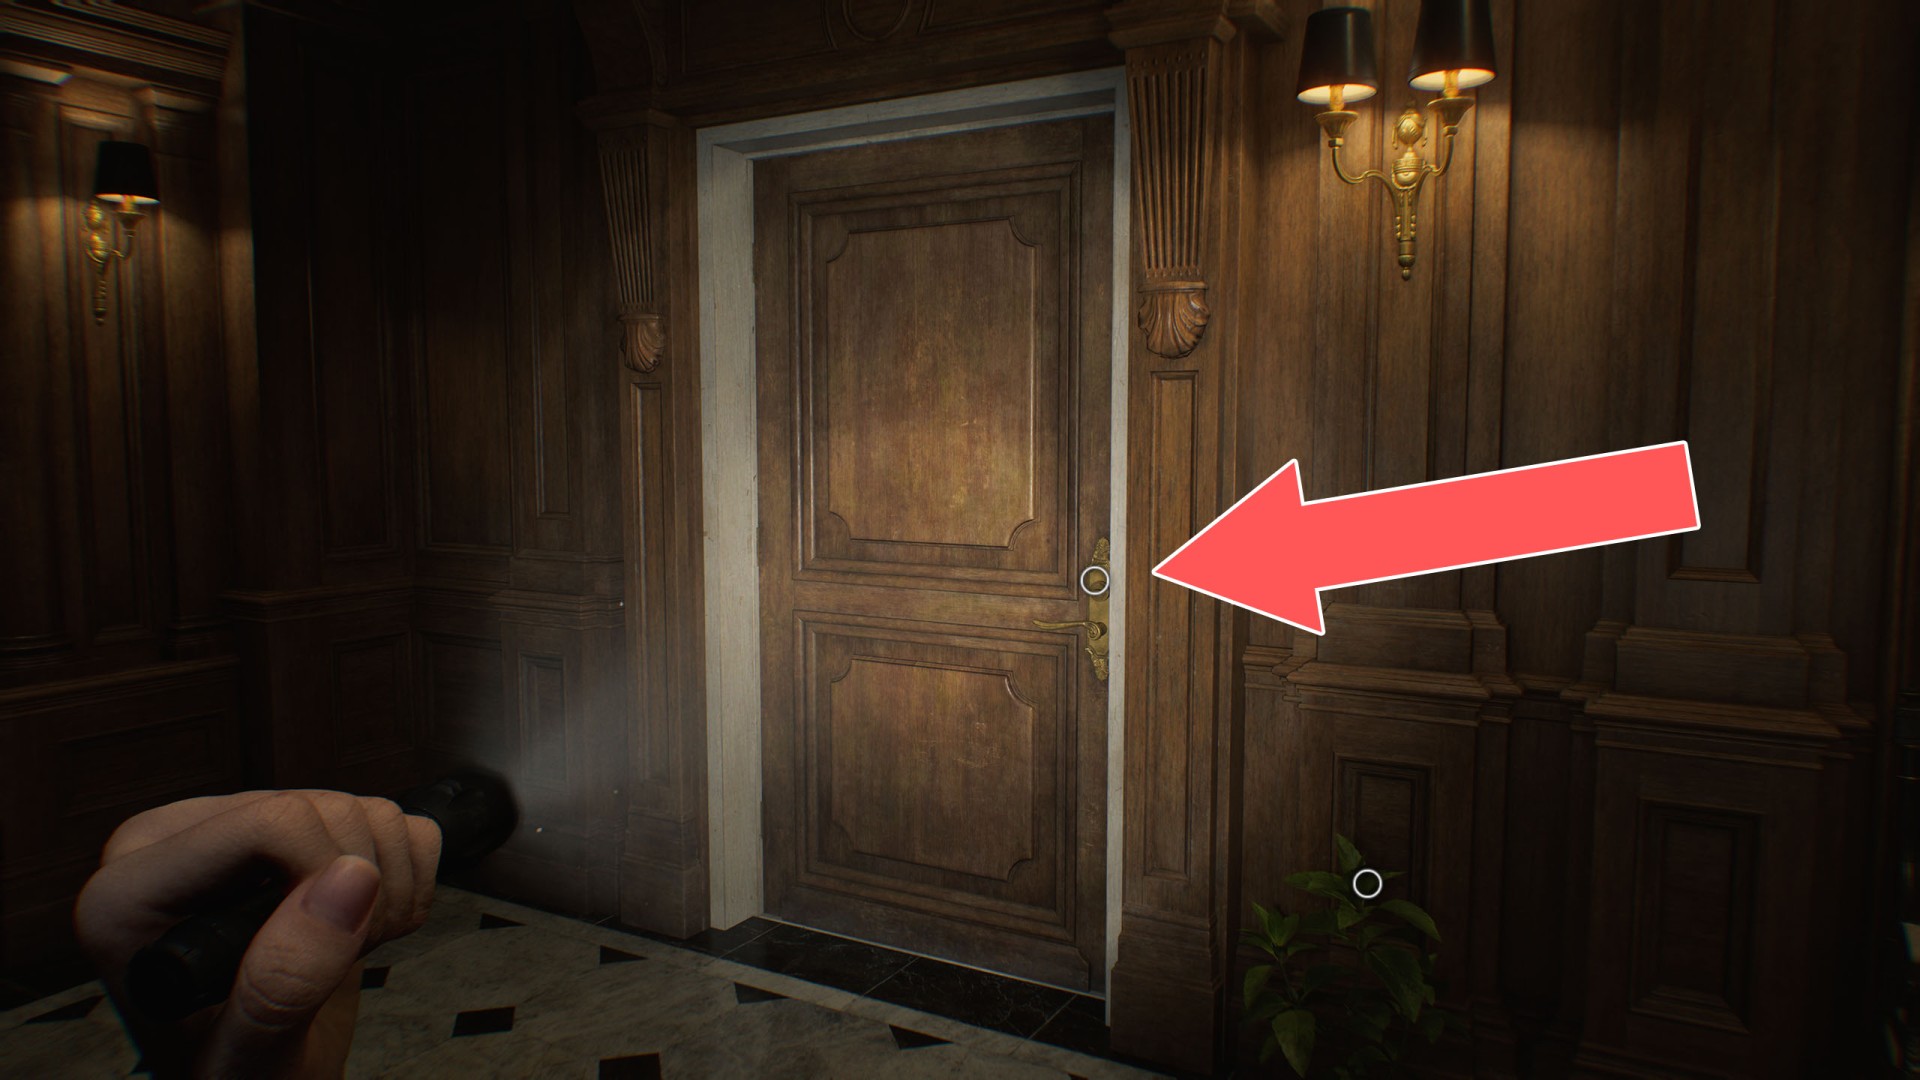
2Lounge & Bar Door
Use the Old Key to unlock it.
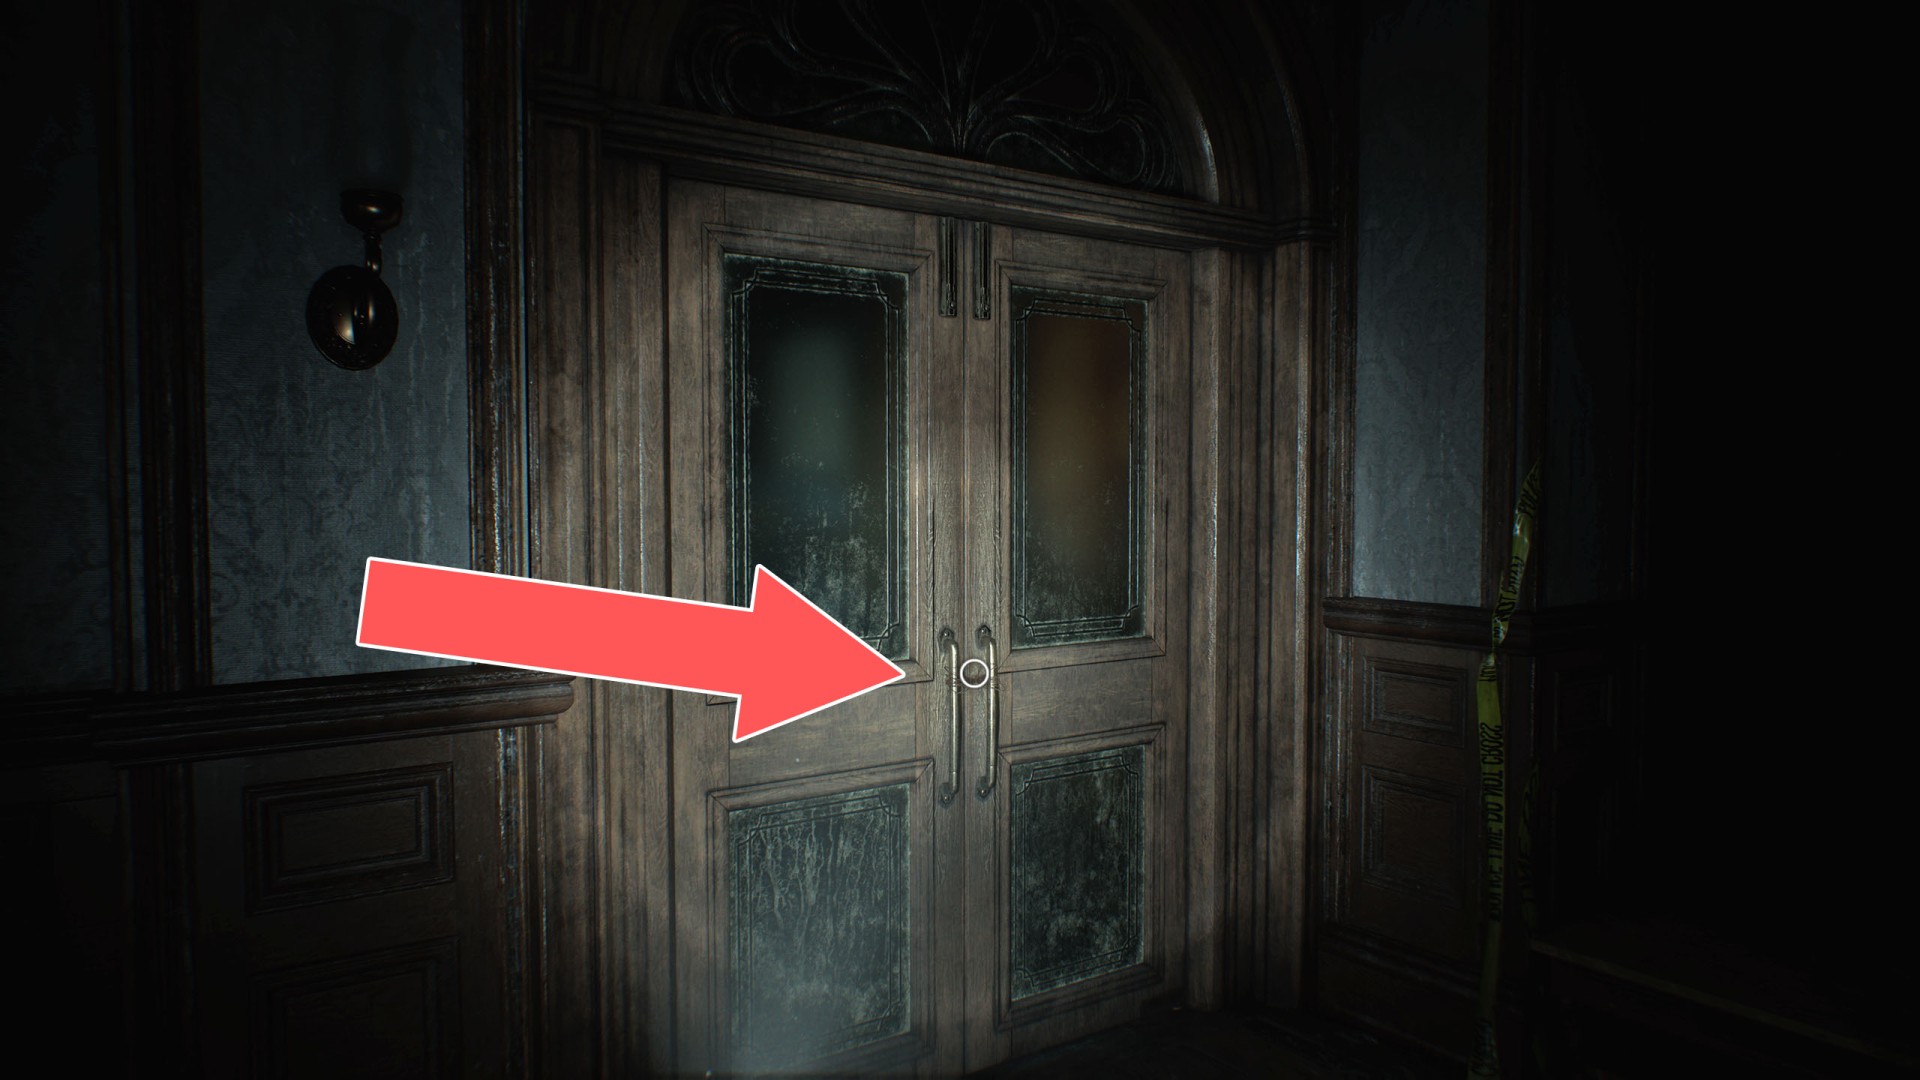
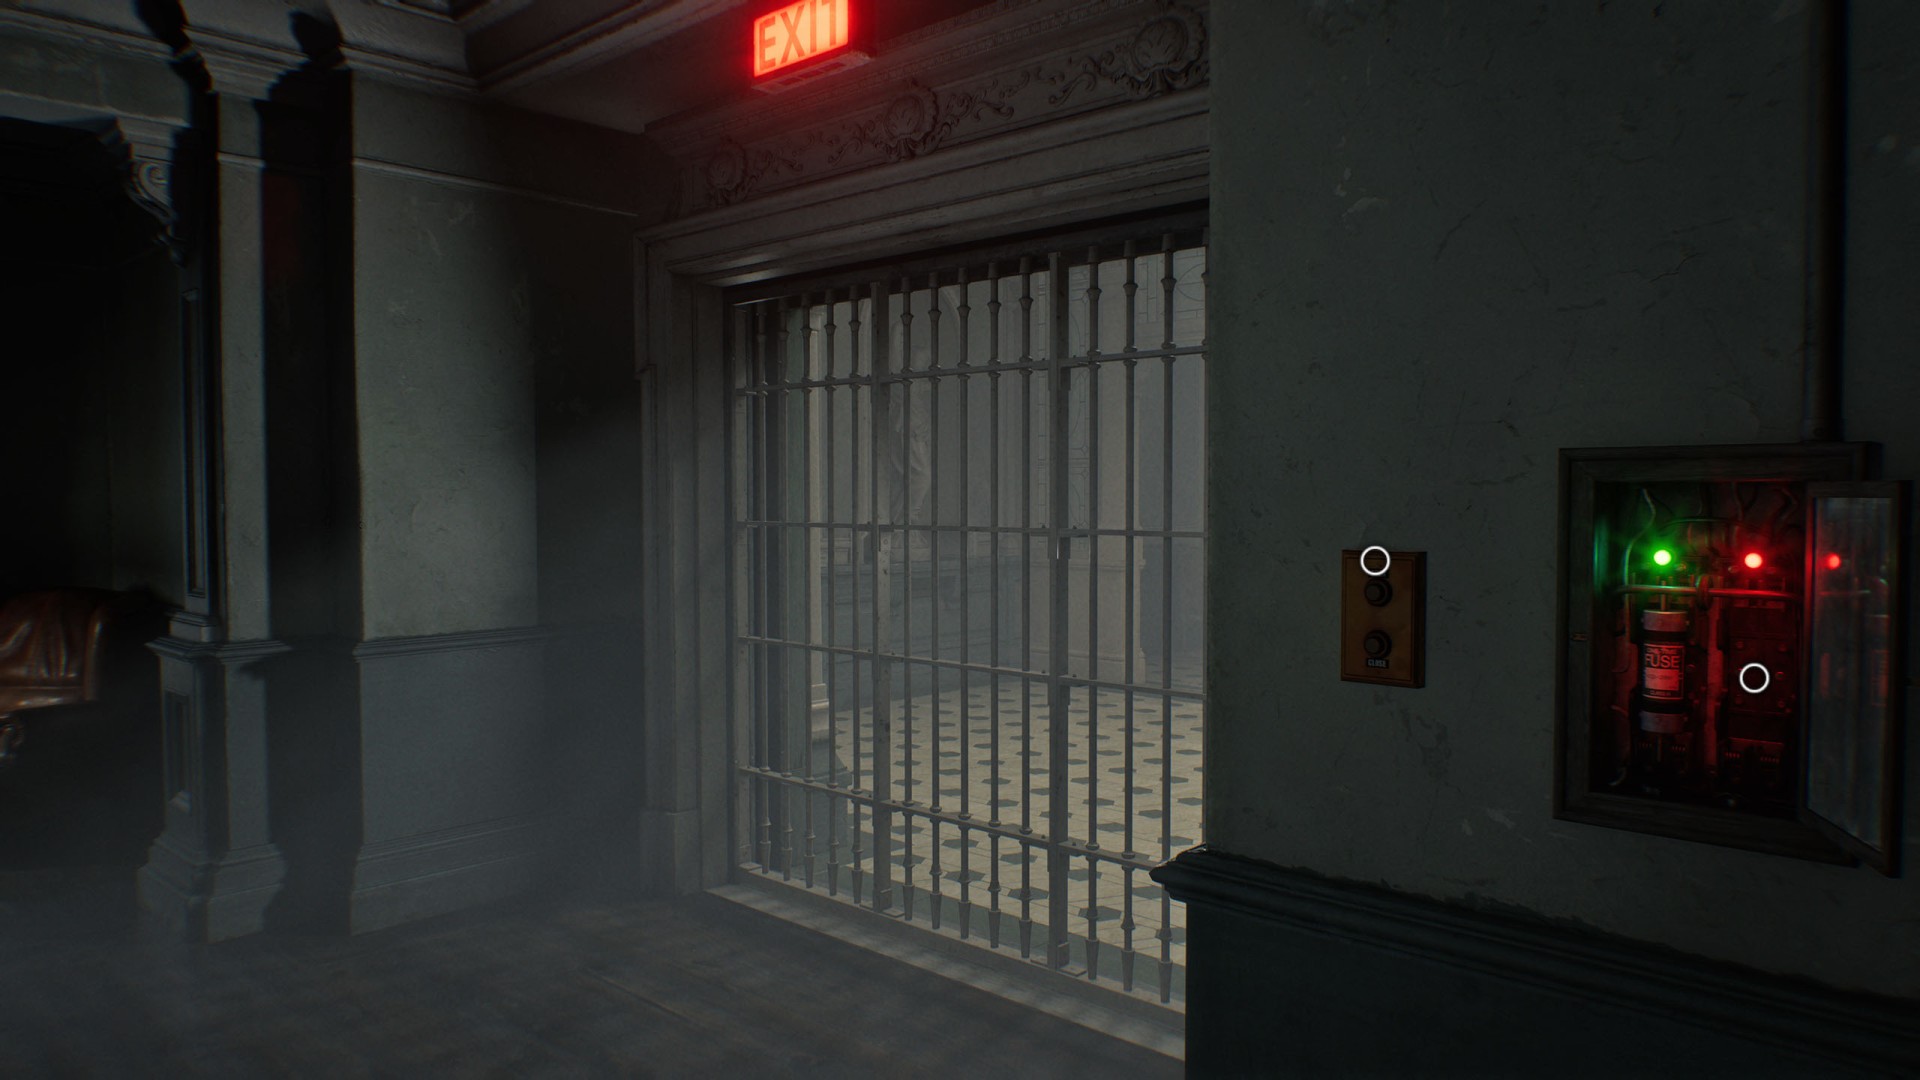
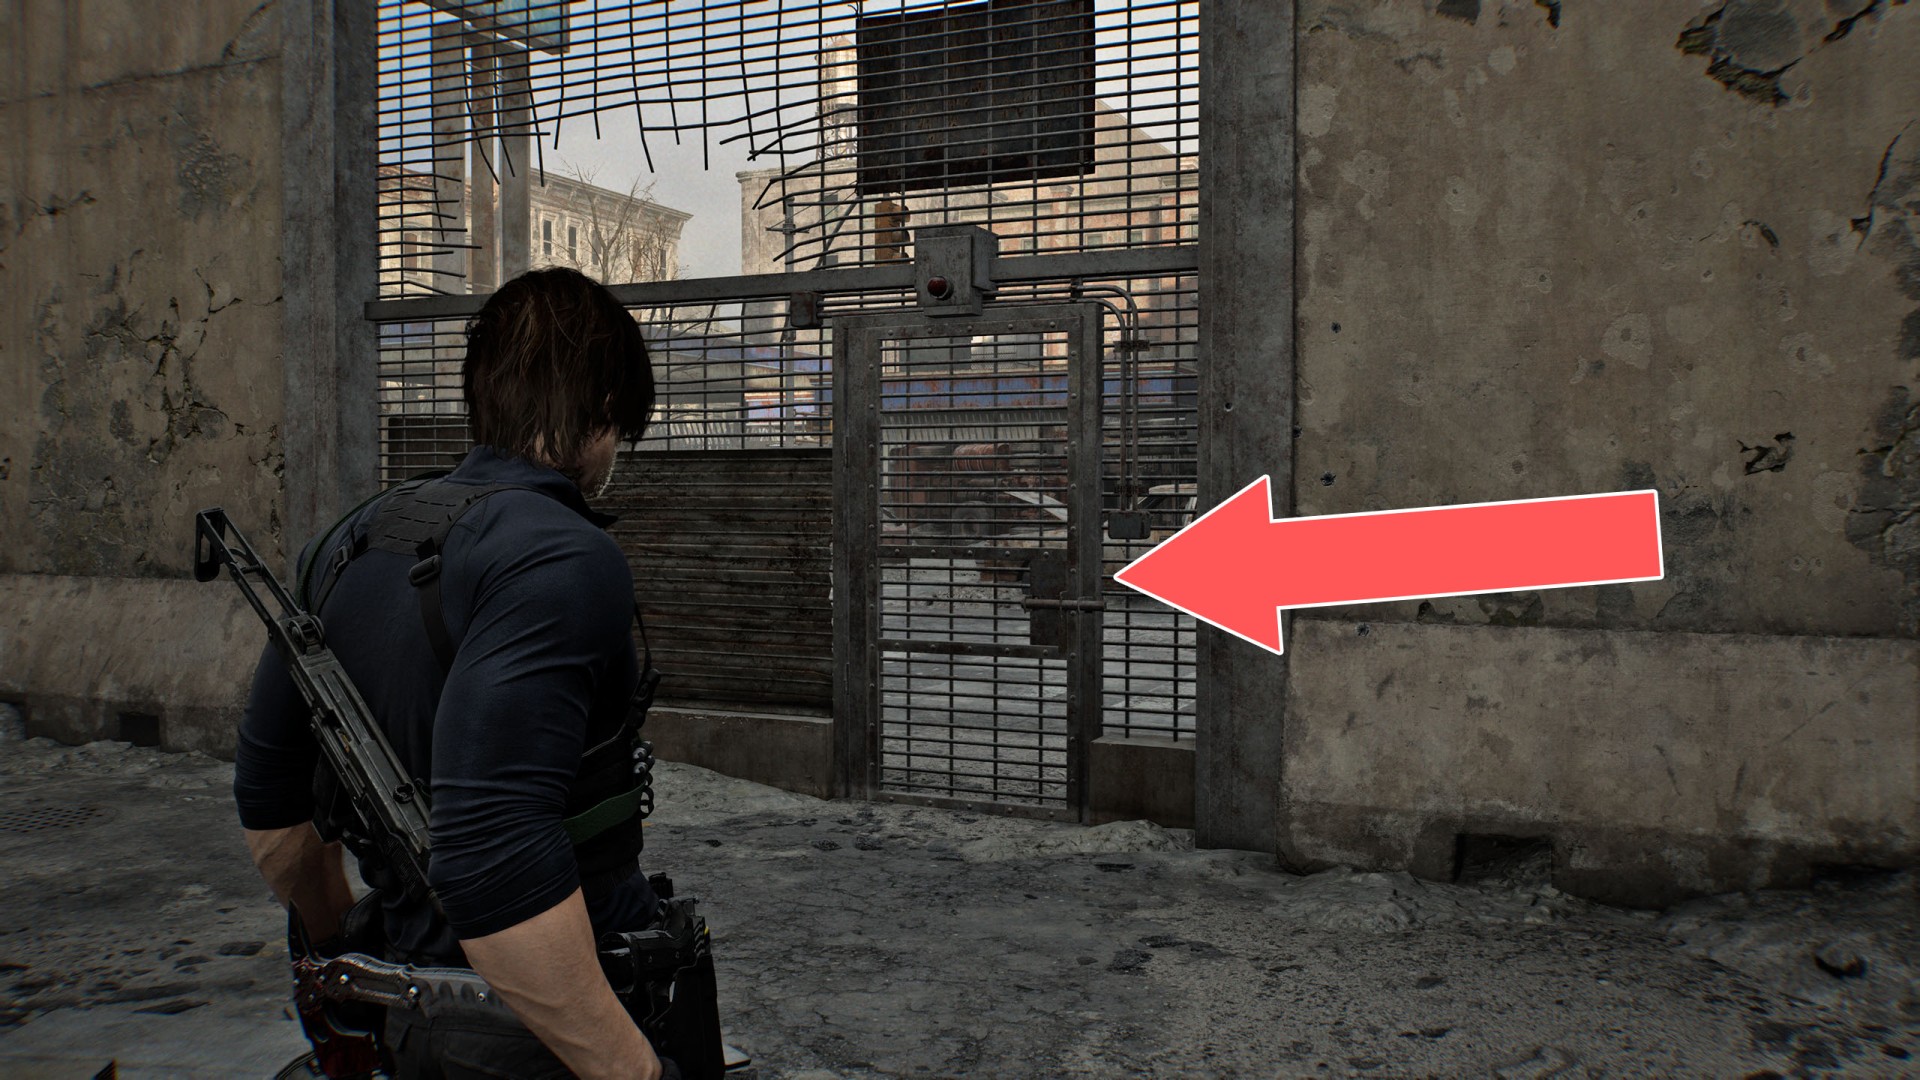
3Rec Room Door
To unlock them, you need to cut the wire with Wire Cutters.
Locations on Rhodes Hill
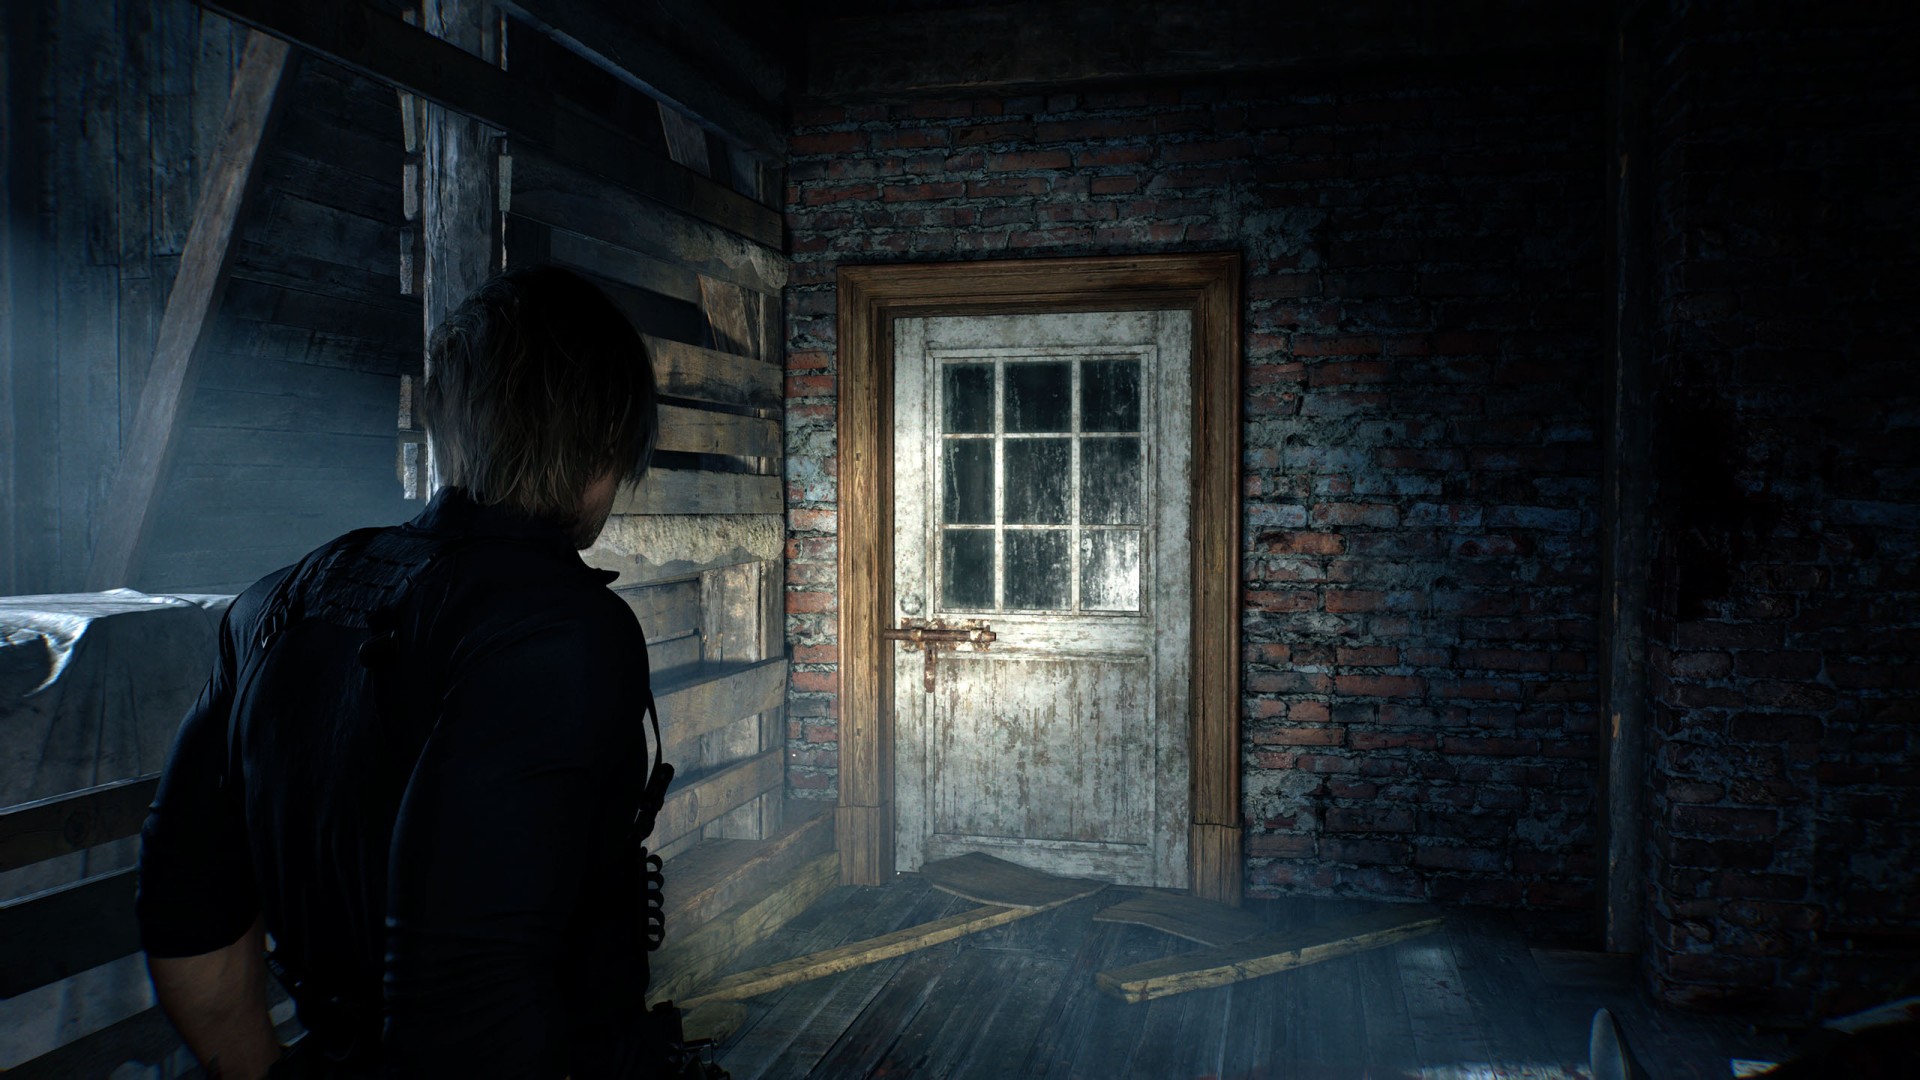
4Attic Door
You will only be able to open these doors after defeating Chunk (Leon).
5Cart
You must move this cart so that you can pass through here once the conveyor belt's direction is reversed.
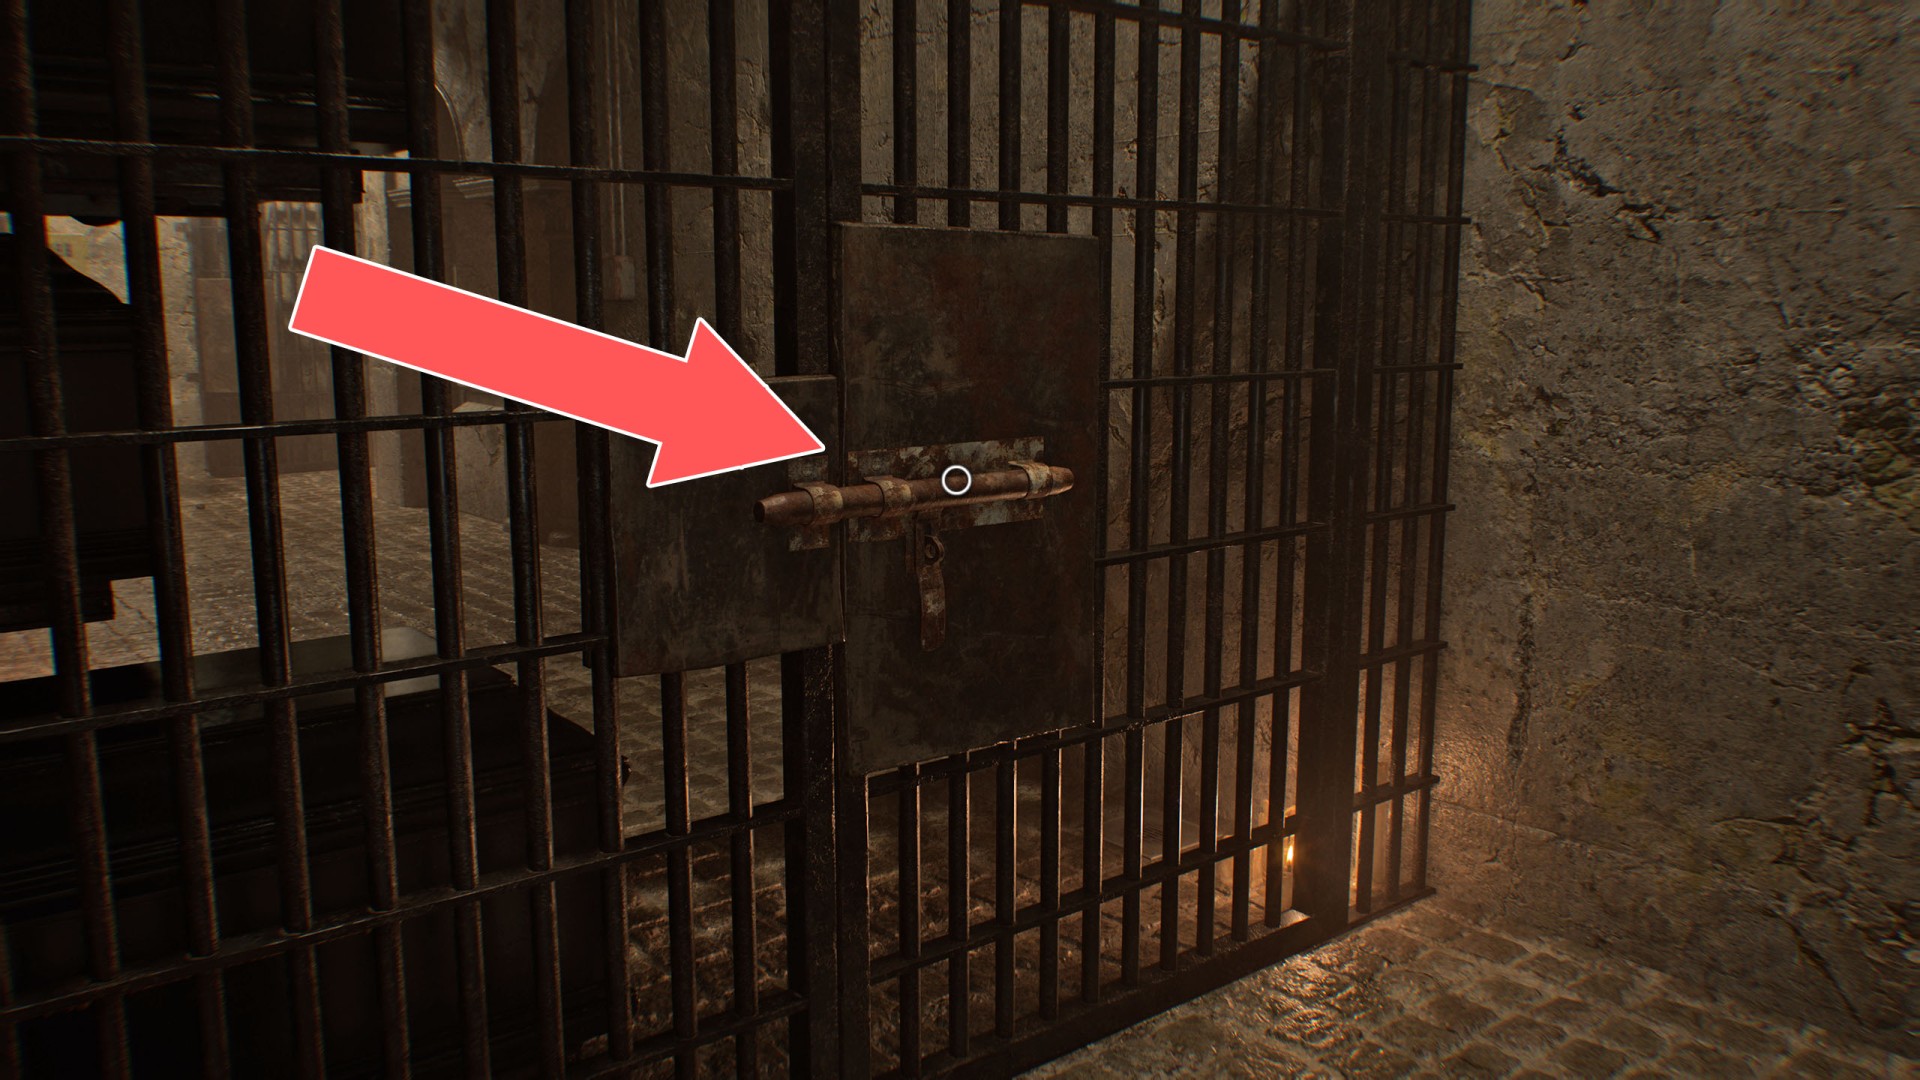
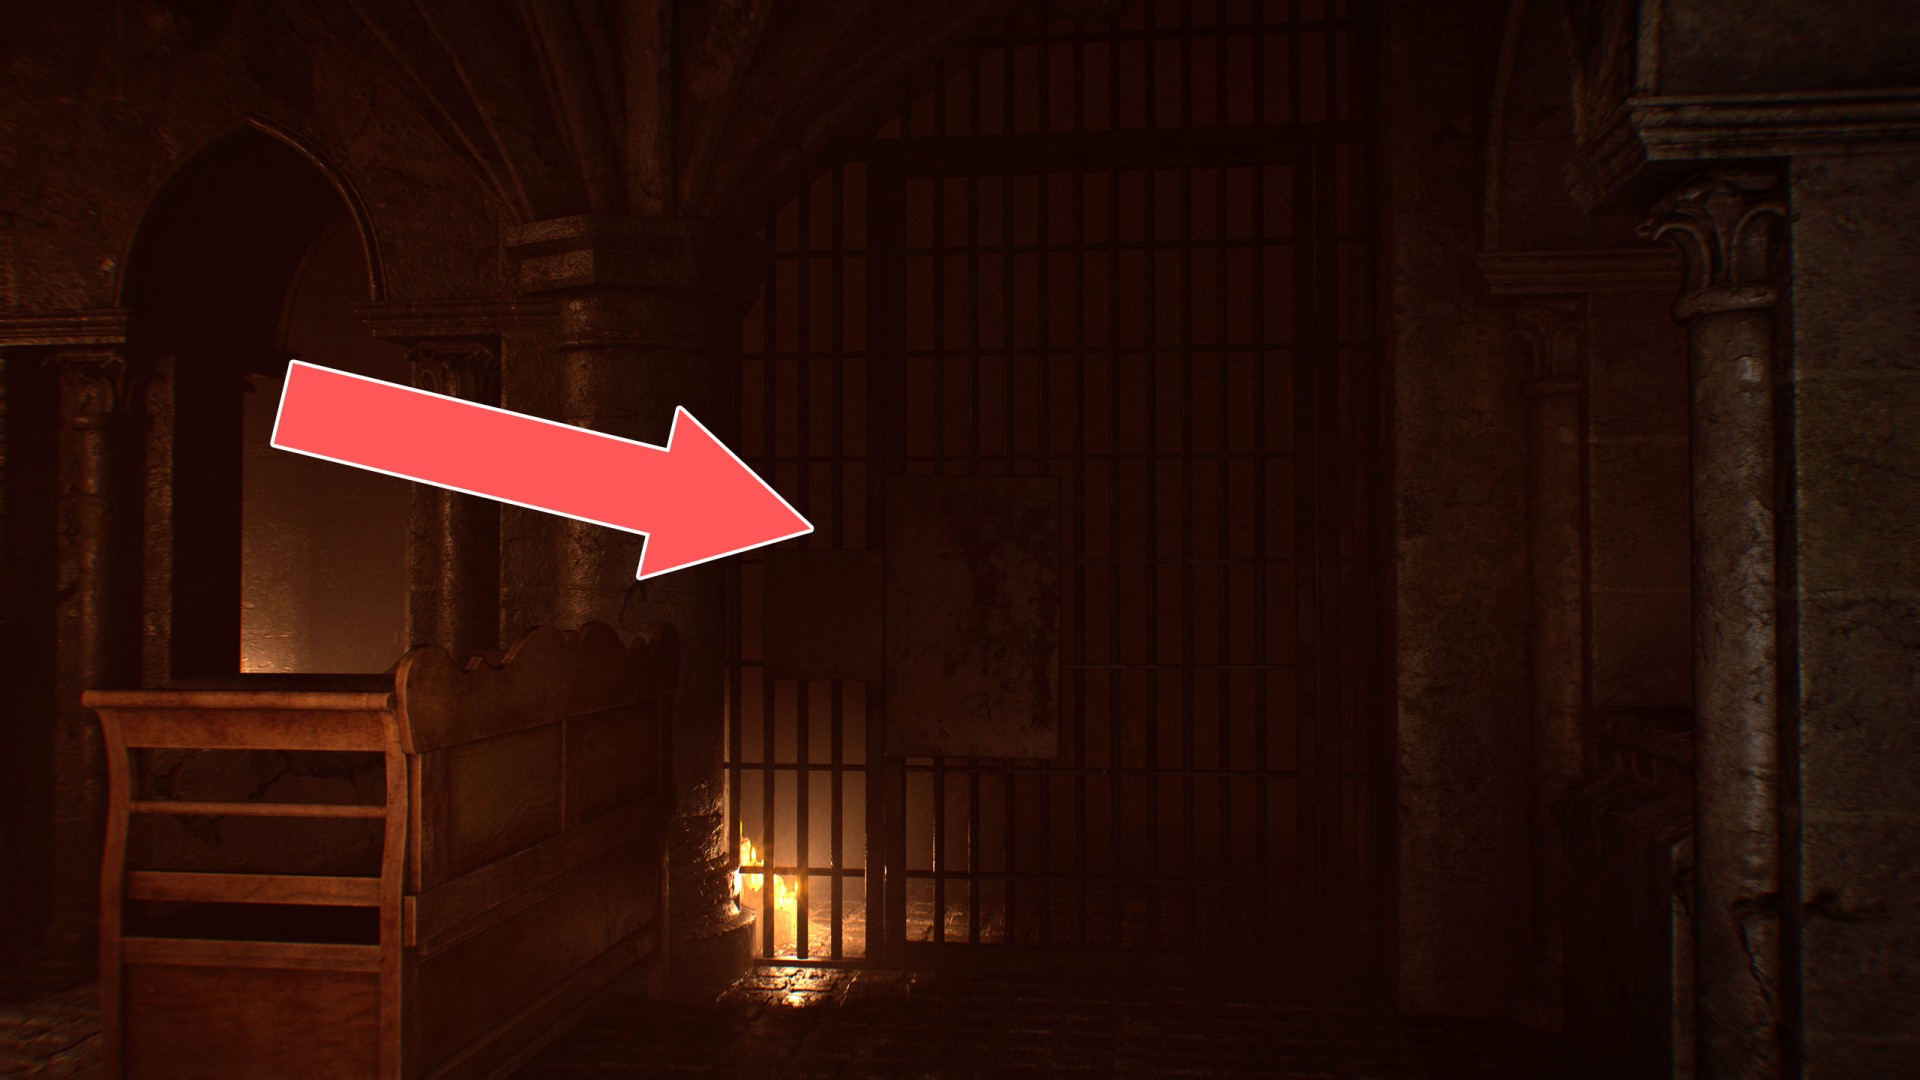
6Cell Door
This door will open after you visit the area where the third joint plug is.
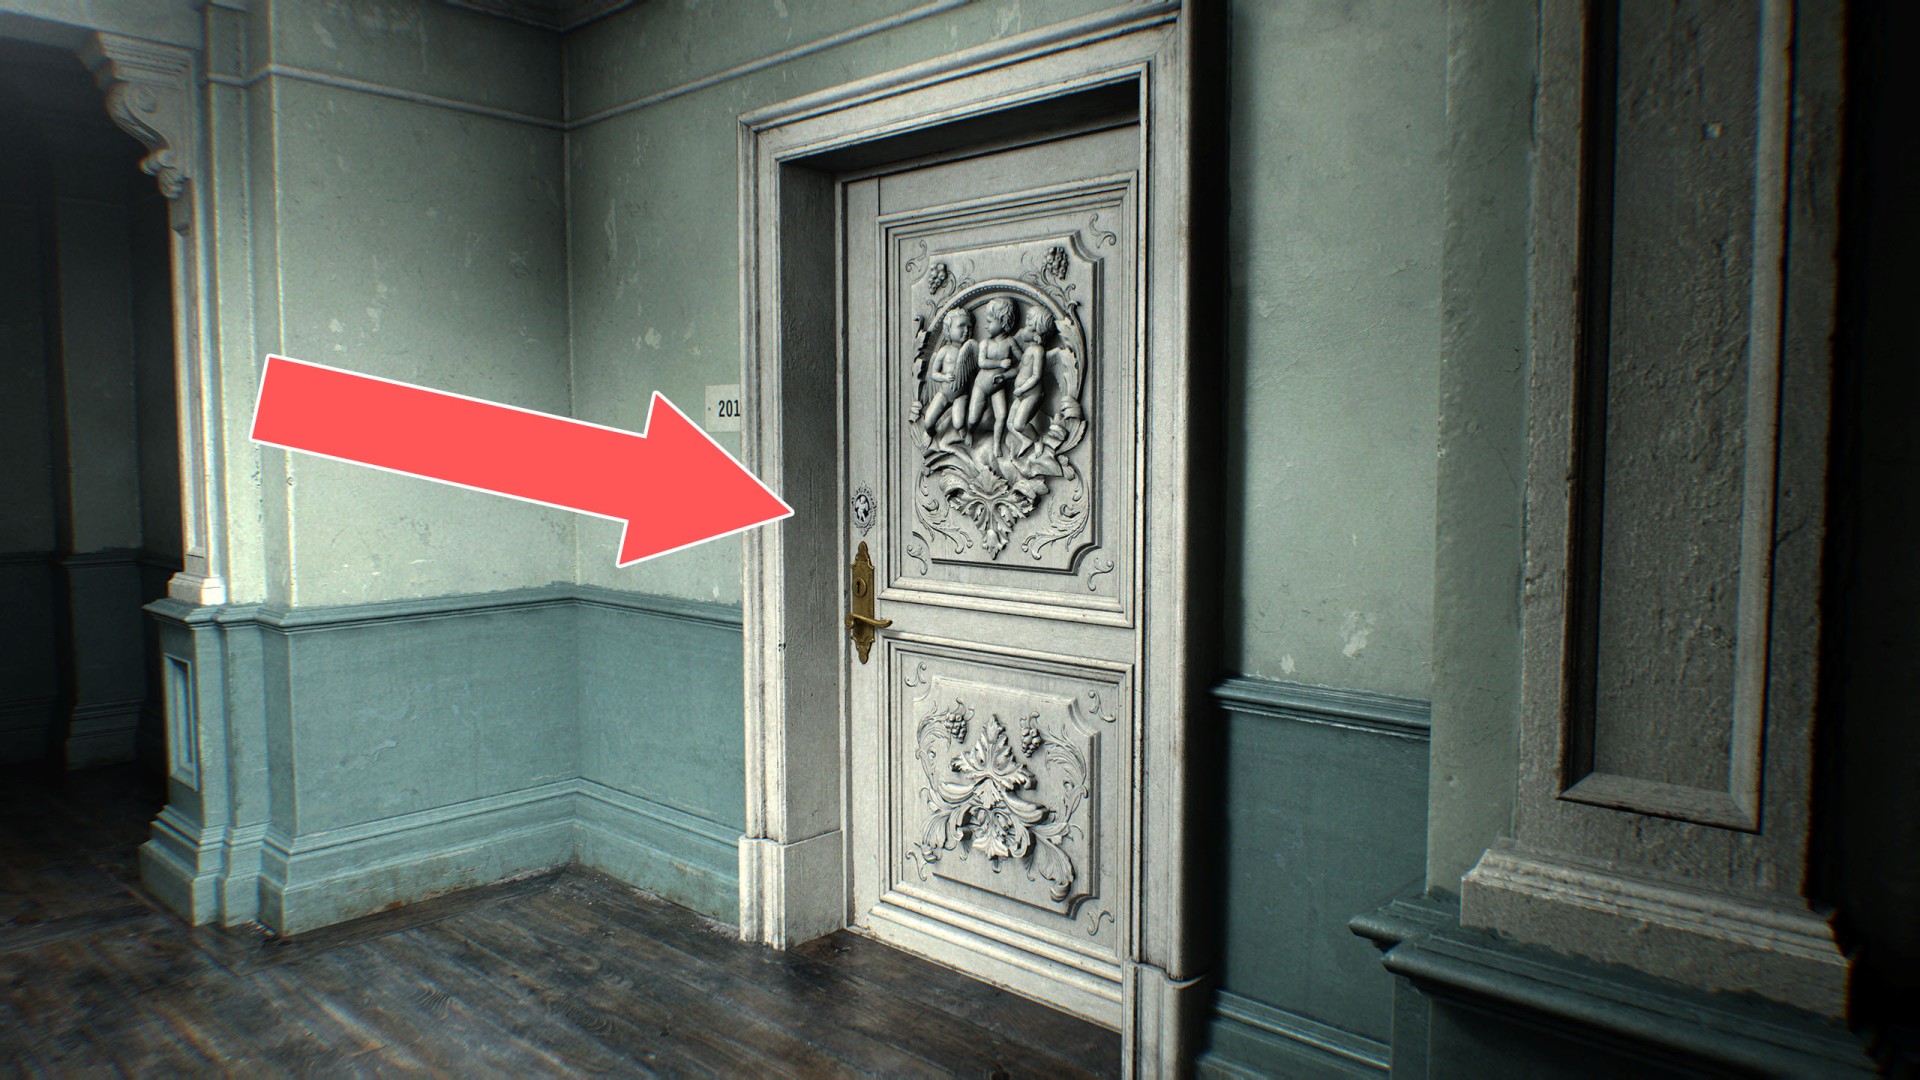
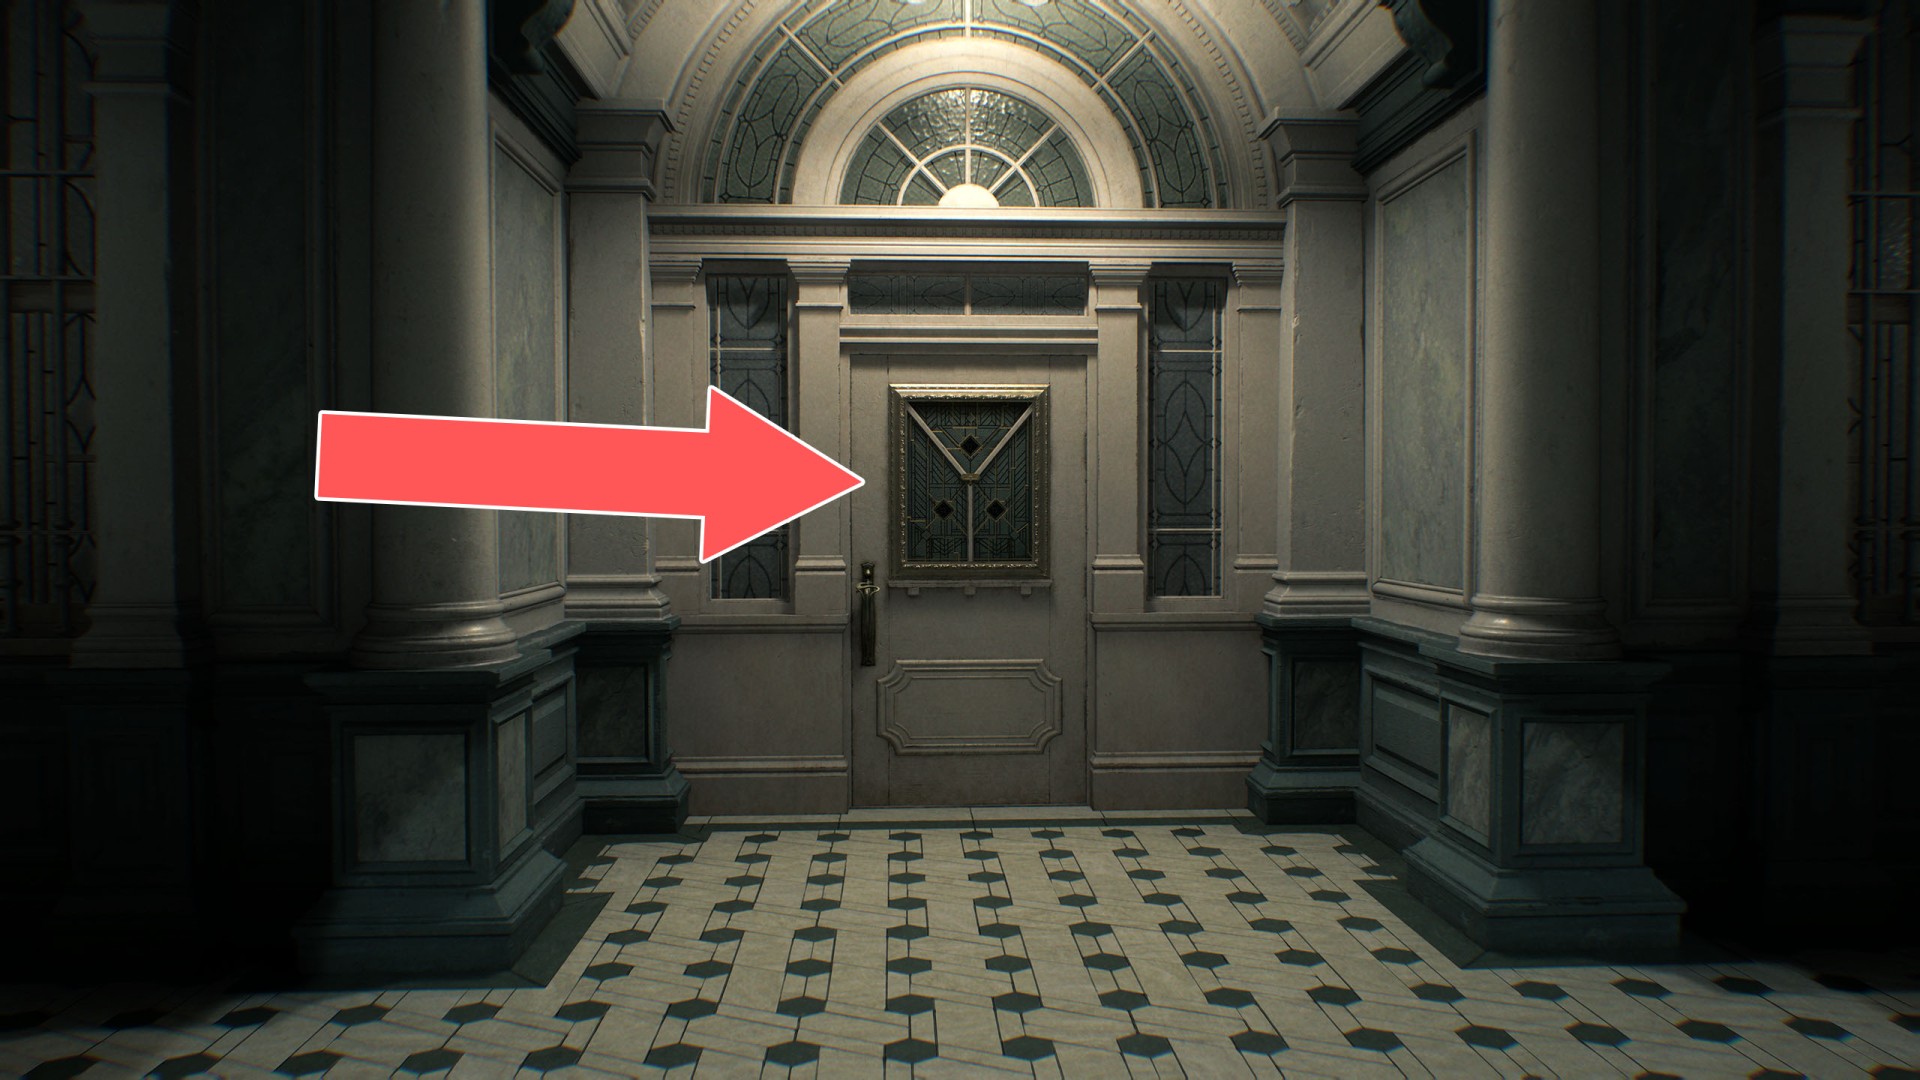
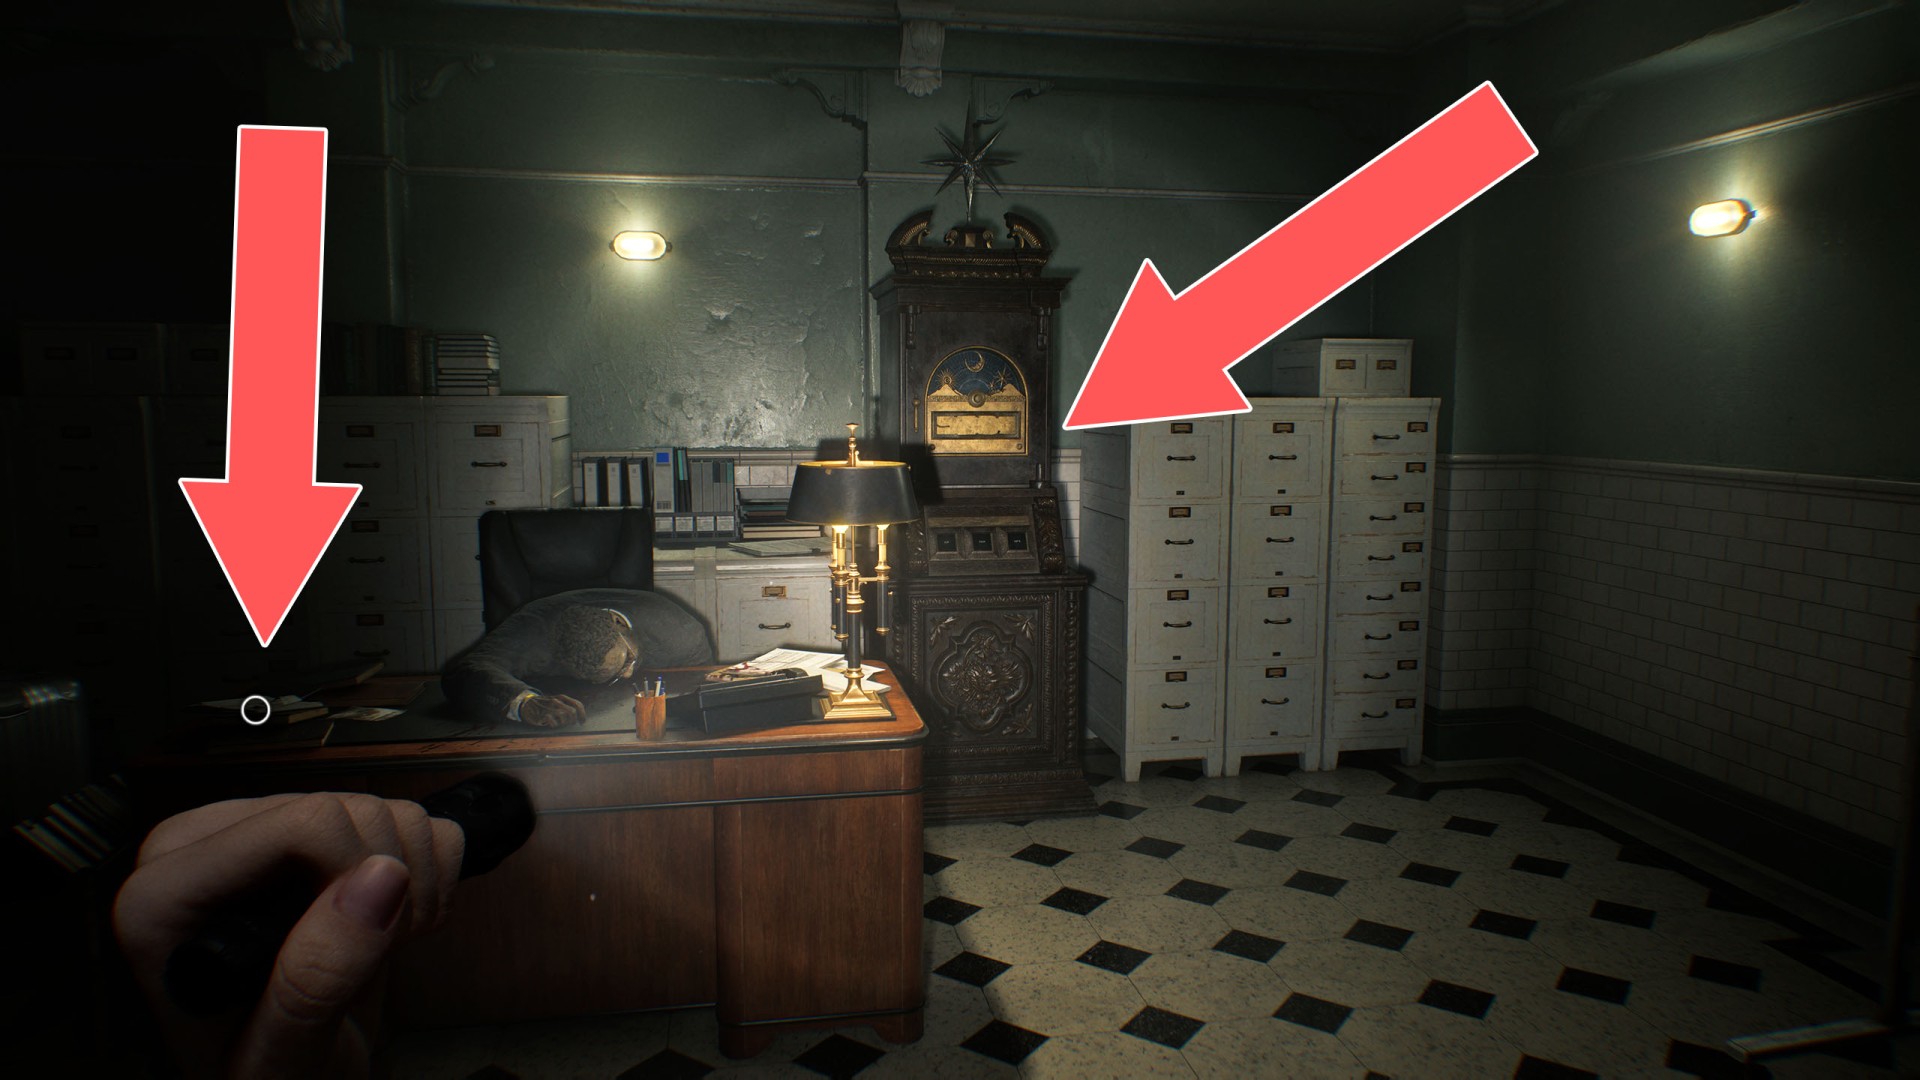
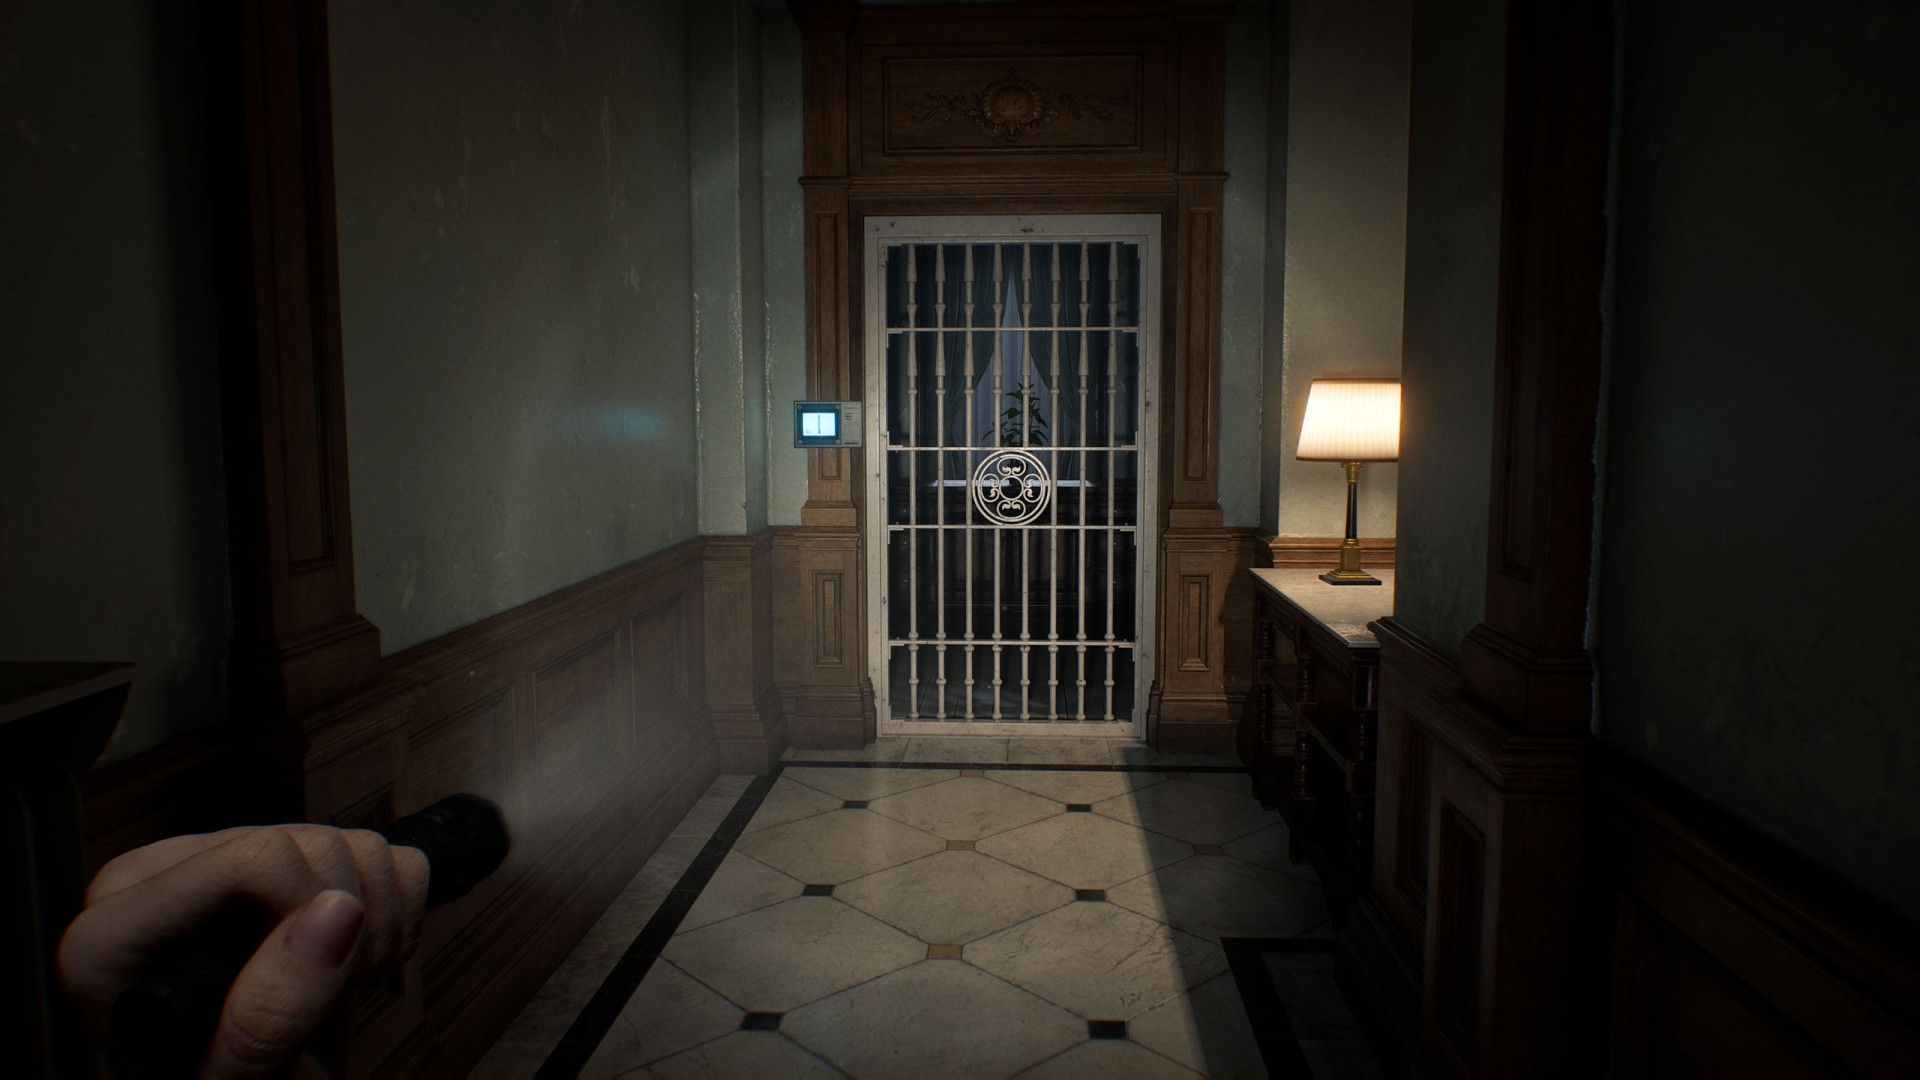
7Cherub Relief Door
You need the Cherub Key to unlock this door.
8Control Room Door
This door will unlock when you interact with the Computer Terminal.
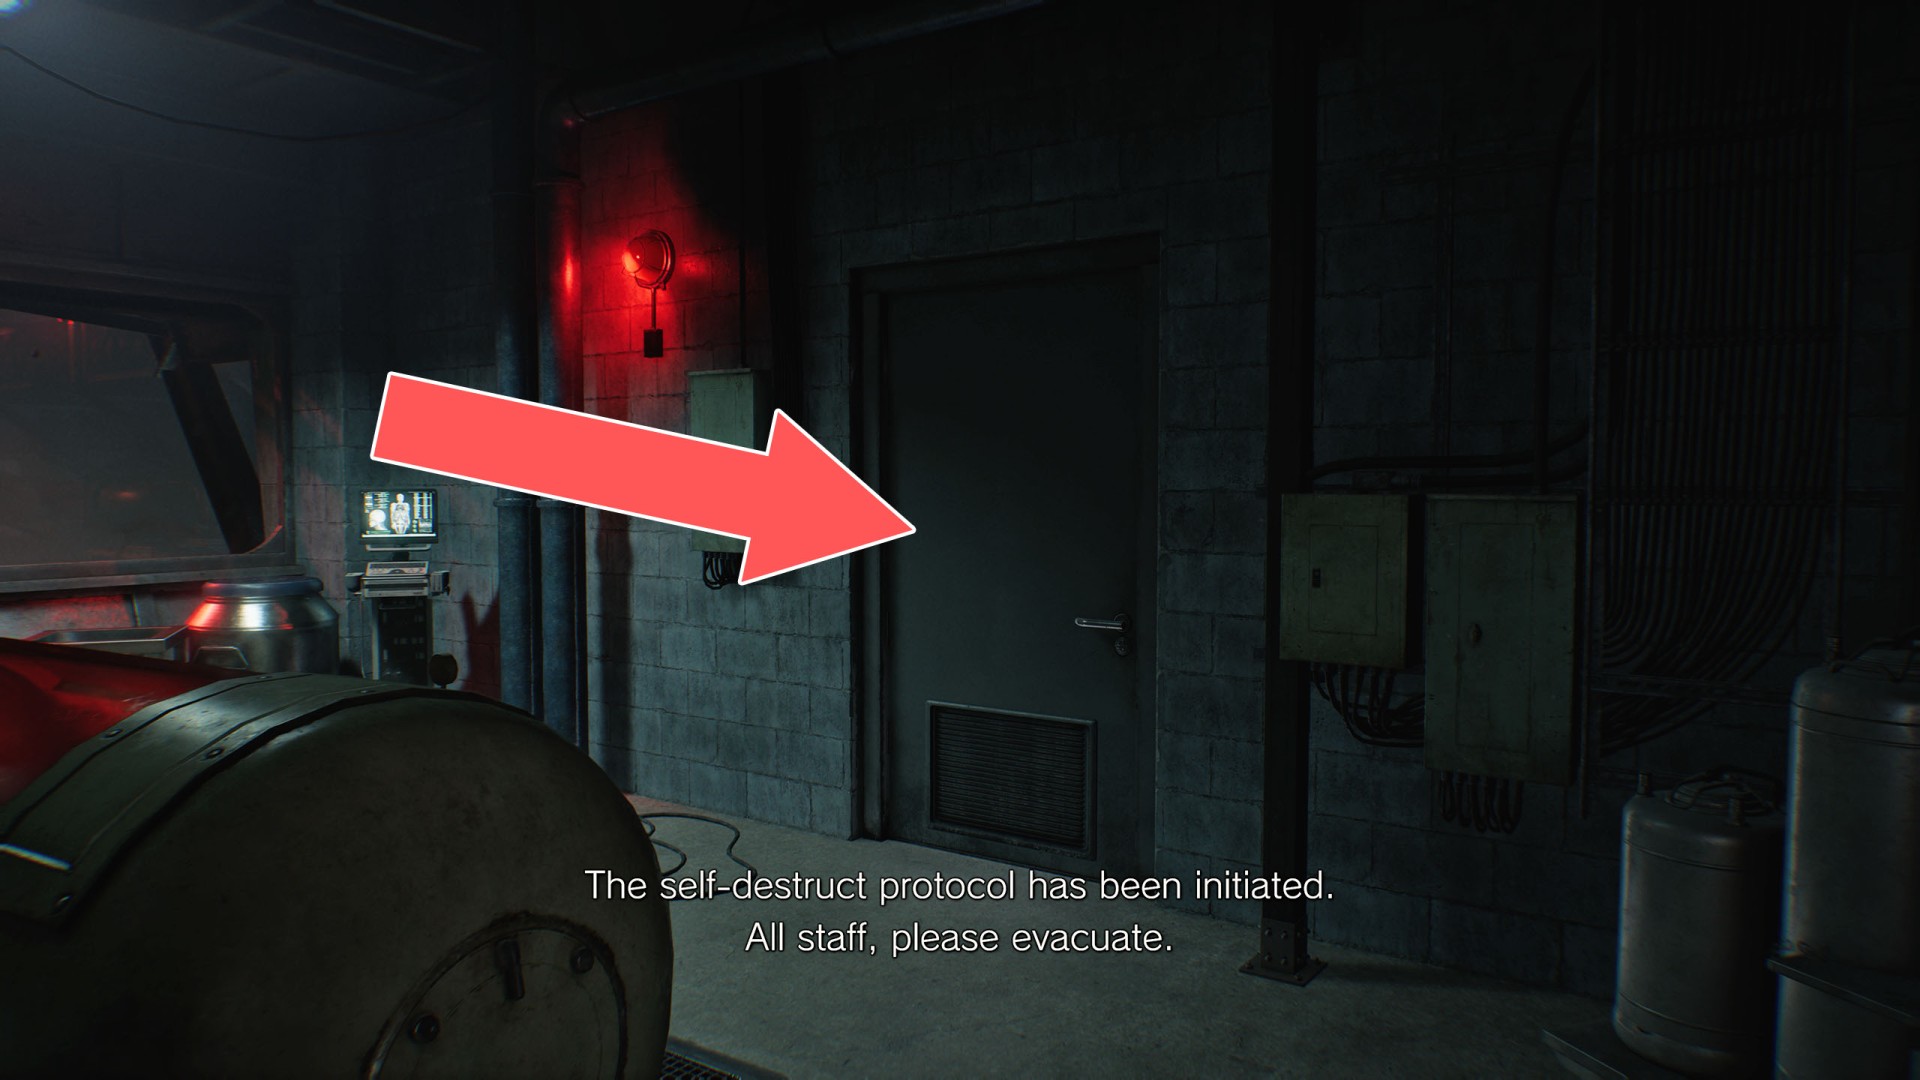
9Control Room Door
These doors will unlock once you reach the Control Room via a detour and the self-destruct sequence for the research facility begins.
10Courtyard Door
Opening these doors requires three items: Moon Quartz, Sun Quartz, and Star Quartz.
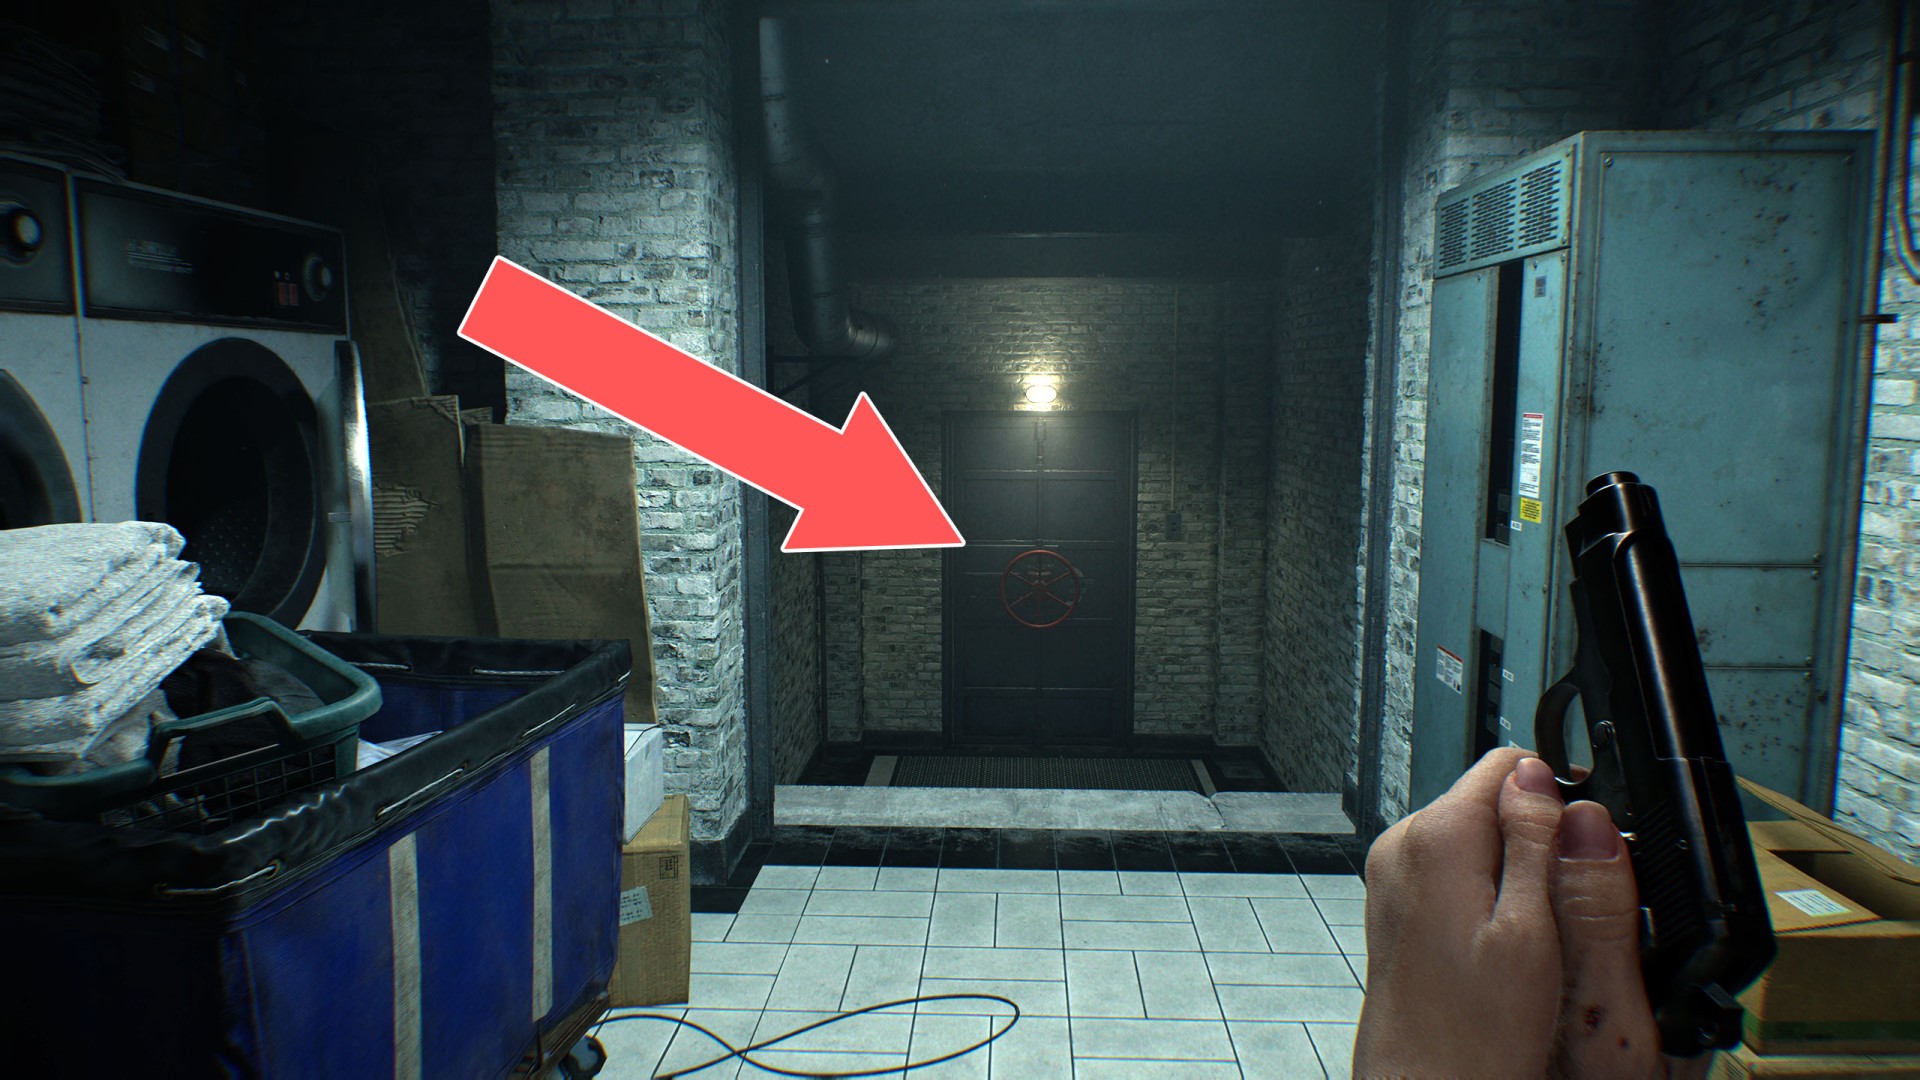
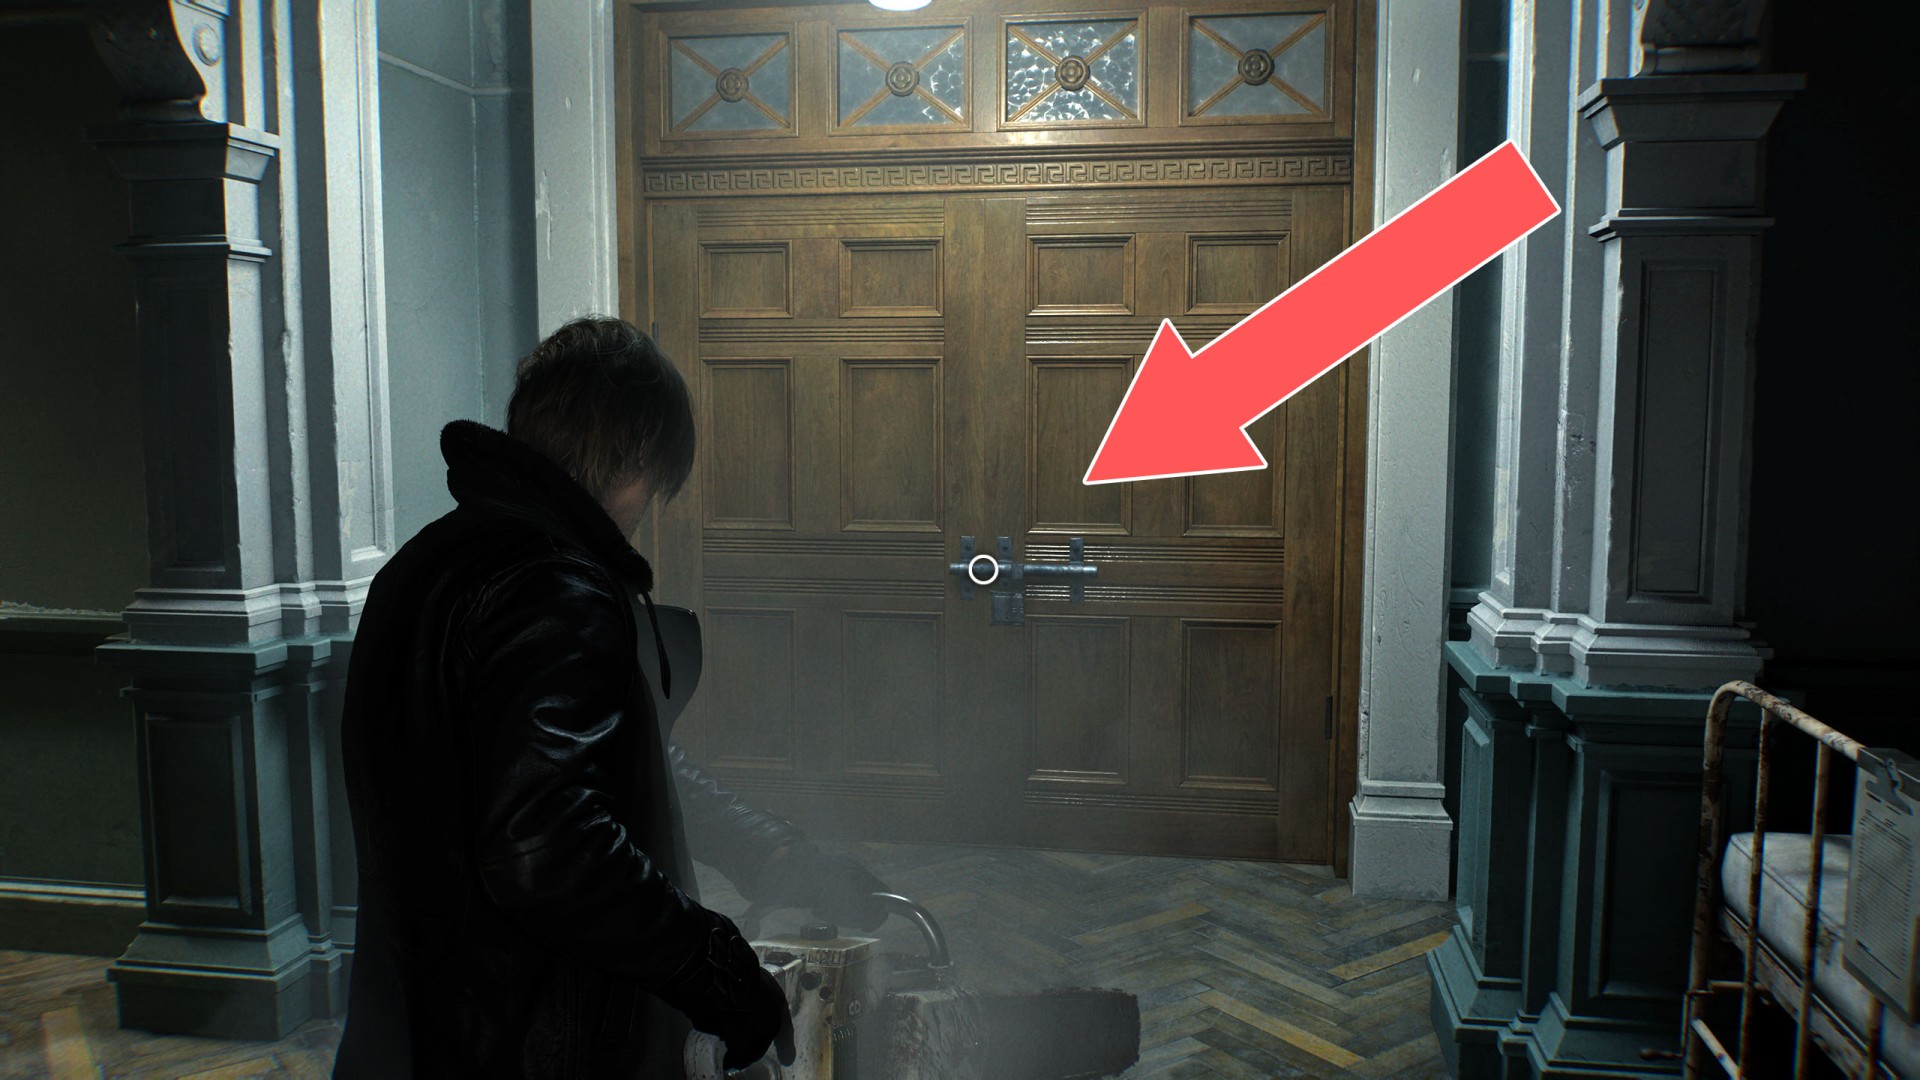
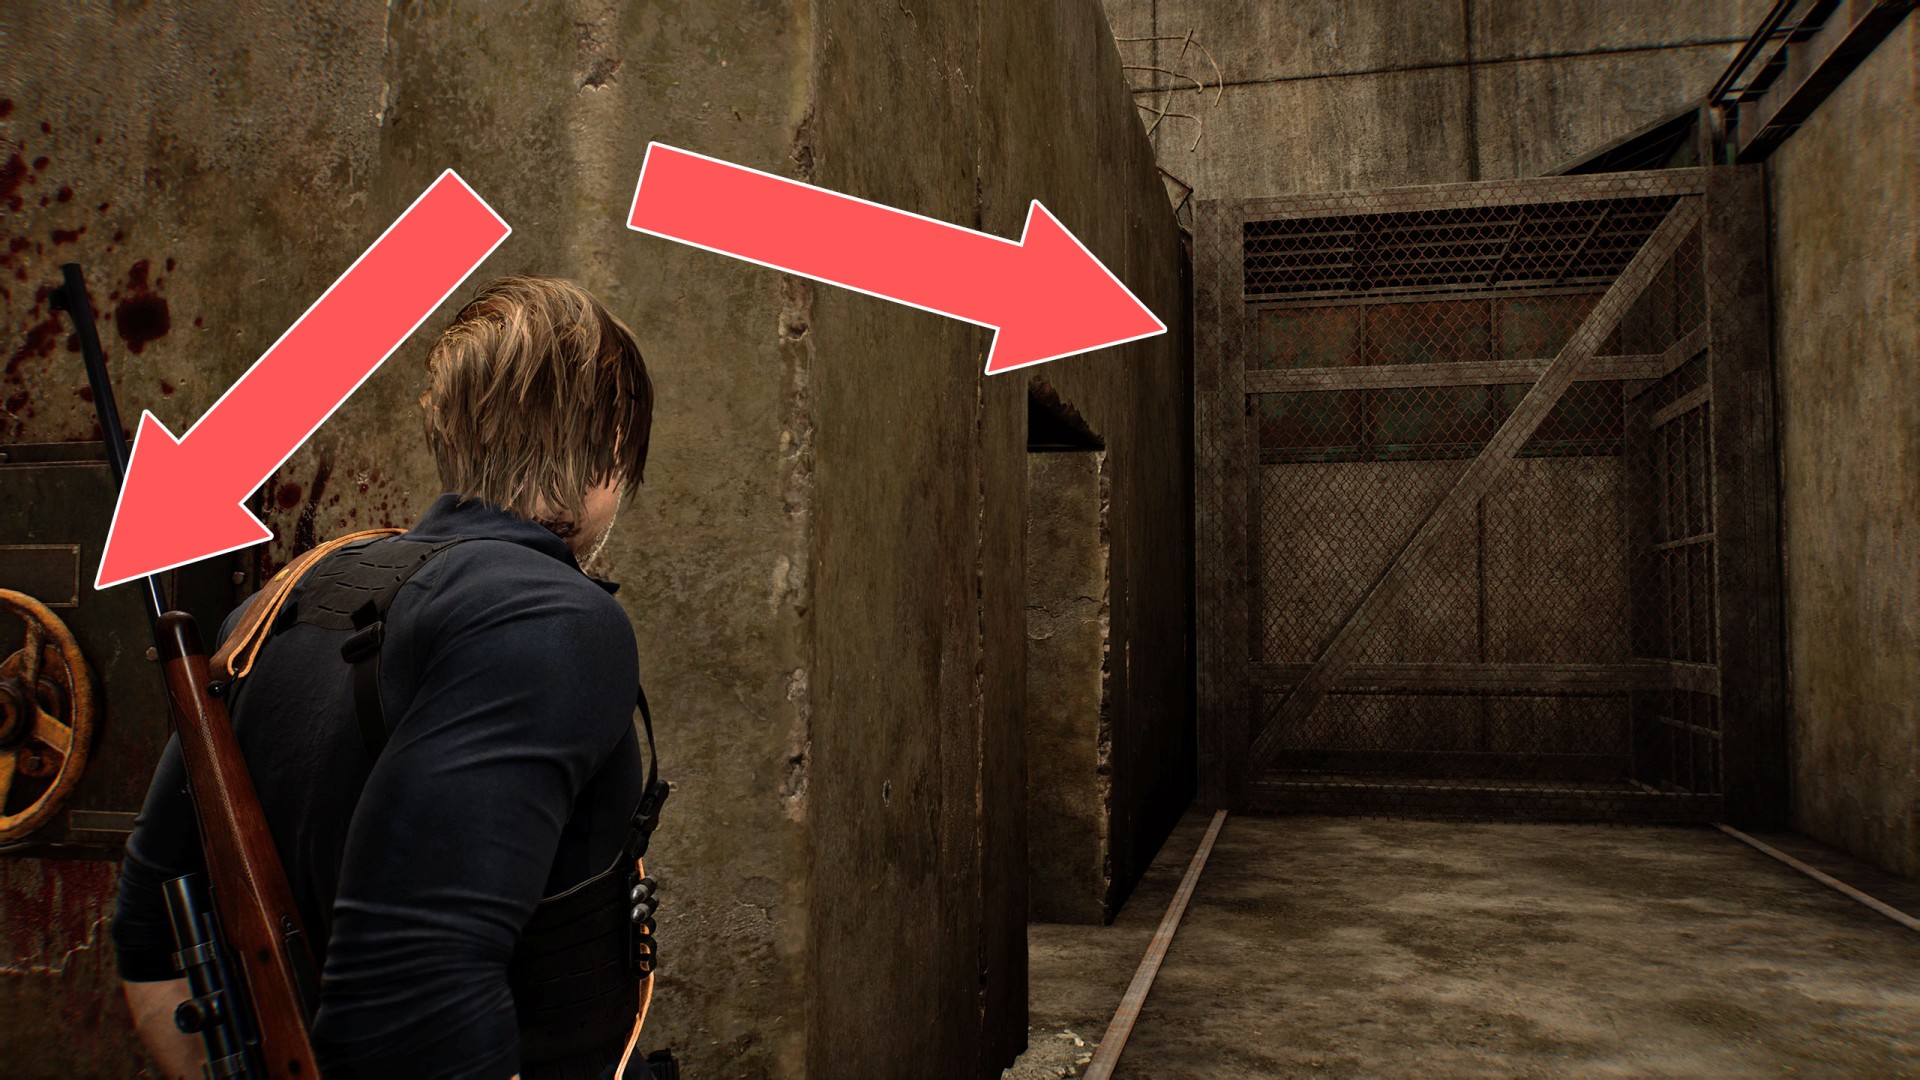
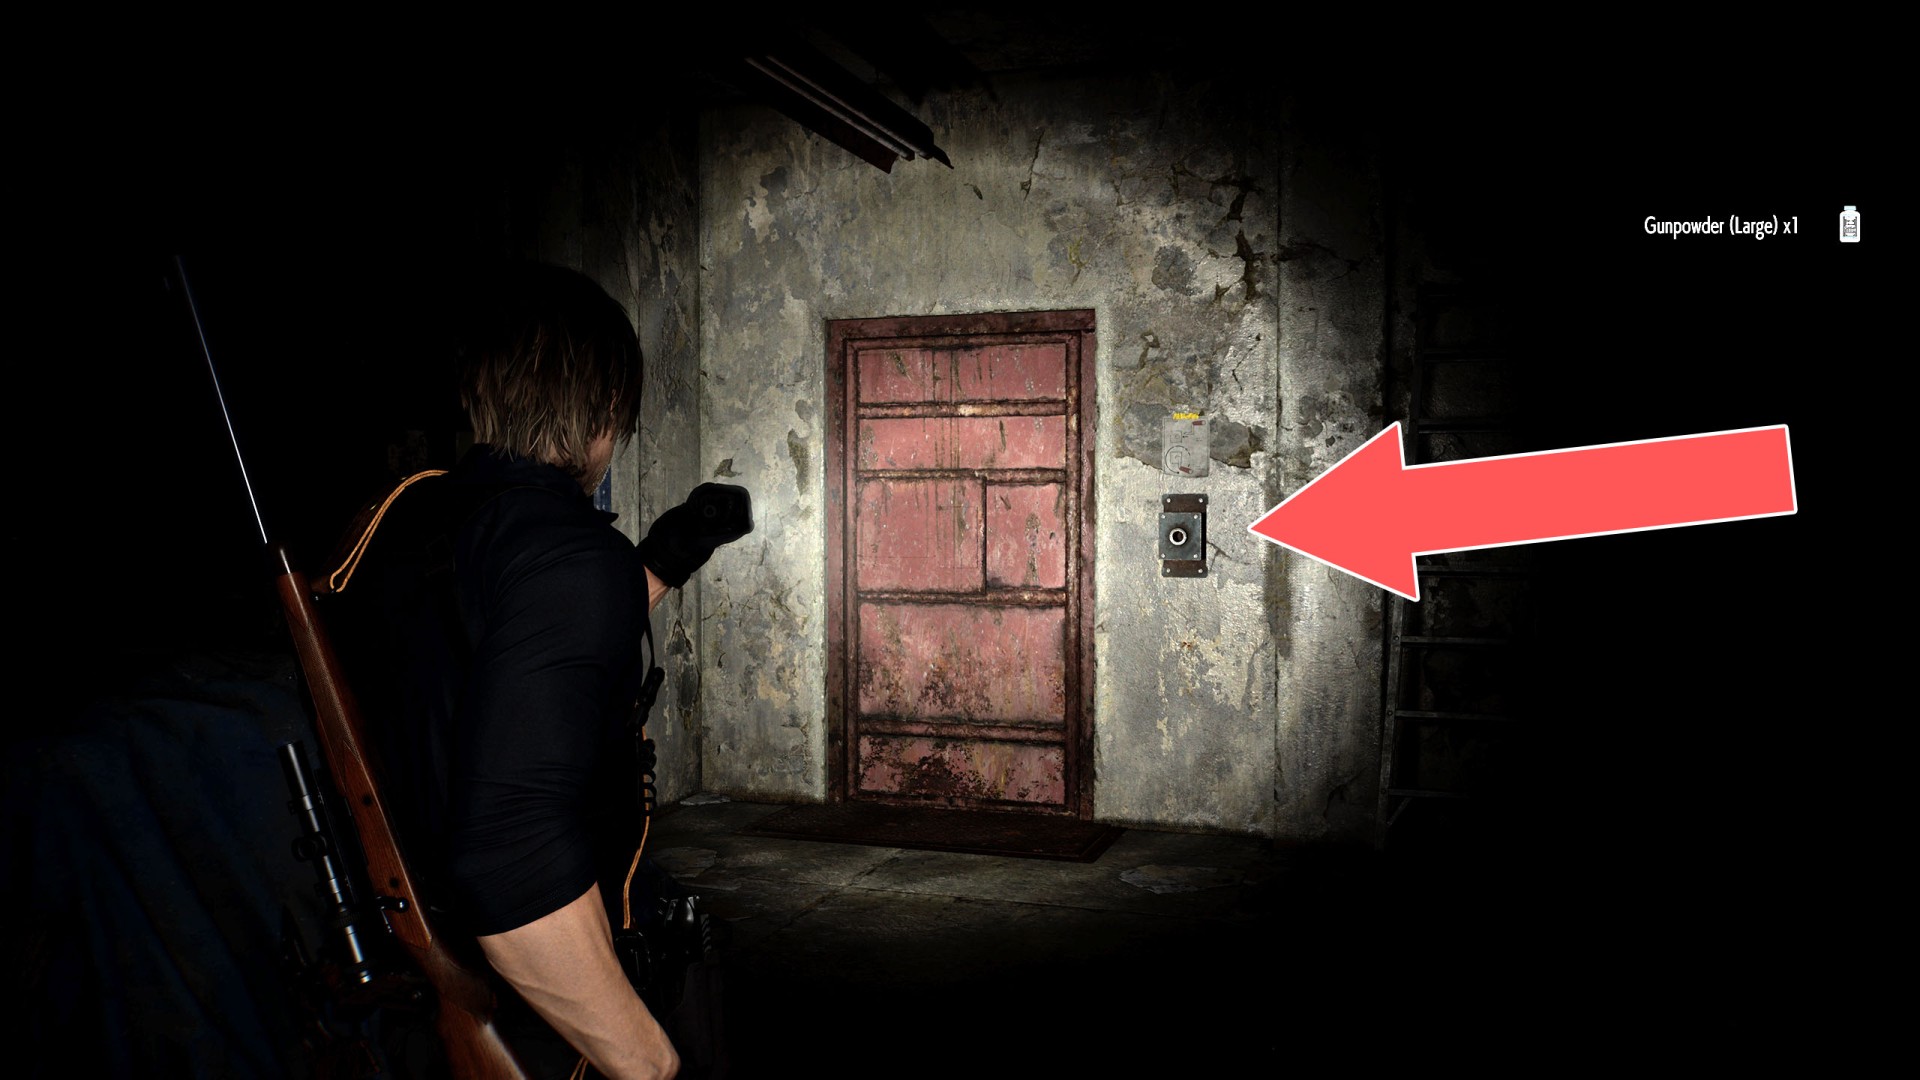
11Door without Handwheel
You need the Wrench to open this door.
12East Wing Door
You need the East Wing Keycard to unlock this door.
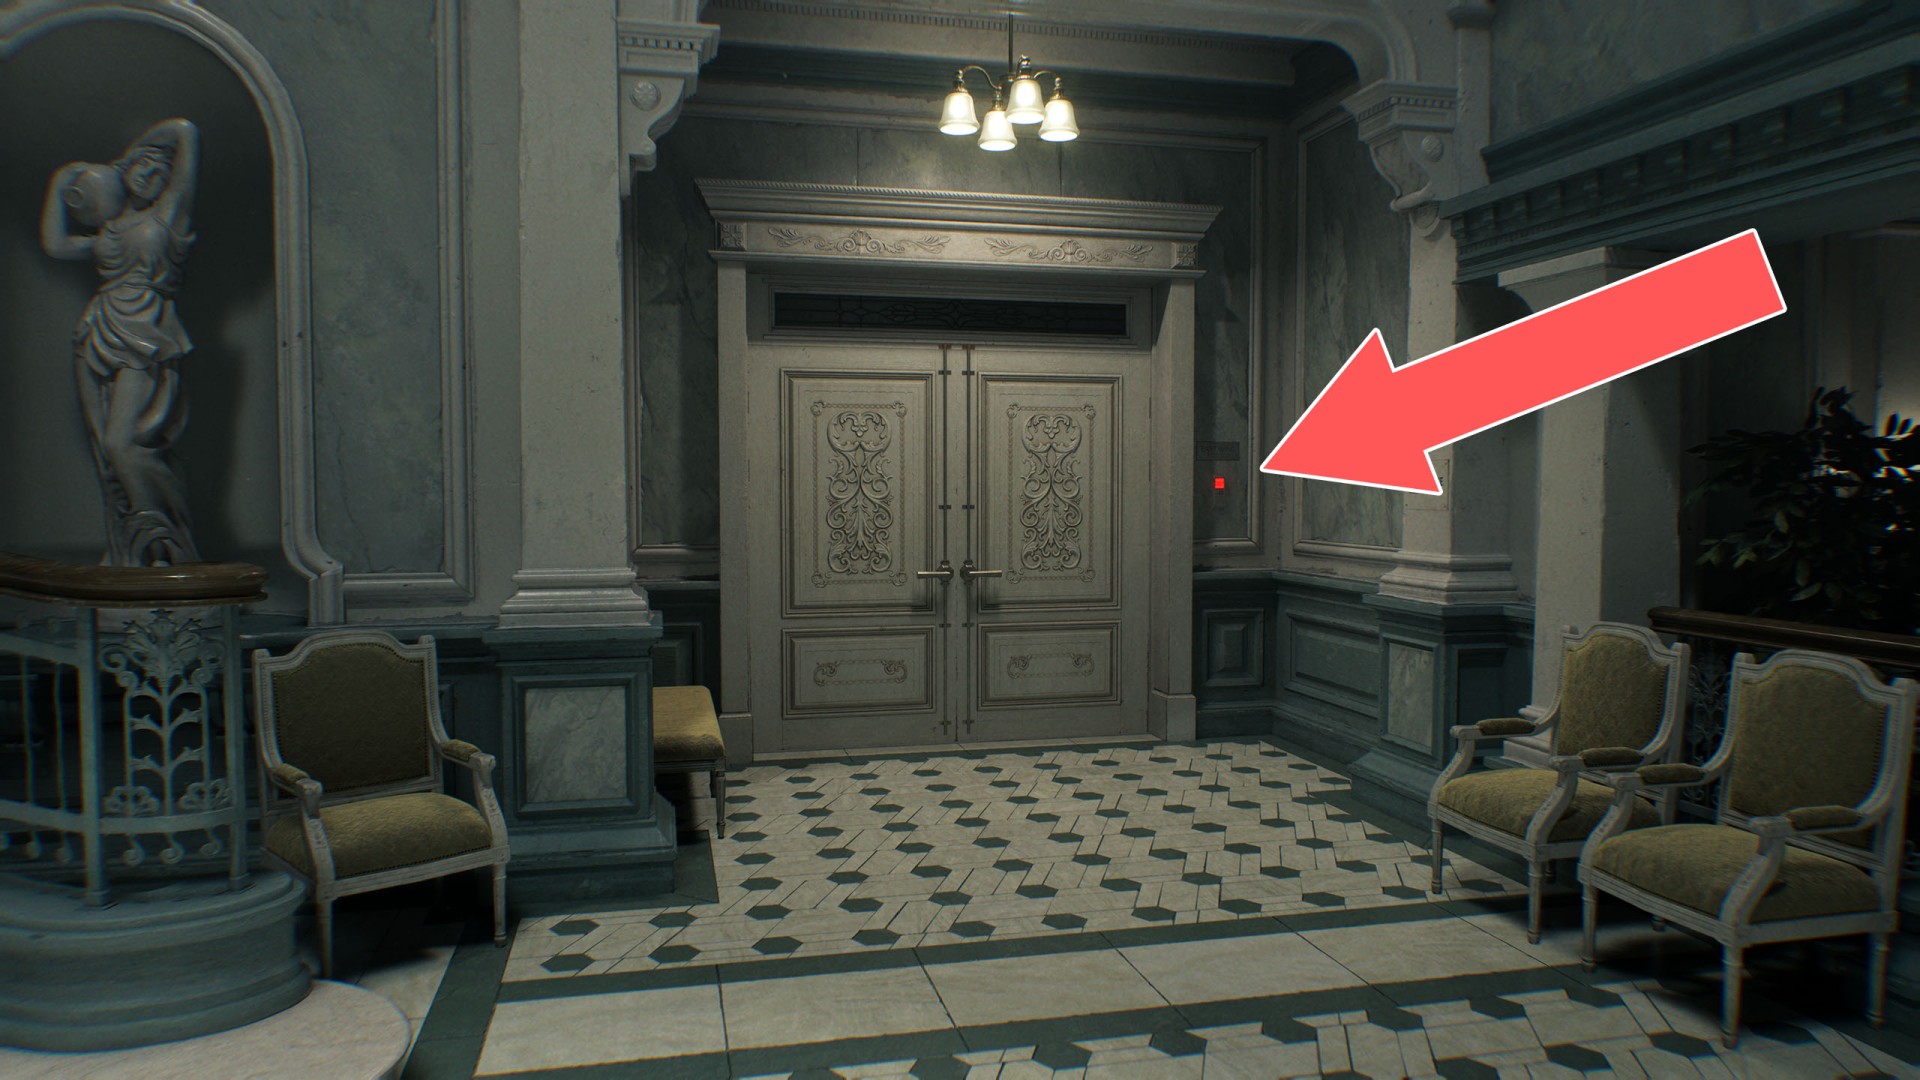
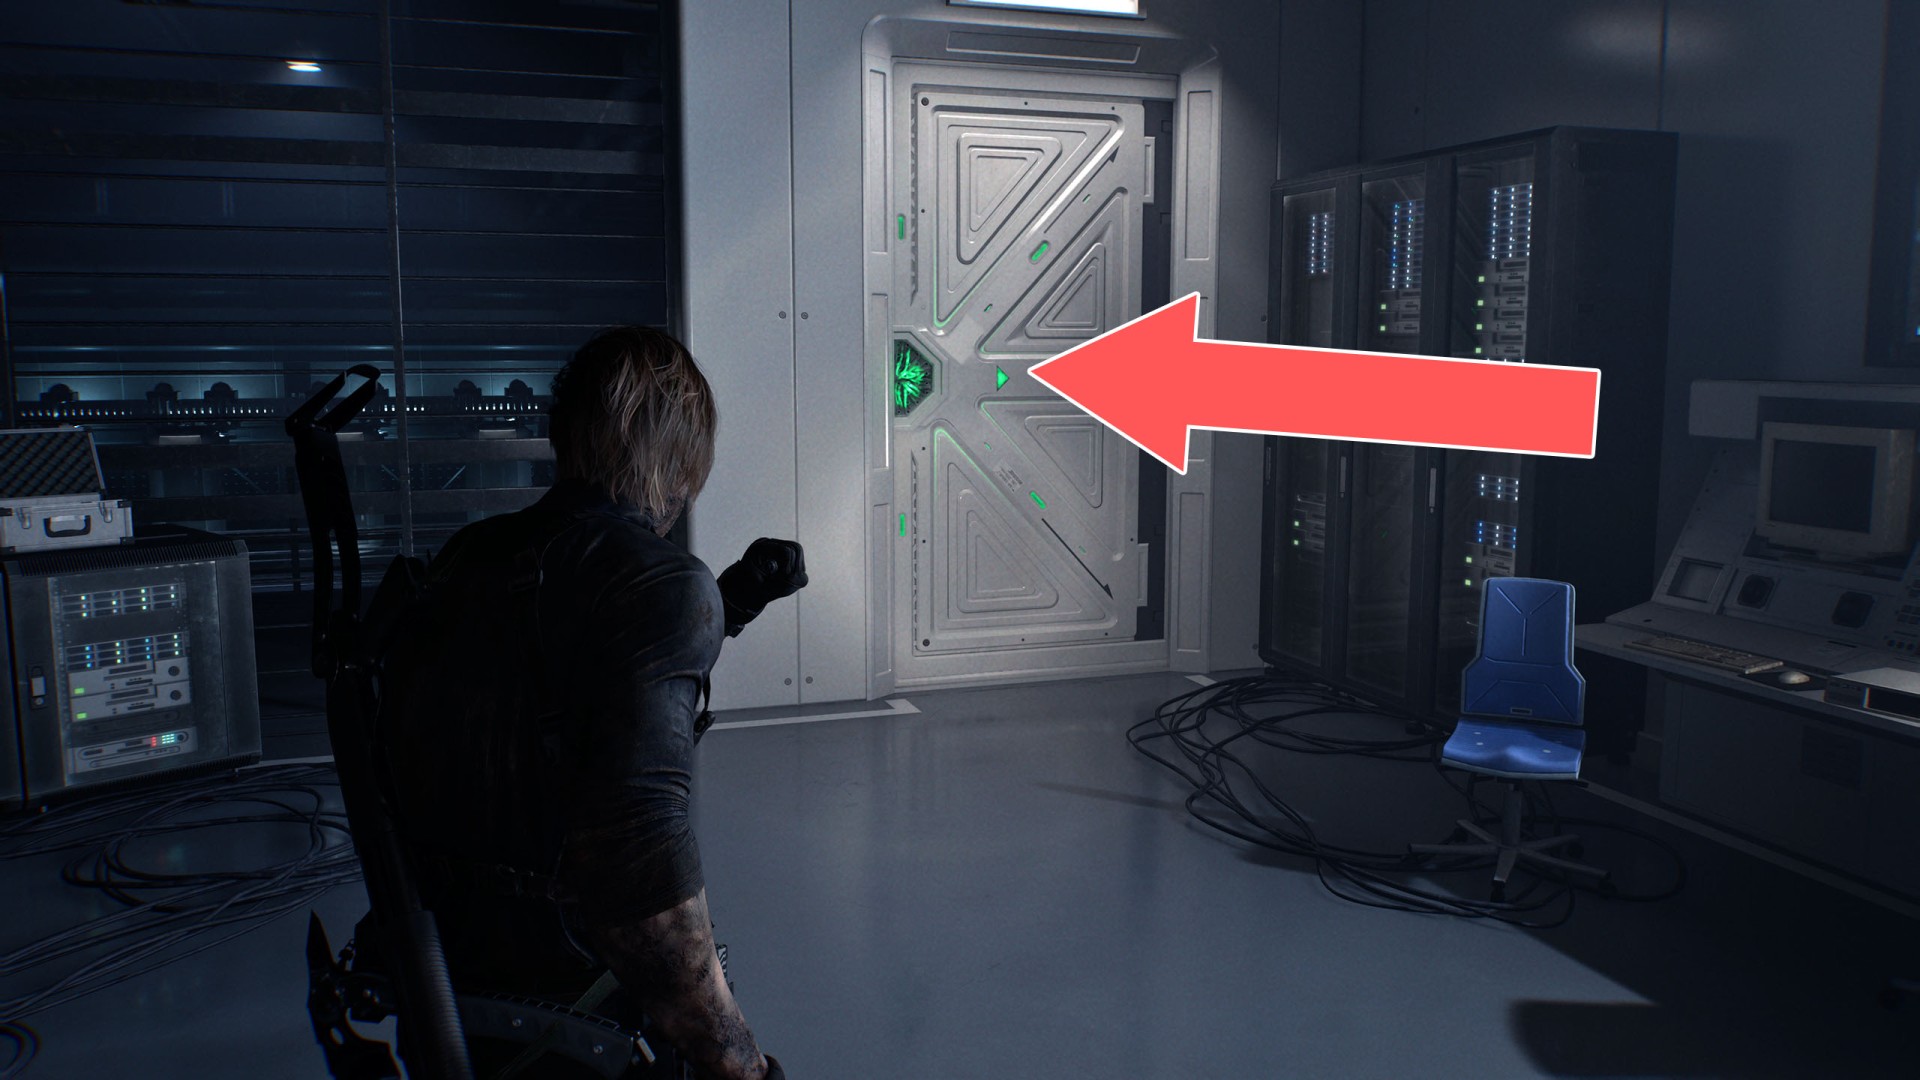
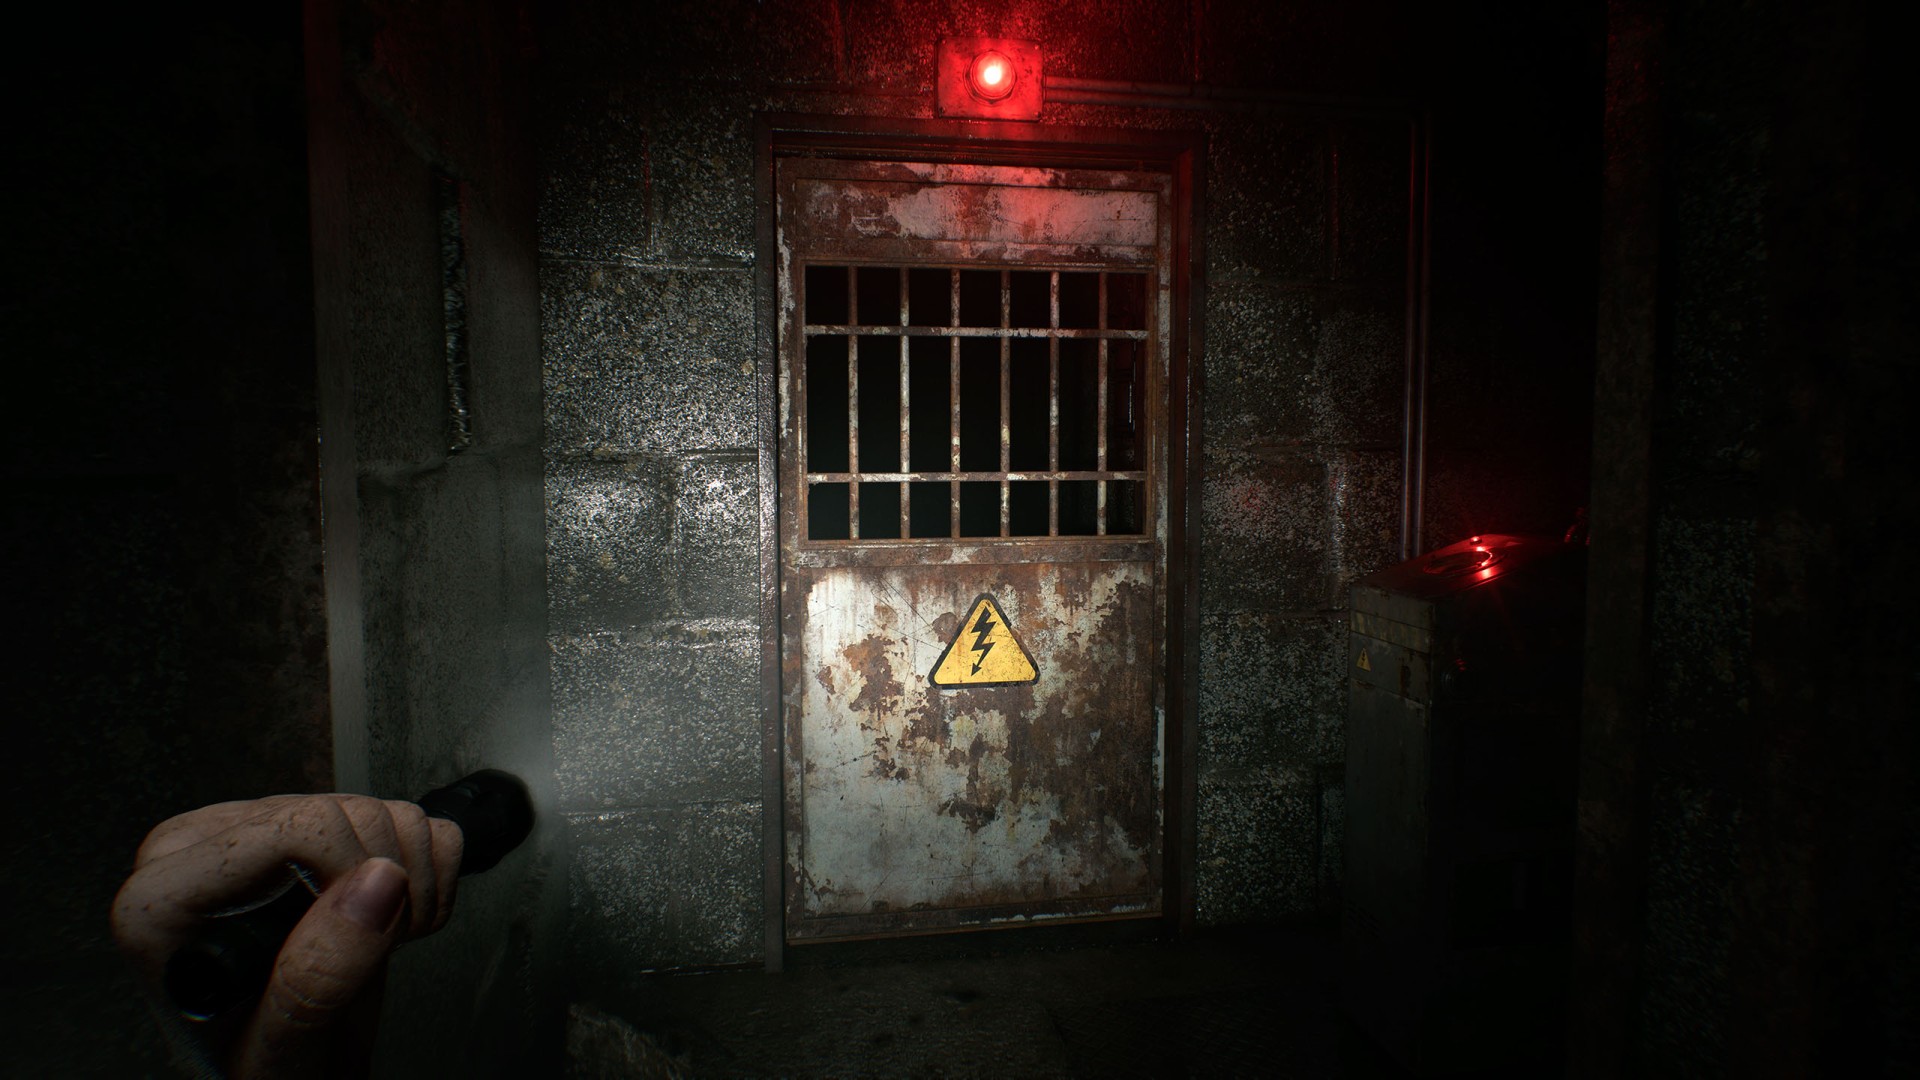
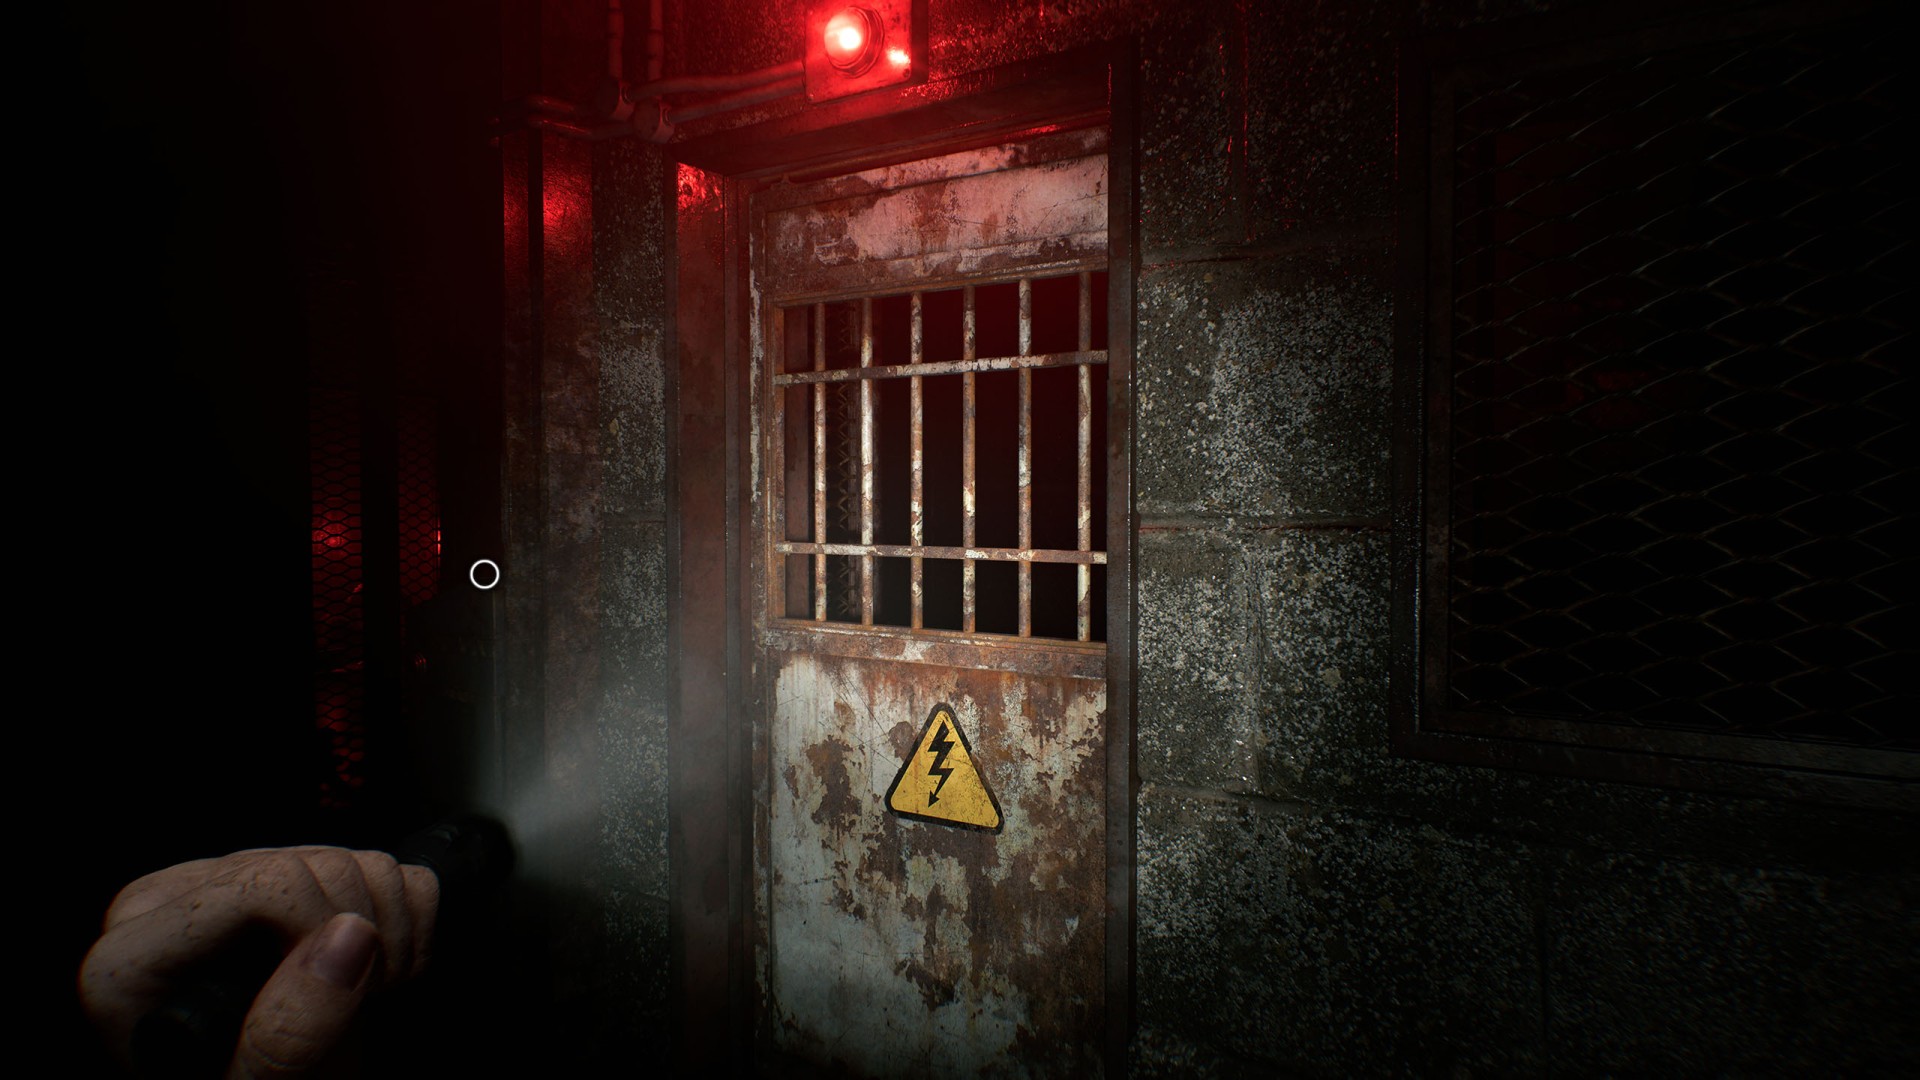
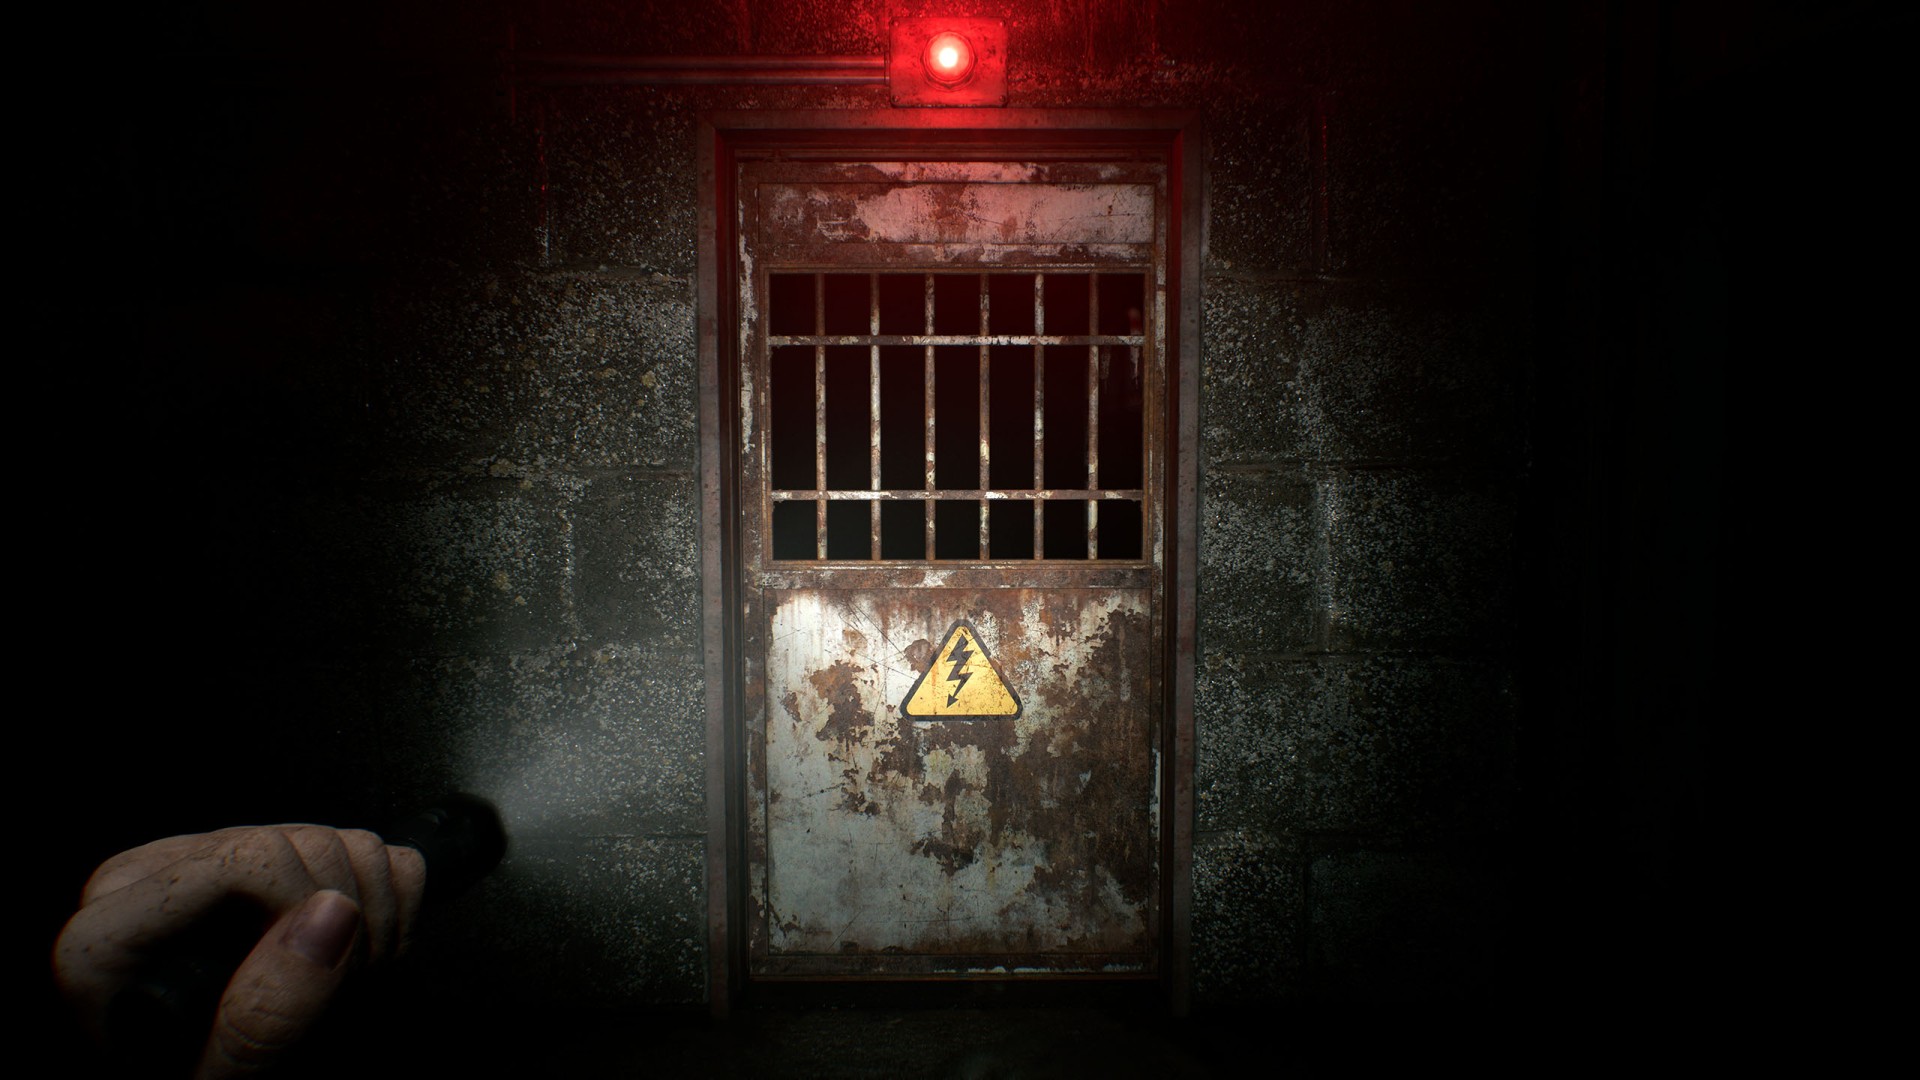
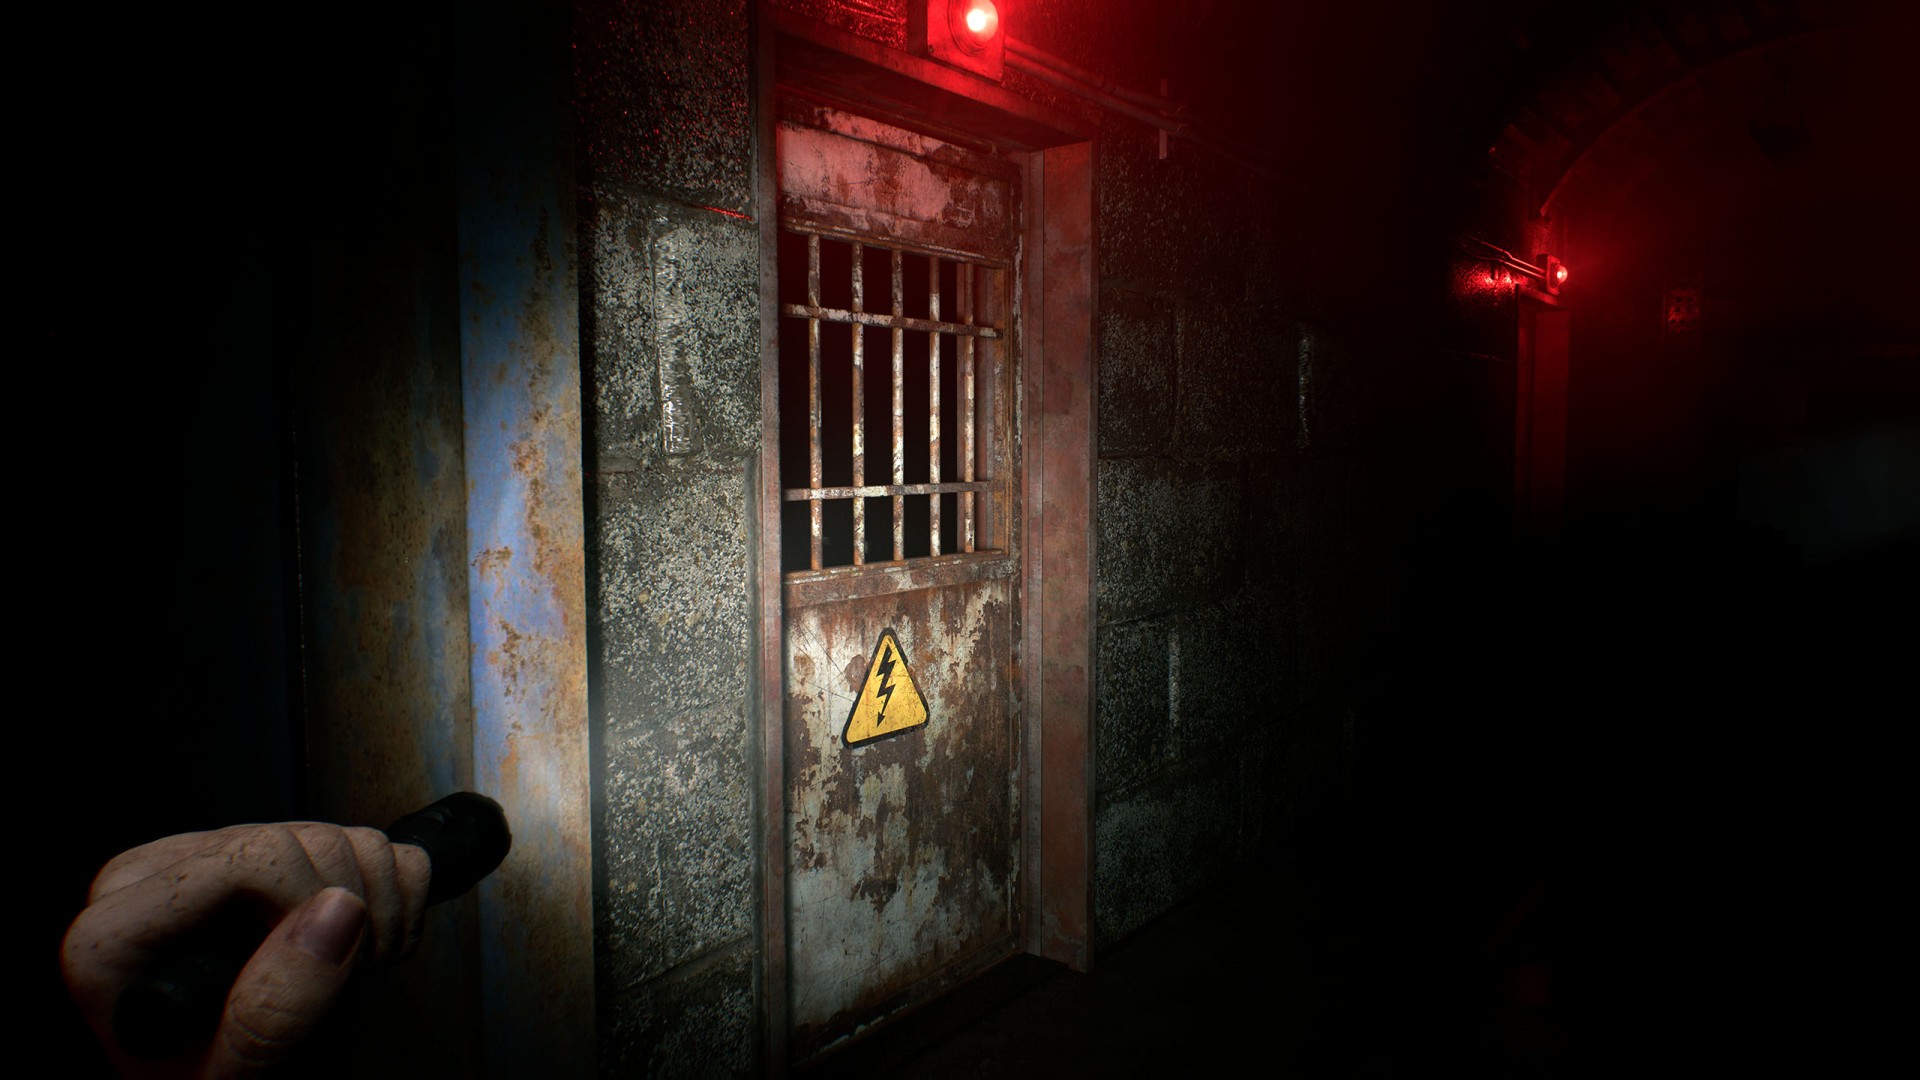
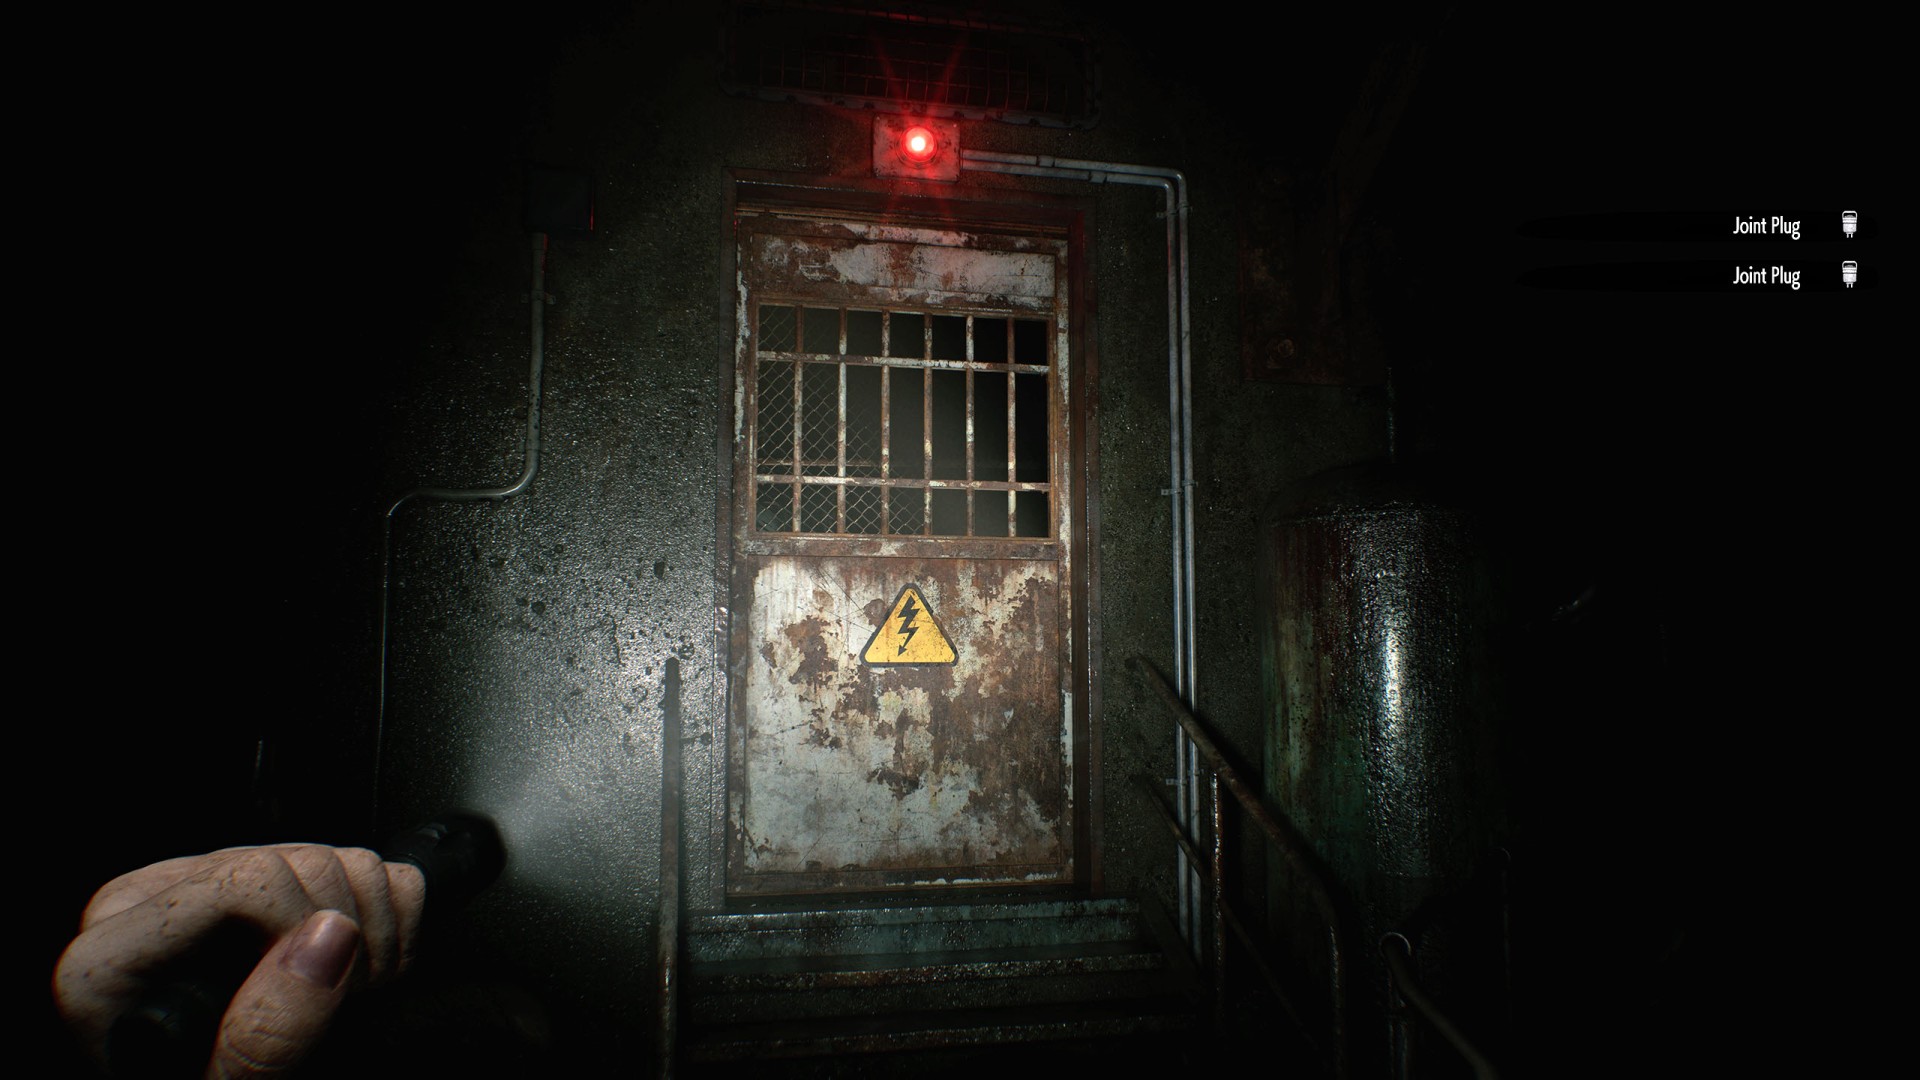
13Electric Door
To open these doors, insert the Joint Plug into the Power Distributor 1 located right next to them.
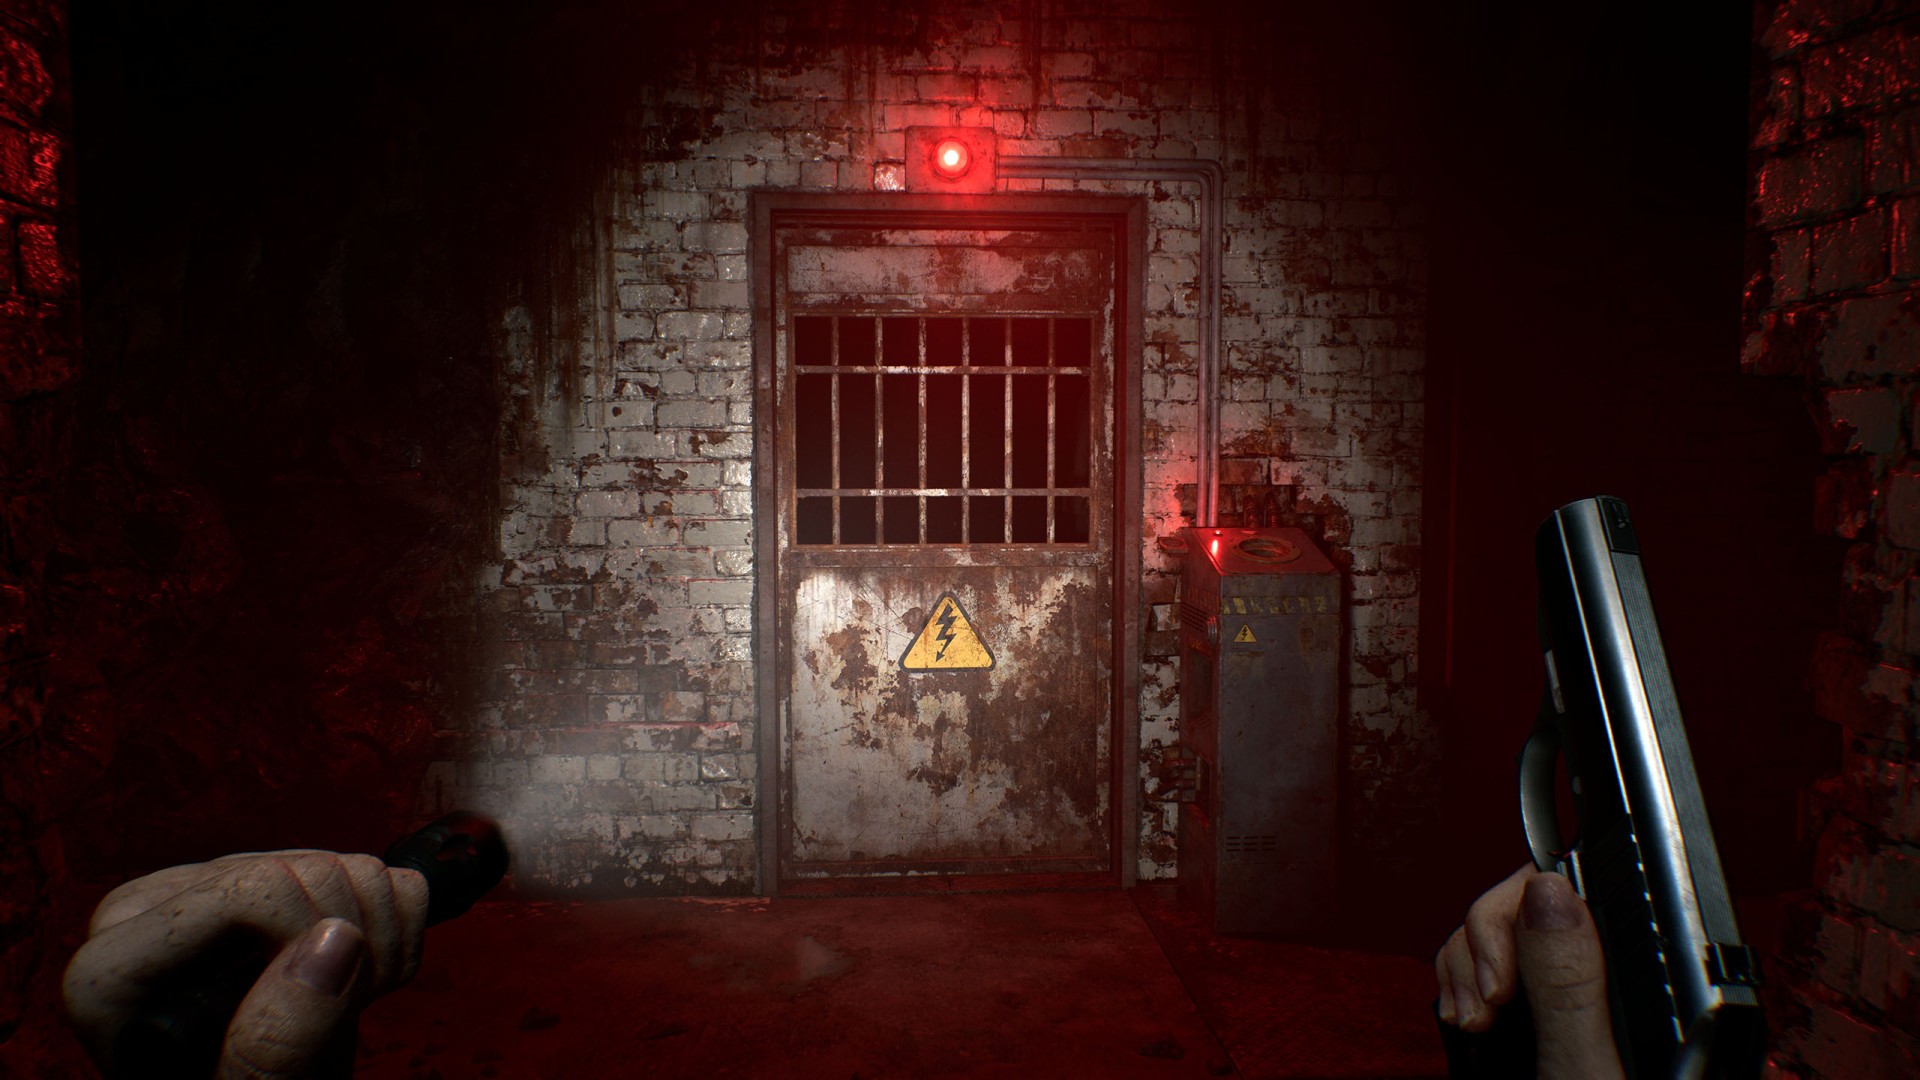
14Electric Door
To open these doors, insert the Joint Plug into the Power Distributor 4 located right next to them.
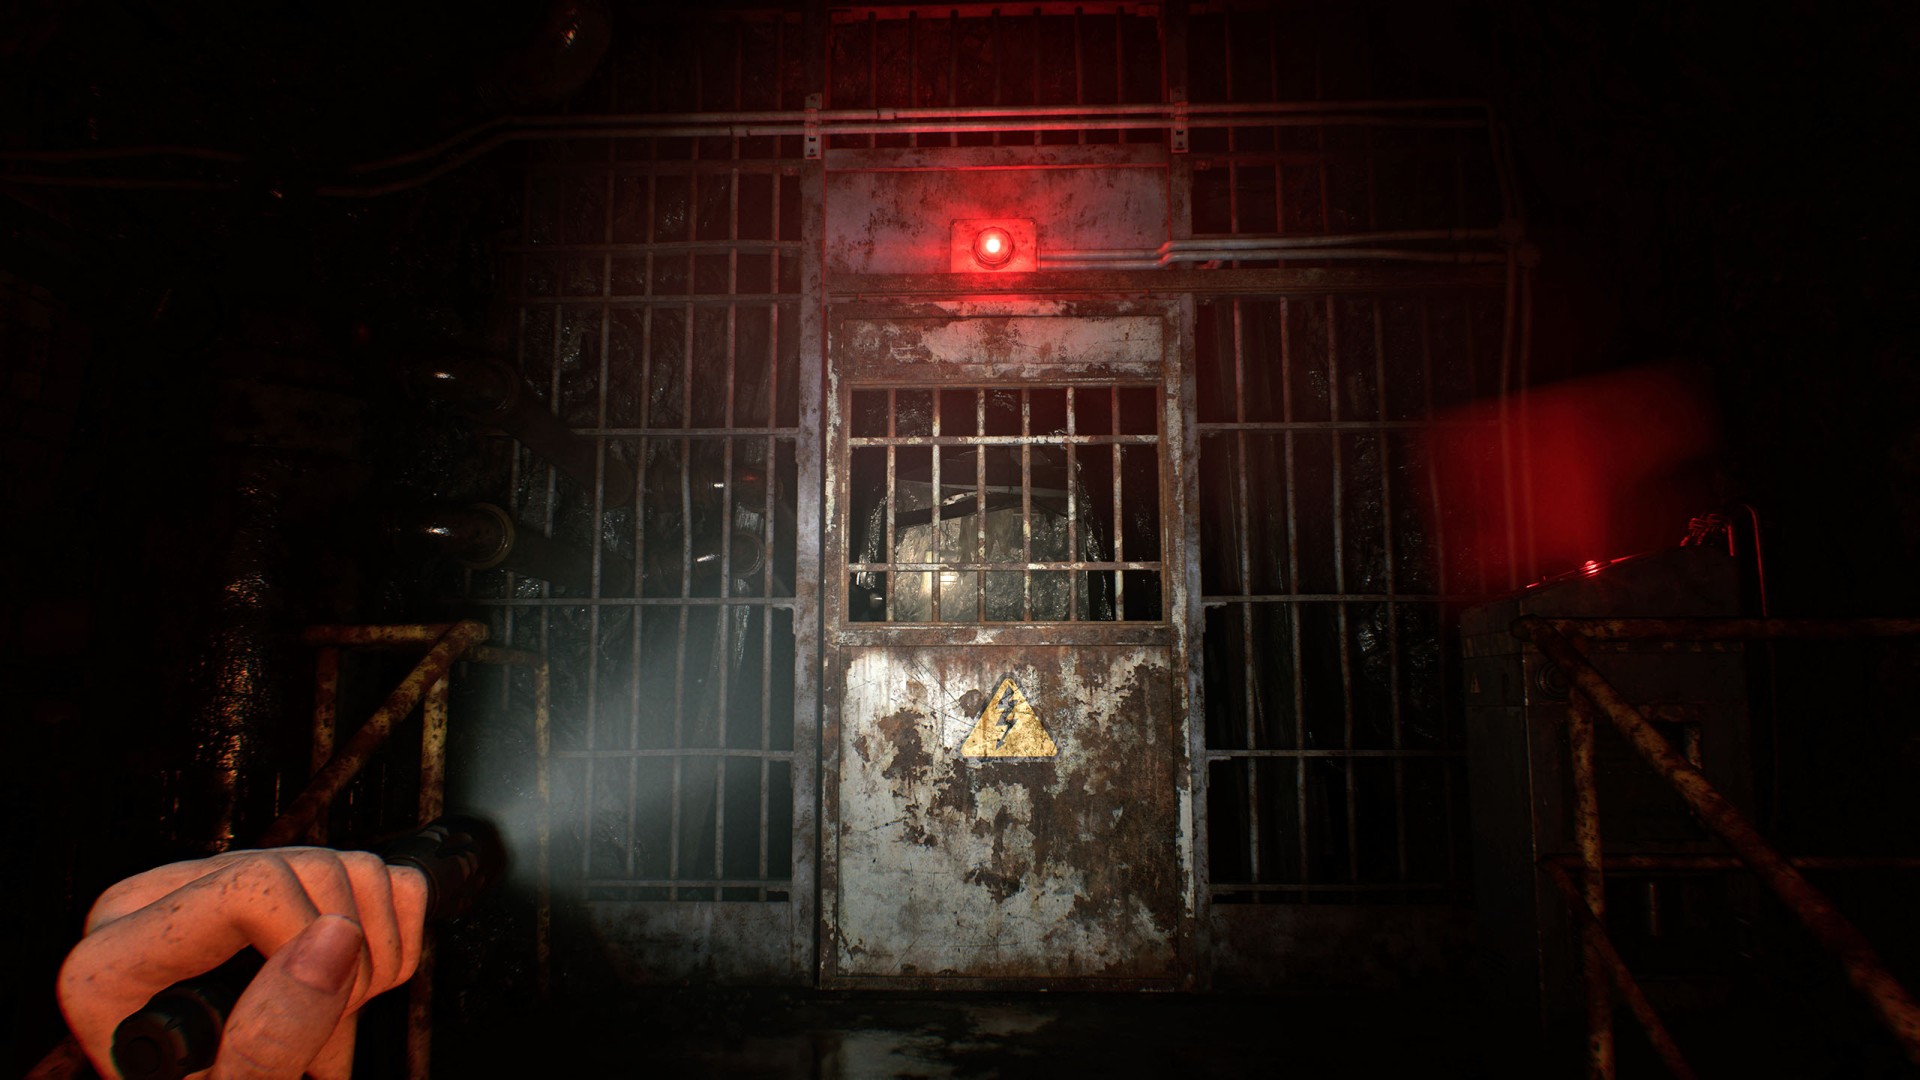
15Electric Door
To open these doors, insert the Joint Plug into the Power Distributor 3 located right next to them.
16Electric Door
To open these doors, insert the Joint Plug into the Power Distributor 2 located nearby.
17Electric Door
To open these doors, insert the Joint Plug into the Power Distributor 2 located nearby.
18Electric Door
To open these doors, insert the Joint Plug into the Power Distributor 2 located nearby.
19Electric Door
To open these doors, insert two Joint Plugs into the Power Distributor (Bolted) located nearby.
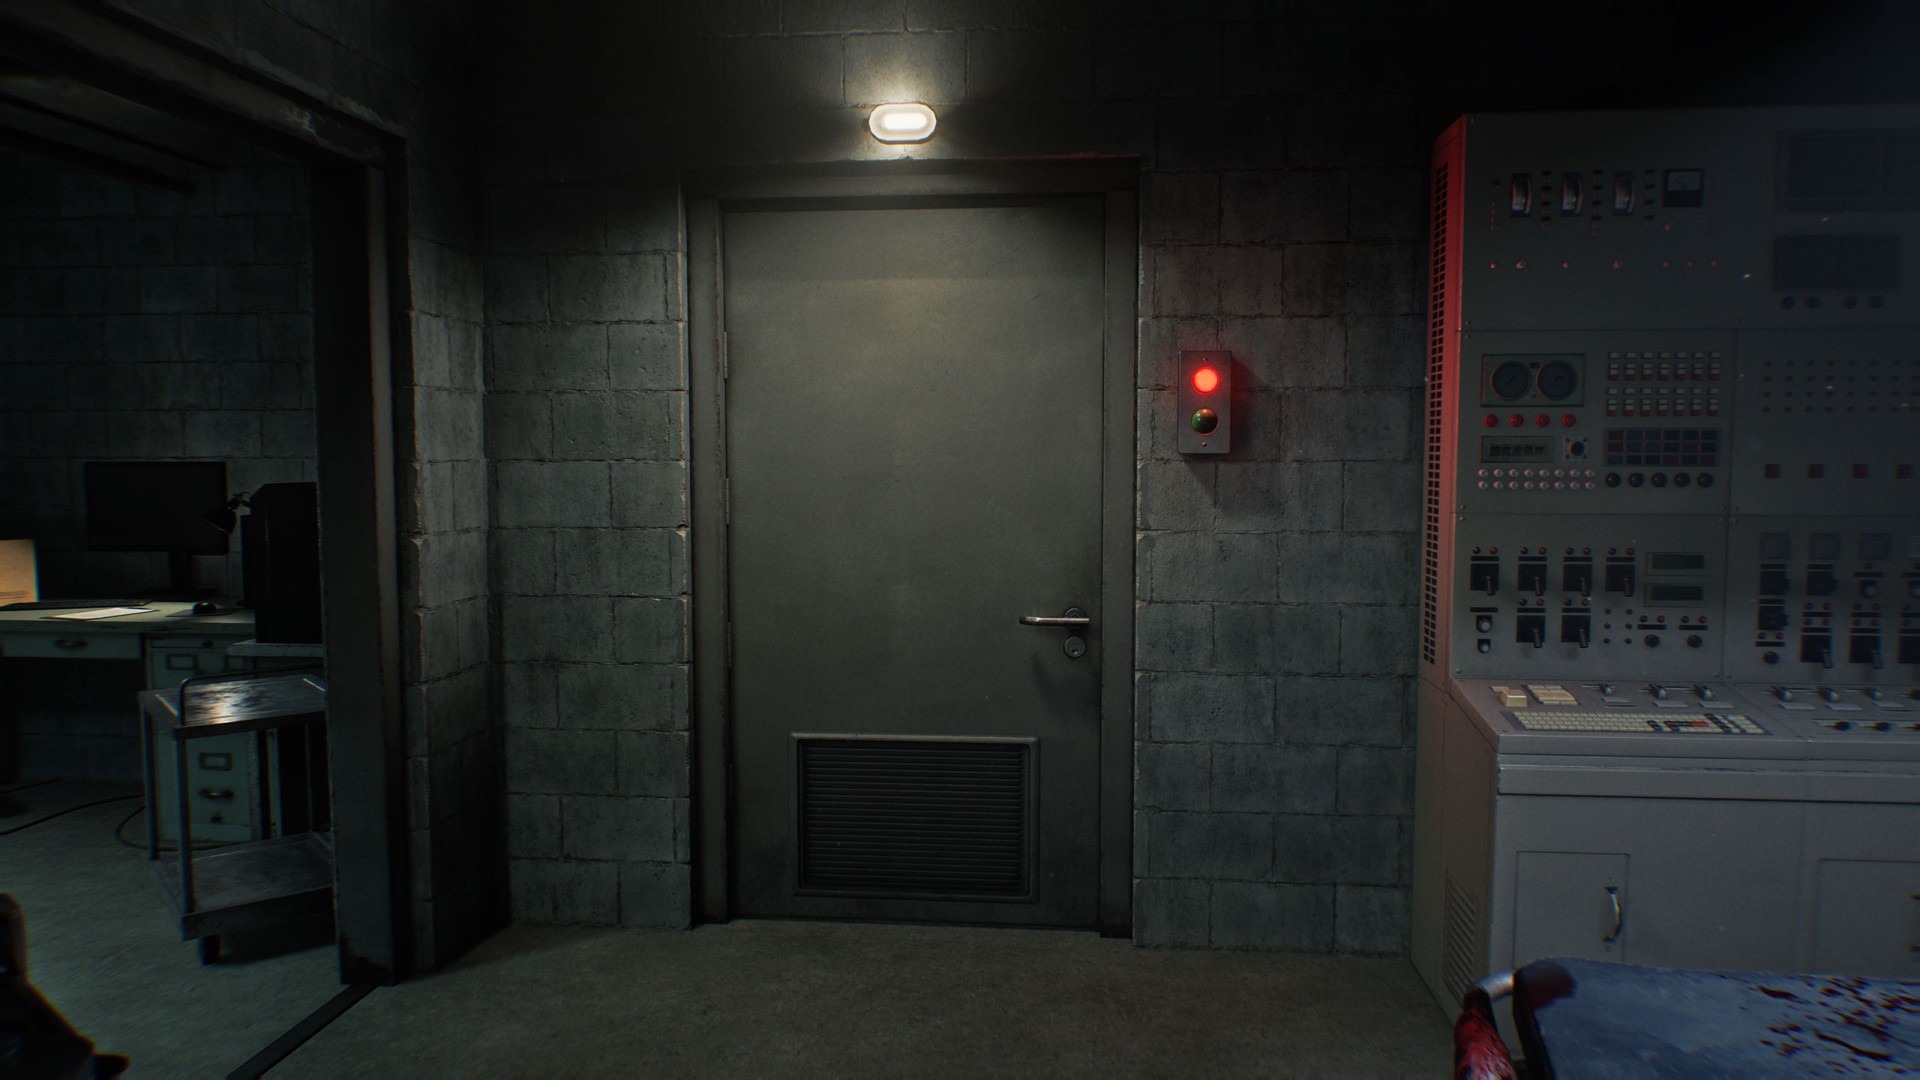
20Emergency Evacuation Door
These doors will open once the self-destruct sequence for the research facility begins.
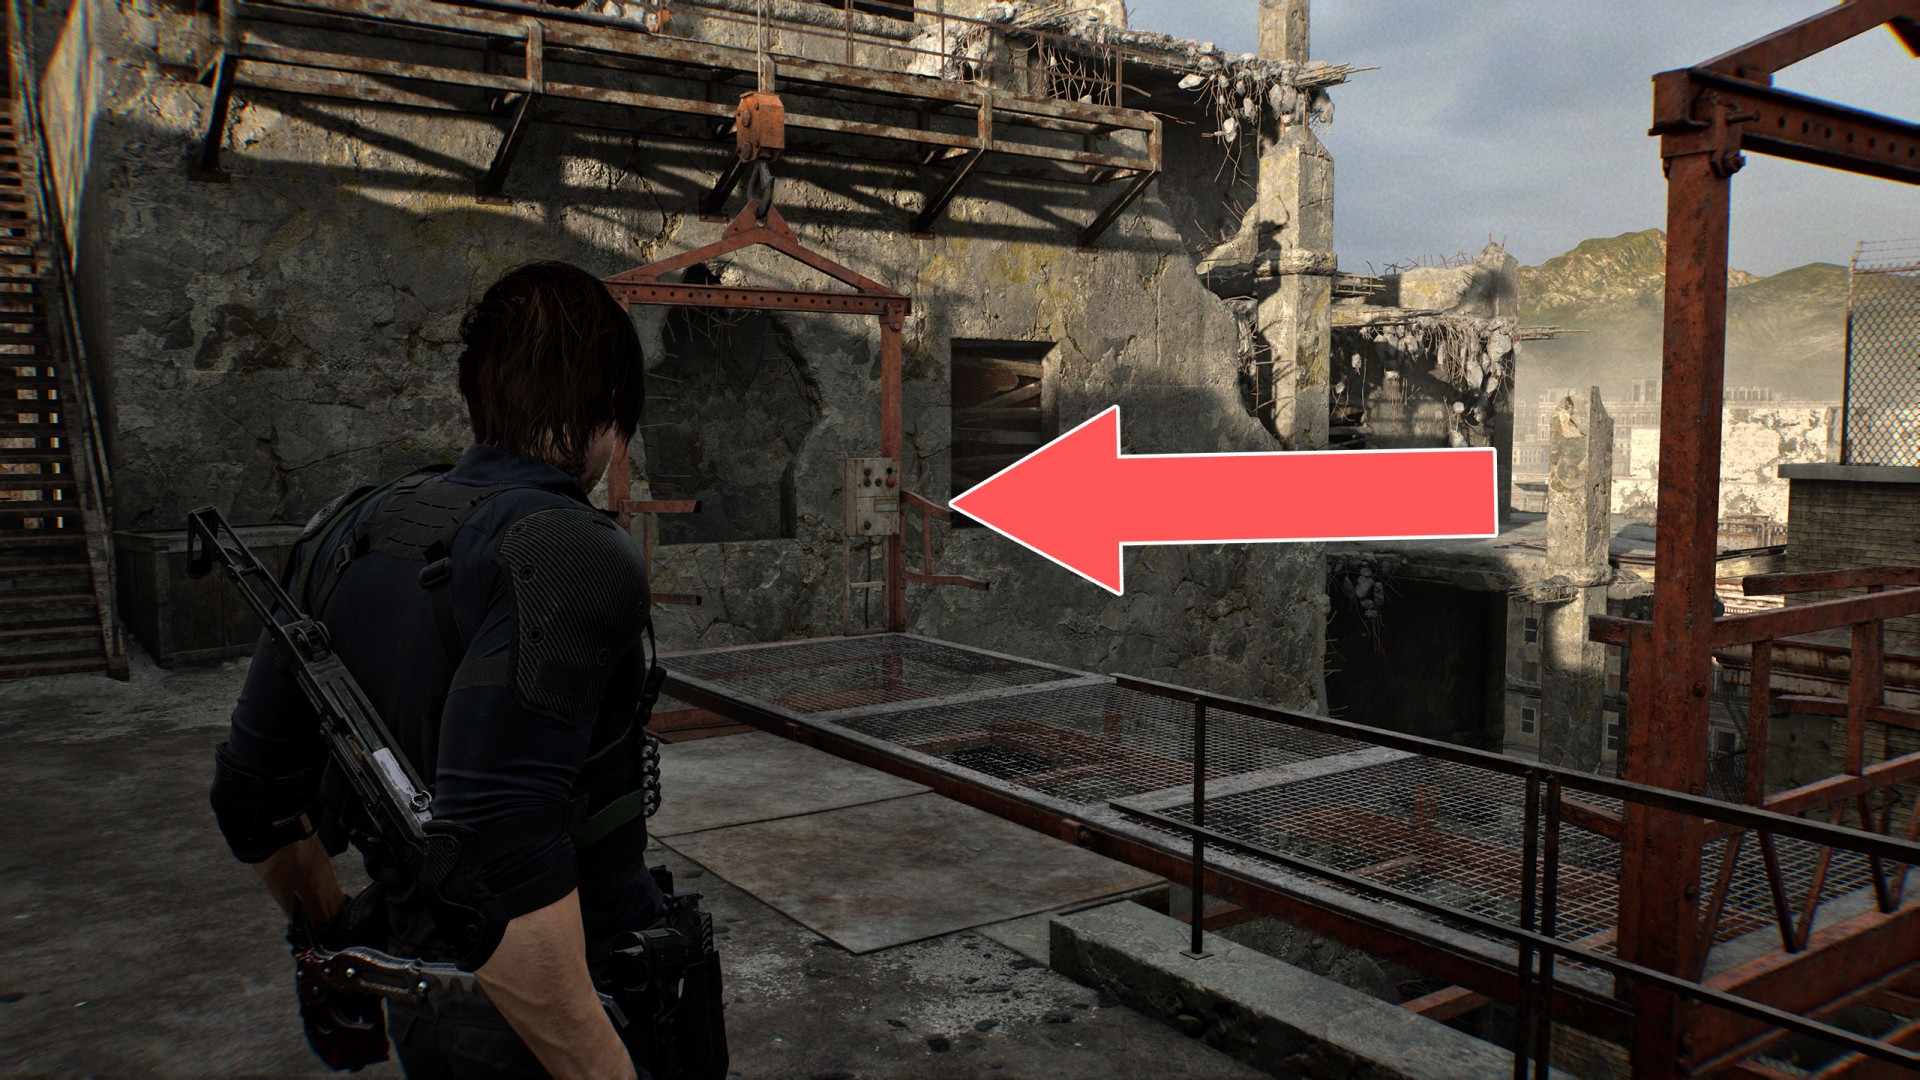
21Forklift
To unlock this passage, you must obtain the Forklift Key and start the forklift to raise its lift. Additionally, the power must be turned on.
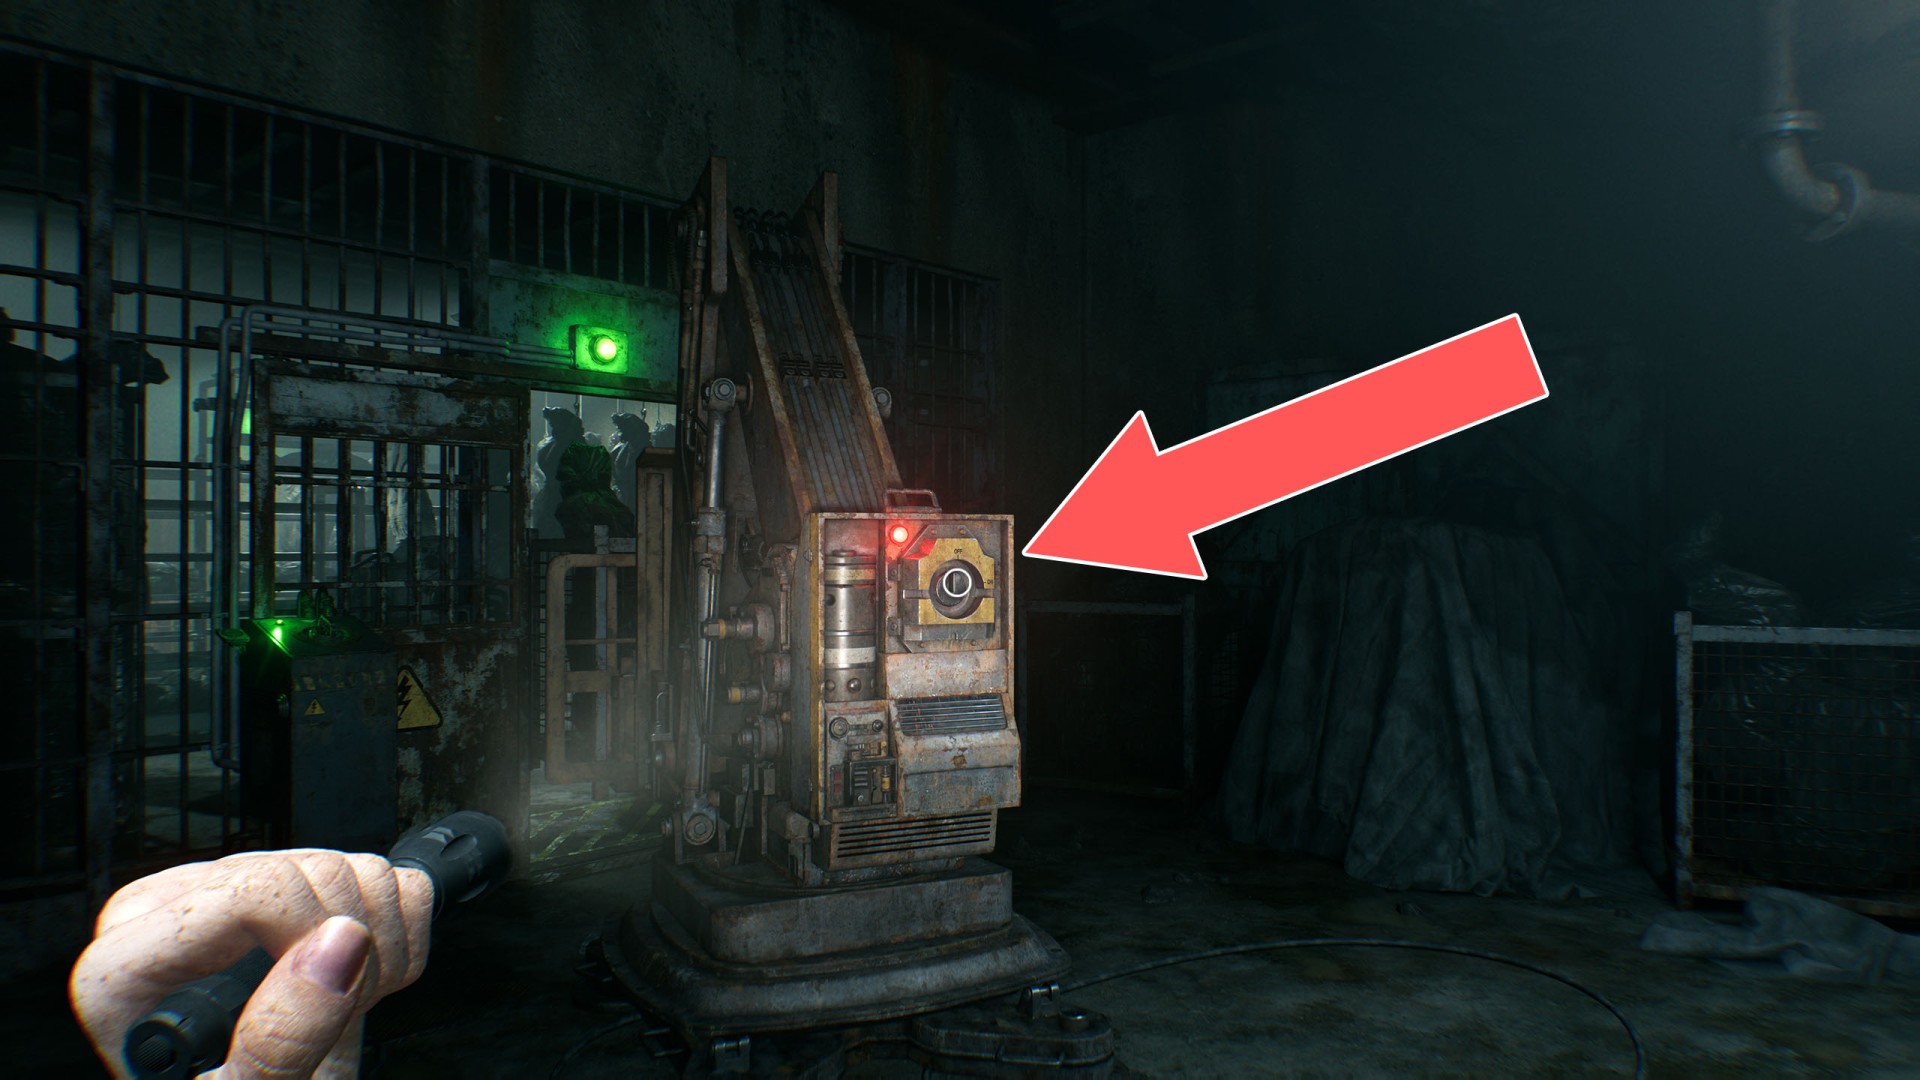
22Forklift
To unlock this passage, you must obtain the Forklift Key and start the forklift to raise its lift.

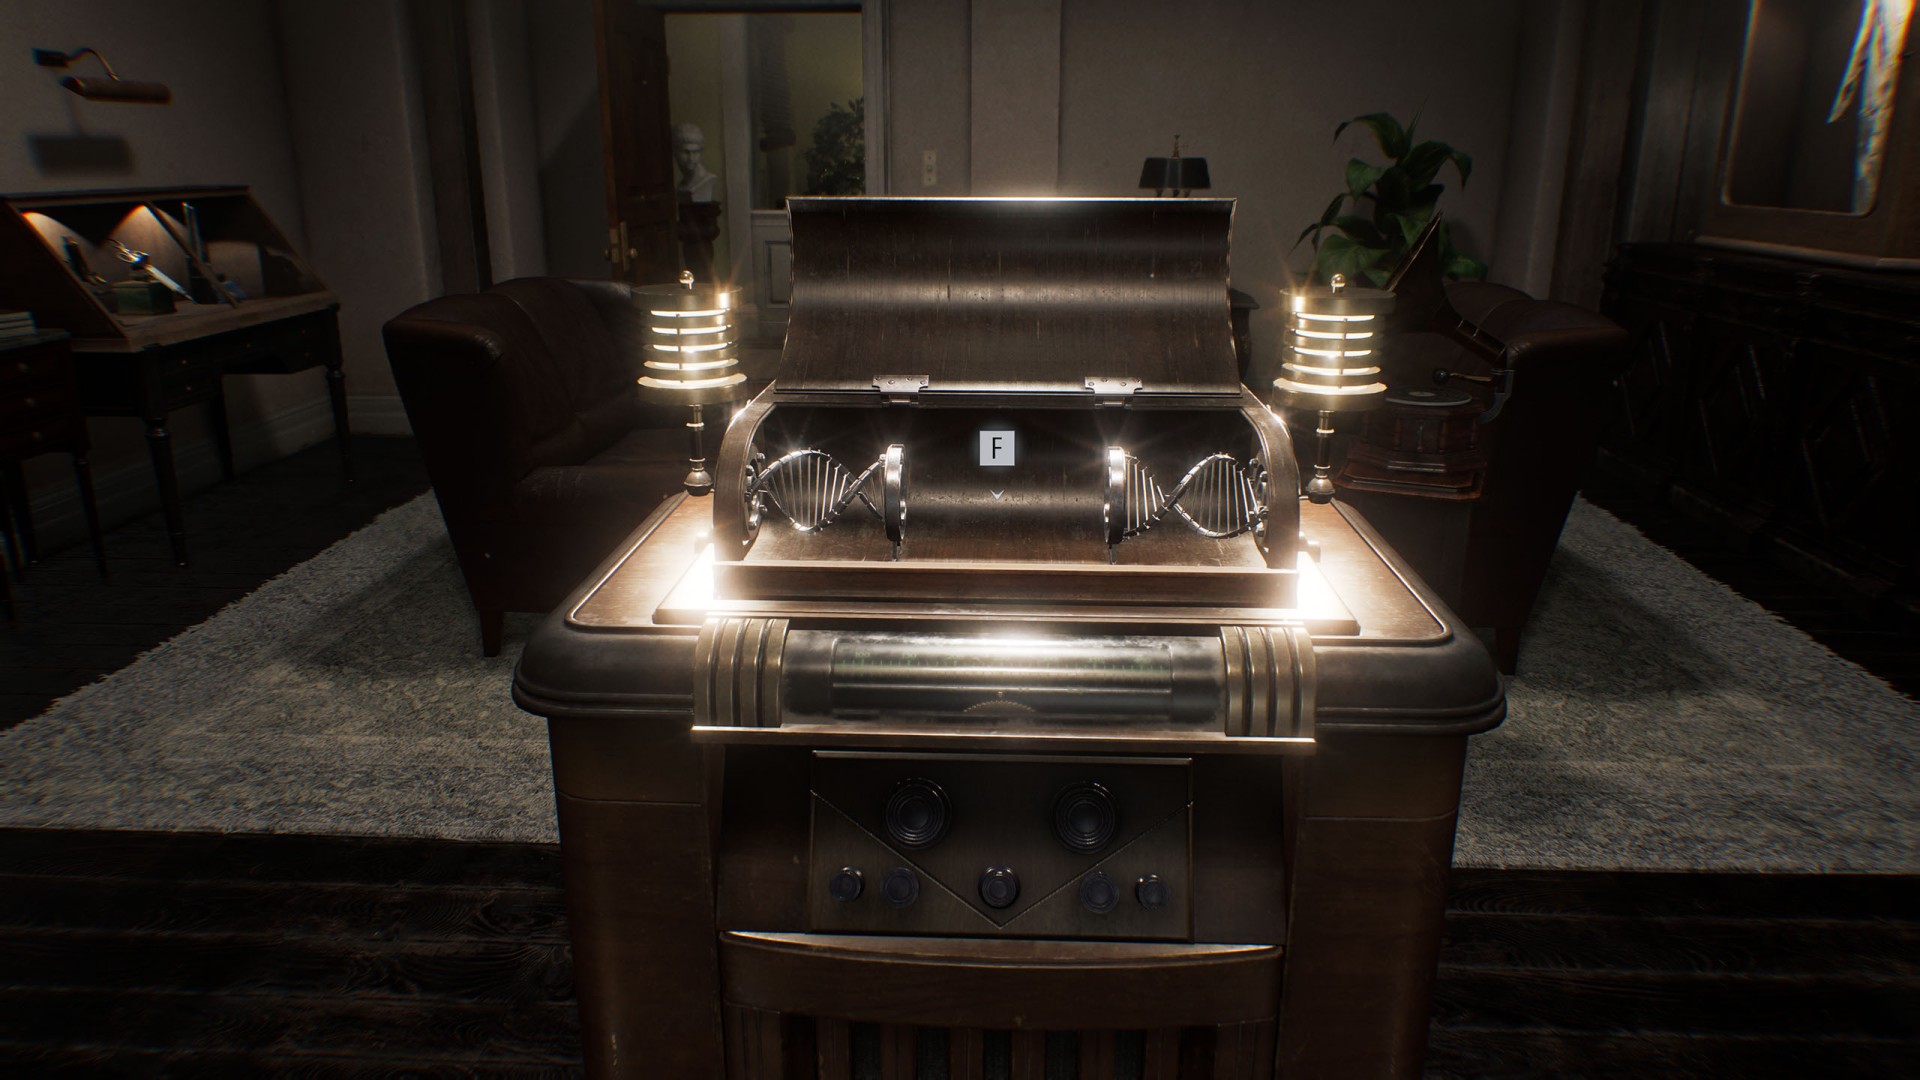
23Incomplete DNA
Interact with the pedestal and place the Double Helix Model in the empty socket to activate the elevator.
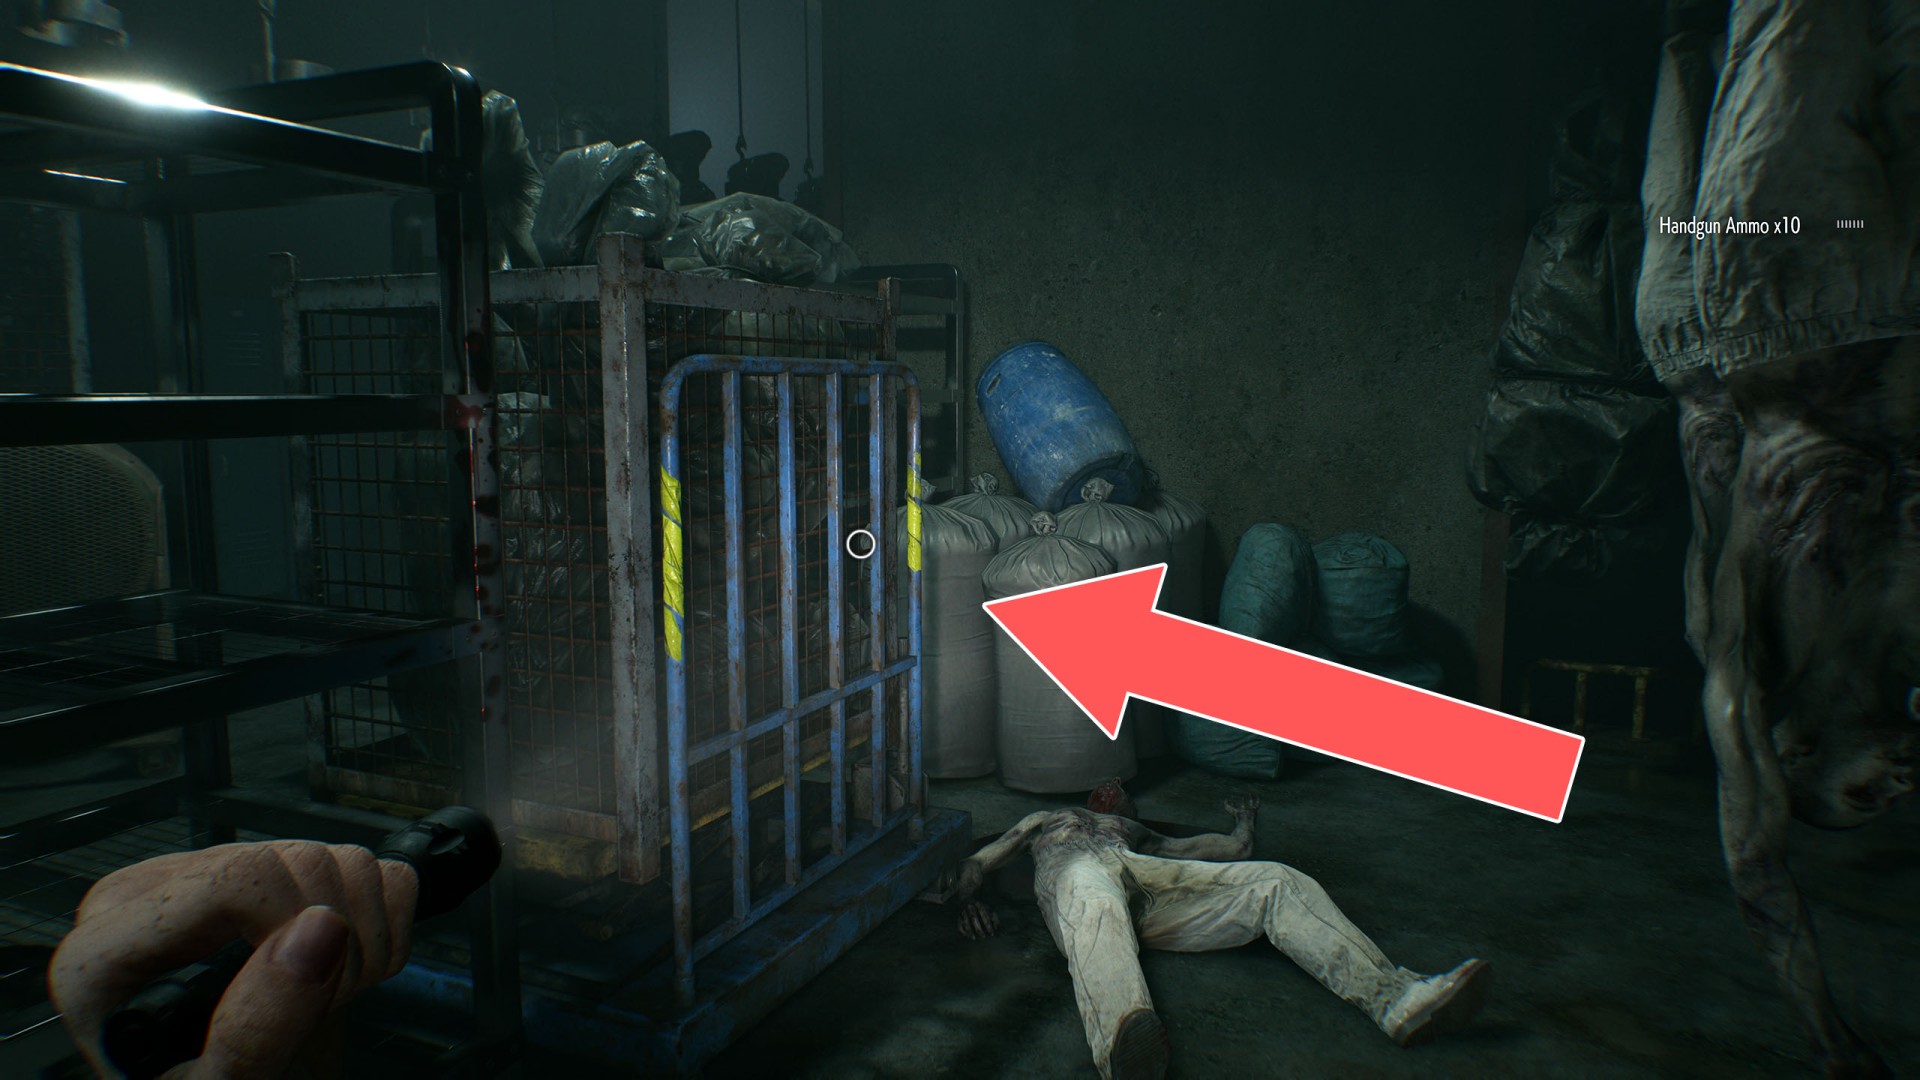
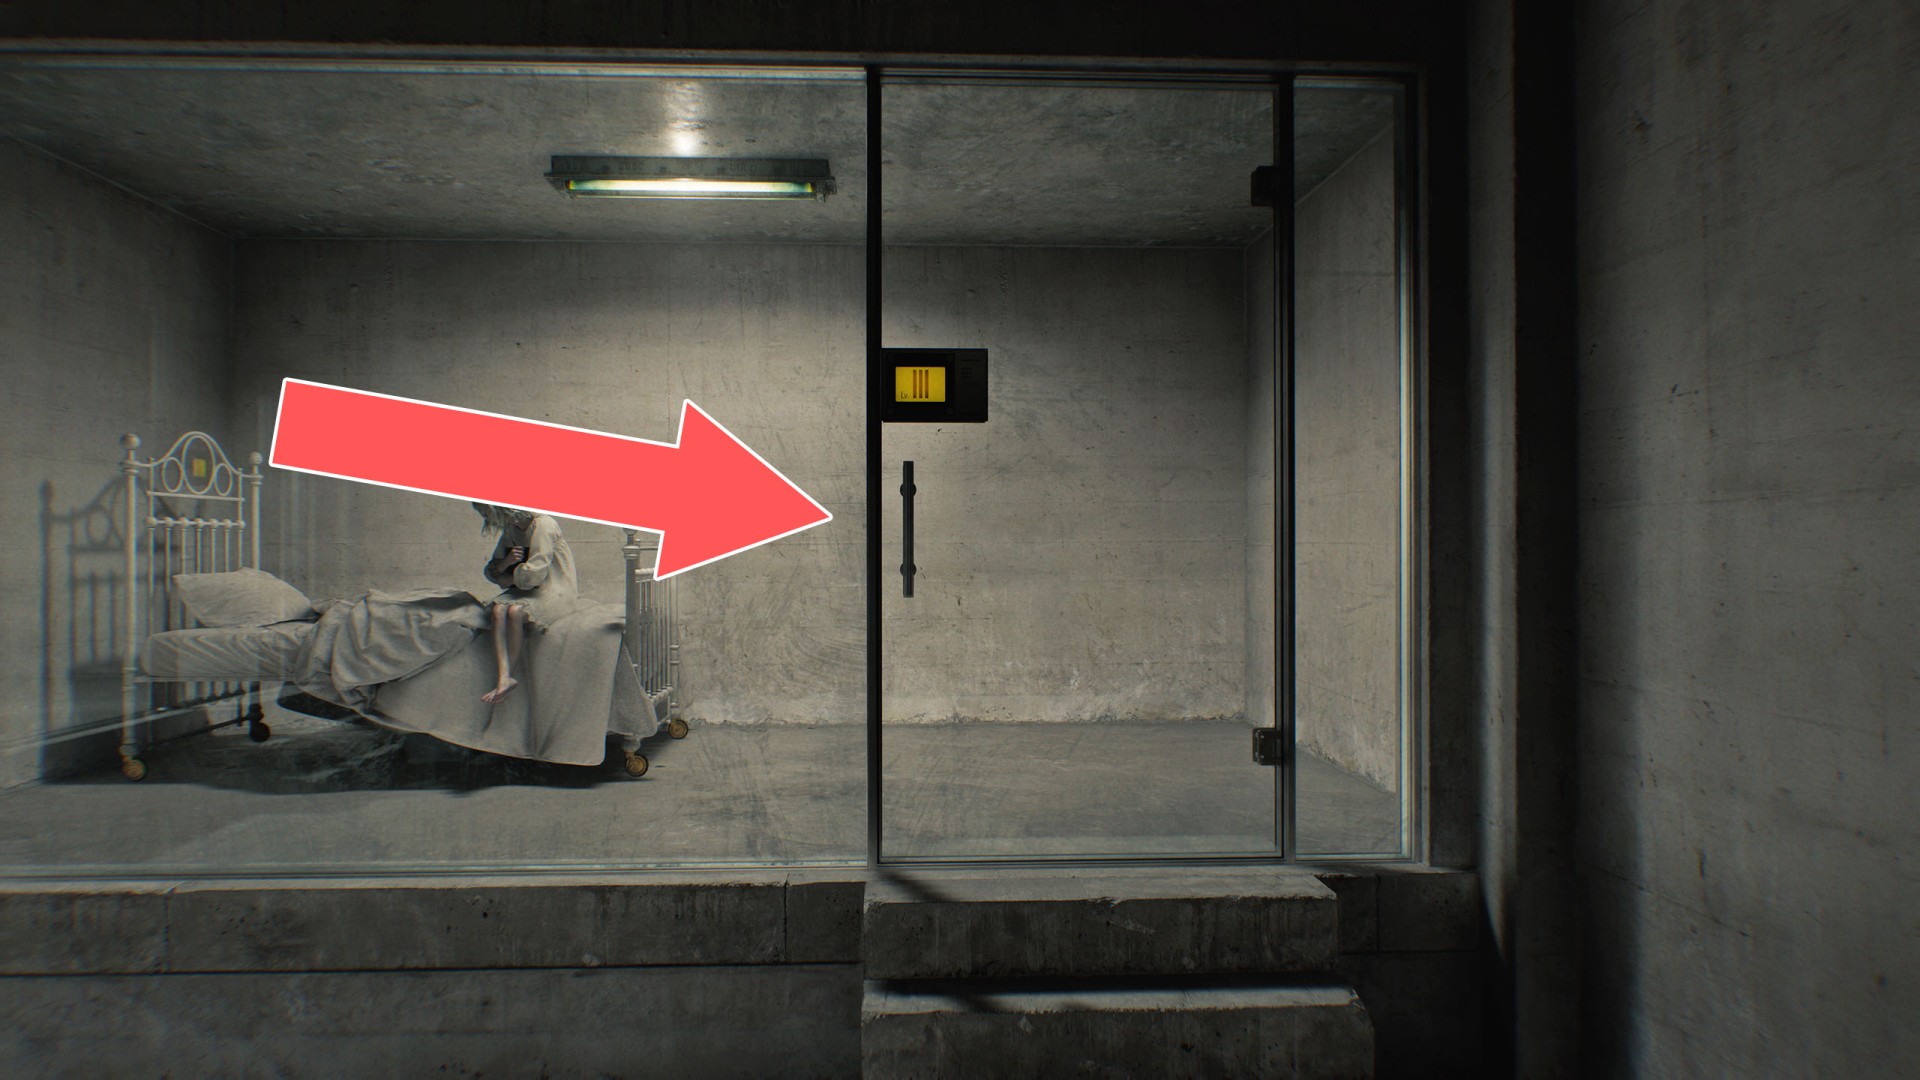
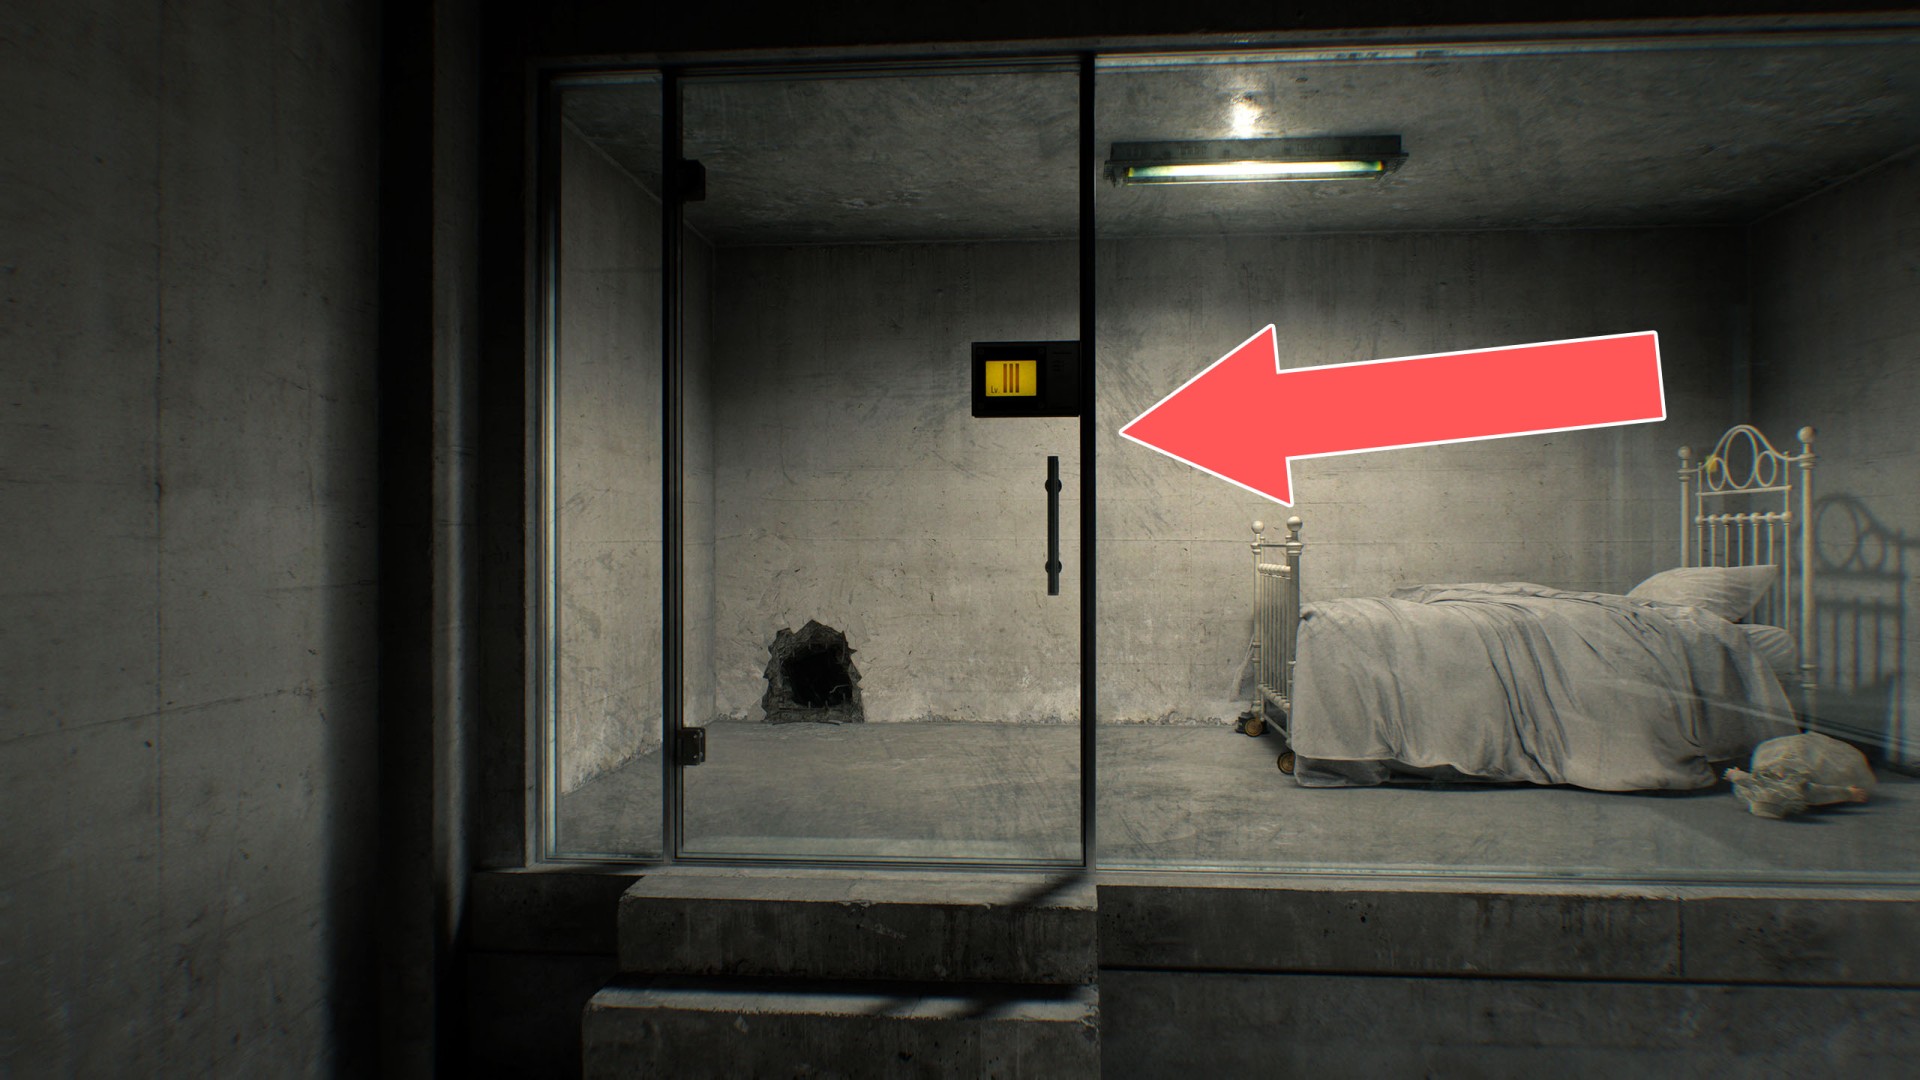
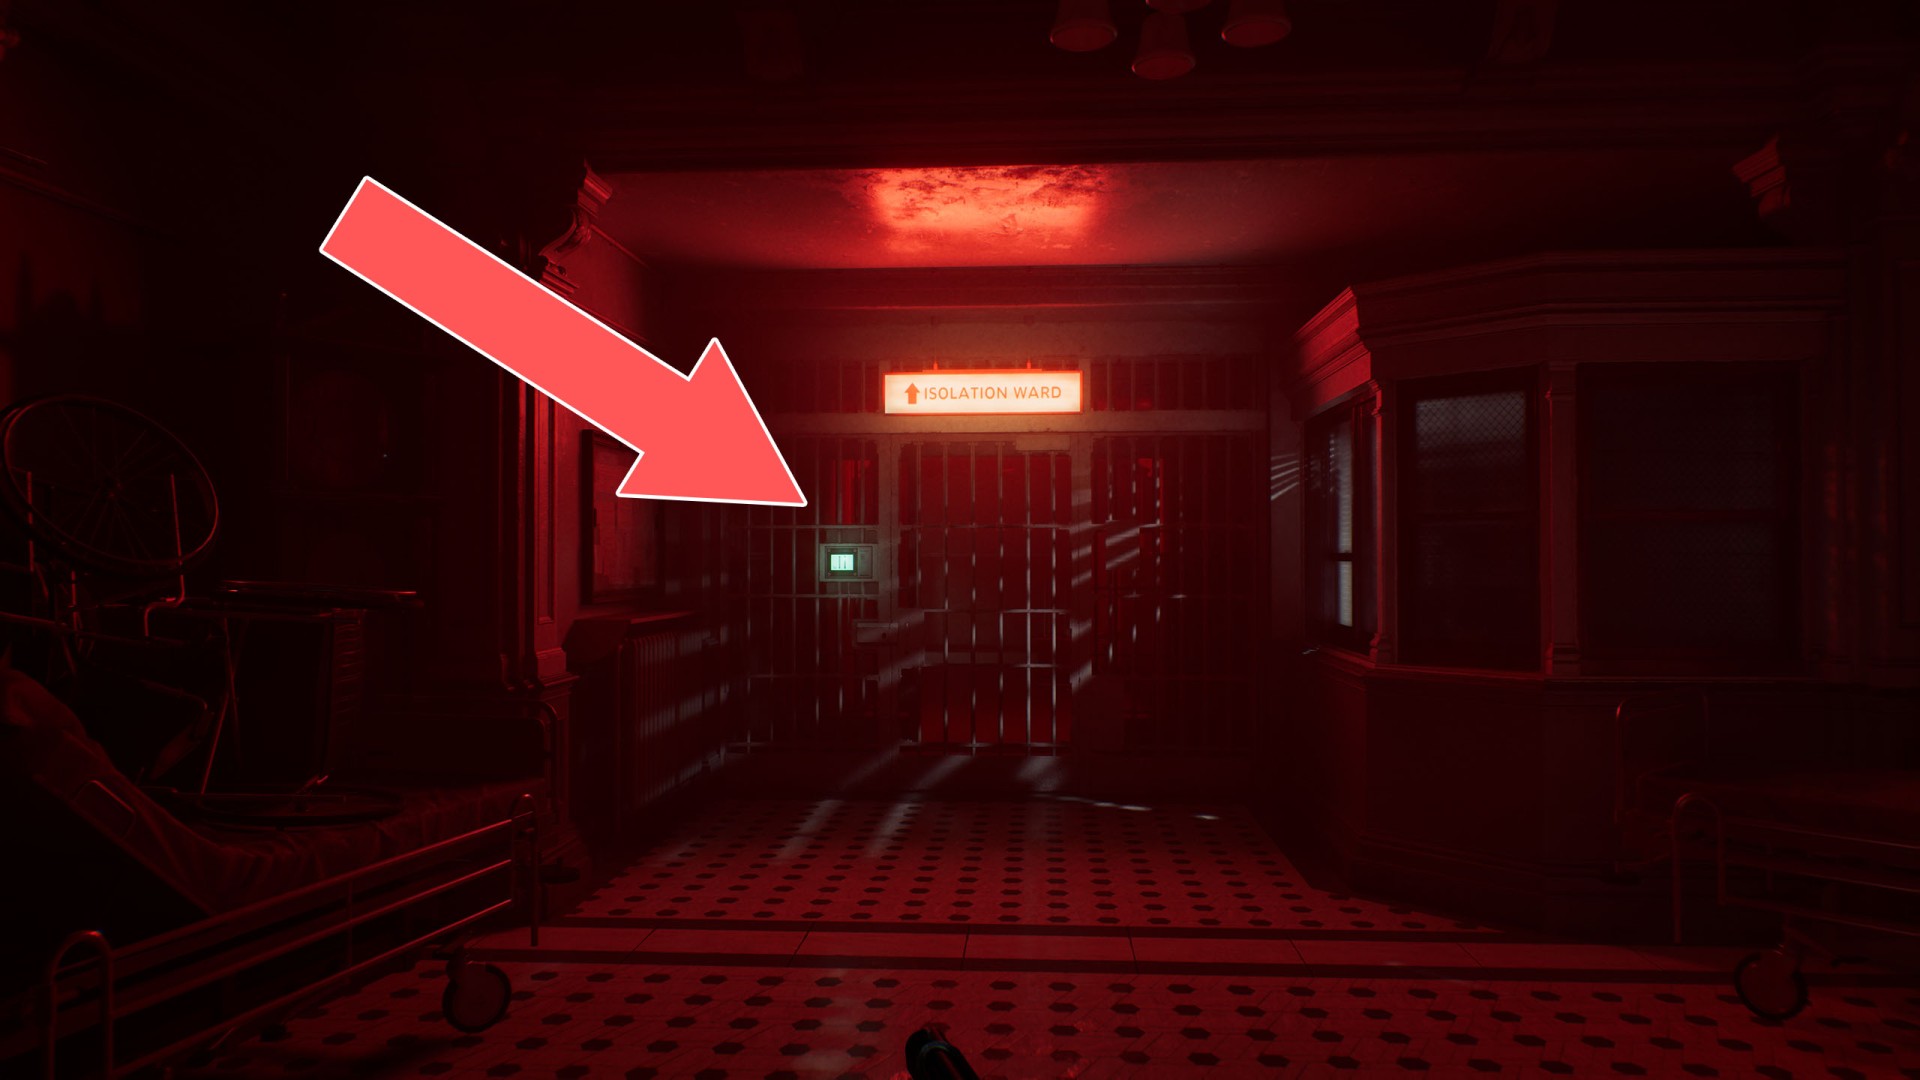
24Isolation Ward
These doors are initially locked but will open once you collect the ID Wristband (Level 3).
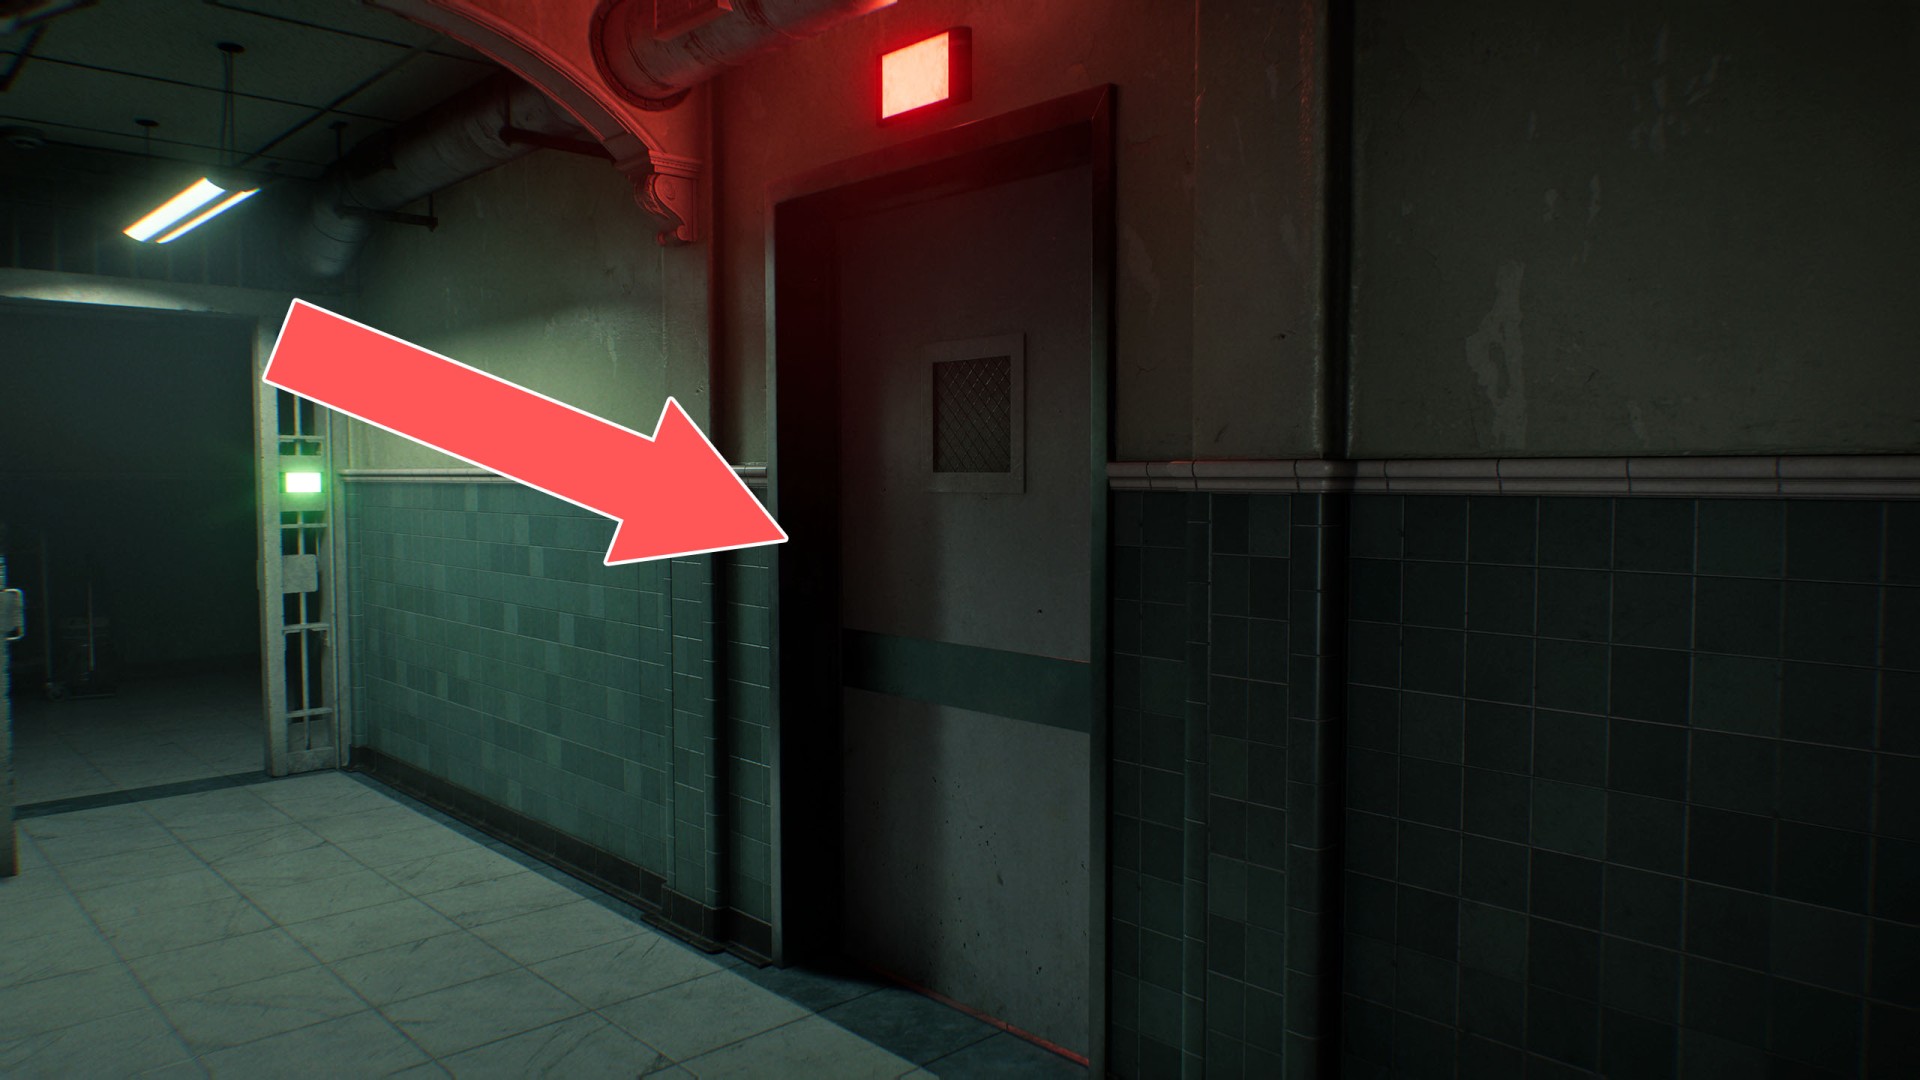
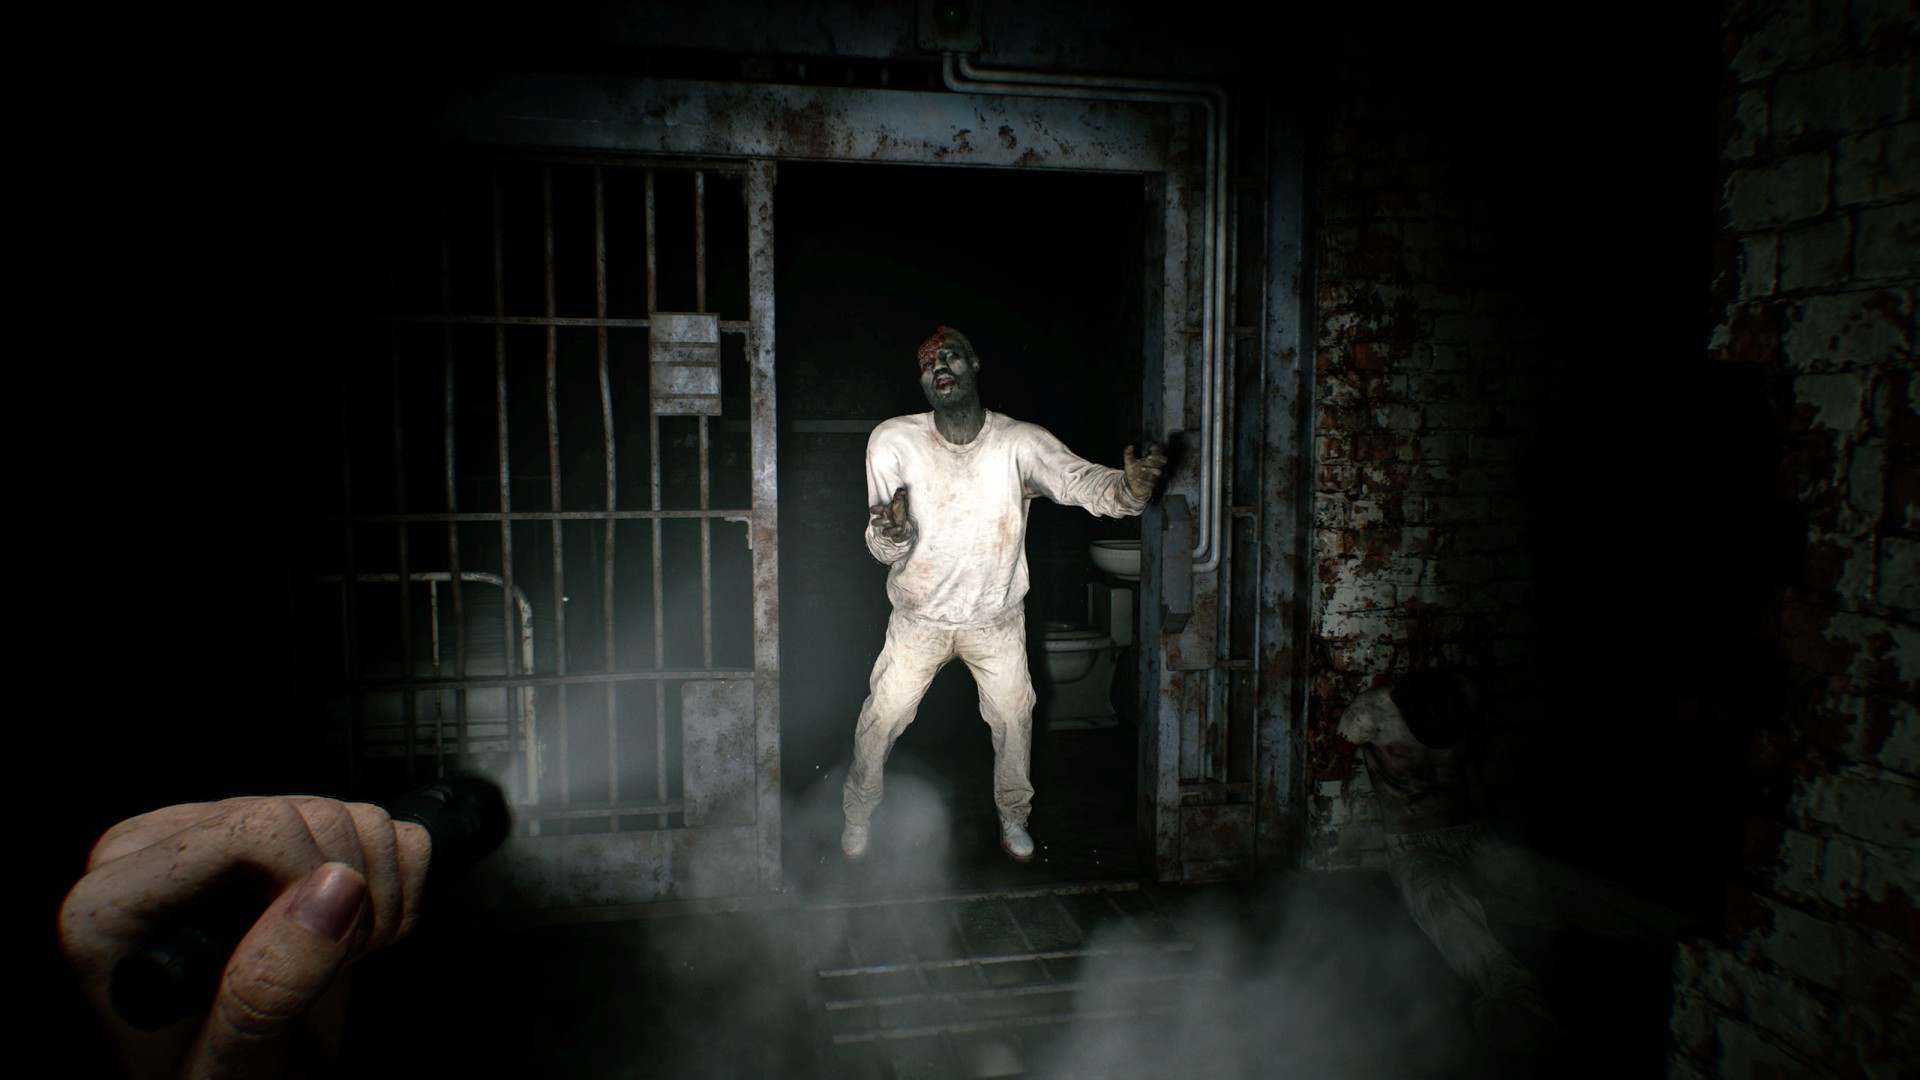
25Isolation Ward Door
These doors are initially locked but will open once you collect the ID Wristband (Level 3).
26Isolation Ward Door
These doors are initially locked but will open once you carry Emily to the Security Manager's Office.
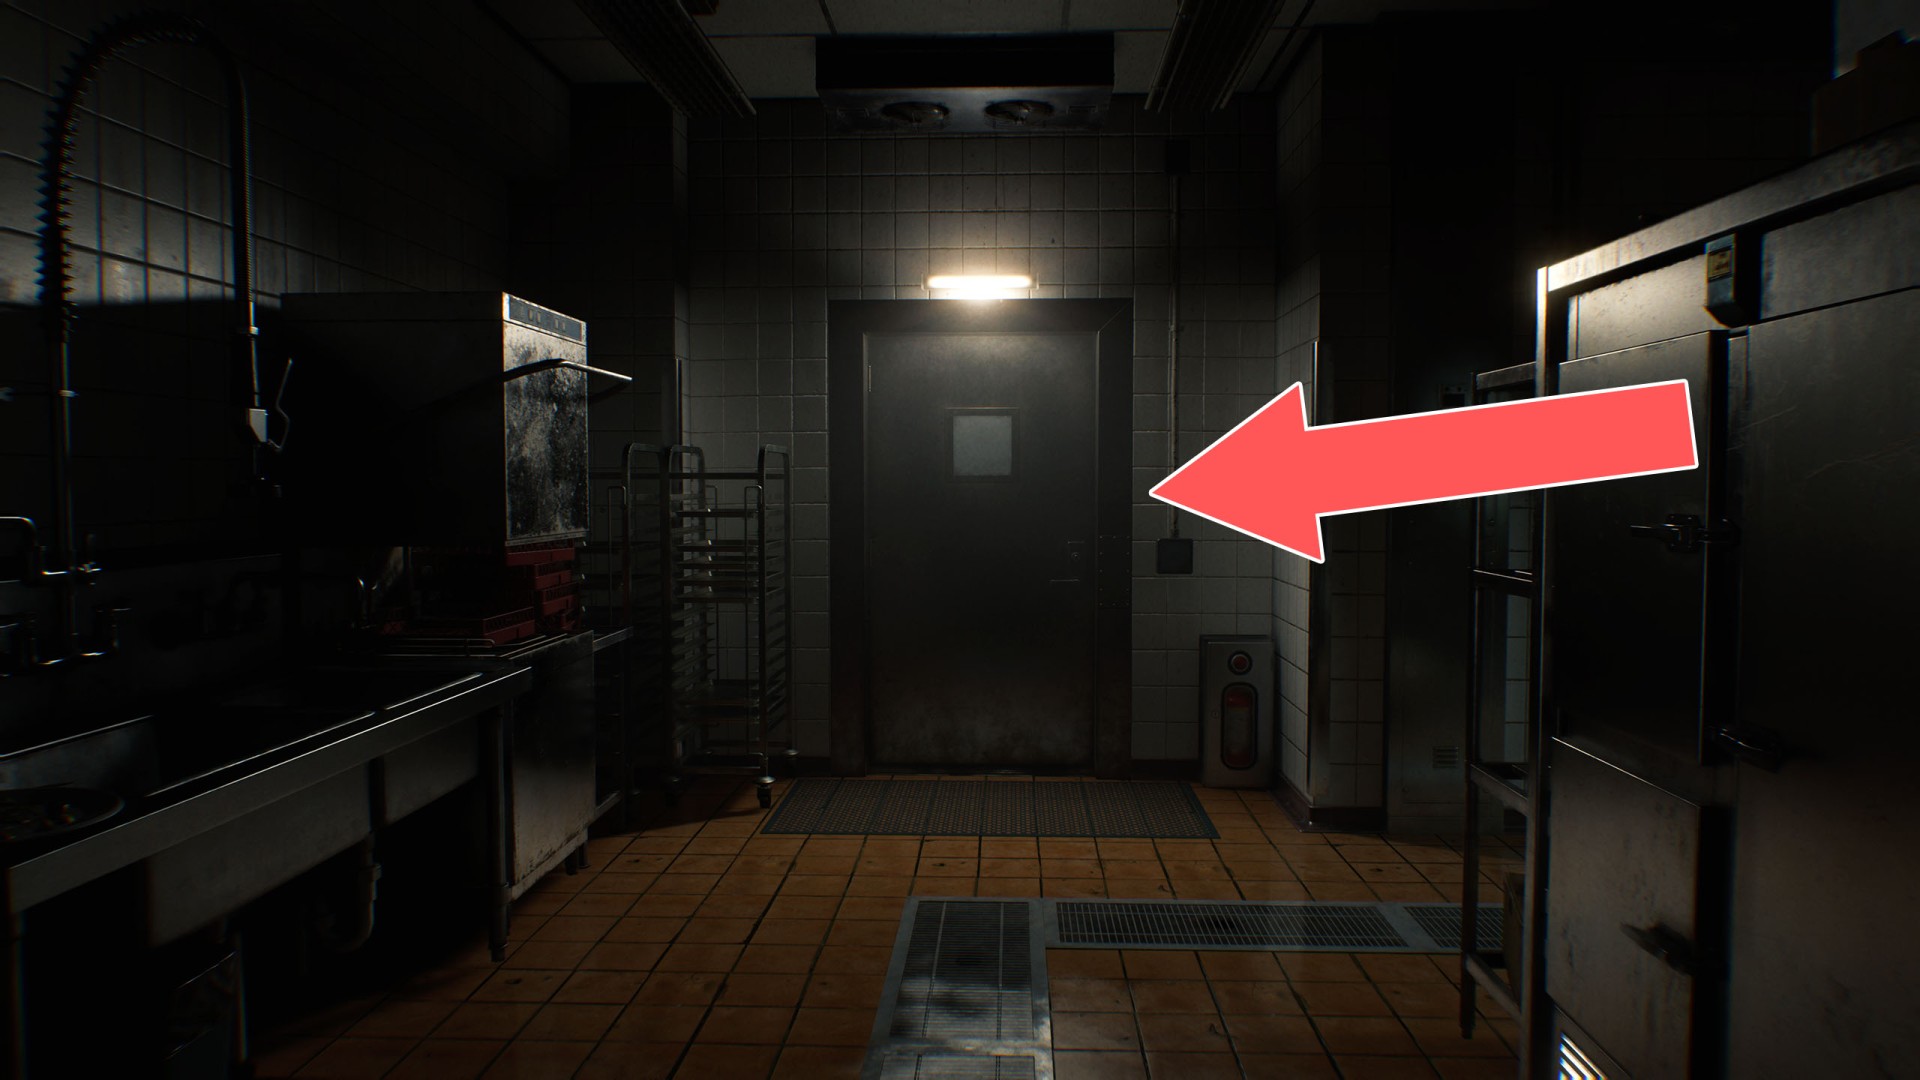
27Kitchenette Door
It can be unlocked from the south.
28Lowered Gate
To unlock it (as Grace) you need to get the fuse from the Fuse Box (Locked) and put it into the nearby Fuse Box.
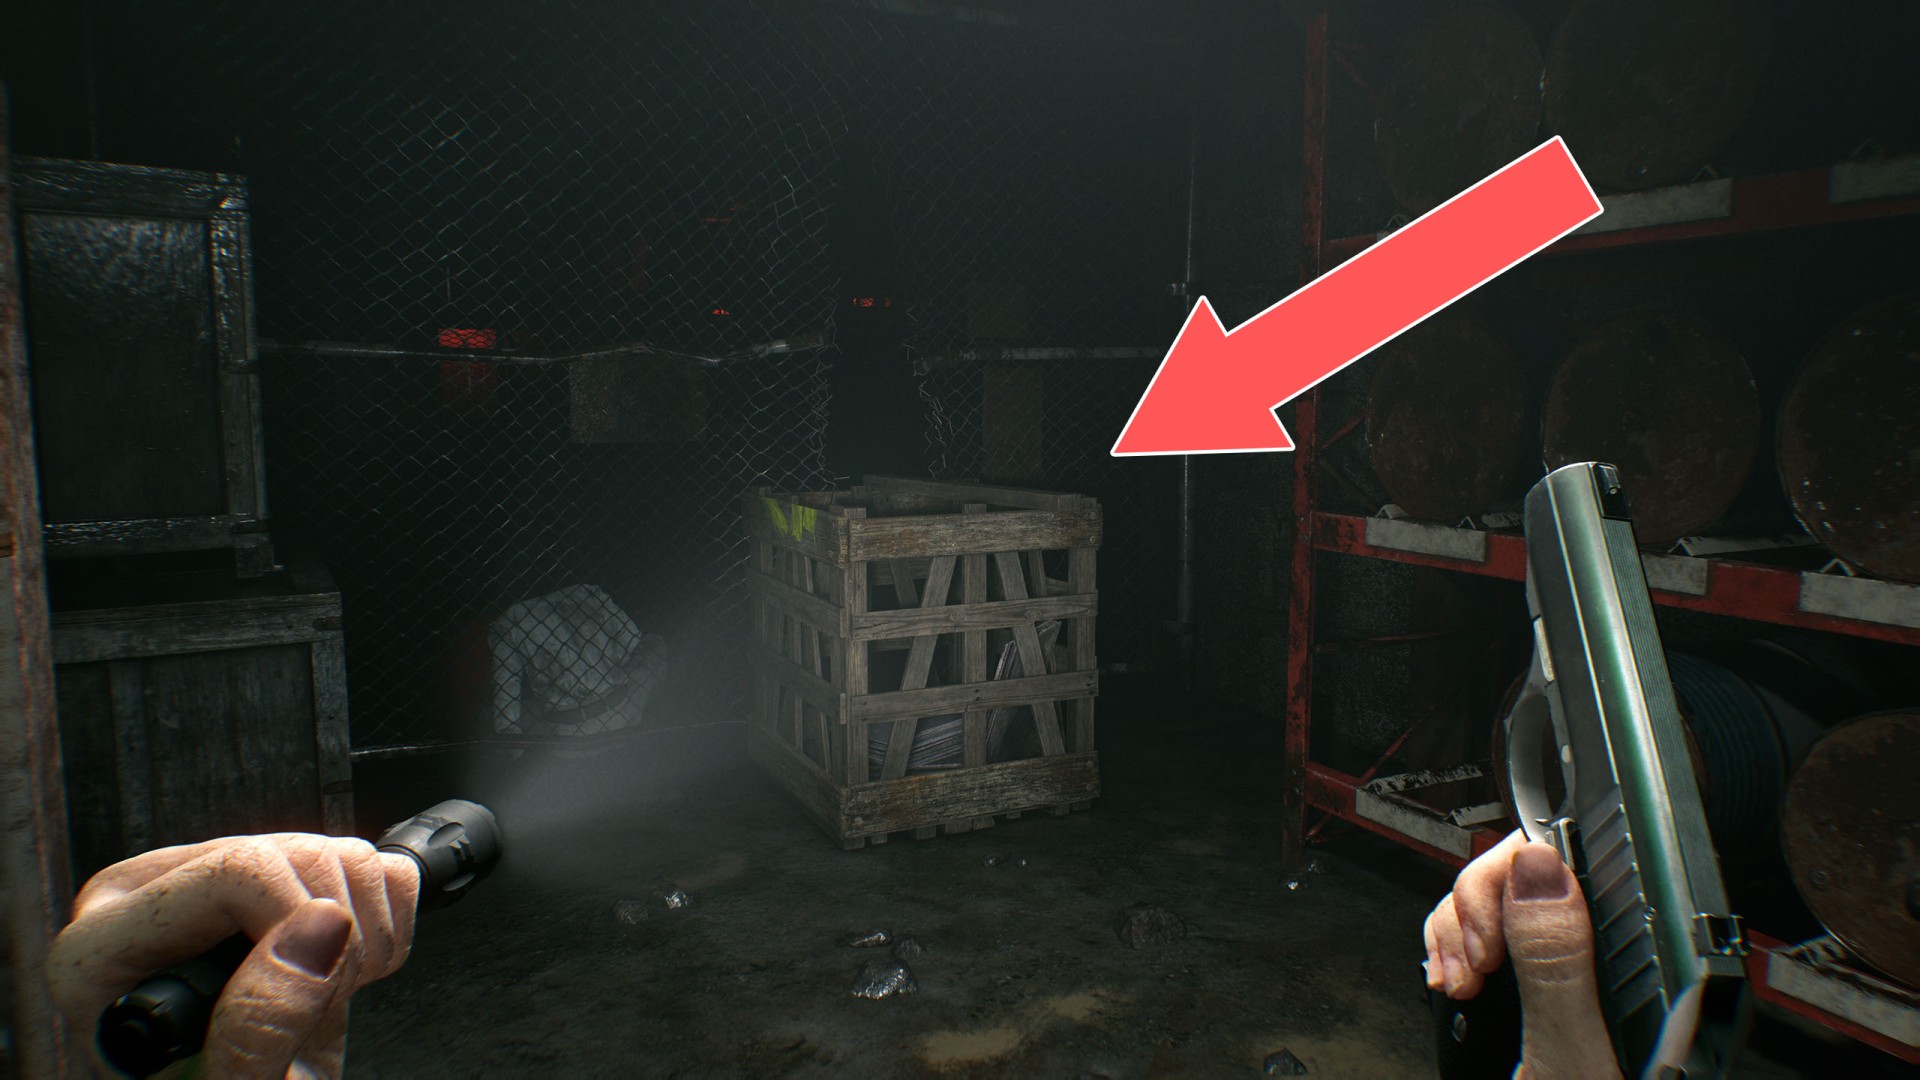
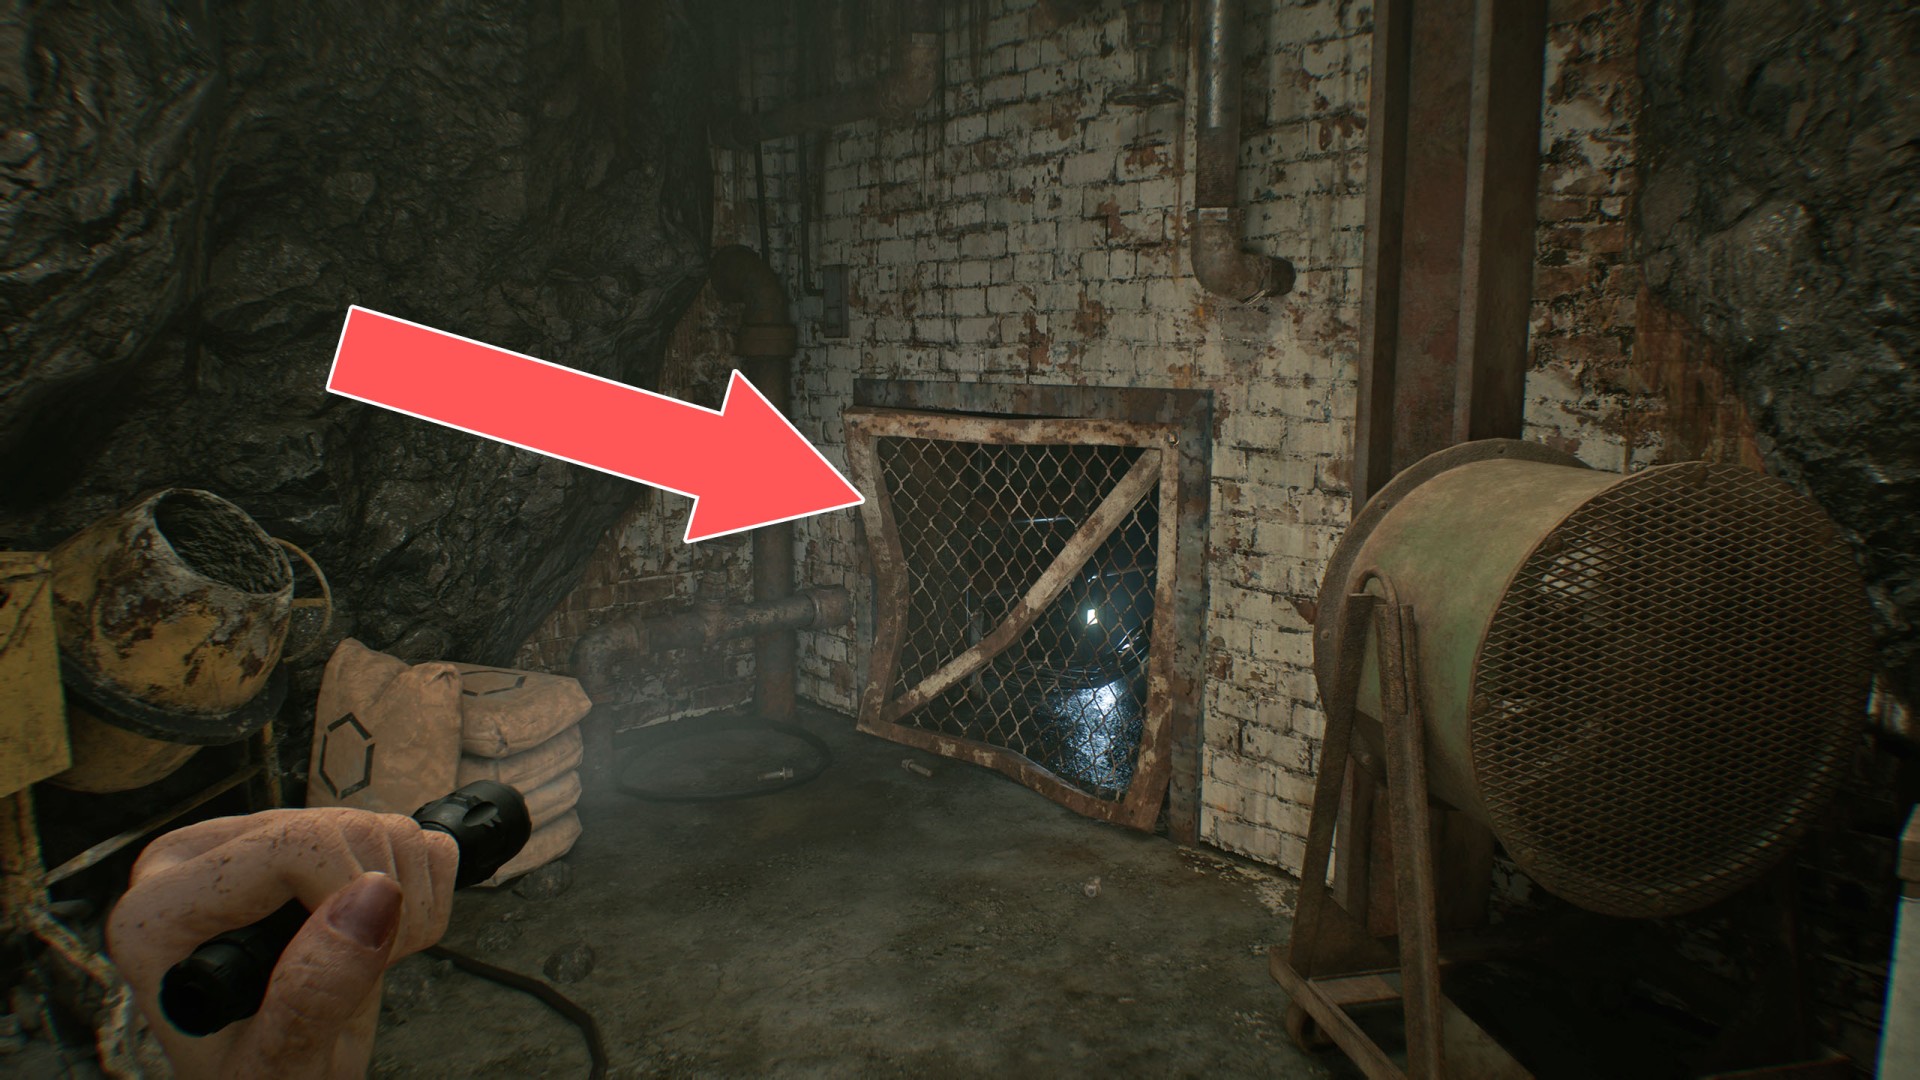
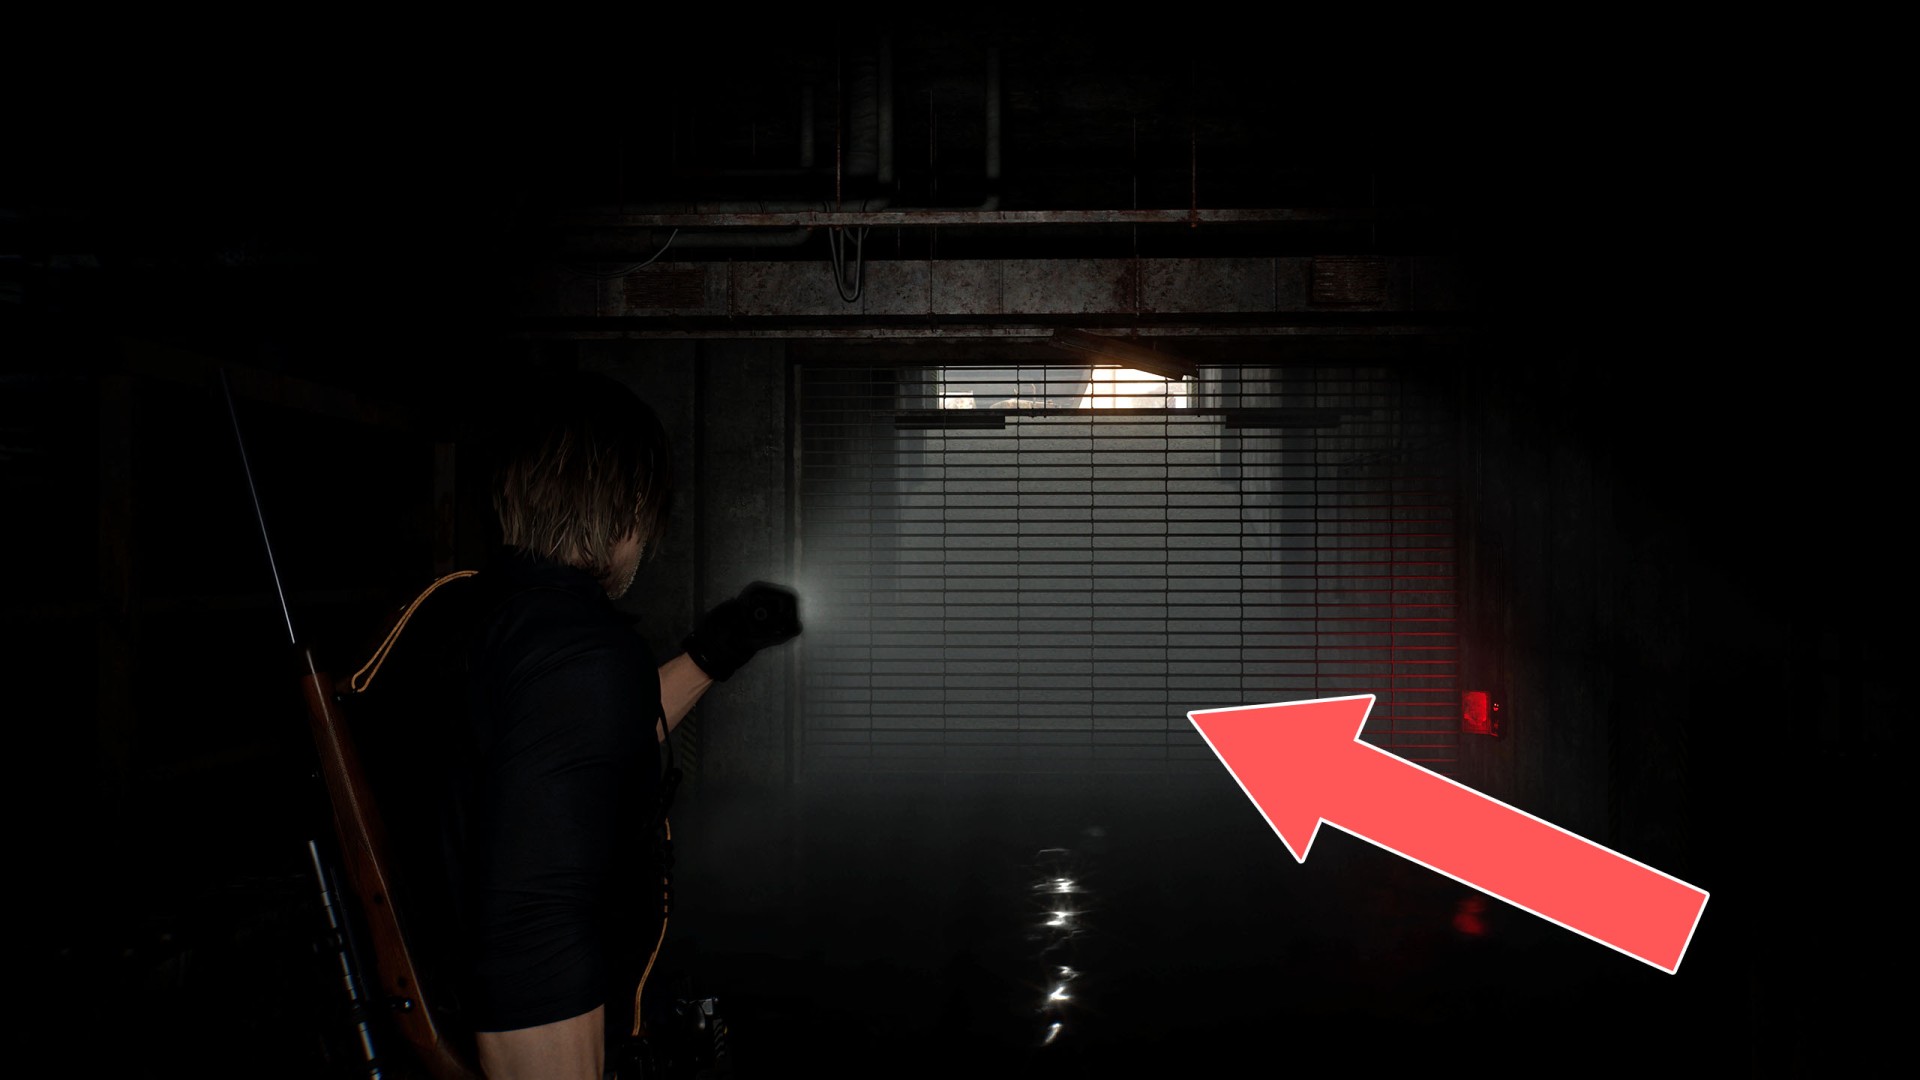
29Movable Crate
Push this crate to access the Boiler Room without turning on the power, which will allow you to reach the areas with water on the floor.
30Nurses' Station Door
These doors can be destroyed by The Girl while she is chasing you.

31Pantry Door
You need the Pantry Key to unlock this door.
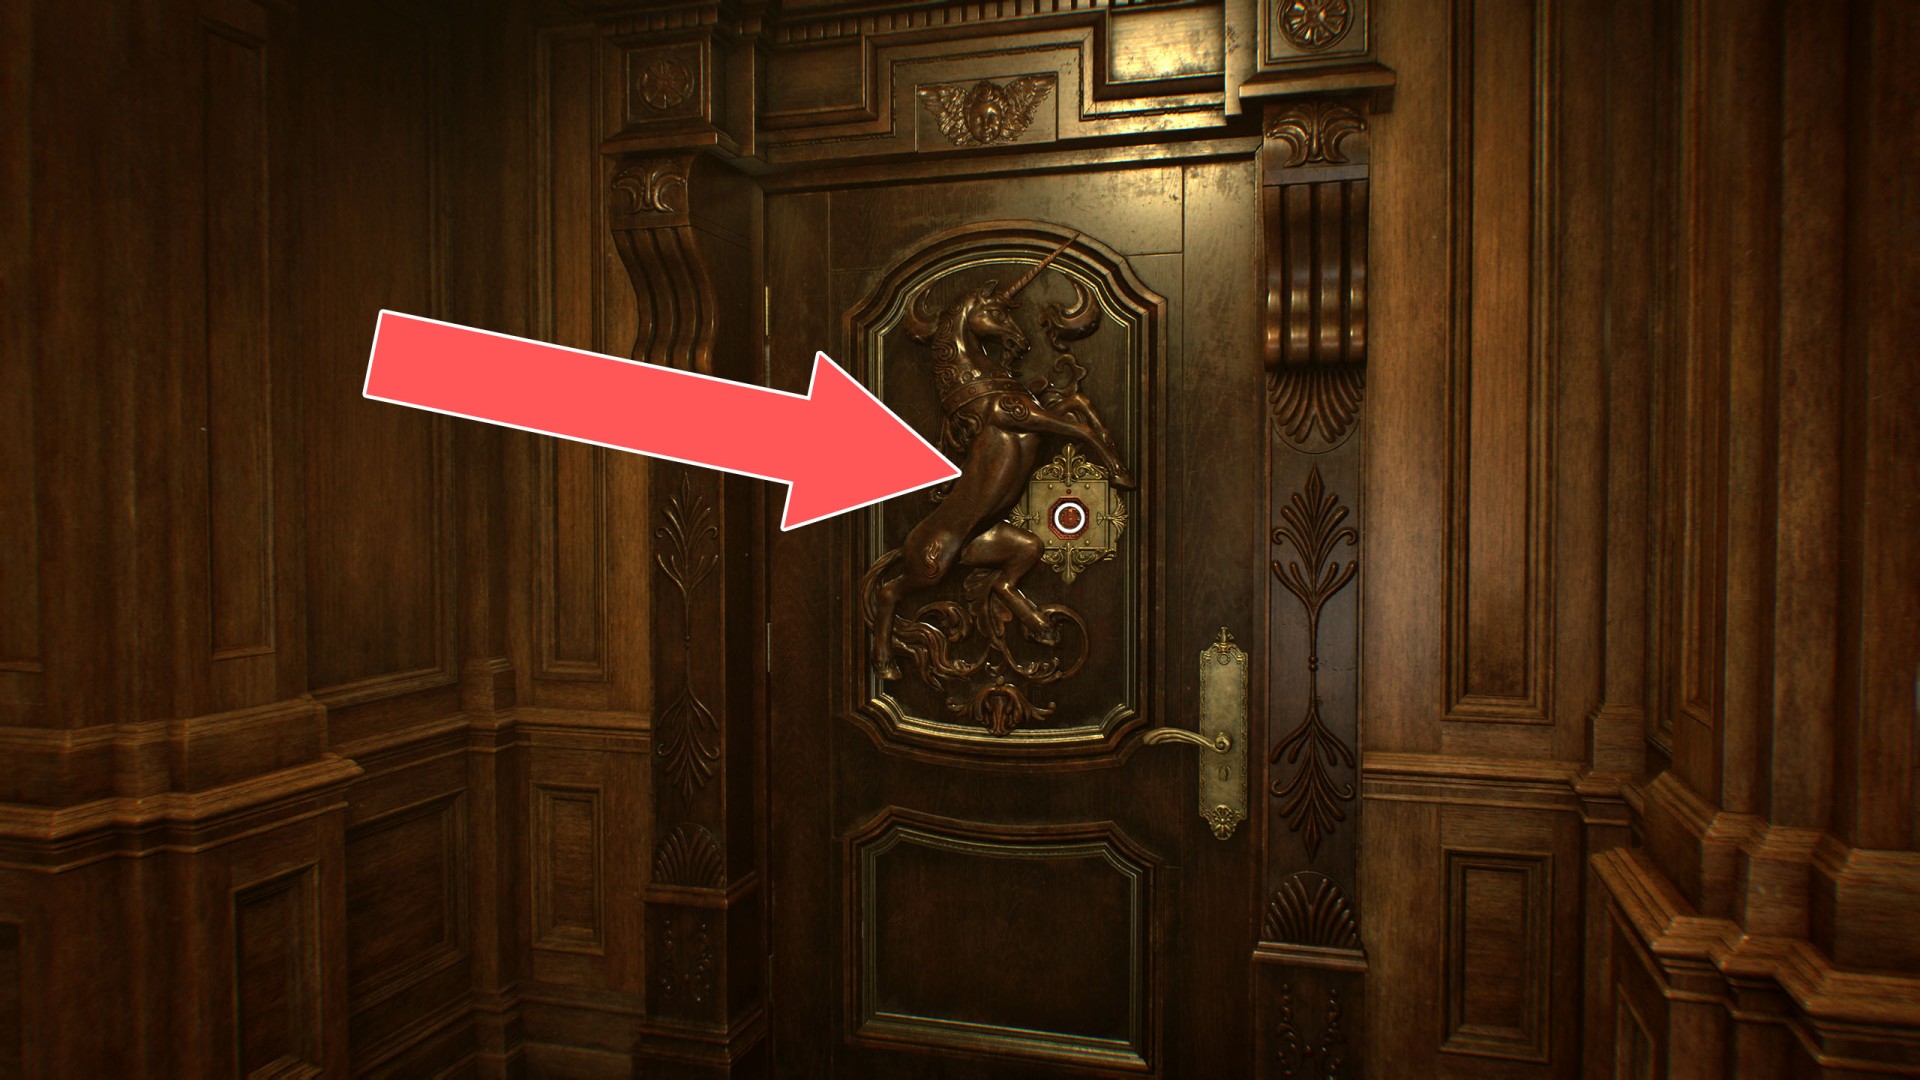
32Parlor Door
Use the Red Jewel to unlock this door.
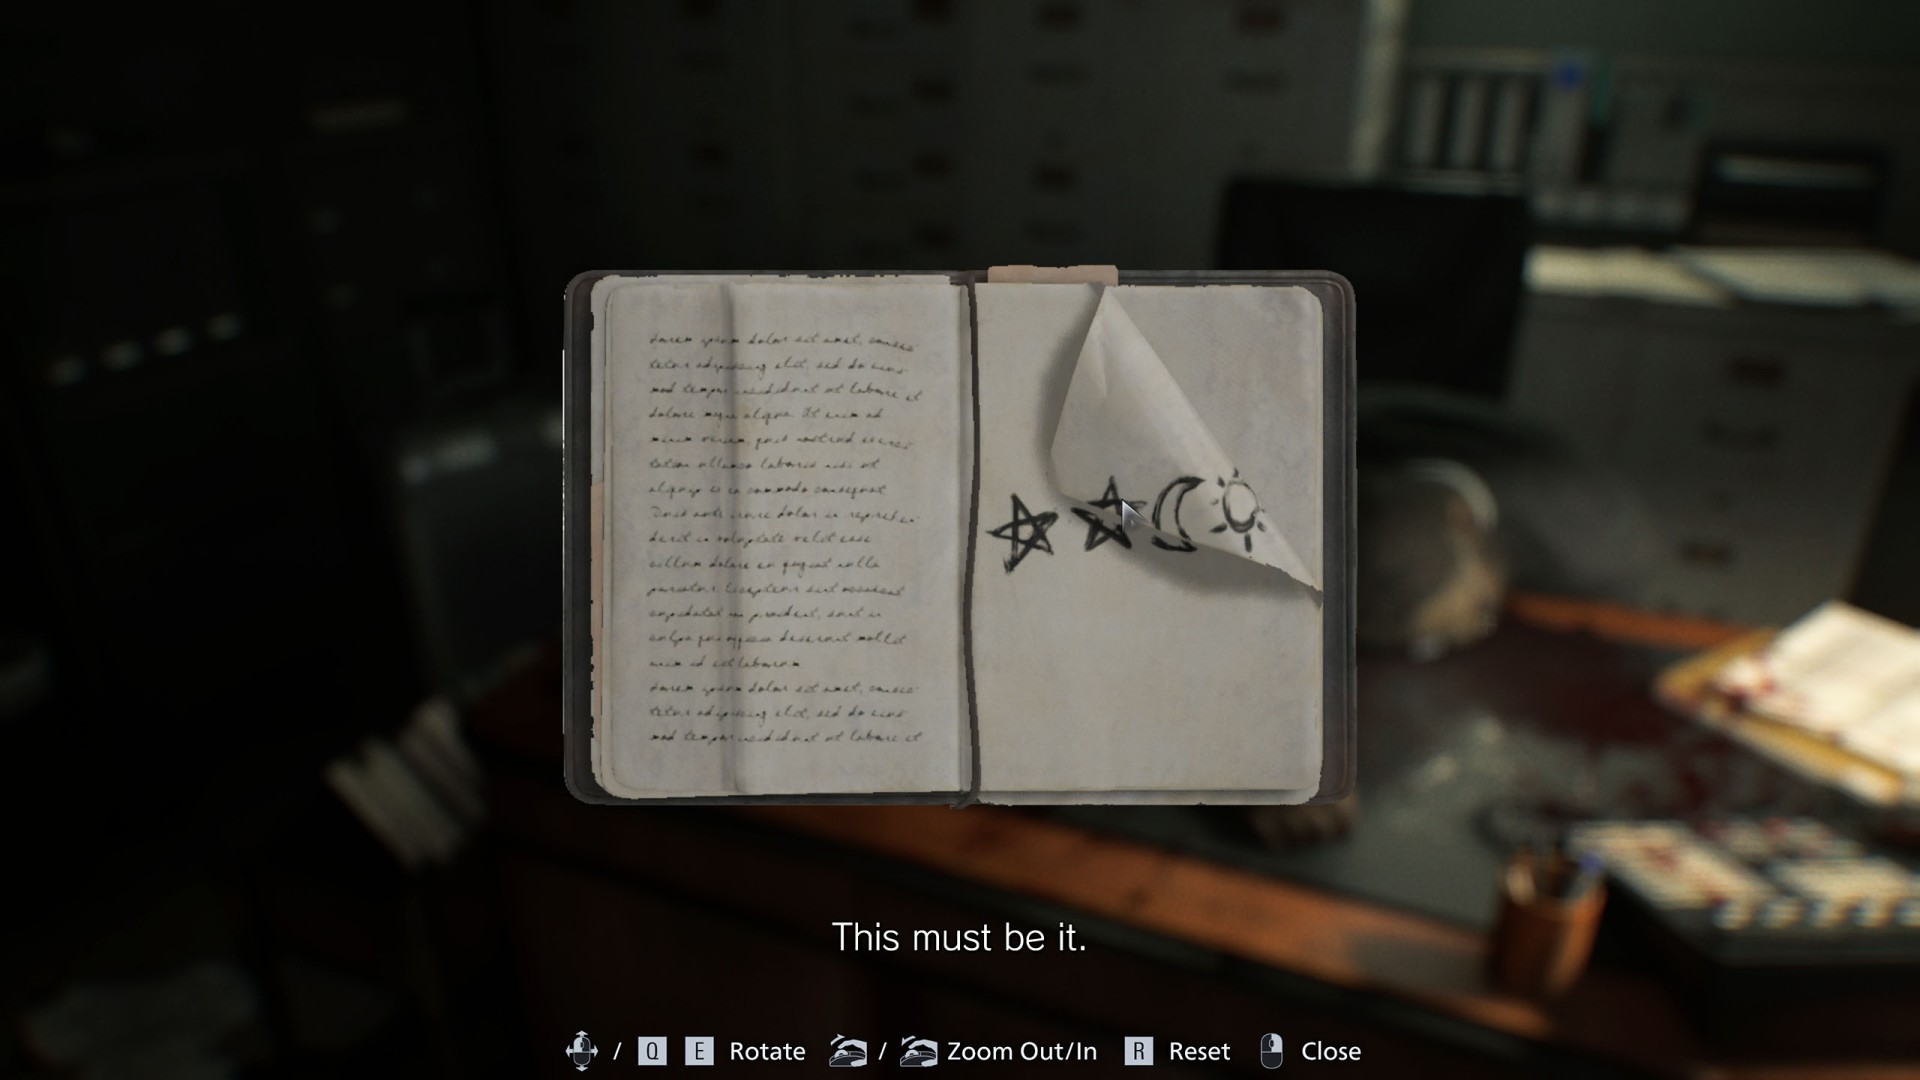
33Puzzle Box (Star)
Star - Star - Moon - Sun
34Rehabilitation Ward Door
Use the chainsaw to break the bolt.
35Security Door (Level 1)
You can open these doors as long as you have the ID Wristband (Level 1).
36Security Door (Level 1)
You can open these doors as long as you have the ID Wristband (Level 1).
37Security Door (Level 1)
You can open these doors as long as you have the ID Wristband (Level 1).

38Security Door (Level 3)
You can open these doors as long as you have the ID Wristband (Level 3).
39Security Door (Level 3)
You can open these doors as long as you have the ID Wristband (Level 3).
40Security Gate (Level 1)
You can open these doors as long as you have the ID Wristband (Level 1).
41Security Gate (Level 2)
You can open these doors as long as you have the ID Wristband (Level 2).
42Vent
Show the map
43Waiting Room Door
This door can be unlocked from the east side.
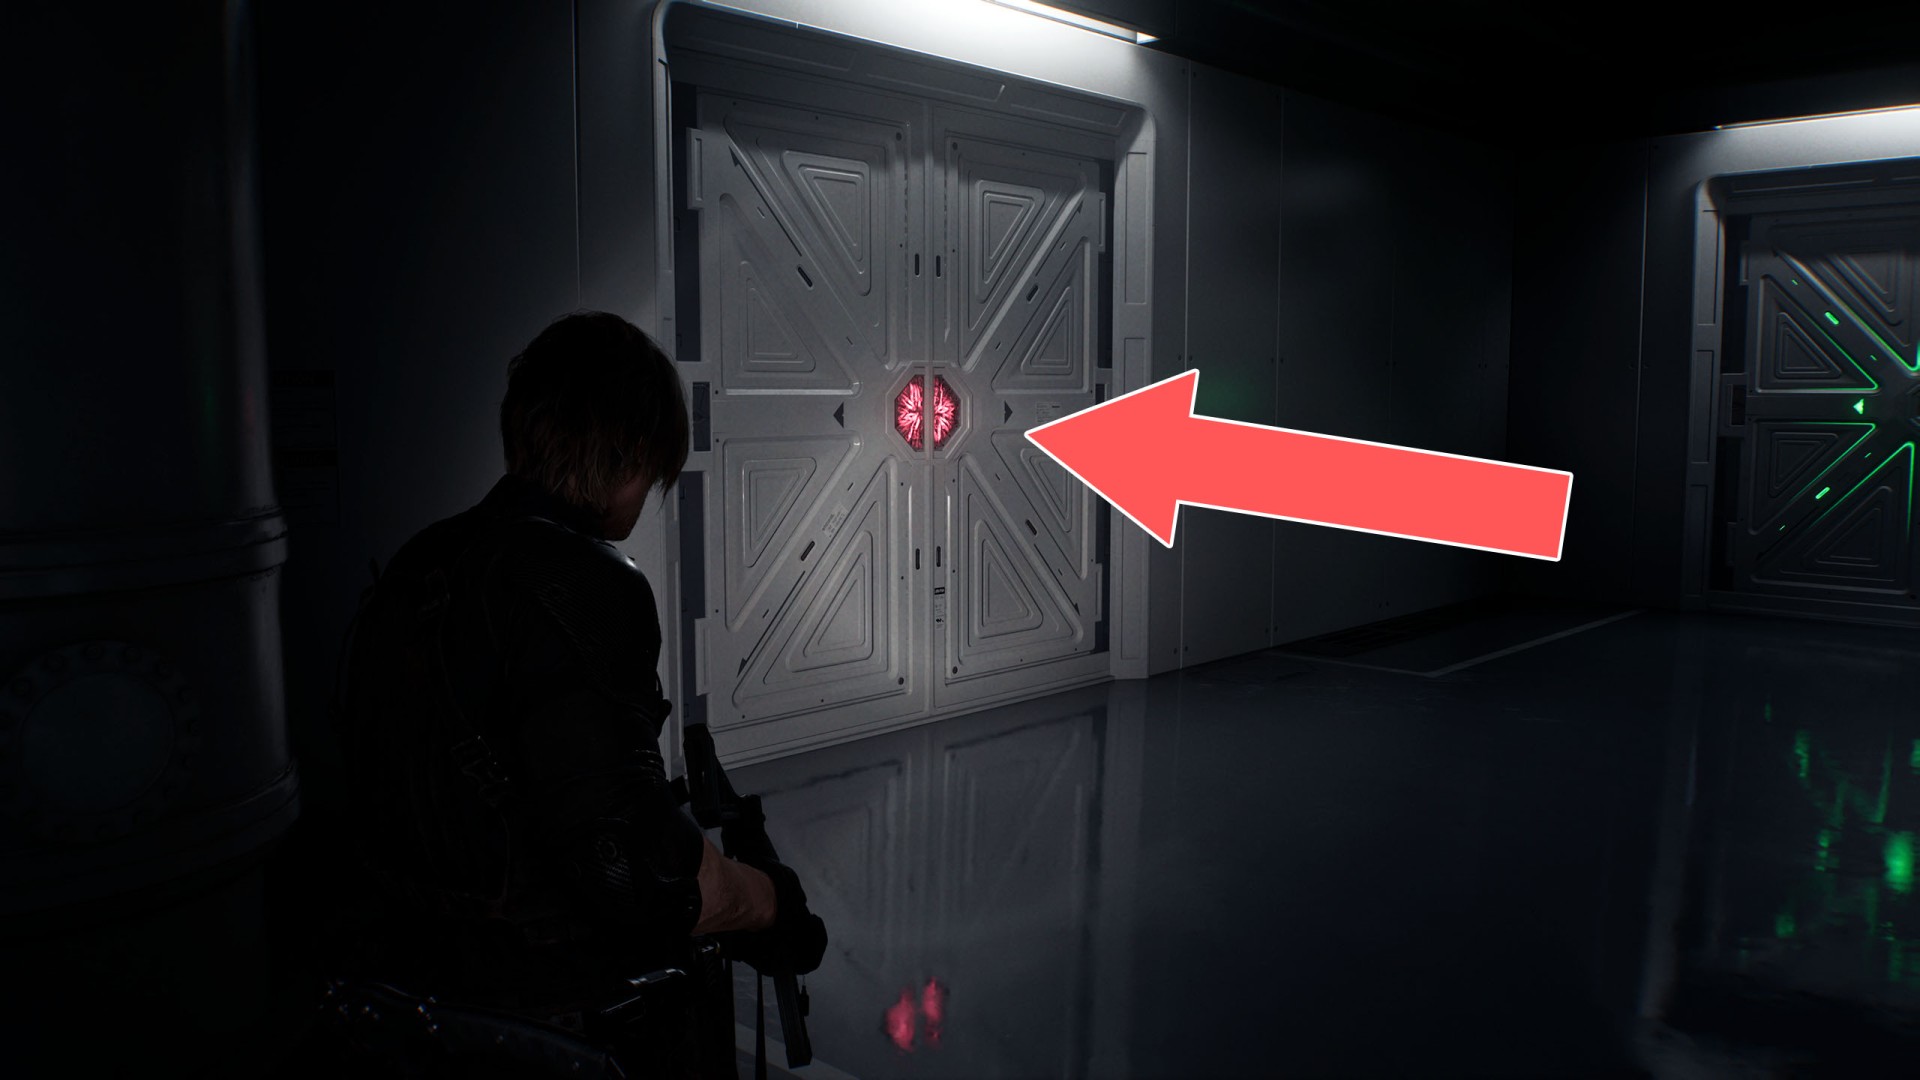
44Warped Door
These doors can only be opened by Leon.
45West Wing Door
This door can be opened from the west side.
46West Wing Door
Use the West Wing Keycard to unlock this door.
47West Wing Locked Door
The door can be unlocked by approaching it from the north side.
Locations on Raccoon City
48Backyard Gate
This gate can be opened from the south. You can get here through the sewage facility.
49Basketball Court Gate
You'll be able to open this gate after the fight with the Super Tyrant.

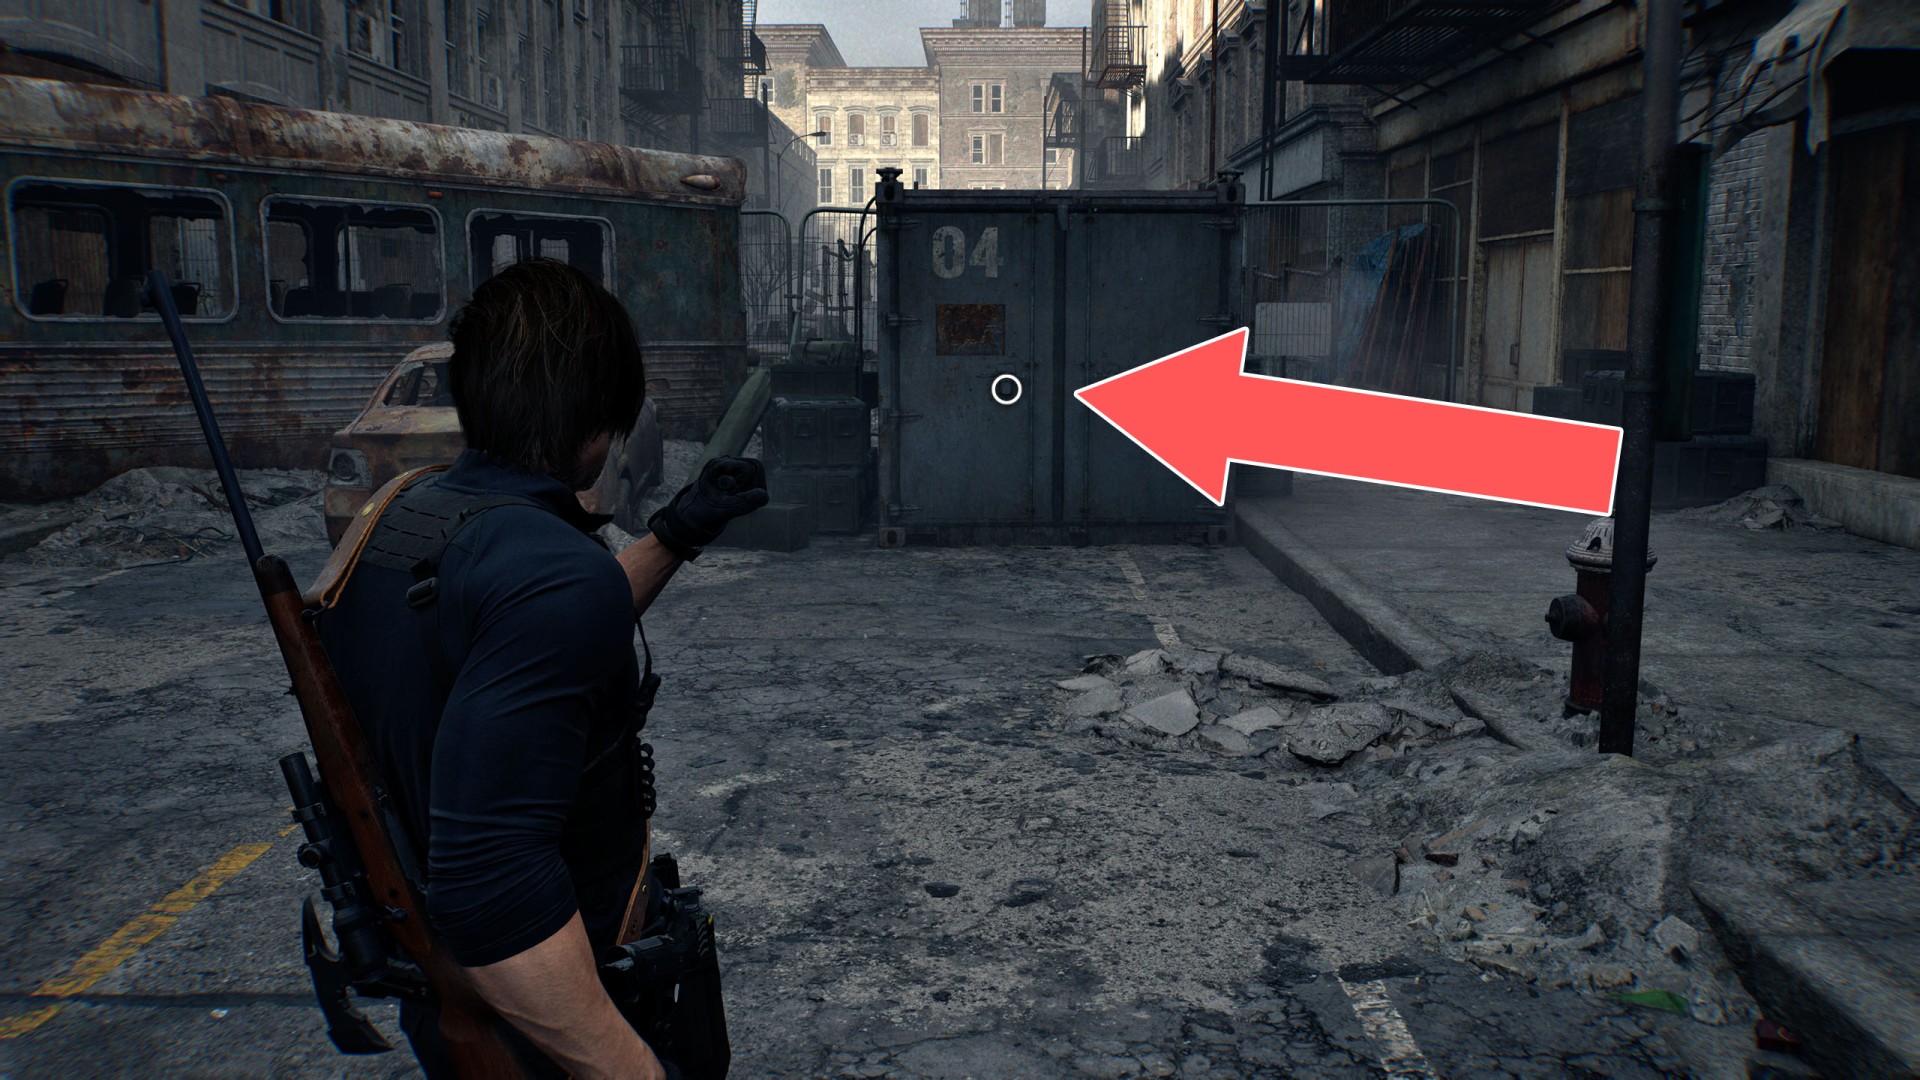
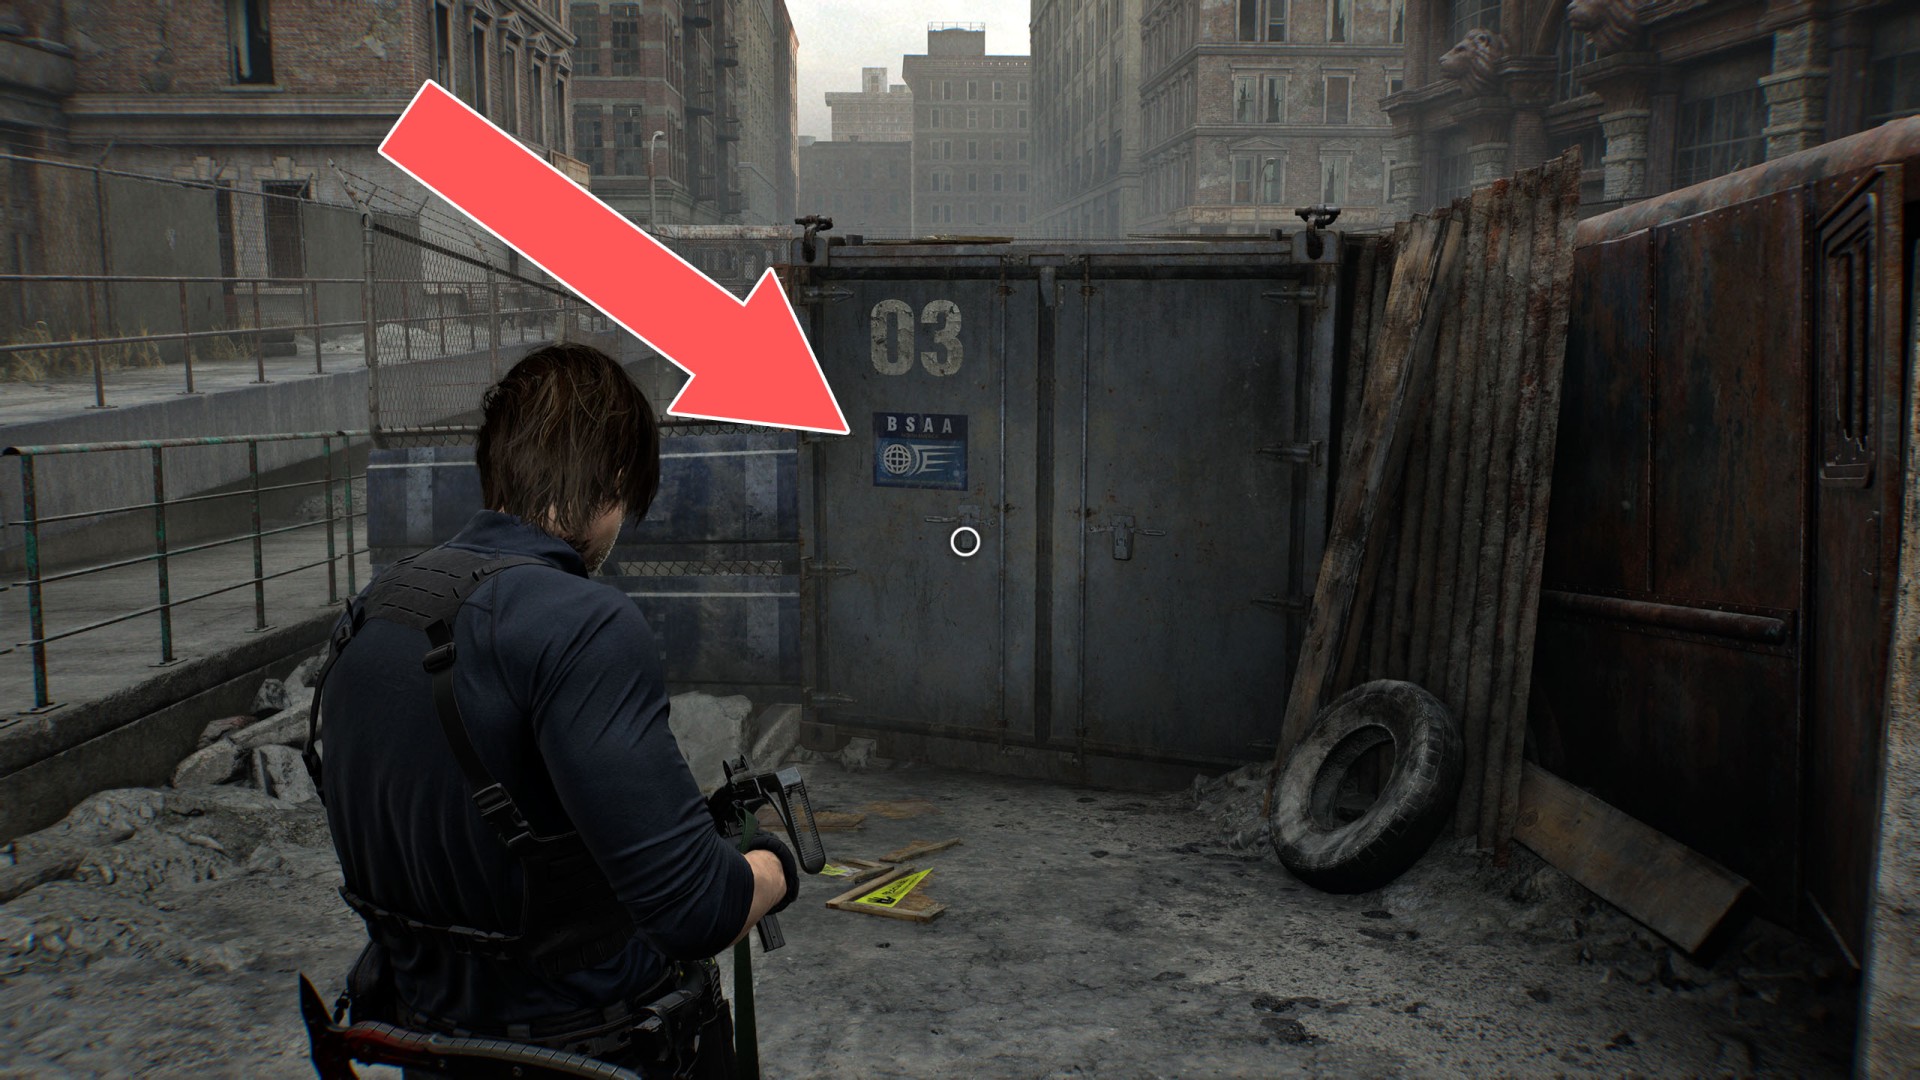
50BSAA Container Door
To open this container and access its contents, you must obtain the BSAA Container Key.
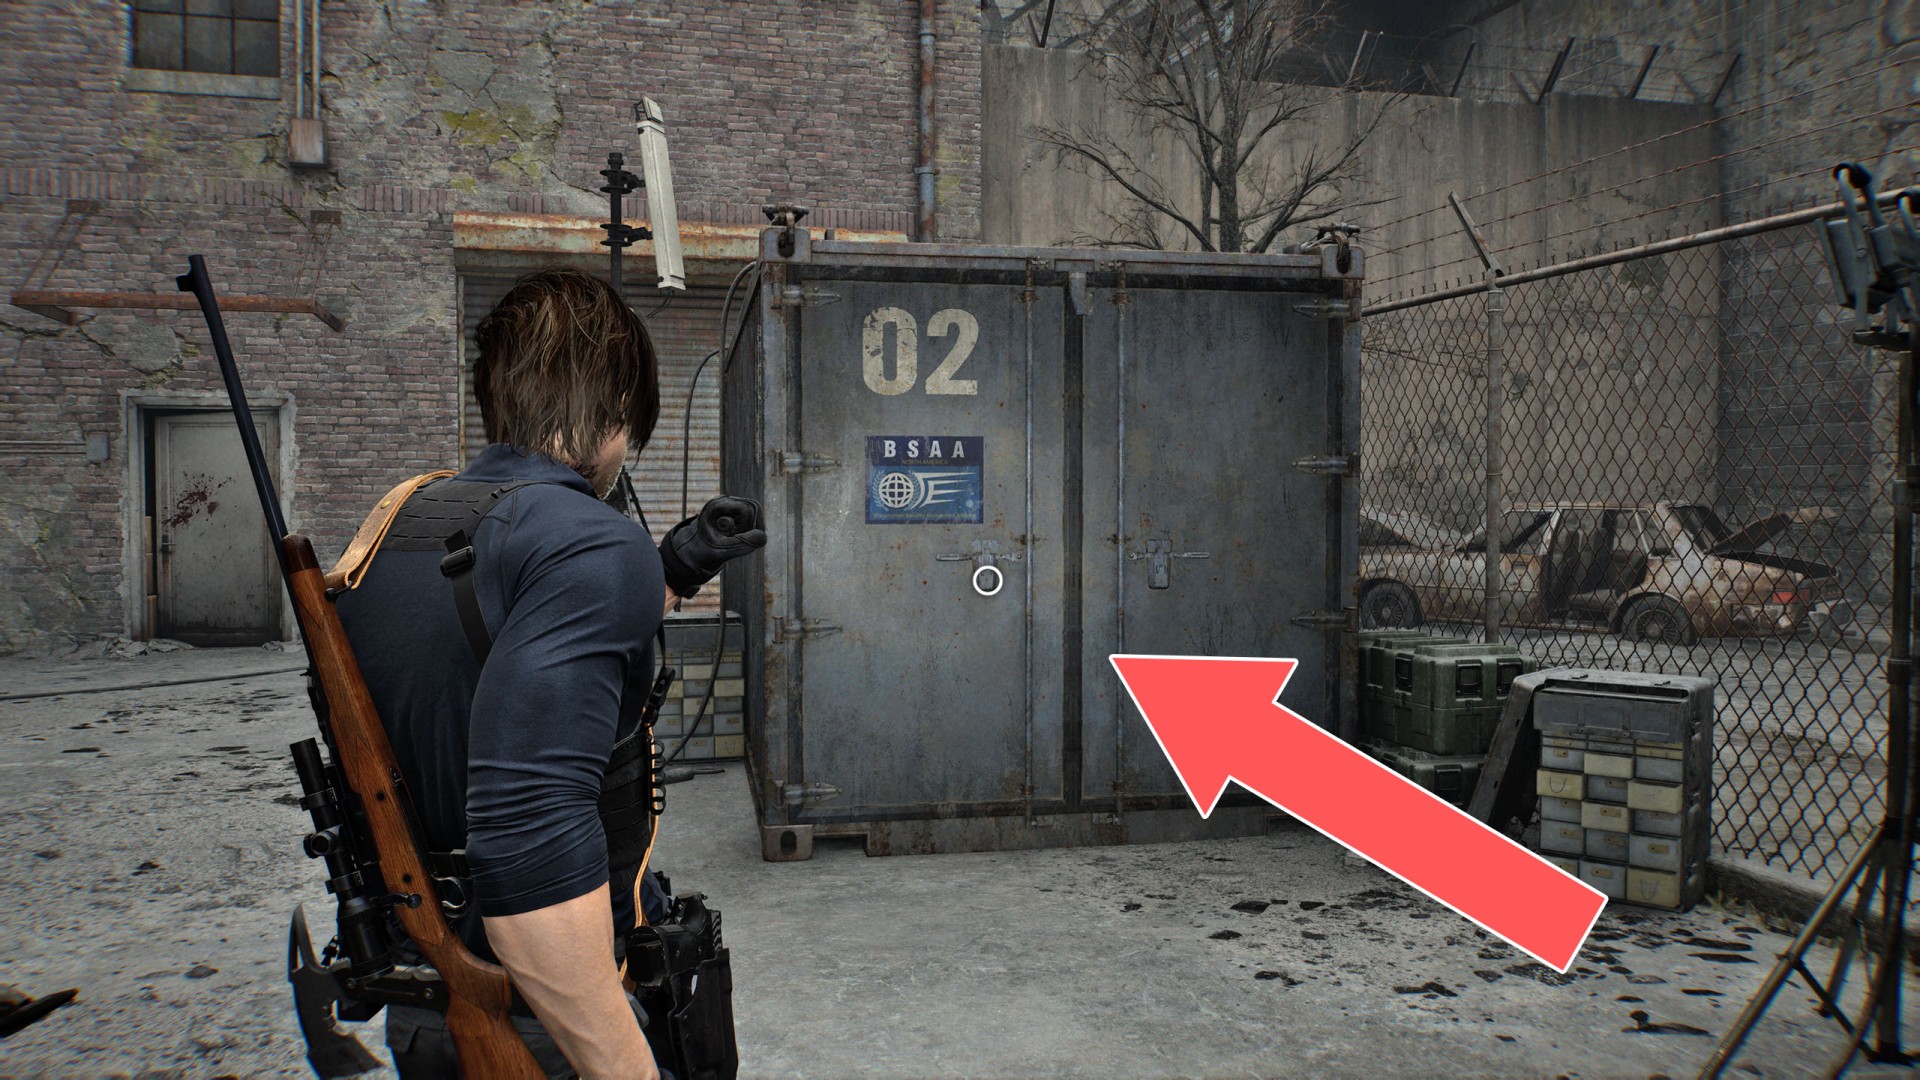
51BSAA Container Door
To open this container and access its contents, you must obtain the BSAA Container Key.
52BSAA Container Door
To open this container and access its contents, you must obtain the BSAA Container Key.
53Cedarbrook Apartments Back Gate
You need the Cedarbrook Apartments Key to unlock this gate.
54Cedarbrook Apartments Door
This door can be opened from the east, from inside the building.
55Crypt Gate
You can open this gate from the inside after jumping over the fence by climbing up the coffins.
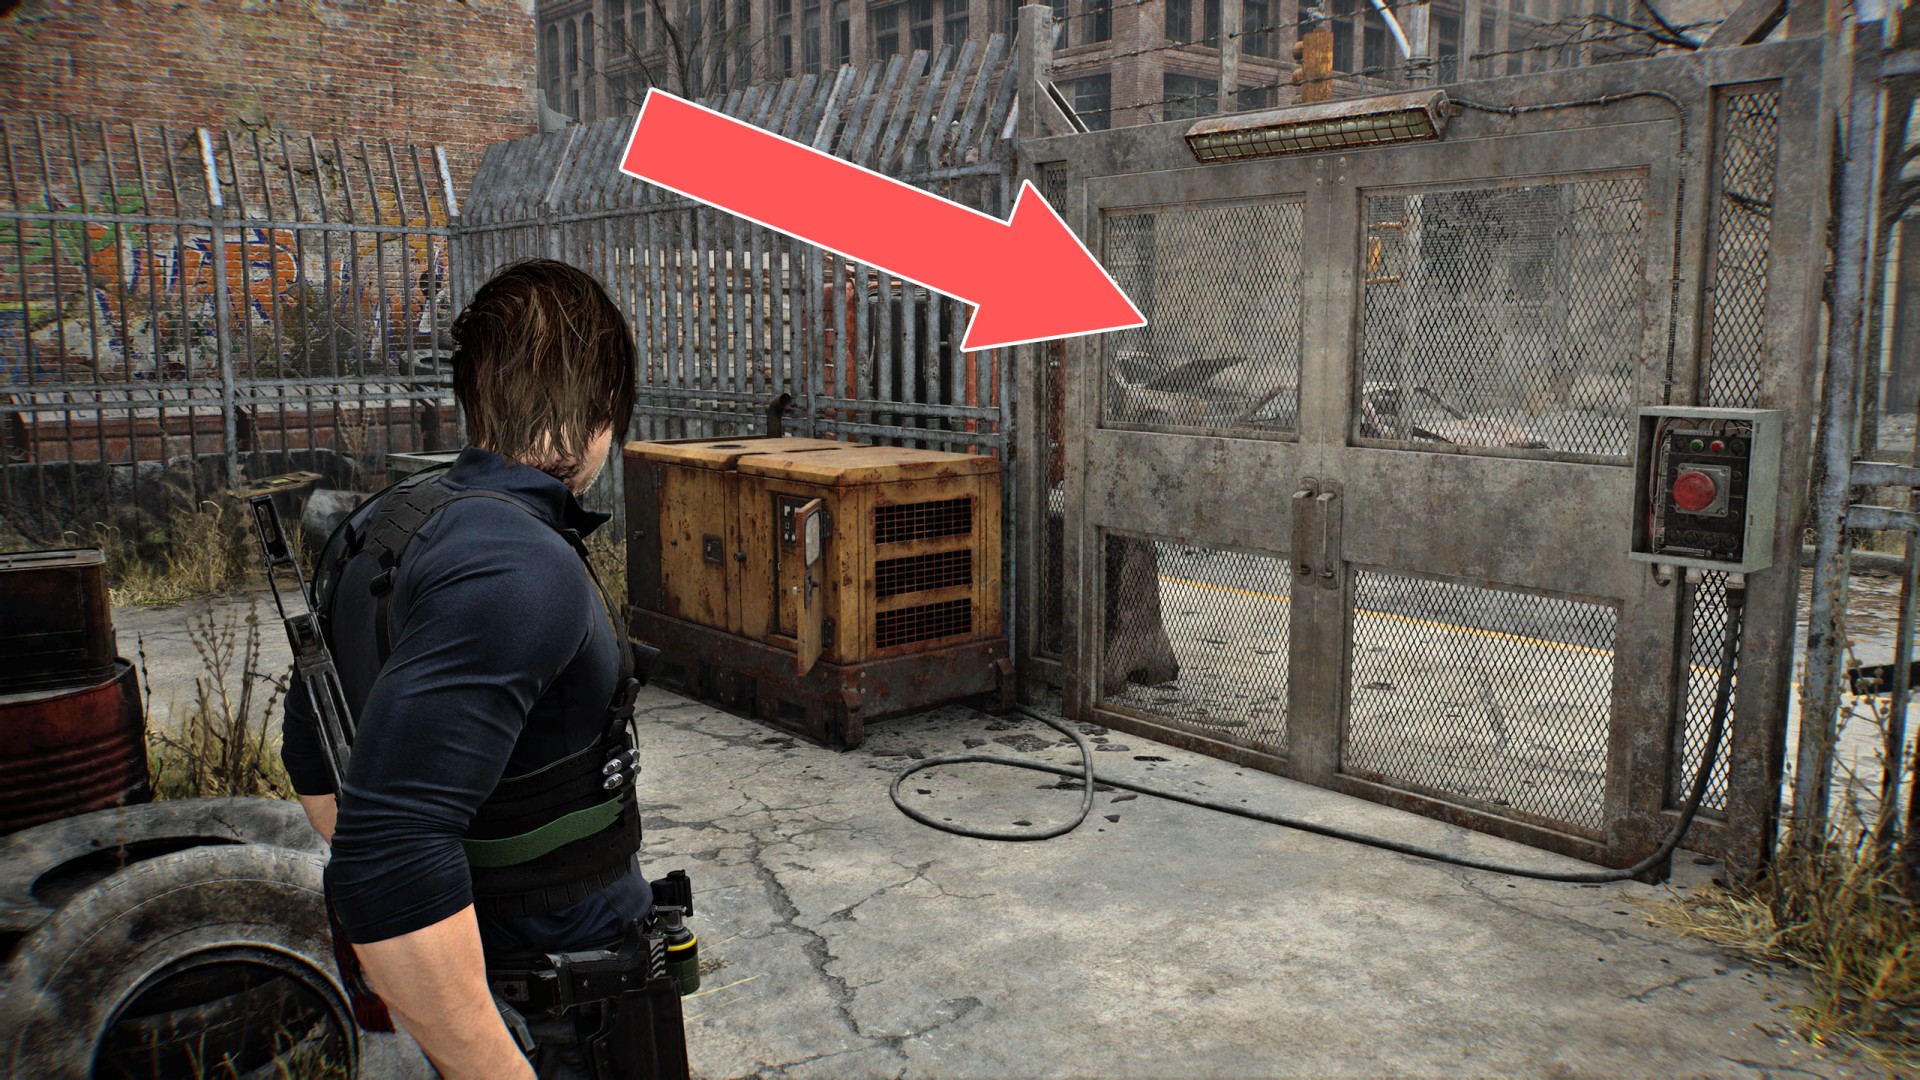
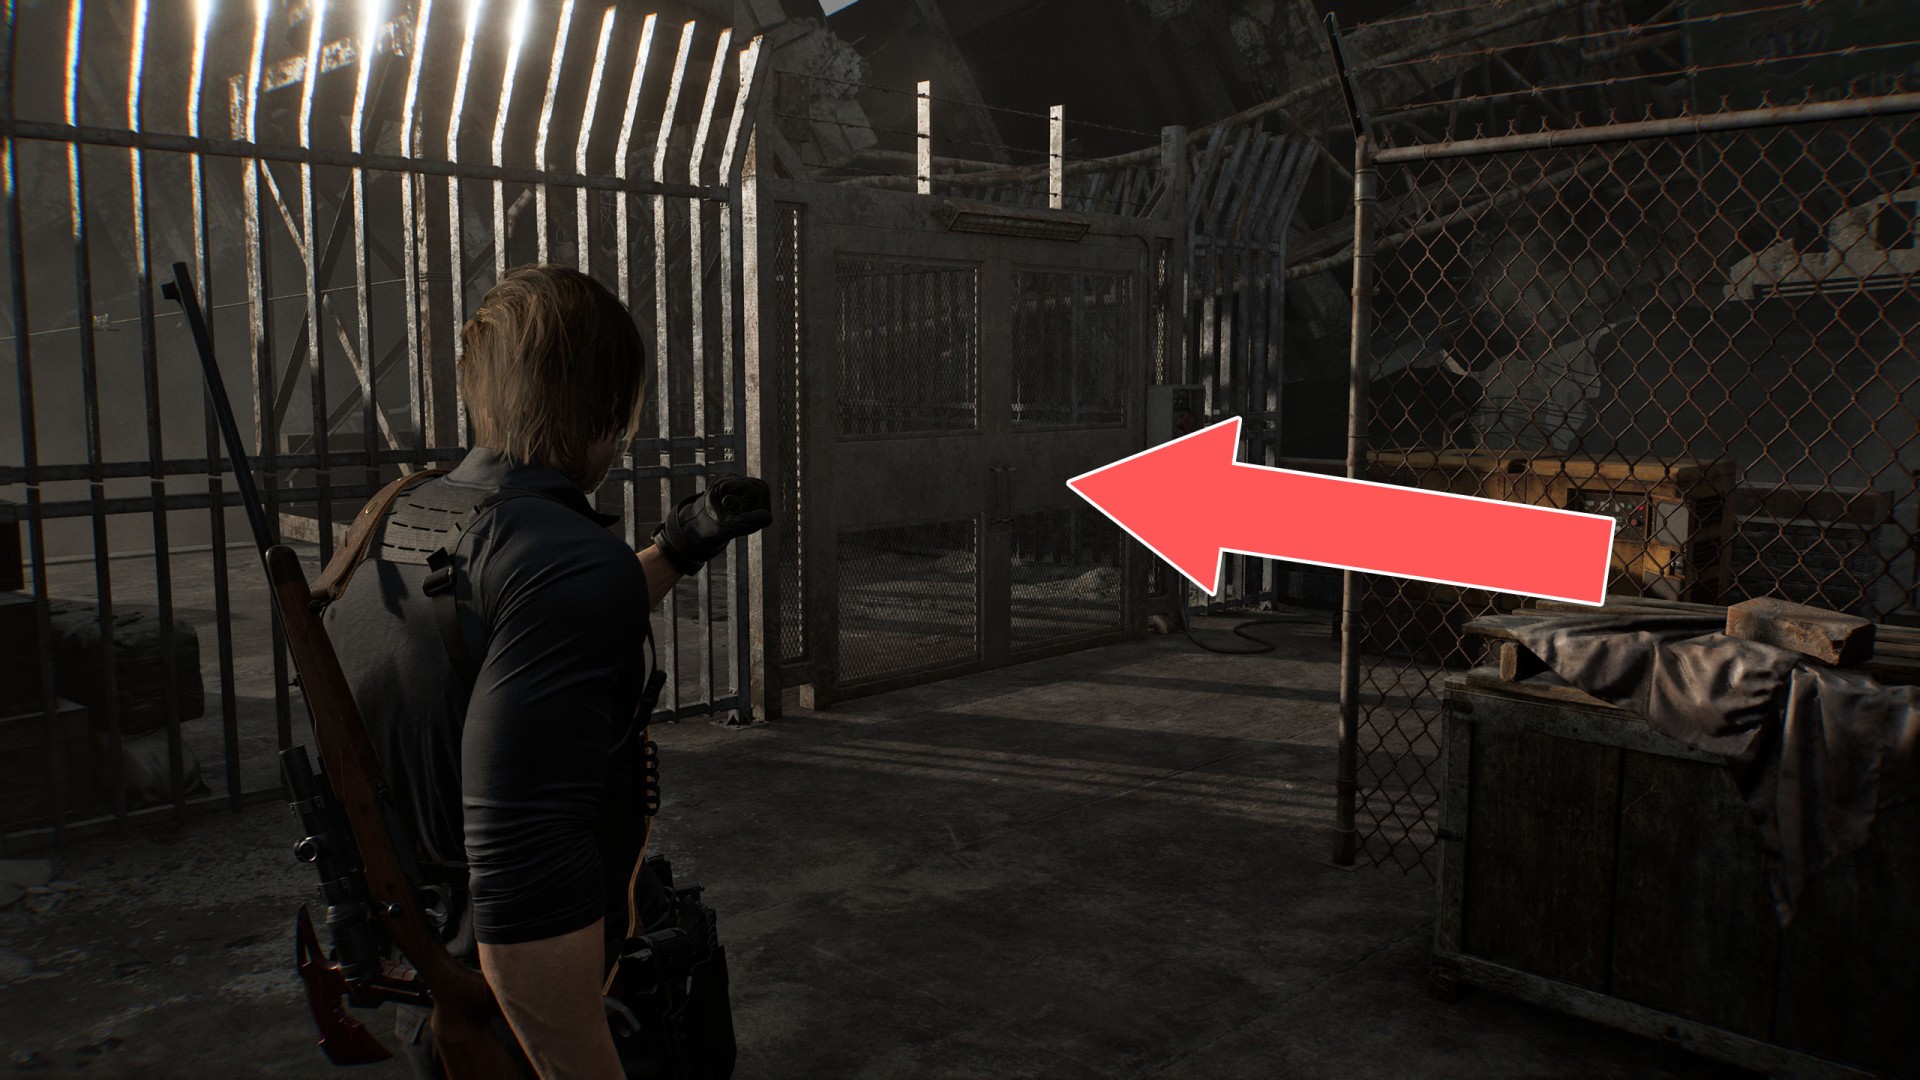
56Electric Gate
To open this gate, you must start the nearby power generator. To do this, you will need a Gas Can filled from the Fuel Tank.
57Electric Gate
To open this gate, you must start the nearby power generator. To do this, you will need a Gas Can filled from the Fuel Tank.

58Electric Gate
To open this gate, you must start the nearby power generator. To do this, you will need a Gas Can filled from the Fuel Tank.
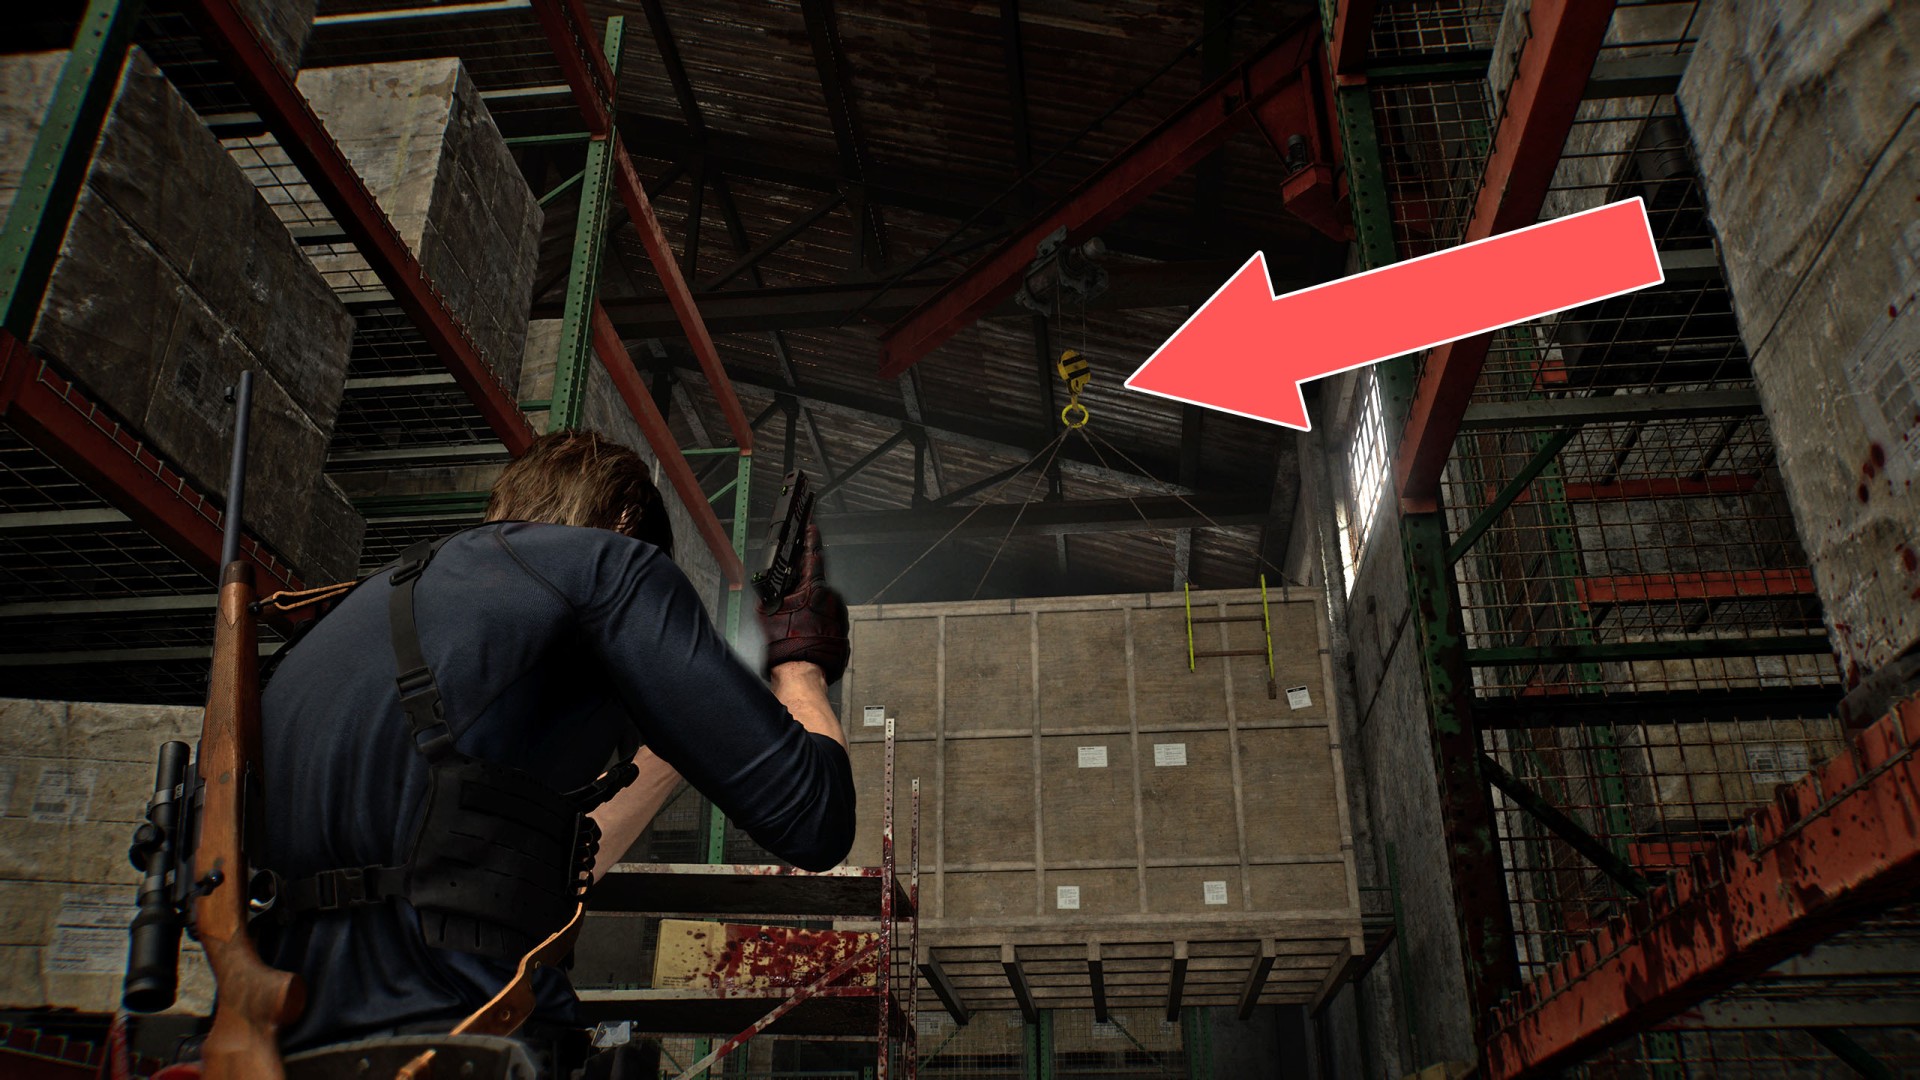
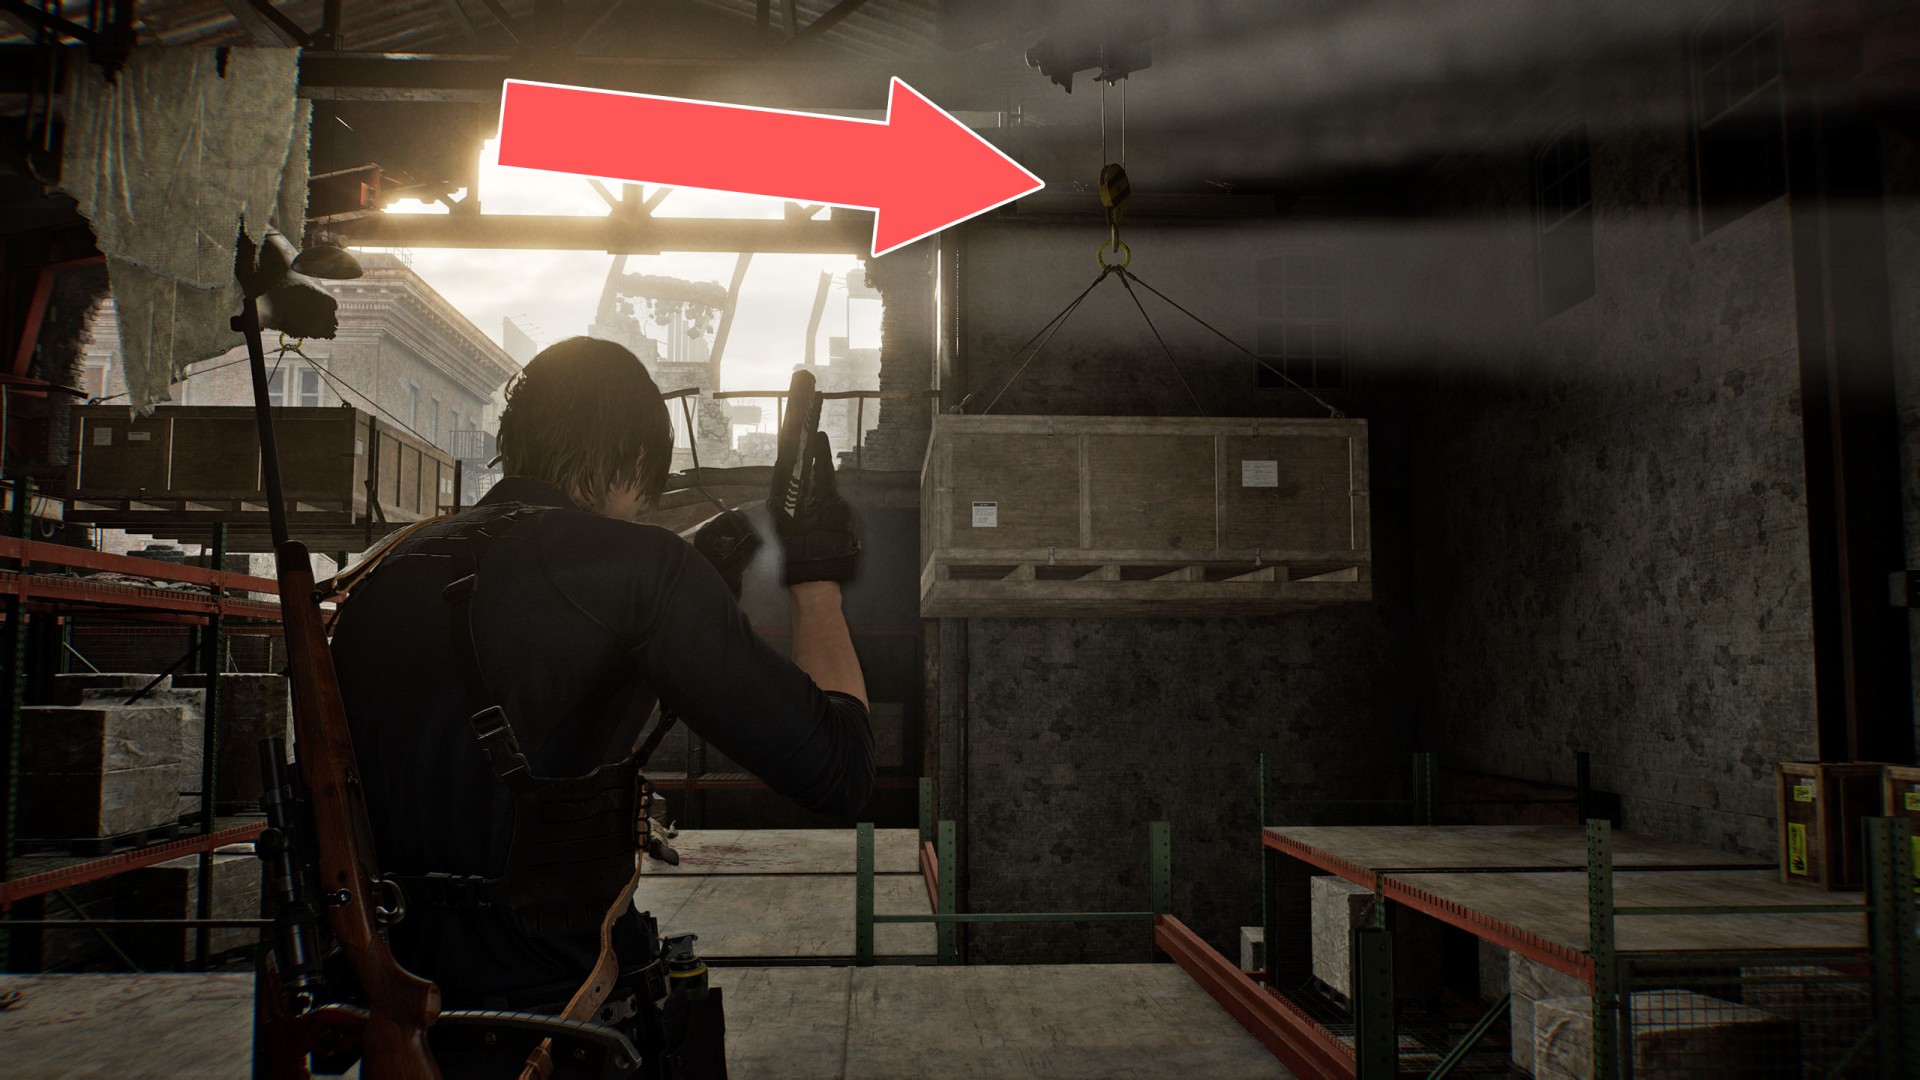
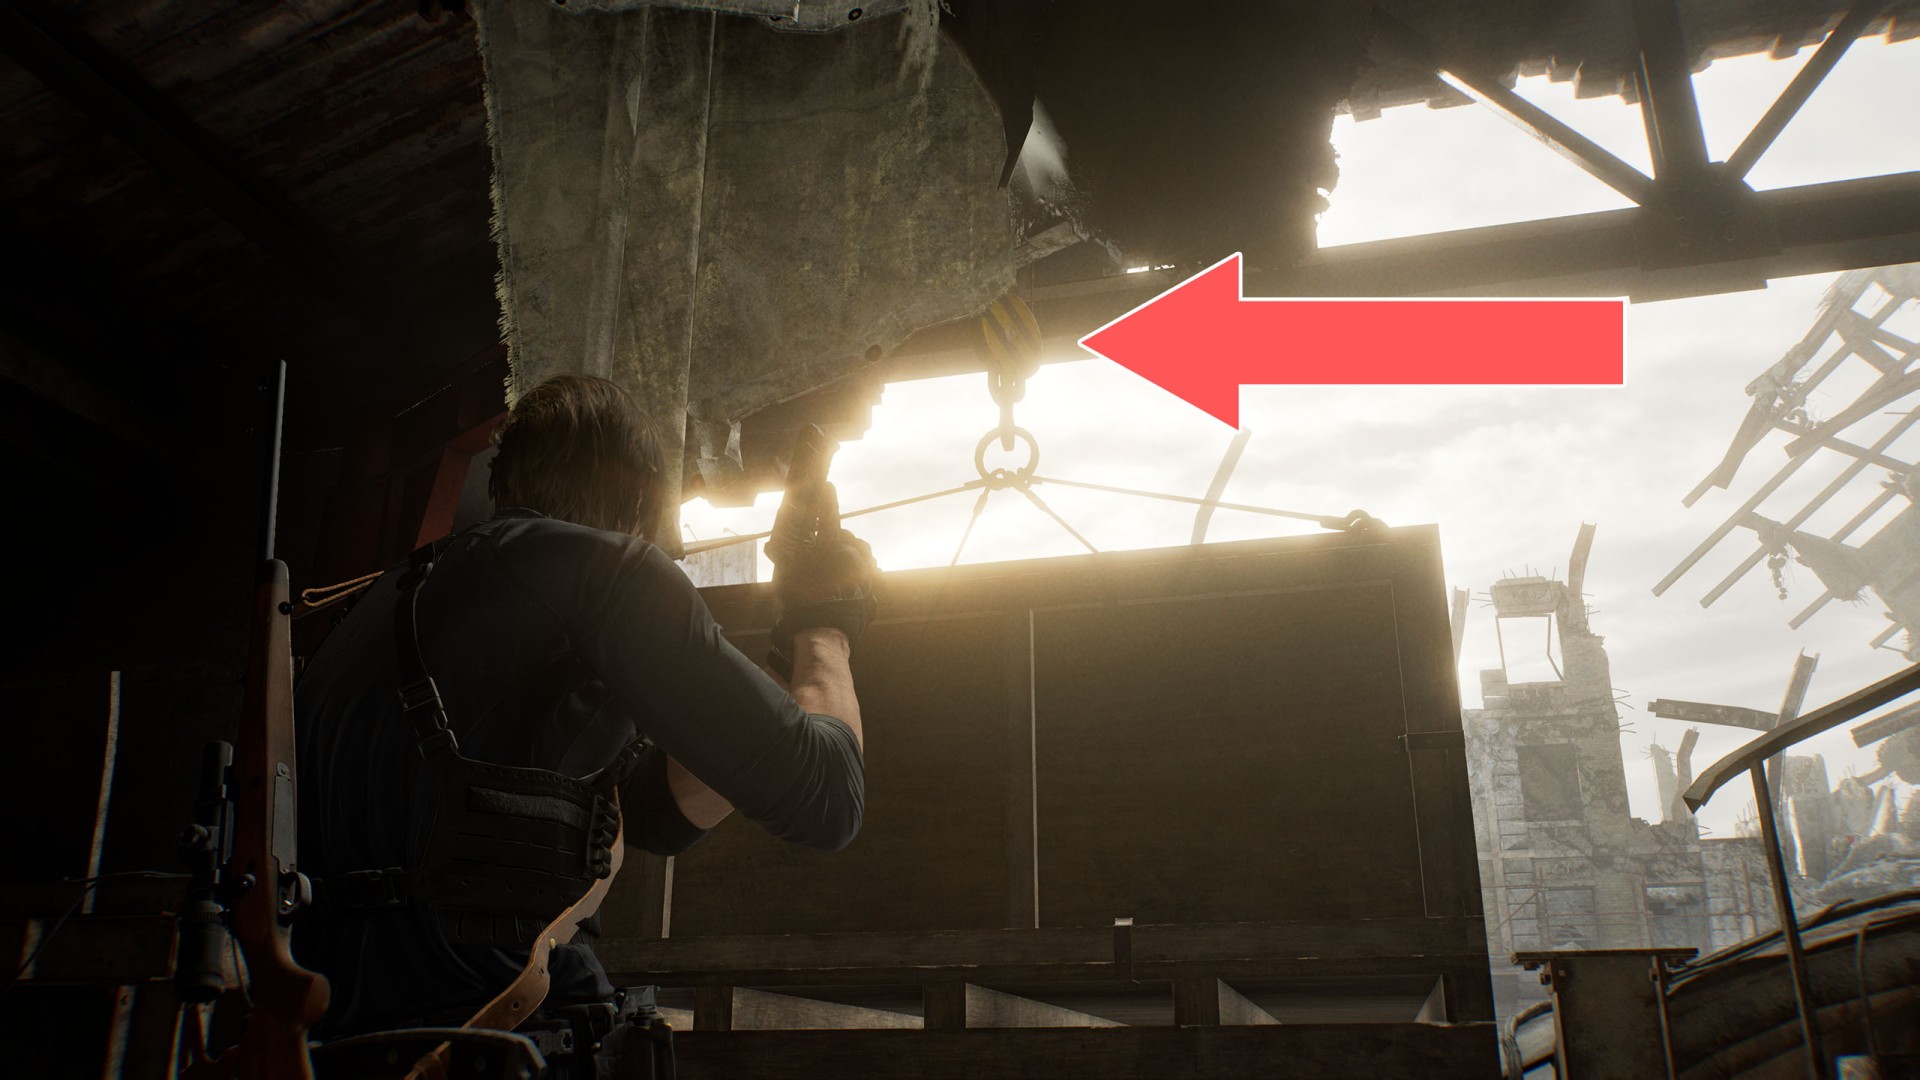
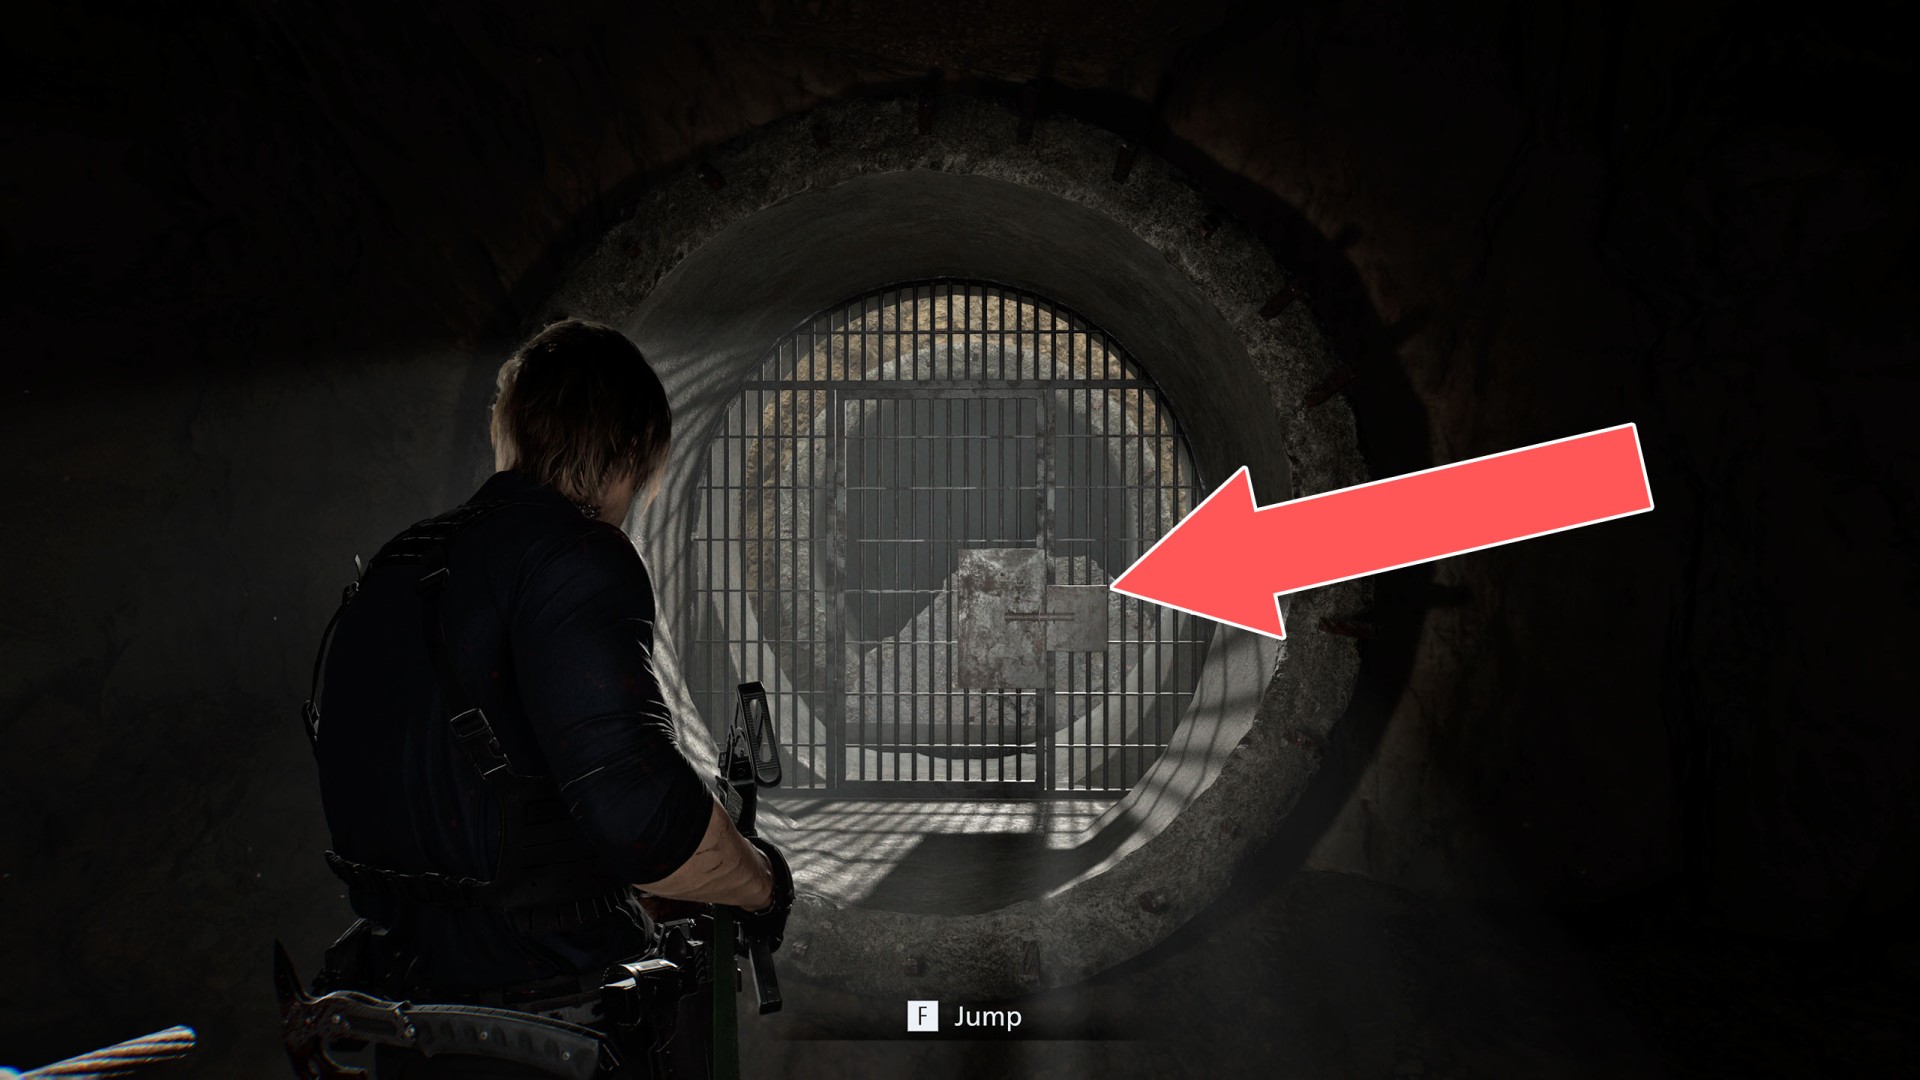
59Hanging Crate
Shoot the bracket holding the crate. This will drop the container, allowing you to use it to reach a higher level.
60Hanging Crate
Shoot the bracket holding the crate. This will drop the container, allowing you to use it to cross over to the other side.
61Hanging Crate
Shoot the bracket holding the crate. This will drop the container, allowing you to use it to cross over to the other side.
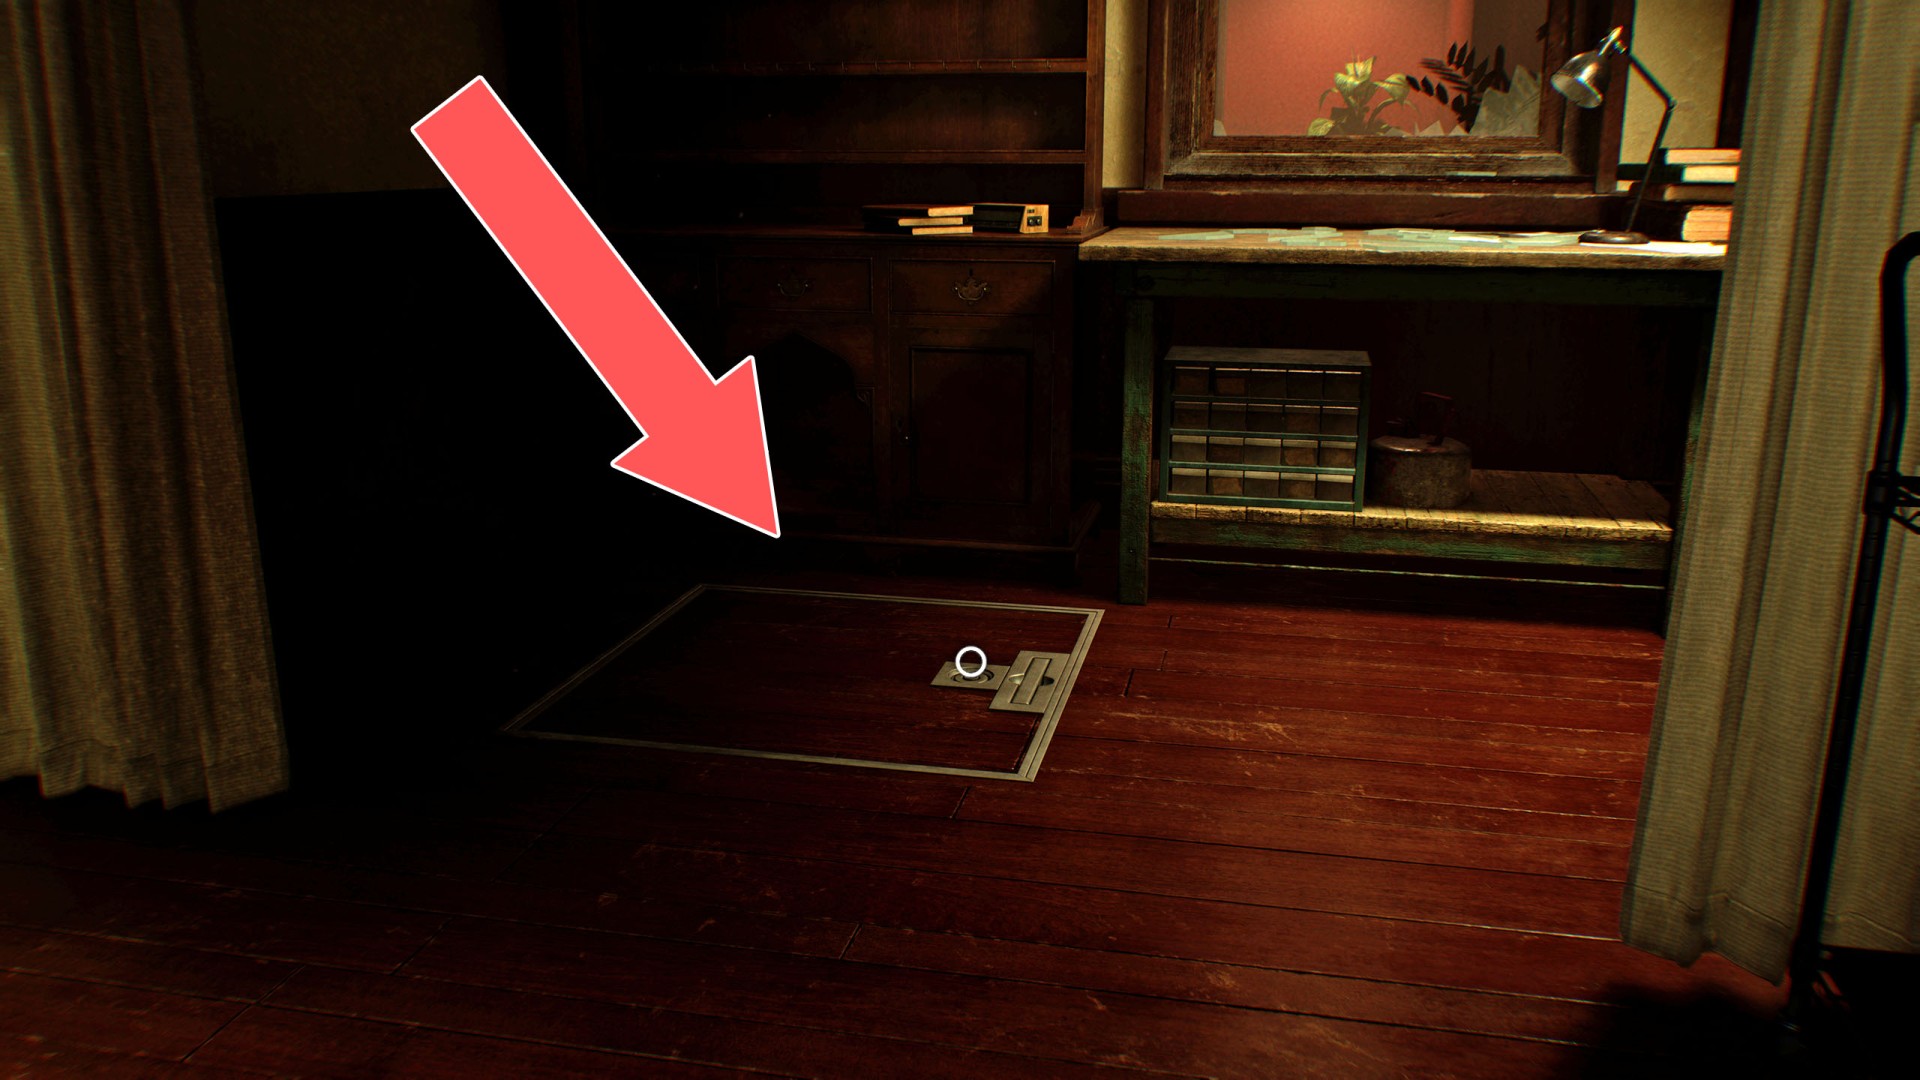
62Hatch
Use the Hatch Key to open this hatch.
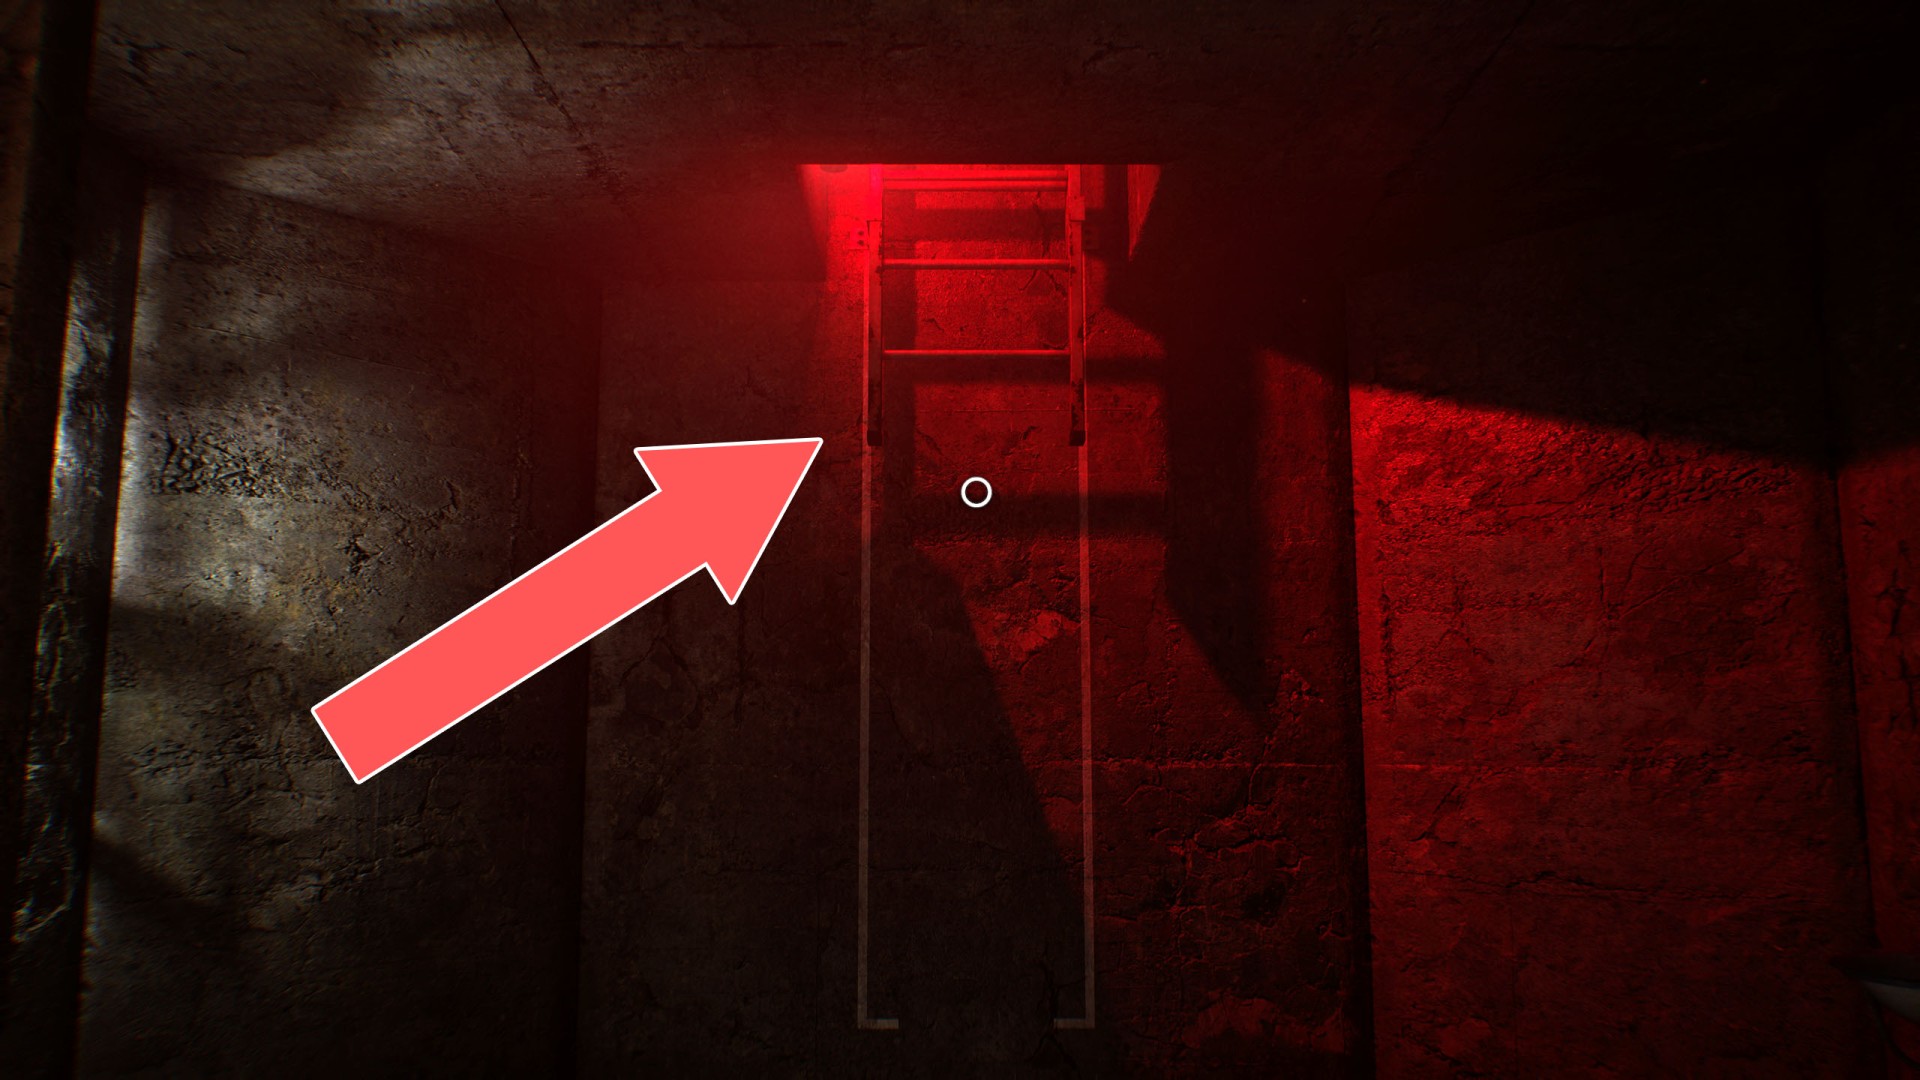
63Ladder
To lower this ladder and use it to exit the underground area, you must obtain the Fire Poker.
64Lift
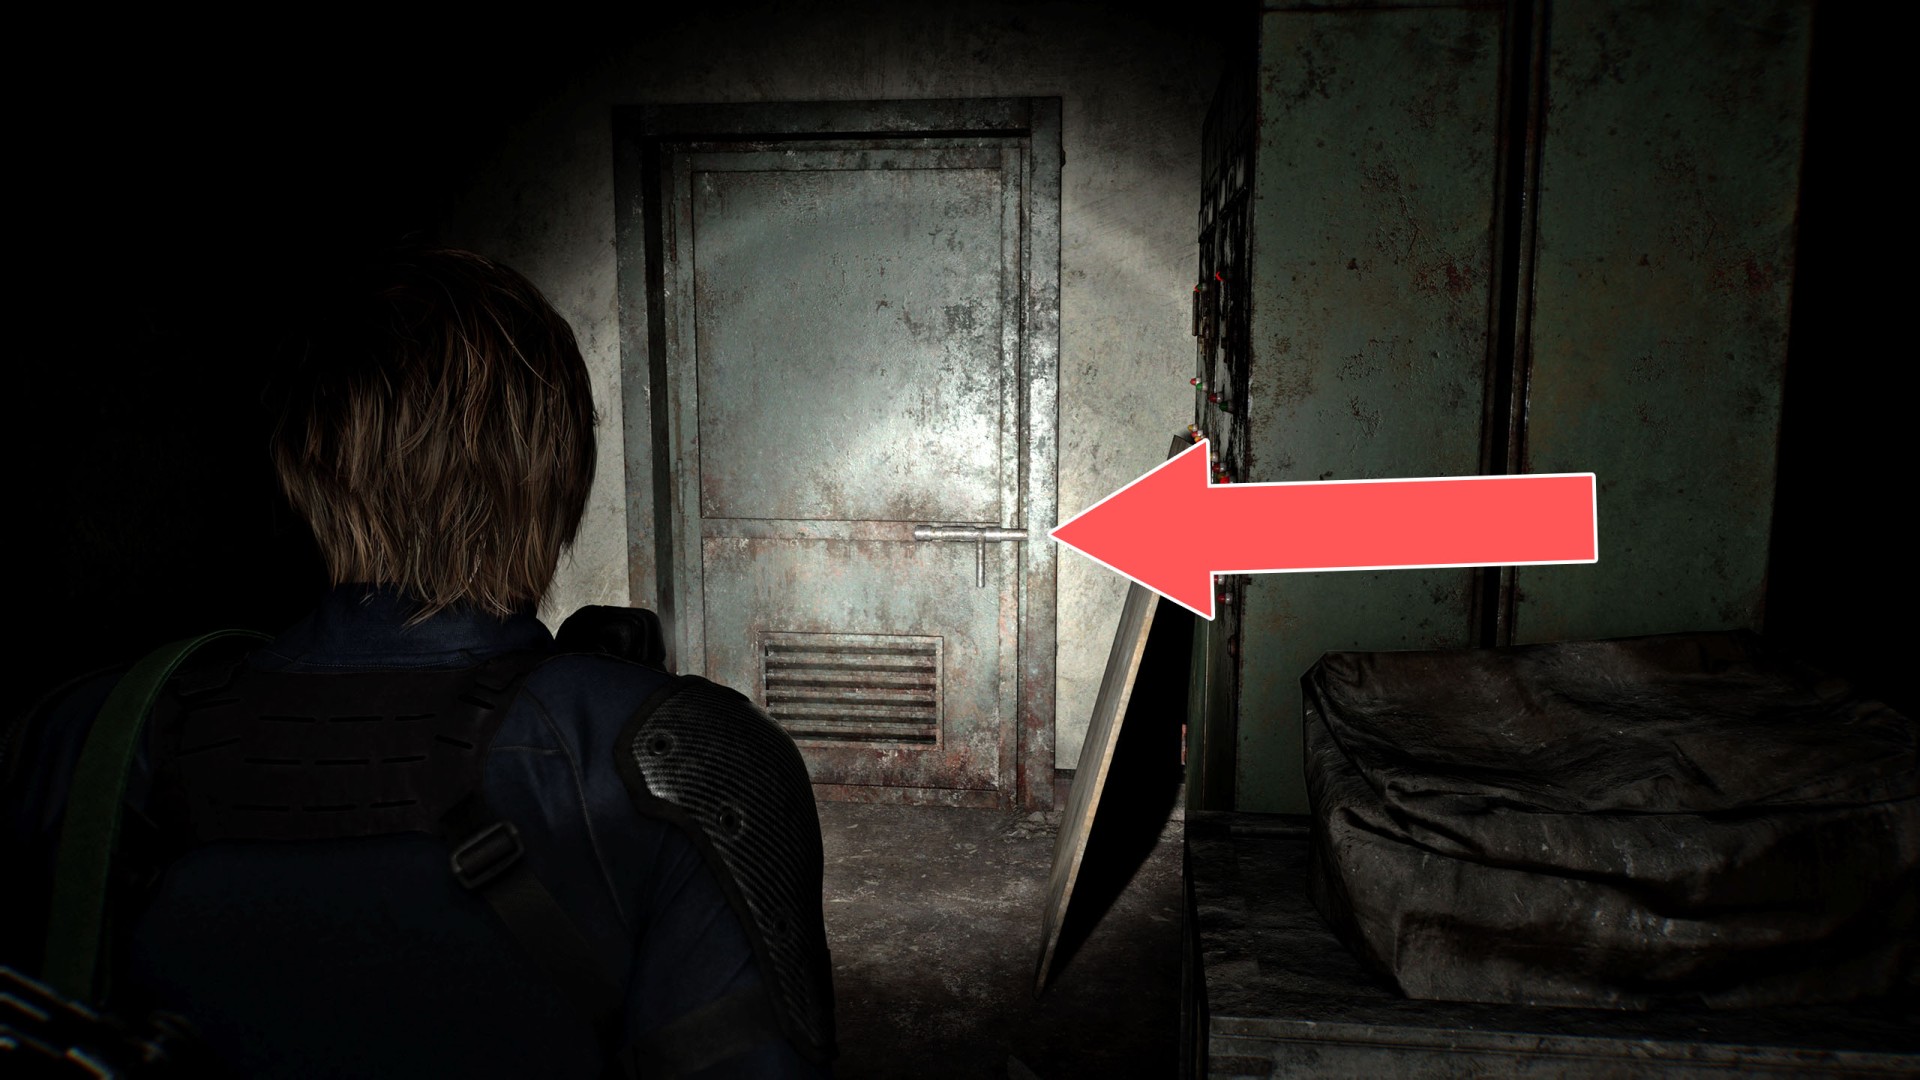
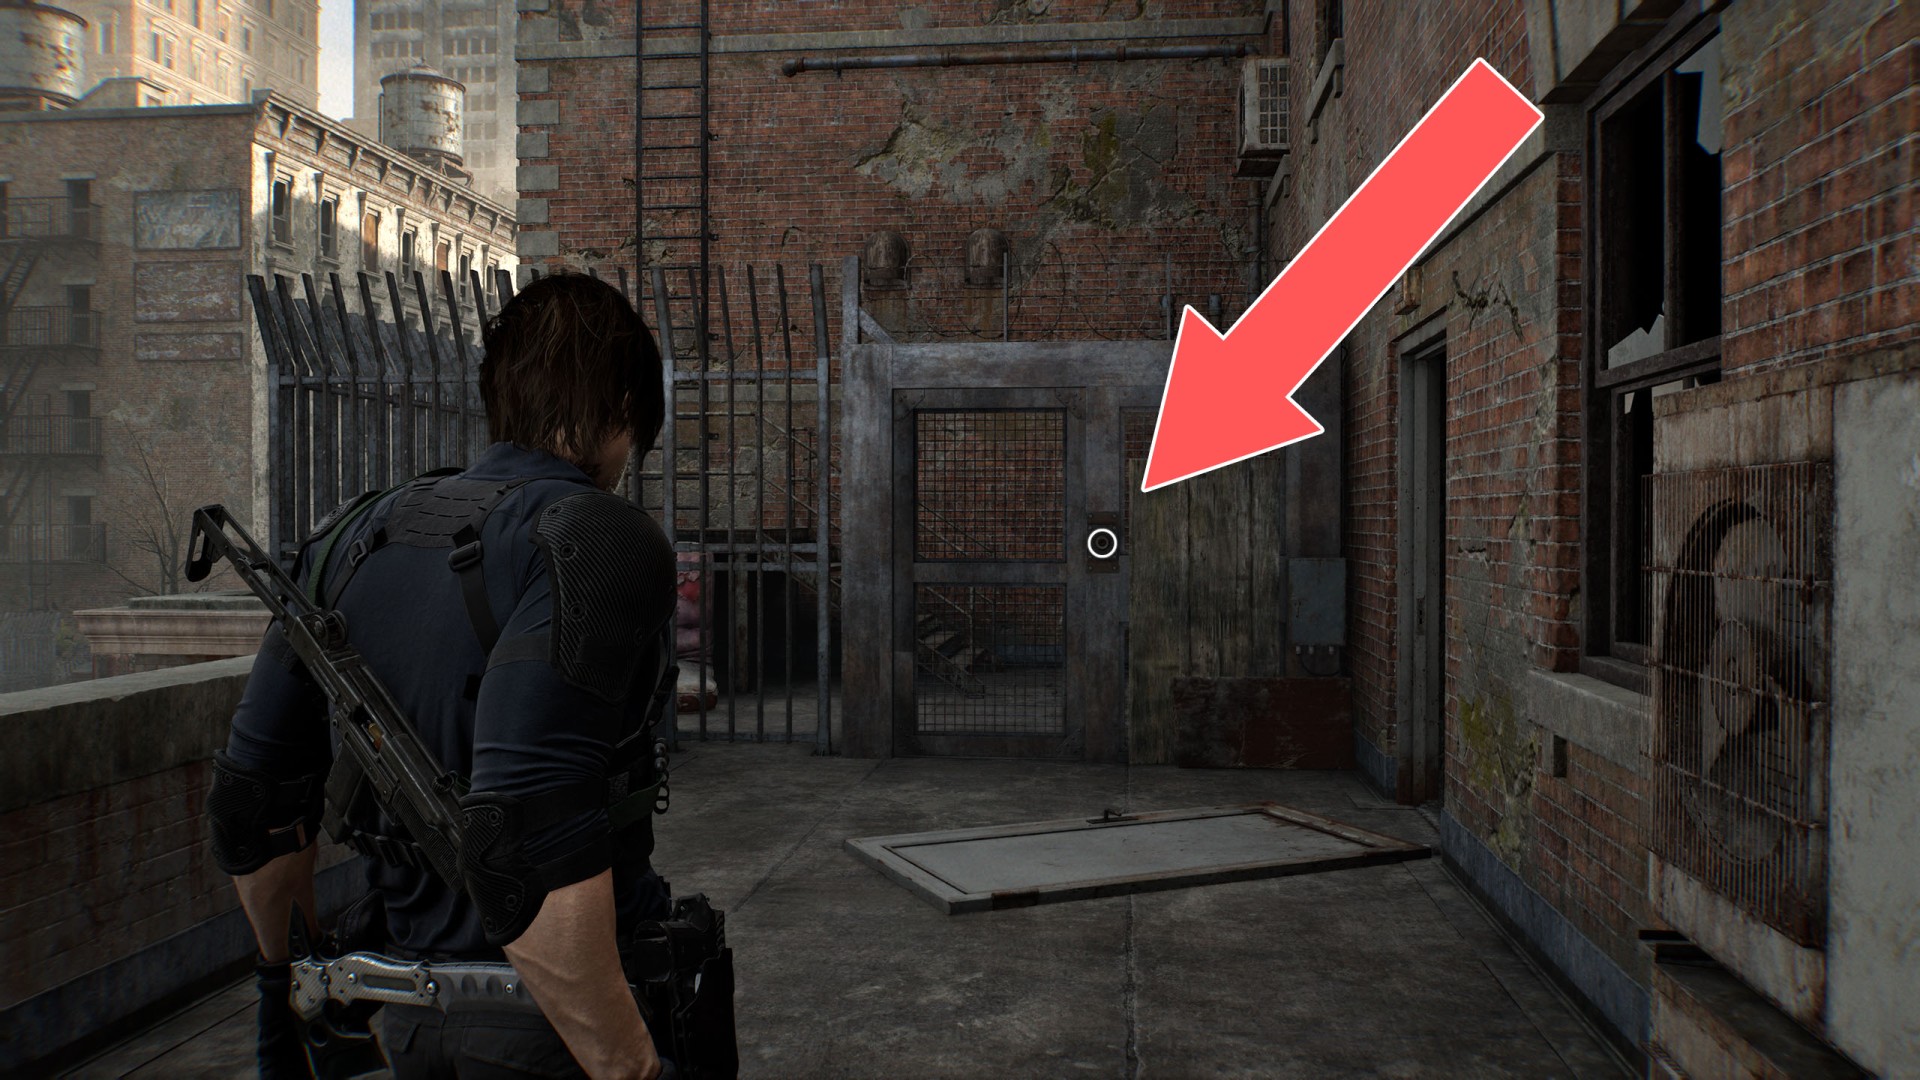
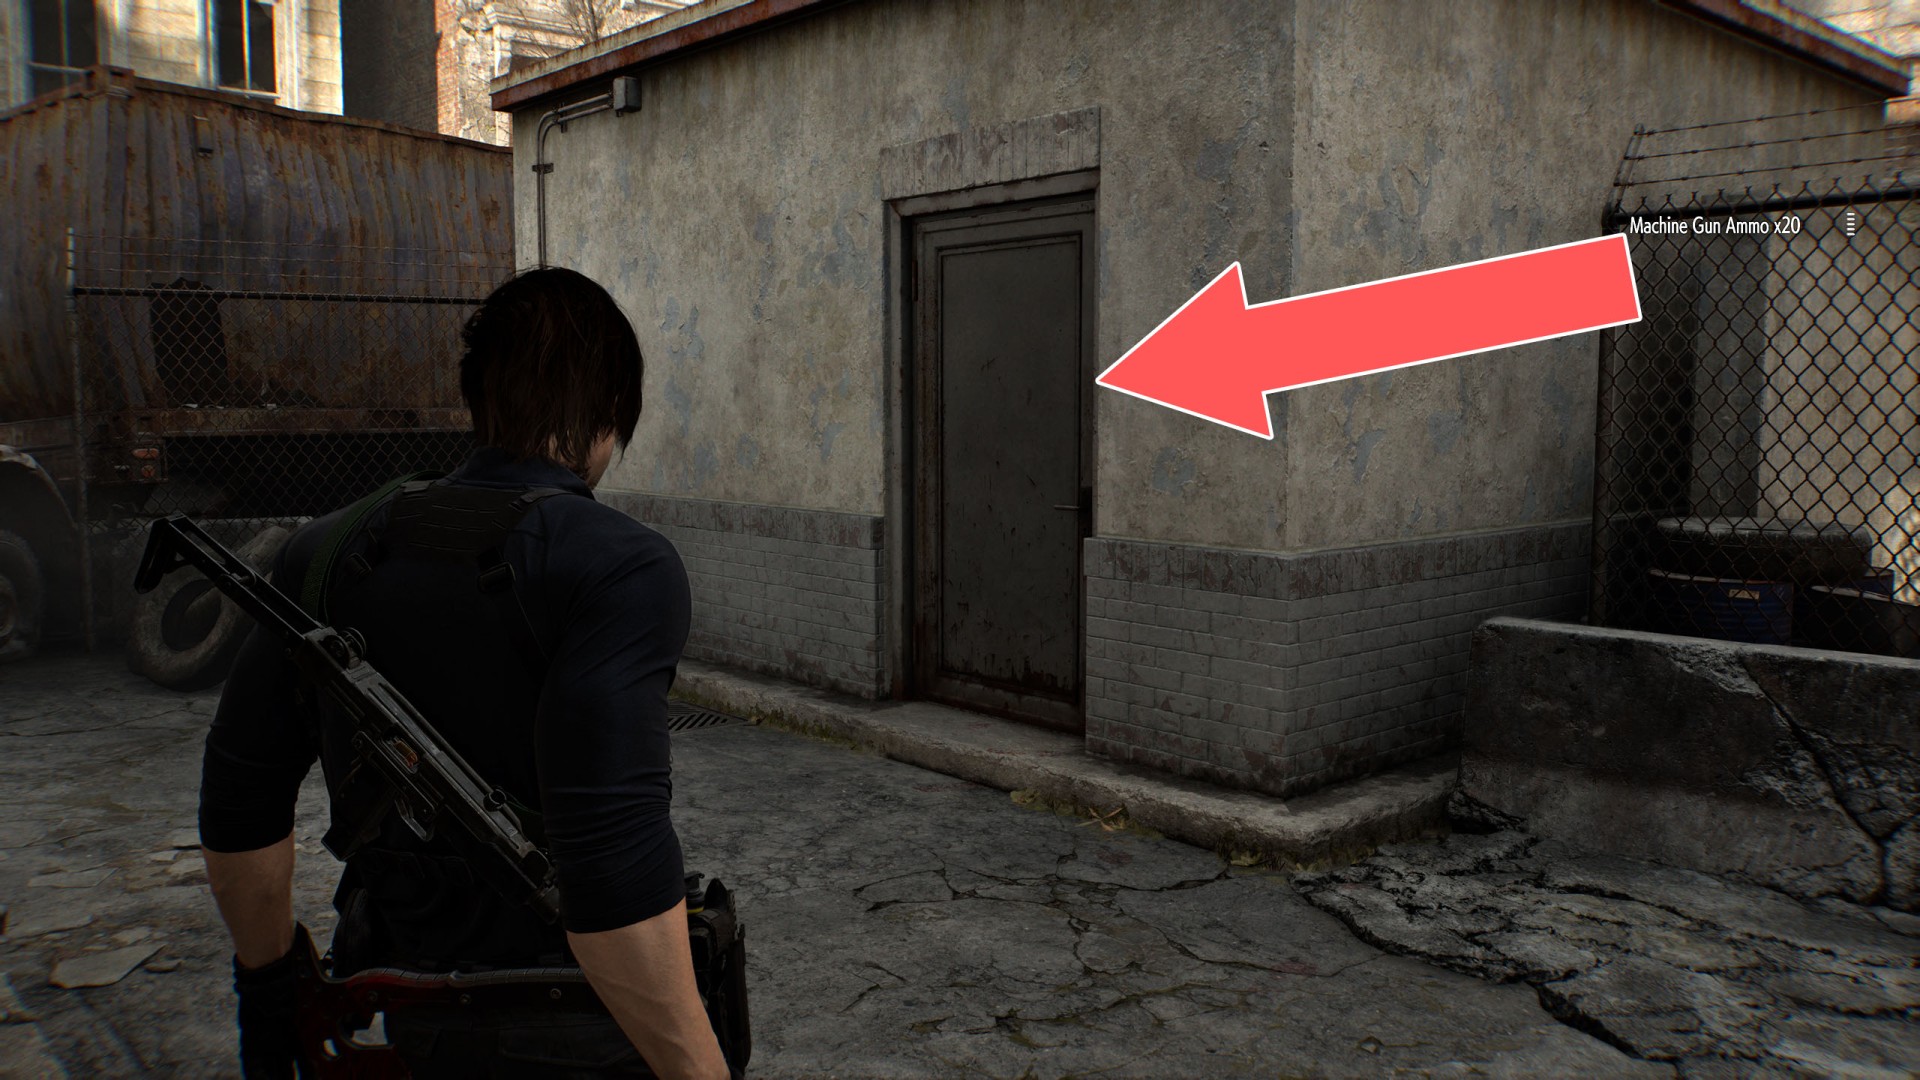
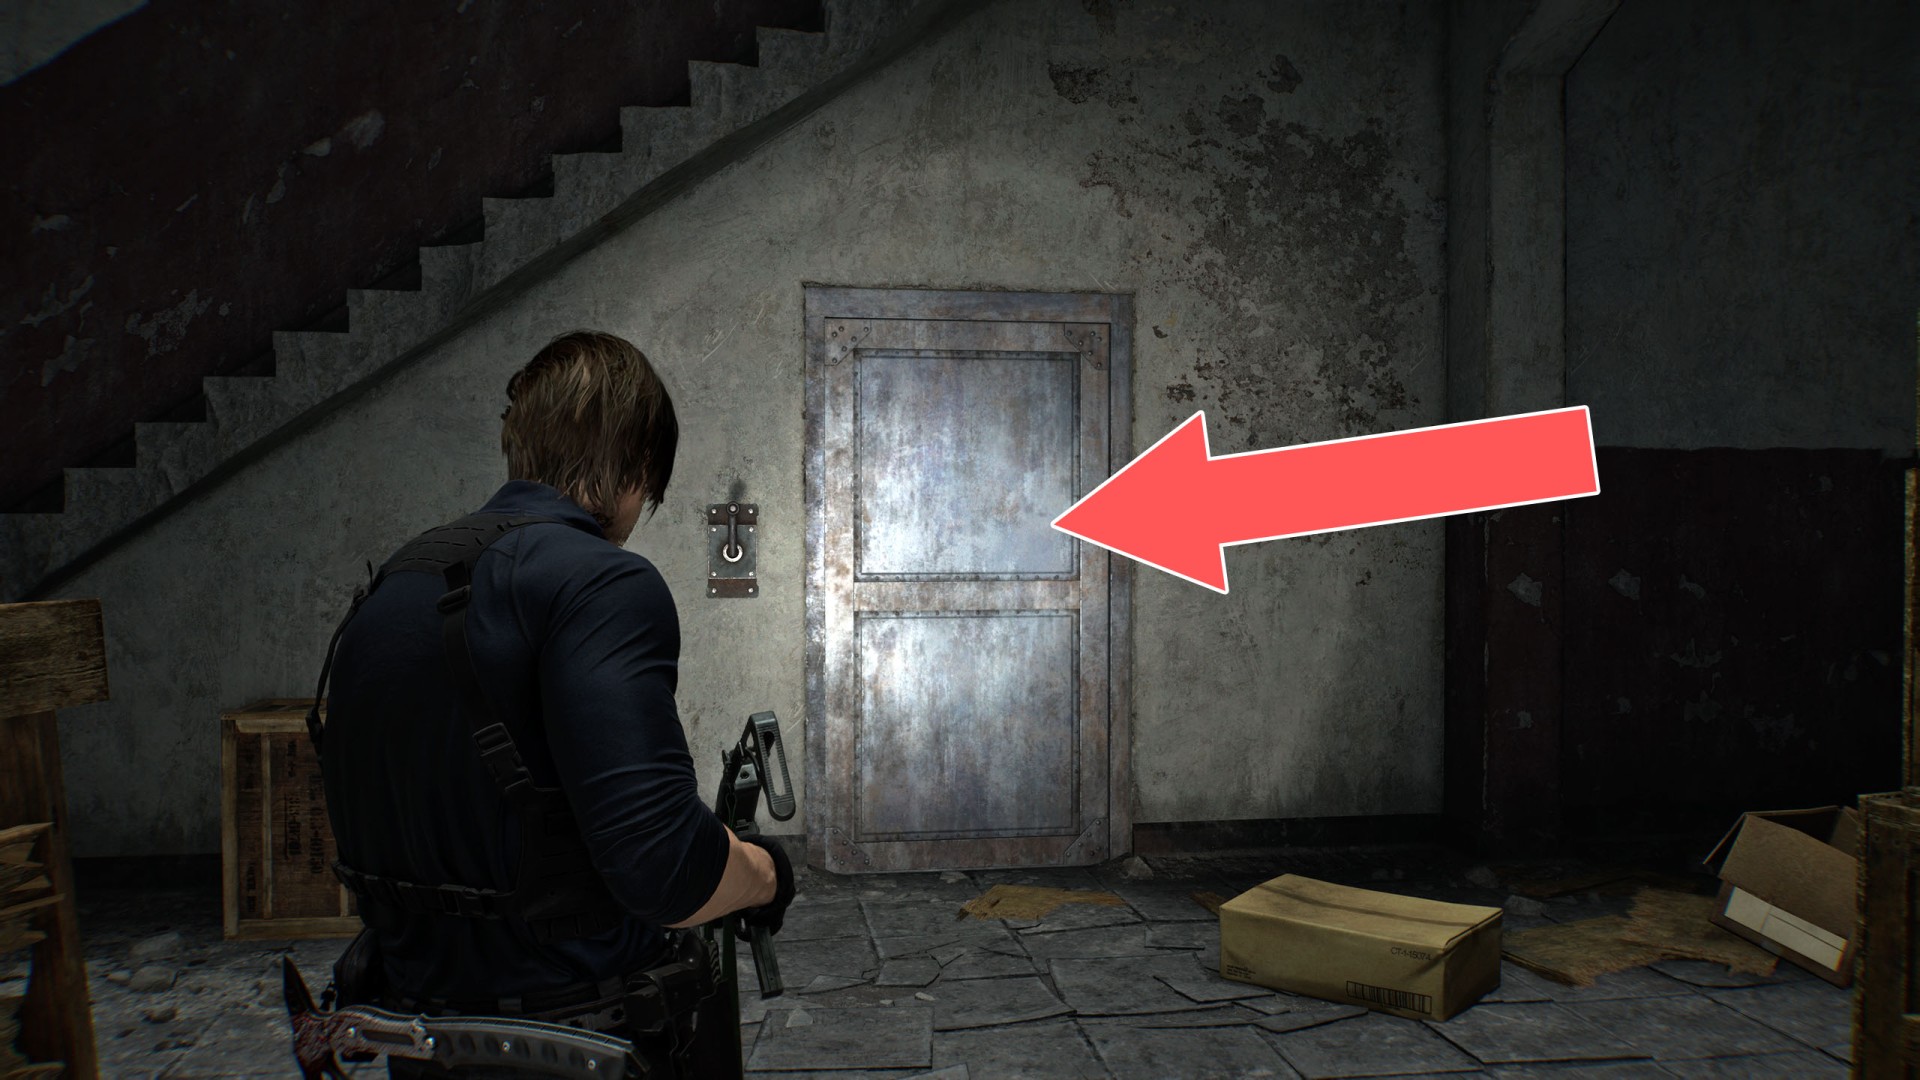
65Locked Door
66Locked Gate
This gate can be unlocked from the east side.
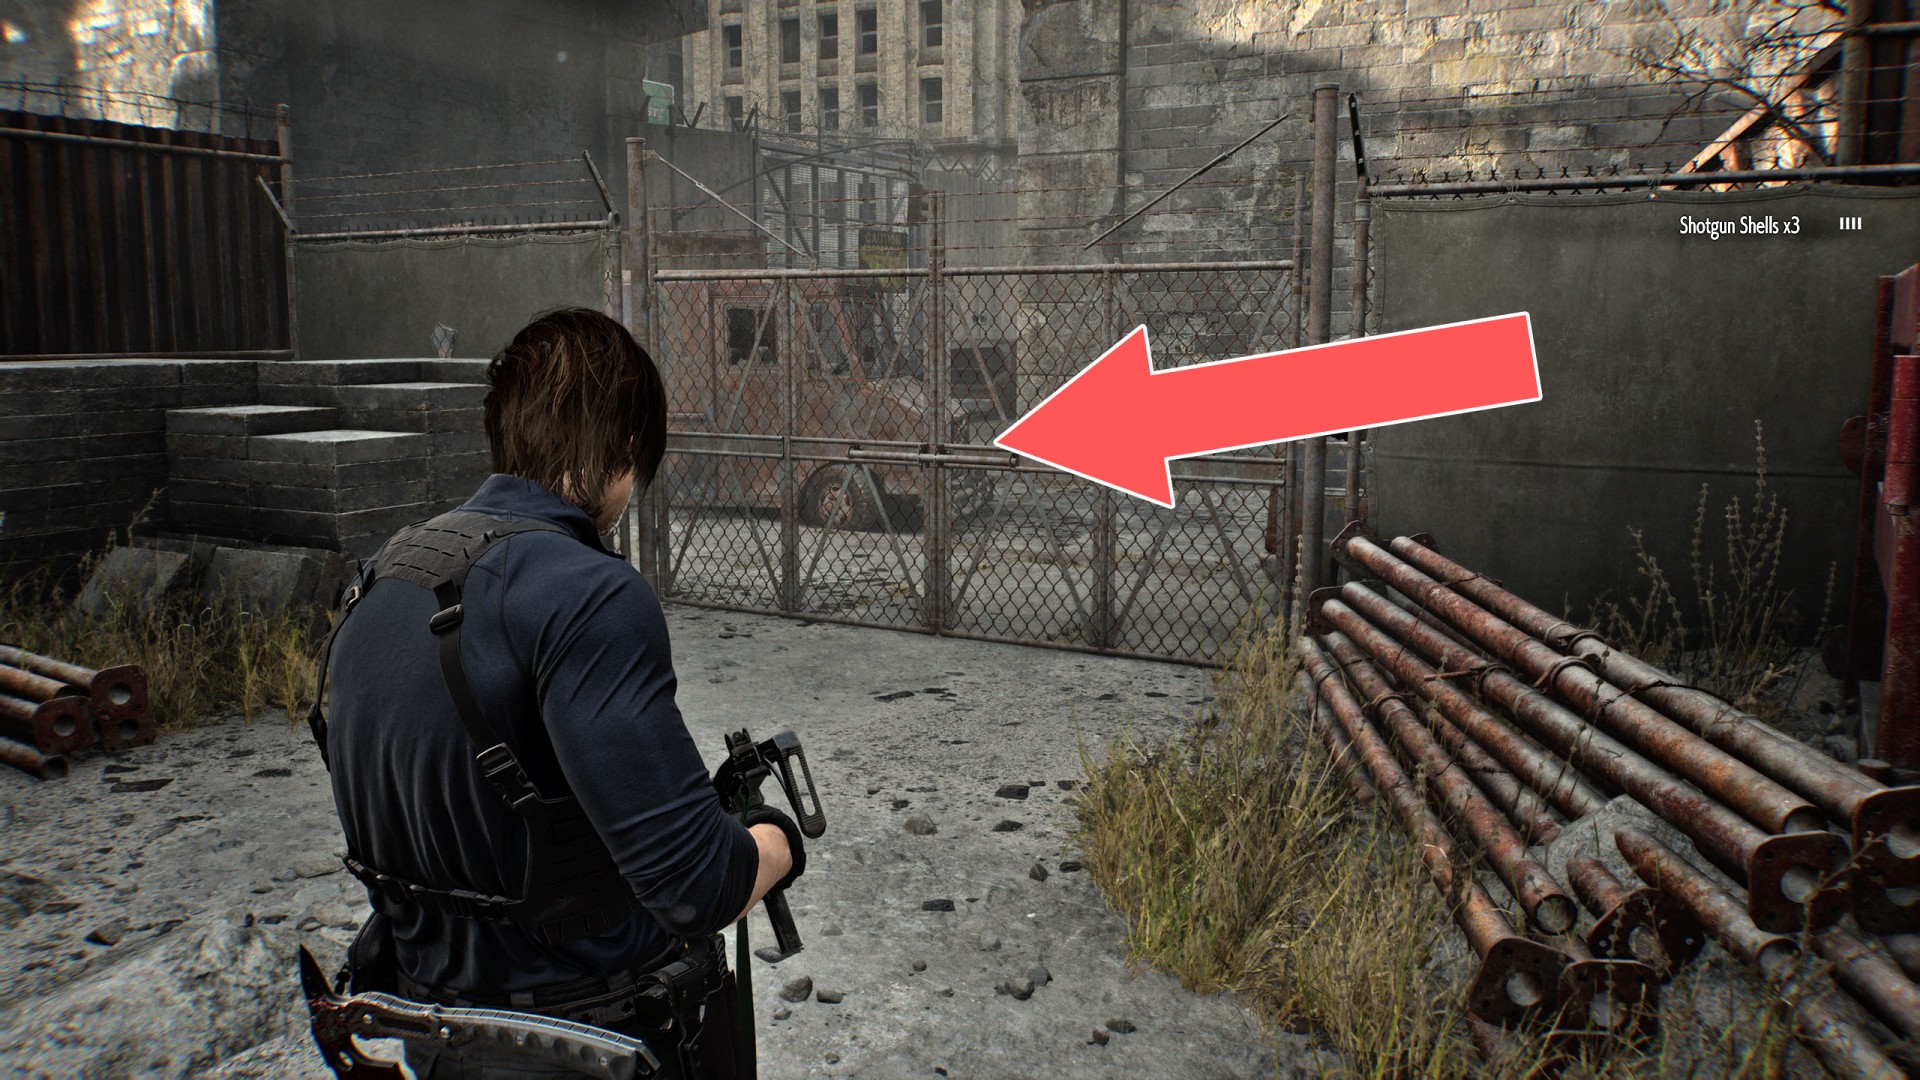
67Locked Gate
68Locked Gate
69Locked Gate
To open this gate, you will need the Rusty Crank.
70Locked Passage
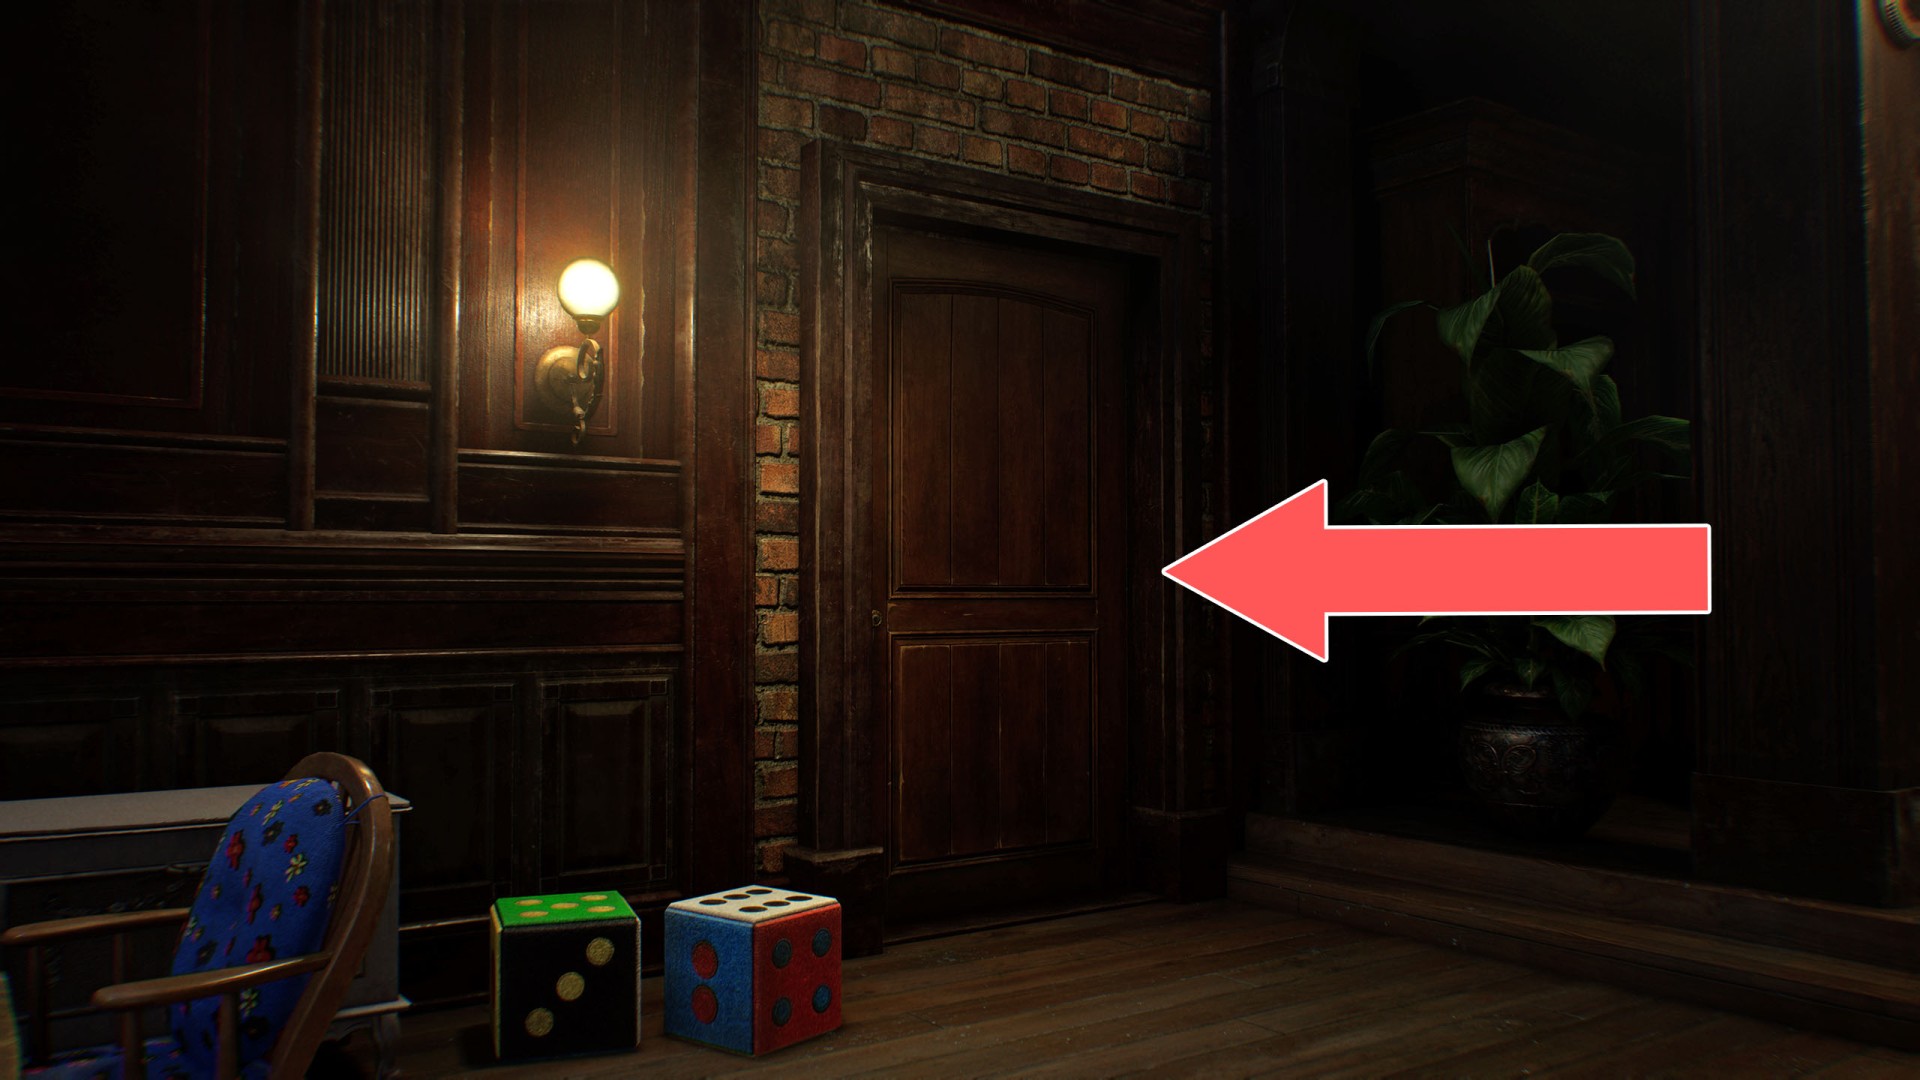
71Main Hall Door
Hide under the table and wait patiently for the children to open this door.
72Movable Footbridge
Turn the Valve Handwheel in the Valve Handwheel Slot all the way to move the footbridge so you can cross.
73Raccoon City Main Gate
The gate leading to the central part of the city. To open it, you must collect: Distributor, Broken Signal Receiver + Repair Kit, and Relay.
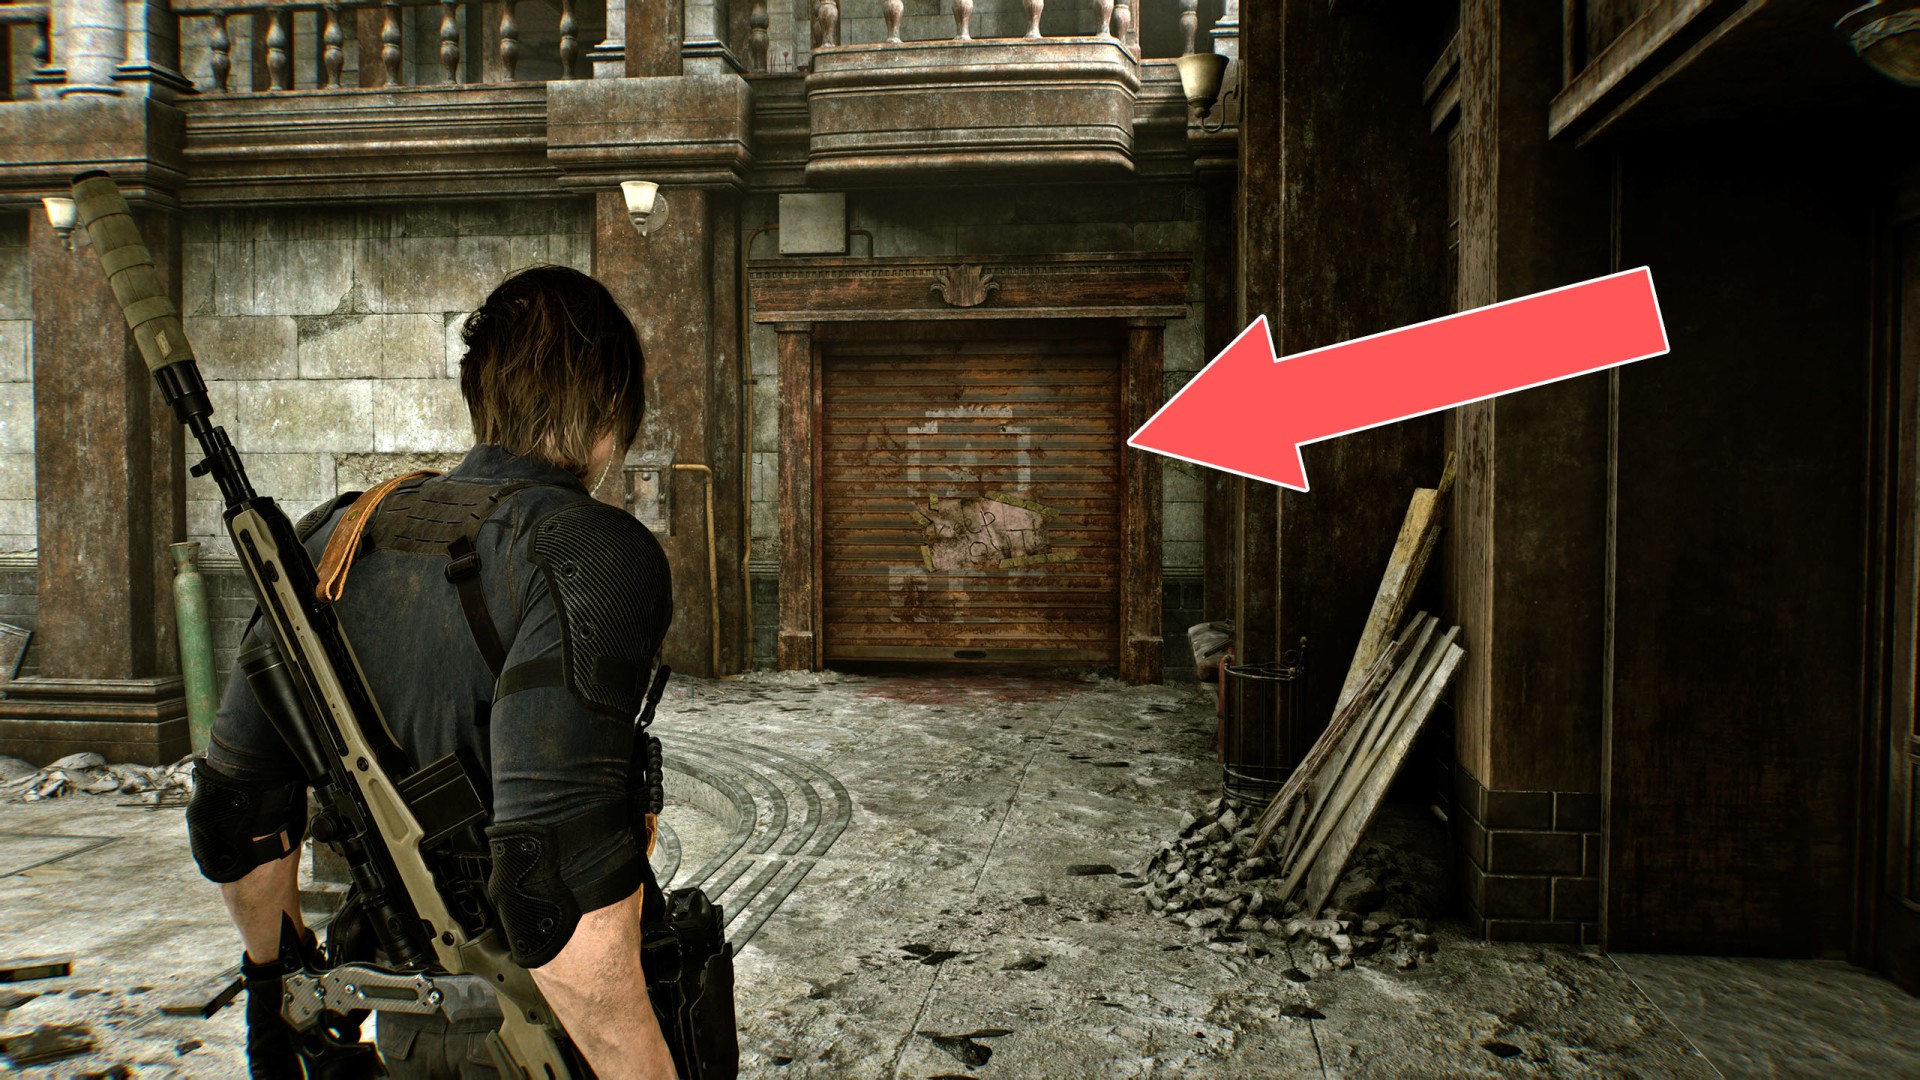
74Rusted Shutter
You can open this gate from either side, as long as you have the Mechanic Jack.

75Rusted Shutter
To open this gate, you will need the Mechanic Jack.
76Rusty Crank Door
The door can be opened from the eastern side as you're grabbing the Rusty Crank.
77Sewage Facility Door
You need a Rusty Crank to unlock this passage.
78Sewage Facility Door
This door can be unlocked from the east side.
79Subway Entrance
This door can be unlocked from the south side.
80Subway Station Gate
This door can be unlocked from the north side.

81Underground Chapel Gate
To restore power and open this gate, use the Underground Chapel Switch.
Locations on ARK
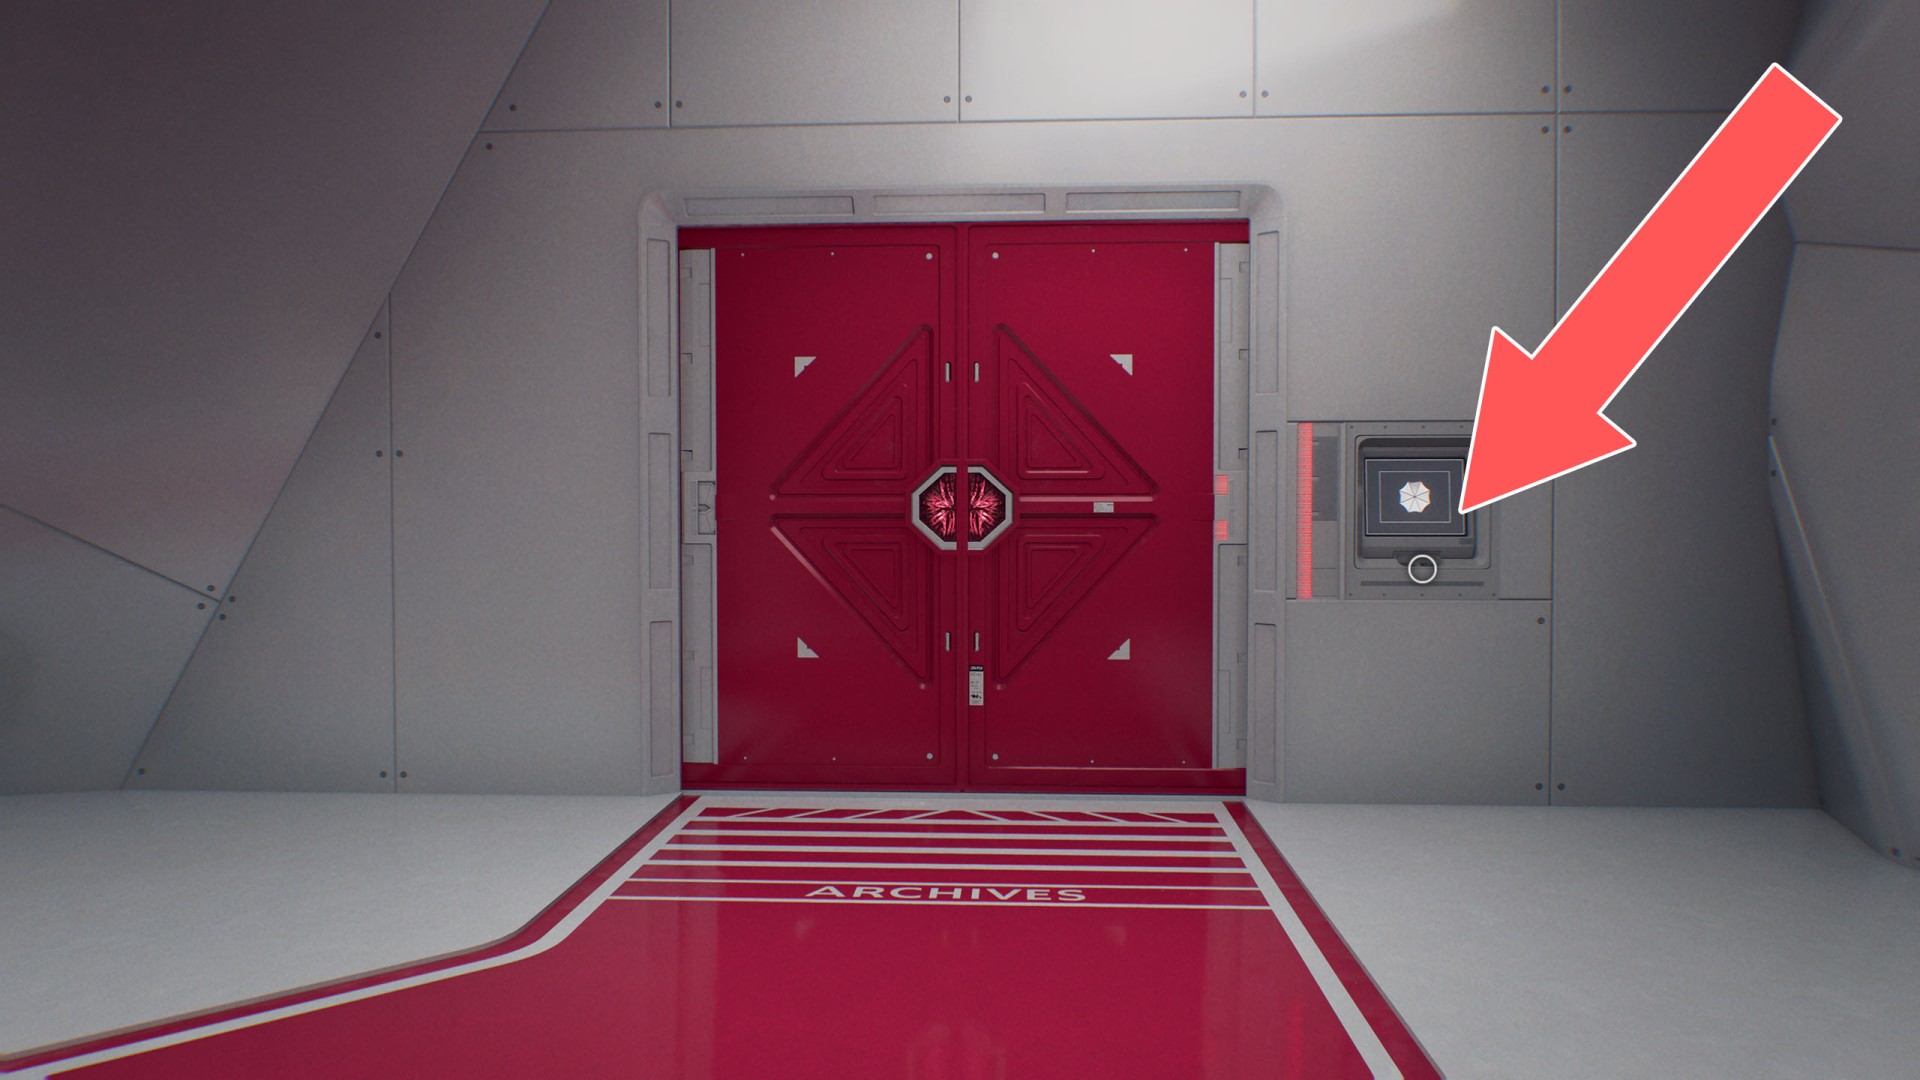
82Archives Door
To open this door, you need the Animus Orb and the Noblesse Orb brass orb. Insert them into the recessed panel to the right of the door.
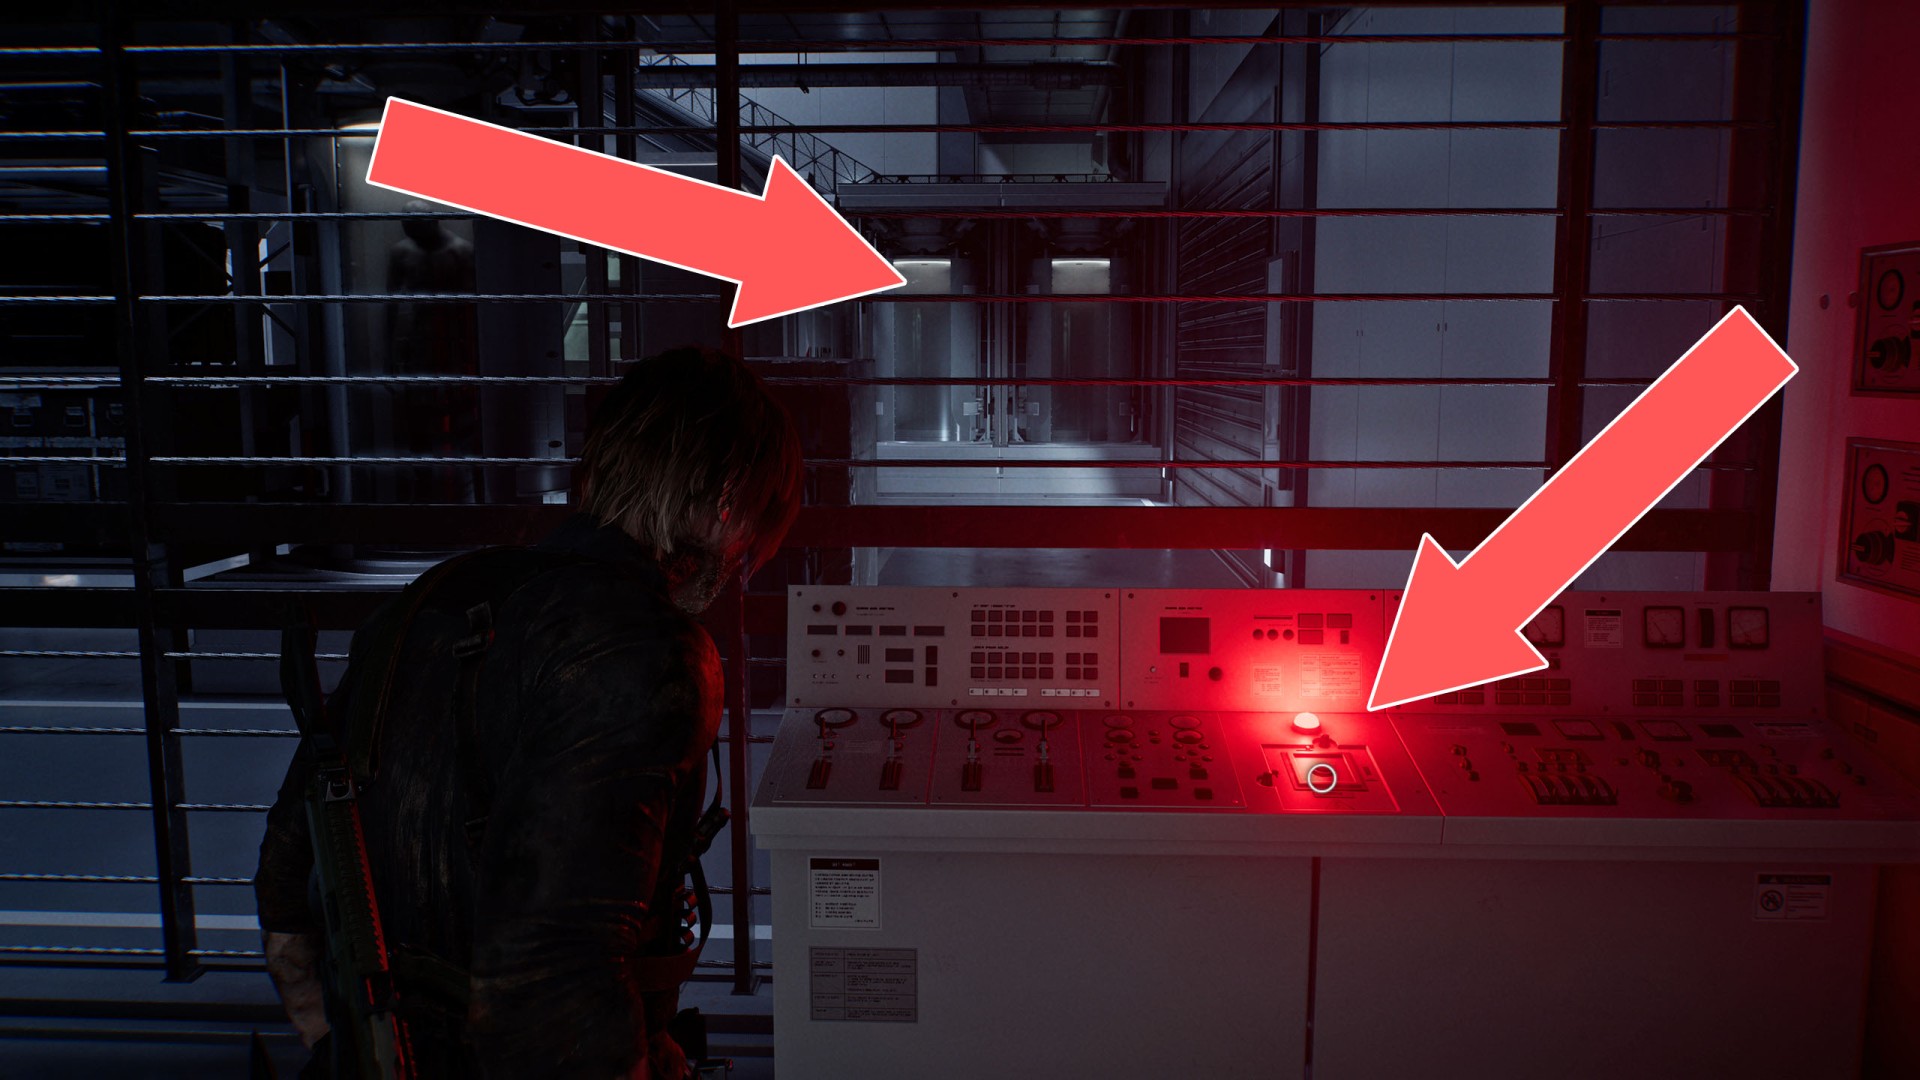
83Bioweapon Repository 12 Passage #1
To open this passage, press the button on the Bioweapon Repository Console #1.

84Bioweapon Repository 12 Passage #2
To open this passage, press the button on the Bioweapon Repository Console #2.
85Cleanroom Door
You need the Magnetic Key to open this door.
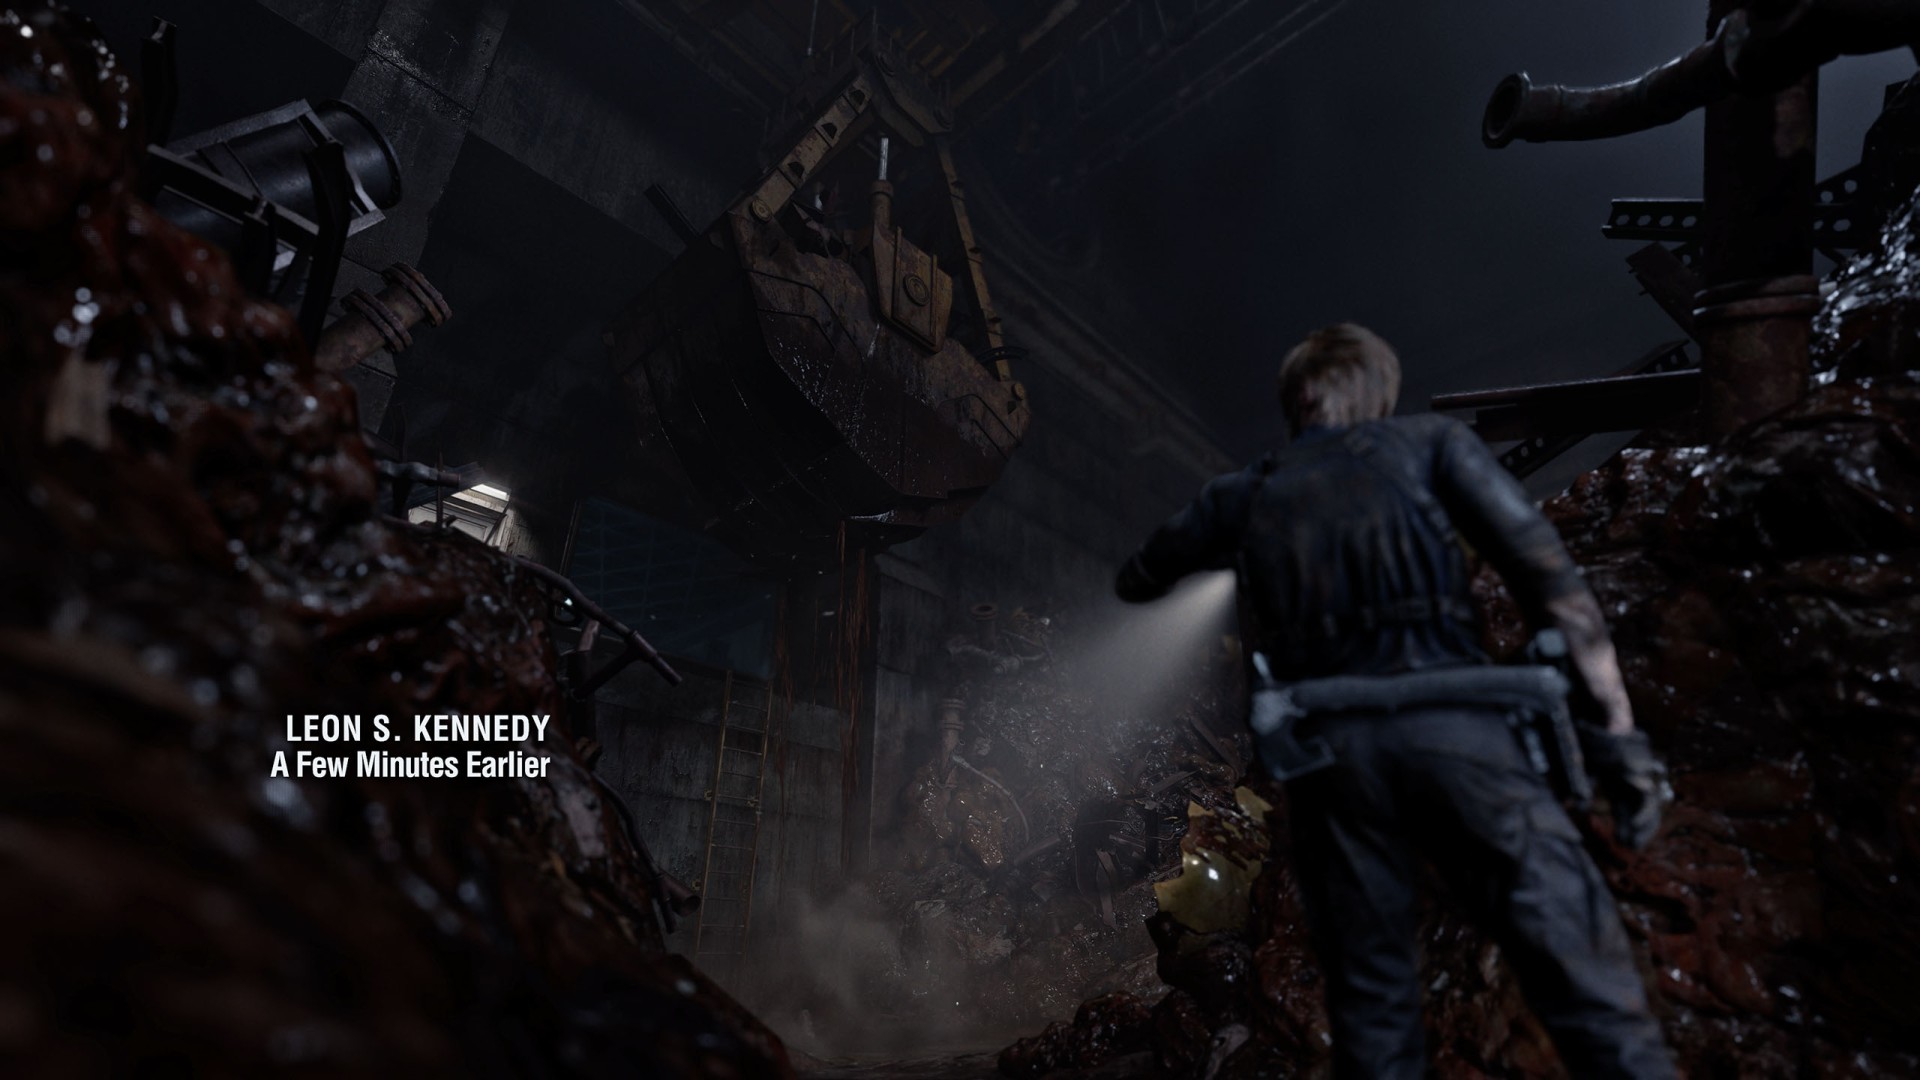
86Dump / Back Room Ladder
You'll be able to pass through here as Leon, but Grace must first find a way to clear the excavator bucket blocking the path.
87Elevator
You need the Override Key (Bioweapon Repository 11) to unlock this elevator.
88Lobby Door
You need the Magnetic Key to open this door.
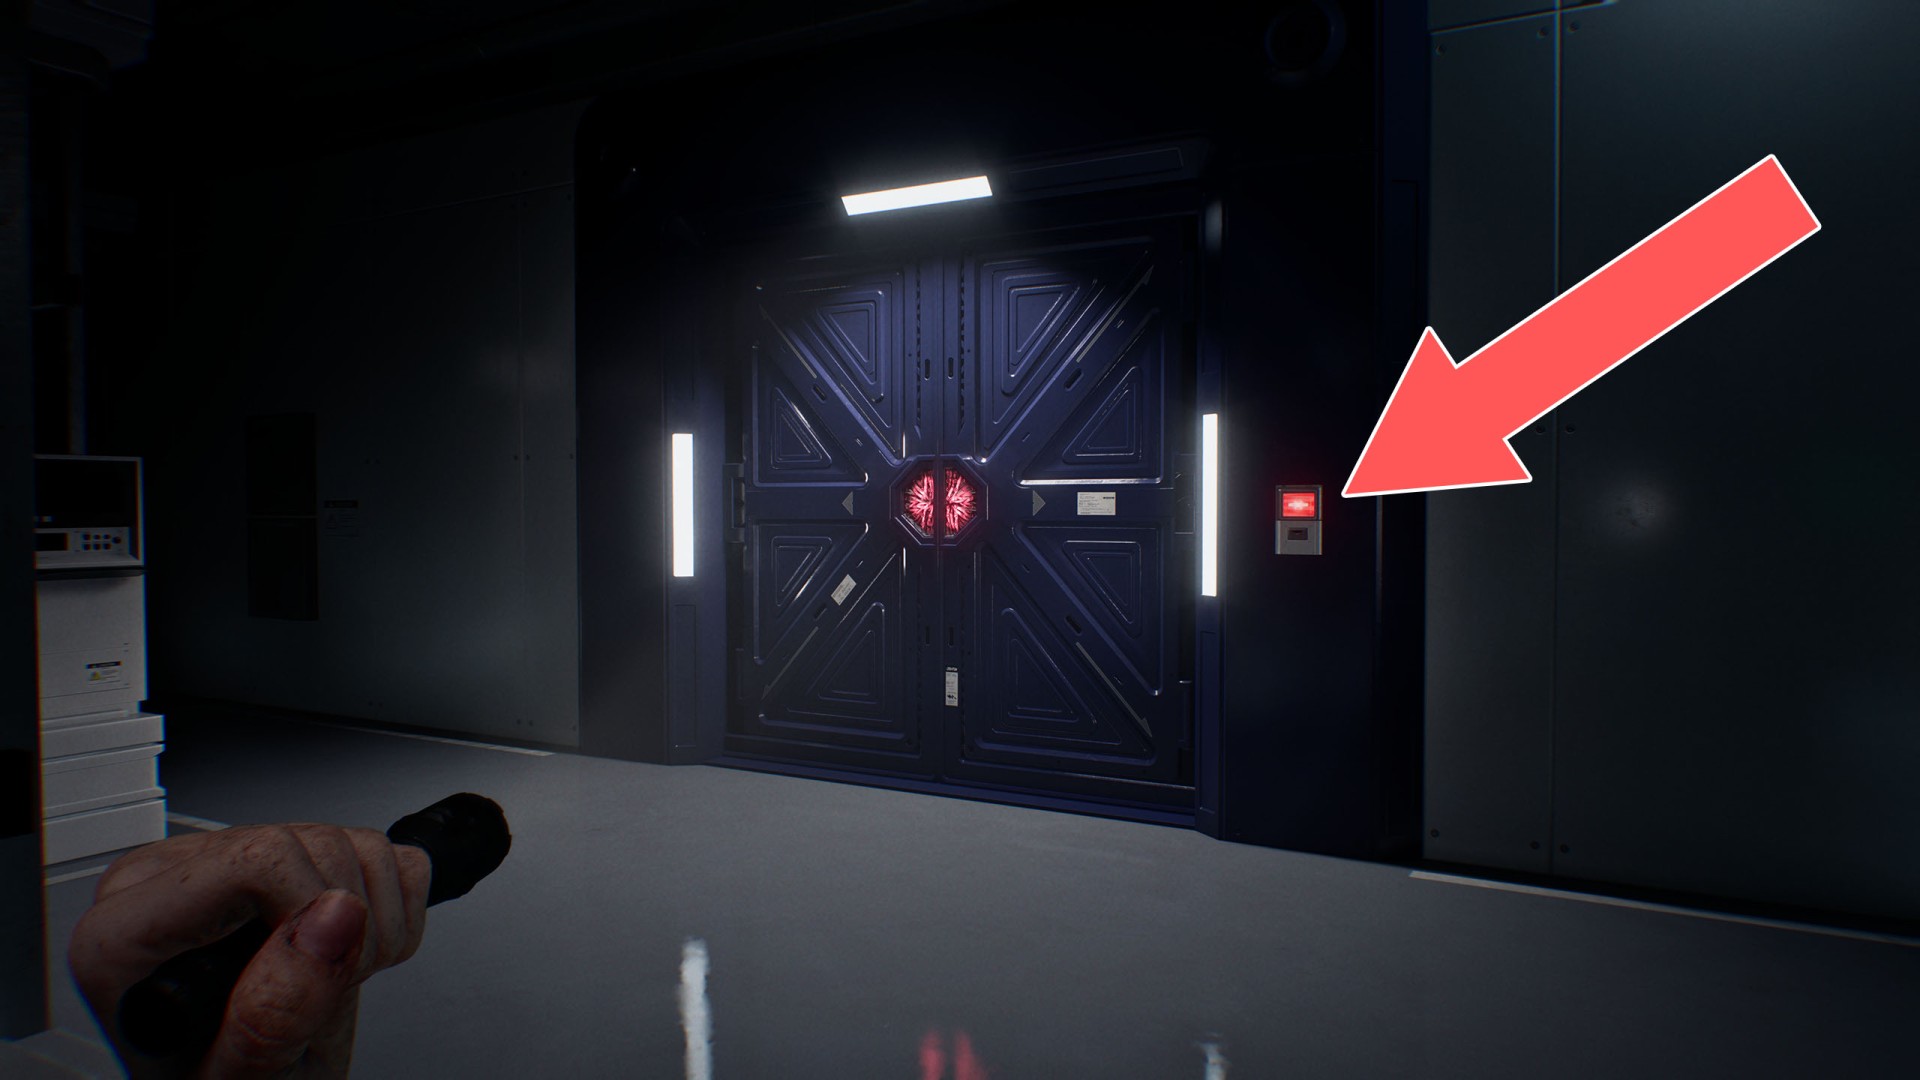
89Security Door
These doors will unlock once you eliminate the elite soldiers, meaning you must reach them from the eastern side.

90Security Door
These doors can be unlocked by approaching them from the north.
91Security Door
These doors, initially locked, will unlock once you interact with the Security Surveillance Console.
92Study Door
These doors will only later in the game, once you take control of Grace again.
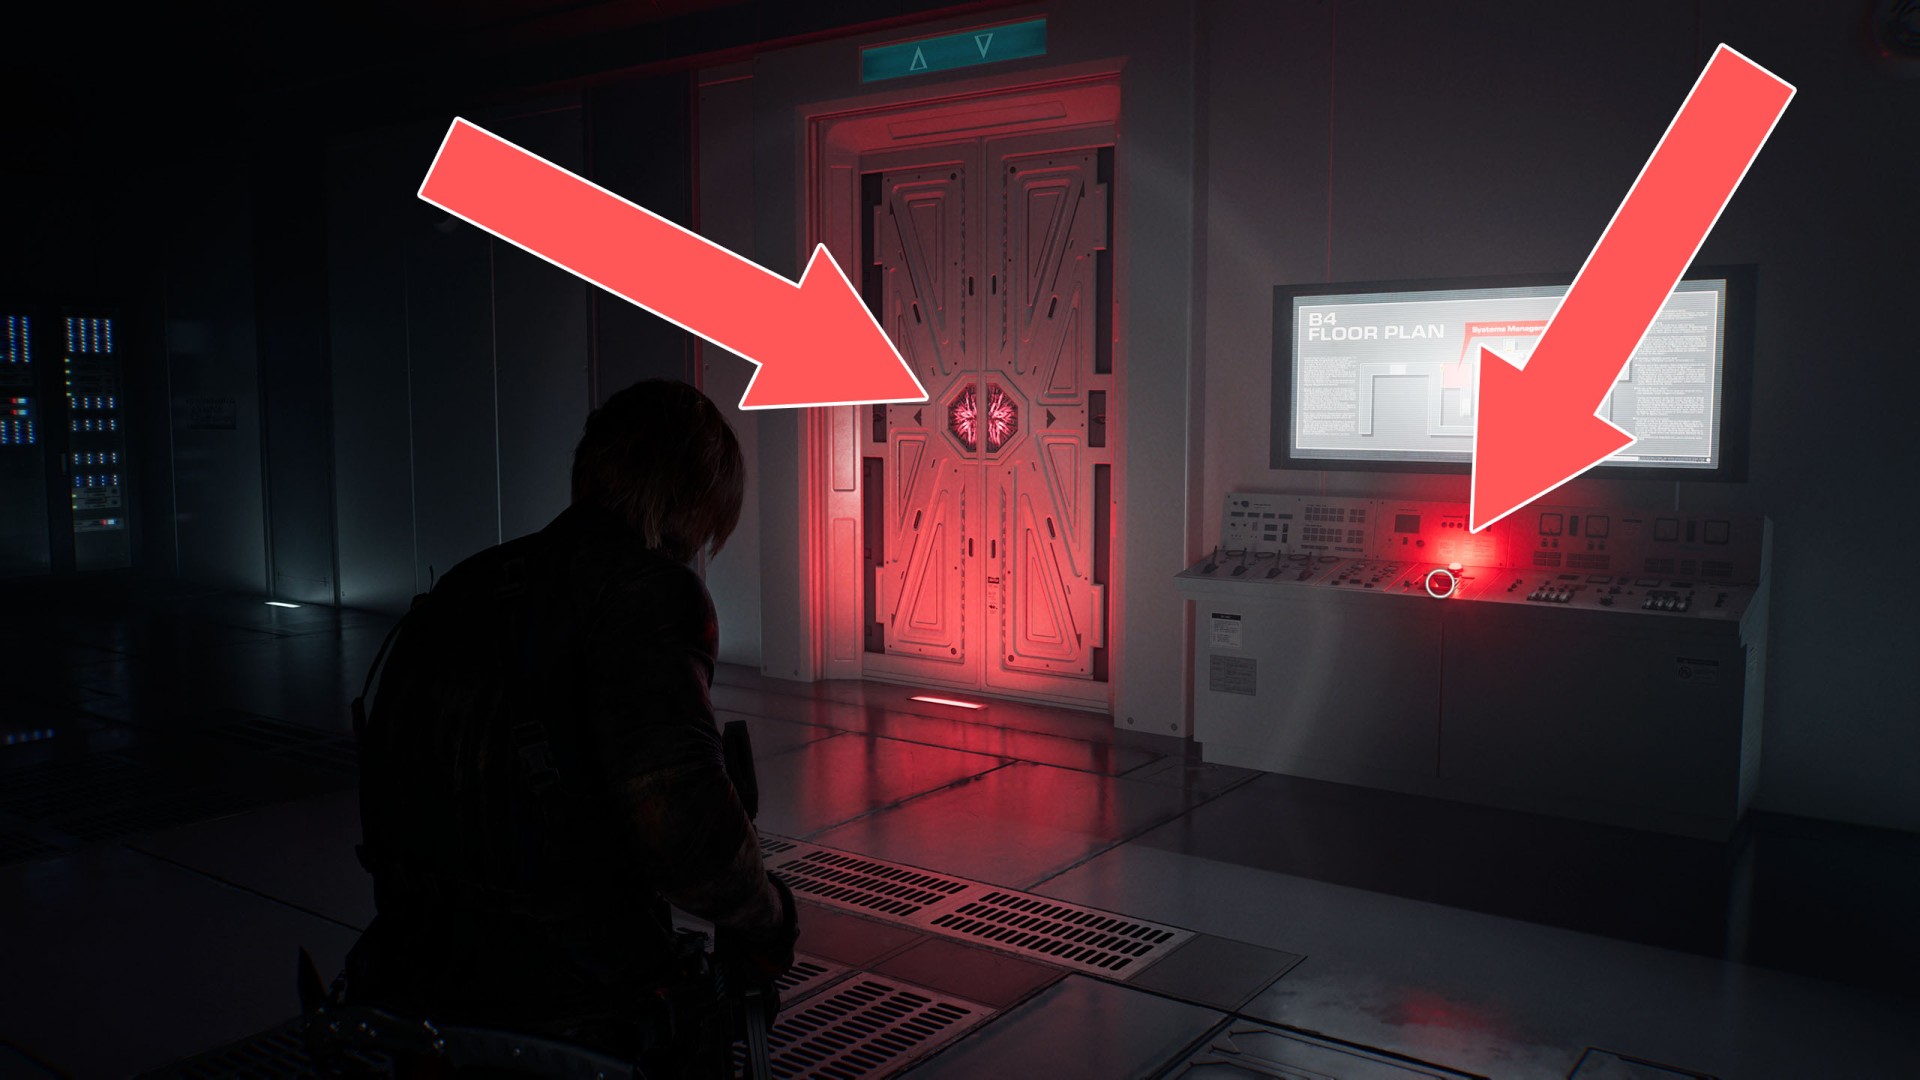
93Systems Management Door
You can only open this door from the east side, from inside the room.