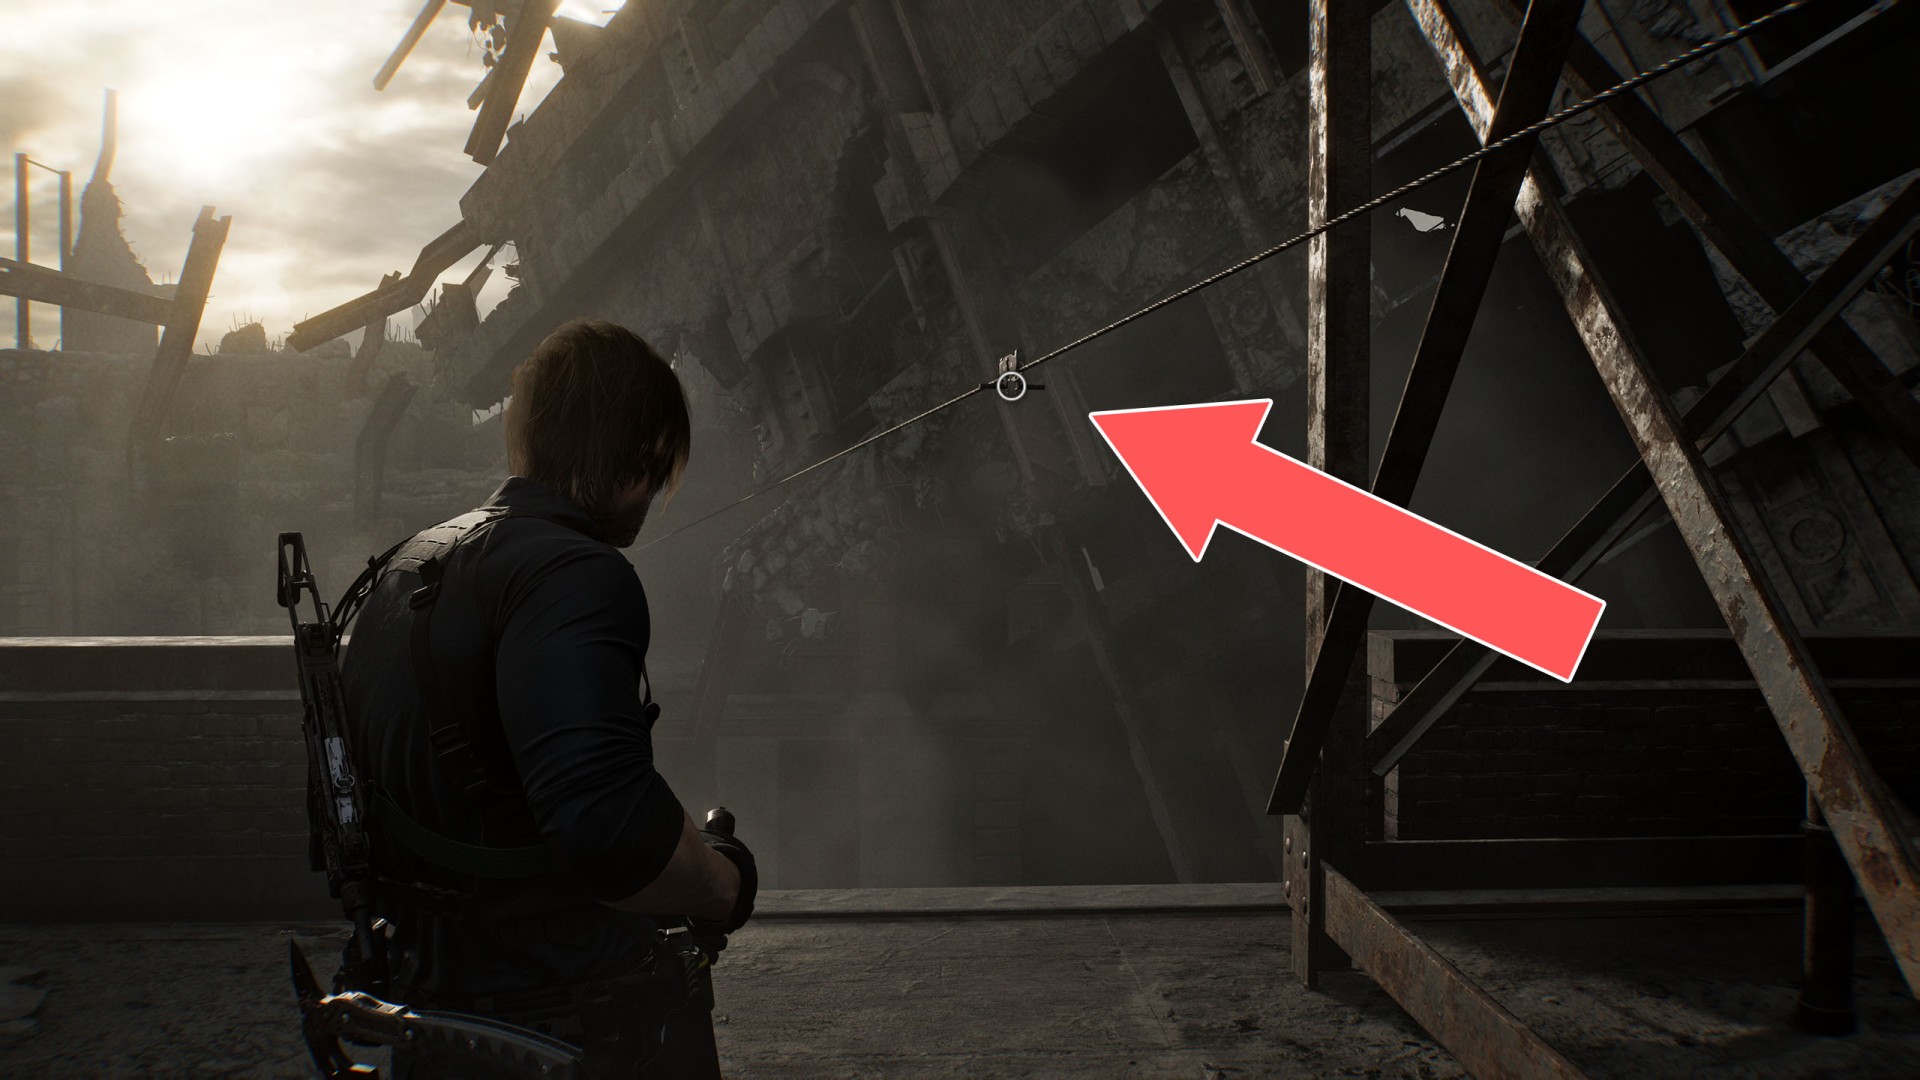
The remaining locations marked on the Resident Evil Requiem maps, not classified in other categories.
Other
Locations on Raccoon City
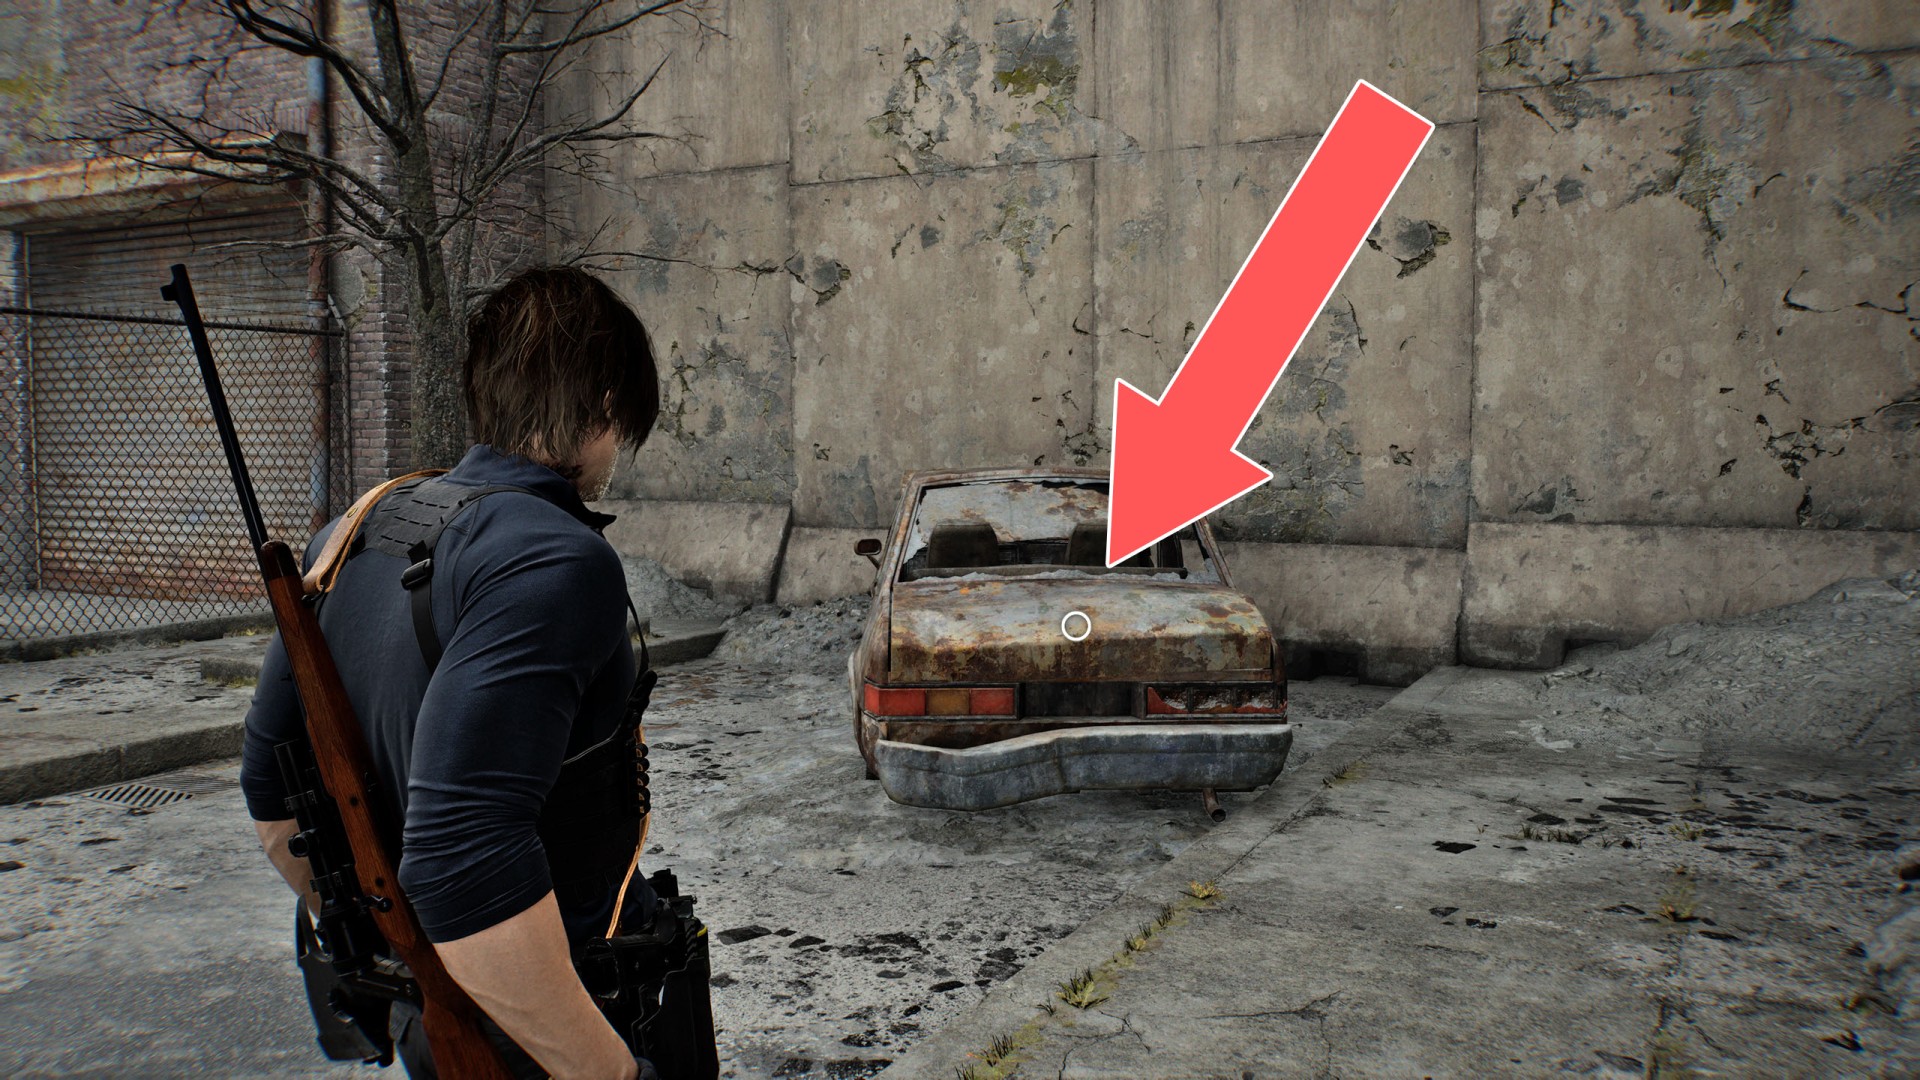
1 Car Trunk
Random Loot x1.
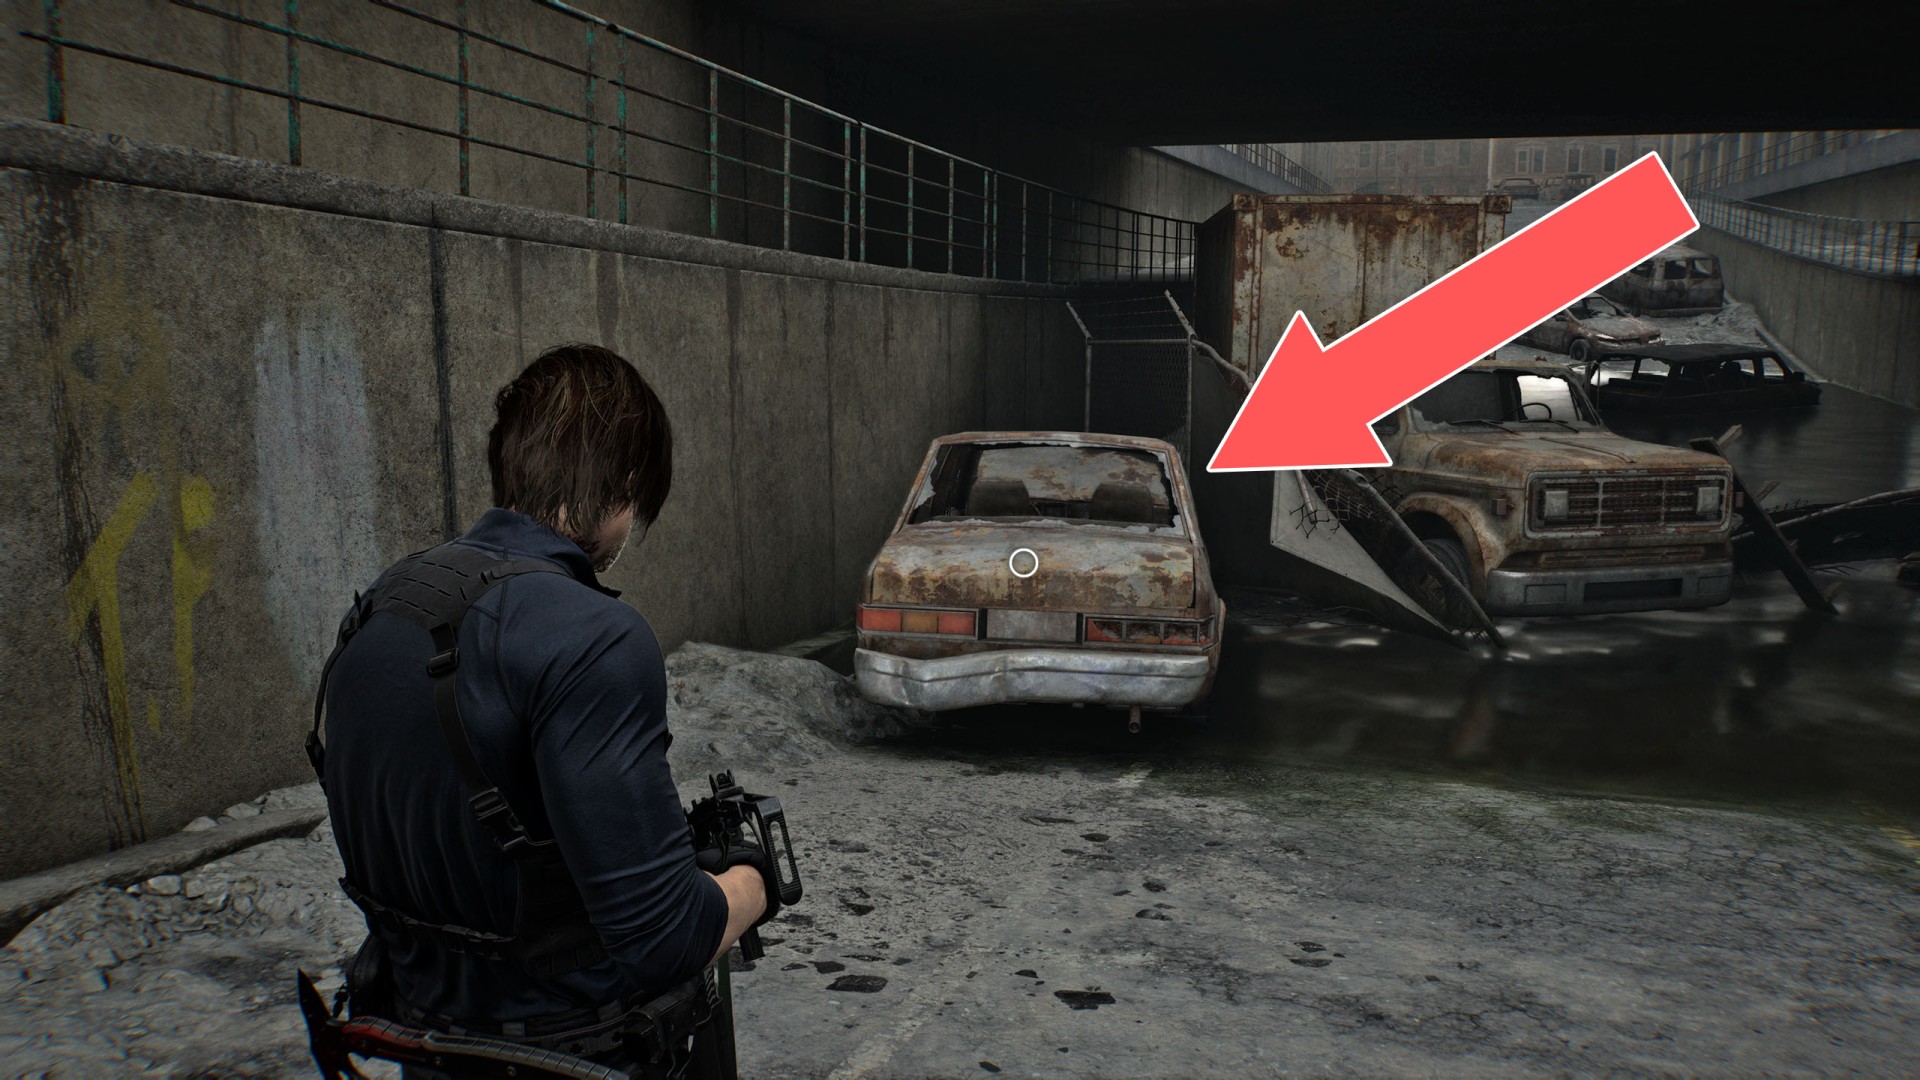
2Car Trunk
Random Loot x1.
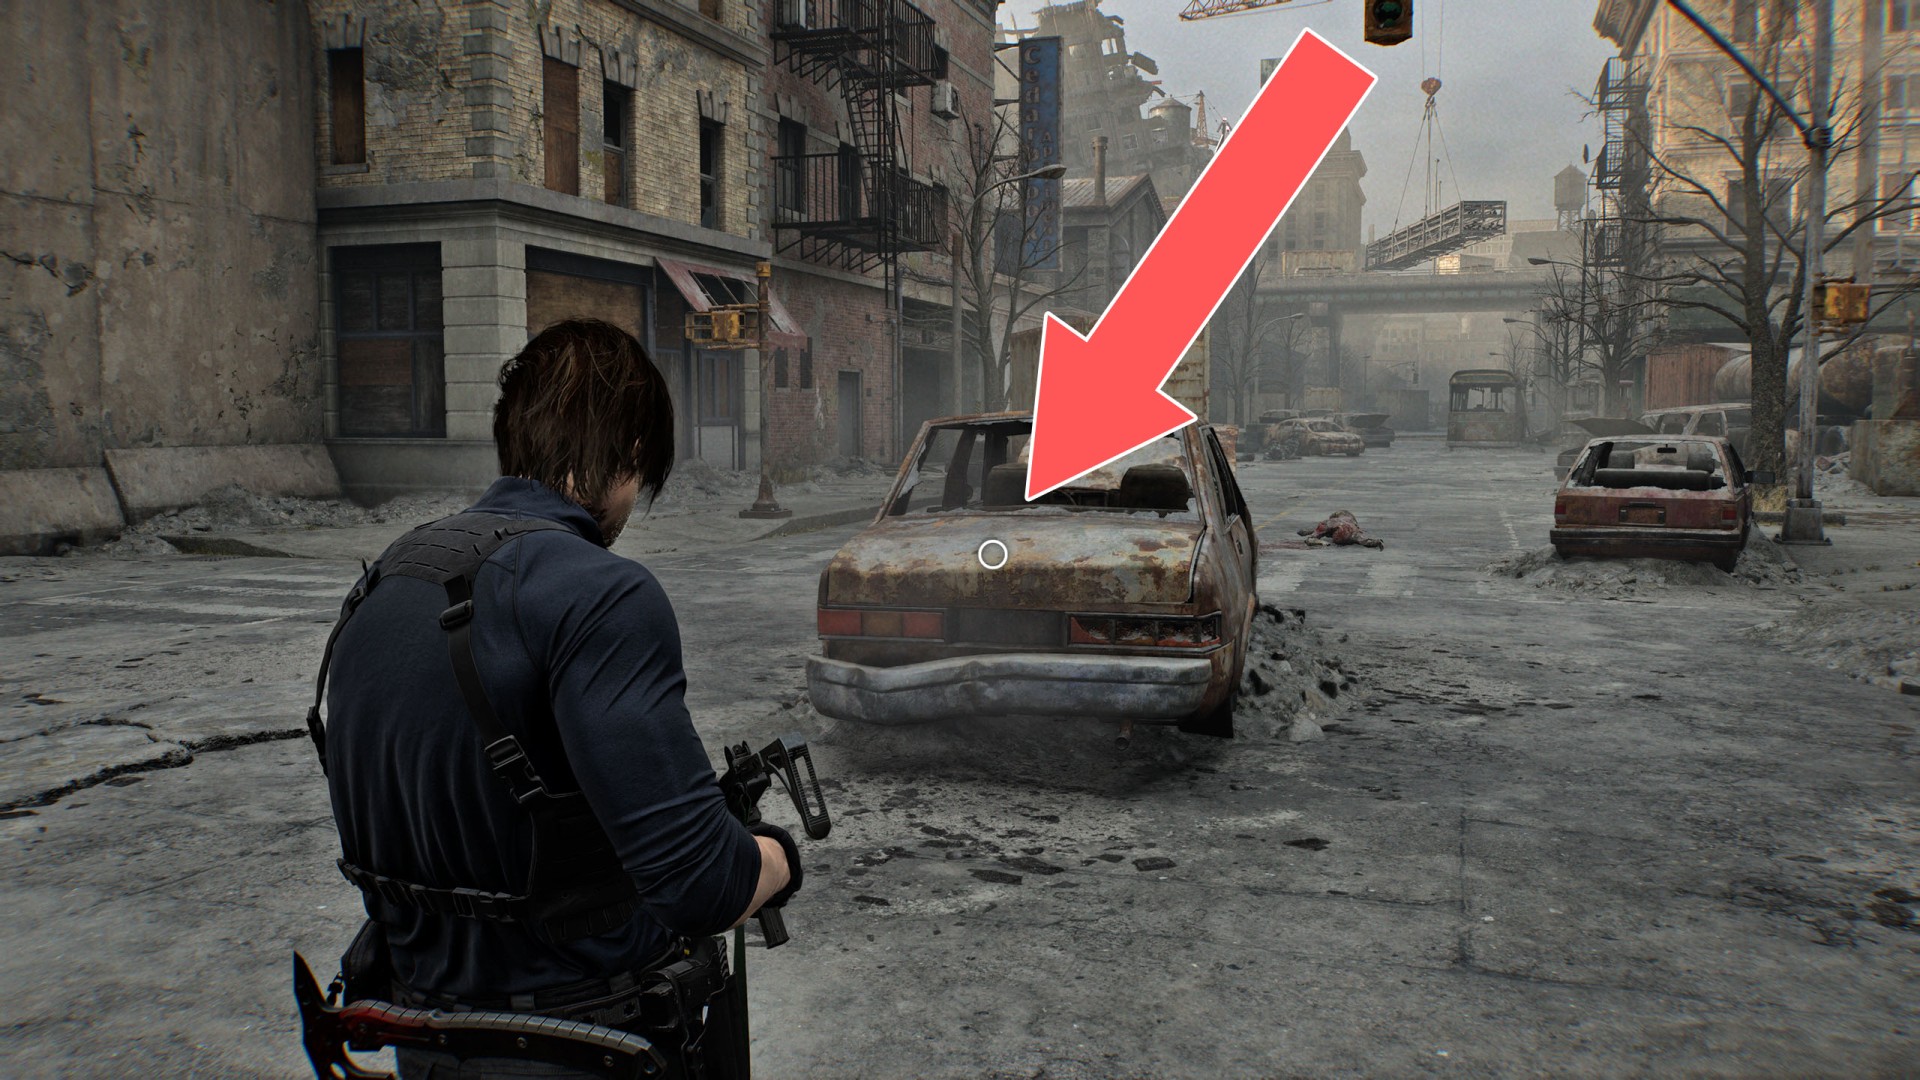
3Car Trunk
Random Loot x1. Gunpowder (Large)?
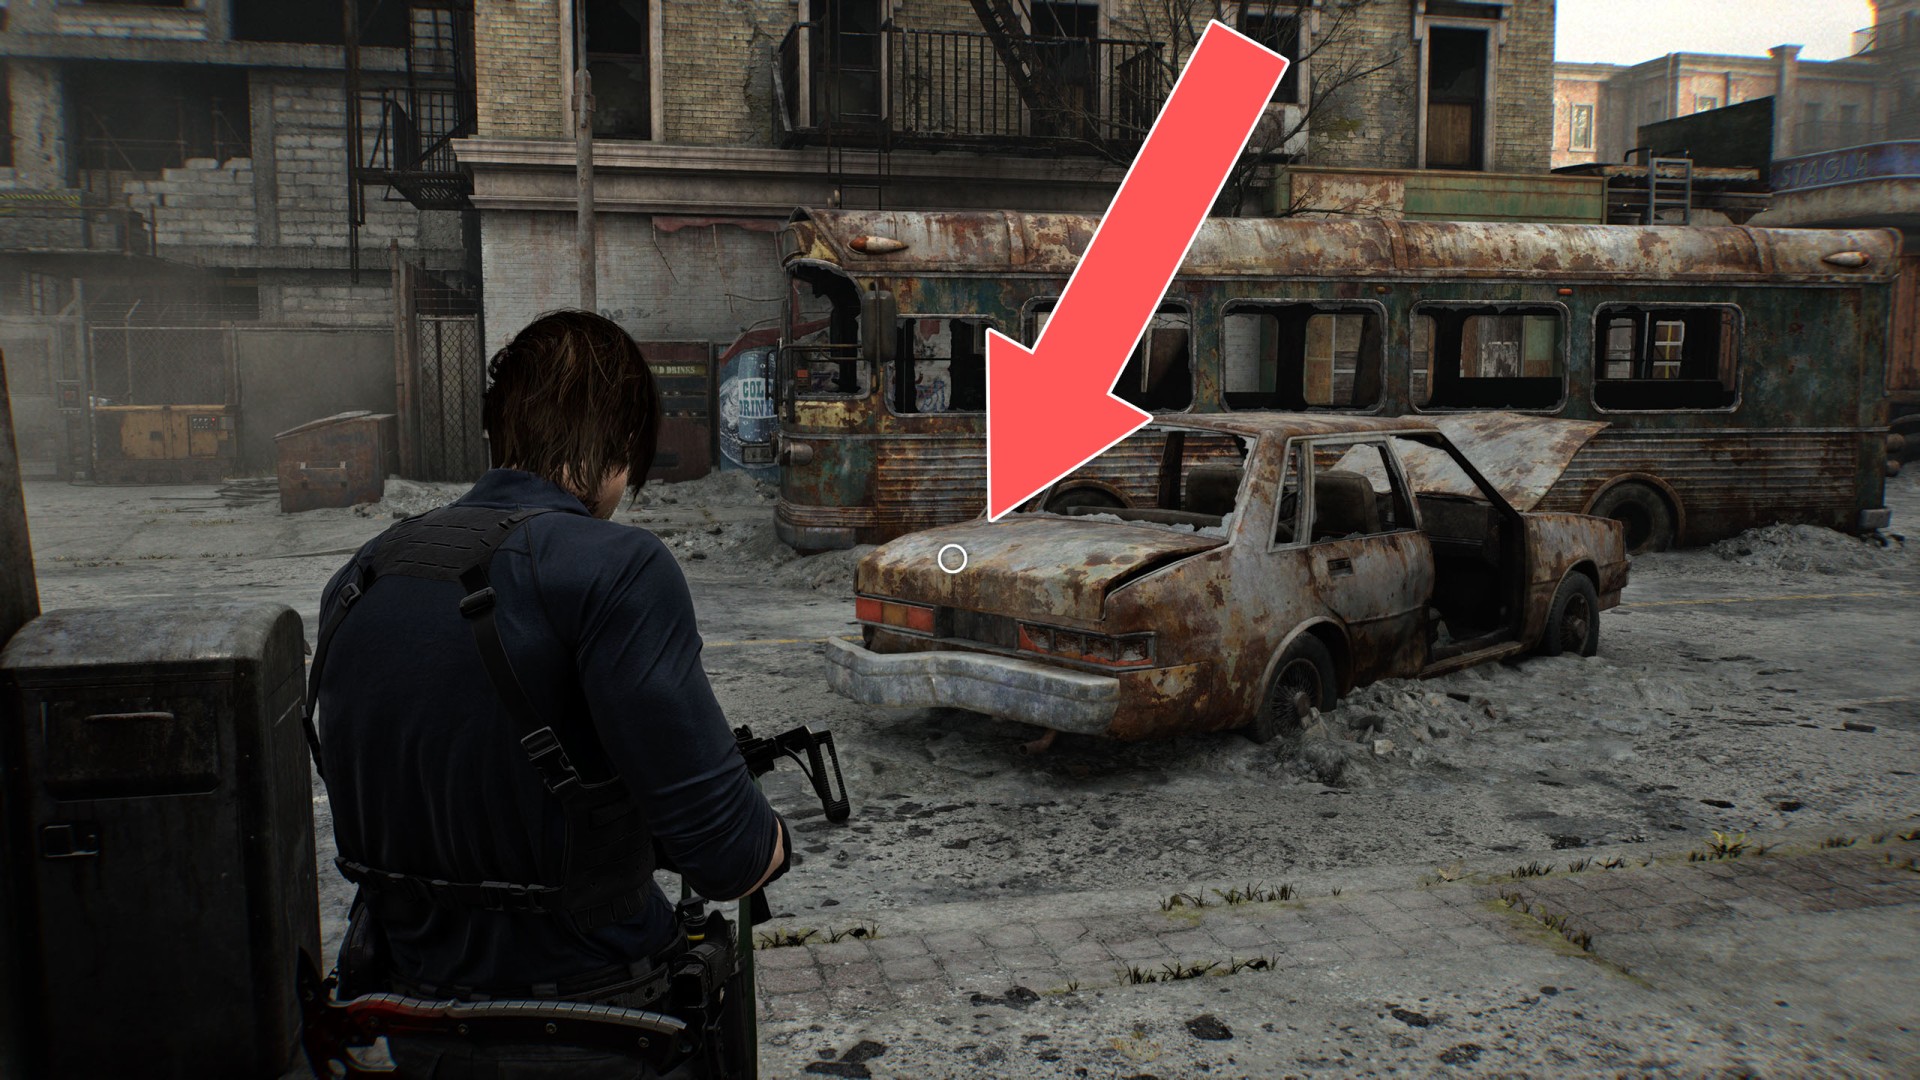
4Car Trunk
Random Loot x1.
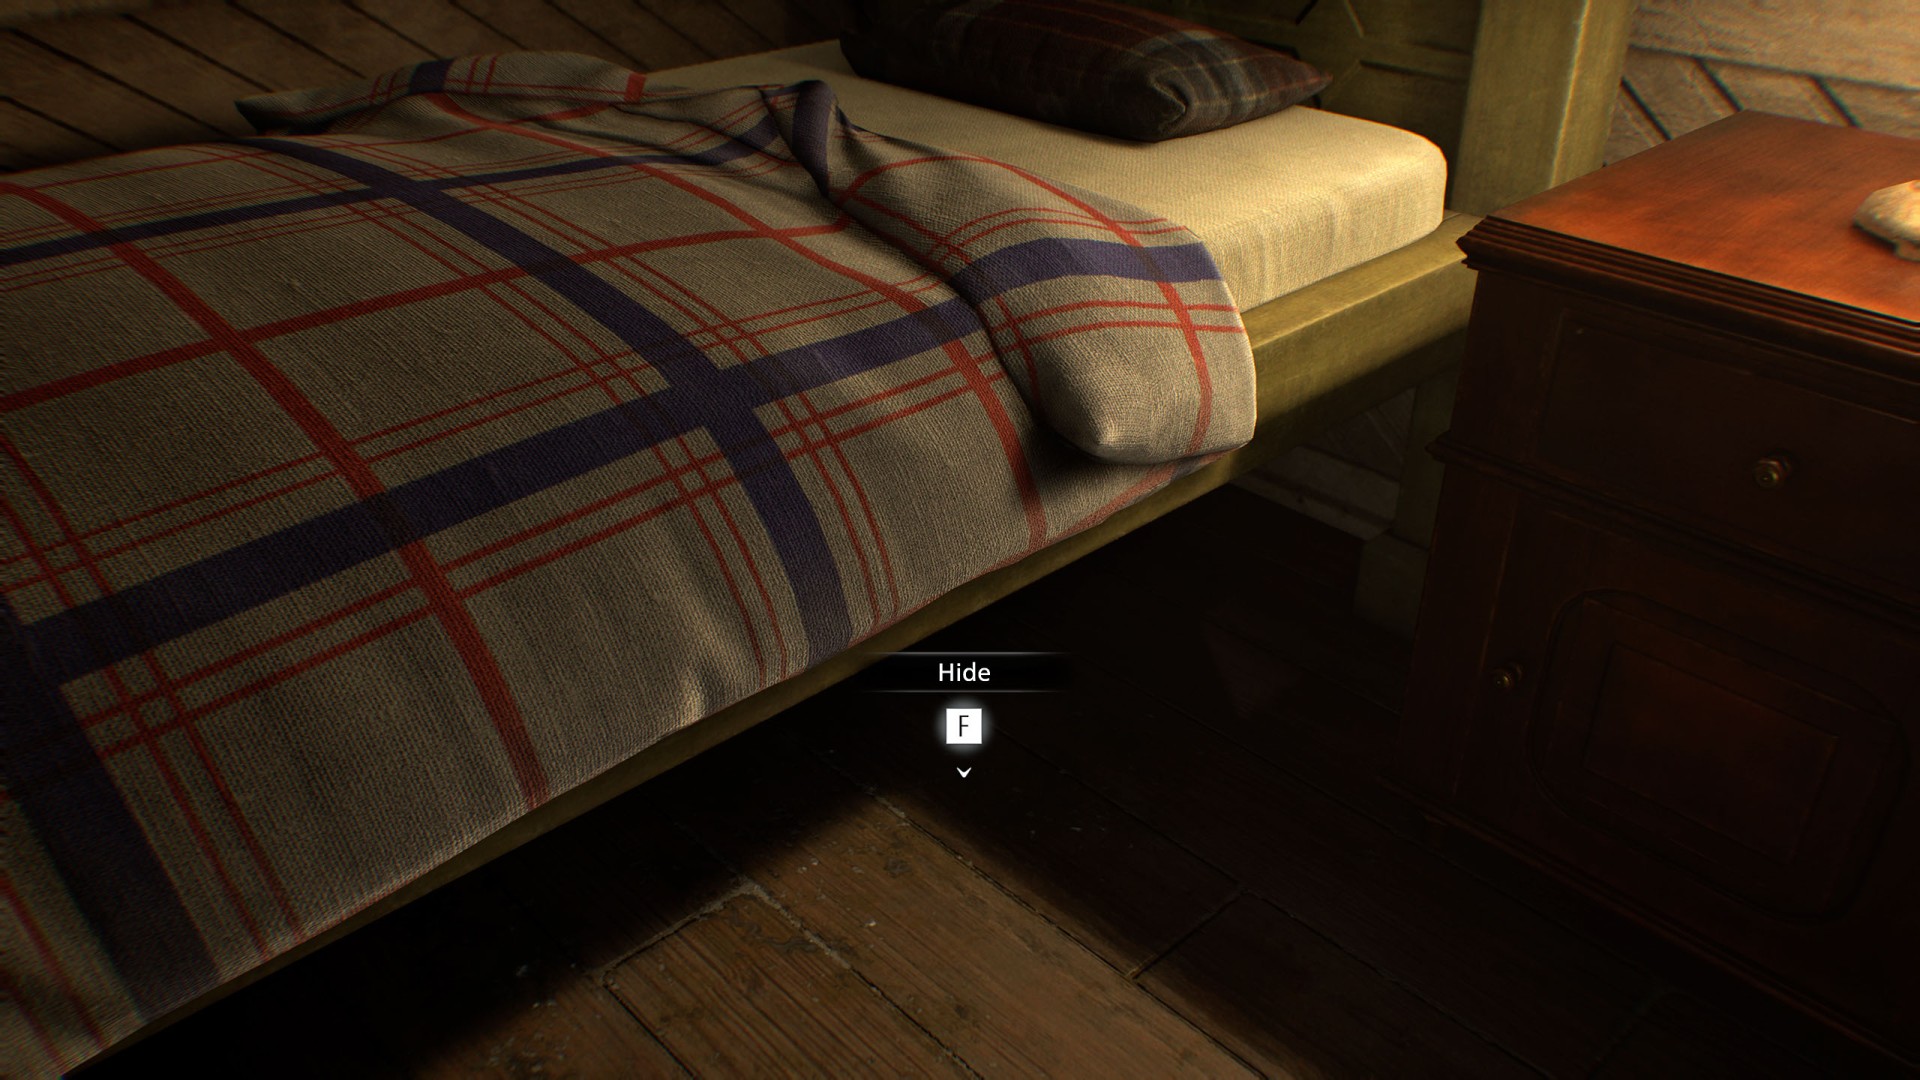
5 Hiding Place (Bed)
You can hide under the bed, where children are chasing you.
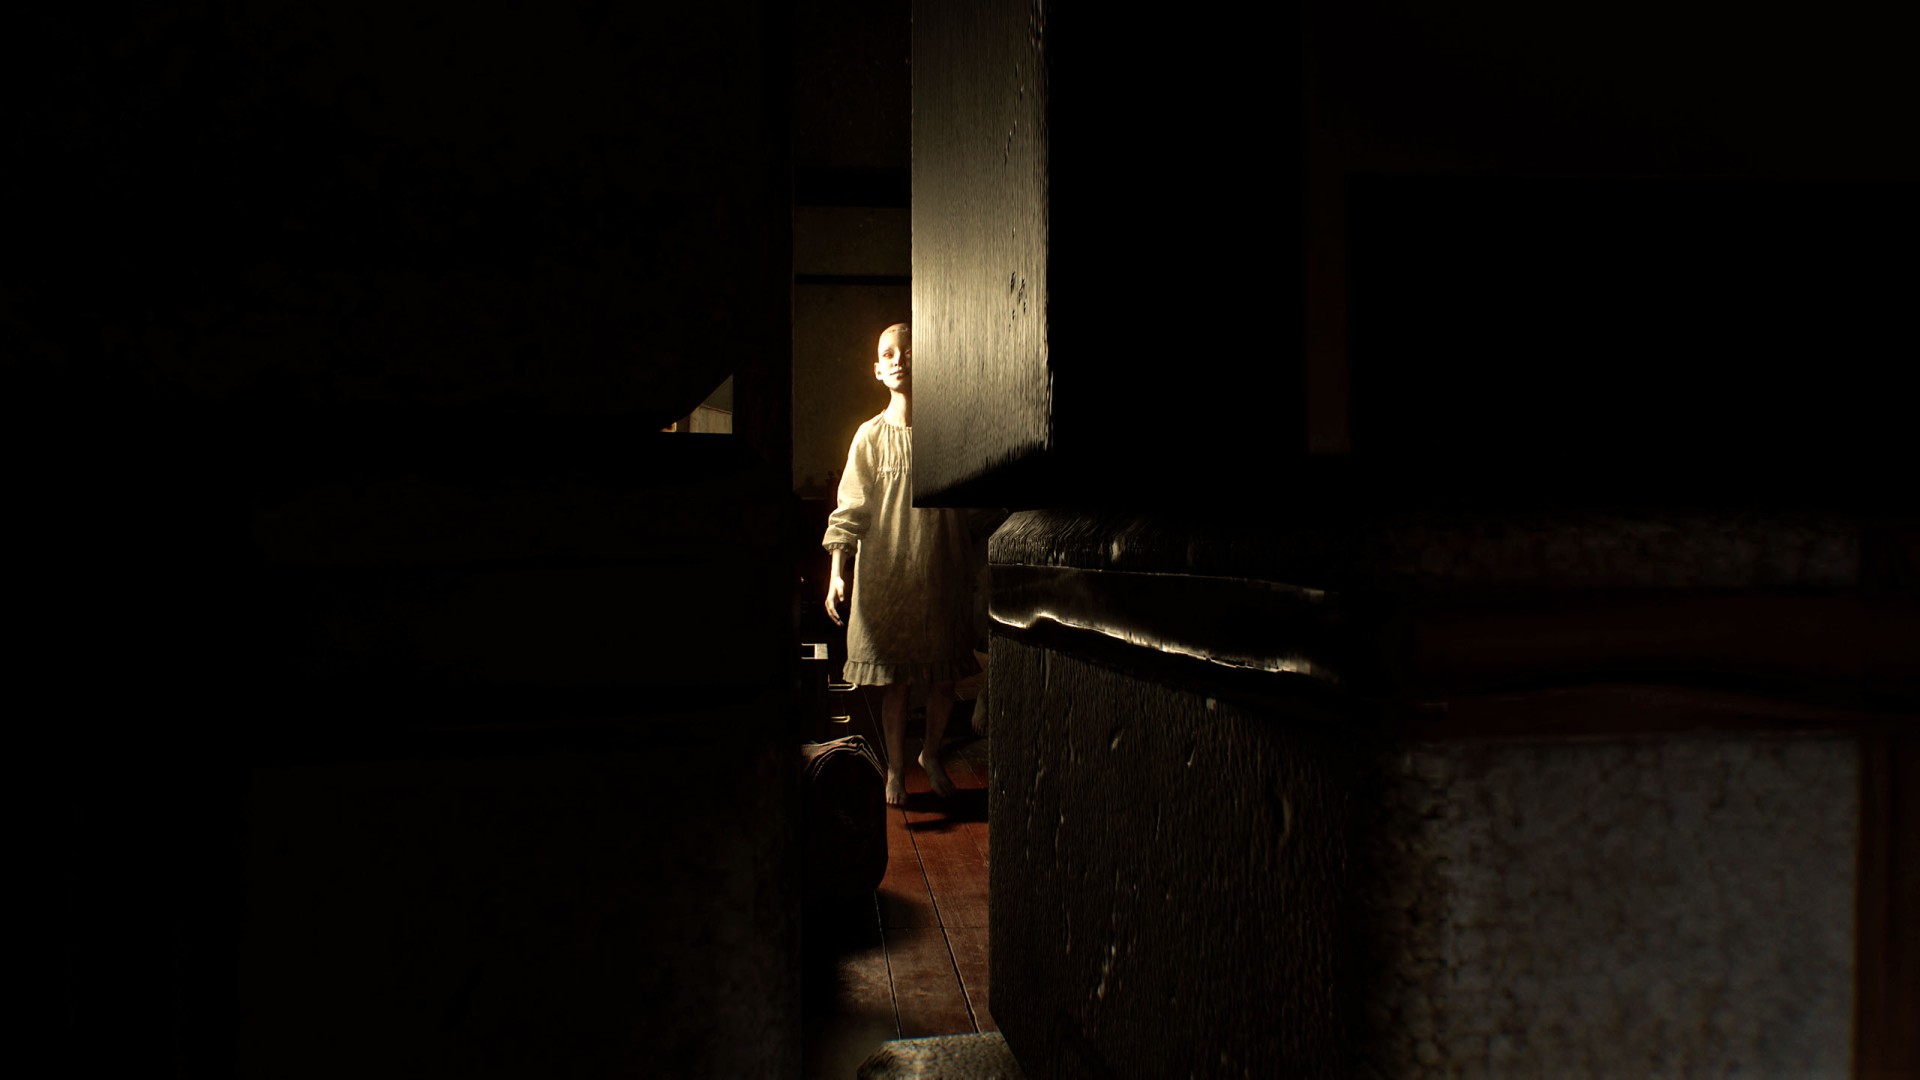
6Hiding Place (Boxes)
After taking the key, try to approach the trapdoor; you should hear a noise. Then quickly crouch down behind the boxes. Through the gap between the boxes, you can check when the children leave and whether it is safe.
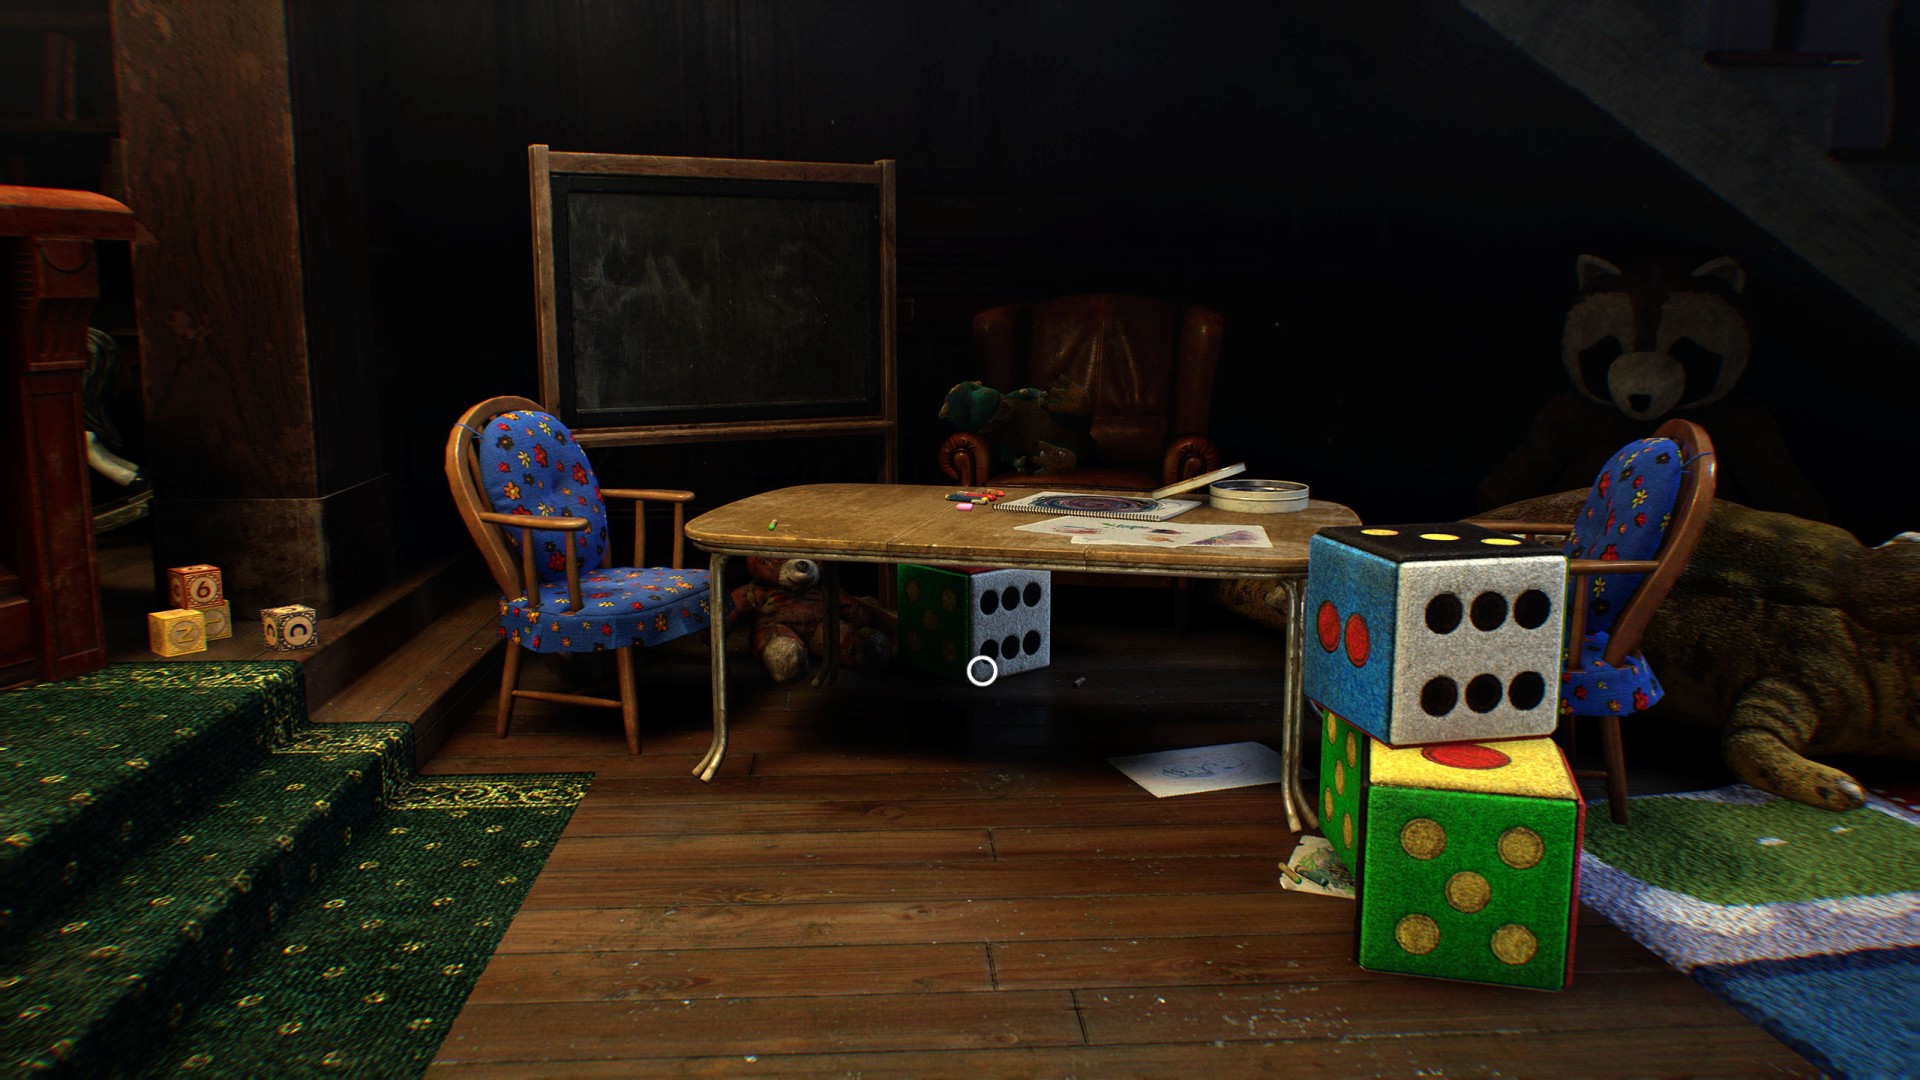
7Hiding Place (Table)
Hide under the table and wait patiently for the children to open the locked door. Hide here too when the children standing in the hallway see you.
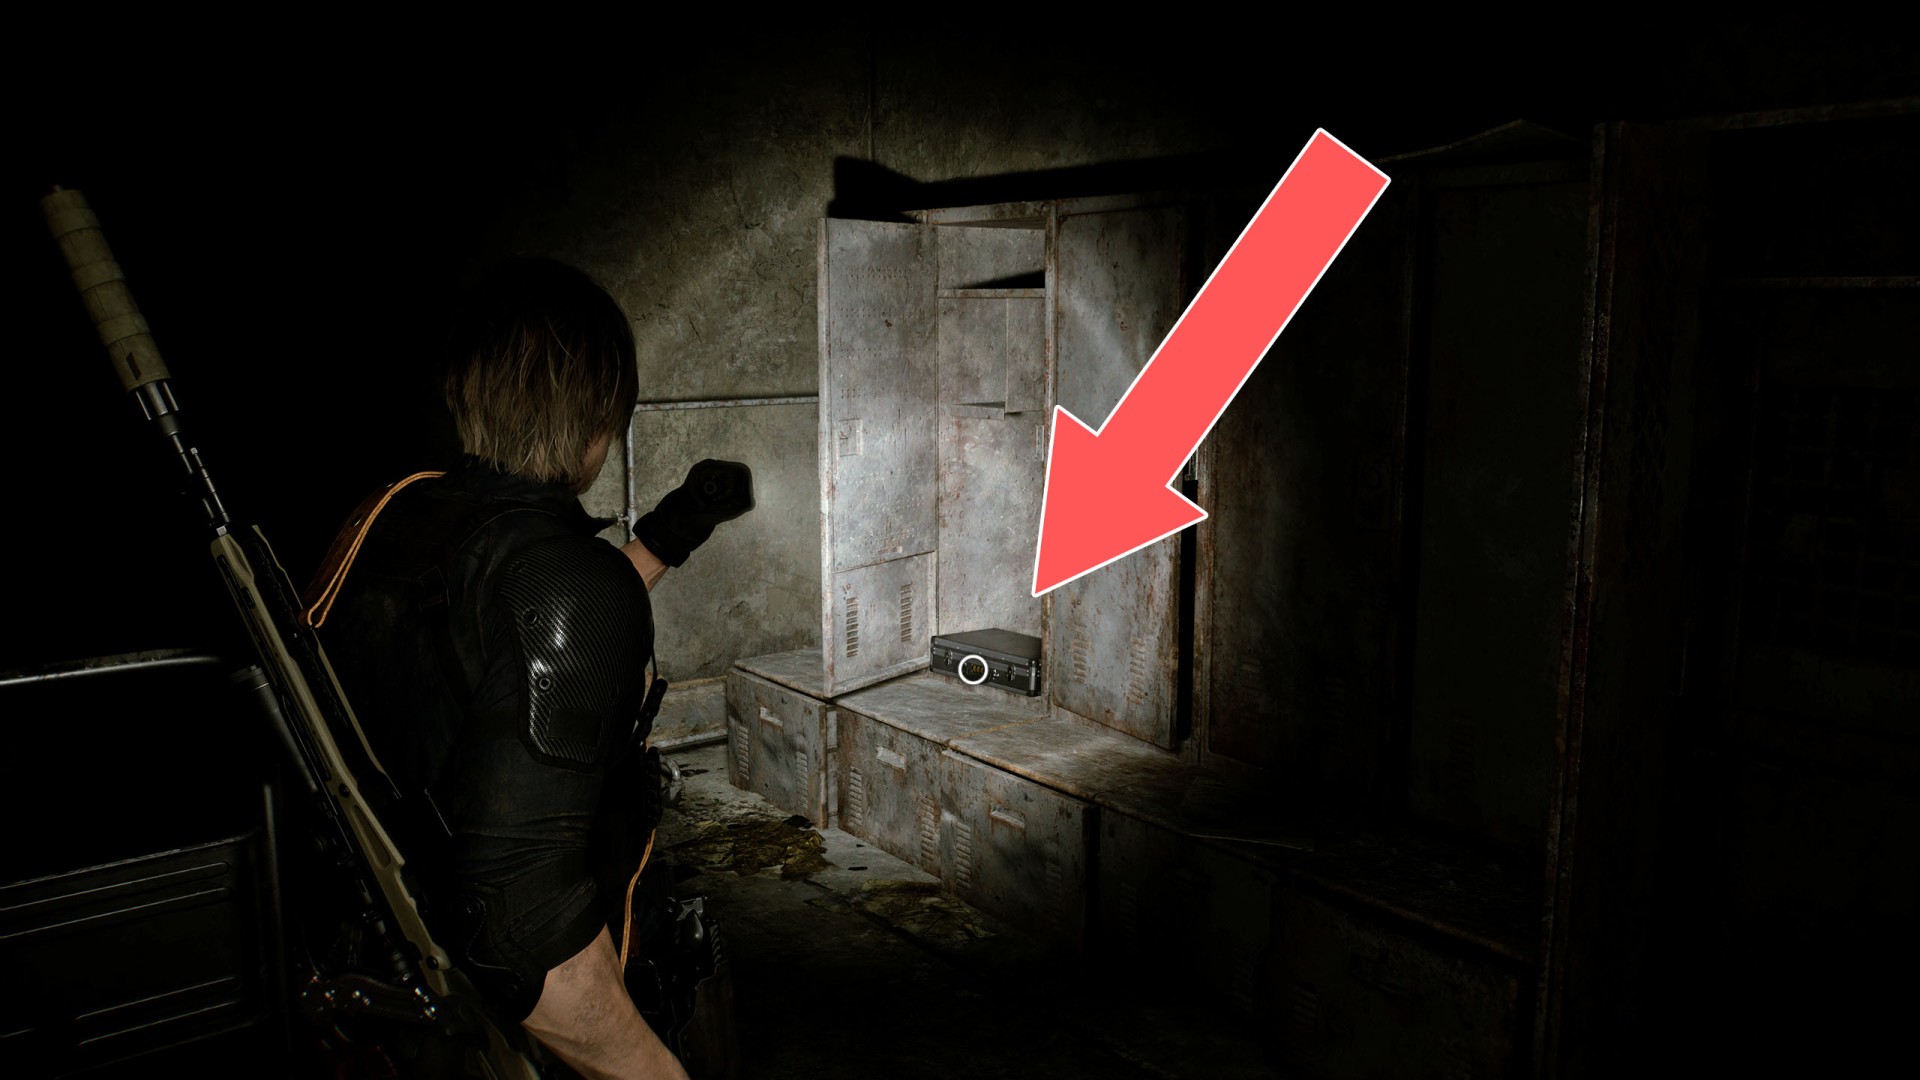
8 Locked Briefcase
Combination to open it: R - R - R. Hint: Photograph ([R]ising [R]ookie [R]ebecca)
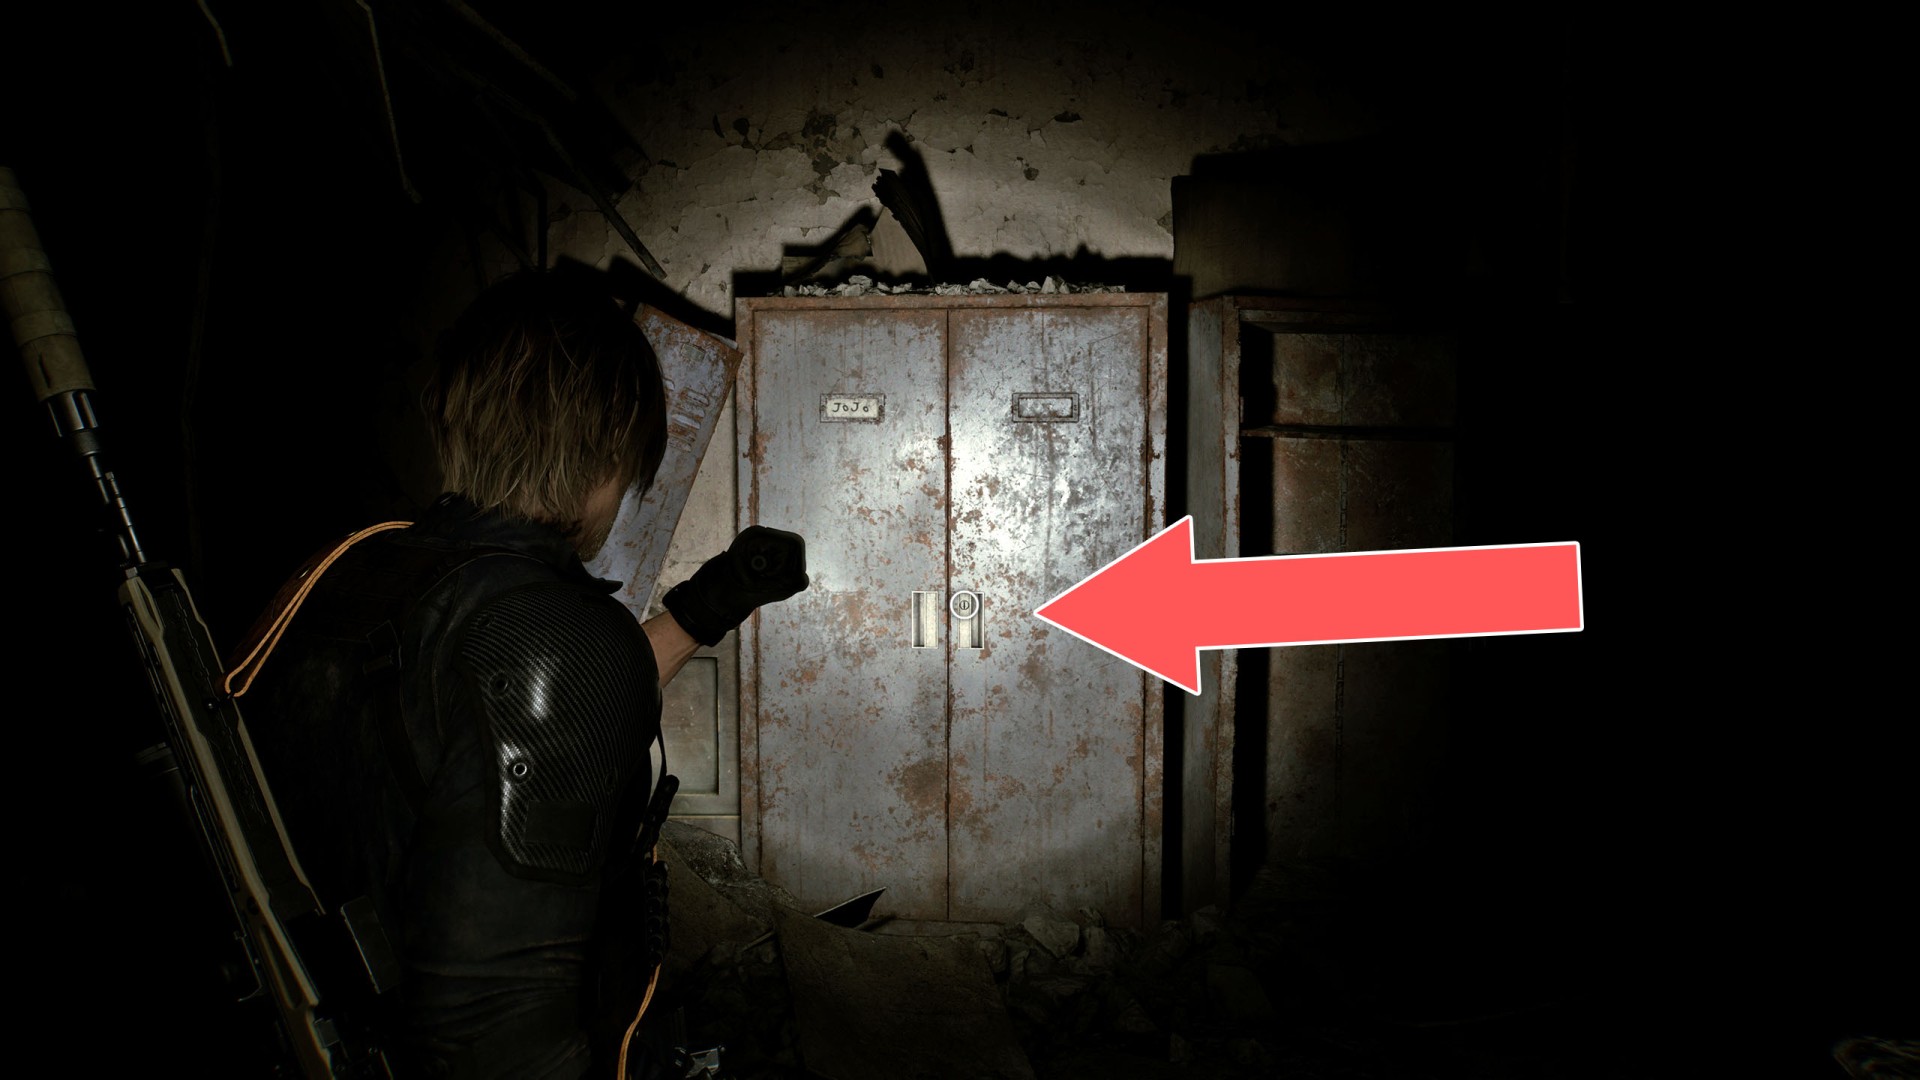
9Locked Locker
You need the Locker Key to unlock this locker.
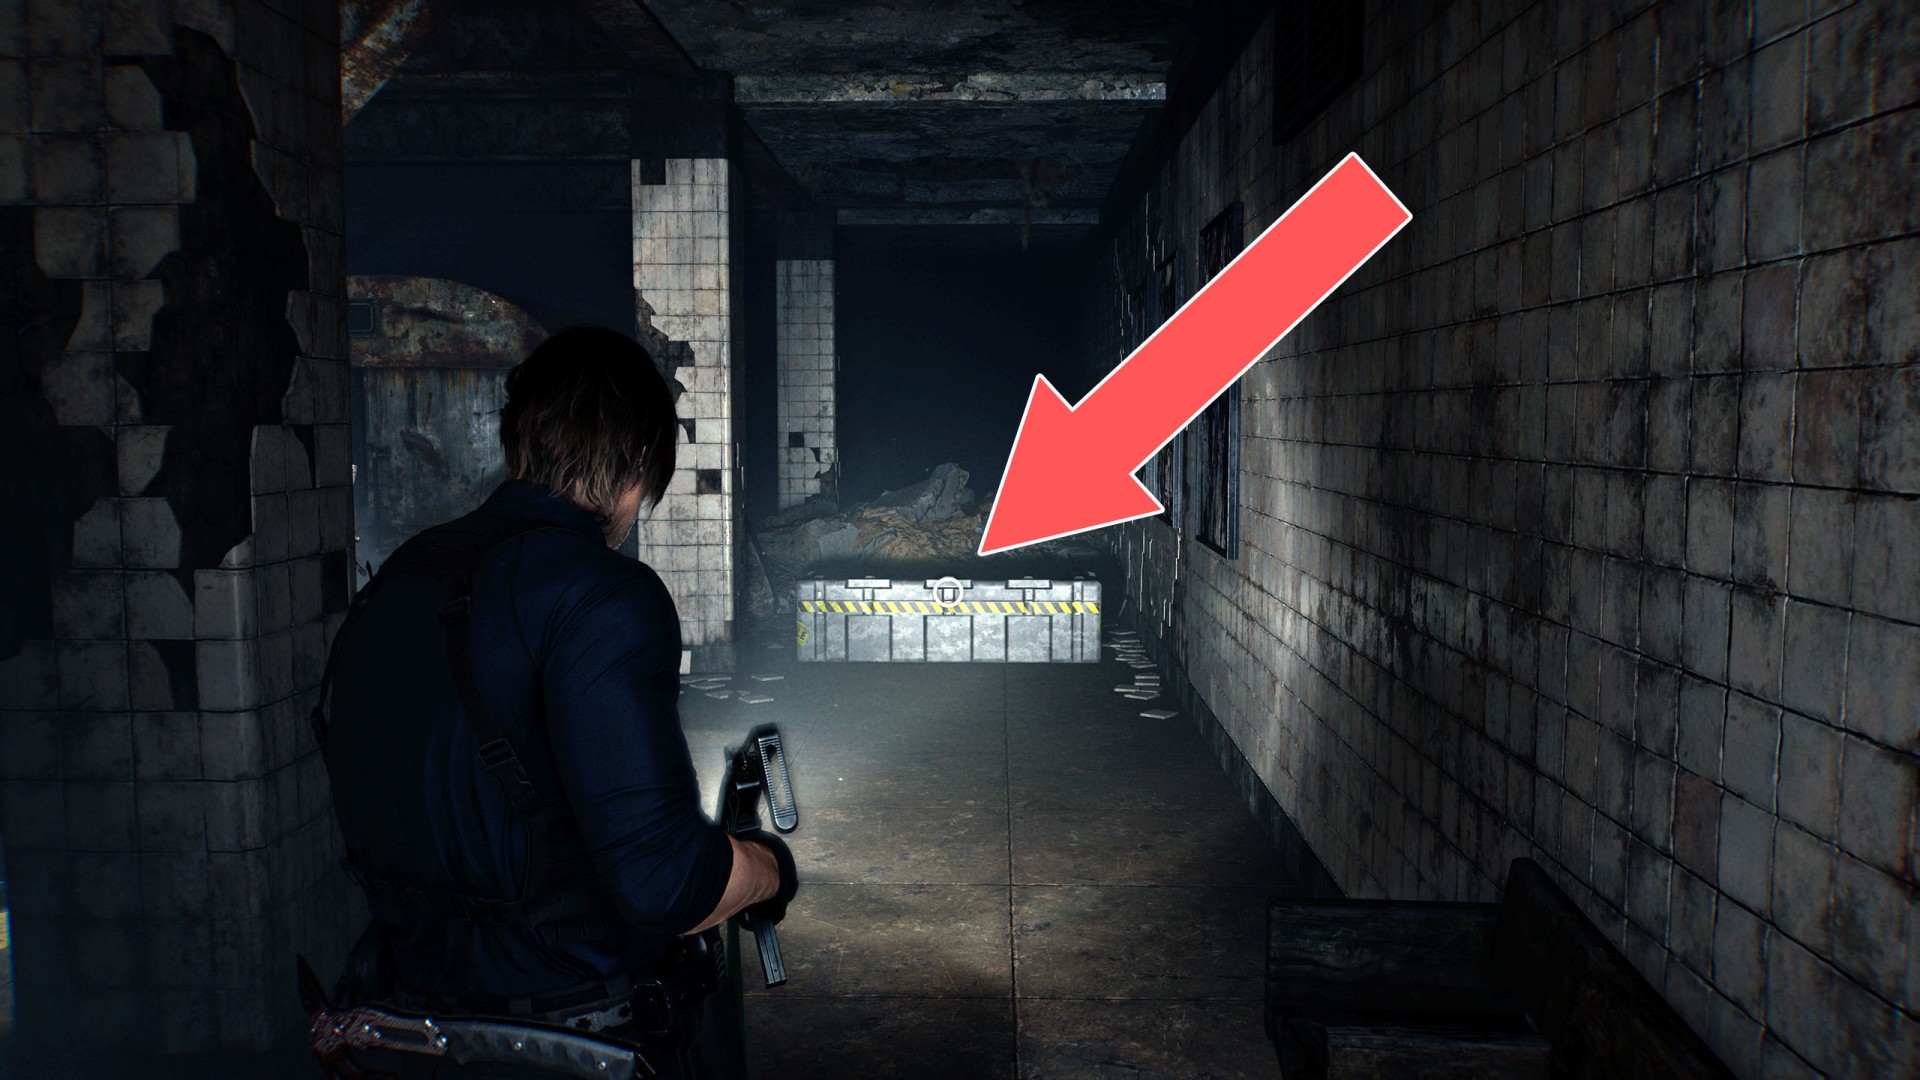
10Military Crate
Random Loot x3.
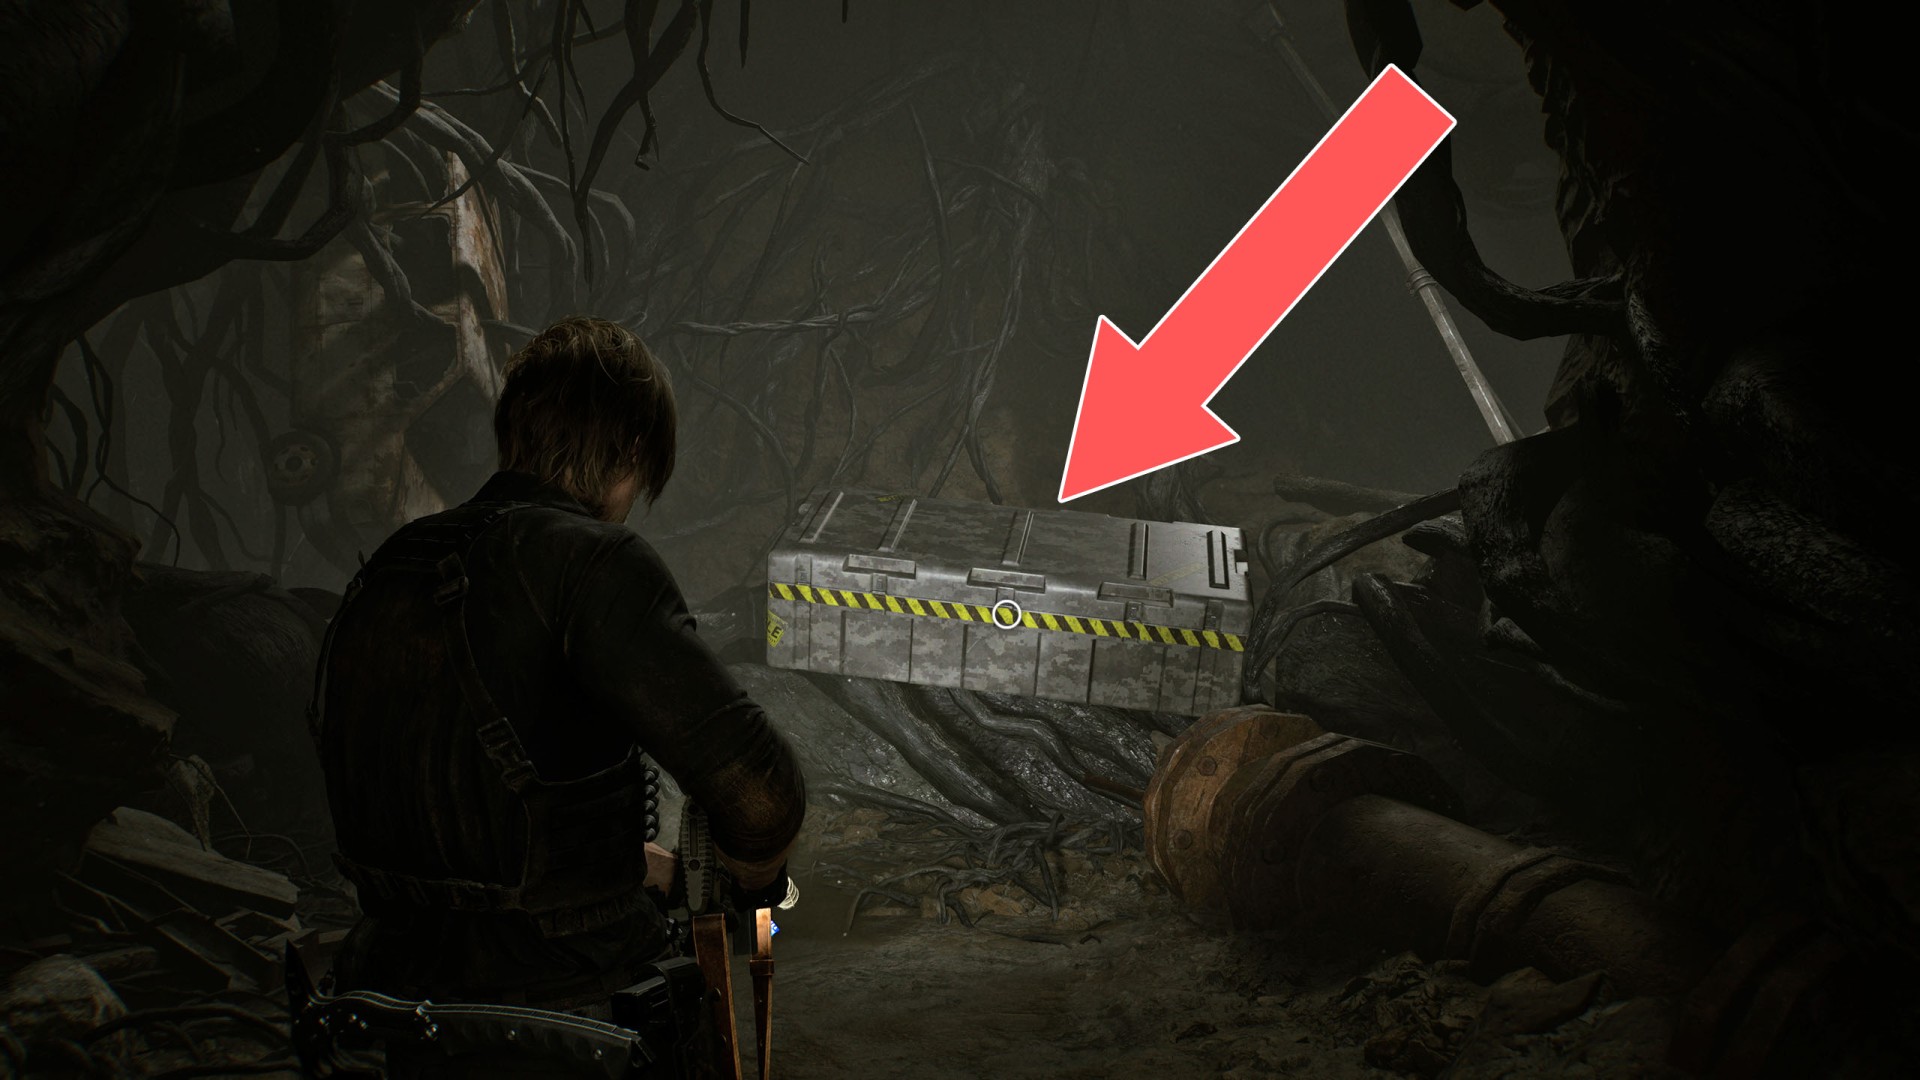
11Military Crate
Random Loot x3.
12Military Crate
Random Loot x4.
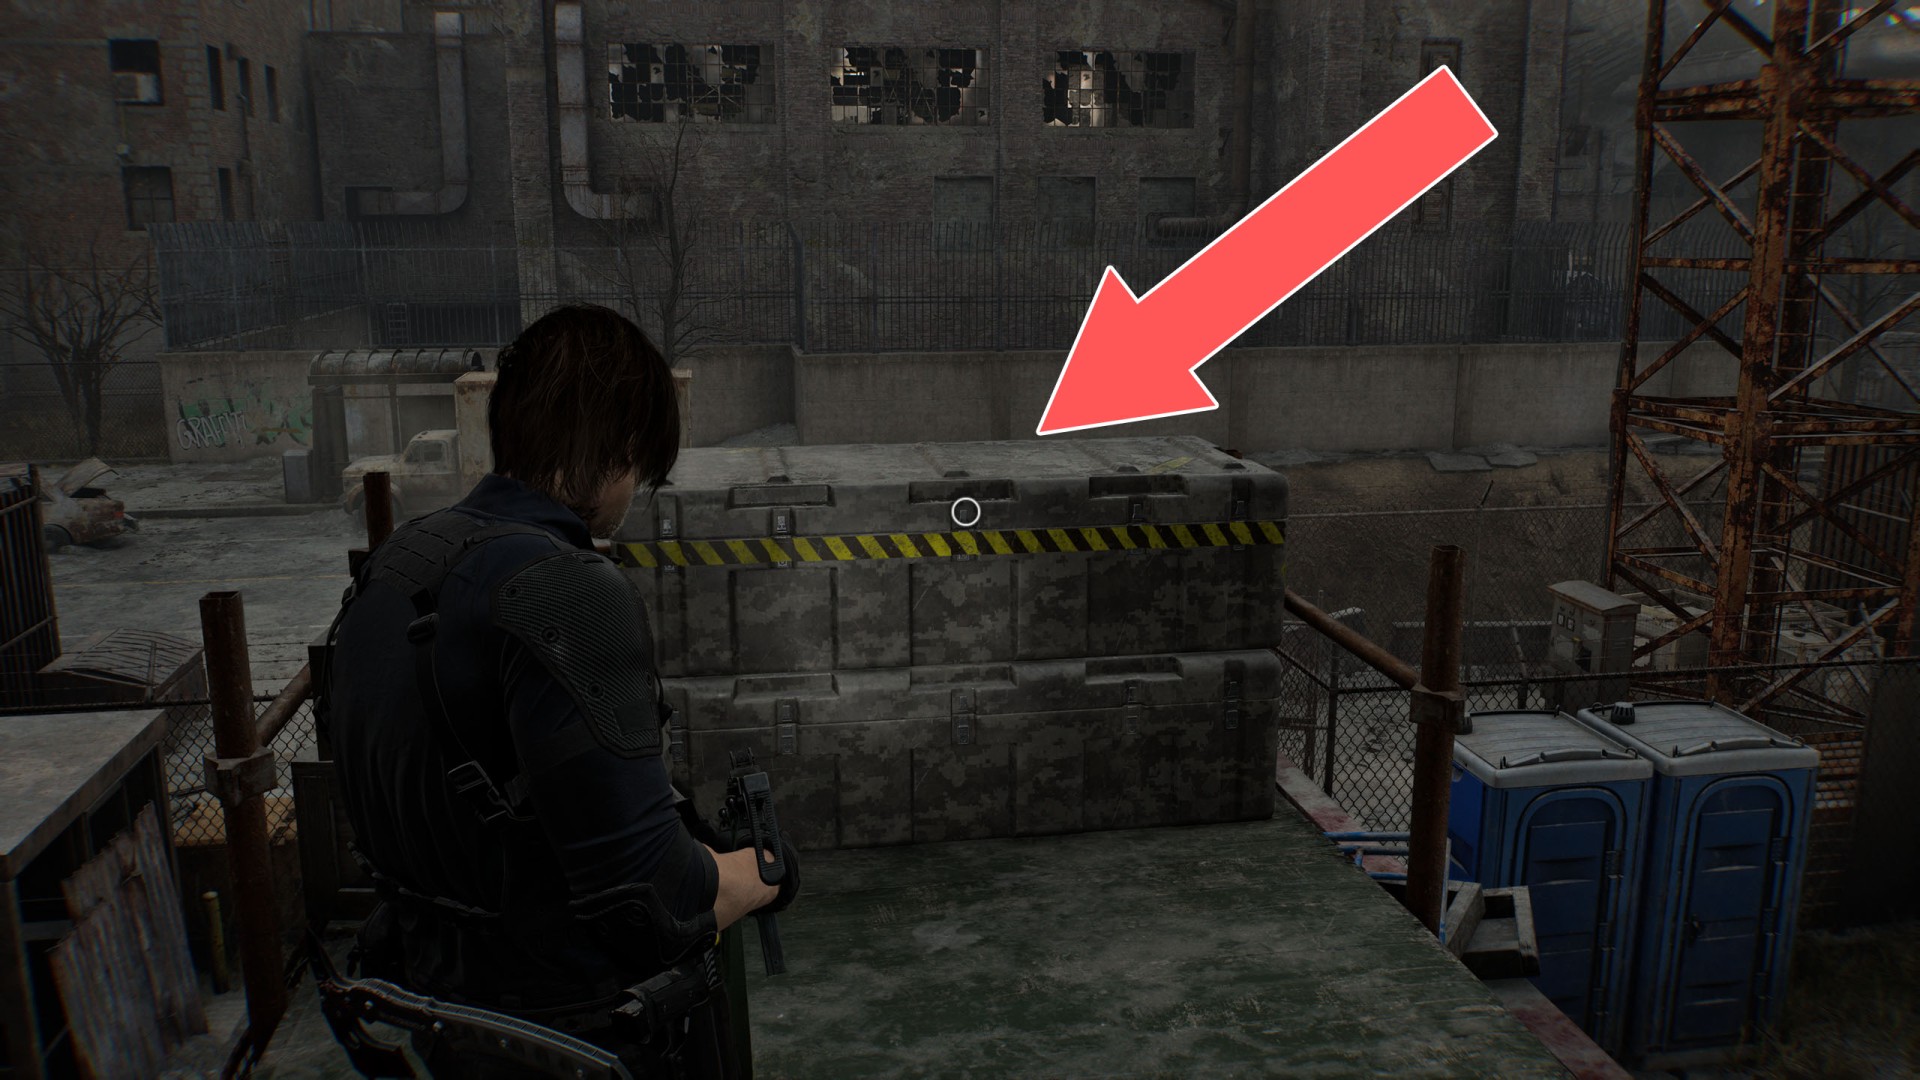
13Military Crate
Random Loot x3.
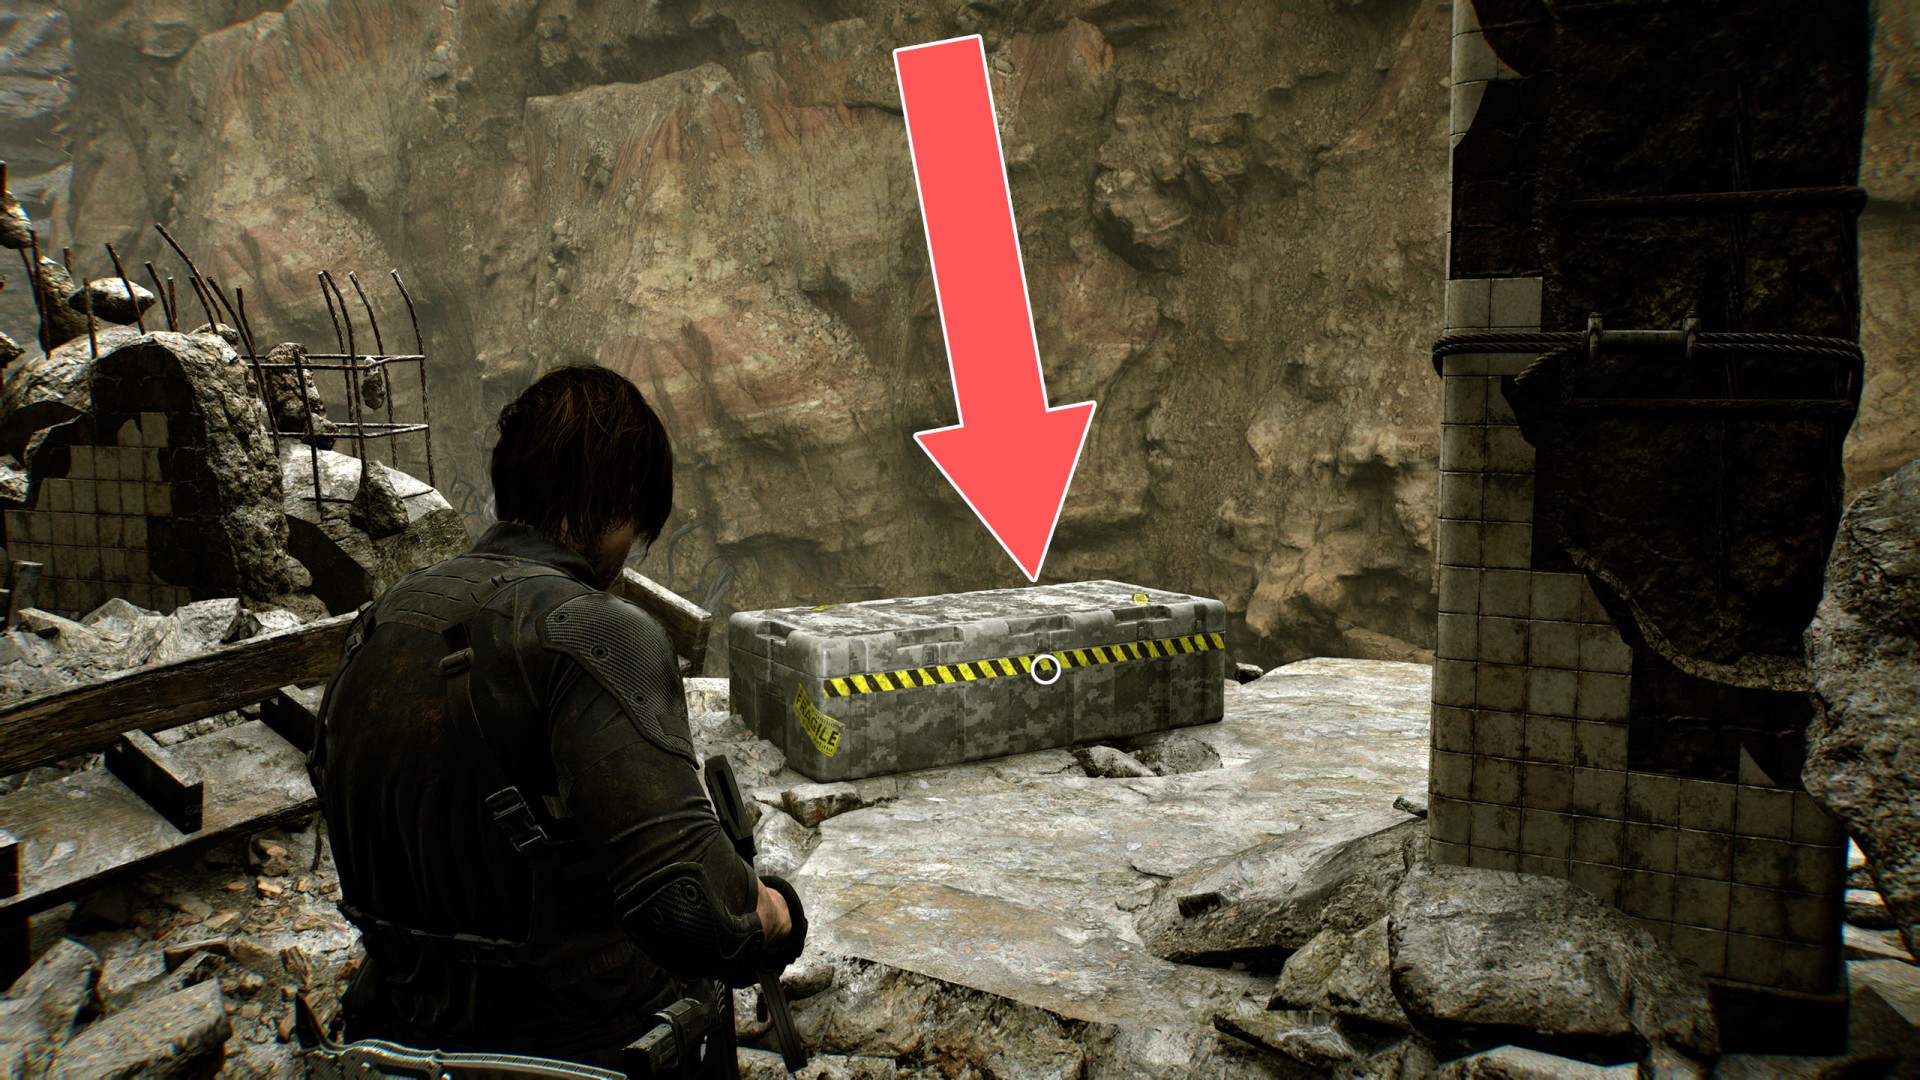
14Military Crate
Random Loot x3.
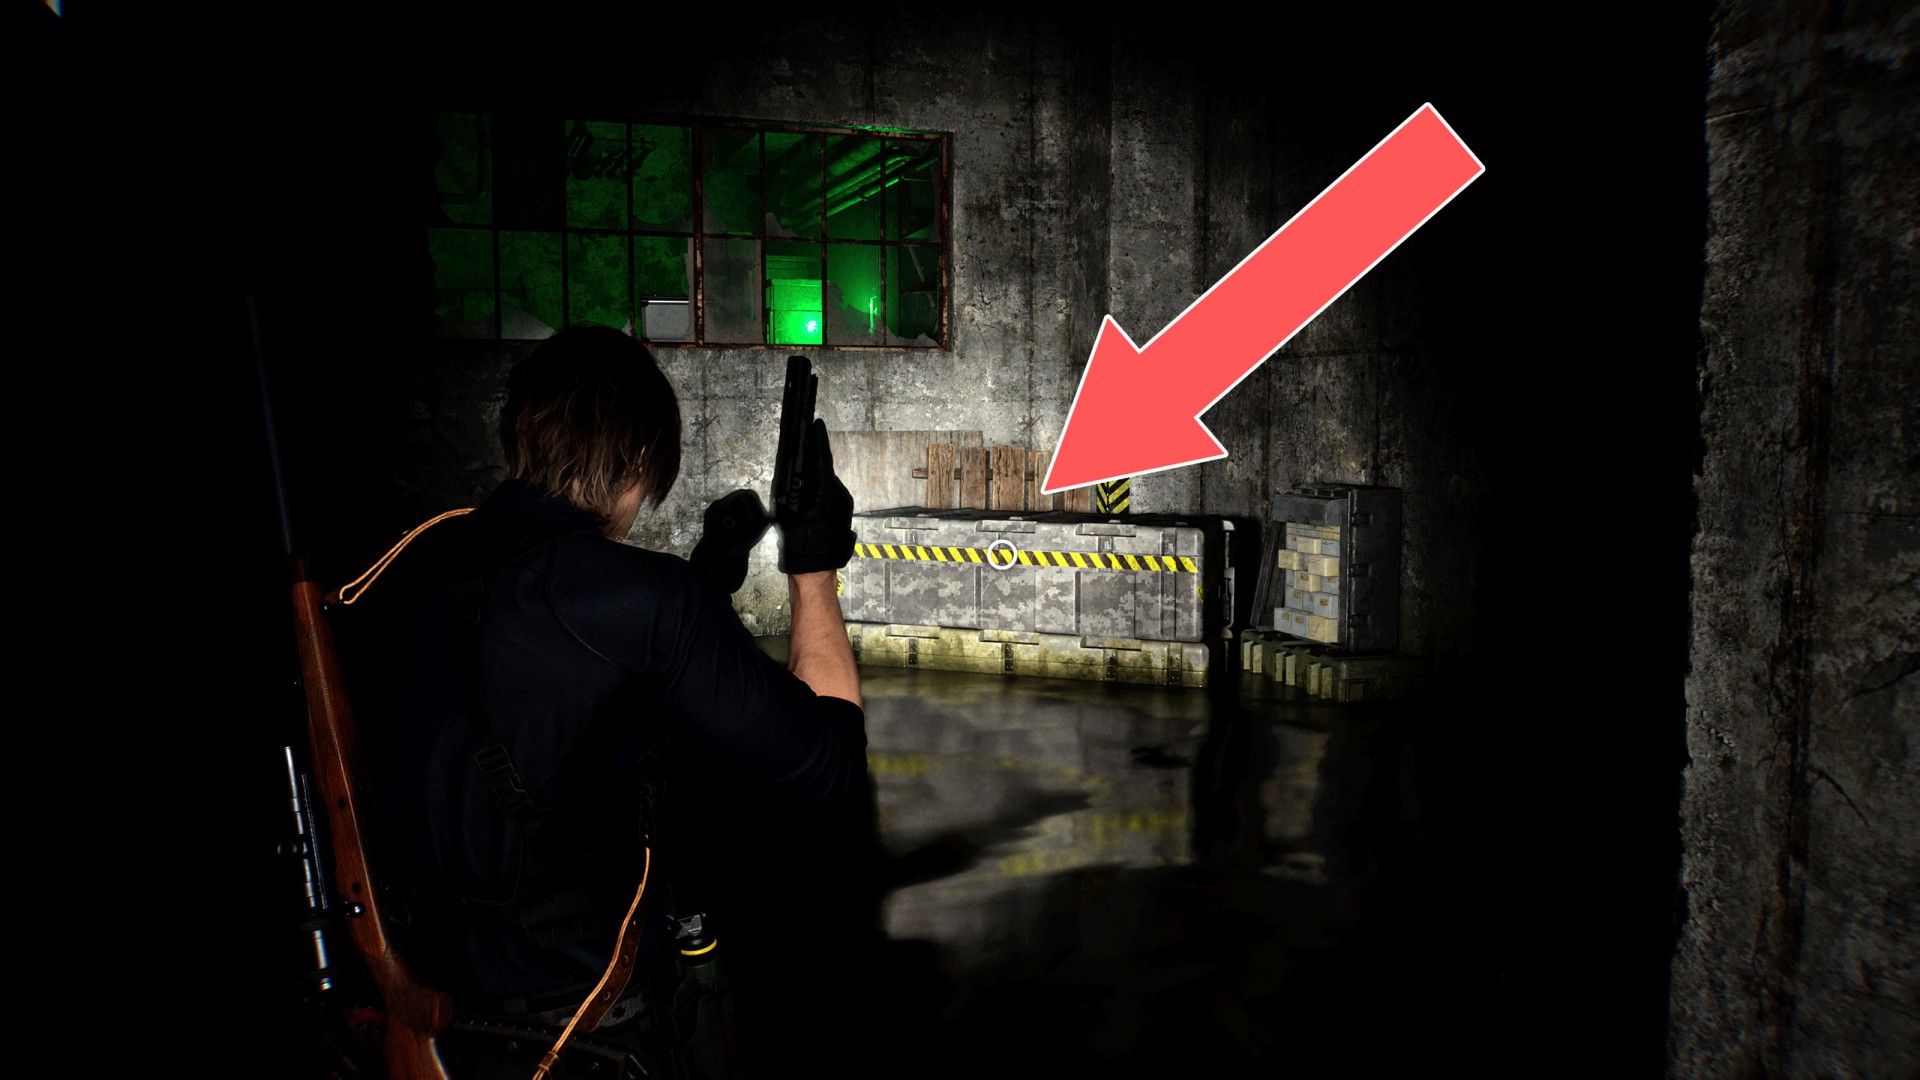
15Military Crate
Random Loot x3.
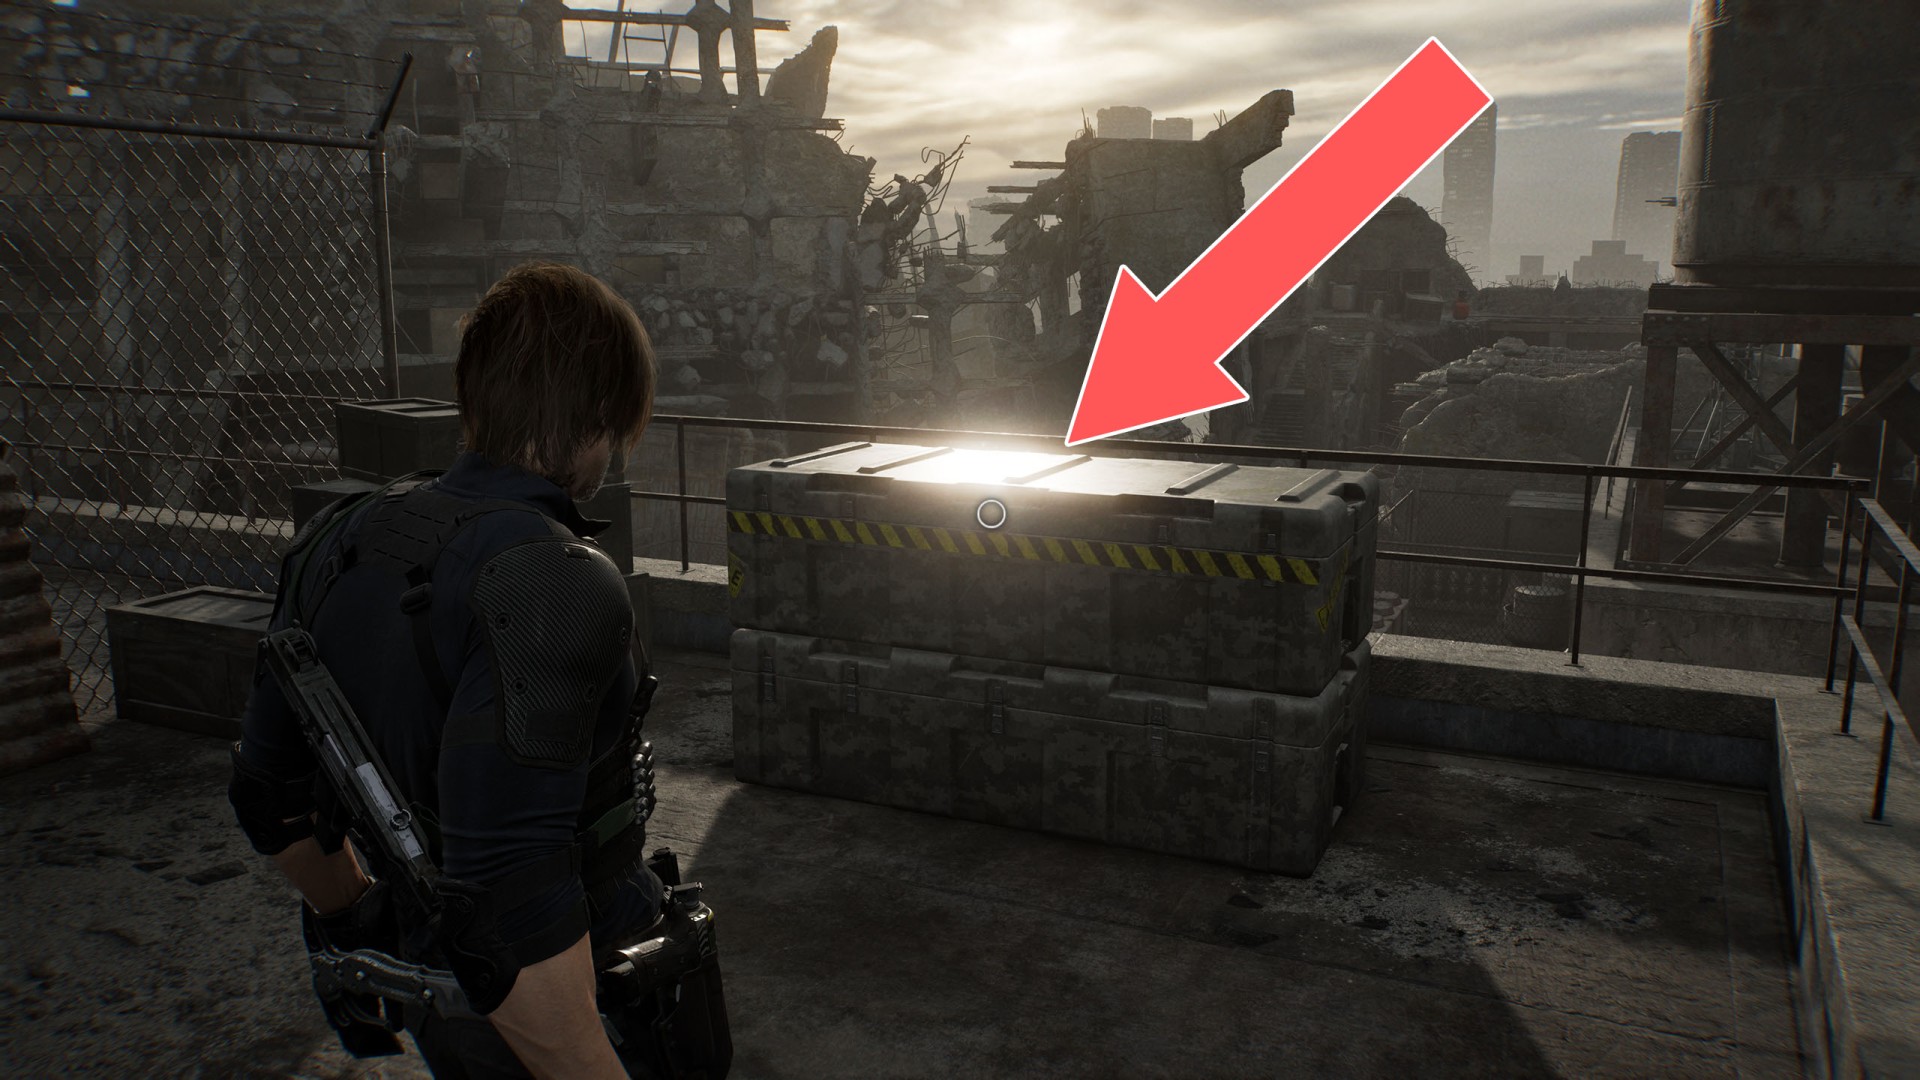
16Military Crate
Random Loot x2.
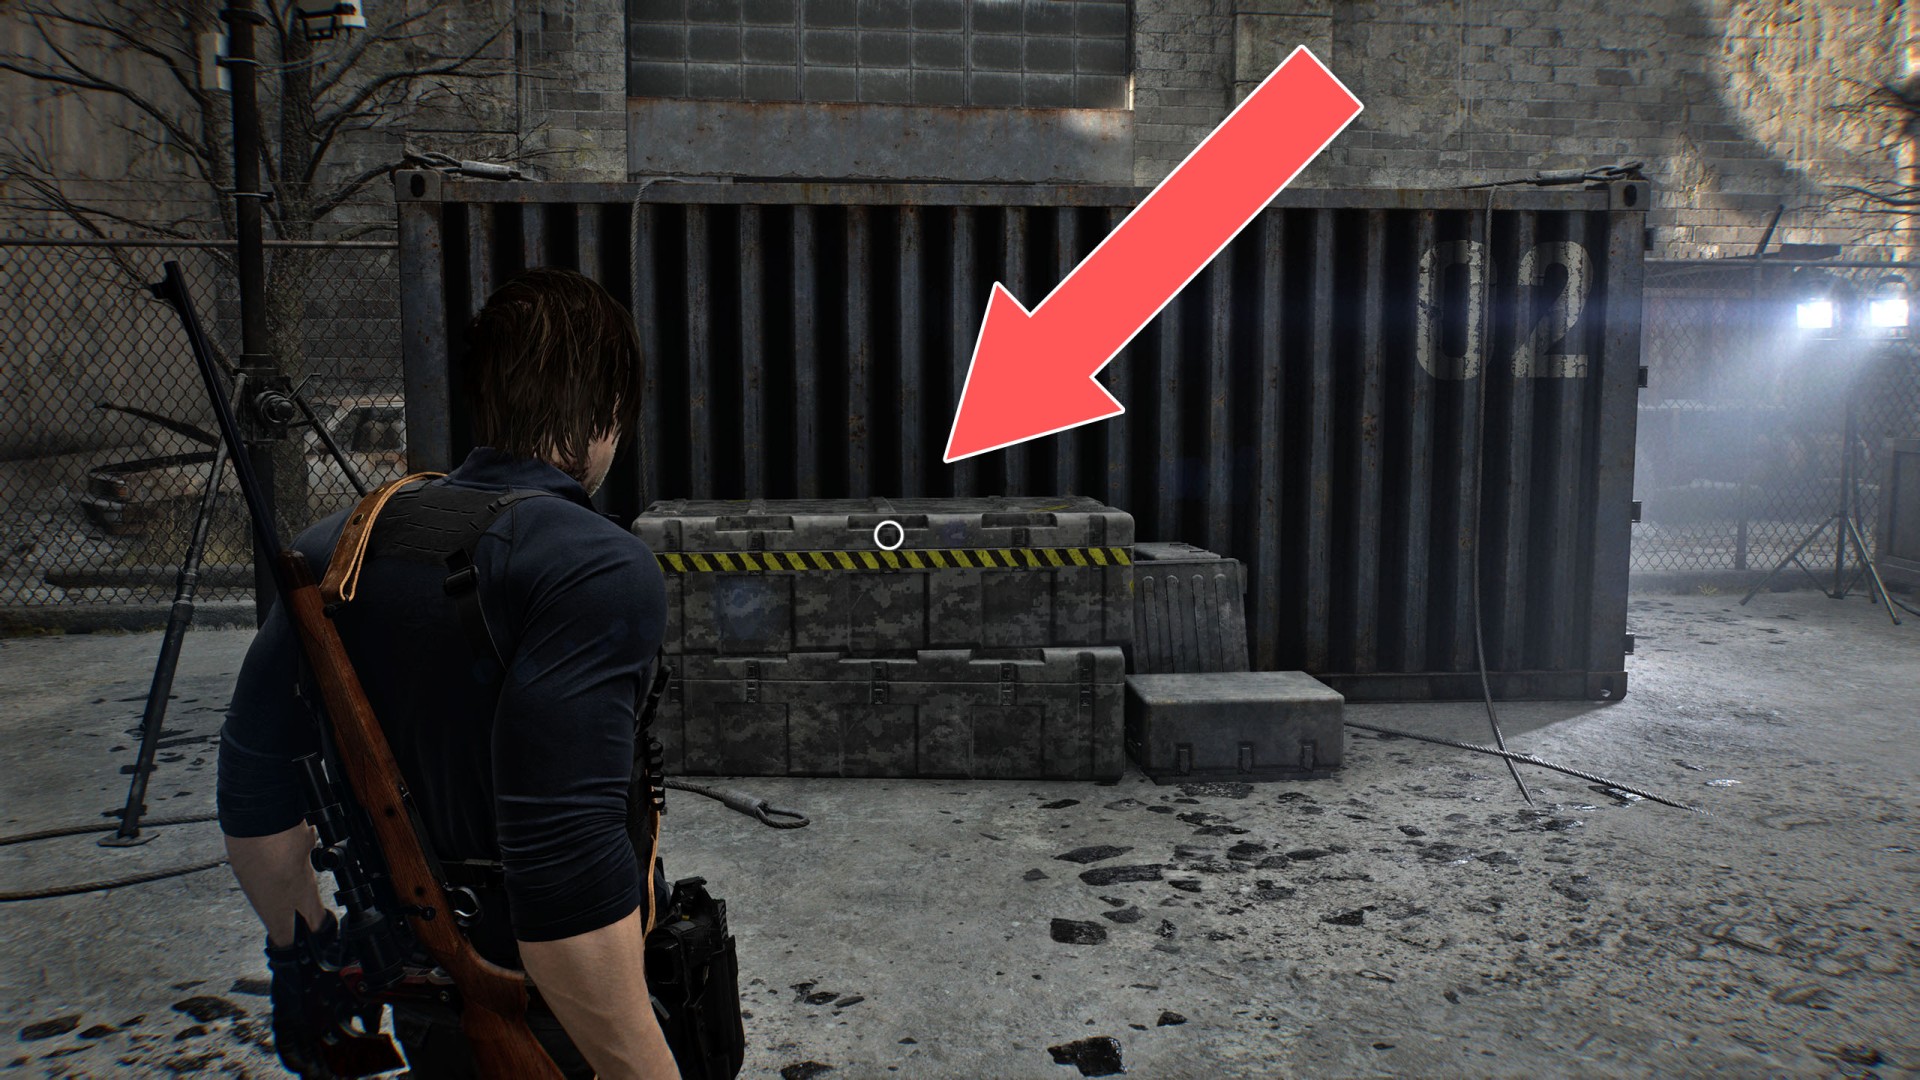
17Military Crate
Random Loot x4.
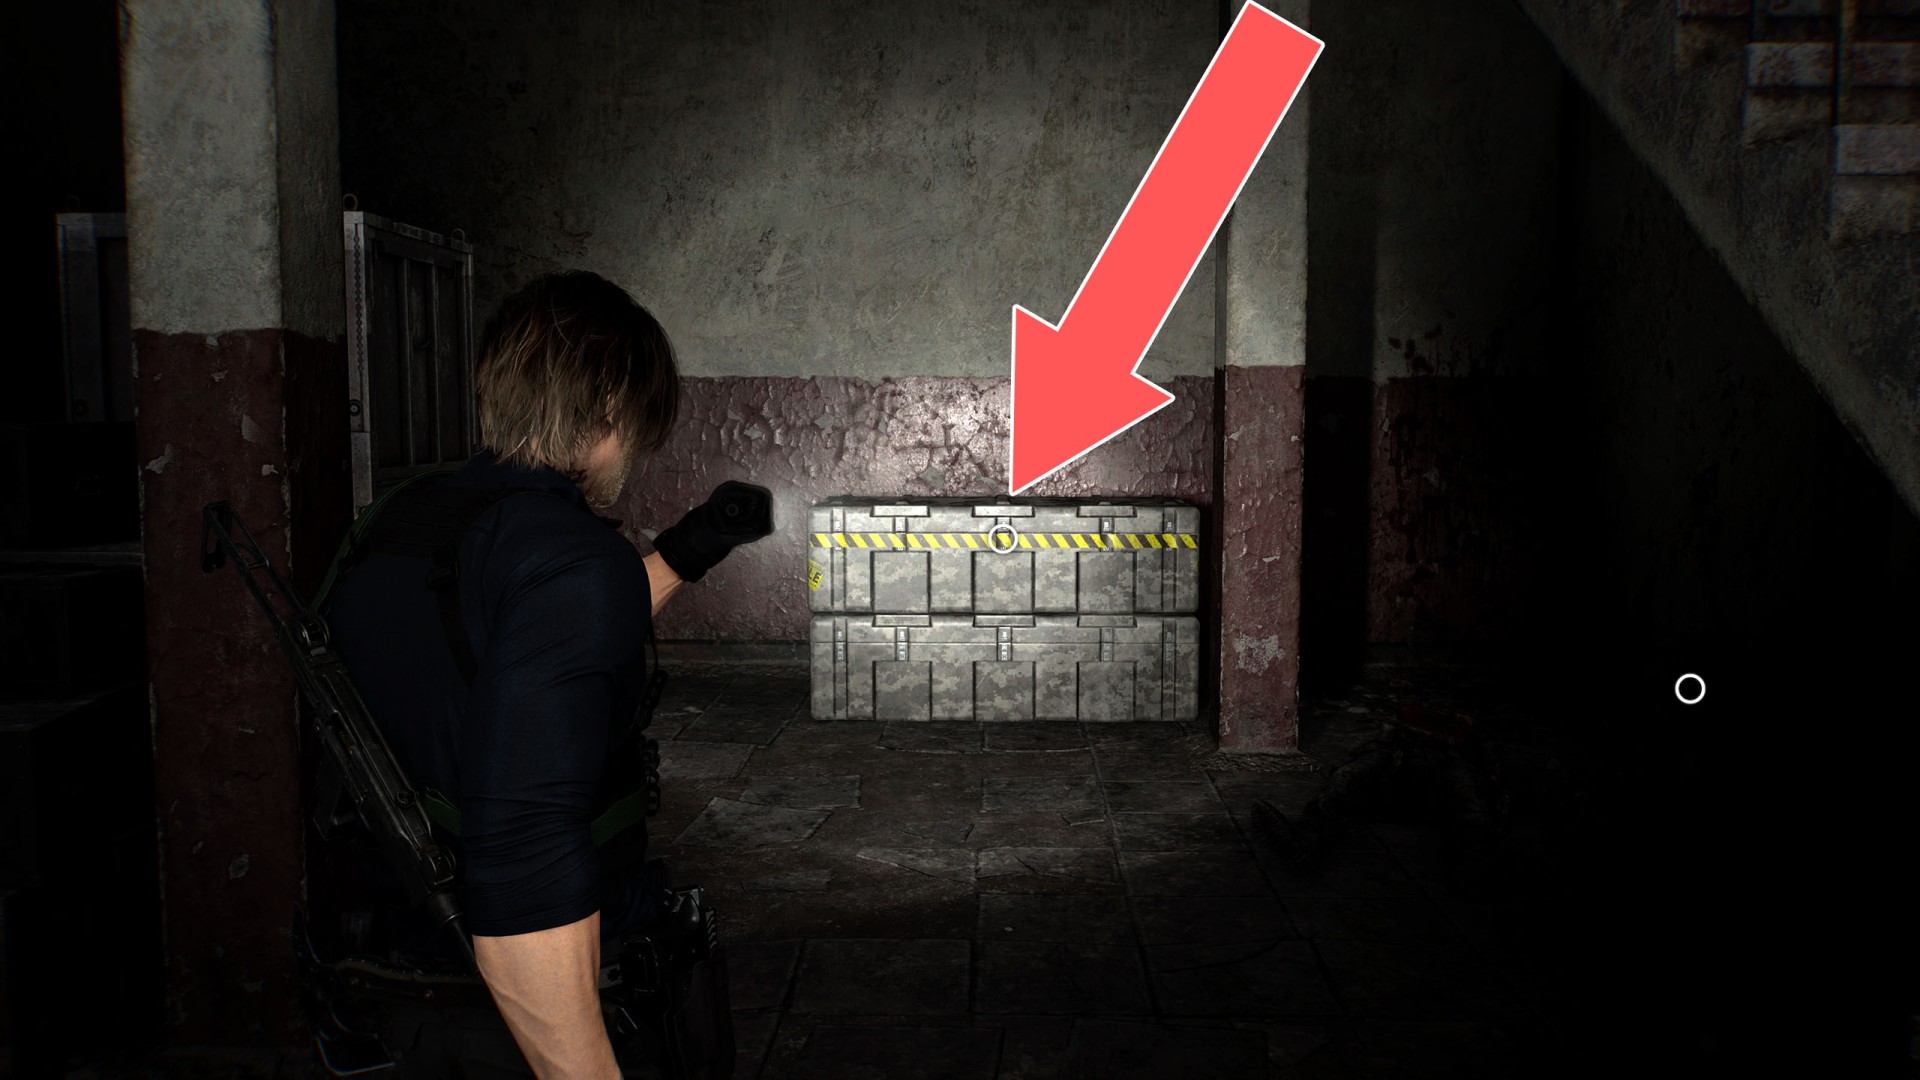
18Military Crate
Random Loot x4.
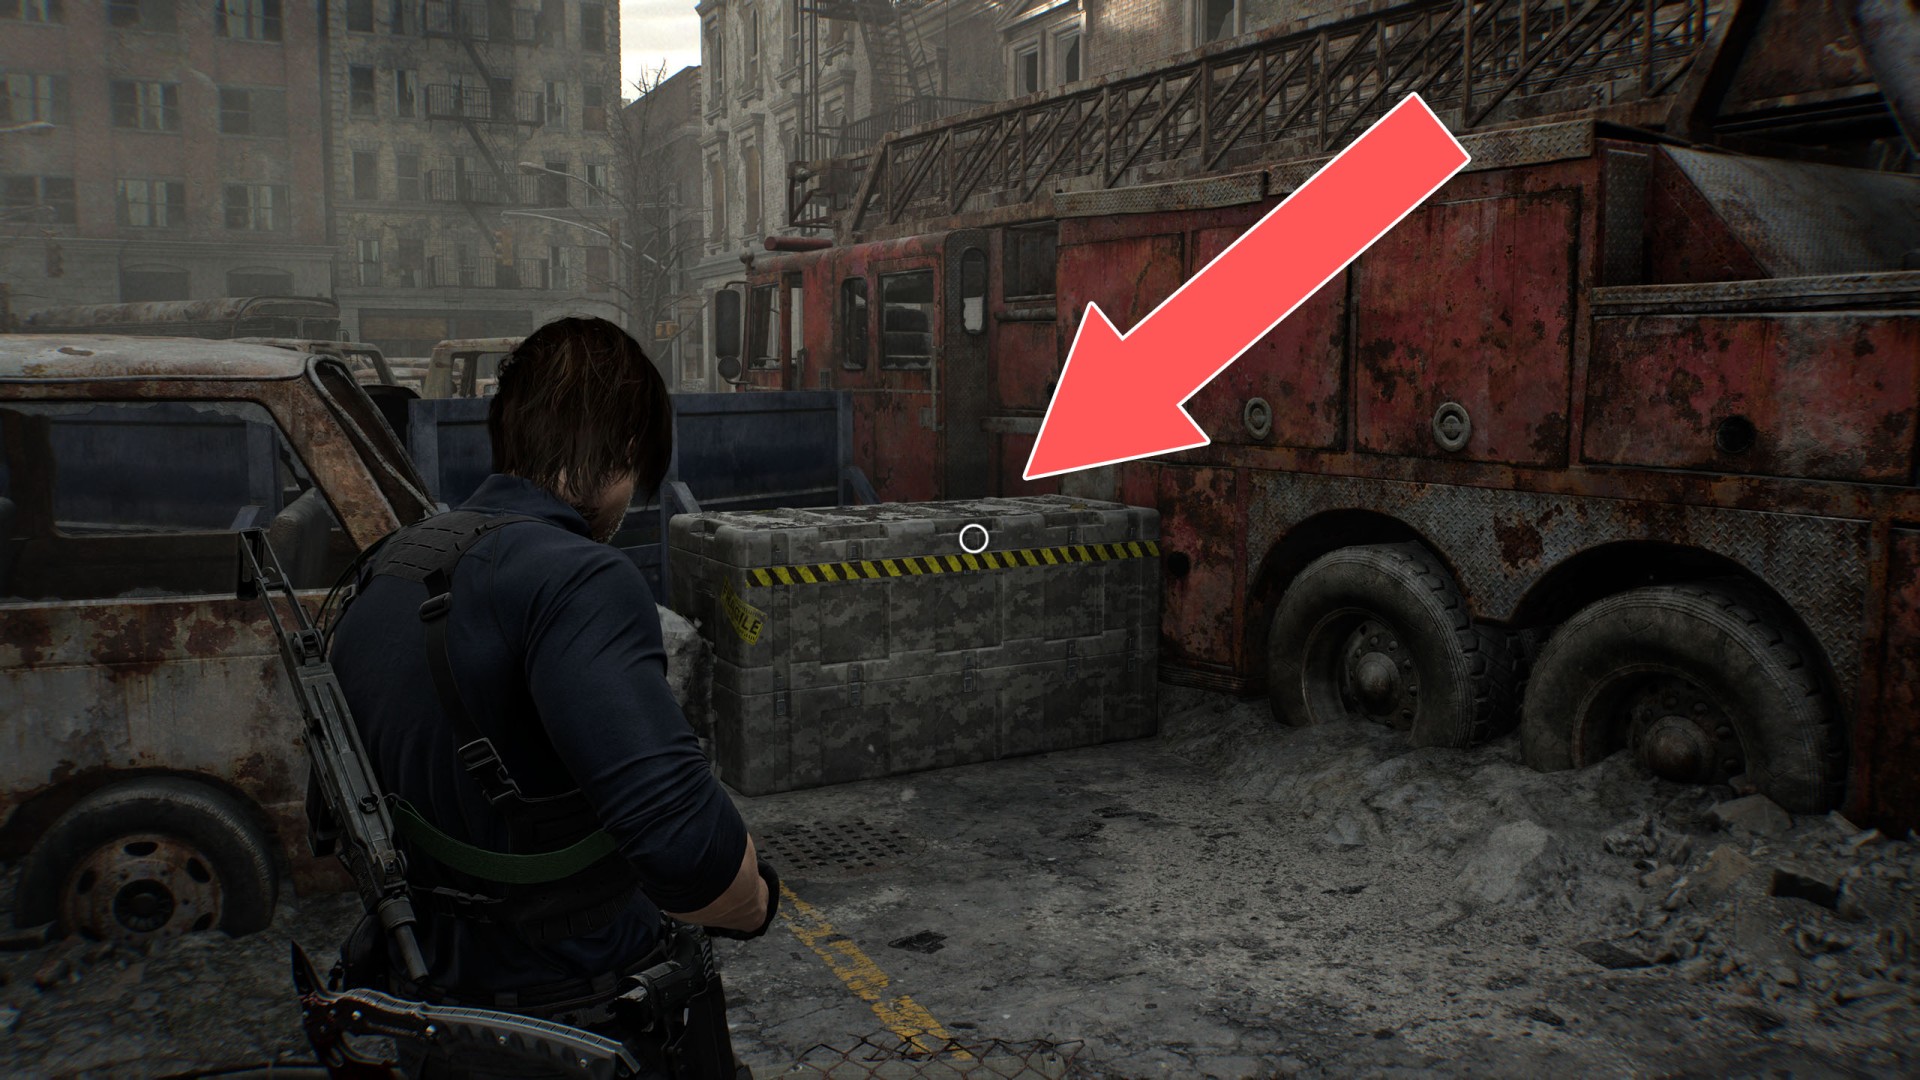
19Military Crate
Random Loot x2.
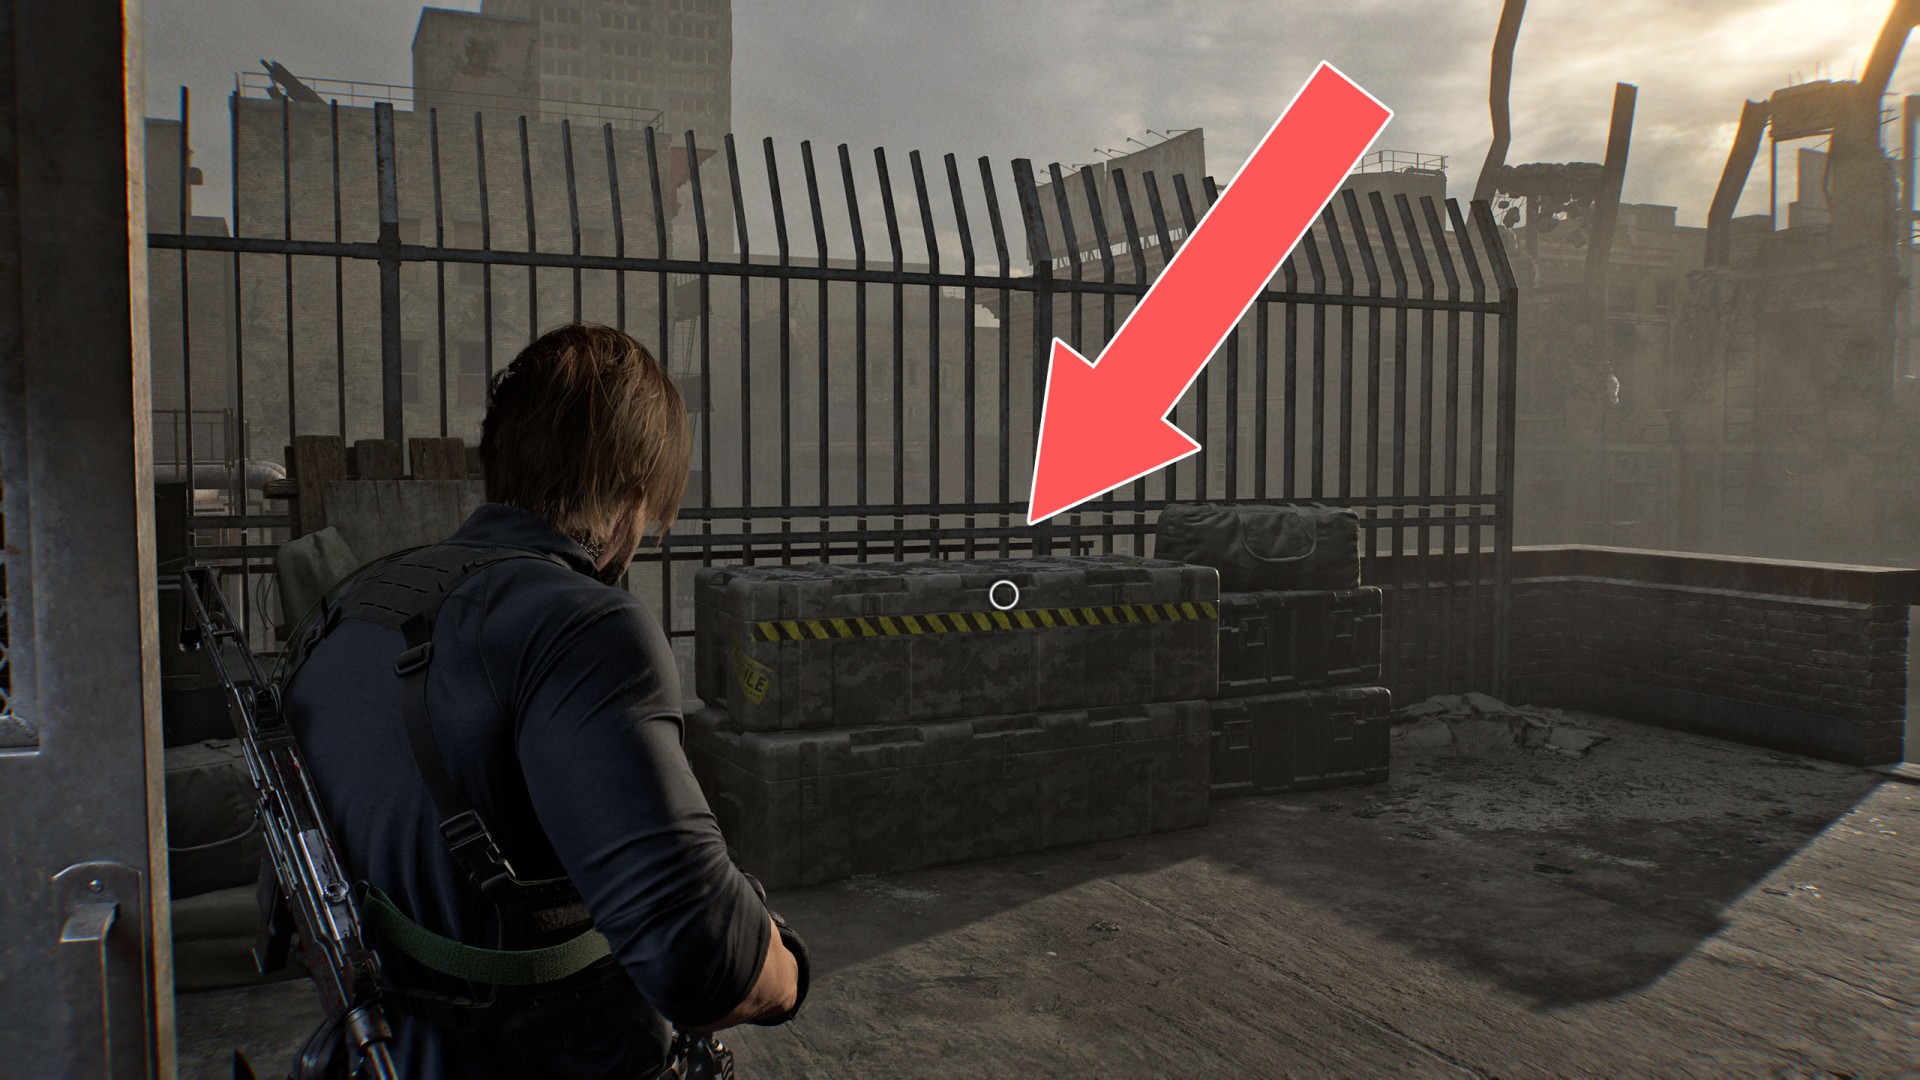
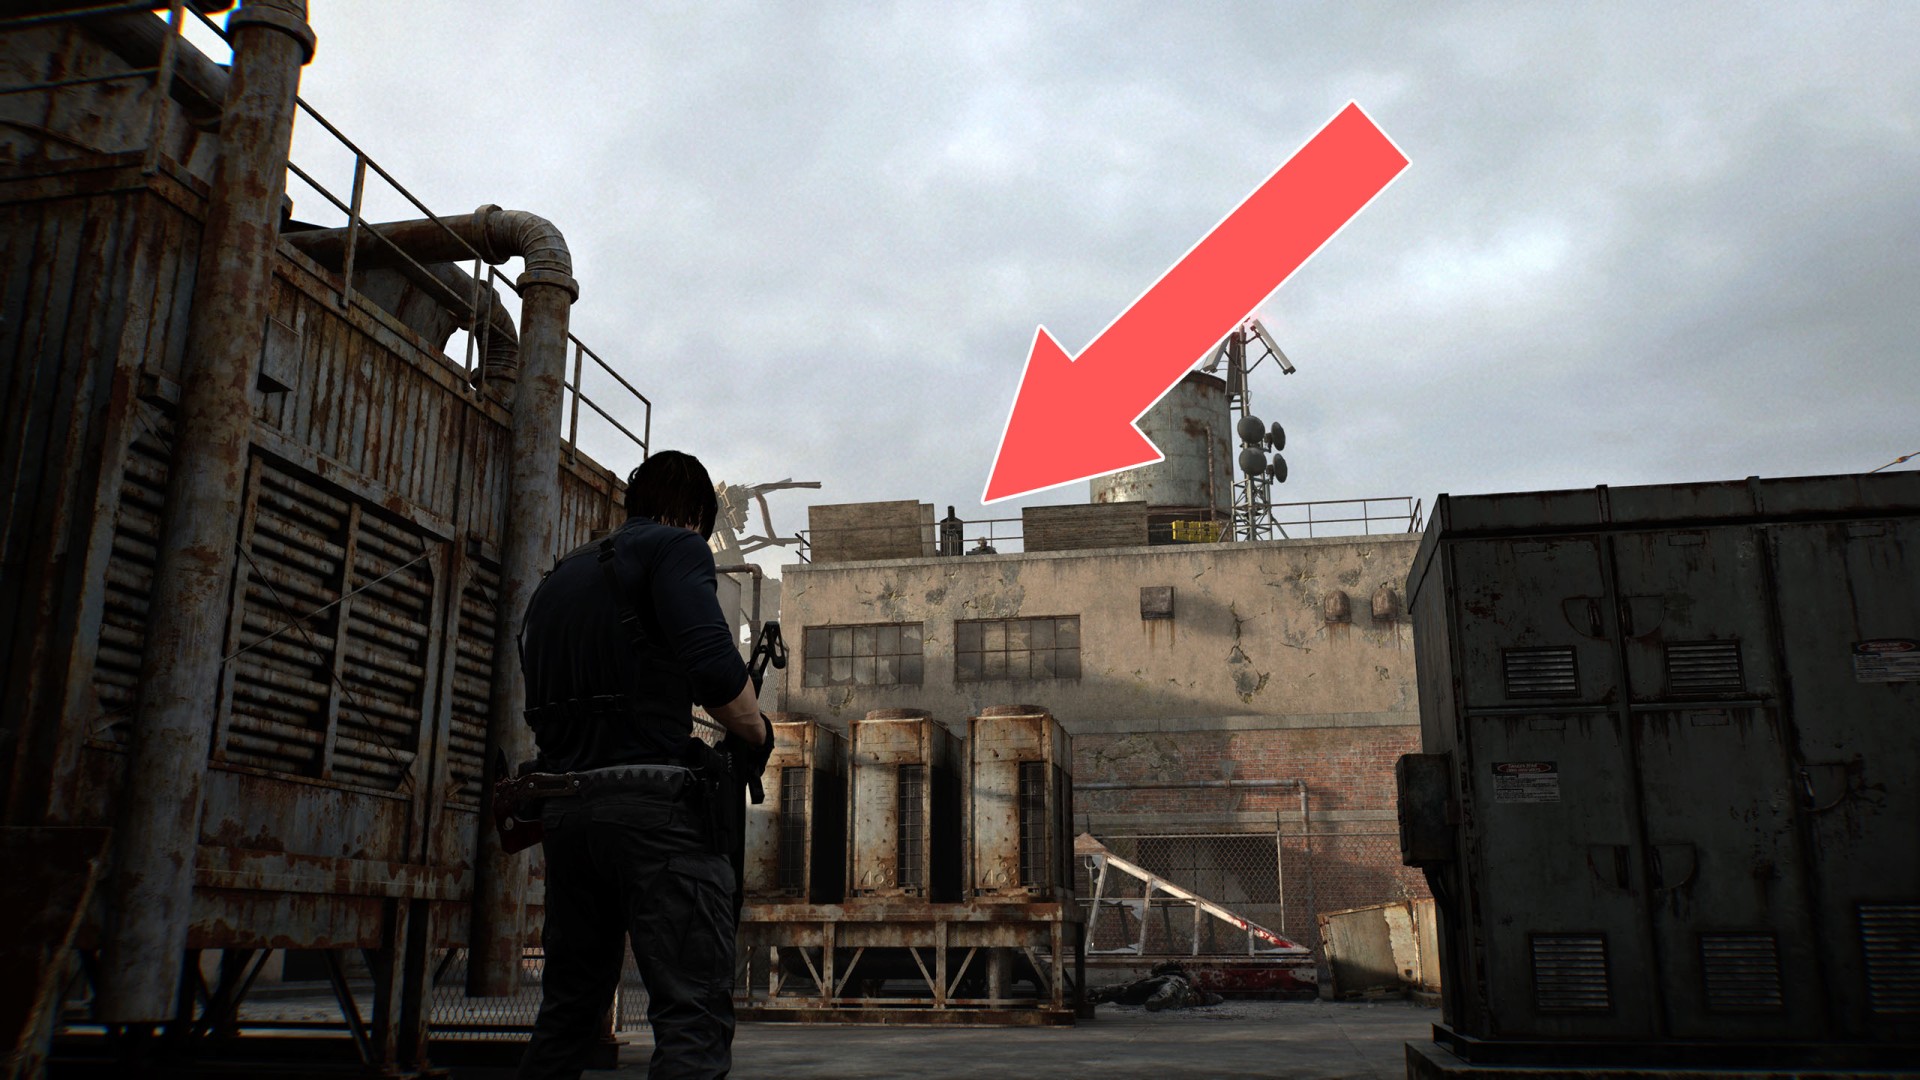
20 Mortar 1
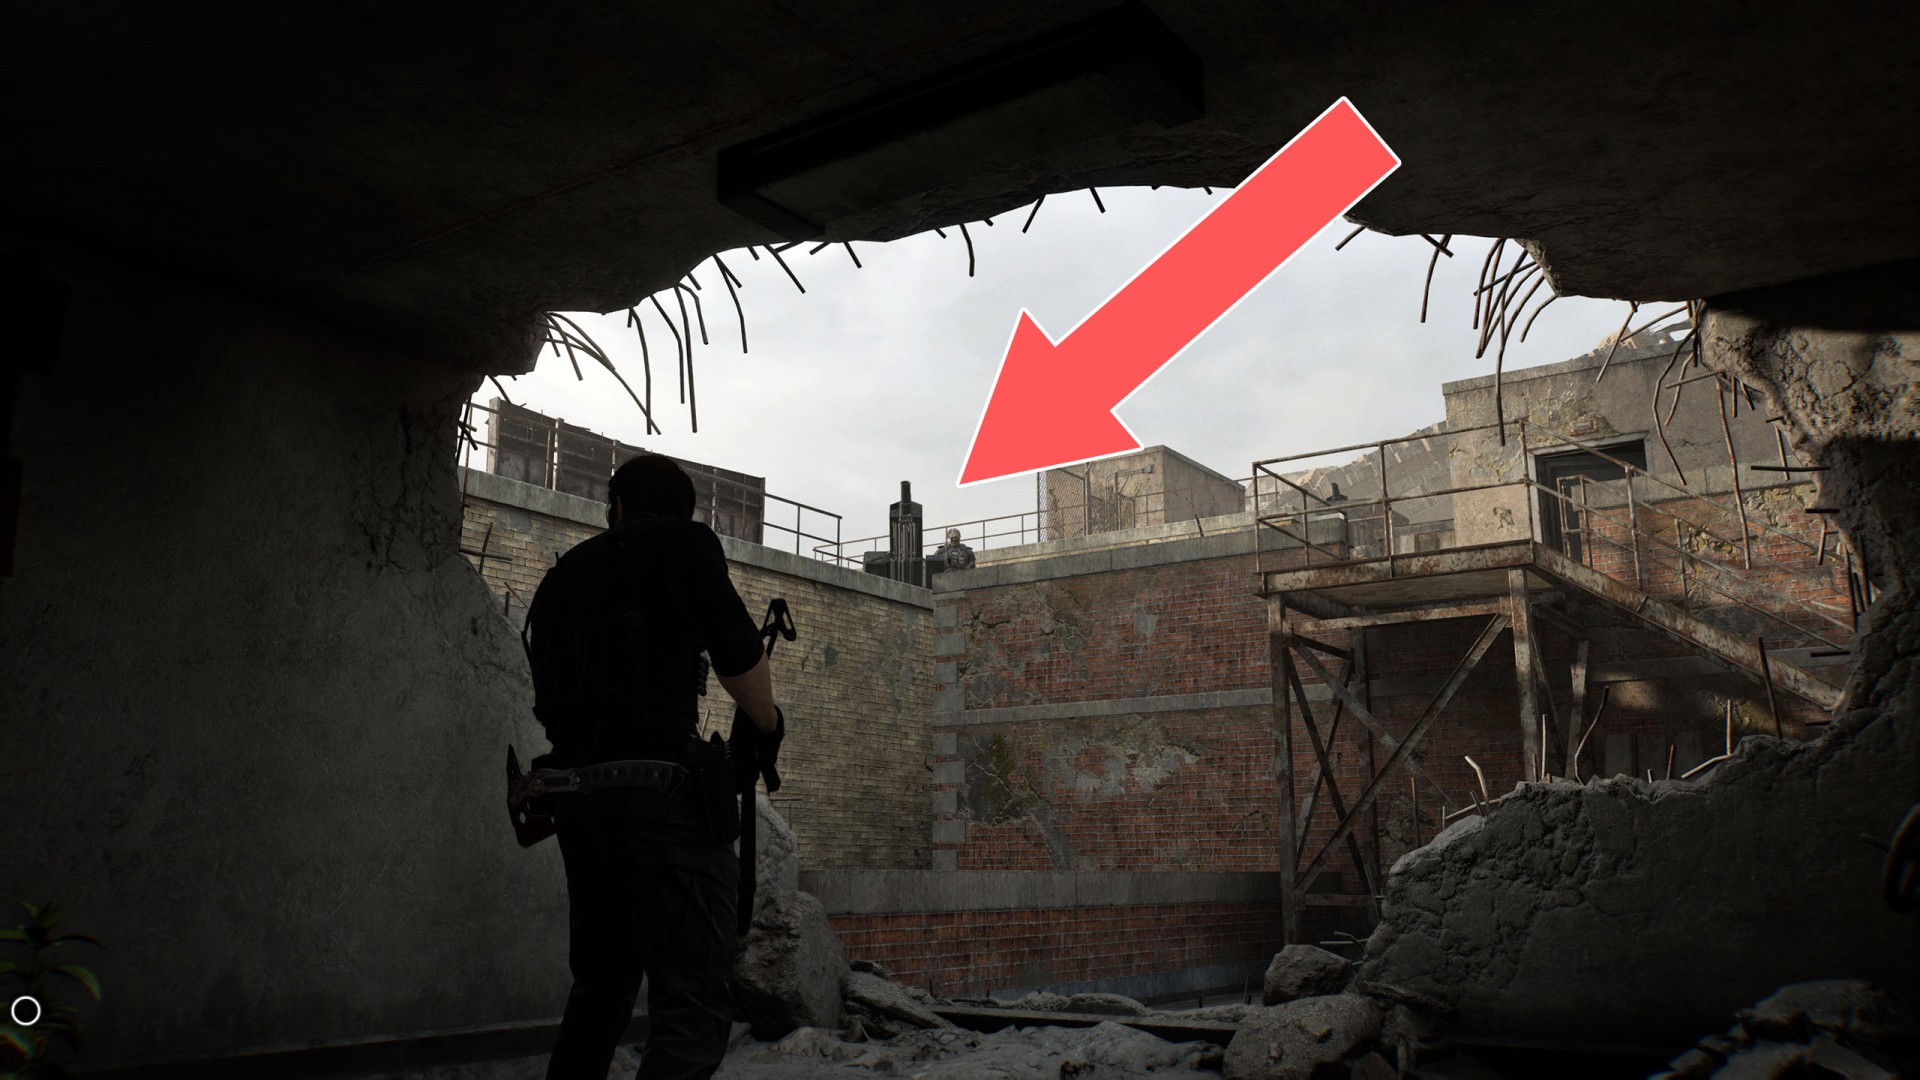
21Mortar 2
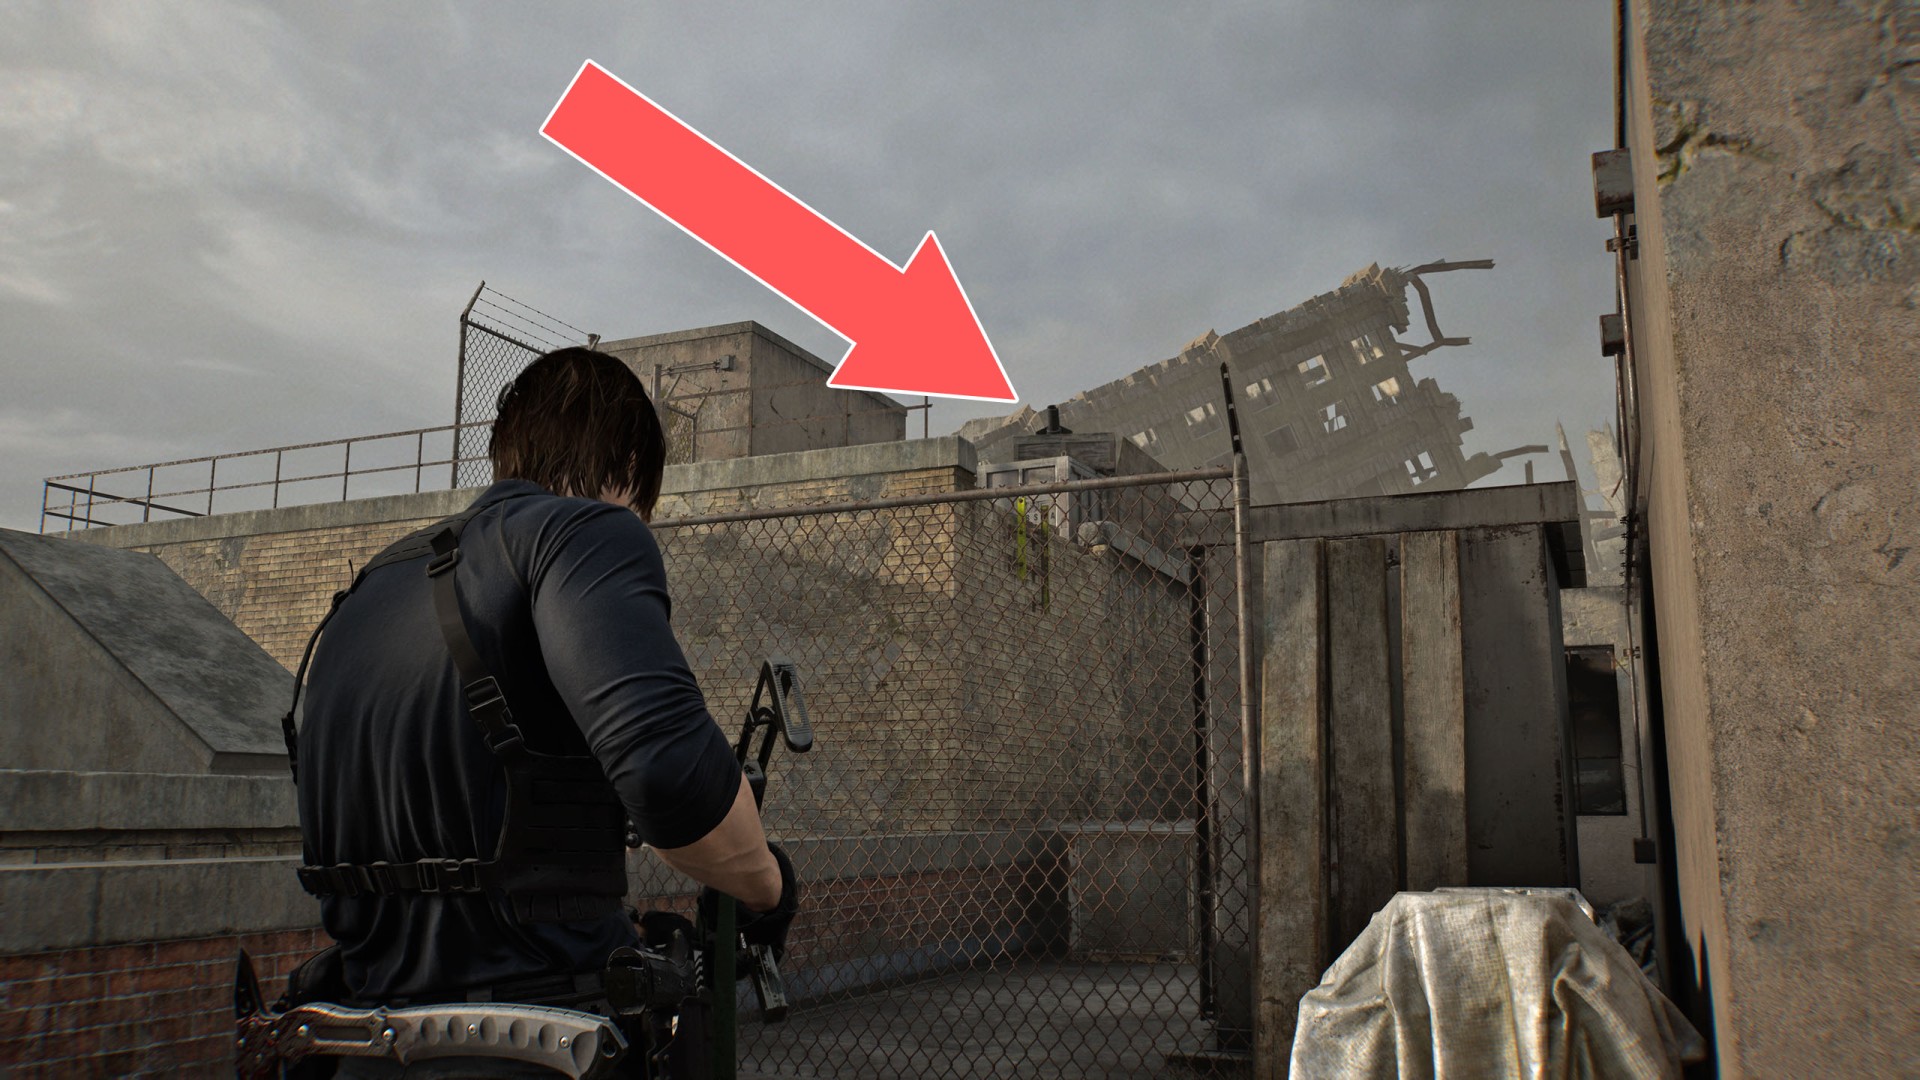
22Mortar 3
23Zipline