A Better Beginning Mass Effect: Andromeda Mission
Type: Priority Ops
The Nexus needs a resource-producing outpost, but Eos is the only planet in range. As the only Pathfinder, you have been asked to achieve the impossible: find a way to settle Eos and give the Initiative the foothold it needs. Director Tann has commited the resources for a last ditch effort, including a ship and support team for the Pathfinder.
Related points of interest
![]() Remnant Monolith #1
Eos
Remnant Monolith #1
Eos
![]() Remnant Monolith #2
Eos
Remnant Monolith #2
Eos
![]() Remnant Monolith #3
Eos
Remnant Monolith #3
Eos
![]() SAM Node
Nexus / Hyperion
SAM Node
Nexus / Hyperion
![]() Remnant Vault
Eos
Remnant Vault
Eos
Prior missions
To begin A Better Beginning you must first complete Nexus Reunion.
Mission objectives of A Better Beginning
1. Speak with SAM on the Hyperion
Go to the SAM node located on the Hyperion - Habitation Deck and talk to AI.
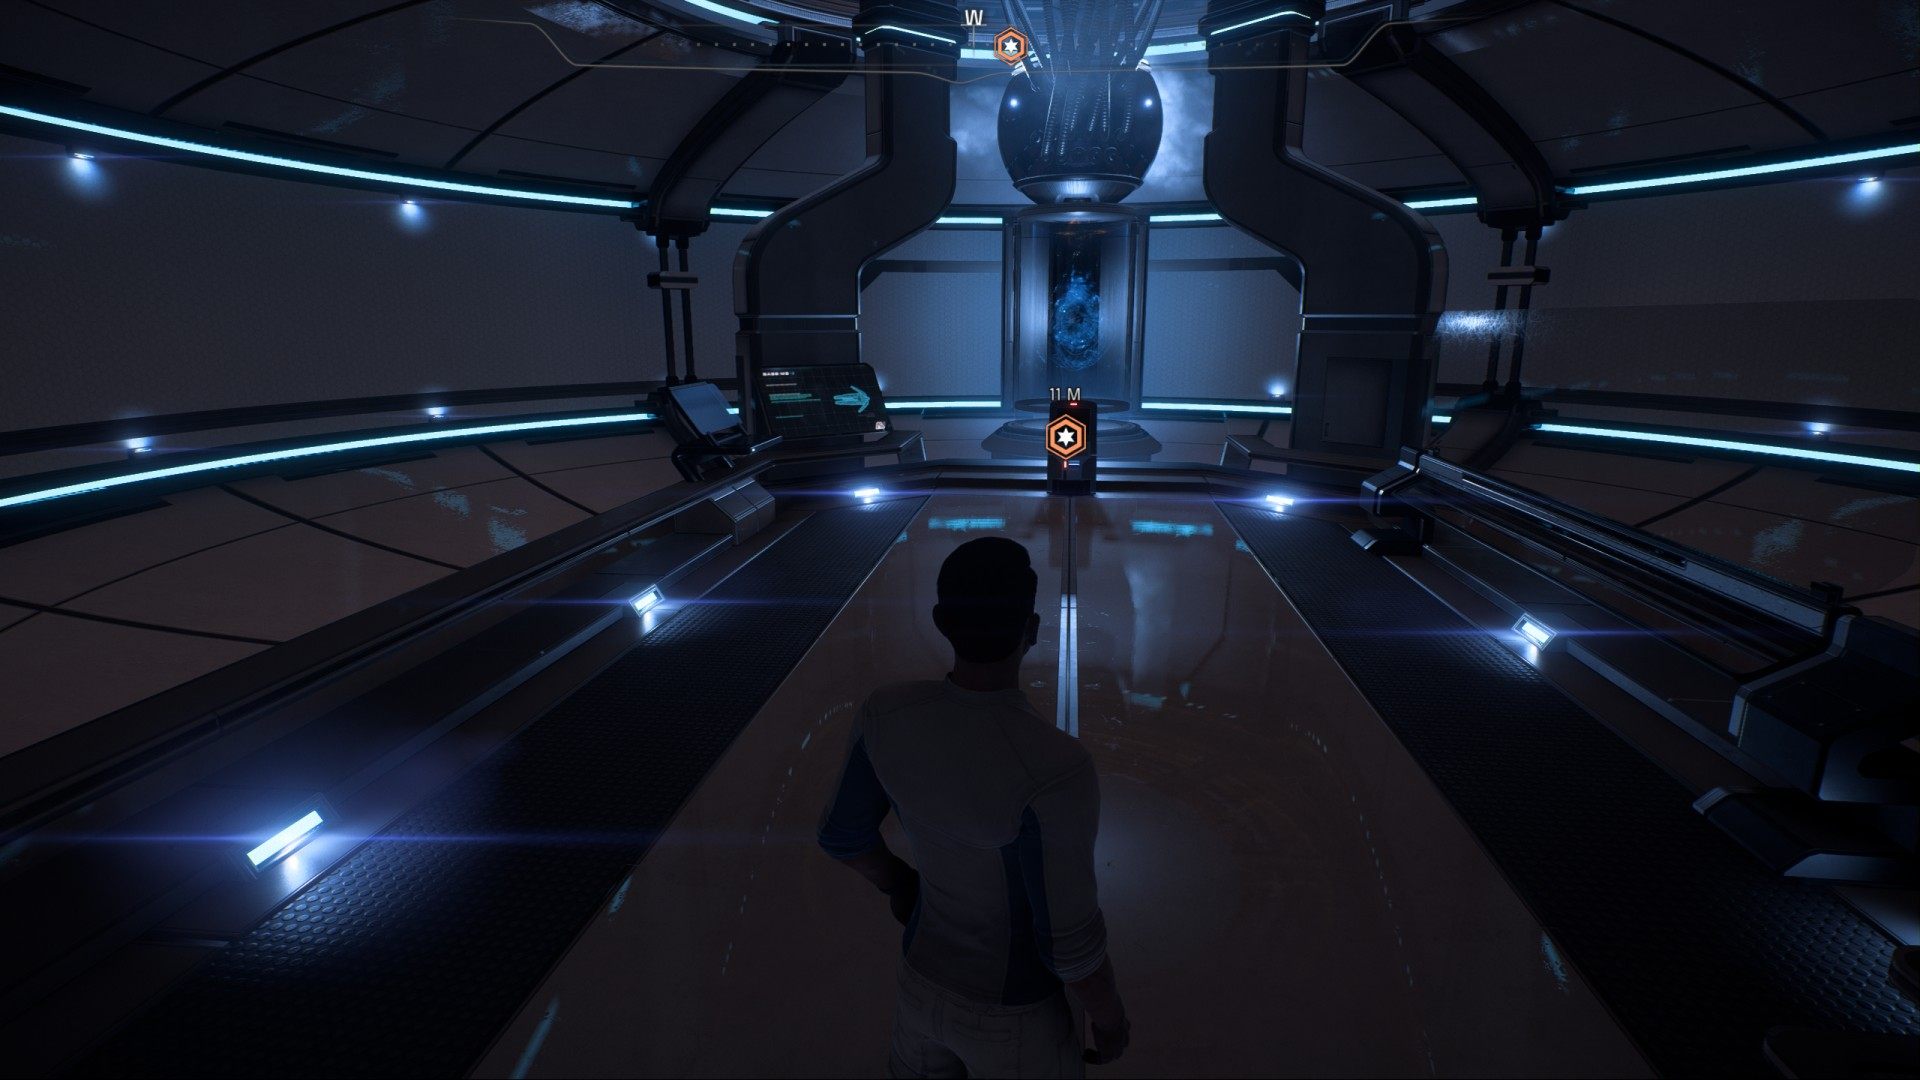
You will receive a new side mission Ryder Family Secrets.
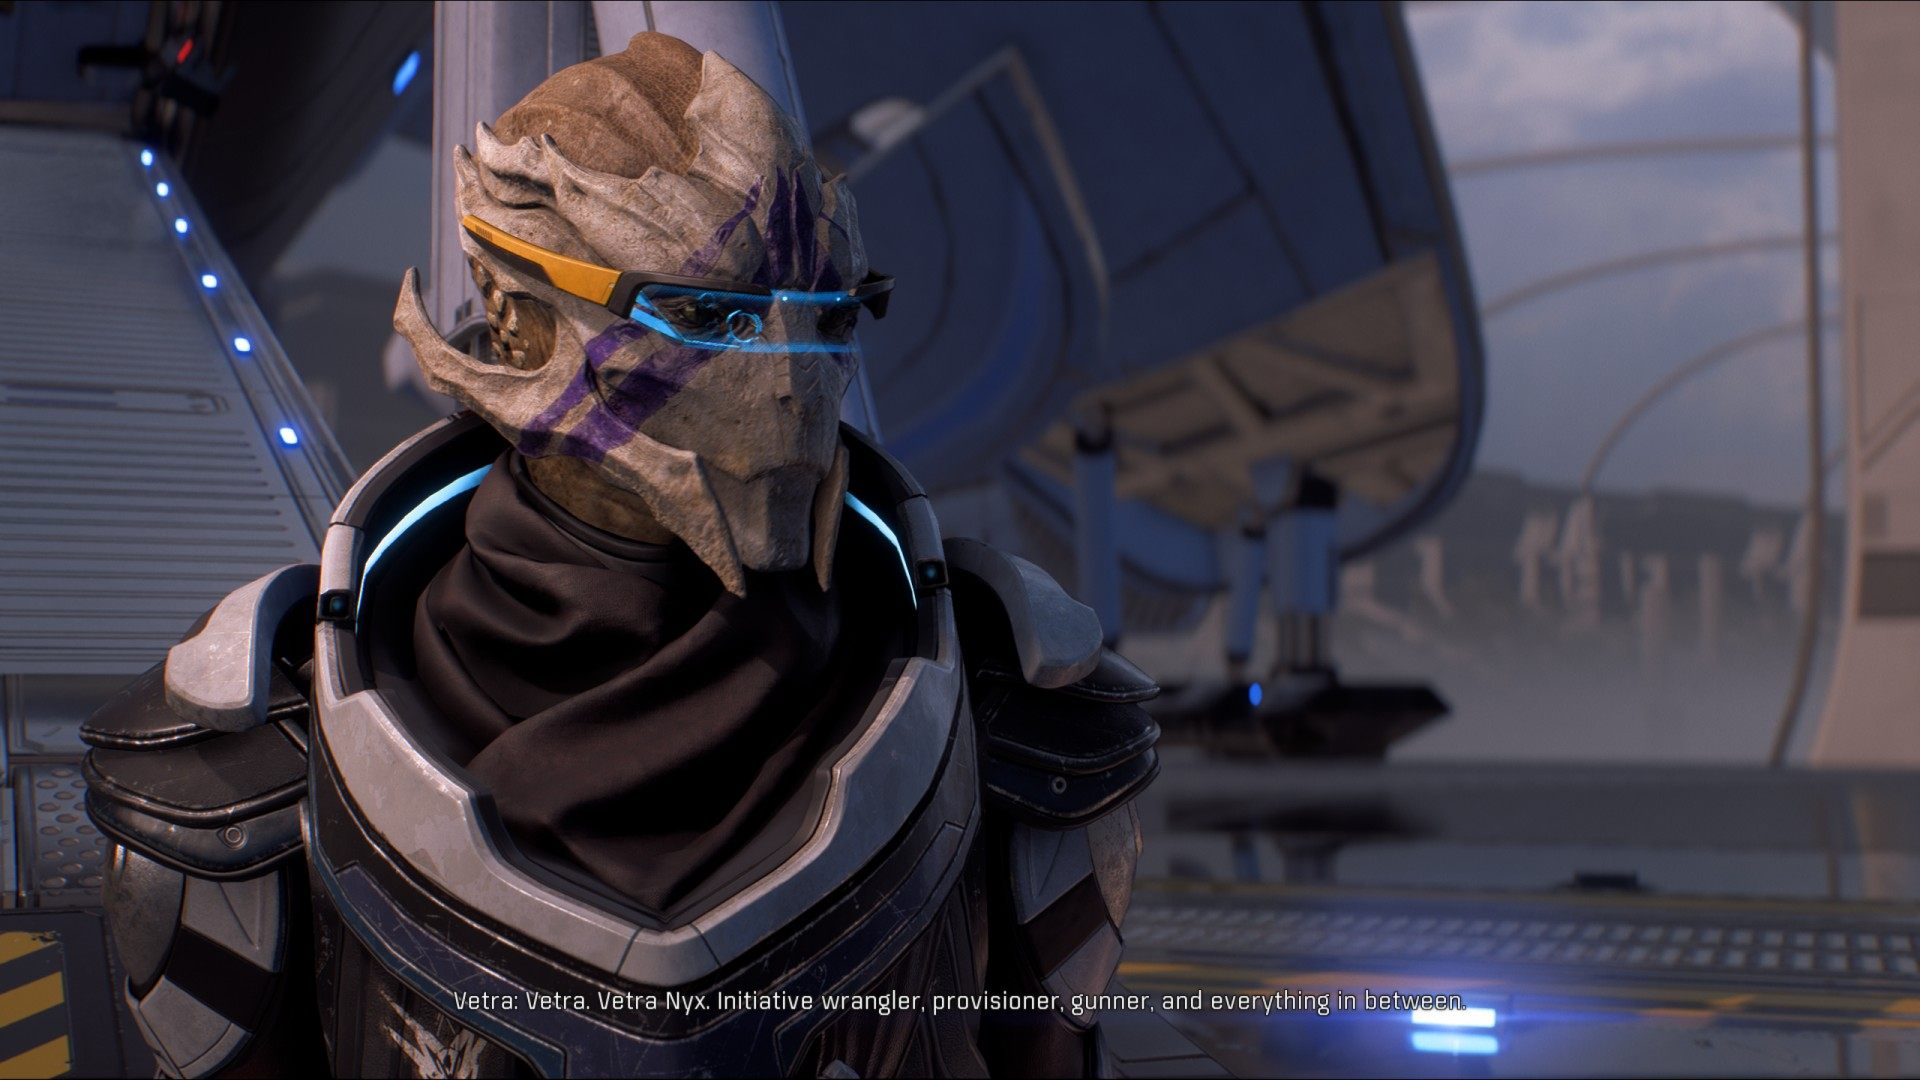
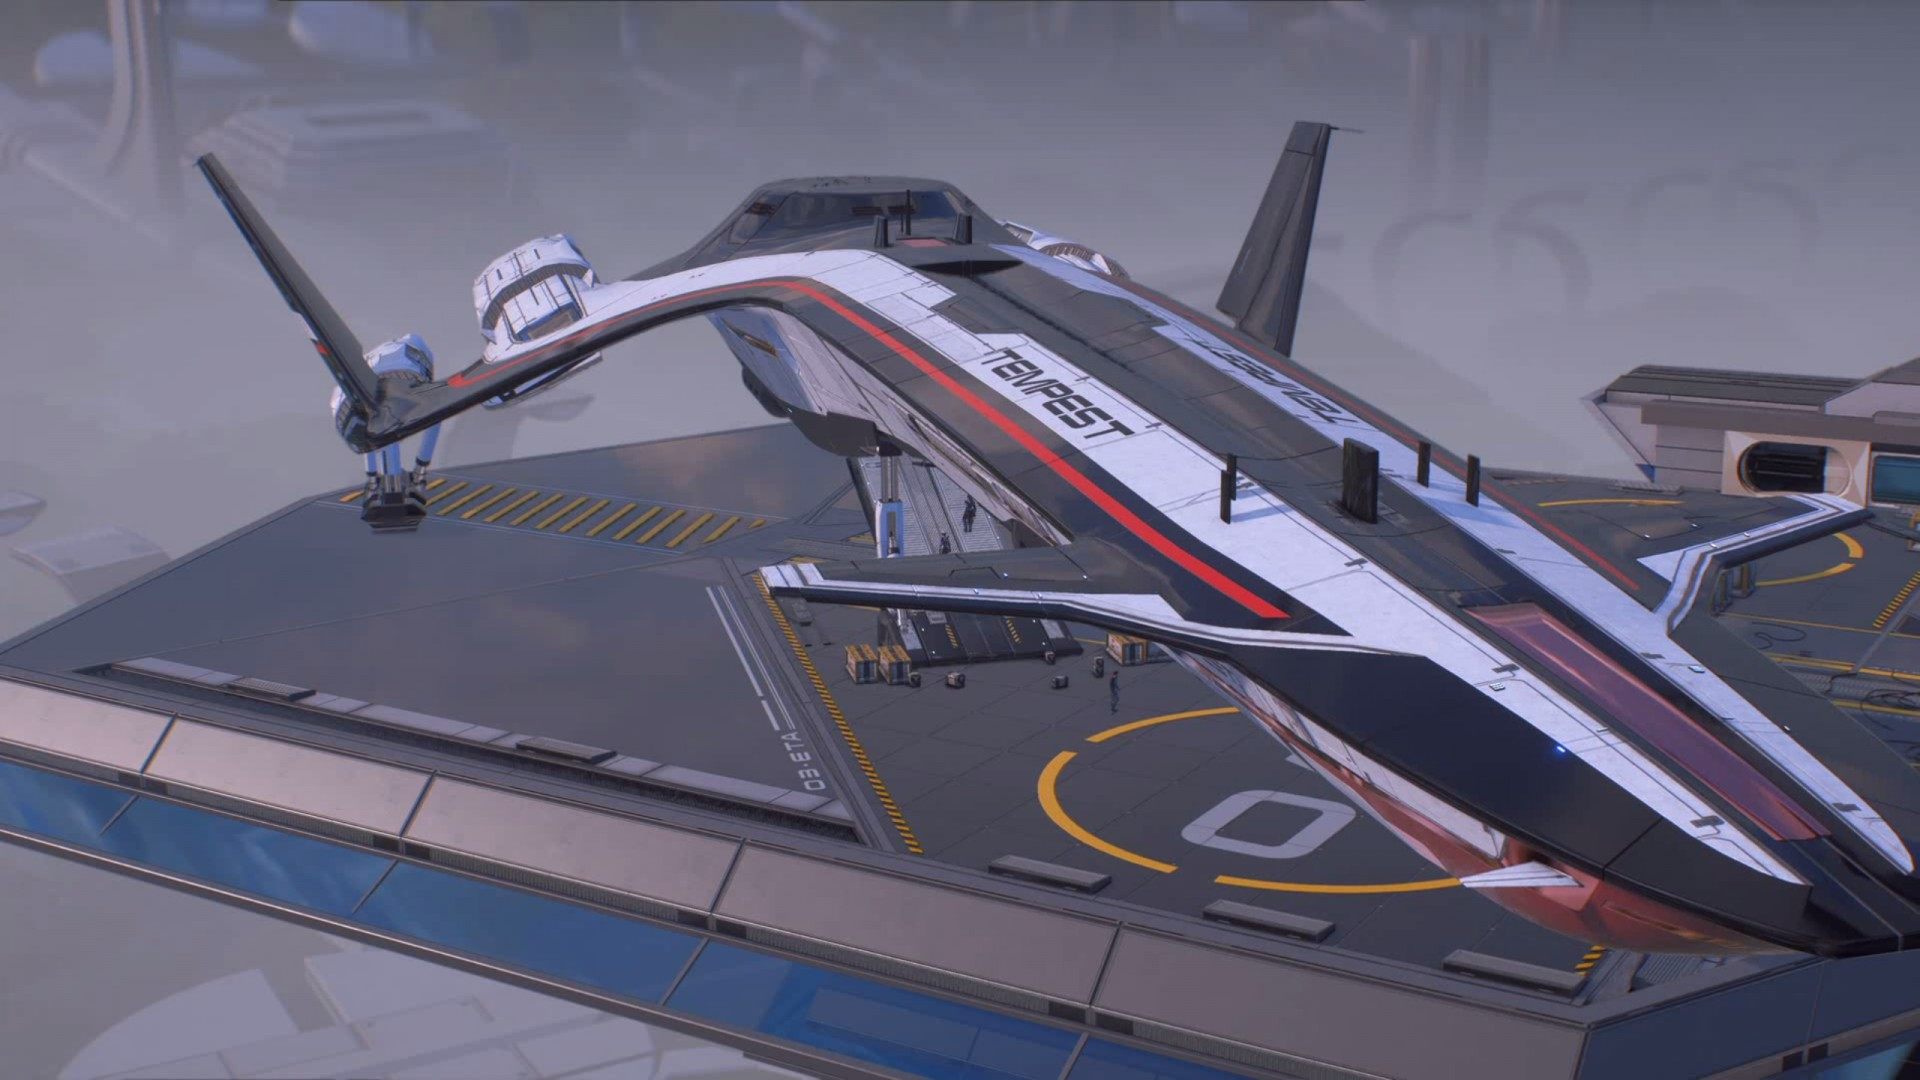
2. Go to your ship
Use the tram and go to the docking bay. The Tempest is waiting for you there. One of your new crew members, Vetra Nyx, will introduce you to the ship.
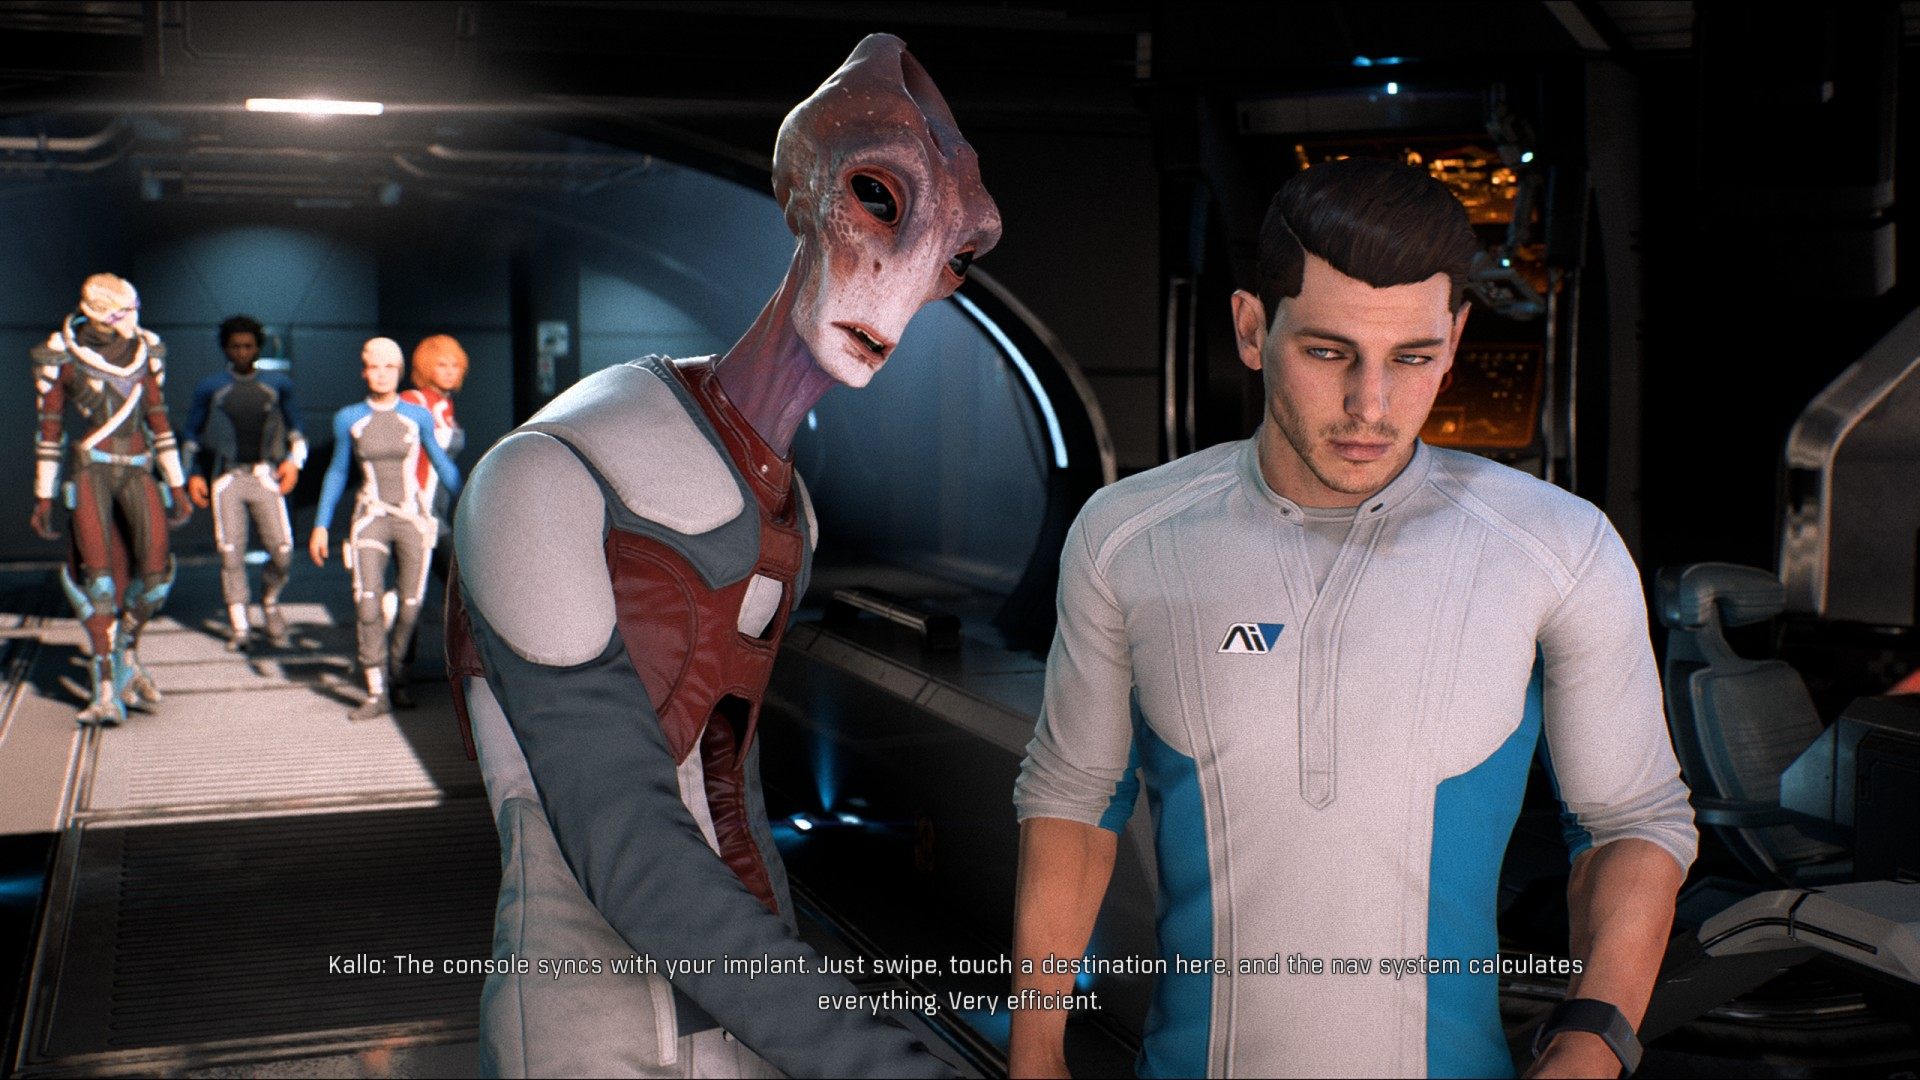
3. Go to the bridge
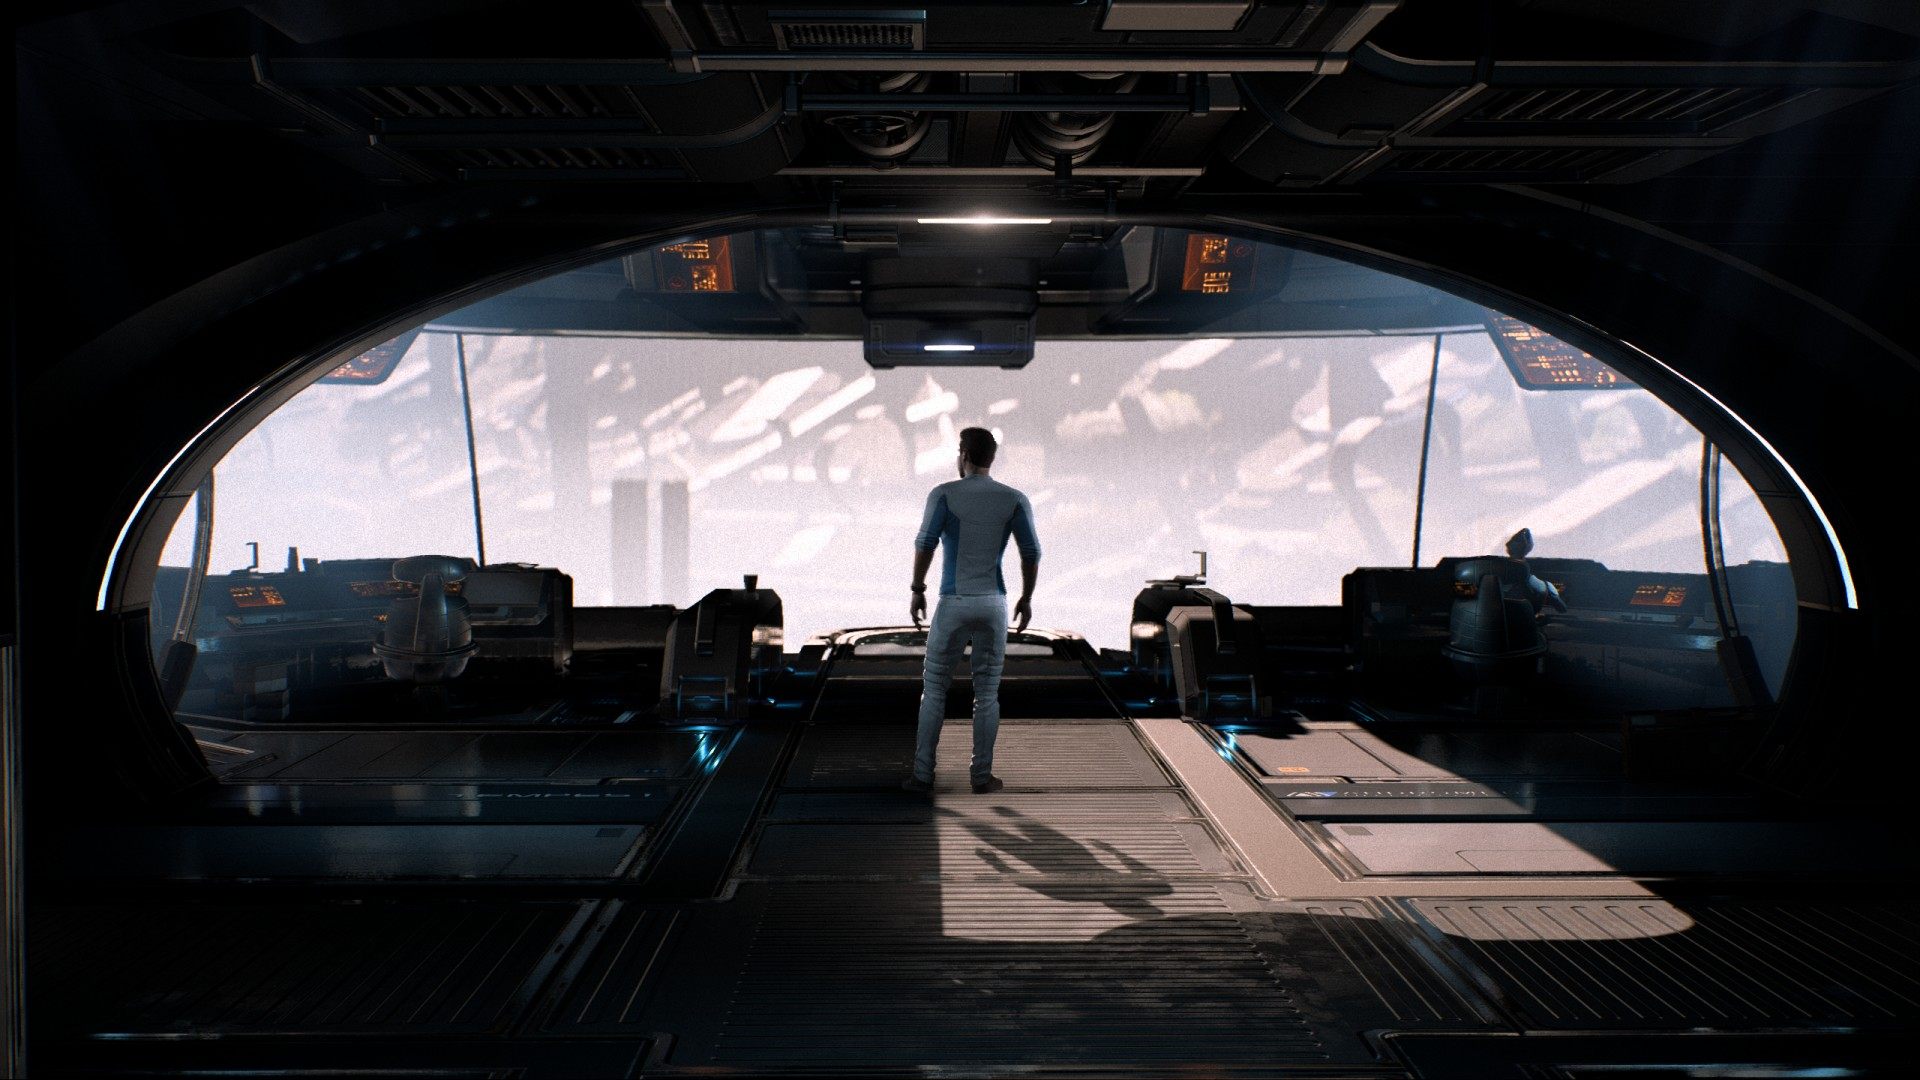
Kallo will give you some more tips.
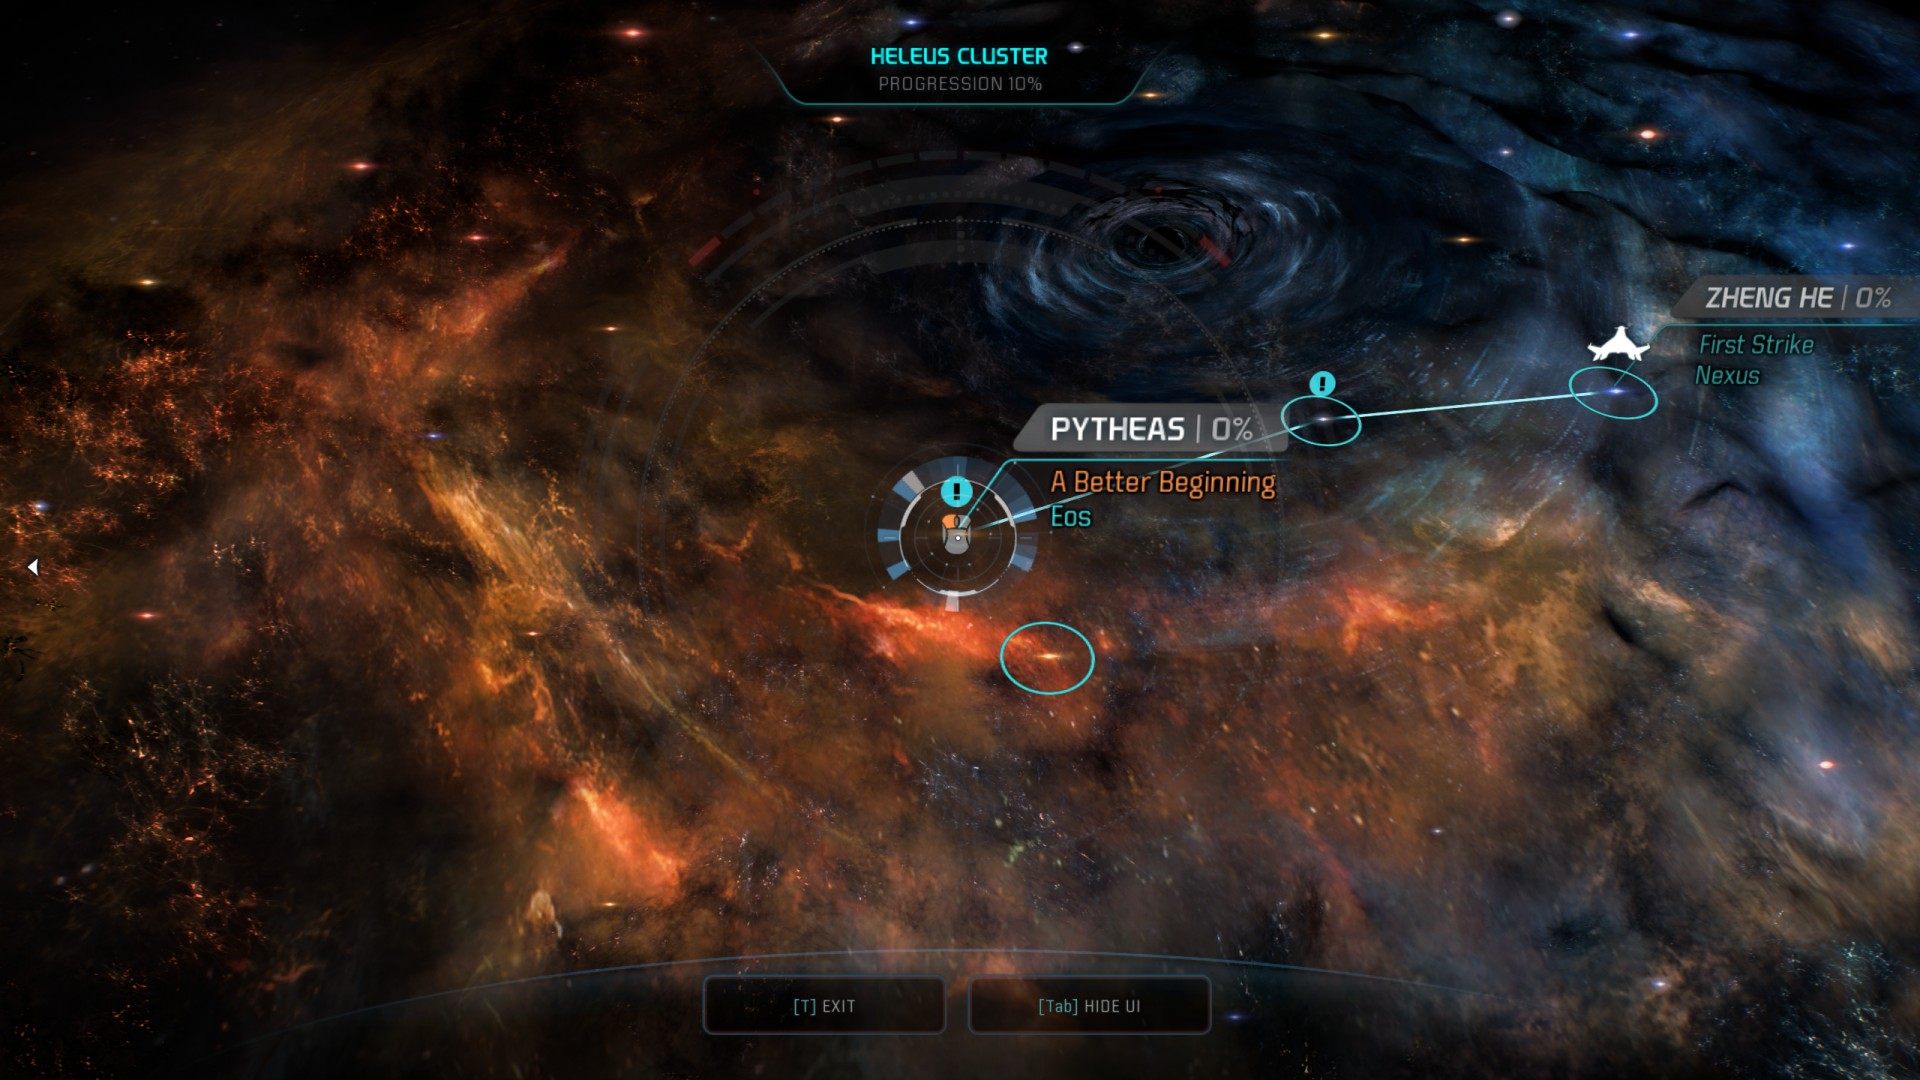
4. Go to Eos in the Pytheas system
Navigate to Pytheas system.
5. Land on Eos
Use the scanner to find the landing zone.
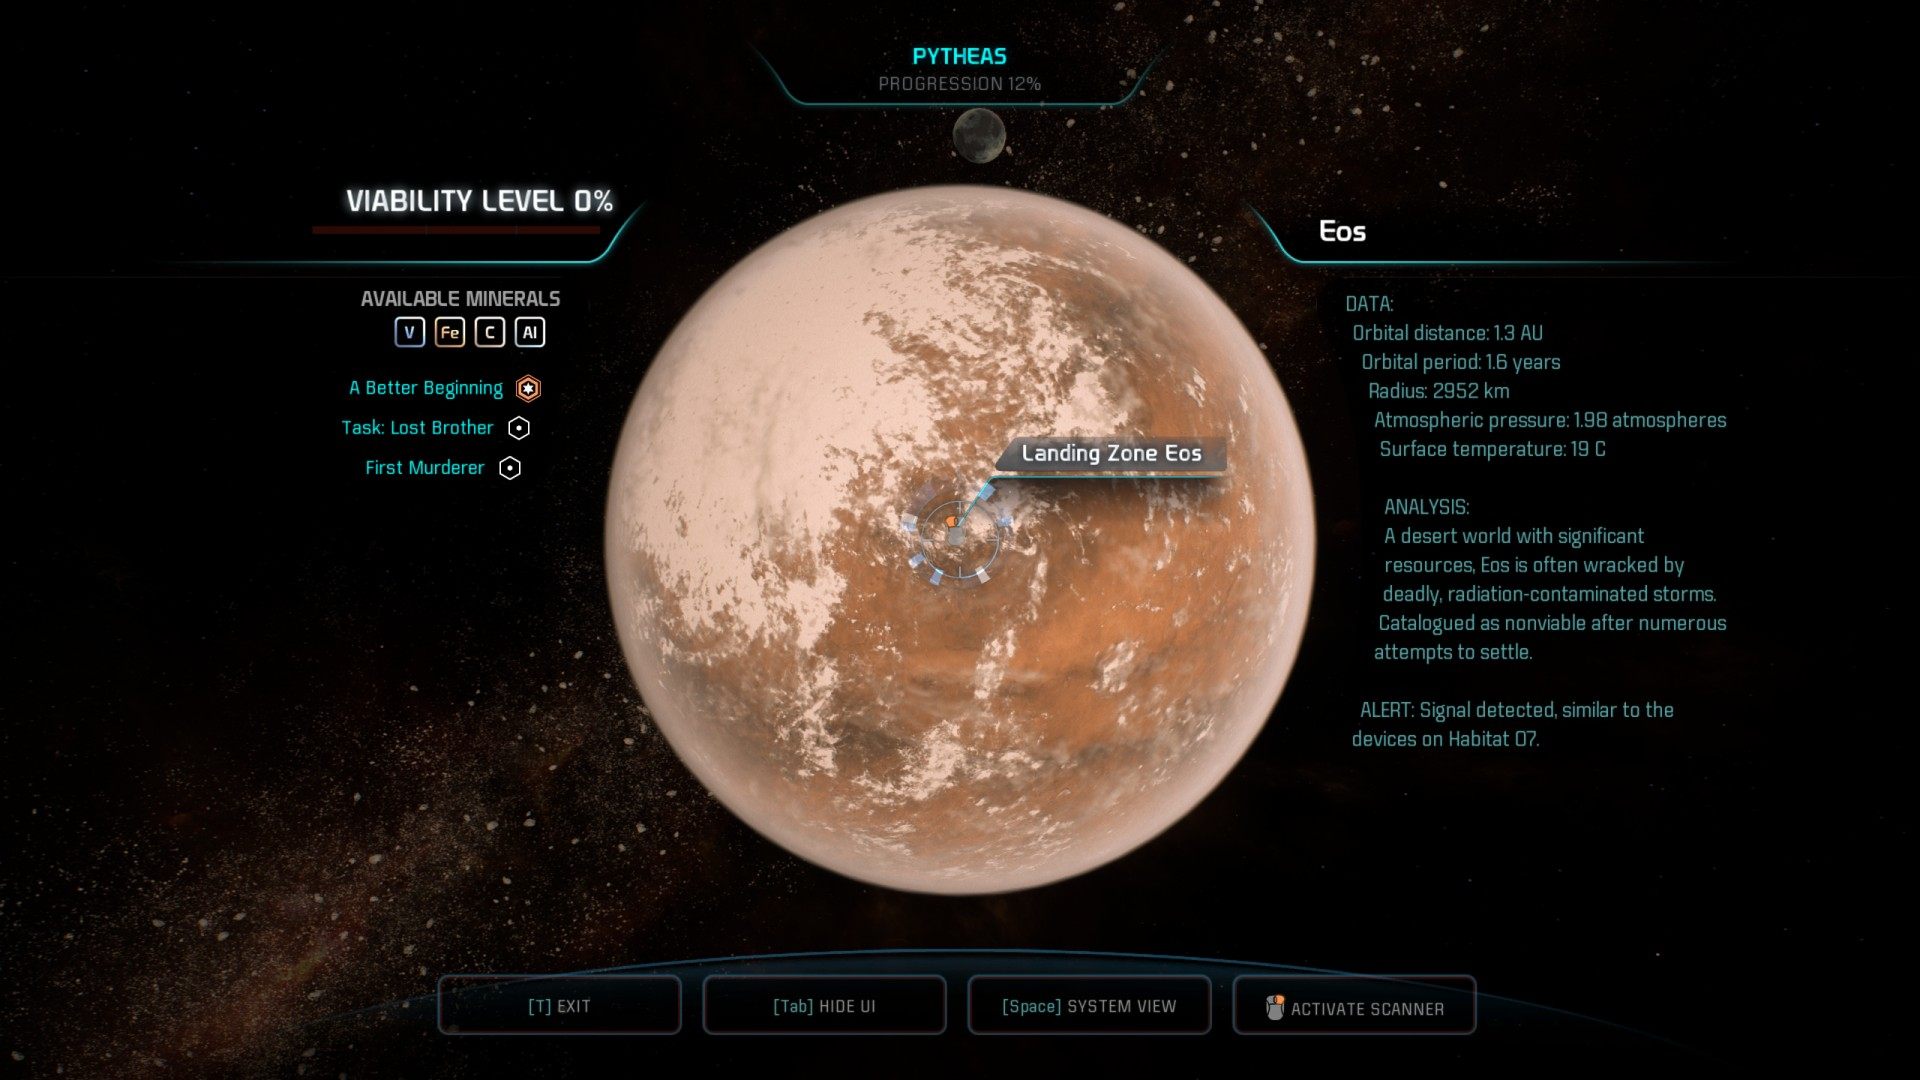
6. Clear atmospheric radiation
Eos colonization failed because of radiation in its atmosphere. But you recognized a signal like you found on Habitat 7. If similar alien technology is here, you may be able to create the conditions to place an outpost. Find the signal, make Eos viable, and give the Initiative the foothold it needs.
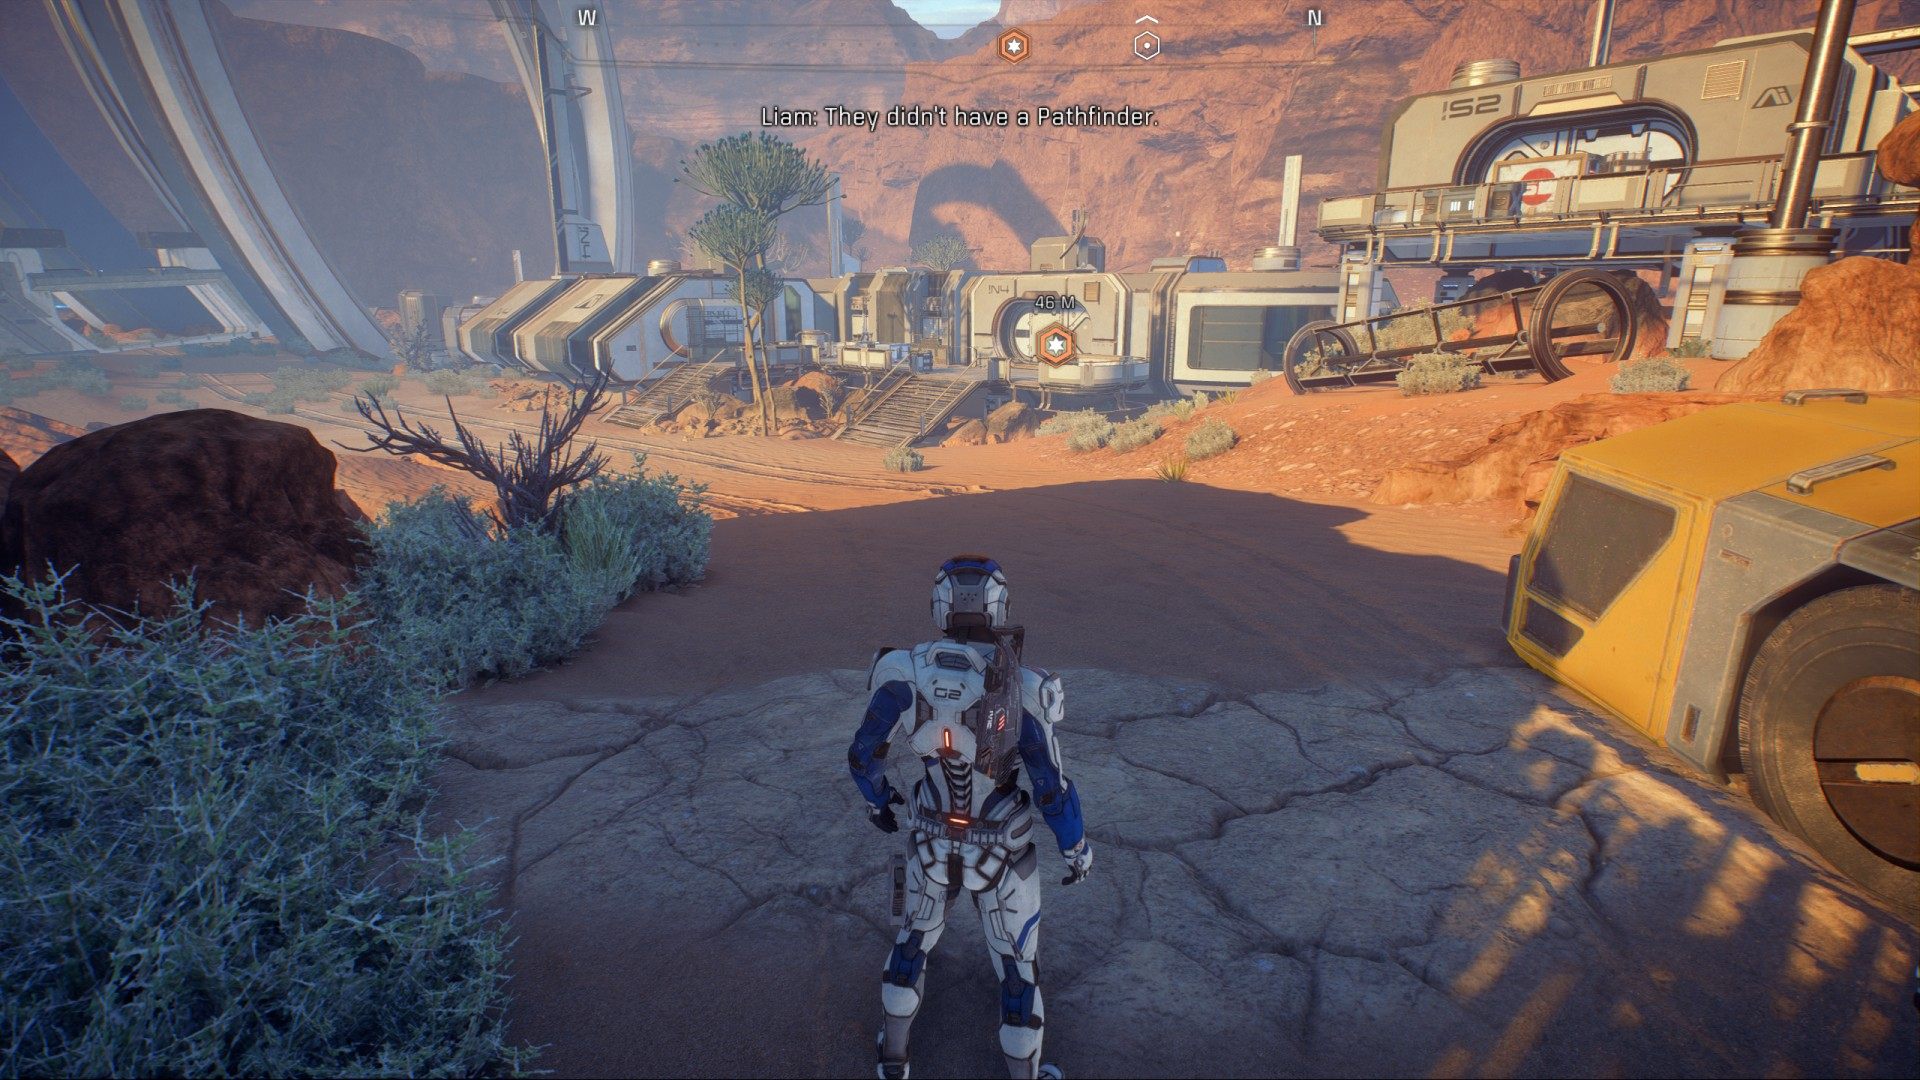
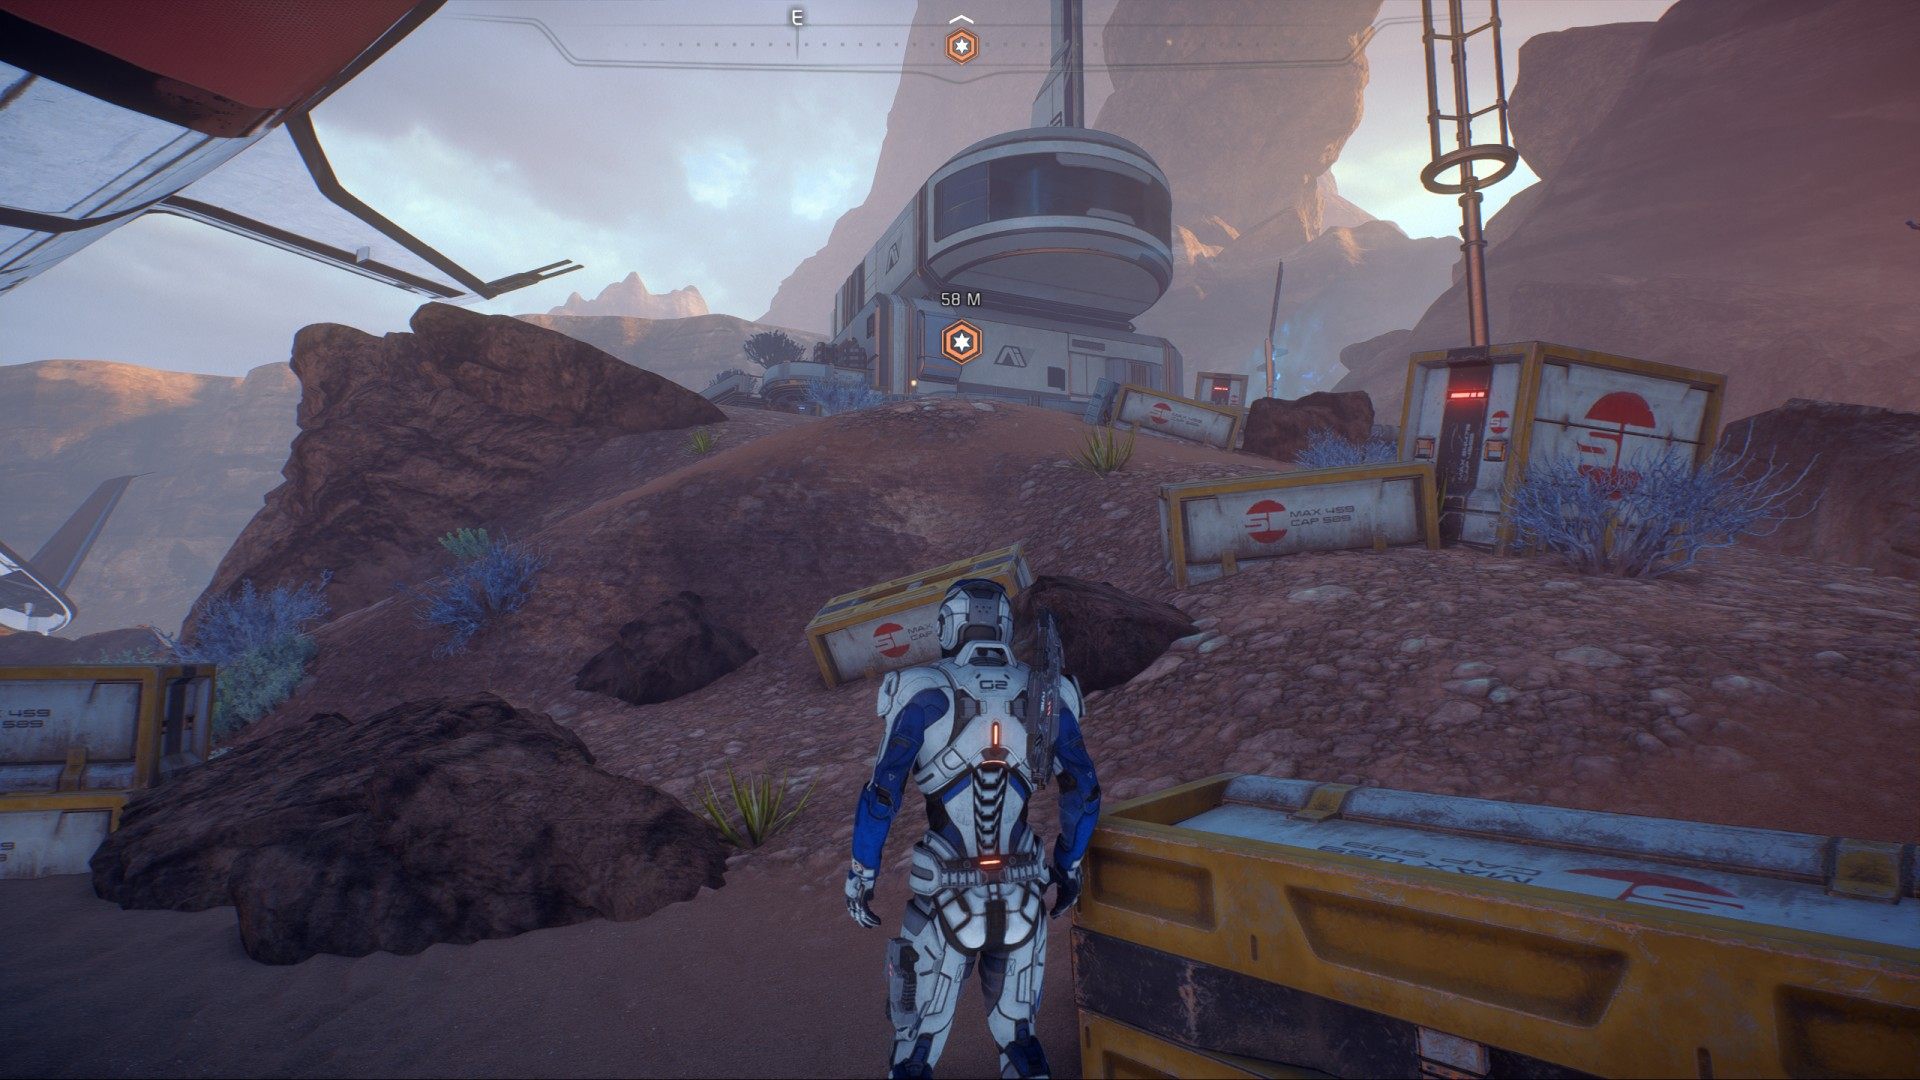
6.1. Search Site 1's main control building
Go to the marked building. Its door is locked. Its door is locked, you have to find a way to unlock it.
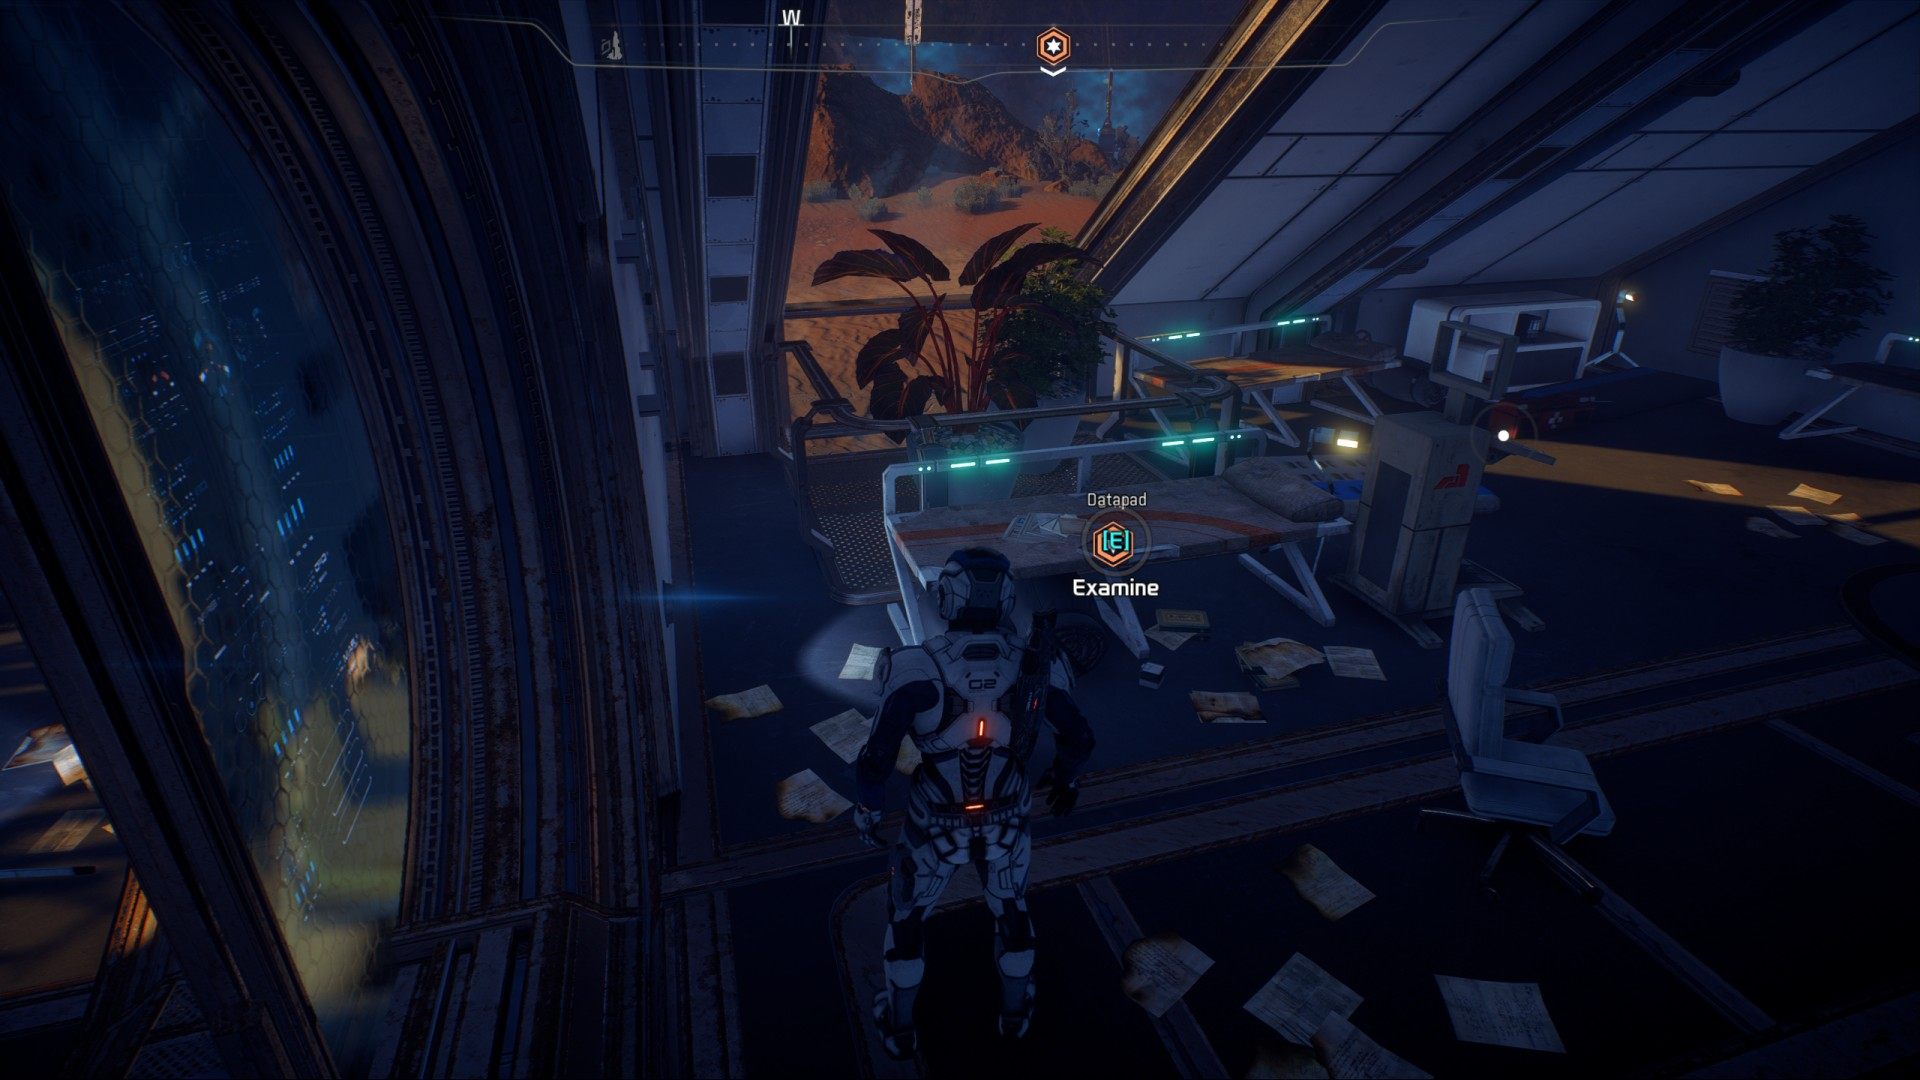
6.2. Find a code to access locked buildings
Required code is on a datapad. You can find it in one of the other buildings.
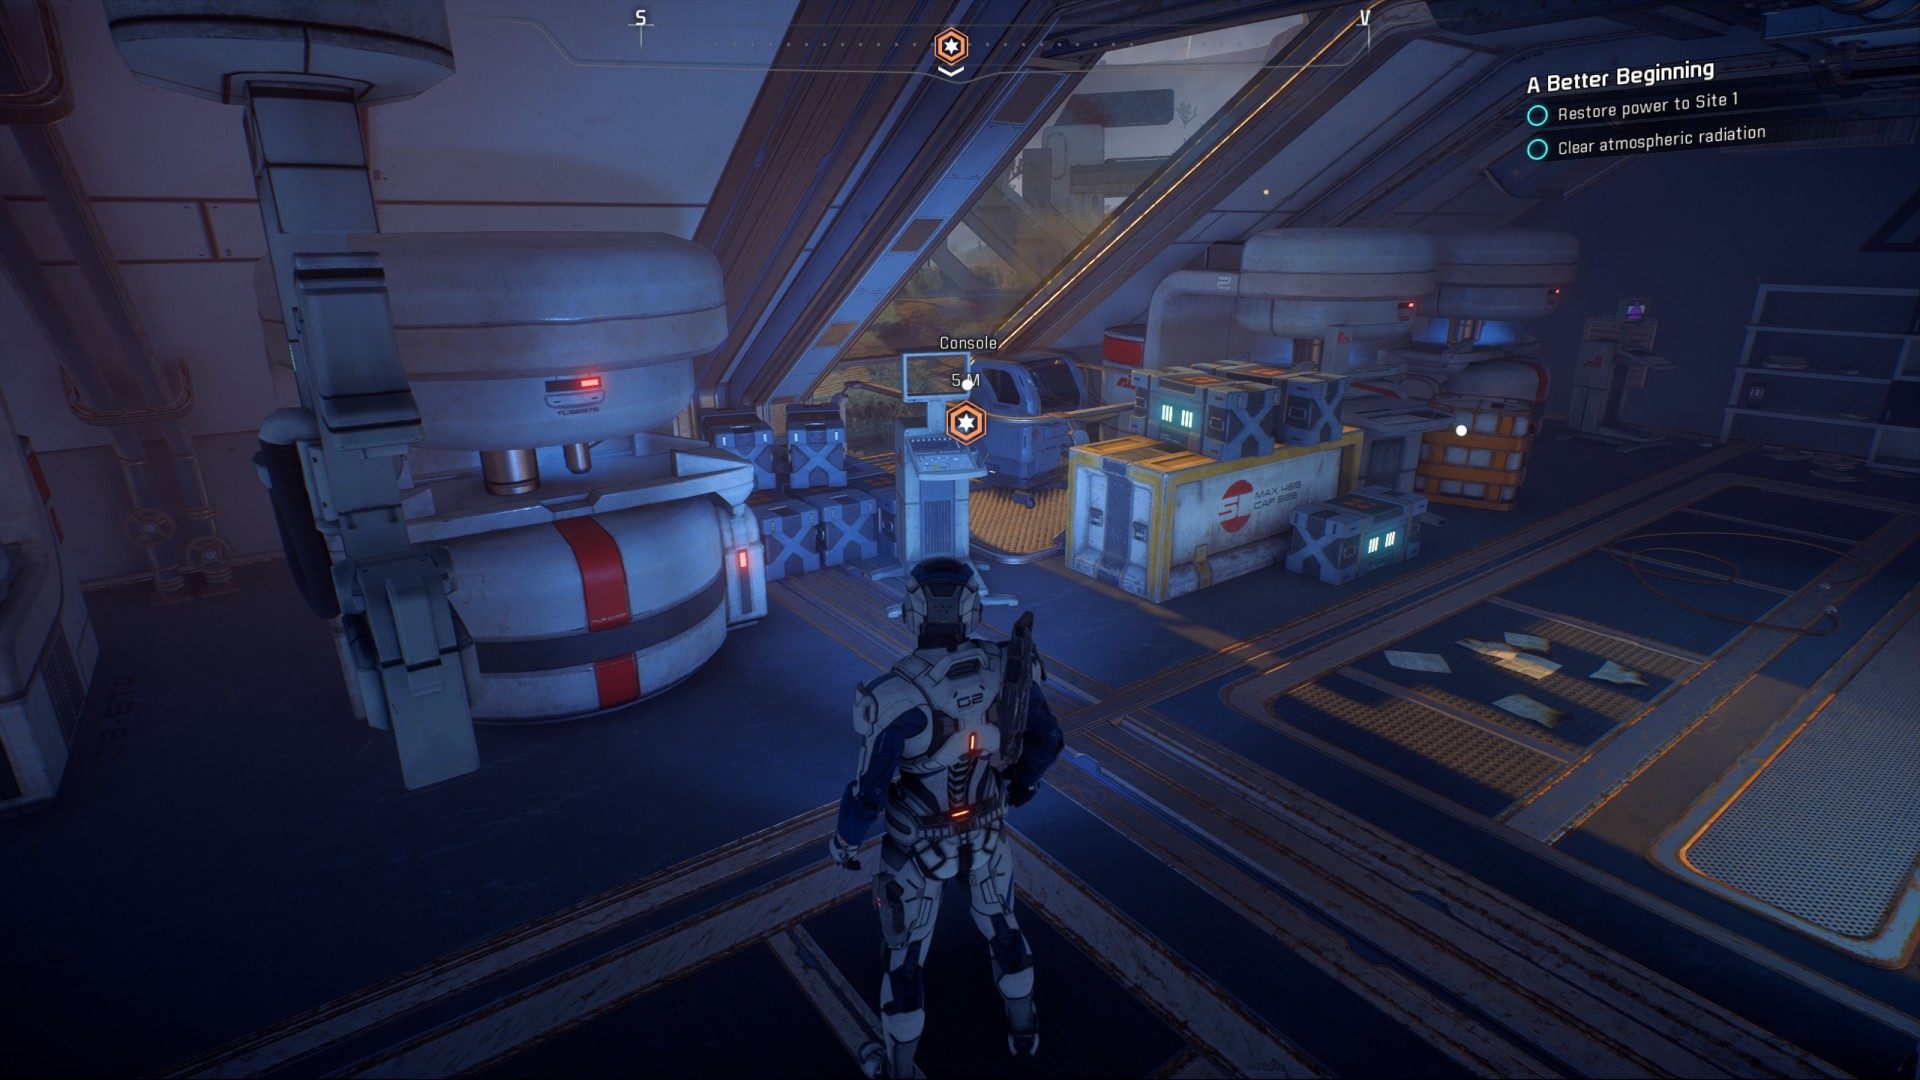
6.3. Restore power to Site 1
Go back to the previous building, enter it and use the console.
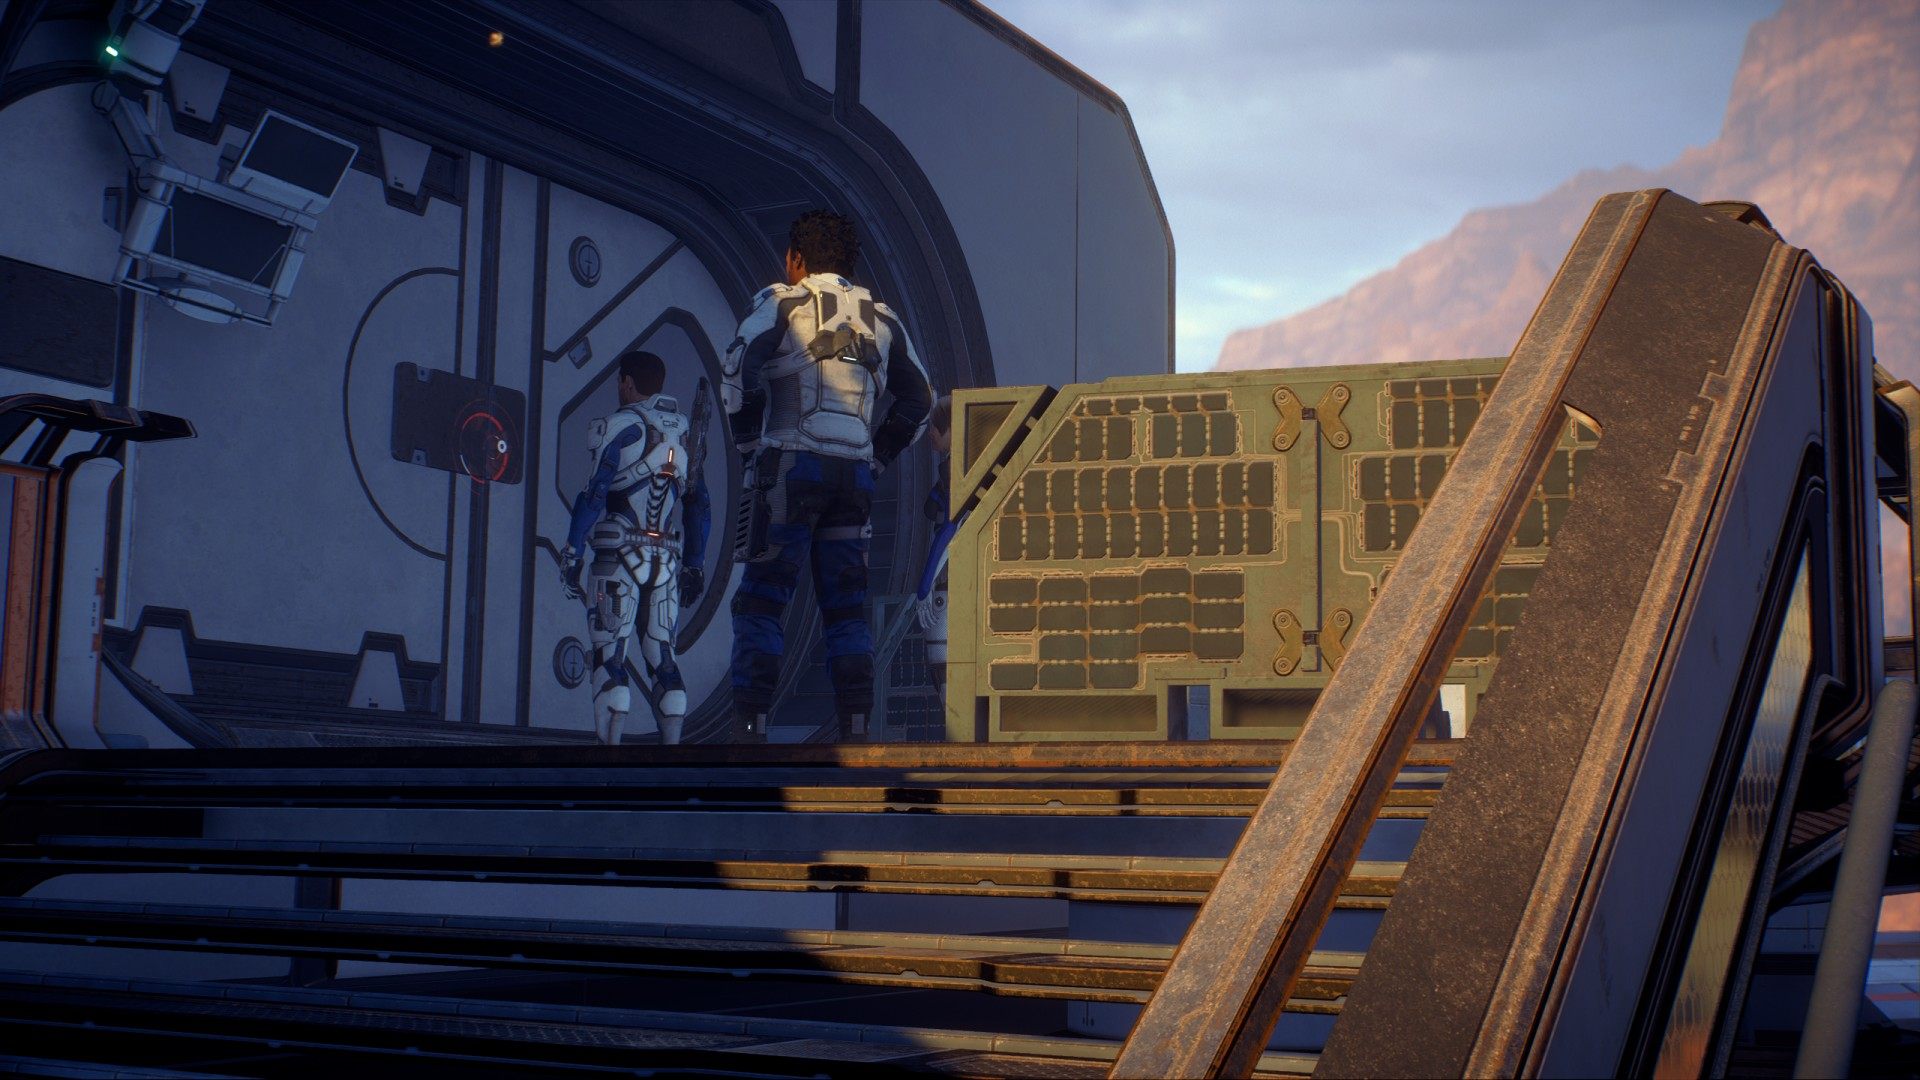
6.4. Investigate the power relay station
Someone is locked inside the building. Offer him your help.
6.5. Reactivate the power relay station
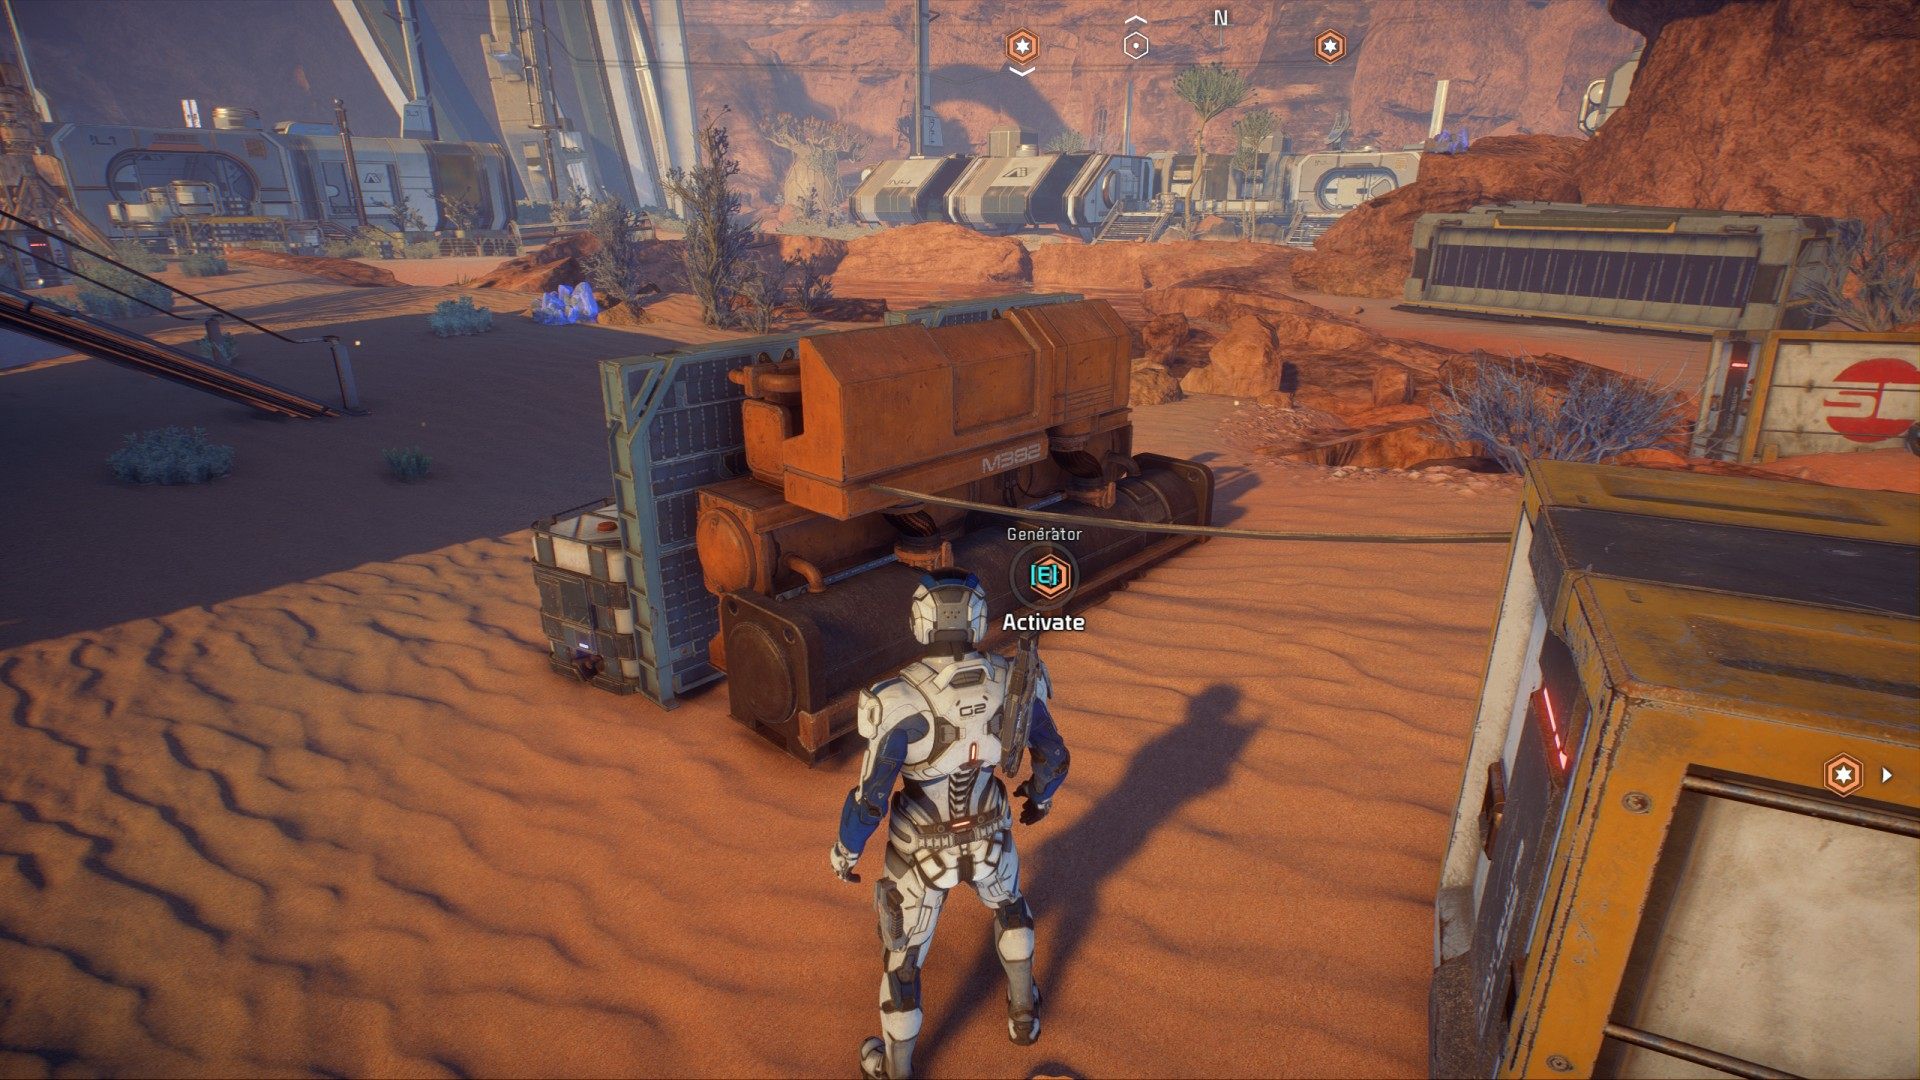
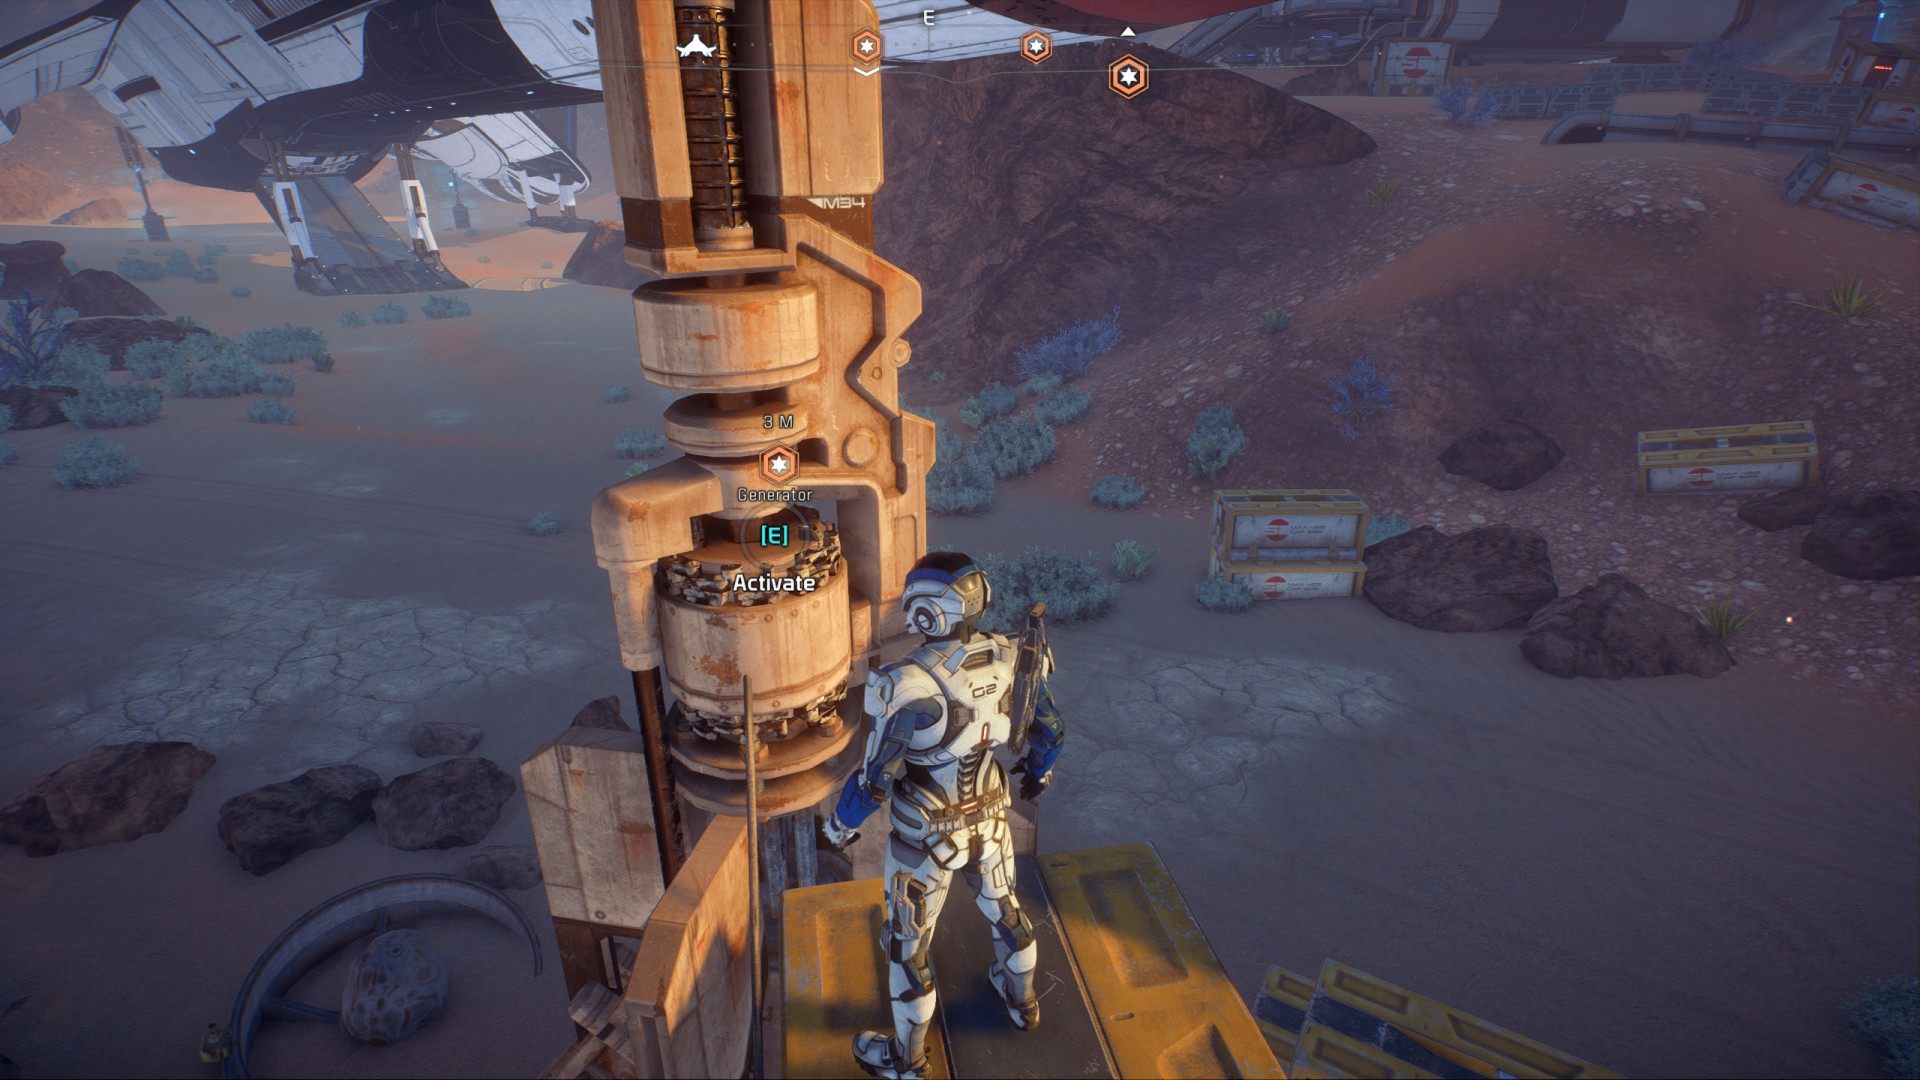
6.5.1. Activate the generators
Find and try to activate the generator.
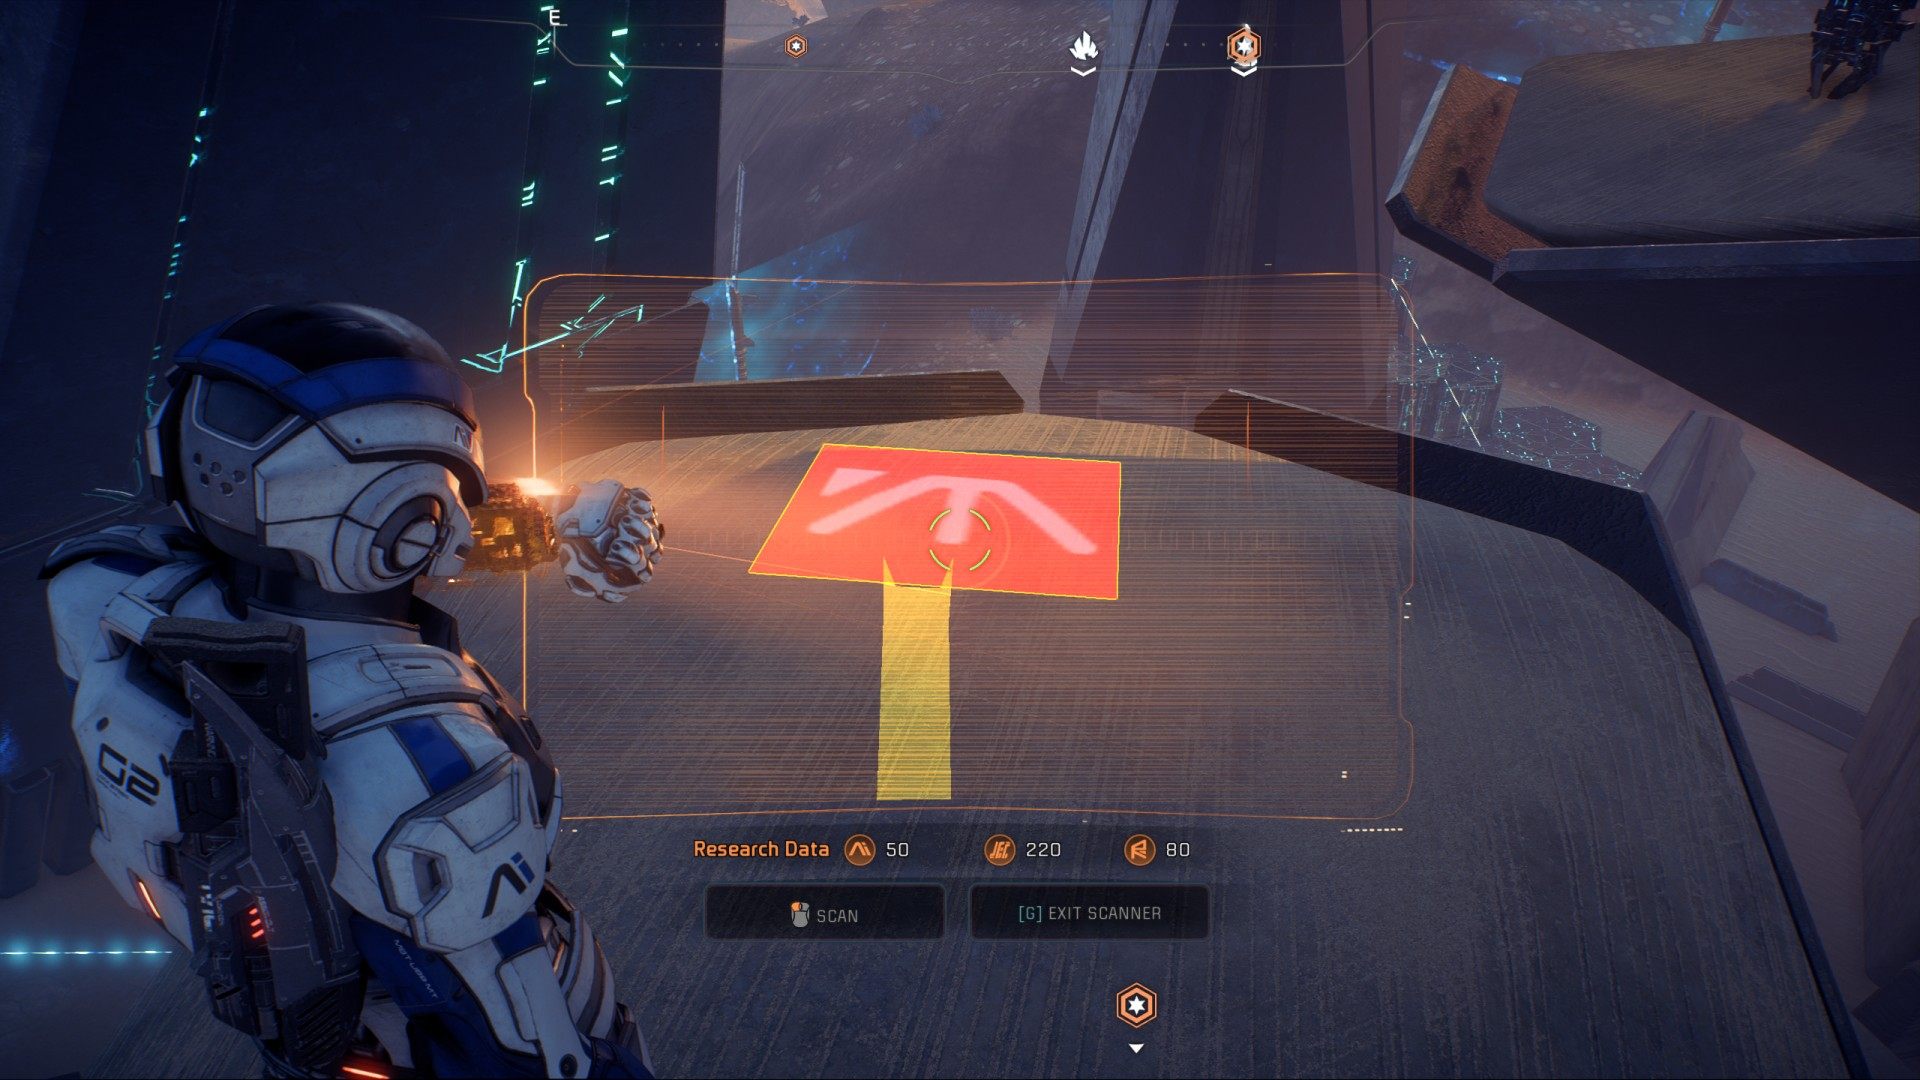
6.5.2. Scan the power pylons to find an interface
Use your scanner and scan the nearby pylon.

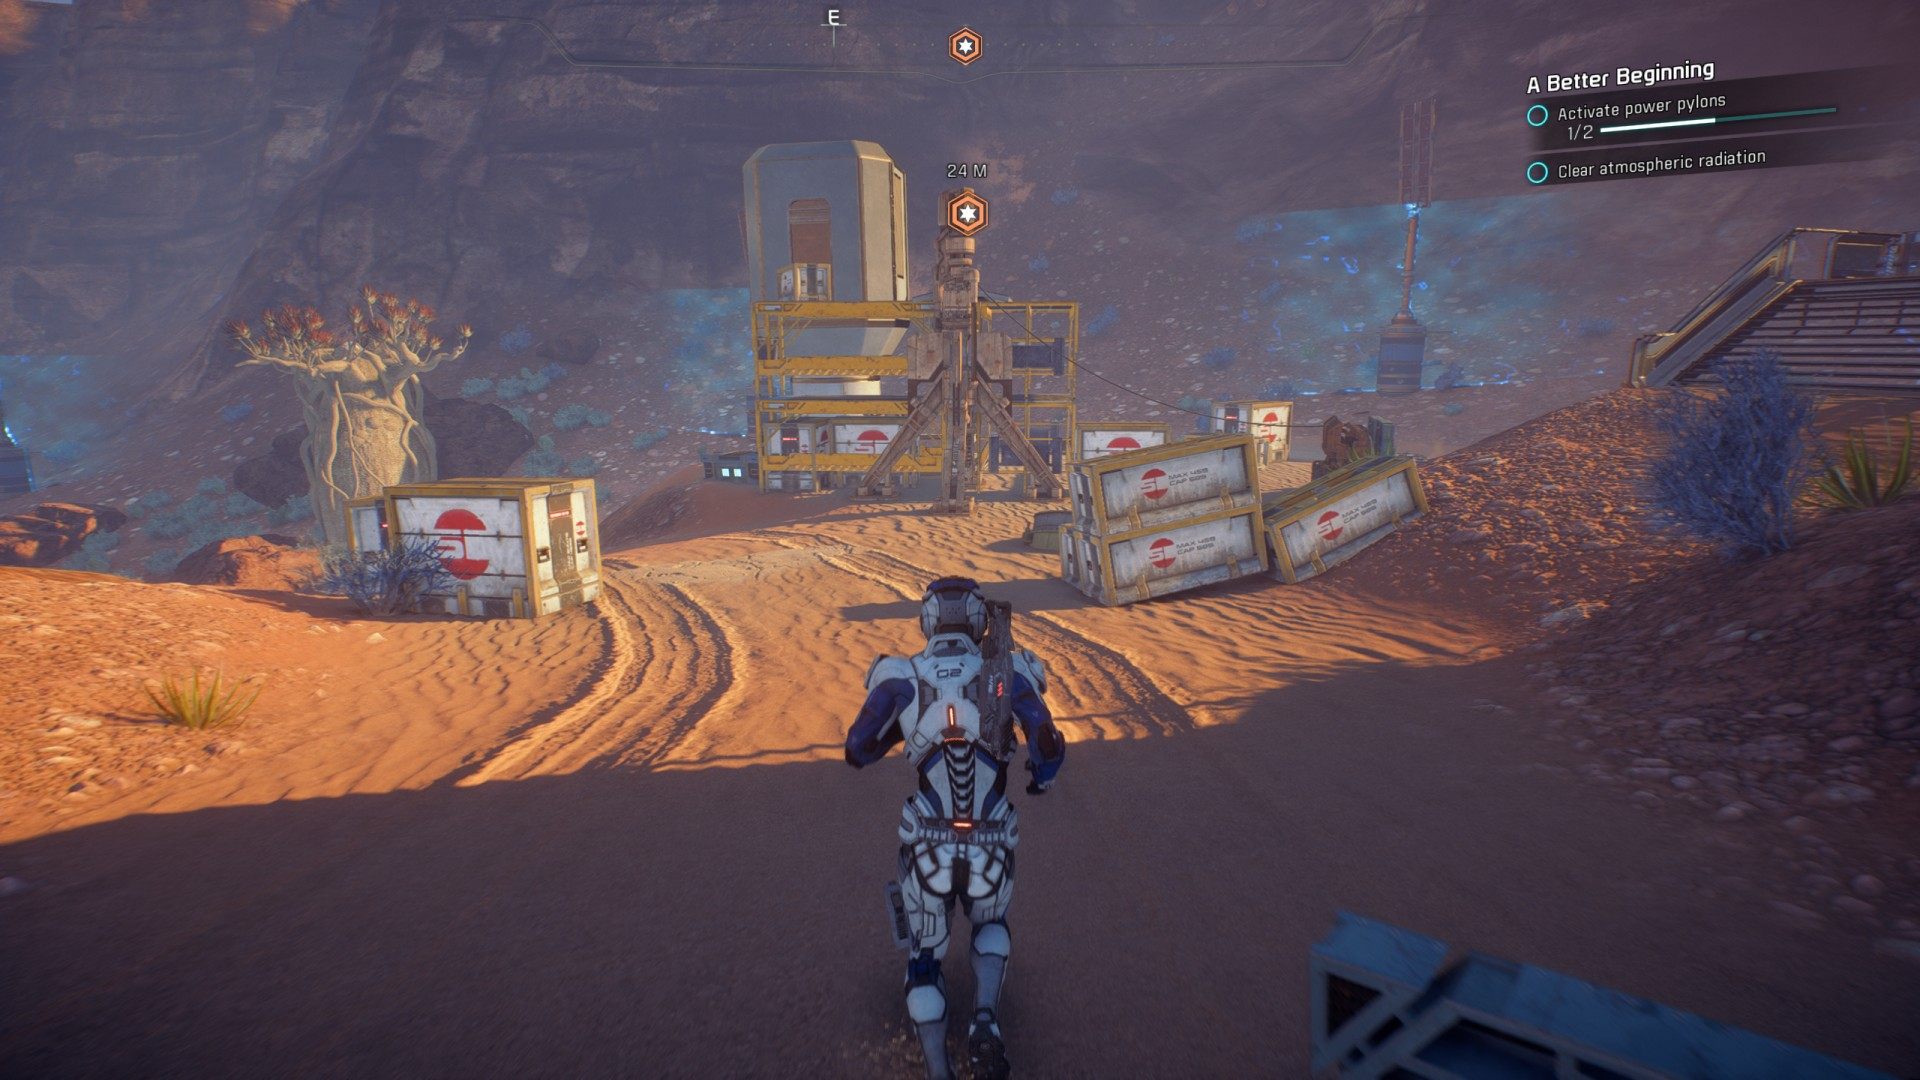
6.5.3. Activate power pylons (x2)
Activate the pylon that you just scanned.
Power Pylon #1
Power Pylon #2
Find and activate the second pylon.
6.5.4. Defeat the Kett
Kill the kett who will appear.
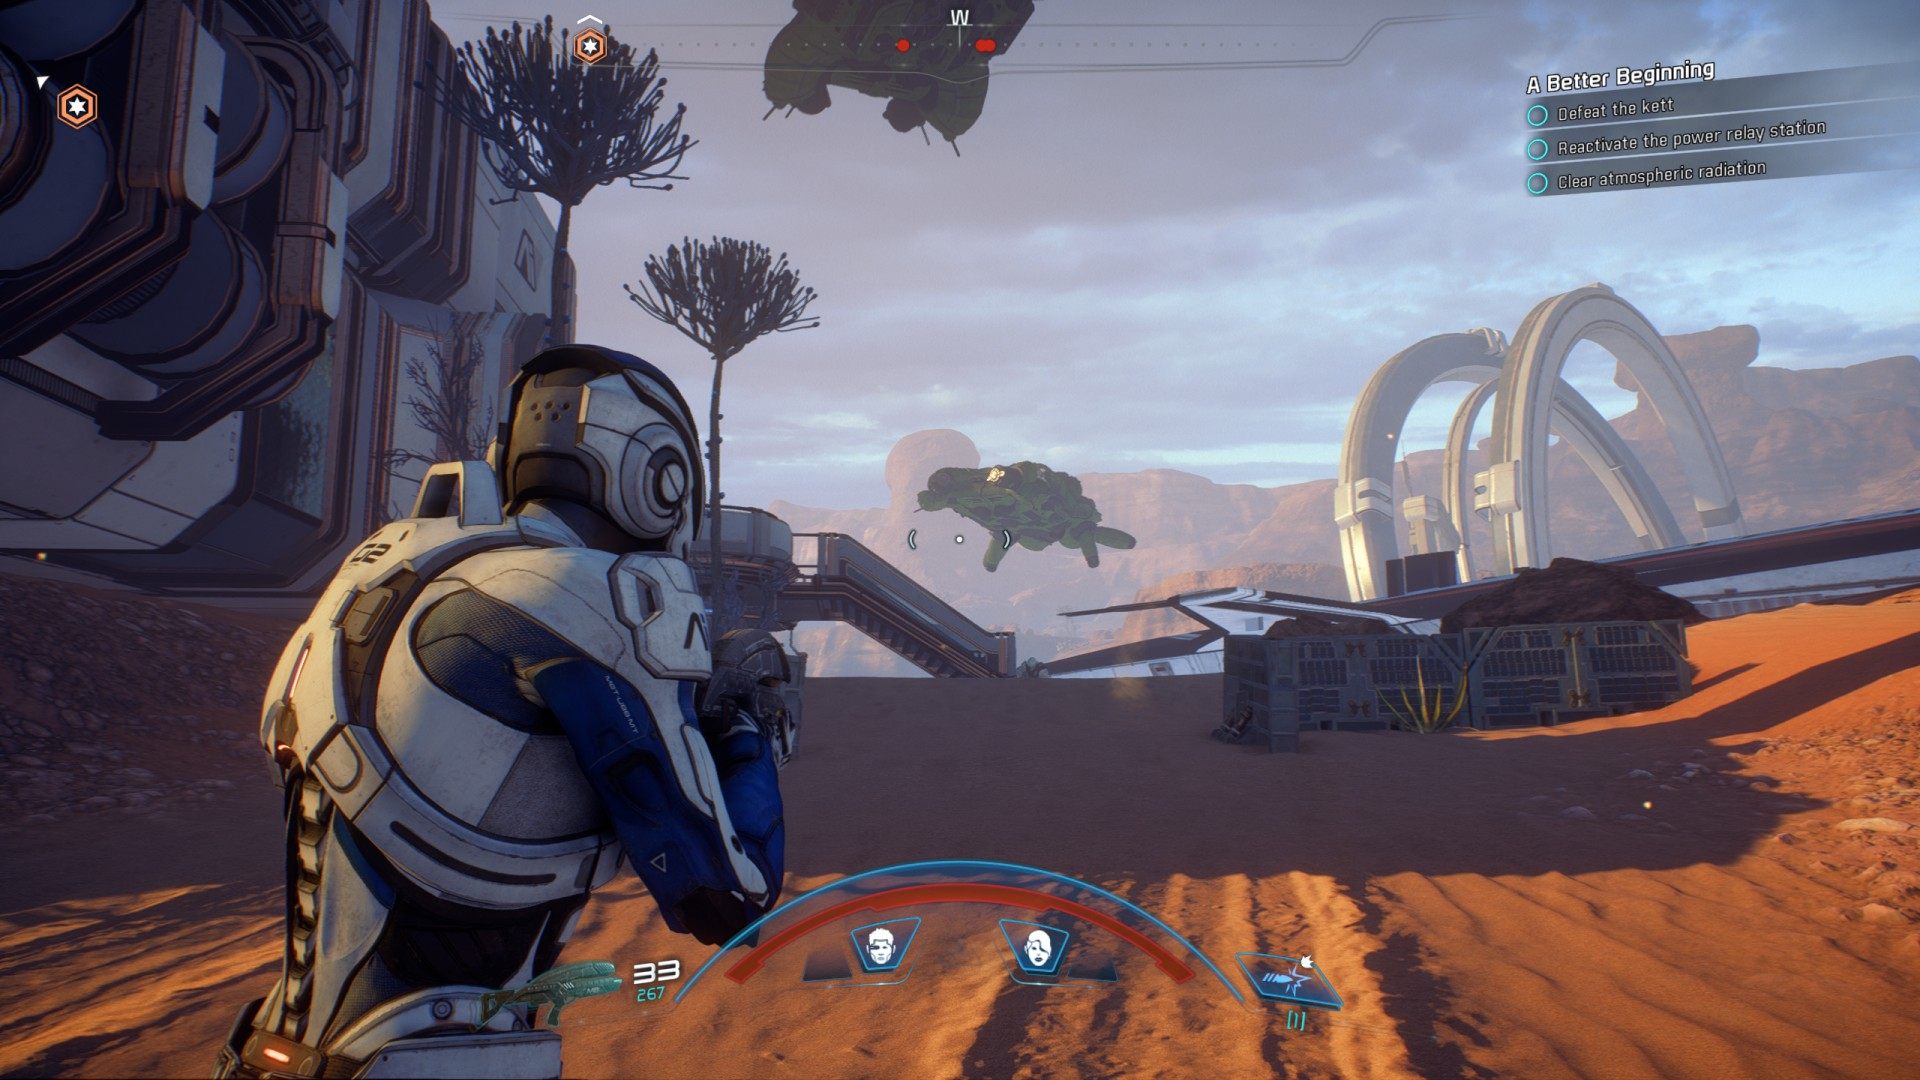
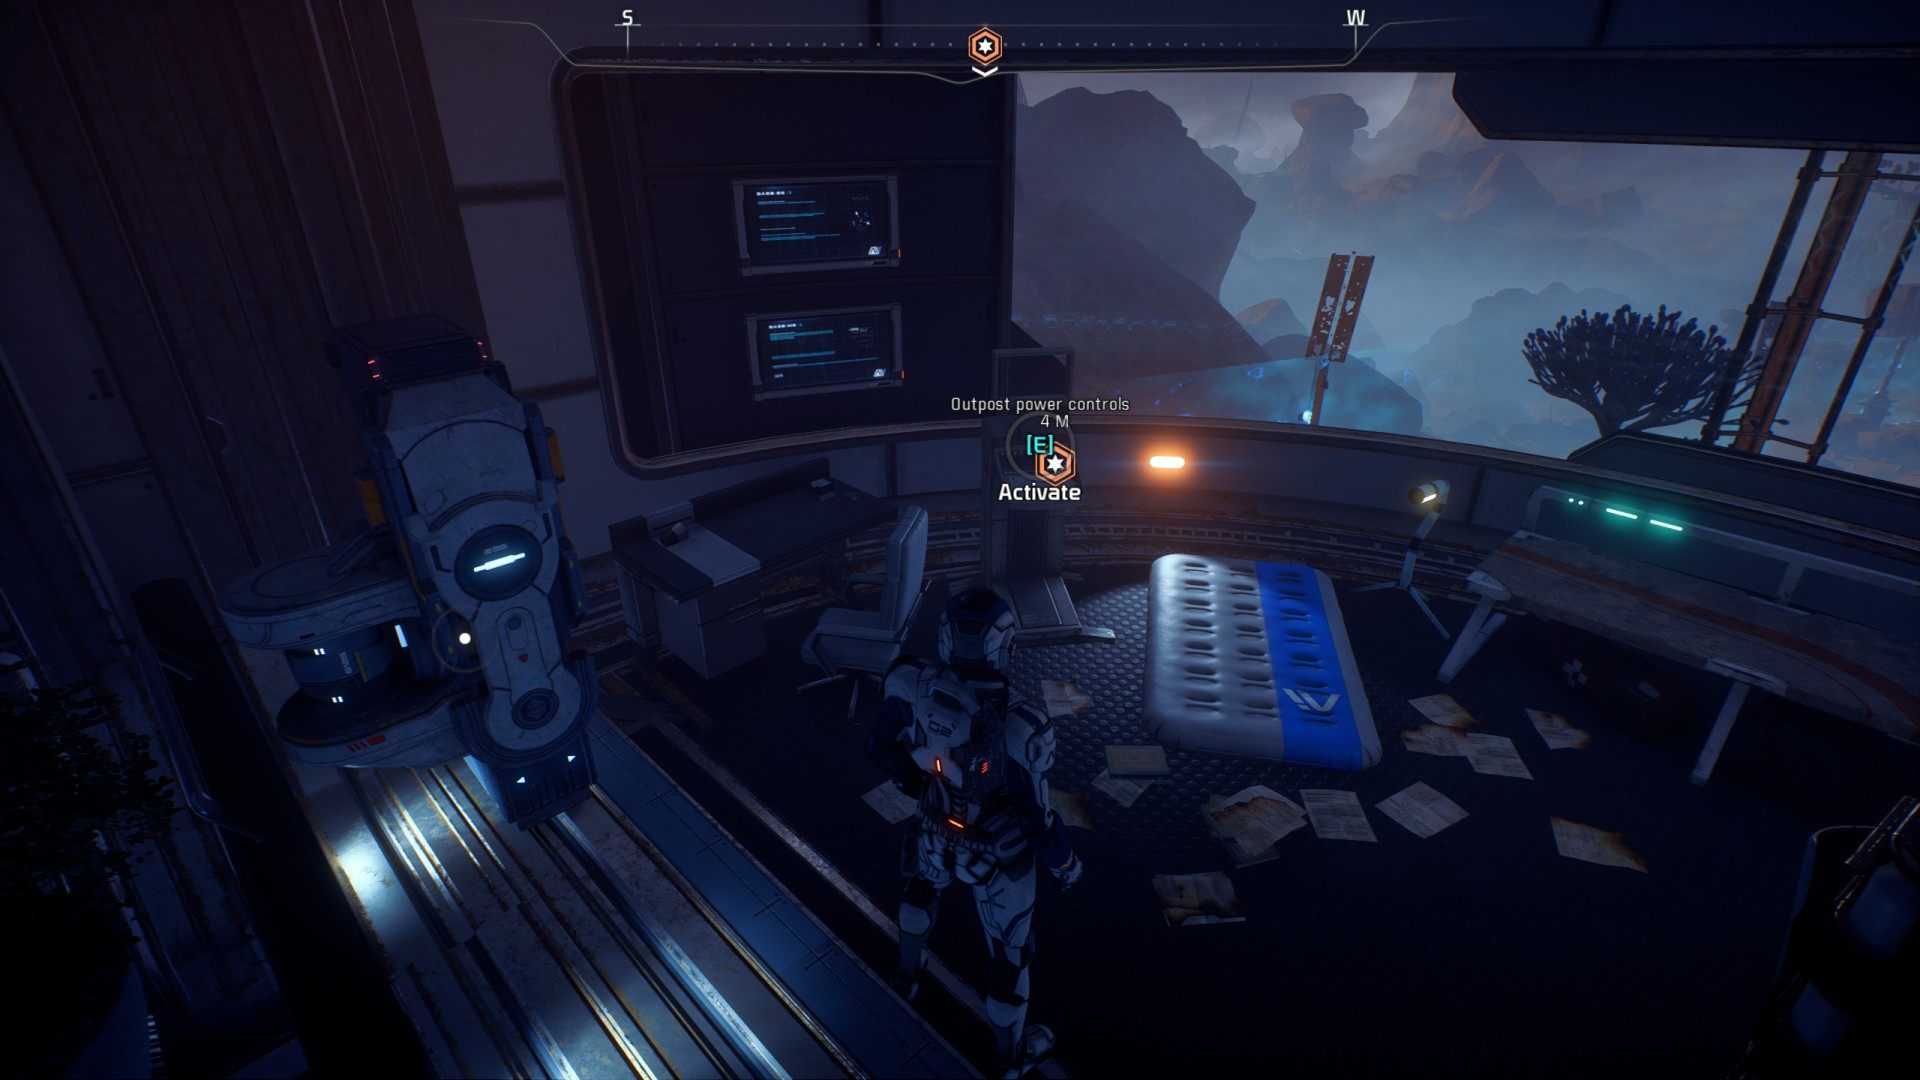
Go back to the power relay station, you can now go inside. Use the outpost power controls.
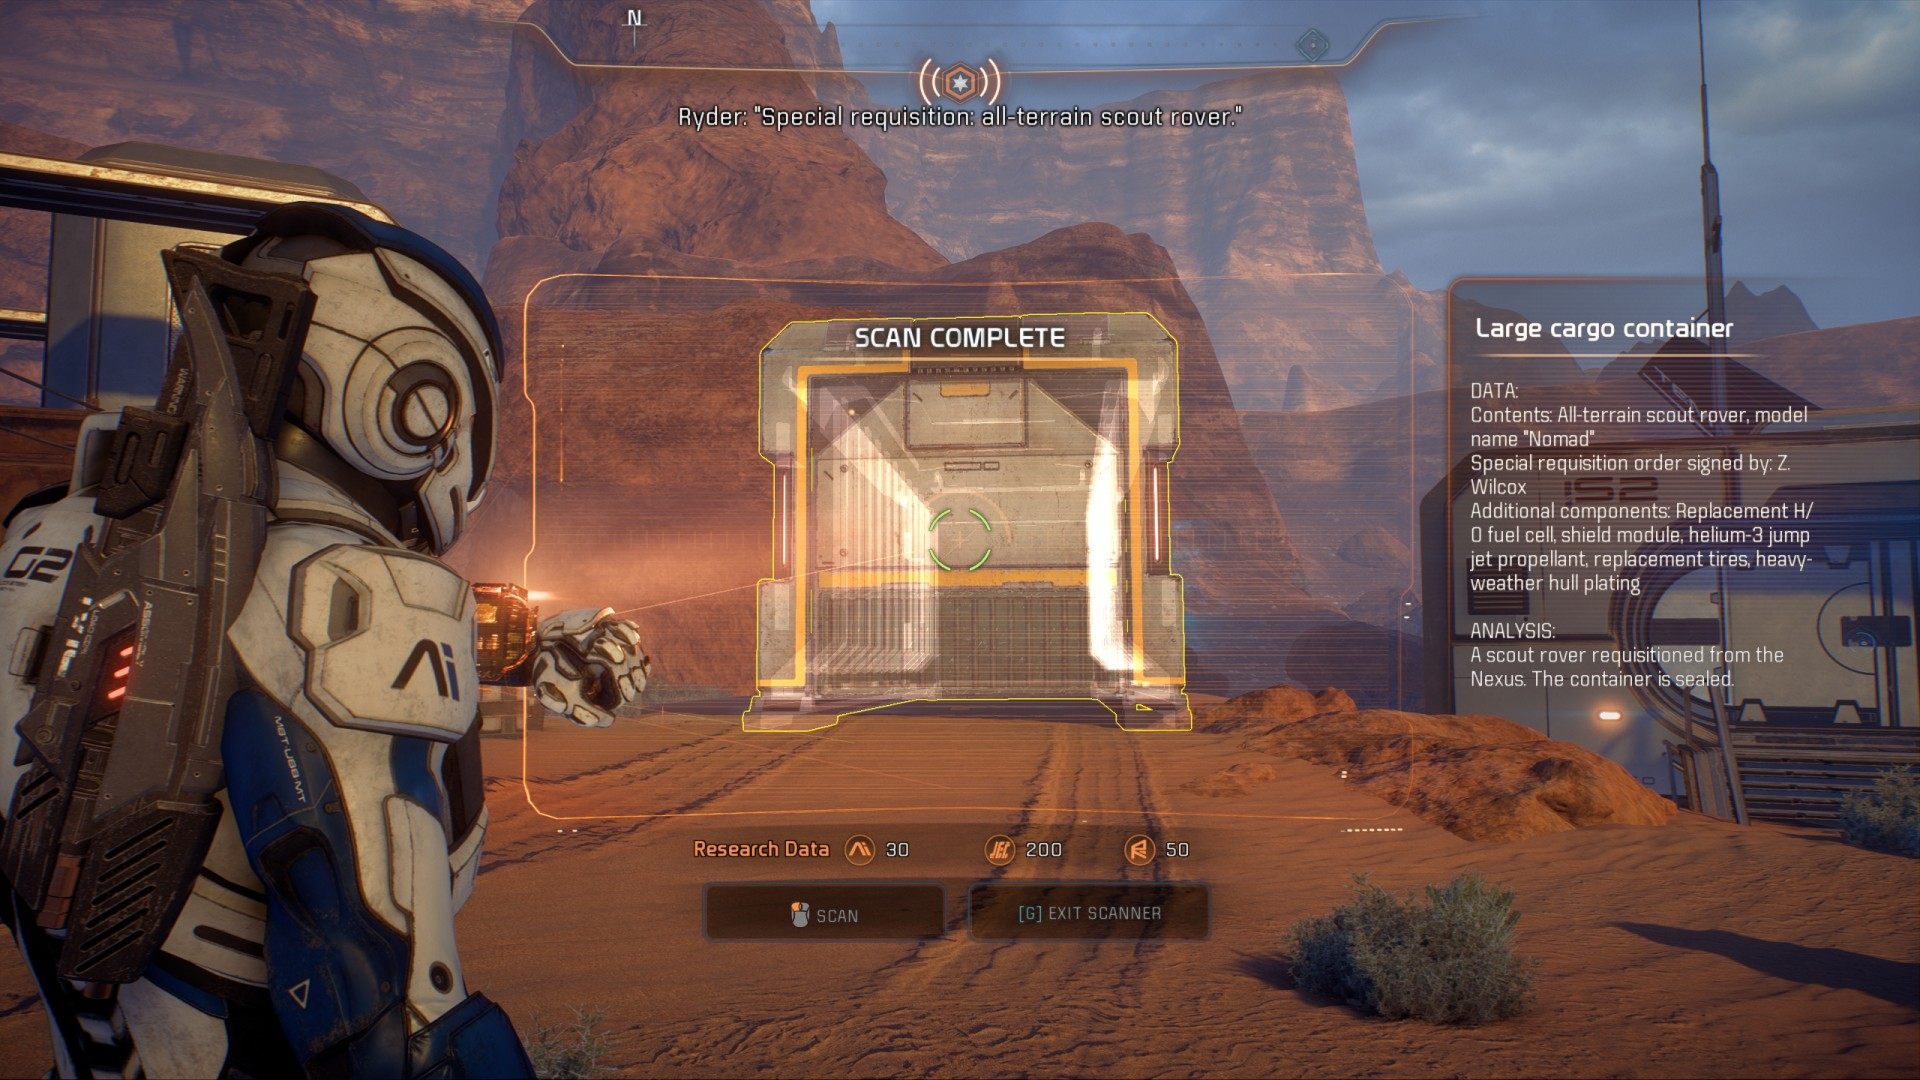
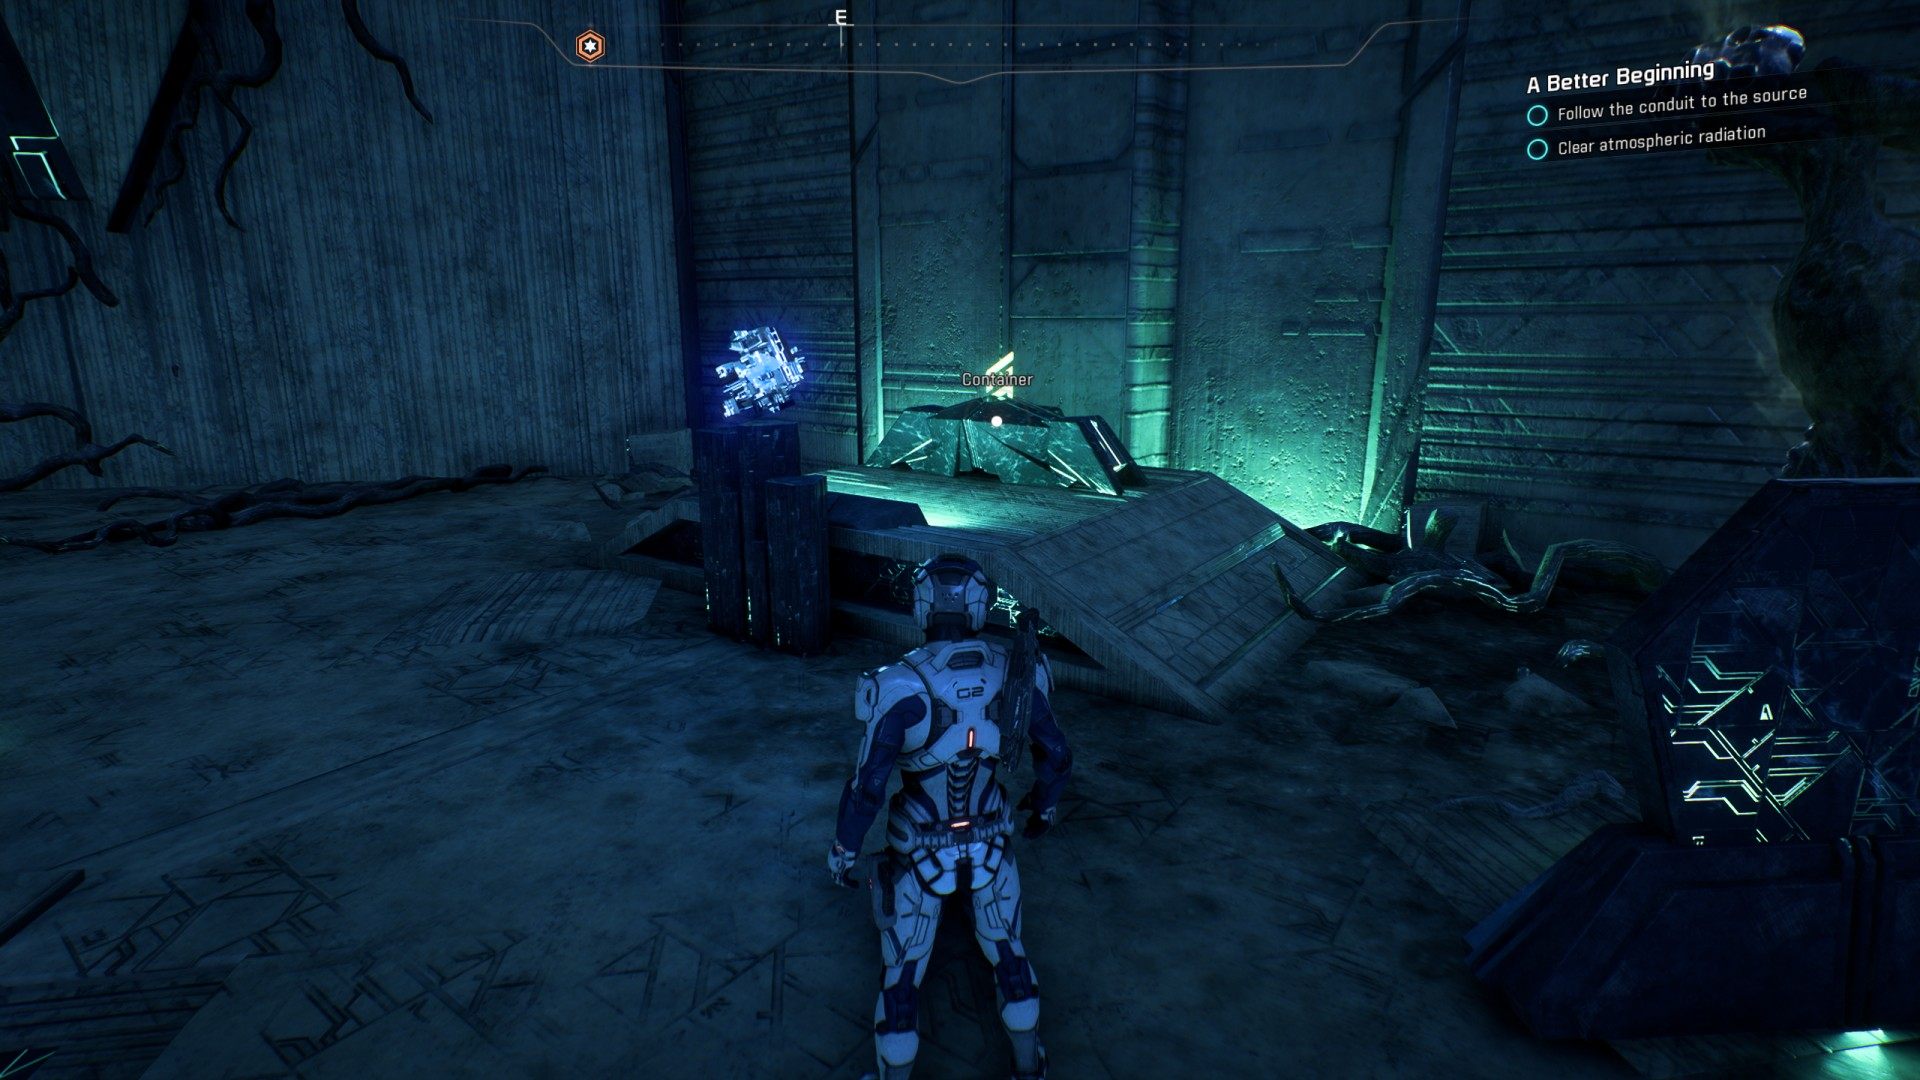
6.6. Scan containers to find a vehicle
Scan the big container. It's locked and you need a security code to open it.
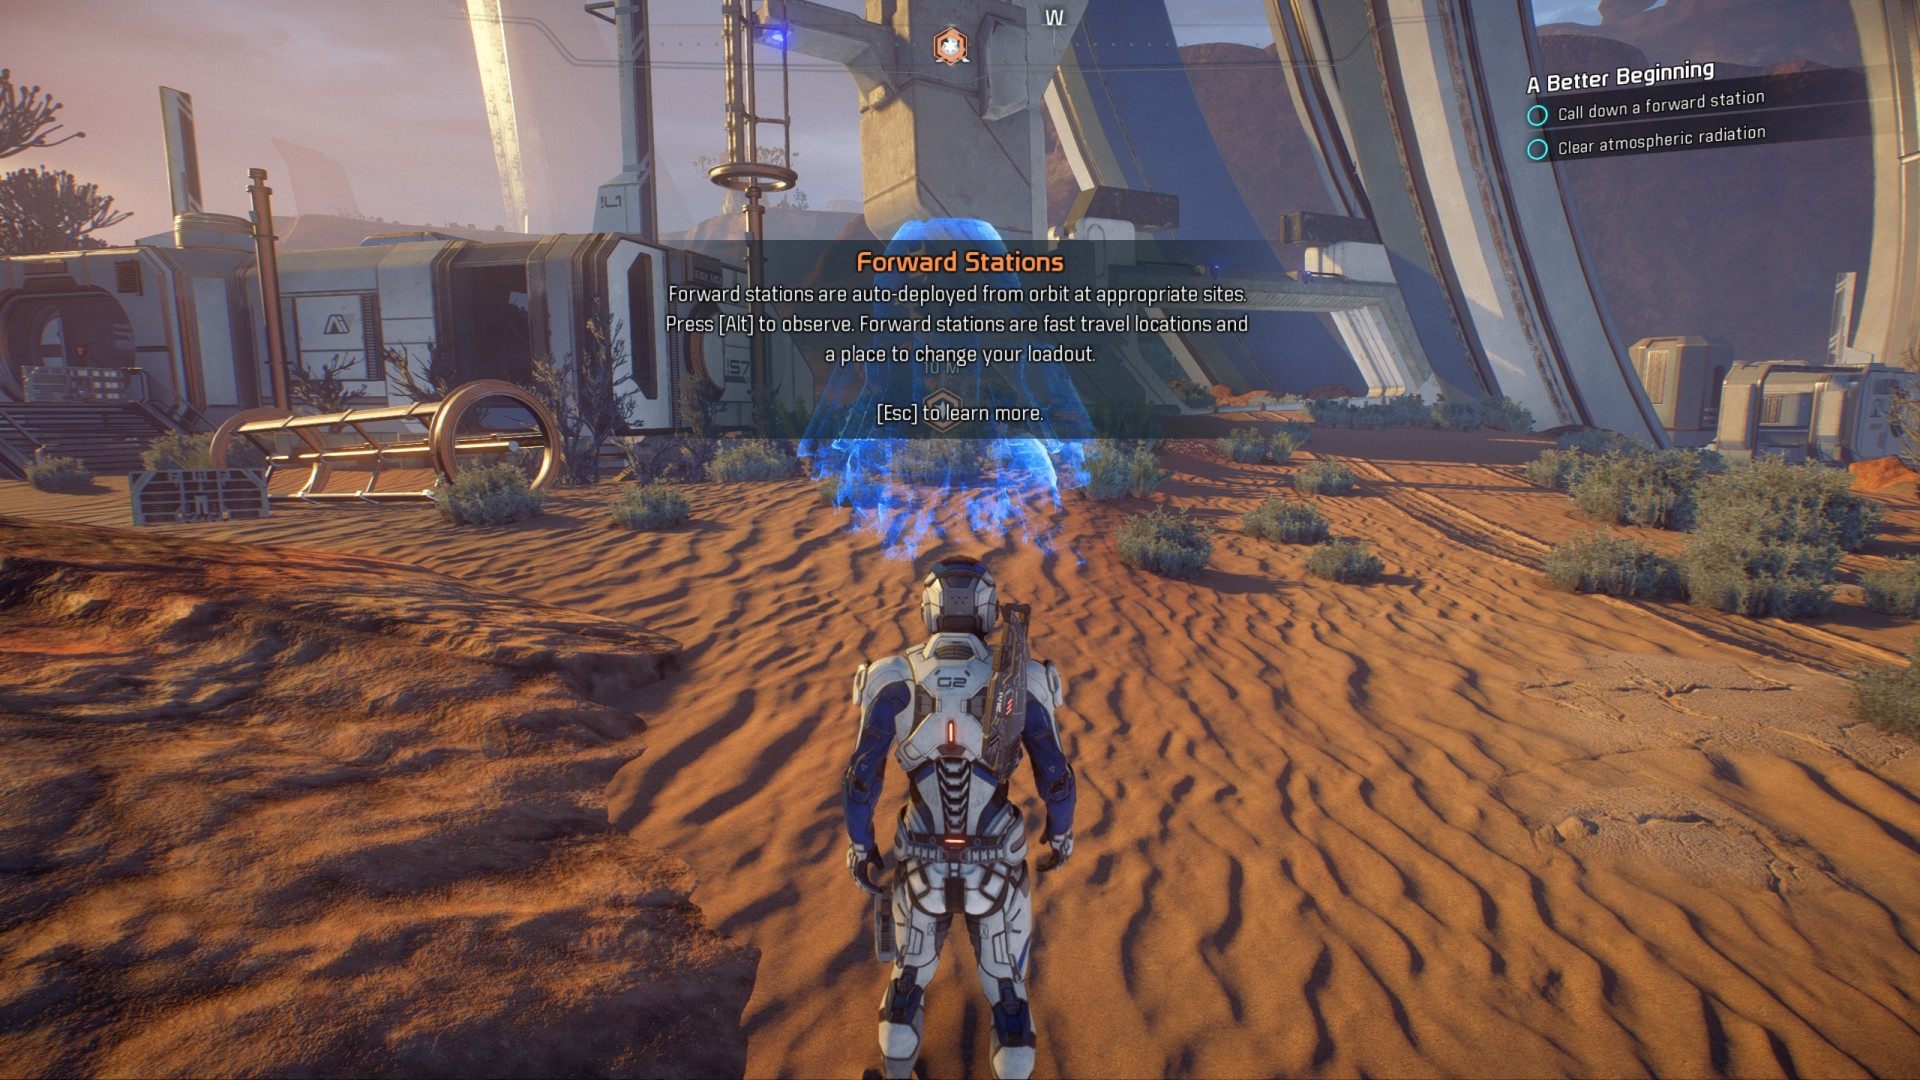
6.7. Call down a forward station
Go to the nearby, marked location. A forward station will be automatically called down.
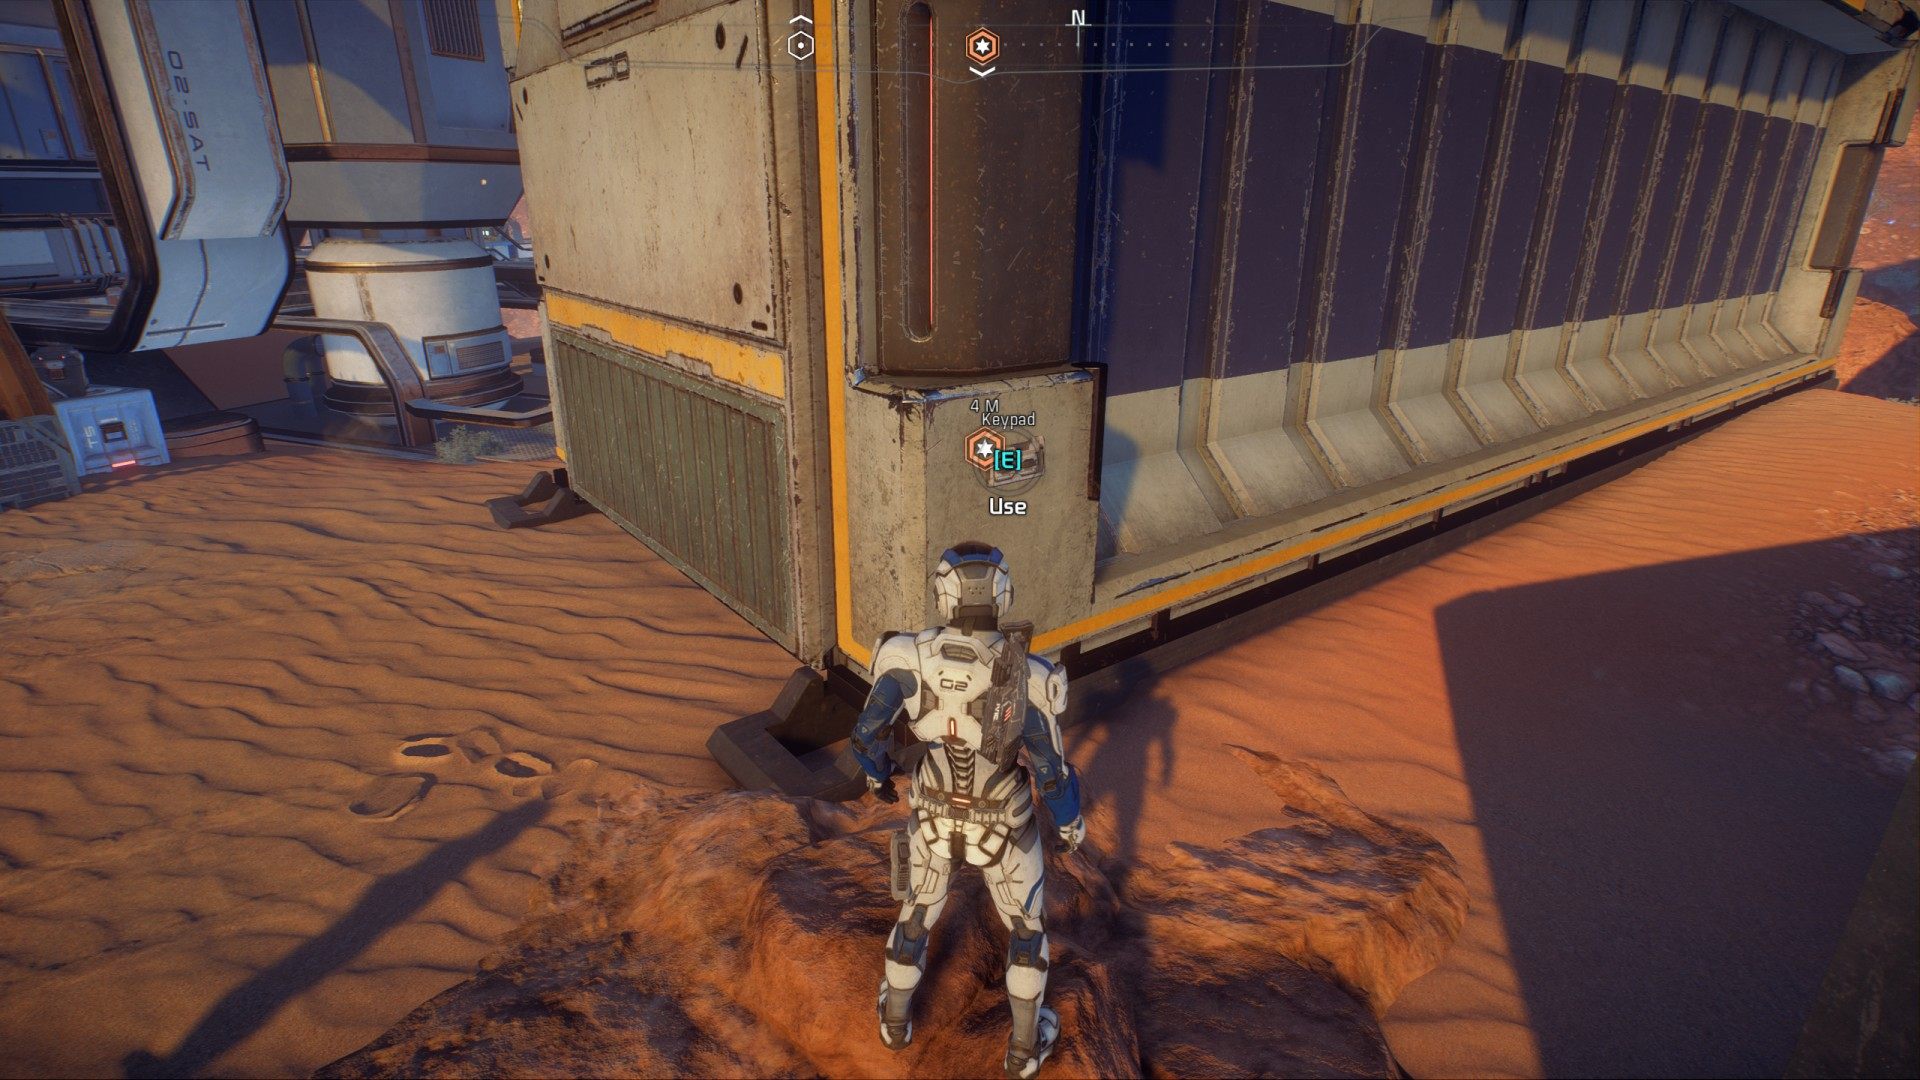
6.8. Unlock the Nomad container
Go back to the container and use the keypad.
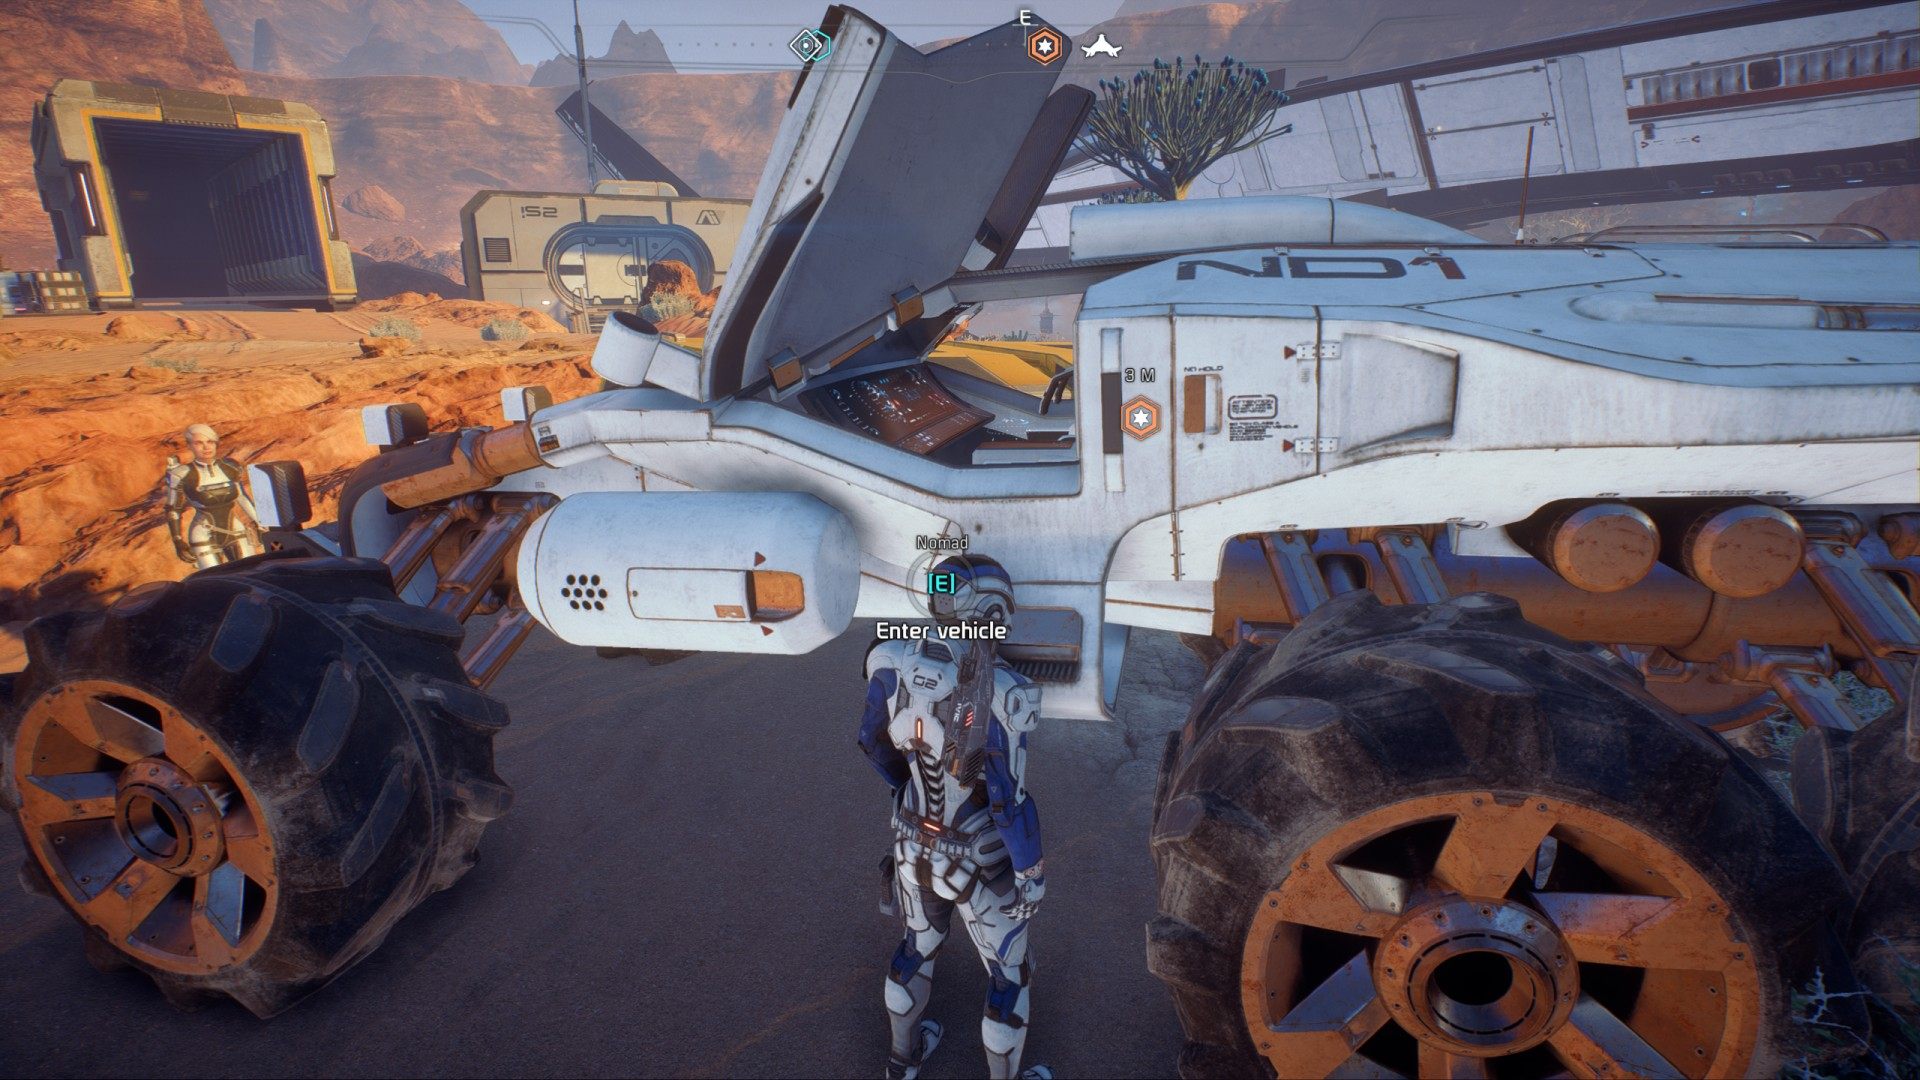
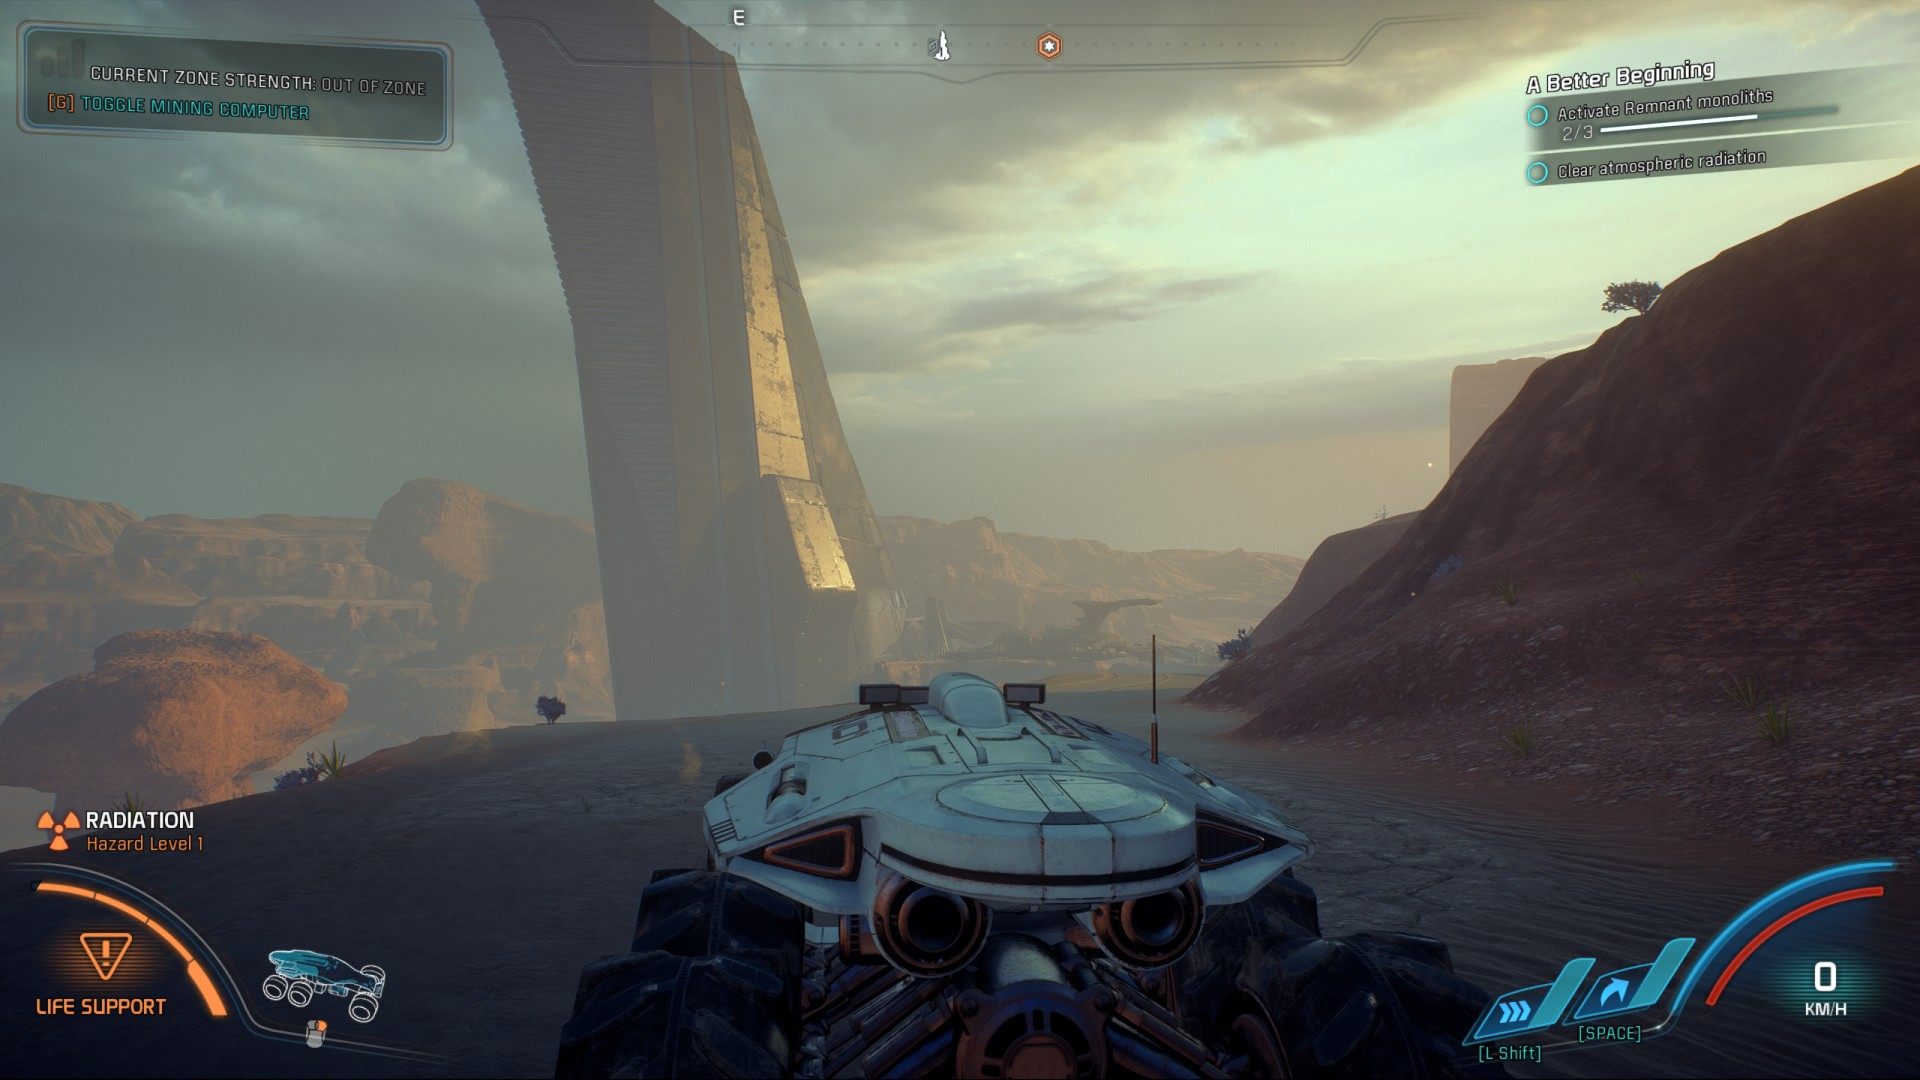
6.9. Get in the Nomad
Get in the Nomad.
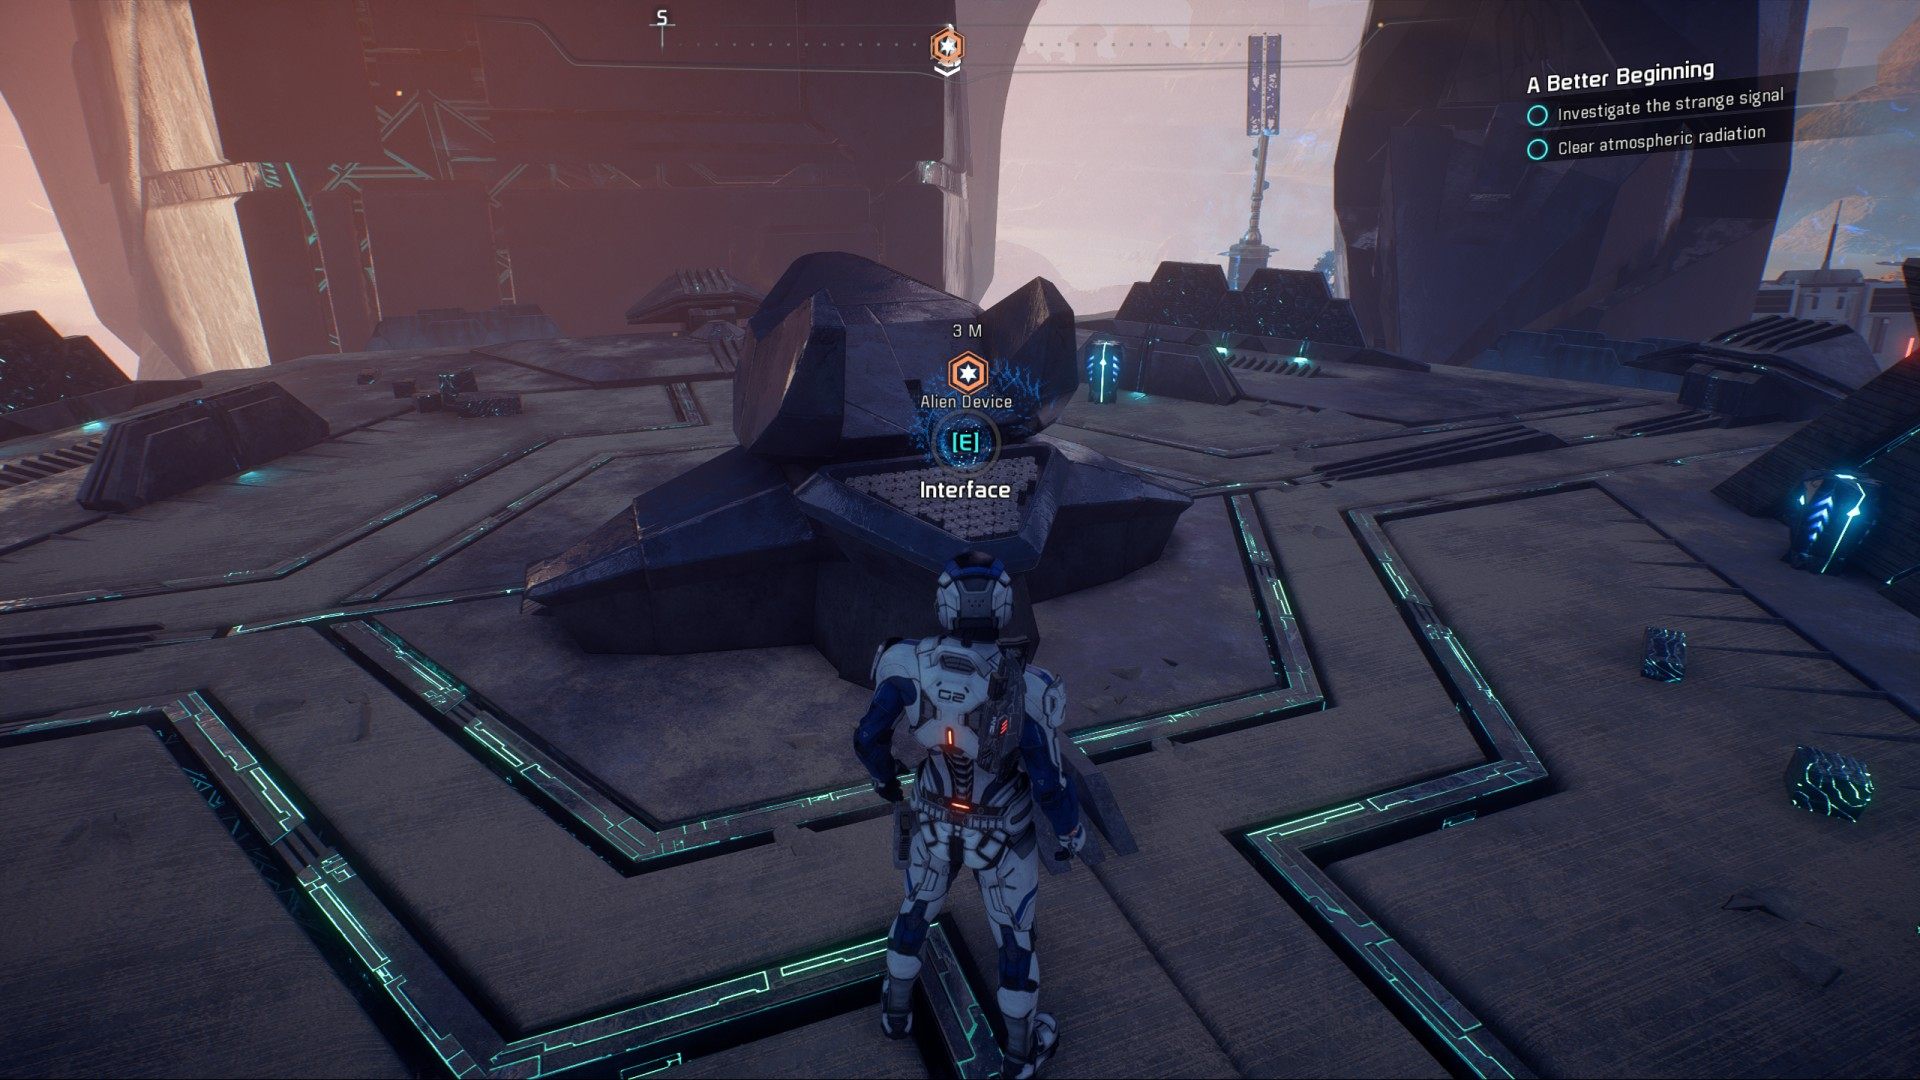
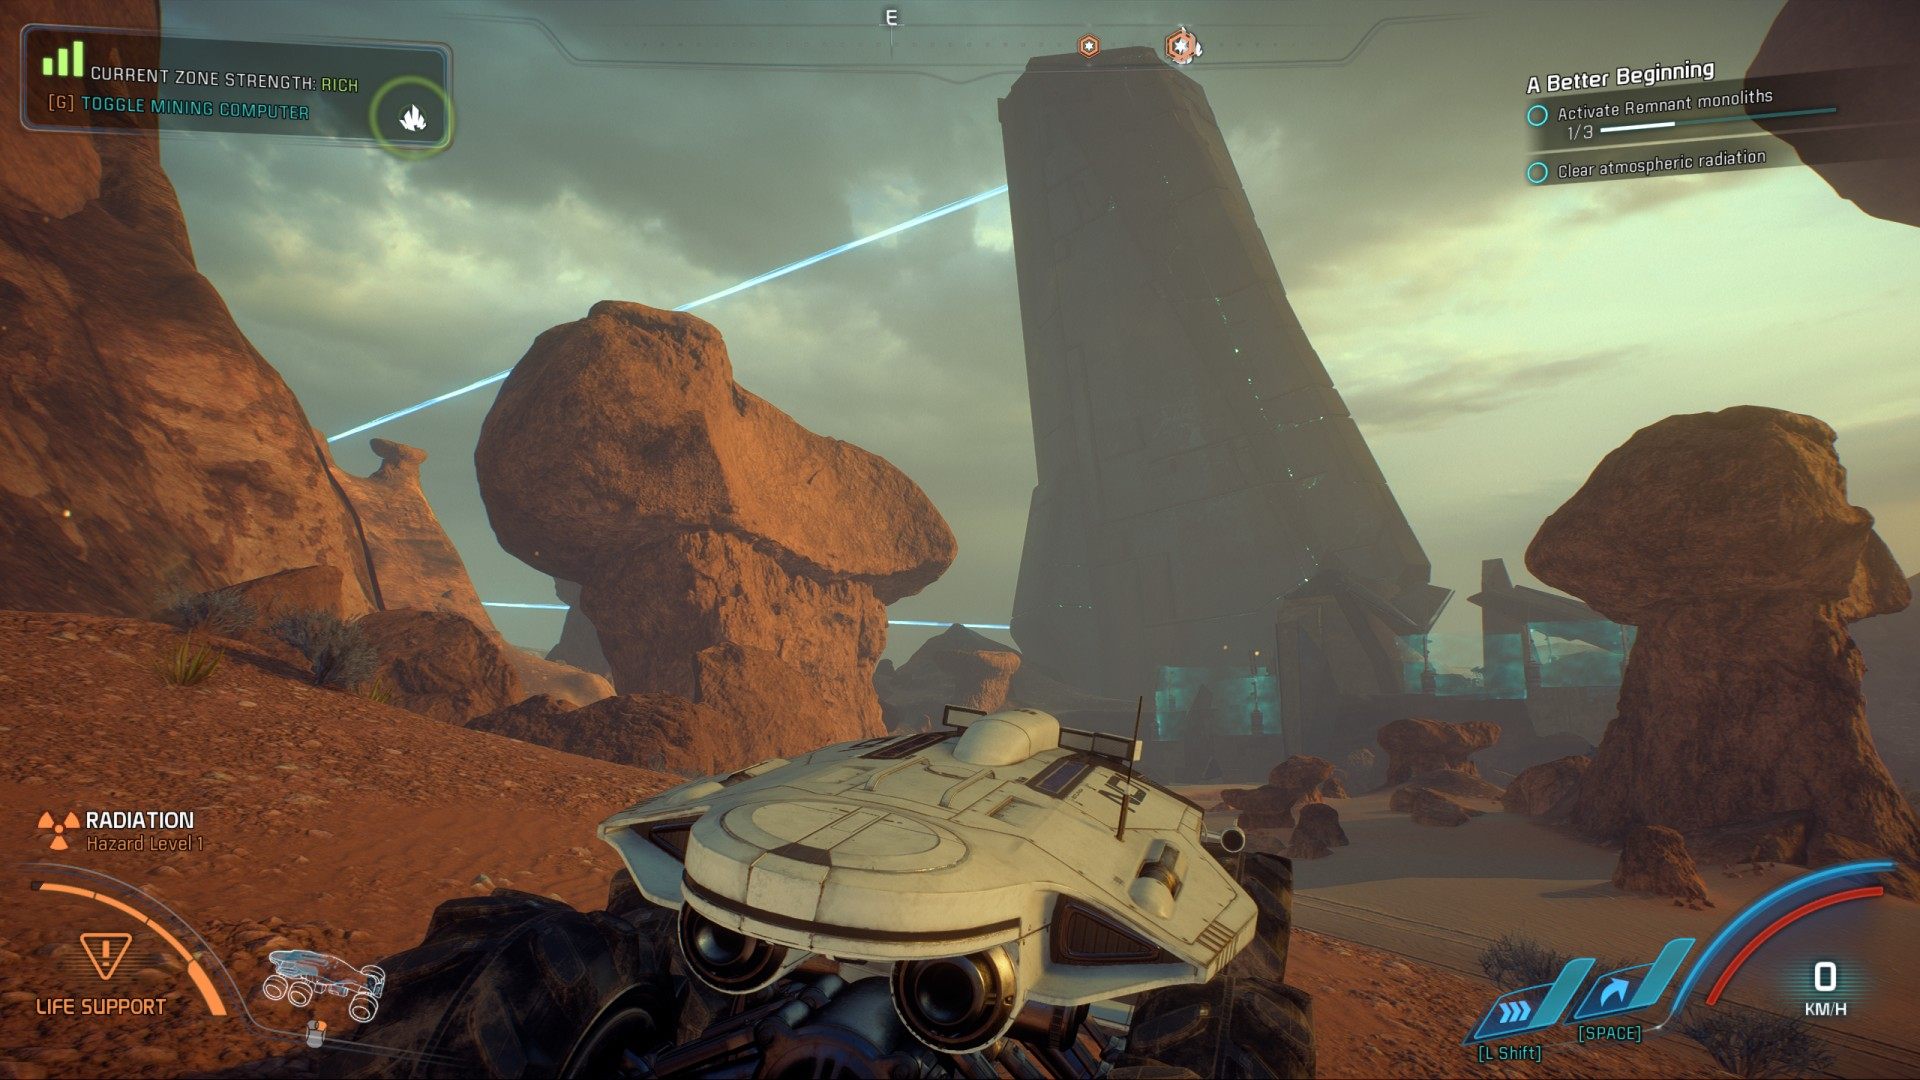
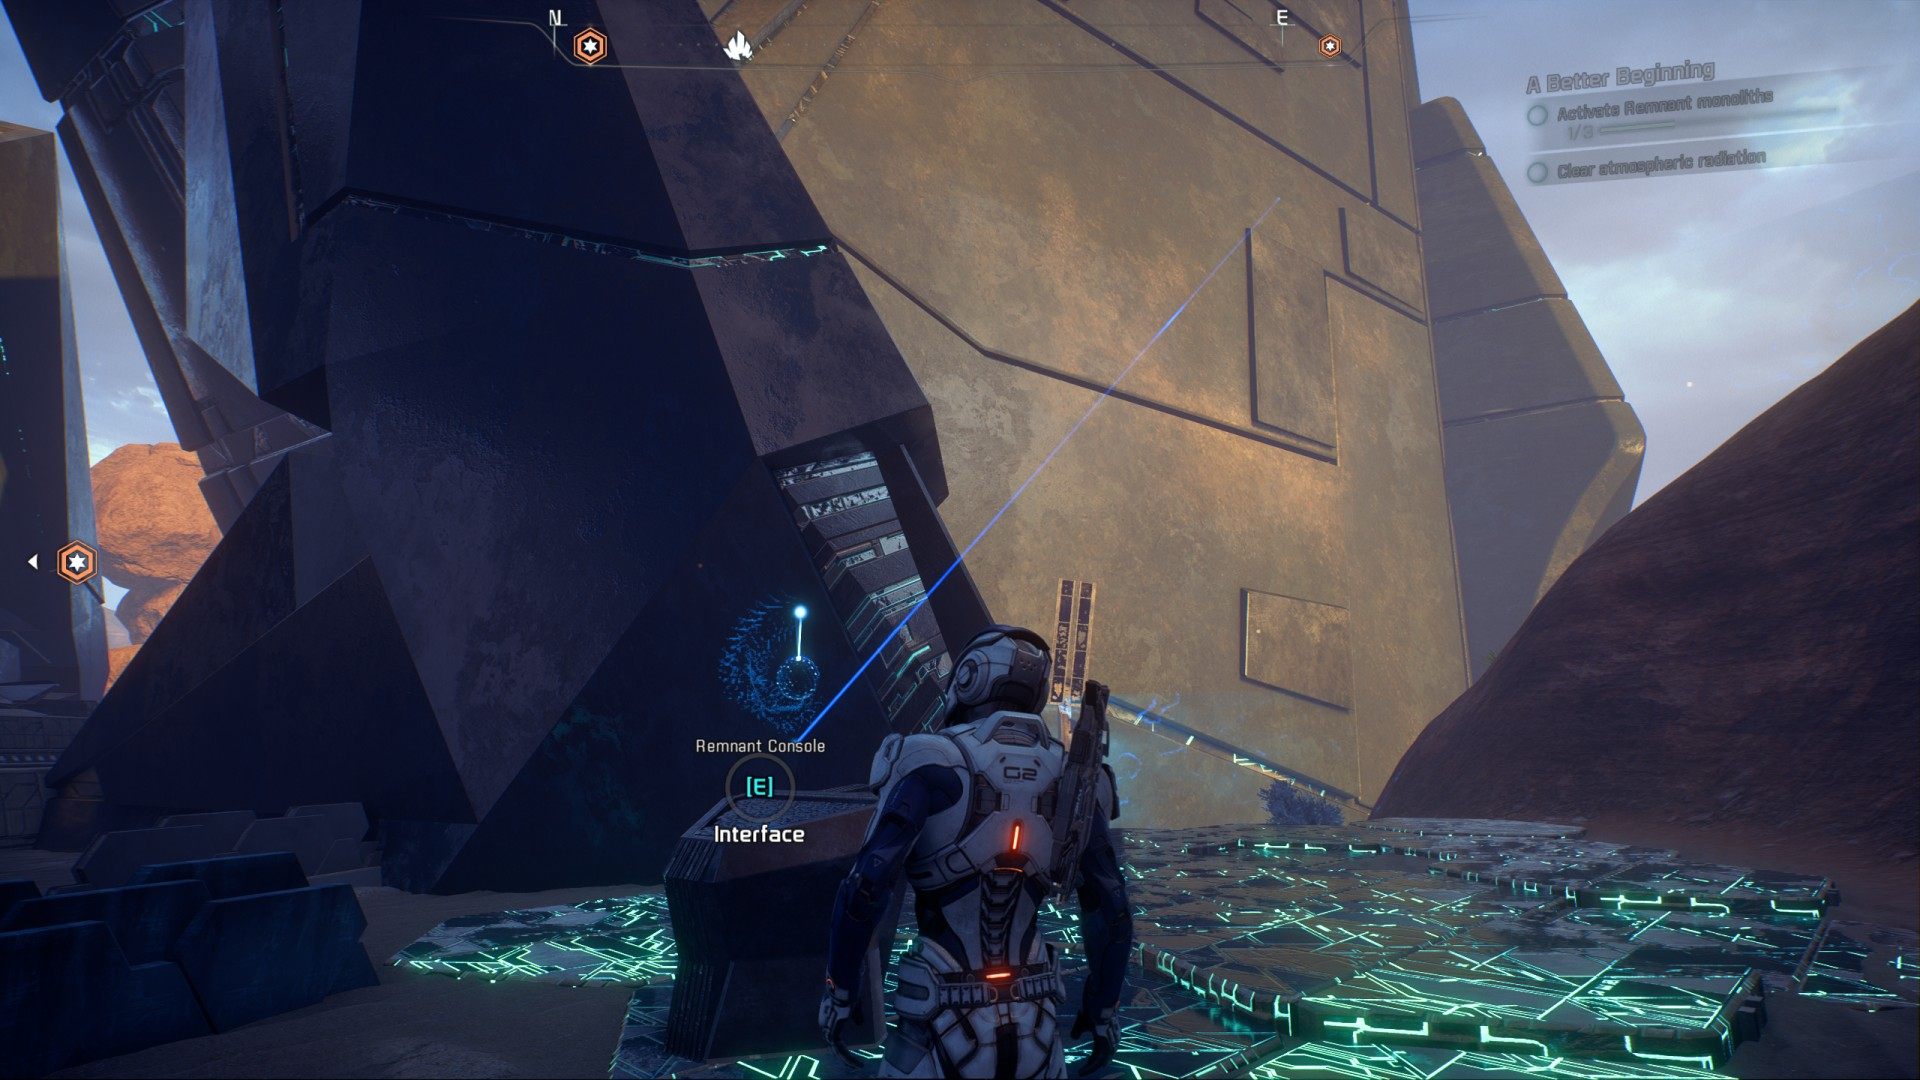
6.10. Investigate the strange signal
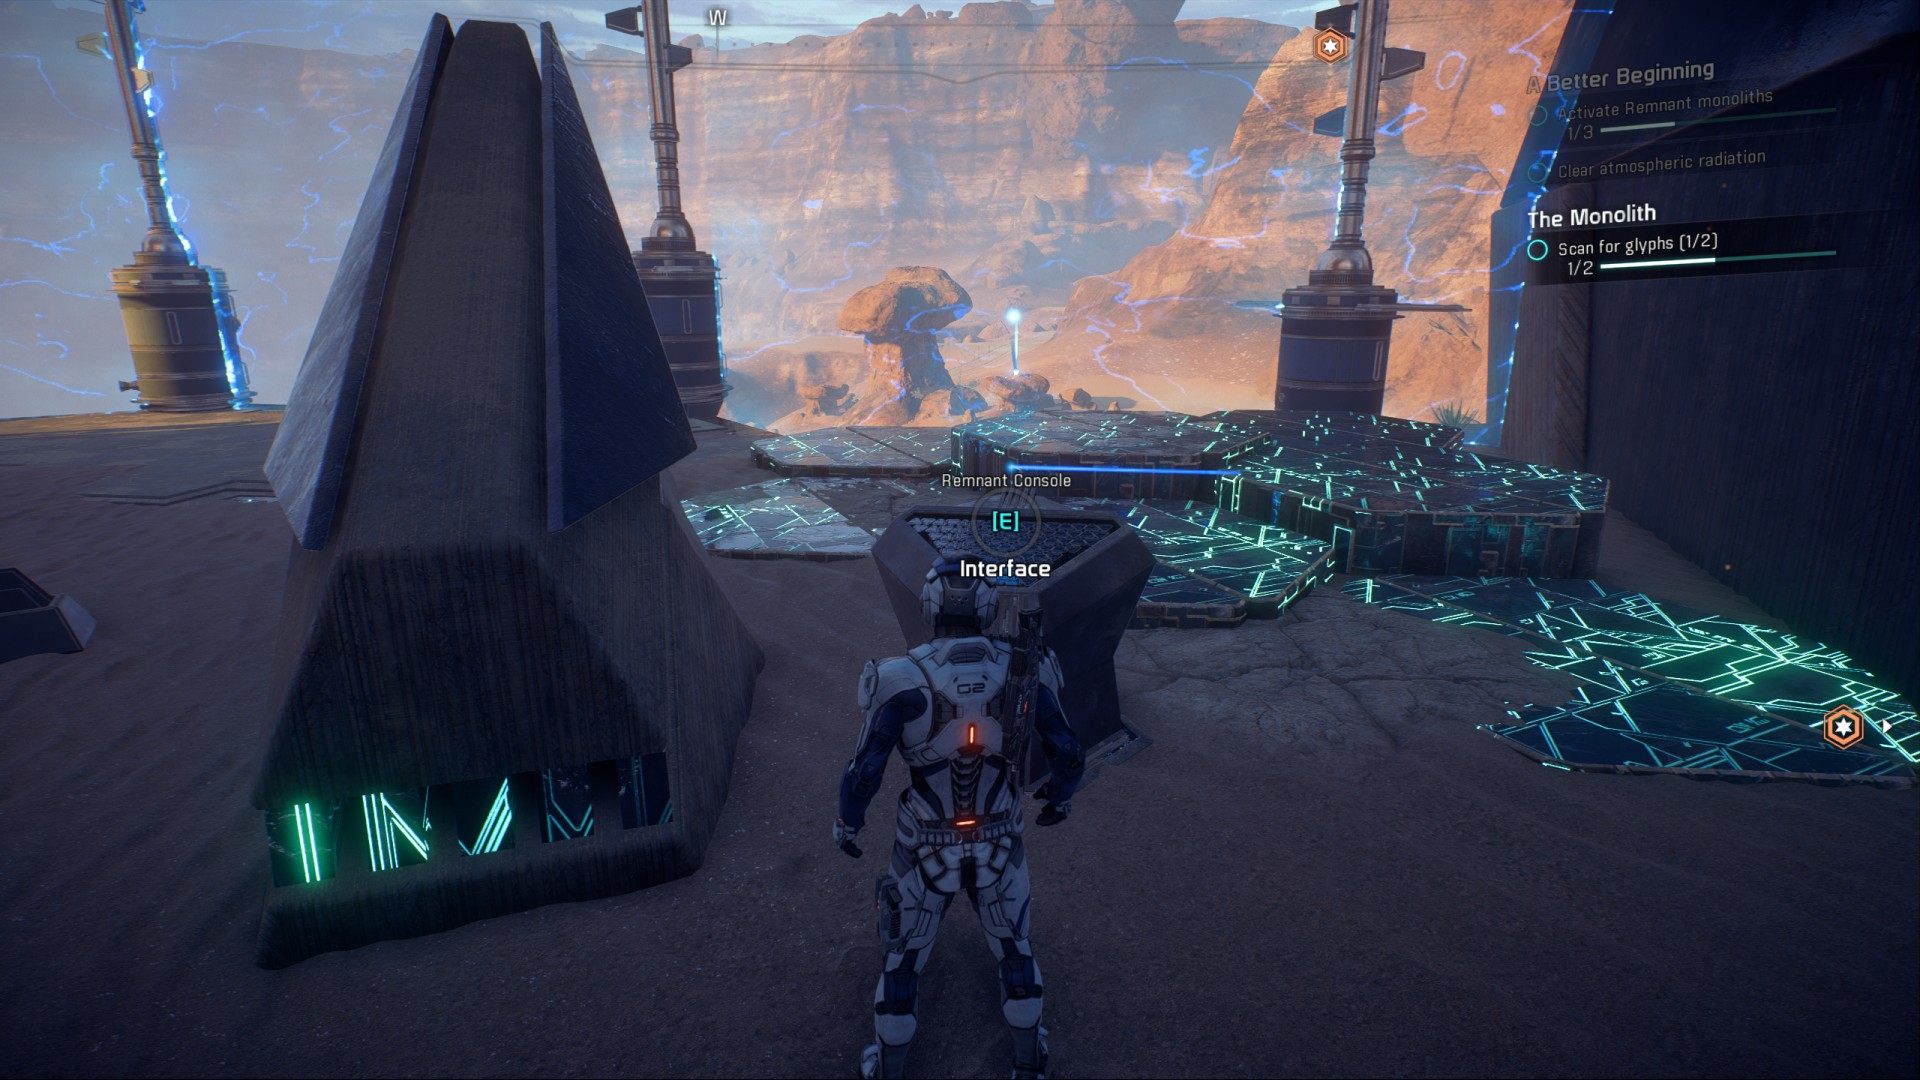
Drive to the monolith, and interact with the alien console.

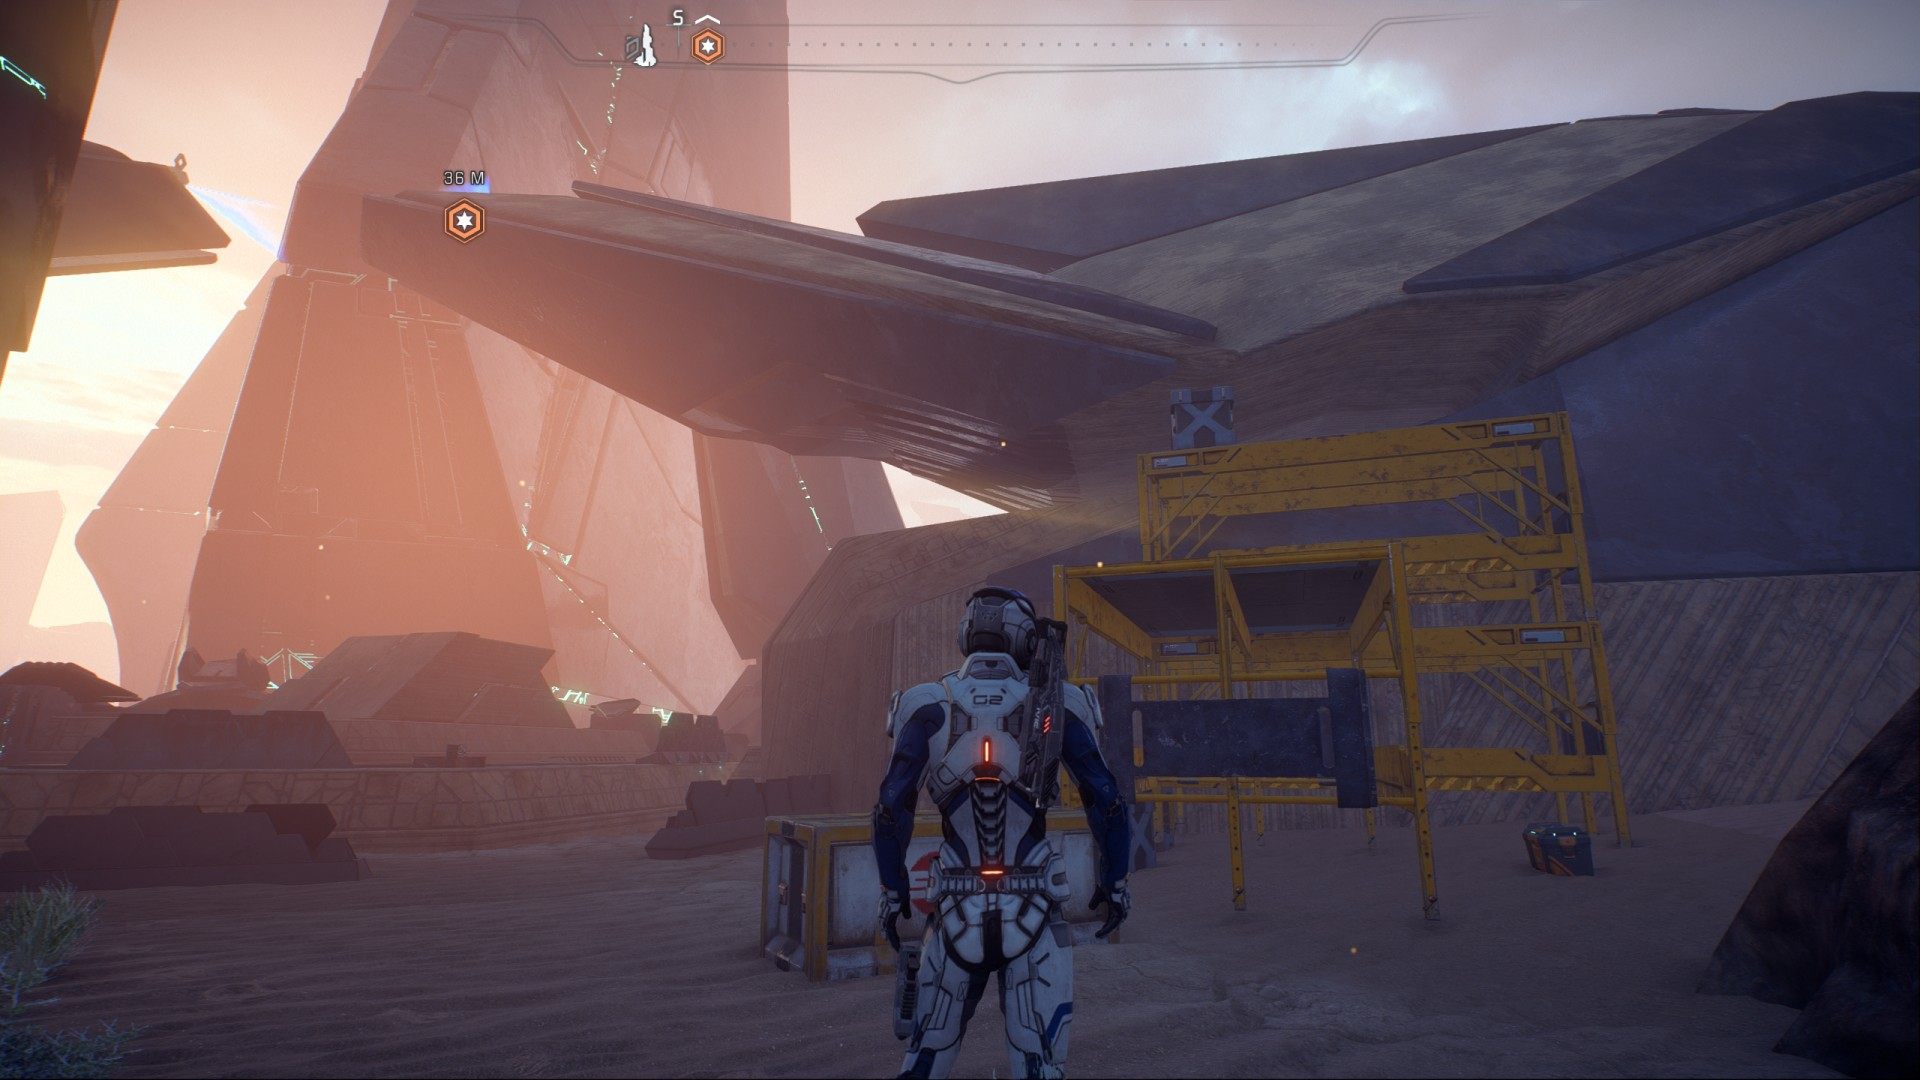
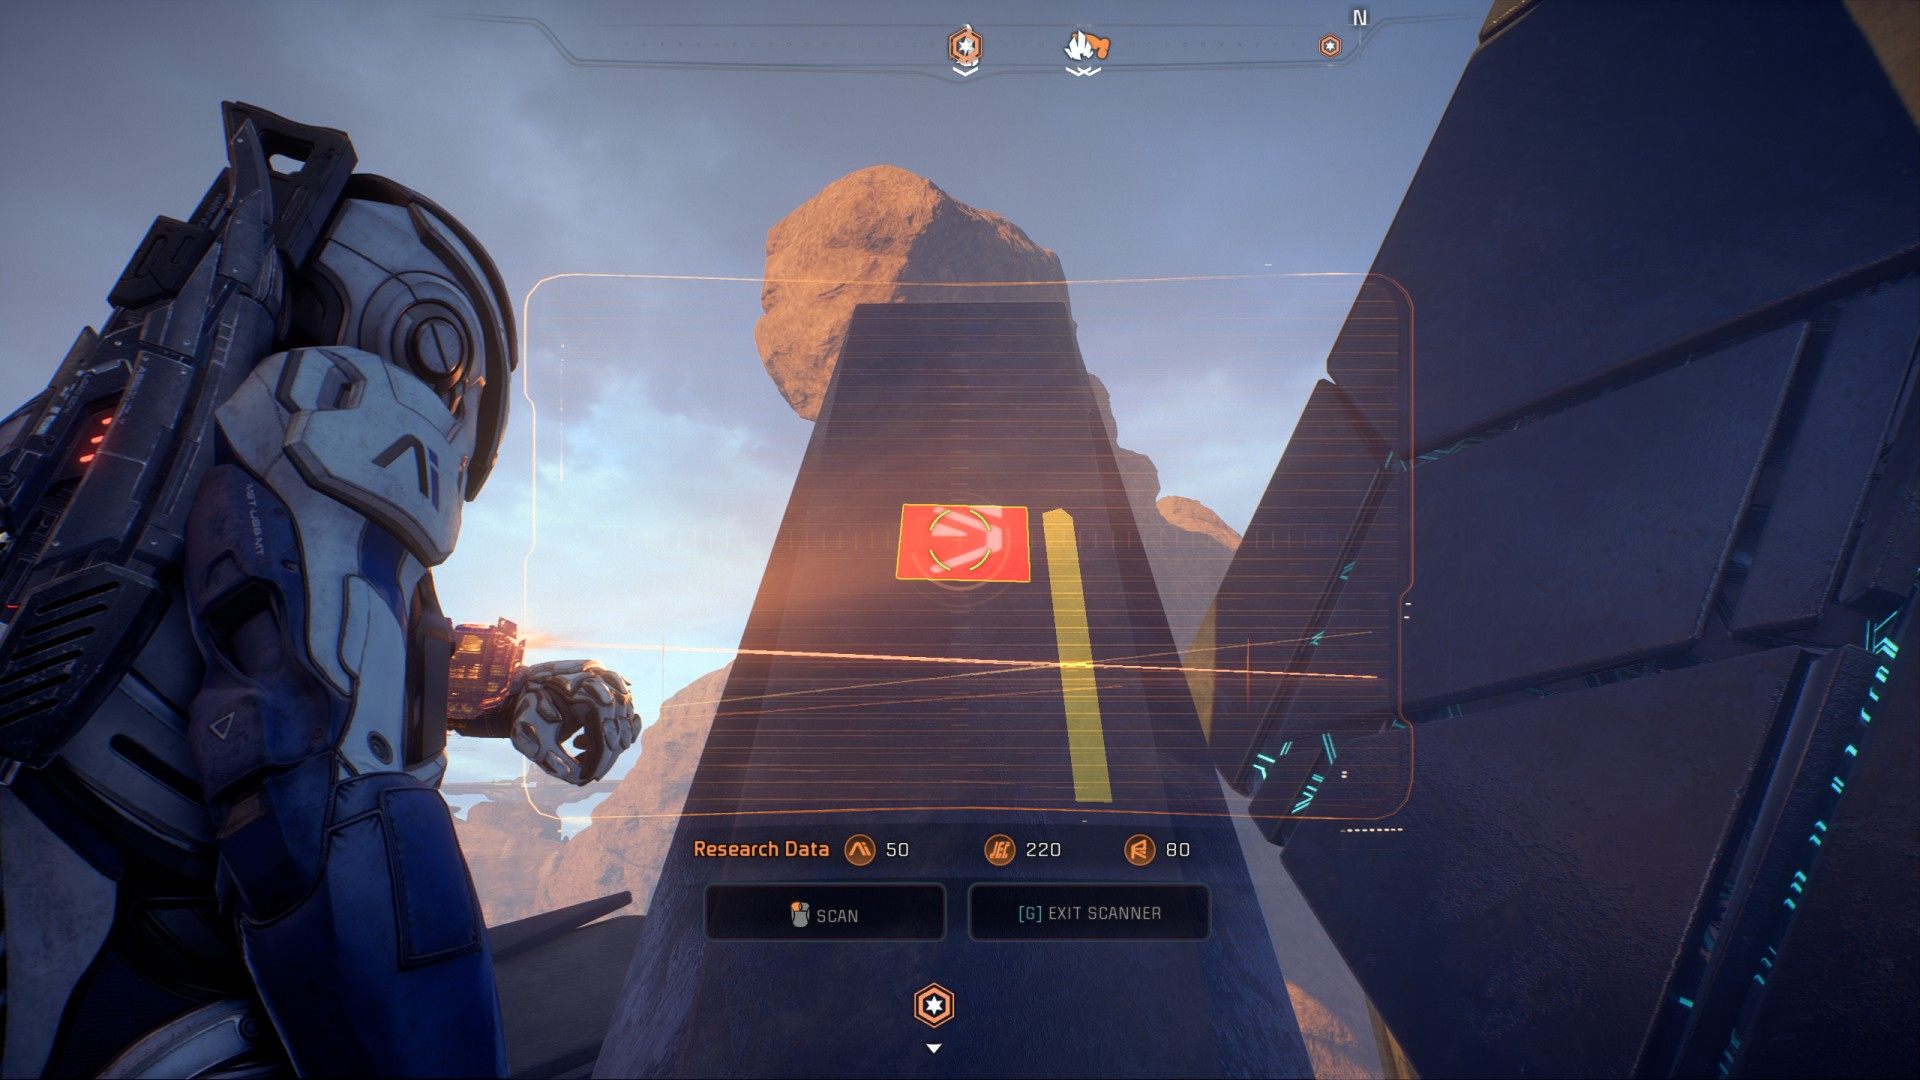
6.11. Search for a glyph to scan
The glyph, you need to scan, is on top of the alien structure.
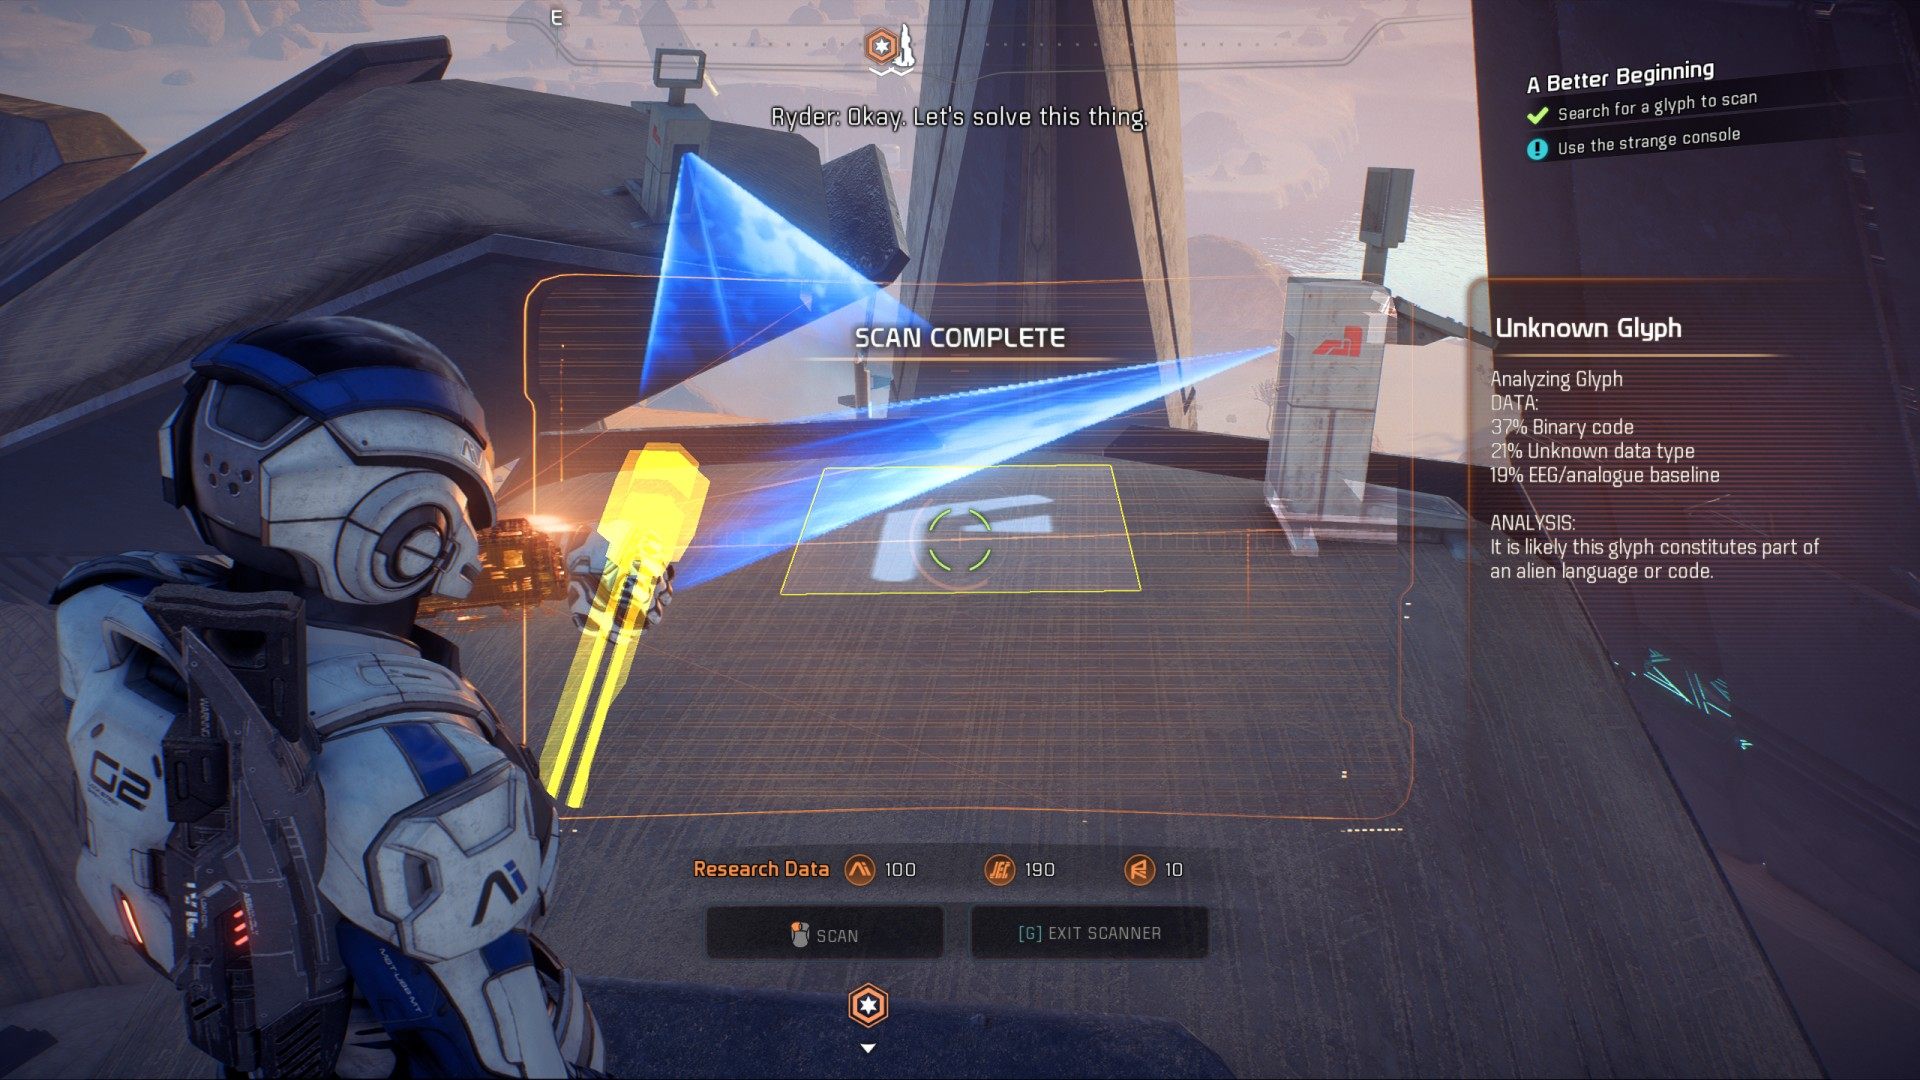
6.12. Use the strange console
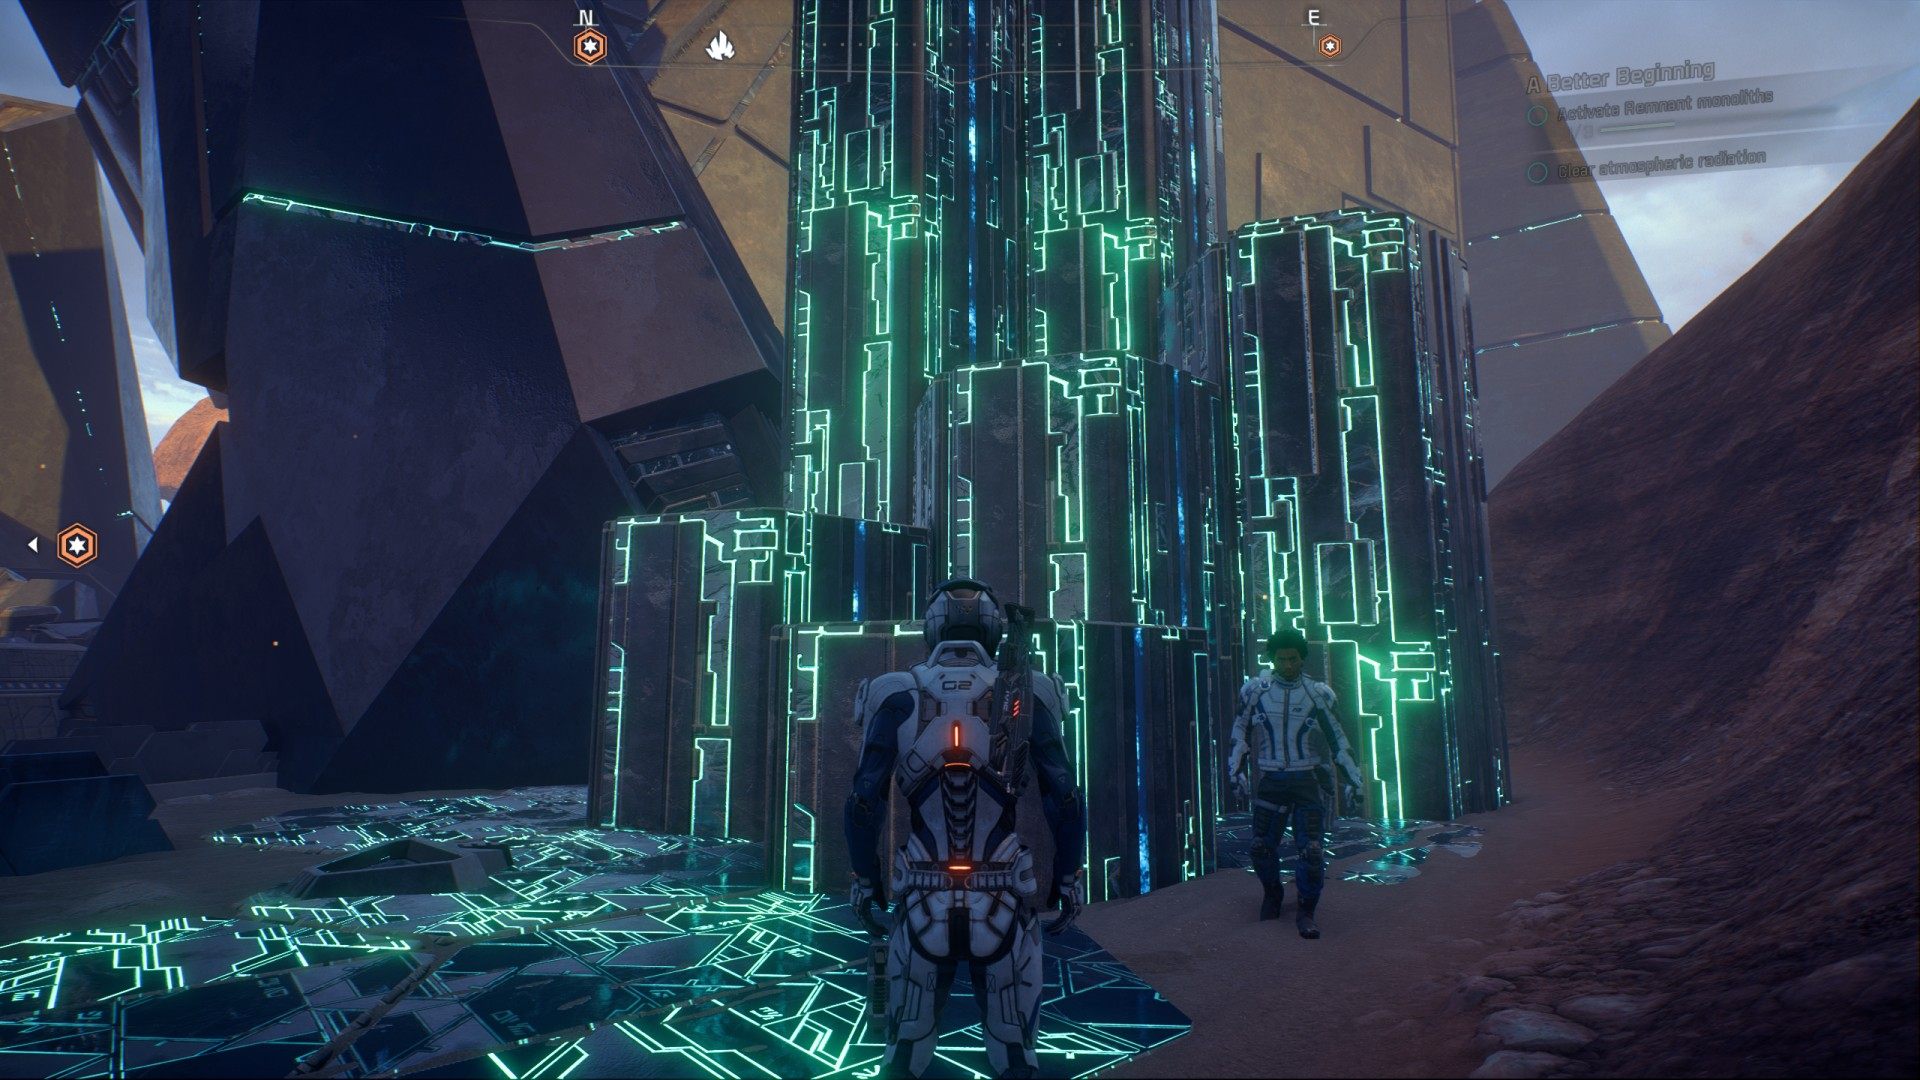
Go back to the alien console and use it.
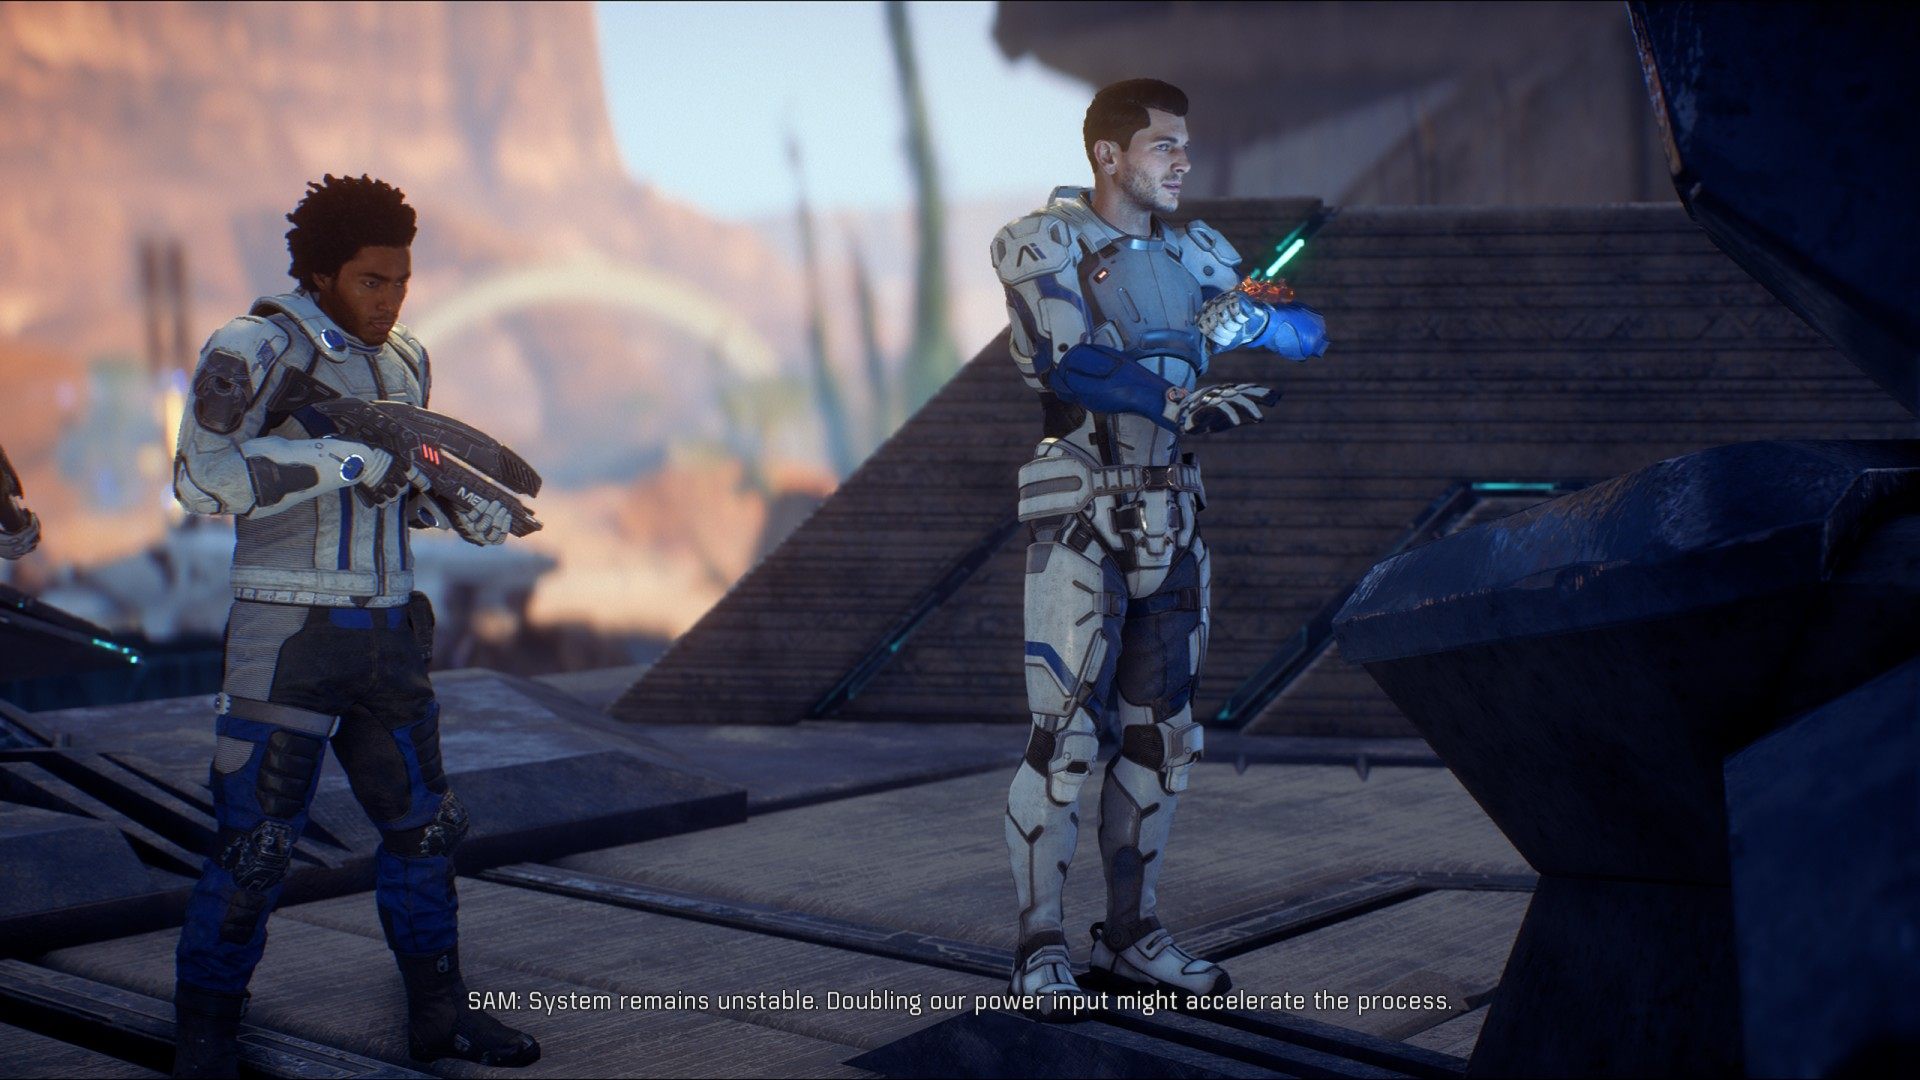
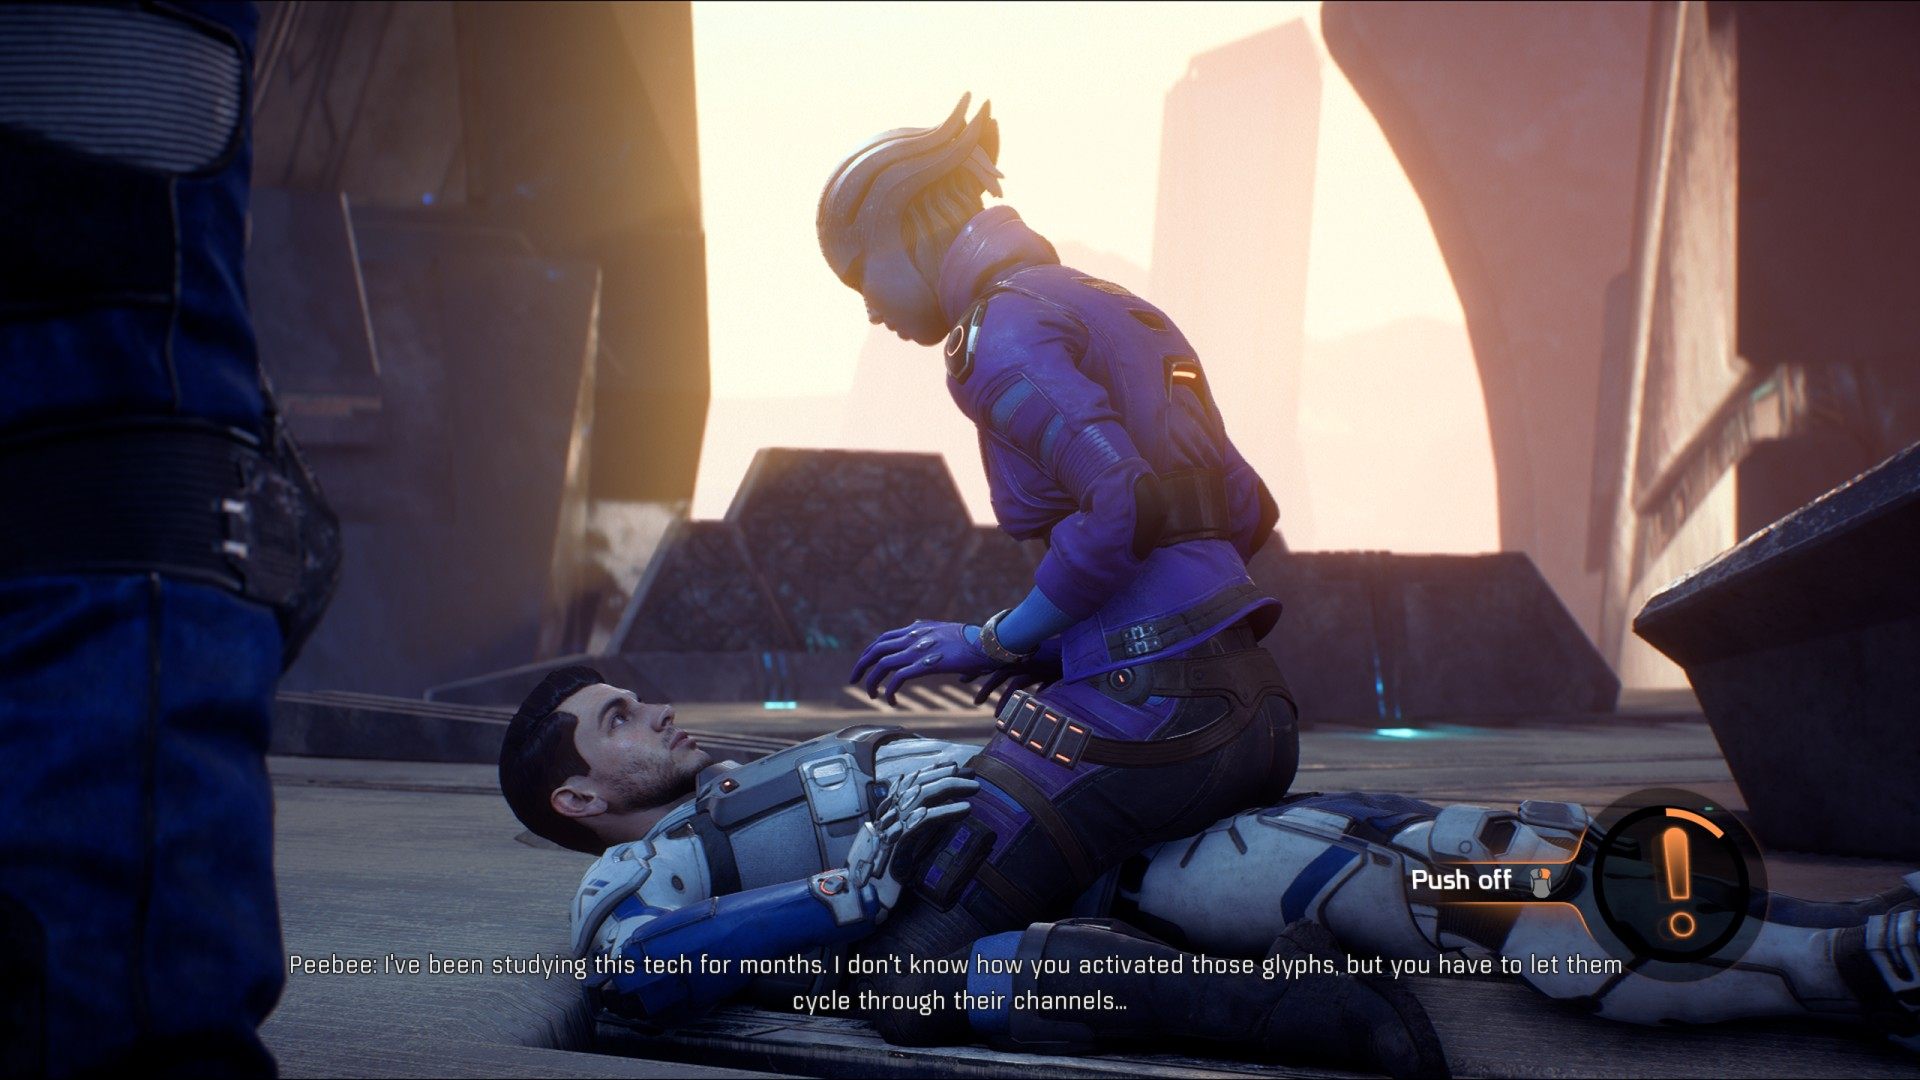
Suddenly Peebee will appear and knock you down.
"Time limited" decision: "Push off".
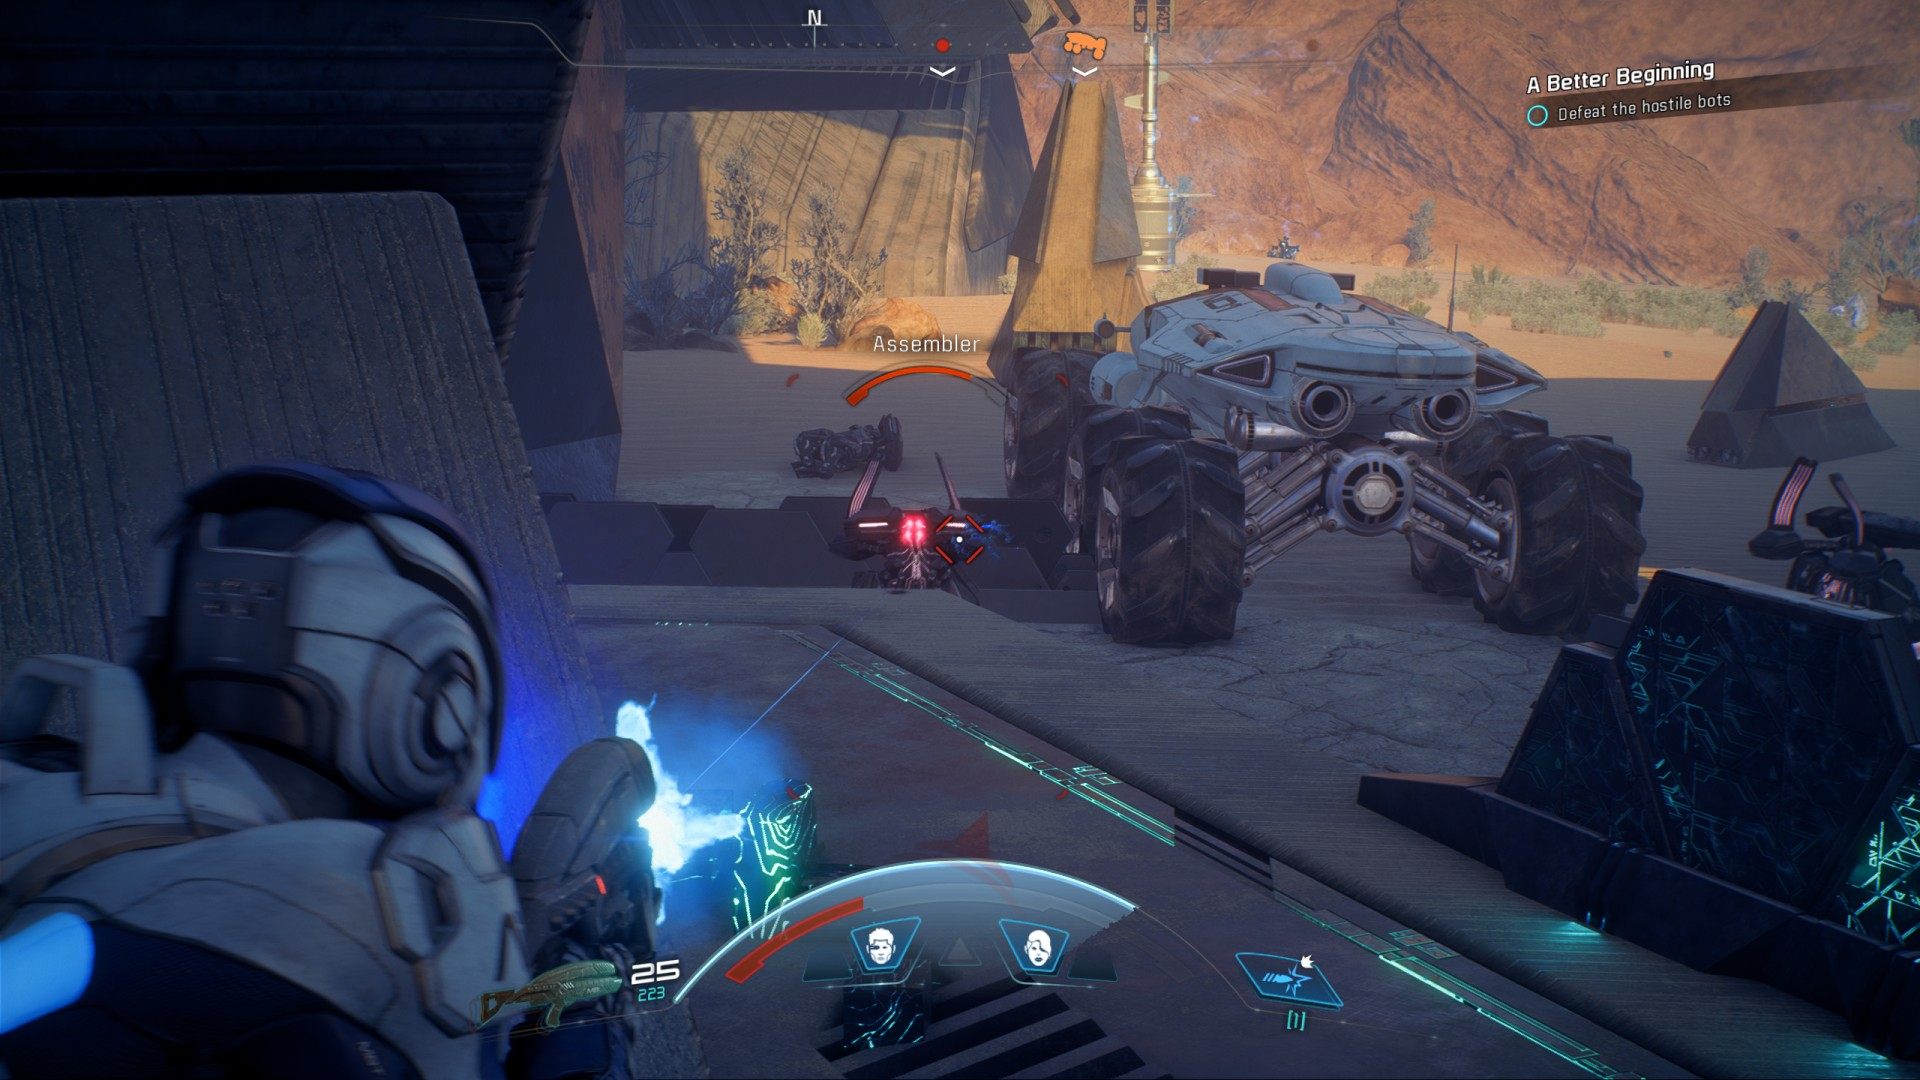
6.13. Defeat the hostile bots
Some hostile bots will interrupt your conversation. Kill them all.
6.14. Activate Remnant monoliths (x3)
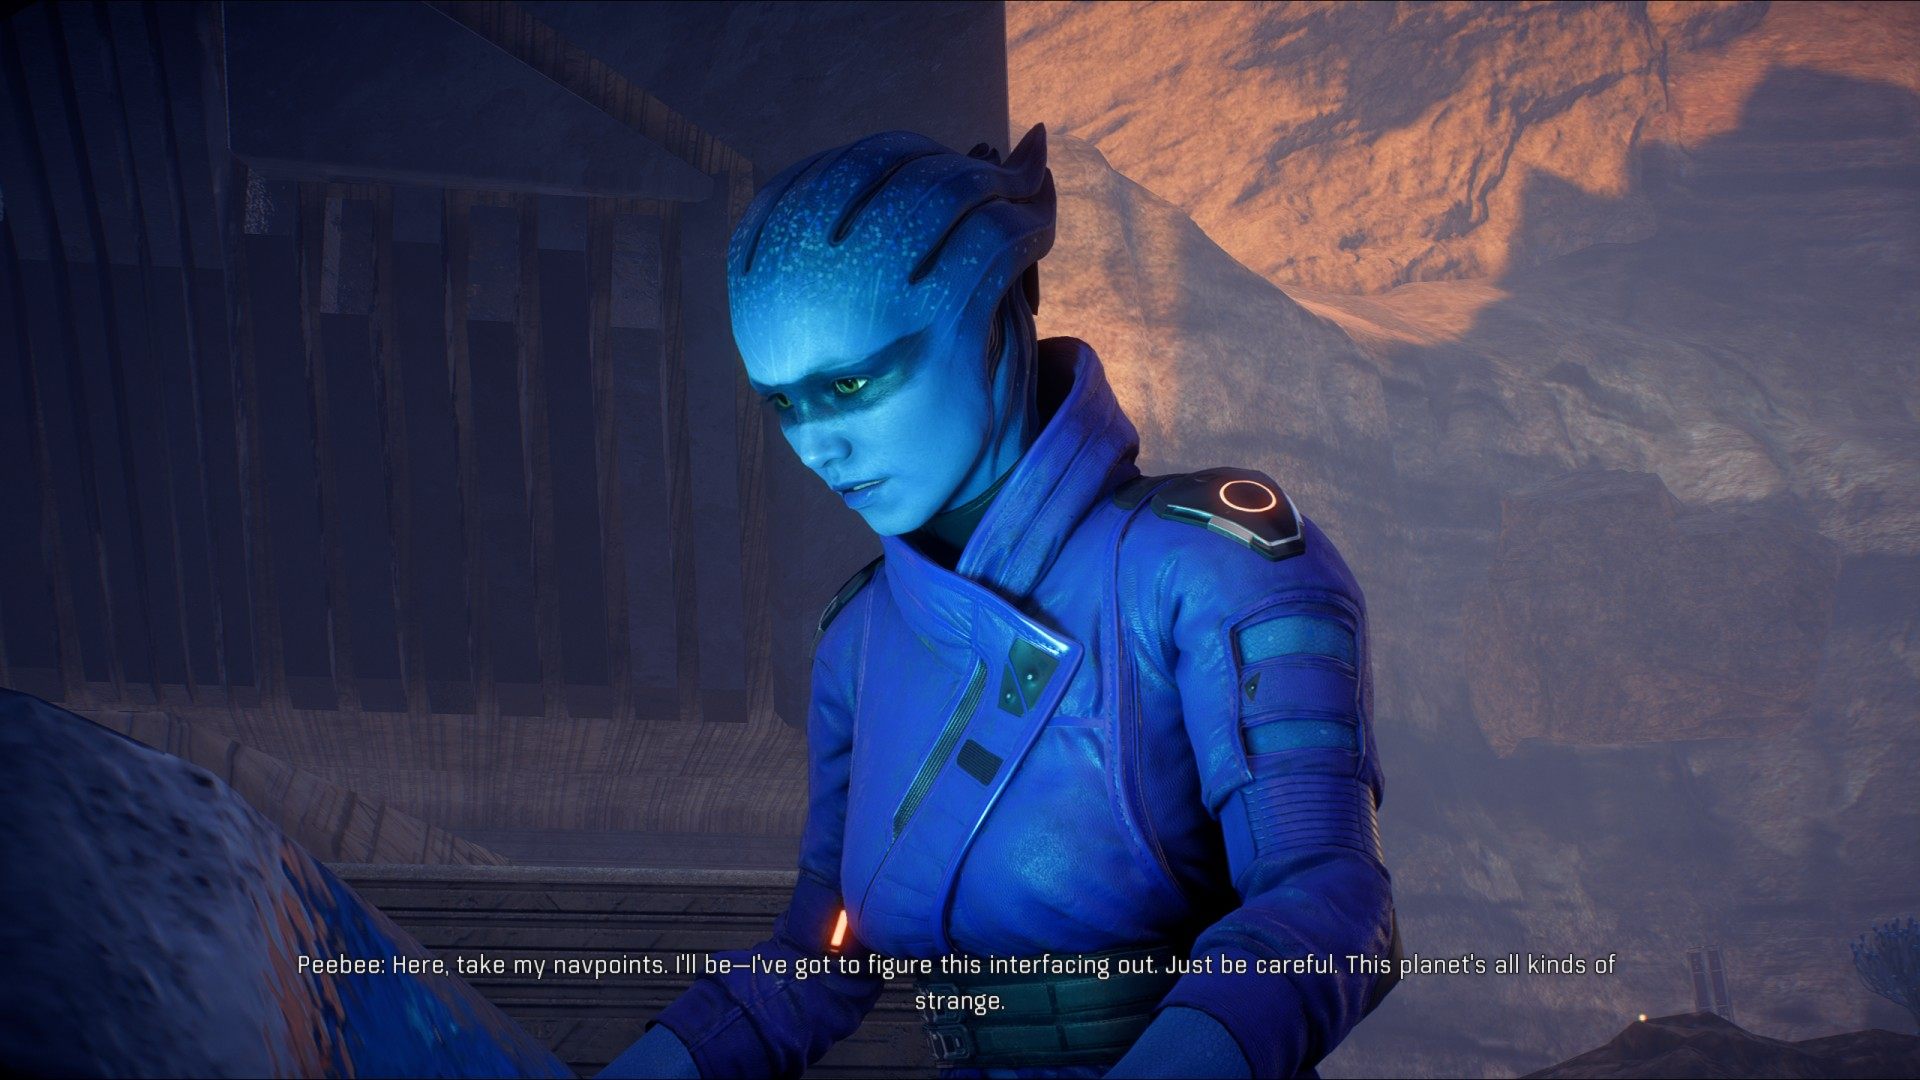
You have the trail. The atmosphere on Eos is still deadly, but an asari named Peebee agrees that the Remnant technology may lead to the processors you suspected. Go to each of the "monolith" structures. With Peebee's help, you may be able to change the world.
You've already activated the first "monolith", so you need to activate two more. Peebee will provide you navpoints to the other two monoliths.
6.14.1. The Monolith #2
Go to the second monolith, and kill Remnant bots. To be able to activate the Remnant console you need to find two glyphs.
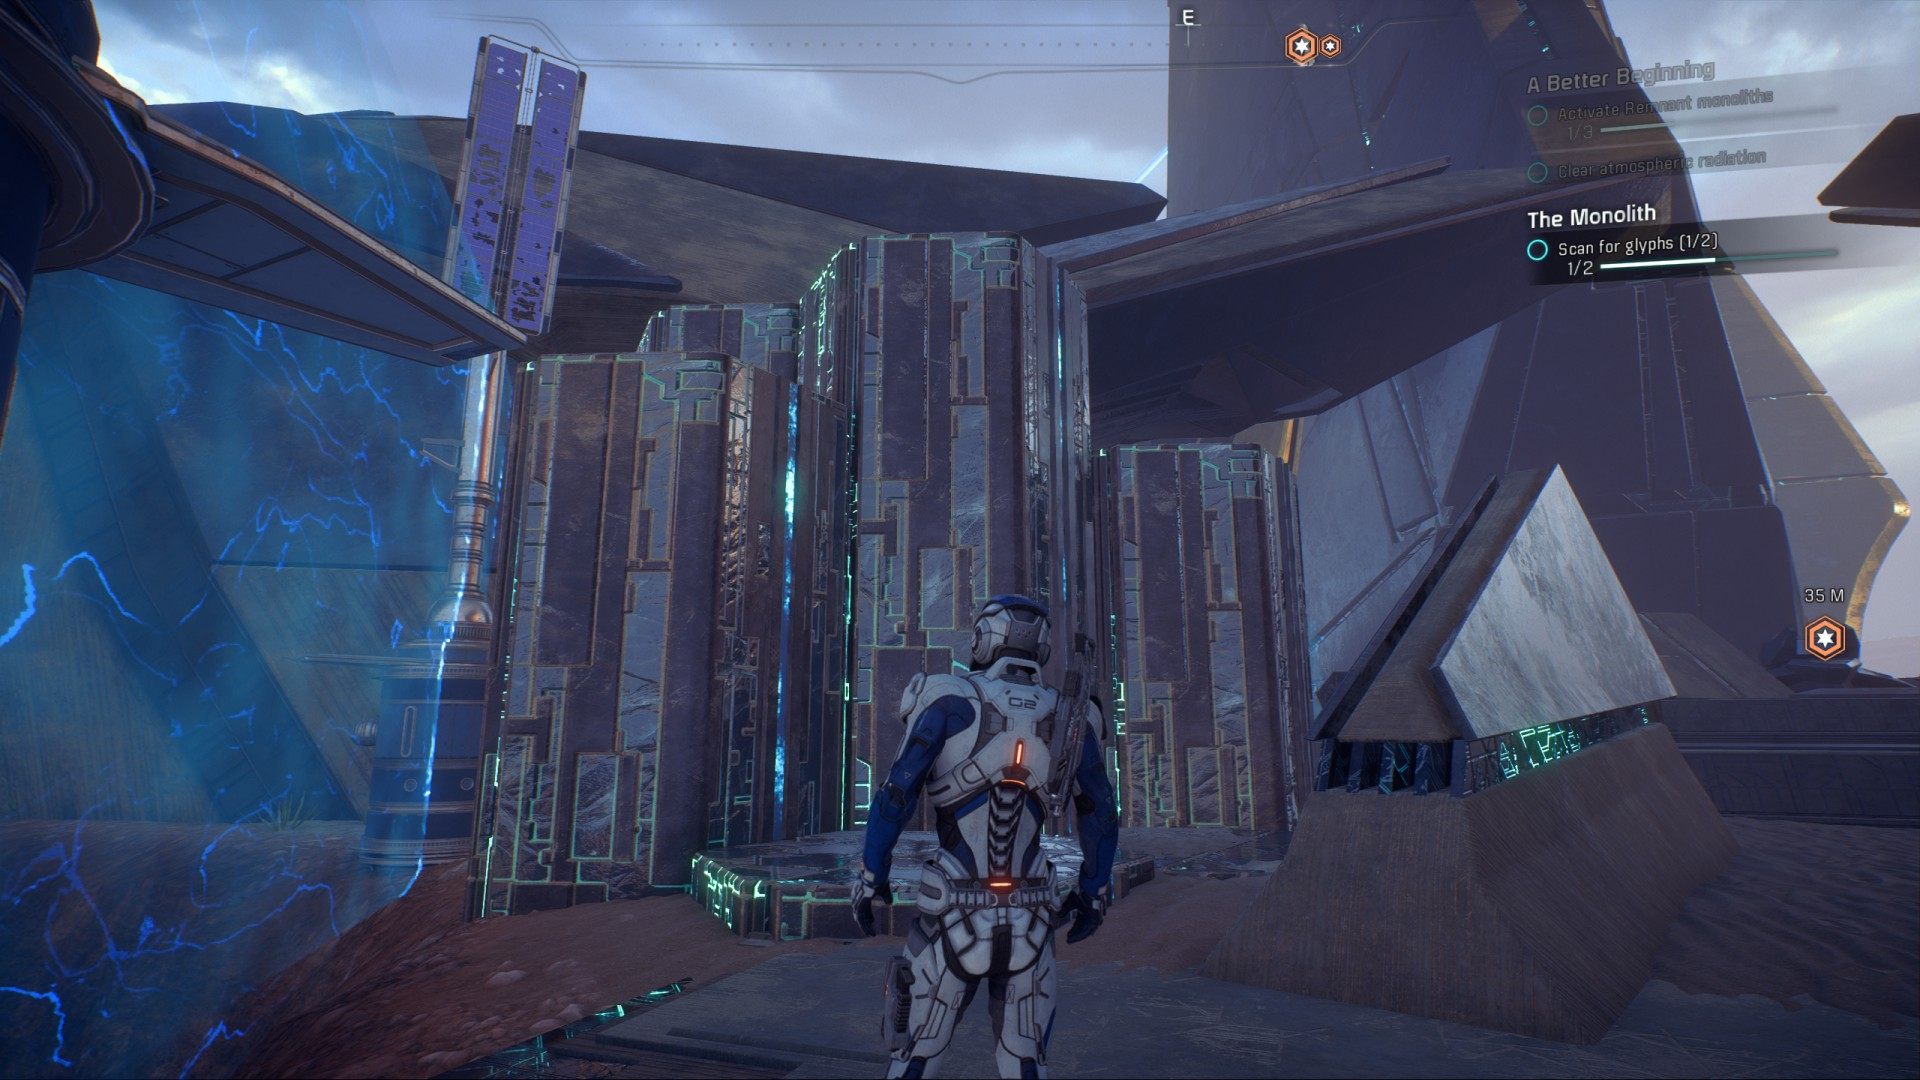
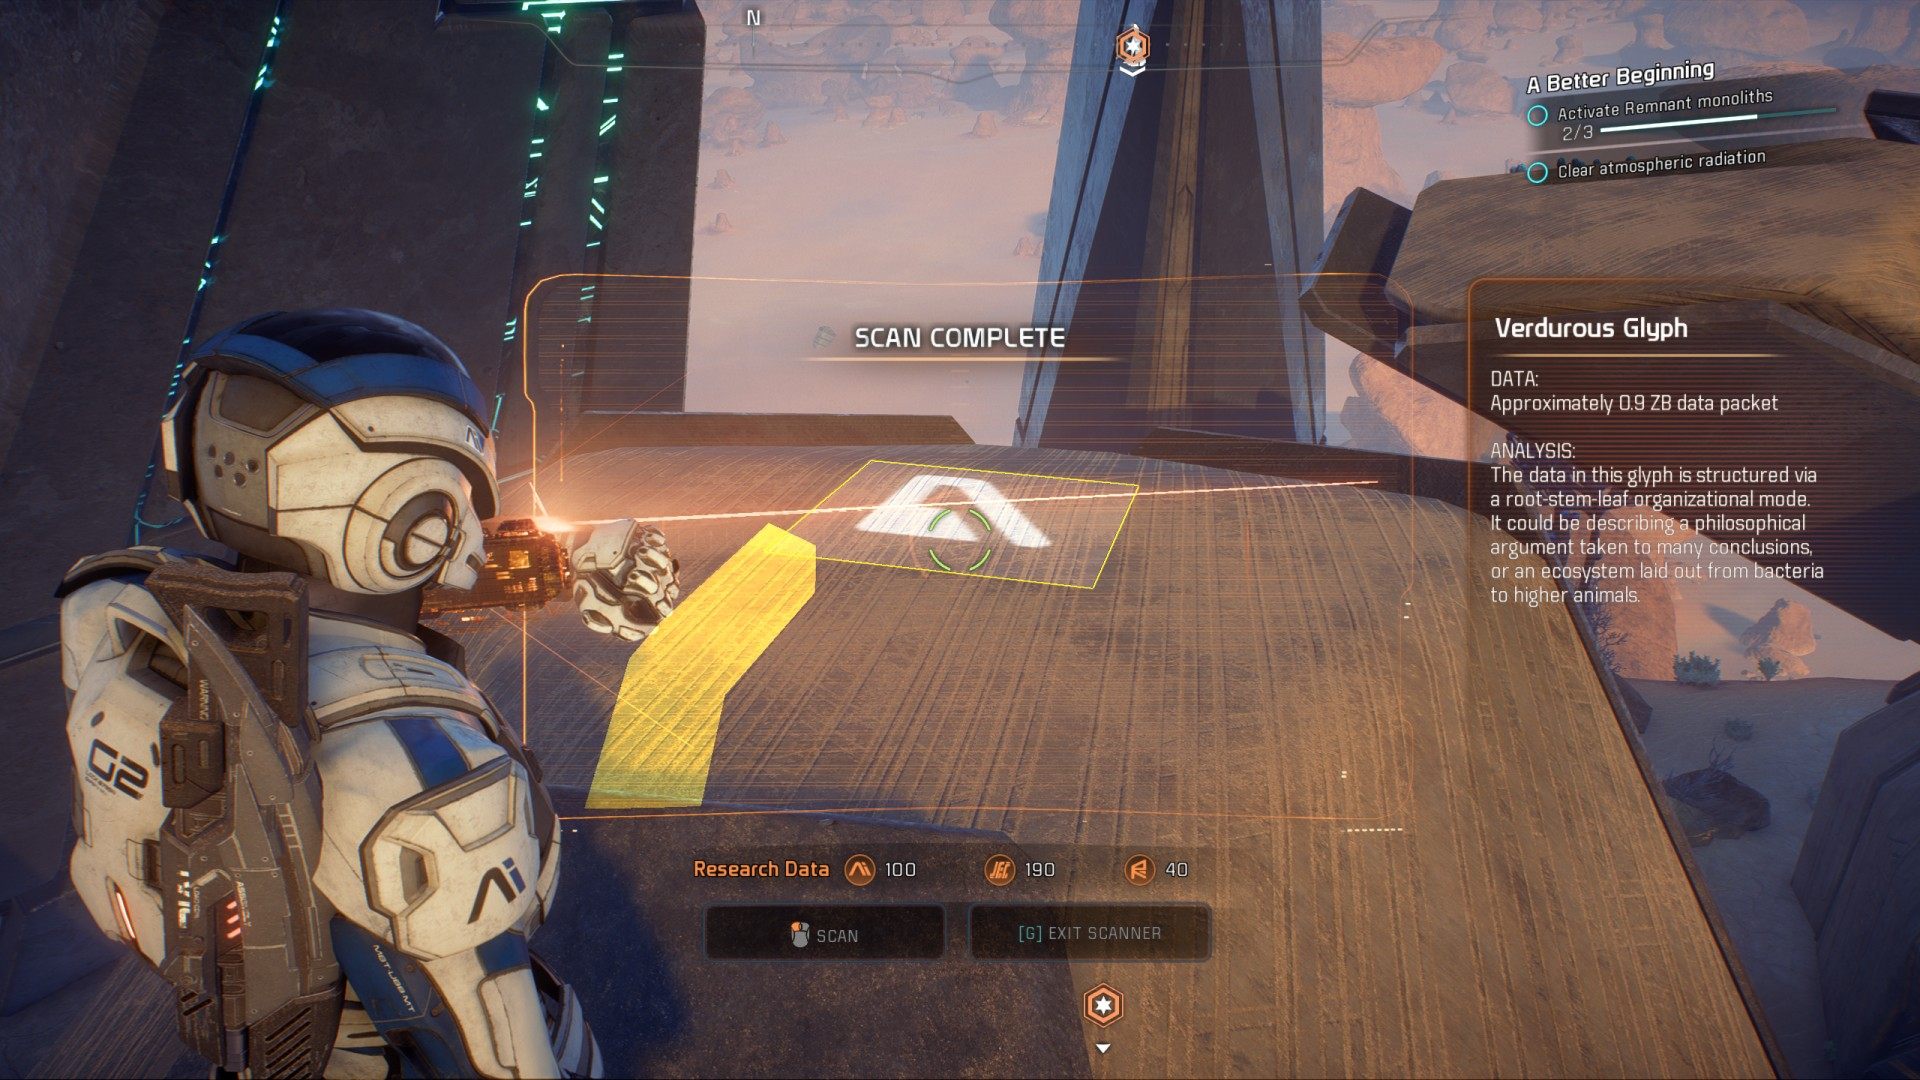
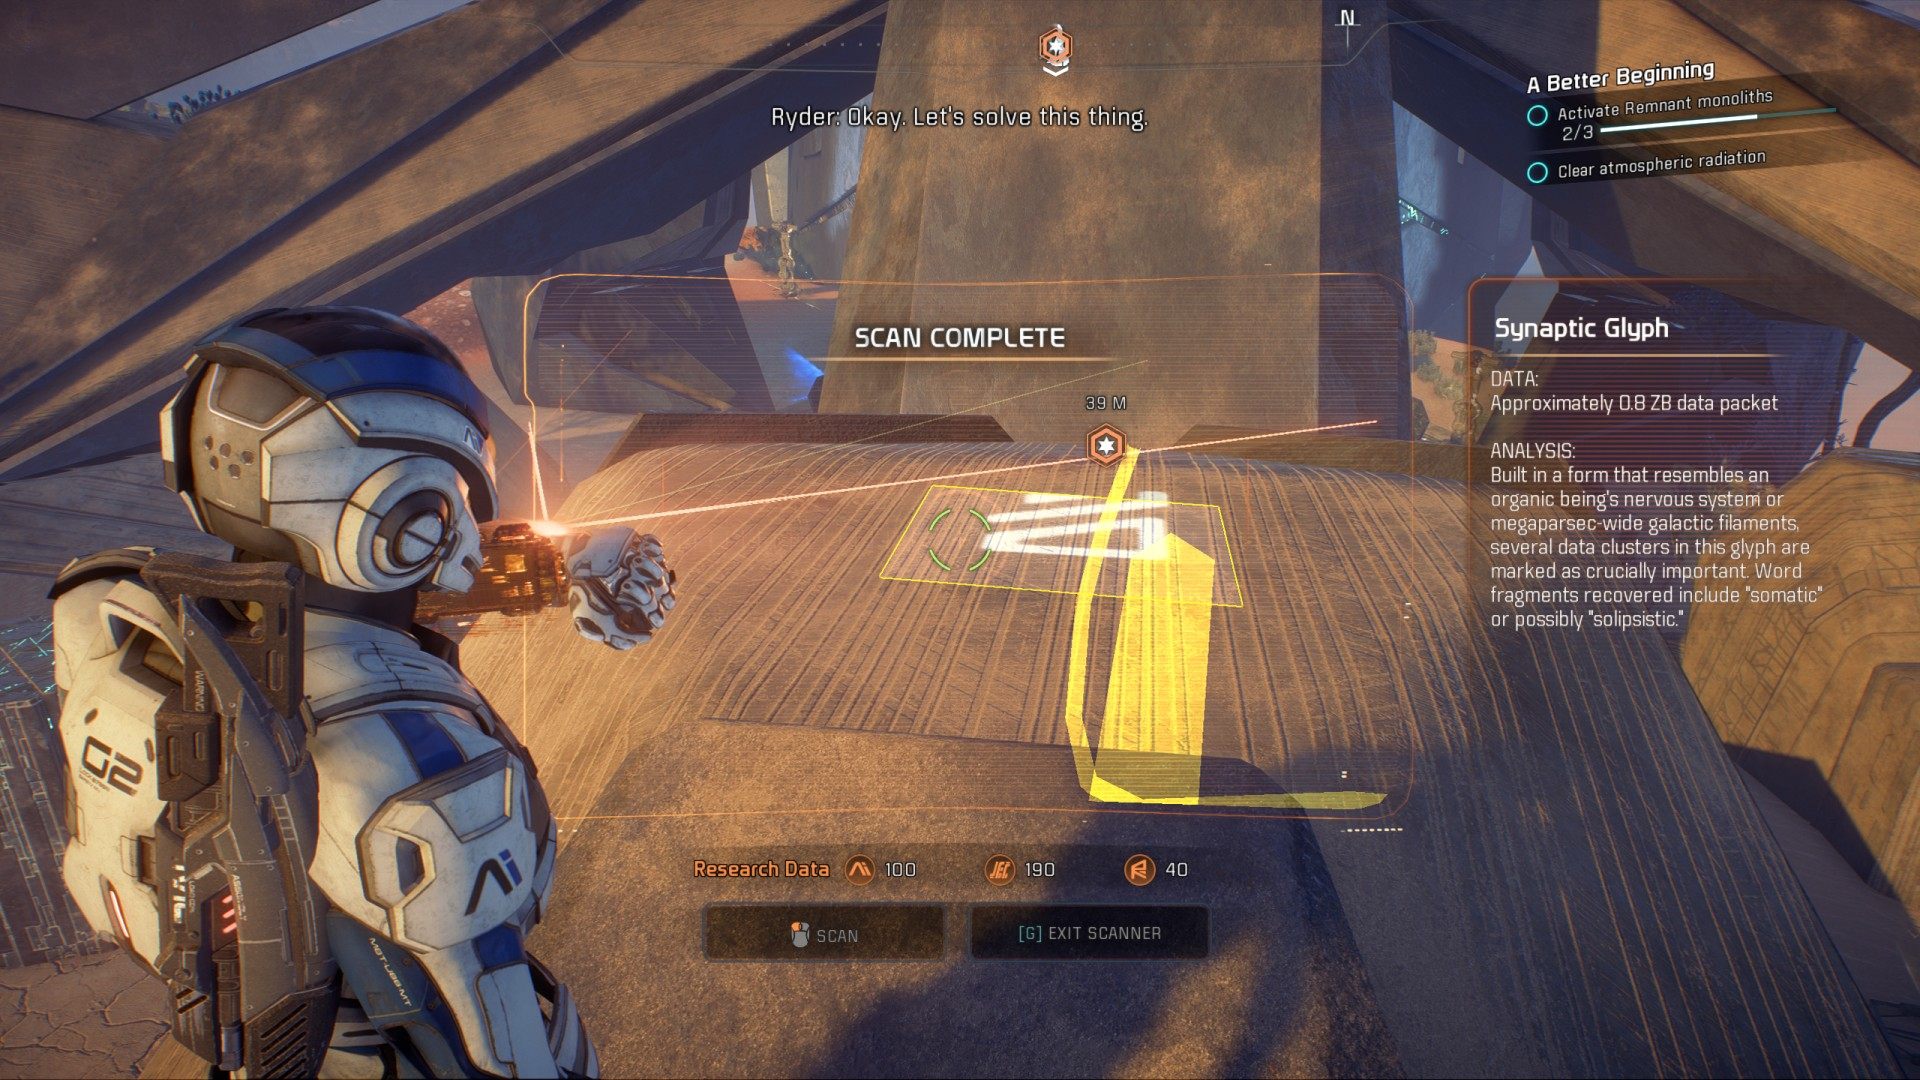
6.14.1.1. Scan for glyphs (x2)
Glyphs are located on top of the alien structures. To get to each of them, you have to activate appropriate console. This will cause the pillars to rise from the ground, after which you will be able to jump up and then scan the glyph.
Glyph #1
Glyph #2
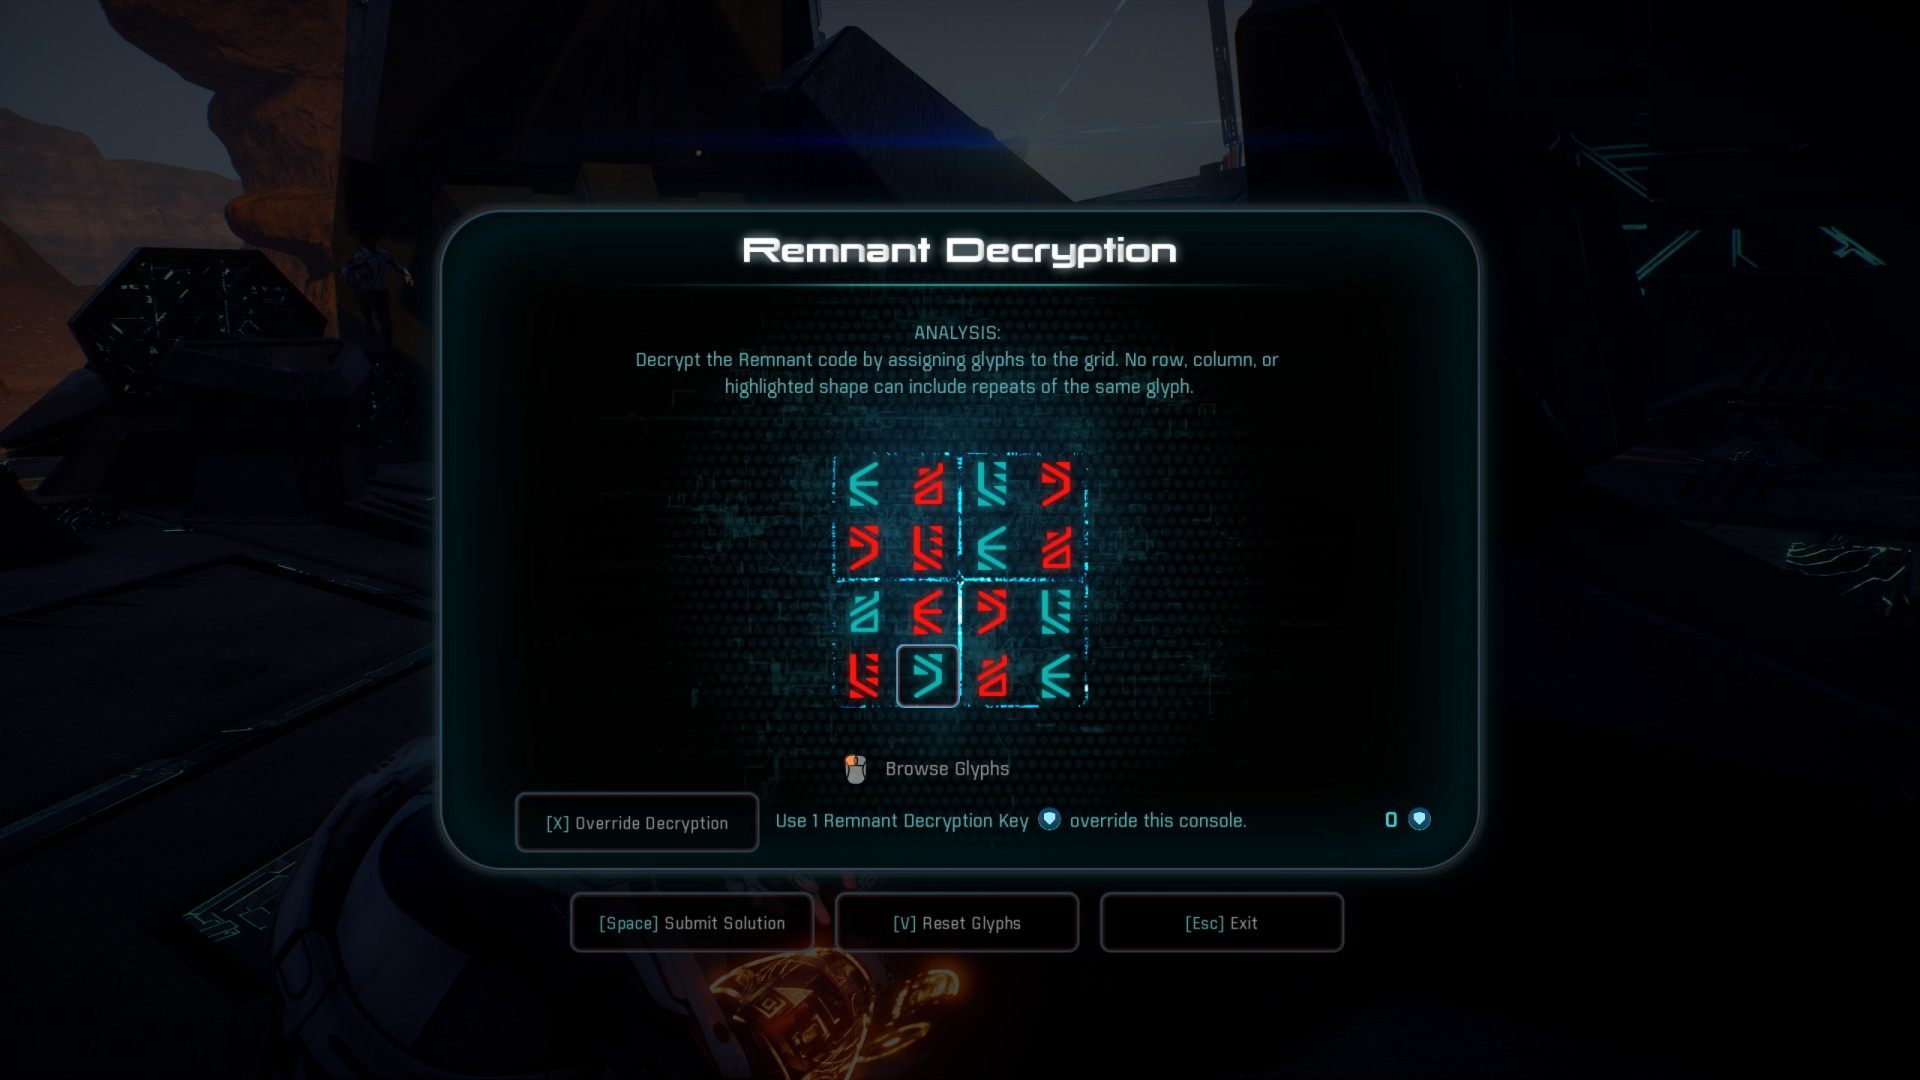
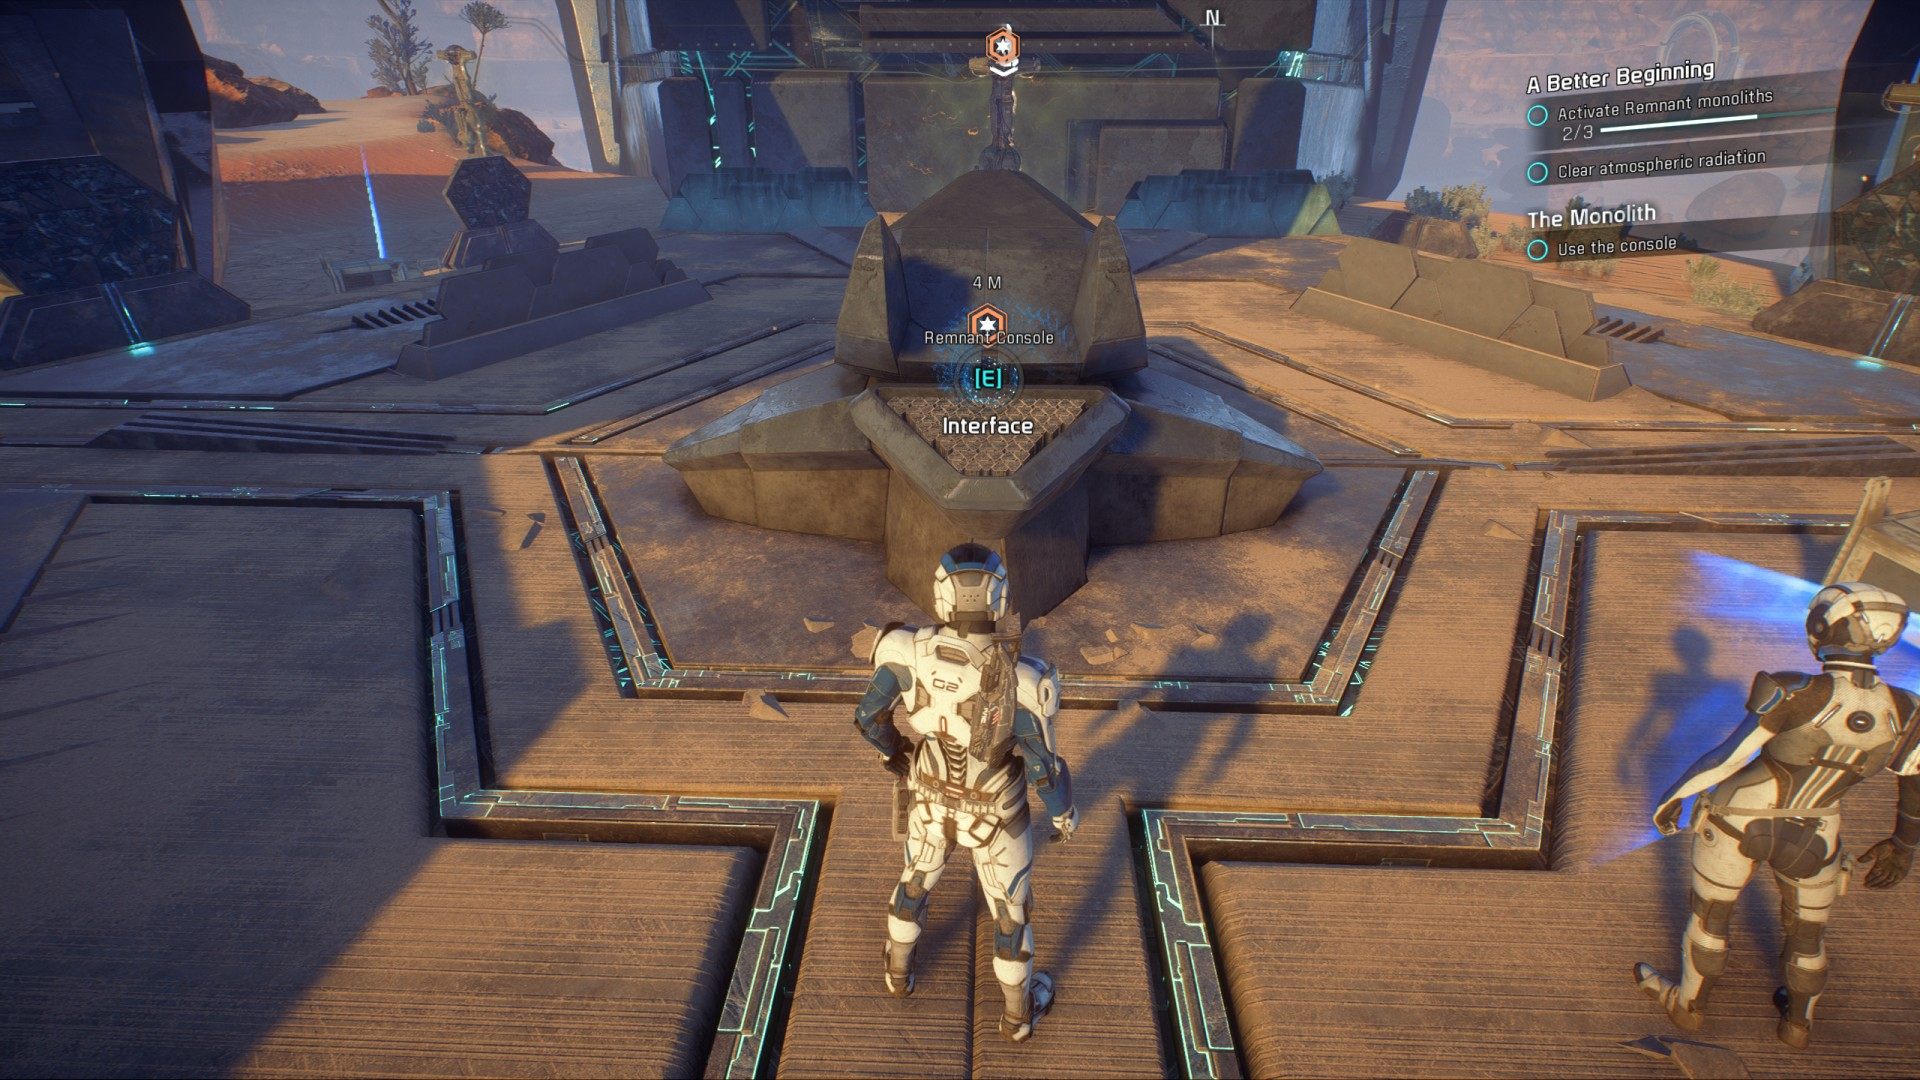
6.14.1.2. Use the console
Activate the console and solve the Remnant decryption puzzle.

Correct solution of Remnant decryption puzzle.
Be ready to fight the kett after activating the monolith.
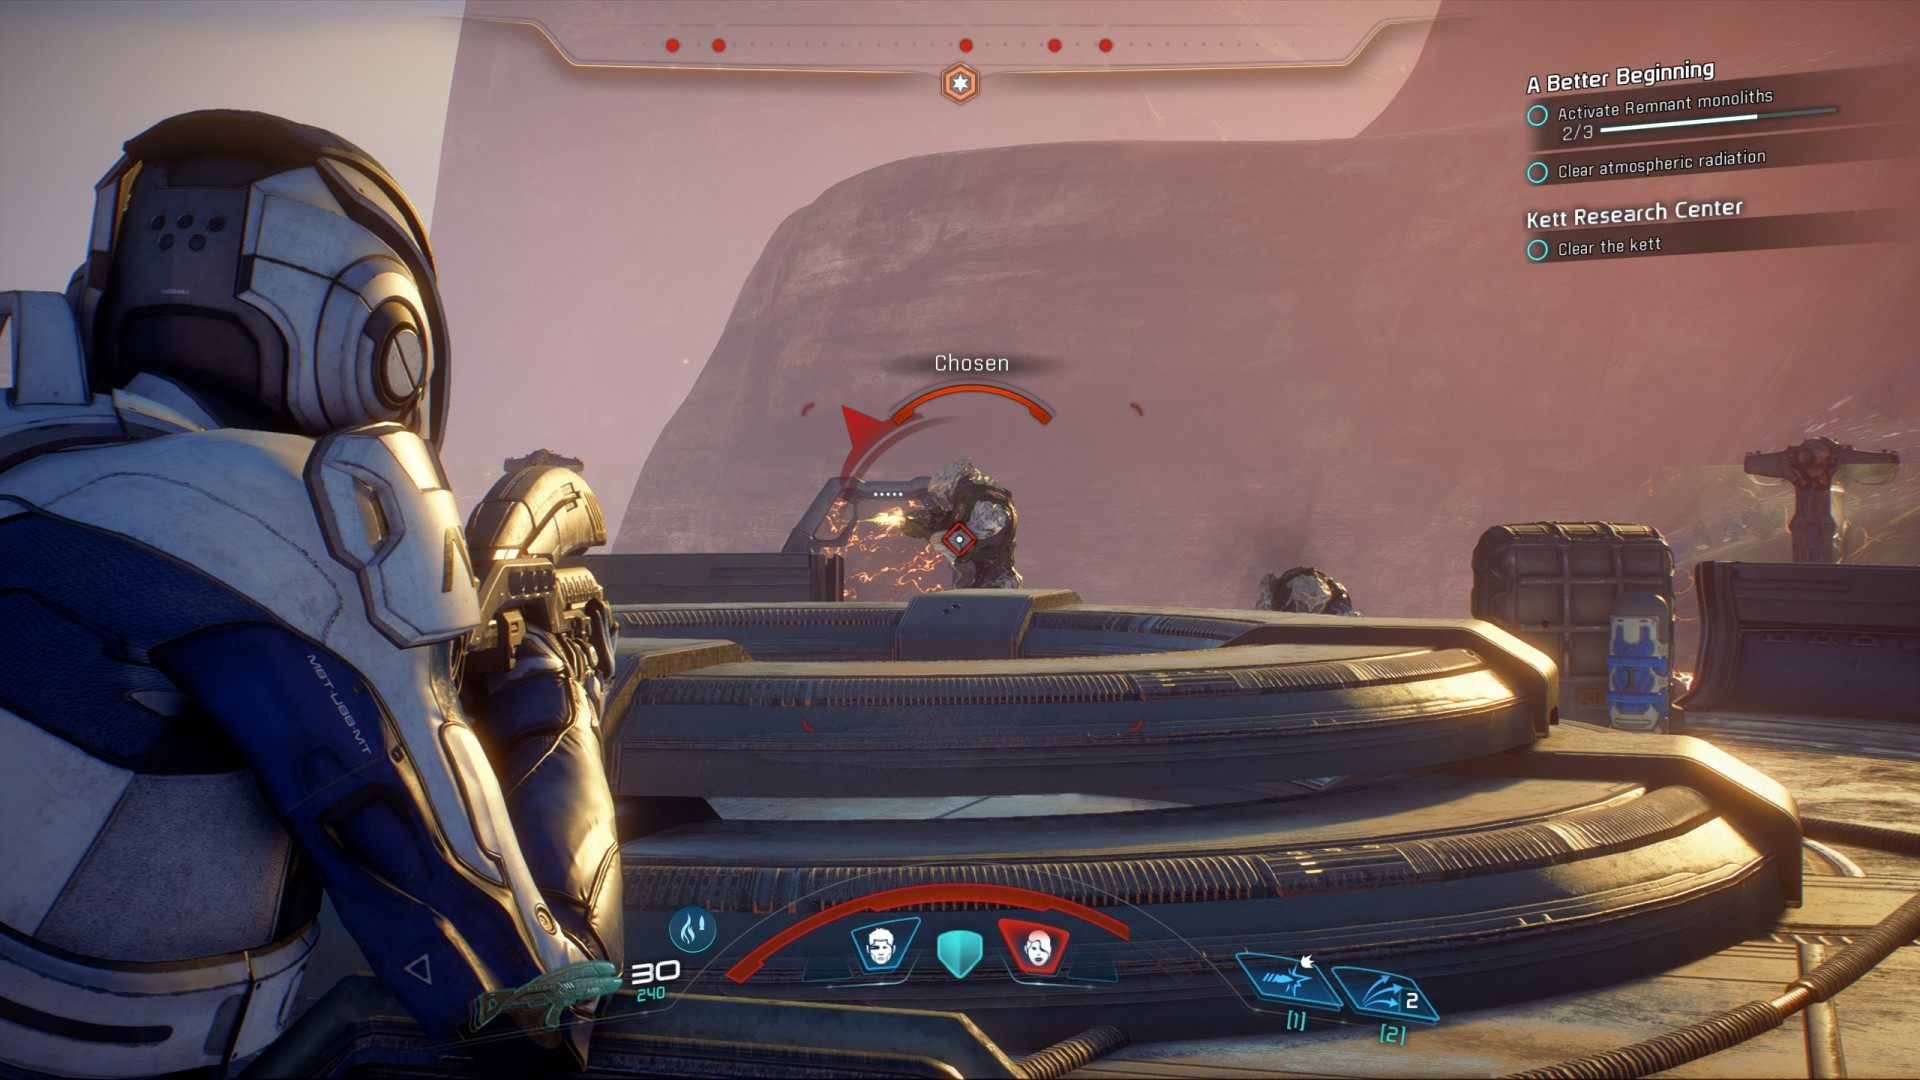
6.14.2. Kett Research Center (Monolith #3)
6.14.2.1. Clear the kett
Kill all opponents.
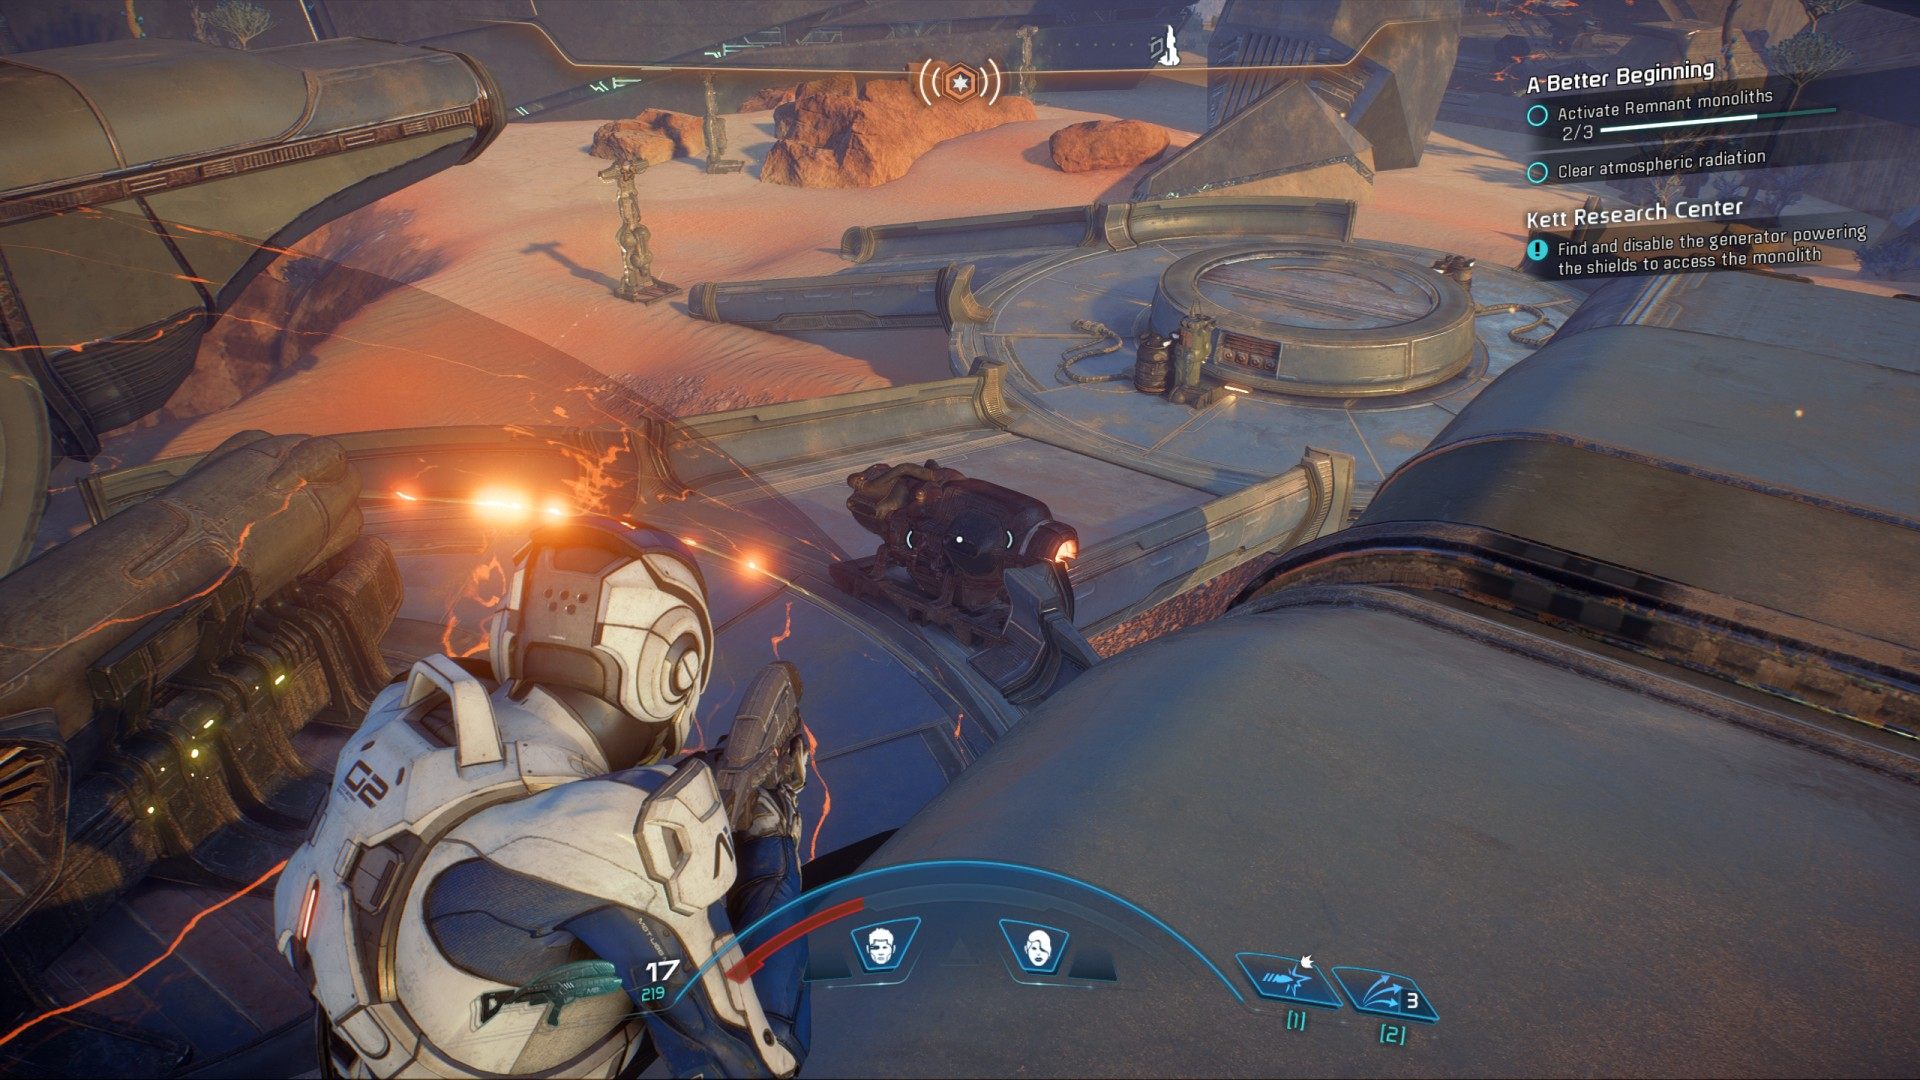
6.14.2.2. Find and disable the generator powering the shields to access the monolith
The generator you are looking for is located on the other side of the base. Jump on the roof and use your gun to destroy it.
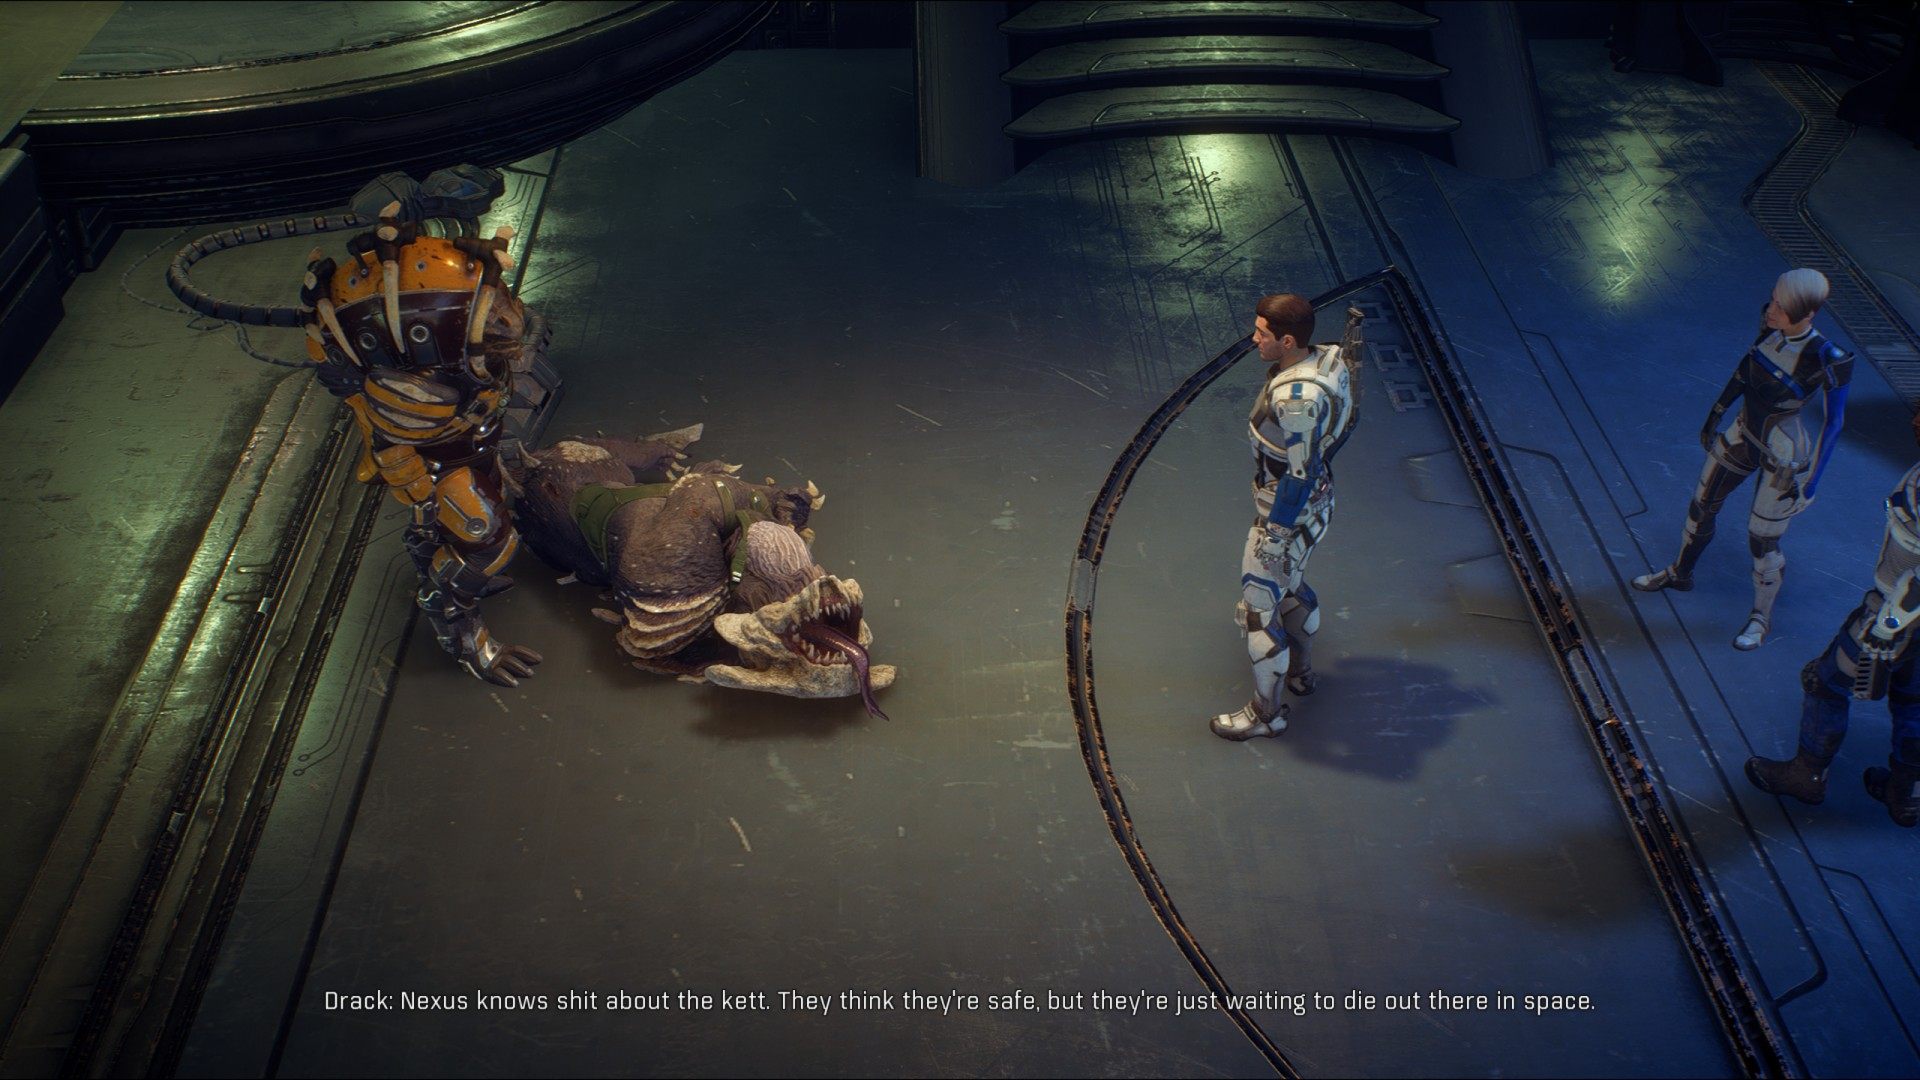
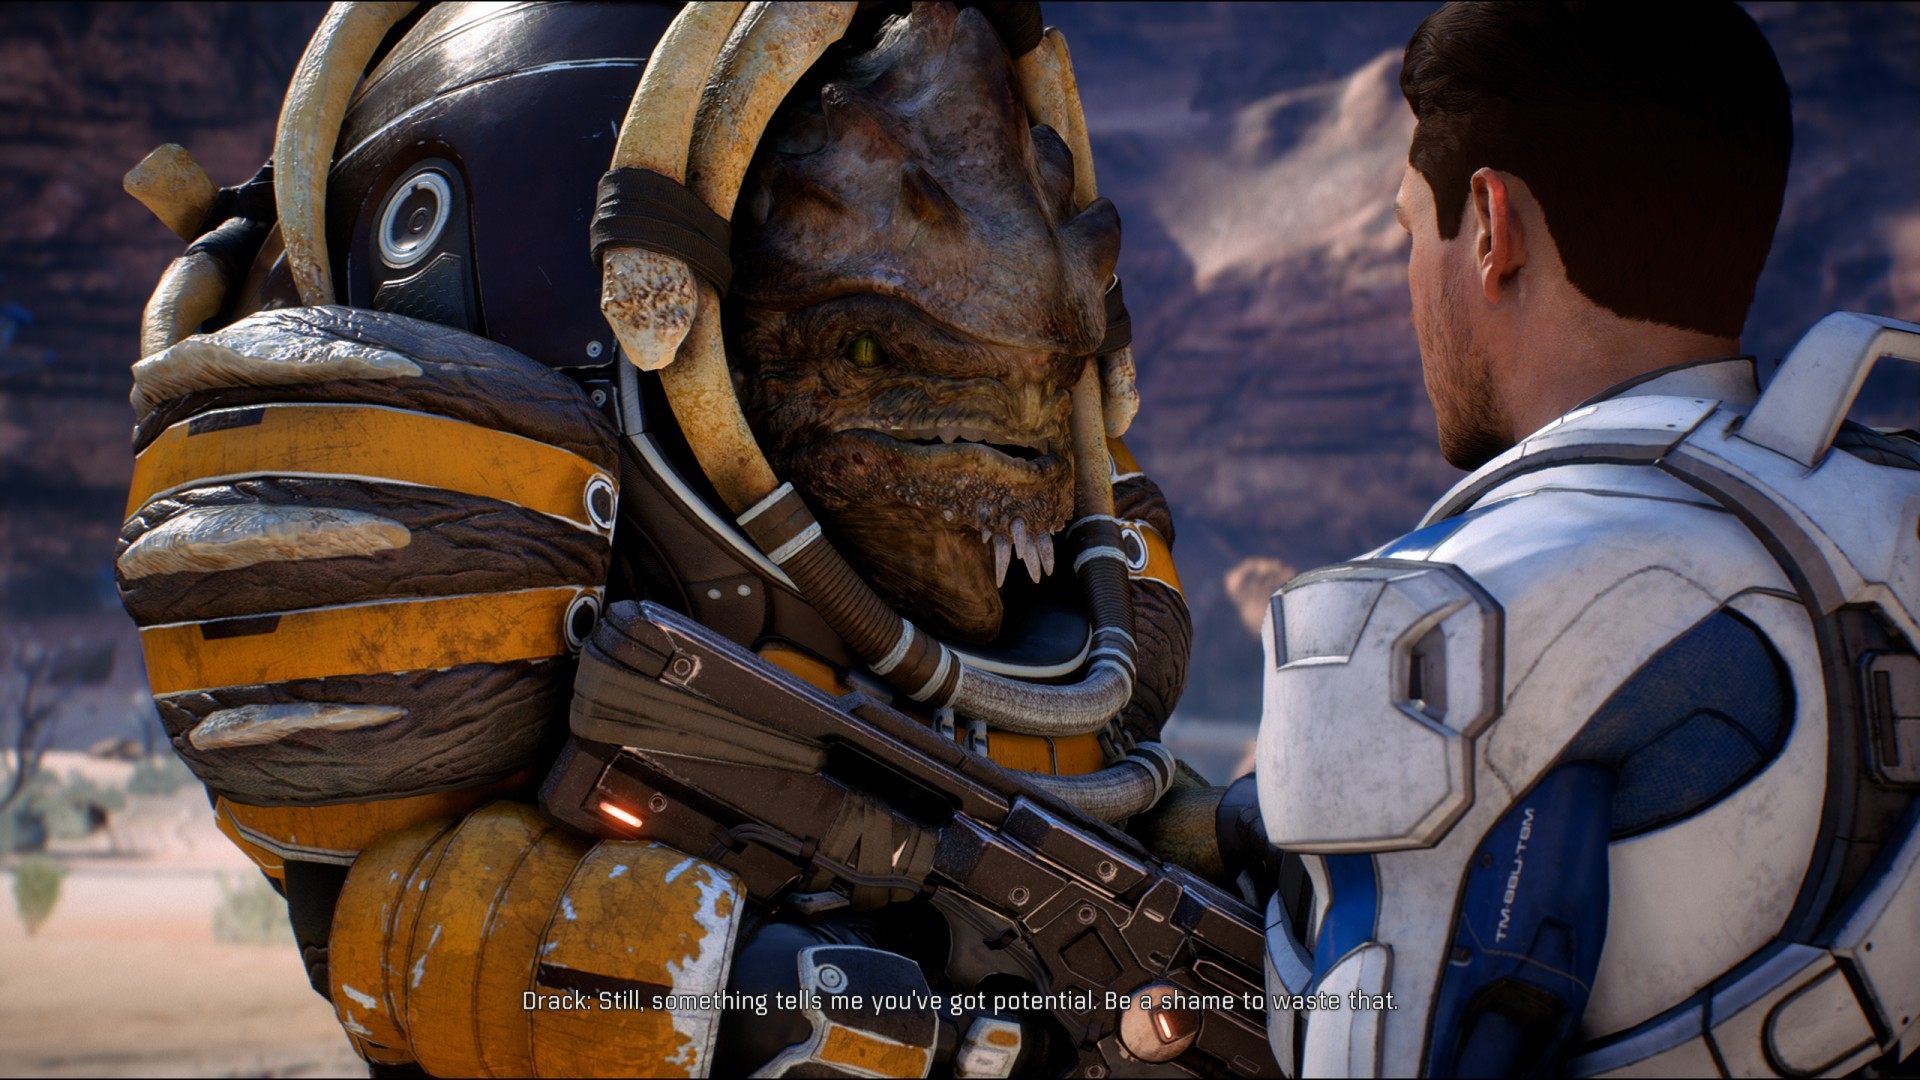
It's time for your first contact with Drack Nakmor.
6.14.2.3. Scan for glyphs (x2)
Both glyphs are on top of the alien structures. You don't have to use any consoles this time. All you have to do is go up and scan them.
6.14.2.4. Use the console
Use the Remnant console, no puzzle this time.
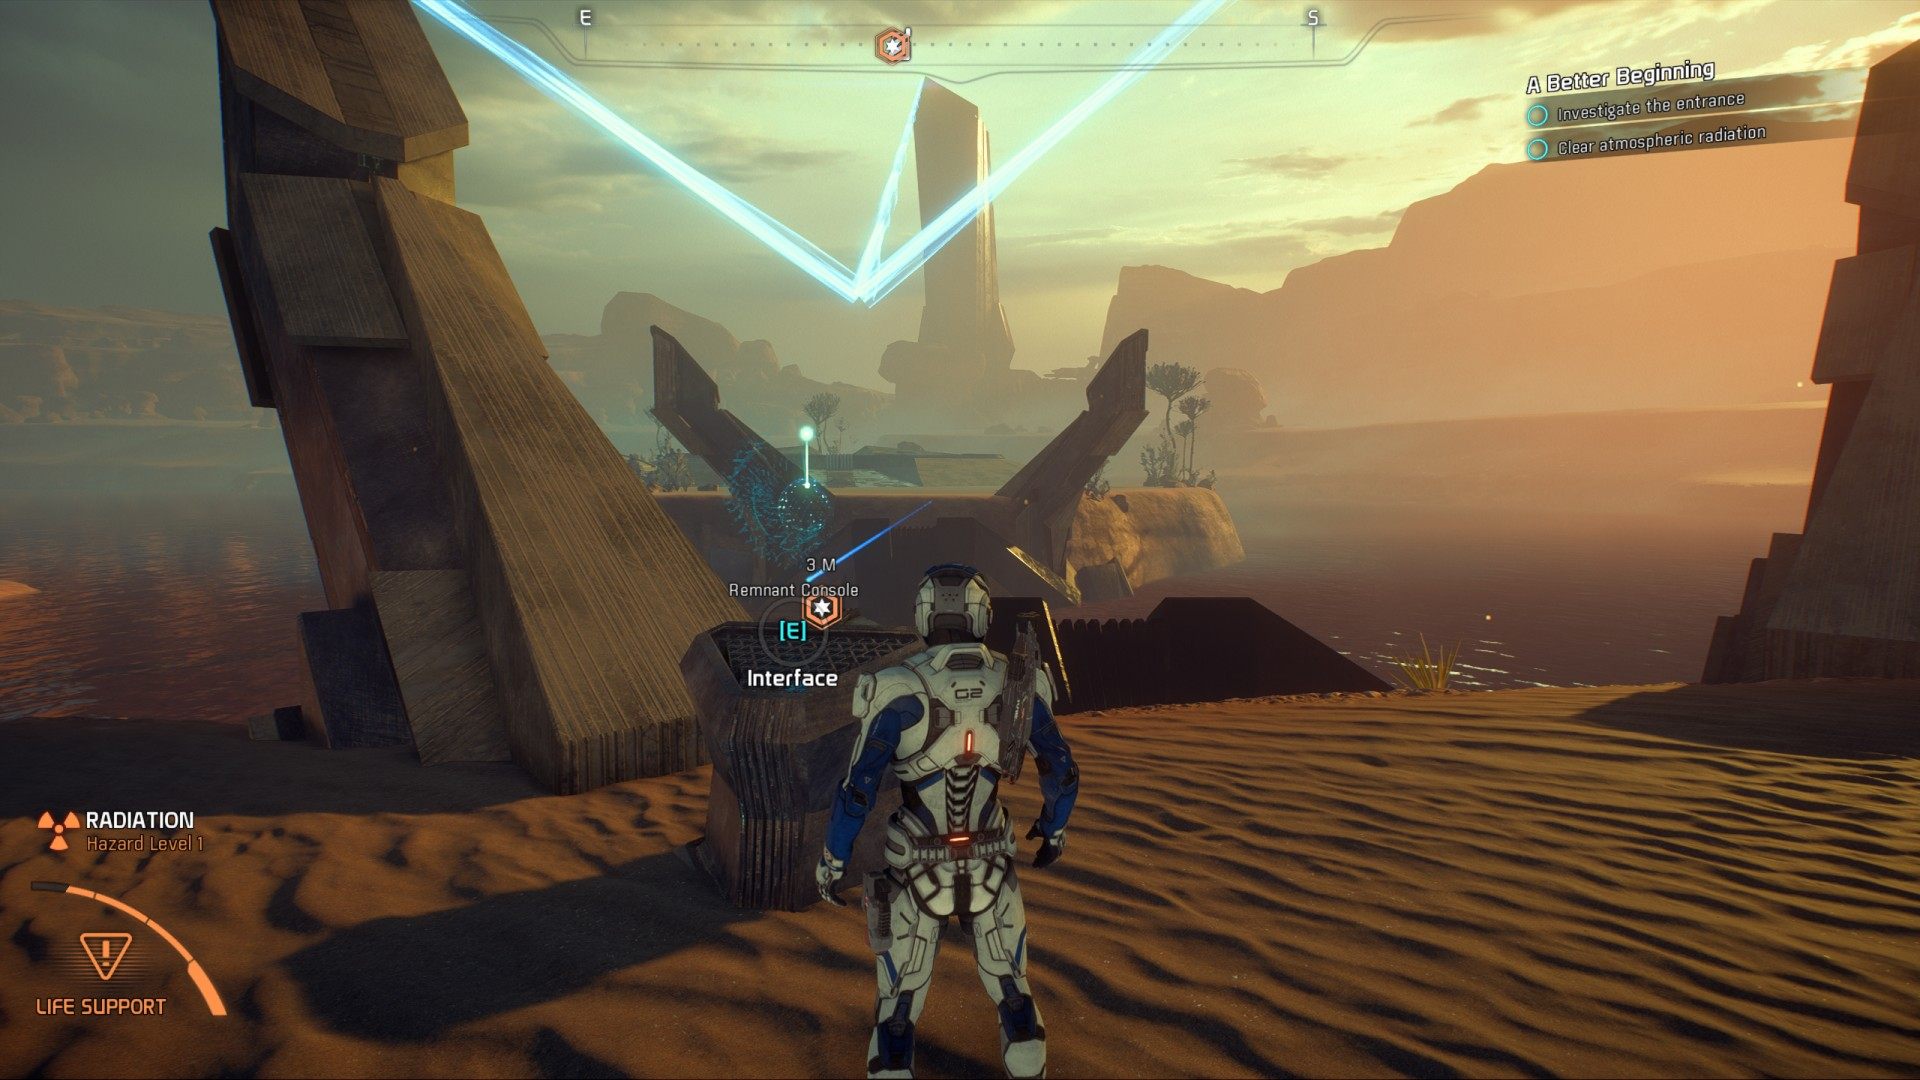
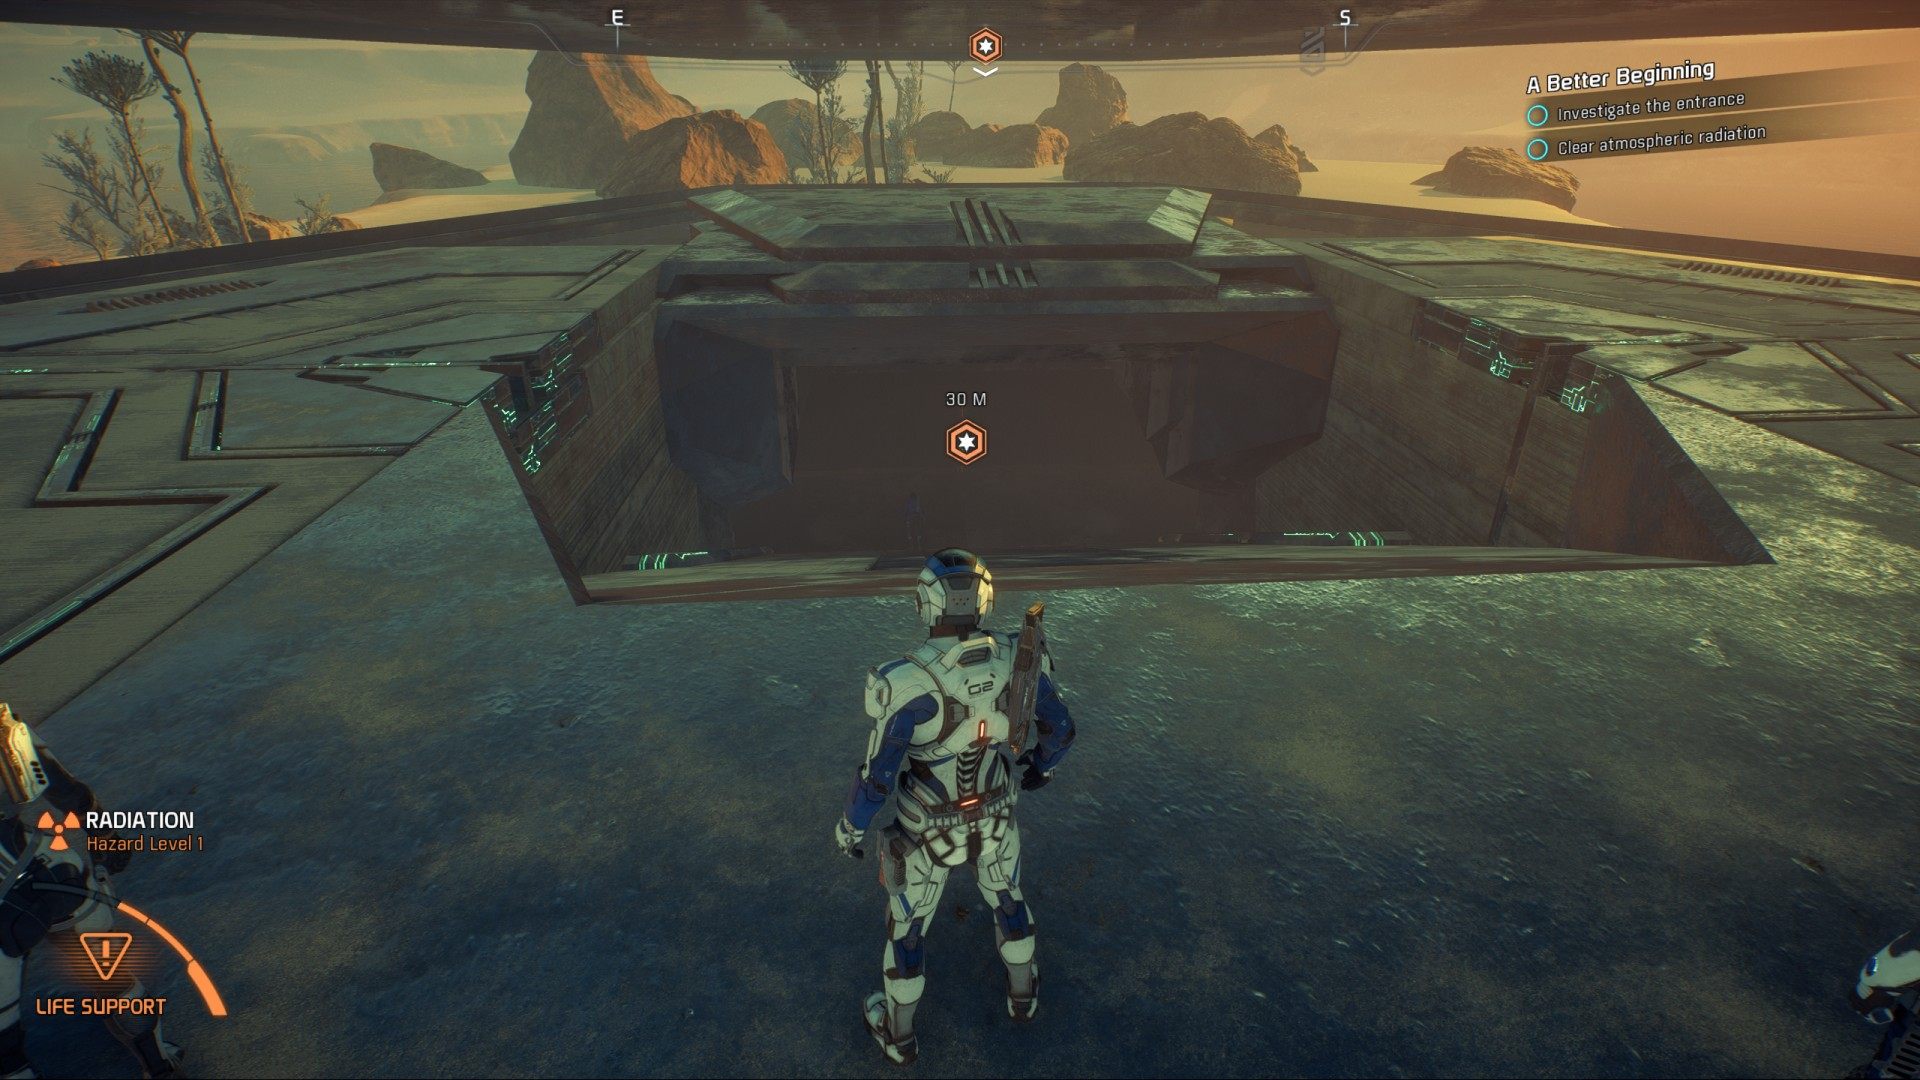
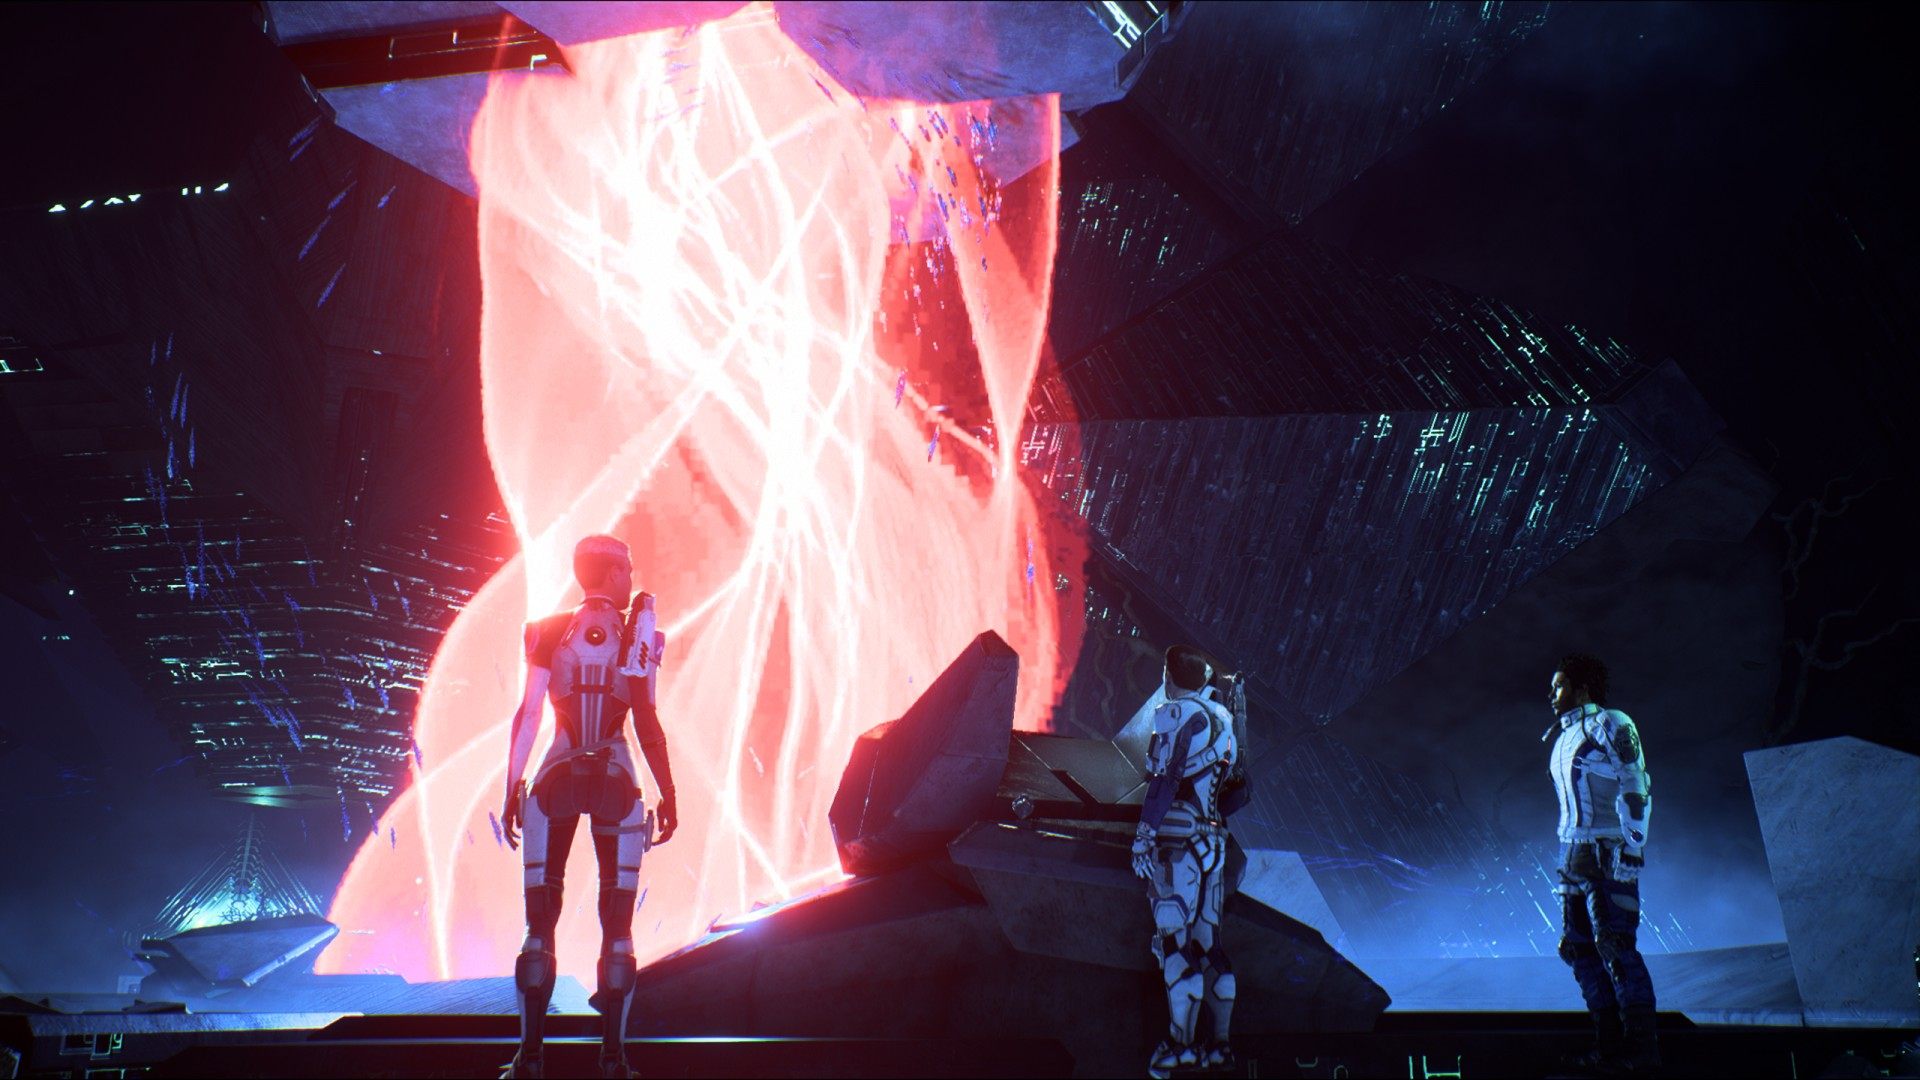
6.15. Investigate the entrance
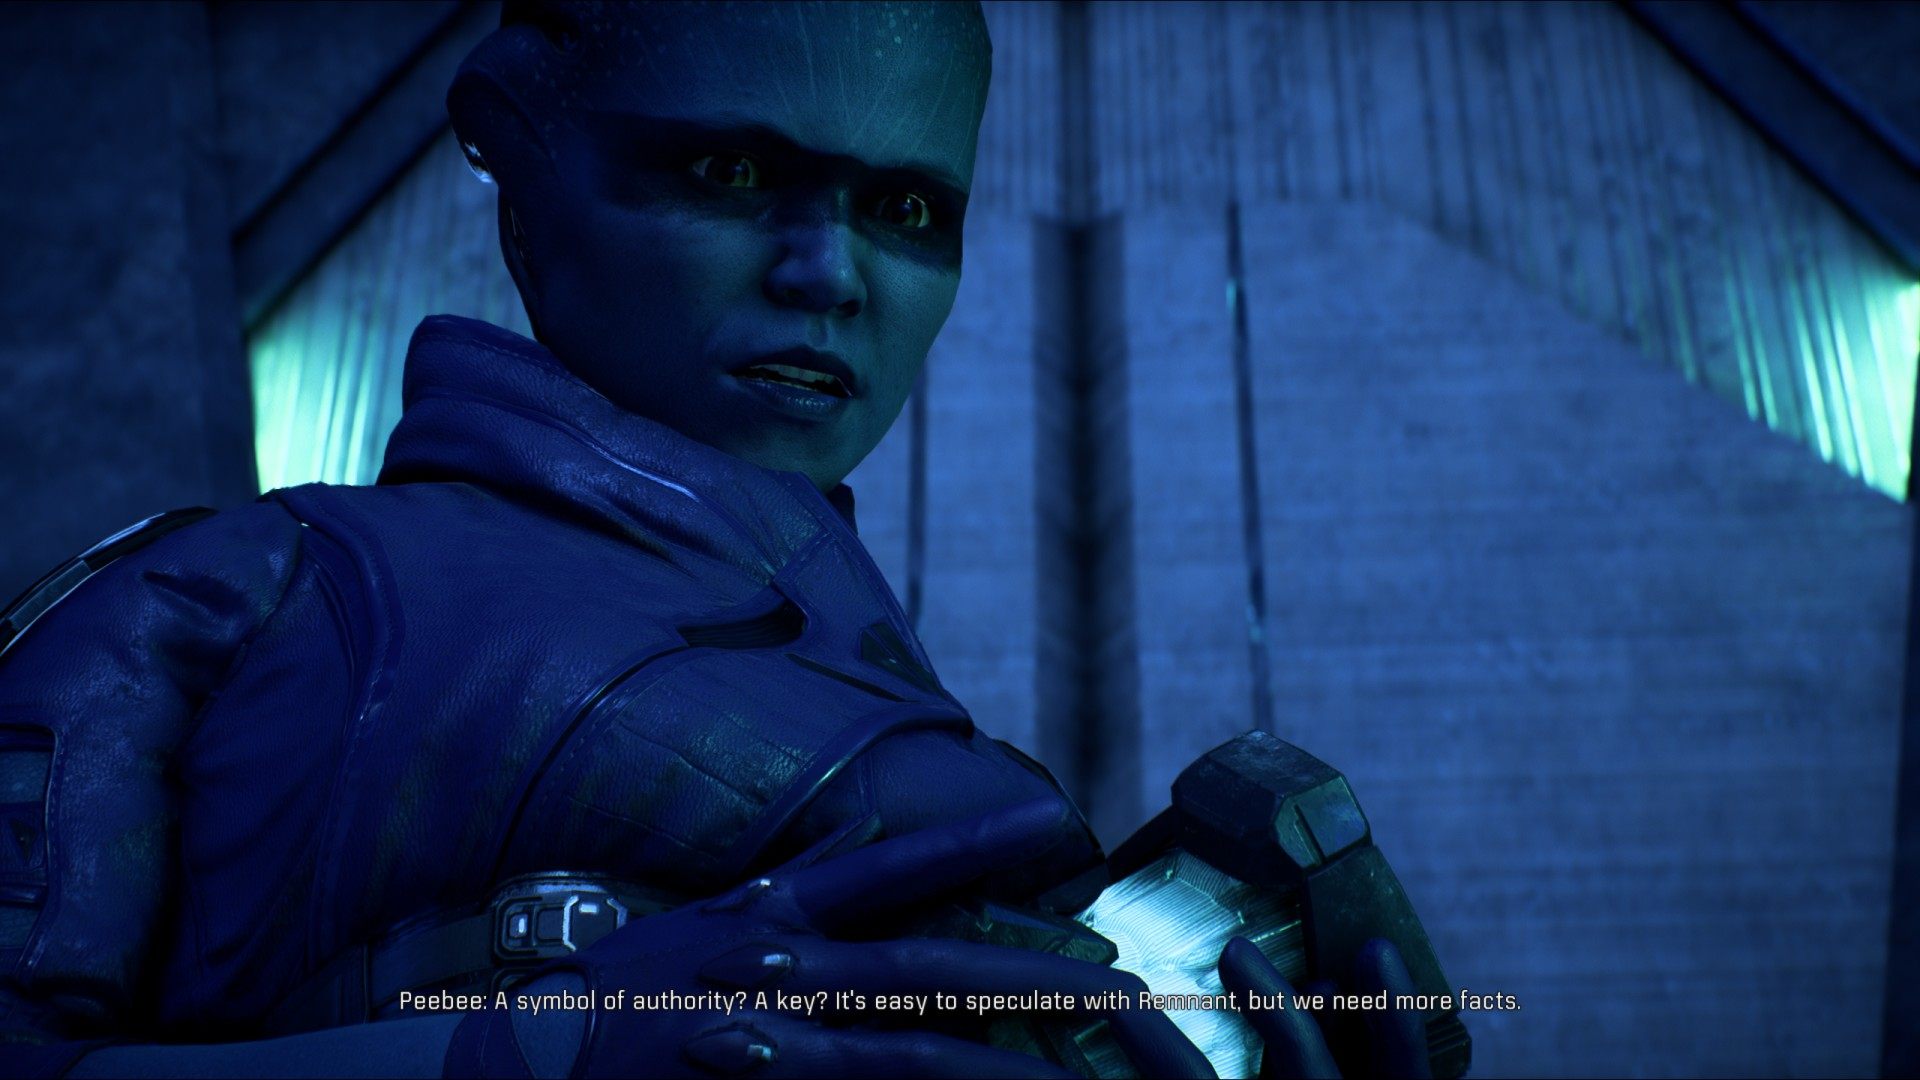
Go to the marked location and use the Remnant console. It will open the vault and form a brige you can use to get to the island. Peebee will join you. Go inside.
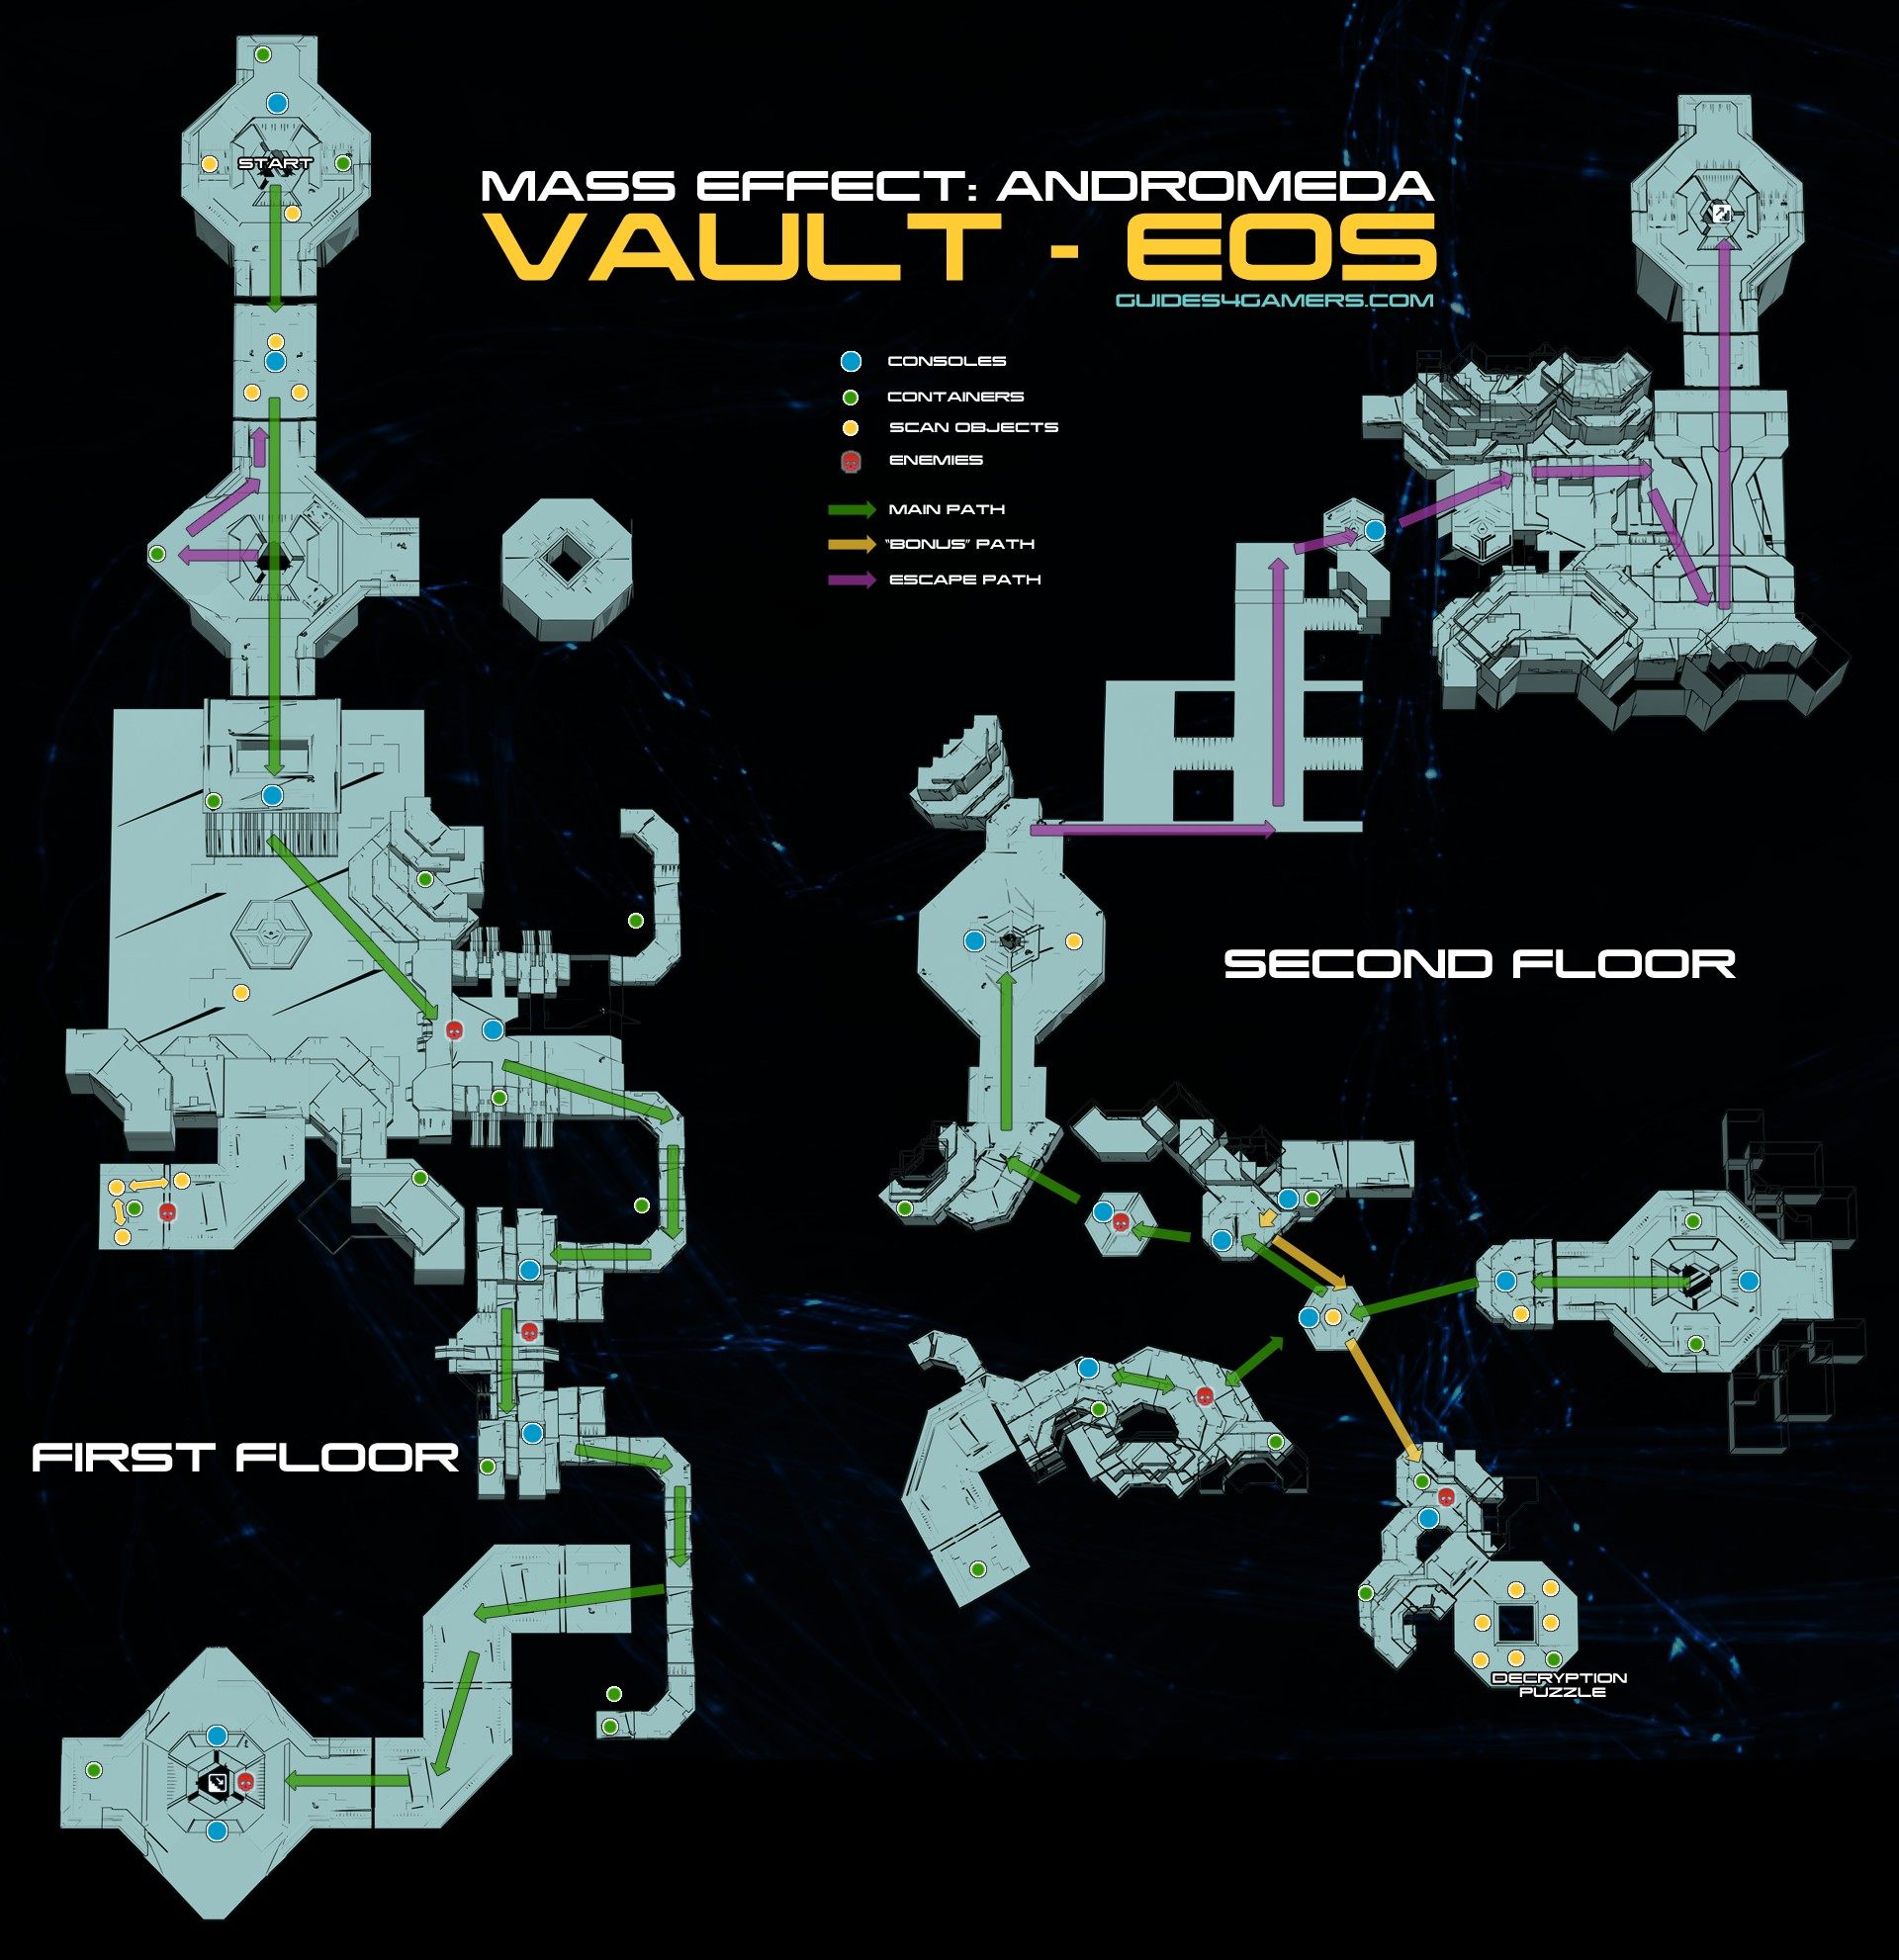
6.16. Map of the Remnant vault on Eos
Select "Open link in new tab / window" for full size map.
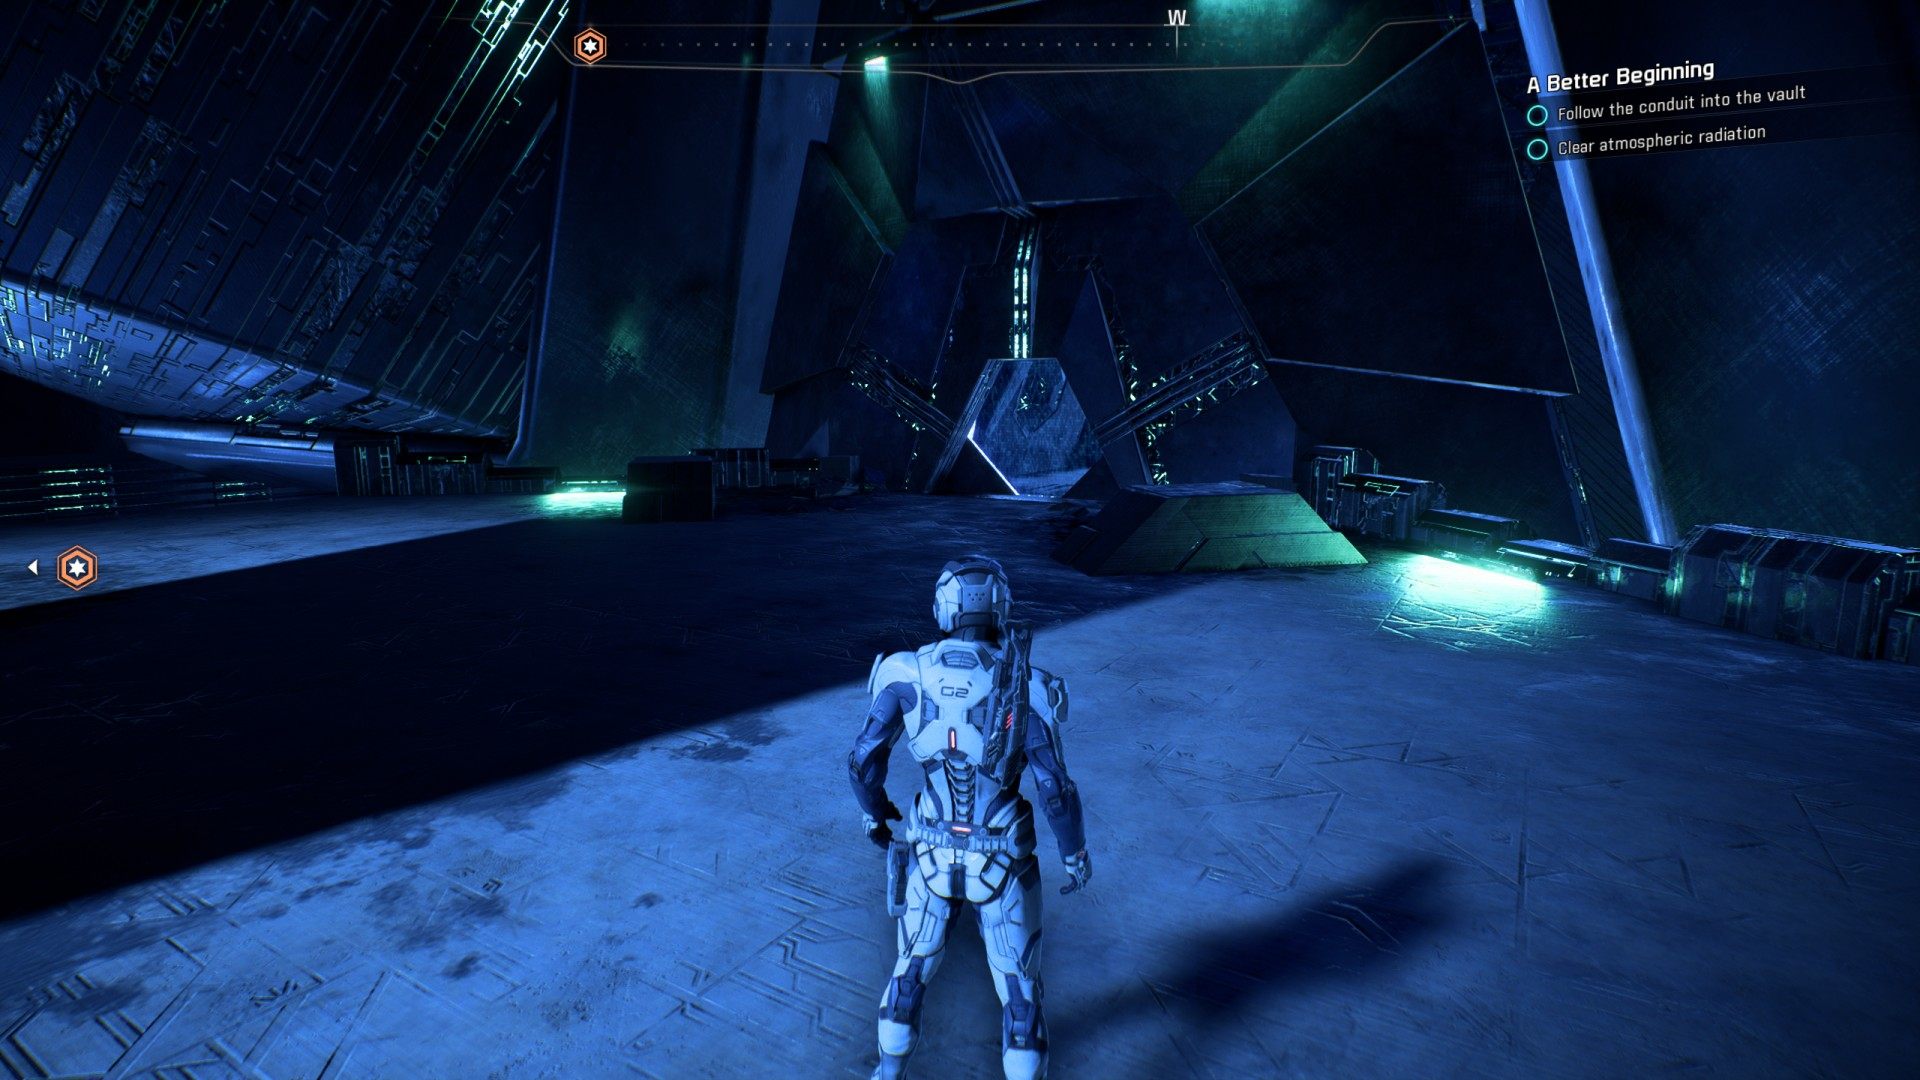
6.17. Explore the Remnant vault
The search for a way to activate Eos' atmosphere processor has led underground to a mysterious Remnant vault. Most of its systems appear to be locked down. Explore the vault and find a way to lift the system lockdown.
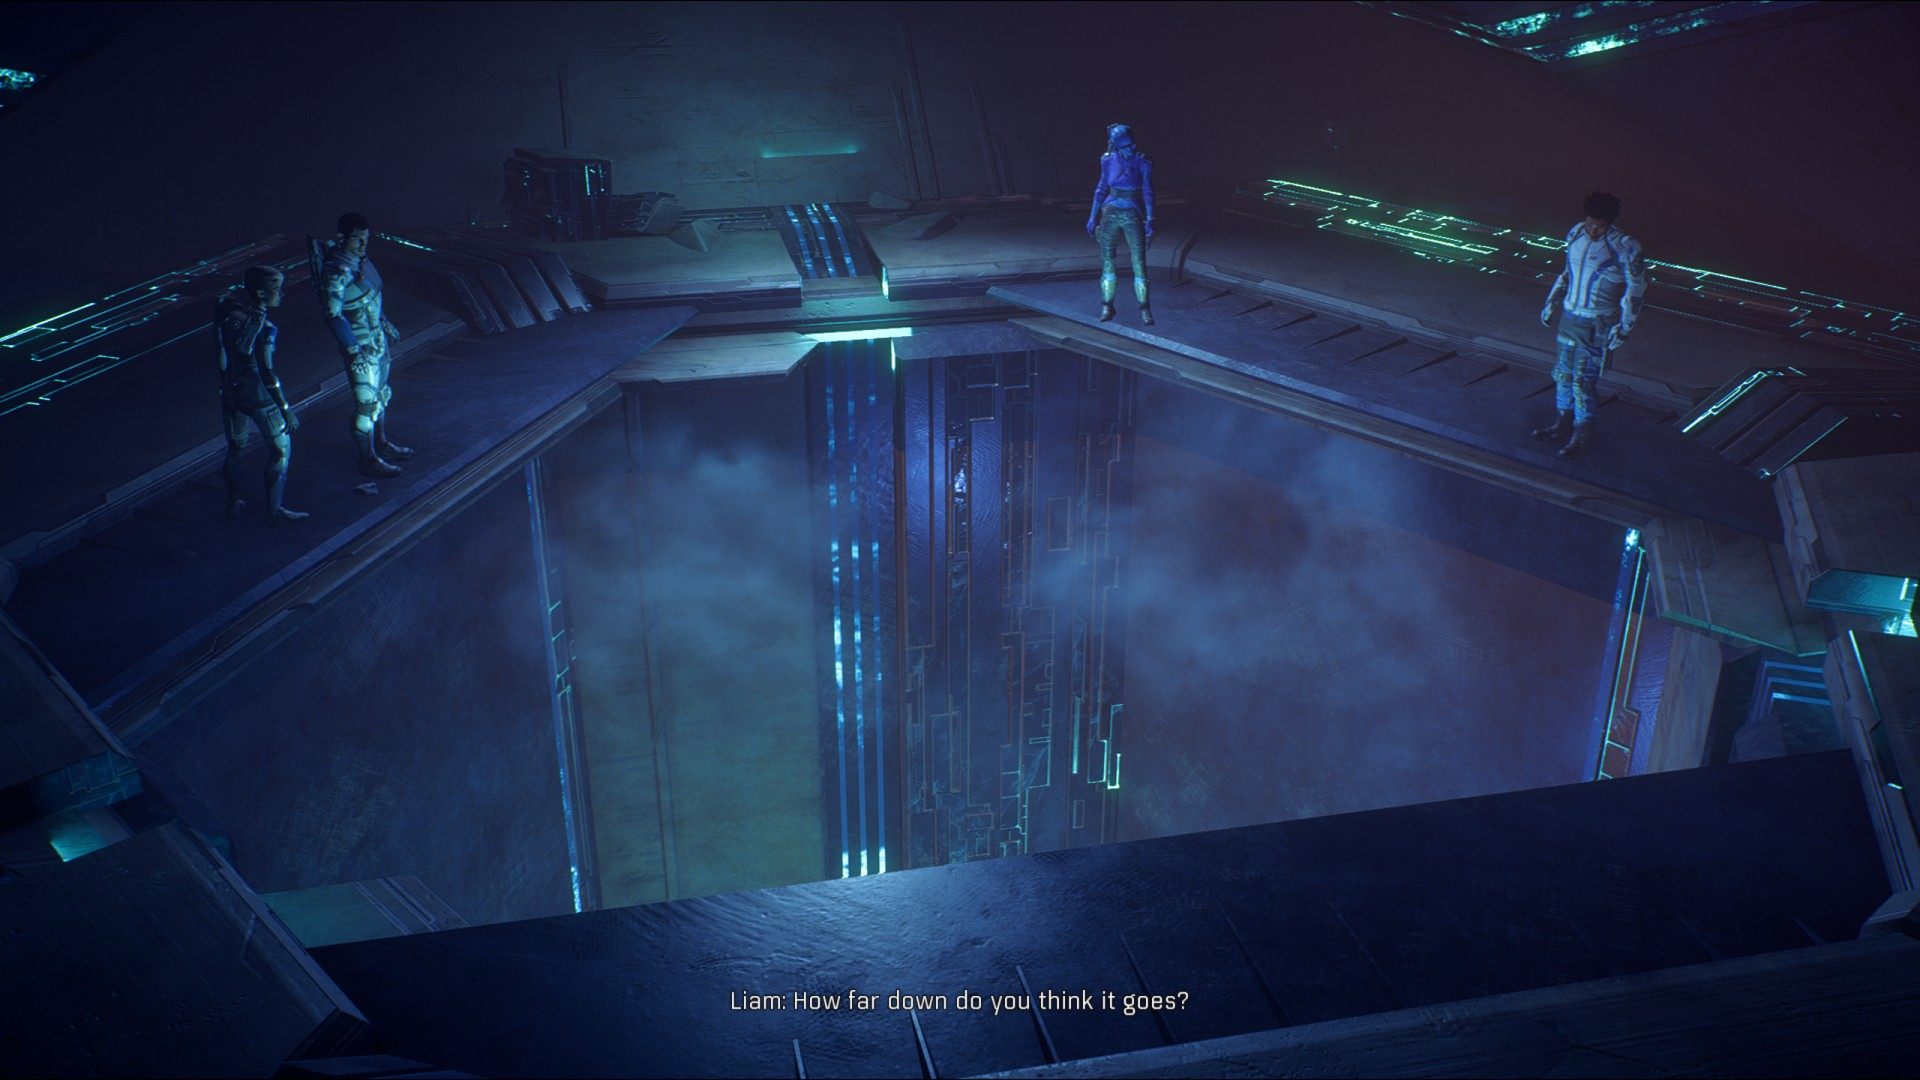
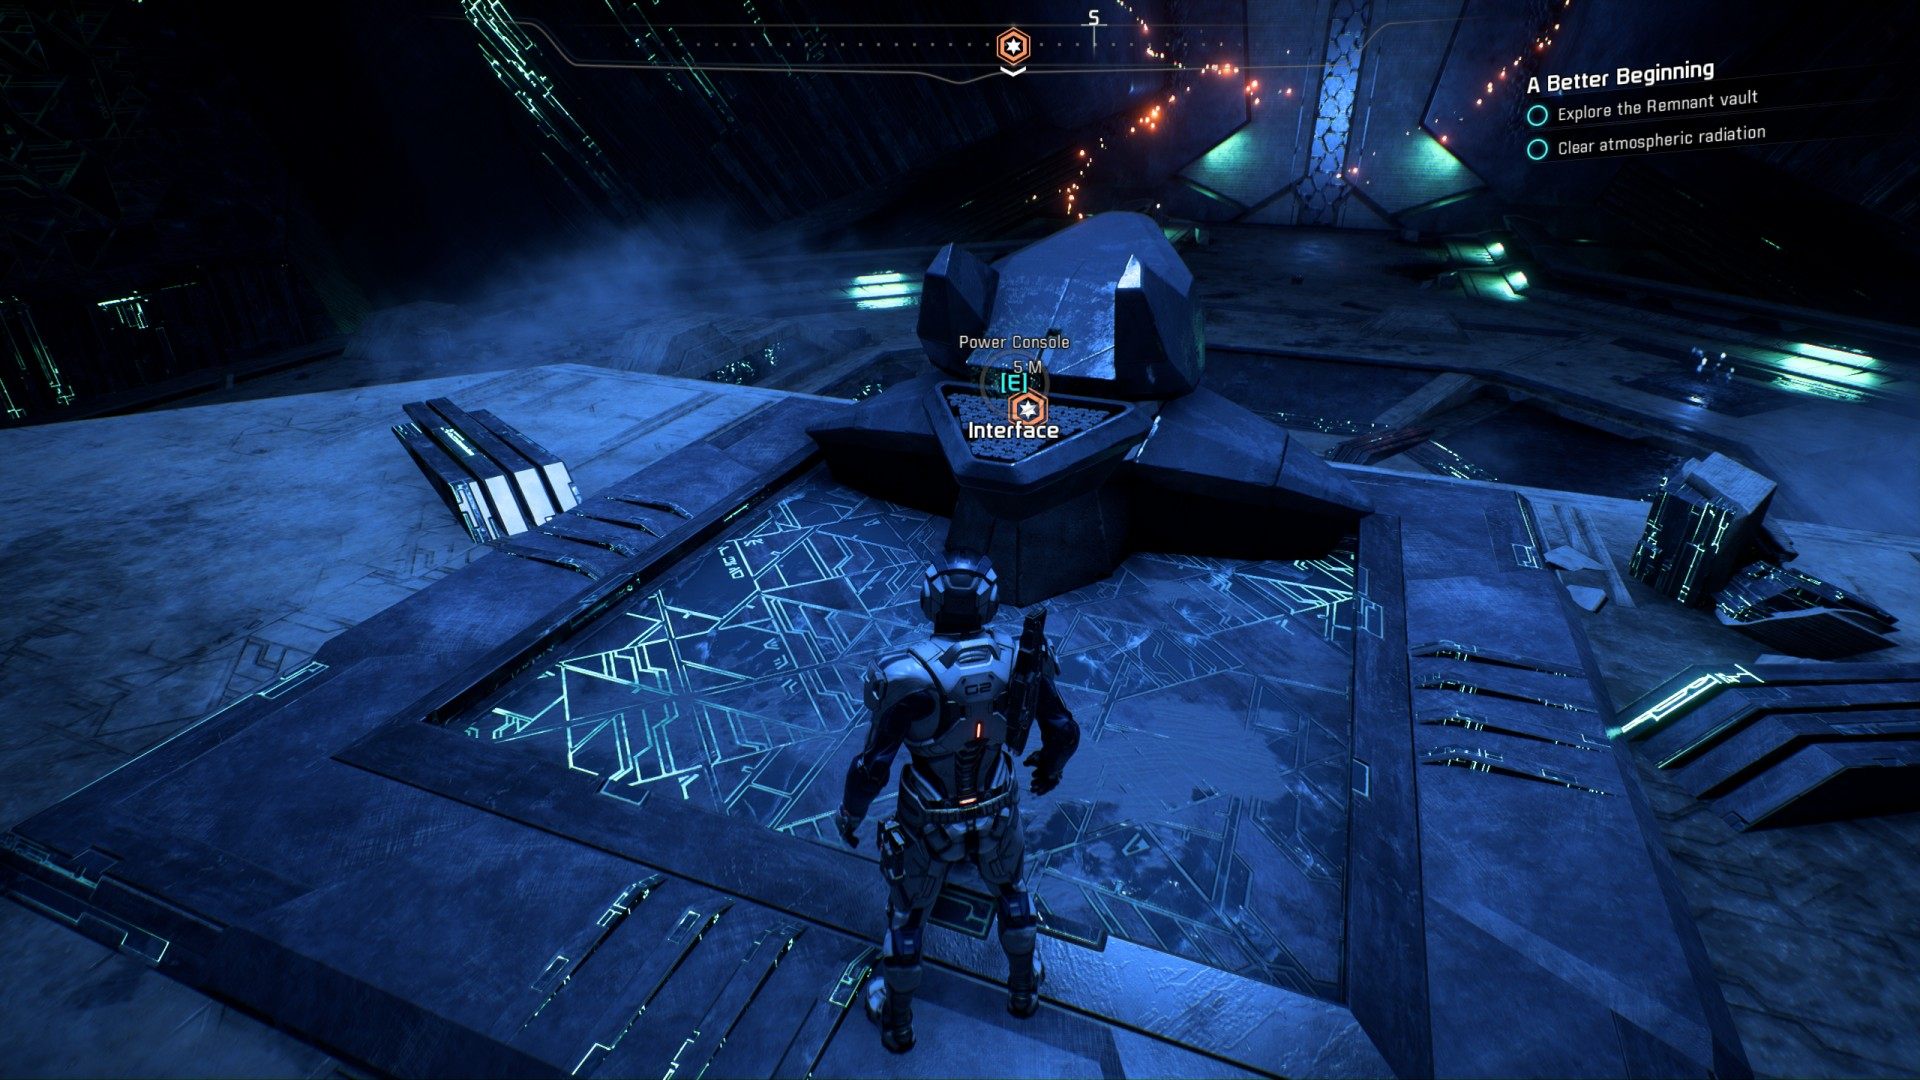
"Time limited" decision: "Jump" - you jump first, otherwise Peebee jumps first.
Interact with power console.
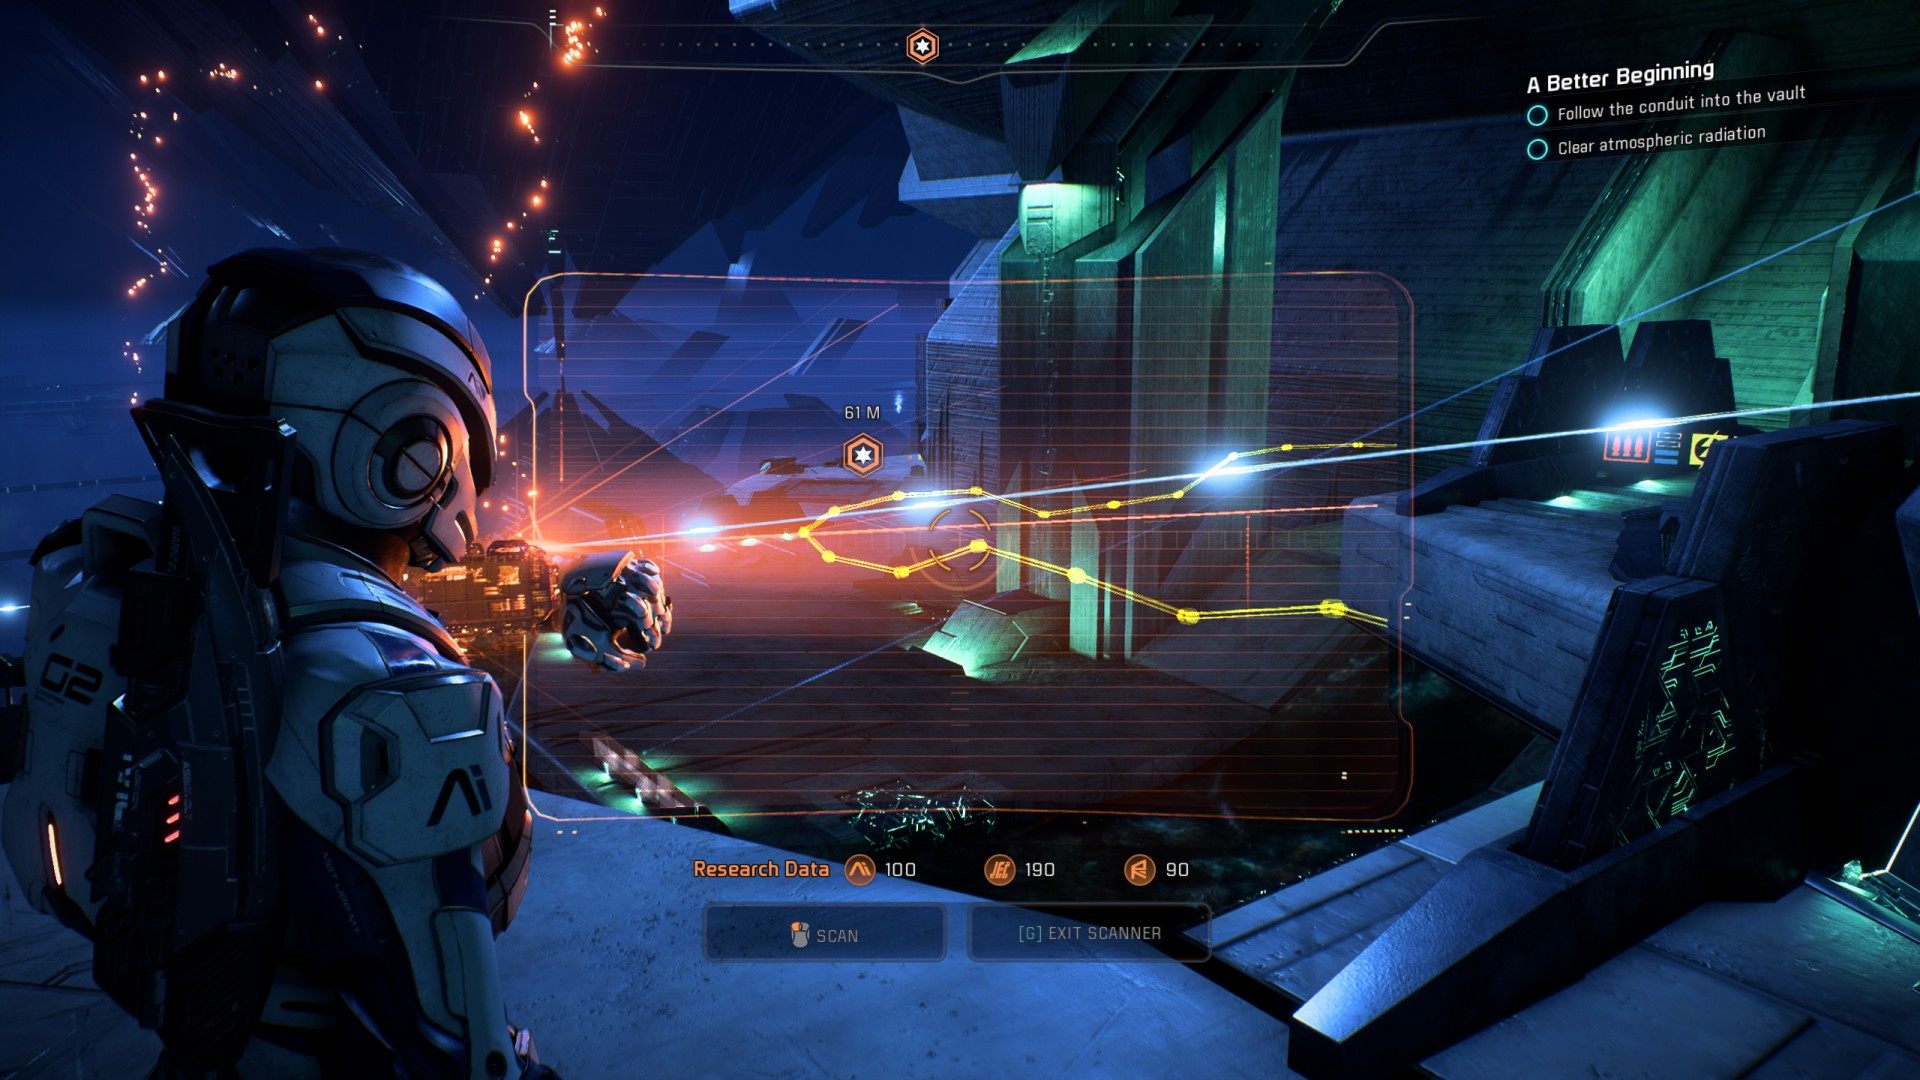
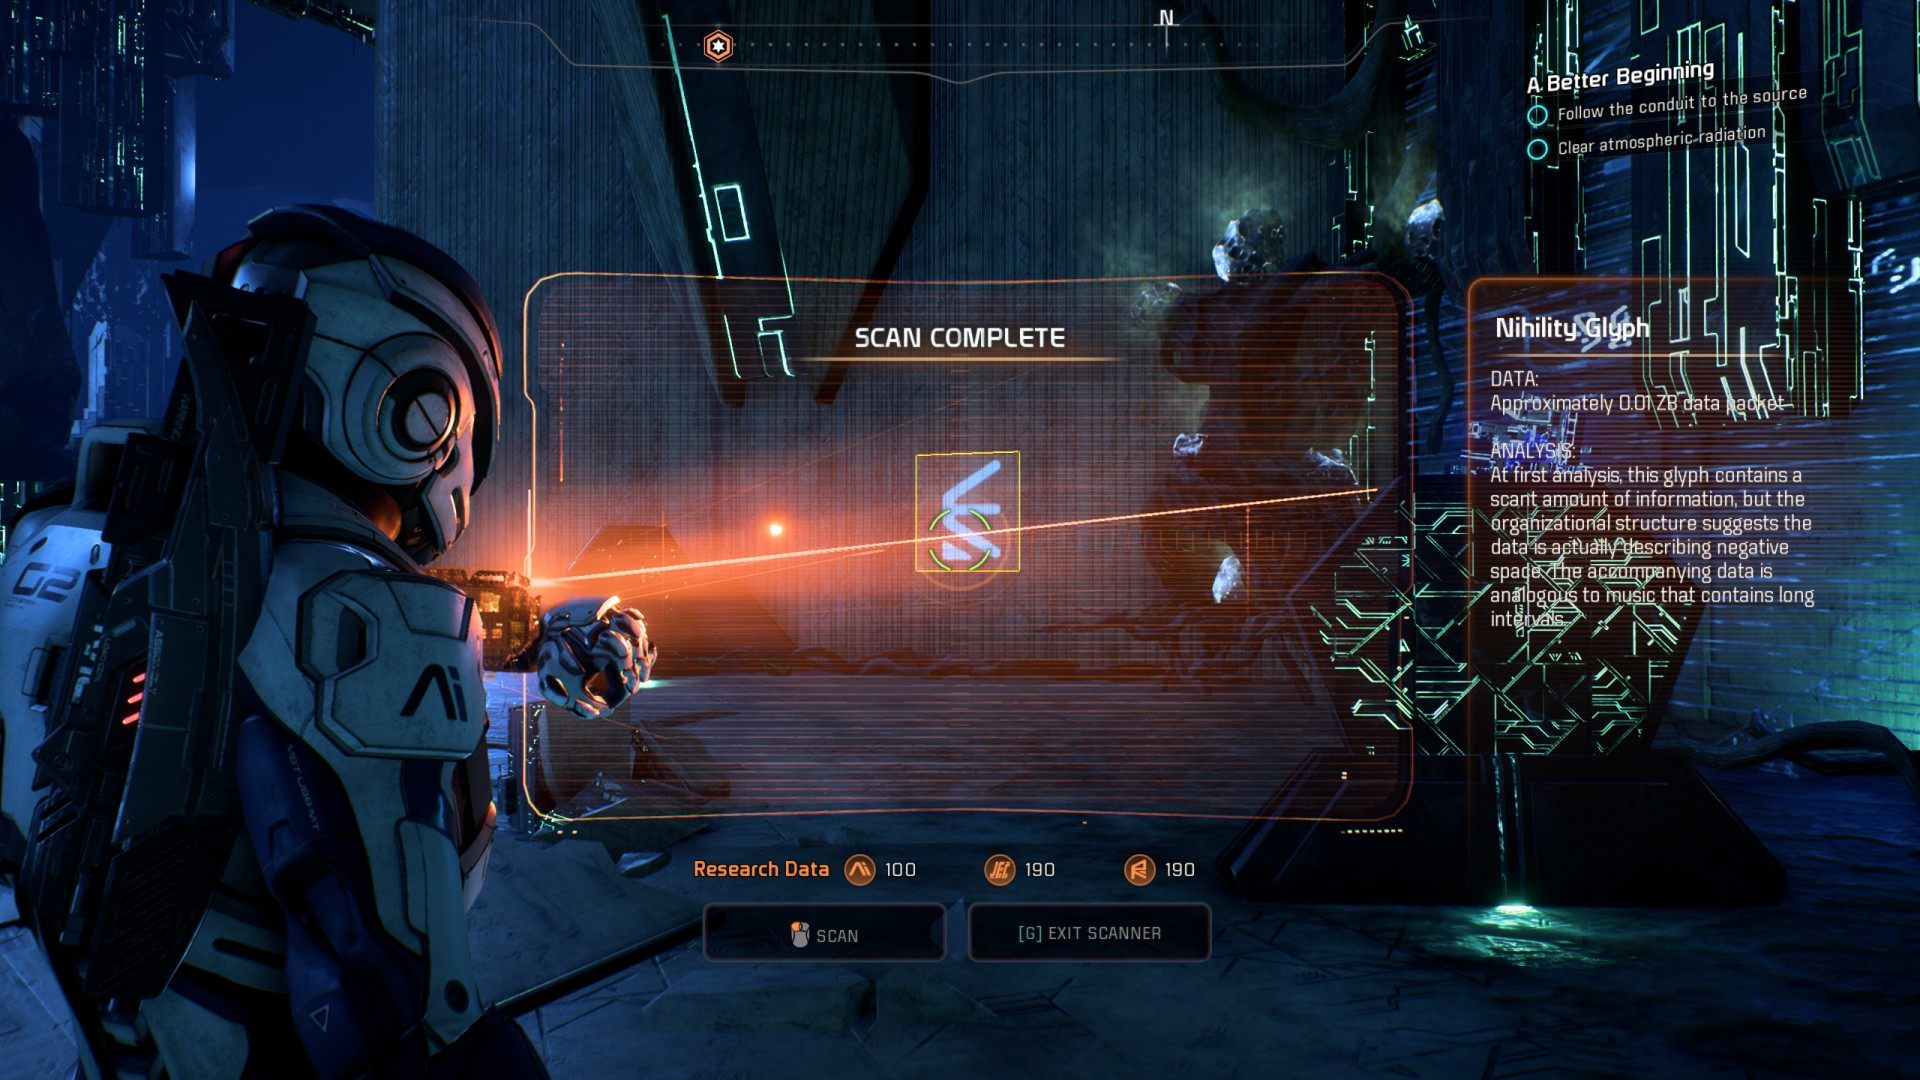
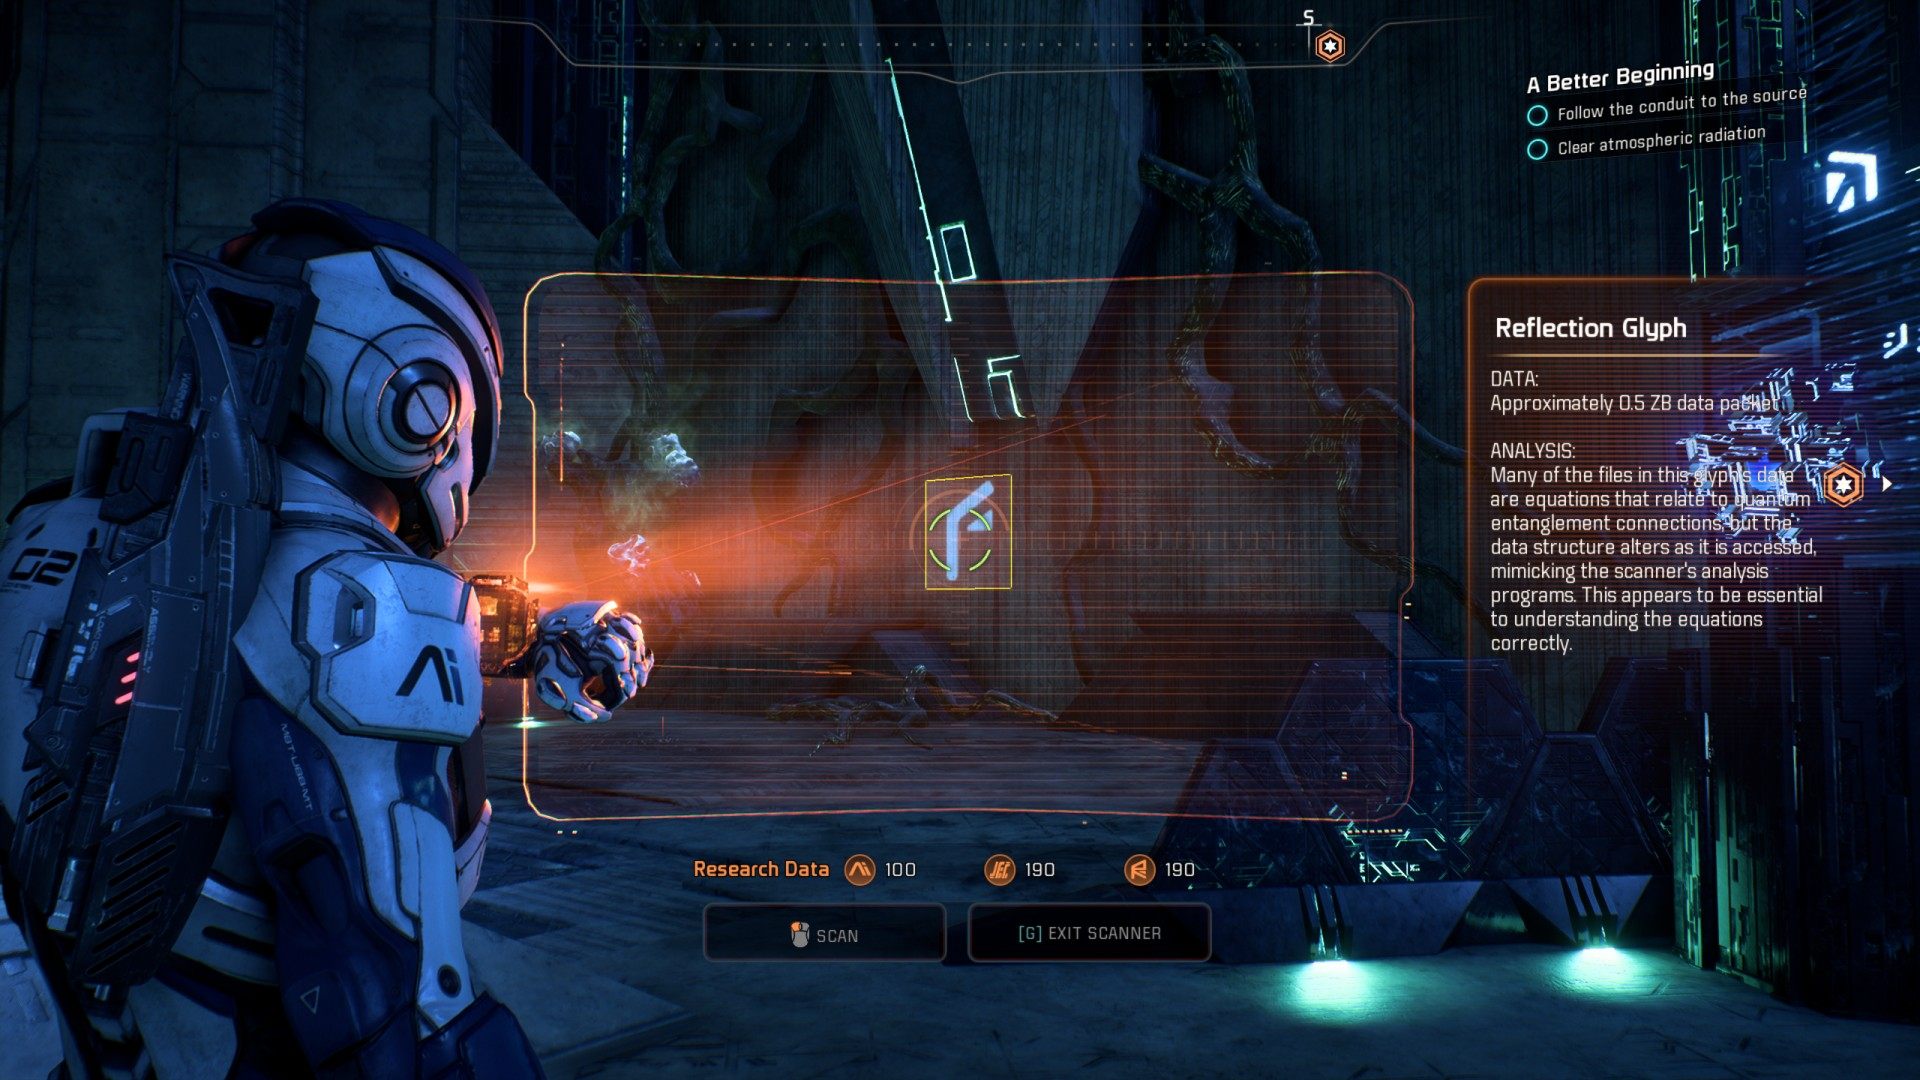
6.18. Follow the conduit into the vault
The conduit will show you the way. Use the scanner to see it.
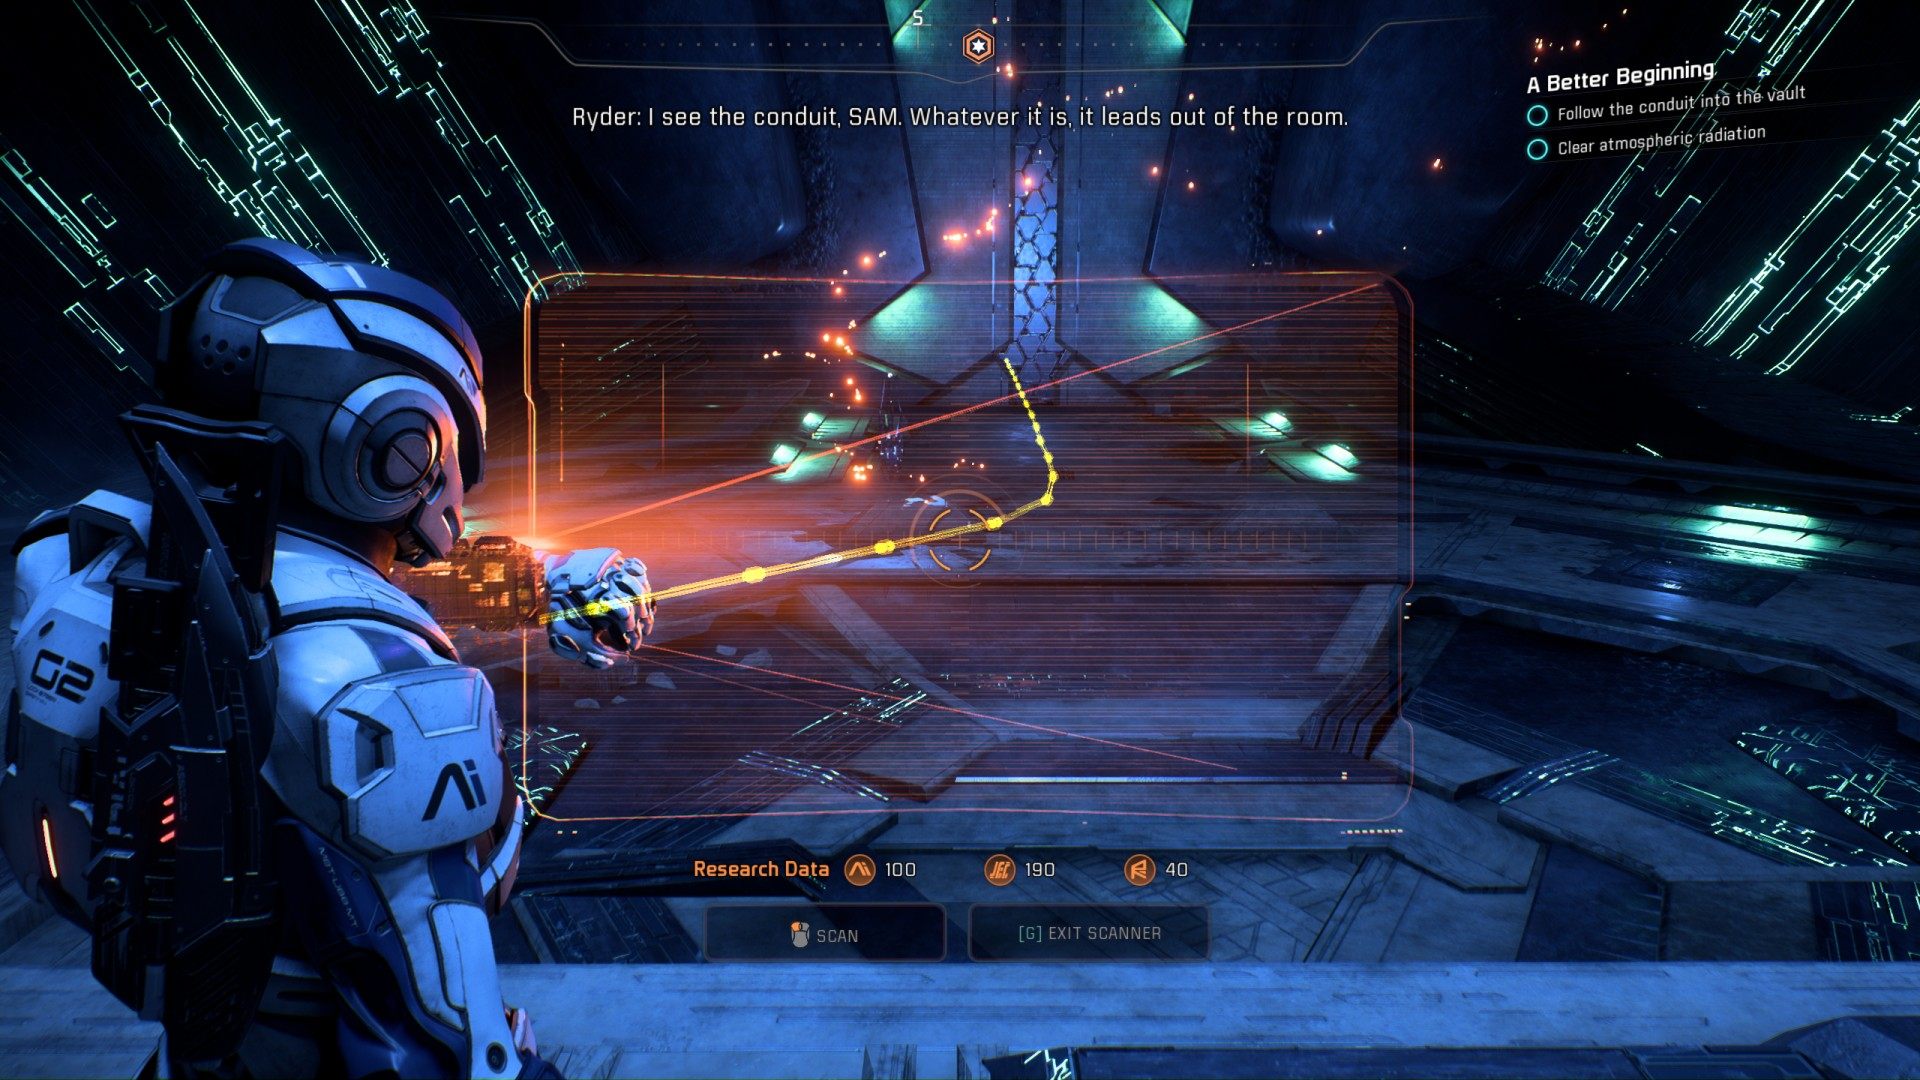
Proceed to the next room and scan the data patern located in front of the dead console. It will allow you to open the next door.
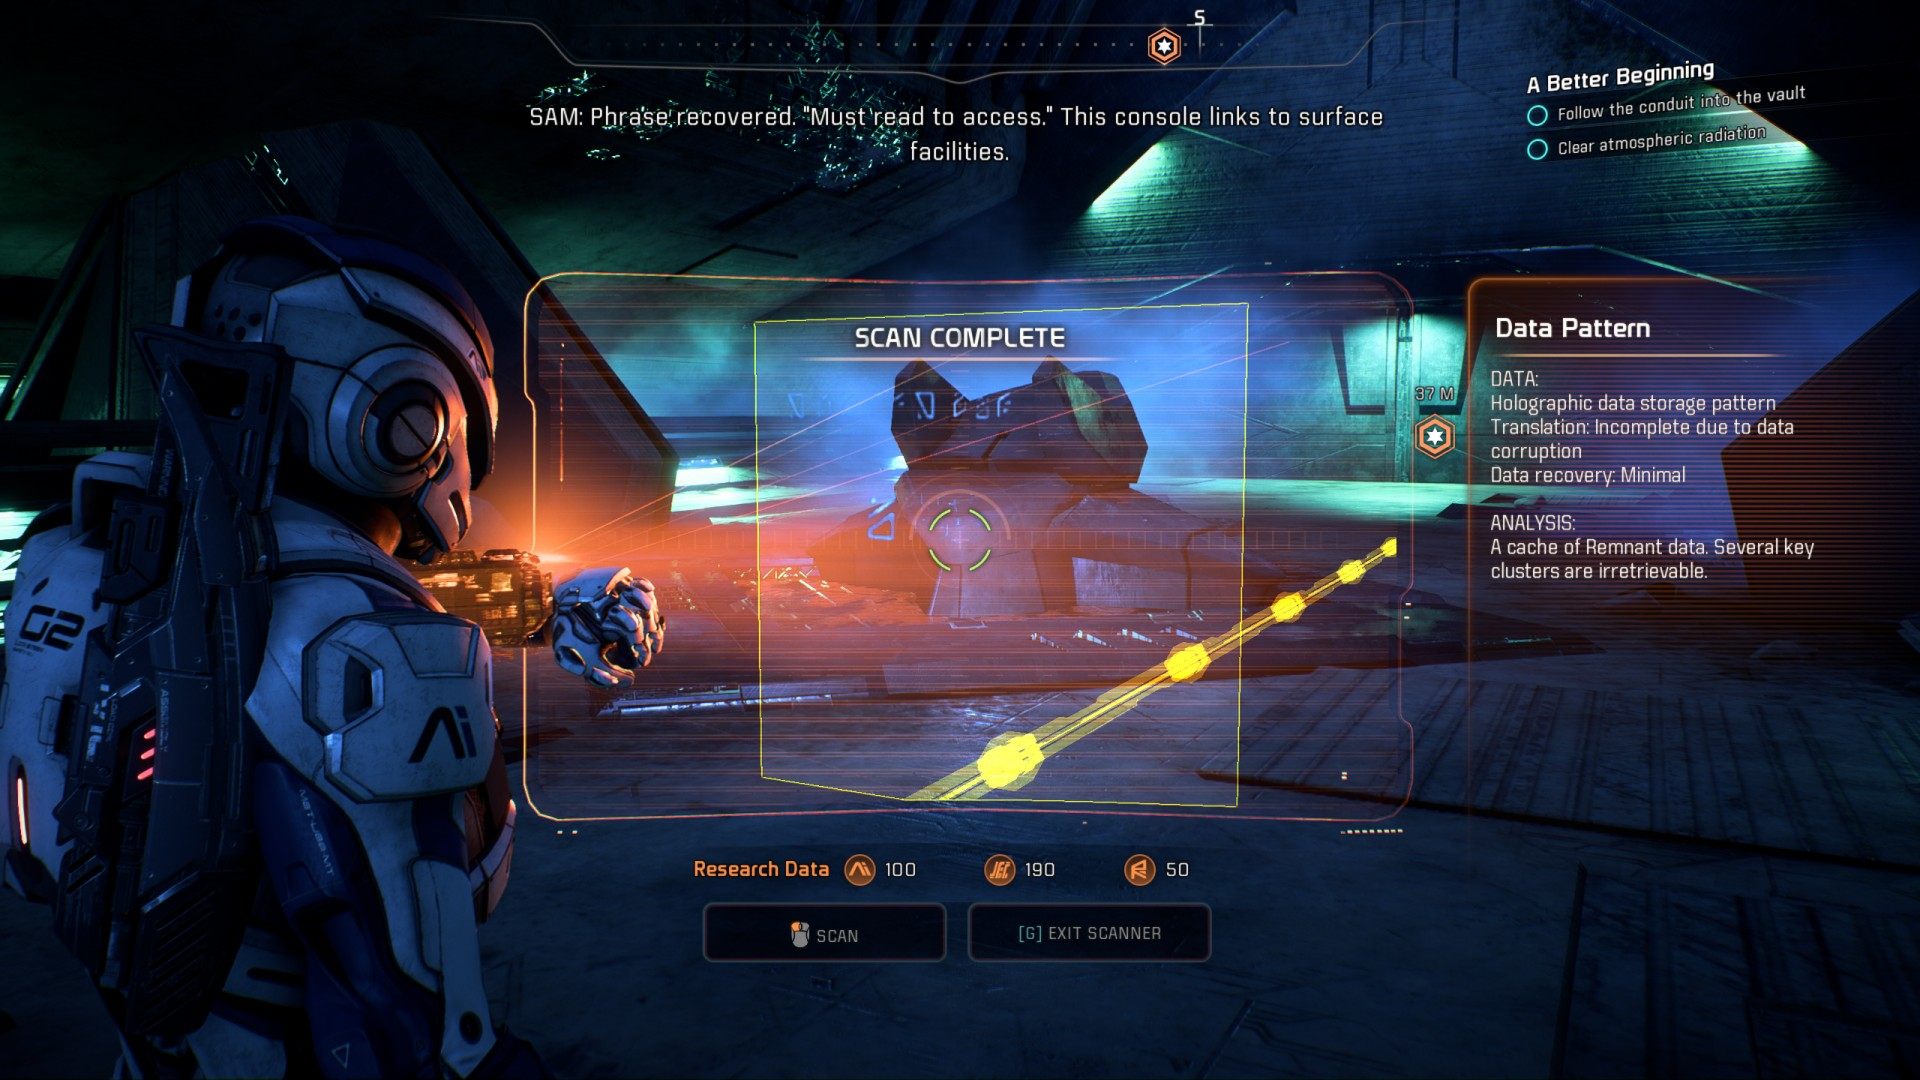
In the next room you will find the first remnant data core - new mission will be added to your journal - Task: Remnant Data Cores.
Notice the door with the energy barrier on the right side. You will be able to enter it while leaving the vault, there is a rare loot container inside.
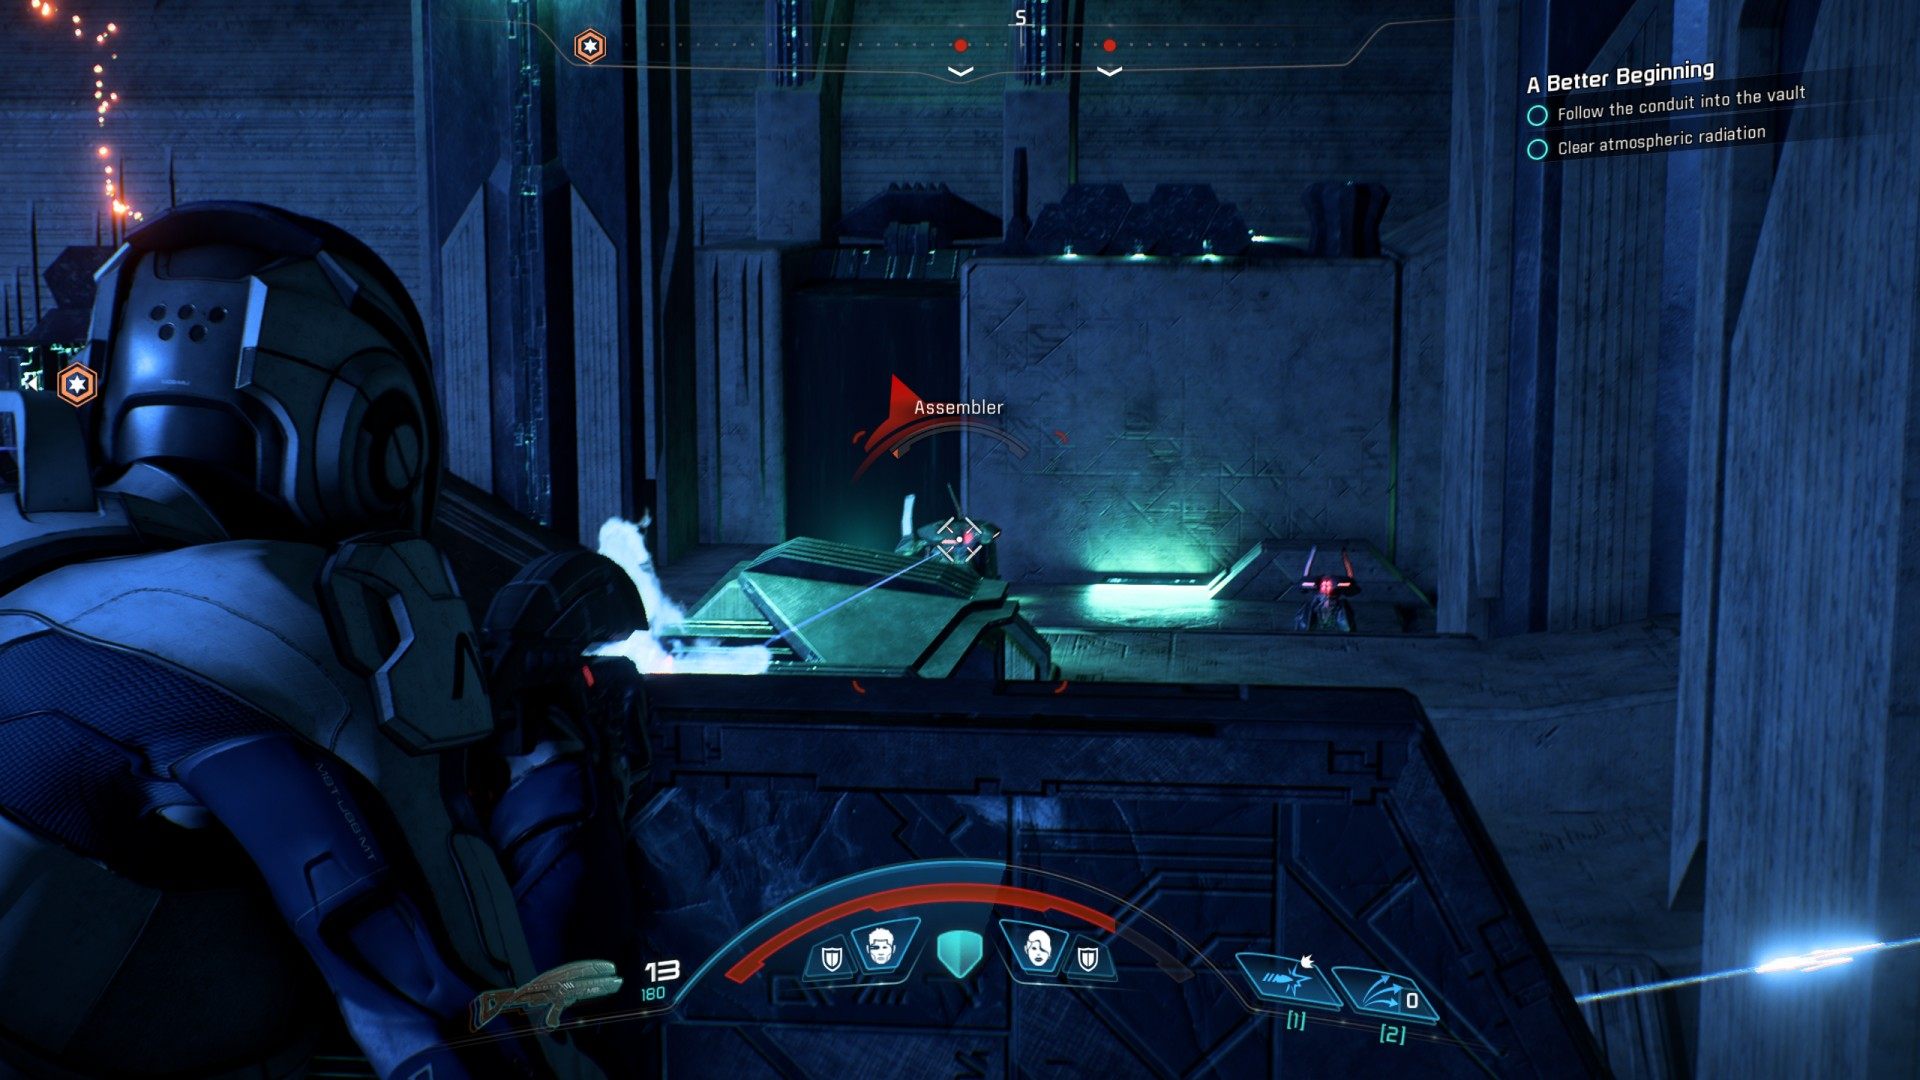
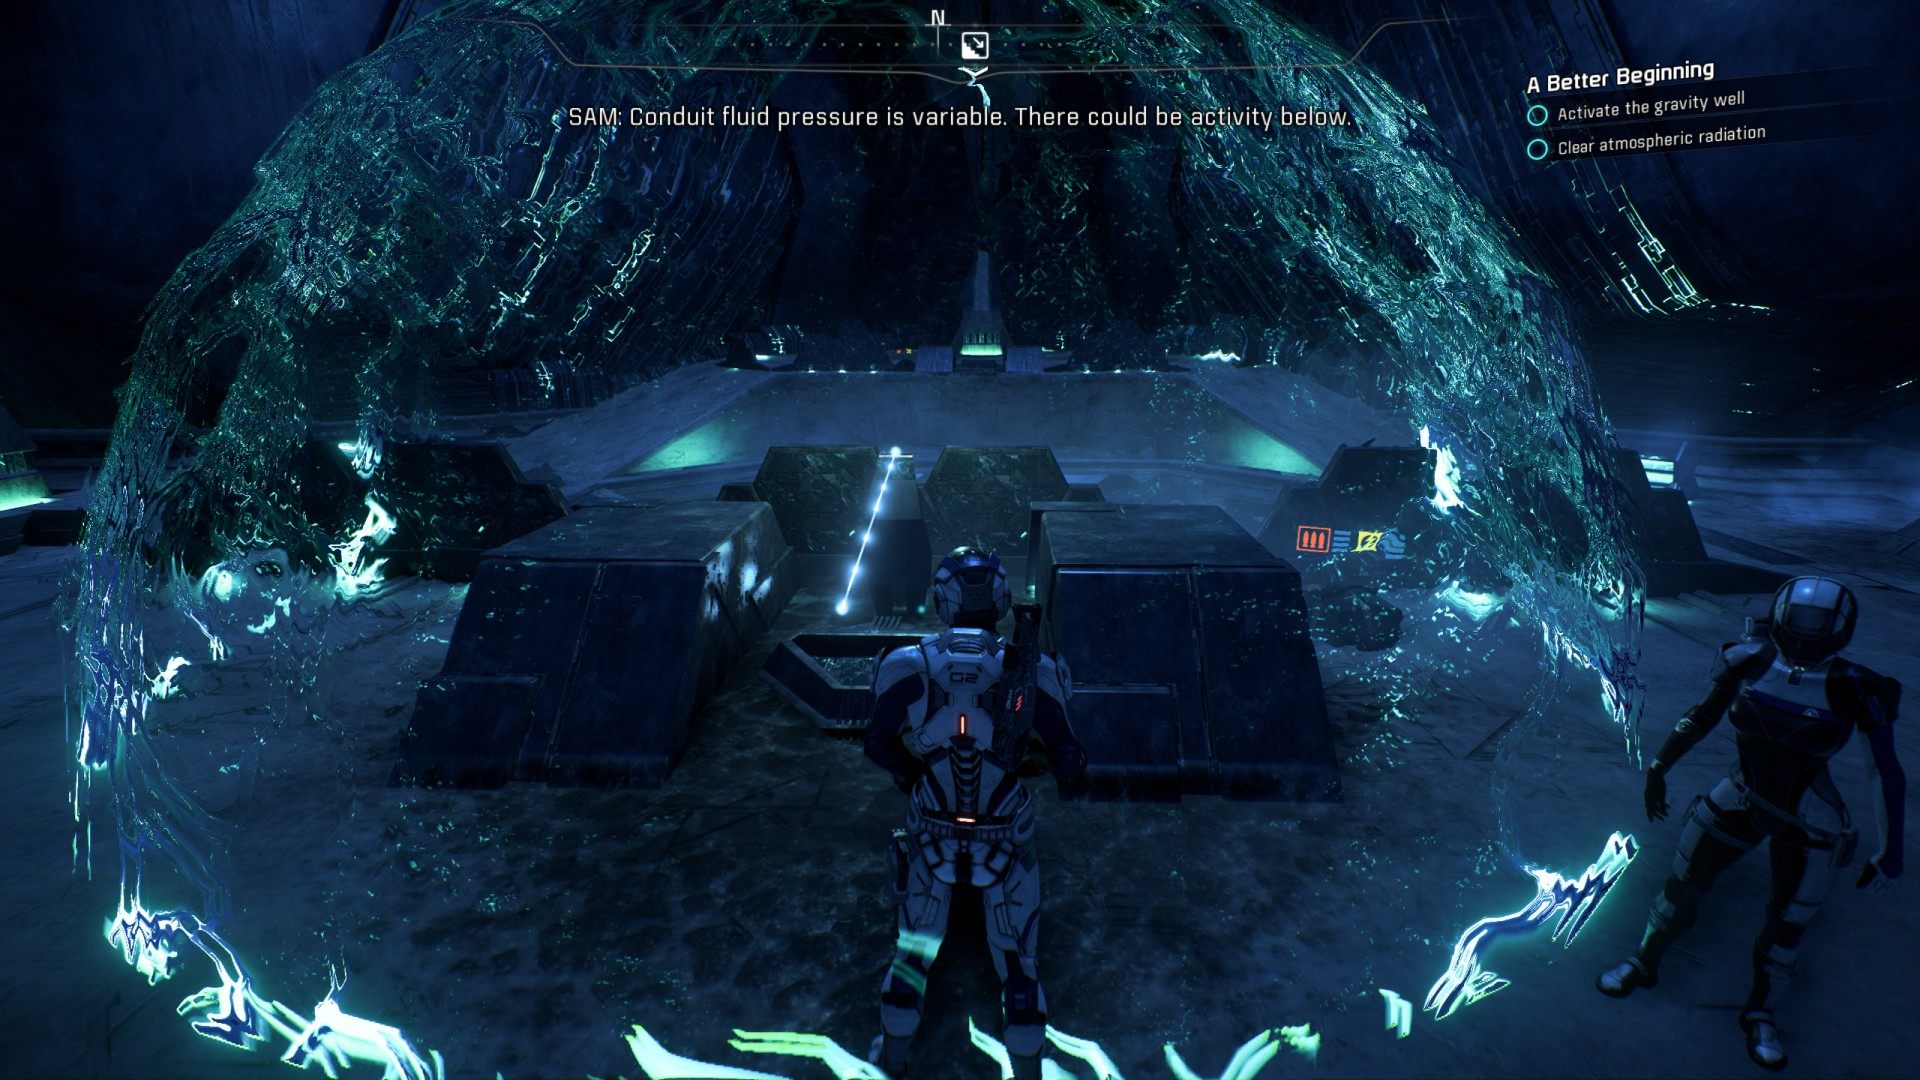
Continue following the conduit, eliminate the Remnant opponents, proceed through the door, etc. you will eventually reach the room with an inactive gravity well.
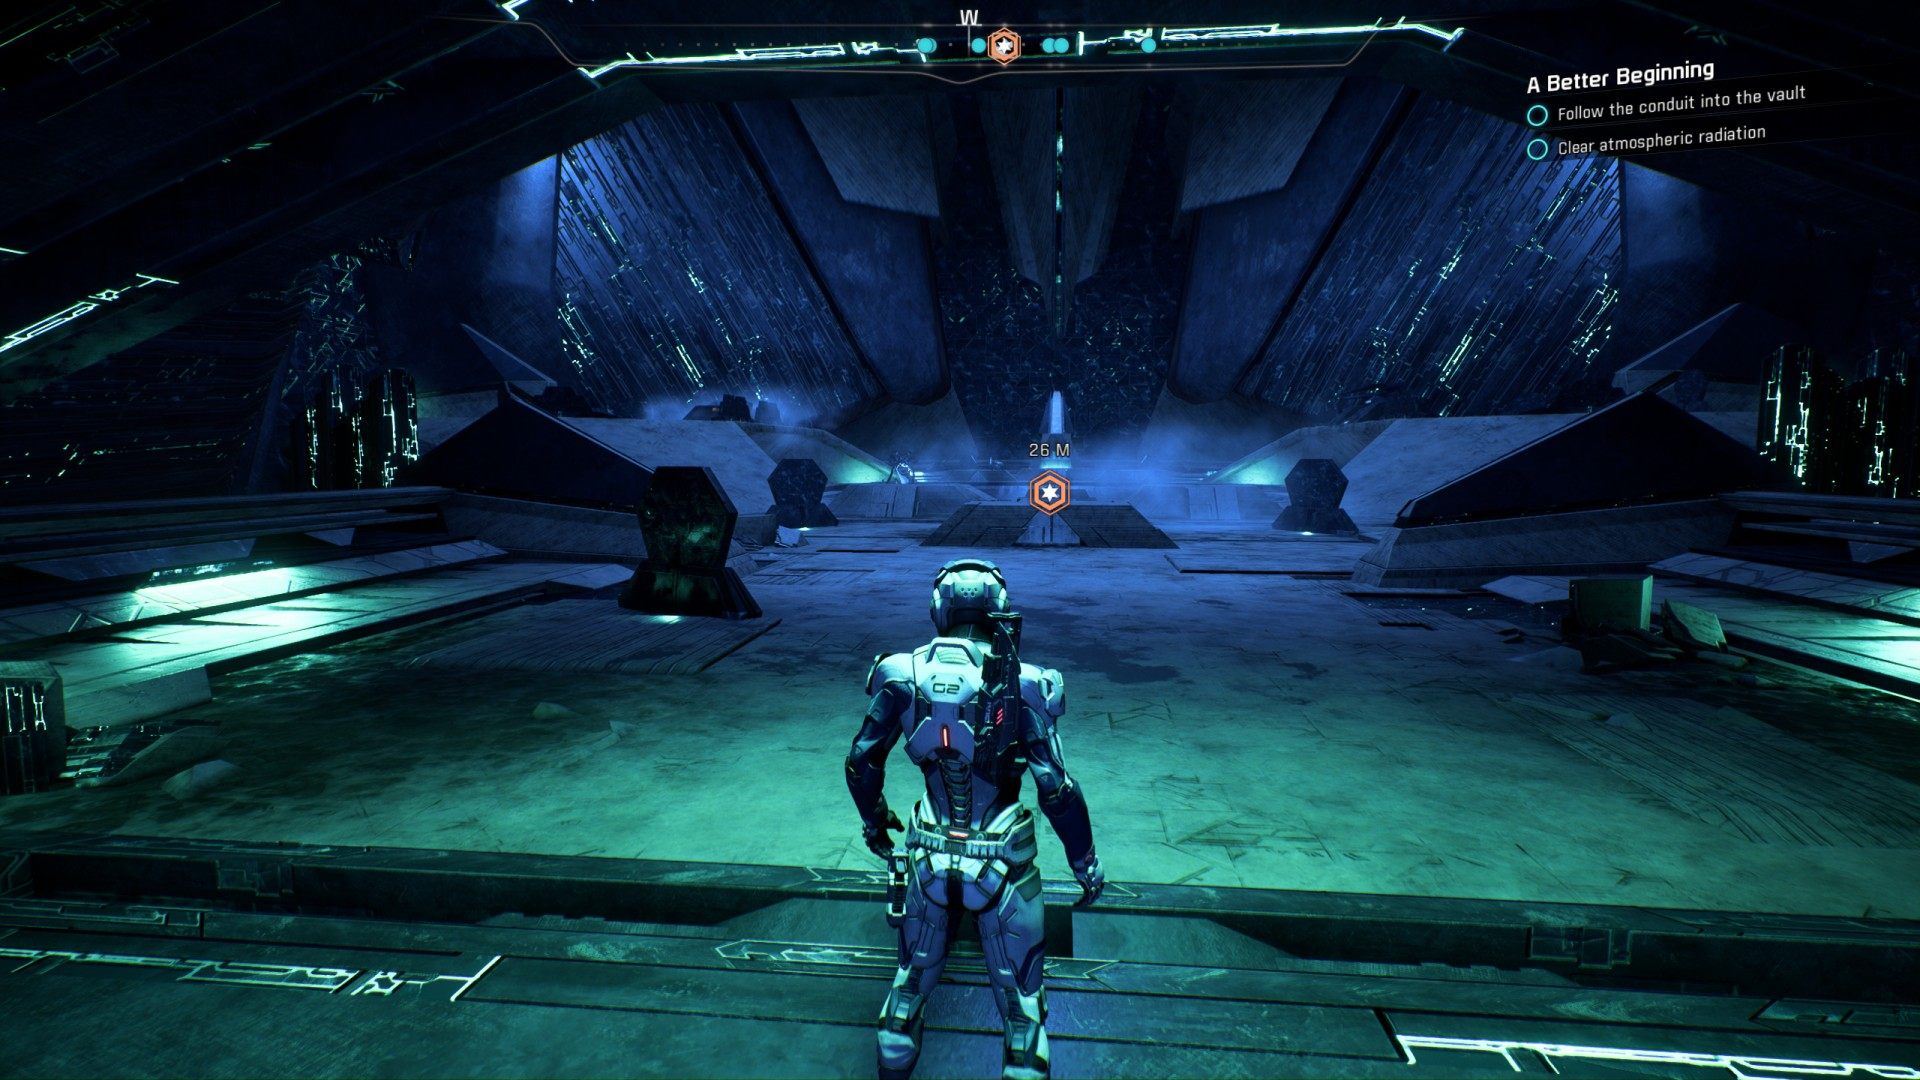
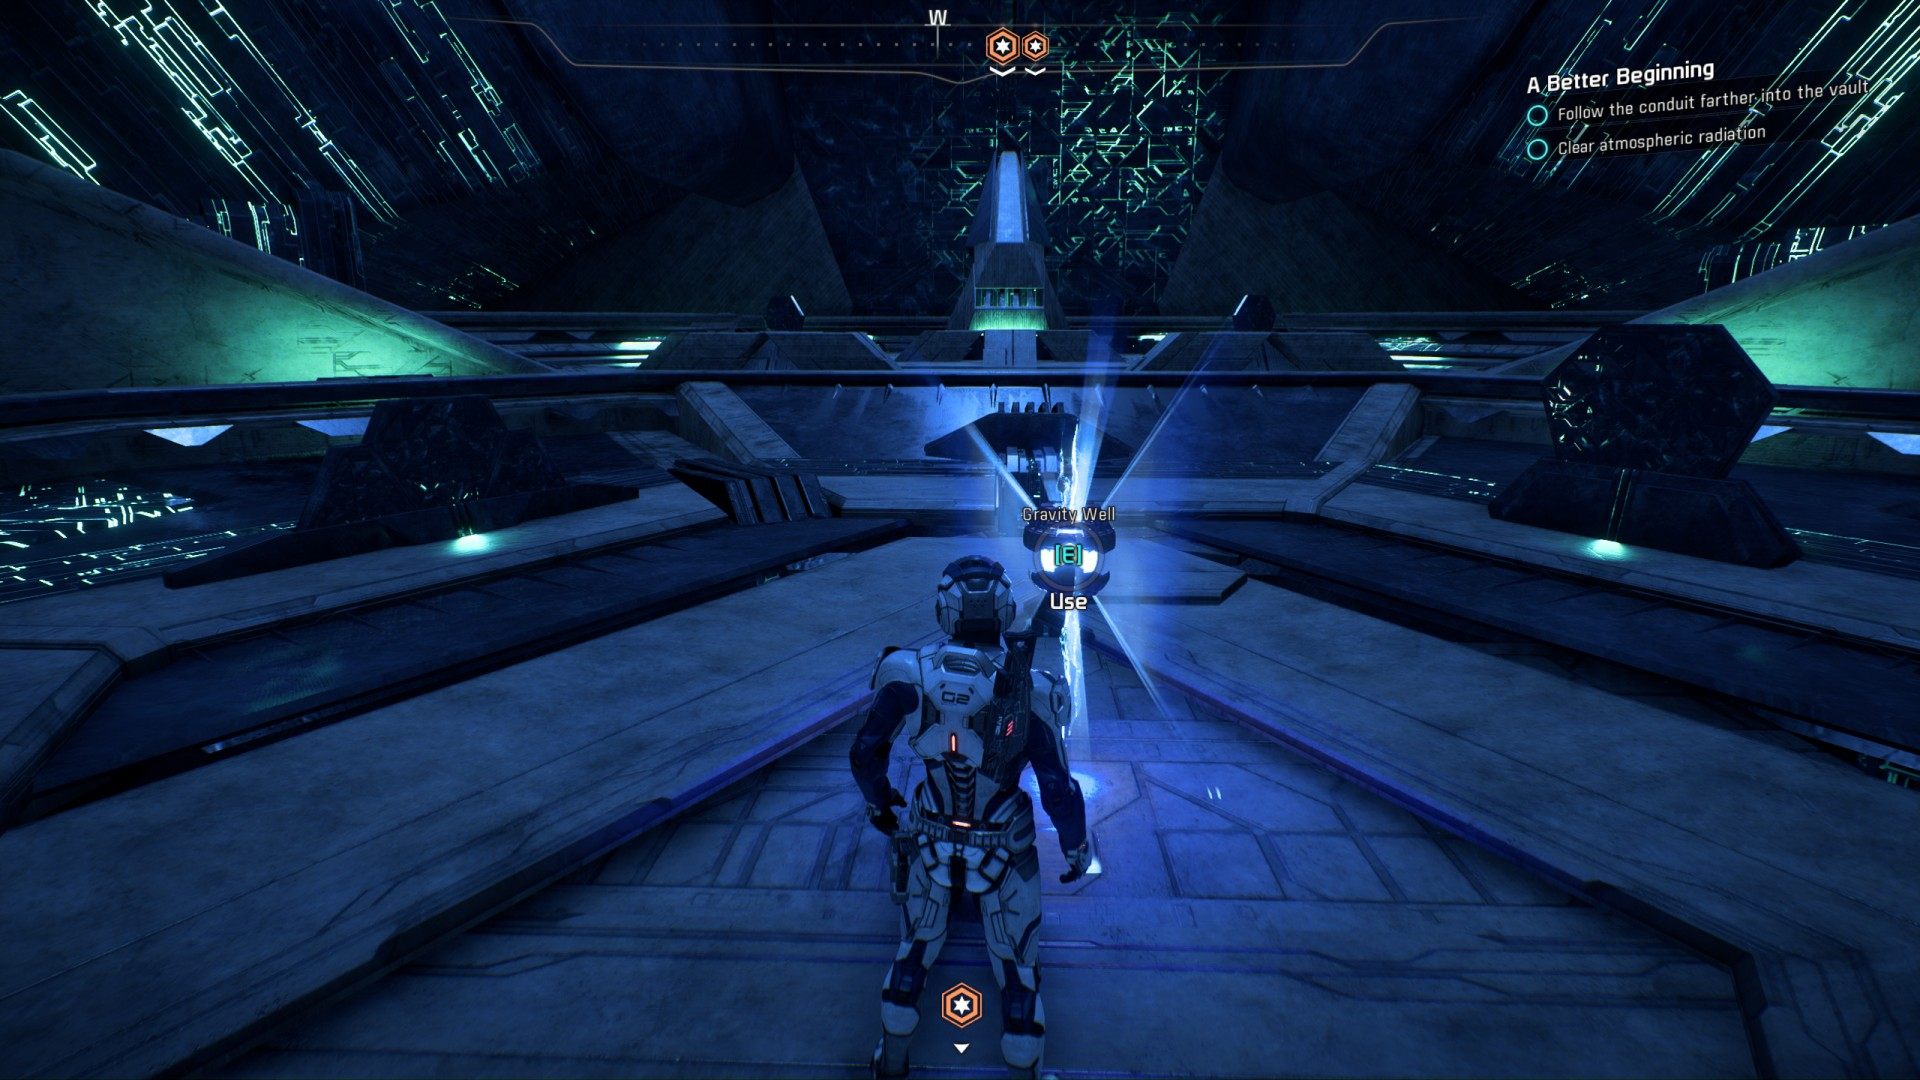
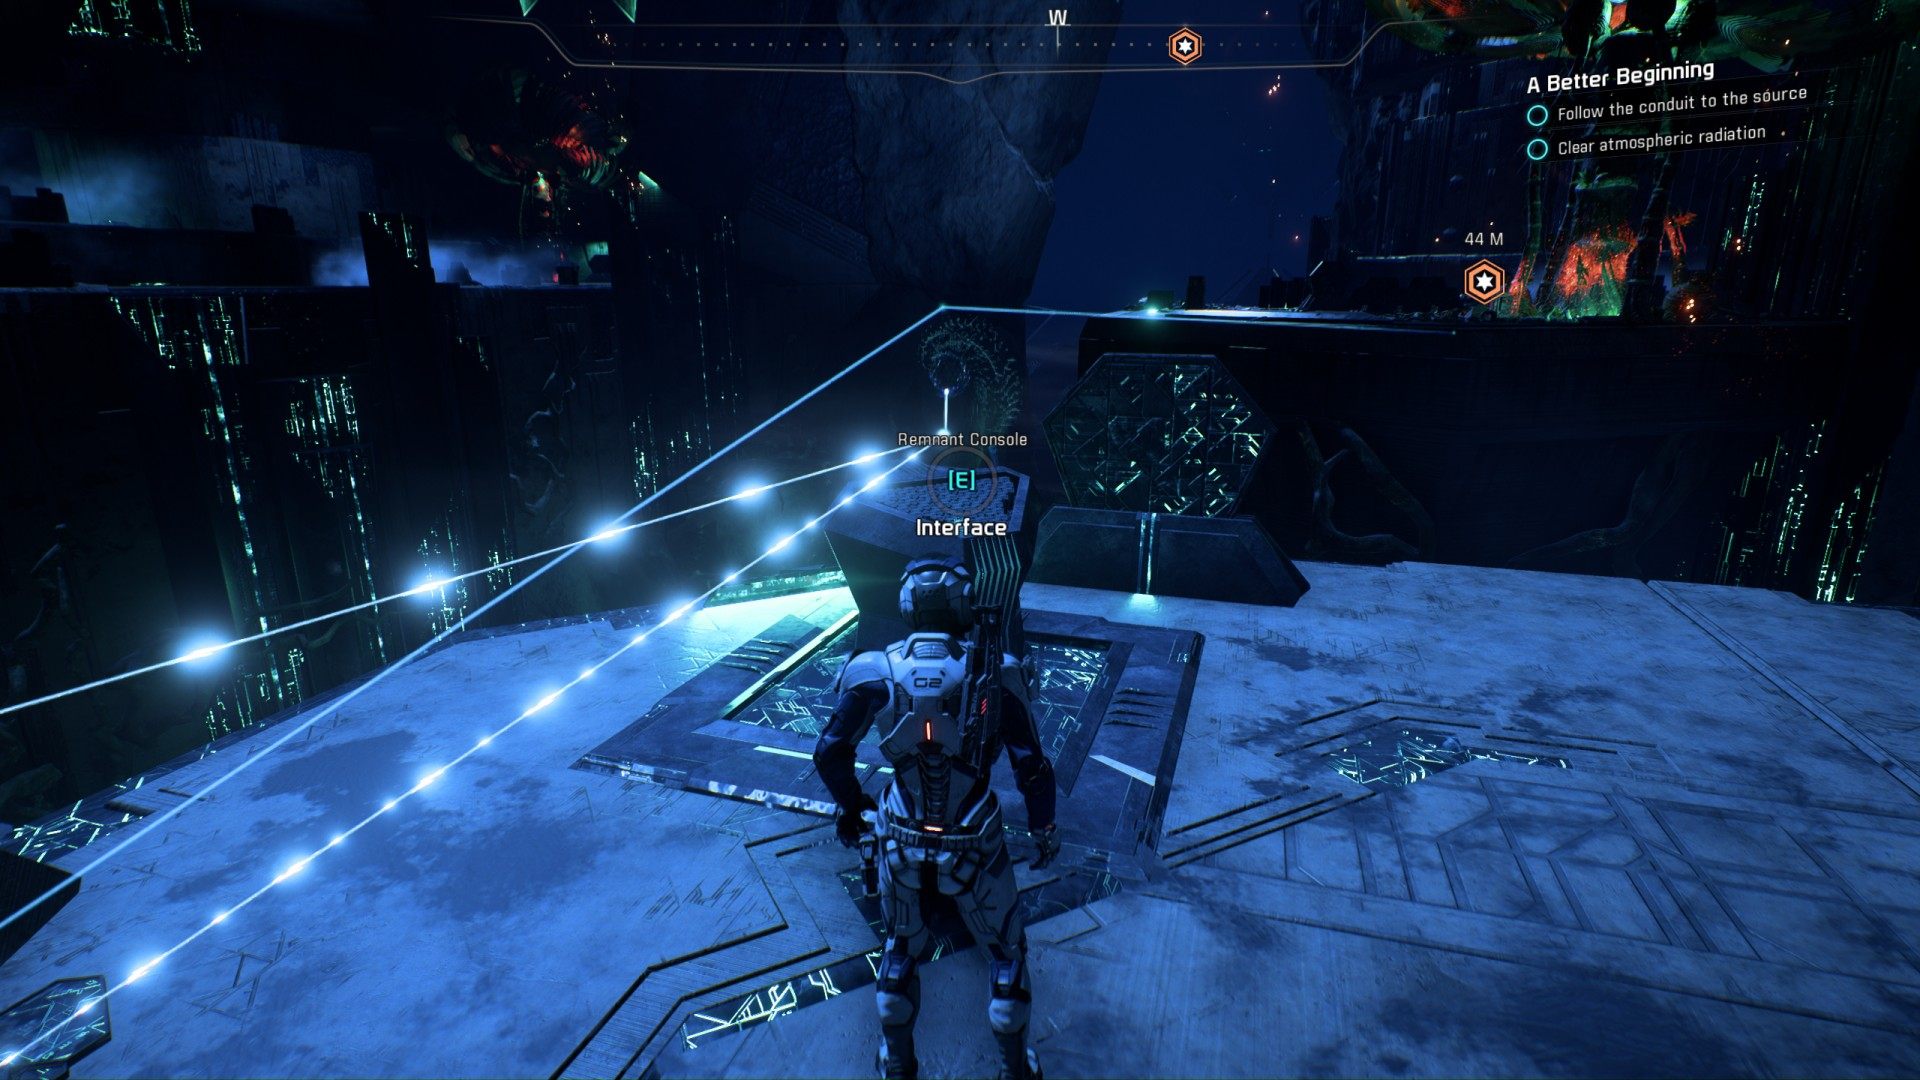
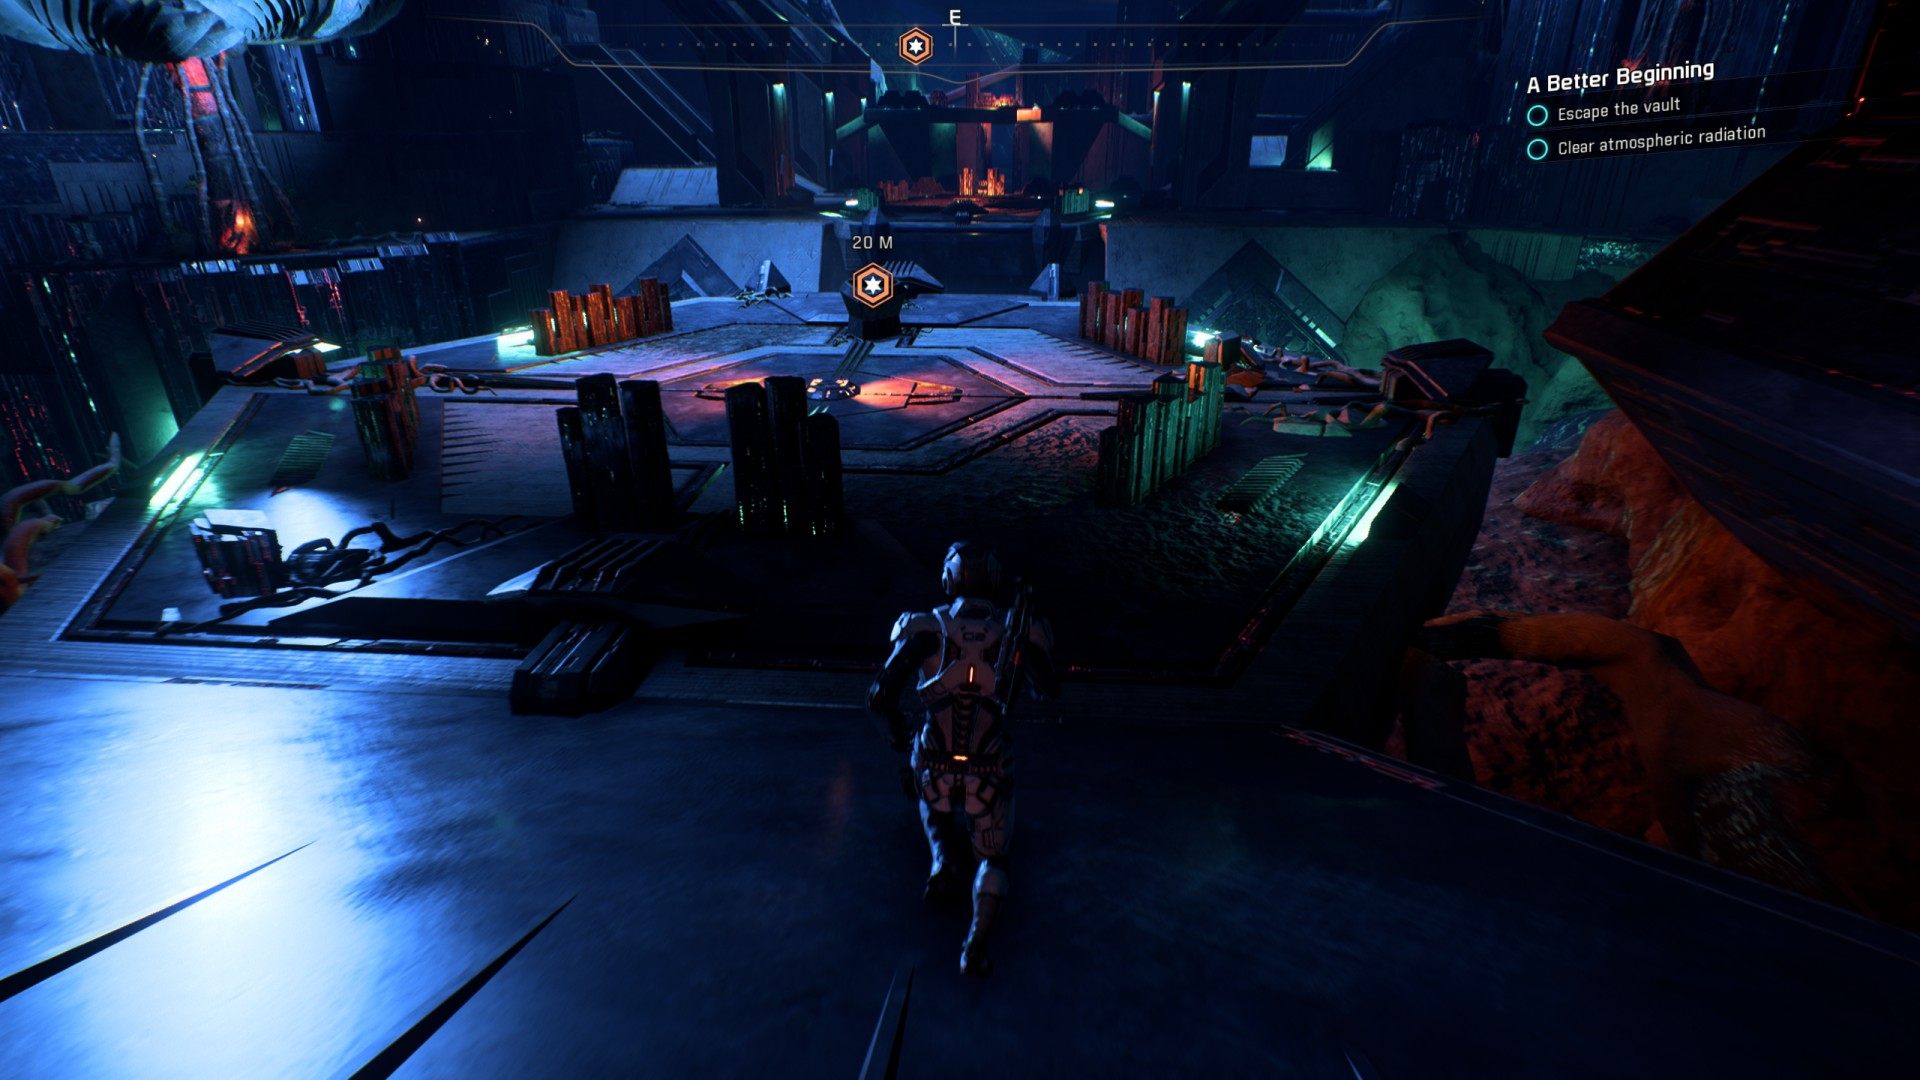
6.19. Activate the gravity well
To reactivate the gravity well you need to interface with two consoles.
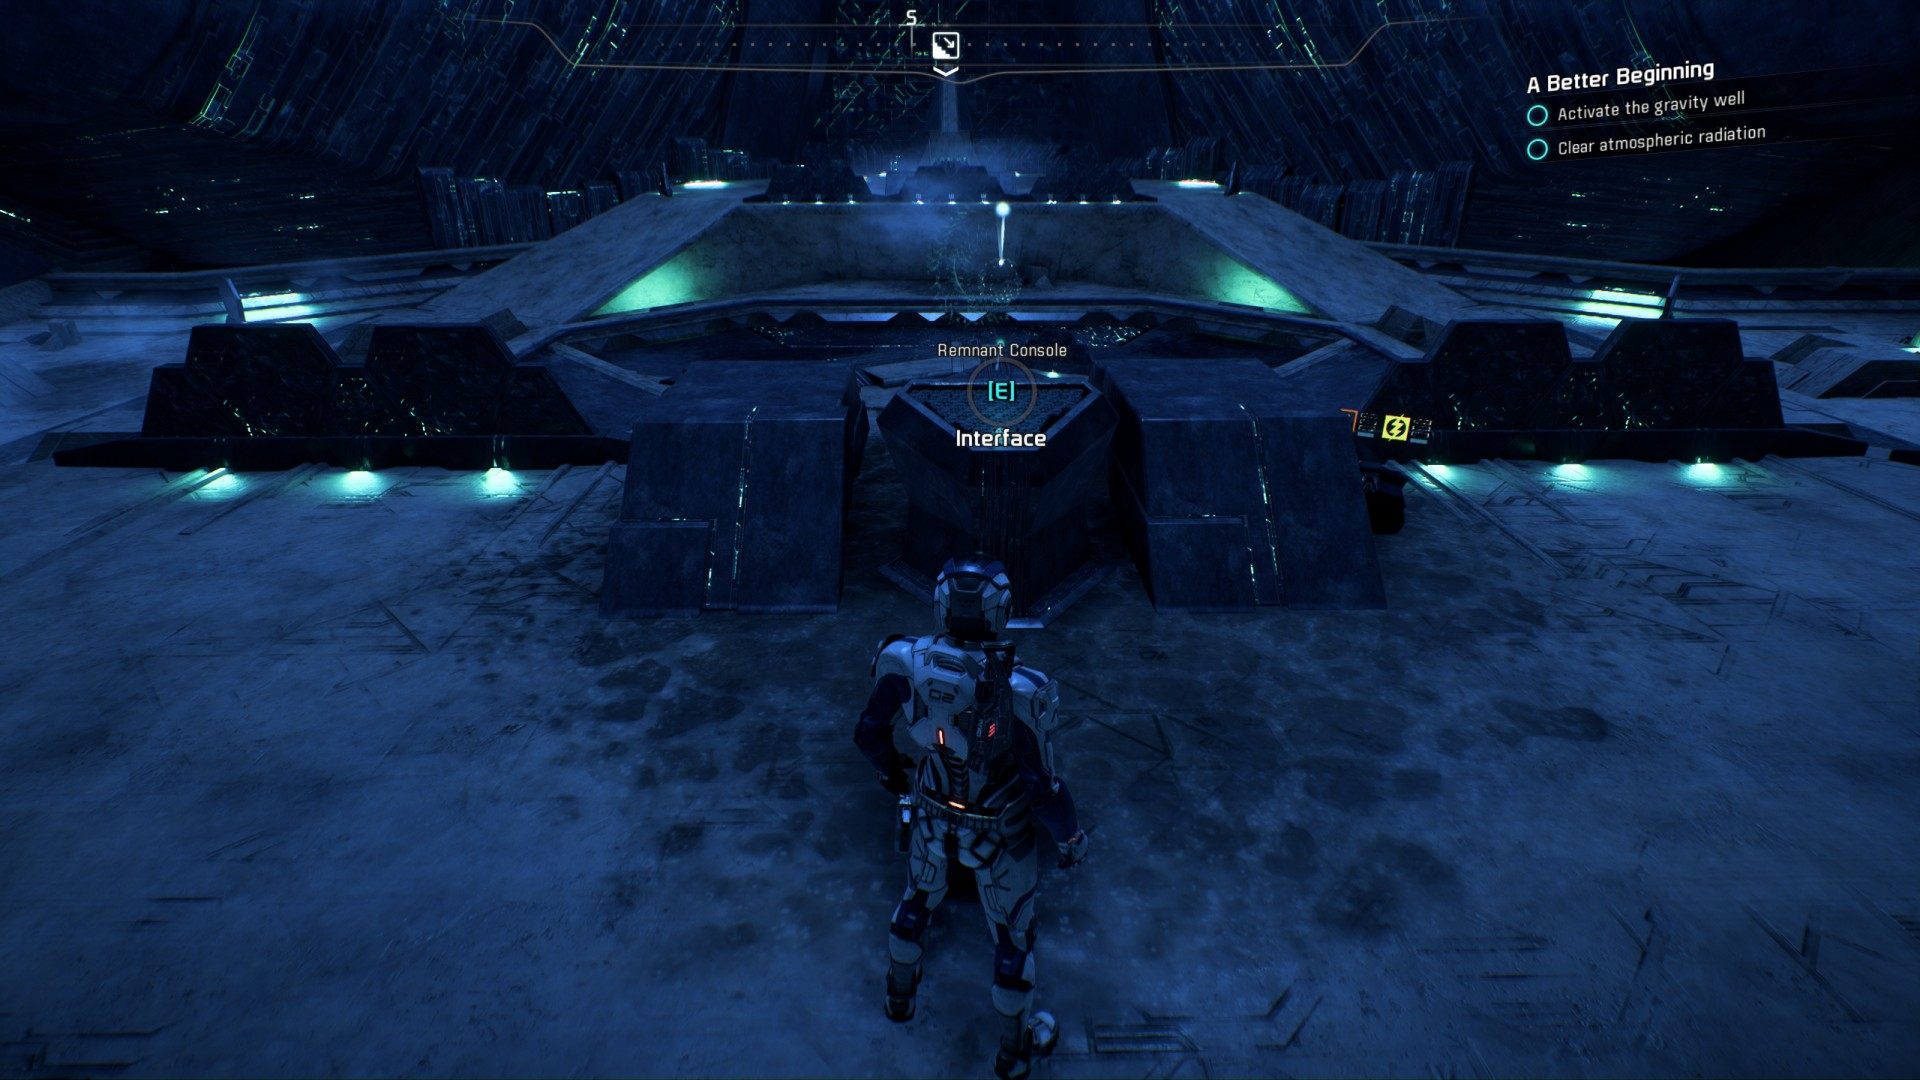
Use the gravity well to descend further into the vault.
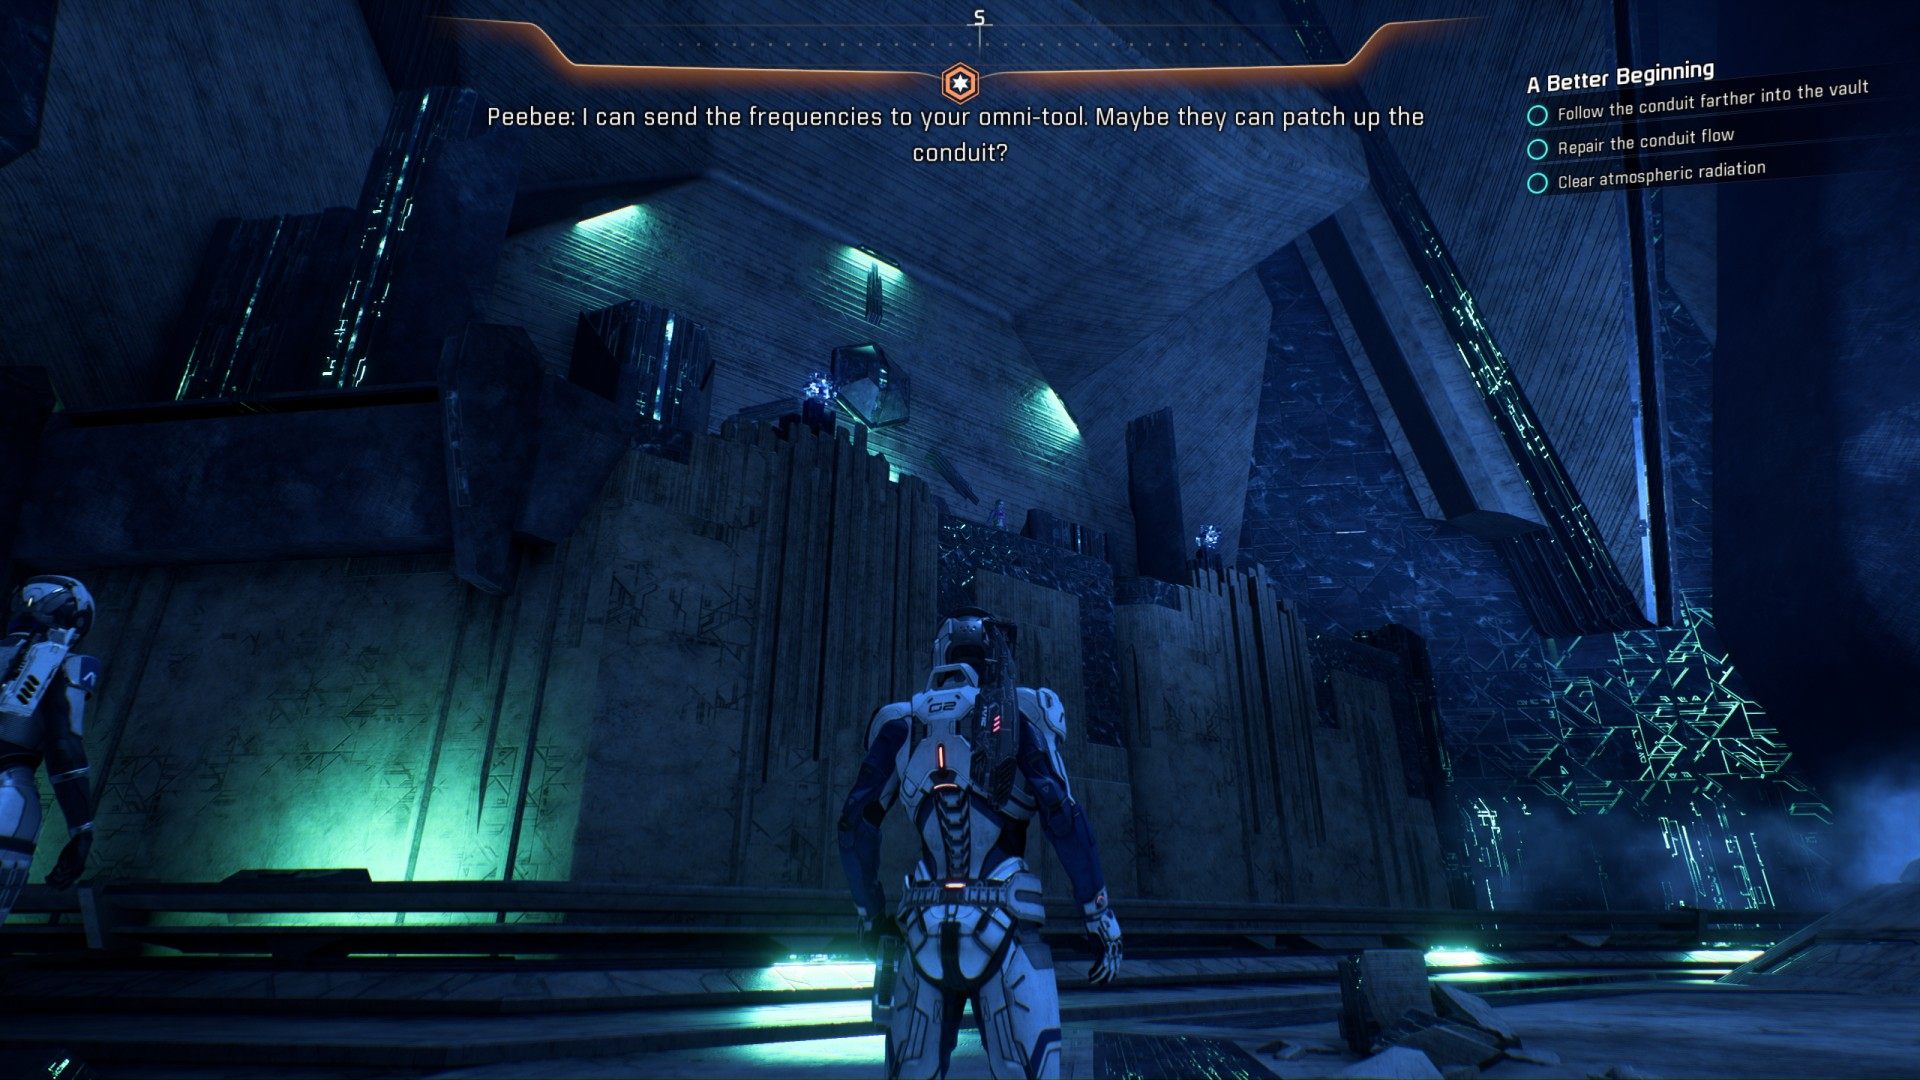
6.20. Follow the conduit farther into the vault
You reached the second floor of the vault. Unfortunately, the next Remnant console that you should use is broken, and you need to find a way to fix it.
6.20.1. Repair the conduit flow
Peebee will send you frequencies that will allow you to fix the console. Now you can interface with it.

Proceed through the door to the next room, or rather a large cave.
6.21. Find a way through the caverns
Interface with the console to bring up pillars to cross to the first, small platform with a large plant.
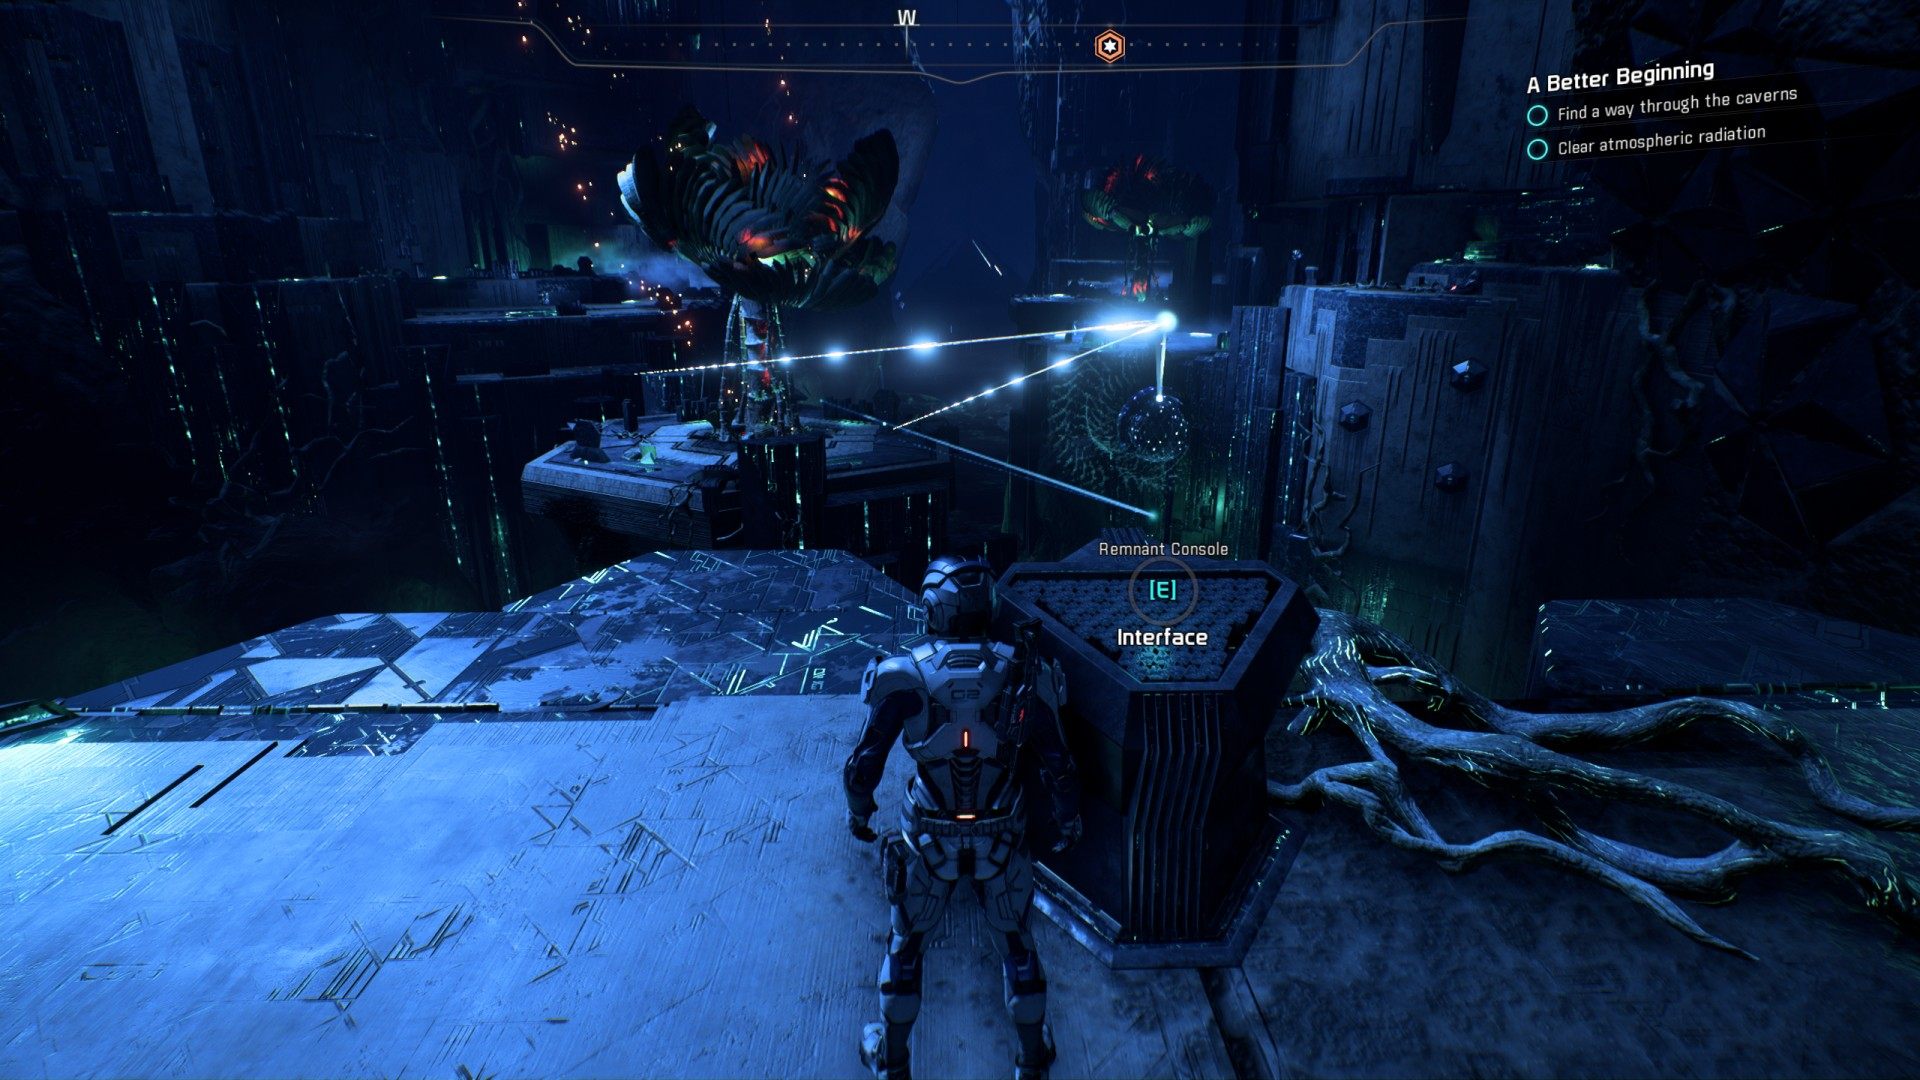
Activate another console to bring up another set of pillars which will allow you to get to the left part of the cave.
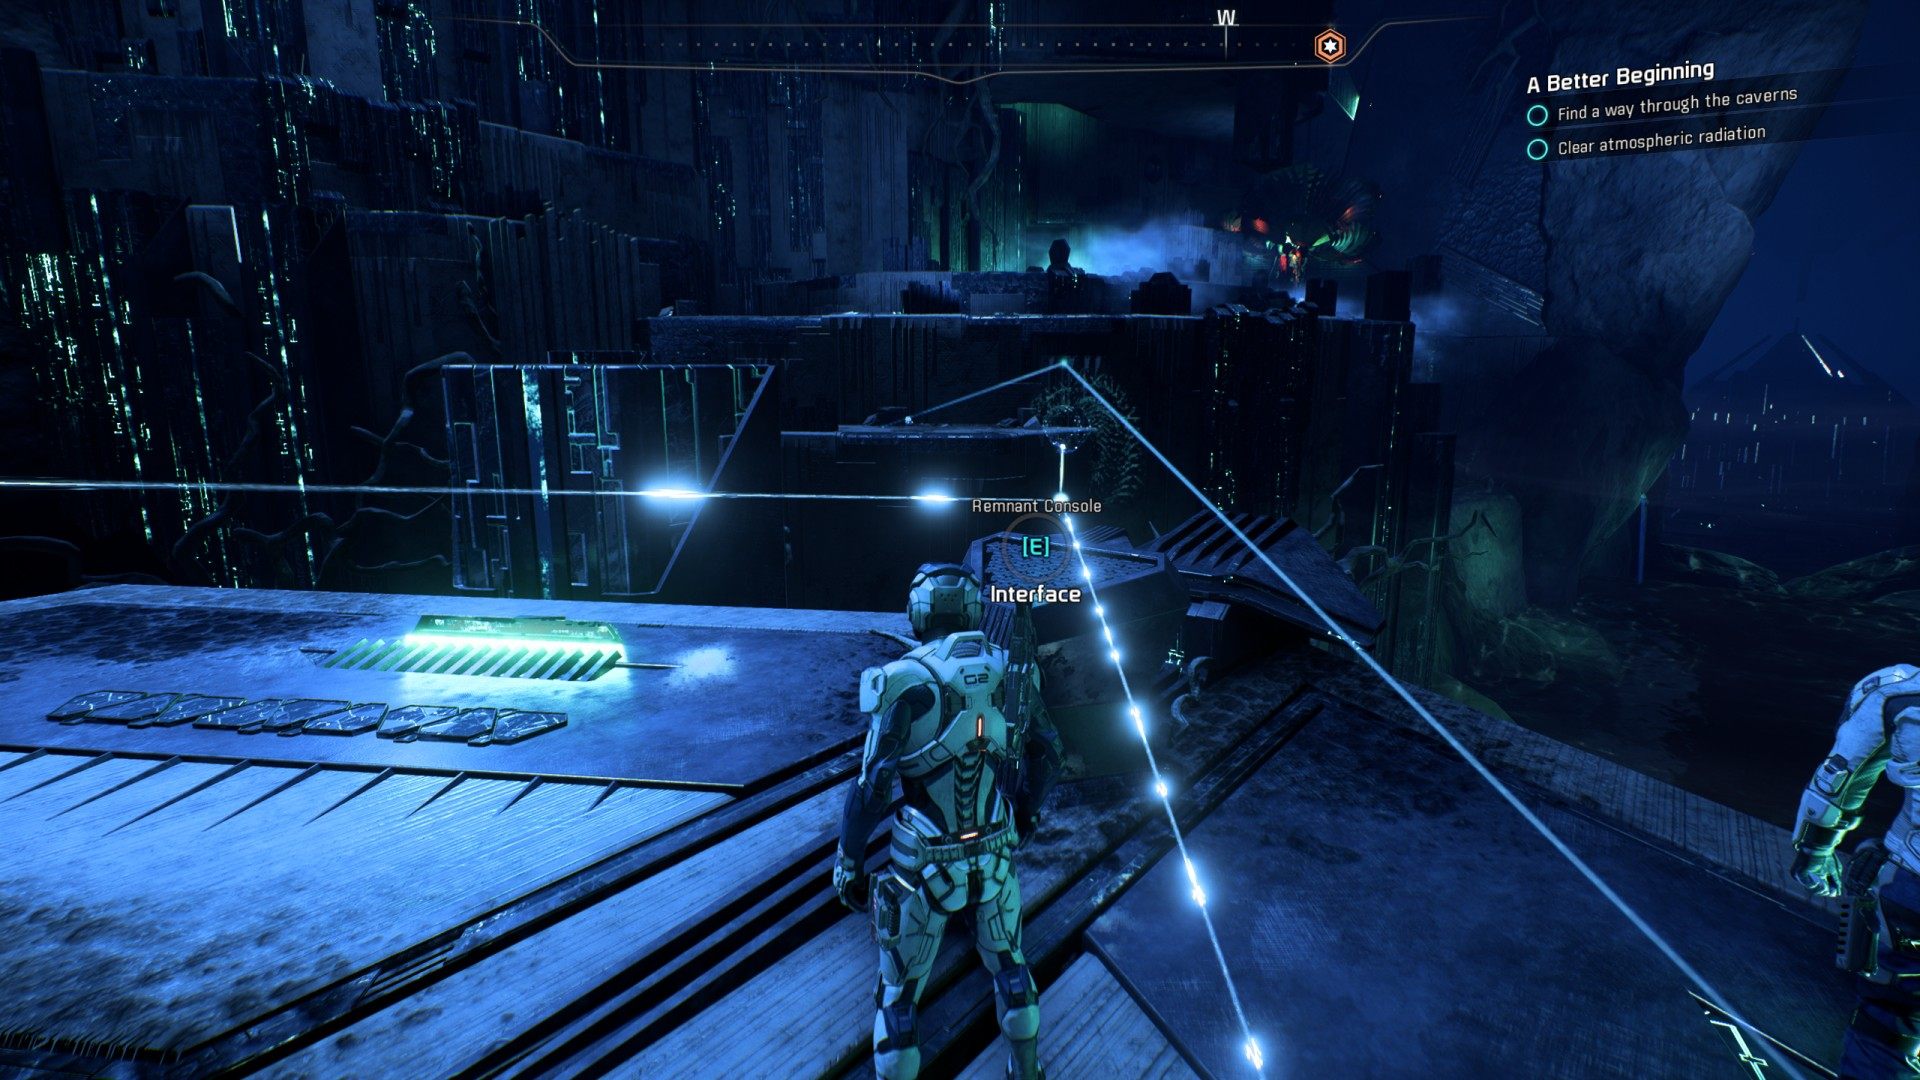
Go there, find and activate the console shown in the picture below. It will bring up more pillars between the first, small platform with a plant and right side of the cave.
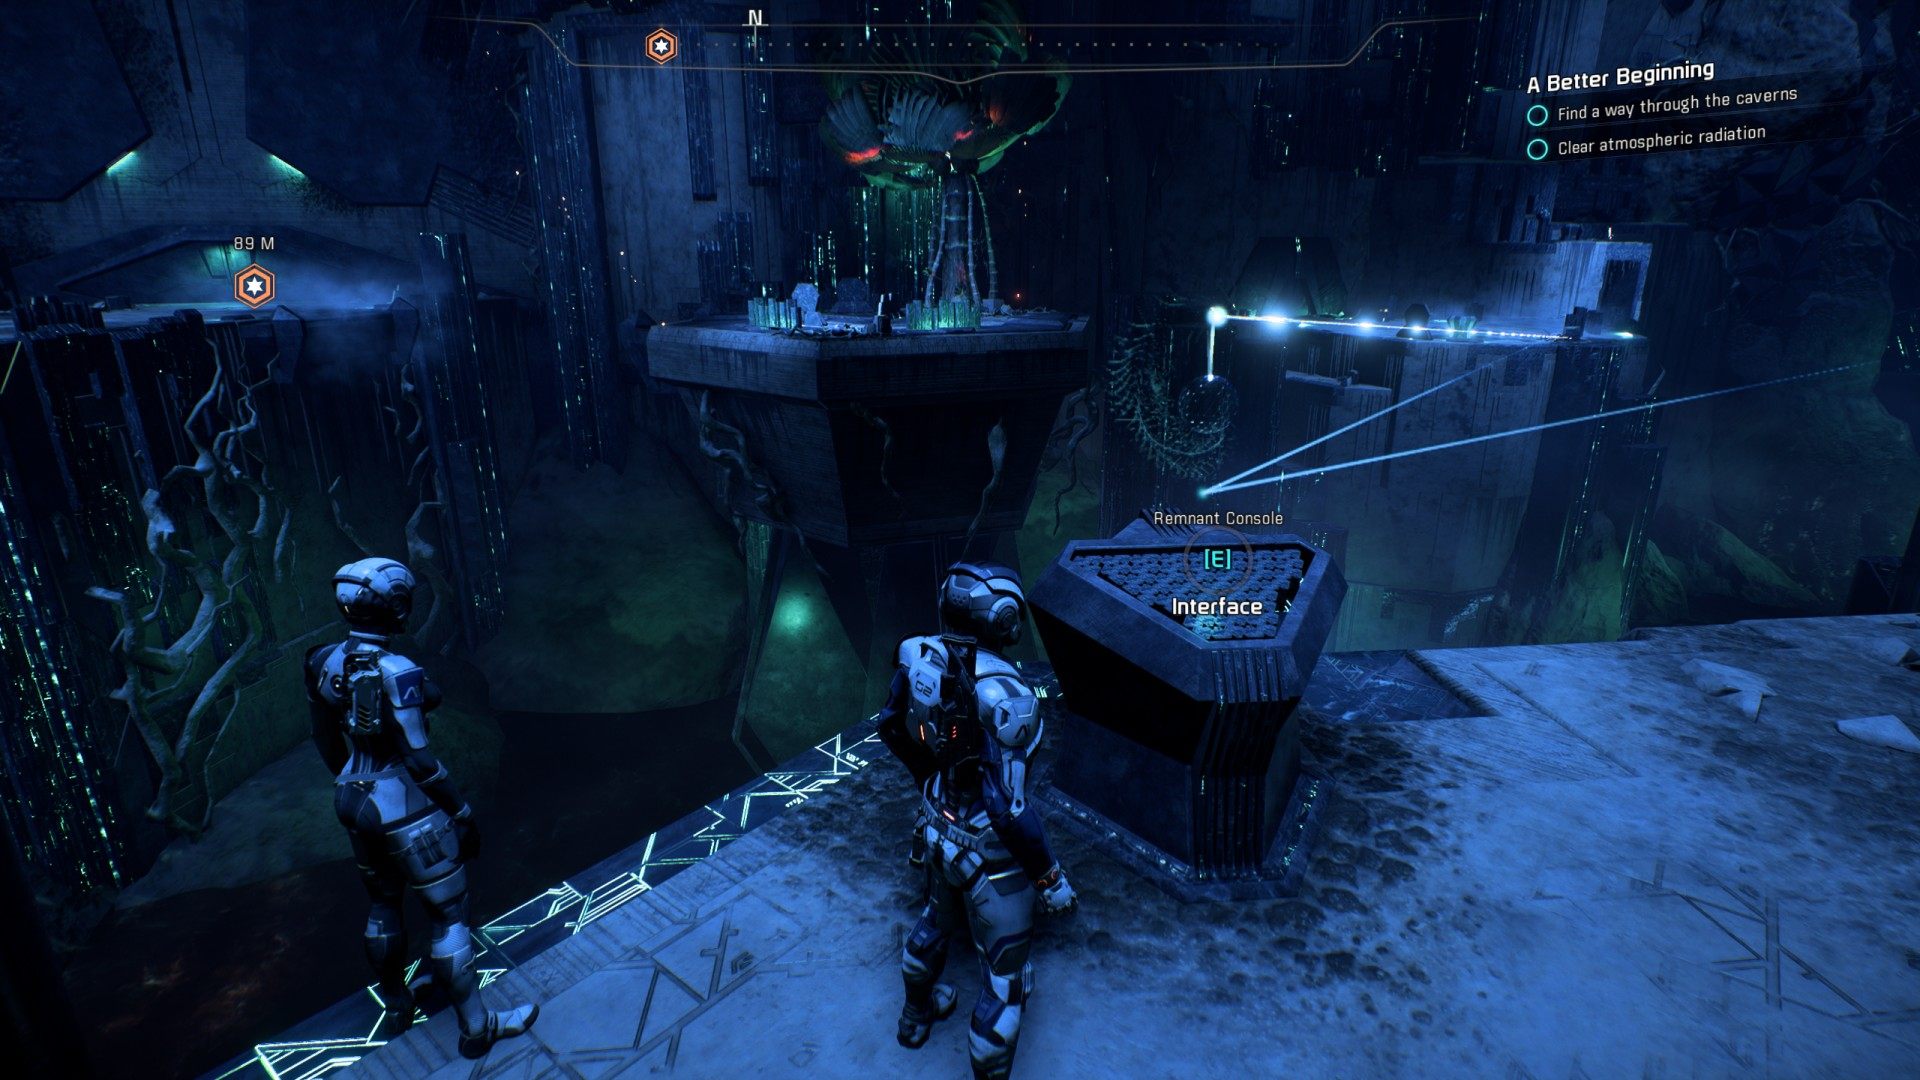
Go back to the first, small platform with a huge plant, then jump to the right part of the cave.
It's optional, but before you move to the mission nav point, you can now reach the SE part of the cave, where the special container is located.
If you want to do it, then you should activate the console located to the right, on the small platform above.

Now you can go to the SE, "bonus" part of the vault.
Here is the "bonus" container locked by Remnant decryption puzzle.
To solve the puzzle, and unlock the container, you need to find and scan two glyphs. They are located on the nearby walls.
Correct solution of Remnant decryption puzzle.

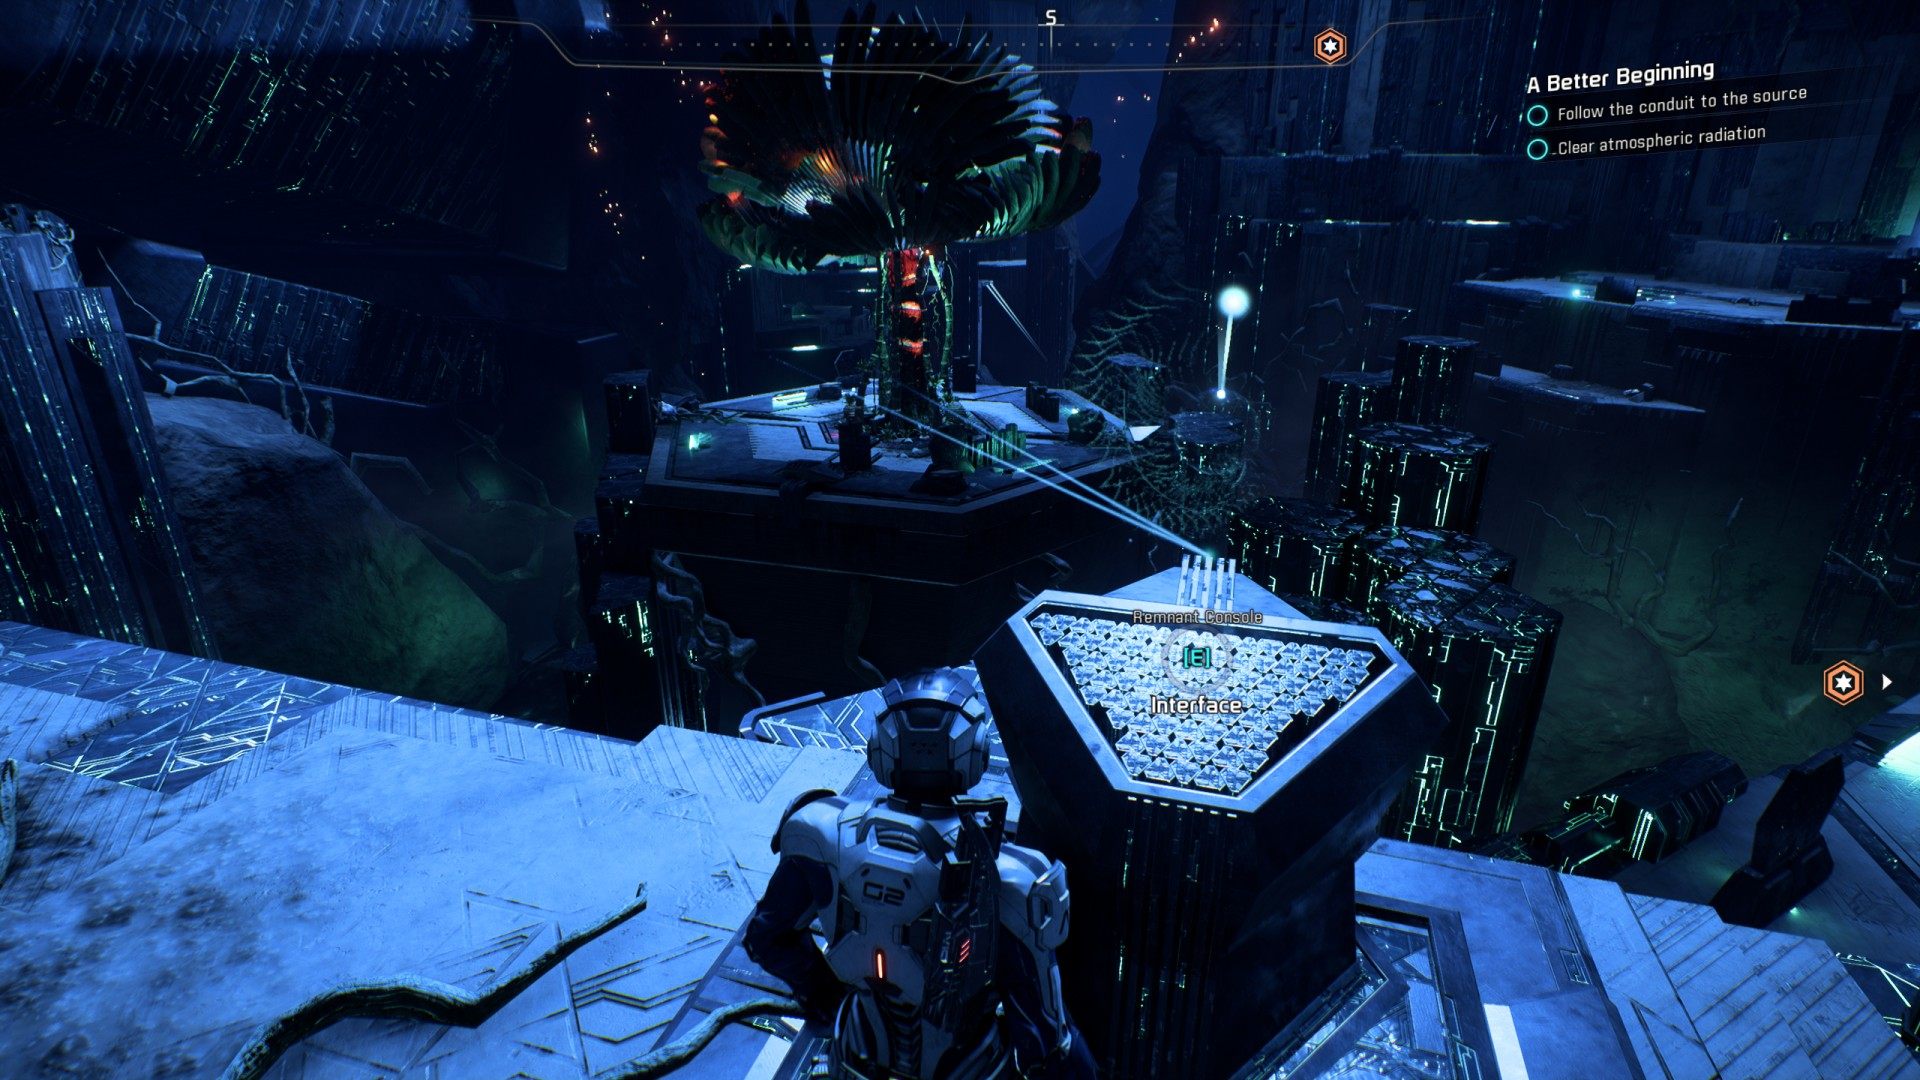
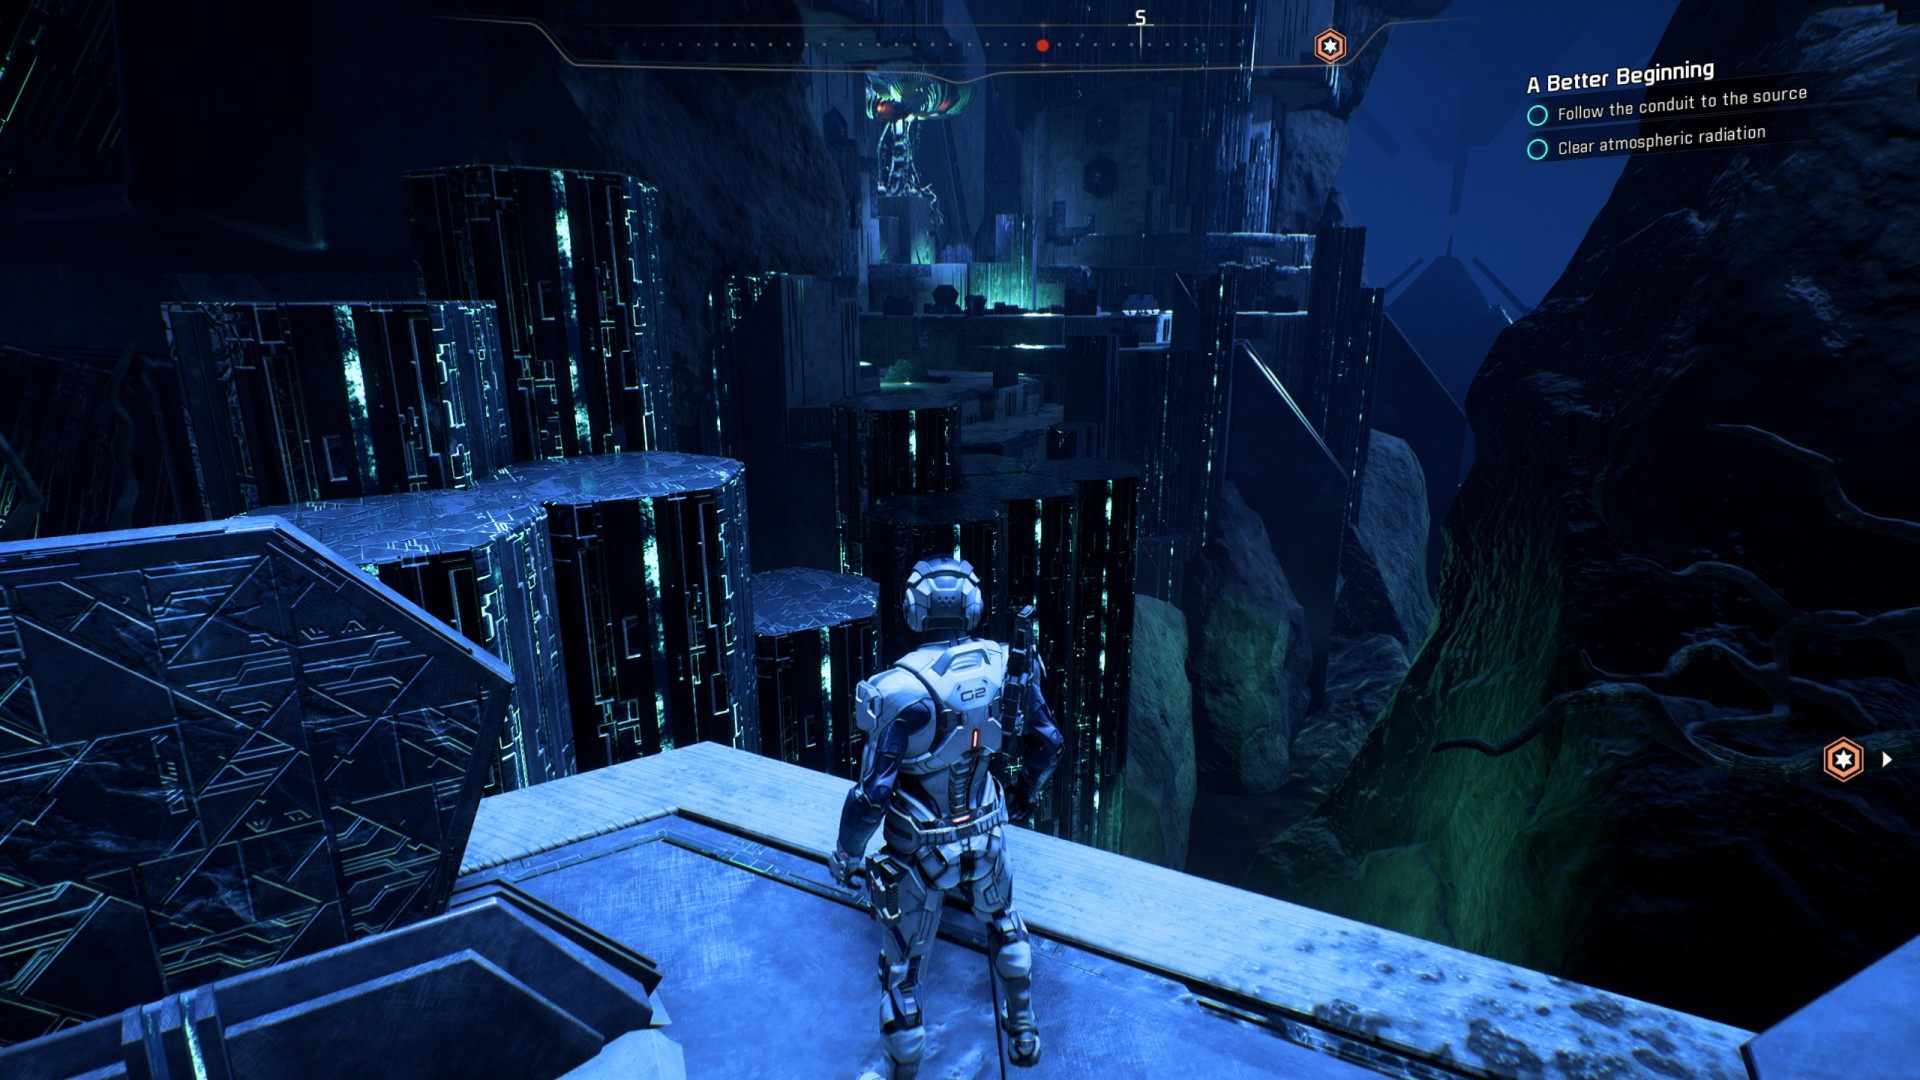
6.22. Follow the conduit to the source
Use the console to bring up more pillars ...
... and another one to bring up a bridge.
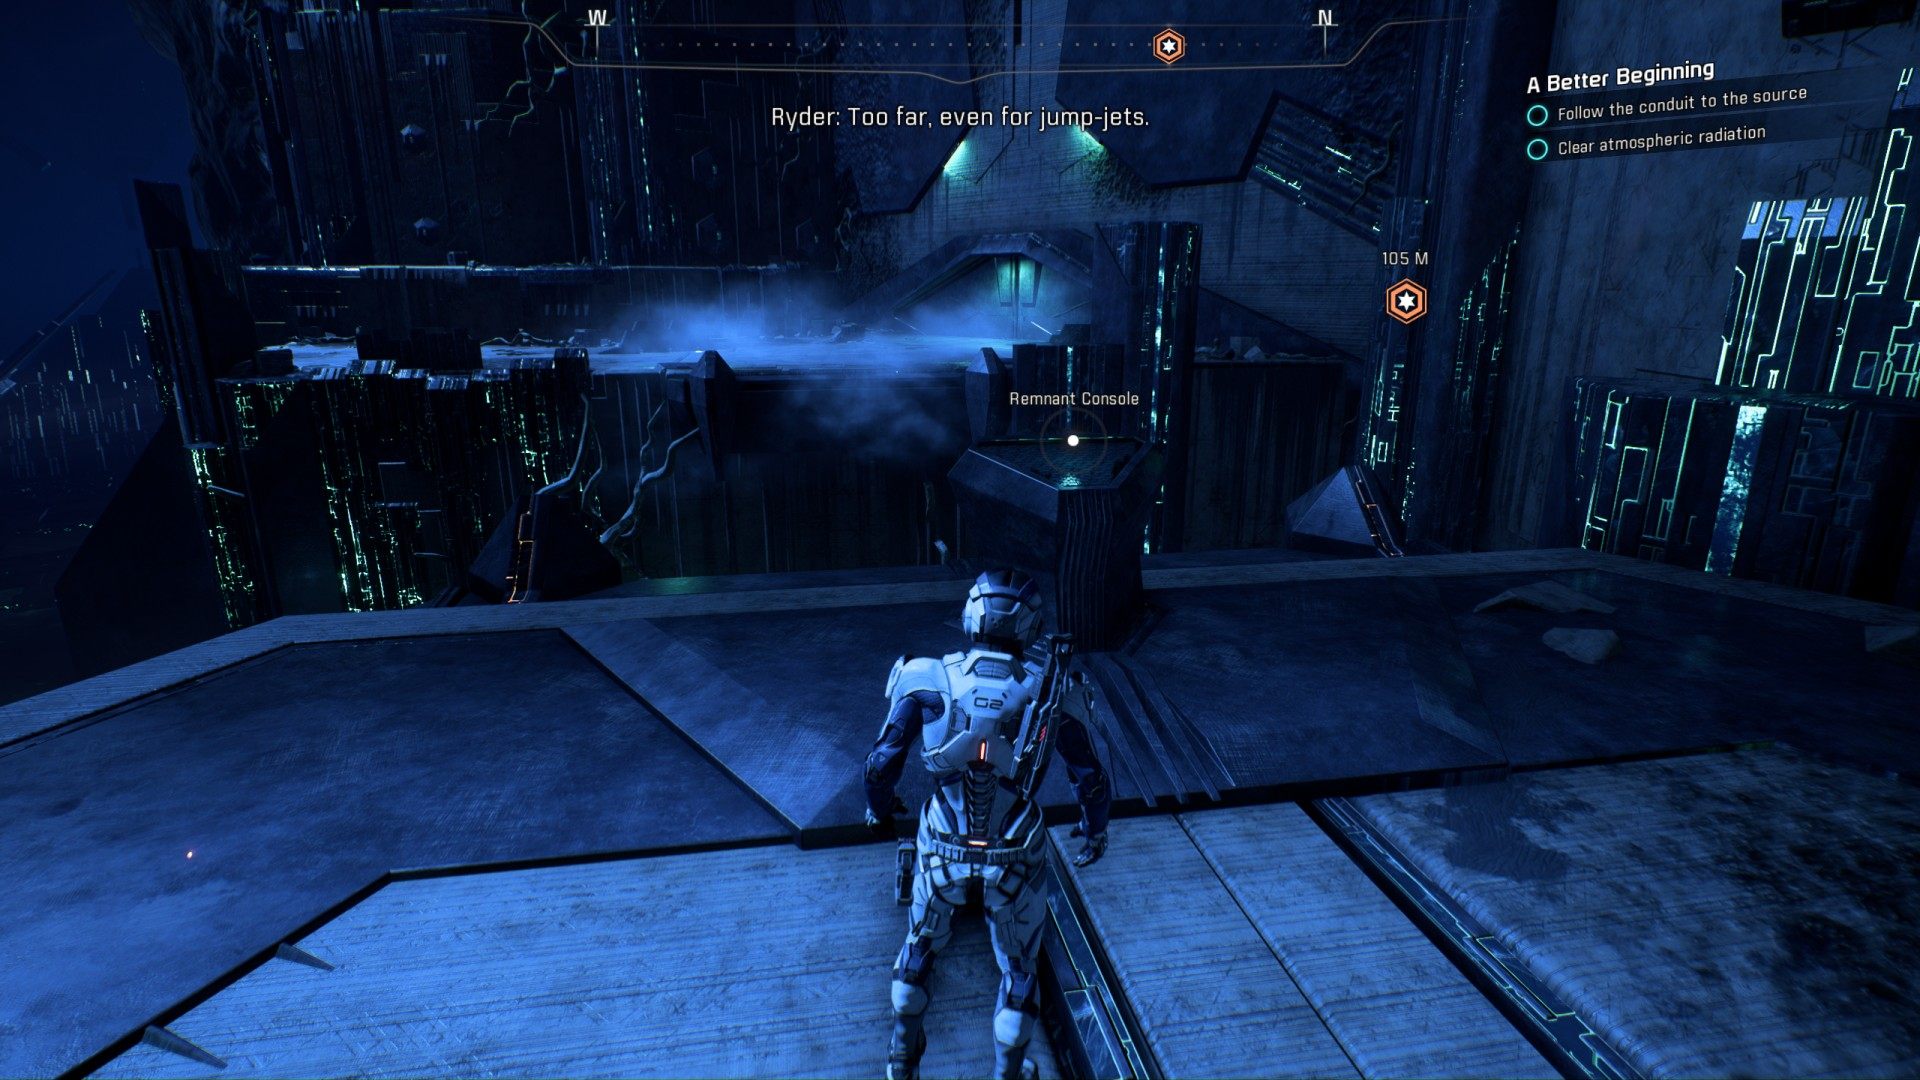
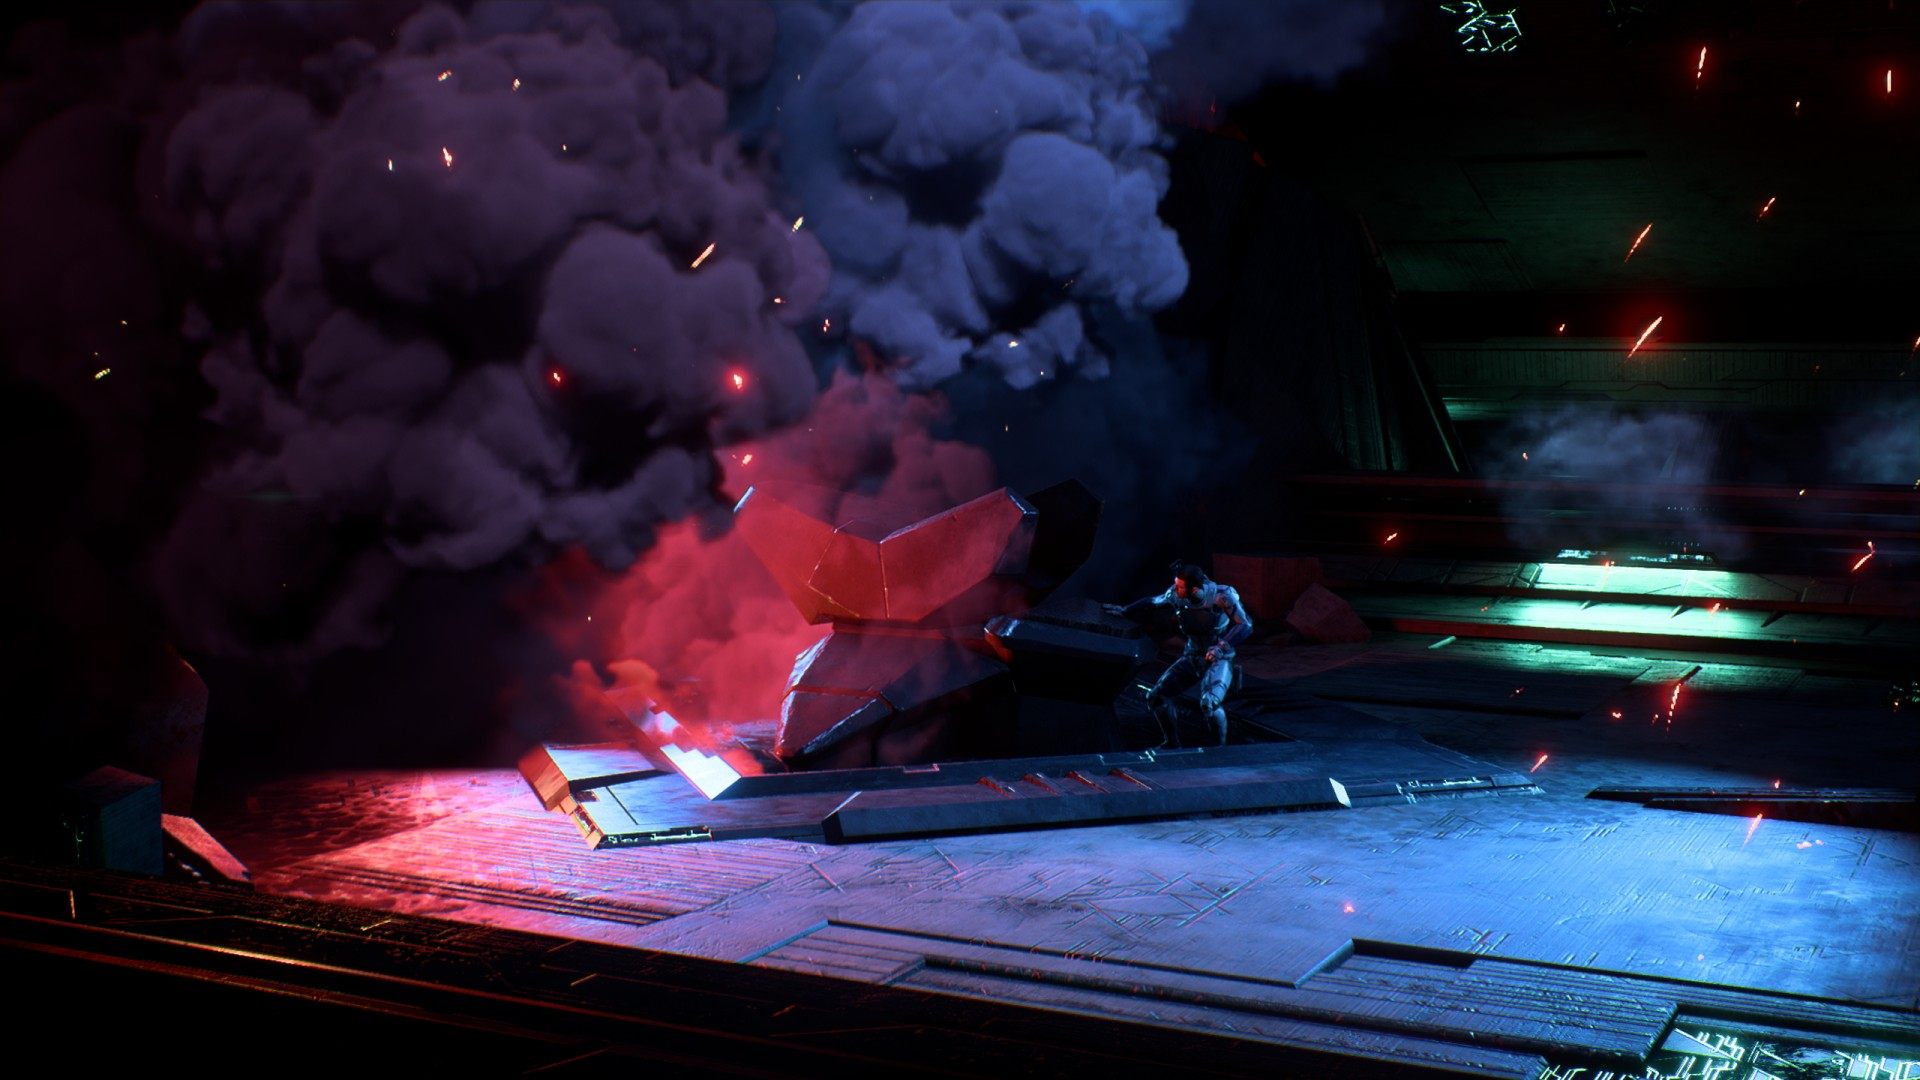
Proceed to the final console, activate it, and get ready to run as fast as possible.

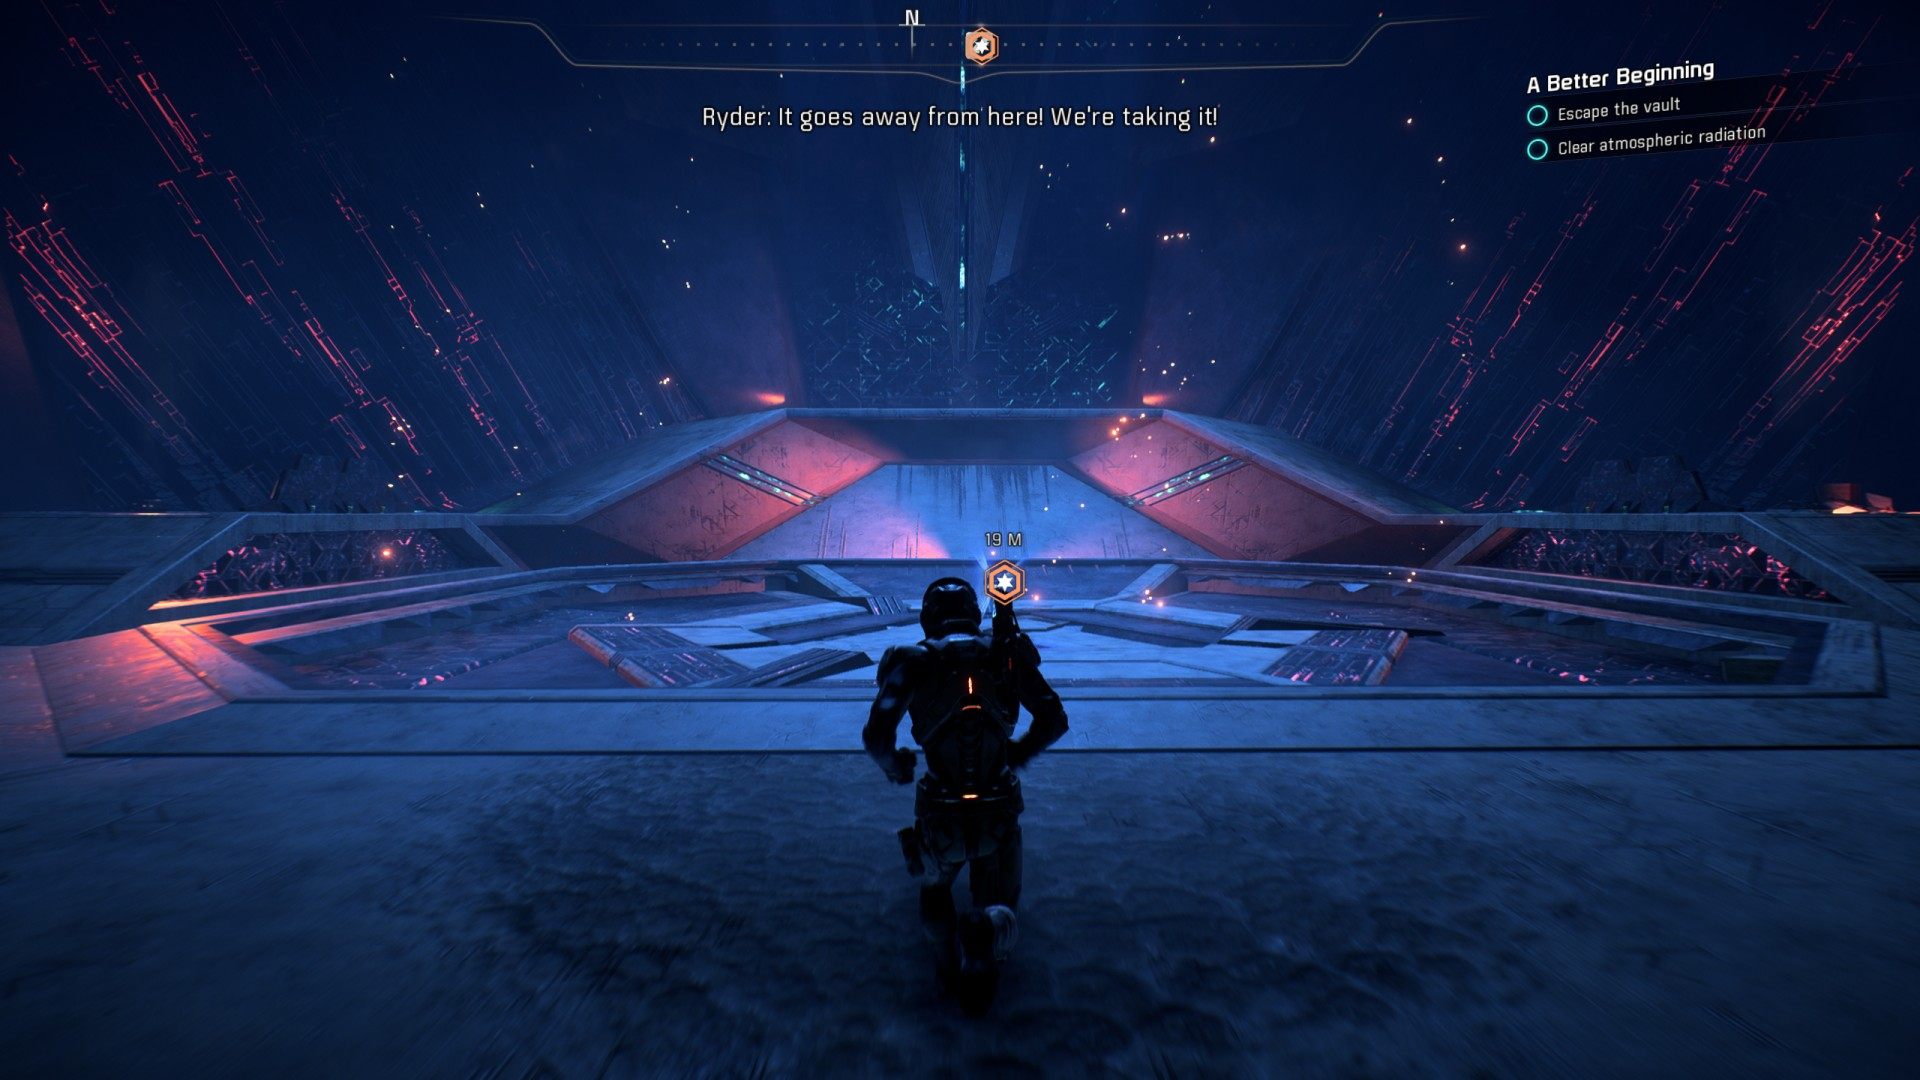
6.23. Escape the vault
Follow the nav points.
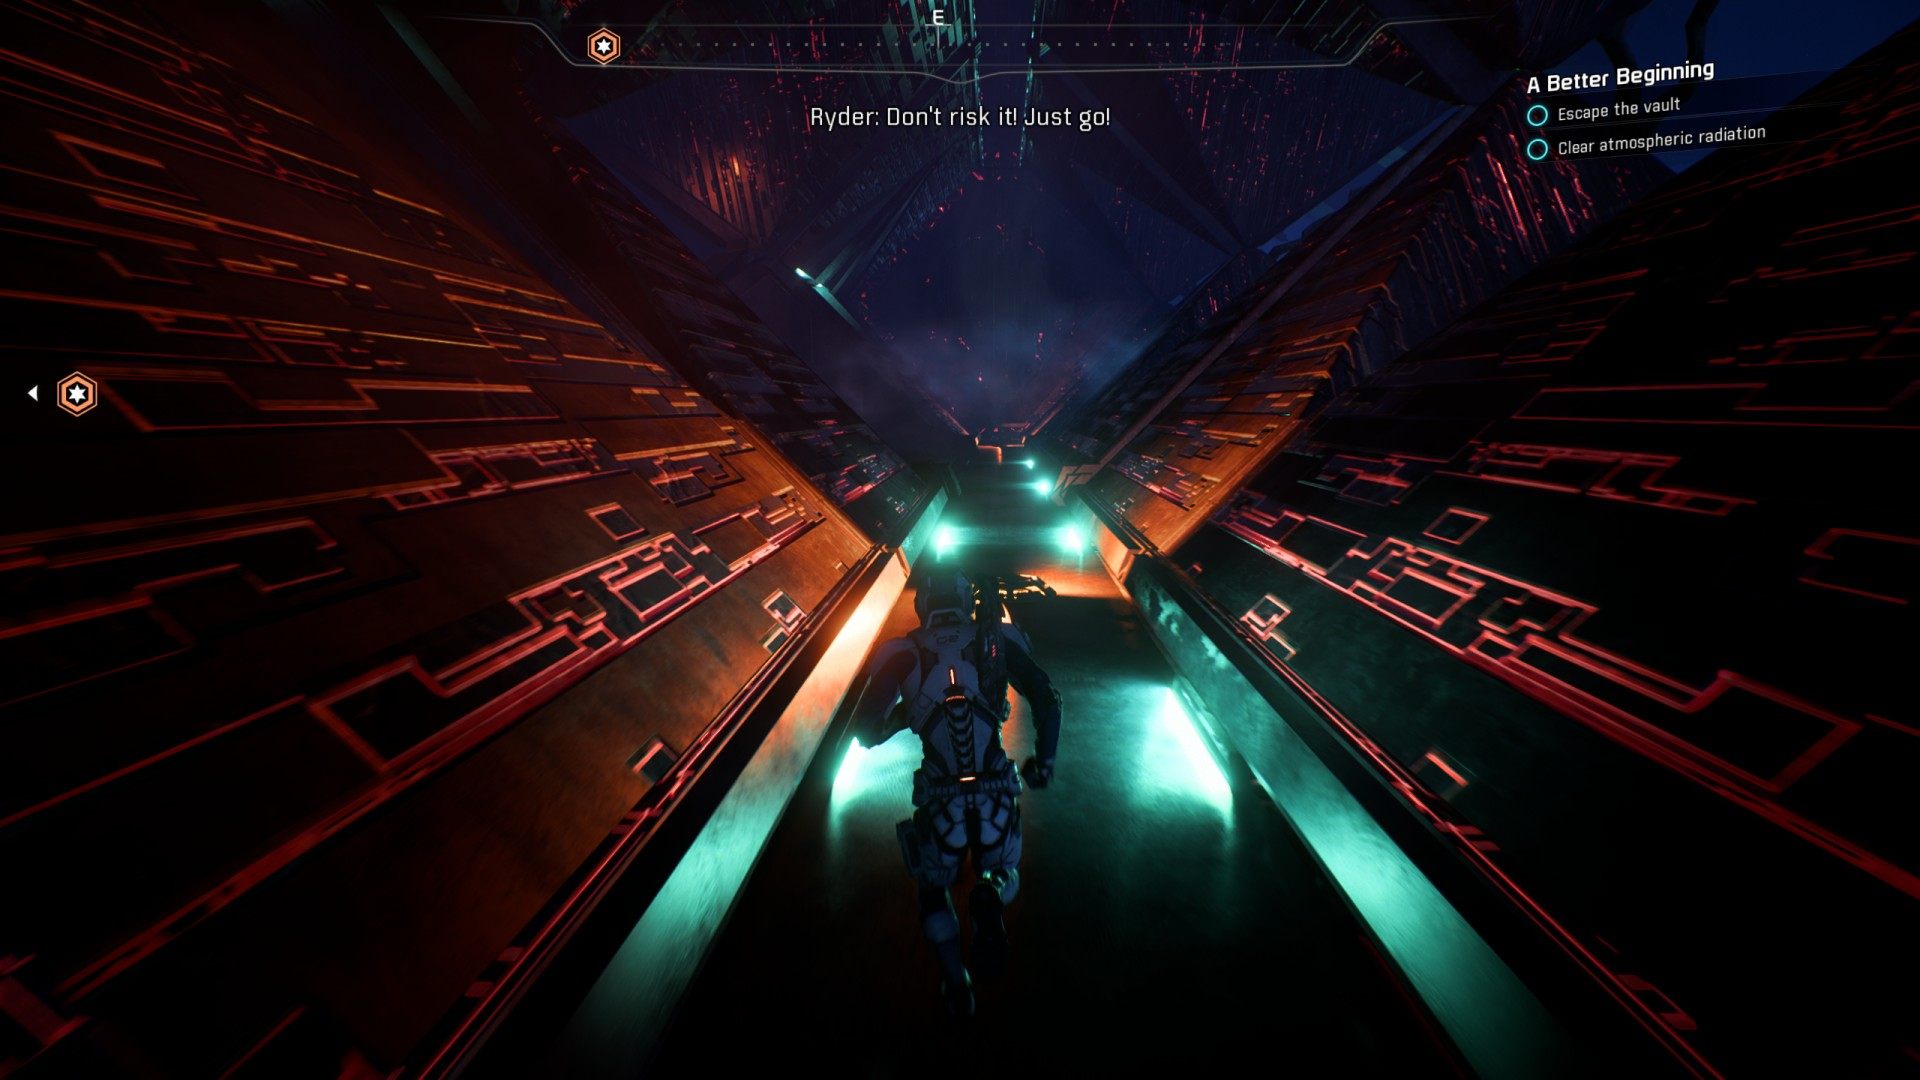
Activate the console to bring up the bridge.
Run to the gravity well.
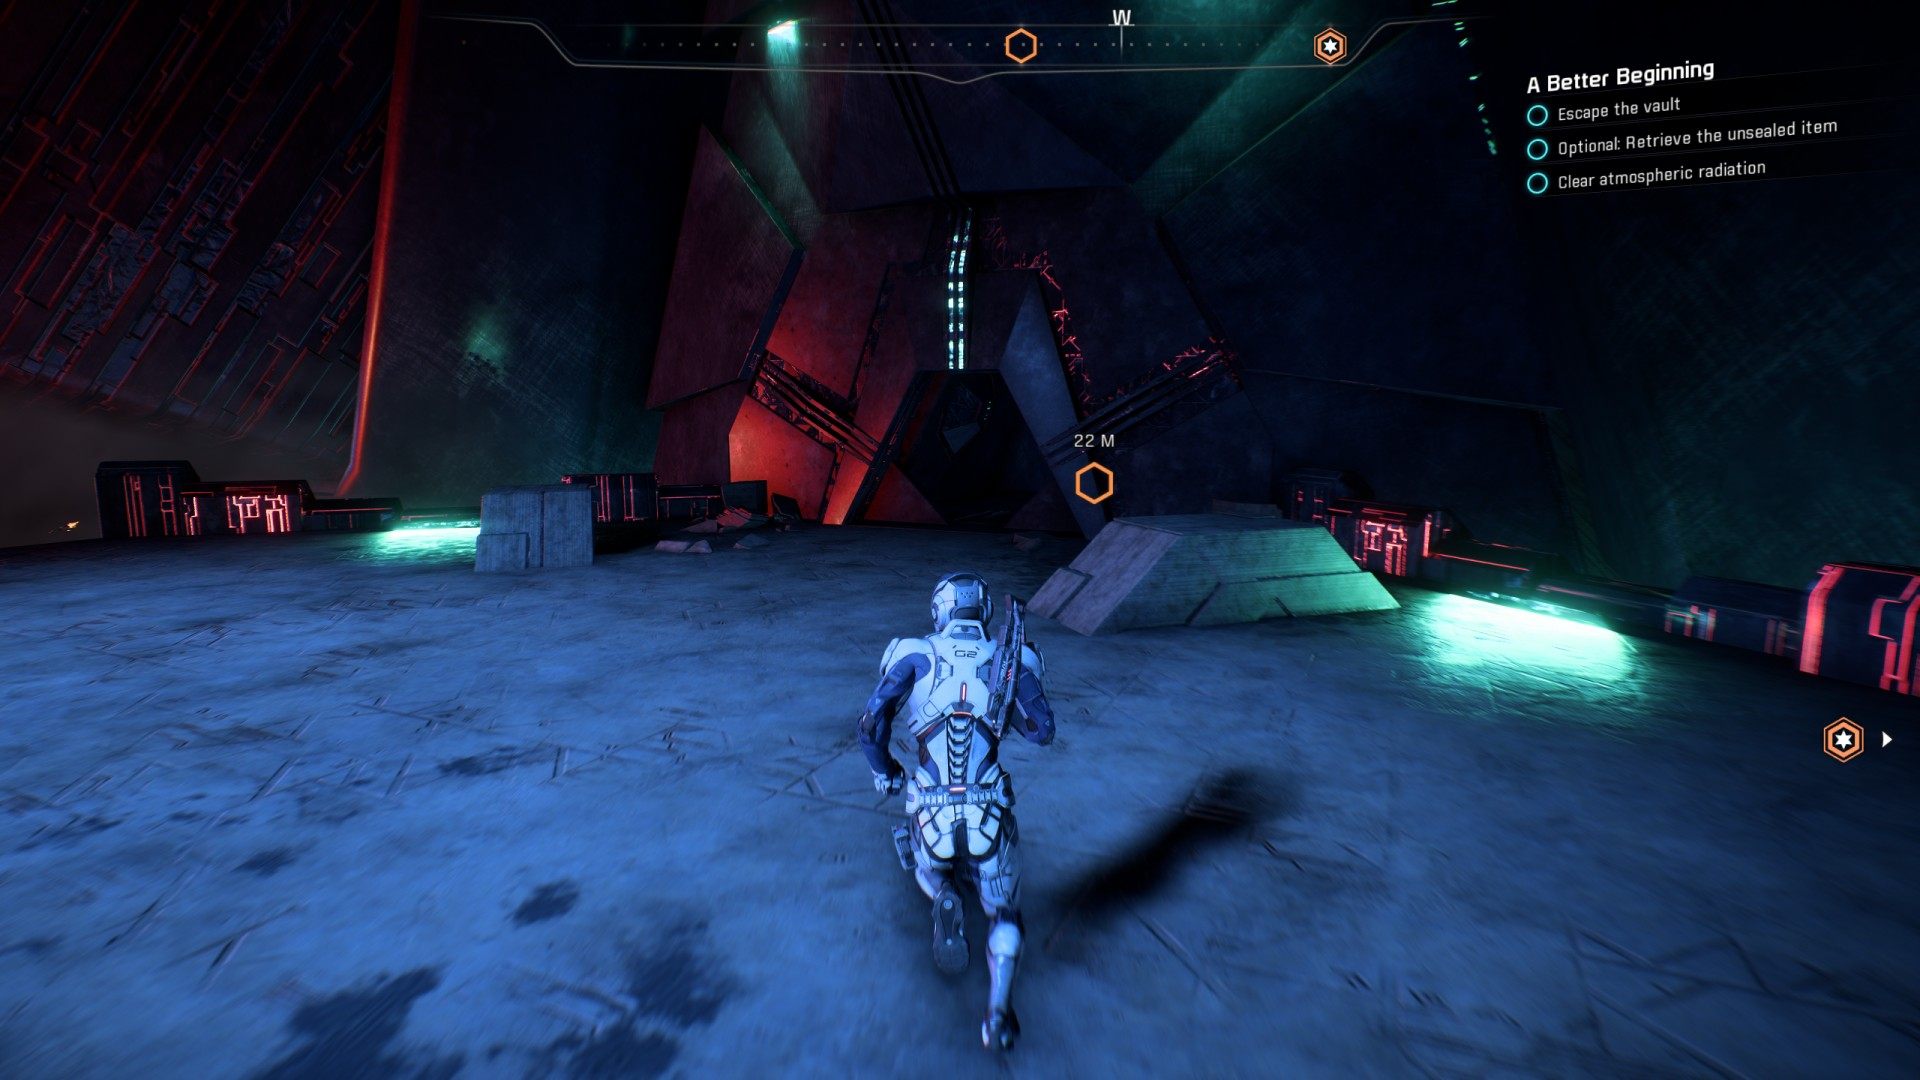
6.23.1. Optional: Retrieve the unsealed item
Once you emerge from the gravity well (you are back on the first floor of the vault), run to the left side of the room. The energy barrier which was blocking the way to a small room is gone, so you can get inside and open the remnant container located inside.
Run to the door.
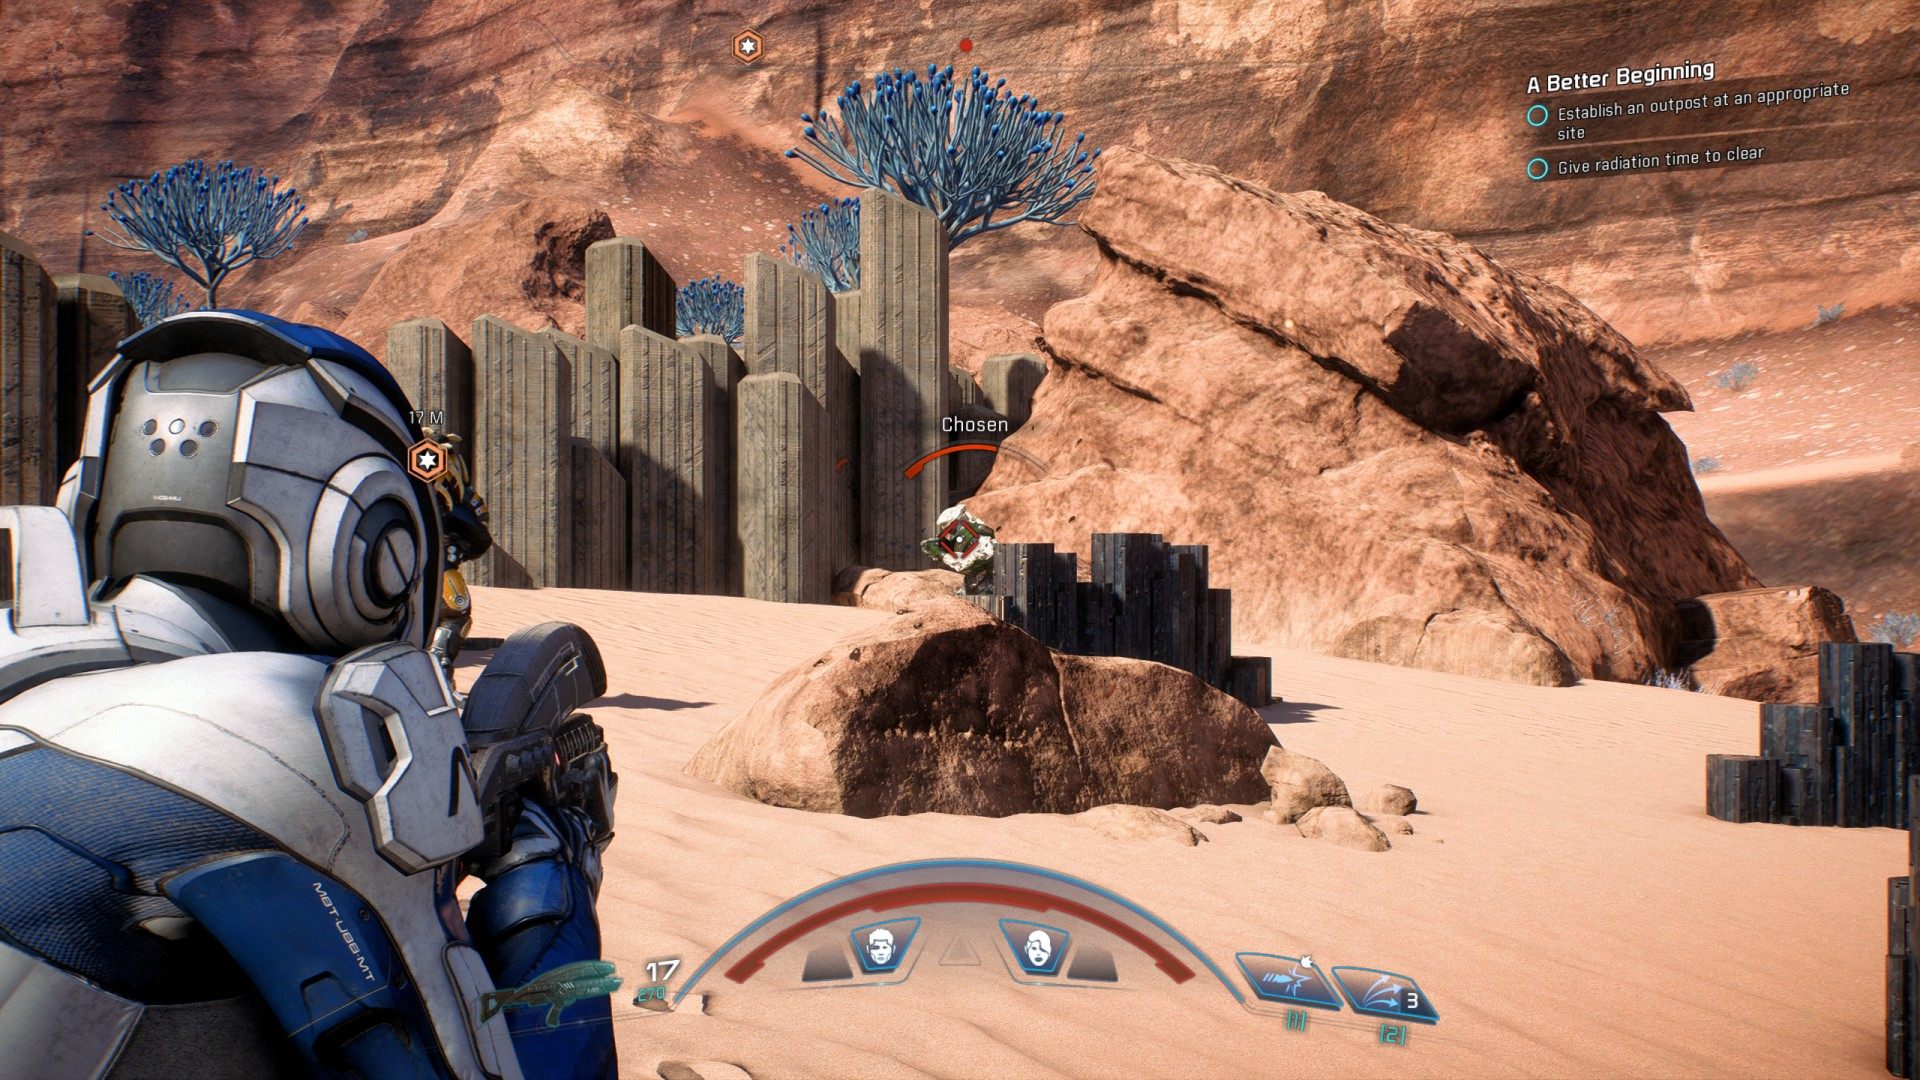
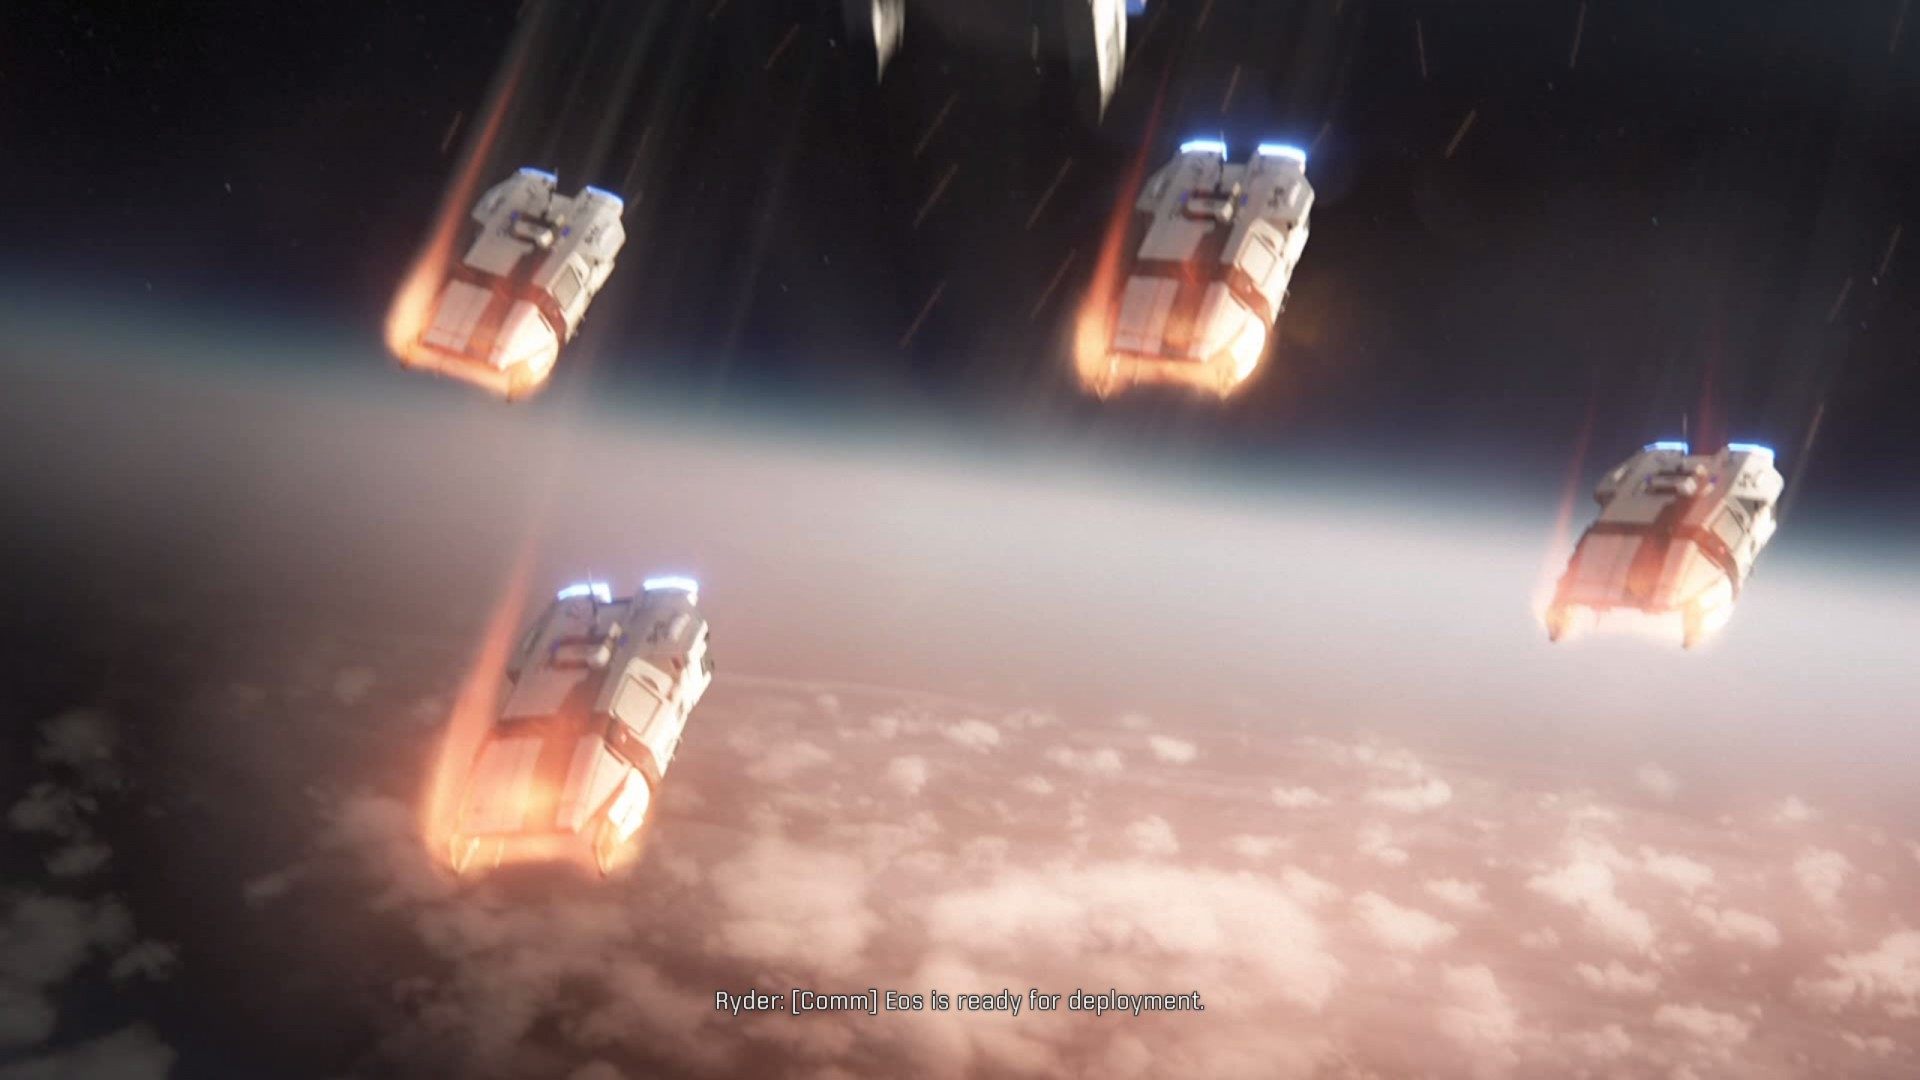
7. Establish an outpost at an appropriate site
With the Remnant vault active and atmospheric conditions set to improve, an outpost can now be founded. Call down a new wave of colonists and give the initiative the foothold it needs.
Go to the nav point and help Drack to kill the kett.
Drack will join your team.
Activate the outpost beacon.
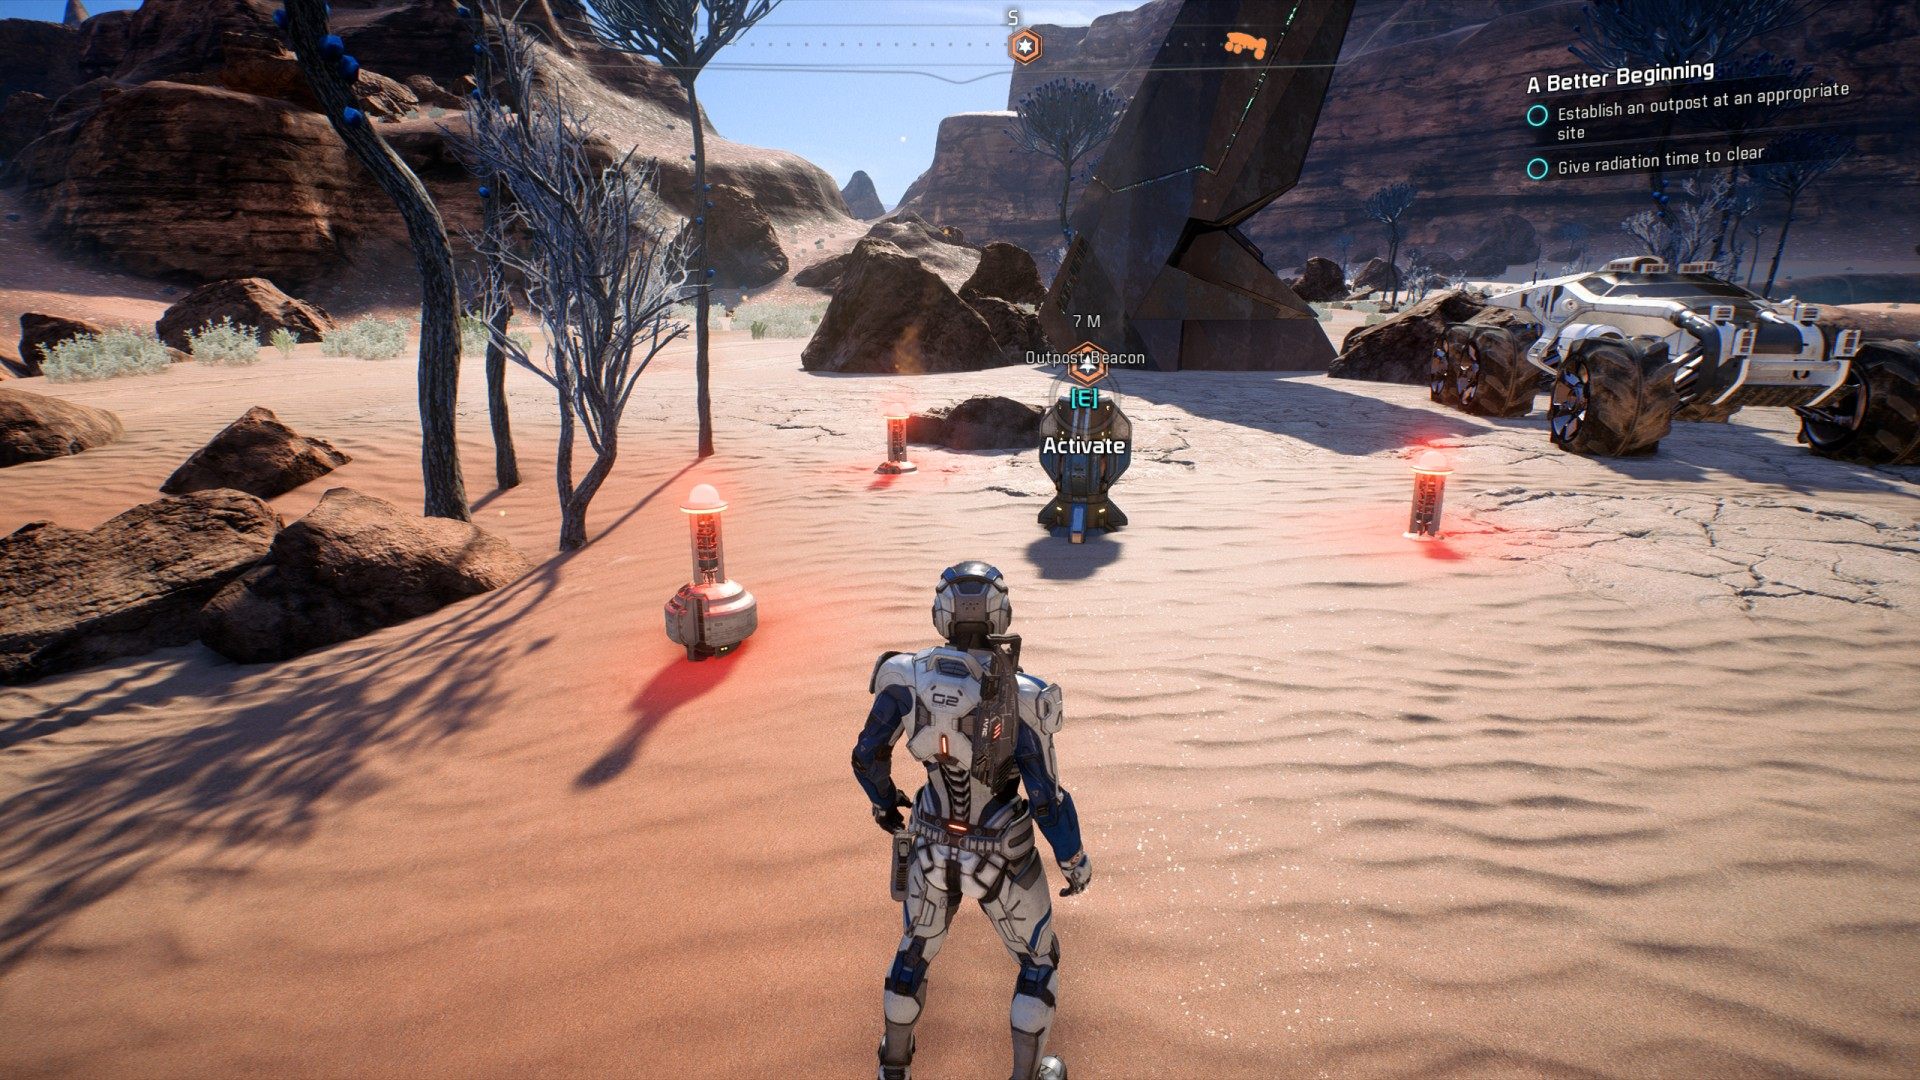
You have to make a decision what kind of outpost you want to start: "A scientific outpost" or "Go with military".
A new mission will be added to your journal - AVP Cryo Deployment Perks.
8. Give Eos radiation time to clear
9. Speak with Tann at the Nexus Pathfinder HQ
Prodromos is founded. The radiation will be slow to clear, but Mayor Bradley will ensure the outpost thrives. Return to the Nexus and speak with Director Tann.
After completing A Better Beginning you will get or will be able to get A Trail of Hope, Task: Path of a Hero, Task: An Exile Raid, Task: Broken Wires and Task: Better Crafting.