In addition to ordinary spirits, you can also absorb yokai, which will reward you with magatama. Magatama are used to unlock blocked paths on the Skills Menu.
Magatama
Locations on Shibuya
1 Magatama
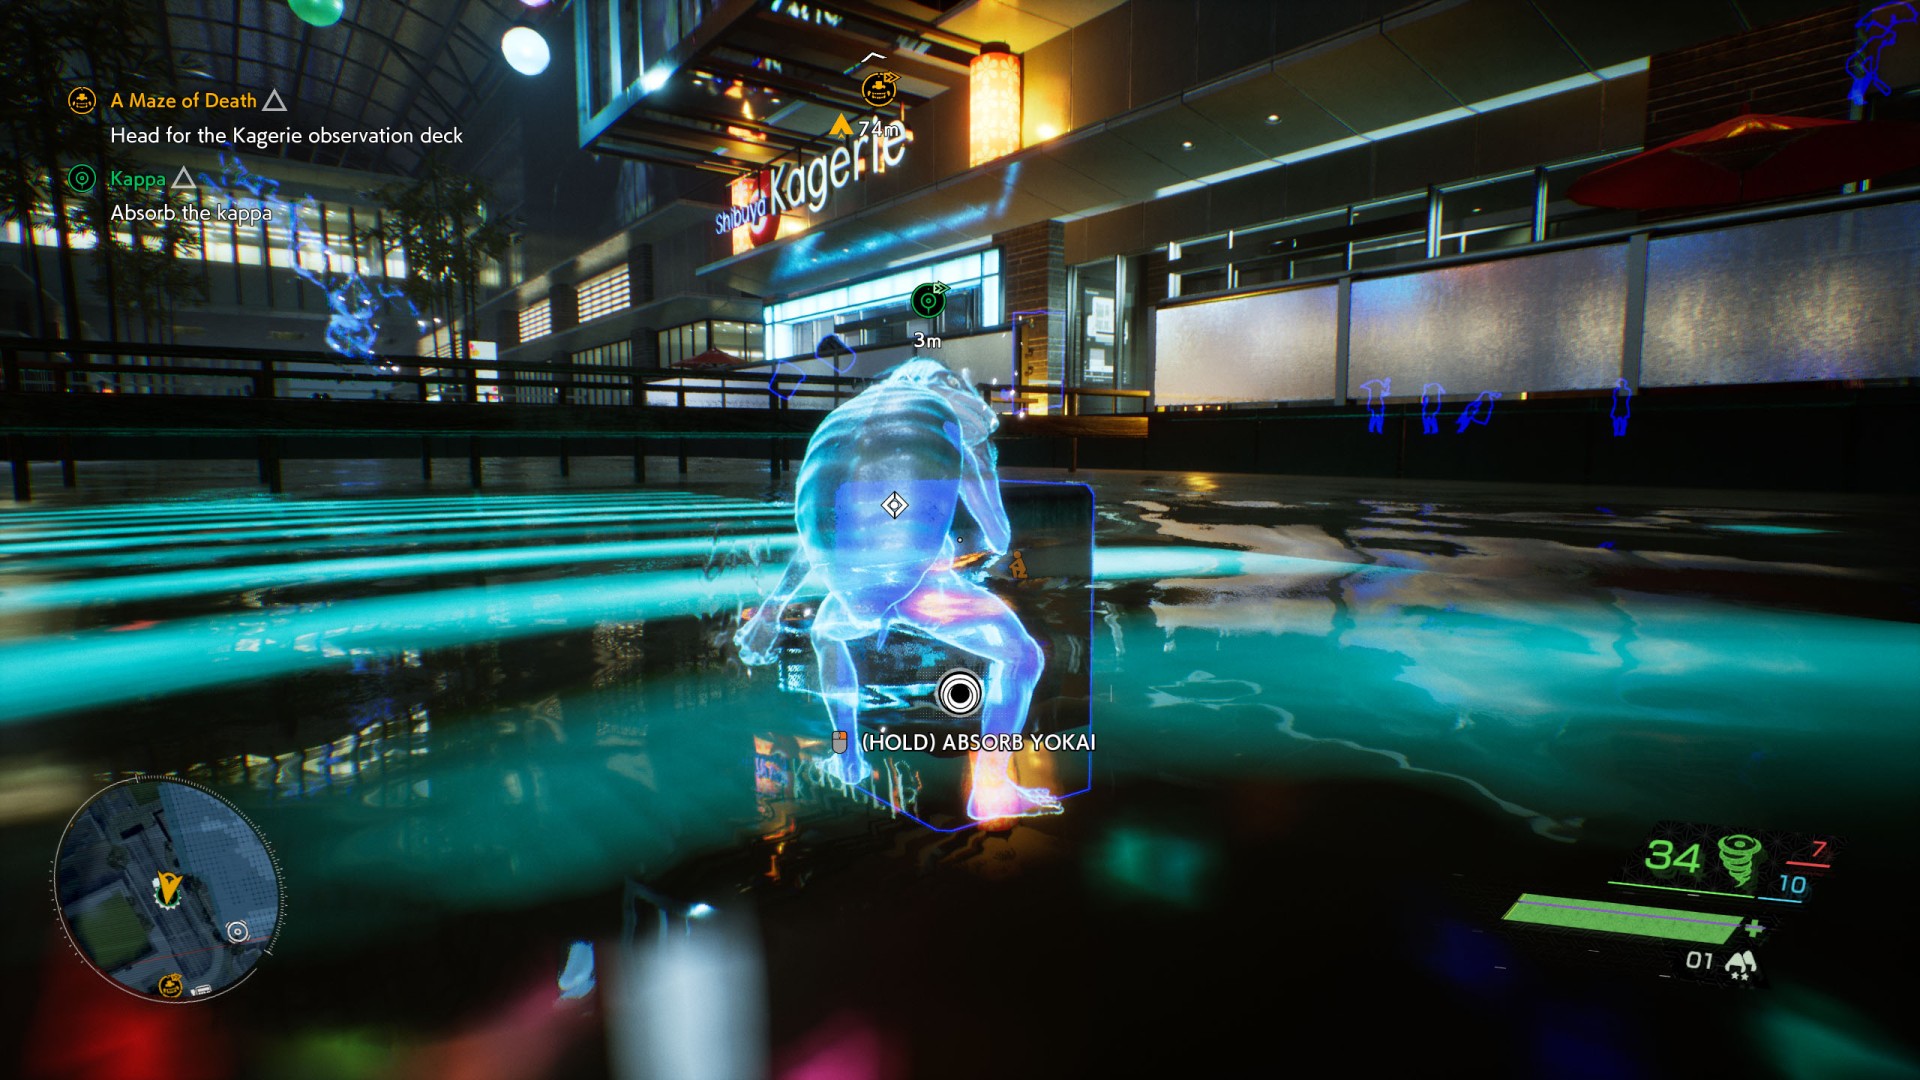
You will receive it after absorbing the power of yokai - Kappa (3/4).
2Magatama
You will receive it after absorbing the power of yokai - Karakasa-kozo (2/3).
3Magatama
You will receive it after absorbing the power of yokai - Kodama (2/5).
4Magatama
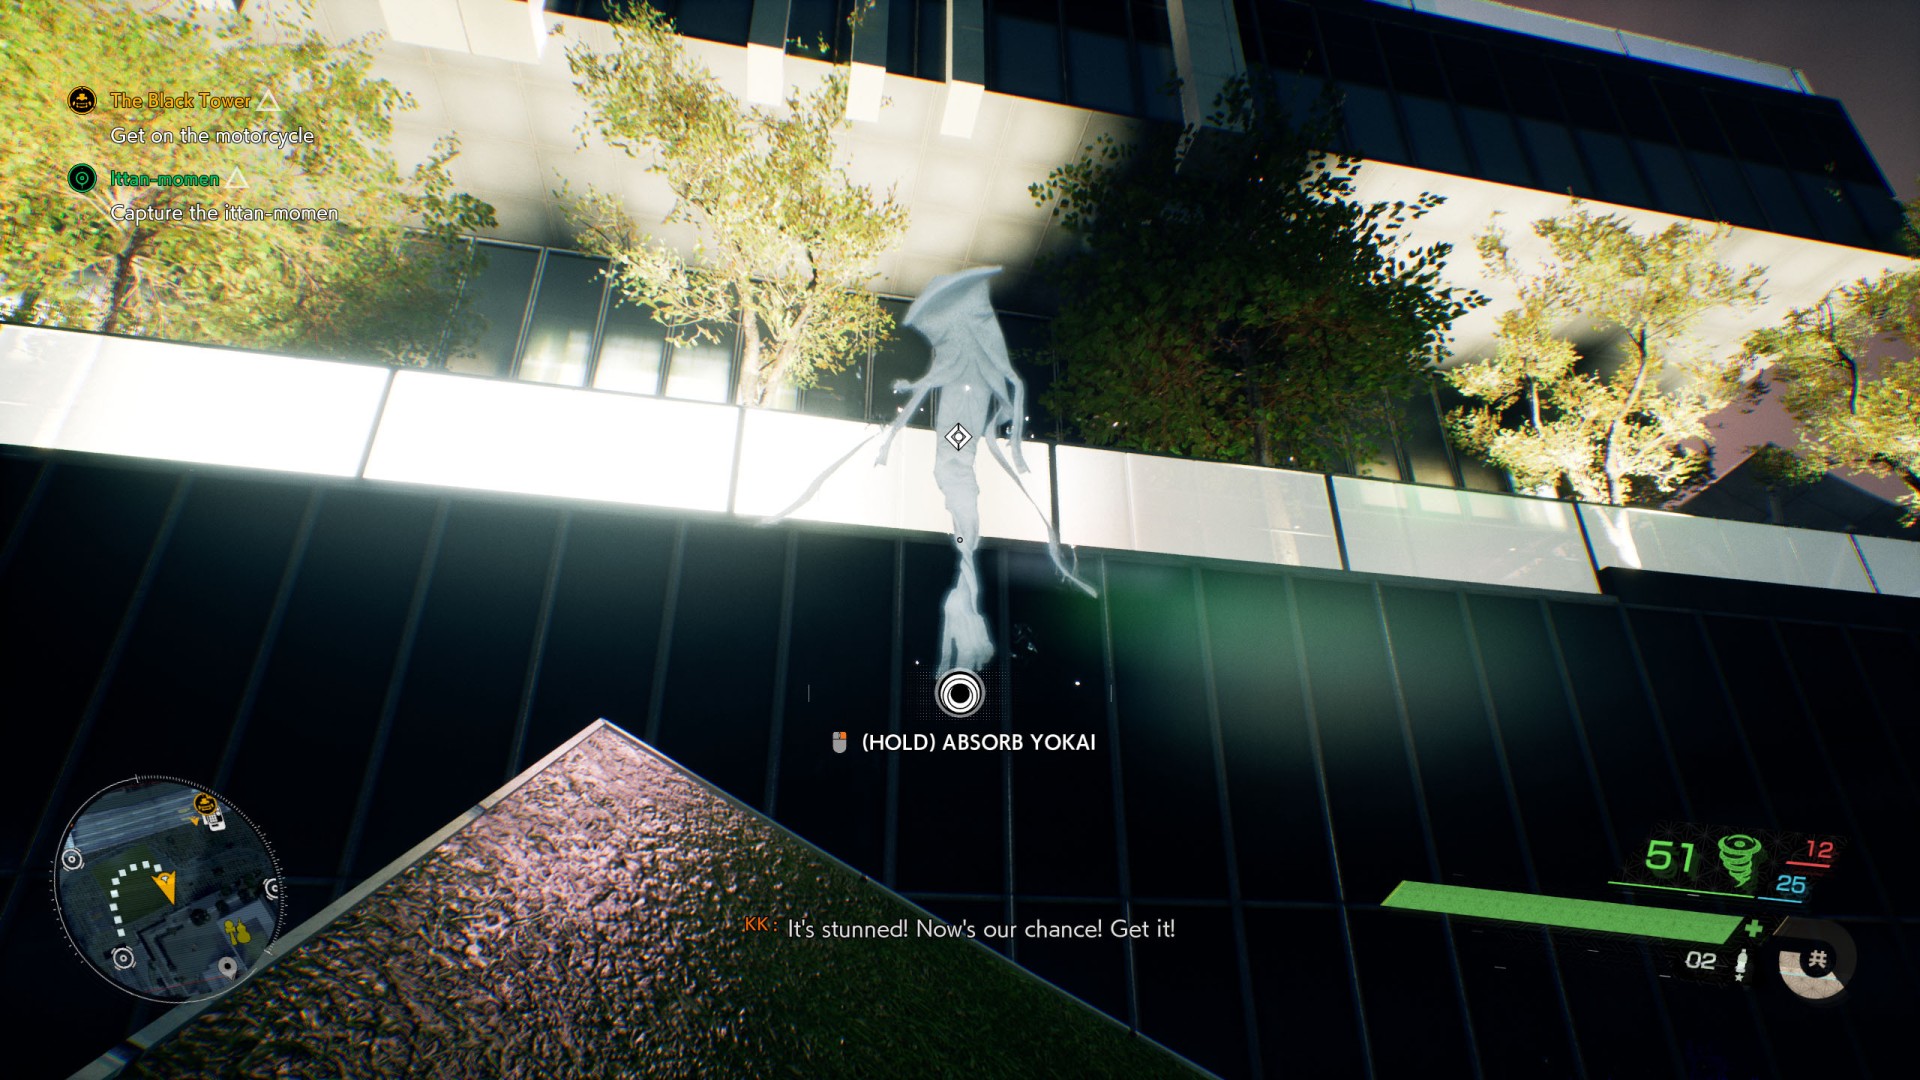
You will receive it after absorbing the power of yokai - Ittan-momen (5/6).
5Magatama
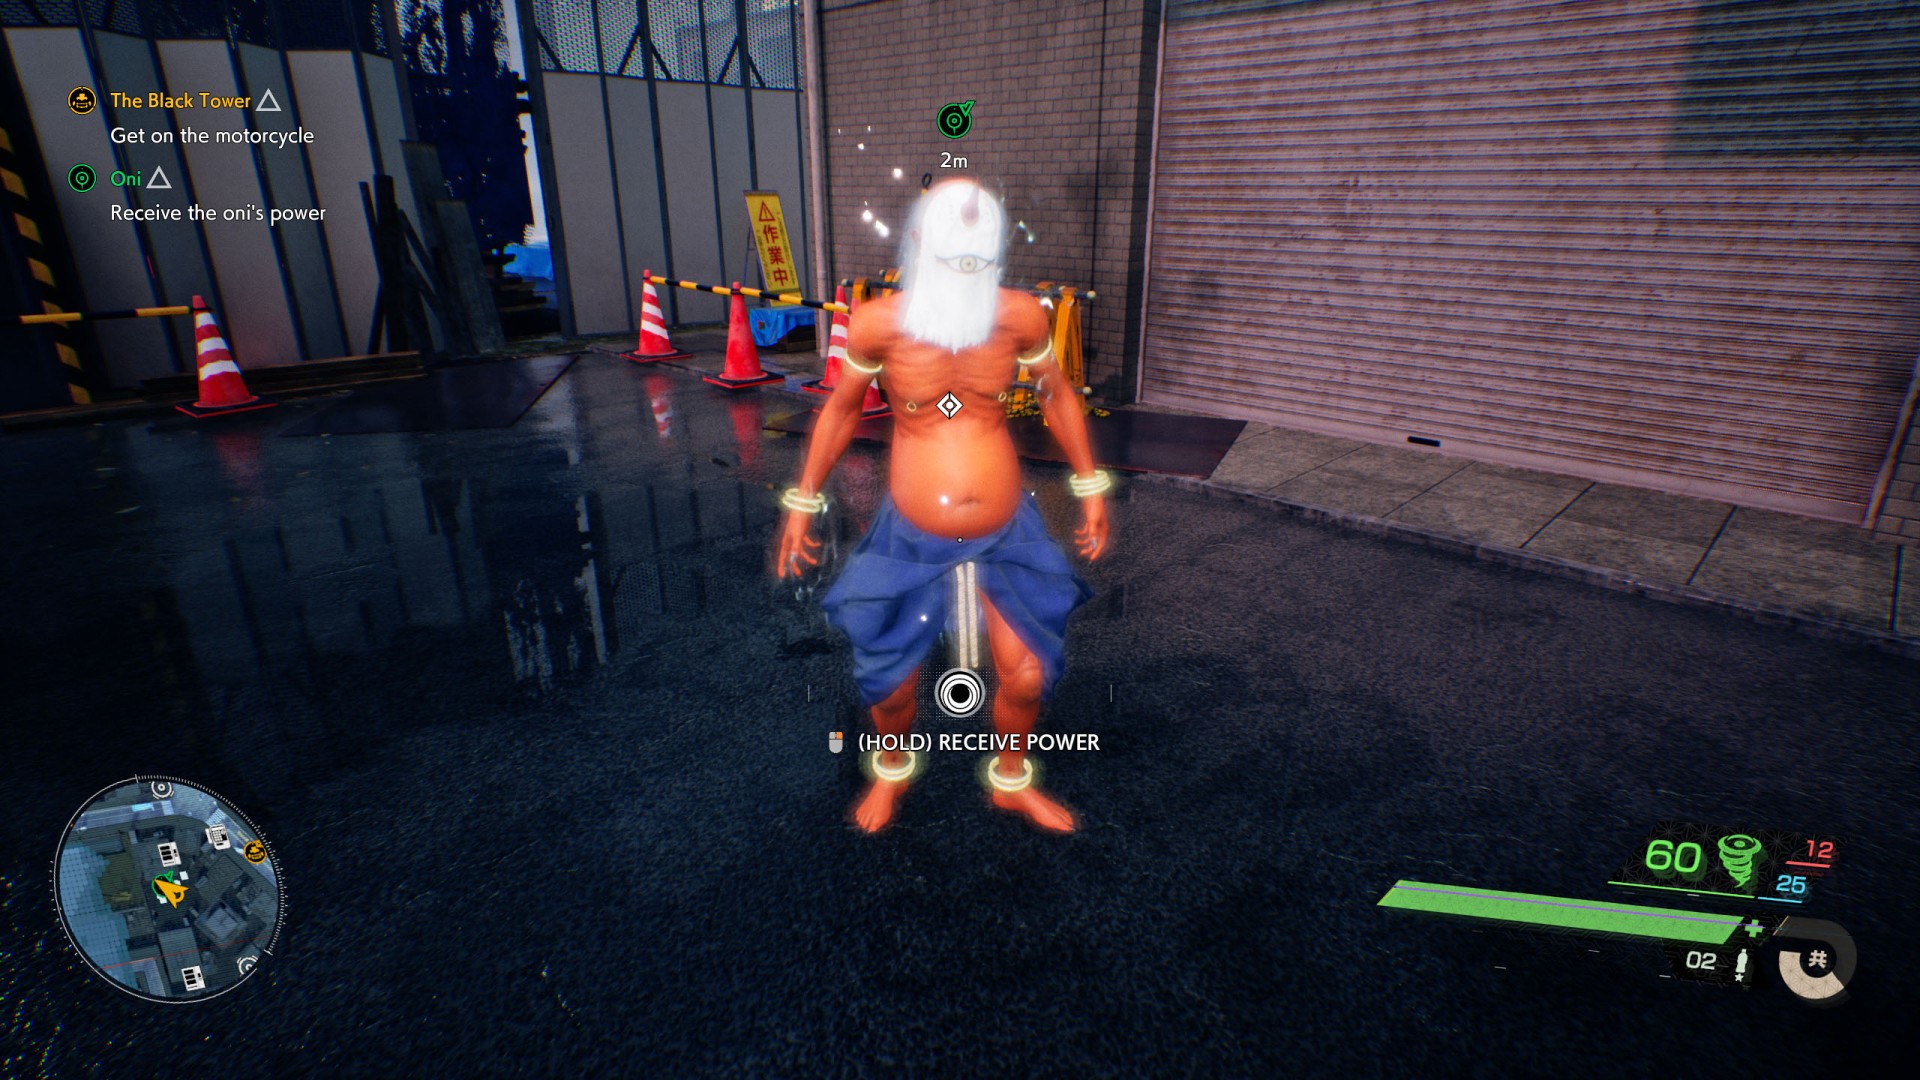
You will receive it after absorbing the power of yokai - Oni (2/3).
6Magatama
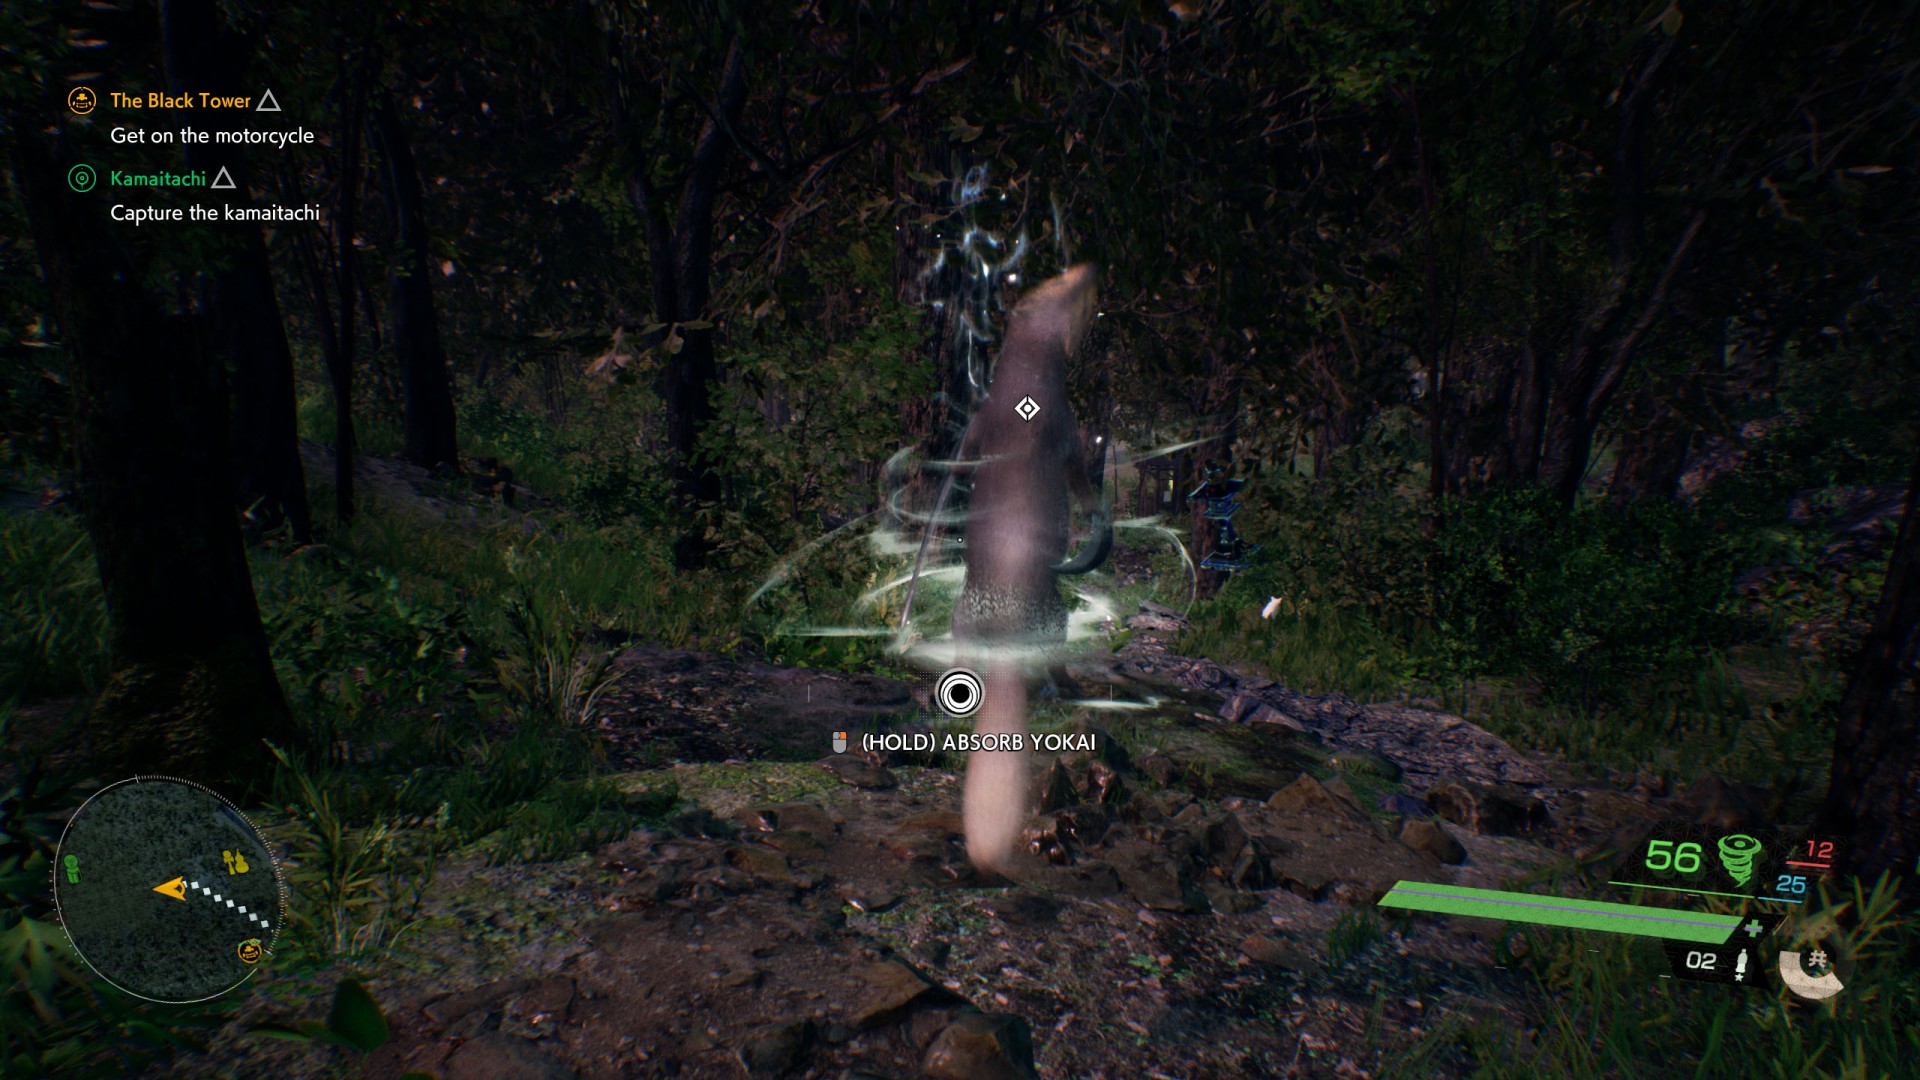
Related missions: Kamaitachi
You will receive it after absorbing Kamaitachi while playing the side mission "Kamaitachi".
7Magatama
You will receive it after absorbing the power of yokai - Oni (3/3).
8Magatama
You will receive it after absorbing the power of yokai - Kodama (3/5).
9Magatama
You will receive it after absorbing the power of yokai - Ittan-momen (3/6).
10Magatama
You will receive it after absorbing the power of yokai - Kappa (2/4).
11Magatama
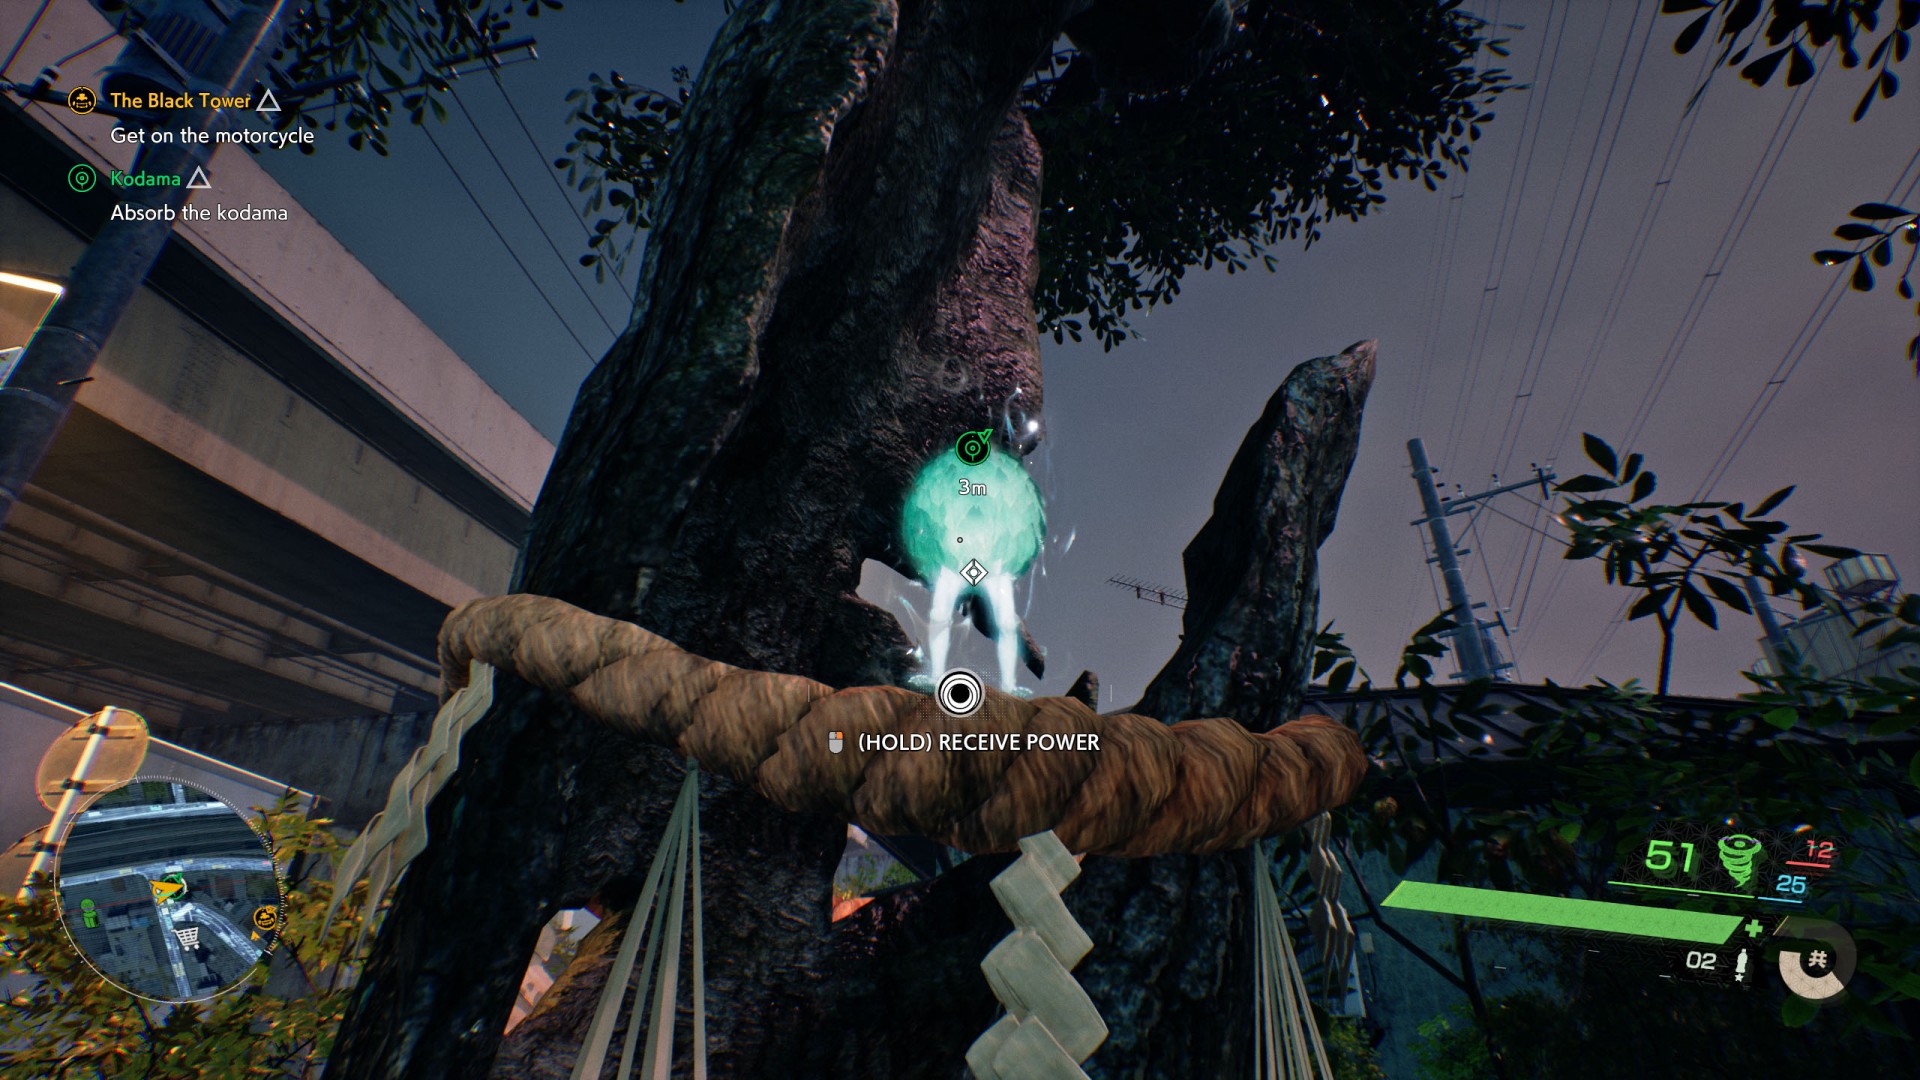
Related missions: Kodama
You will receive it after absorbing Kodama while playing the side mission "Kodama".
12Magatama
You can buy it from Archeology Nekomata for 130,000 Meika.
13Magatama
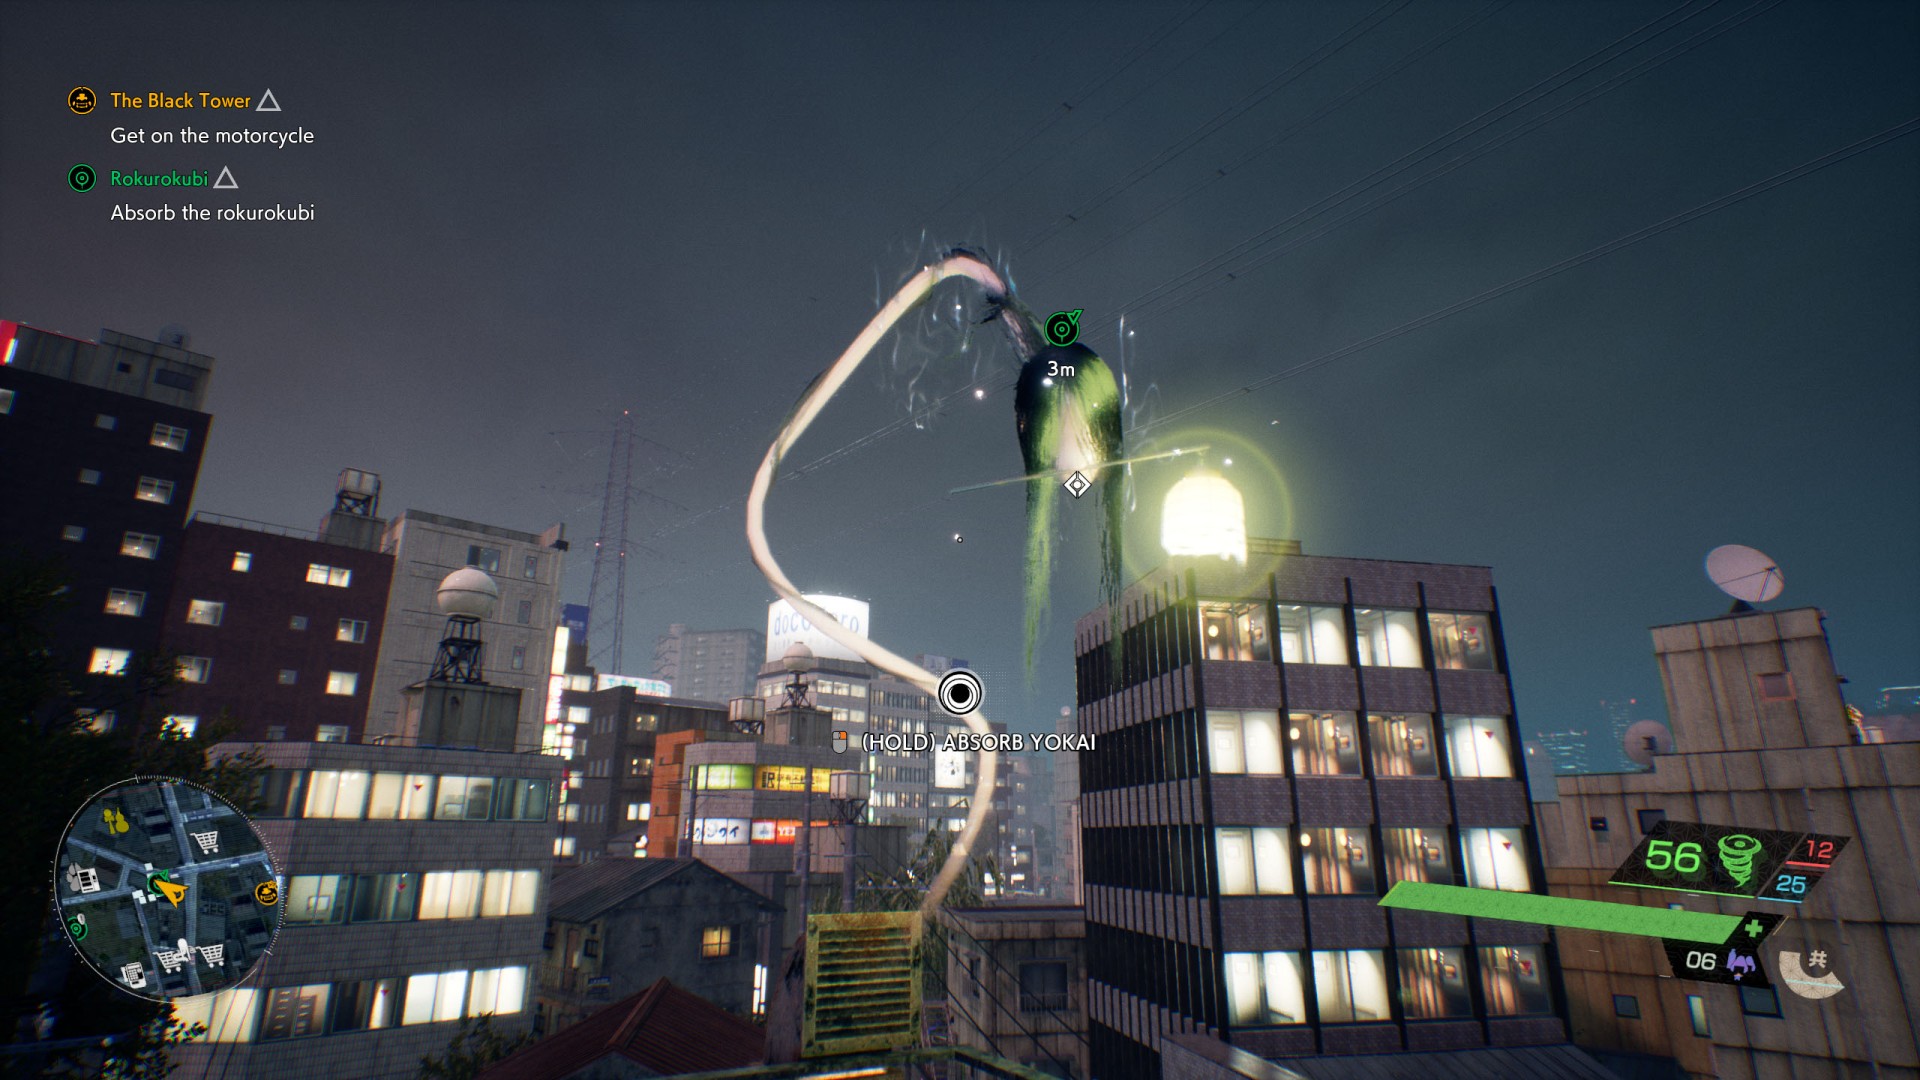
Related missions: Rokurokubi
You will receive it after absorbing the yokai while playing the side mission "Rokurokubi".
14Magatama
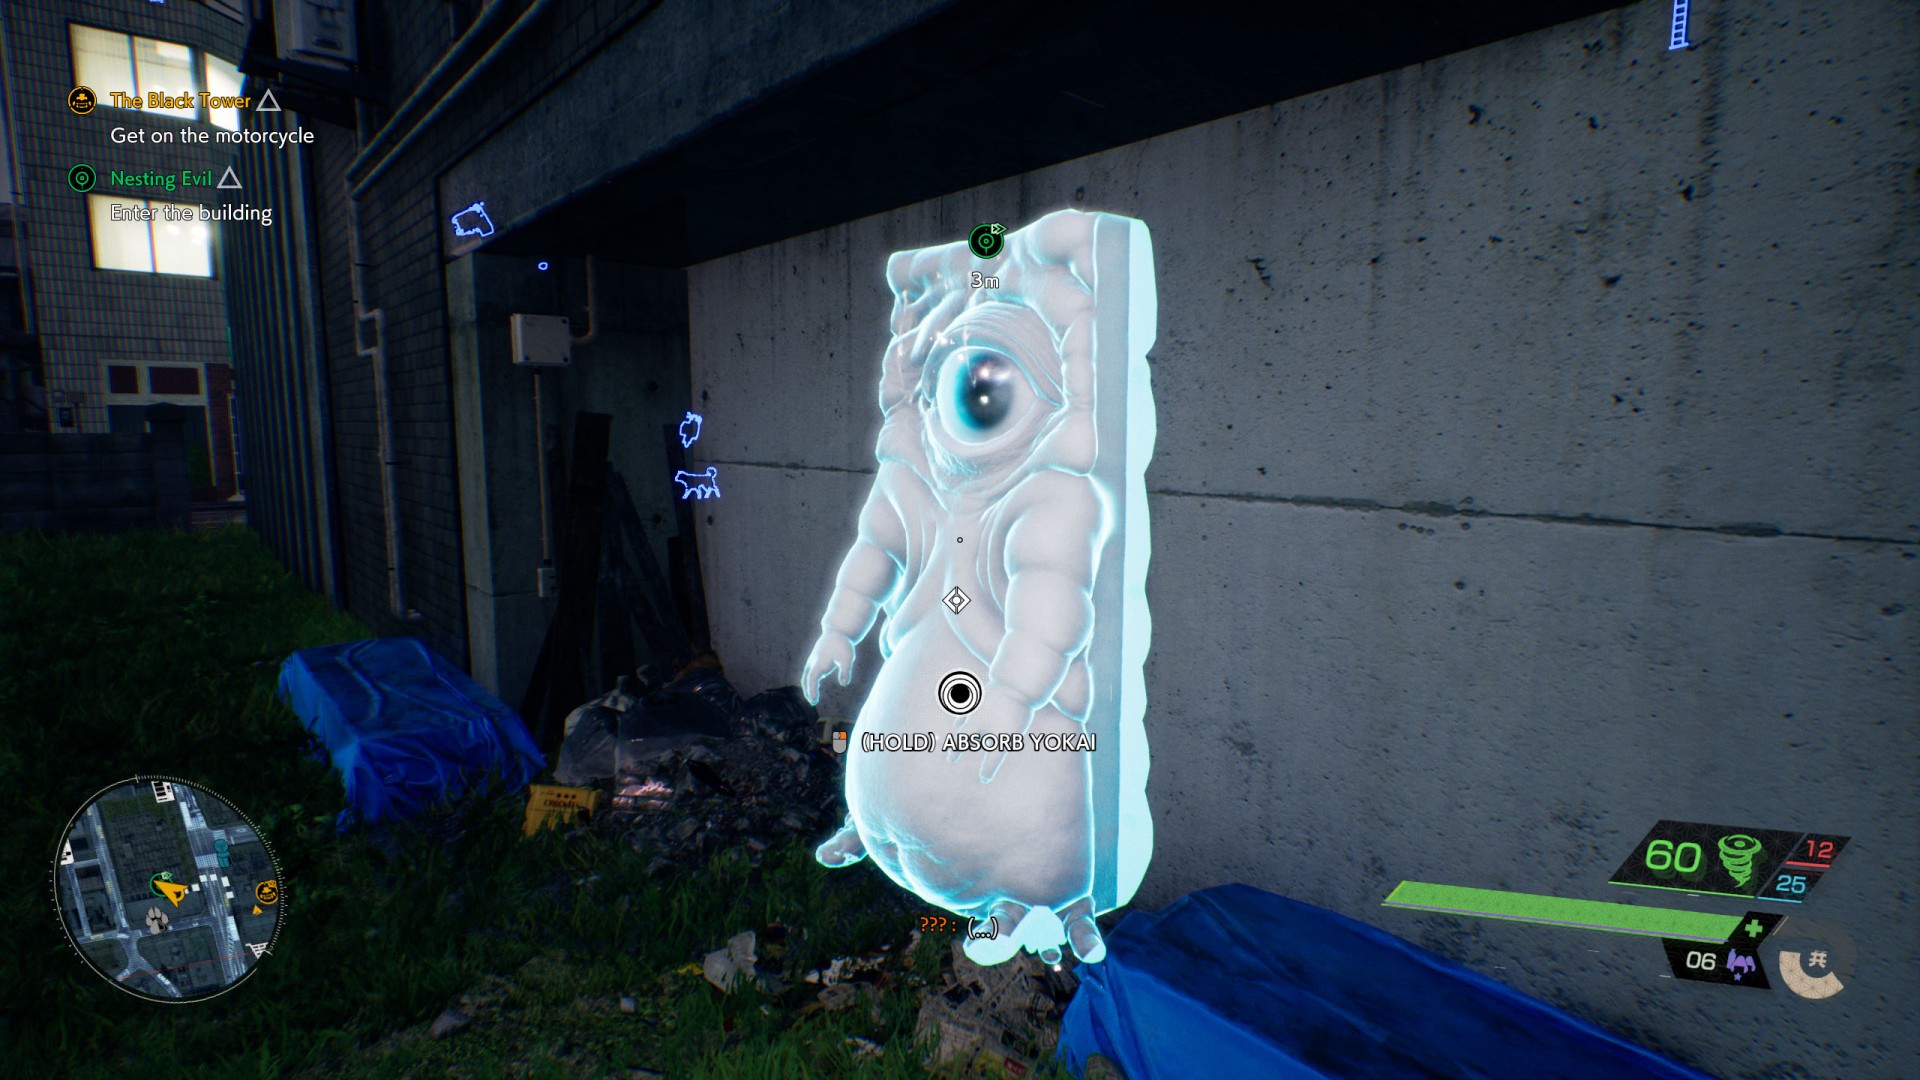
Related missions: Nesting Evil
You will receive it after absorbing Yokai while playing the side mission "Nesting Evil".
15Magatama
You will receive it after absorbing the power of yokai - Kappa (4/4).
16Magatama
You will receive it after absorbing the power of yokai - Kamaitachi (5/6).
17Magatama
You will receive it after absorbing the power of yokai - Ittan-momen (4/6).
18Magatama
You will receive it after absorbing the power of yokai - Kamaitachi (4/6).
19Magatama
You will receive it after absorbing the power of yokai - Ittan-momen (6/6).
20Magatama
You can buy it from Nostalgic Nekomata for 130,000 Meika.
21Magatama
You will receive it after absorbing Yokai while playing the main mission "Pillar of Light".

22Magatama
Related missions: Oni
You will receive it after absorbing Oni's power while playing the side mission "Oni".
23Magatama
You will receive it after absorbing the power of yokai - Rokurokubi (2/3).
24Magatama
You will receive it after absorbing the power of yokai - Kamaitachi (3/6).
25Magatama
You will receive it after absorbing the power of yokai - Zashiki-warashi (3/3).
26Magatama
You will receive it after absorbing the power of yokai - Karakasa-kozo (3/3).
27Magatama
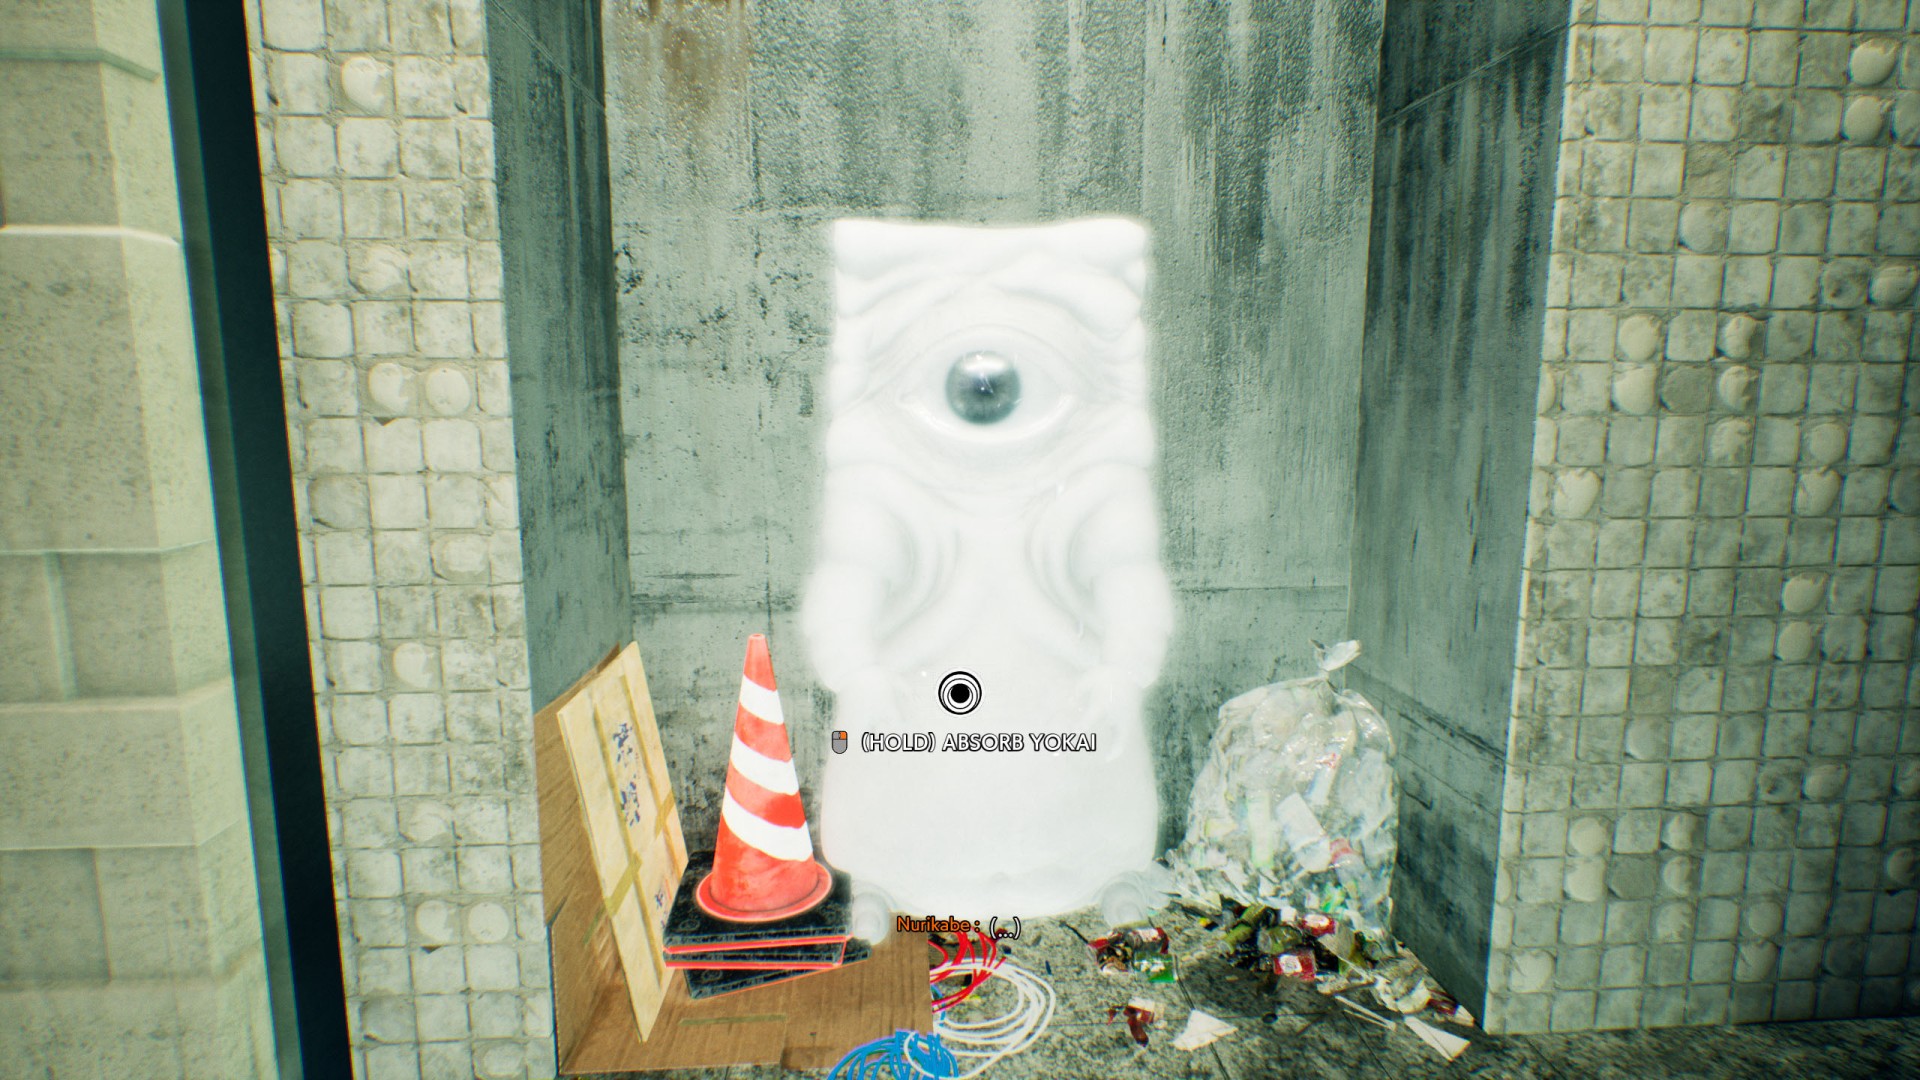
You will receive it after absorbing the power of yokai - Nurikabe (2/4).
28Magatama
Related missions: Ittan-momen
You will receive it after absorbing Ittan-momen while playing the side mission "Ittan-momen".
29Magatama
Related missions: Kappa
You will receive it after absorbing the Kappa while playing the side mission "Kappa"
30Magatama
Related missions: A Passage Beyond
You will obtain this after absorbing Yokai behind which there is a hidden entrance to the basement. This takes place during the mission "A Passage Beyond".
31Magatama
You can buy it from Artsy Nekomata for 130,000 Meika.
32Magatama
Related missions: Zashiki-warashi
You will receive this as a reward for completing the "Zashiki-warashi" side mission.

33Magatama
You will receive it after absorbing the power of yokai - Kamaitachi (6/6).
34Magatama
Related missions: Karakasa-kozo
You will receive it after absorbing Yokai while playing the side mission "Karakasa-kozo".

35Magatama
You will receive it after absorbing the power of yokai - Kamaitachi (2/6).
36Magatama
You will receive it after absorbing the power of yokai - Rokurokubi (3/3).
37Magatama
You will receive it after absorbing the power of yokai - Ittan-momen (2/6).
38Magatama
You will receive it after absorbing the power of yokai - Kodama (4/5).
39Magatama
You will receive it after absorbing the power of yokai - Kodama (5/5).
40Magatama
You will receive it after absorbing the power of yokai - Zashiki-warashi (3/3).