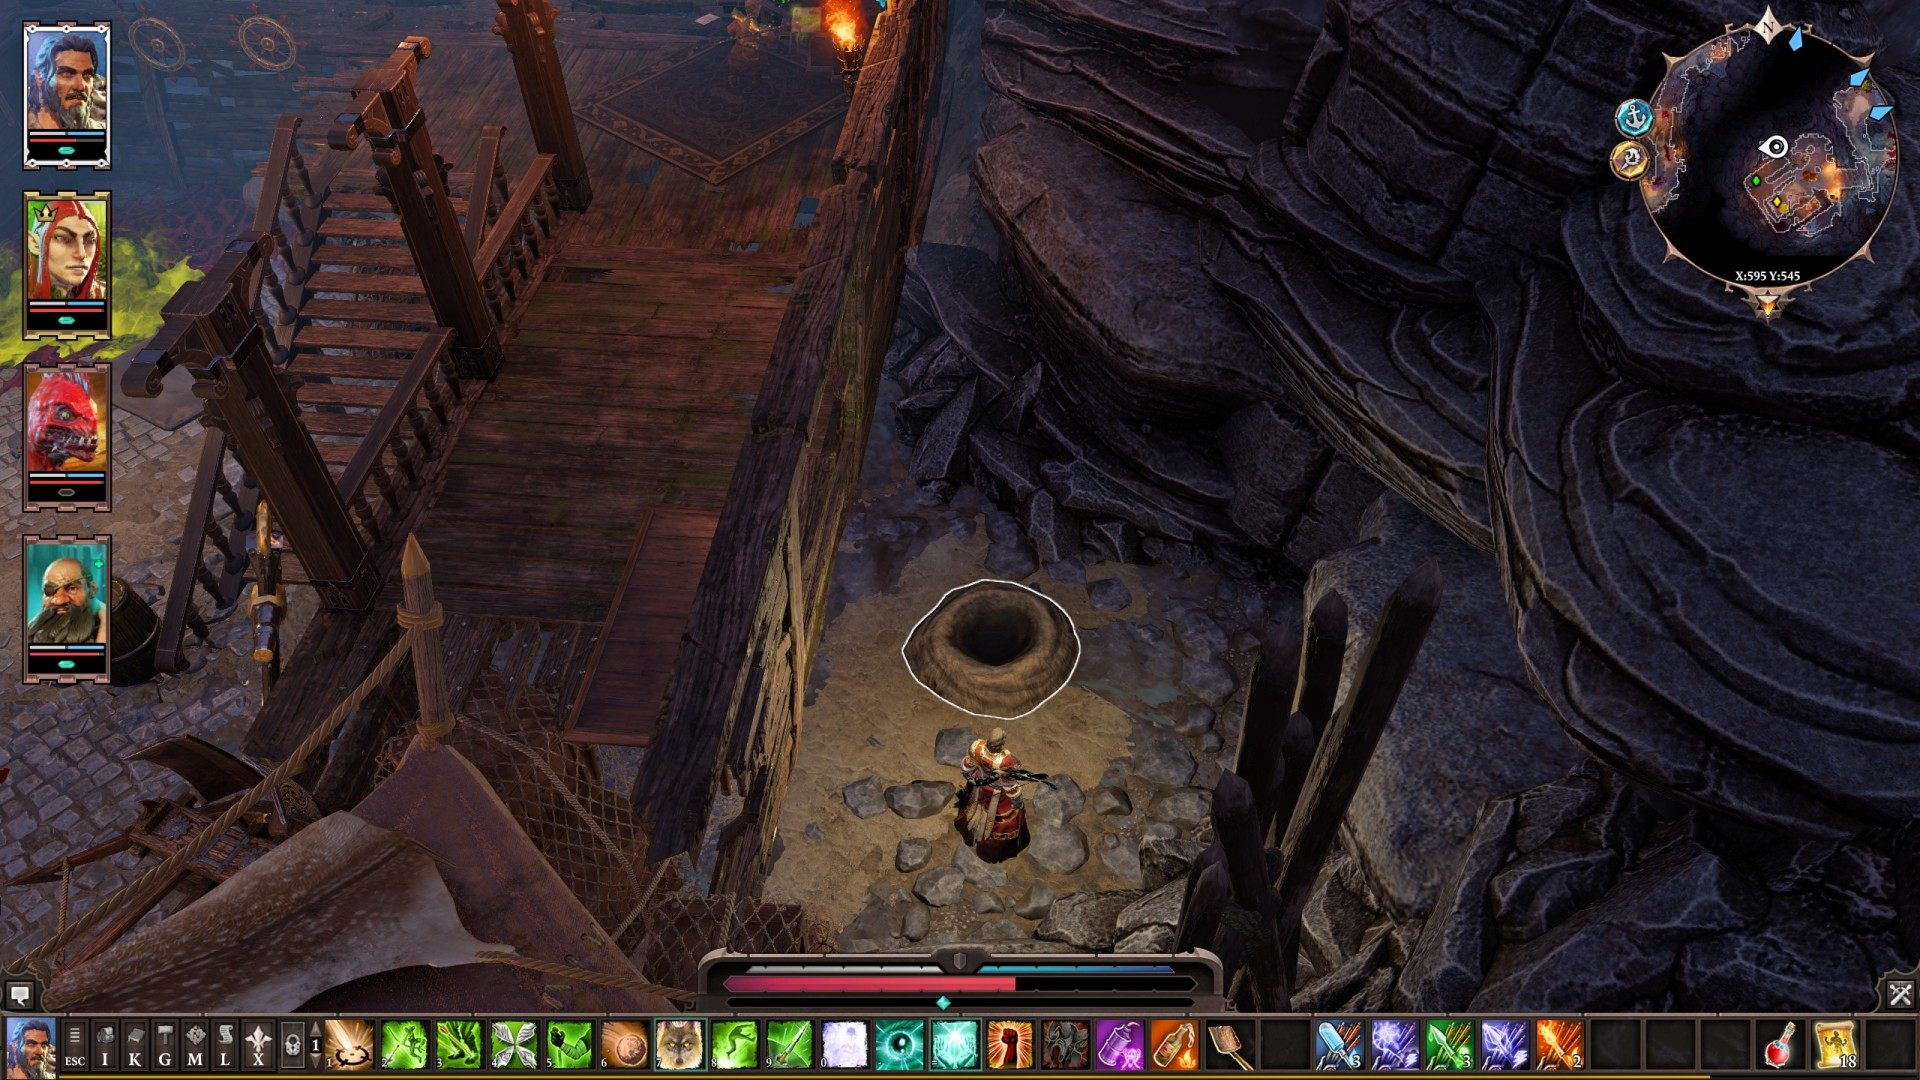
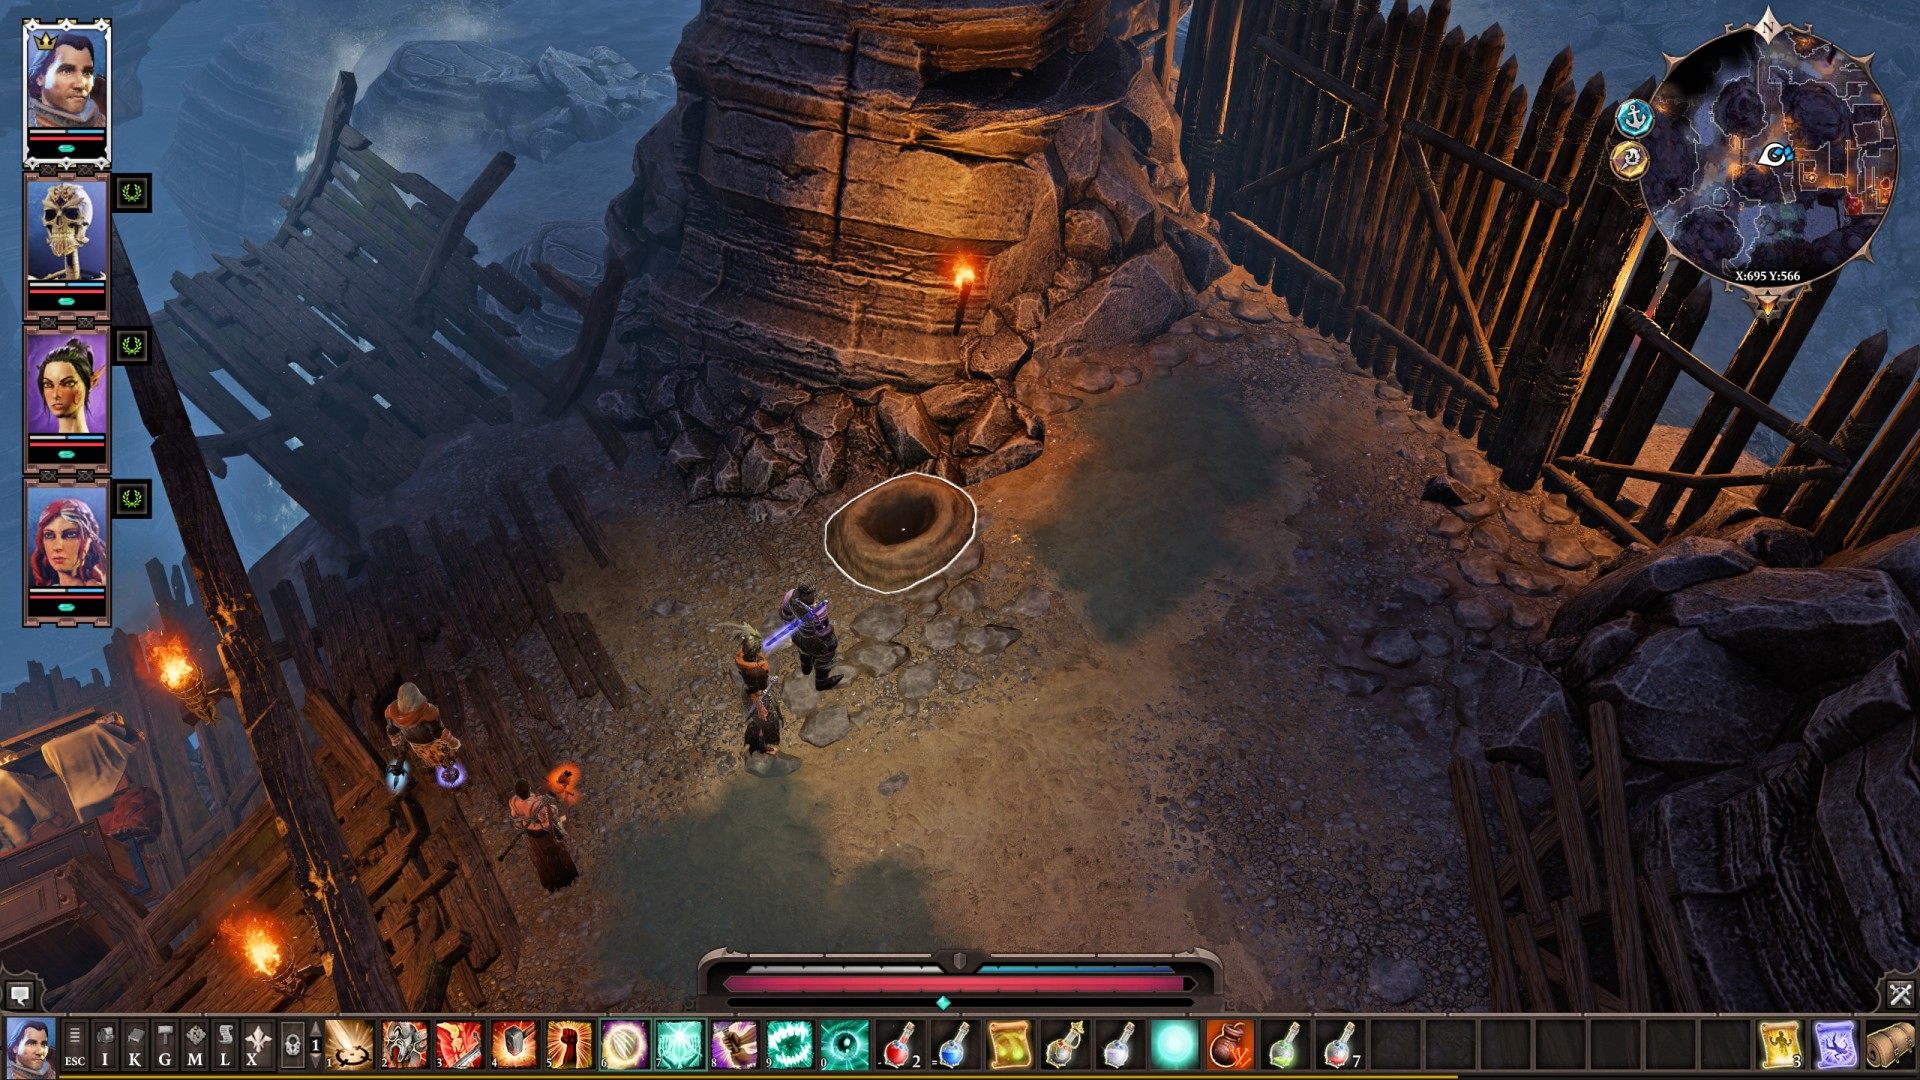
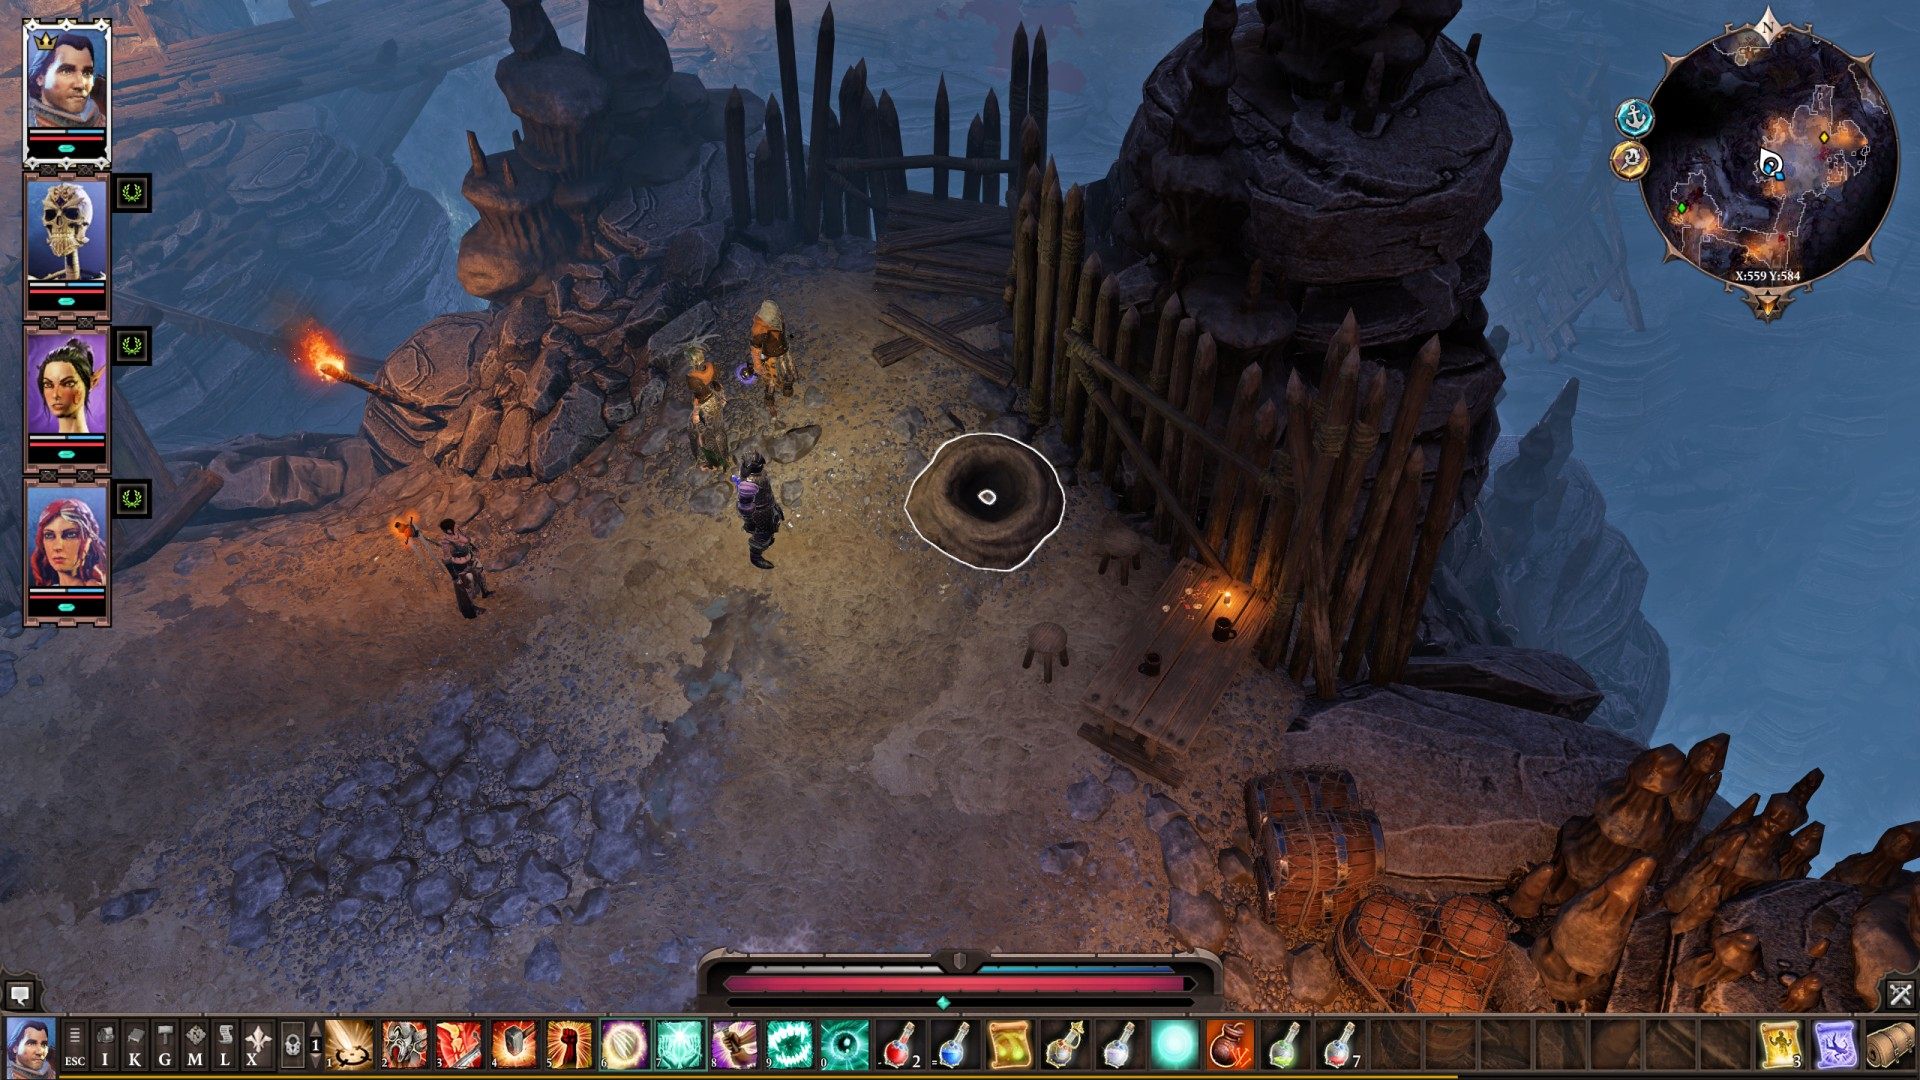
List of places located on Reaper's Coast map, such as doors, stairs, ladders, hatches, manholes, cave or tunnel entrances, etc. in which you move between map levels, locations, etc.
Transitions, Reaper's Coast
Locations on Reaper's Coast
1 Back to The Blackpits
2Blackpits Cavers (Entrance)
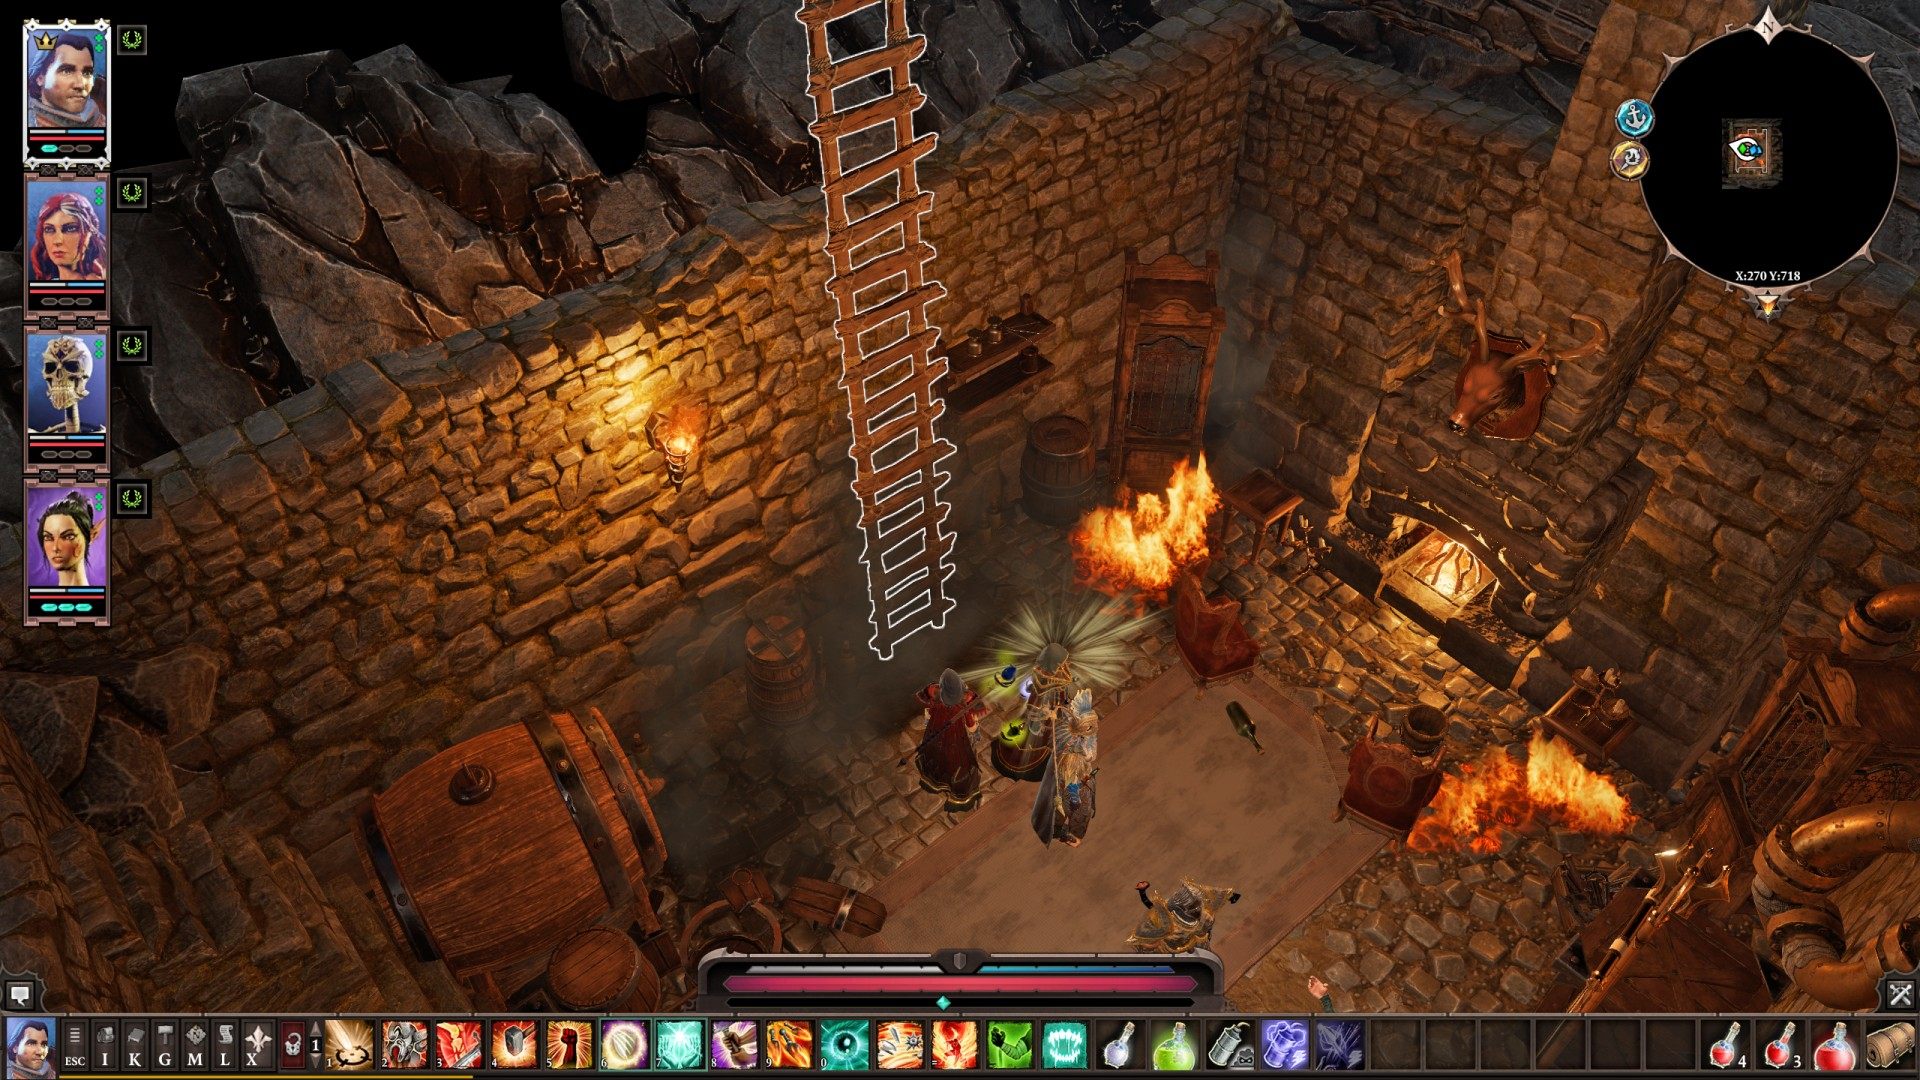
3Blackpits Cellar (East)
4Blackpits Cellar (West)
5Bloodmoon Vault #1 (Entrance/Exit)
6Bloodmoon Vault #2 (Entrance/Exit)
7Bloodmoon Vault #4 (Entrance/Exit)
8Boat to the Lady Vengeance

9Bridge House Cellar (Exit)

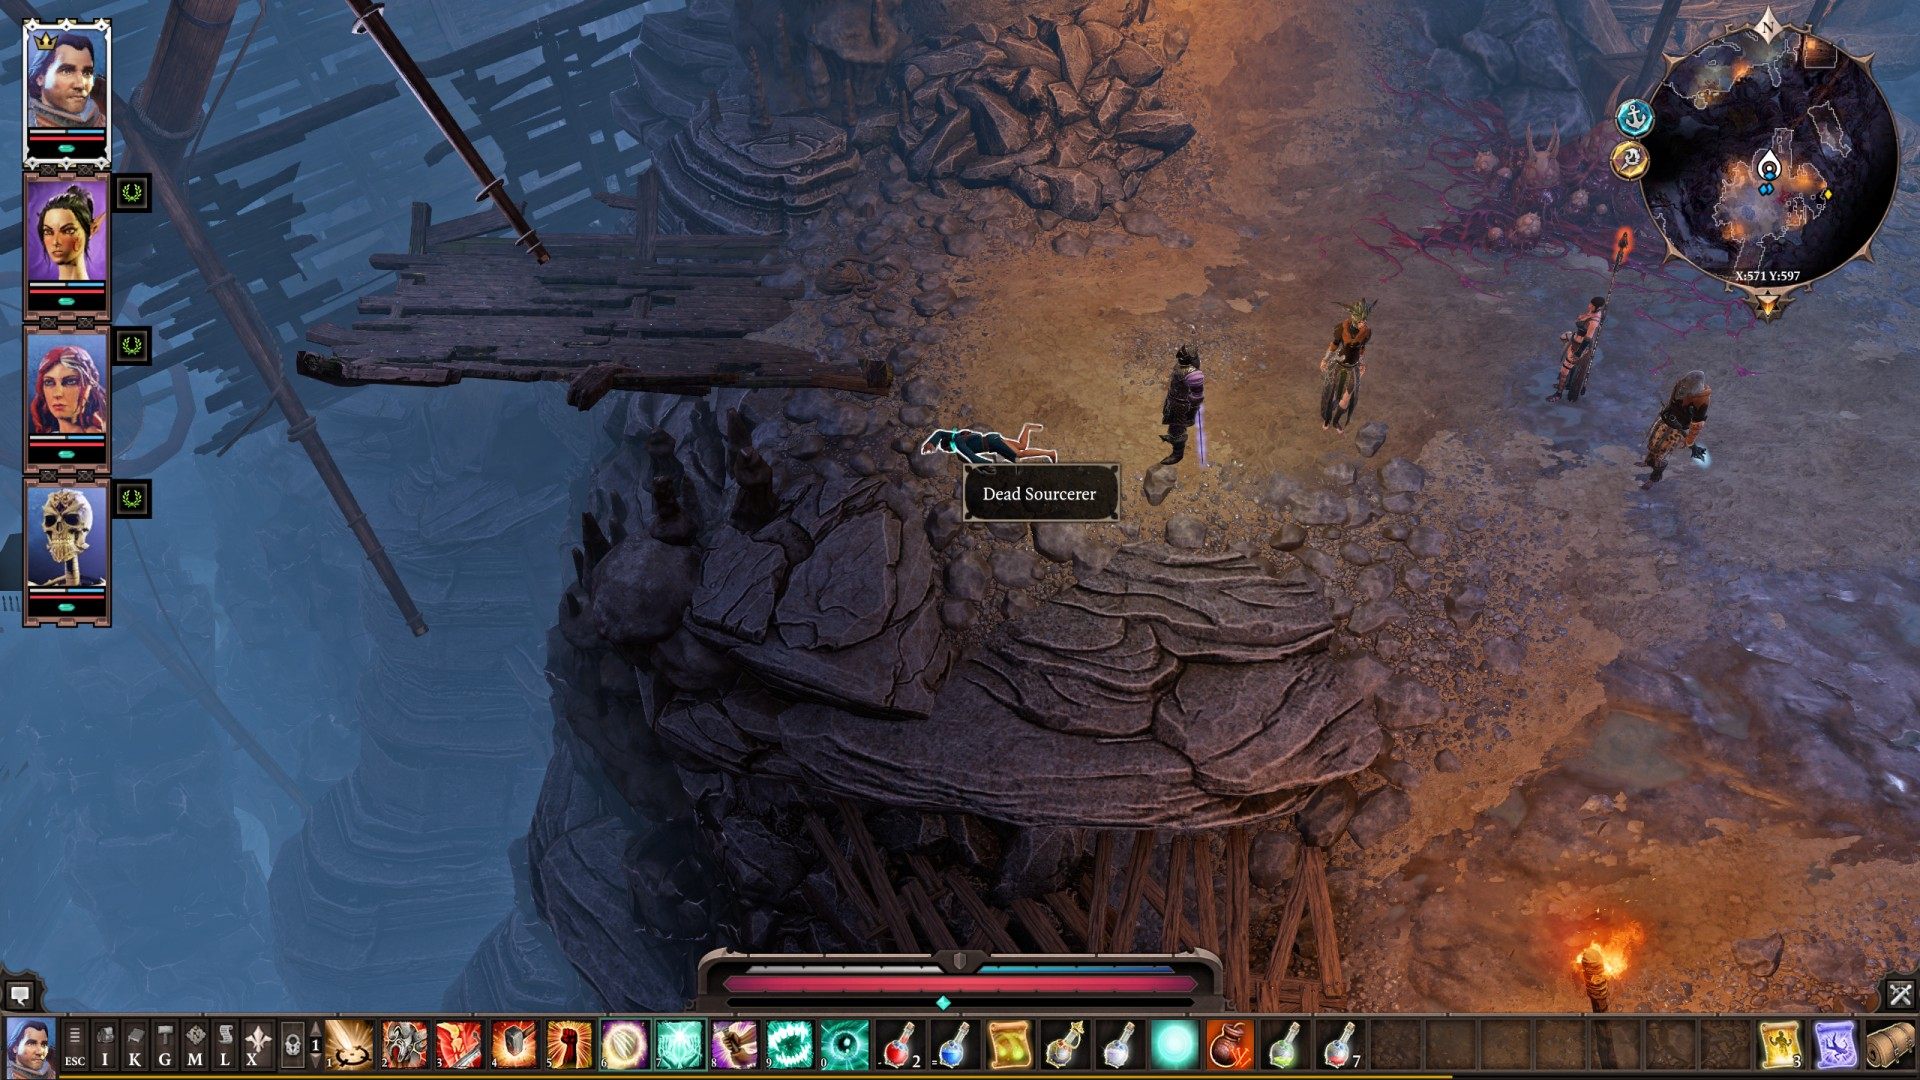
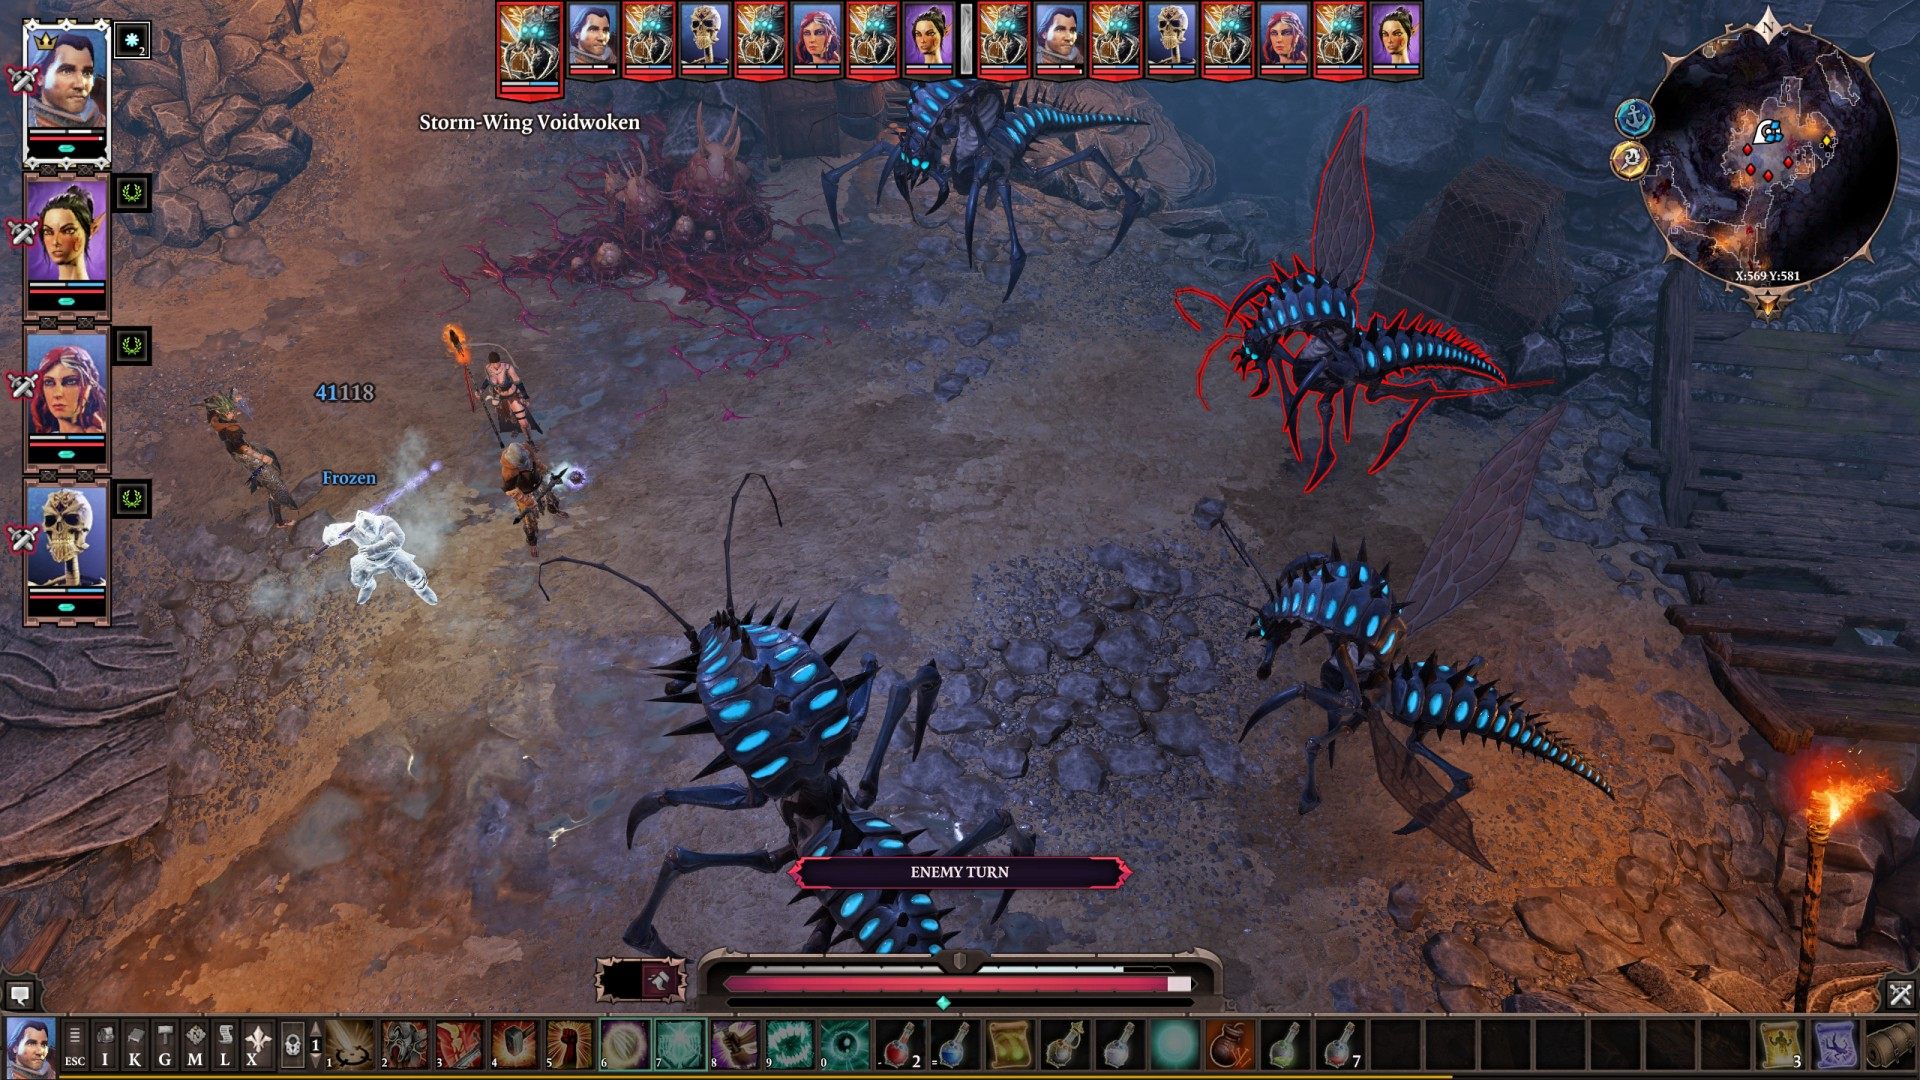
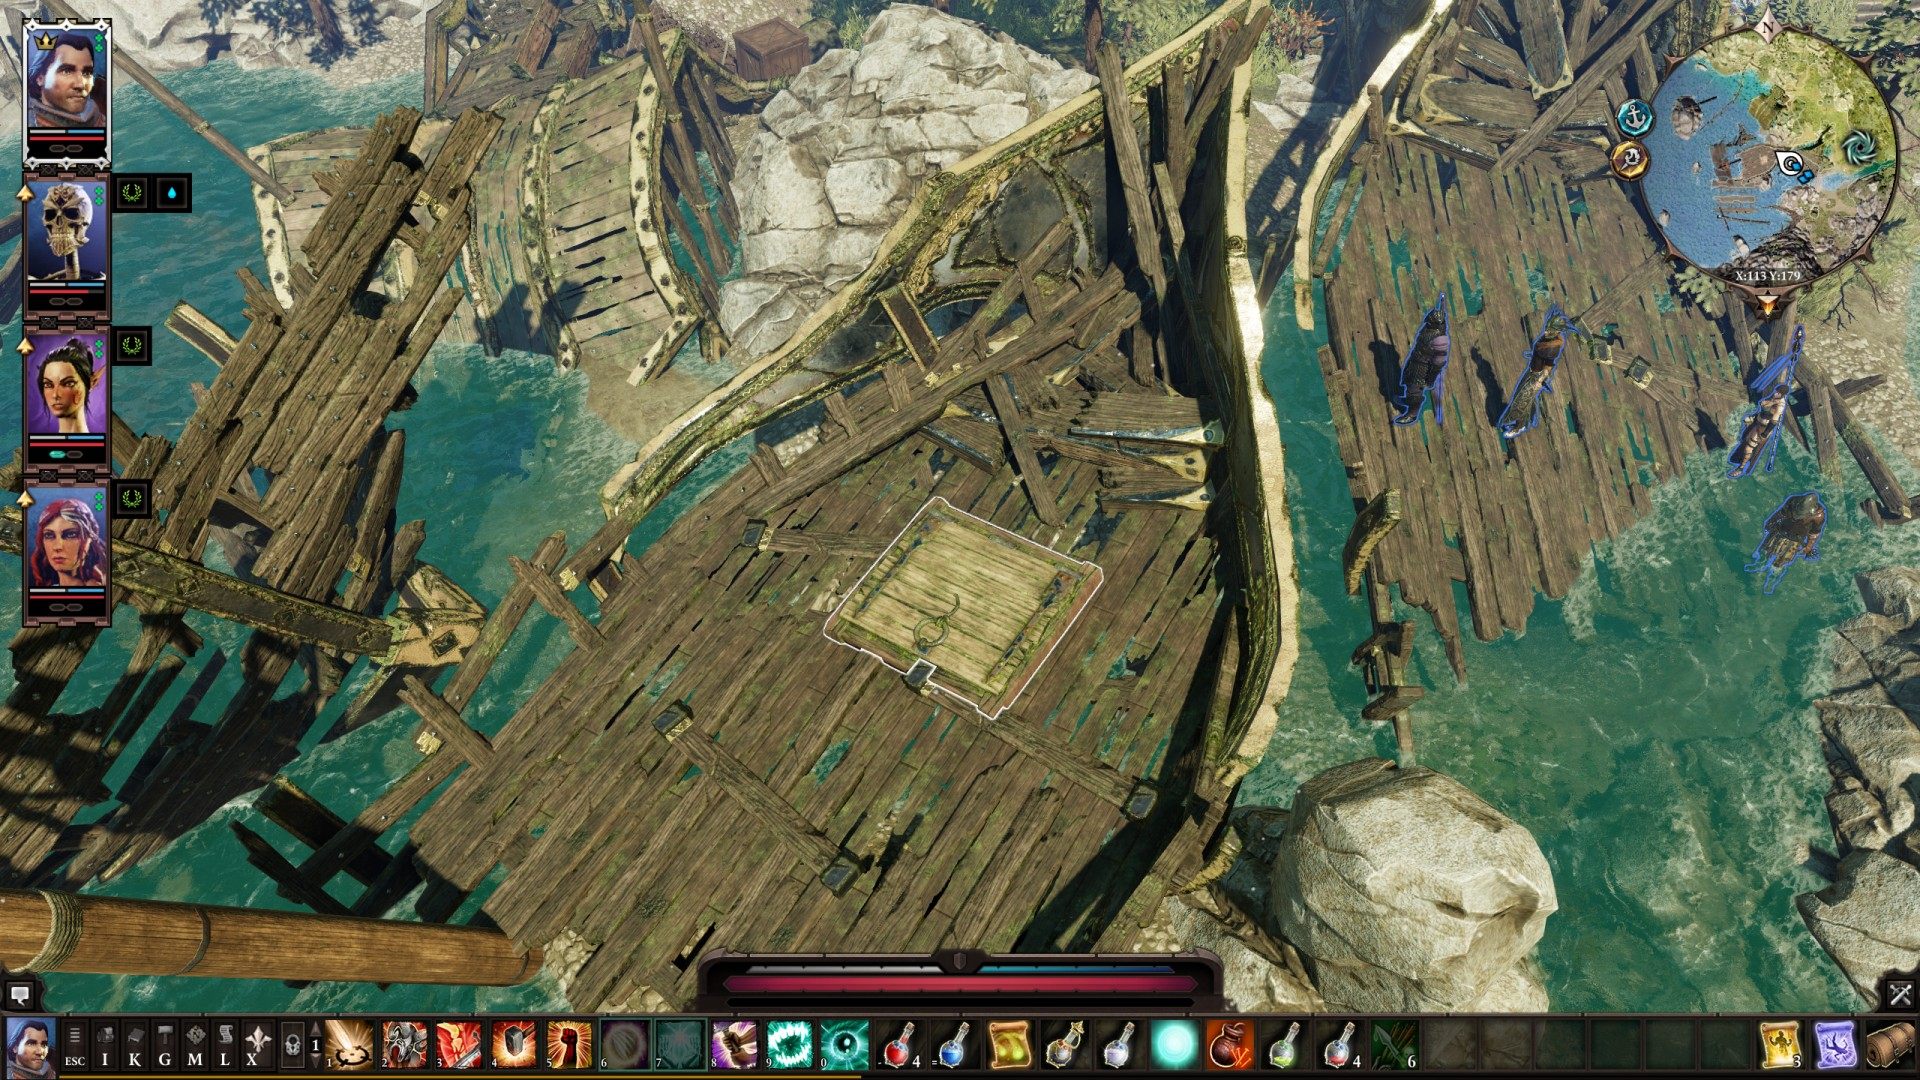
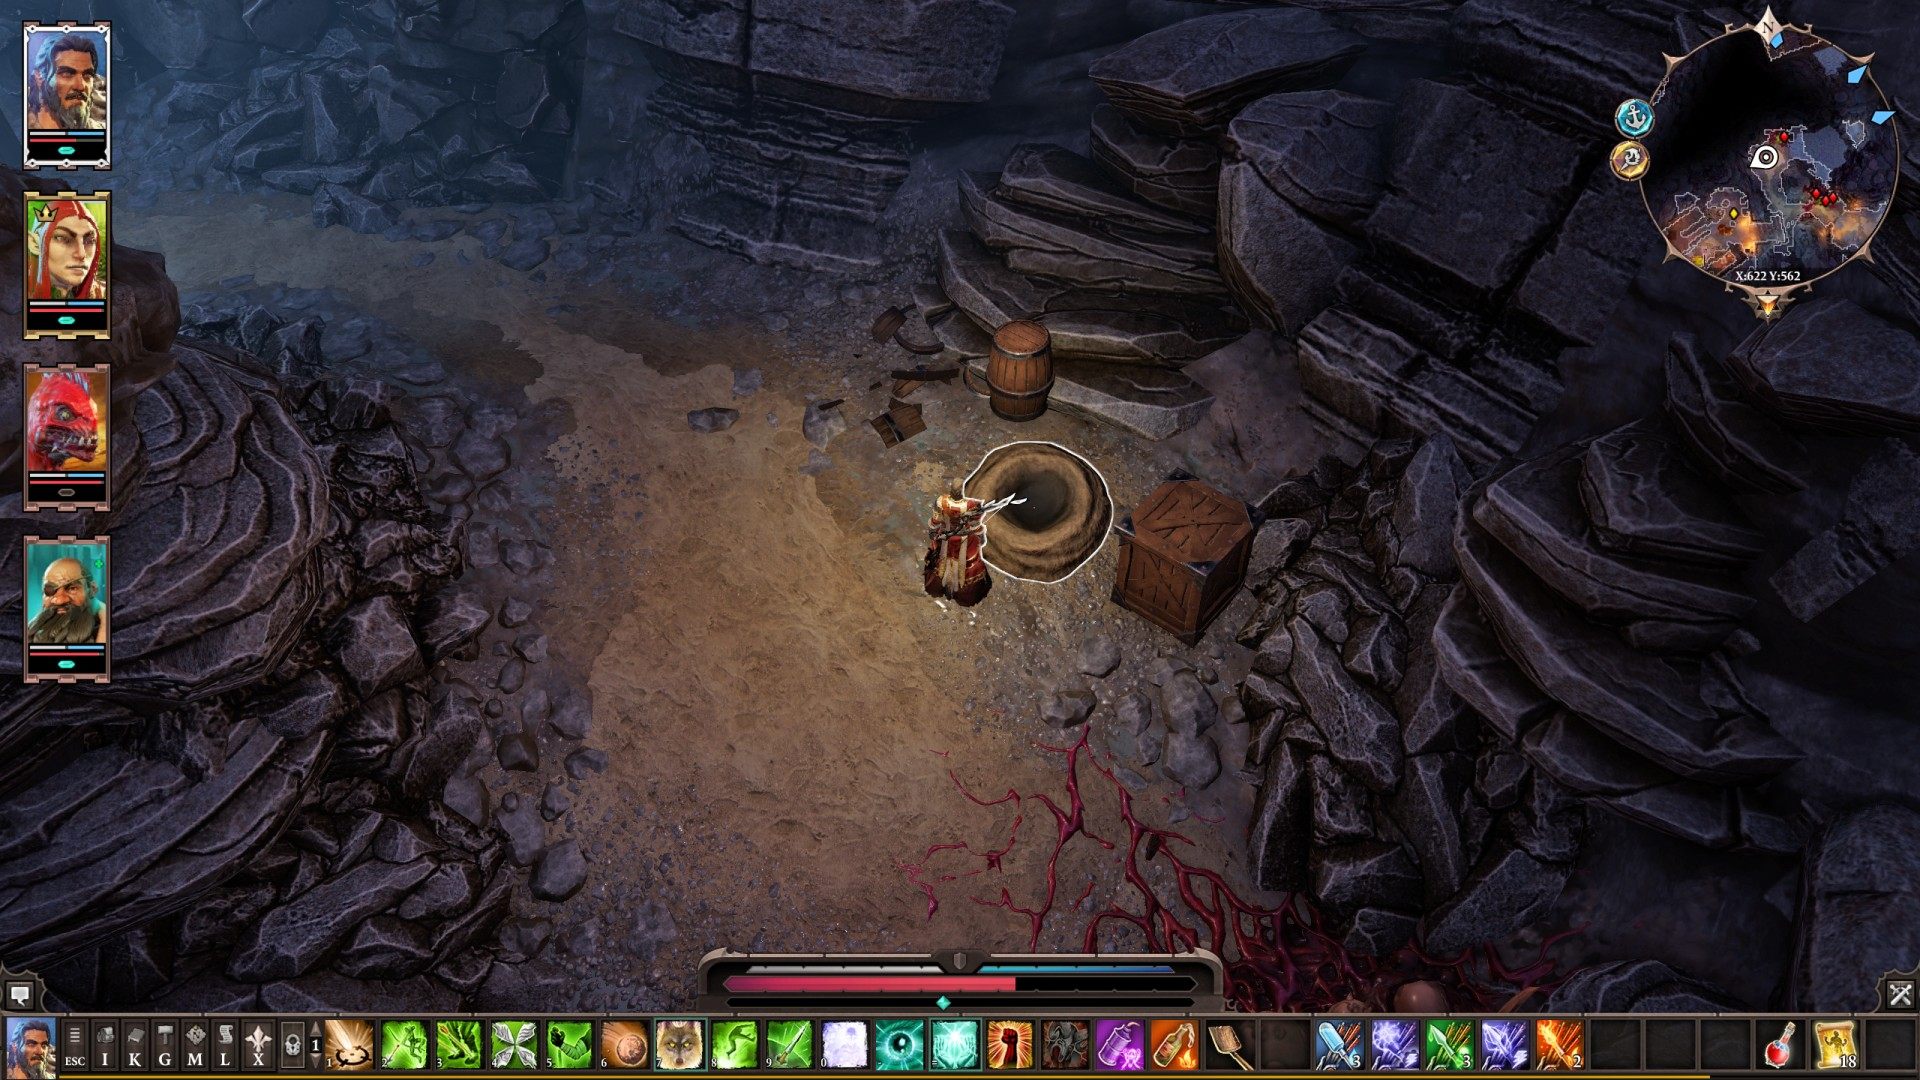
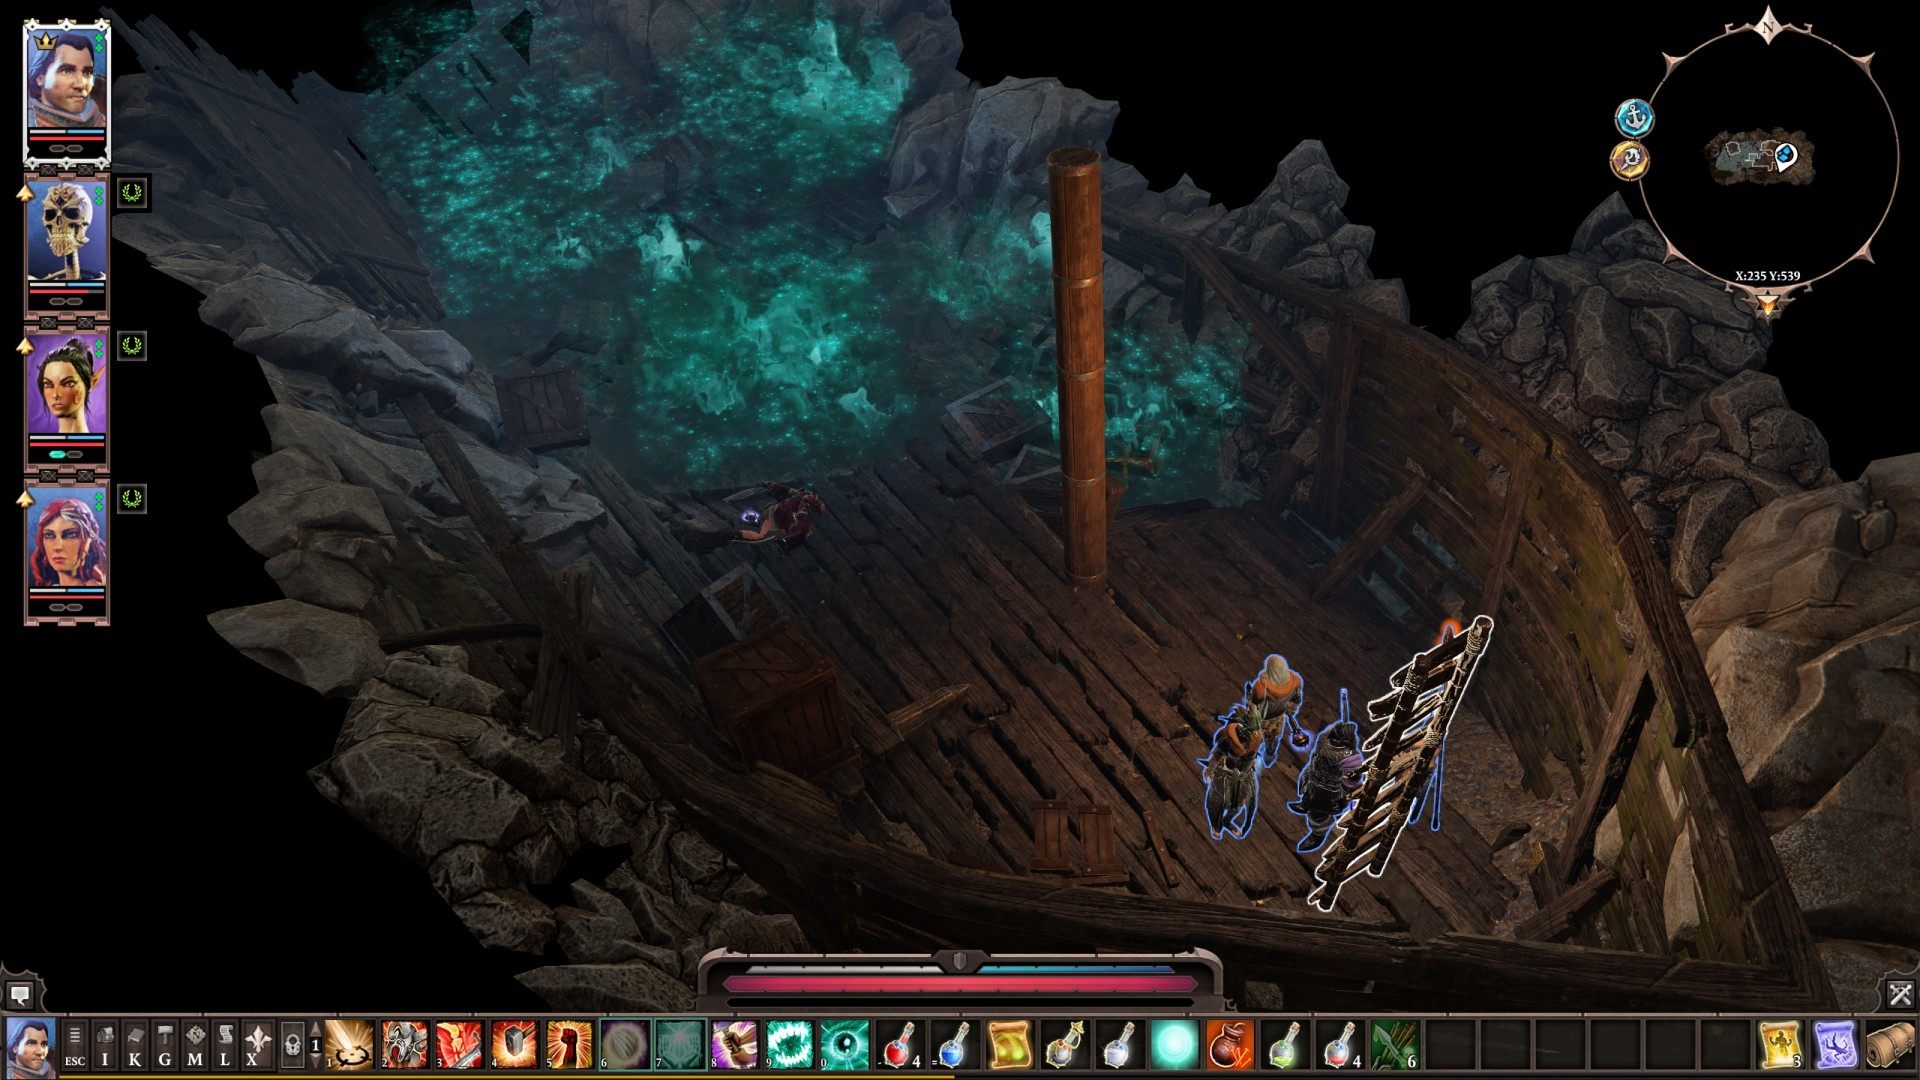
10Dead Sourcerer
Come to the corpse then try to move back. You wil be attacked by a Voidwoken creatures, and dragged deeper into the cave. Each character goes to different place.
11Driftwood Prison (Exit)
Show the map
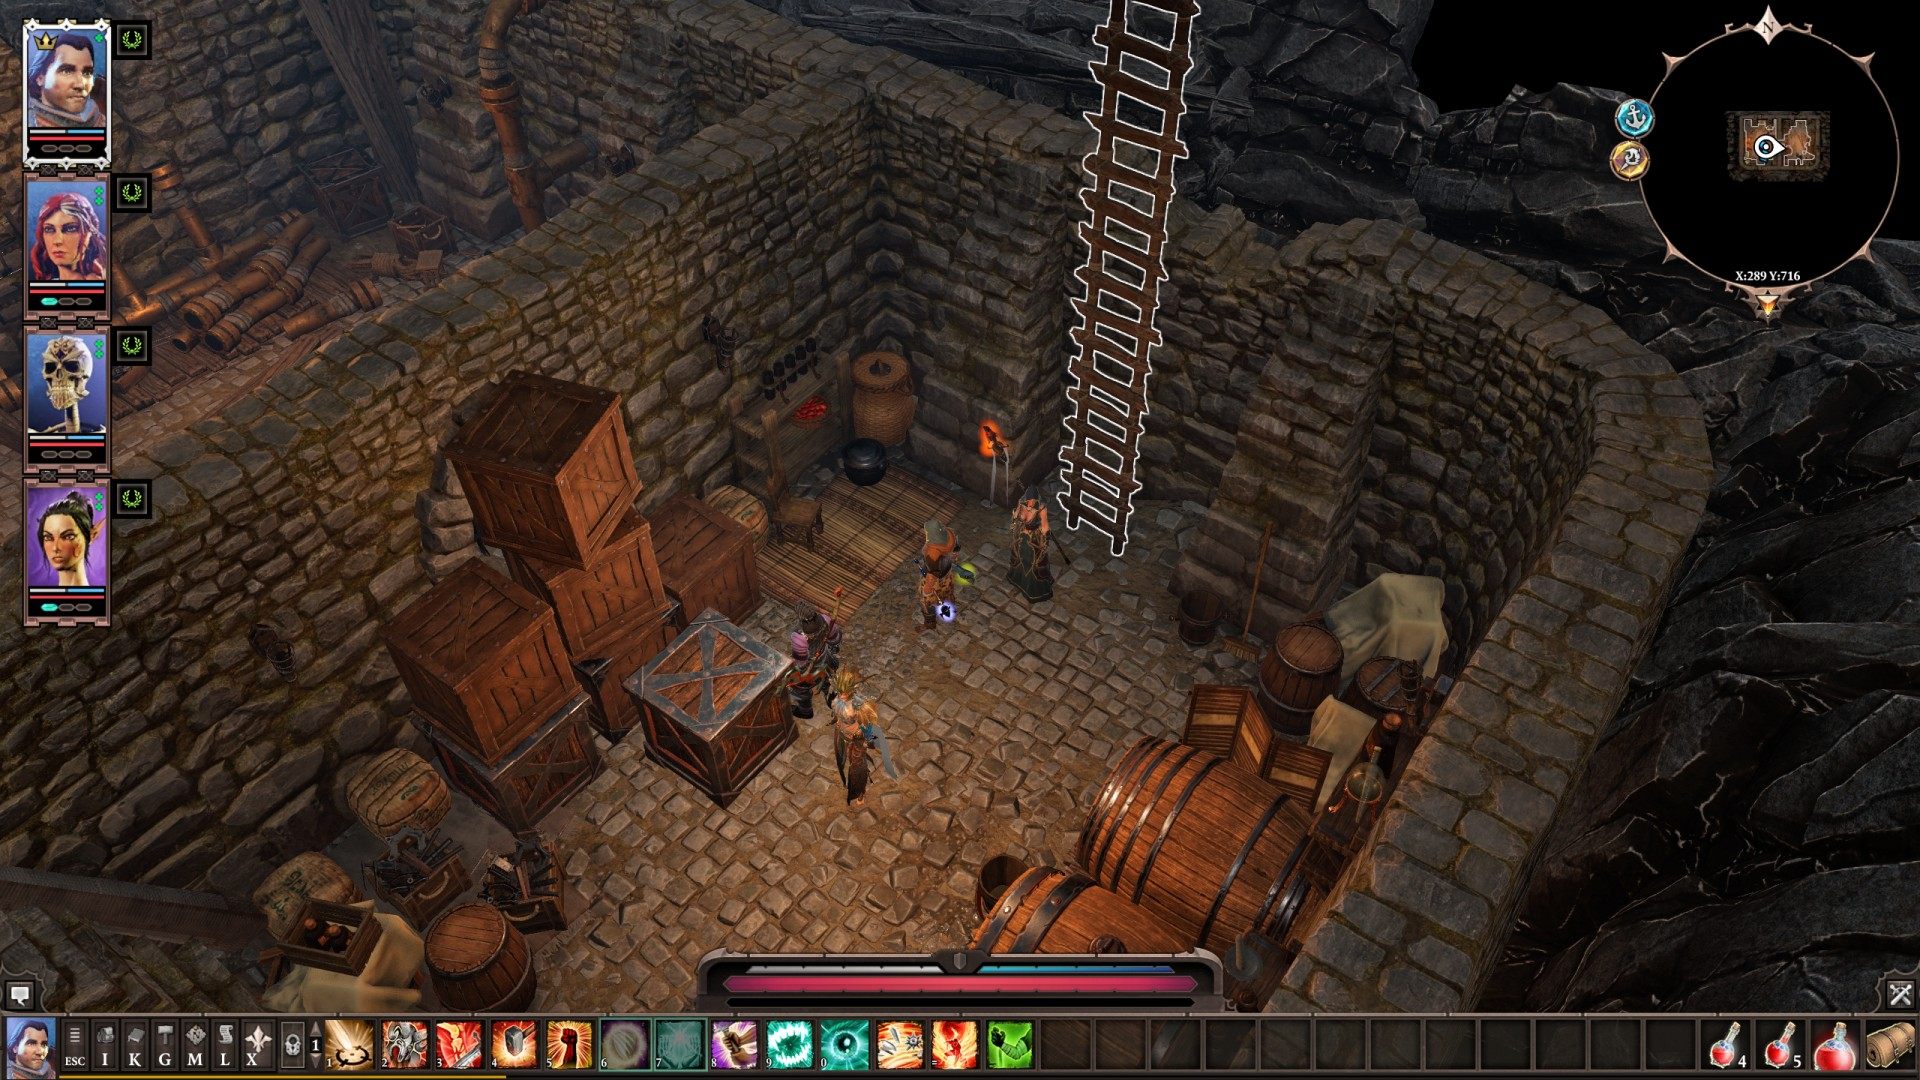
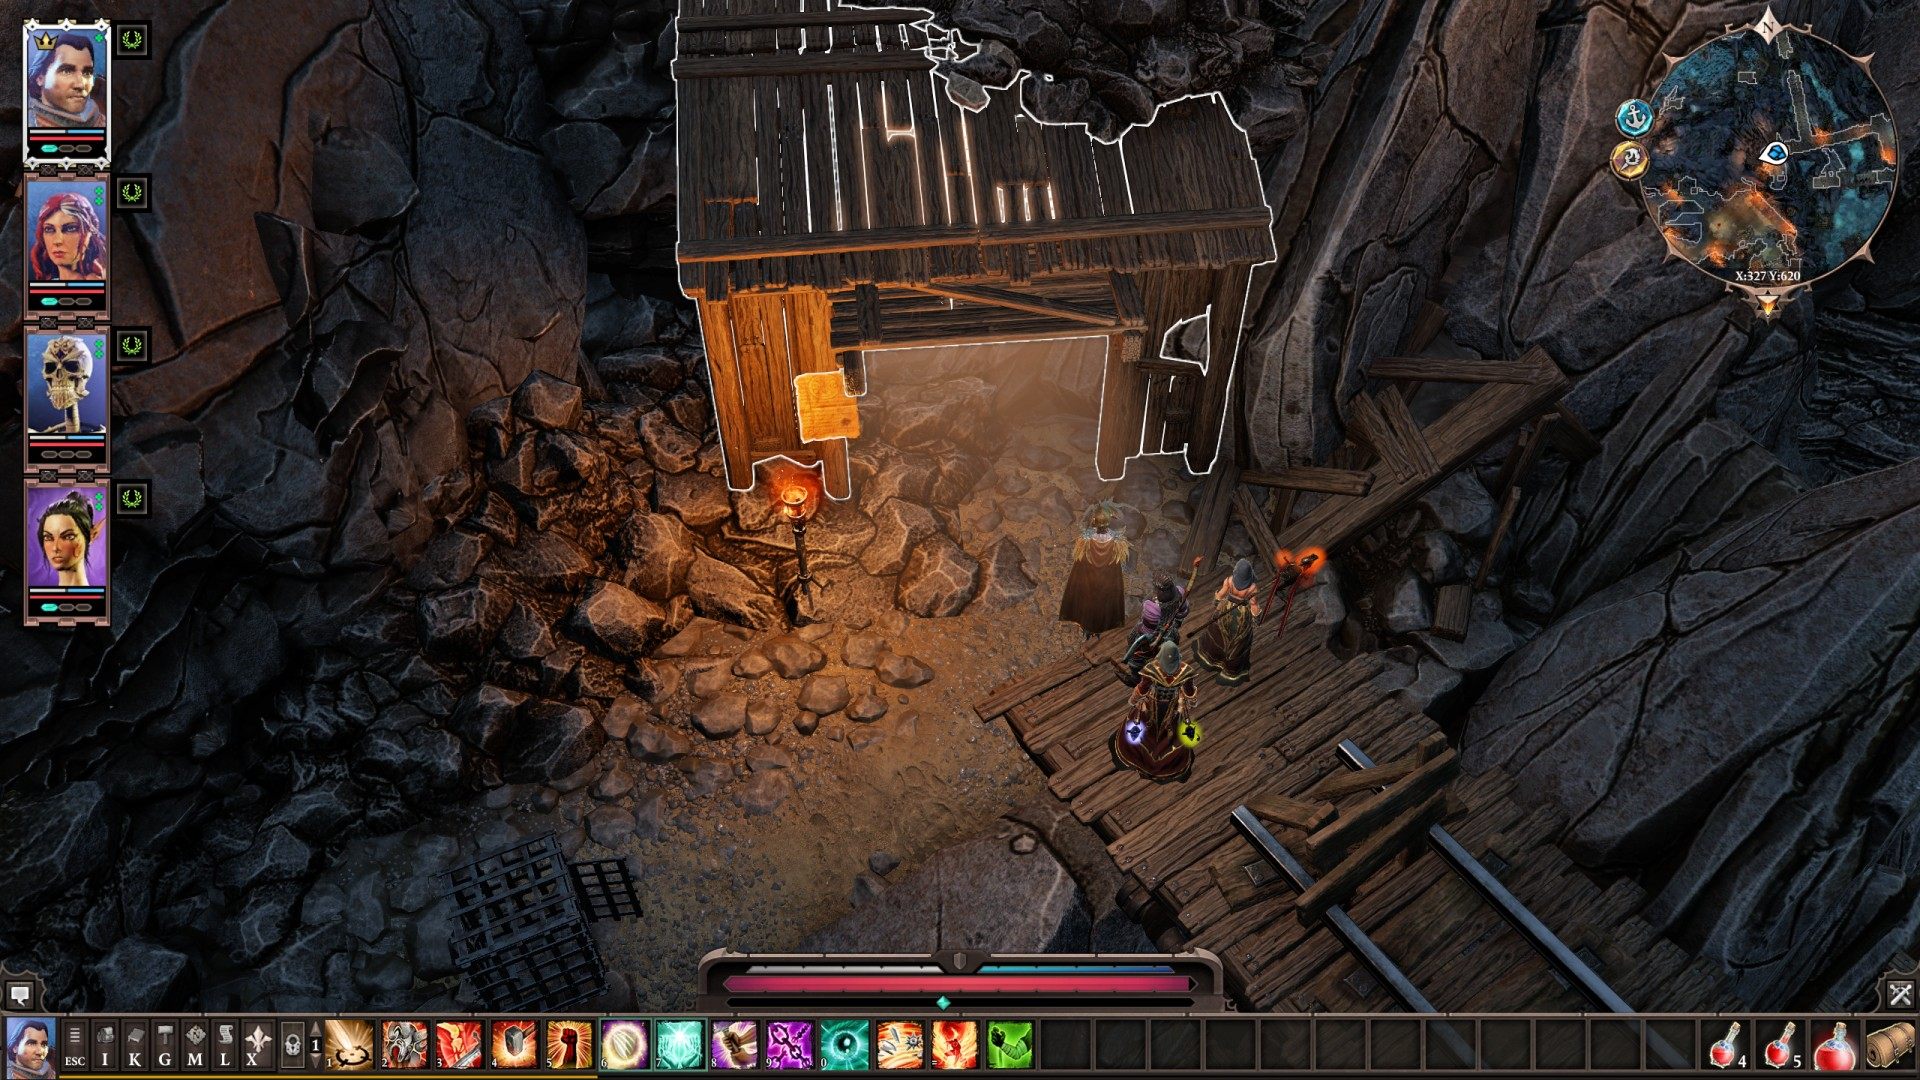
12Exit from Mordus' Cave

13Fisherworks Cellar (Exit)
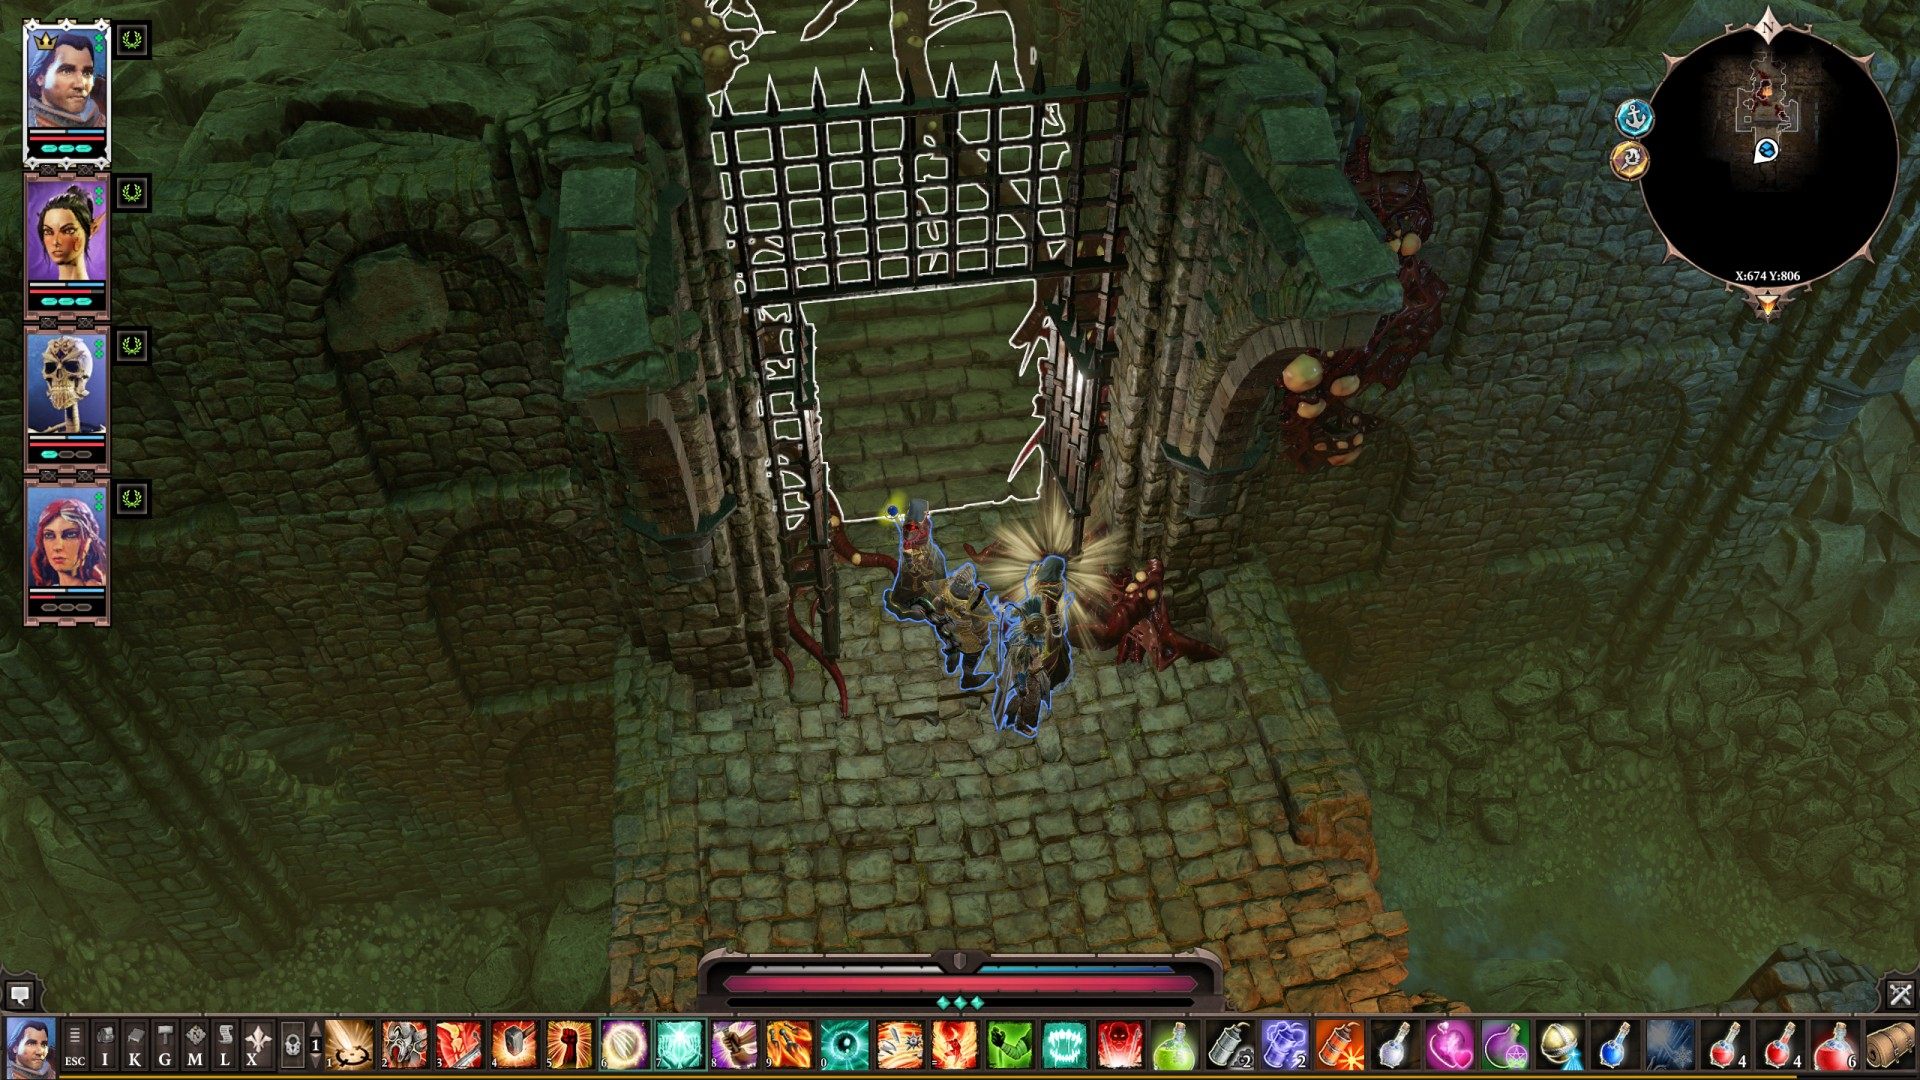
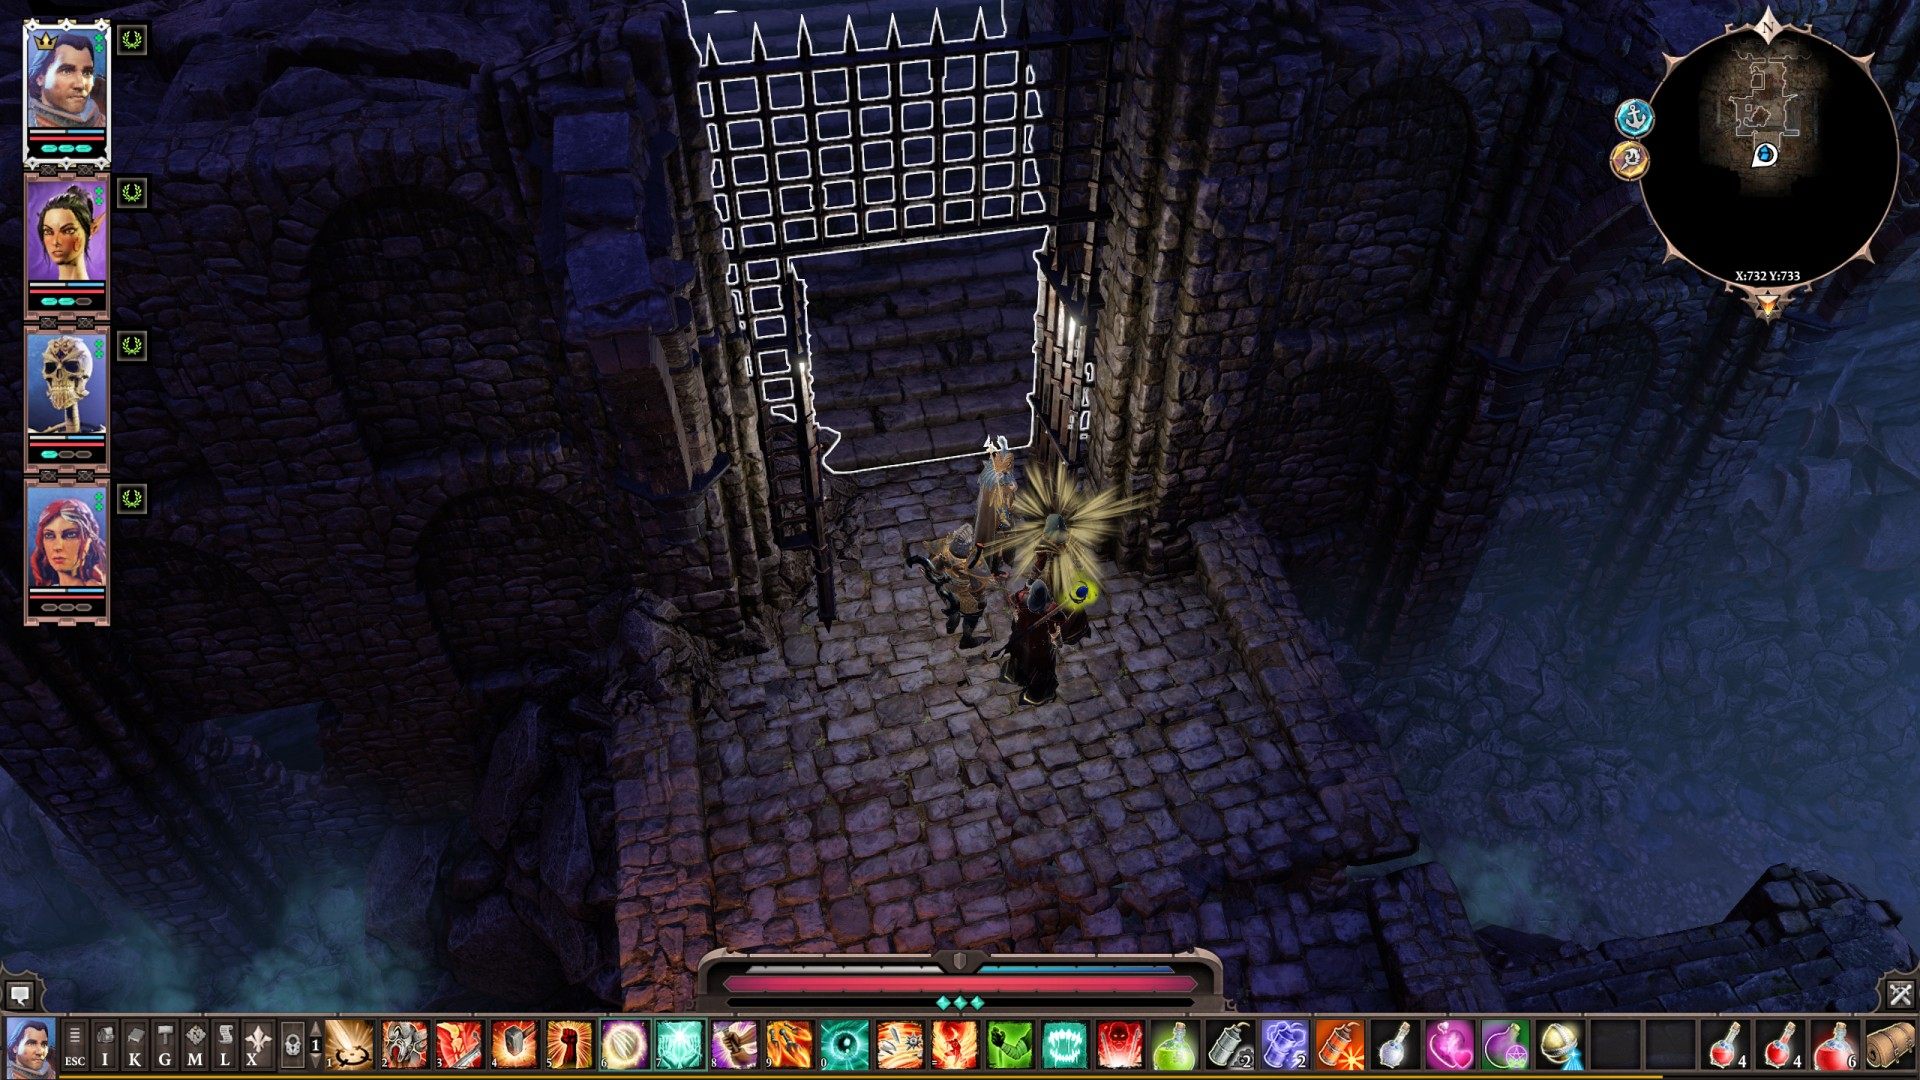
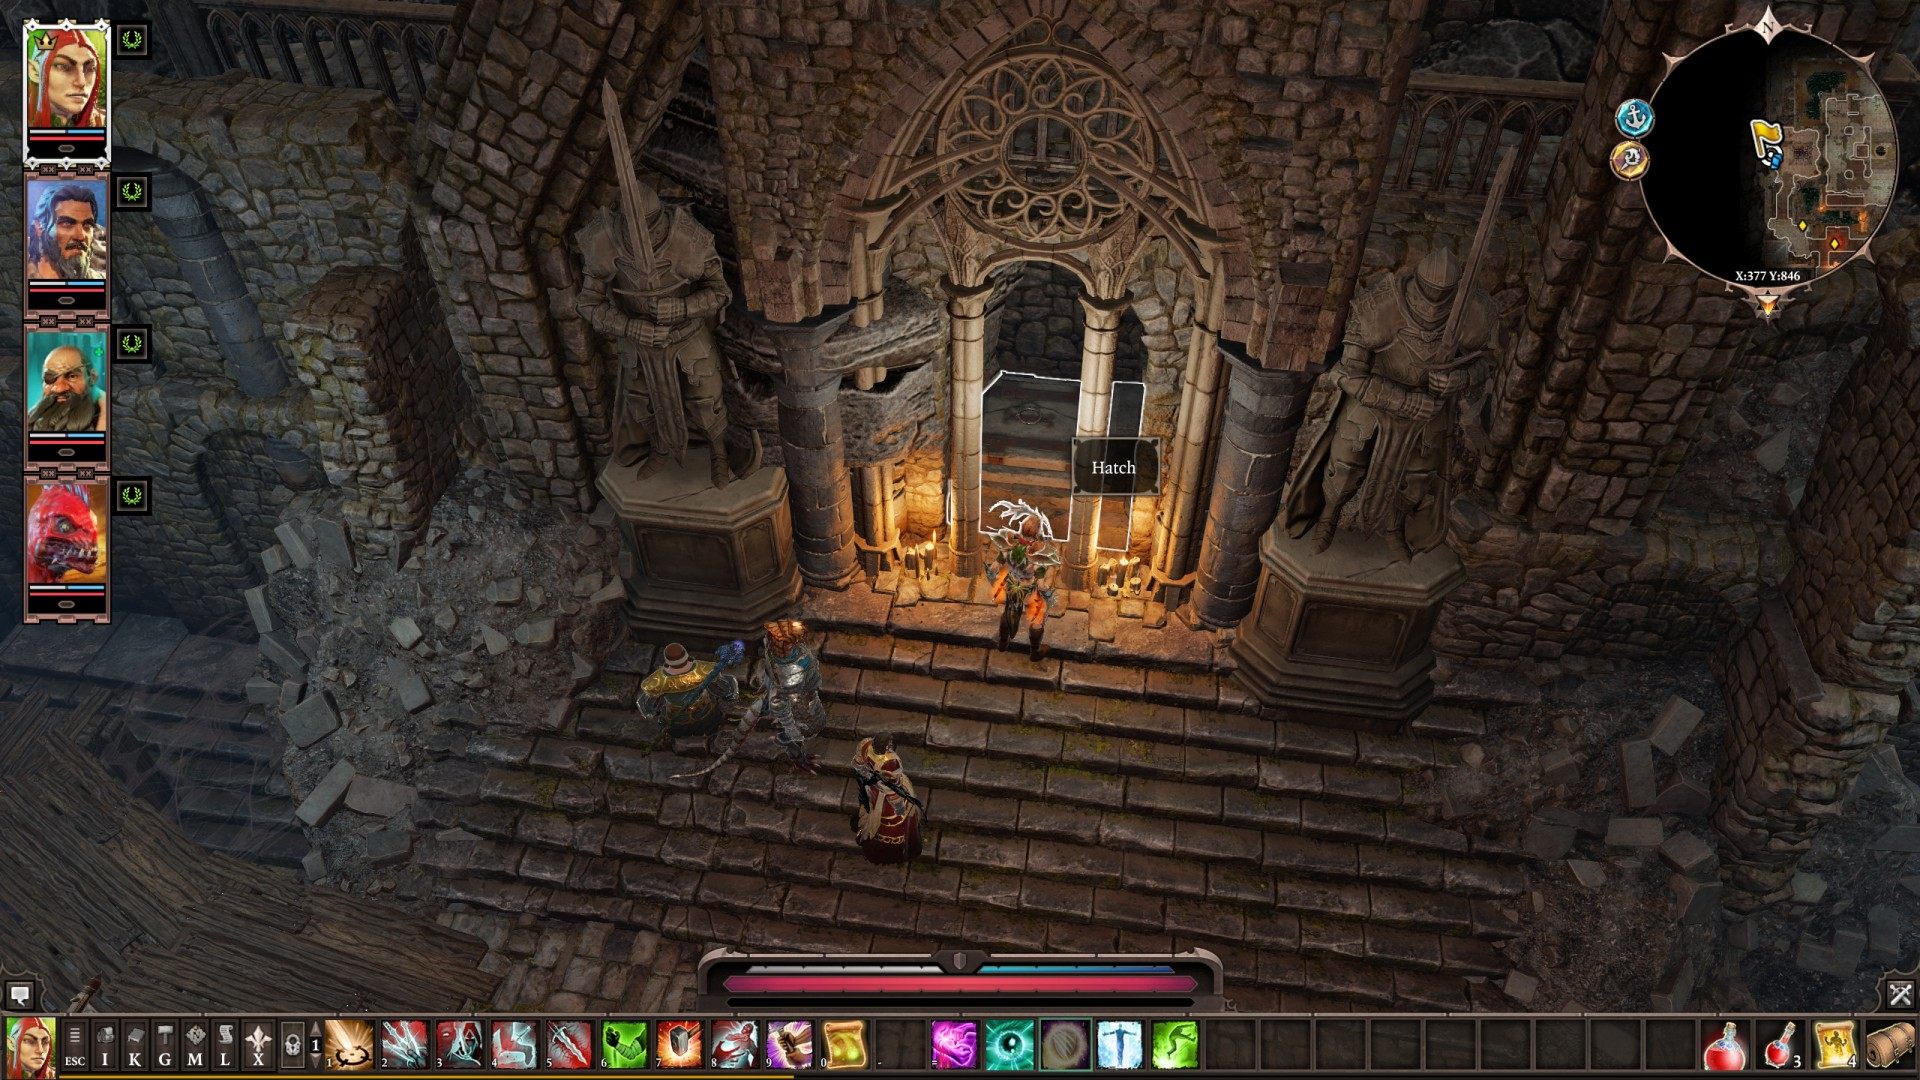
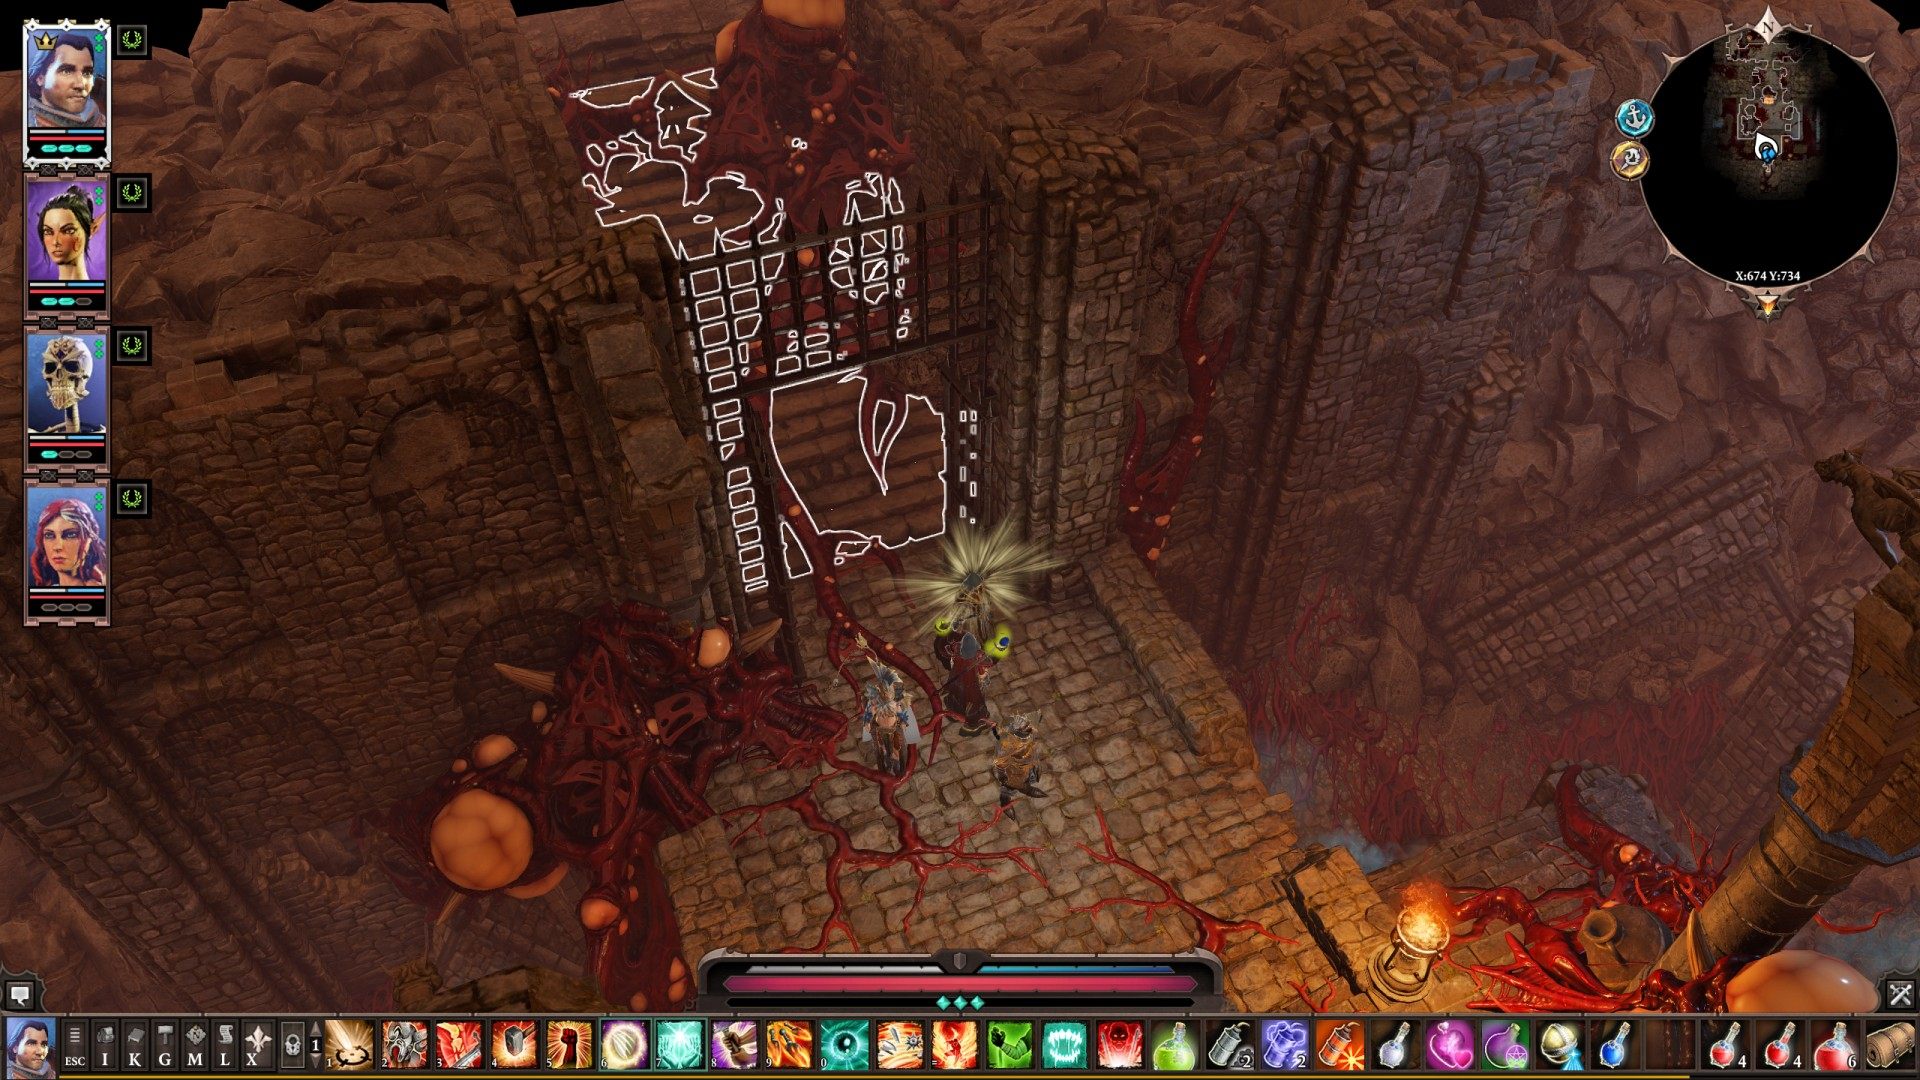
14Gated Crypt (In/Out)
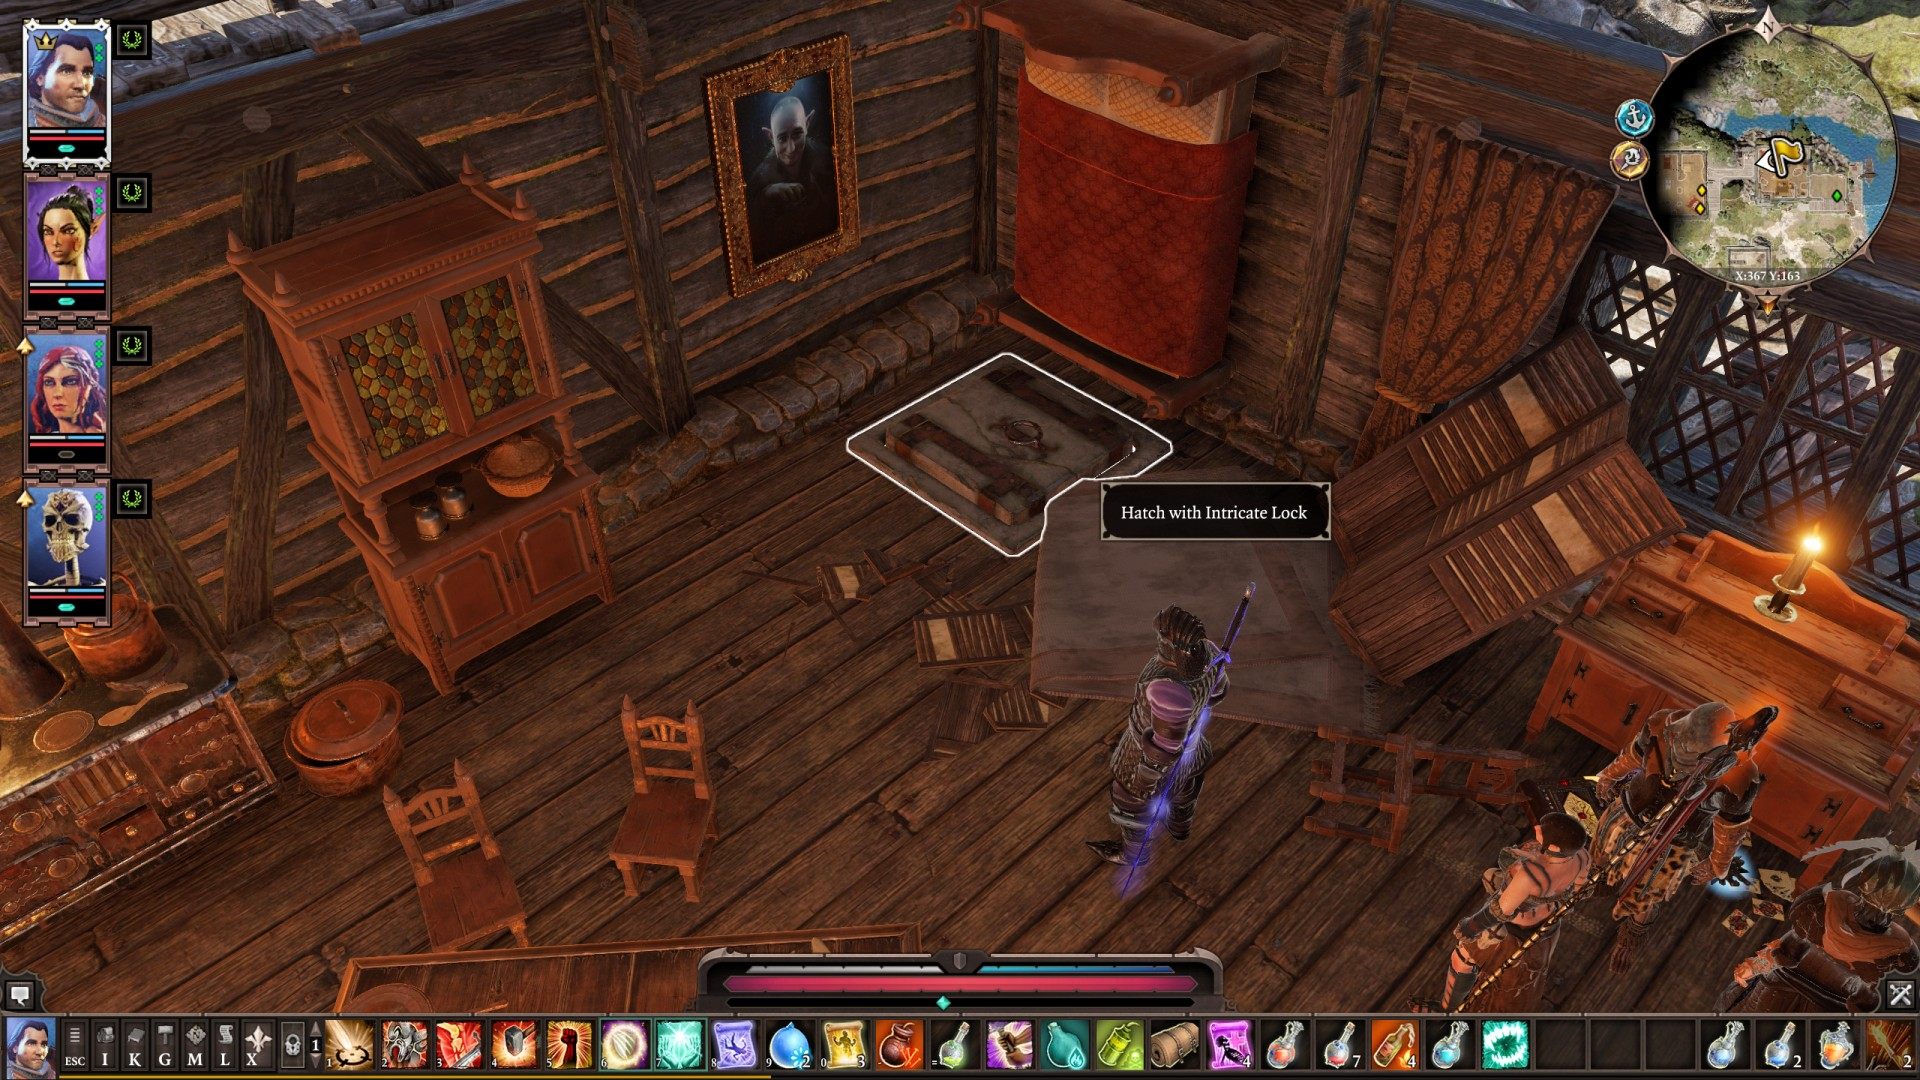
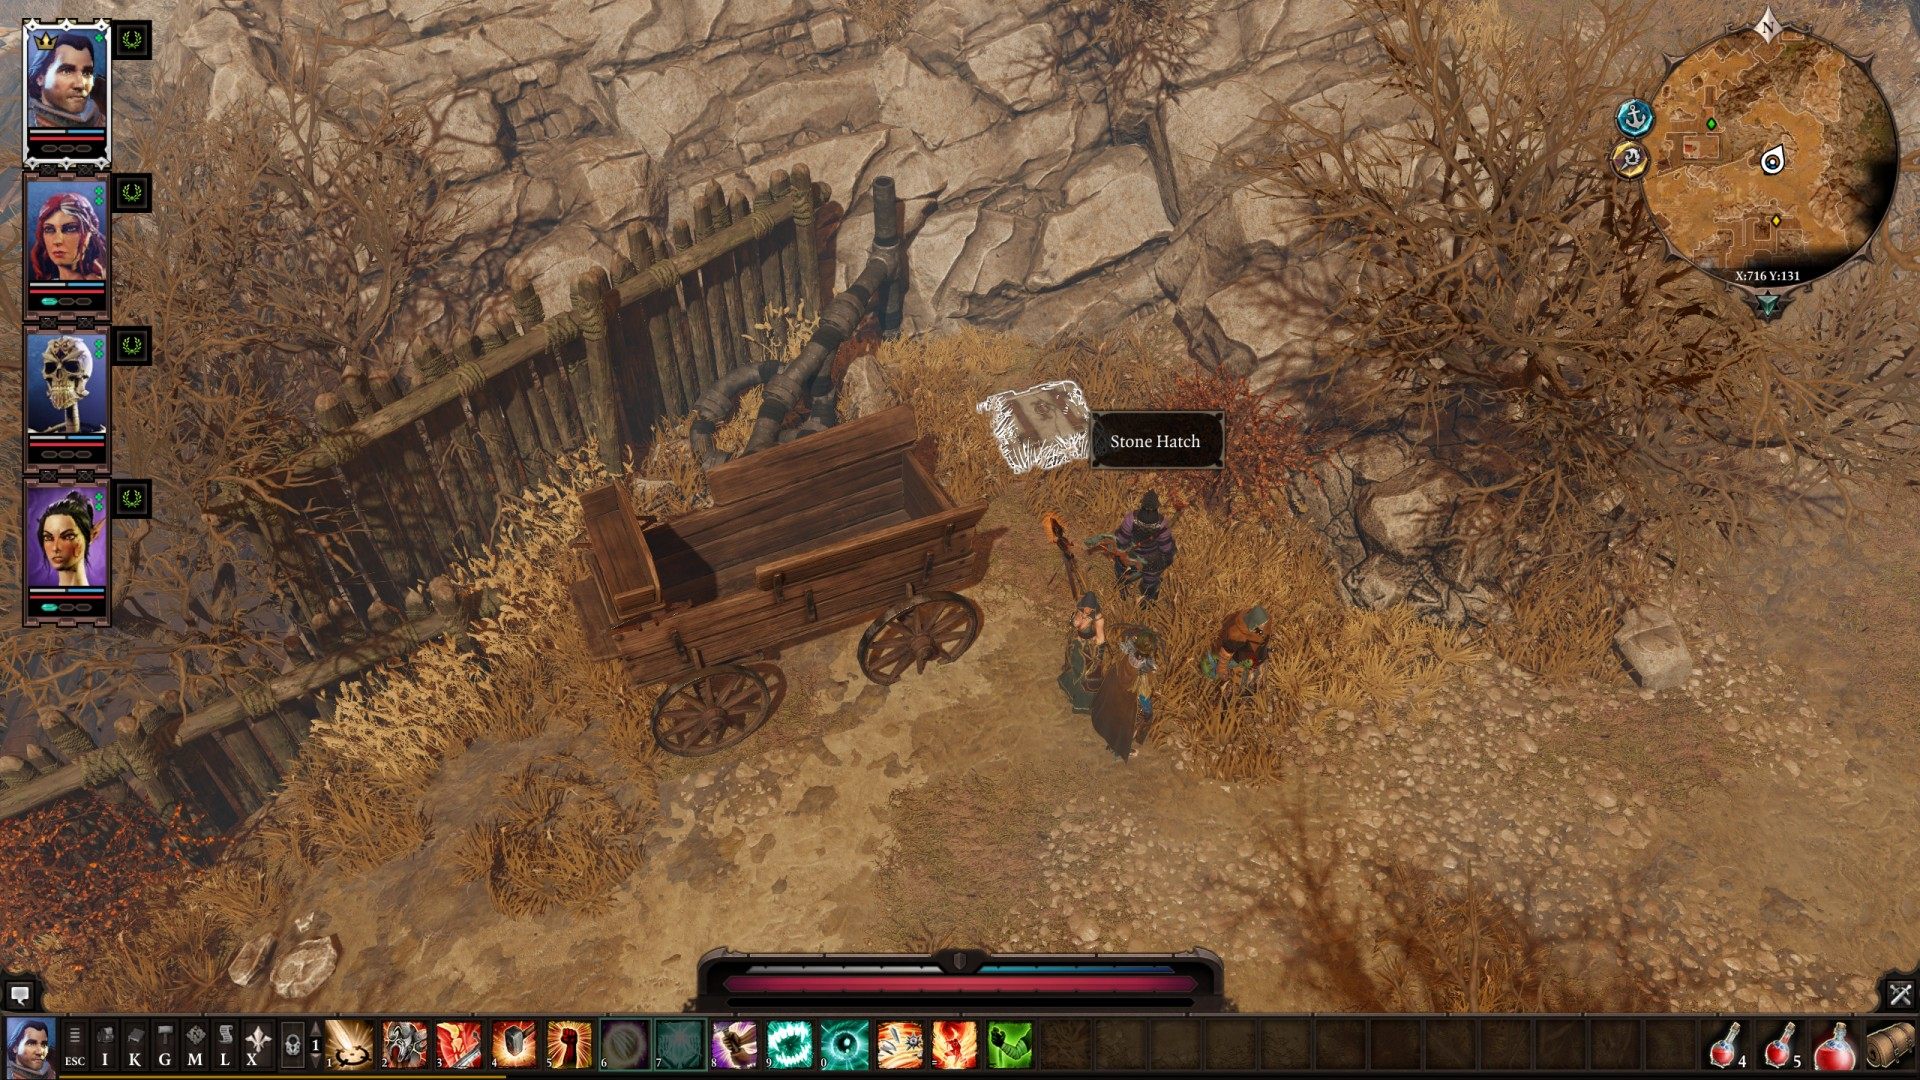
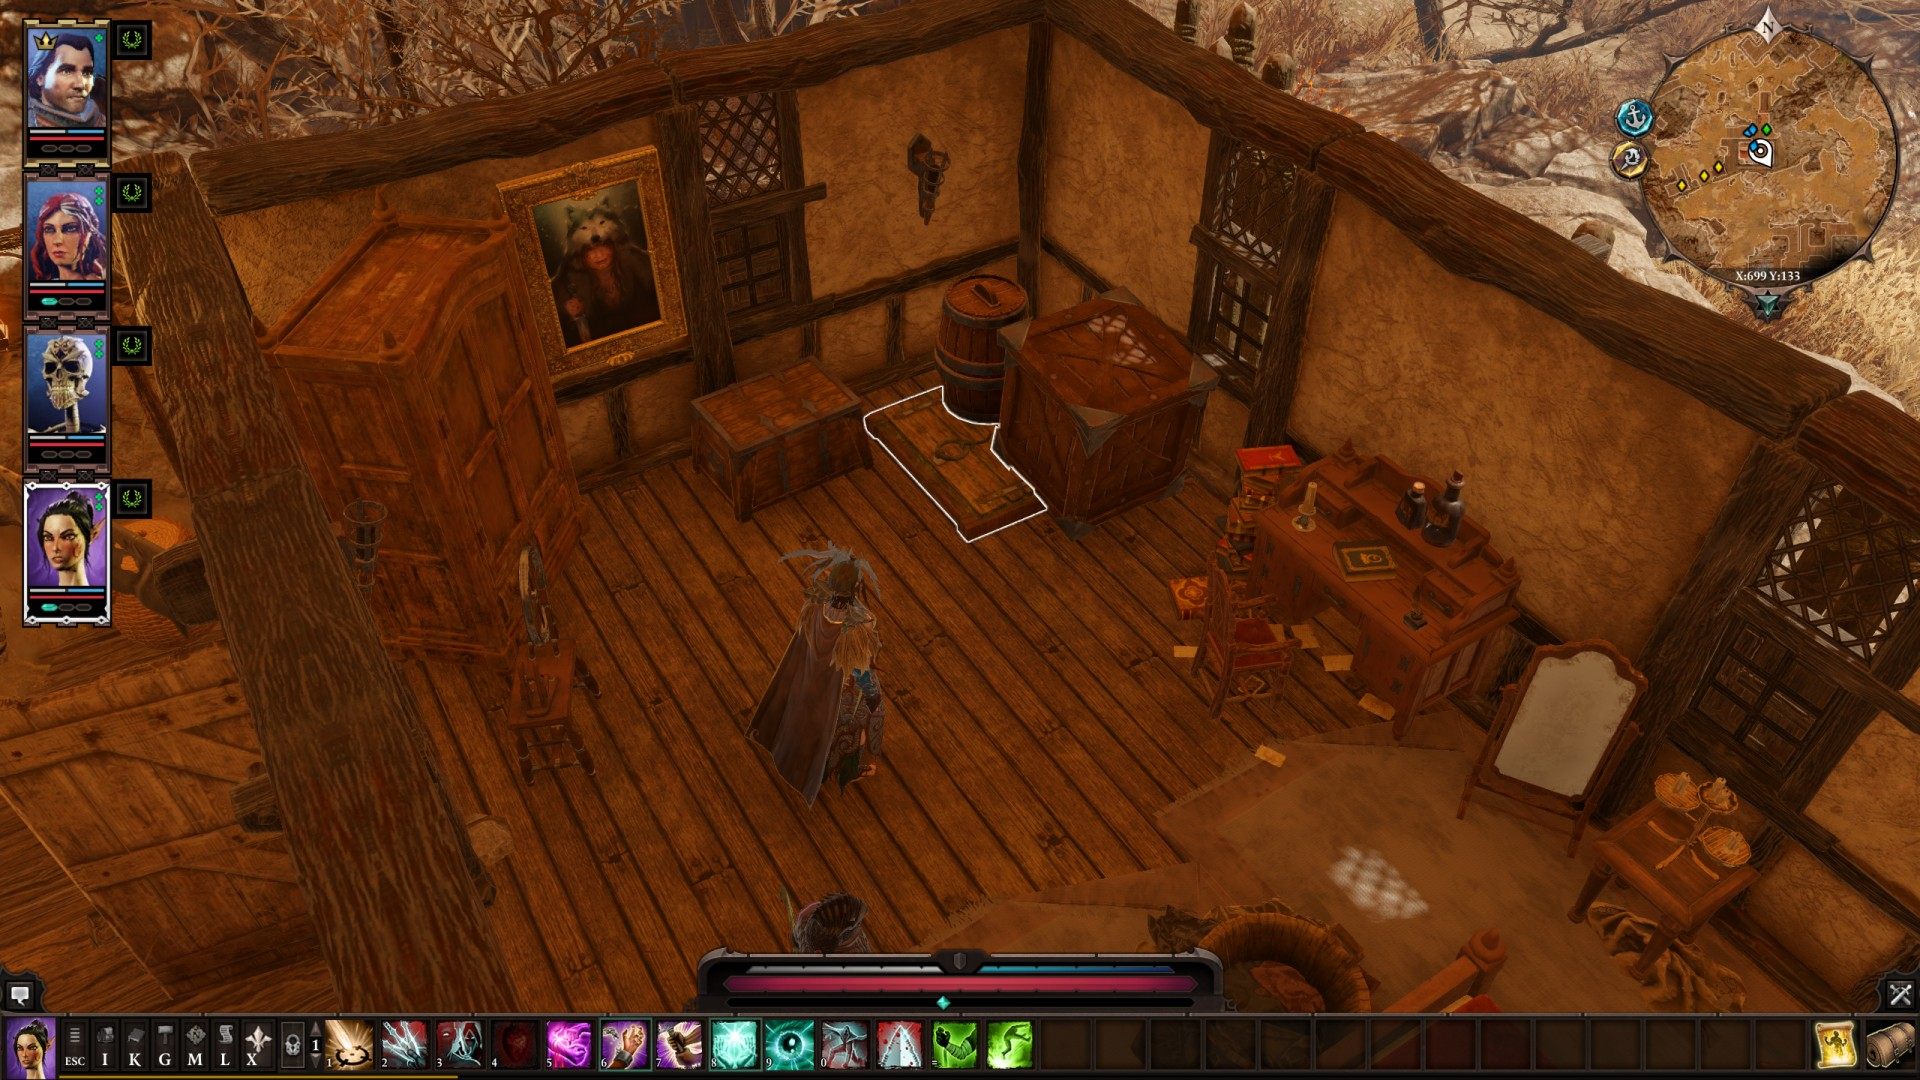
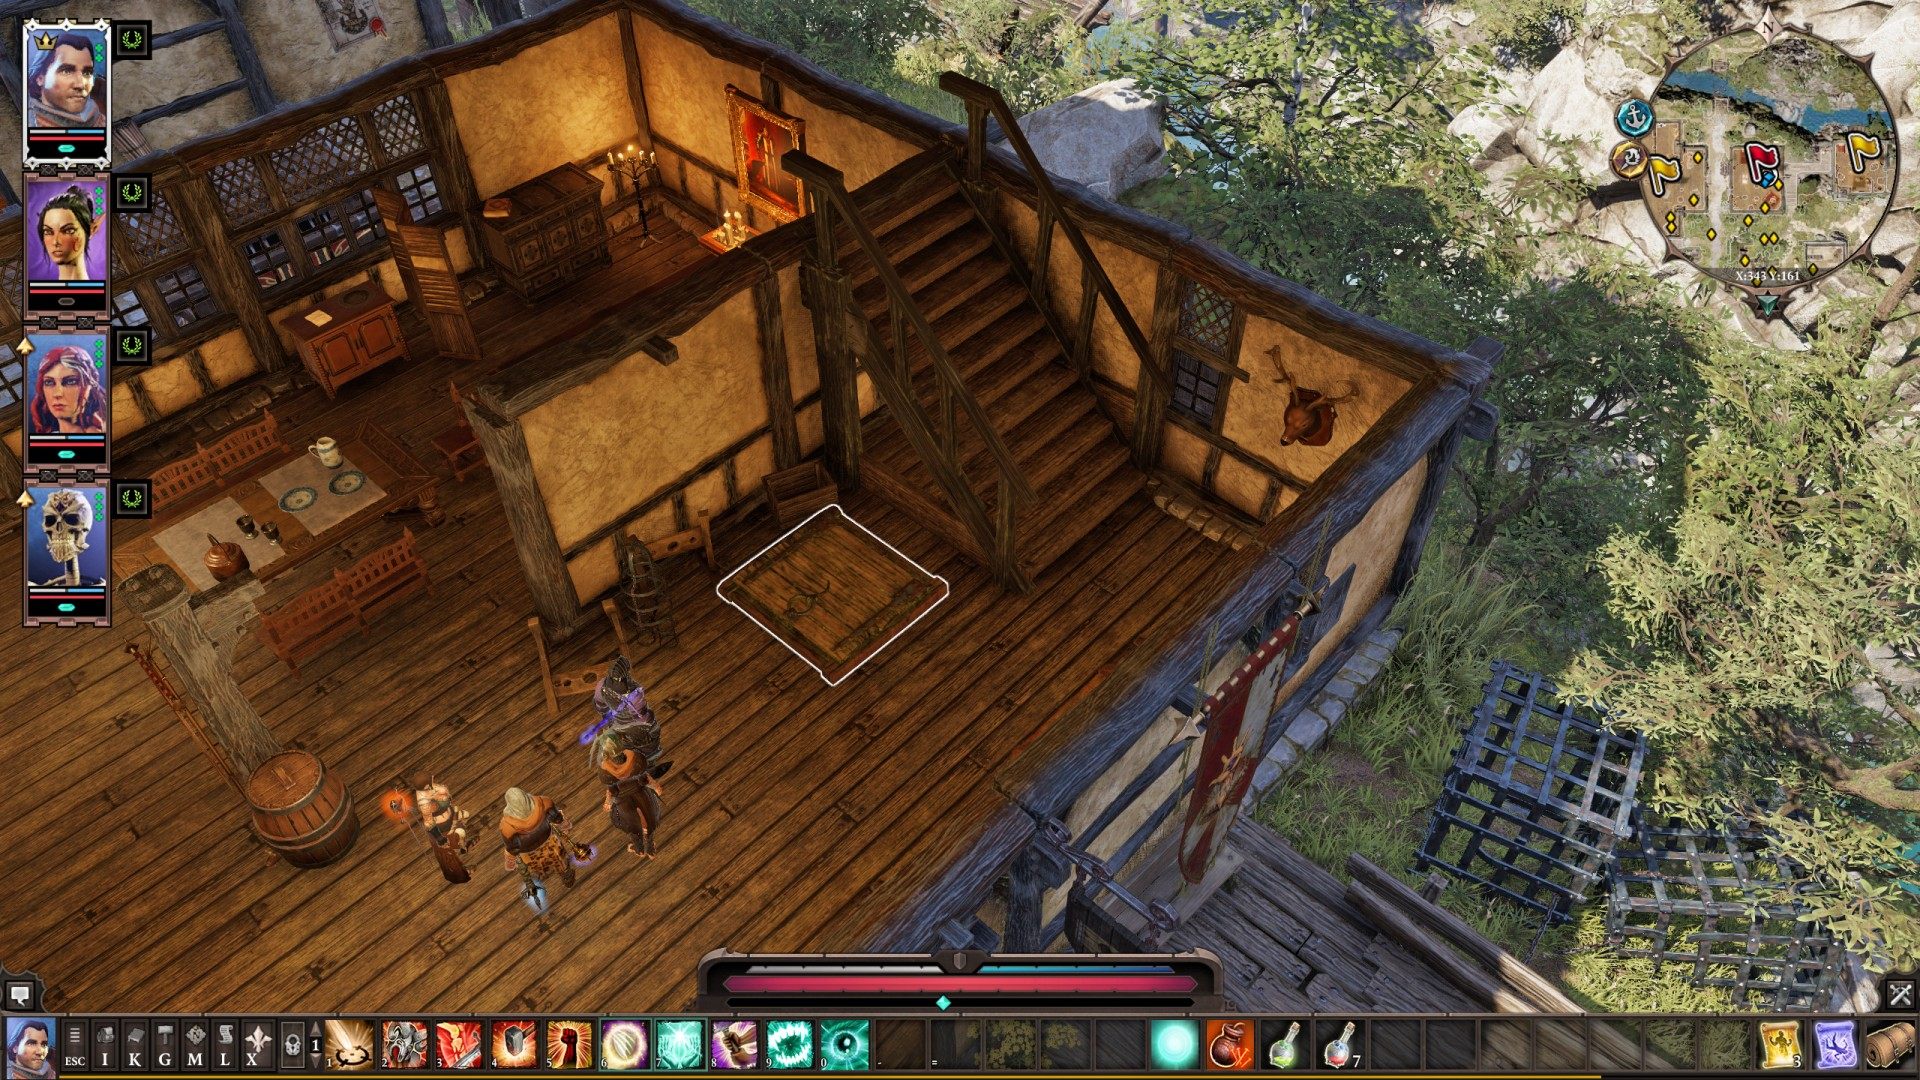
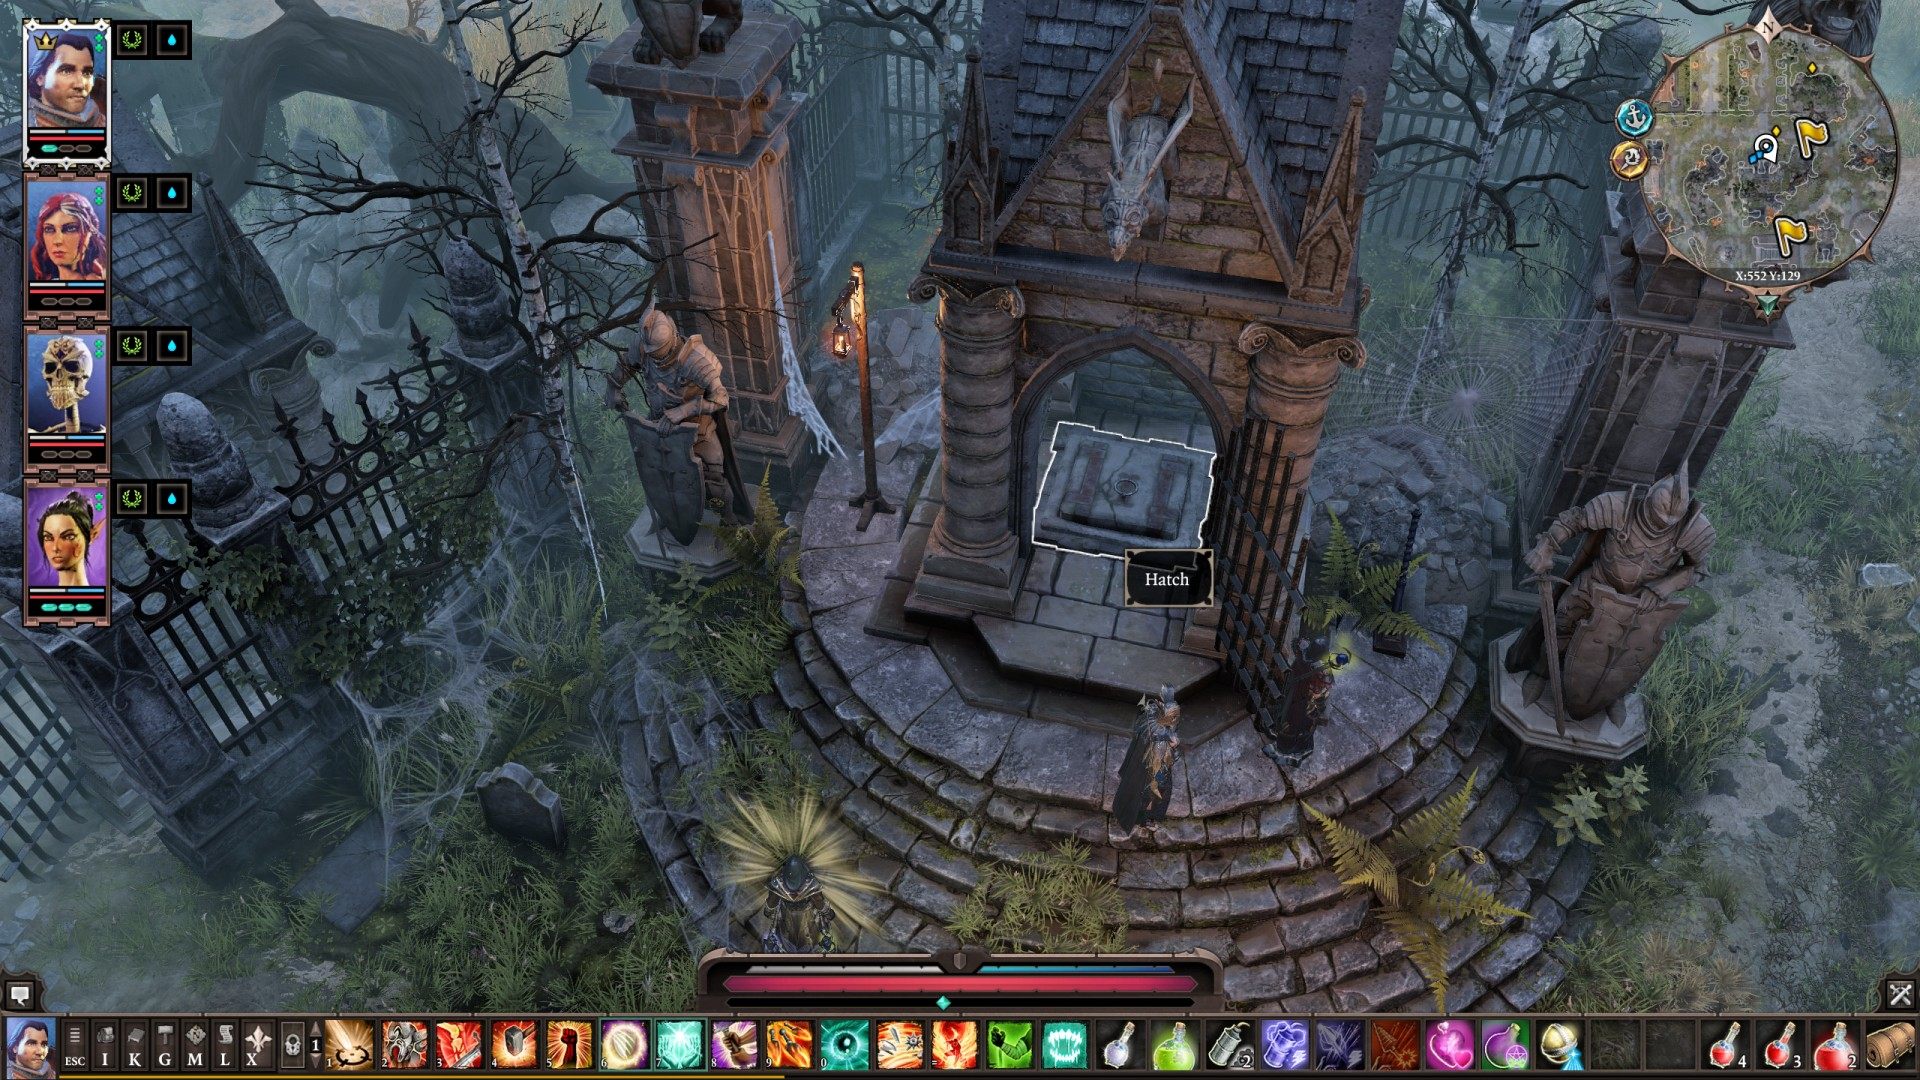
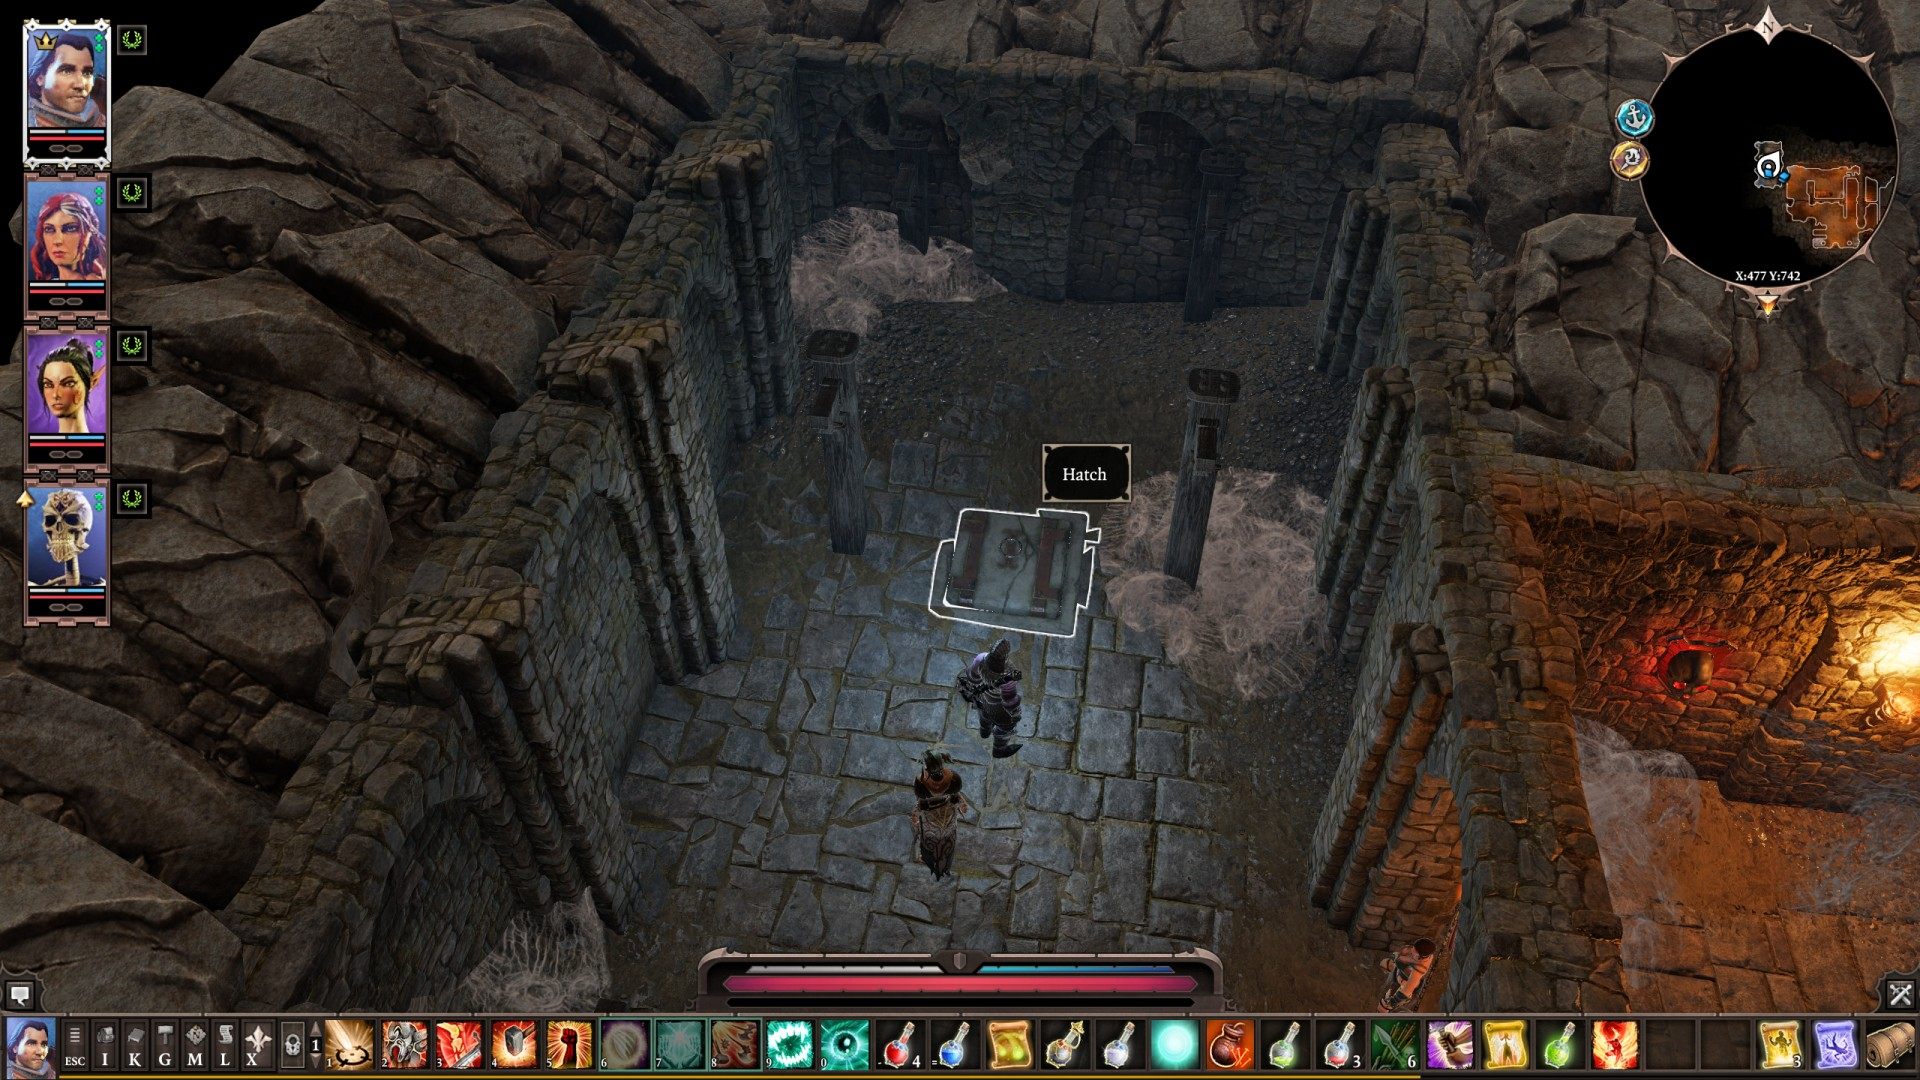
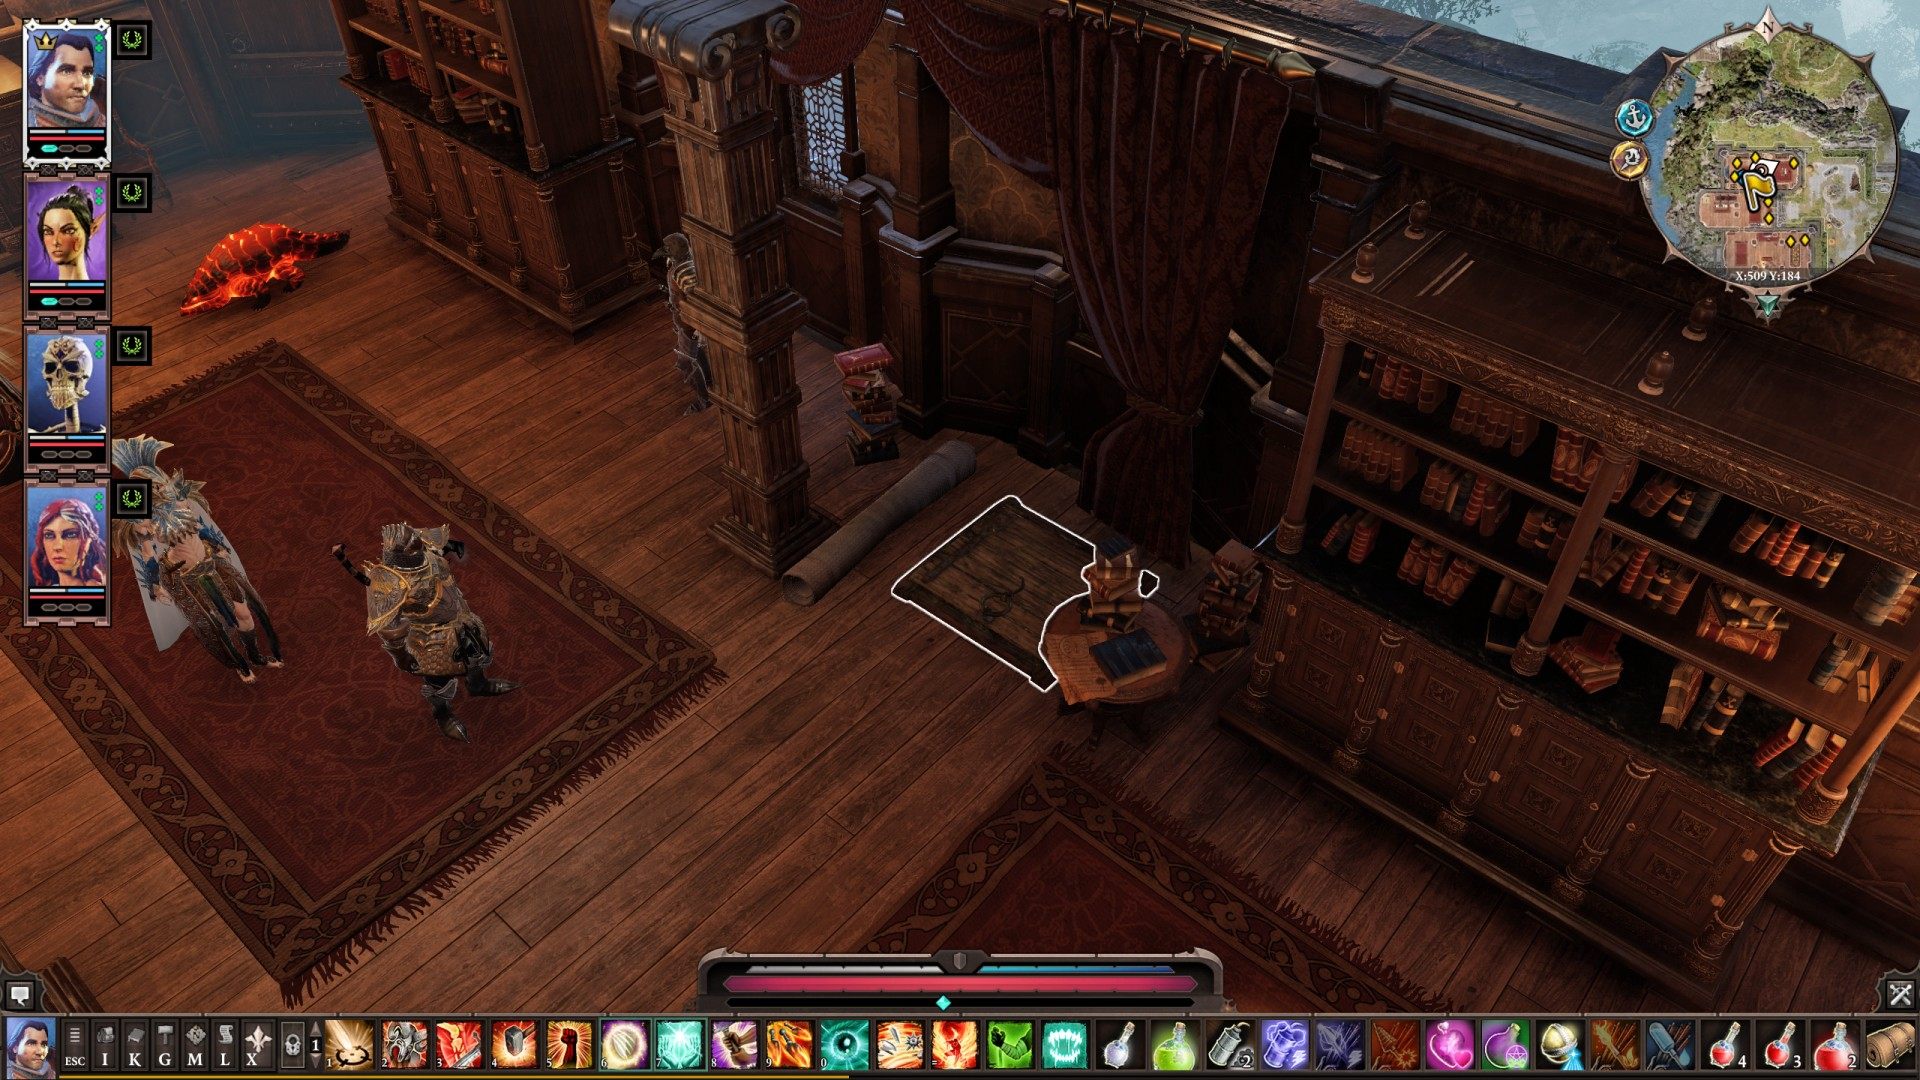
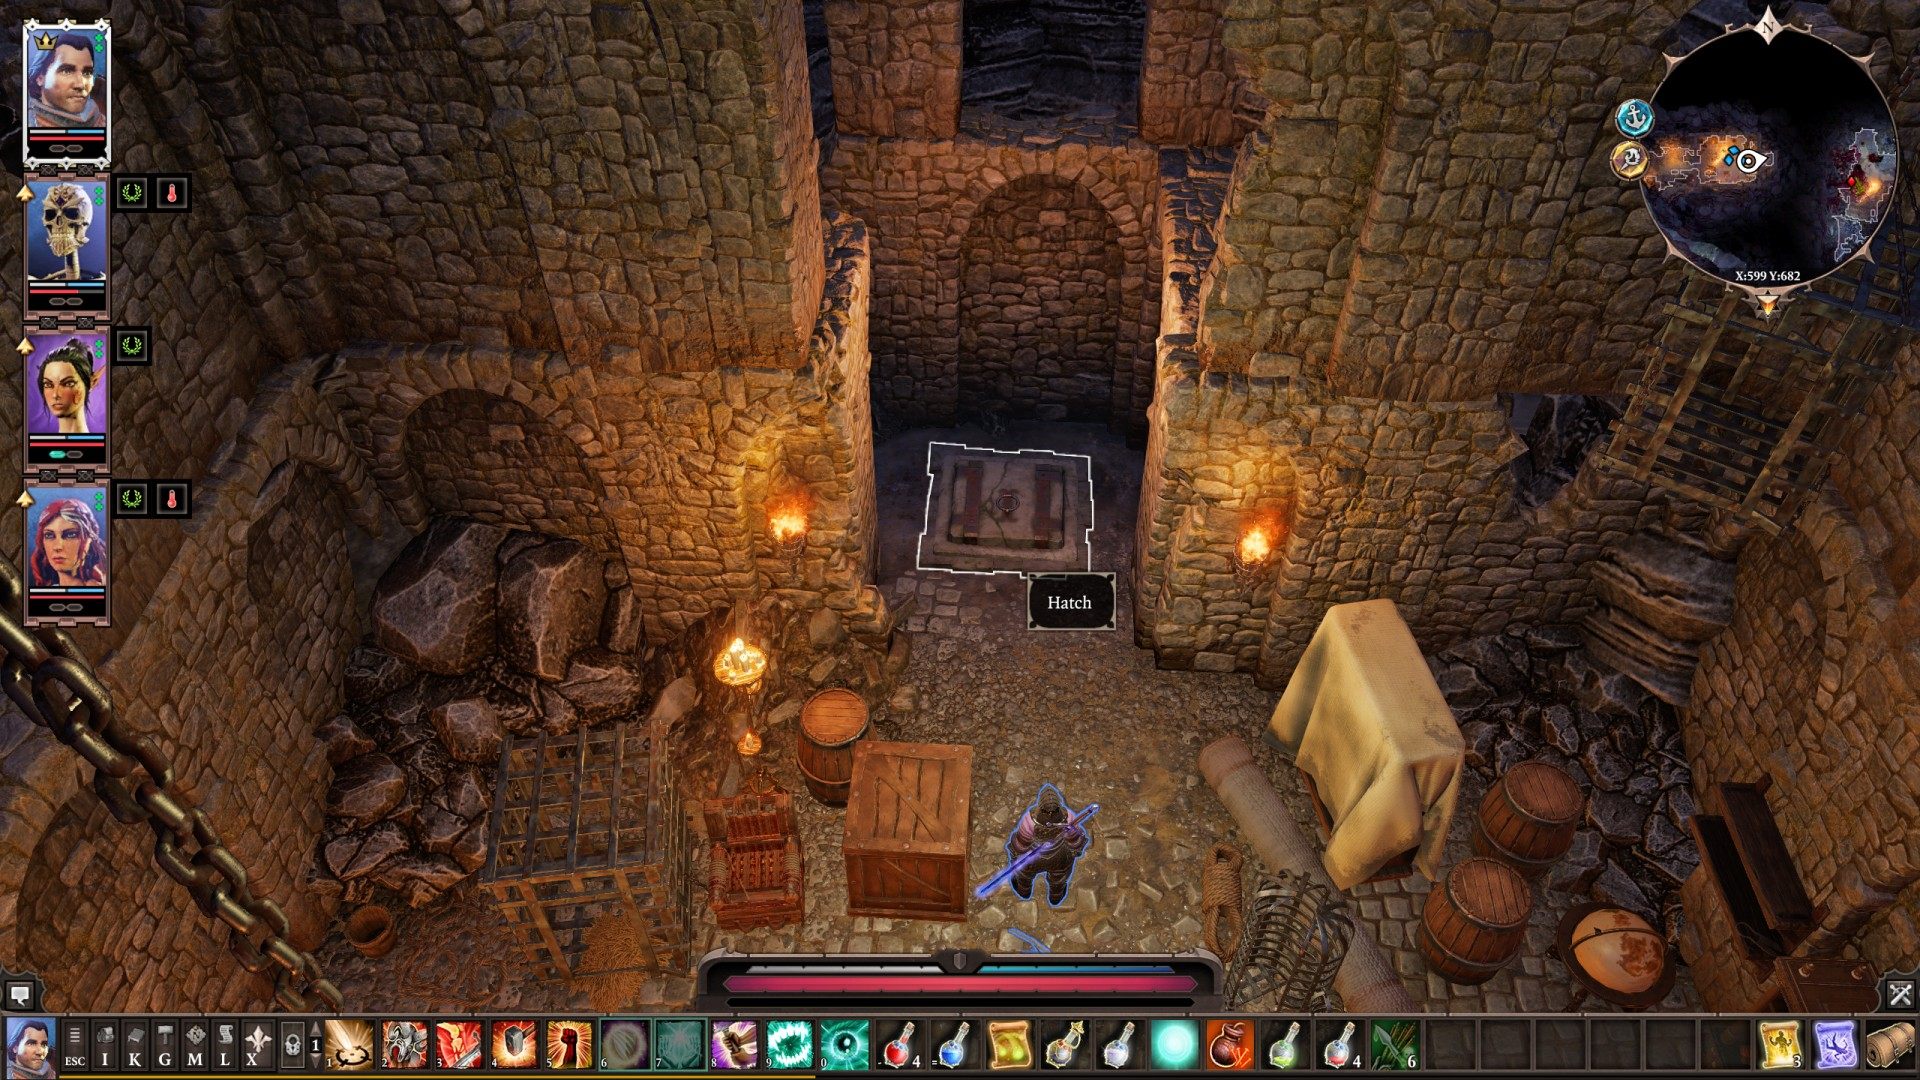
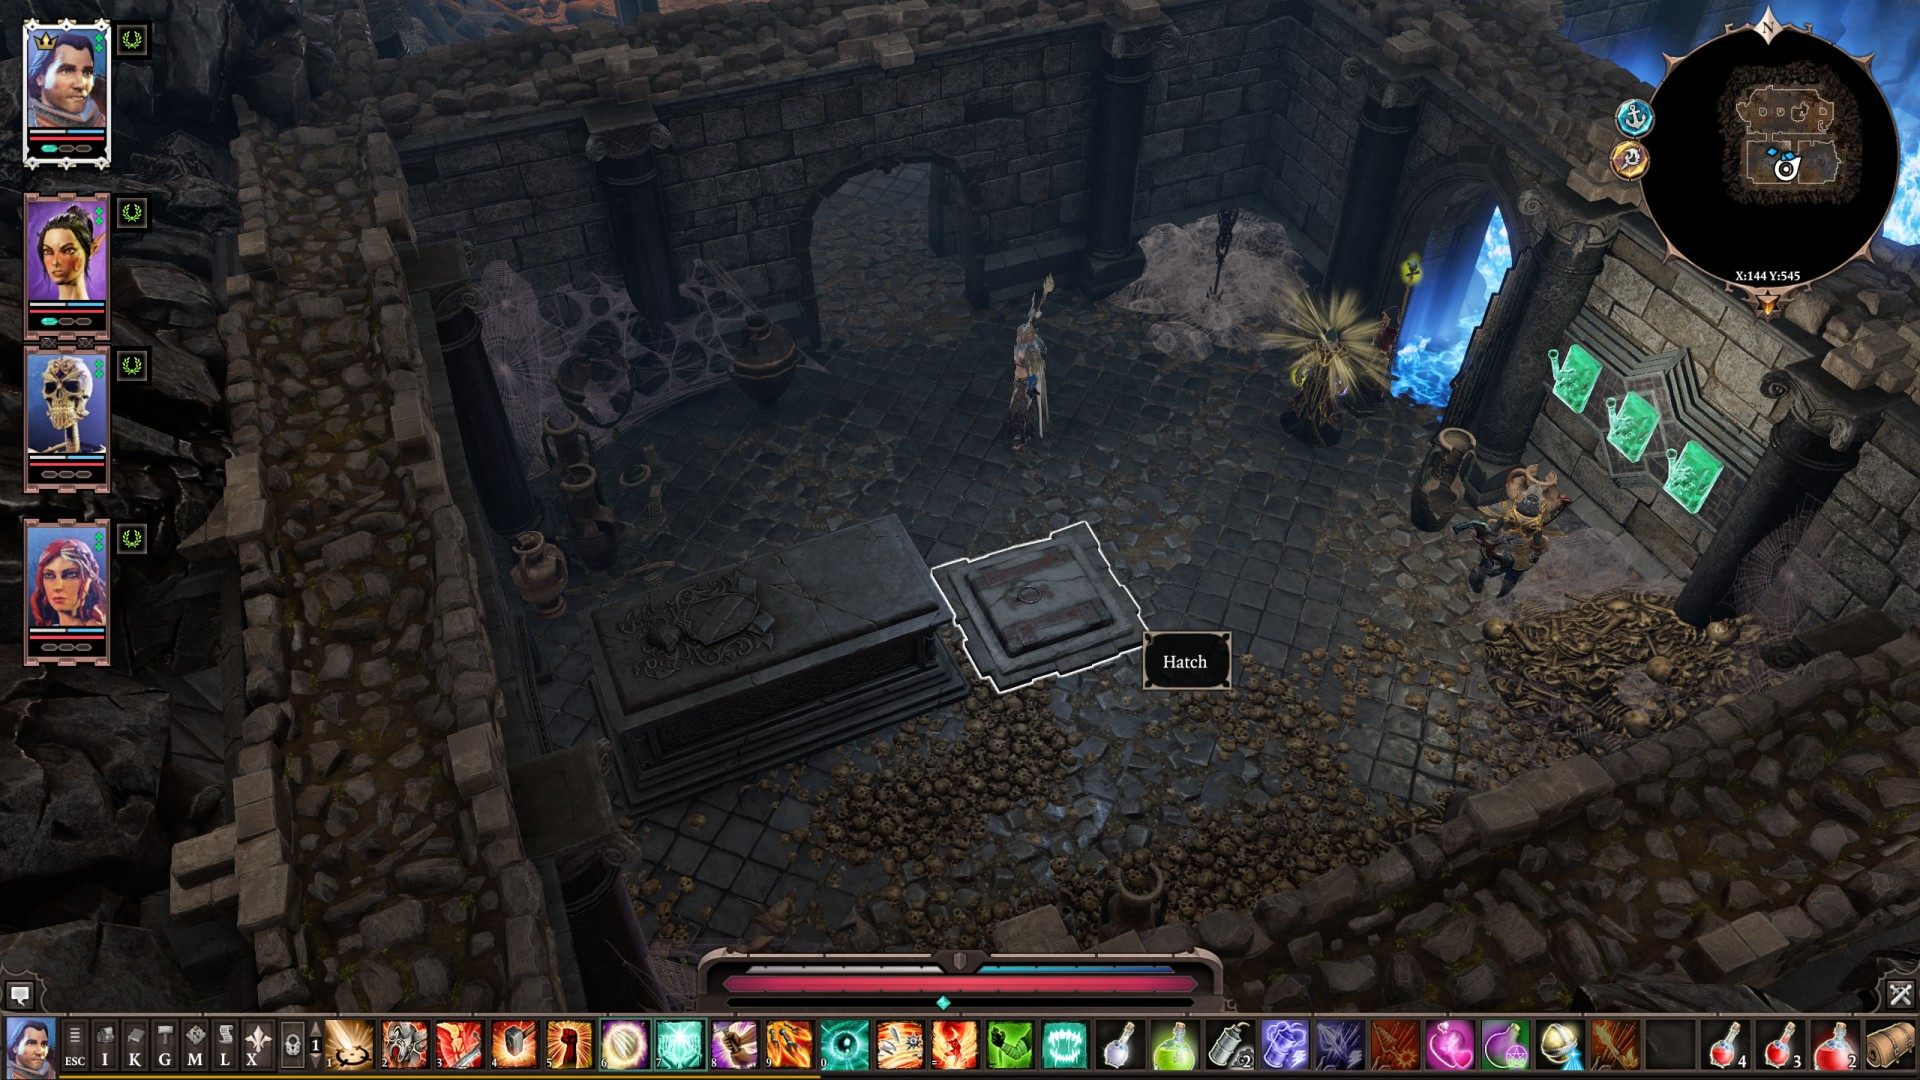
15Hatch with Intricate Lock
Related quests: Powerful Awakening
You need to use switch hidden behind the Painting of a Landscape to unveil it.
16Healer's House Cellar (In/Out)
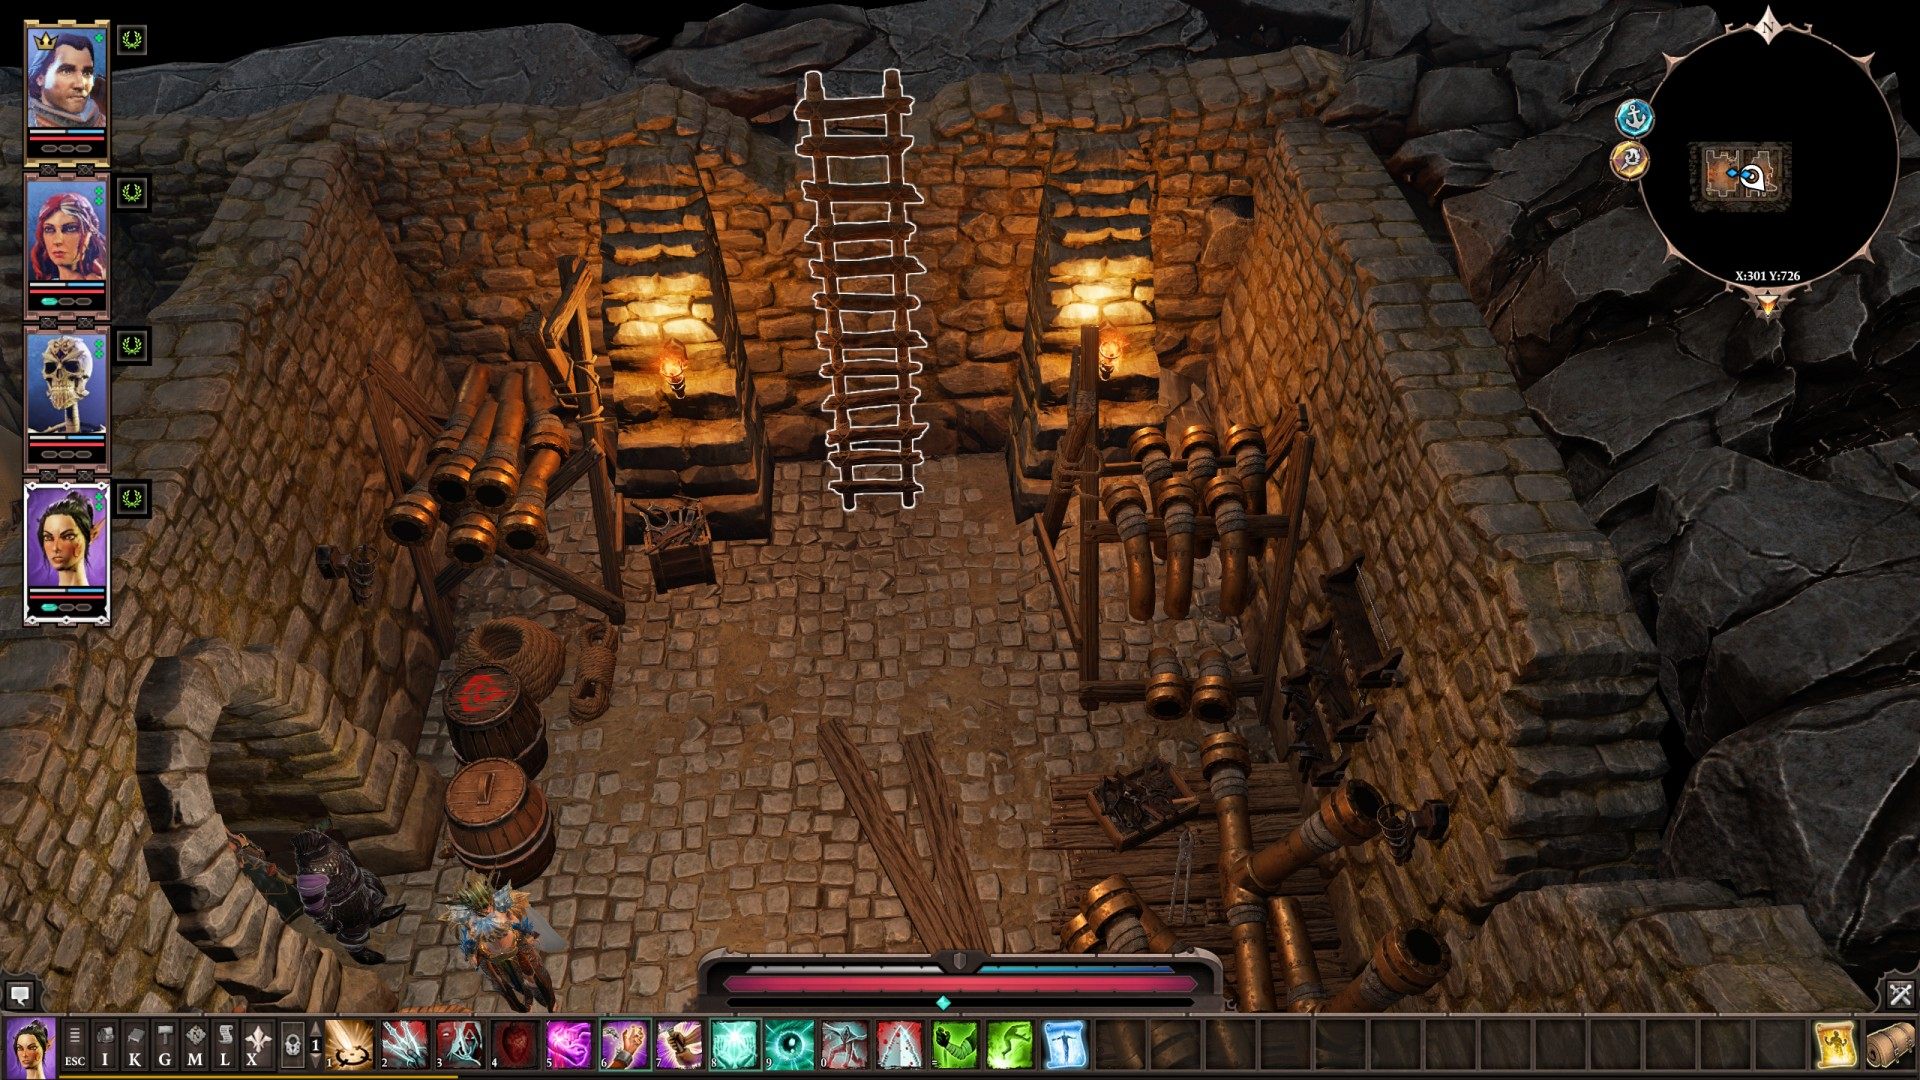
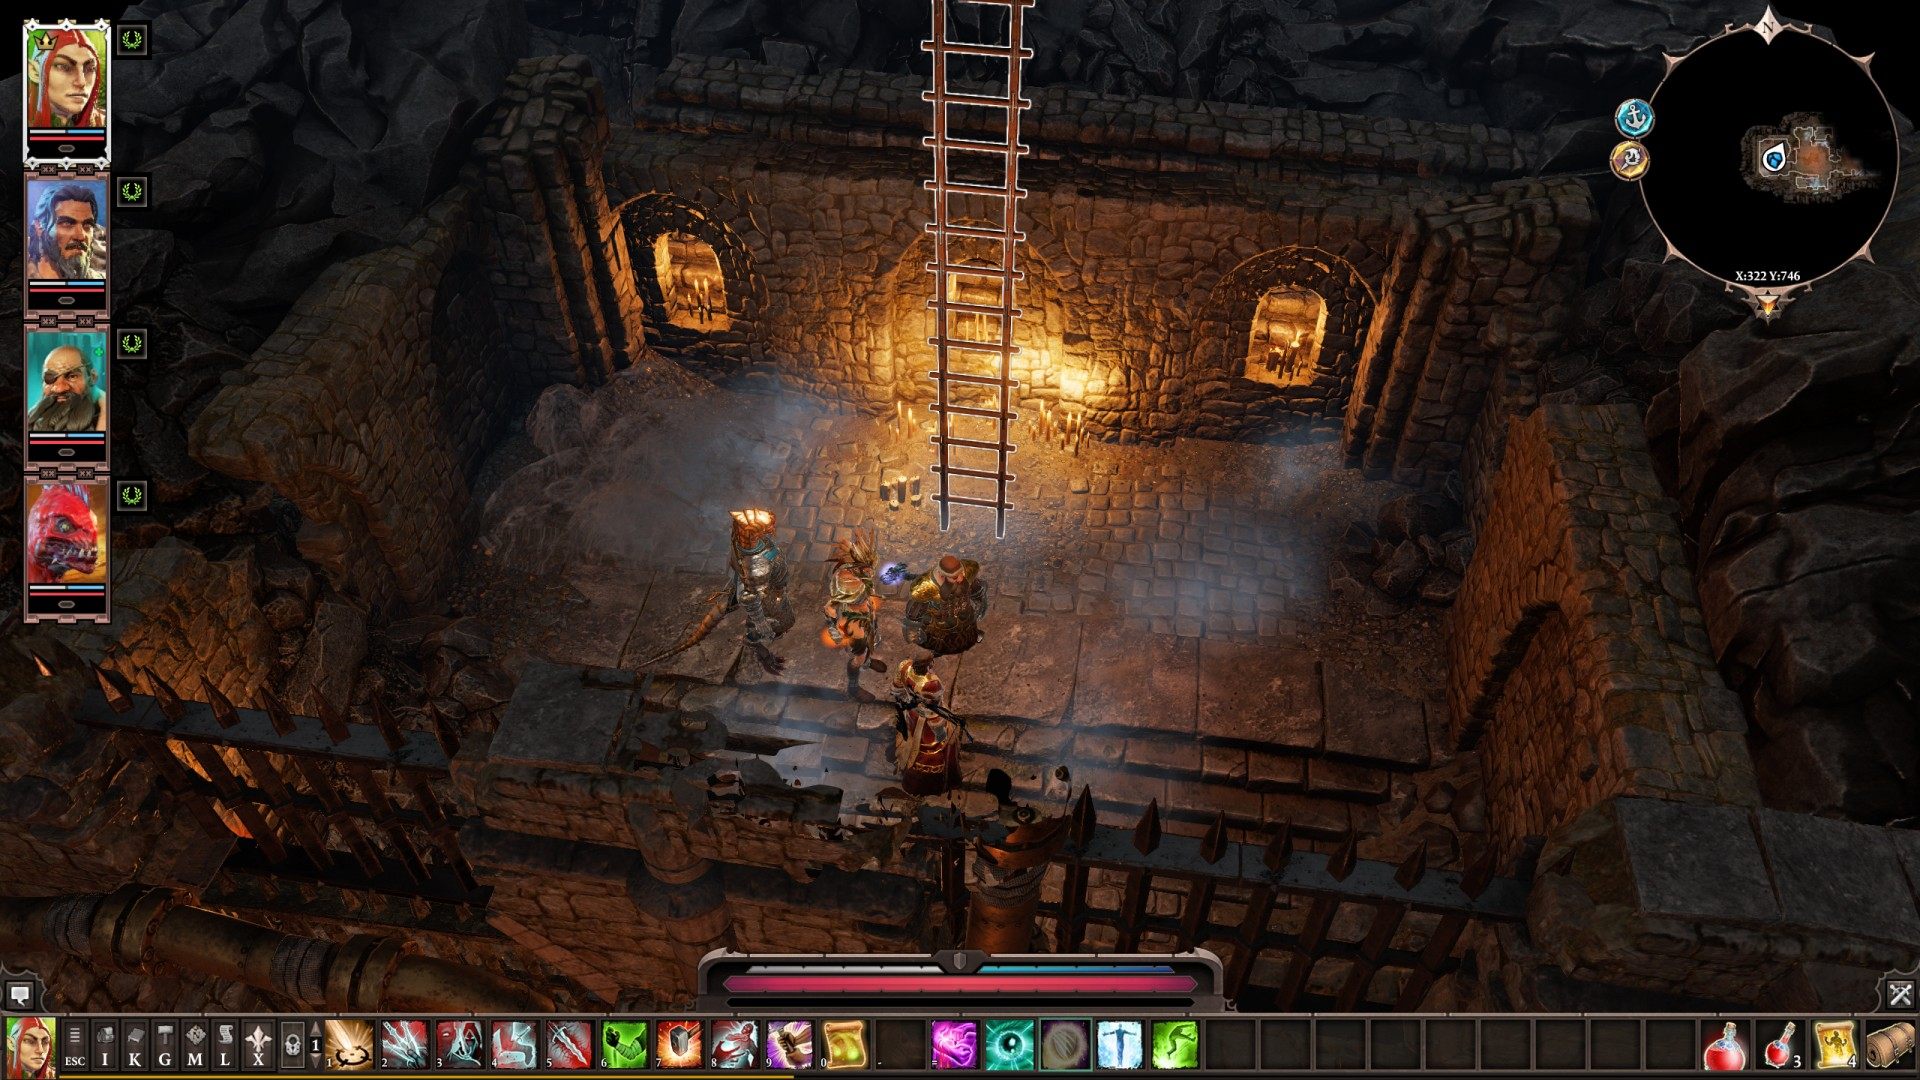
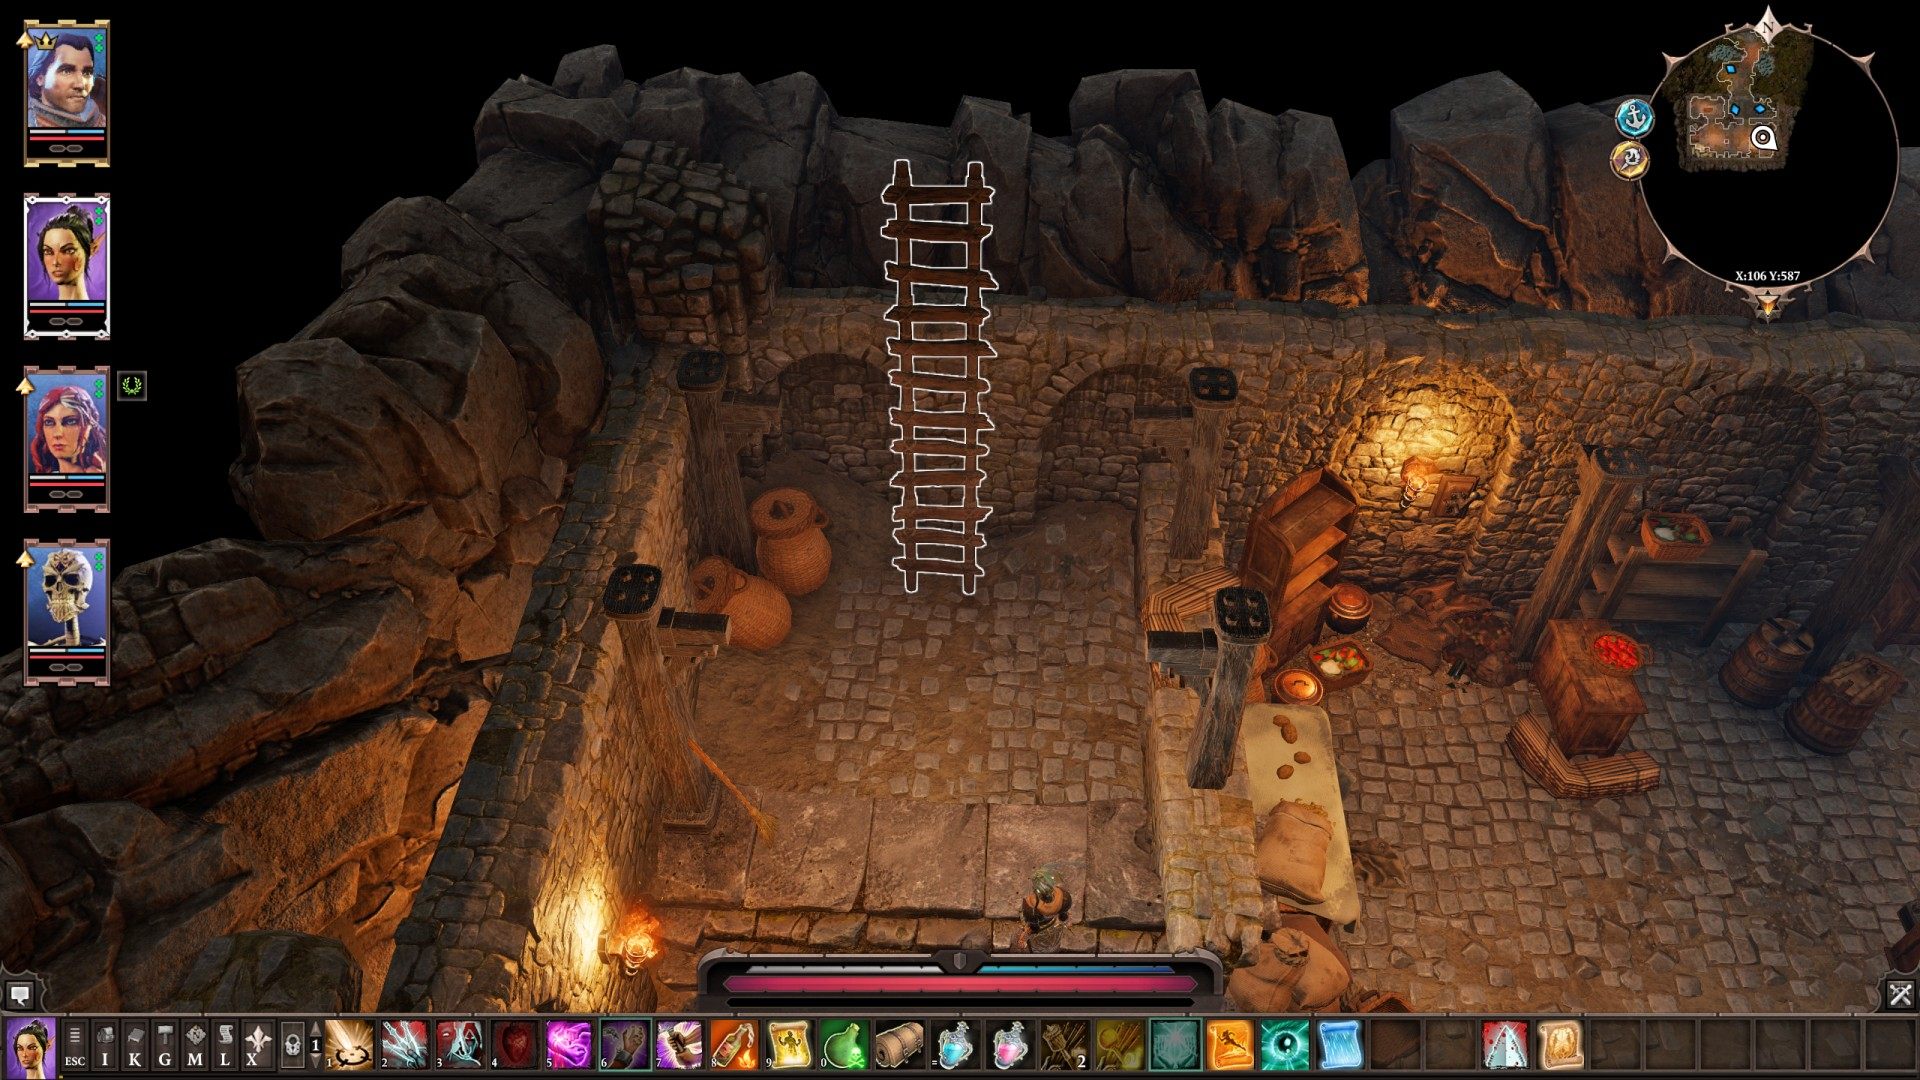
17Ladder up to Mordus' Cave
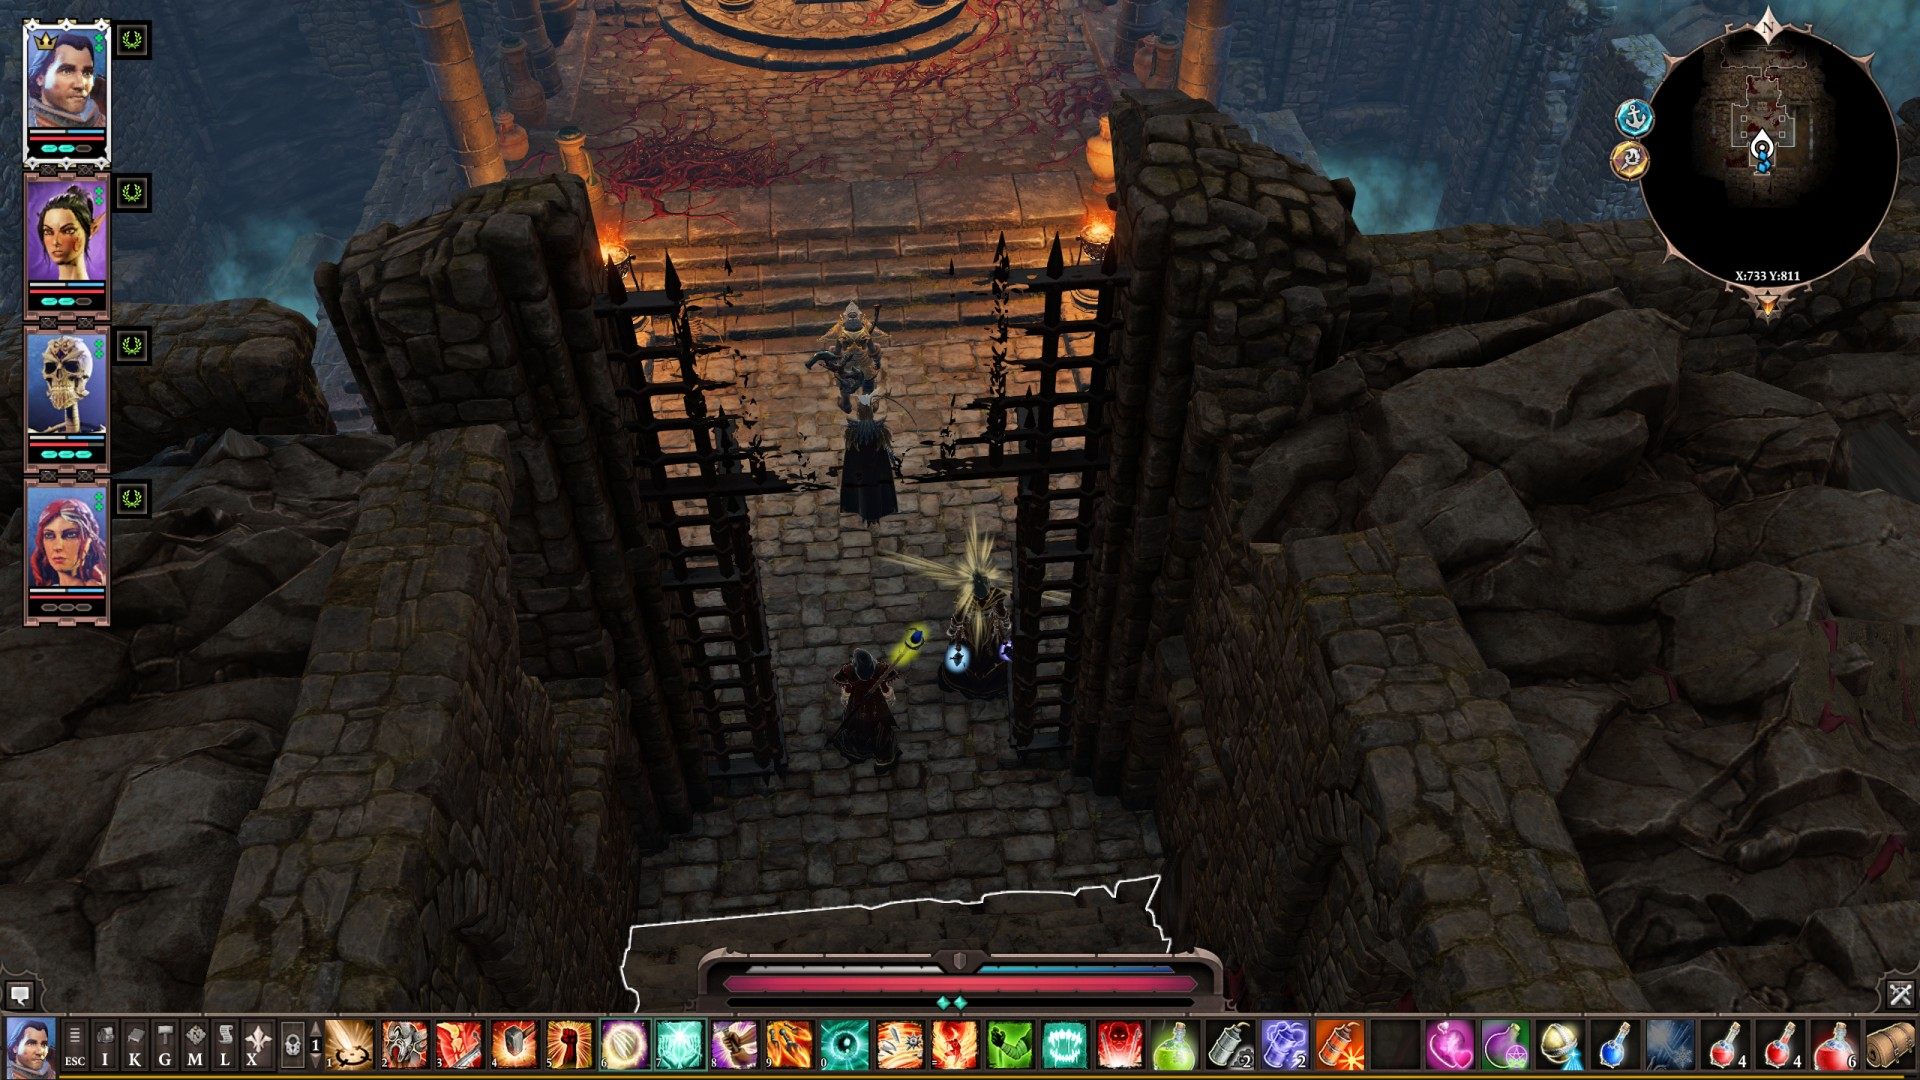
18Lich Crypt (Entrance)
19Mordus' Cave (Entrance)
20Mordus' Cave (Exit)
21Morgus' House Cellar (Exit)
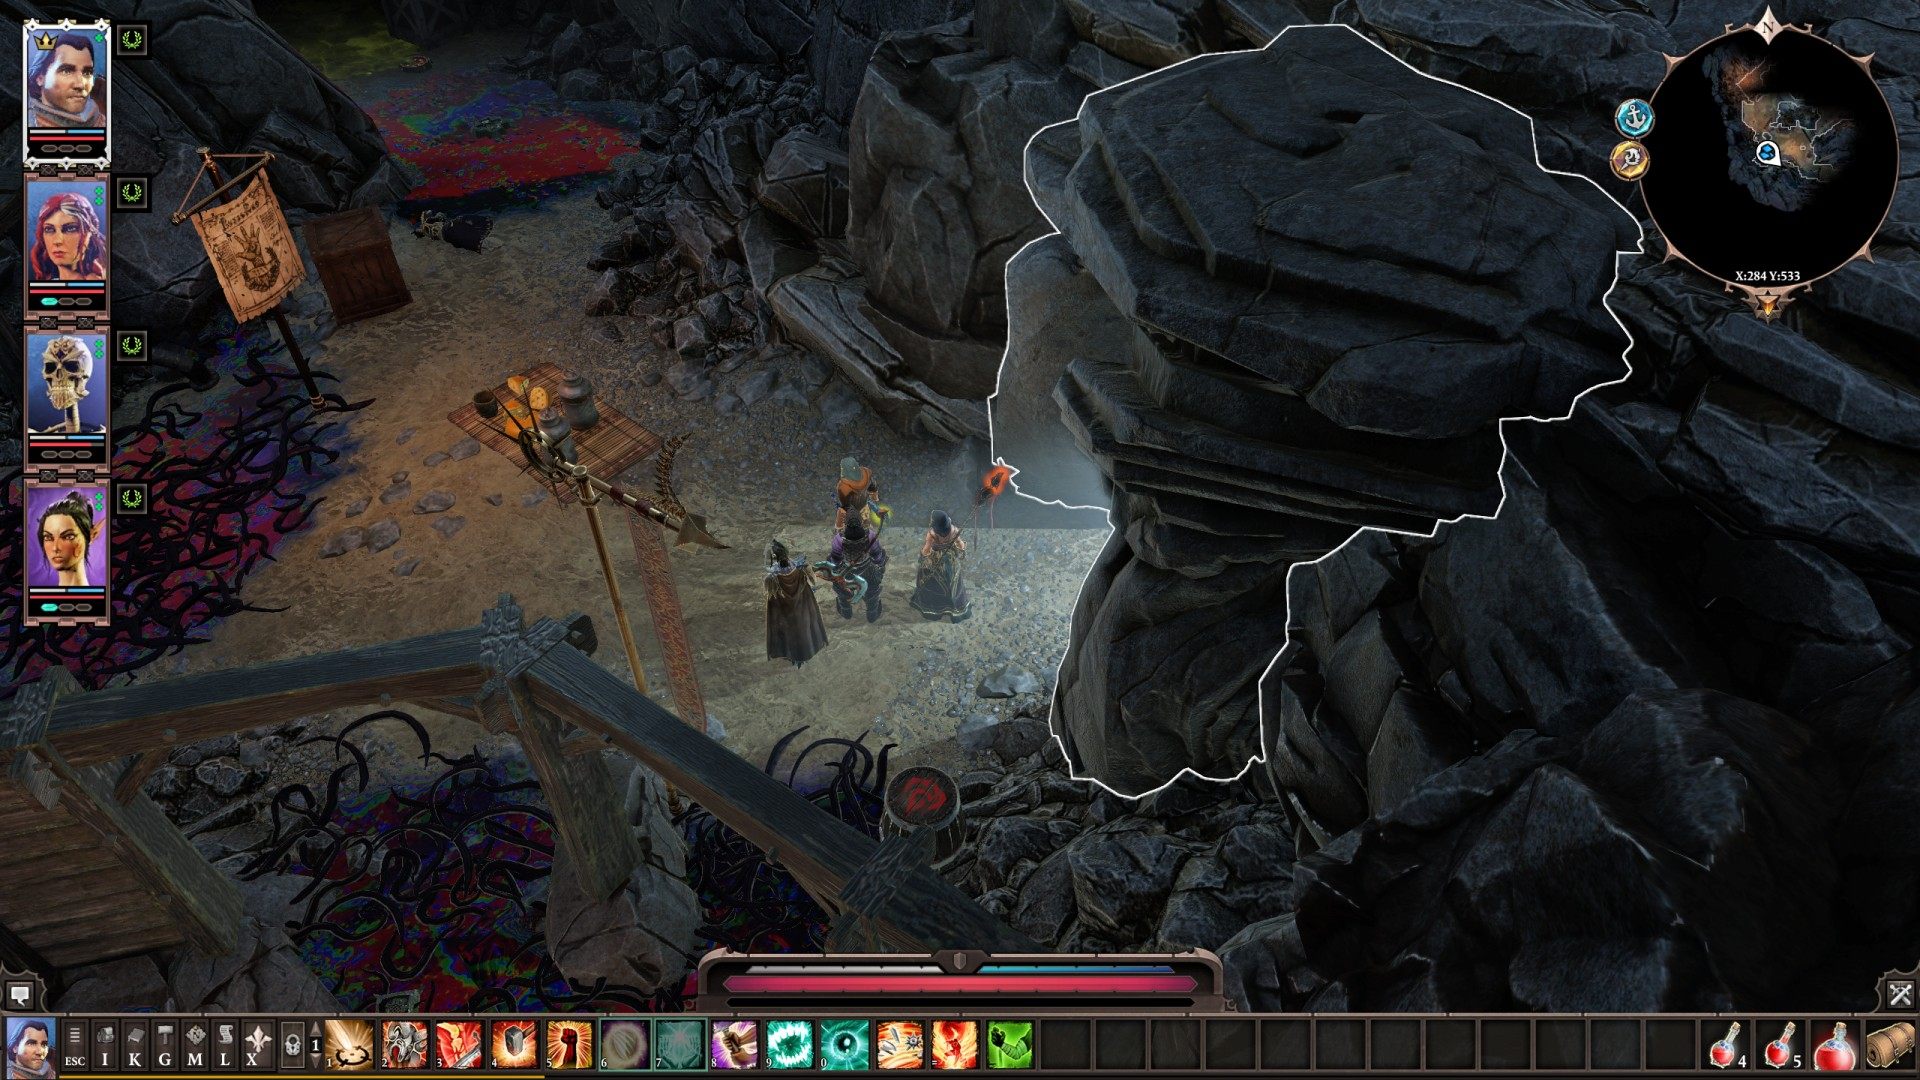
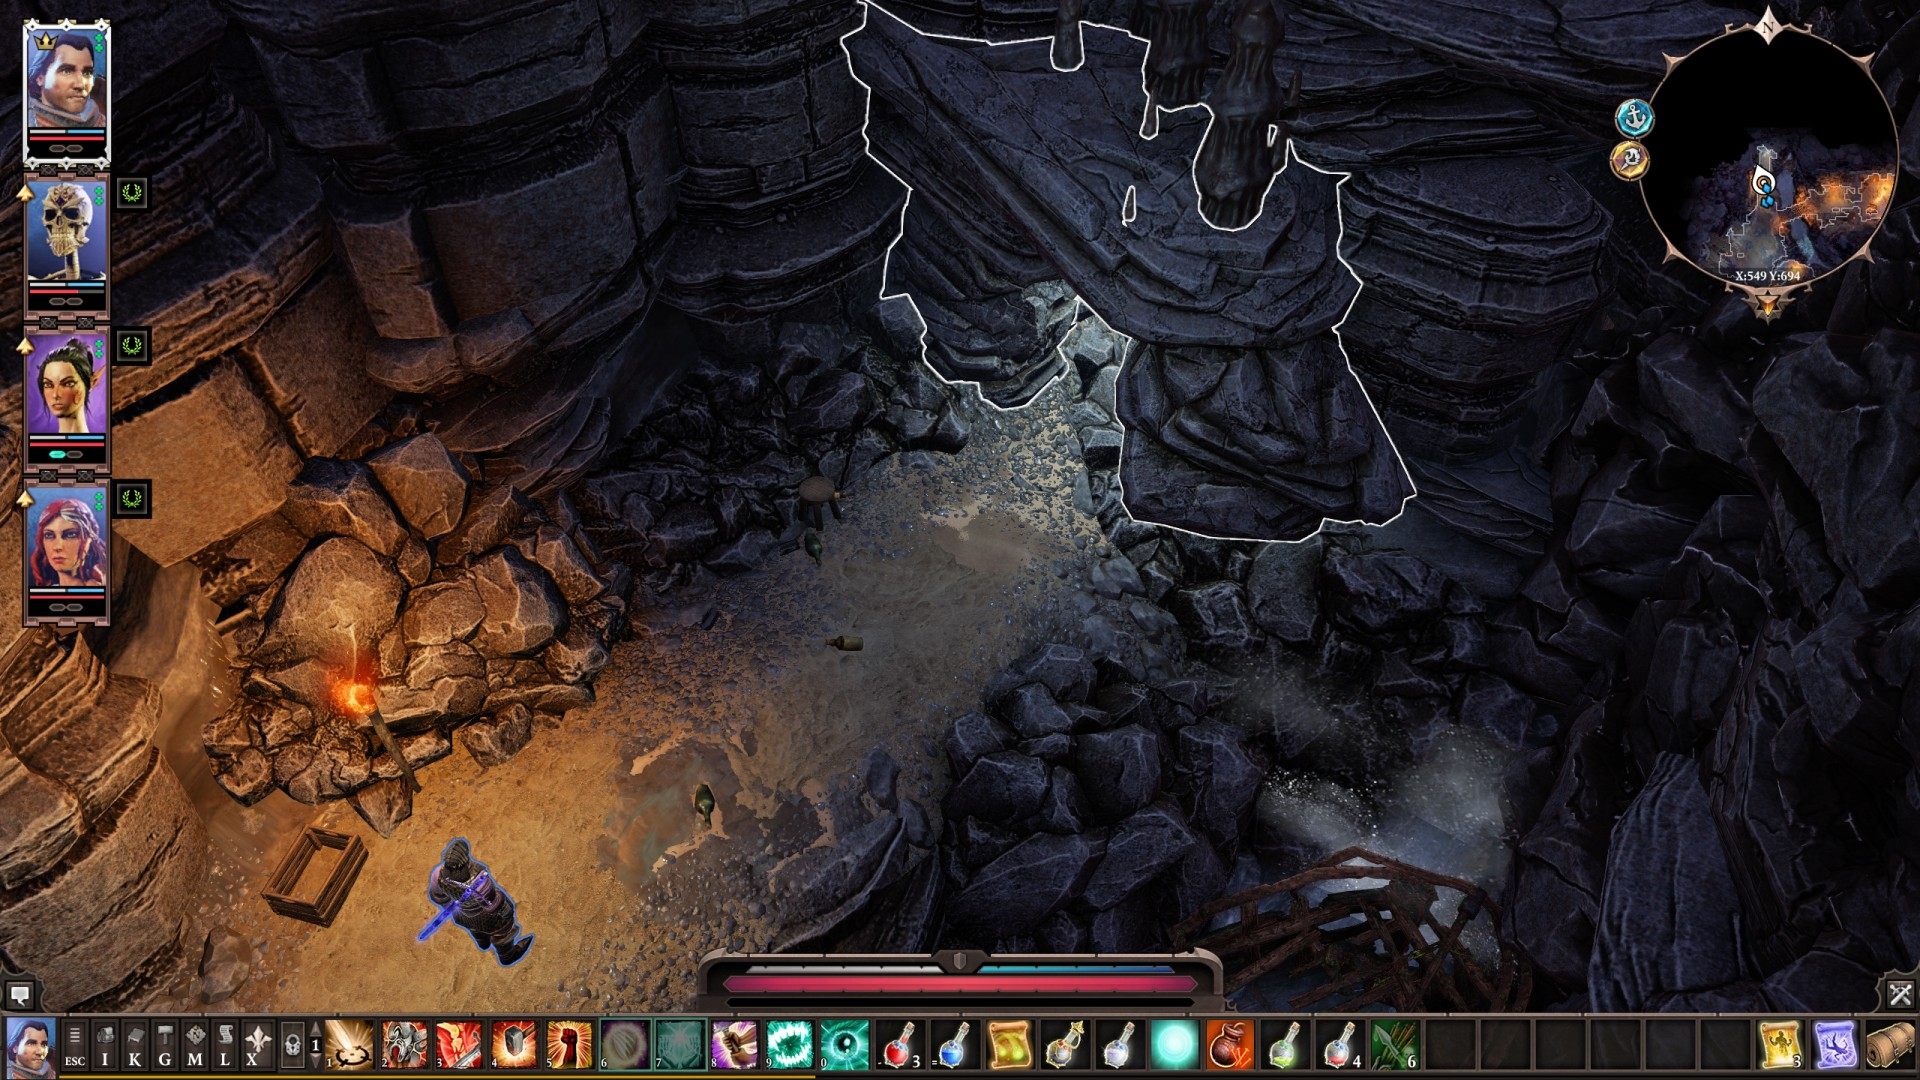
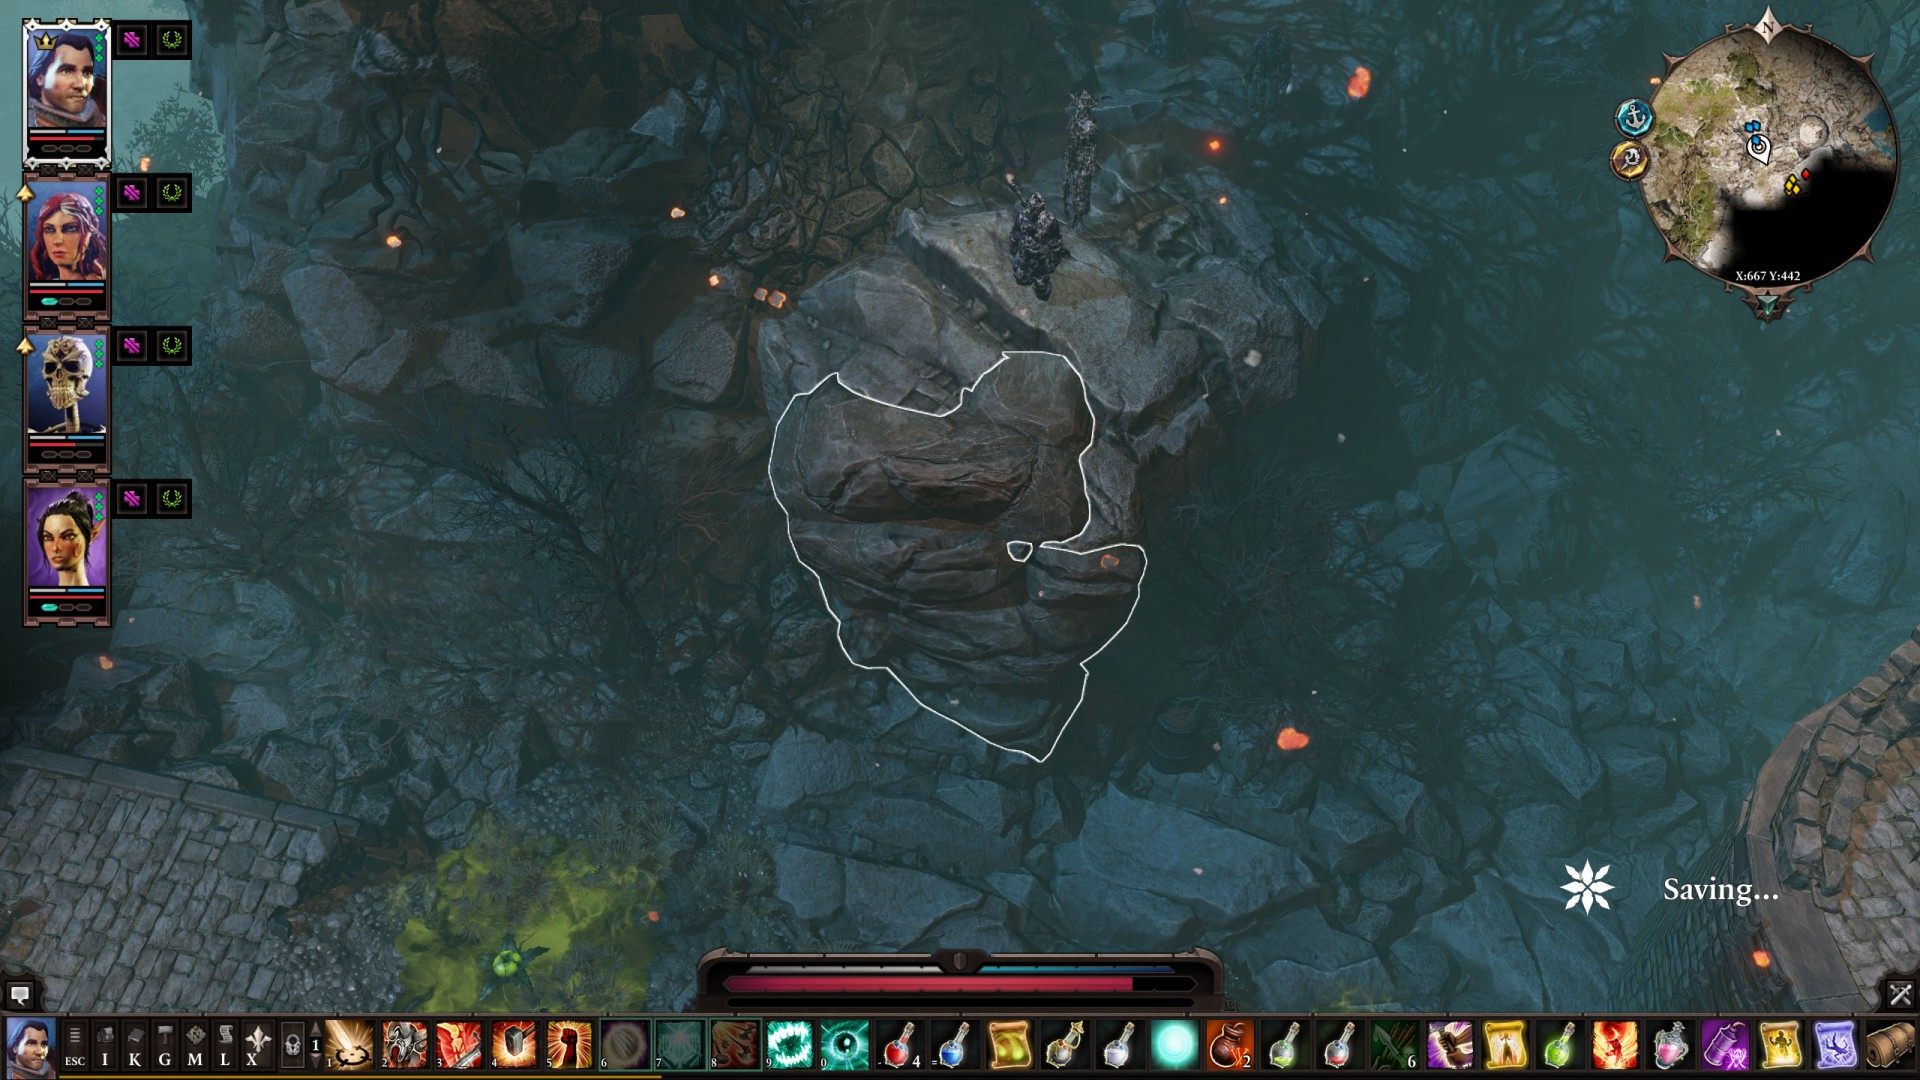
22 Rock
Rock
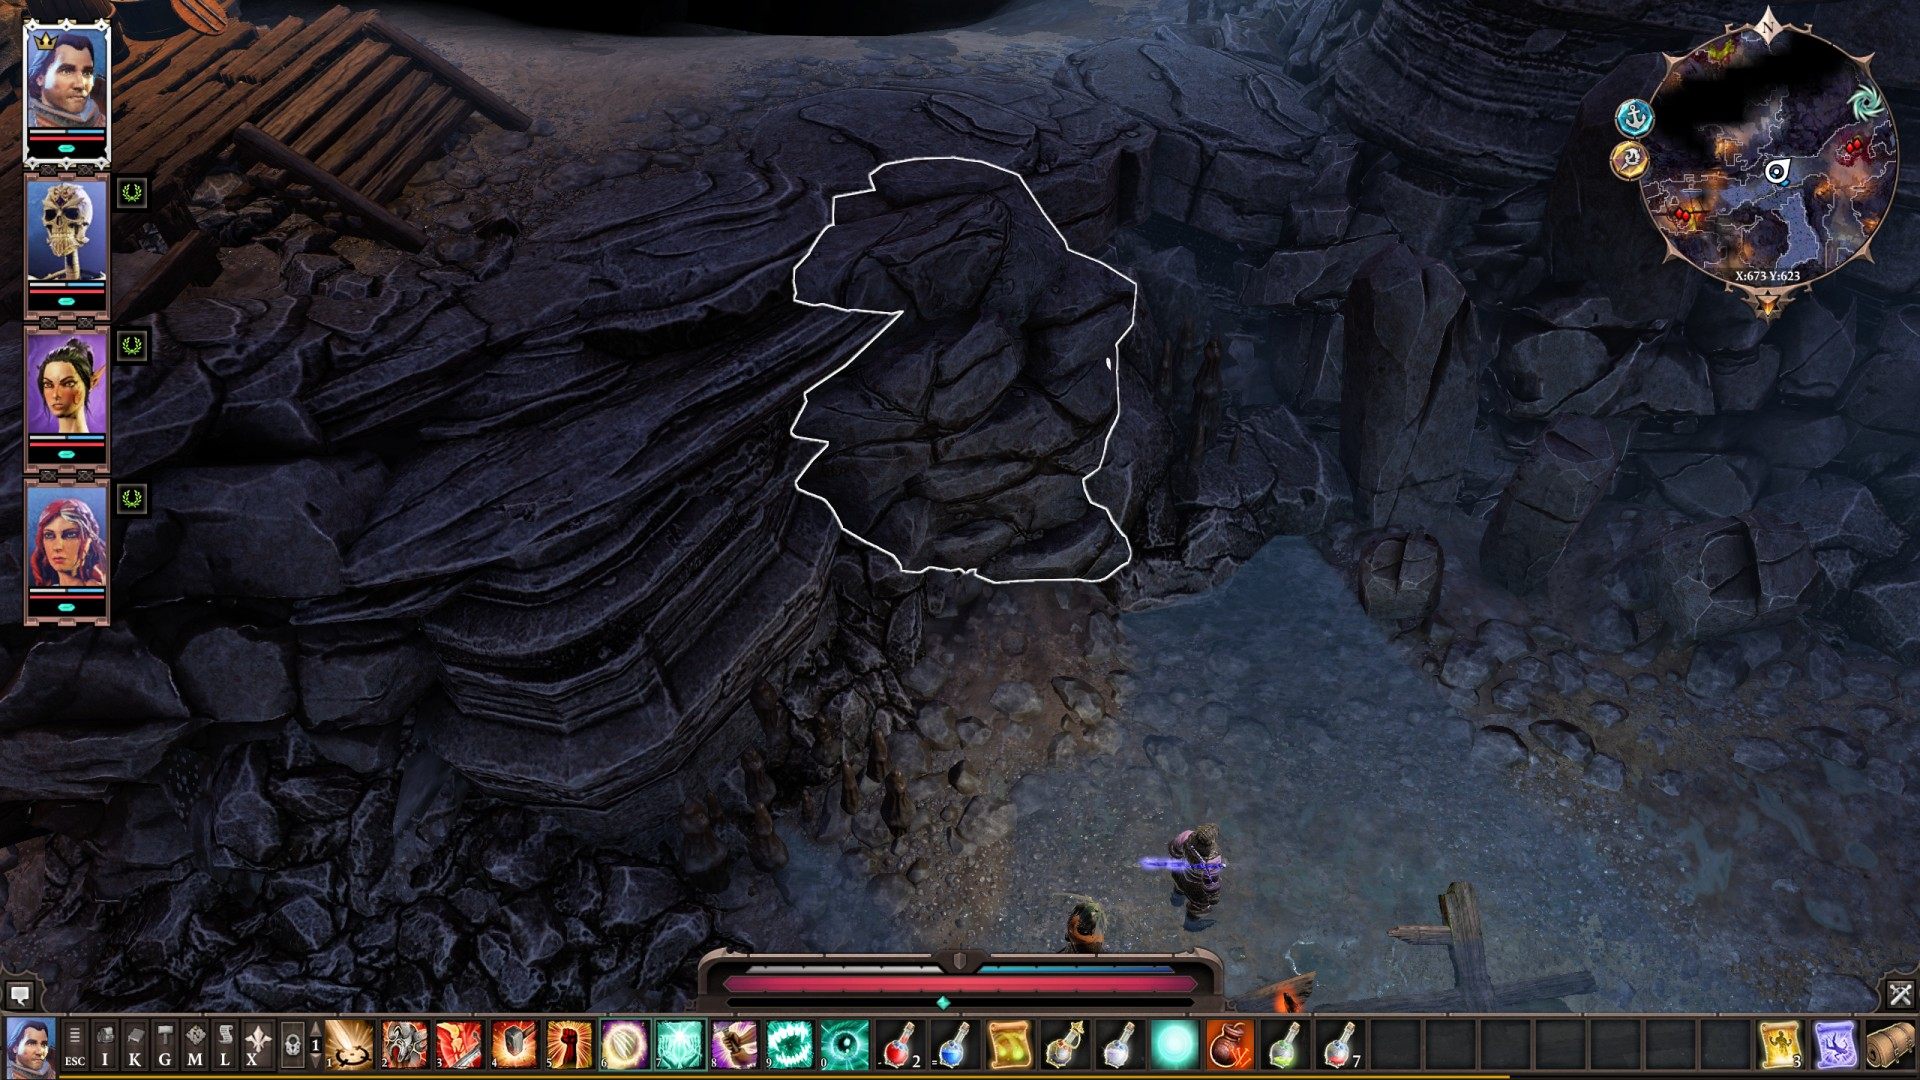
23Rock
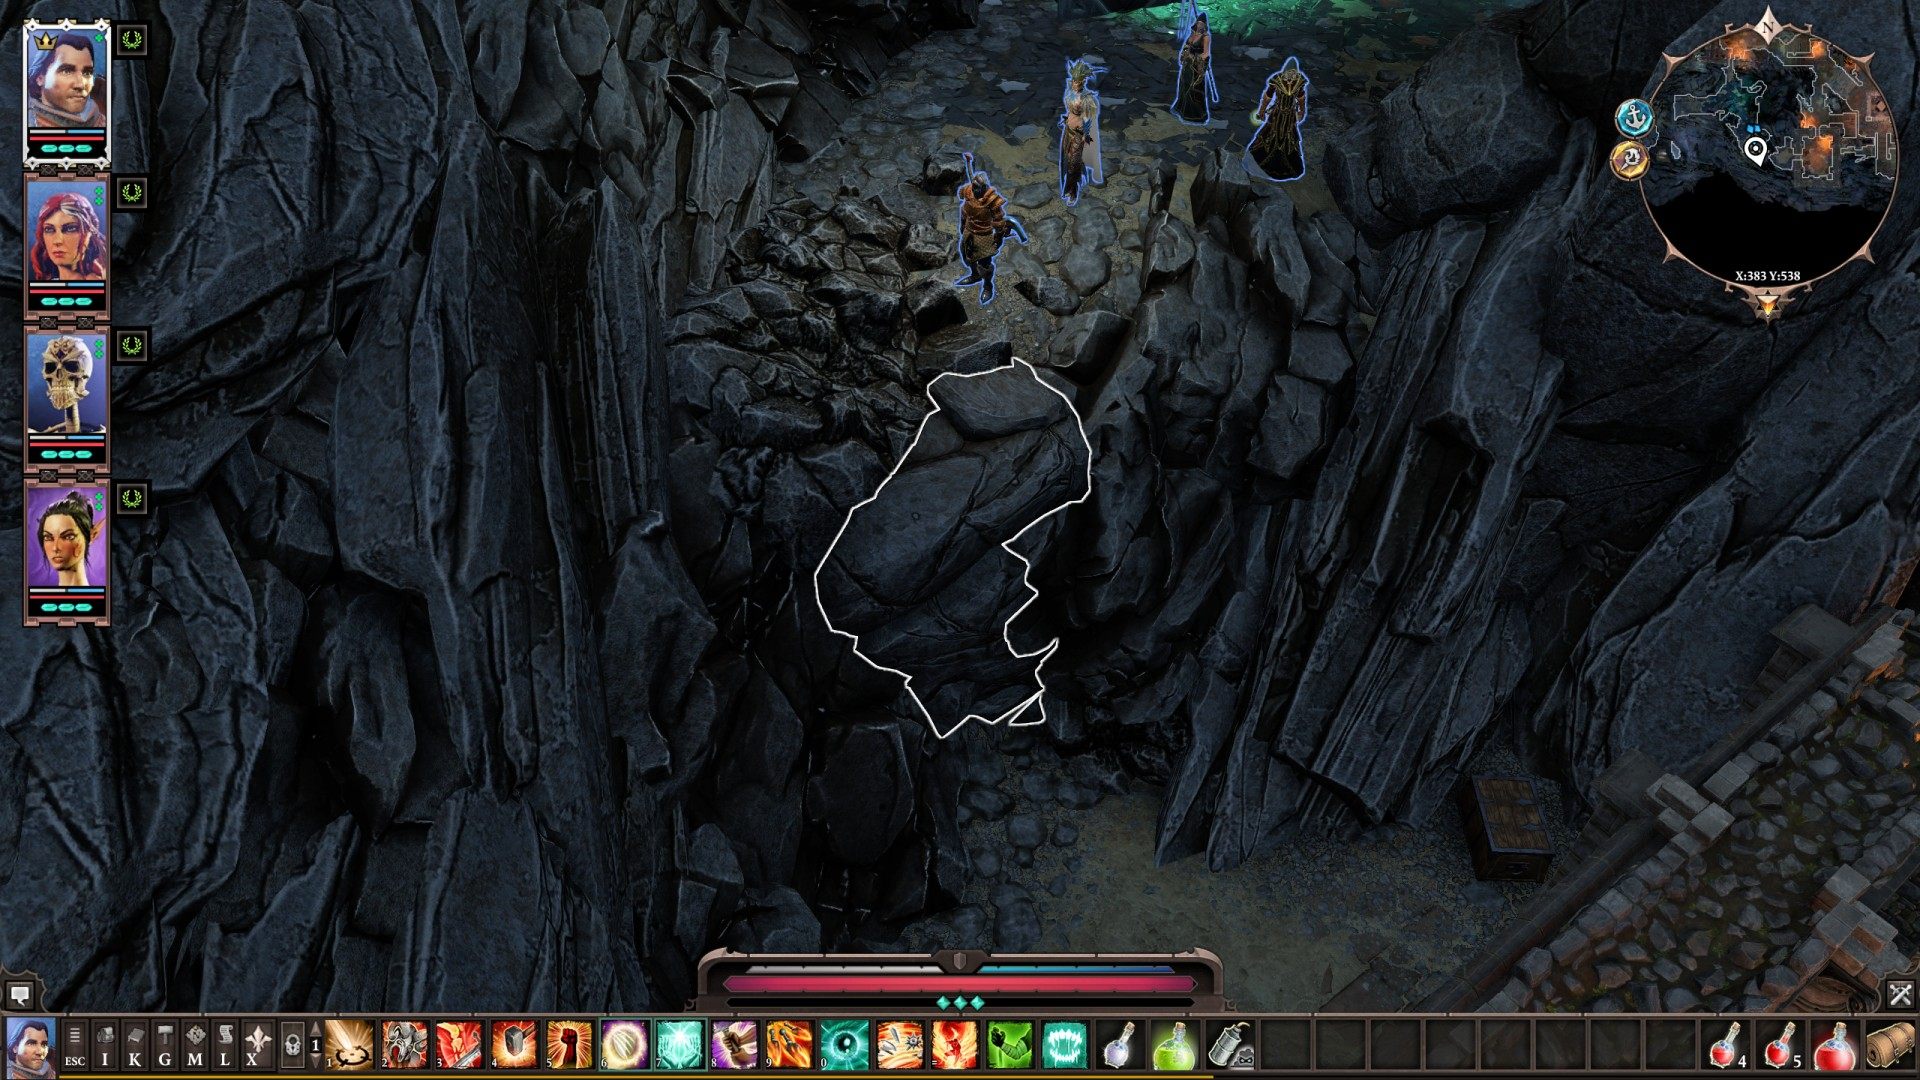
24Rock
25Ryker's Rest - Private Chambers (Entrance/Exit)
26Second Floor of Magisters' Barracks
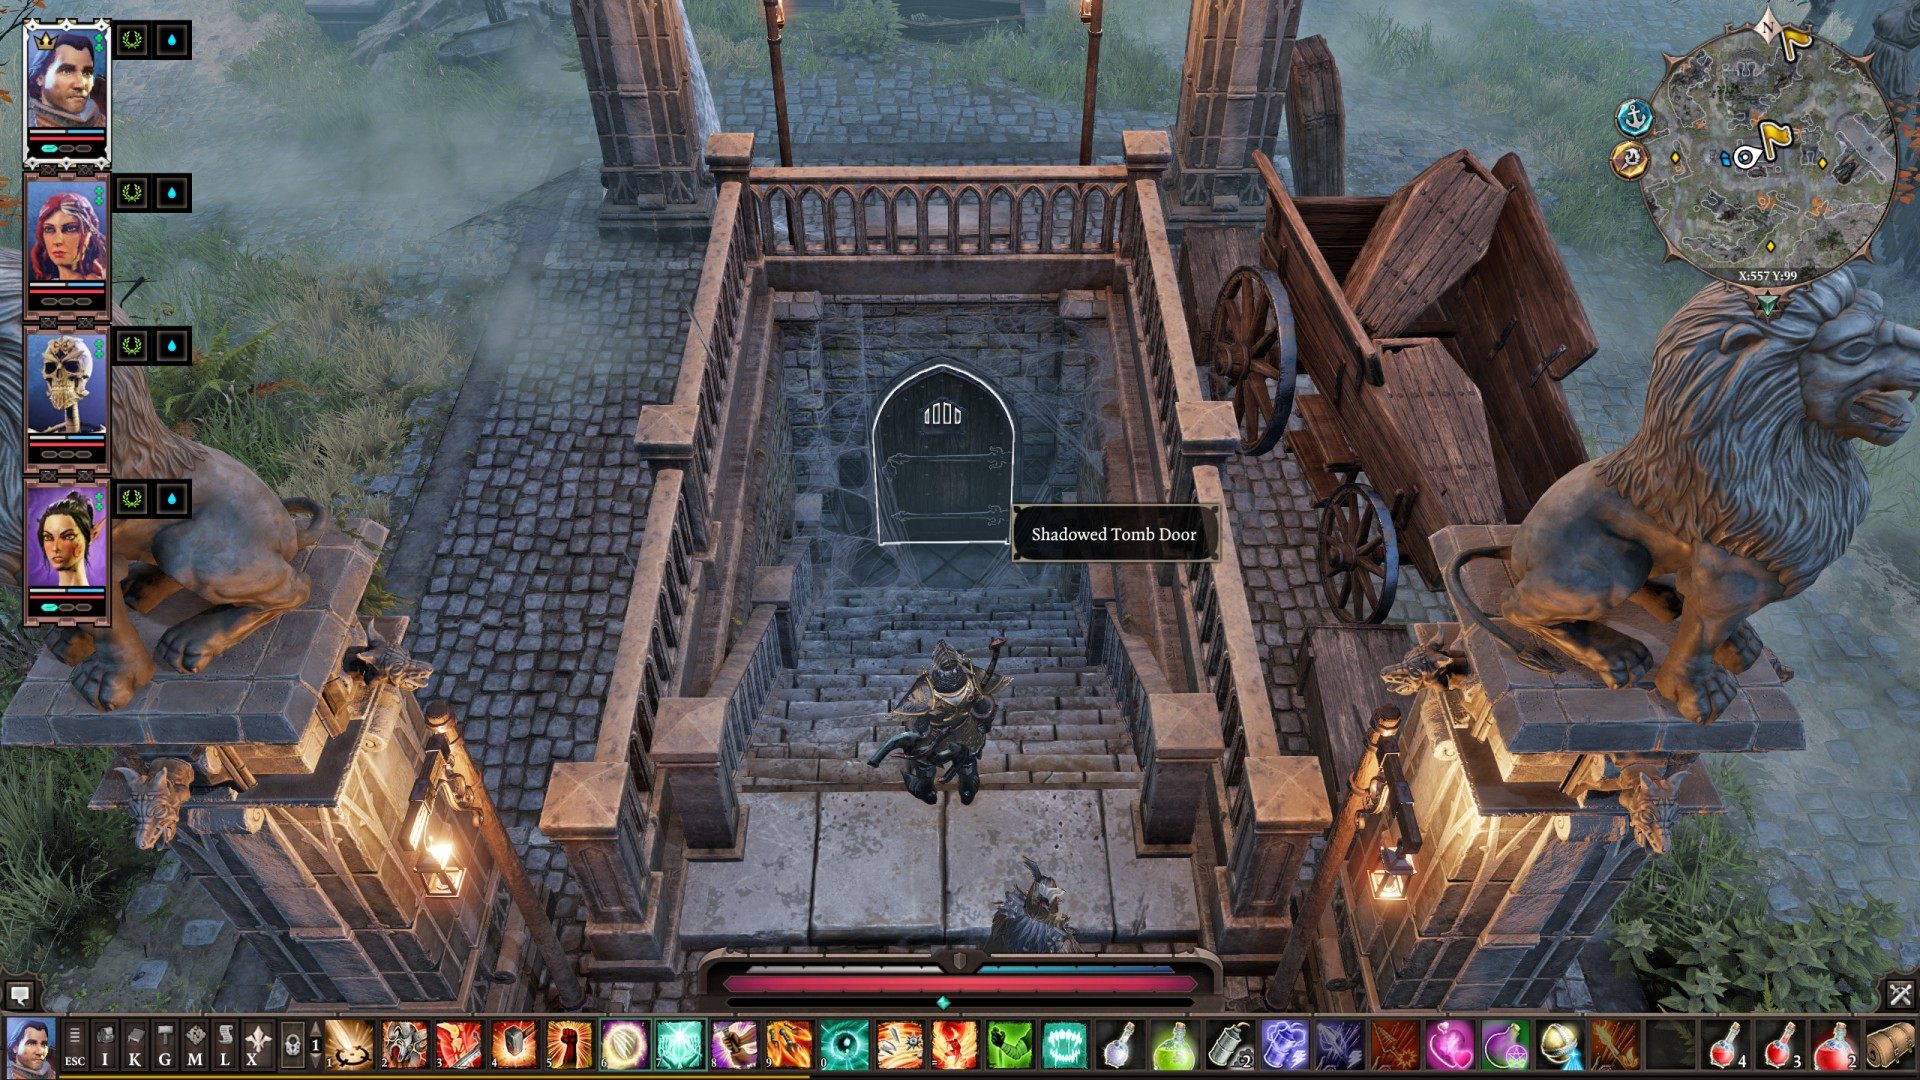
27Shadowed Tomb / Charnel House (Entrance/Exit)
28Small Cave (In/Out)
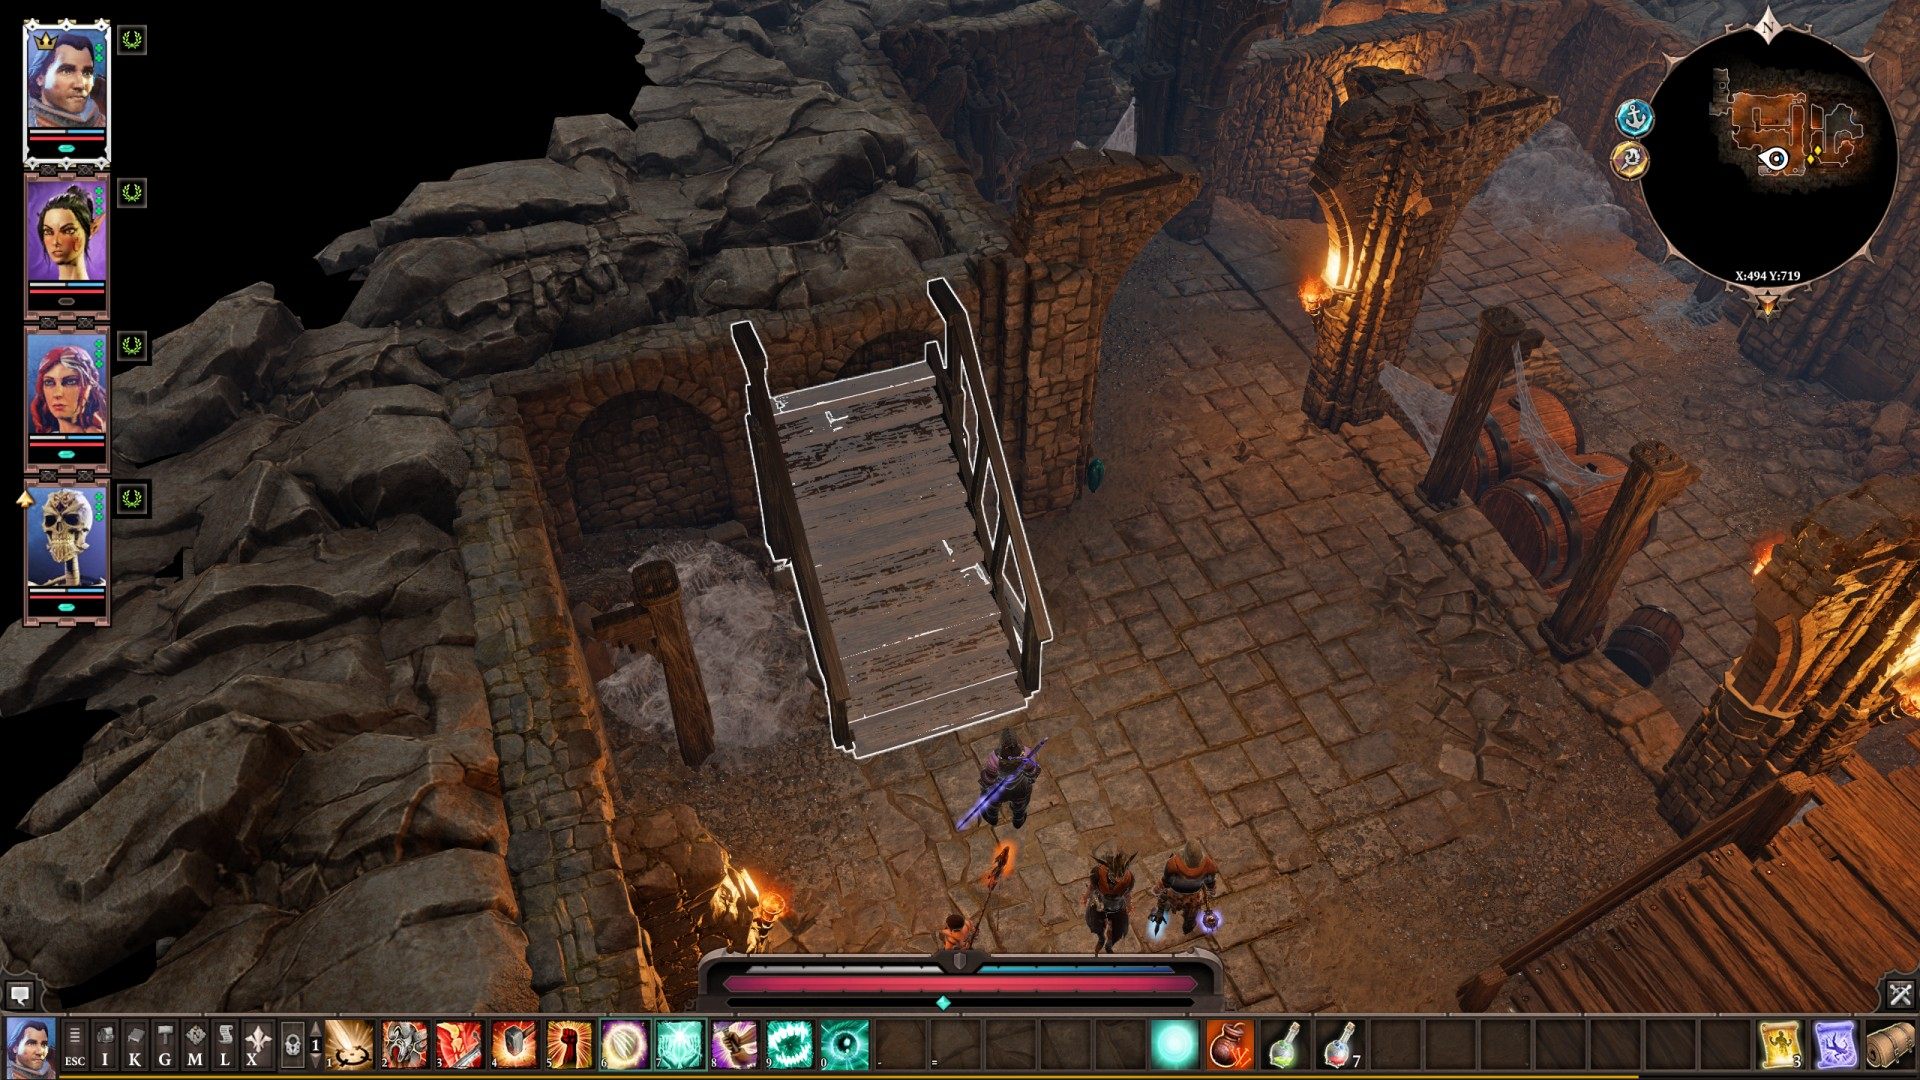
29Stairs back to The Black Bull
Show the map
30Stairs to the First Floor of the Black Bull
31Stairs to the ground floor of the Black Bull
Show the map
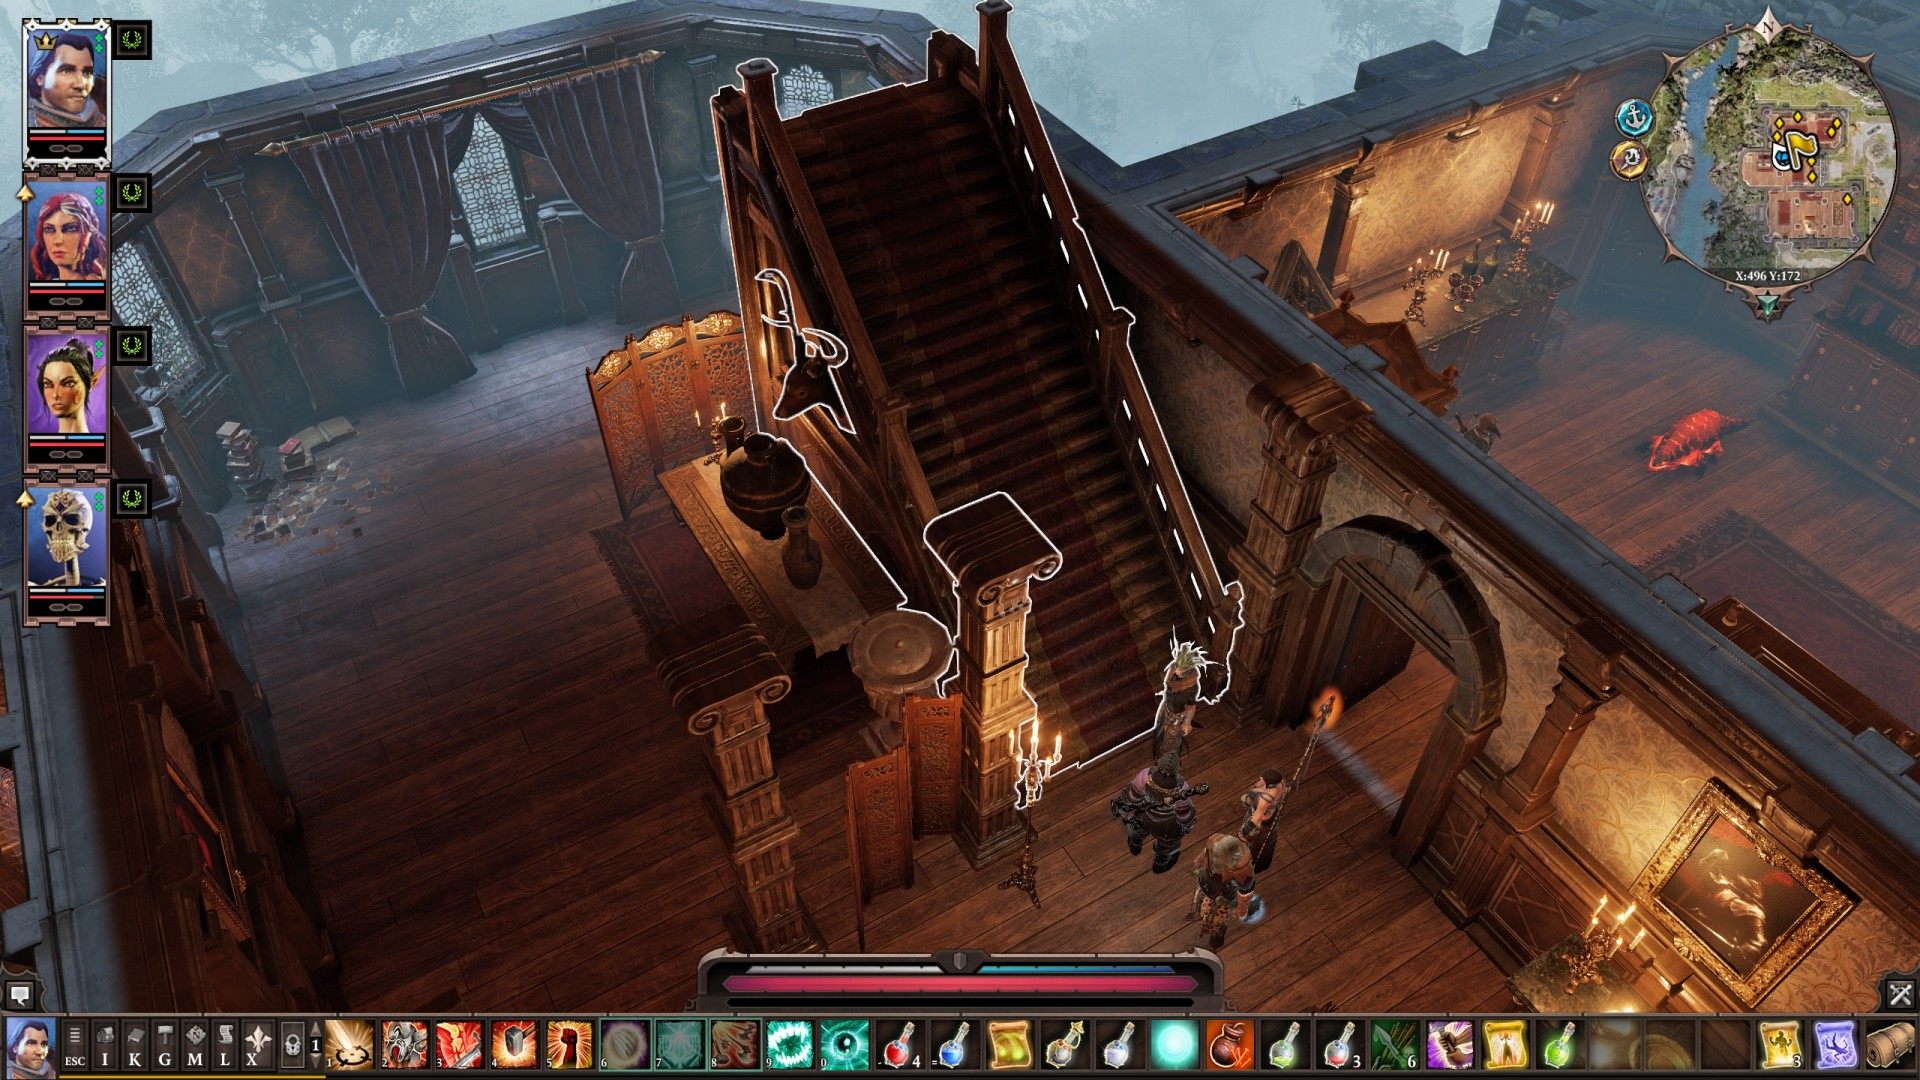
32Stairs to the Suite
Show the map
33Stairs to the upper floor of the Black Bull
Show the map
34Surrey Family Crypt (Entrance/Exit)
35The Archive (Entrance/Exit)
36The Treasury of the One (Entrance/Exit)
37The Witch House Cellar (Entrance/Exit)

38To Blackpits Caverns
Related quests: The Midnight Oil
39To Blackpits Cellar
40To Blackpits Cellar
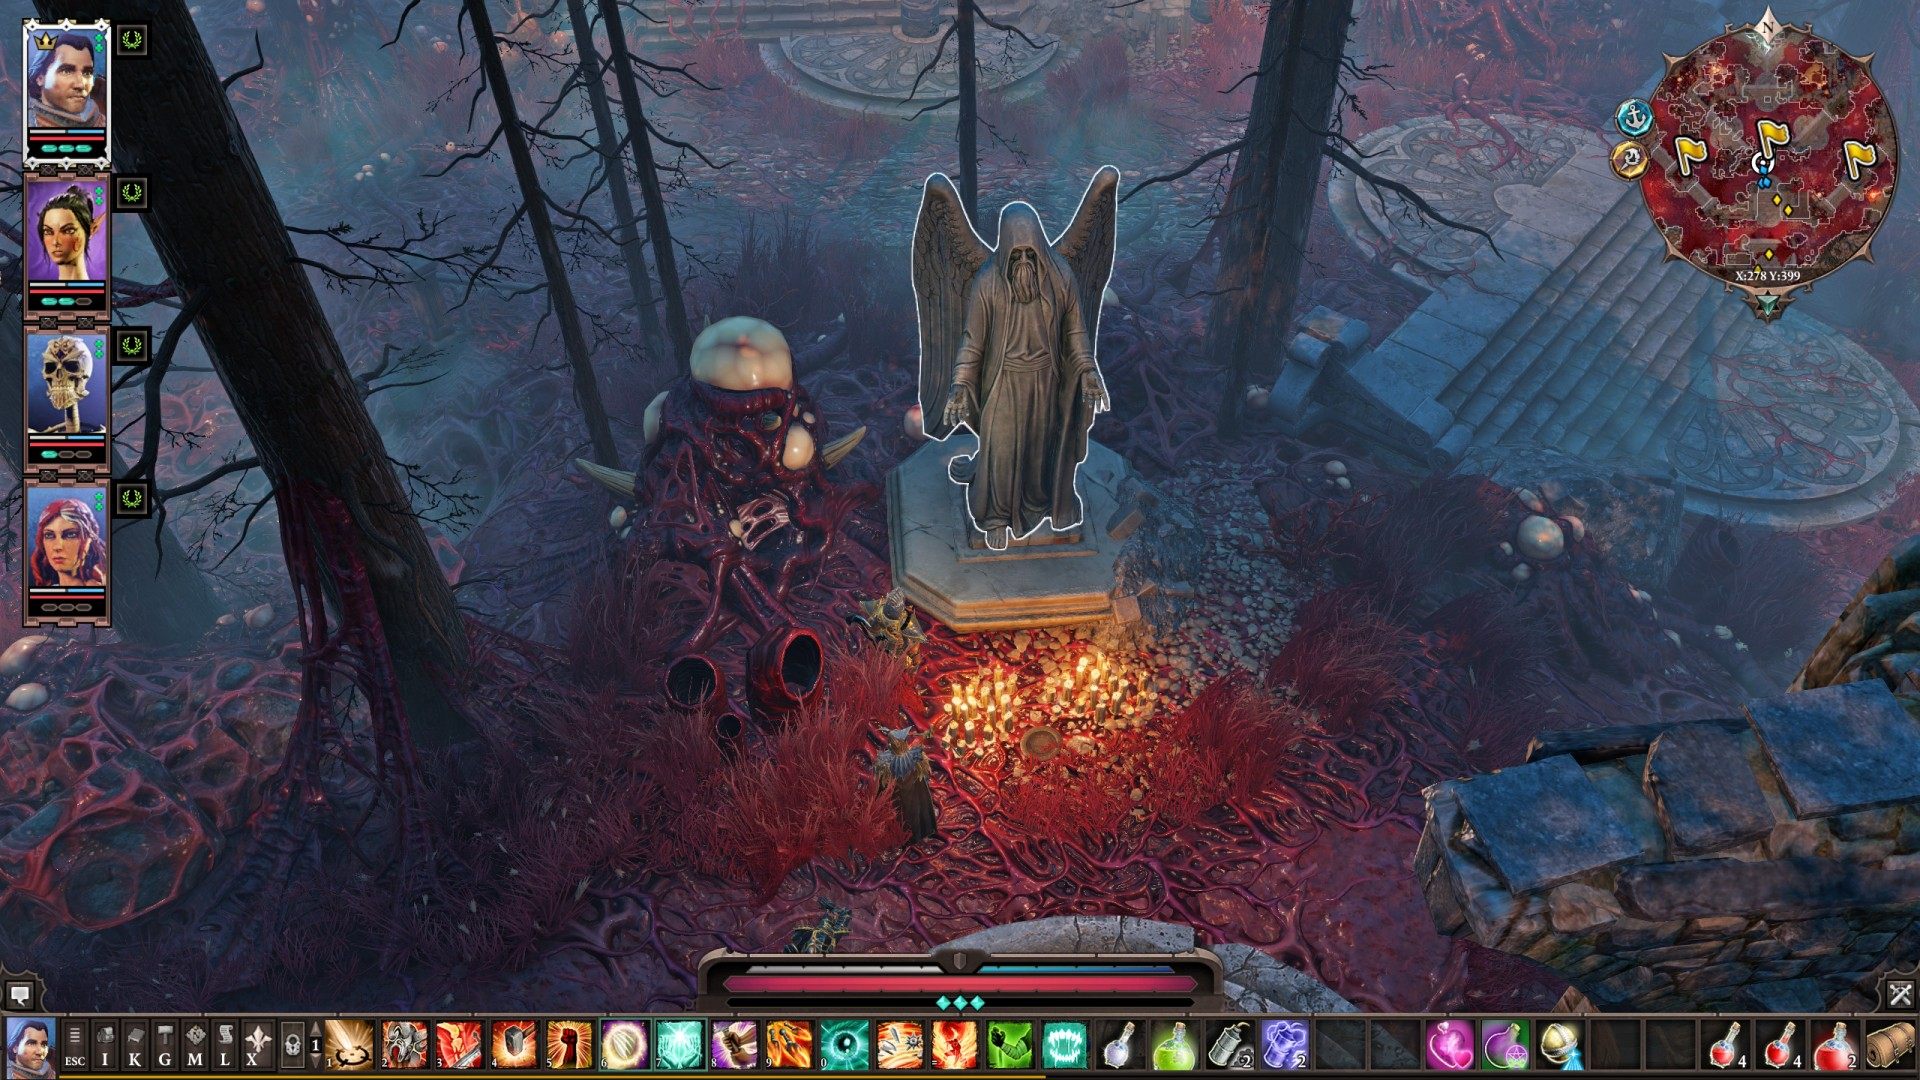
41To Bloodmoon Vault #1
Related quests: Bound by Pain, The Forgotten and the Damned
To uncover the entrance to the vault located under the Blazing Sculpture, you must first read the book called Ornate Hymnal. Only the character with Scholar talent will be able to understand what is written in it.
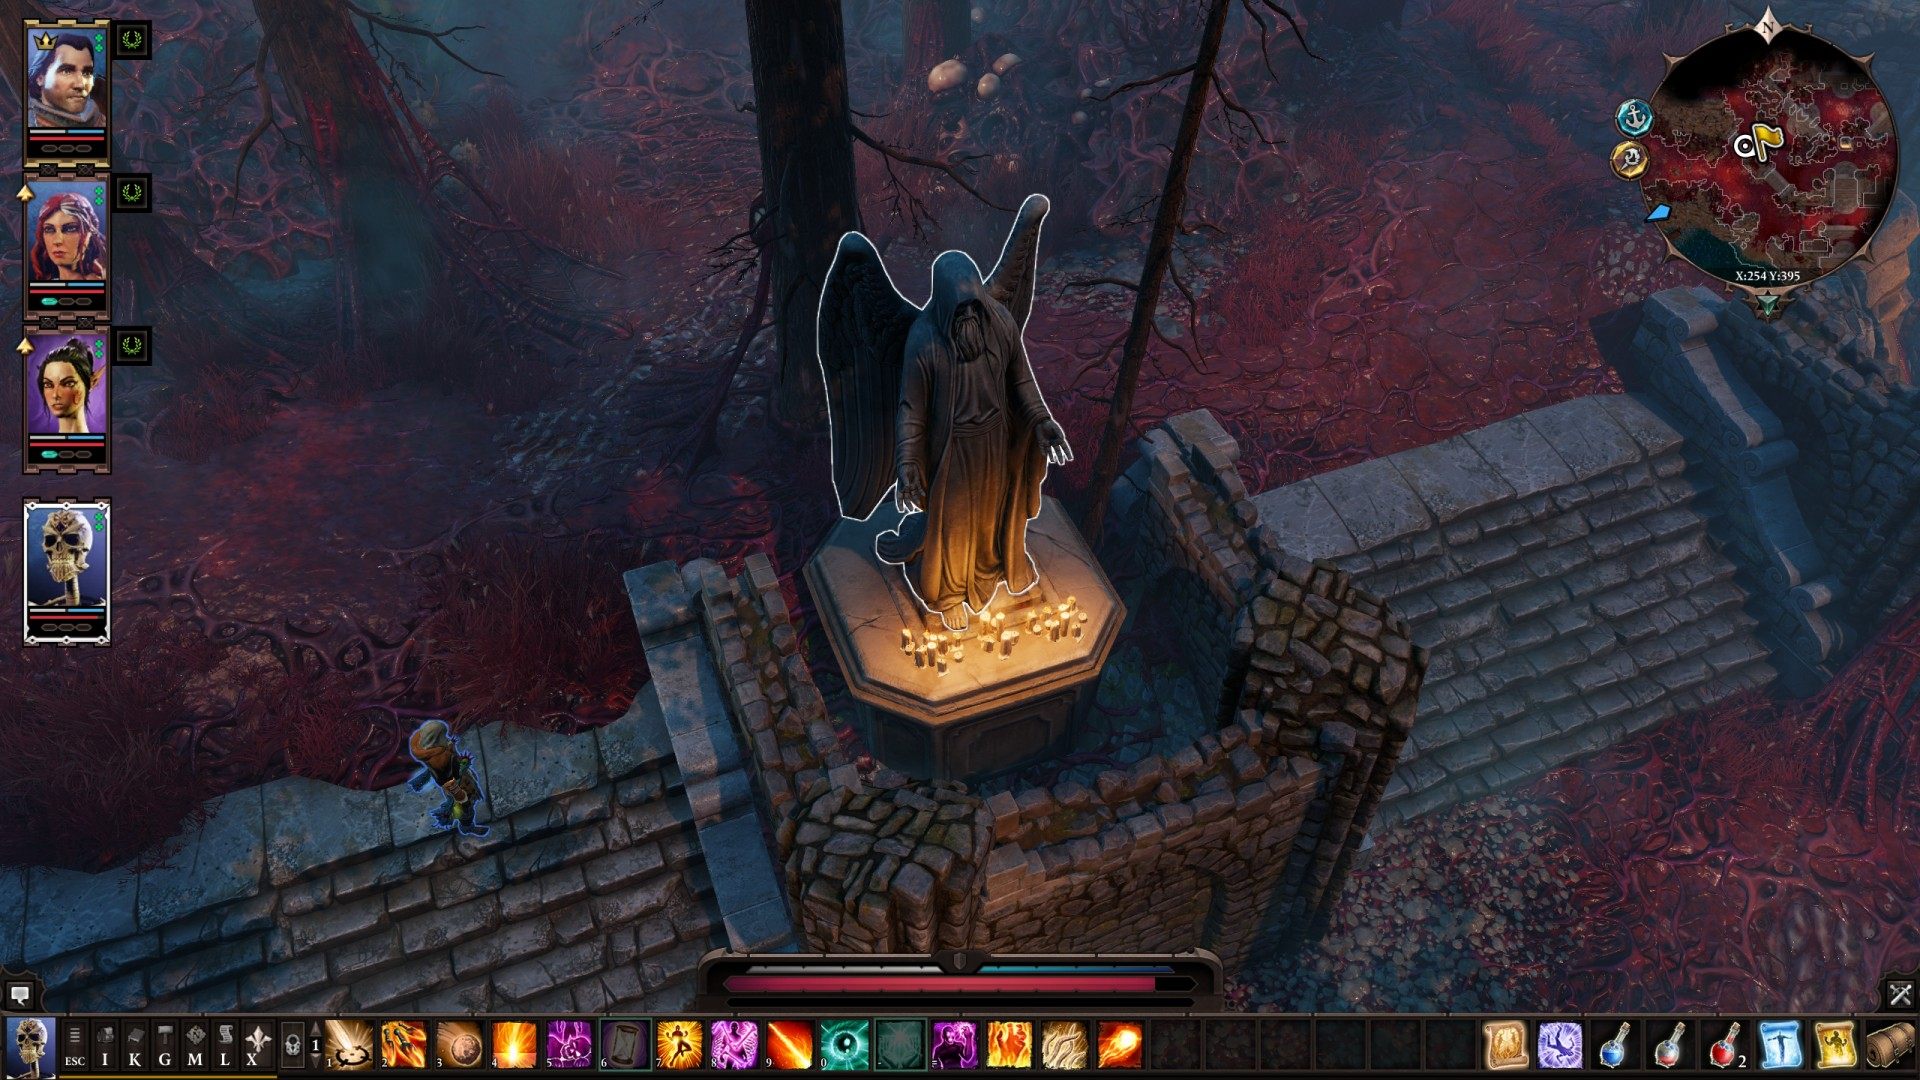
42To Bloodmoon Vault #2
Related quests: The Forgotten and the Damned, The Silent One
To uncover the entrance to the vault located under the Blazing Sculpture, you must first read the book called Ornate Hymnal. Only the character with Scholar talent will be able to understand what is written in it.
43To Bloodmoon Vault #3
Related quests: Delusions of Grandeur, The Forgotten and the Damned
To uncover the entrance to the vault located under the Blazing Sculpture, you must first read the book called Ornate Hymnal. Only the character with Scholar talent will be able to understand what is written in it.
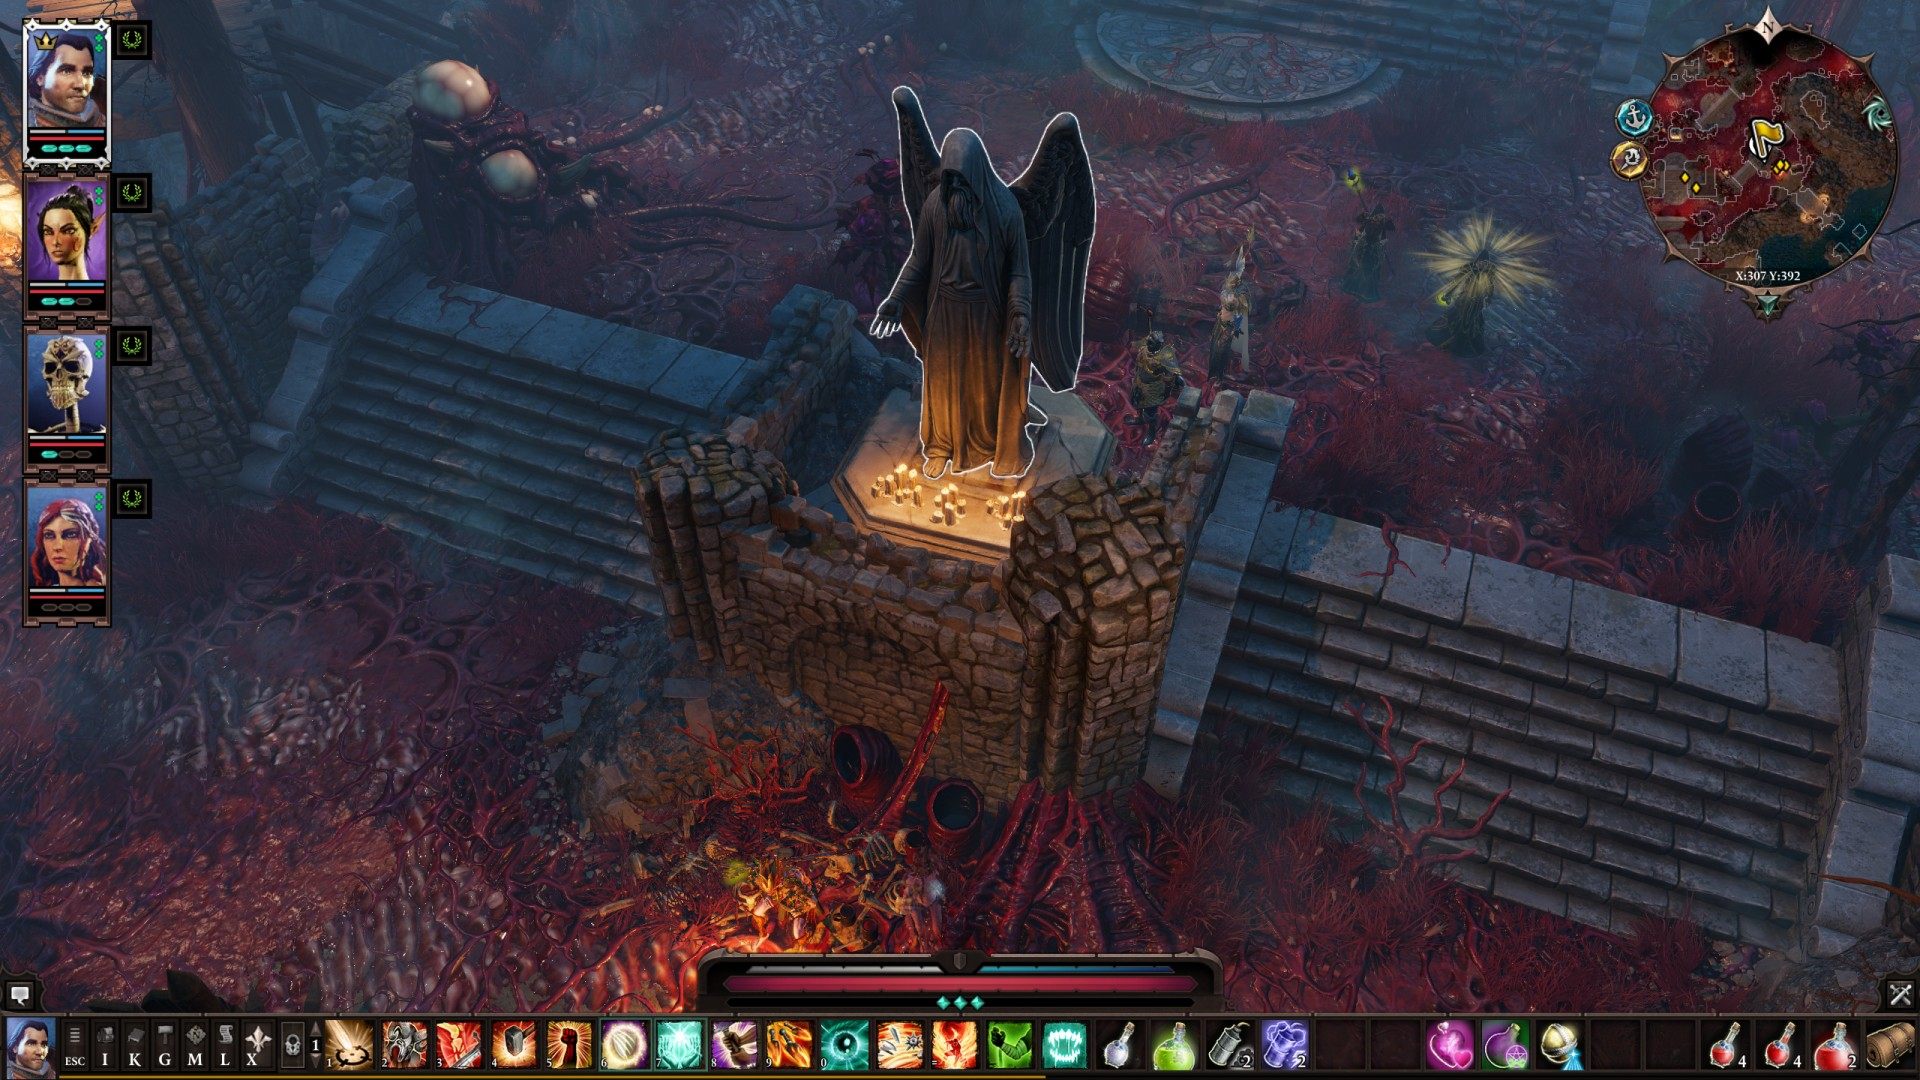
44To Bloodmoon Vault #4
Related quests: The Forgotten and the Damned
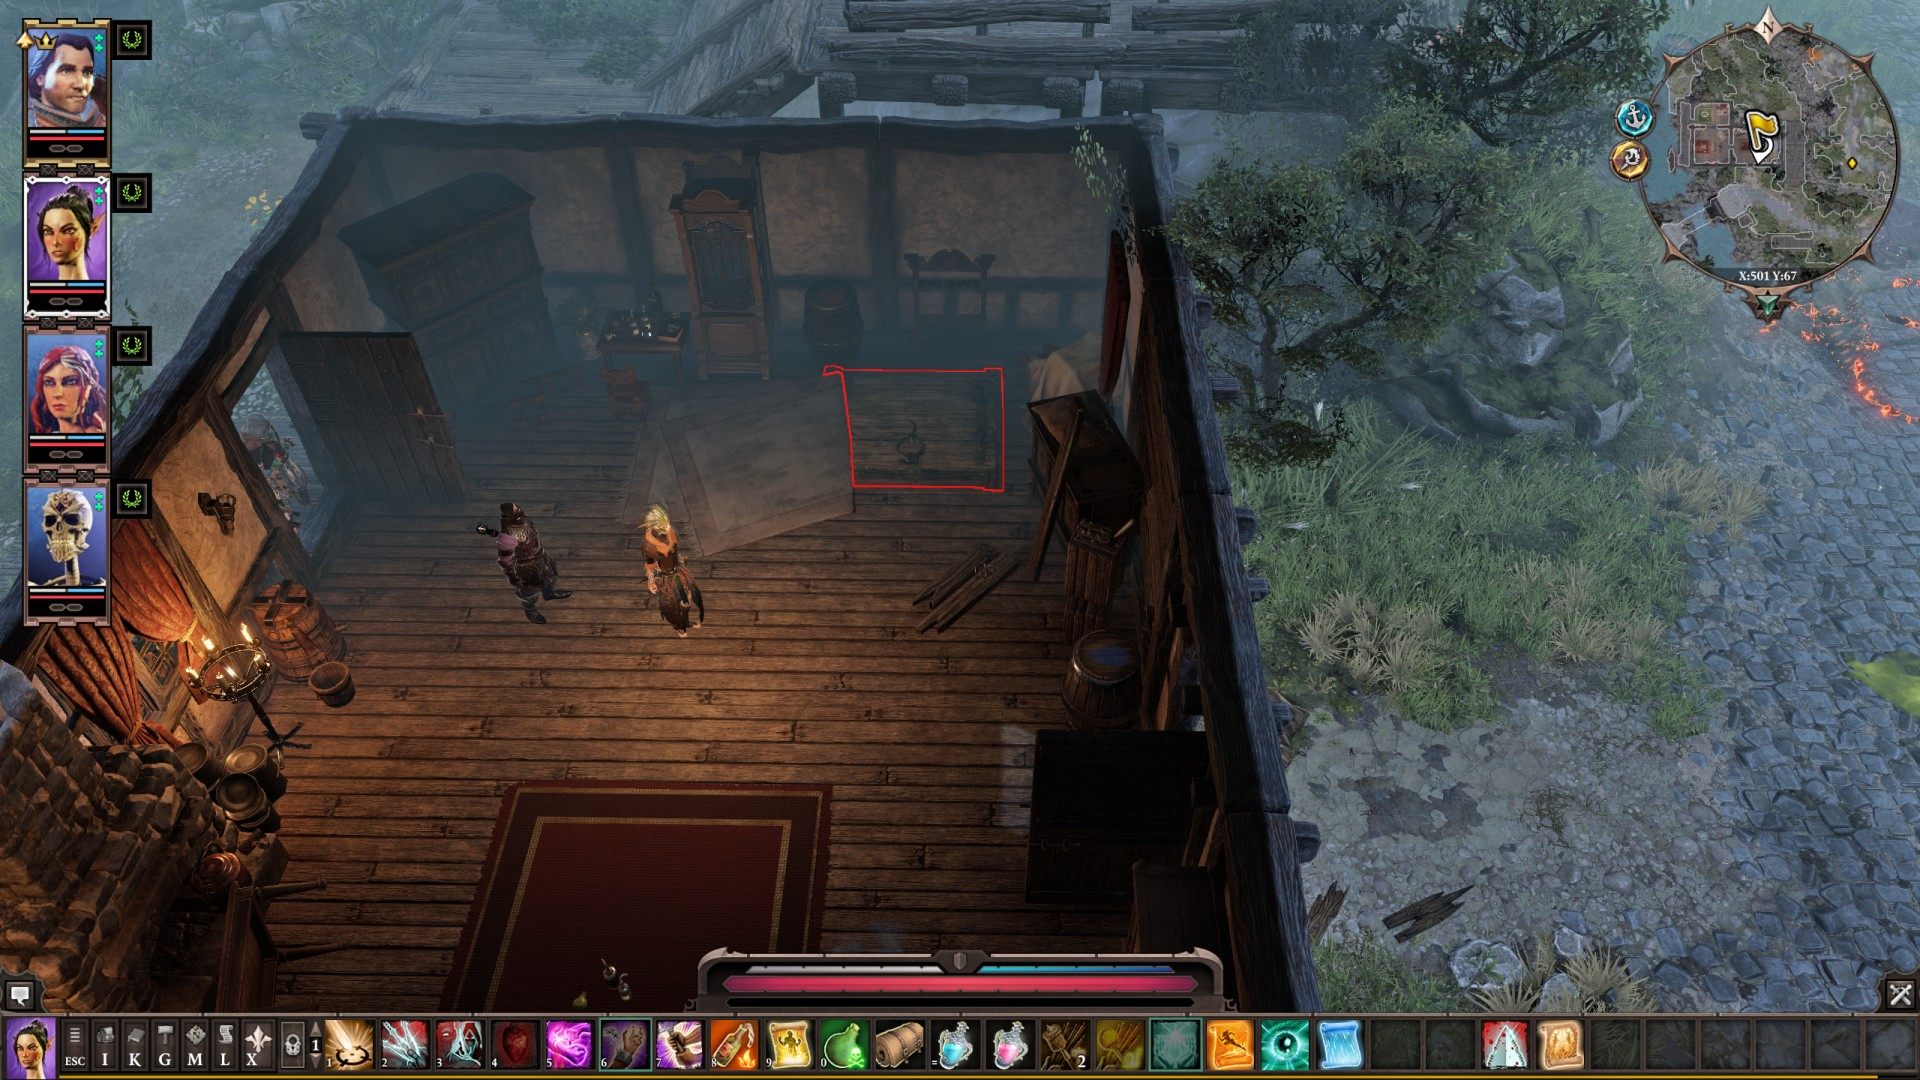
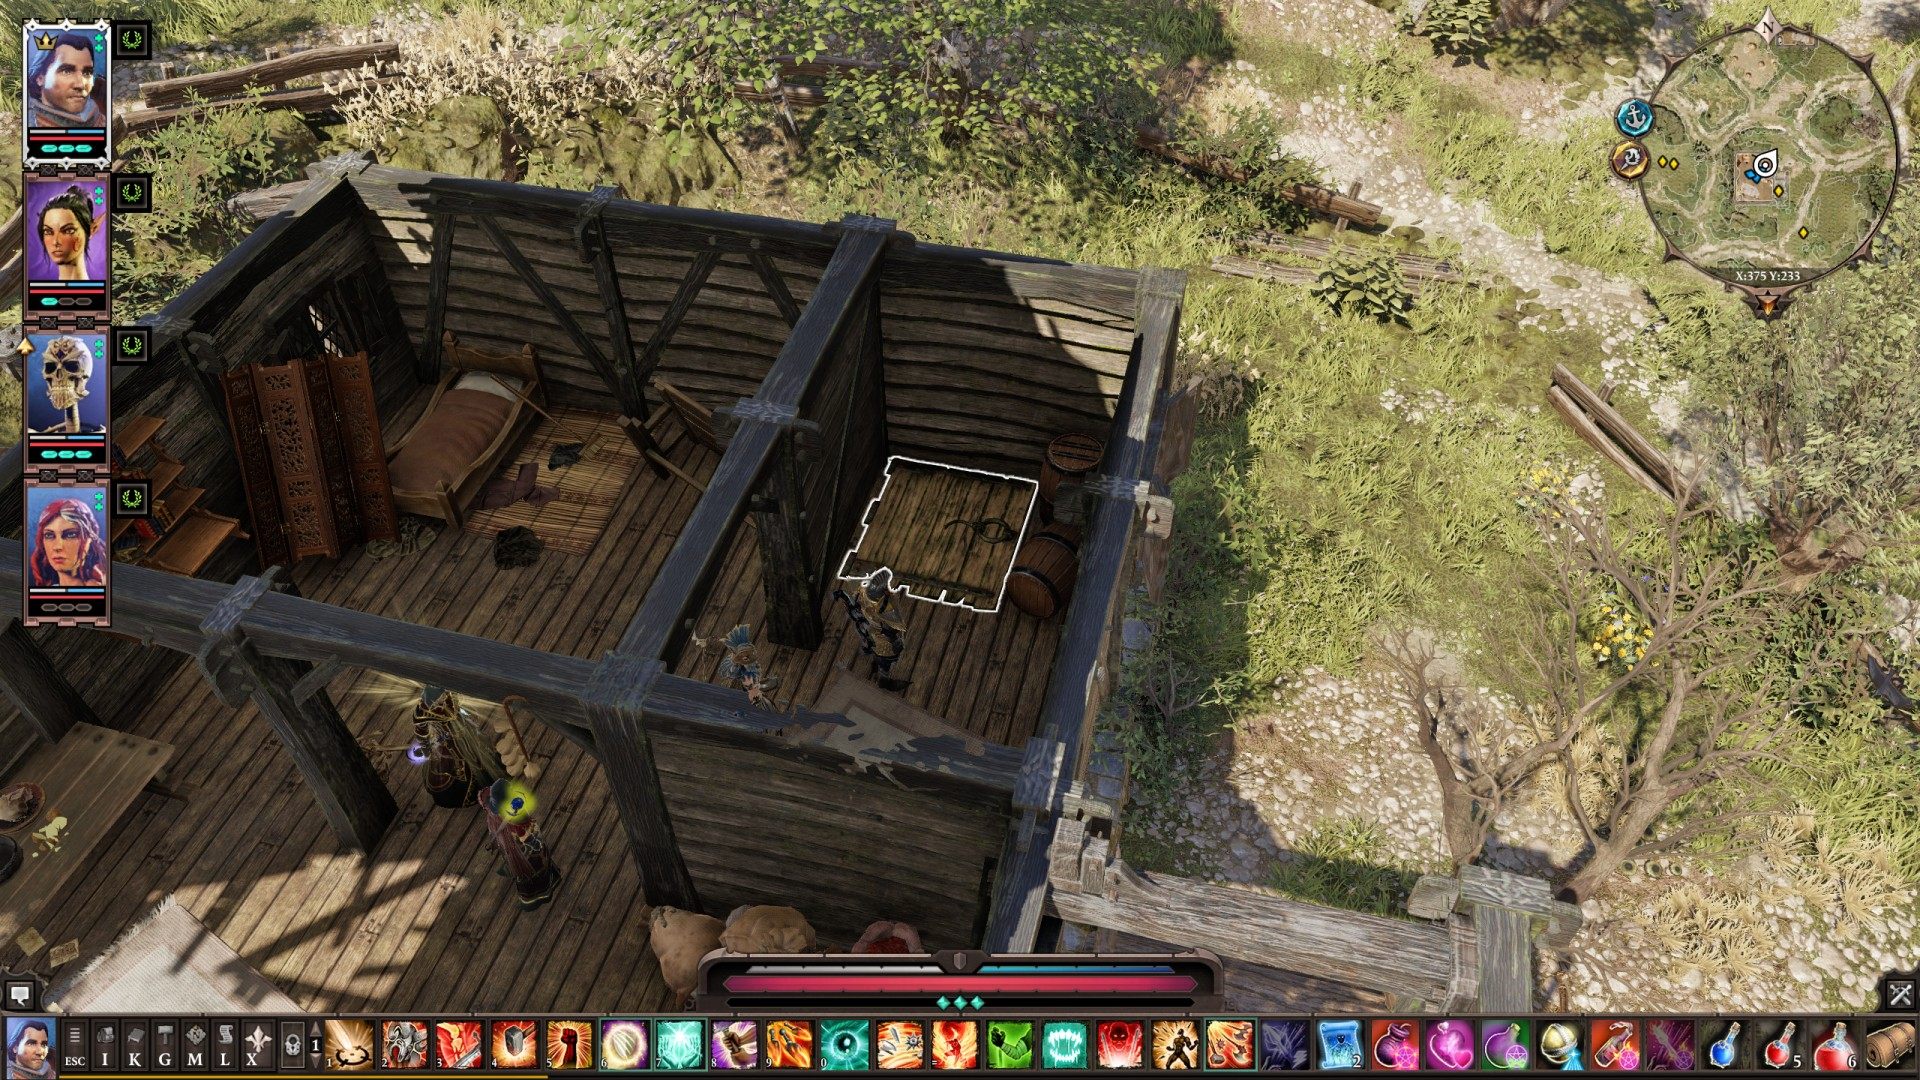
45To Bridge House Cellar
46To Bridge House Cellar
It's locked. It can by unlocked with Mari's Hatch Key.
47To Bridgekeepers' House
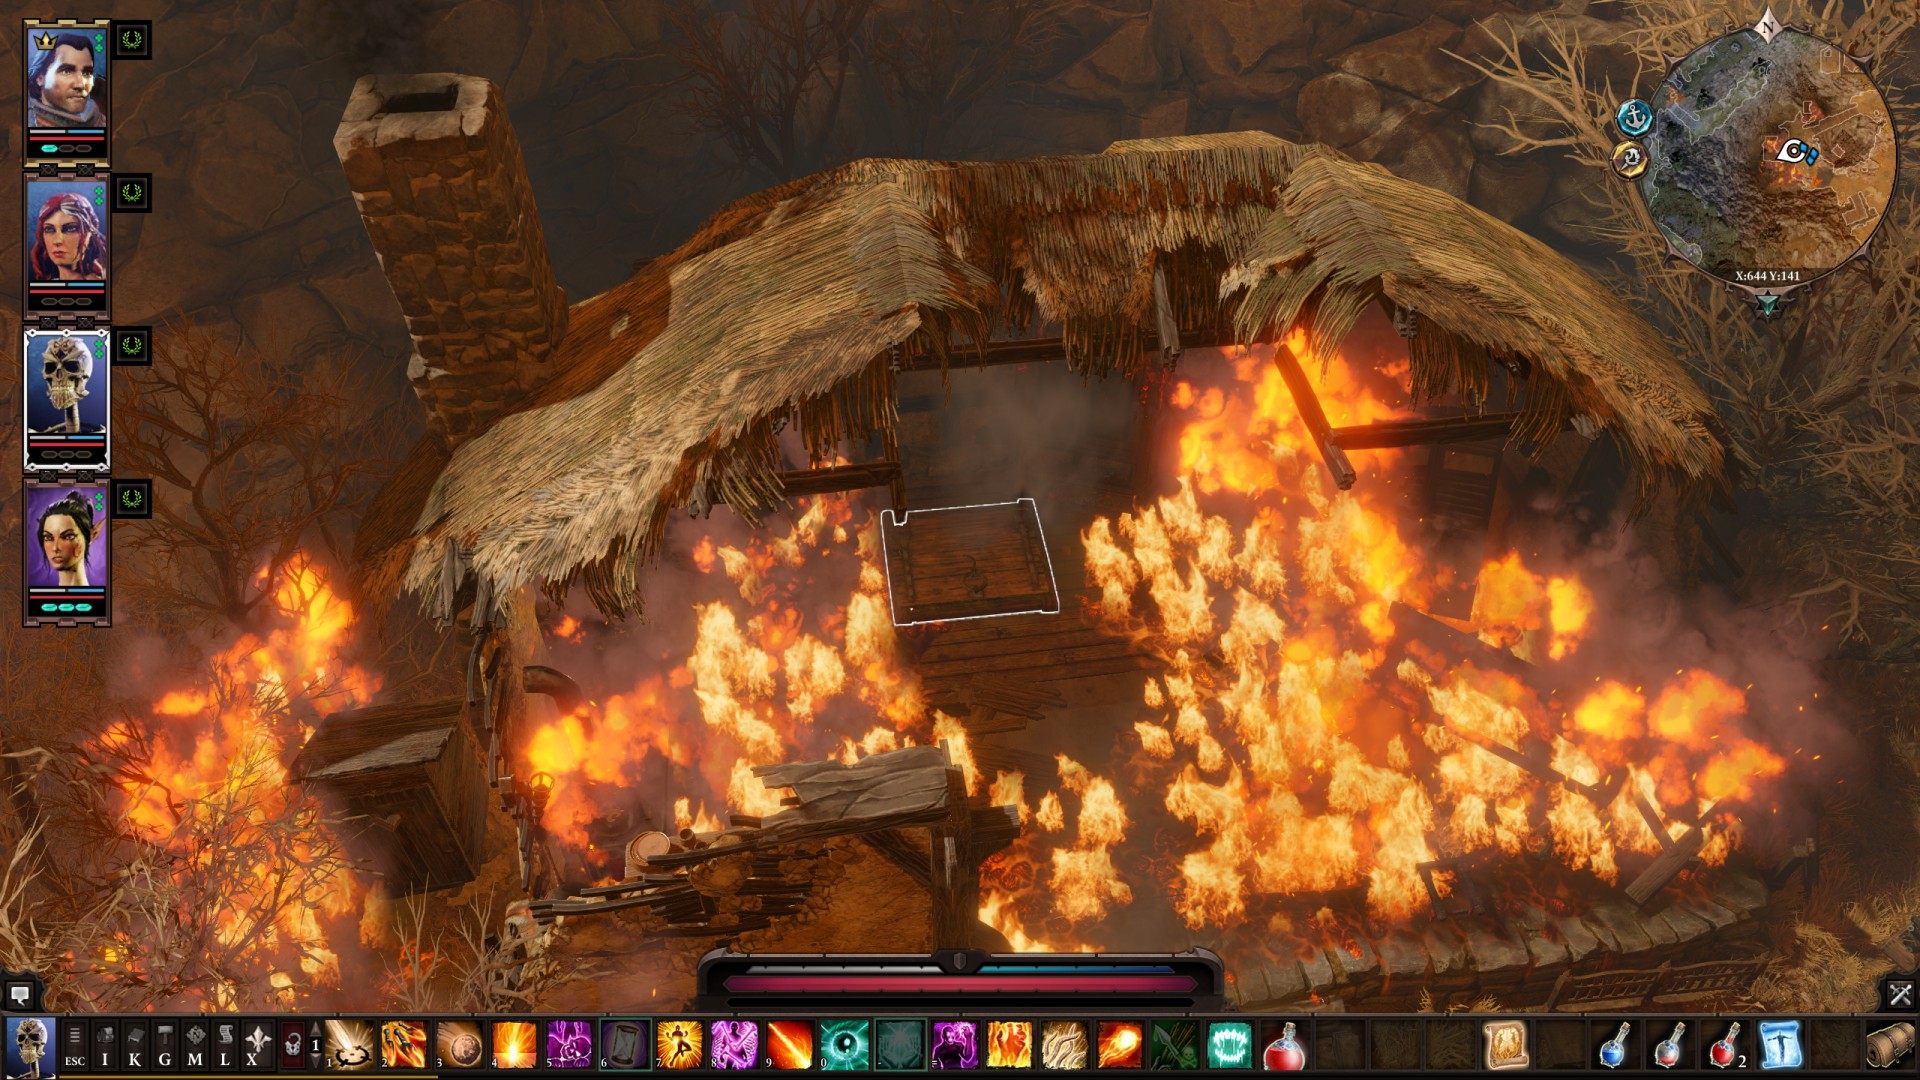
48To Burning House Cellar
Related quests: No Way Out
49To Cullwoods Mill - Ground Floor
50To Cullwoods Mill - Upper Floor
51To Driftwood Prison
52To Effie's Emporium
53To Fishworks Cellar
Locked (lock lvl 3). It can be unlocked with Putrid Key given by Brayton Barnes.
54To Gated Crypt
You have to kill Andras before you enter the crypt.
55To Healer's House Cellar
56To Lich Crypt
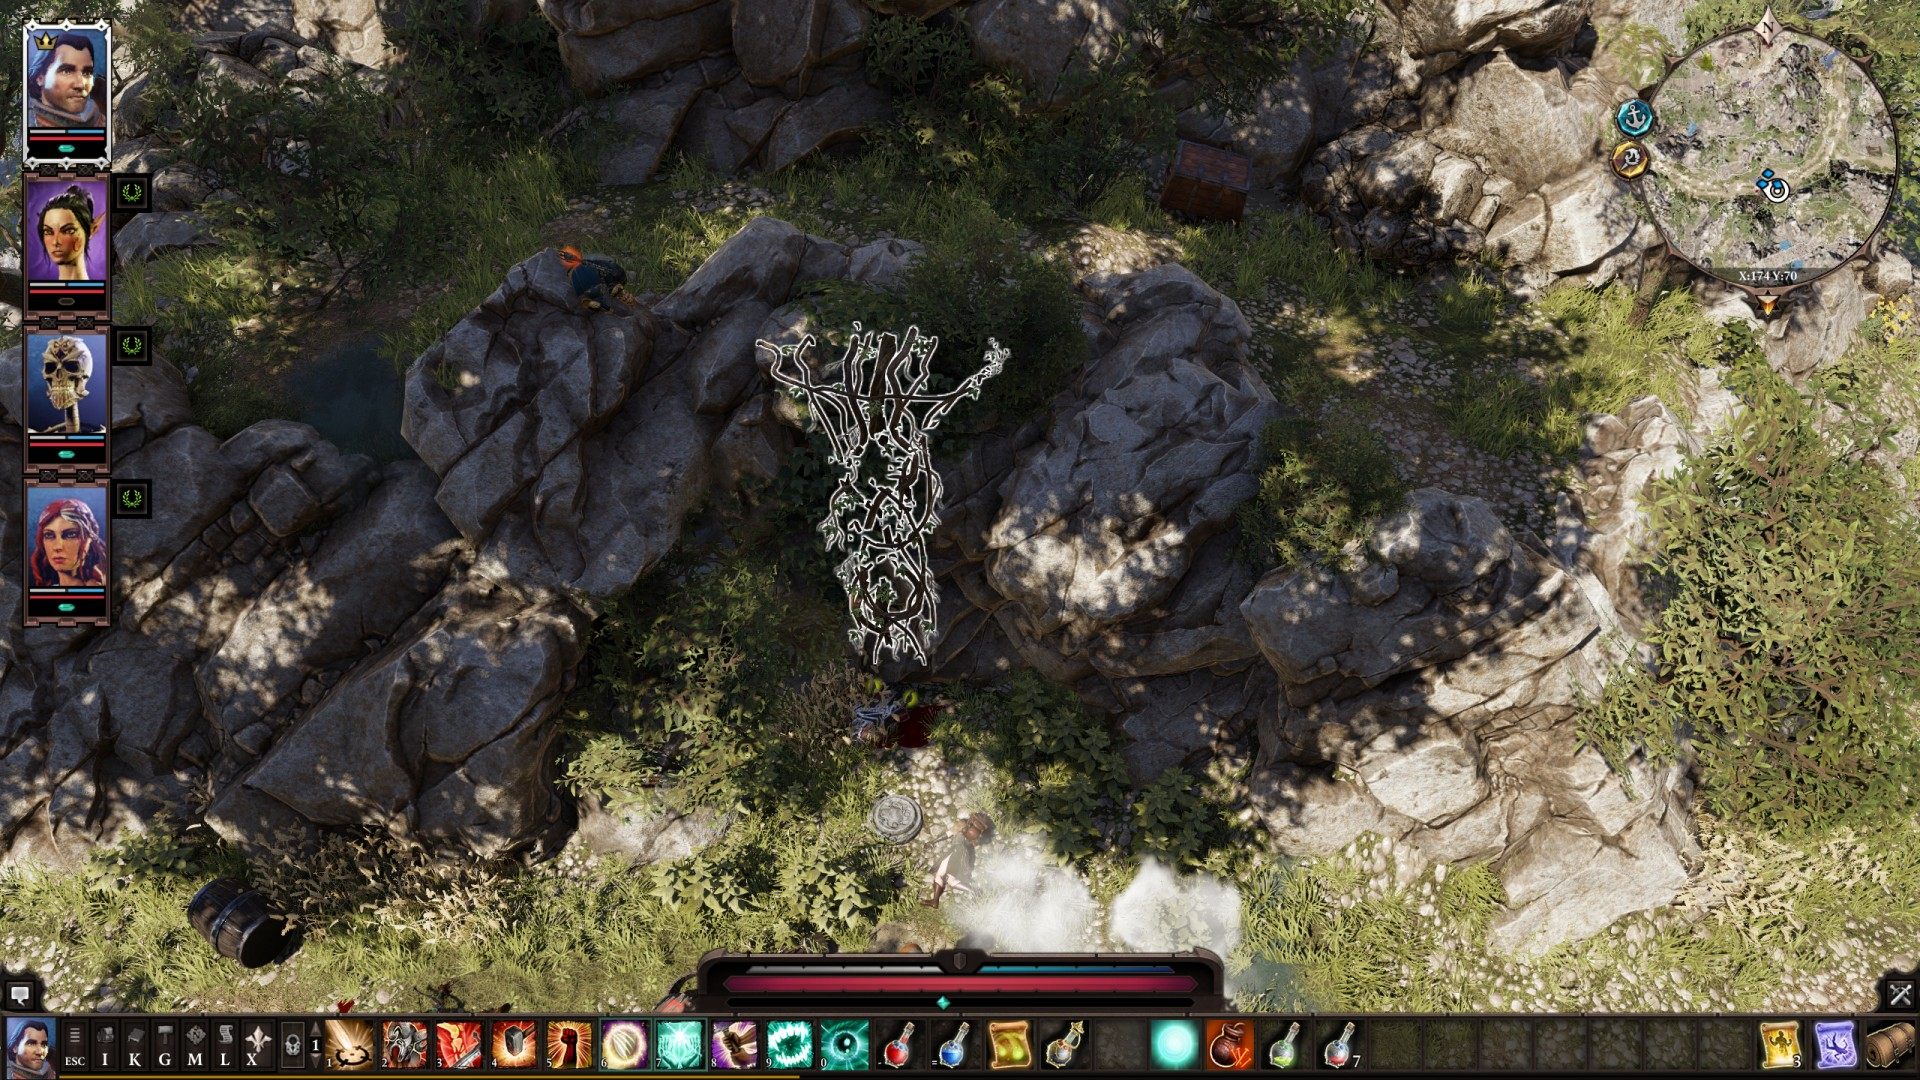
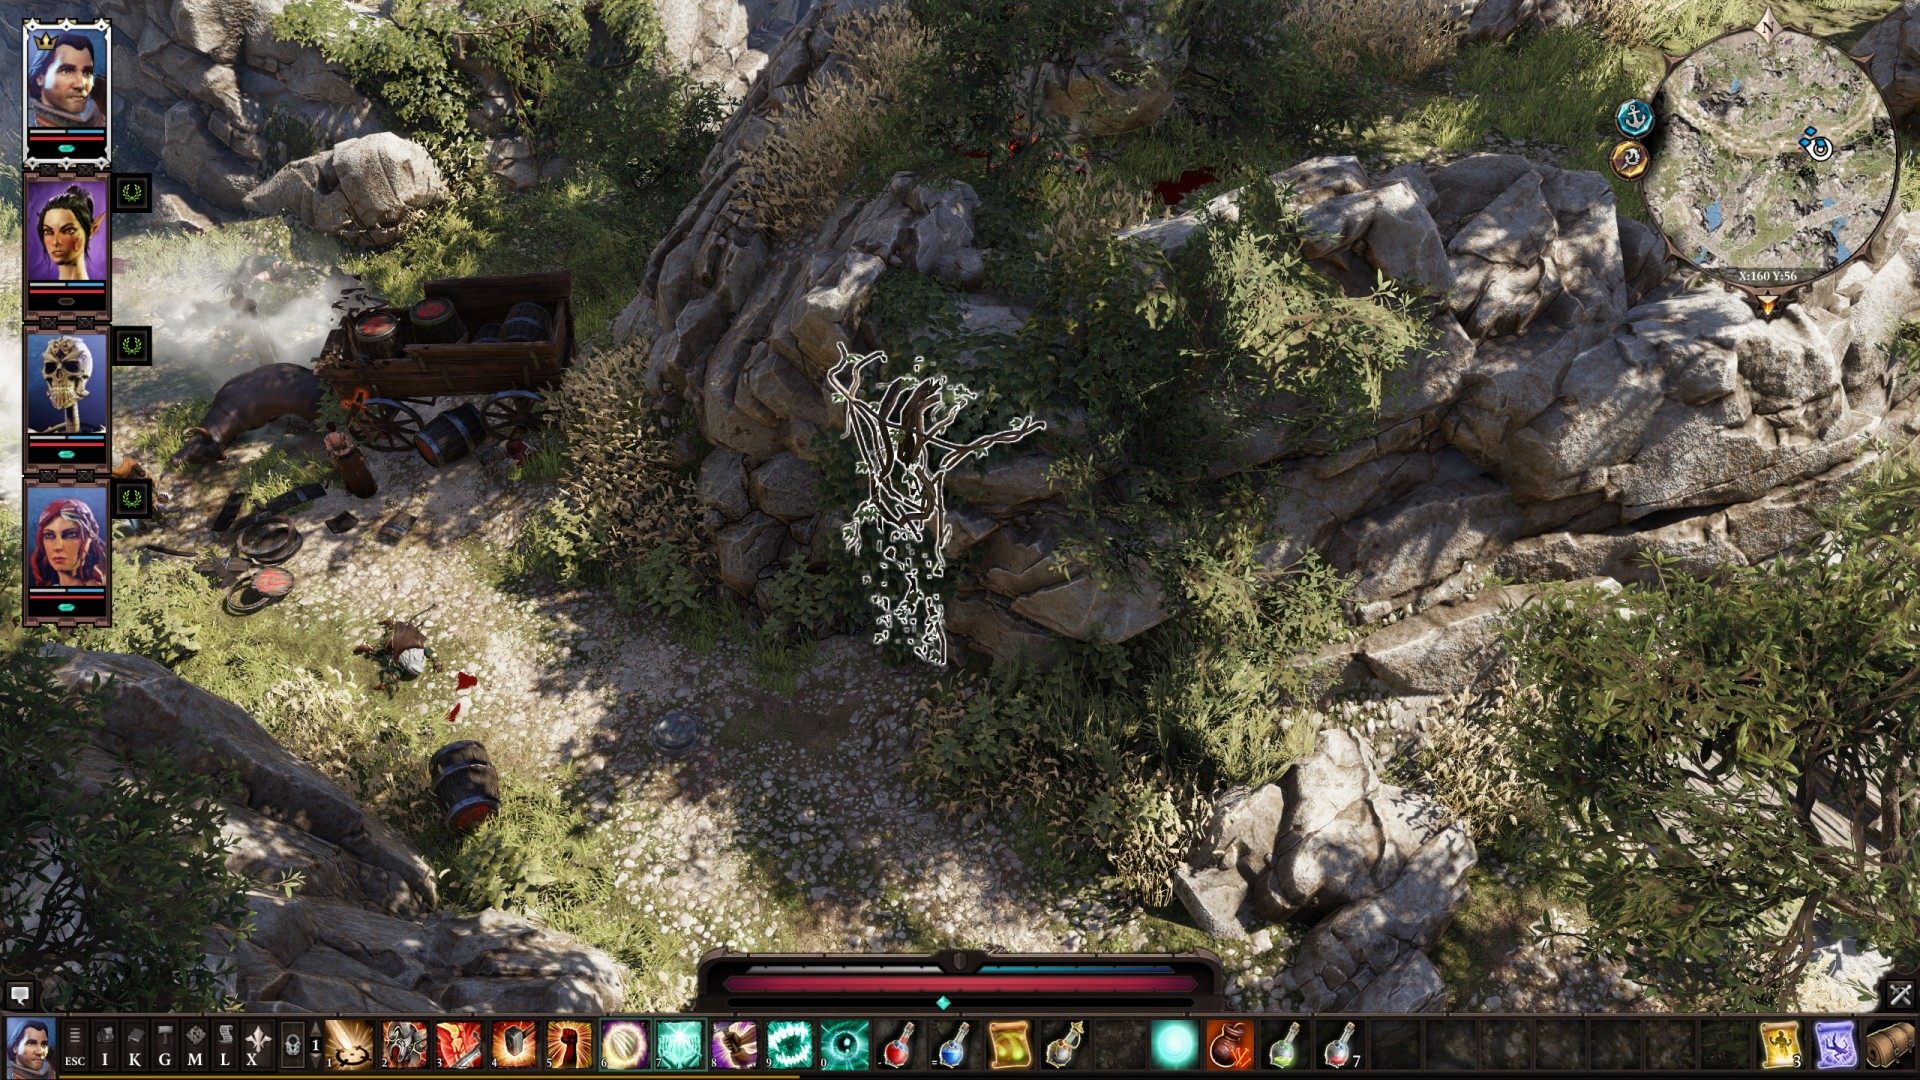
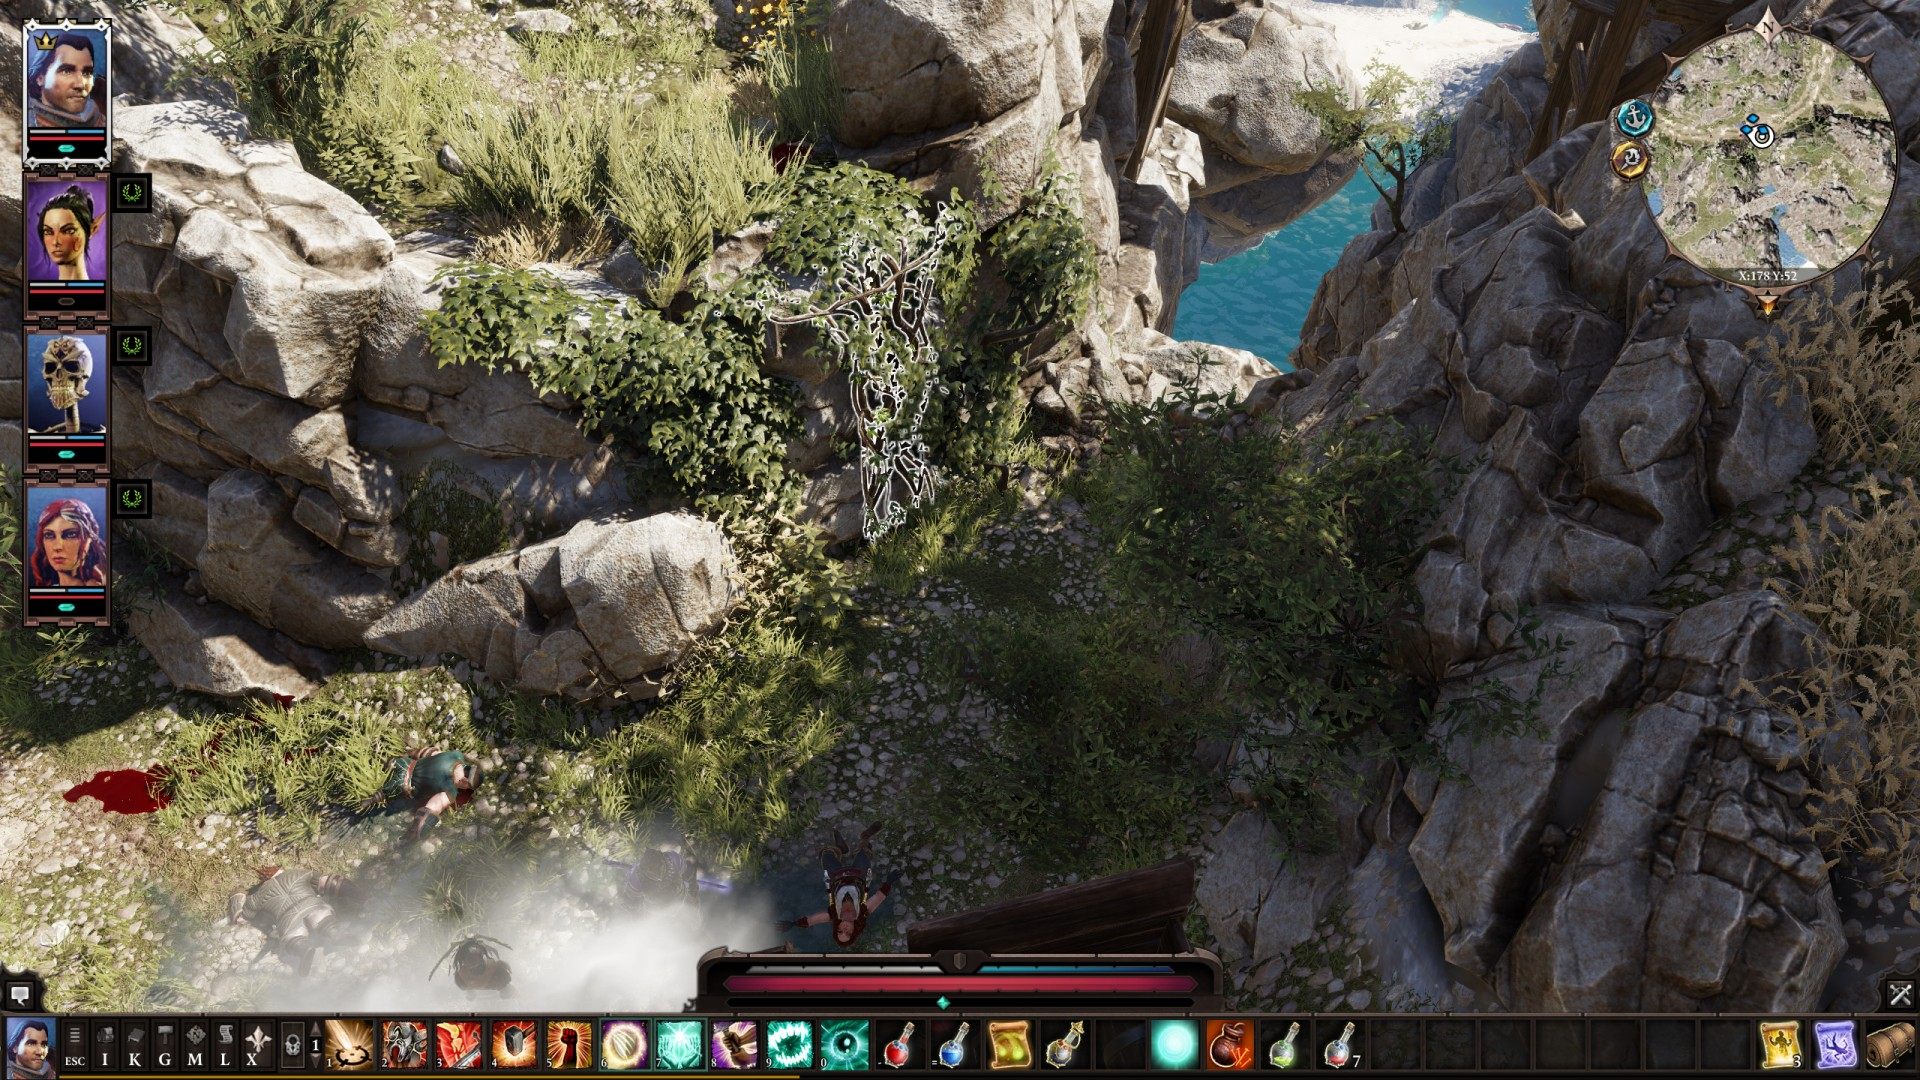
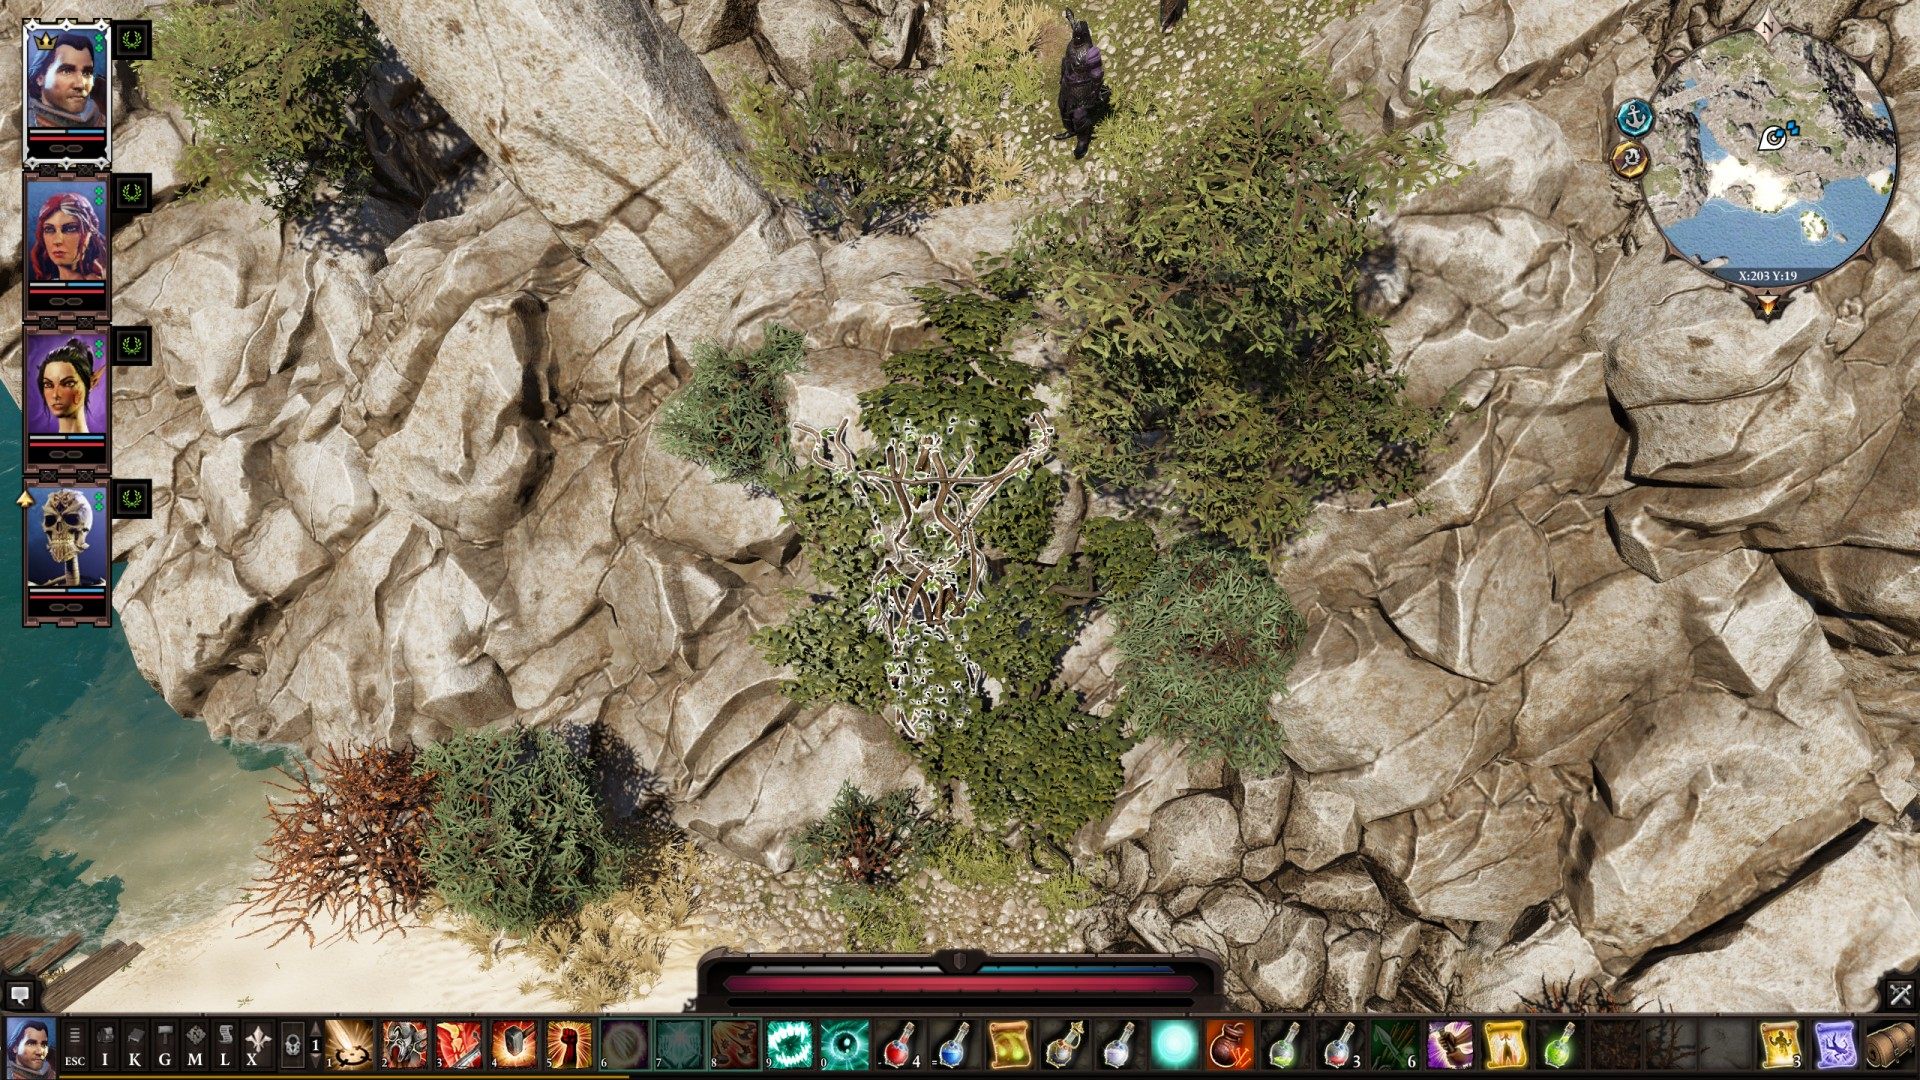
57To Lower Level
58To Mordus' Cave
59To Ryker's Rest
60To Ryker's Rest - Cellar

61To Ryker's Rest - Ground Floor
62To Ryker's Rest - Private Chambers
63To Ryker's Rest - Upper Floor
64To Secret Mordus' Cave
You need Mordus' Amulet to open it.
65To Shadowed Tomb / Charnel House
It's locked but you can kill Qanna and take Shadowed Tomb Key from her corpse.
66To Small Cave

67To Surrey Family Crypt
Related quests: All in the Family
Use three switches to move the tomb and to uncover it.
68To the Archive
Related quests: All in the Family, The Secrets of Bloodmoon Island, The Druid
It's hidden / buried. You need 22 Wits to see it.
69To the Treasury of the One
It can be unlocked with Driftwood Arena Champion Key (The Driftwood Arena quest reward).
70To the Witch House Cellar
It's locked (lock lvl 4). It can be unlocked with Witch's Cellar Key which drops from Corpse of Alice Alisceon (lvl 15).
71To the wreck of the Peacemaker
72To Upper Level
73To Wreckers' Cave

74Tunnel
75Tunnel
76Underground Tunnel A
77Underground Tunnel A
The entrance is buried.
78Underground Tunnel B Entrance
It's hidden. Come close to uncover it and dig here.
79Underground Tunnel B Exit
80Vault - Right (Entrance/Exit)
81Vines
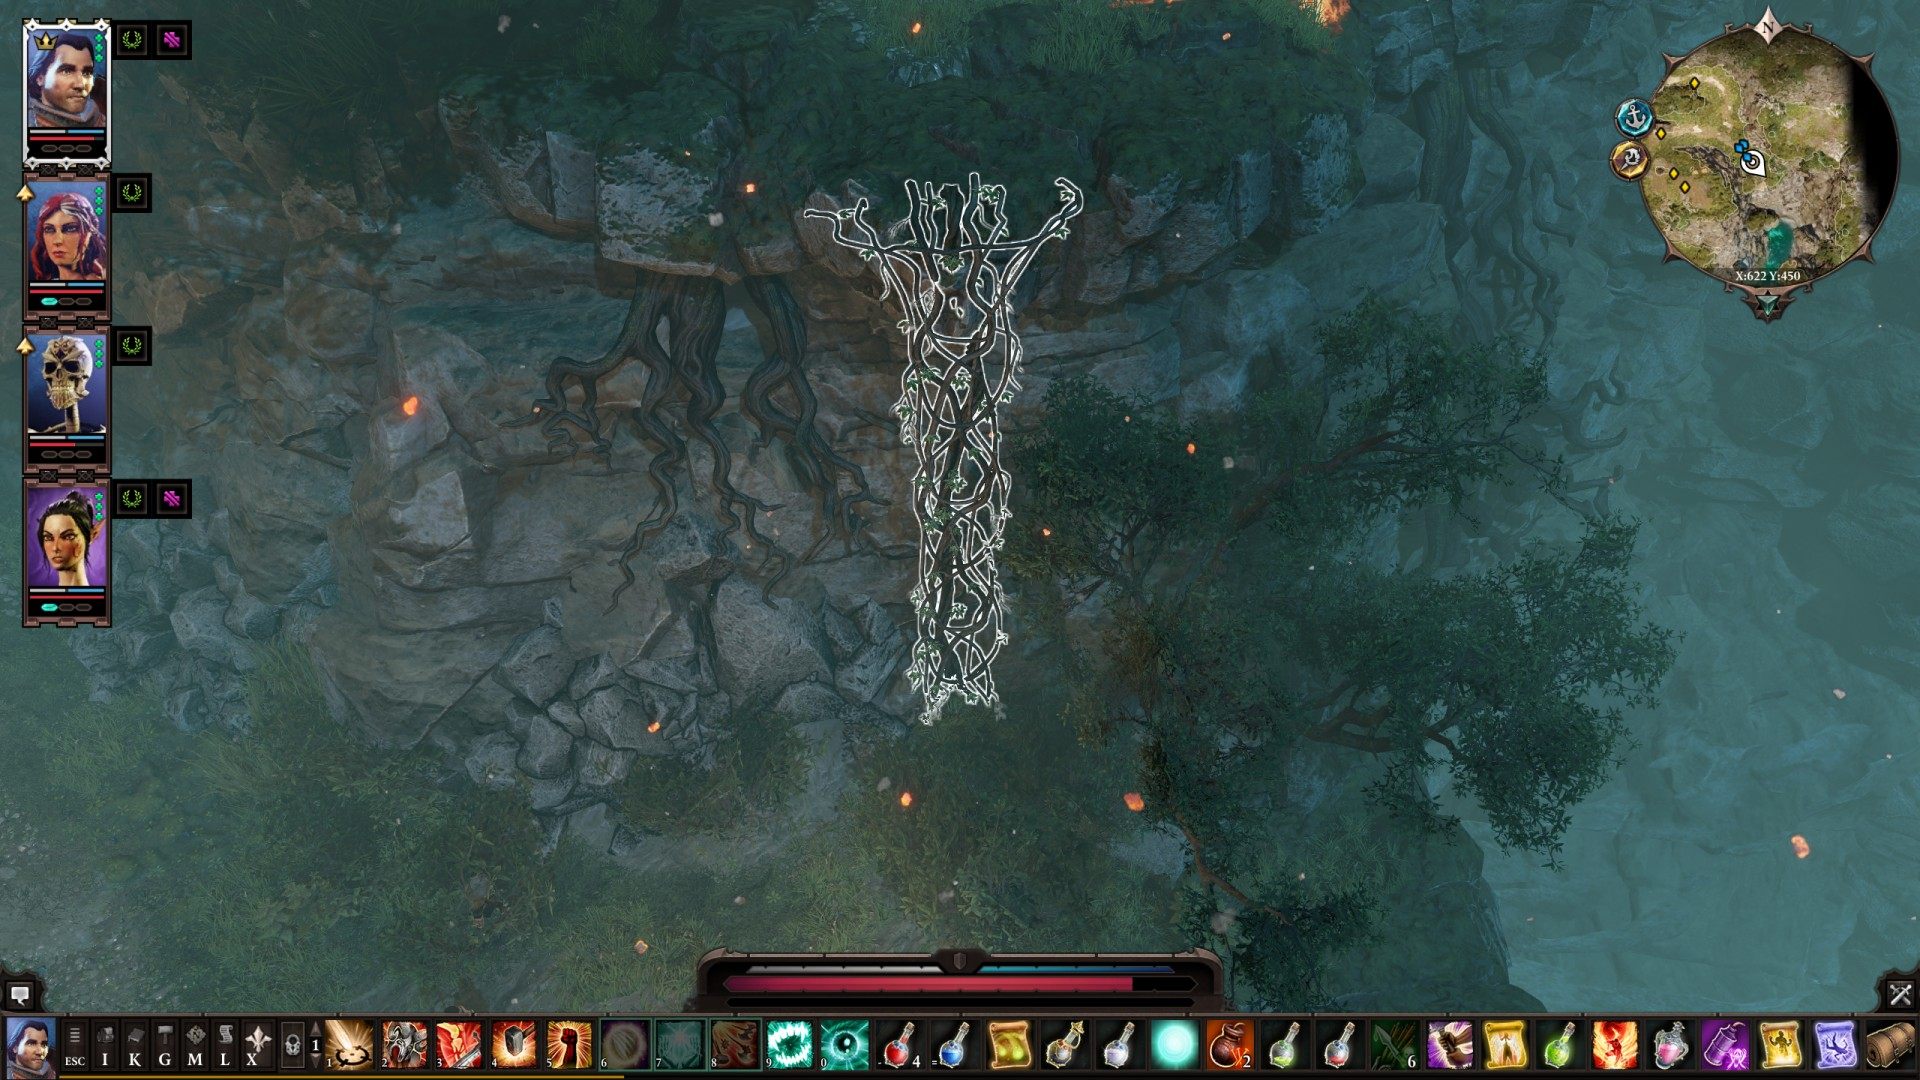
82Vines
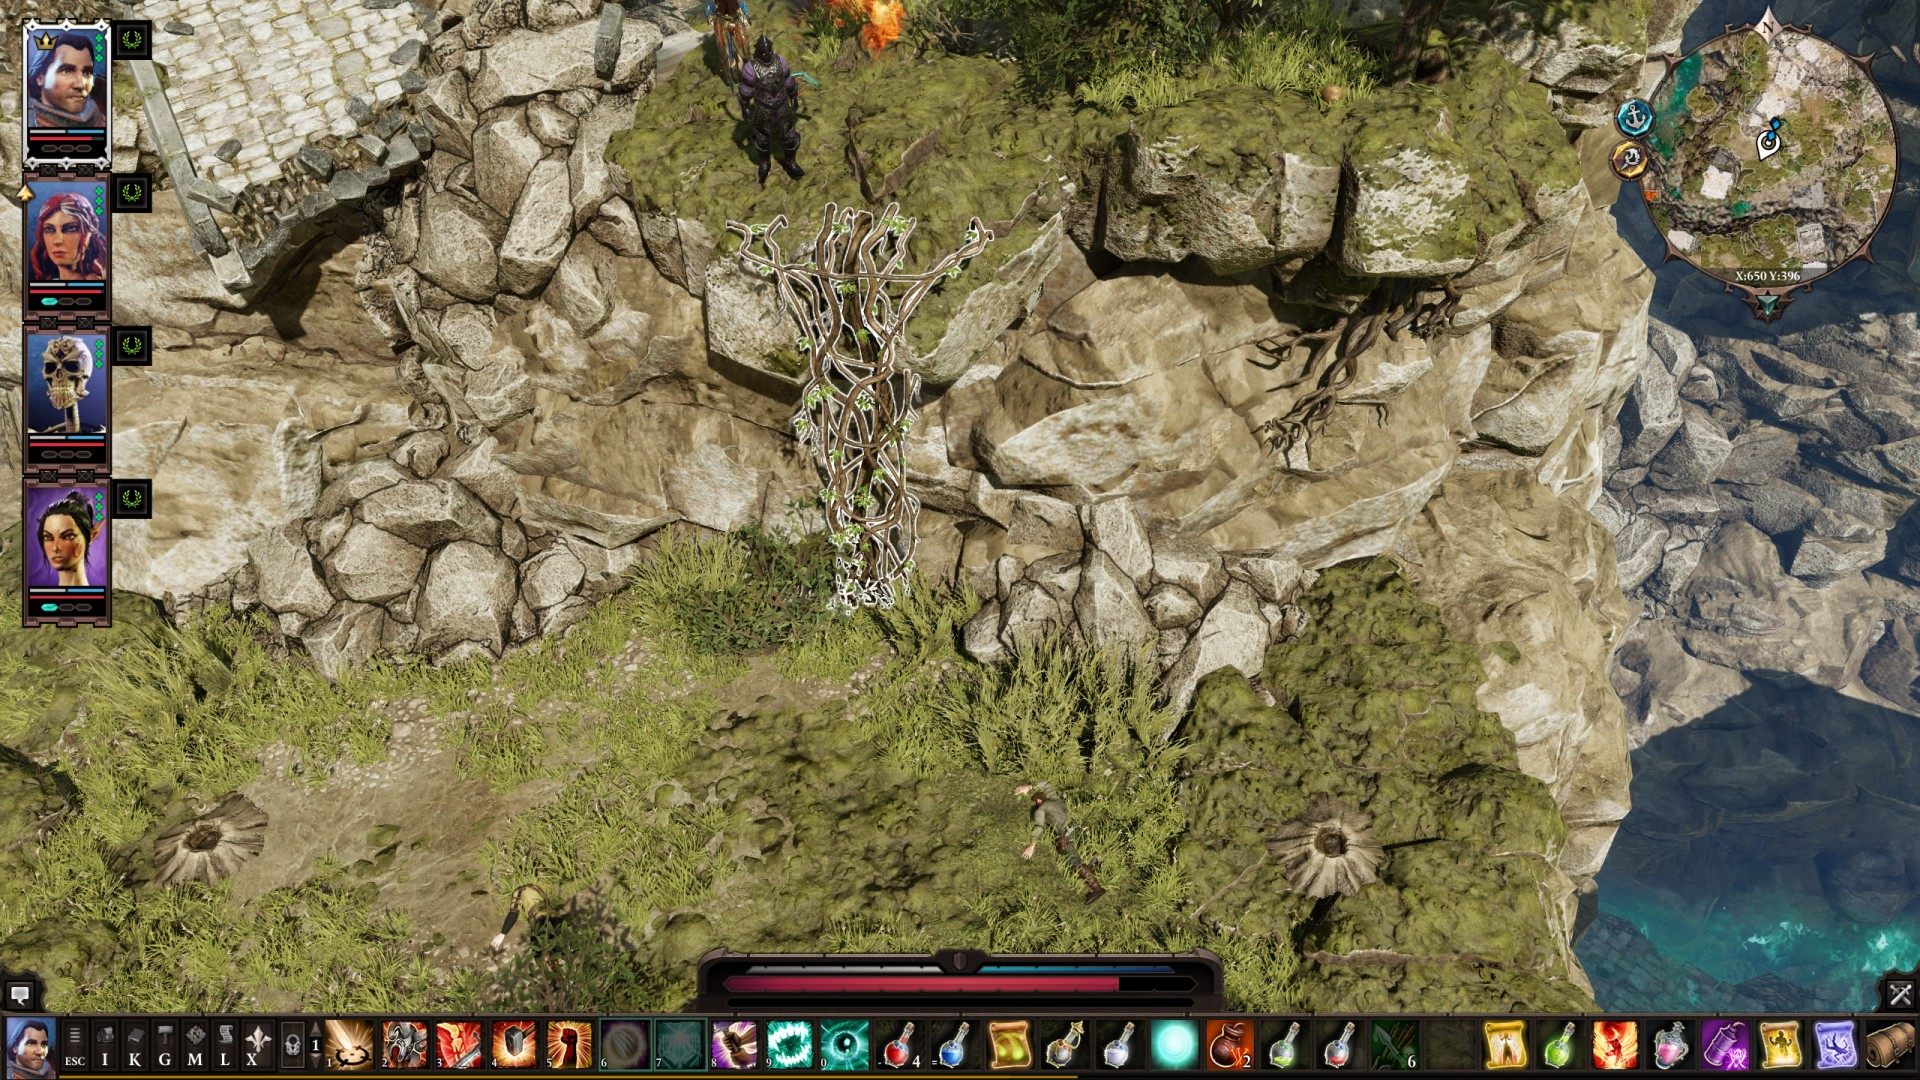
83Vines
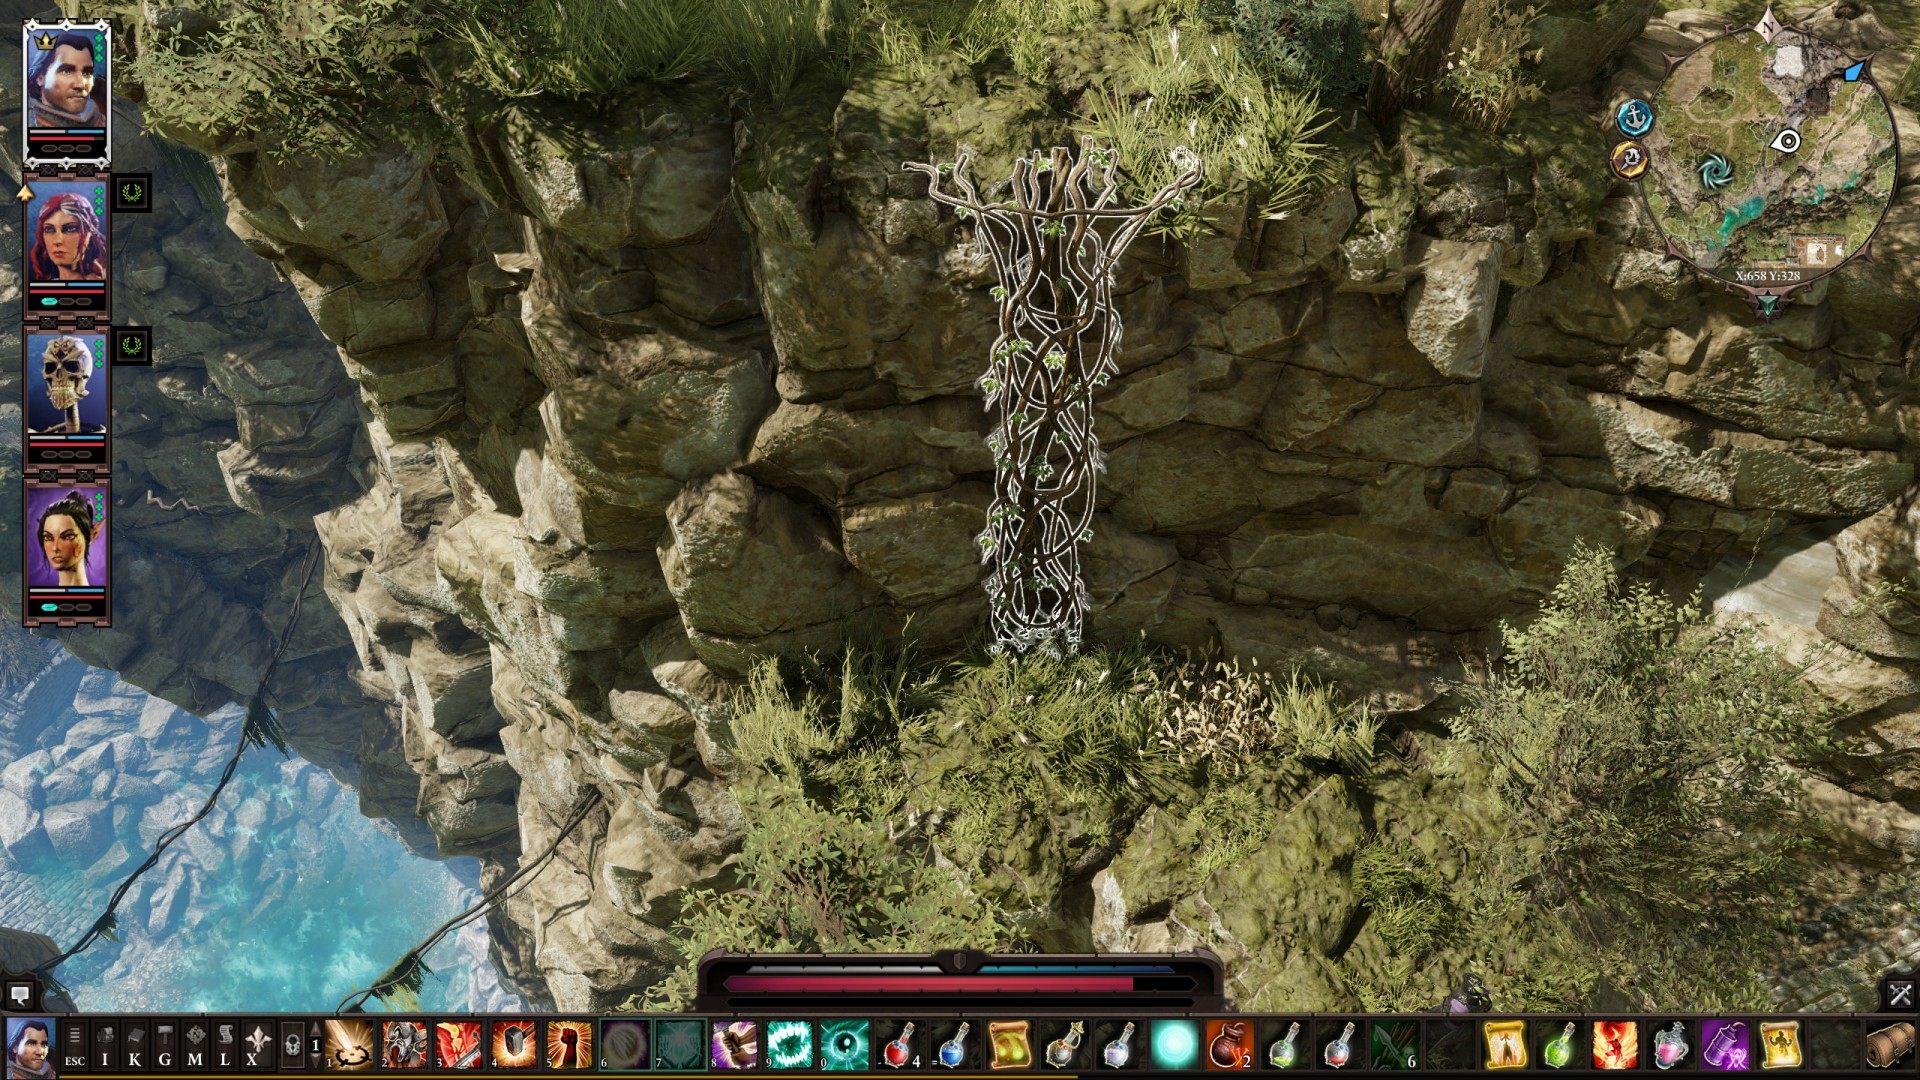
84Vines
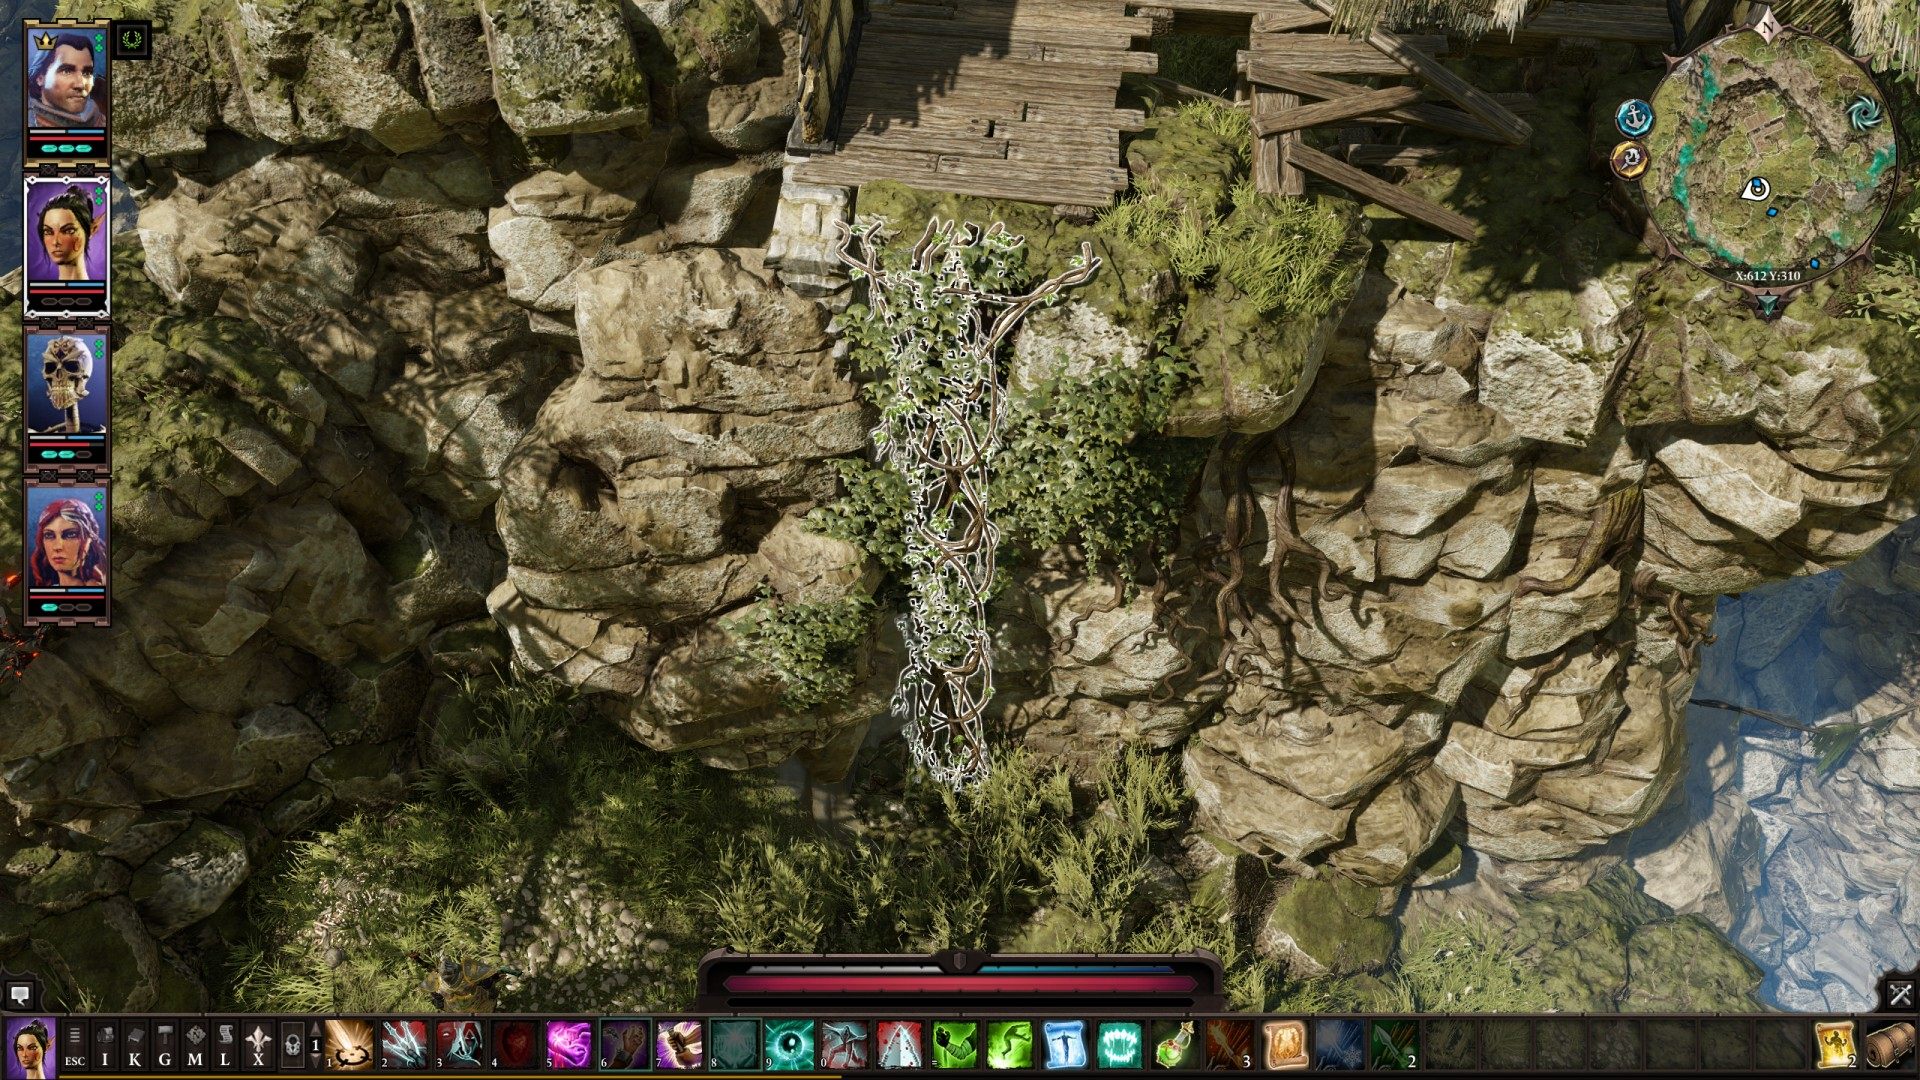
85Vines
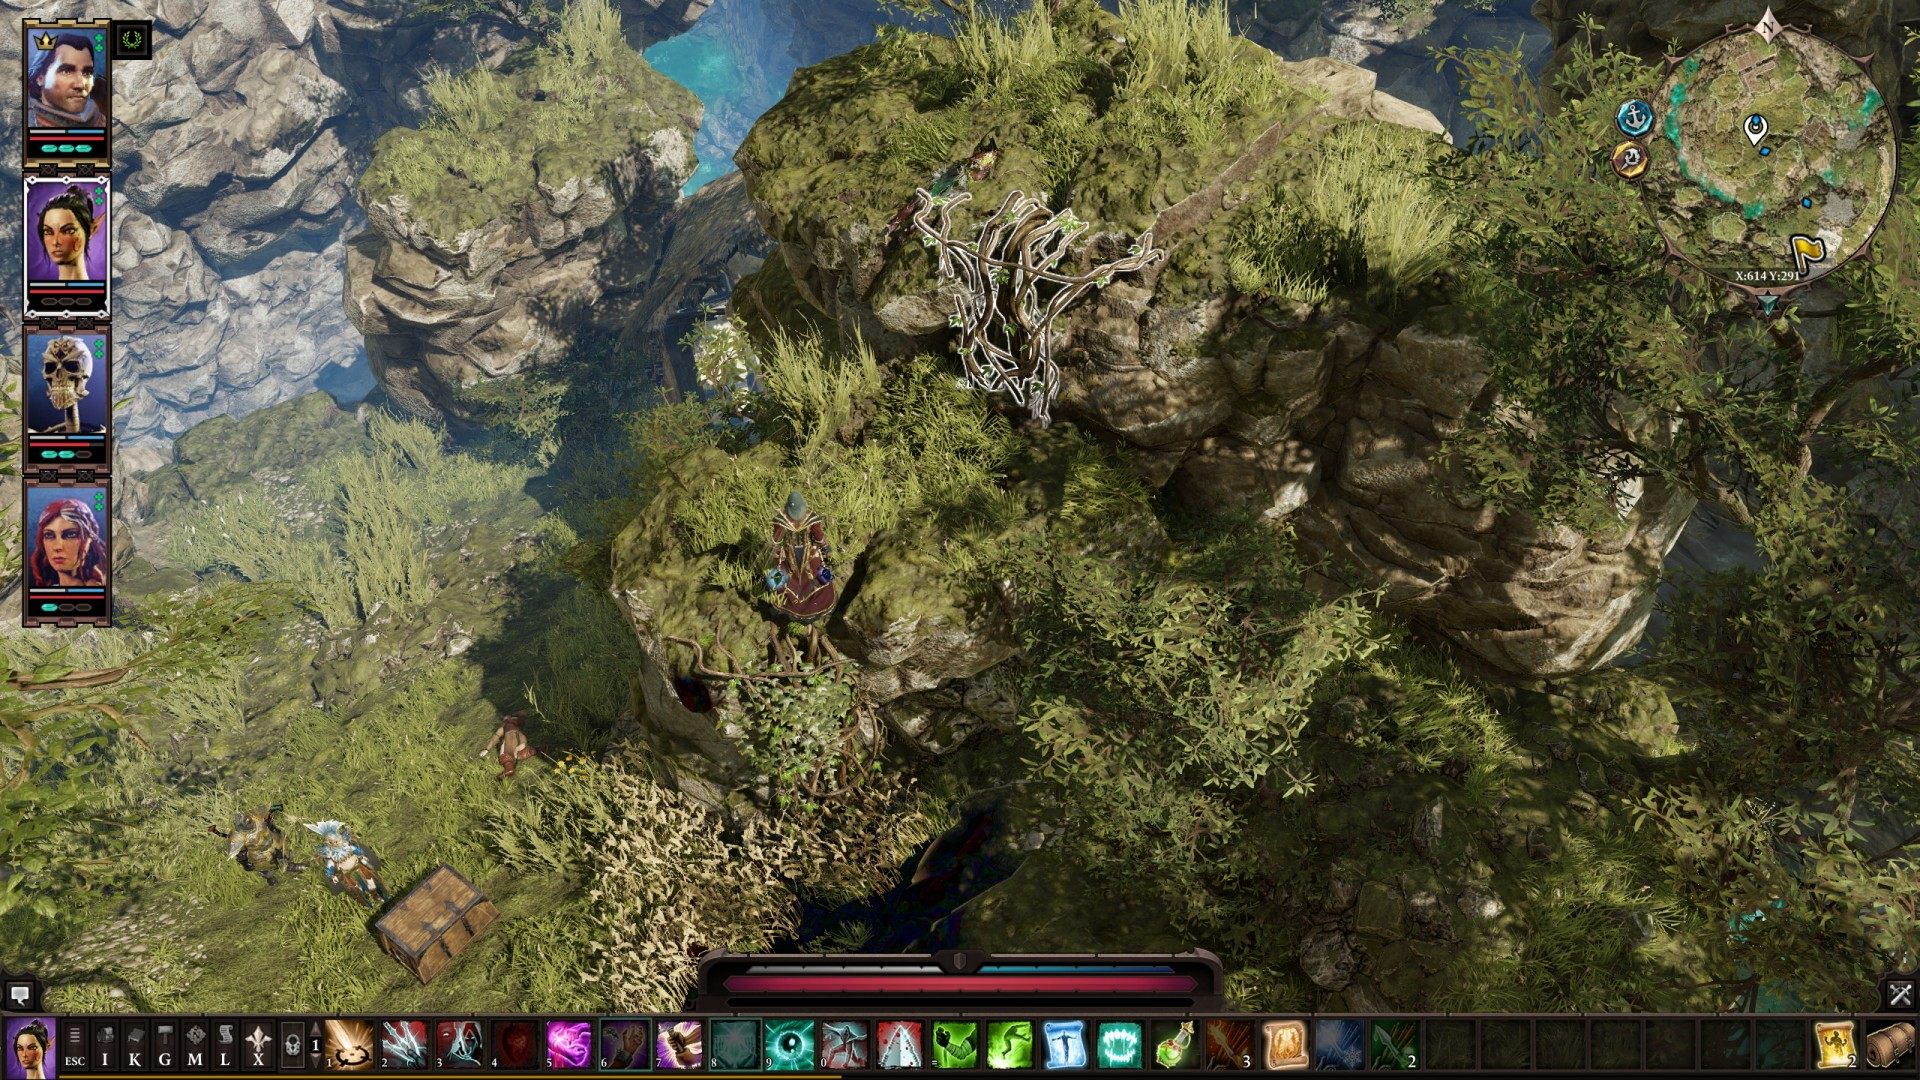
86Vines
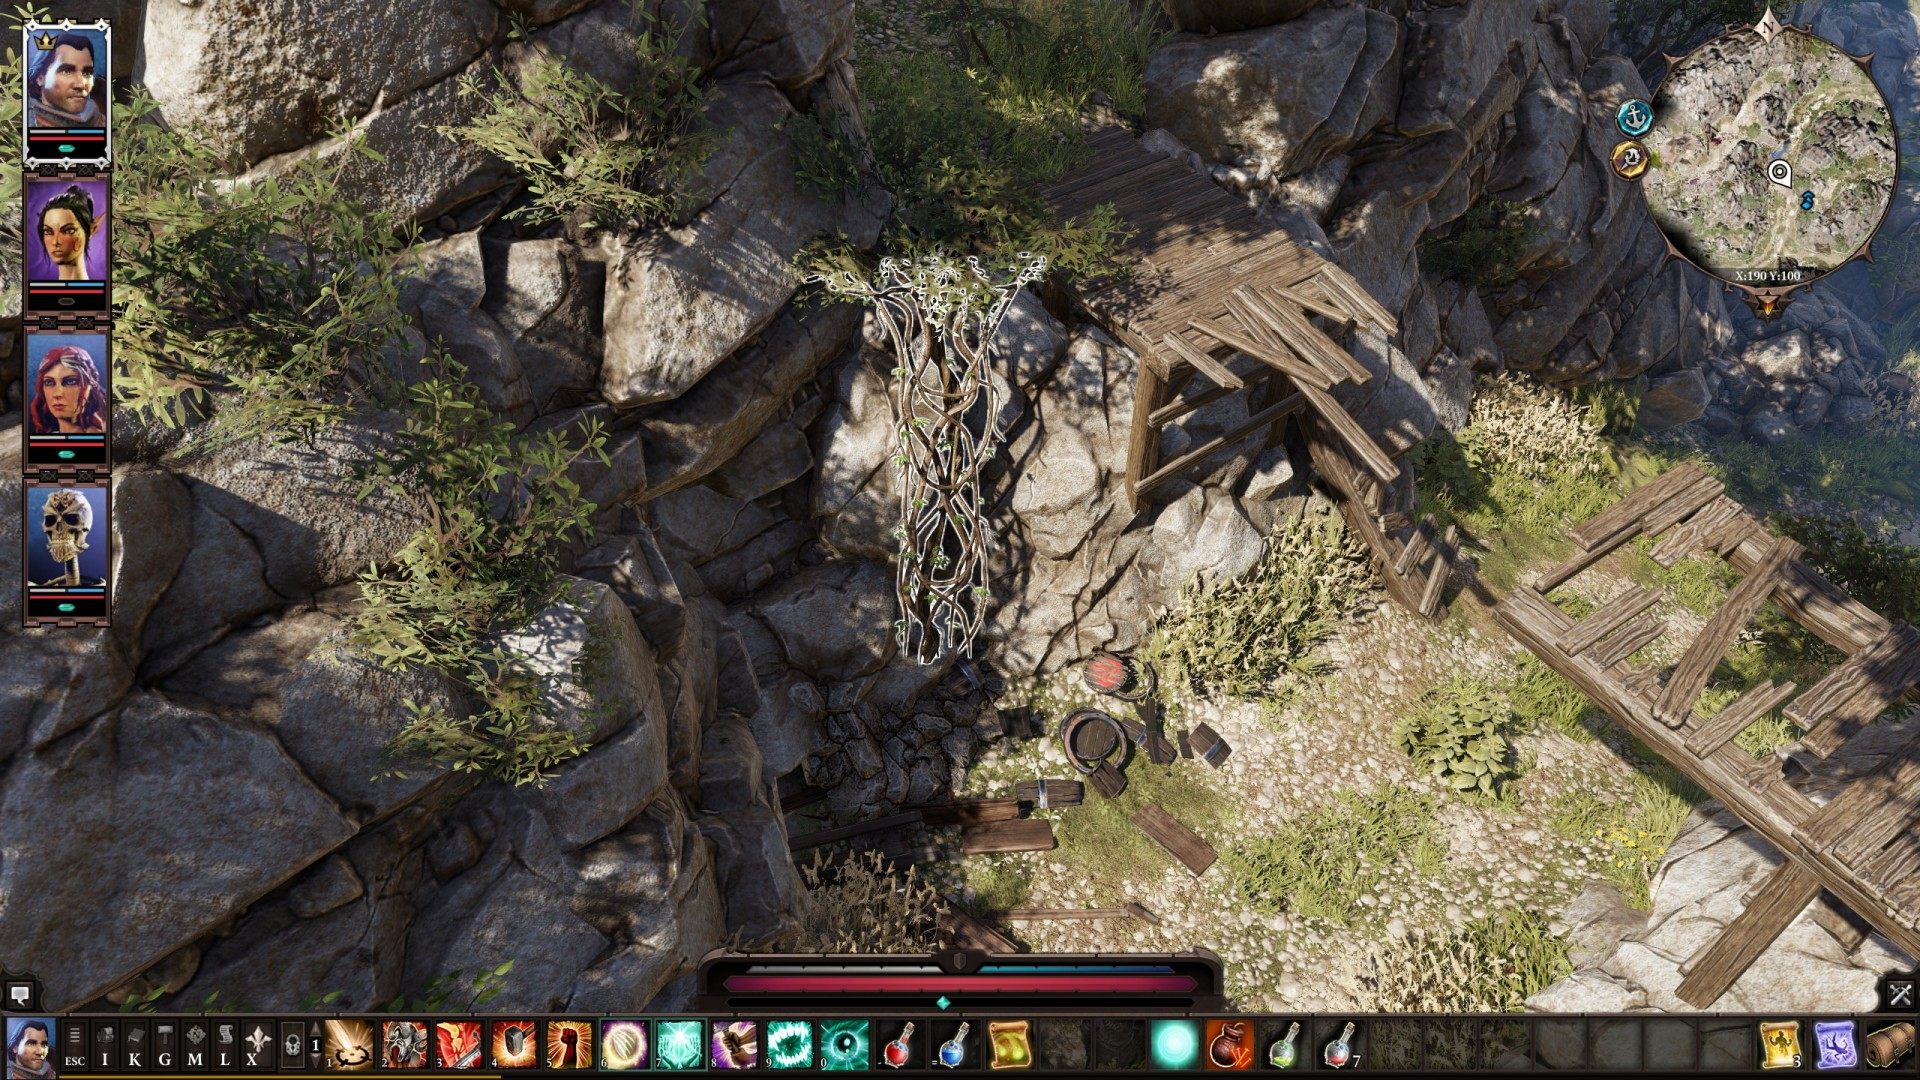
87Vines
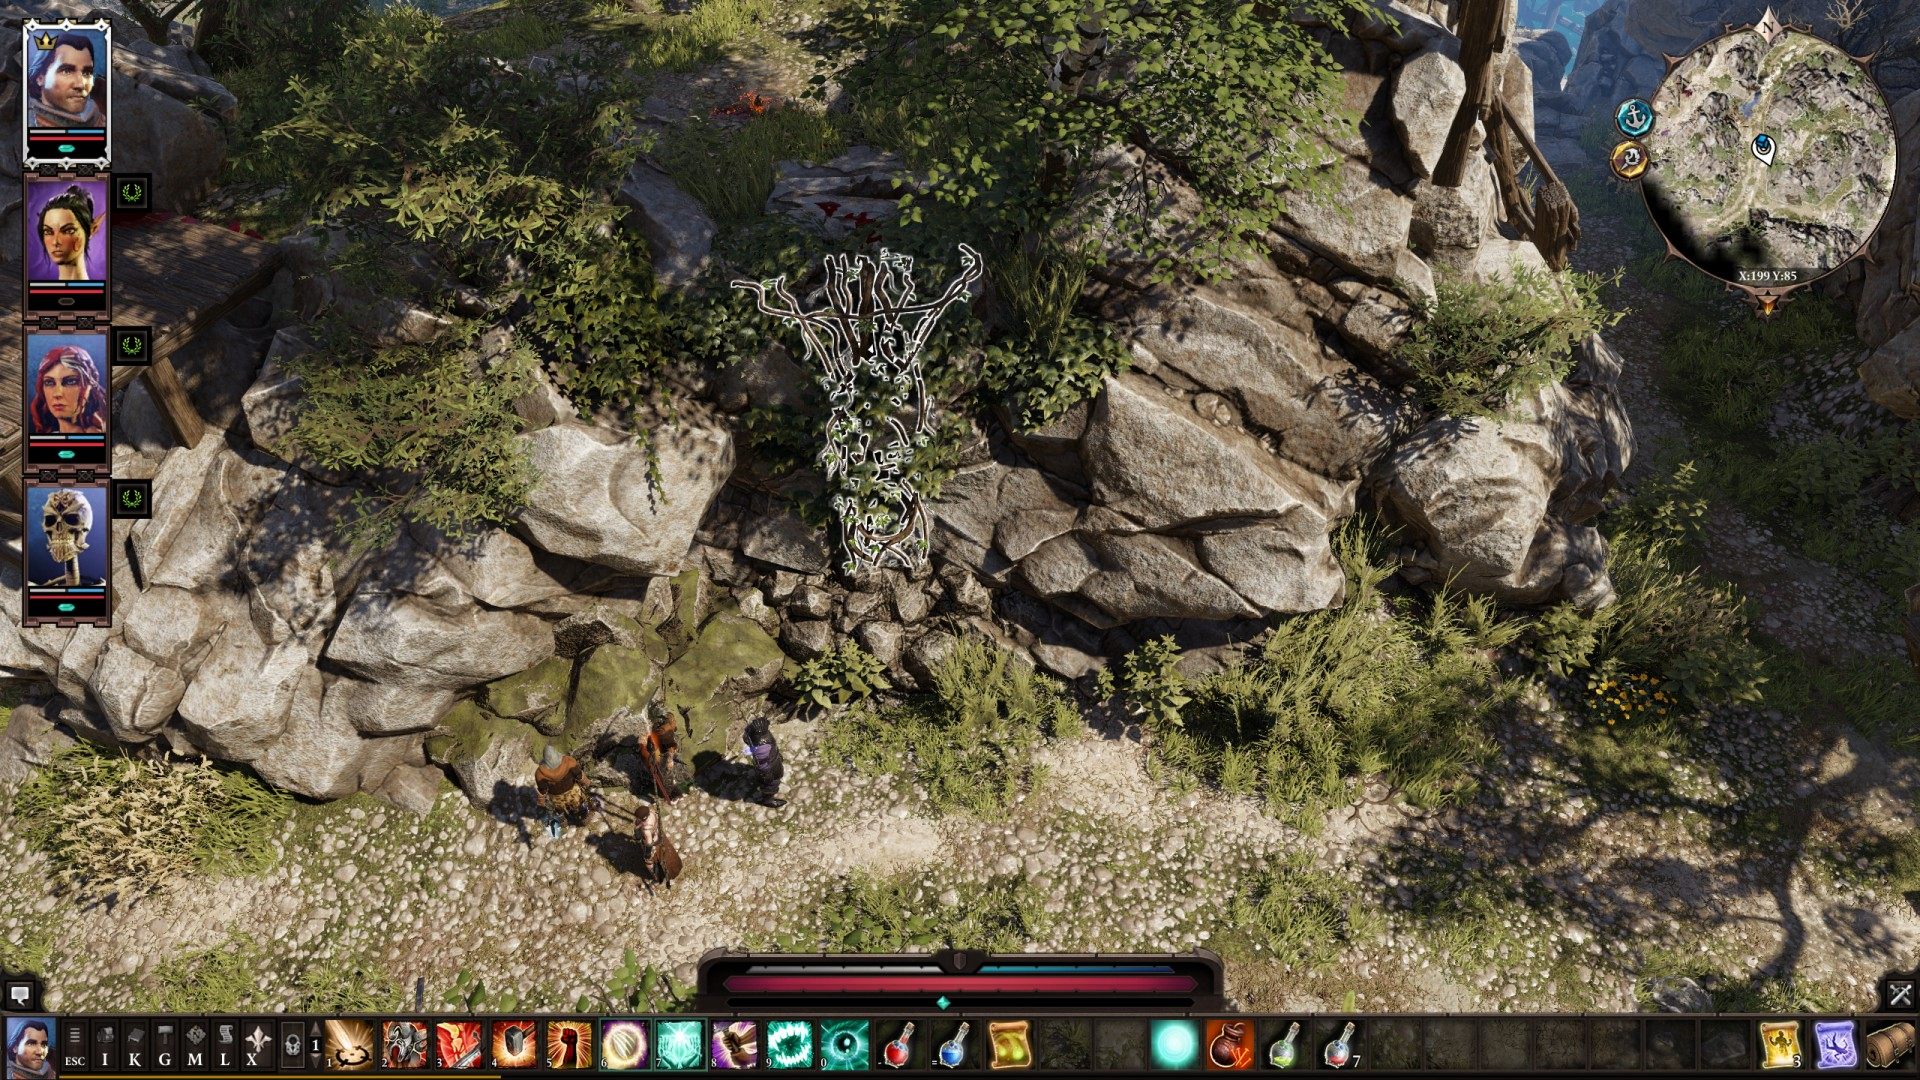
88Vines
89Vines
90Vines
91Vines
92Wreck of the Peacemaker
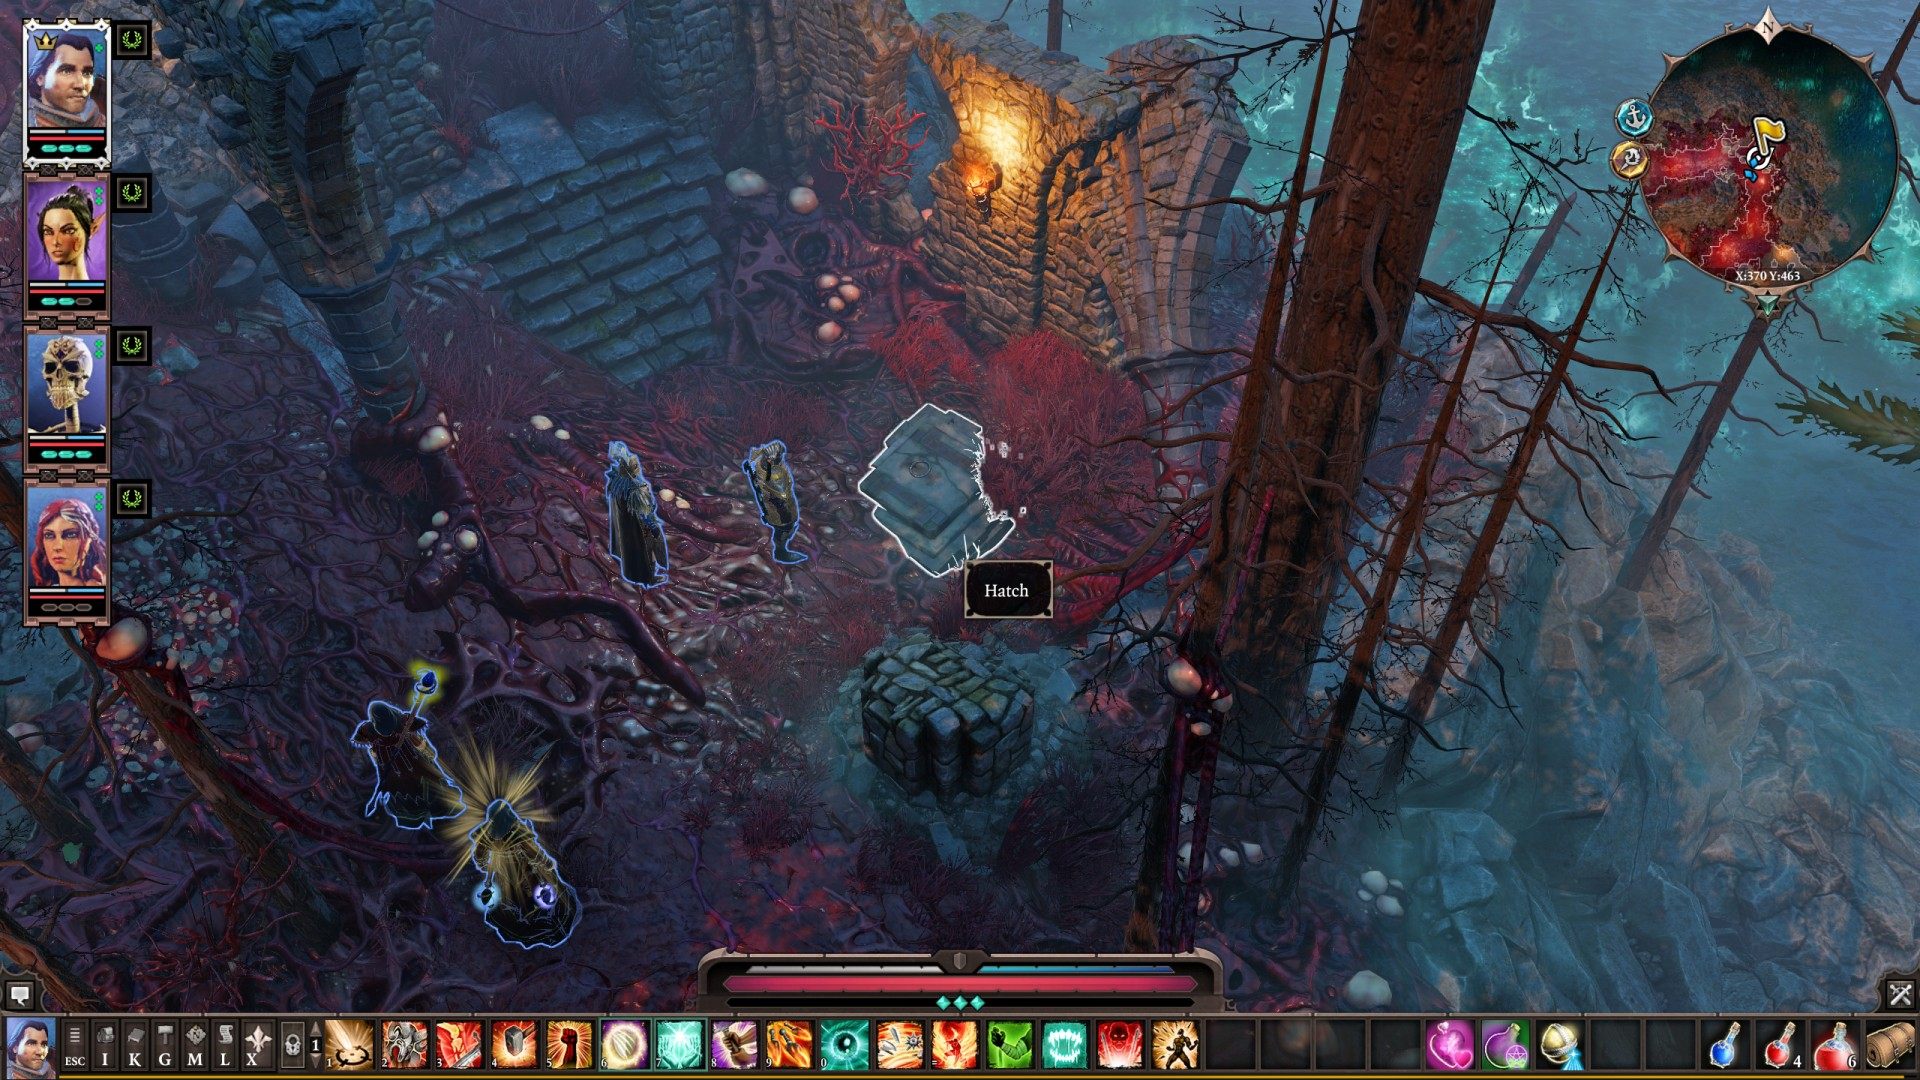
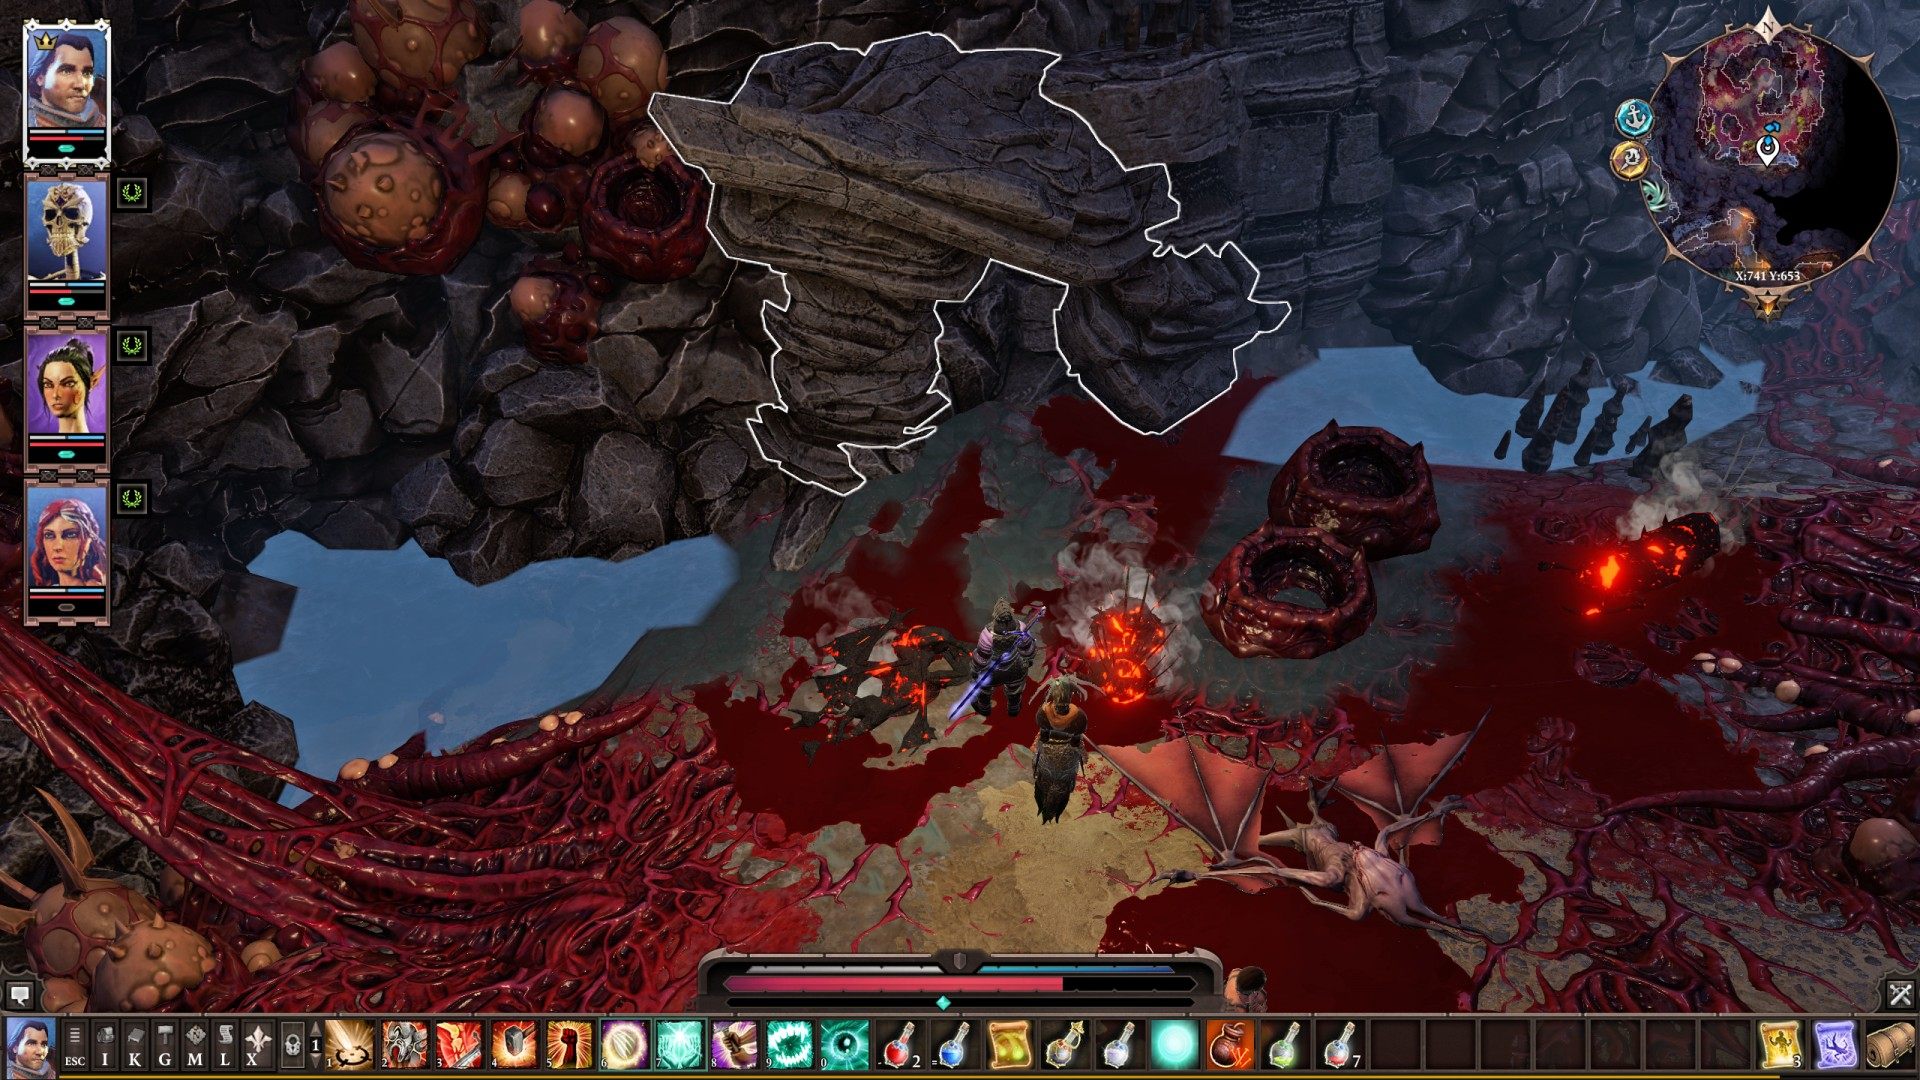
93Wreckers' Cave #1
The first of your characters will be moved here by Voidwoken creature.
94Wreckers' Cave #2
The second of your characters will be moved here by Voidwoken creature.
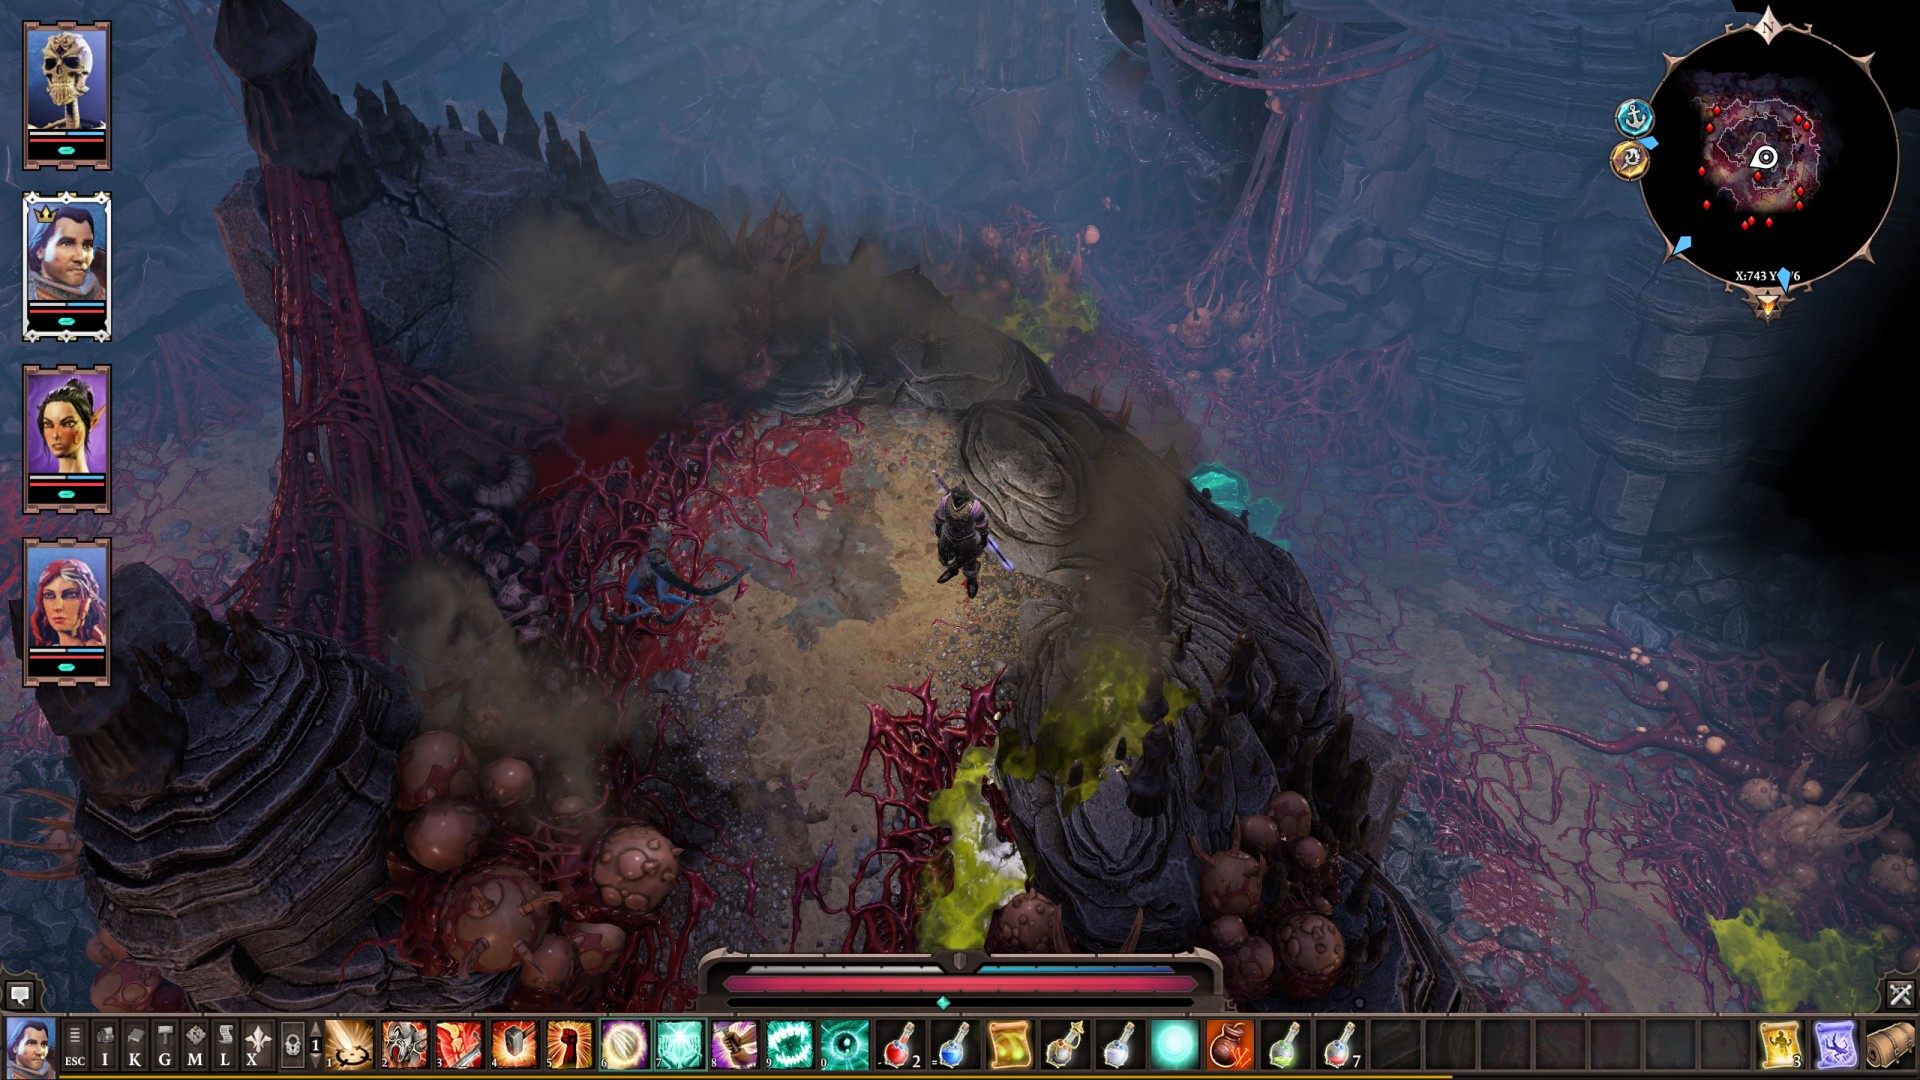
95Wreckers' Cave #3
The third of your characters will be moved here by Voidwoken creature.
96Wreckers' Cave #4
The fourth of your characters will be moved here by Voidwoken creature.

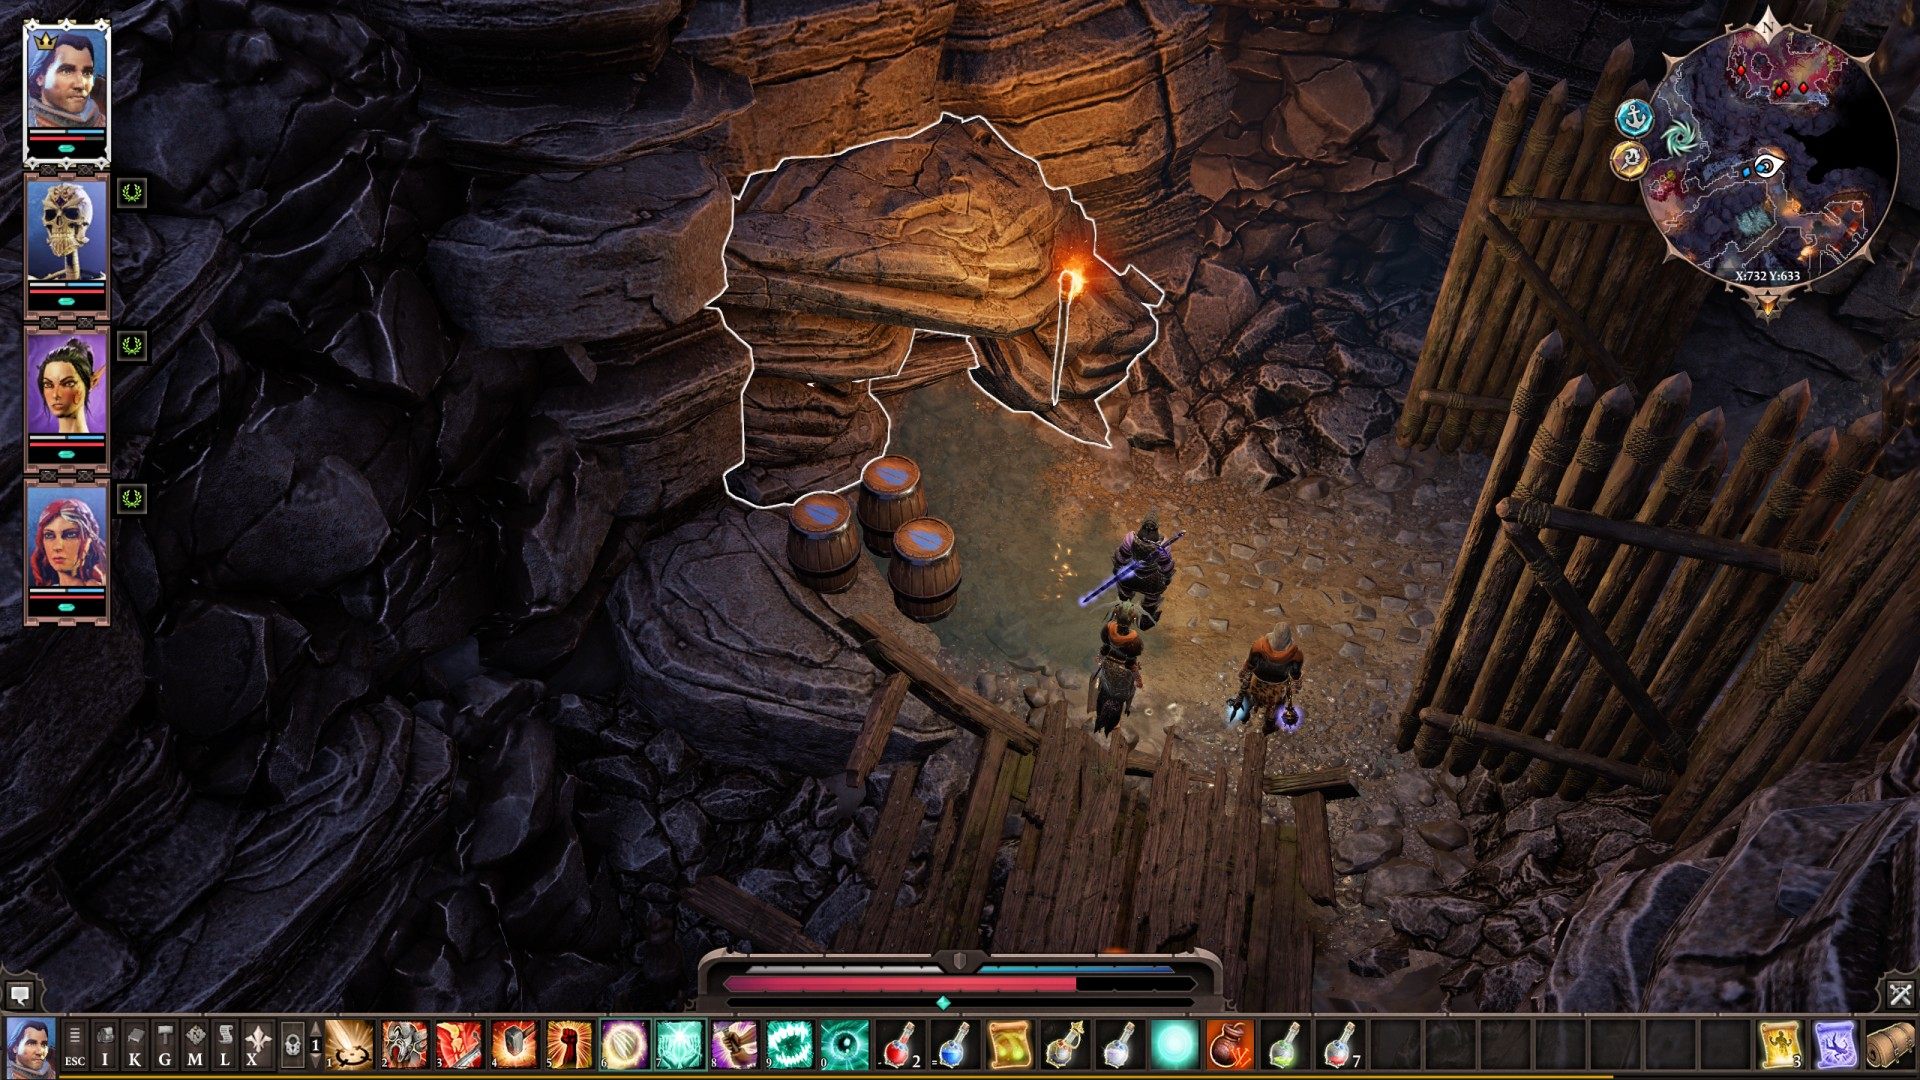
97Wreckers' Cave (Exit)
