List of places located on Fort Joy map, such as doors, stairs, ladders, hatches, manholes, cave or tunnel entrances, etc. in which you move between map levels, locations, etc.
Transitions, Fort Joy
Locations on Fort Joy
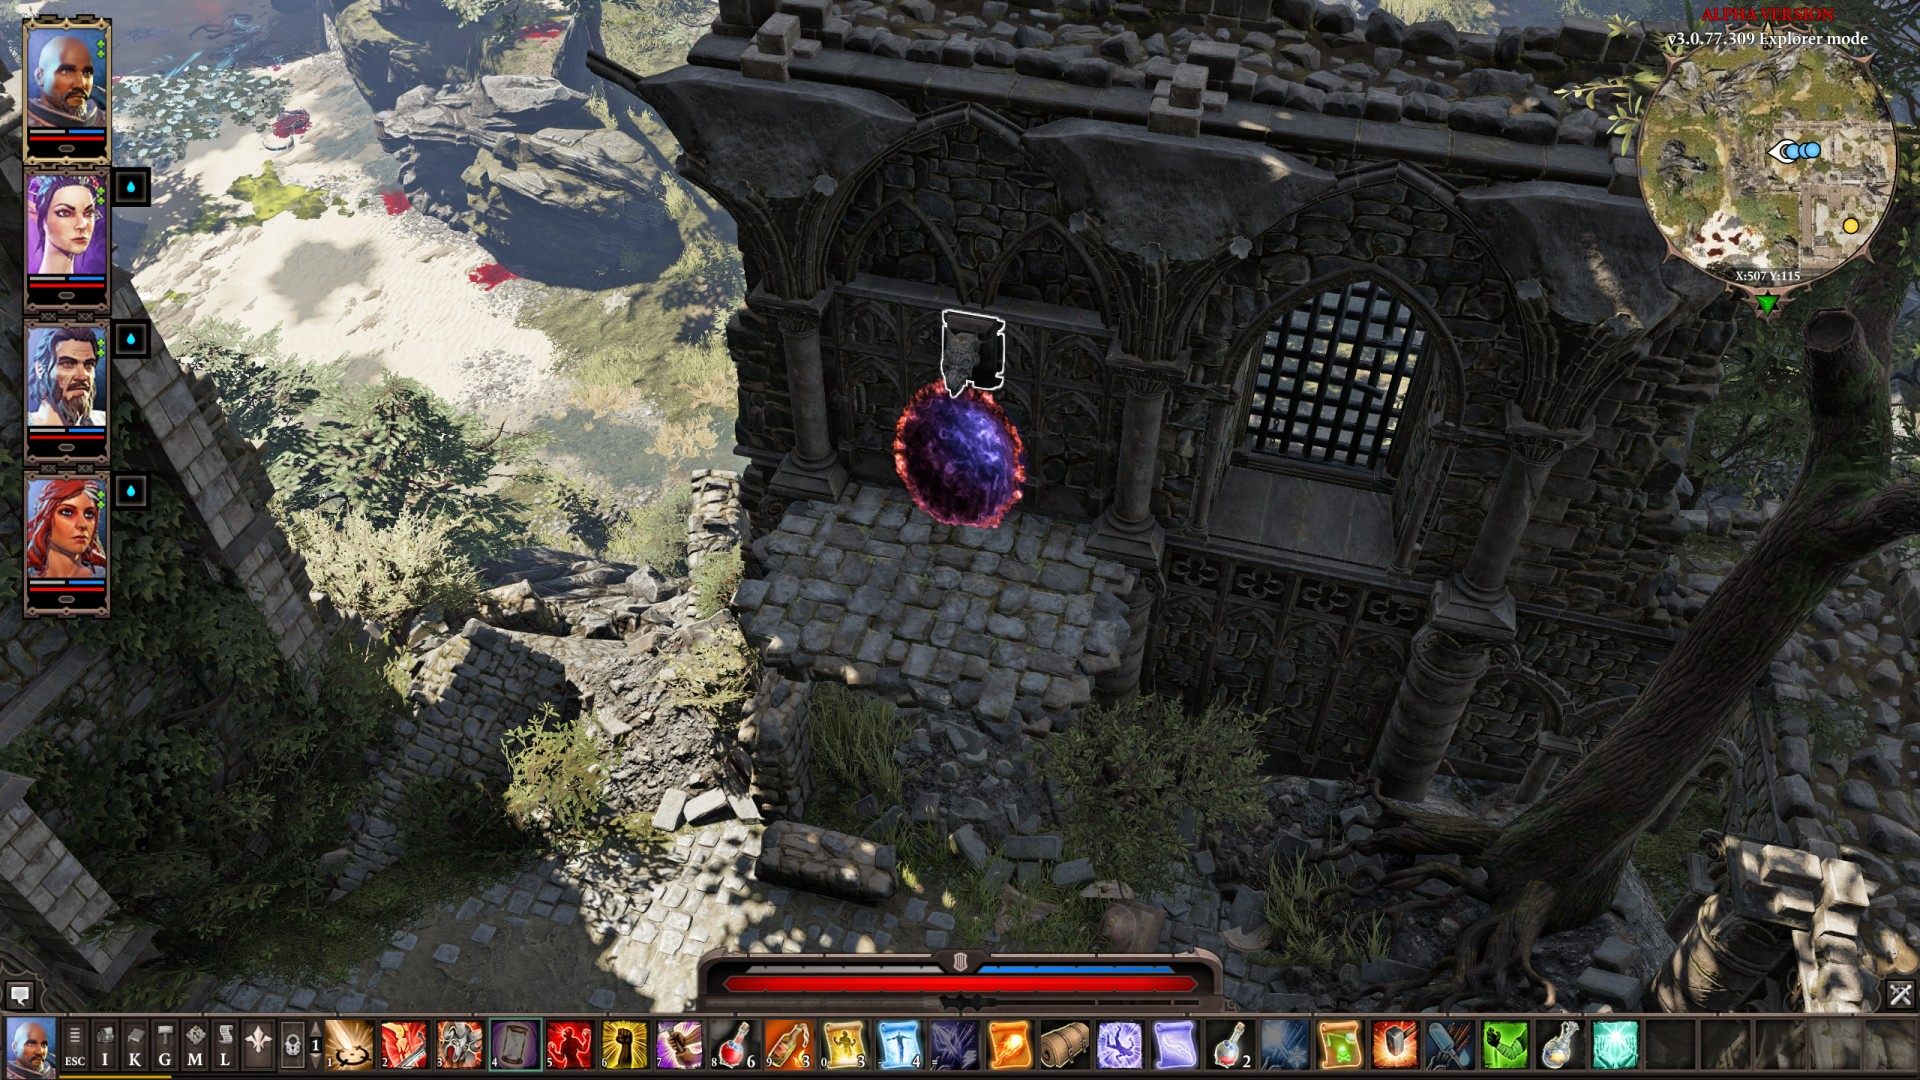
1 1st Portal to Realm of Orobas
Teleport on of your characters to the platform with portal then click on the gargoyle's head above it.
22nd Portal to Realm of Orobas

33rd Portal to Realm of Orobas
It will be visible after you help The Historian.

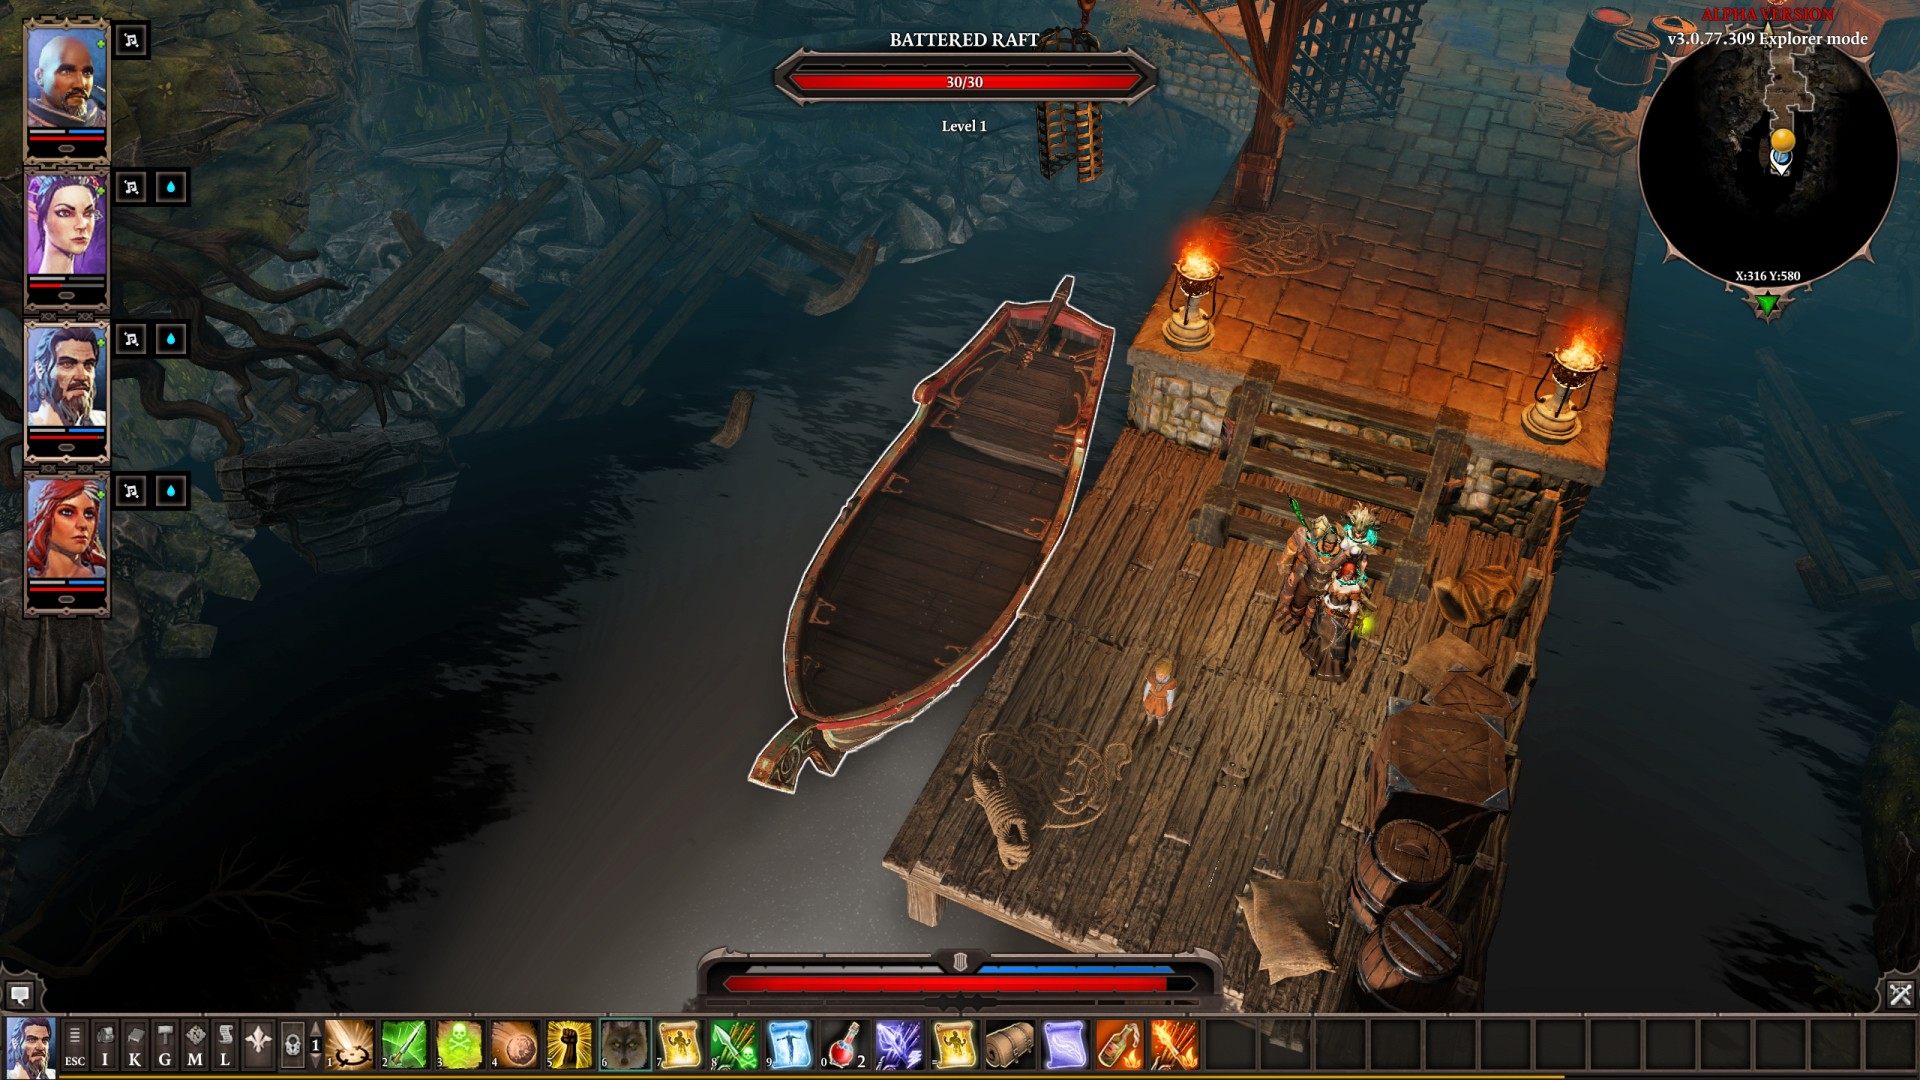
4Battered Raft
5Dark Cavern Exit
Show the map
6Decrepit Ruins Exit
Show the map
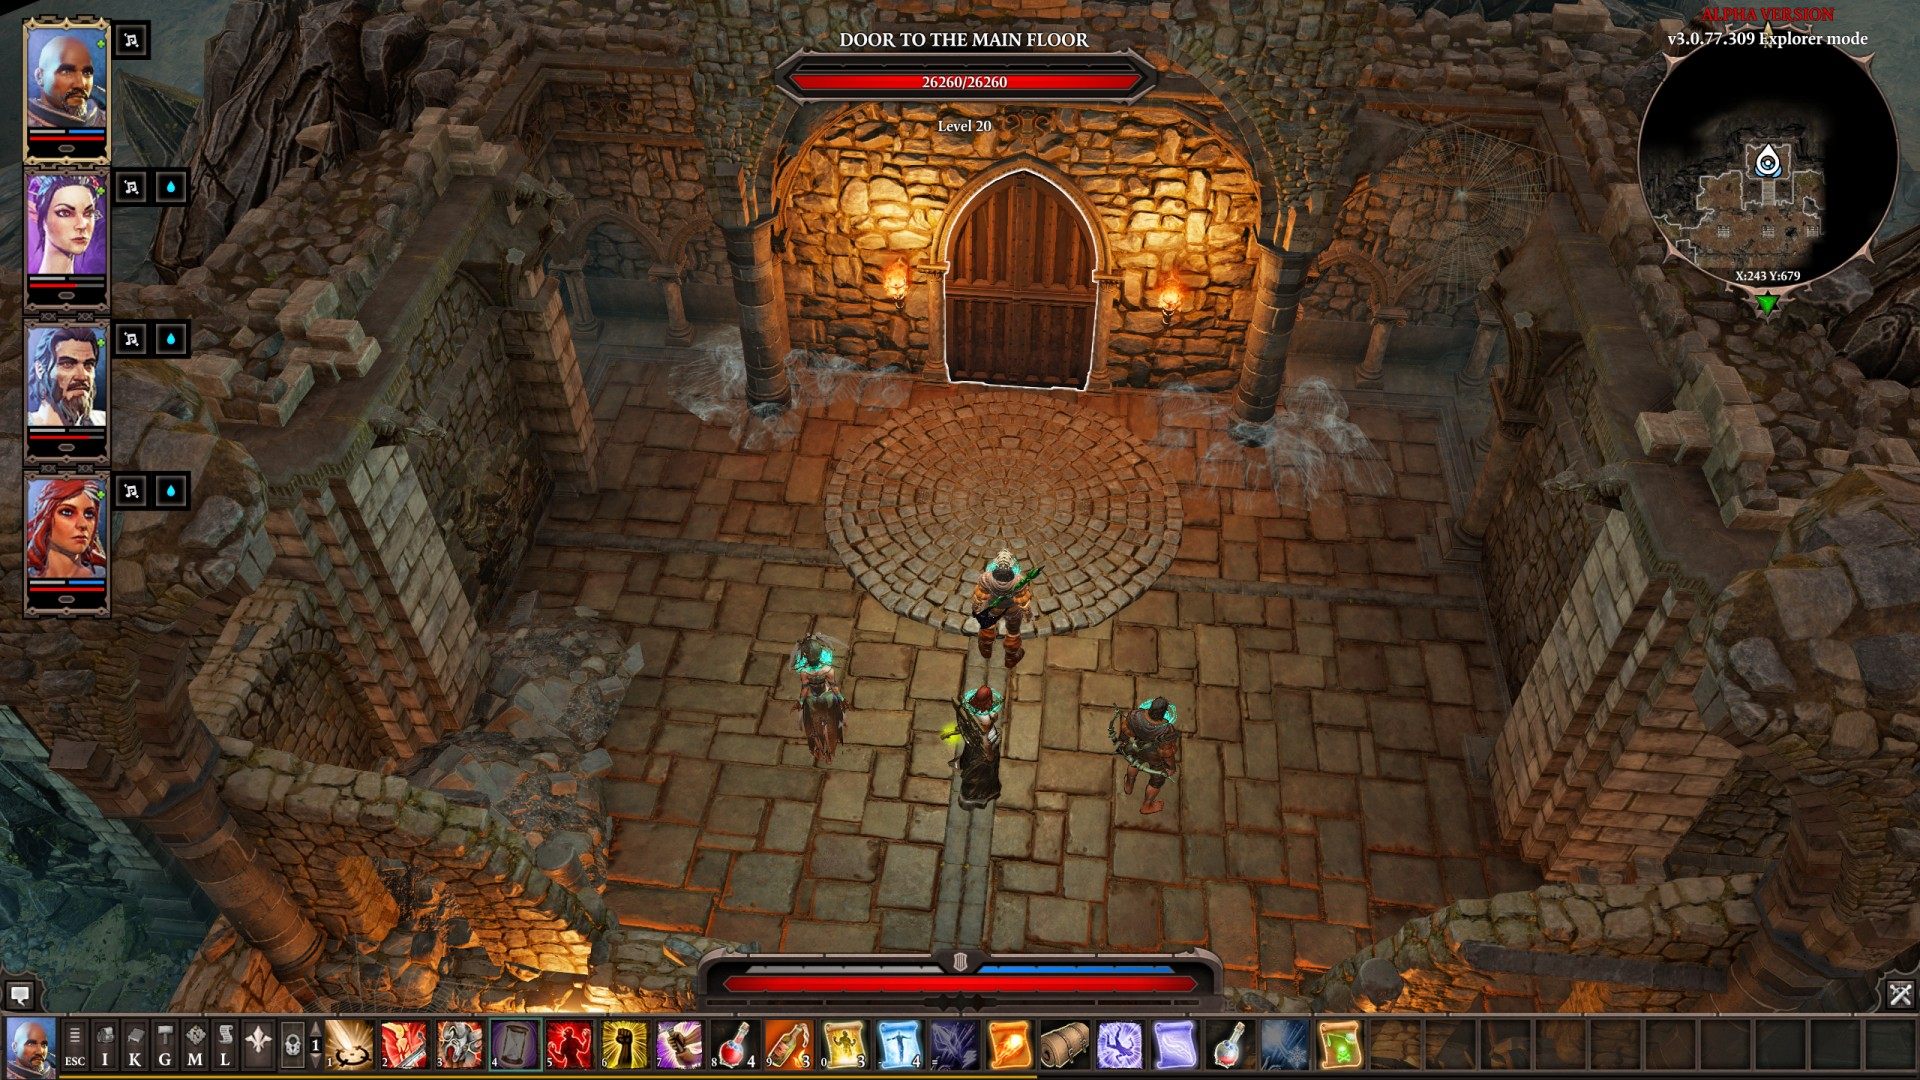
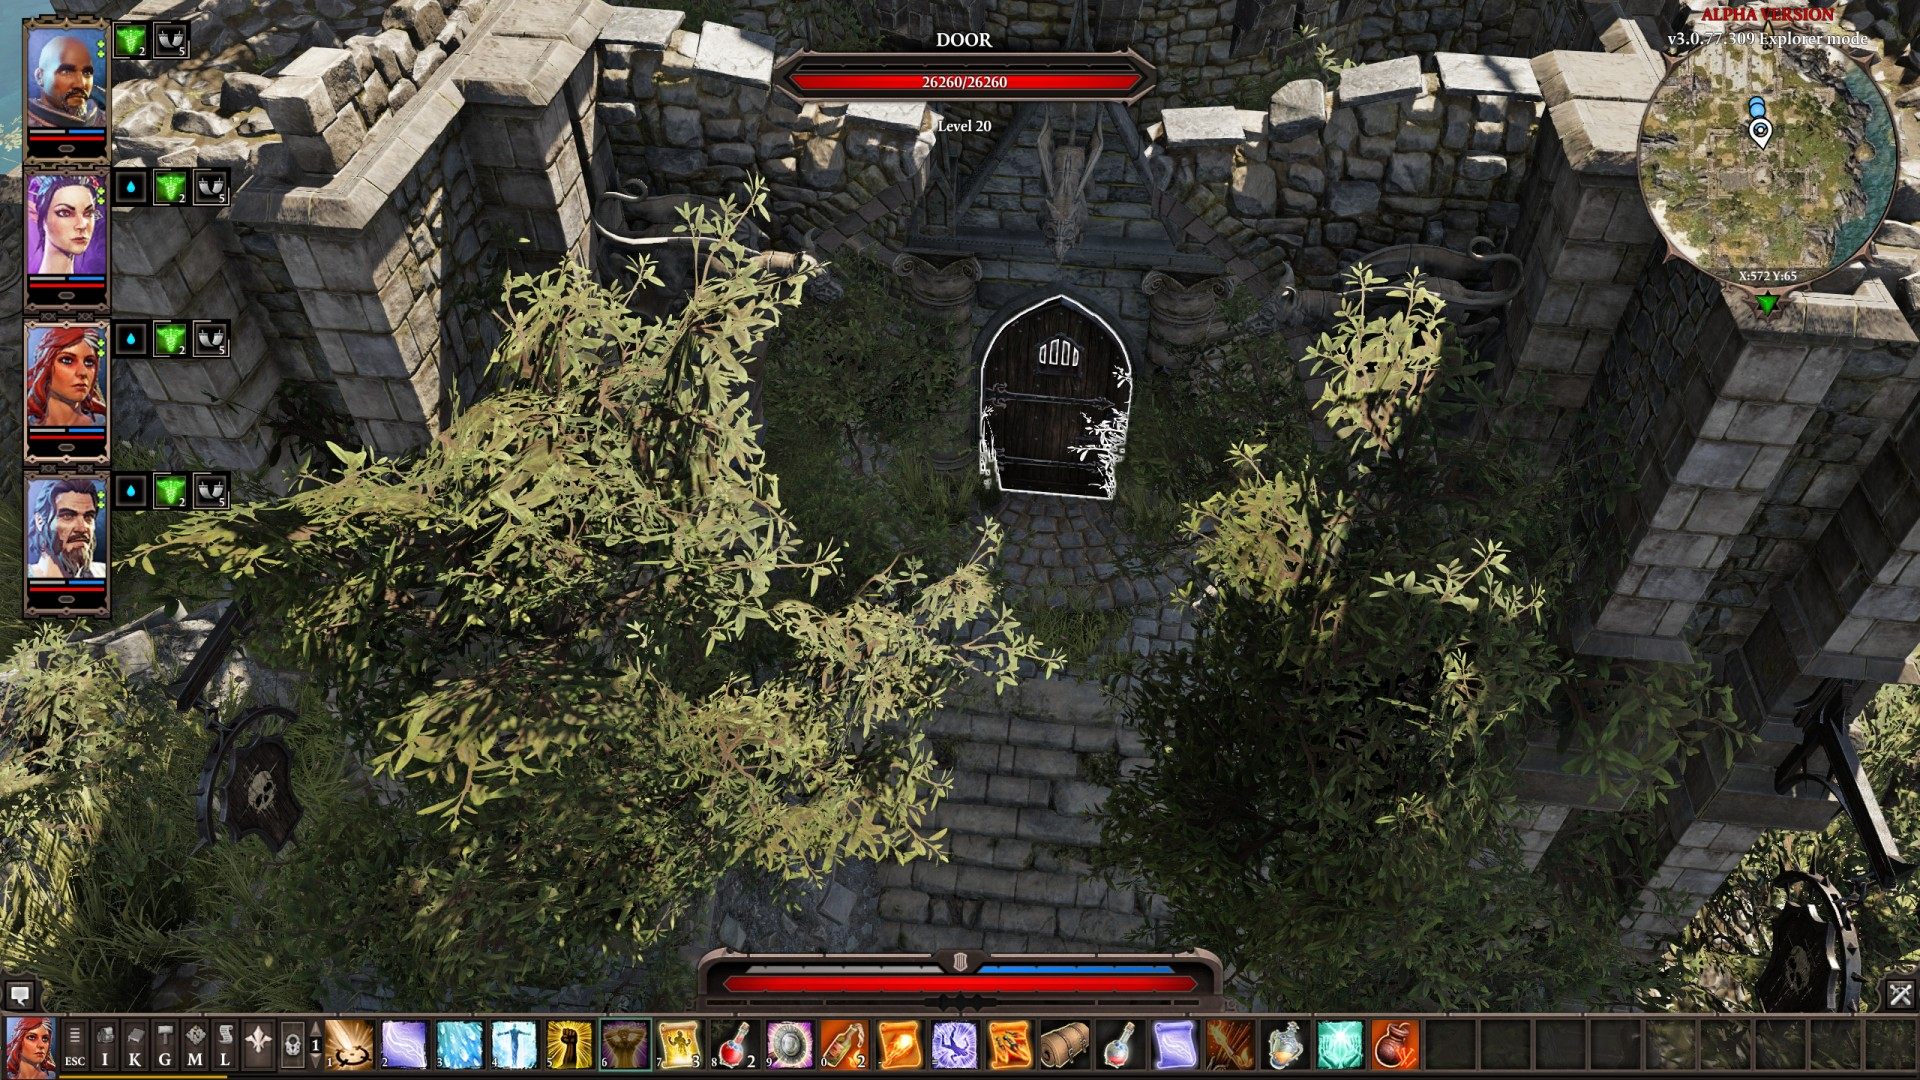
7Door to the Main Floor
Locked. To the Fort Joy Prison.
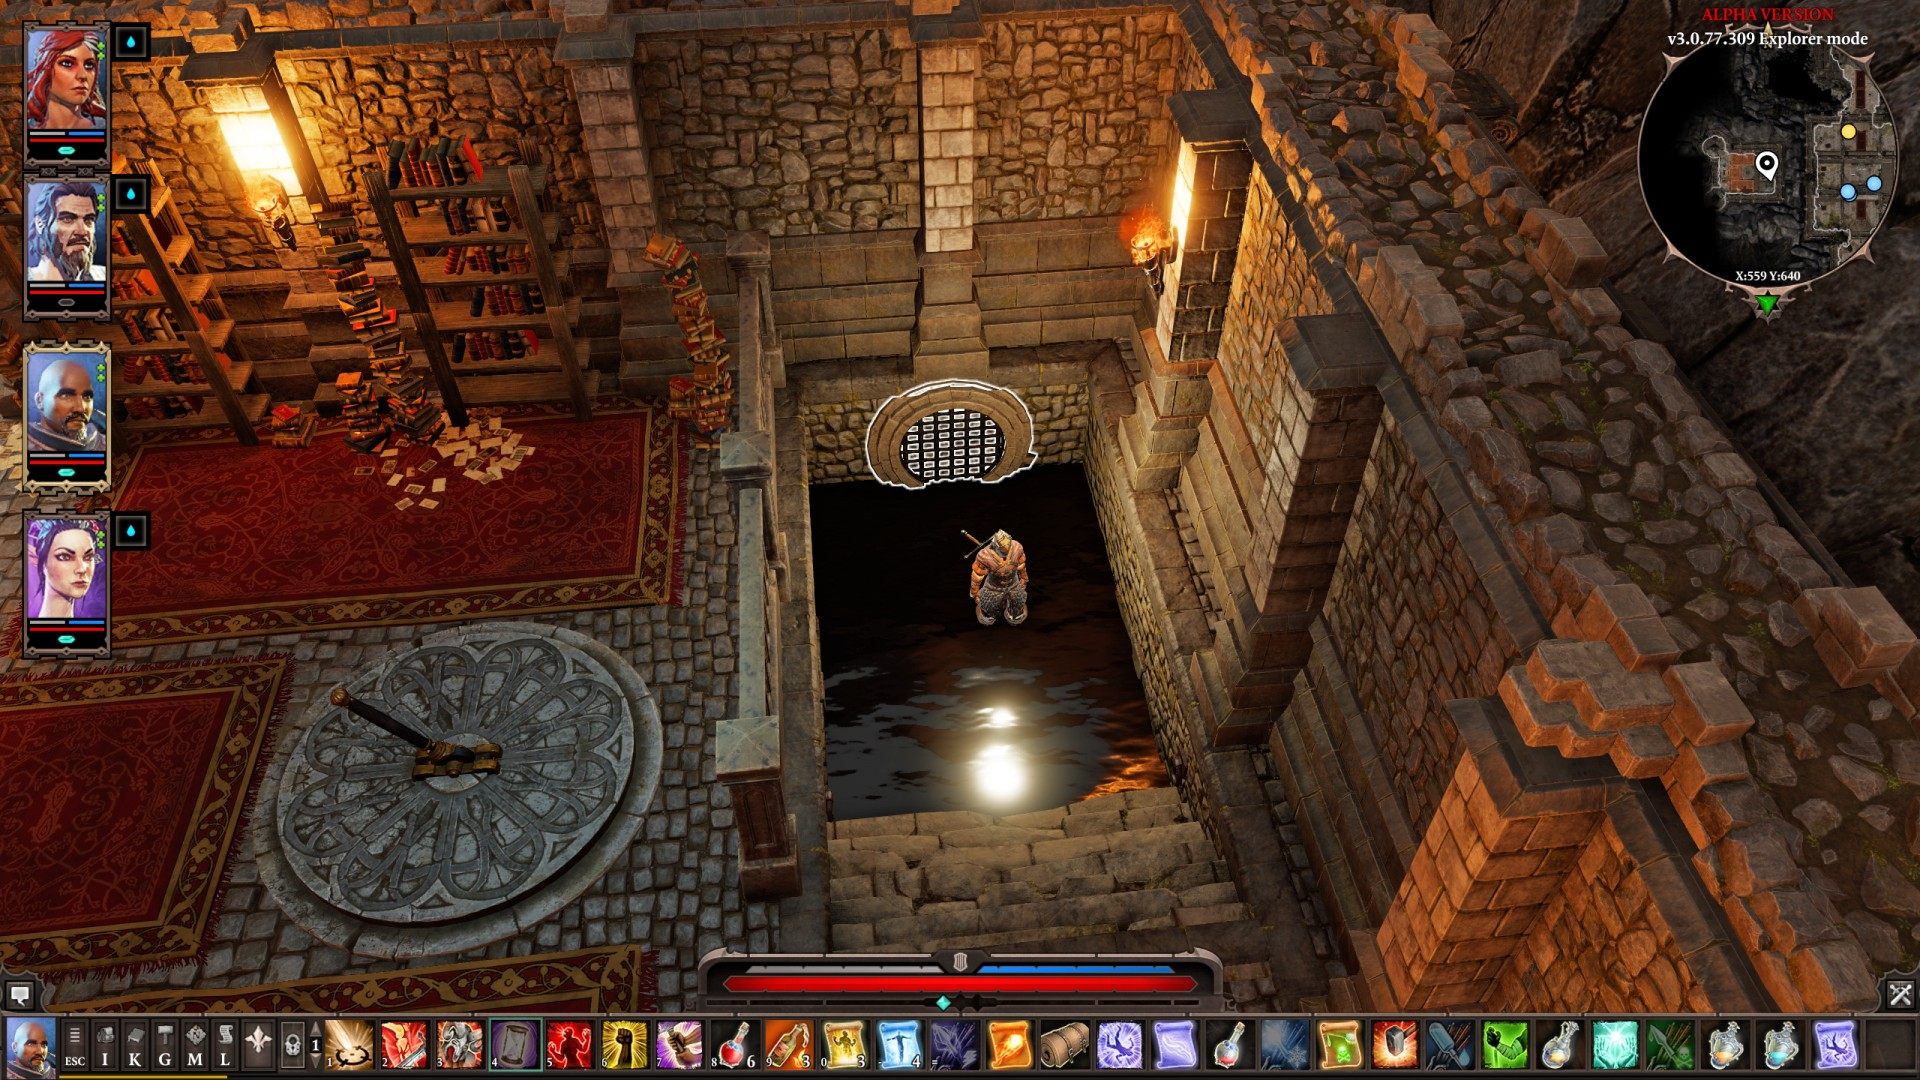
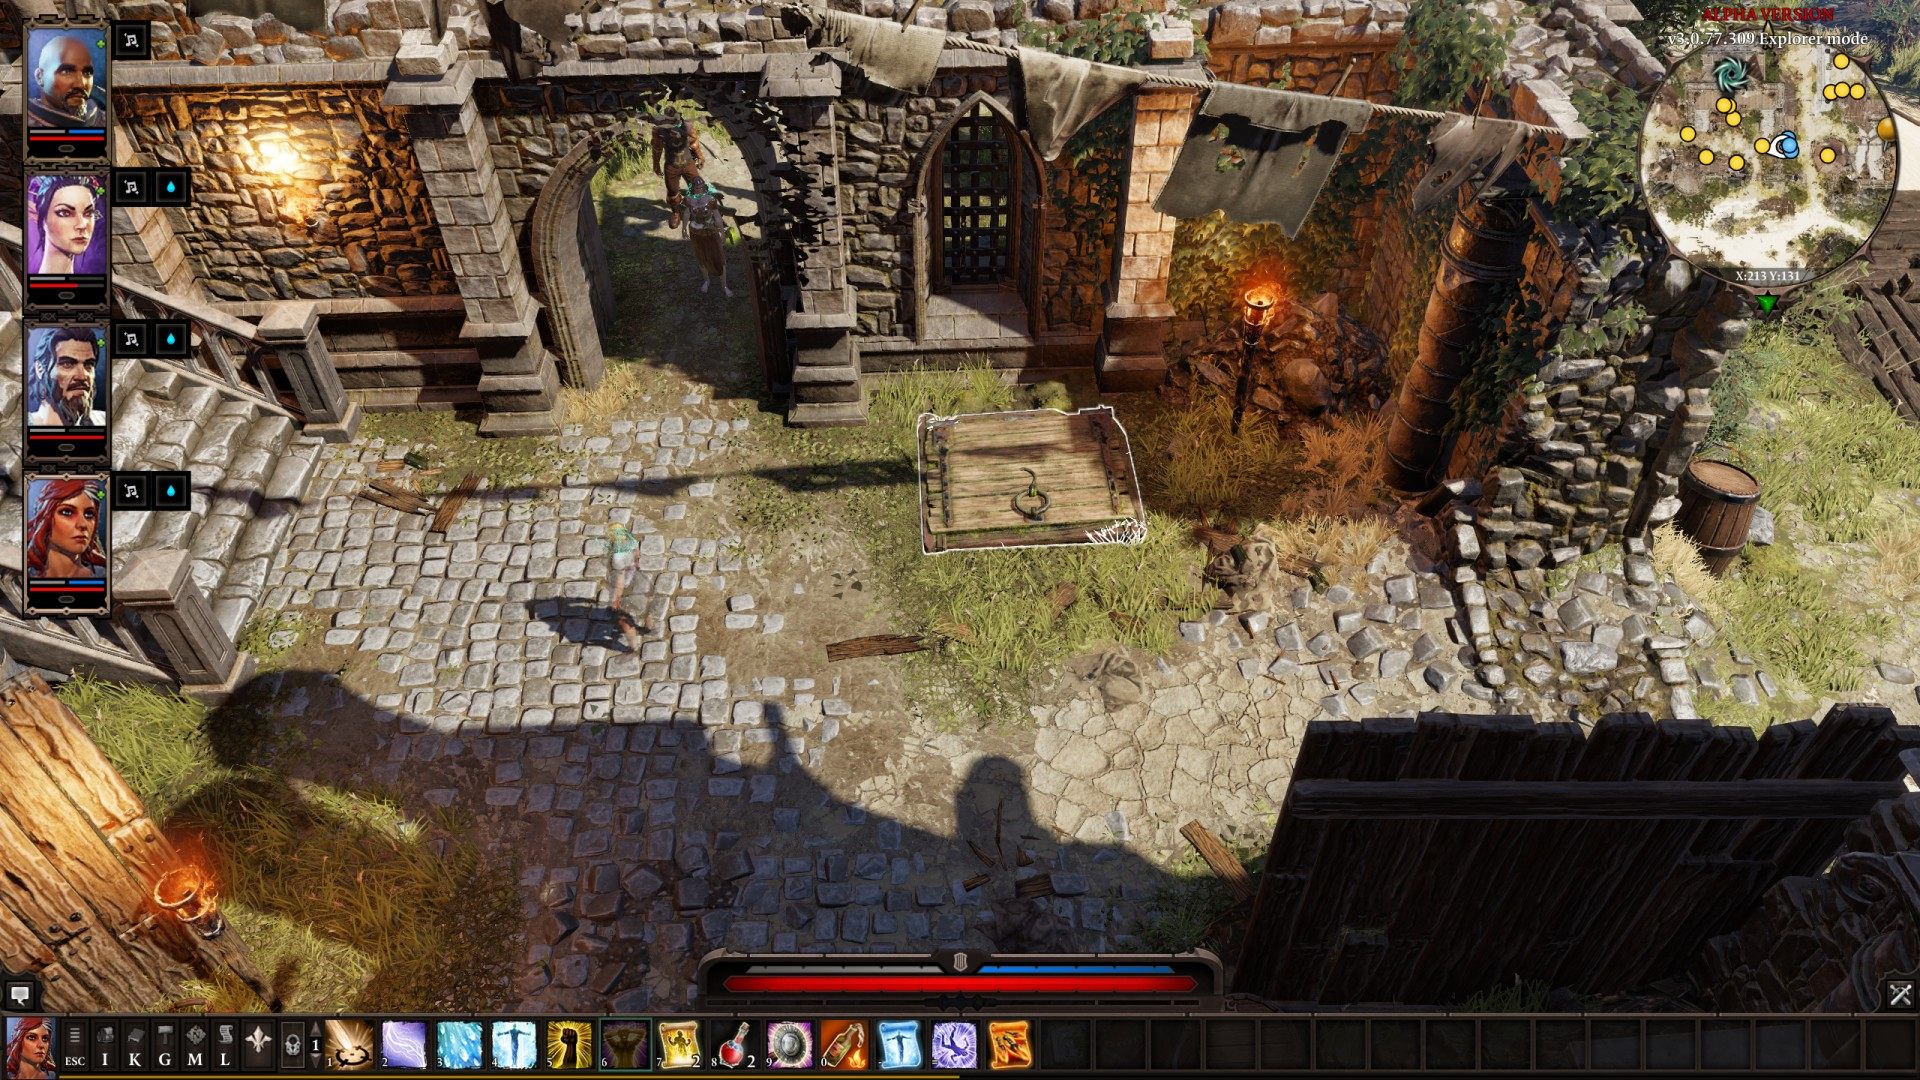
8Entrance to Underground Tunnel
It's hidden, get close to see it. You need to dig here so you need a showel or a Lizard.
9Exit from Realm of Orobas
Small "goo thing" on the ground. Step on it to get teleported outside. If you entered Real of Orobas through 1st Portal to Realm of Orobas then you will be teleported to 2nd Portal to Realm of Orobas, and vice versa.
10Exit from Realm of Orobas
Show the map

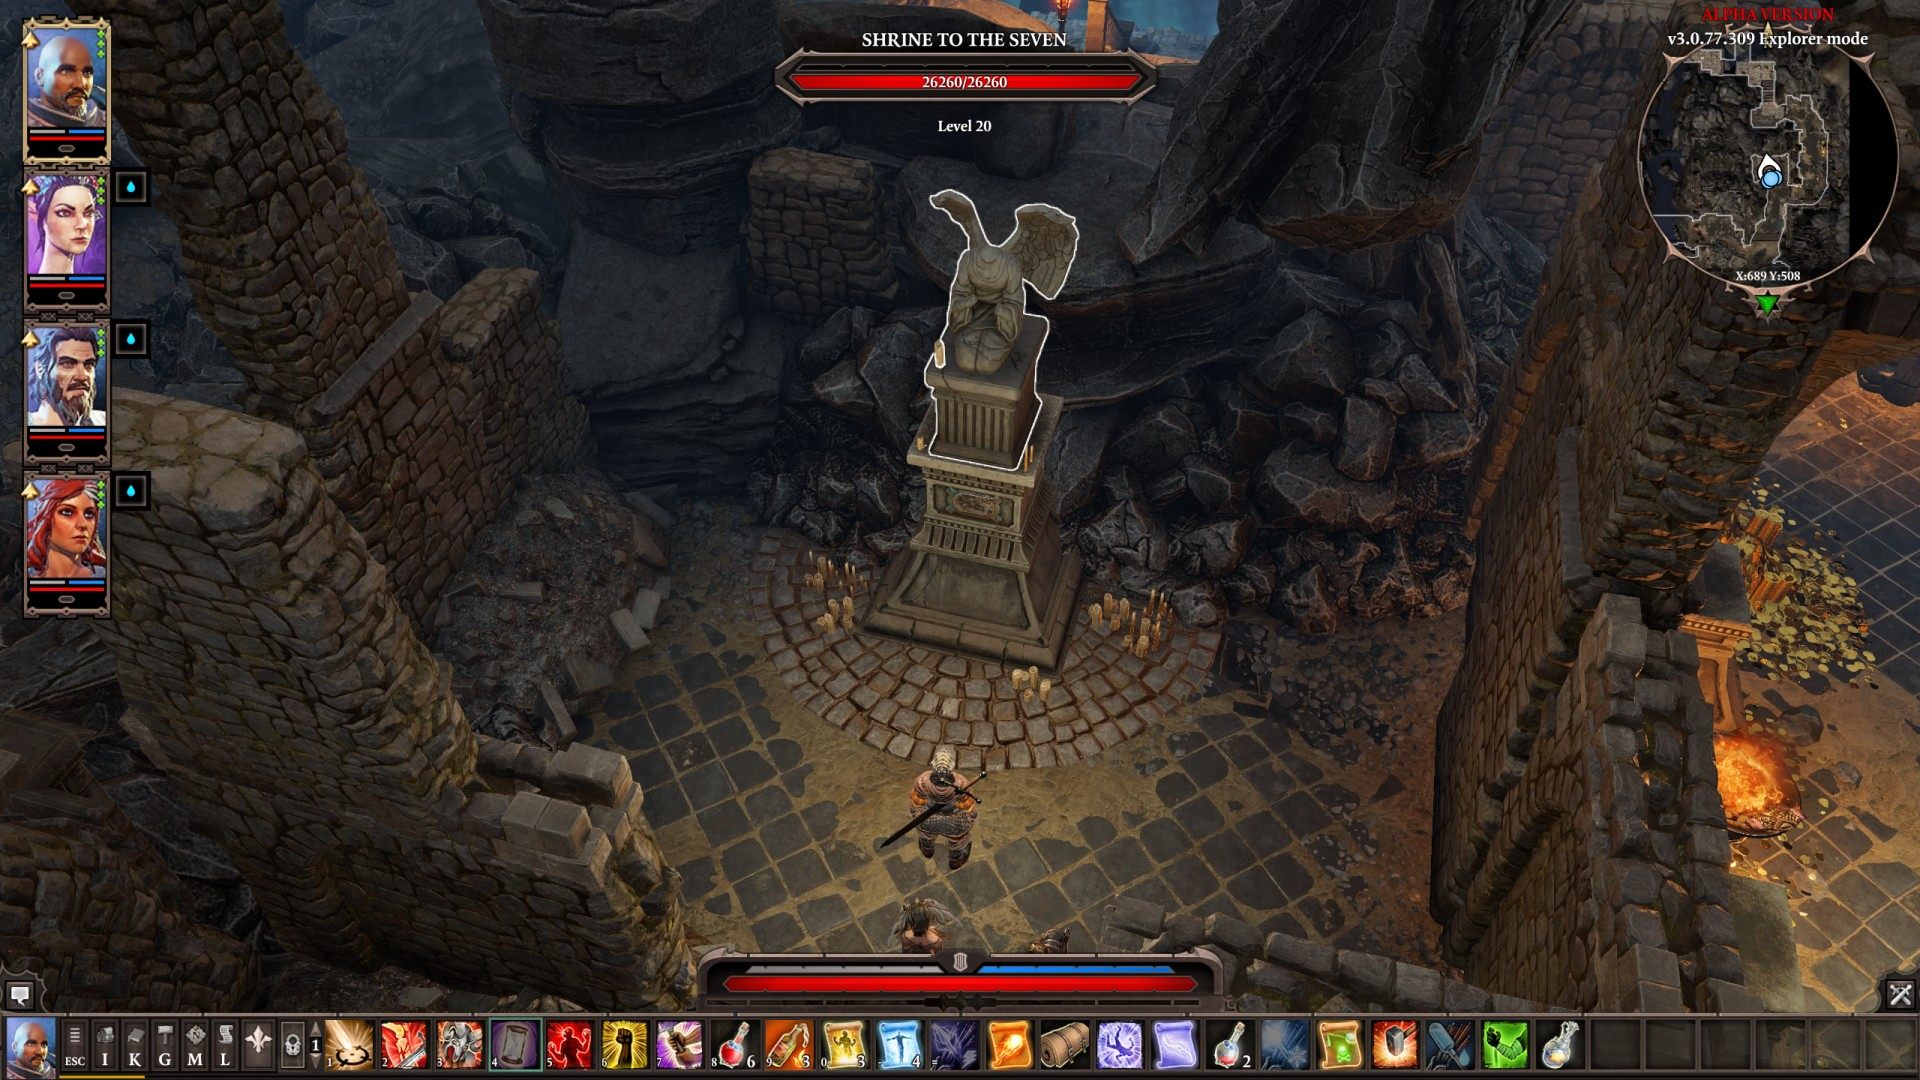
11Hall of Echoes (Start)
Your main character will be teleported here after you use Shrine to the Seven in Dark Cavern.

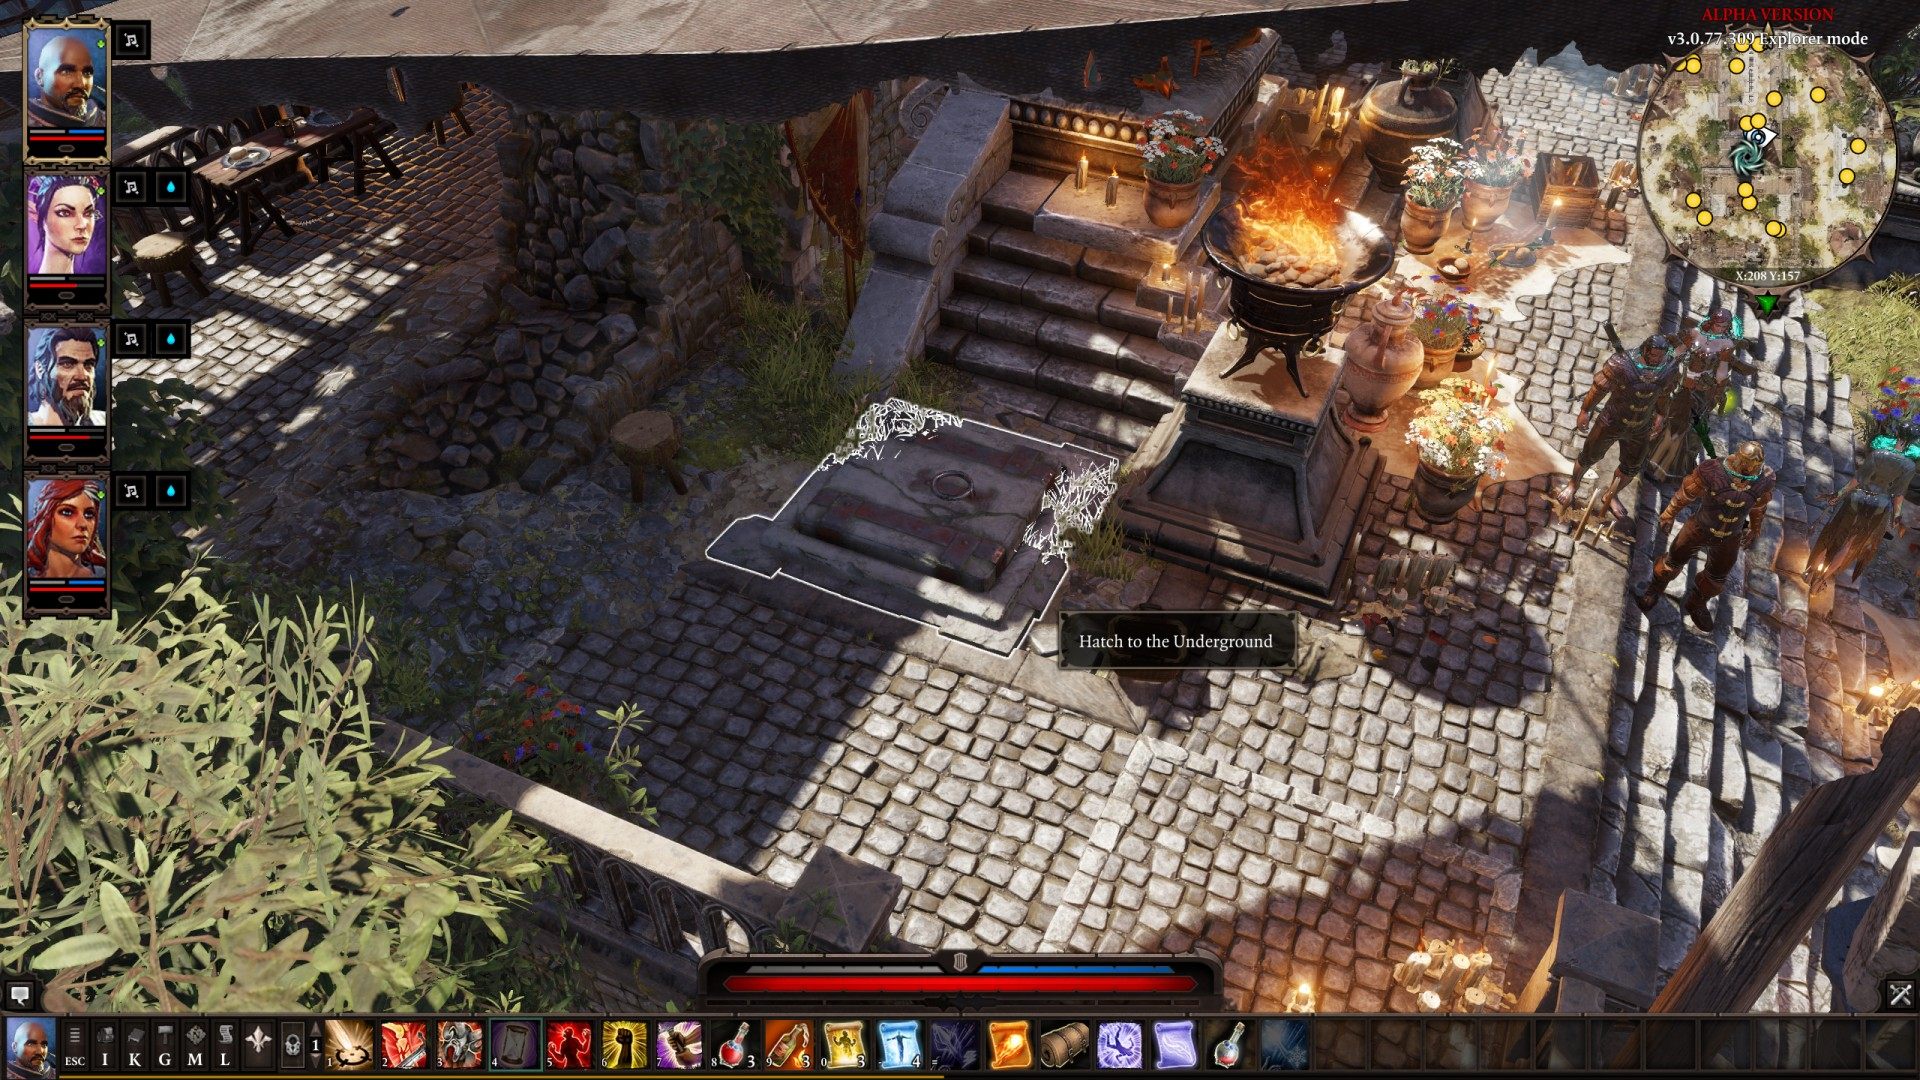
12Hatch to the Underground
Related quests: Withermoore's Soul Jar
To make it visible you have to press the button on the Shrine to the Divine (req. 12 Wits) or Lord Withermoore can tell you about it (Withermoore's Soul Jar quest).

13Holding Cells (Start)
You will start here when you enter a cave south of Hidden Alcove.
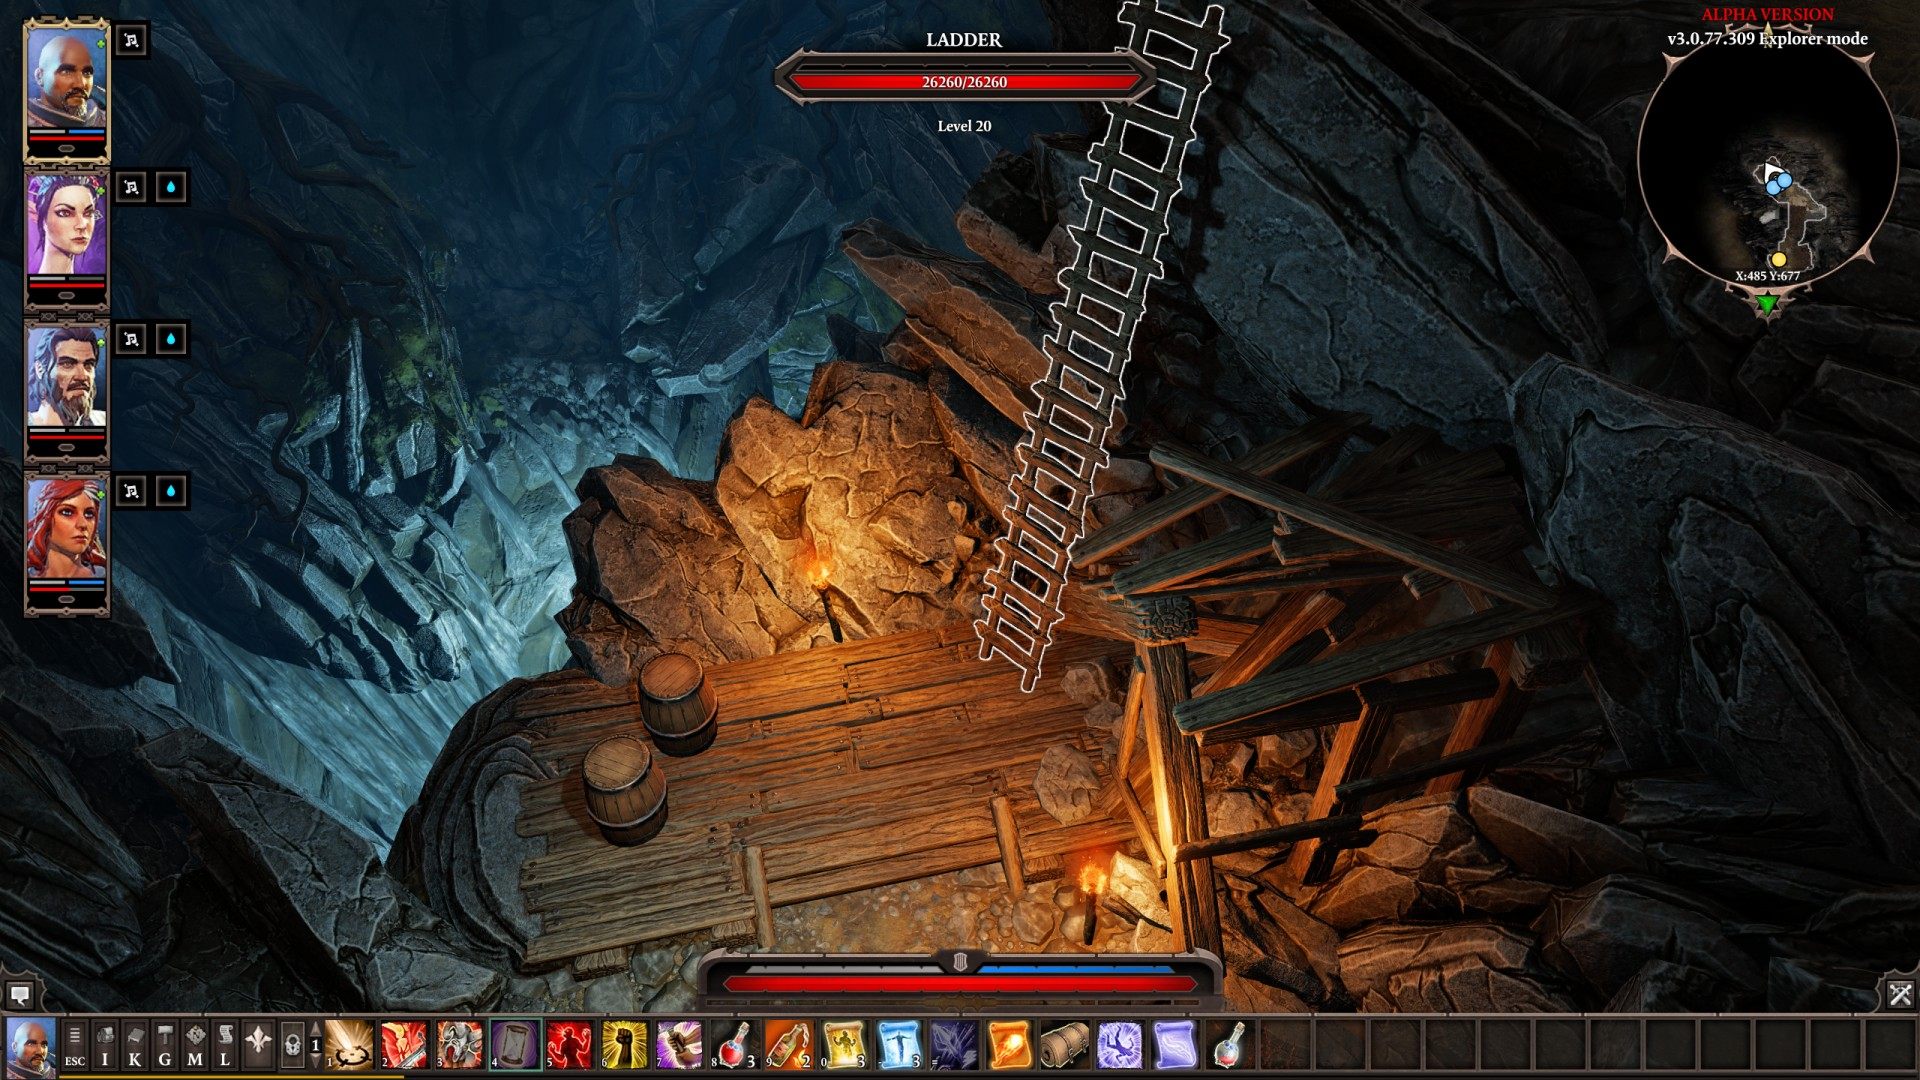
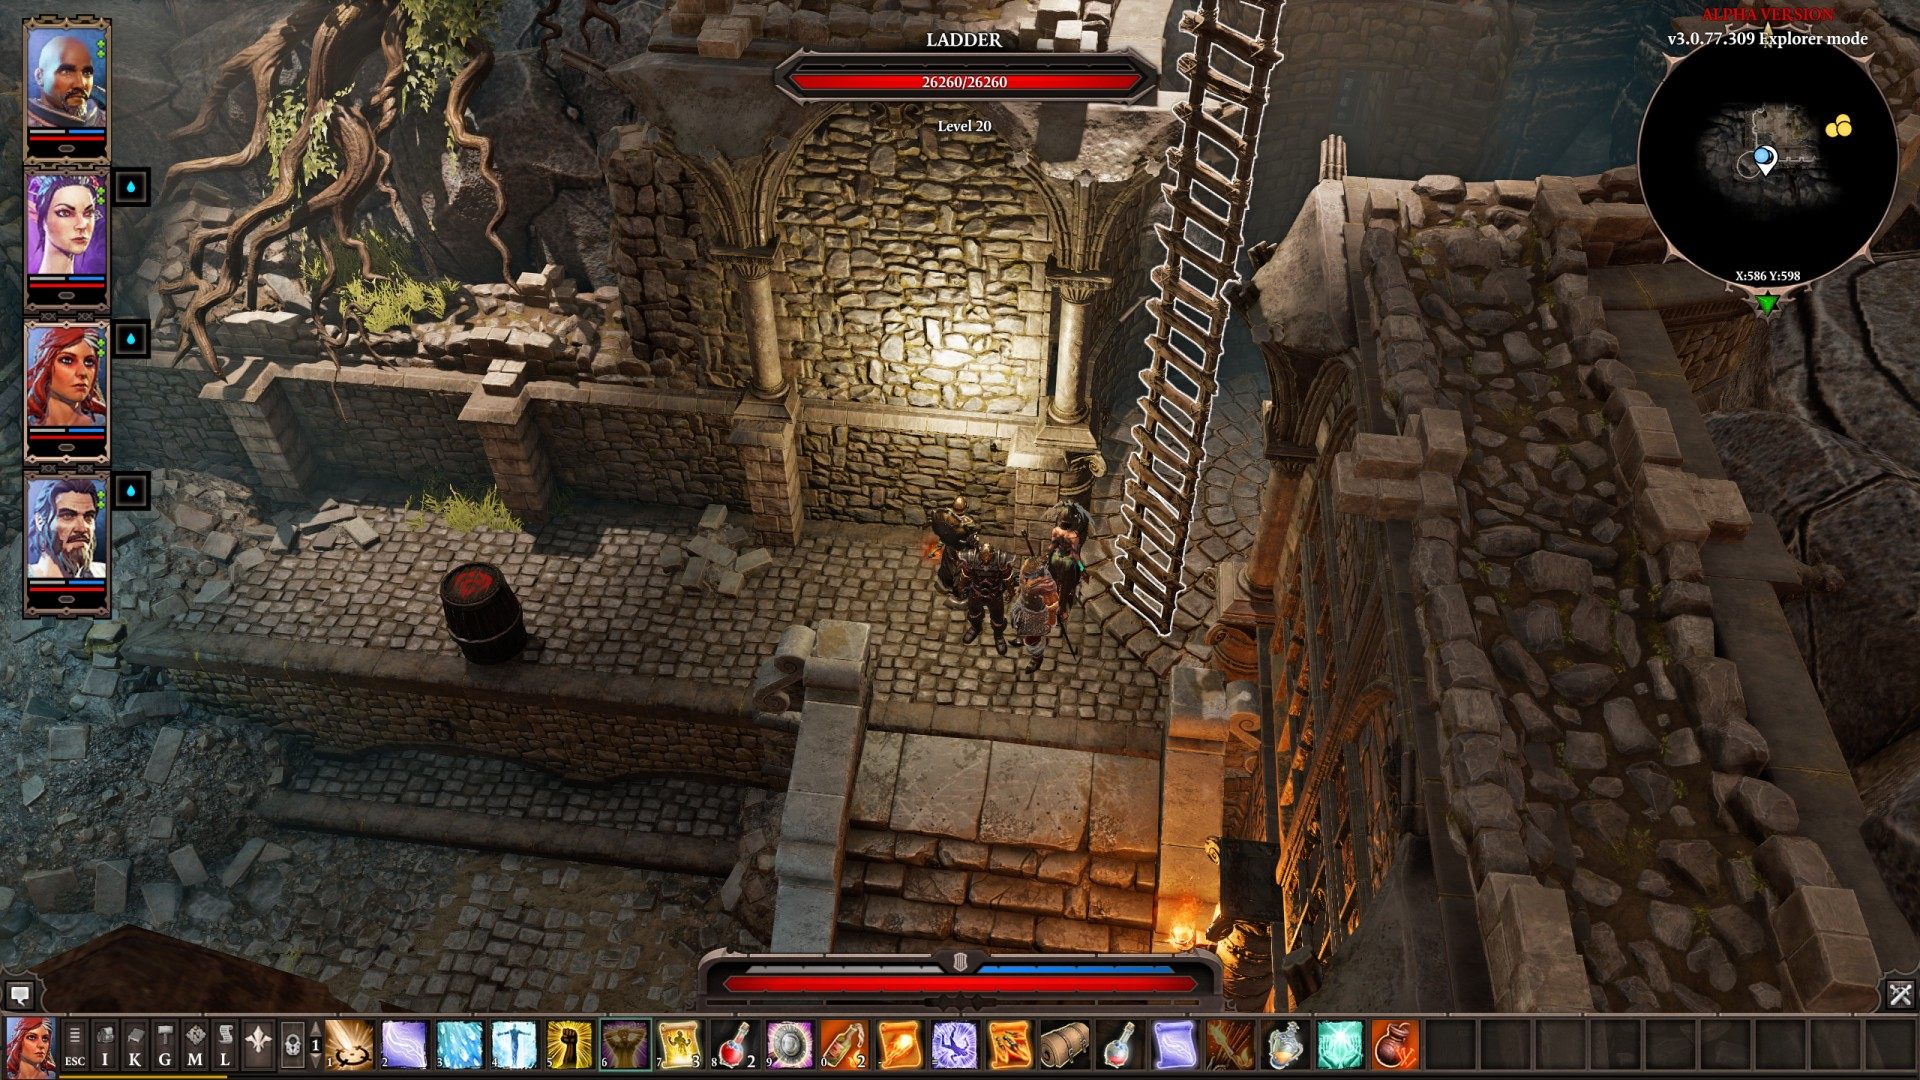
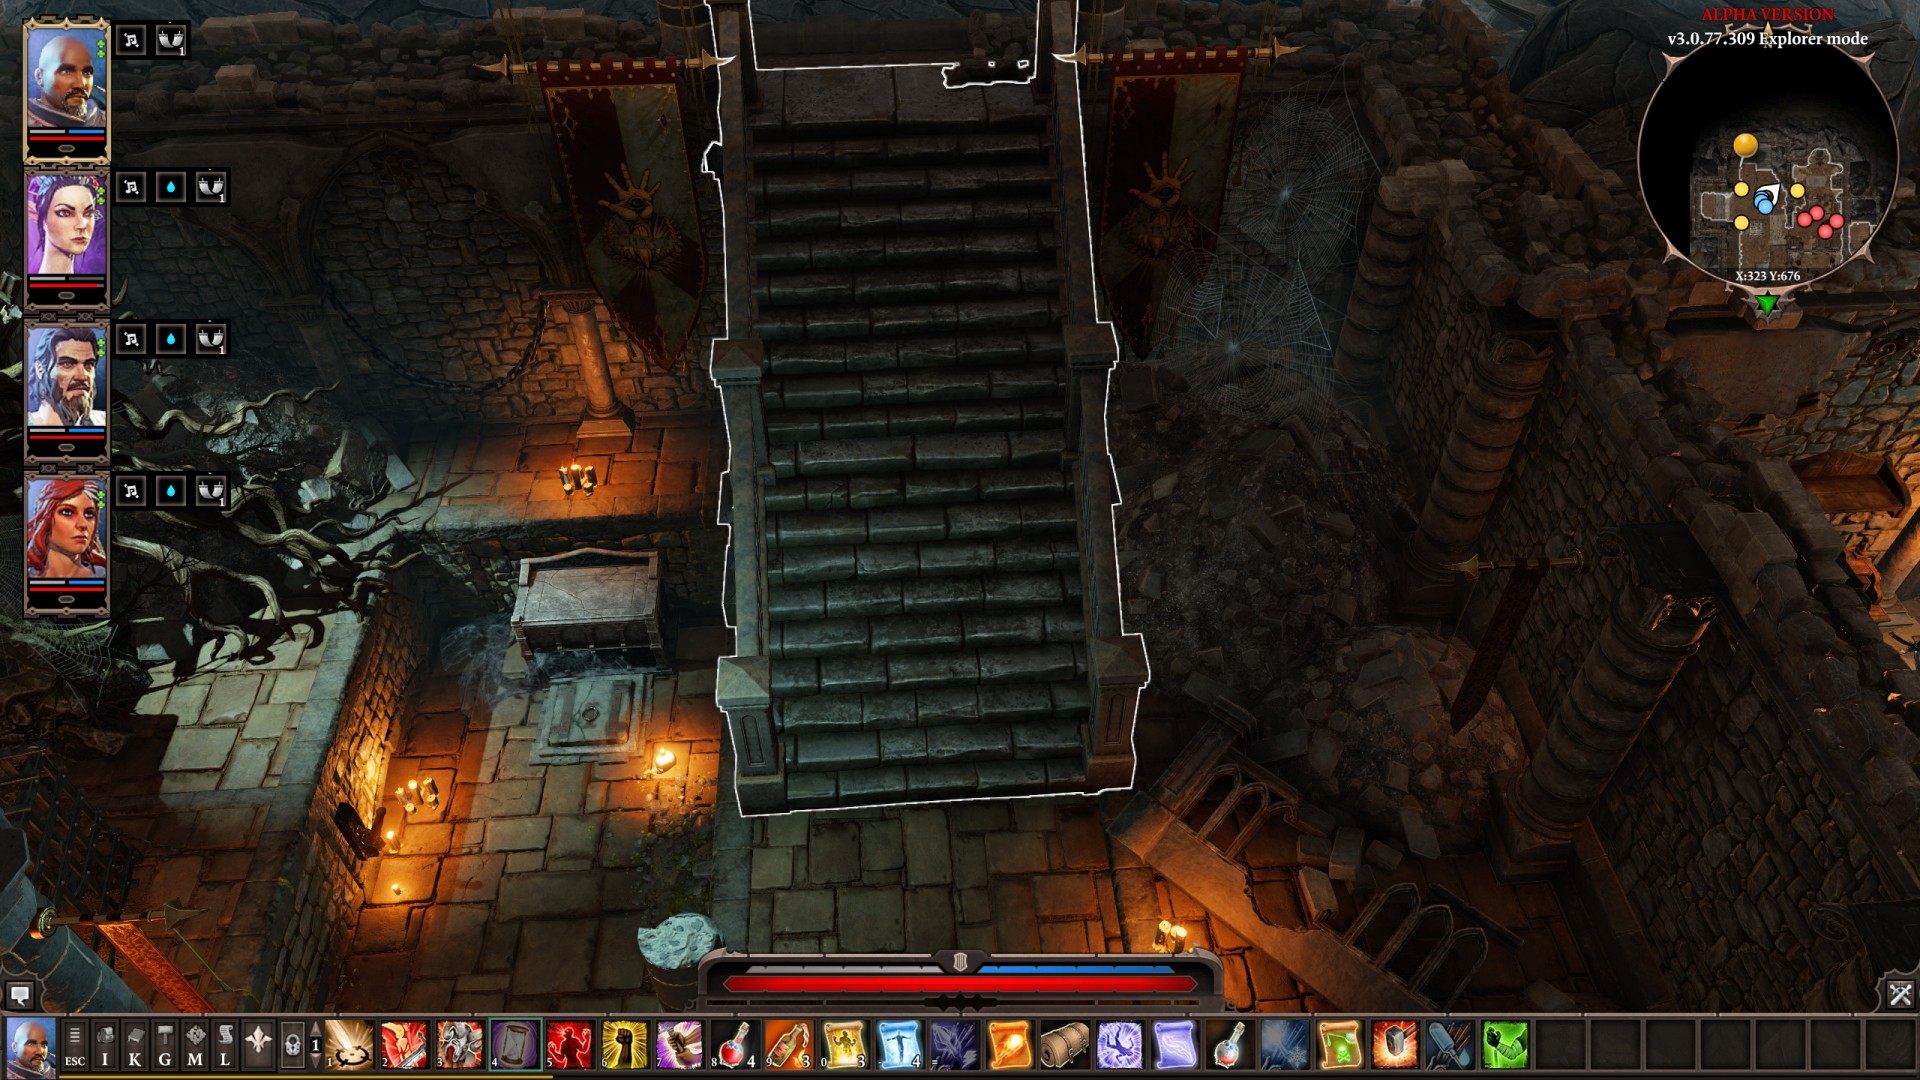
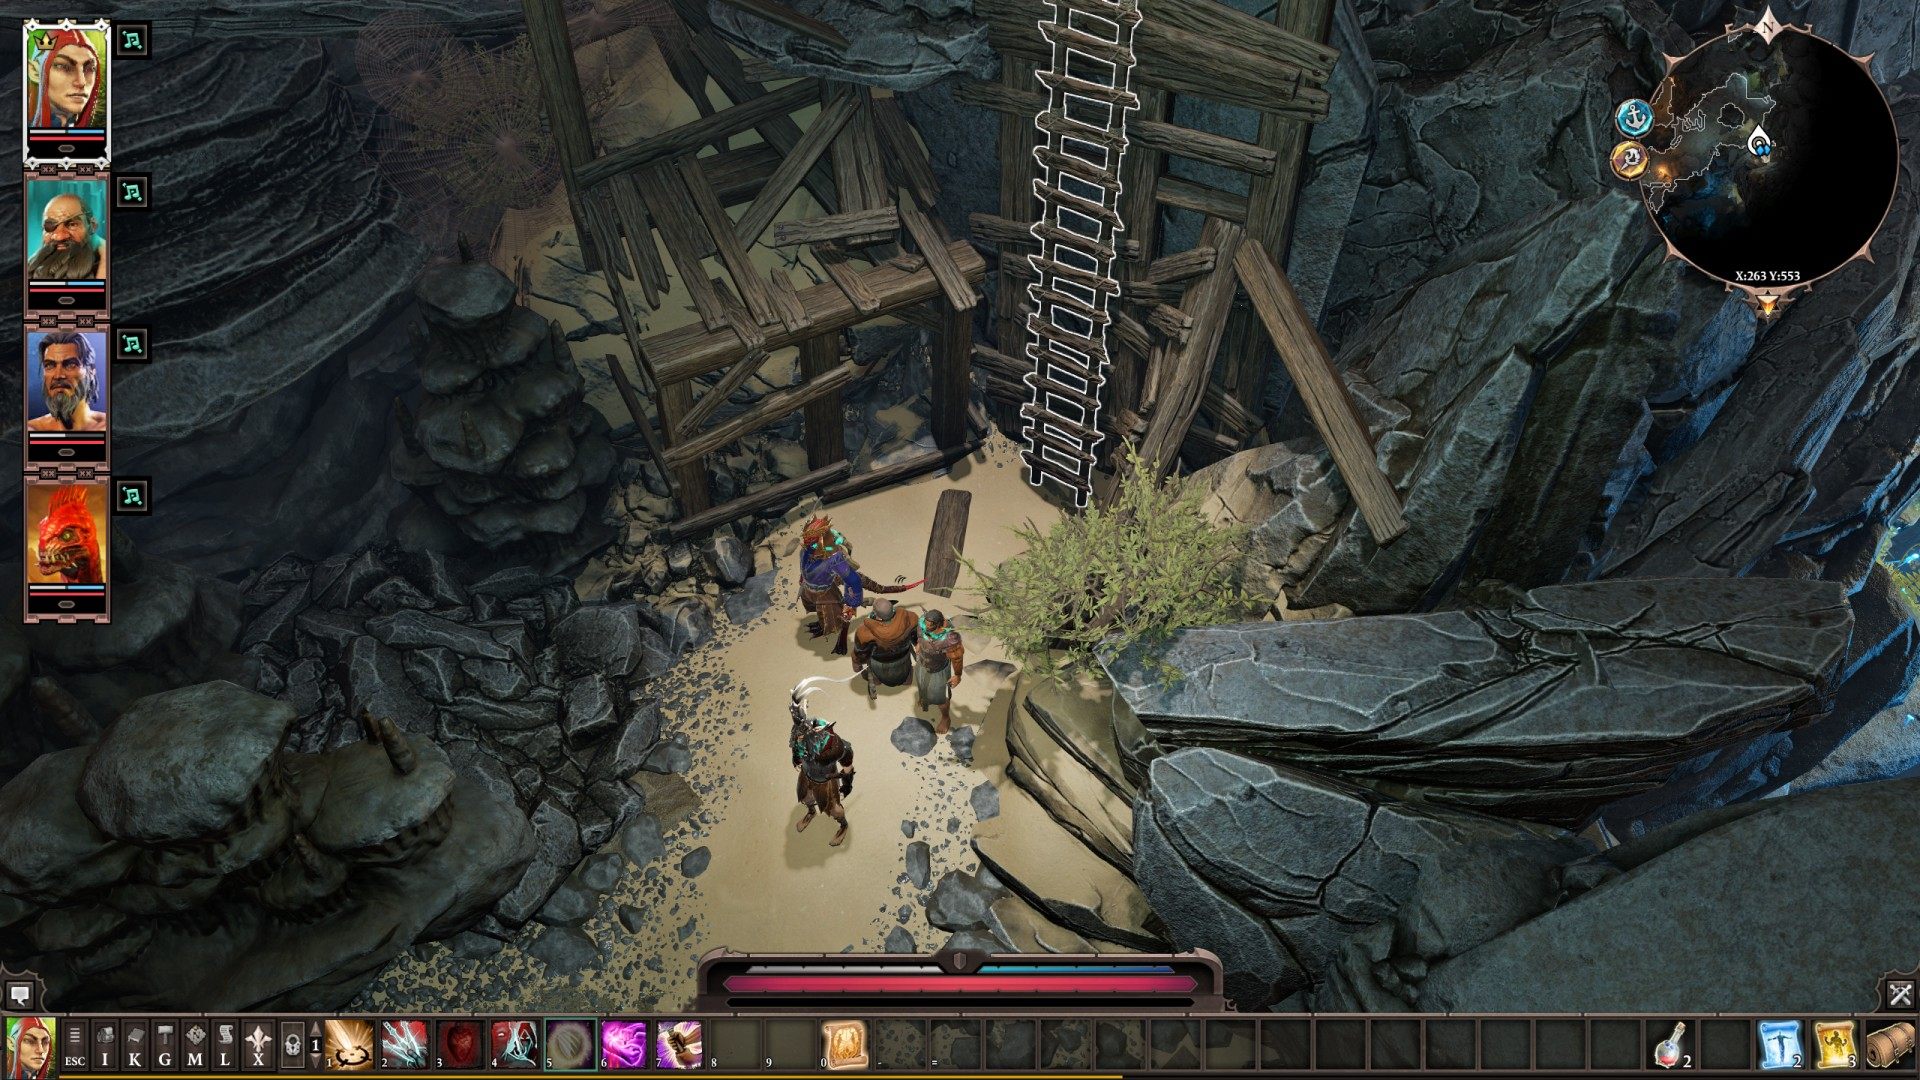
14 Ladder

15Ladder
Only way down.
16Ladder Back to Caverns
17Ladder to Fort Joy Ghetto
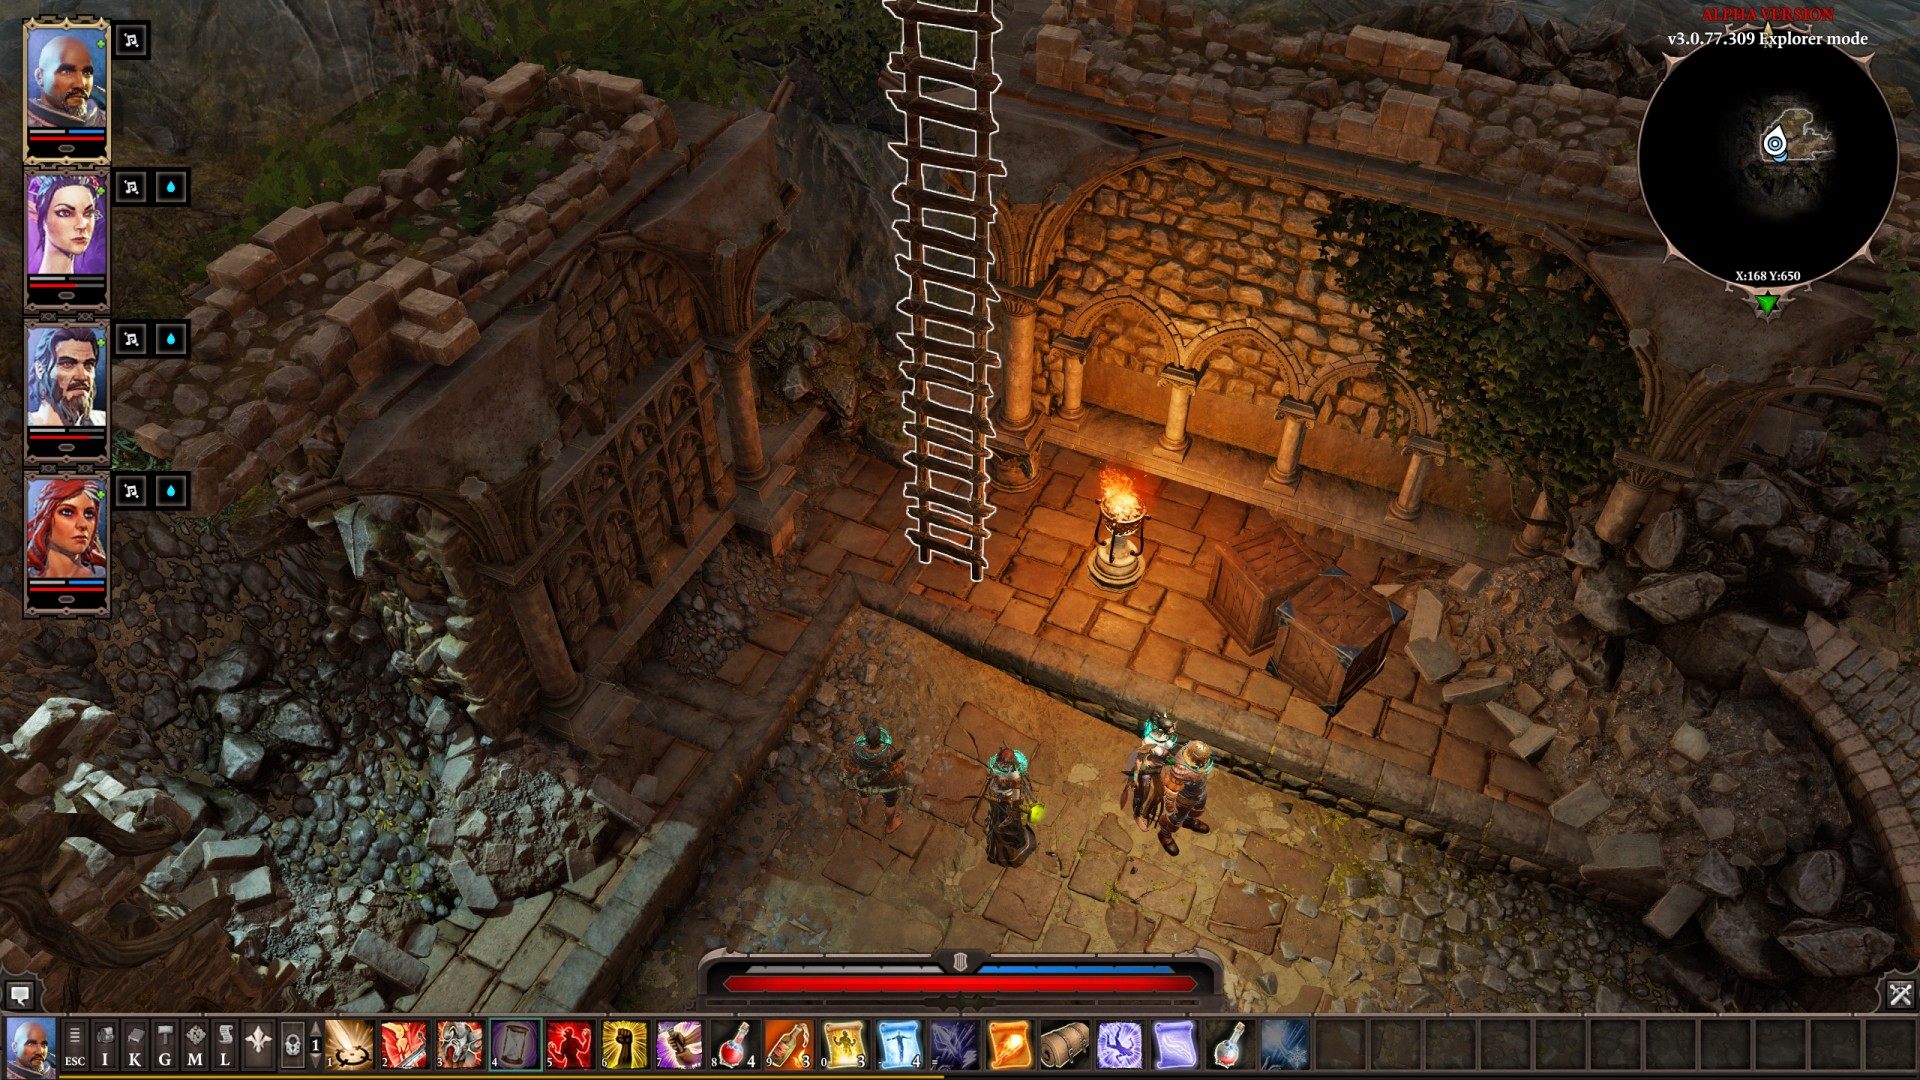
18Ladder to Fort Joy Prison
Show the map
19Pipe
20Pipe
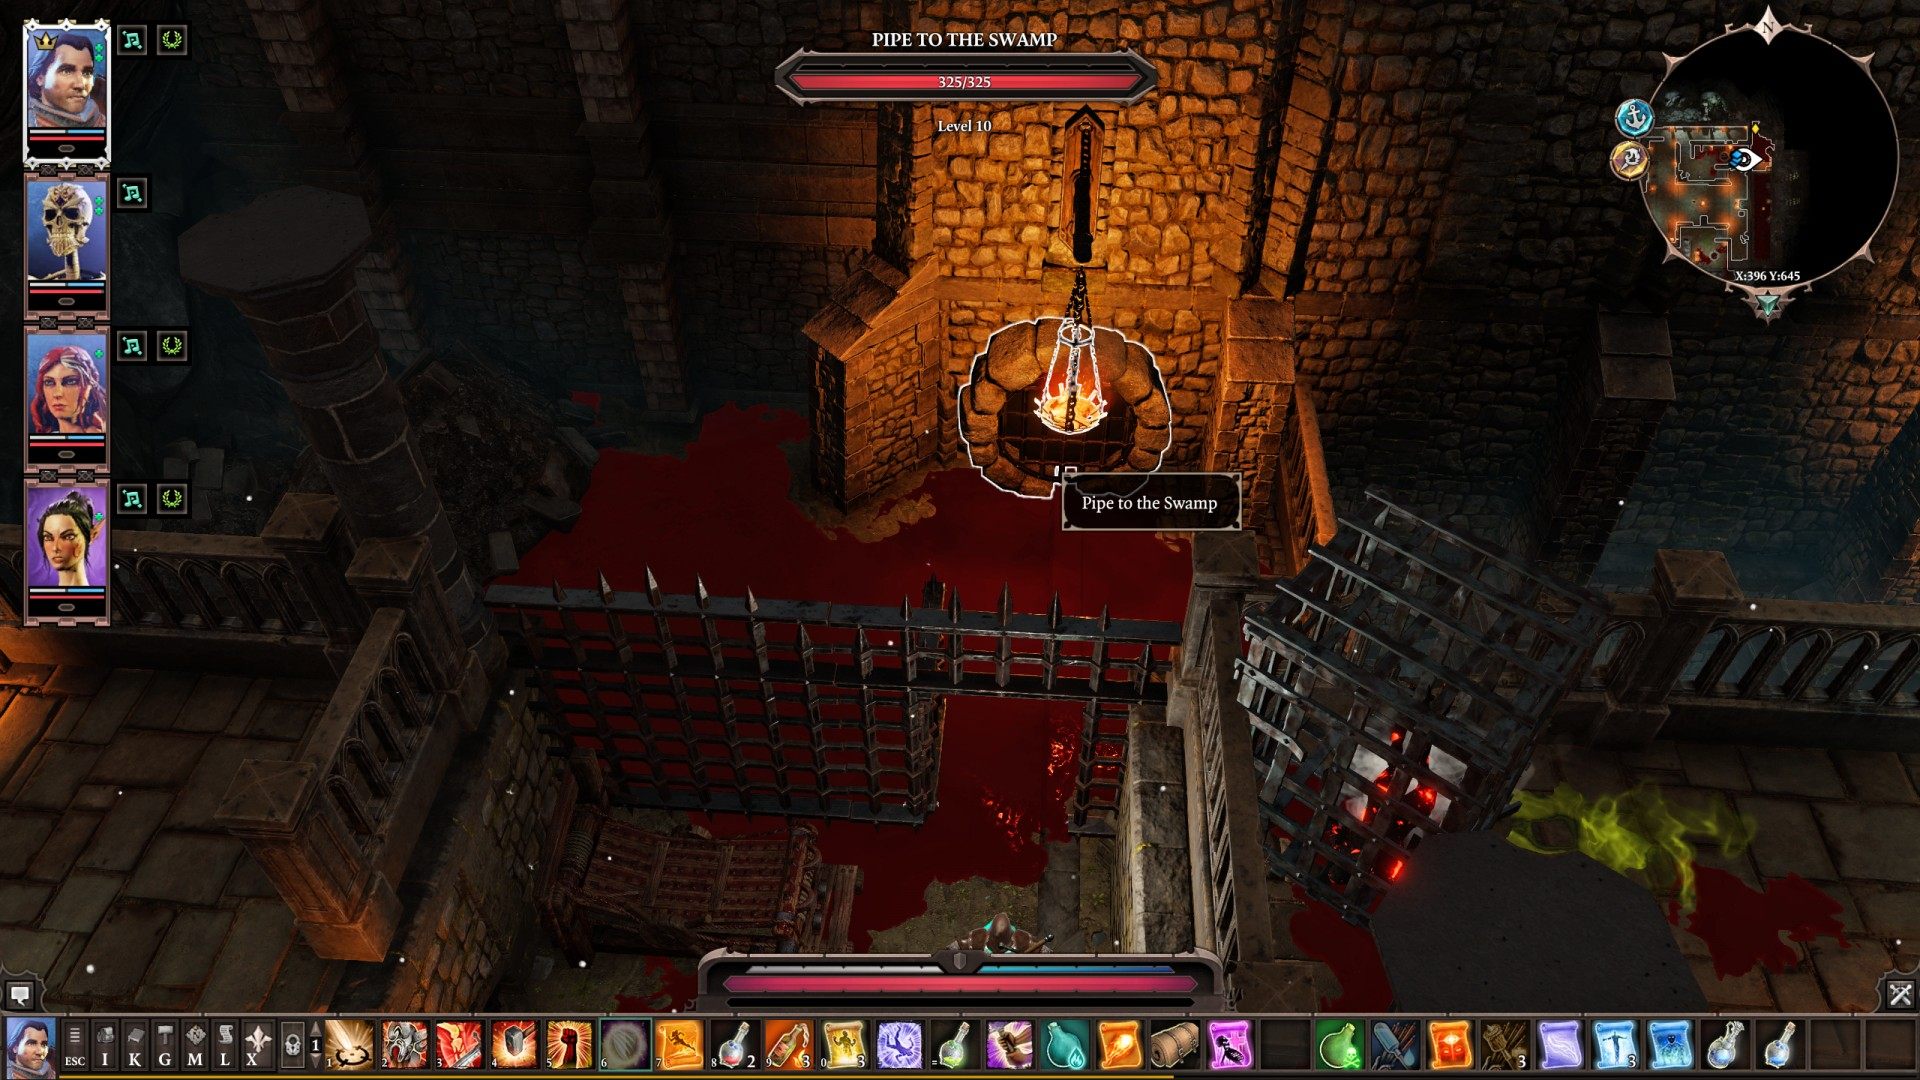
21Pipe to the Swamp
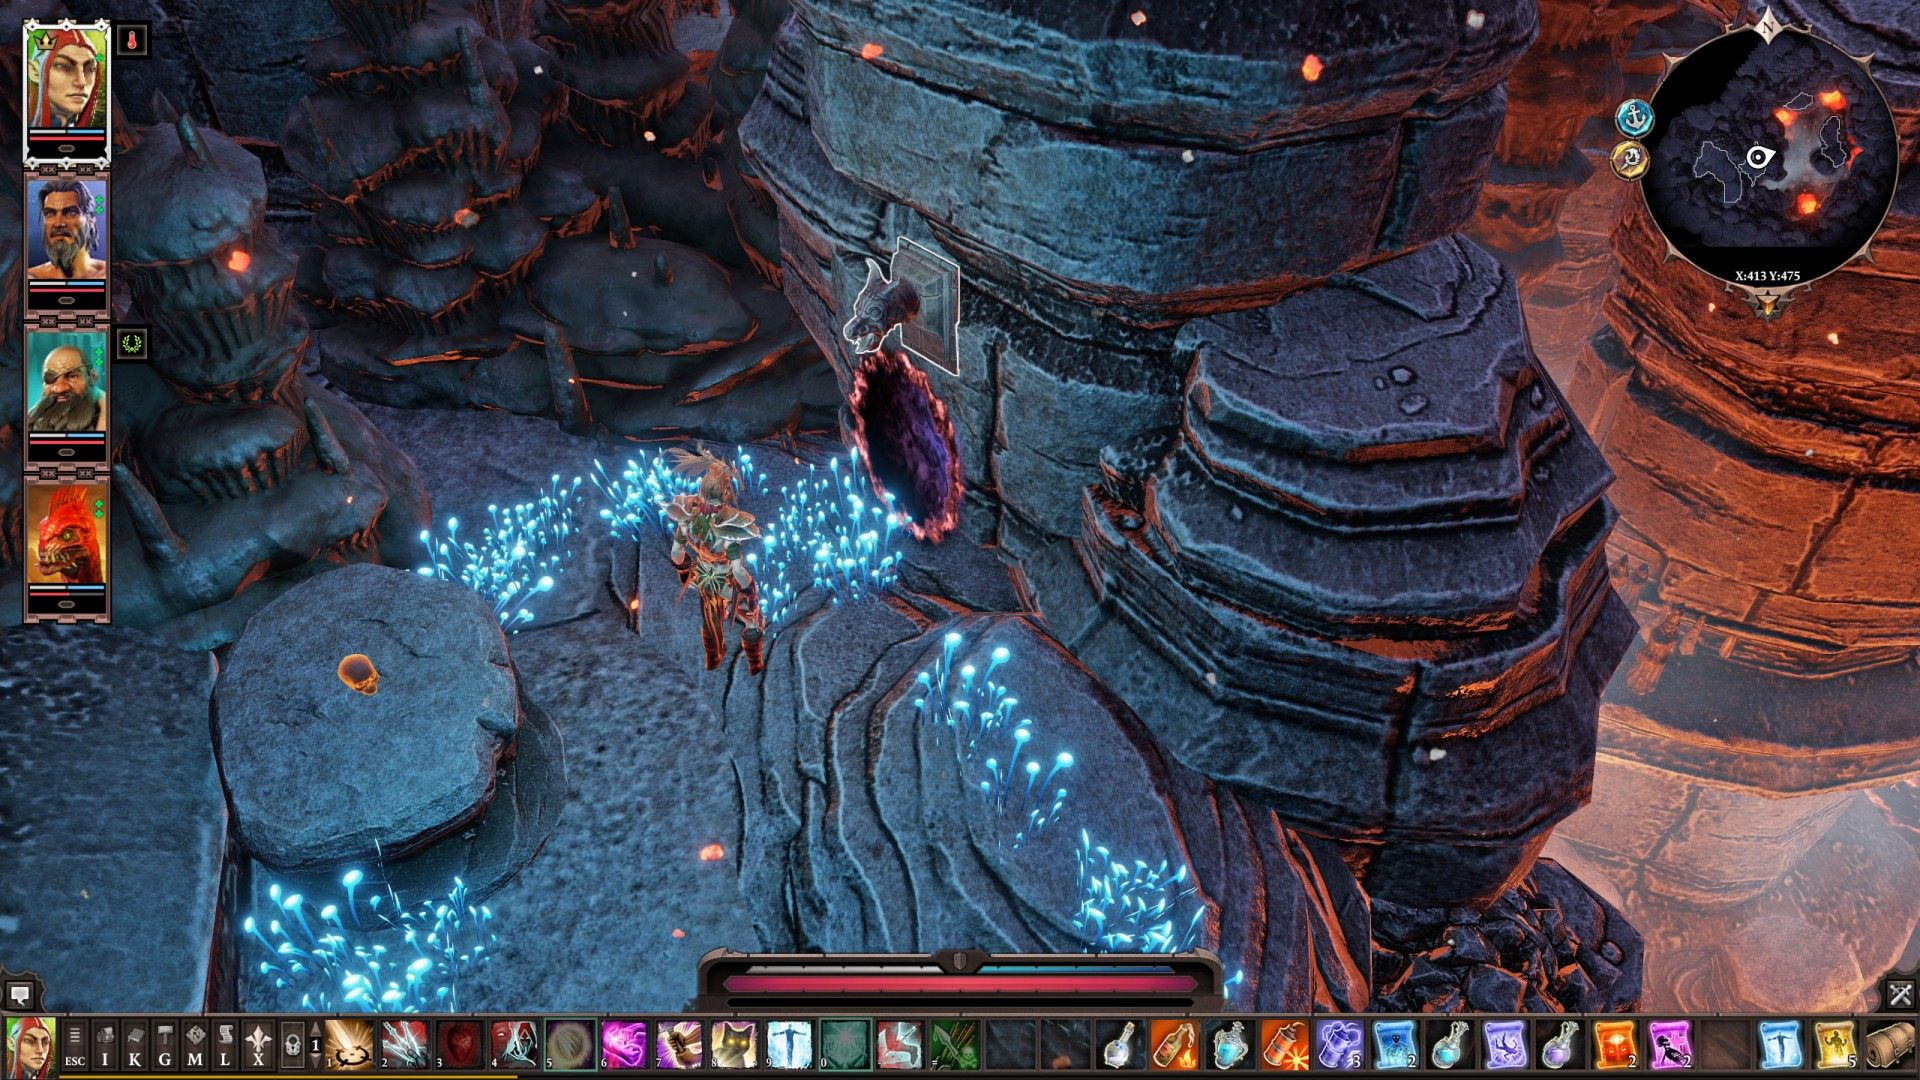
22Portal to the Lower Part of Realm of Orobas
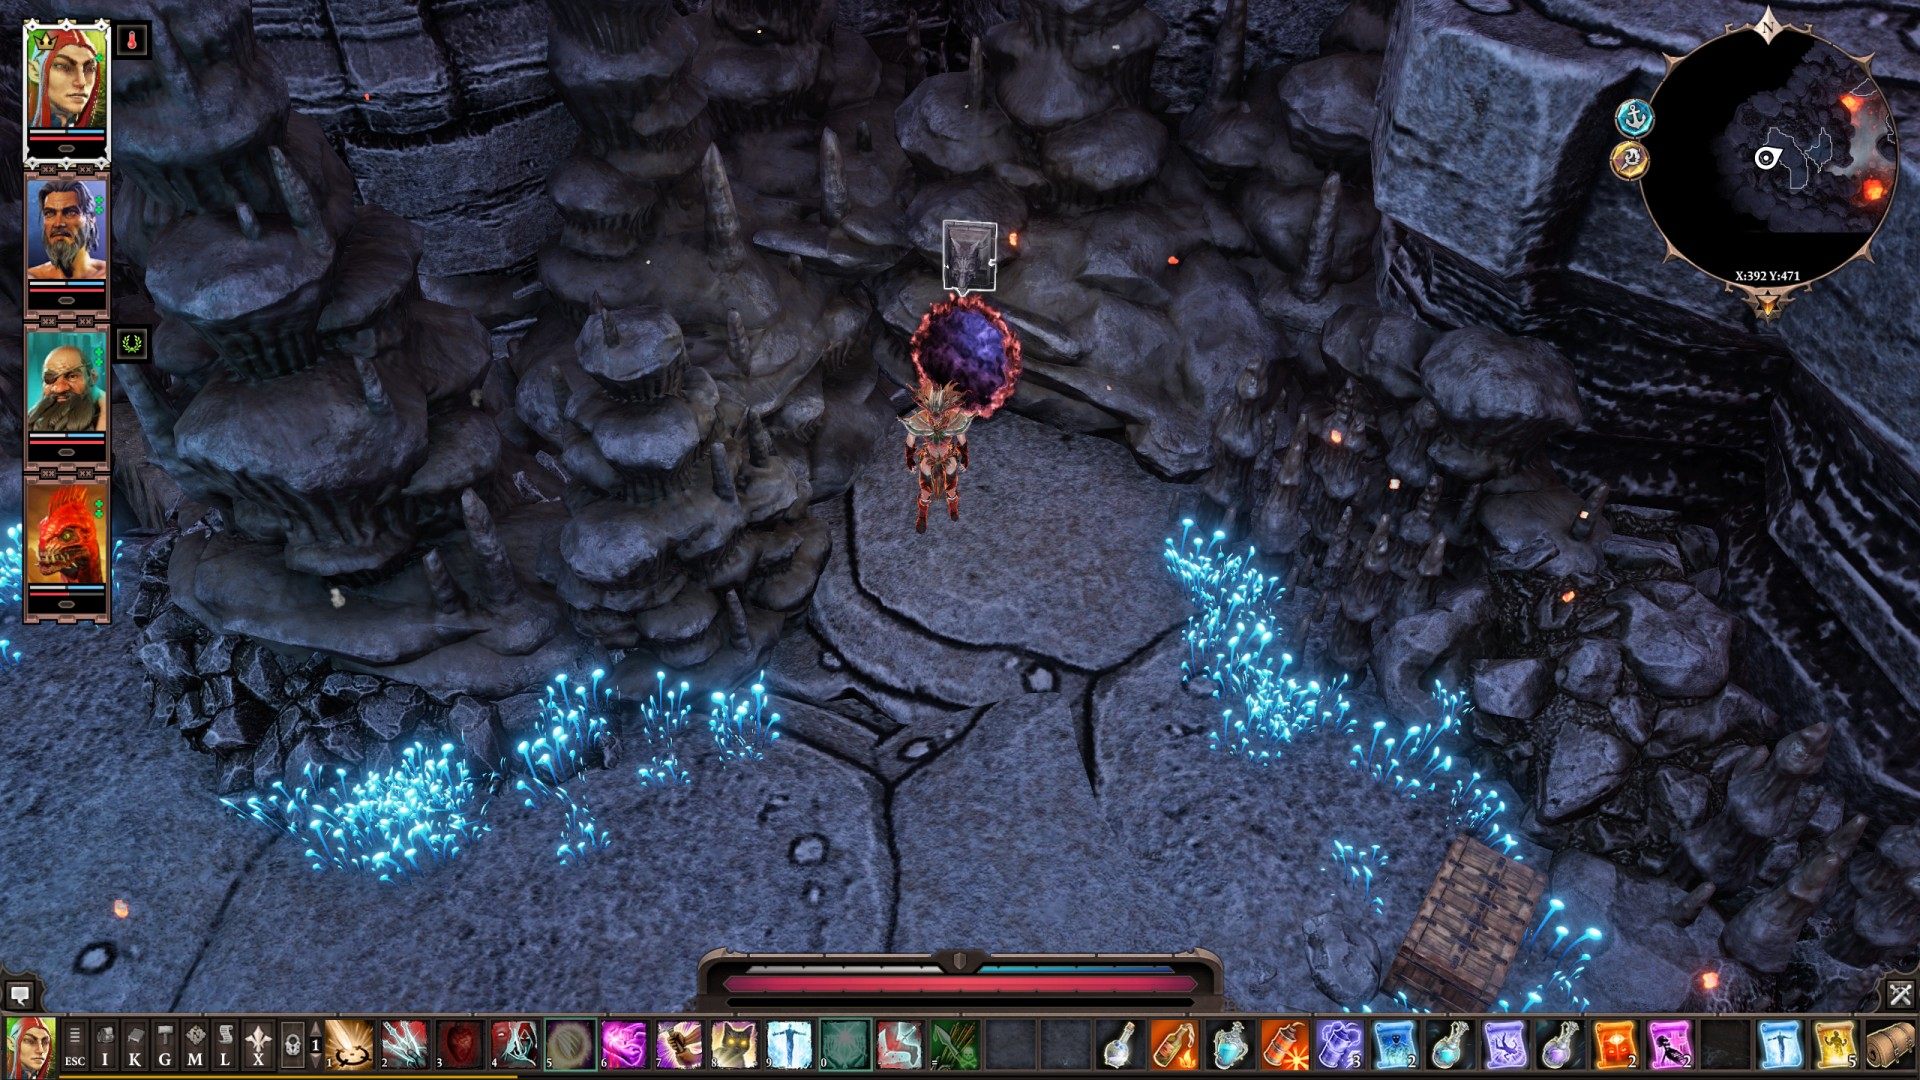
23Portal to the Upper Part of Realm of Orobas
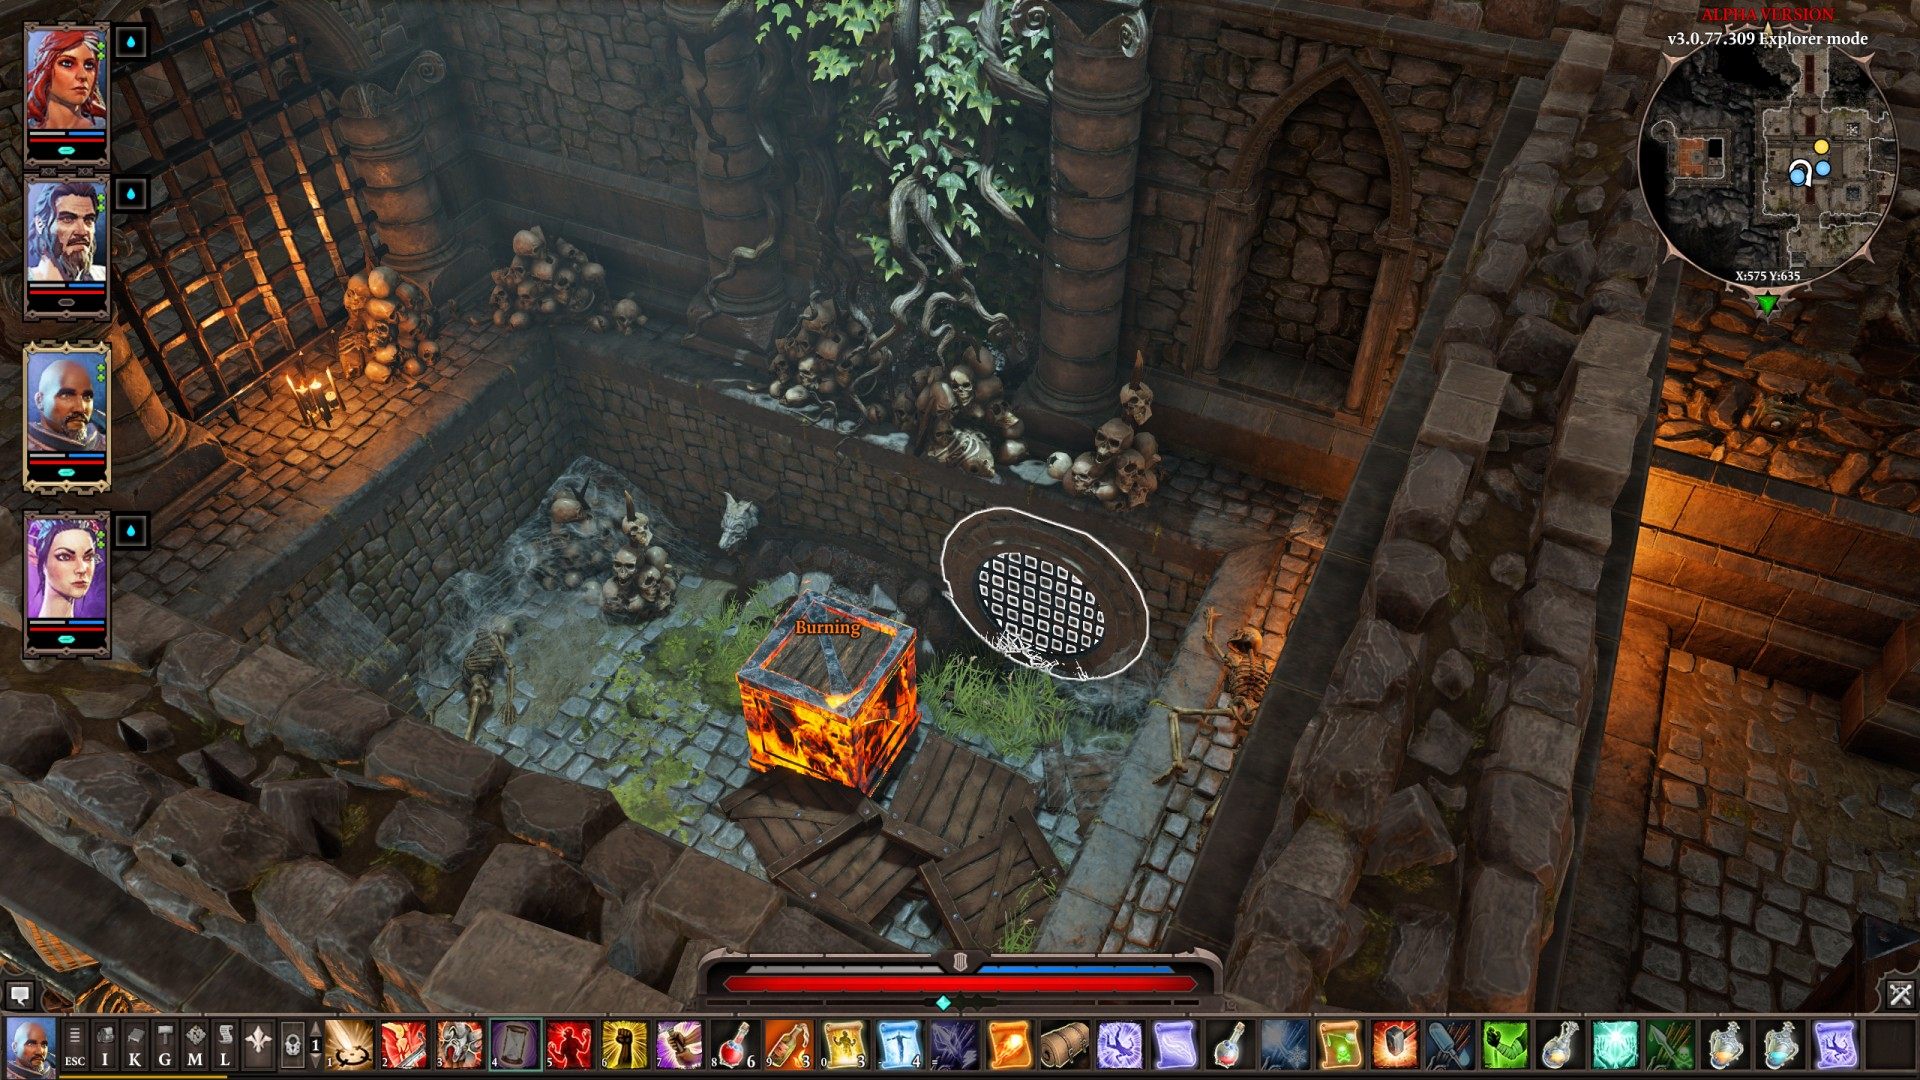
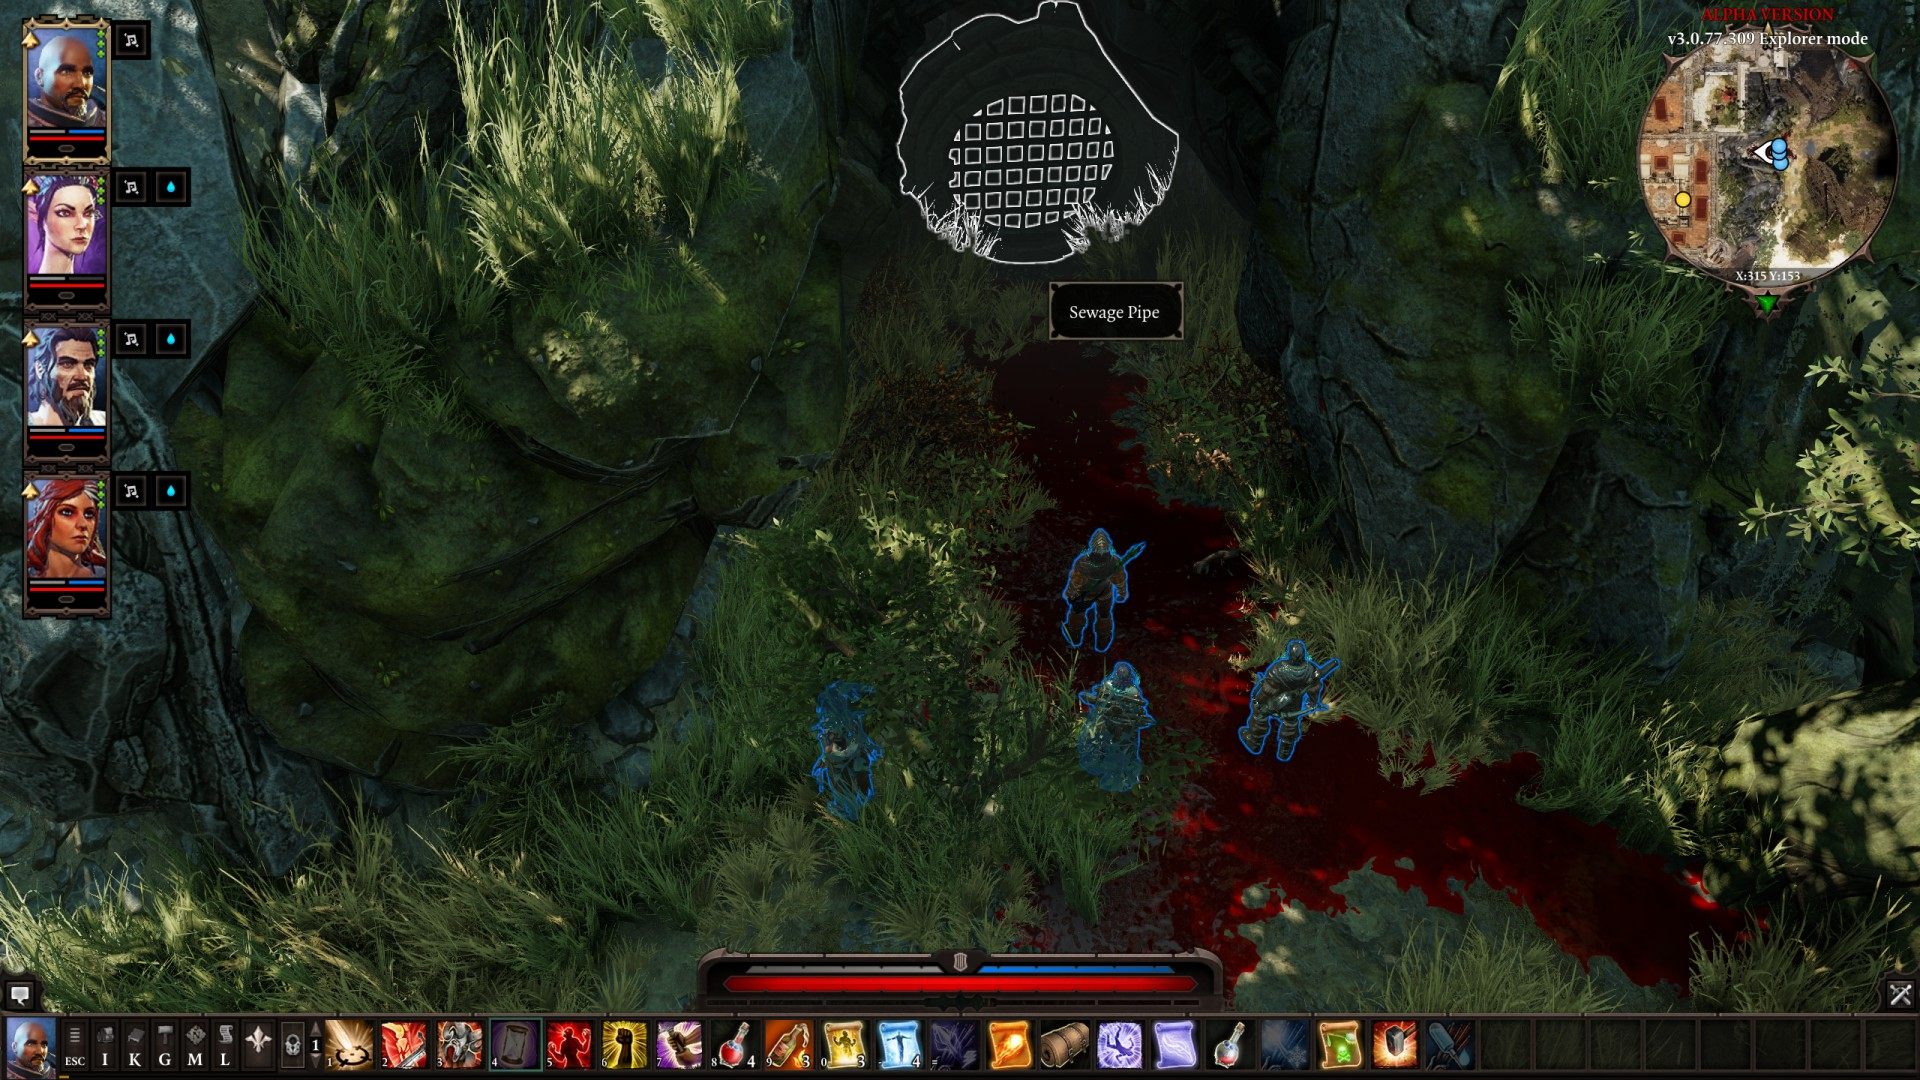
24Sewage Pipe
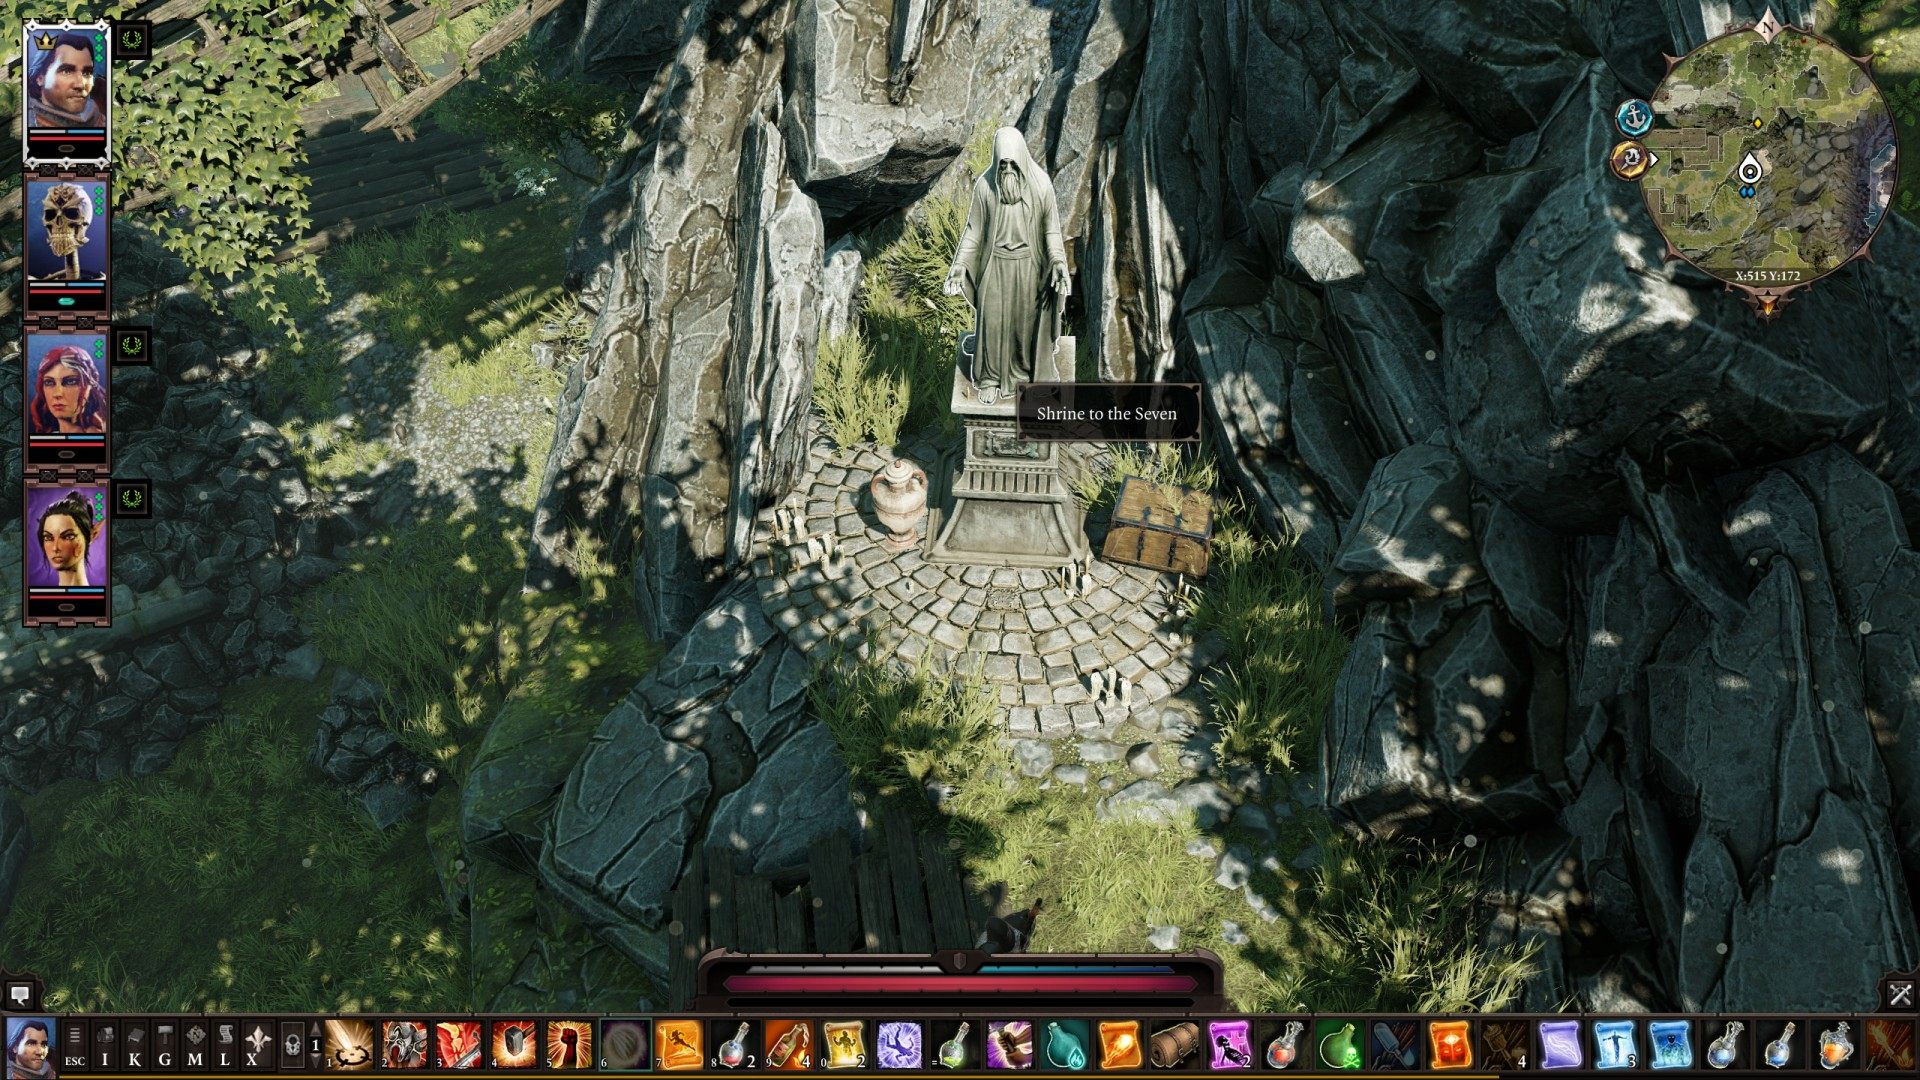
25Shrine to the Seven
It will teleport you to the Hall of Echoes if you have not been there yet.
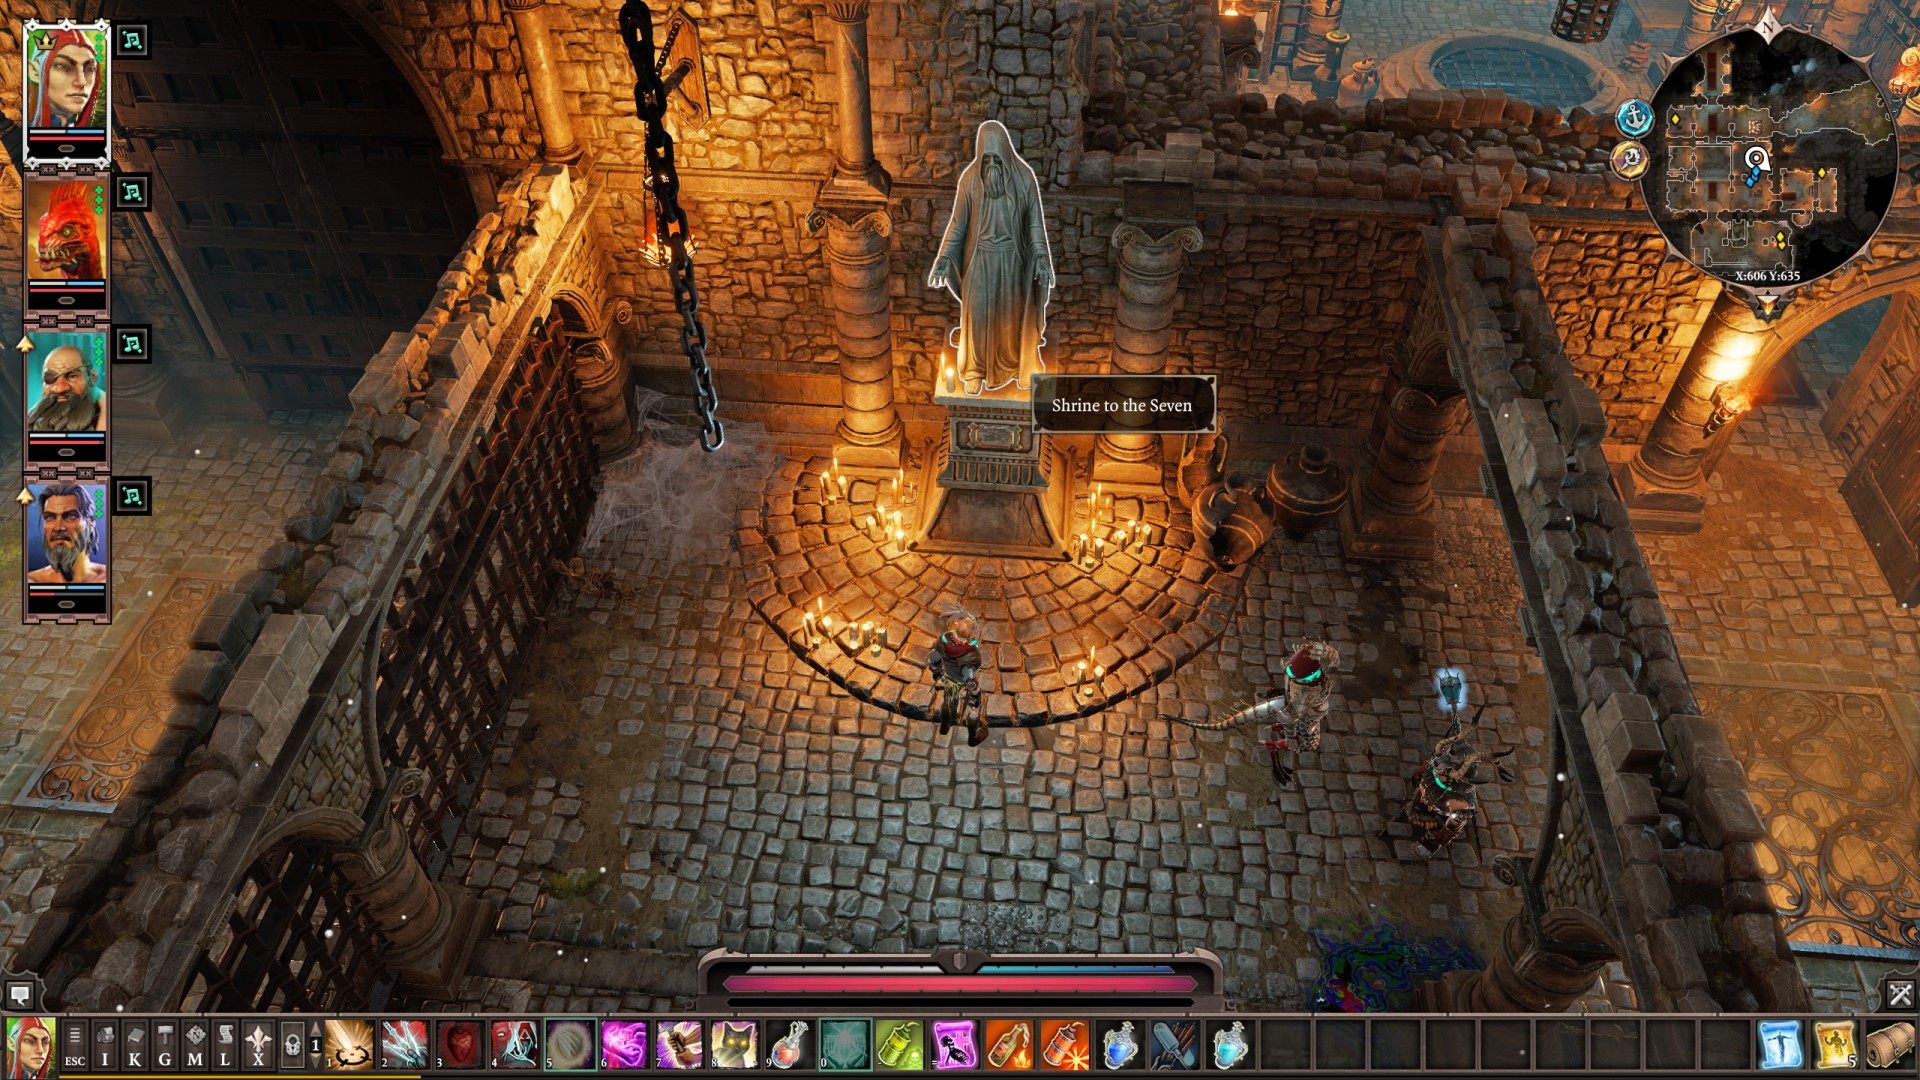
26Shrine to the Seven
Click it then your main character will be teleported to Hall of Echoes.
27Shrine to the Seven
If you have not visited Hall of Echoes yet, then you will be teleported there.
28Skull Cave
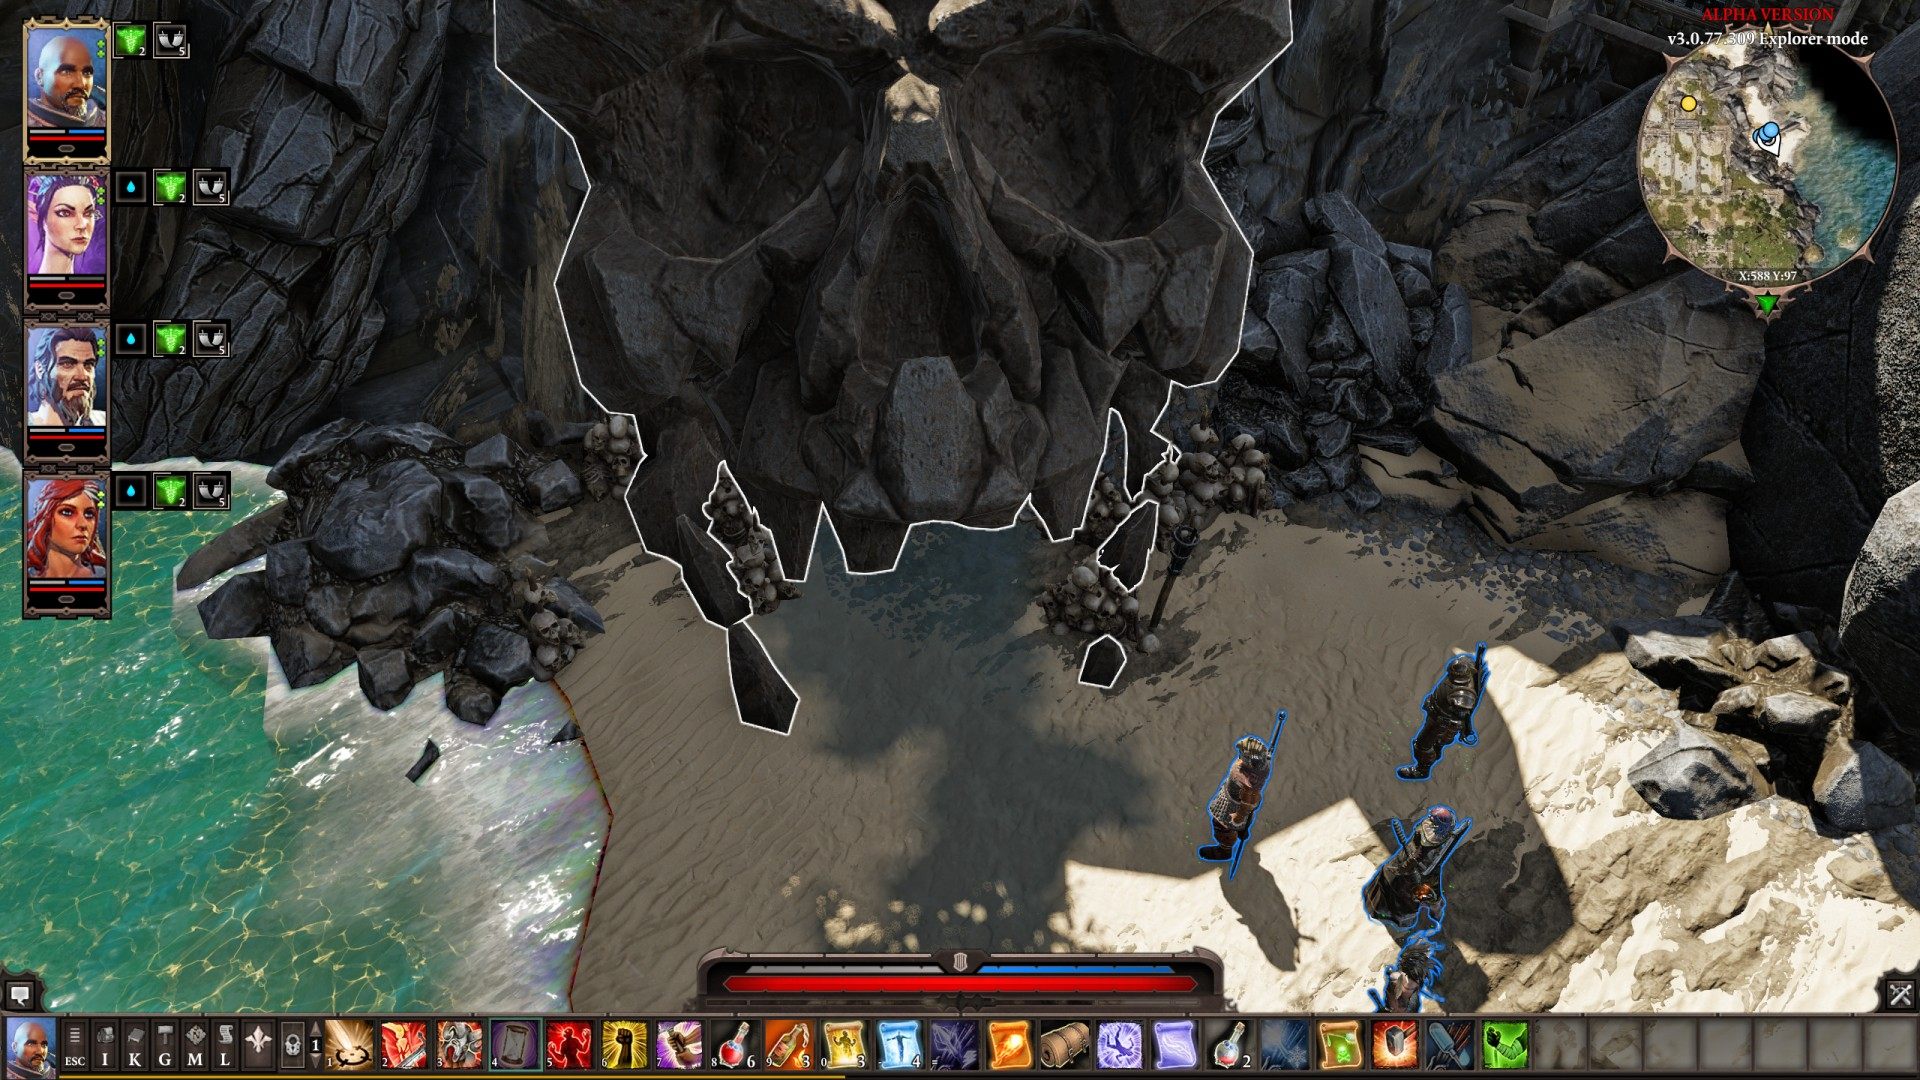
29Skull Cave Exit
Show the map
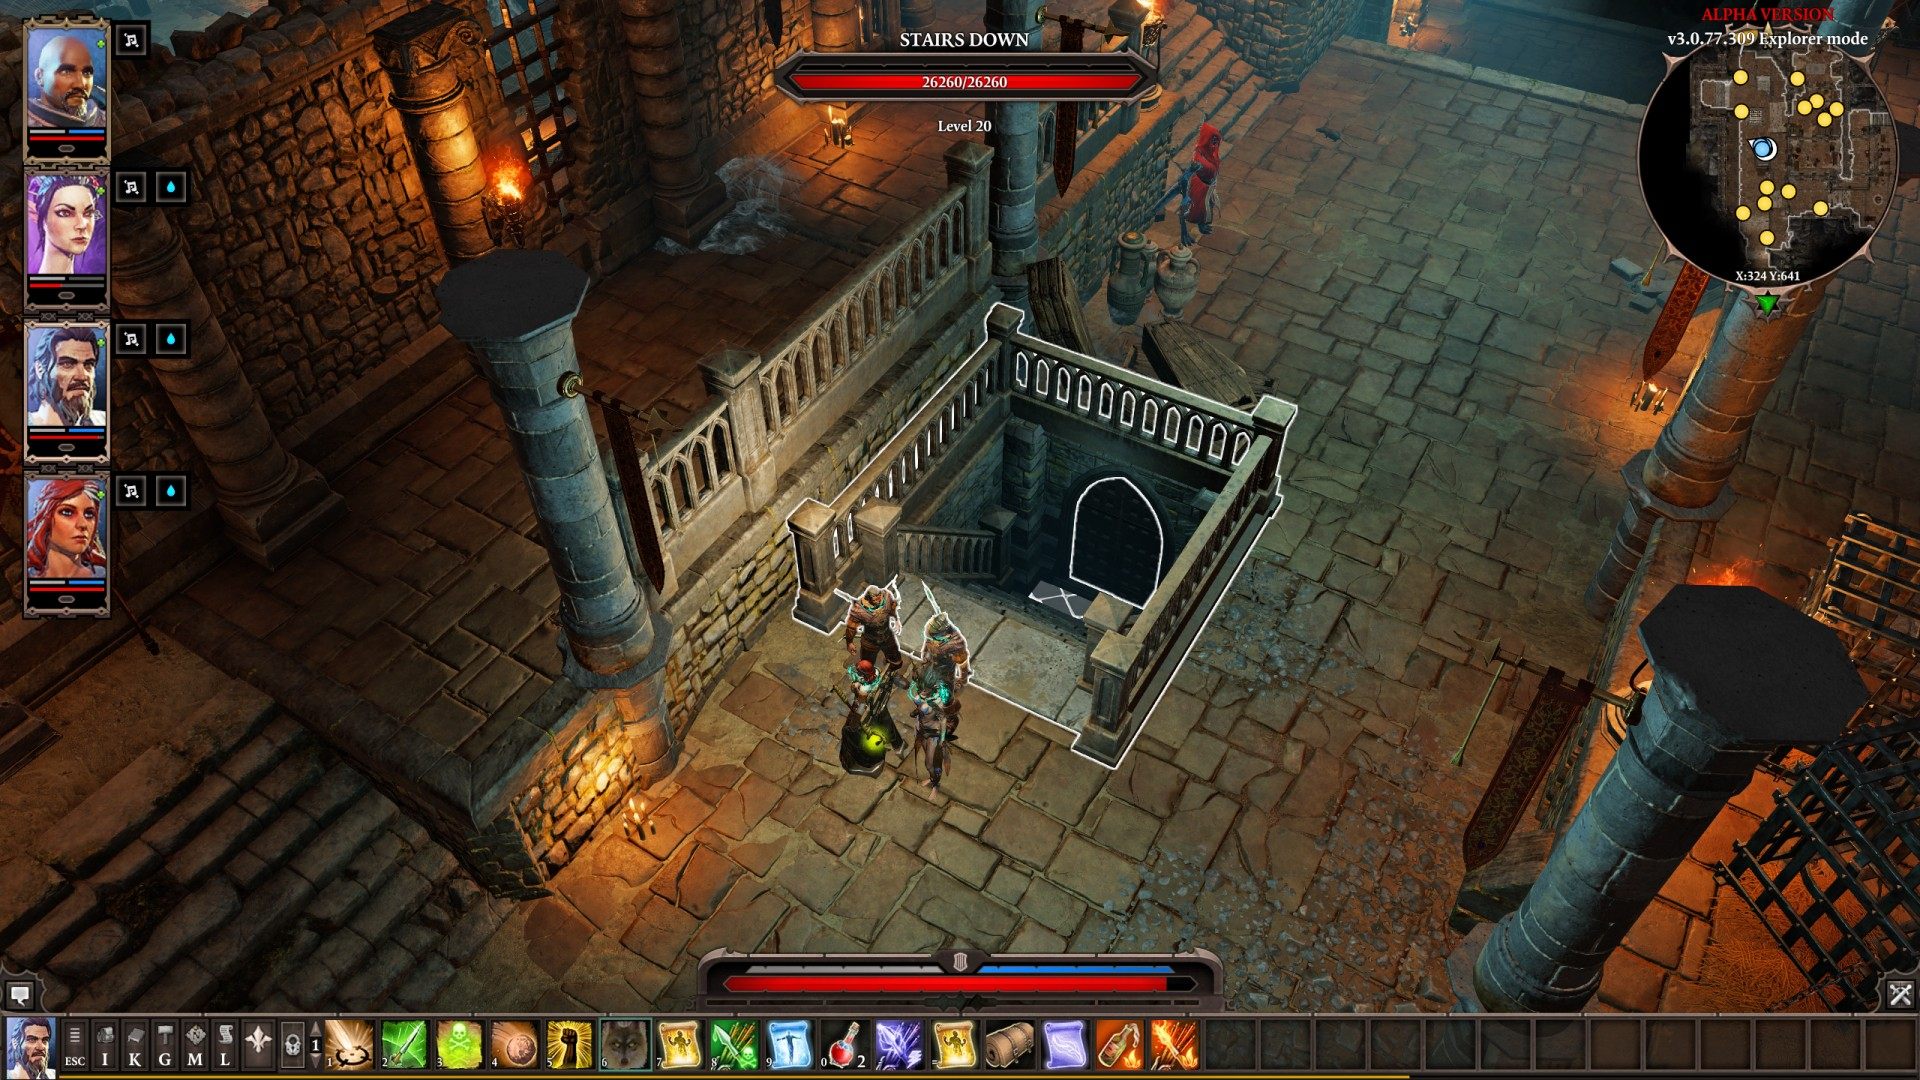
30Stairs down to the Holding Cells
Locked. You need Prison Key to unlock it.
31The Gargoyle's Maze Tower Exit
32To Ancient Passage
Related quests: Withermoore's Soul Jar

33To Dark Cavern
Related quests: The Vault of Braccus Rex
Come close to see it.
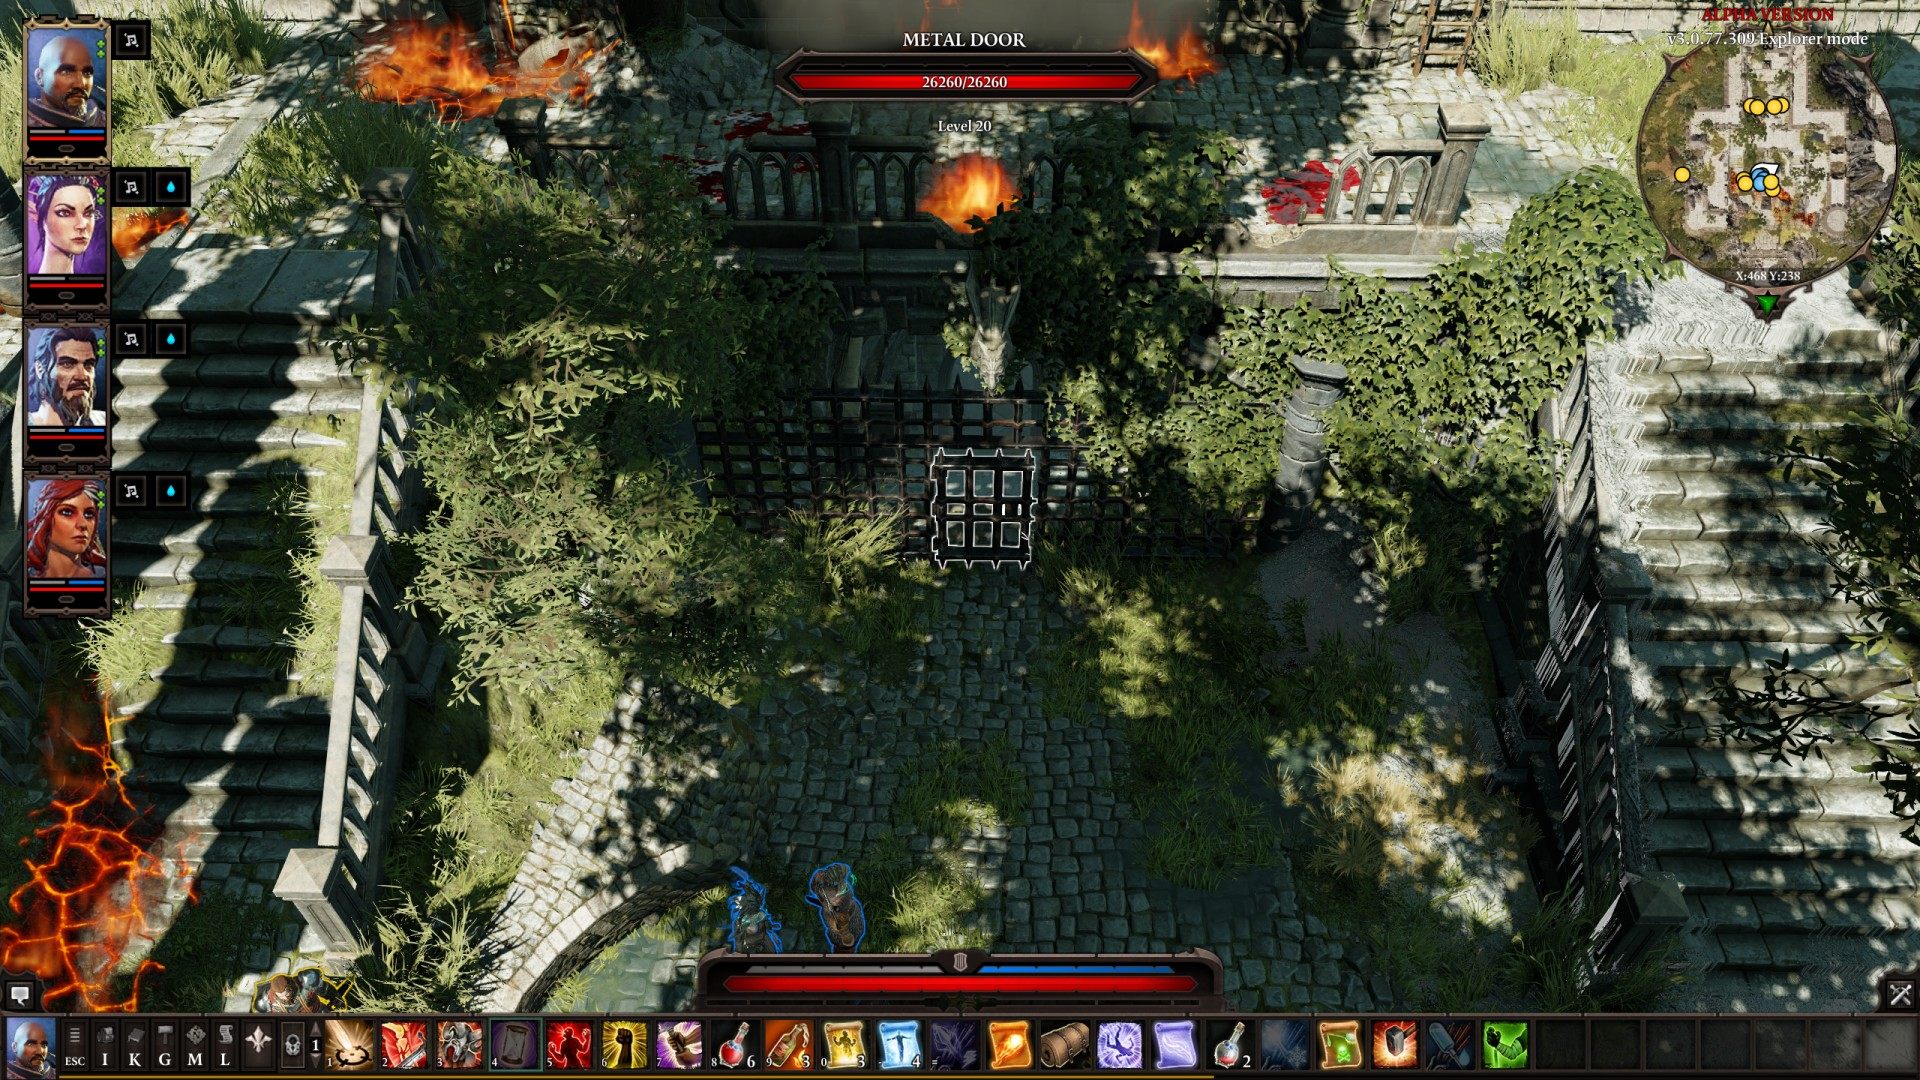
34To Decrepit Ruins
Metal Door.
35To Fort Joy
36To Fort Joy Courtyard
Show the map
37To Fort Joy Prison
Show the map
38To Fort Joy Prison

39To The Gargoyle's Maze Tower
Related quests: The Gargoyle's Maze
40To: Arena of the One
Related quests: The Arena of Fort Joy
From: Fort Joy Ghetto.
Type: Hatch on the ground.
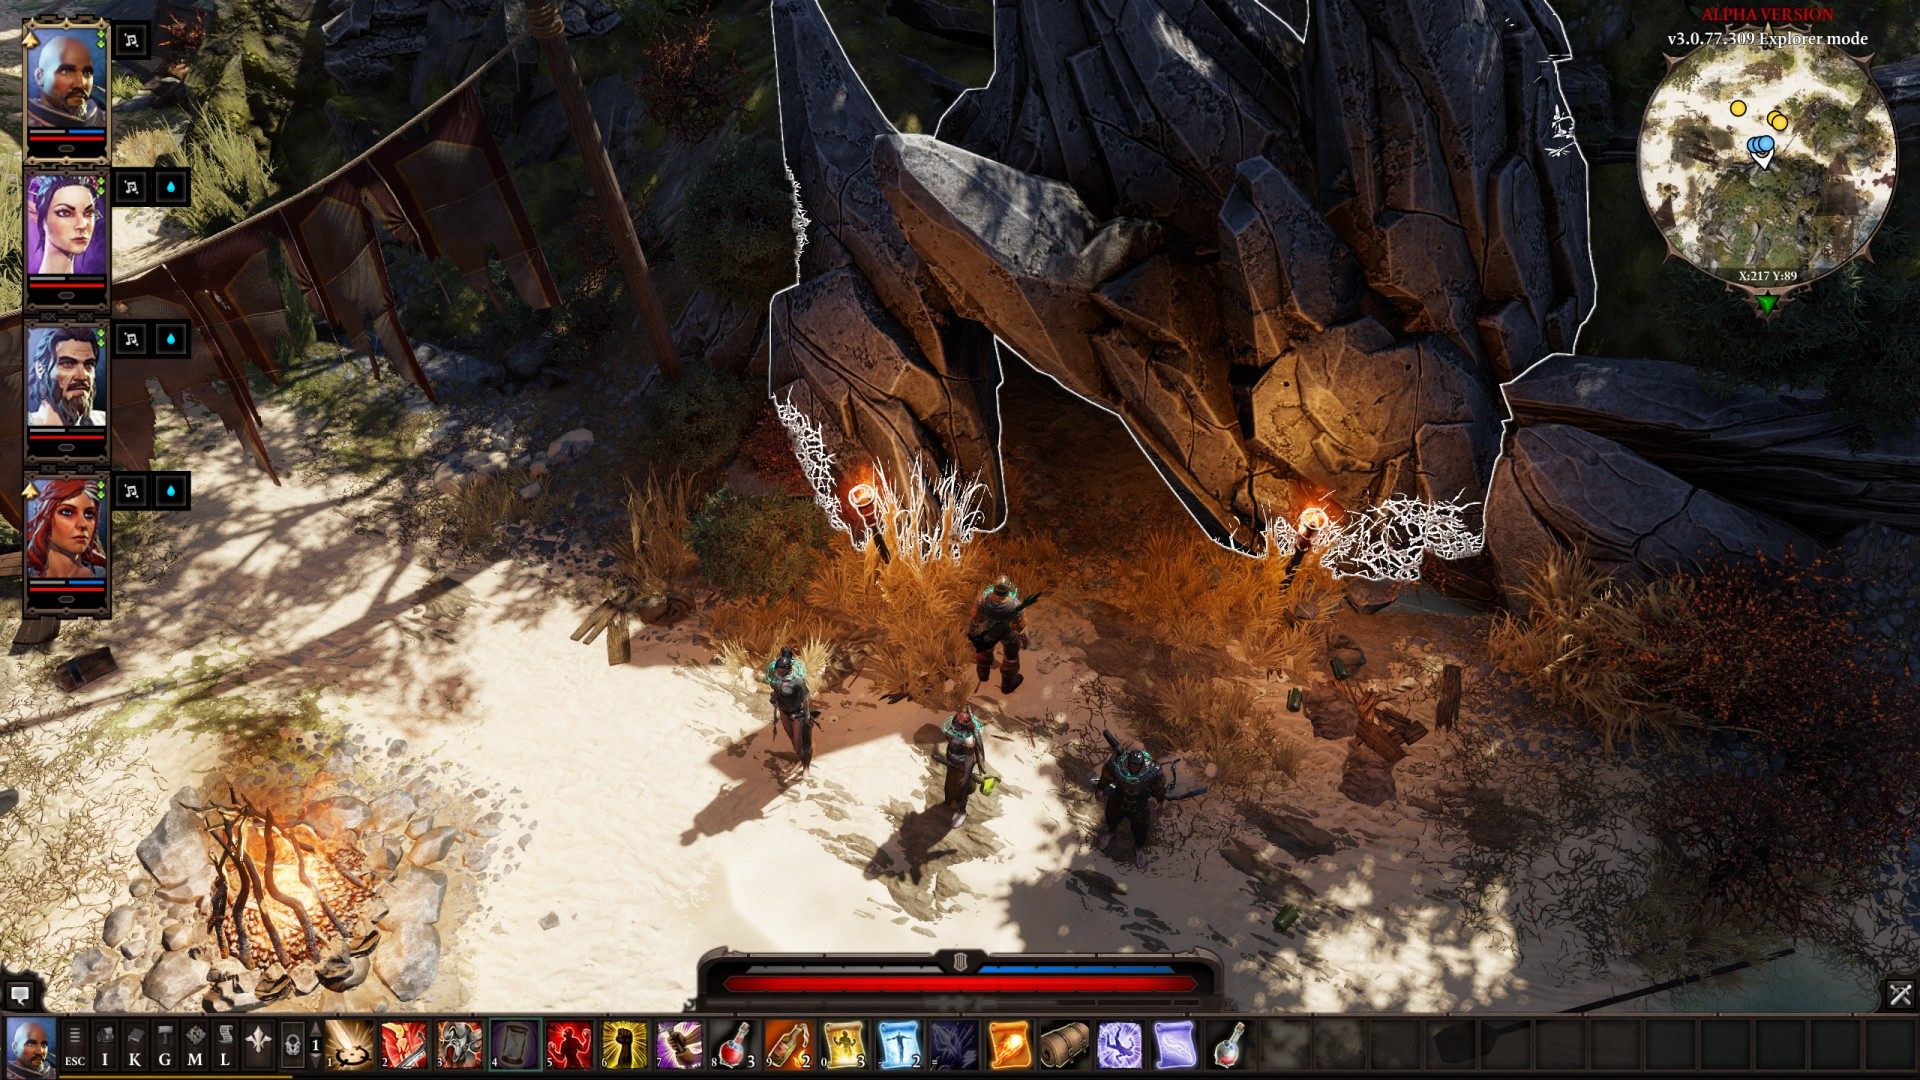
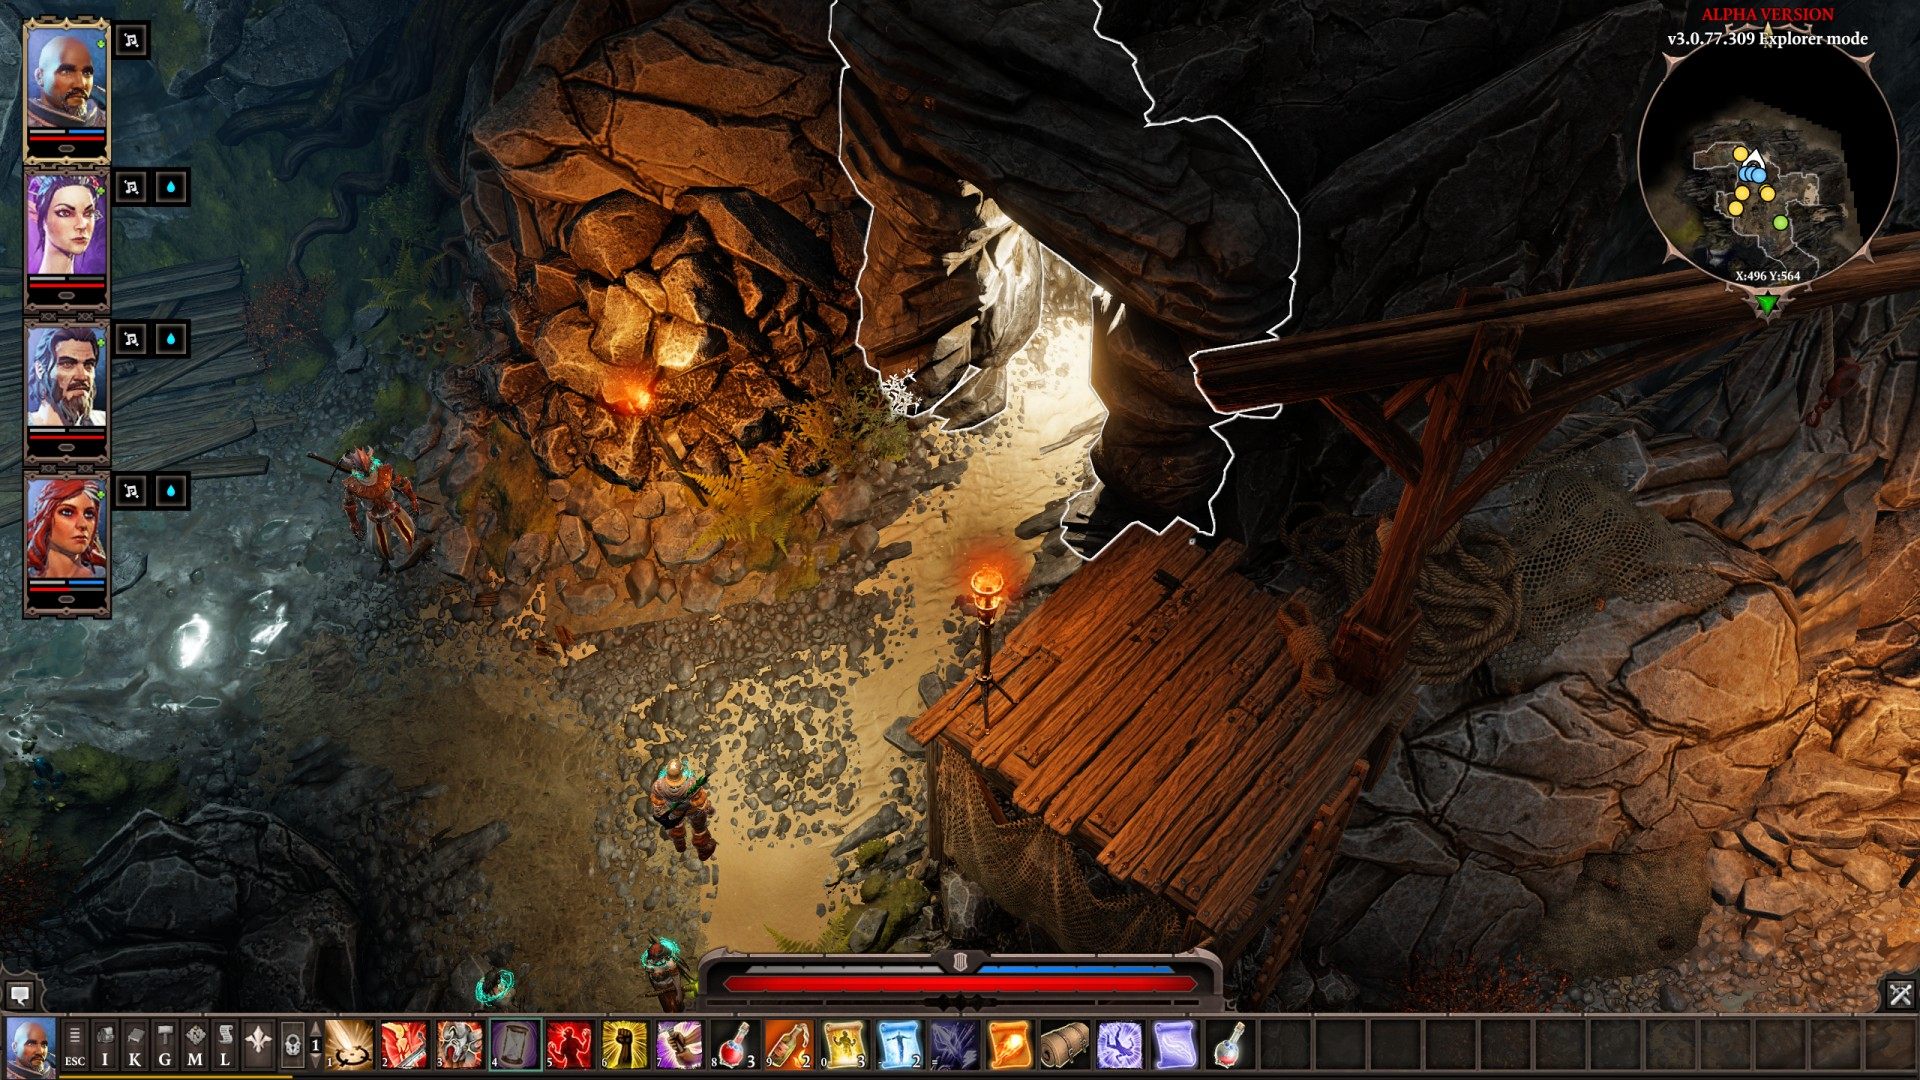
41To: Caverns
From: Fort Joy Ghetto.
Entrance to the cave.
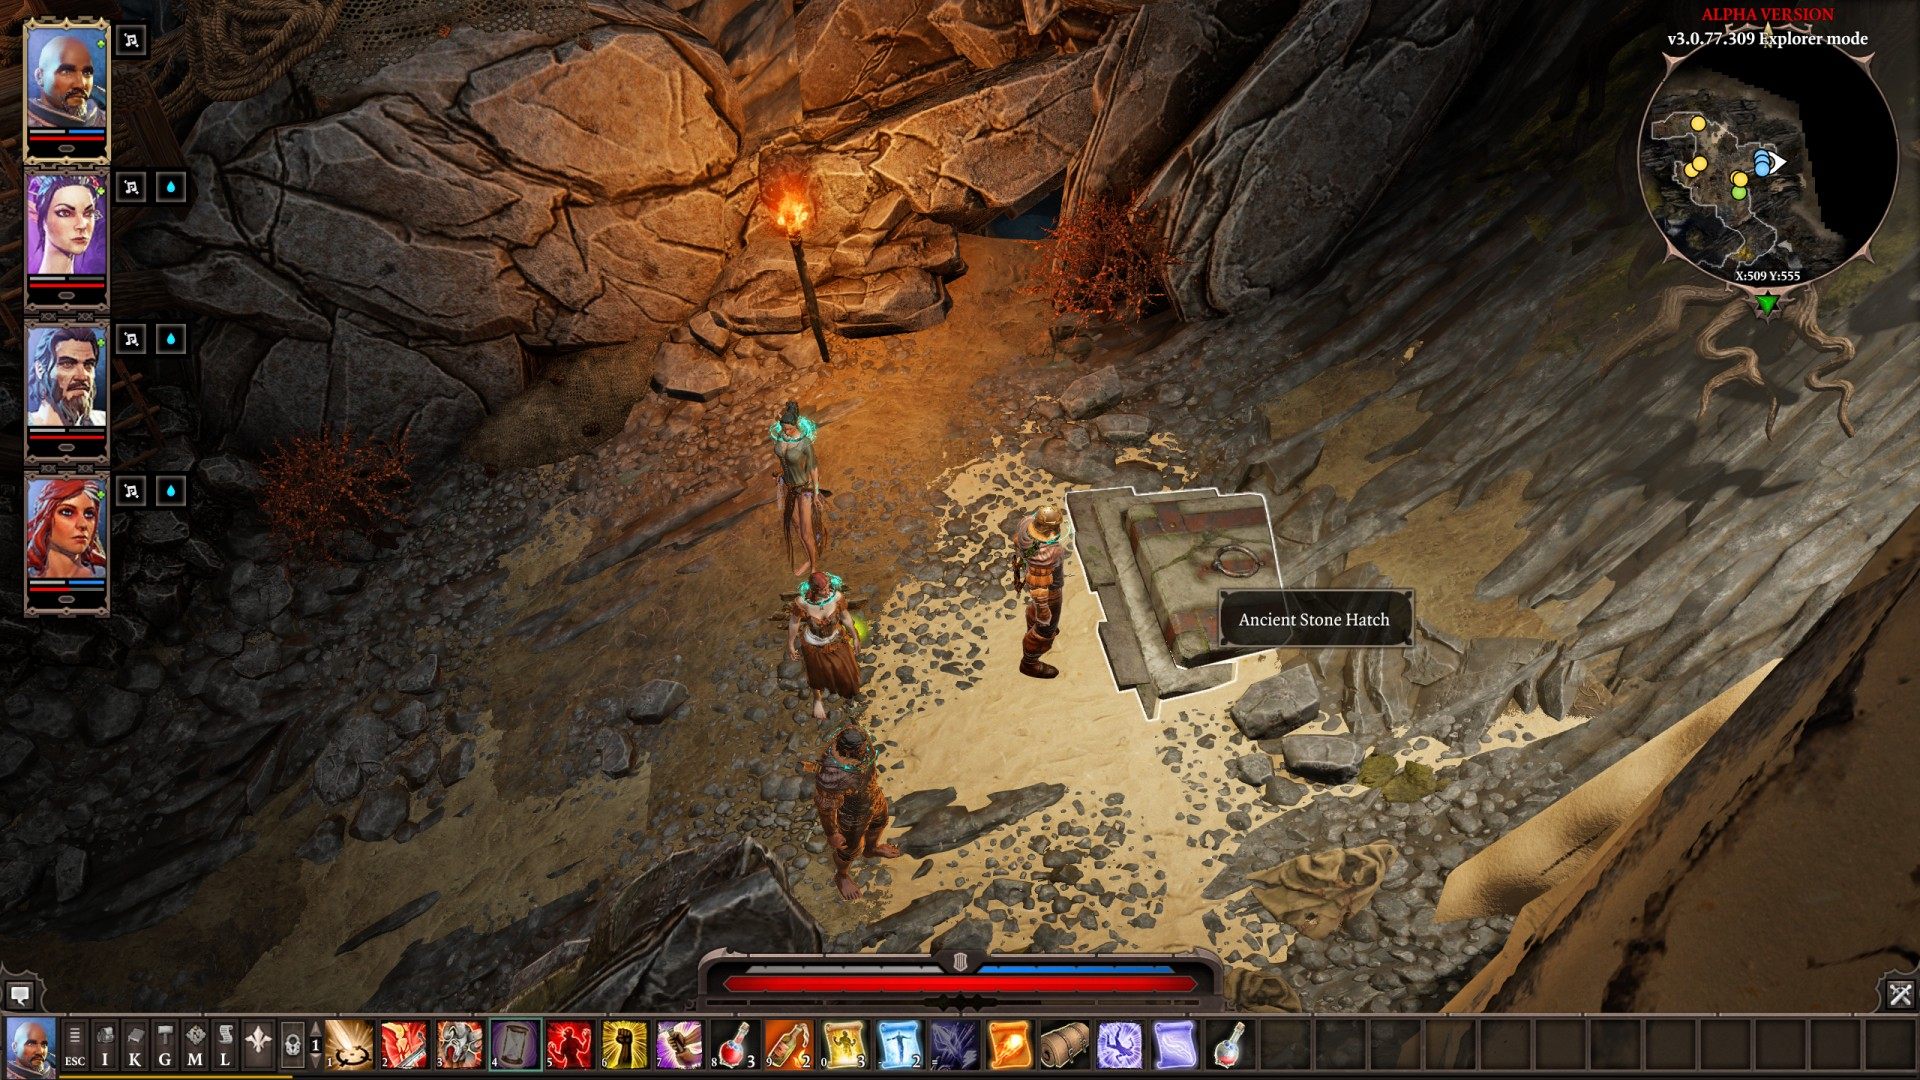
42To: Forgotten Cell
Related quests: Withermoore's Soul Jar
From: Caverns.
Ancient Stone Hatch. It's buried. Come close to discover it.
If you first play hide and seek with Mody then he will uncover it for you.
43To: Fort Joy Ghetto
From: Caverns
Type: Cave exit.
44To: Fort Joy Ghetto
From: Arena of the One.
Type: Ladder.
45To: Holding Cells
From: Hidden Enclave.
Type: Entrance to the cave.
Warning: You can not go back this way!
46Underground Tunnel (Entrance)
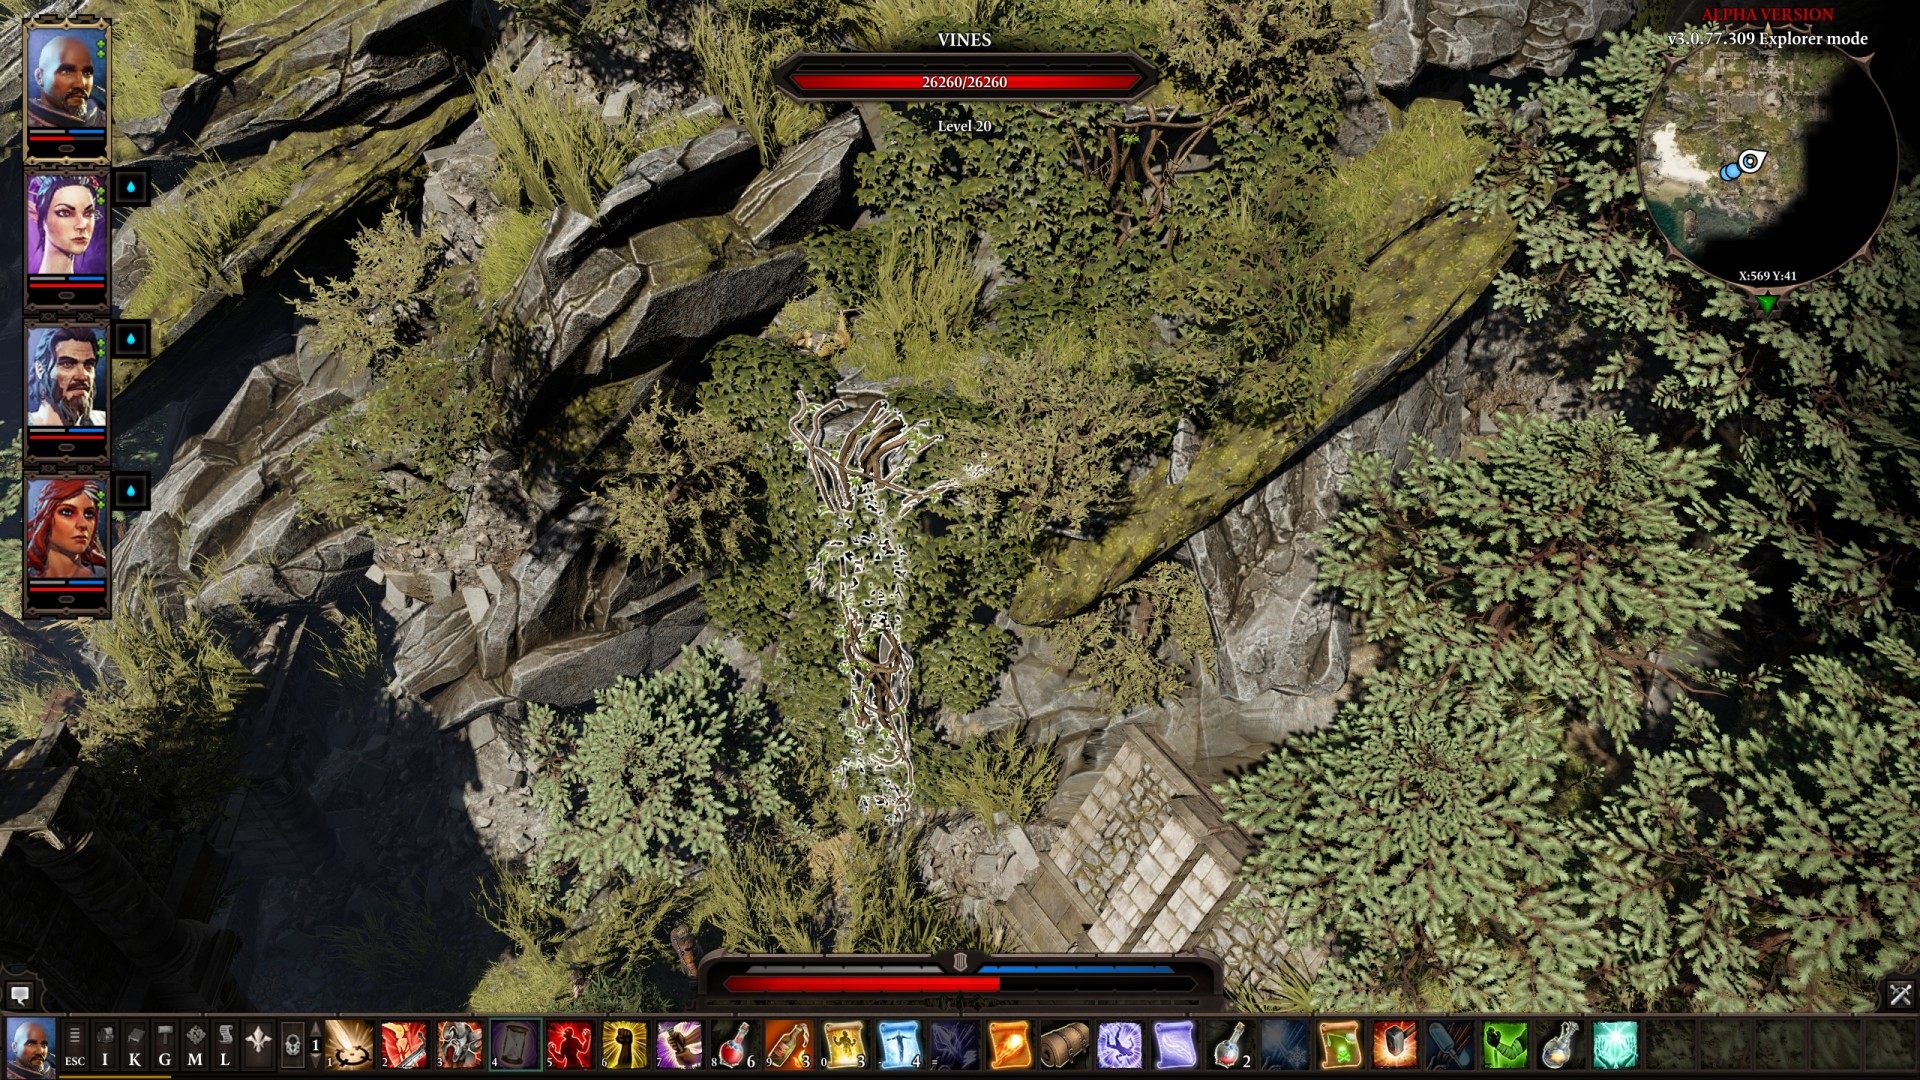
47Vines
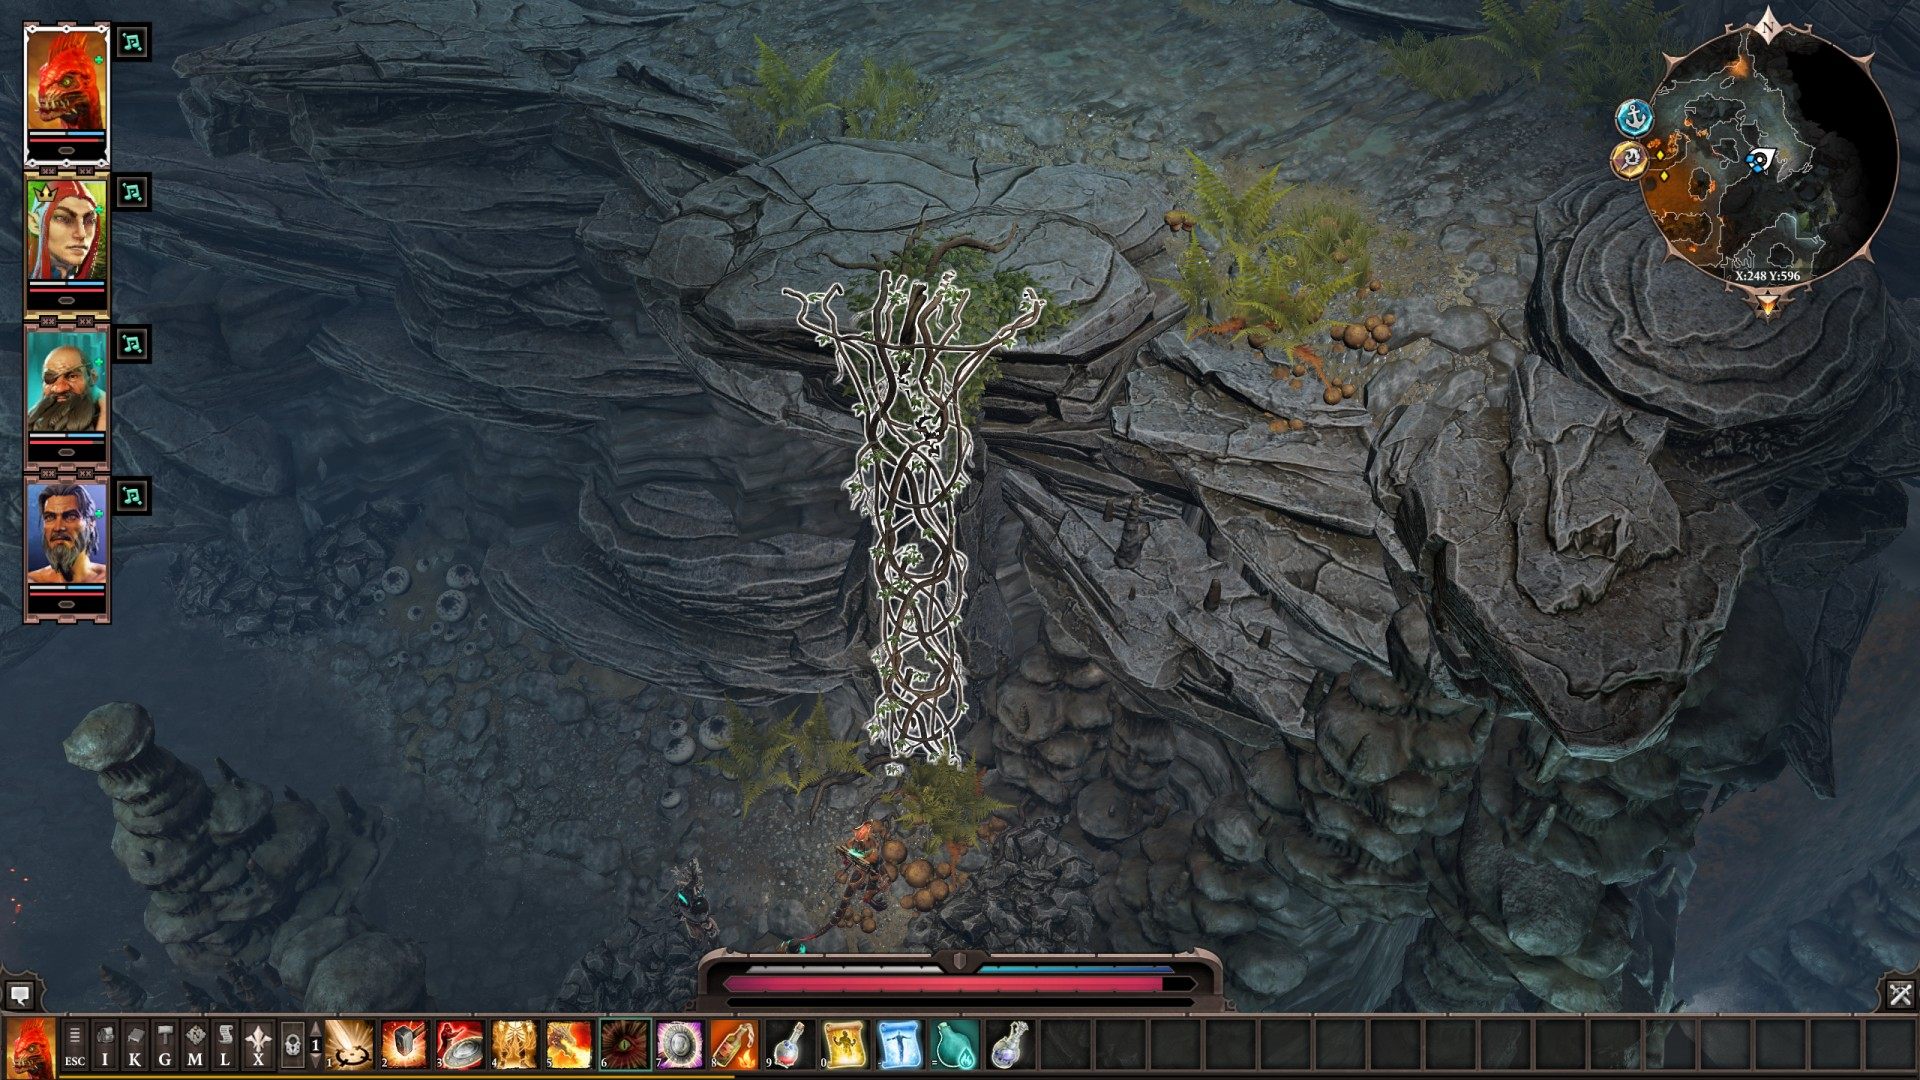
48Vines
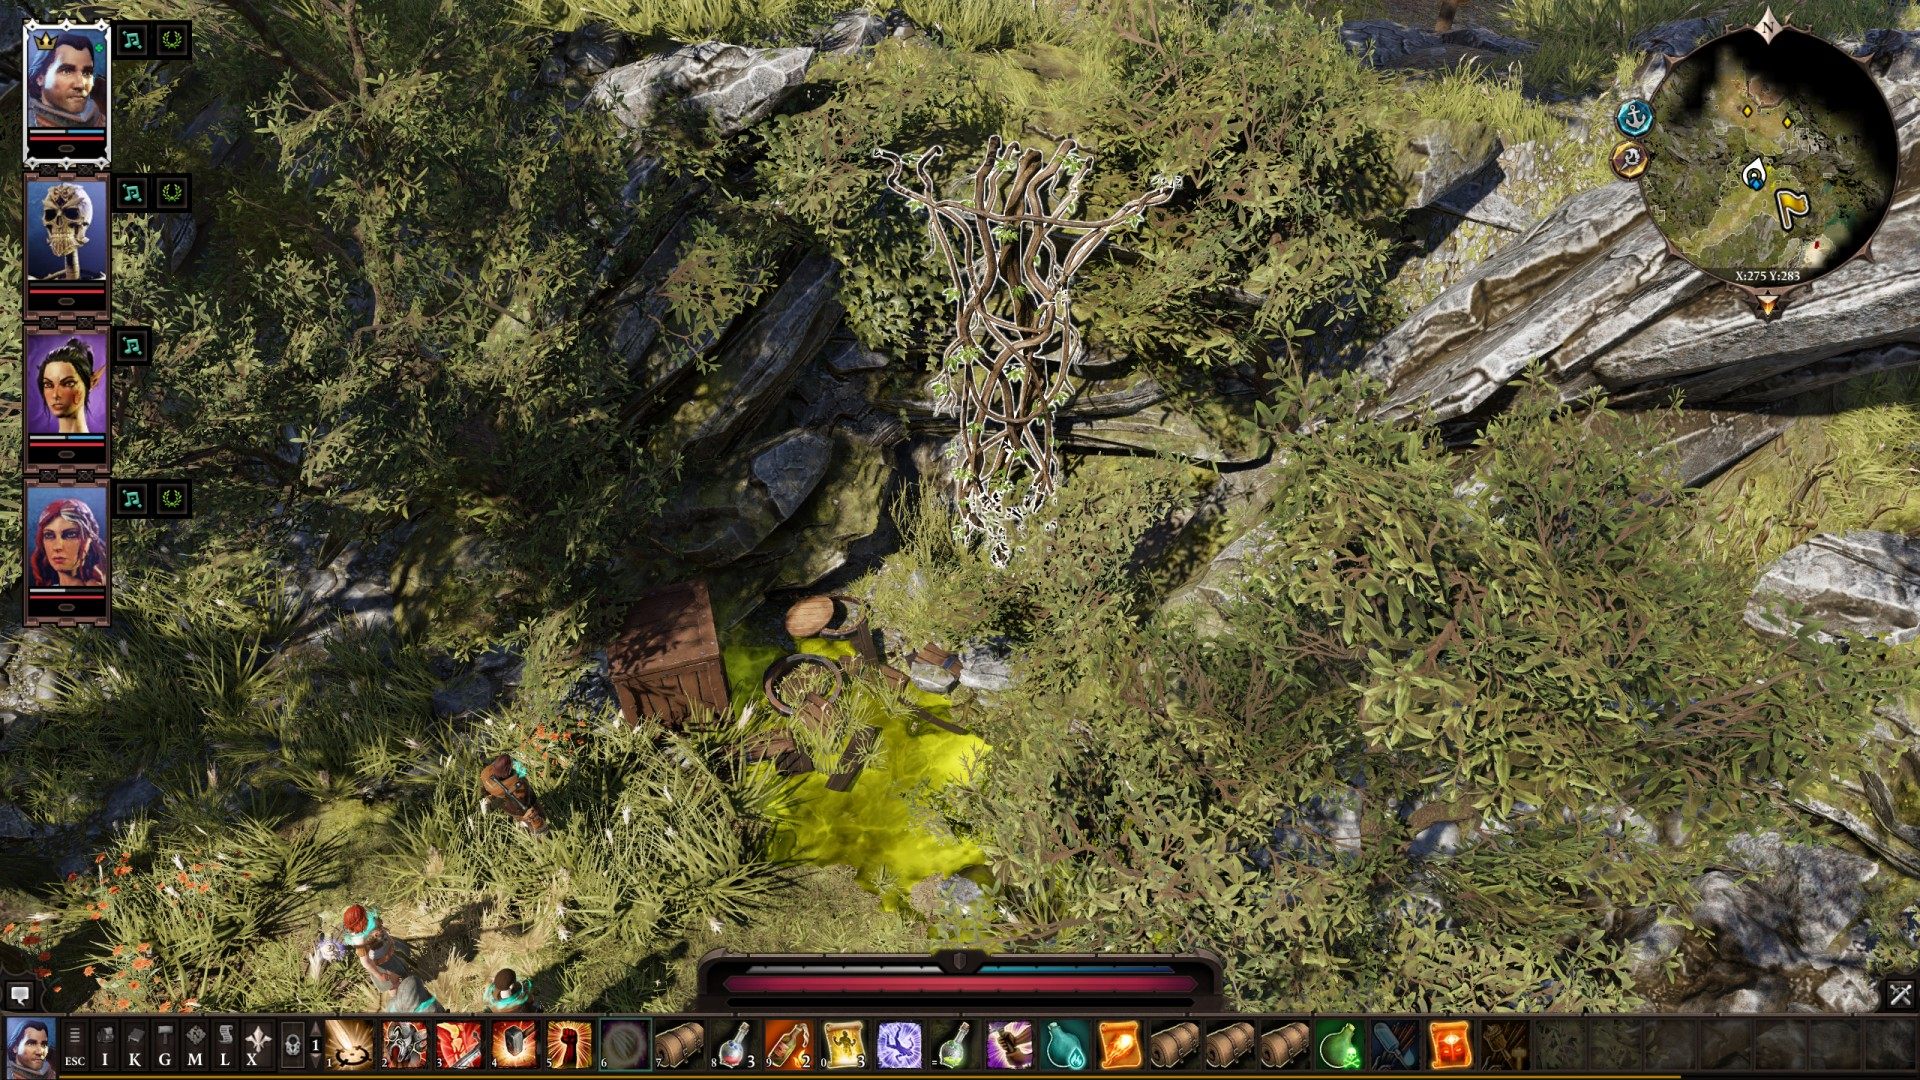
49Vines
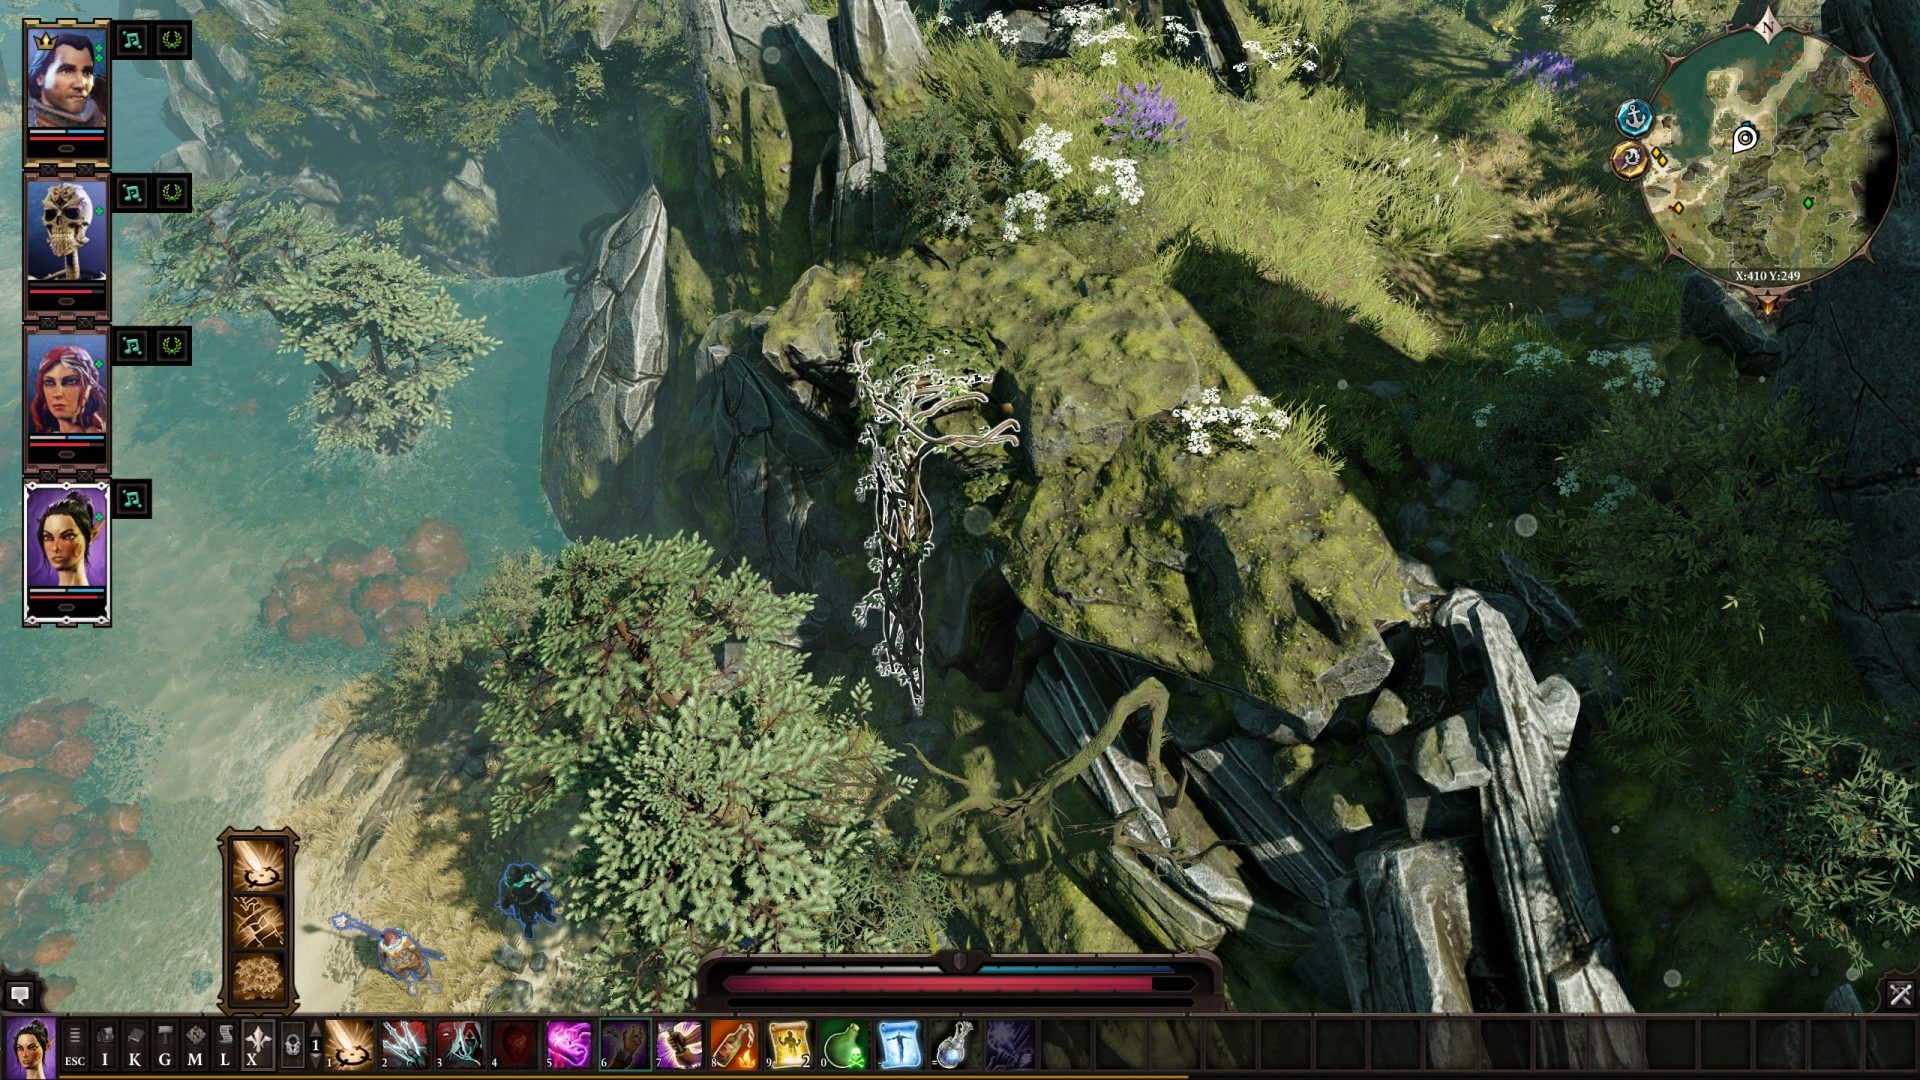
50Vines
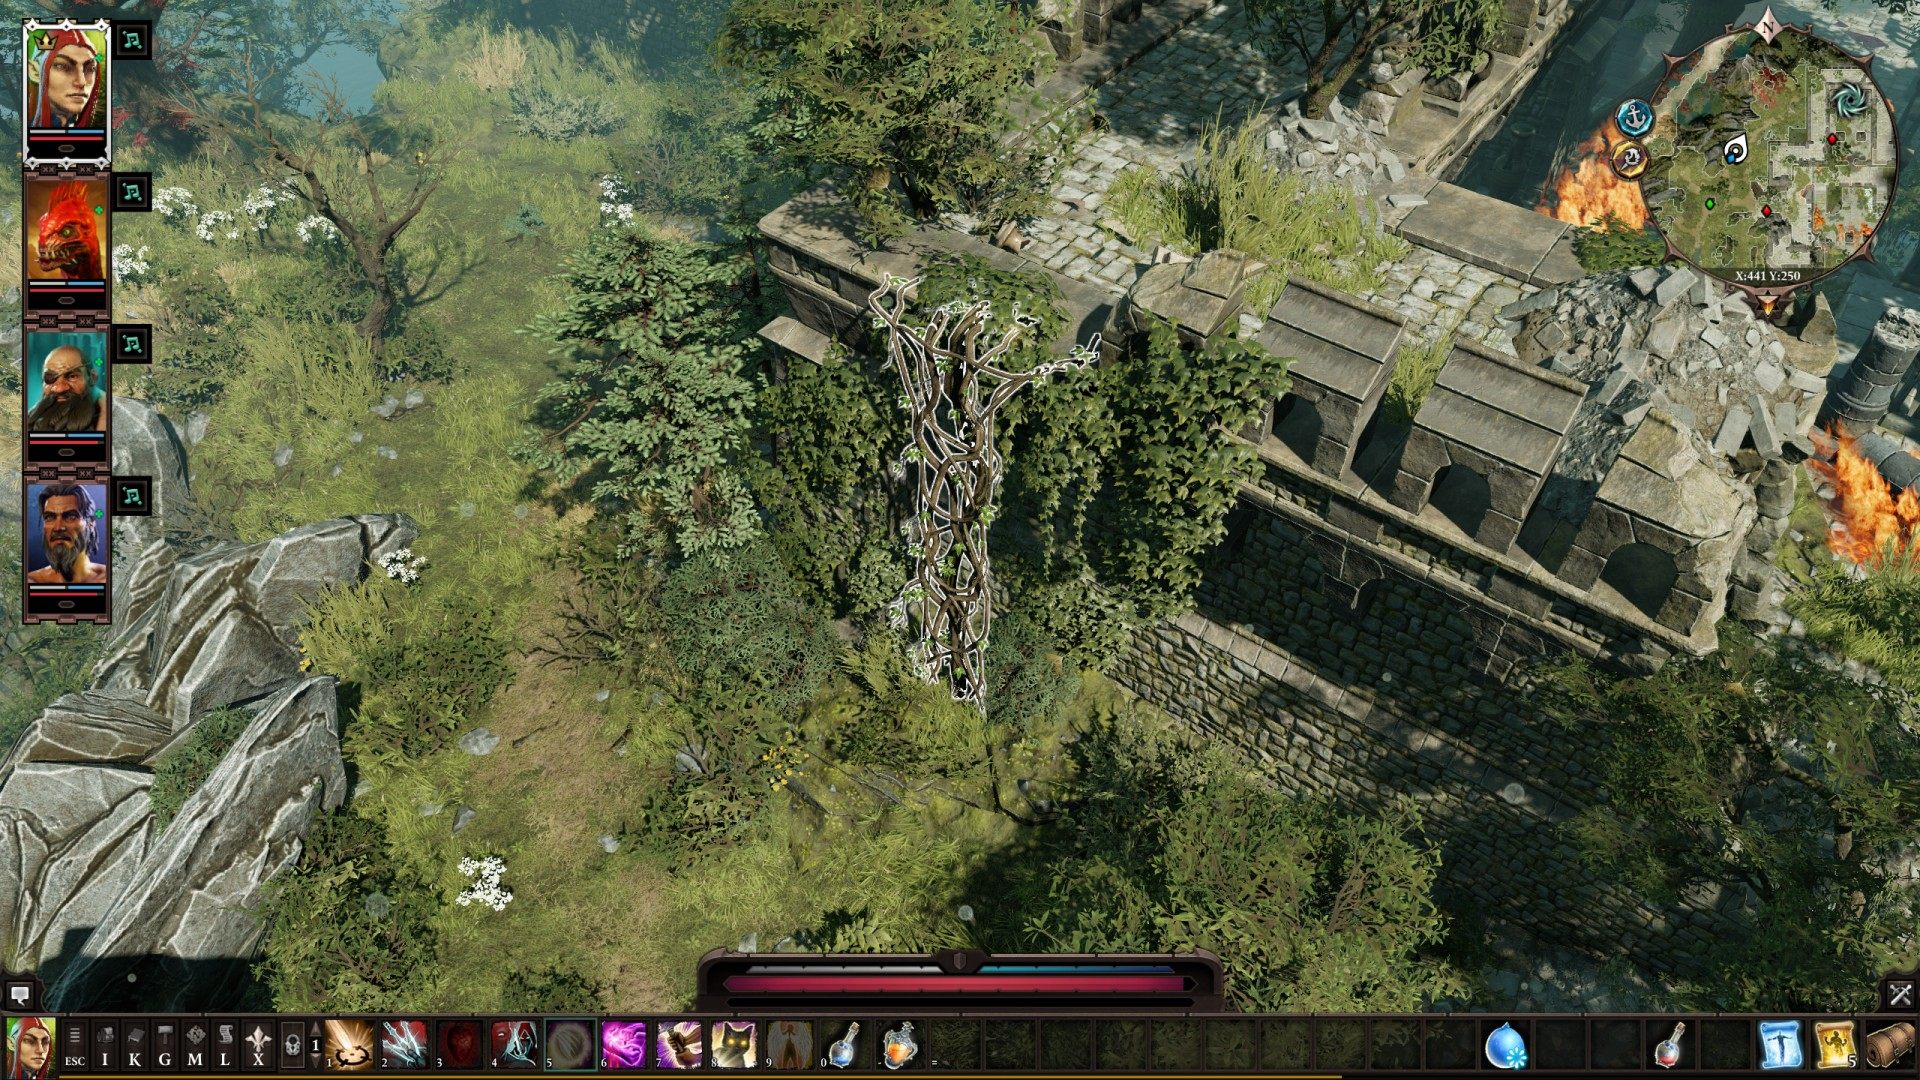
51Vines
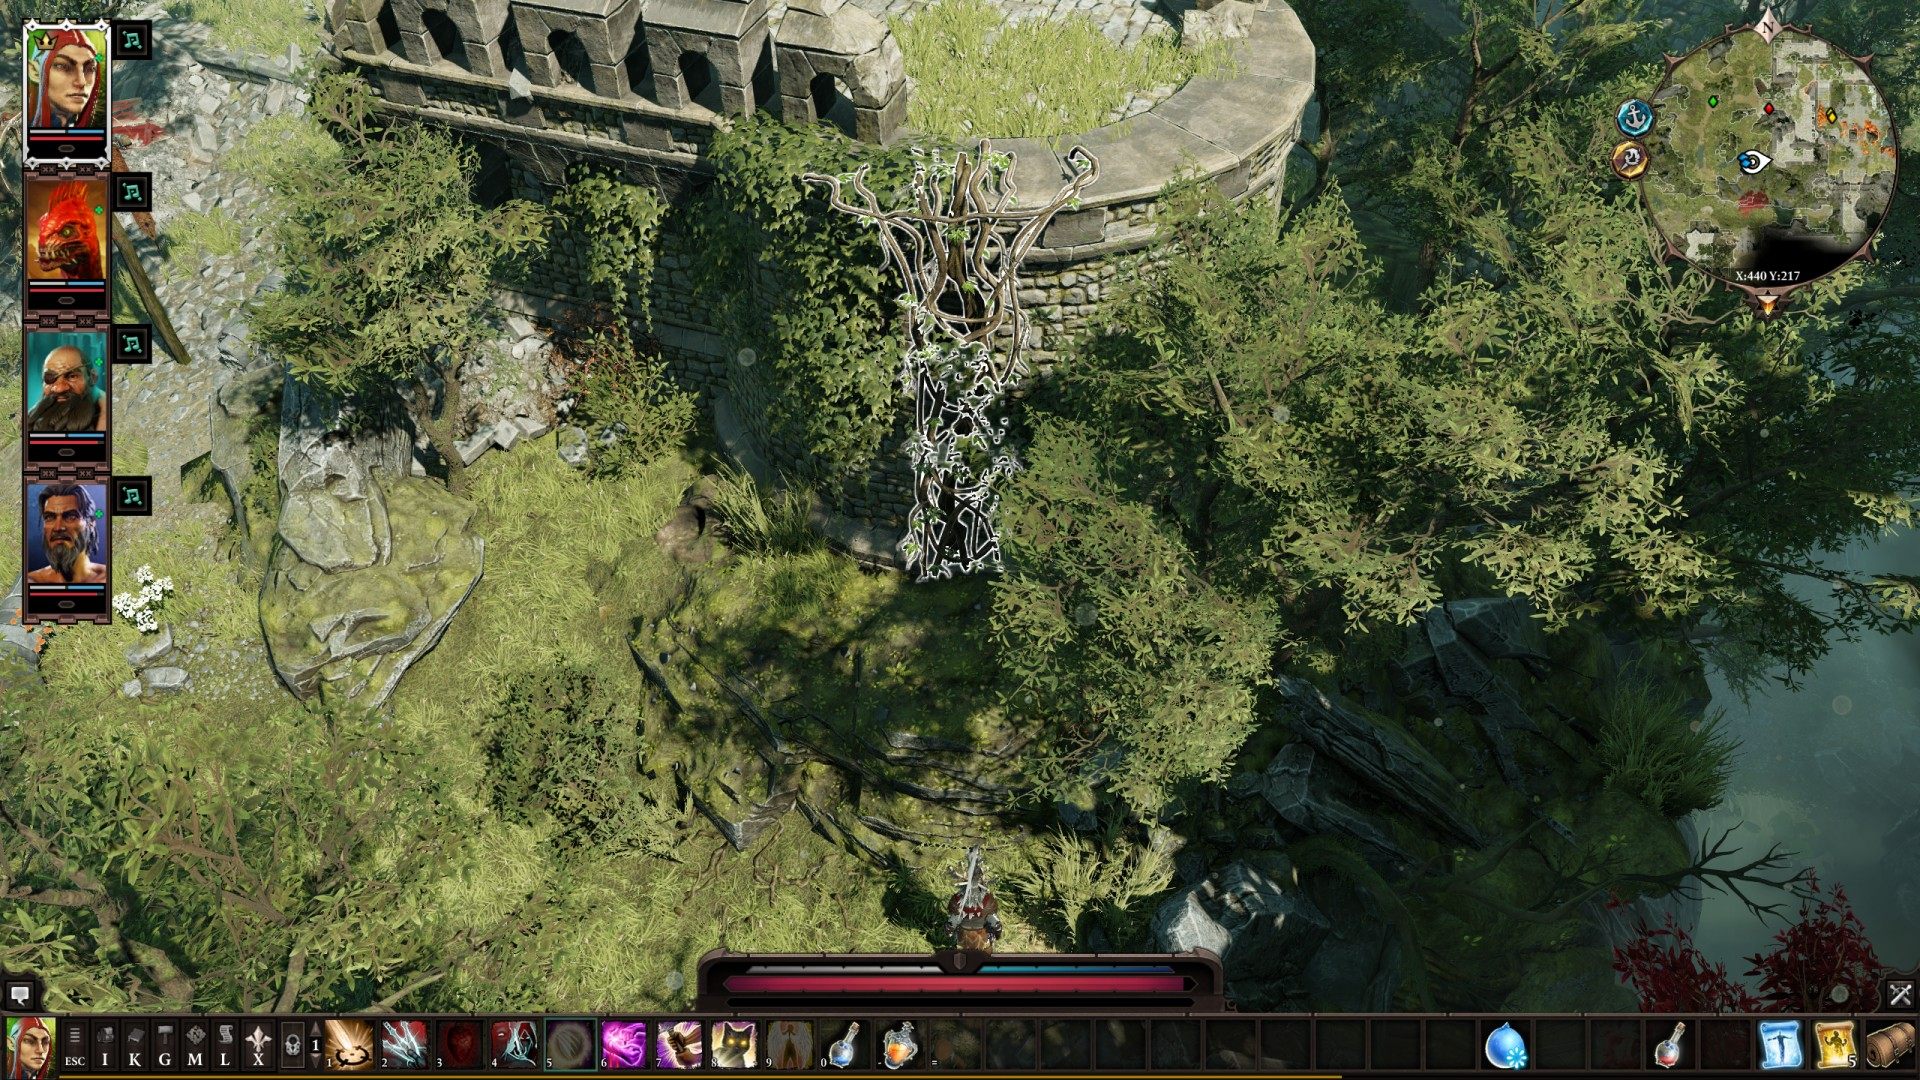
52Vines

53Vines
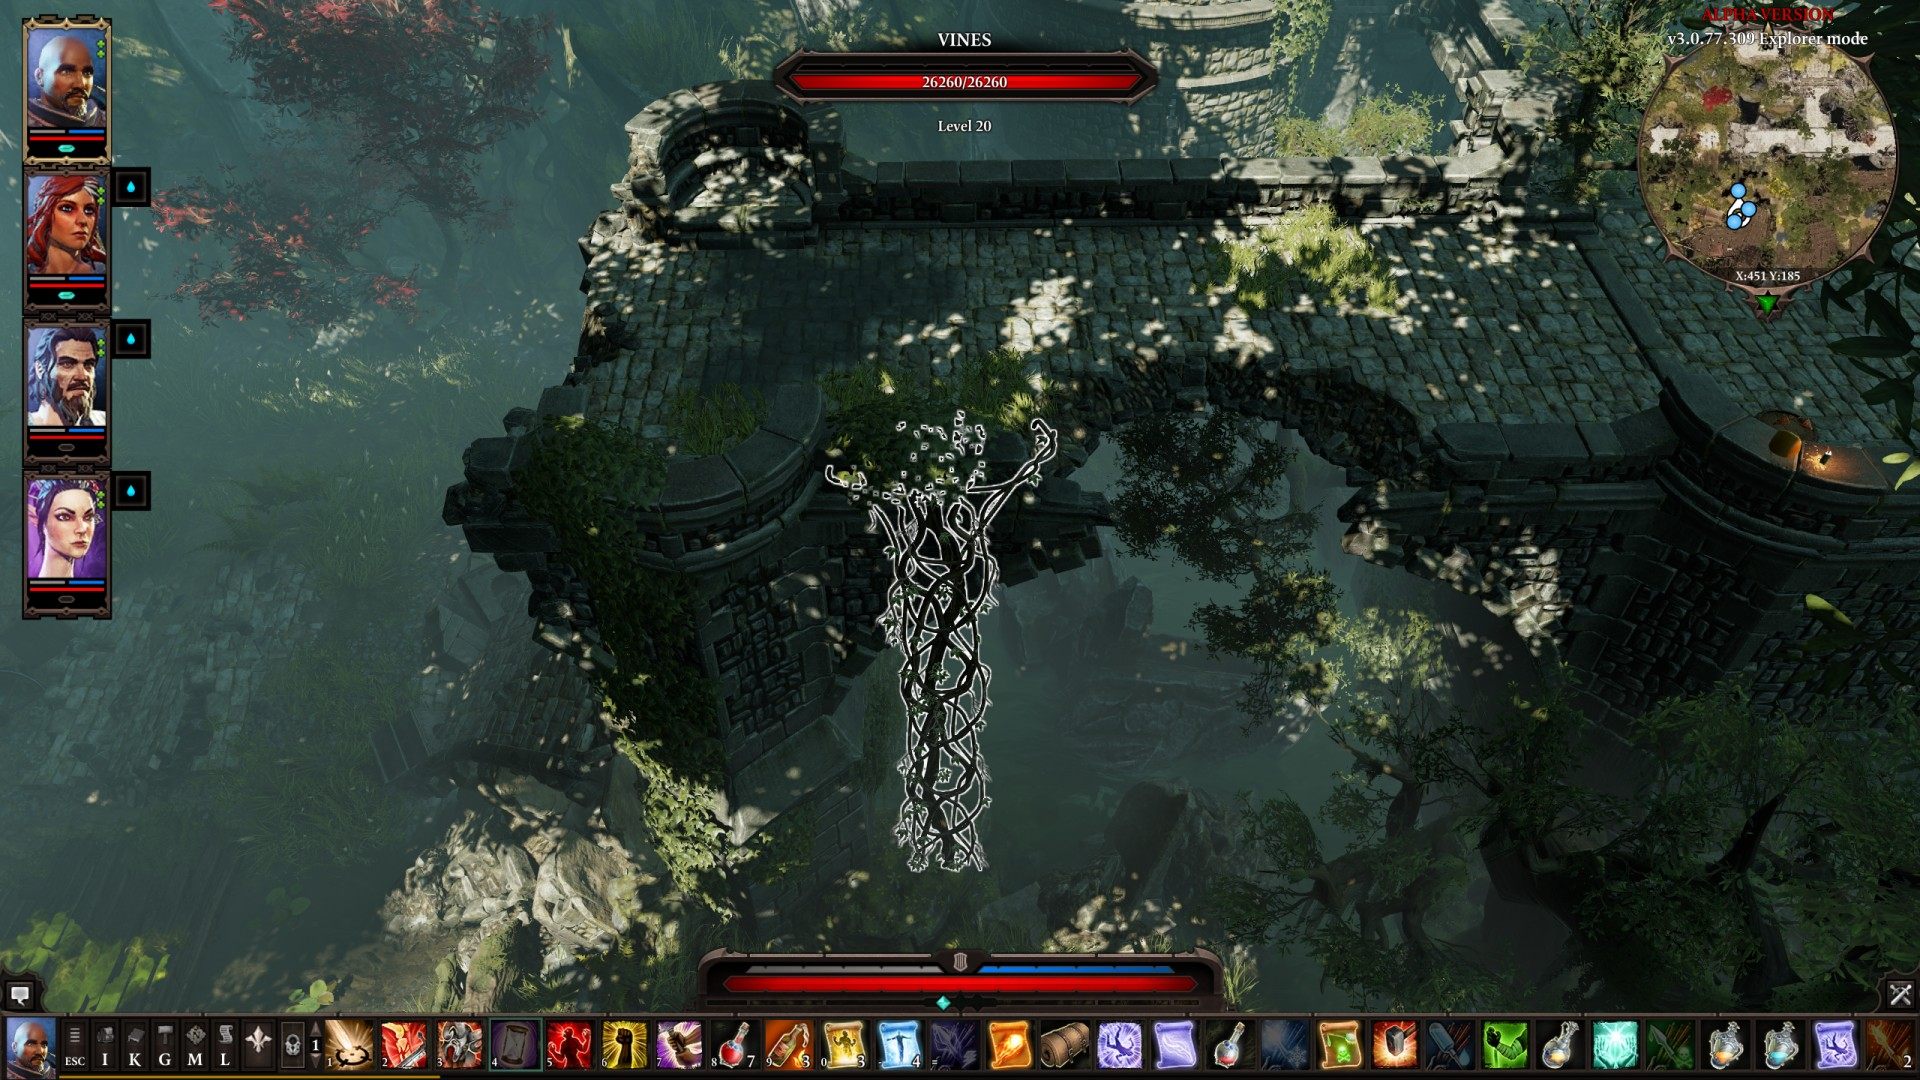
54Vines
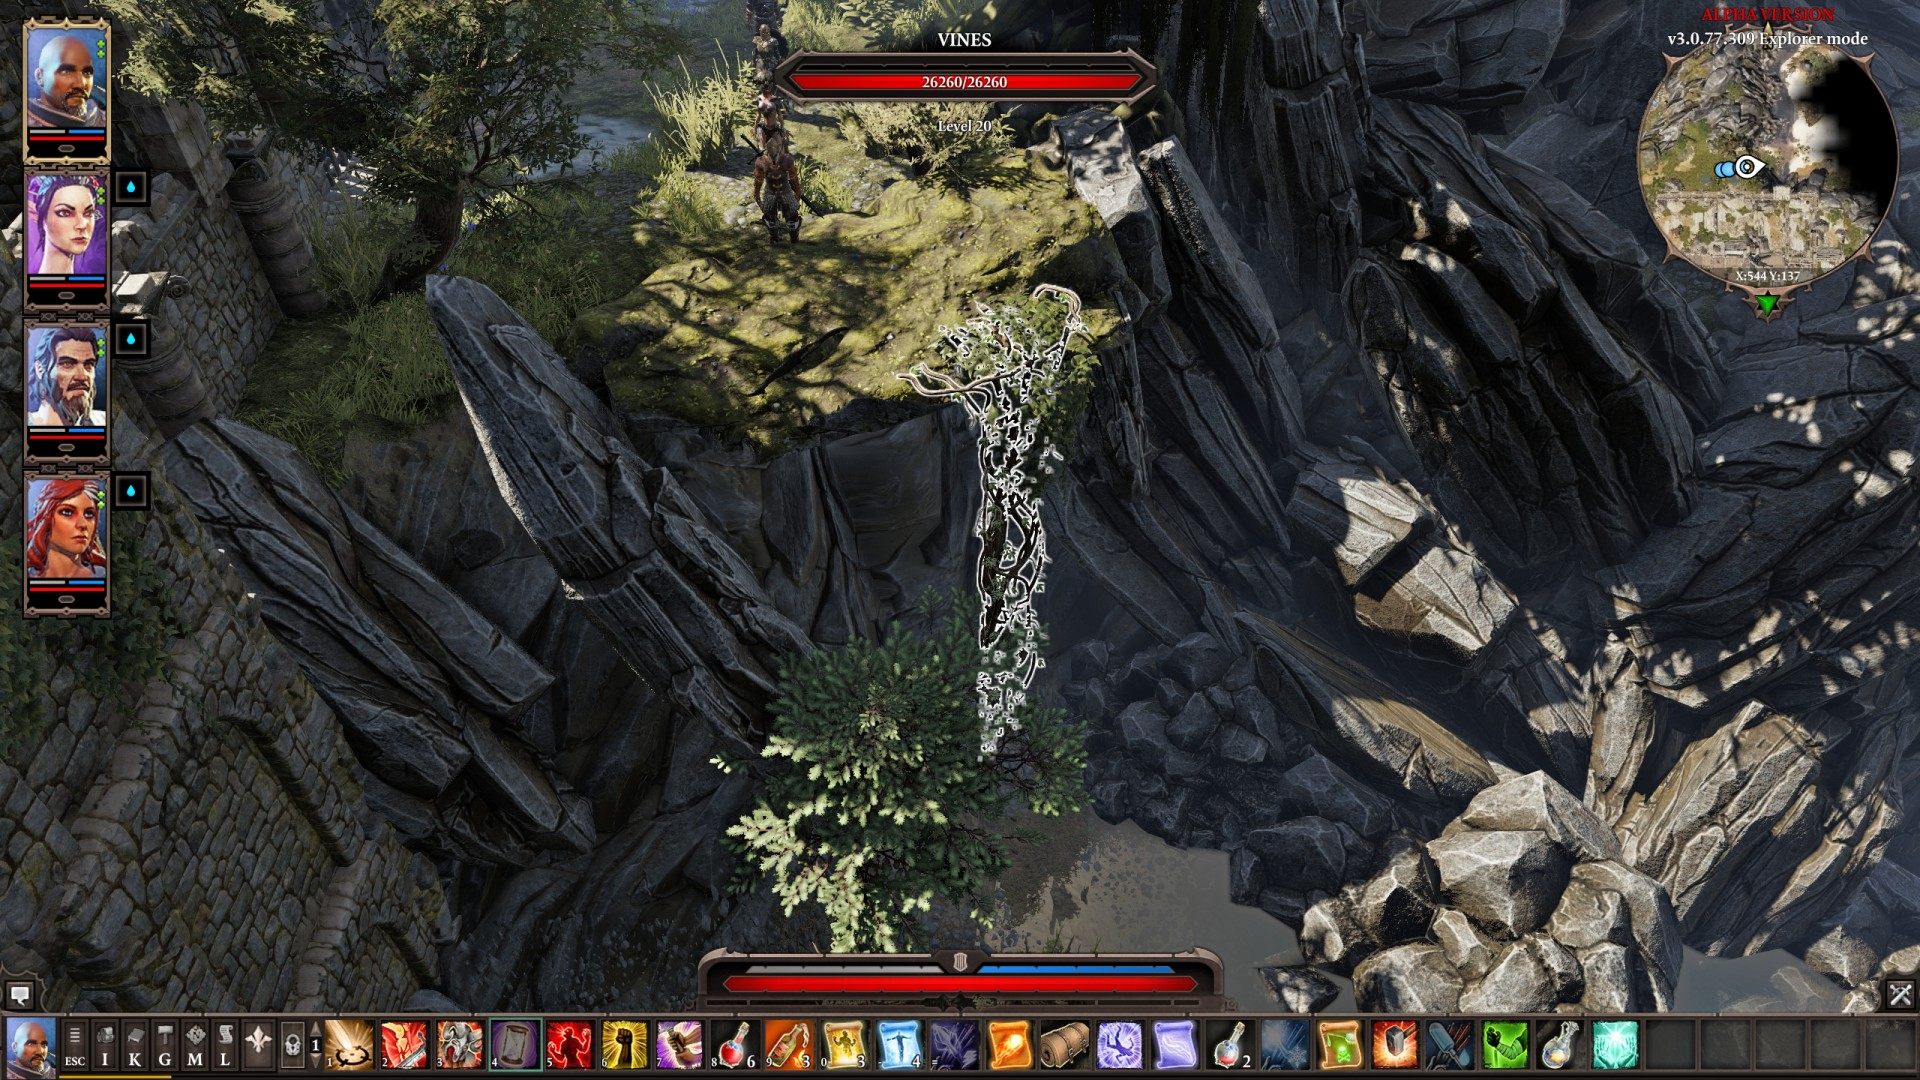
55Vines
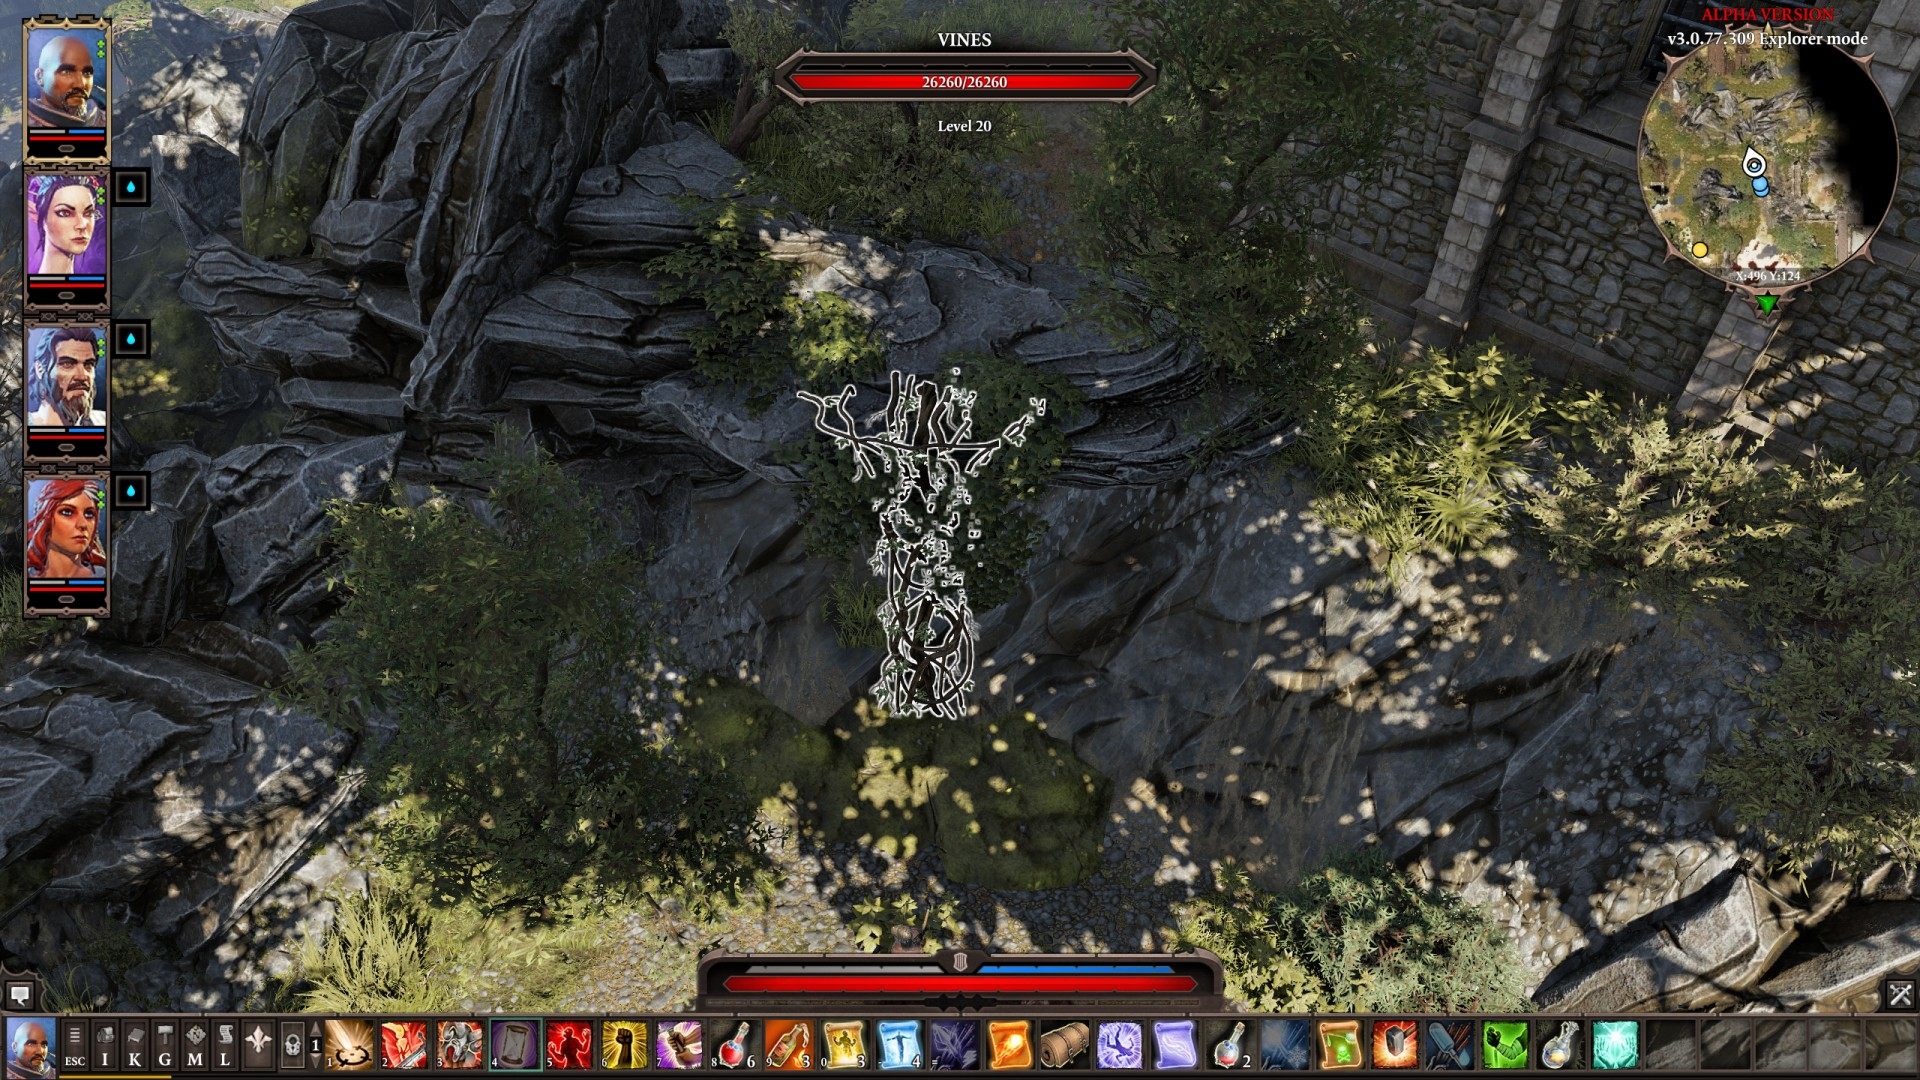
56Vines
Related quests: The Gargoyle's Maze
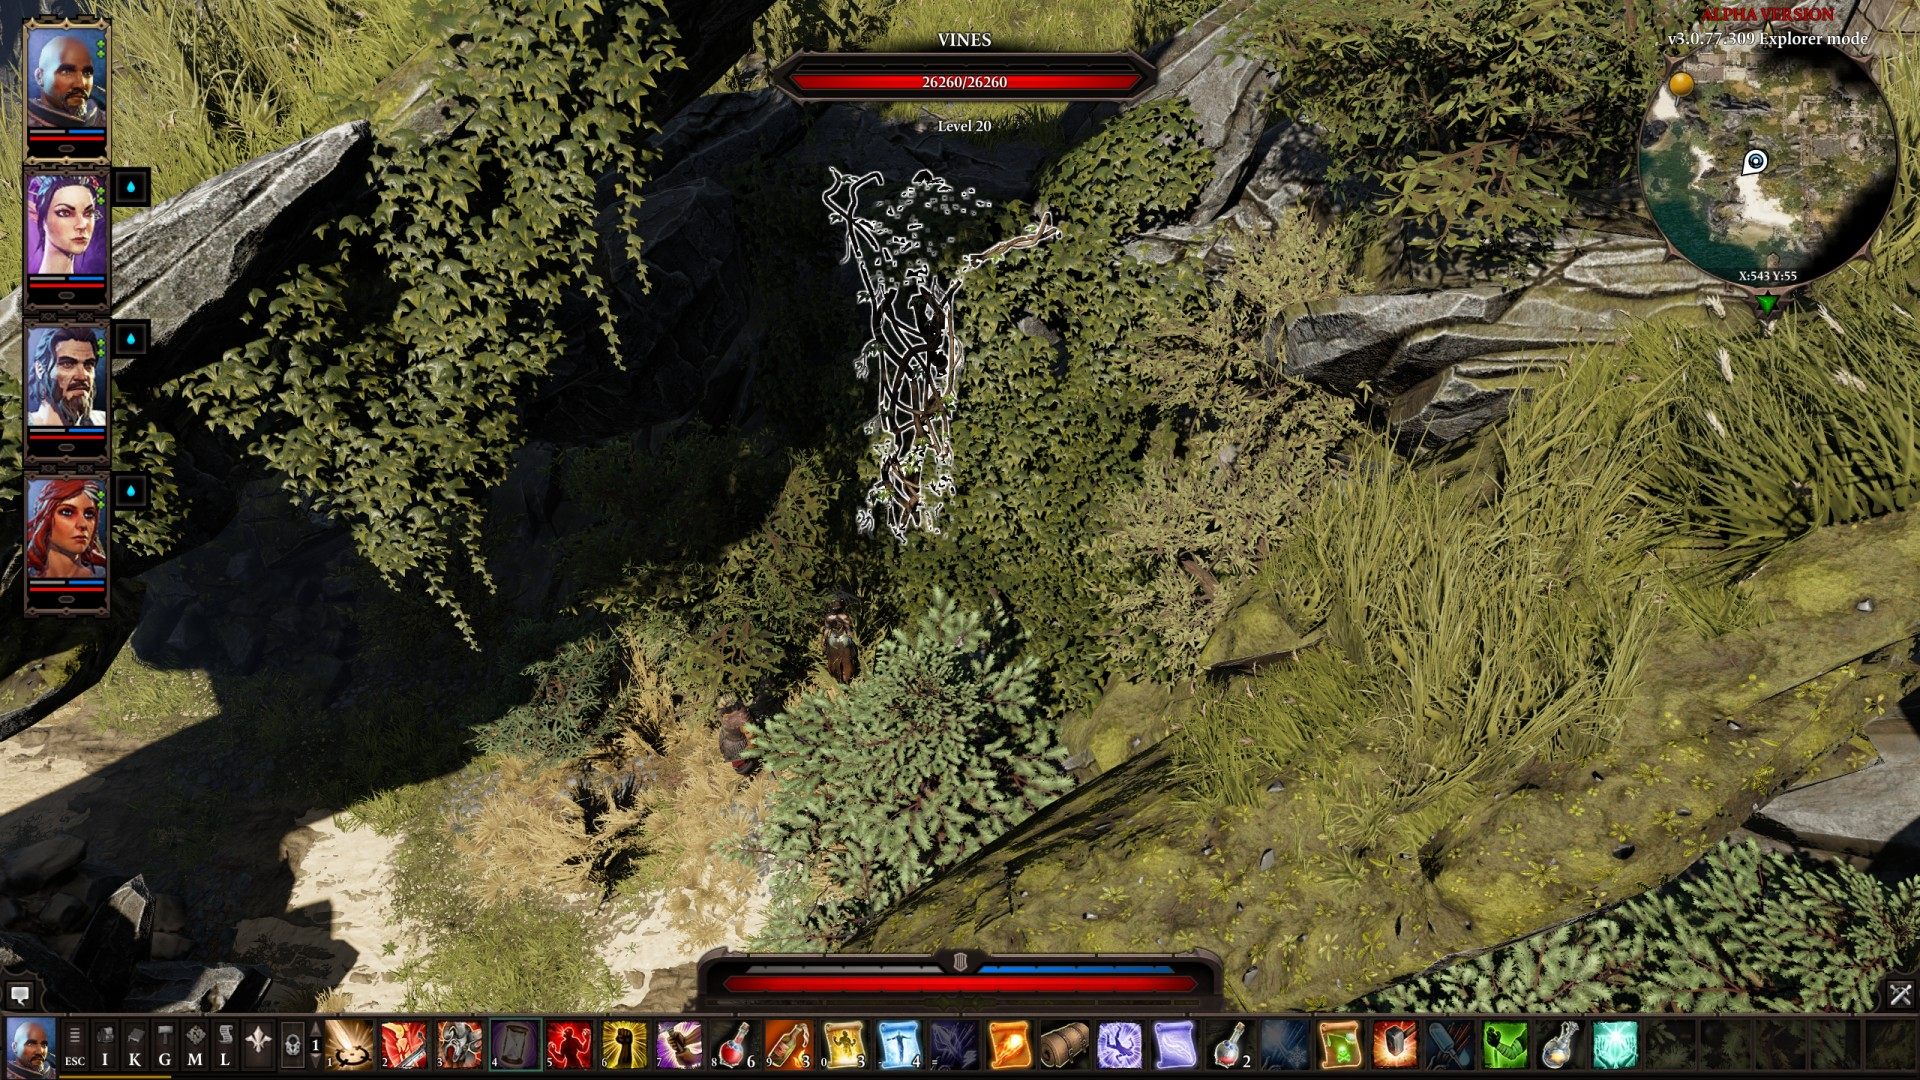
57Vines
Related quests: The Gargoyle's Maze