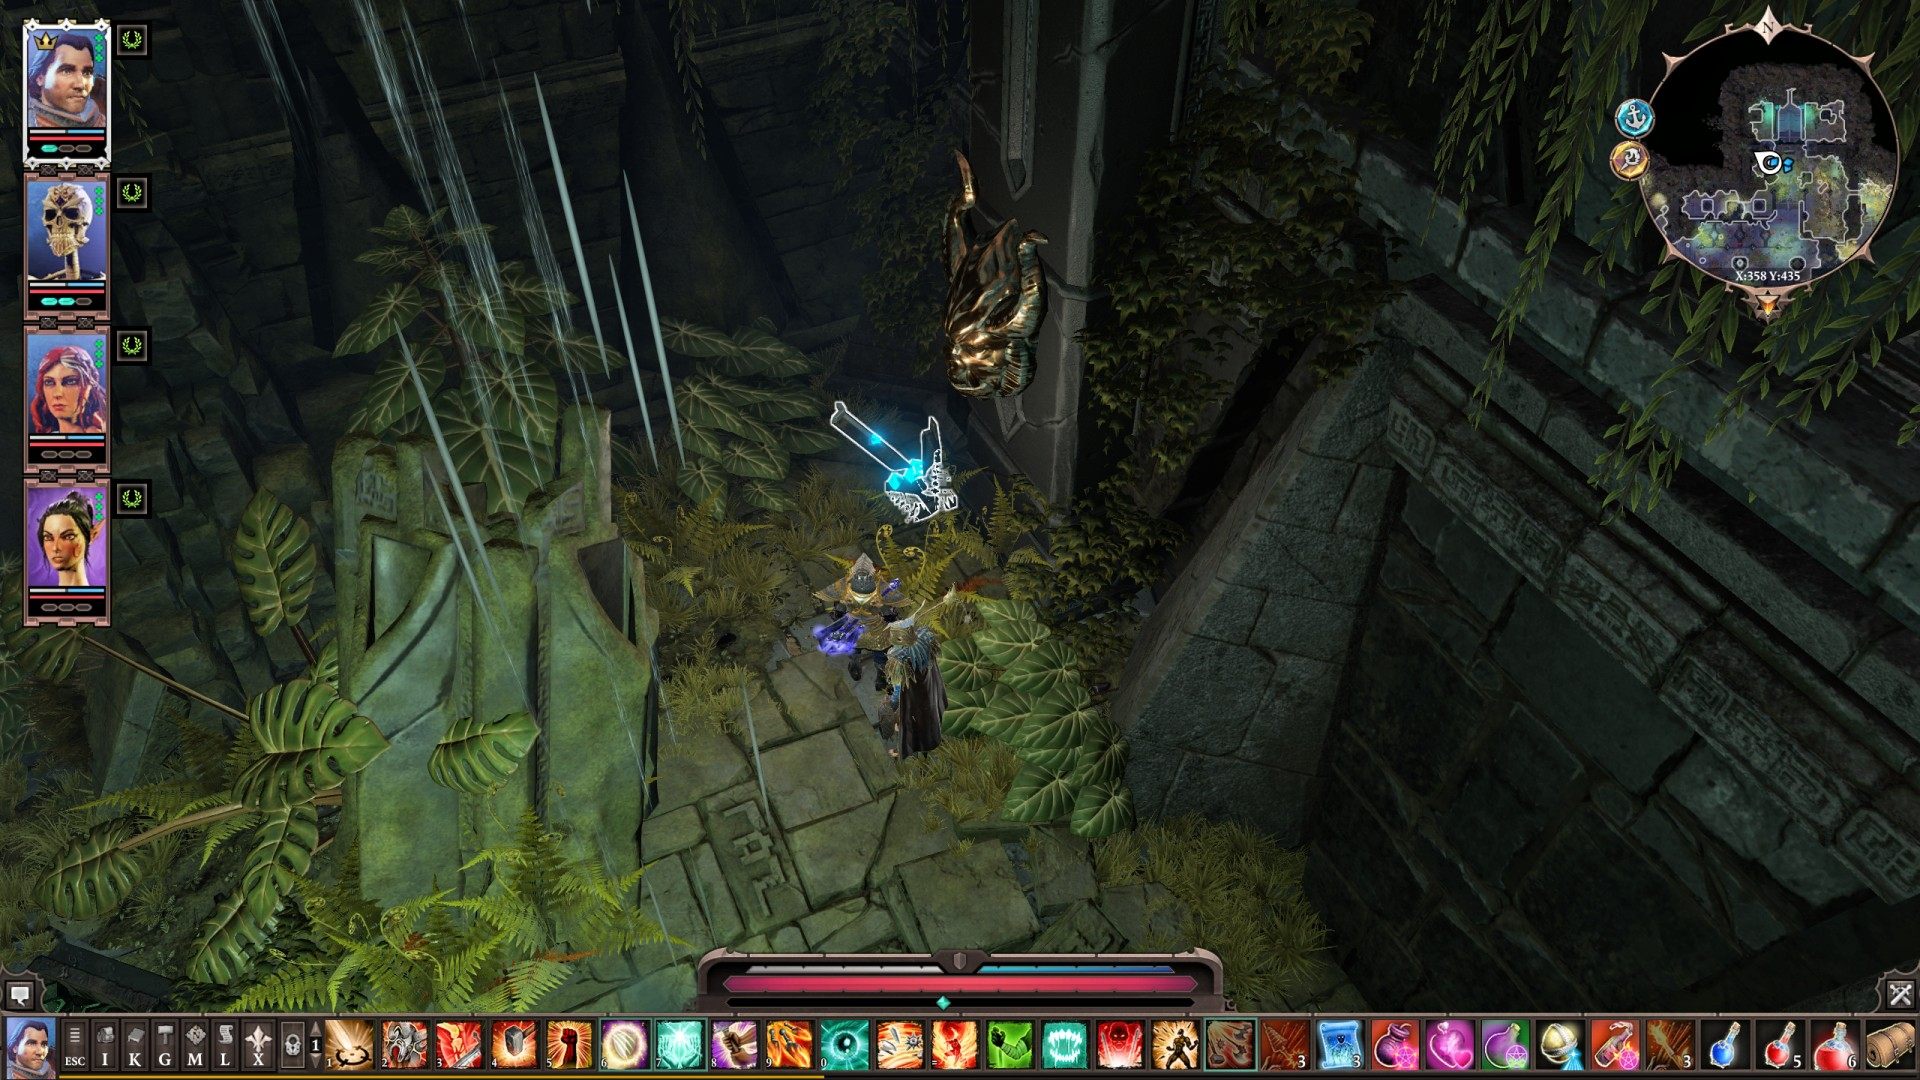
List of locked doors, gates, magical barriers, and the like, located on The Nameless Isle map. Mostly they will need a key or high lockpicking skill to open them, but some, these with low HP, can be opened by force. You will also find here a list of keys, levers, switches, etc. used to open locked passages.
Locked Passages, The Nameless Isle
Locations on The Nameless Isle
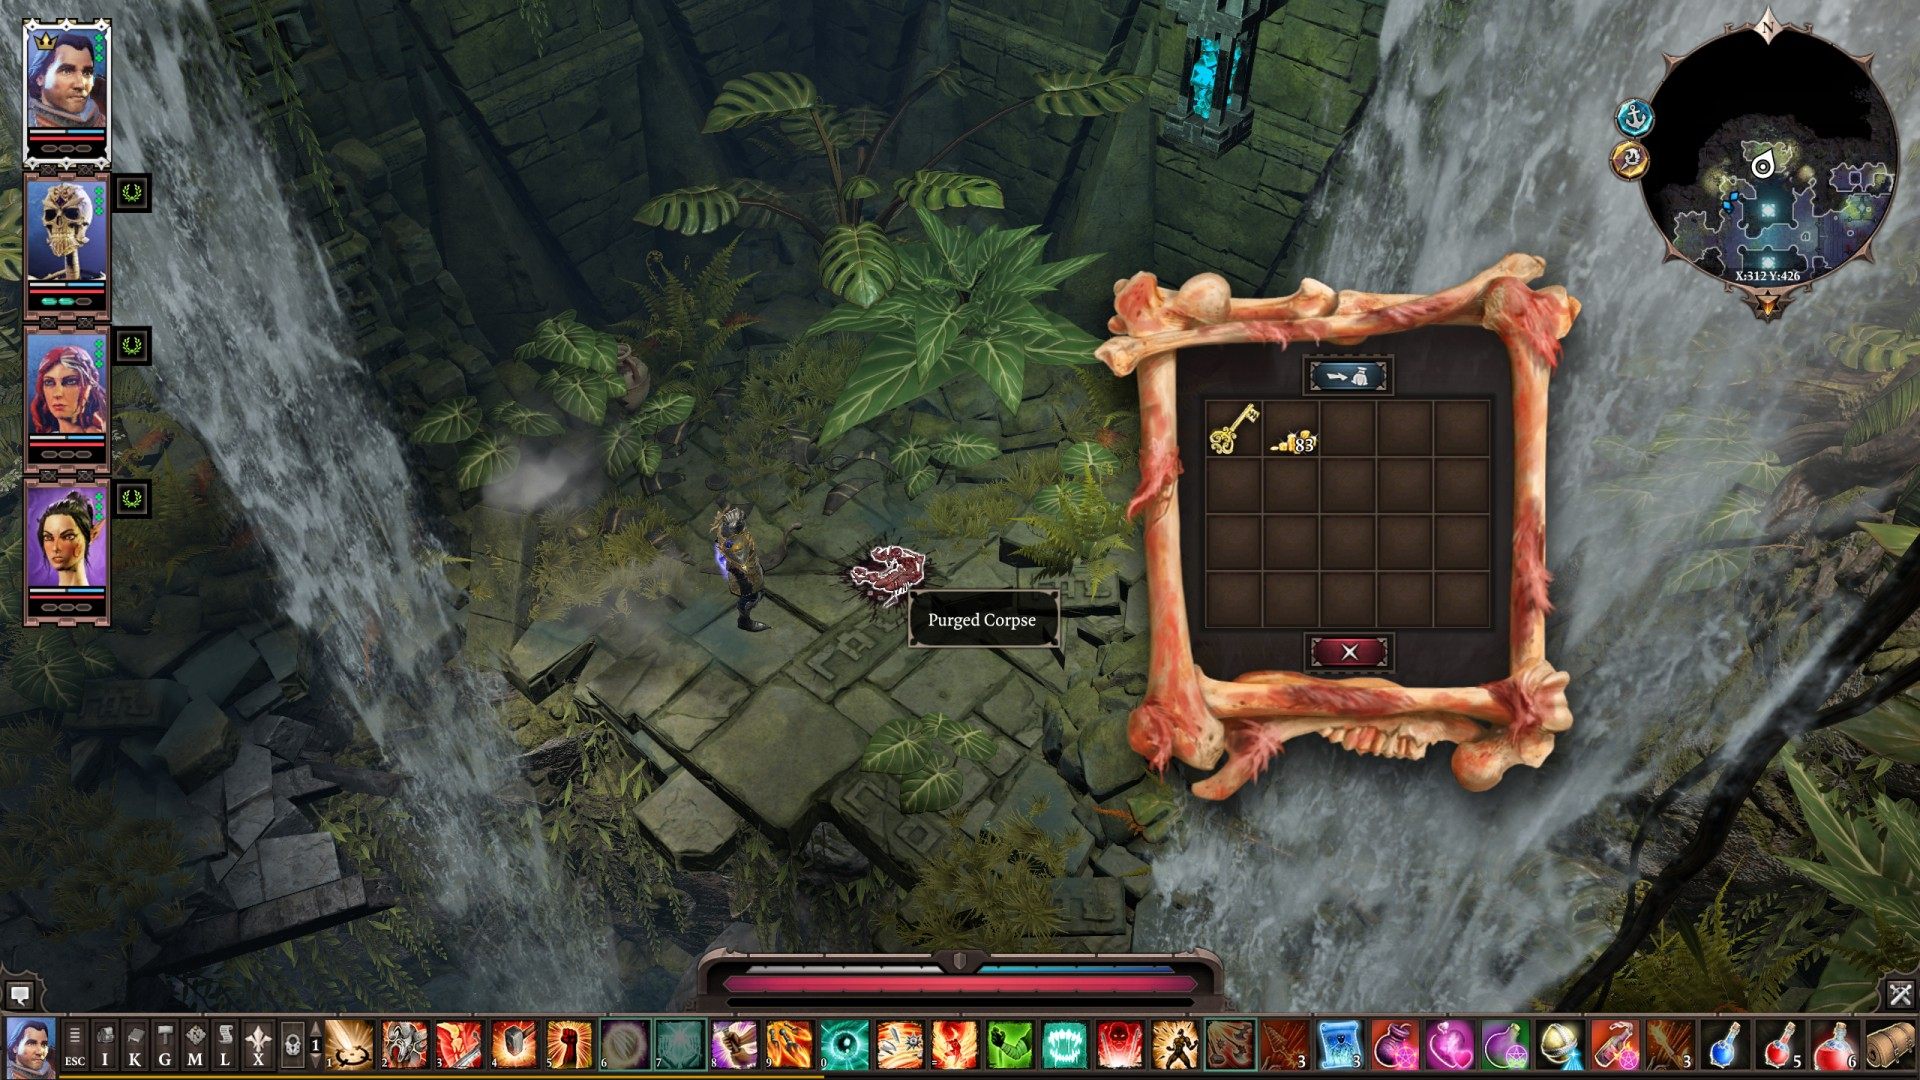
1 Ancient Key
It's in a Purged Corpse.
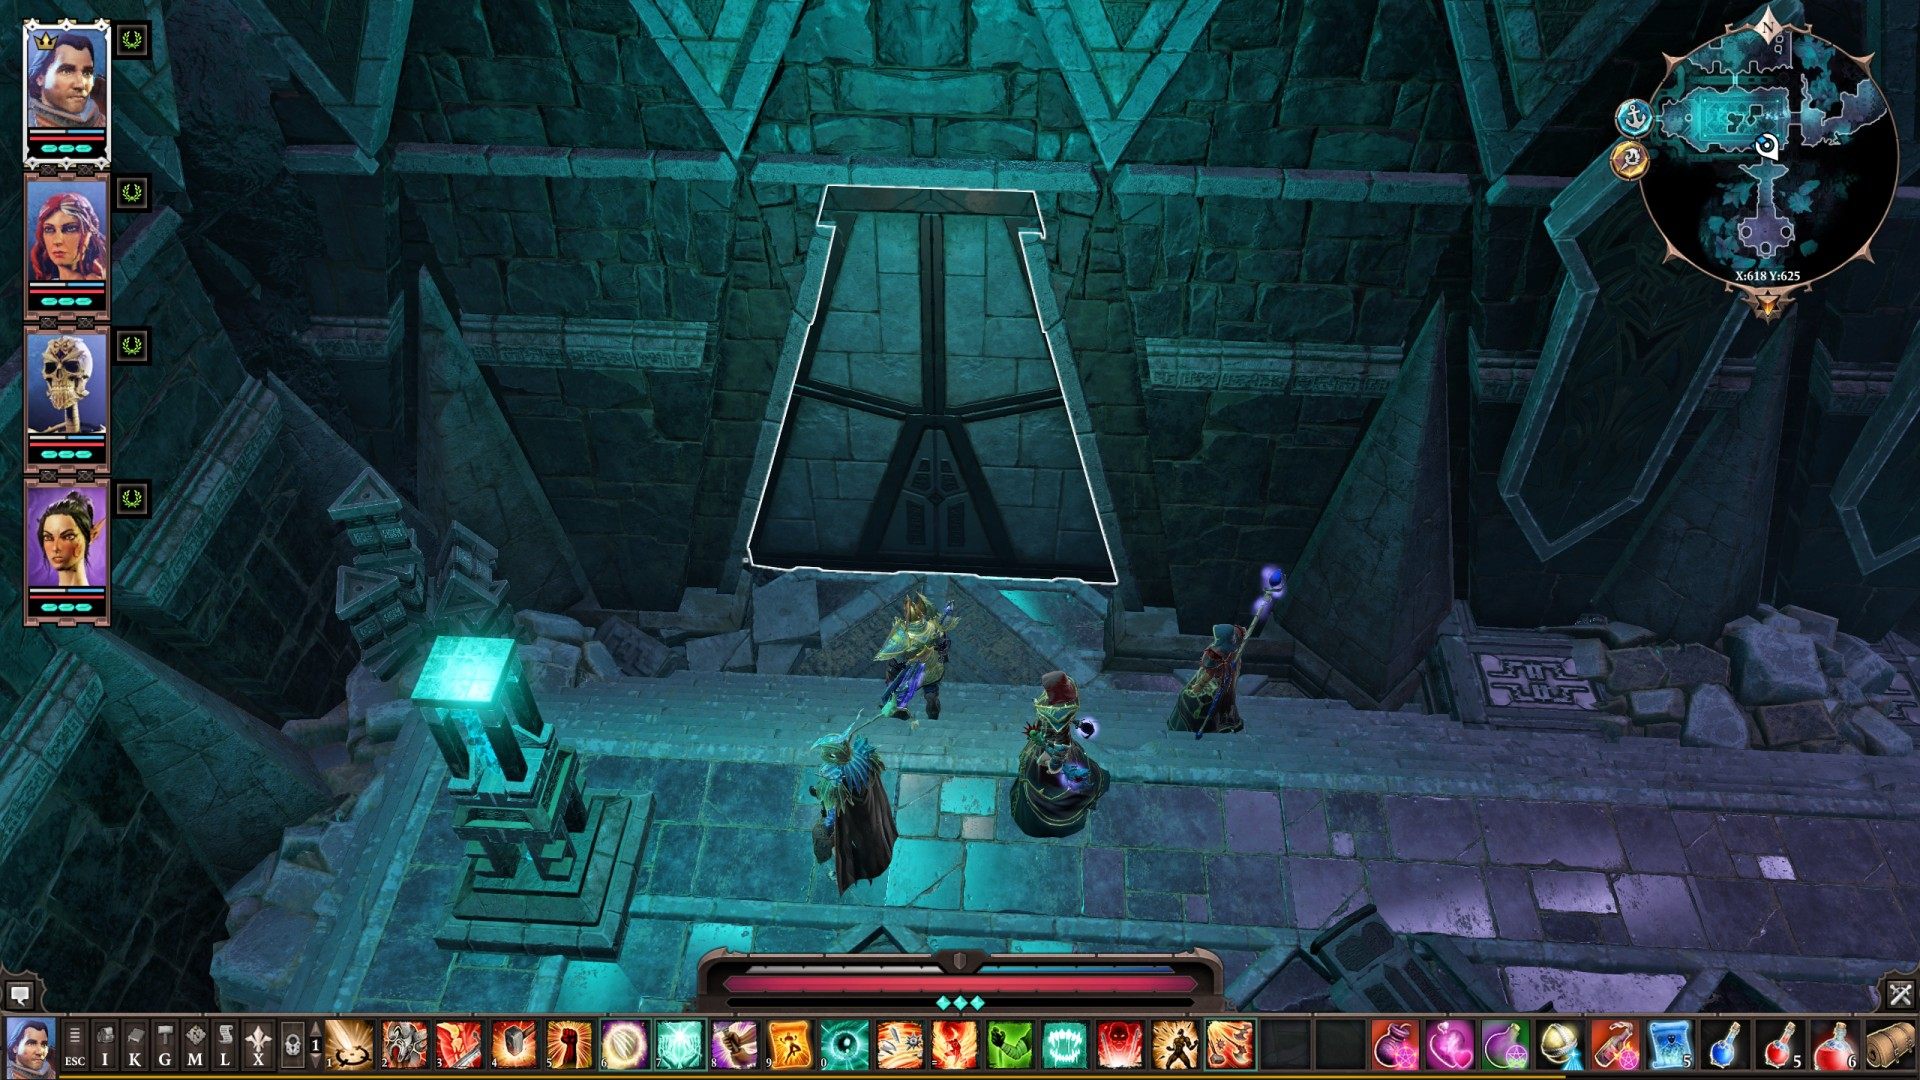
2 Armaments of the One Door
It's locked. It can be unlocked with Key of the One that can be found inside The Treasury of the One Chests.
3Door
Related quests: Unscholarly Pursuits
It's locked.
4Door
It's locked. You can use teleportation, jump, etc. then use the Lever to open it.

5Door
It's locked.

6Door
You have to use Lever to open it.
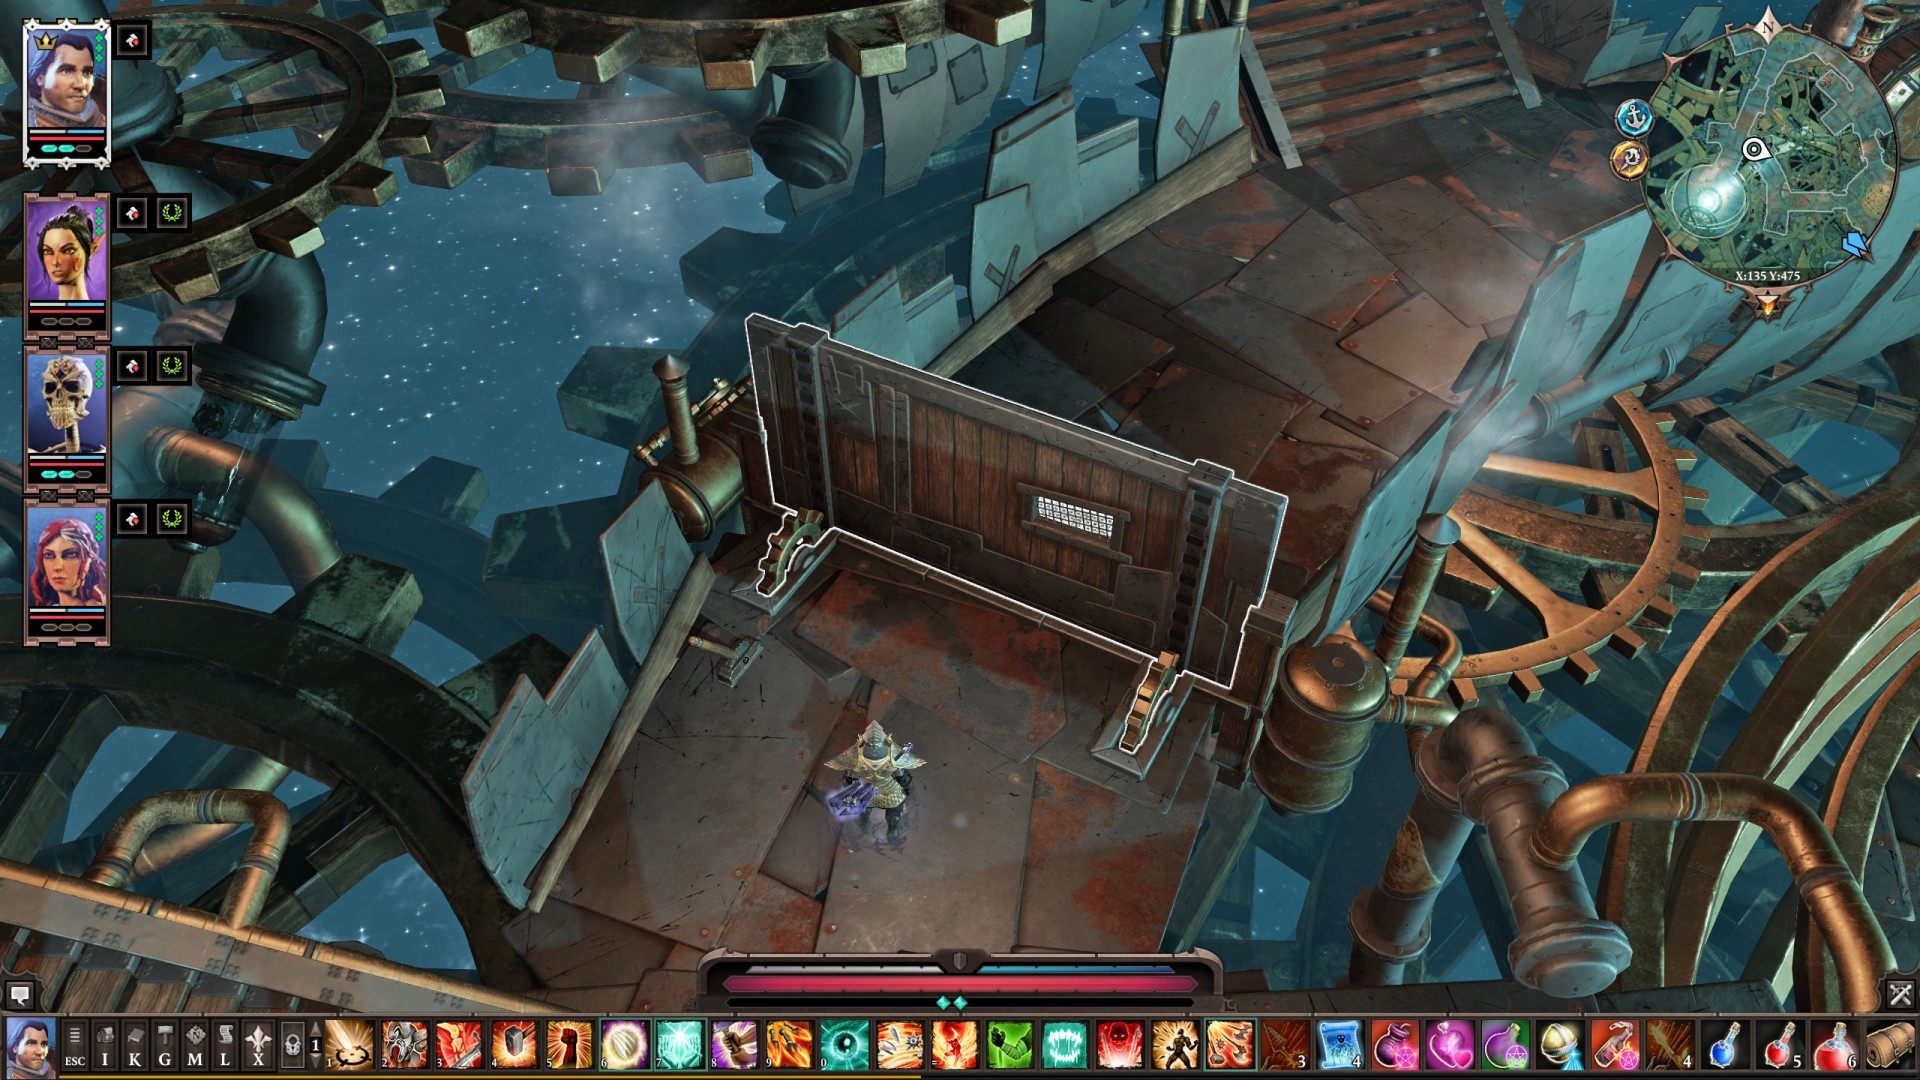
7Door
It's locked. You need to press four Pressure Plates to open it. you should put the Heavy Crates onto them.
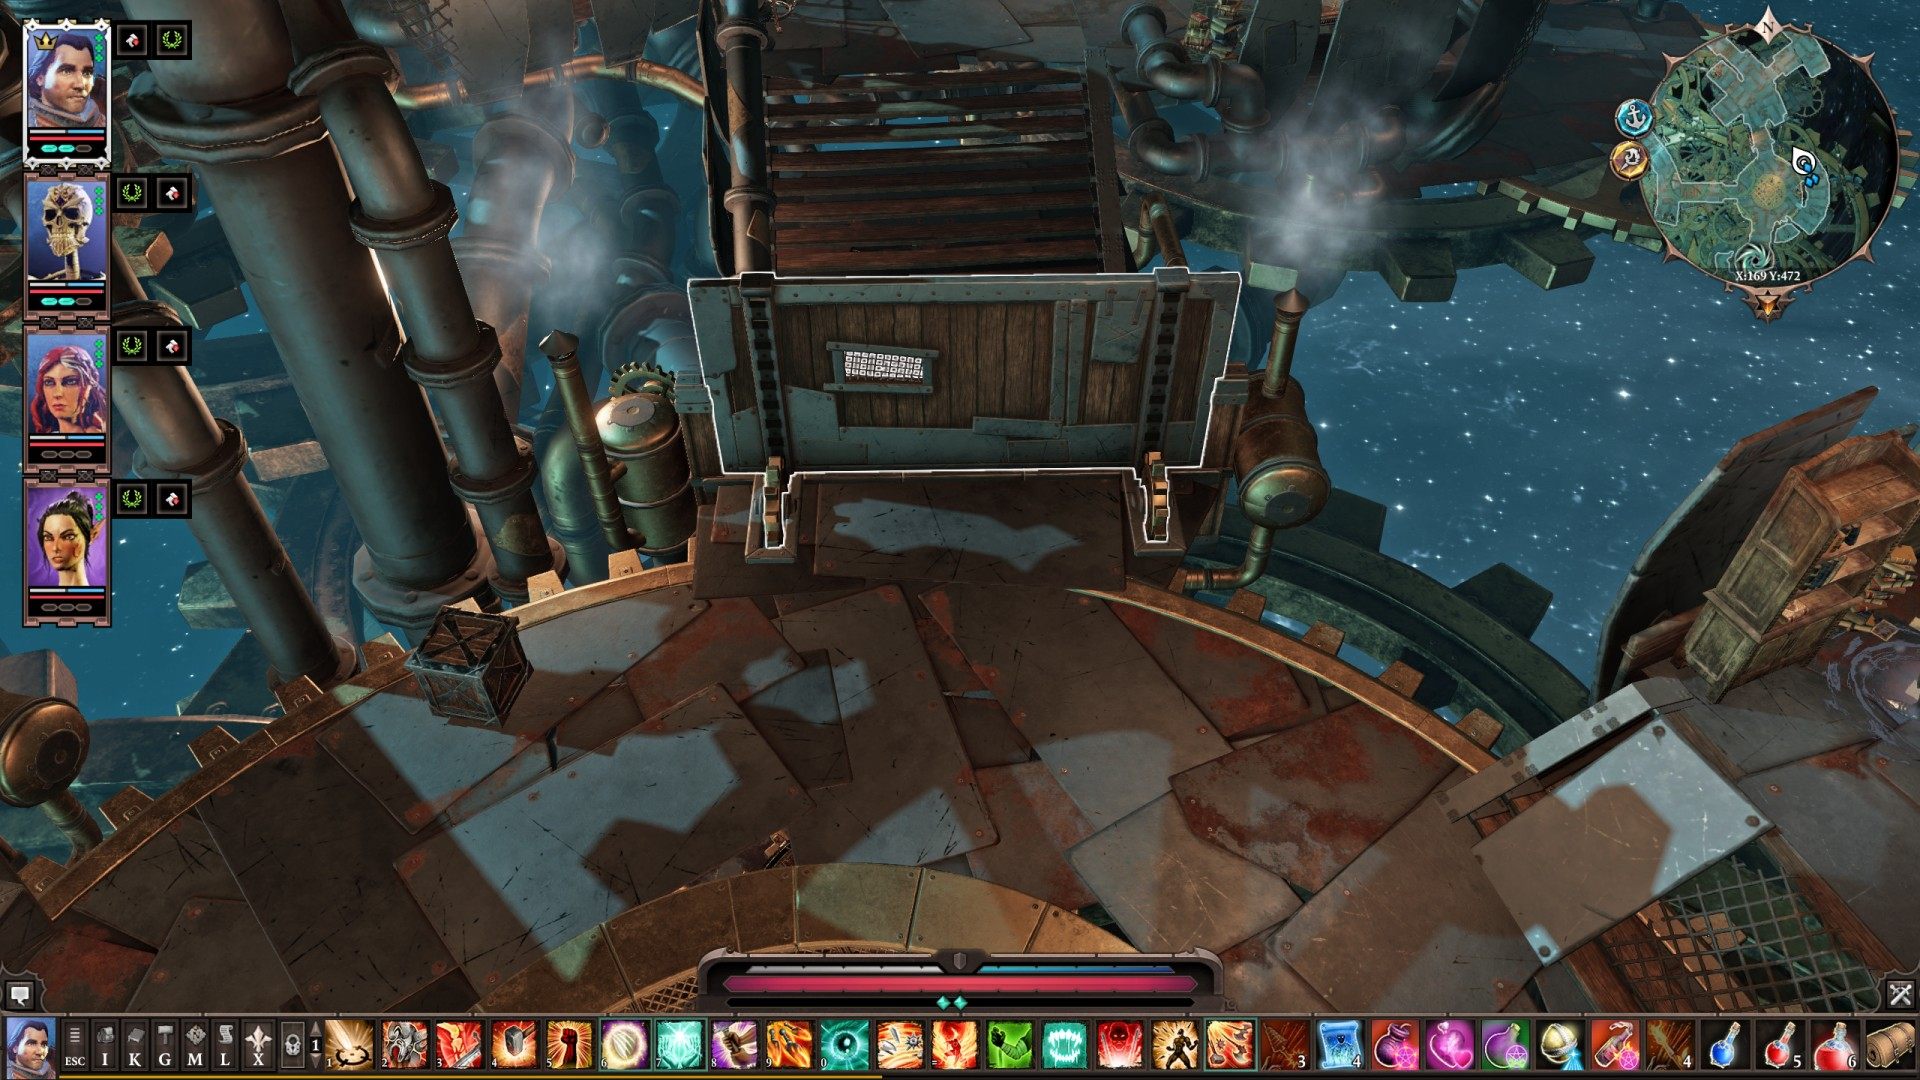
8Door
It's locked. You can unlock it with the Key that you can find in the corpse of Black Ring Reaver.
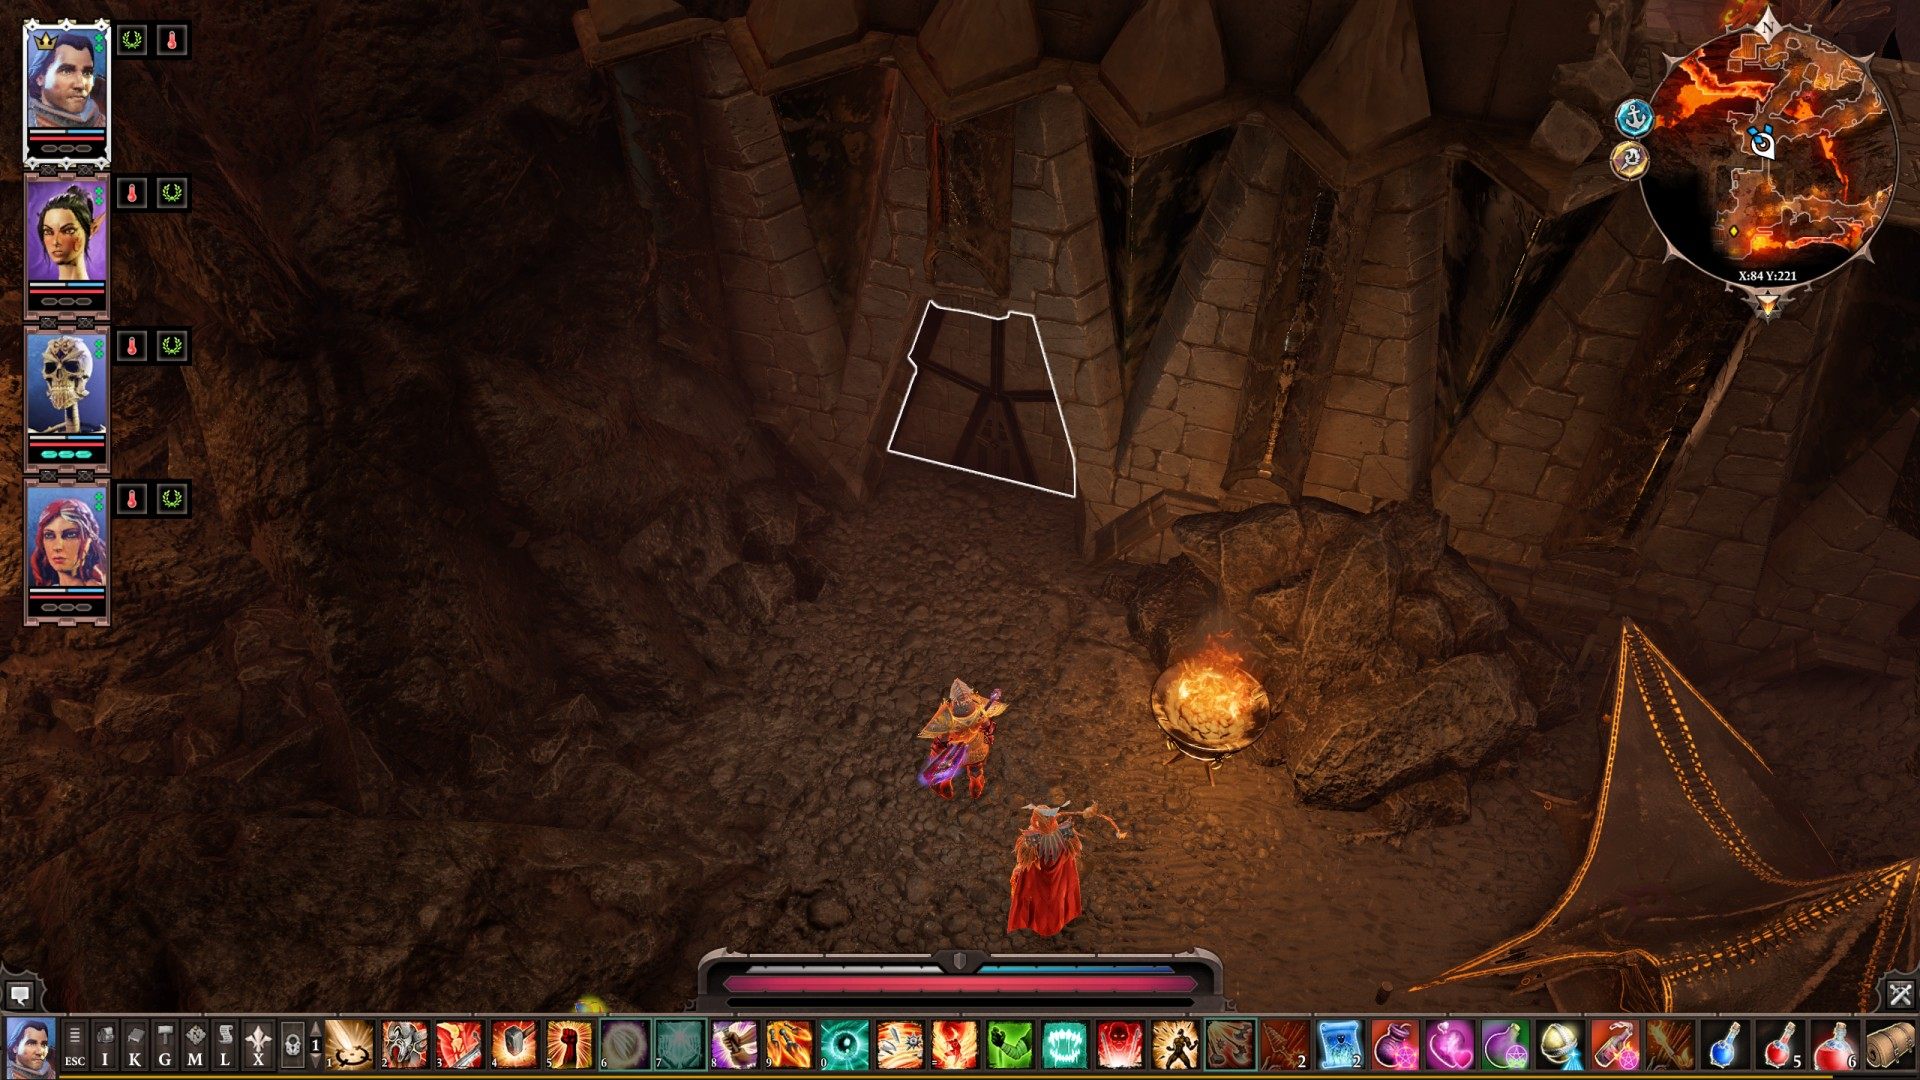
9Energy Barrier
Related quests: The Academy
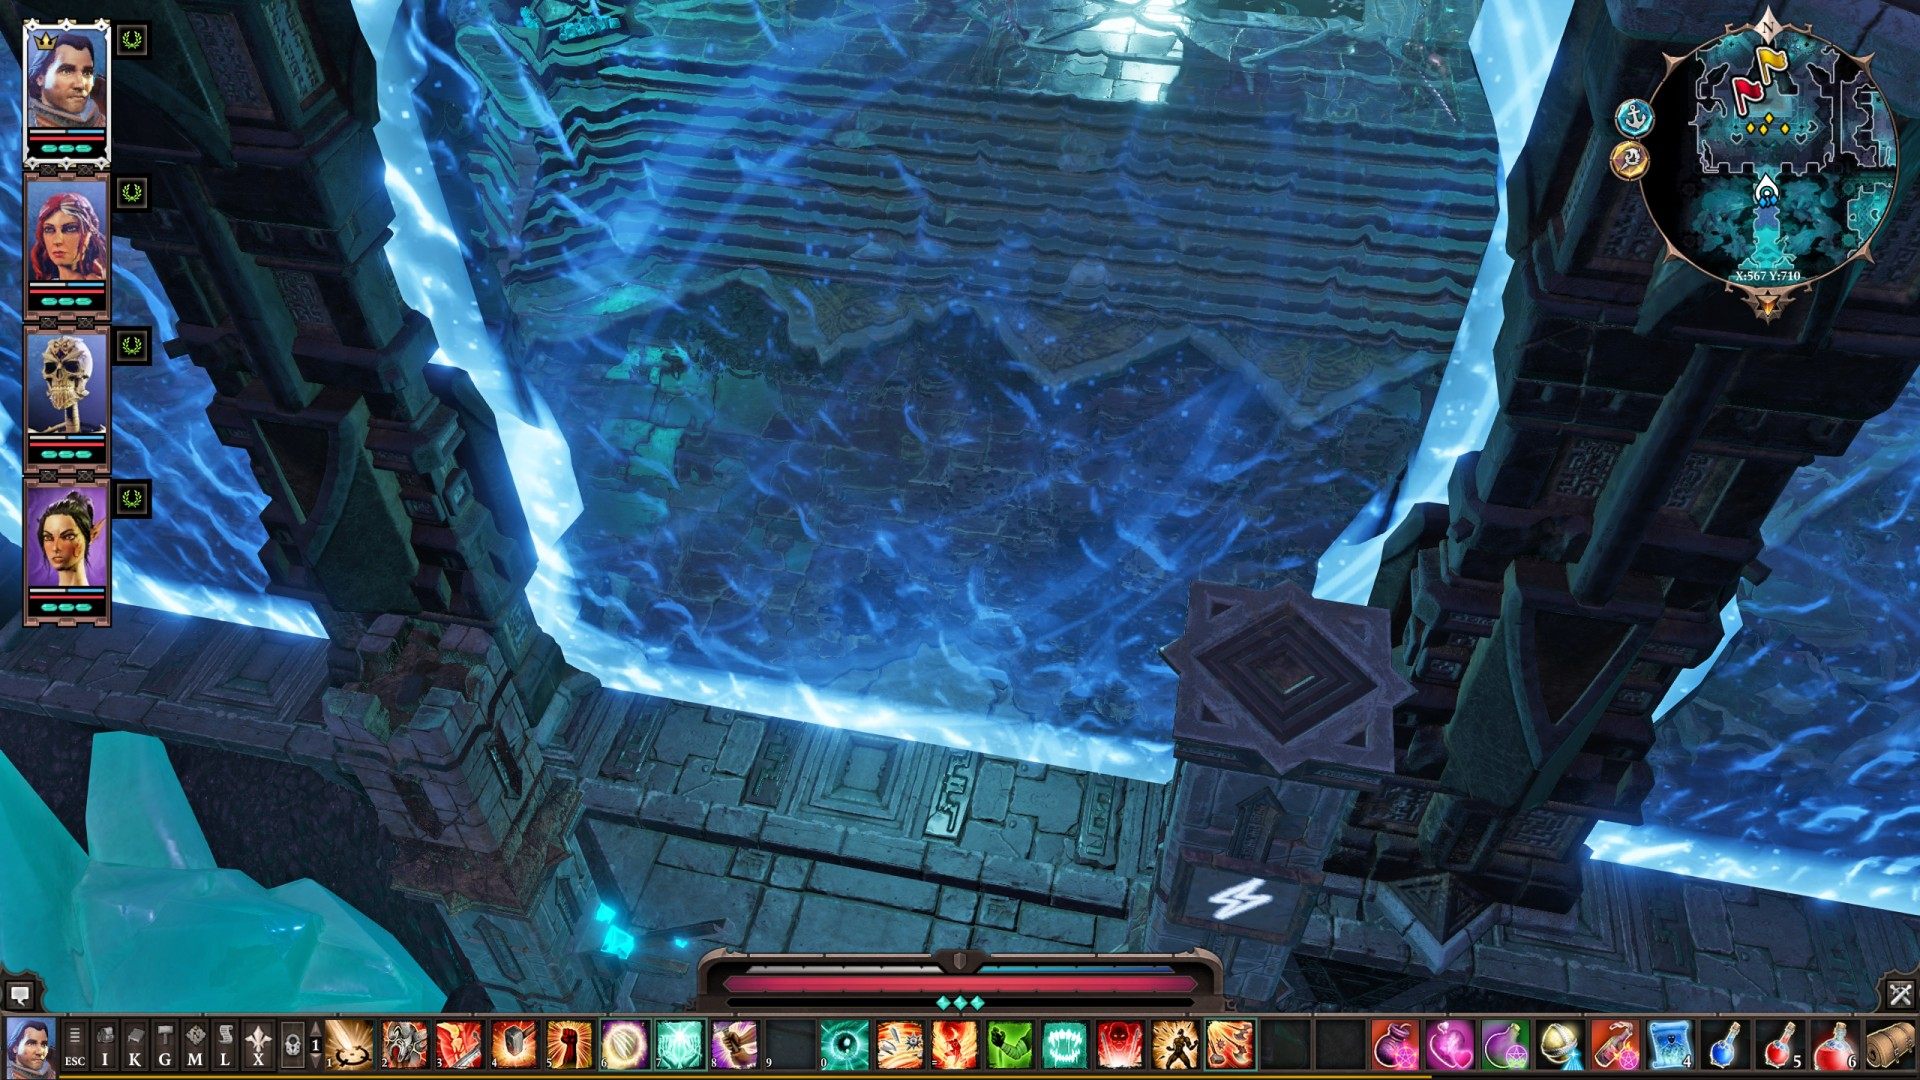
10 Energy Barrier Lever
To be able to use it, you have to redirect energy beam and put two Phase Capacitors on Eternal Conductors.
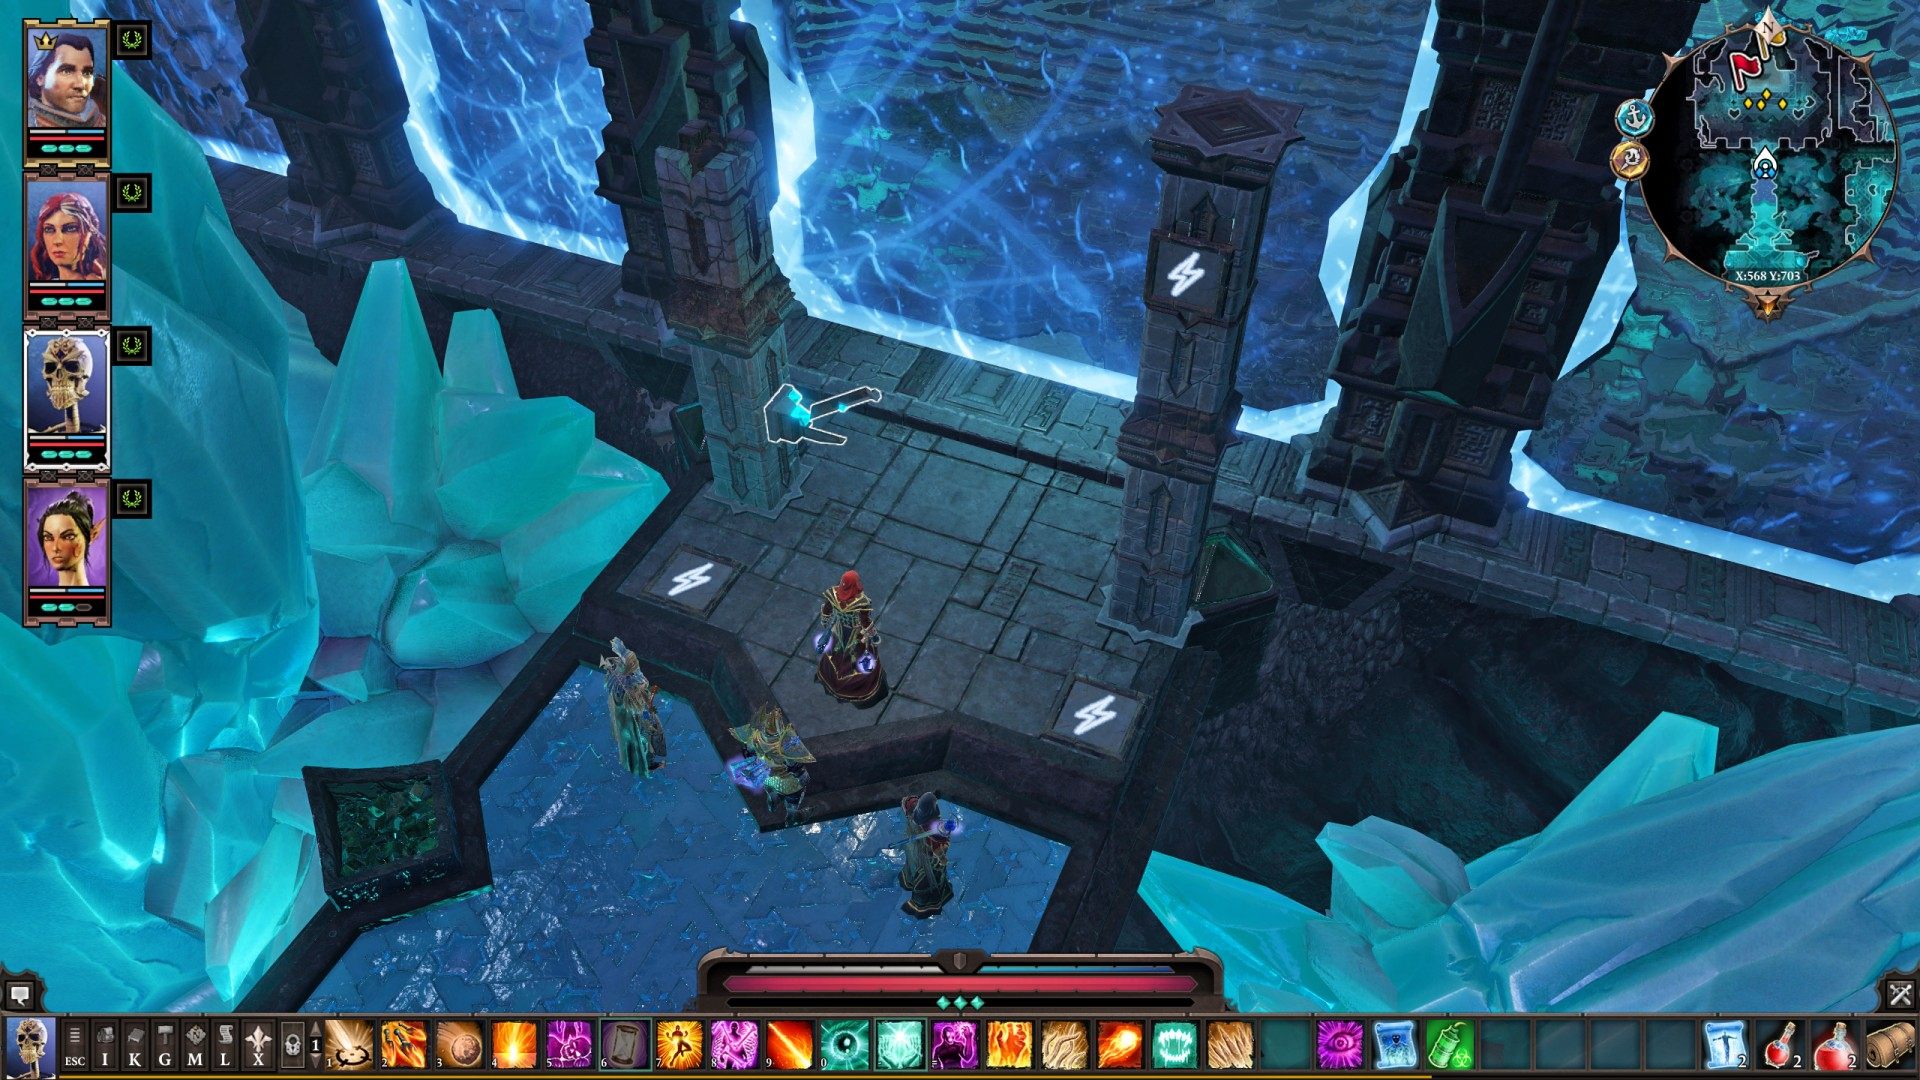

11Eternal Conductor
Related quests: The Nameless Isle
Place Phase Capacitor onto it. Phase Capacitors drop from elementals guarding Eternal Stormblade in Murky Cave.
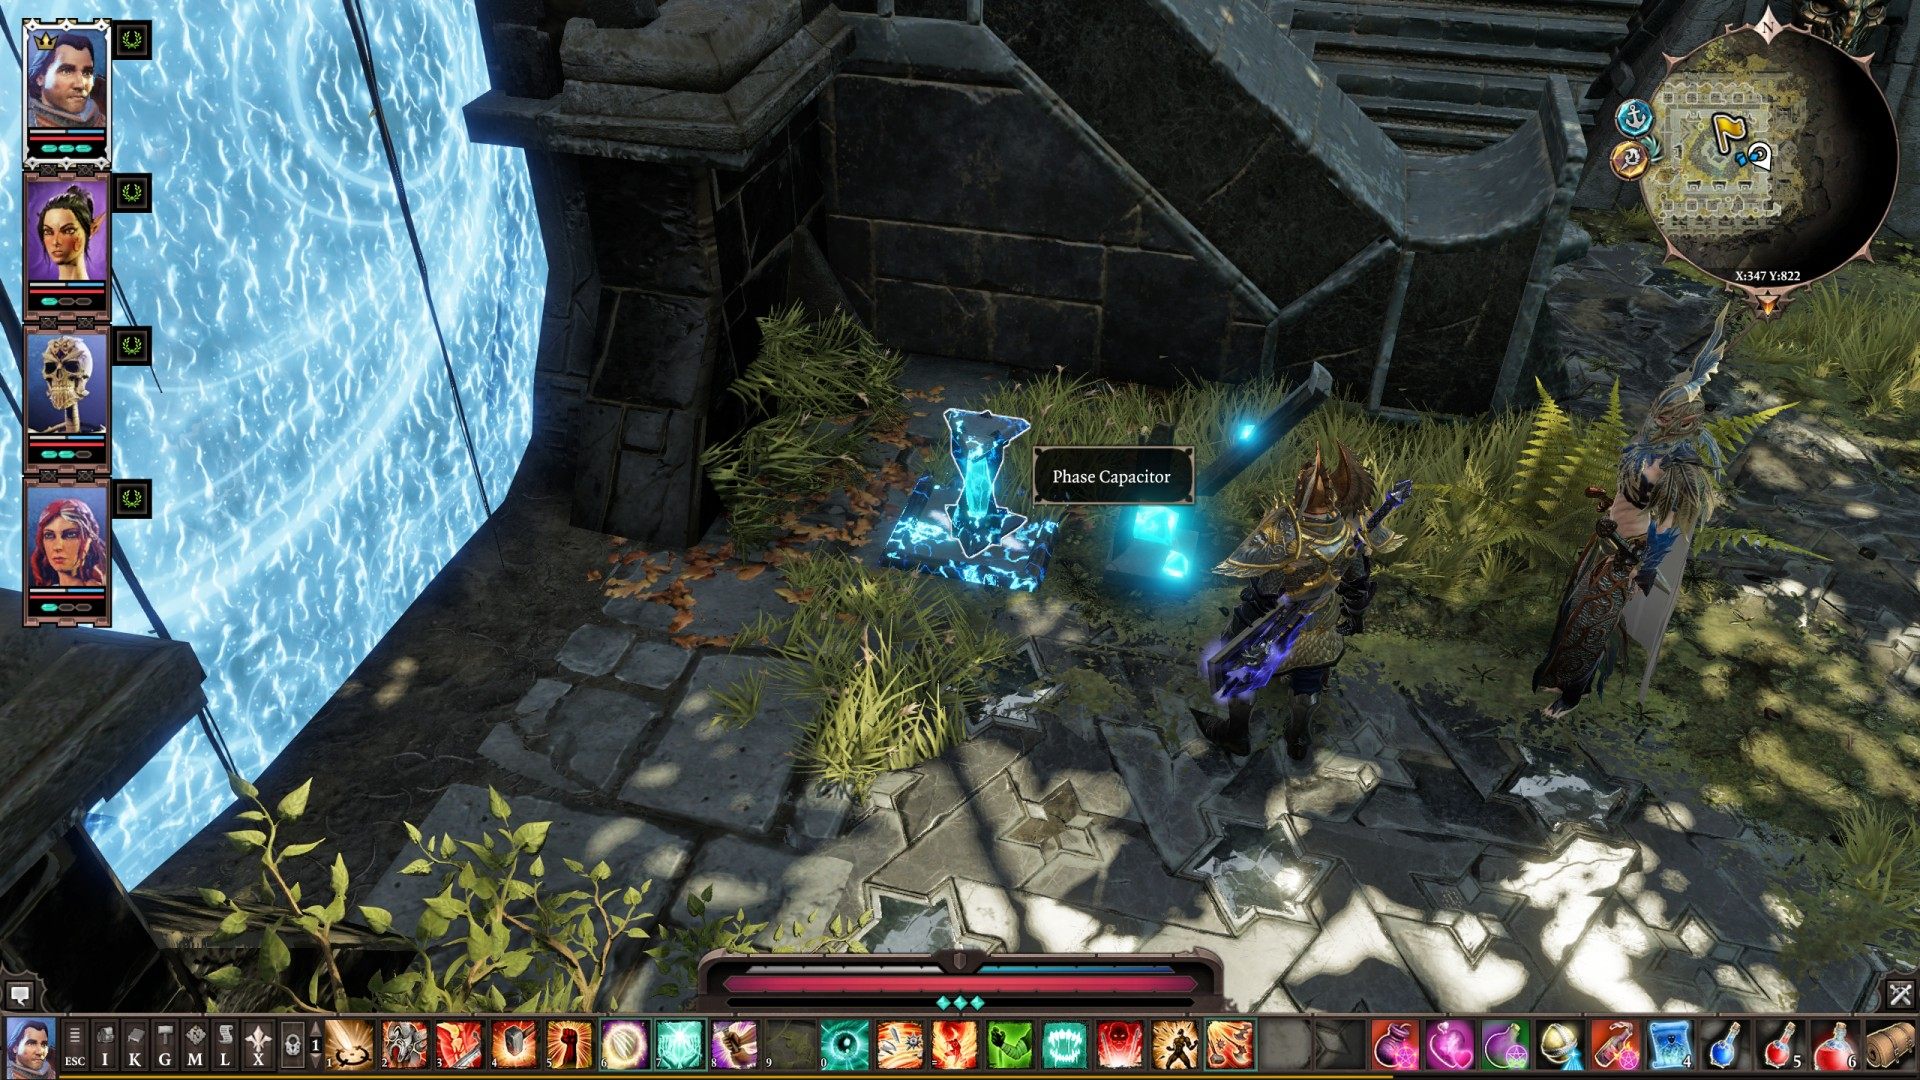
12Hidden Passage
Pull the Lever to remove the wall.
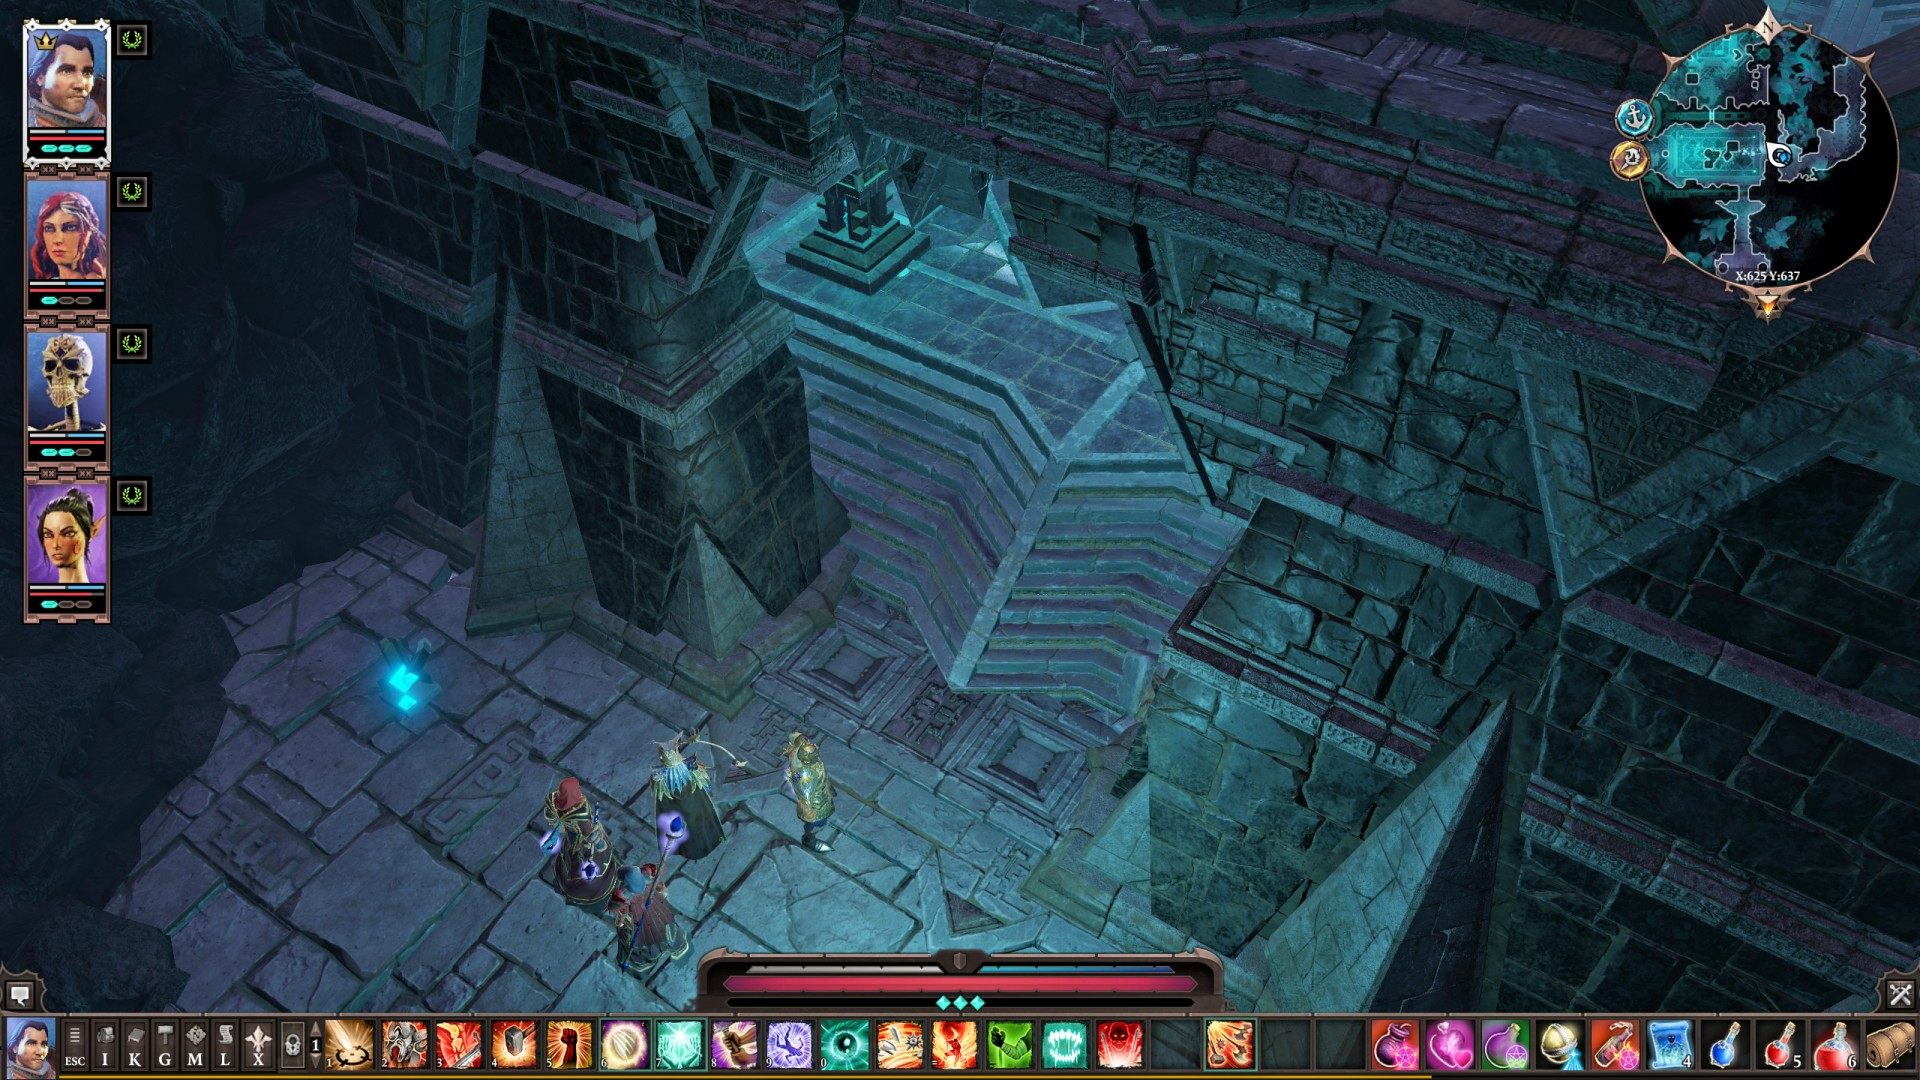
13Hidden Passage
Use Dispel Illusion to remove it.
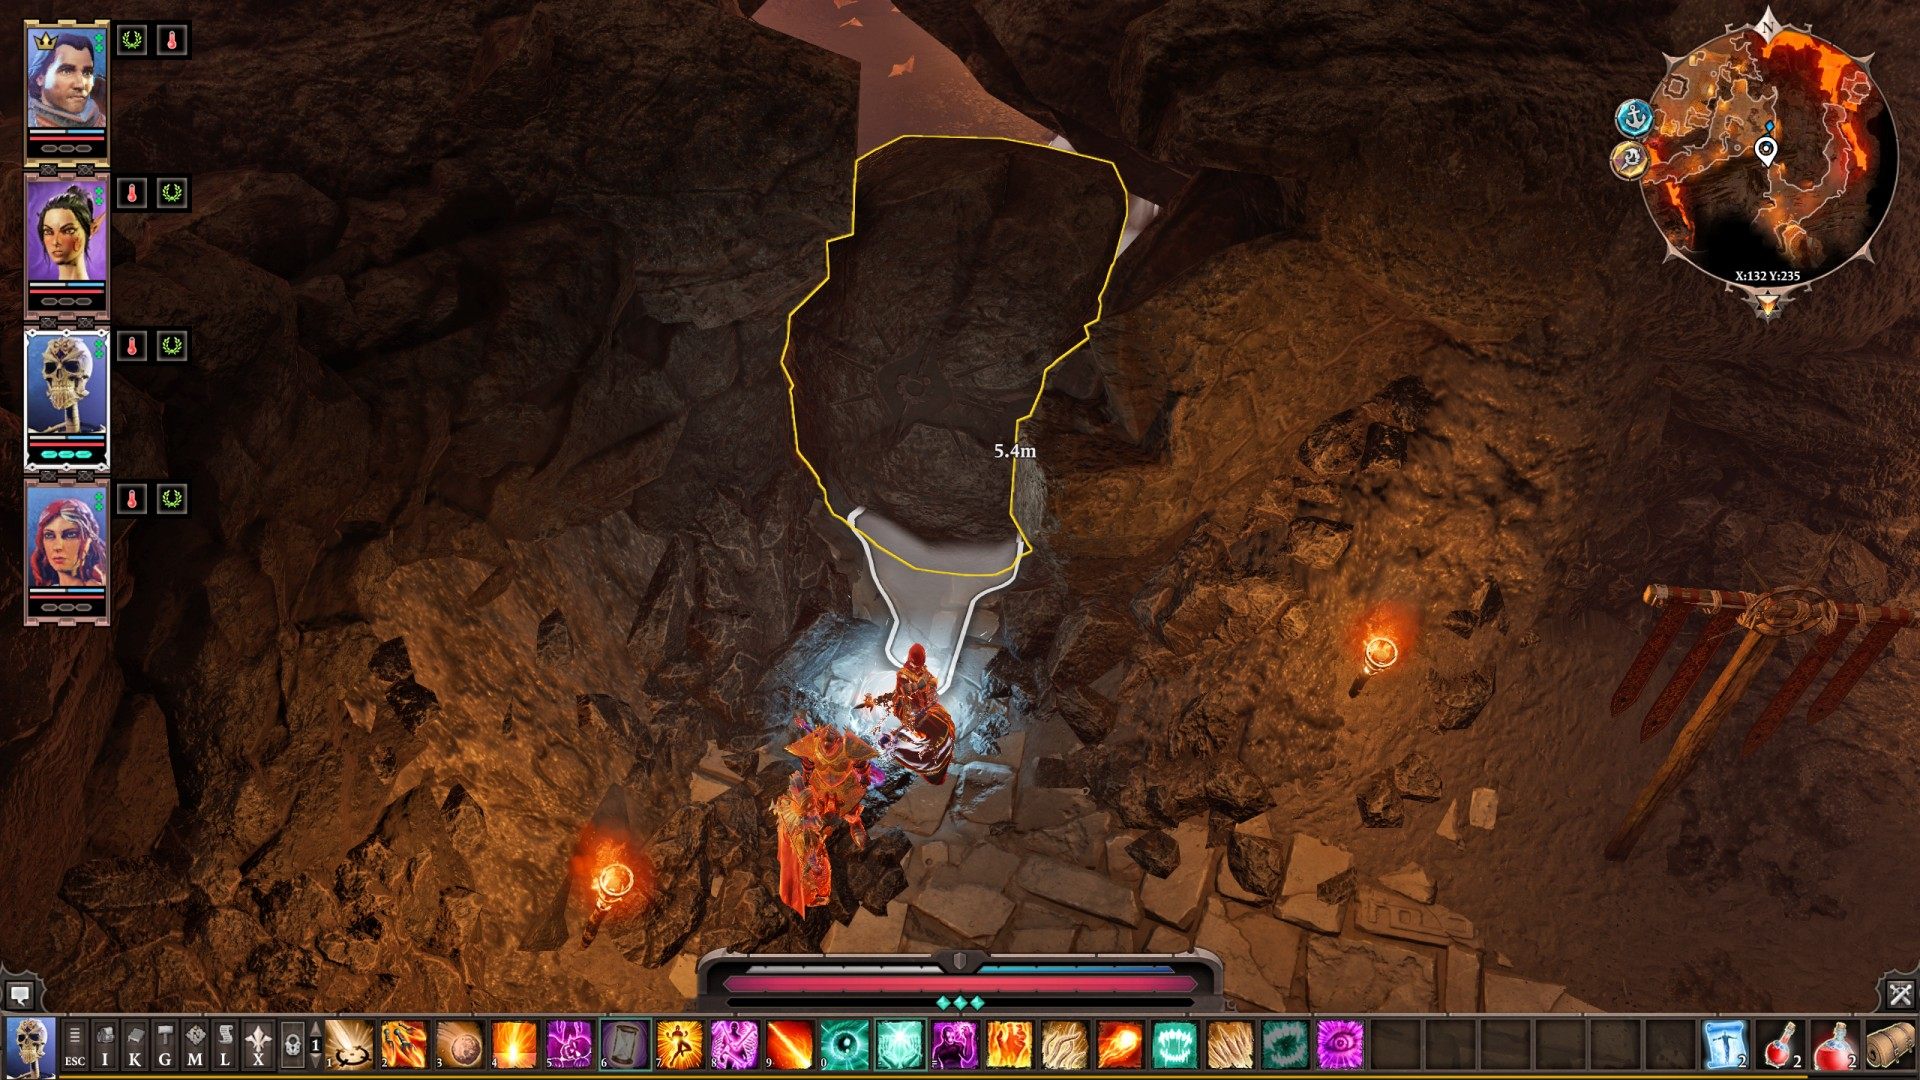
14Hidden Passage to Black Ring Encampment
You need Cowl of True Sight from Bishop Alexandar (lvl 16) or his head which you should put onto the Decrepit Altar.
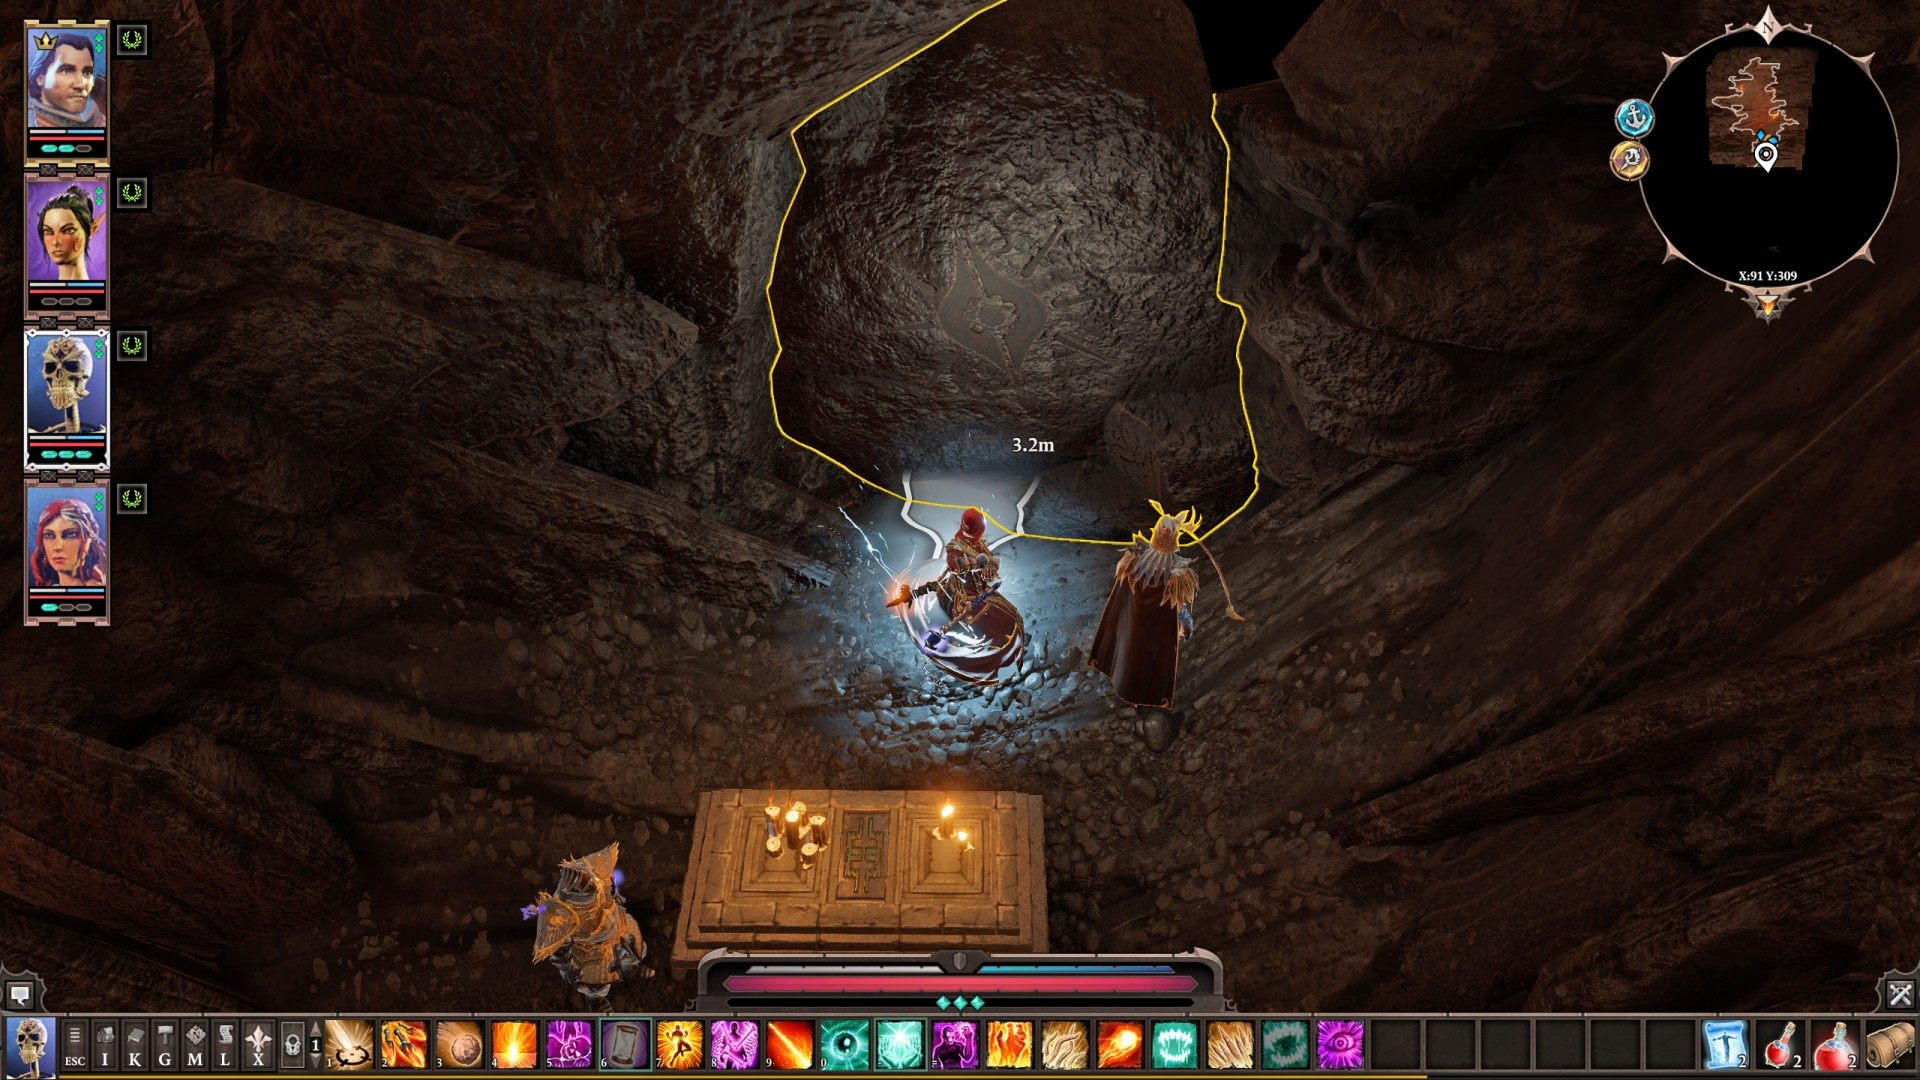
15Hovering Rune #1
Related quests: Up in the Clouds
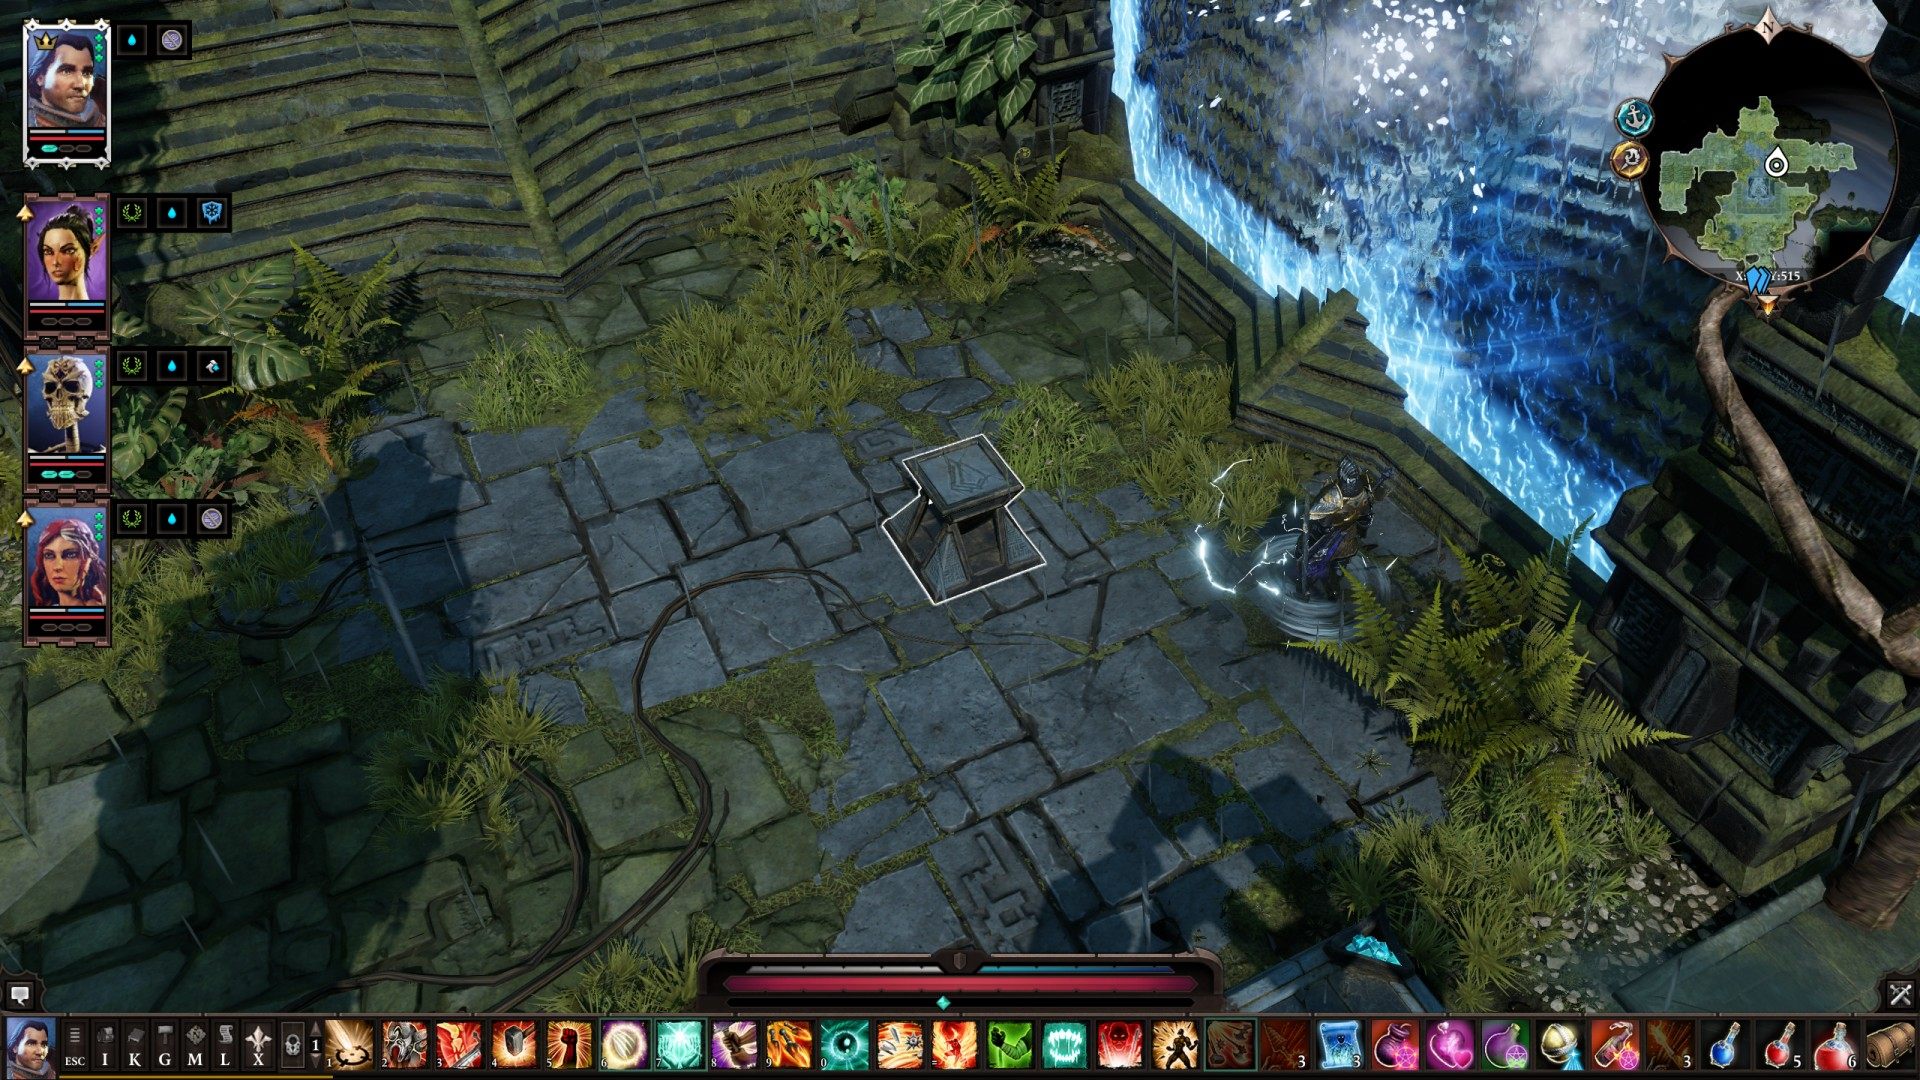
16Hovering Rune #2
Related quests: Up in the Clouds
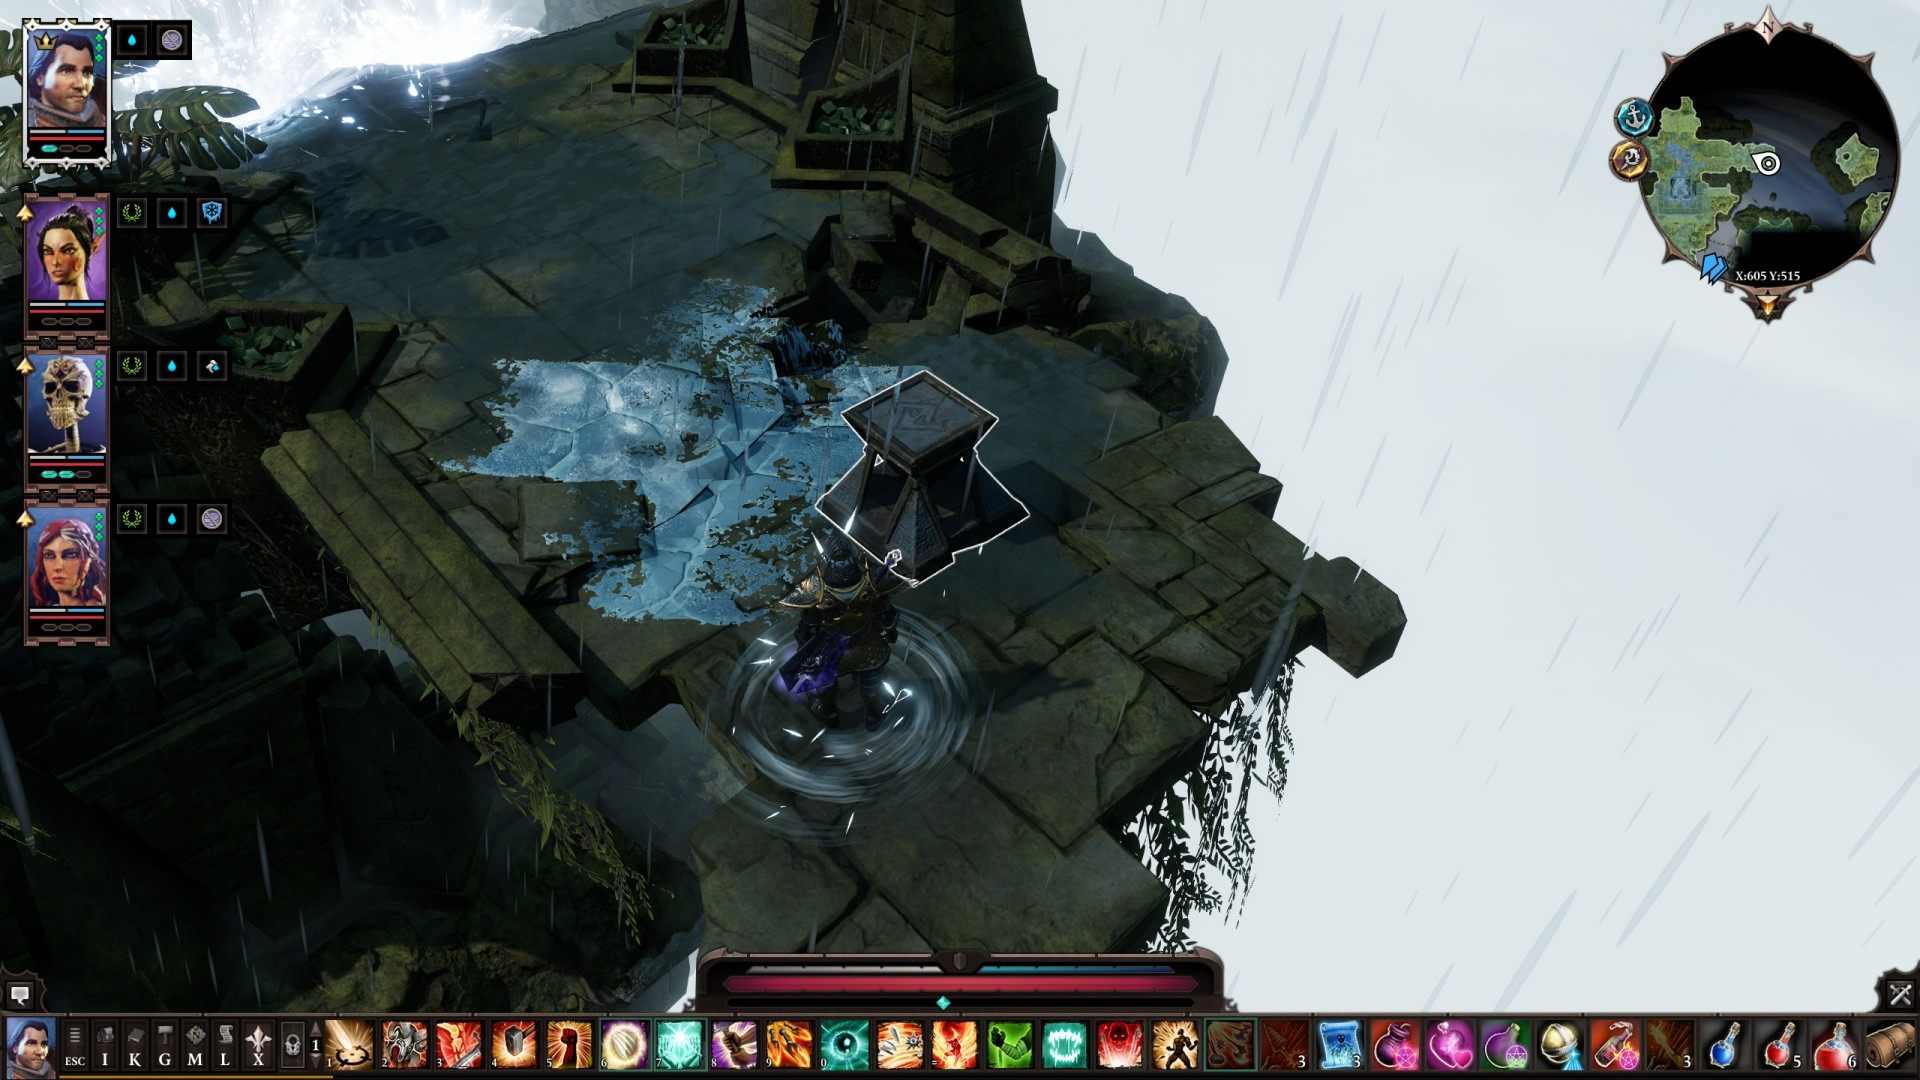
17Hovering Rune #3
Related quests: Up in the Clouds
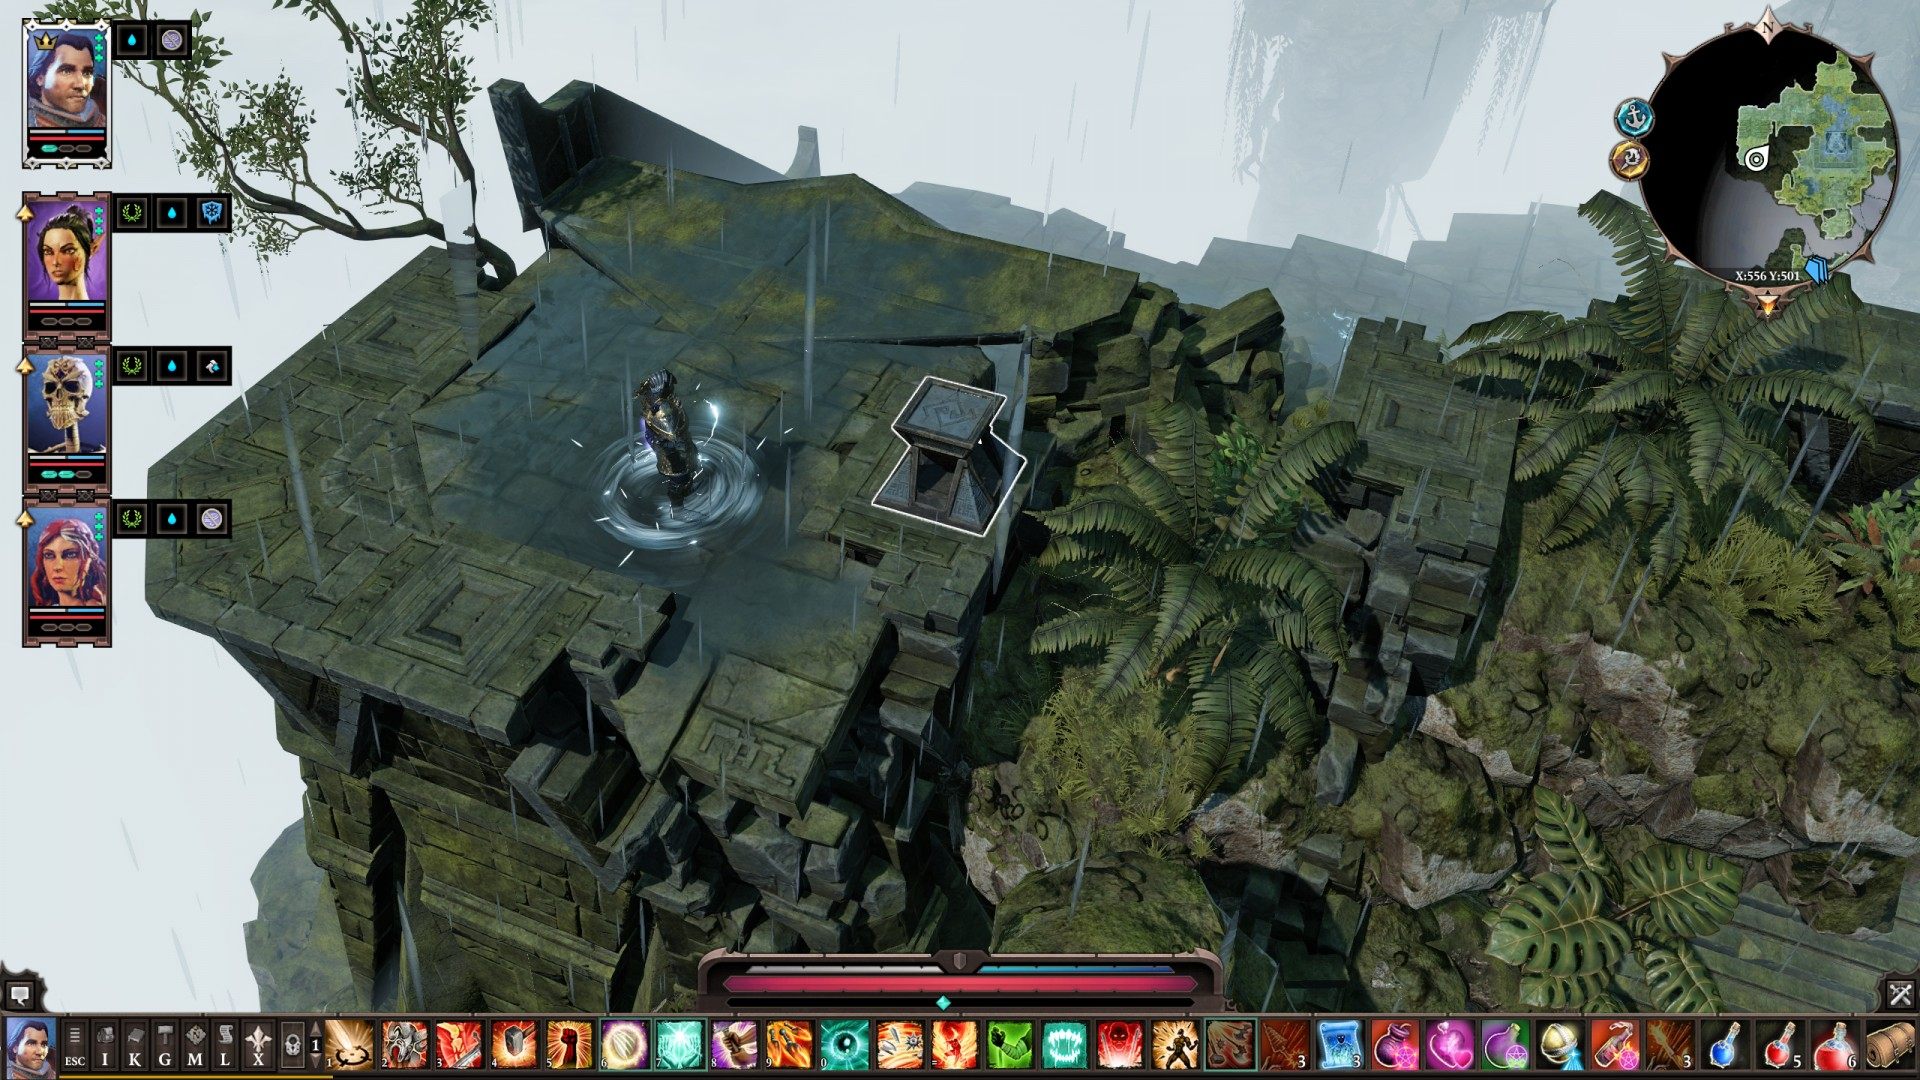
18Hovering Rune #4
Related quests: Up in the Clouds
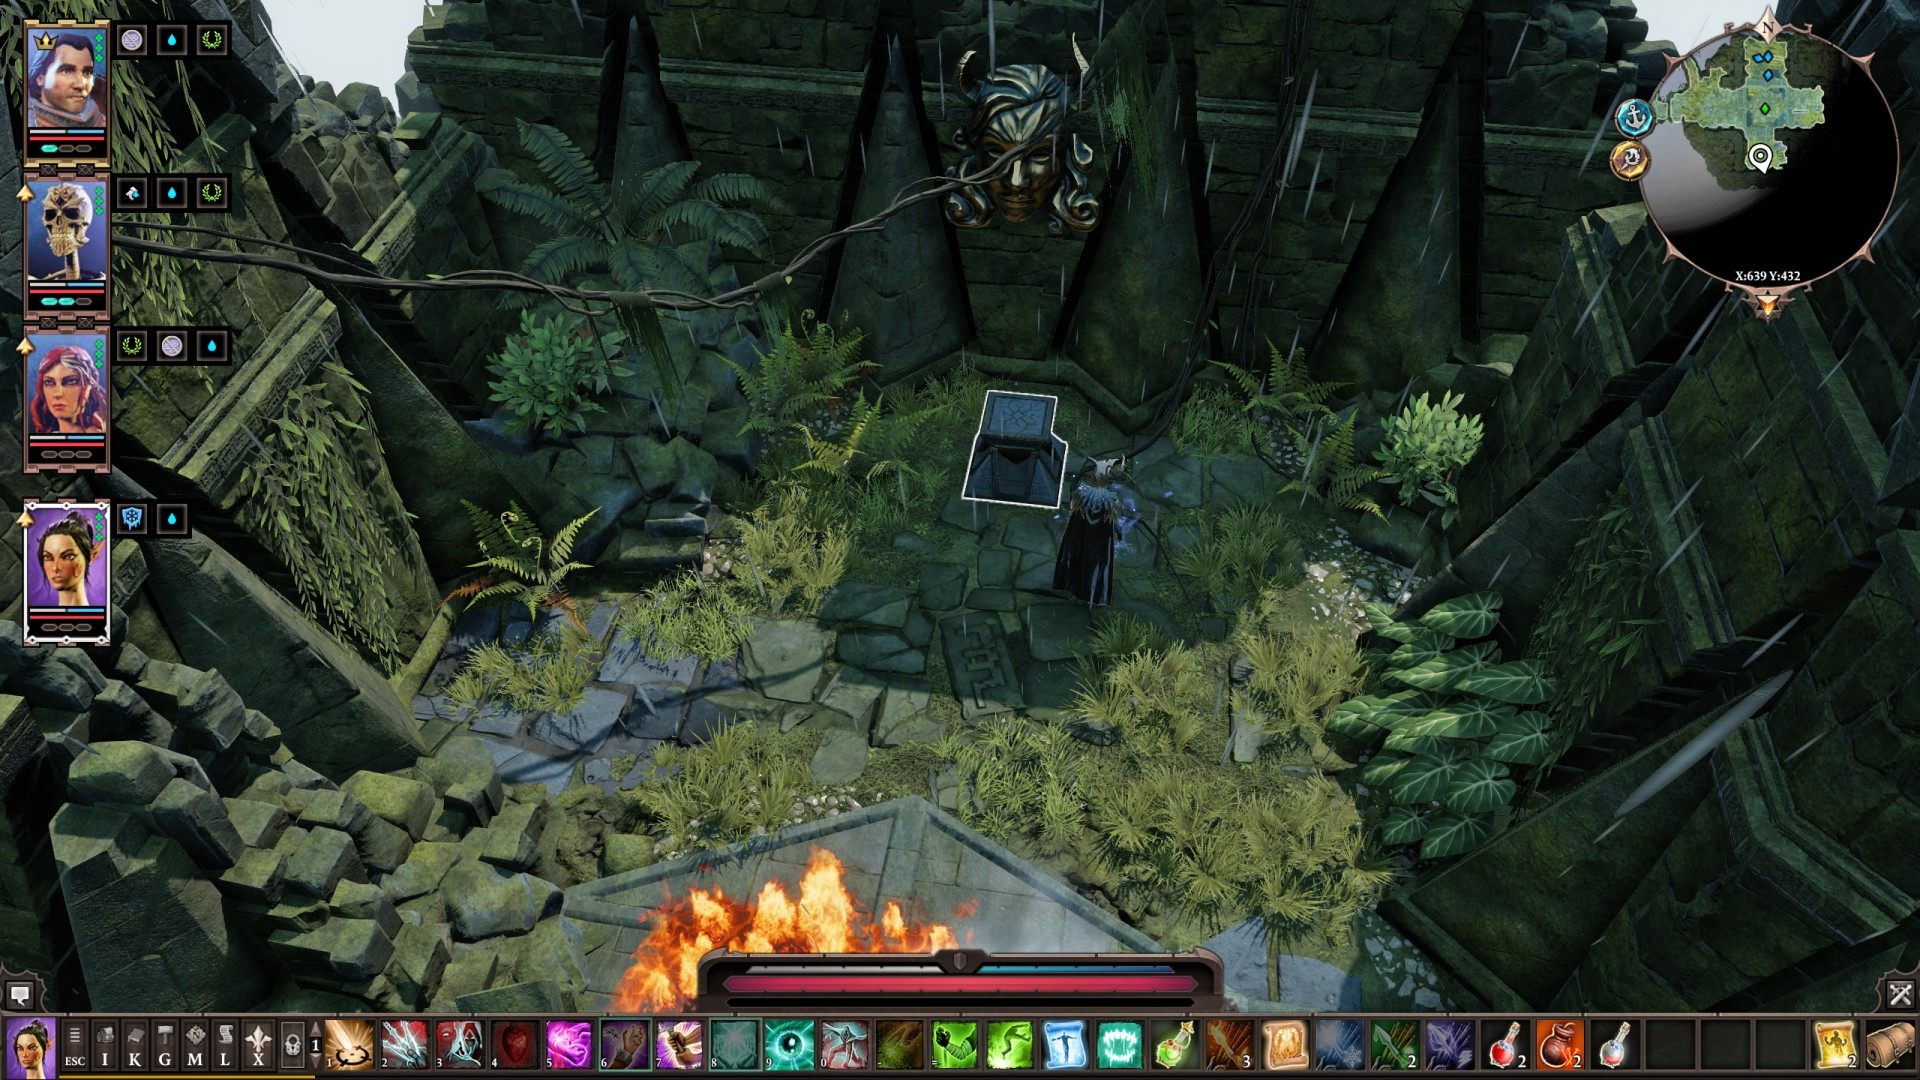
19Hovering Rune #5
Related quests: Up in the Clouds
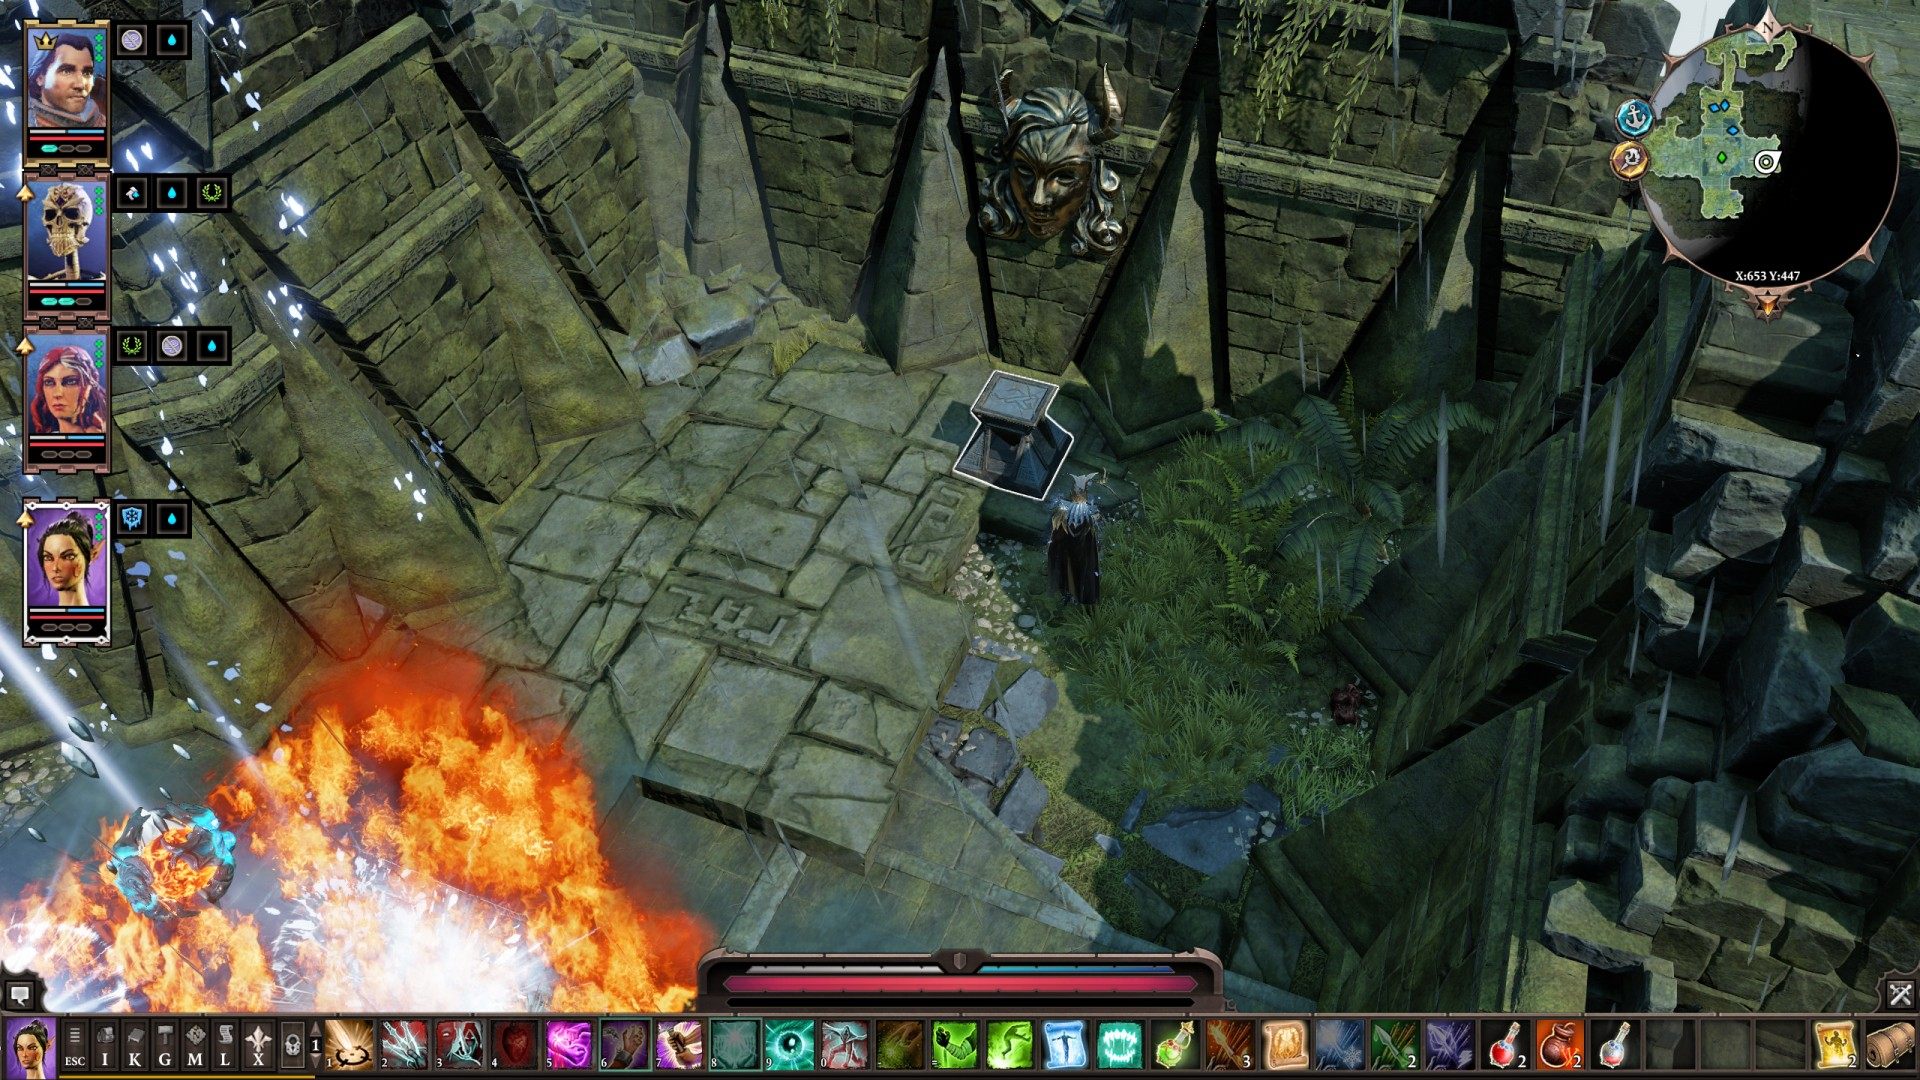
20Hovering Rune #6
Related quests: Up in the Clouds
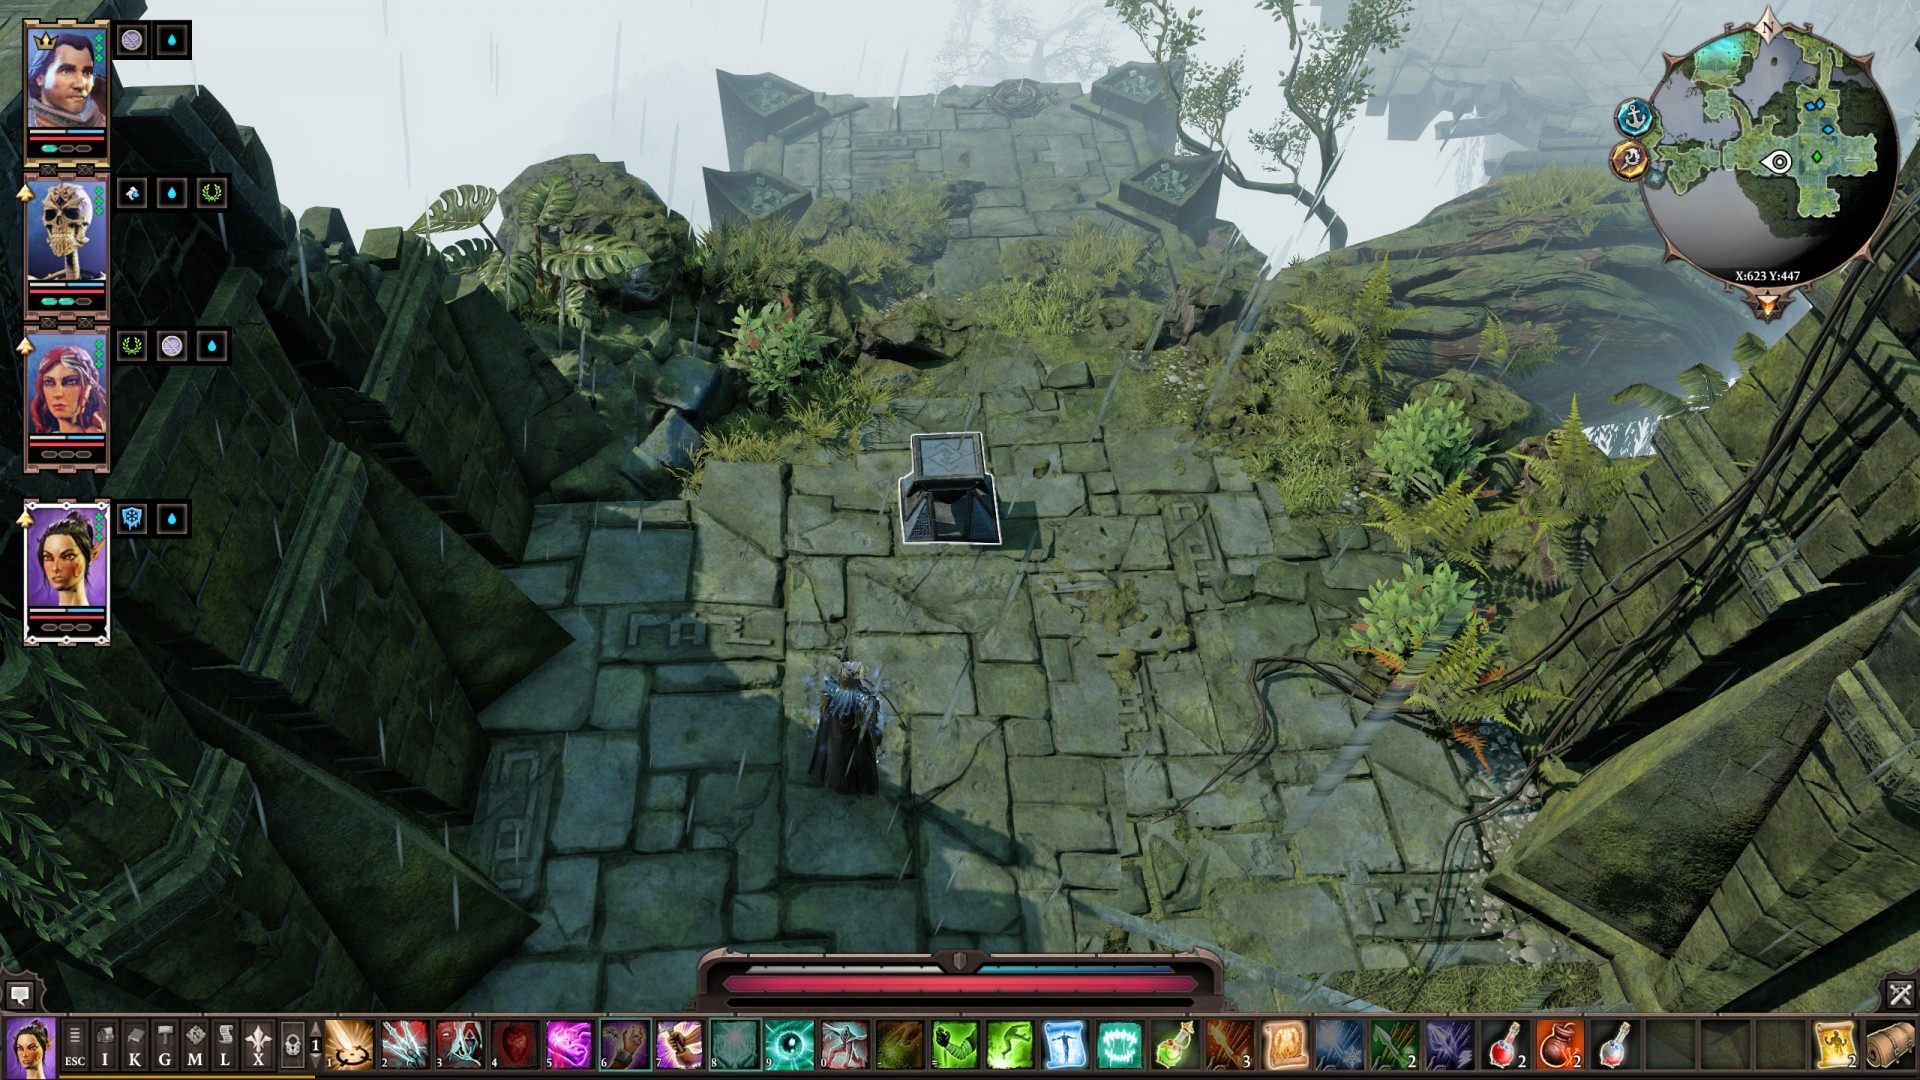
21Inconspicuous Contraption
Related quests: Unscholarly Pursuits
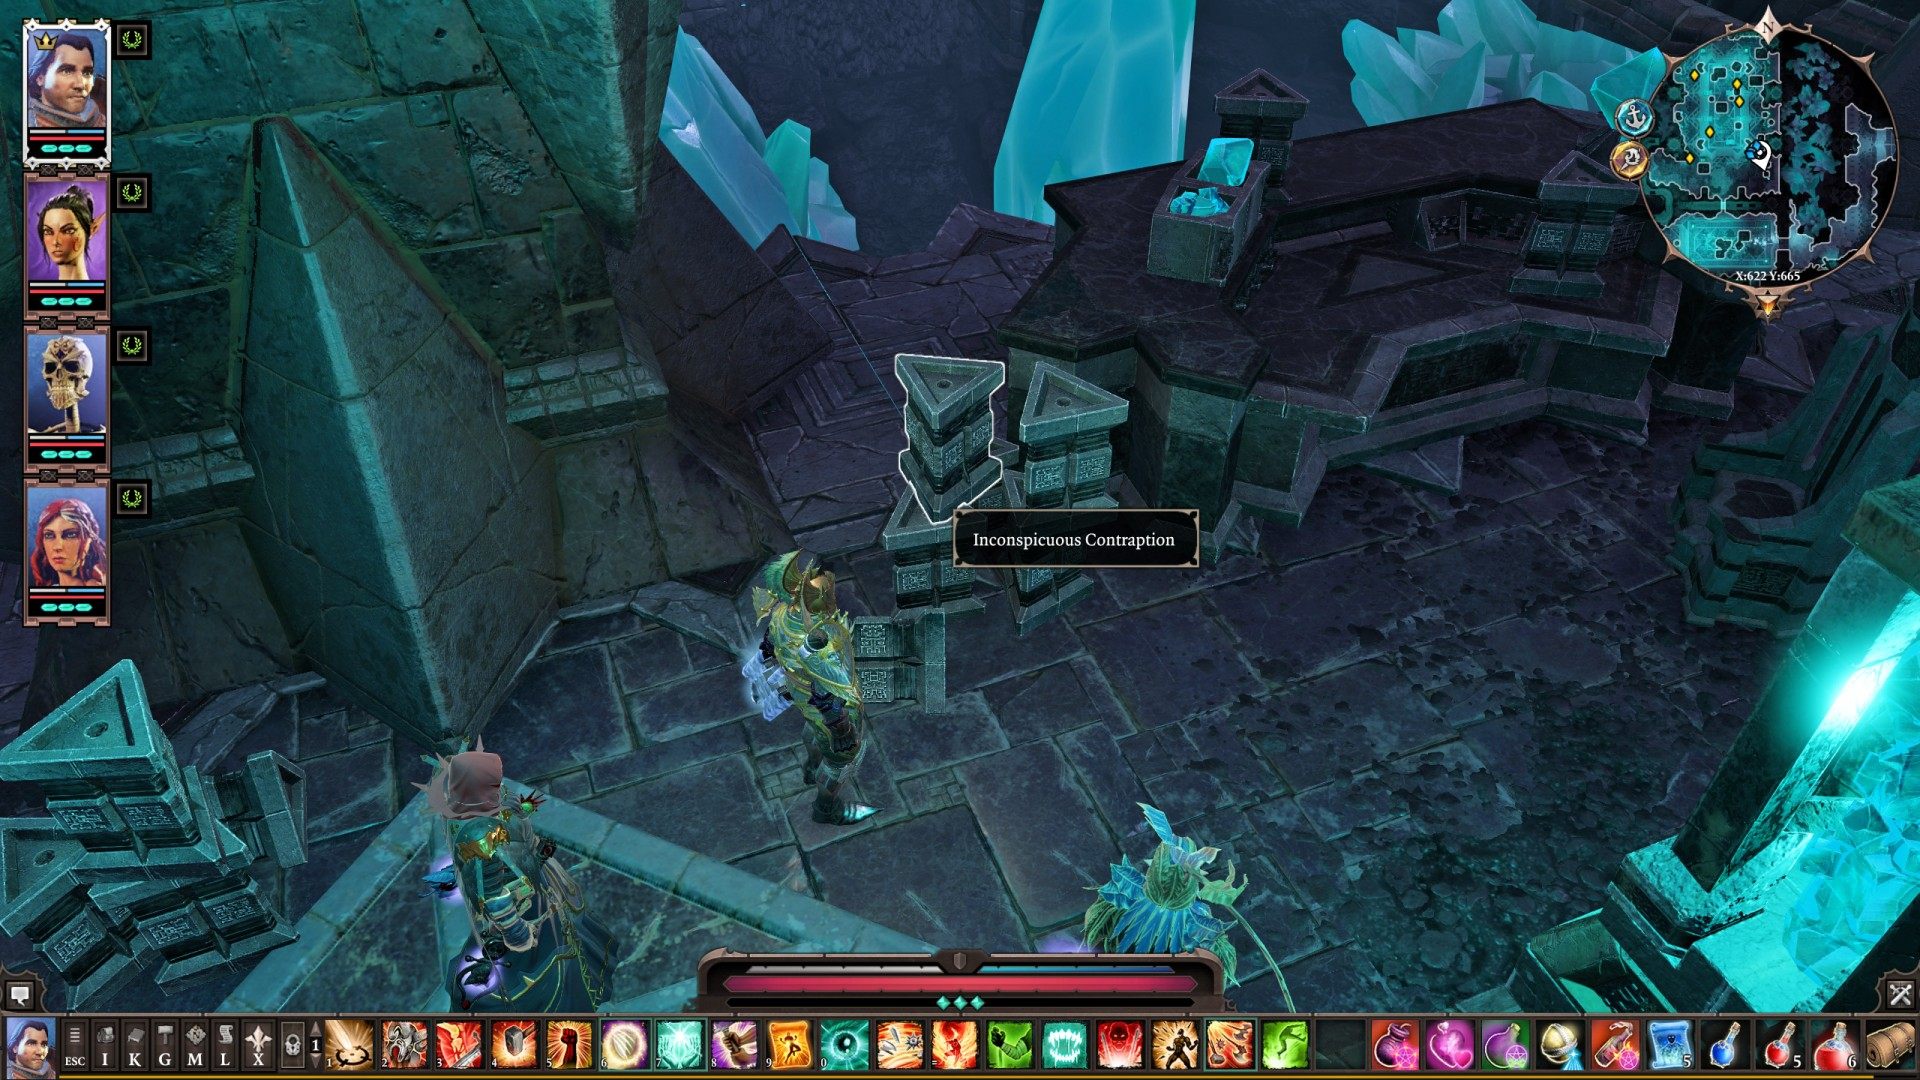
22Lever
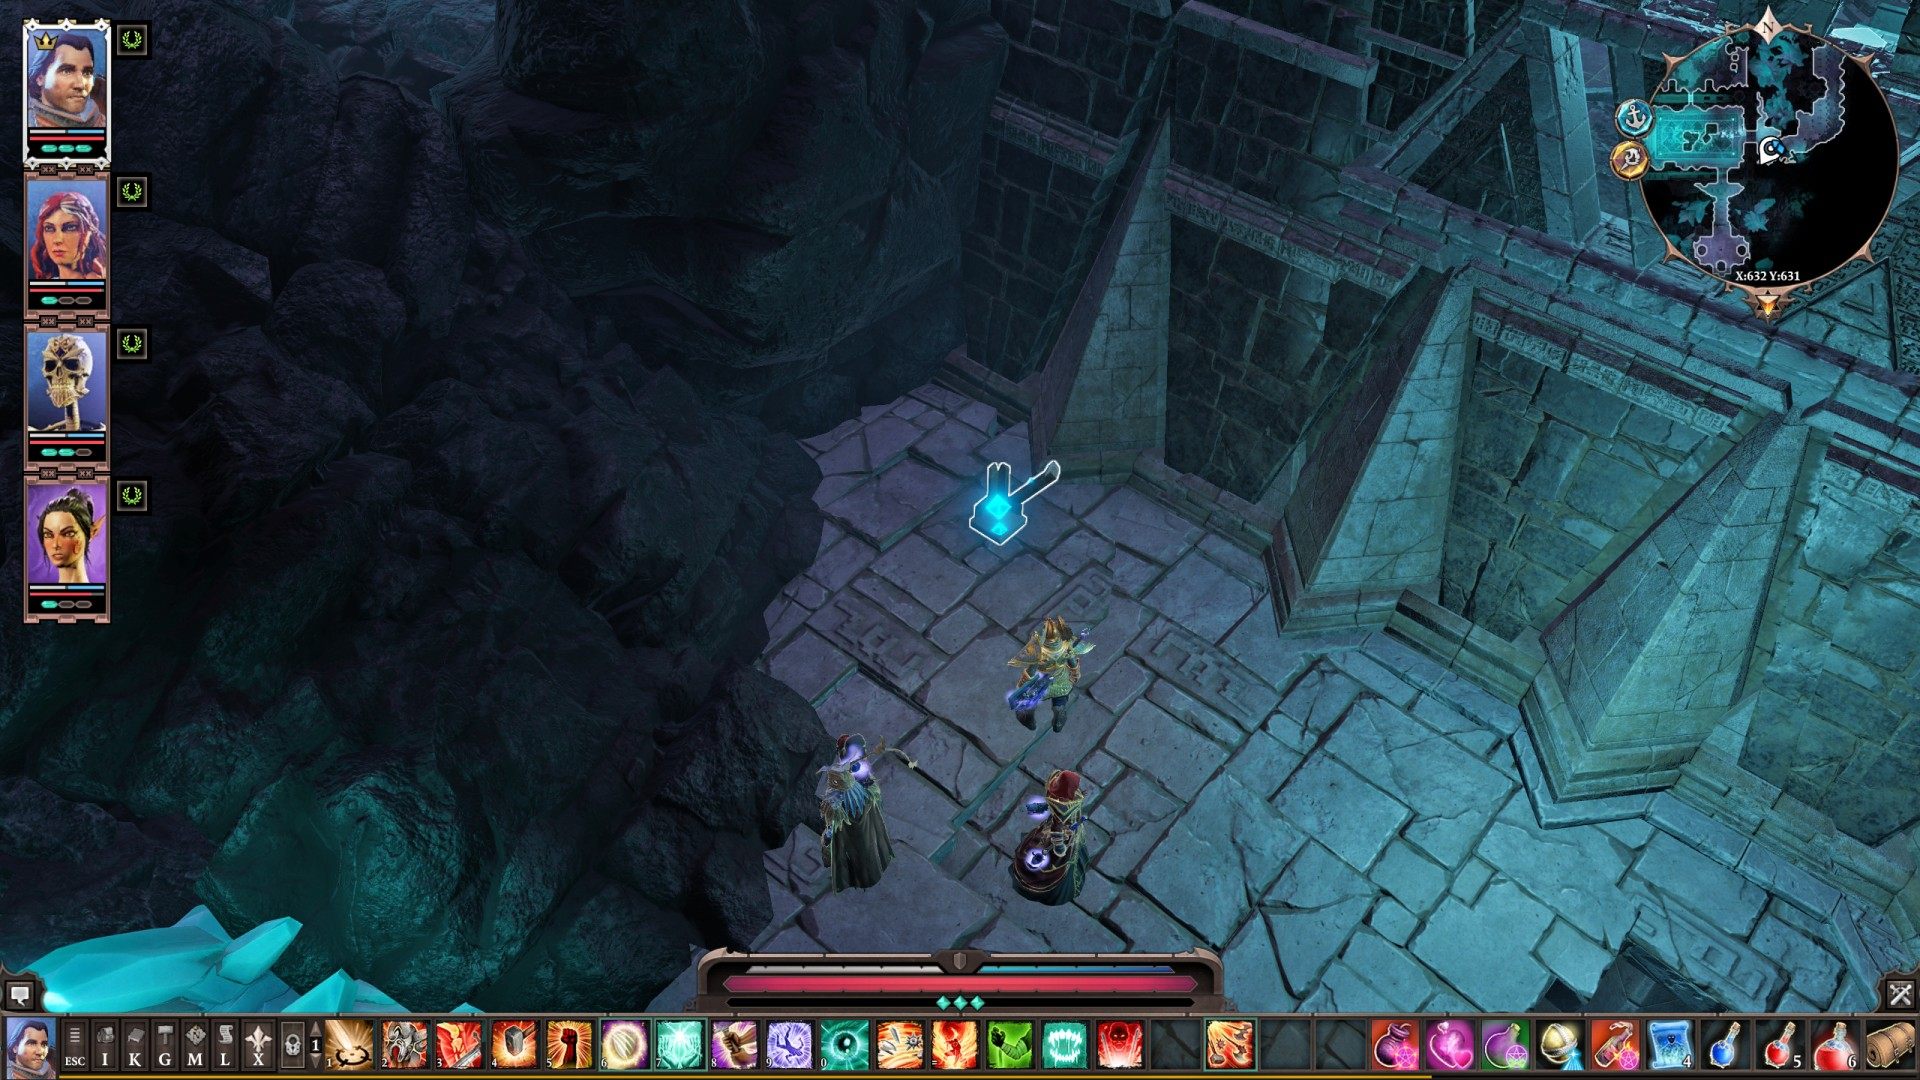
23Lever
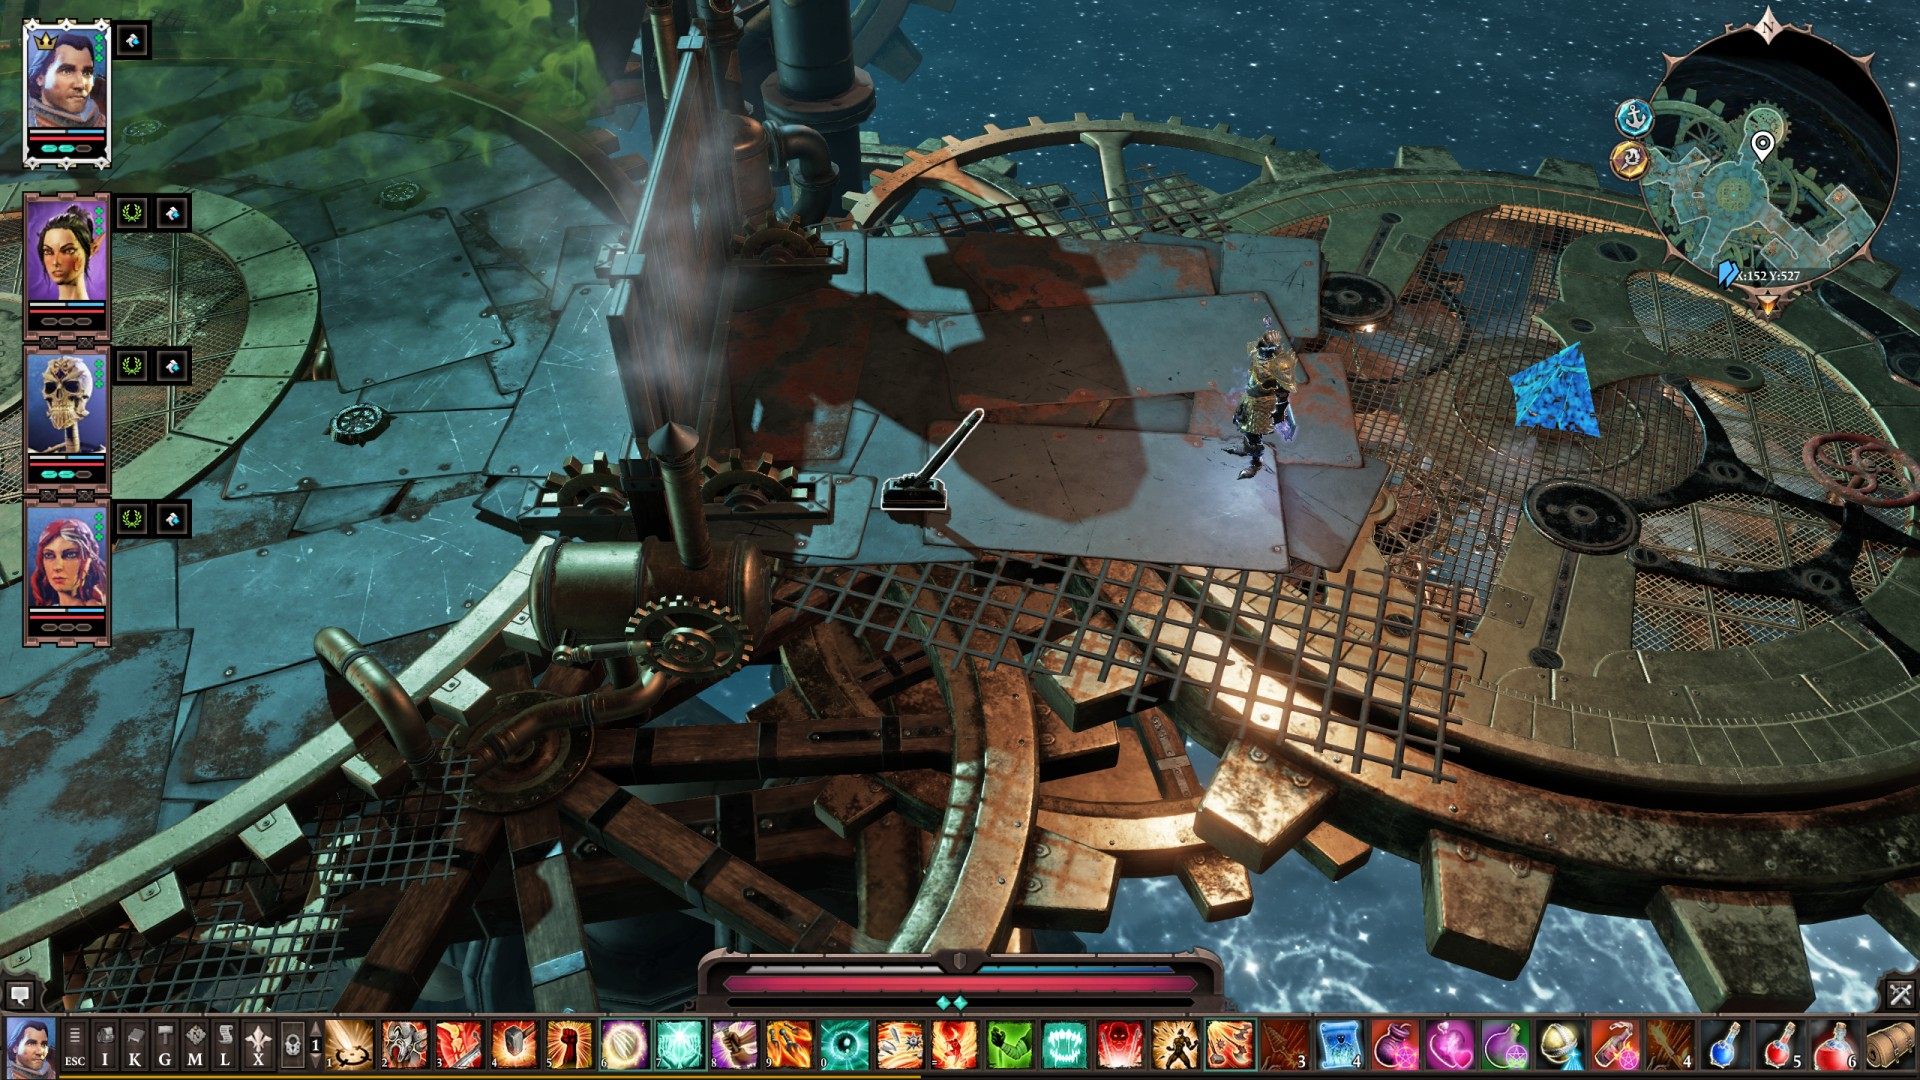
24Lever
It unlocks Door.
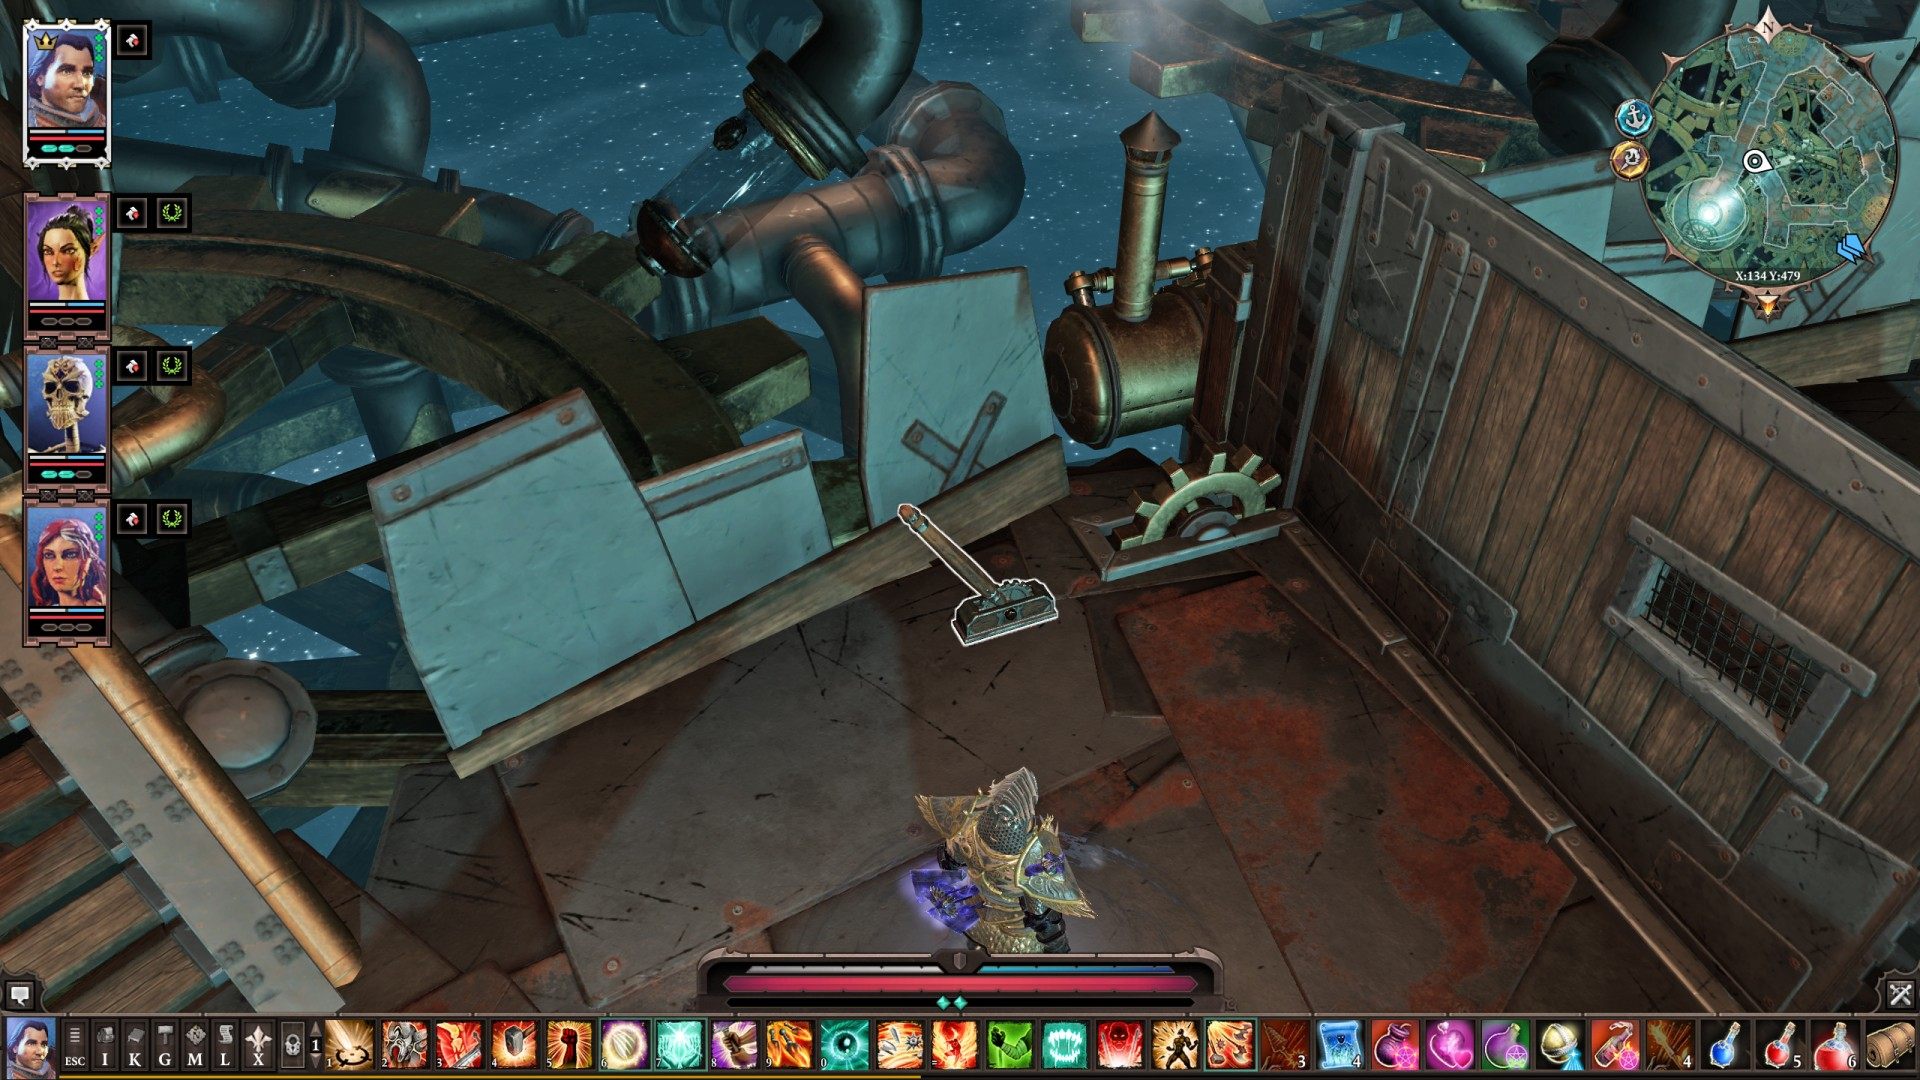
25Pressure Plate #1
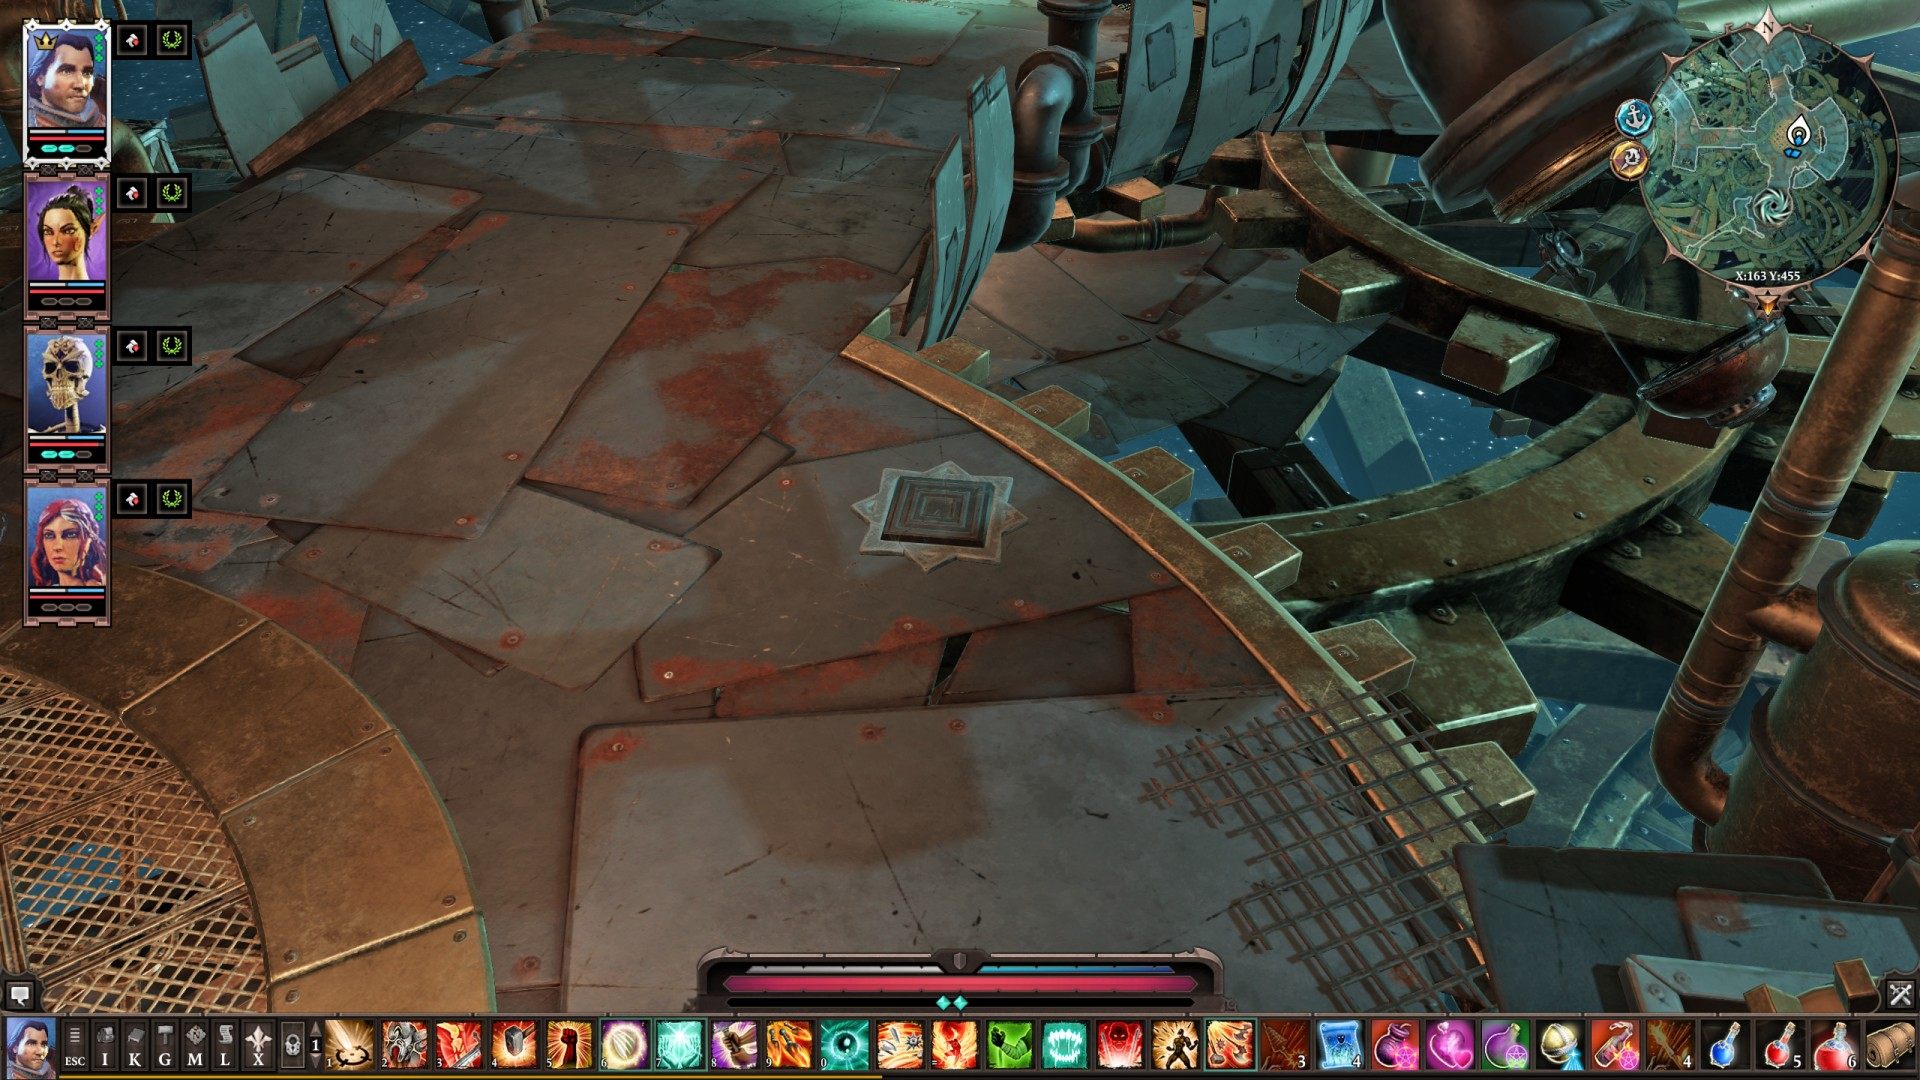
26Pressure Plate #2
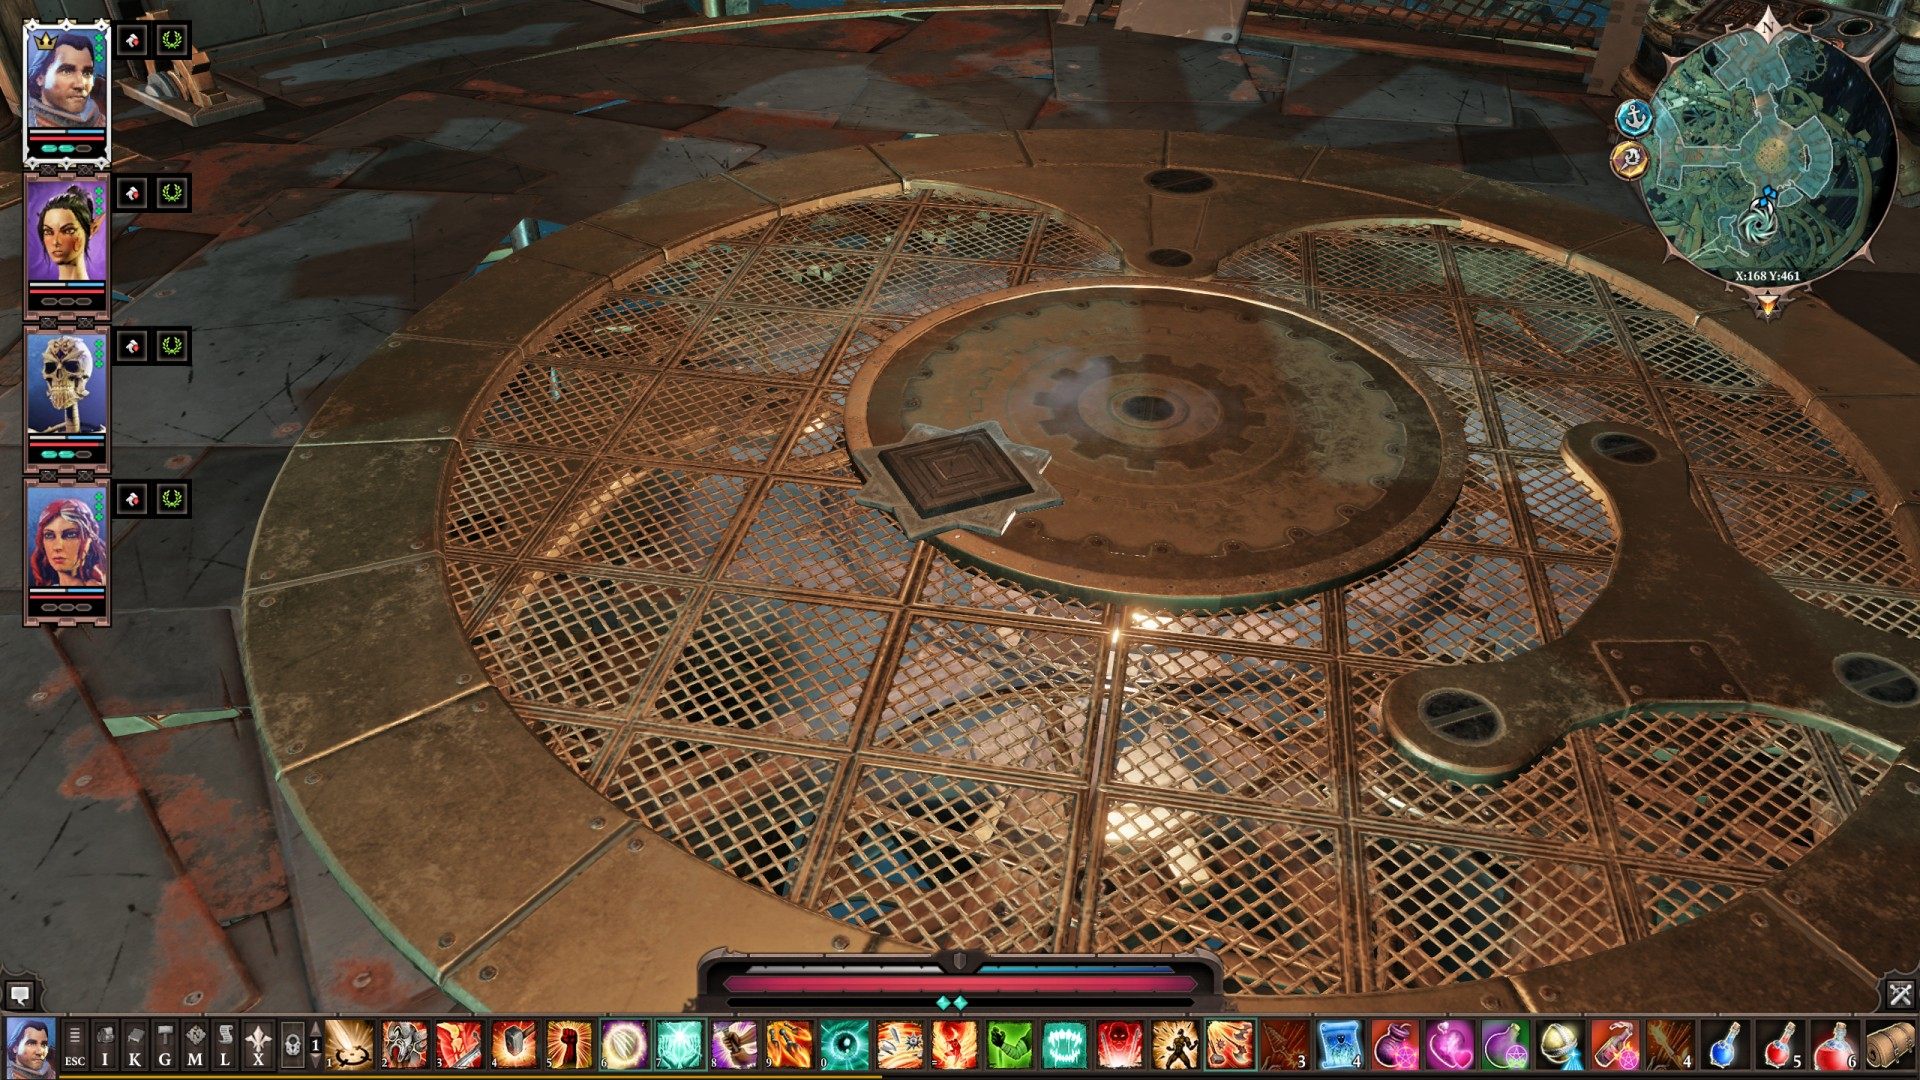
27Pressure Plate #3
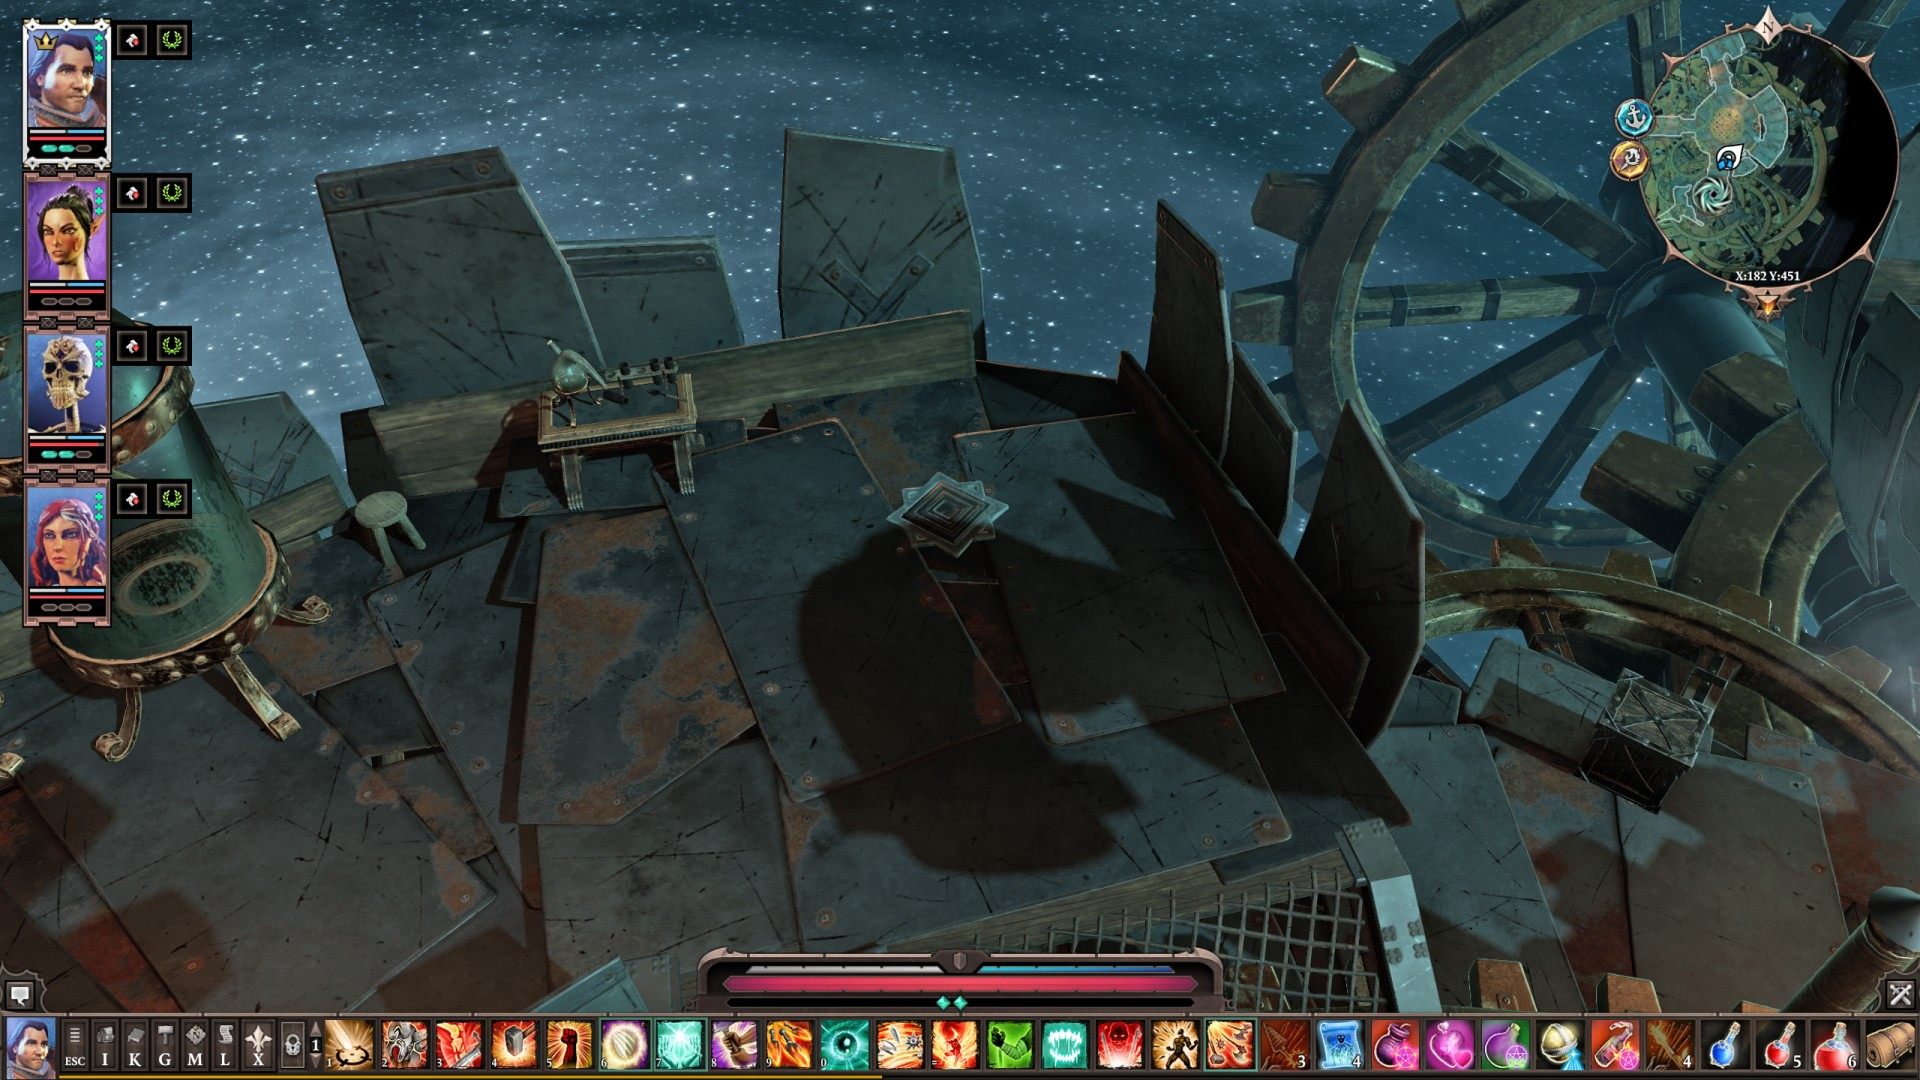
28Pressure Plate #4
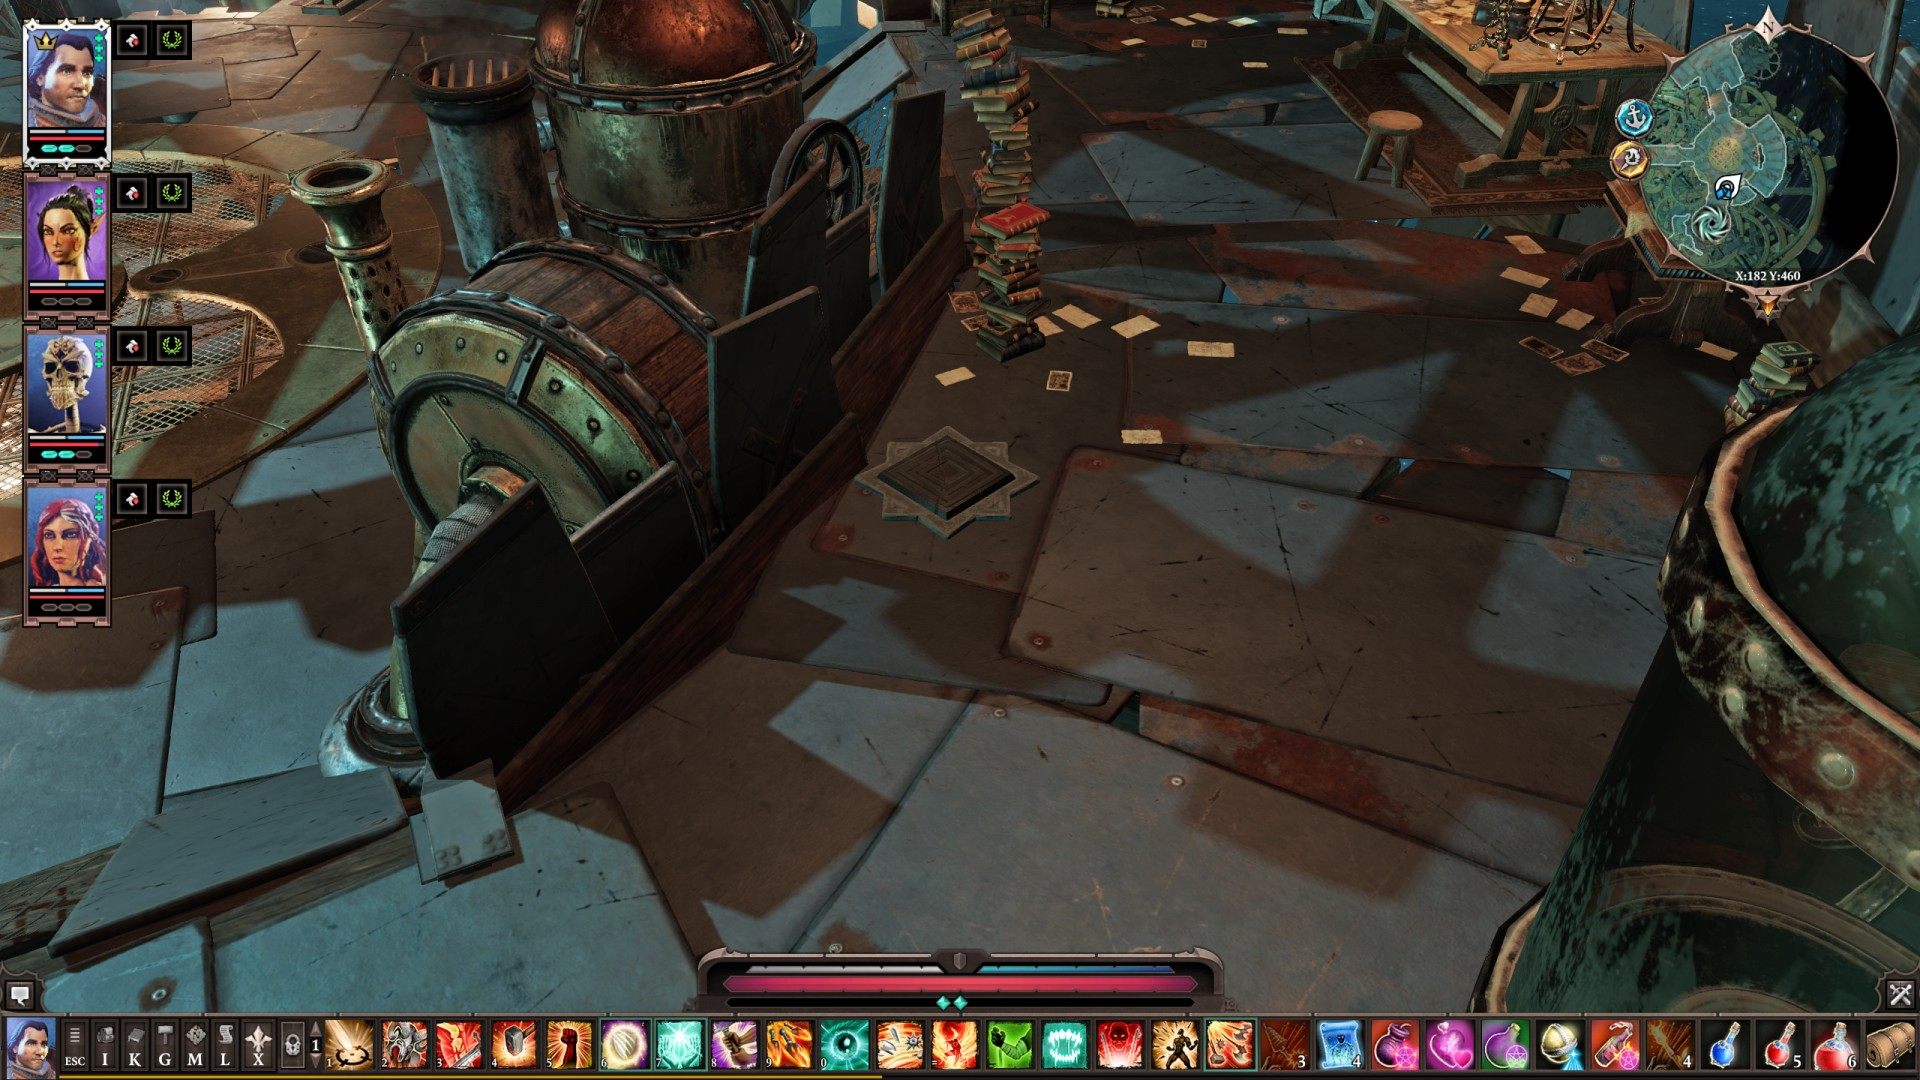
29Pressure Plate (Library)
Related quests: Unscholarly Pursuits
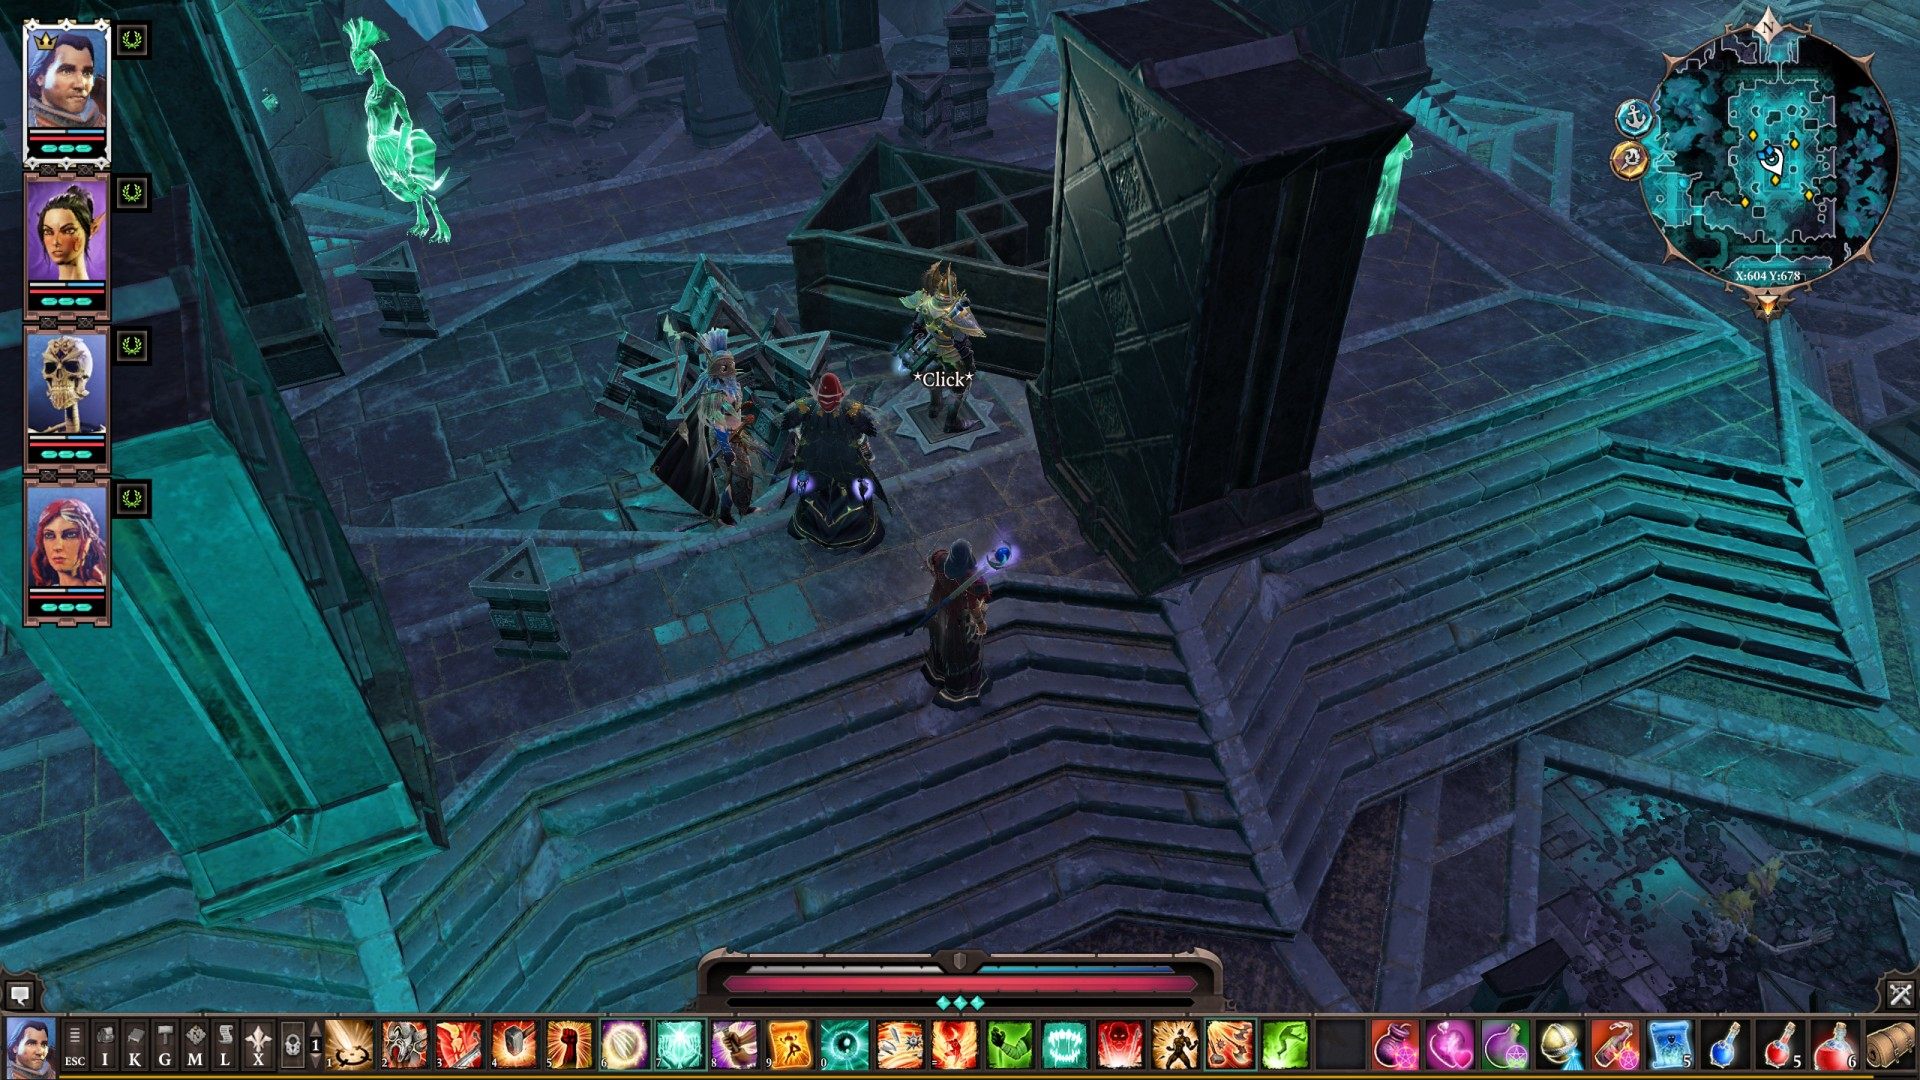
30Right Lever
Related quests: Unscholarly Pursuits
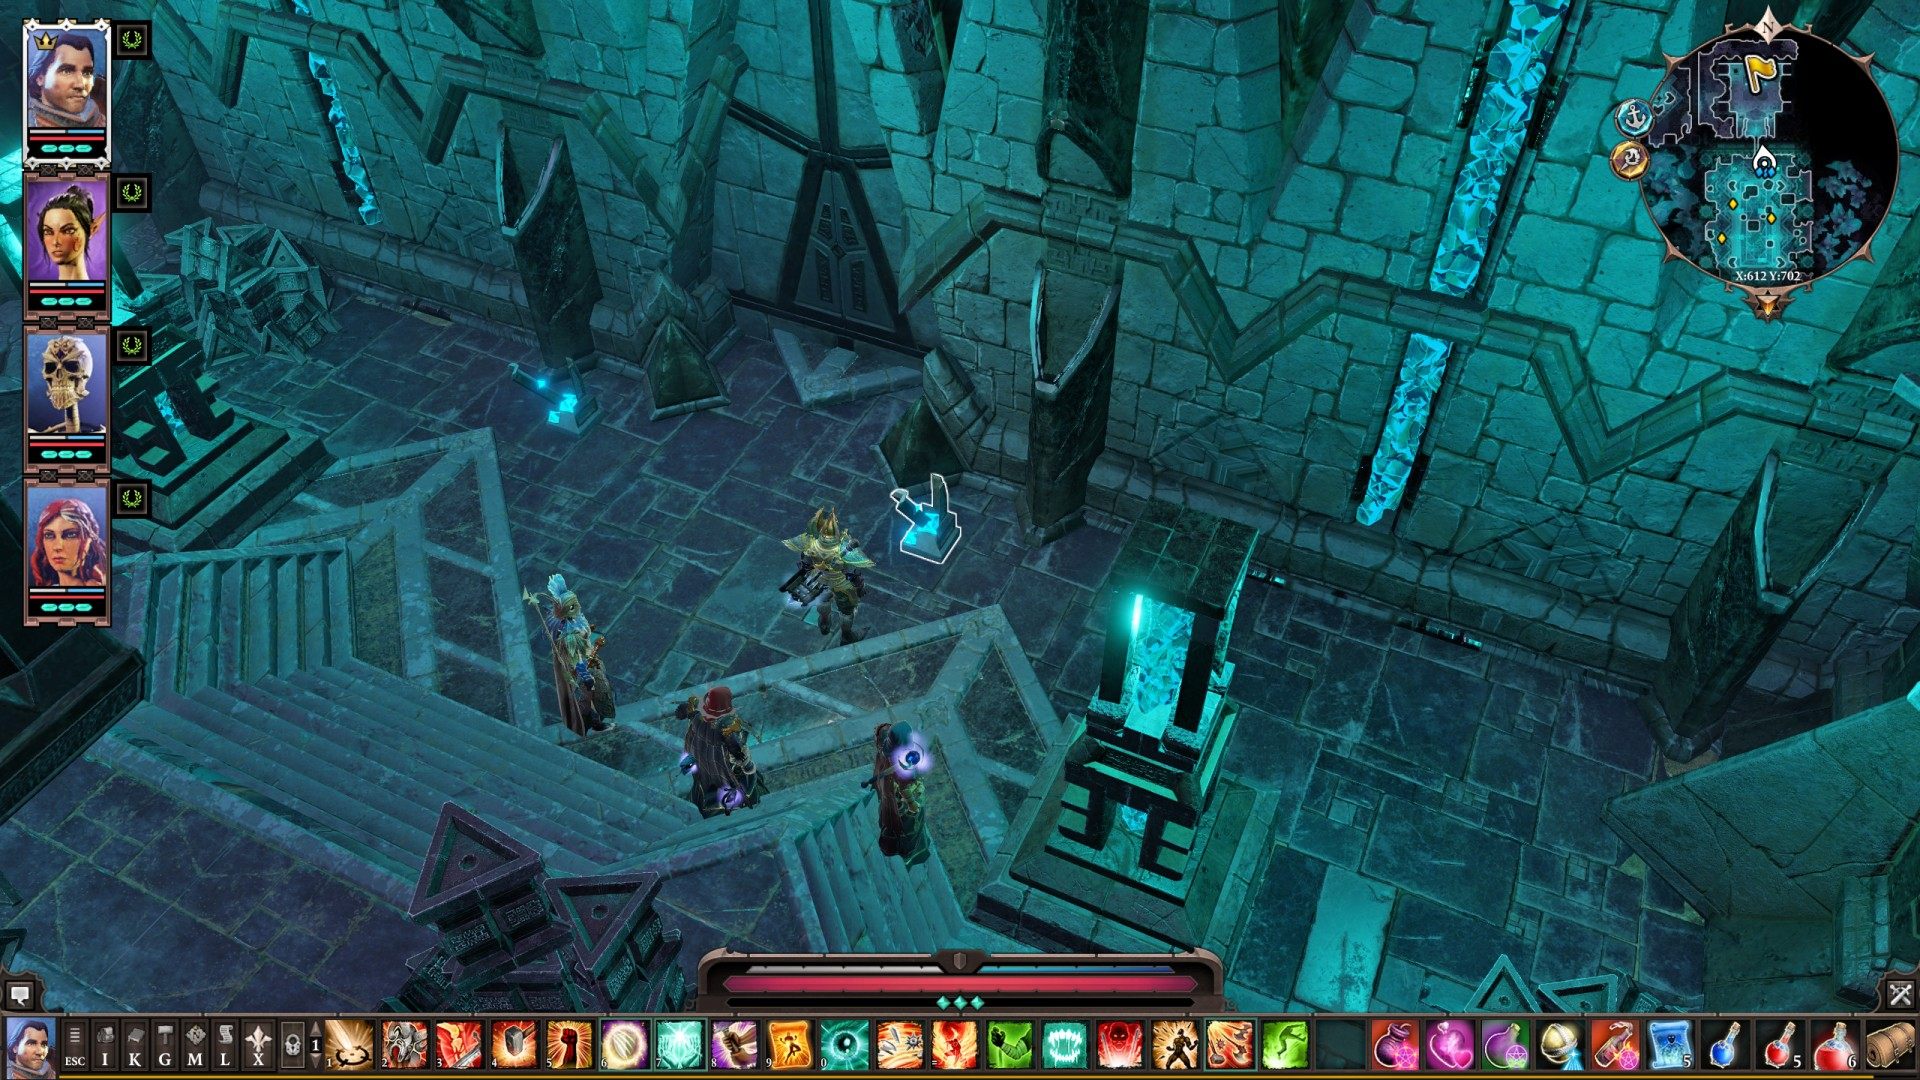
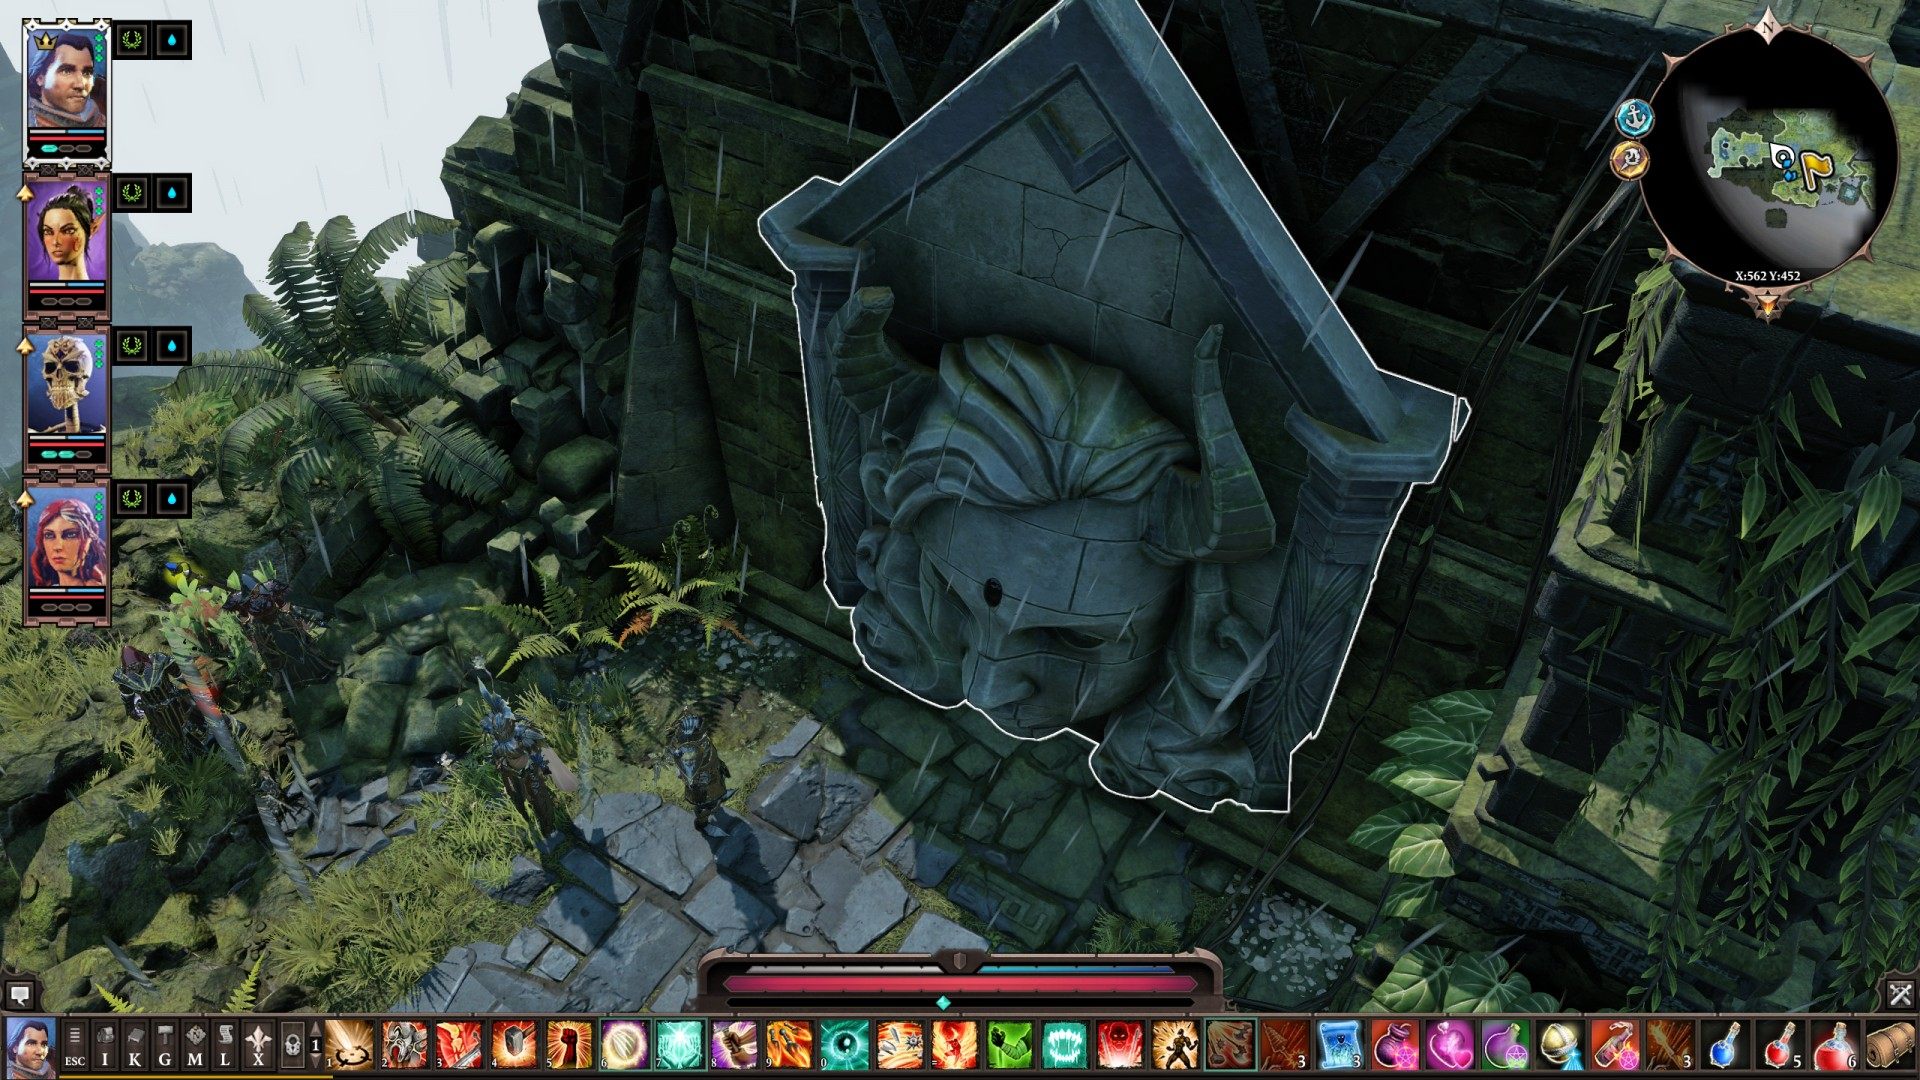
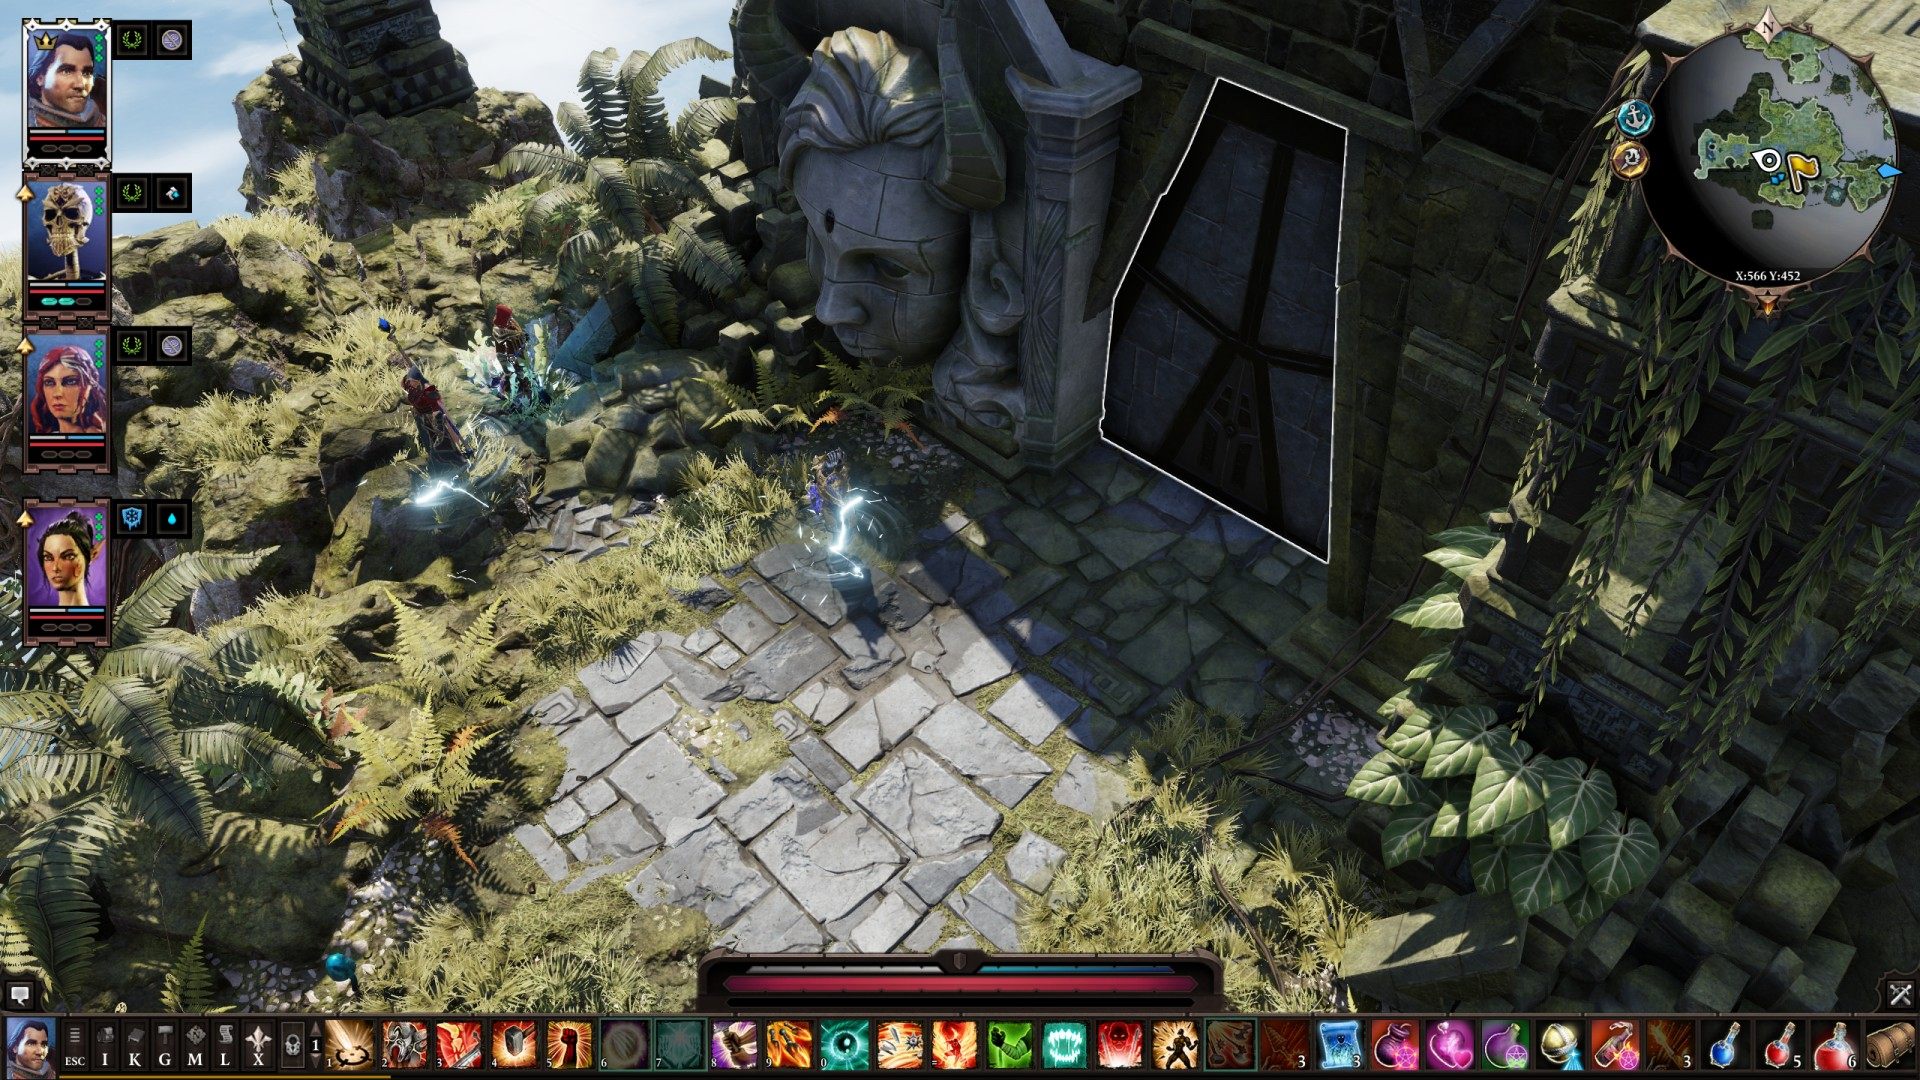
31Shrine to Amadia
Pray to receive nice blessings (they work in Temple of Amadia only). You need Engraved Jewel to move it and uncover hidden door.
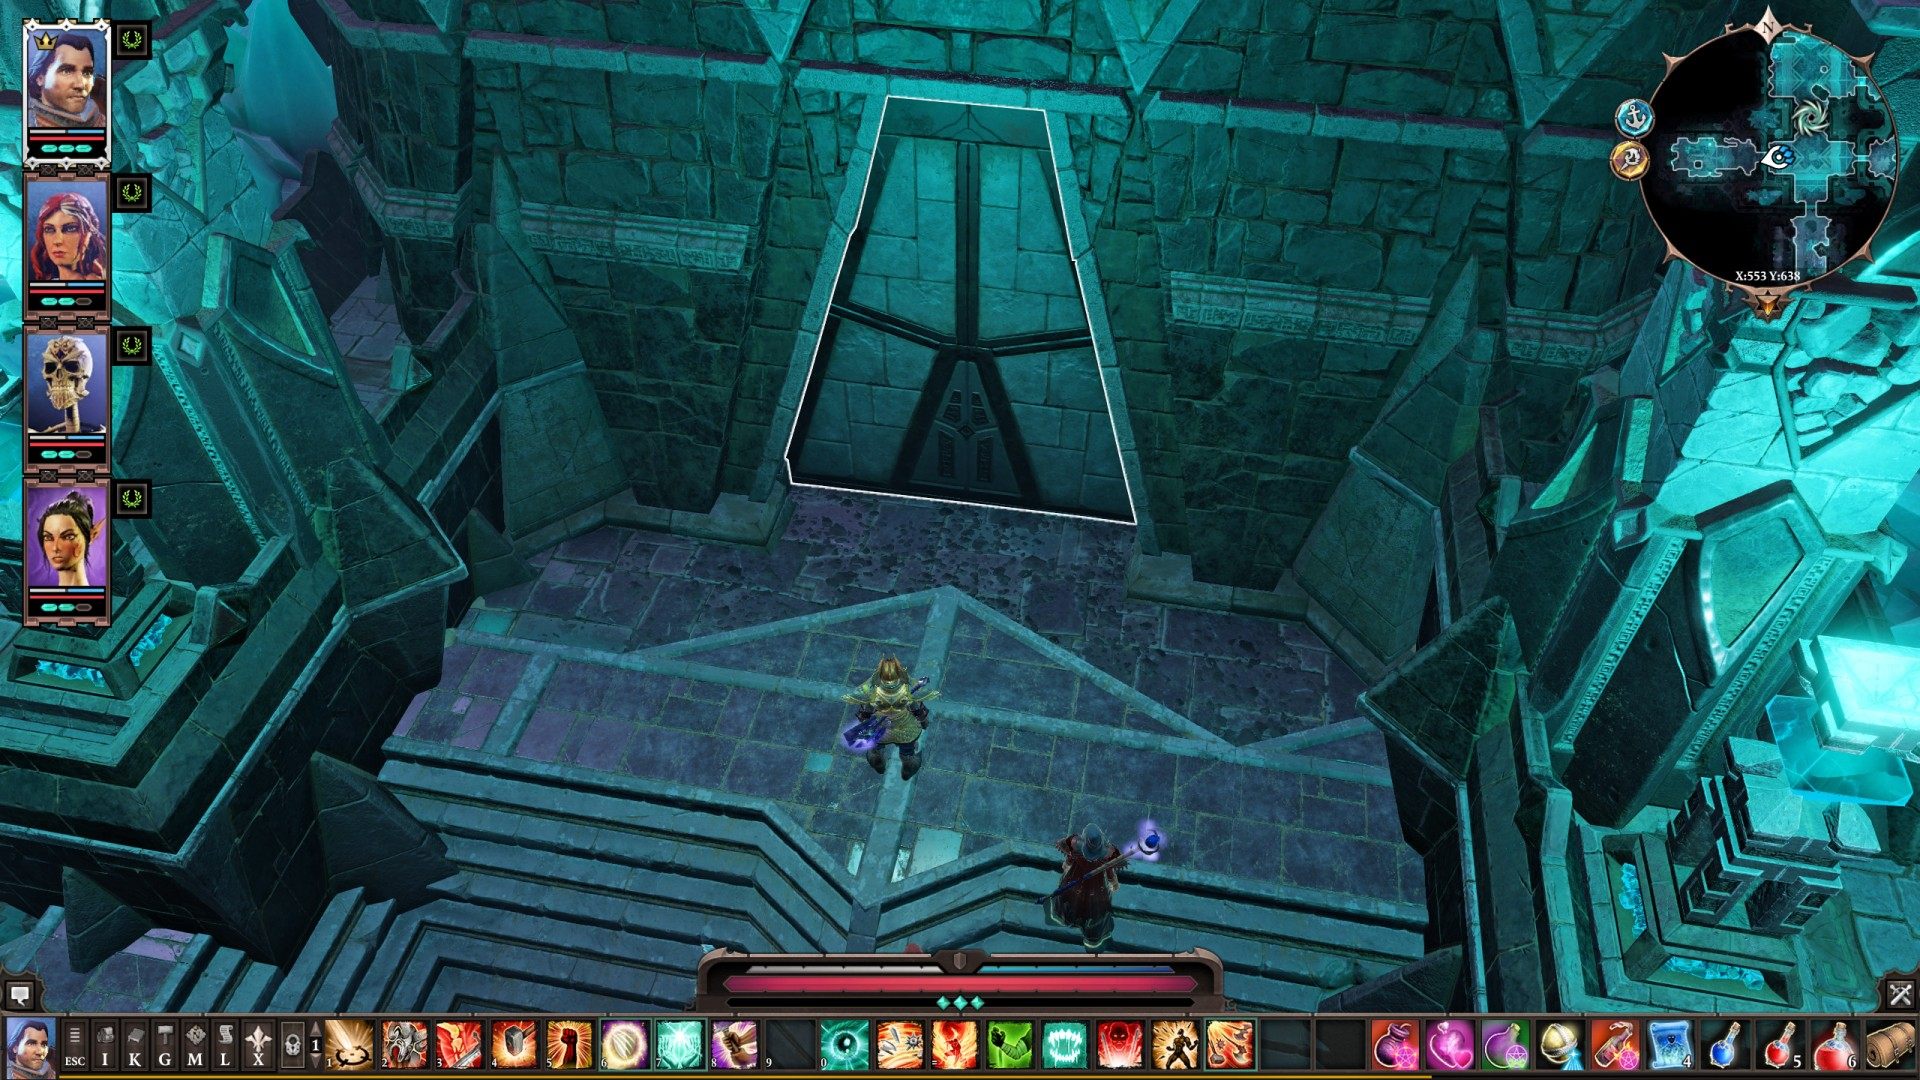
32Storage Room Door
It's locked. You can use Storage Room Key to unlock it.
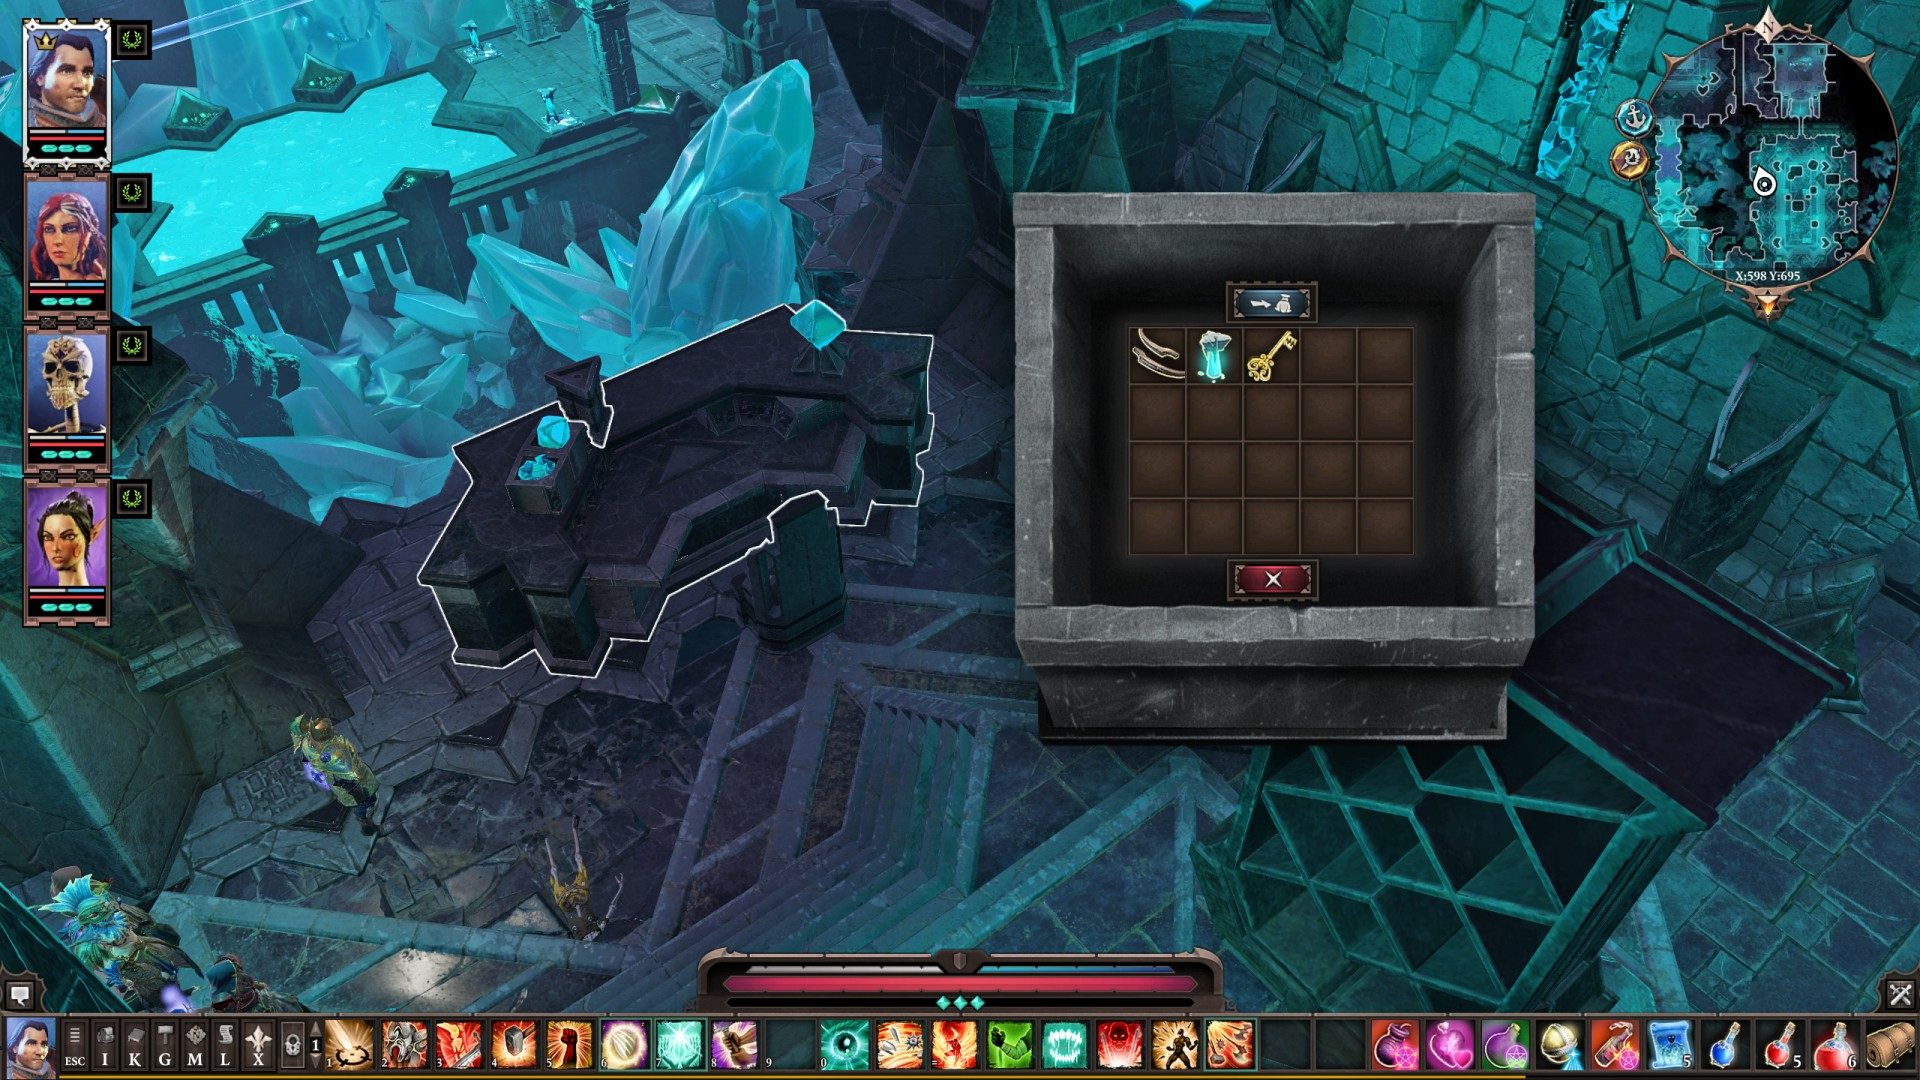
33Storage Room Key
It unlocks Storage Room Door.
34Switch (Library)
Related quests: Unscholarly Pursuits
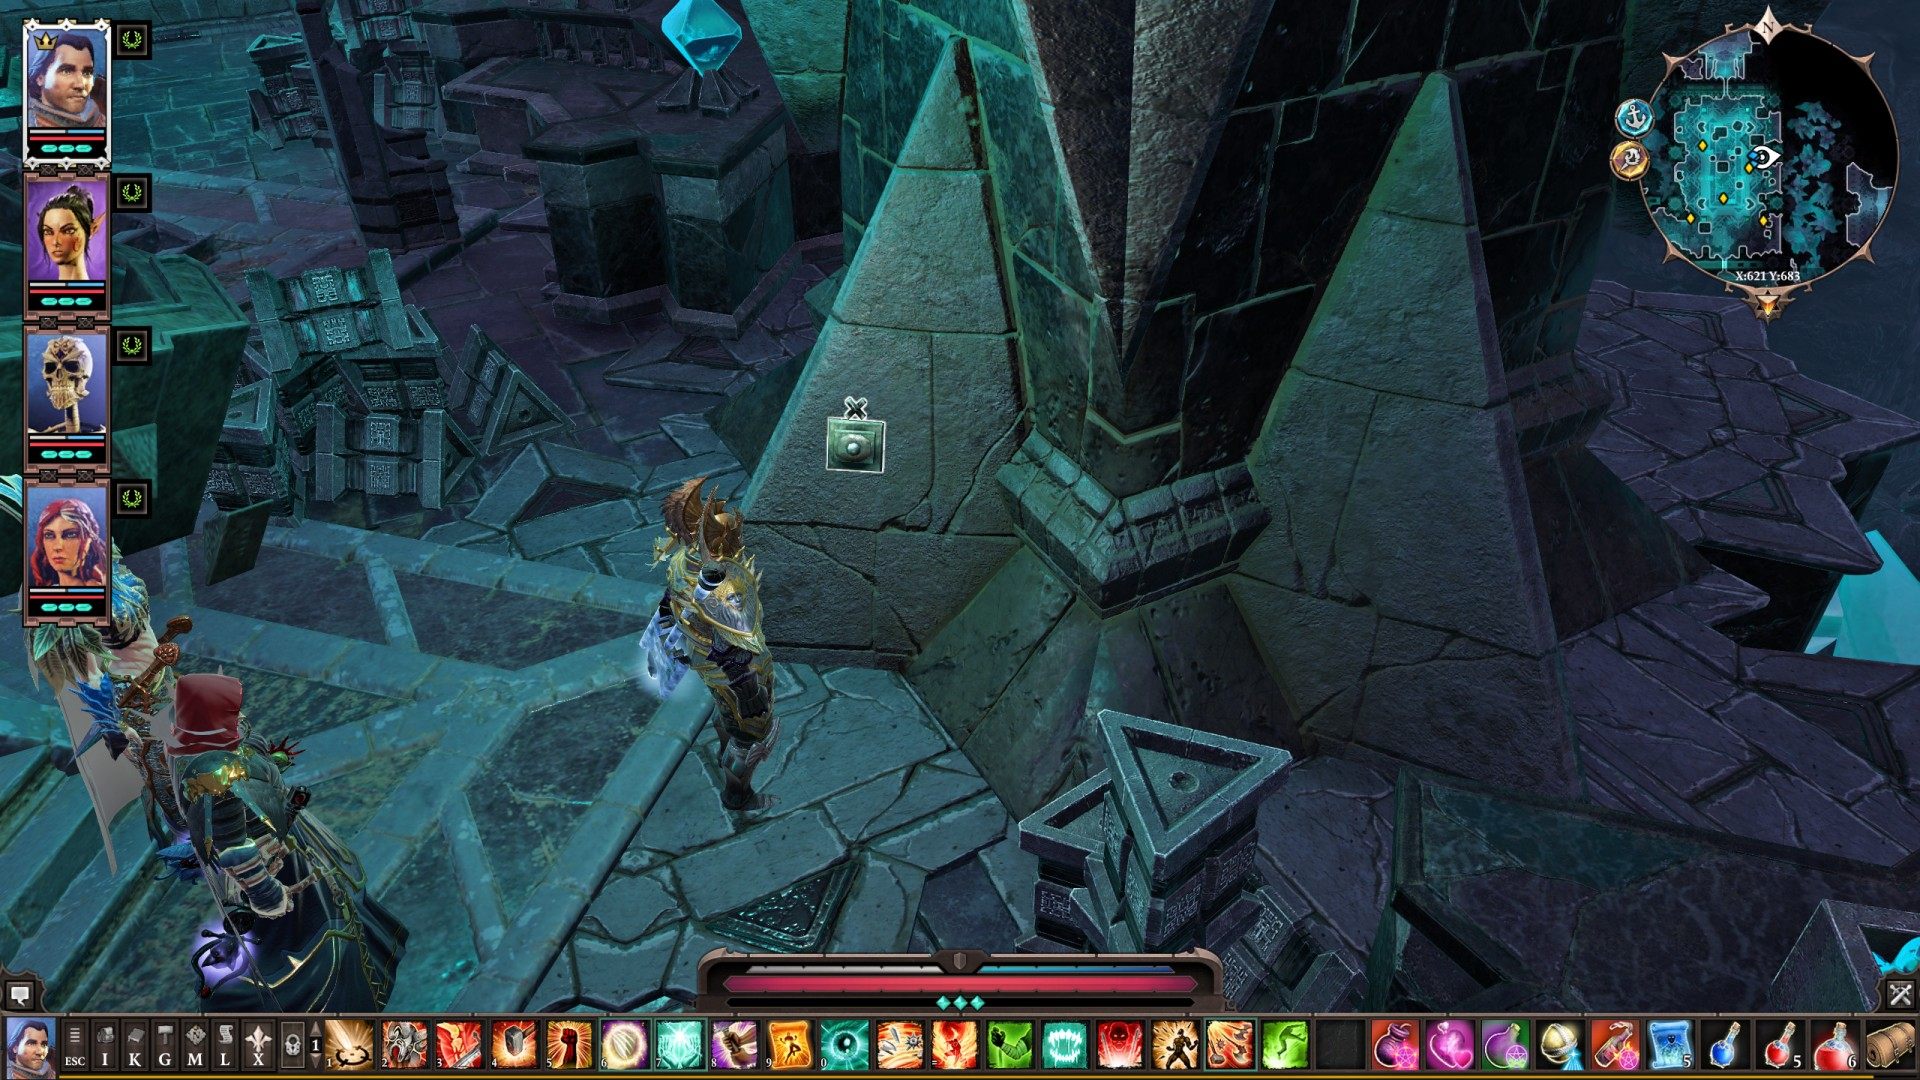
35Vrogir's Enclave Hidden Passage
Use the Vrogir's Enclave Lever to open it.
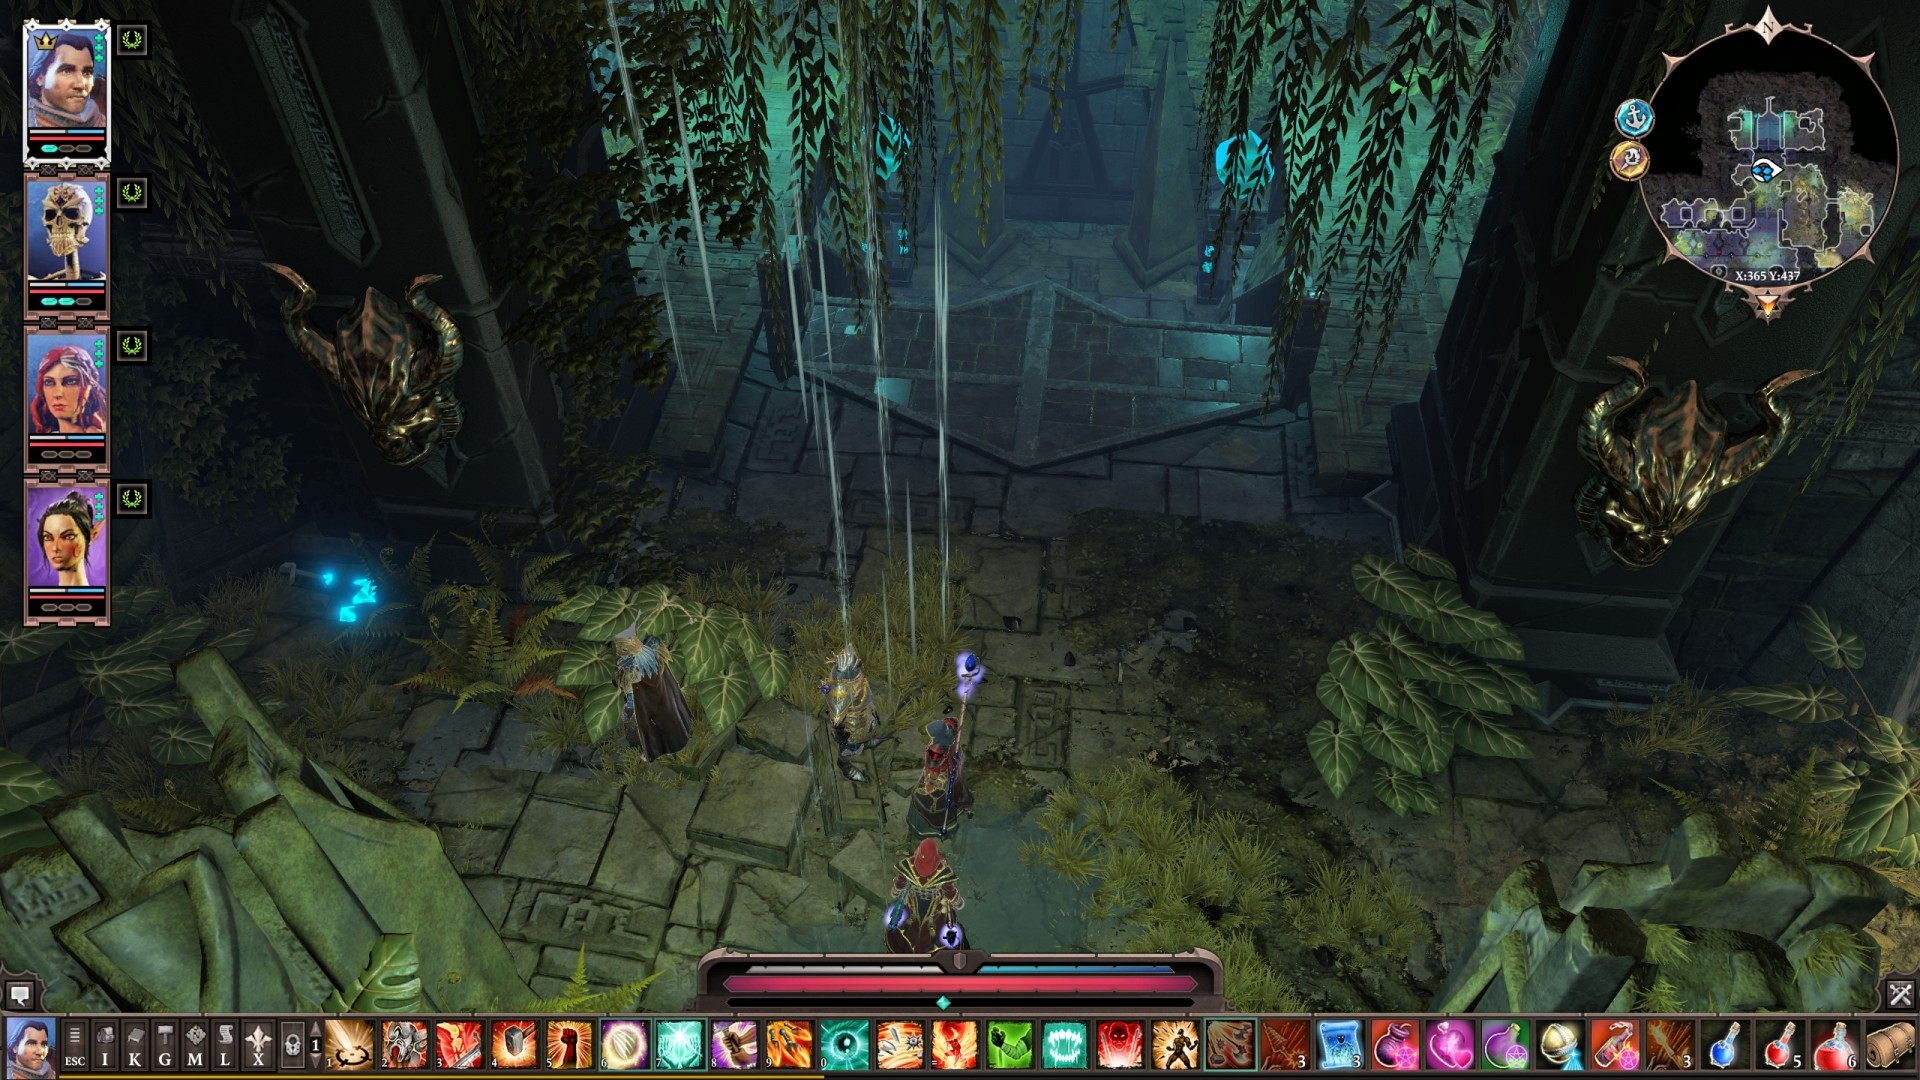
36Vrogir's Enclave Lever
It opens Vrogir's Enclave Hidden Passage. You need enough strength or Ancient Key to be able to pull it.