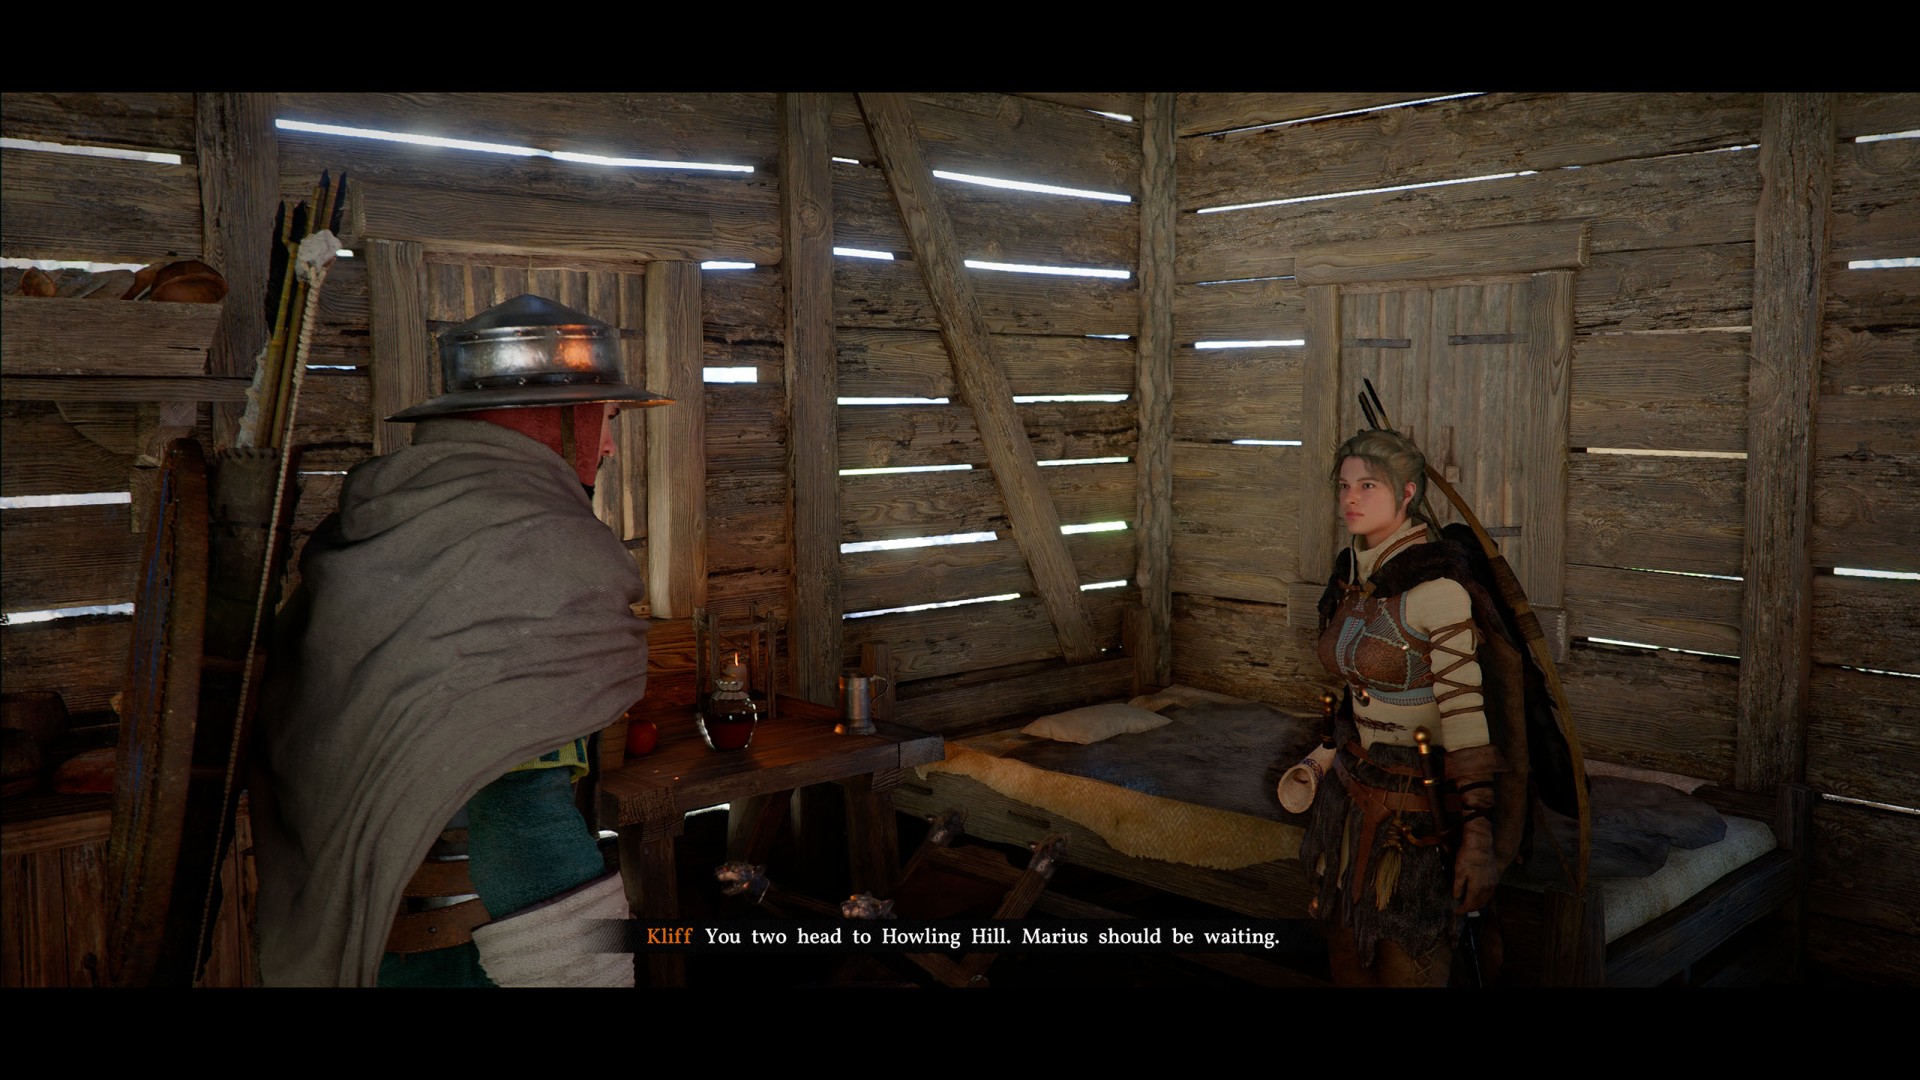
In this quest, your task is to track down the Red Devil's hiding place. You'll have to go it alone, as Naira will be busy transporting the wounded Andrew back to your camp.
If the Reed Devil escapes, it would put your Greymane comrades at grave risk. Hunt him down.
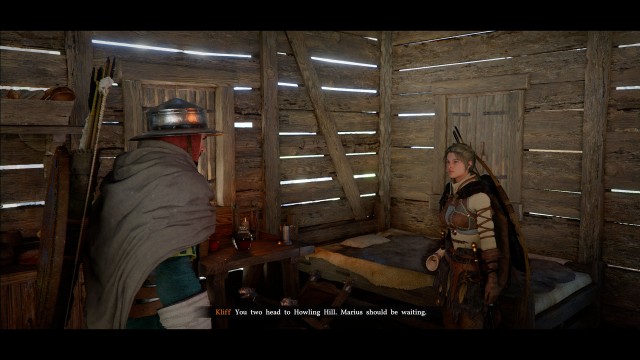
1. Track the Devil of the Reed Field
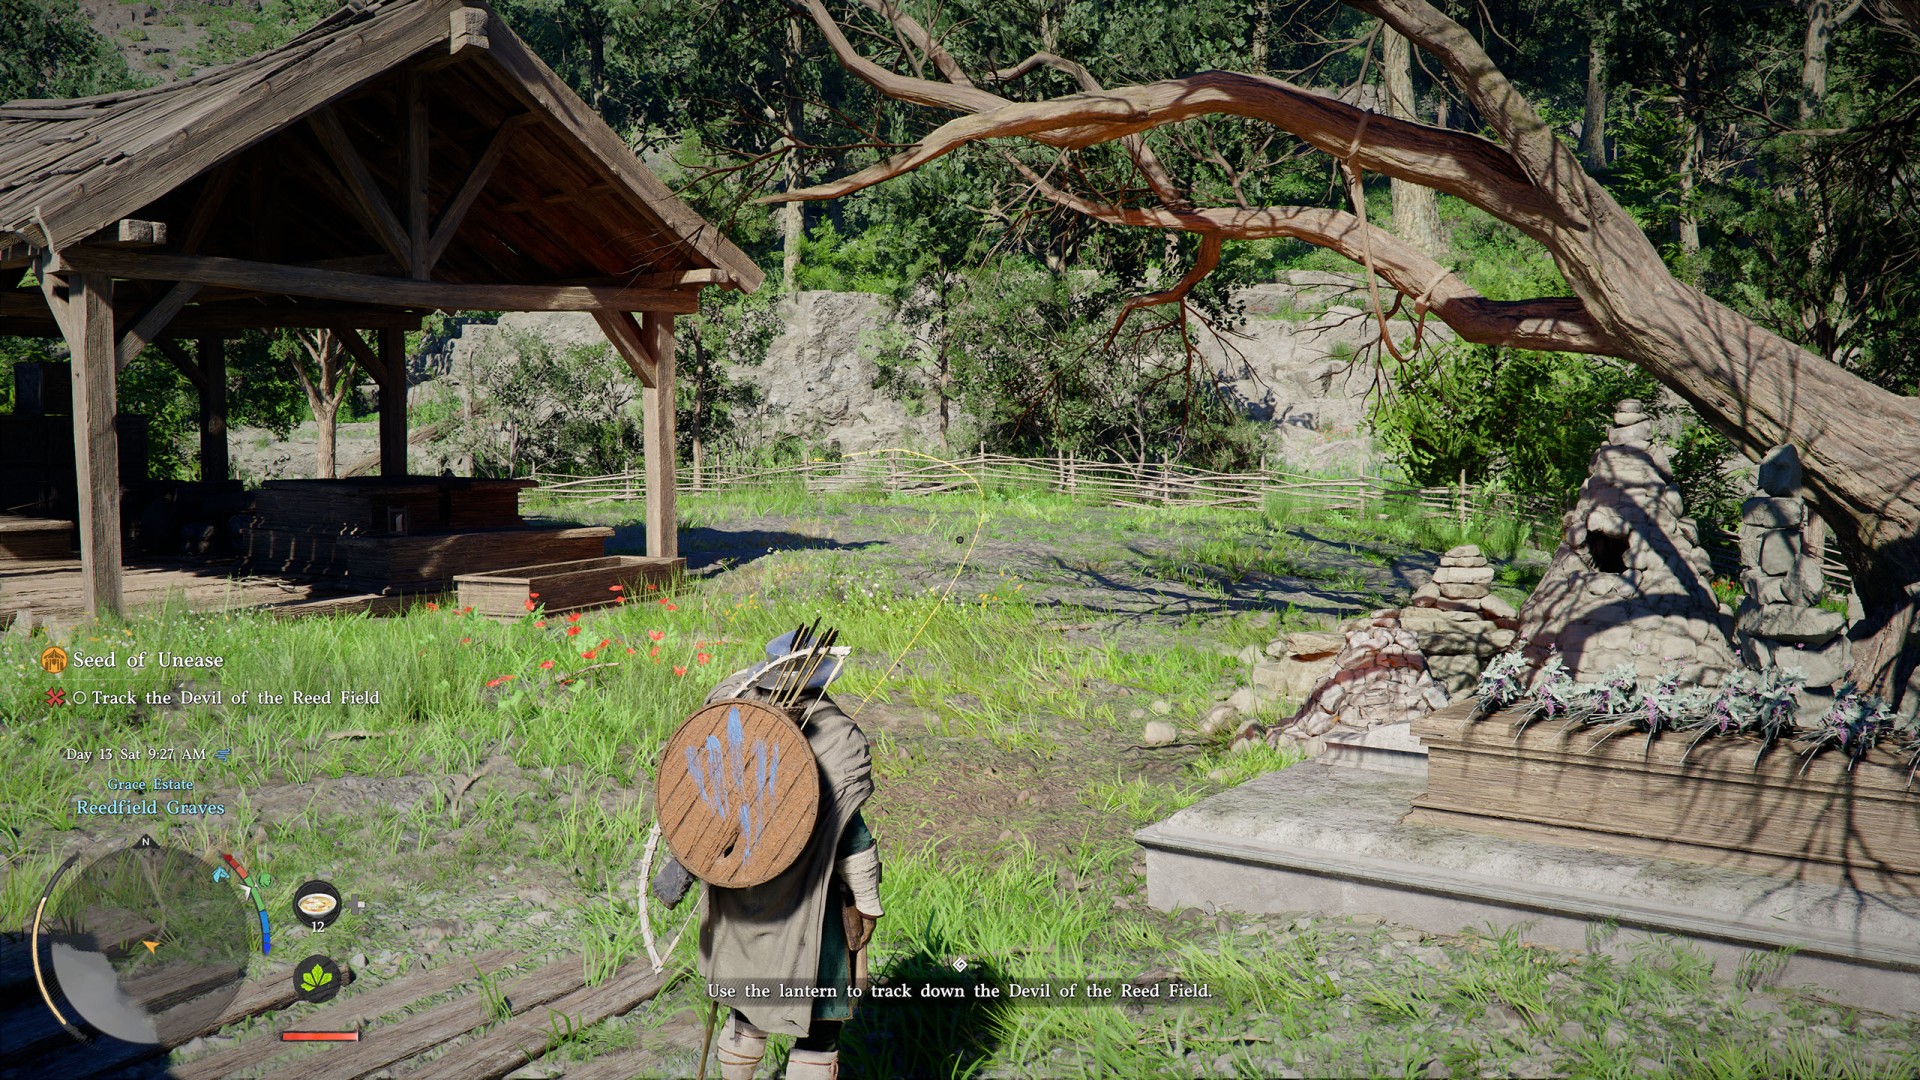
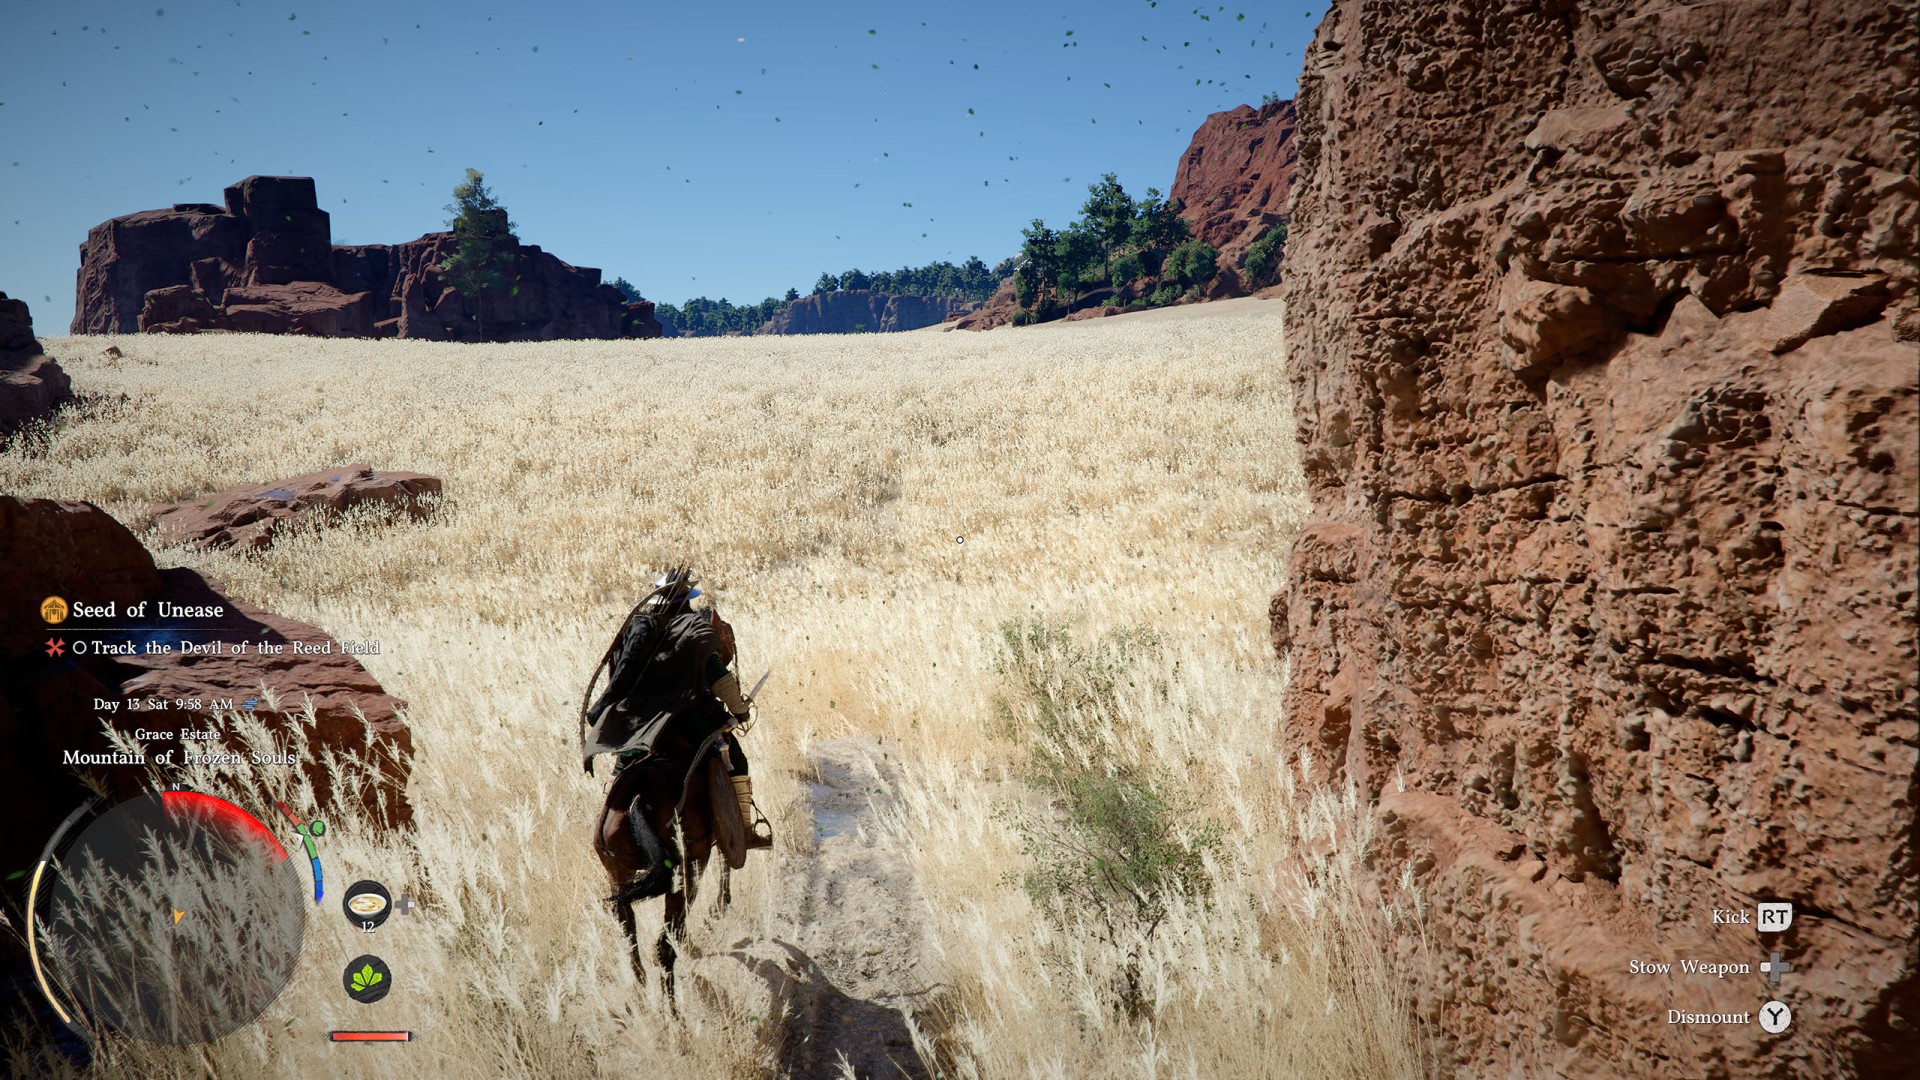
This time, there won't be a direct map marker indicating your destination. Head outside the hut and use the lantern to reveal the yellow line, which will lead you to the narrow canyon road southwest of the hut.
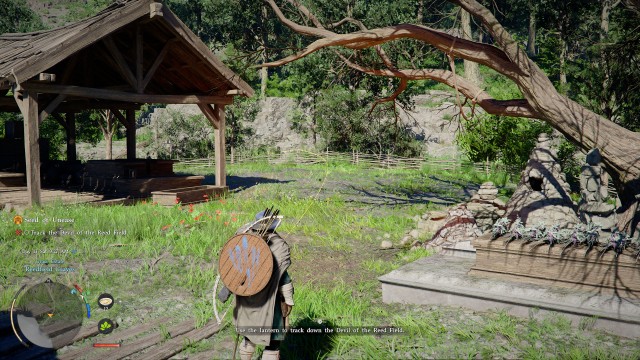
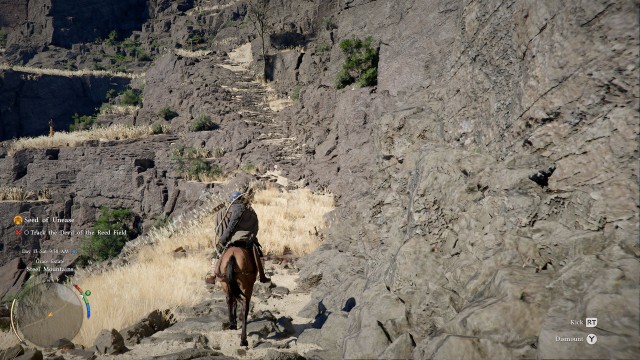
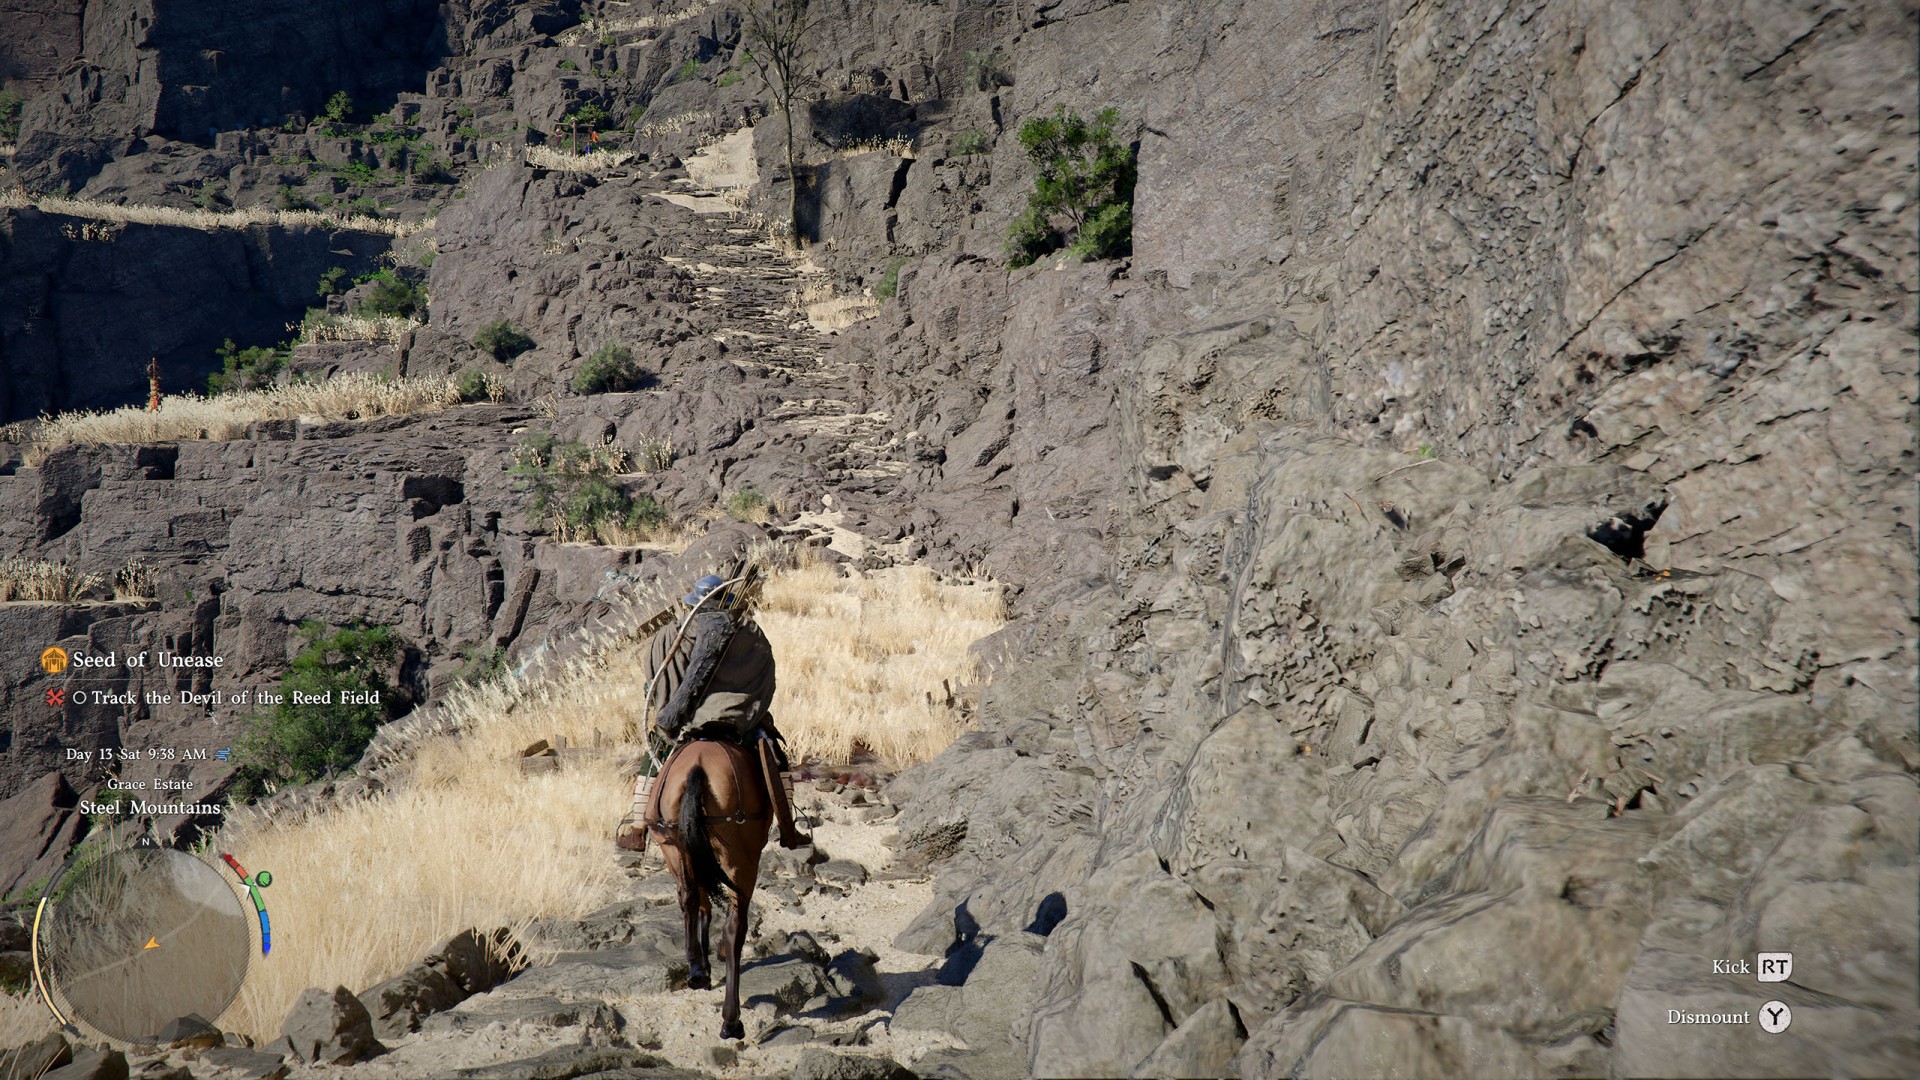
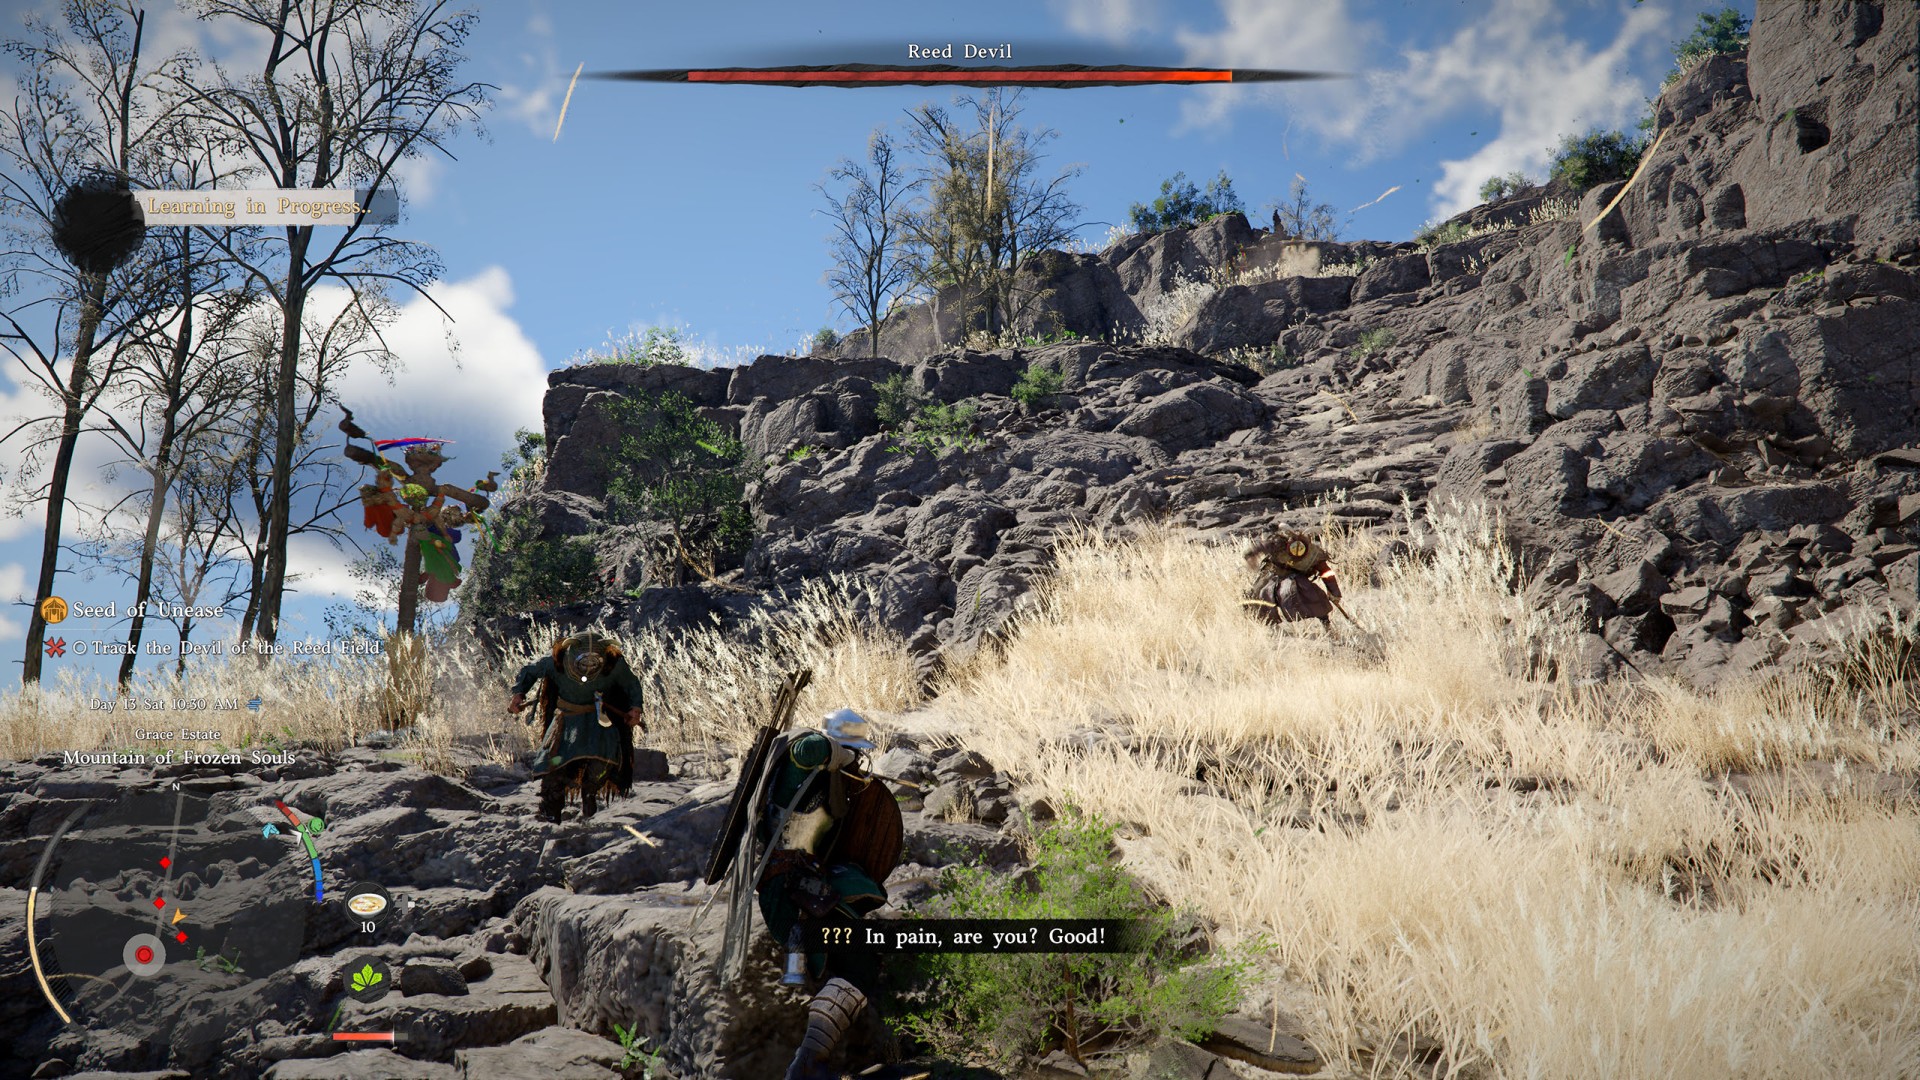
The path through the canyon is quite long and can be seen as a test of your skills before the final boss battle. You will be swarmed by waves of minions, and the Reed Devil himself will also cross your path - though these encounters are merely a prelude to the final showdown. To drive him away, you need to deal some damage to him.
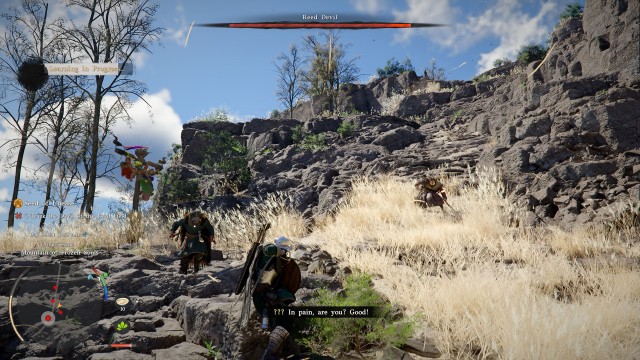
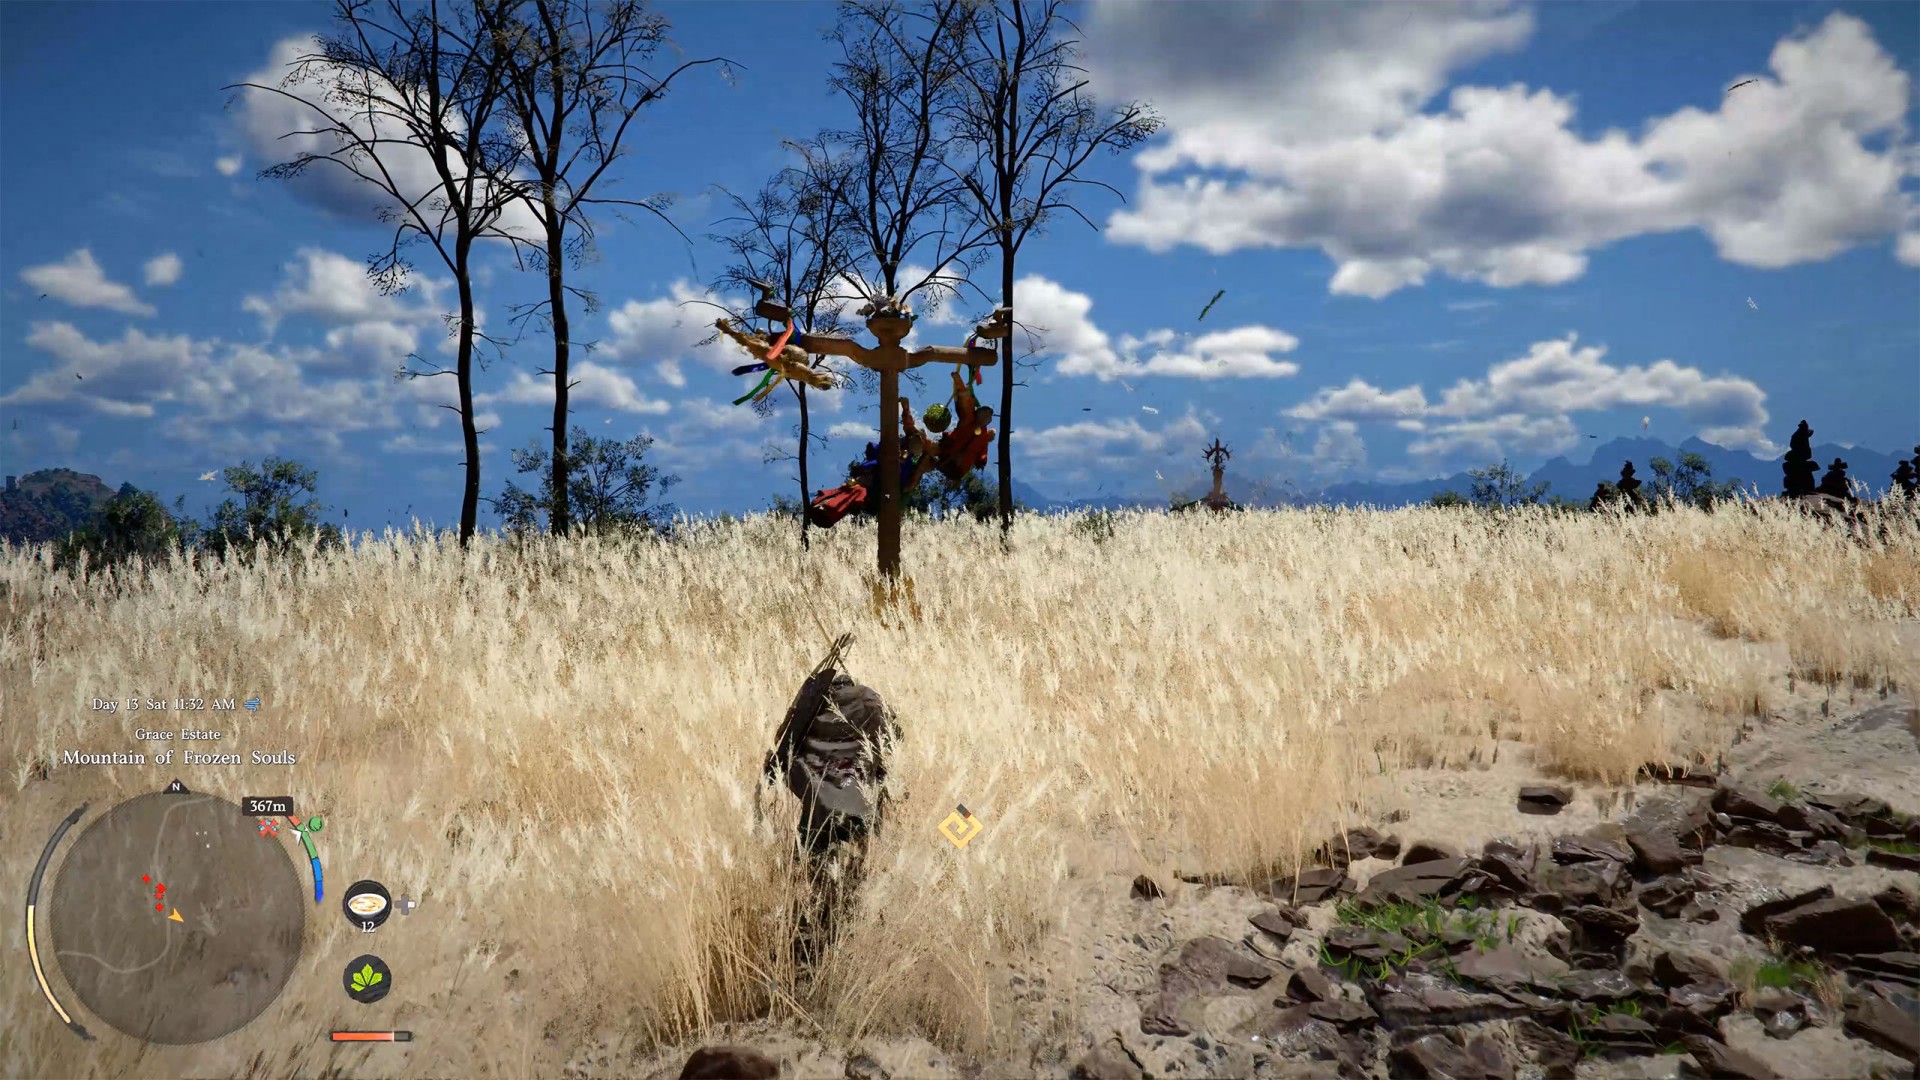
If you plan on clearing out every enemy, keep a close eye on your supplies. Ensure you save enough food and healing items for the final boss fight. Along the way, you will spot distinctive wooden totems. Destroying these will stop local minions from respawning.
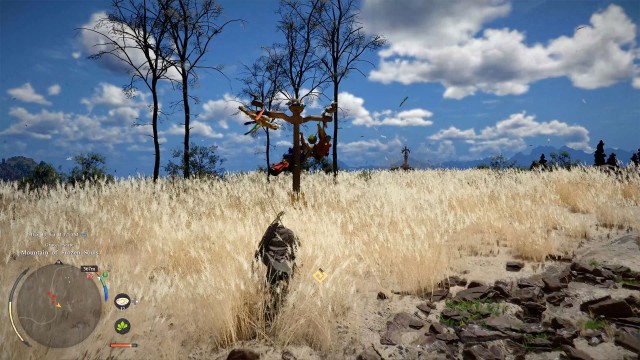
If you aren't worried about loot and want to save time, the most effective method is to stay on horseback. Your goal is to reach the giant reed field at the end of the path as quickly as possible. Do not stop moving, sprint / gallop whenever you can. Stay alert to avoid being stunned or dismounted by the Reed Devil's ambush attacks or projectiles.
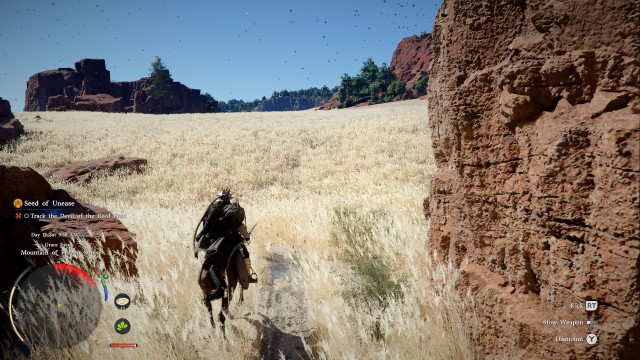
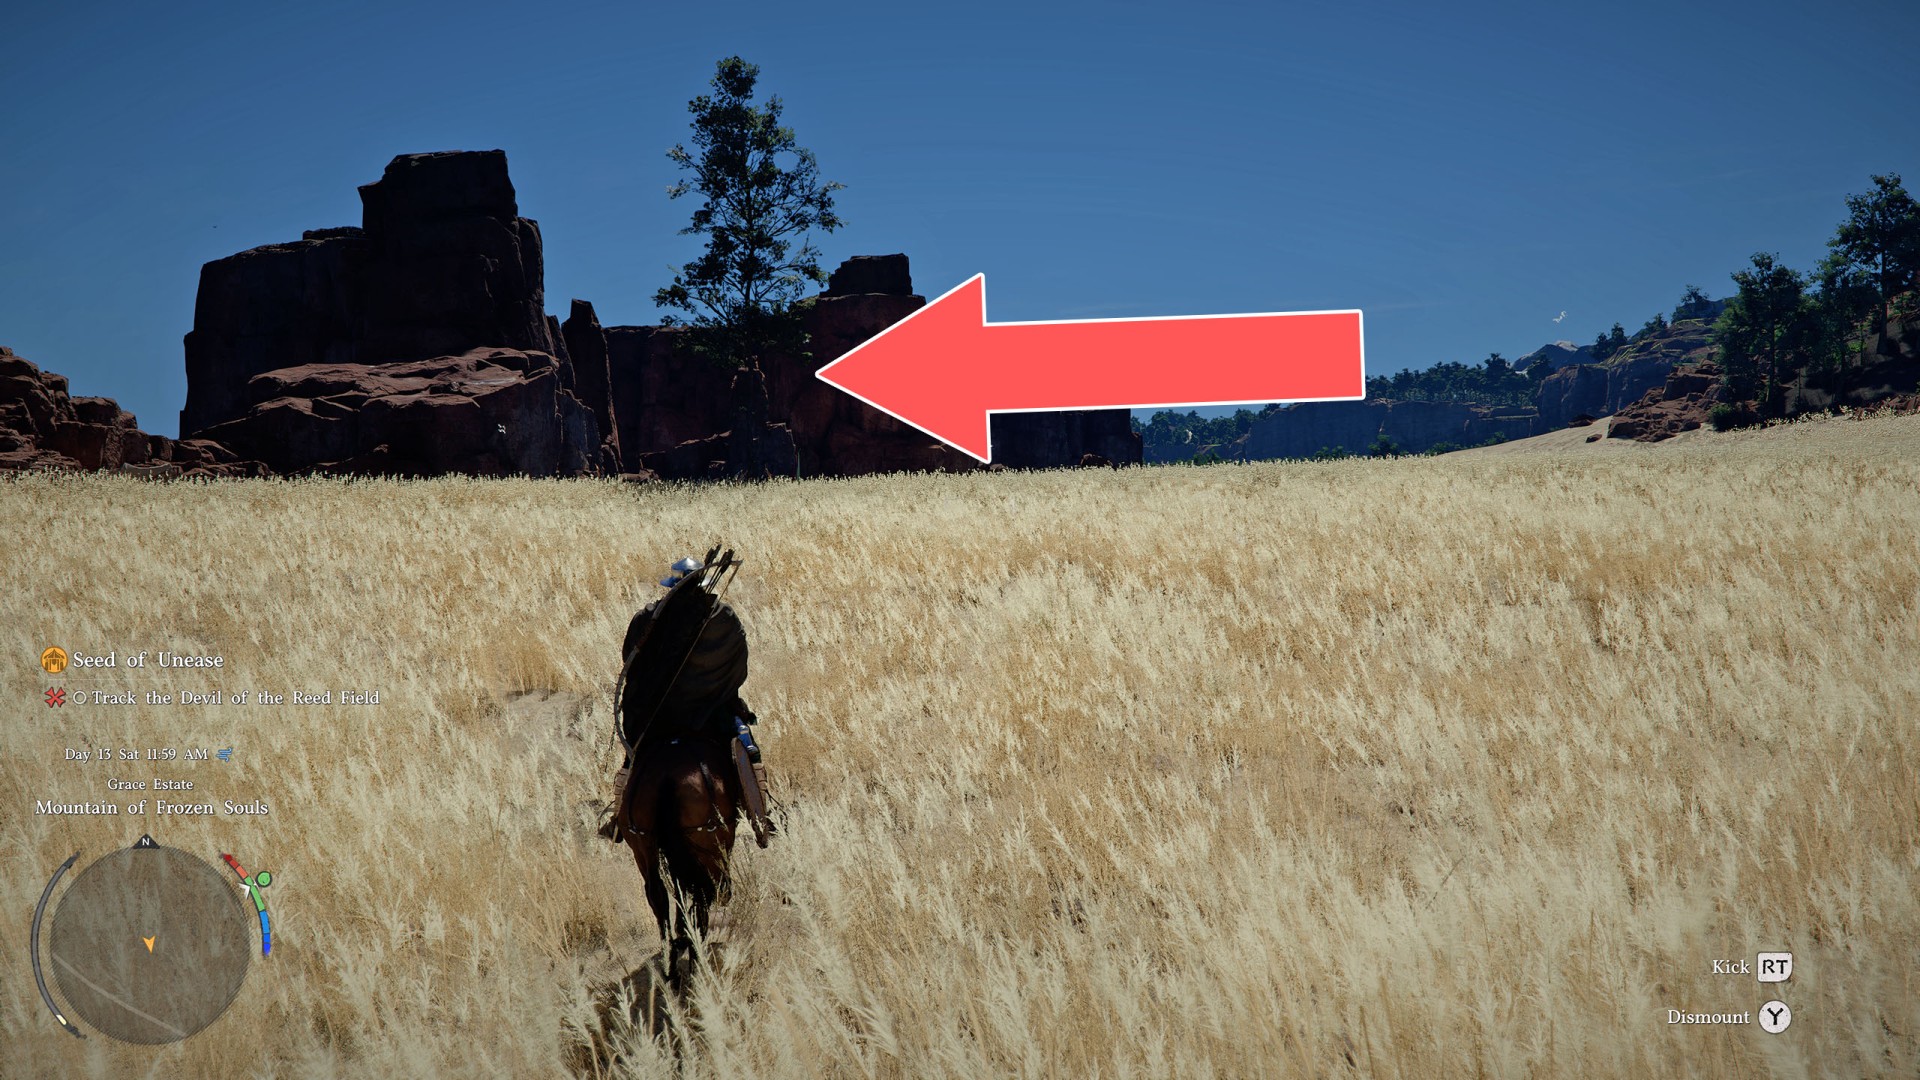
Once you reach the field, make your way toward the single, tall tree.
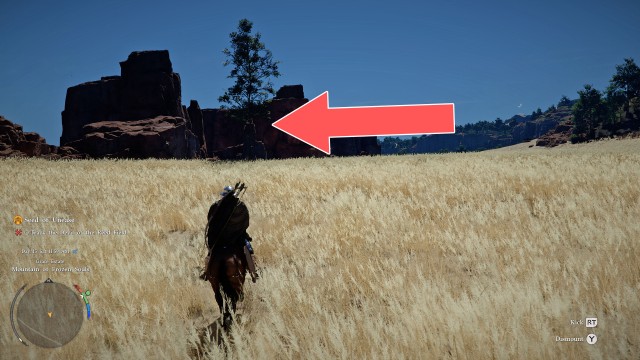
2. Examine the altar
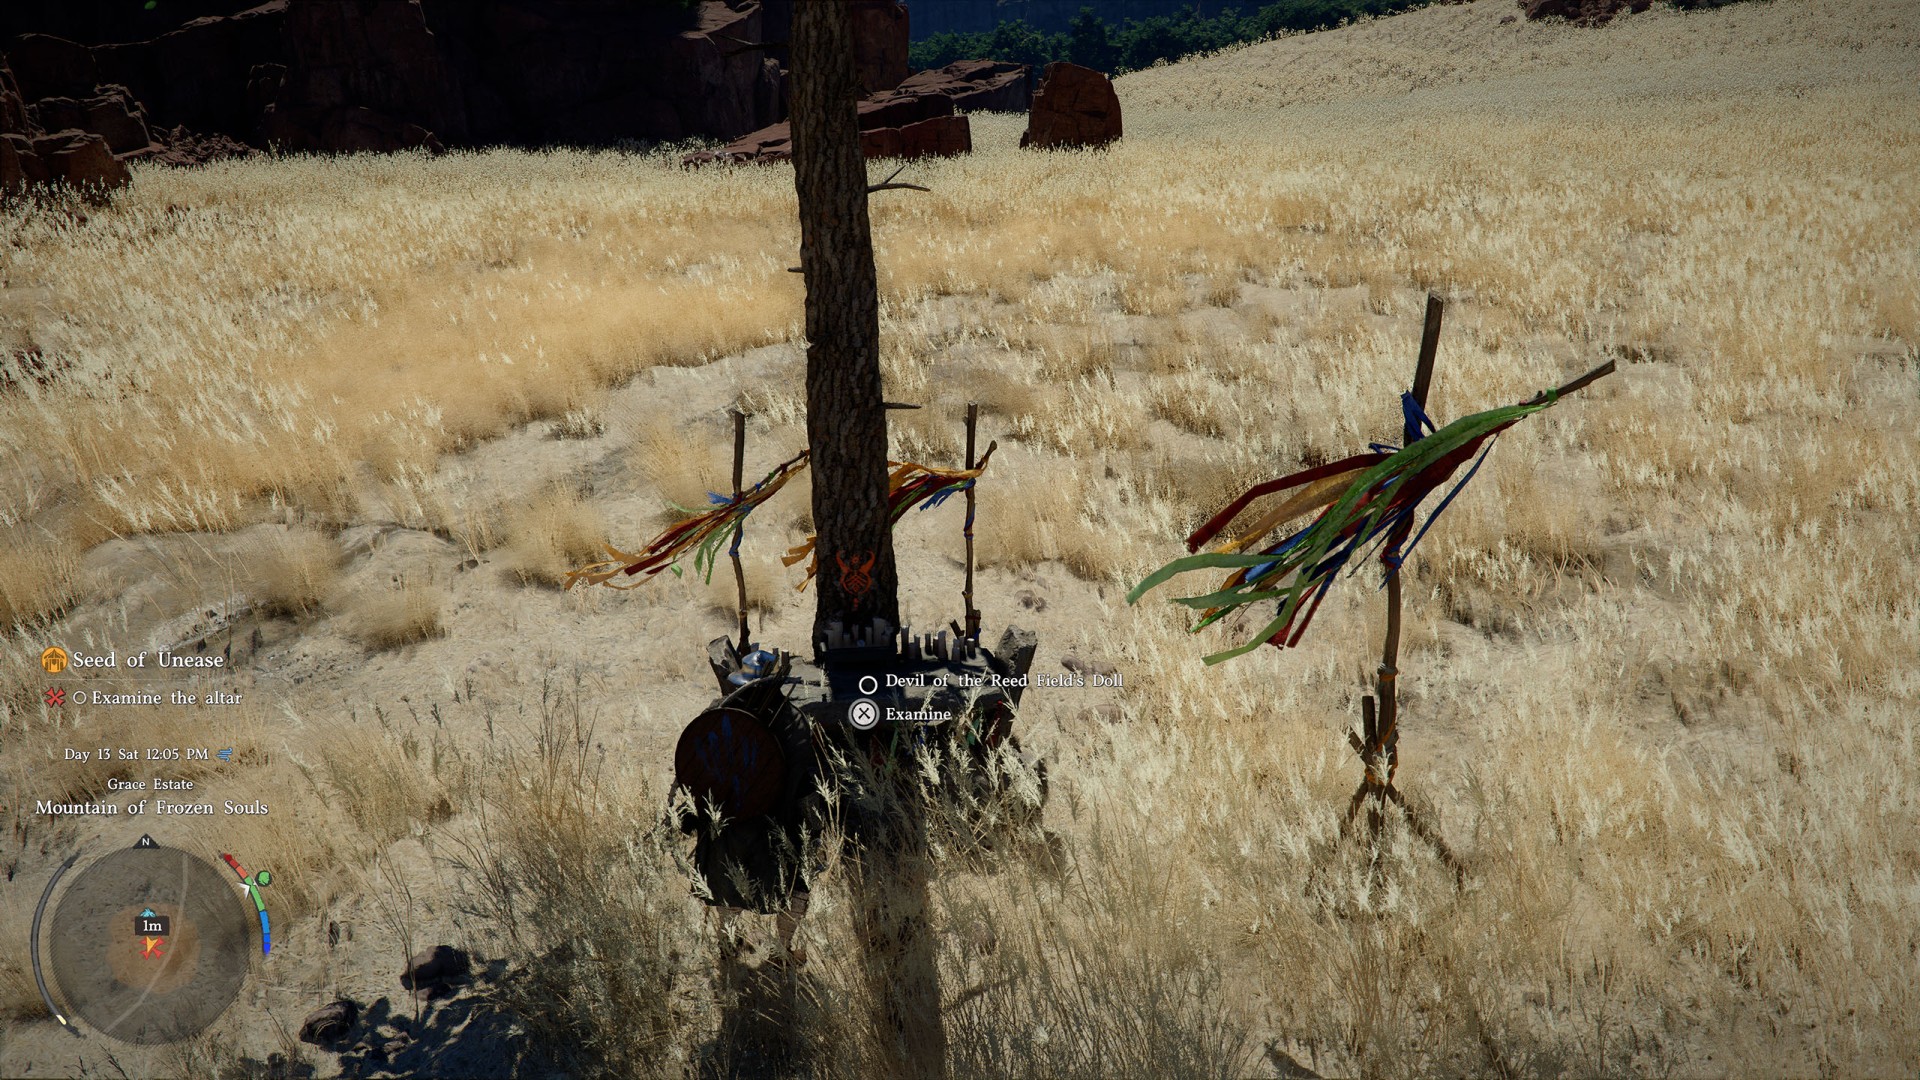
Approach the tree and examine the doll lying on a small altar located next to the trunk. This quest will conclude, and shortly after, a new one will begin, leading to the final confrontation with the Reed Devil - Dance with the Devil
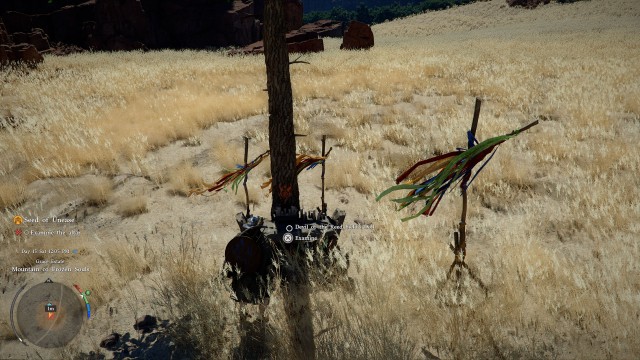
Beyond the ranks of the Reed Devil's acolytes stood an altar bearing a crudely fashioned miniature scarecrow. As the doll was lifted in a trance-like state, the surrounding air grew frigid, and a chilling presence began to take hold.