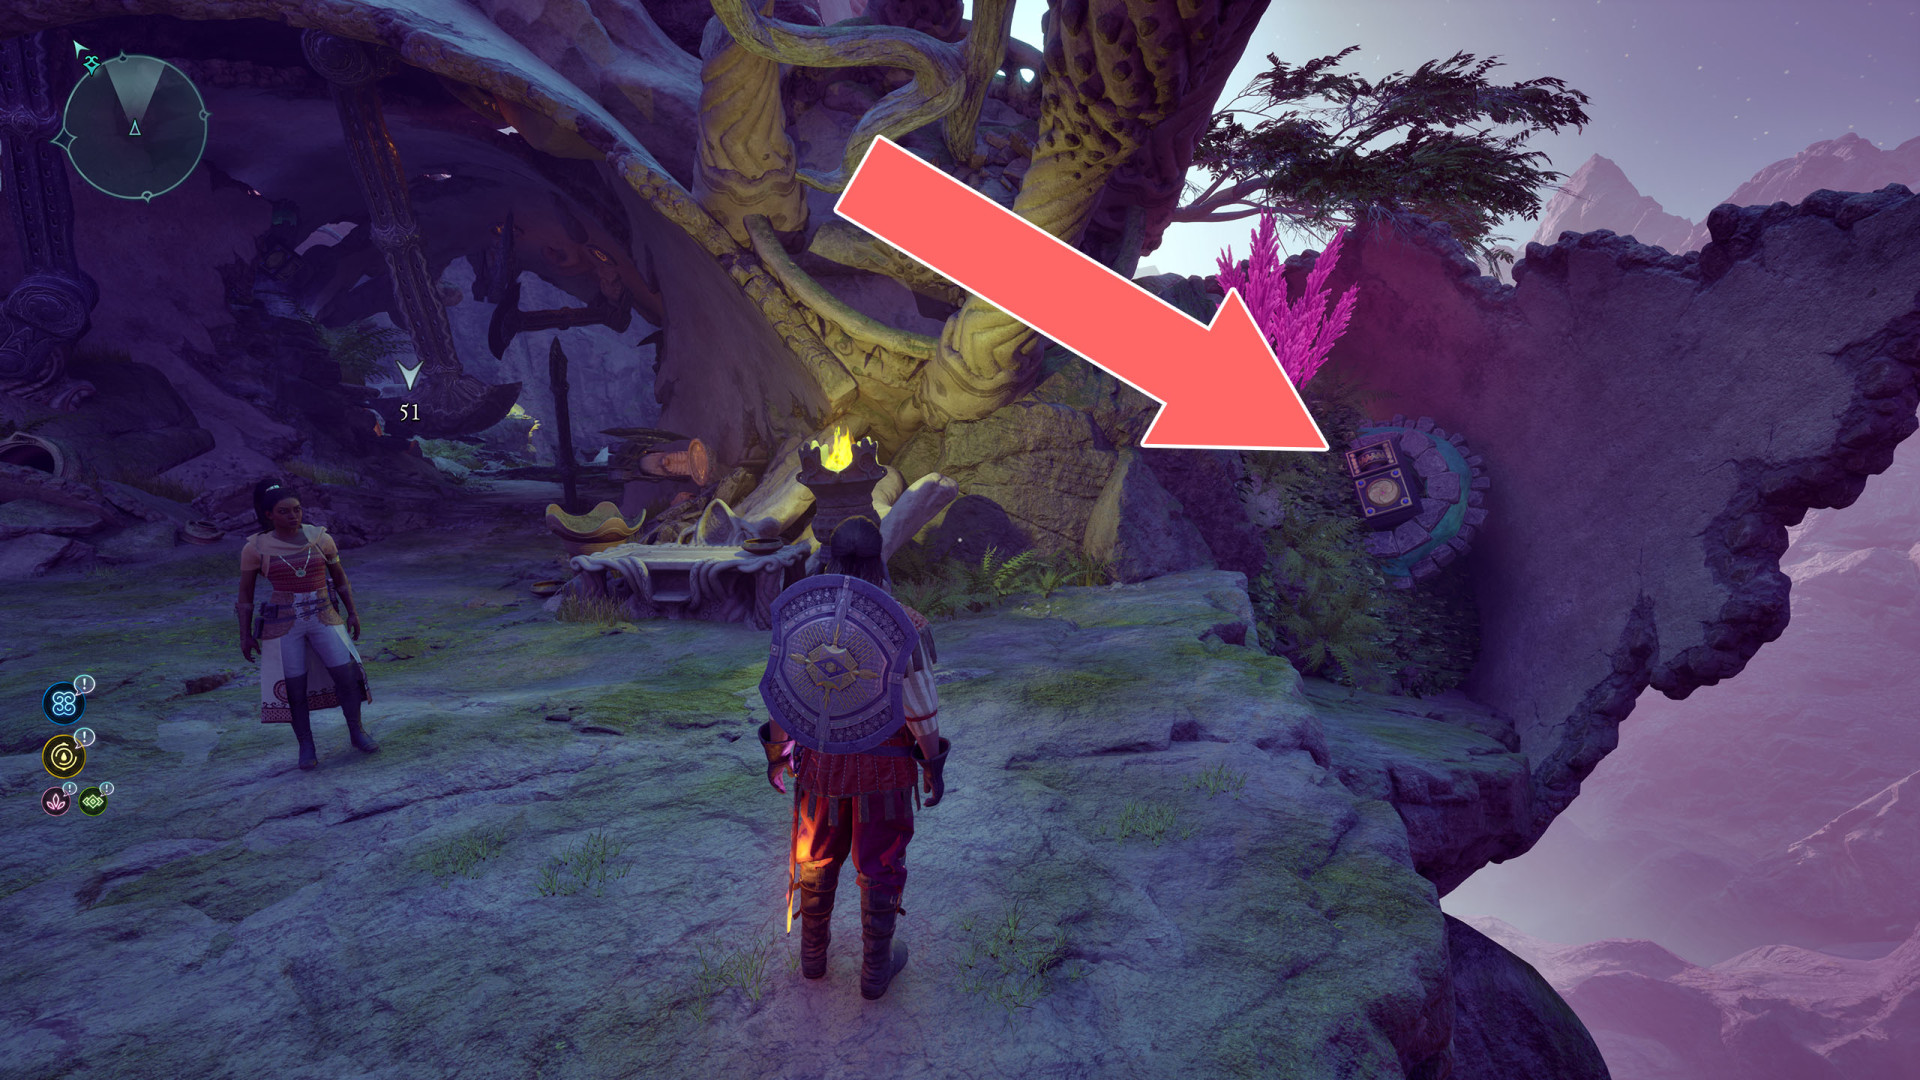
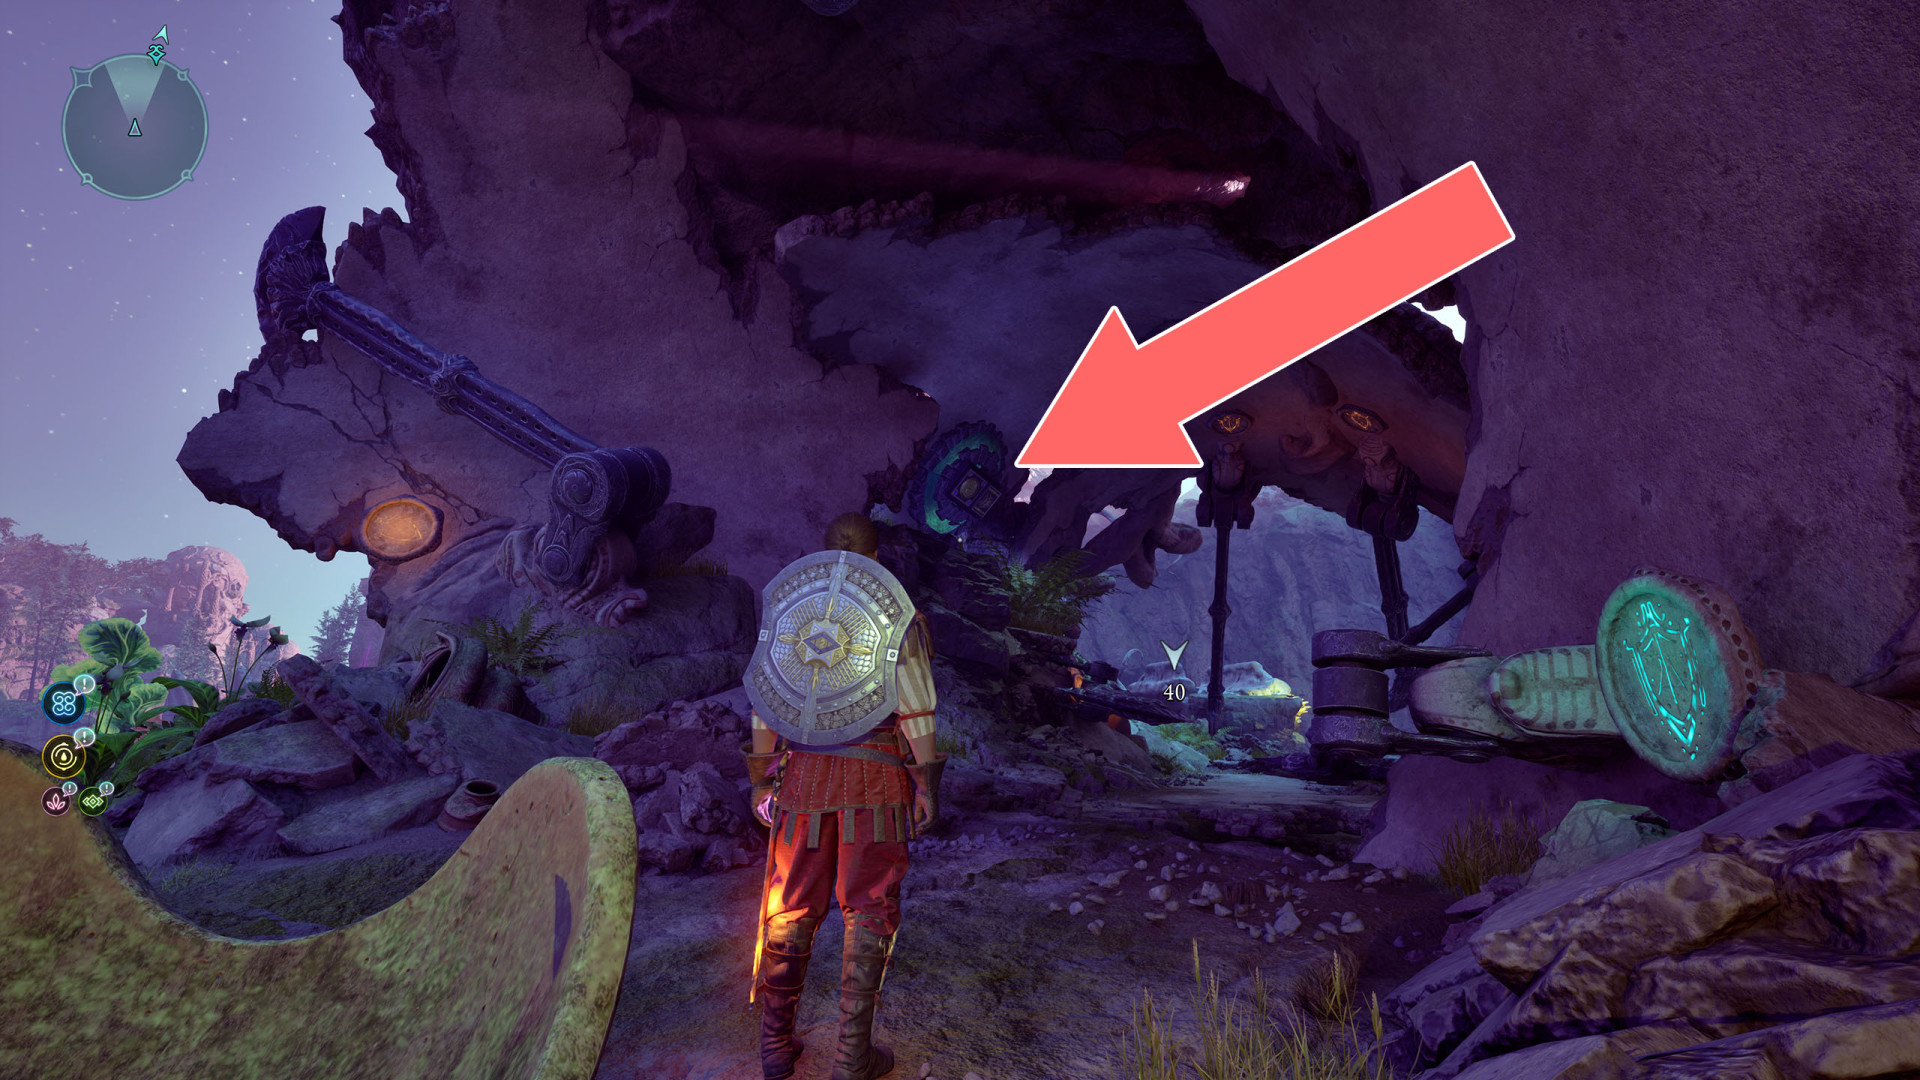
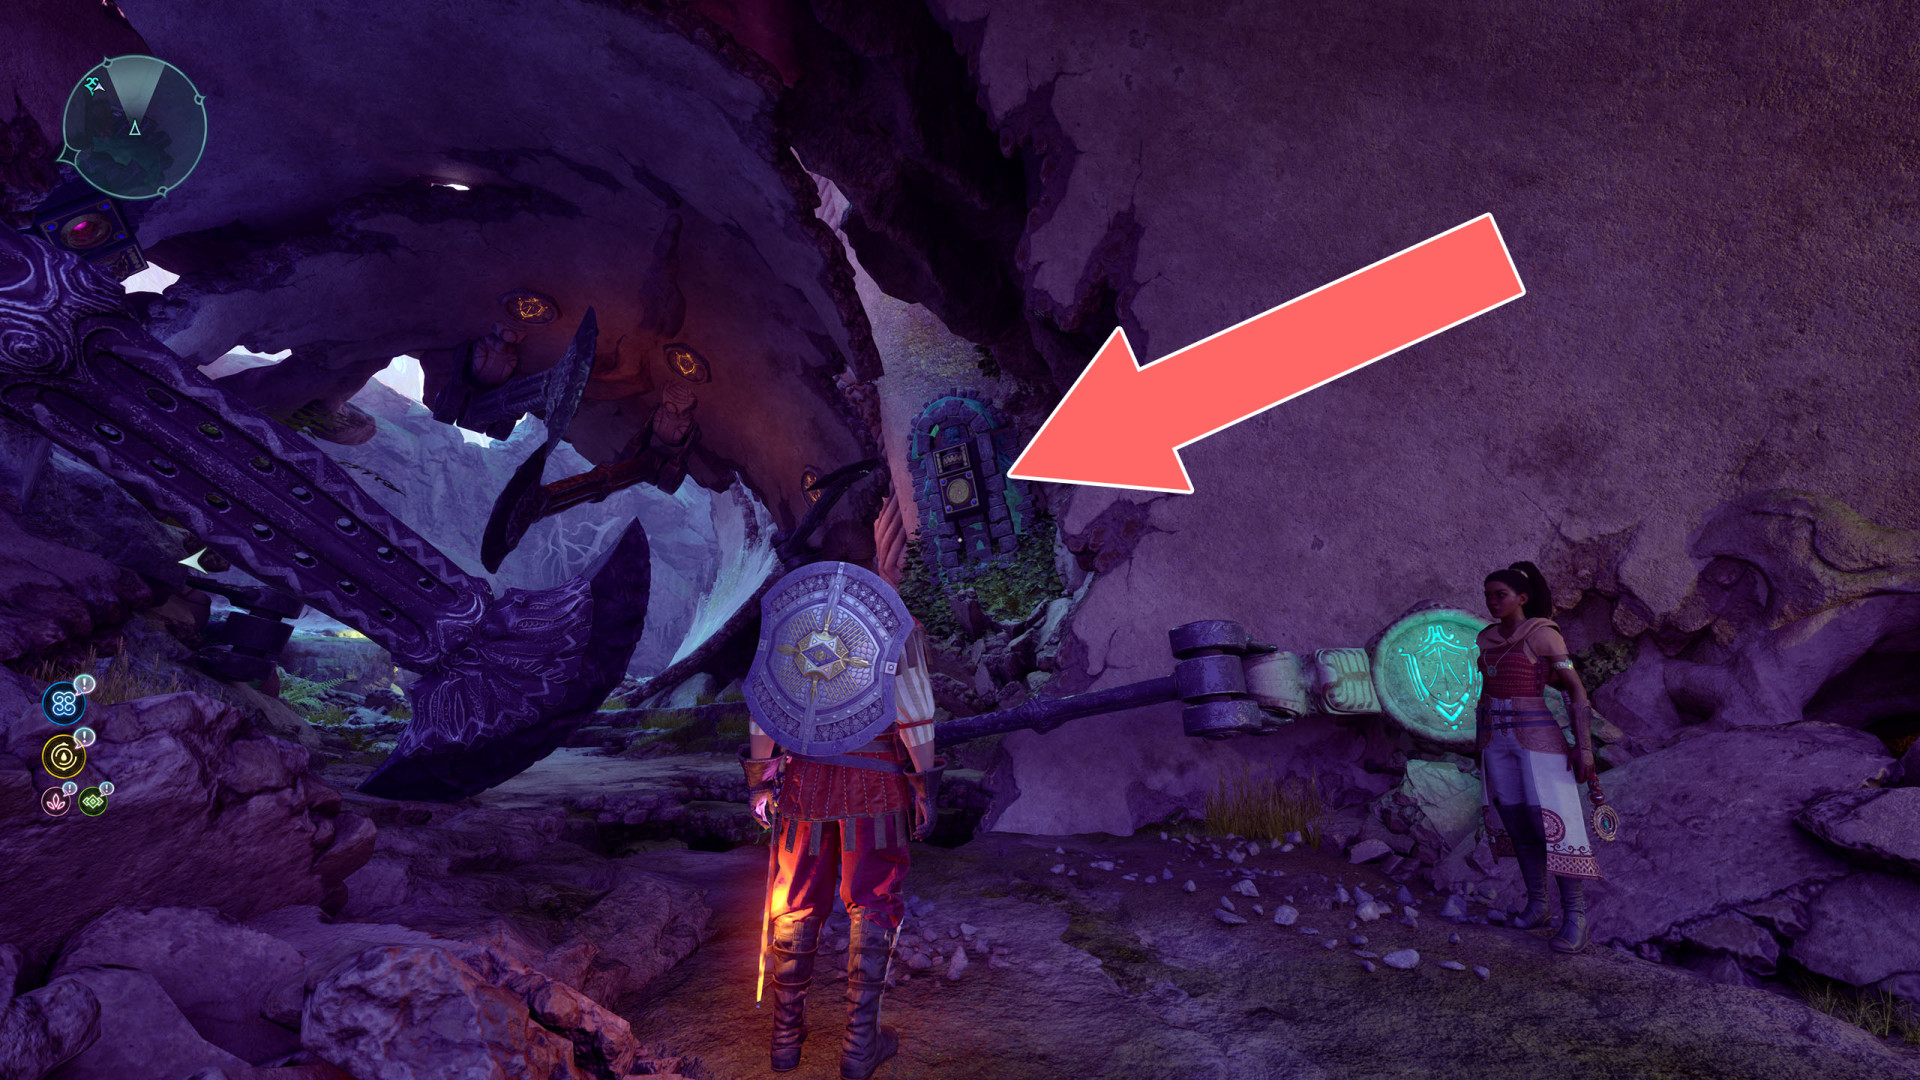
A locked or barred doors that can be opened with keys, lockpicks or from a certain side or walls and other obstacles that must be destroyed to get through.
Blocked Passages
Locations on Fort Northreach
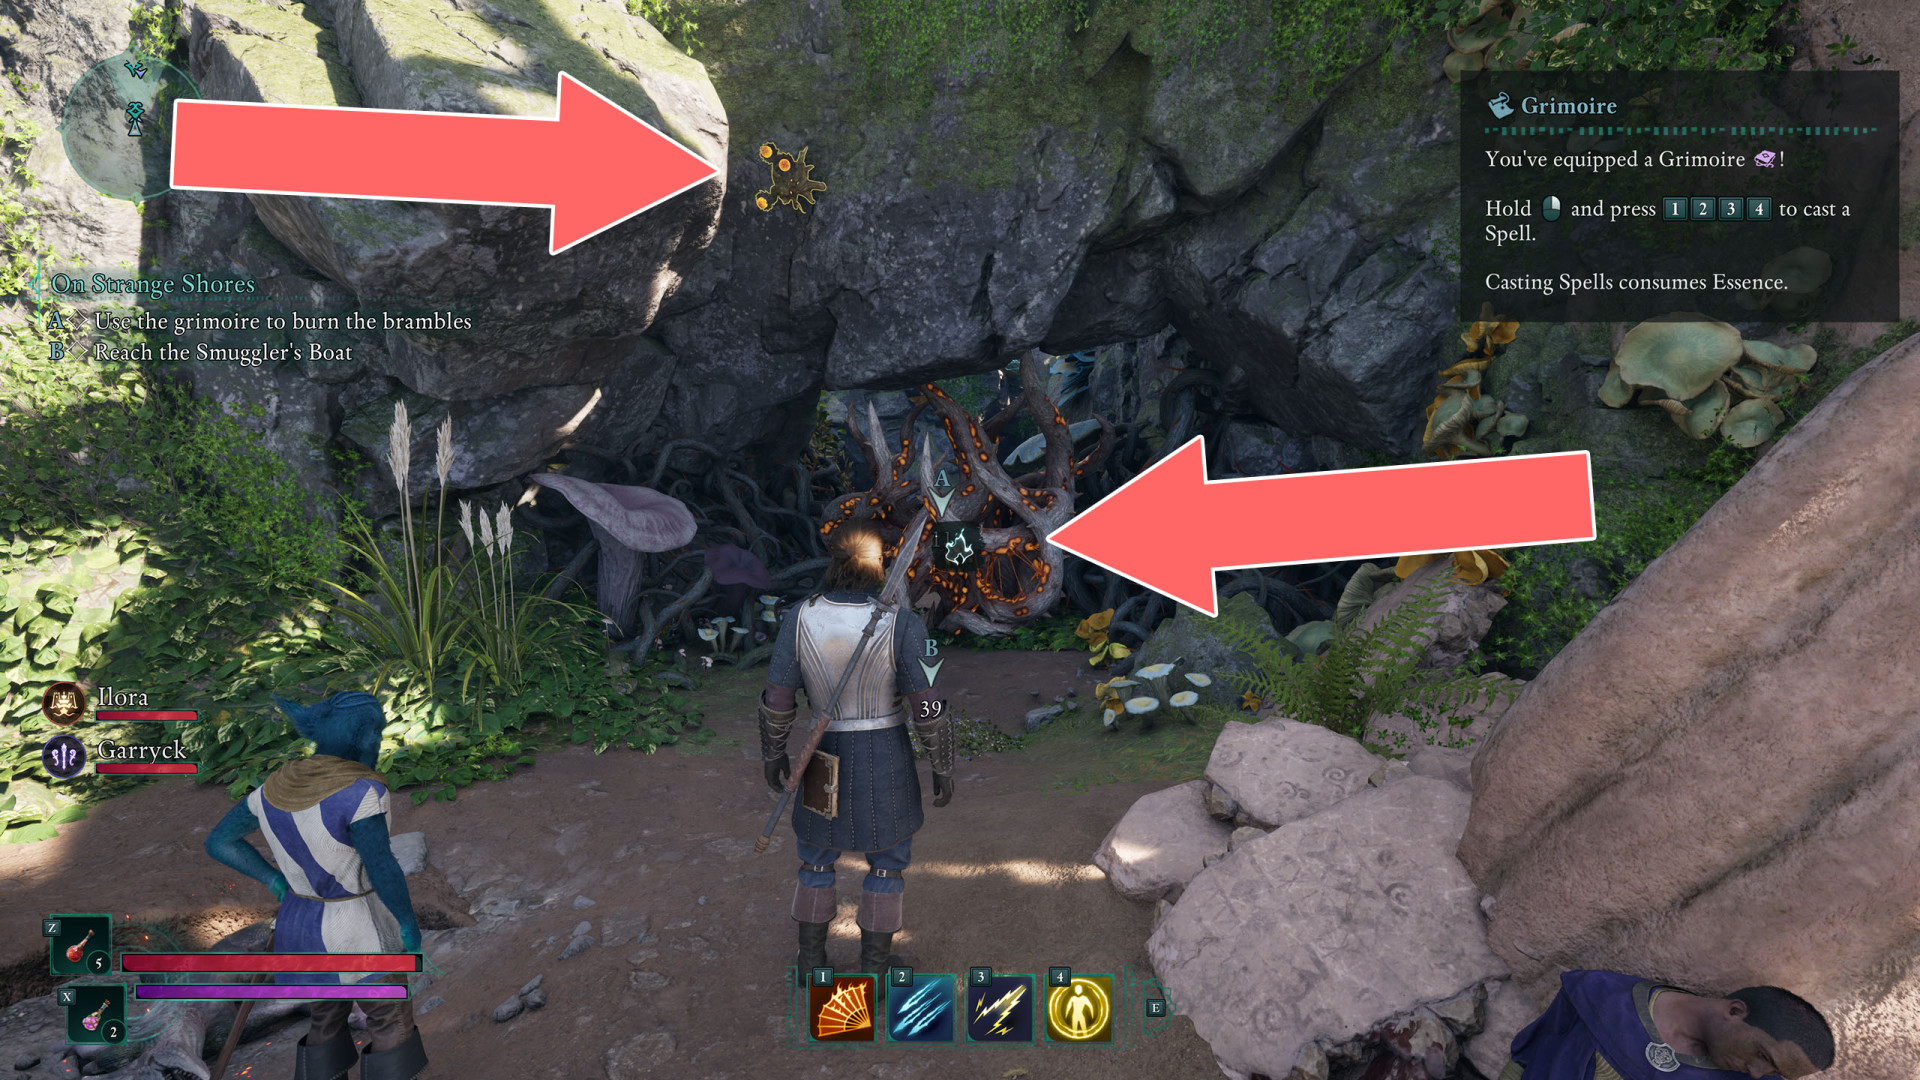
1 Brambles
To burn the brambles, get the Common Bow and shoot down the Magran's Fury located above.
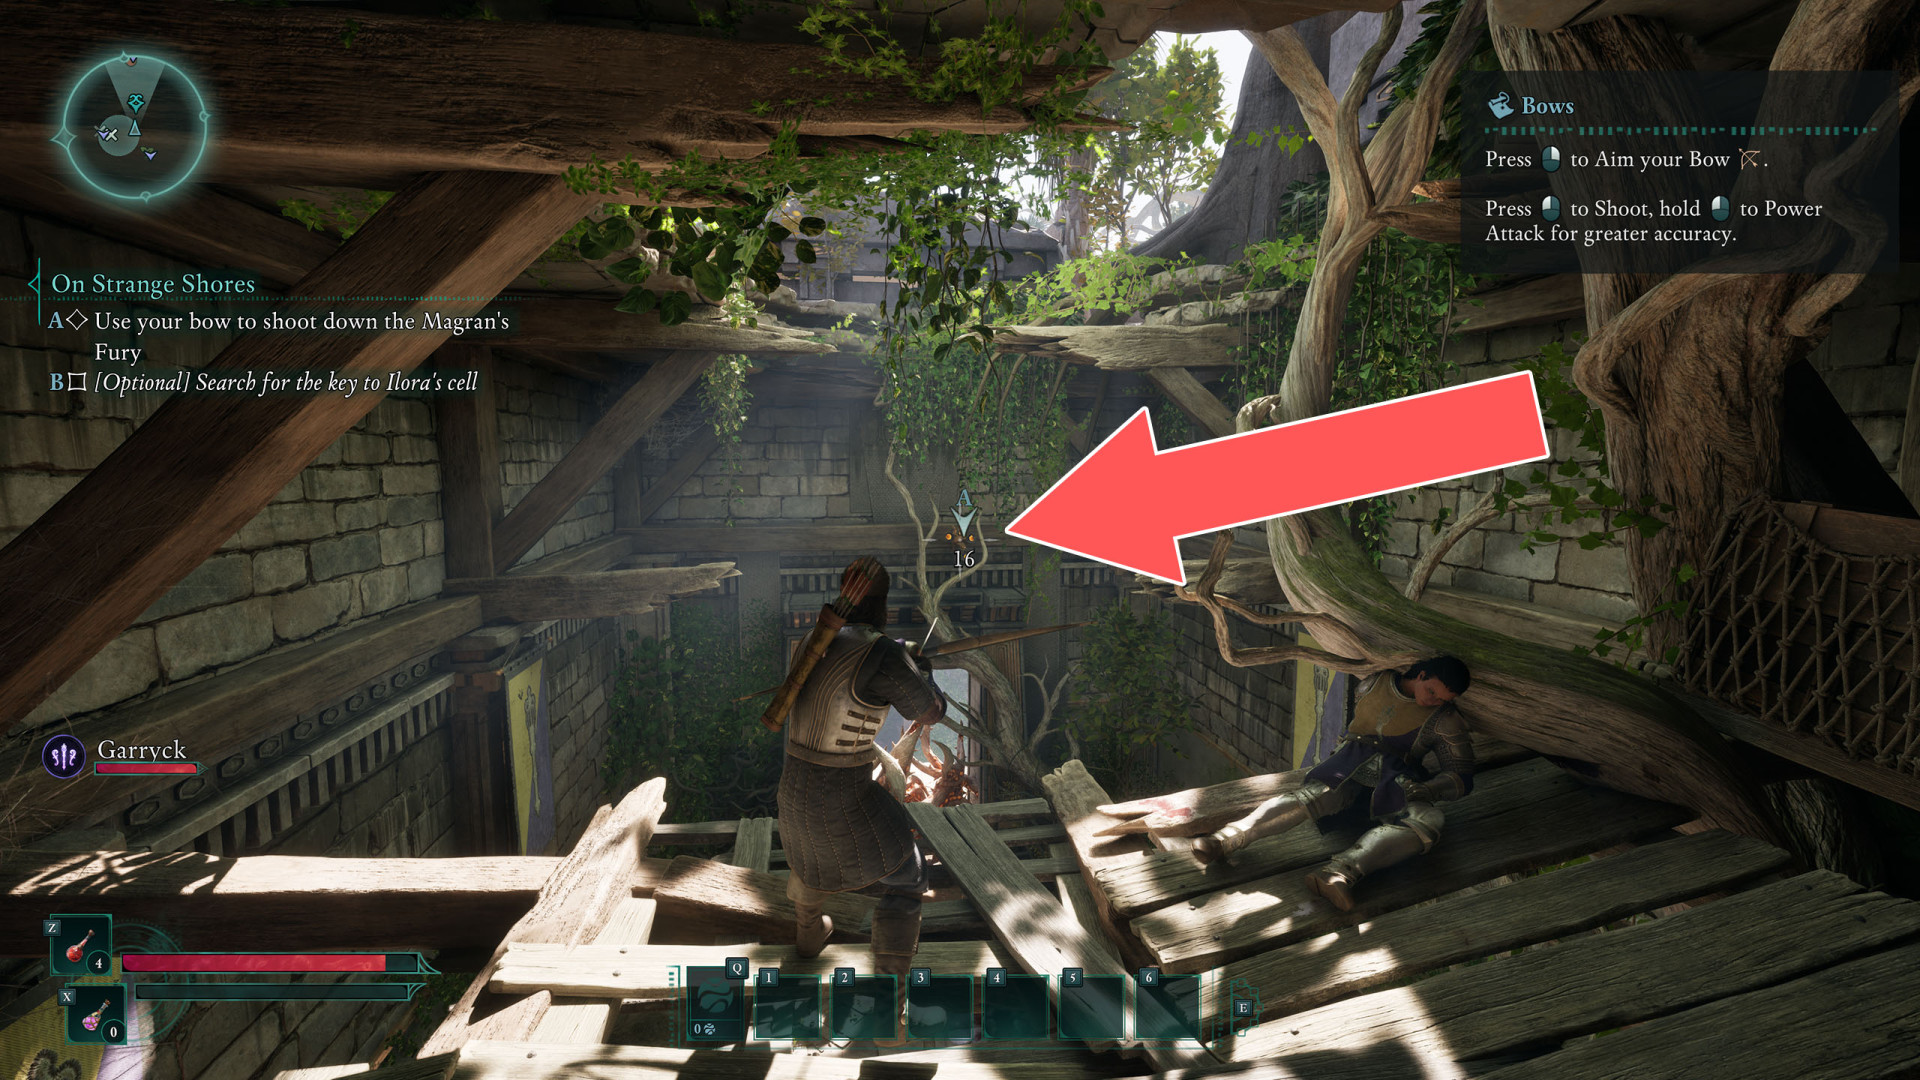
2Brambles
3 Cell Door
Unlocks with: Fort Northreach Jail Key.
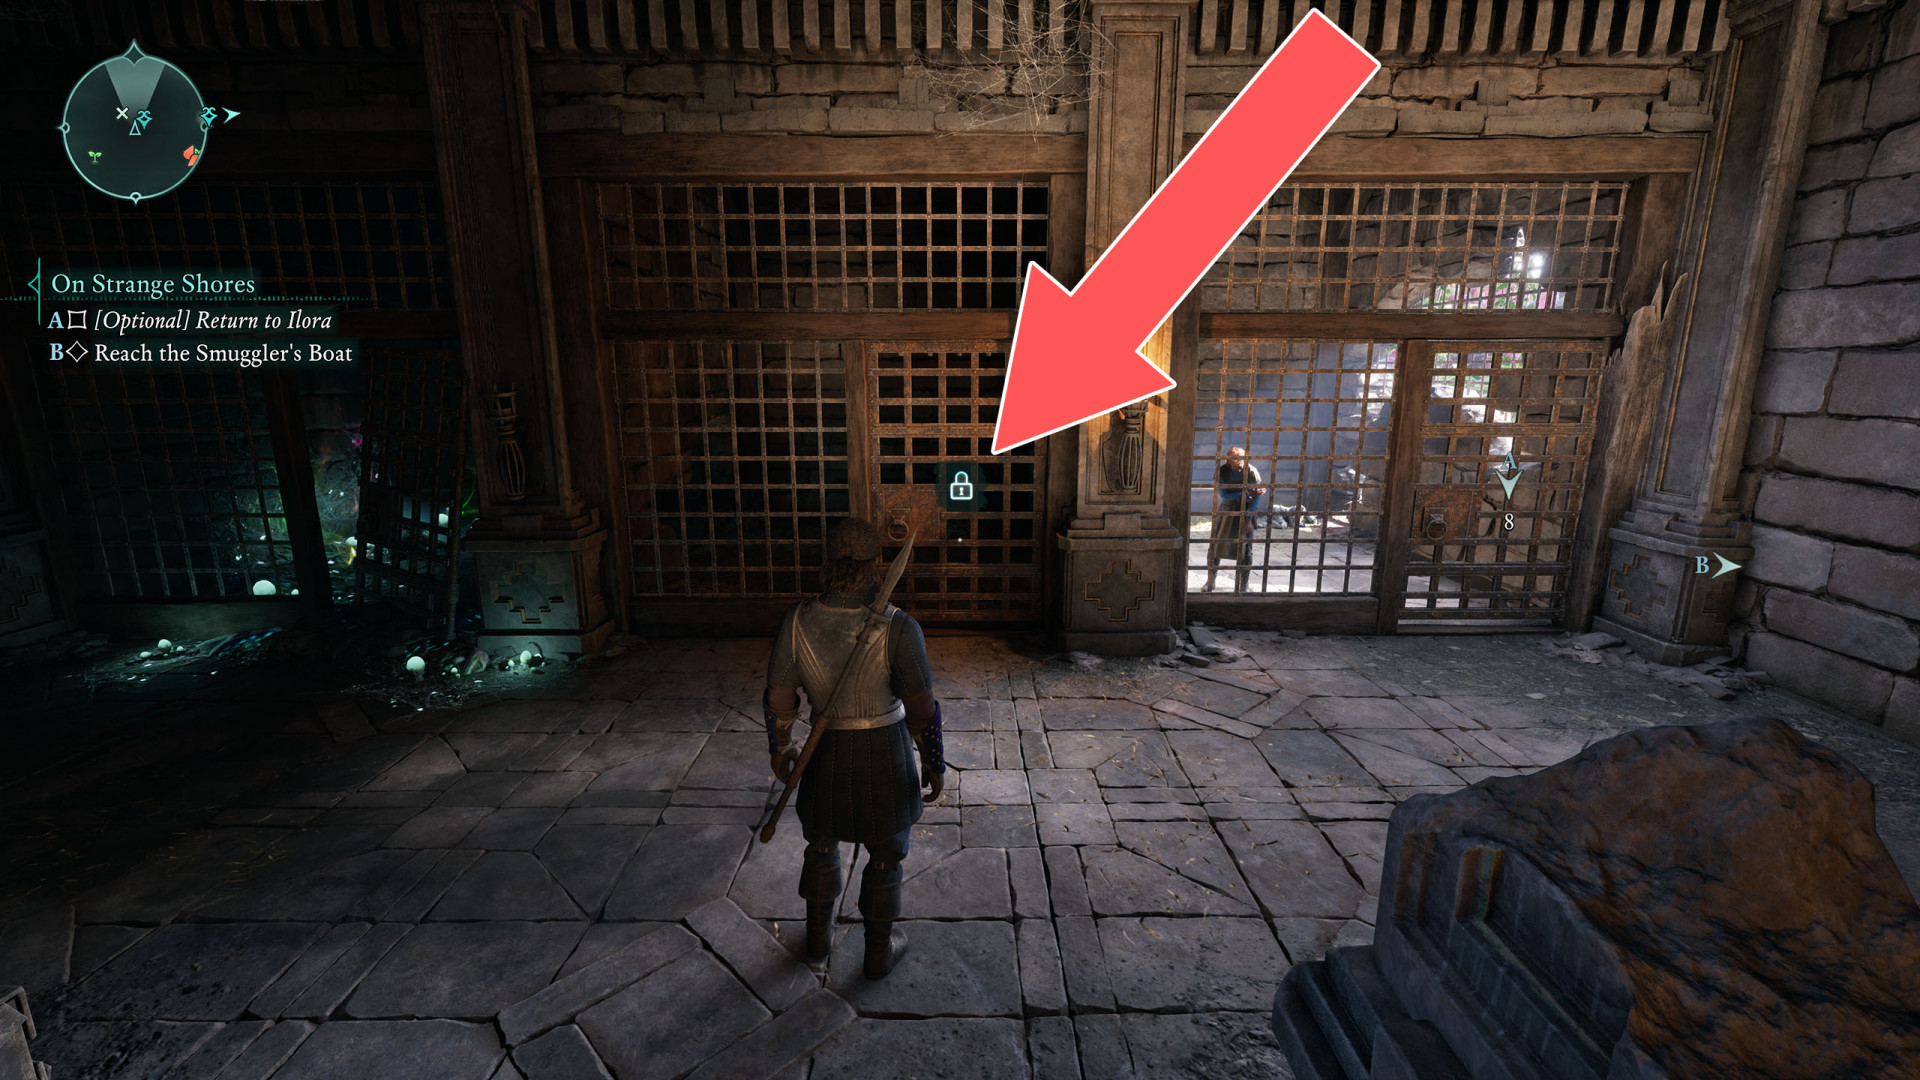
4Fort Northreach Storage Door
Unlocks with: Fort Northreach Storage Key.
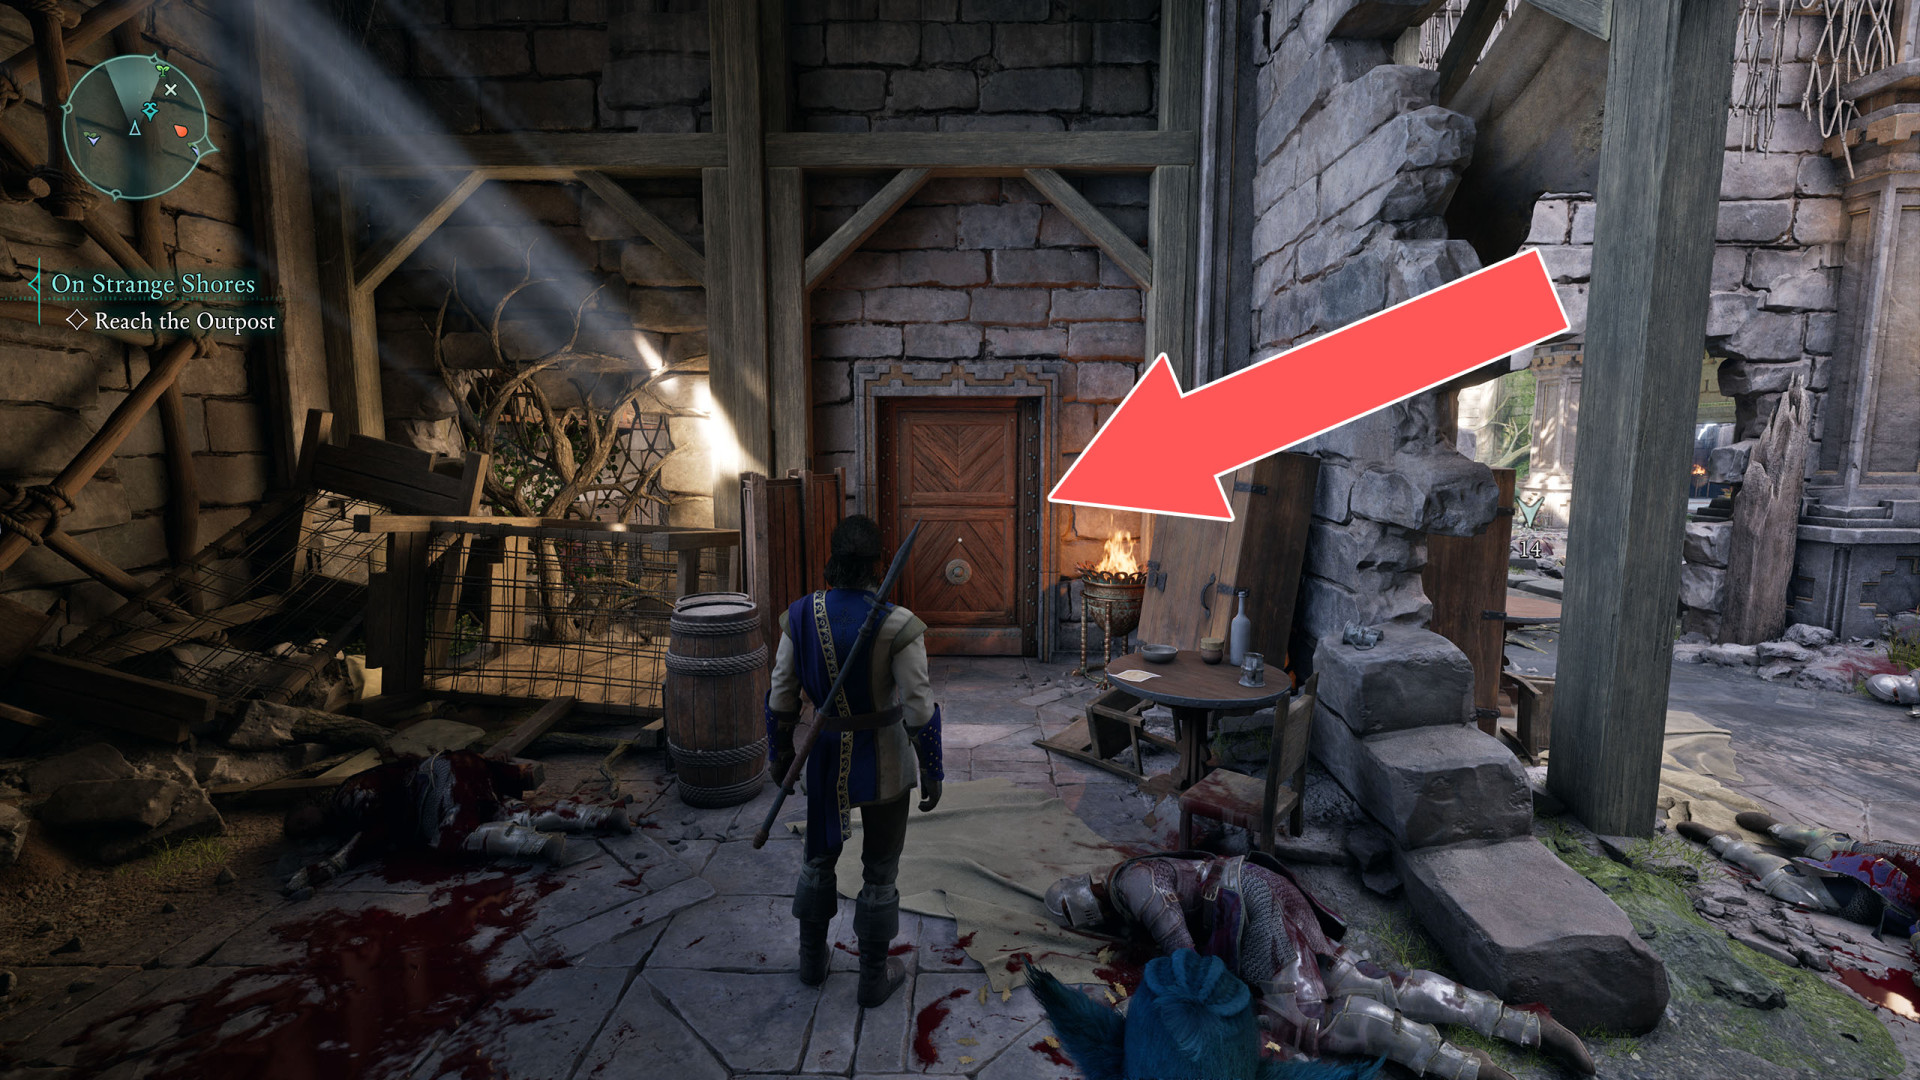
5Ilora's Cell Door
Unlocks with: Fort Northreach Jail Key.
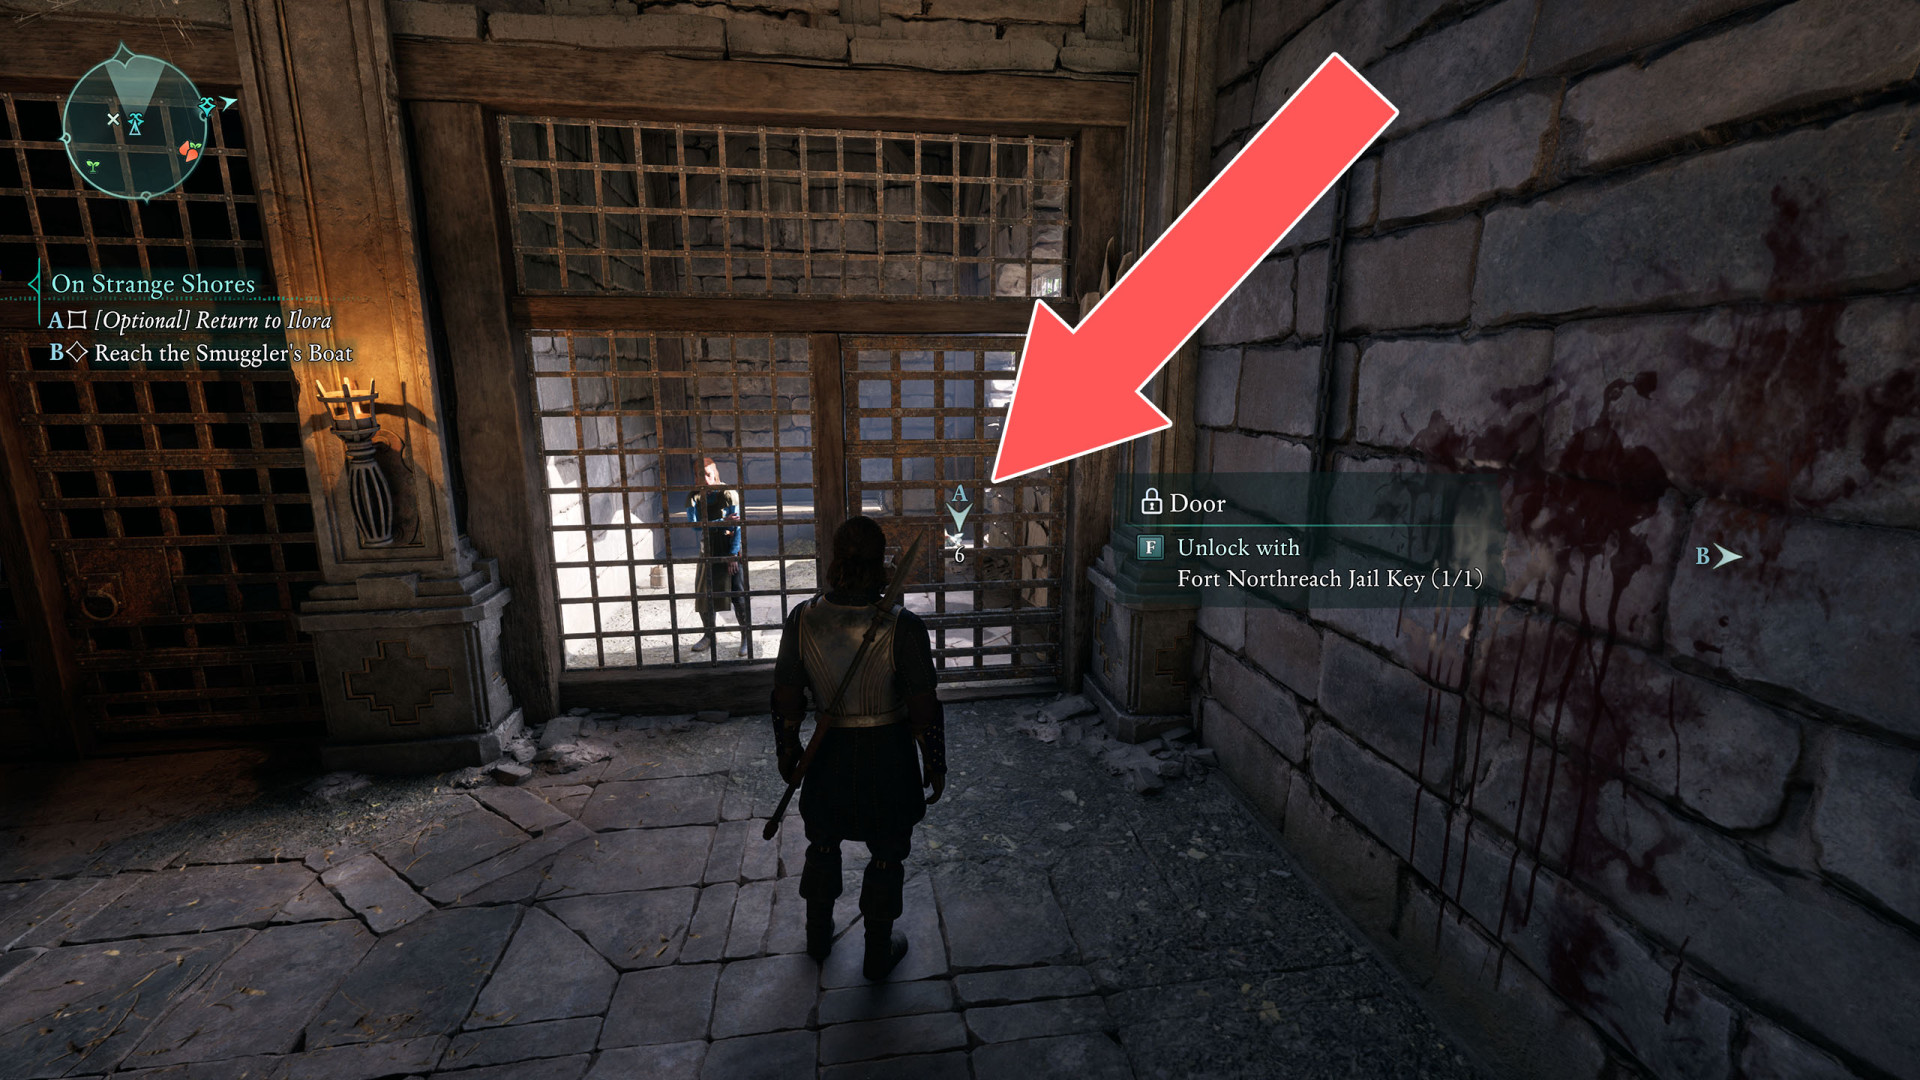
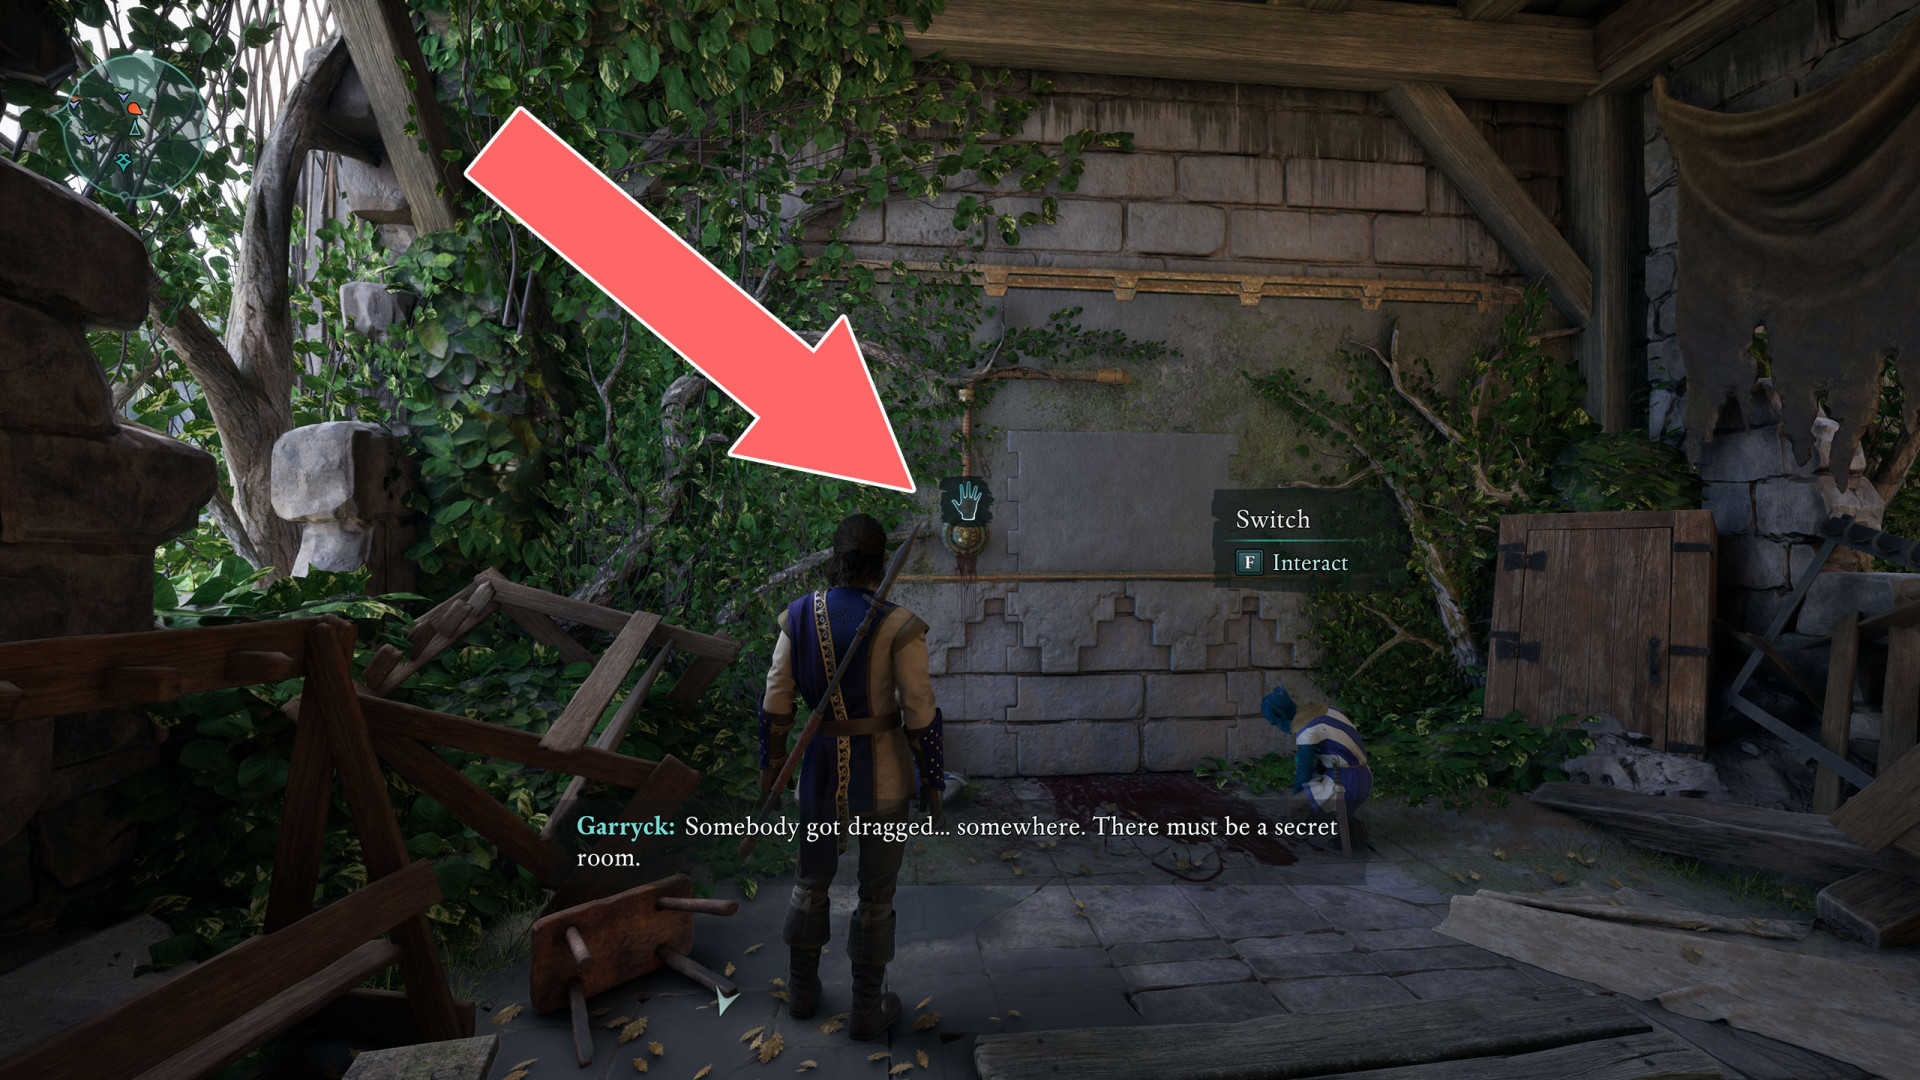
6Secret Door
To open the passageway press the switch on the wall.
Related achievement: Hawkeye - Find the hidden room in Fort Northreach.
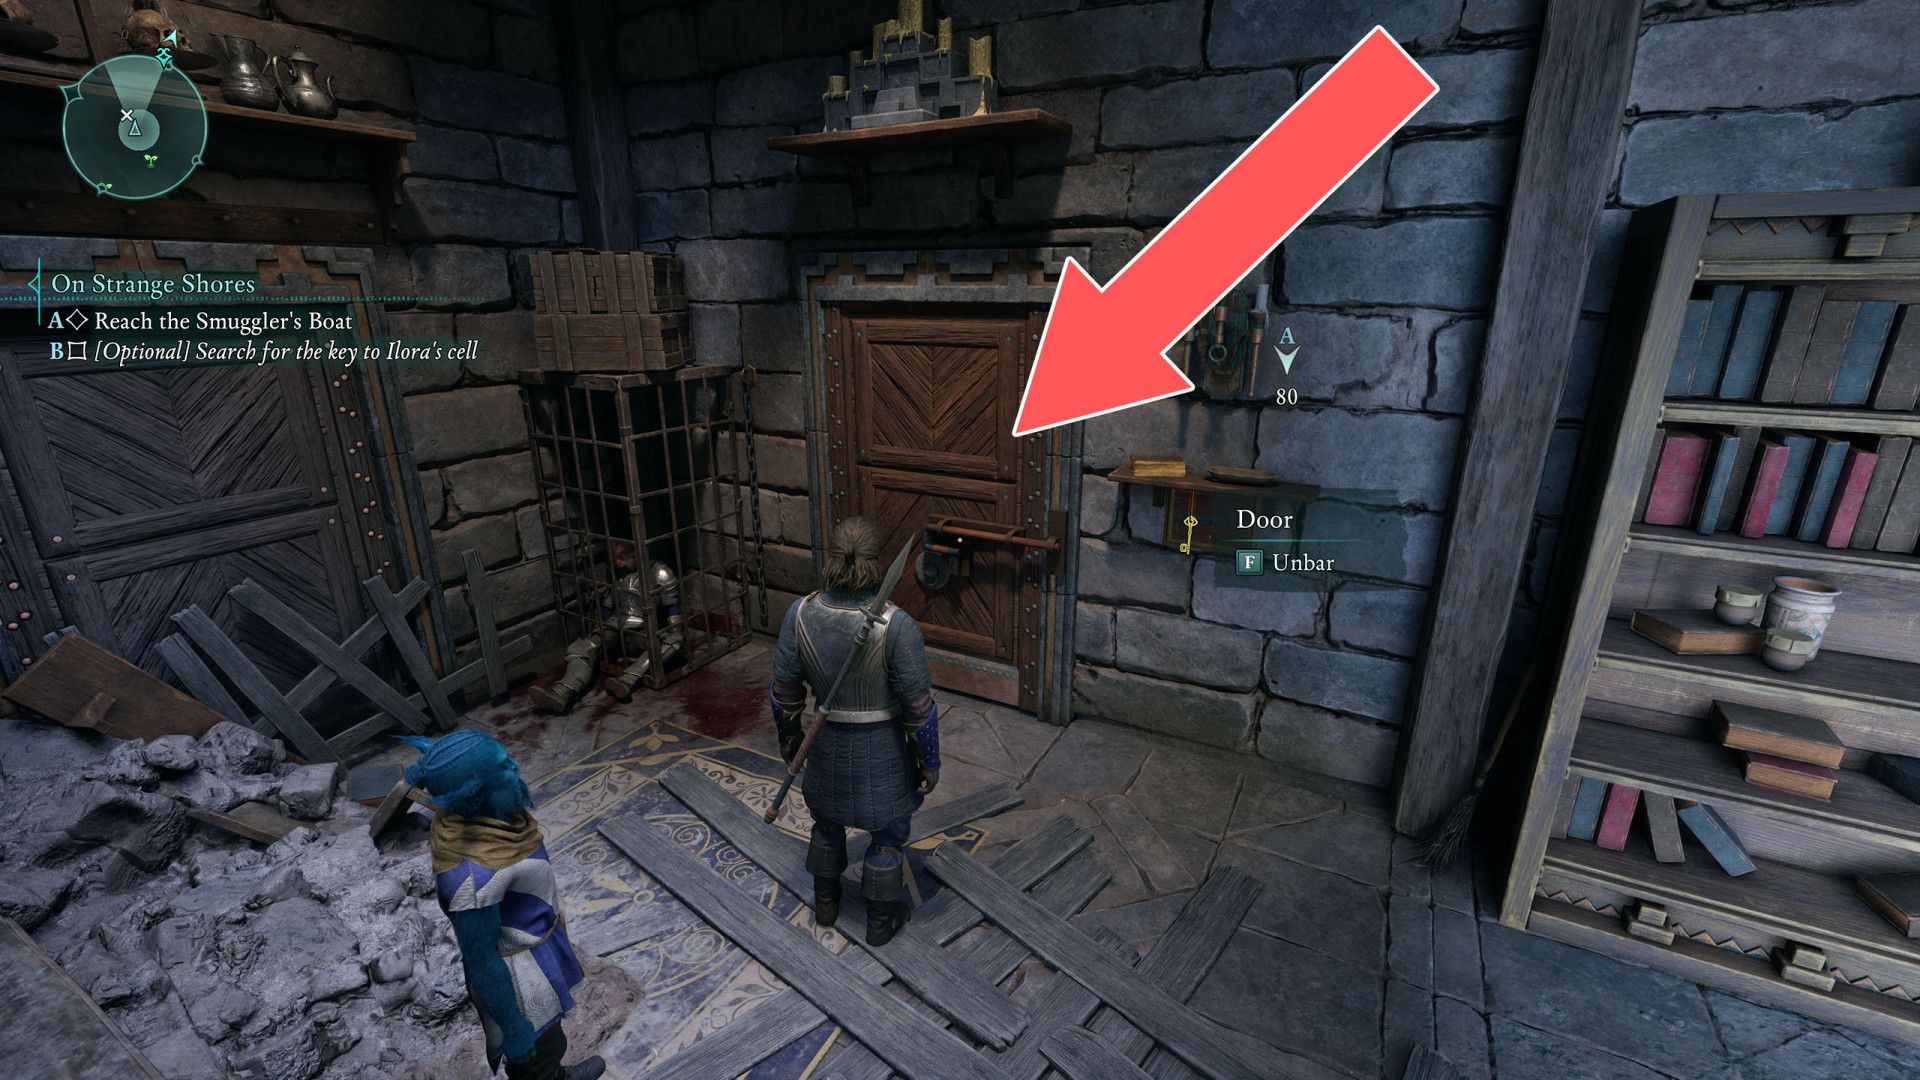
7Warden's Office Door
You can unbar it from the room on the west side, which you can reach through the opening in its ceiling.
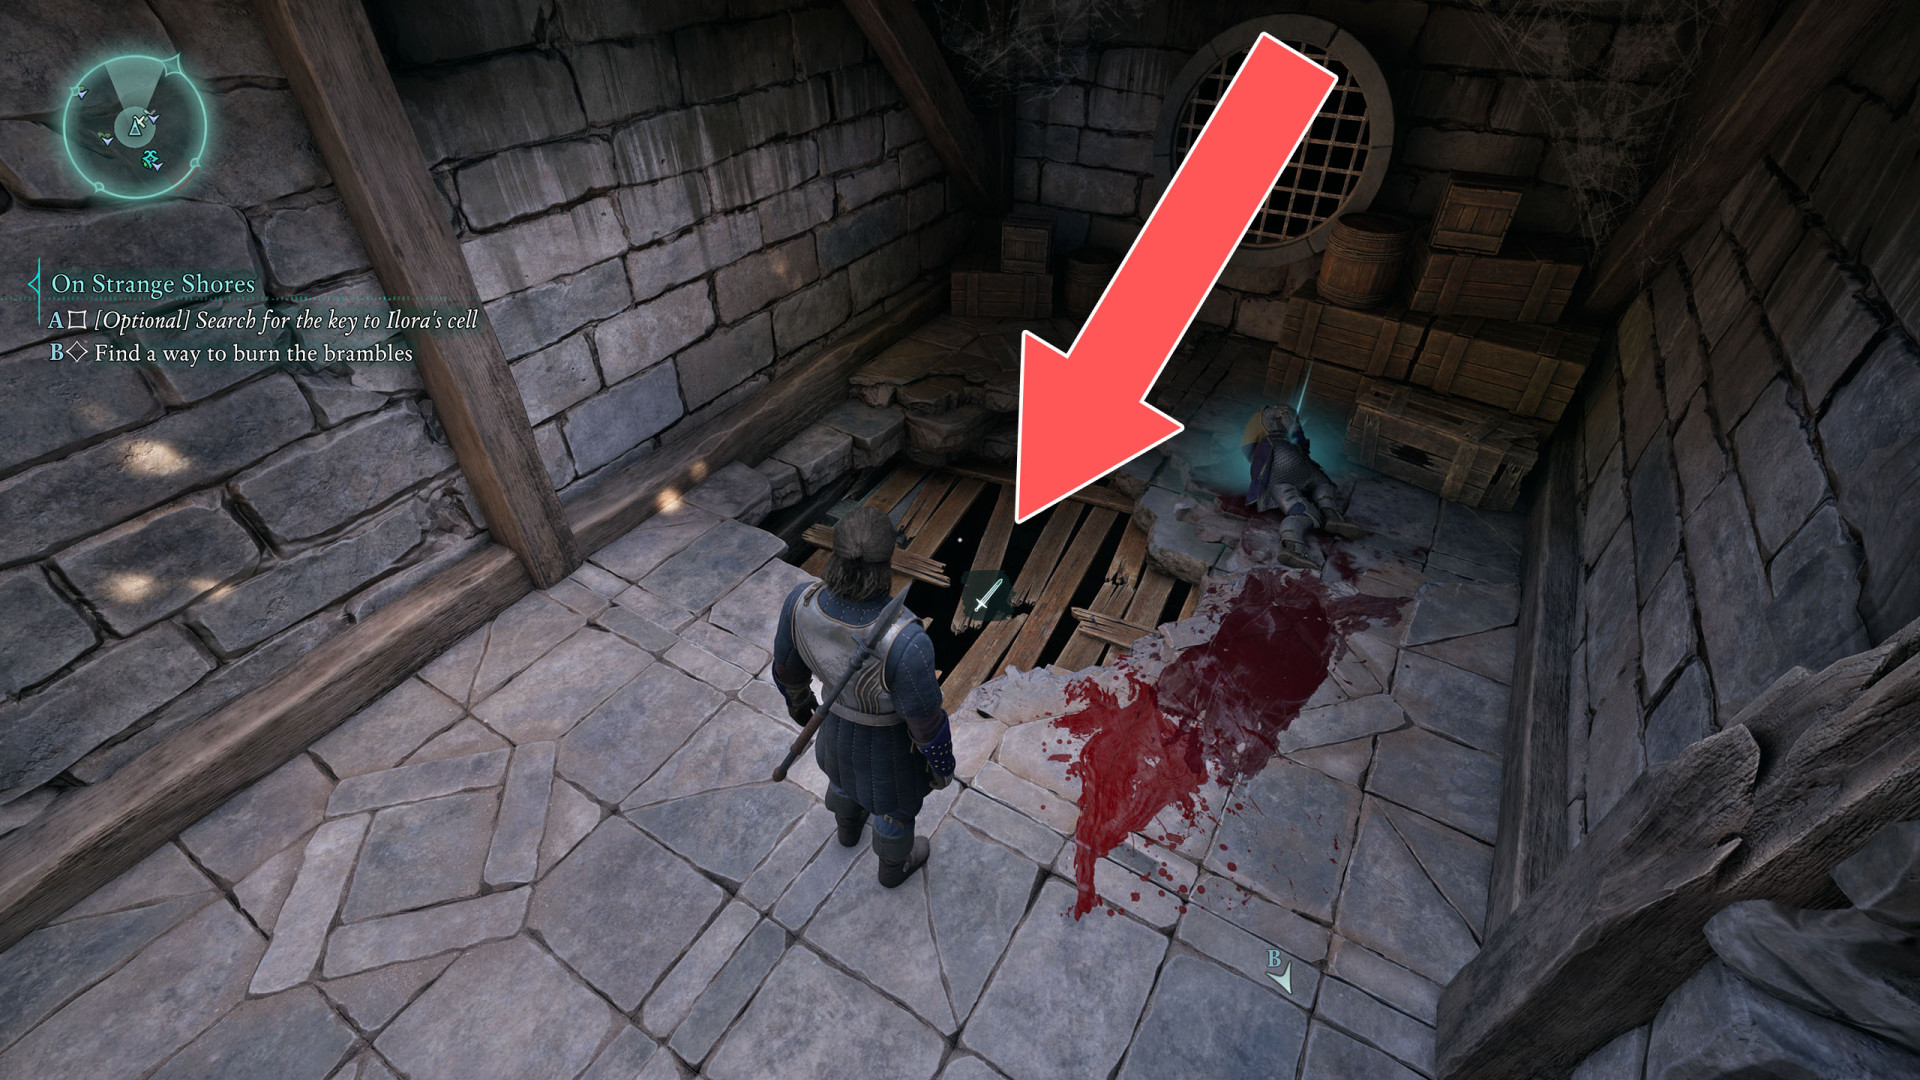
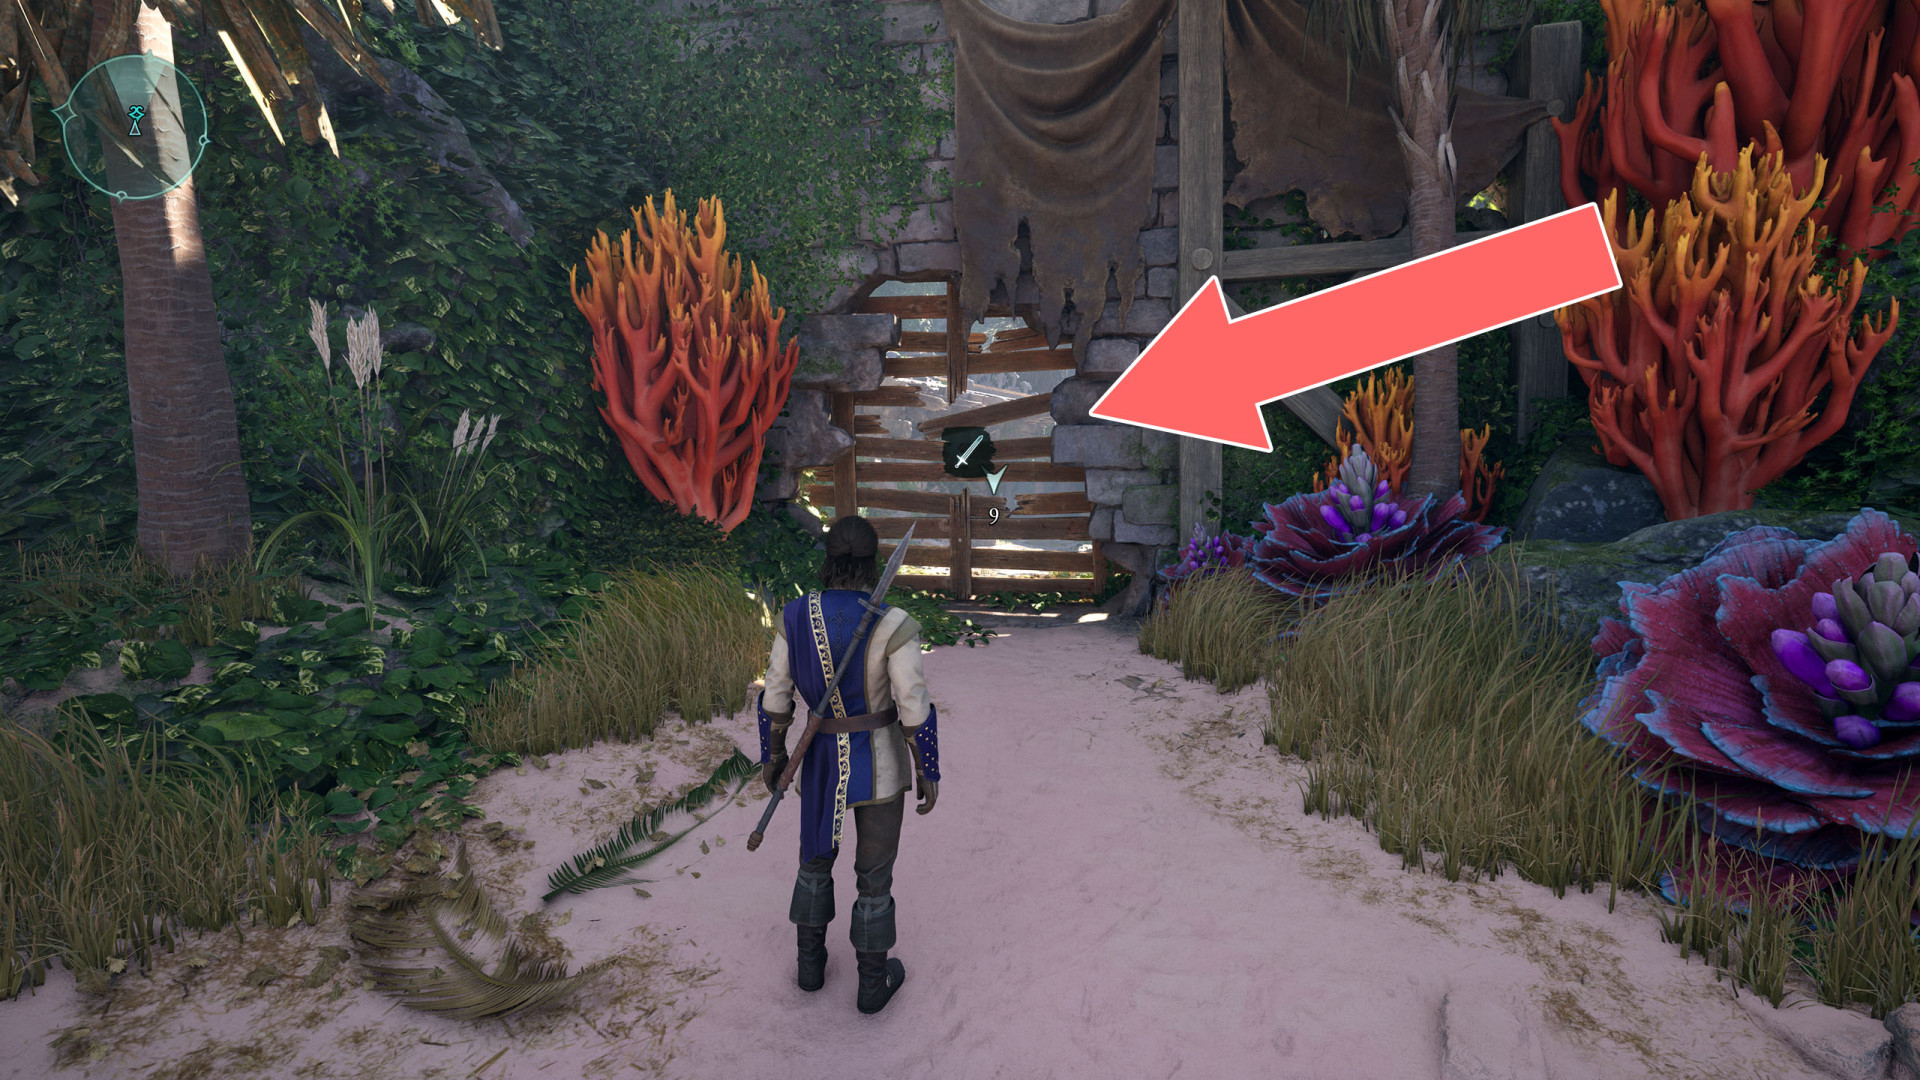
8 Wooden Barrier
9Wooden Barrier
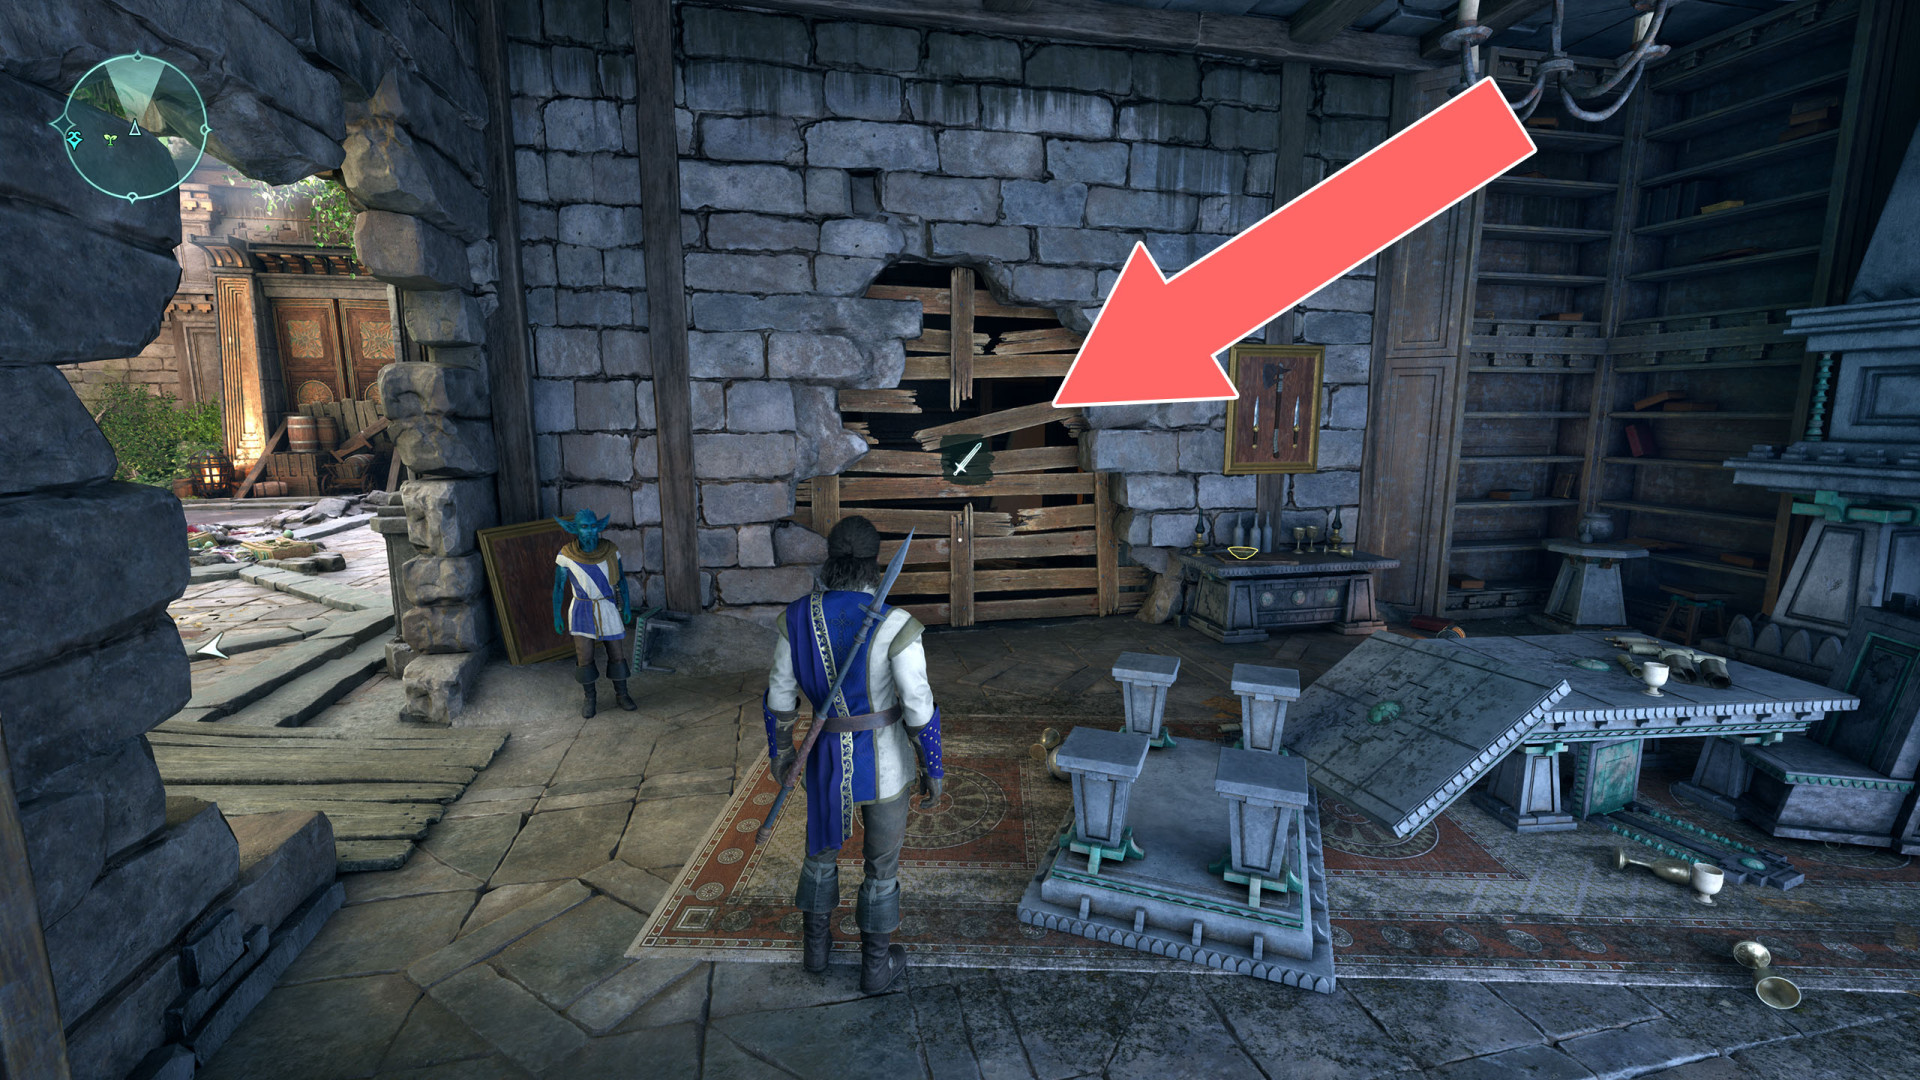
10Wooden Barrier
Locations on Dawnshore
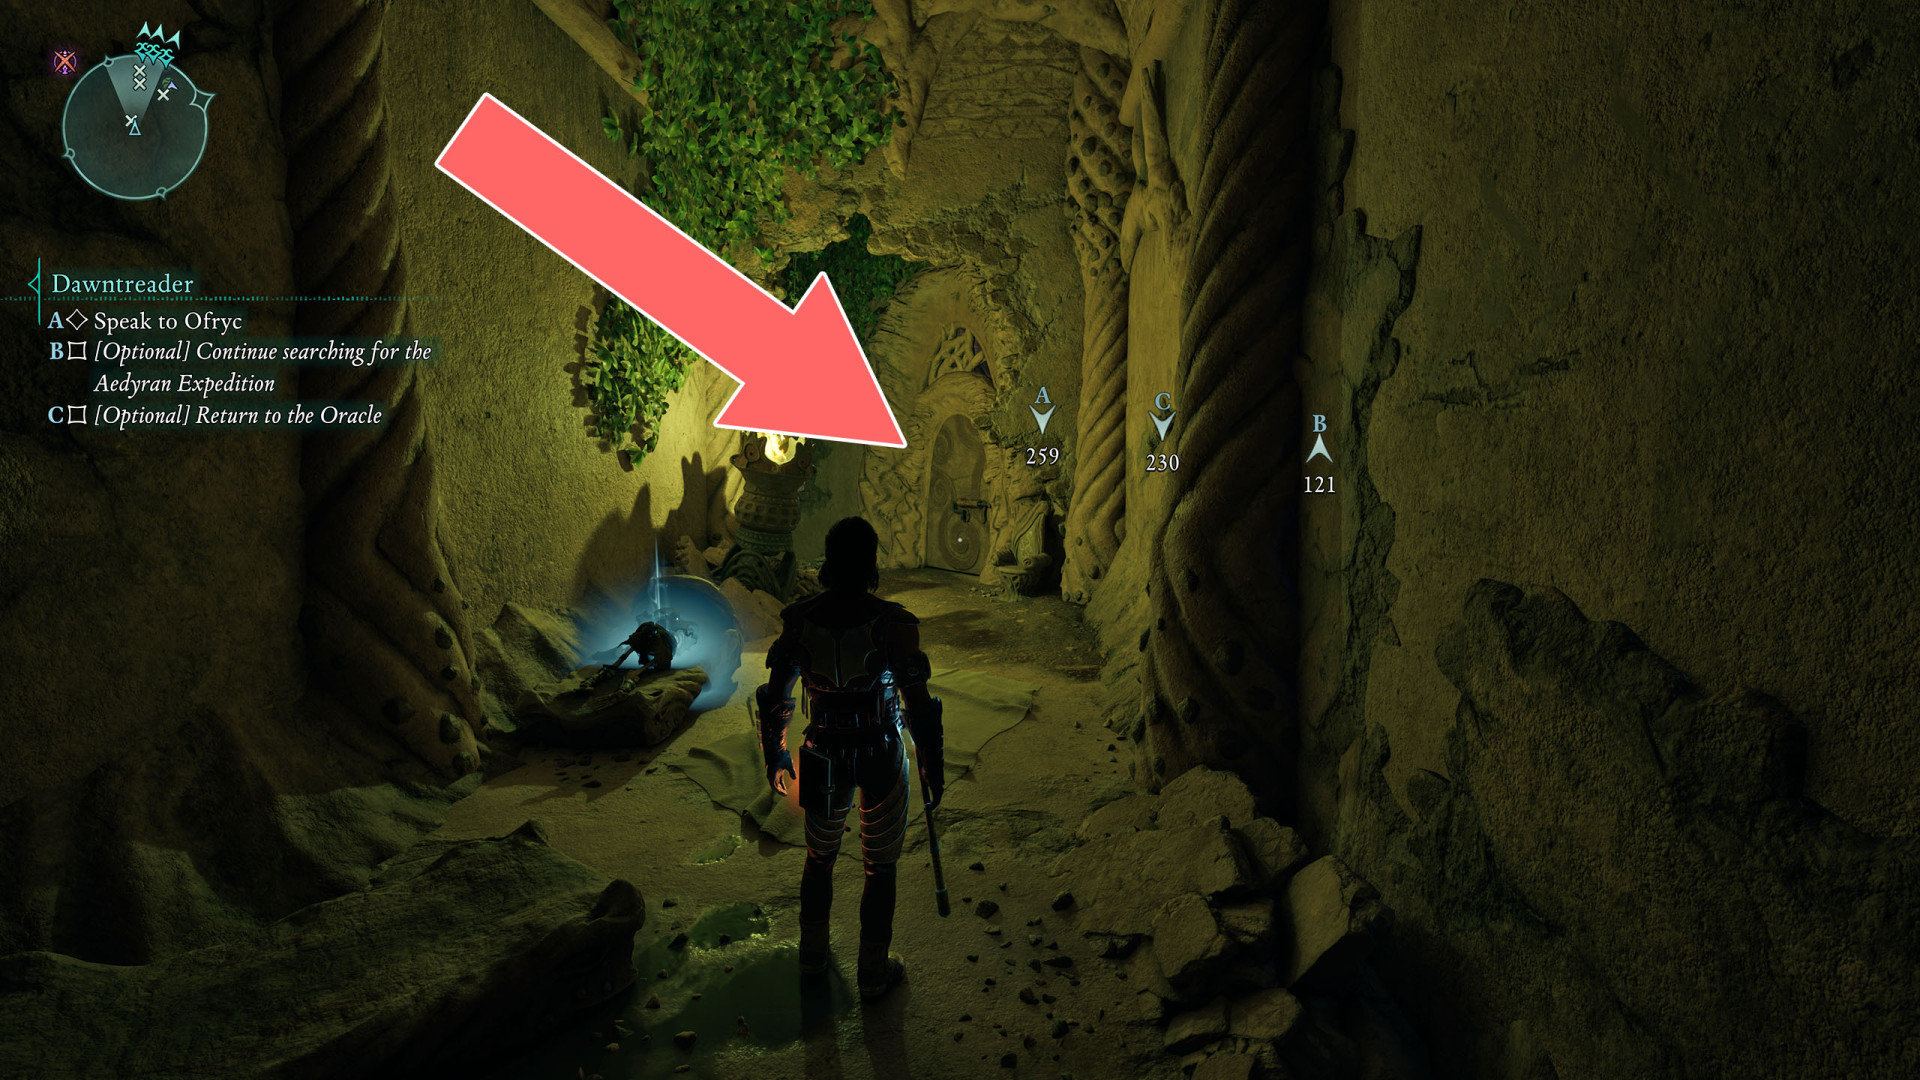
11Barred Door
You will get here through a tunnel, the entrance to which is located in a room with the Splinter of Eothas. You need to break a few vases.
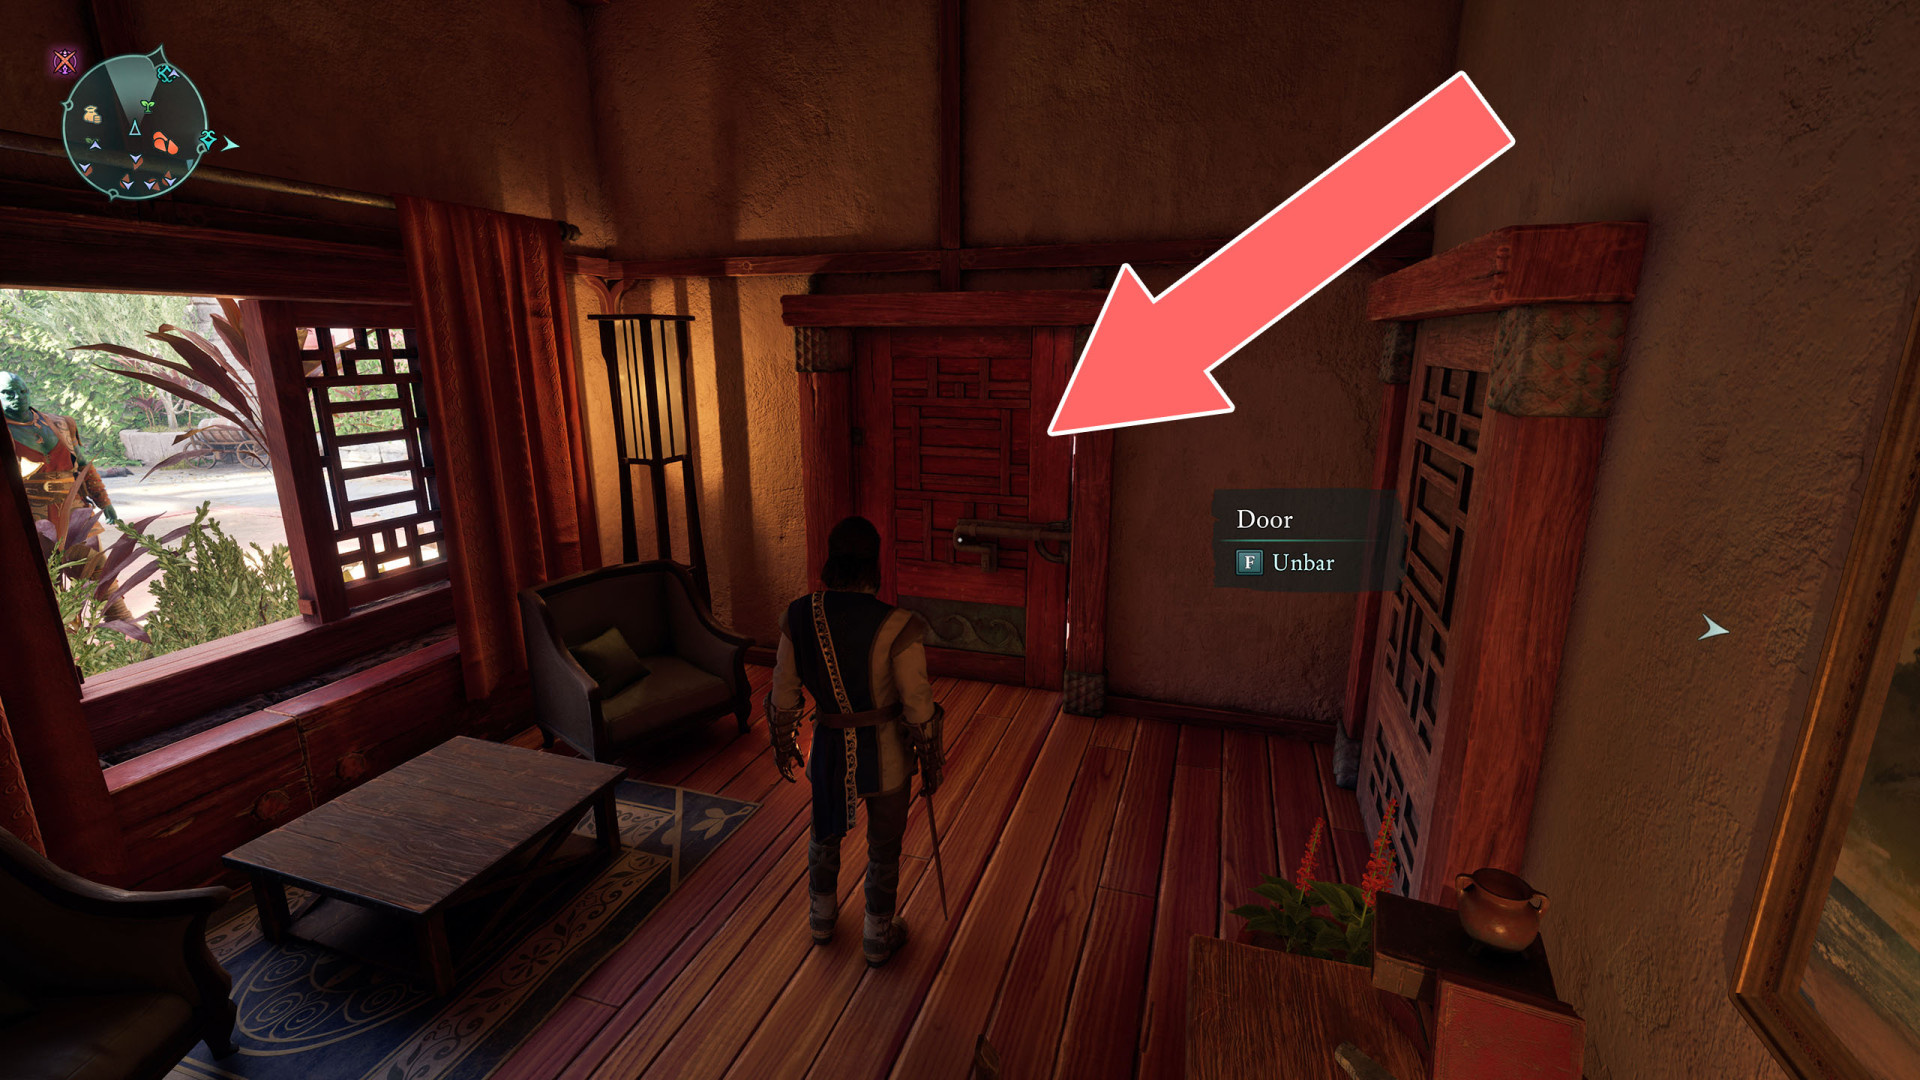
12Barred Door
You can unblock the door from inside the building. You can enter the building through the window.
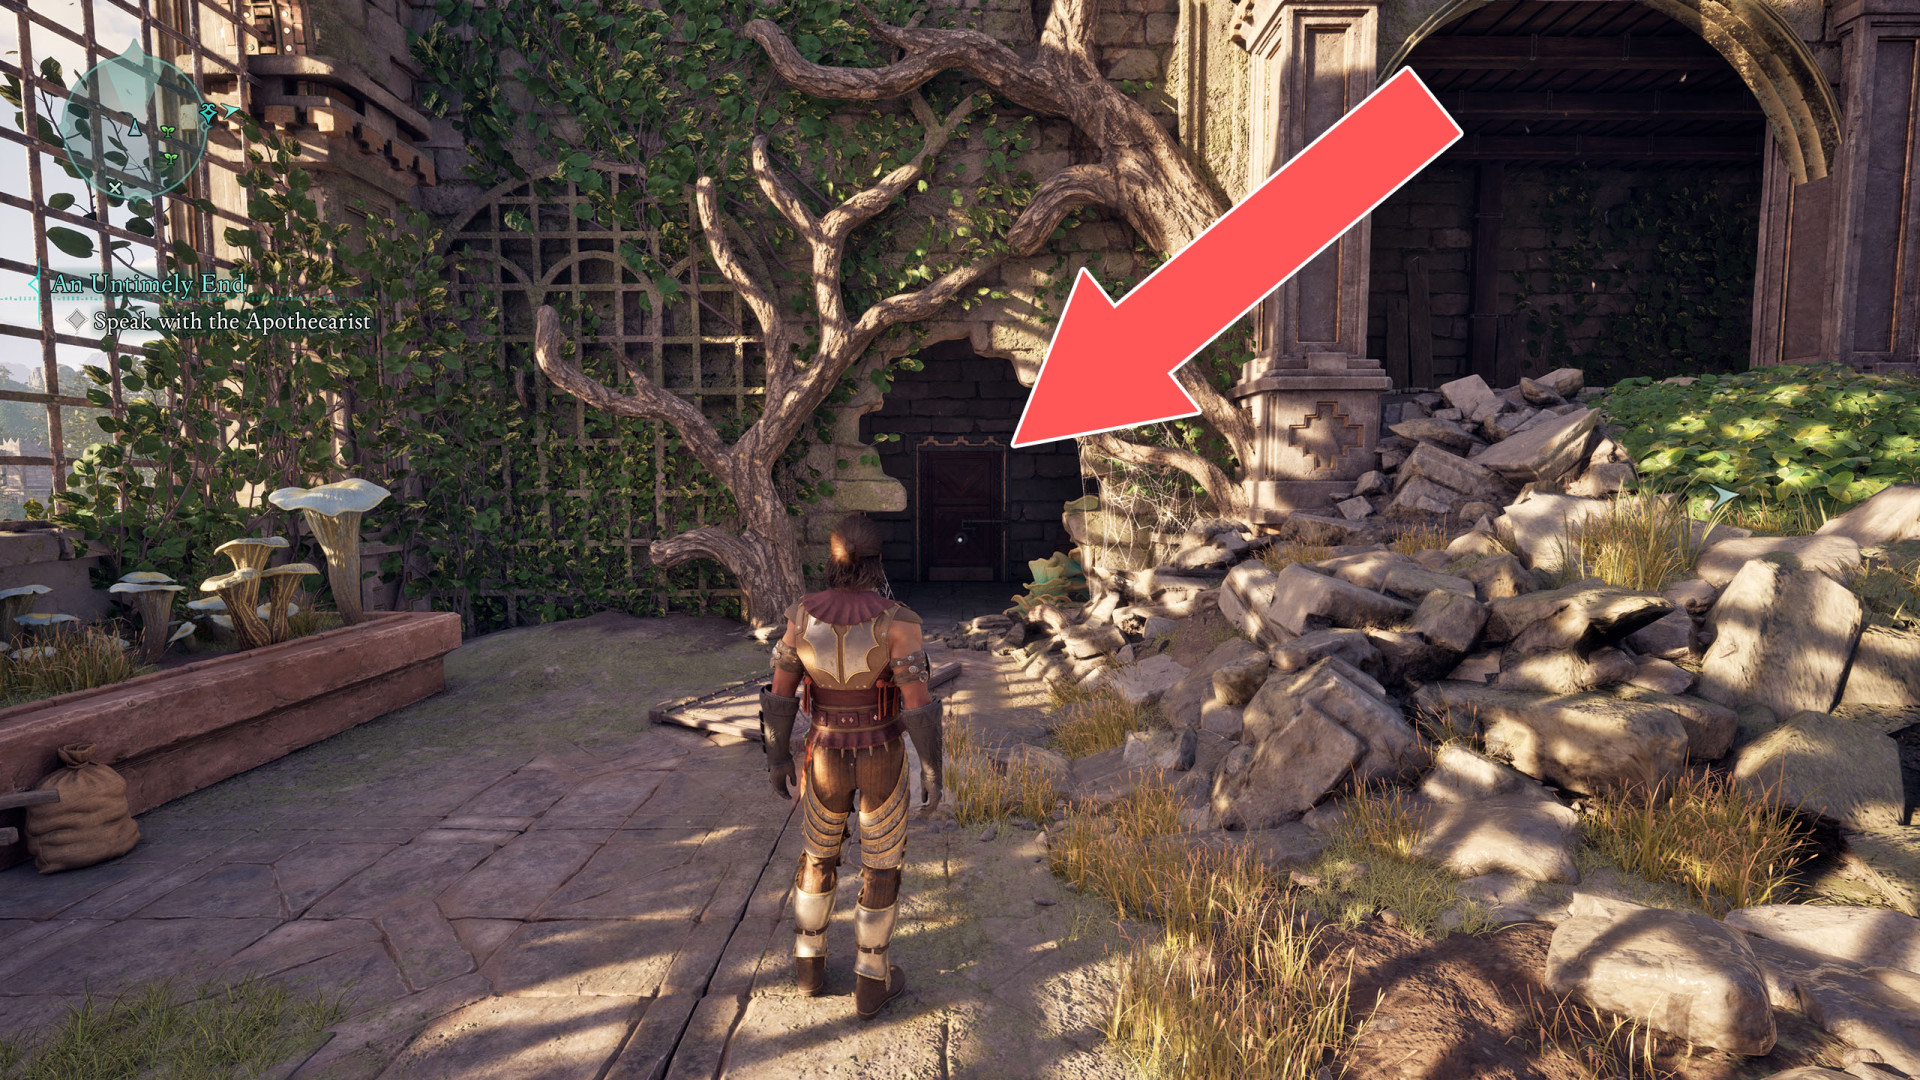
13Barred Door
They can be unlocked from the south side.
14Barred Door
The door can be unlocked from inside the building and you can get inside through a window on an upper floor.
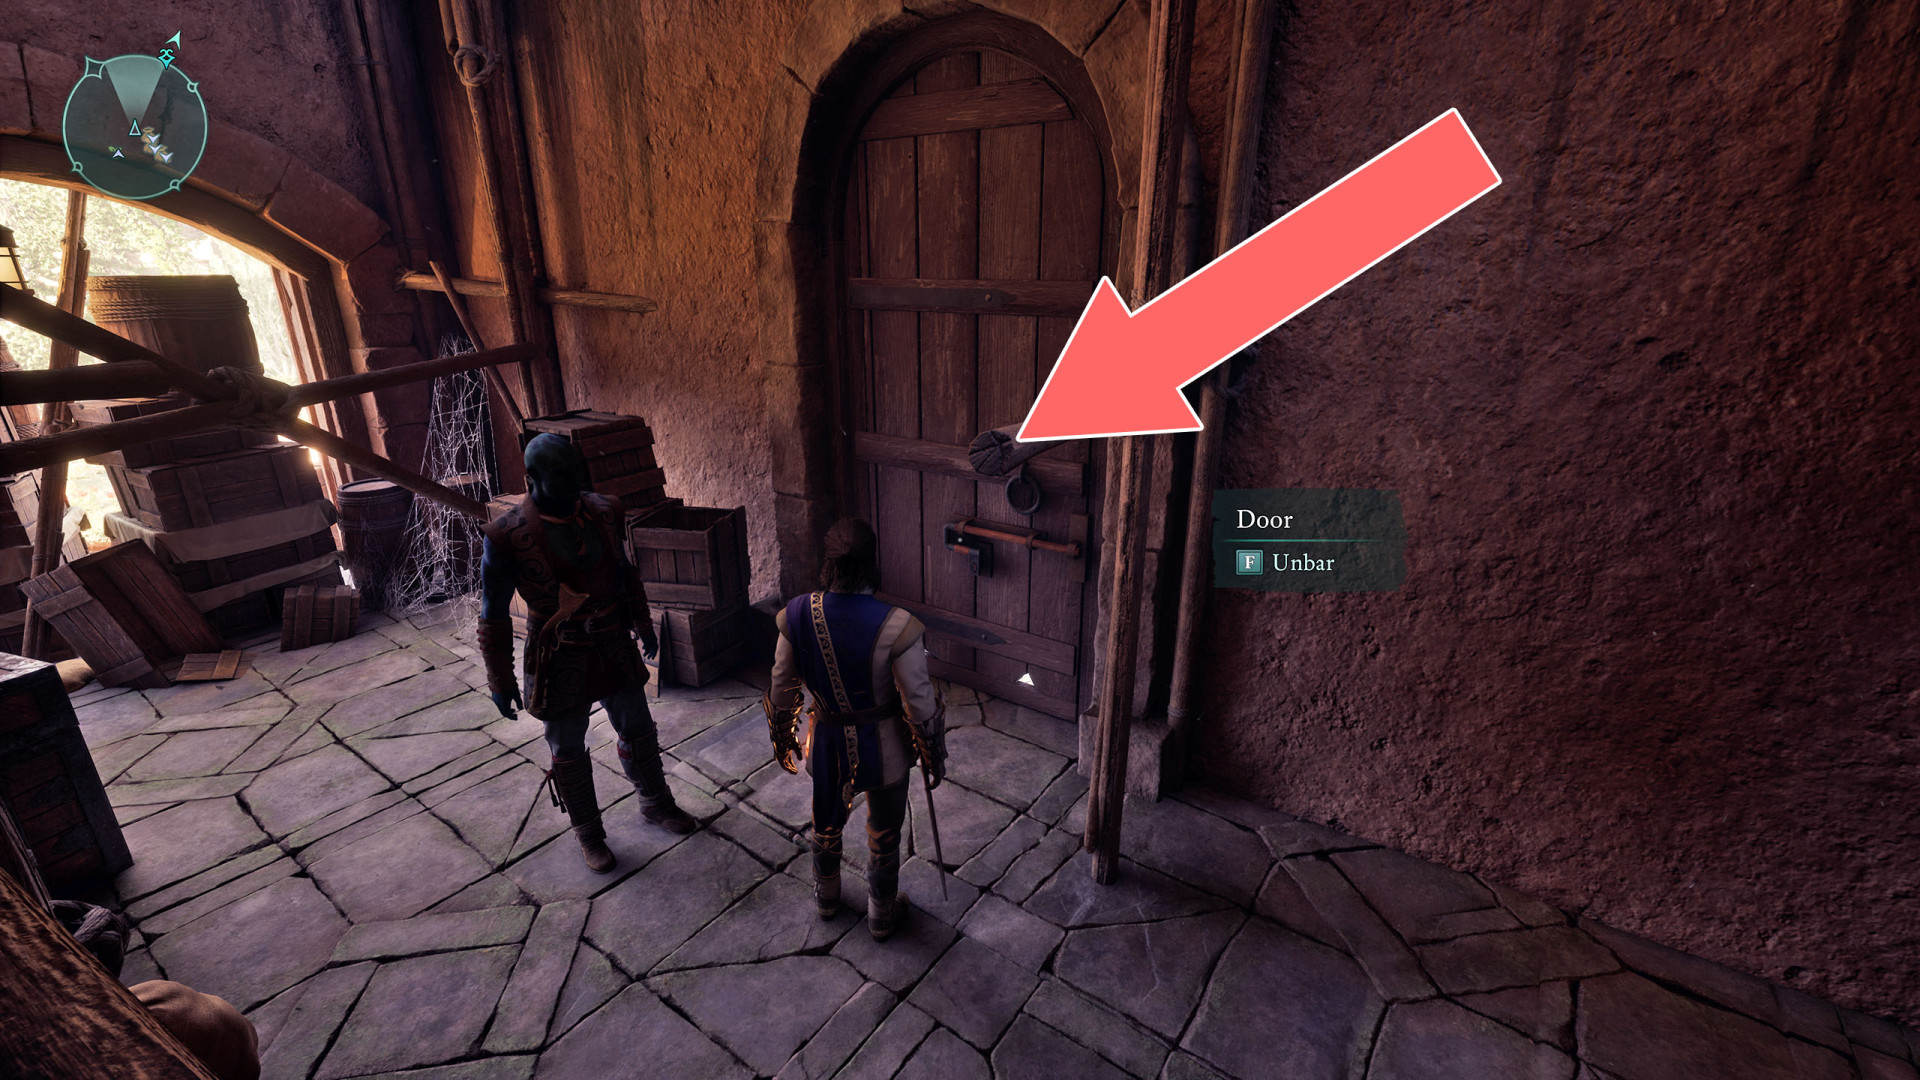
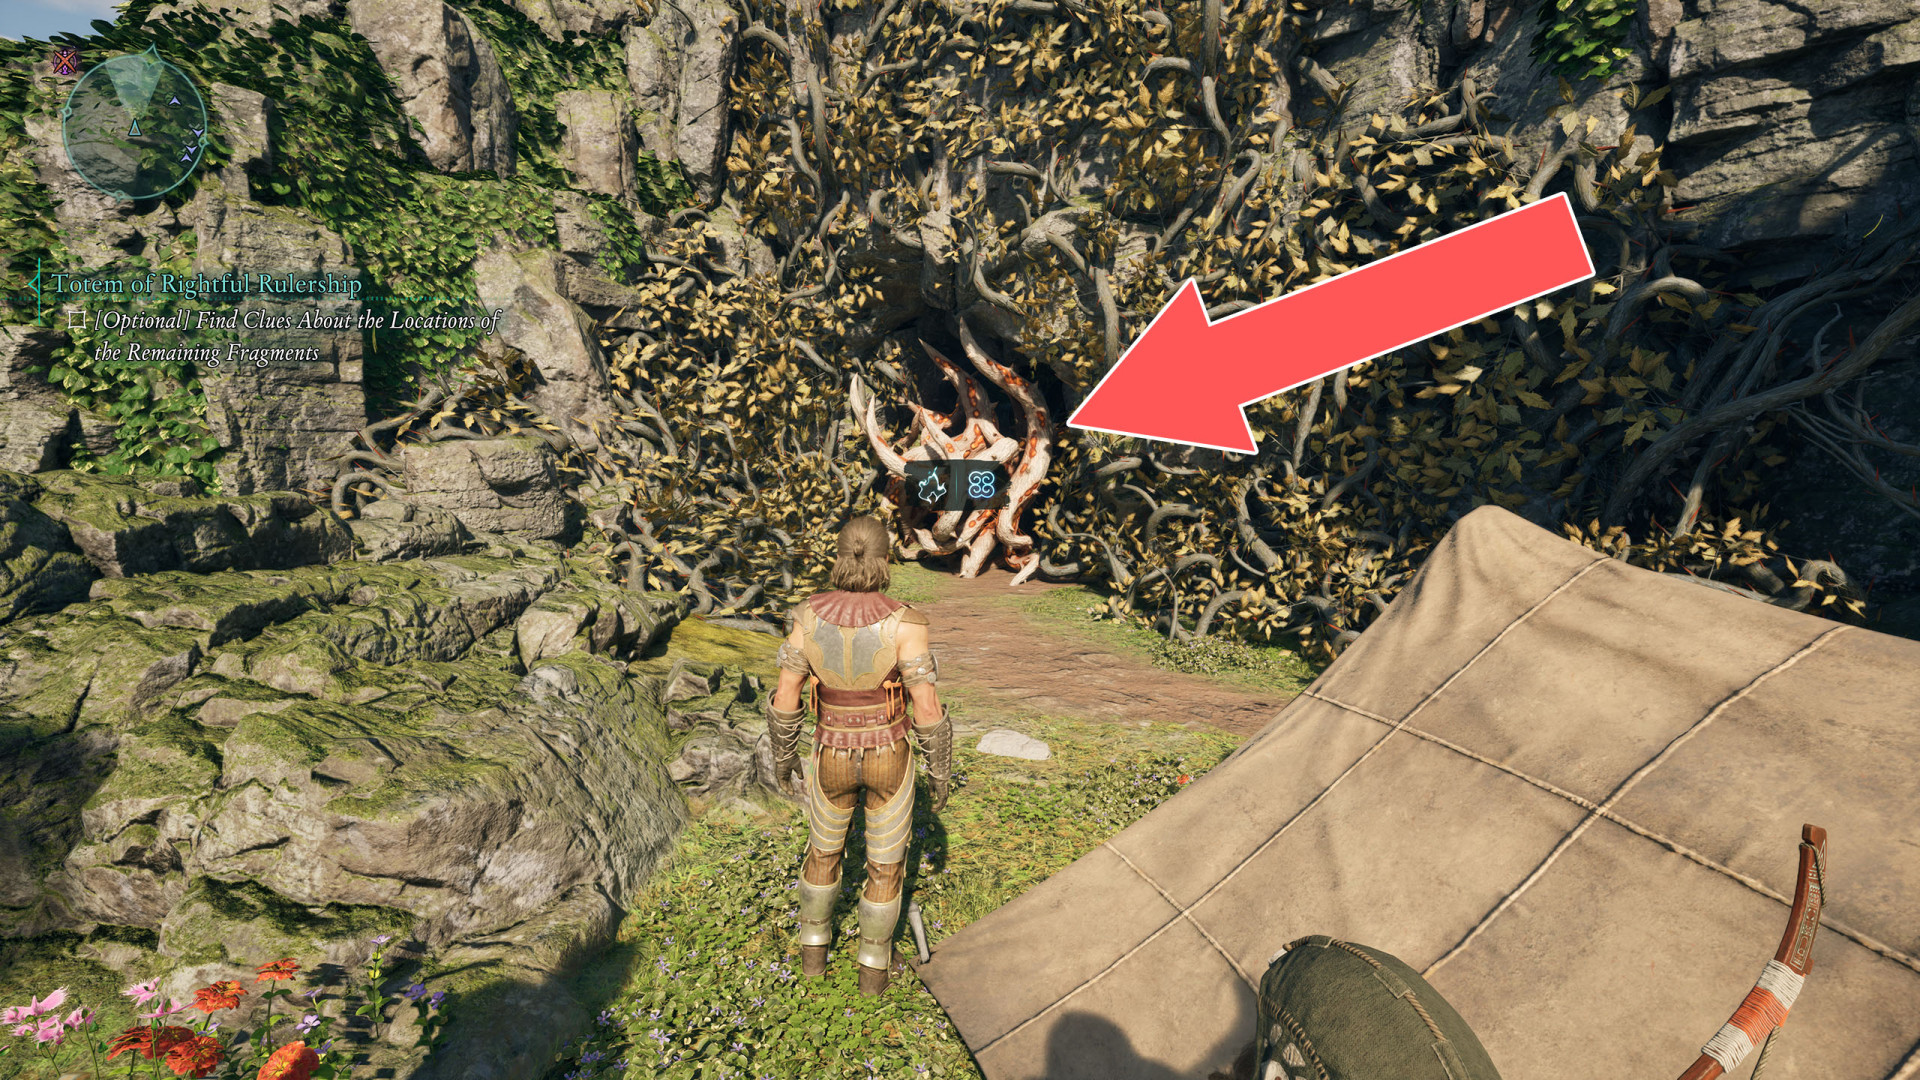
15Brambles
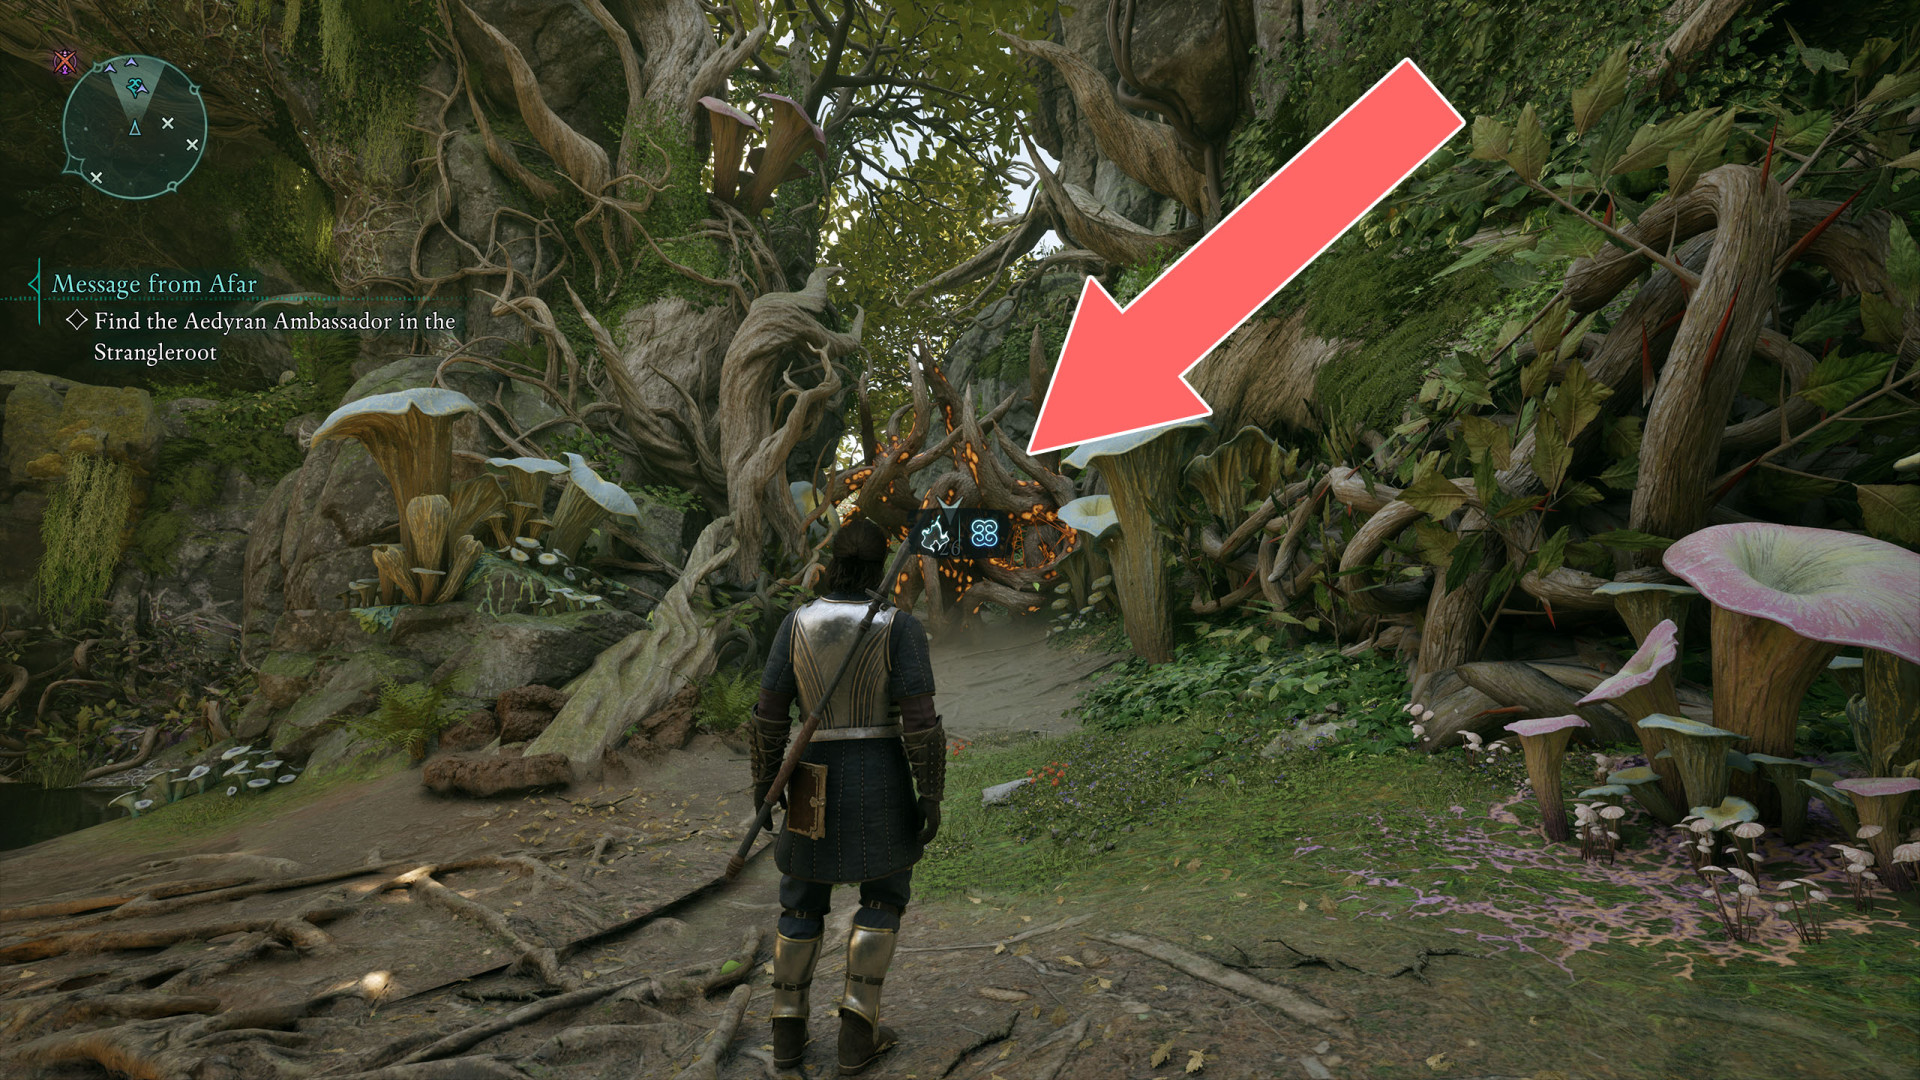
16Brambles
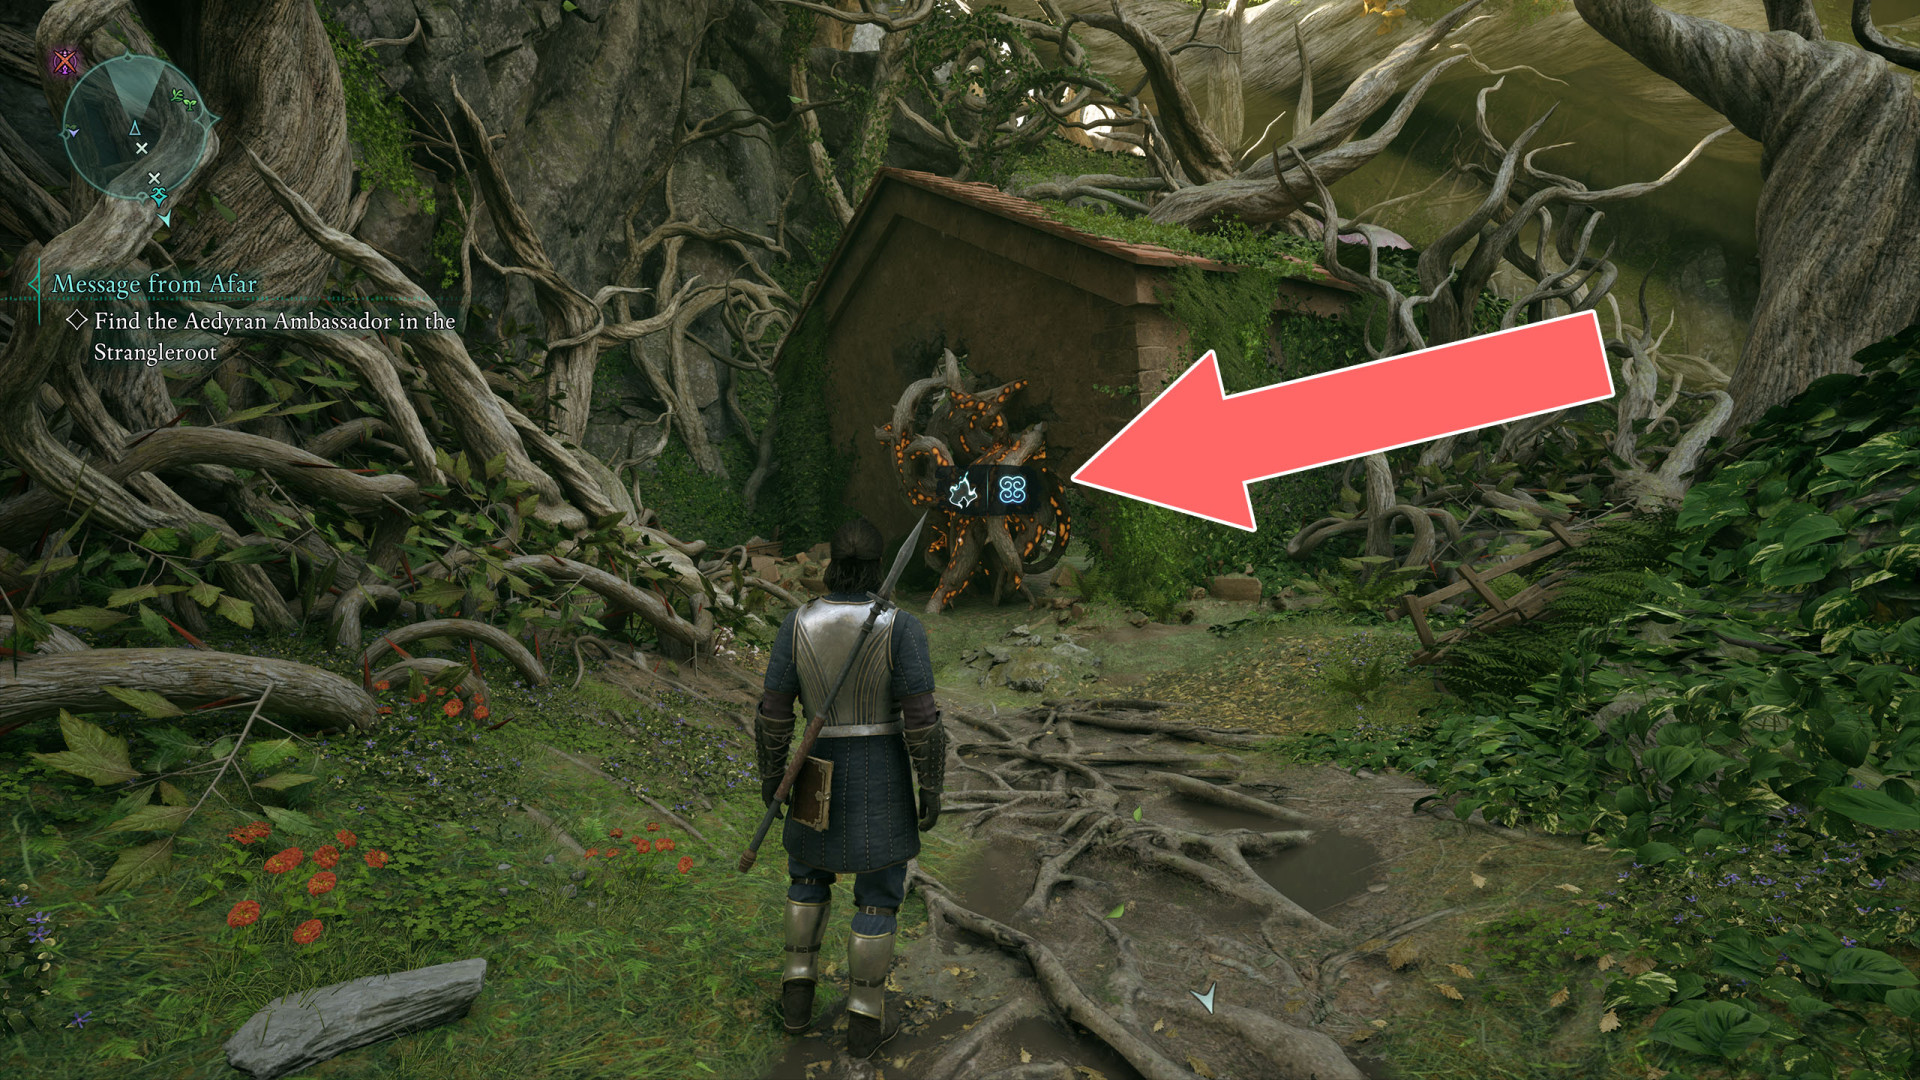
17Brambles
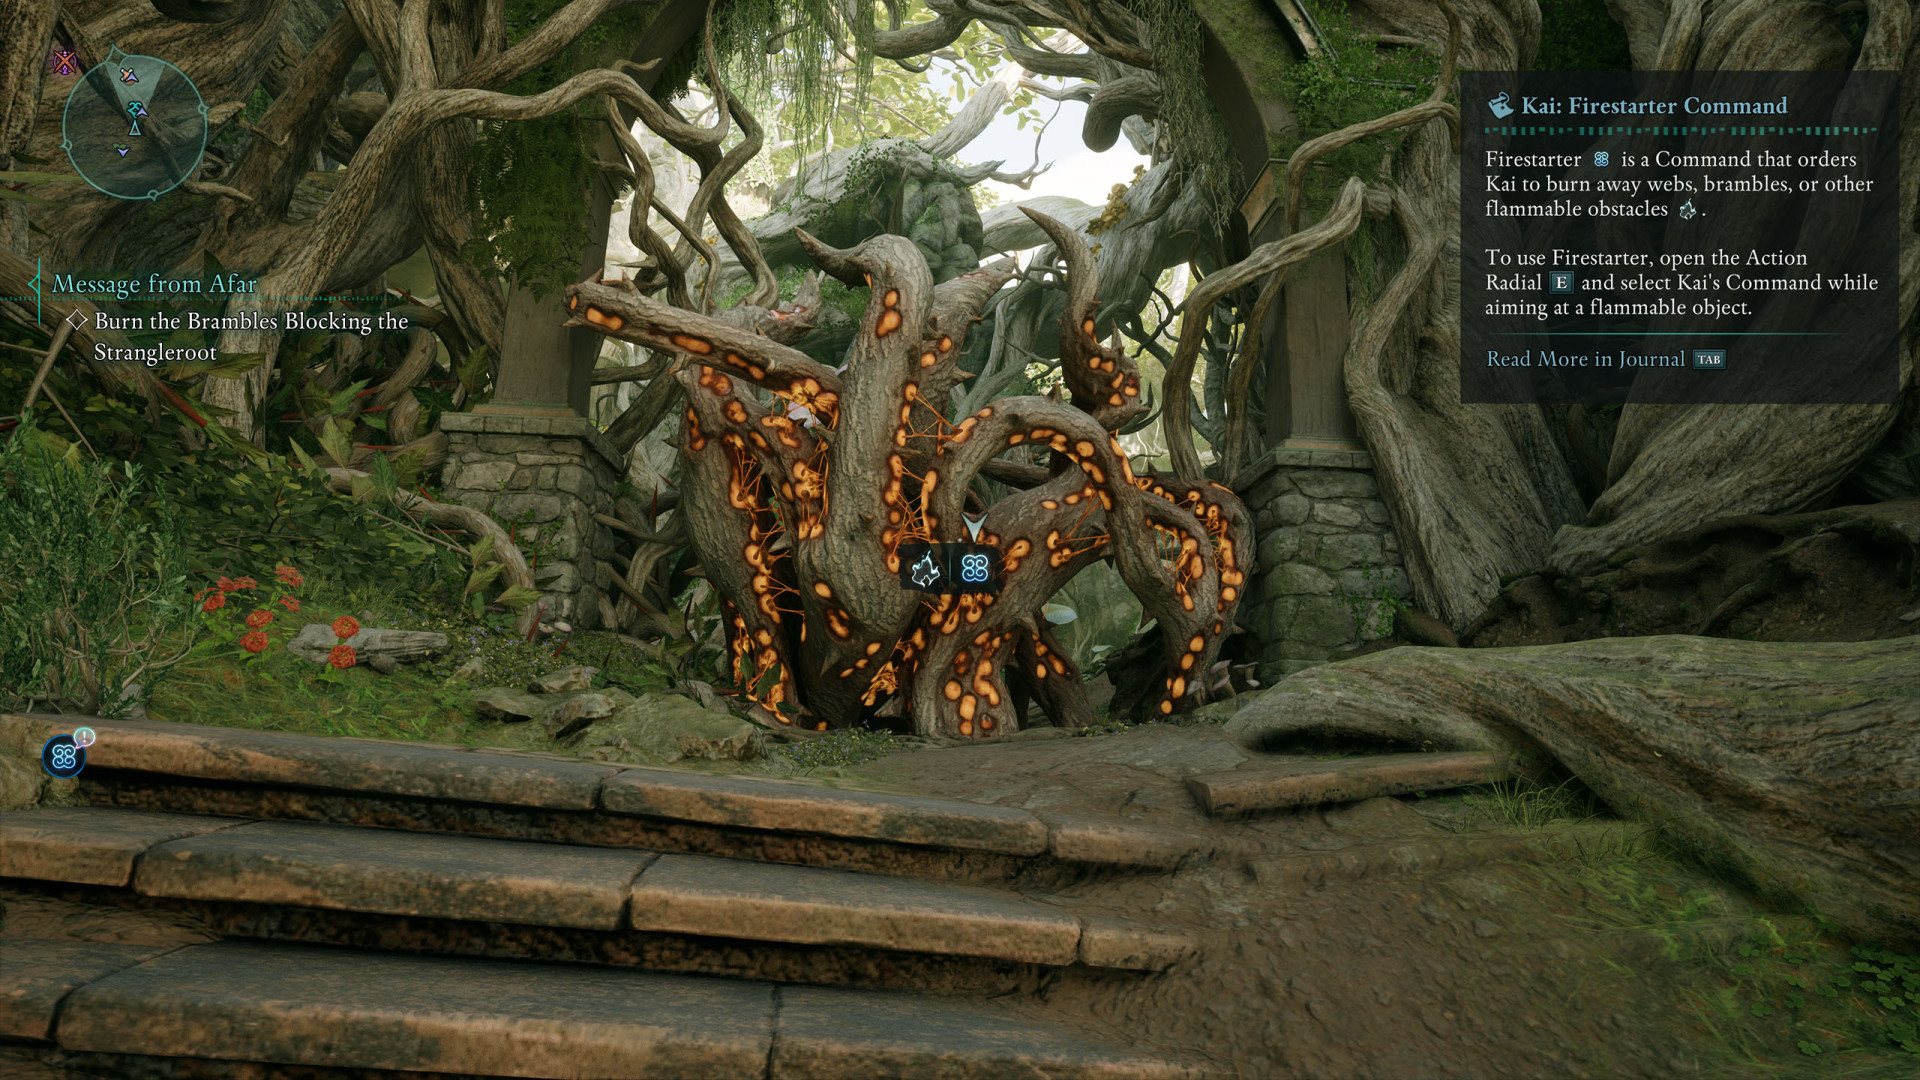
18Brambles
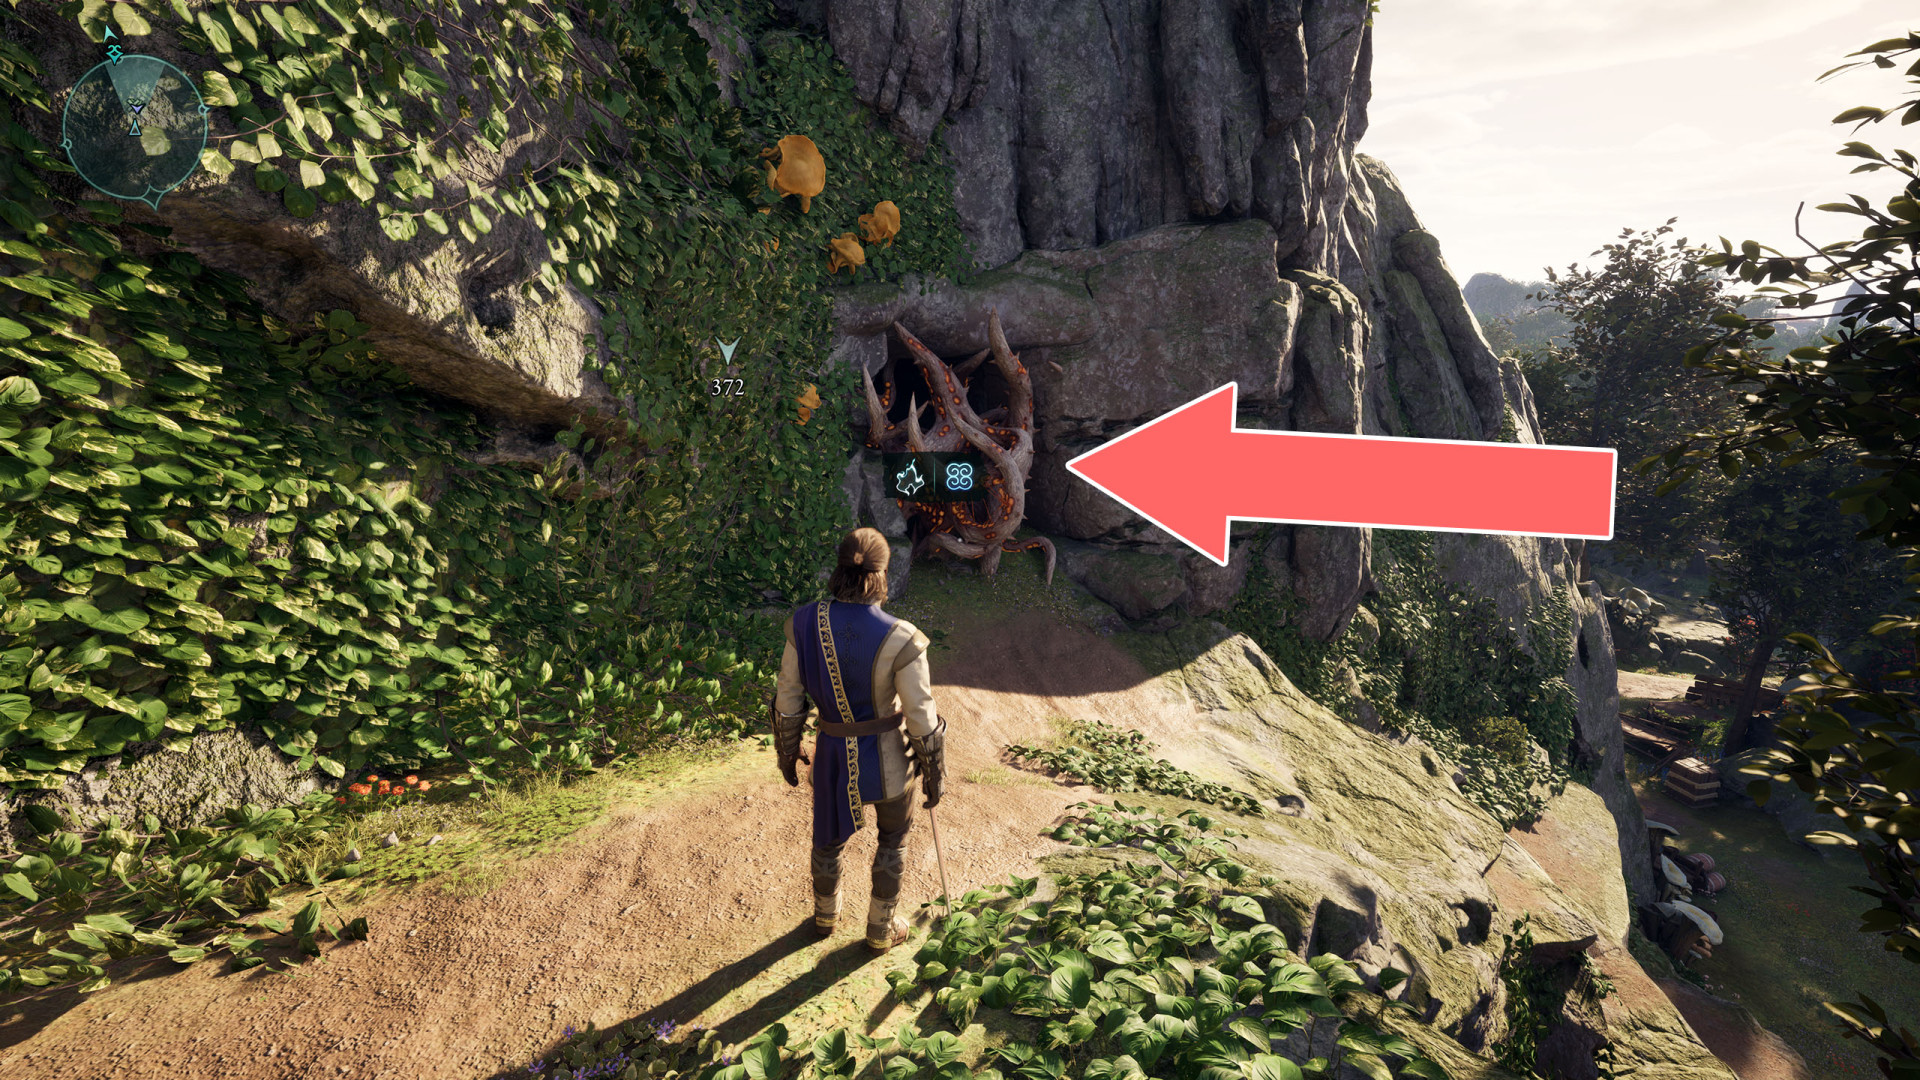
19Brambles
Destroy them to uncover the right essence generator.
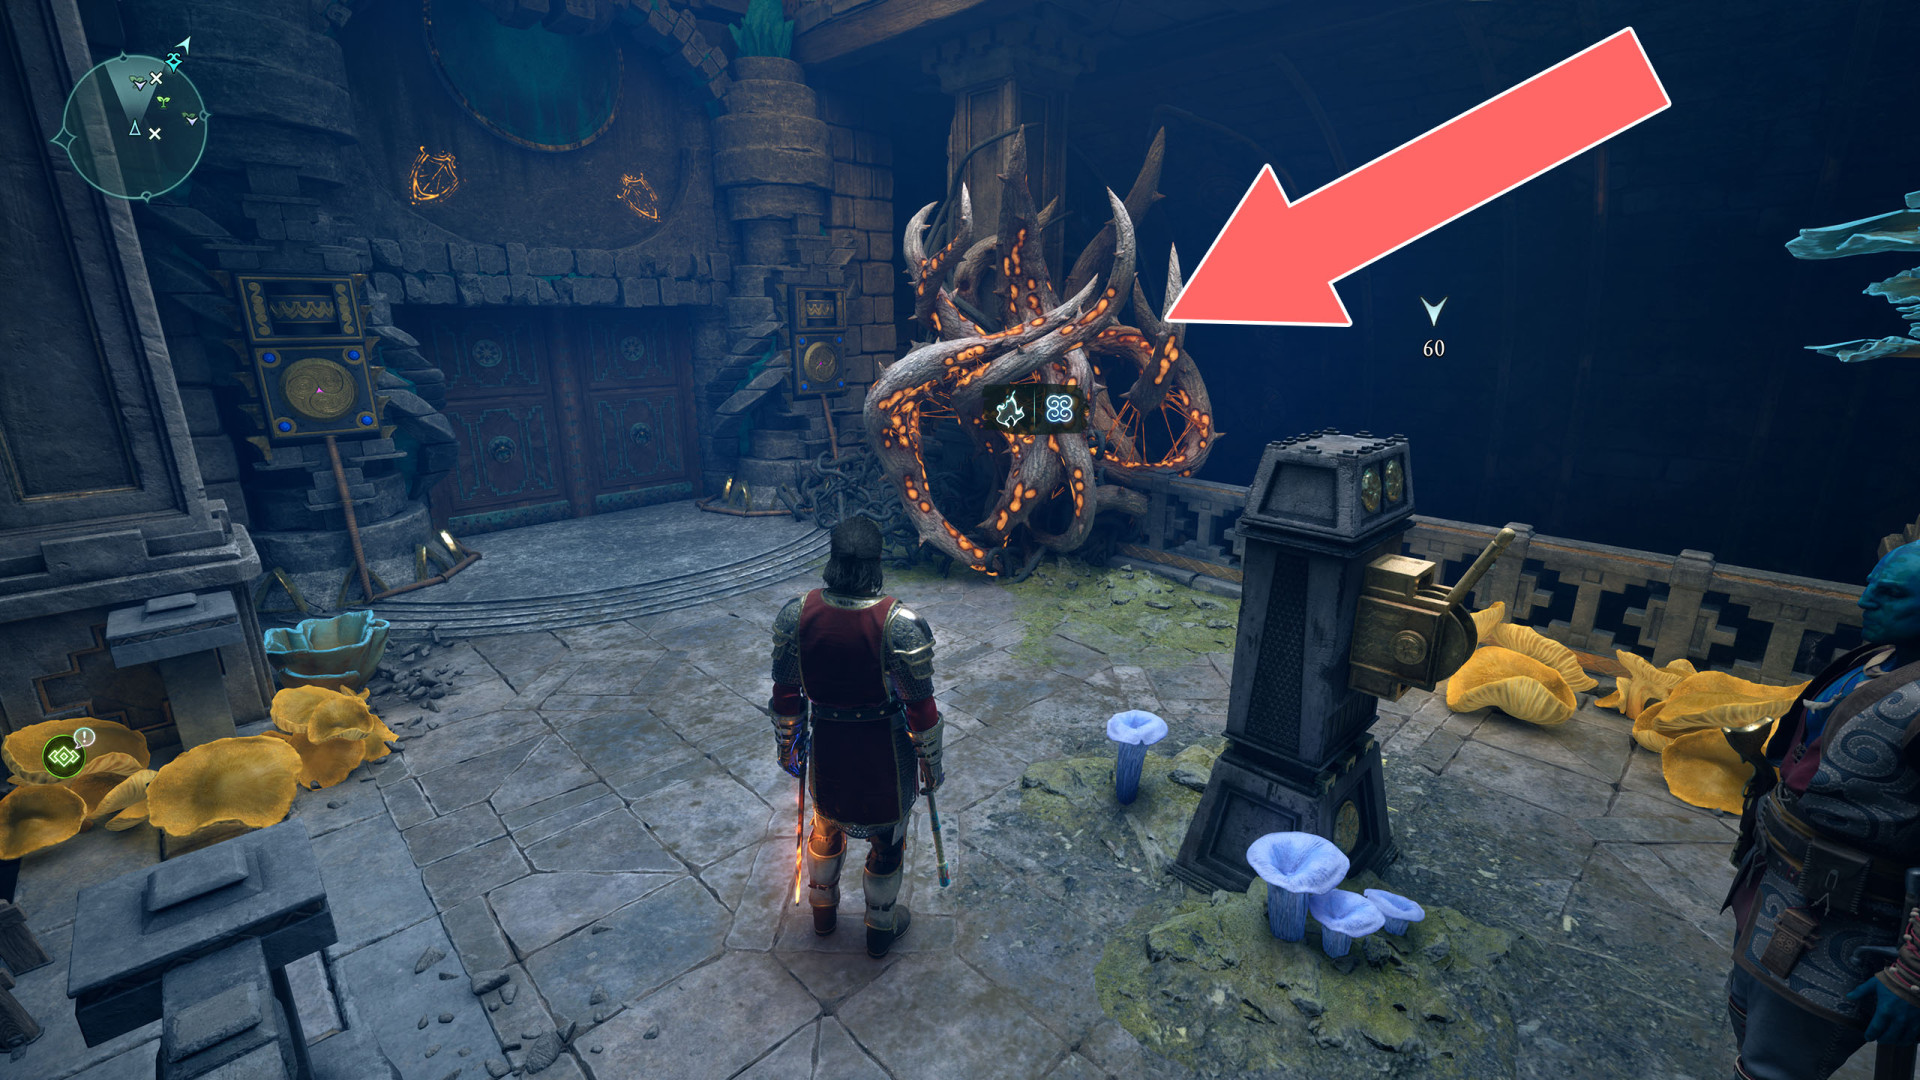
20Brambles
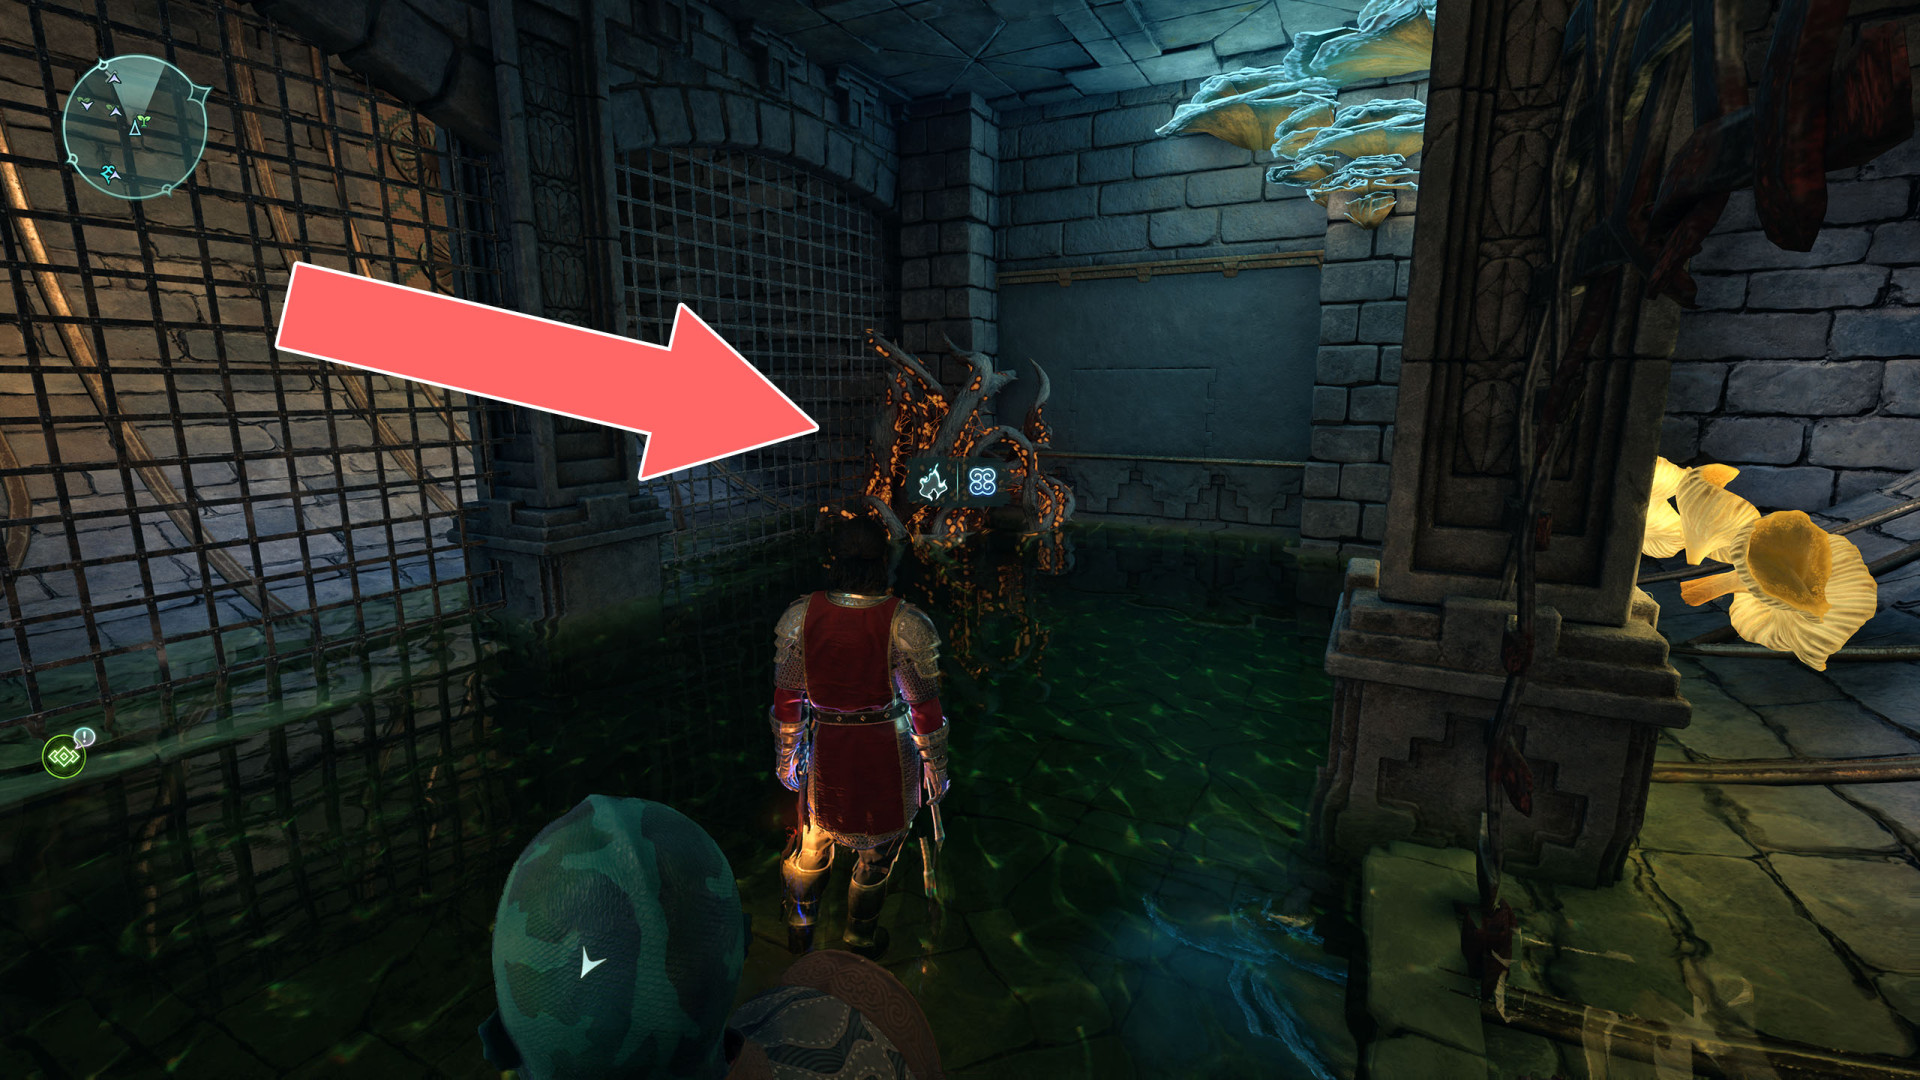
21Brambles
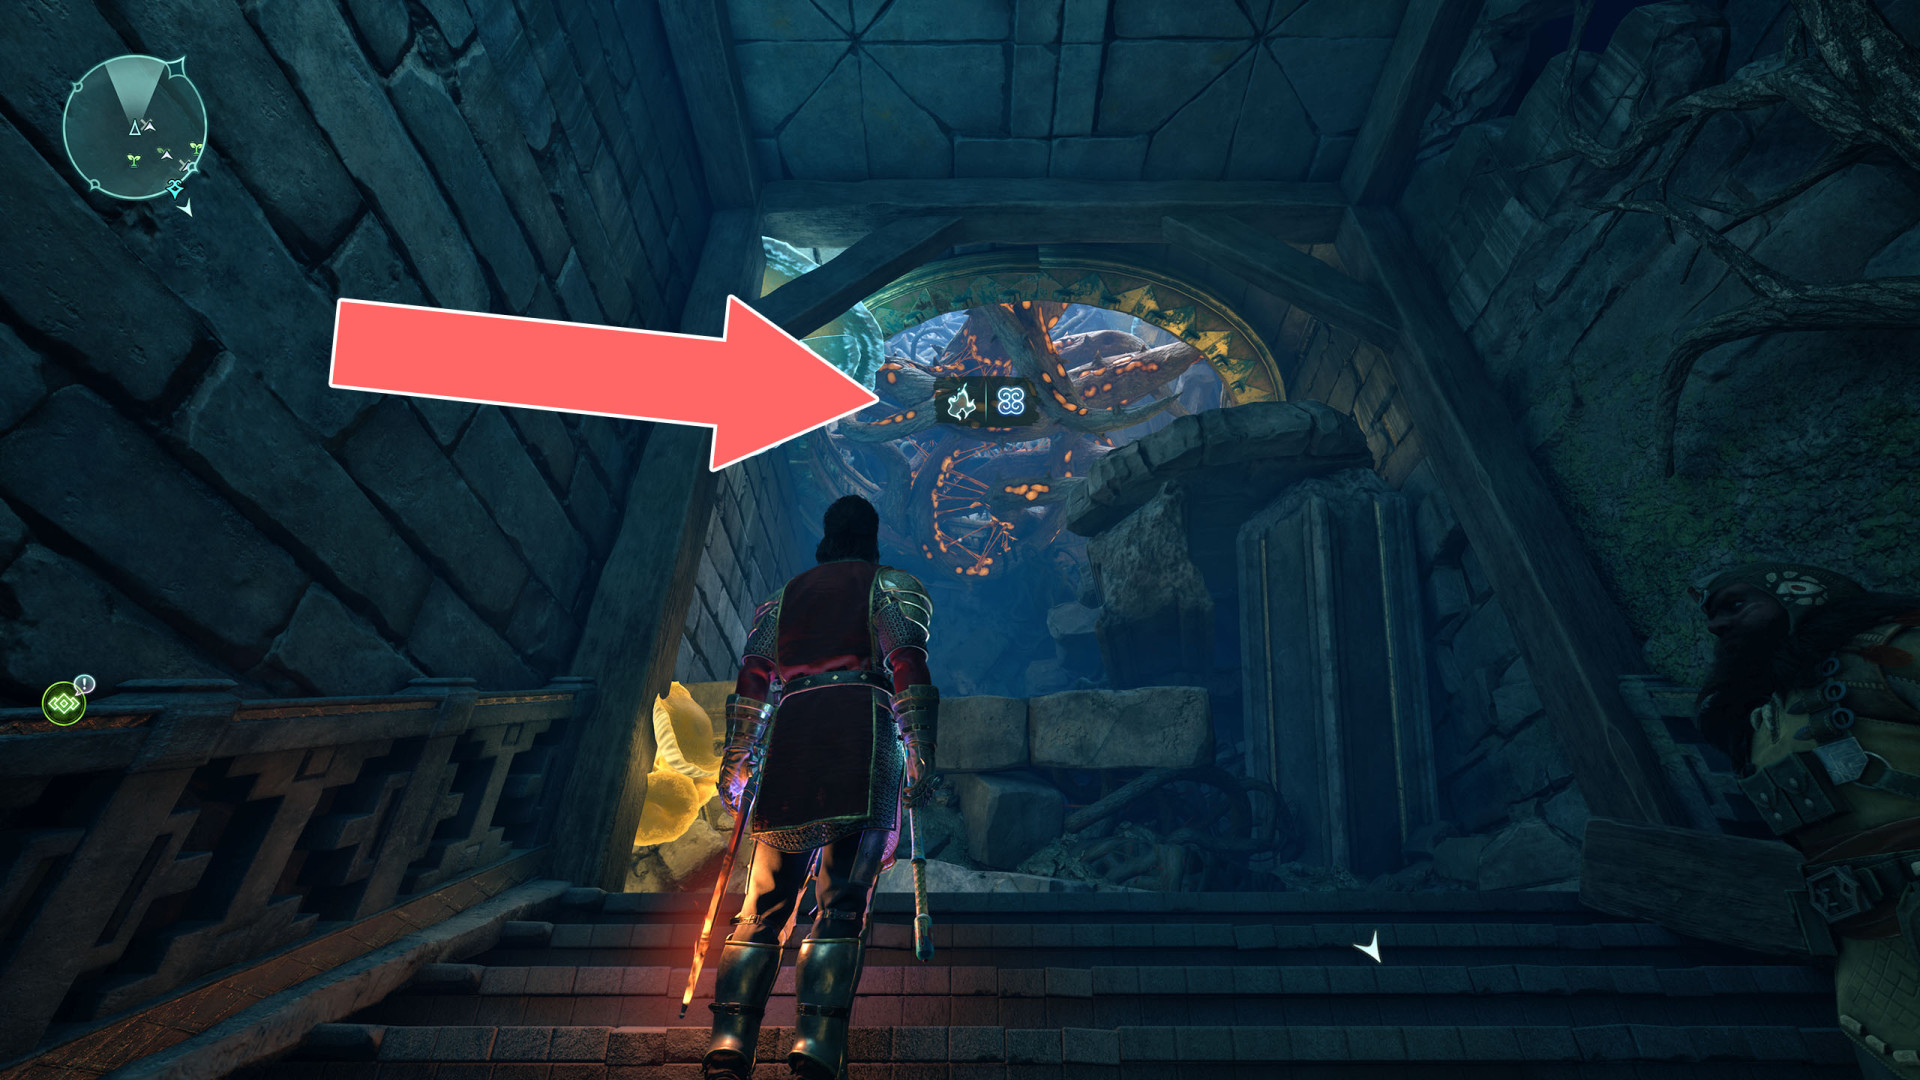
22Brambles
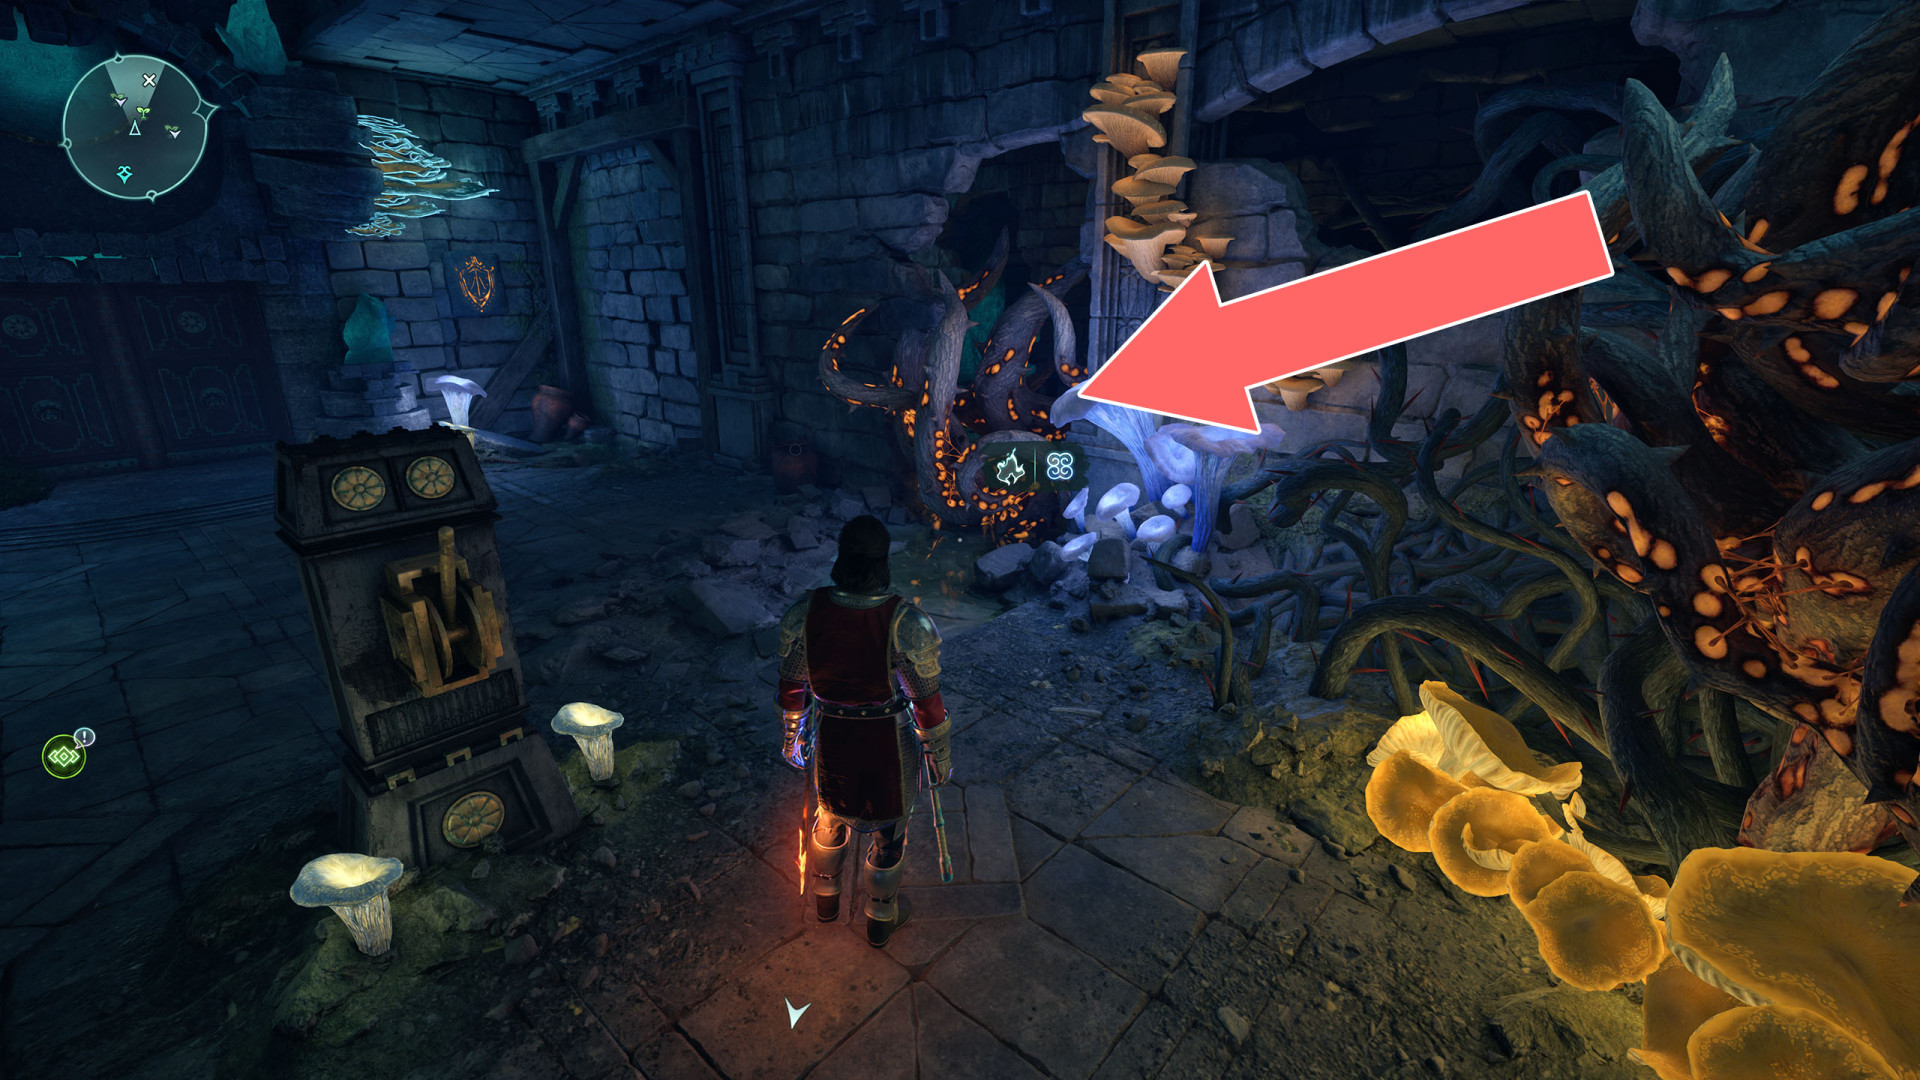
23Brambles
Destroy it to uncover one of the traps needed to open the shock door.
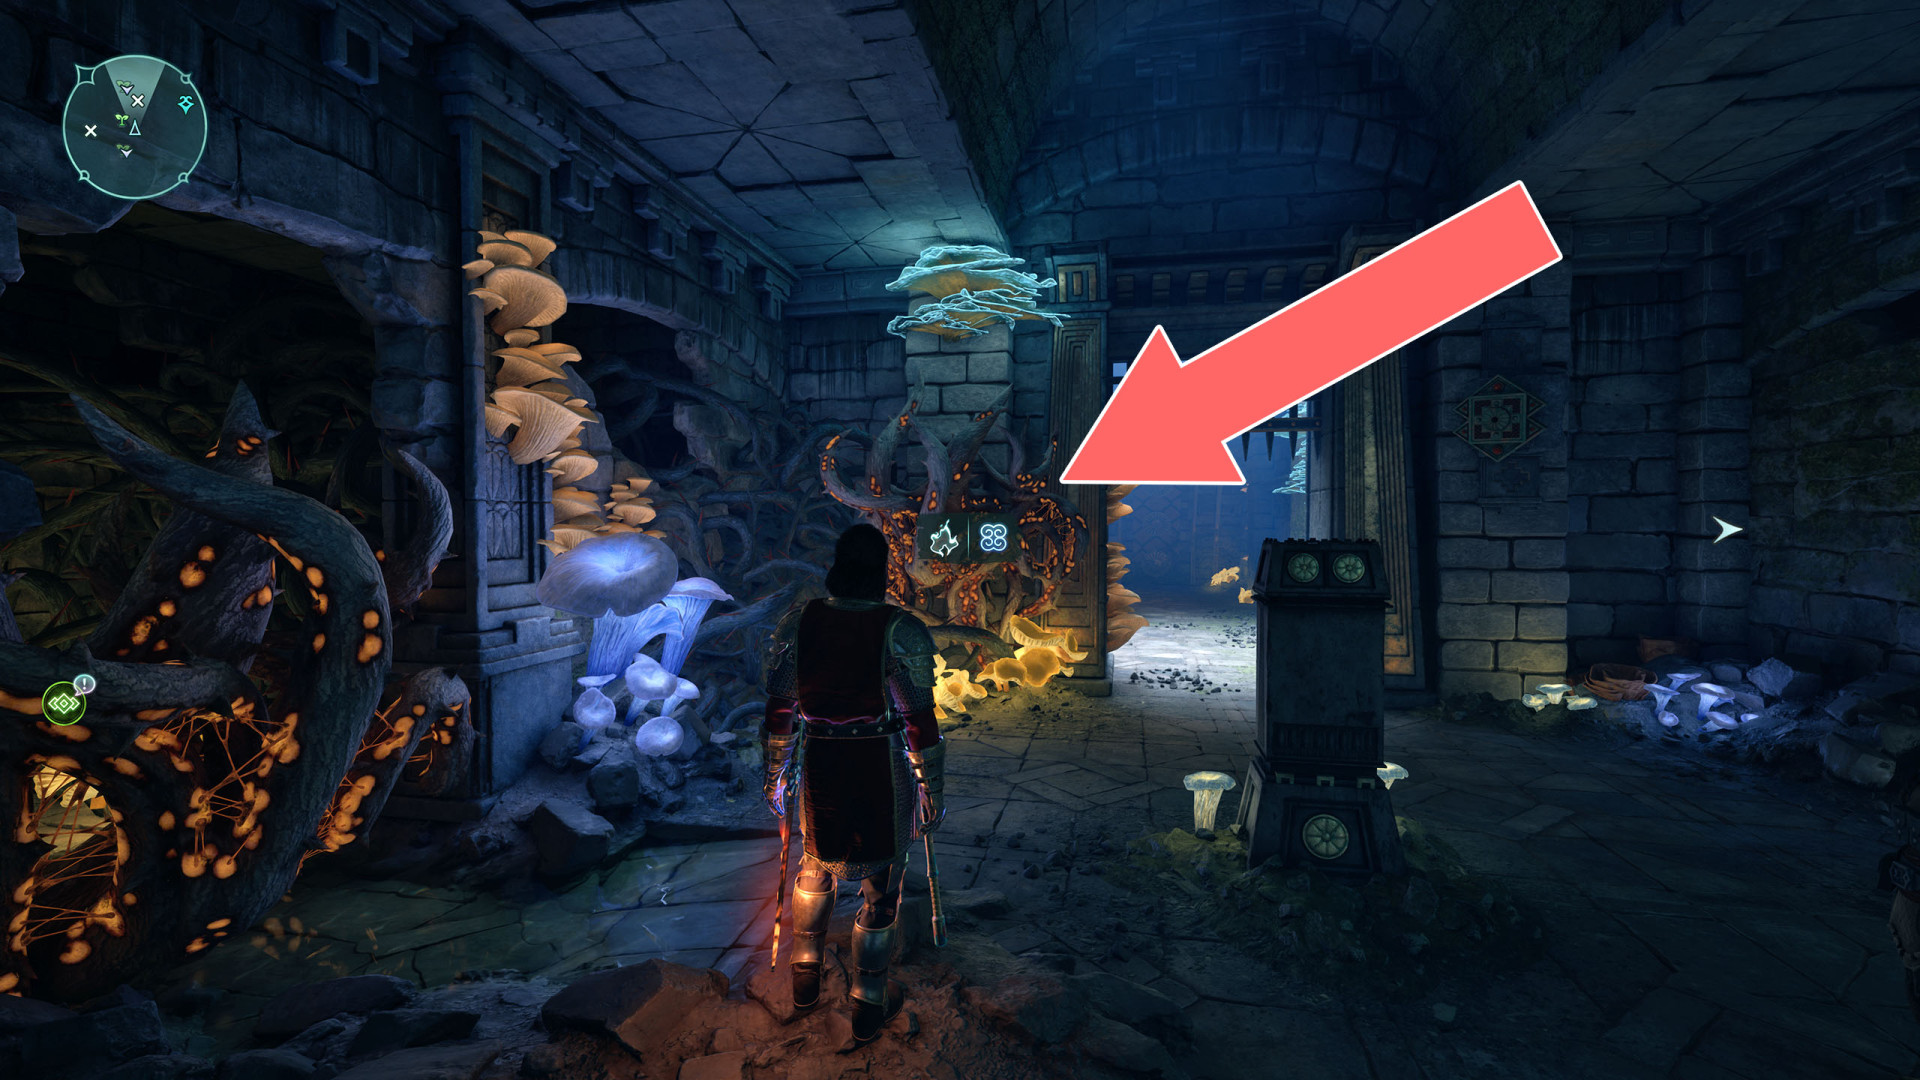
24Brambles
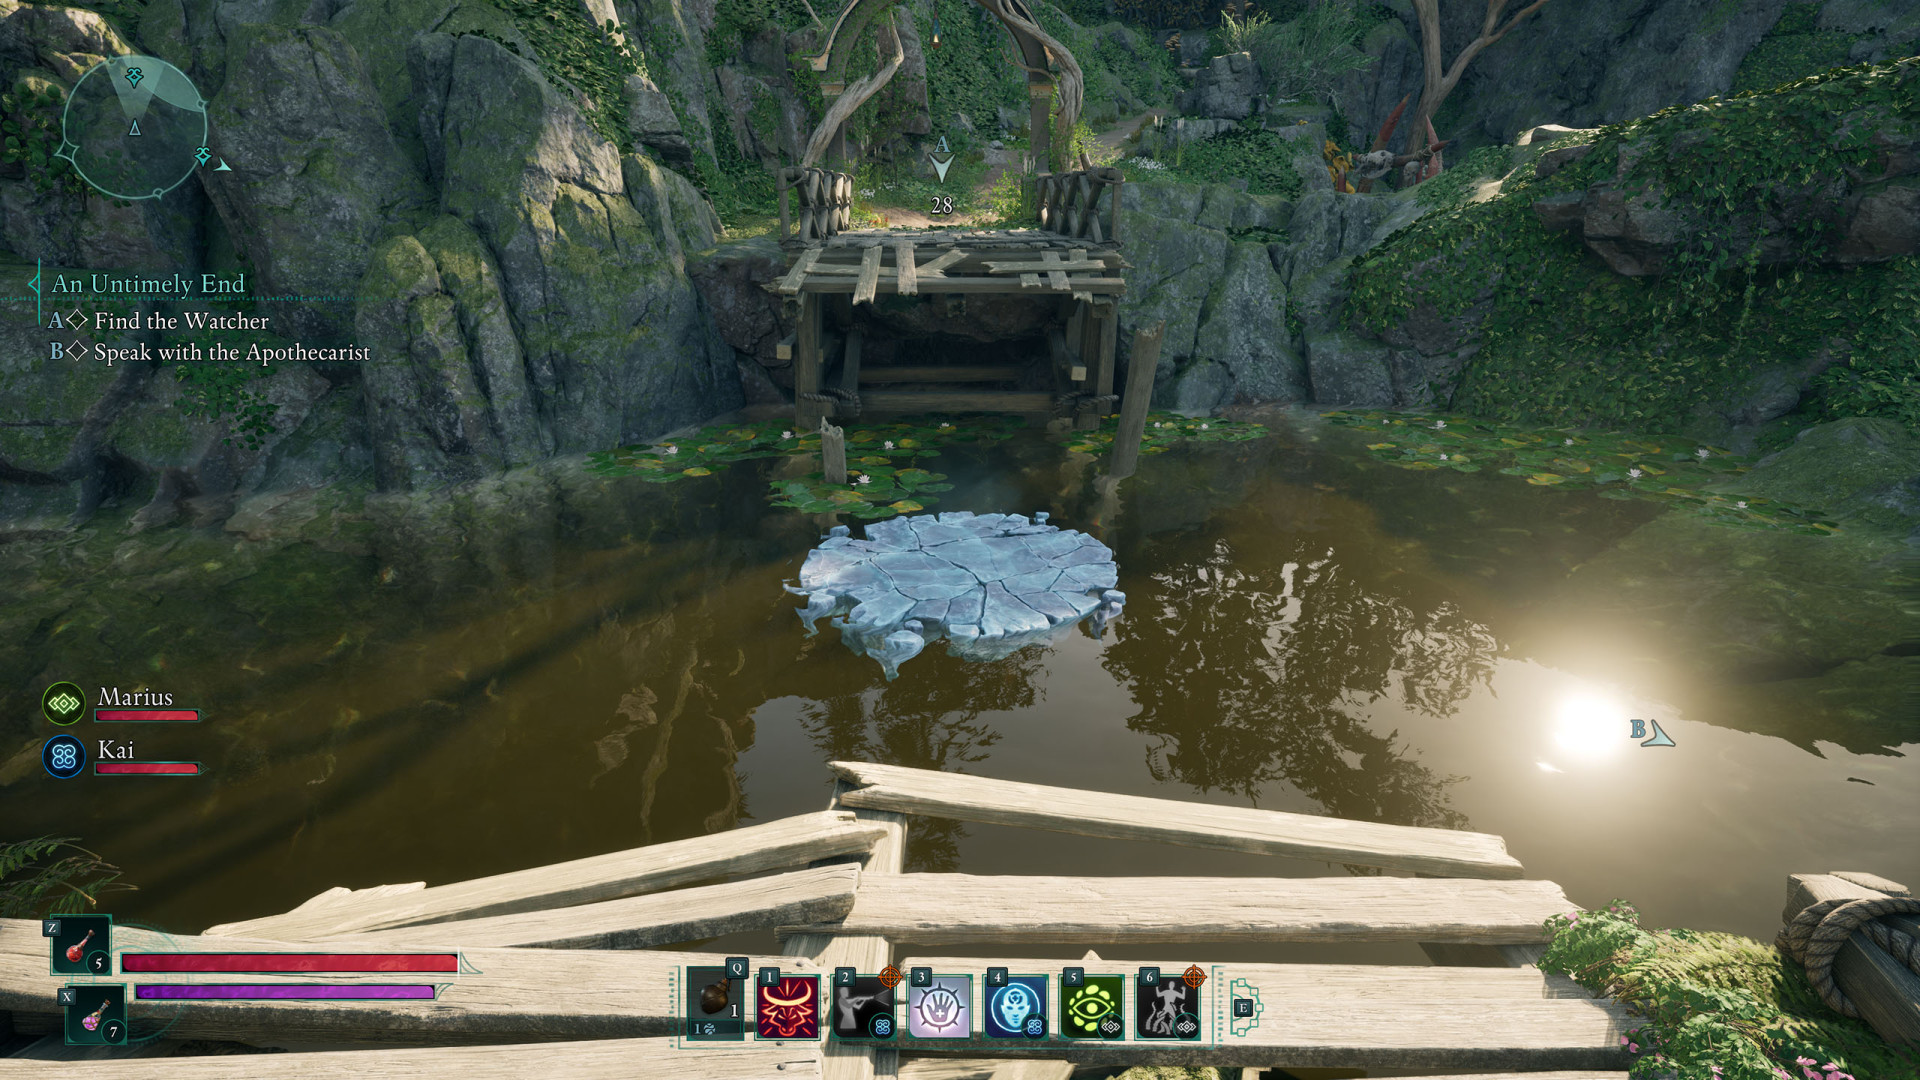
25 Broken Bridge
To get to the other side, you have to freeze the water.
26Cistern Door
Unlocks with: Cistern Key.
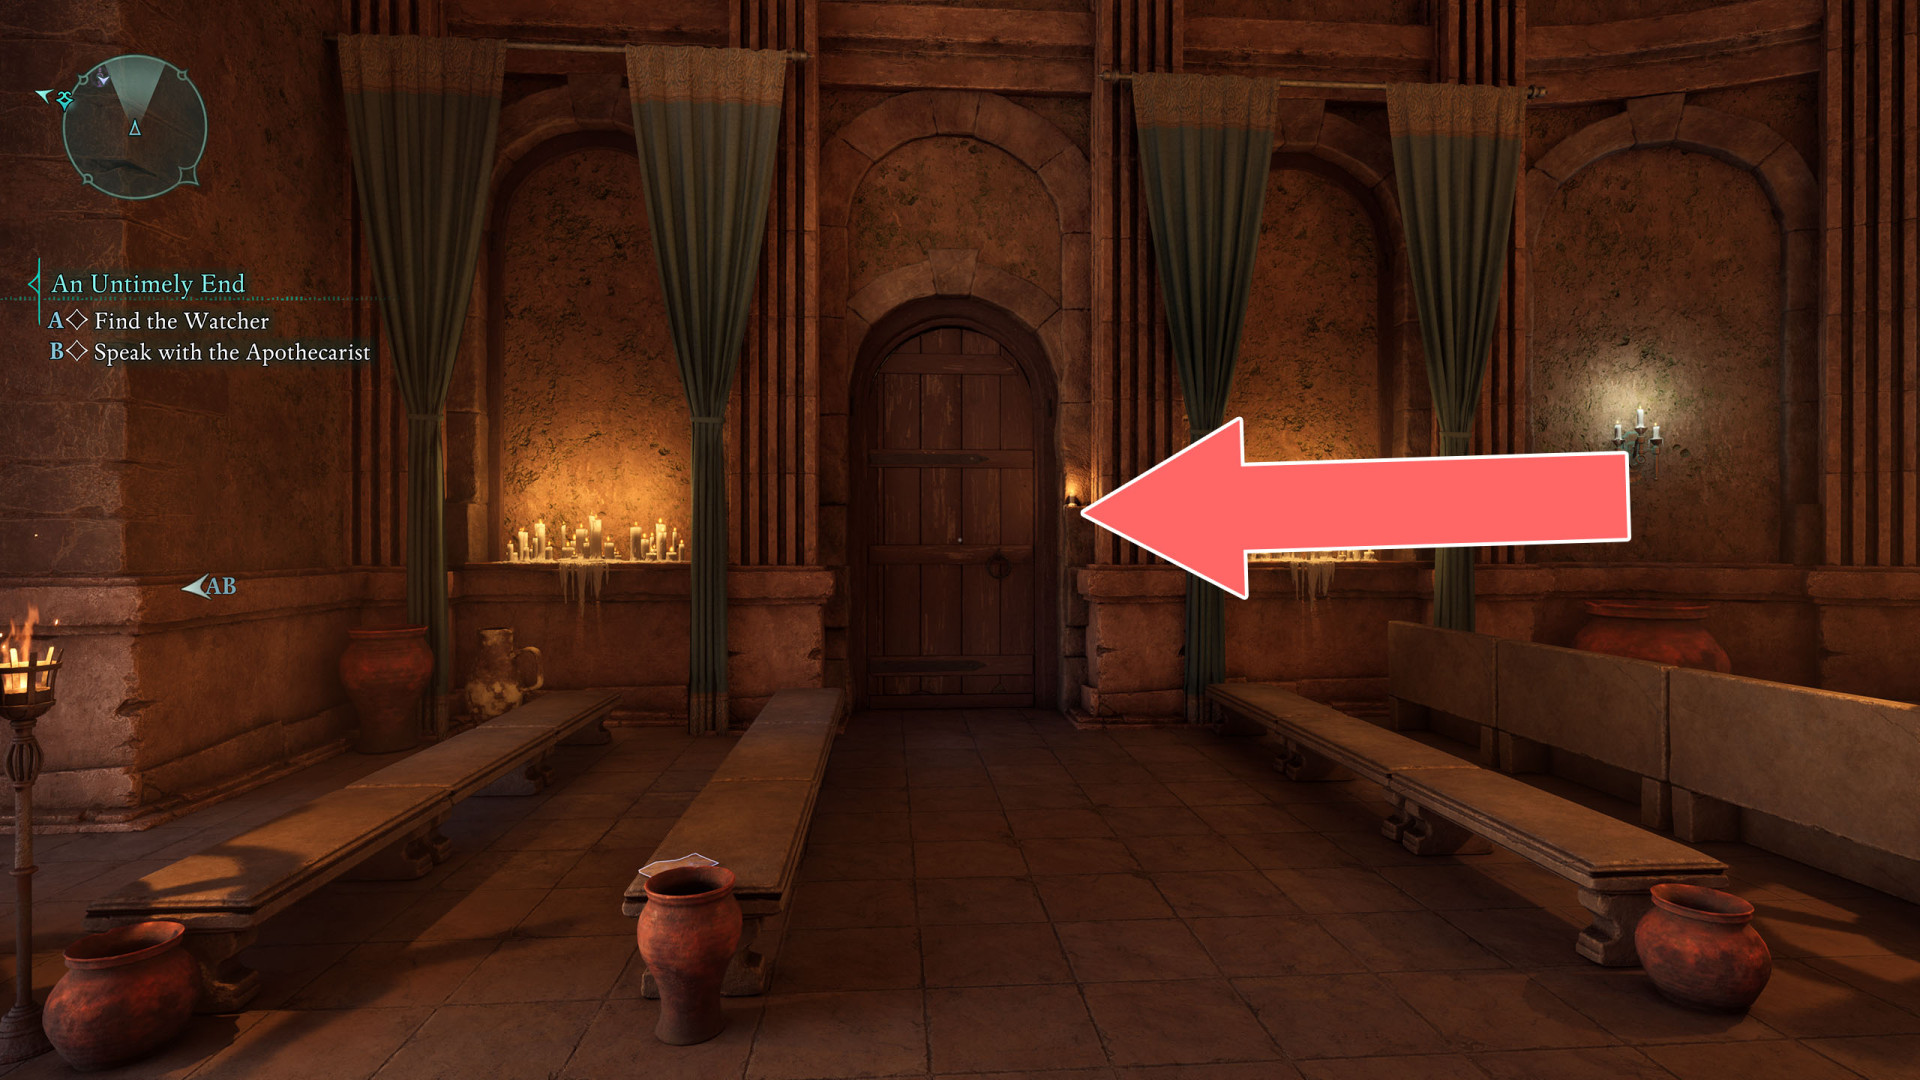
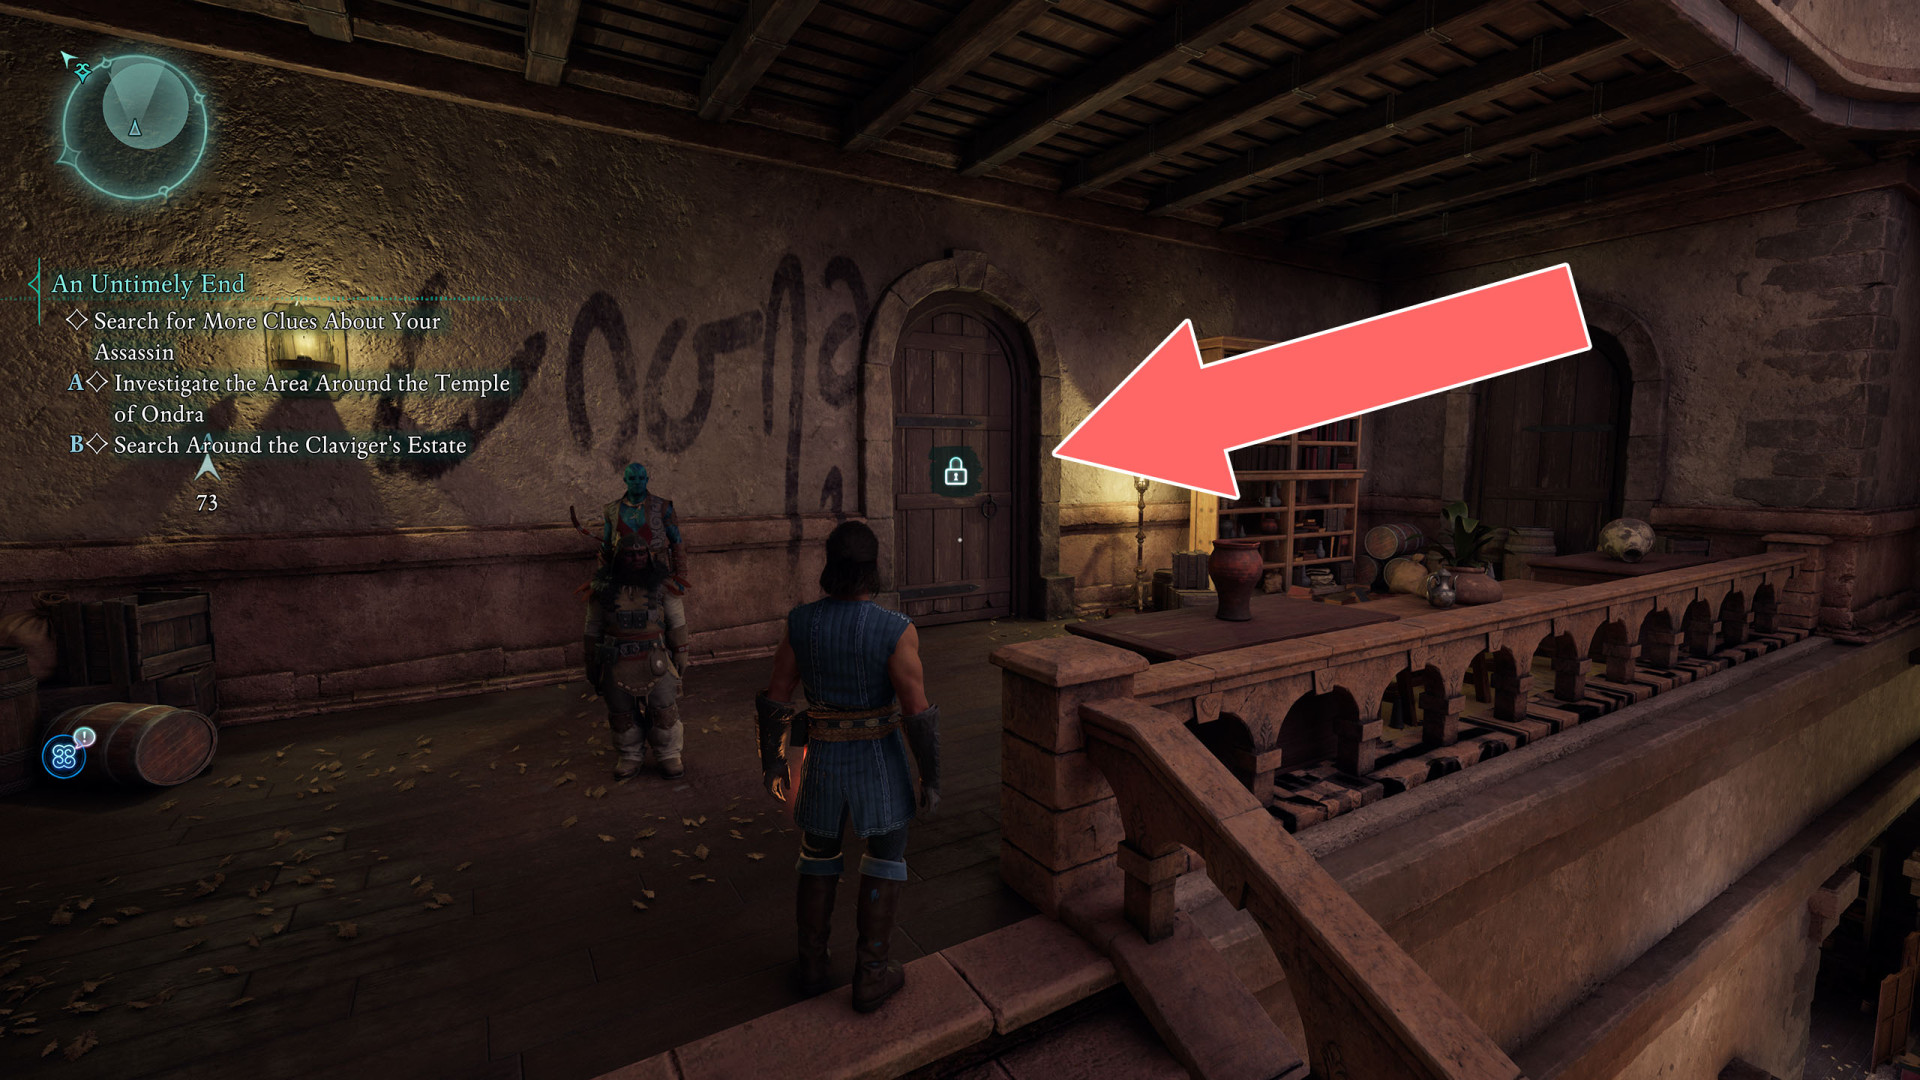
27Claviger's Estate Door
Unlocks with: Claviger's Estate Key or Lockpick x3.
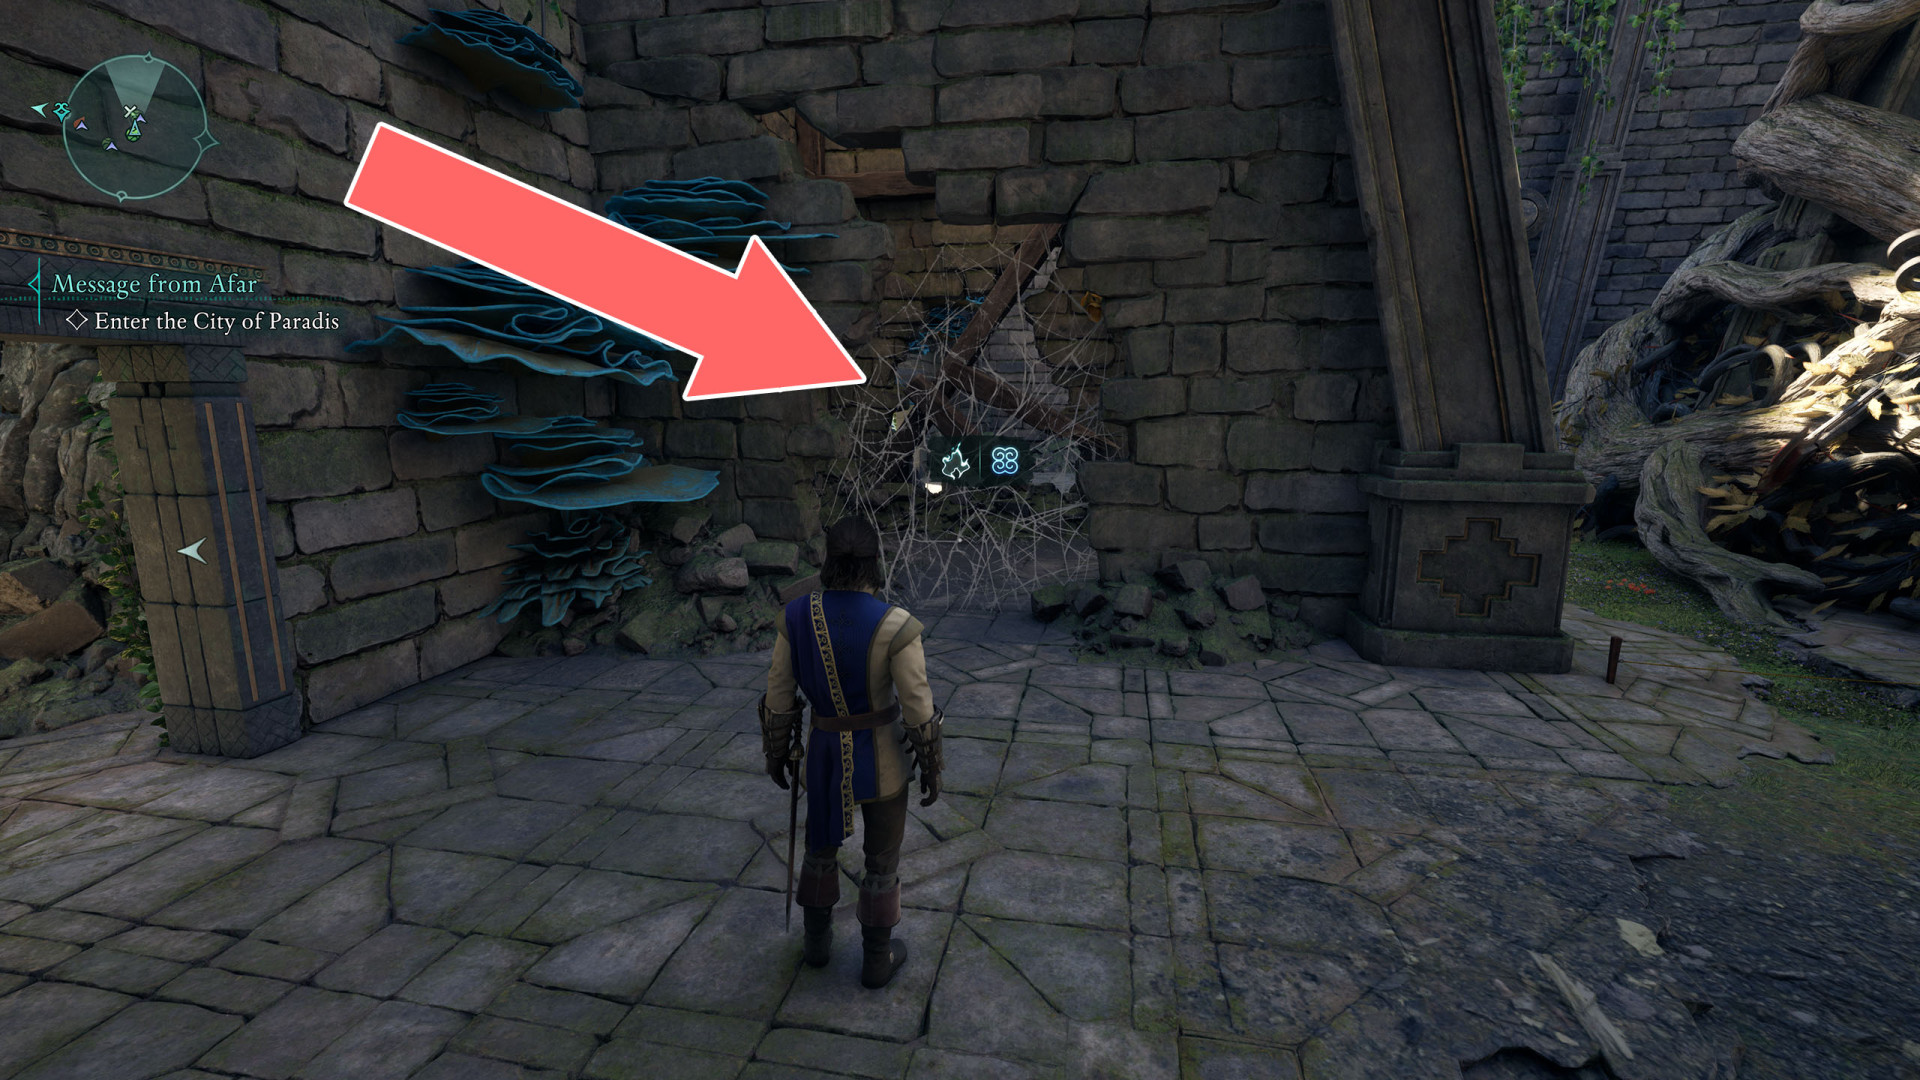
28Cobweb
29Cobweb
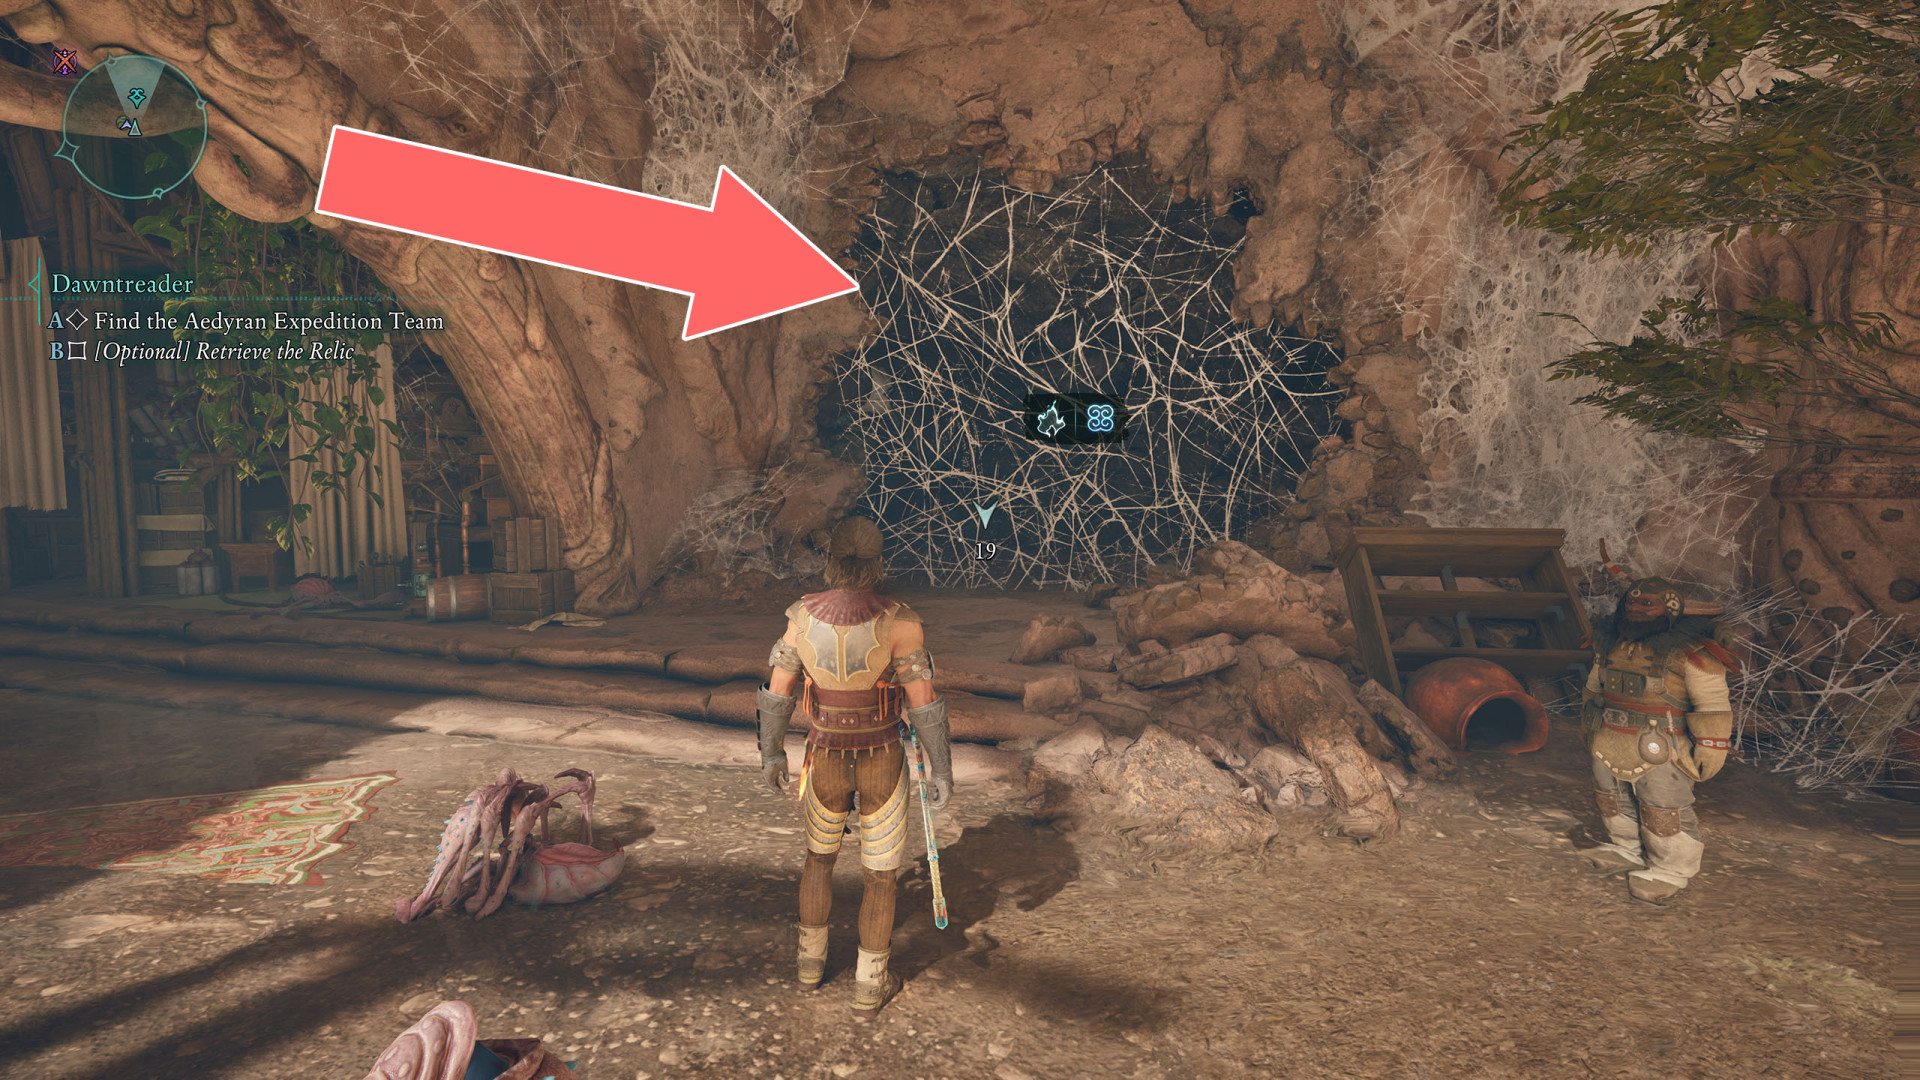
30Cobweb
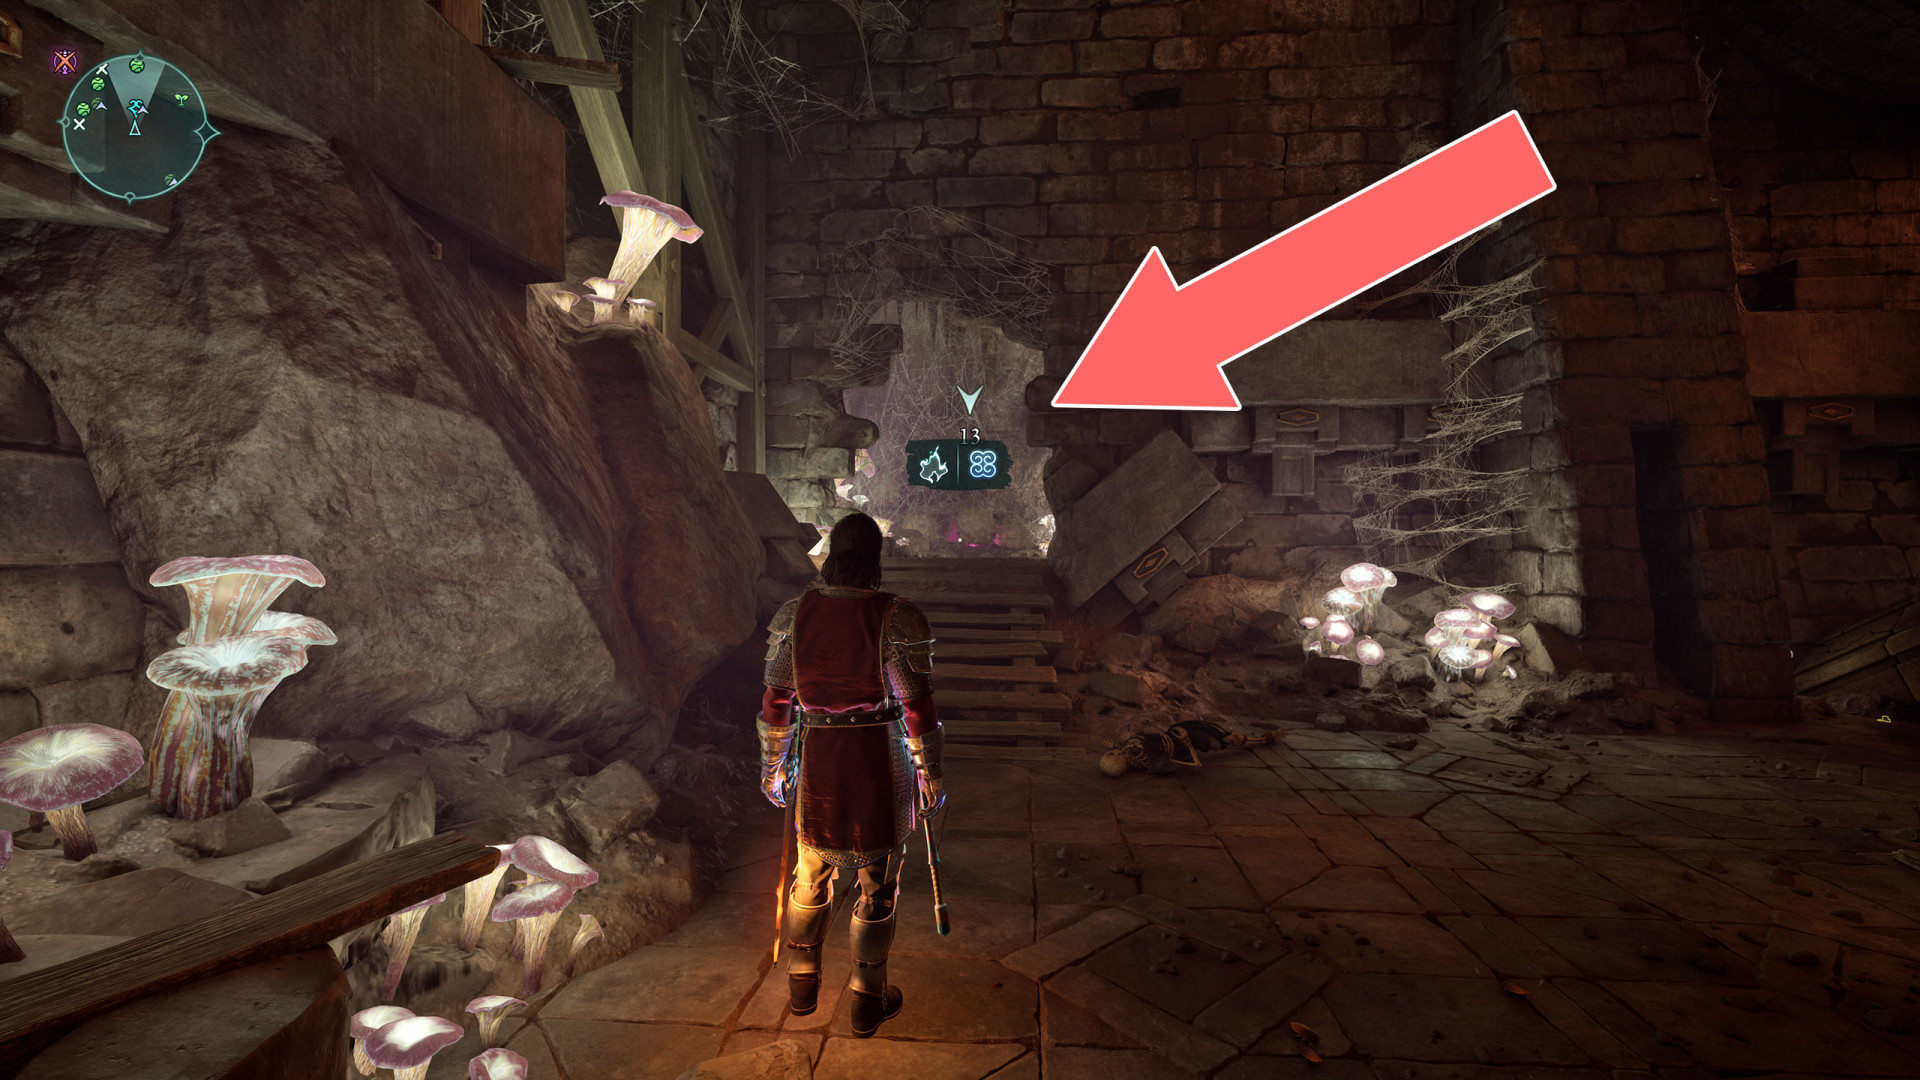
31Cobweb
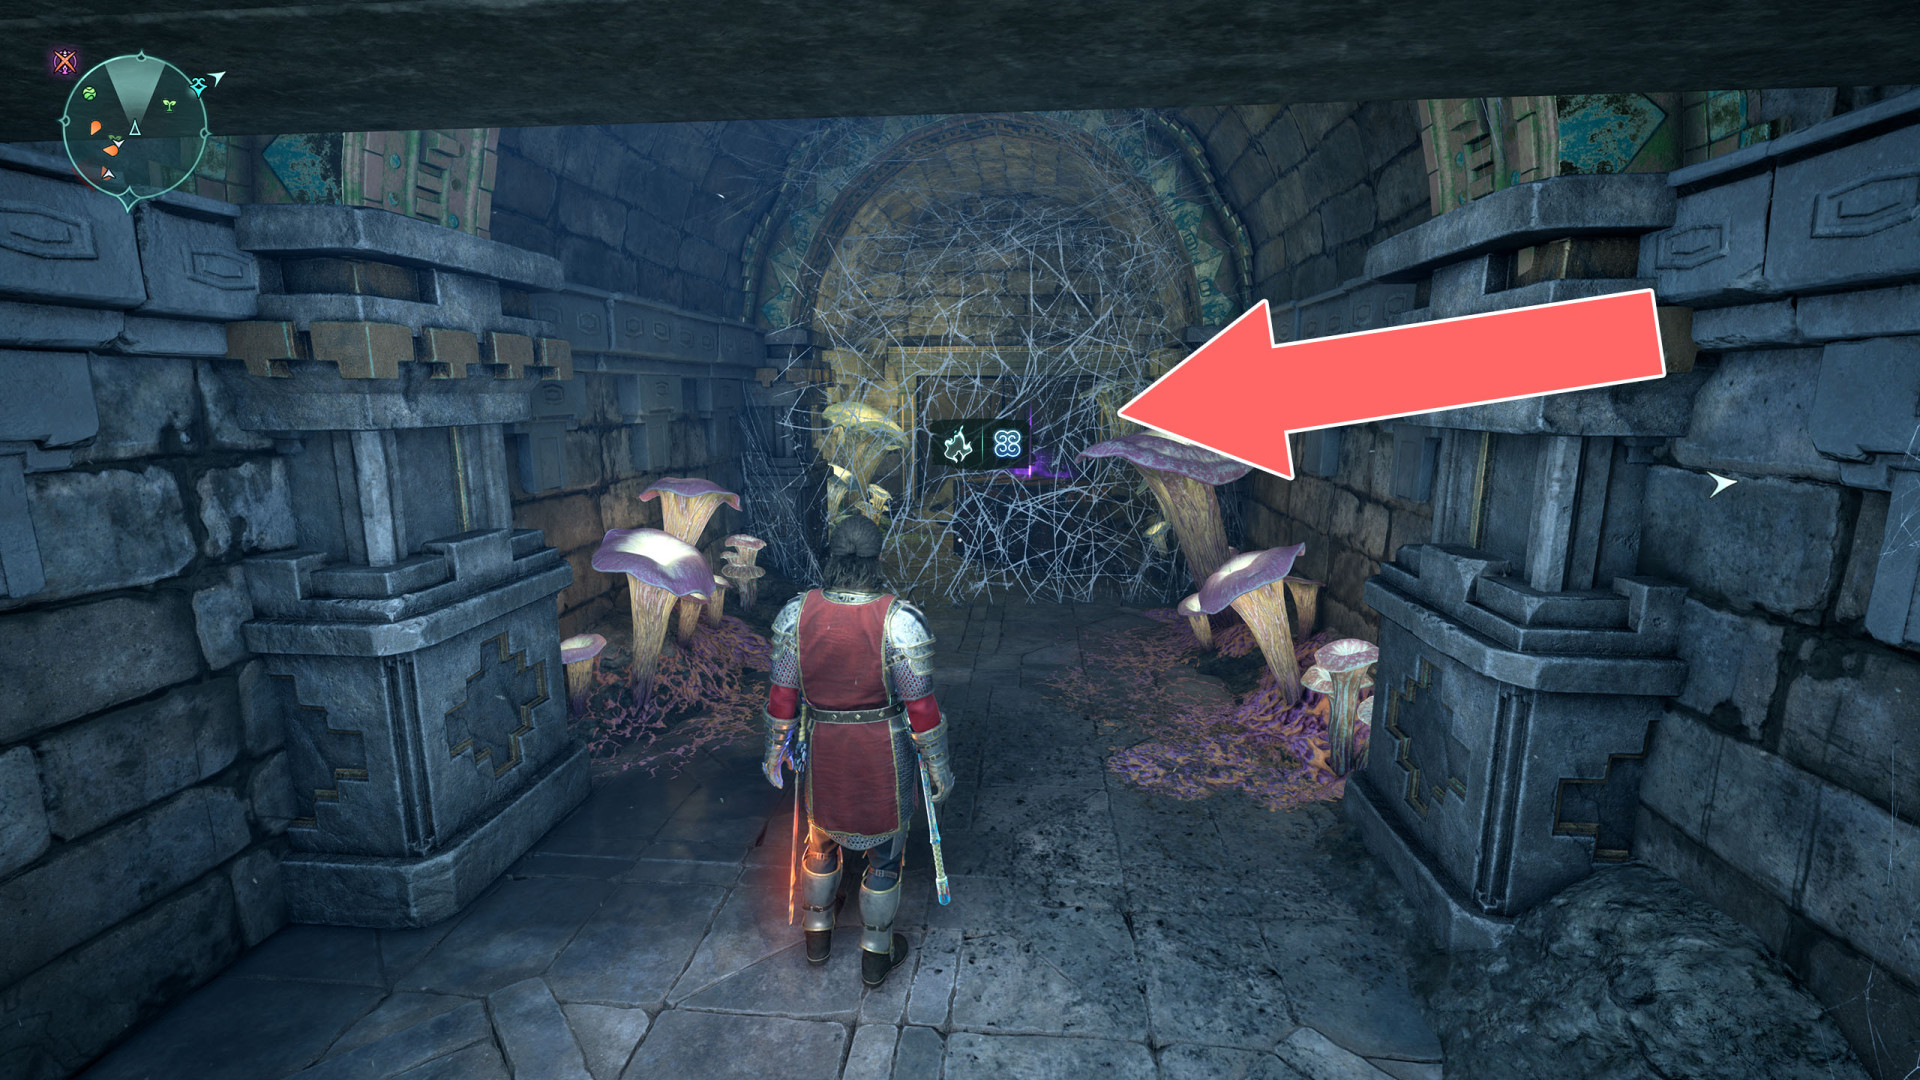
32Cobweb
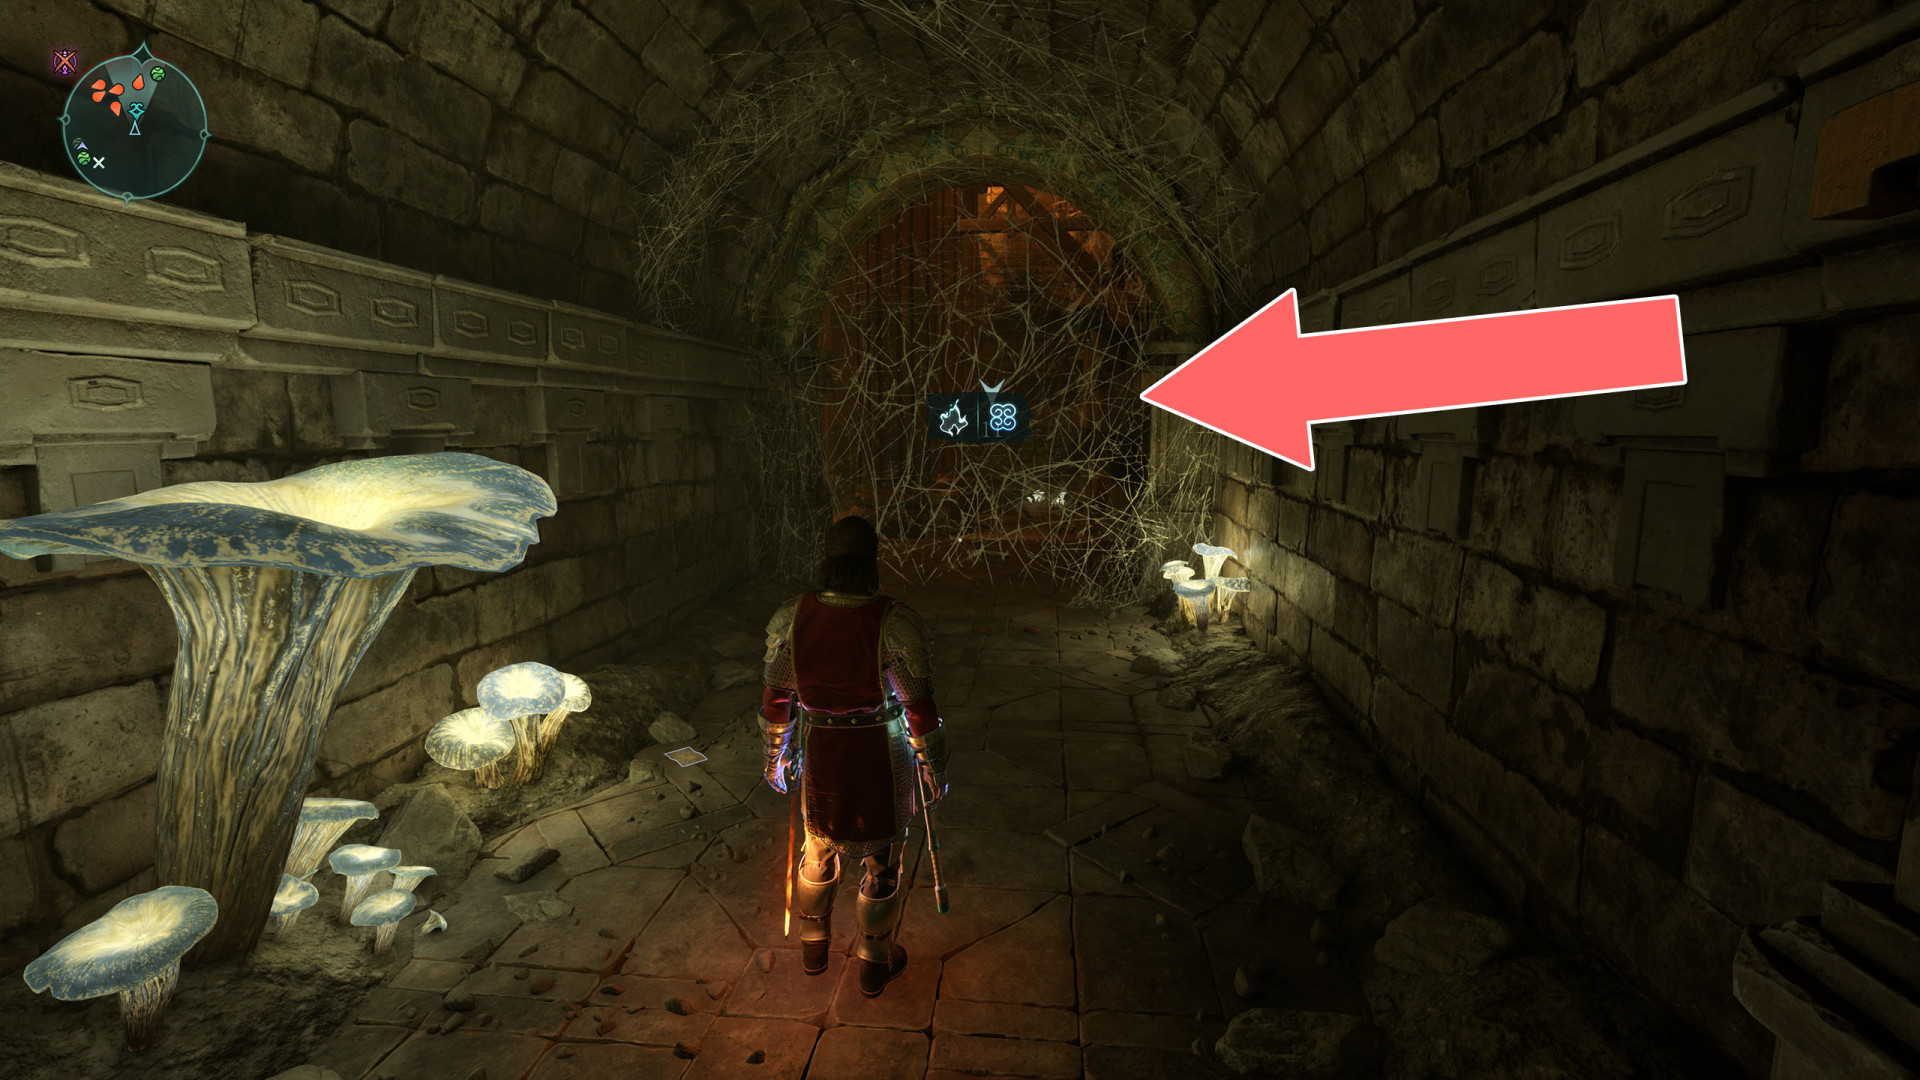
33Cobweb
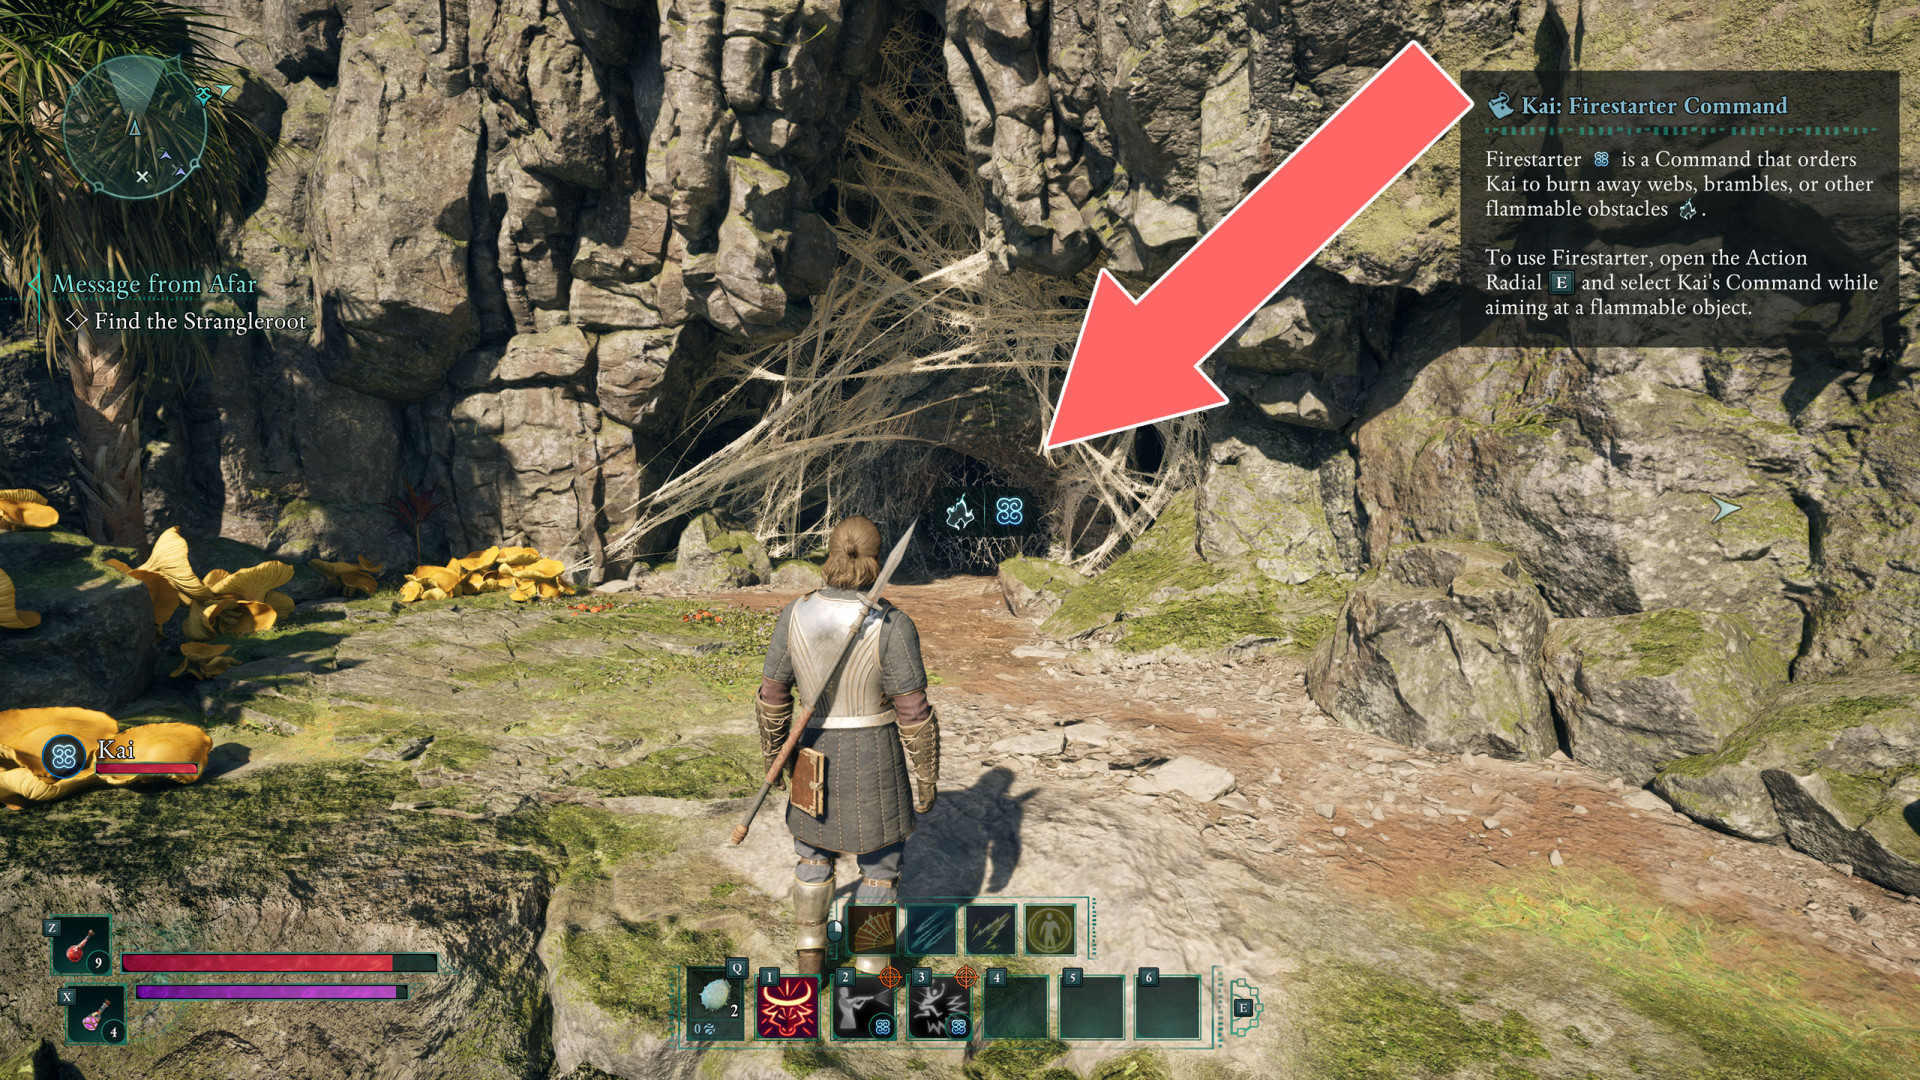
34Cobweb
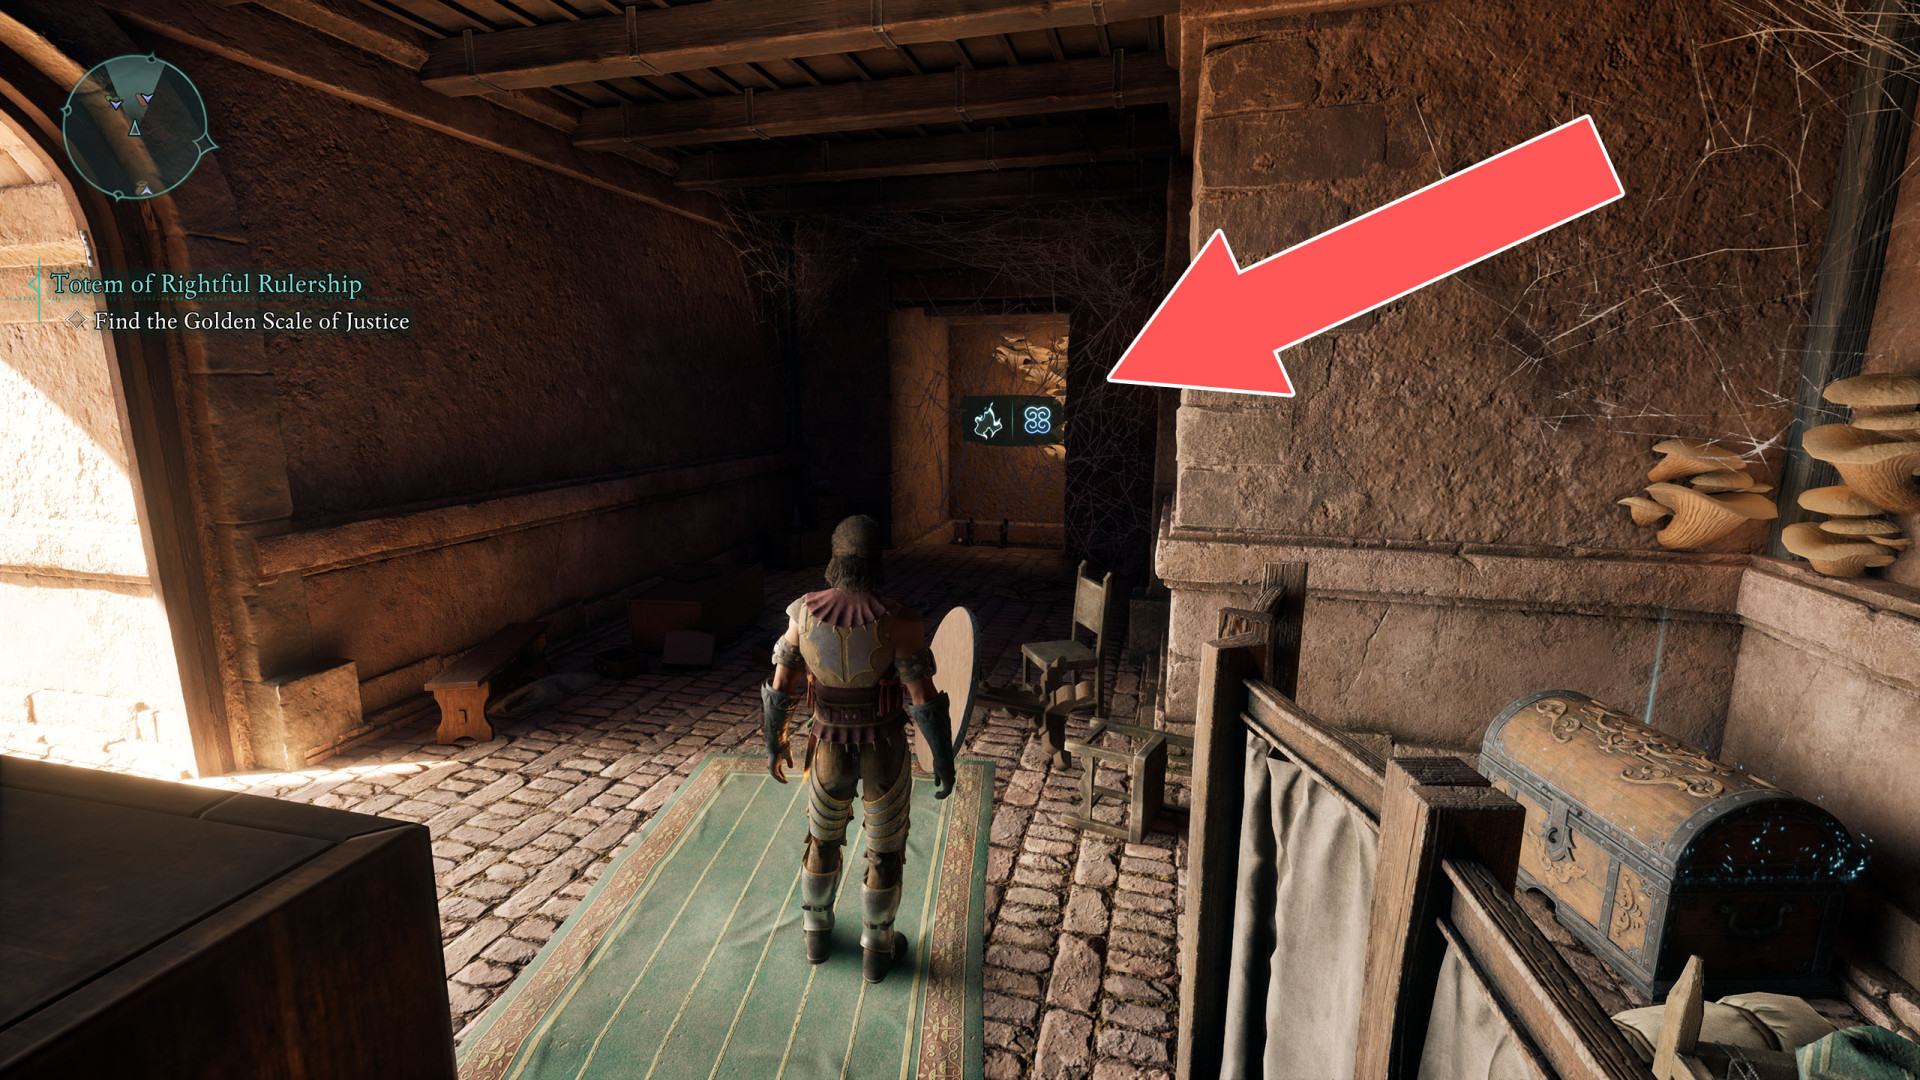
35Cobweb
After it has been destroyed, you can jump down to a lower level.
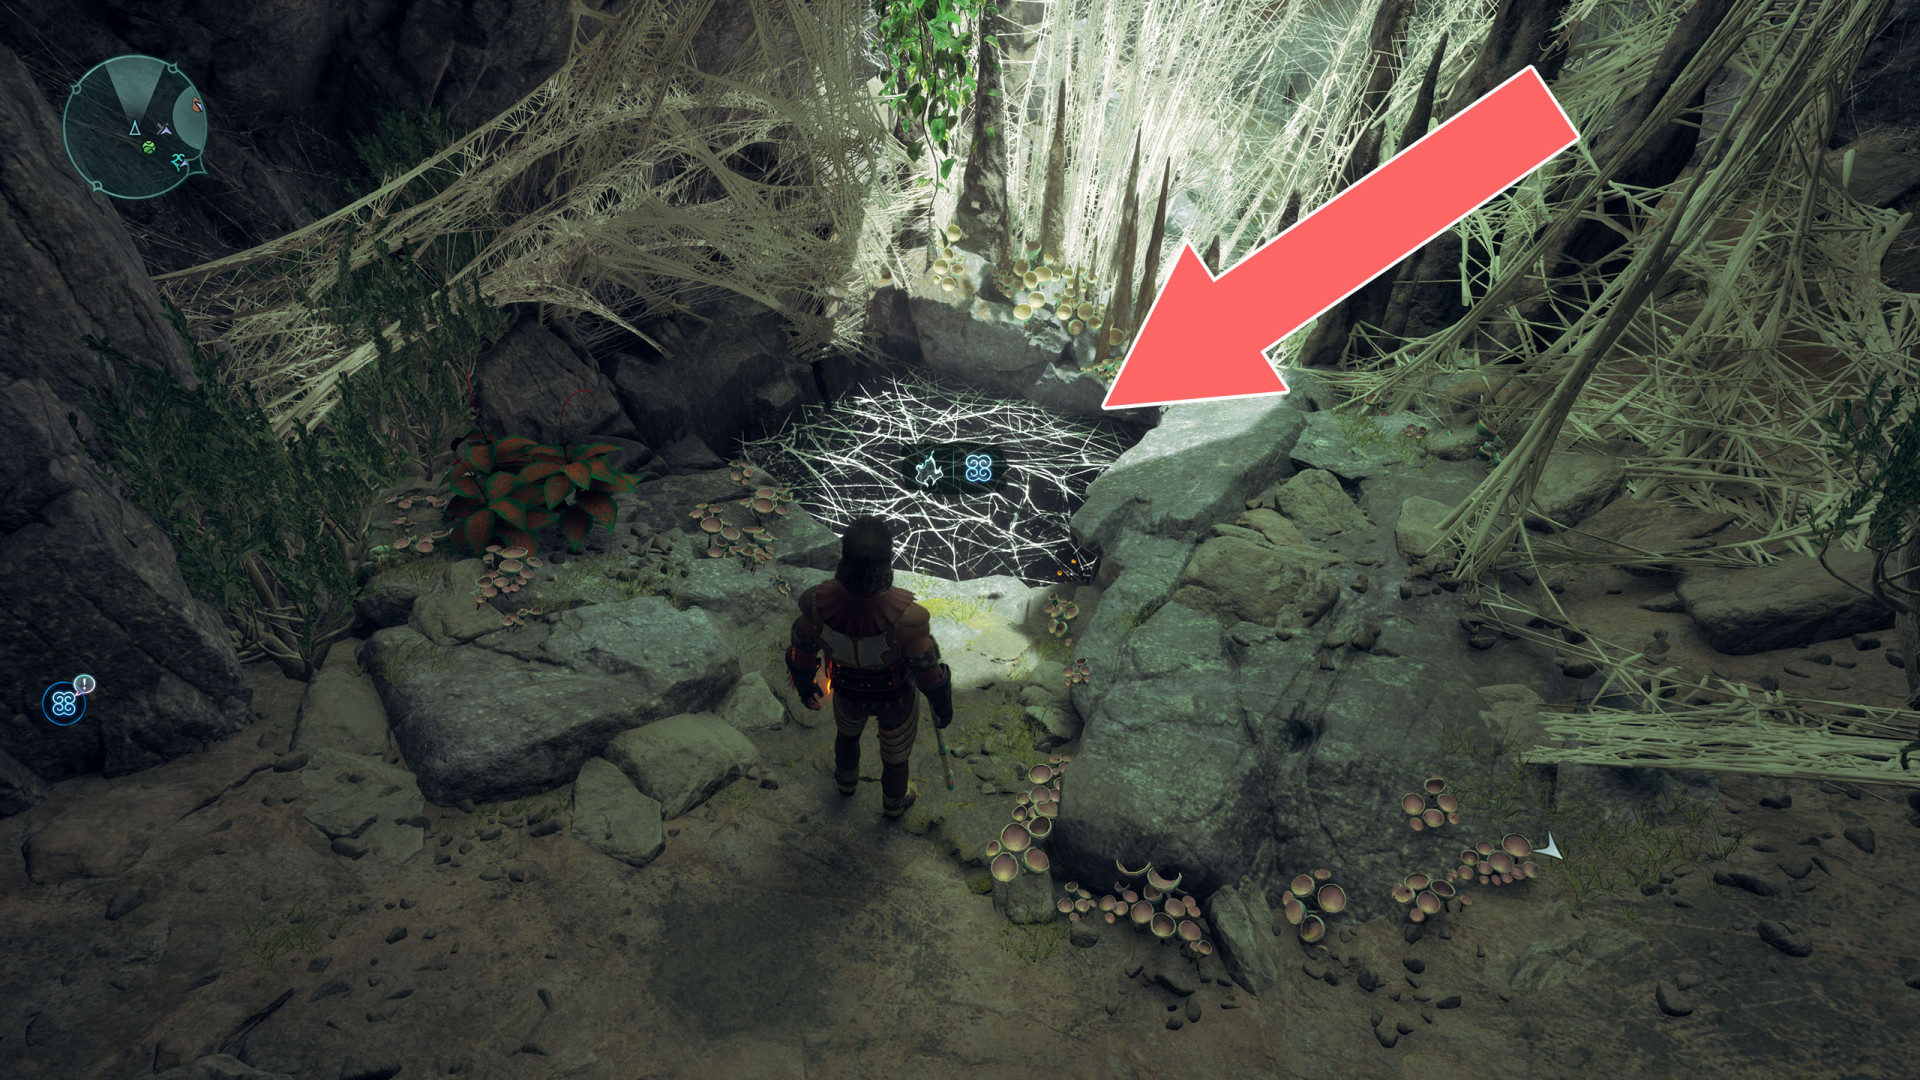
36Cobweb
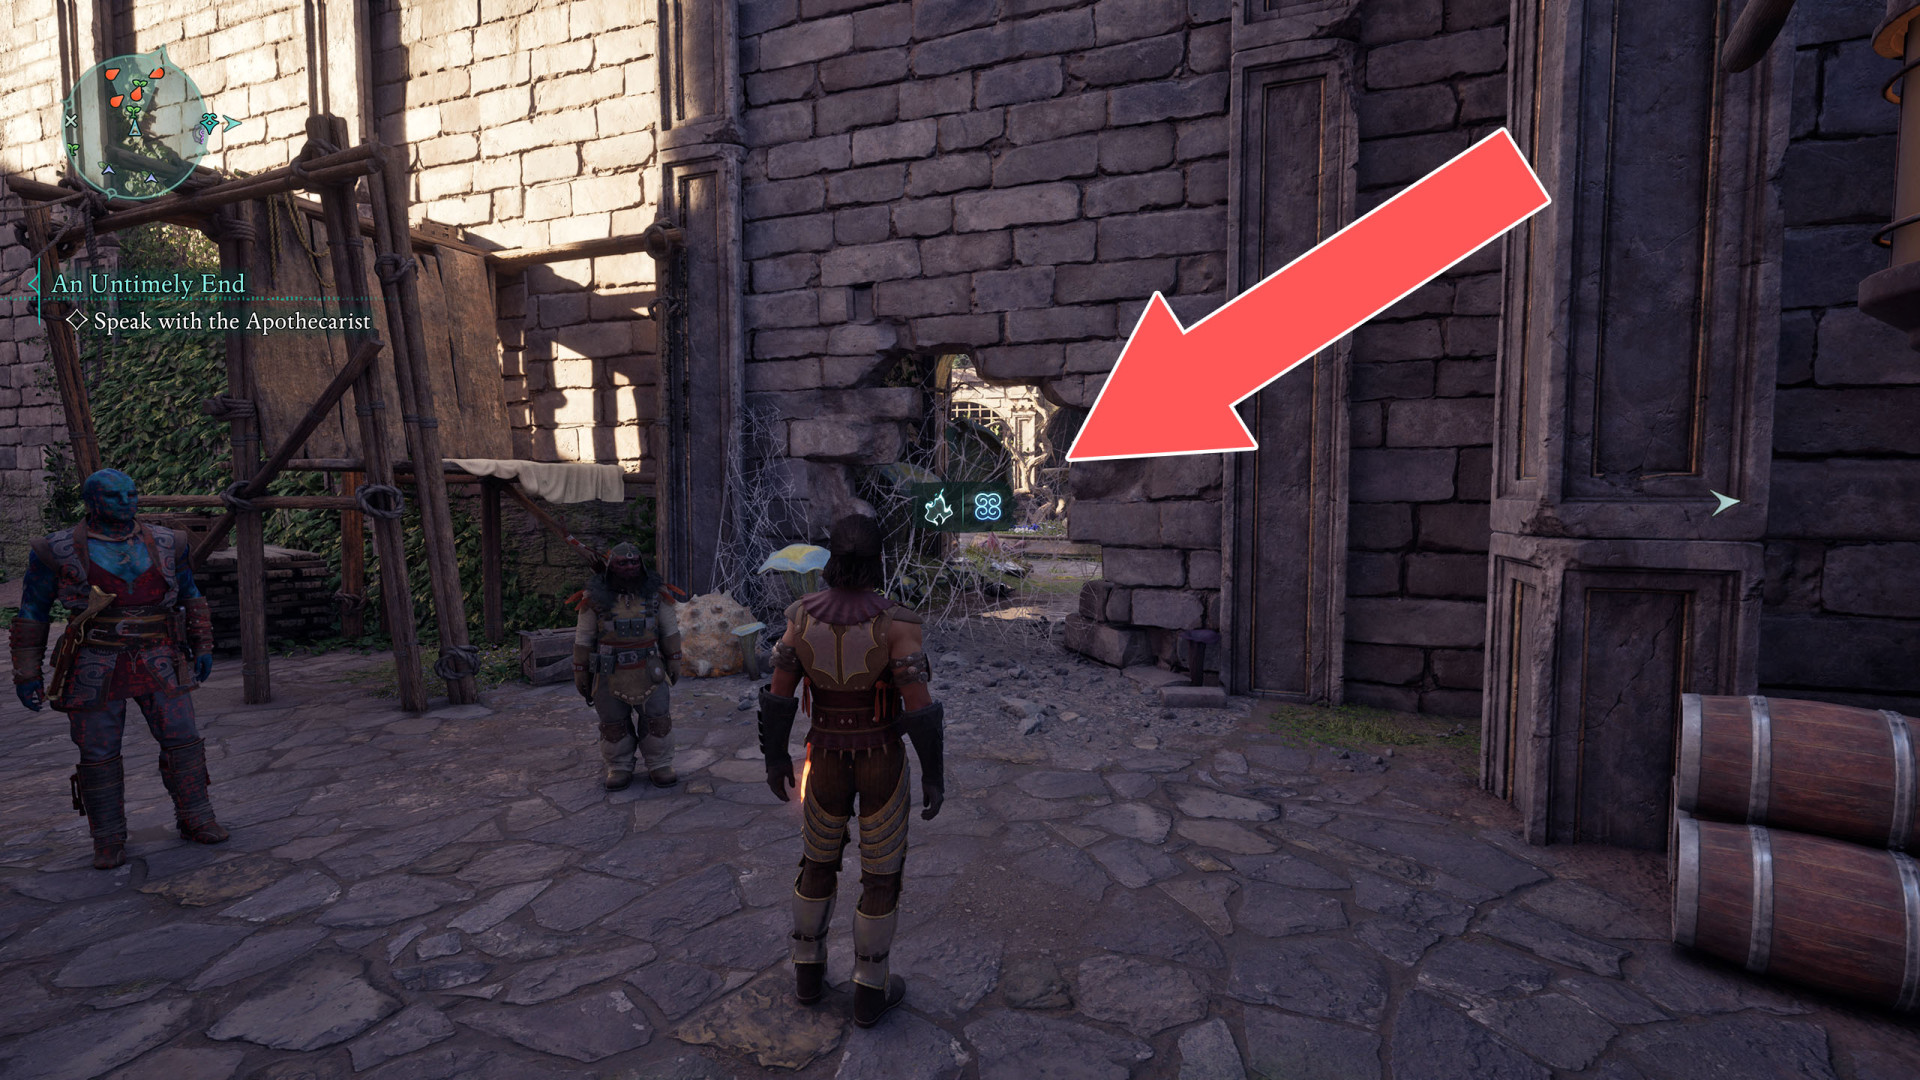
37Dehengen's Cottage Door
Unlocks with: Dehengen's Key.
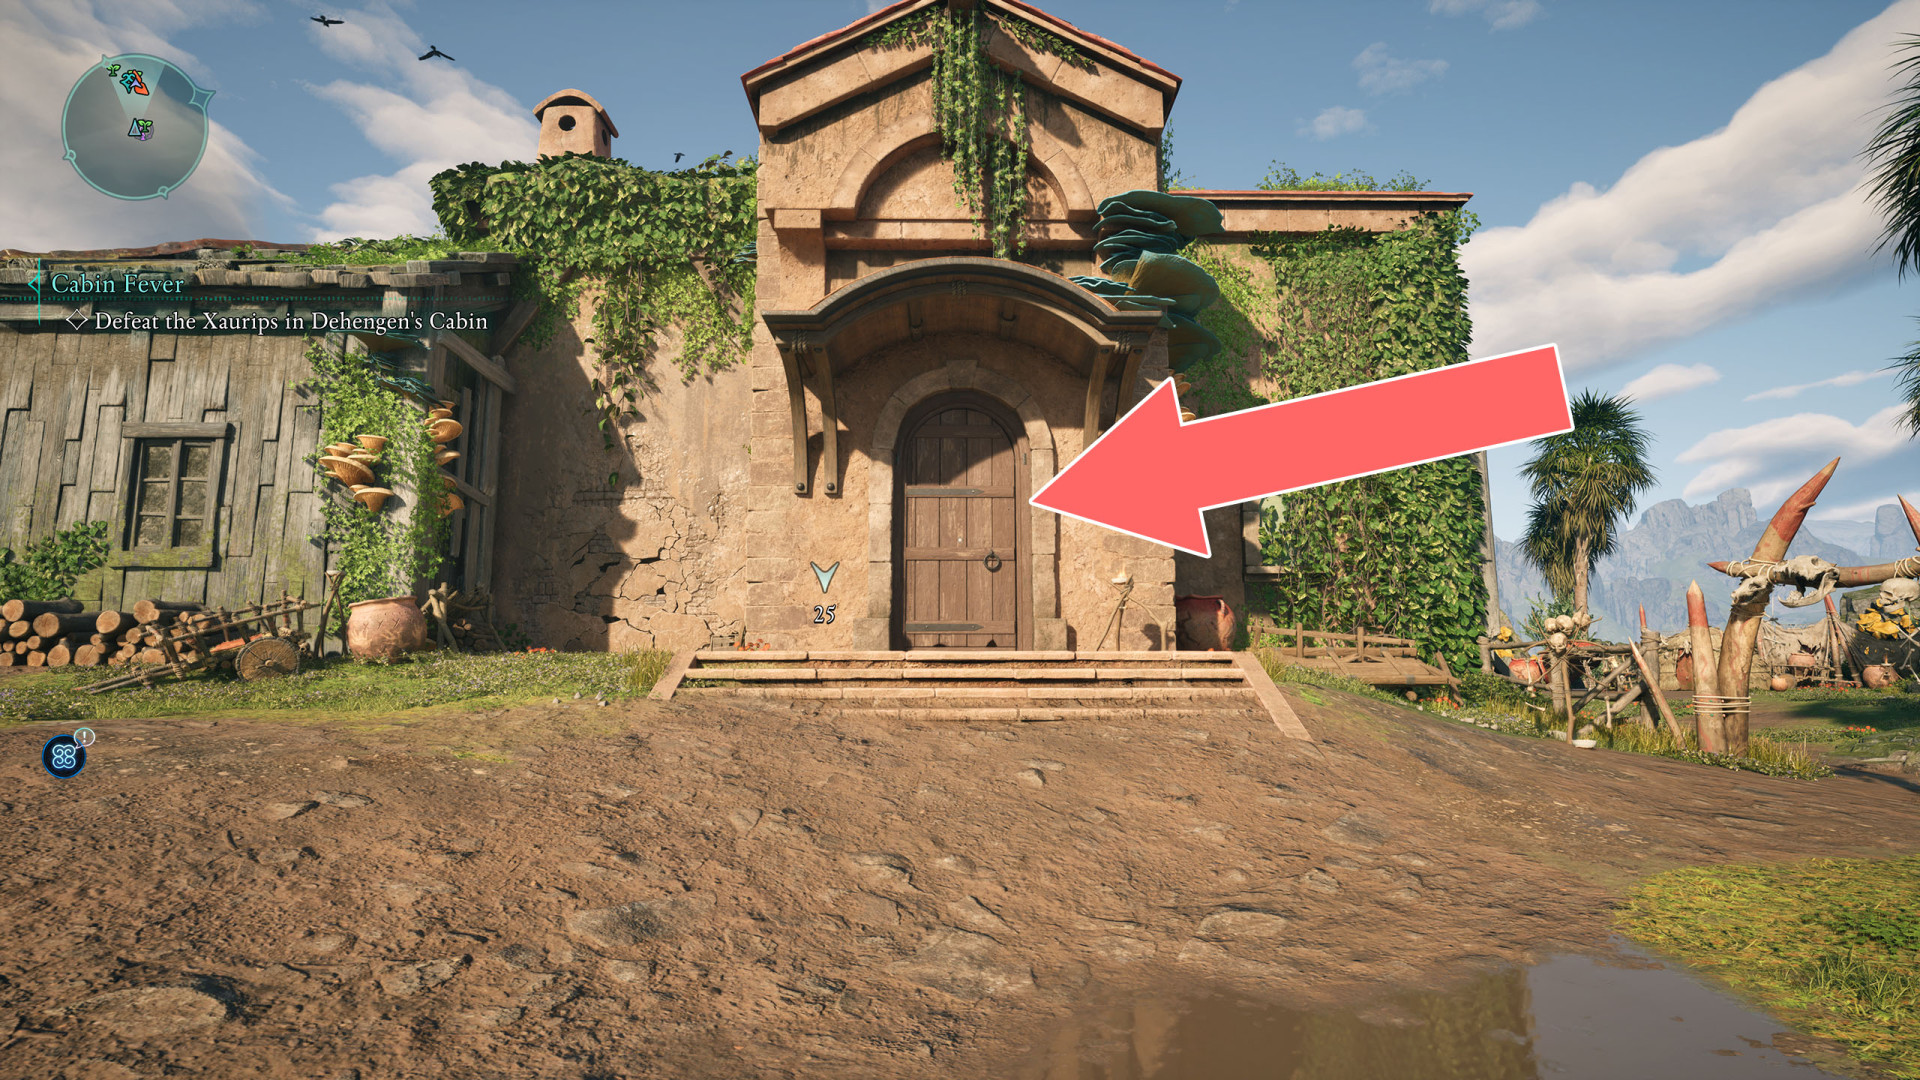
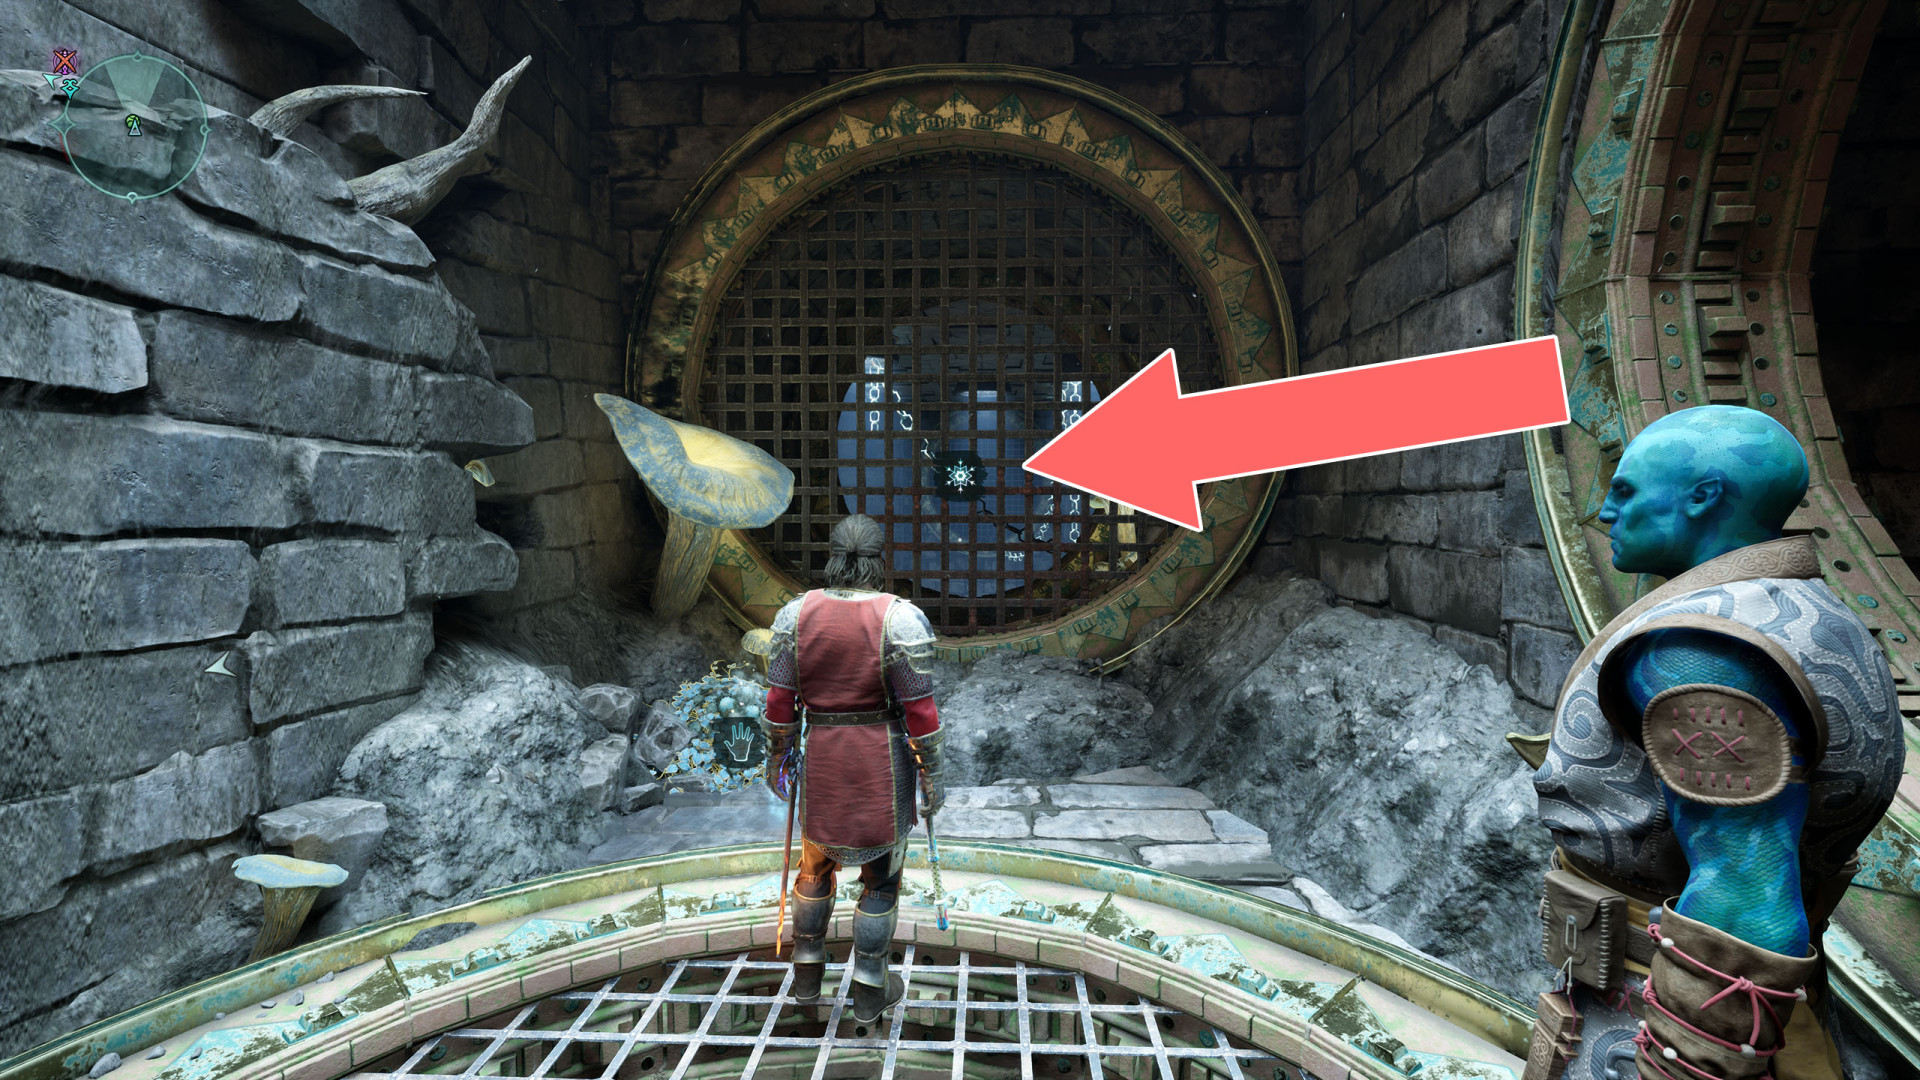
38Freezable Grate
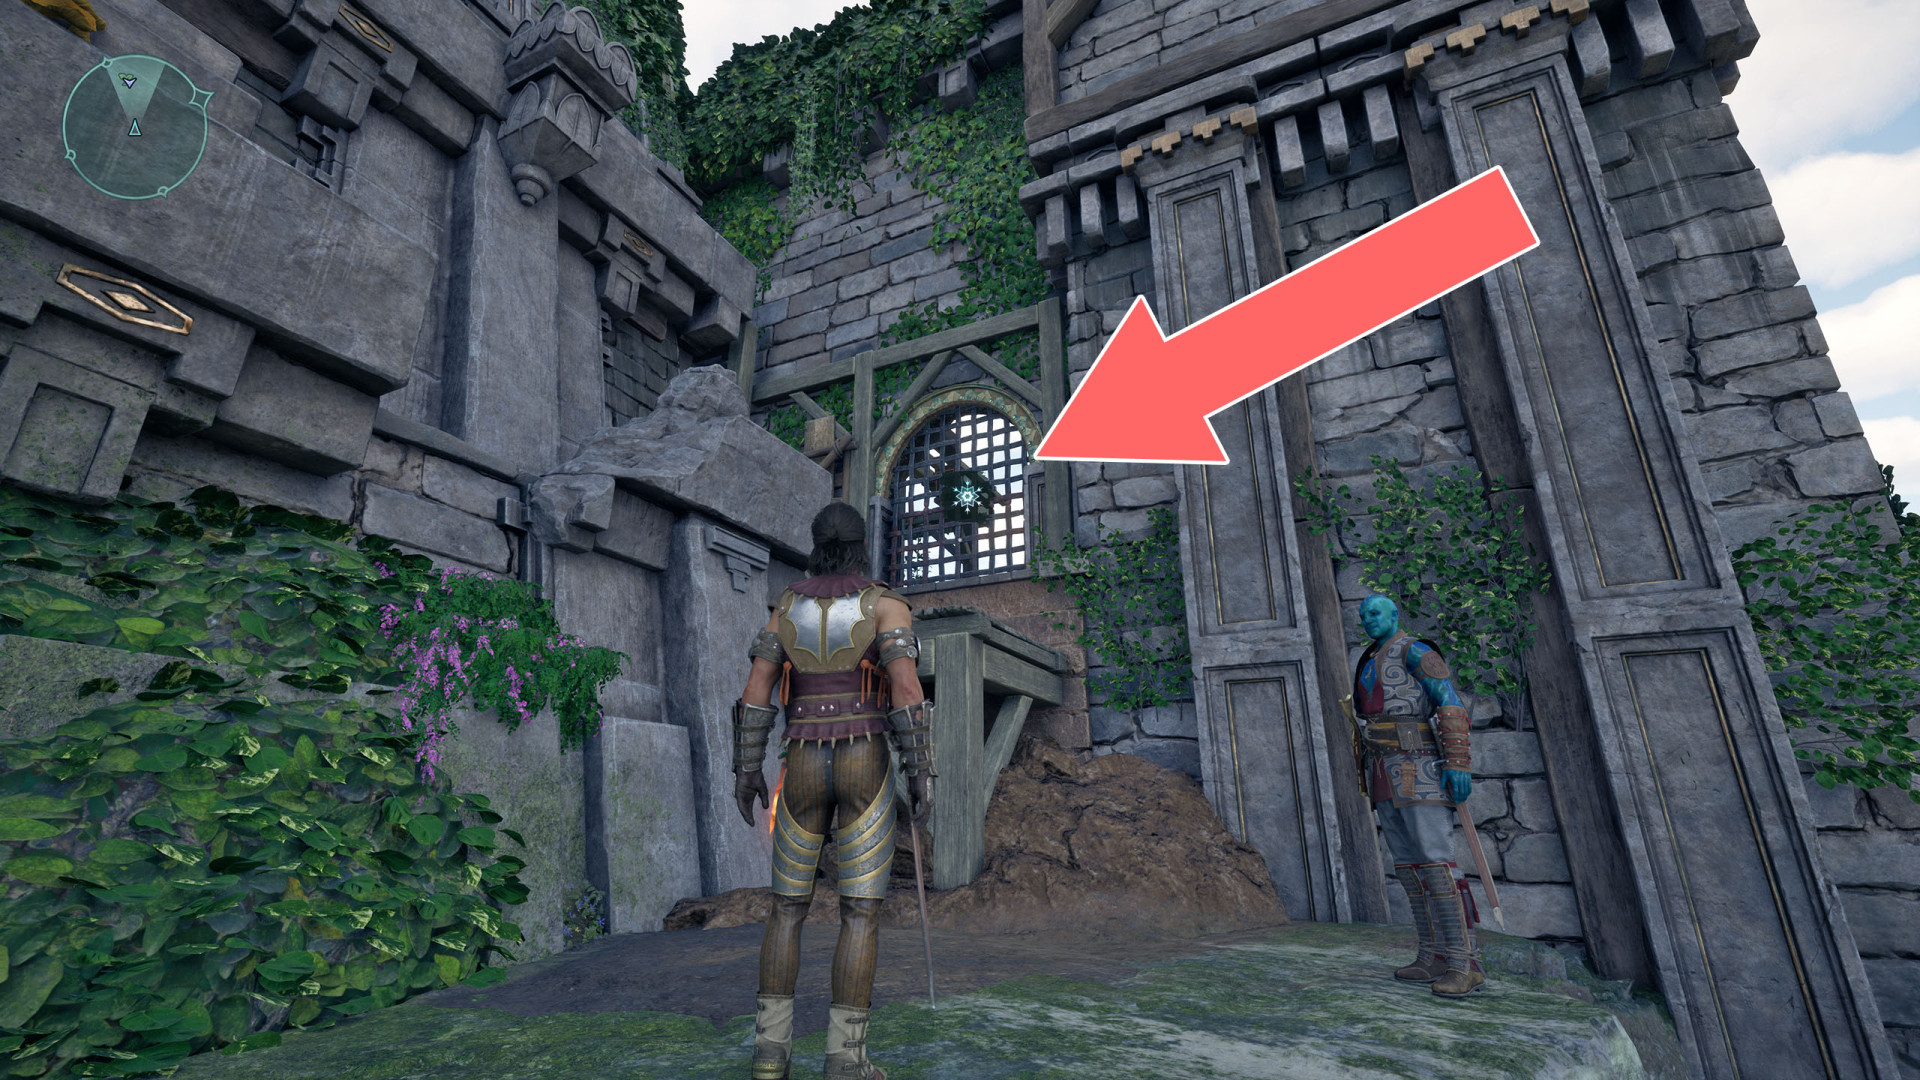
39Freezable Grate
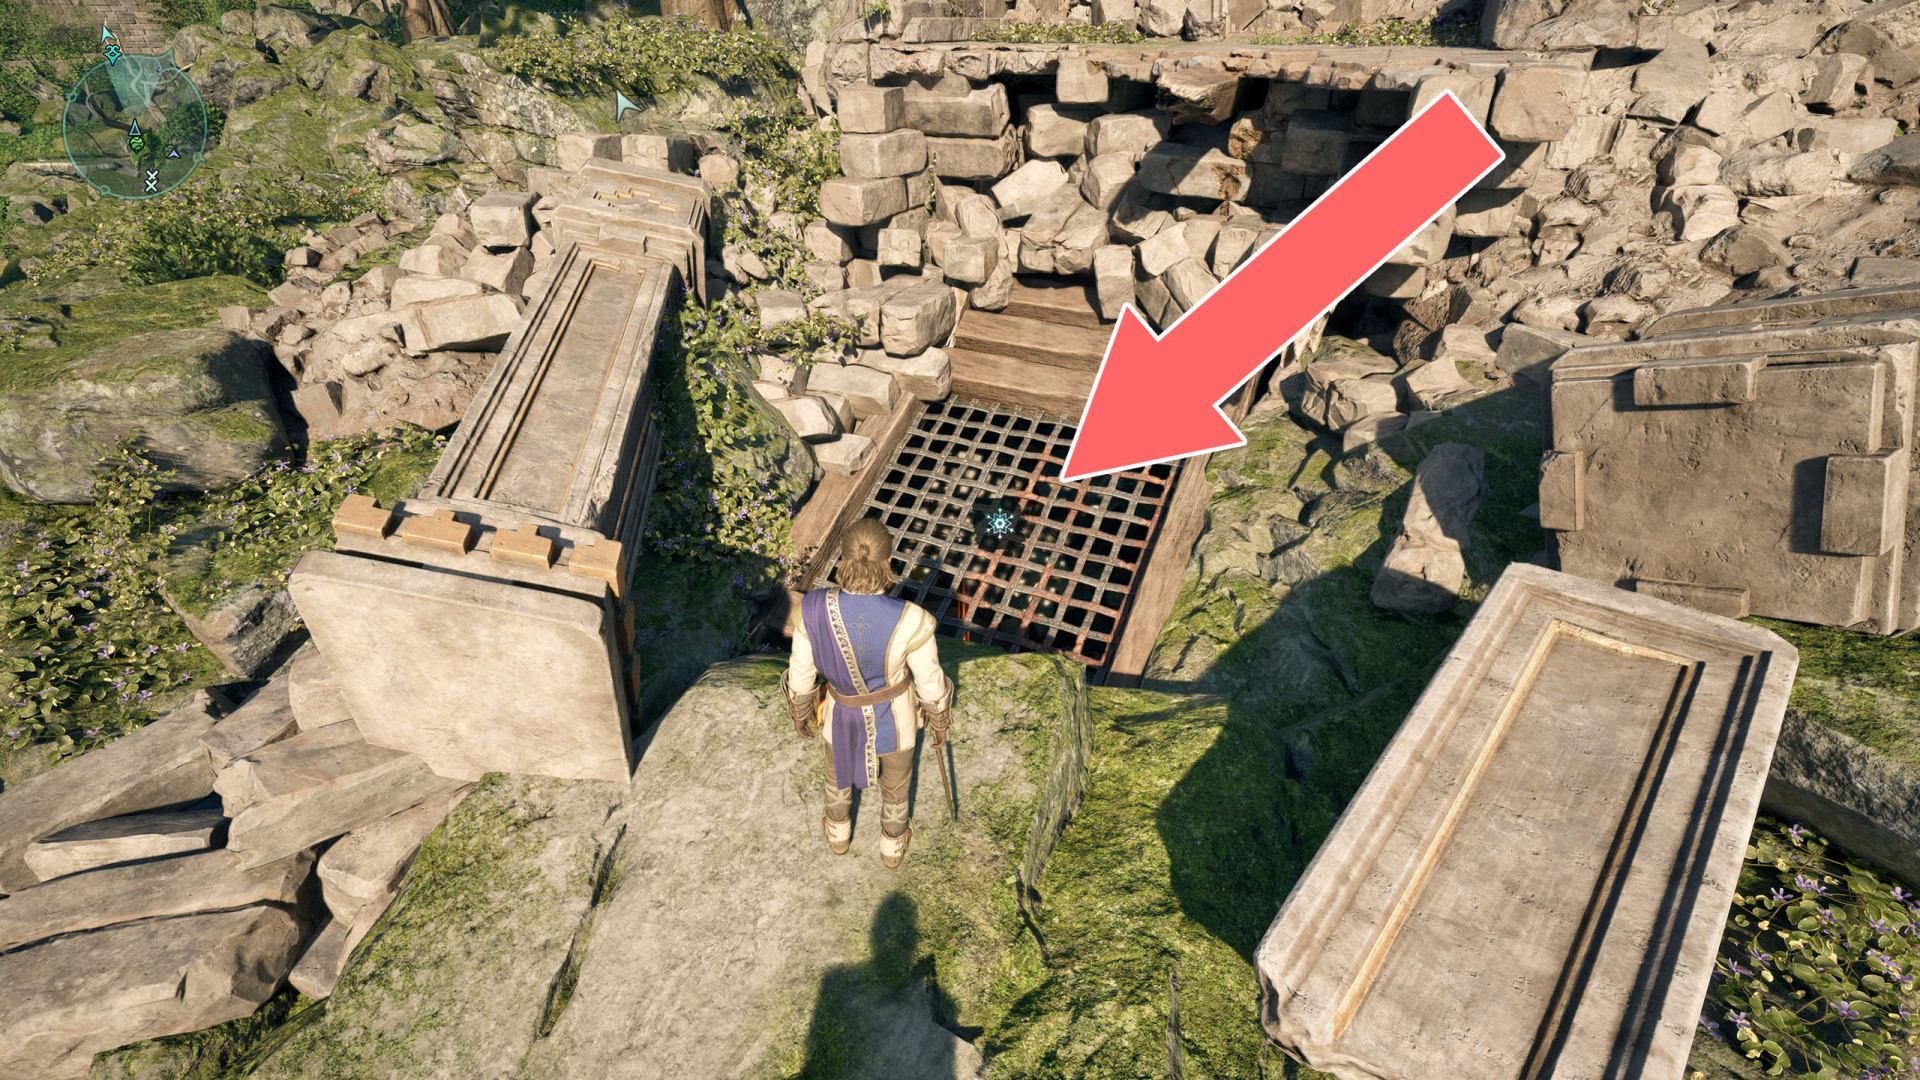
40Freezable Grate
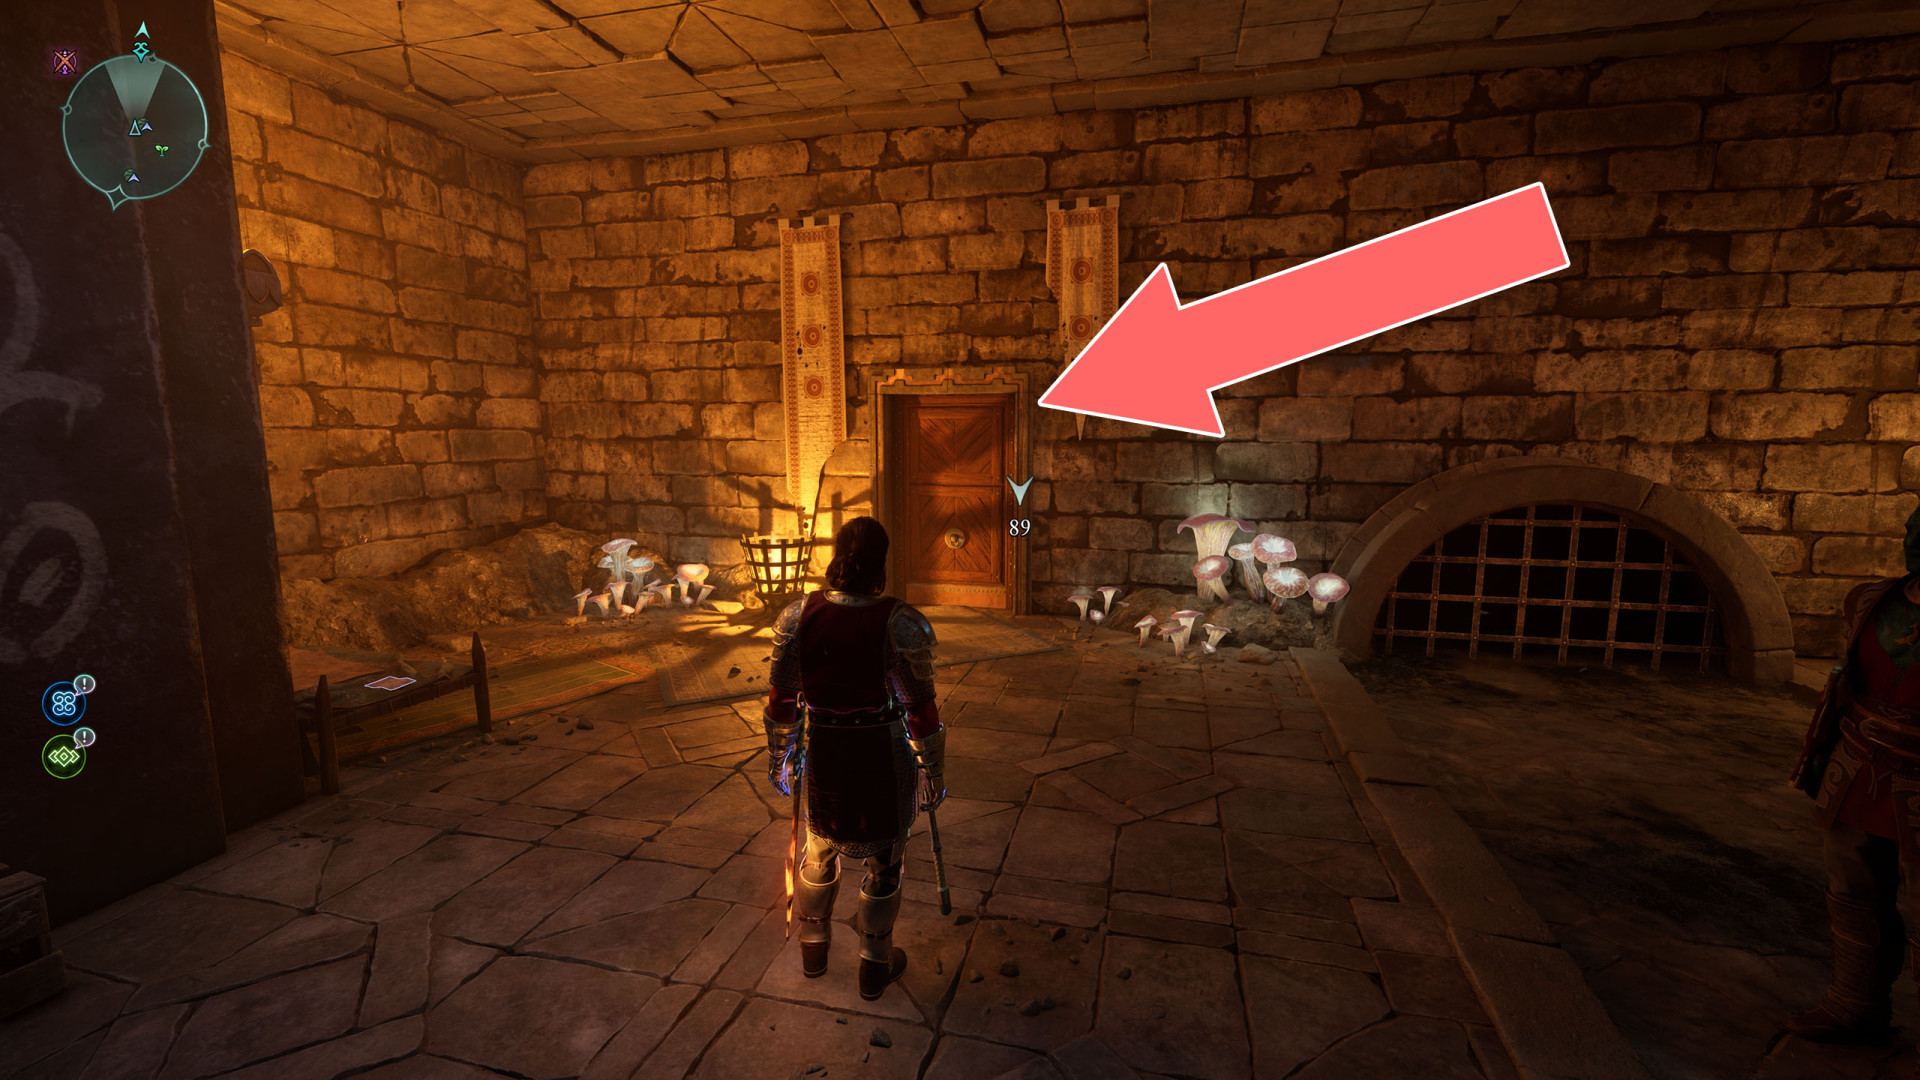
41Locked Door
Unlocks with: Ygwulf's Key.
42Locked Door
Unlocks with: Lower Cistern Key.
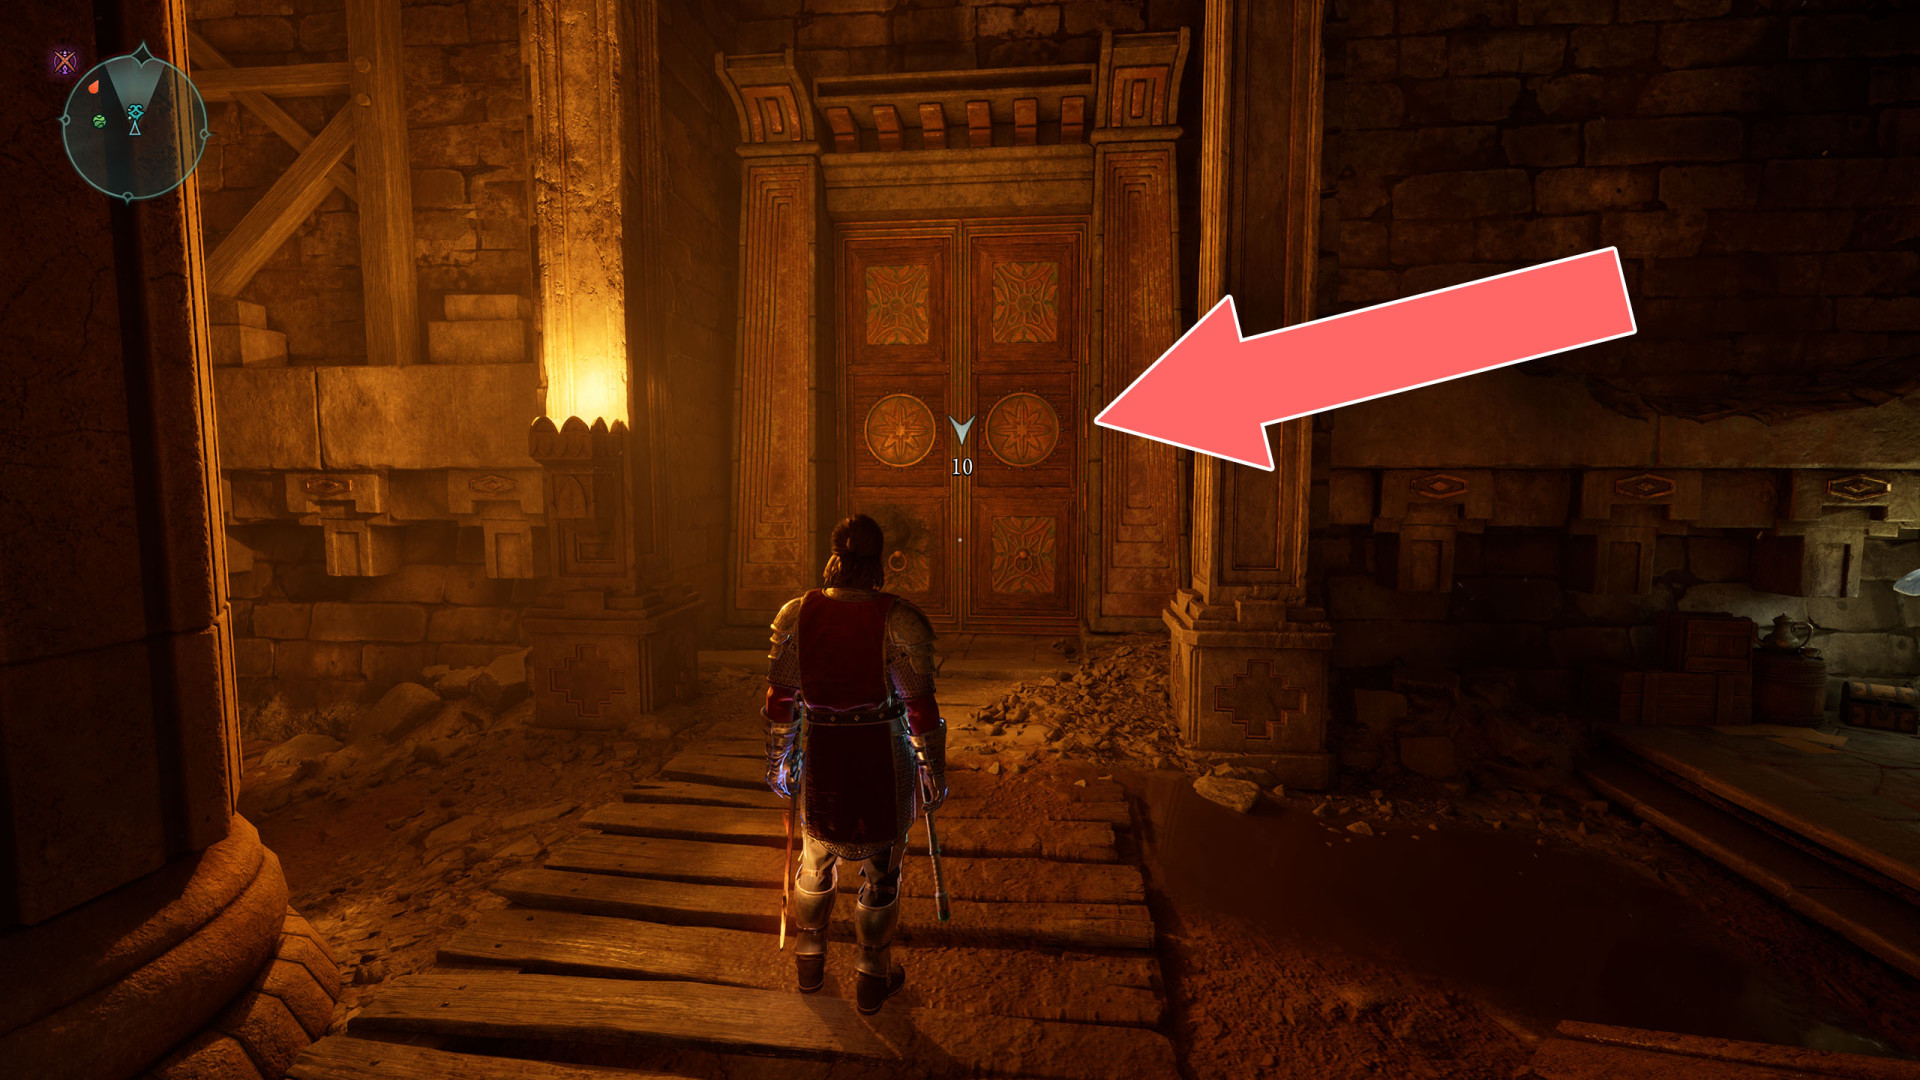
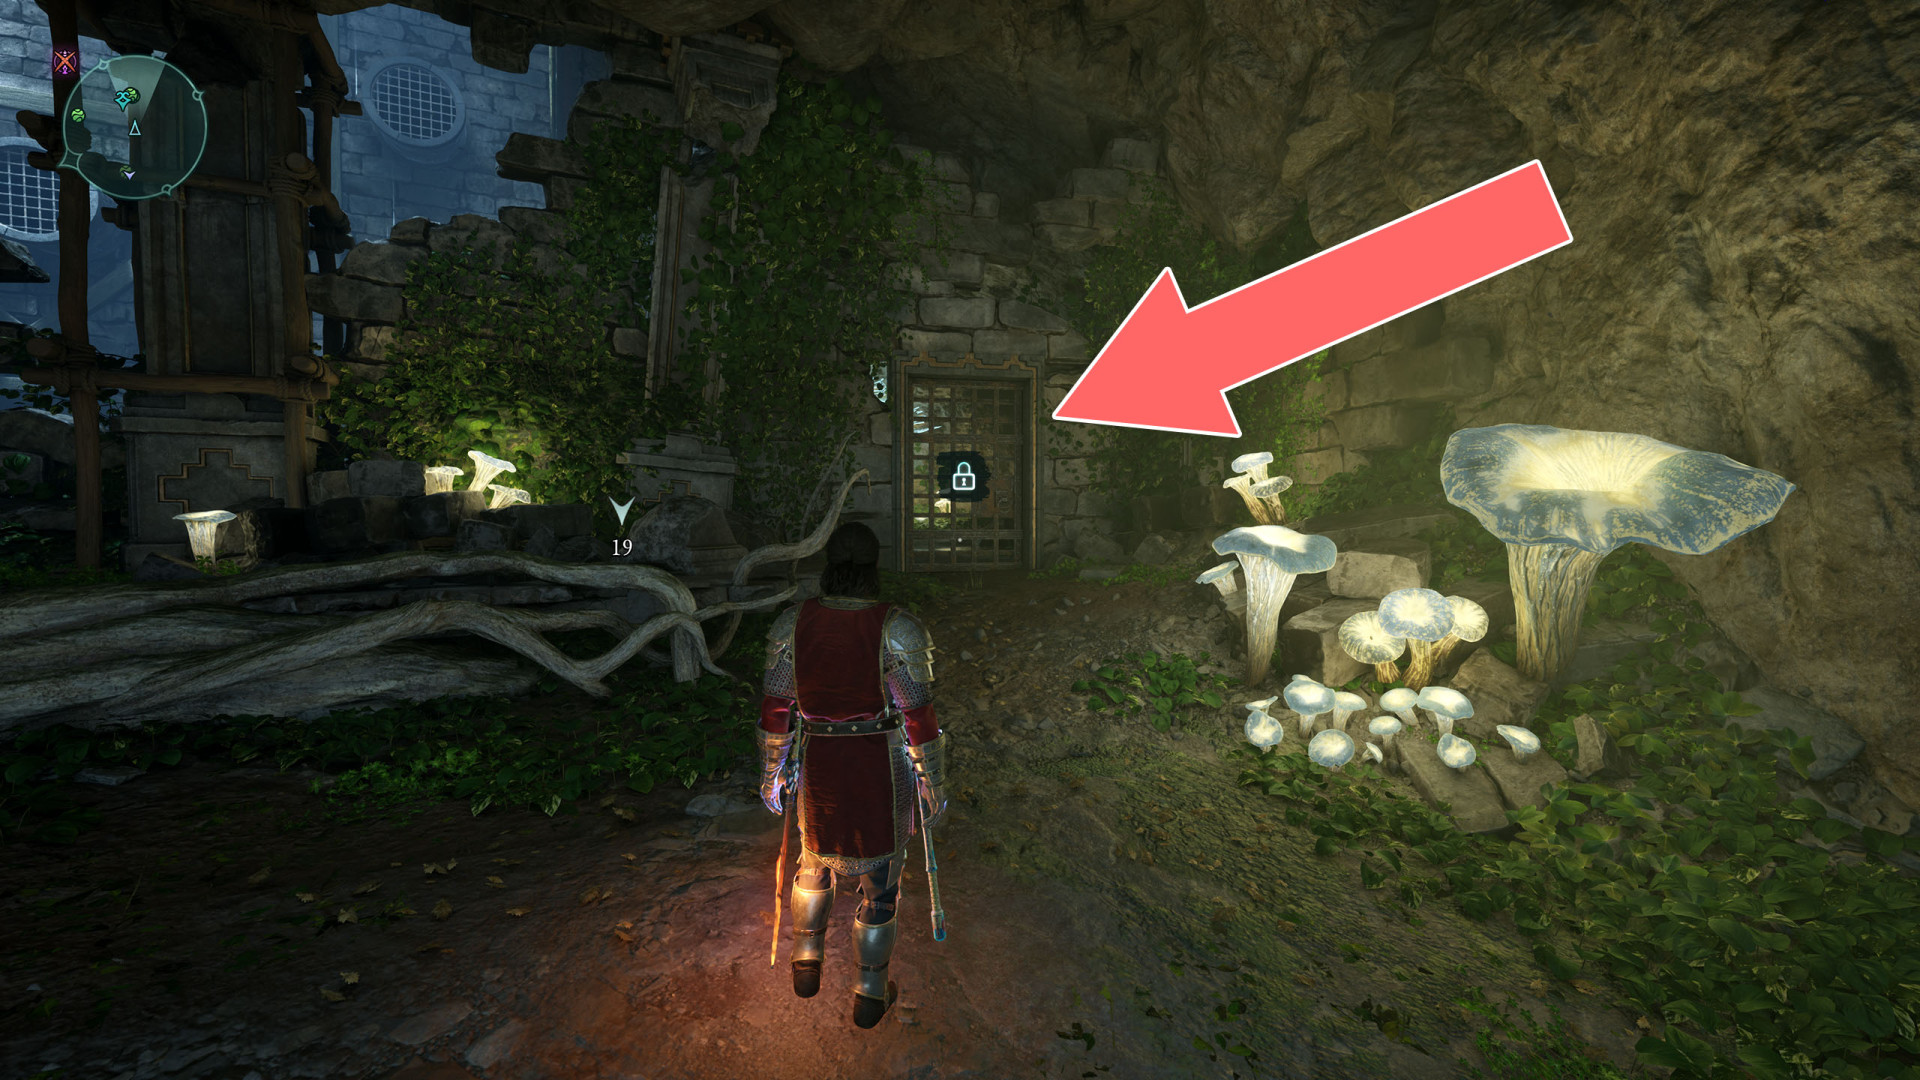
43Locked Door
Unlocks with: Lower Cistern Key.
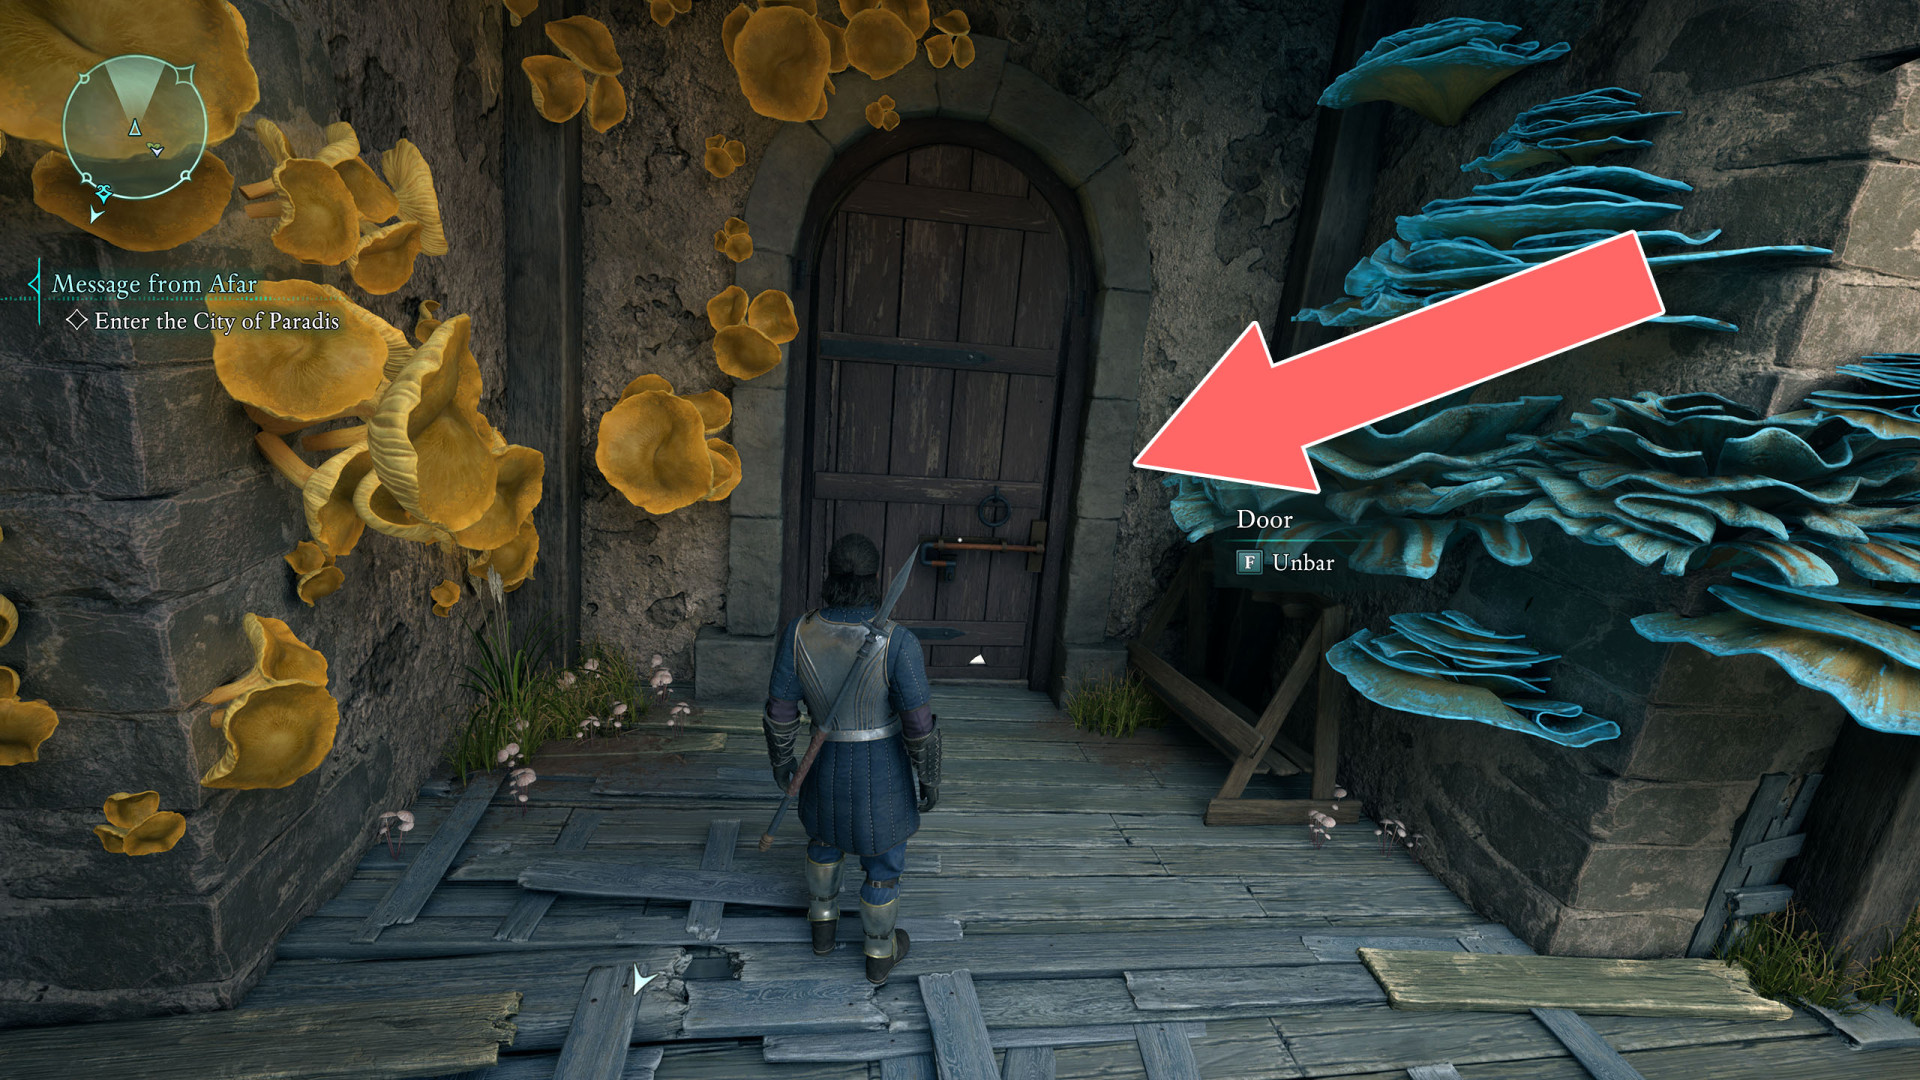
44Locked Door
The door can be unlocked from the inside. You can enter the building through a hole in the roof.
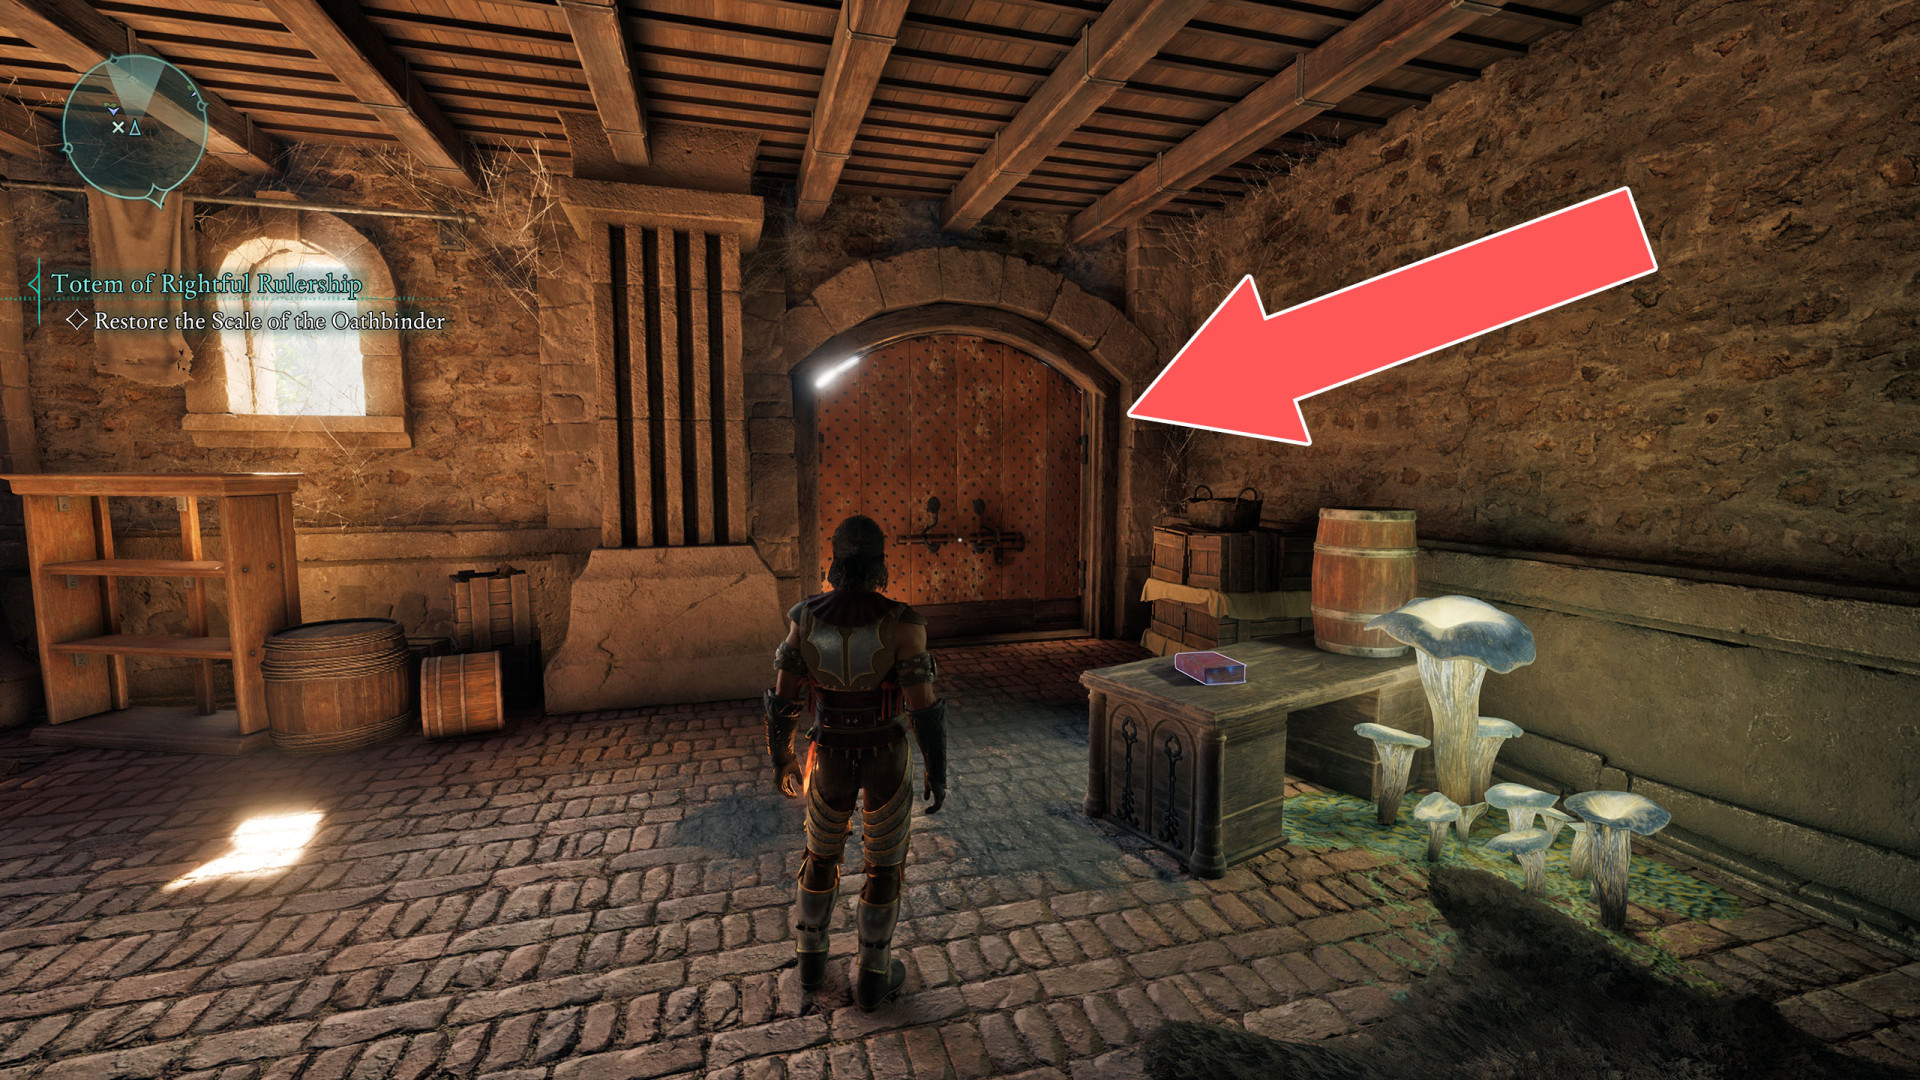
45Locked Door
The door can be unlocked from inside the building.
46Locked Gate
Unlocks with: Lockpick x1.
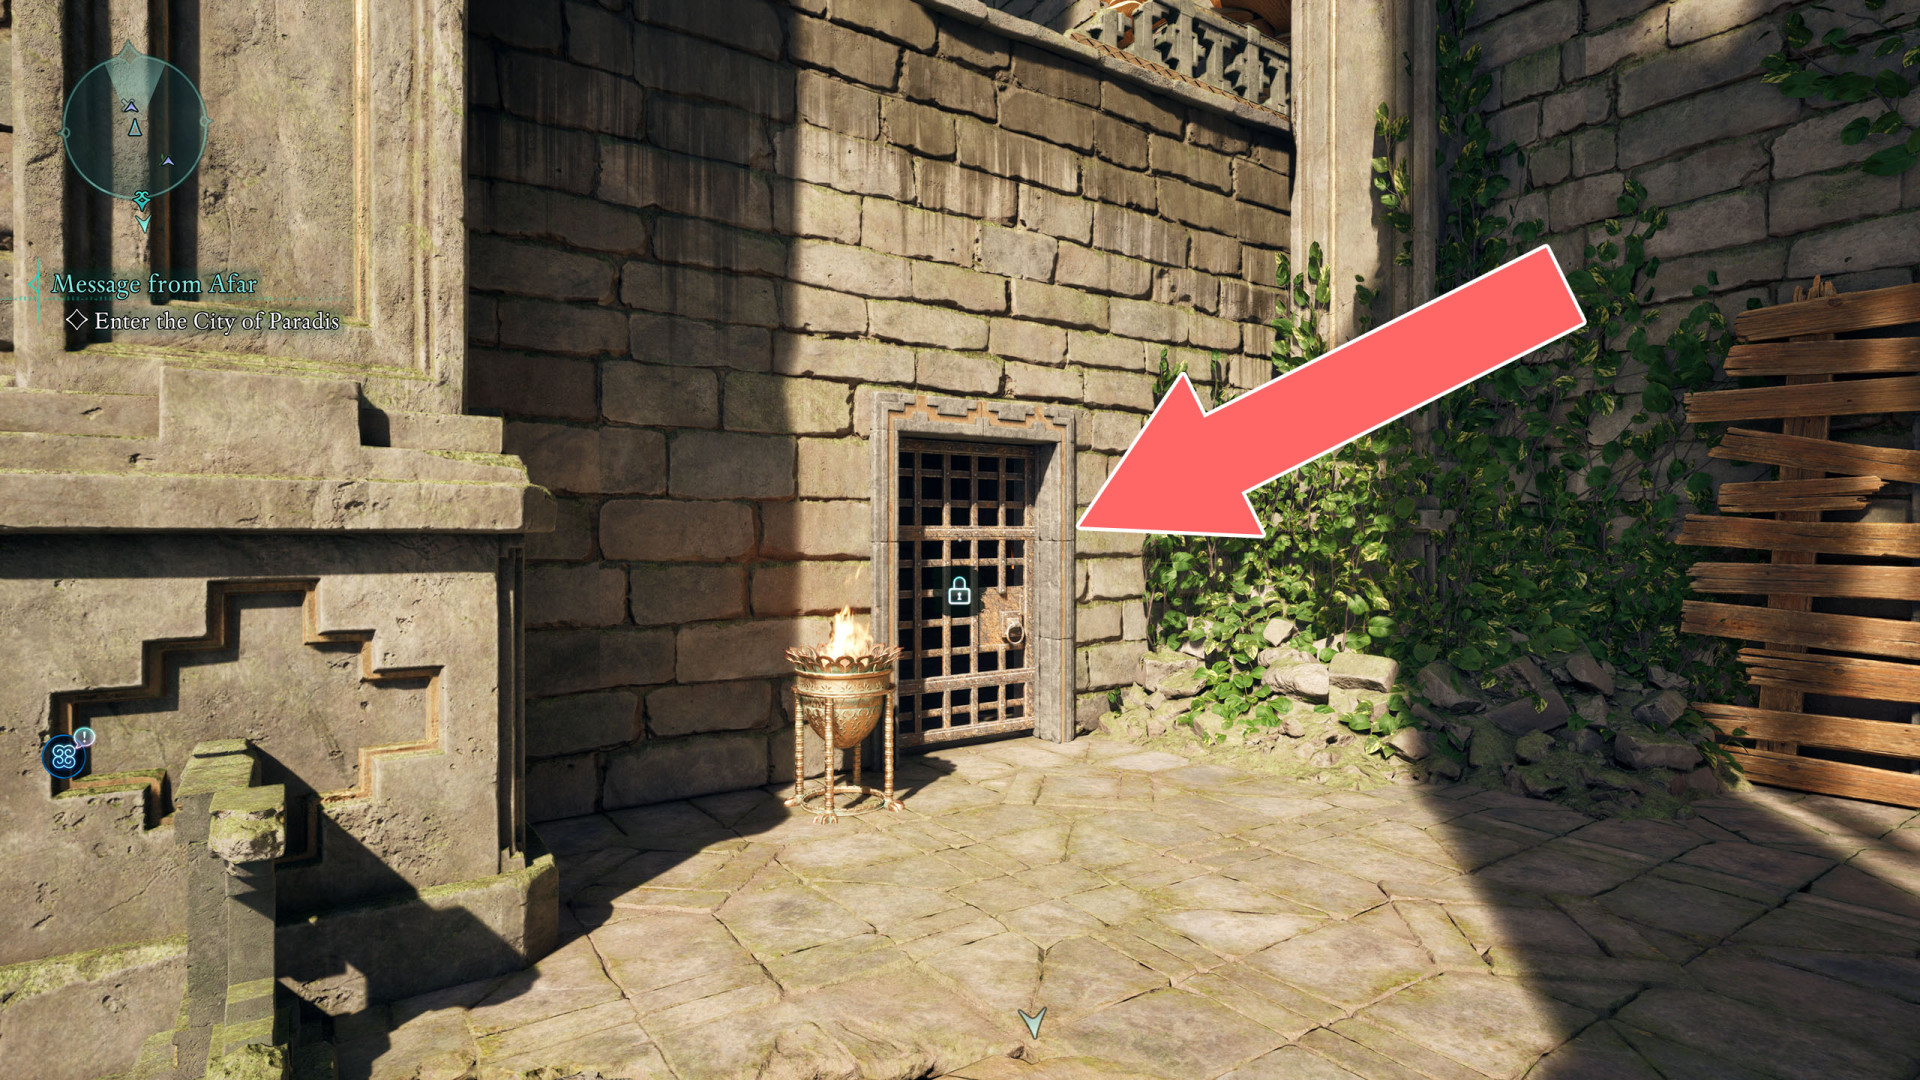
47 Locked Lockbox
Unlocks with: Lockpick x1.
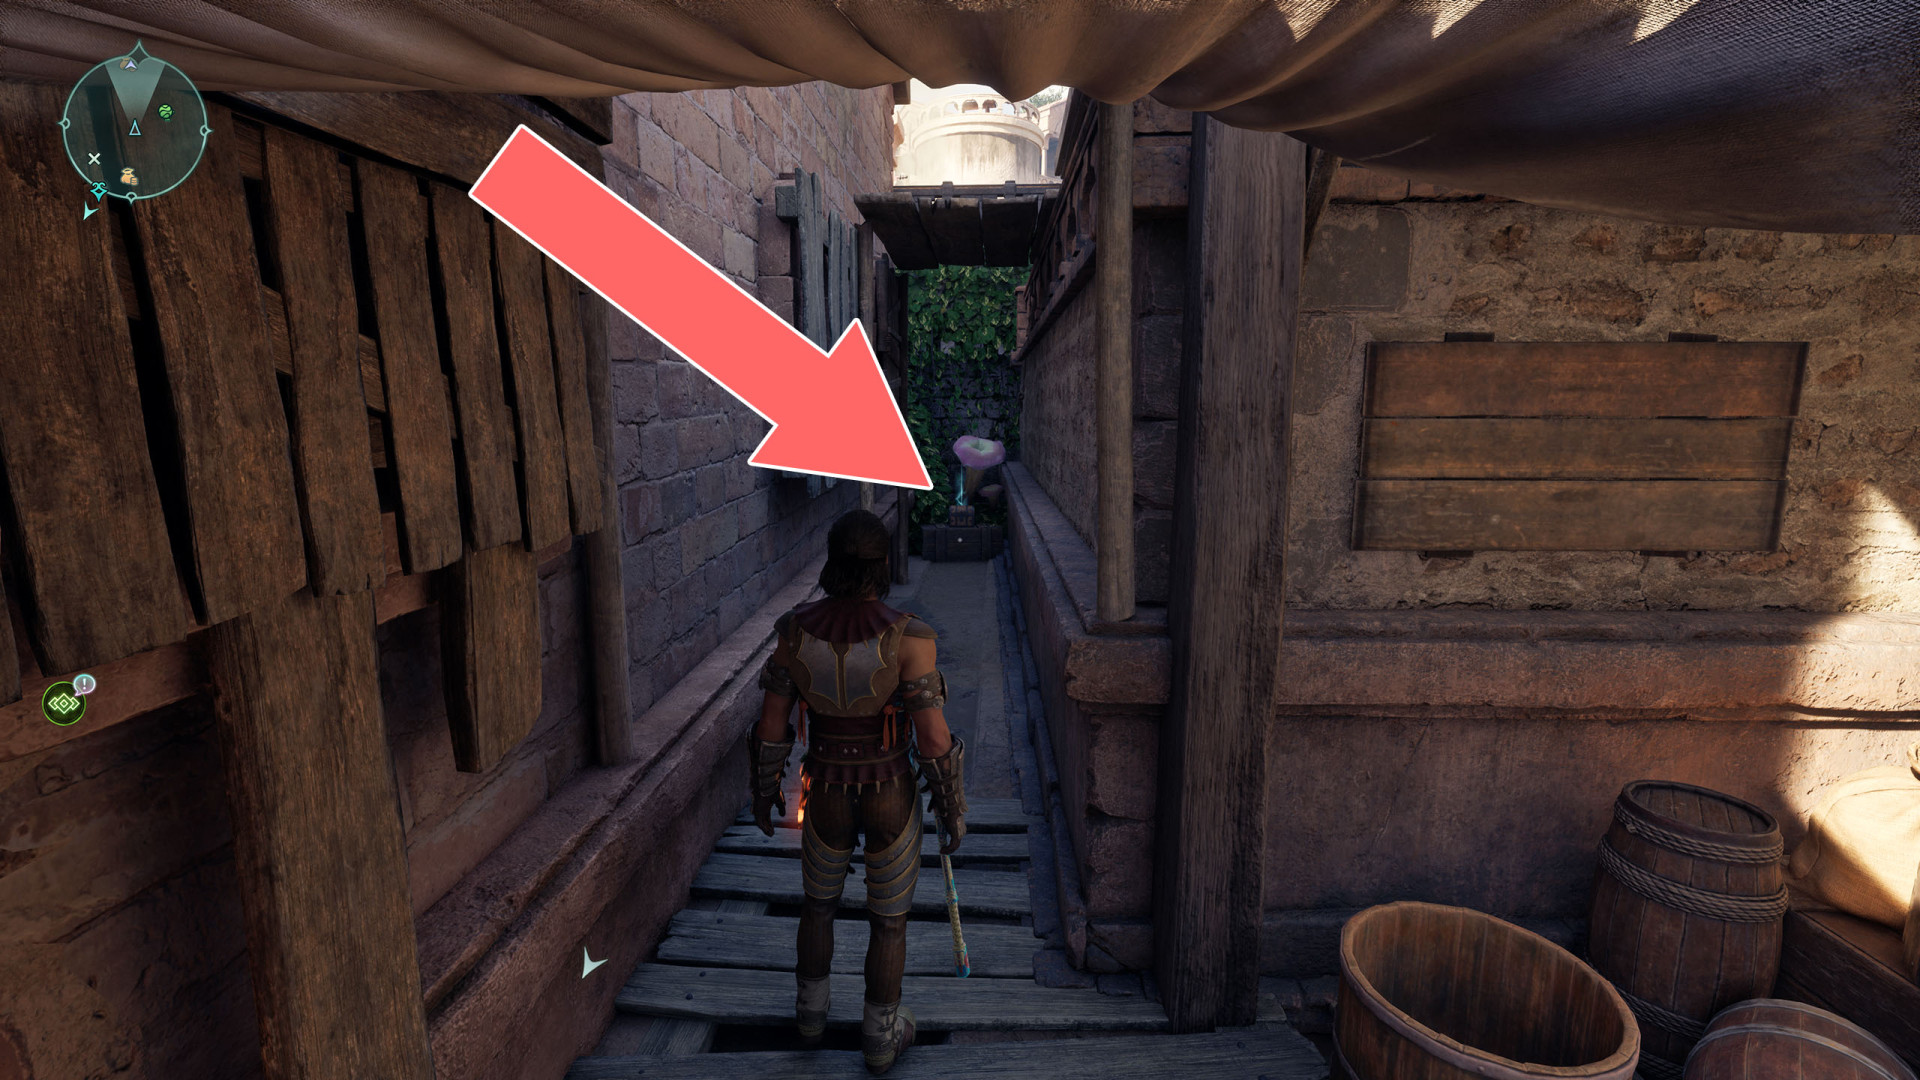
48Secret Door
To open this secret passage, press the switch hidden in the lantern held by the statue.
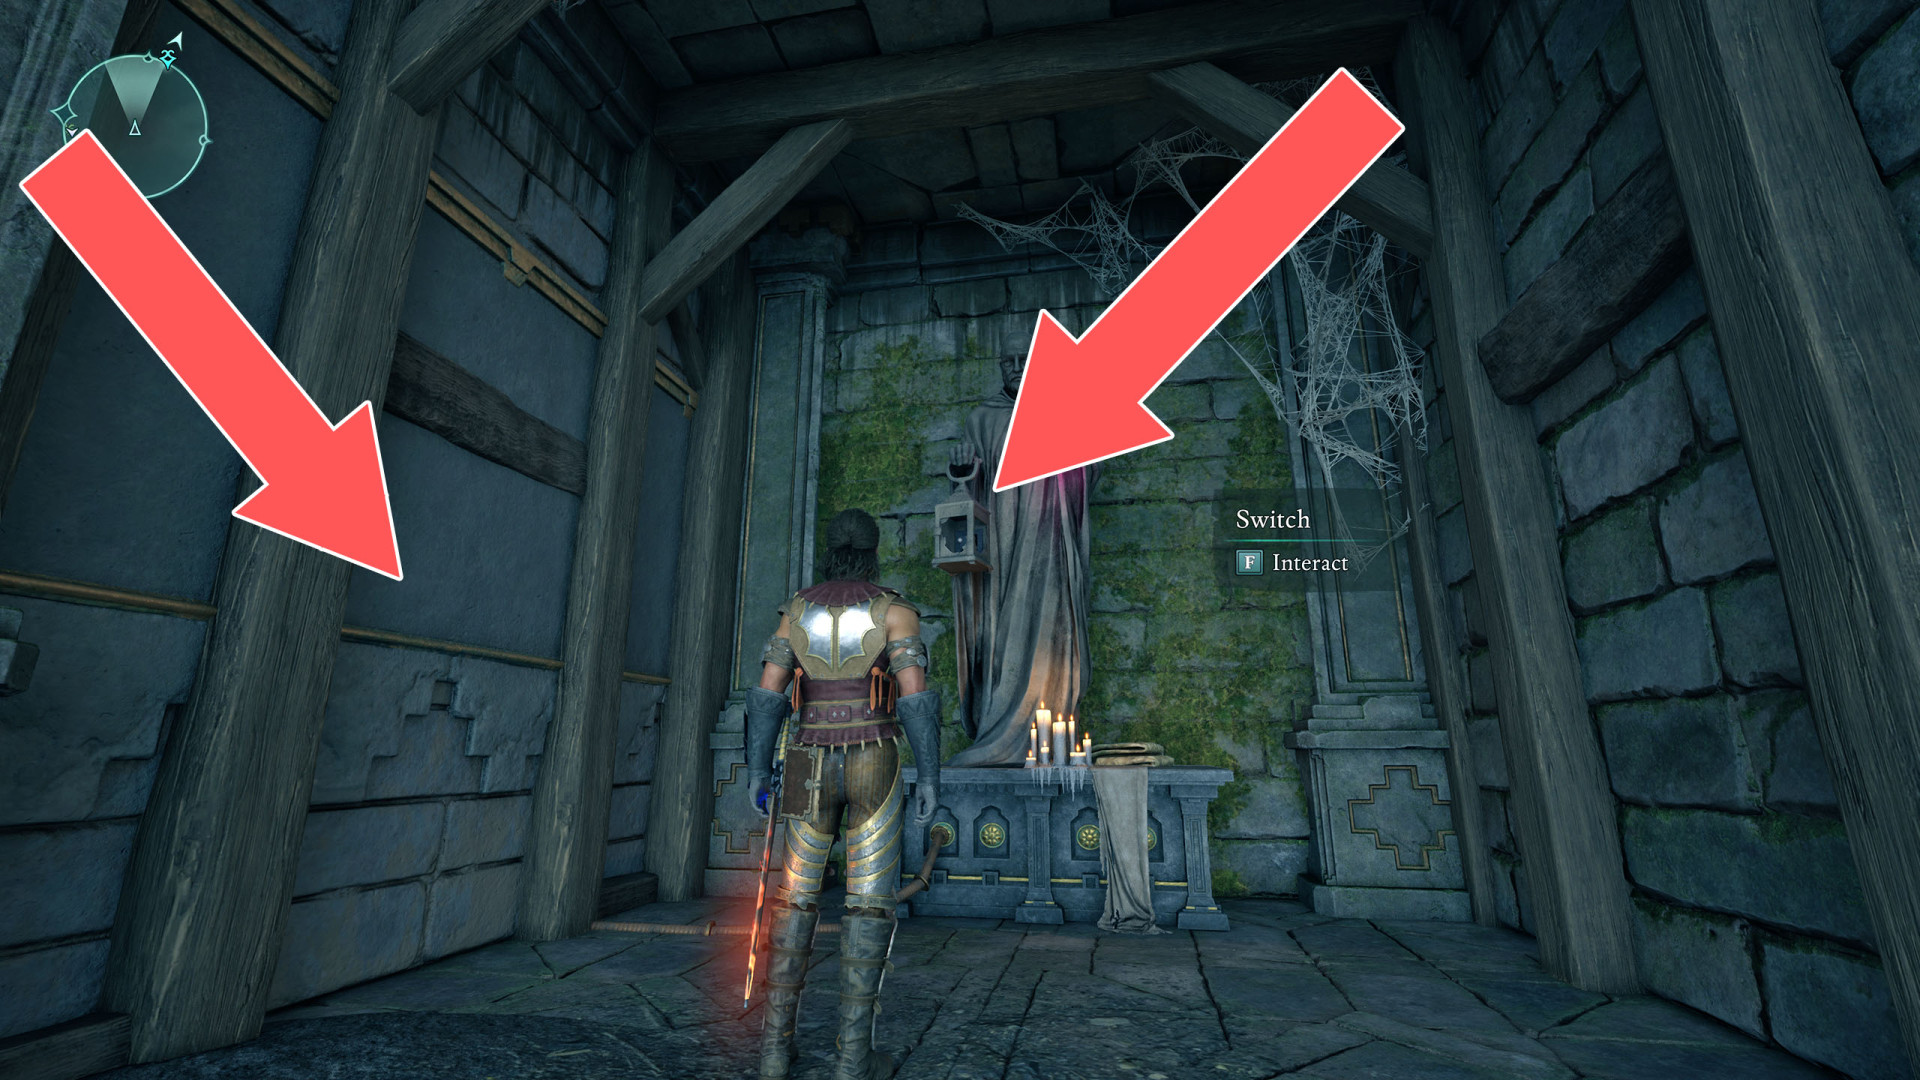
49Secret Door
To open this passage, press the button on the wall on the right.
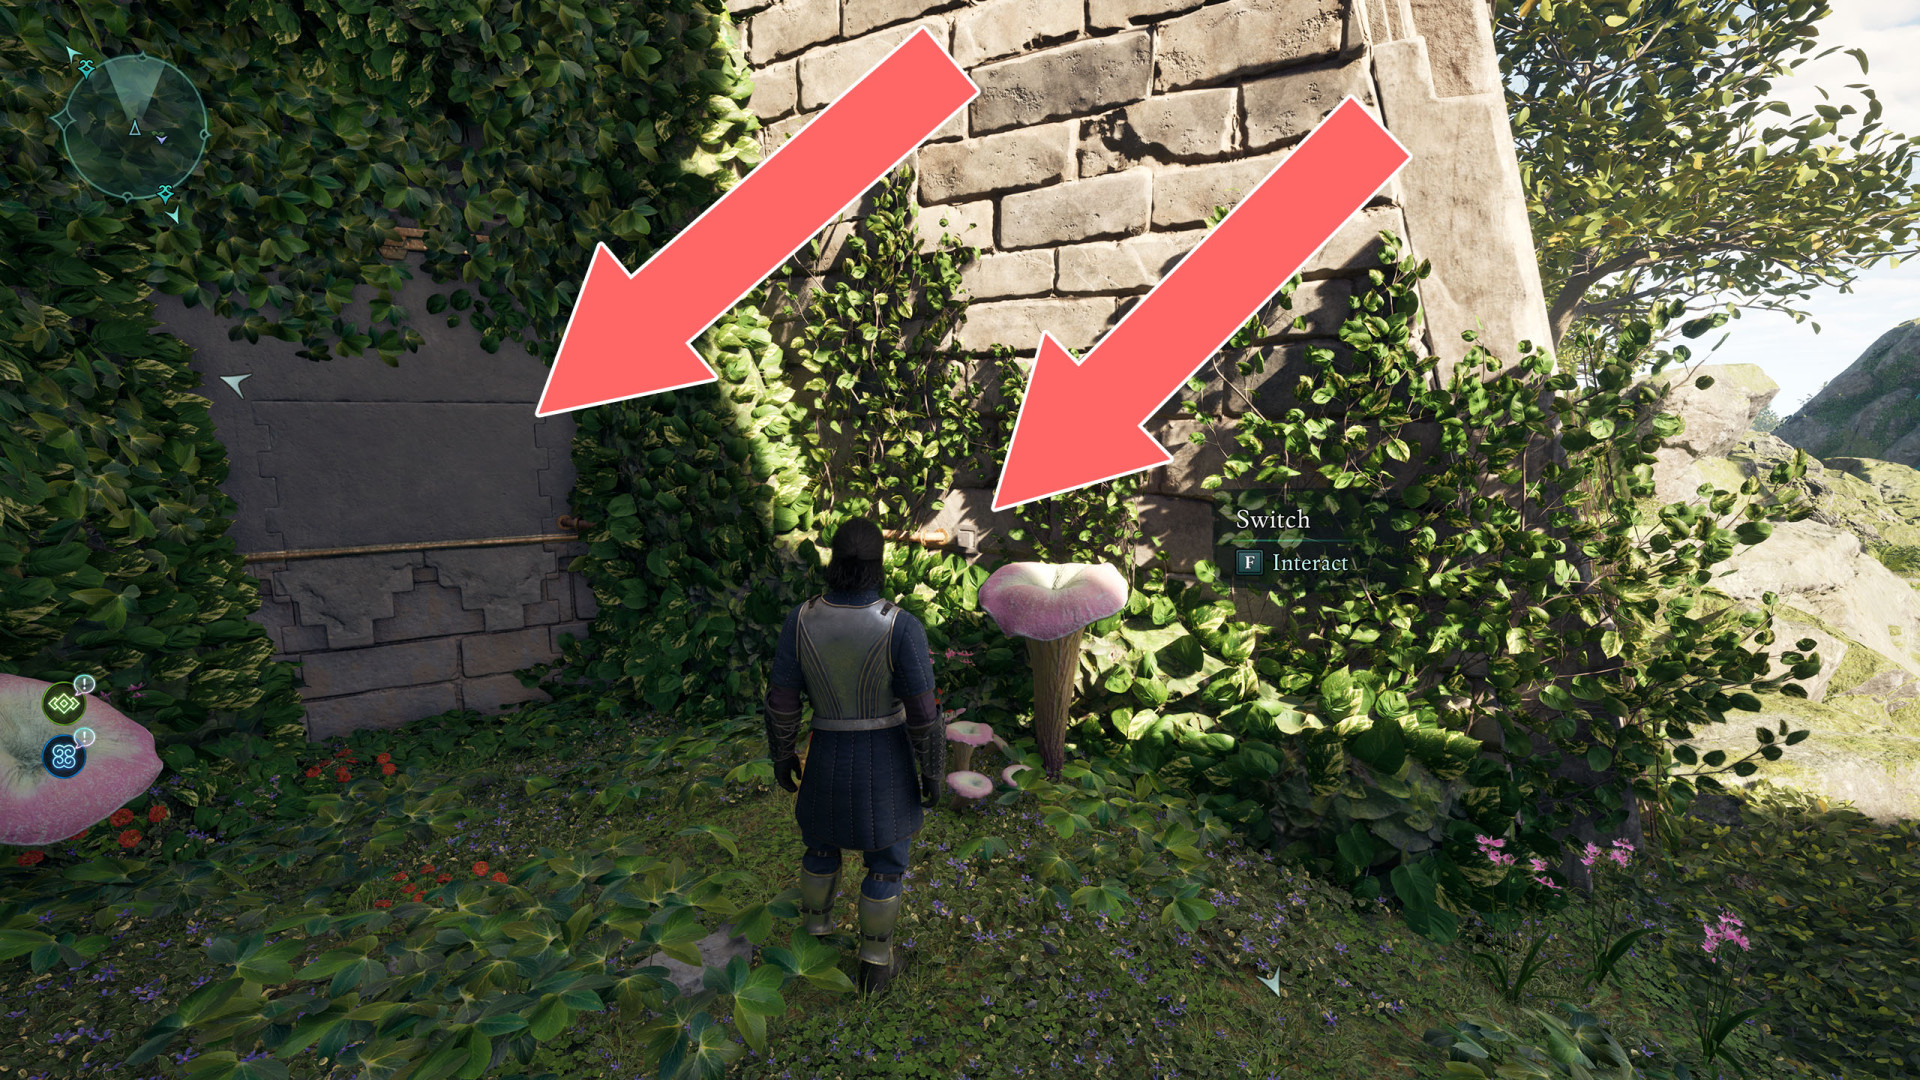
50Secret Door
Press the switch to open this passage.
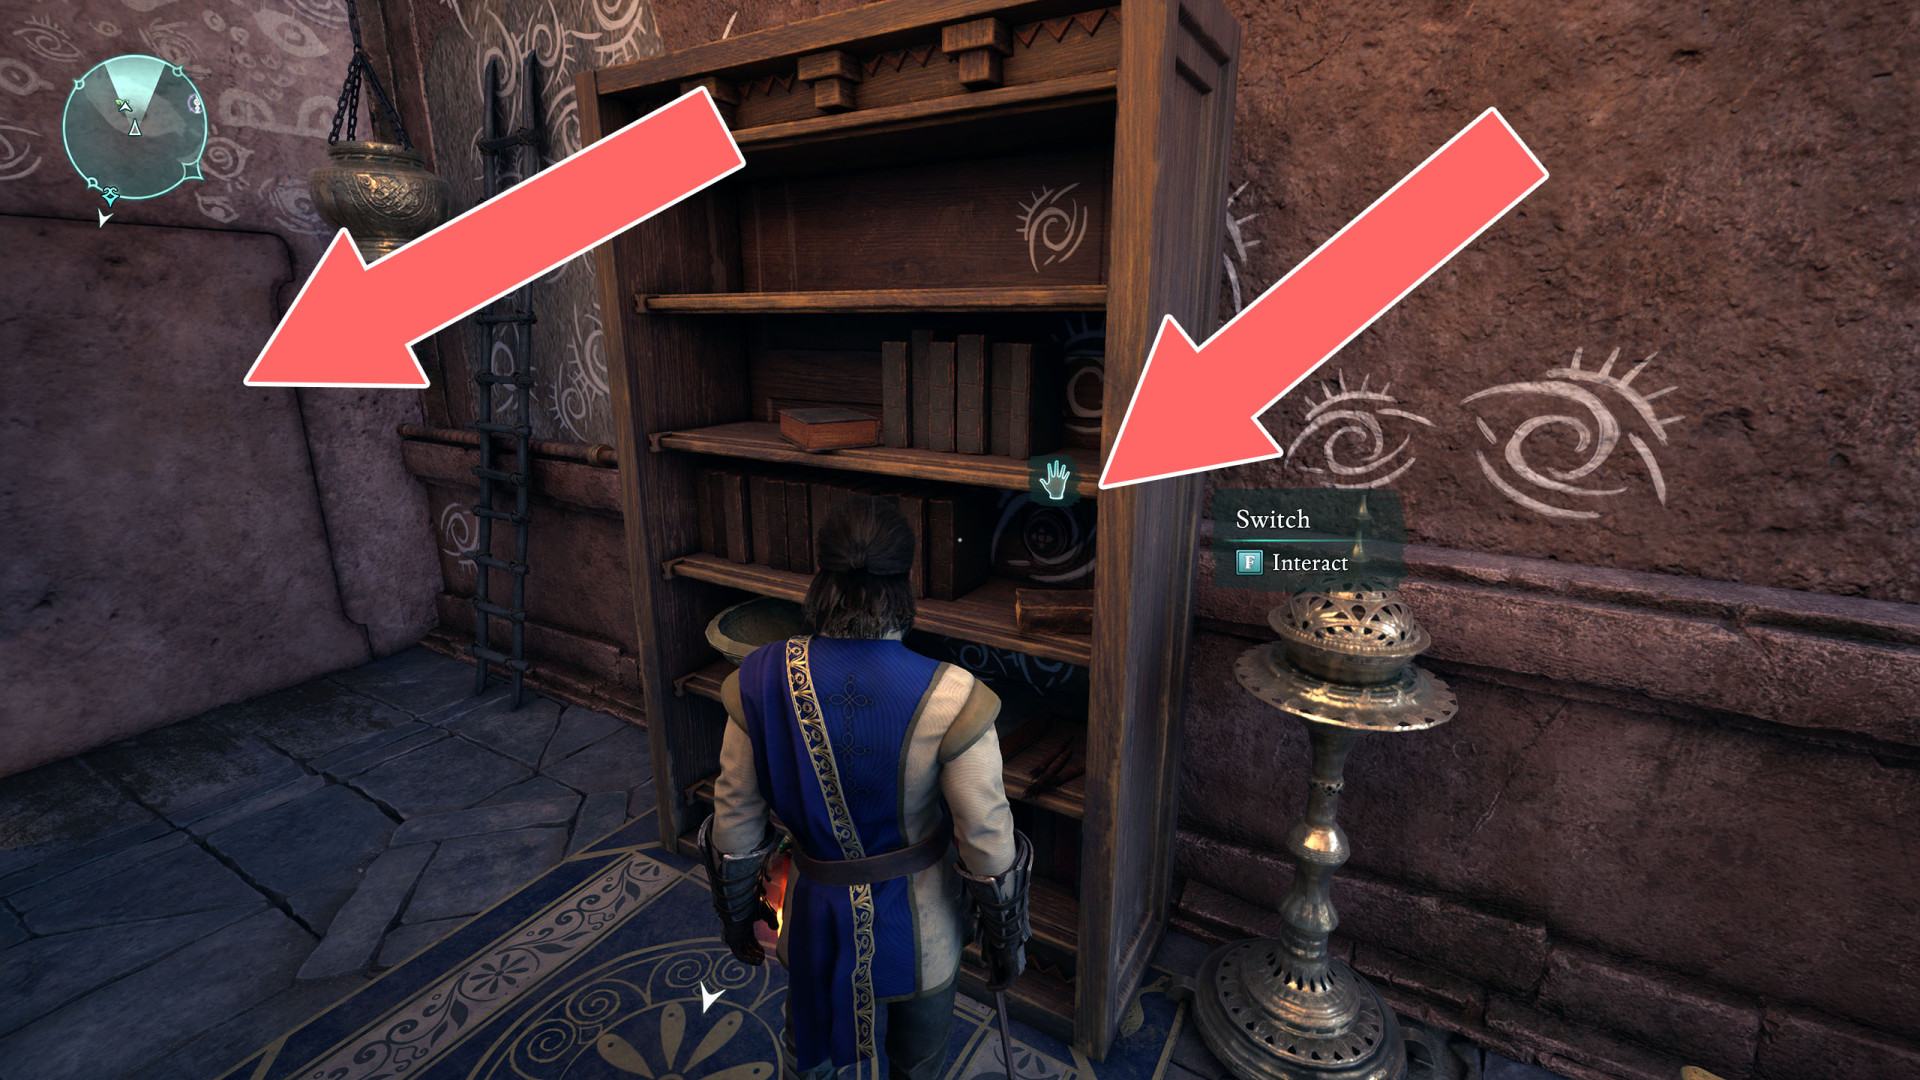
51Secret Door
To open it destroy the brambles and press the switch on the wall.
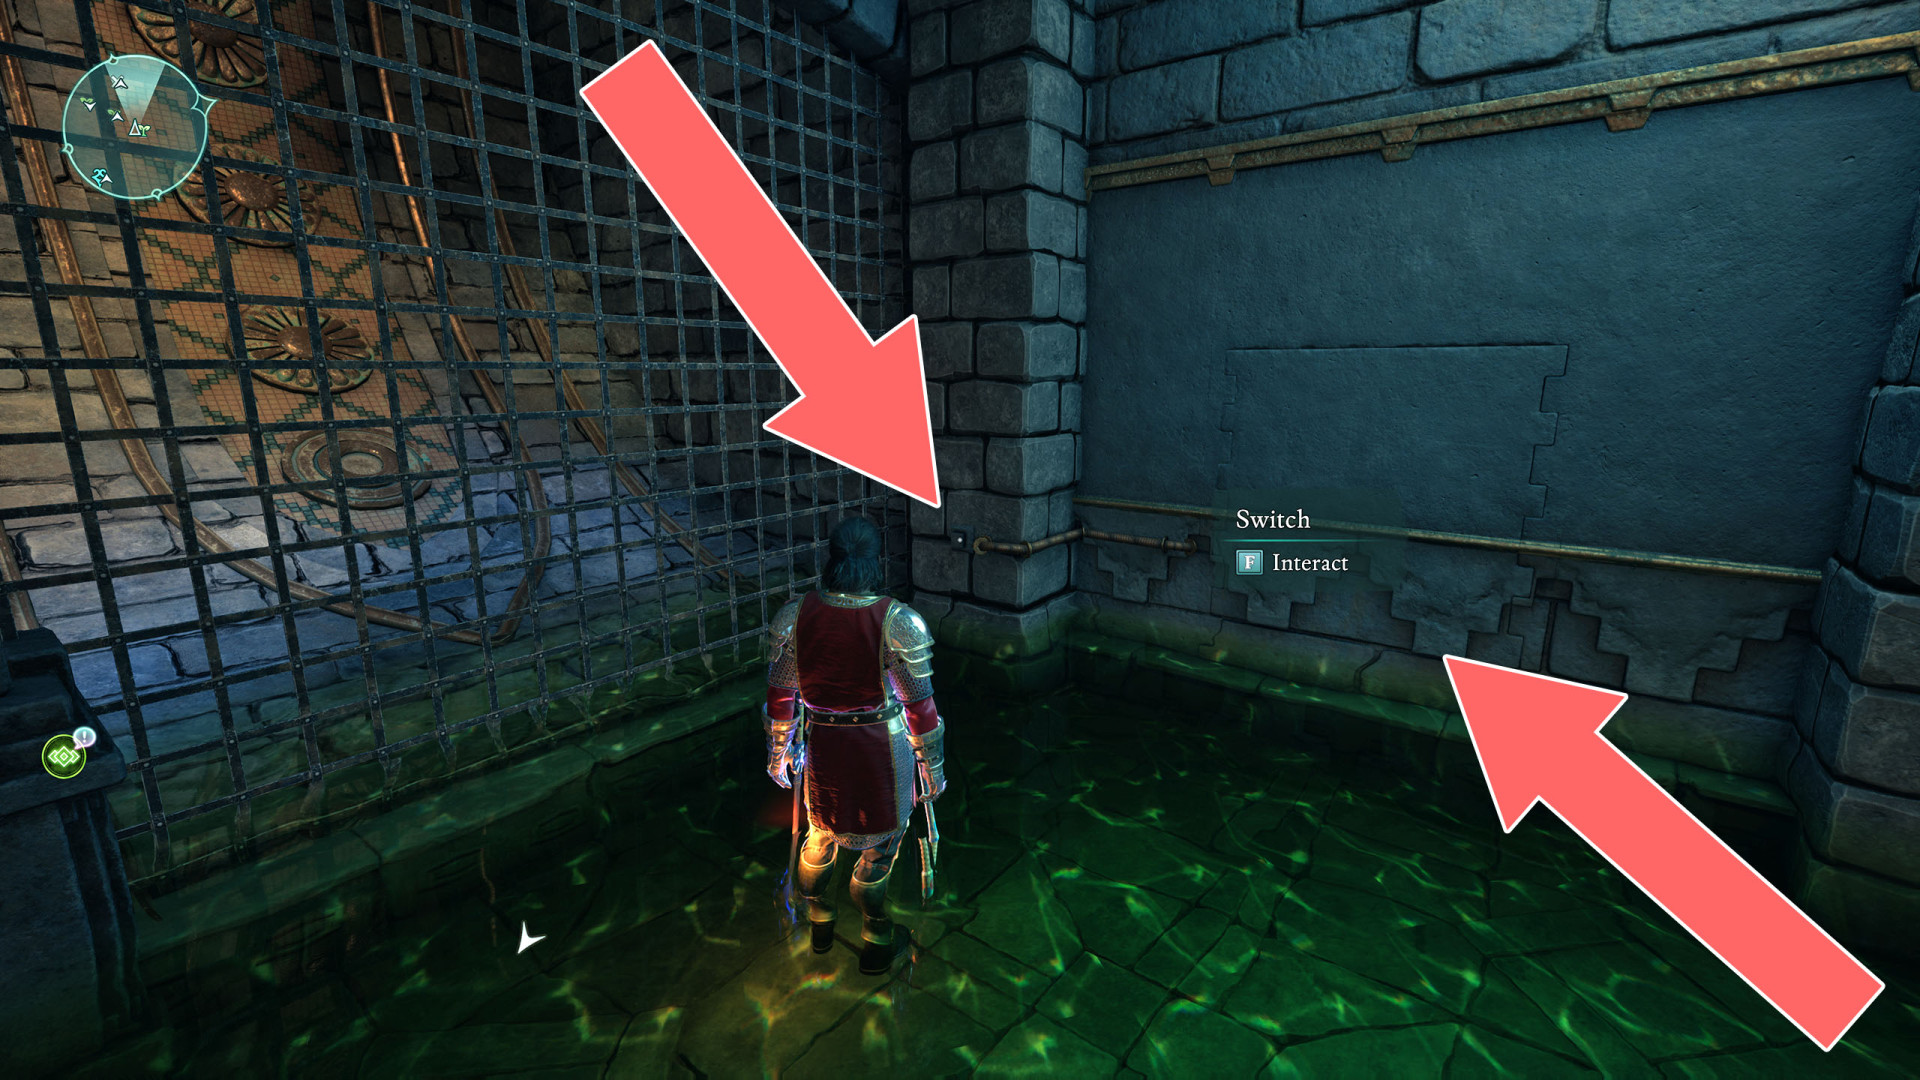
52 Shock Door (2)
To open it destroy the brambles and then pull the lever.
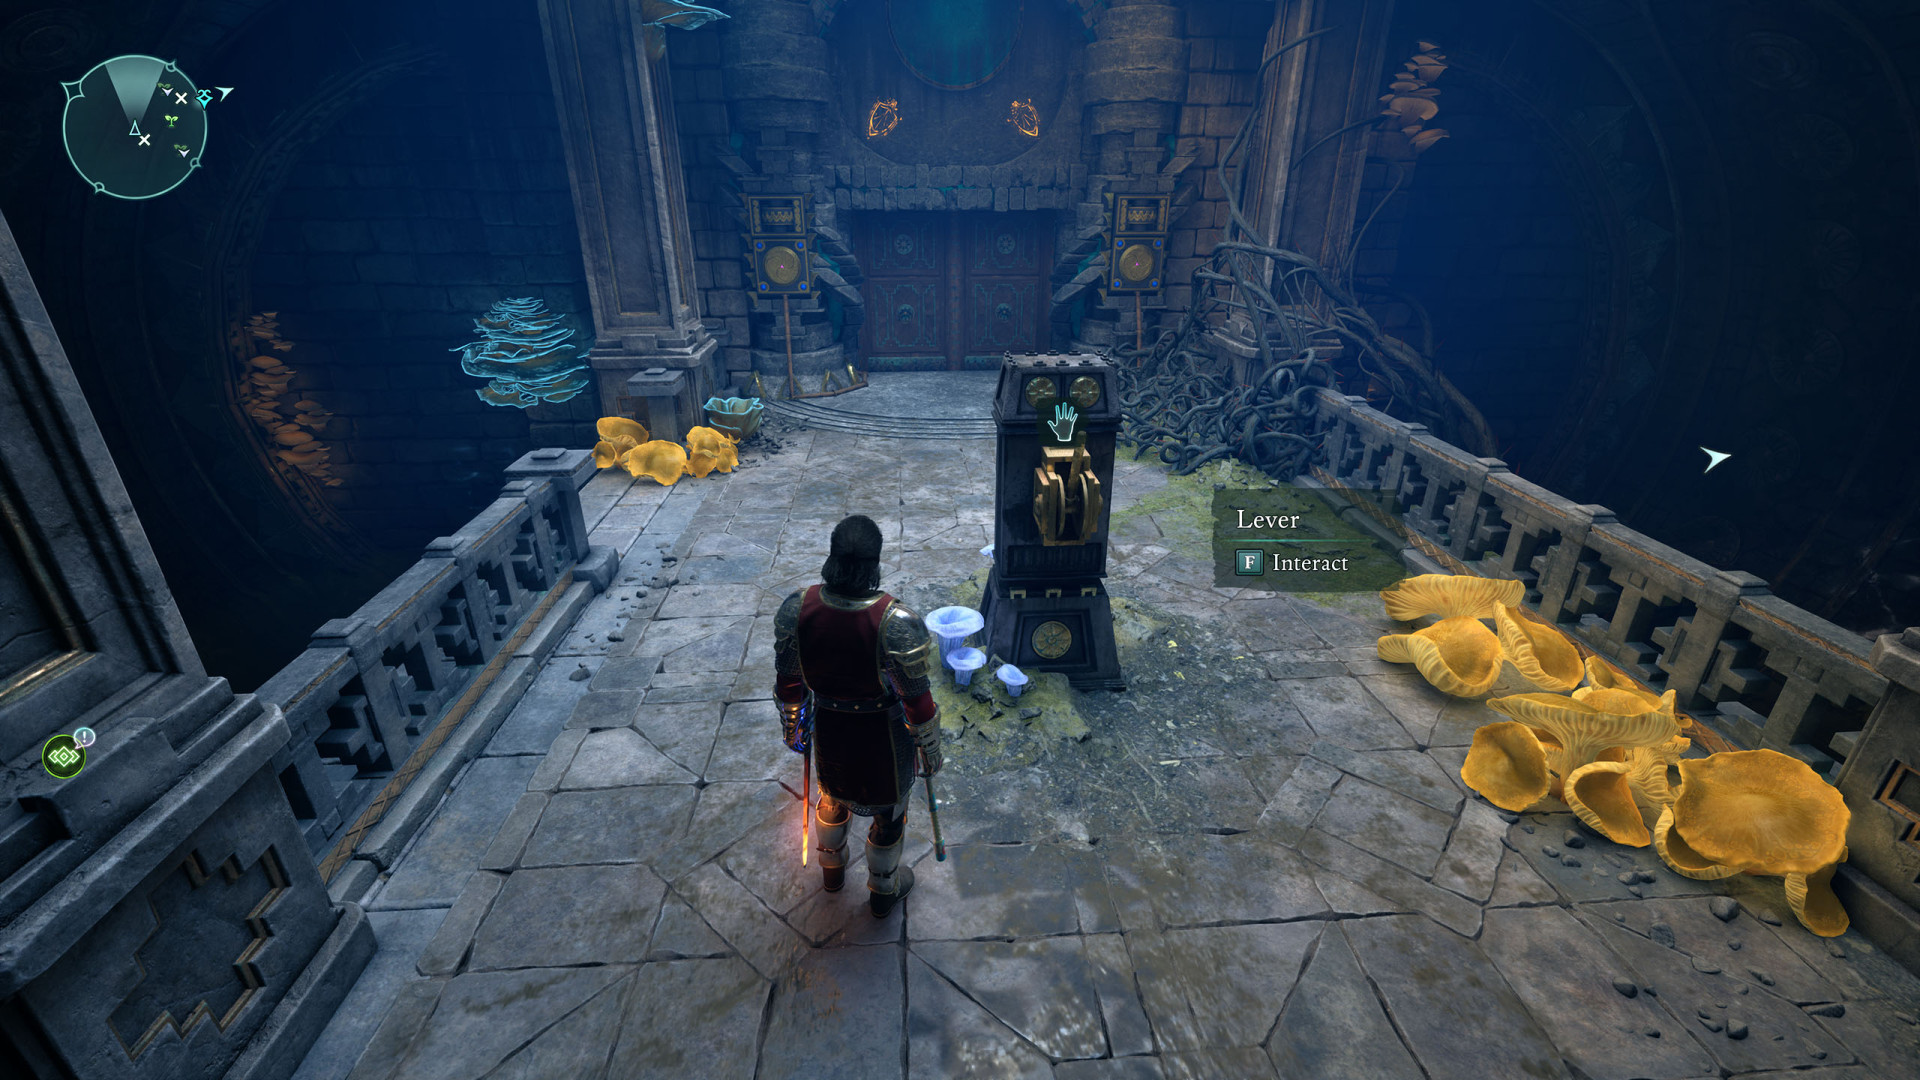
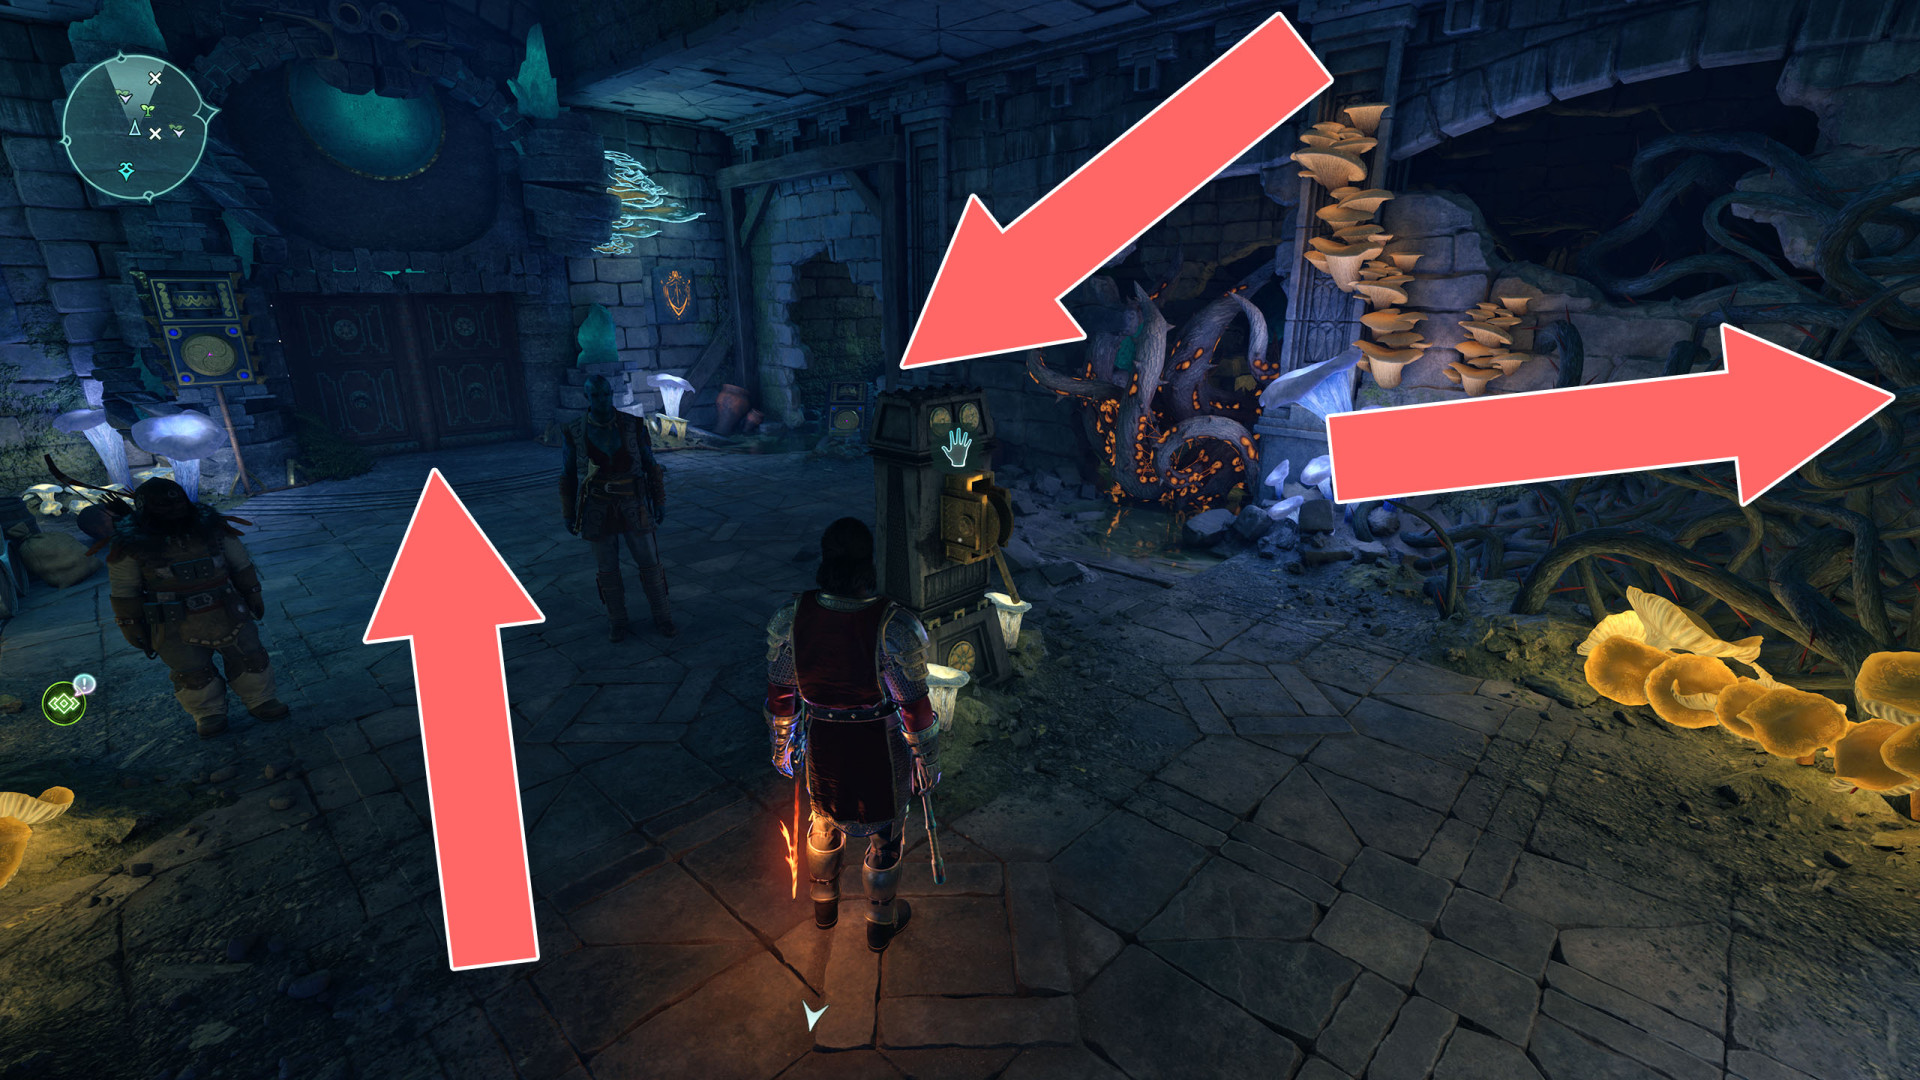
53Shock Door (2)
To open it destroy the brambles to uncover one of the traps (so it can shoot) and destroy the weak wall to uncover the second essence generator then pull the lever.
54Shock Gate (1)
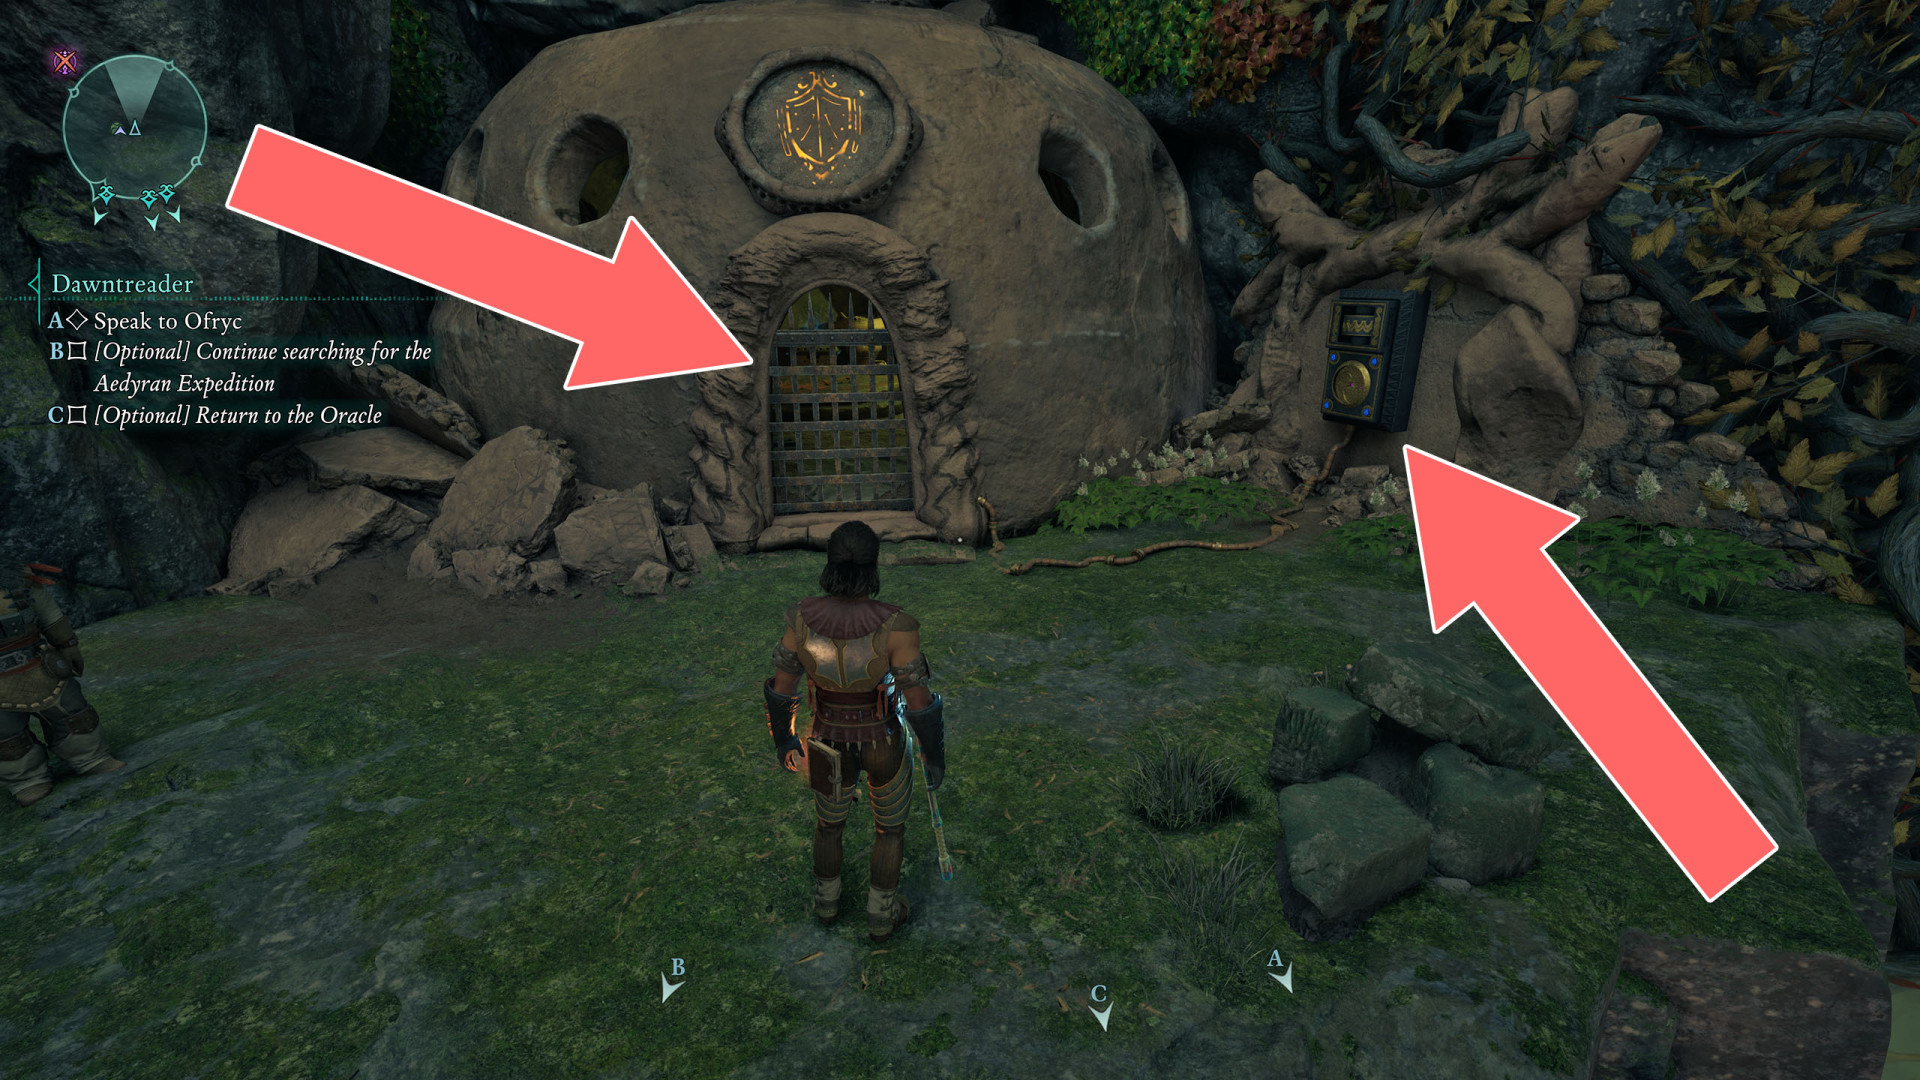
55Shock Gate (1)
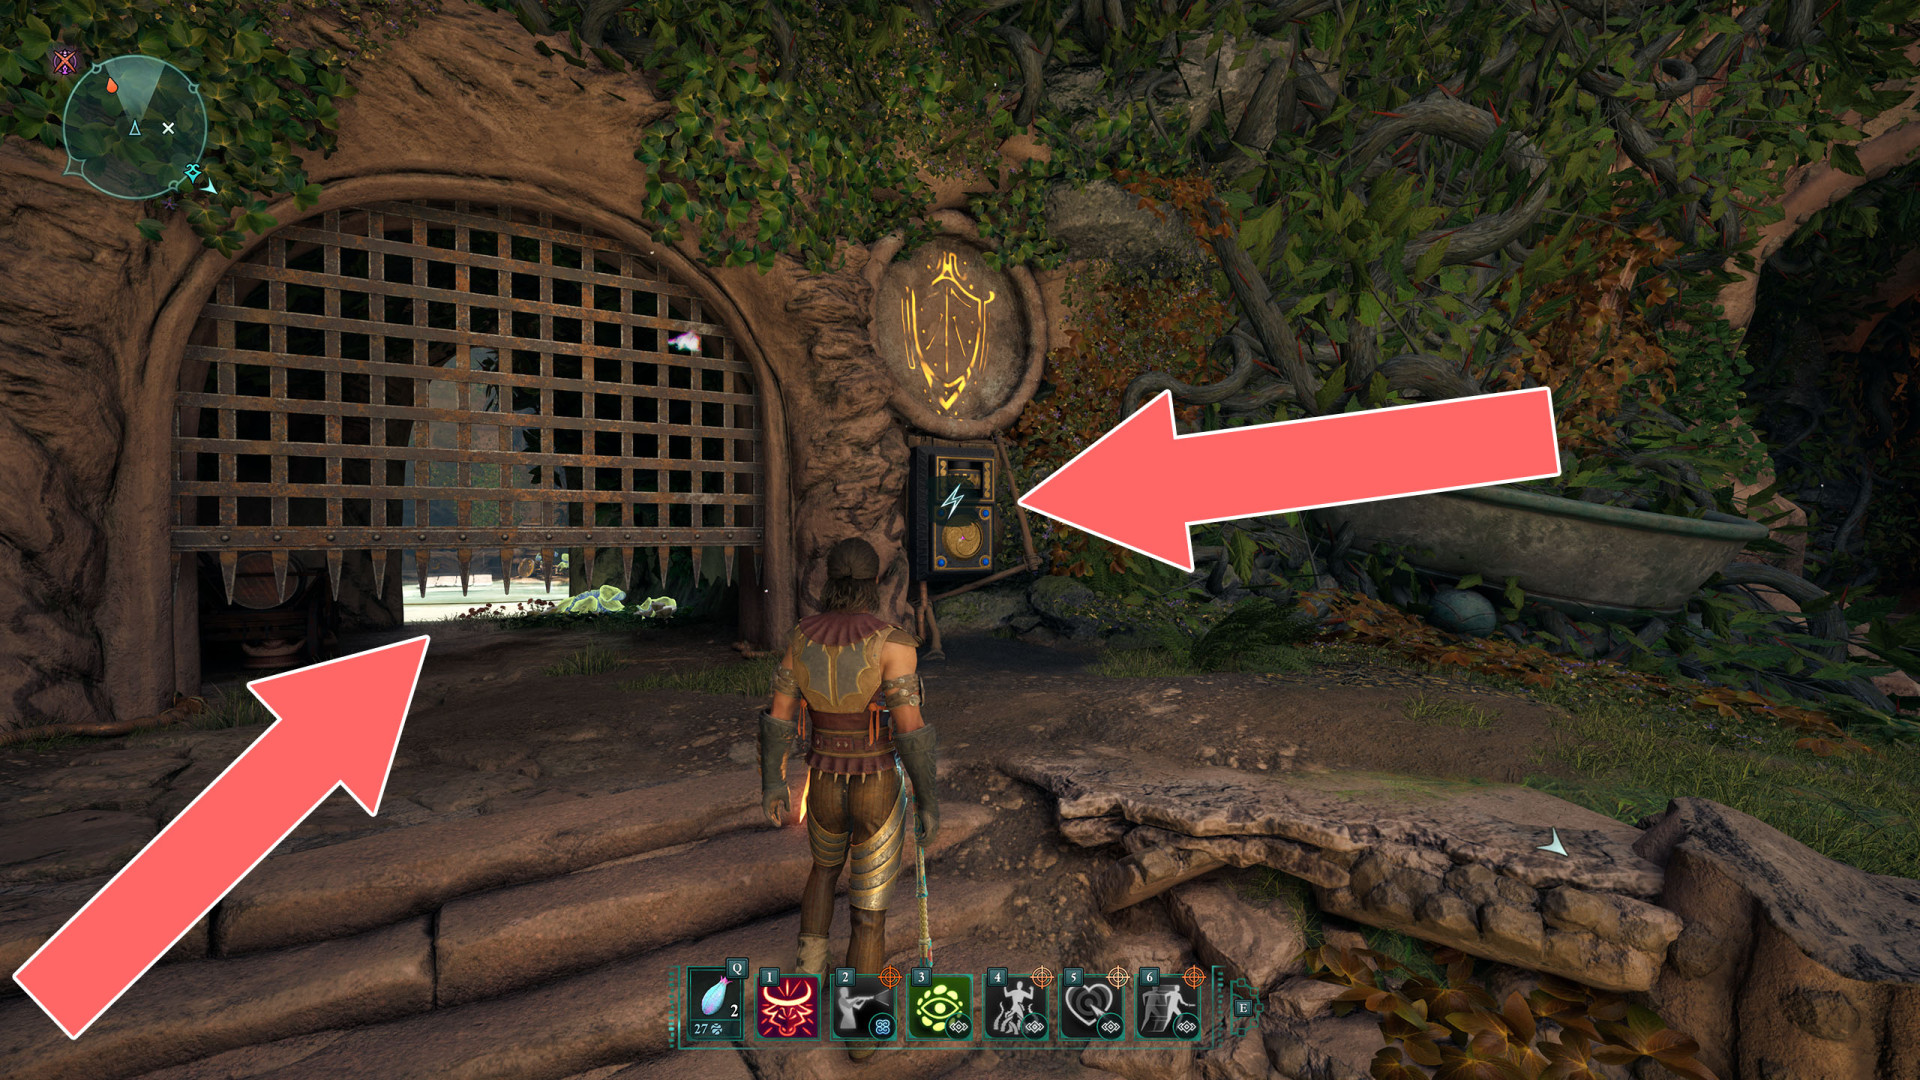
56Shock Gate (2)
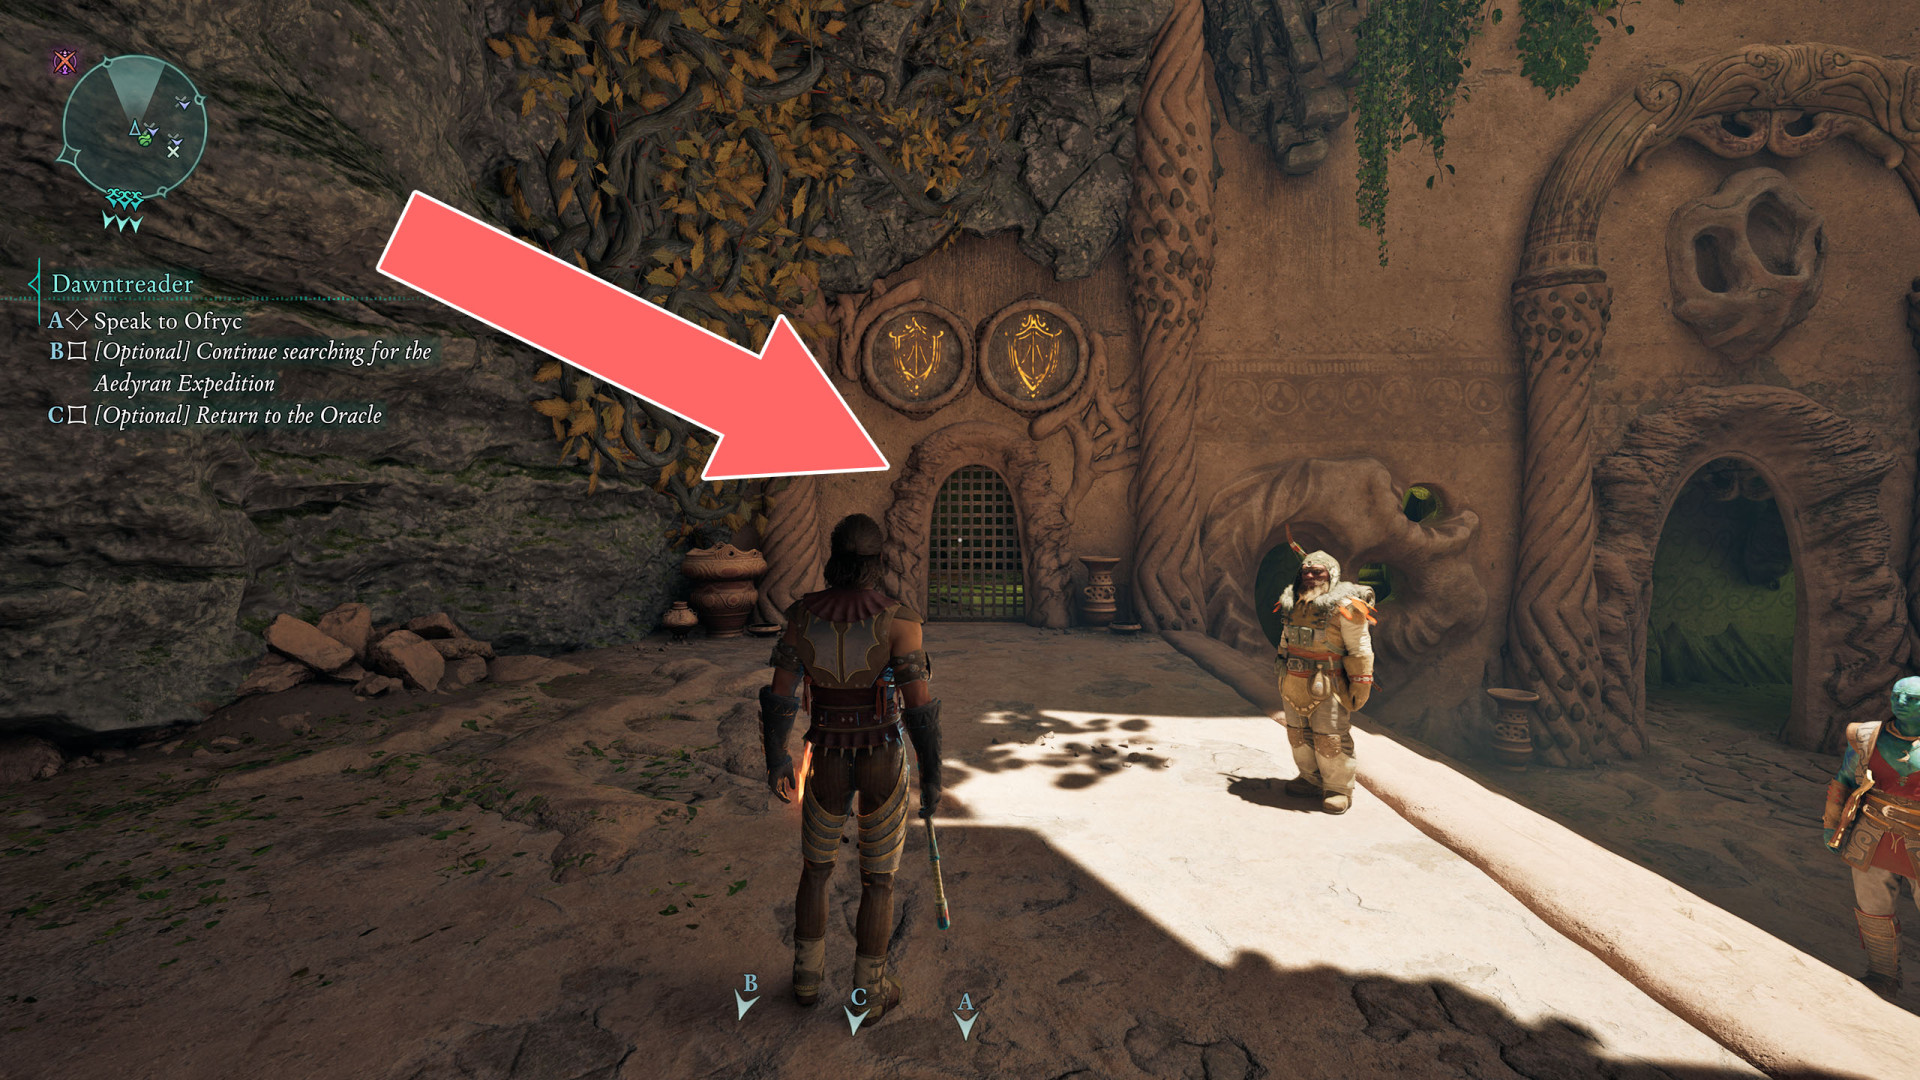
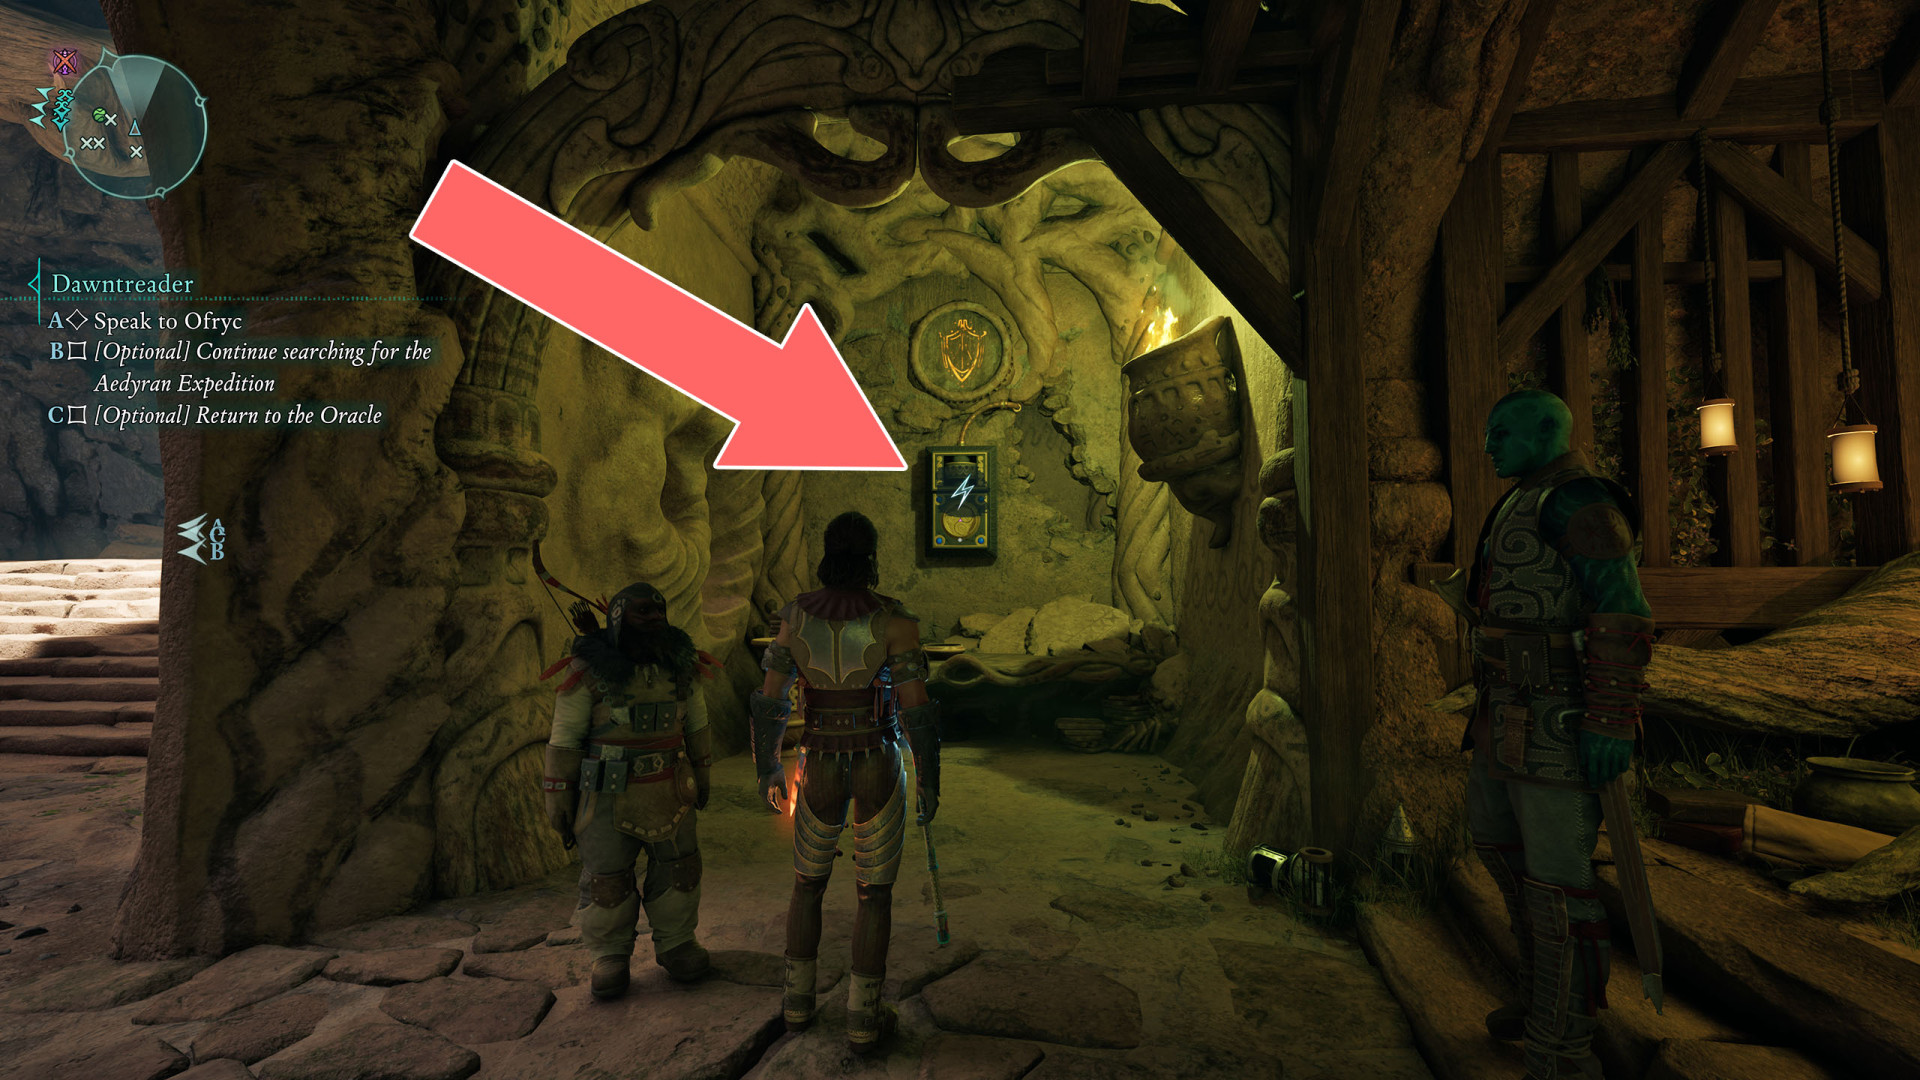
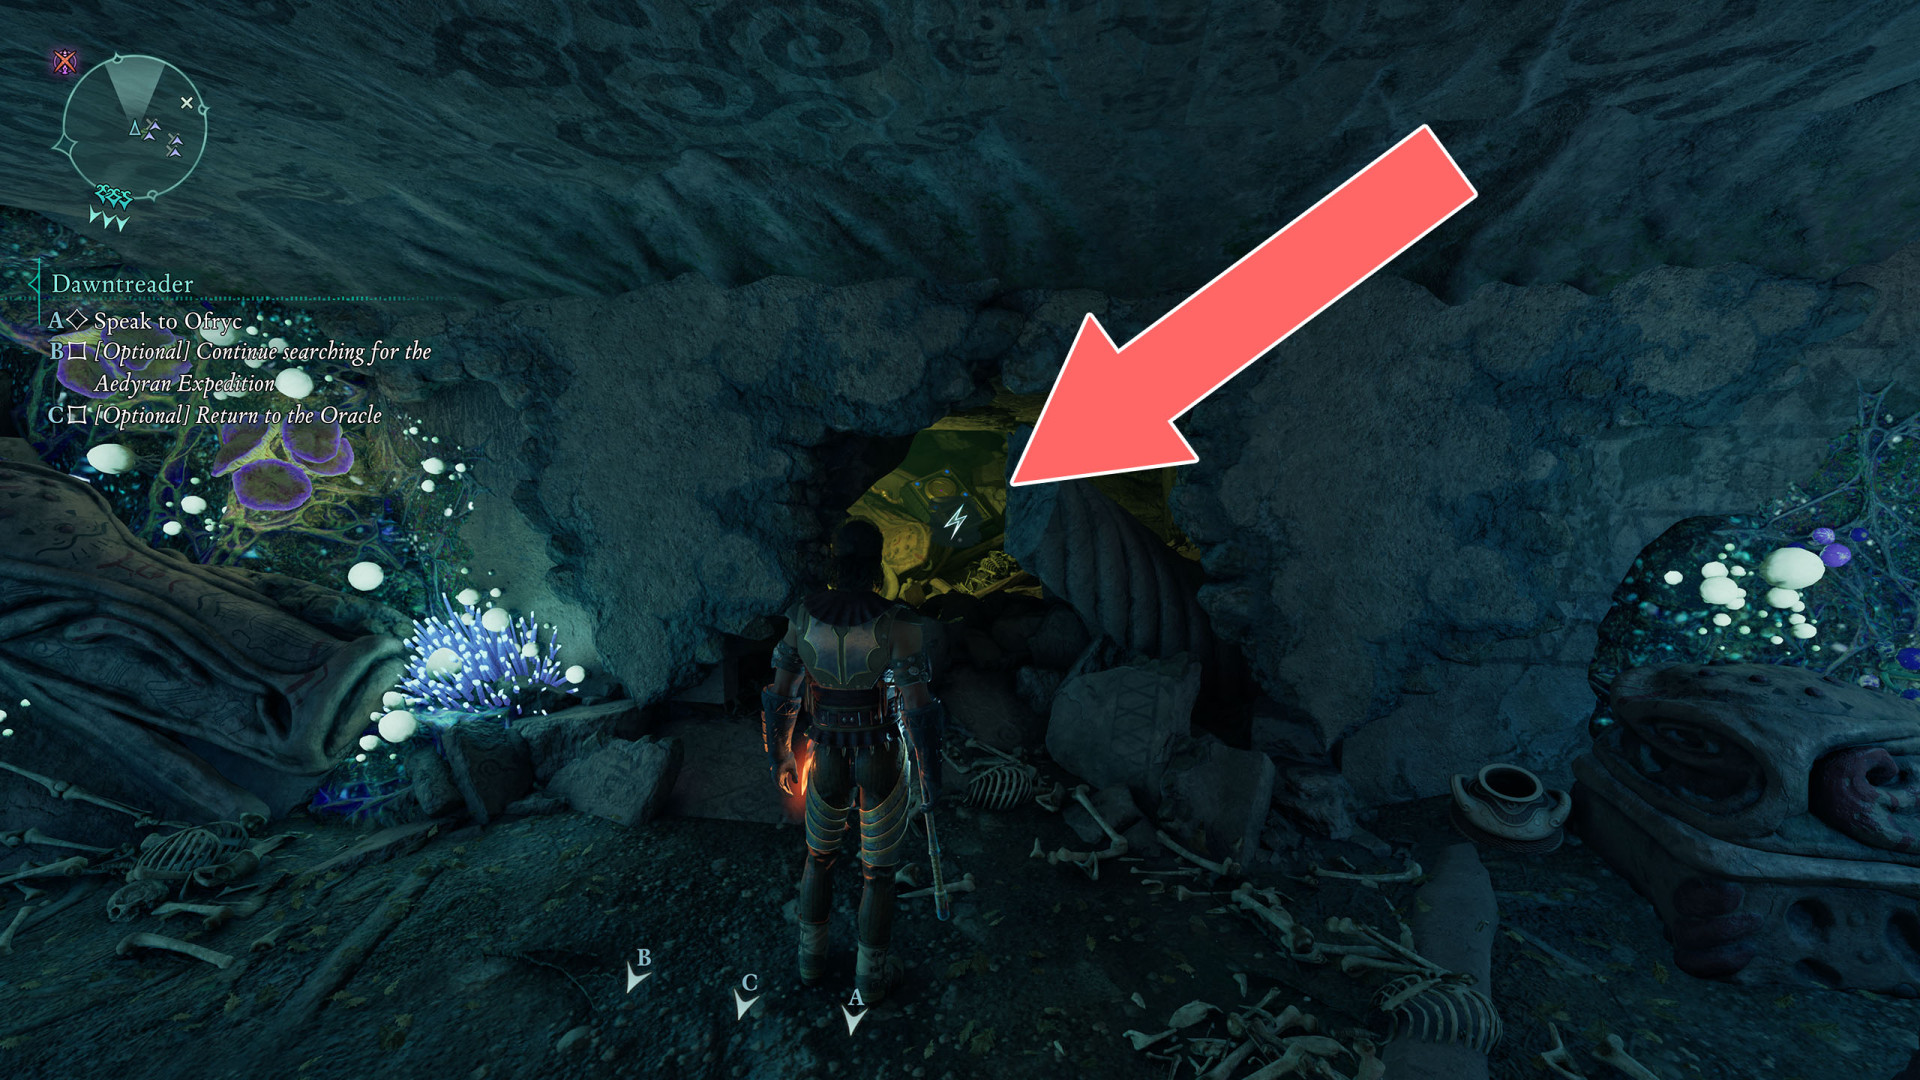
57Storeroom Door
Unlocks with: Storeroom Key.
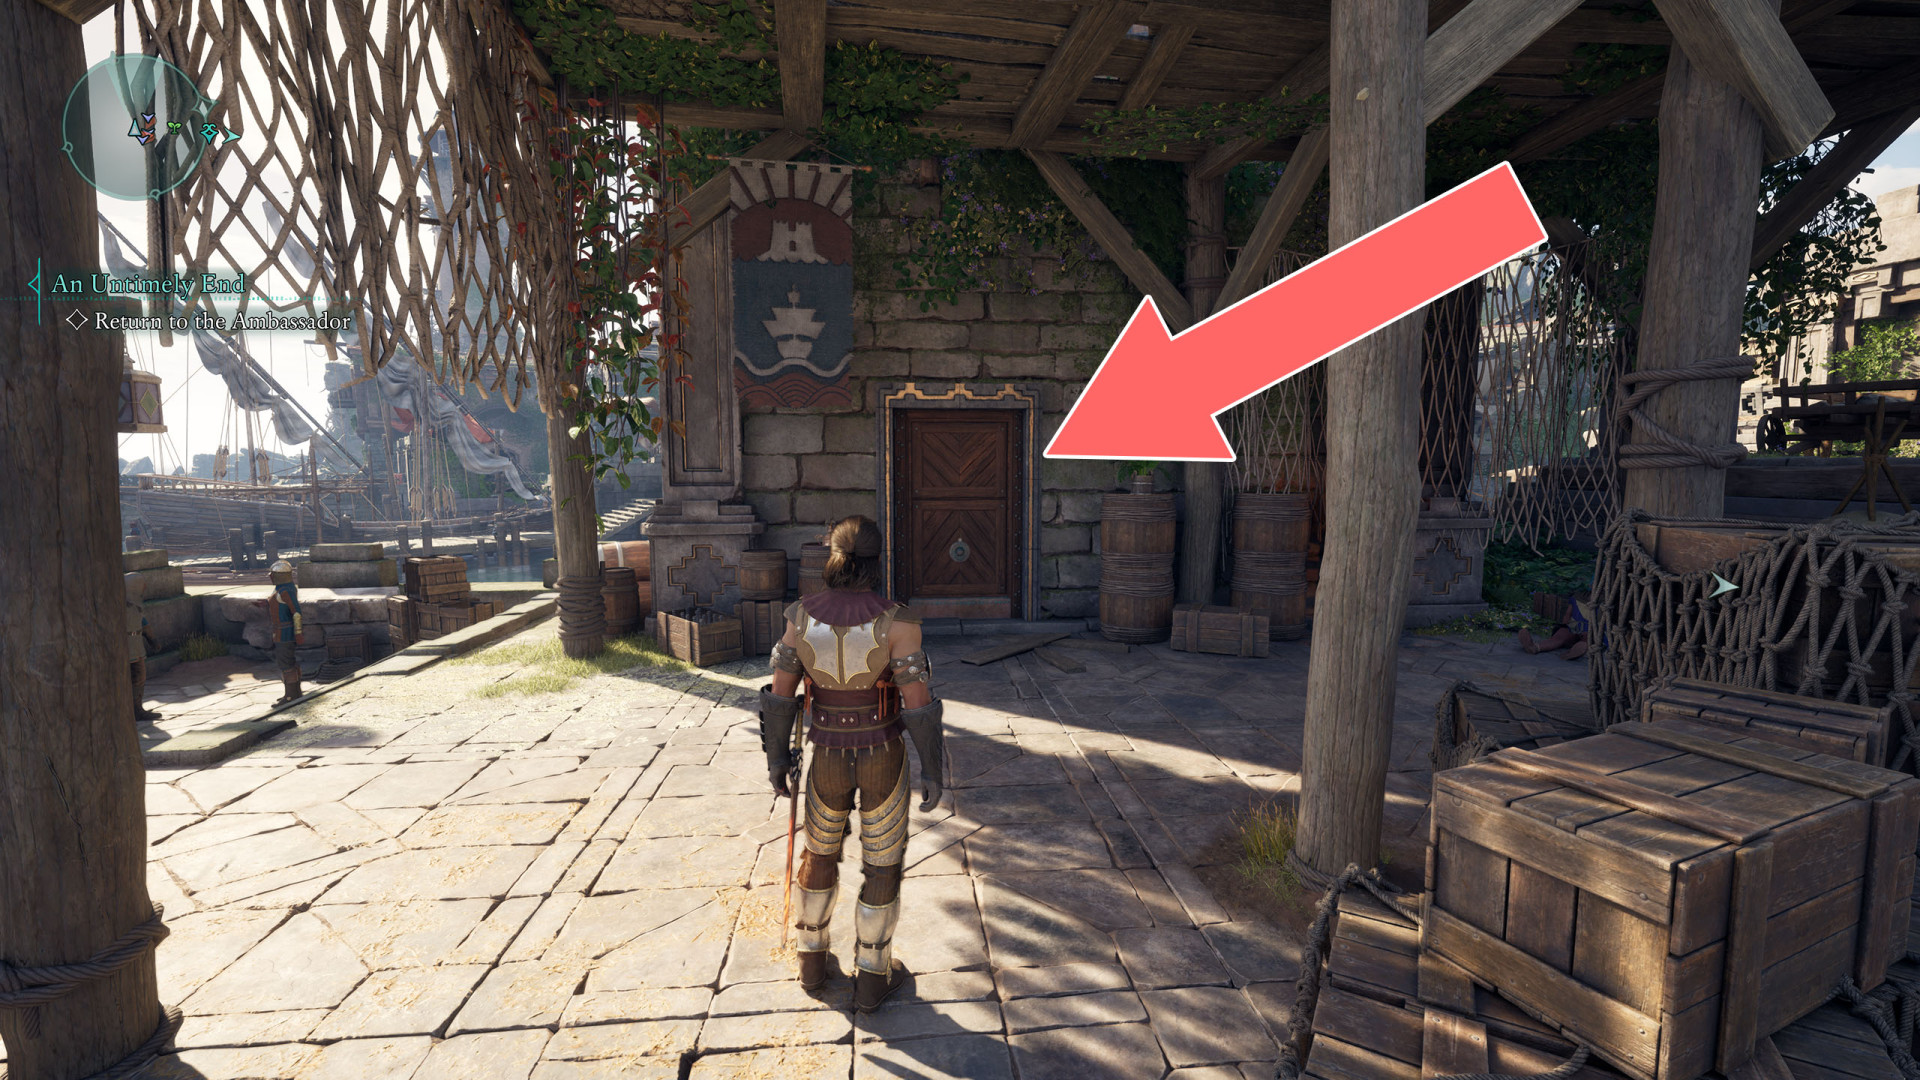
58Underwater Tunnel
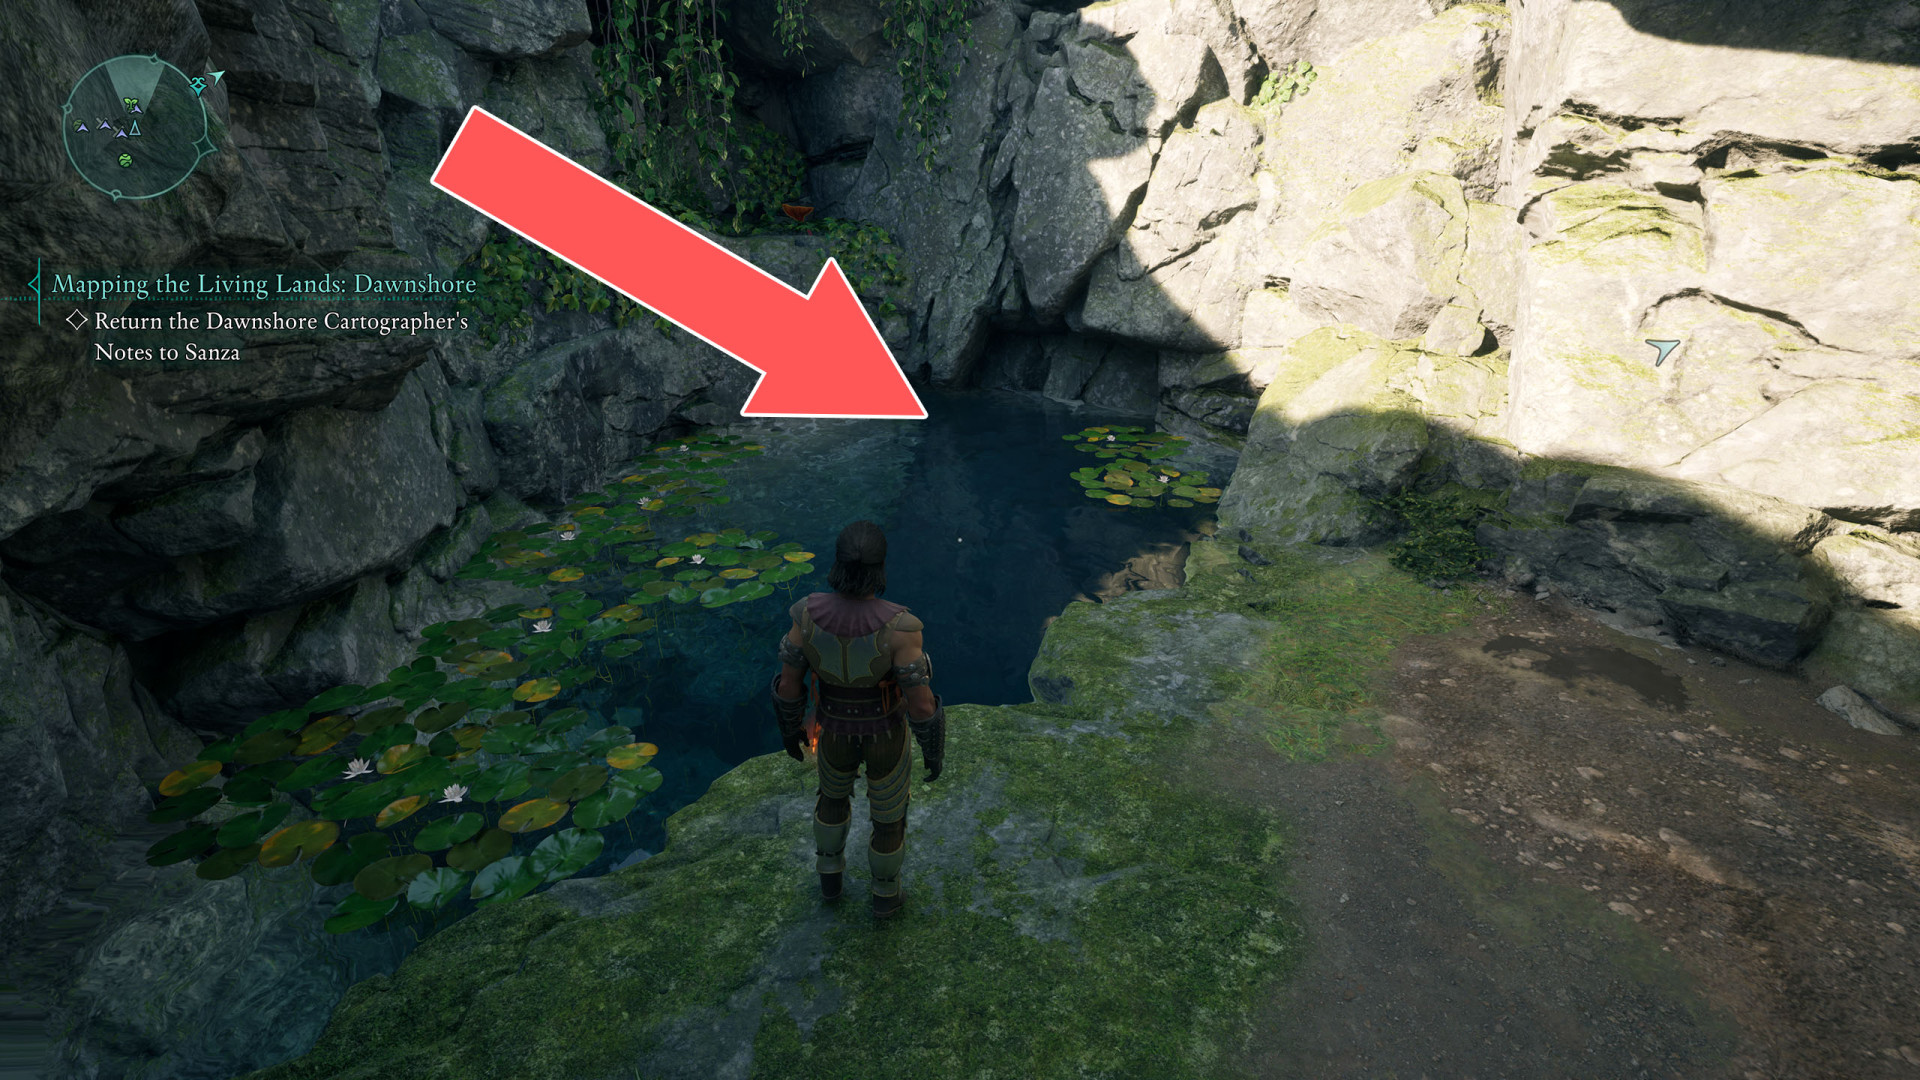
59Warehouse Door
Unlocks with: Warehouse Key or Lockpick x3.
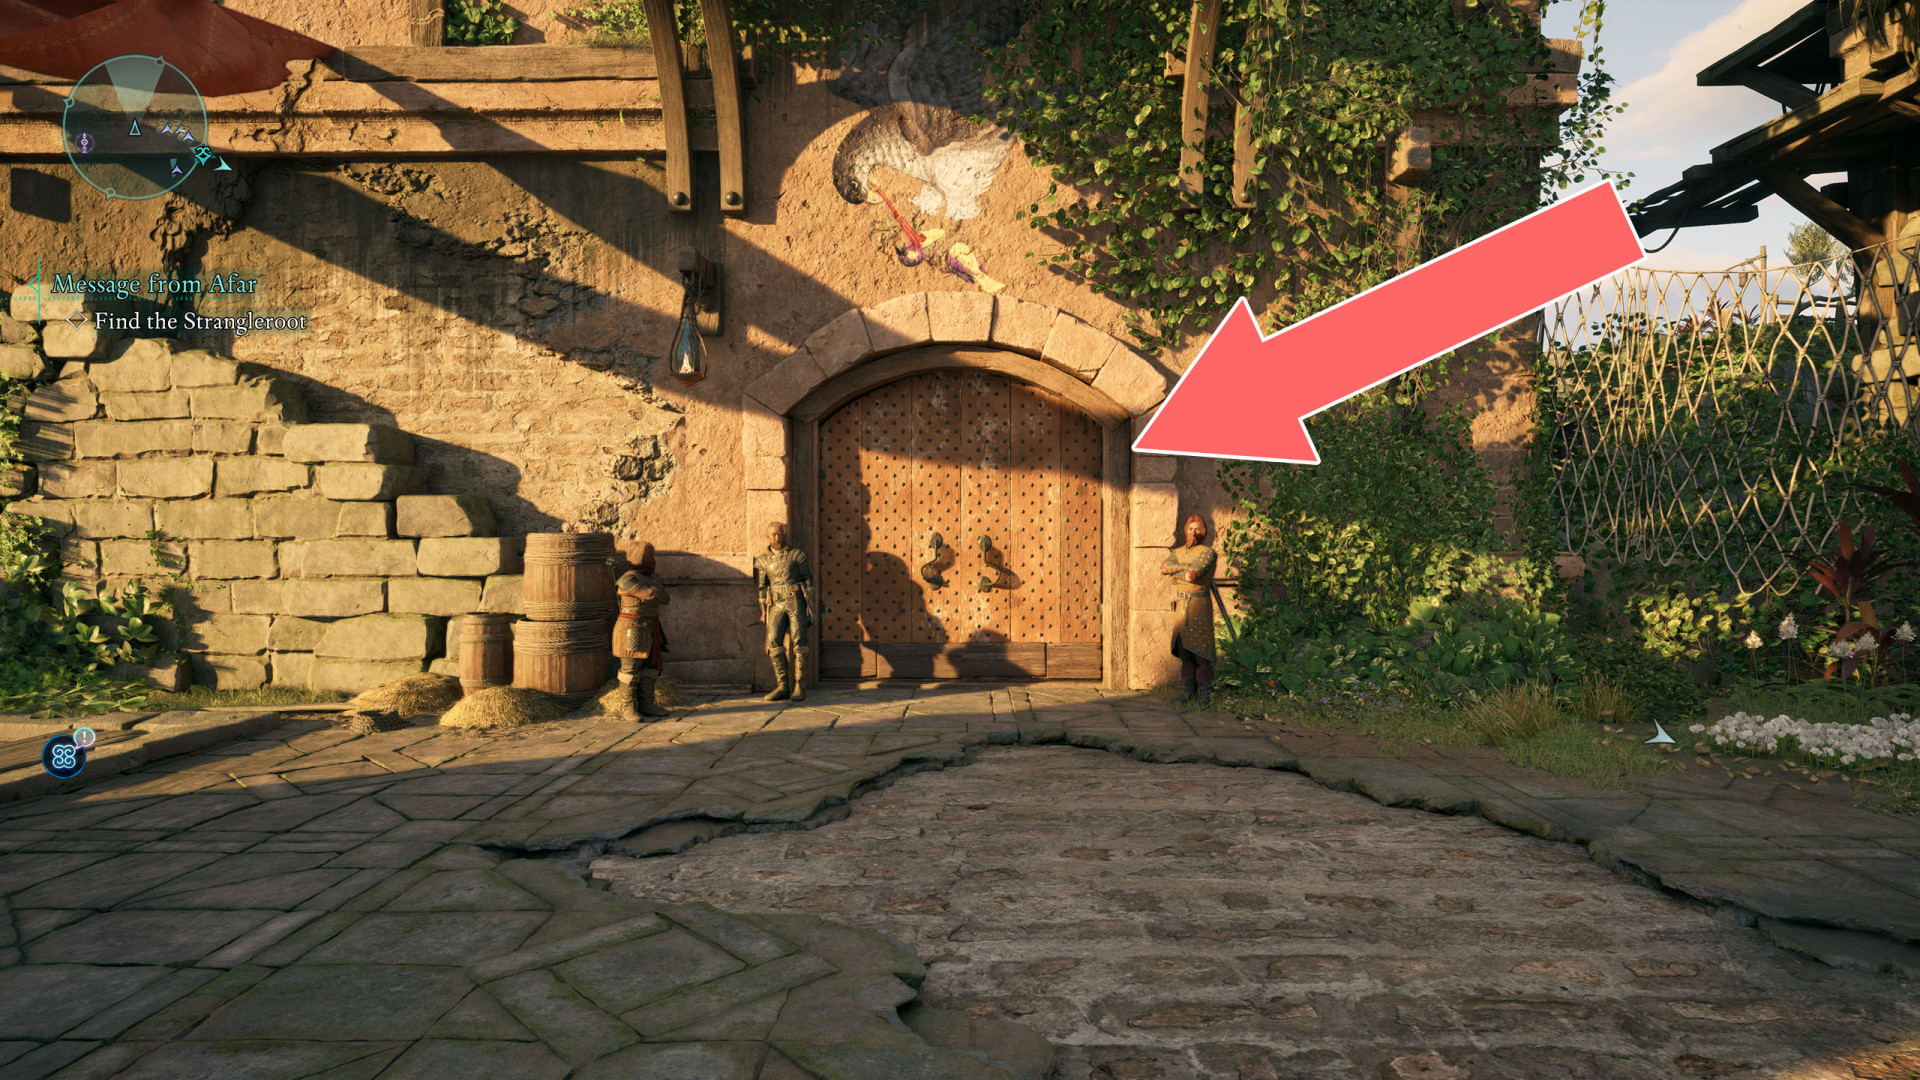
60 Weak Wall
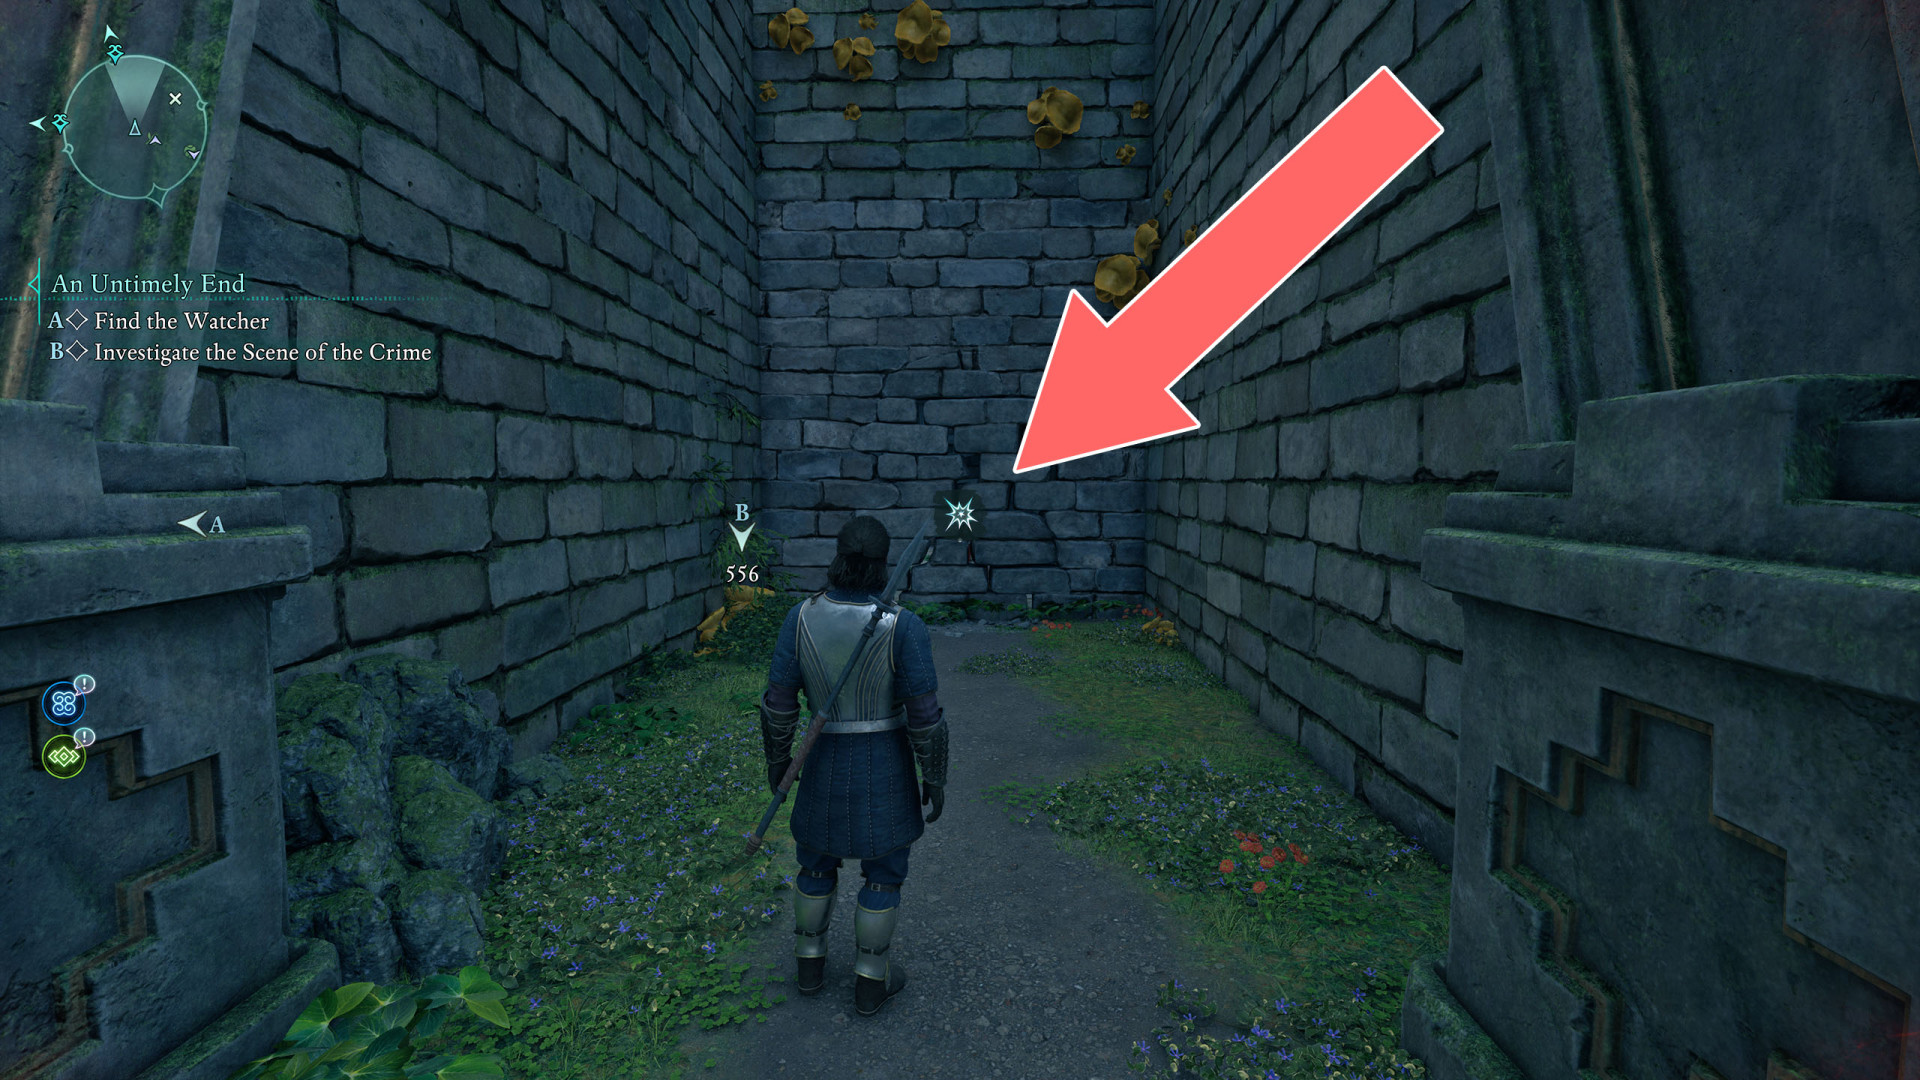
61Weak Wall
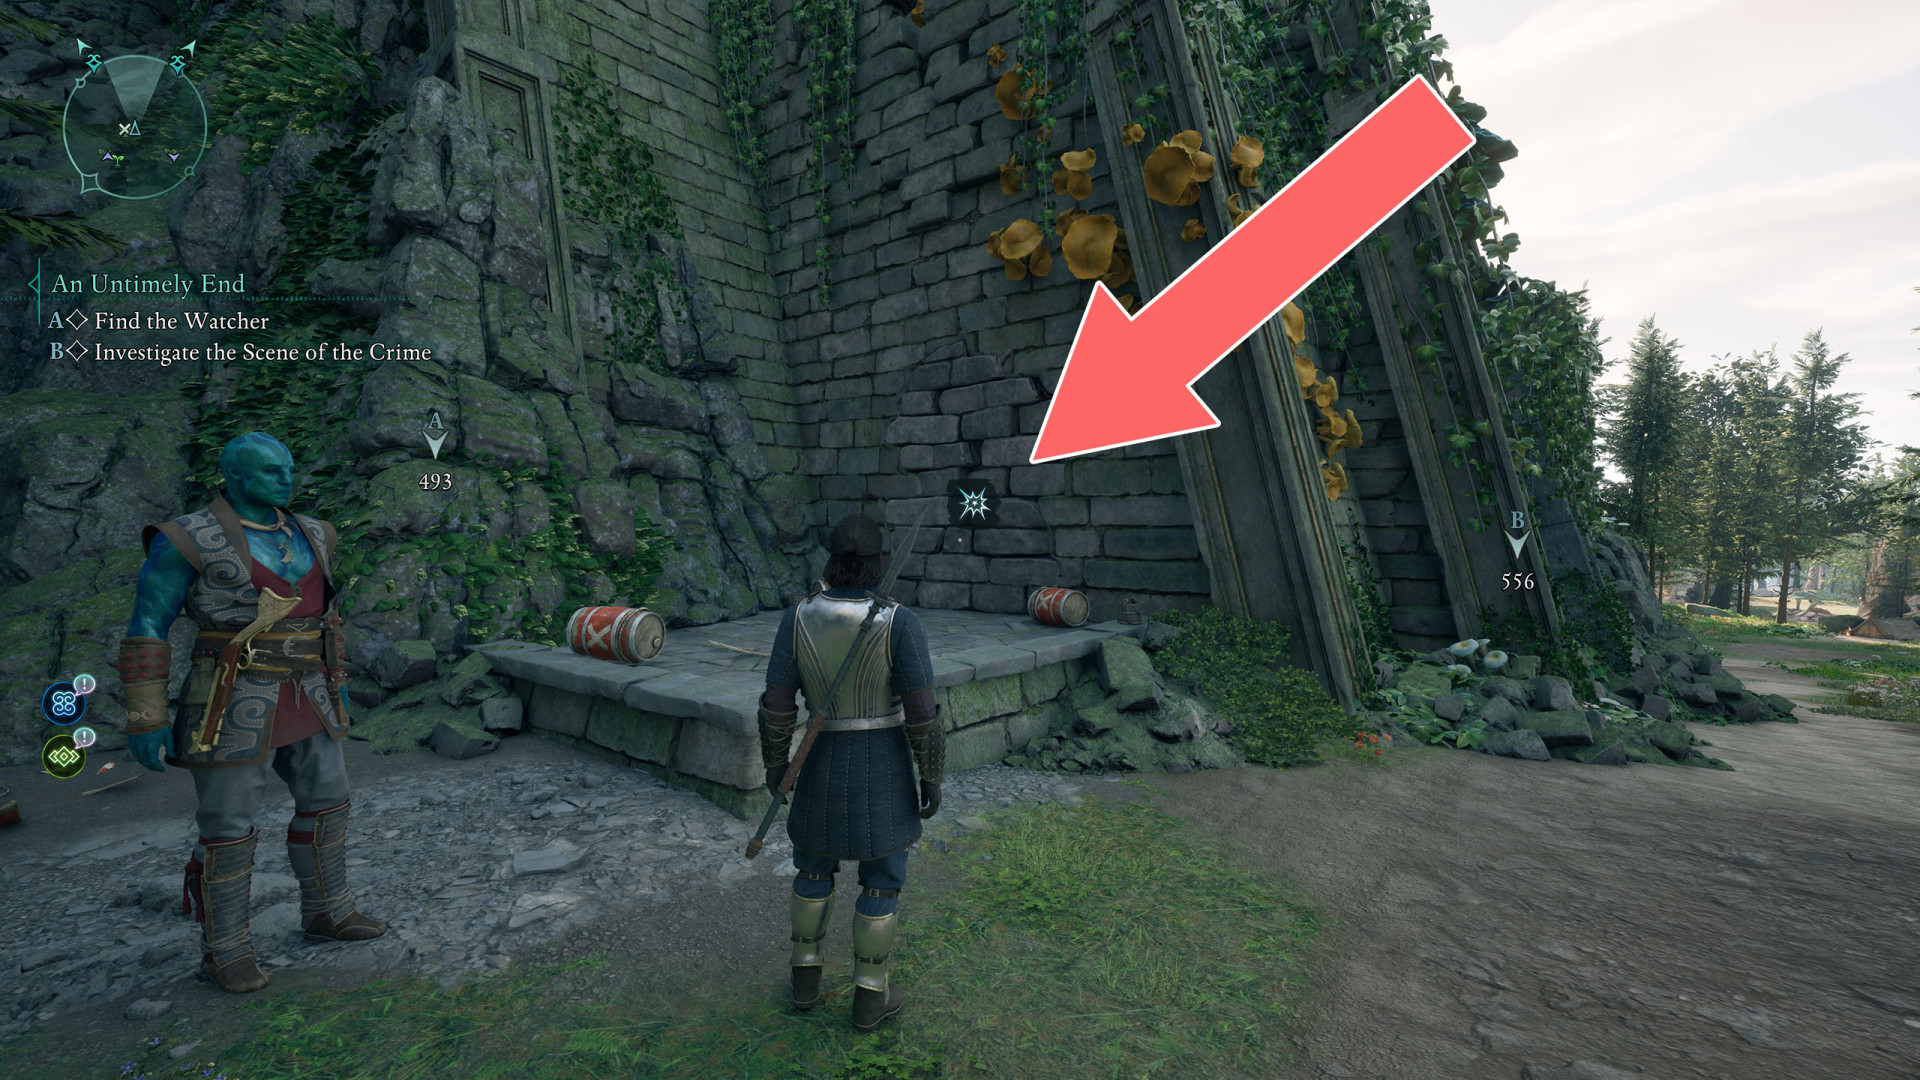
62Weak Wall
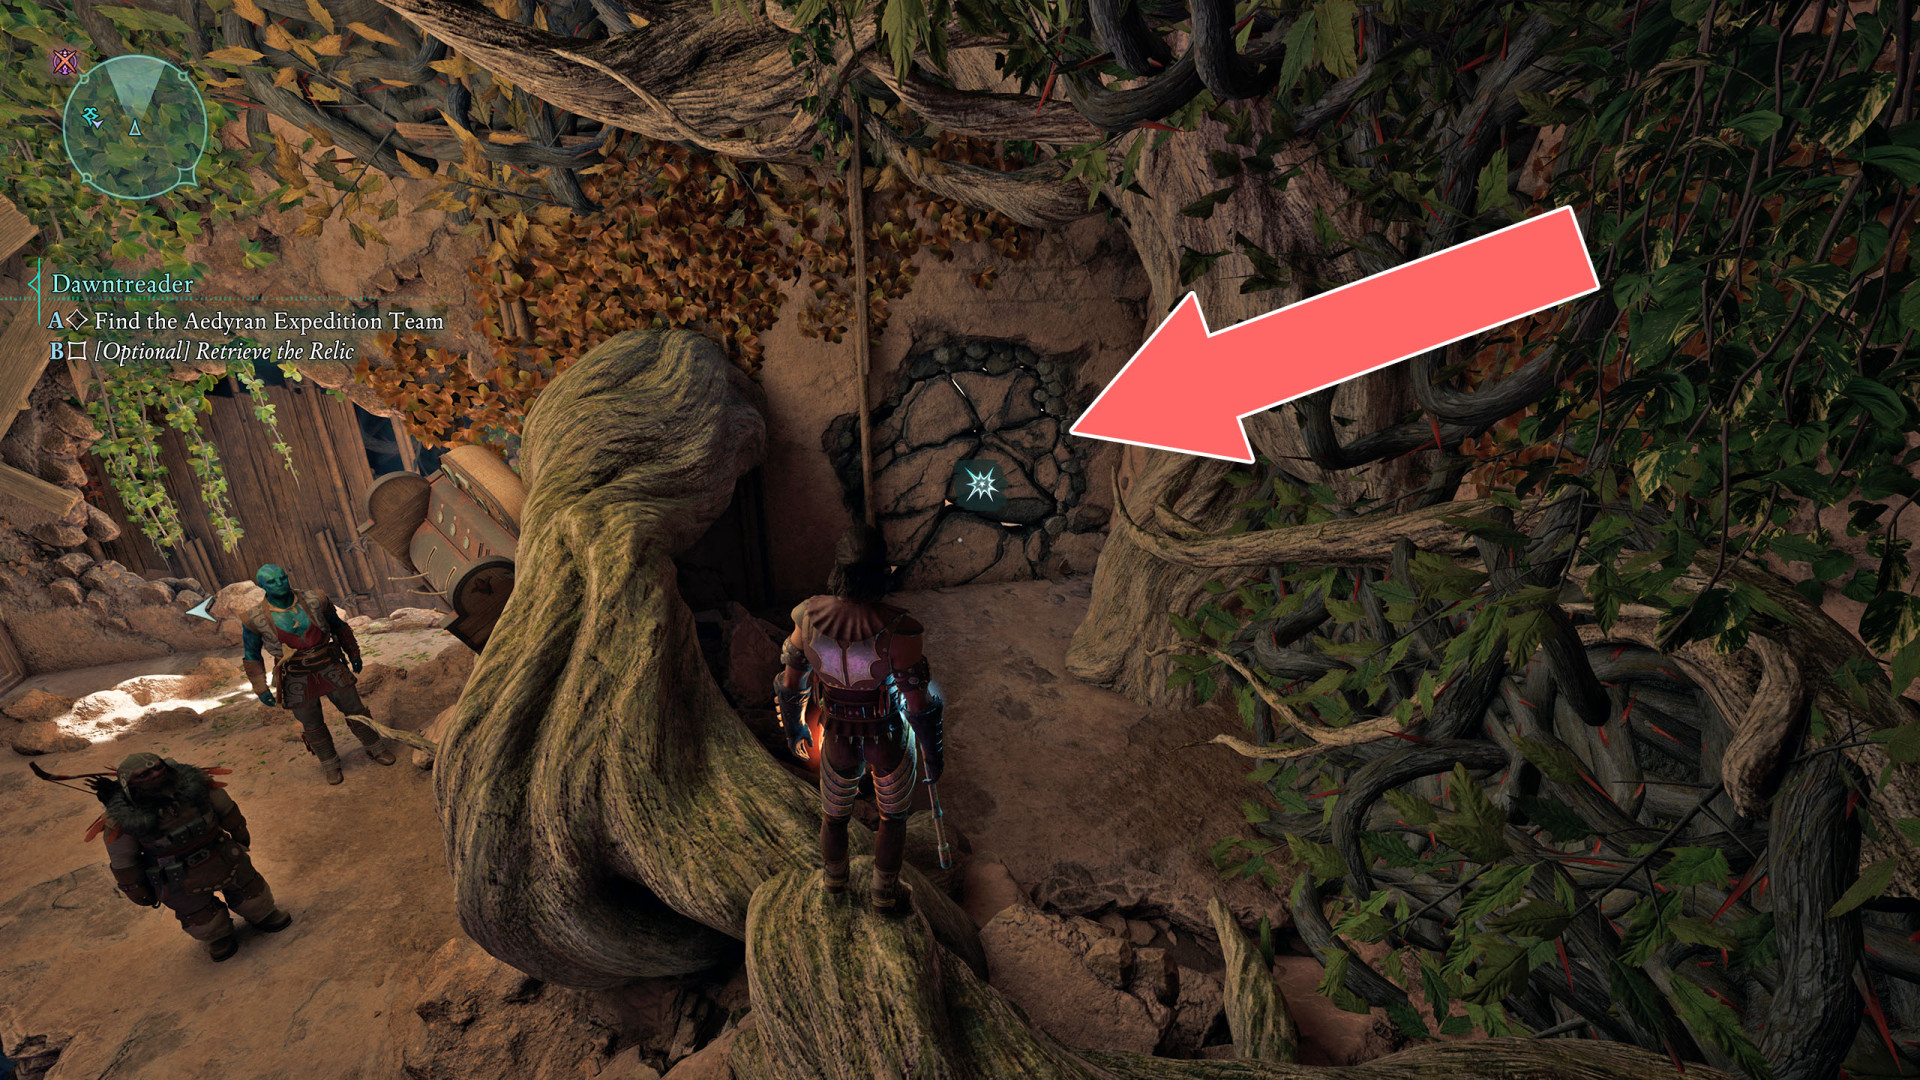
63Weak Wall
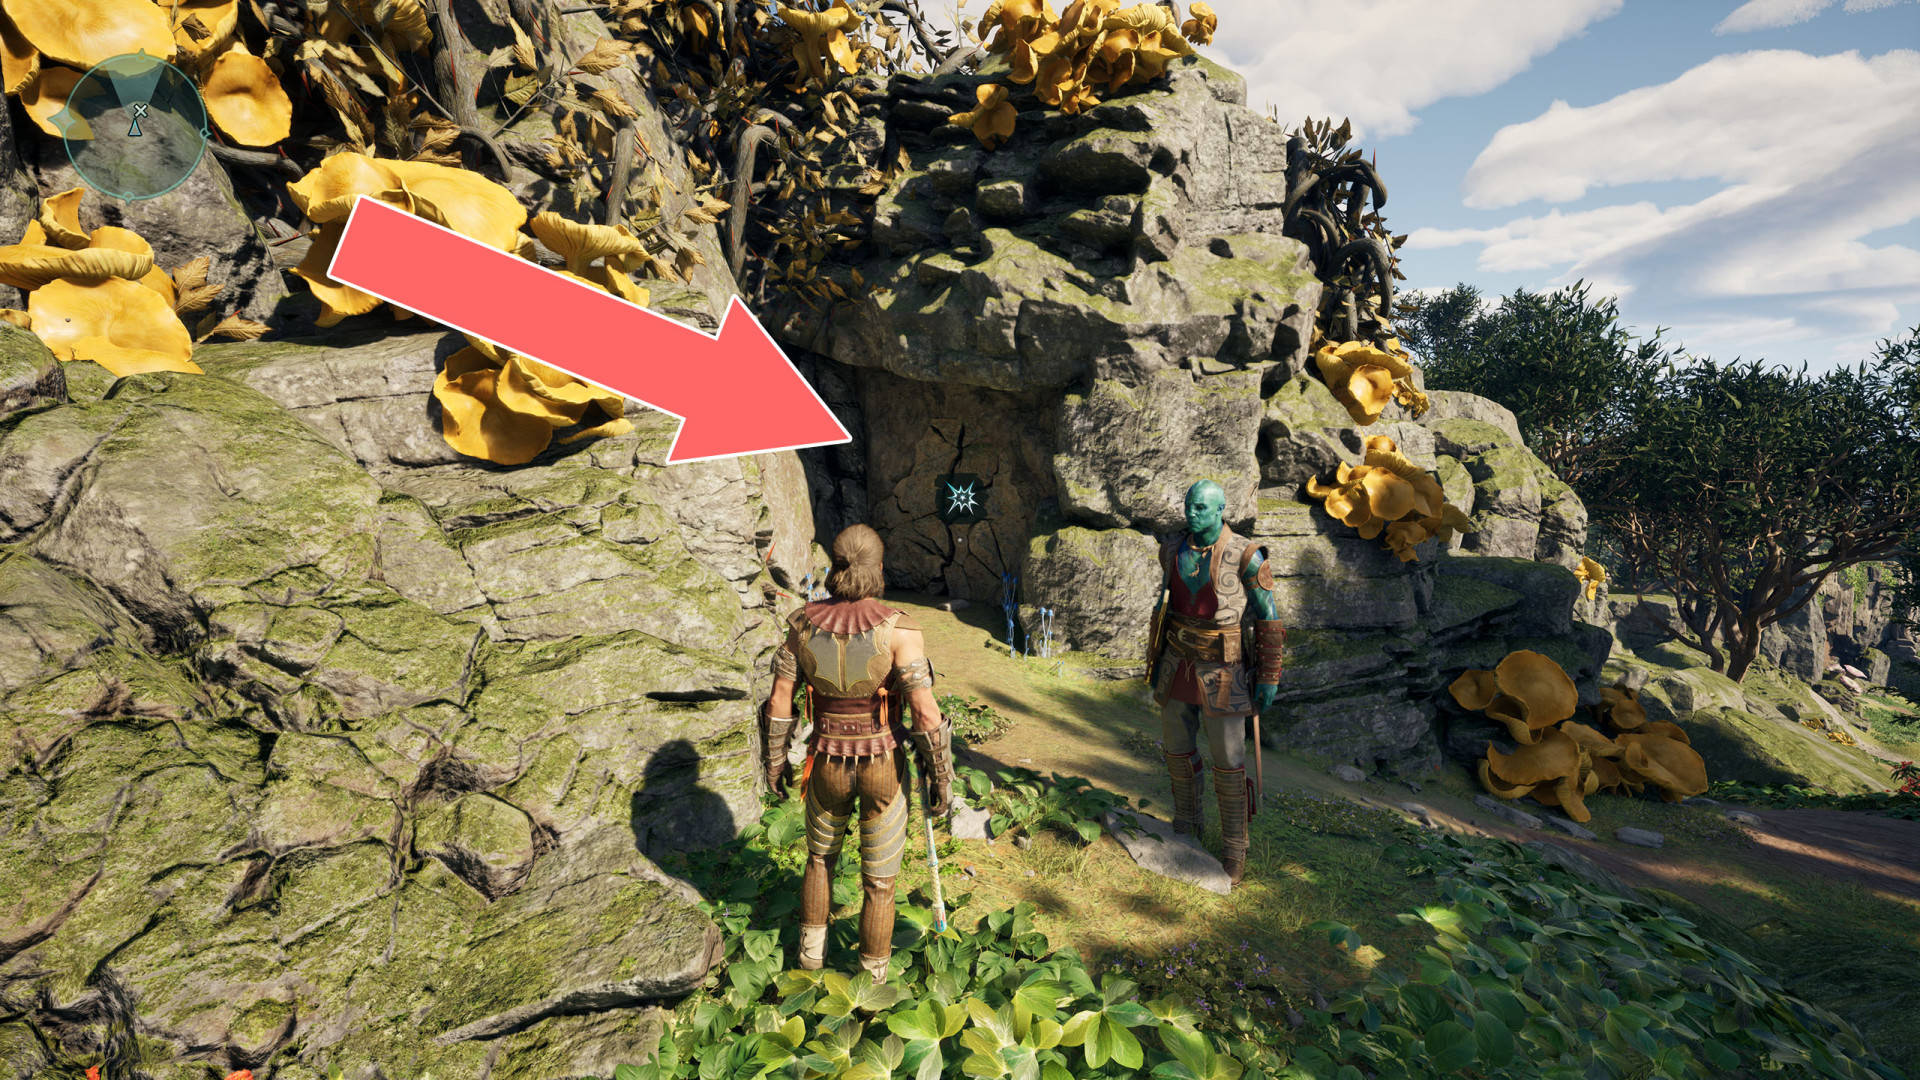
64Weak Wall
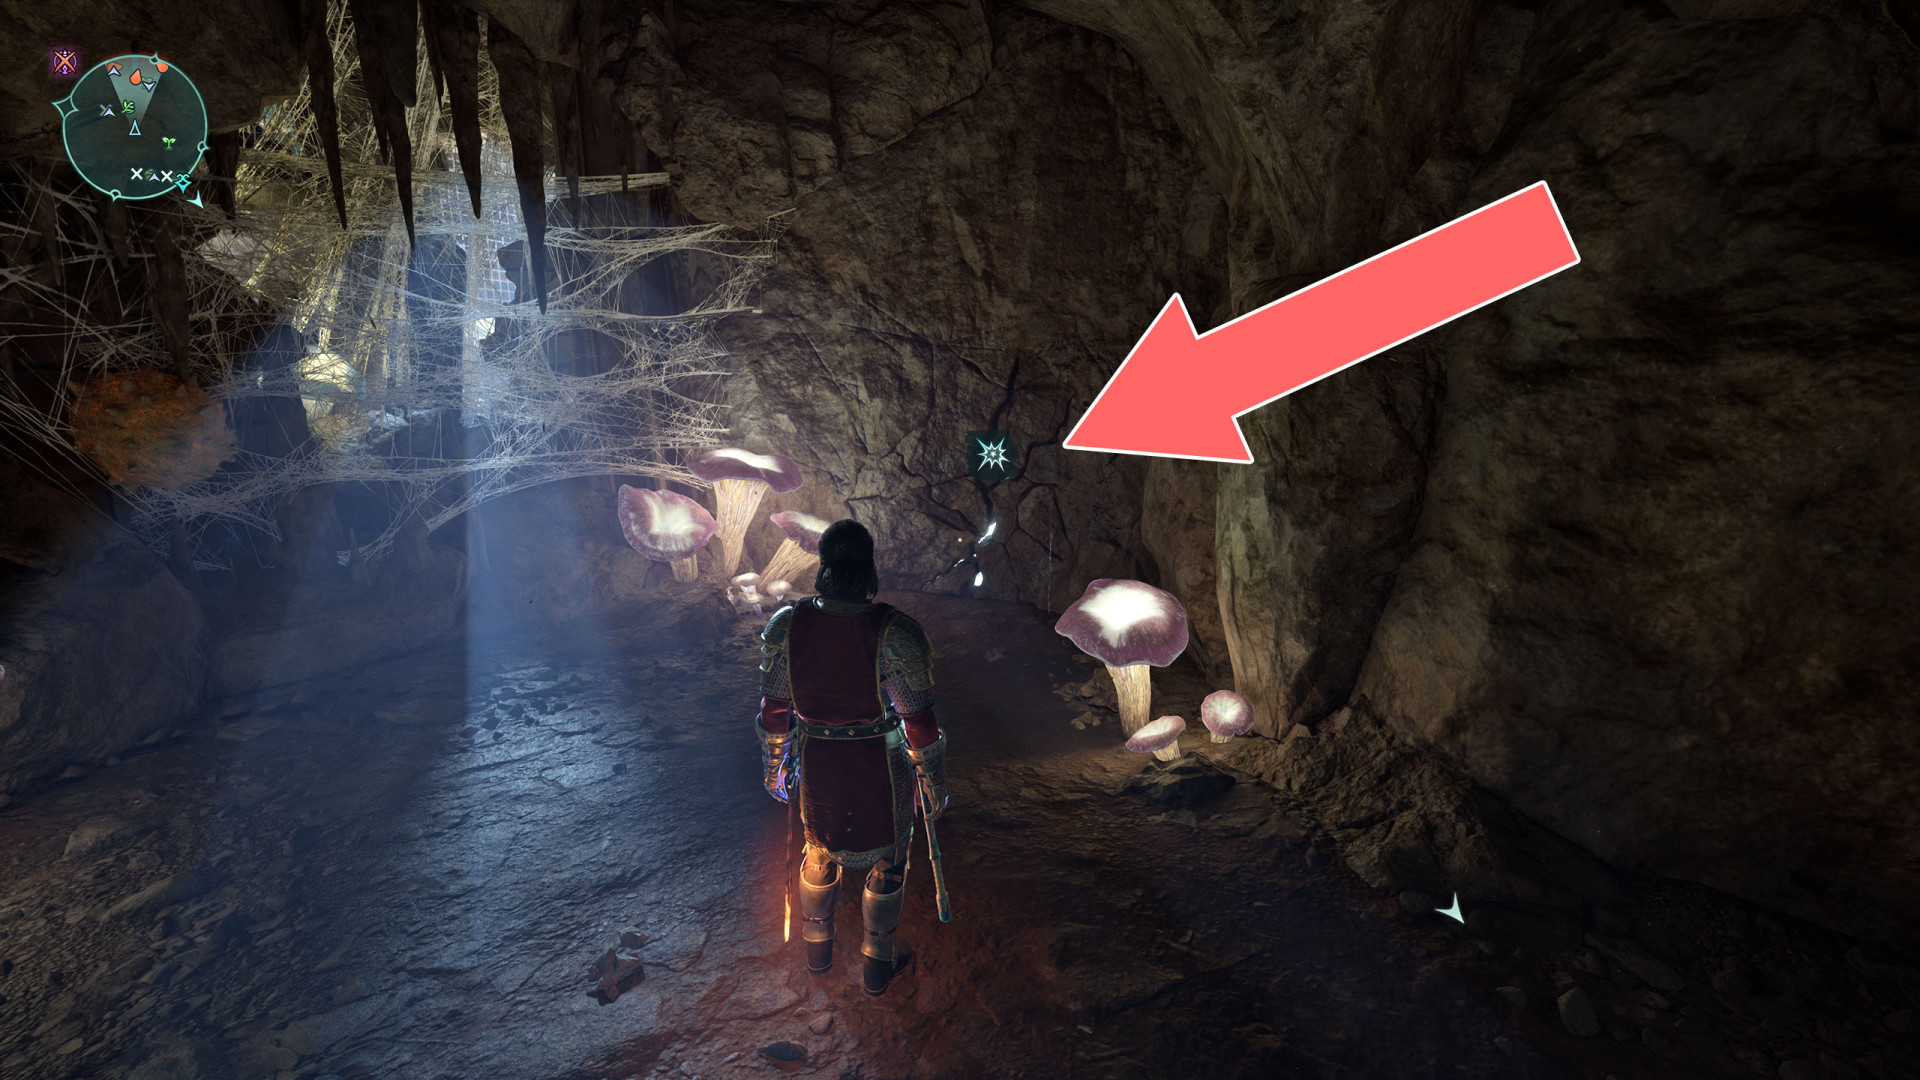
65Weak Wall
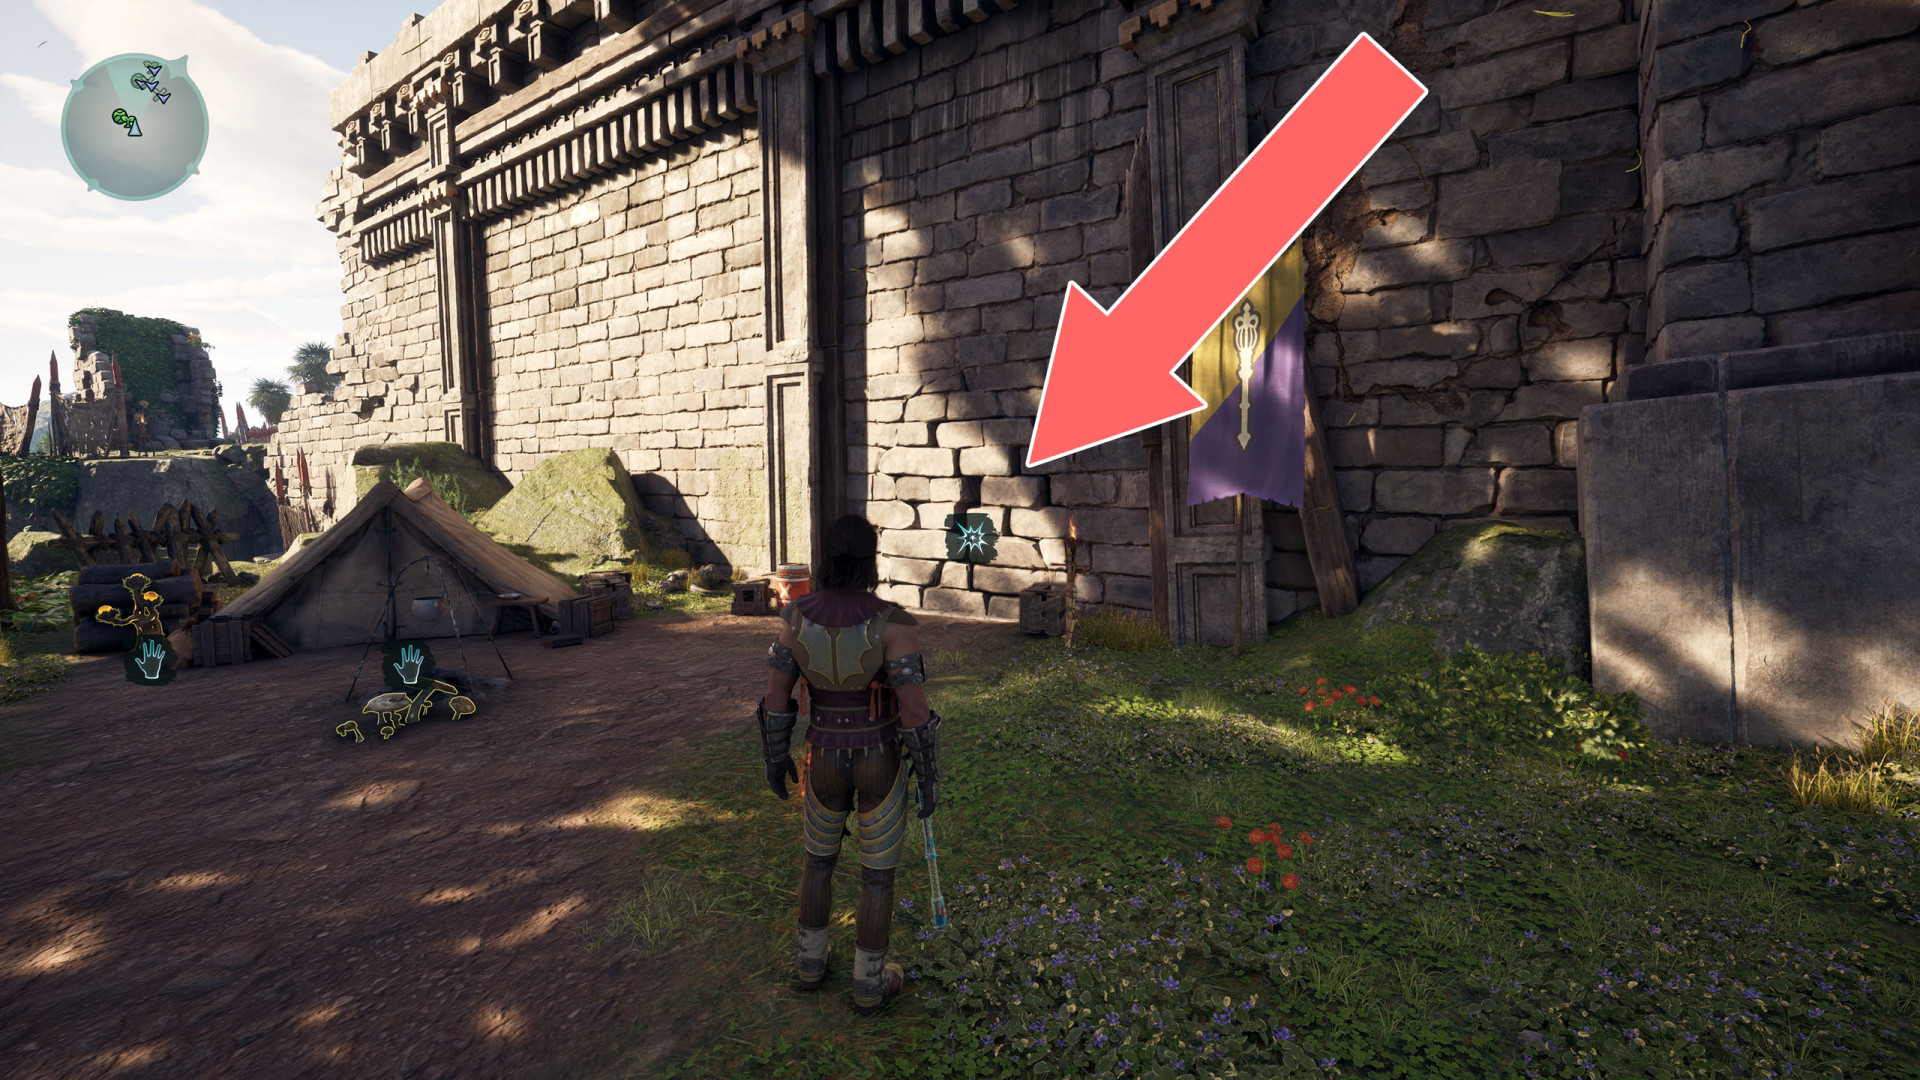
66Weak Wall
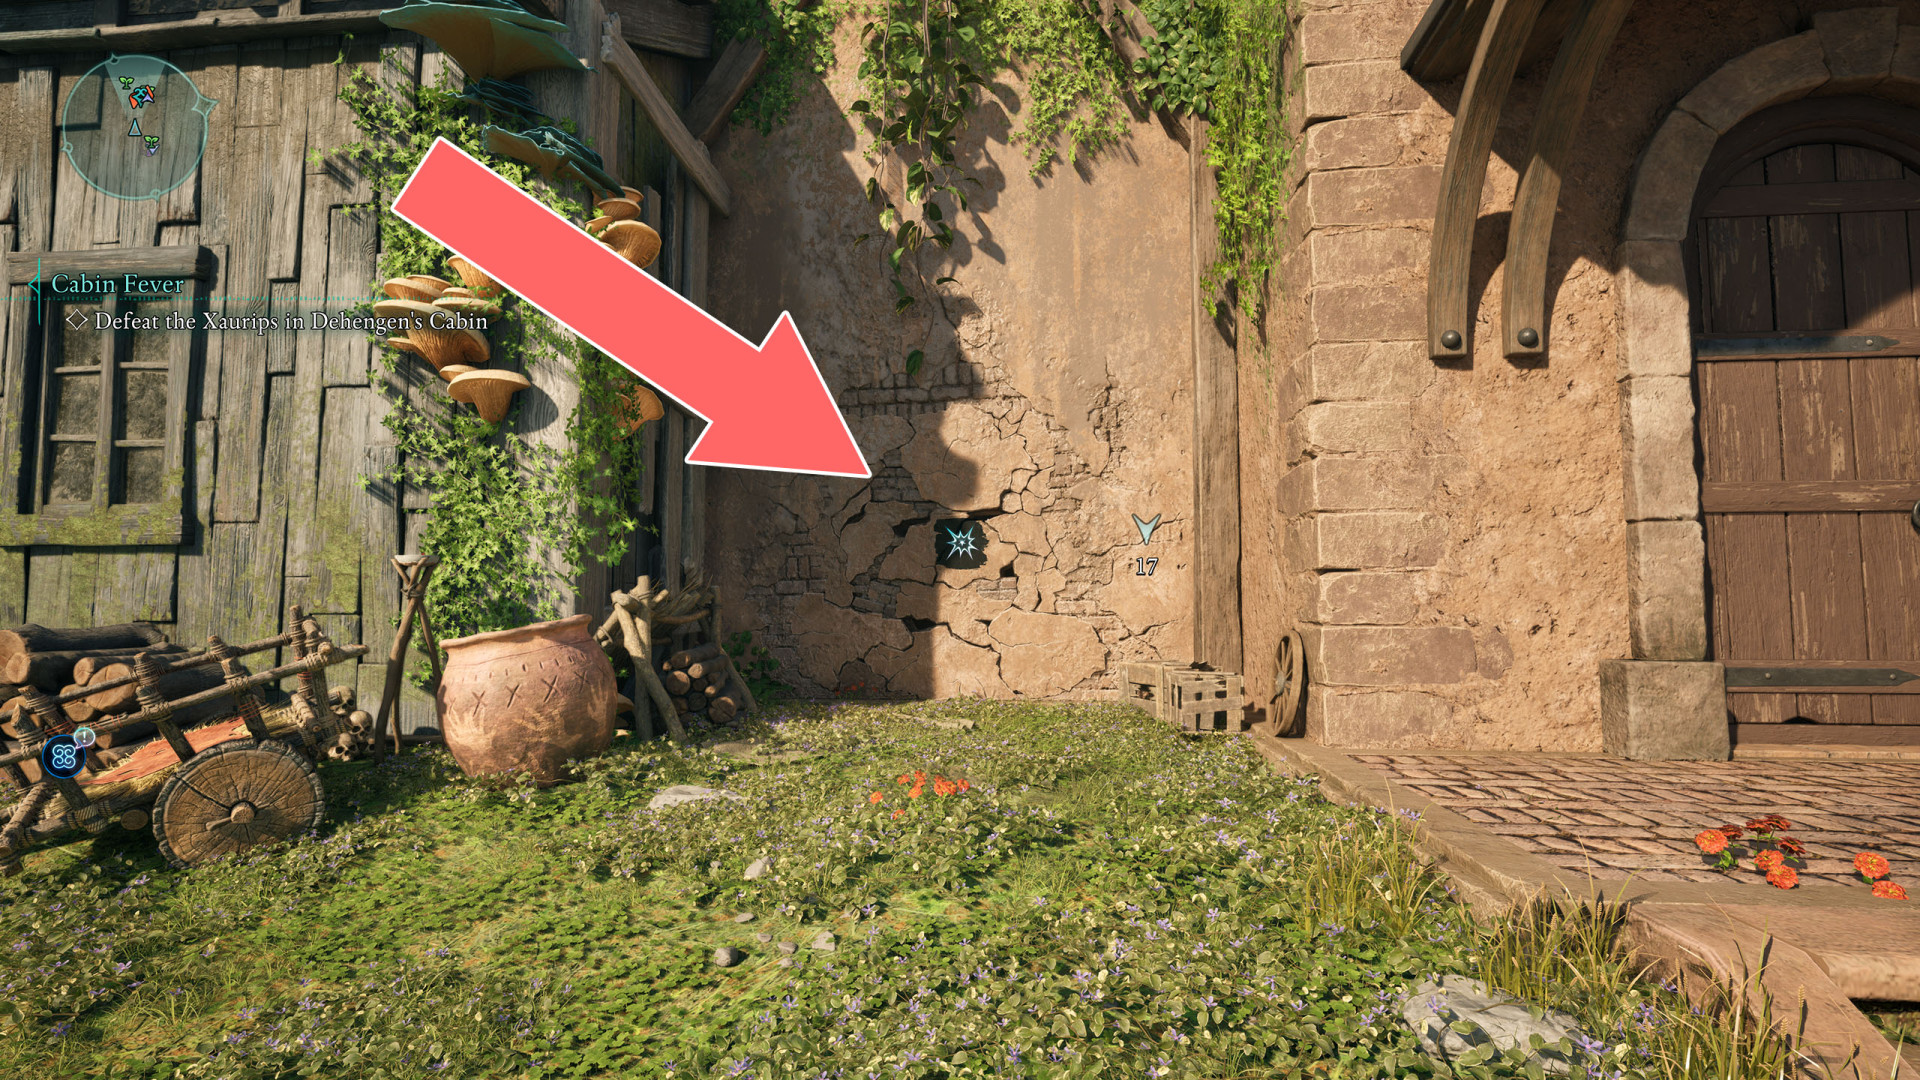
67Weak Wall
Destroy it to uncover the essence generator.
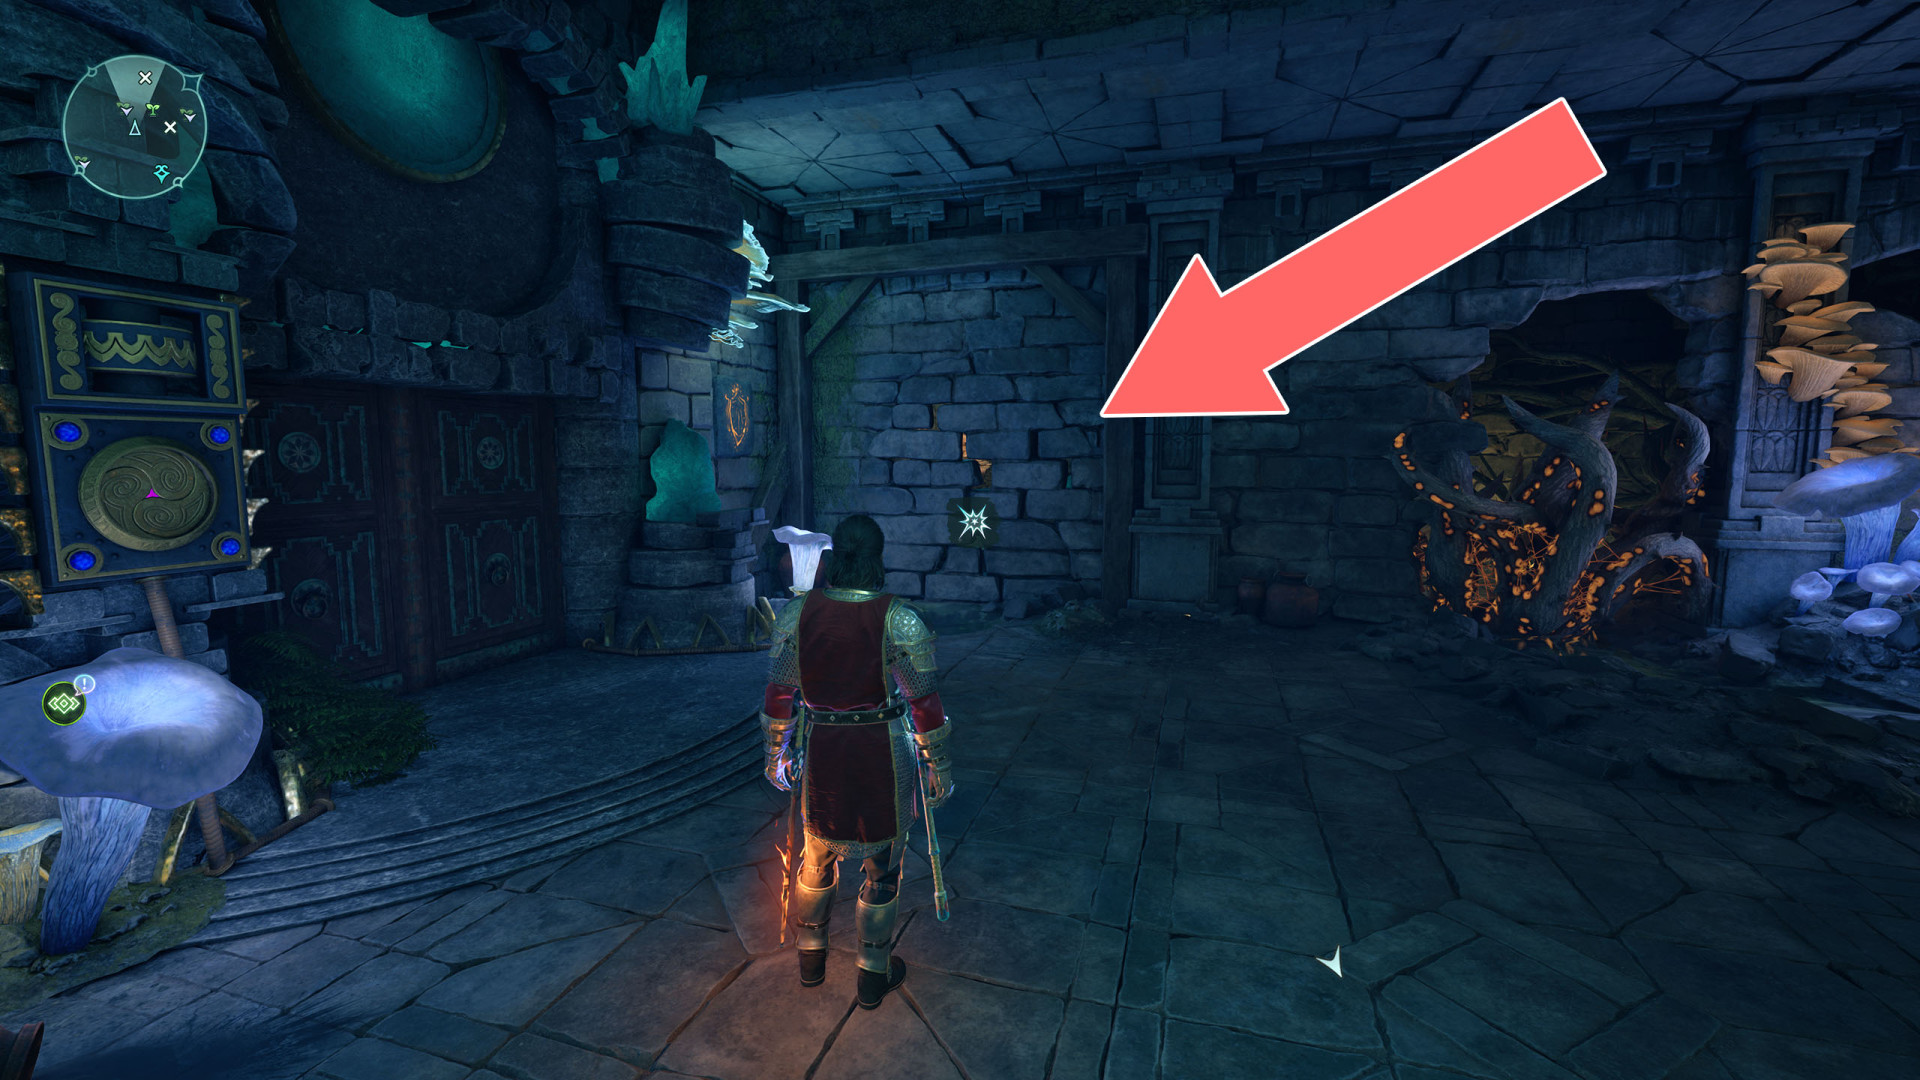
68Weak Wall
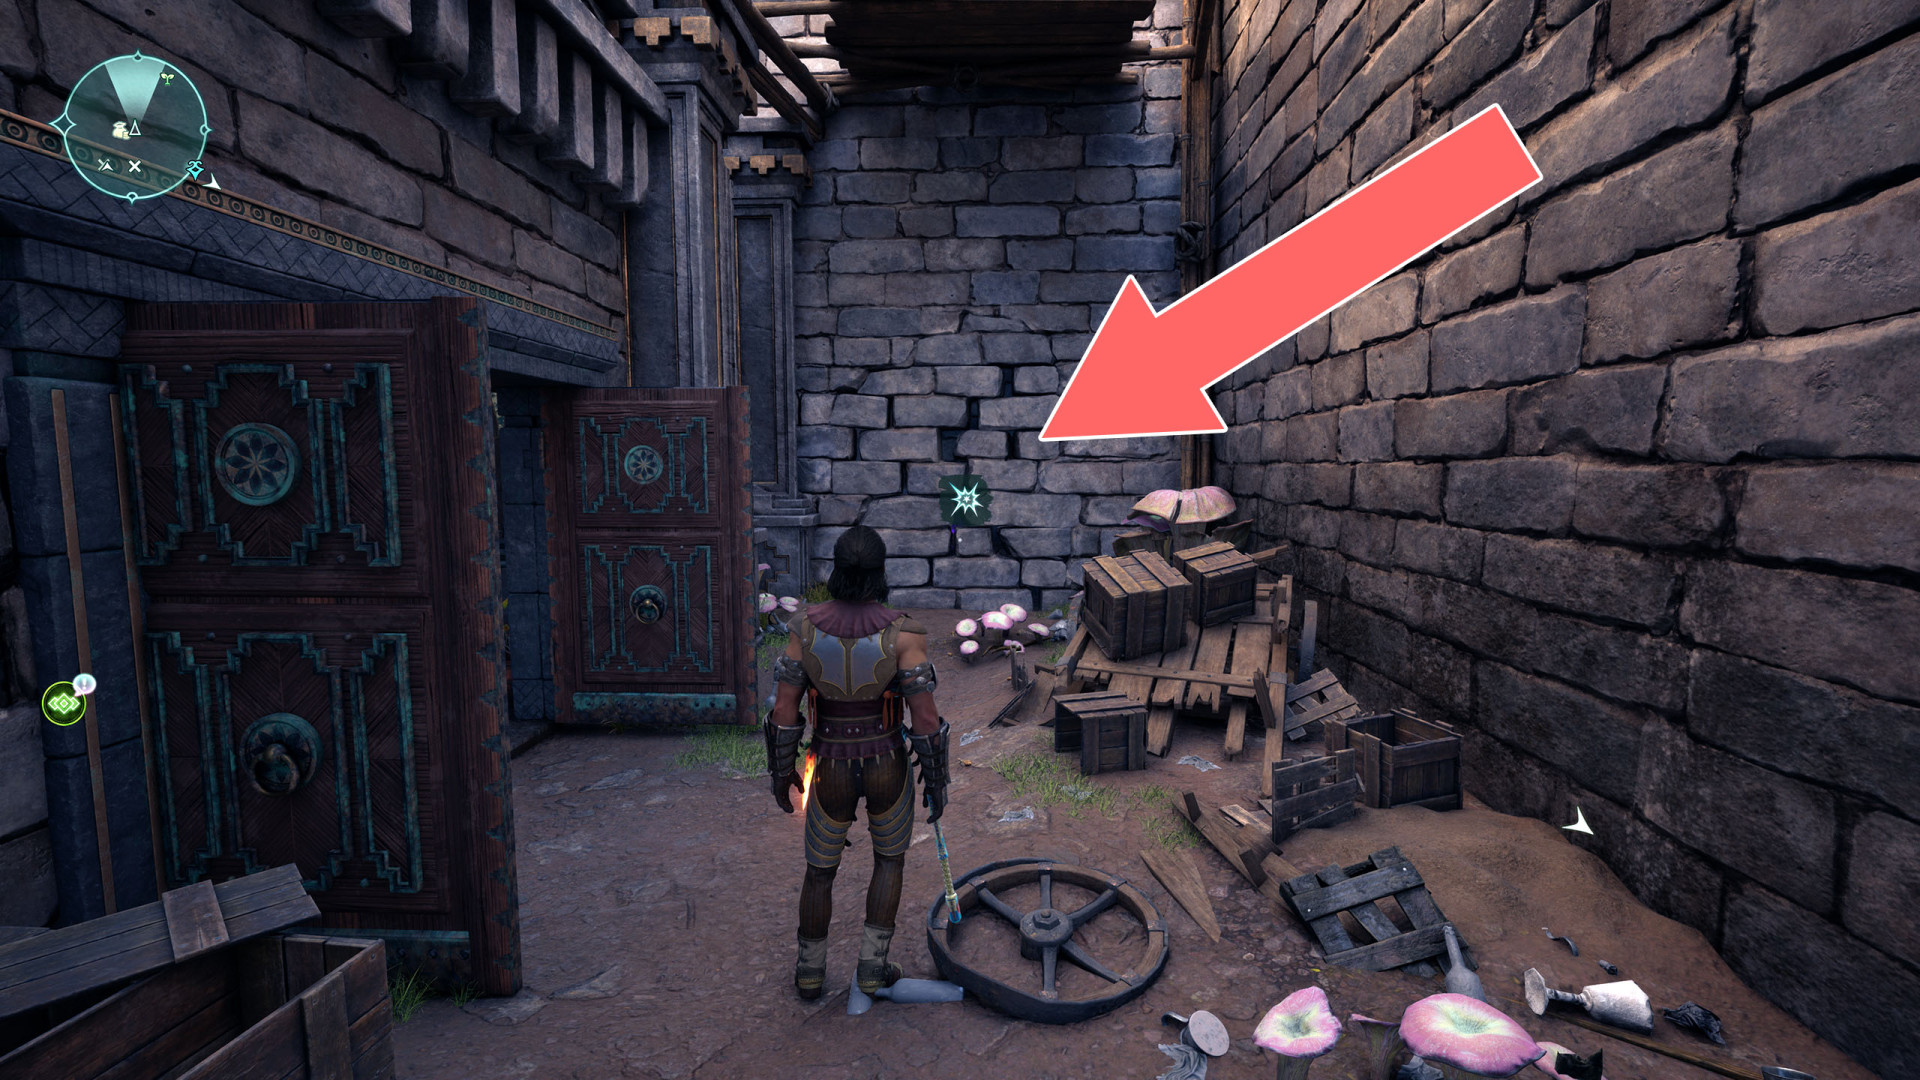
69Wooden Barrier
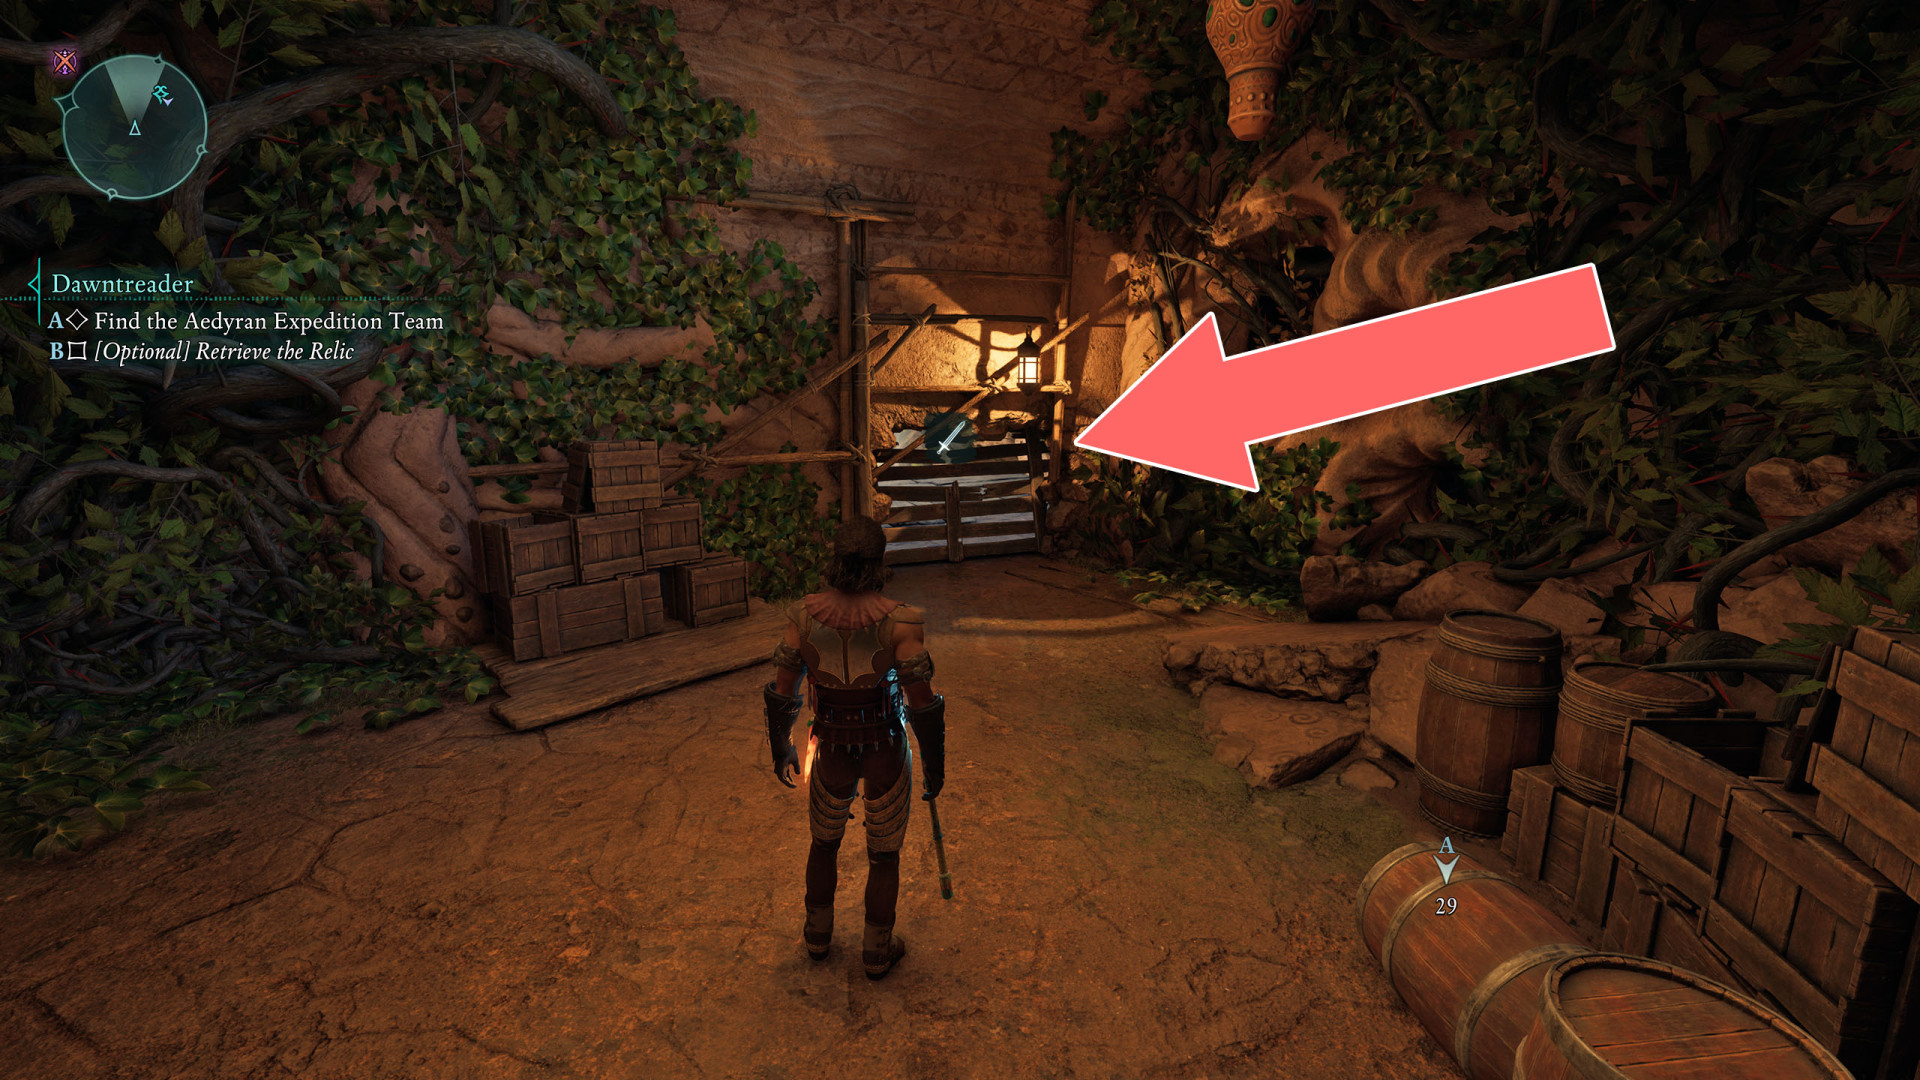
70Wooden Barrier
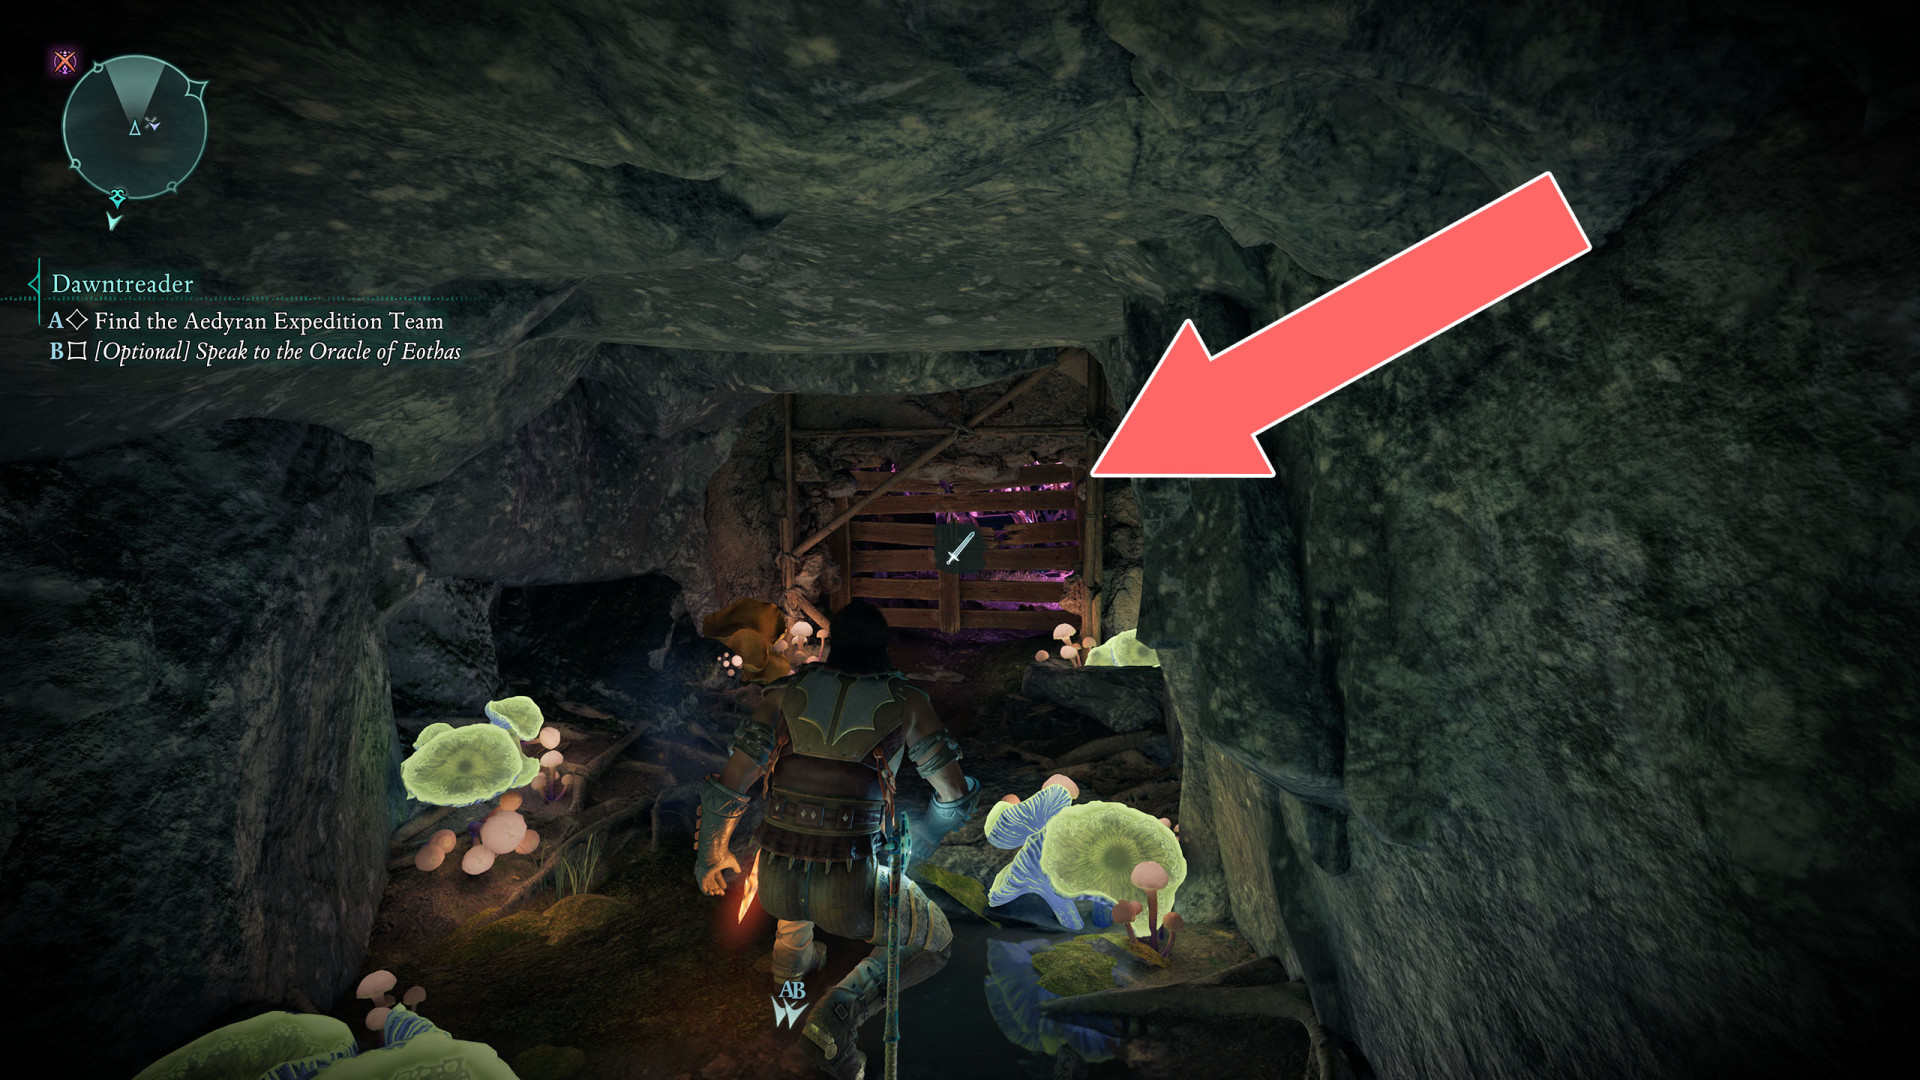
71Wooden Barrier
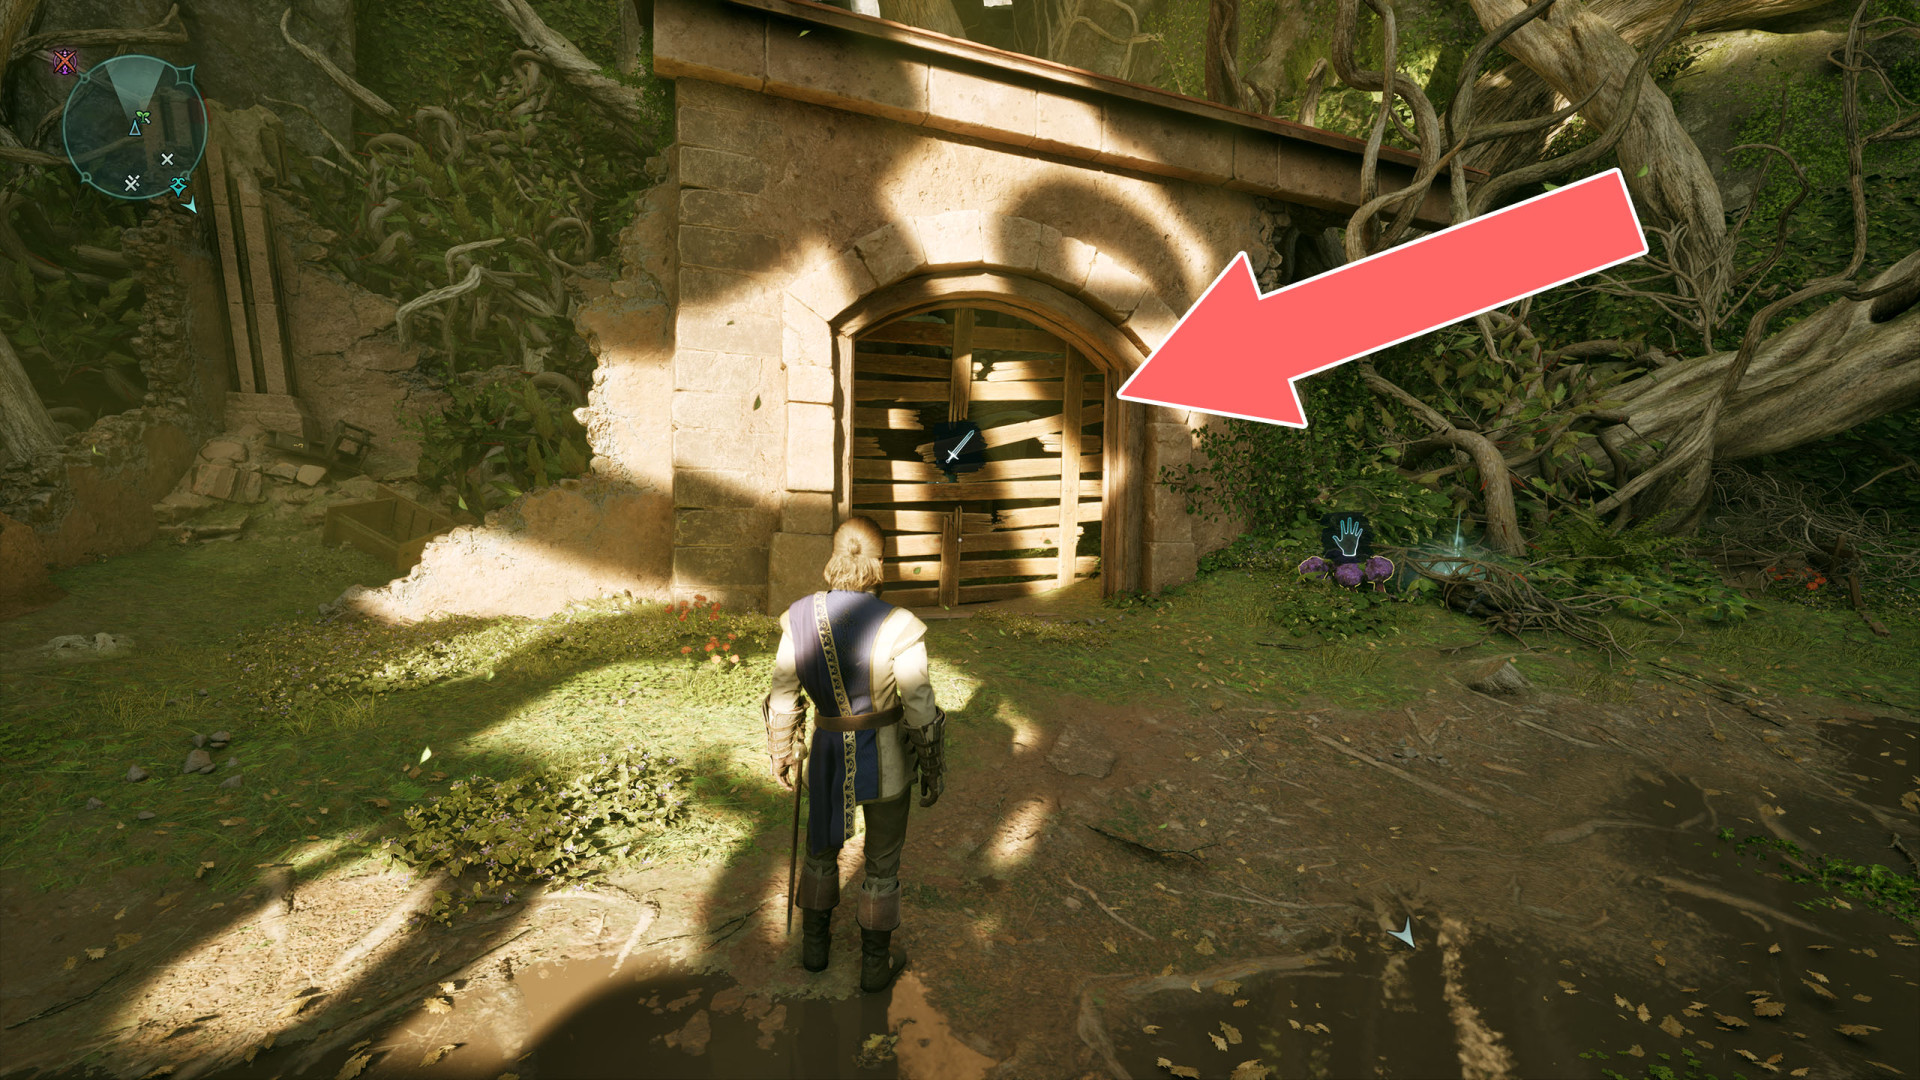
72Wooden Barrier
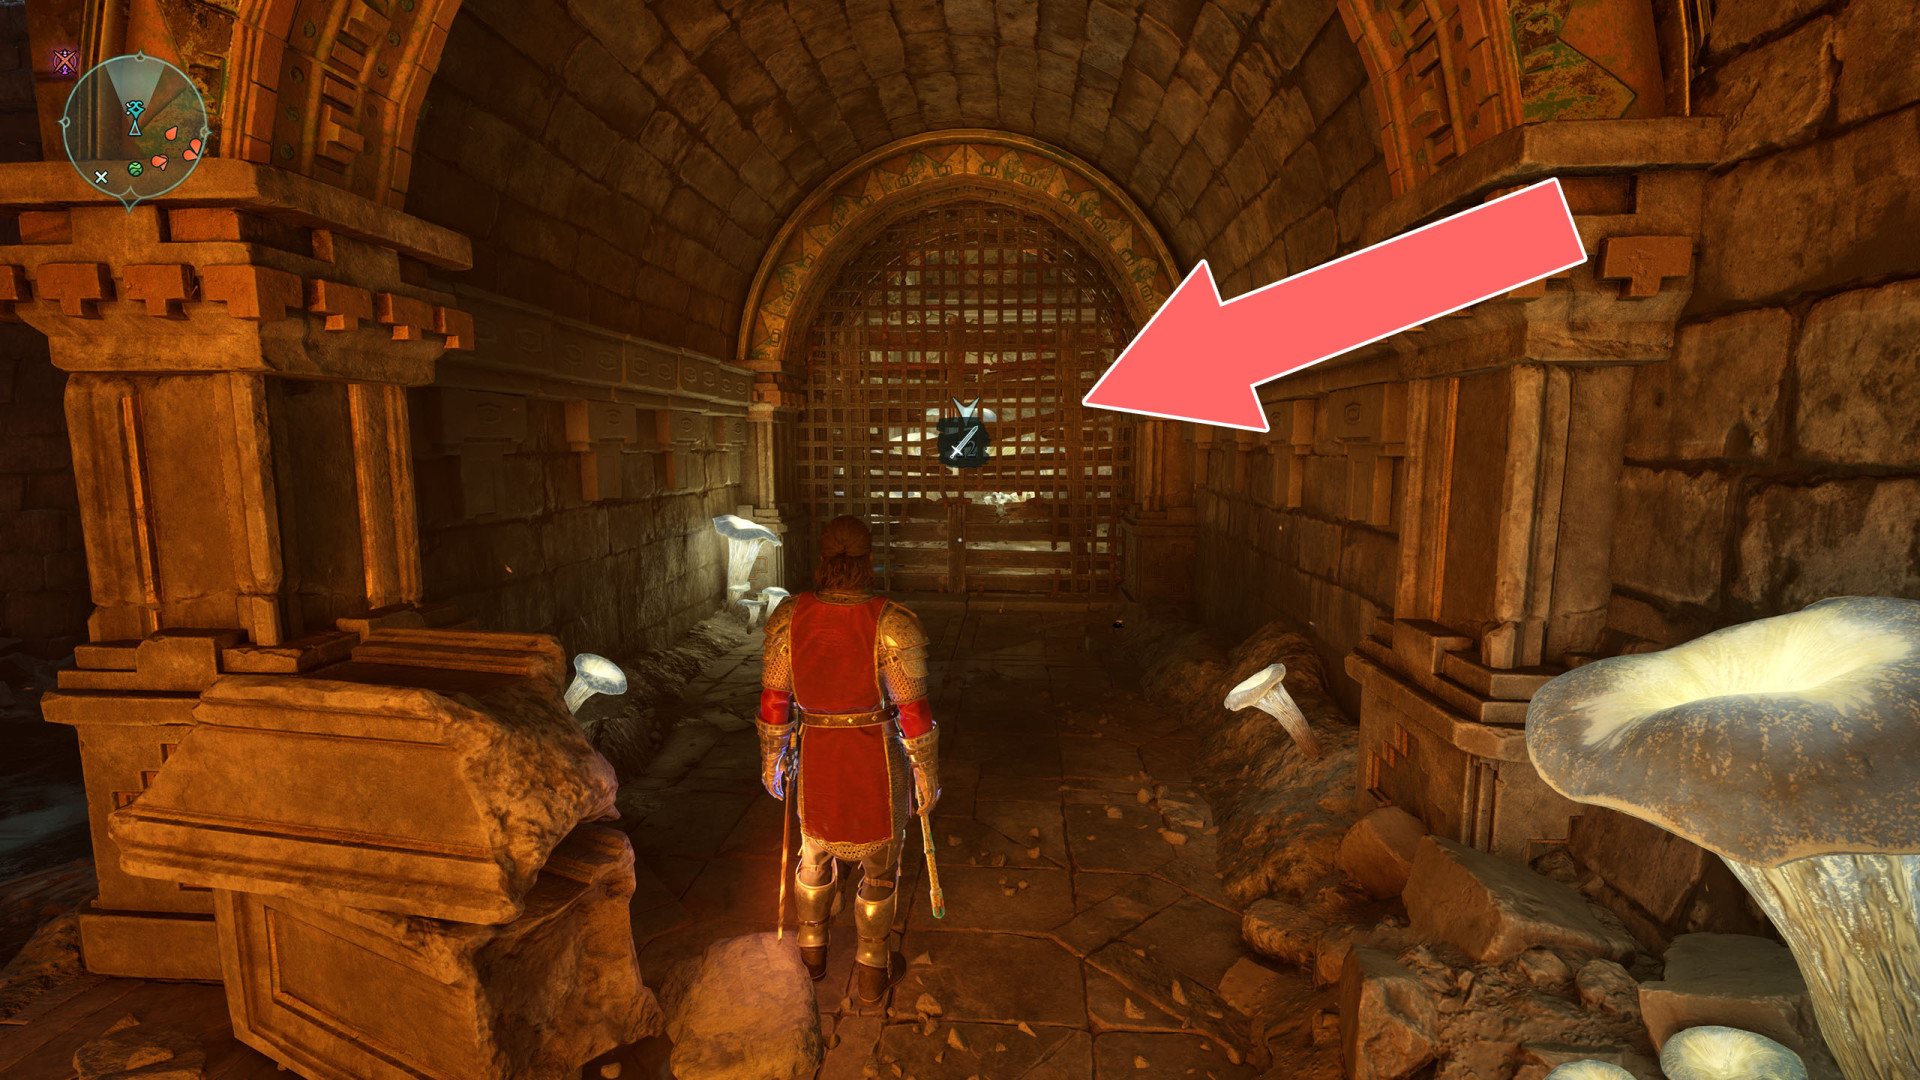
73Wooden Barrier
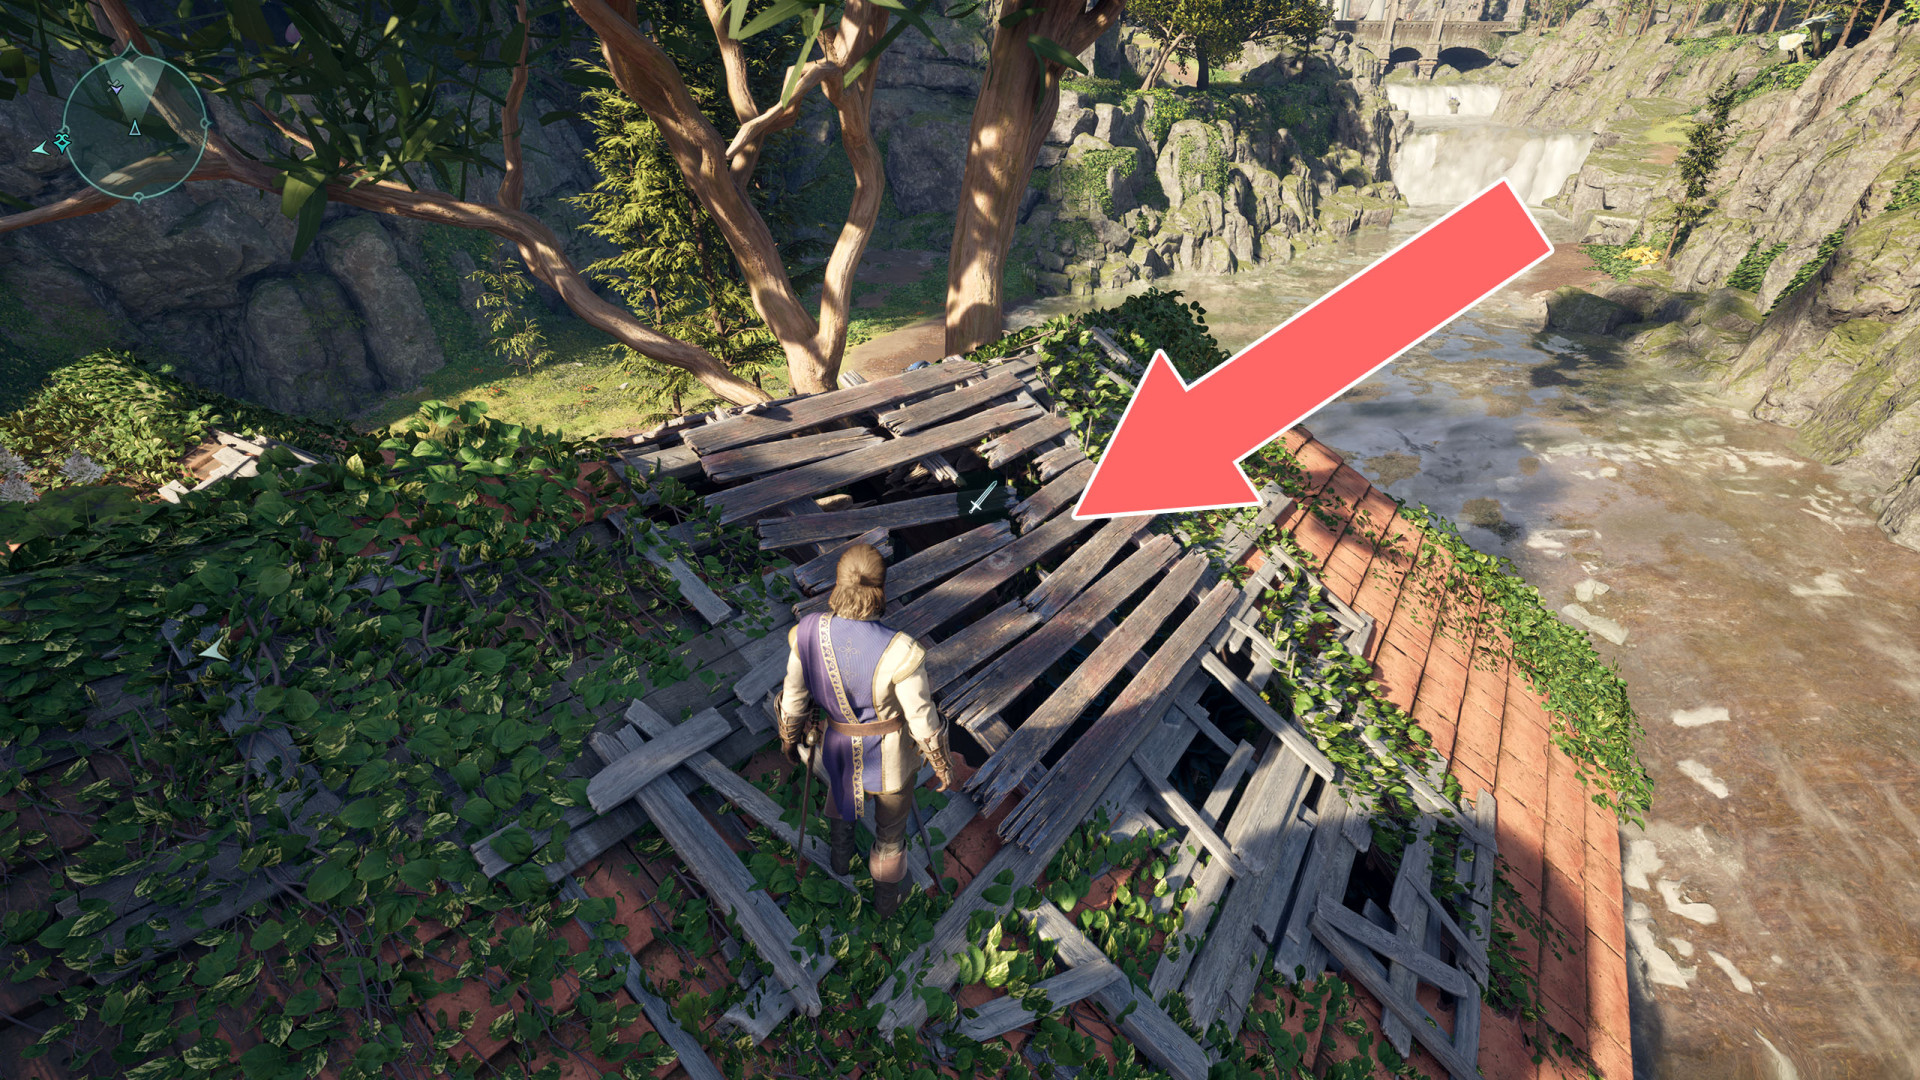
74Wooden Barrier
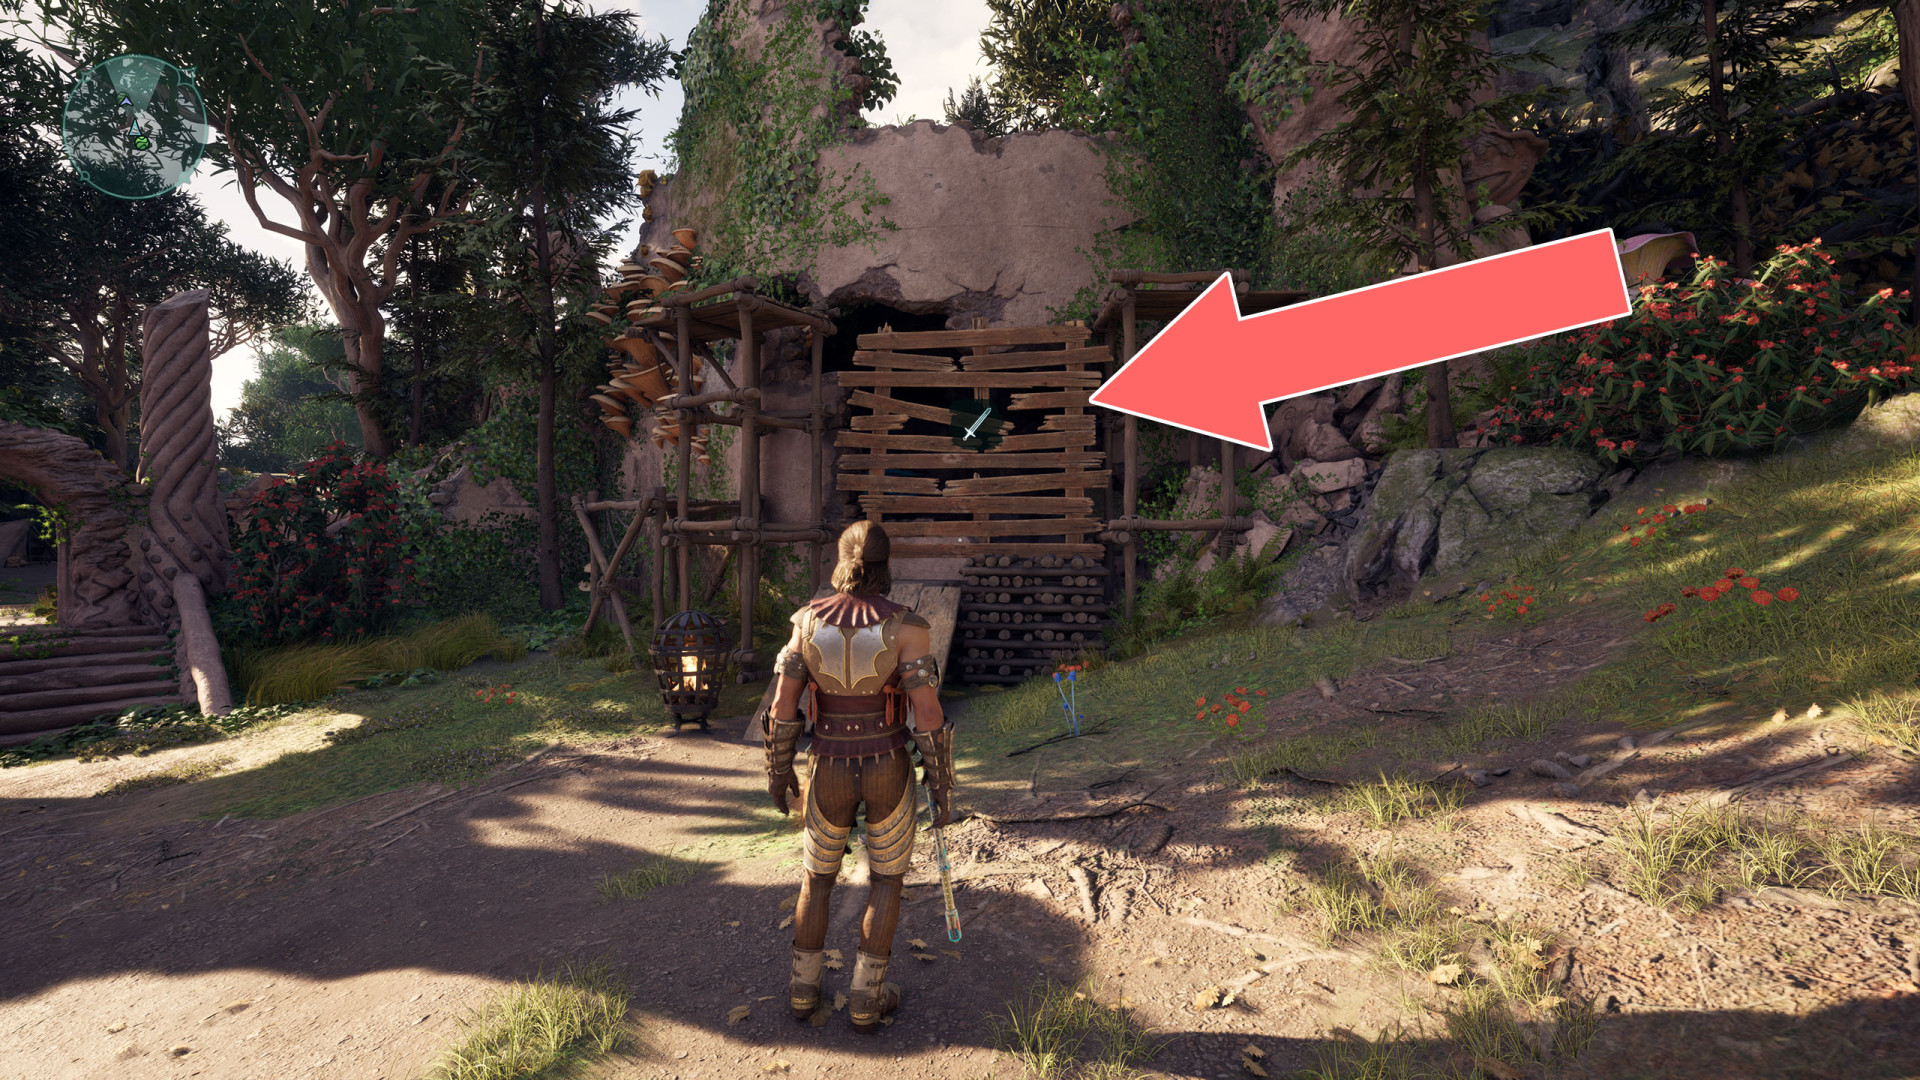
75Wooden Barrier
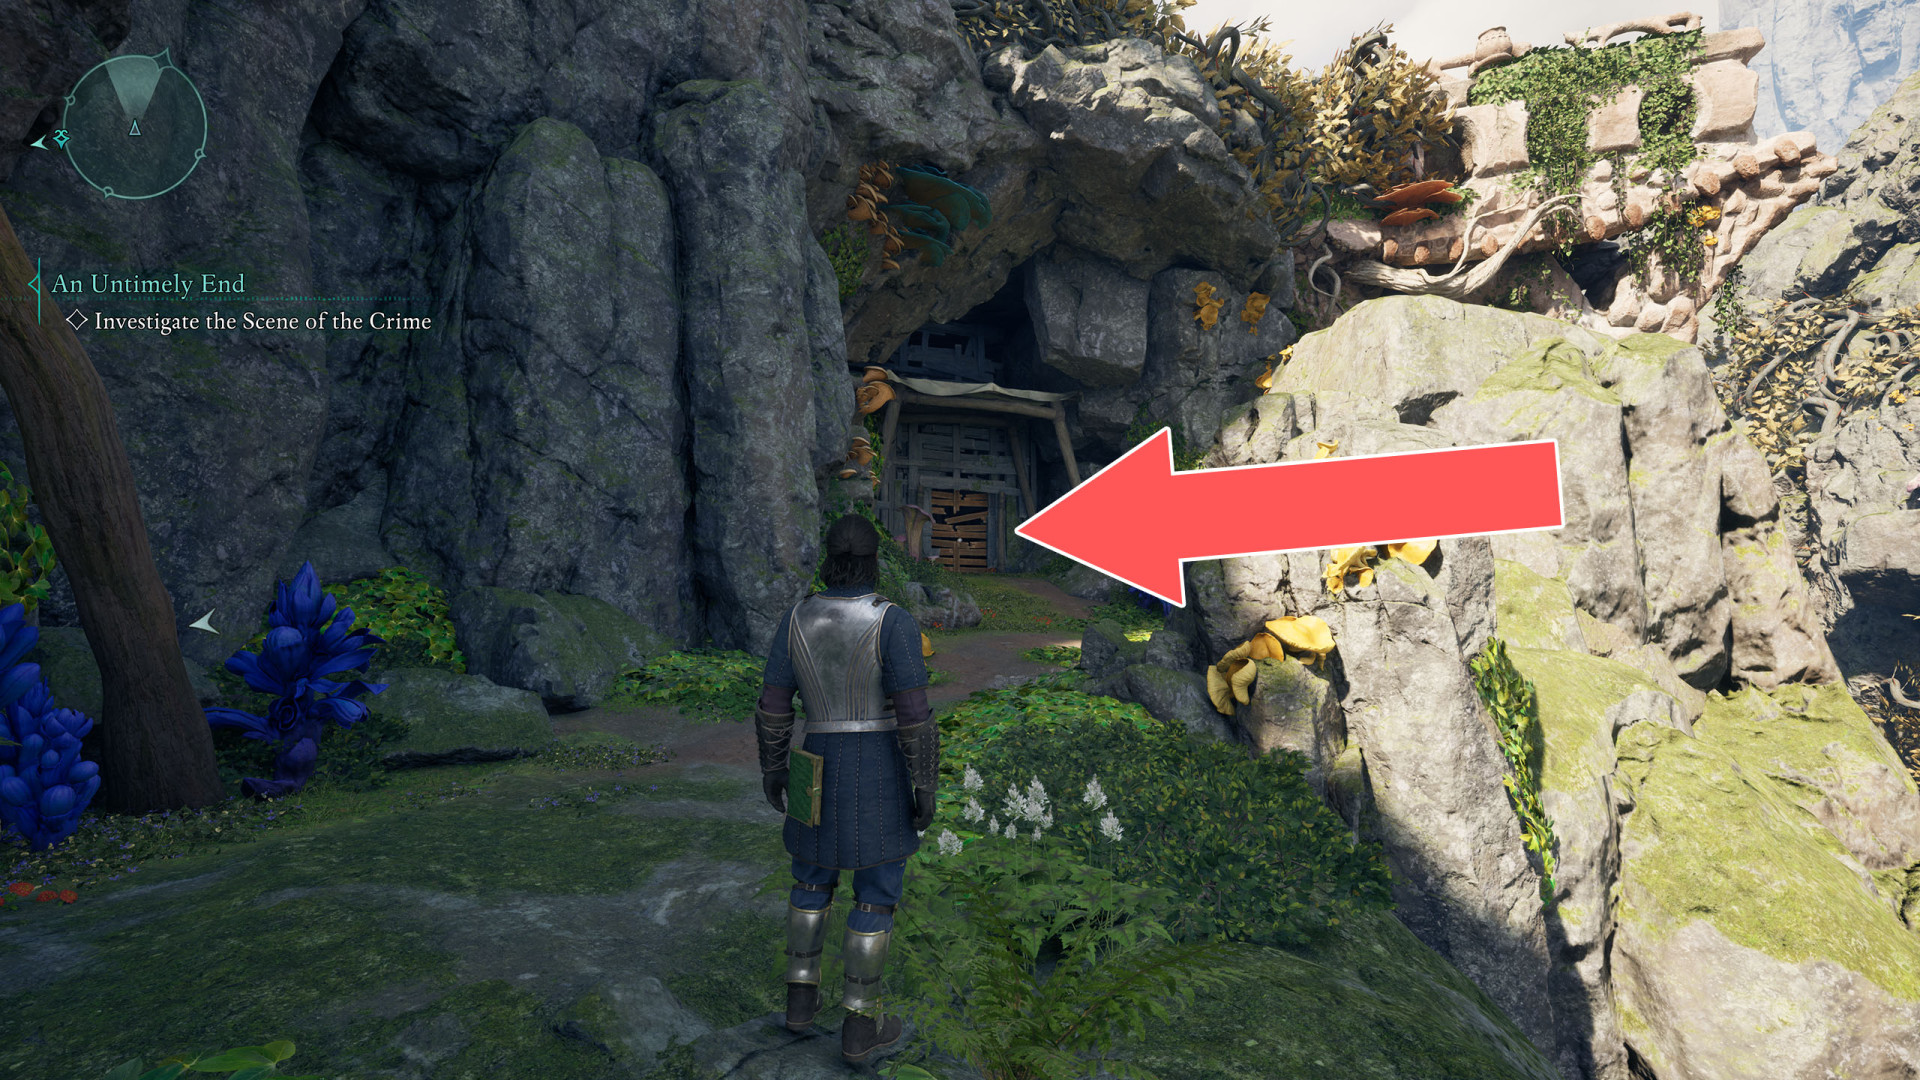
76Wooden Barrier
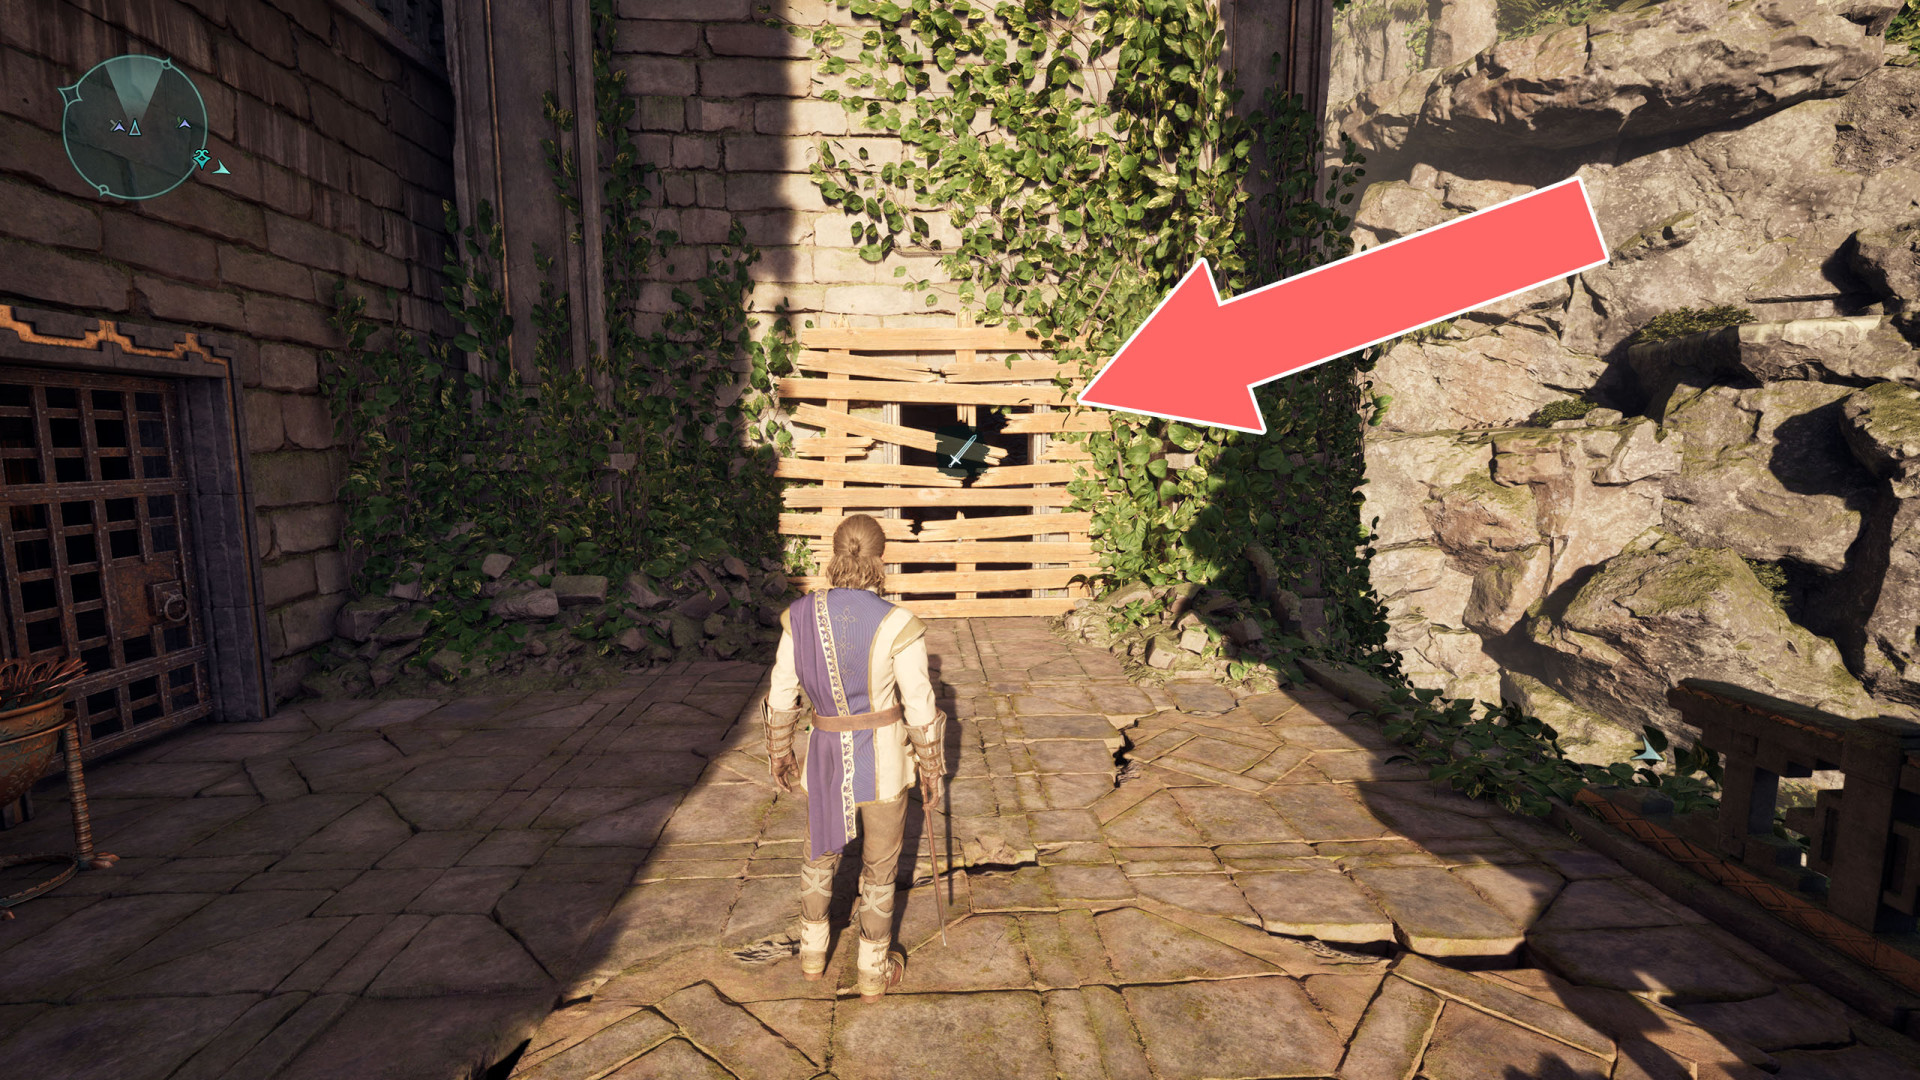
77Wooden Barrier
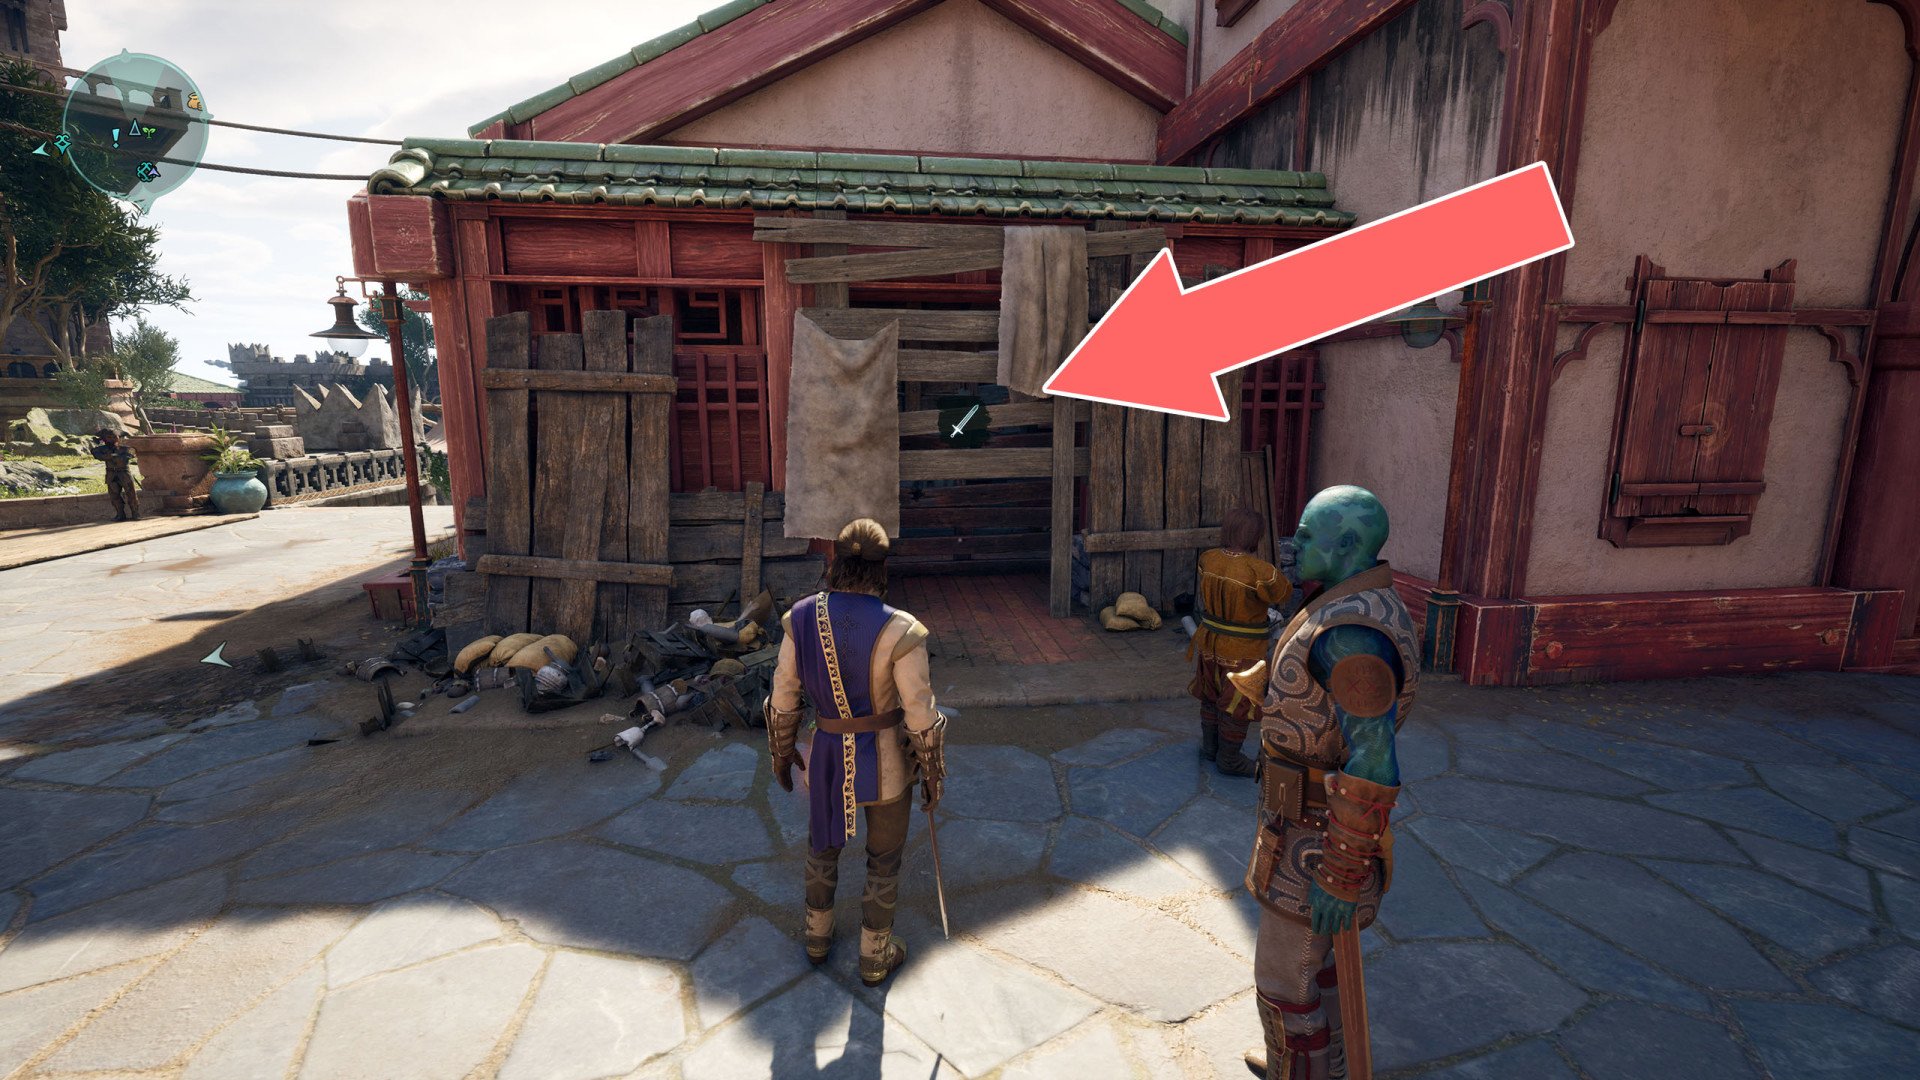
78Wooden Barrier
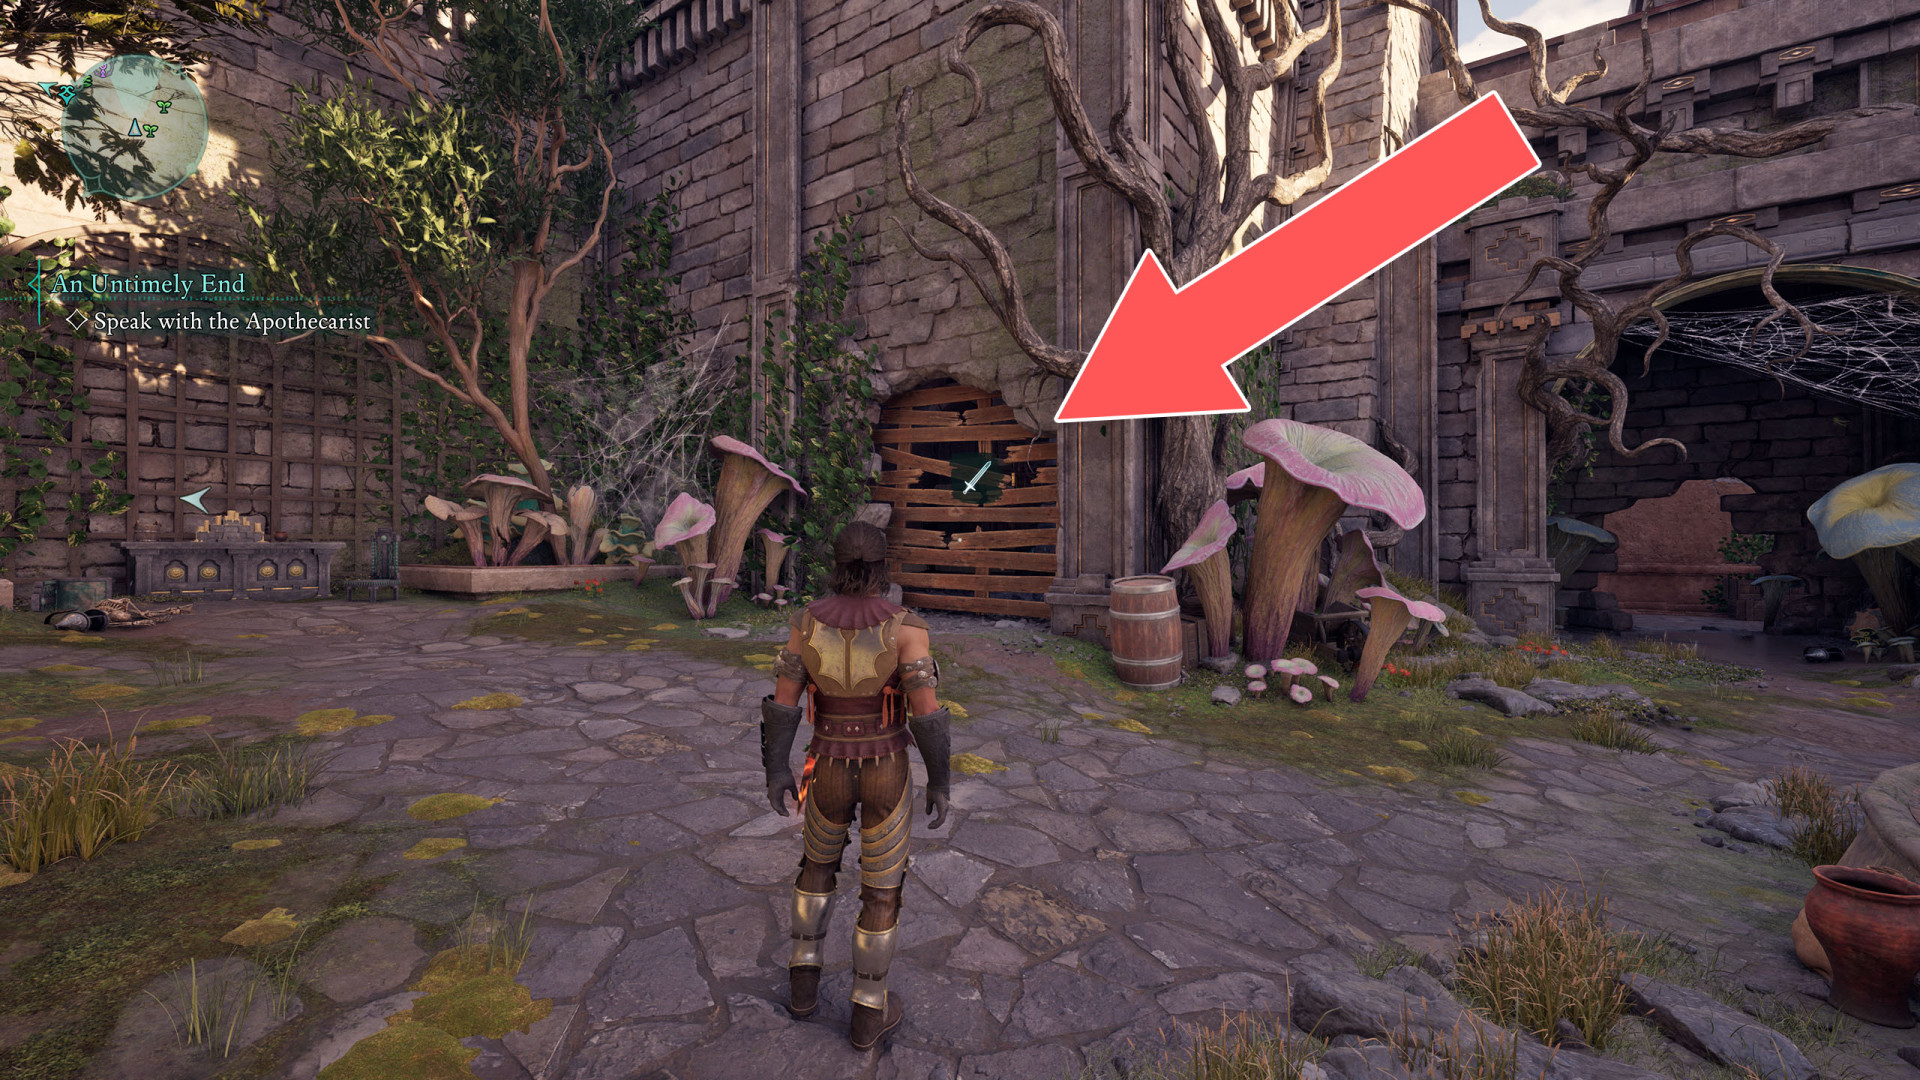
79Wooden Barrier
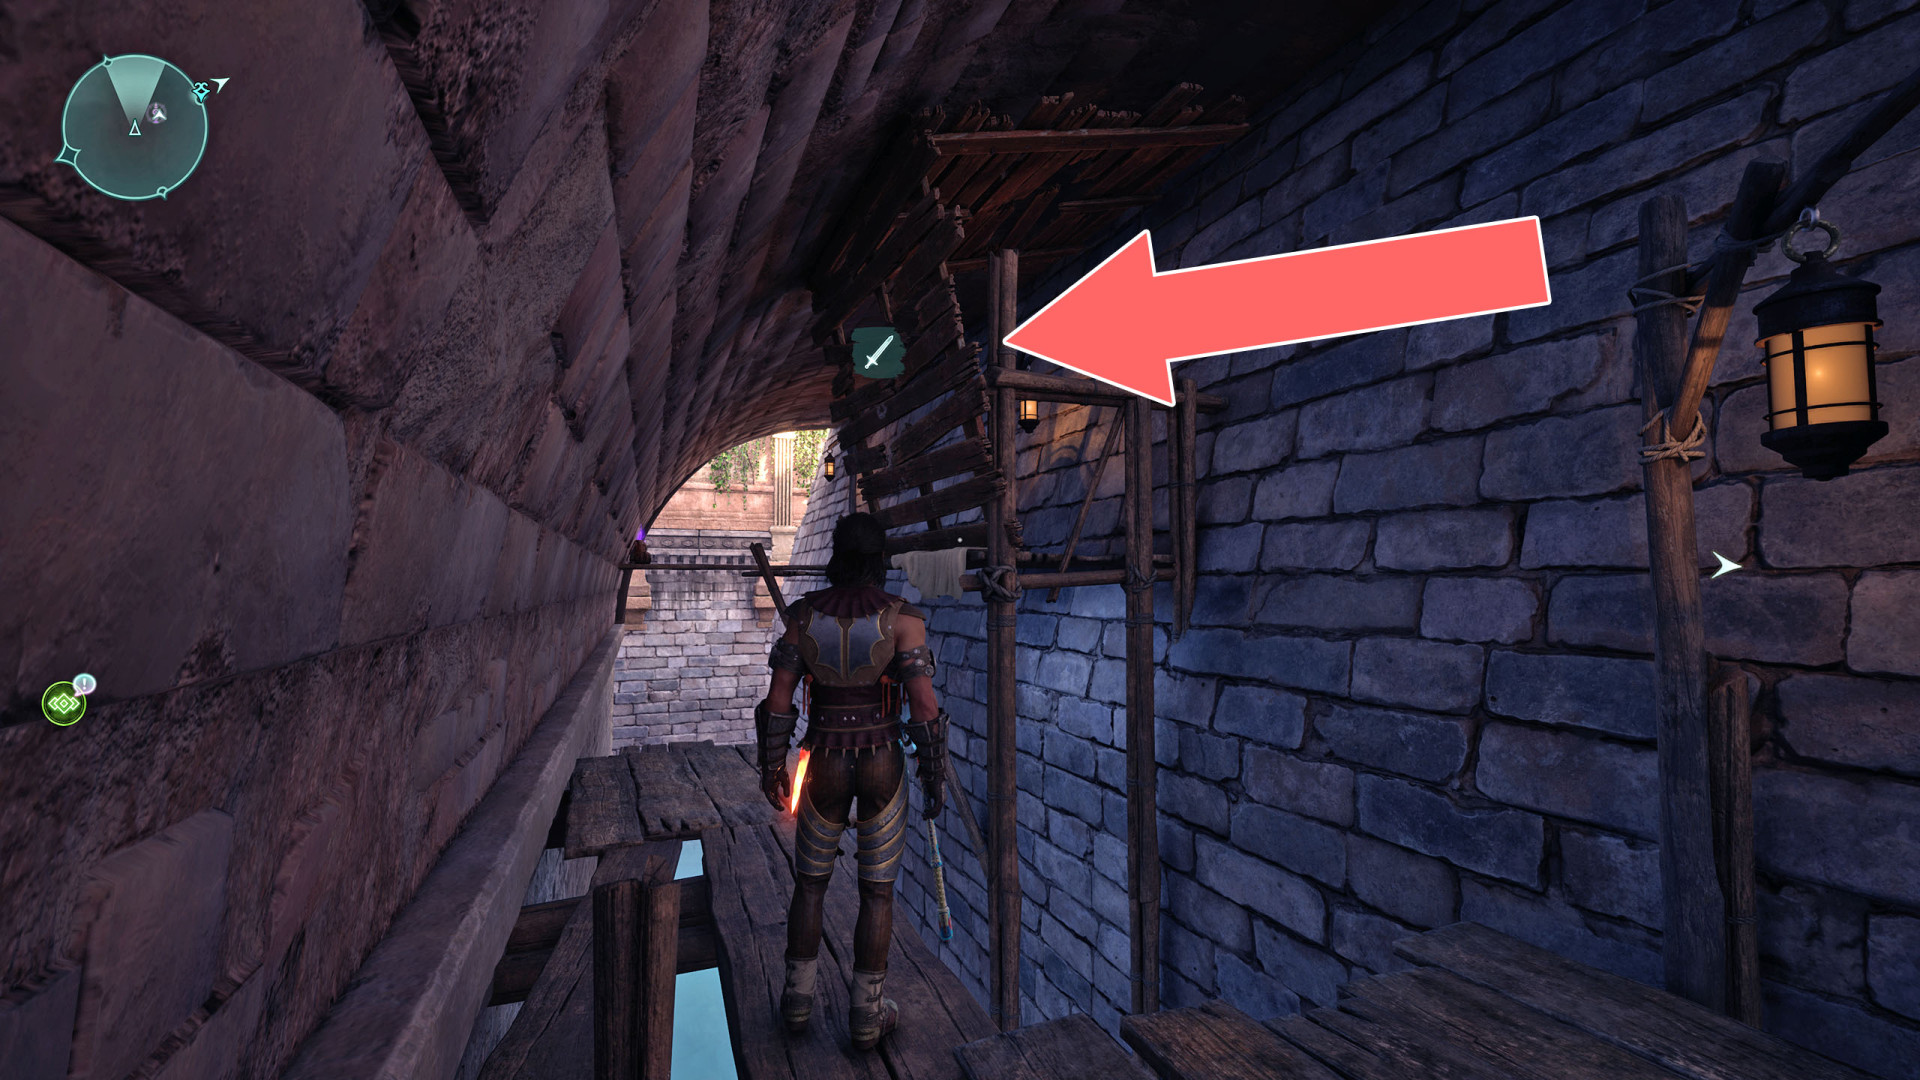
80Wooden Barrier
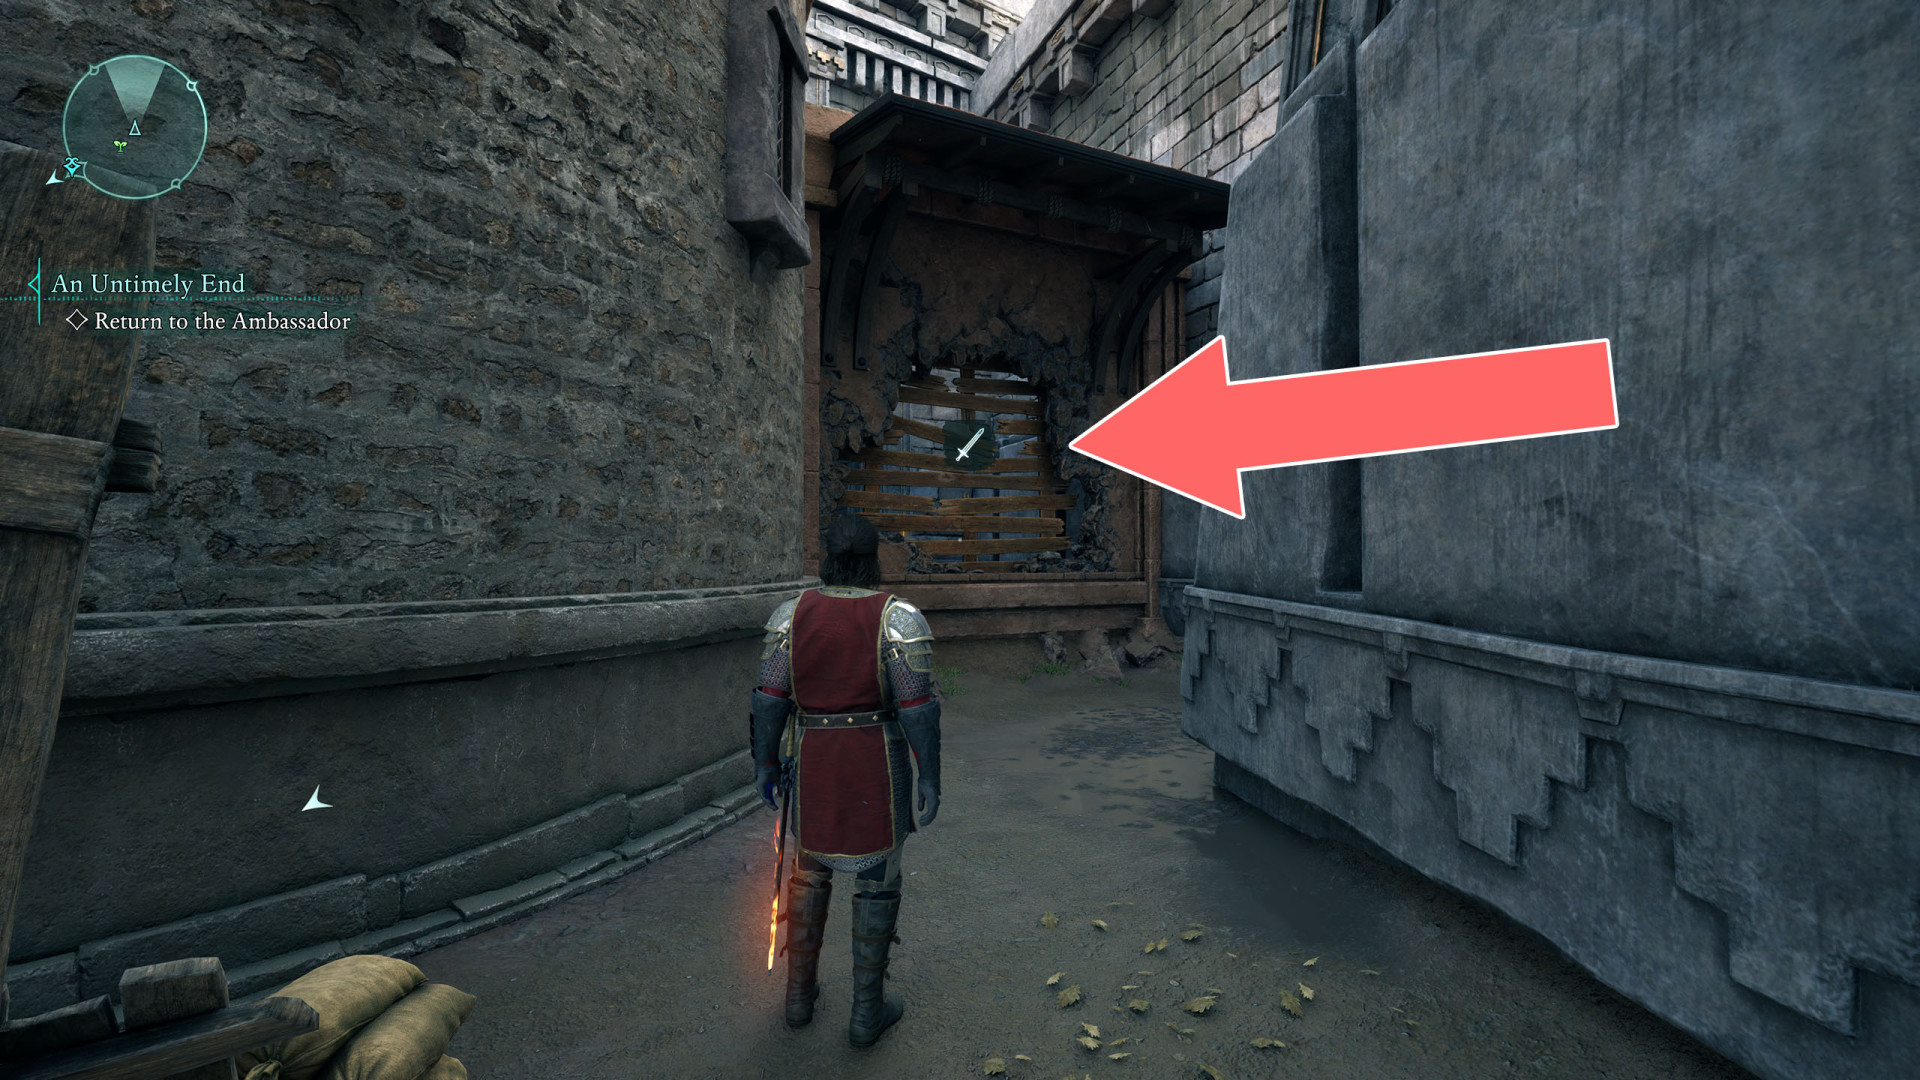
81Wooden Barrier
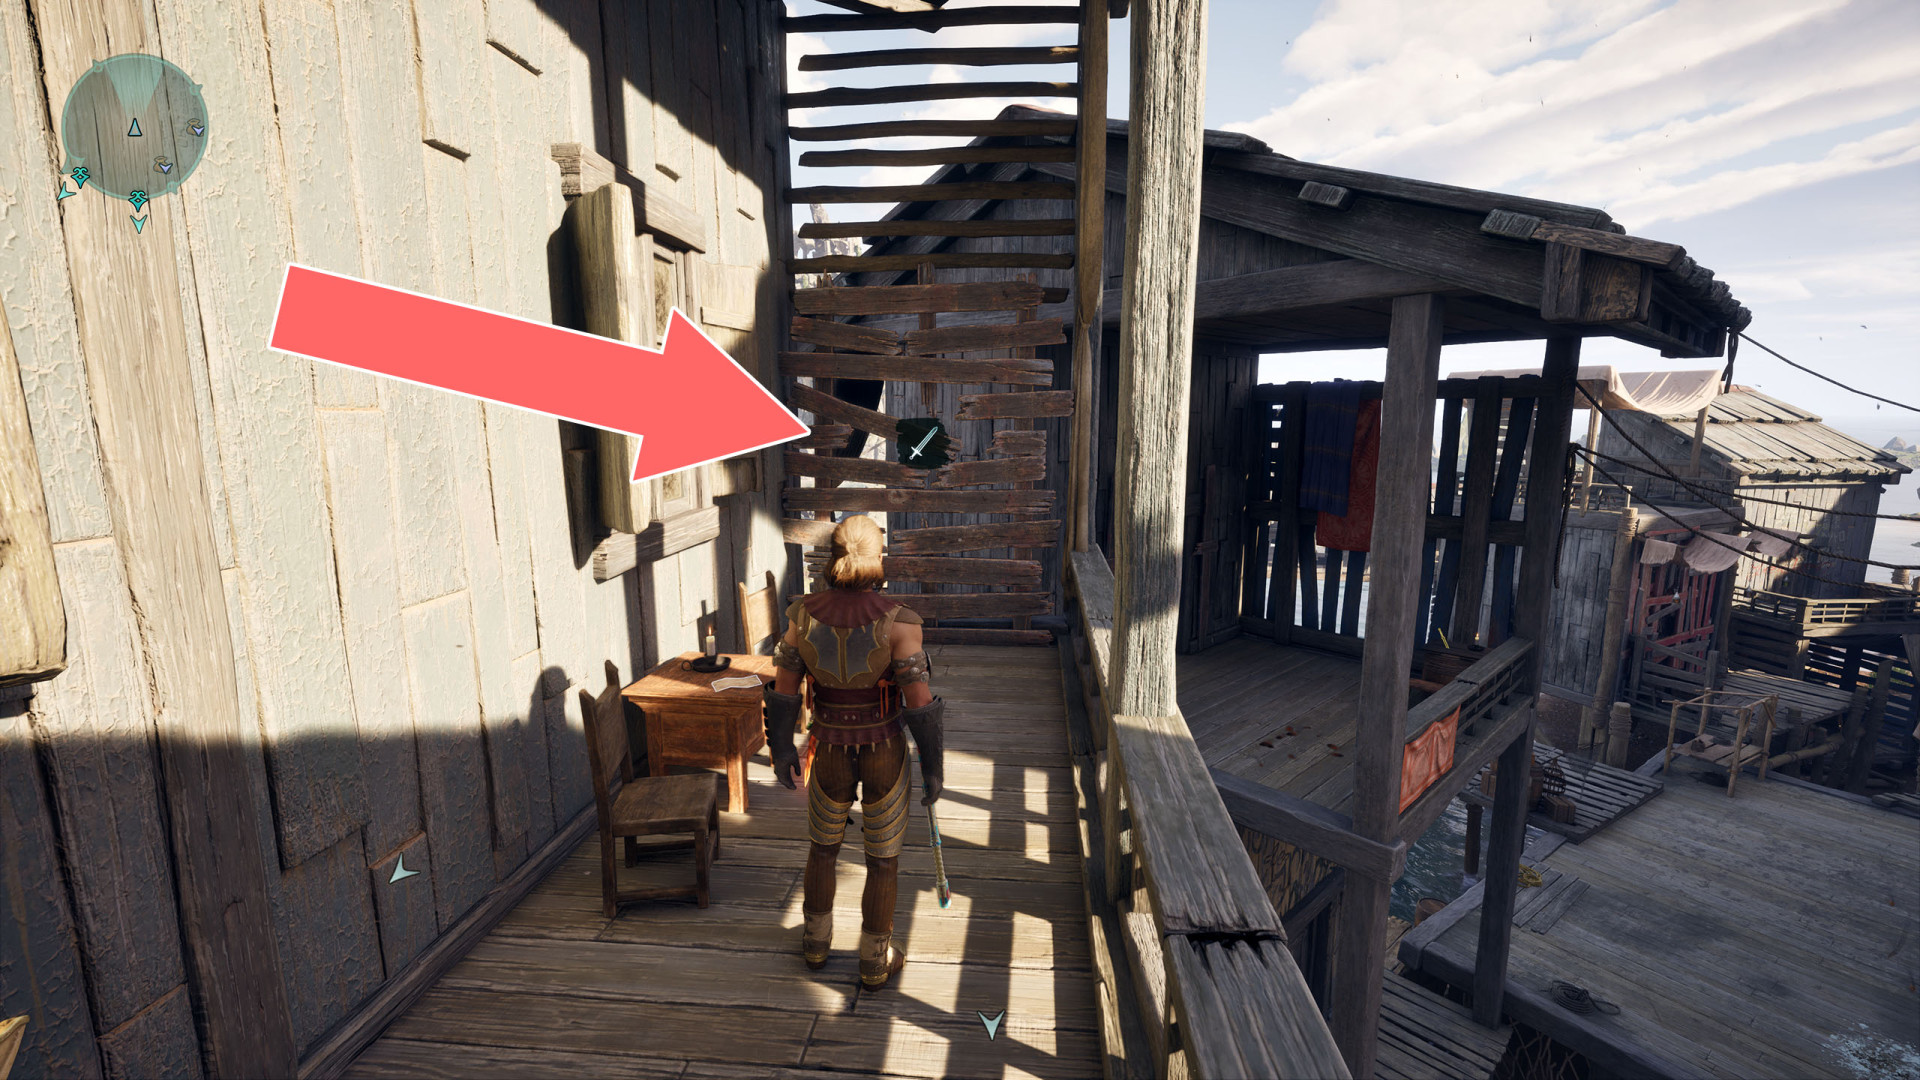
82Wooden Barrier
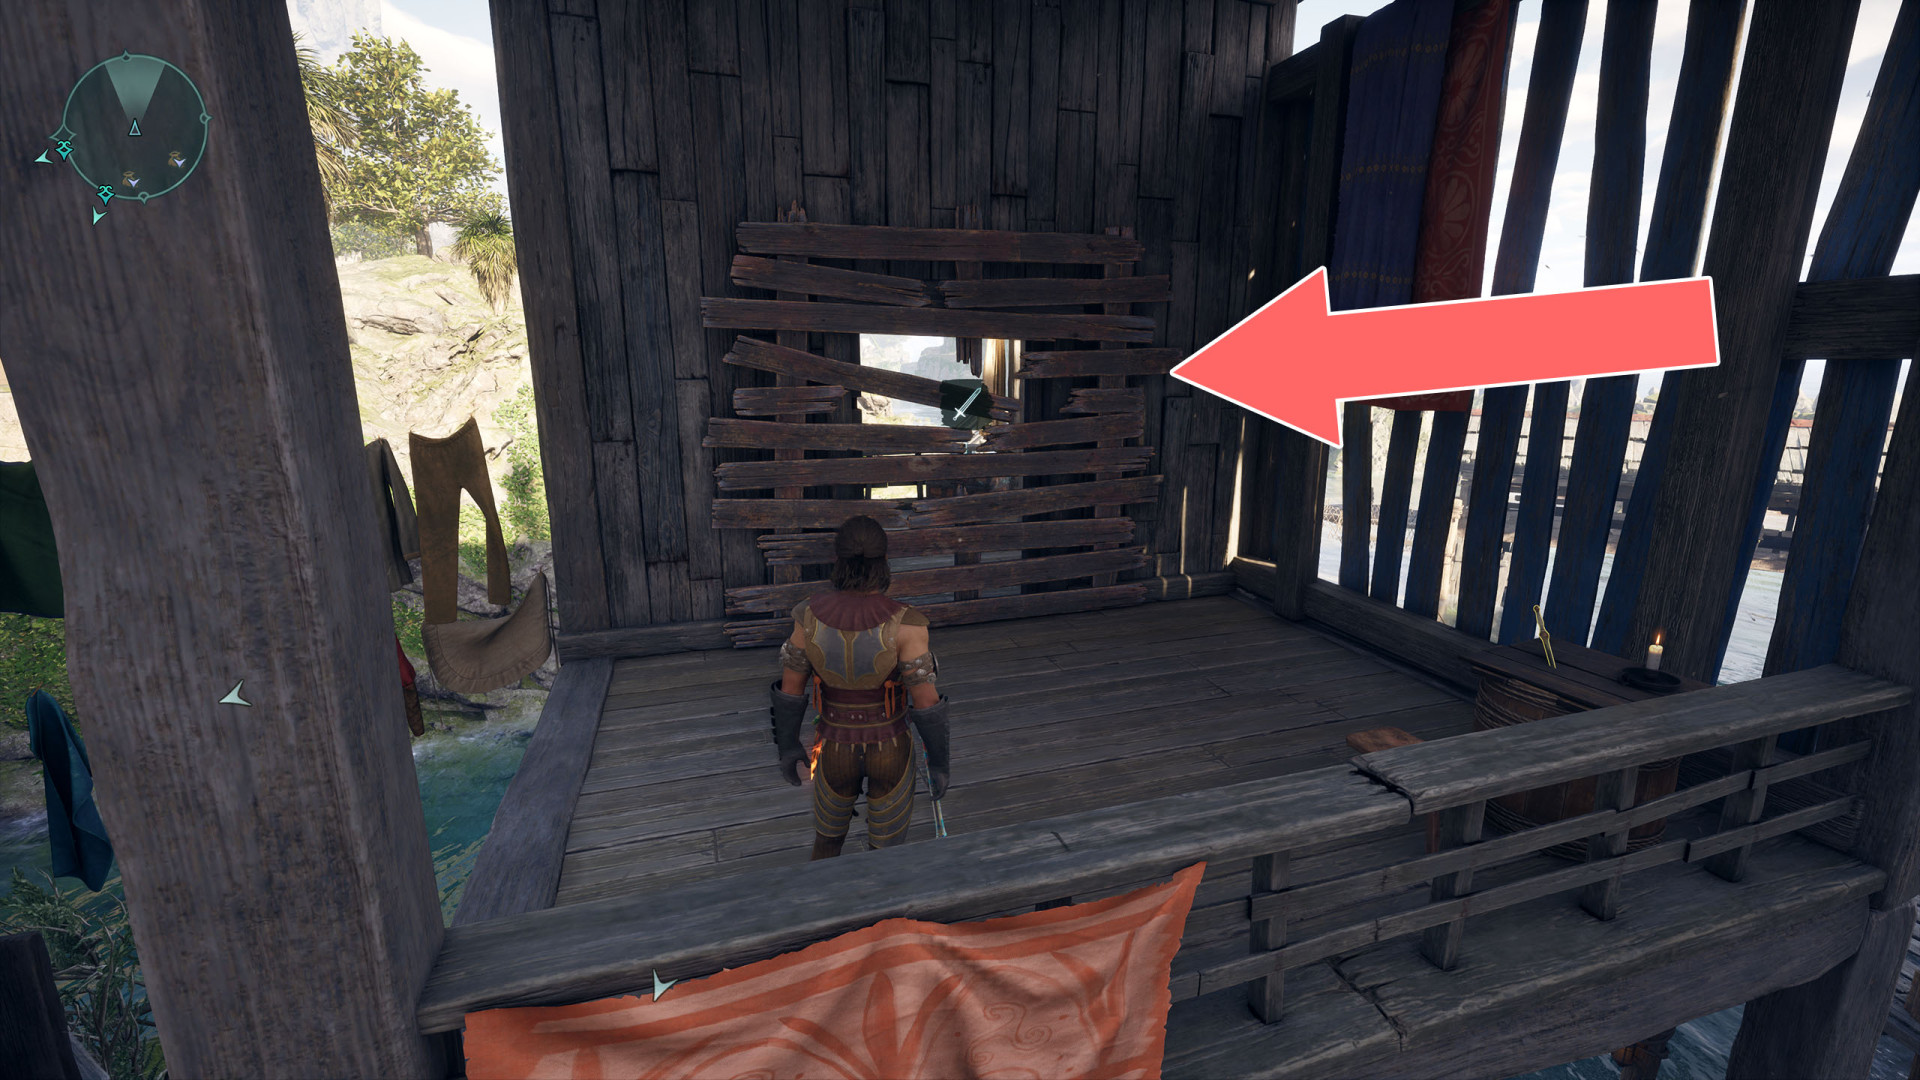
83Wooden Barrier
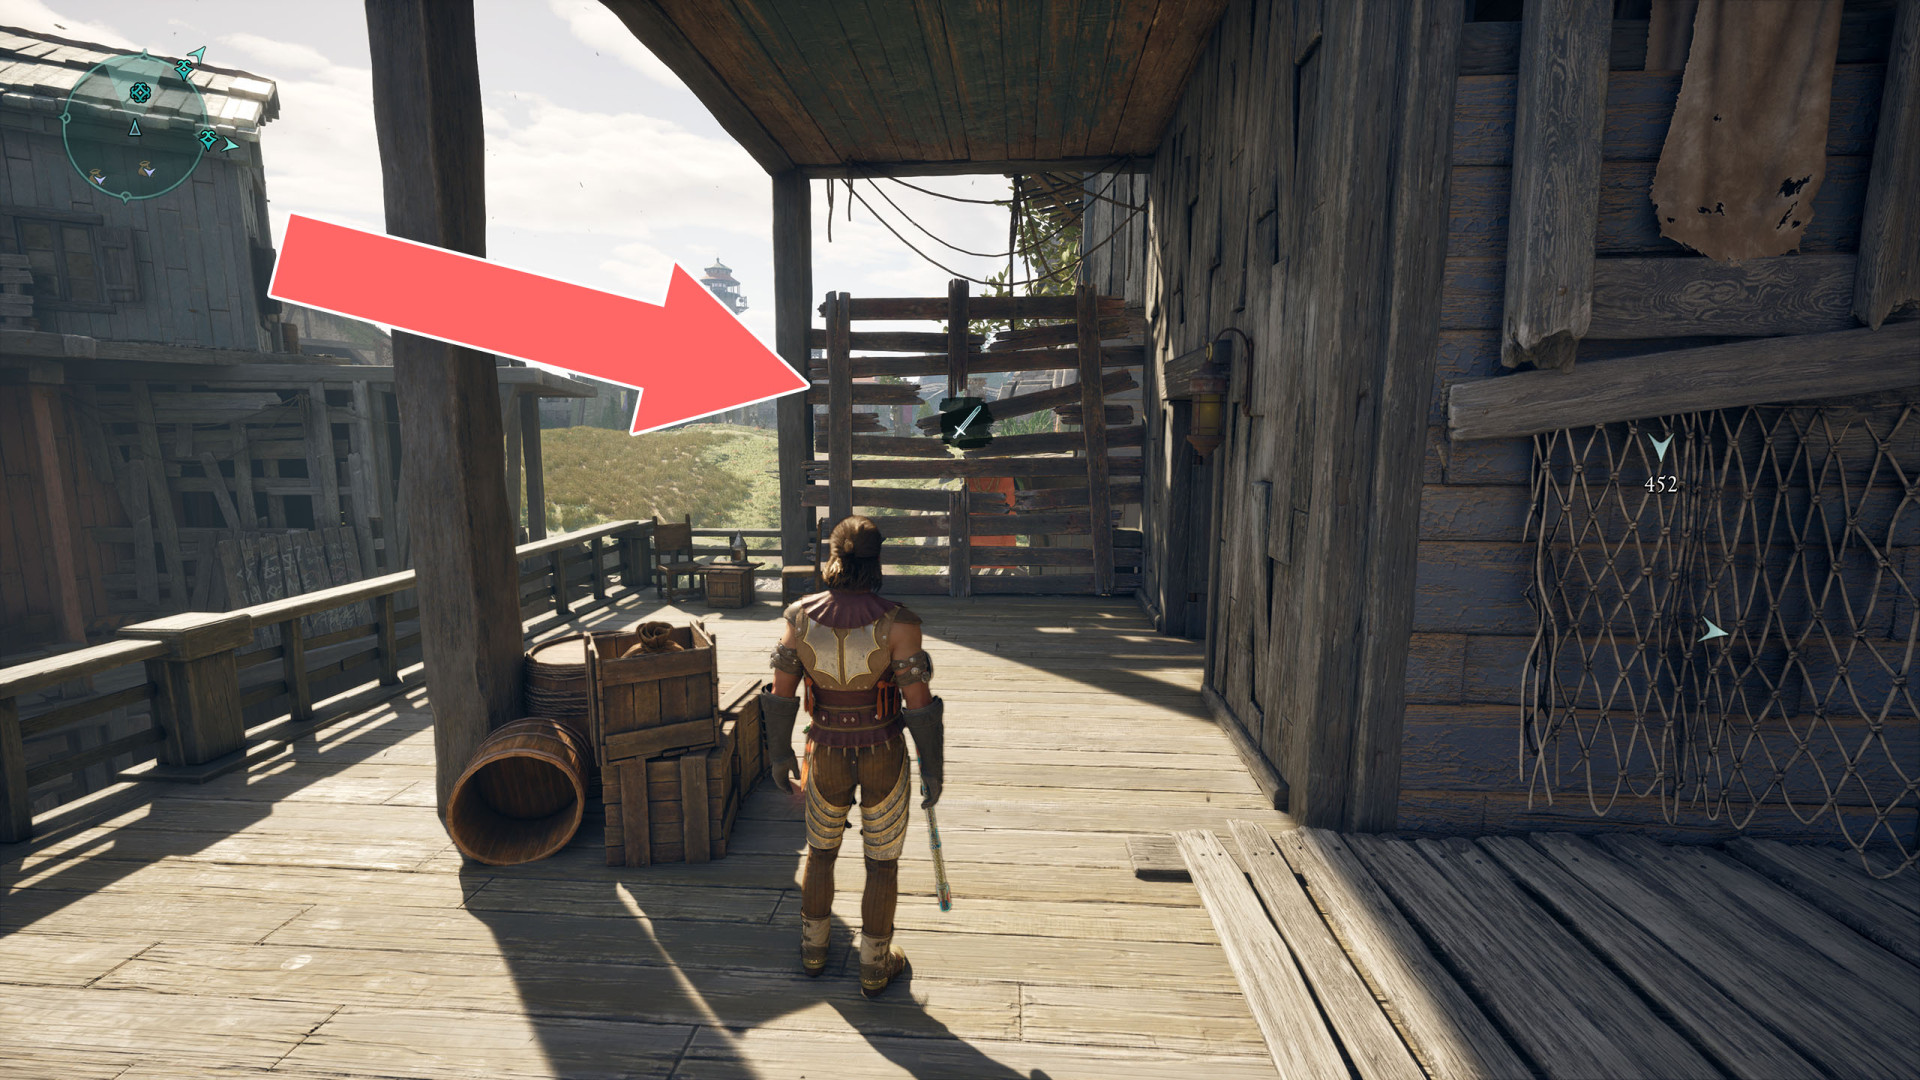
84Wooden Barrier
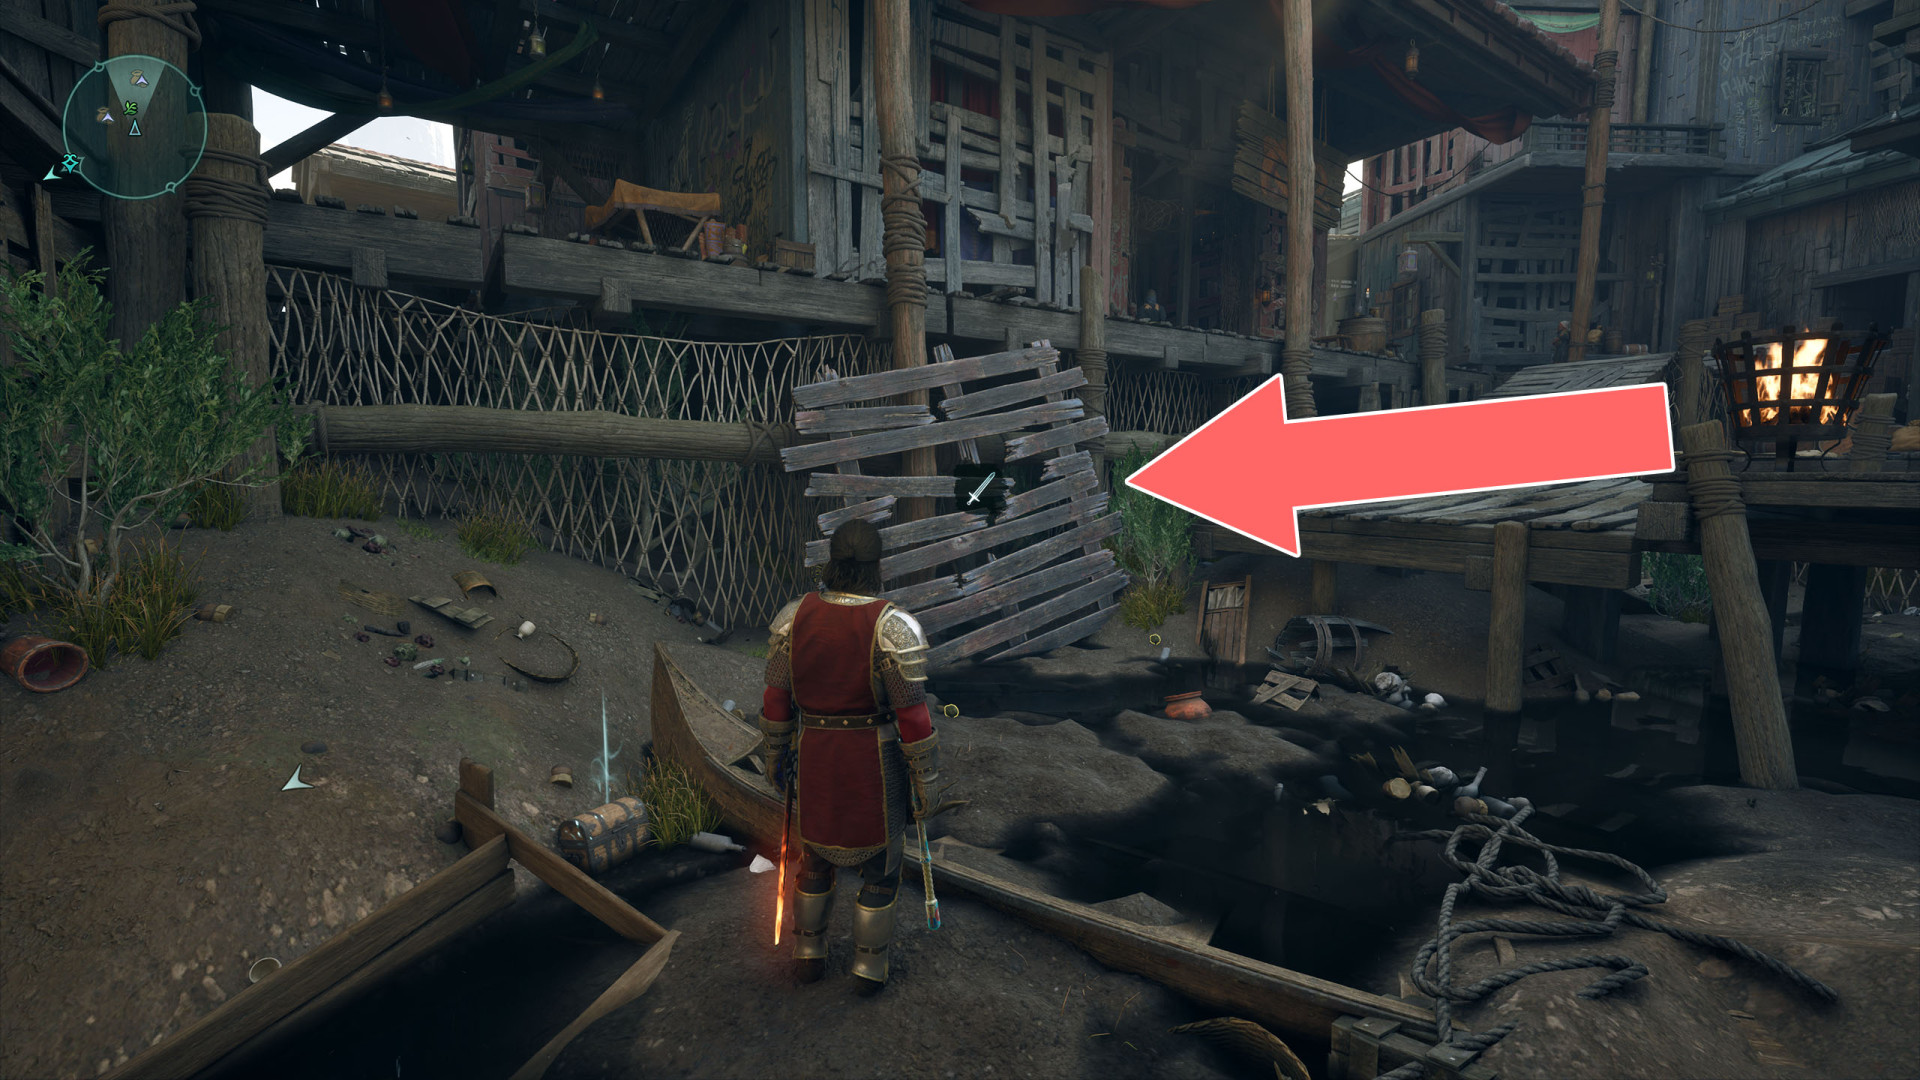
85Wooden Barrier
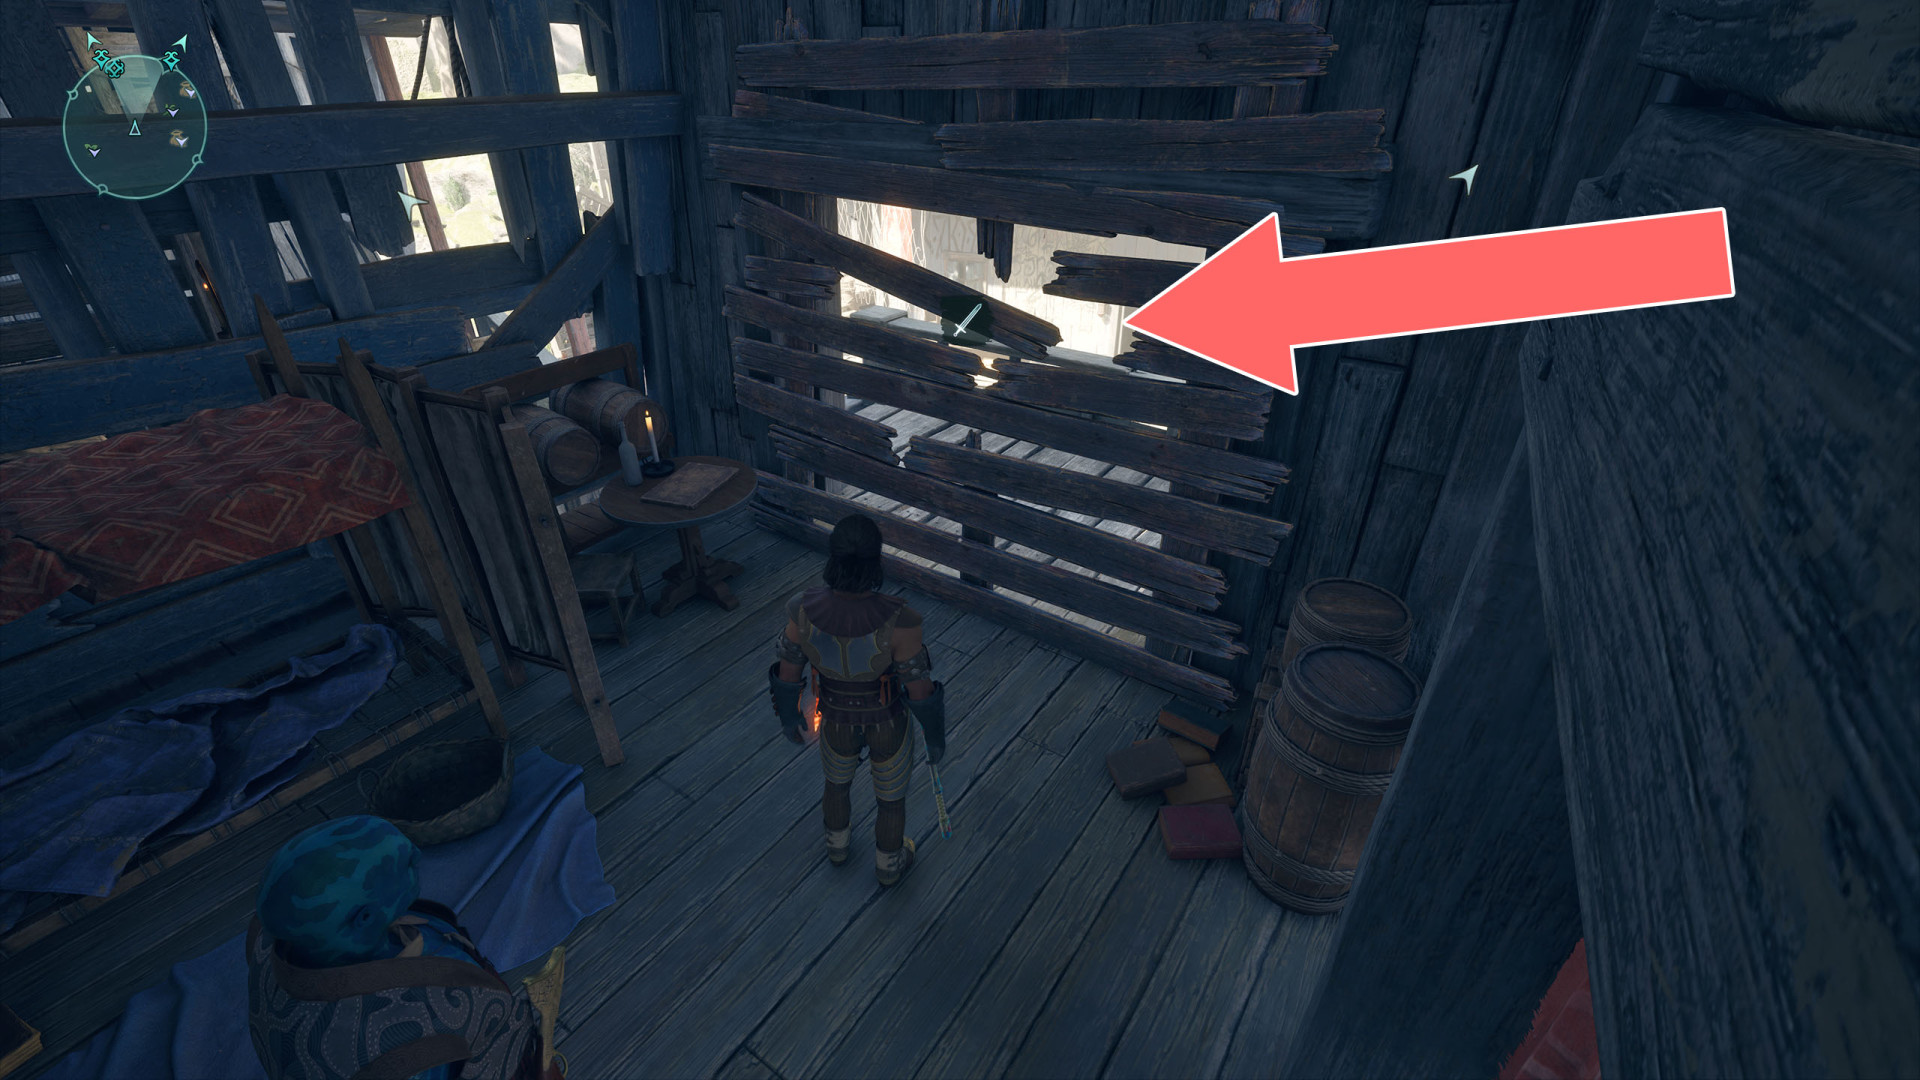
86Wooden Barrier
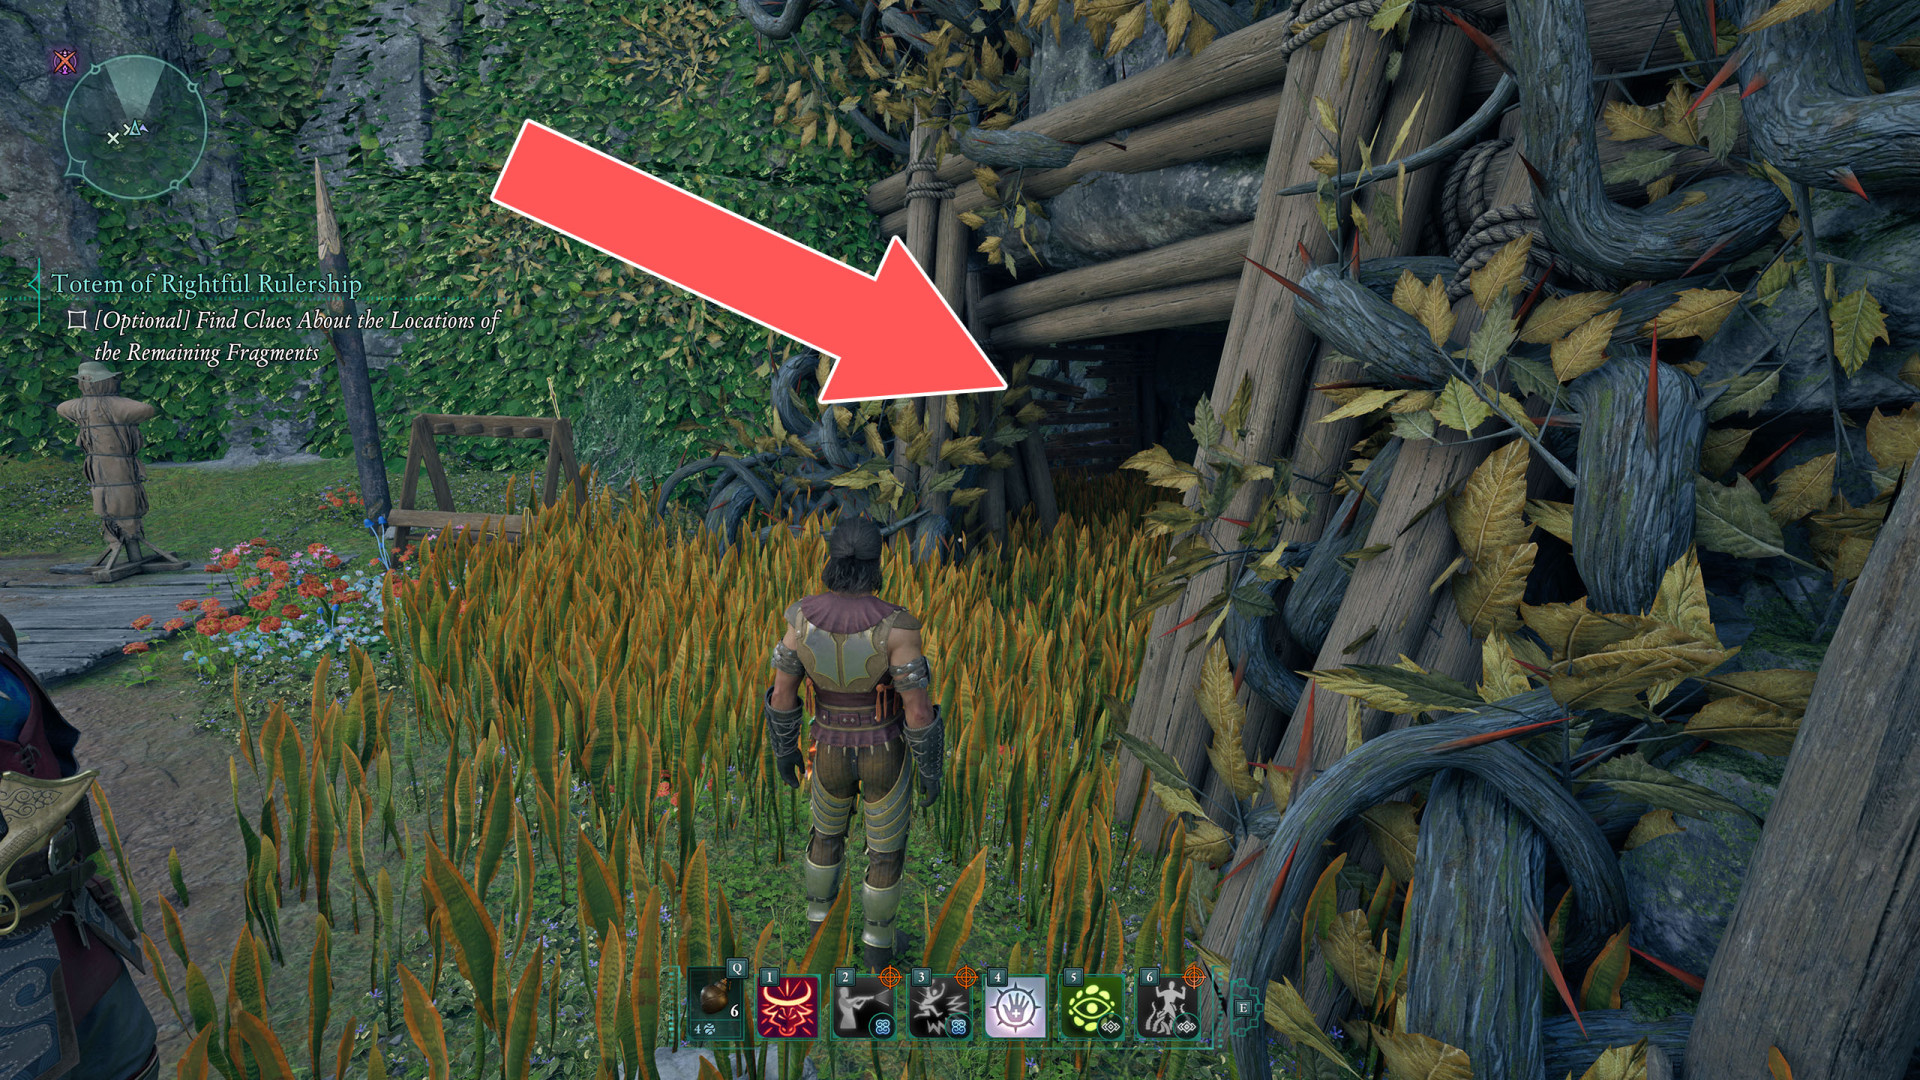
Locations on Emerald Stair
87Abandoned Home Door
Unlocks with: Dreamthrall Woodsman's Key or Lockpick x1.
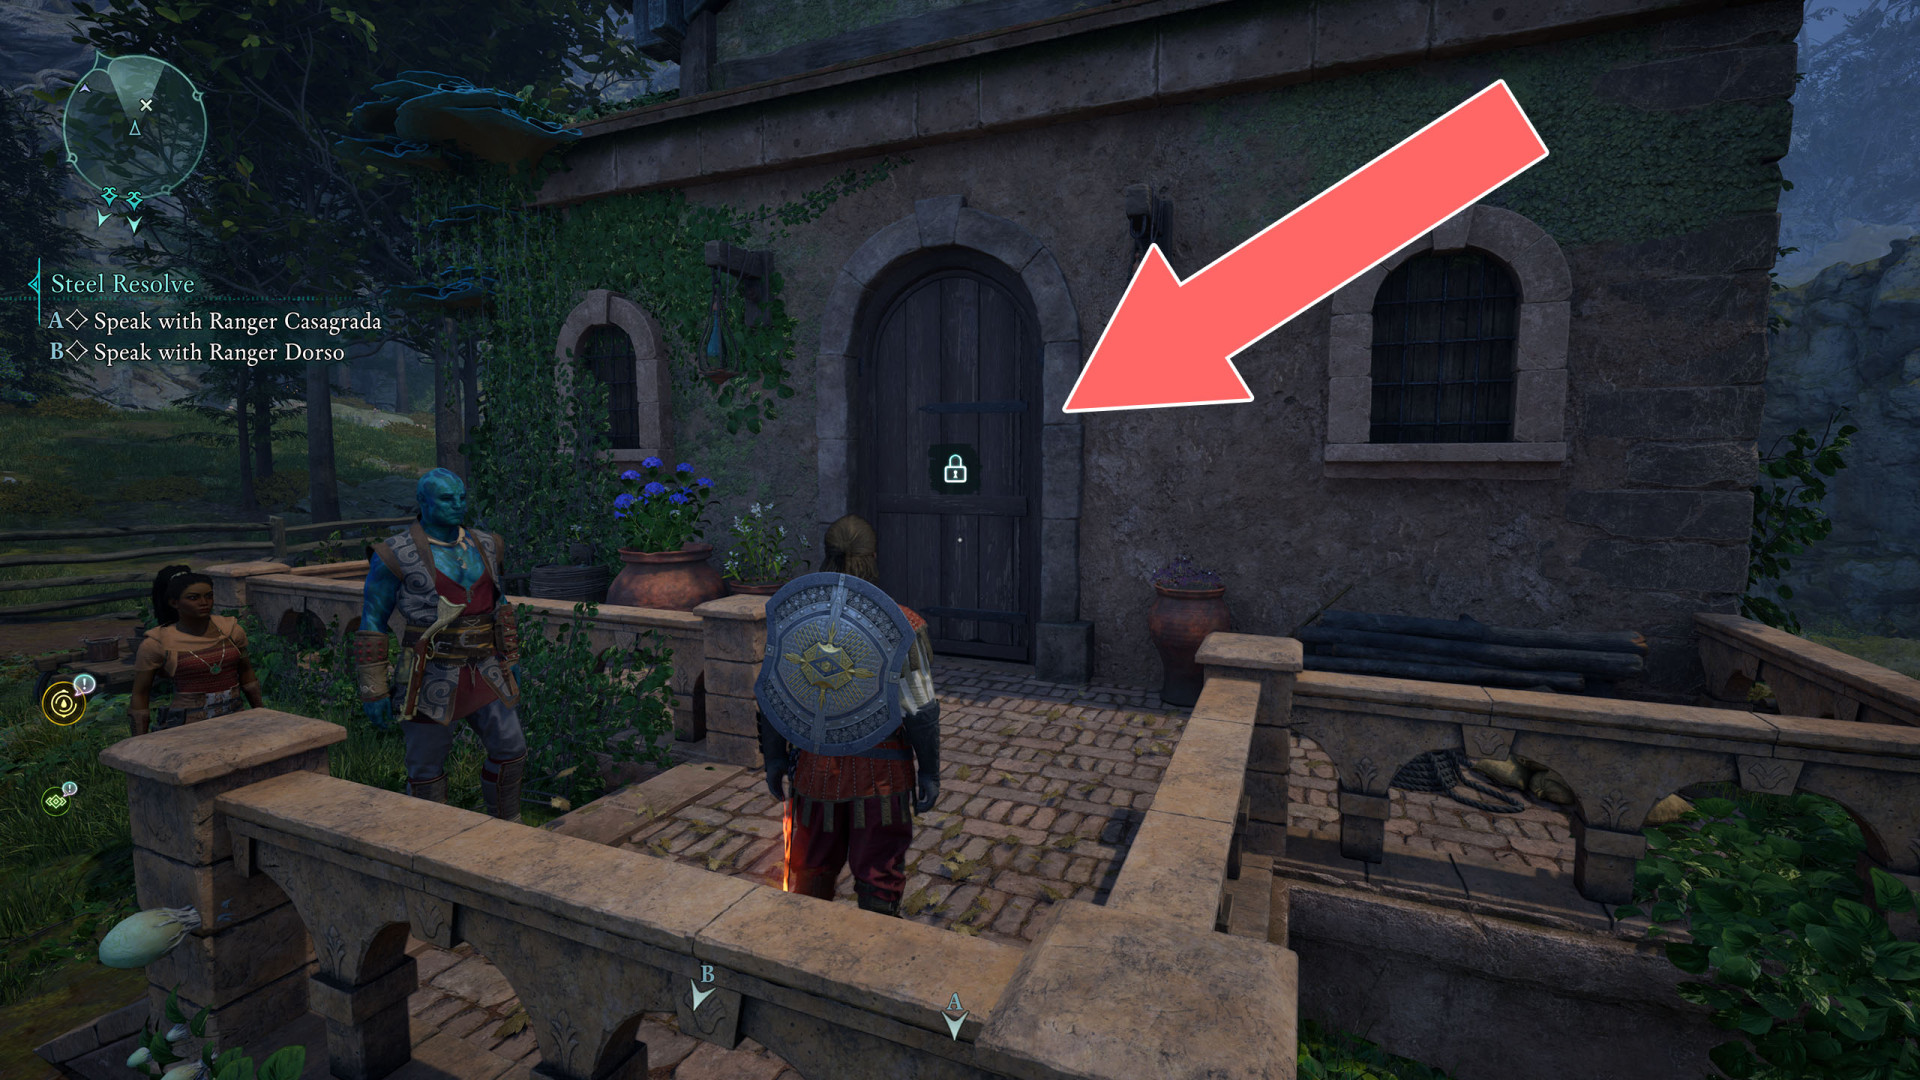
88Barred Door
The door can be unlocked from the inside. You can enter the building through a hole in the roof.
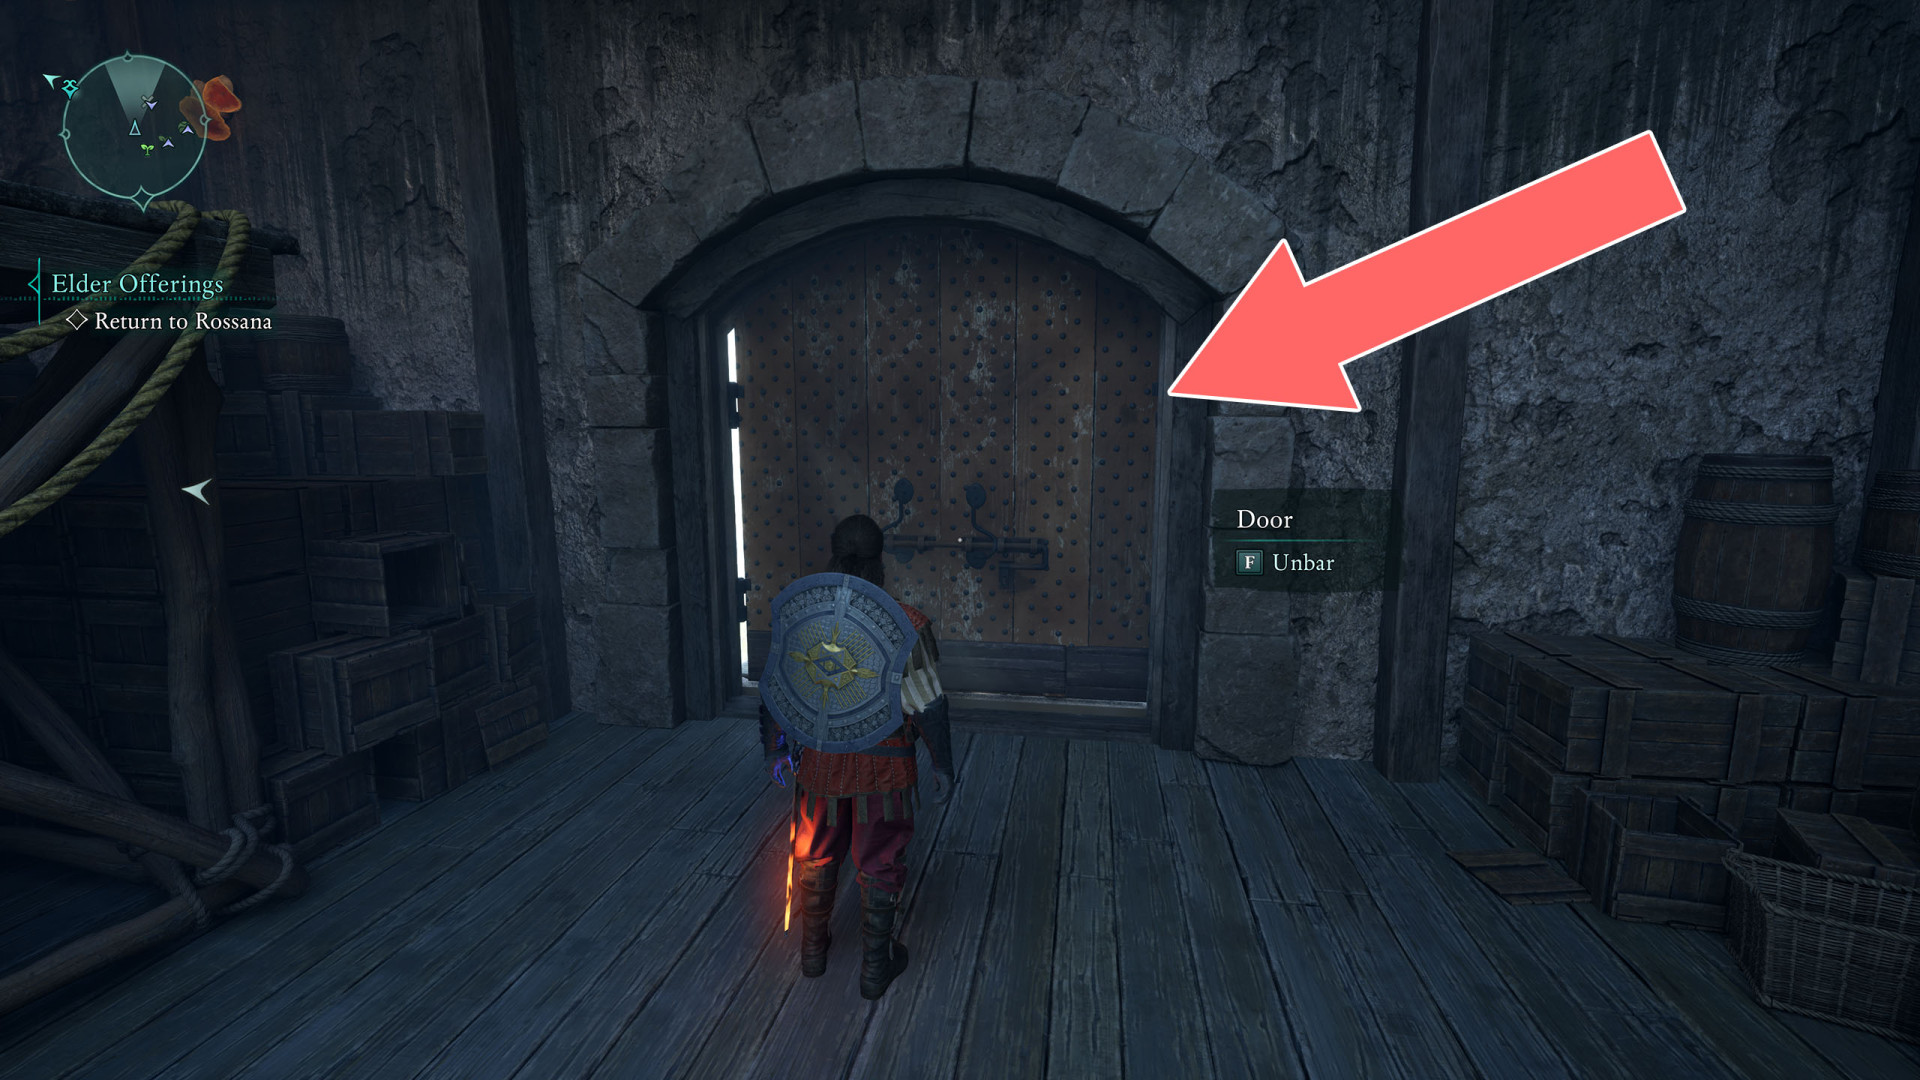
89Barred Door
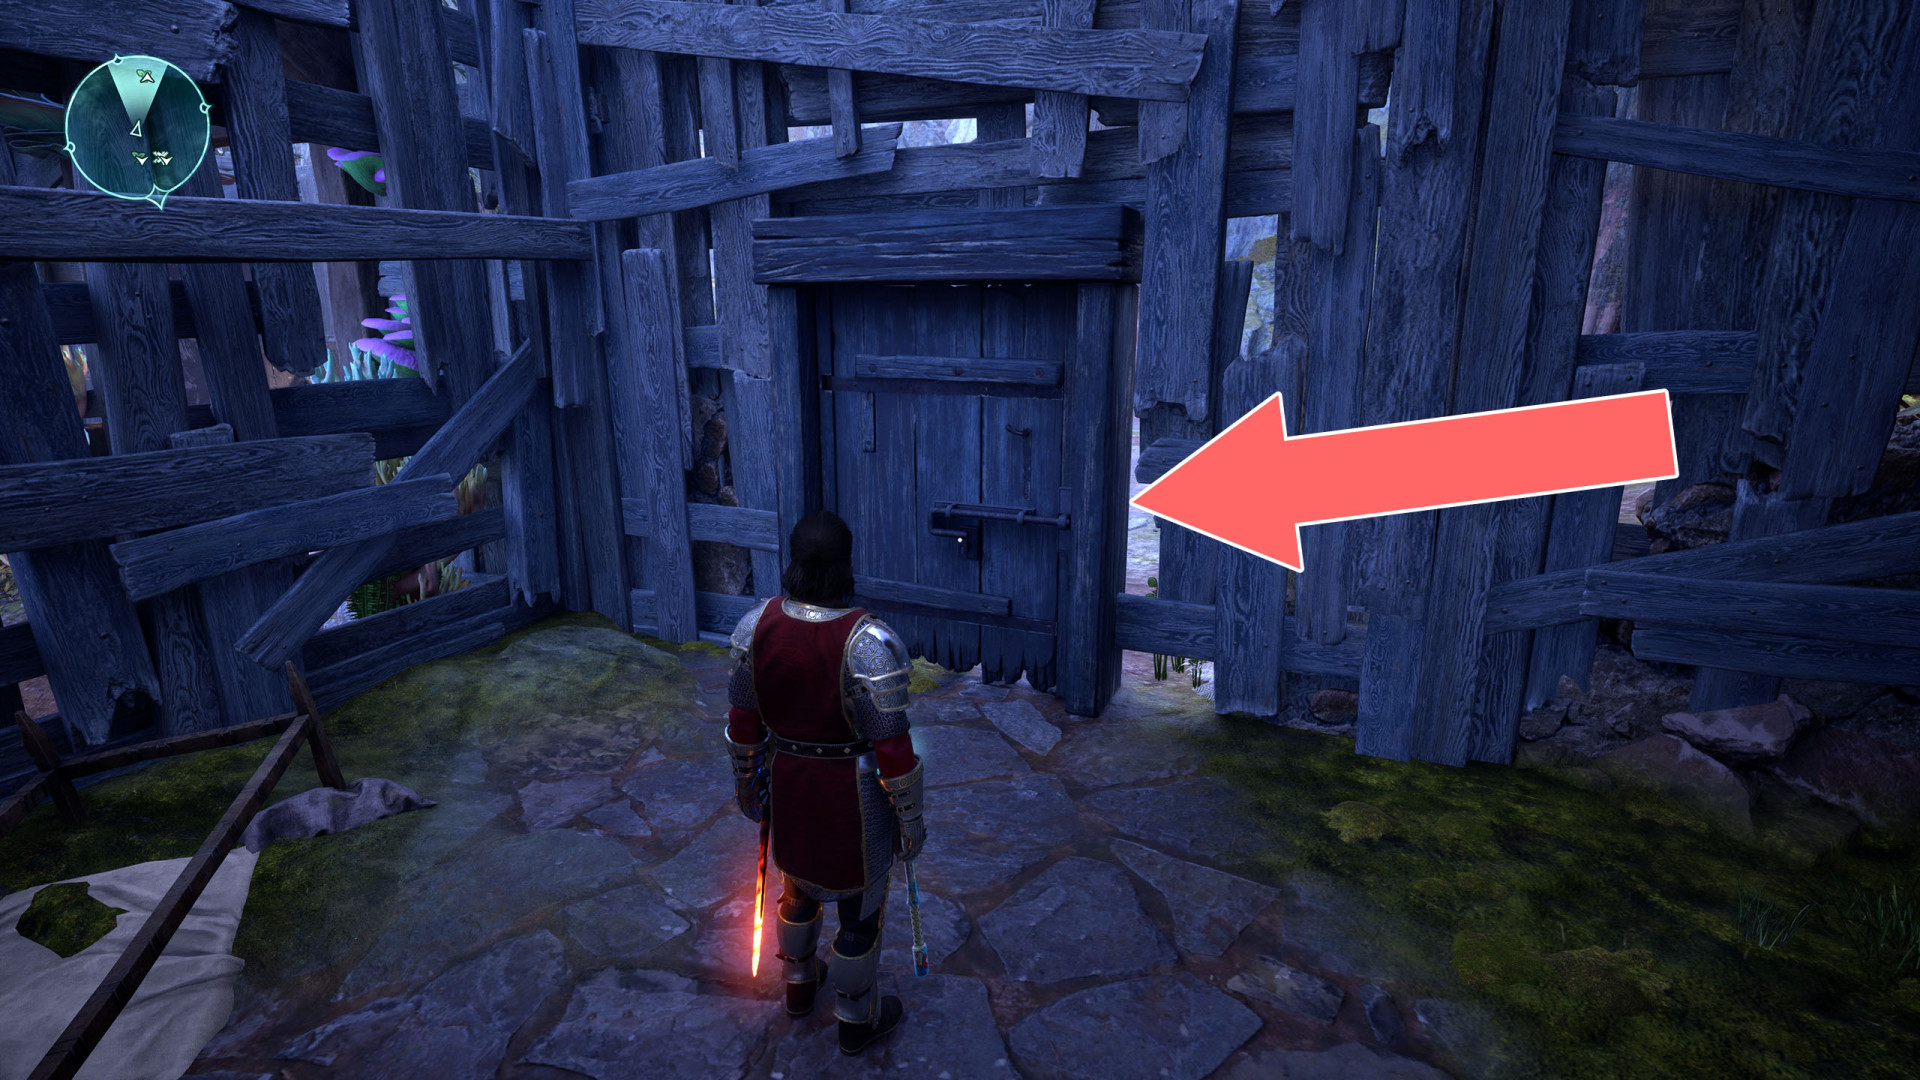
90Barred Door
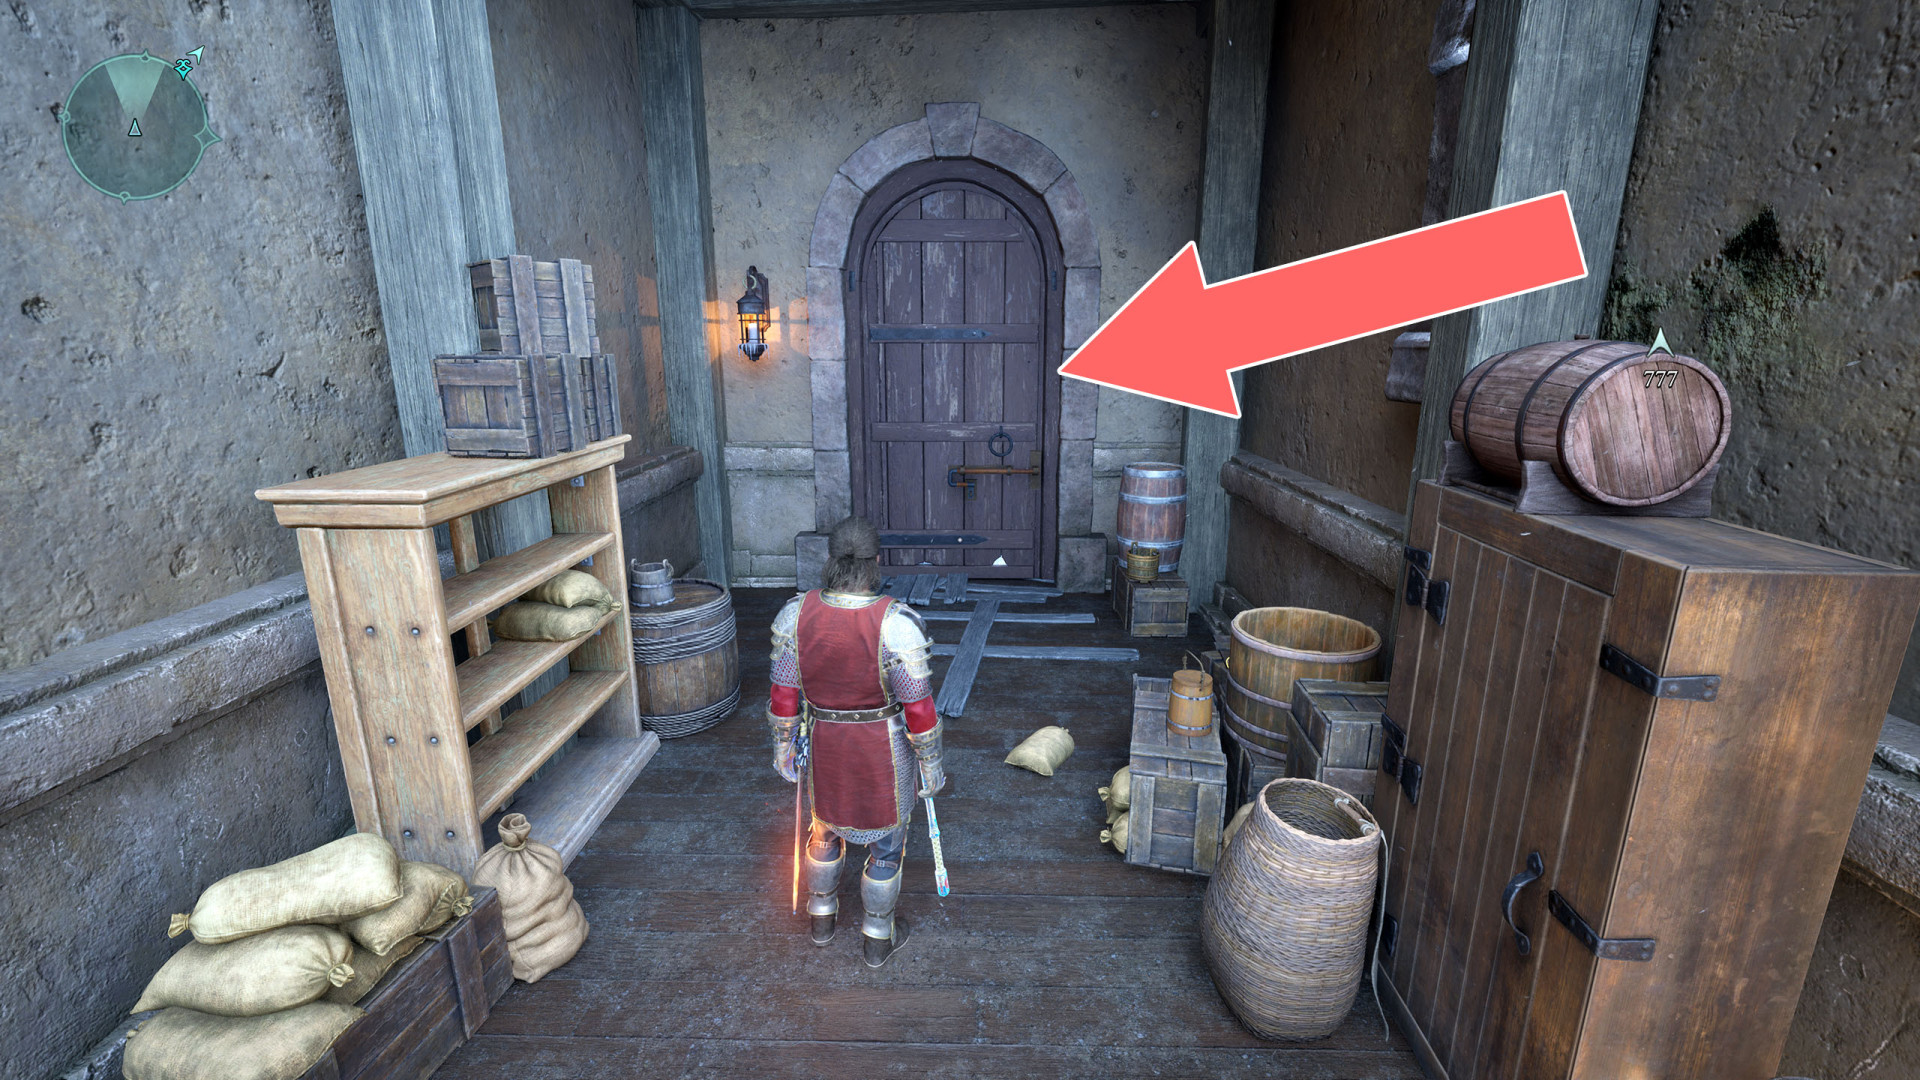
91Barred Door
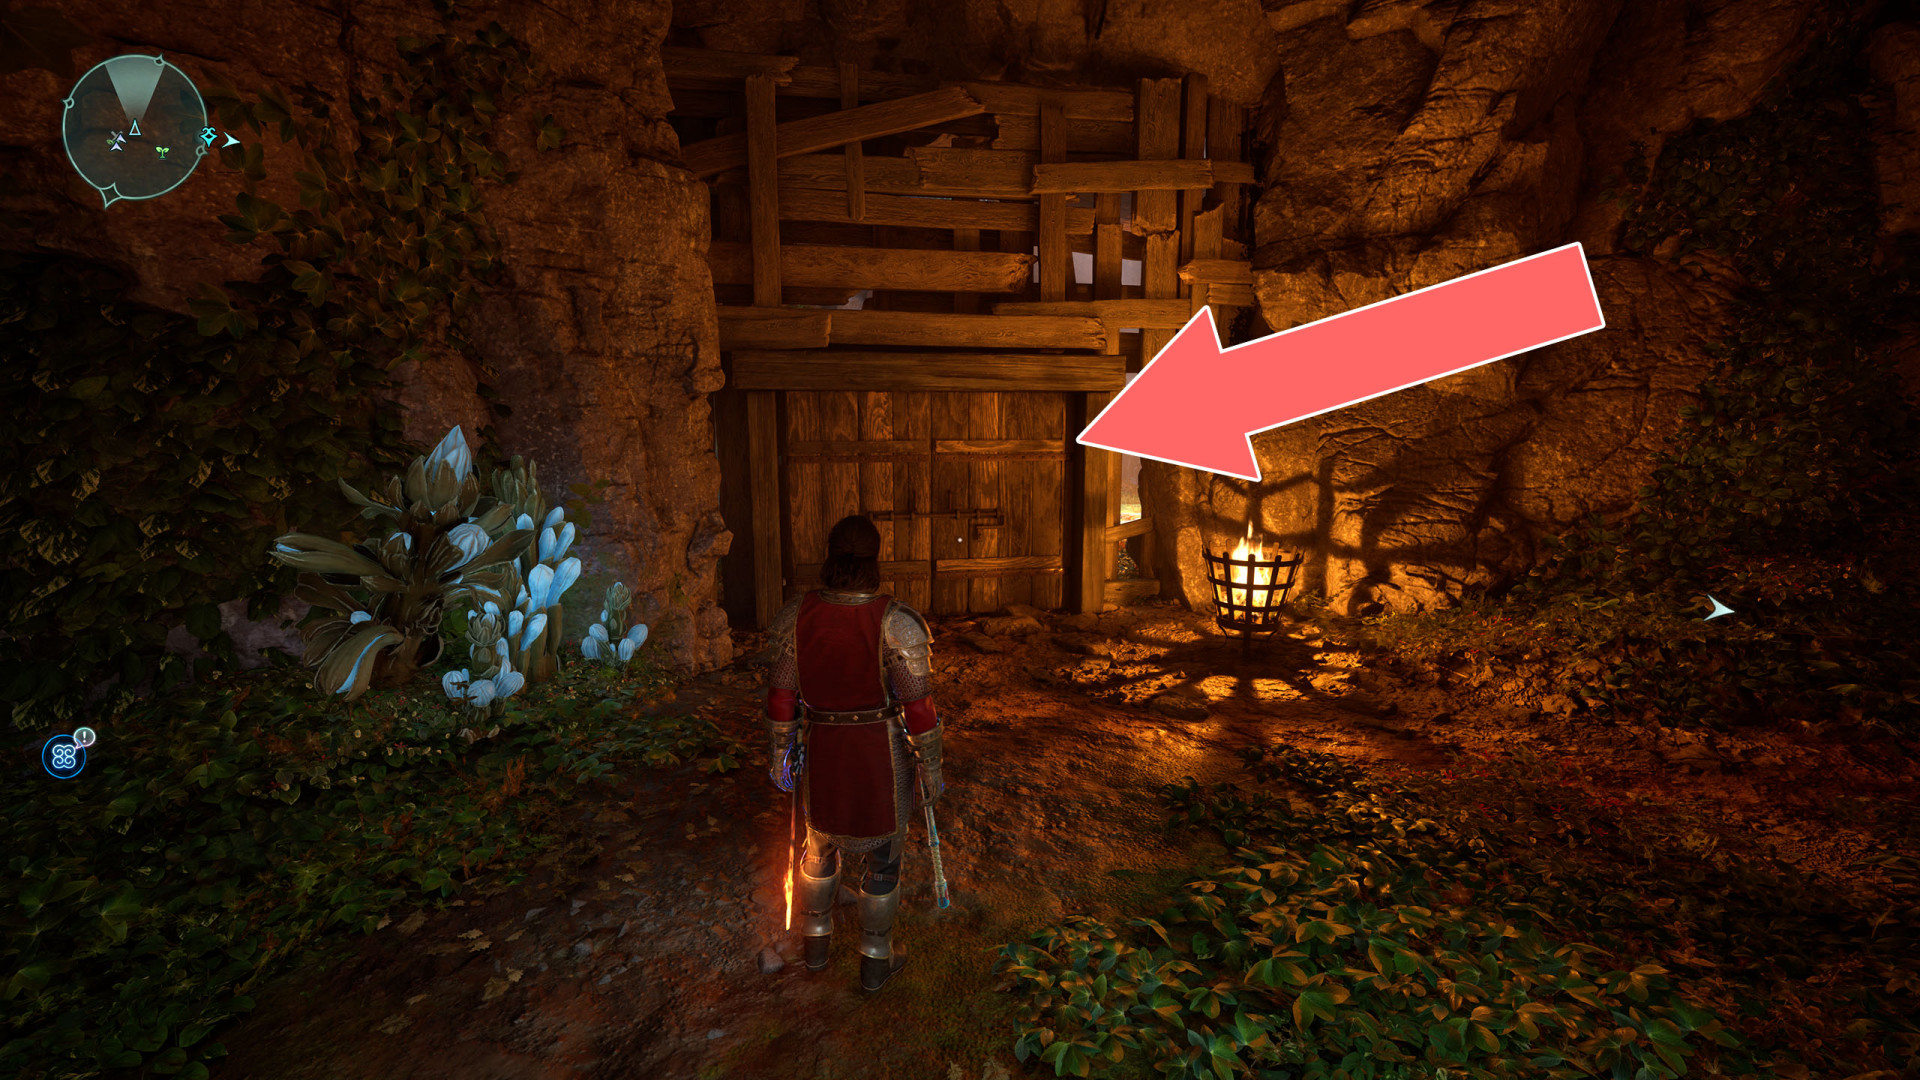
92Barred Door
Can be unlocked from inside the building, which you can enter through the window.
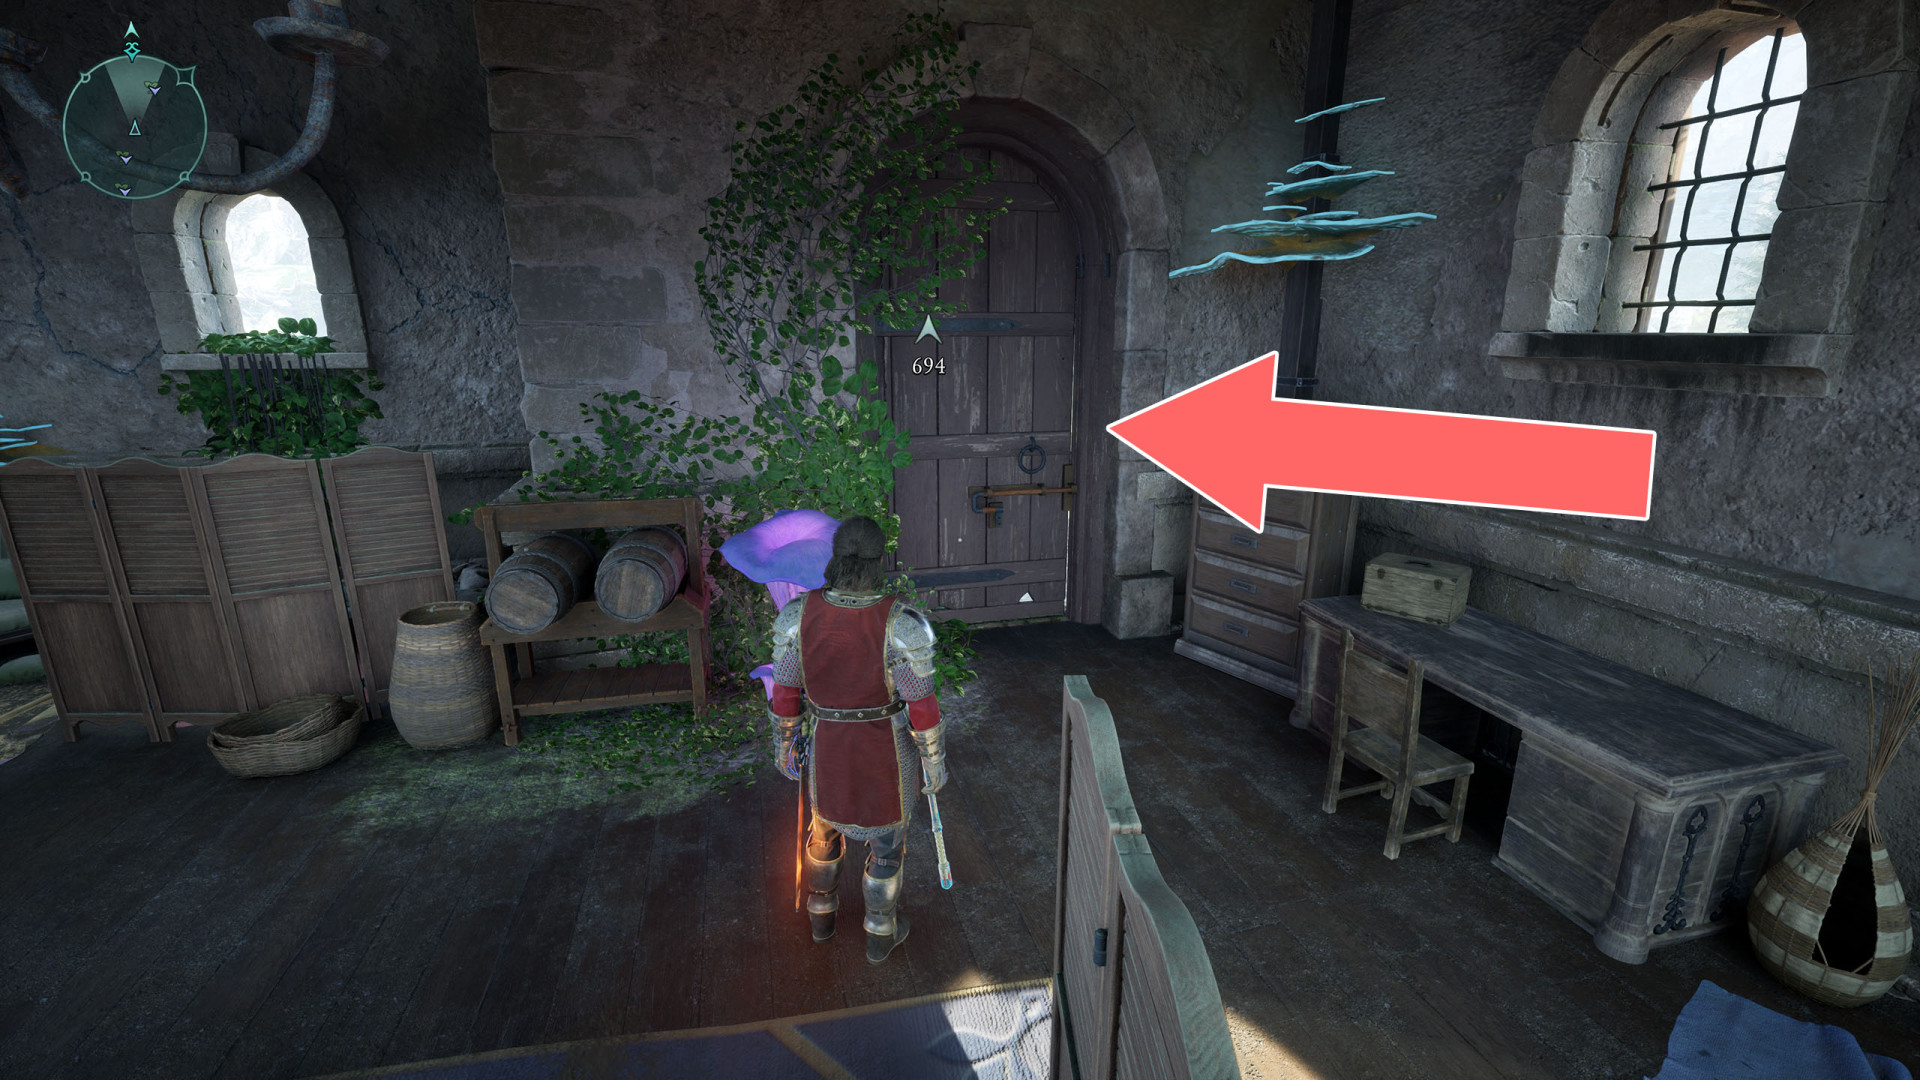
93Barred Door
Can be unlocked from inside the building, which you can enter through the window.
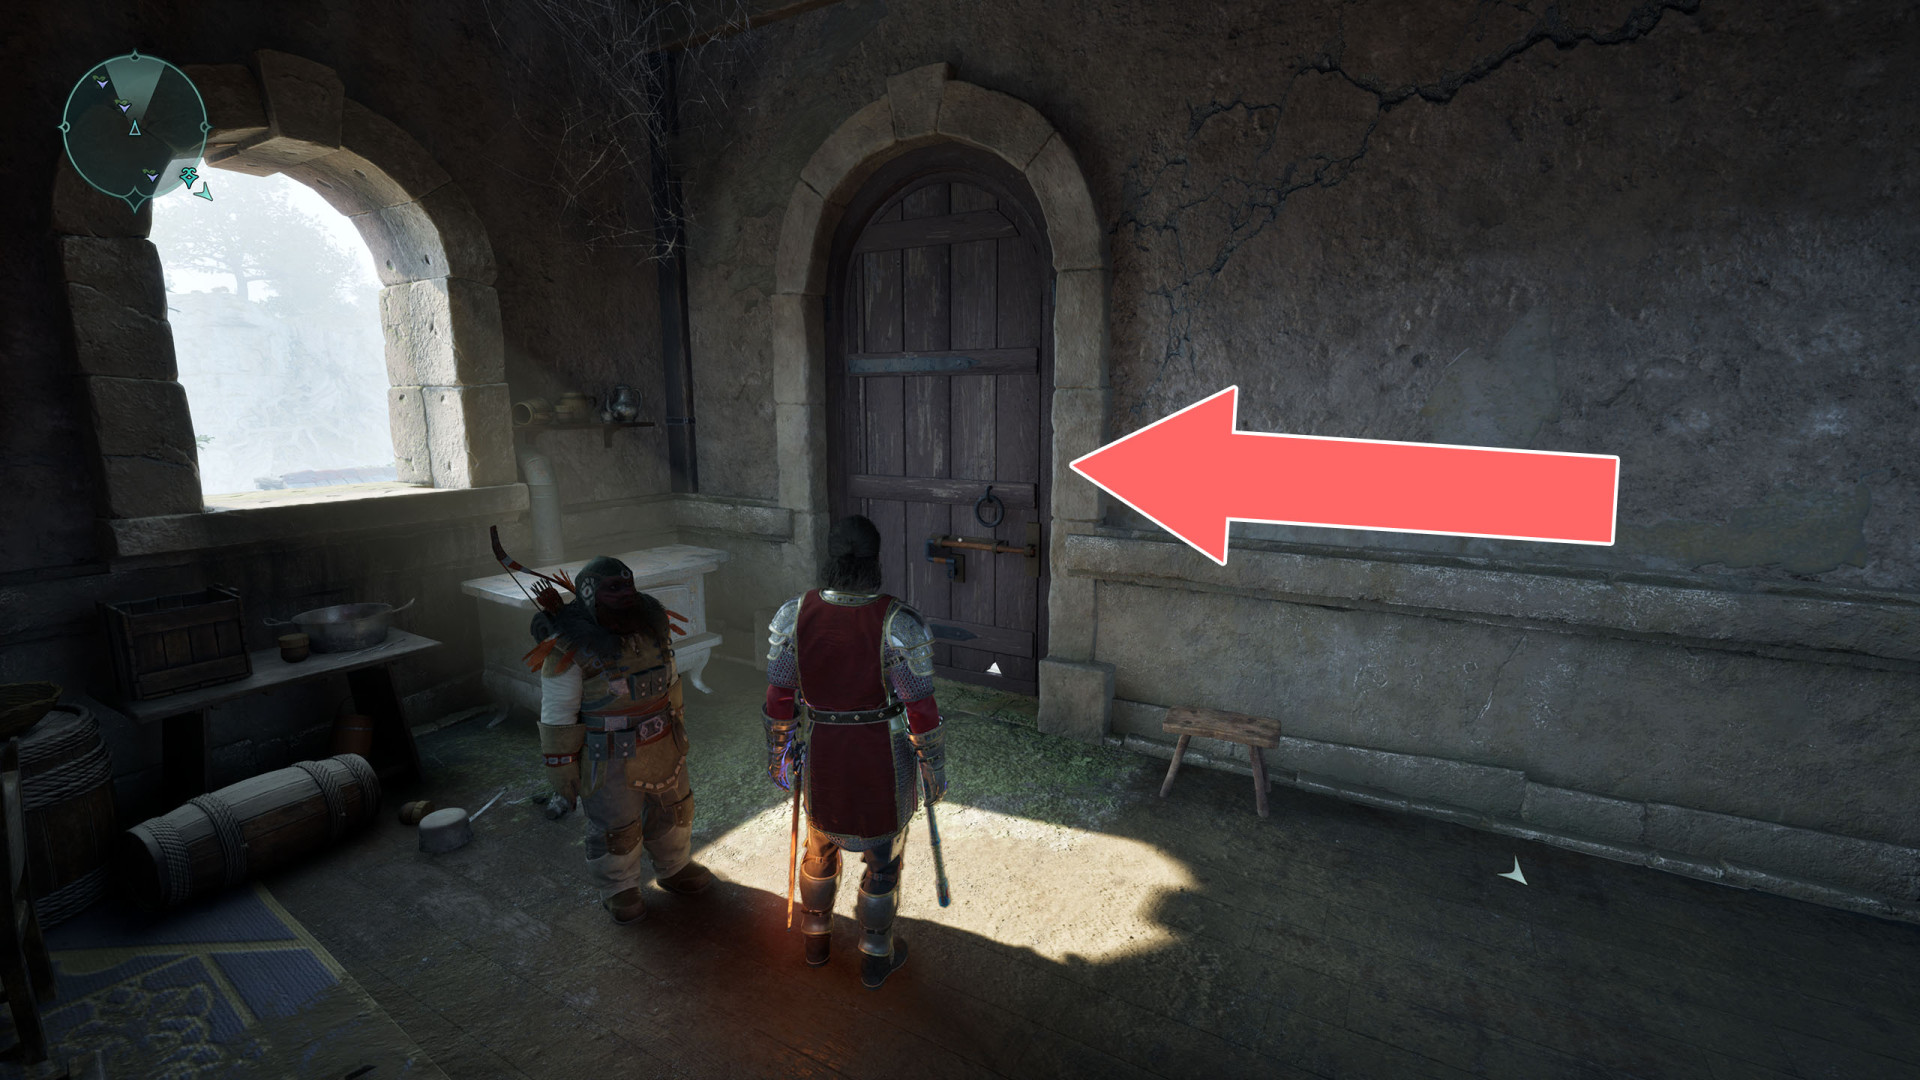
94Barred Door
The gate can be unlocked from the southwest side.
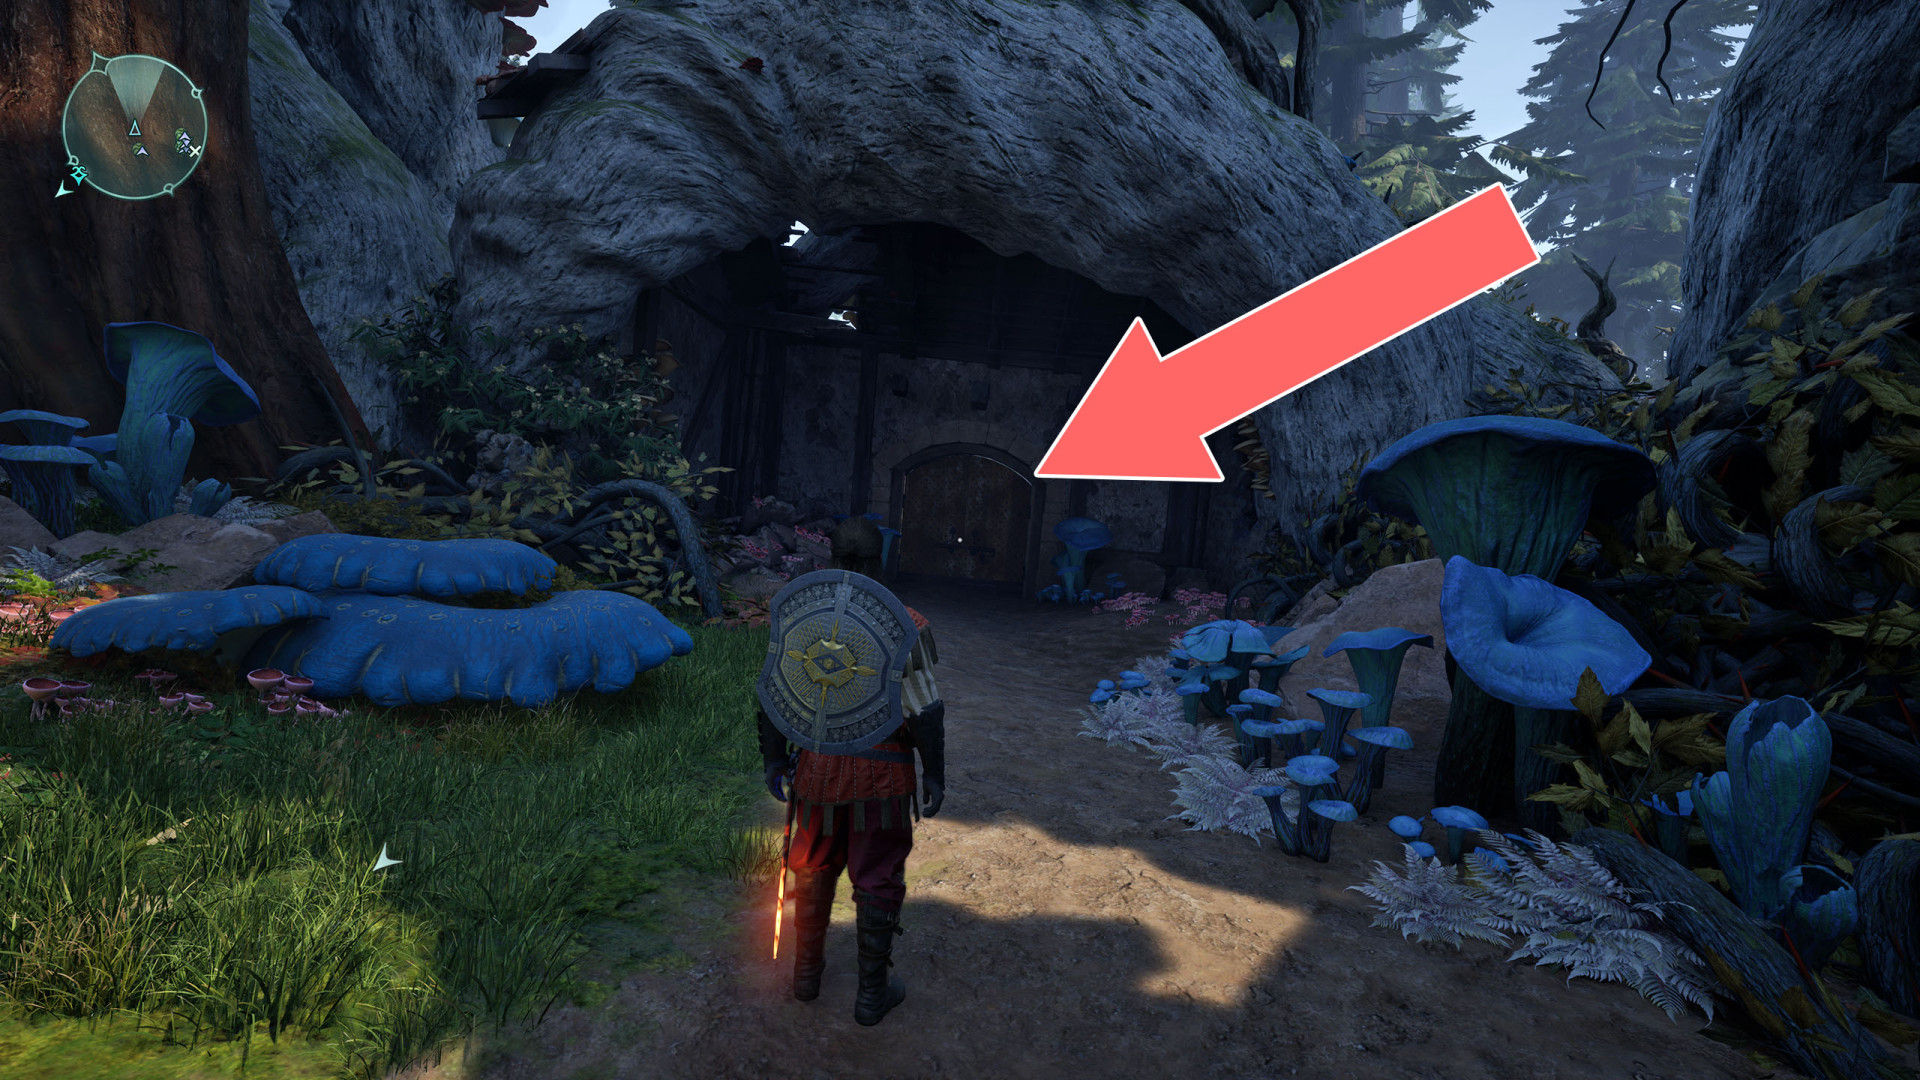
95Barred Door
This door can be unlocked from inside the house, and you can get inside through the door on the other side of the building.
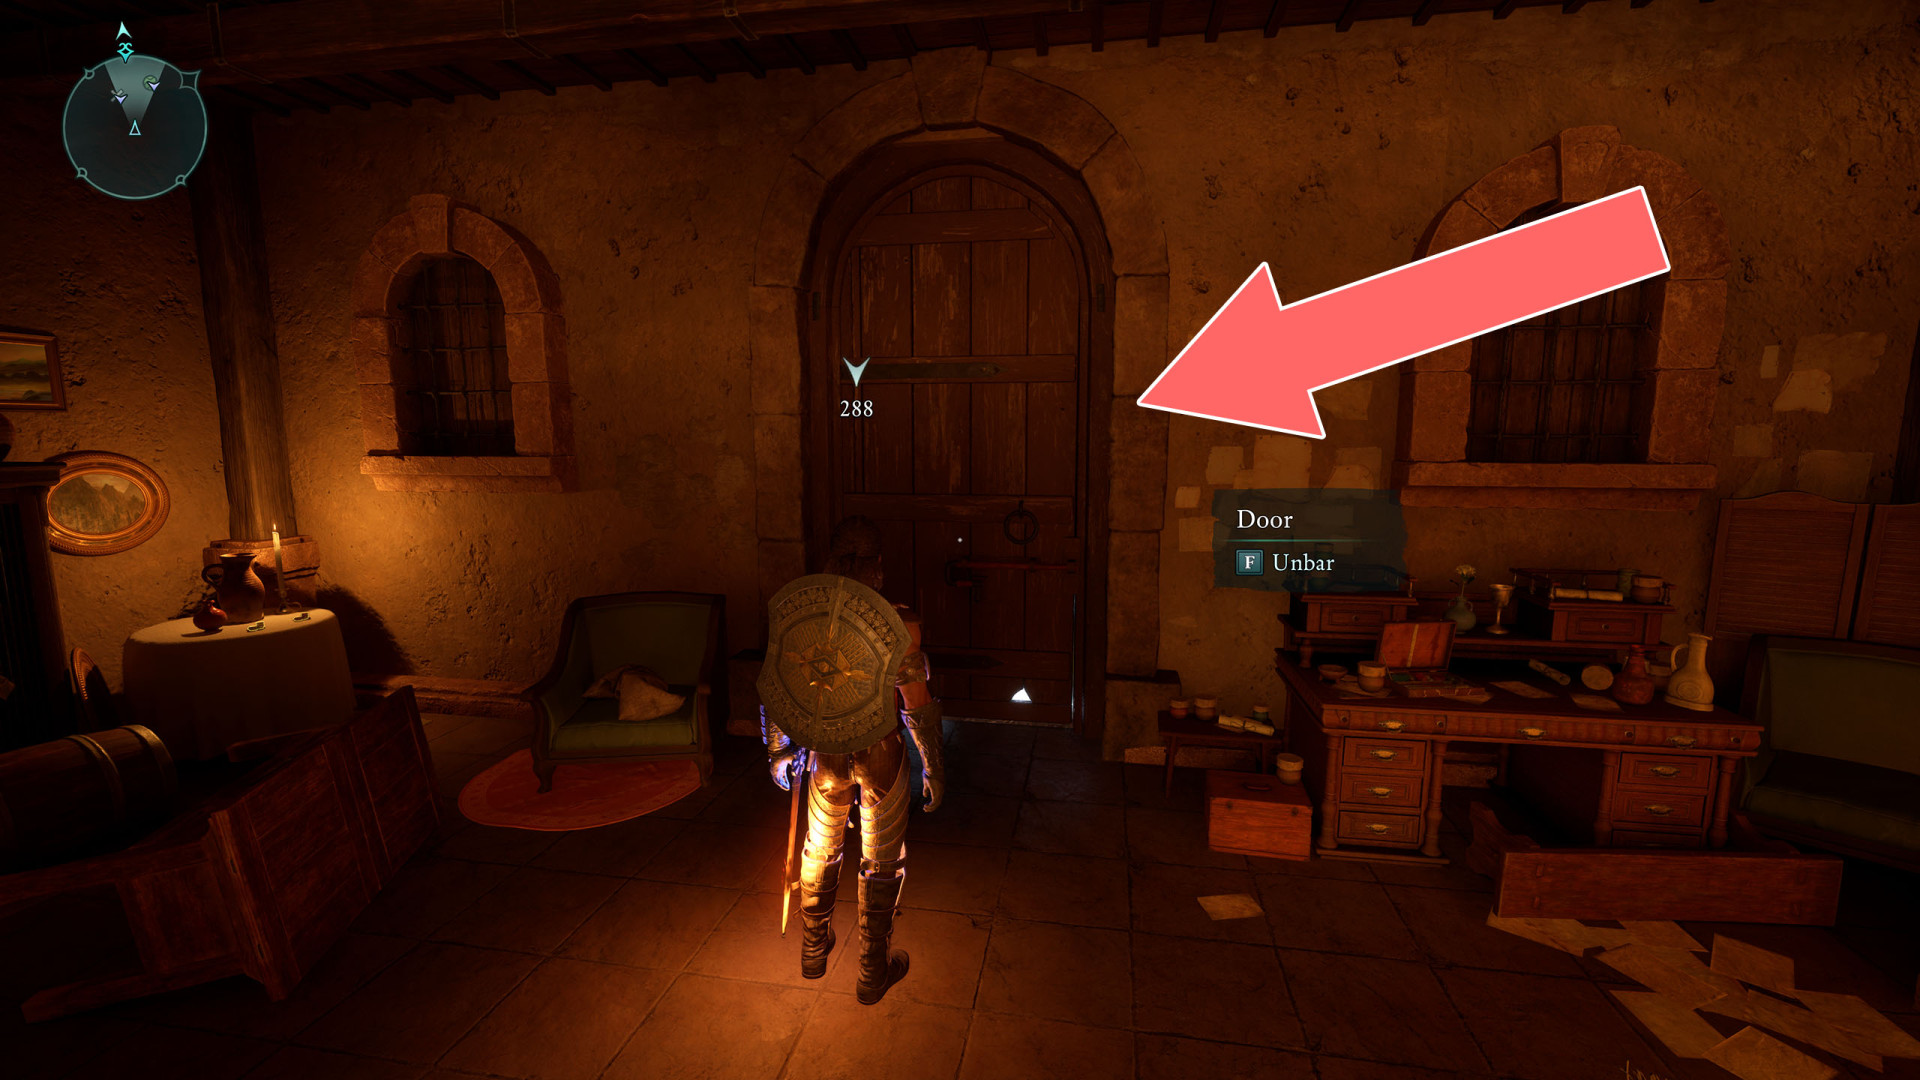
96Barred Door
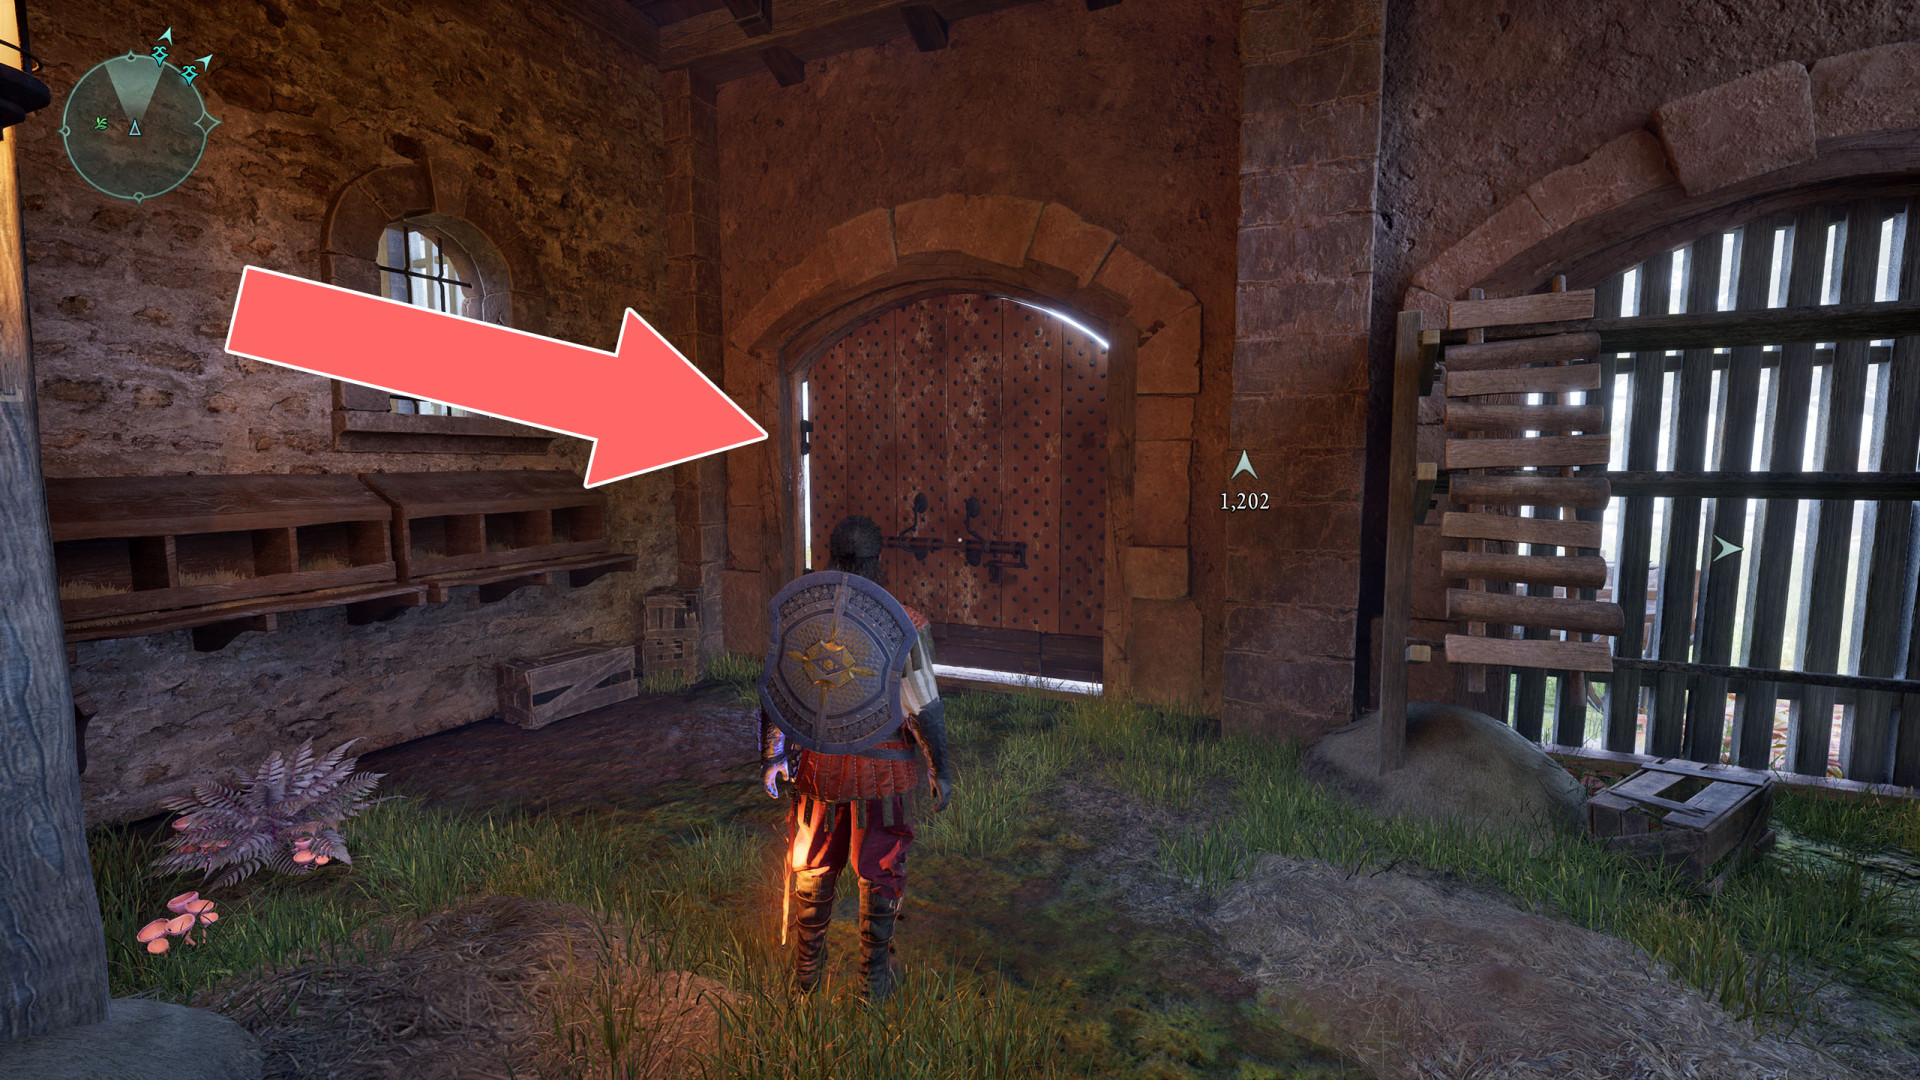
97Barred Gate
It can be unlocked from the inside.
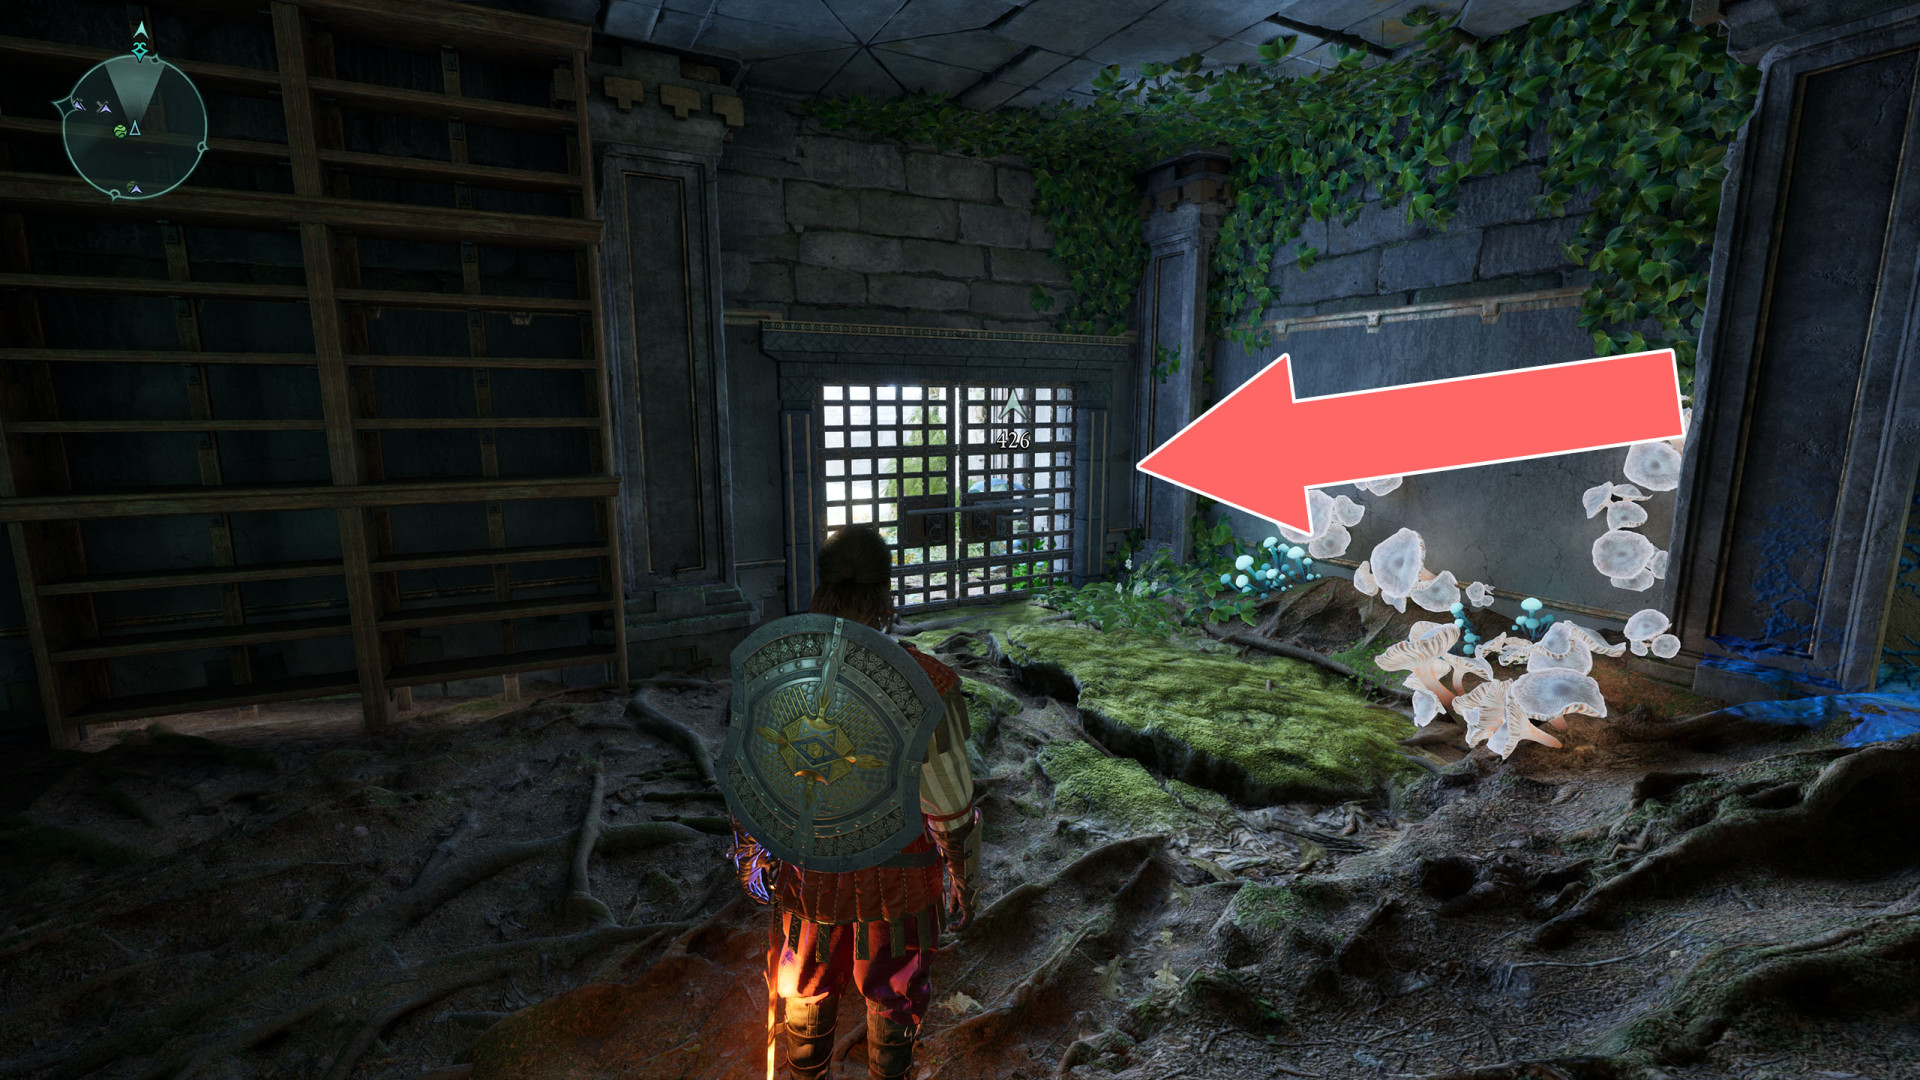
98Brambles
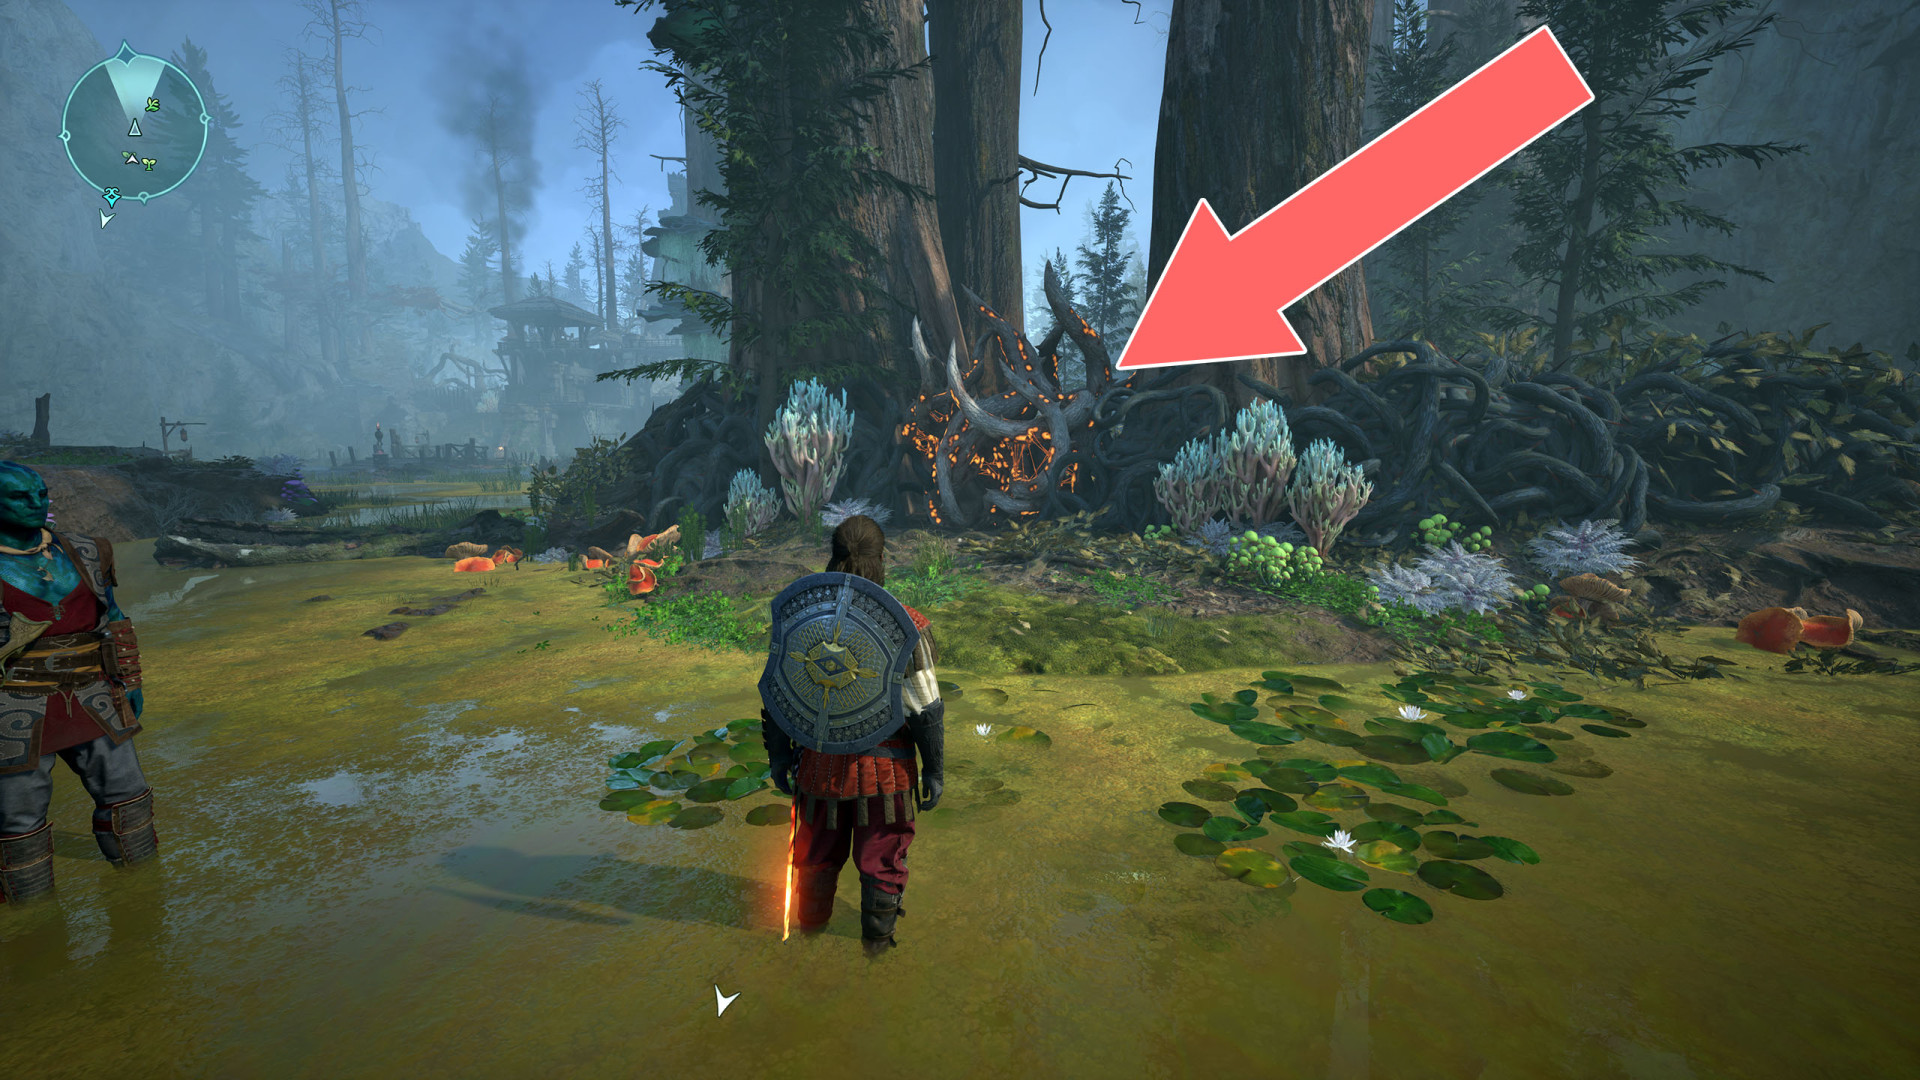
99Brambles
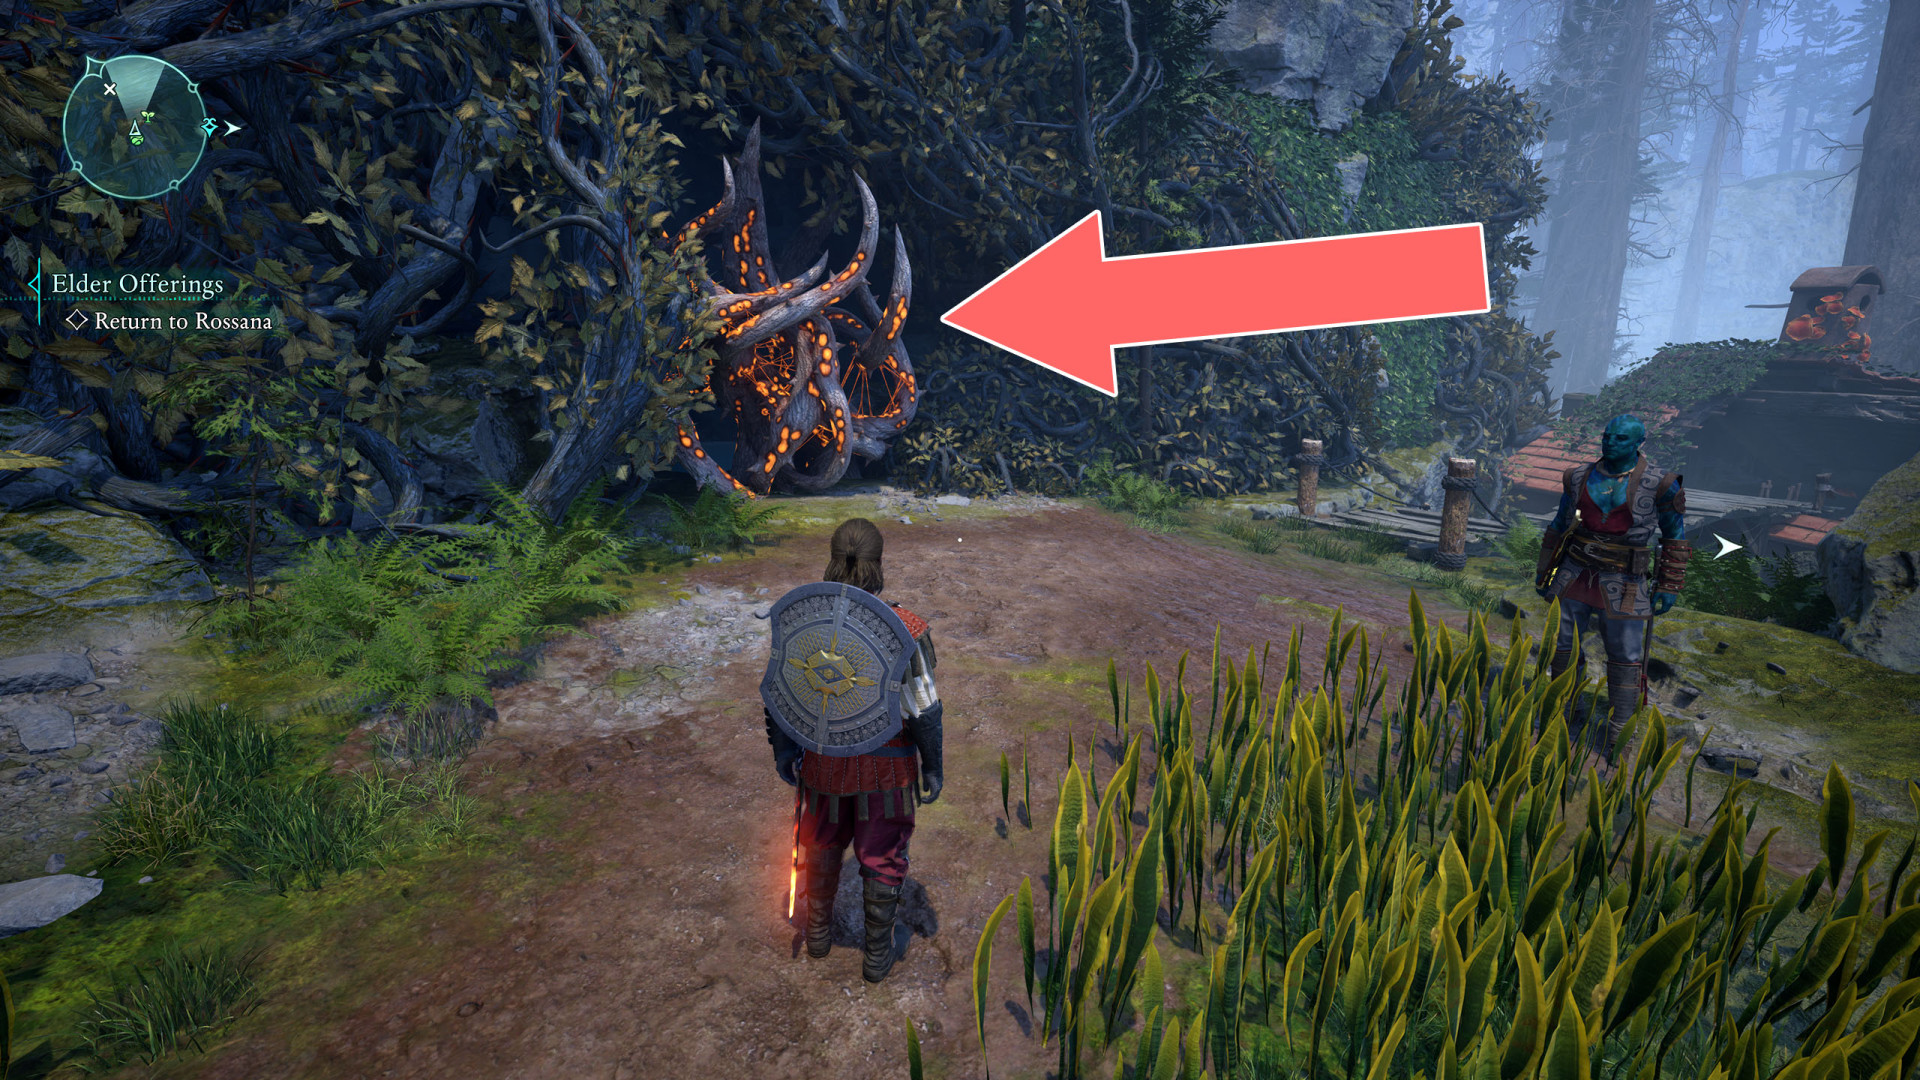
100Brambles
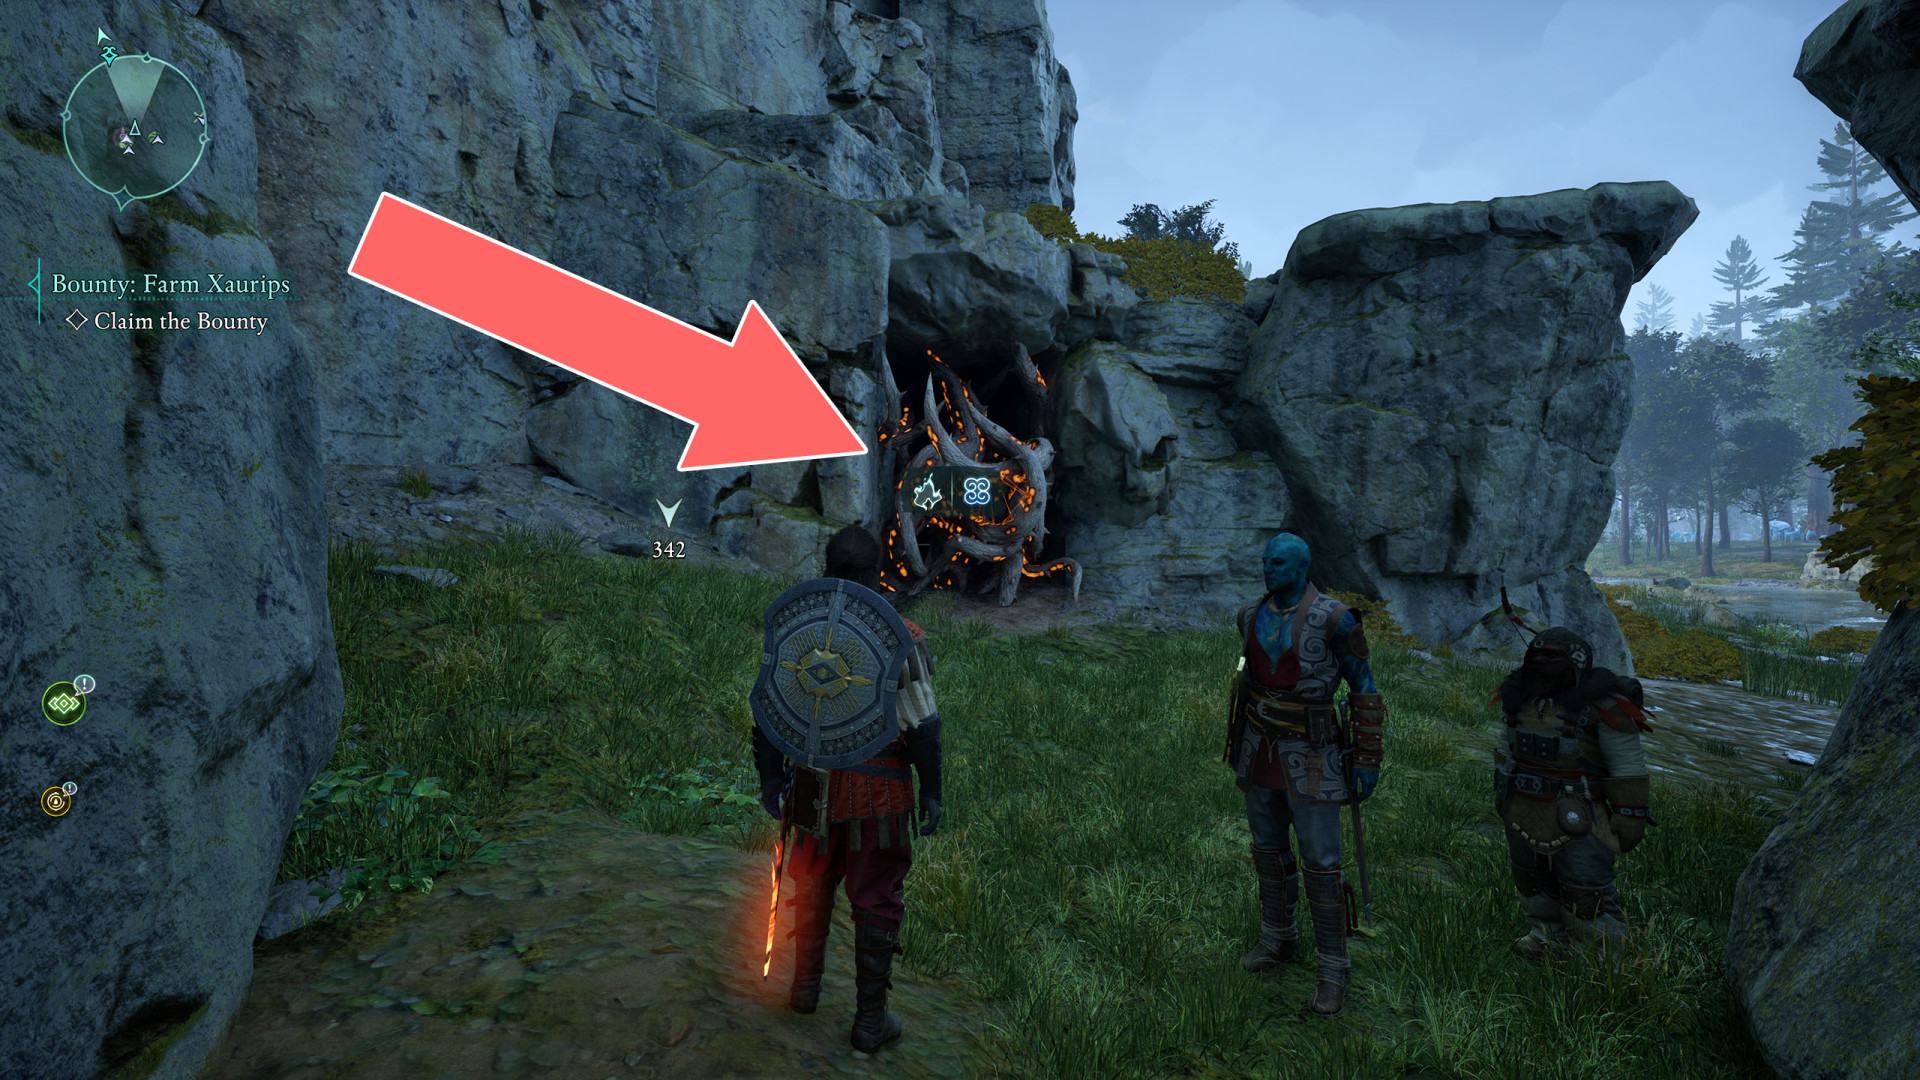
101Brambles
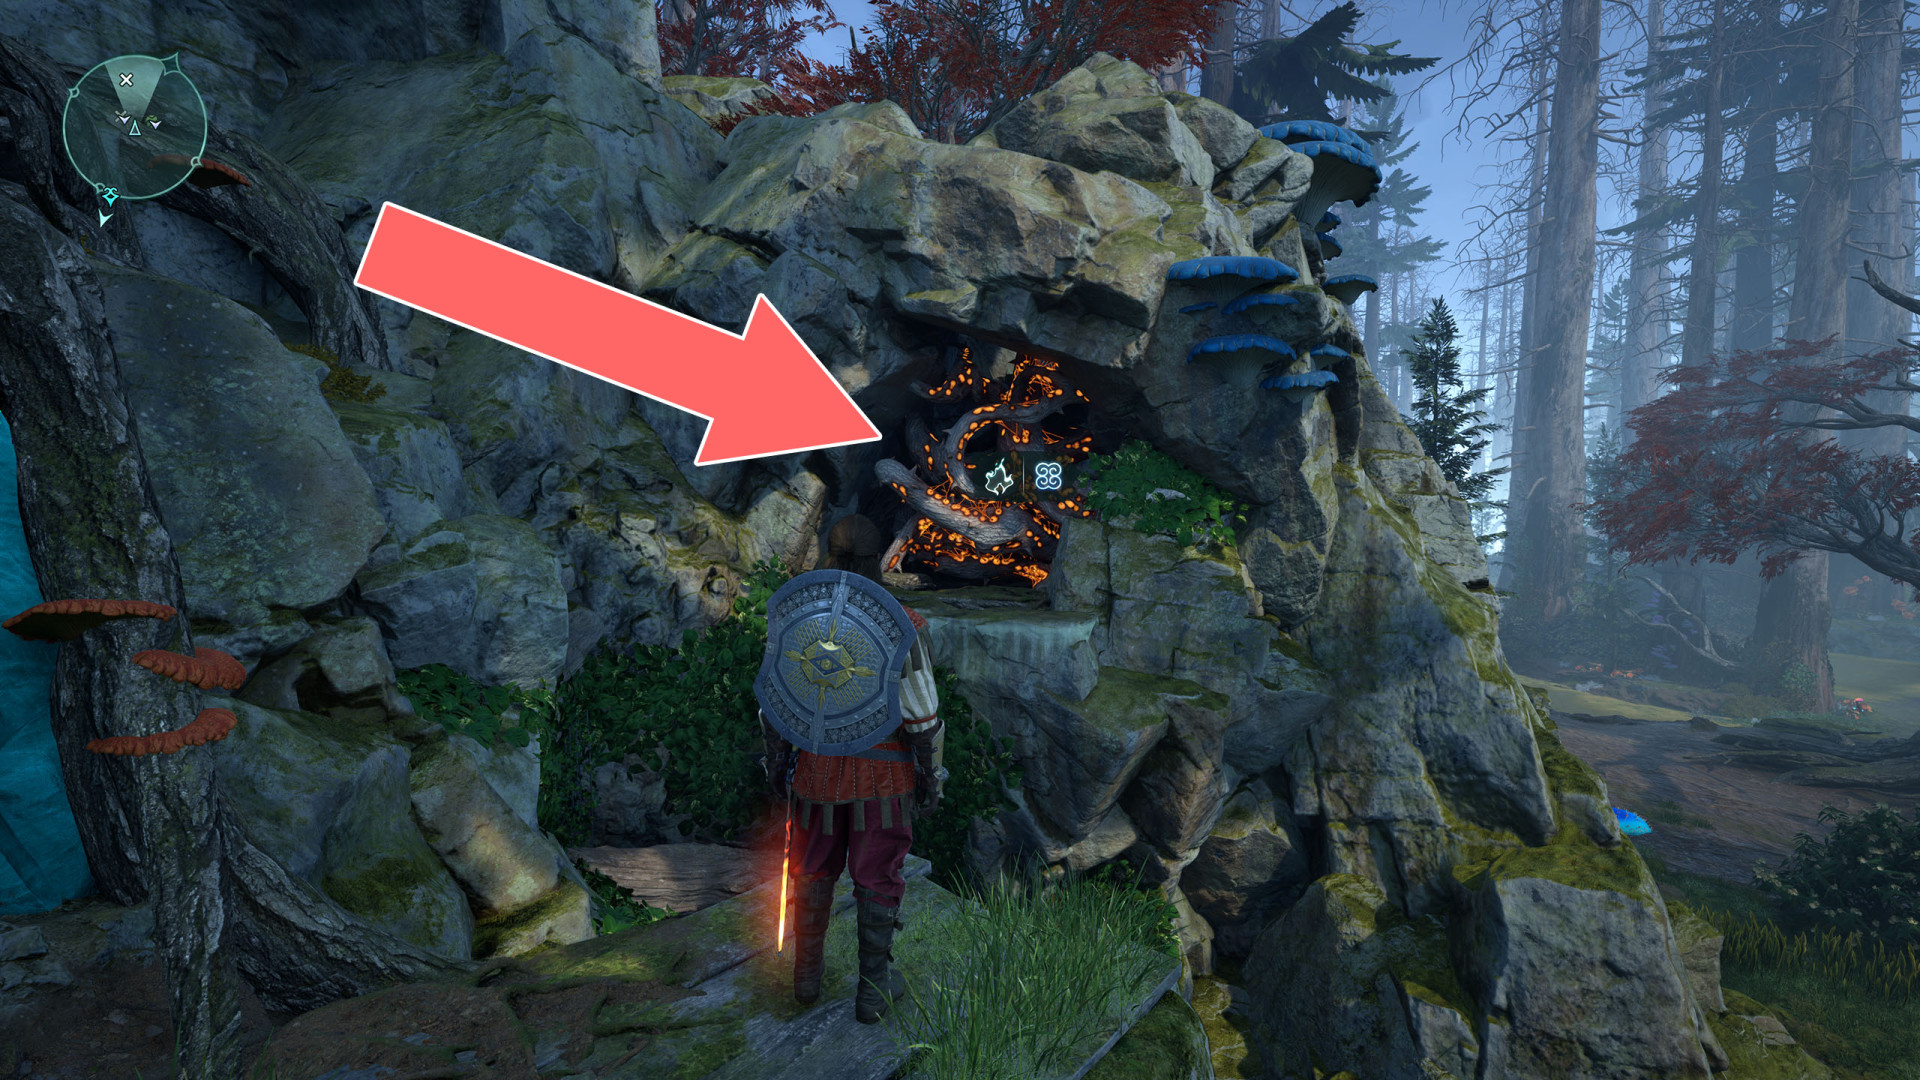
102Brambles
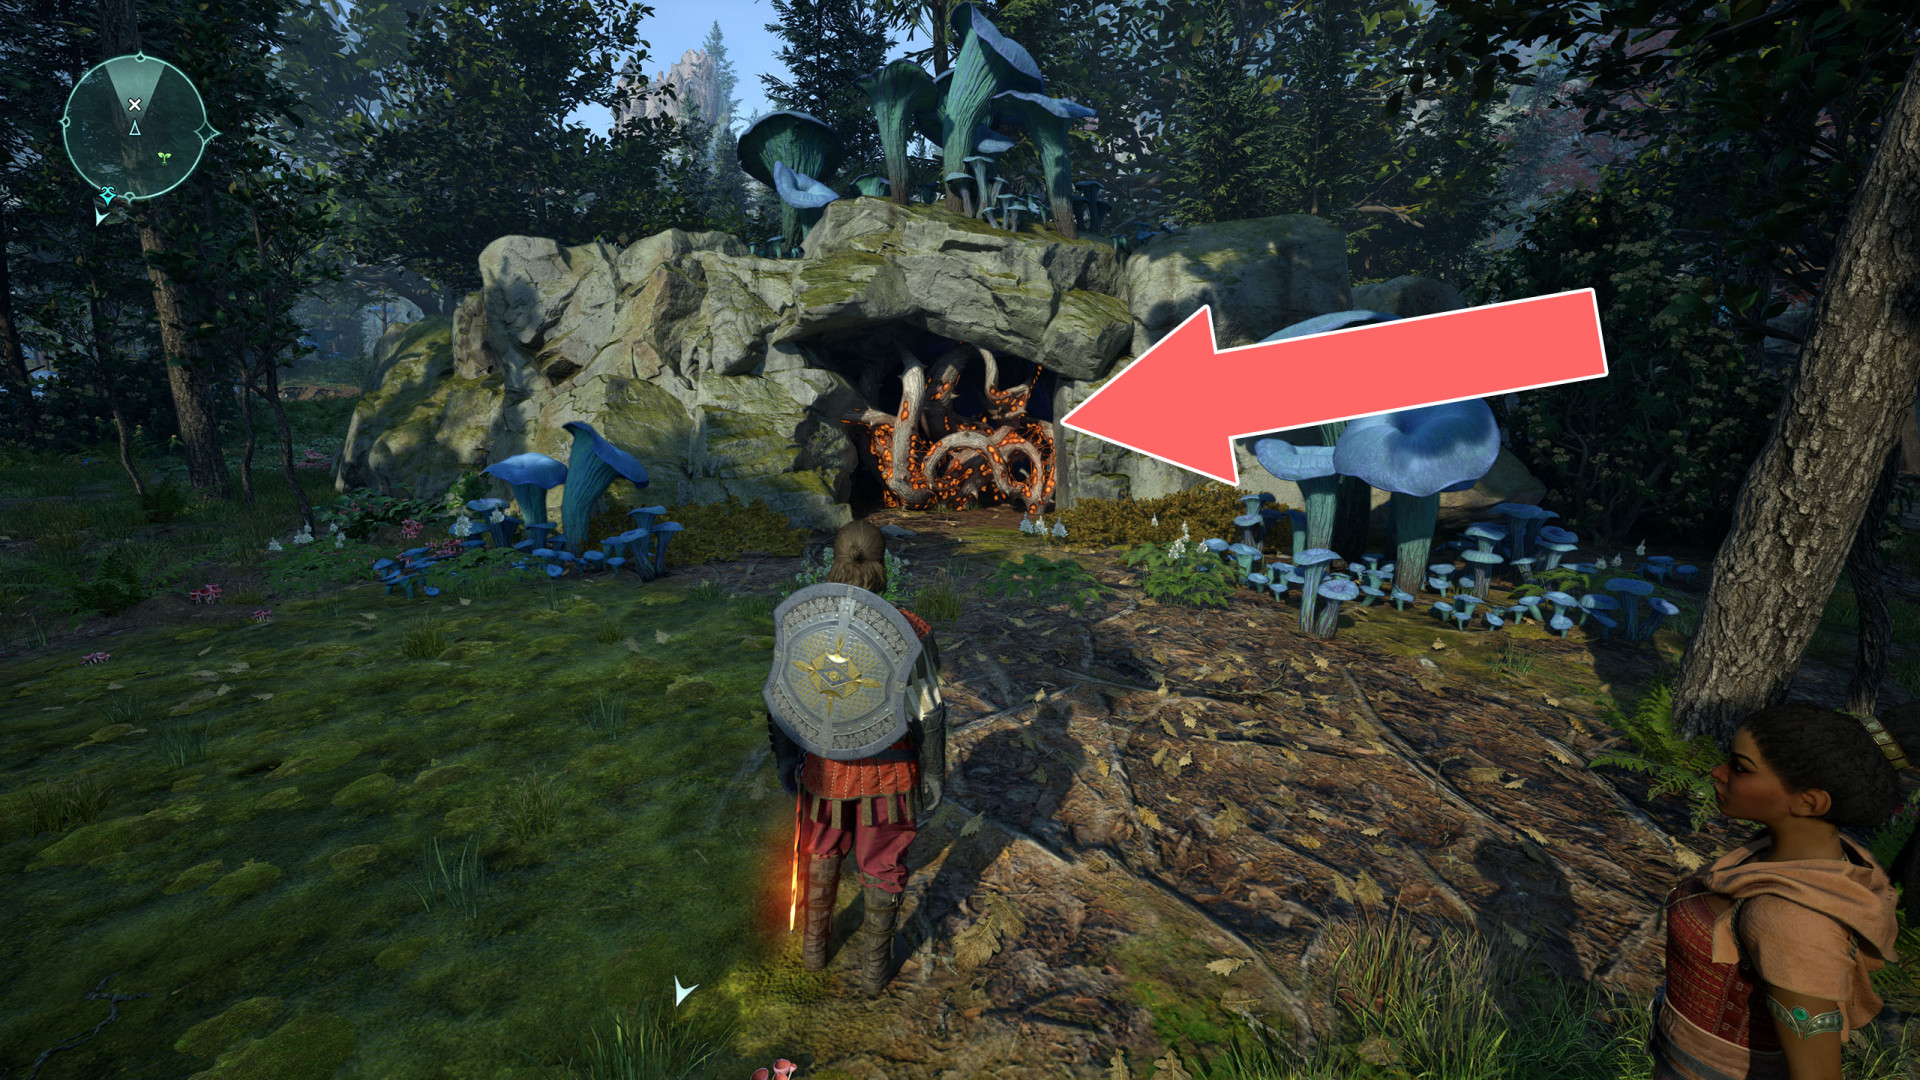
103Brambles
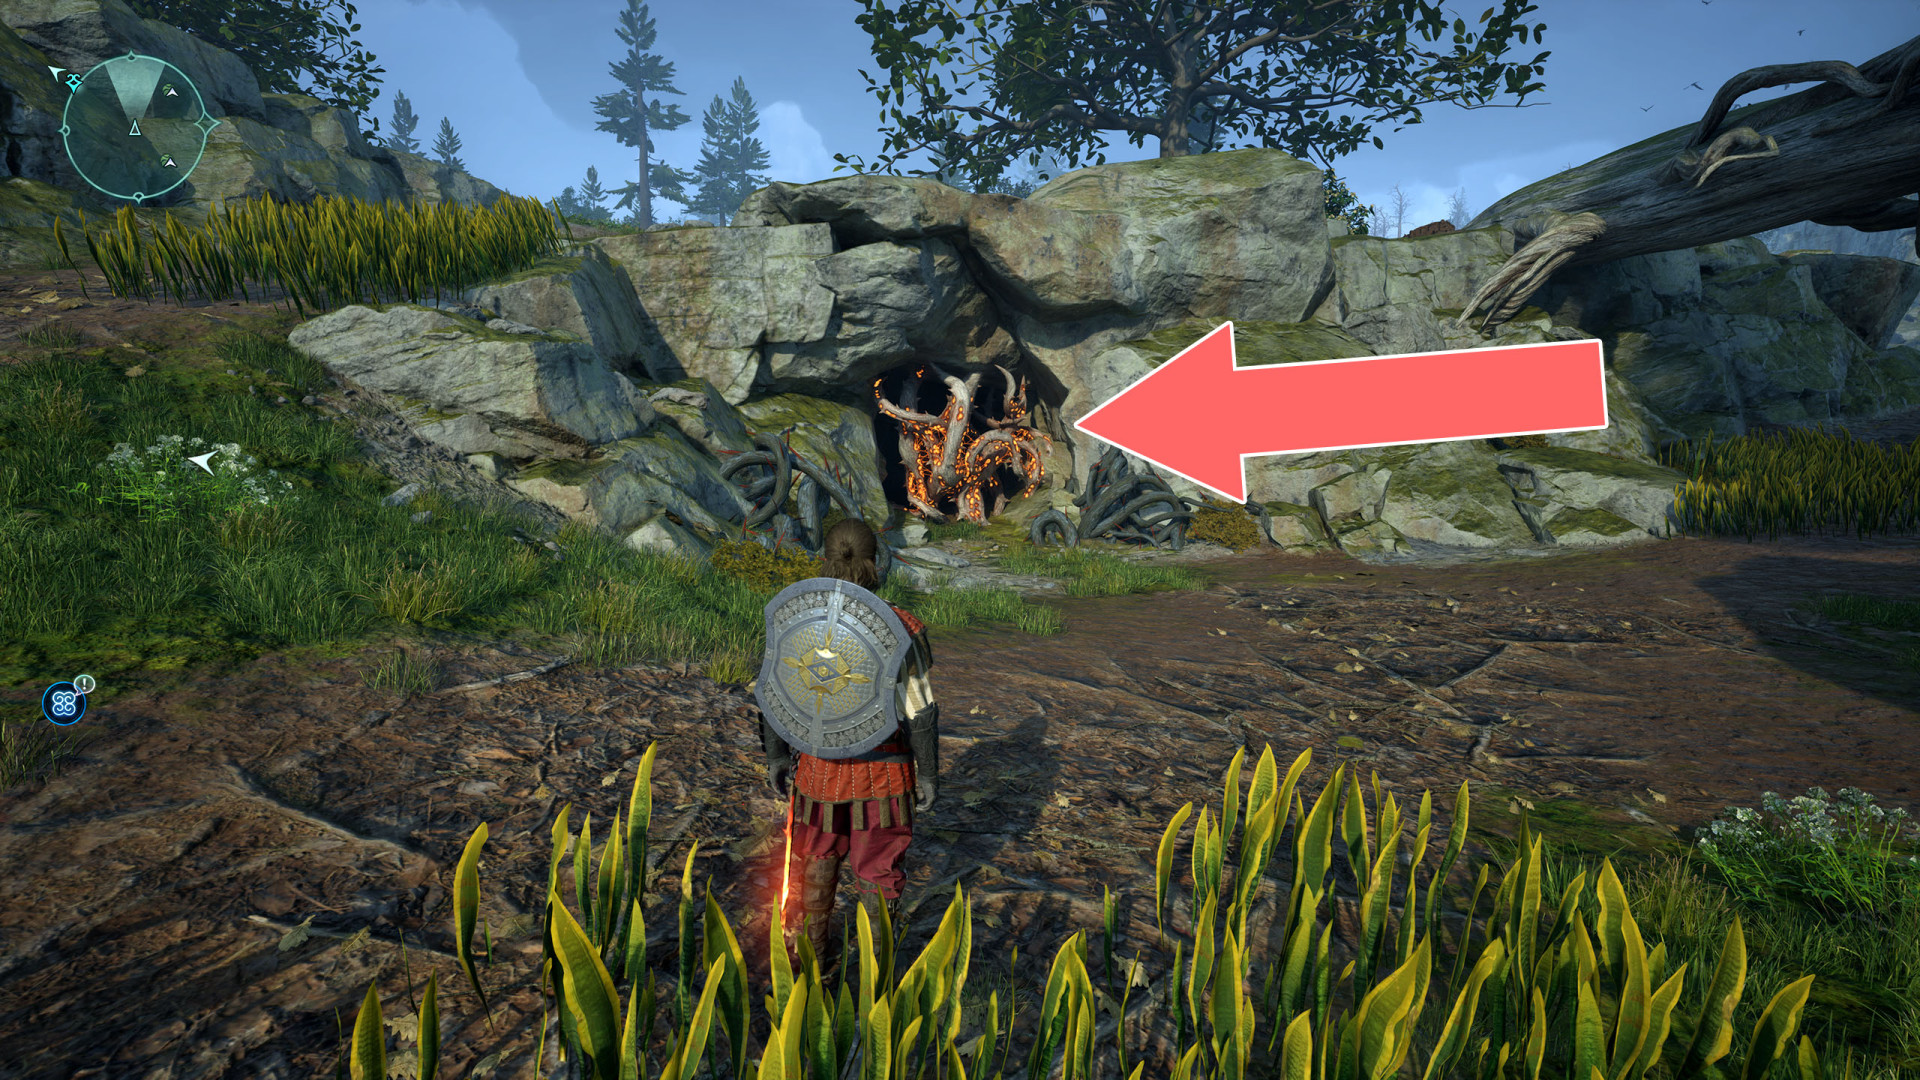
104Brambles
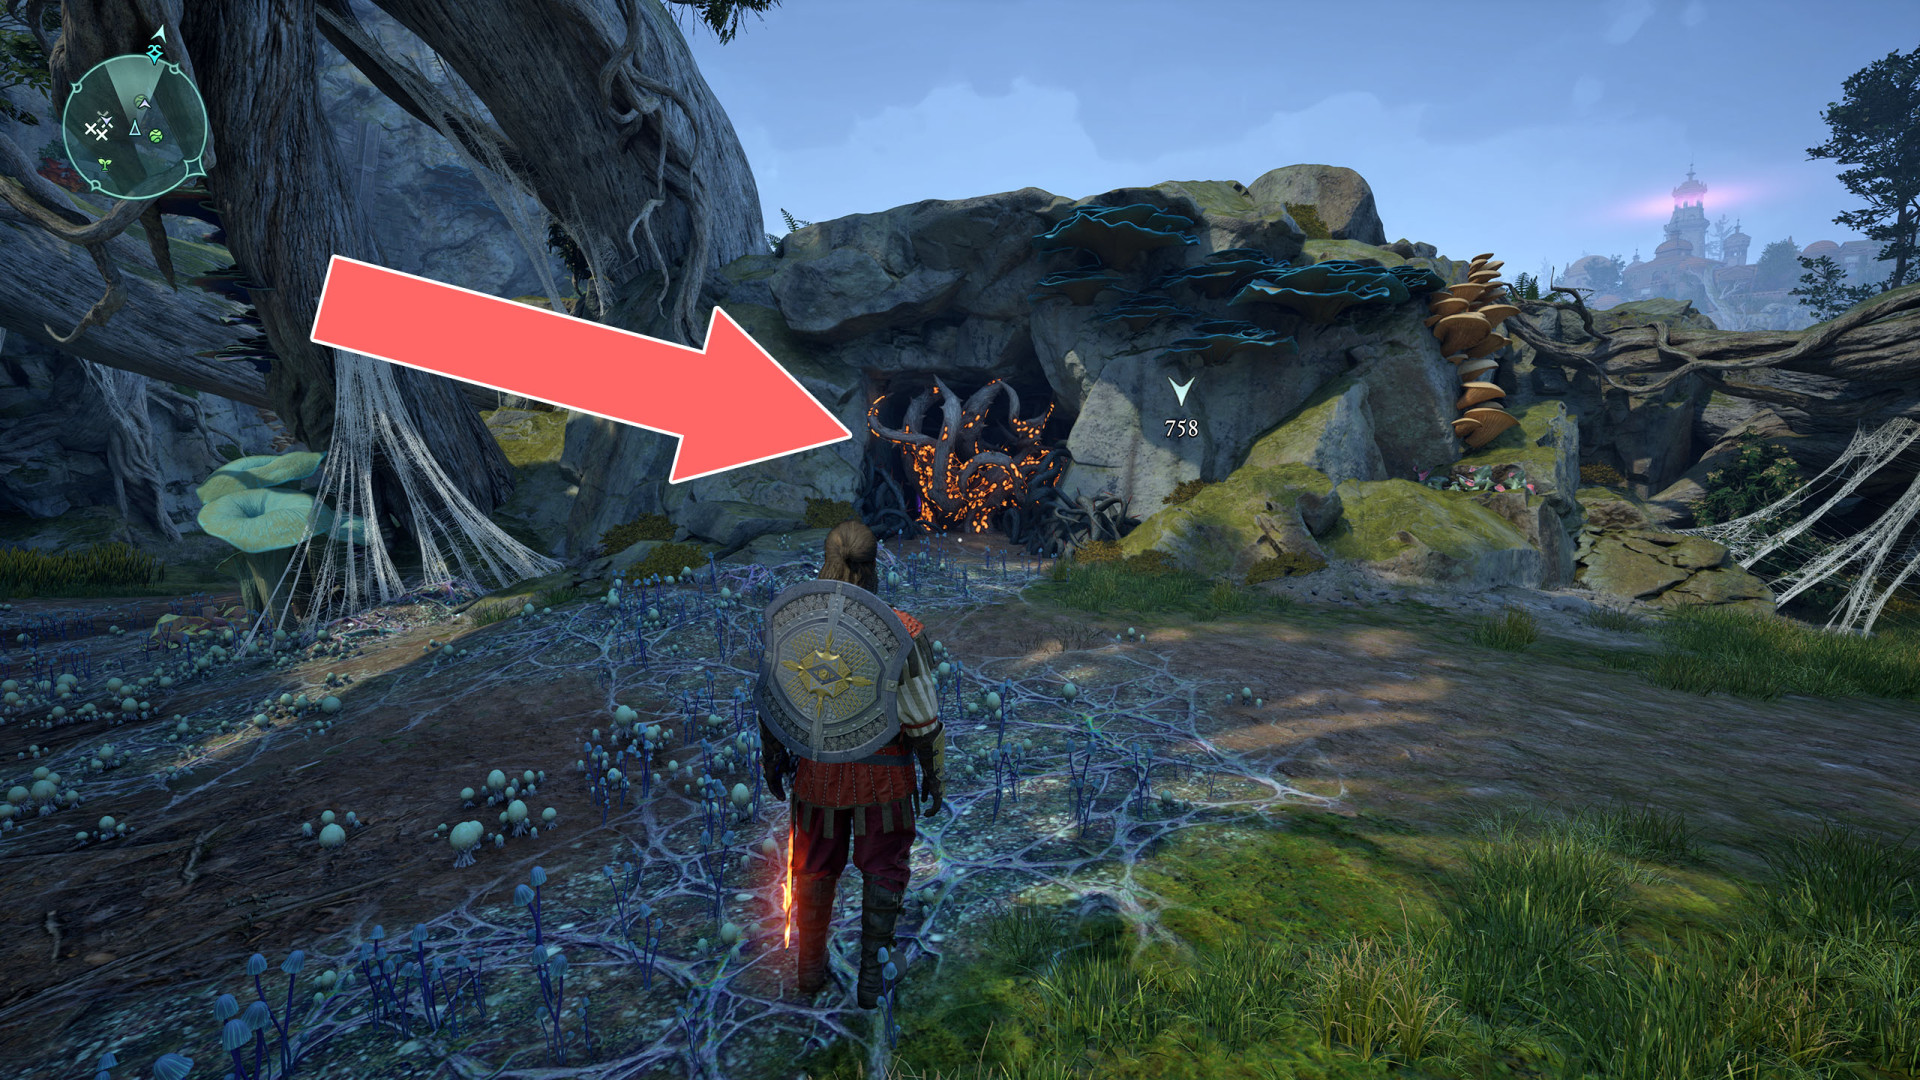
105Brambles
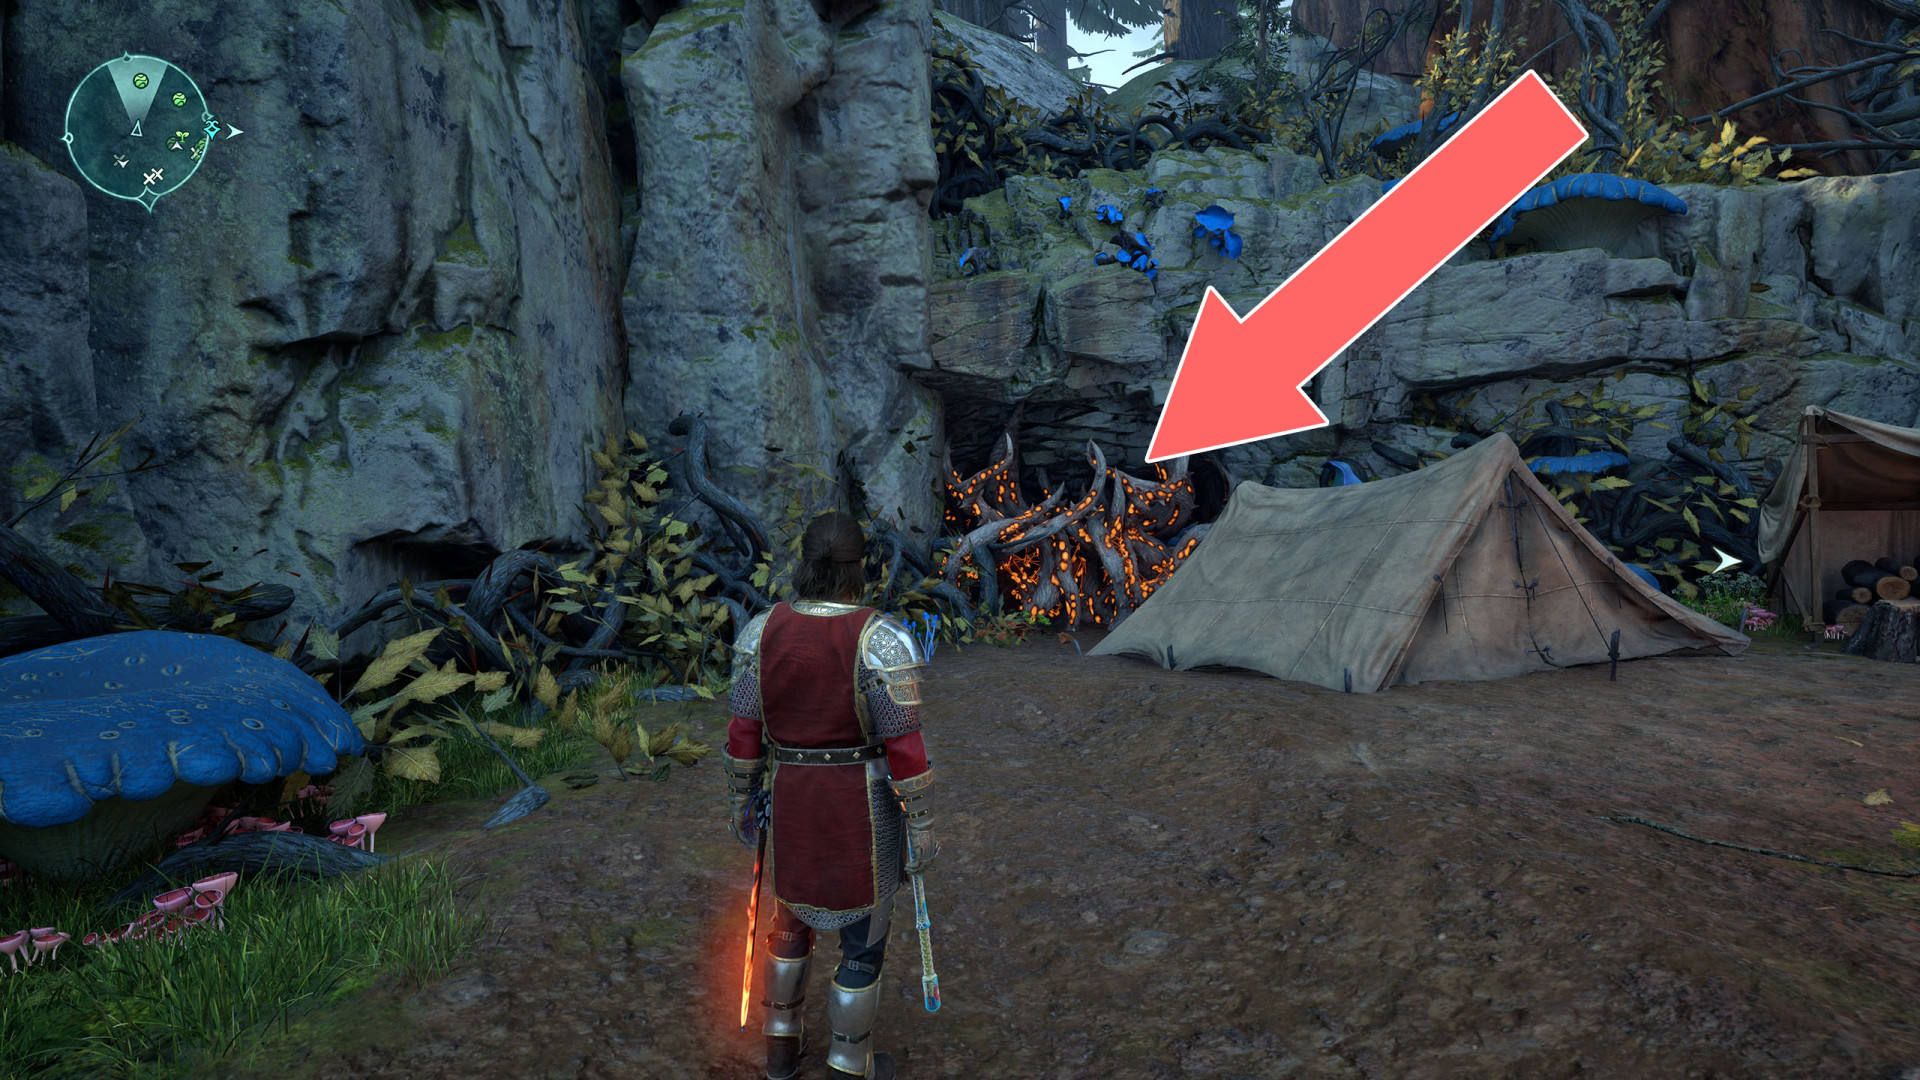
106Brambles
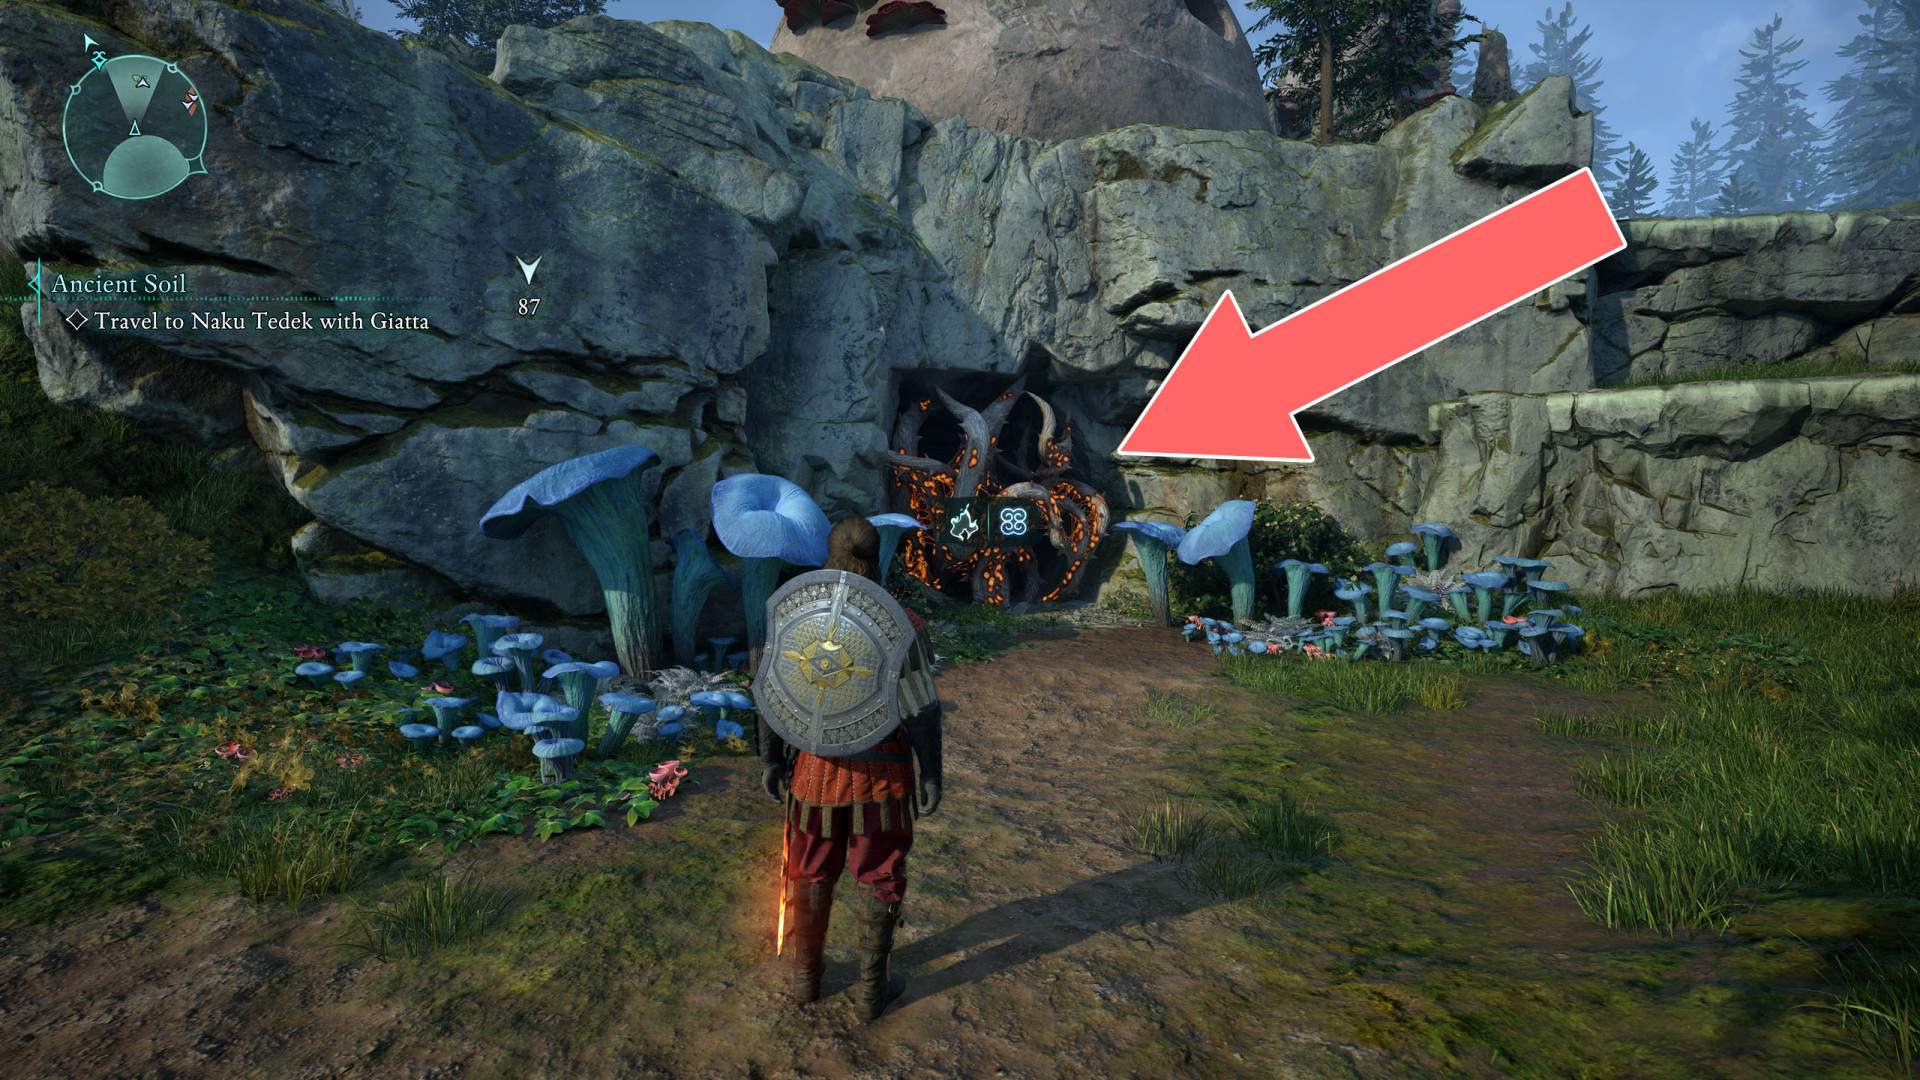
107Brambles
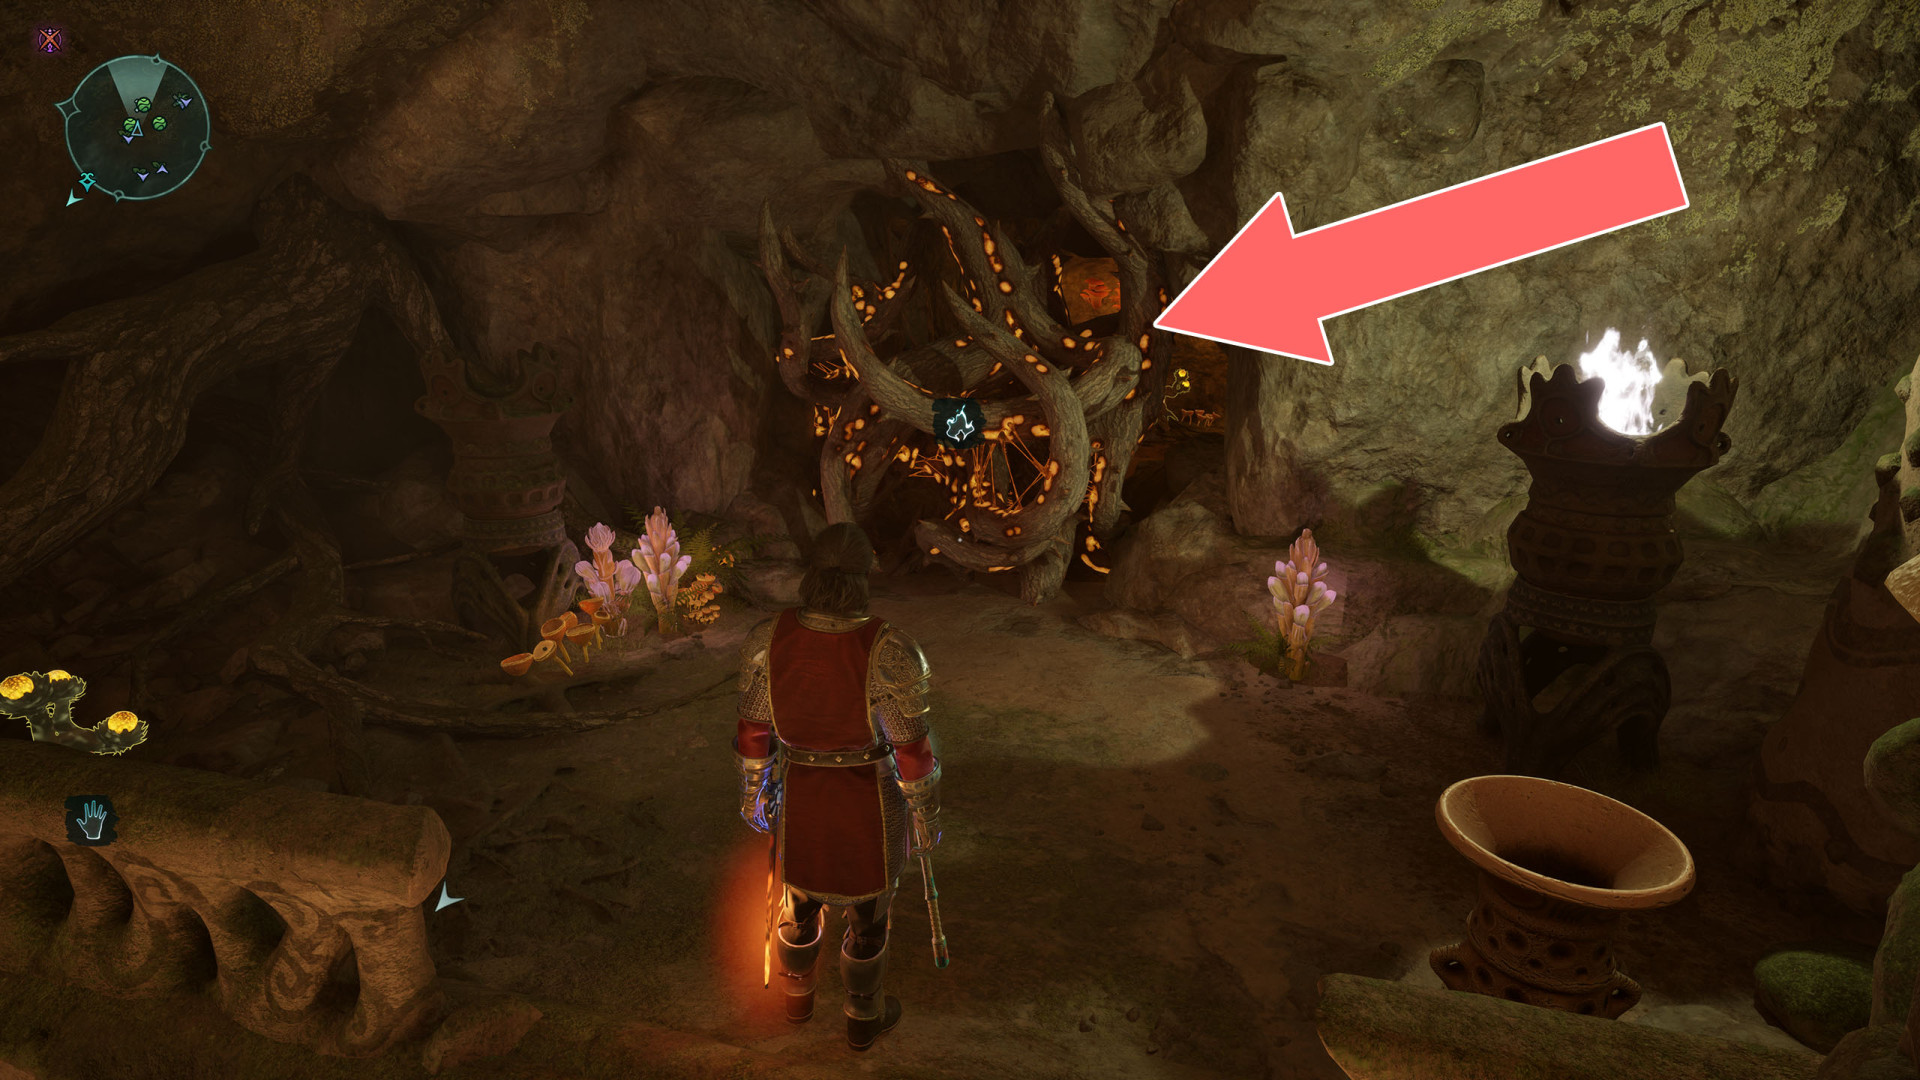
108Brambles
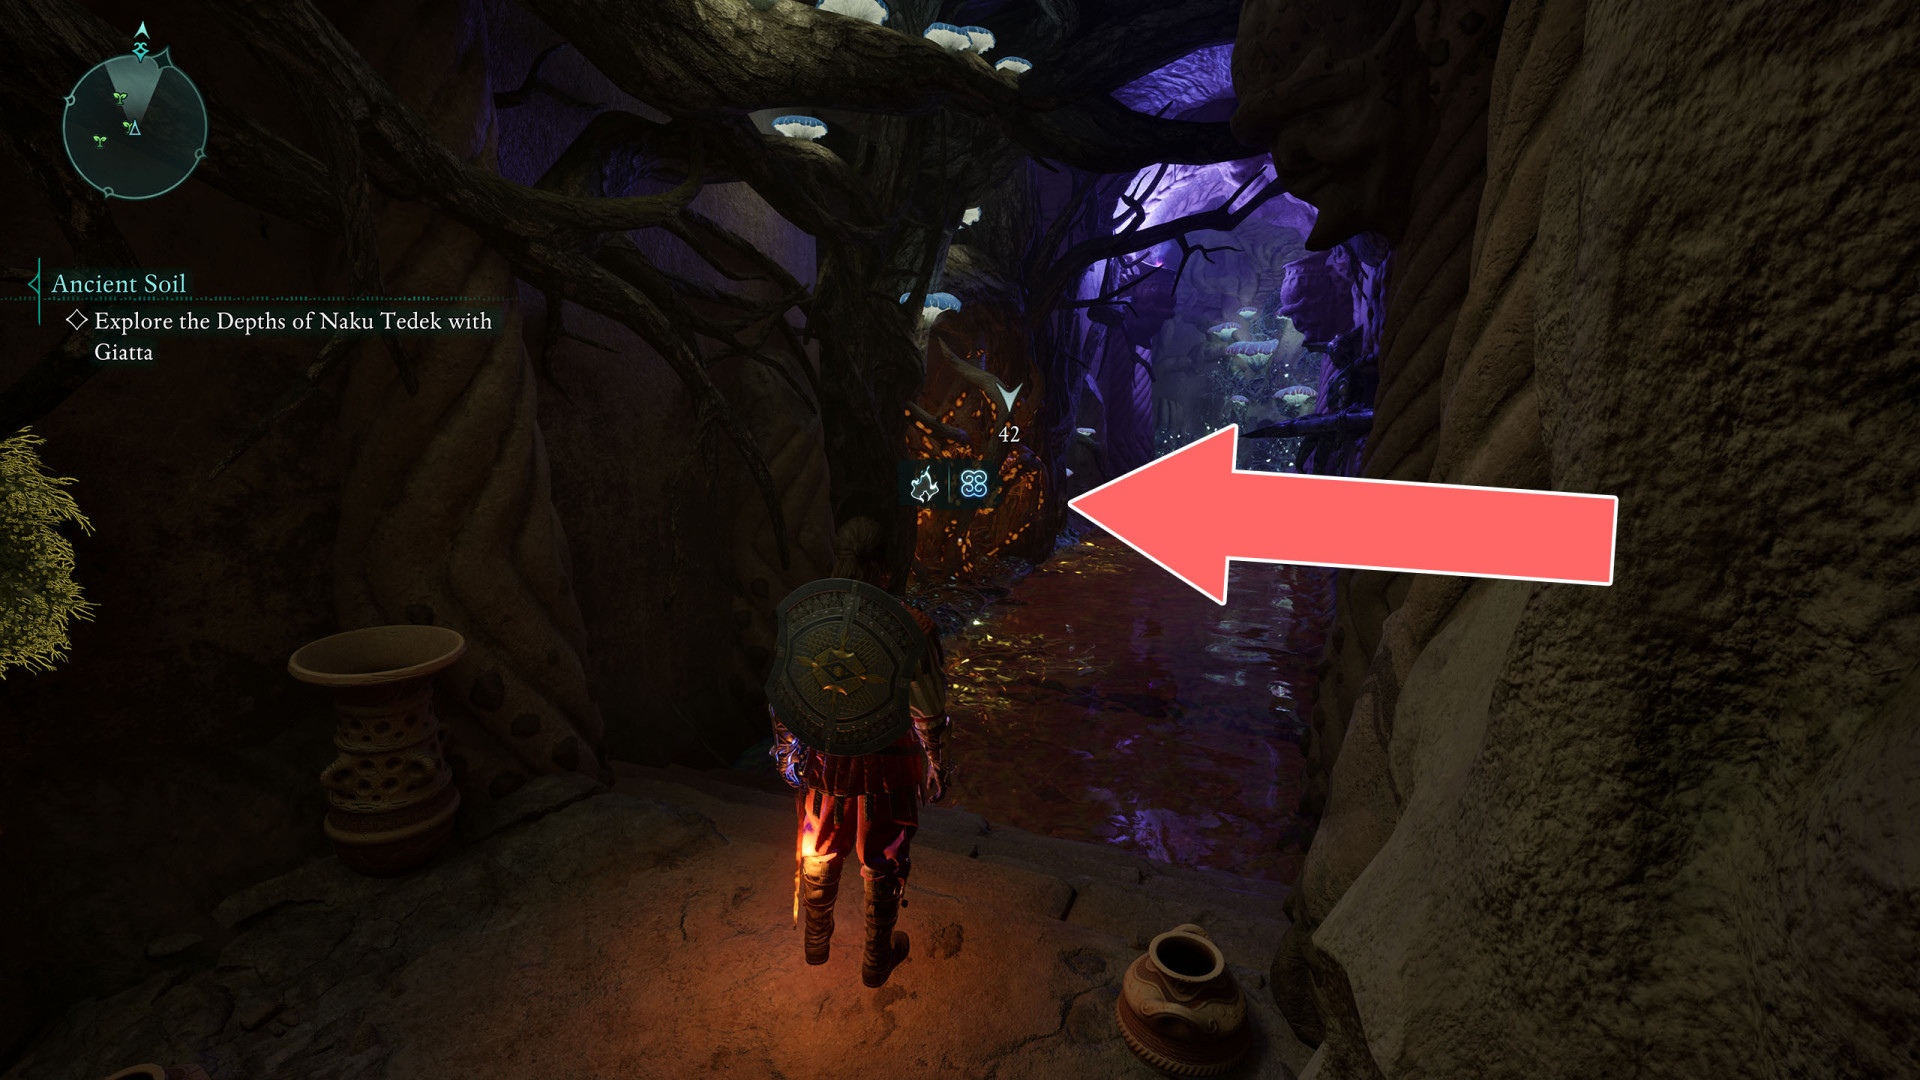
109Brambles
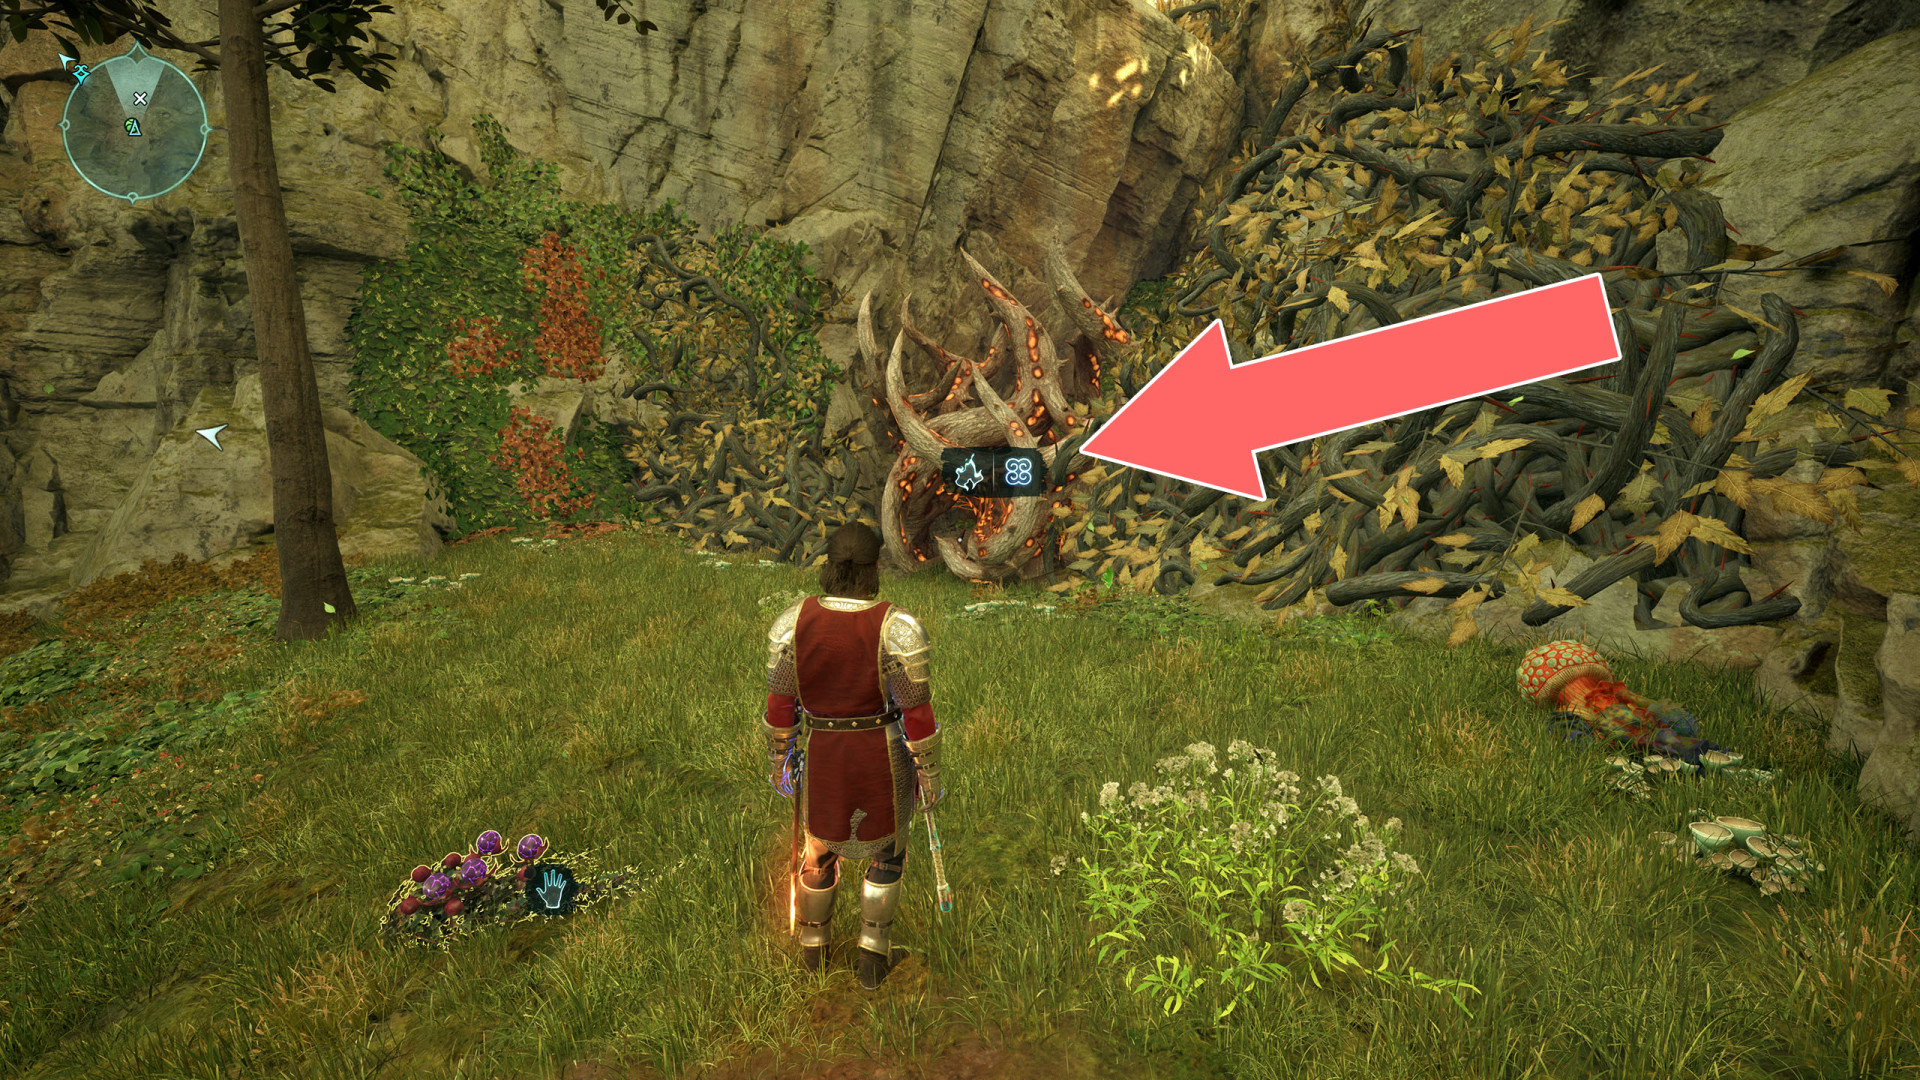
110Brambles
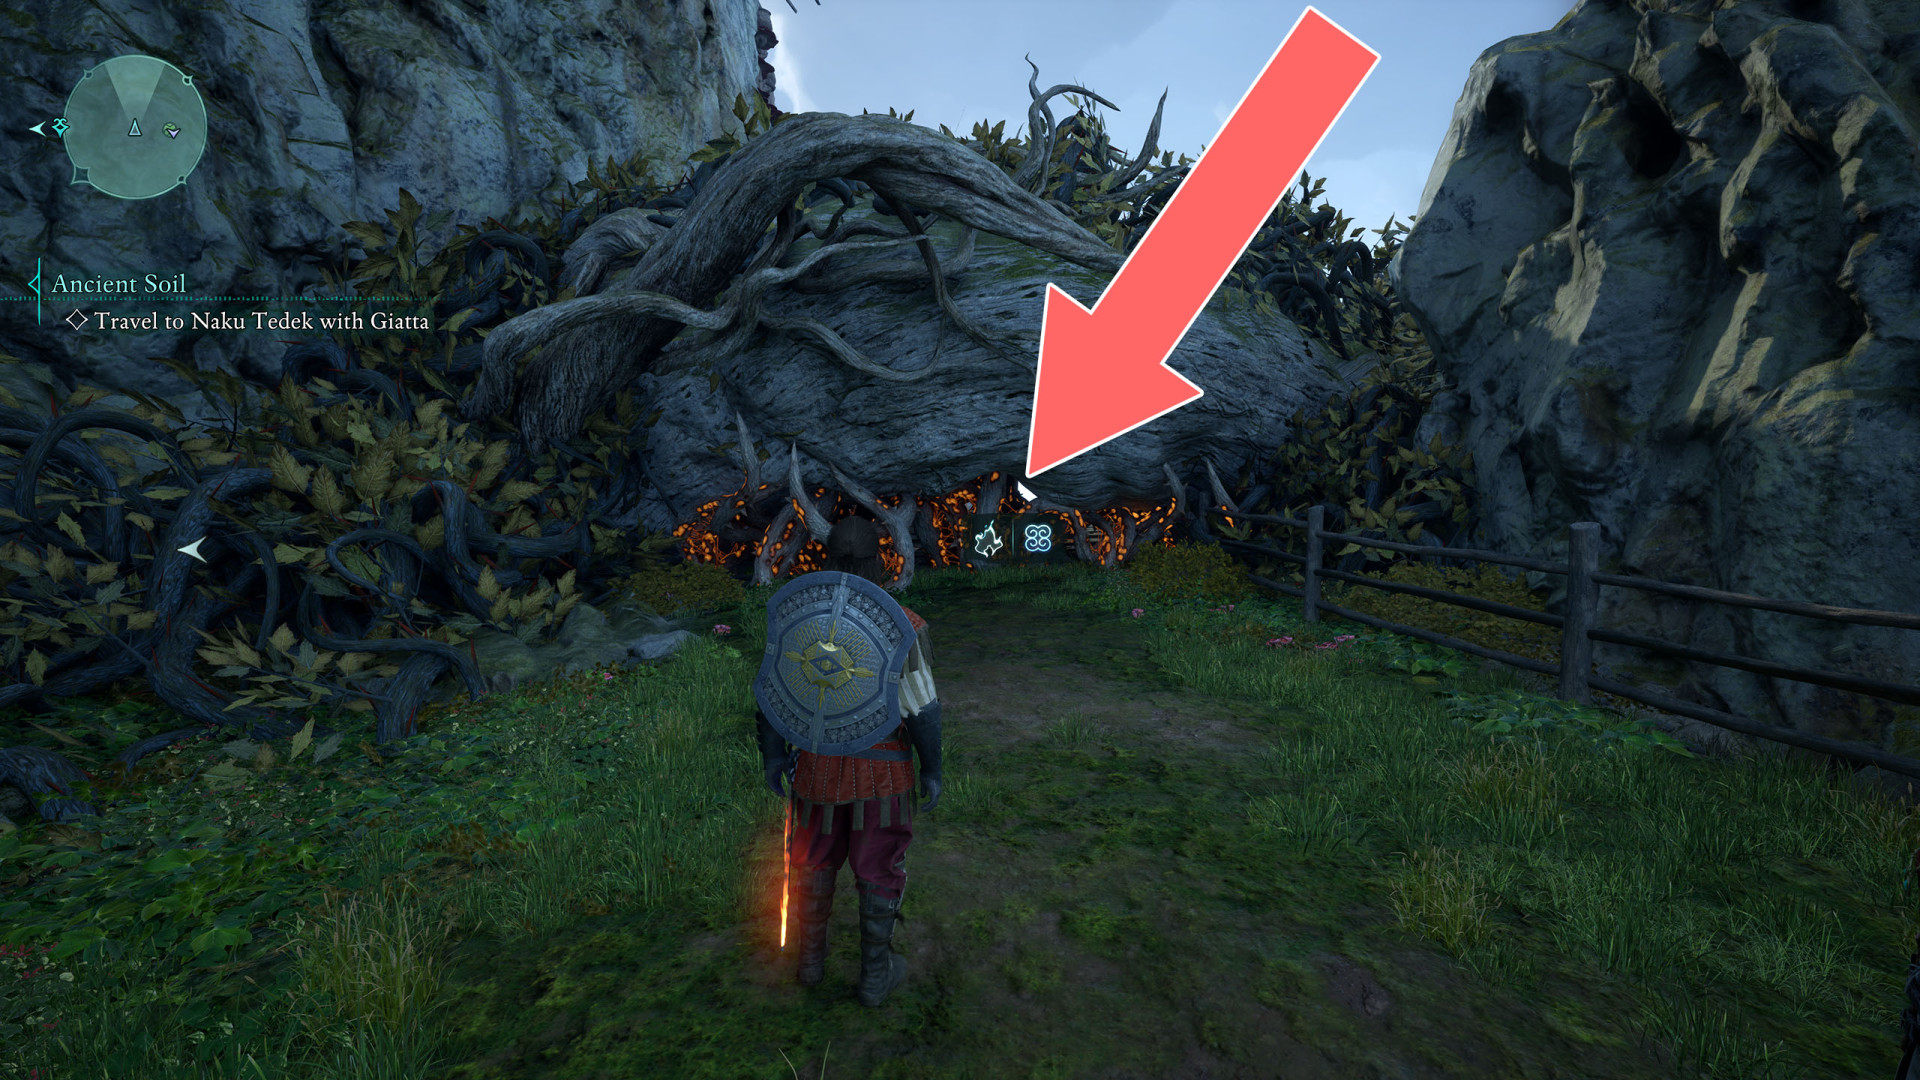
111Cobweb
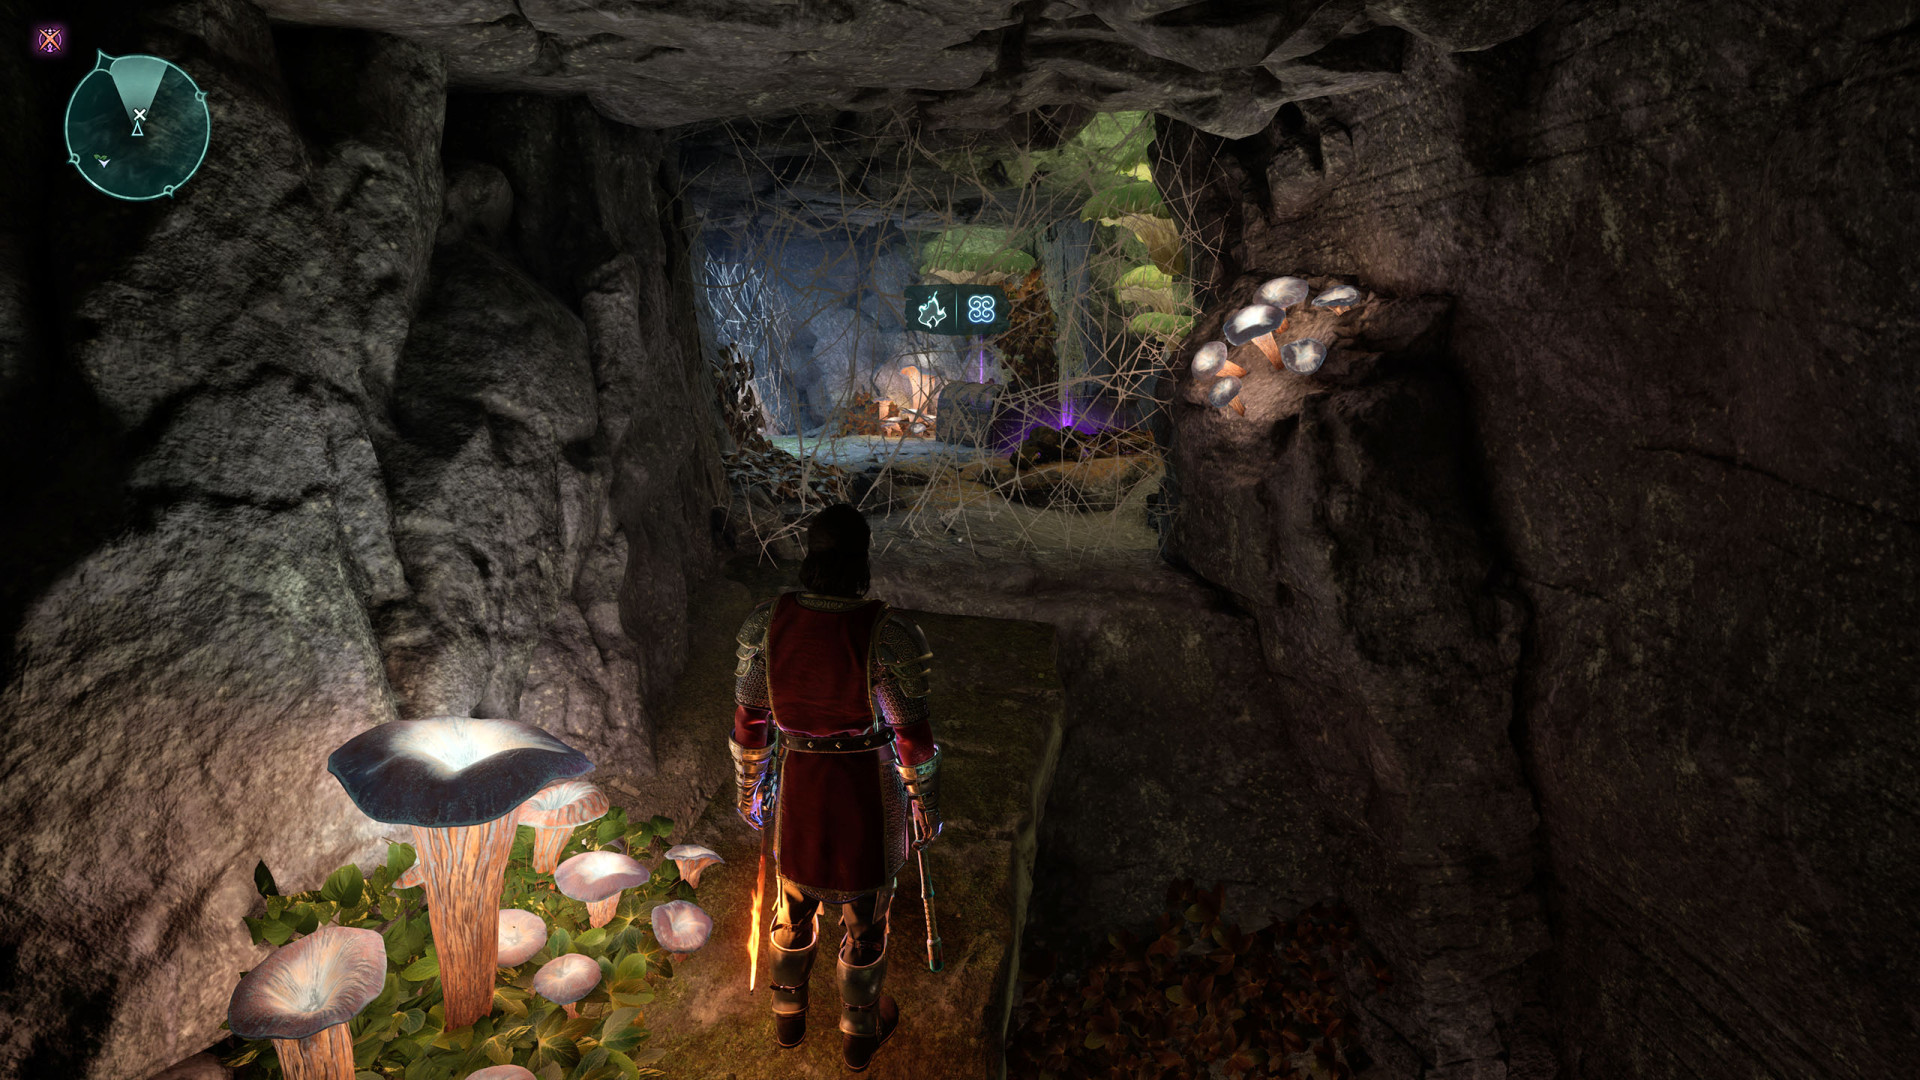
112Cobweb
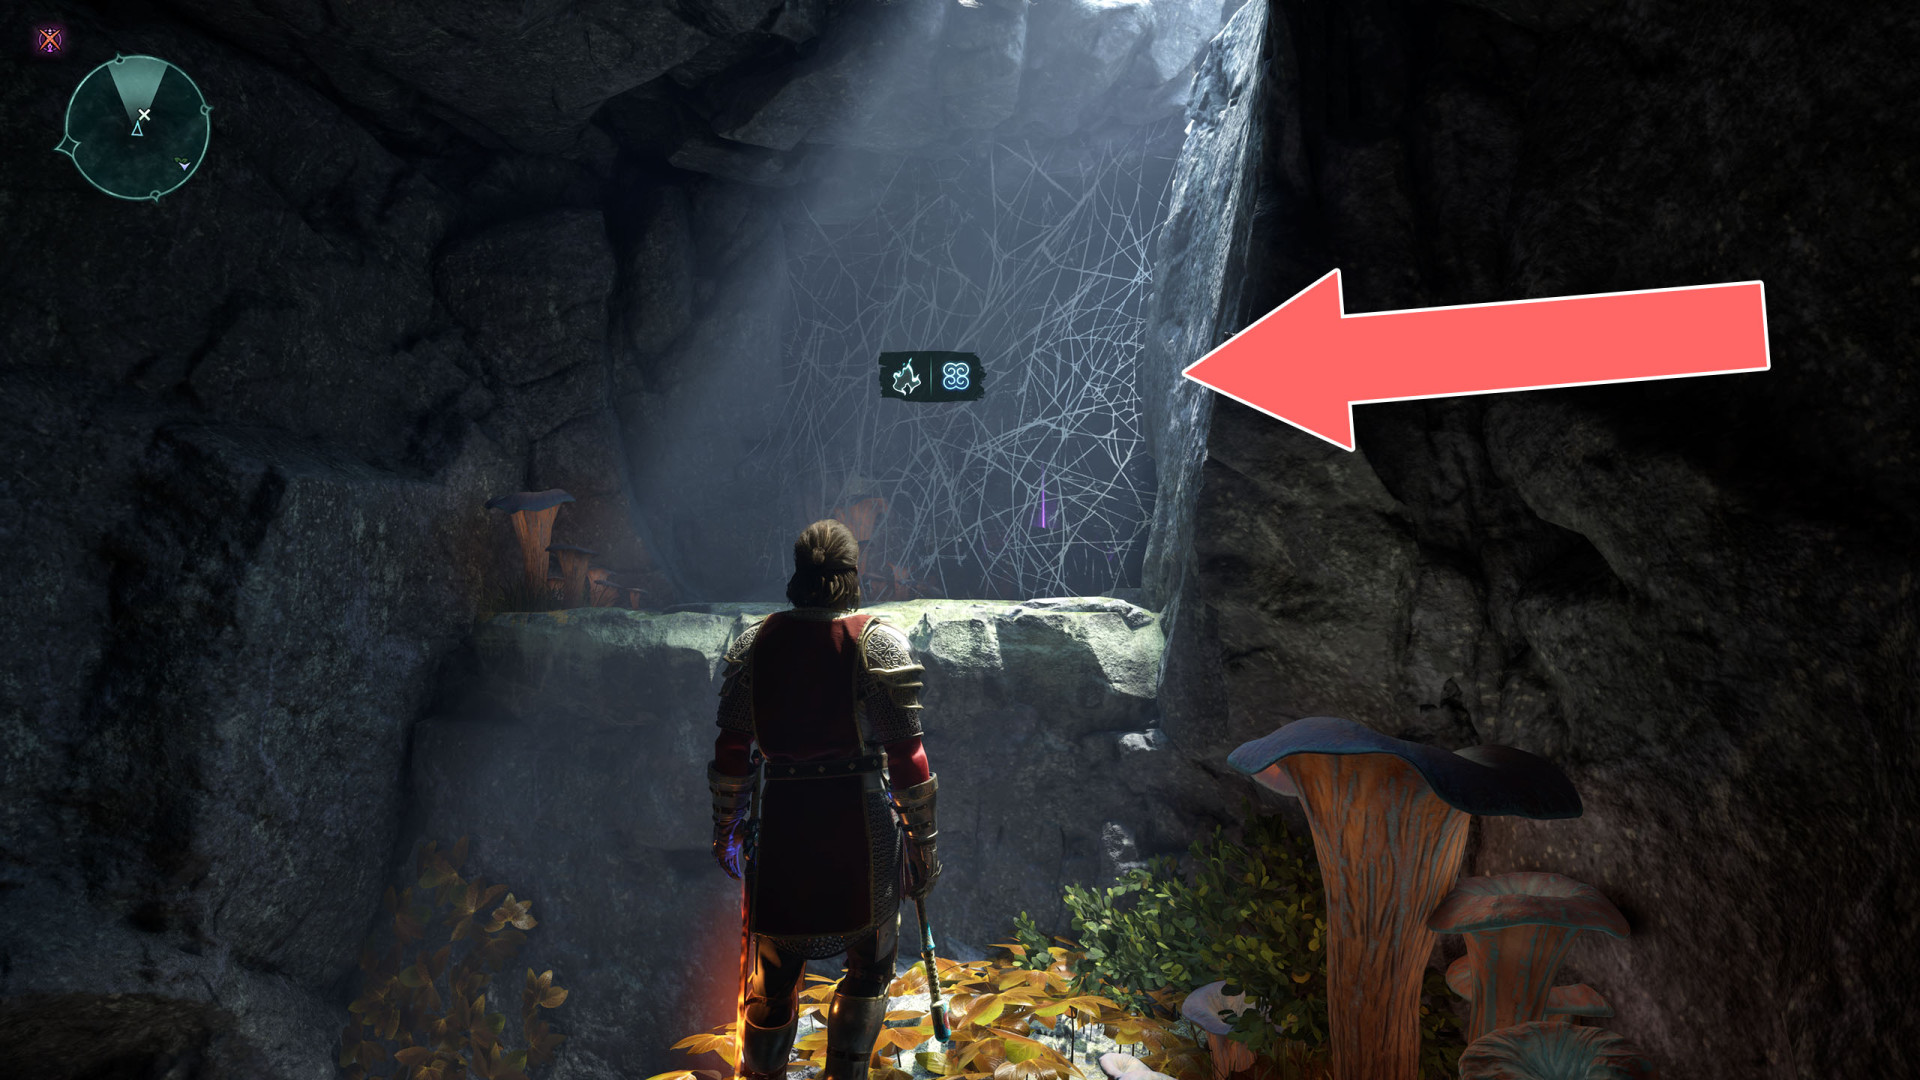
113Cobweb
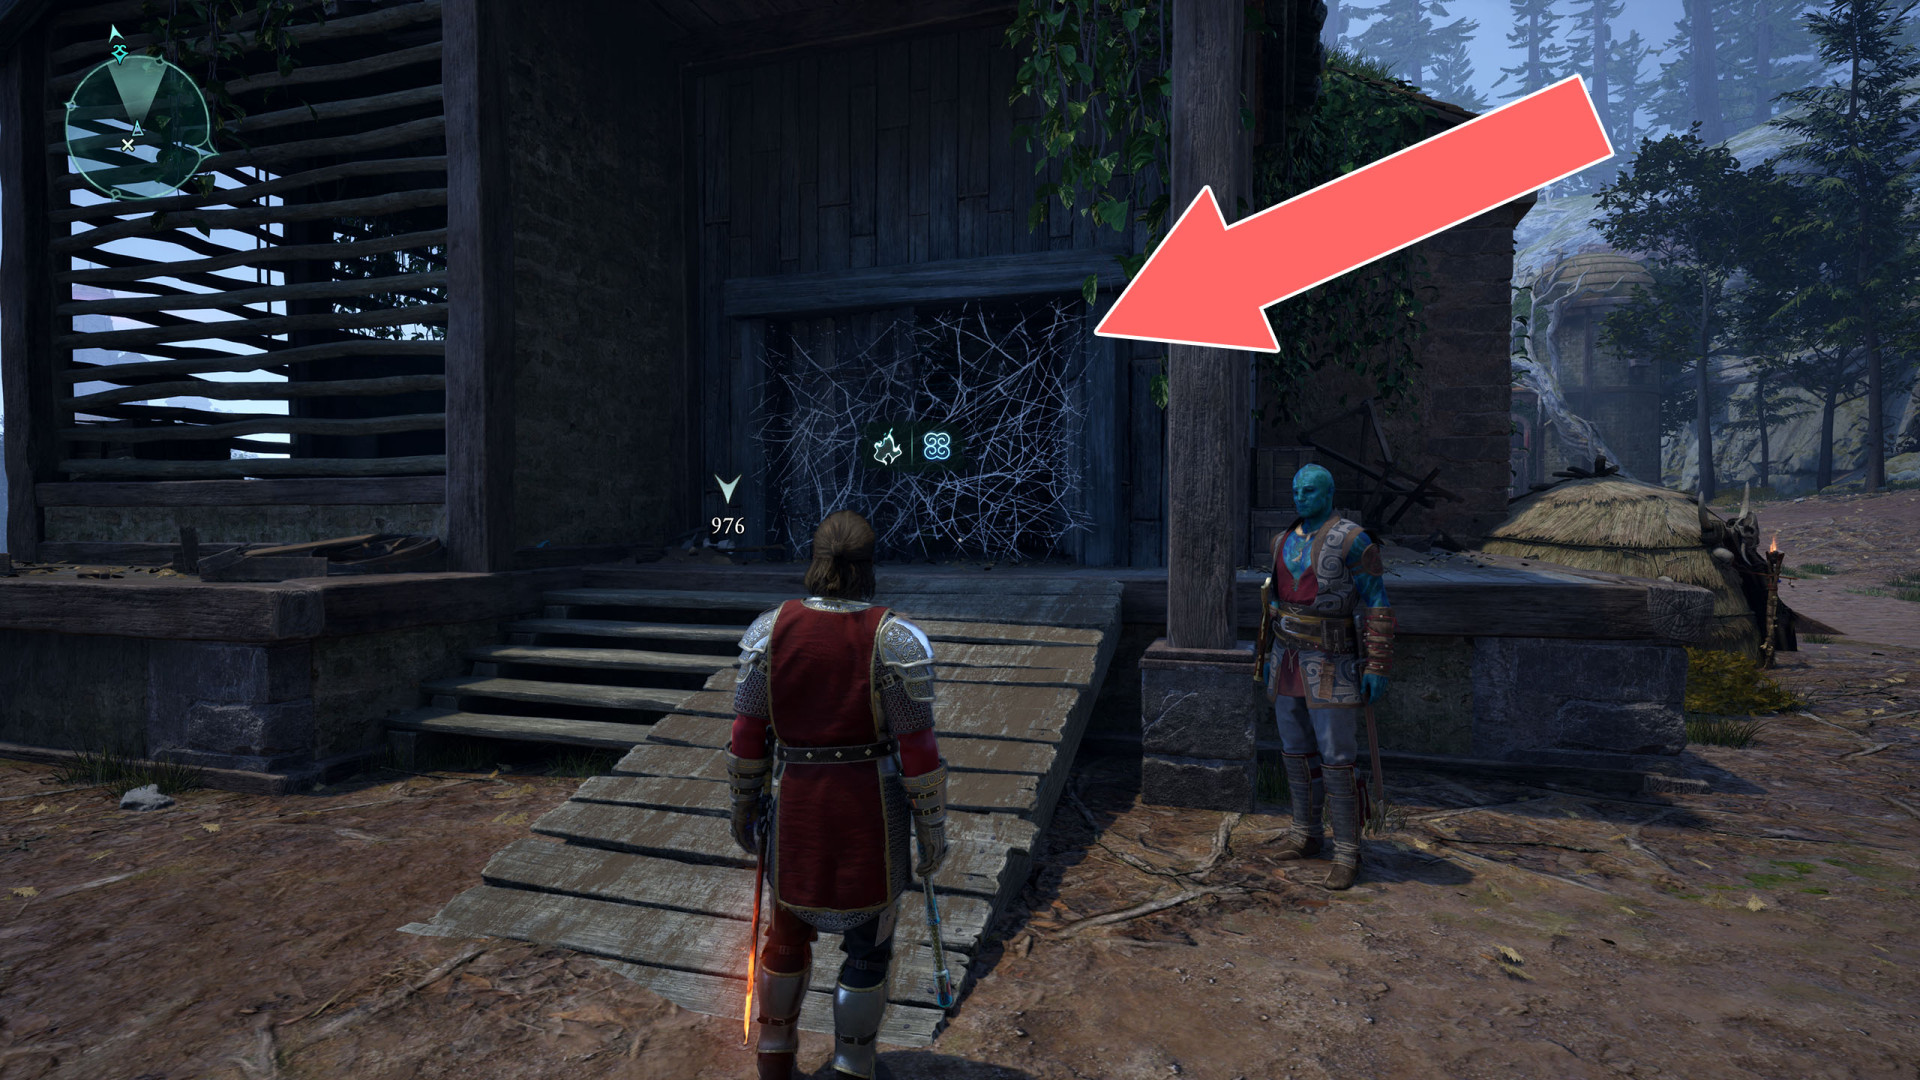
114Cobweb
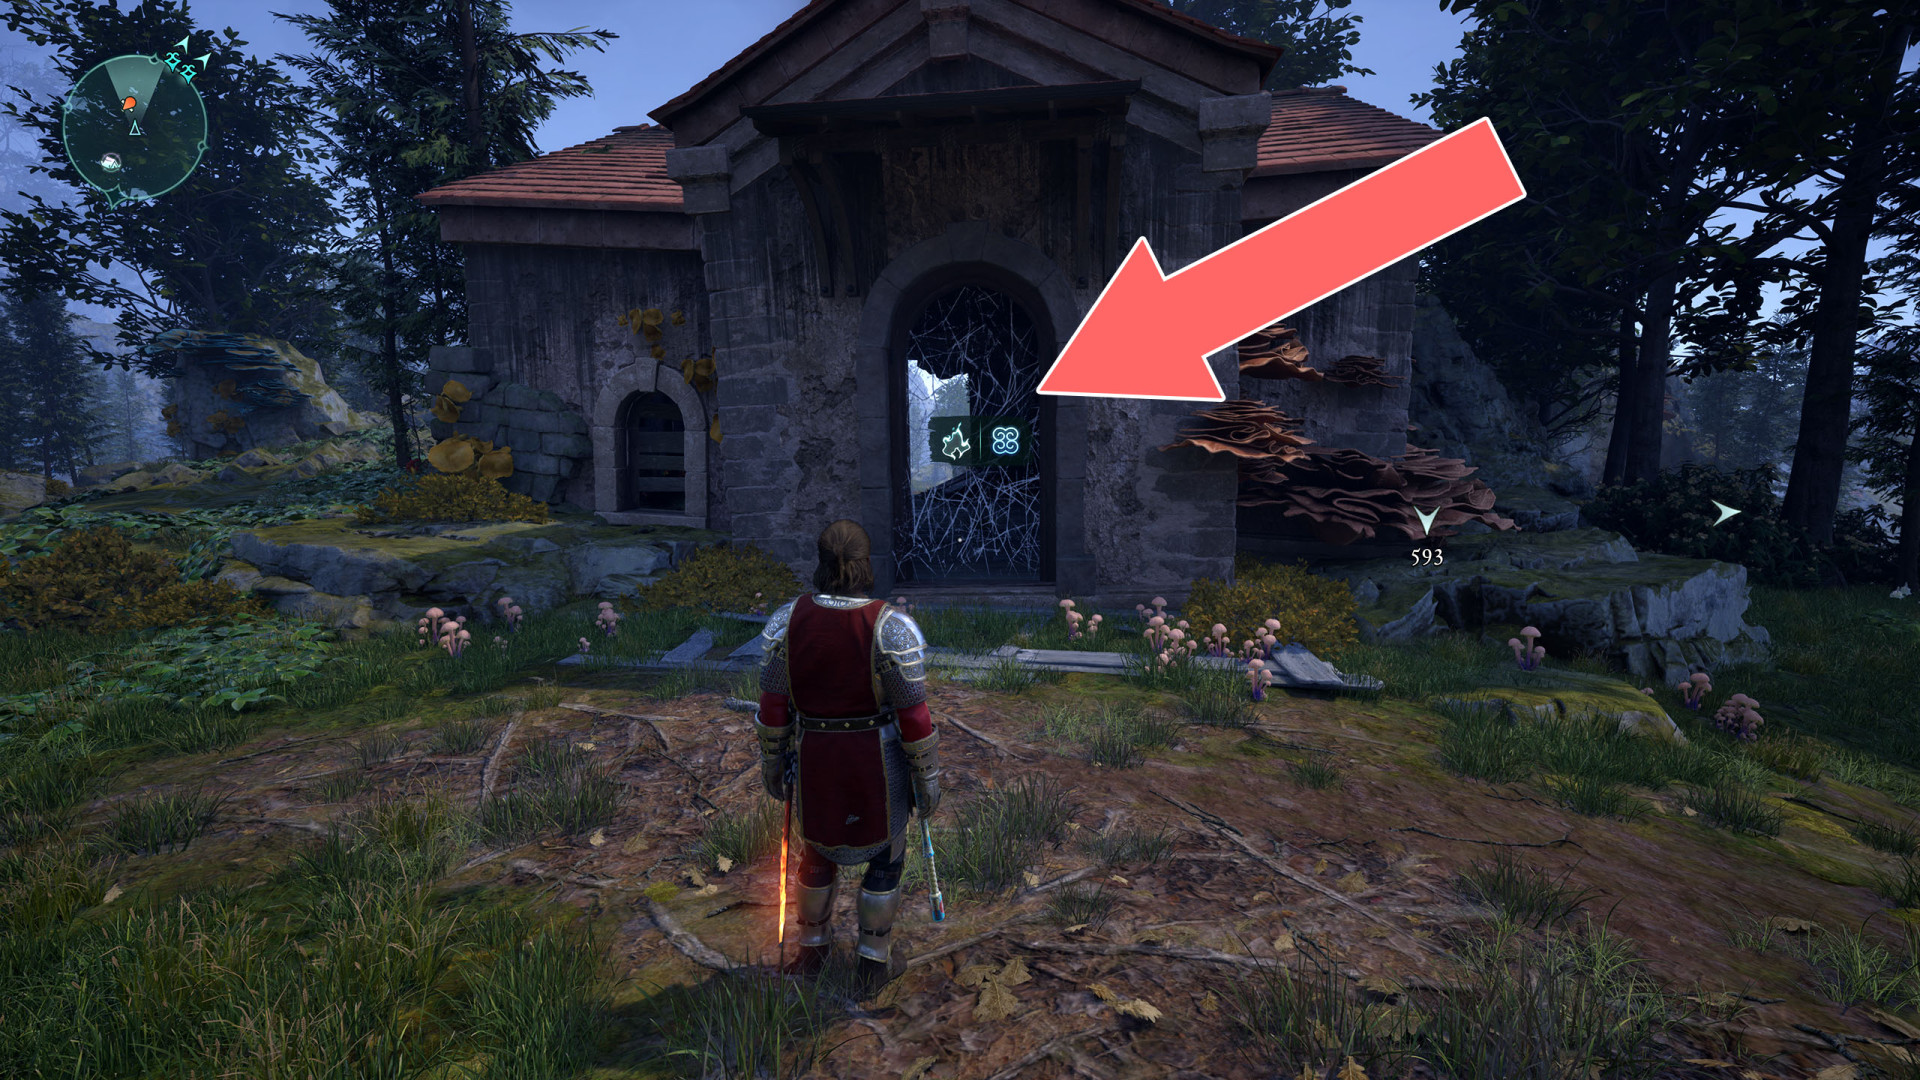
115Freezable Grate
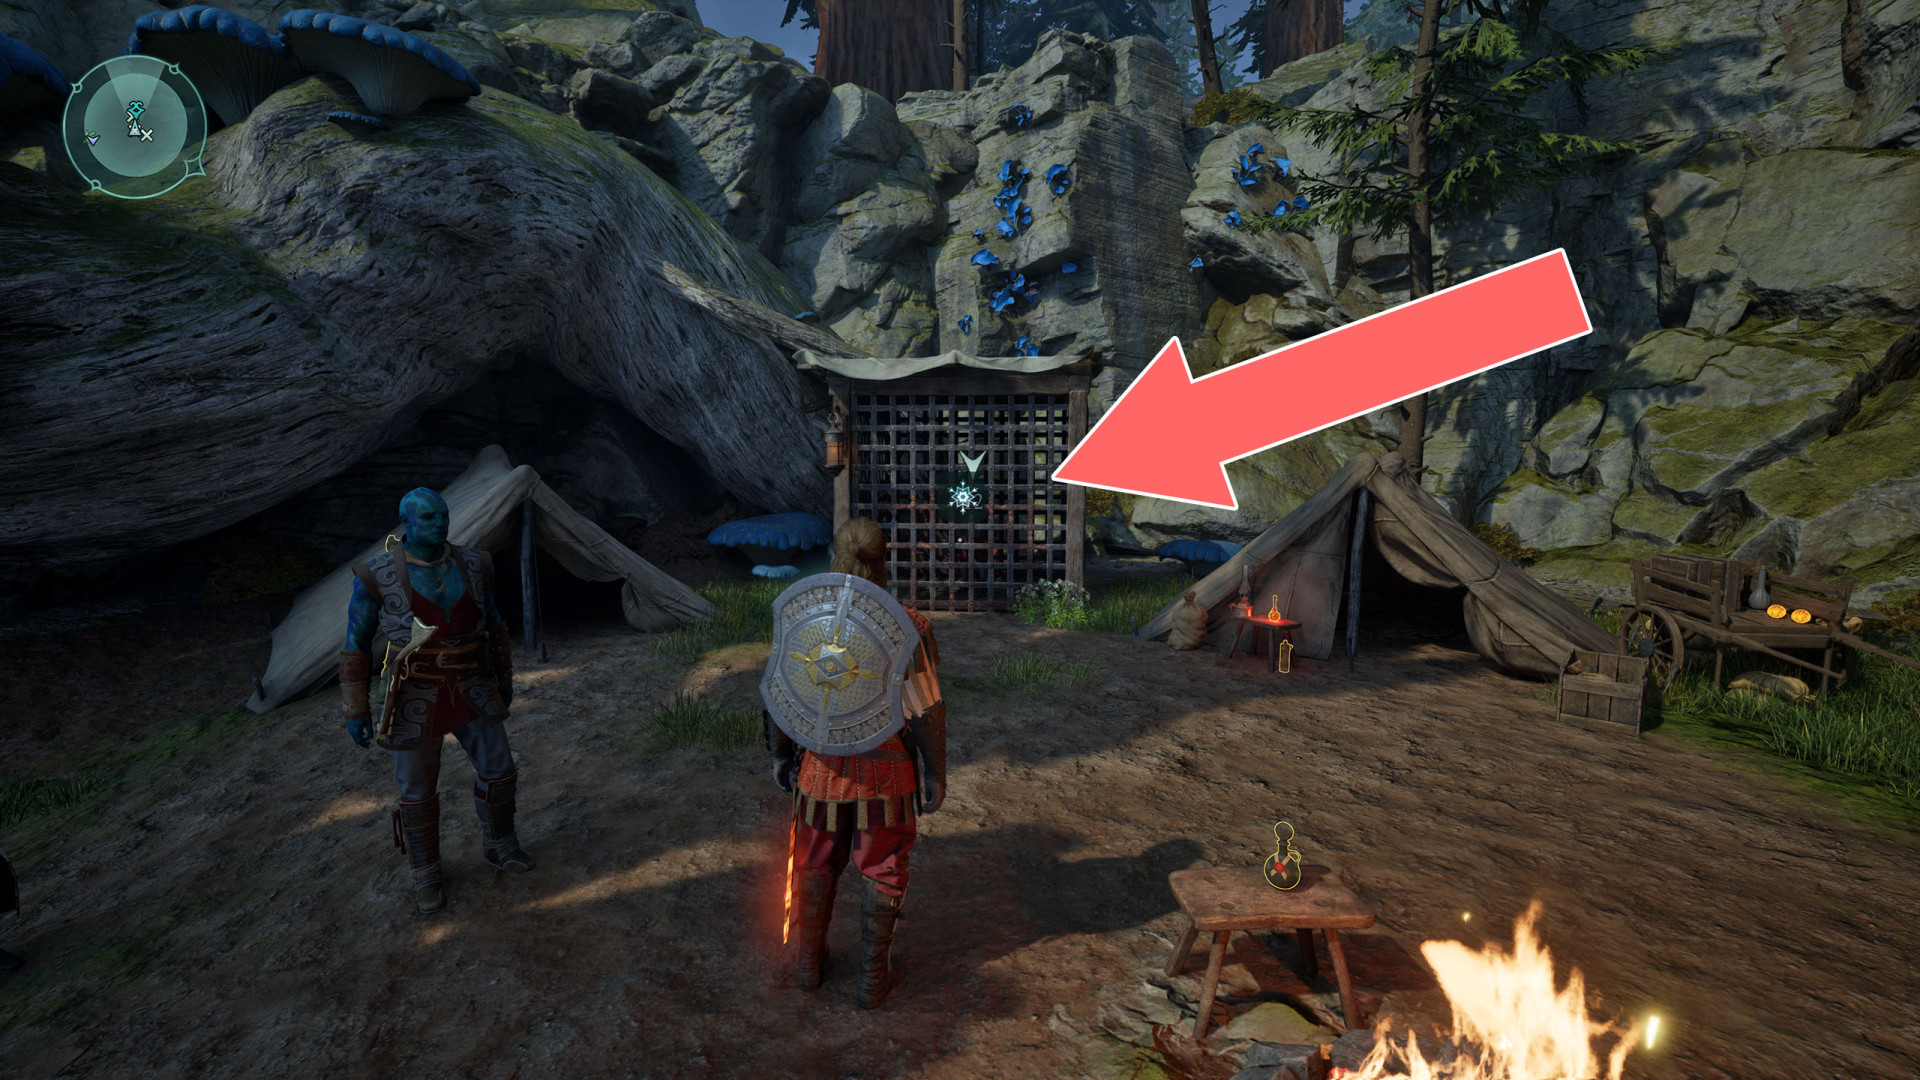
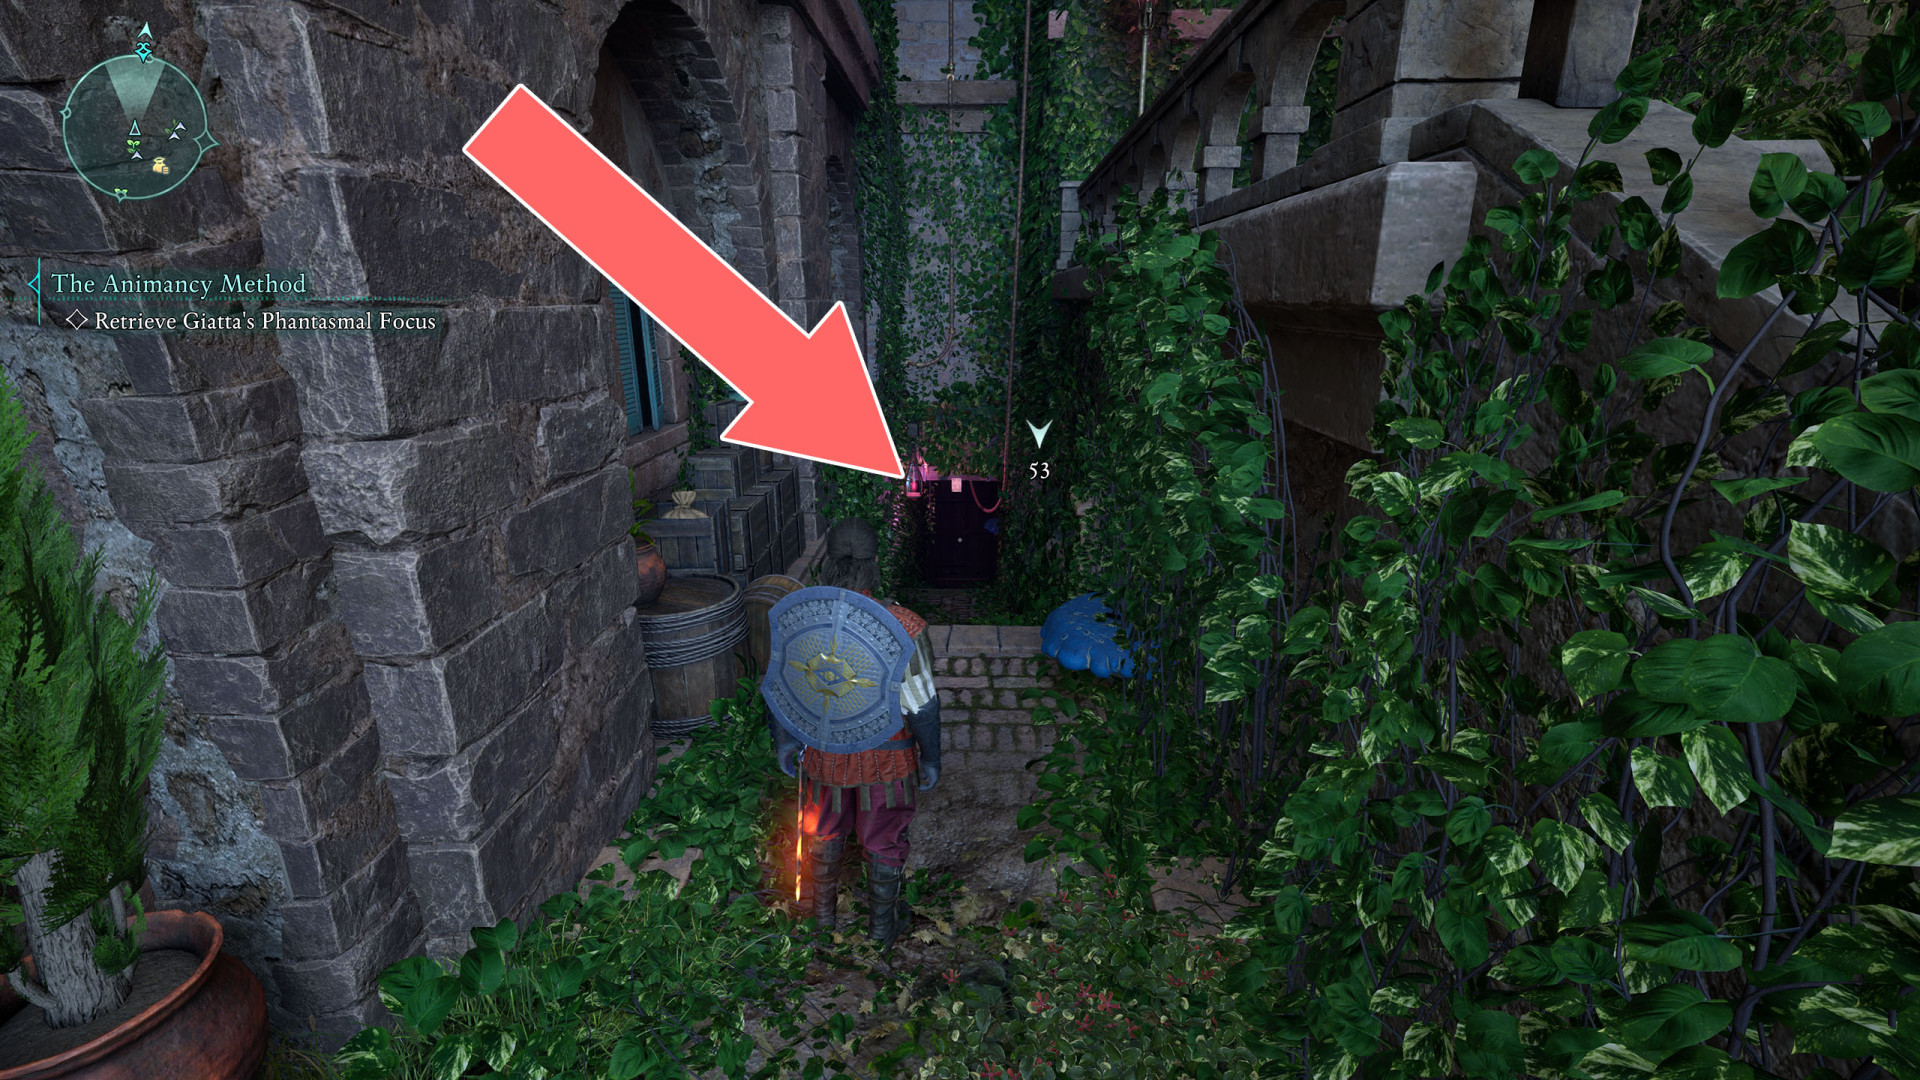
116Giatta's Basement Door
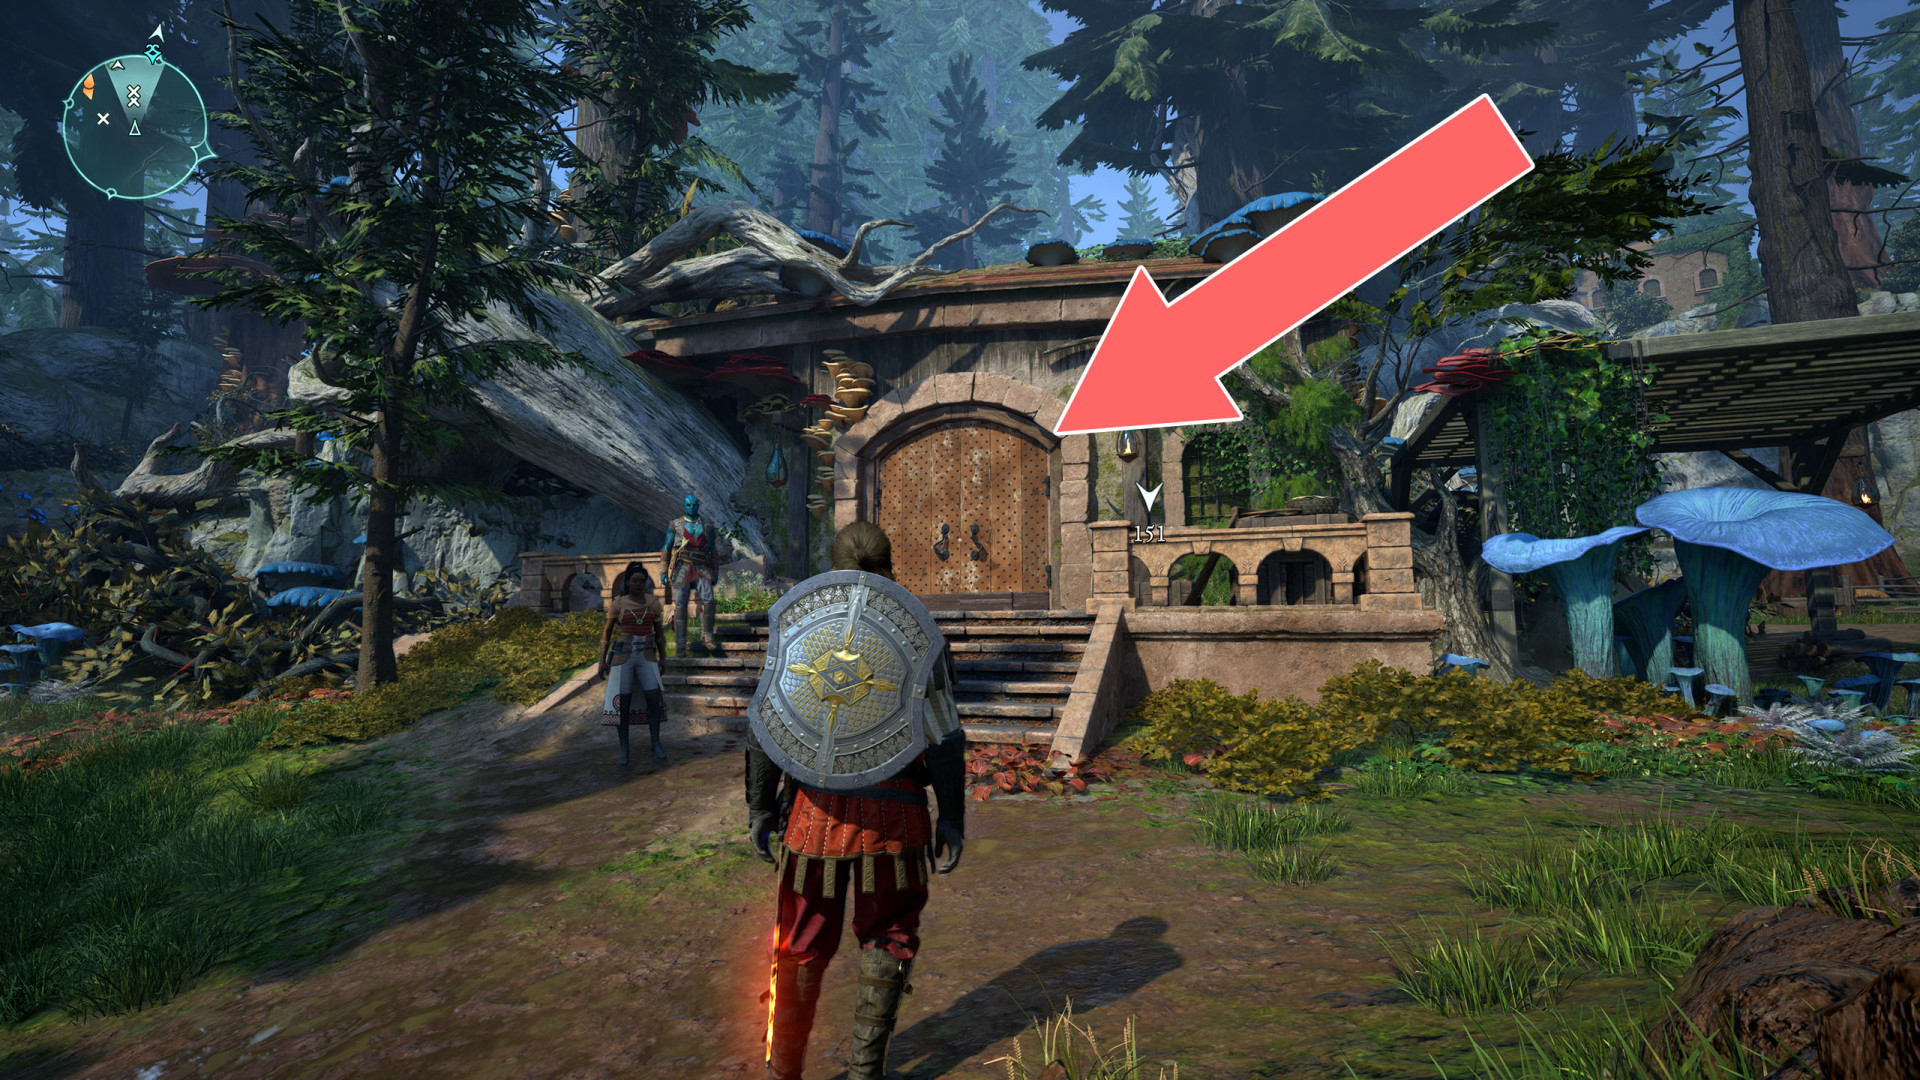
117Homestead Door
Unlocks with: Homestead Key or Lockpick x3.
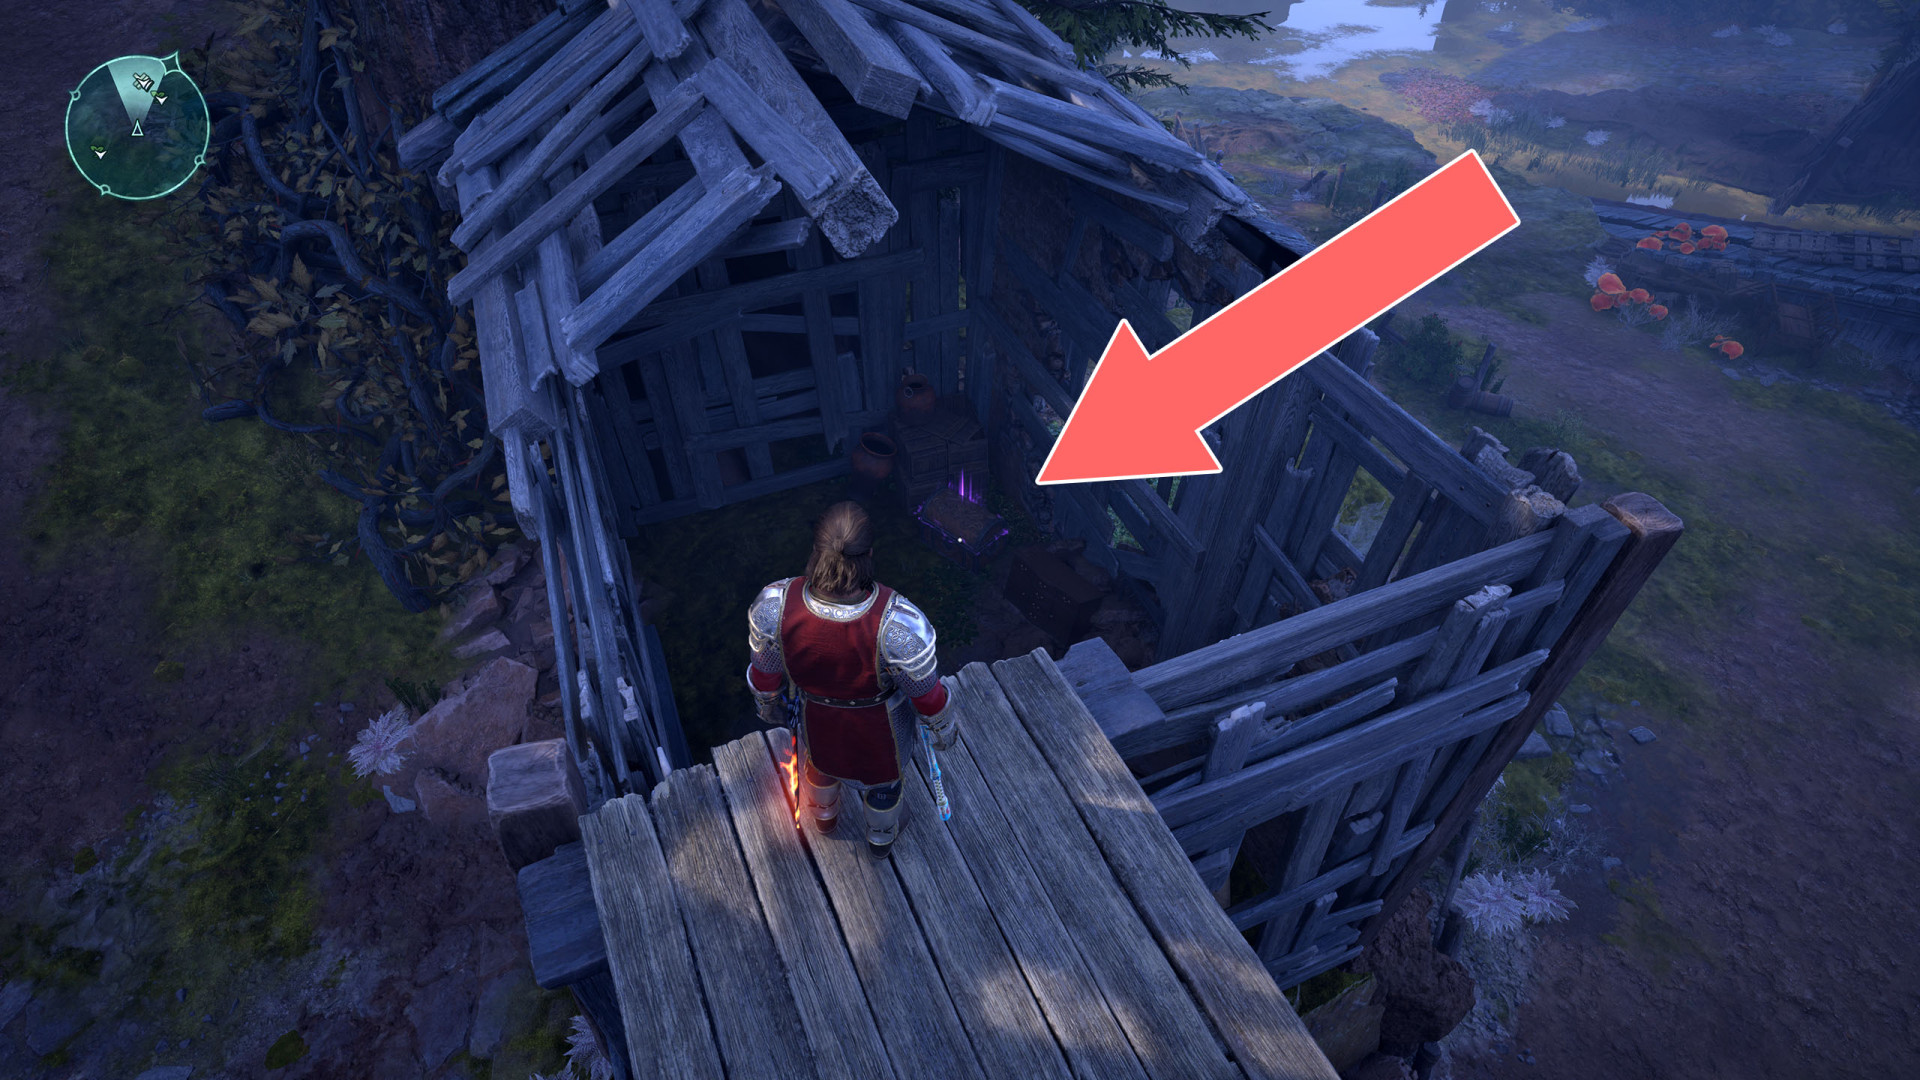
118Locked Chest
Unlocks with: Lockpick x3.
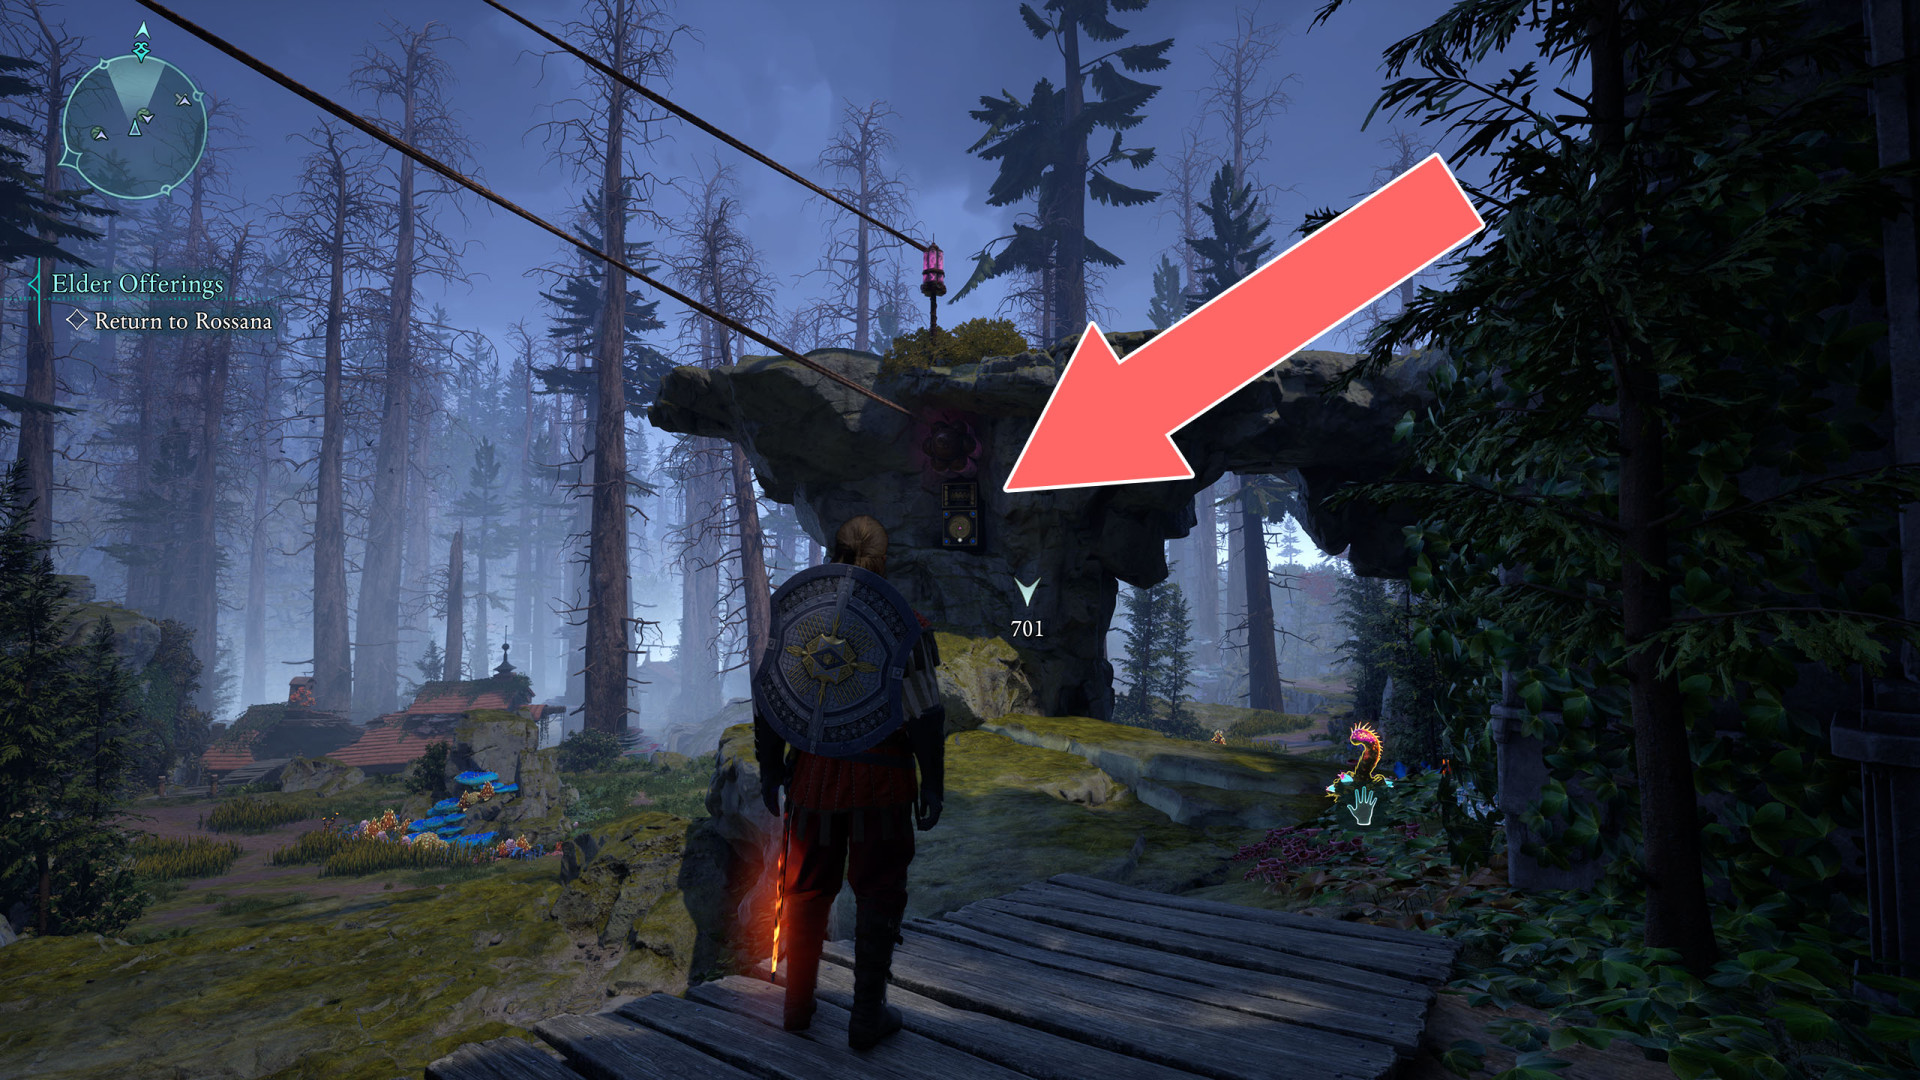
119Locked Door
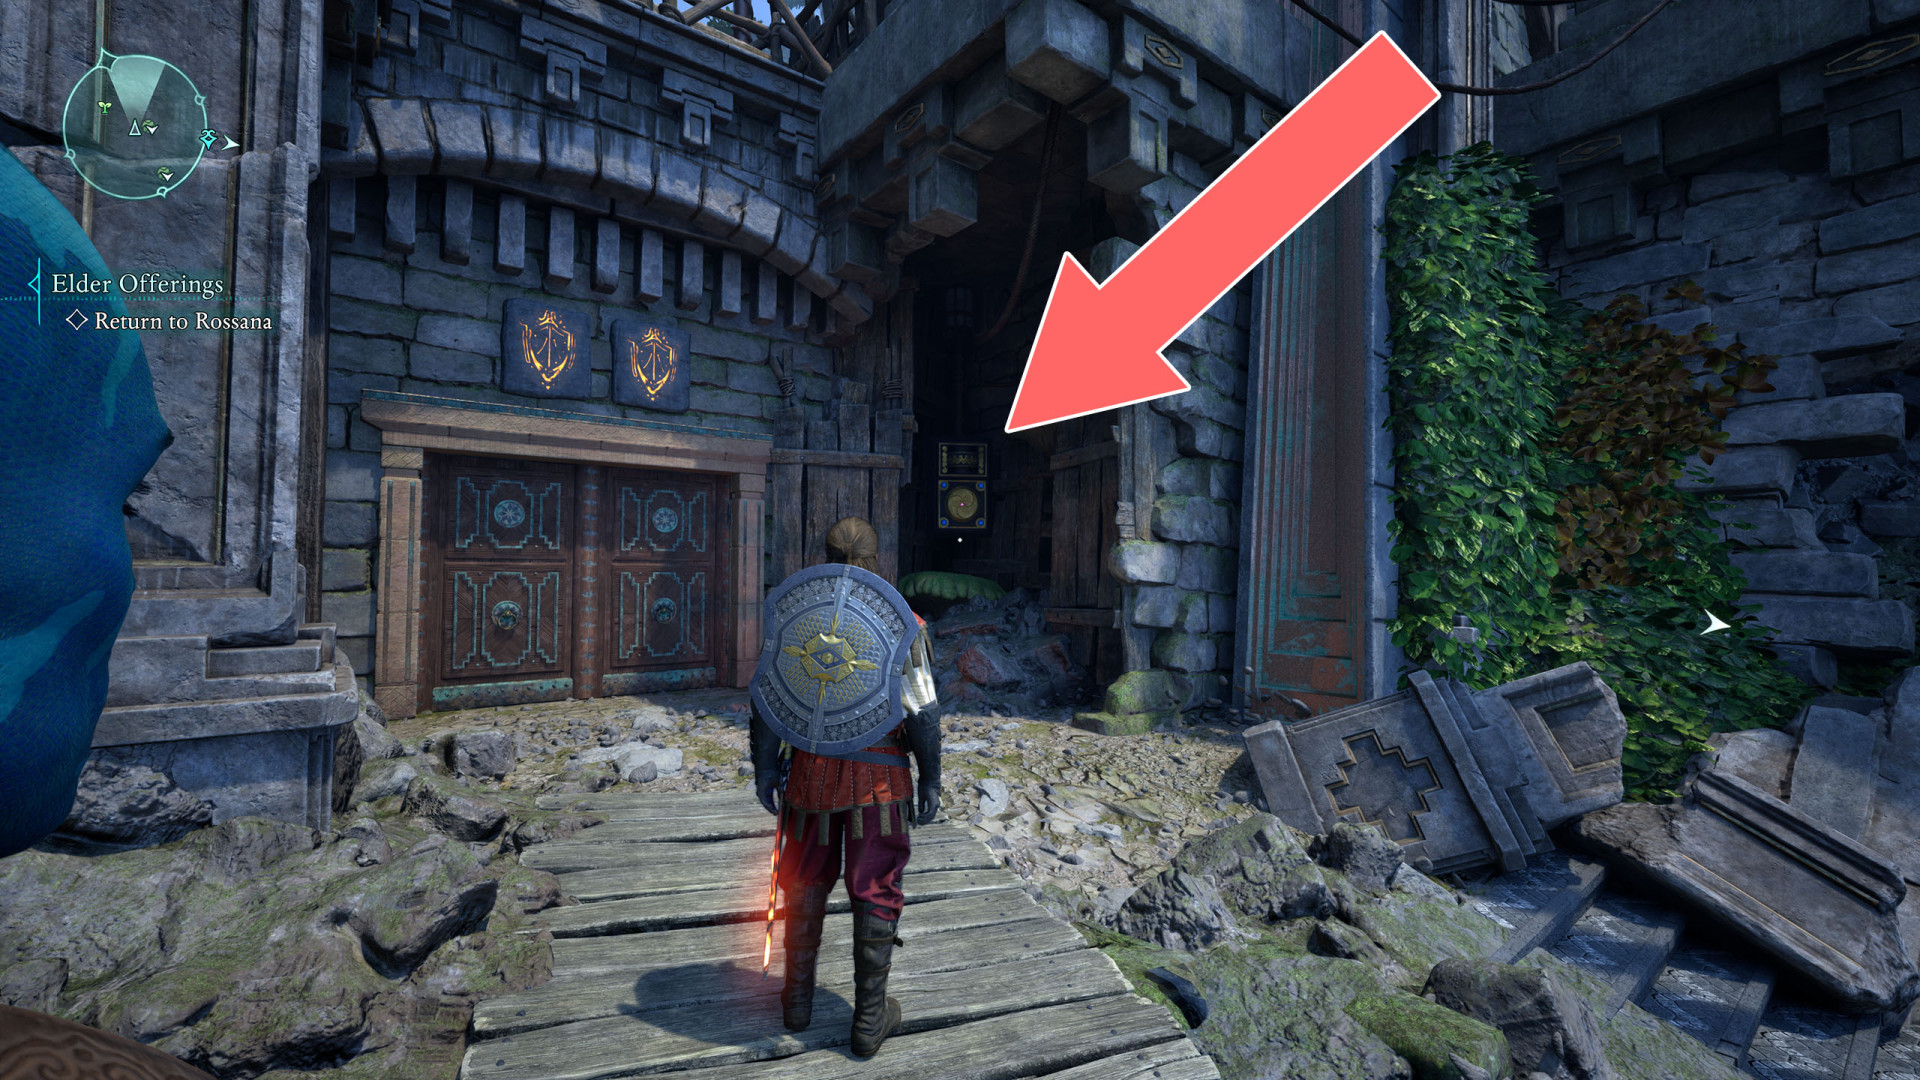
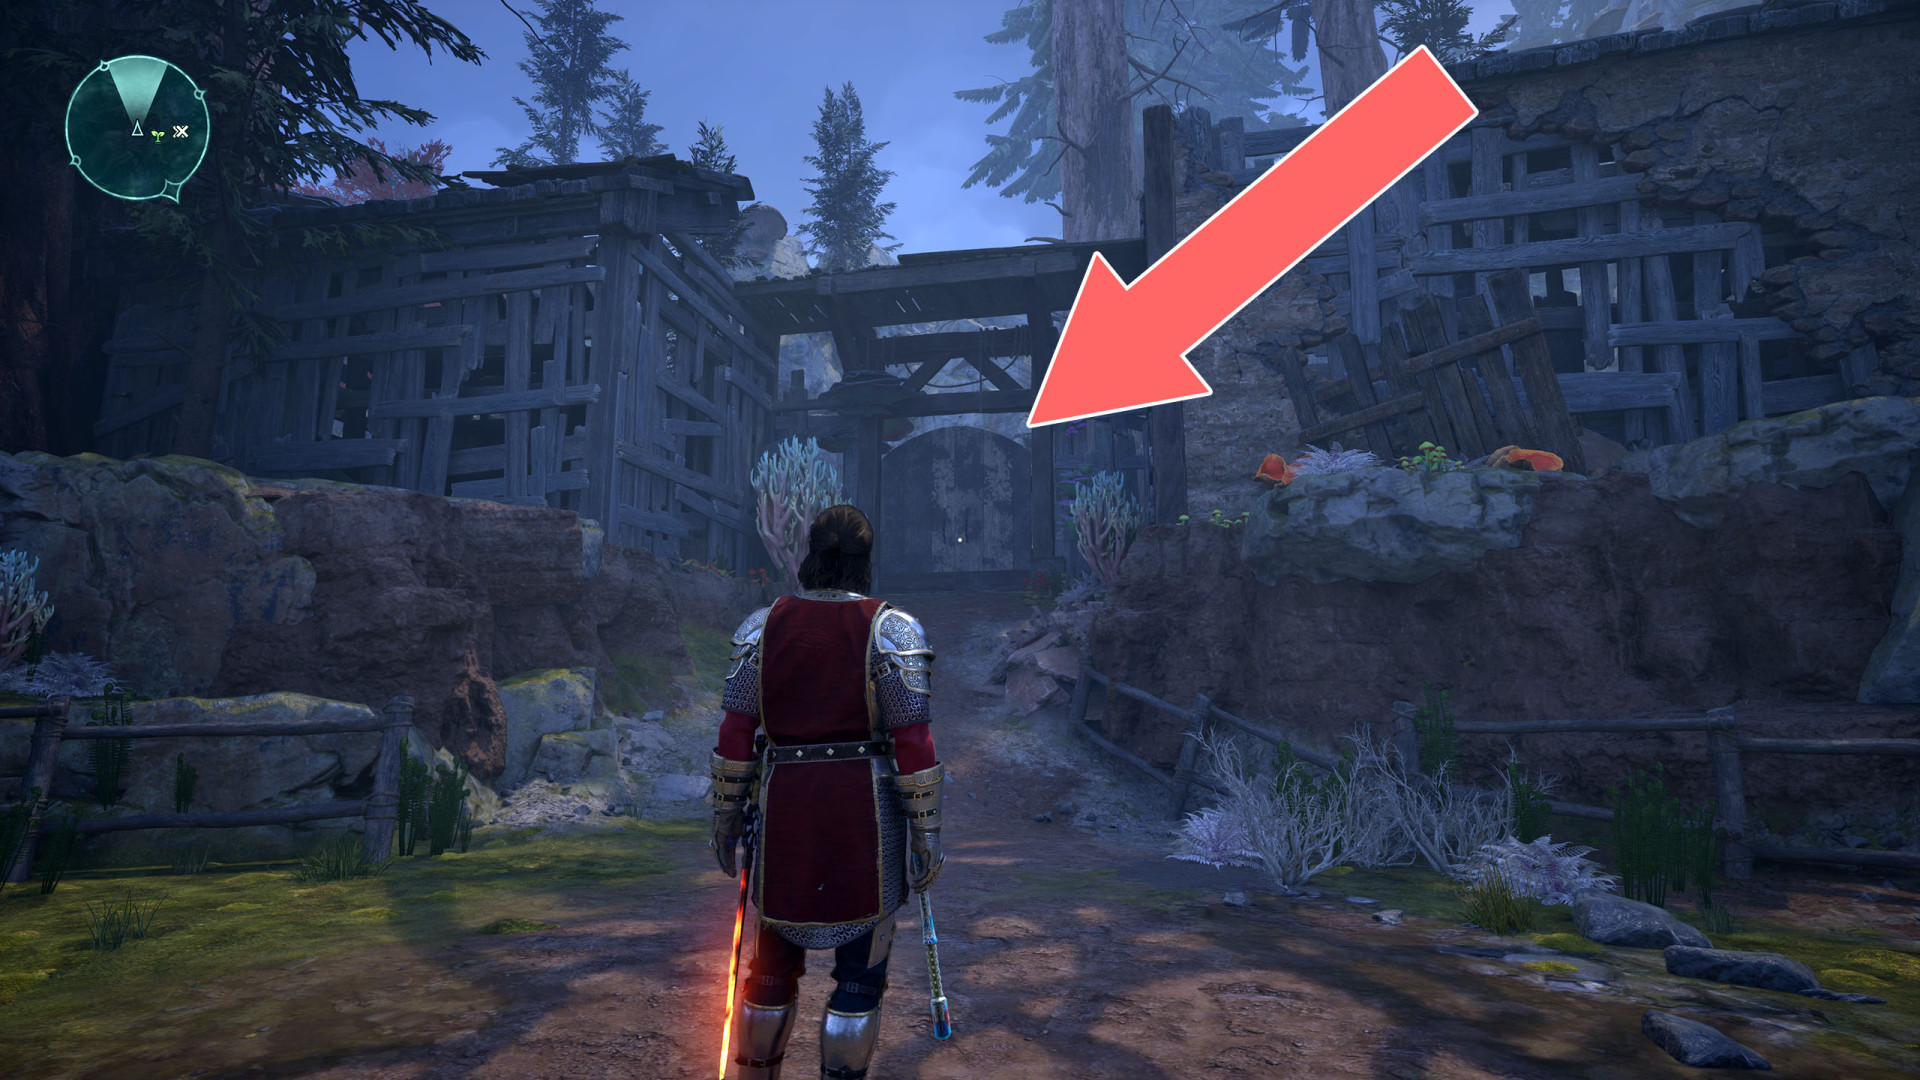
120Locked Door
Unlocks with: Lockpick x1.
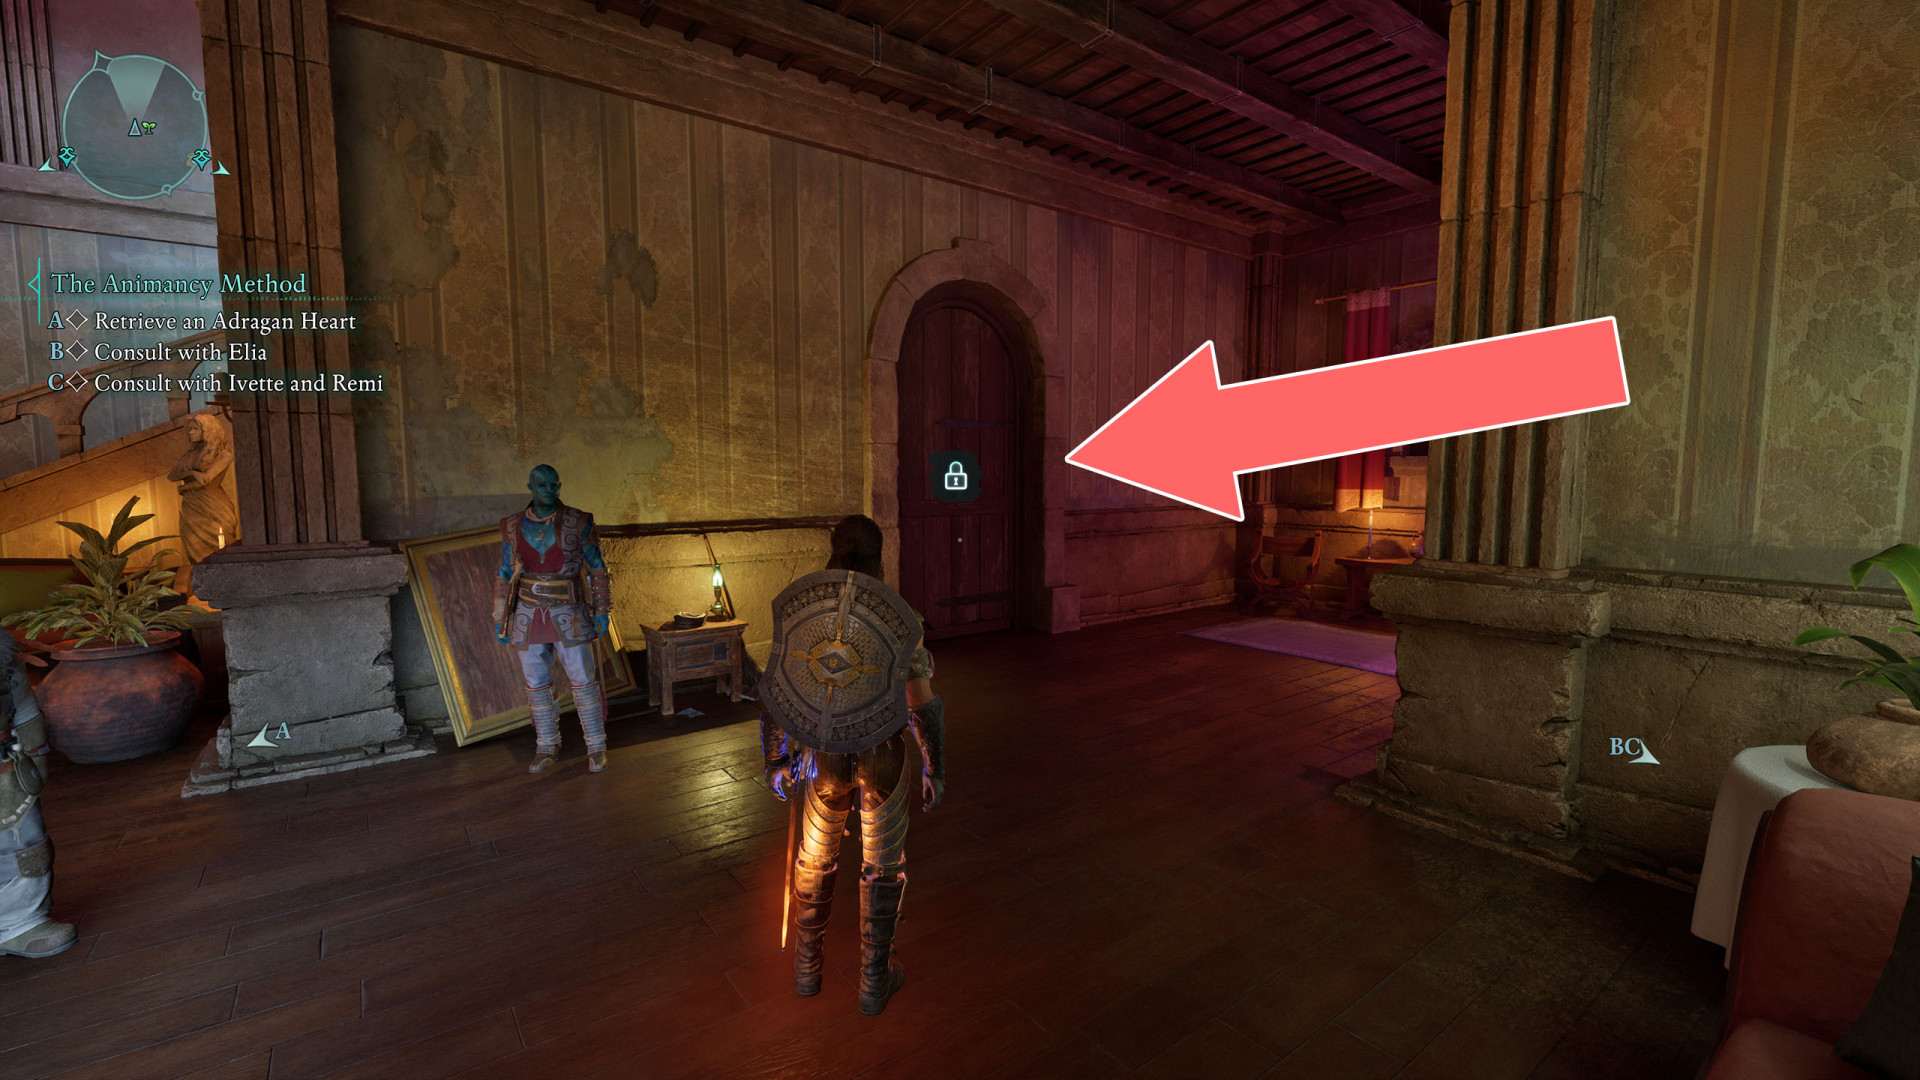
121Locked Door
Unlocks with: Bedroom Key or Lockpick x3.
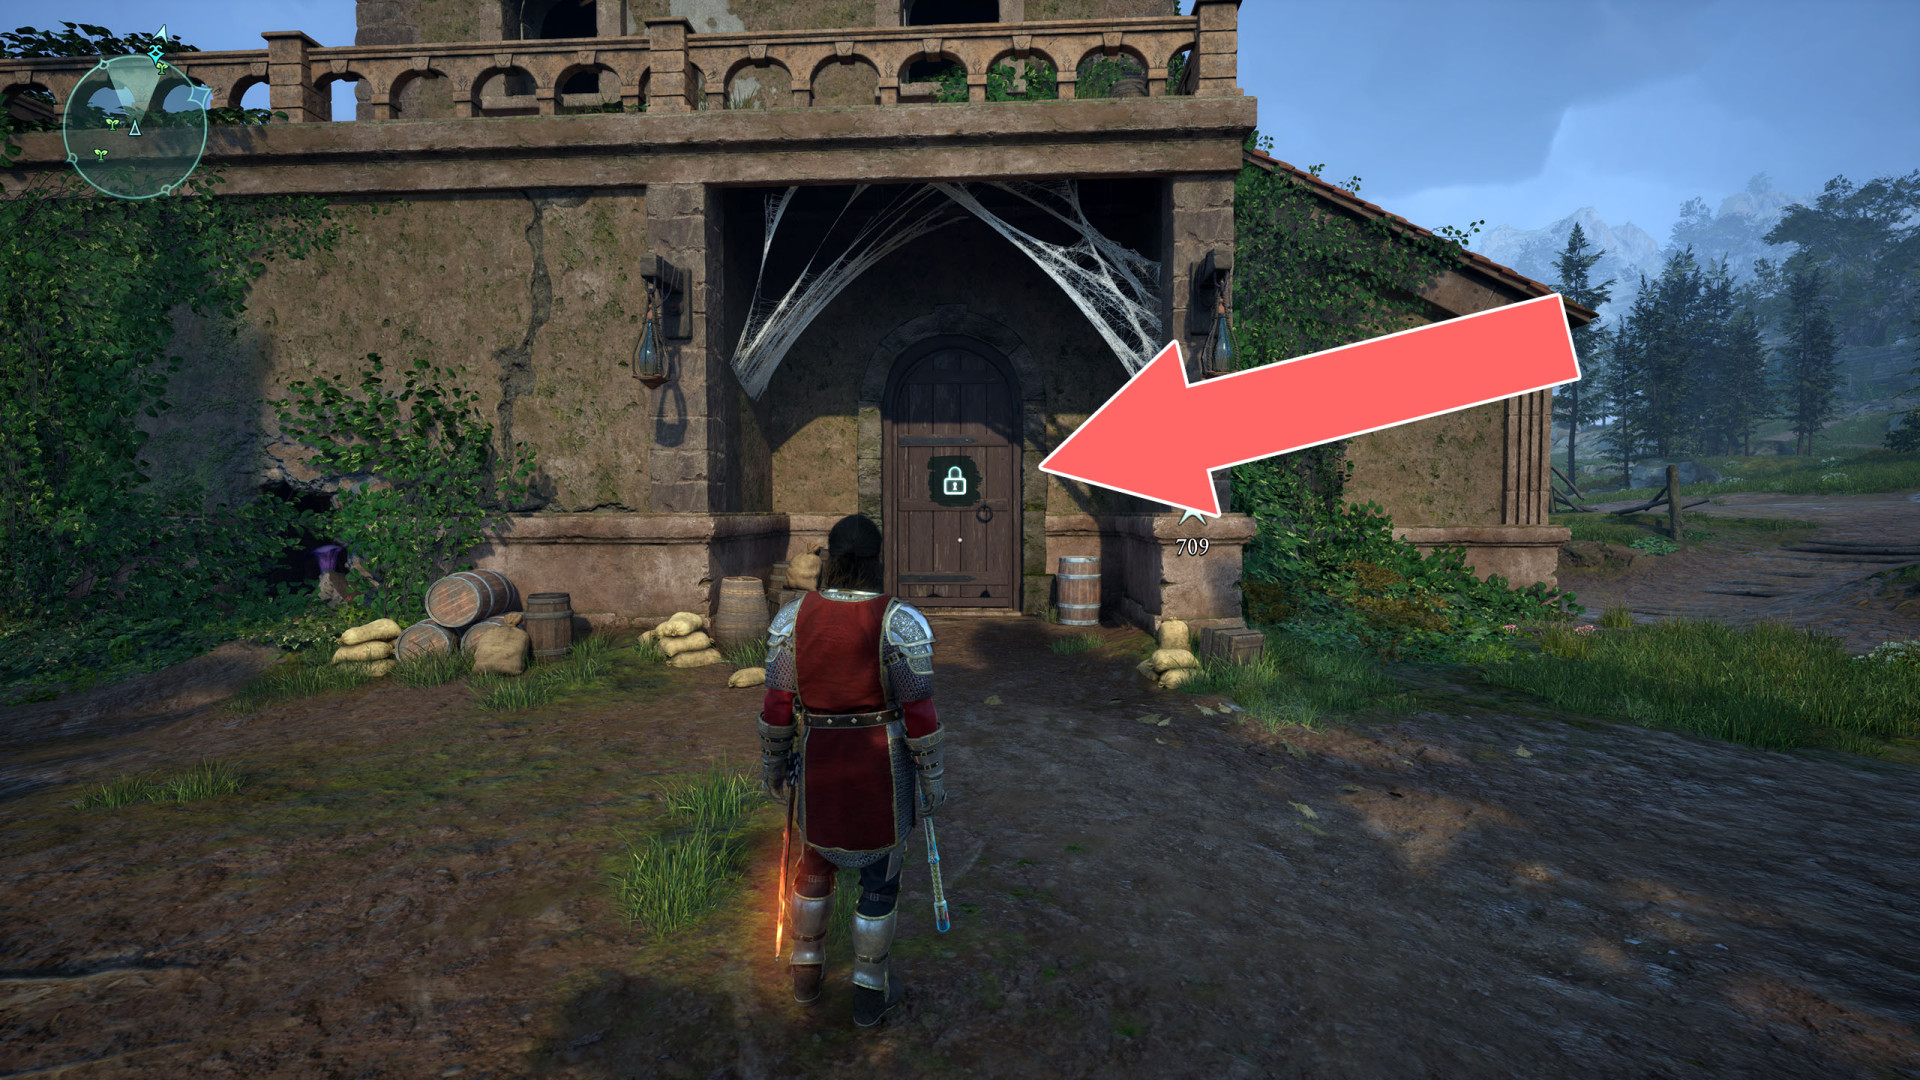
122Locked Door
Unlocks with: Dirty Key or Lockpick x5.
123Locked Door
Unlocks with: Steel Garrote Key or Lockpick x3.
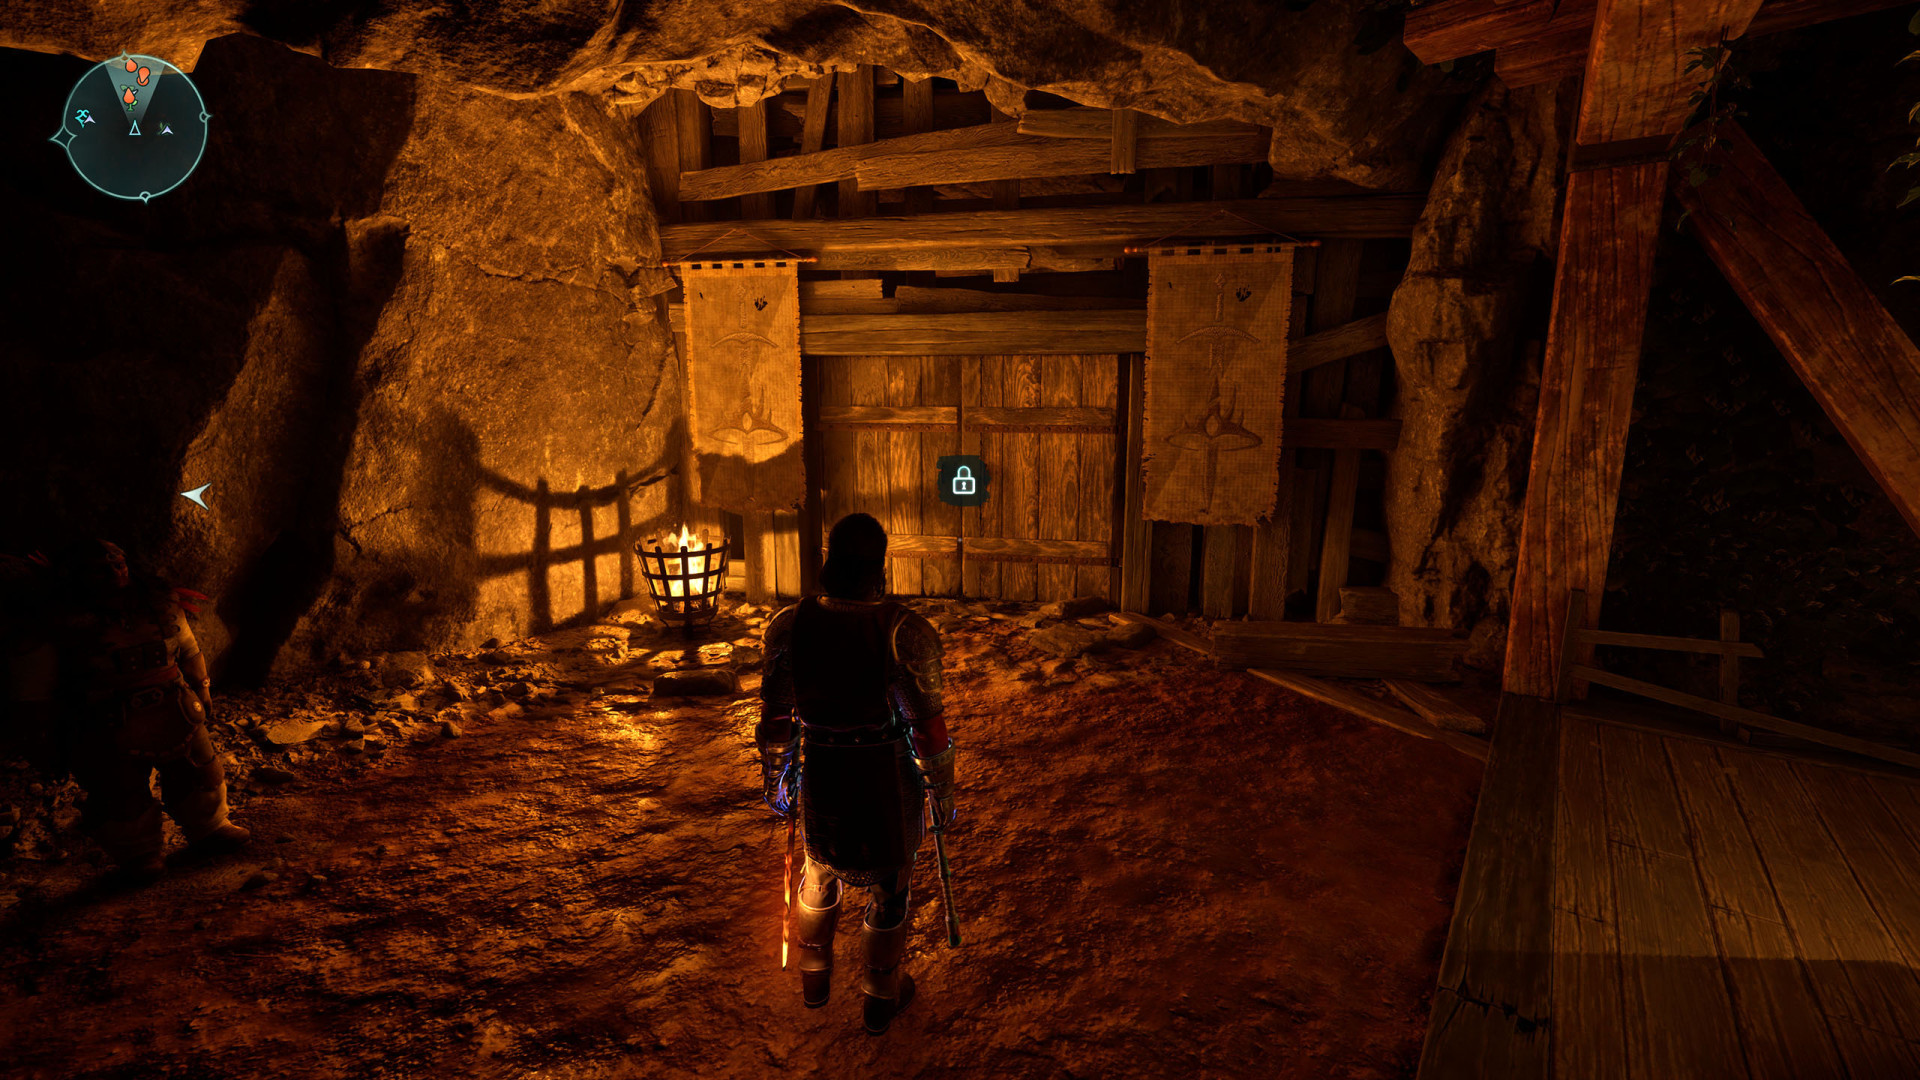
124Locked Door
Unlock with: Rusty Key.
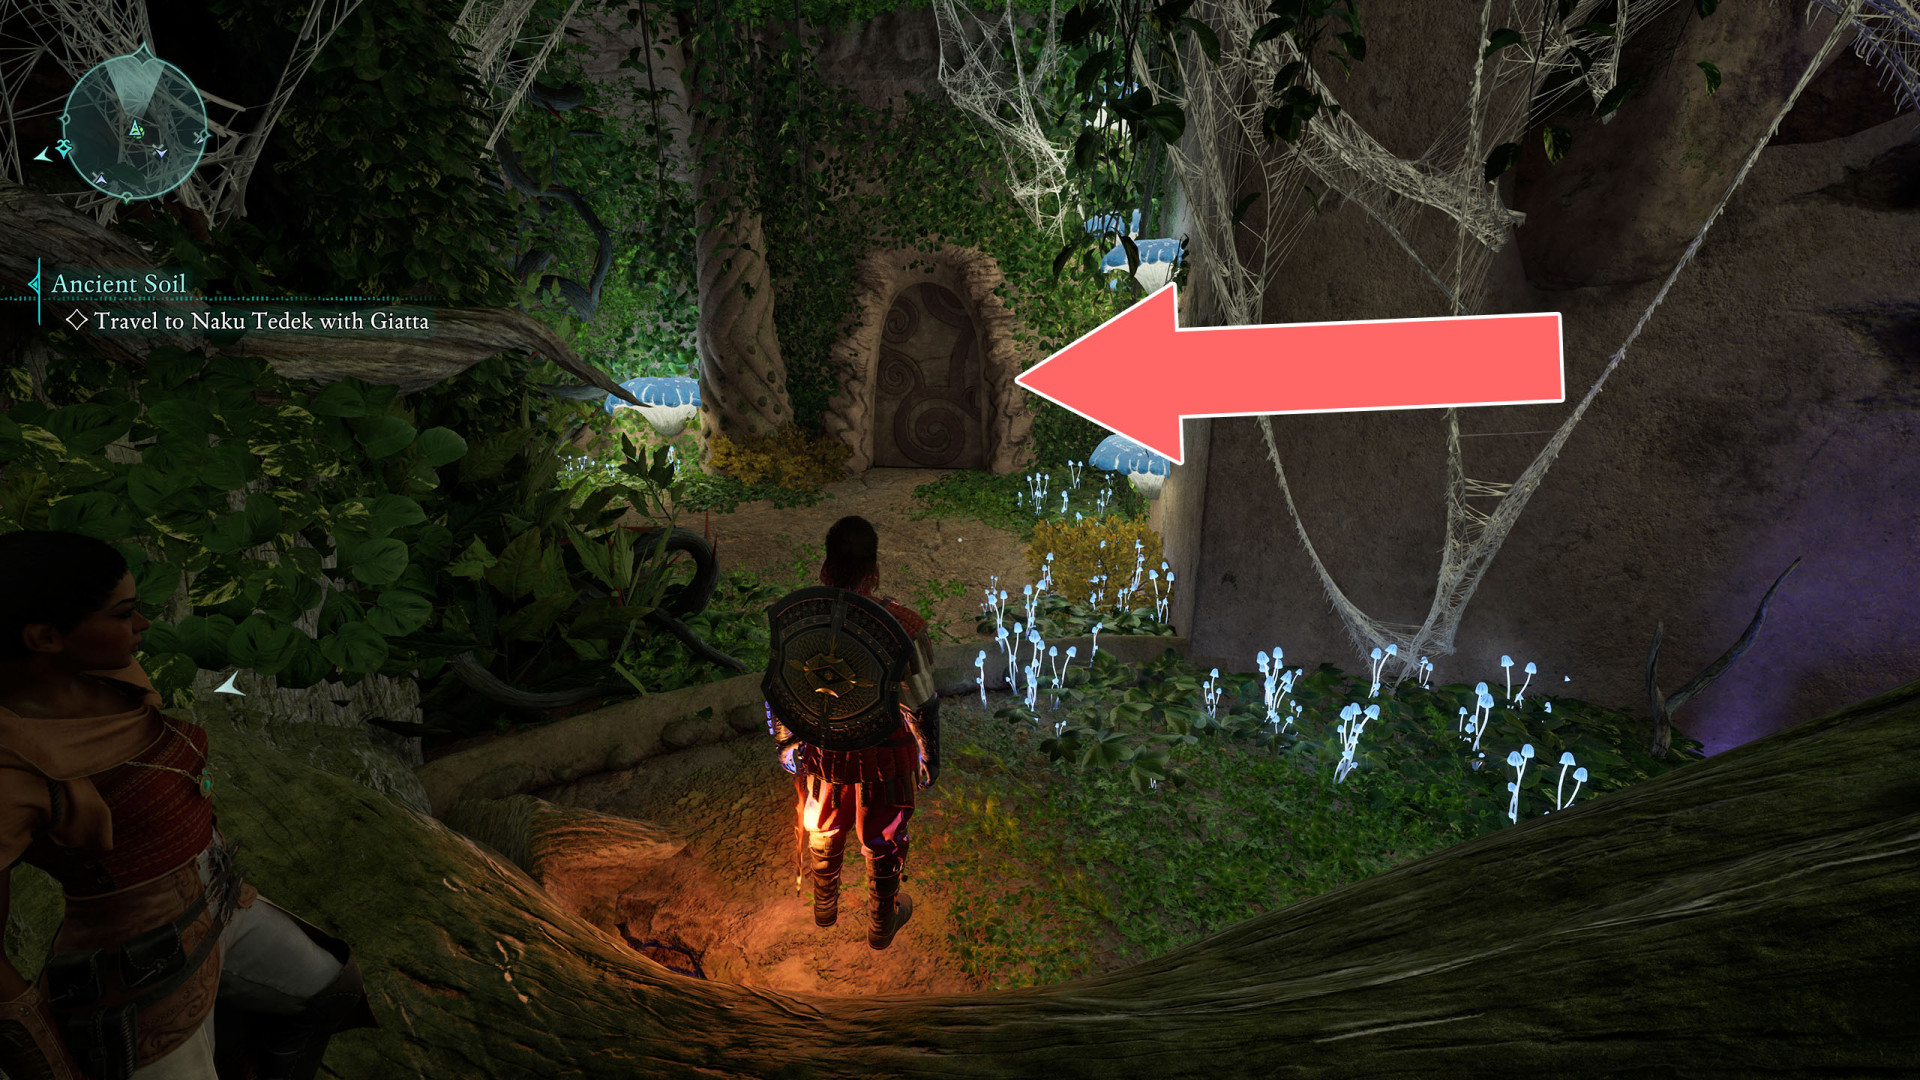
125Locked Door
It can be unlocked from inside the tunnel.
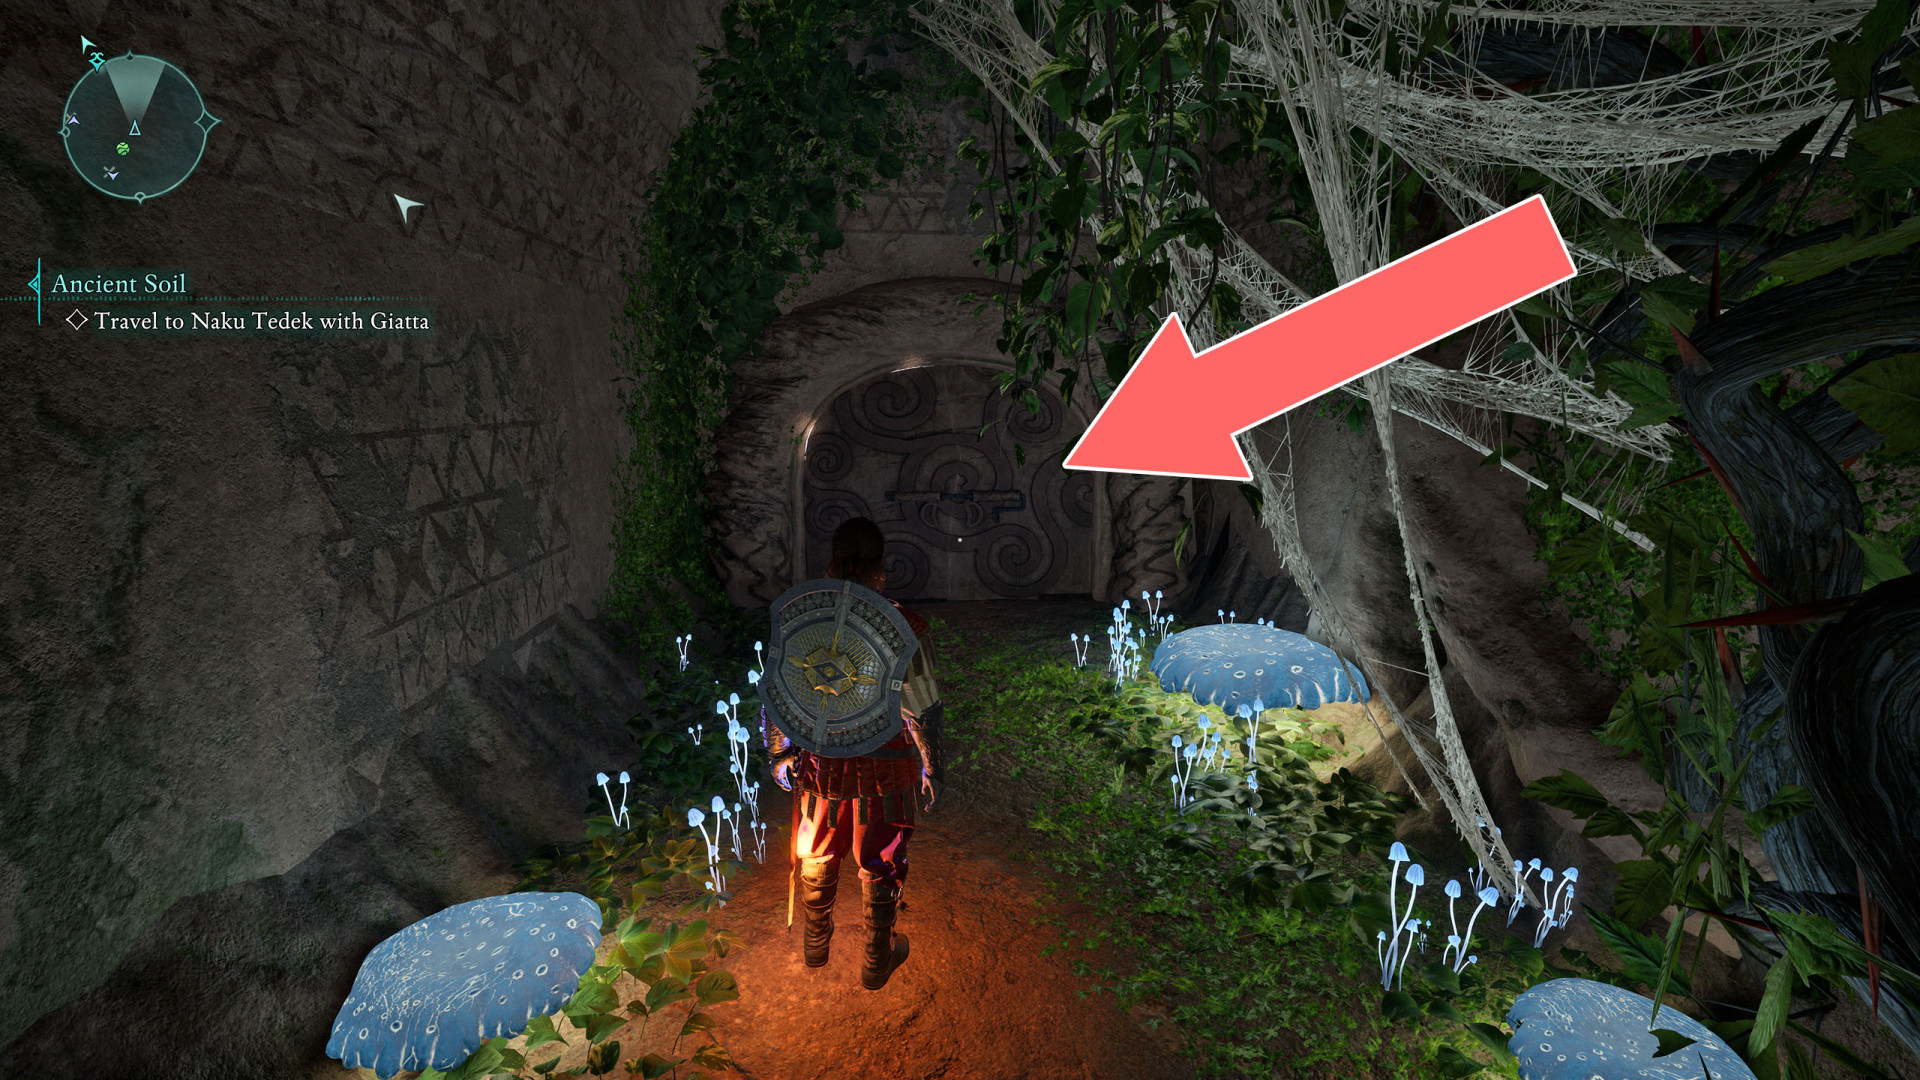
126Locked Door
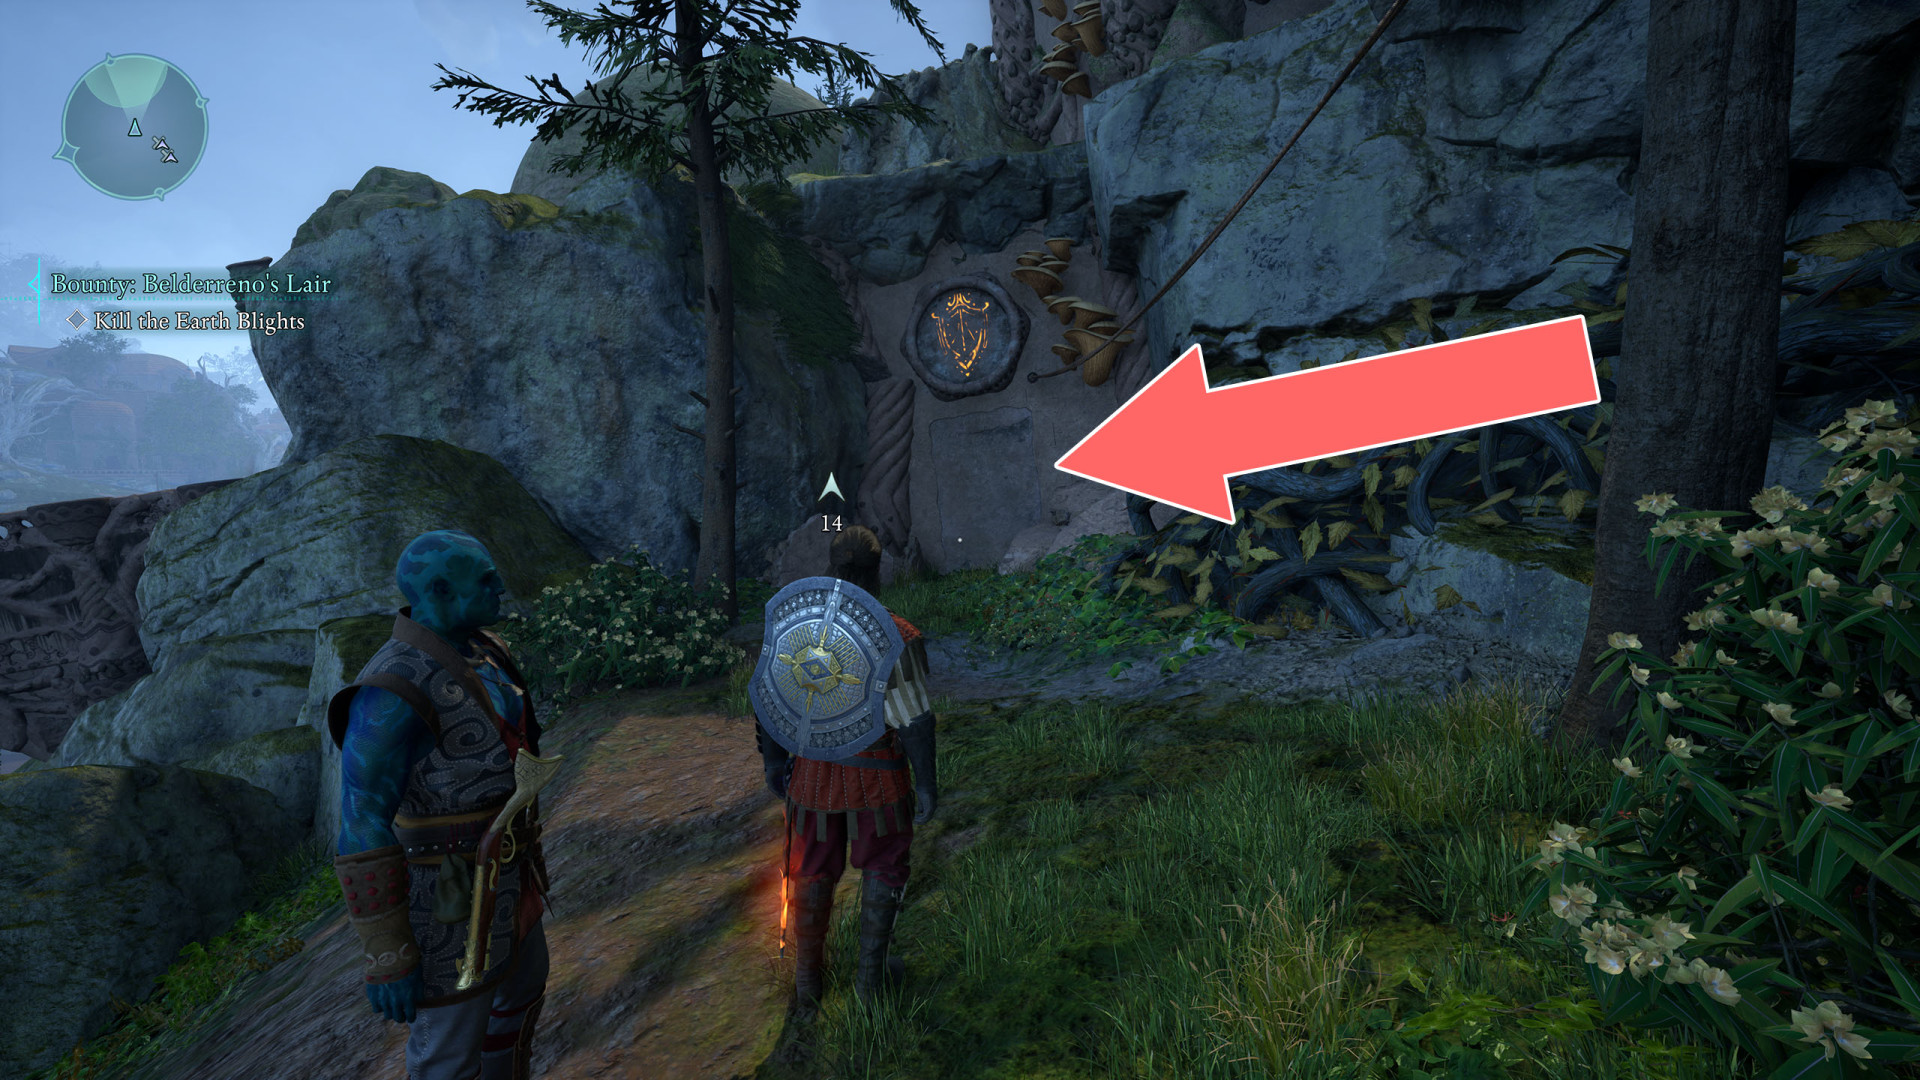
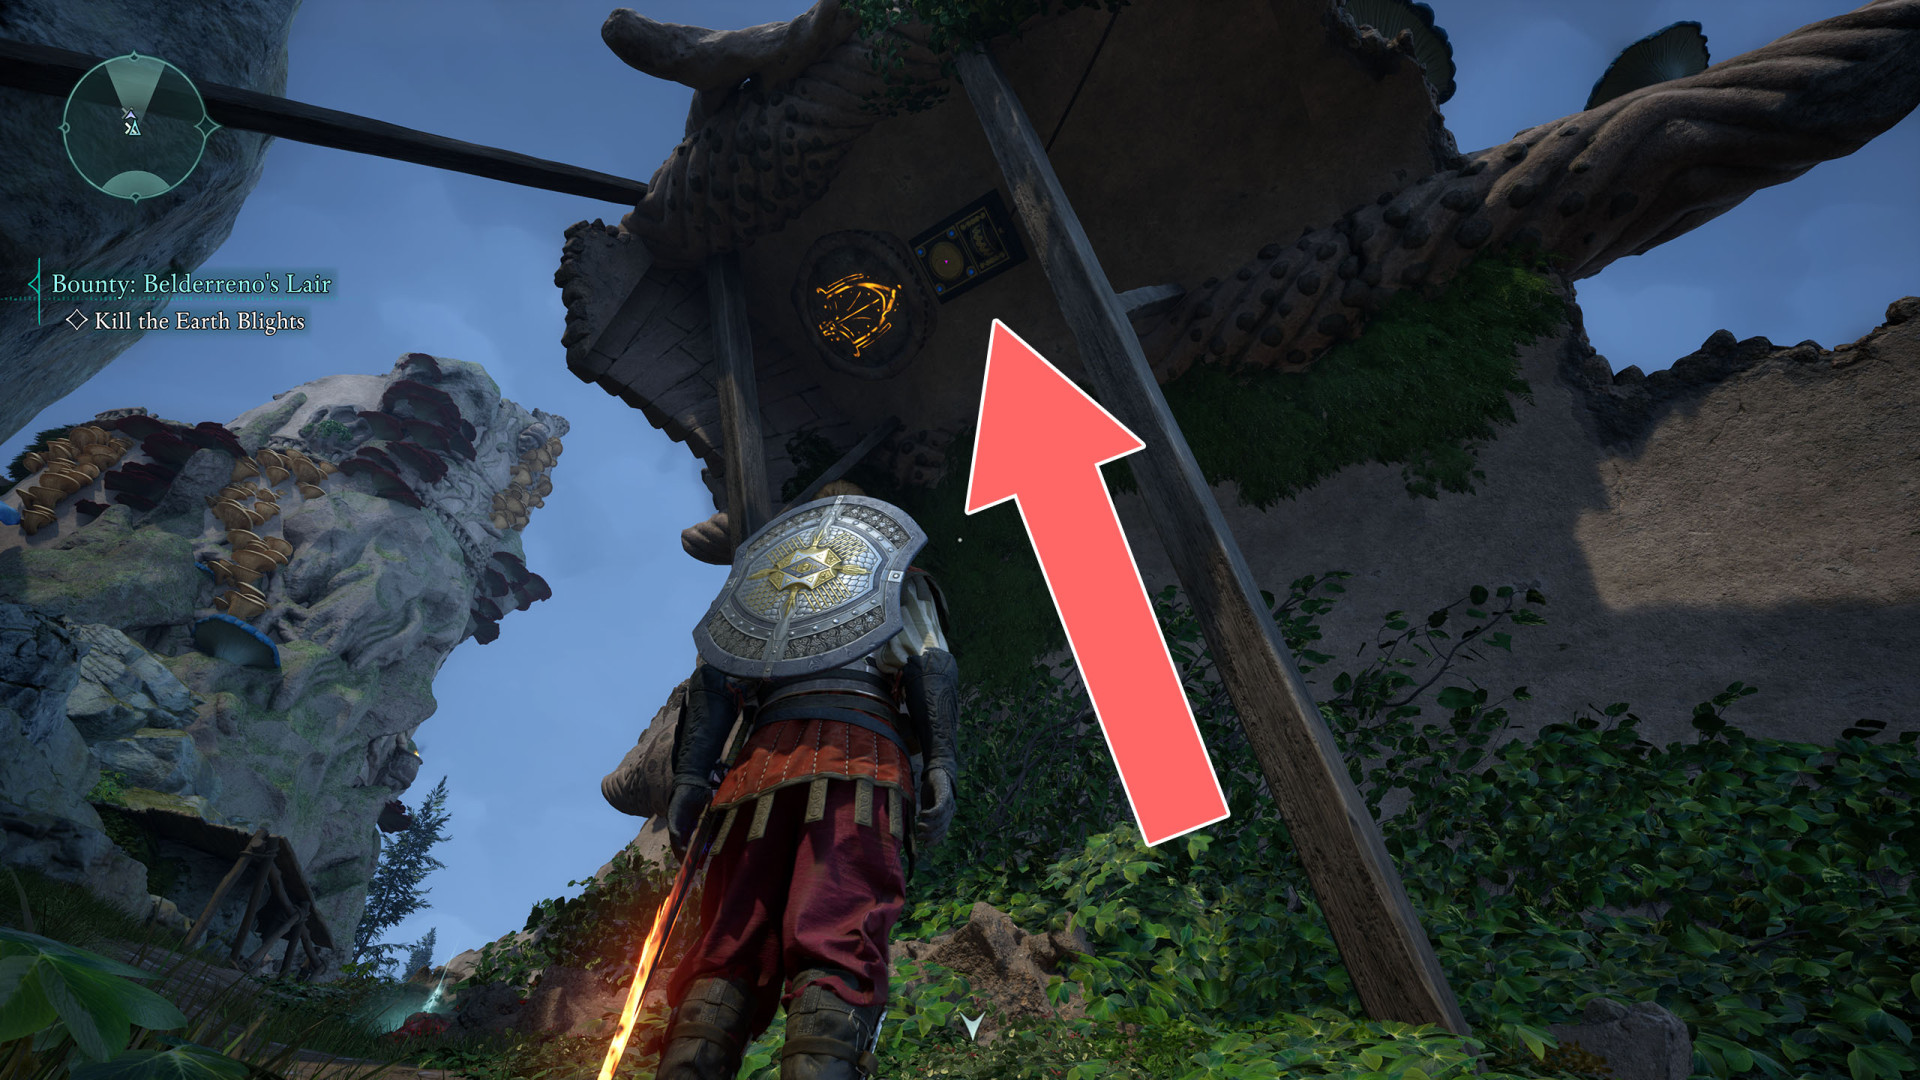
127Locked Door
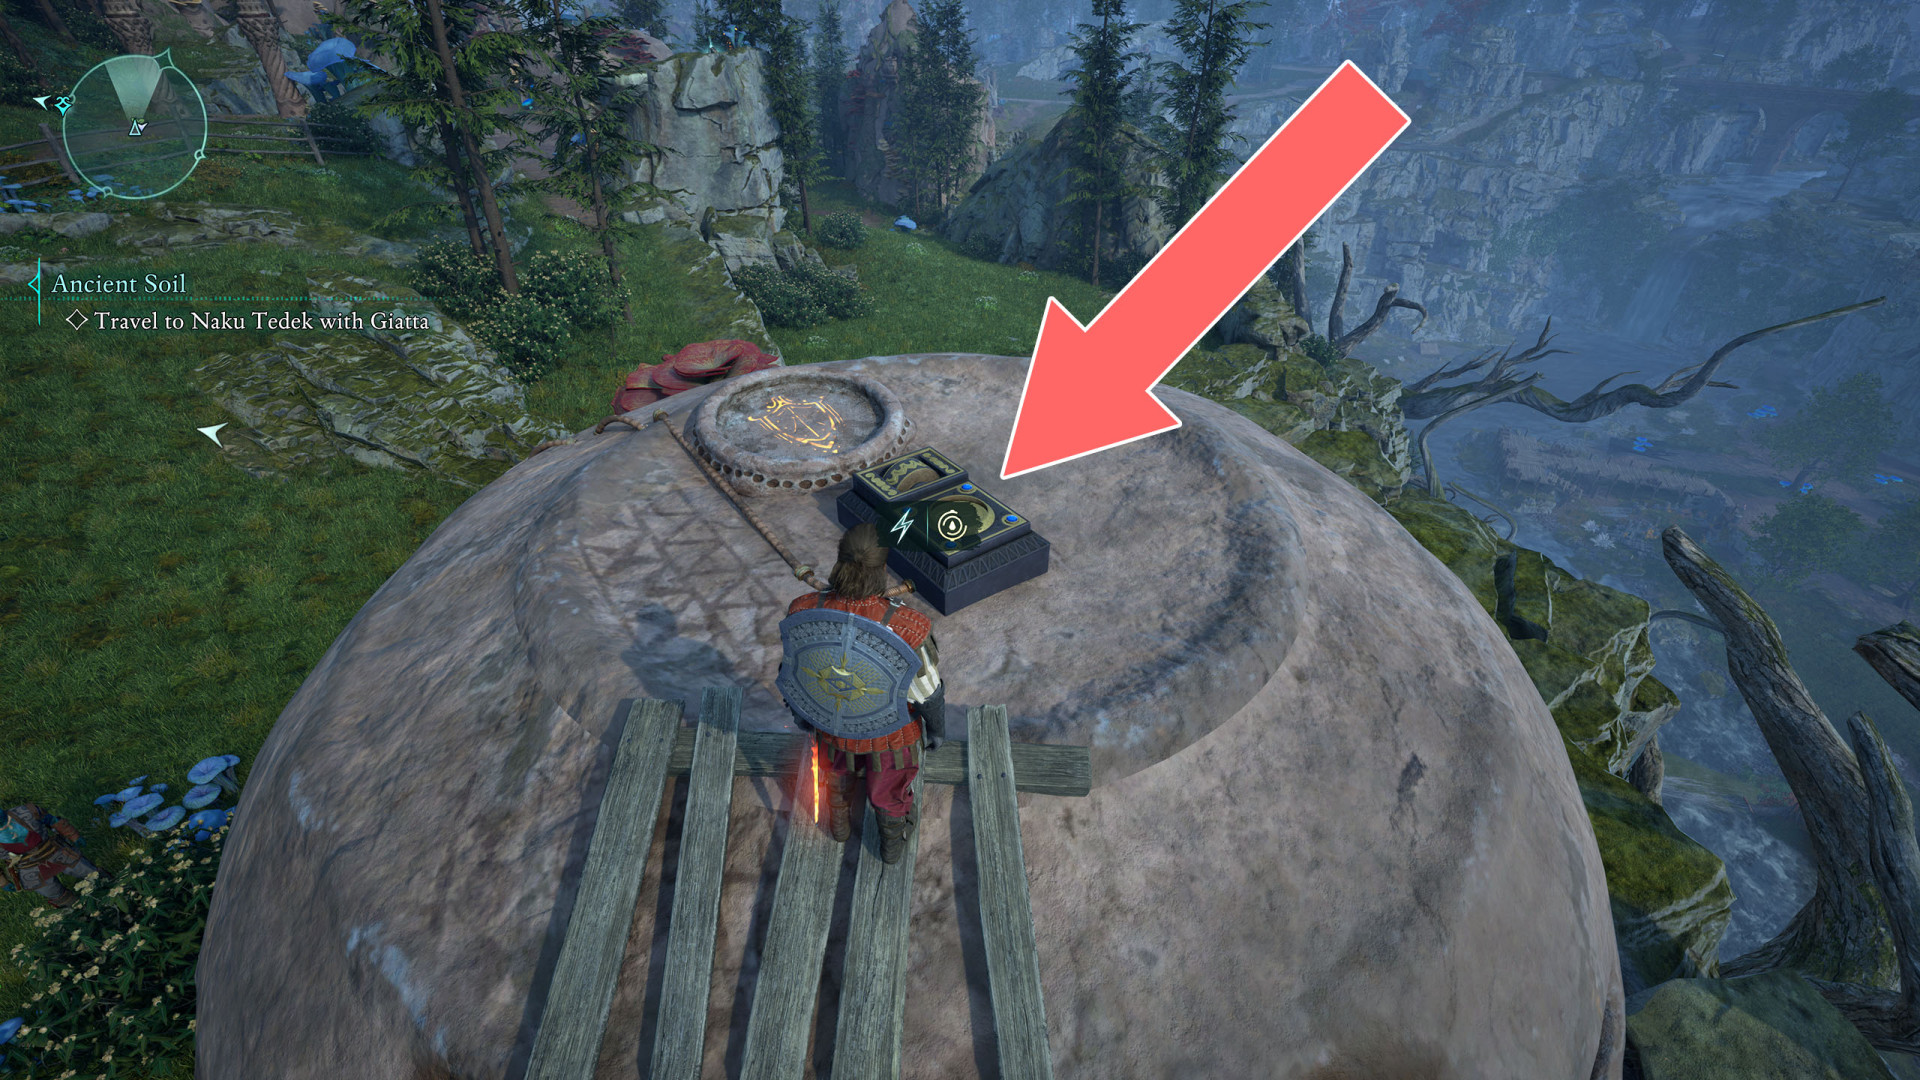
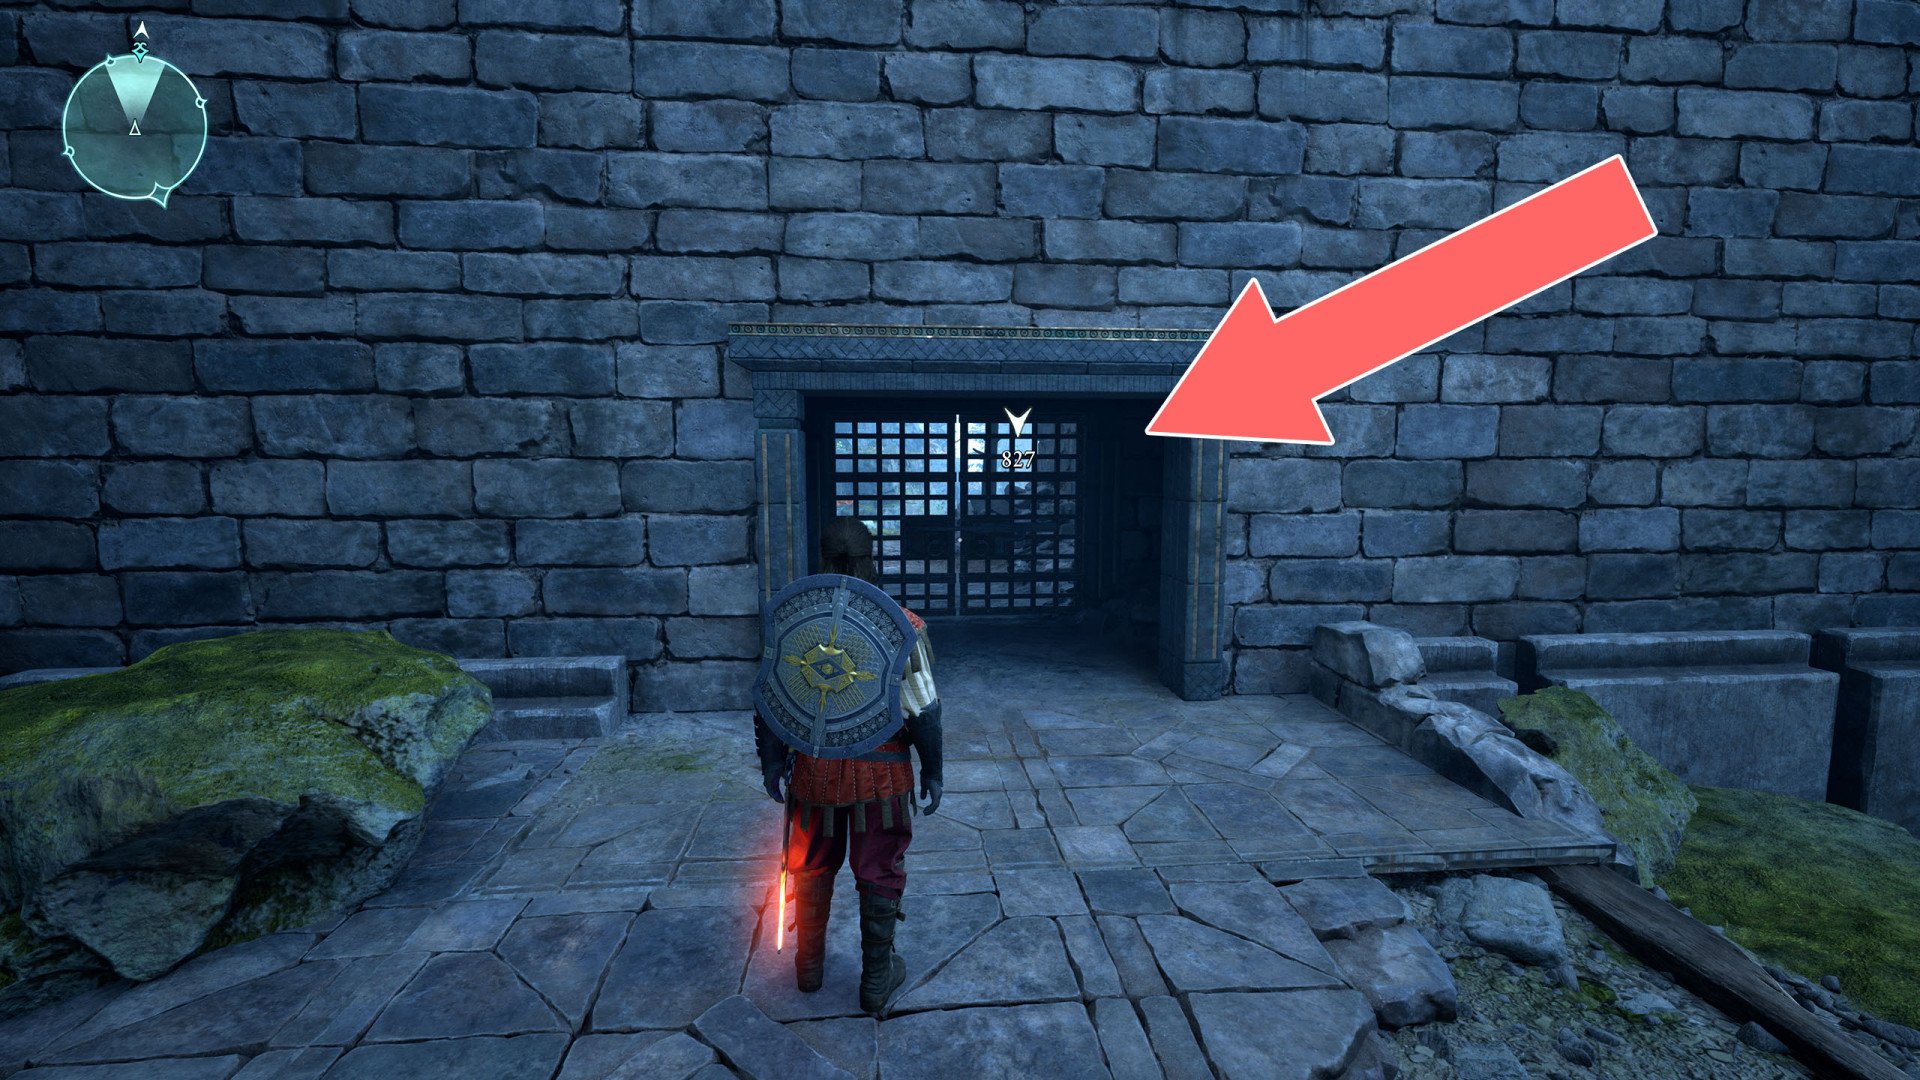
128Locked Gate
The gate can be unlocked from the north side.
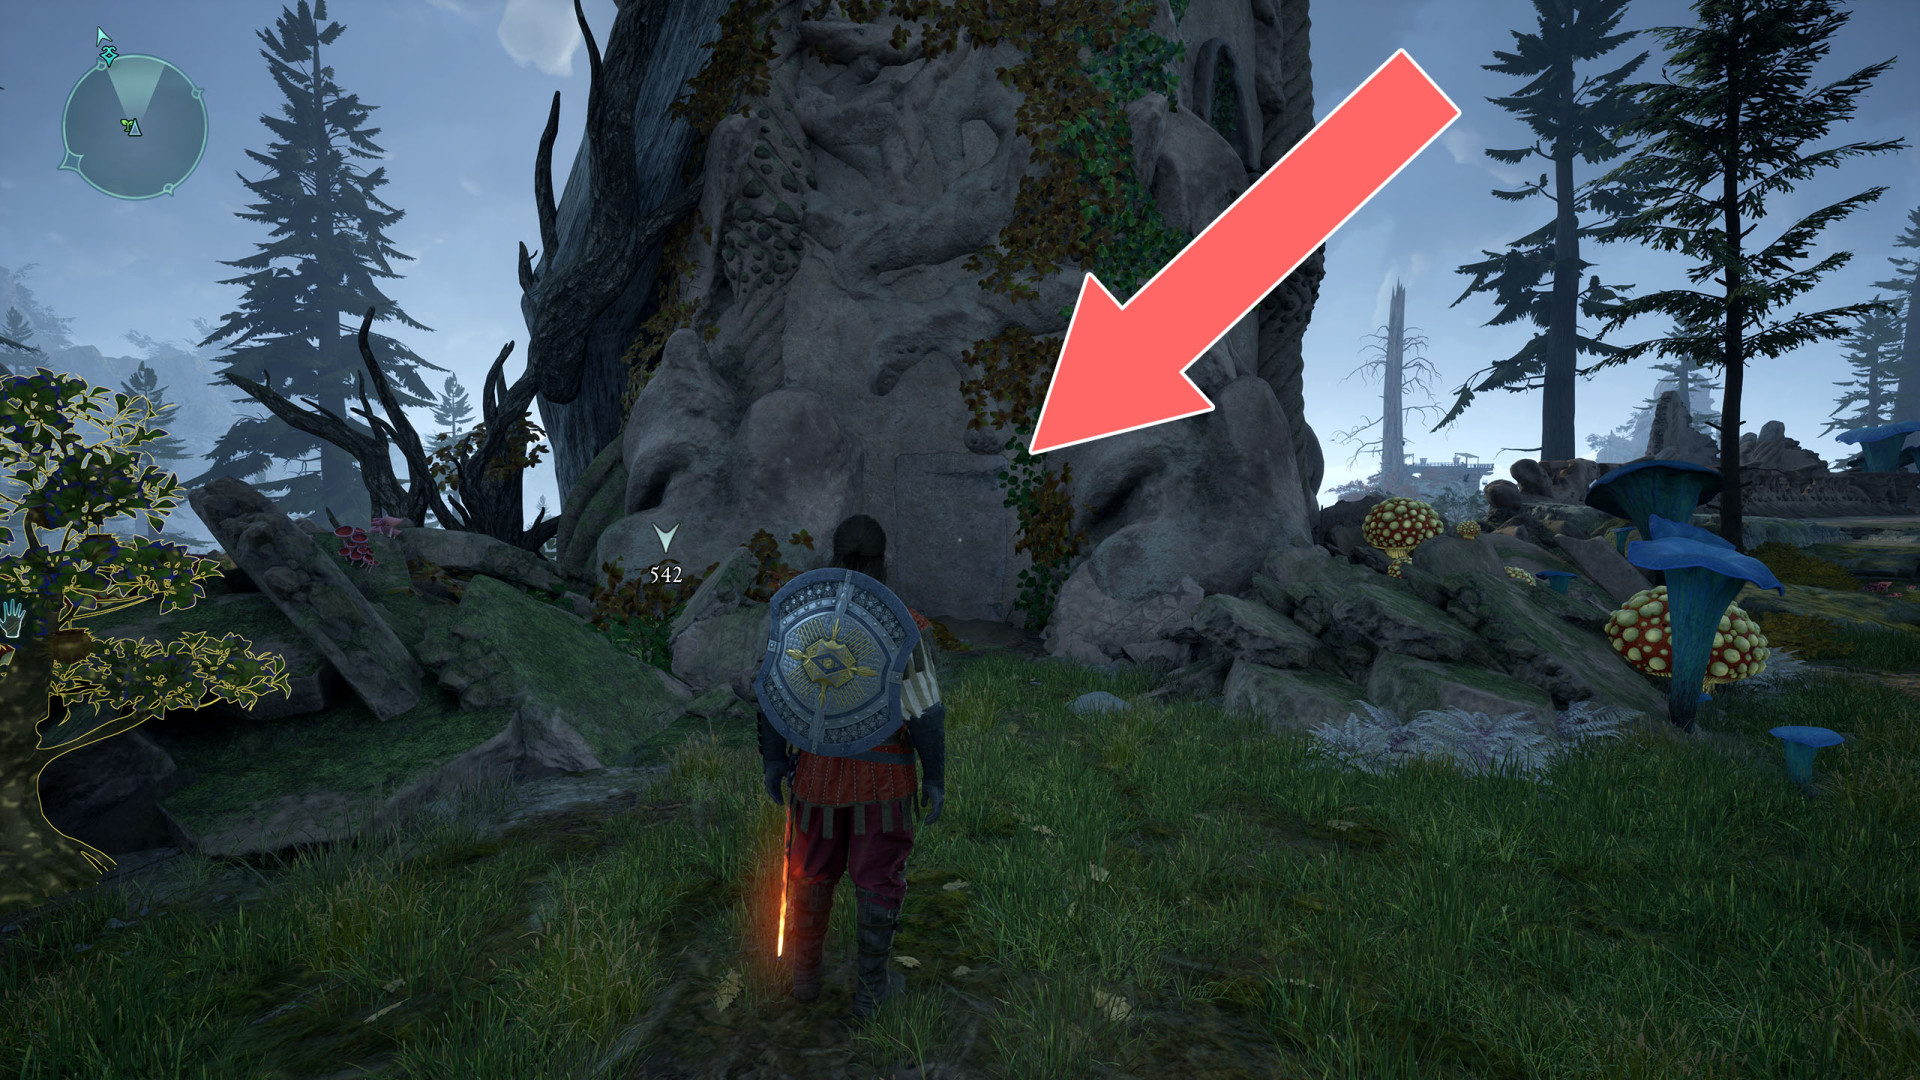
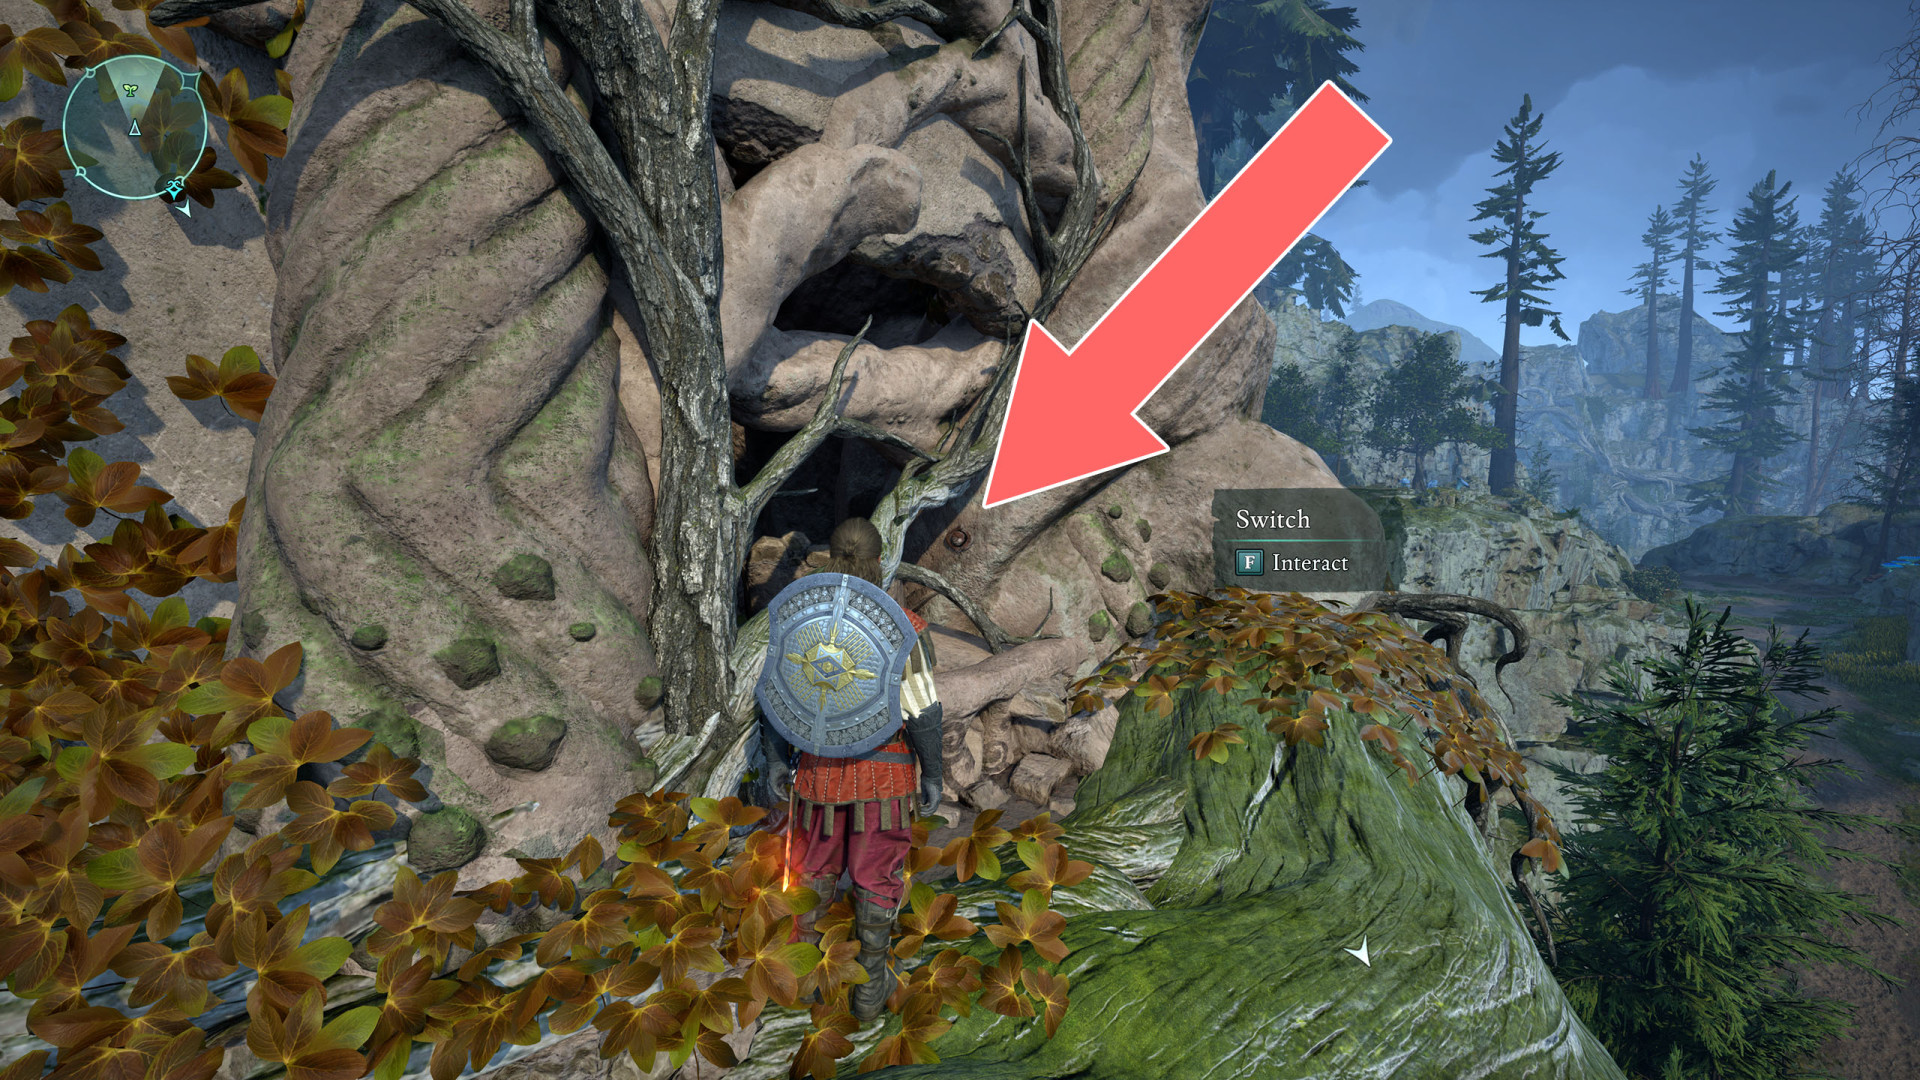
129Secret Door
To open this door press the button hidden on the other side of the structure.
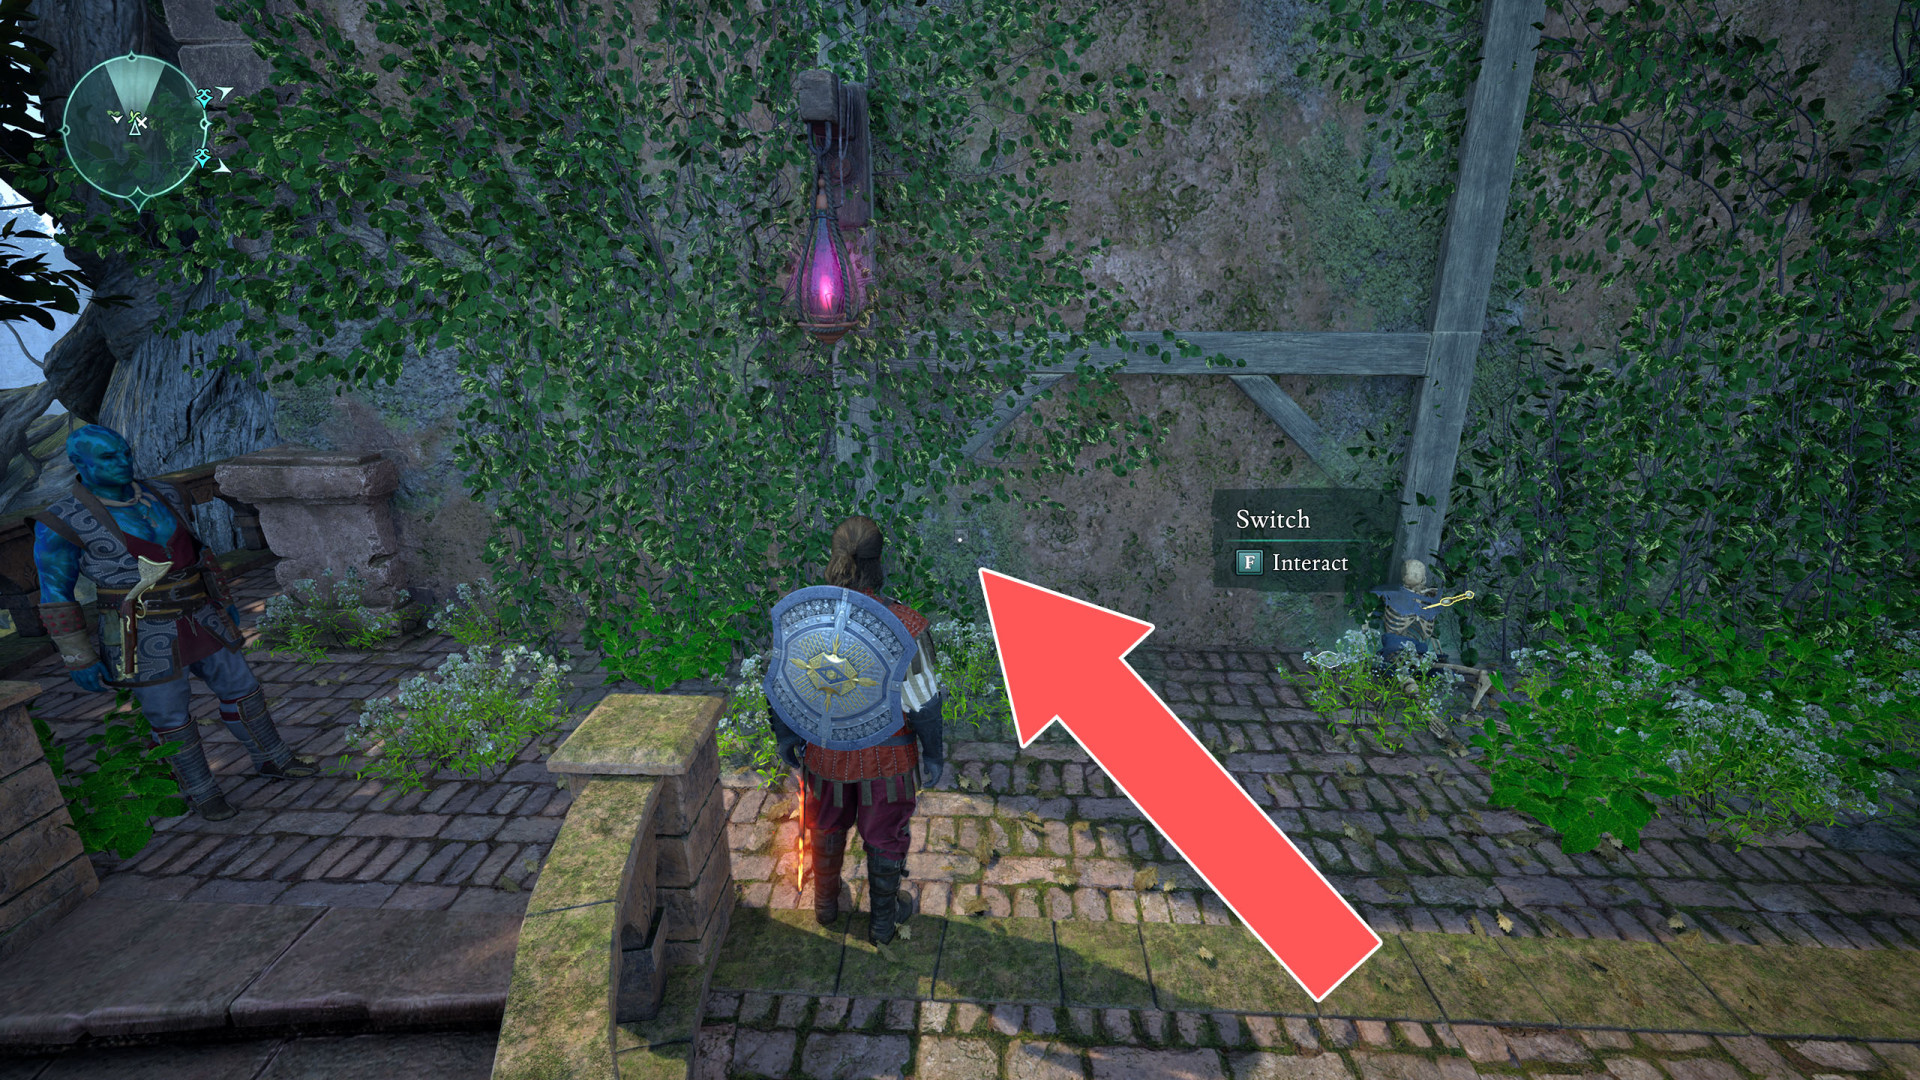
130Secret Door
Press the button on the wall to open the secret passage.
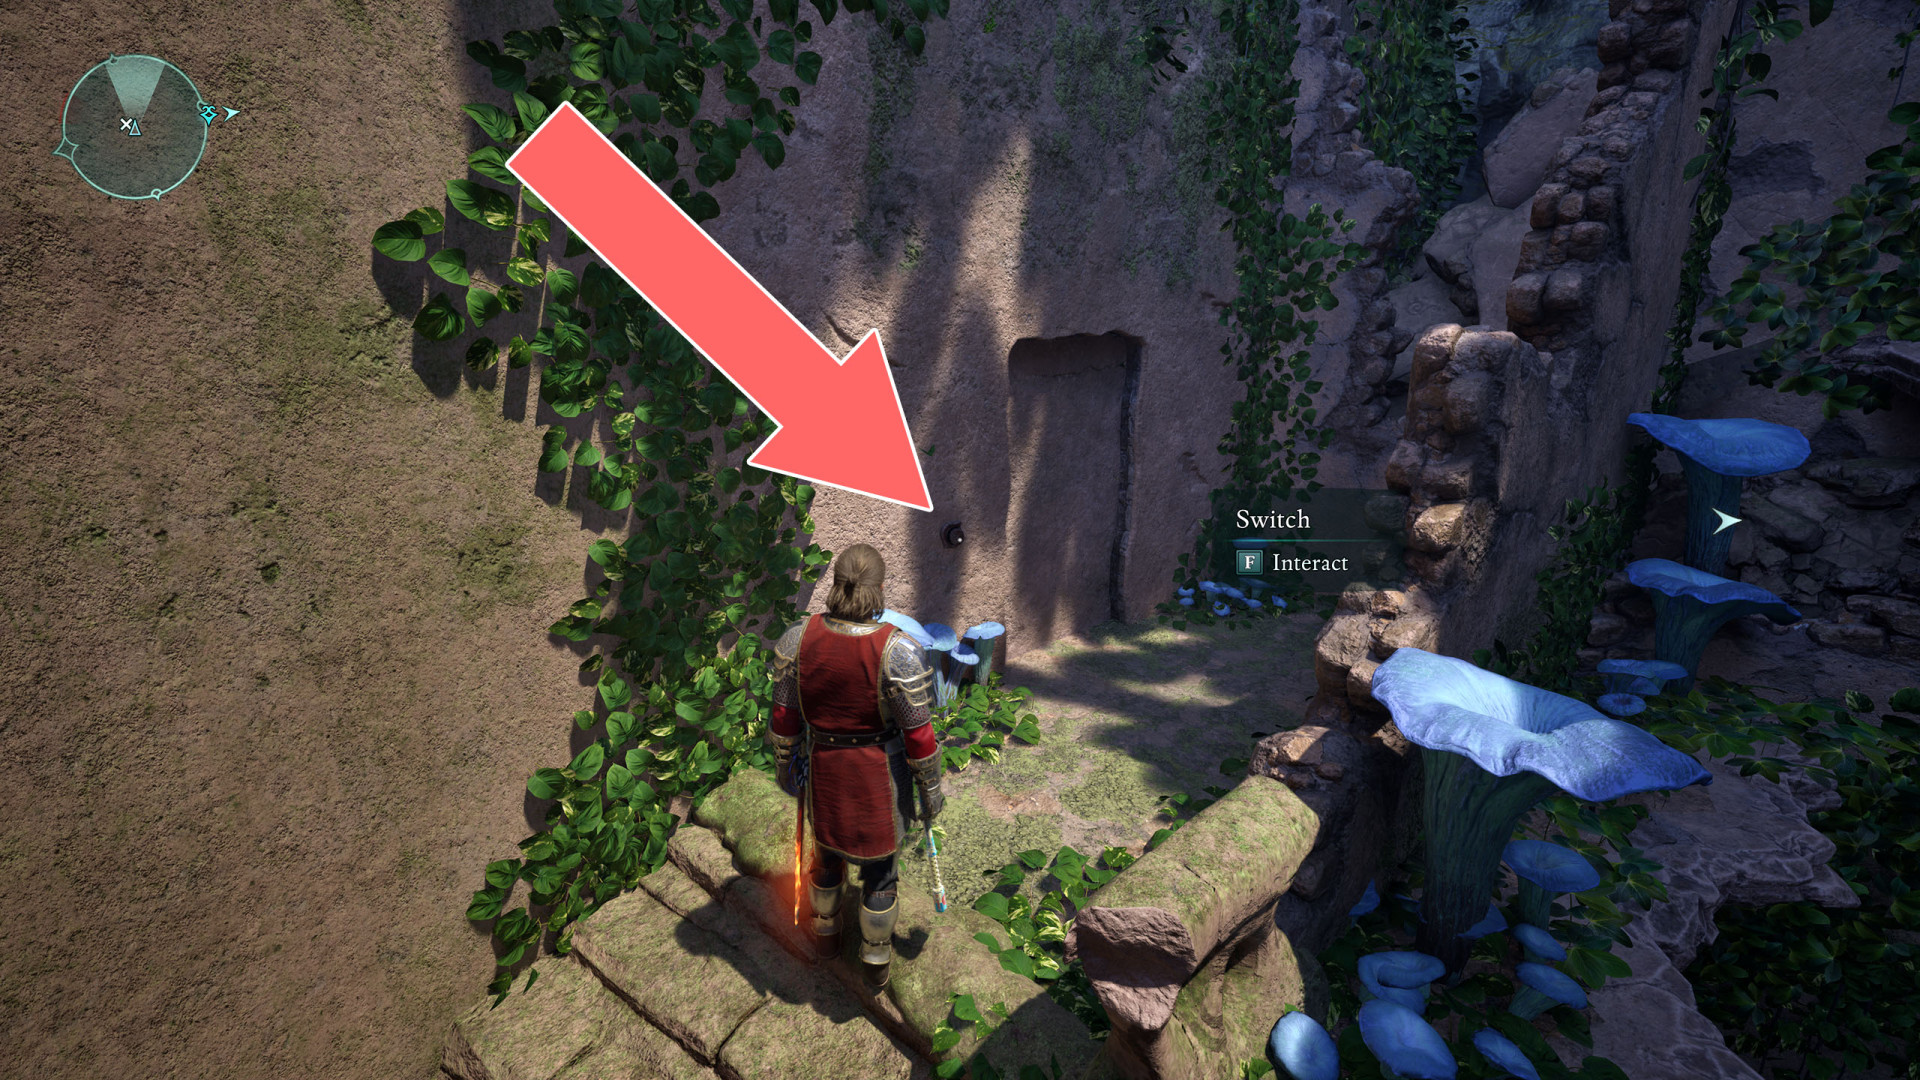
131Secret Door
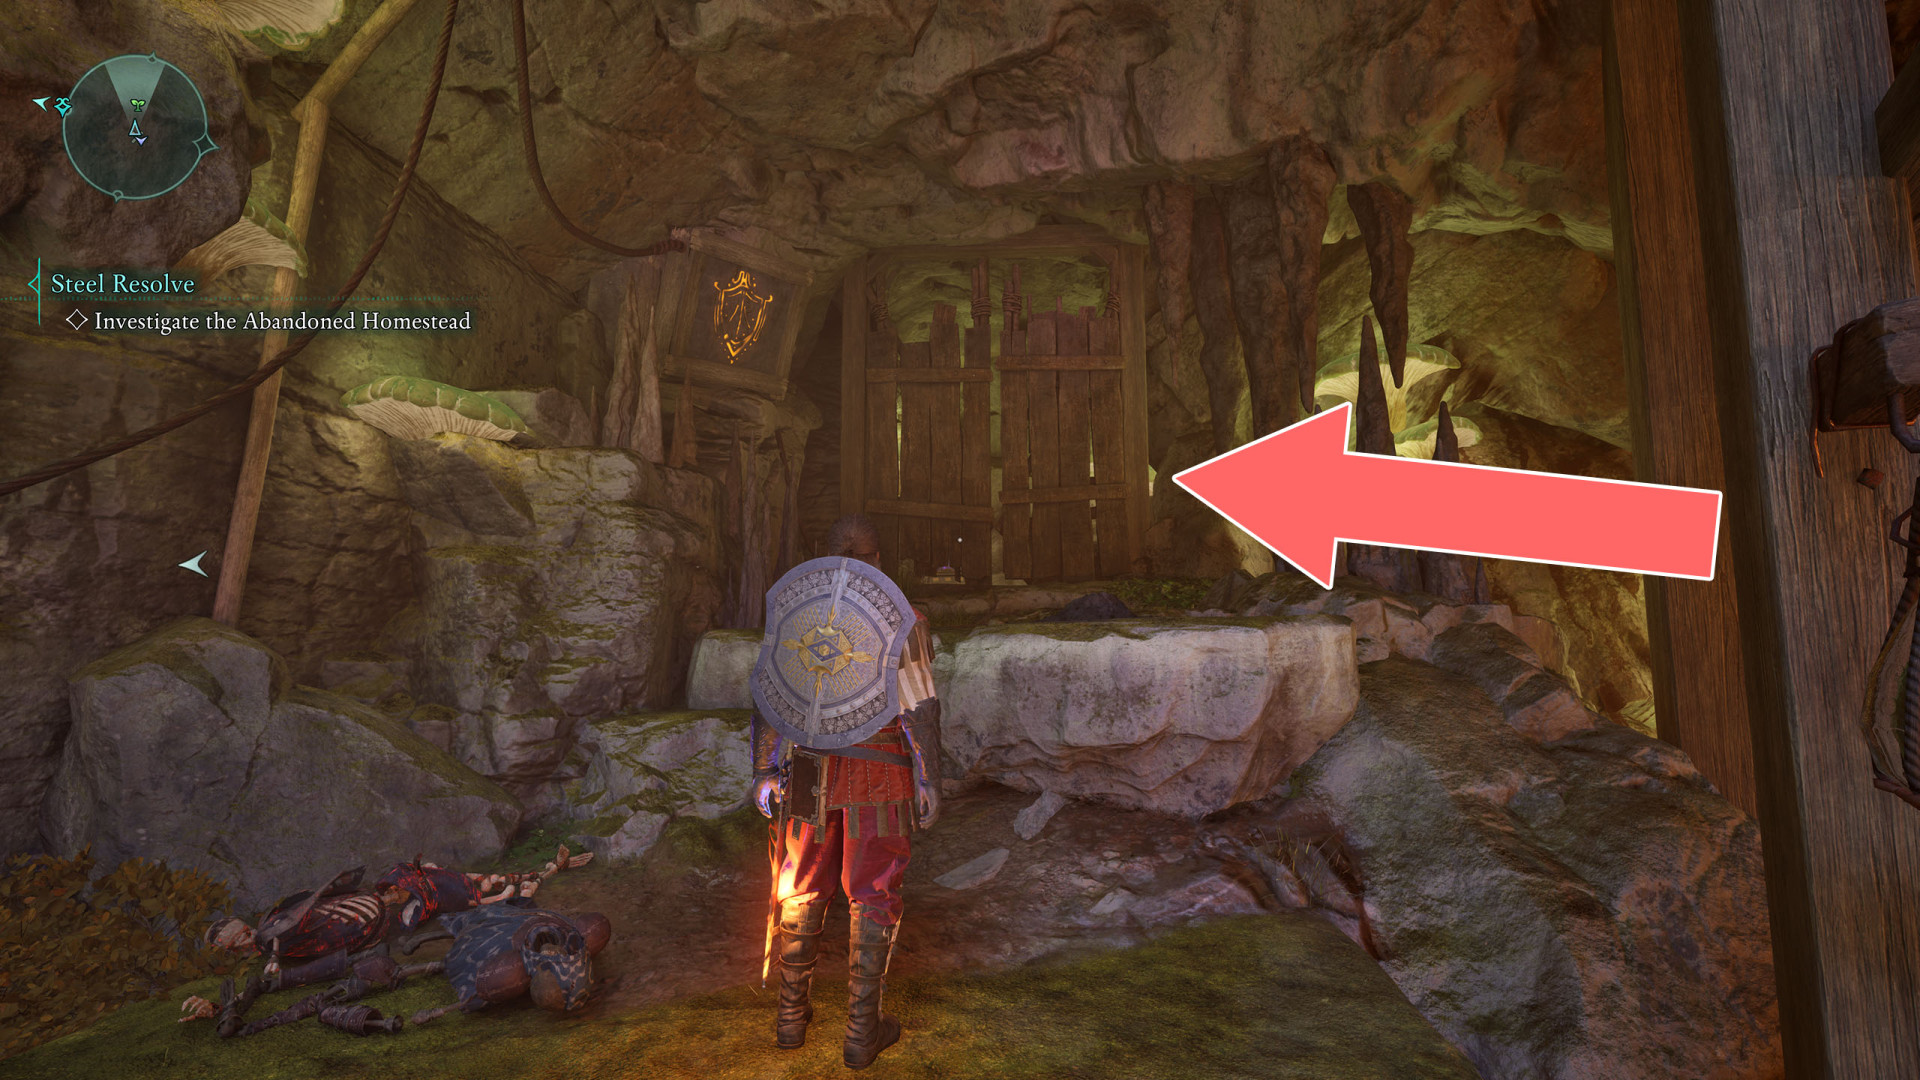
132Shock Door (1)
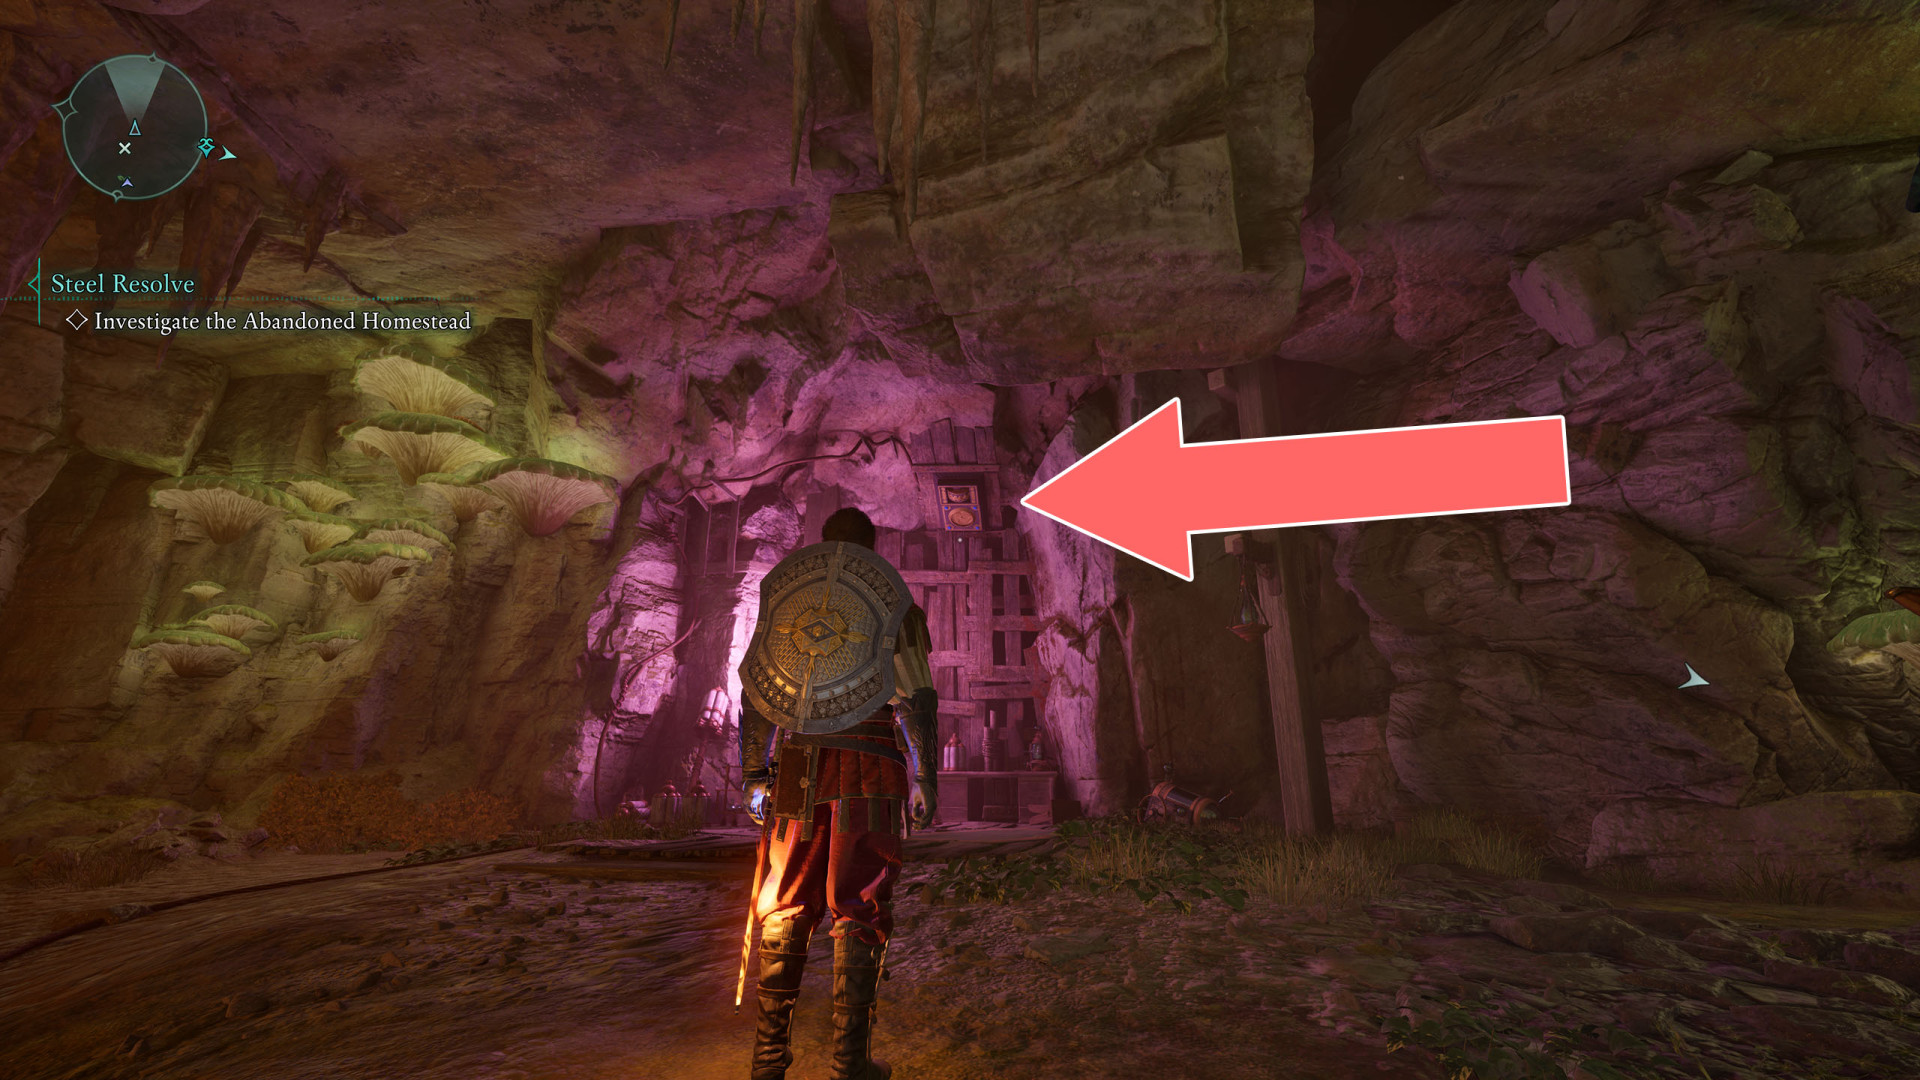
133Shock Door (1)
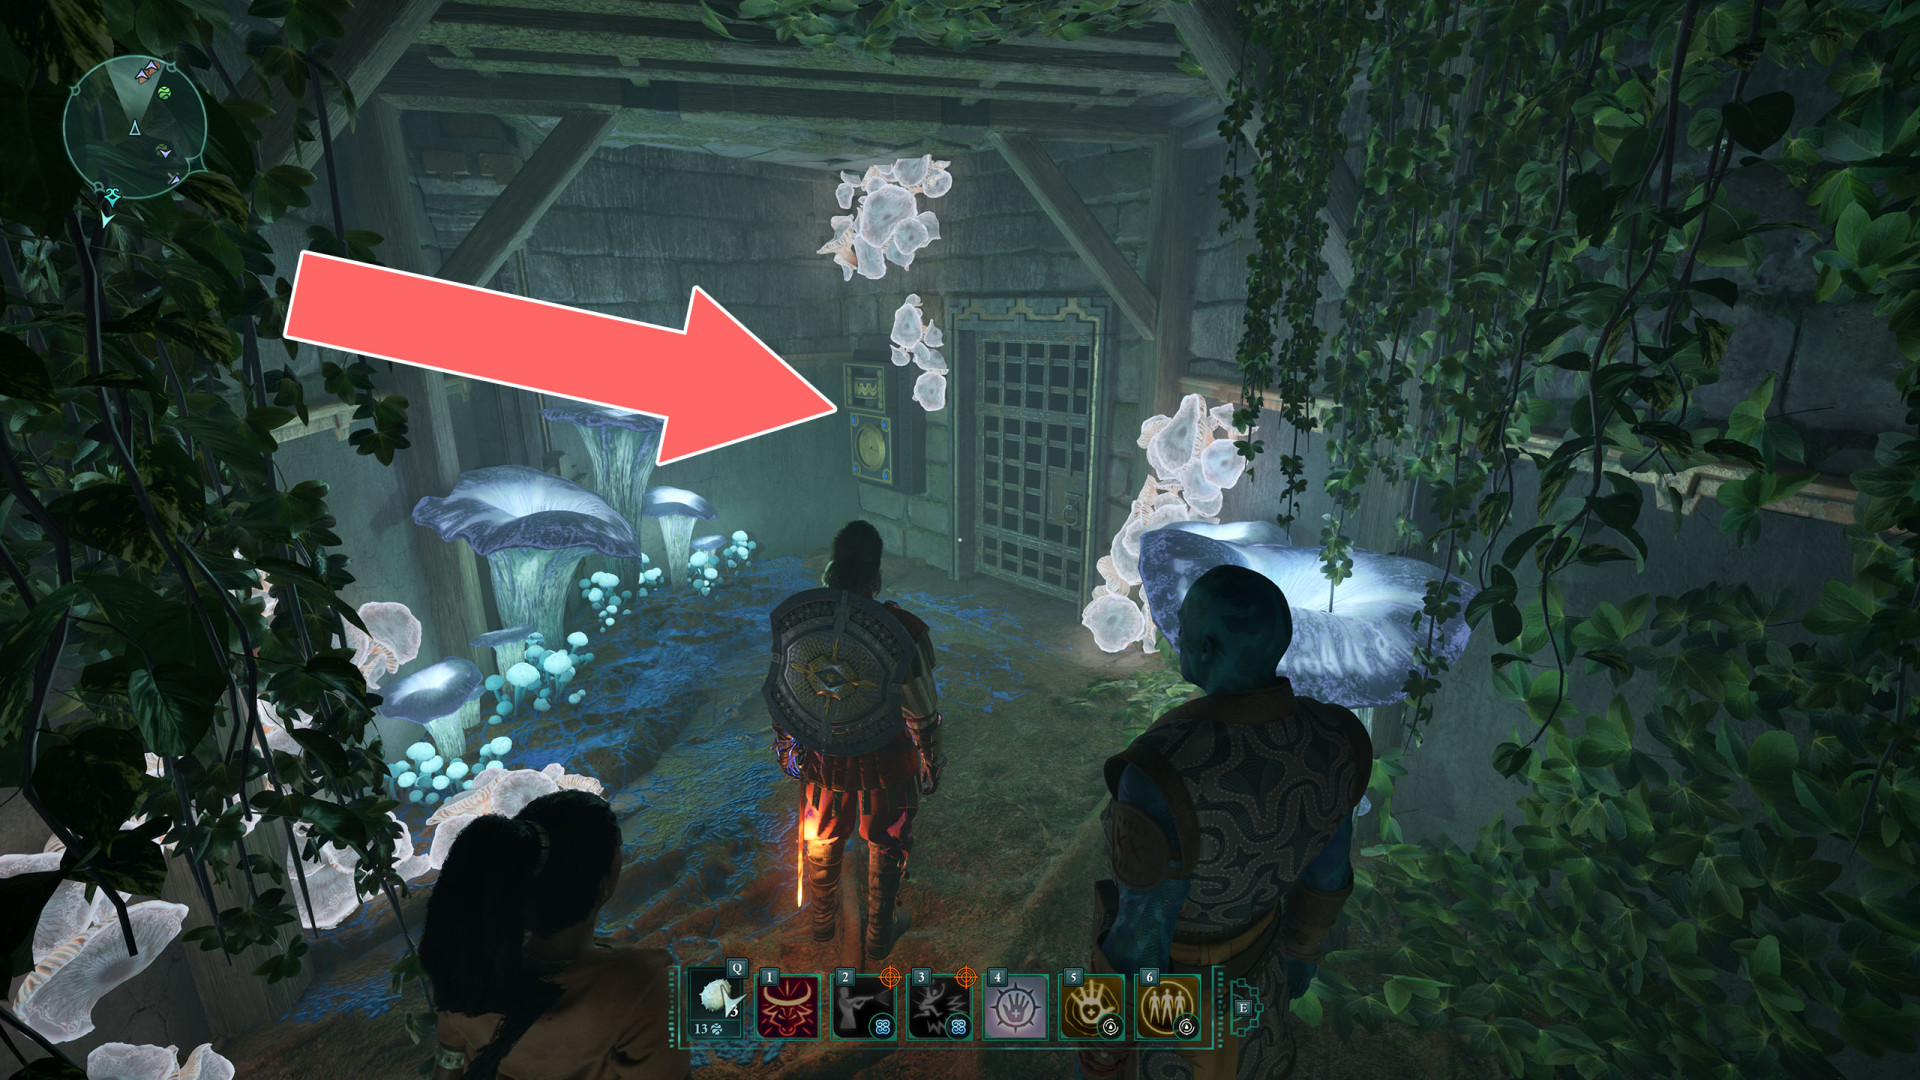
134Shock Door (1)
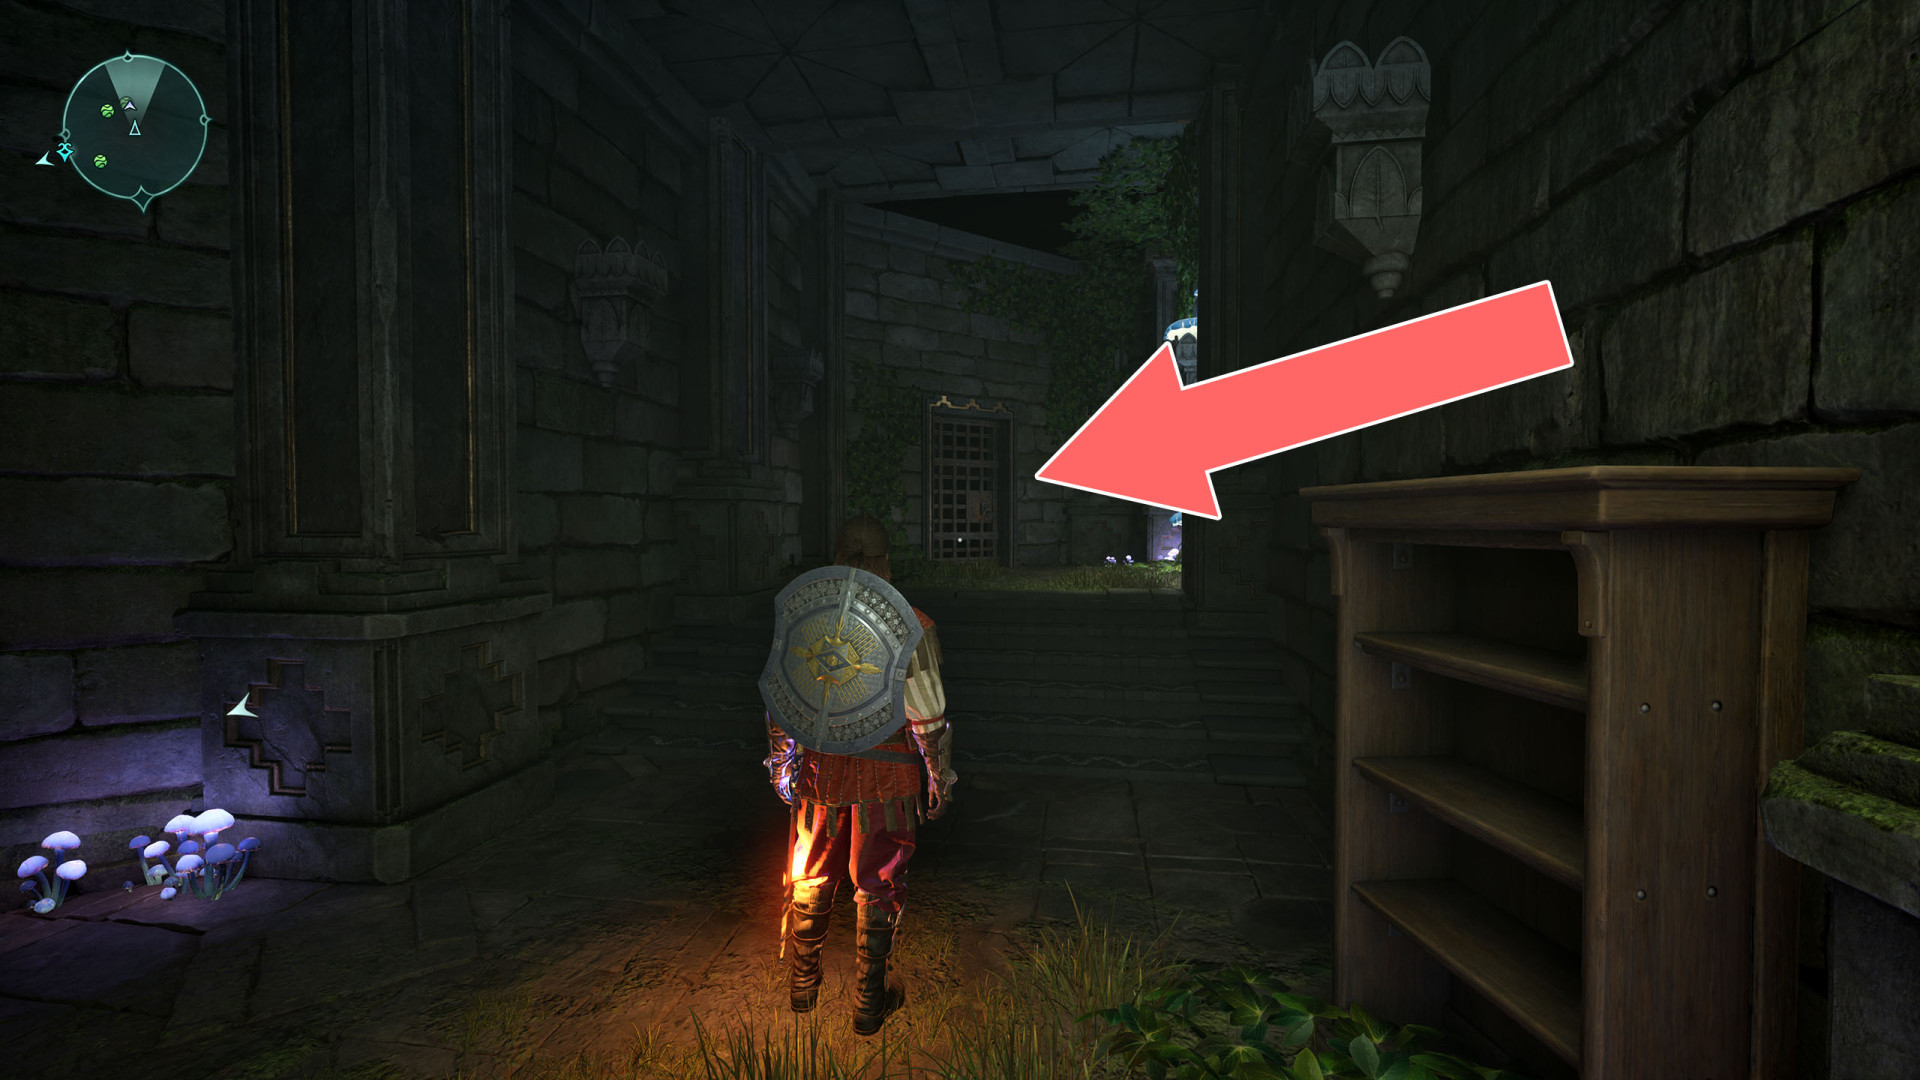
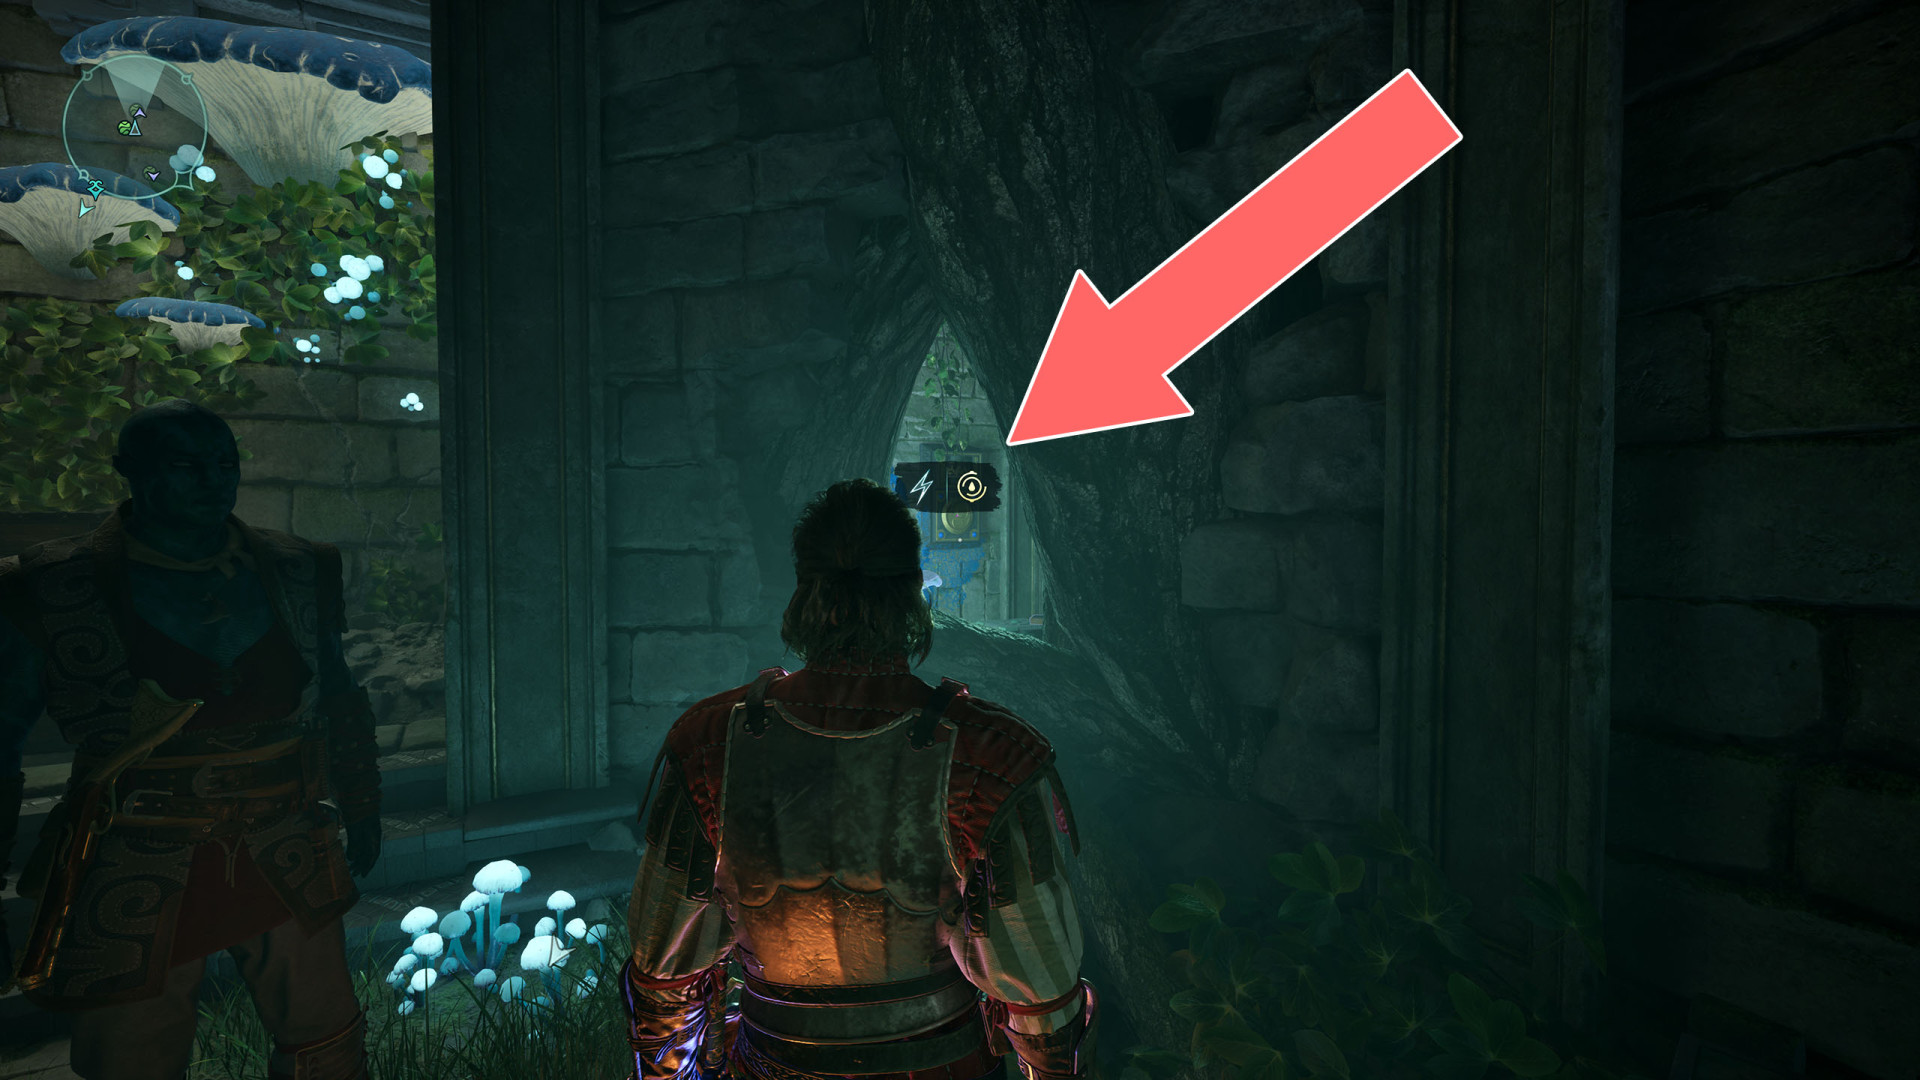
To open the gate, charge the generator visible through the hole in the wall in the room with the "Maxims of the Pargrunen III" book.
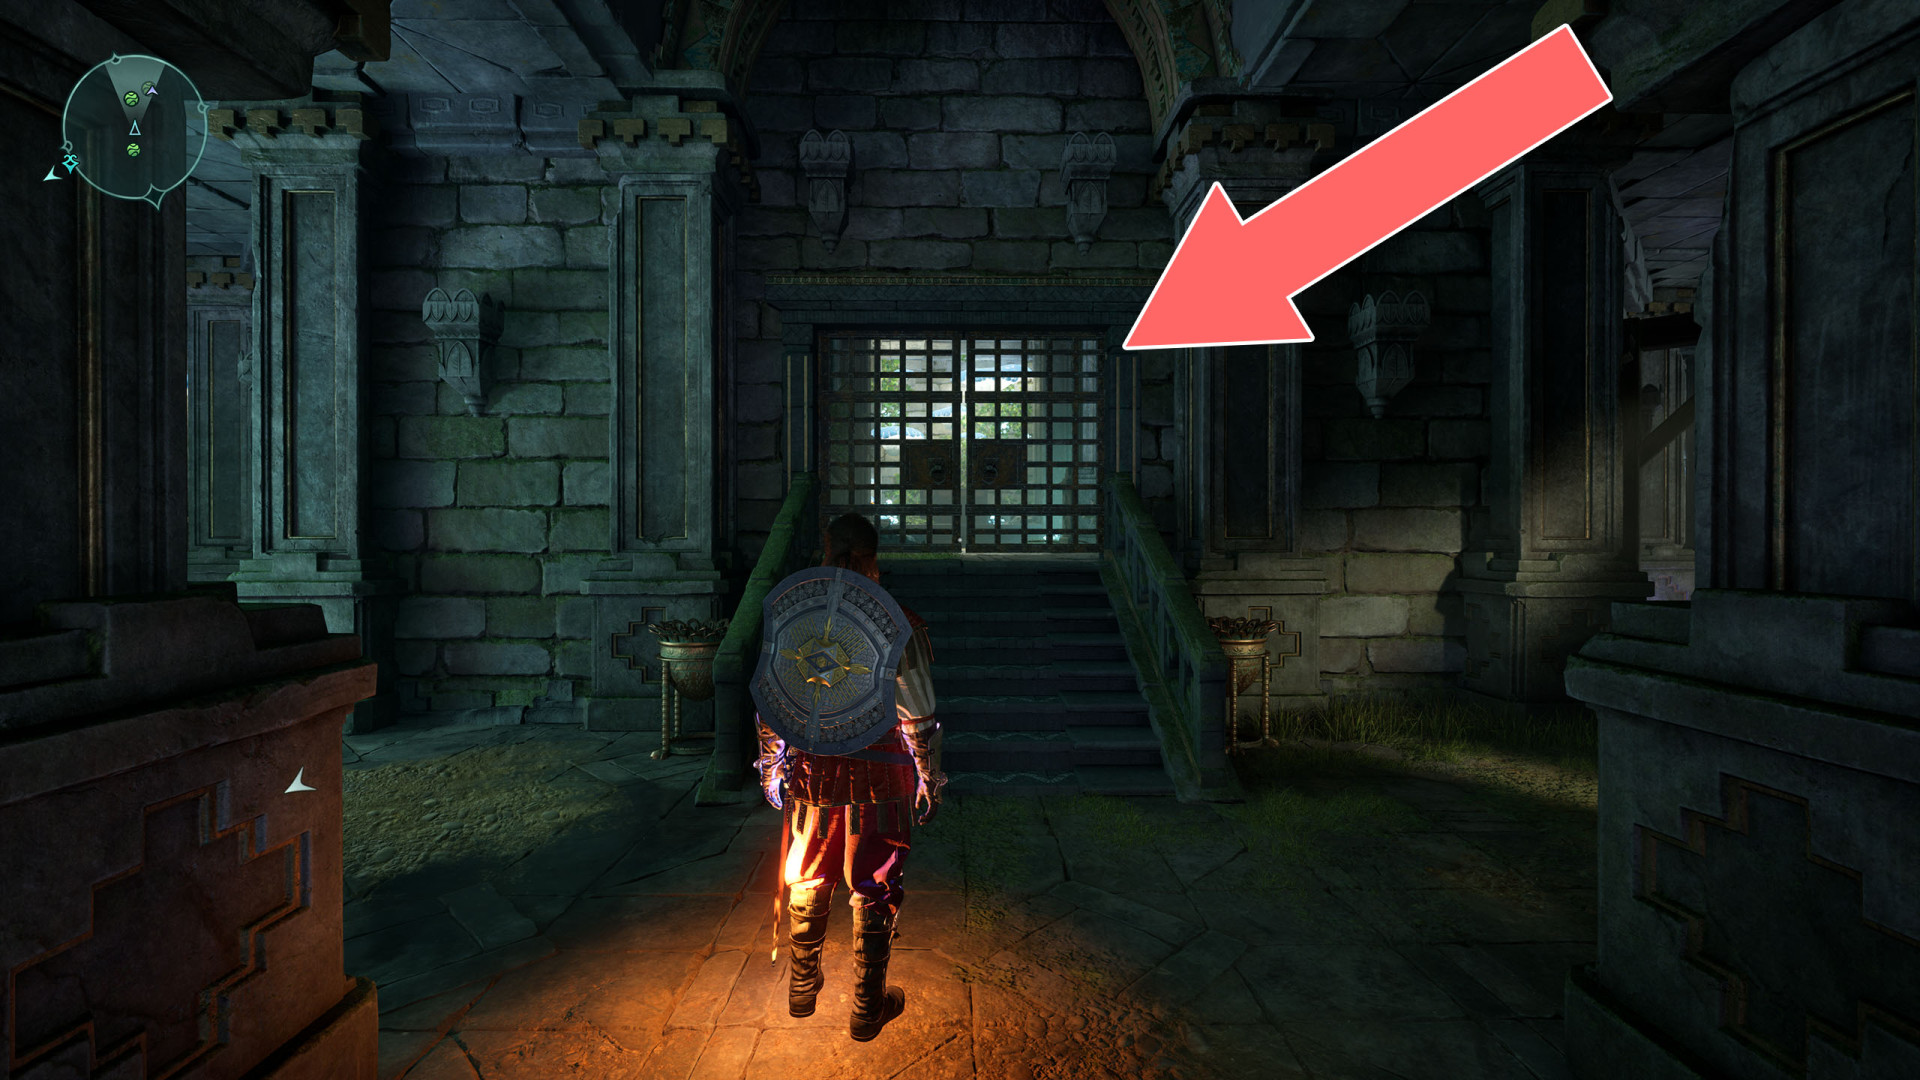
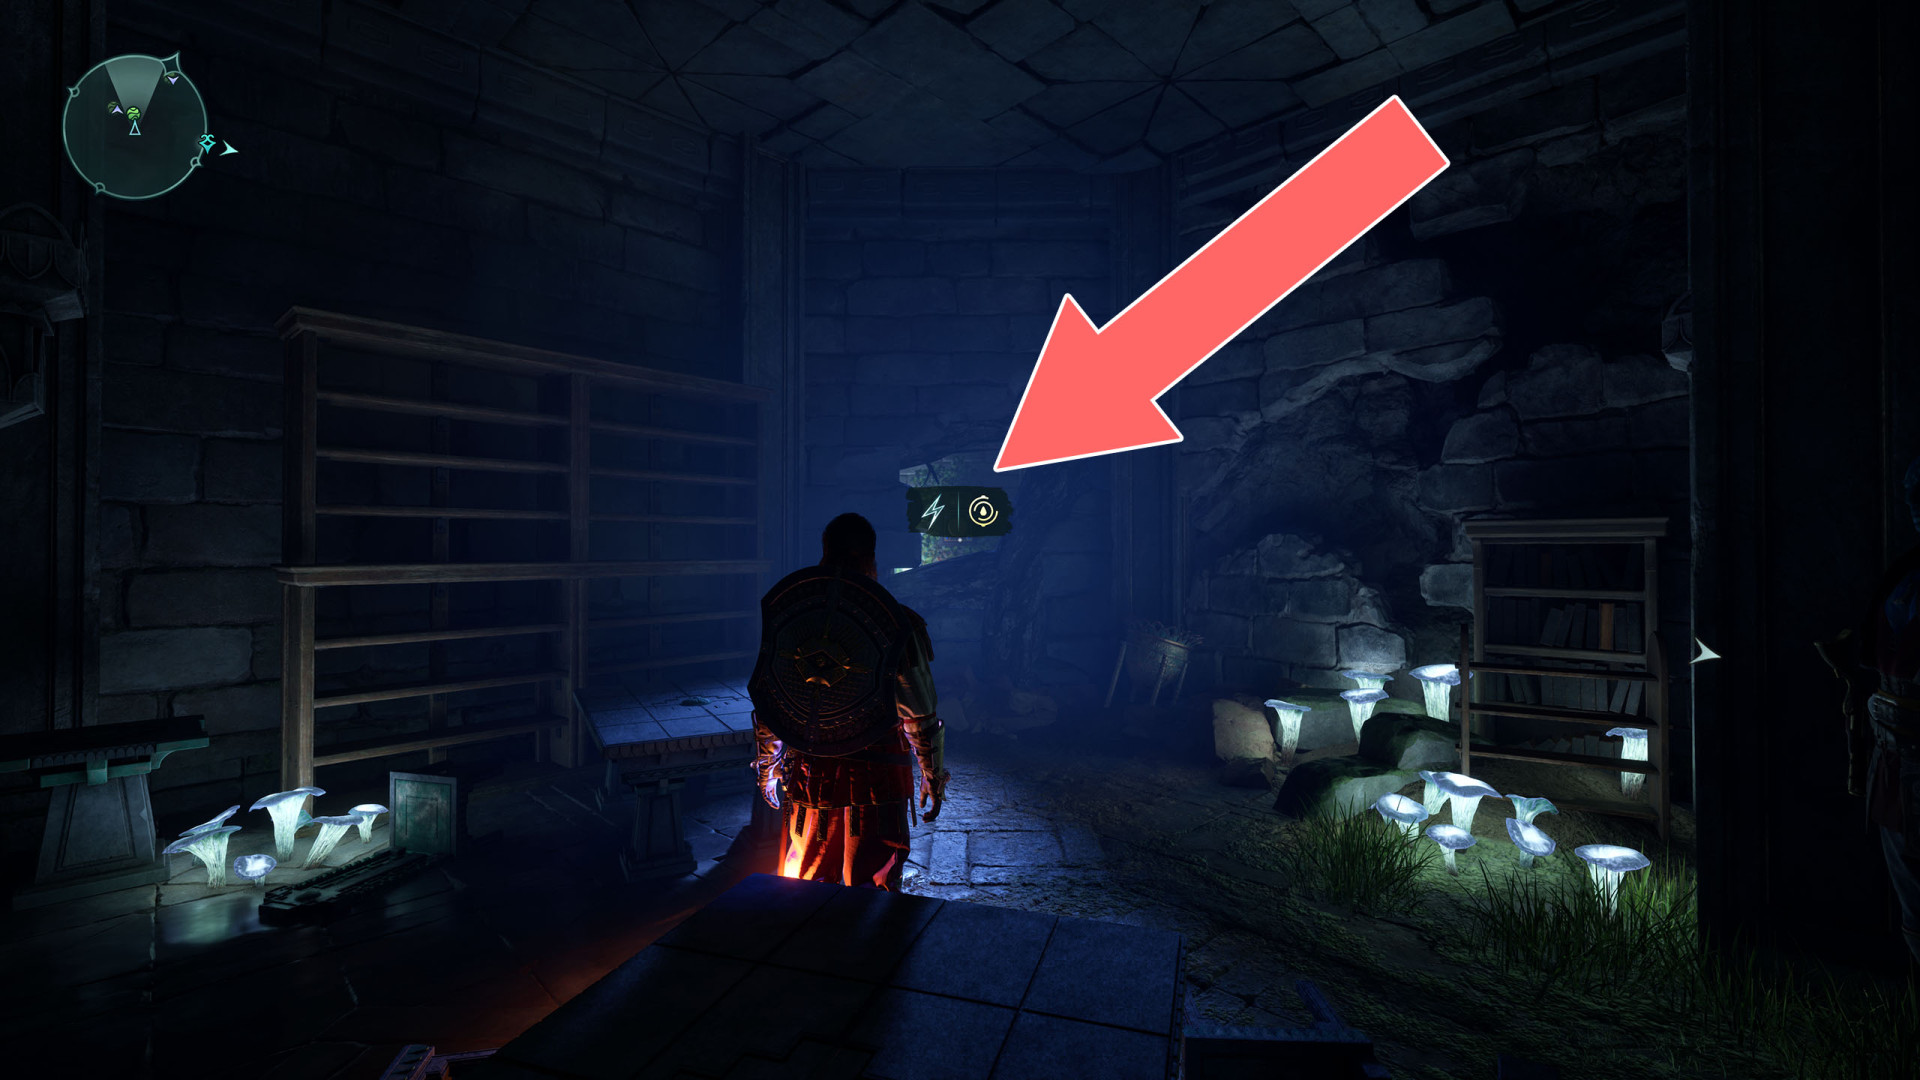
135Shock Door (1)
To open this door, charge the generator visible through the hole in the wall in the room with the "Od Caura's Grimoire" chest.
136Shock Door (1)
137Shock Door (1)
138Shock Door (1)
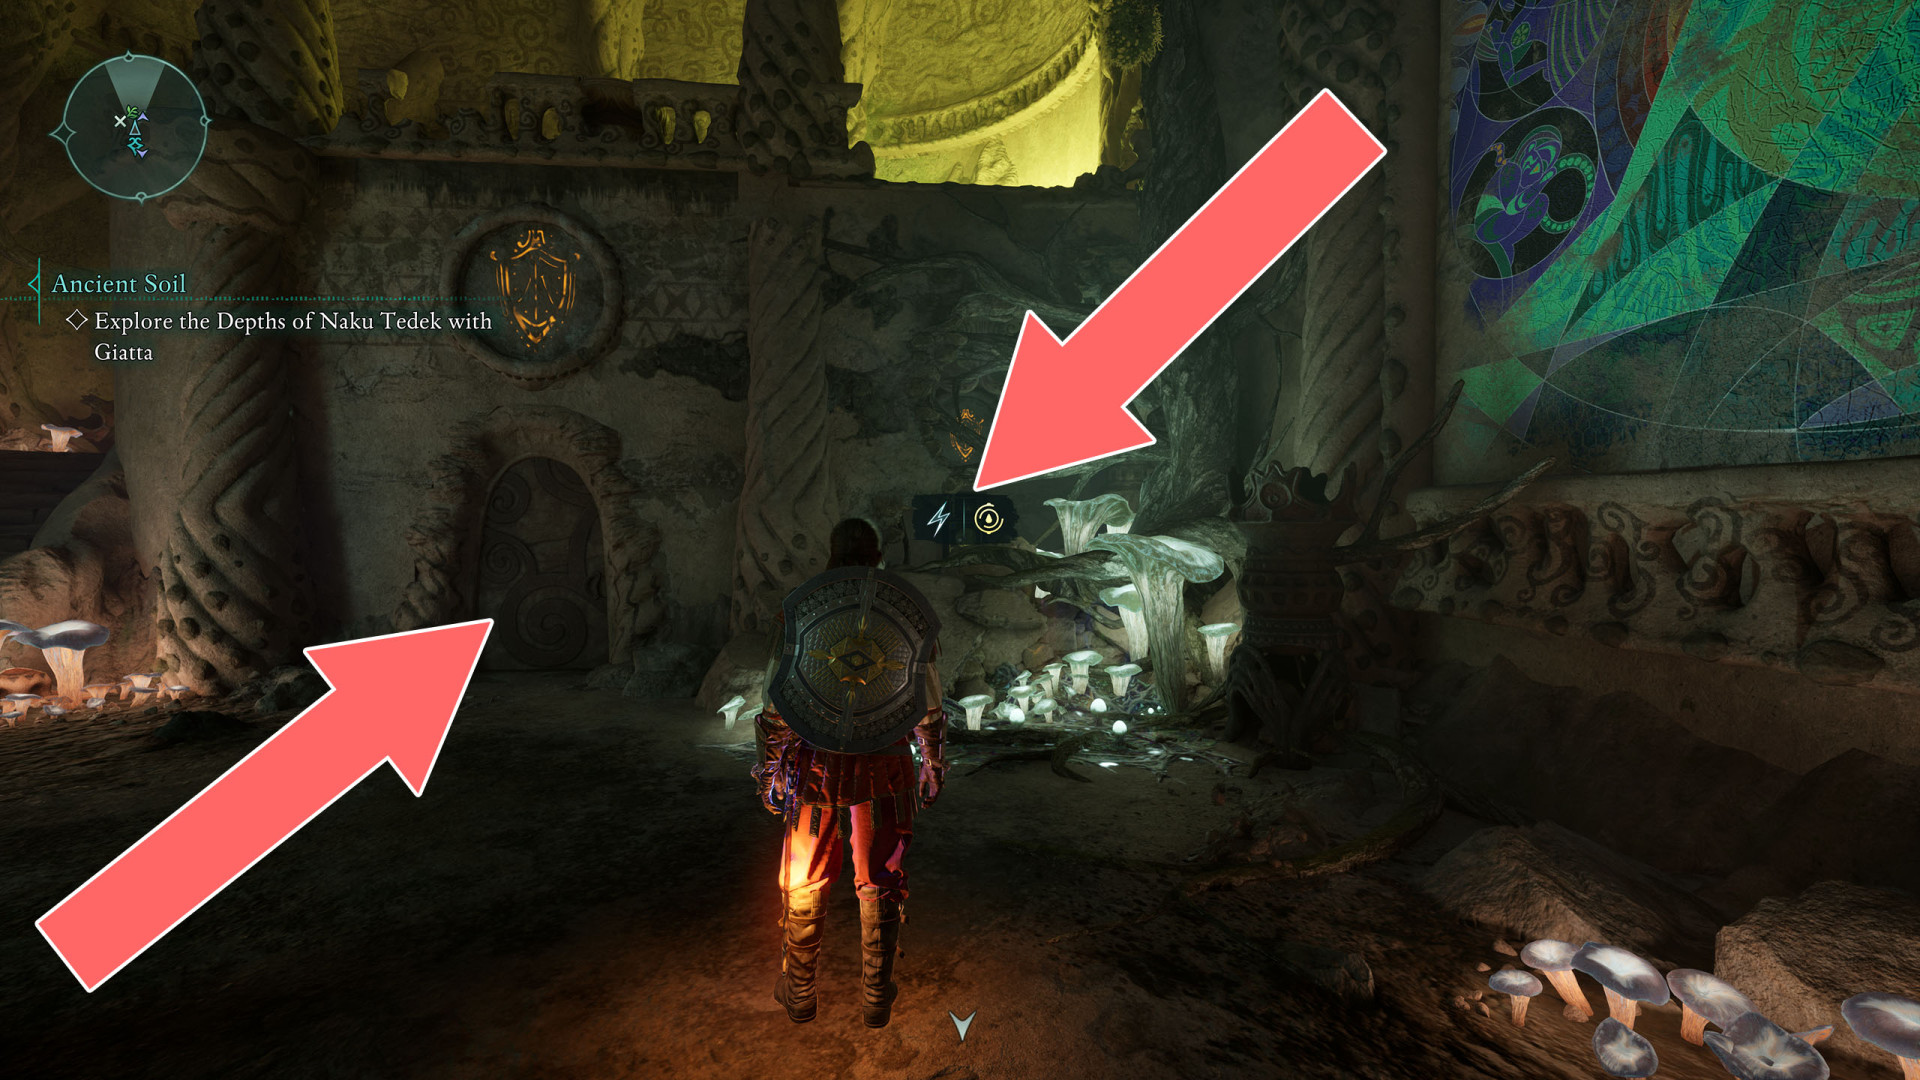
139Shock Door (3)
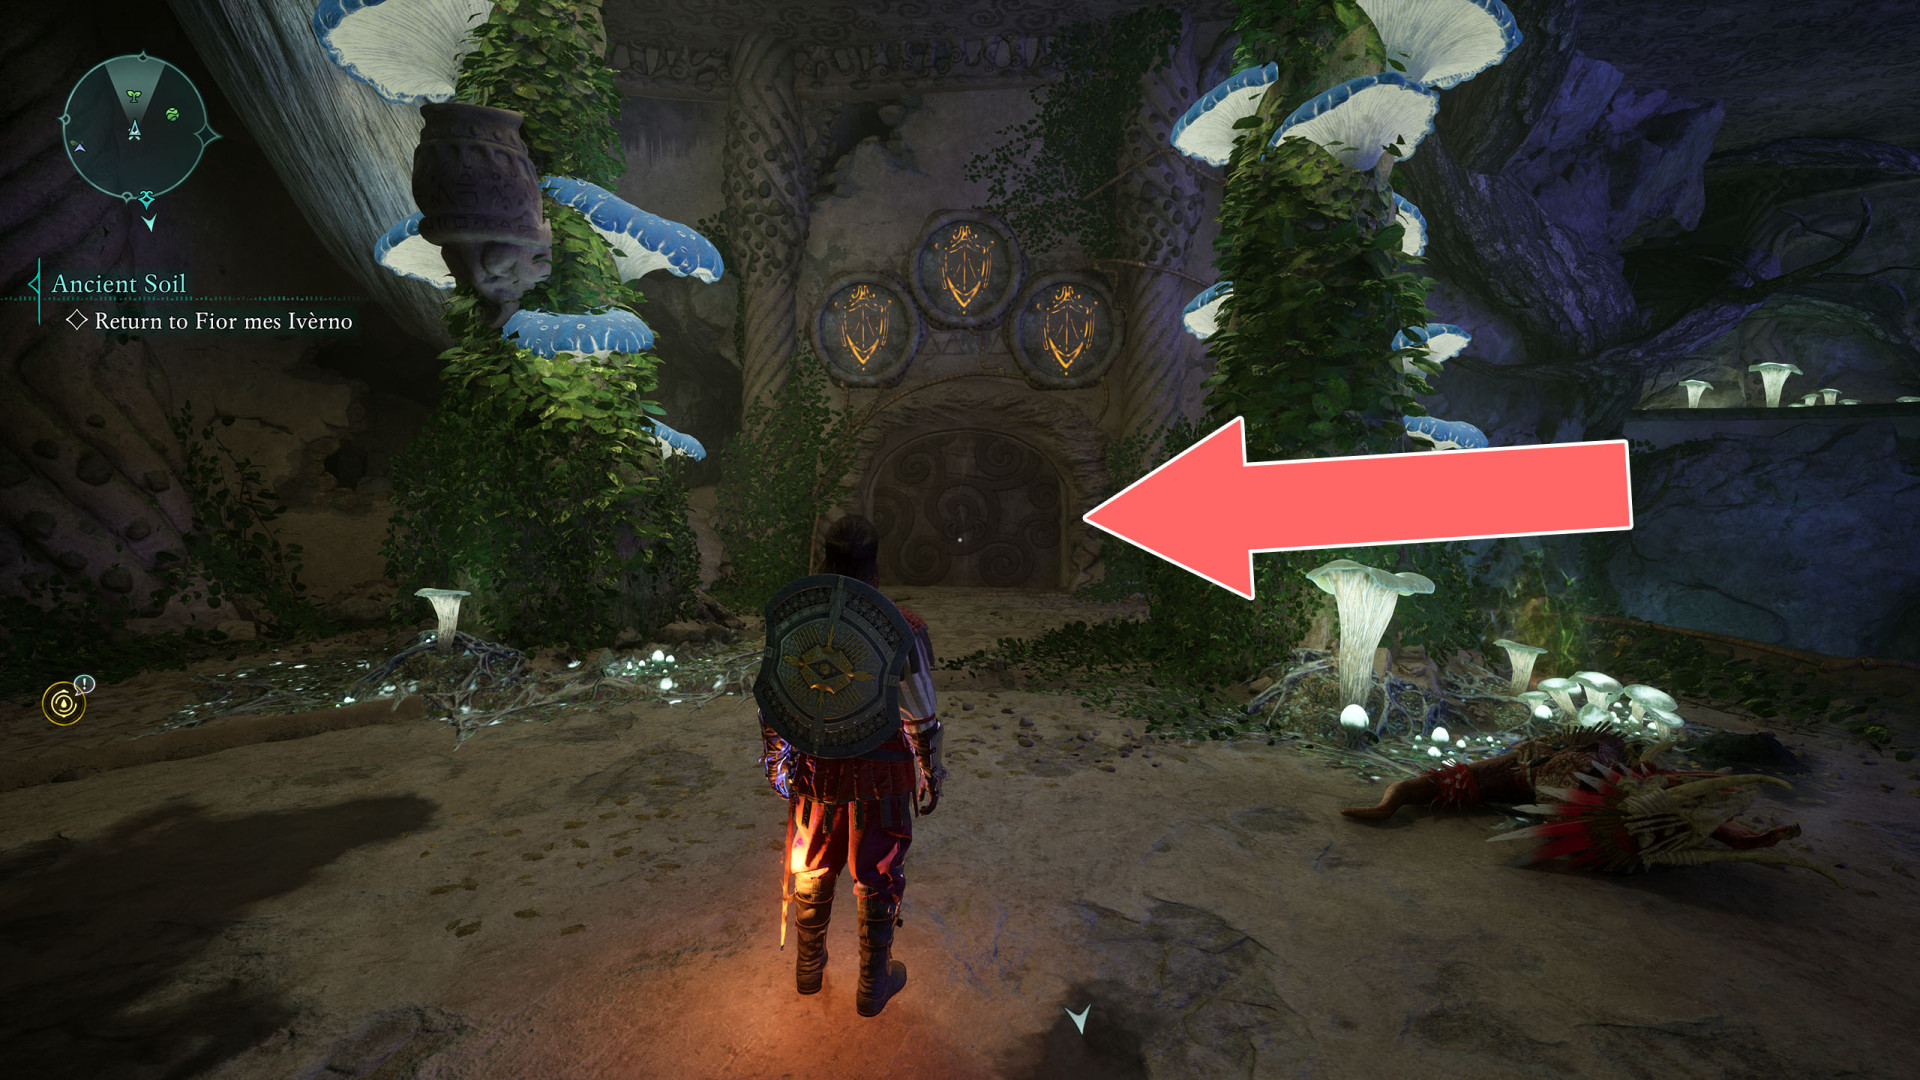
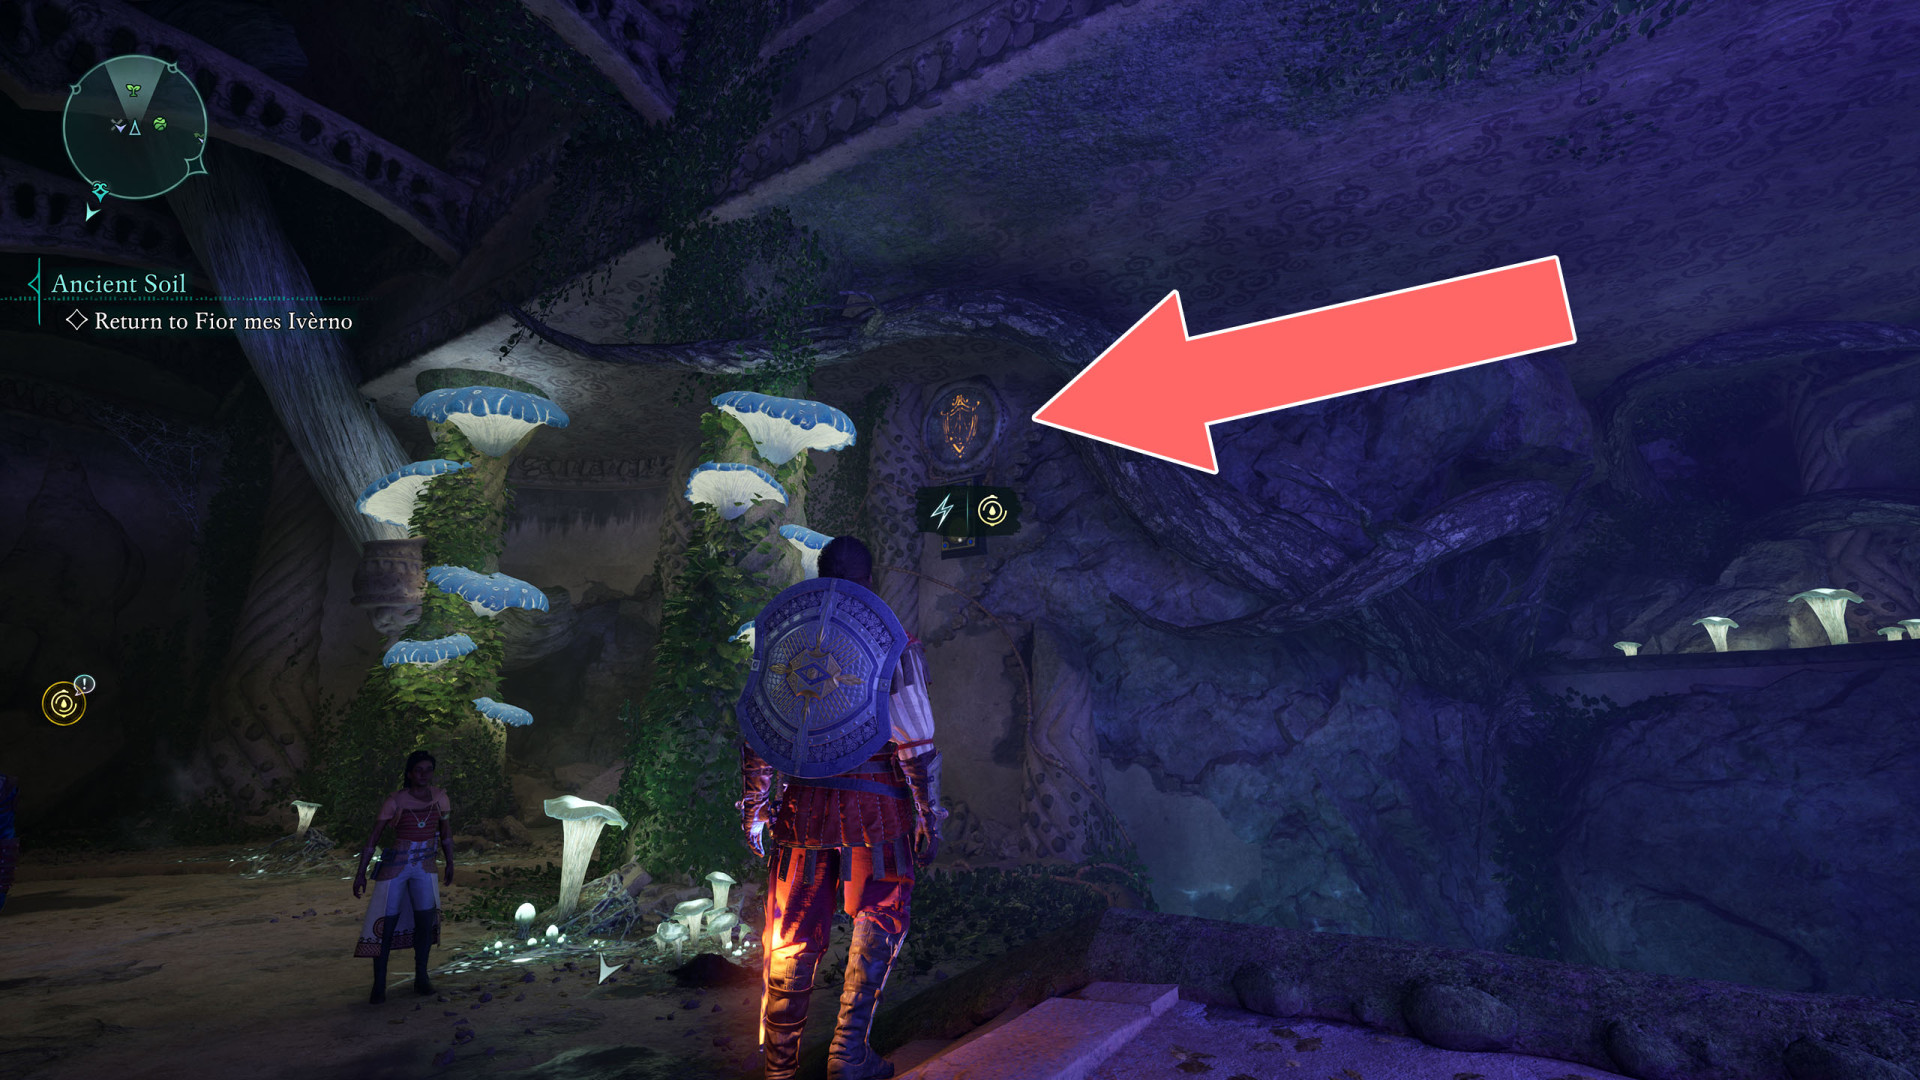
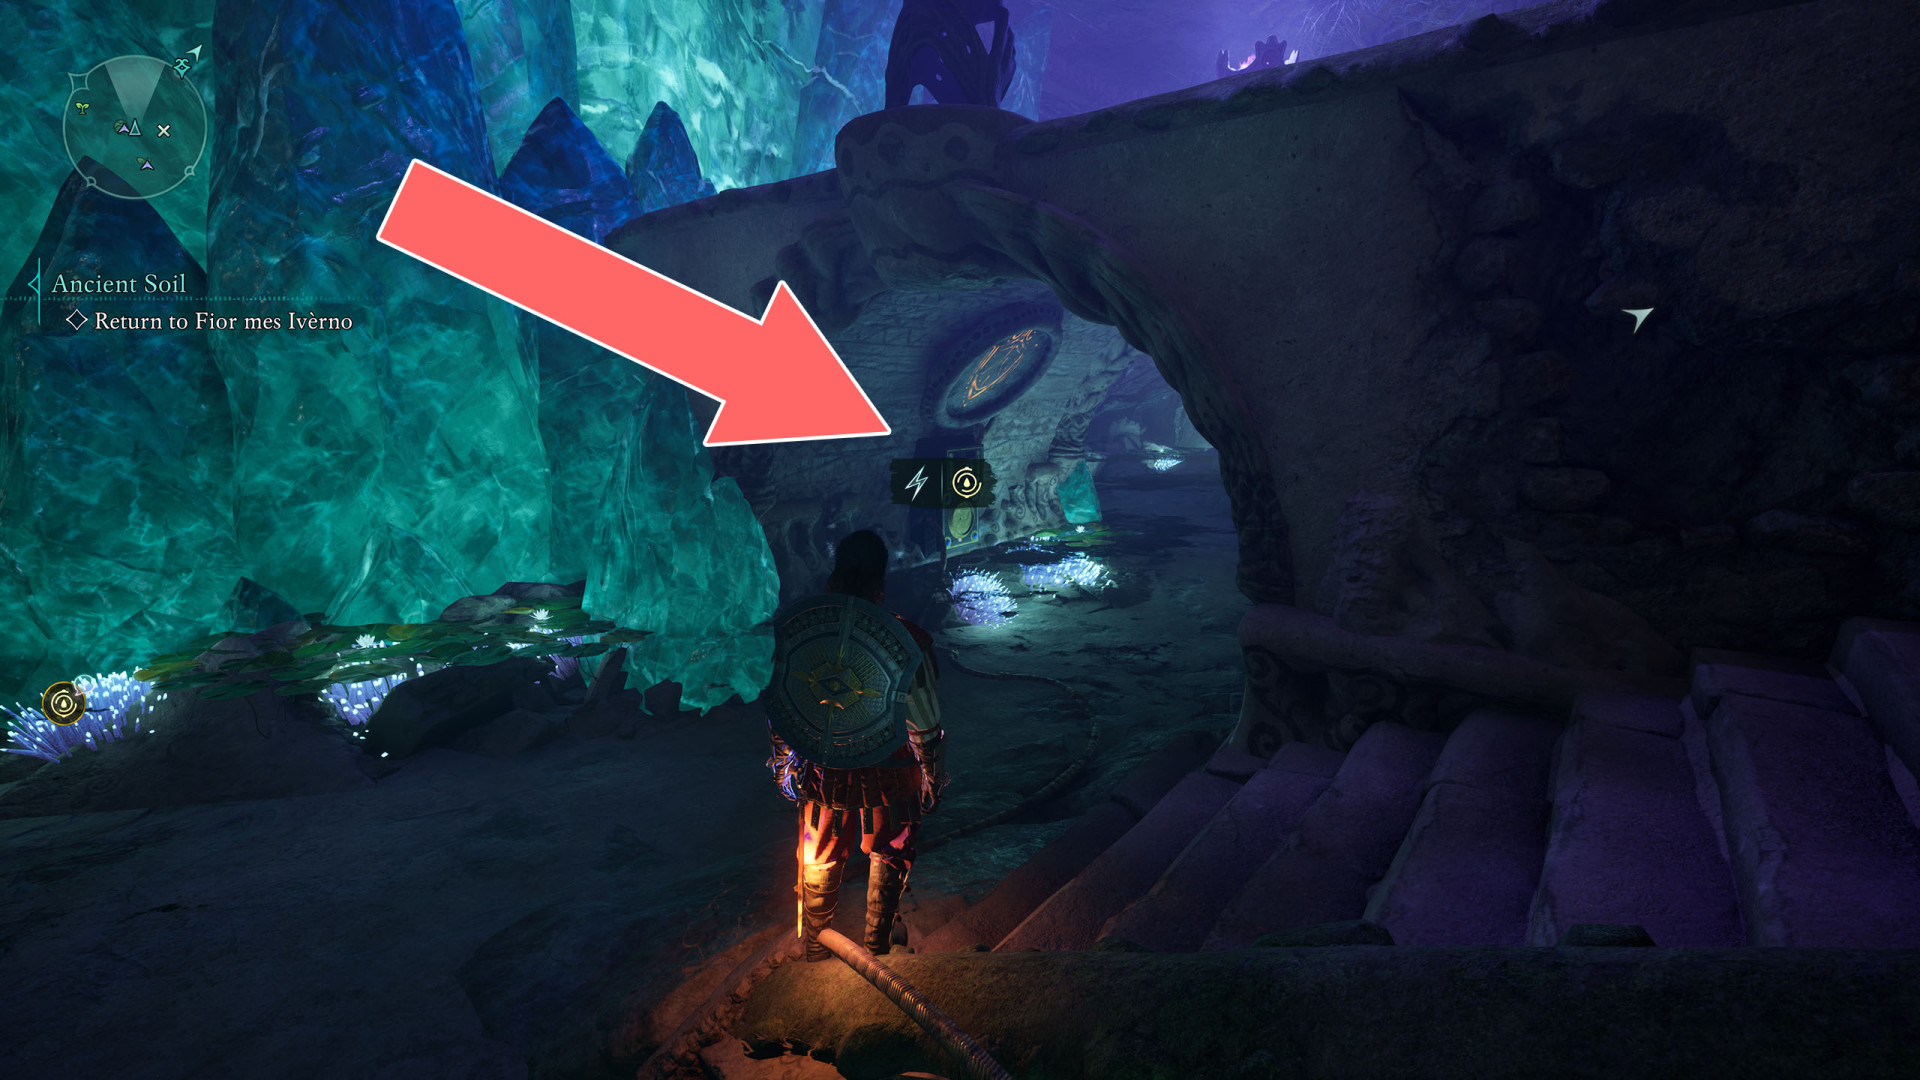
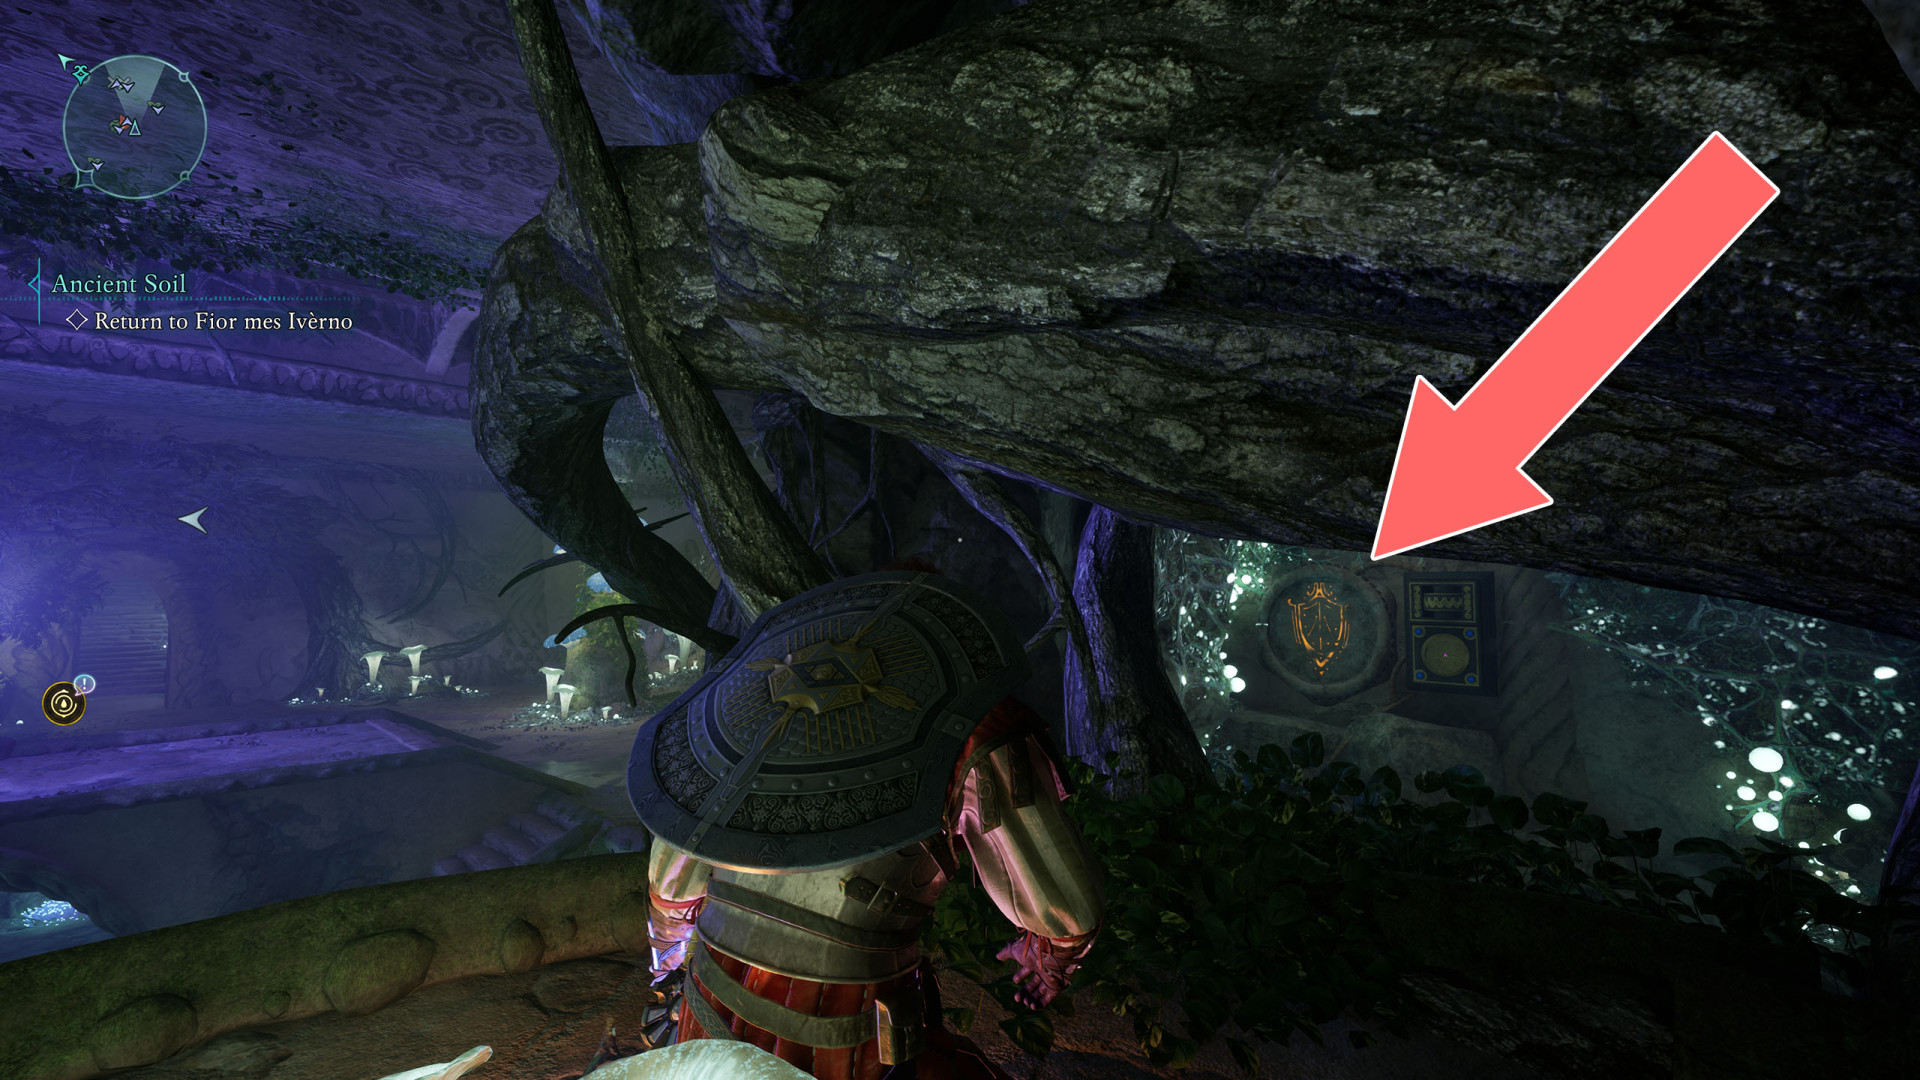
140Weak Wall
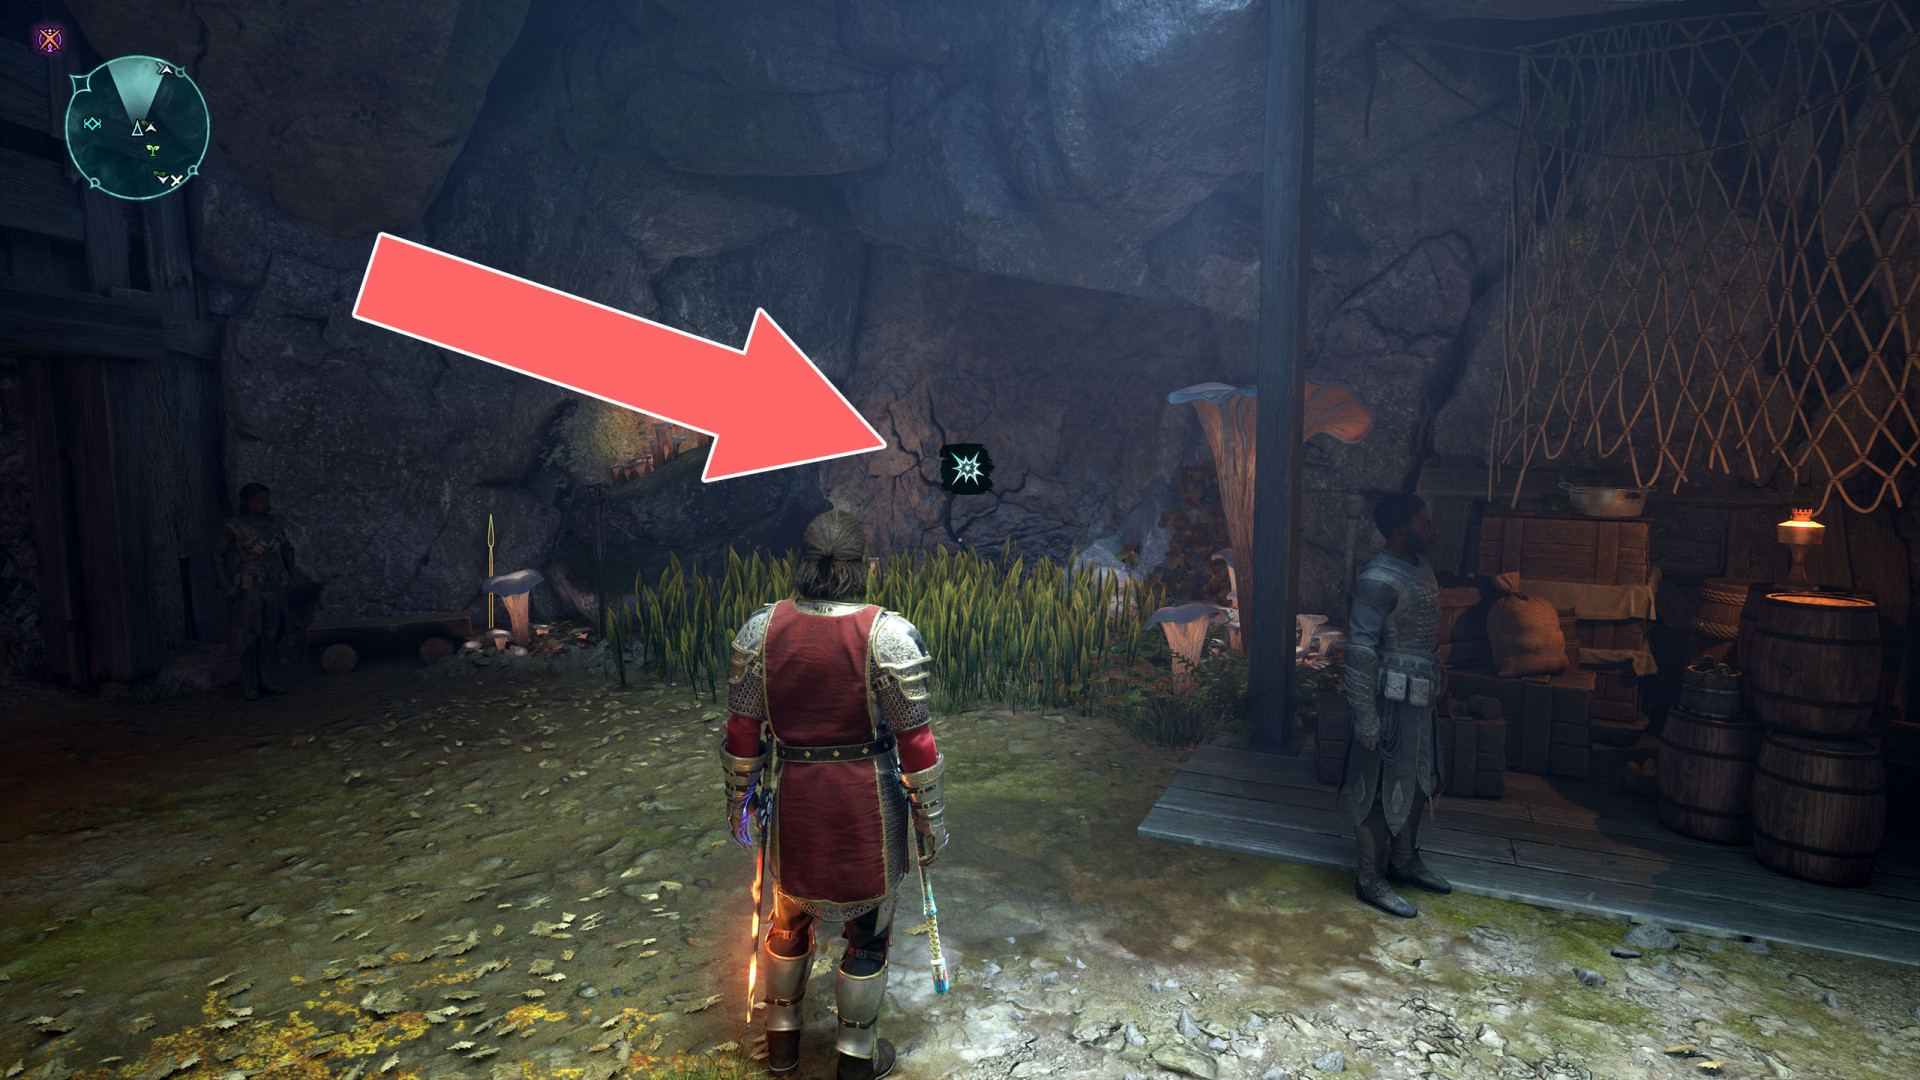
141Weak Wall
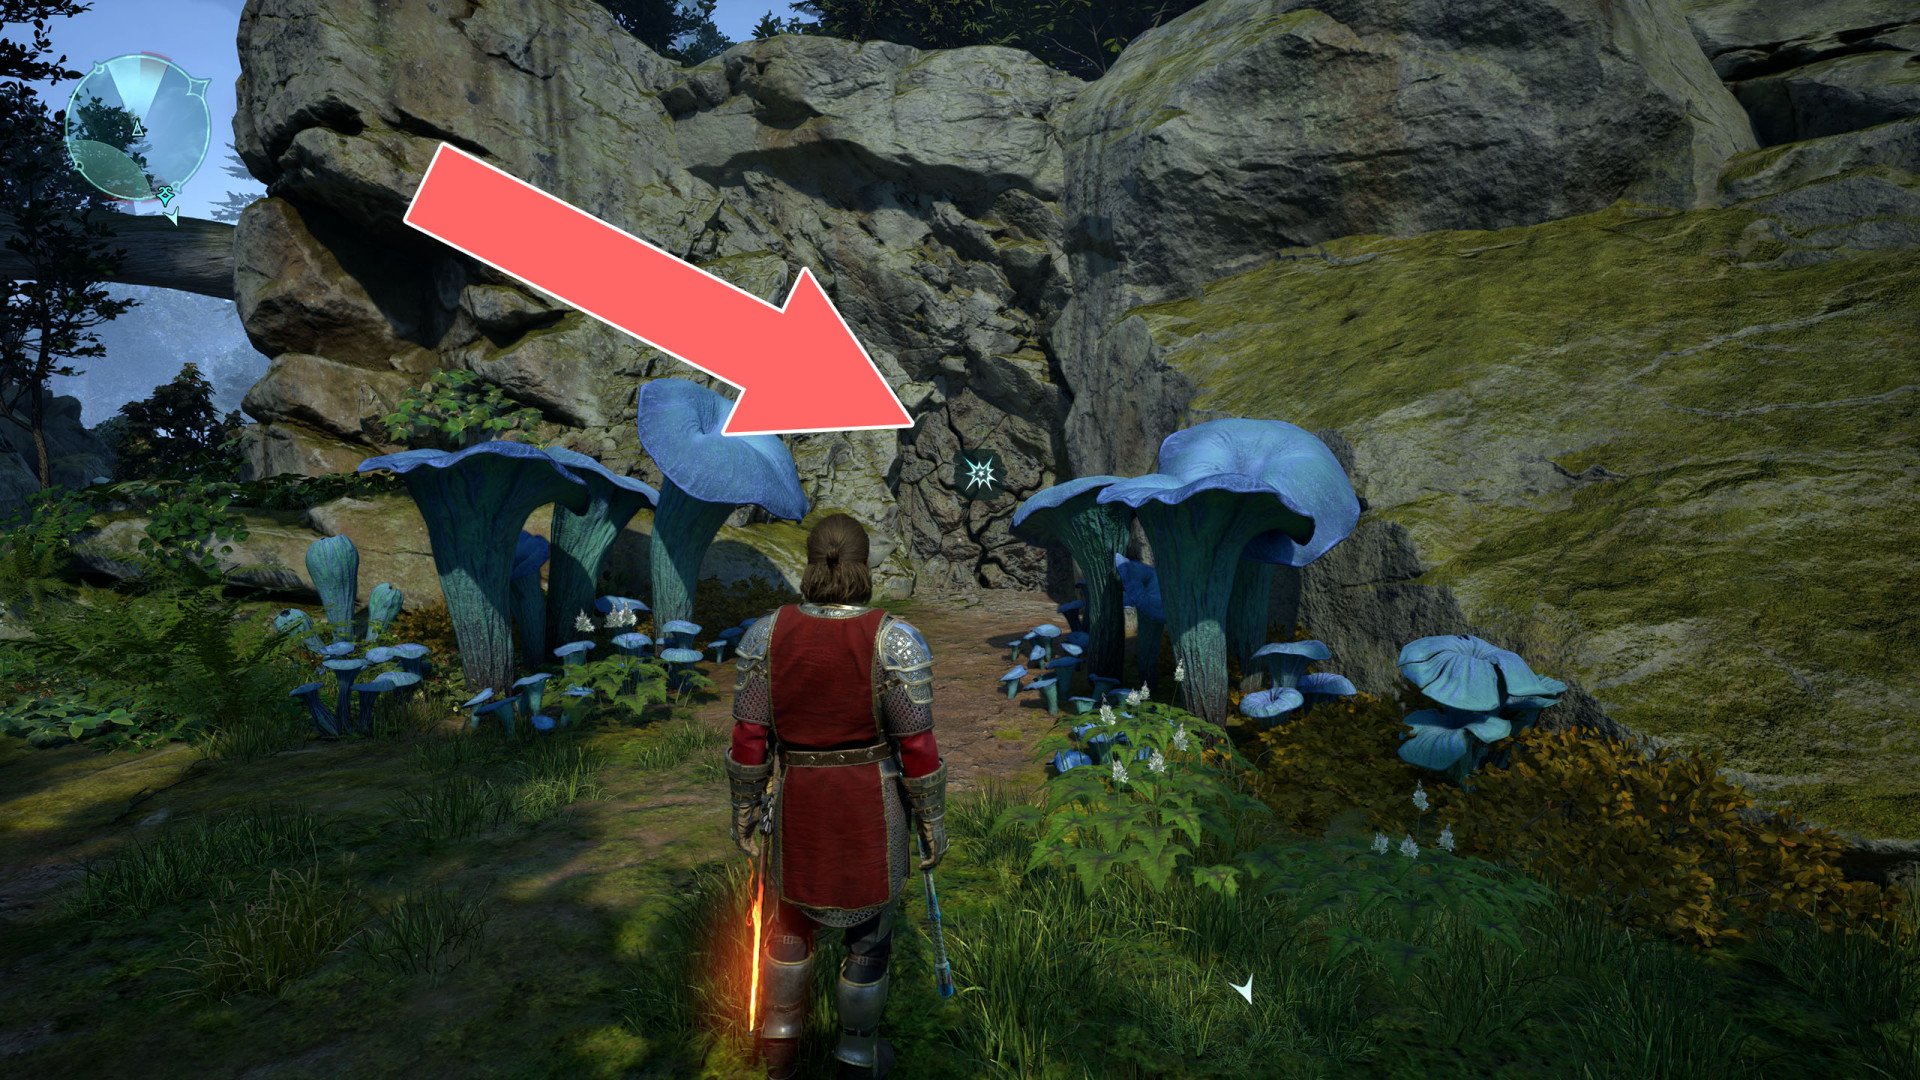
142Weak Wall
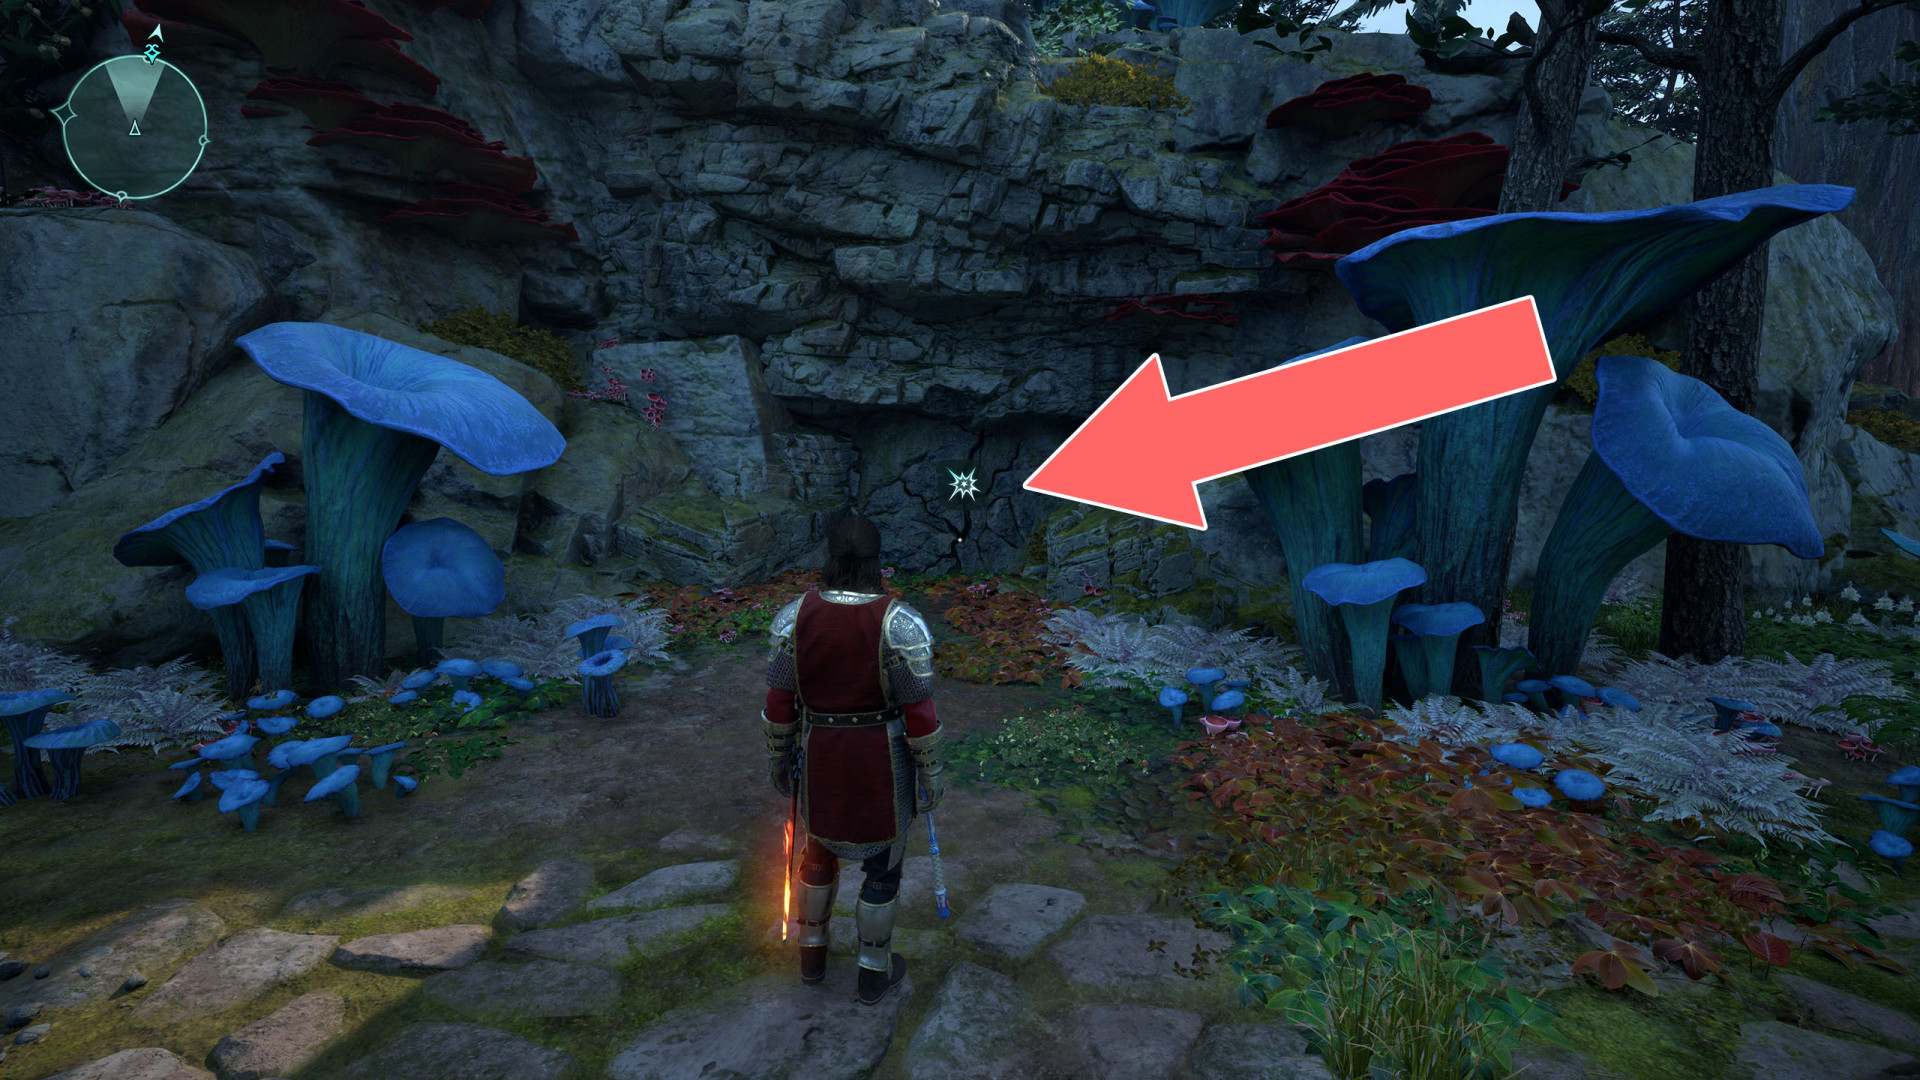
143Weak Wall
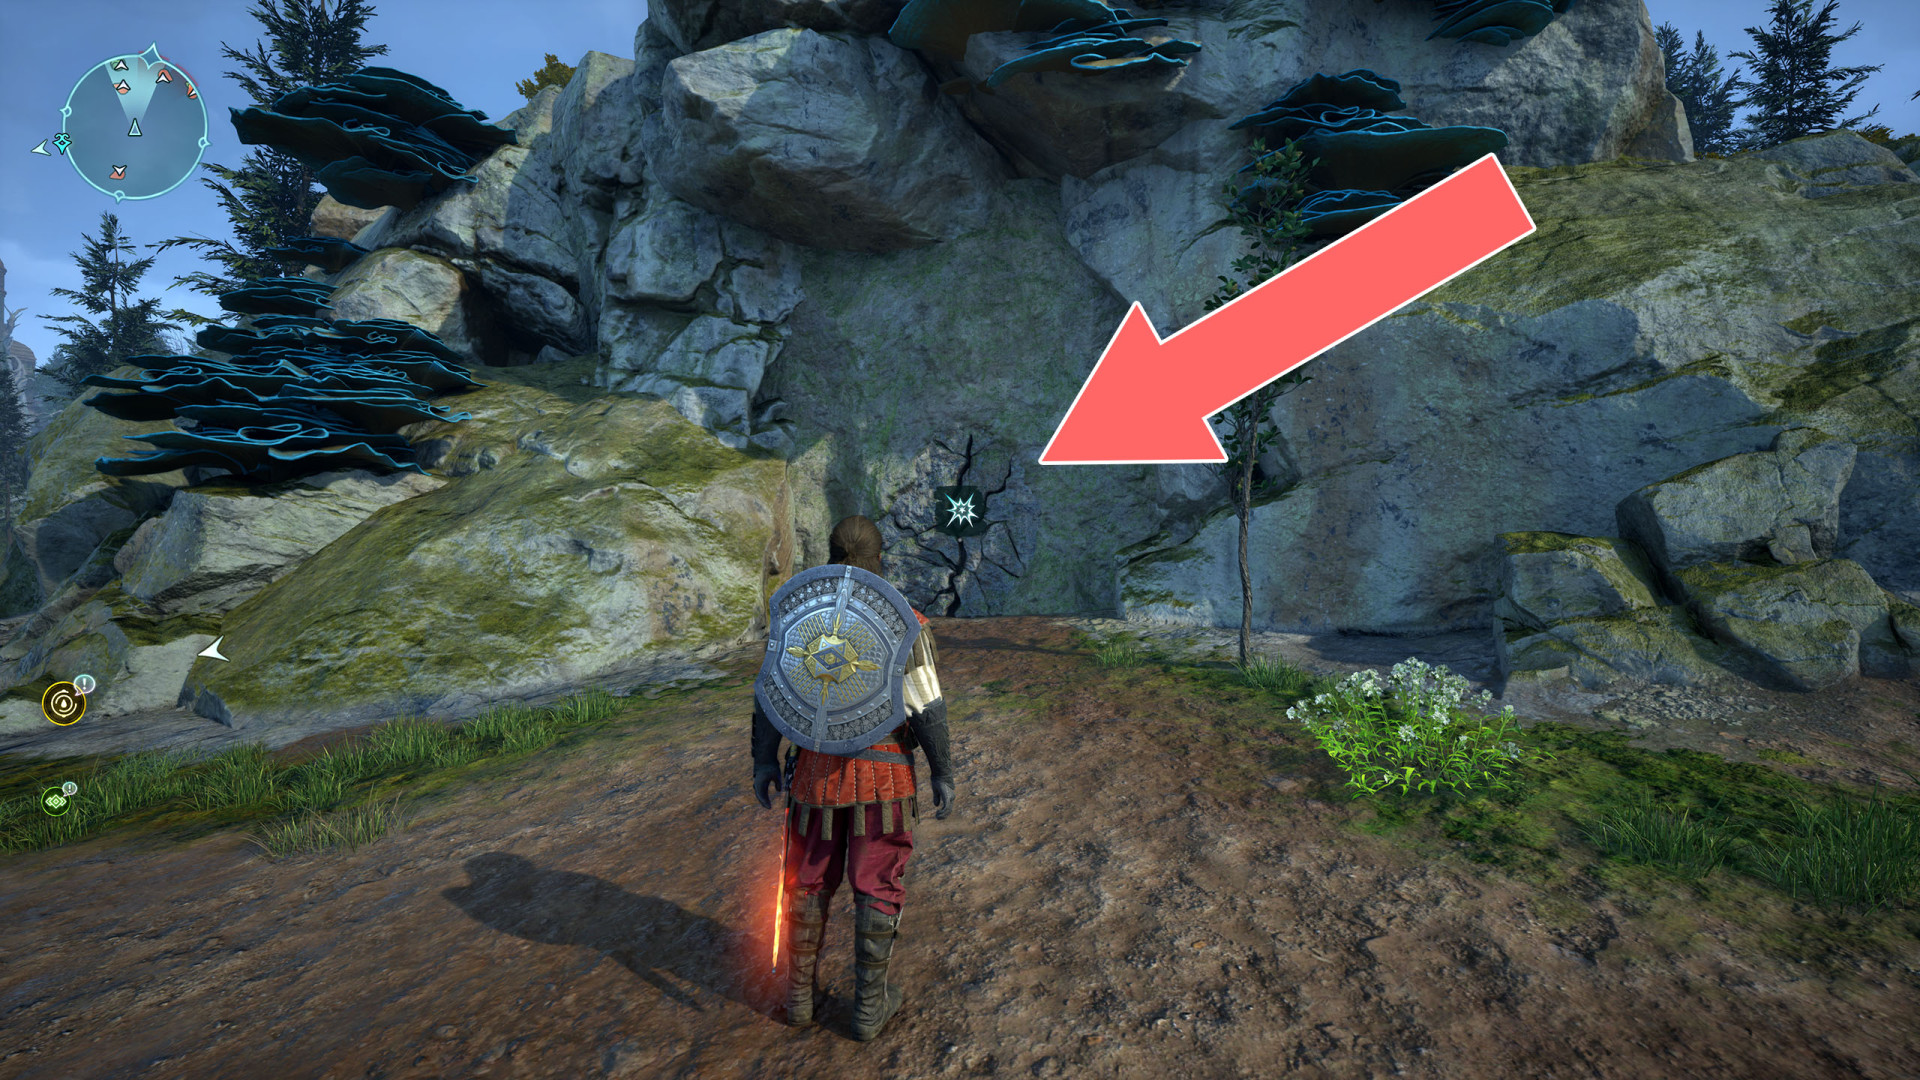
144Weak Wall
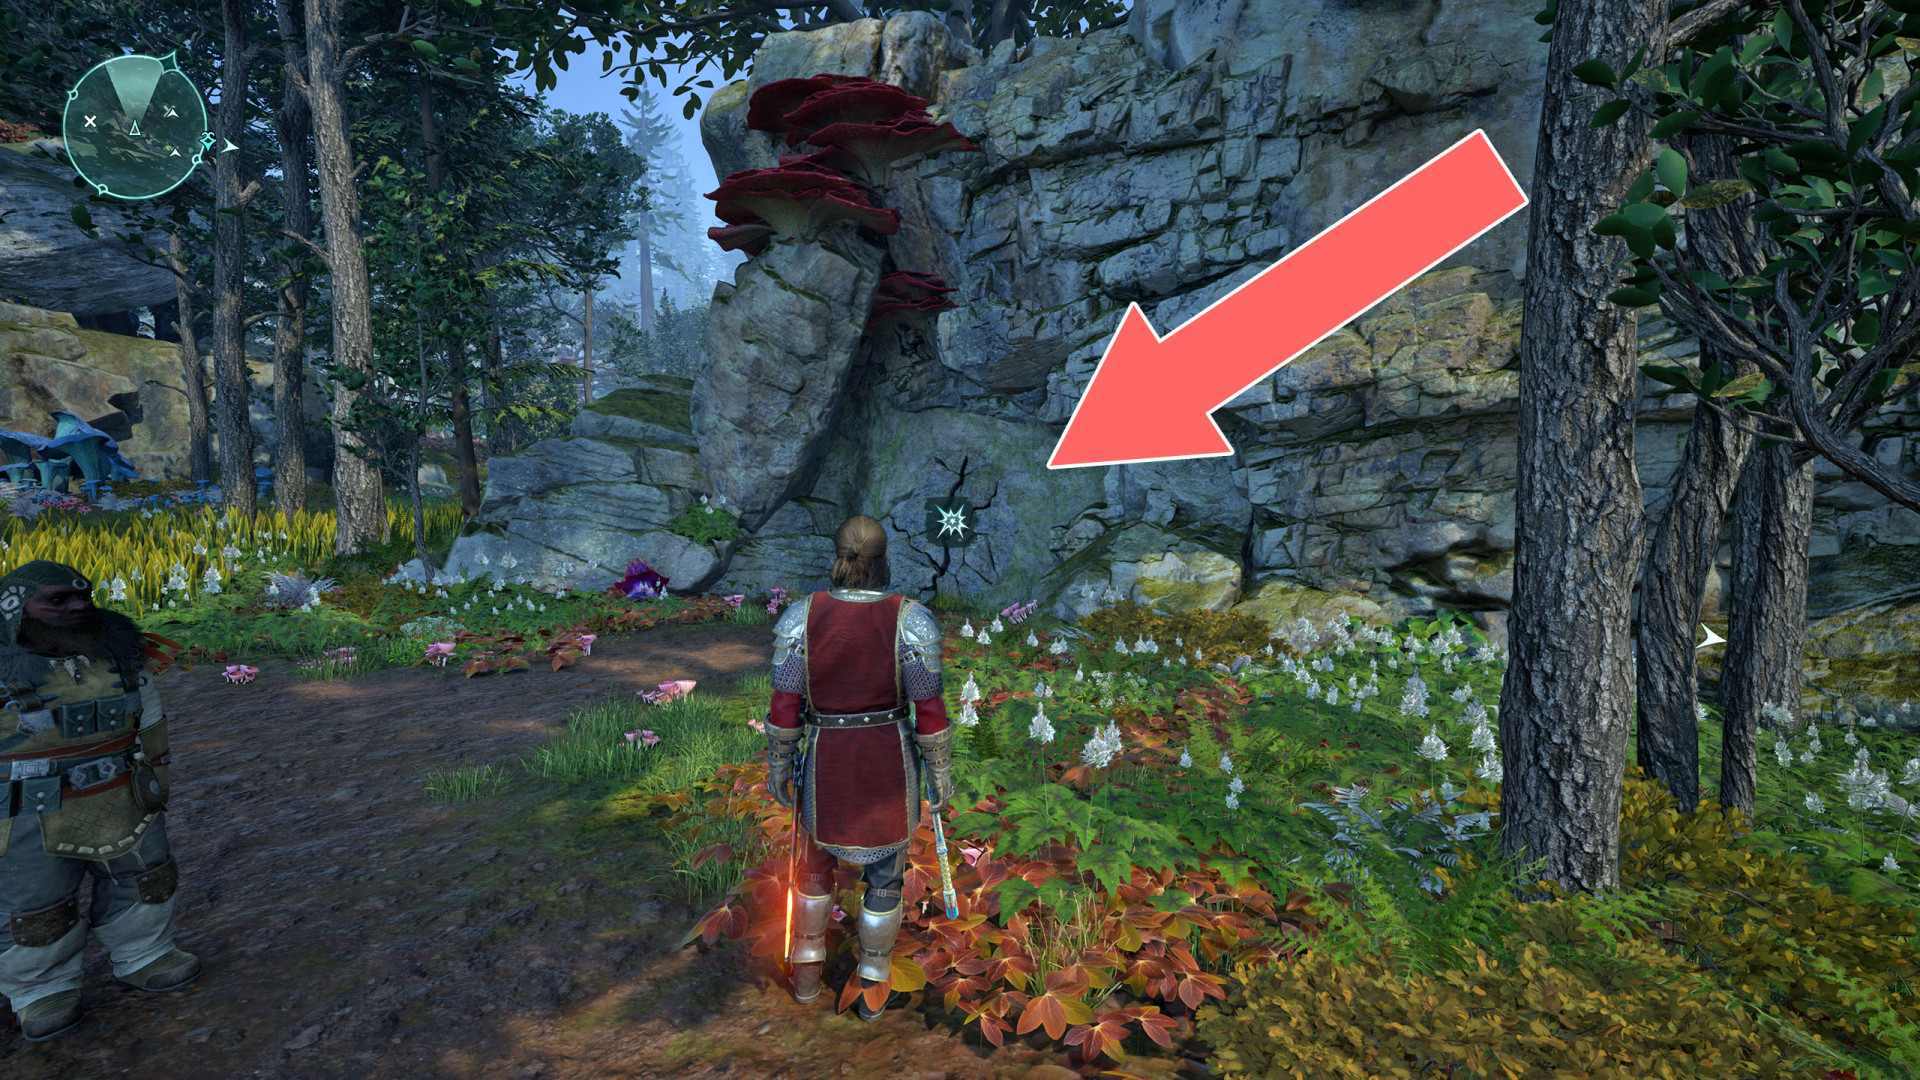
145Weak Wall
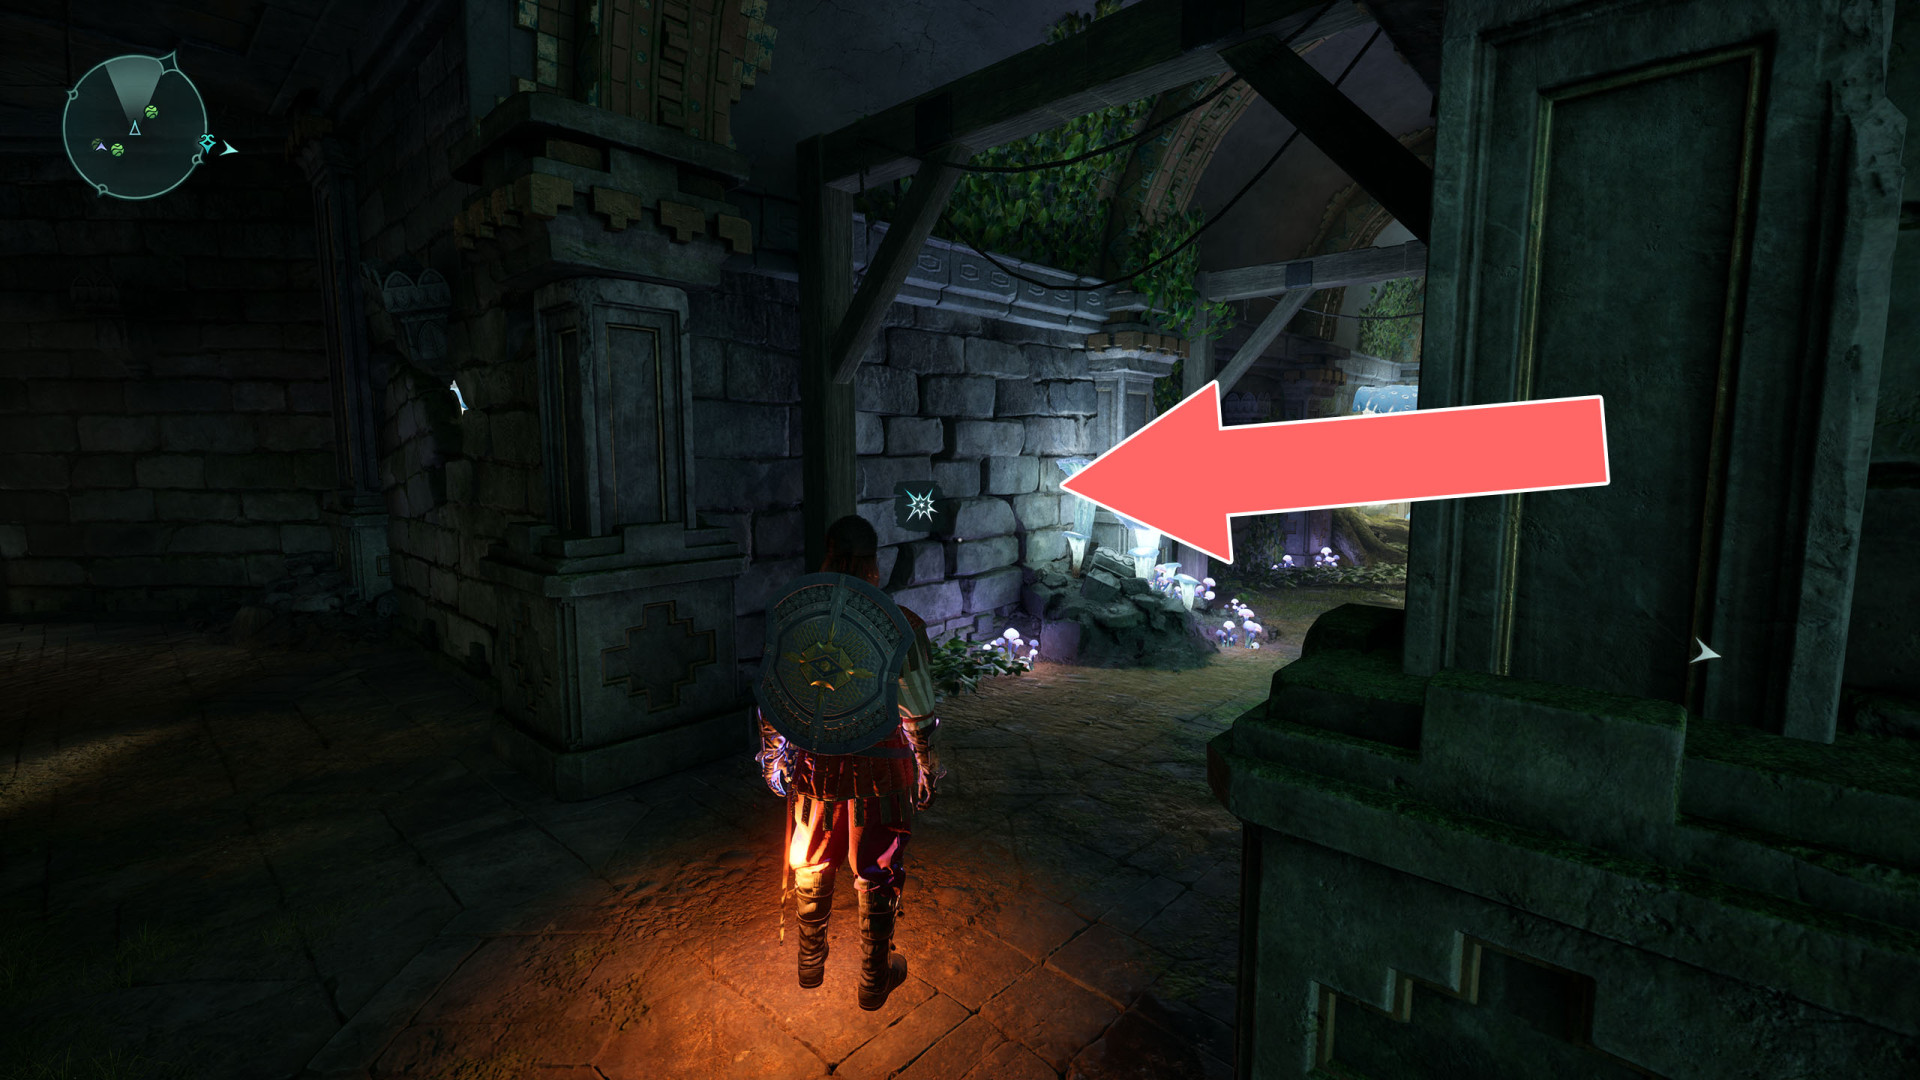
146Weak Wall
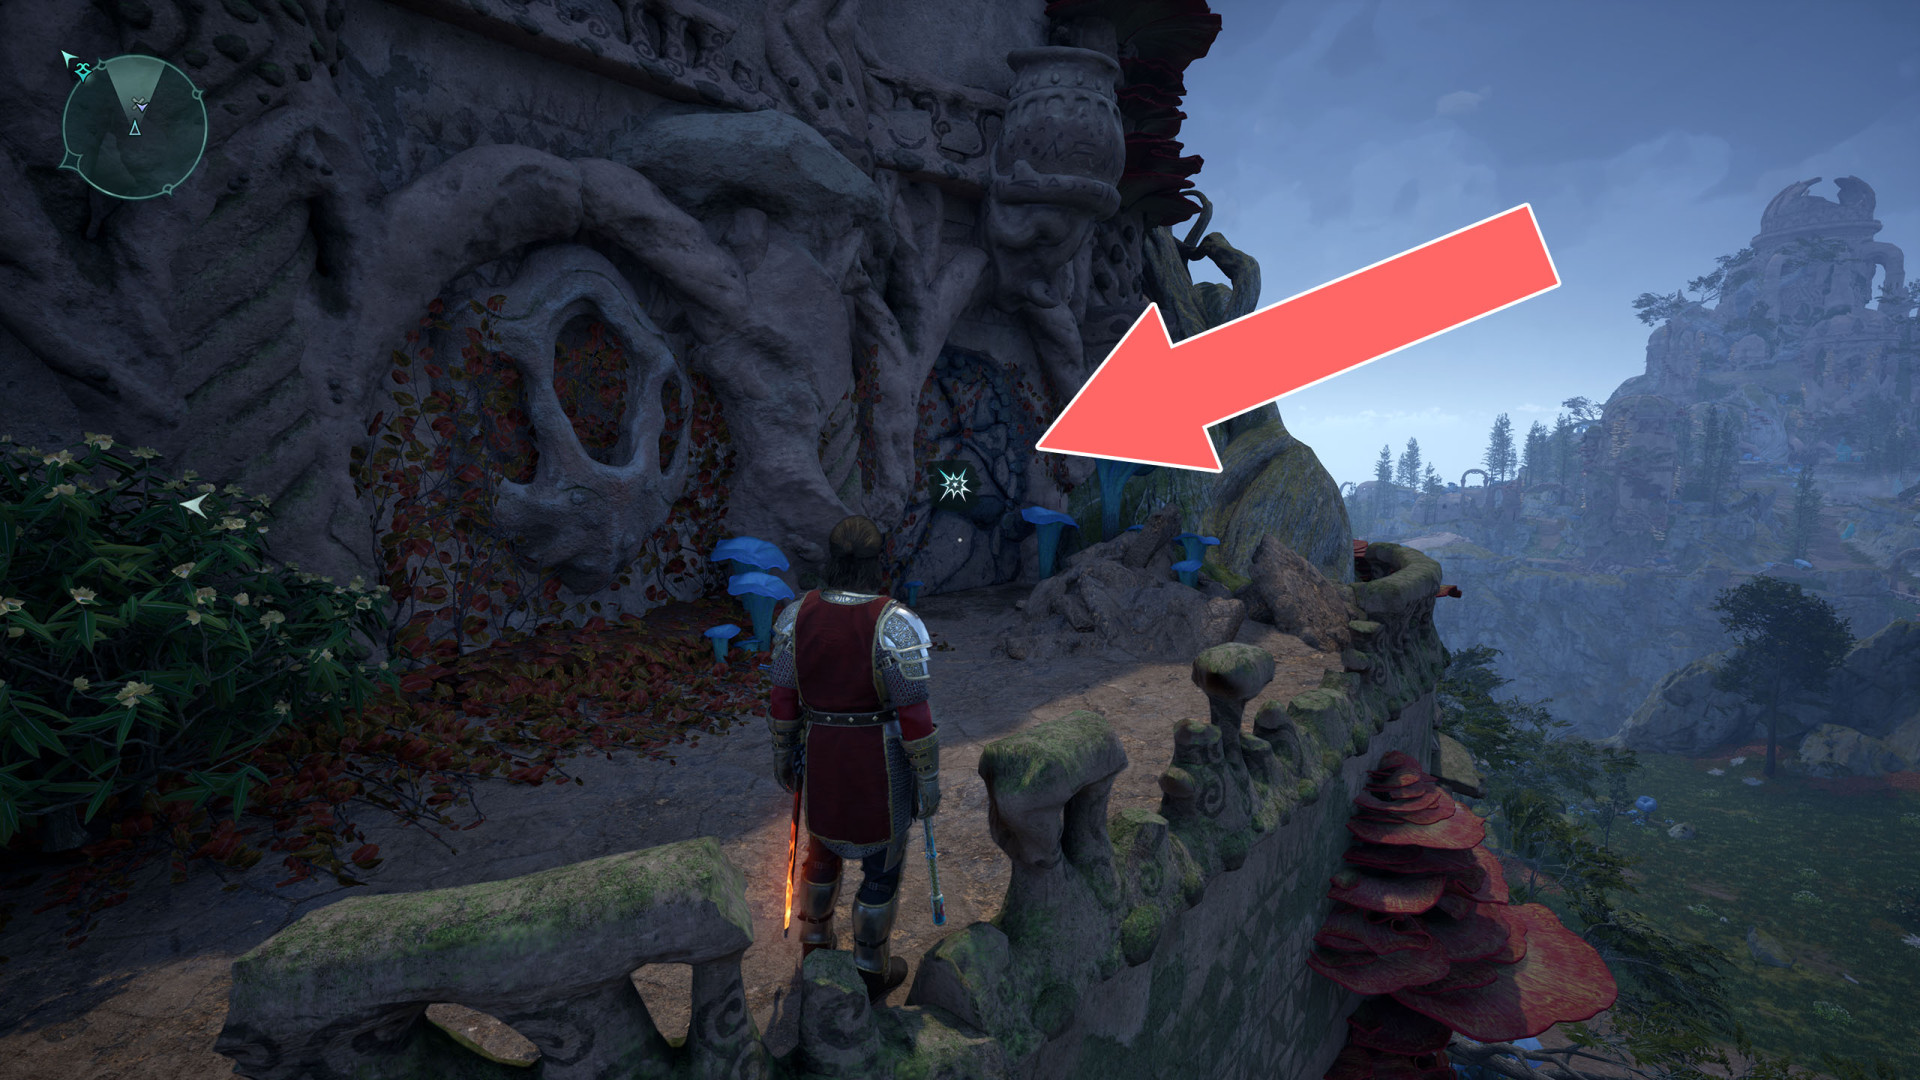
147Weak Wall
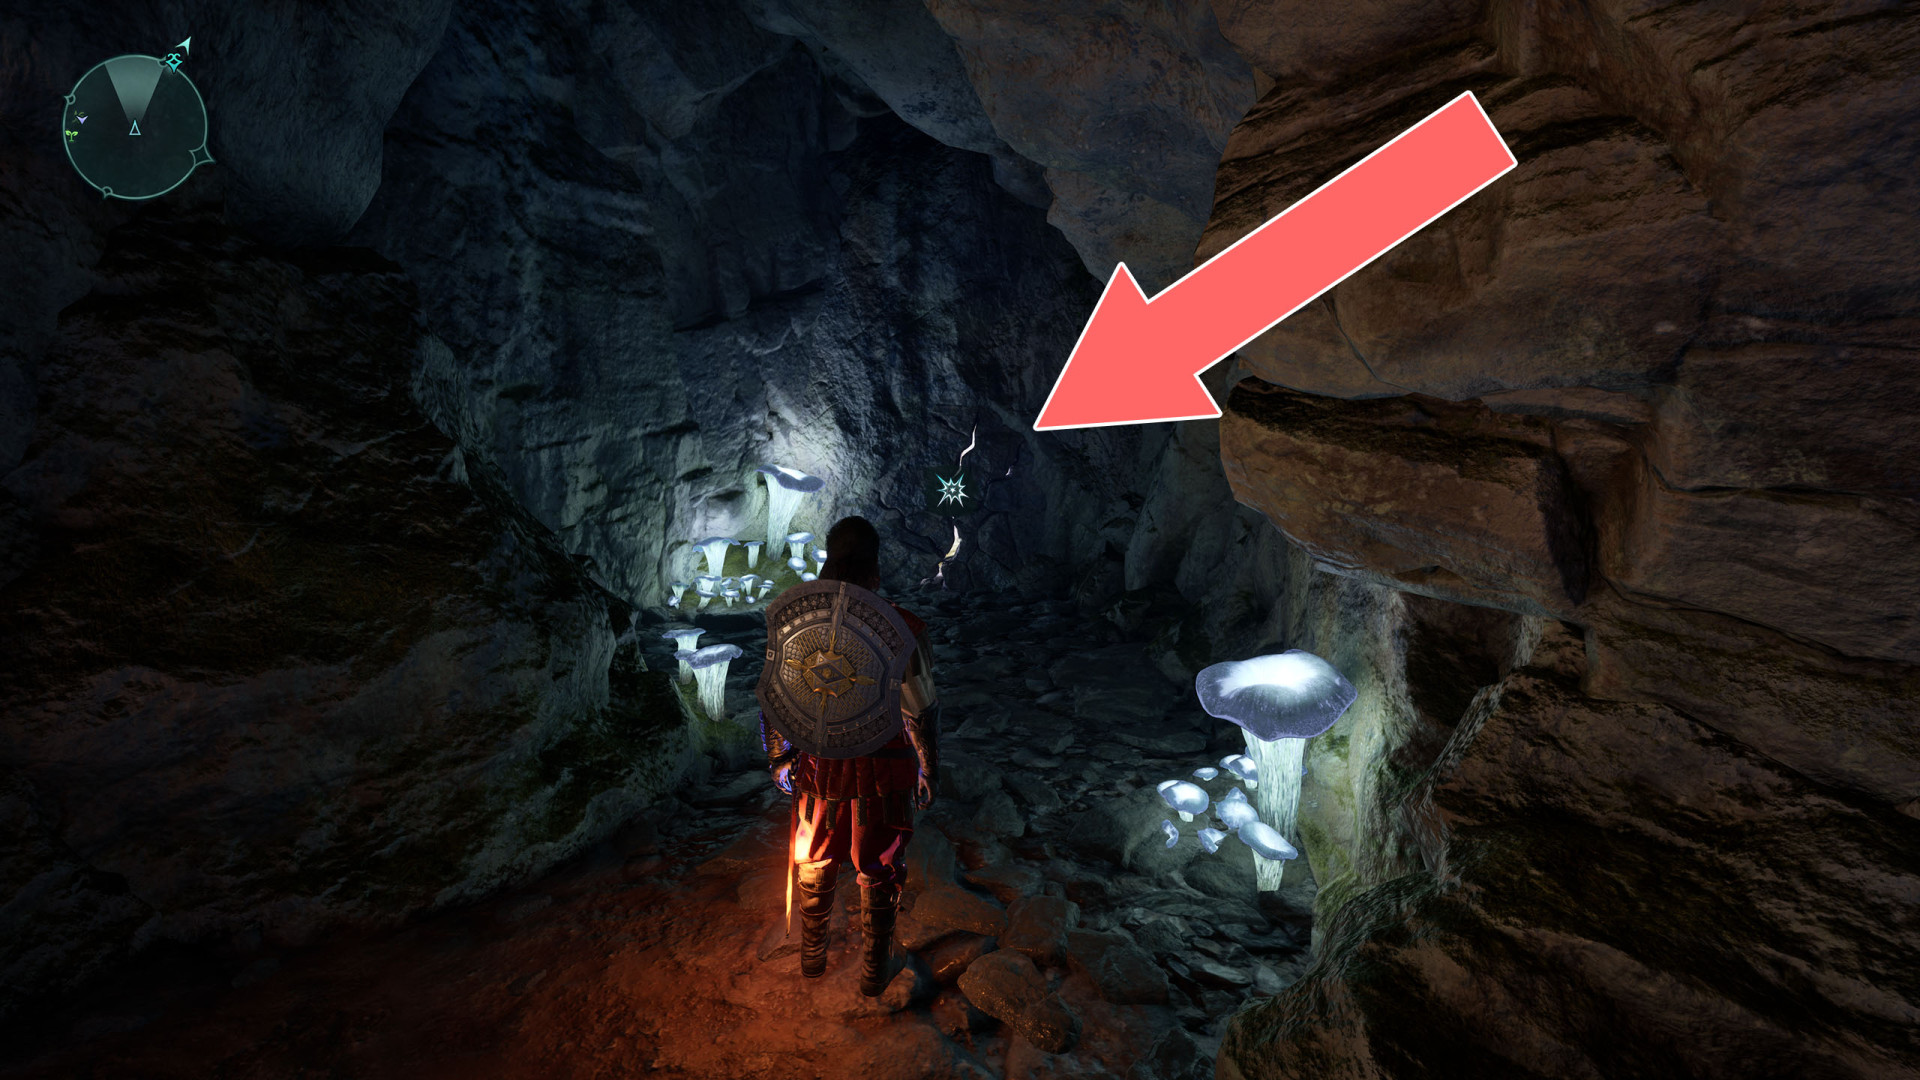
148Wooden Barrier
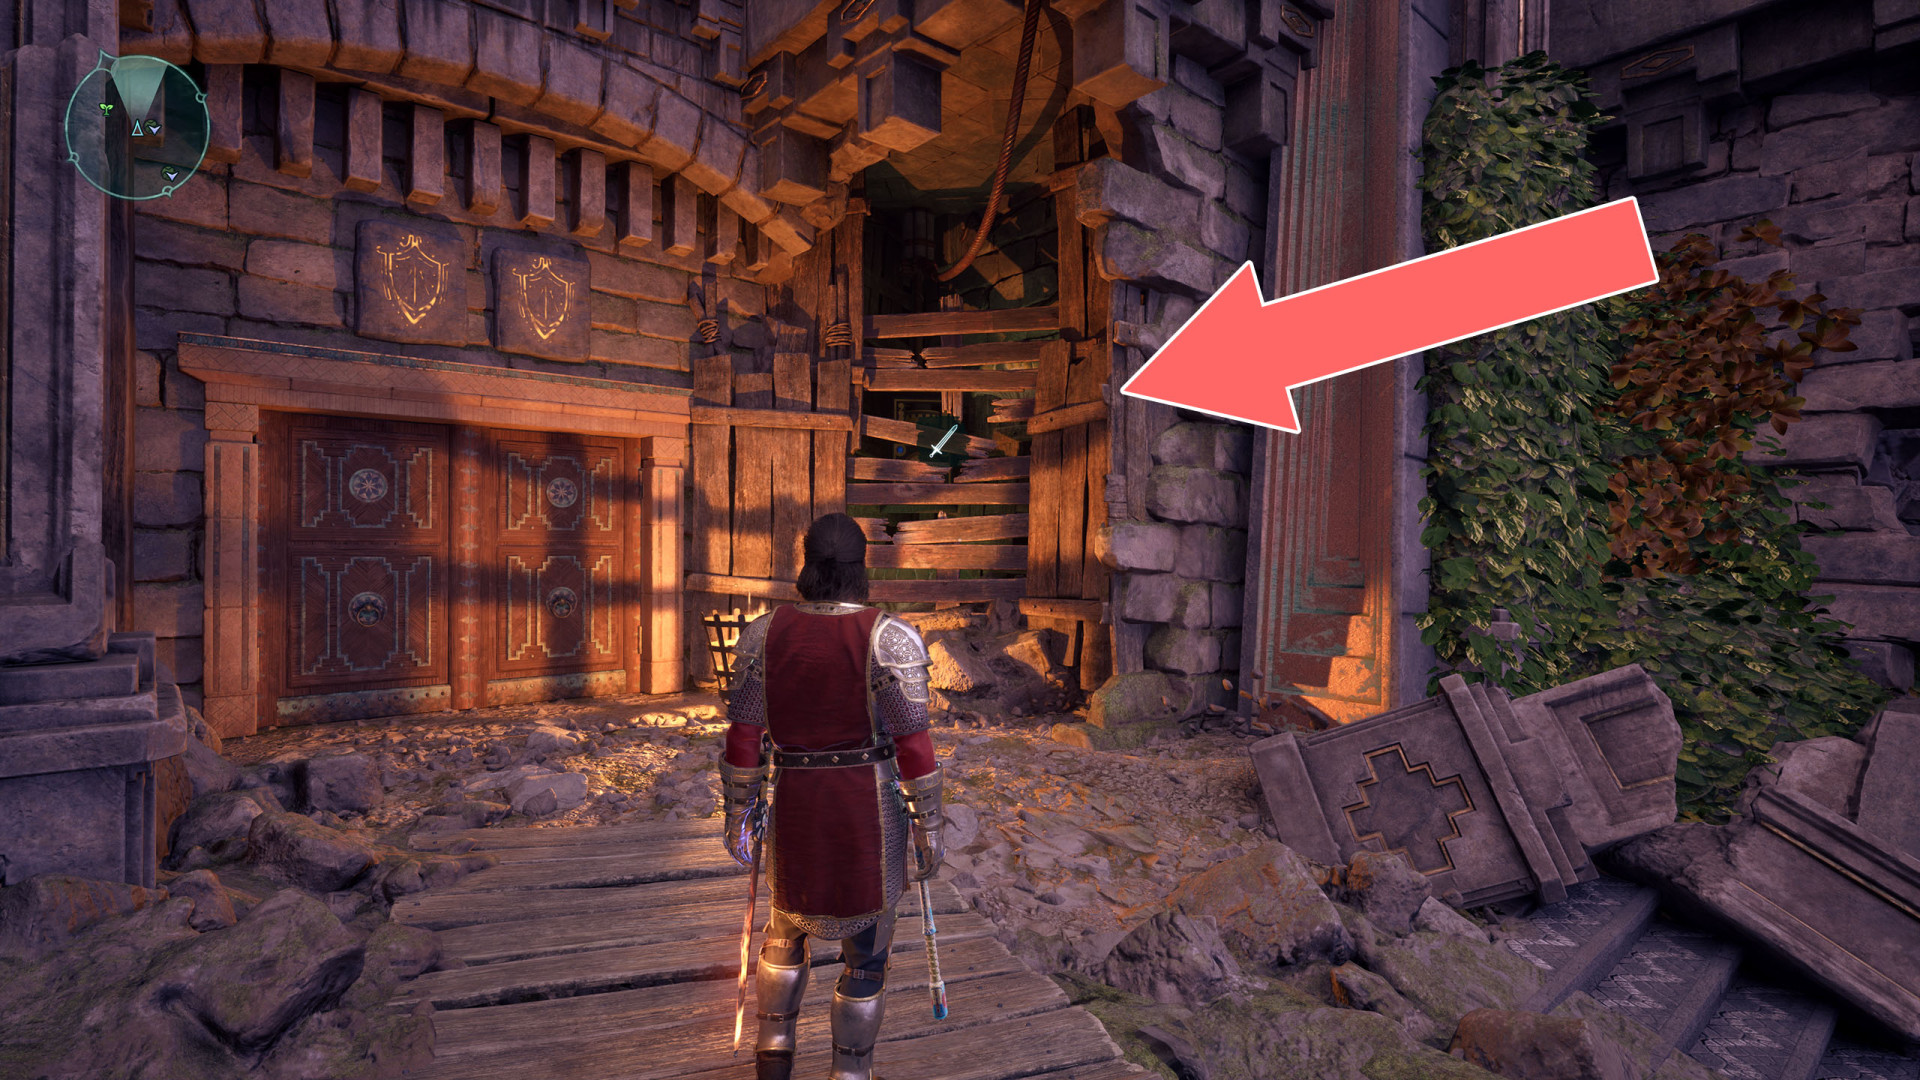
149Wooden Barrier
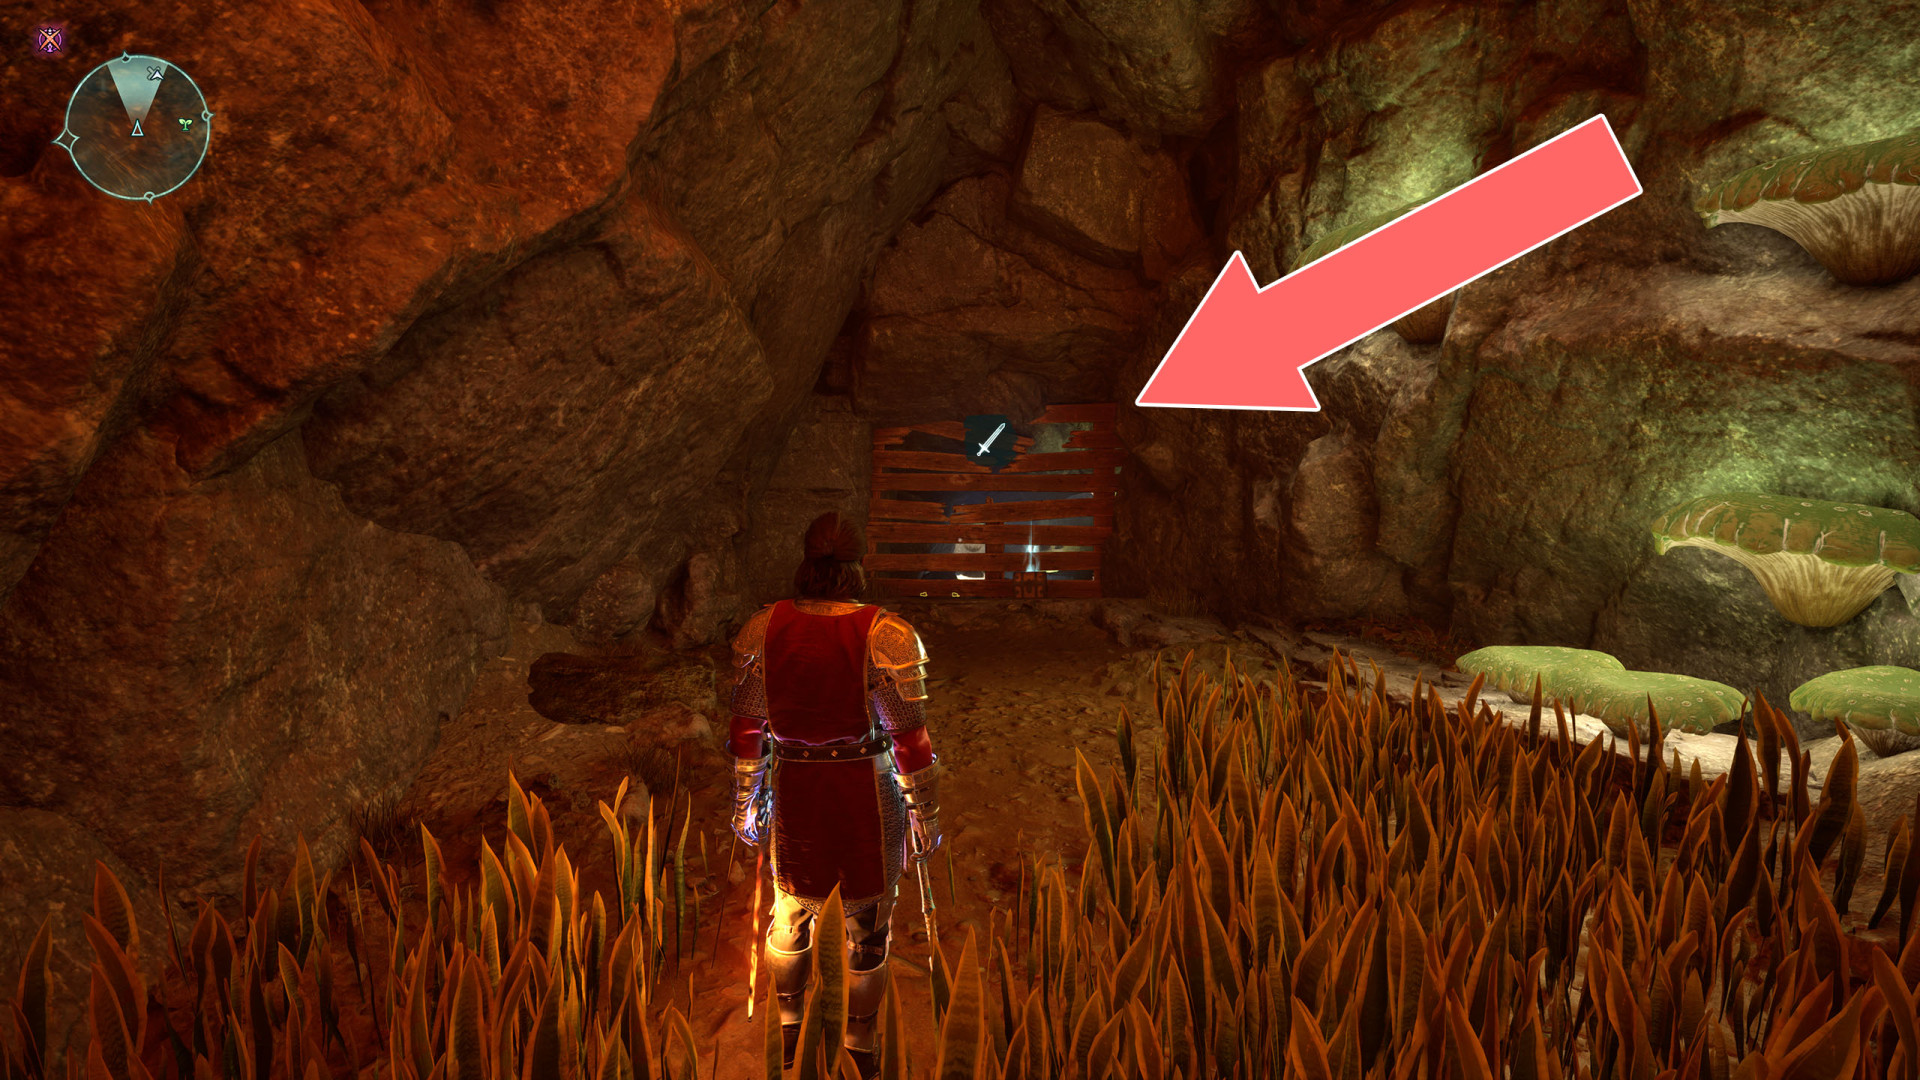
150Wooden Barrier
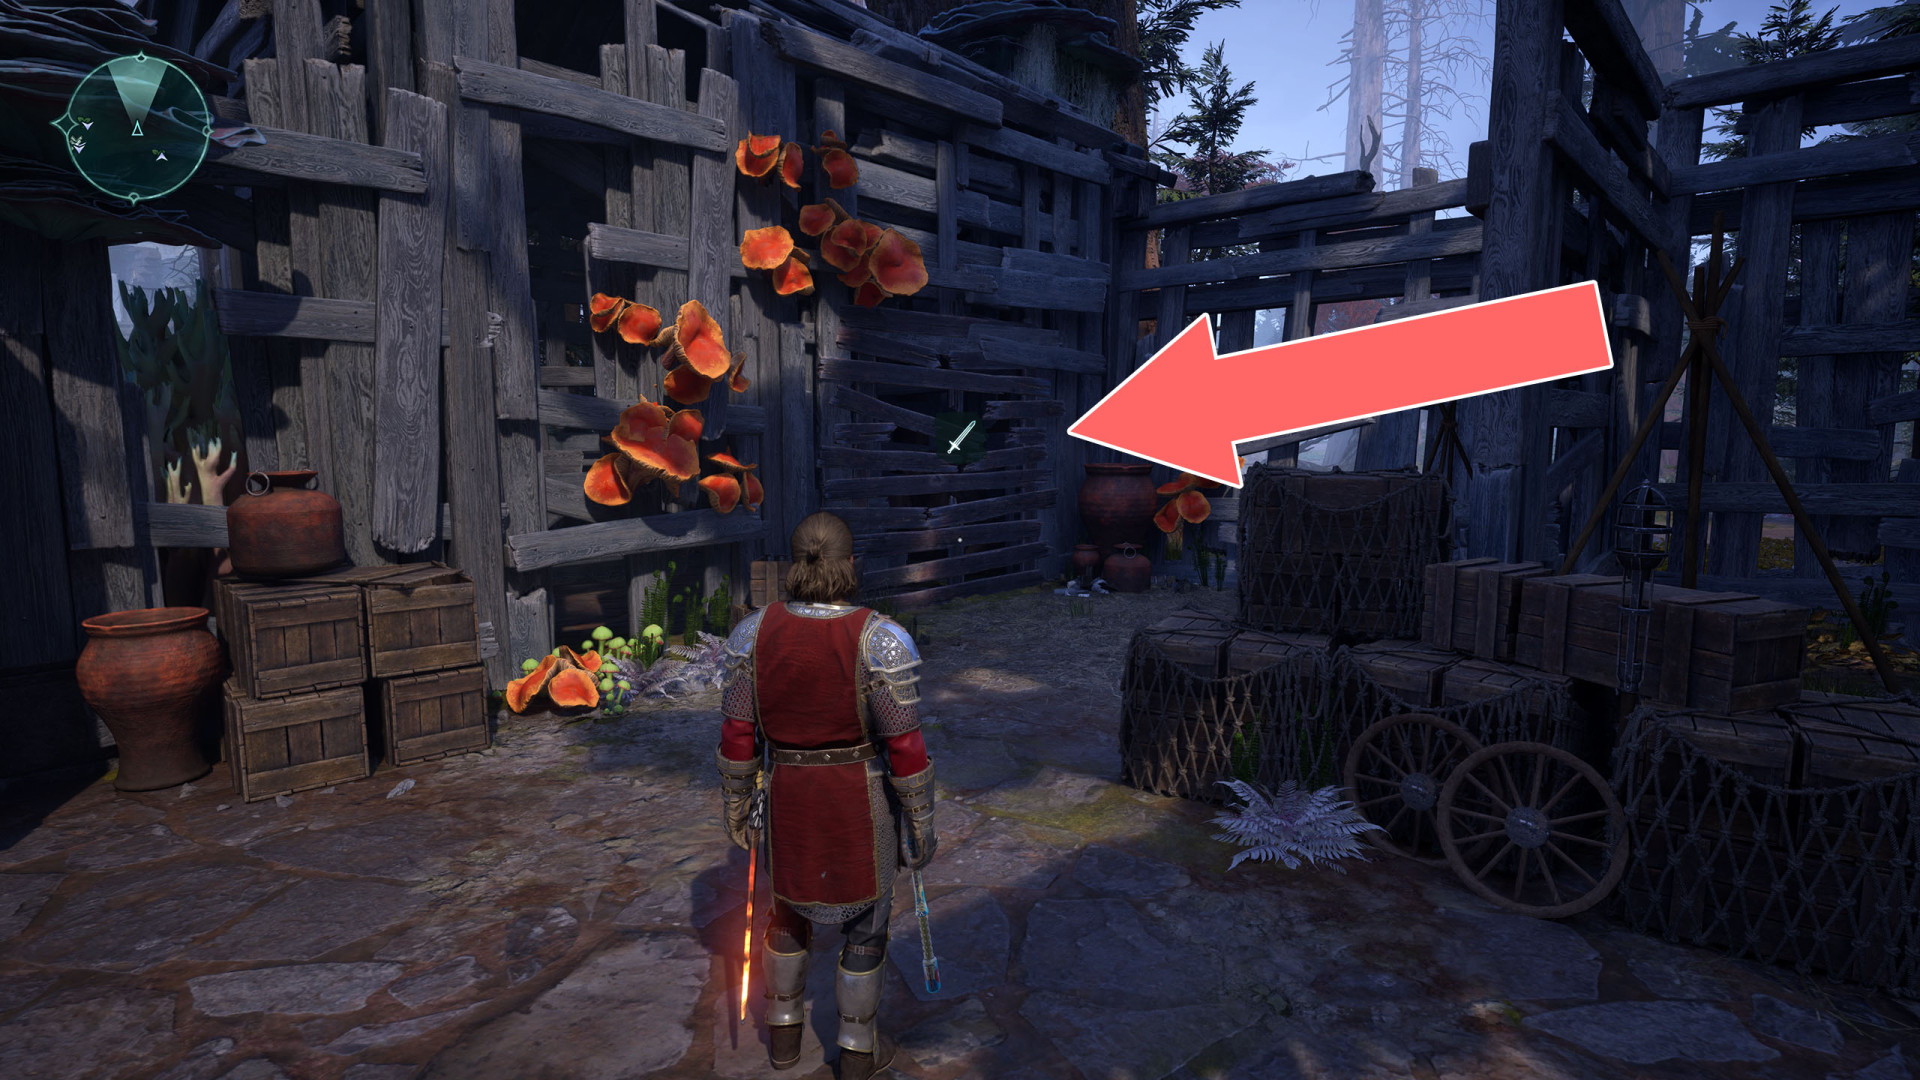
151Wooden Barrier
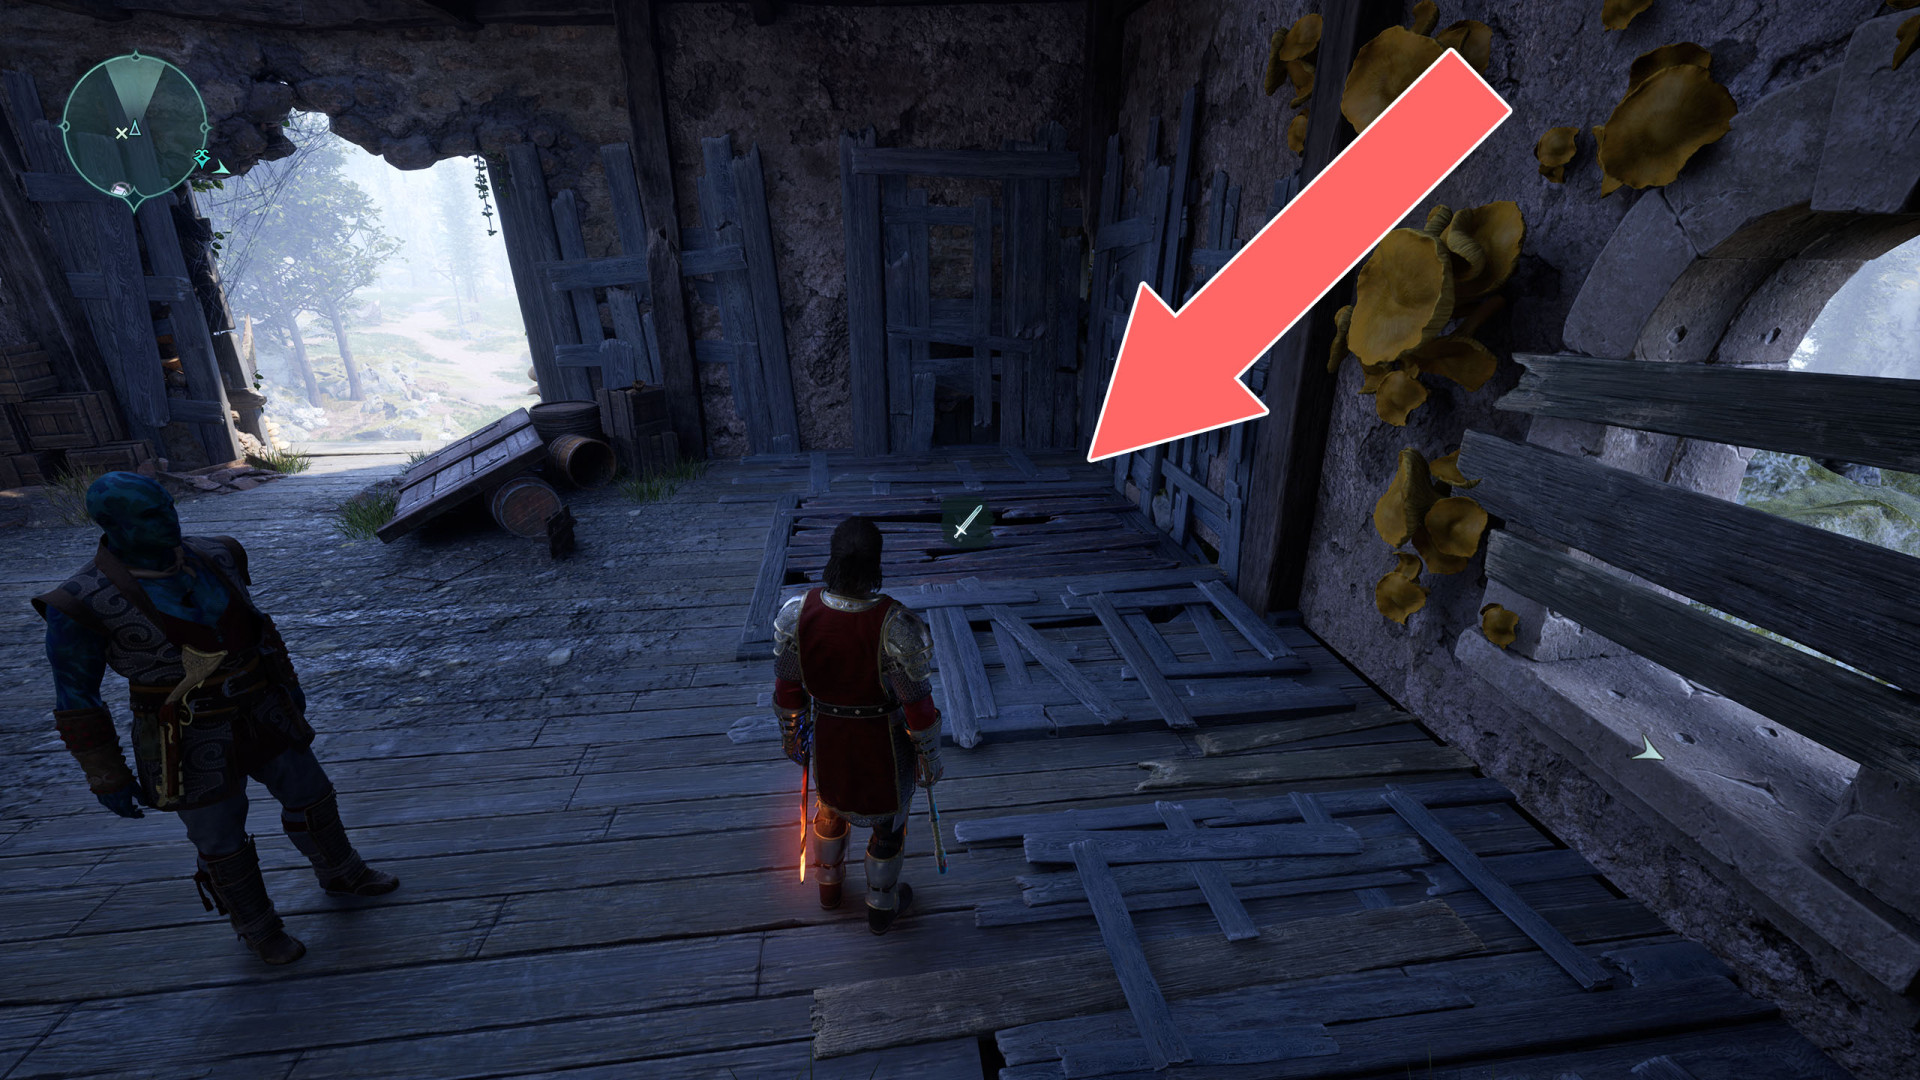
152Wooden Barrier
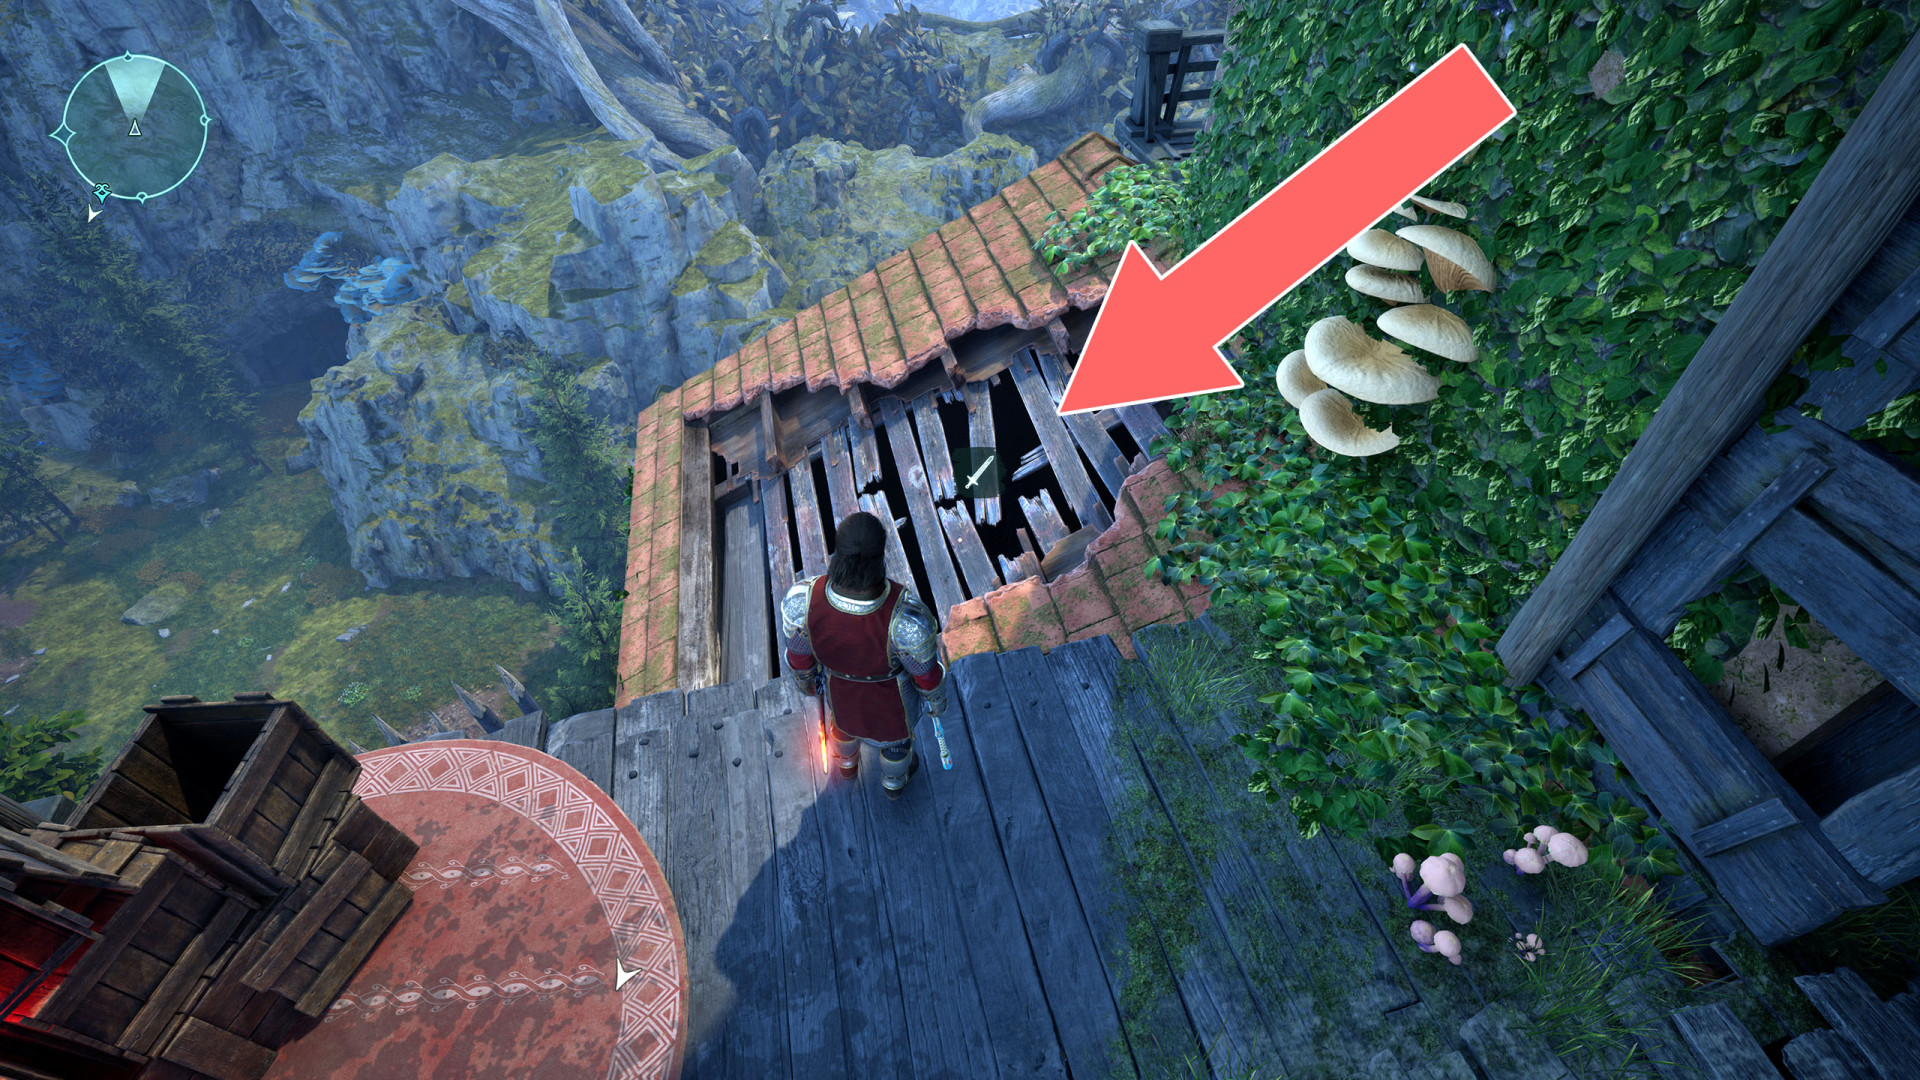
153Wooden Barrier
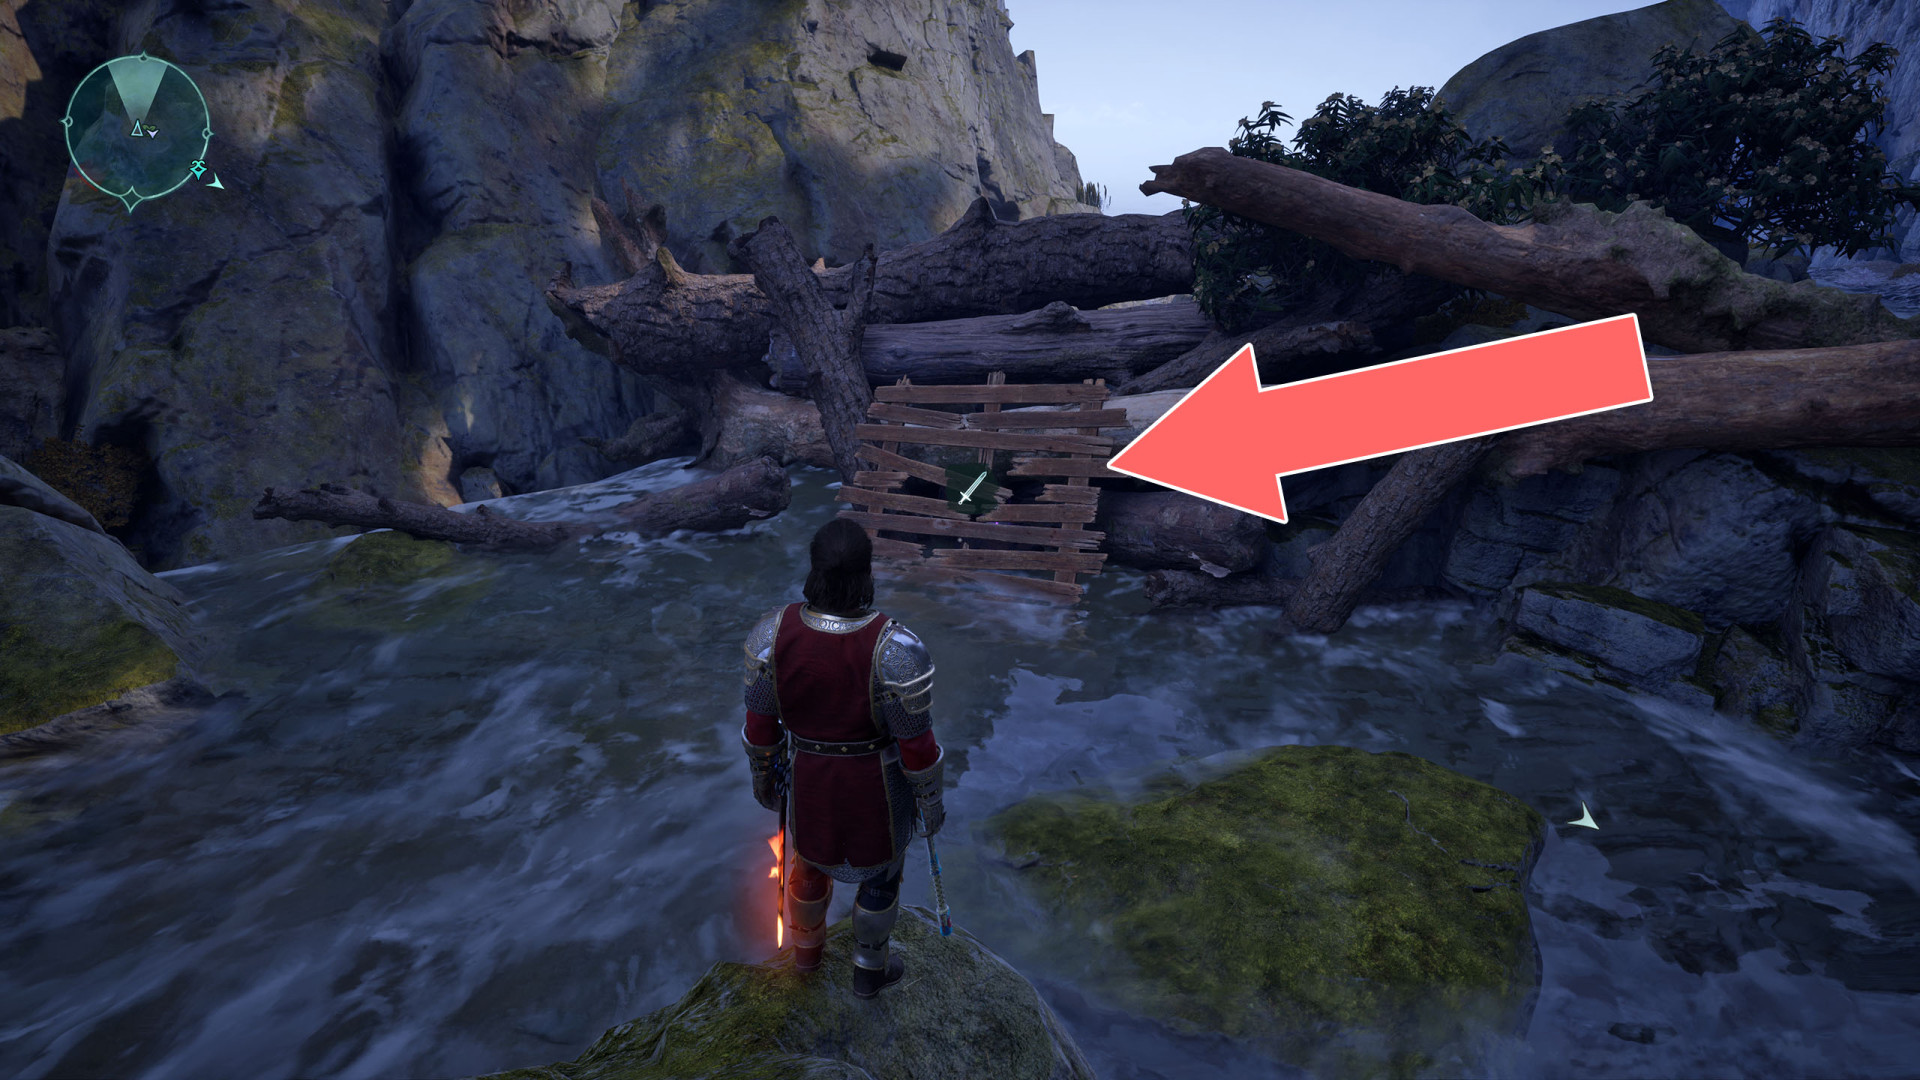
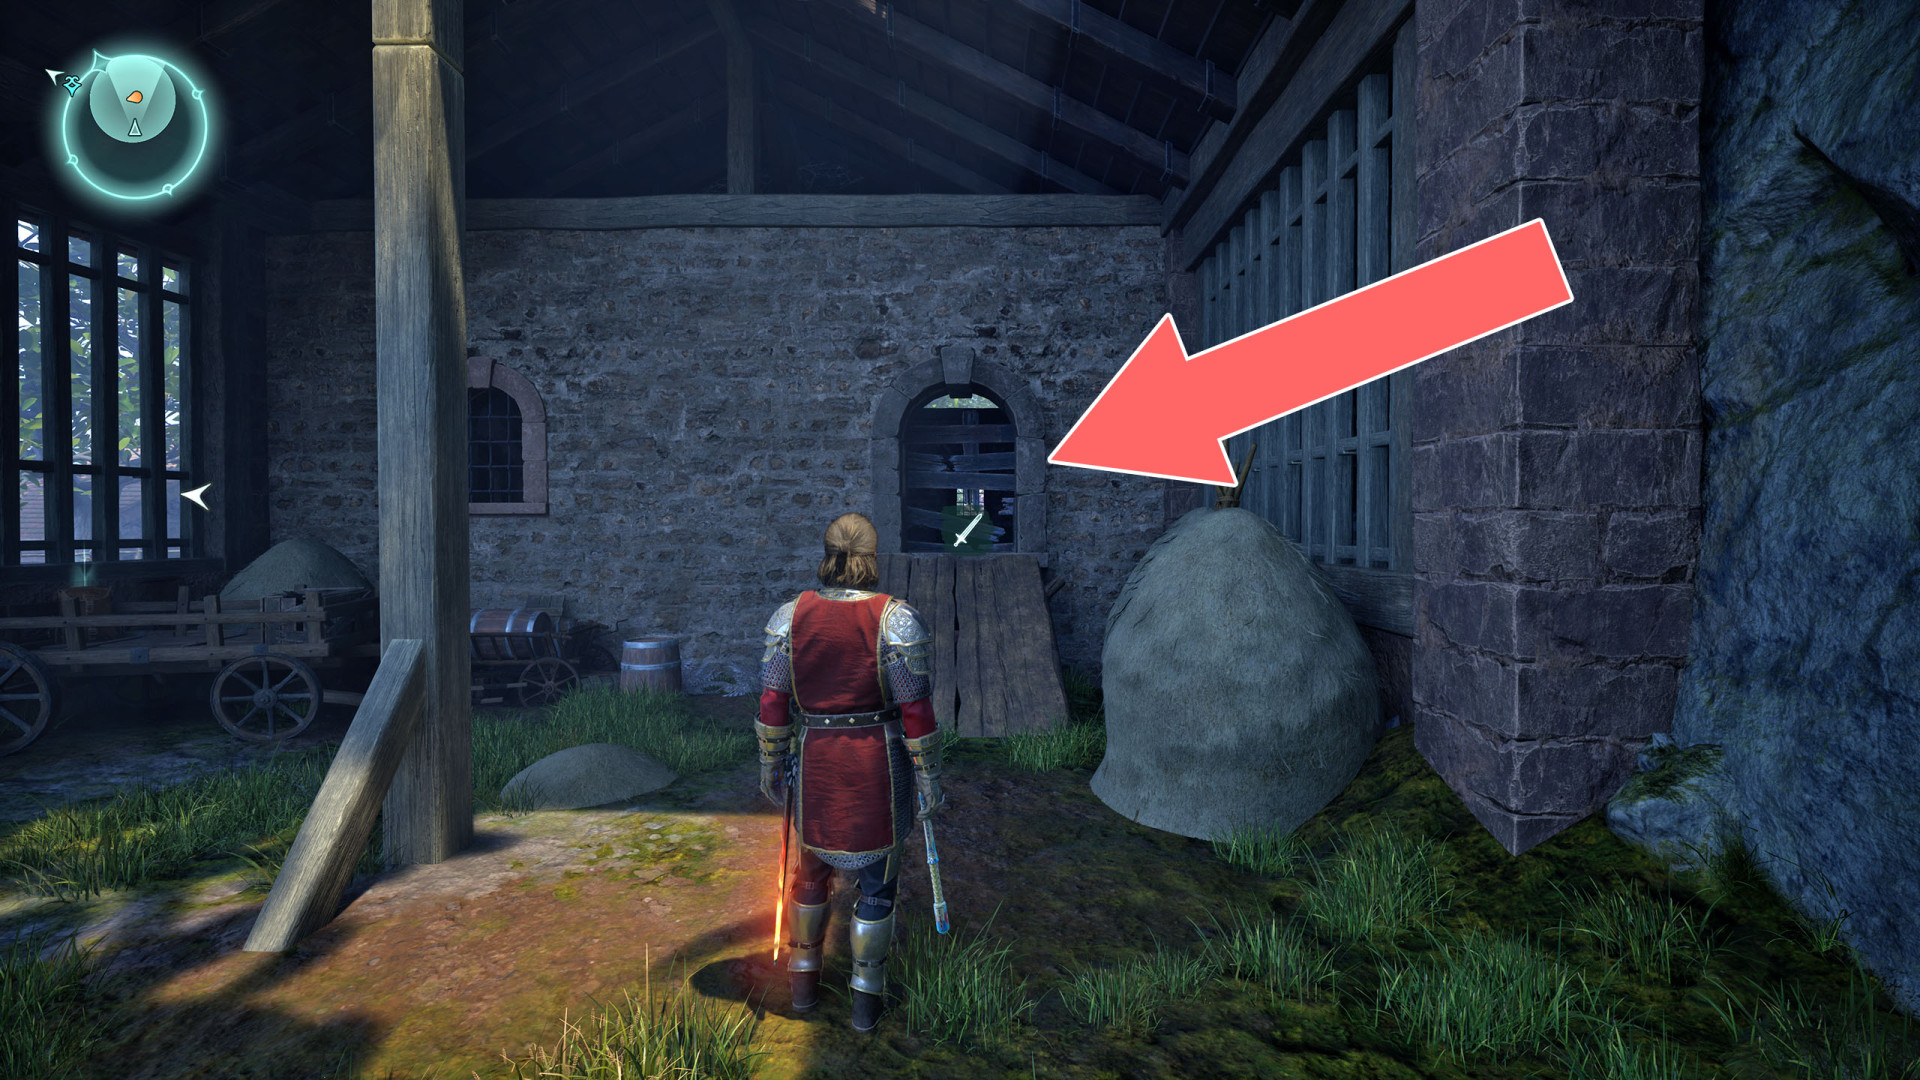
154Wooden Barrier
Locations on Shatterscarp
155Barred Door
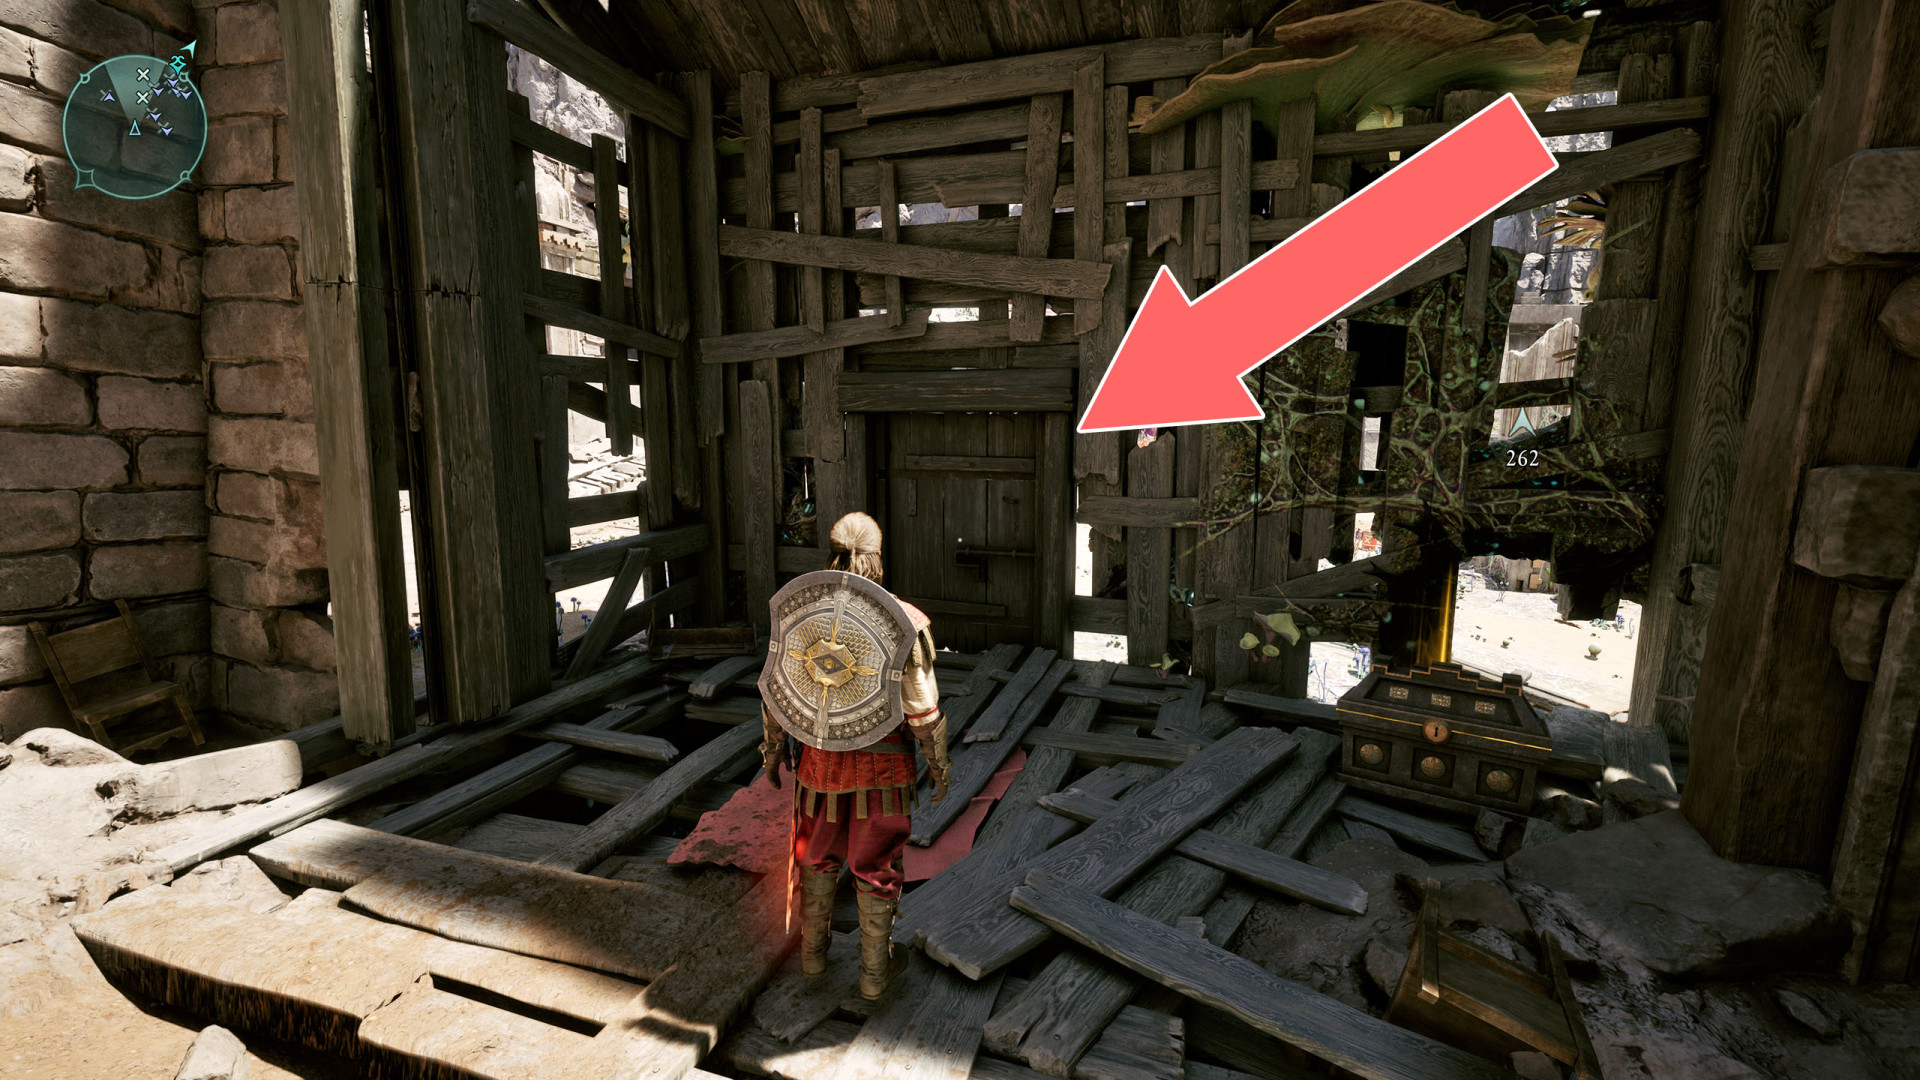
156Barred Door
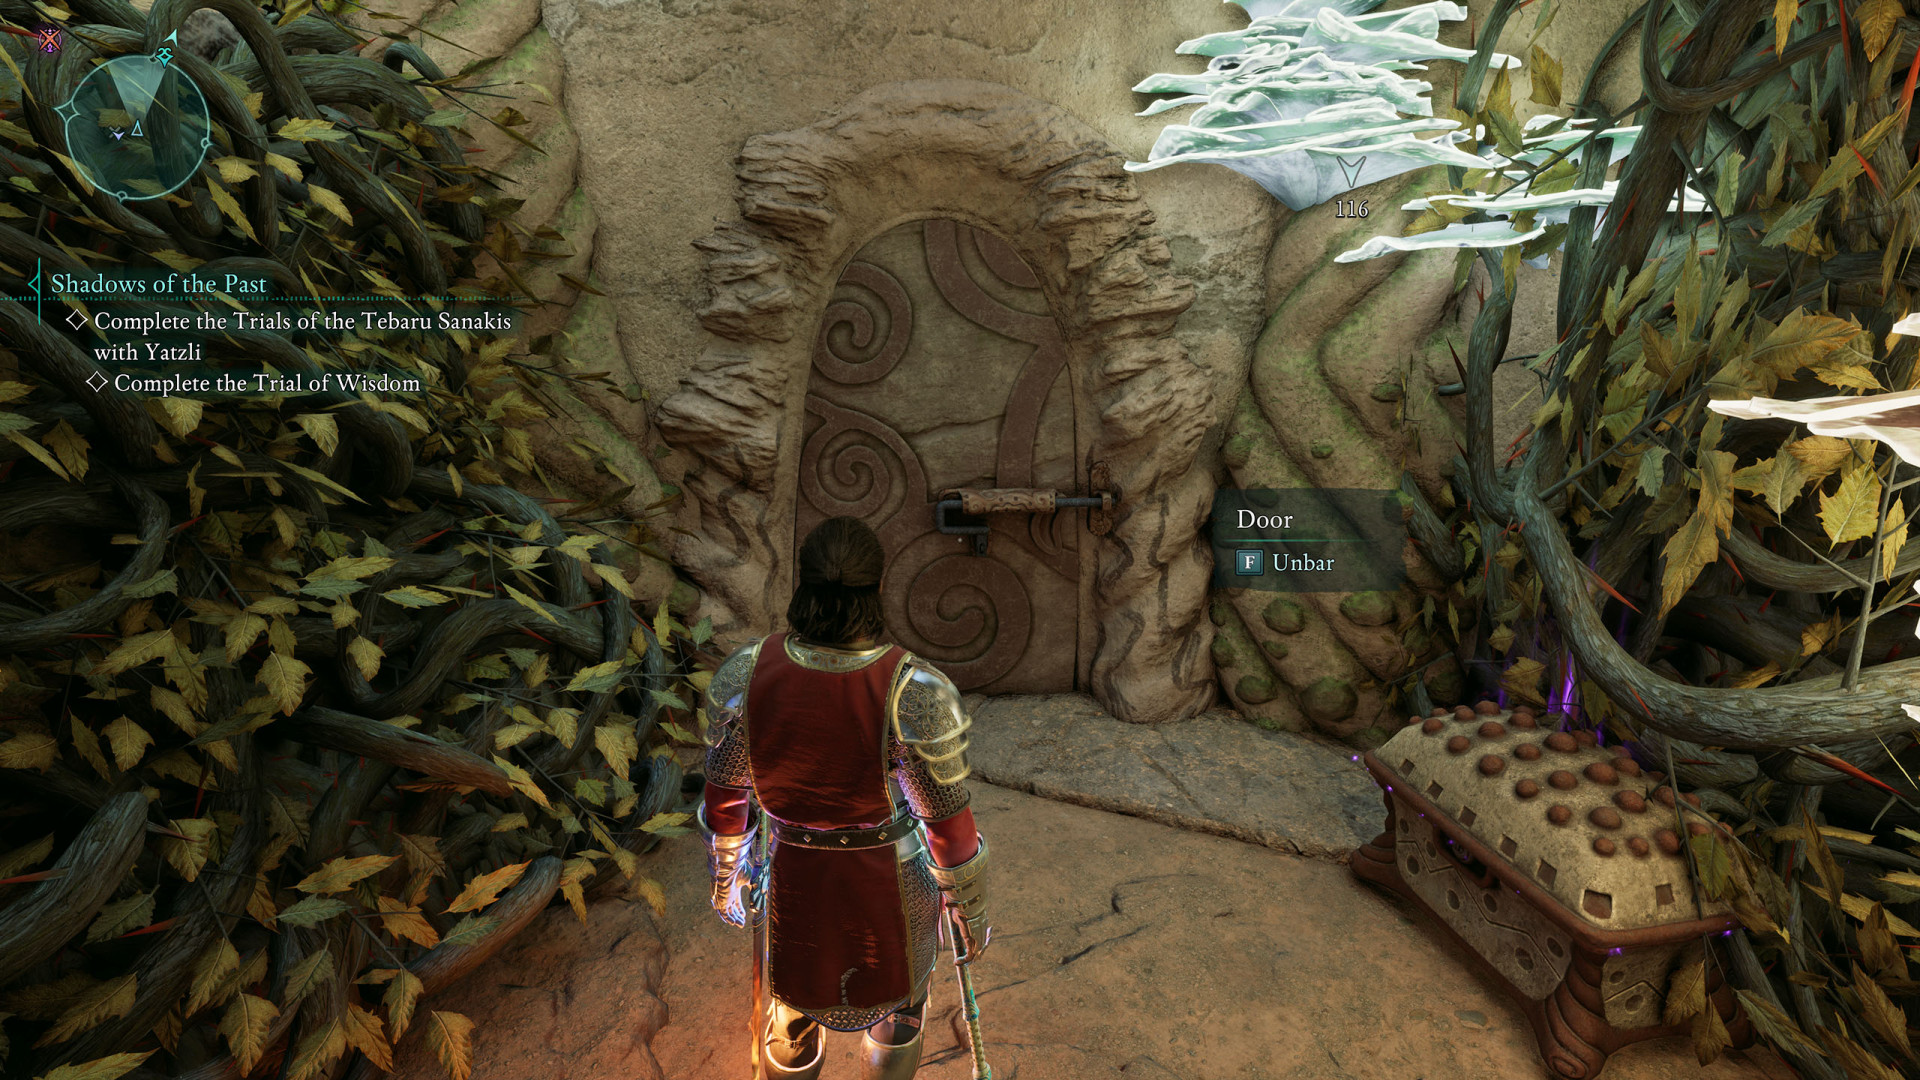
157Barred Door
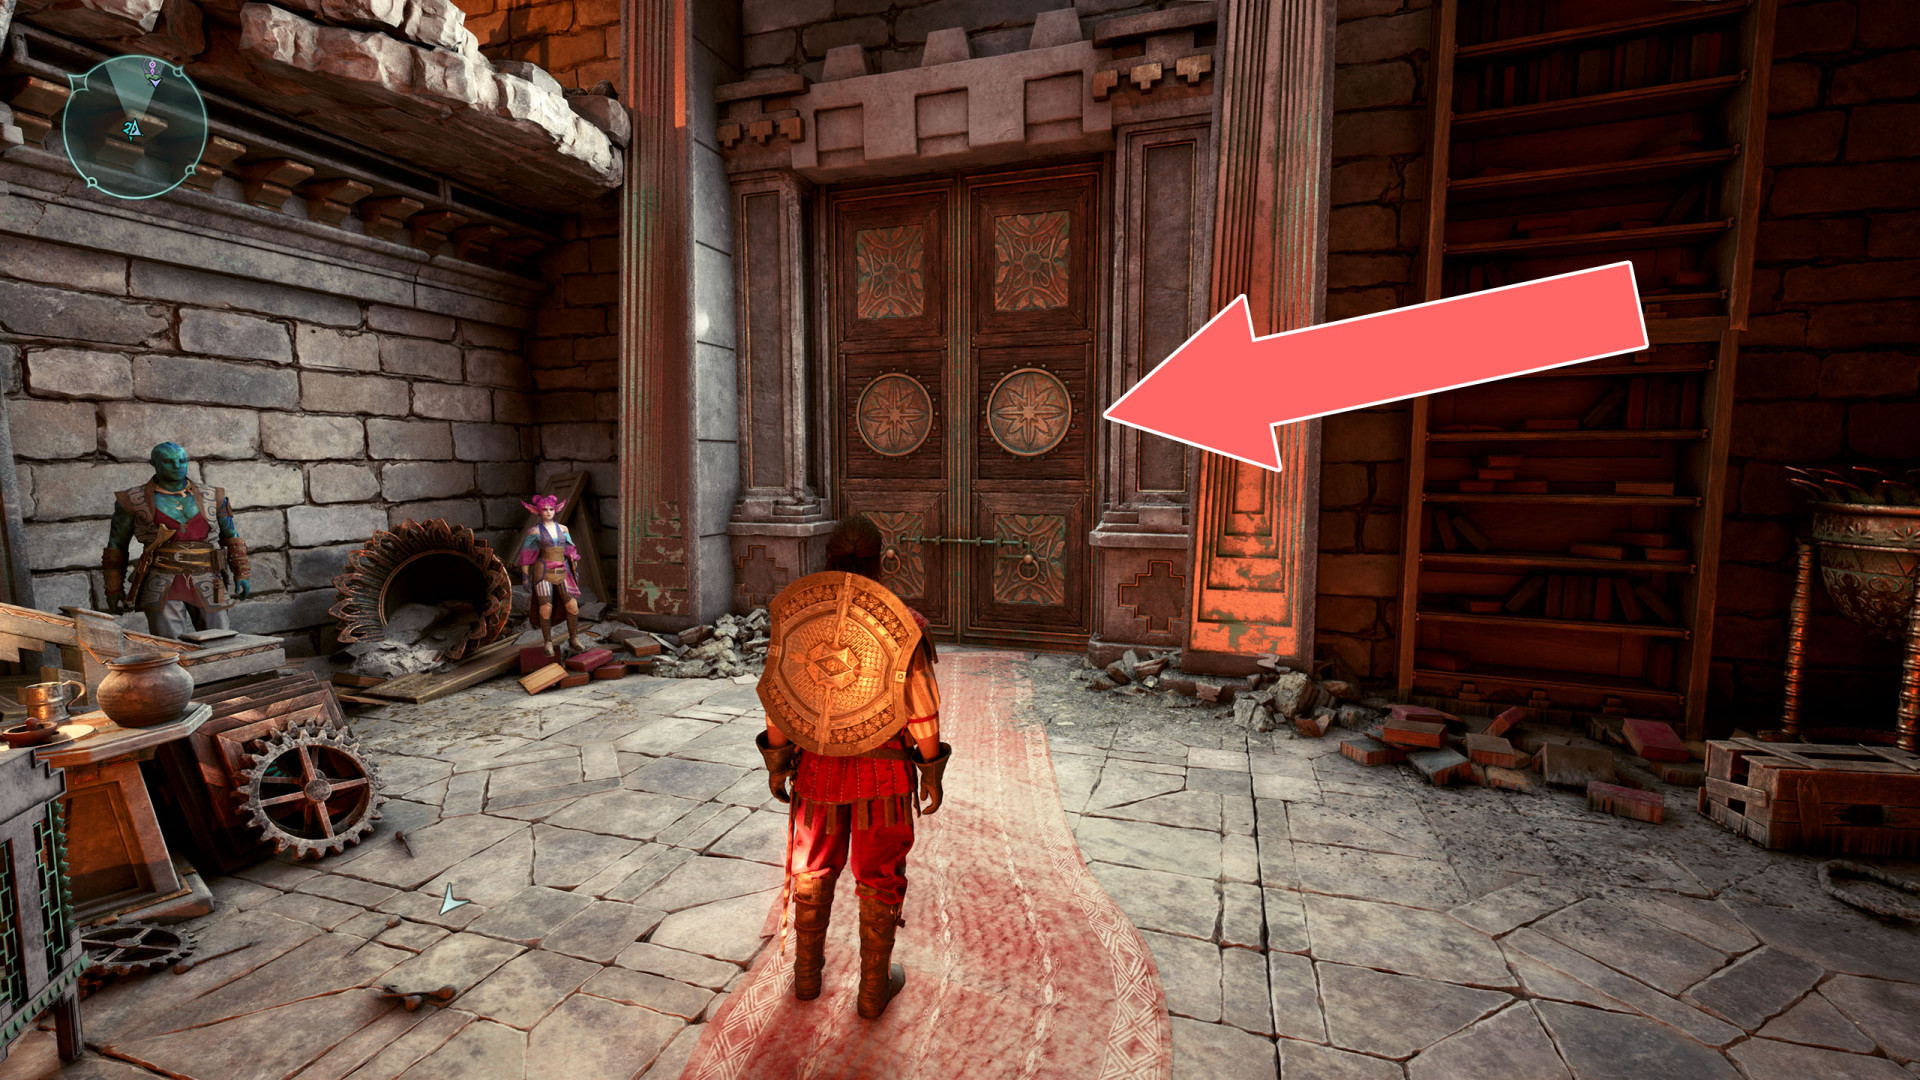
158Barred Door
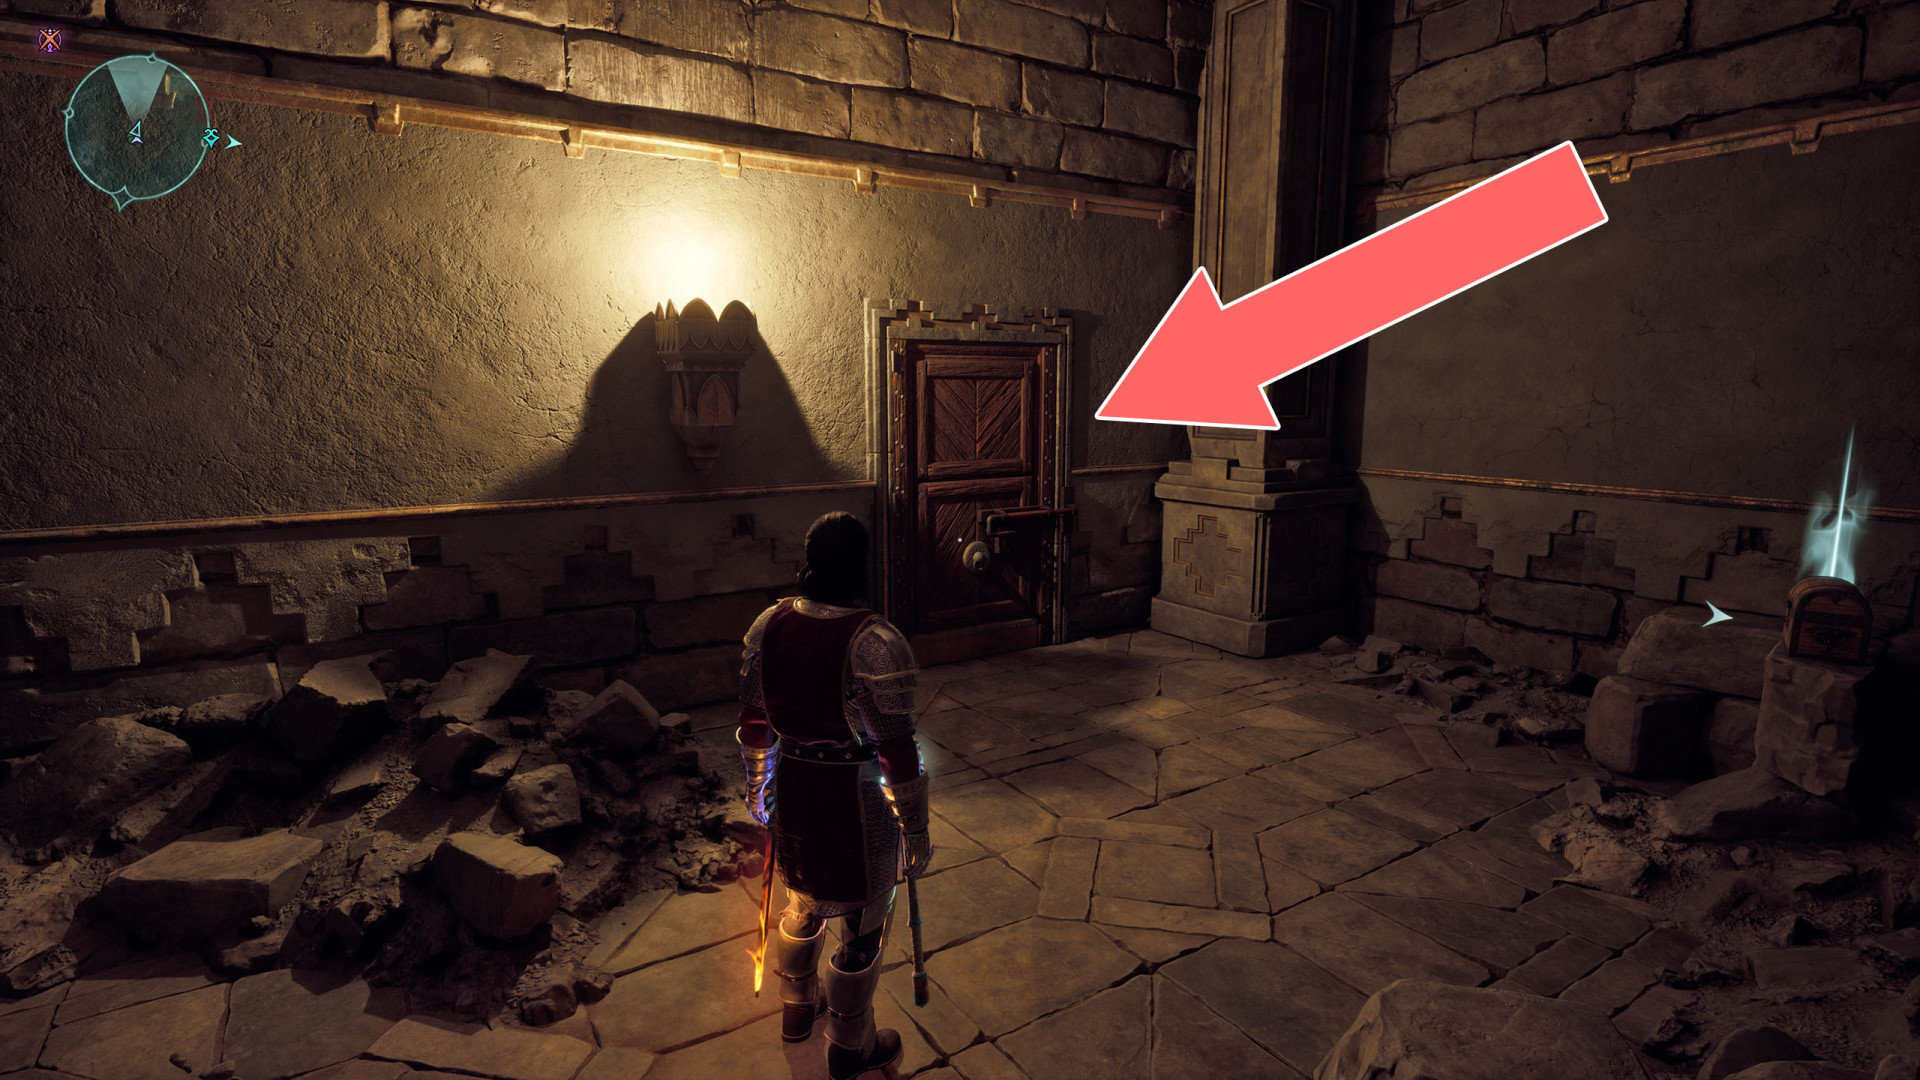
159Barred Door
You can open it by exiting the Scaedclef Grotto through the back door.
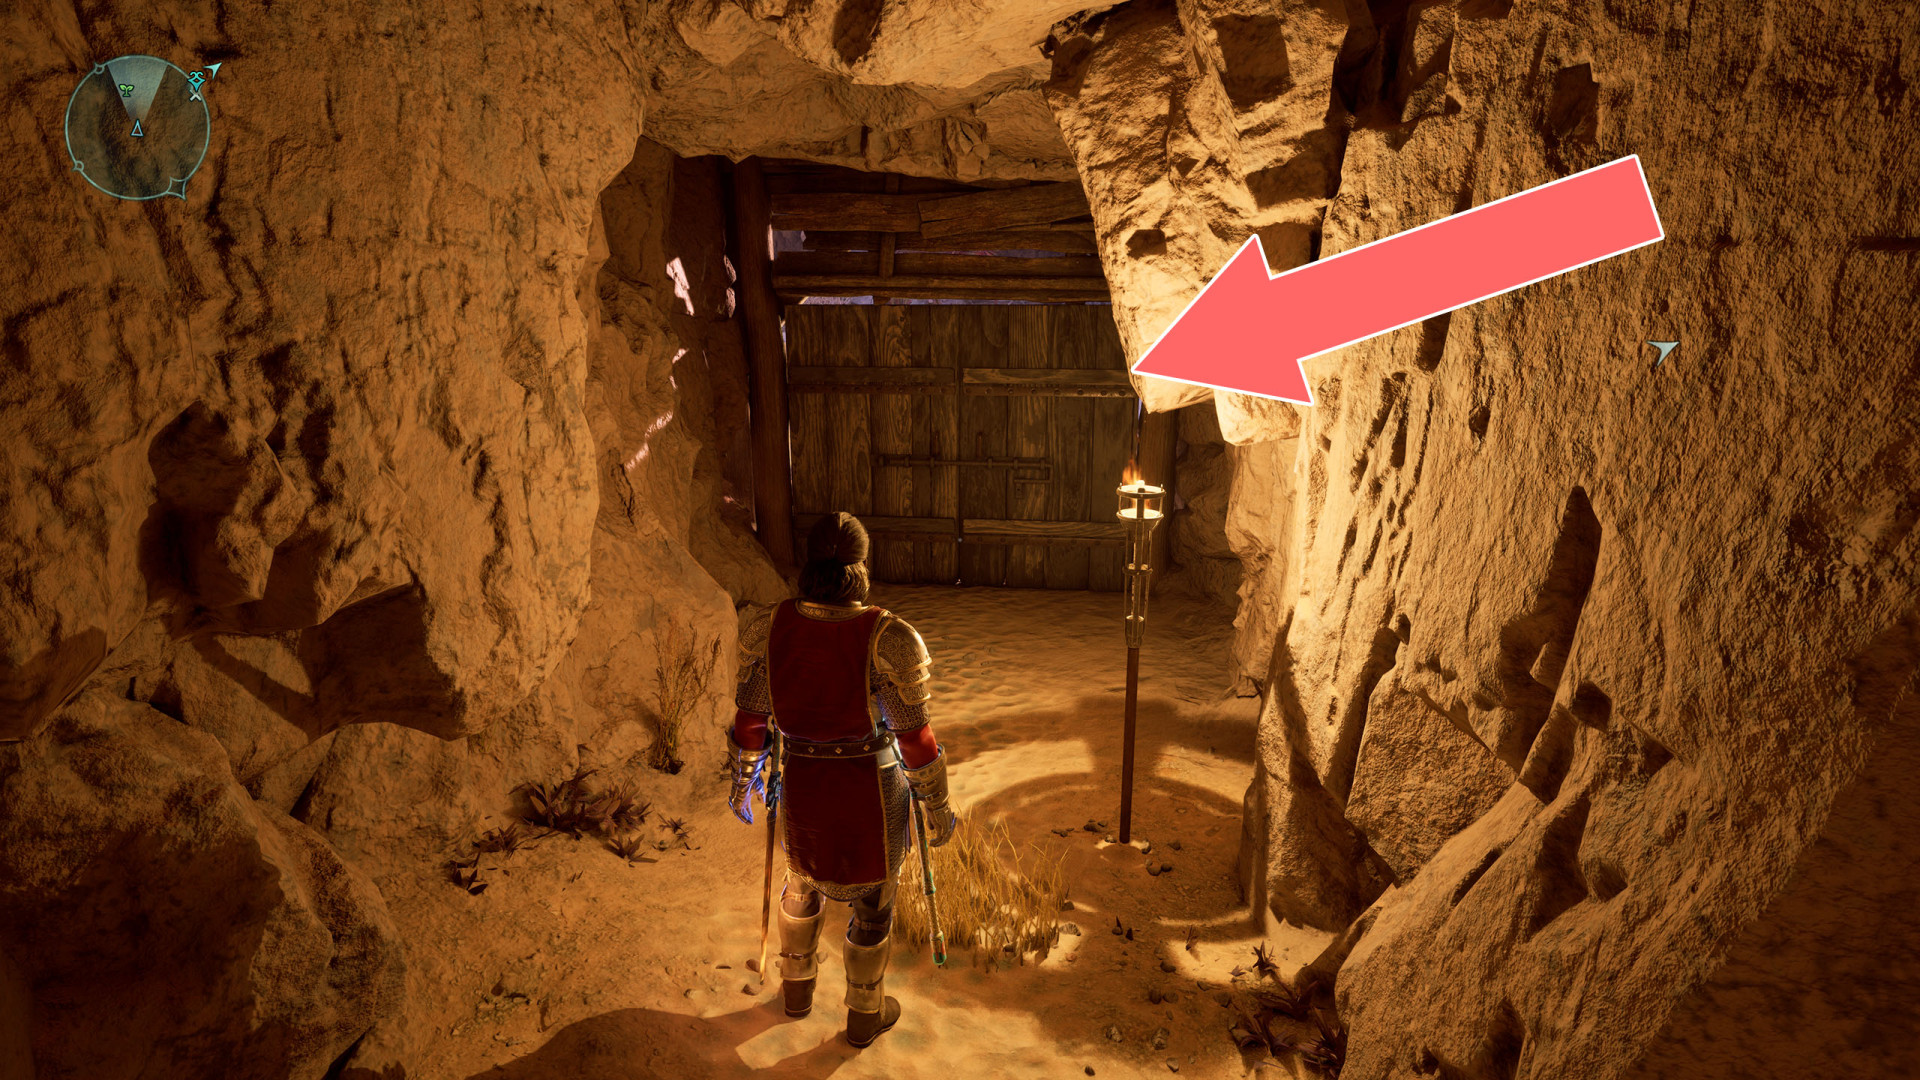
160Barred Door
The door can be unlocked from the inside and the building can be accessed through the broken roof.
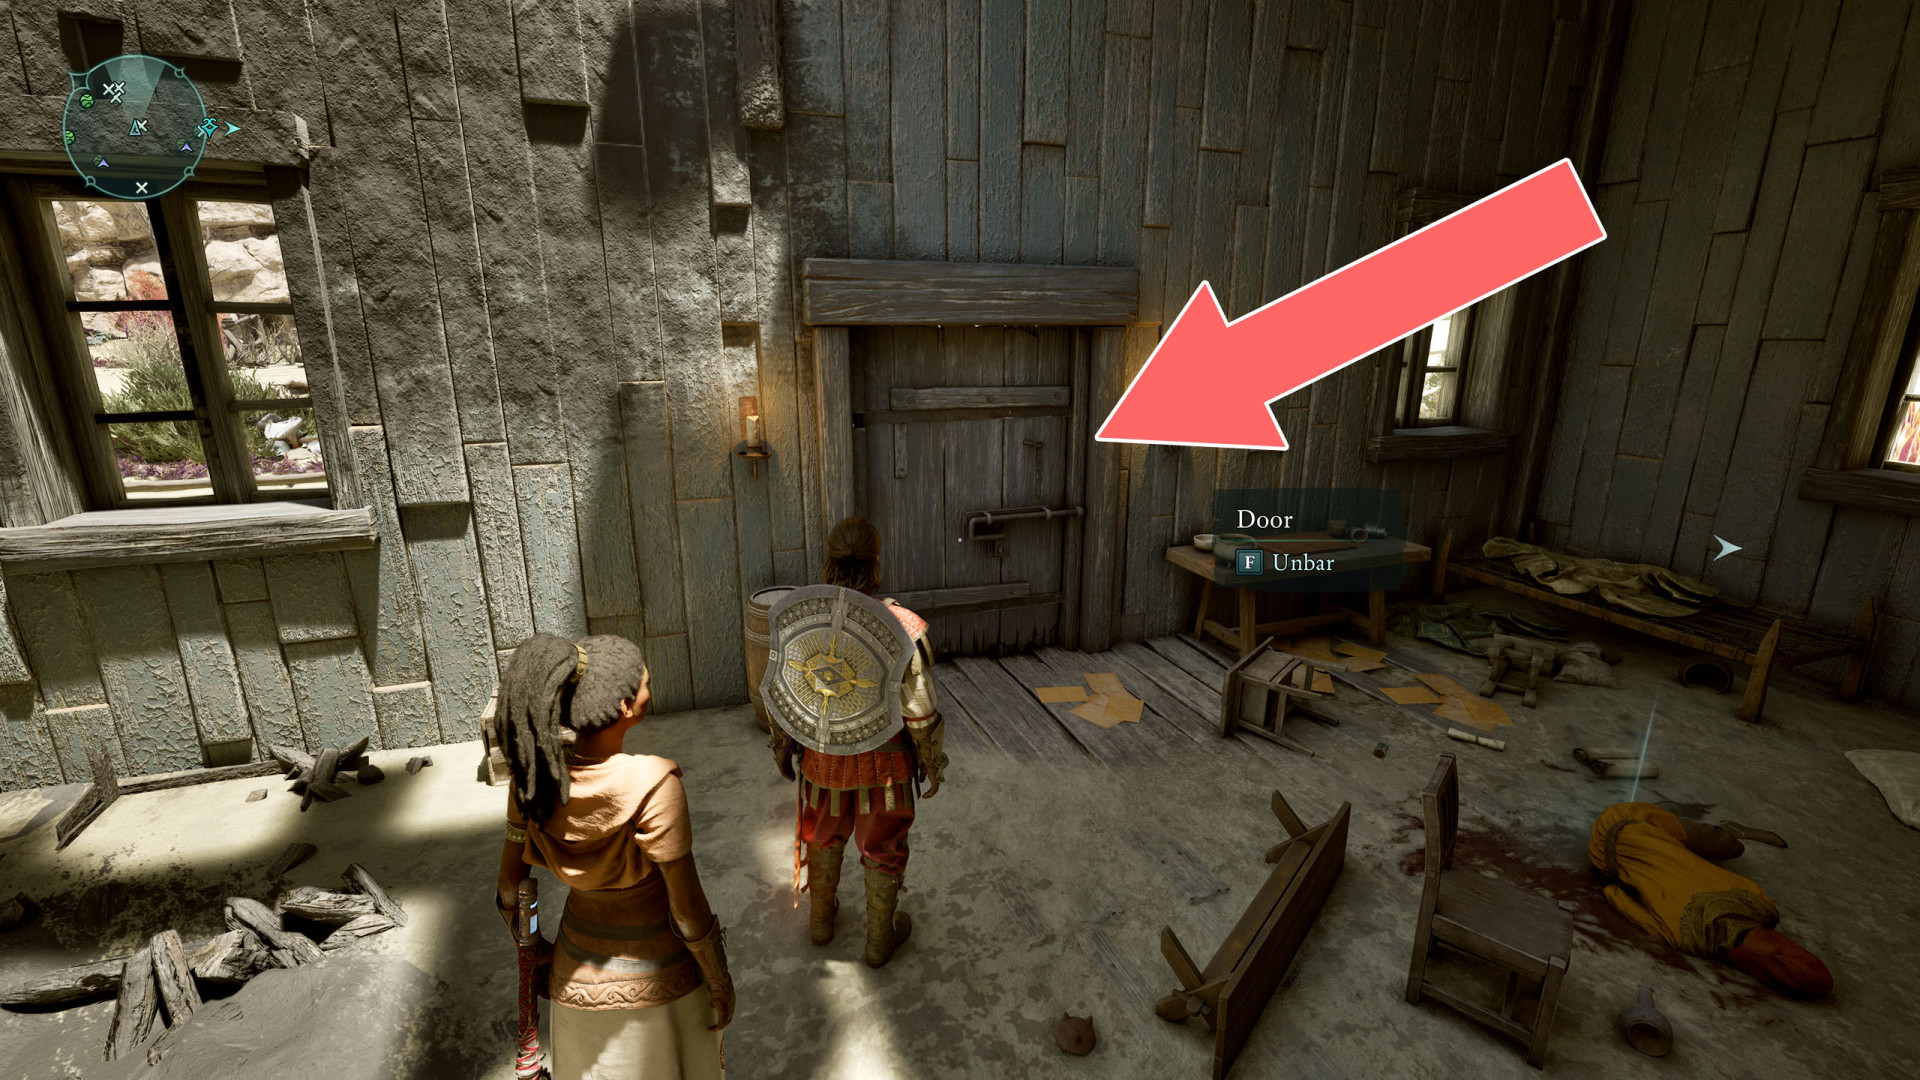
161Barred Gate
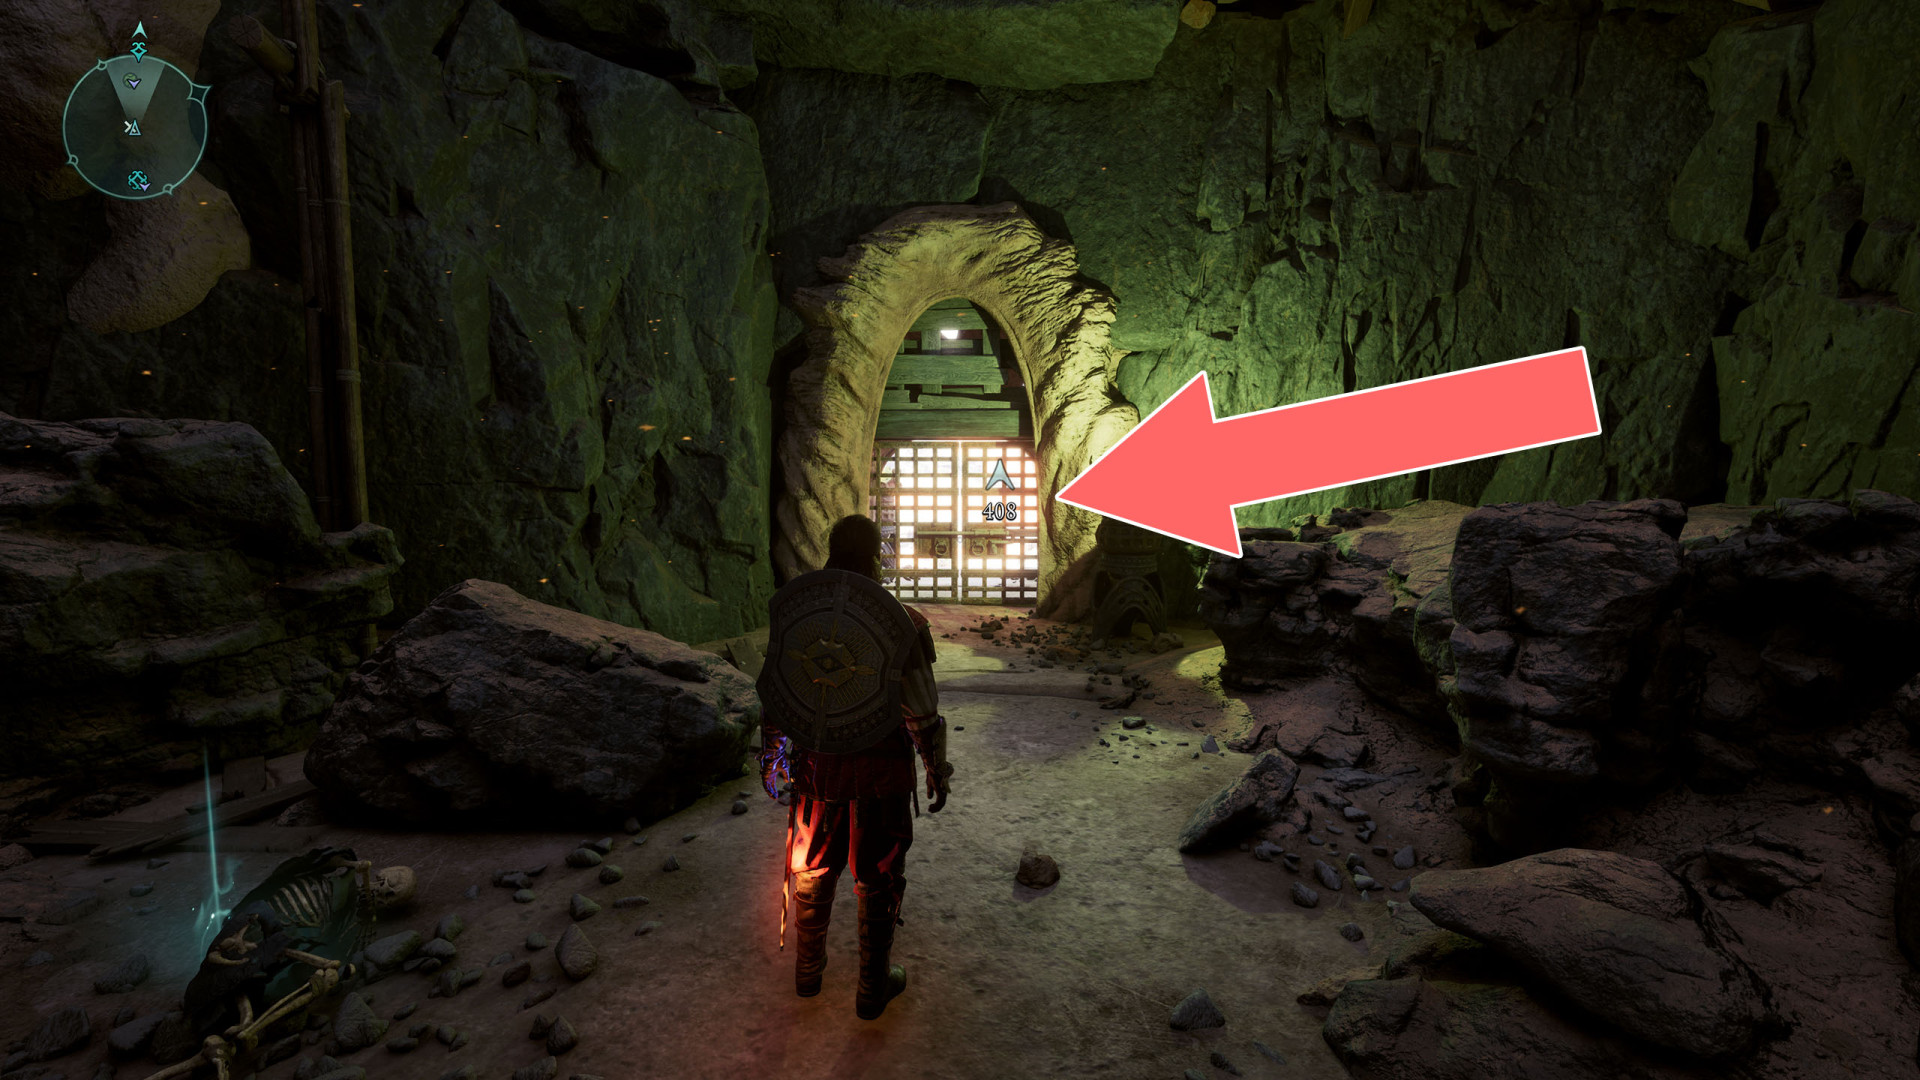
162Brambles
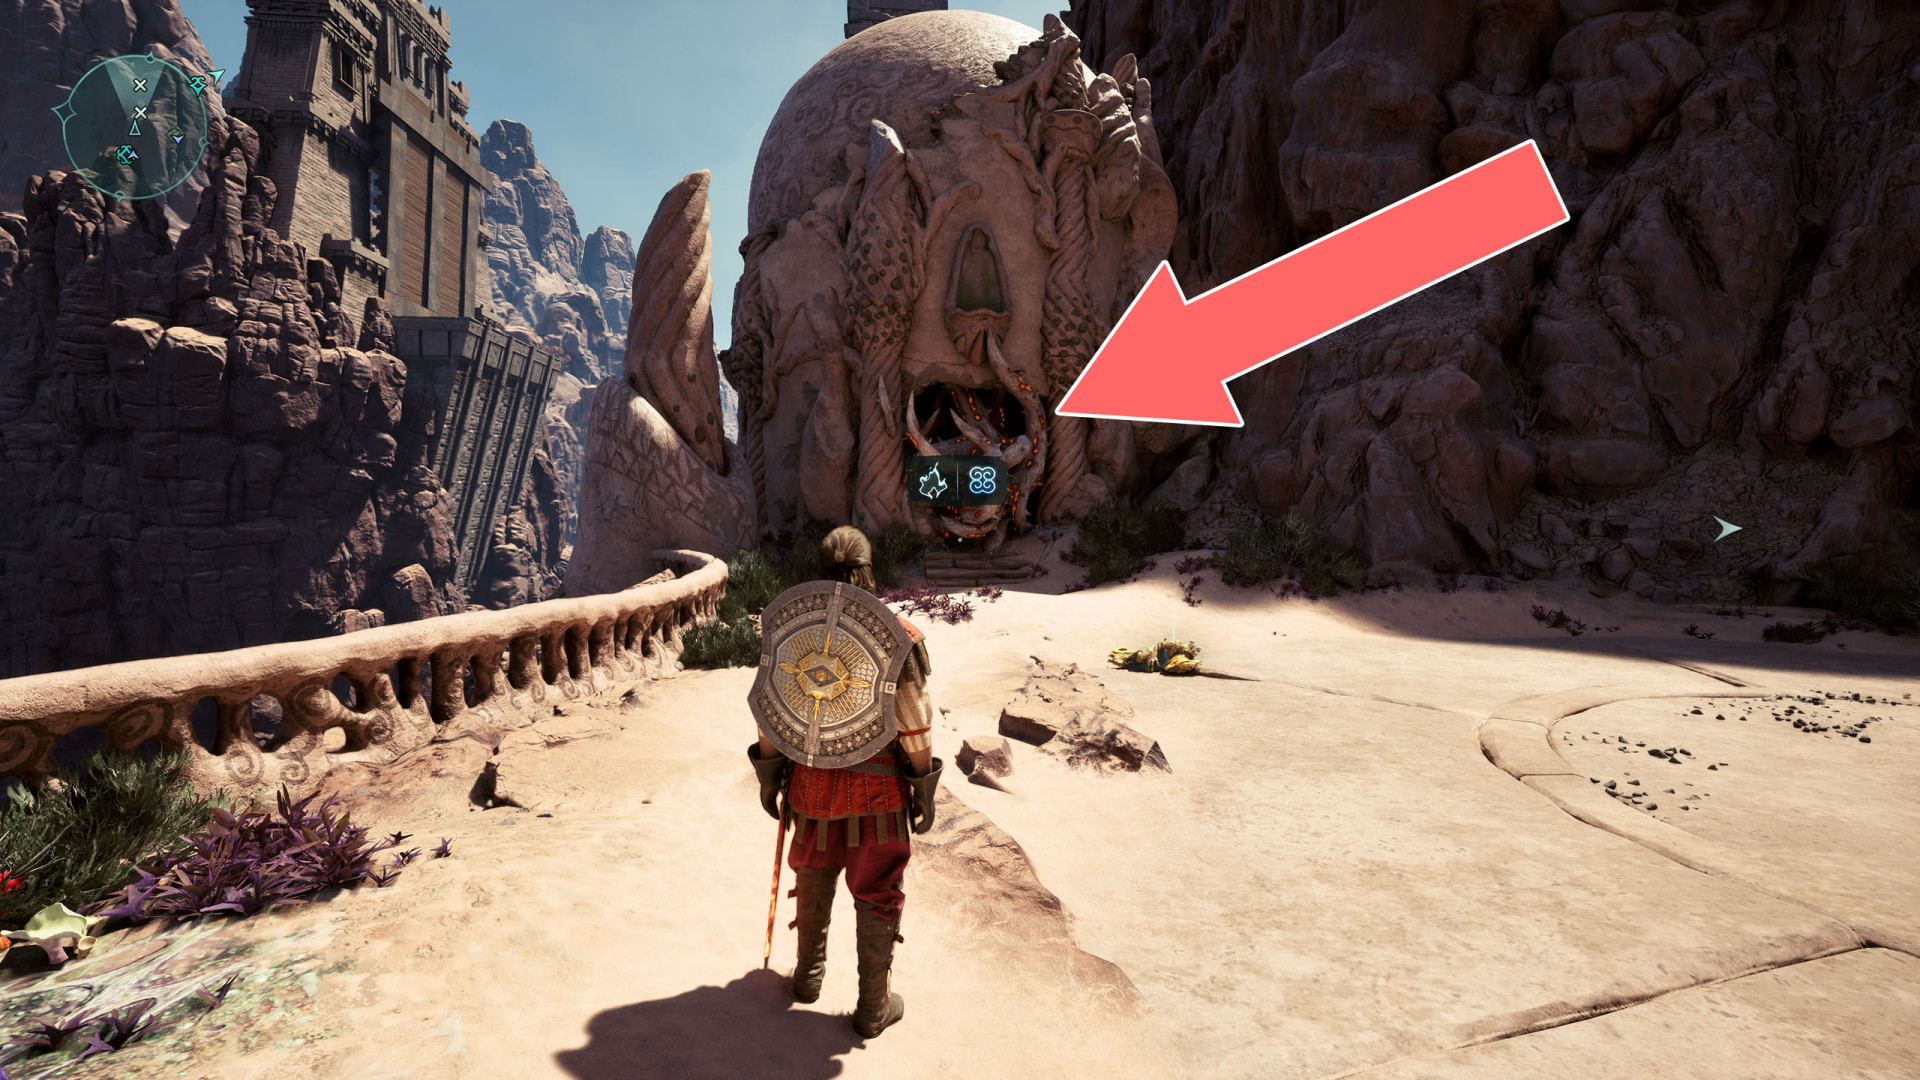
163Brambles
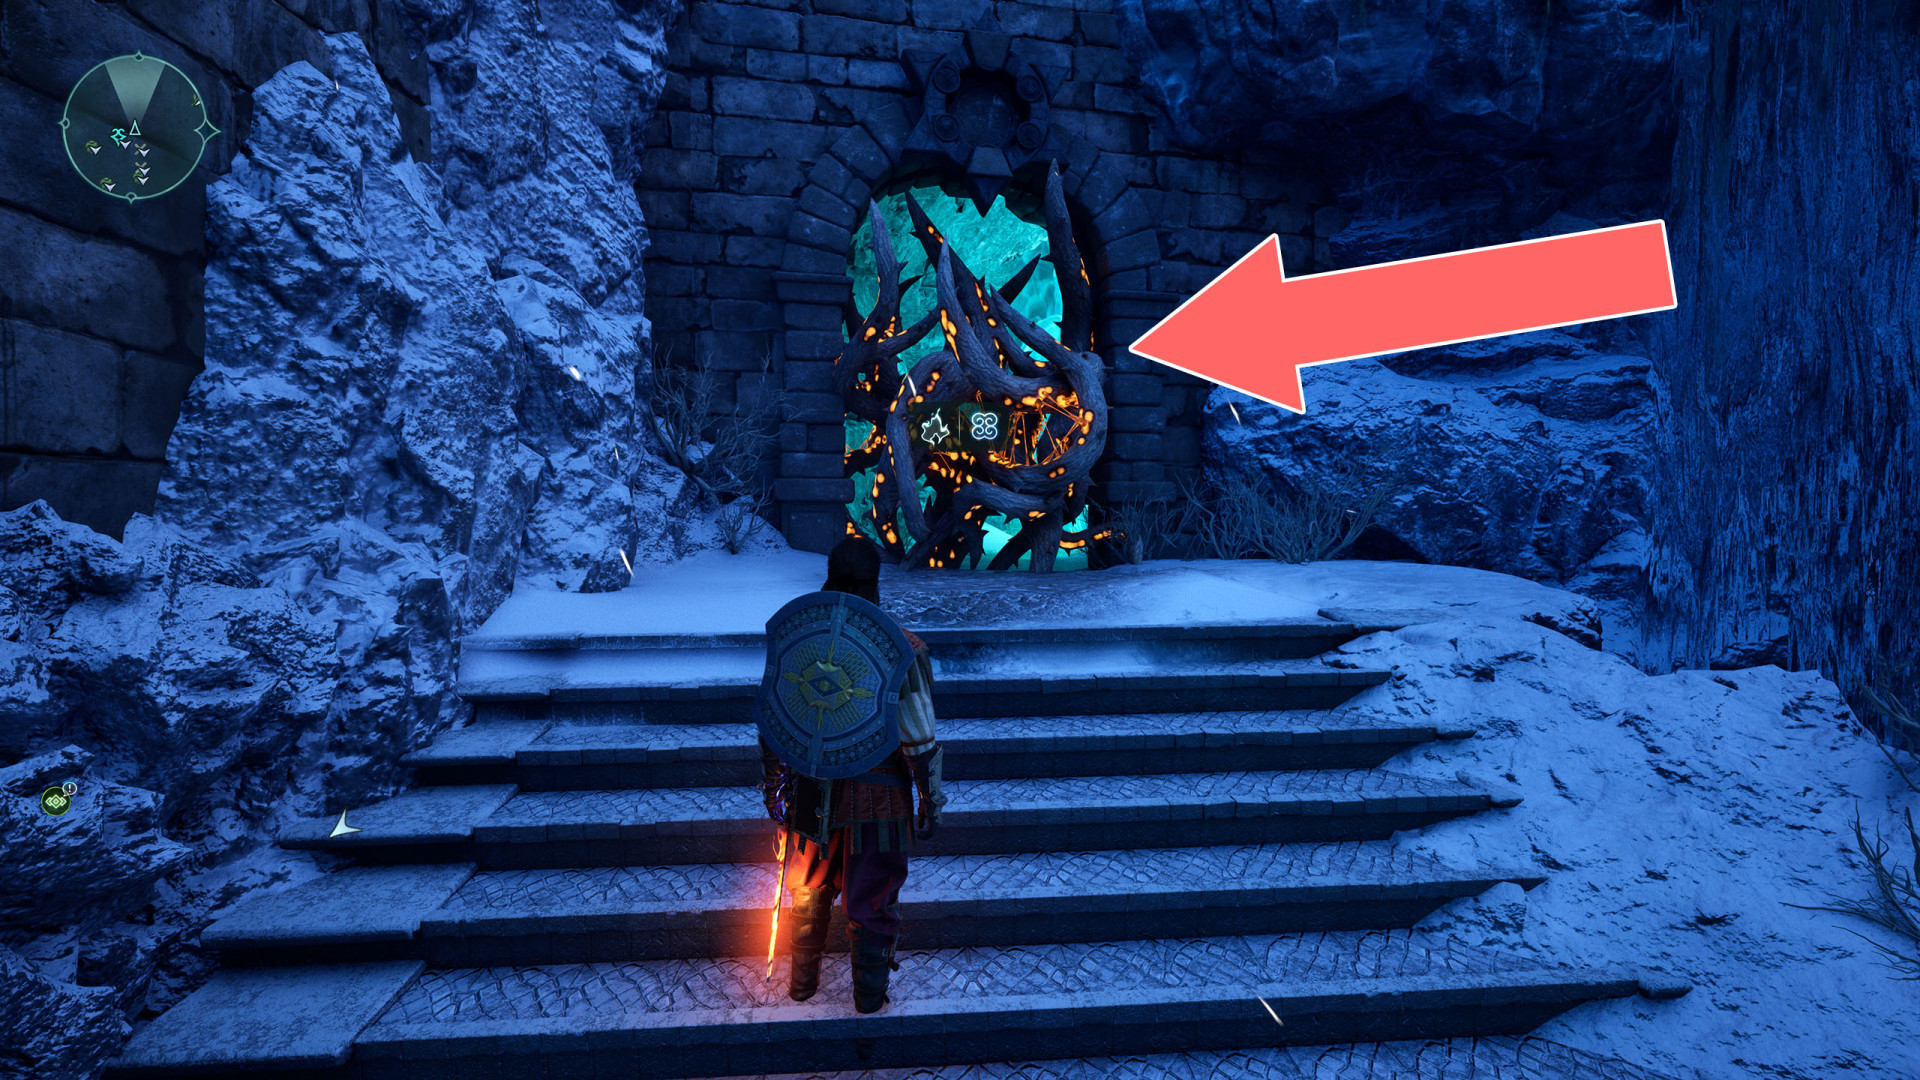
164Brambles
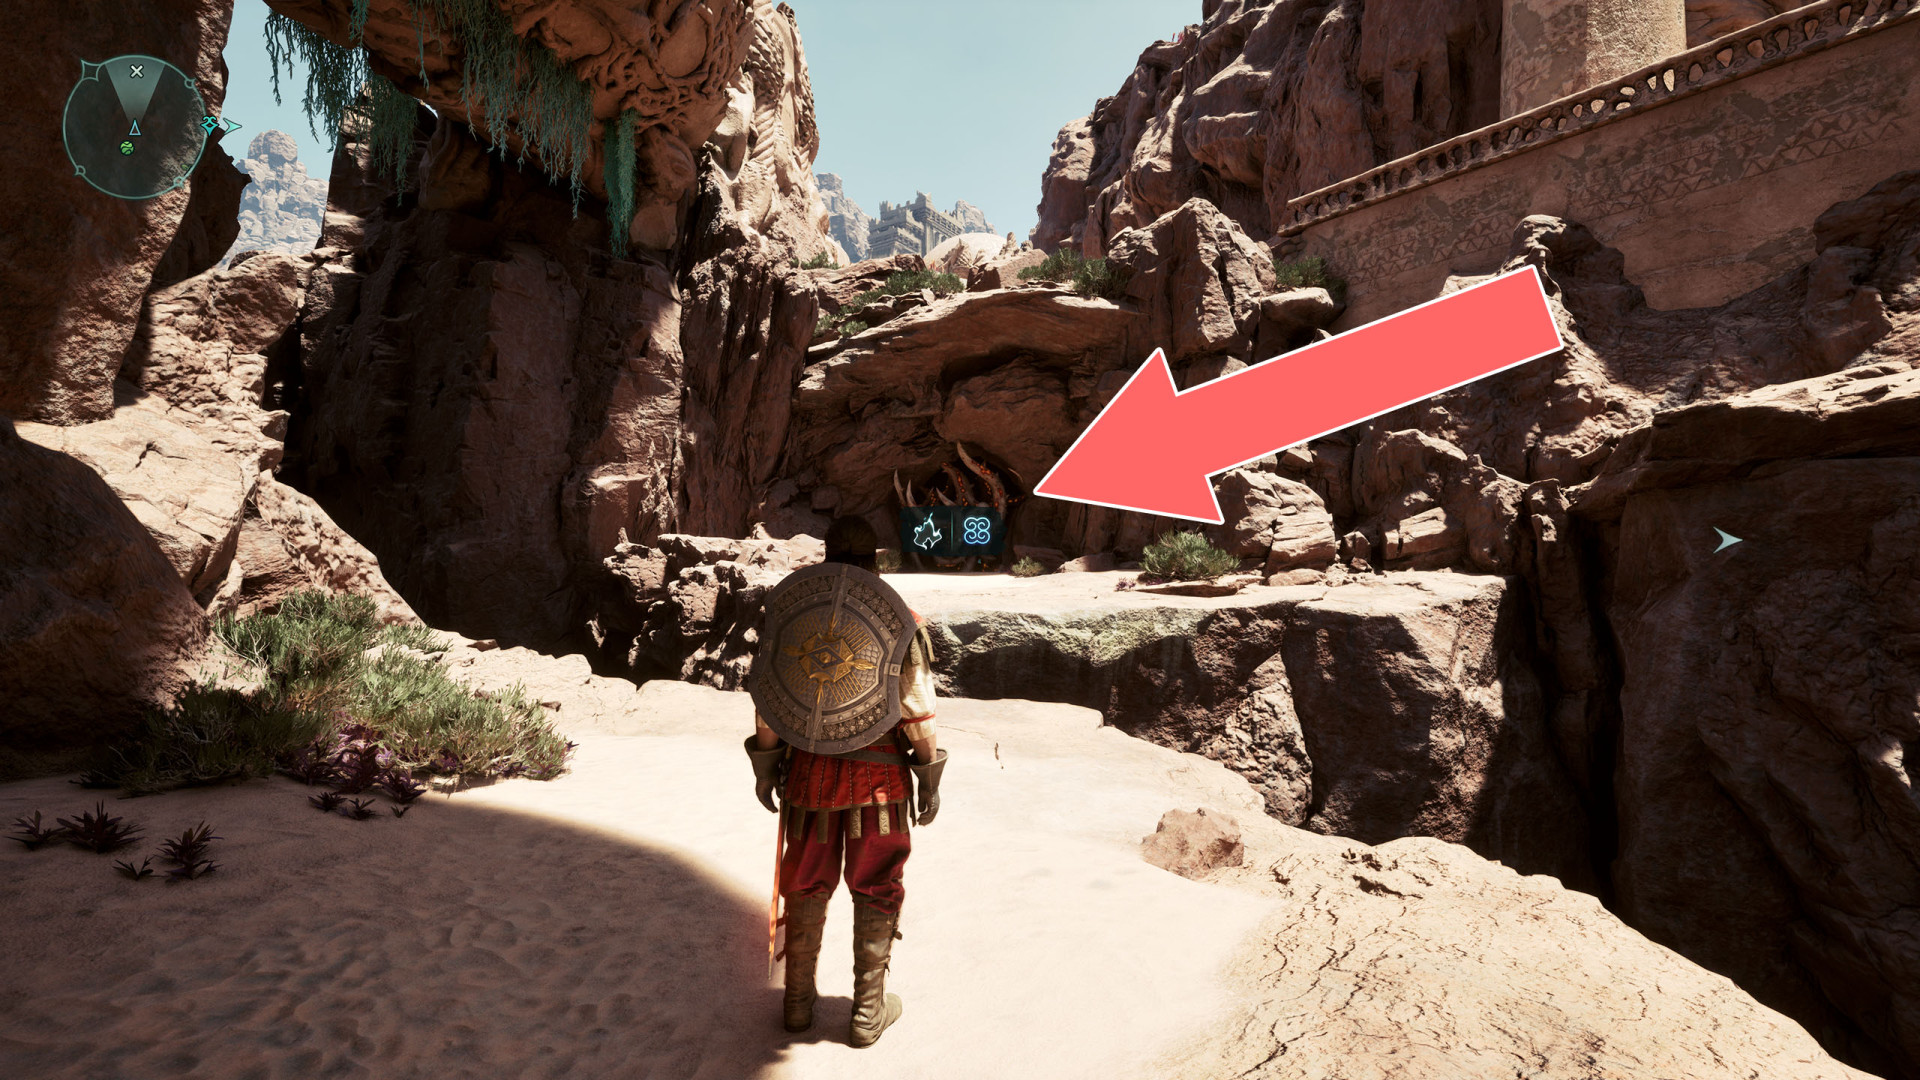
165Brambles
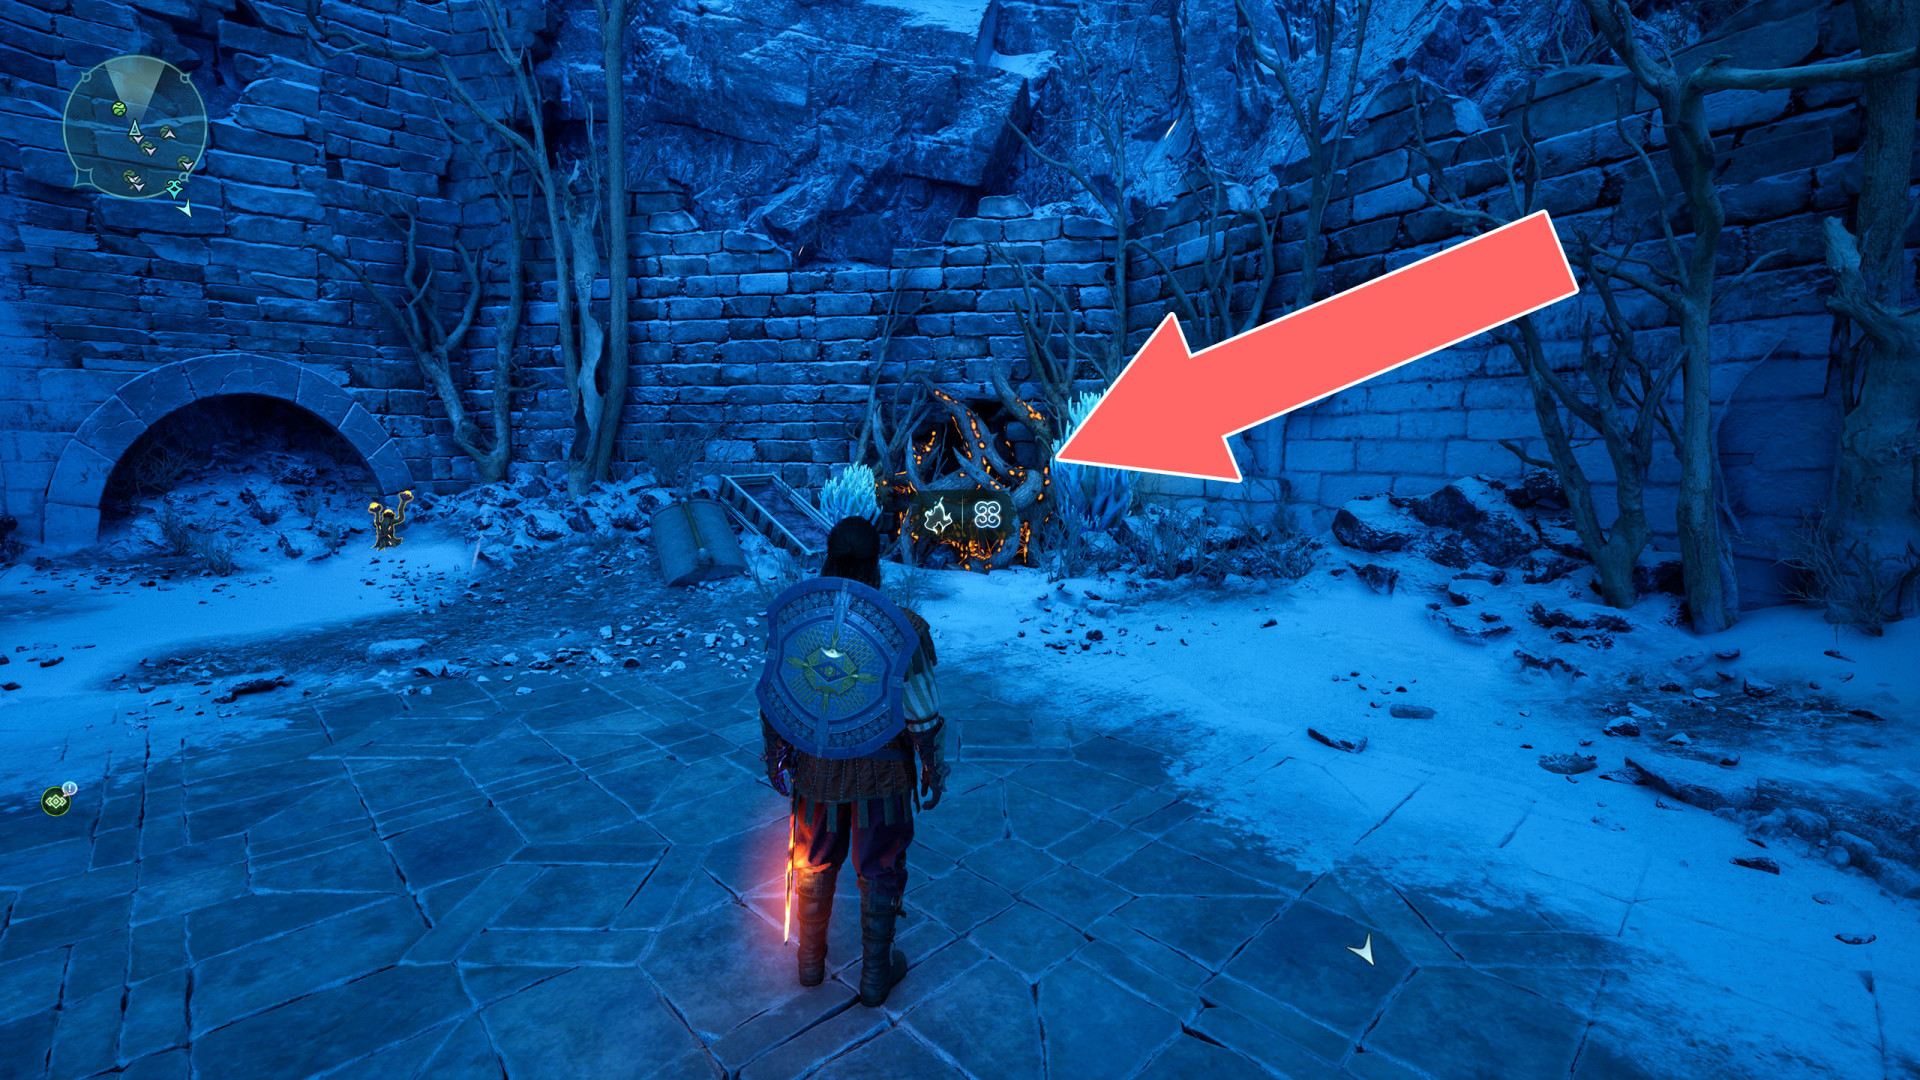
166Brambles
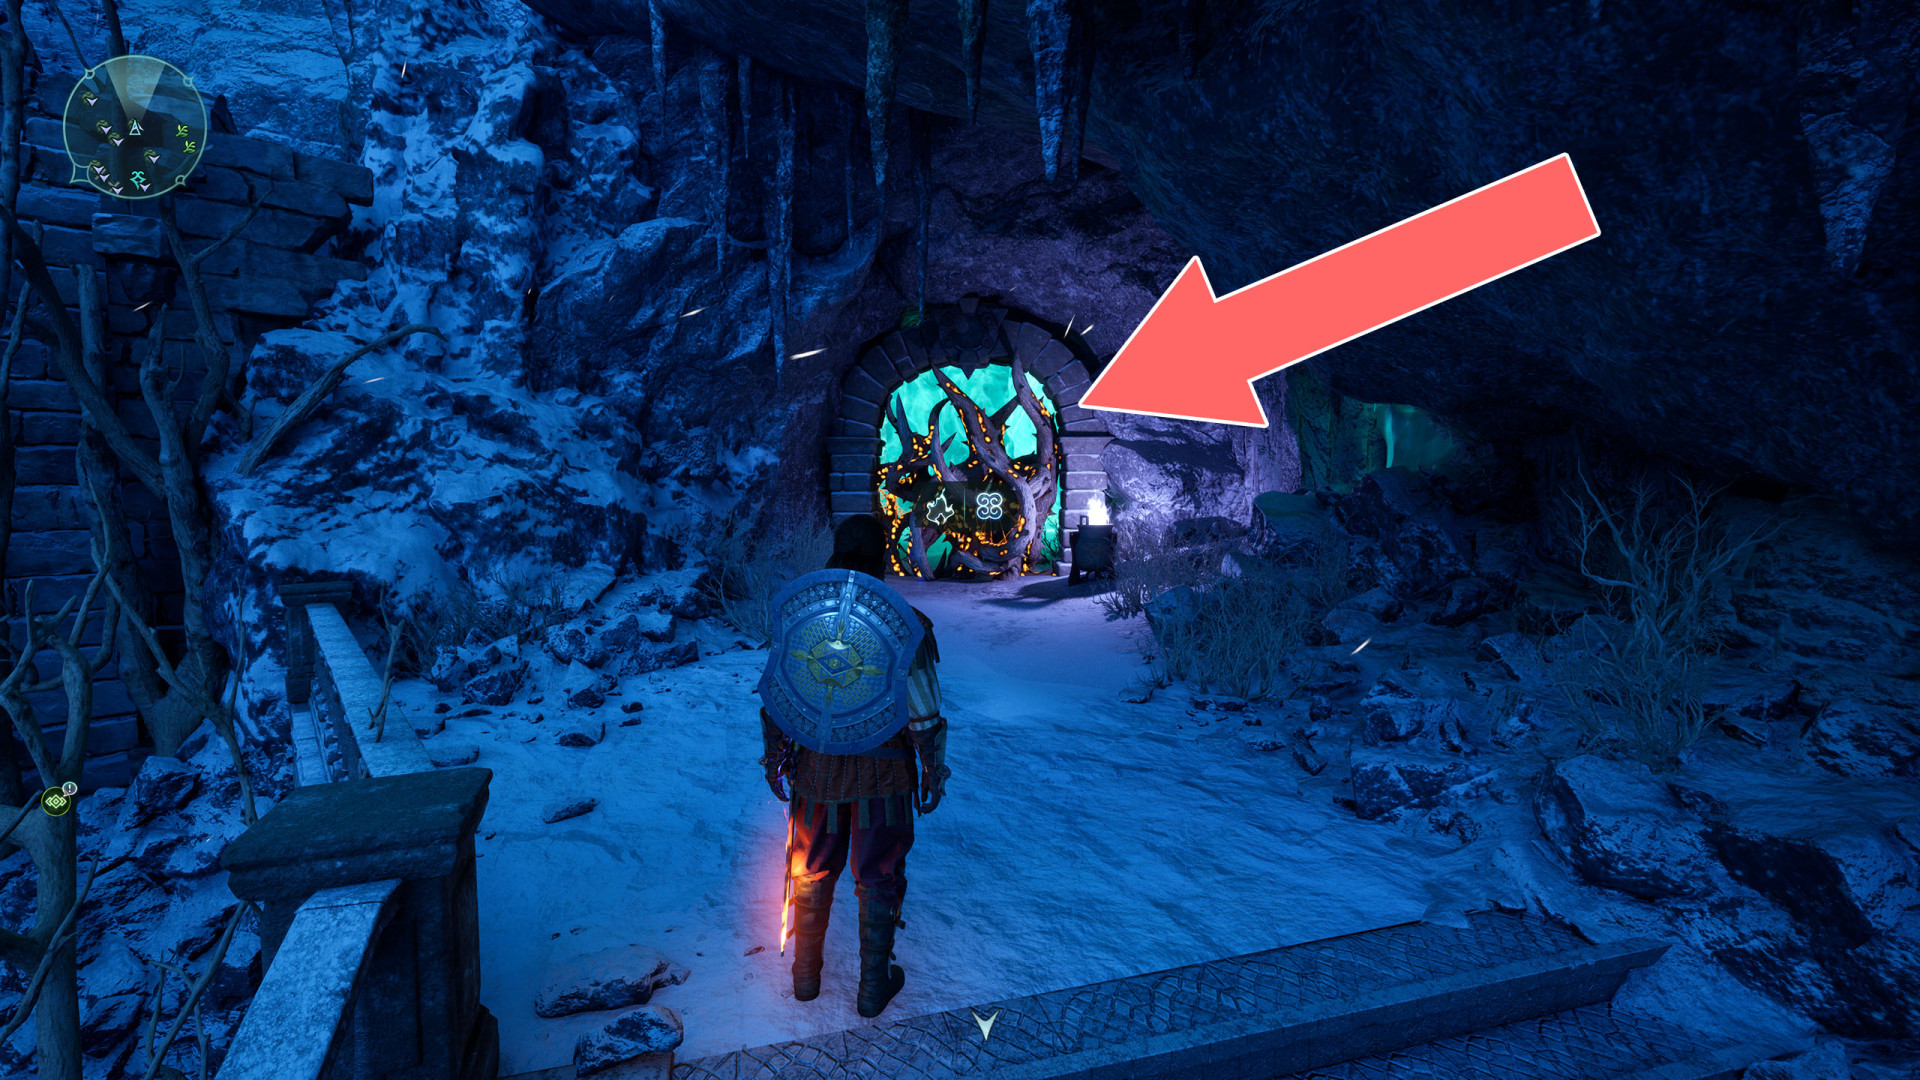
167Brambles
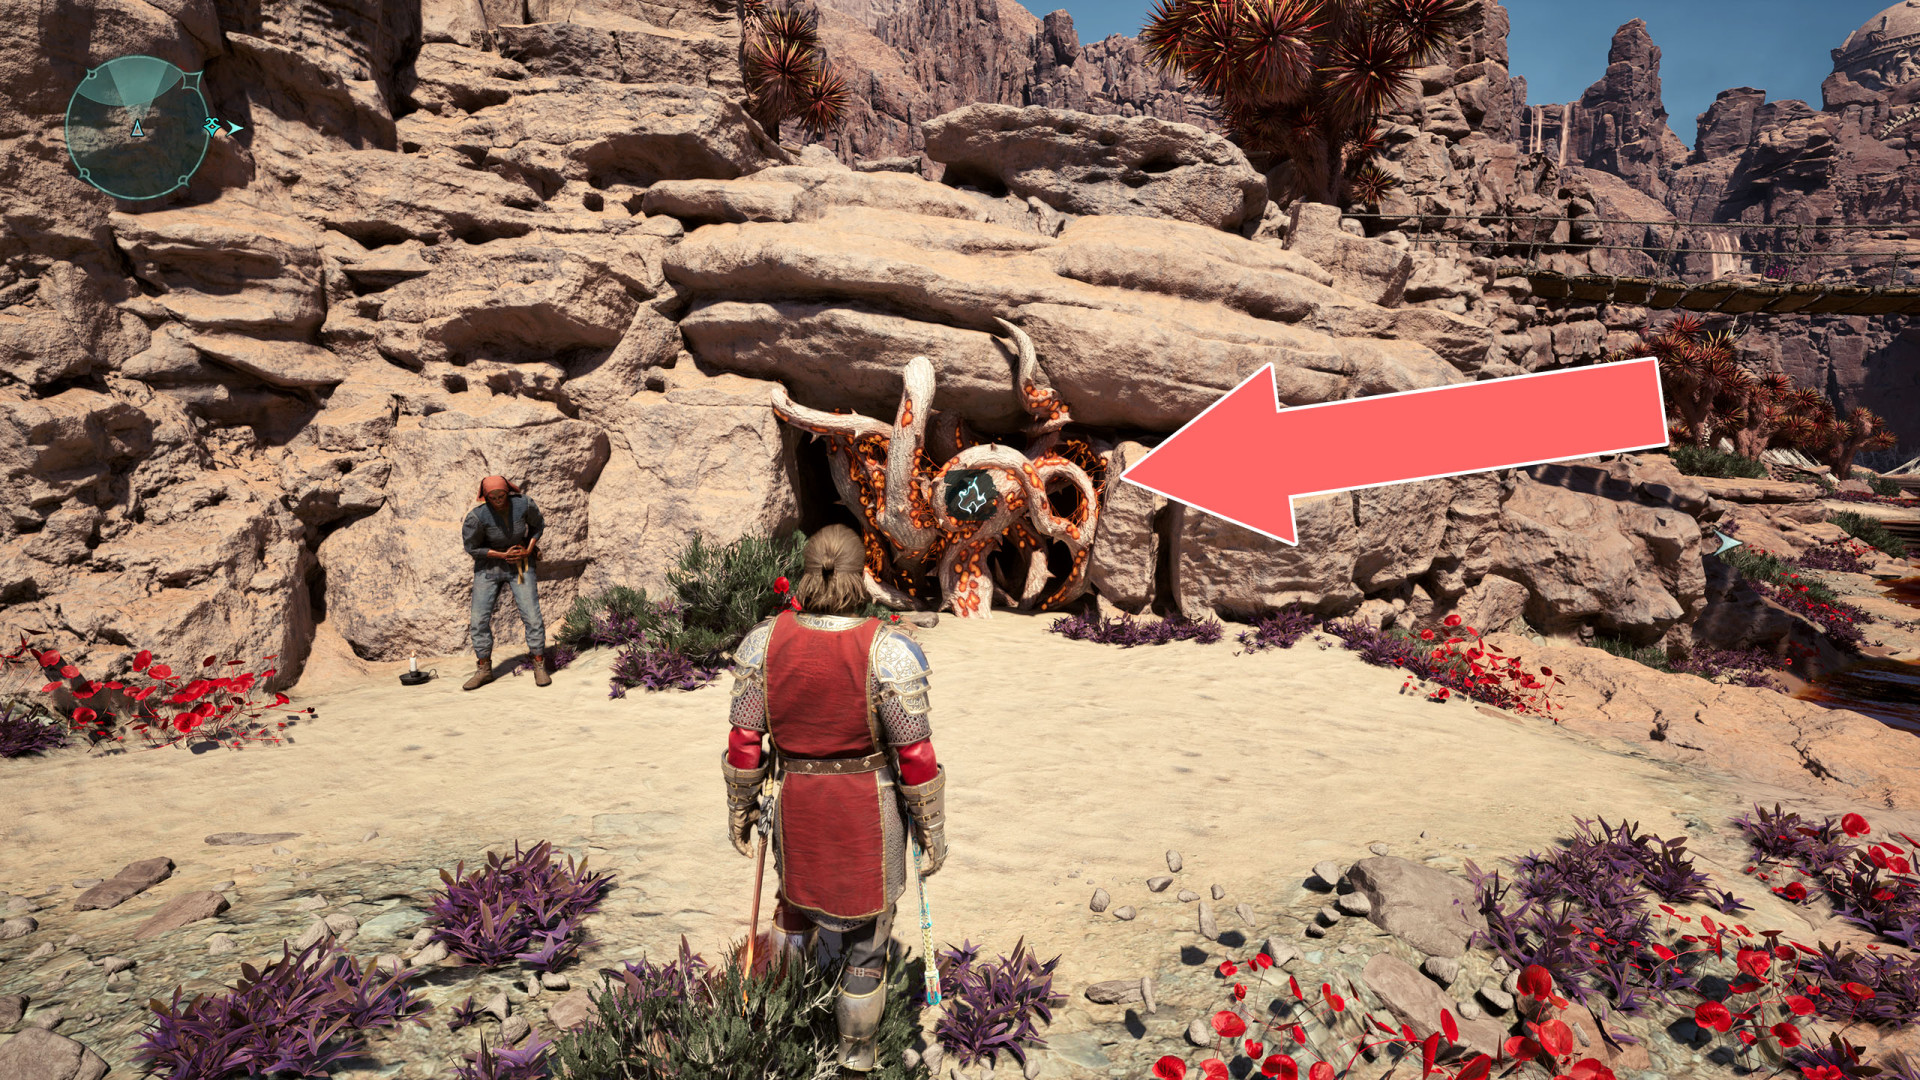
168Brambles
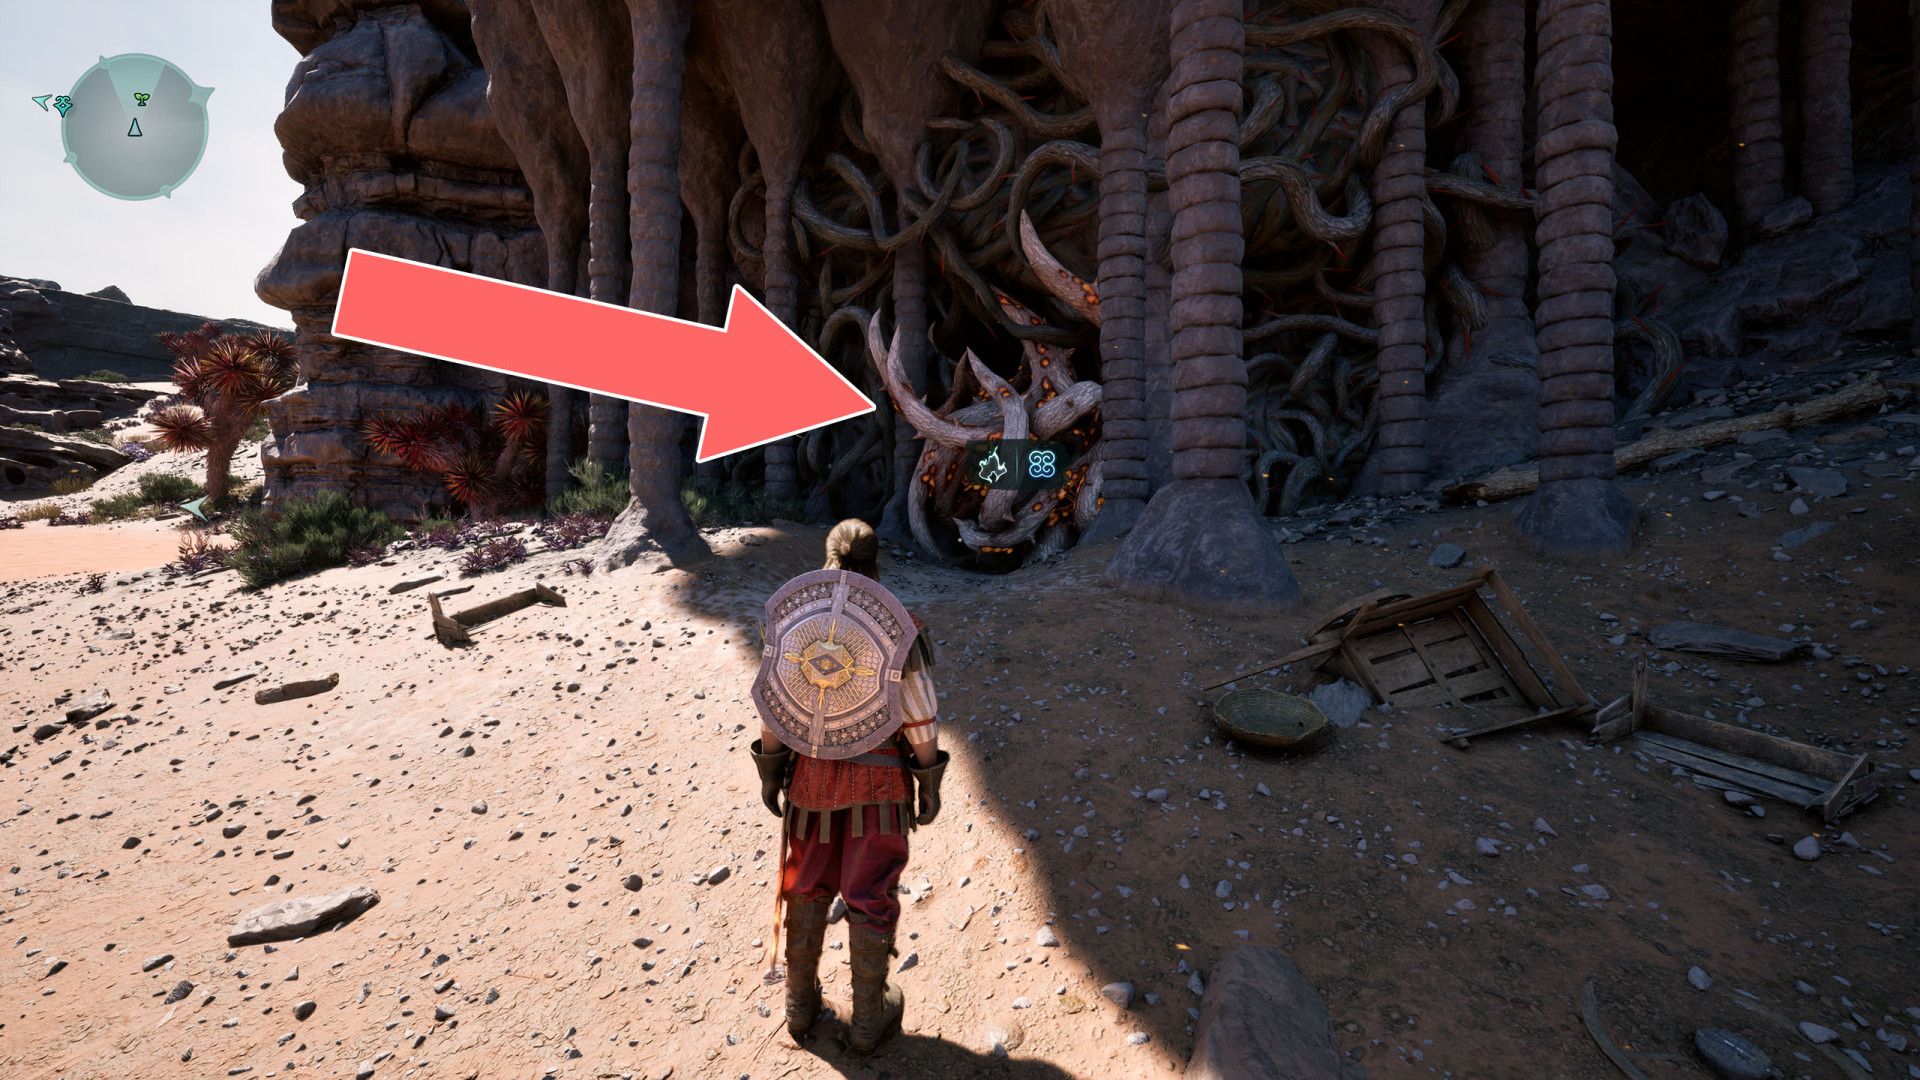
169Brambles
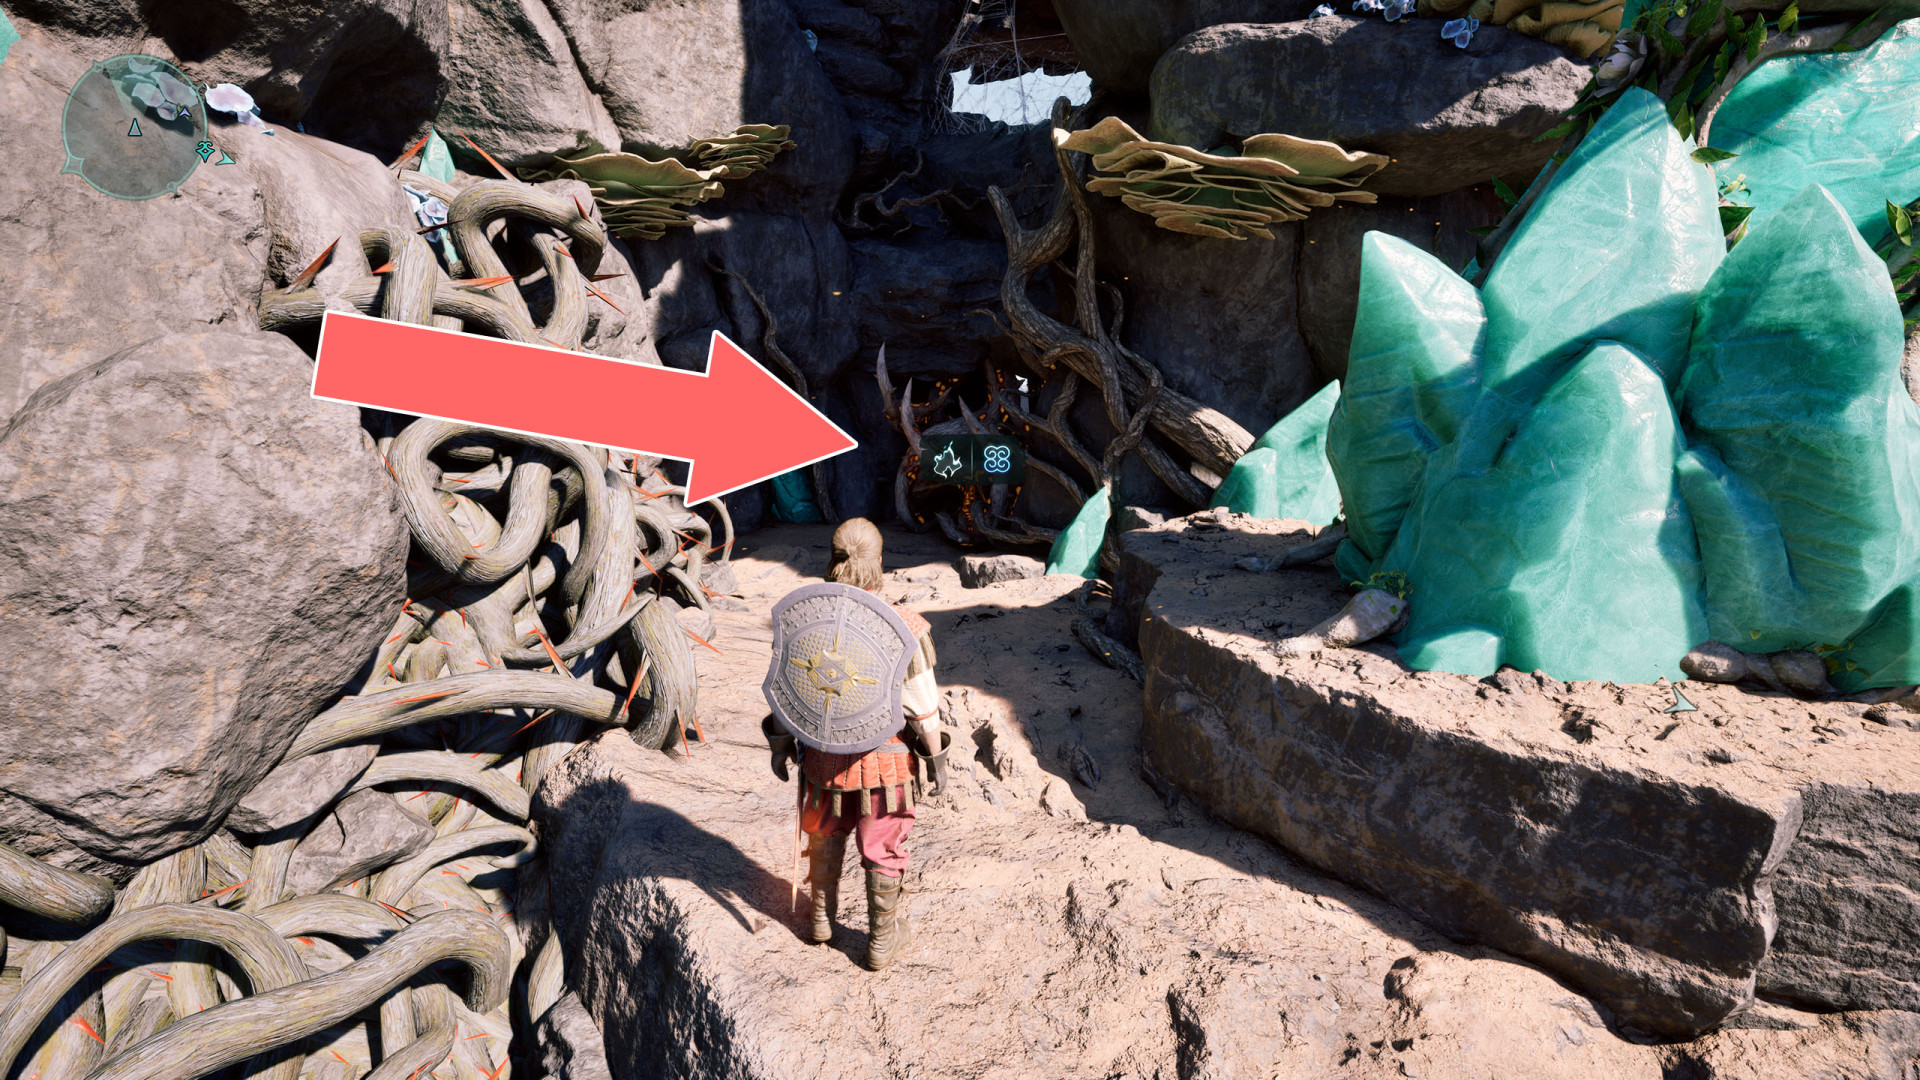
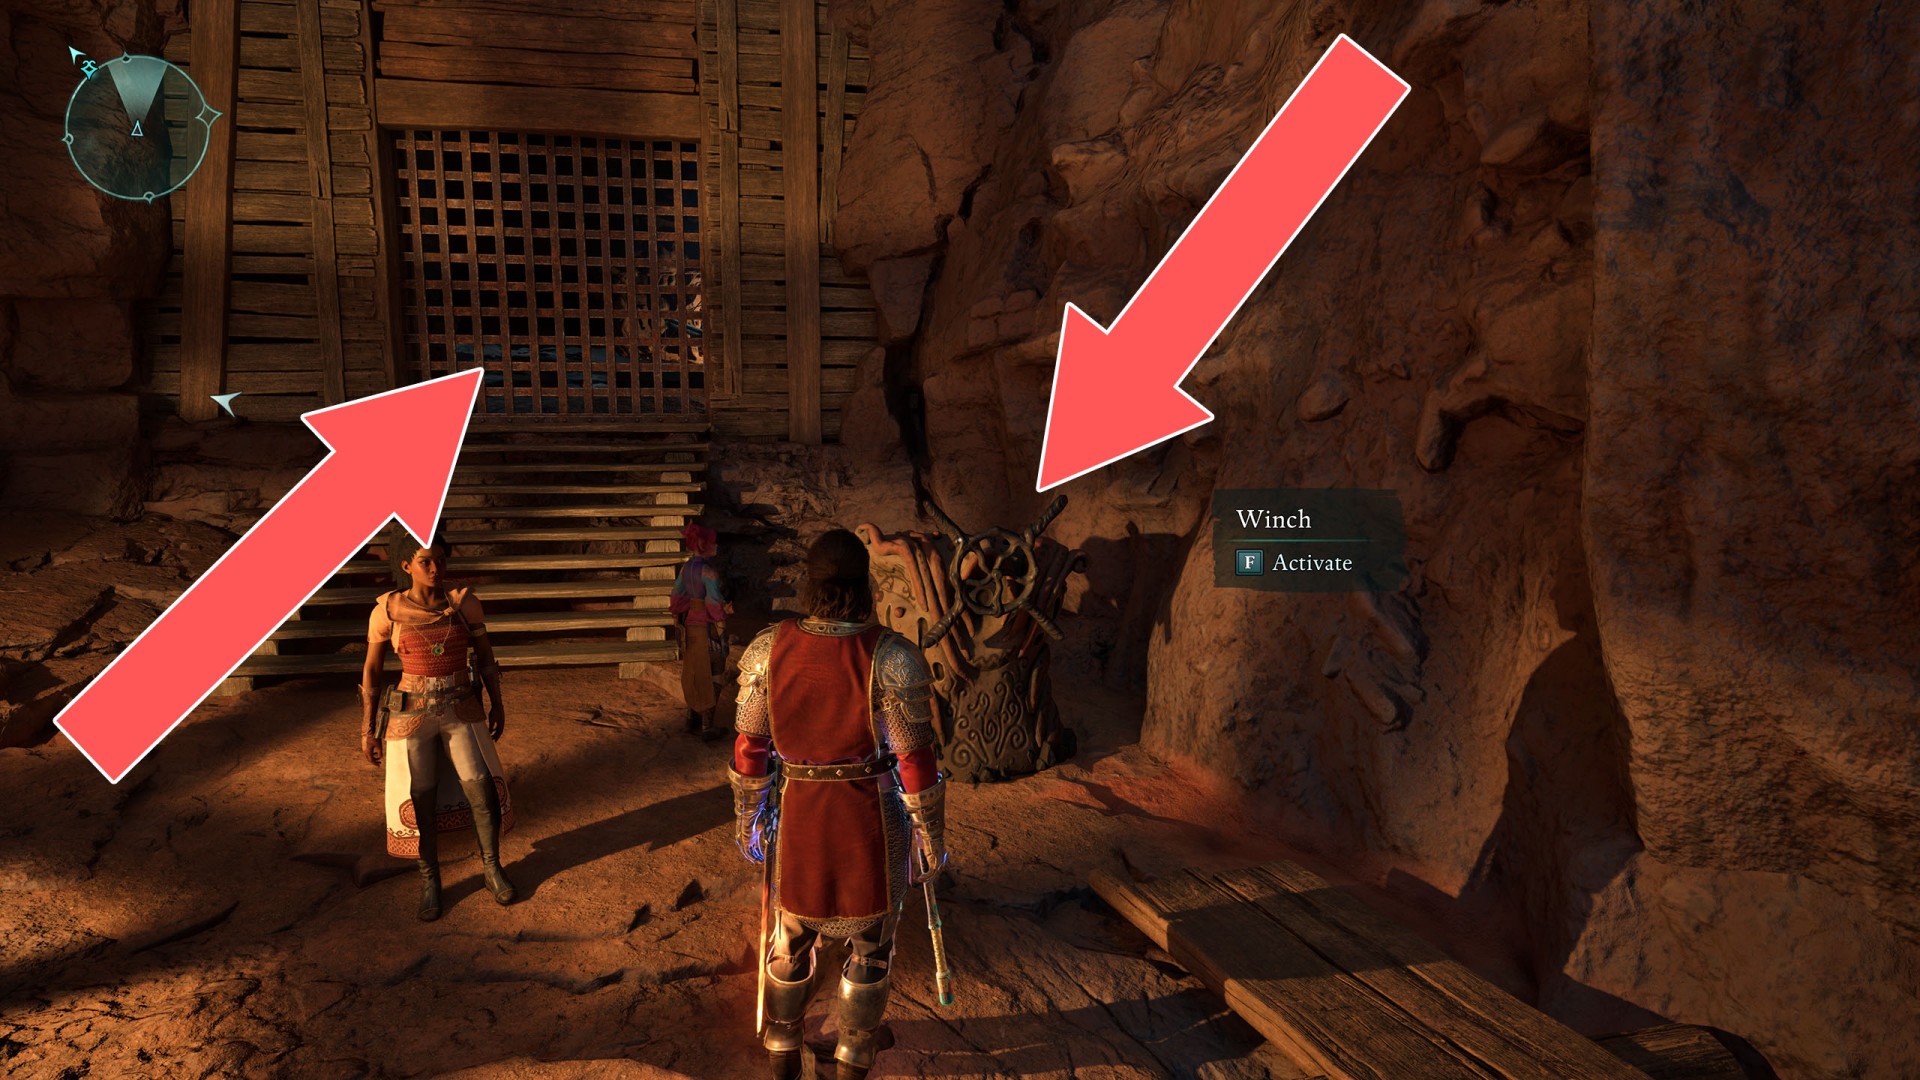
170Closed Gate
Use the winch to open it.
171Cobweb
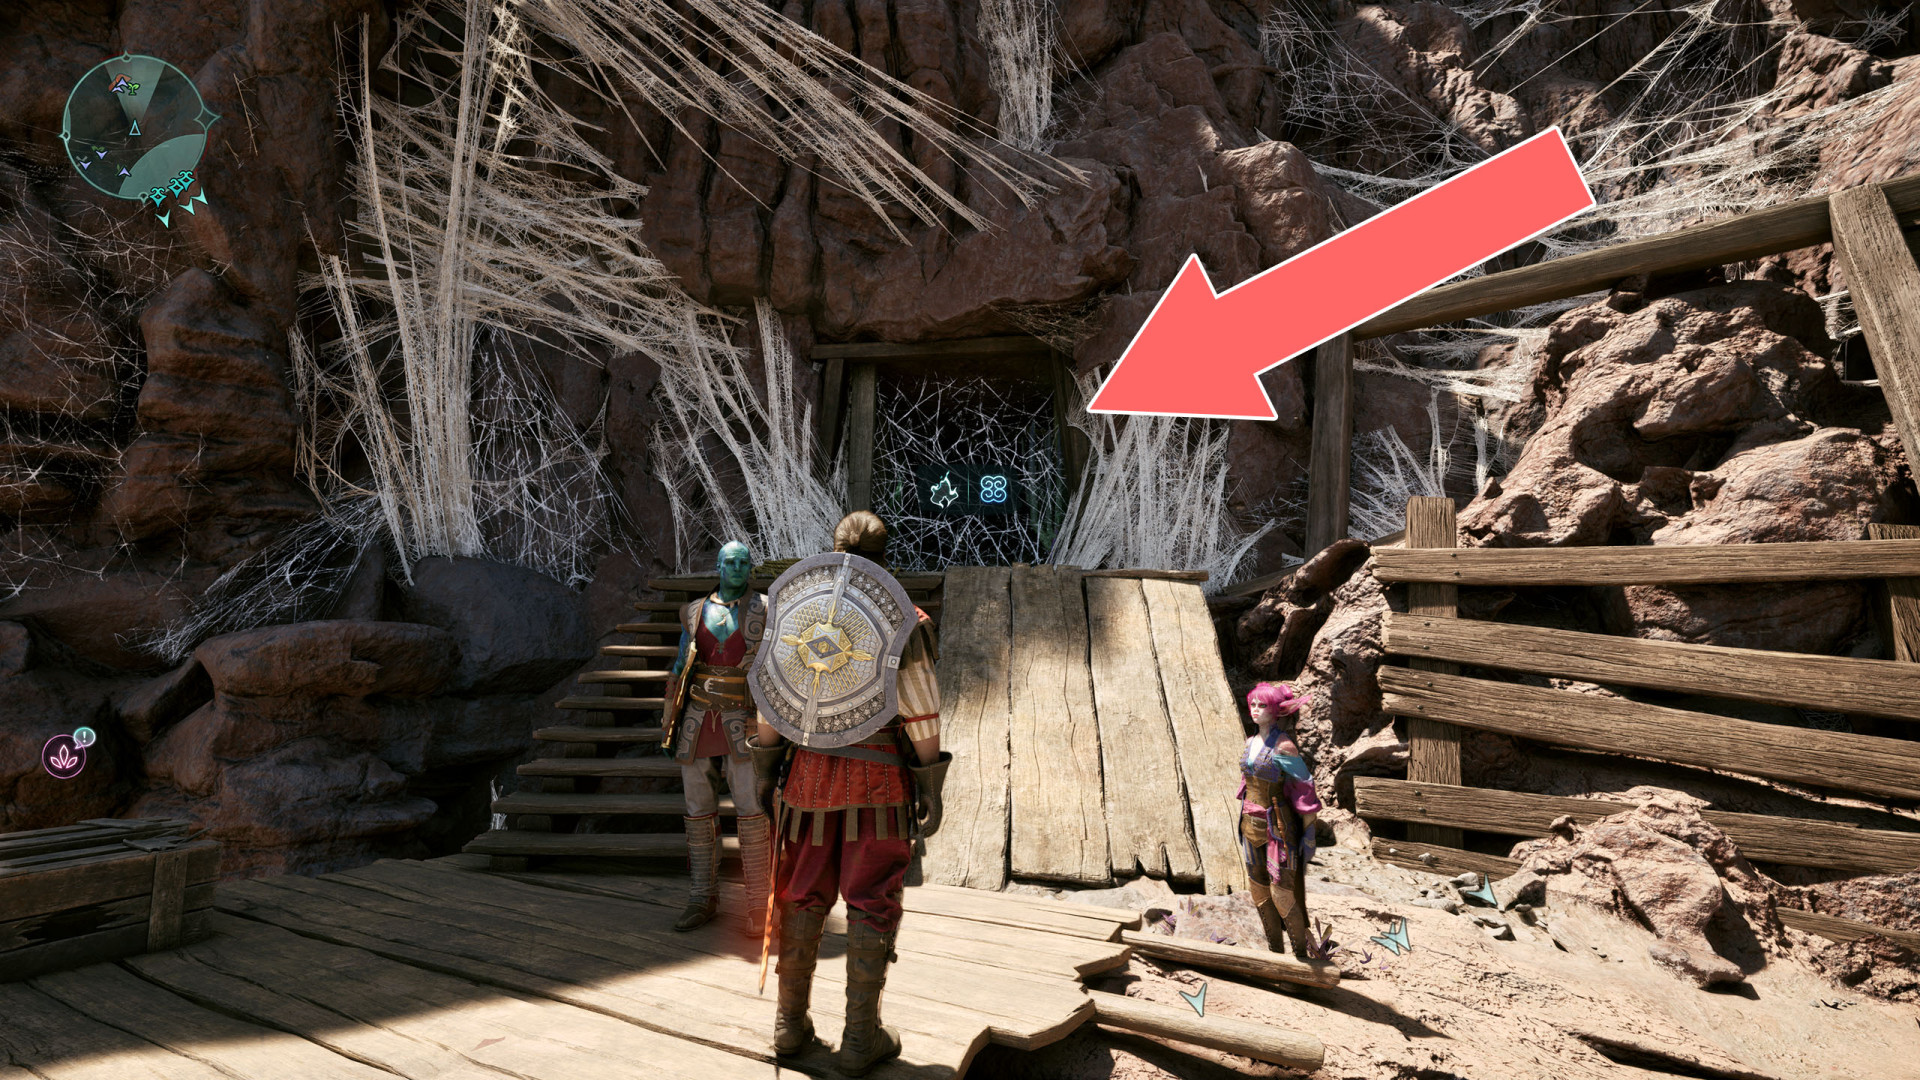
172Cobweb
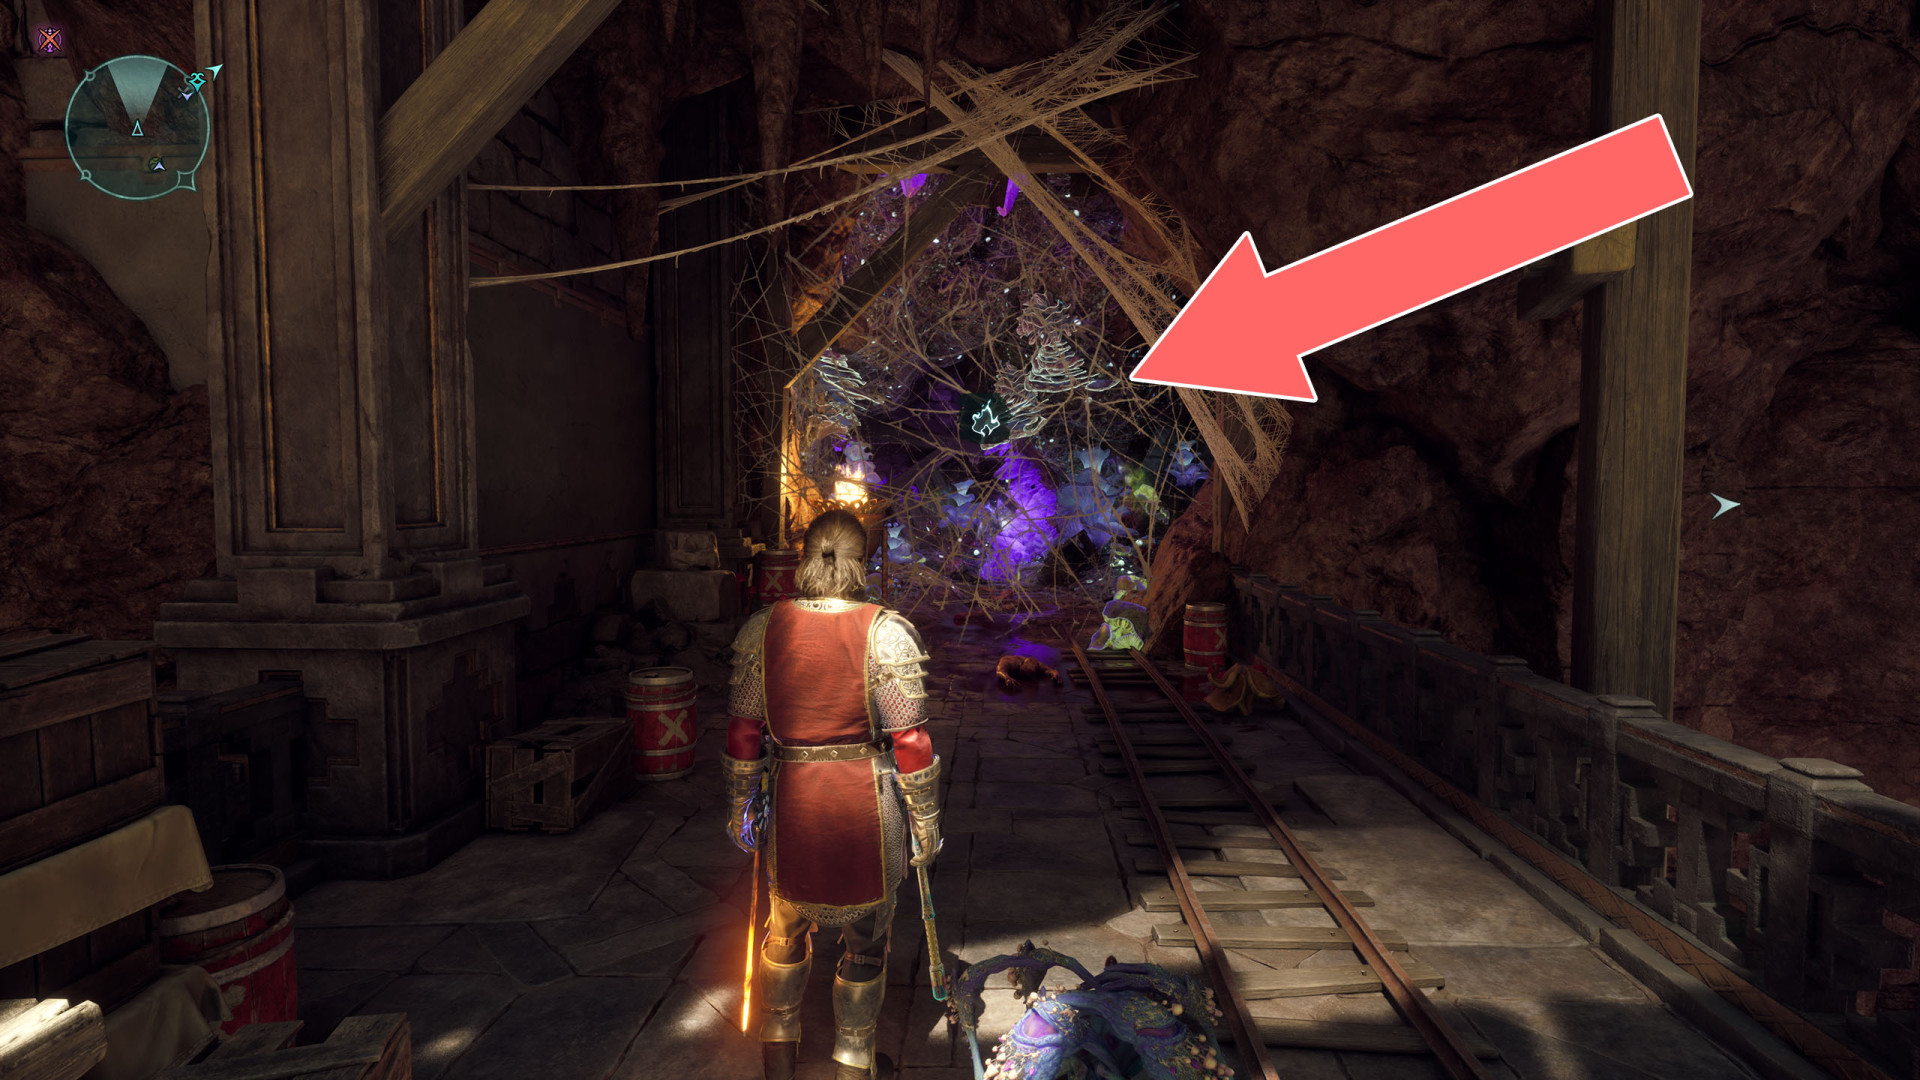
173Cobweb
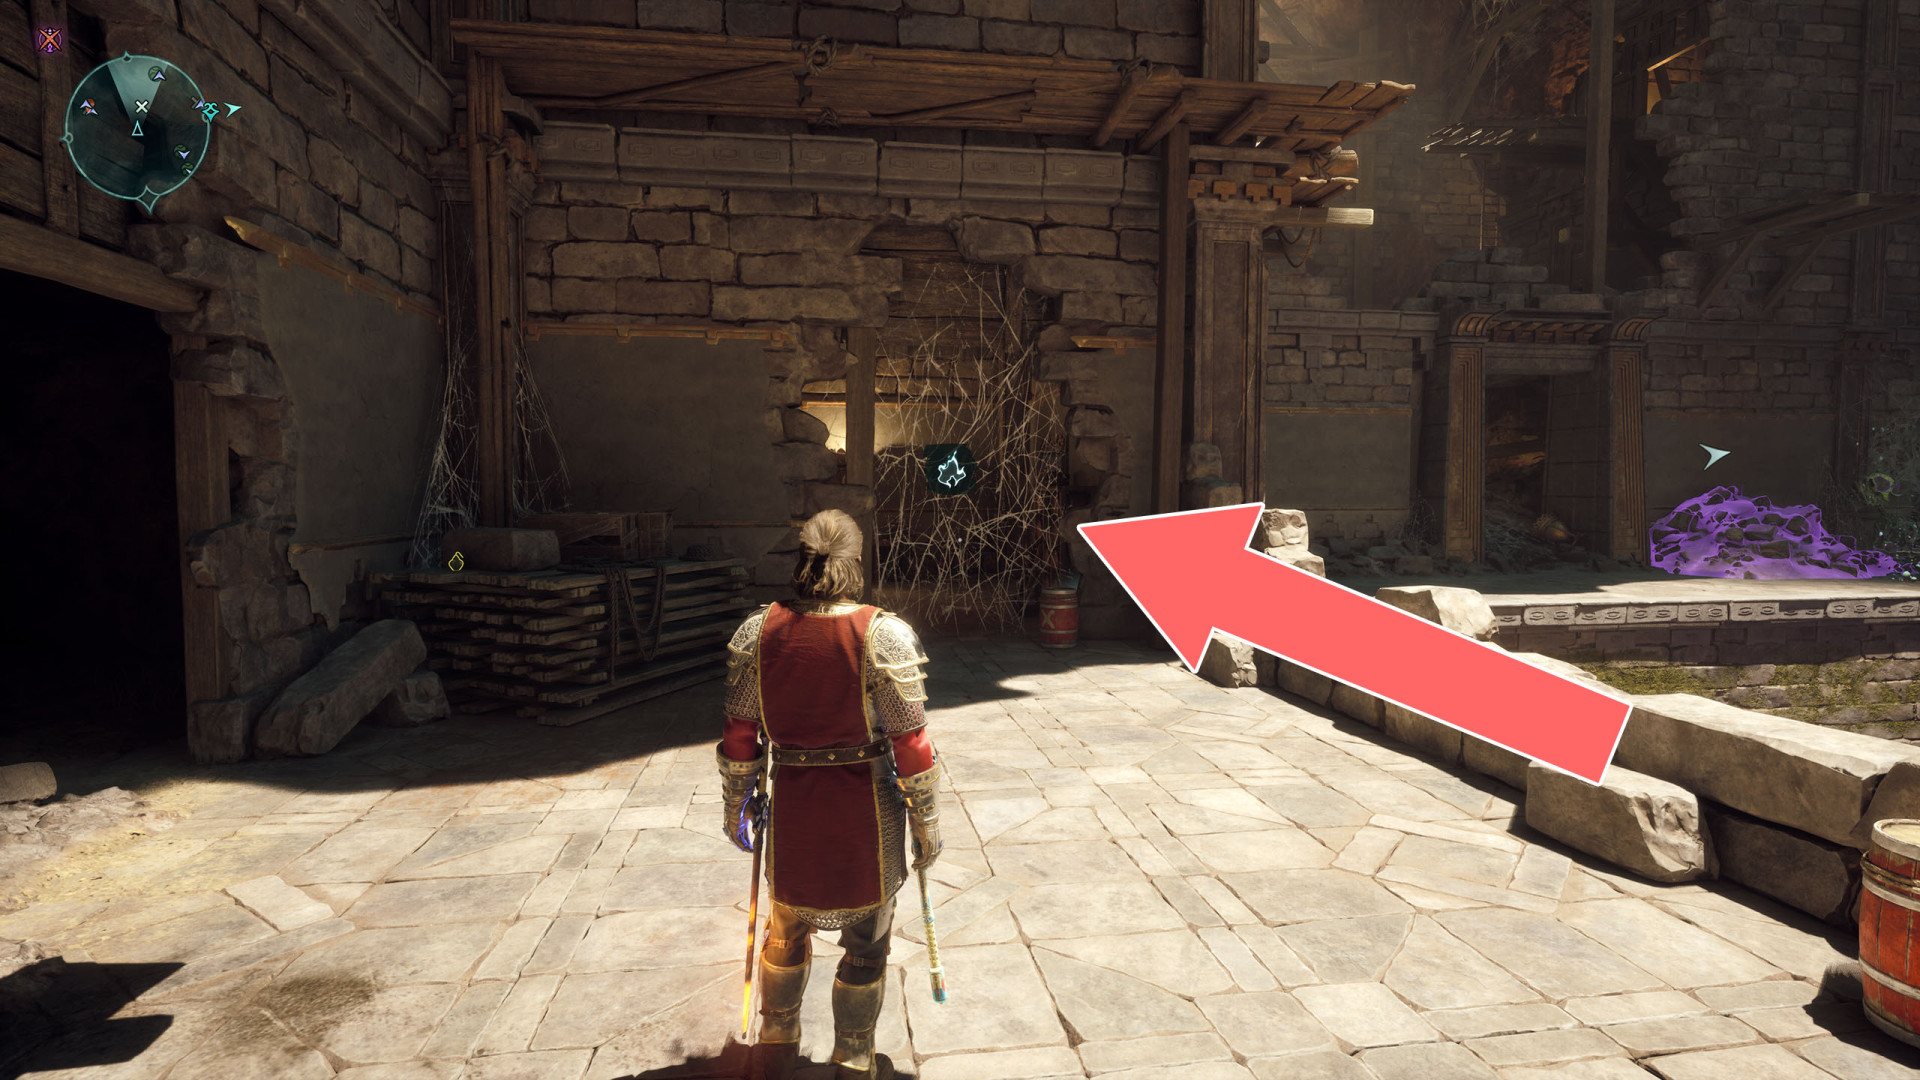
174Cobweb
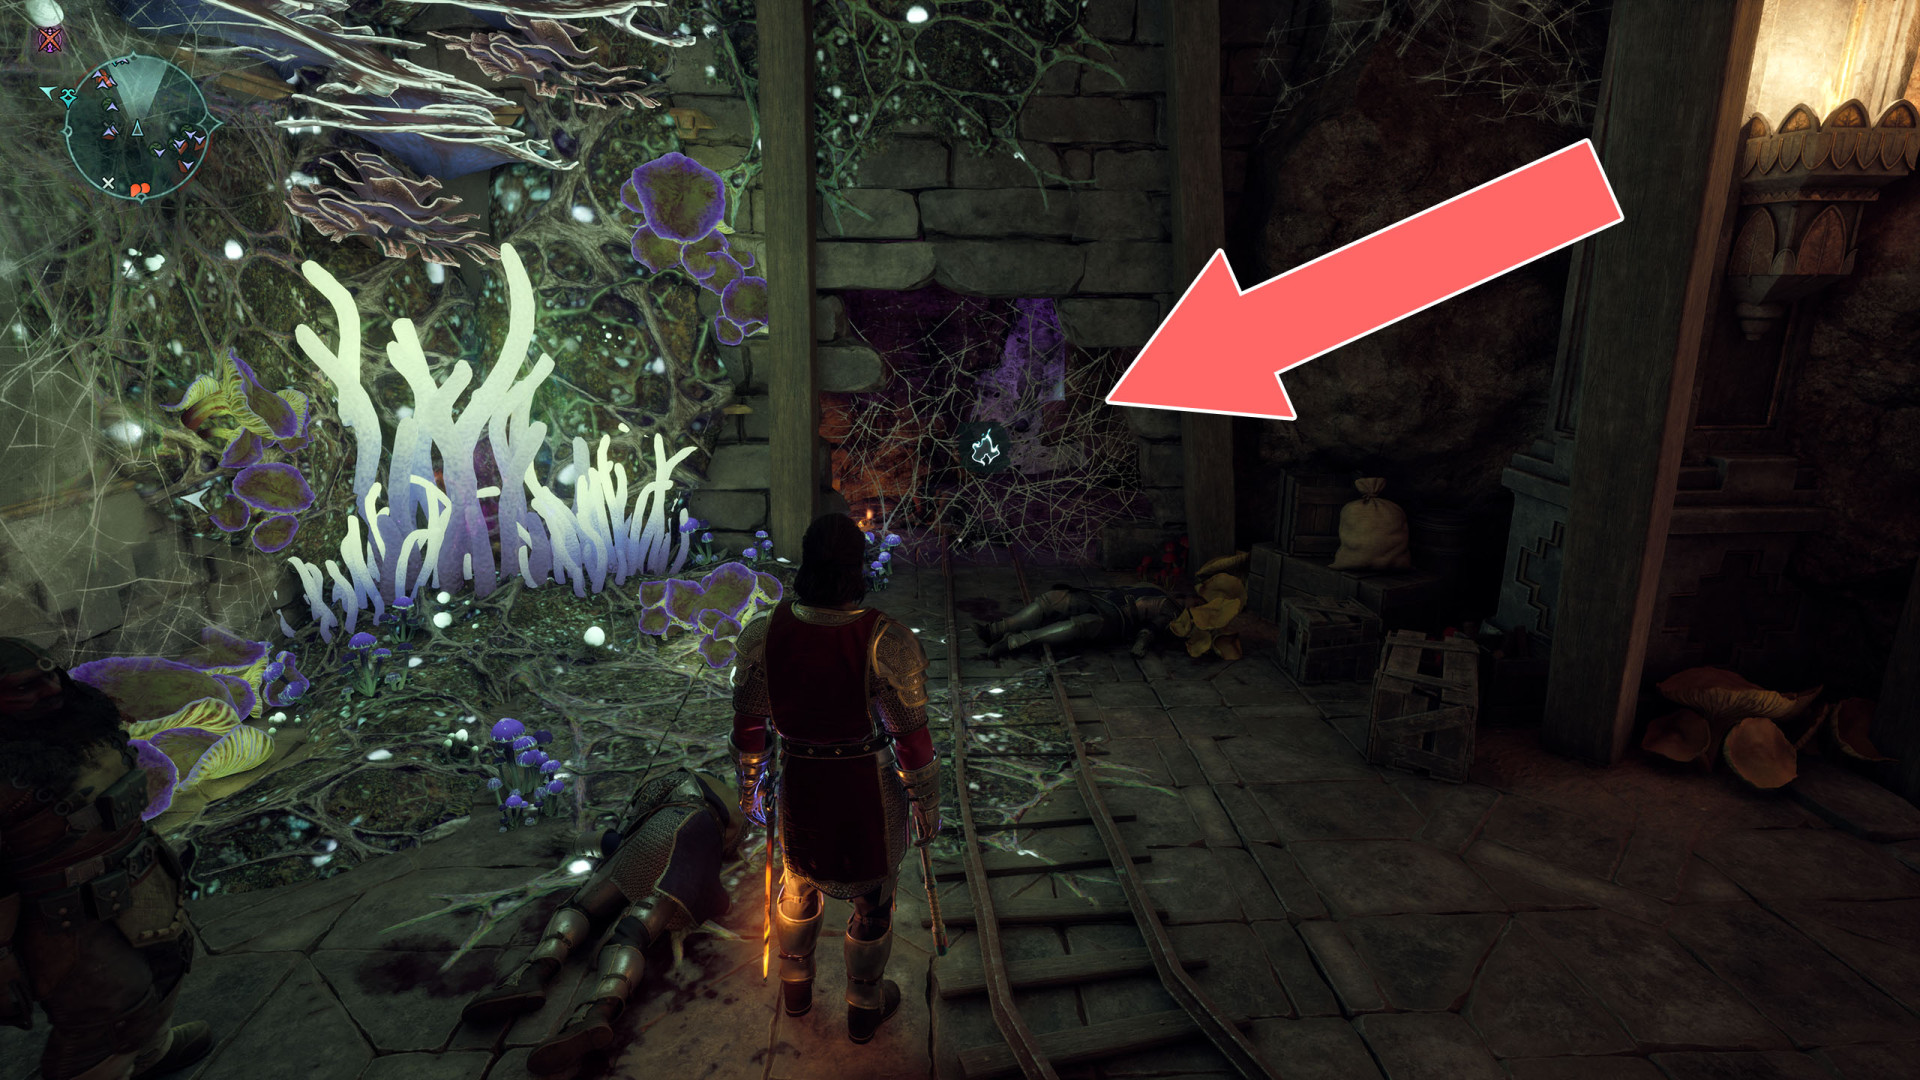
175Cobweb
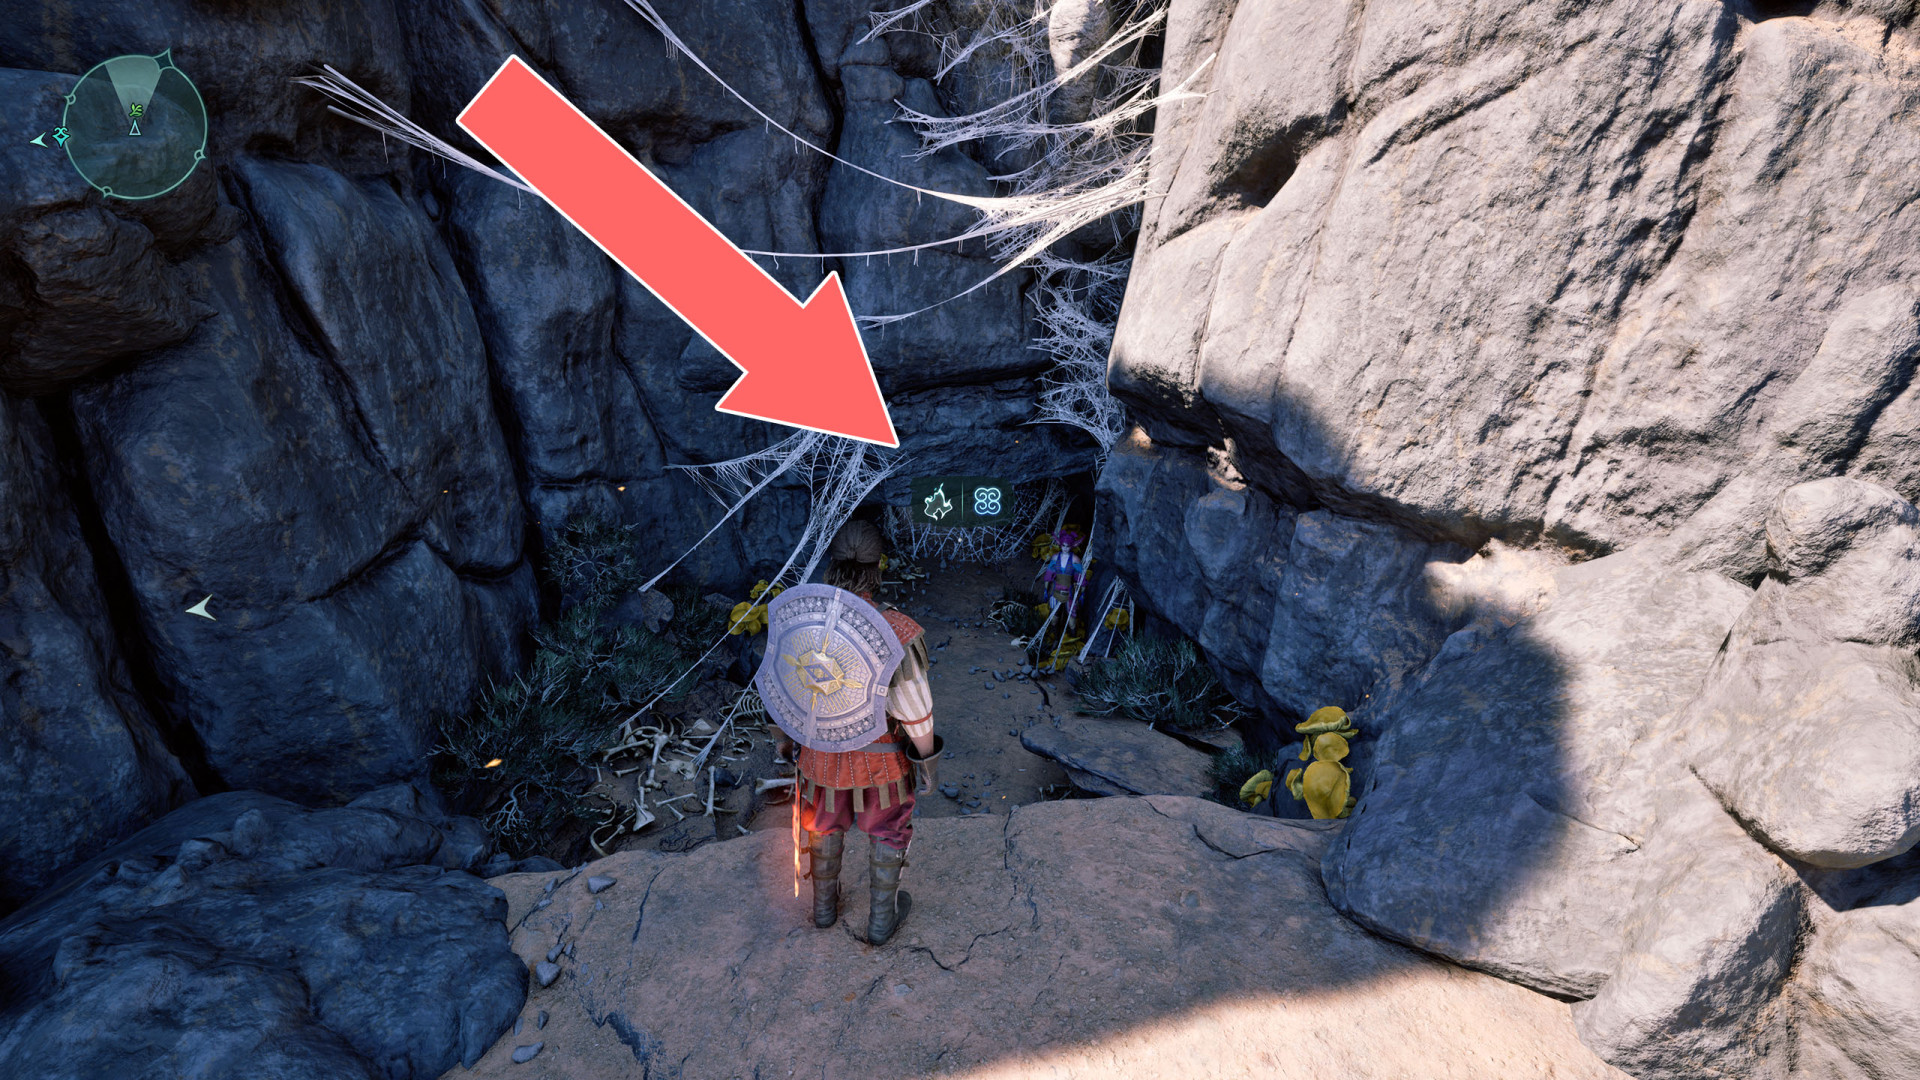
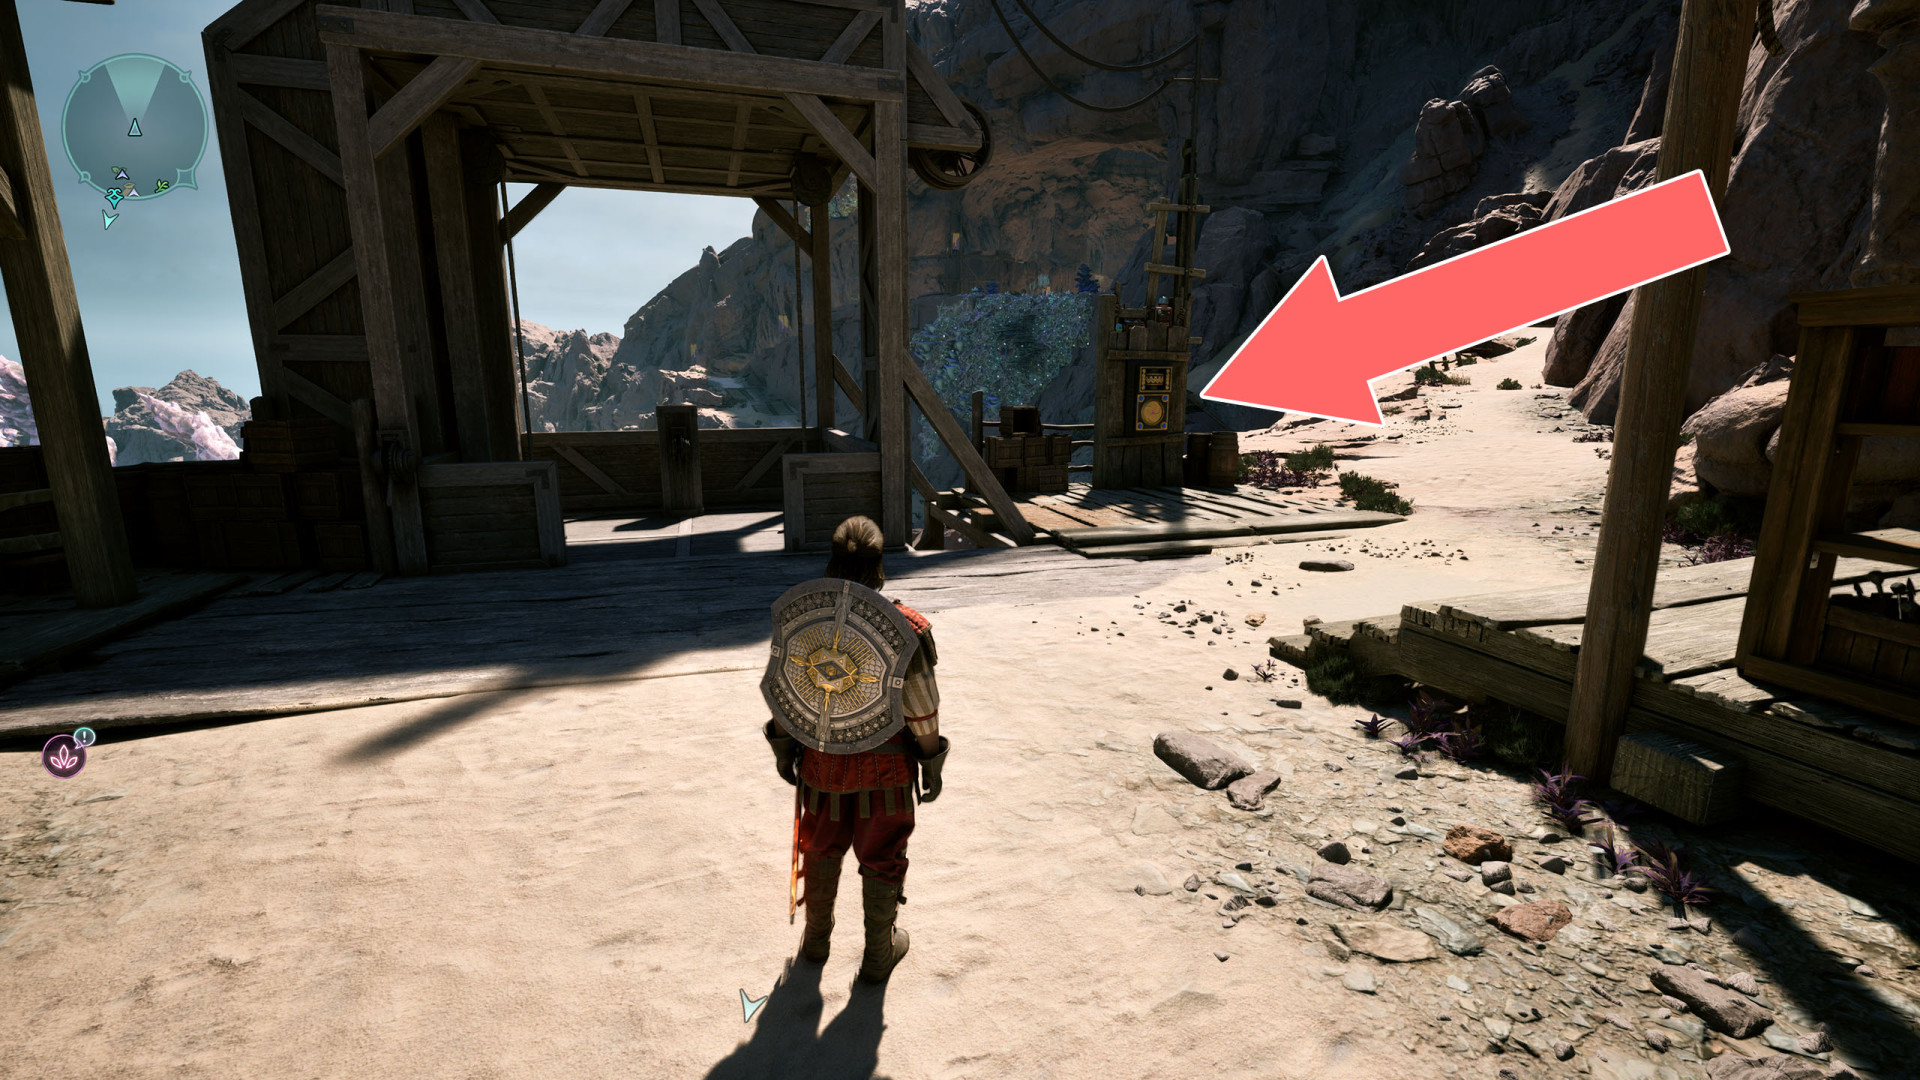
176Elevator
To use the elevator, you must first restore the power supply. The generator is located next to the elevator at the top.
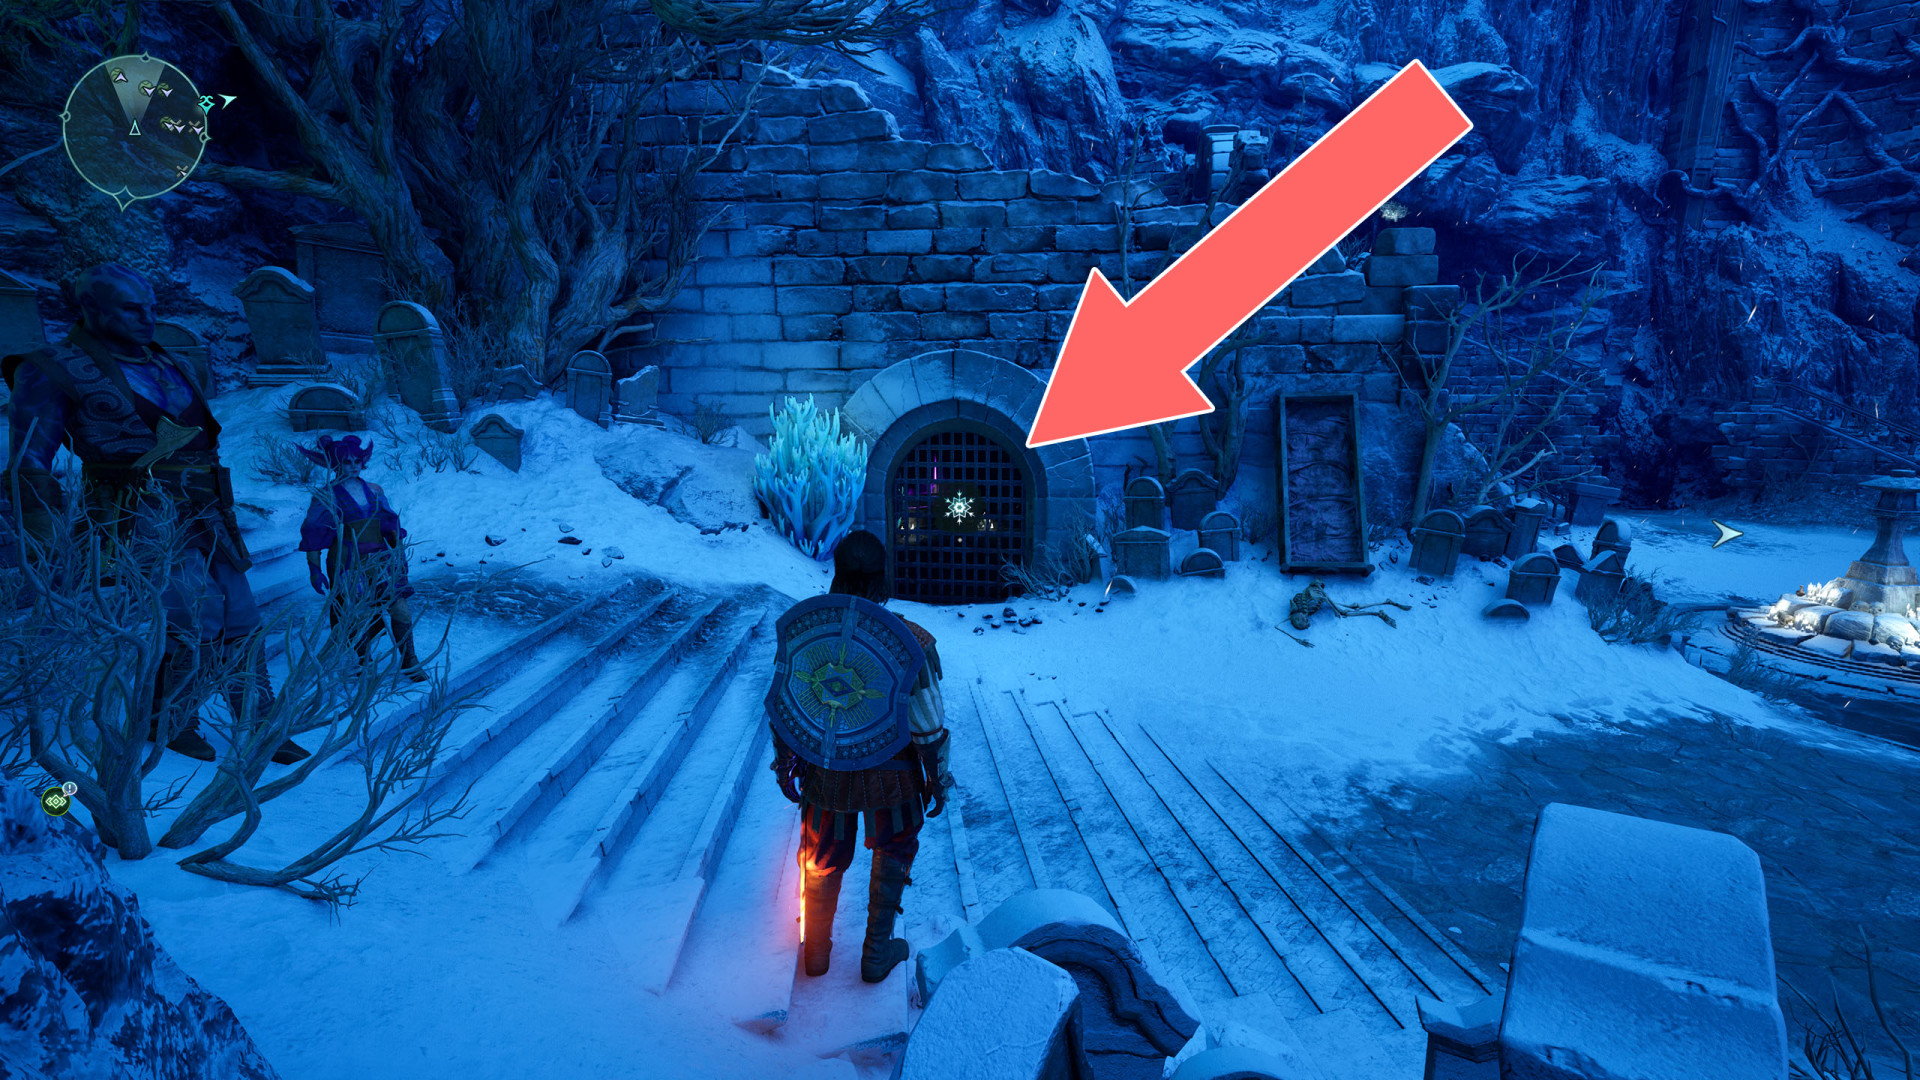
177Freezable Grate
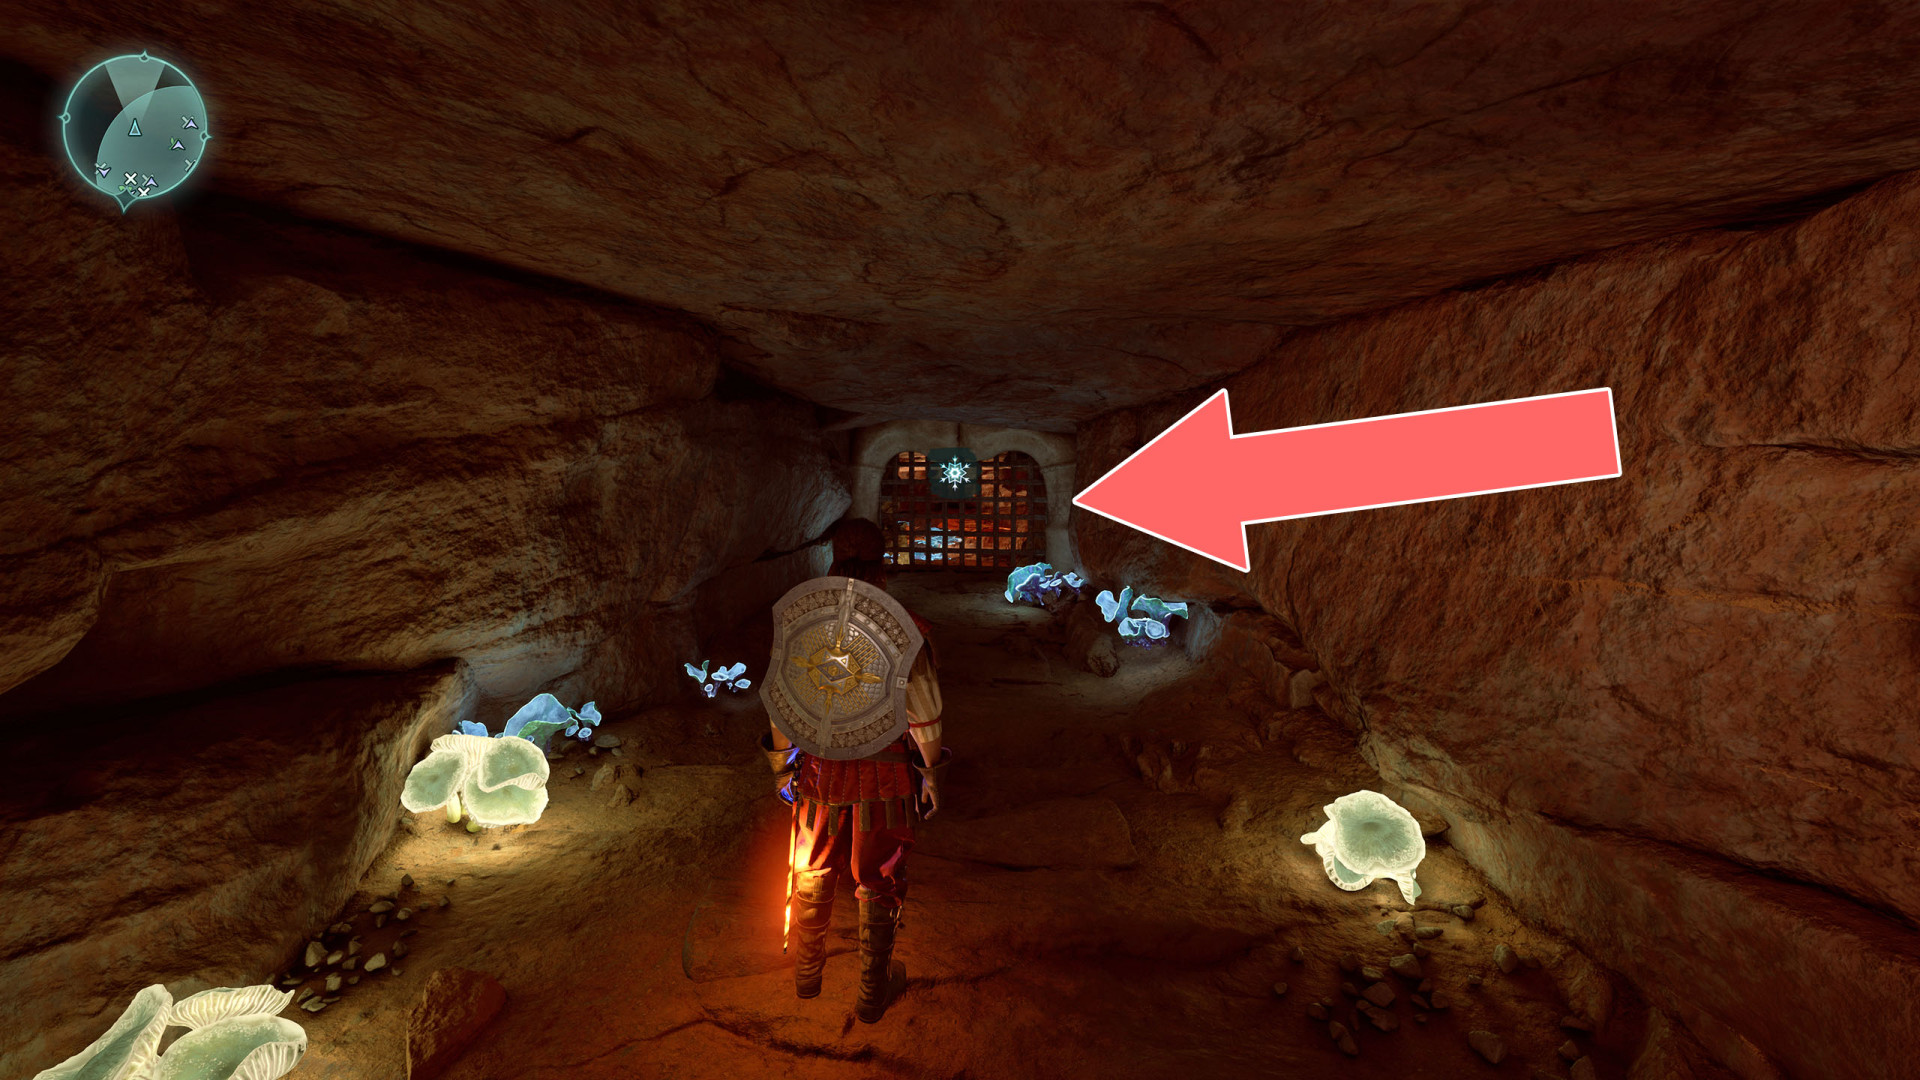
178Freezable Grate
179Freezable Grate
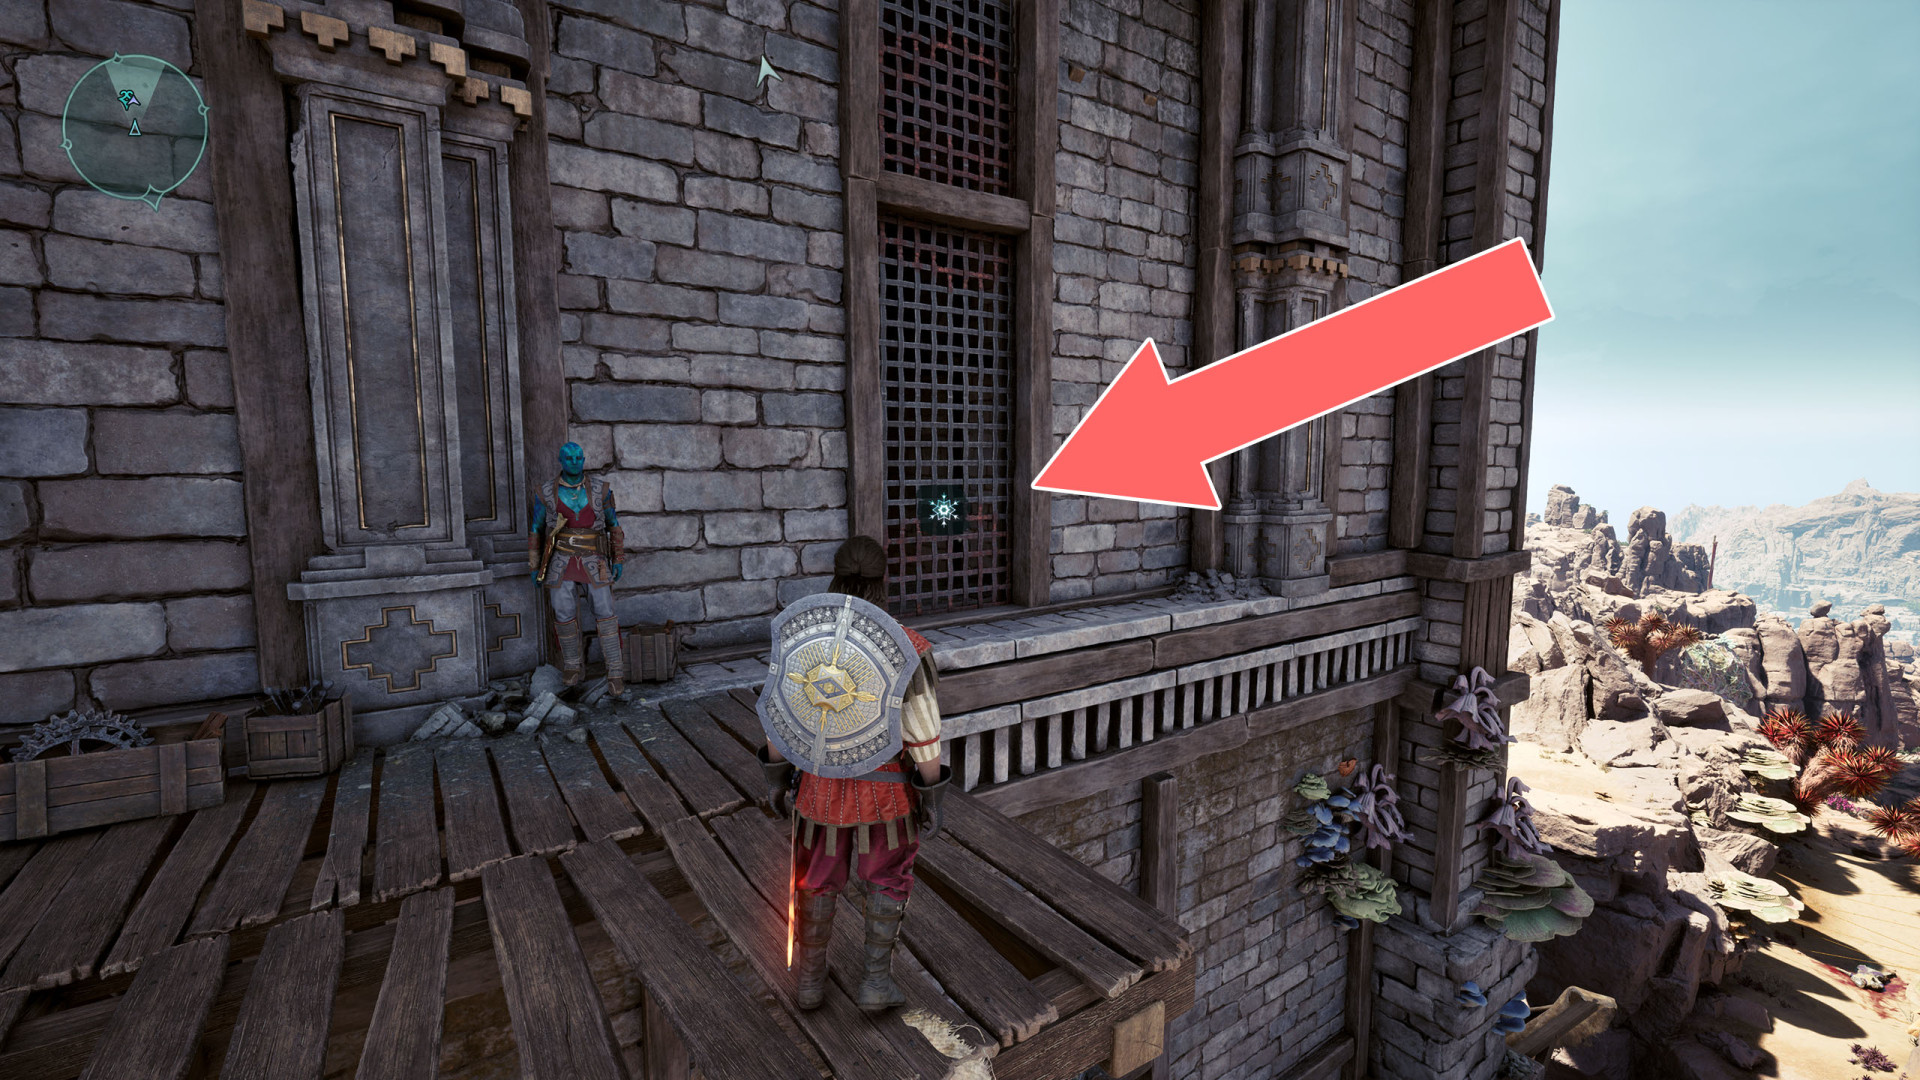
180Freezable Grate
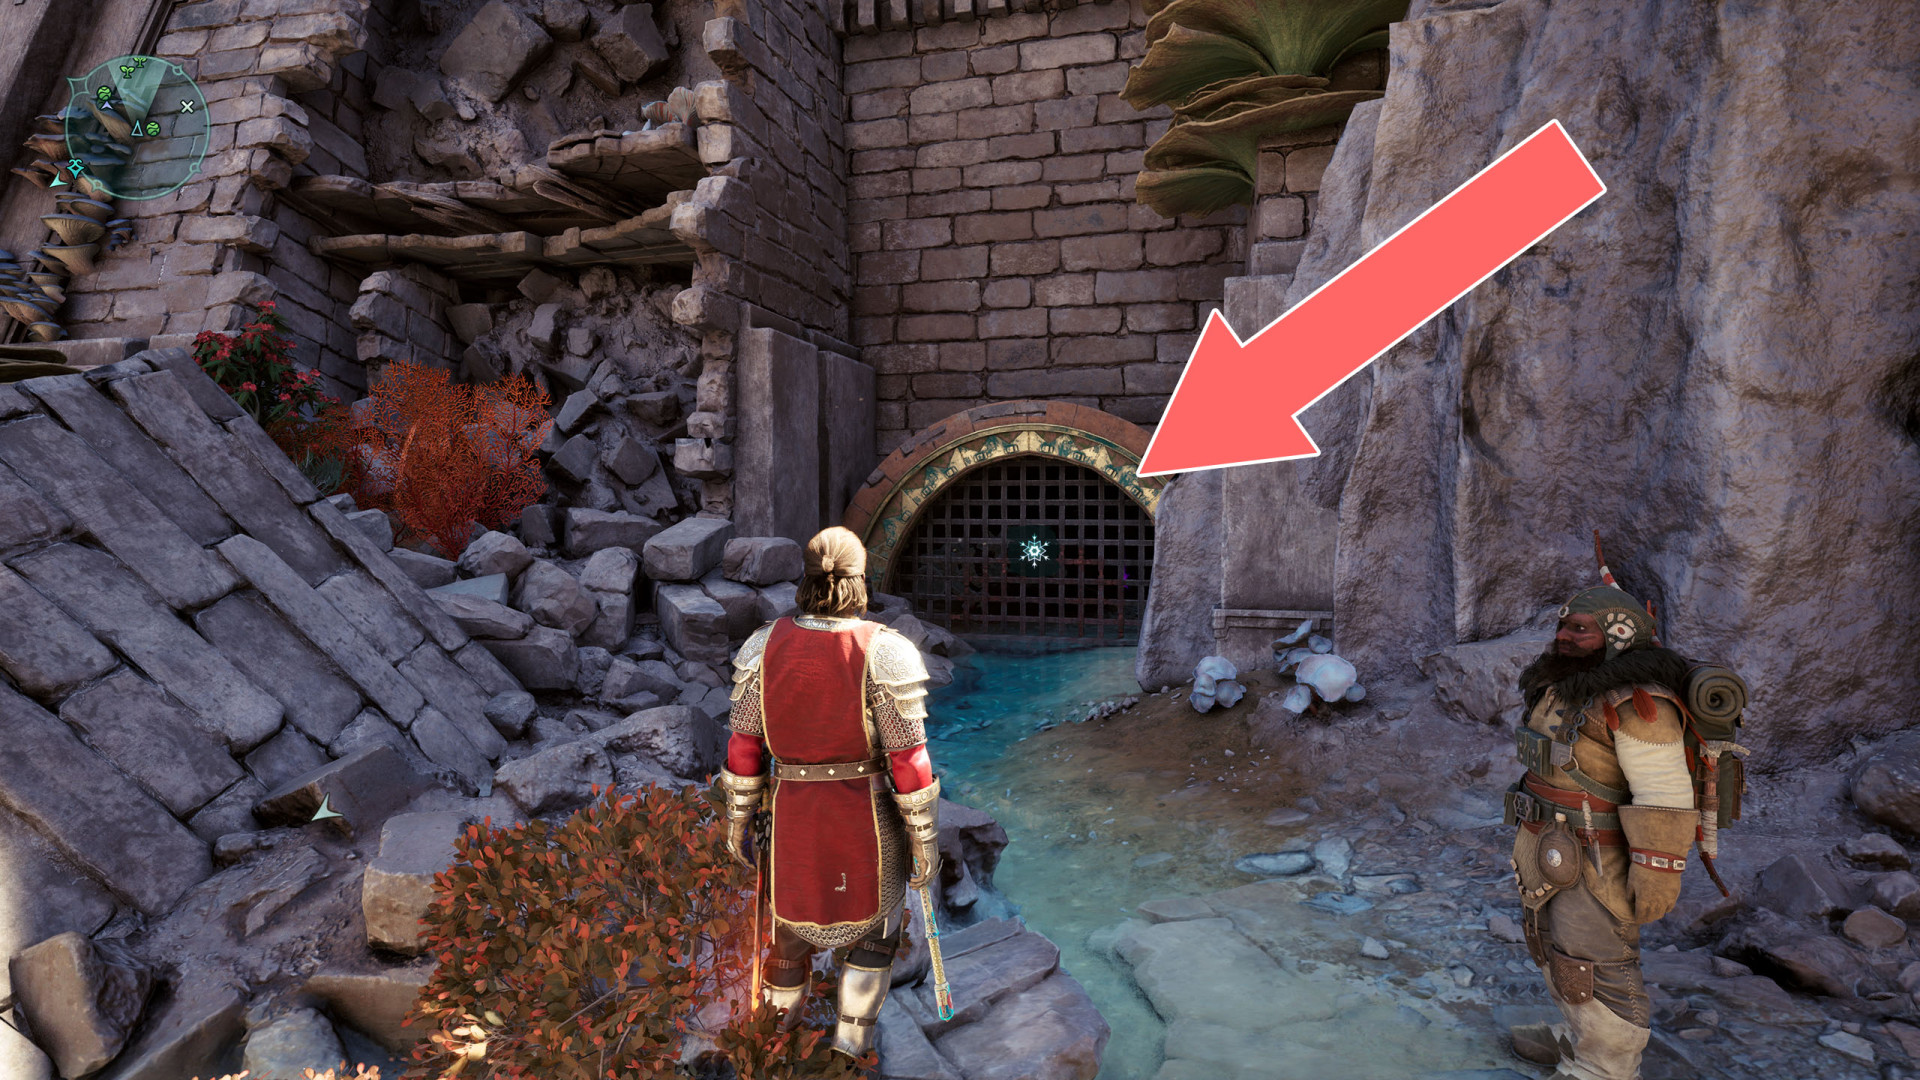
181Freezable Grate
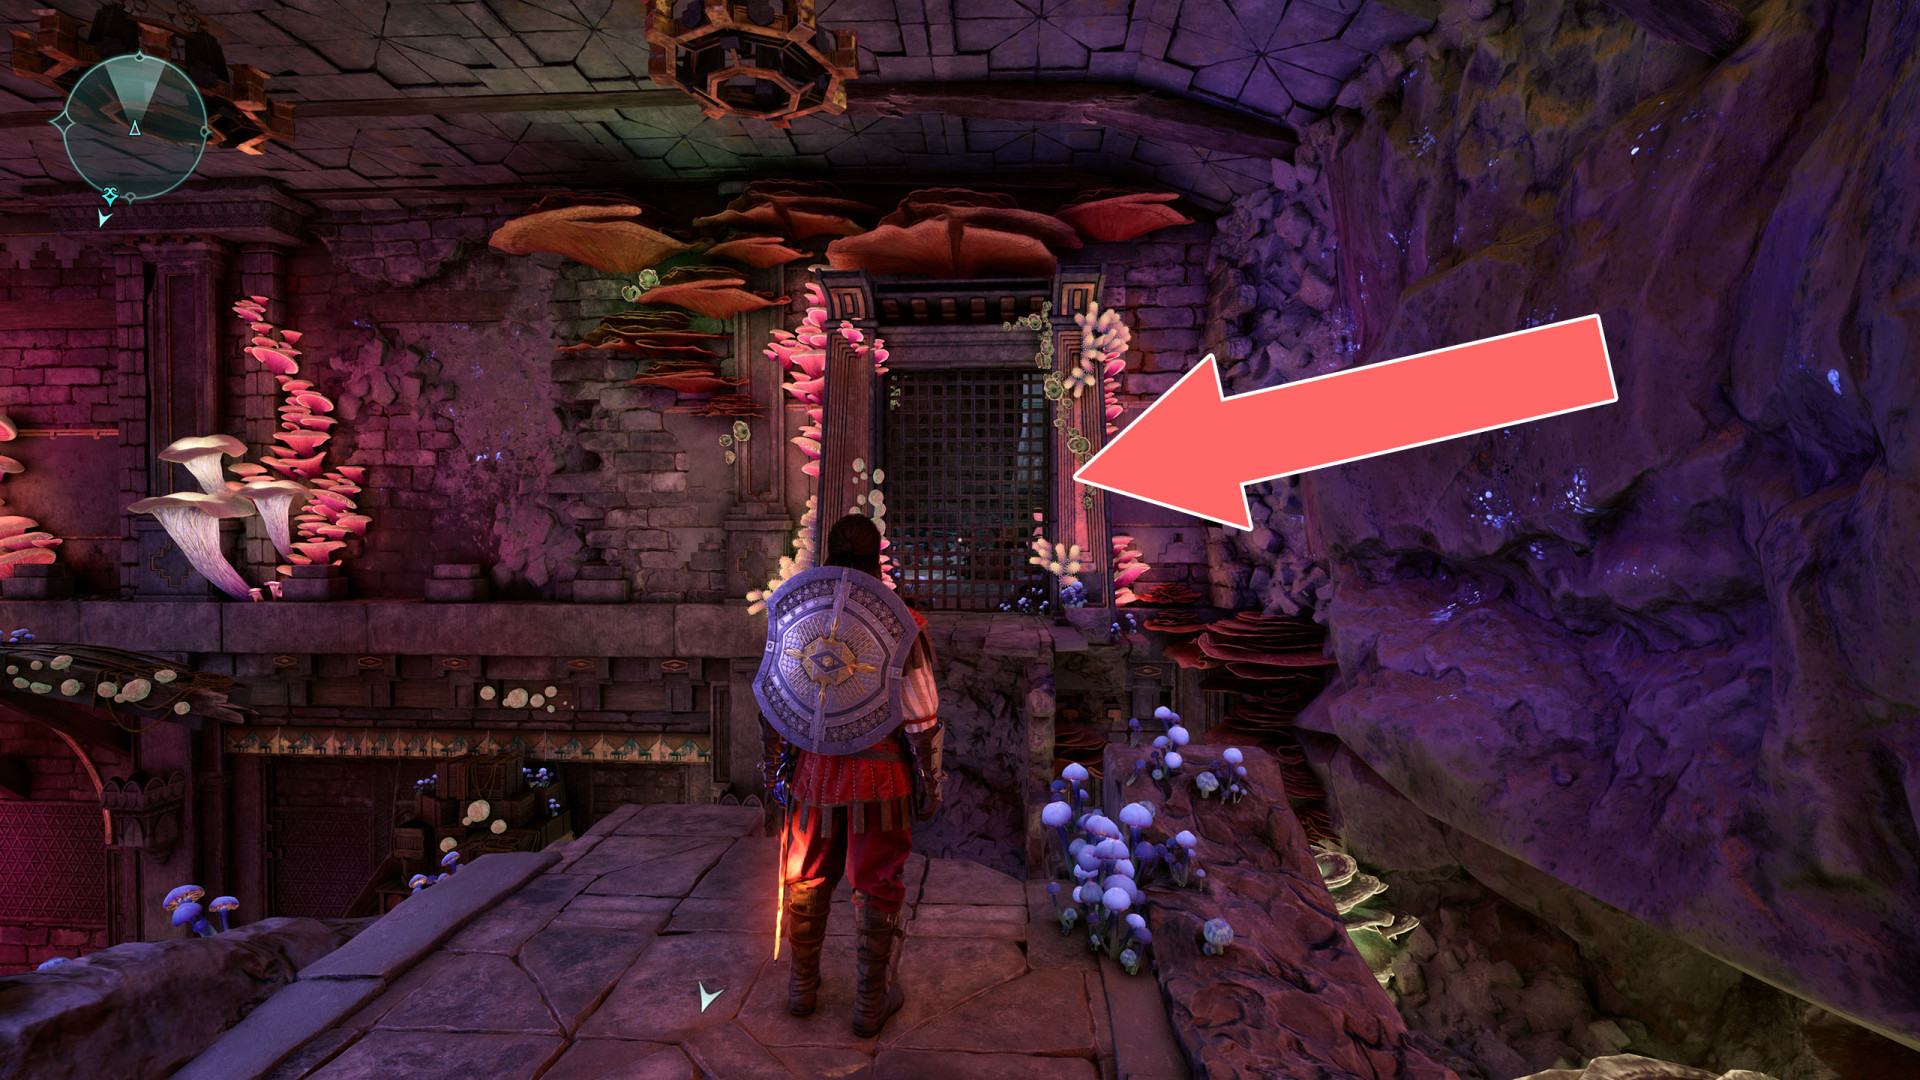
182Freezable Grate
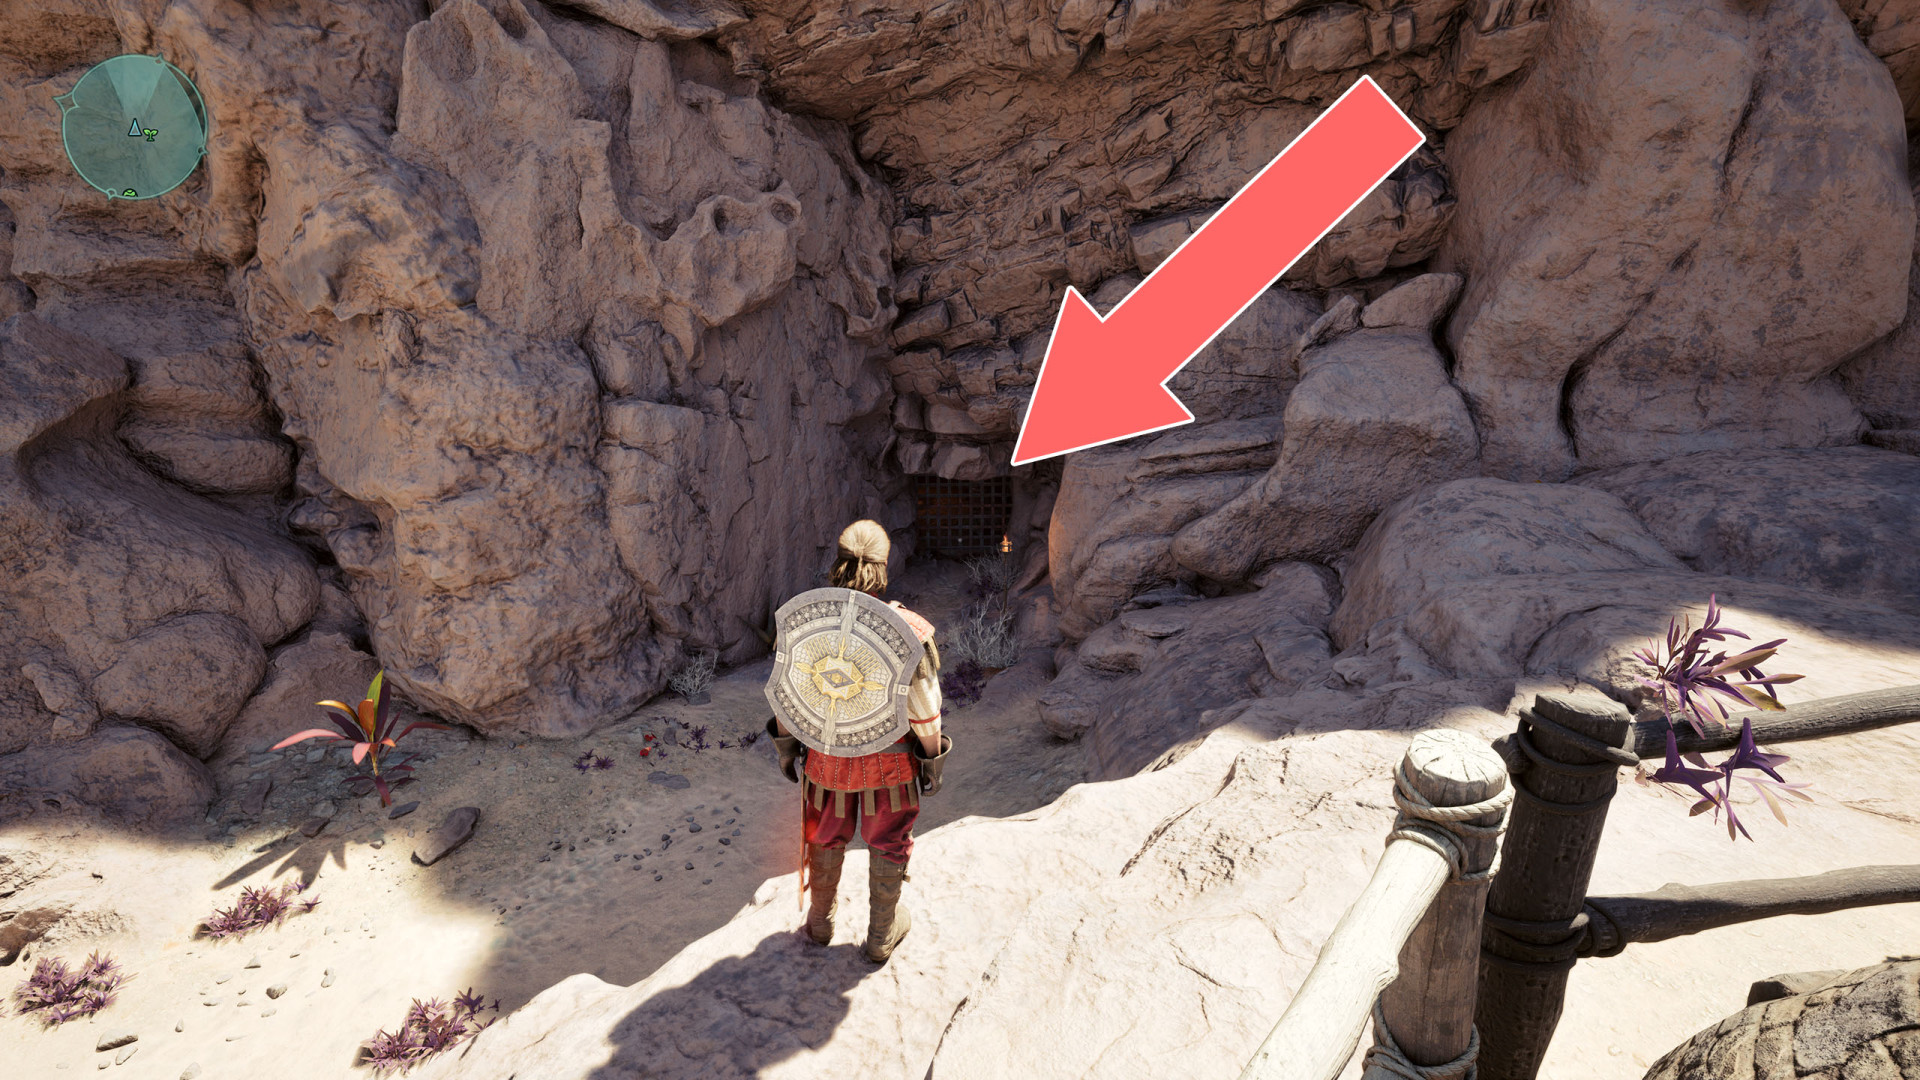
183Freezable Grate
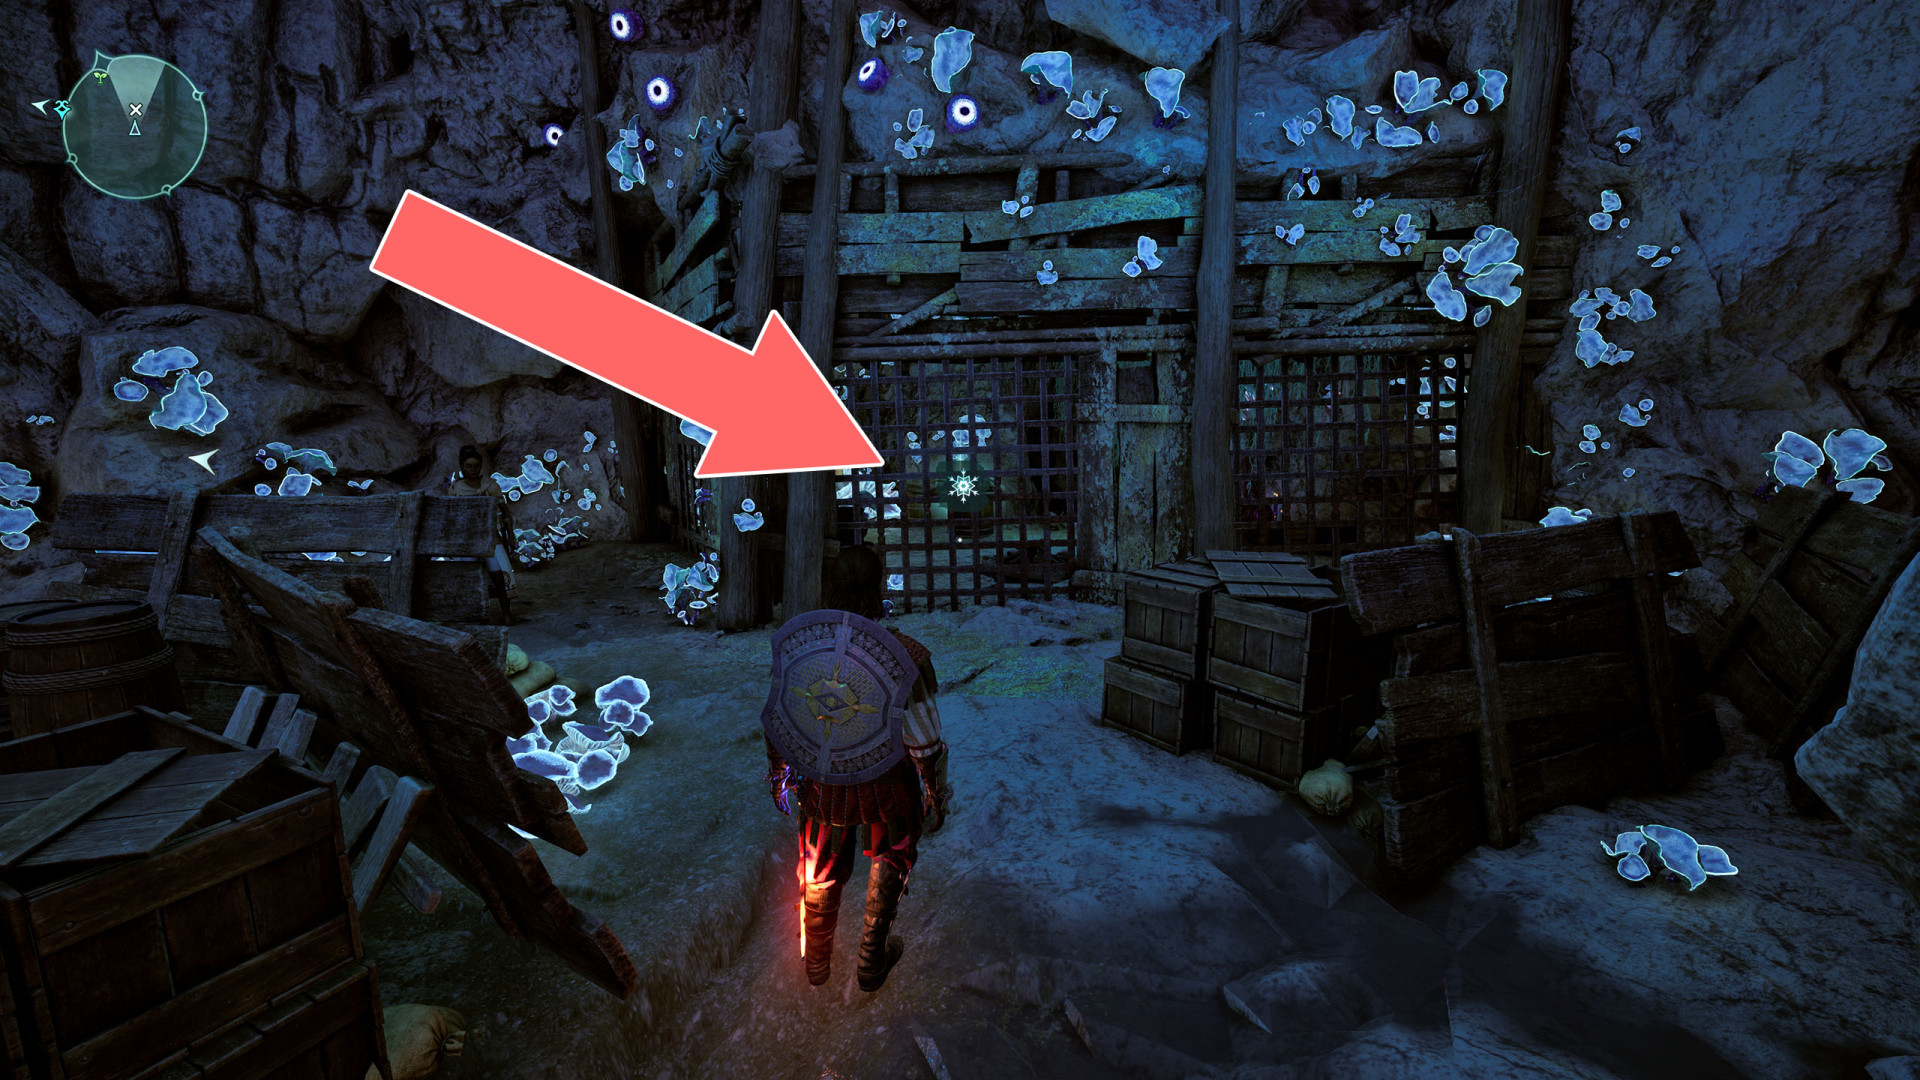
184 Illusion
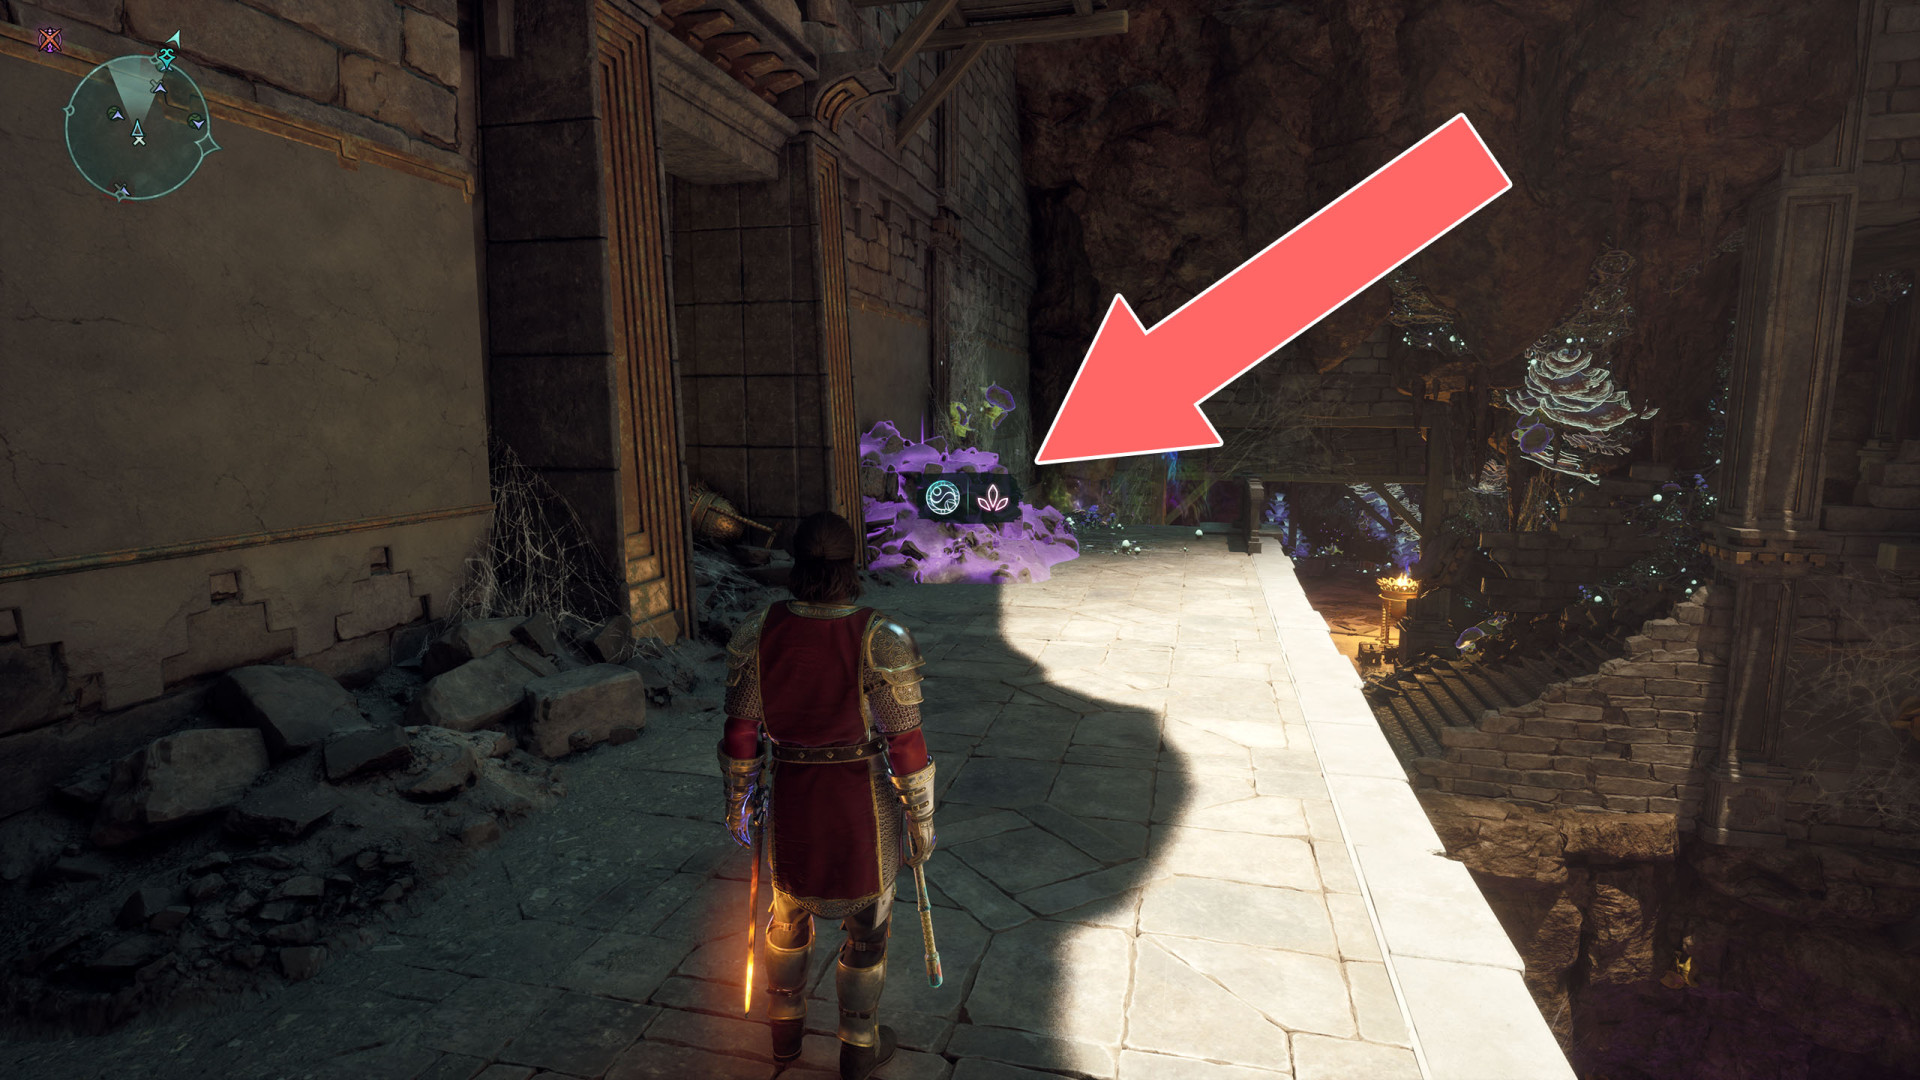
185Illusion
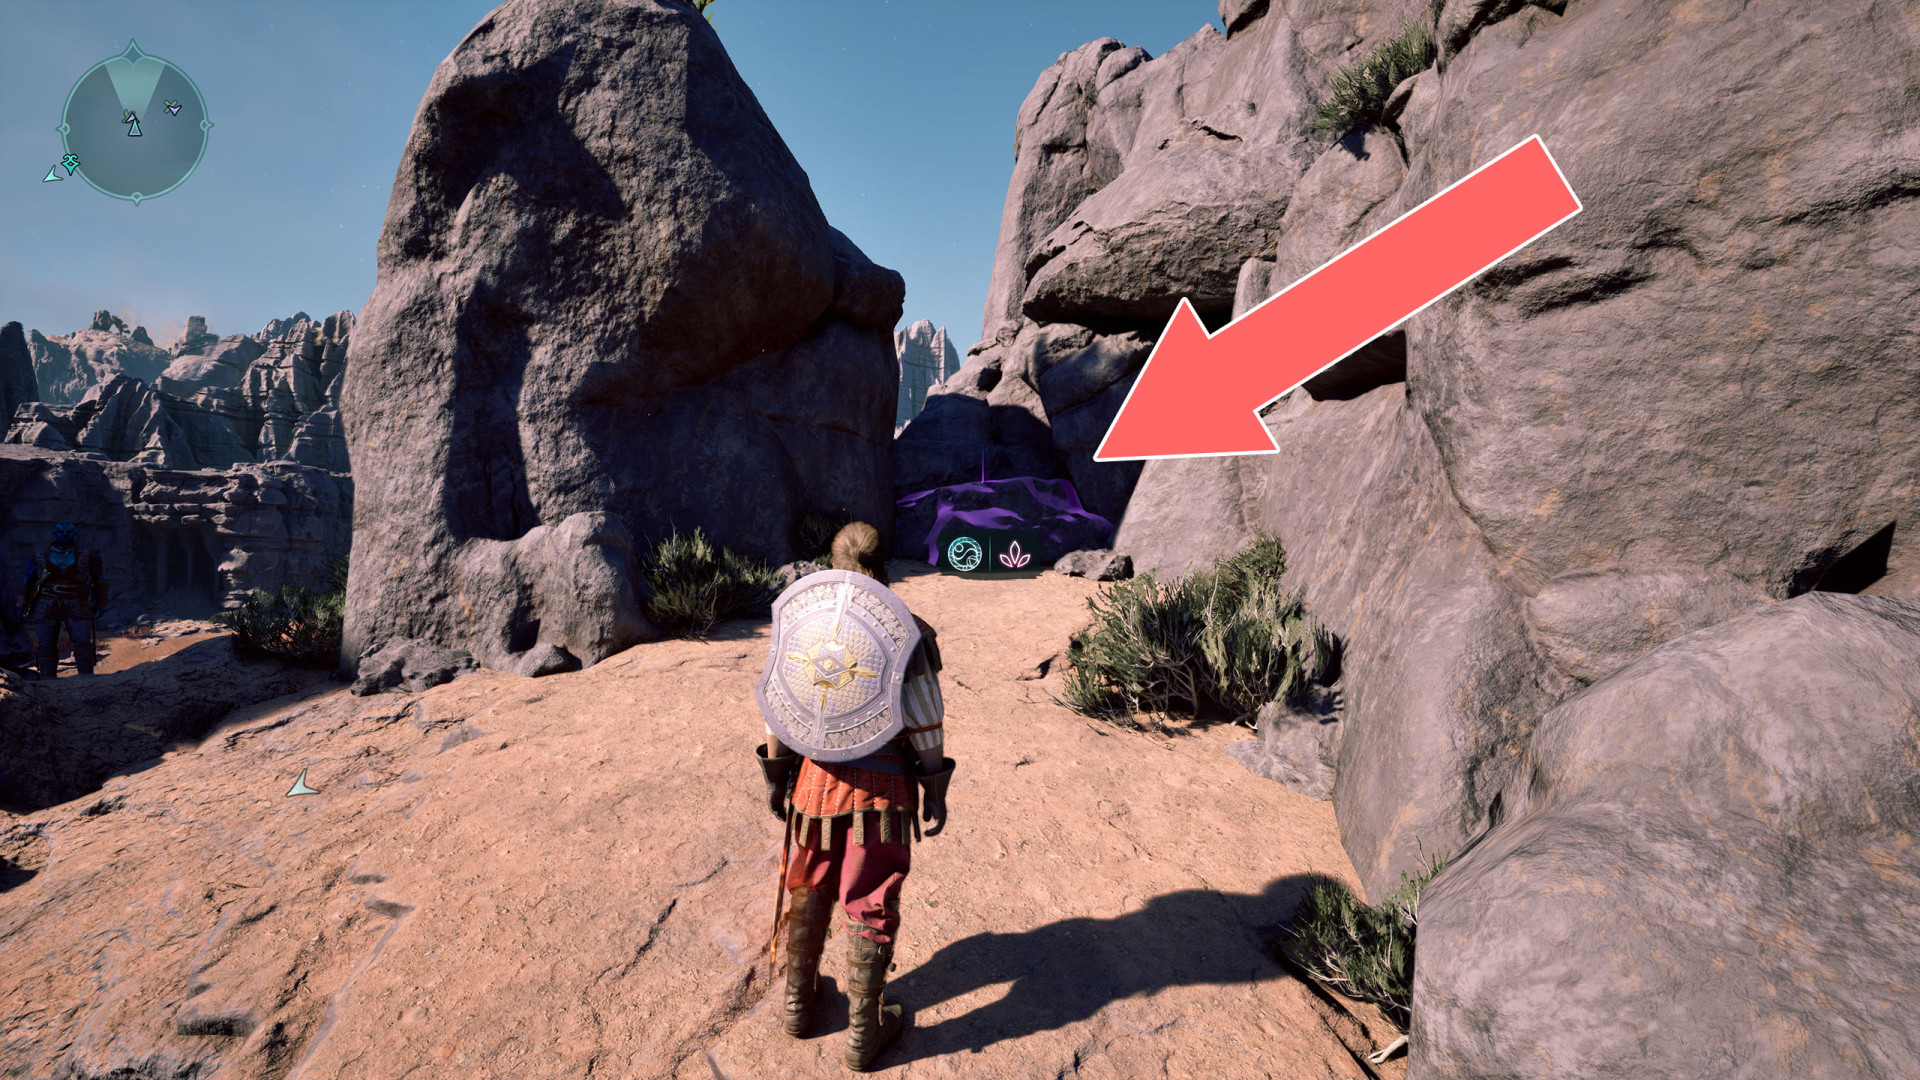
186Illusion
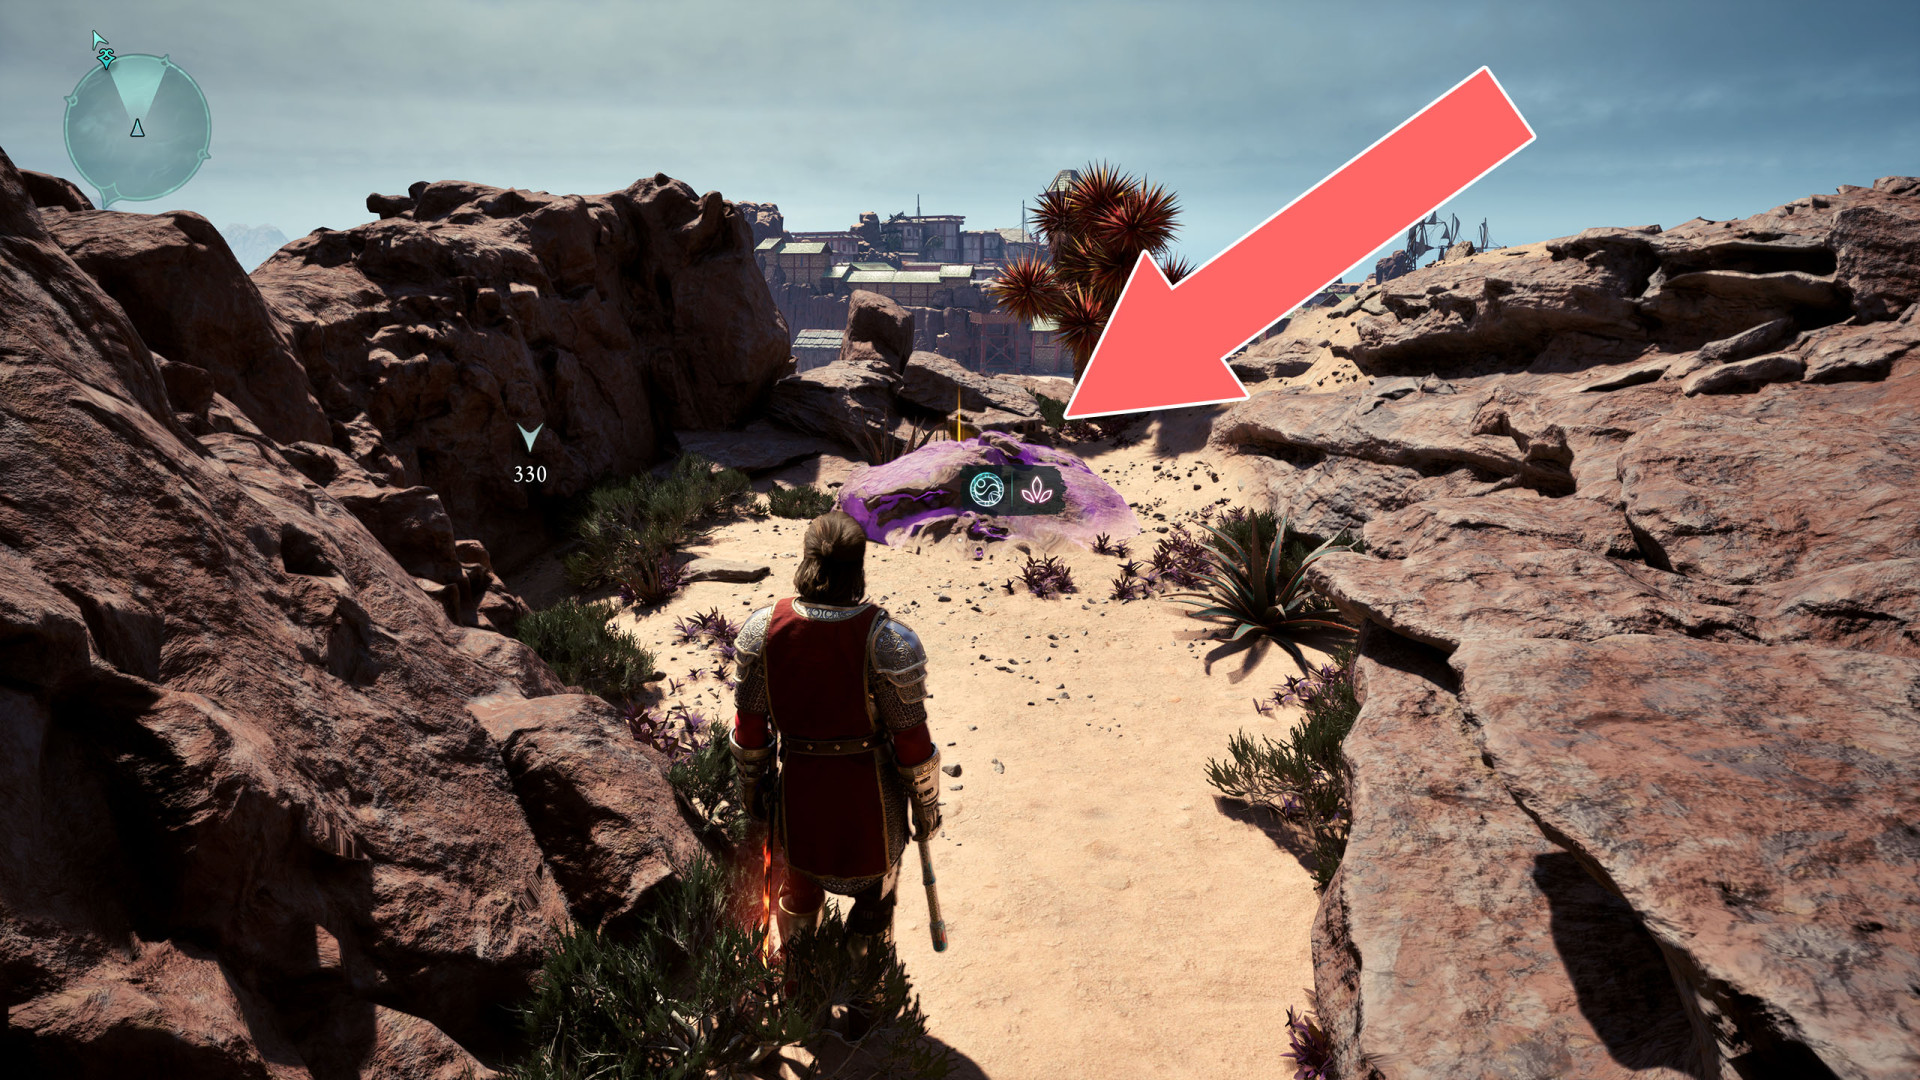
187Illusion
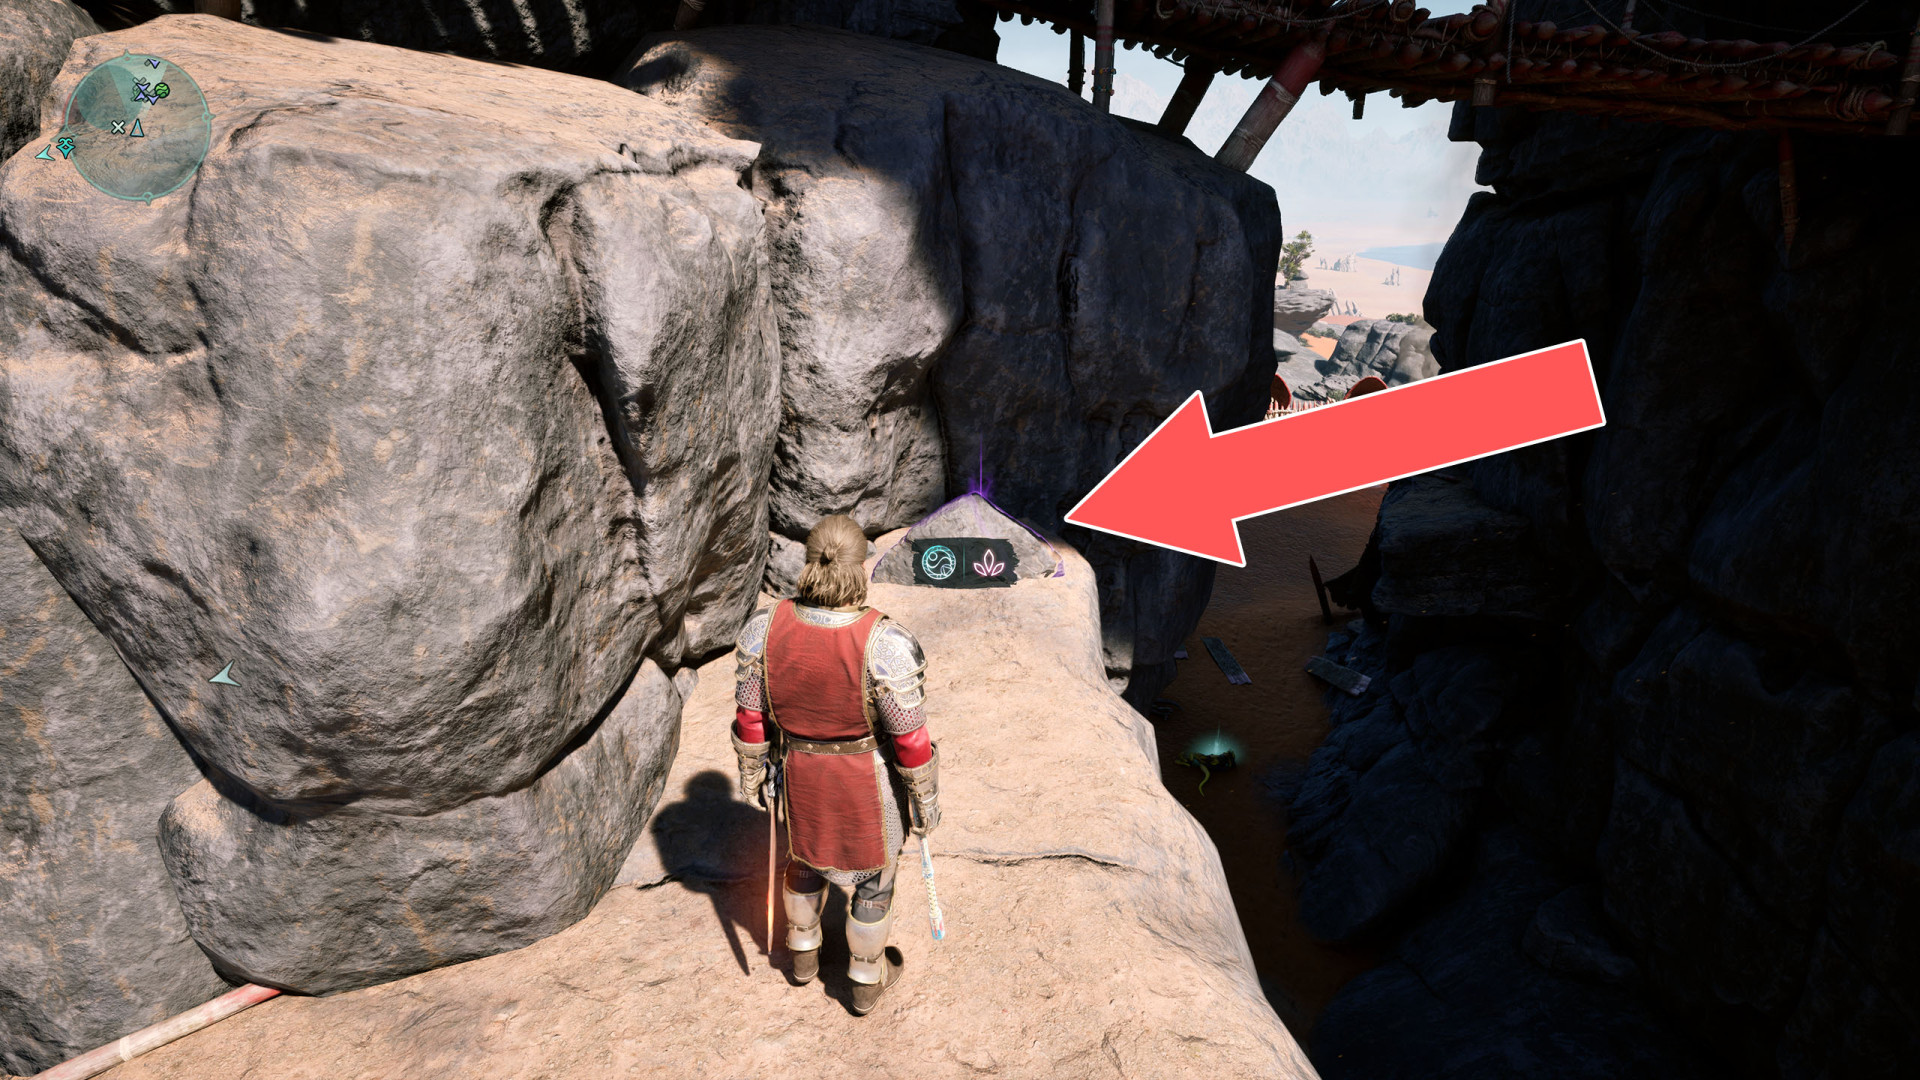
188Illusion
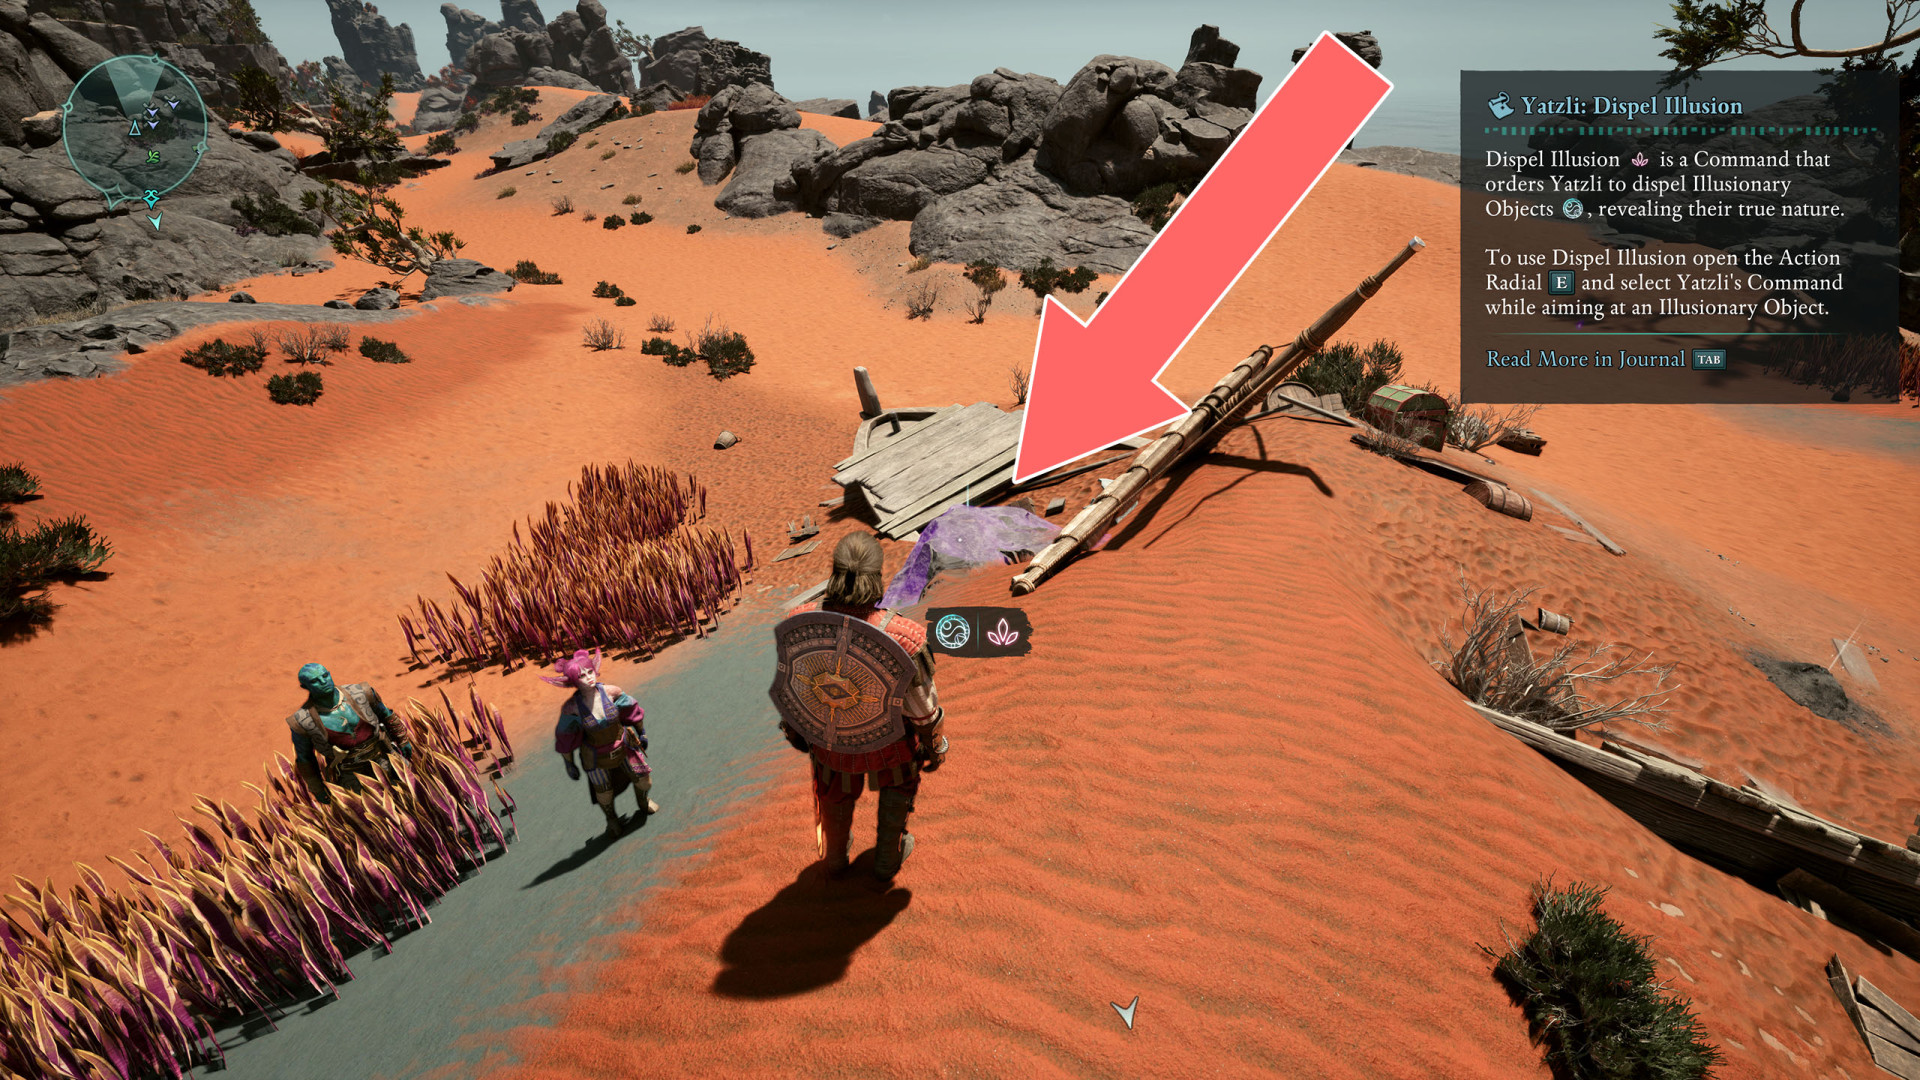
189Illusion
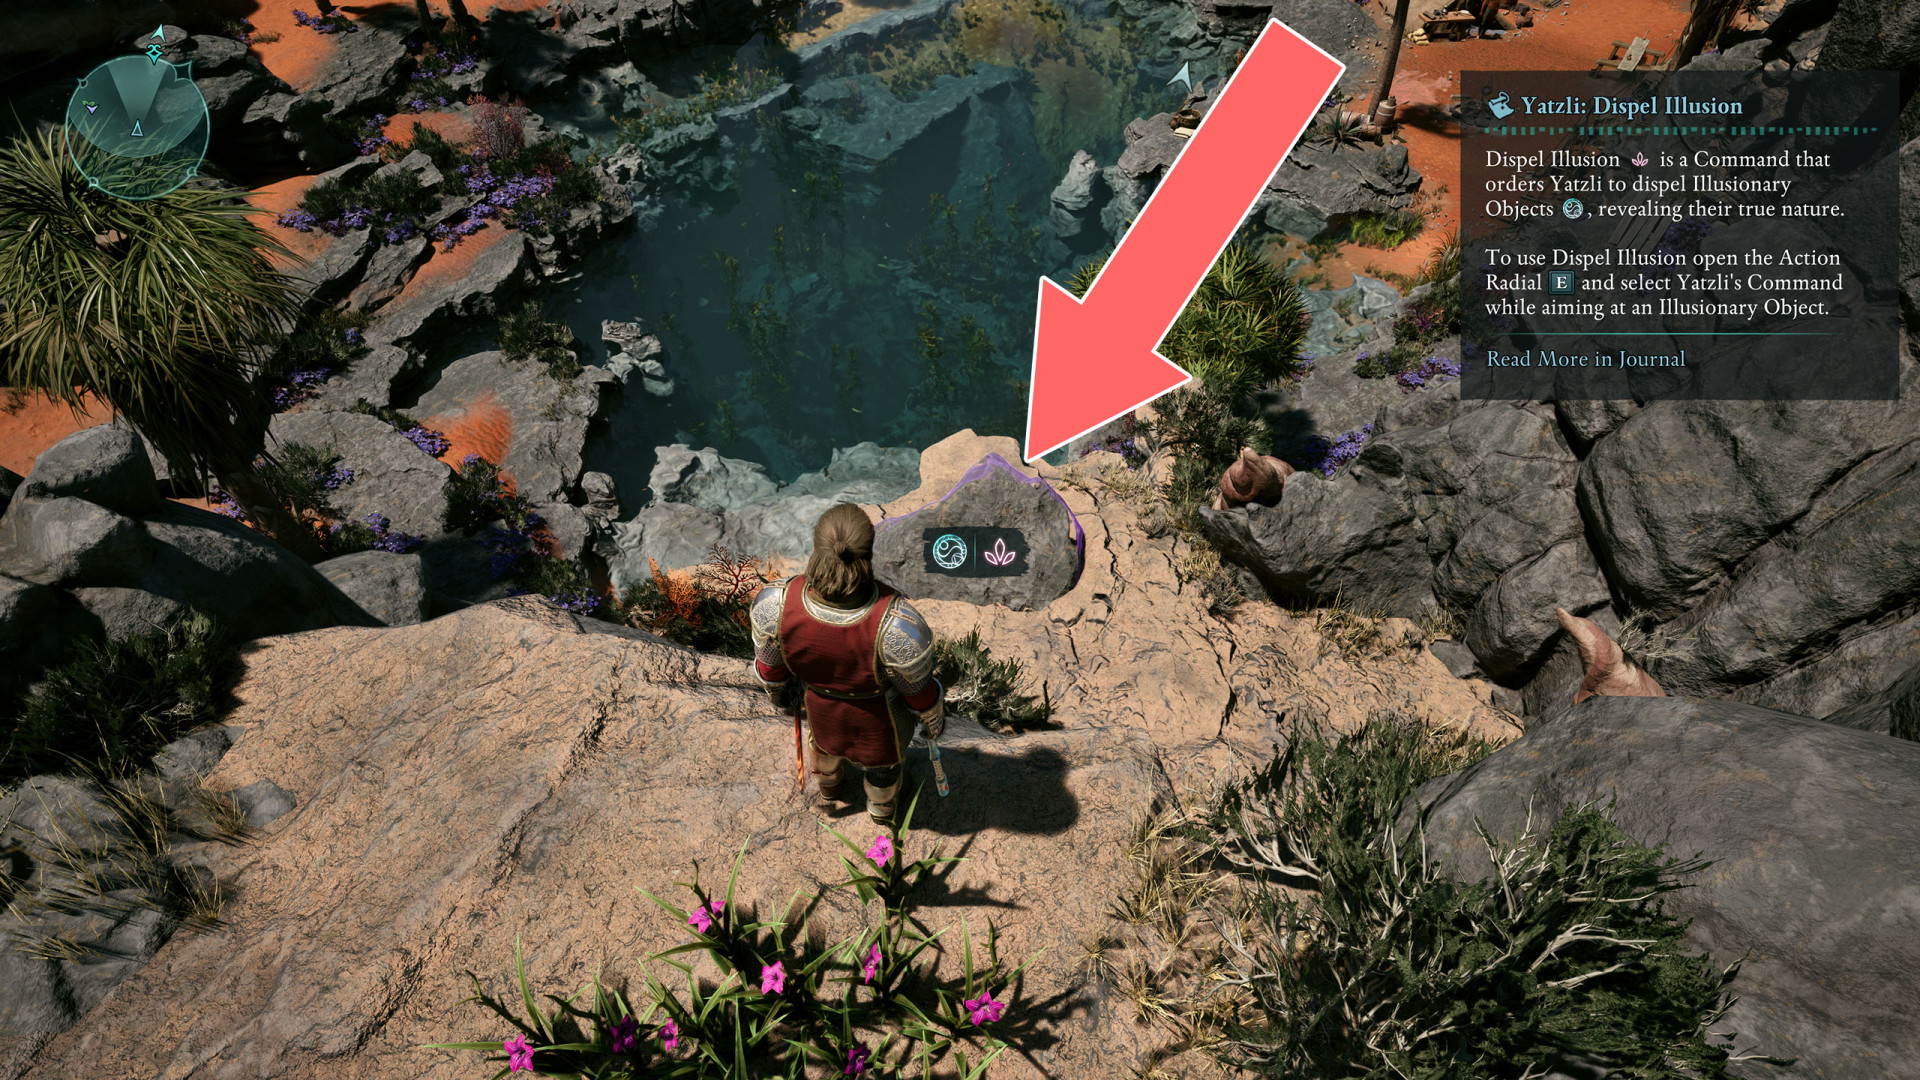
190Illusion Wall
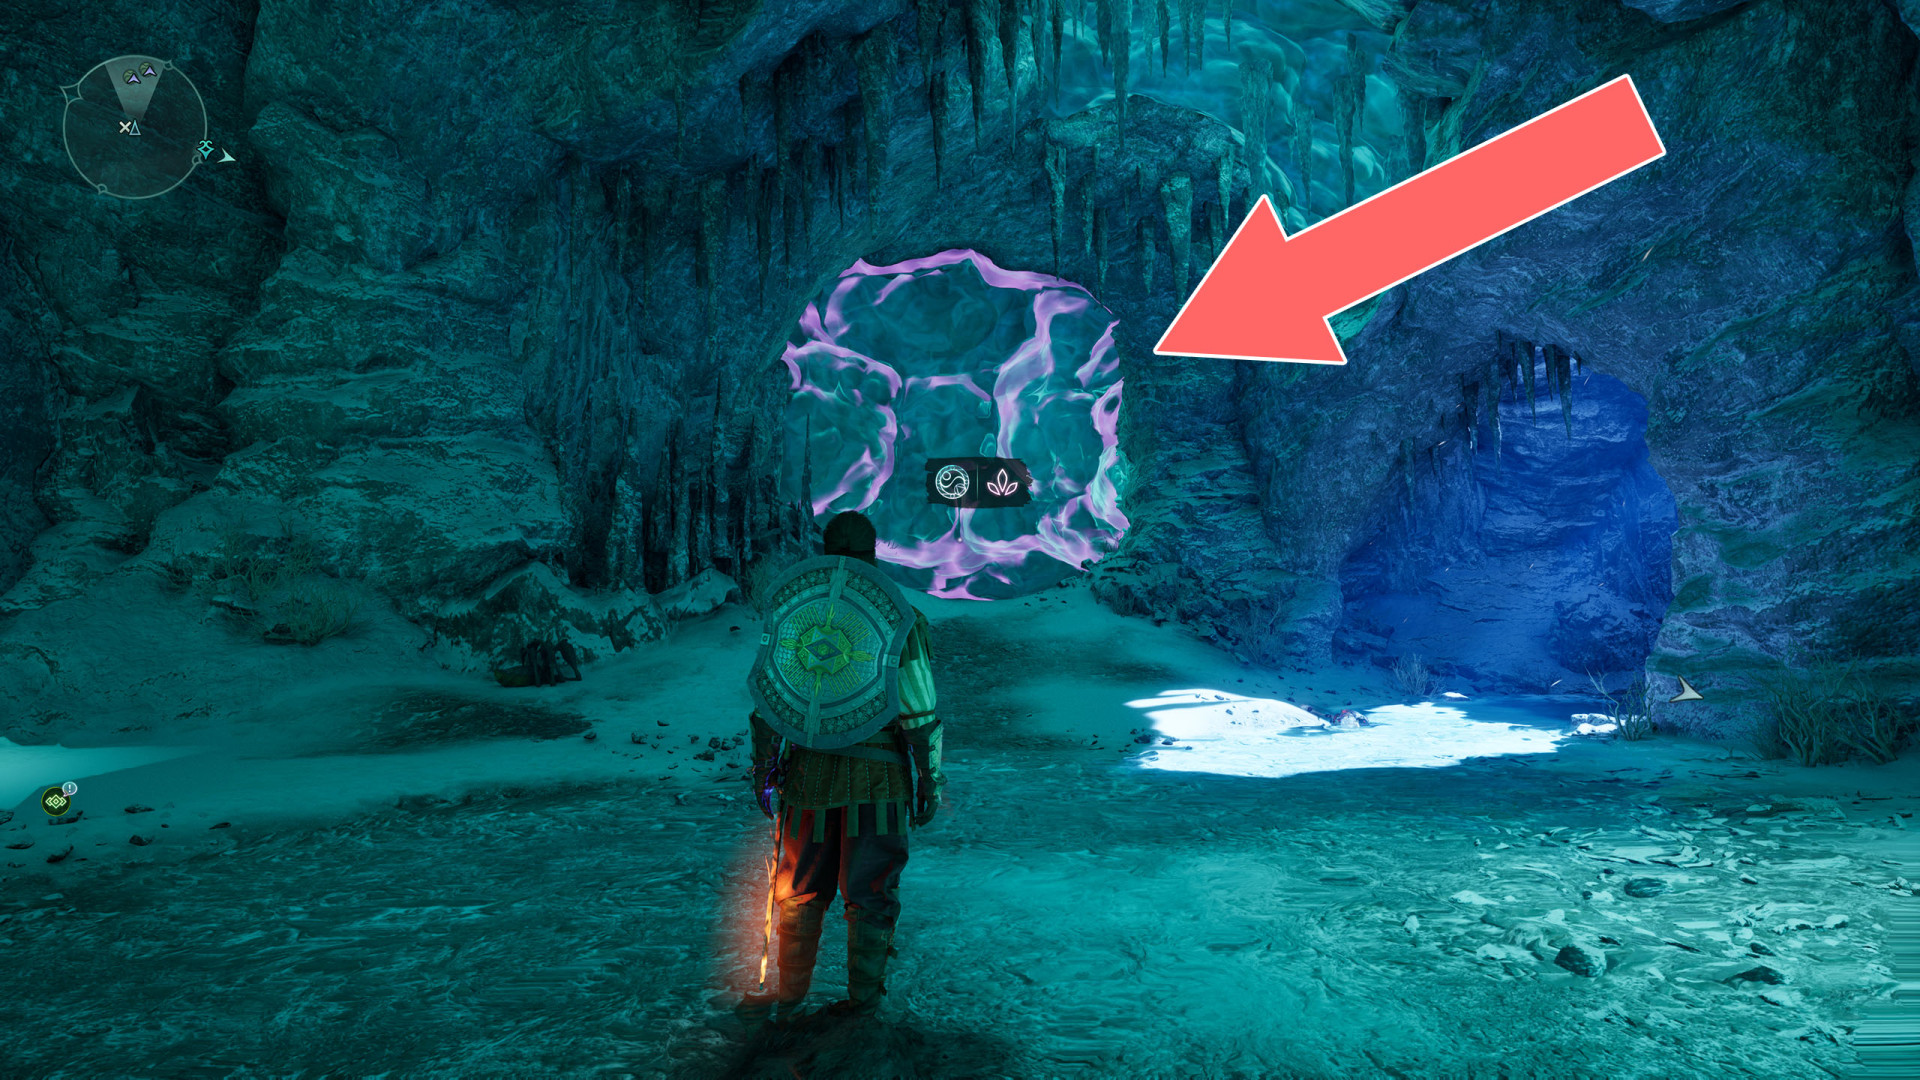
191Illusion Wall
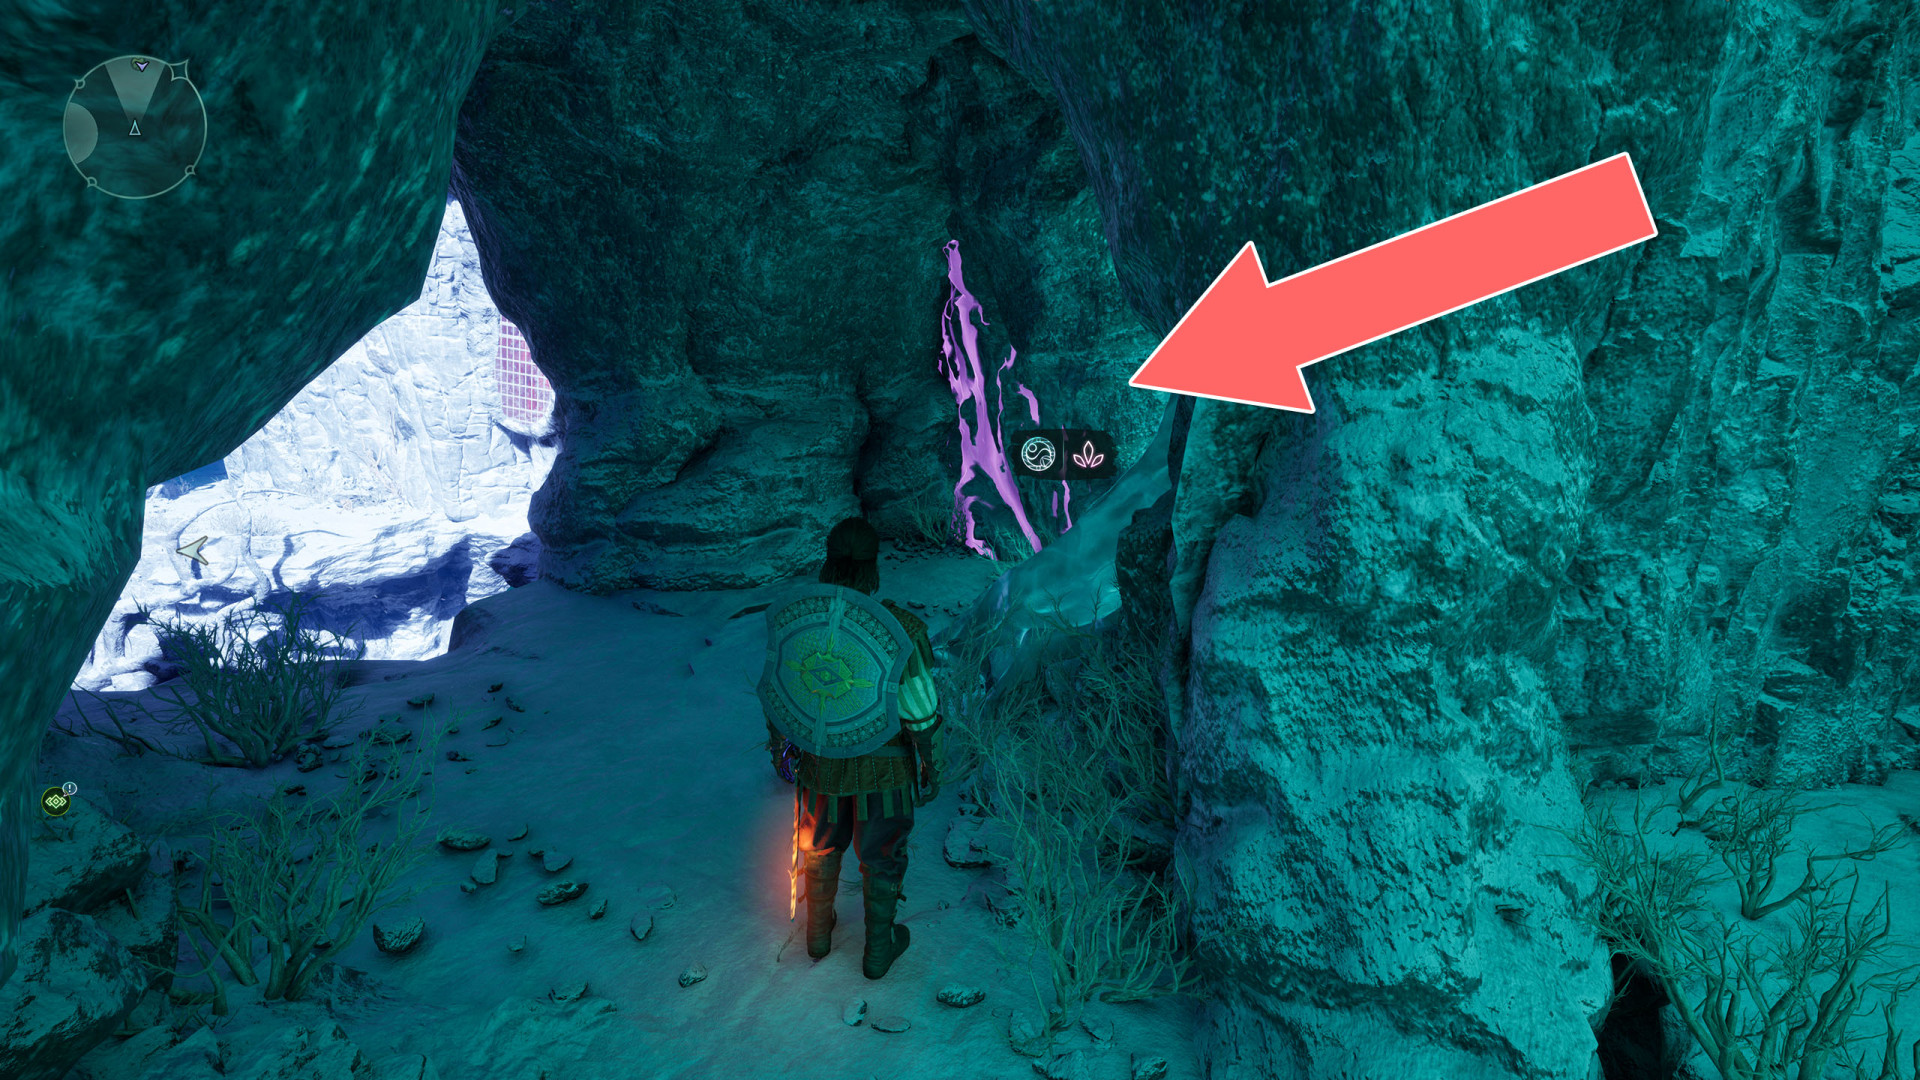
192Illusion Wall
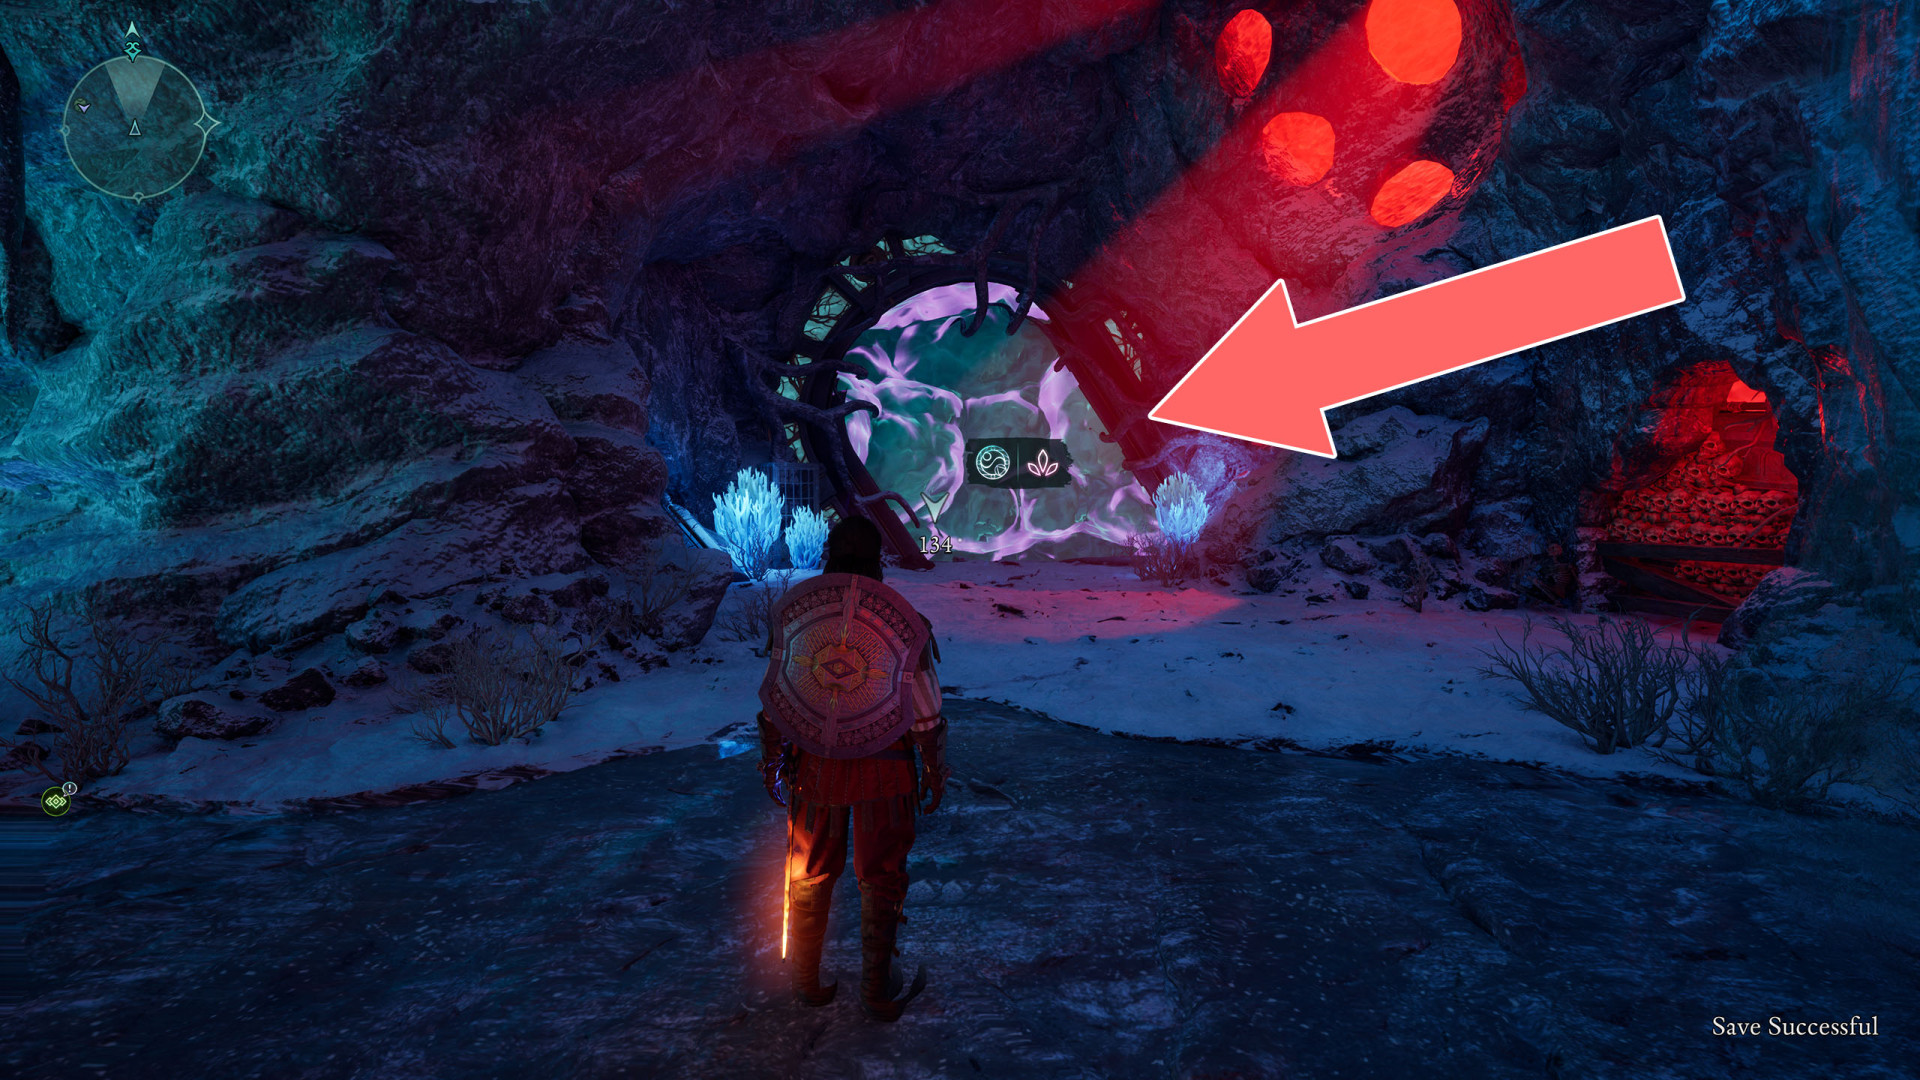
193Illusion Wall
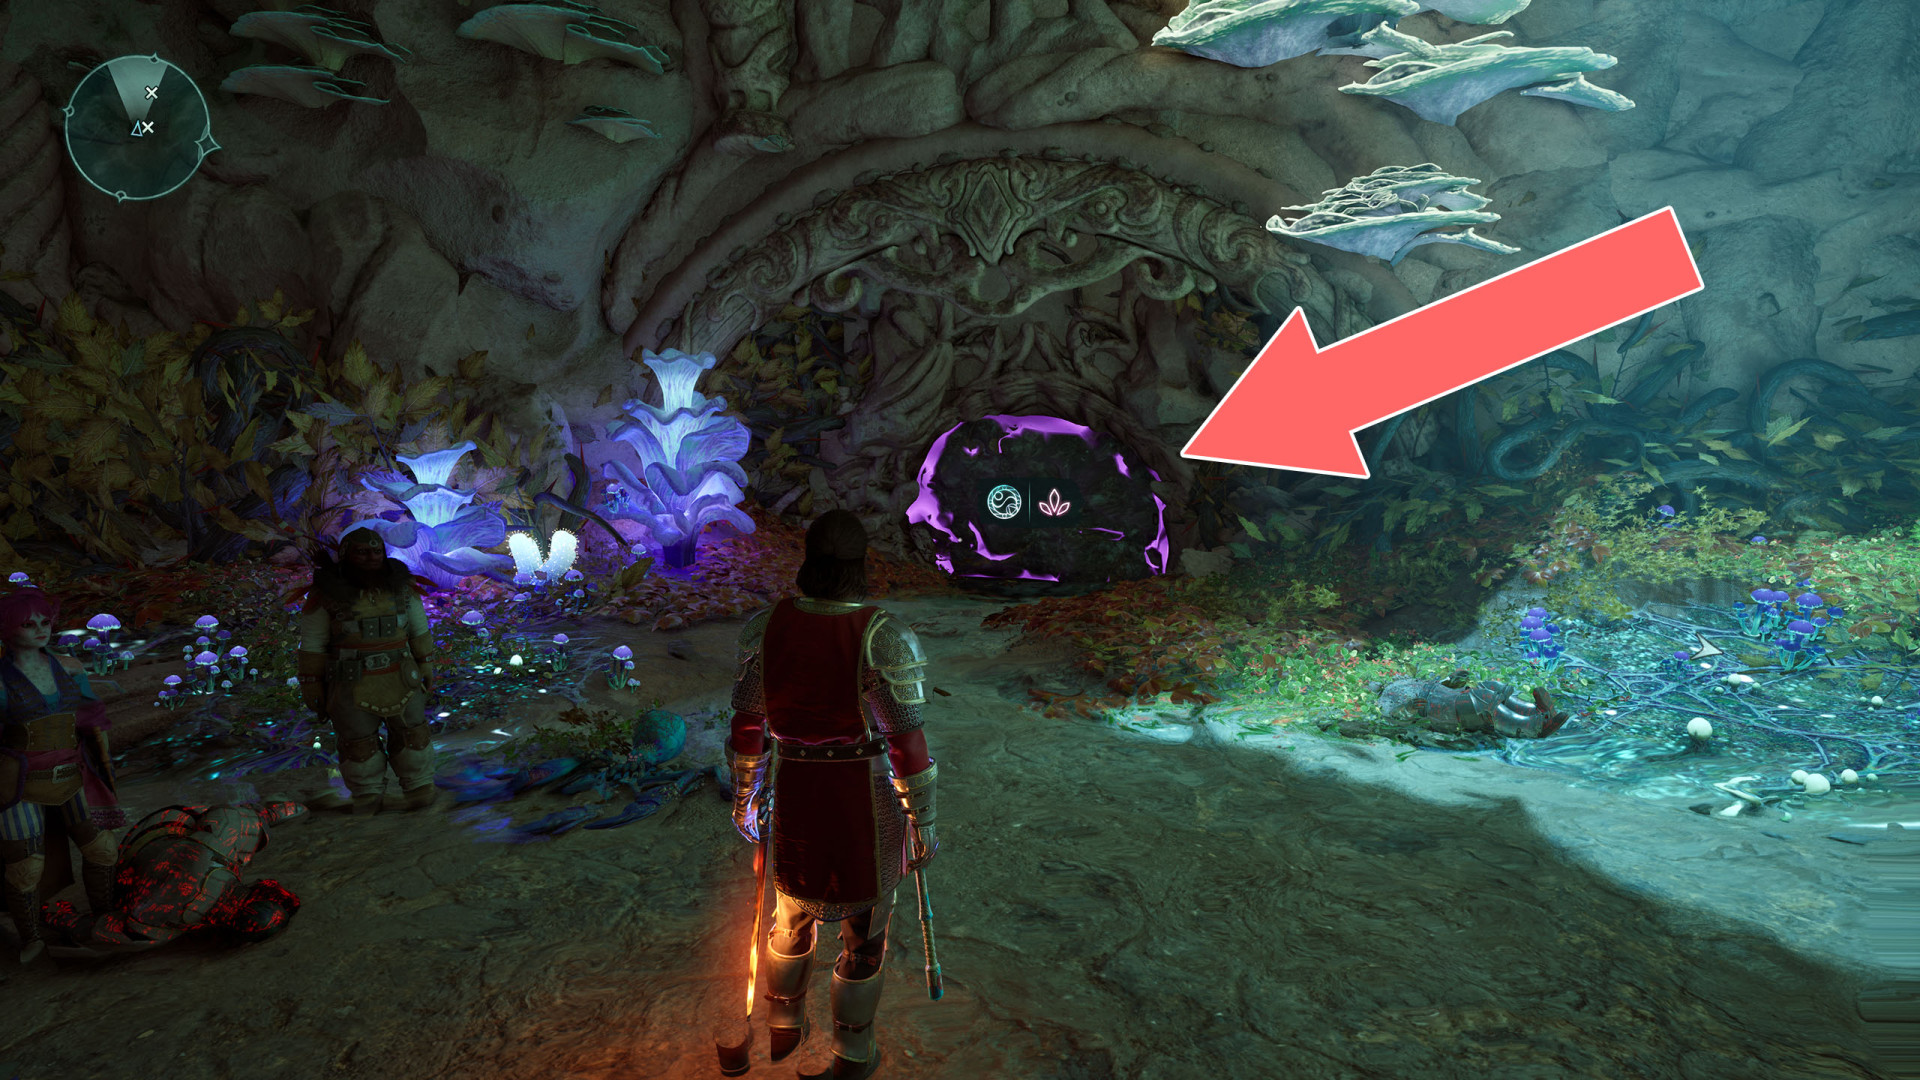
194Illusion Wall
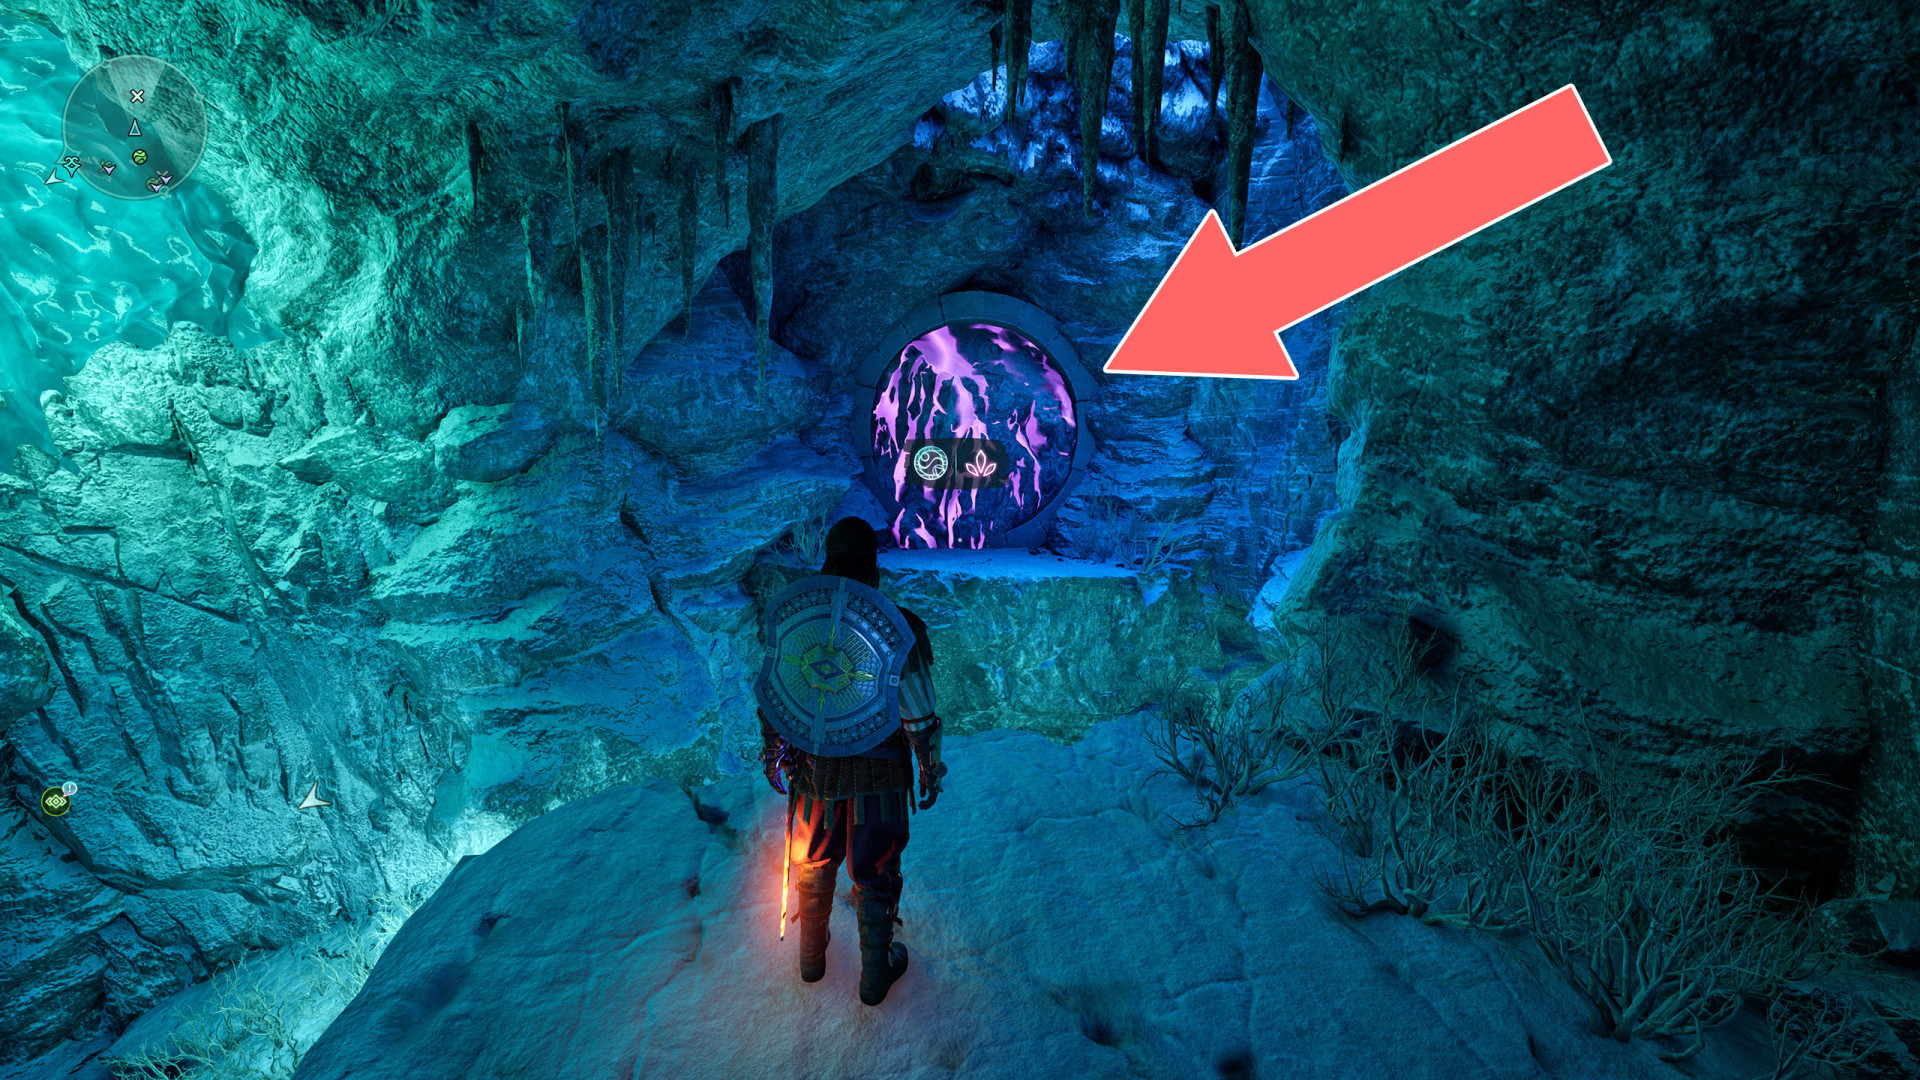
195Illusion Wall
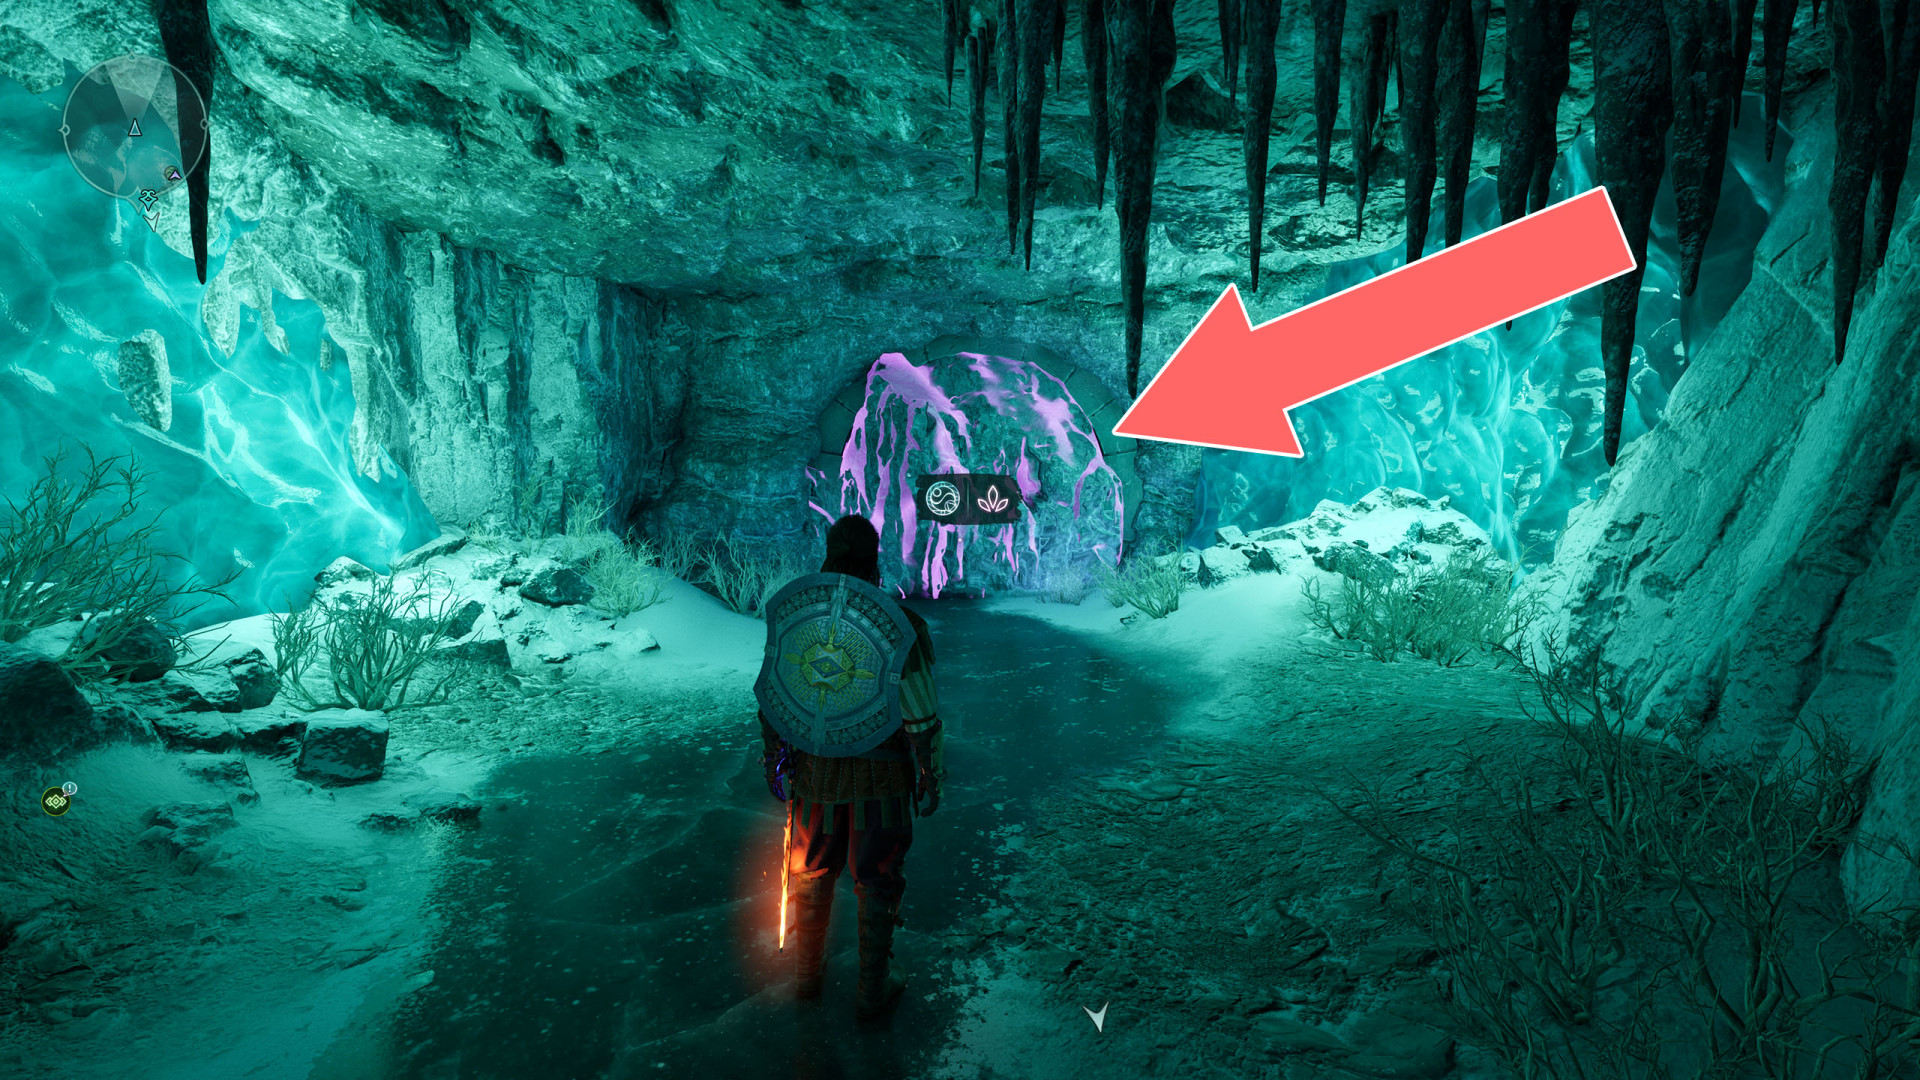
196Laboratory Door
Unlocks with: Research House Key.
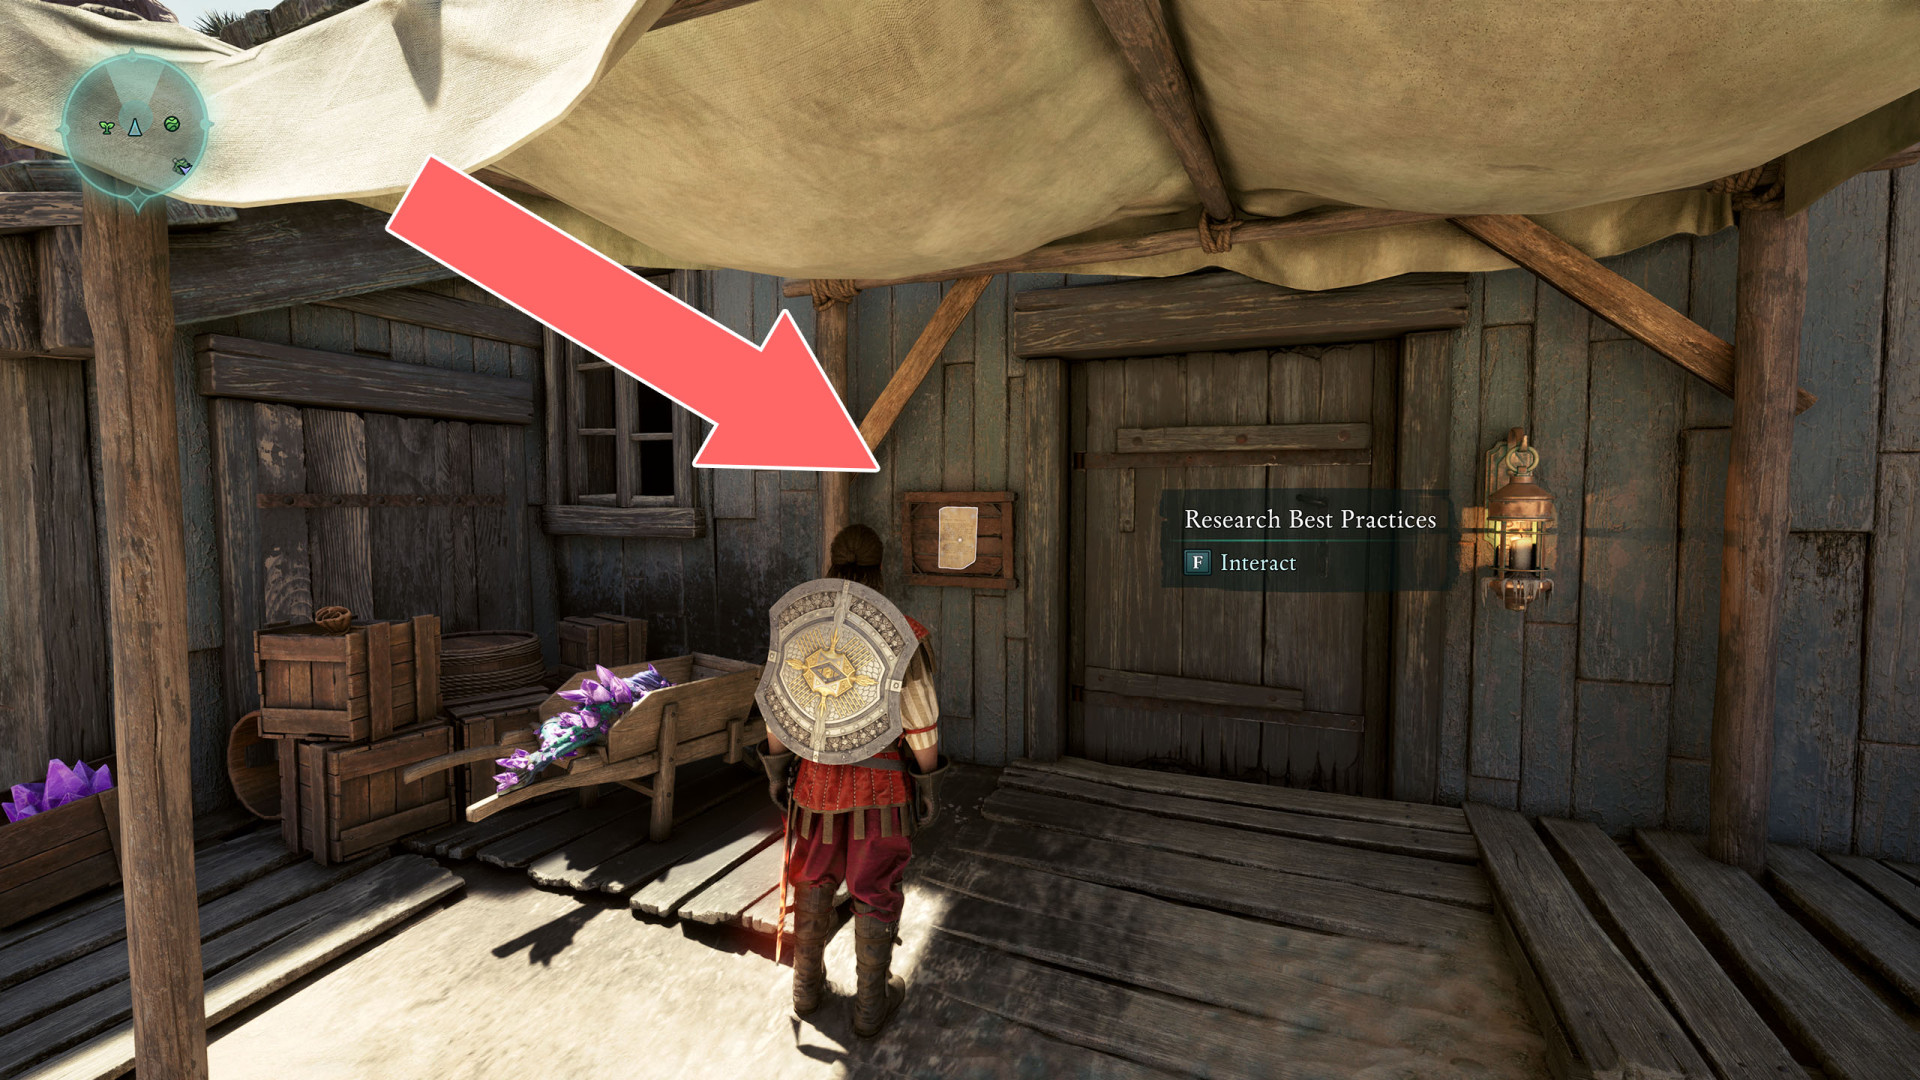
197Lift
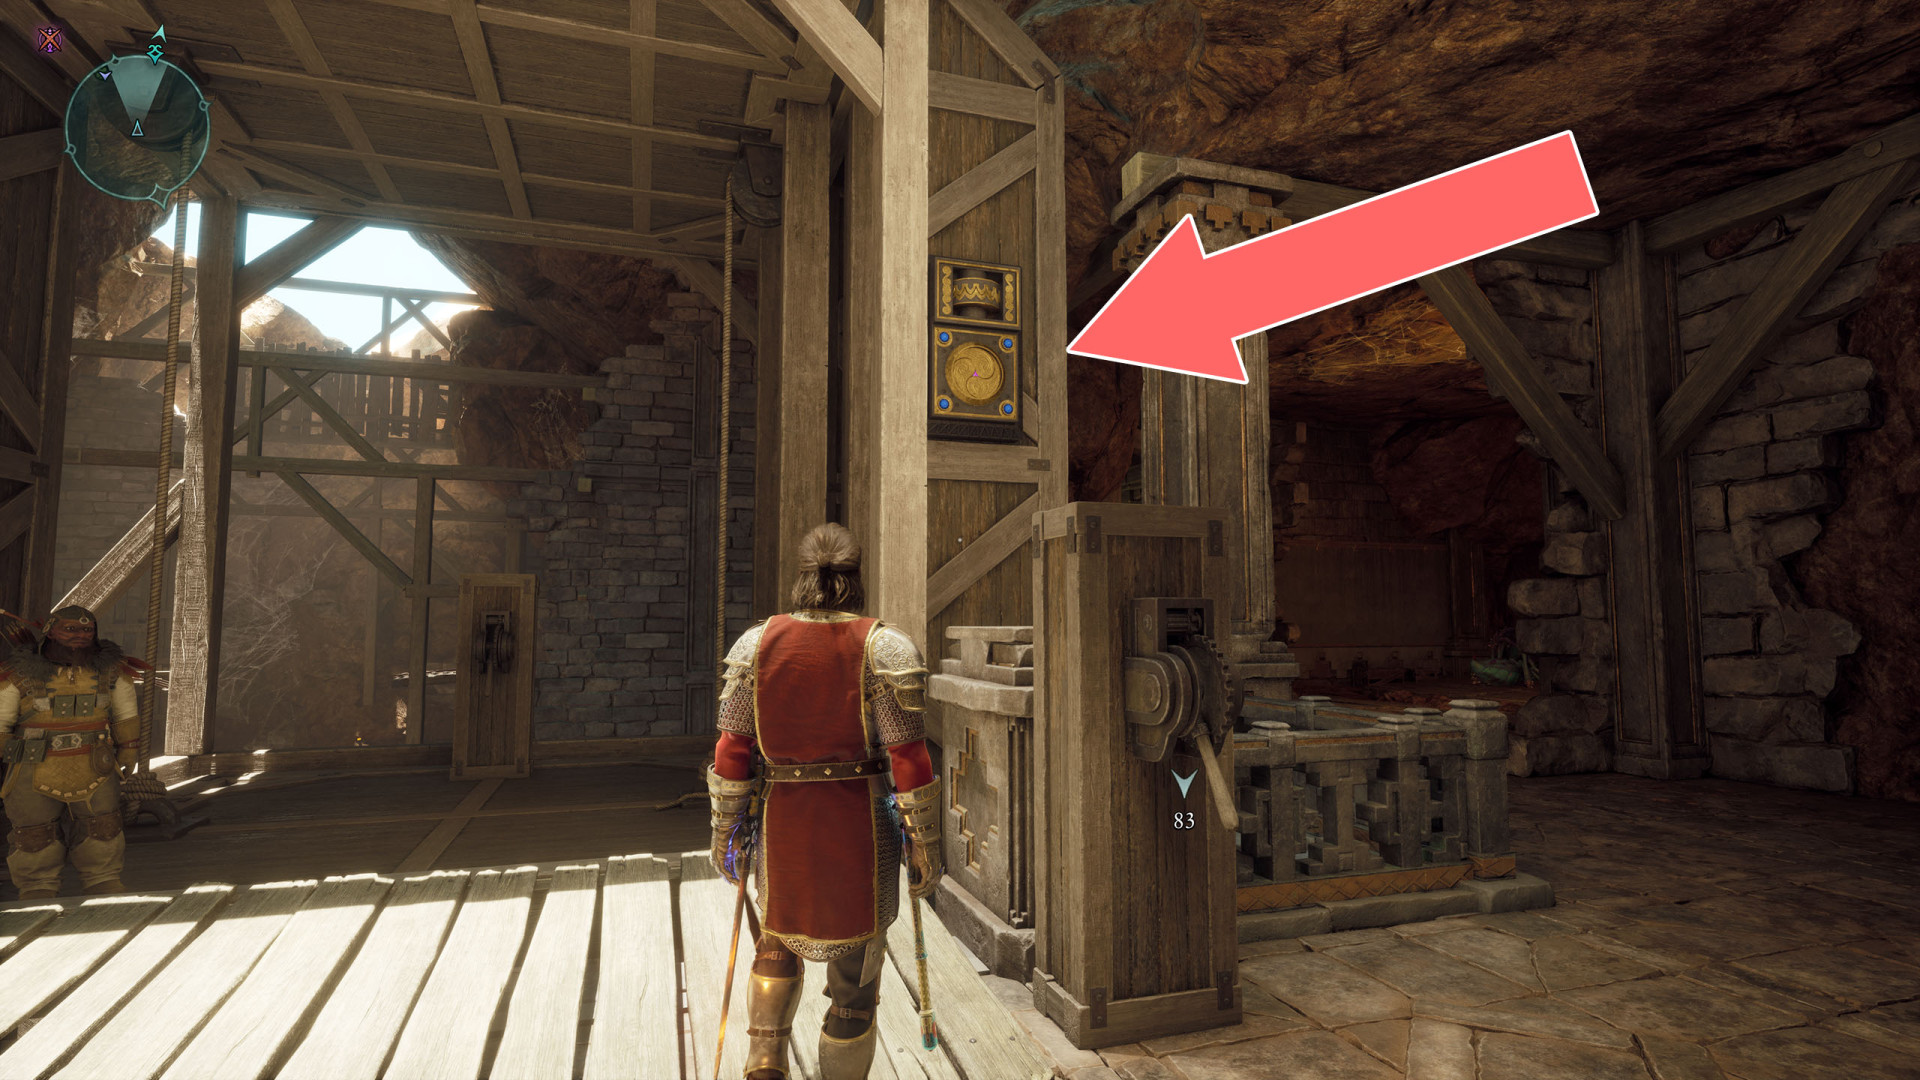
198Locked Door
Unlocks with: Lockpick x1.
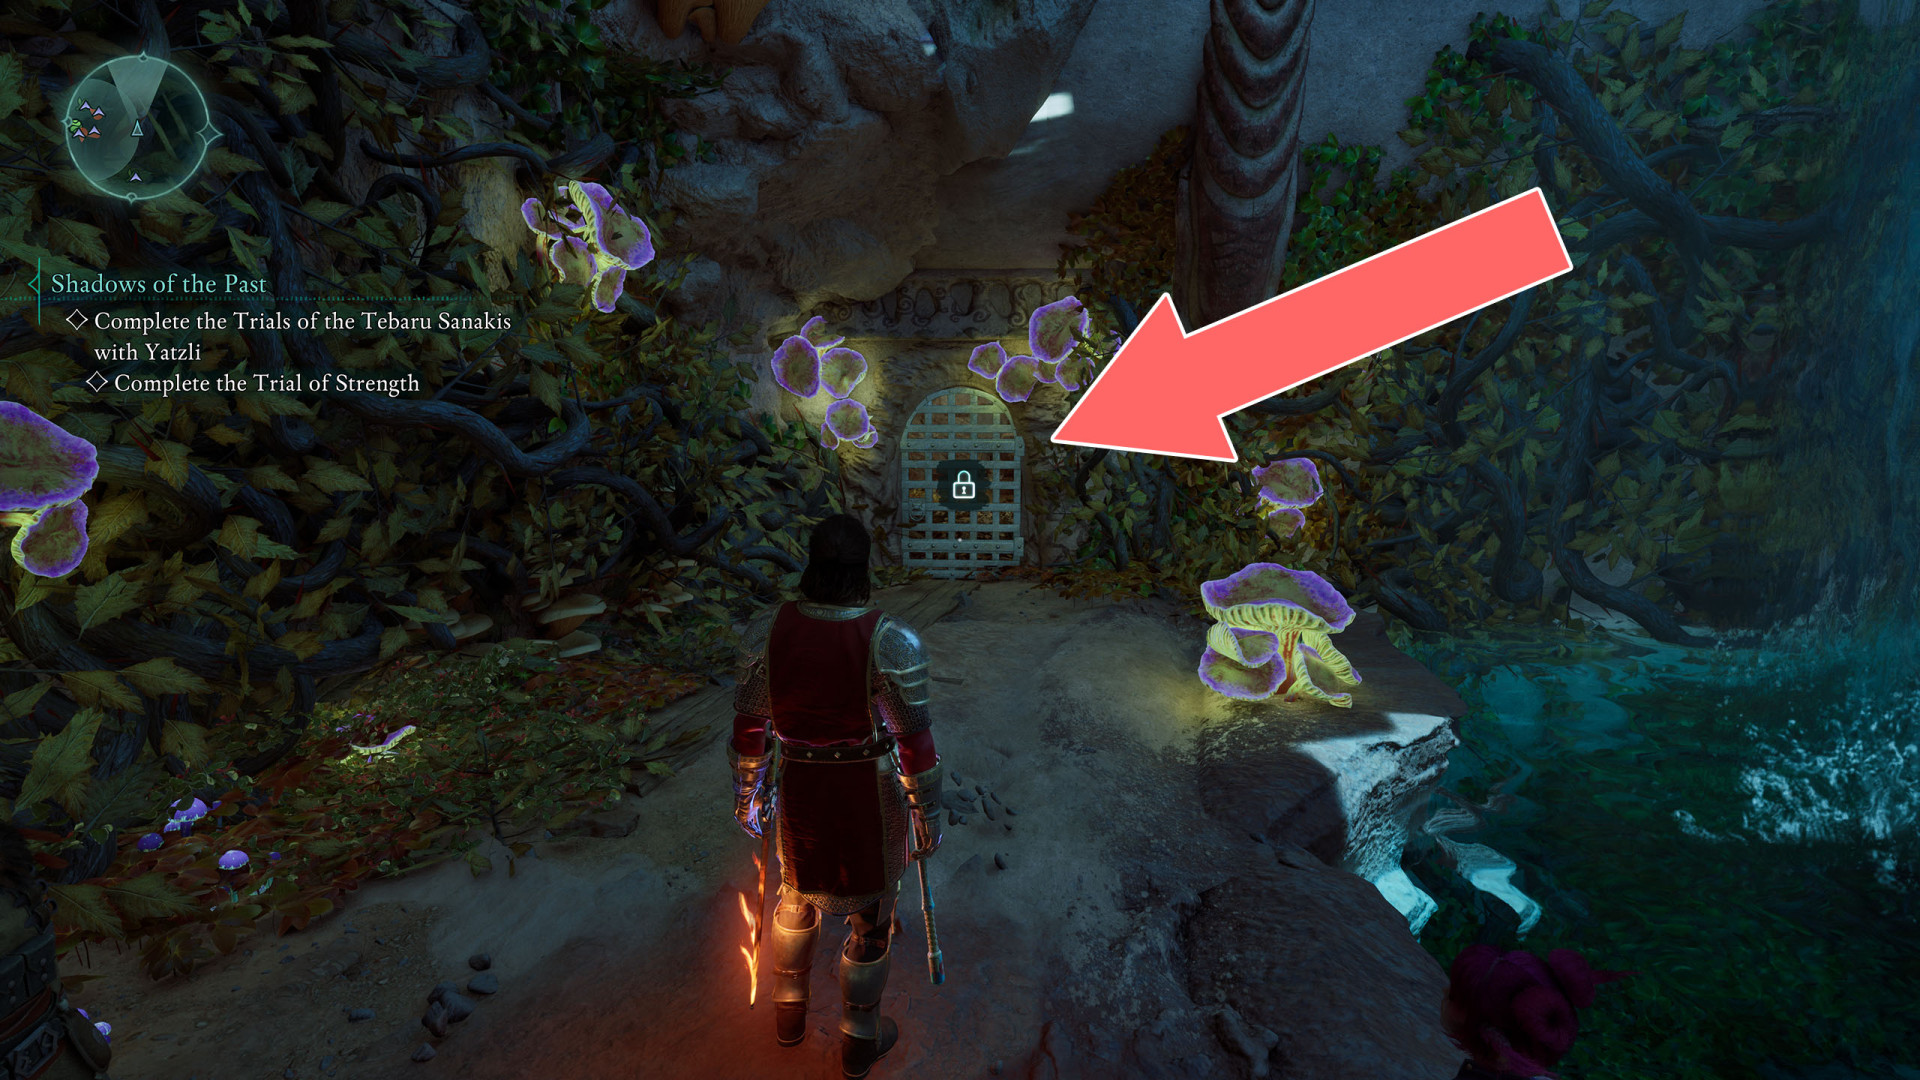
199Locked Door
Unlocks with: Ornate Pargrun Key.
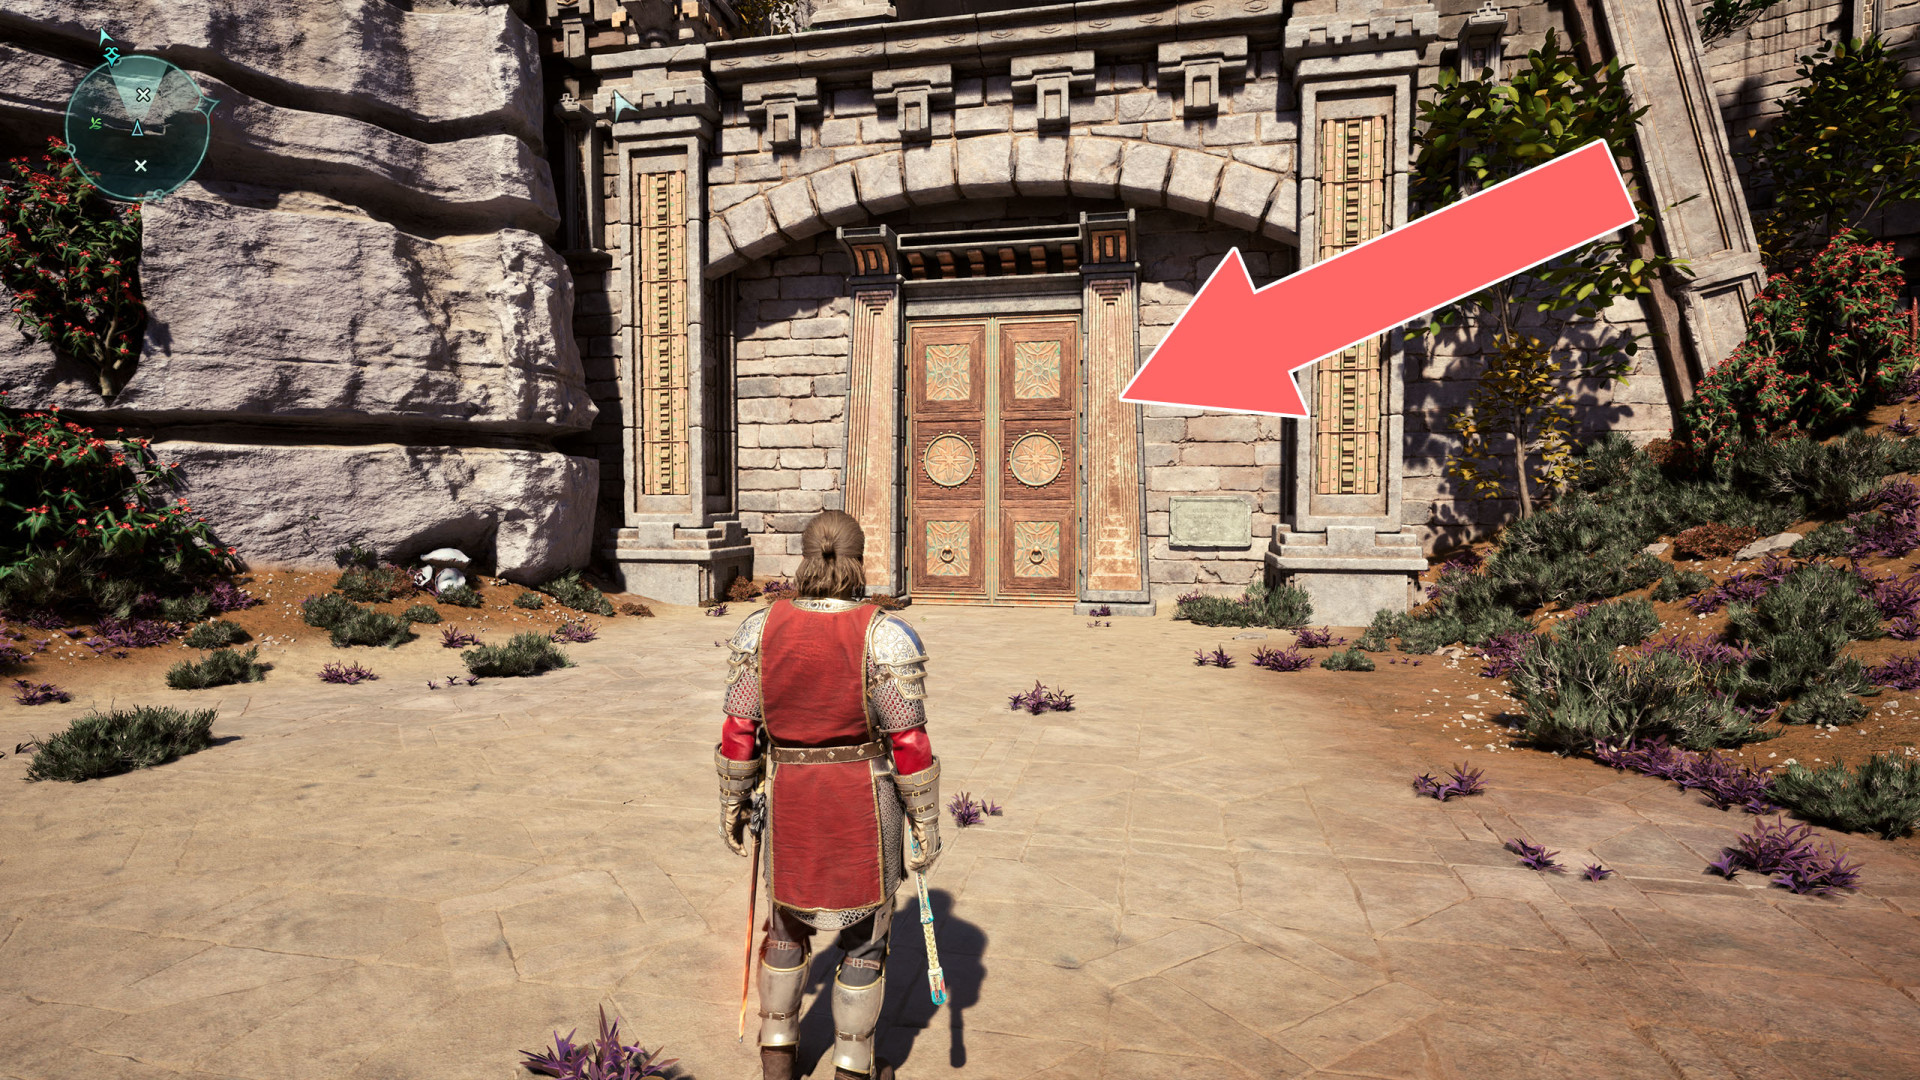
200Locked Door
You will open this door by pulling the lever located inside.
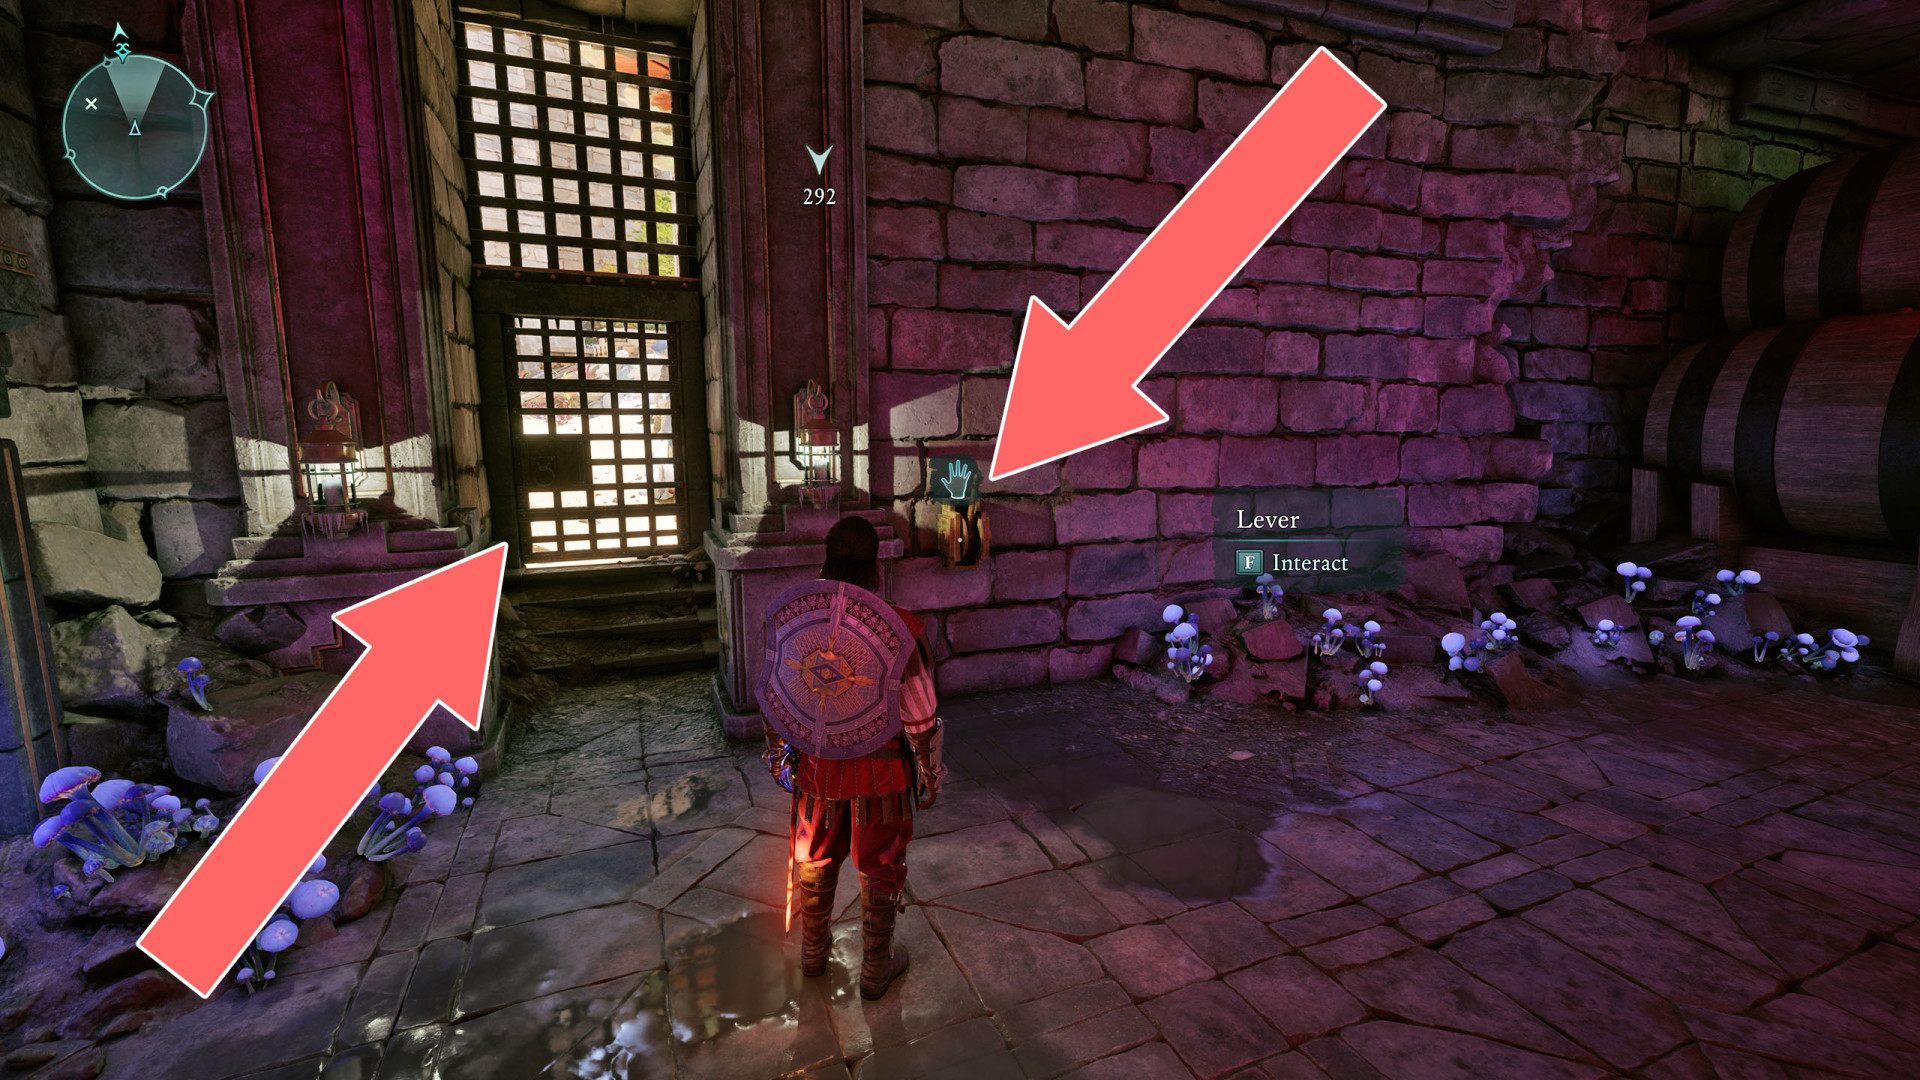
201Locked Door
Unlocks with: Research House Key or Lockpick x3.
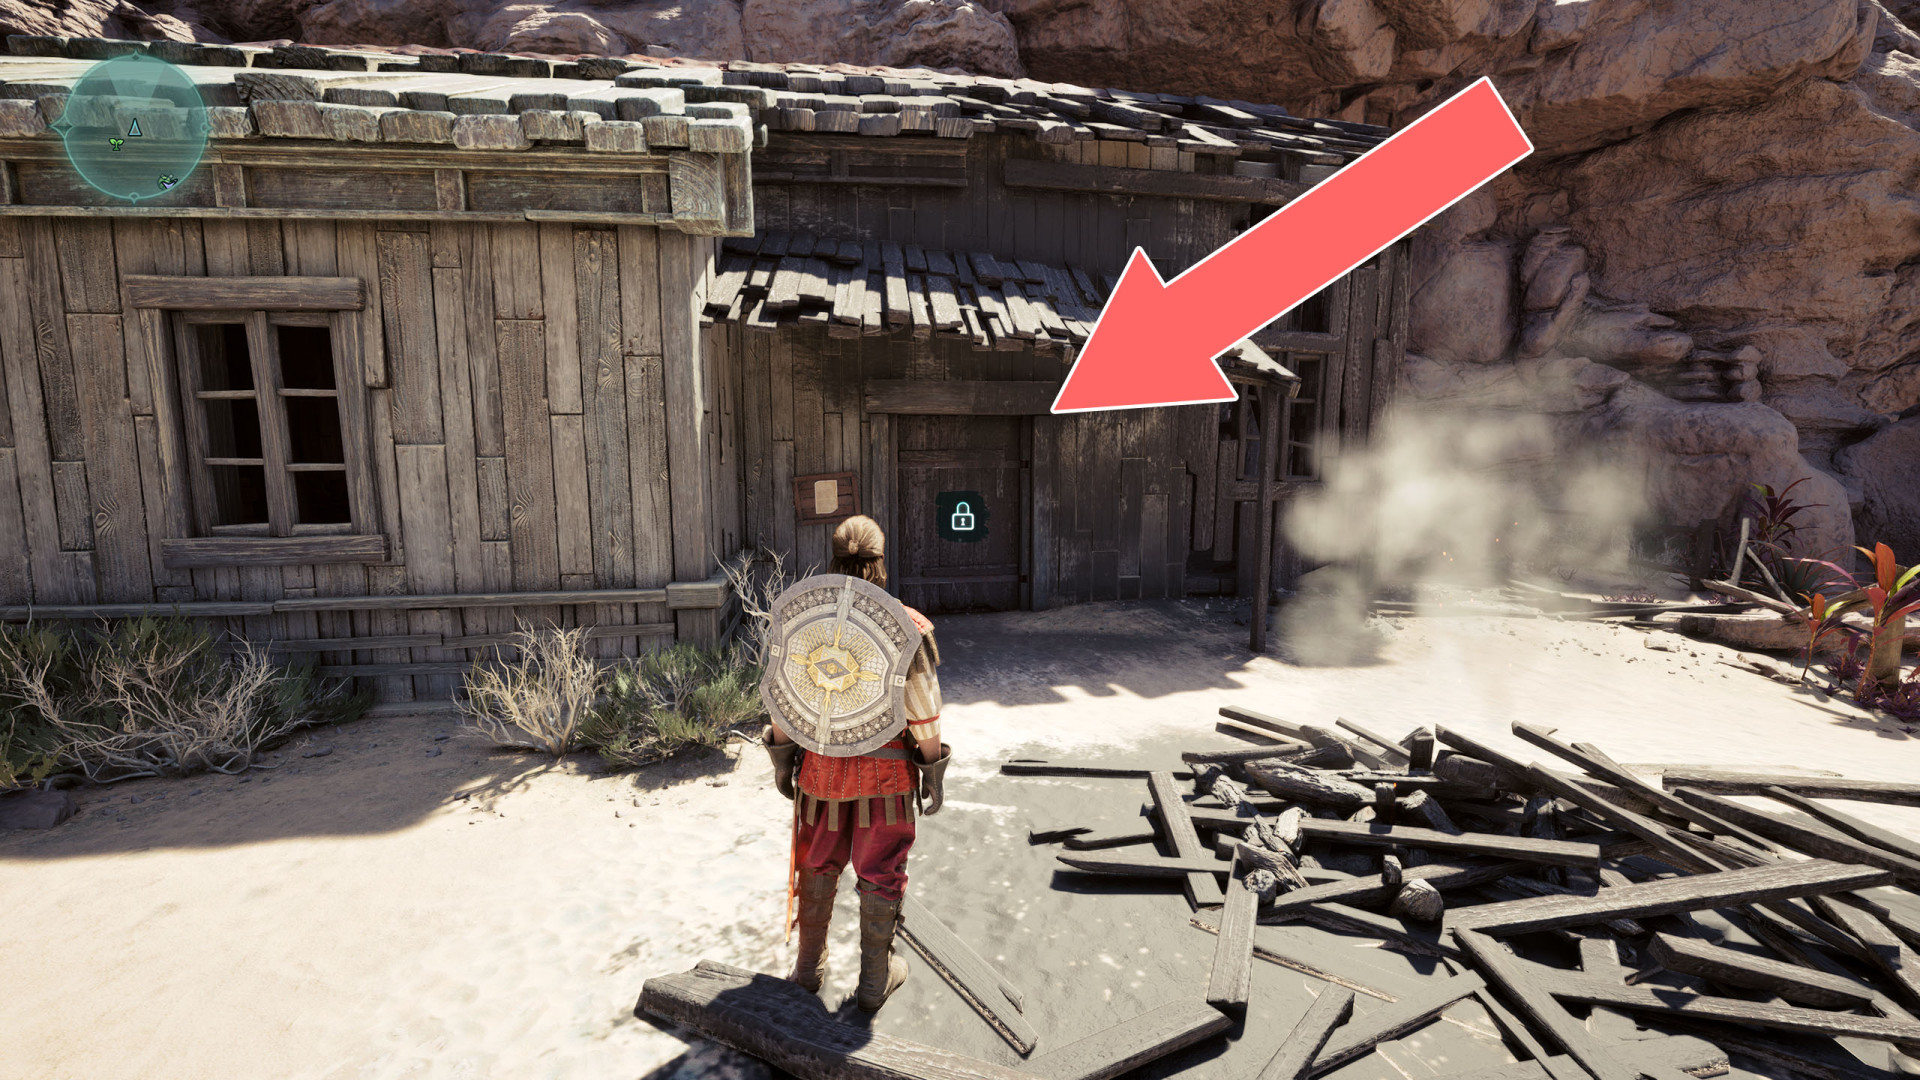
202Locked Door
Unlocks with: Dirty Brown Key or Lockpick x1.
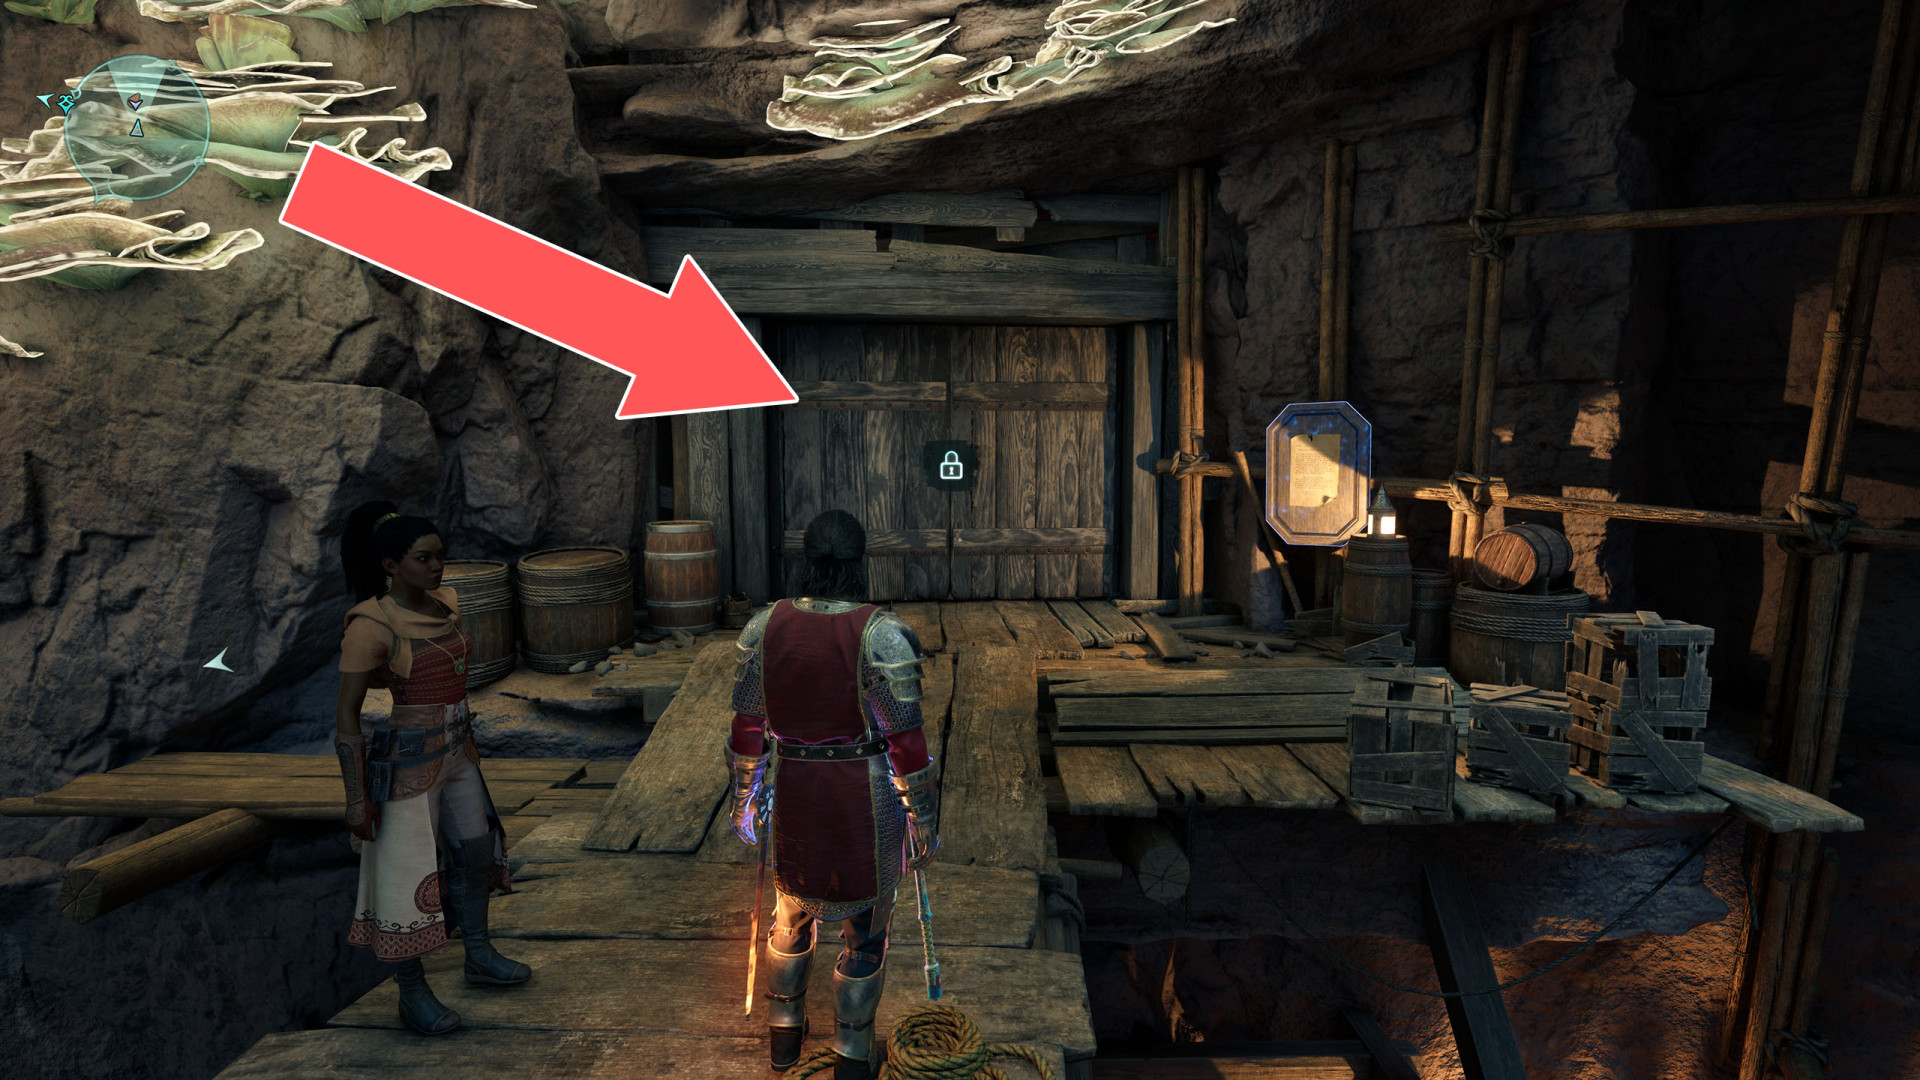
203Locked Door
Unlocks with: Lockpick x3.
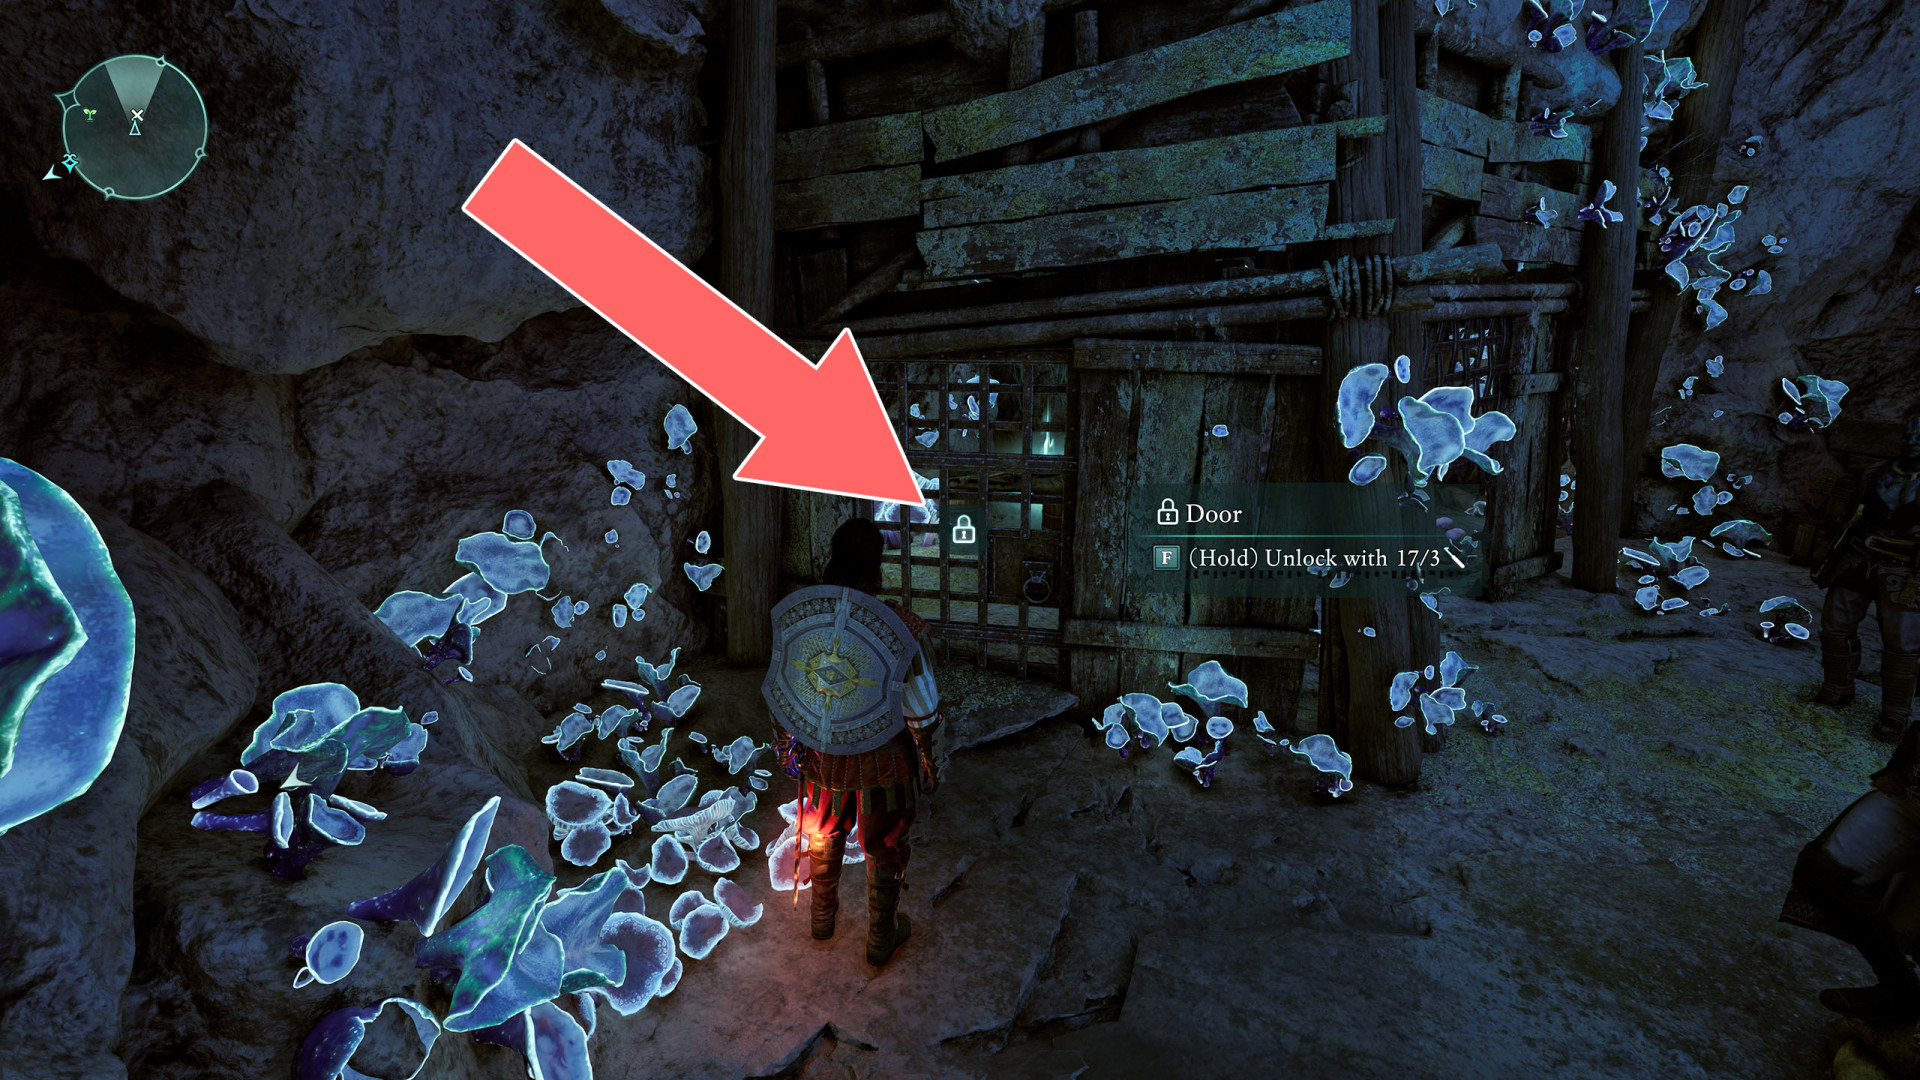
204Locked Gate
Use the Levers to unlock it.
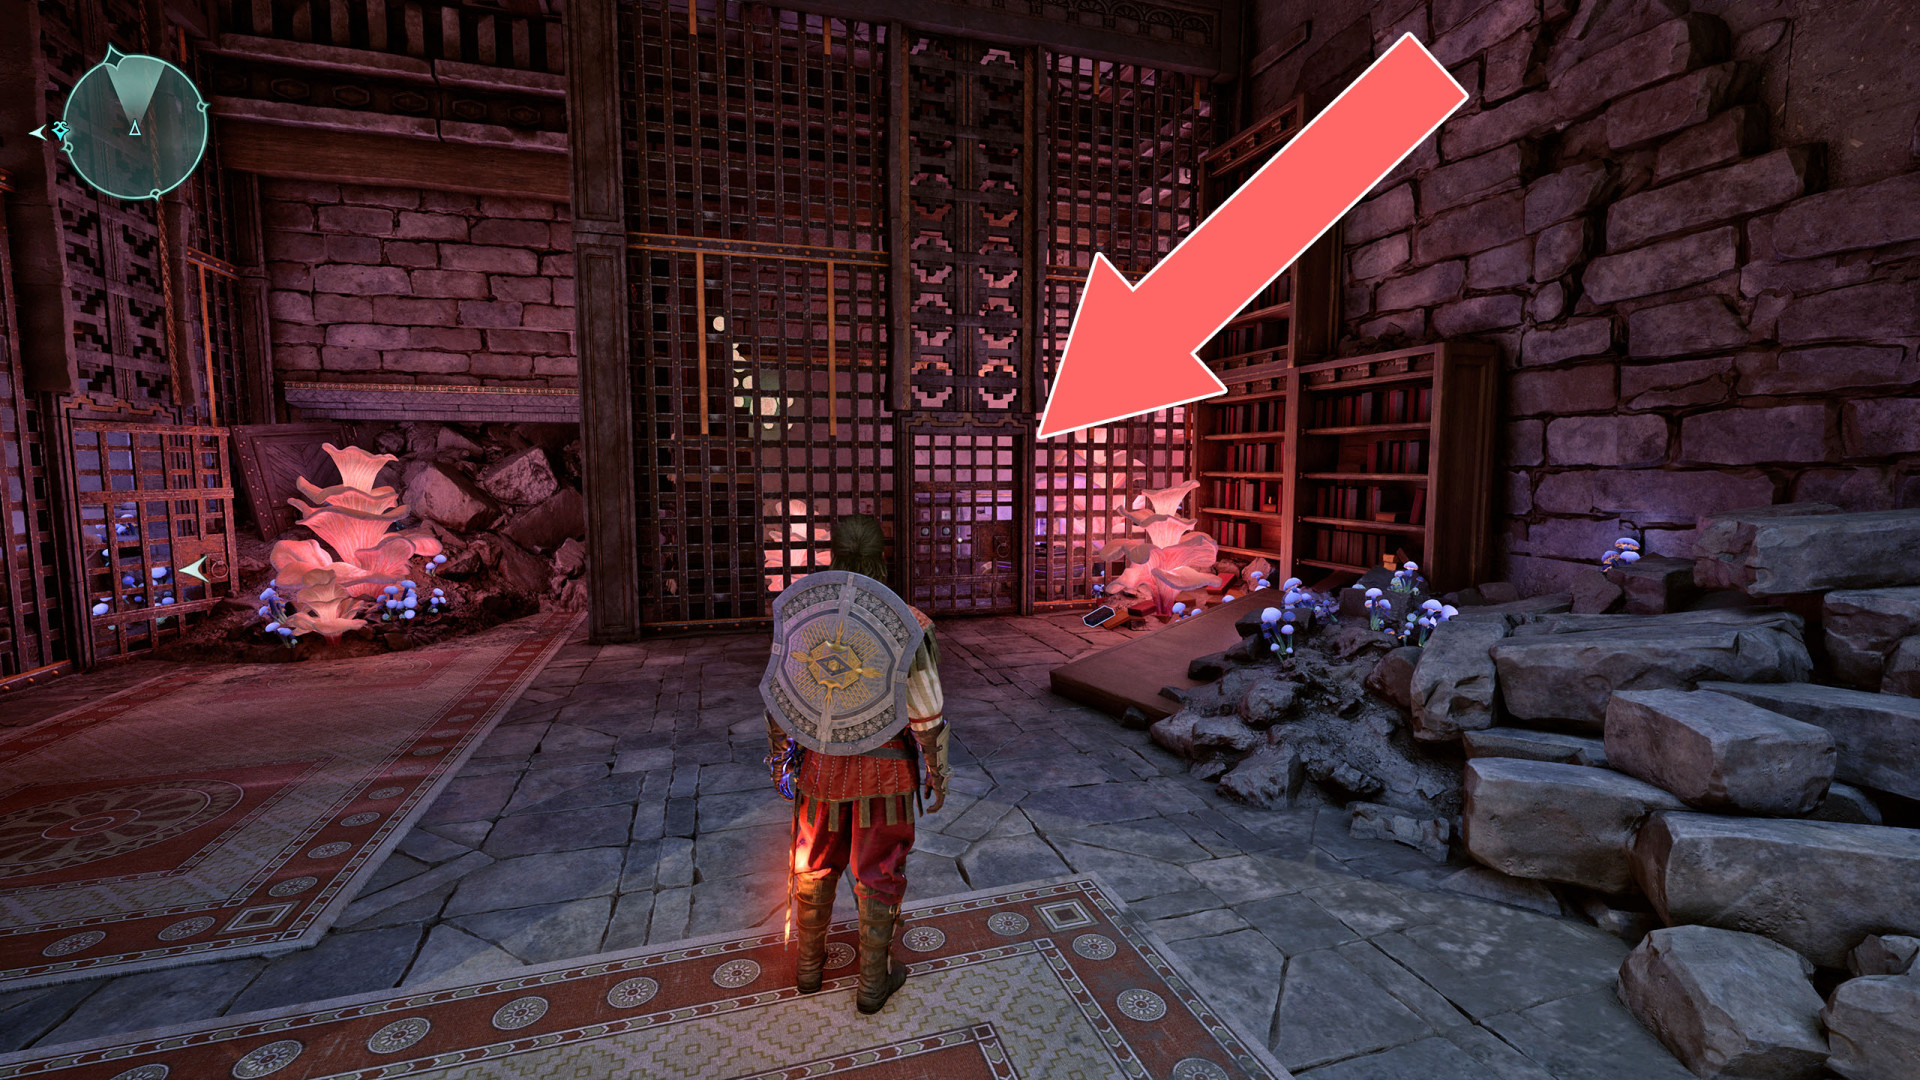
205Locked Gate
Use the Winch to unlock it.
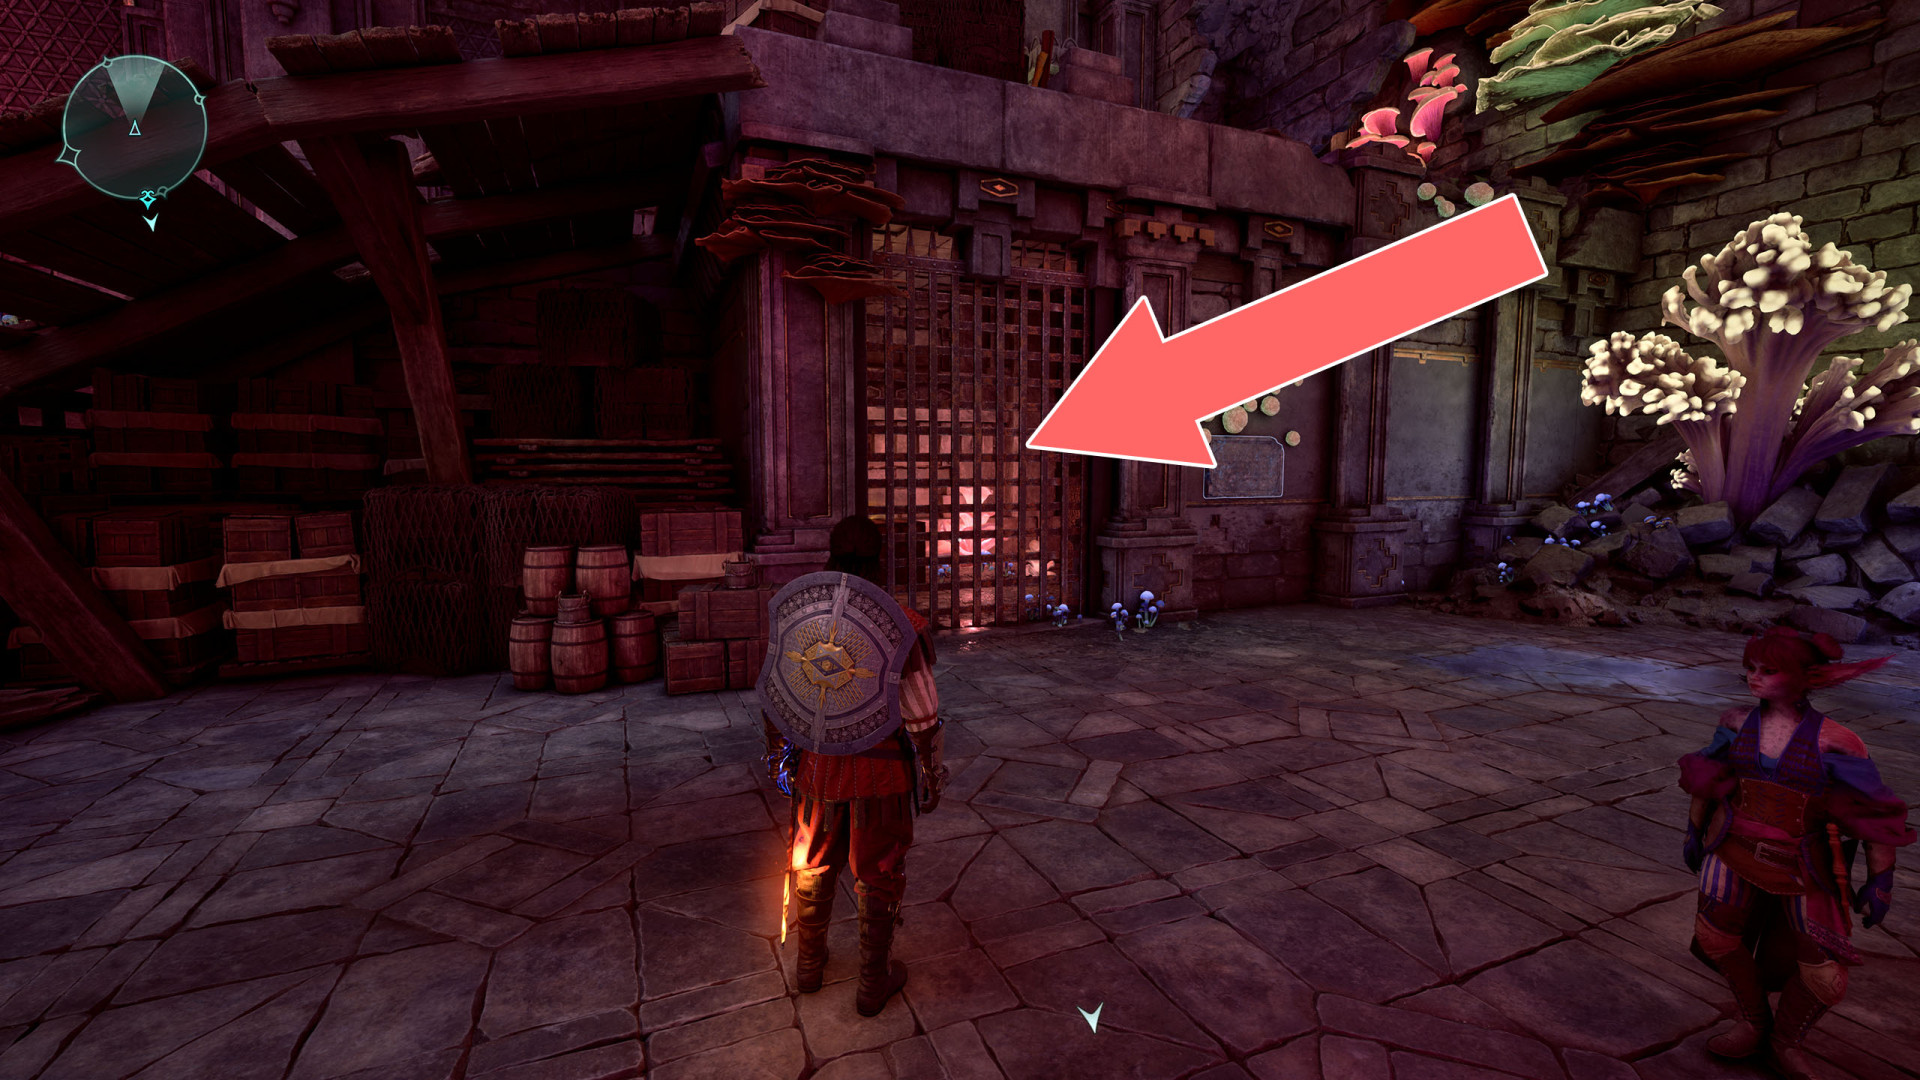
206Pots
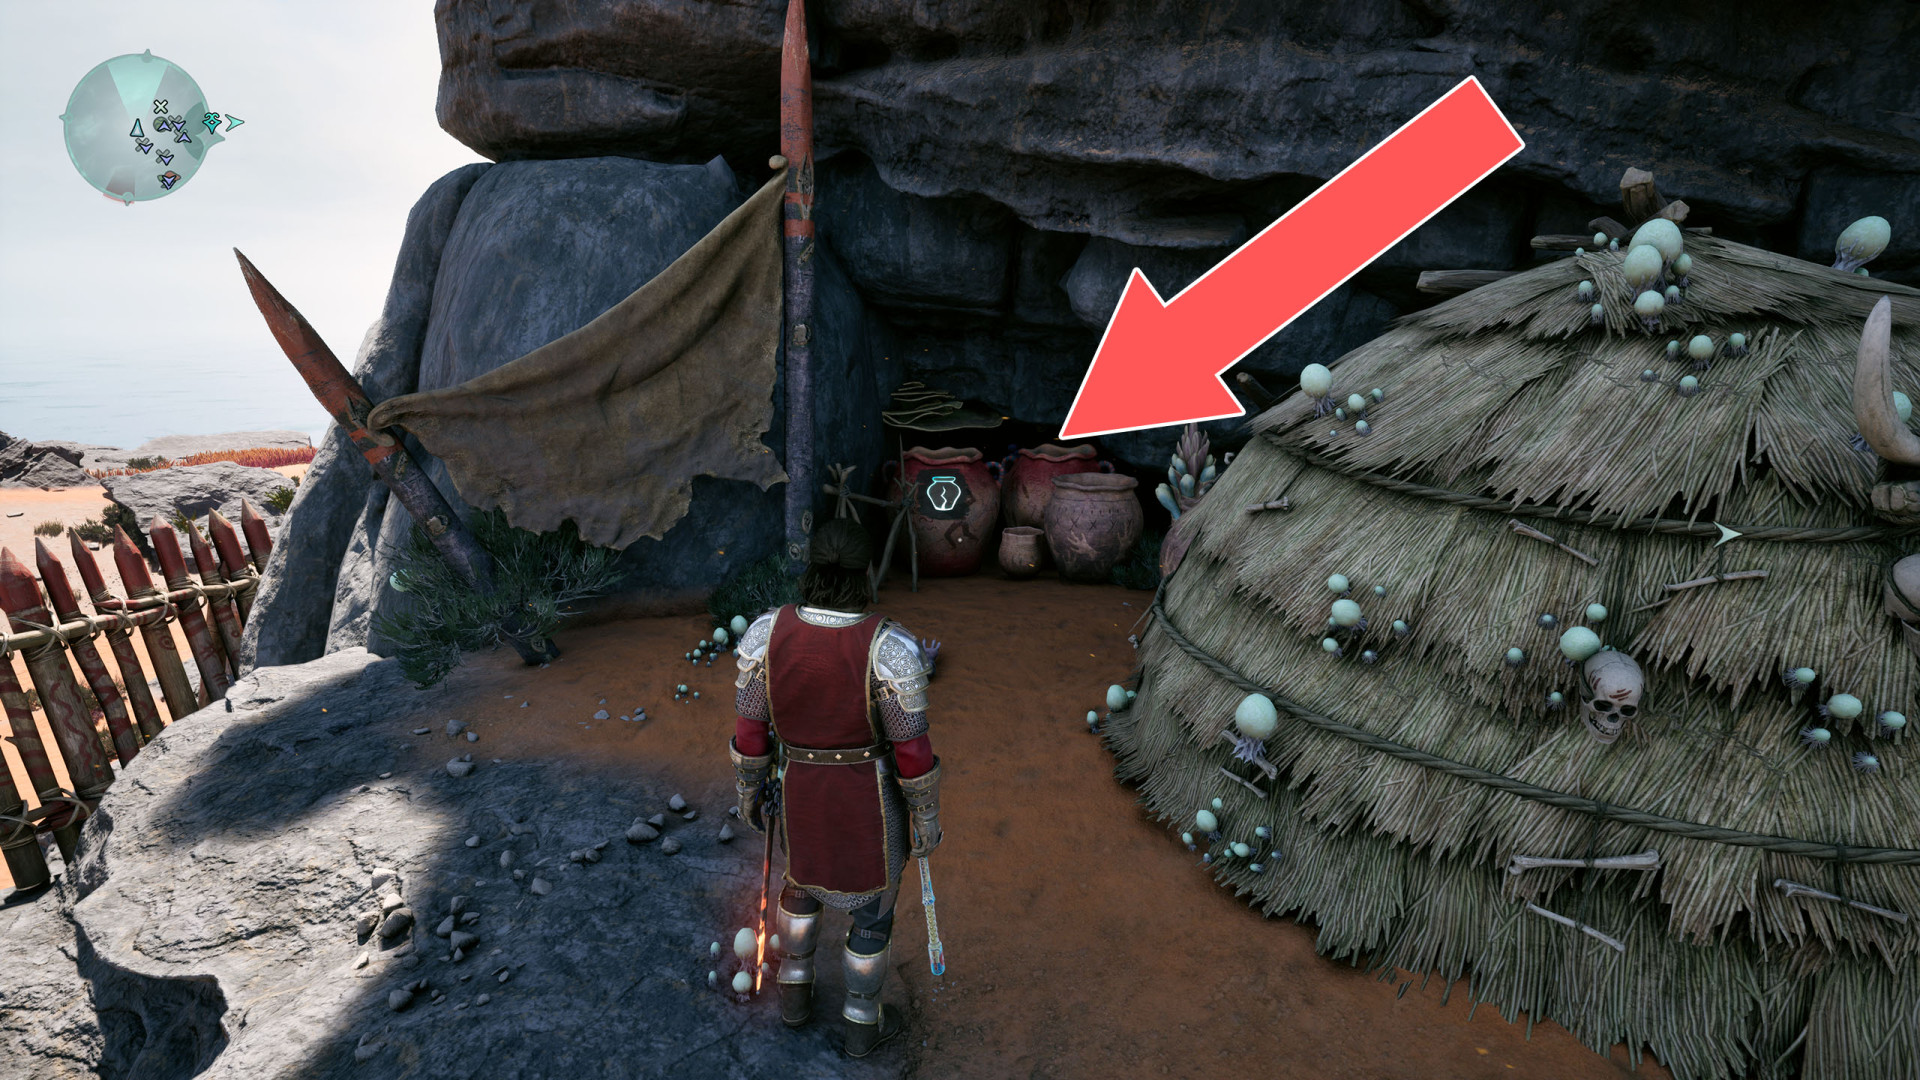
207Ryngrim's Barrier
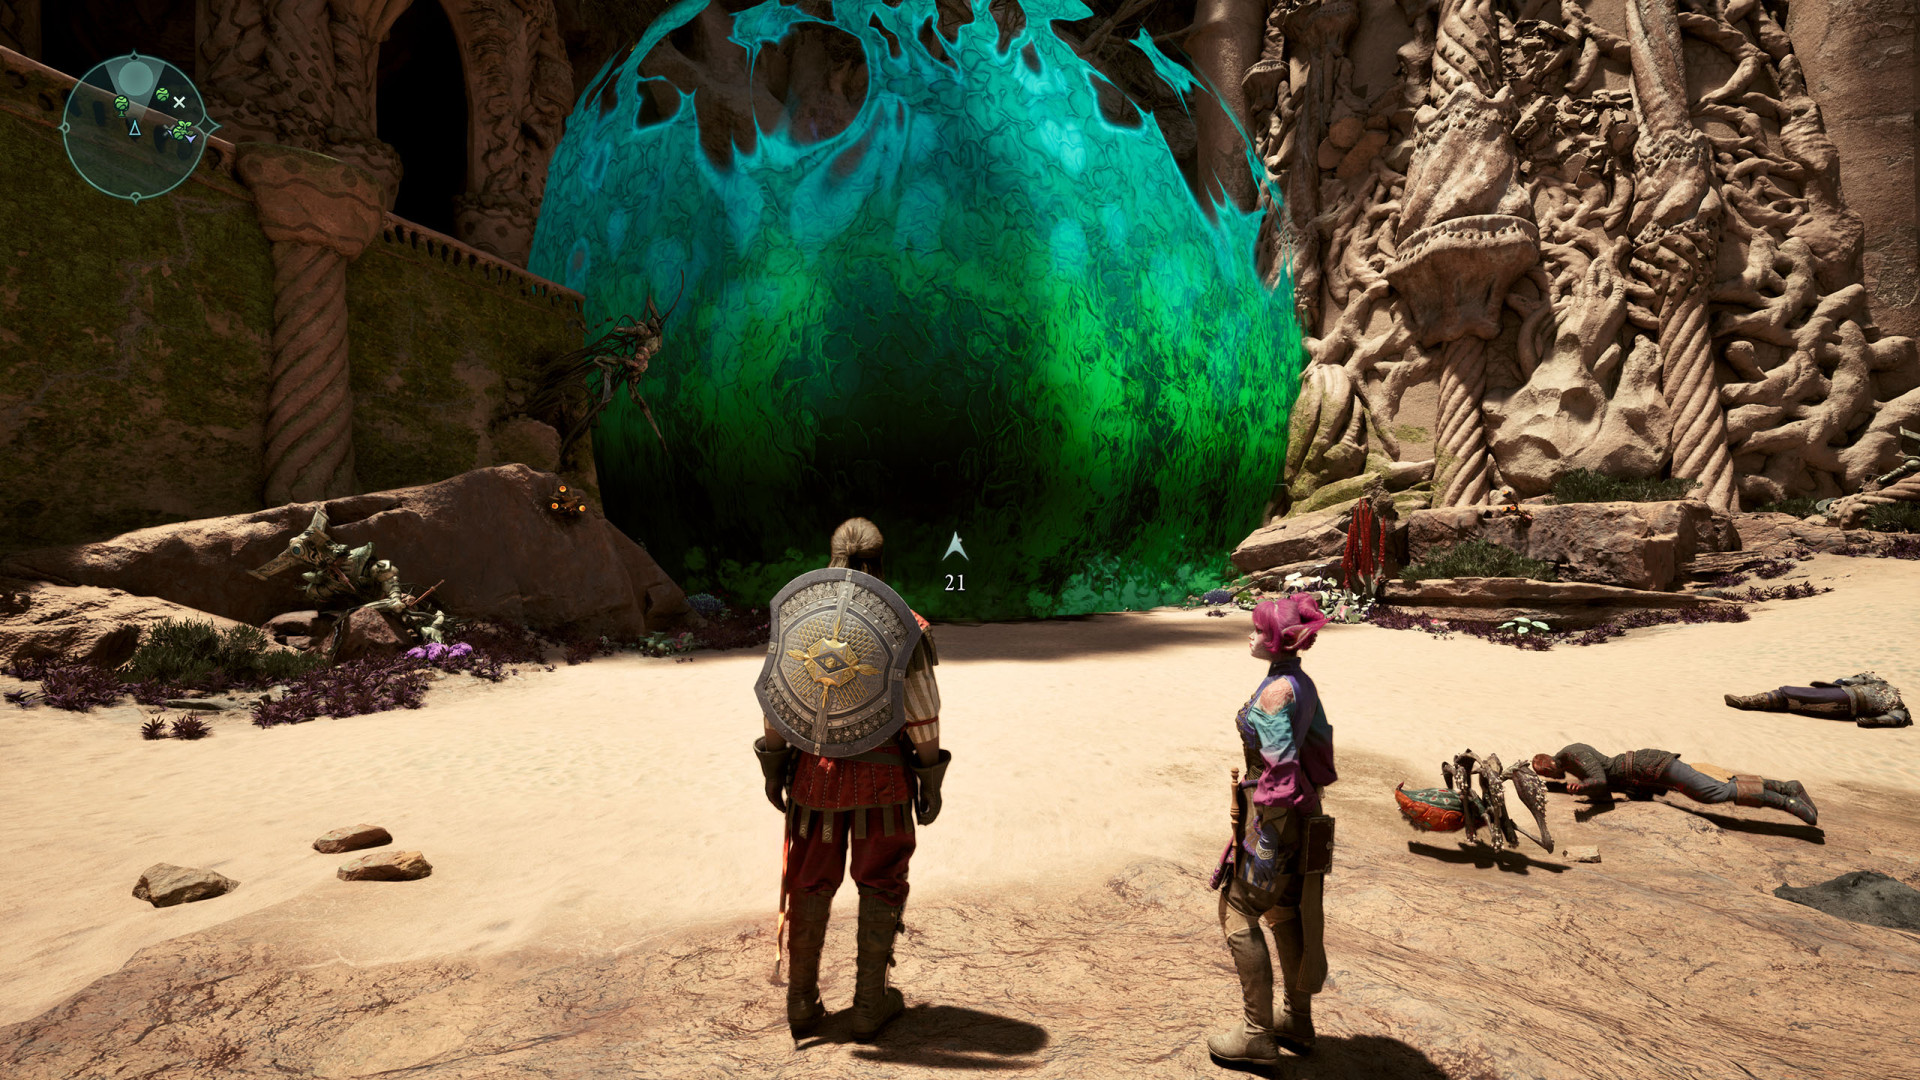
208Secret Door
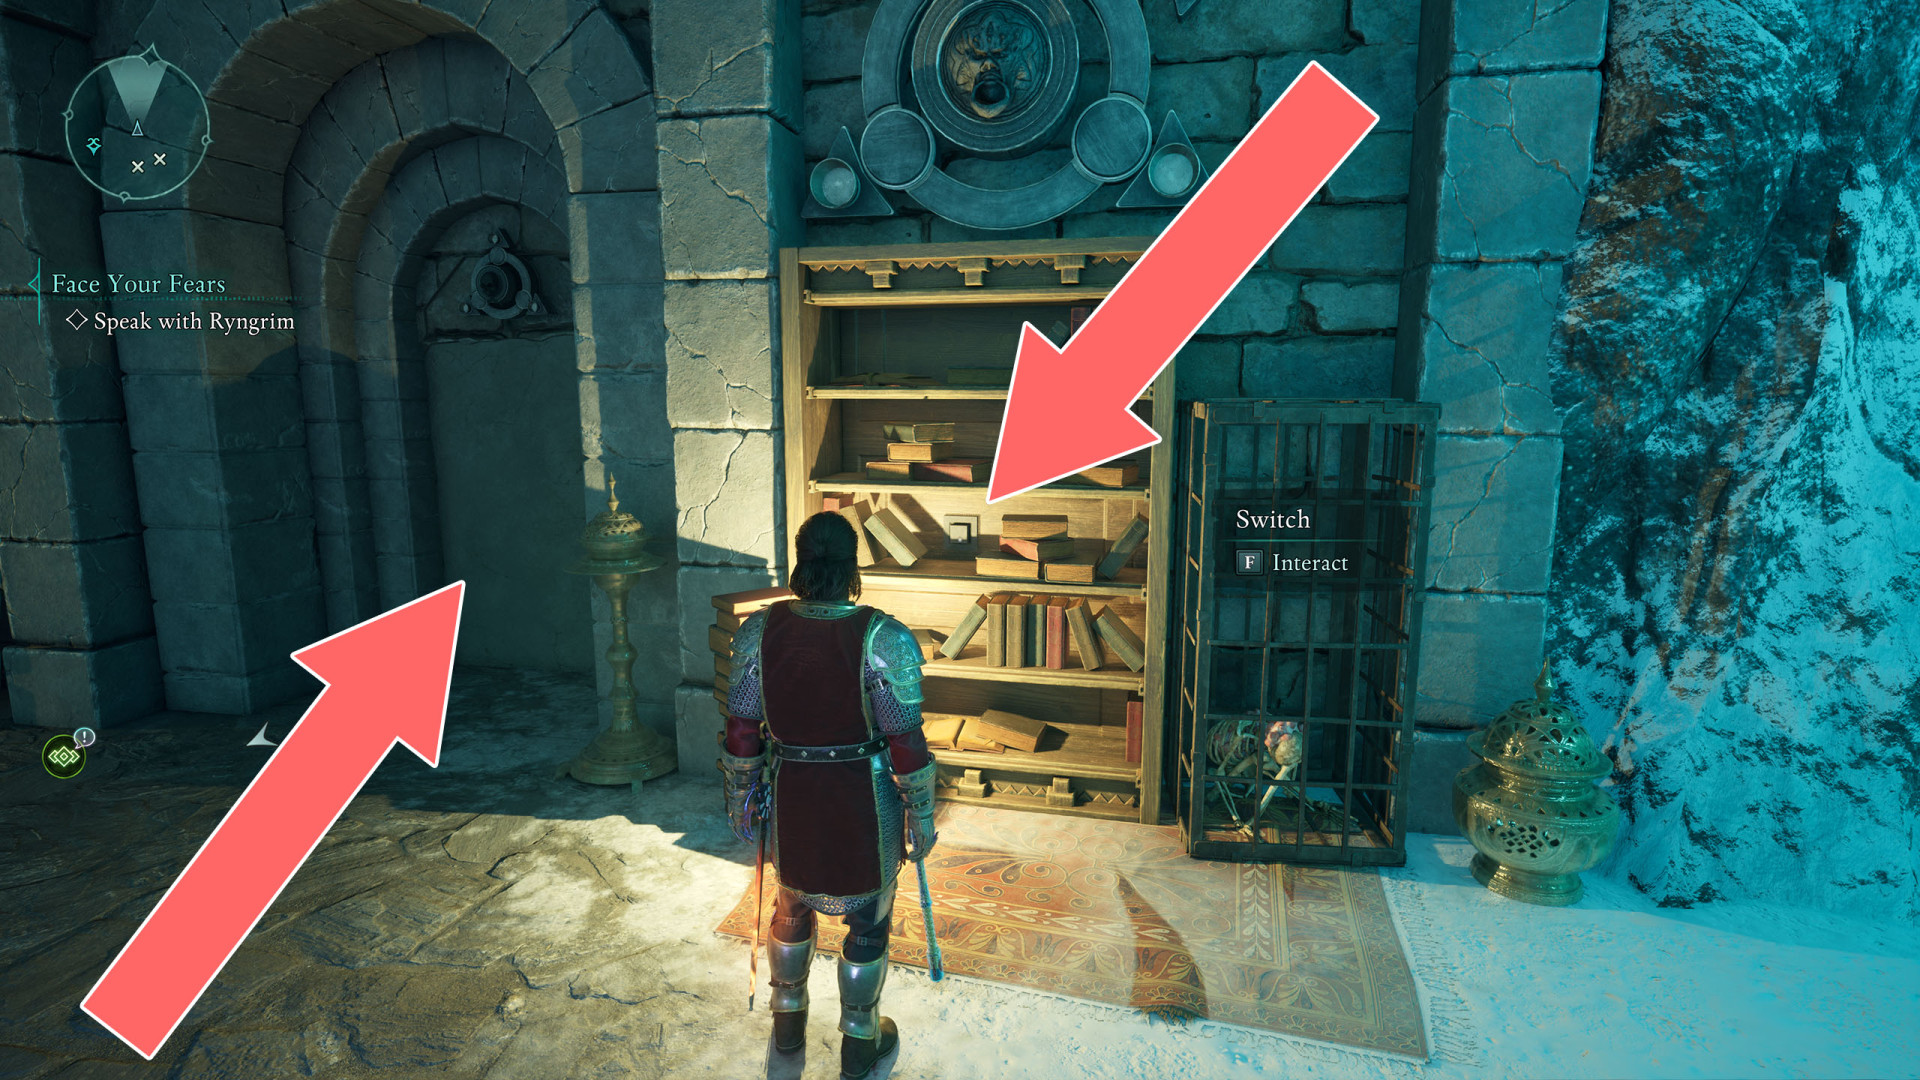
209Secret Door
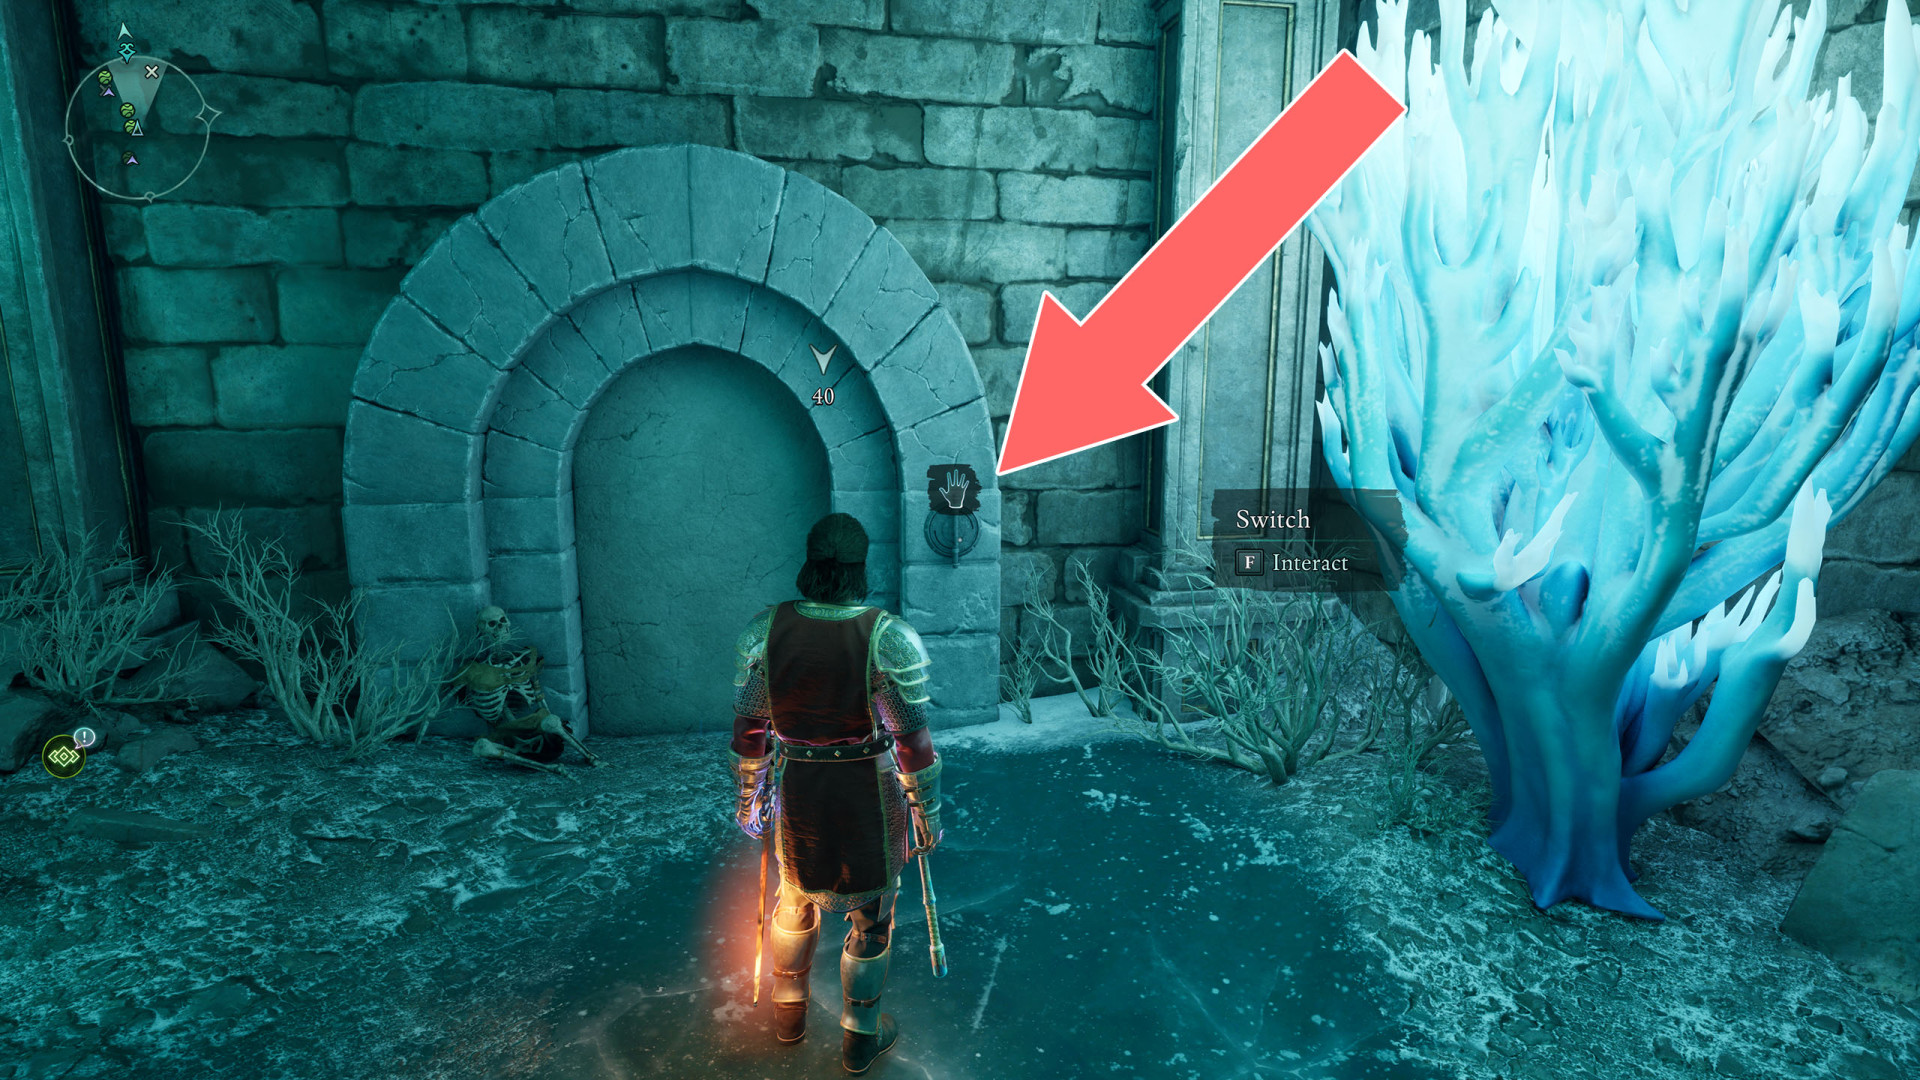
210Secret Door
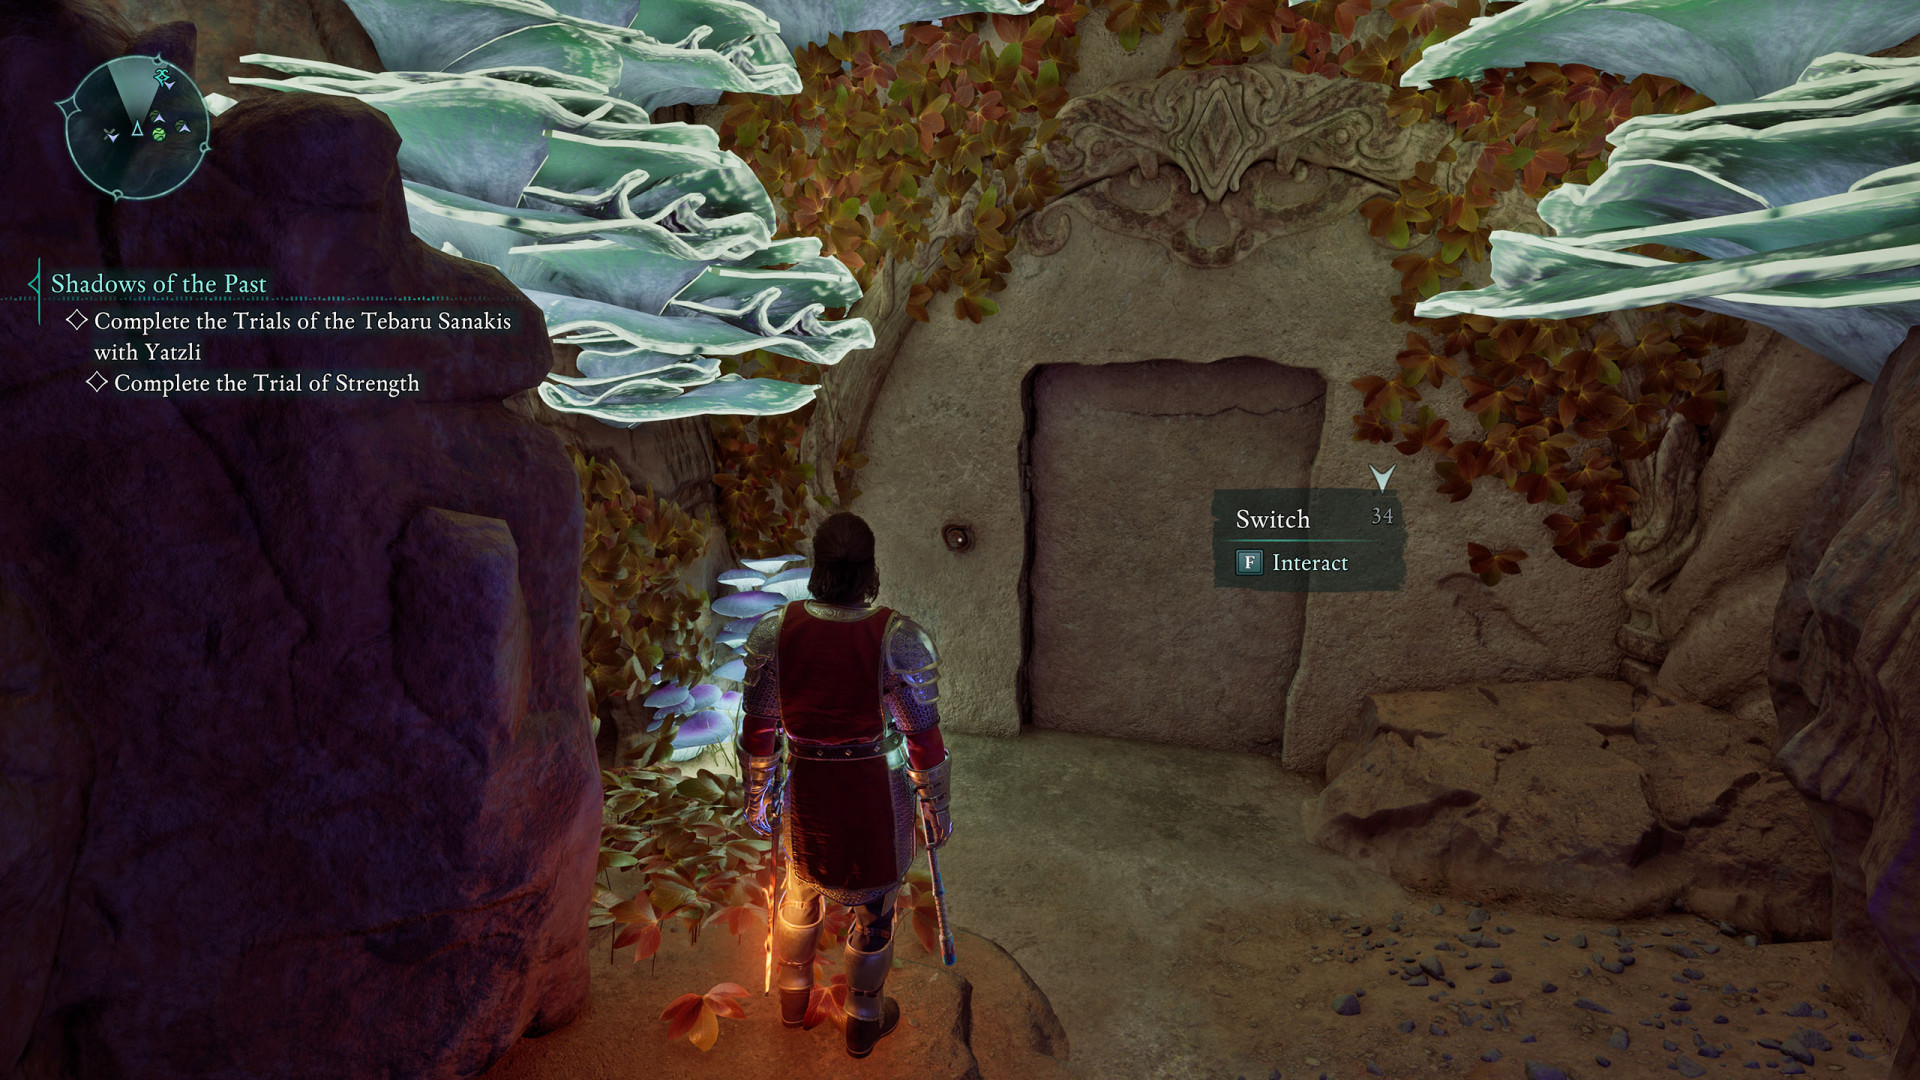
211Secret Door
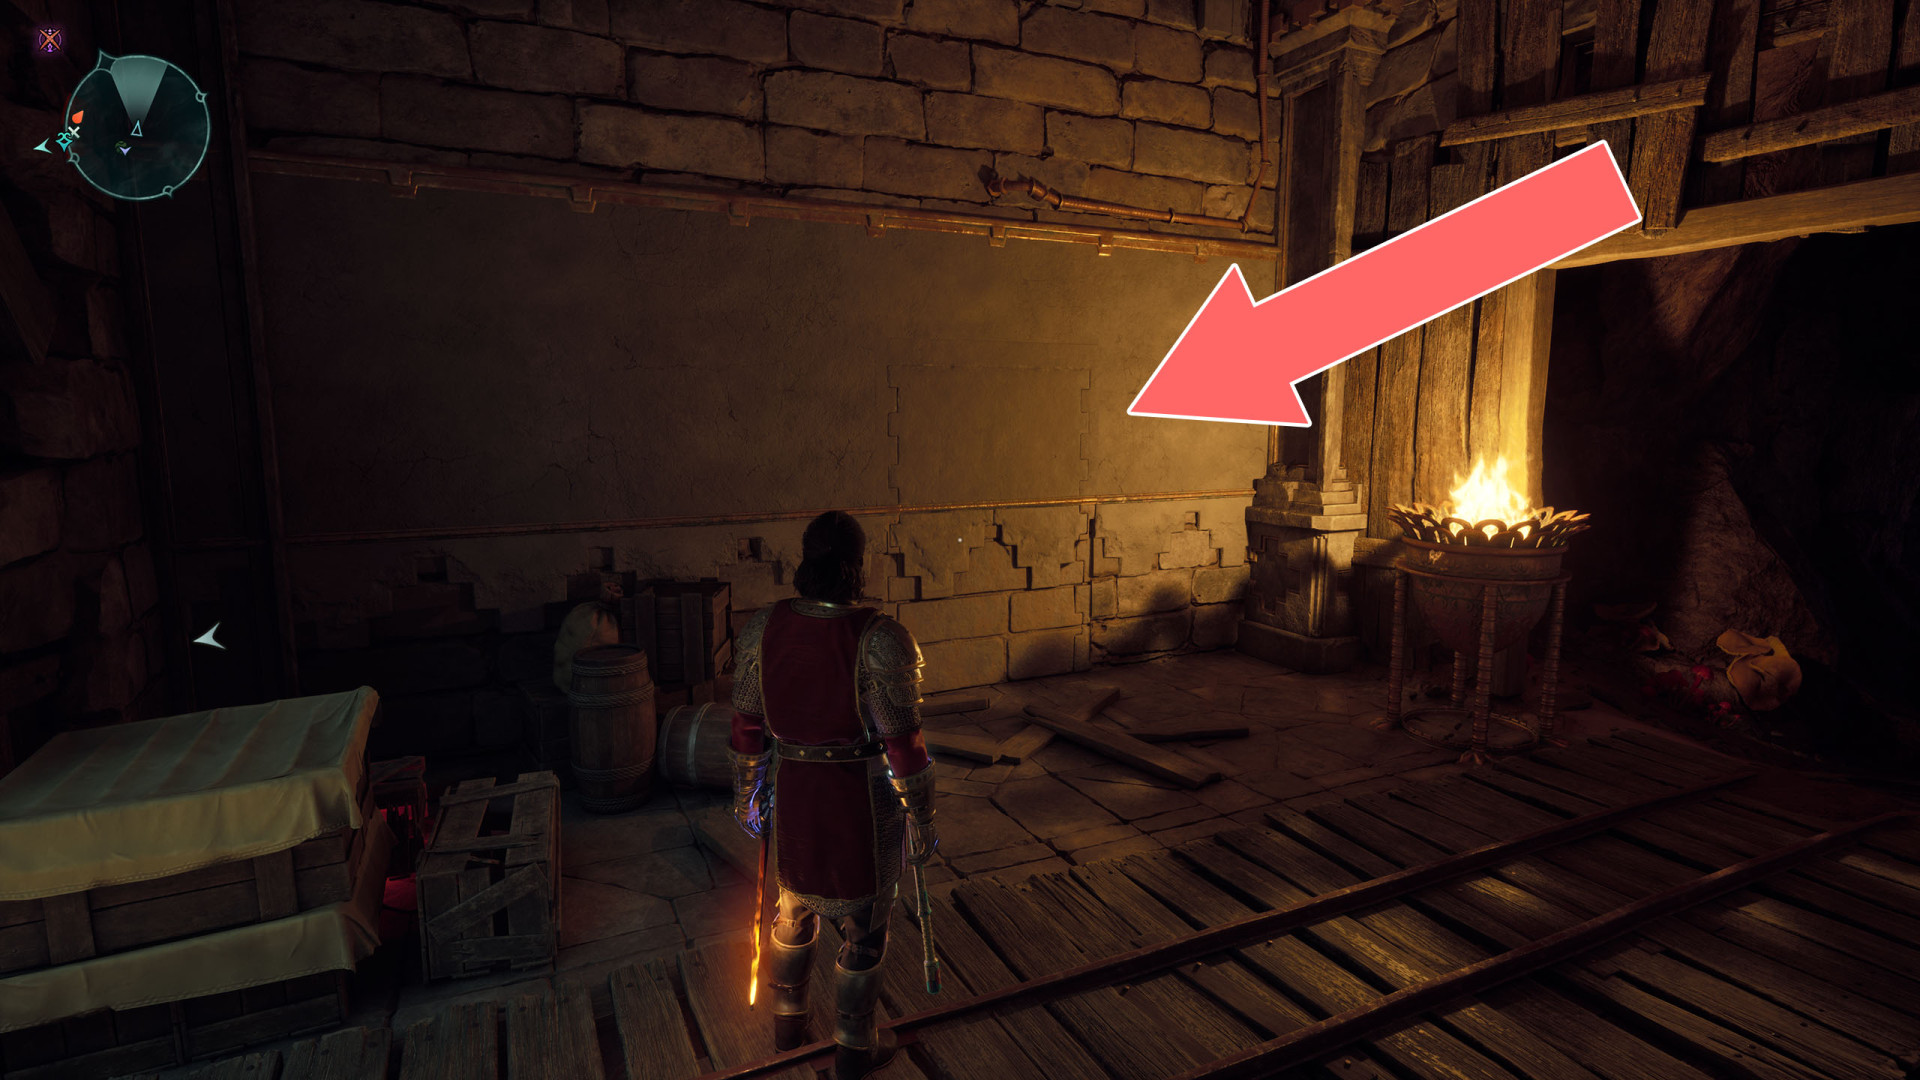
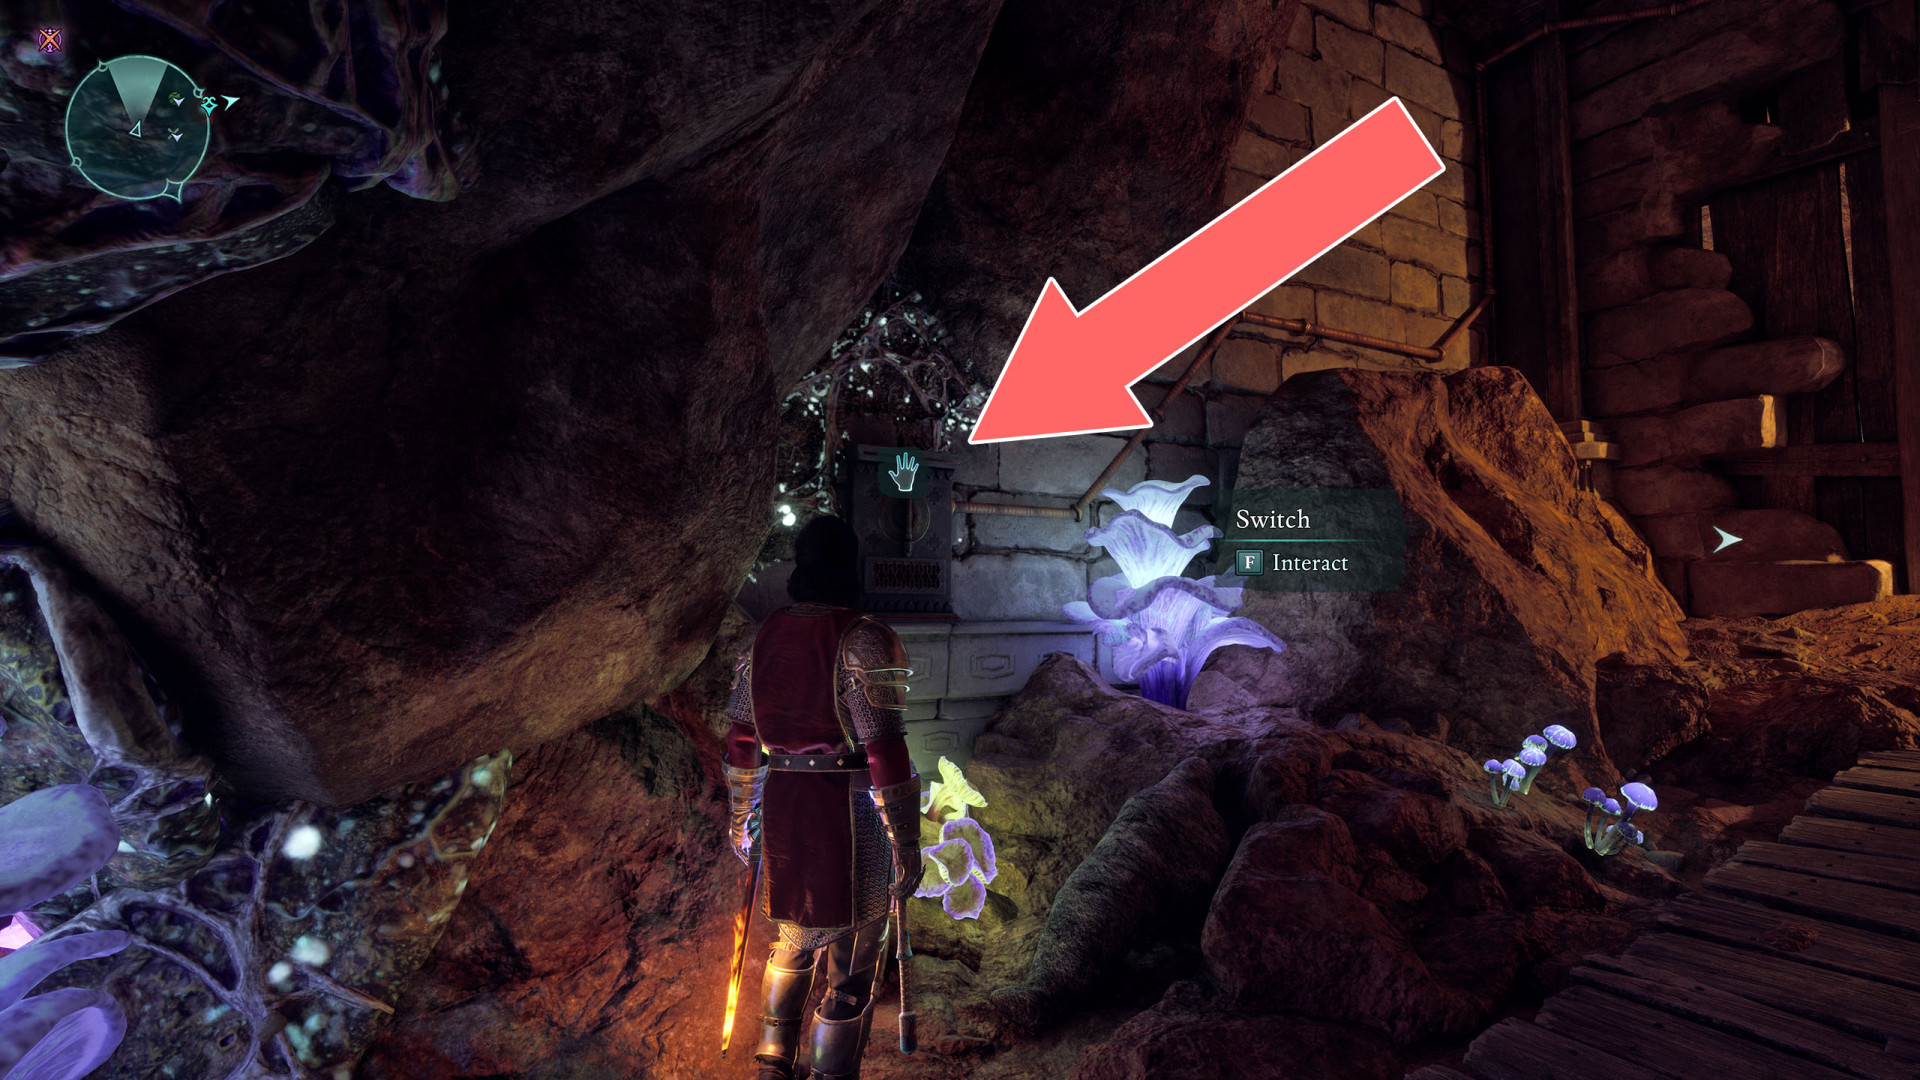
212Secret Door
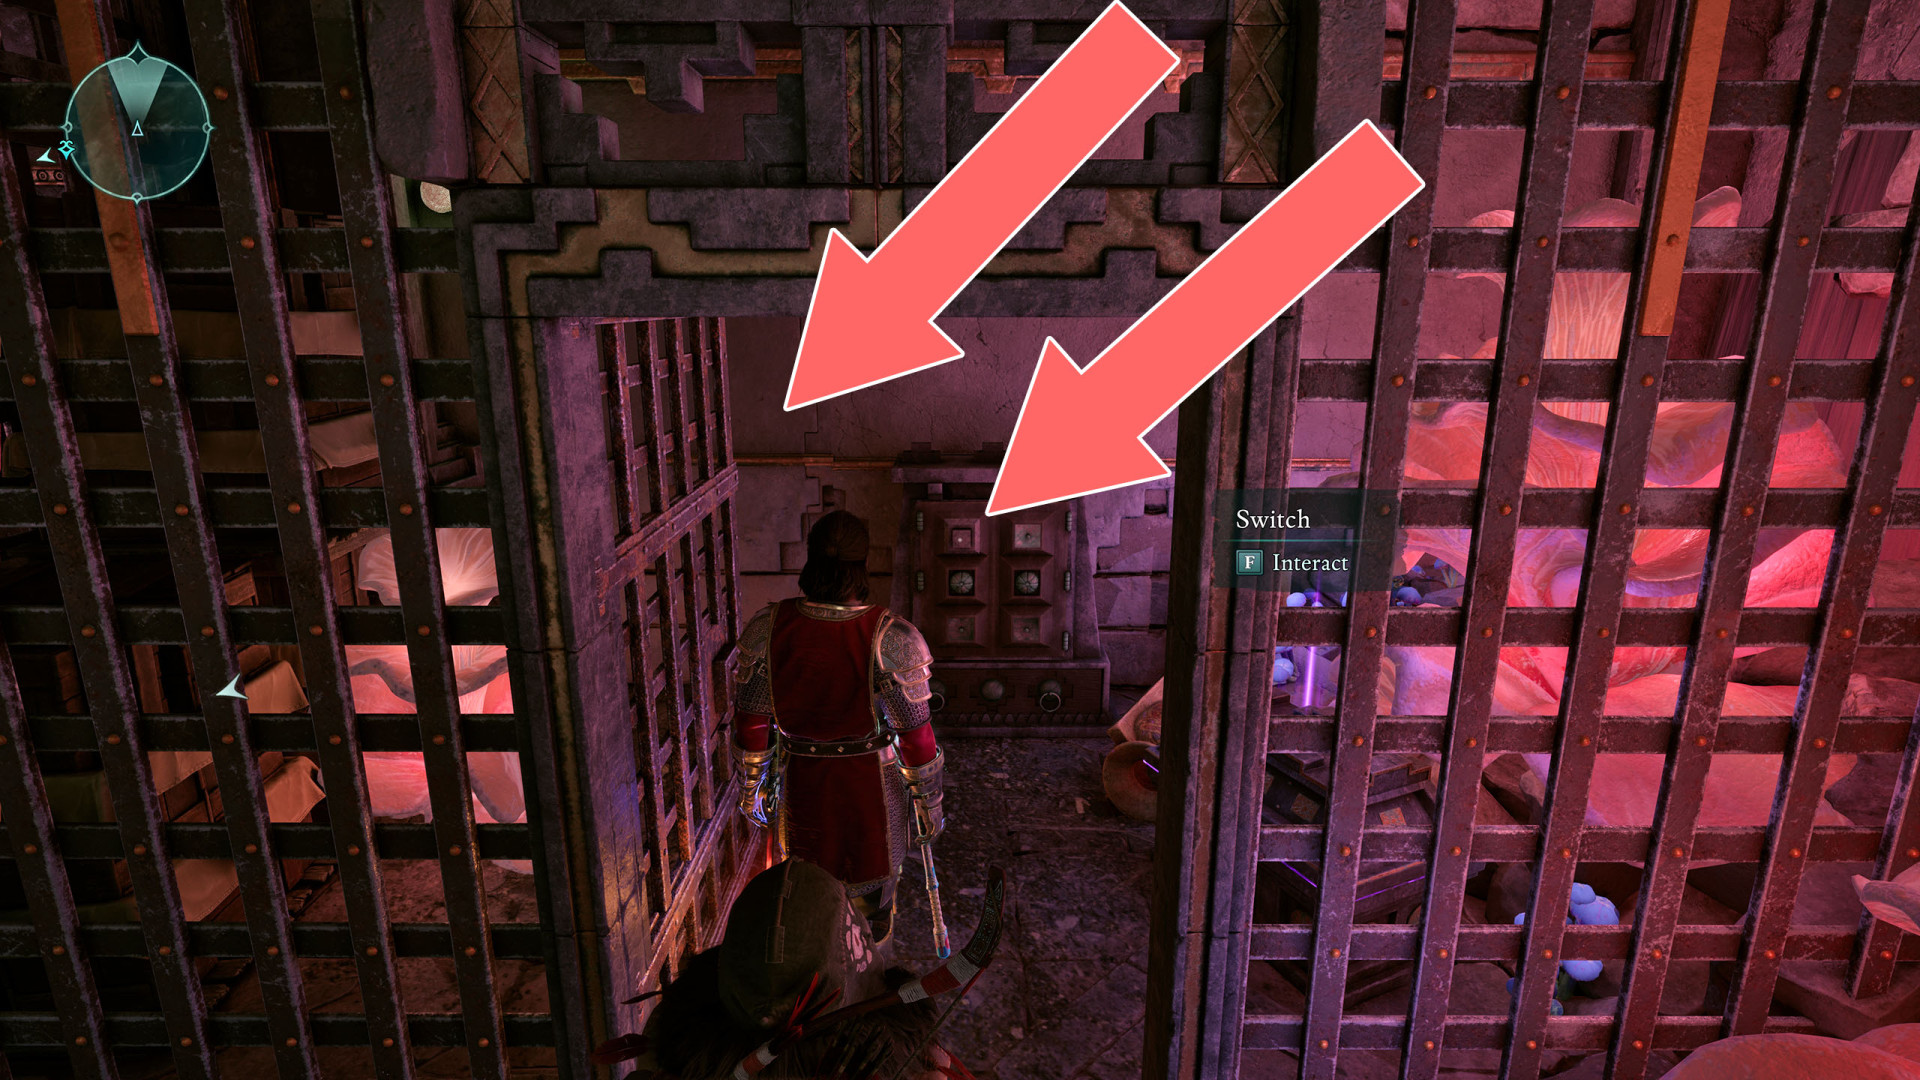
213Secret Door
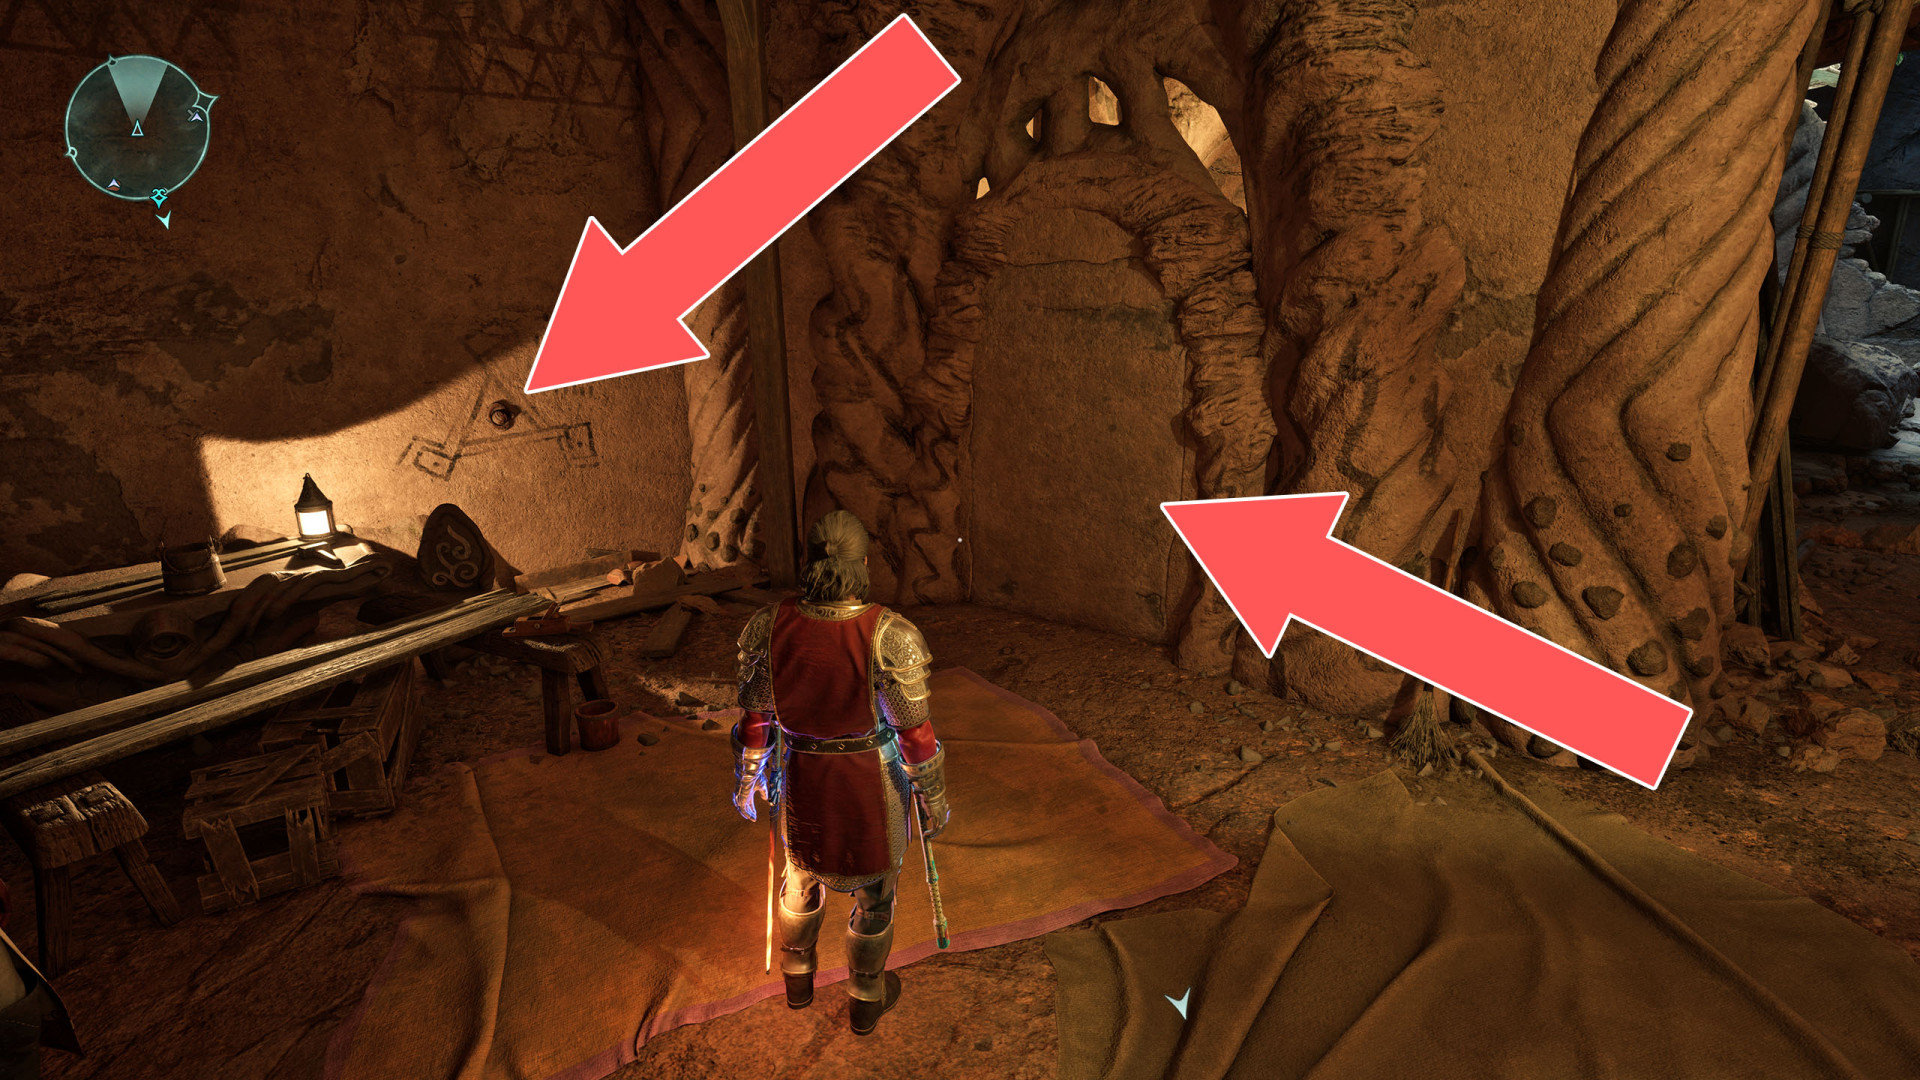
214Secret Door
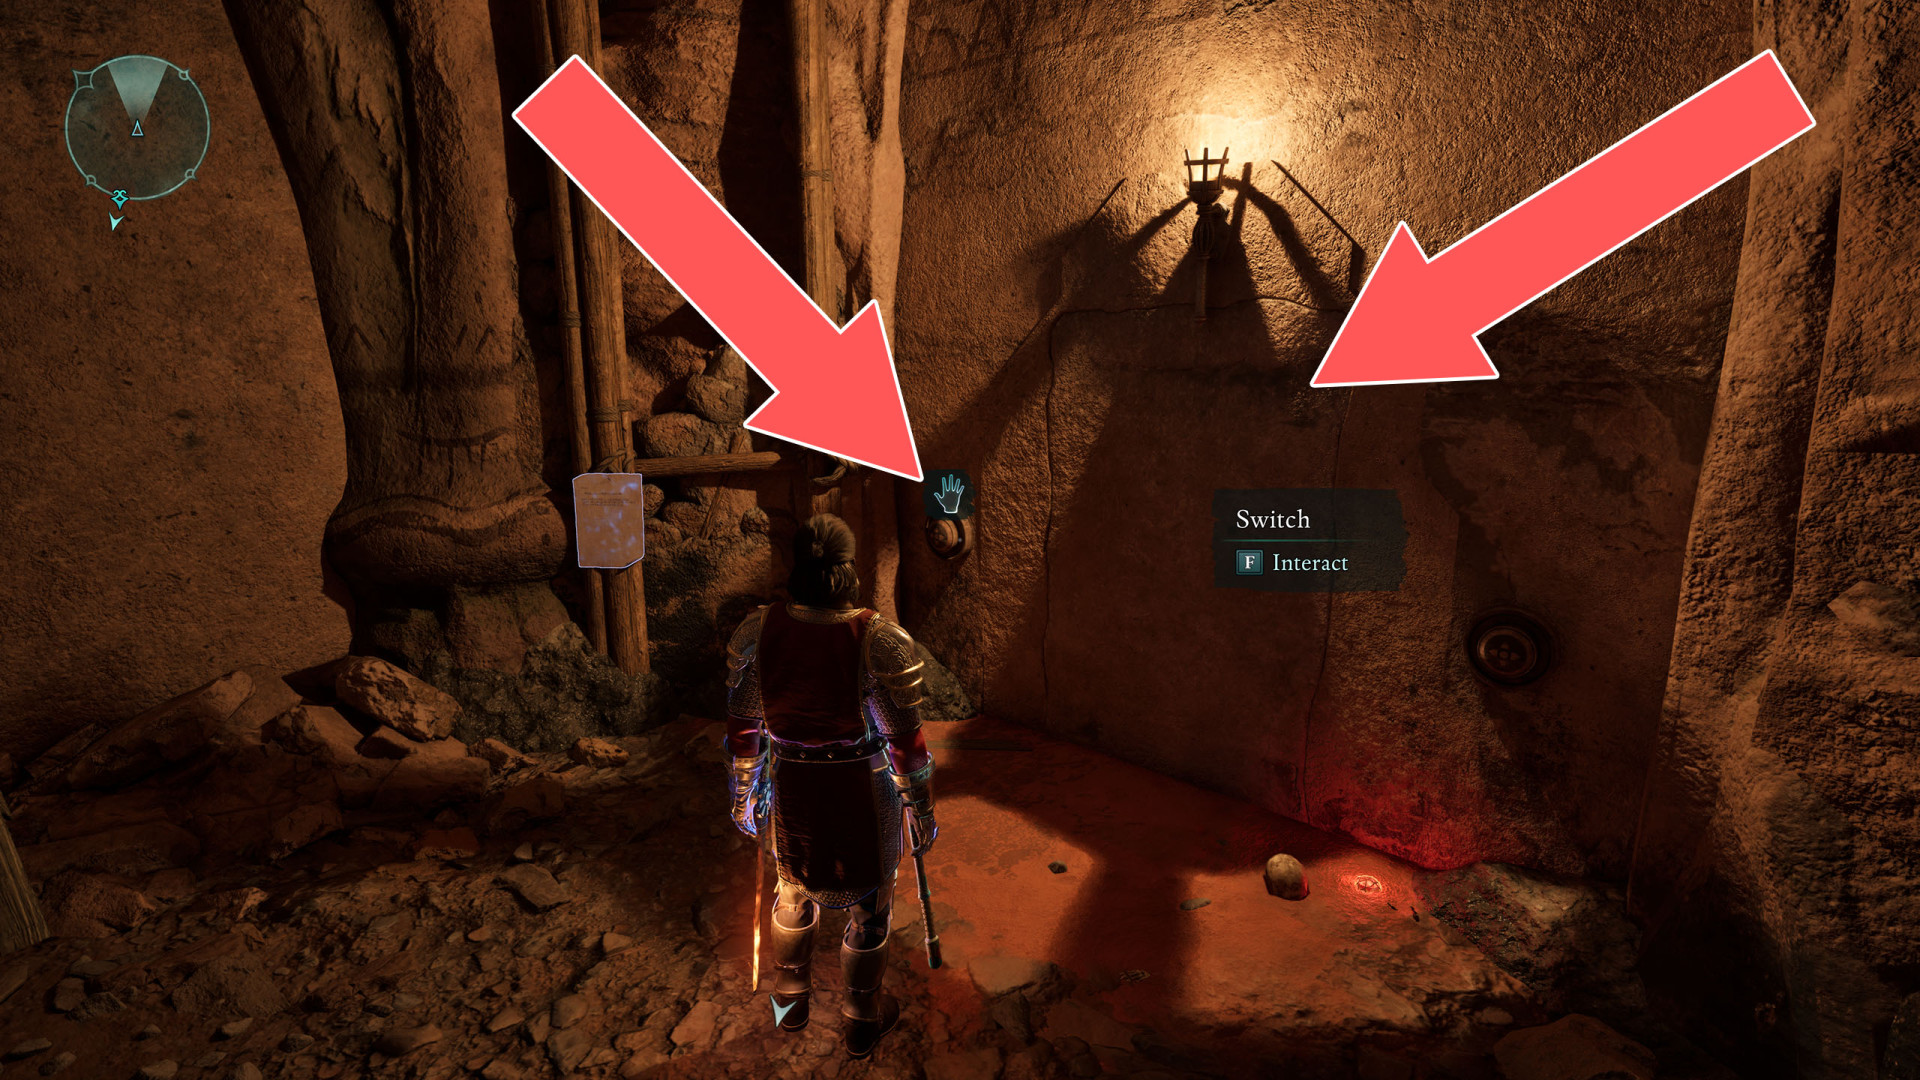
215Secret Door
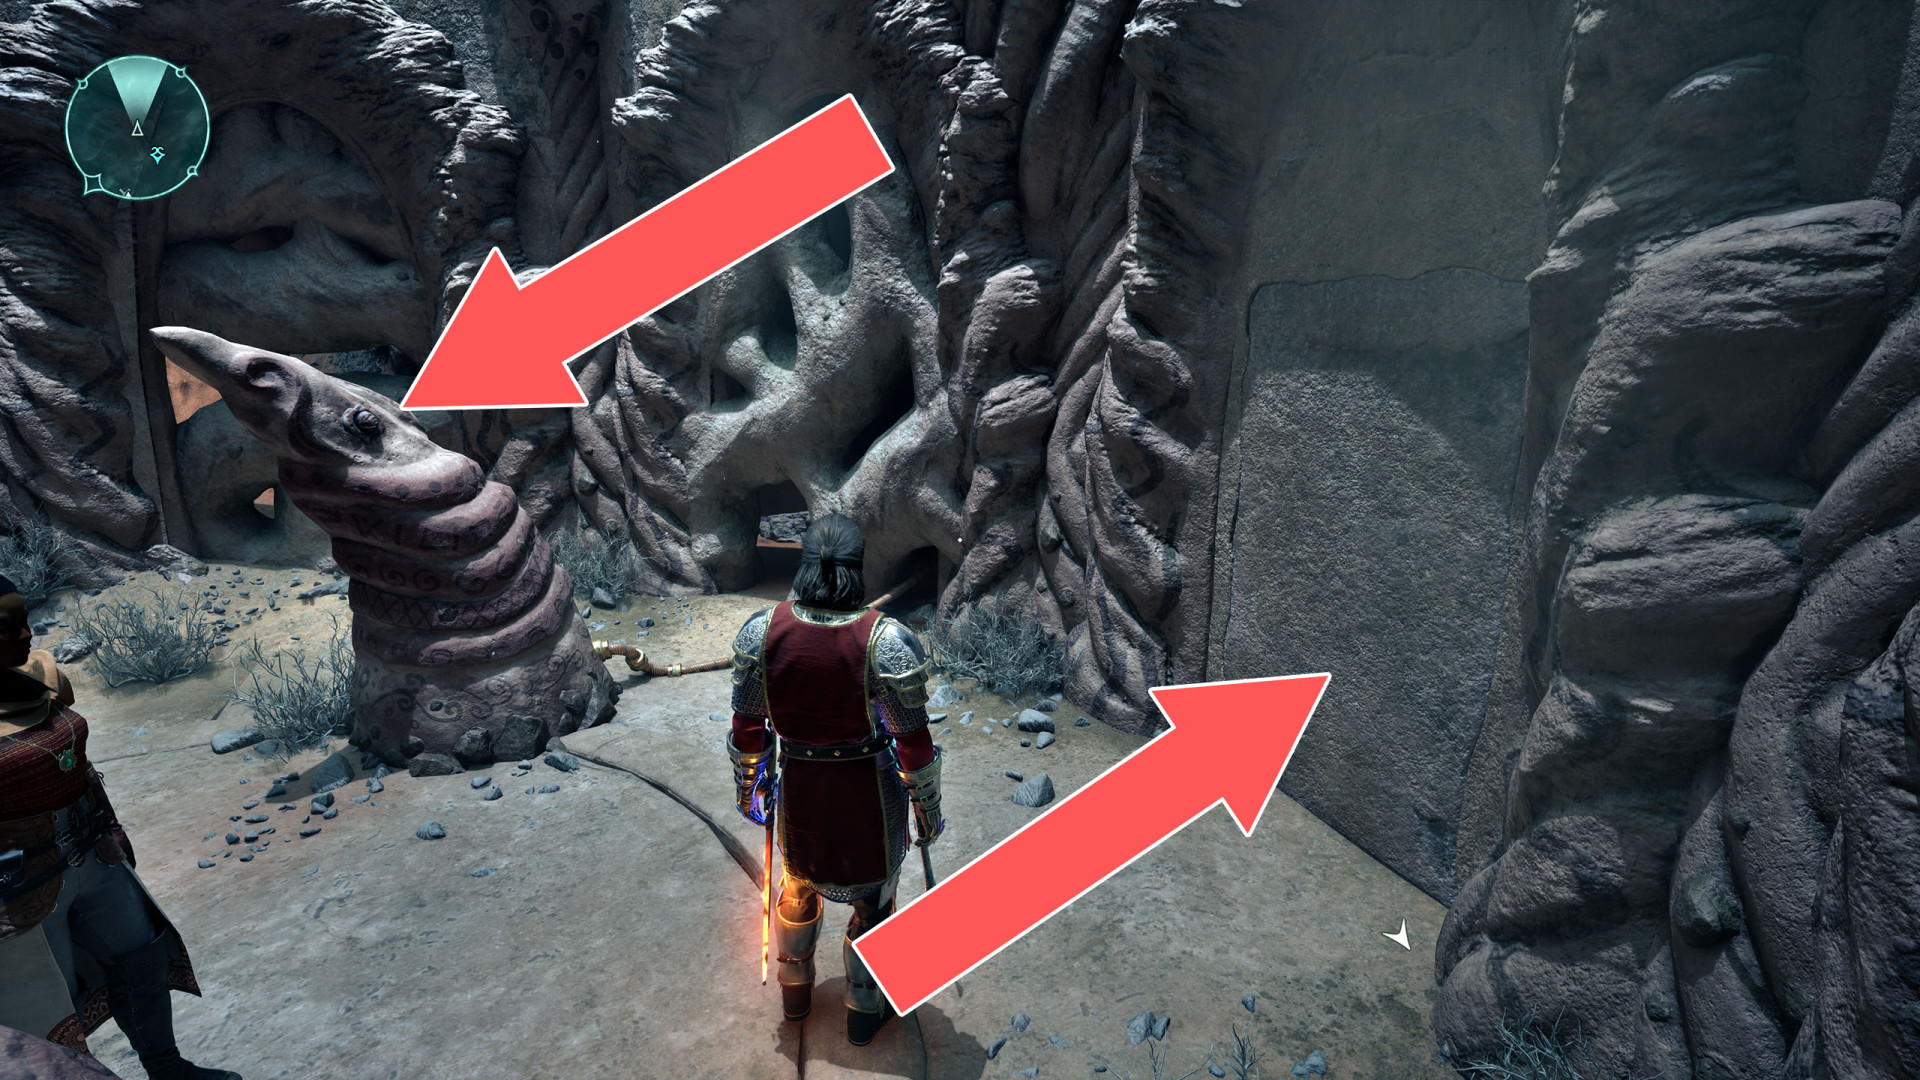
216Shock Door (1)
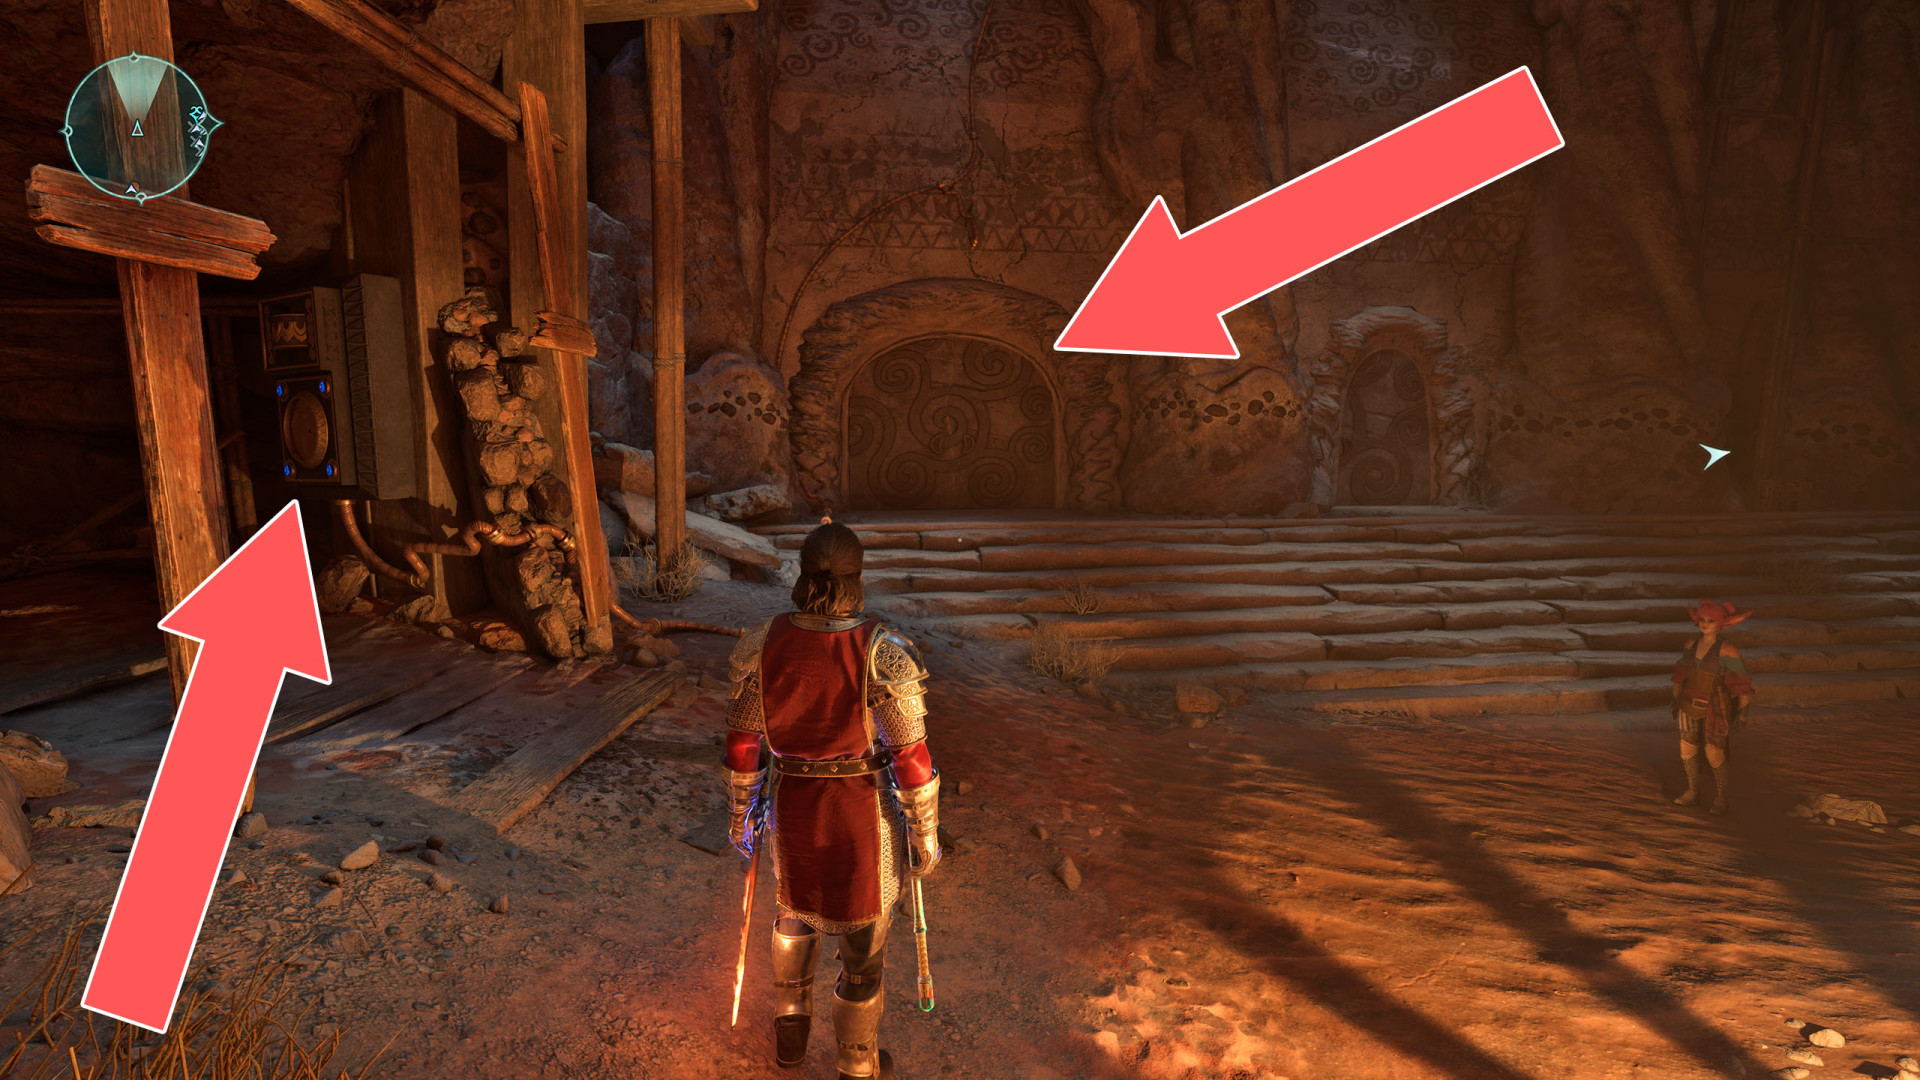
217Shock Door (3)
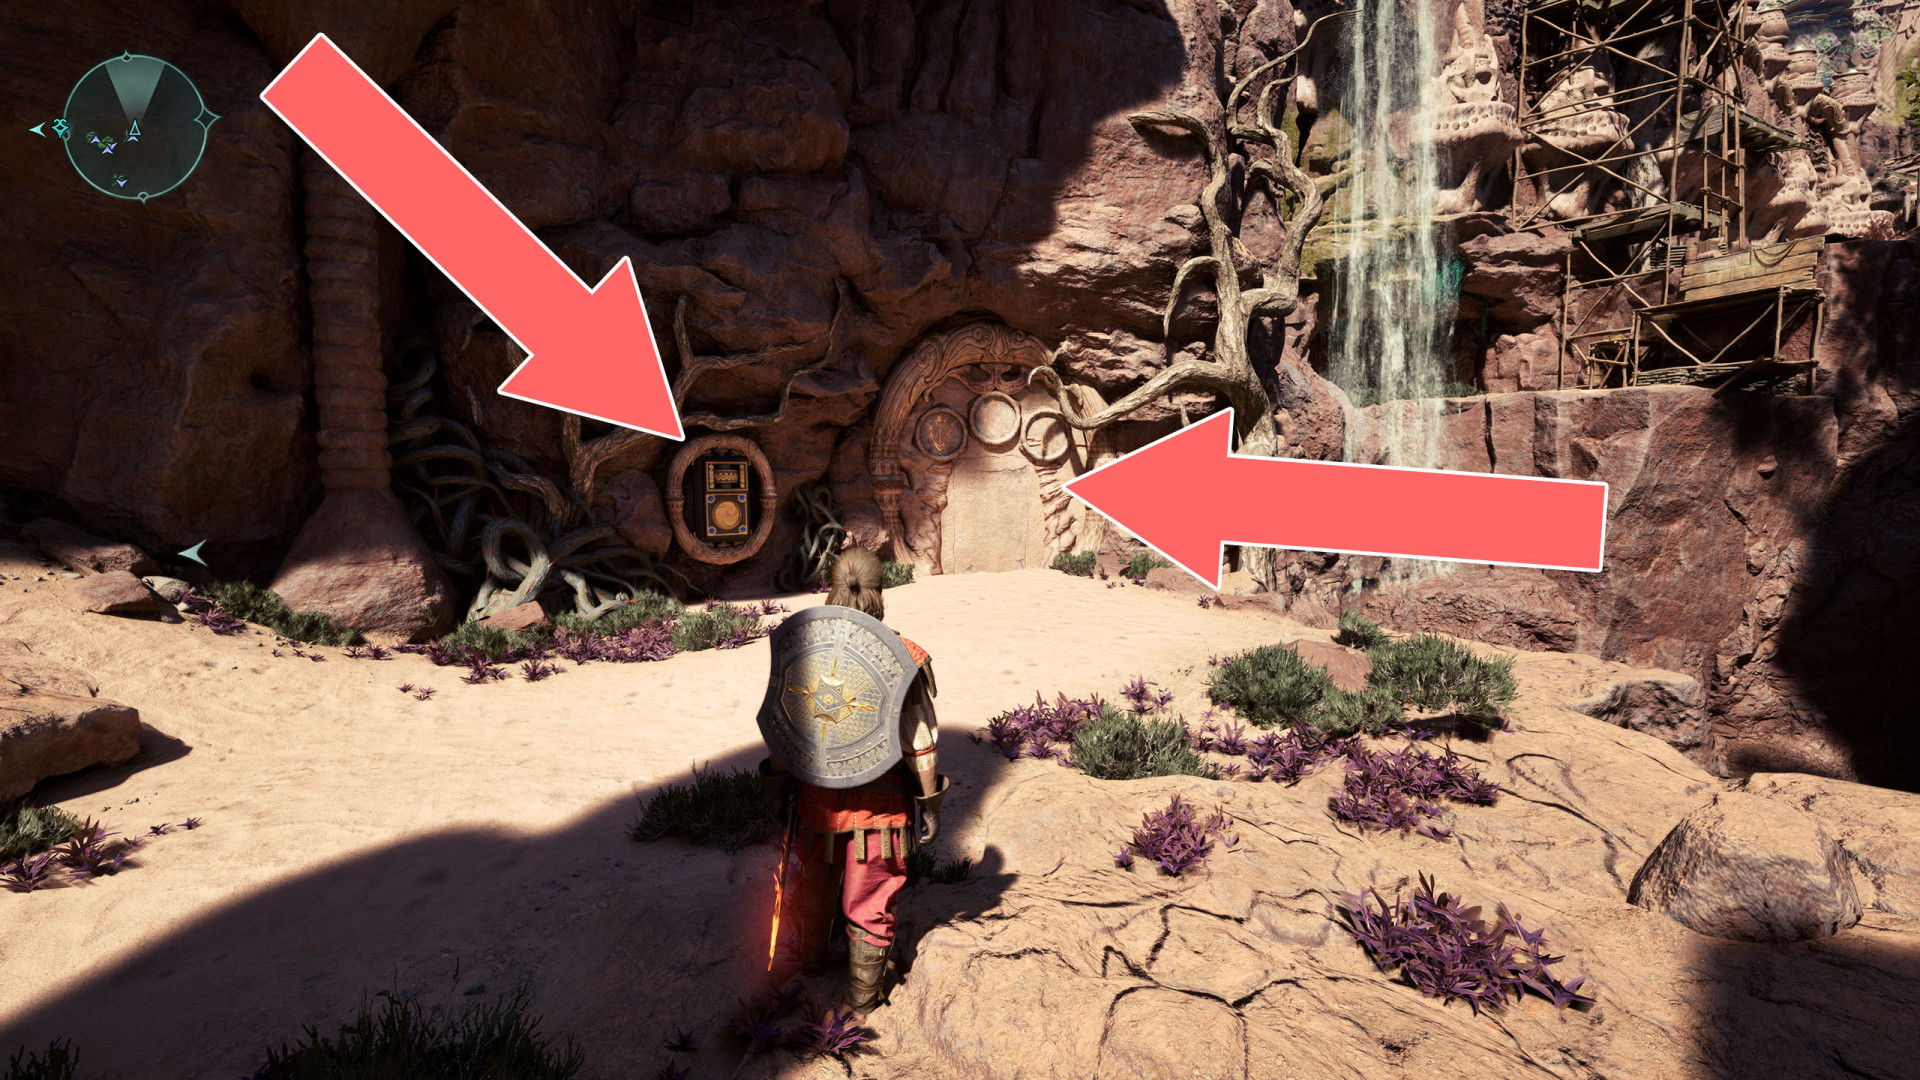
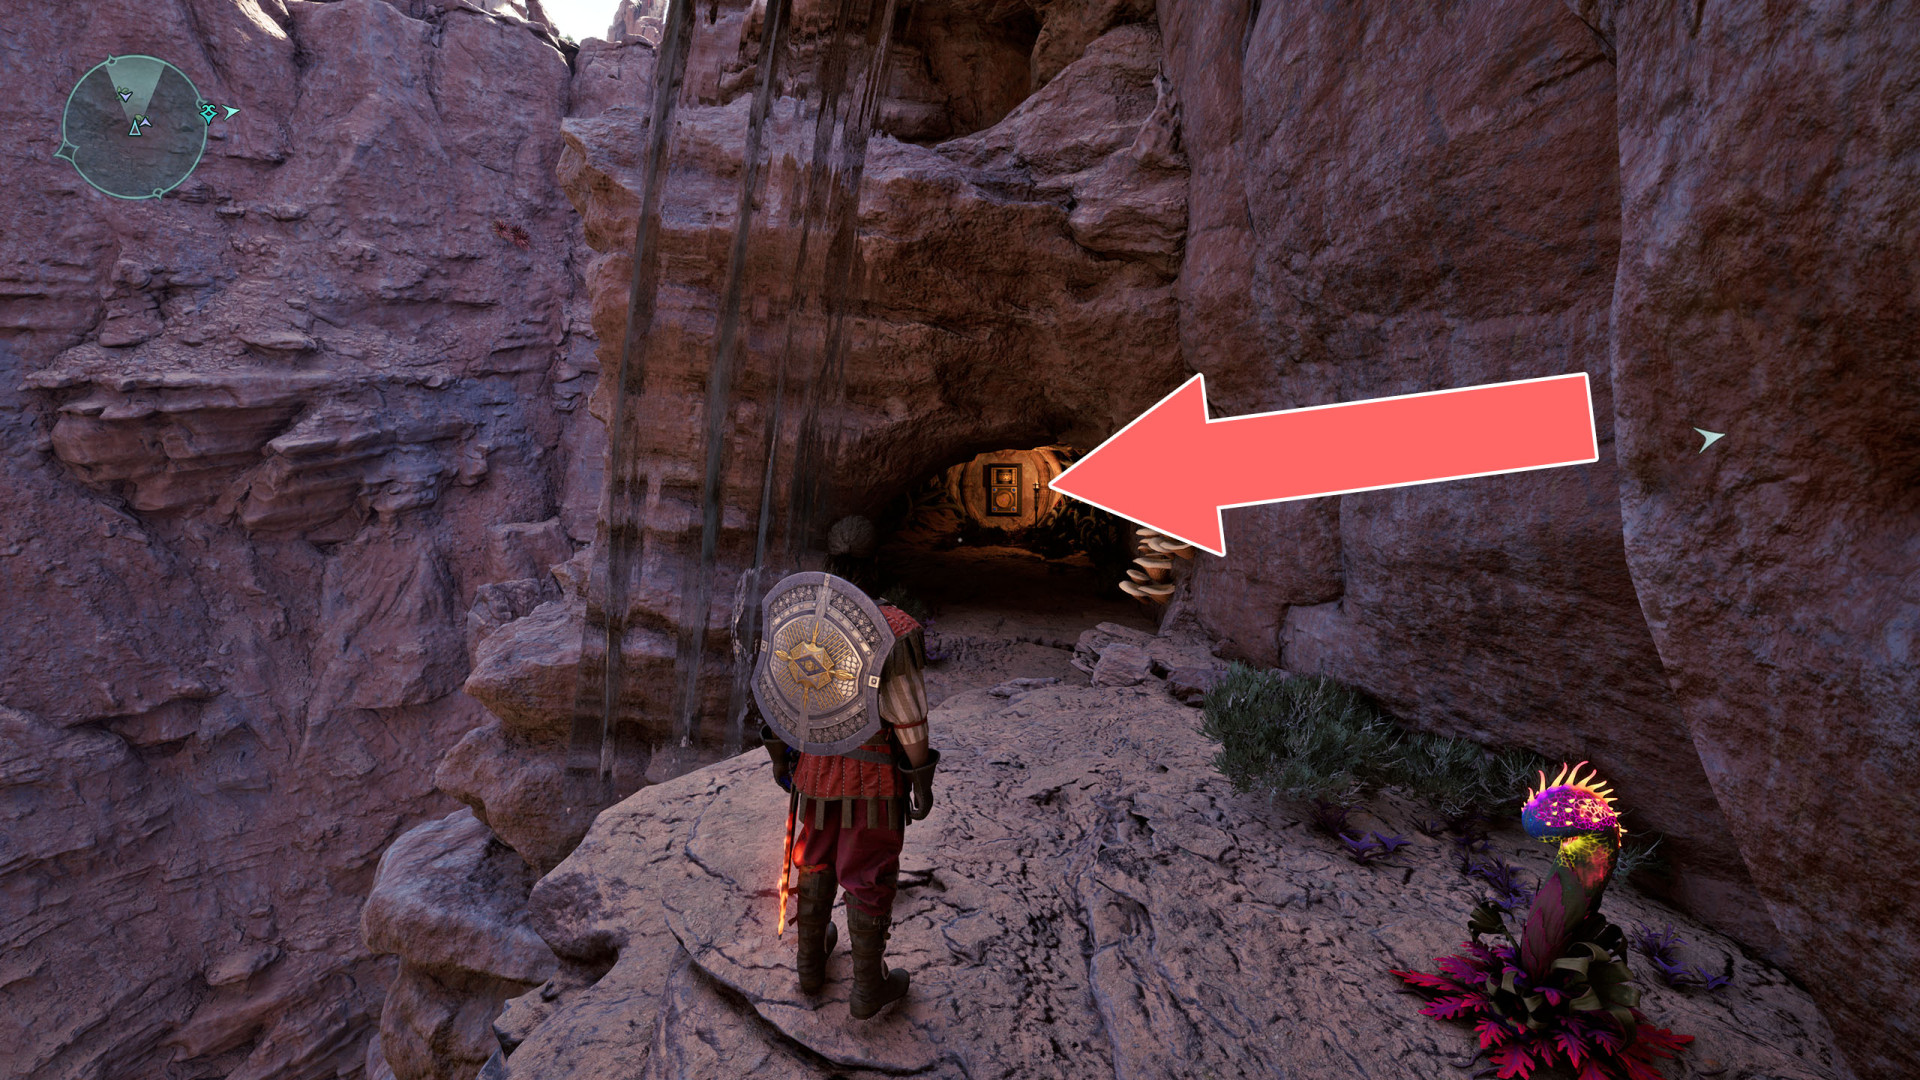
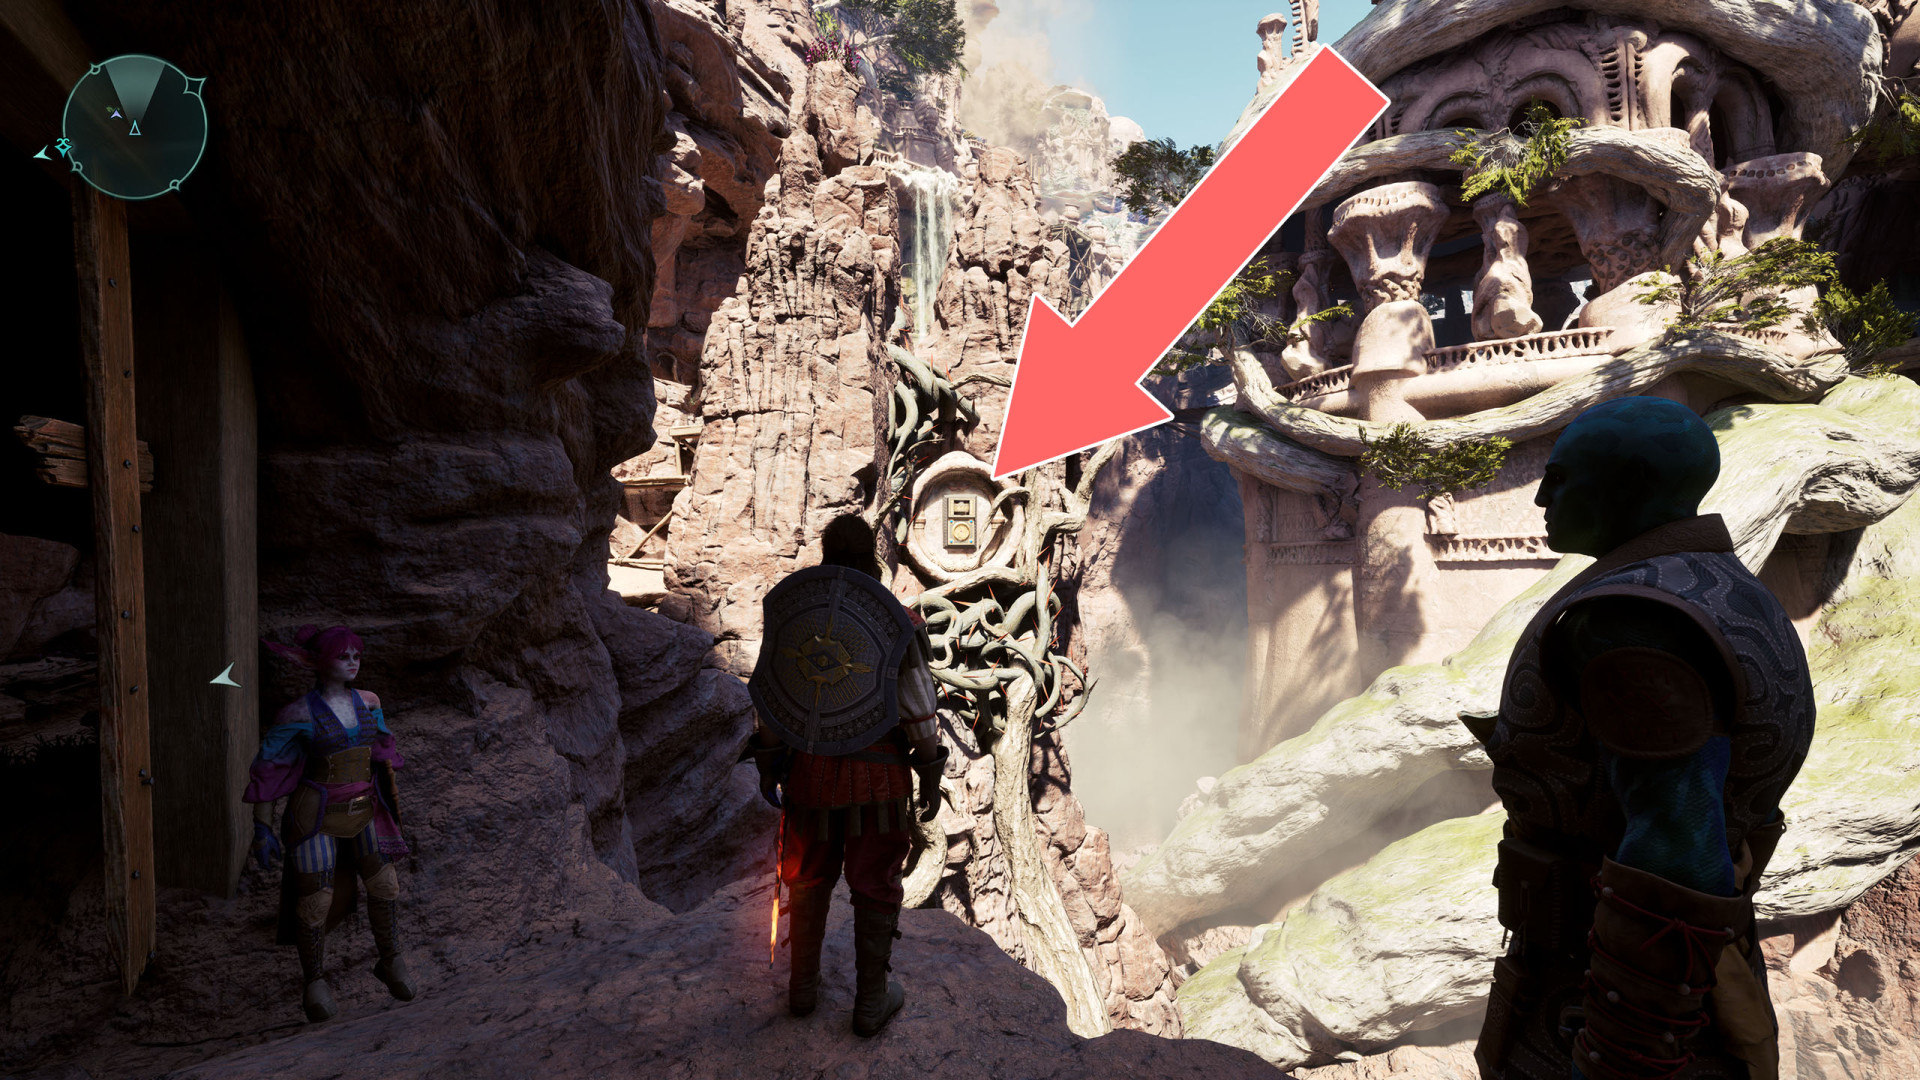
218Shock Door (3)
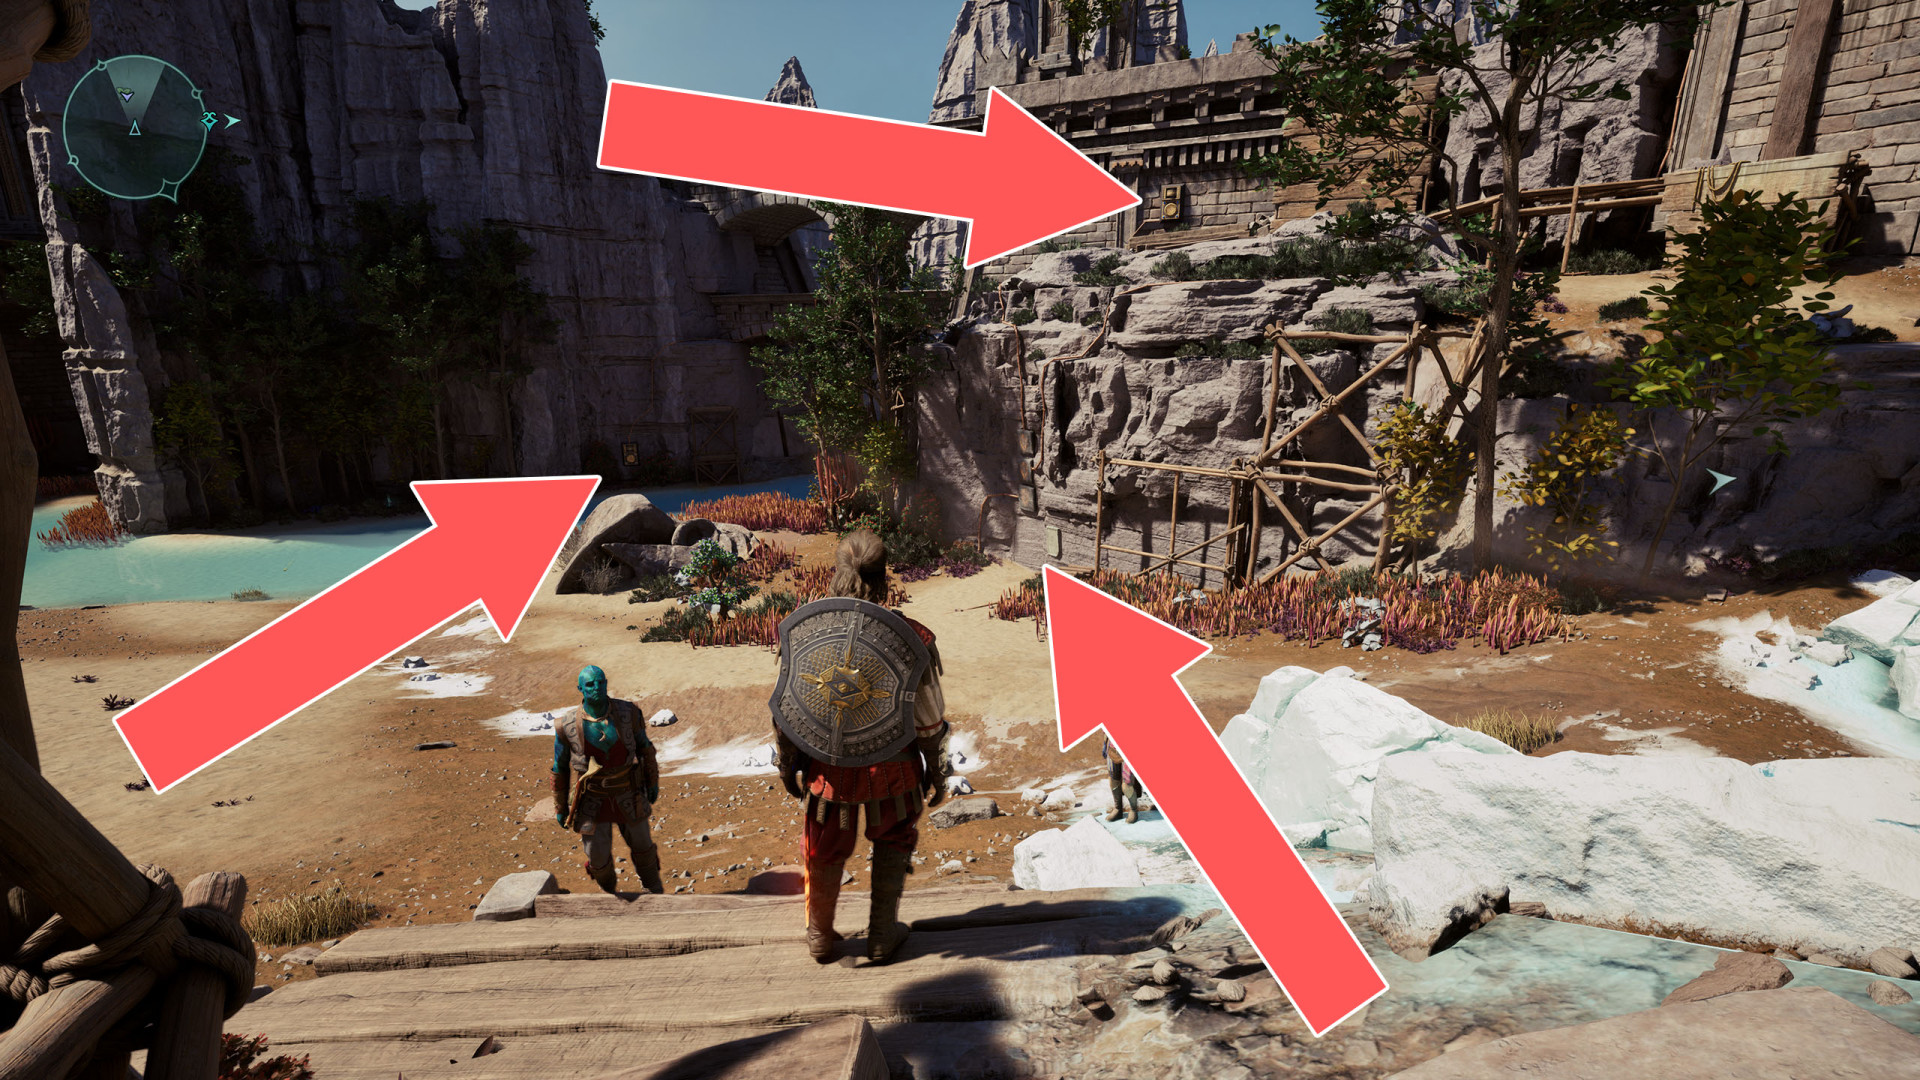
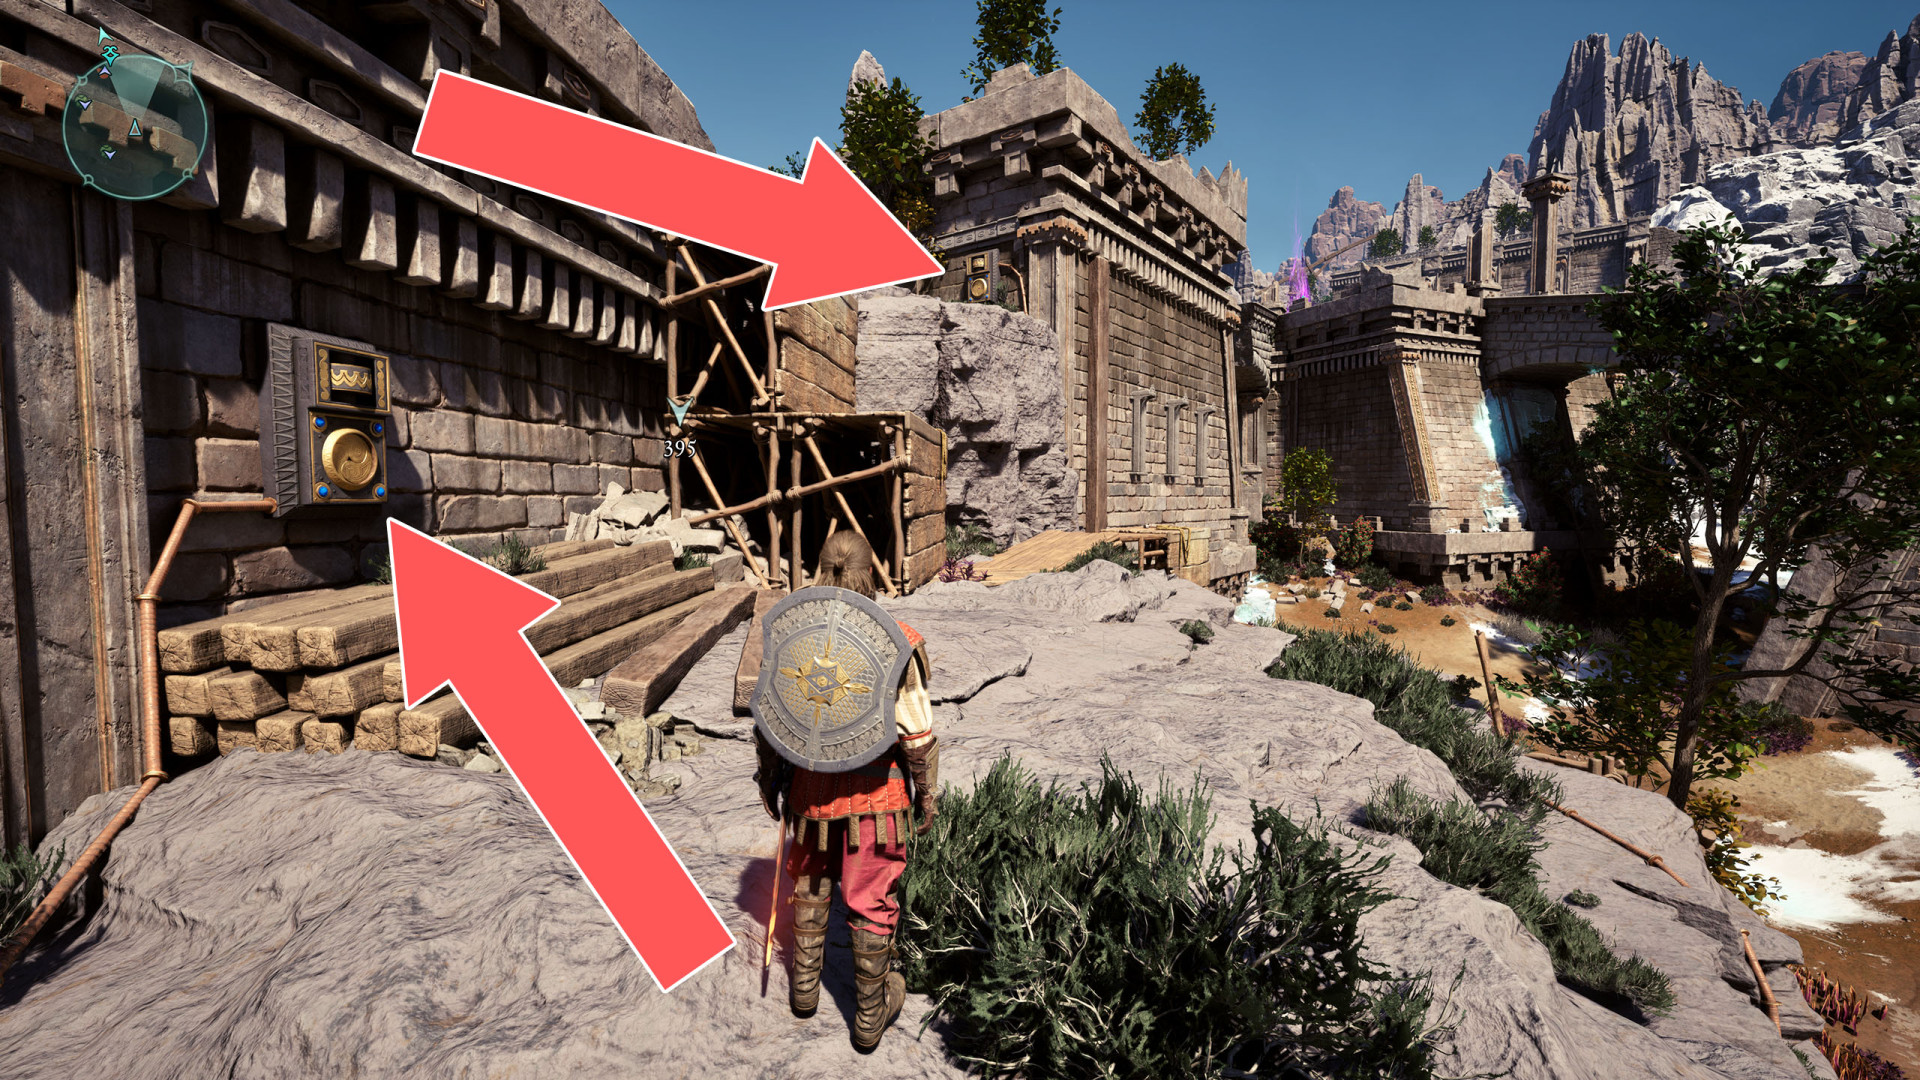
219Traps
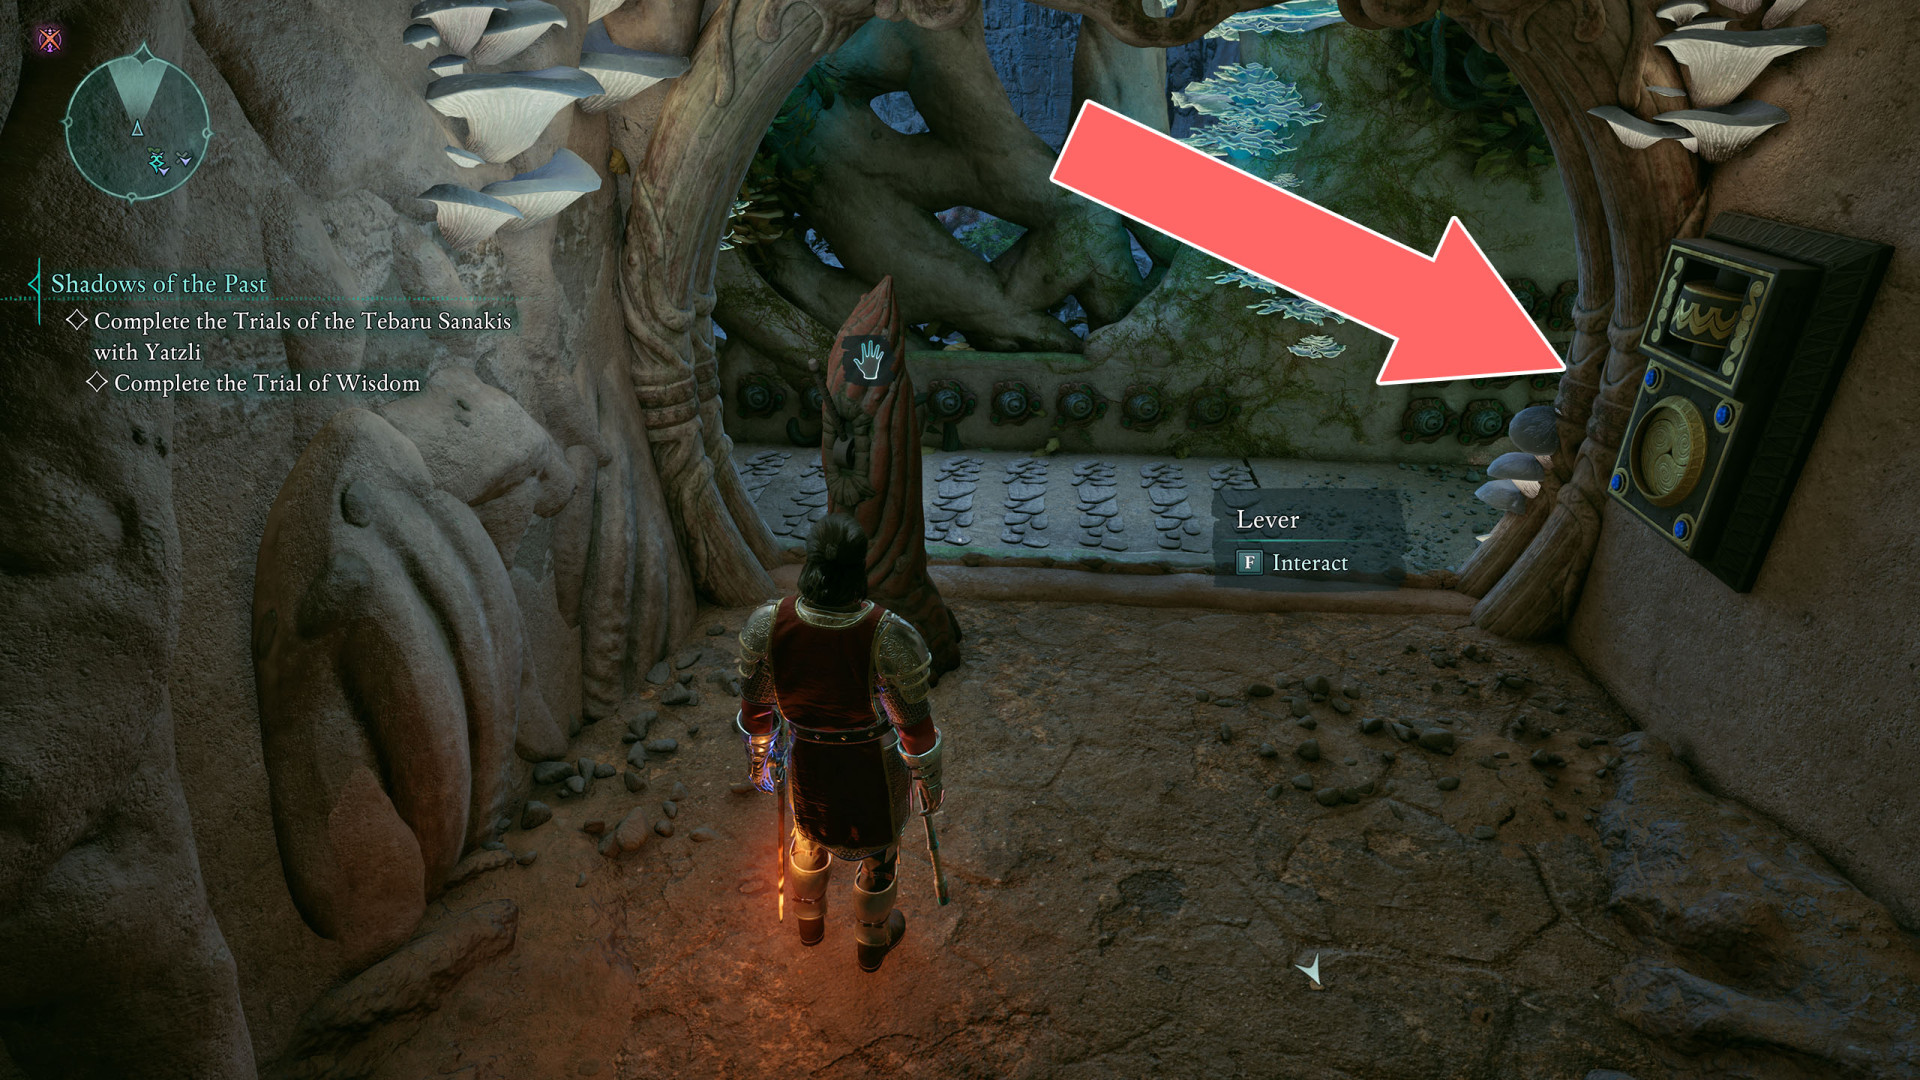
220Weak Wall
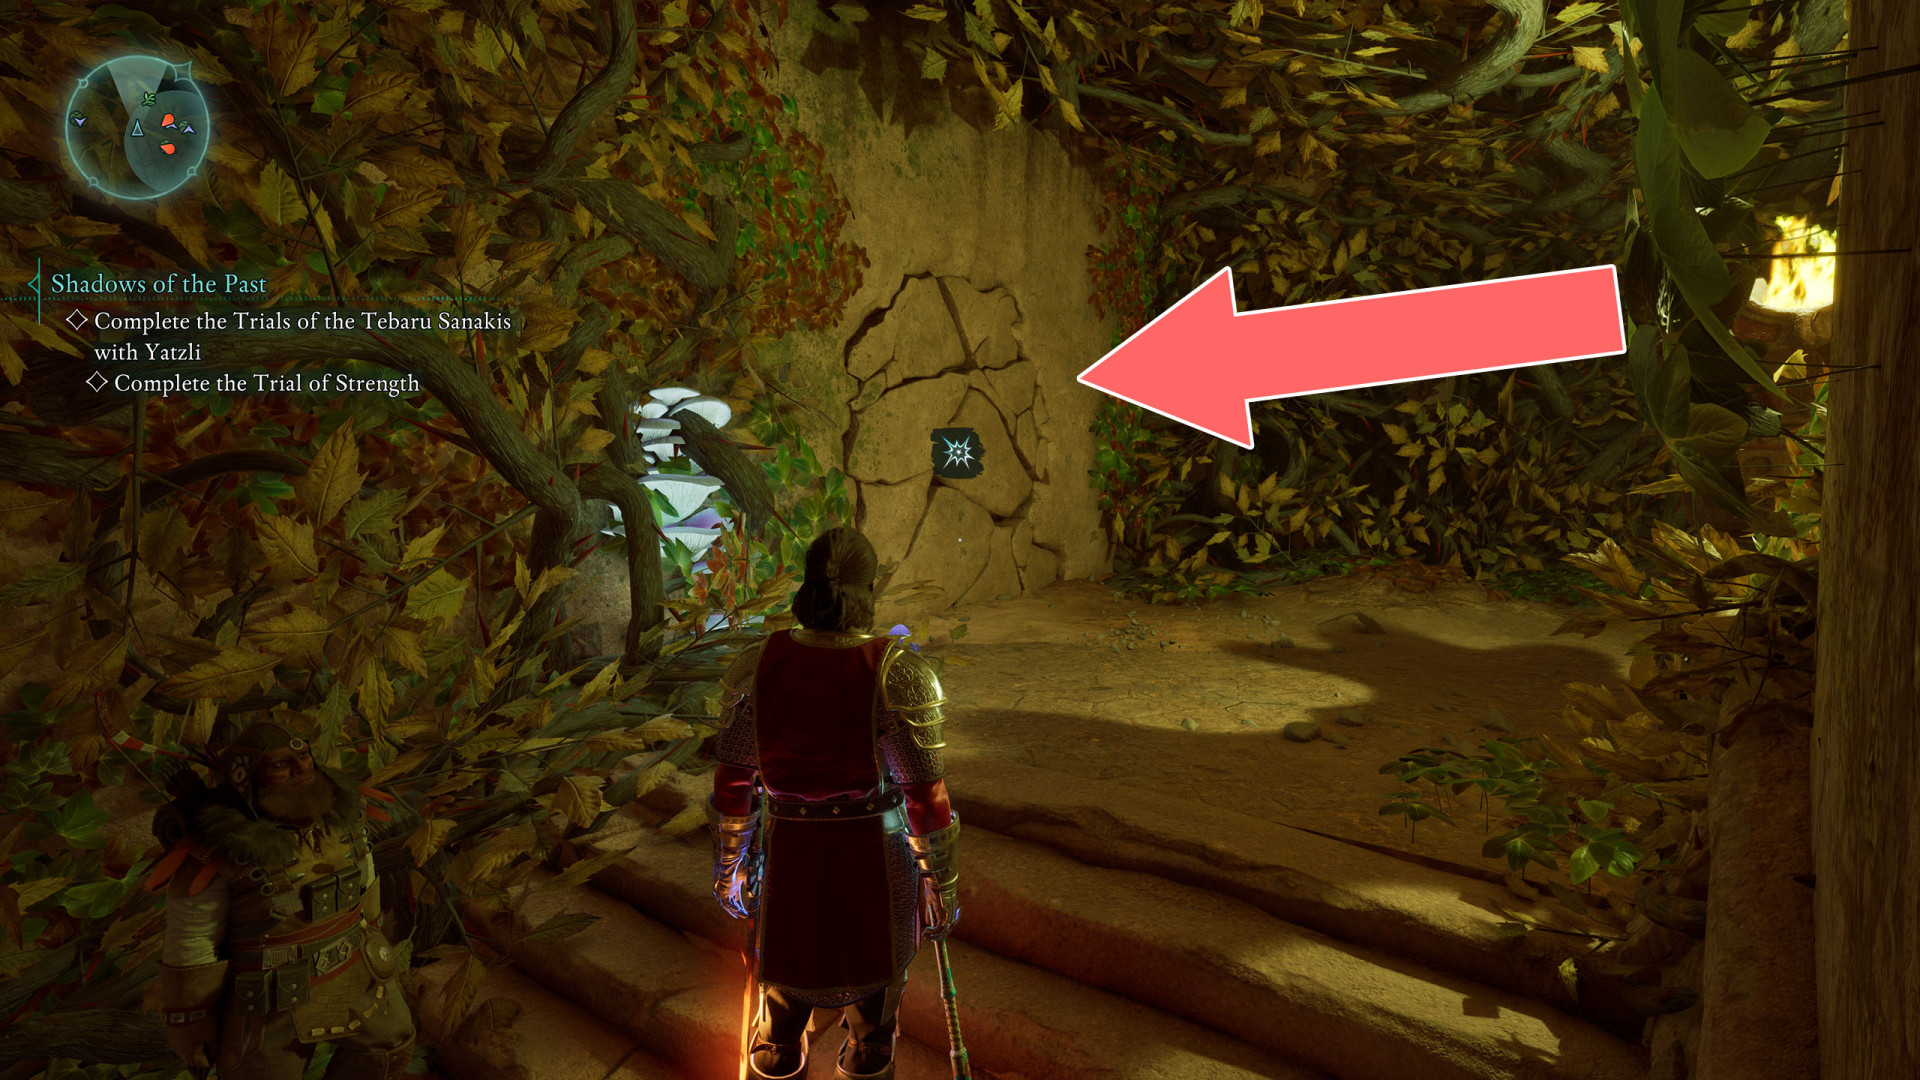
221Weak Wall
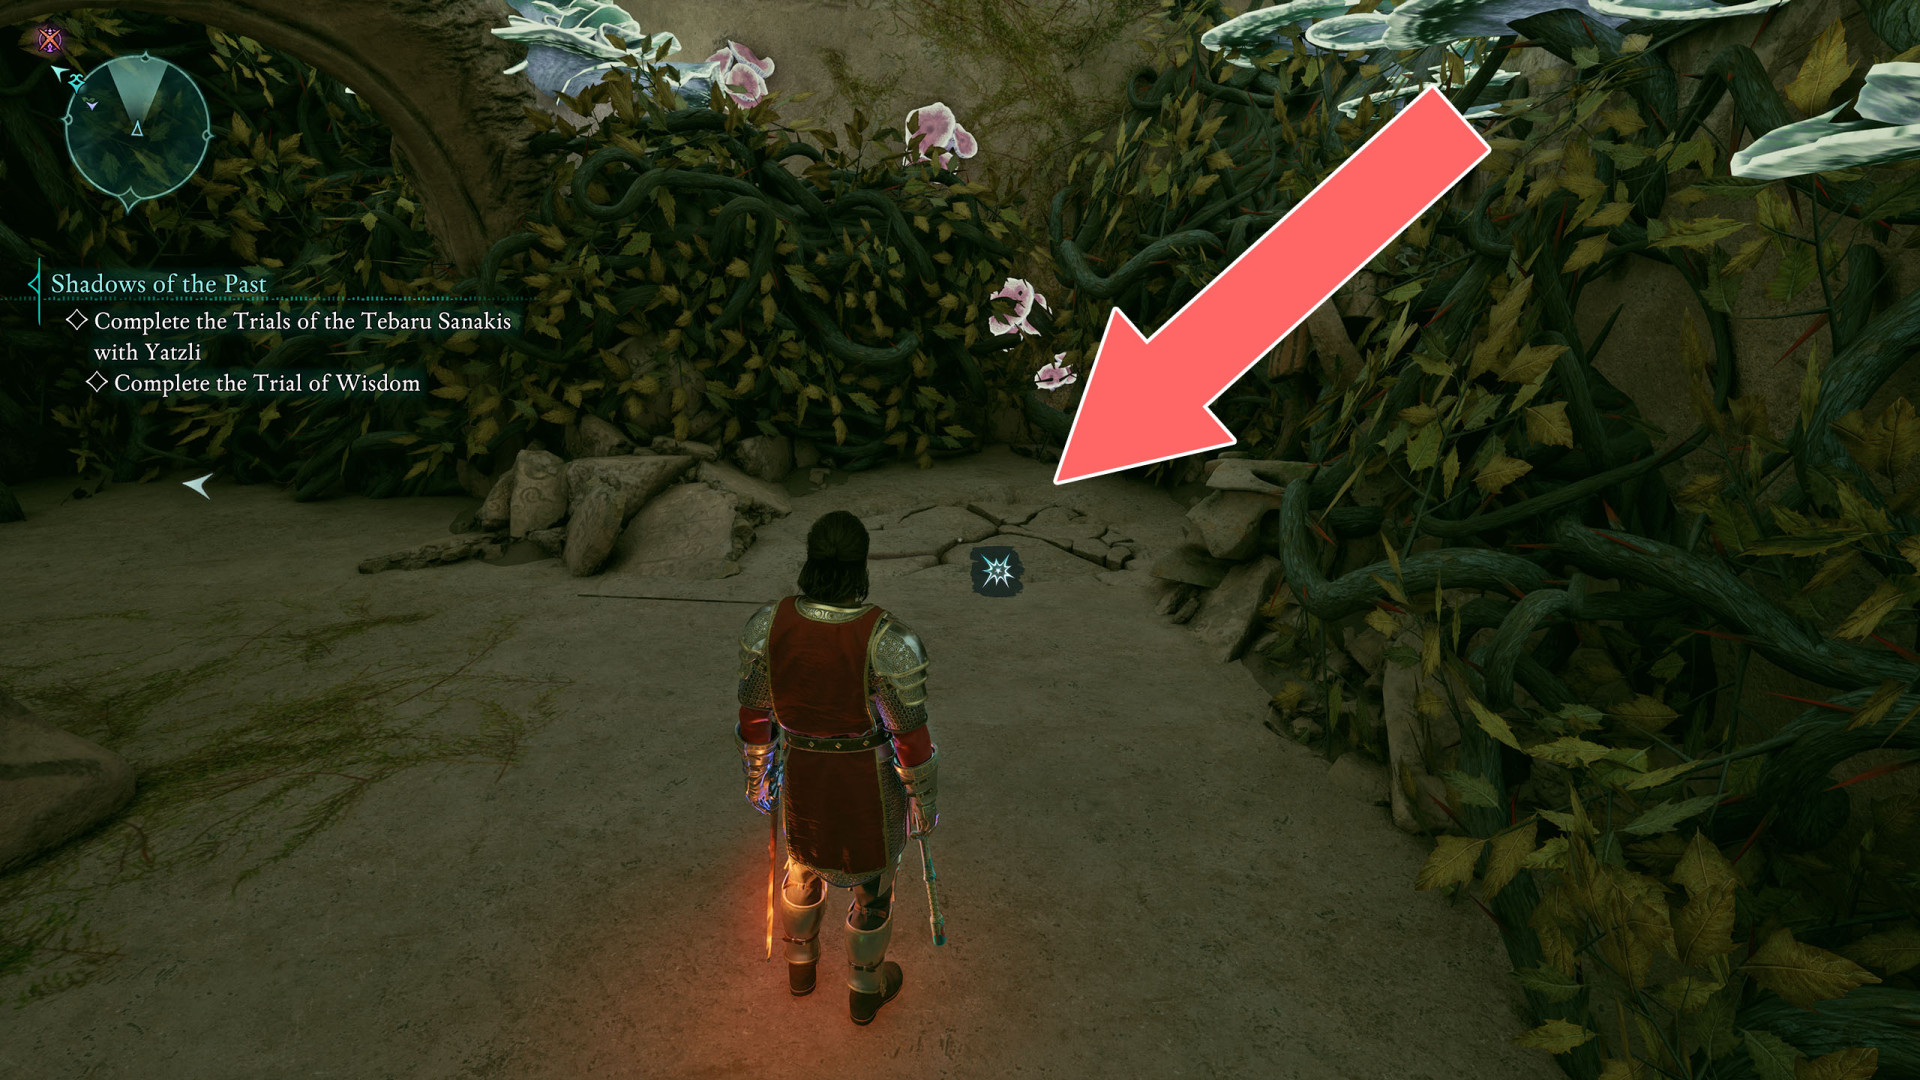
222Weak Wall
Behind the wall, there is a switch for the fire traps.
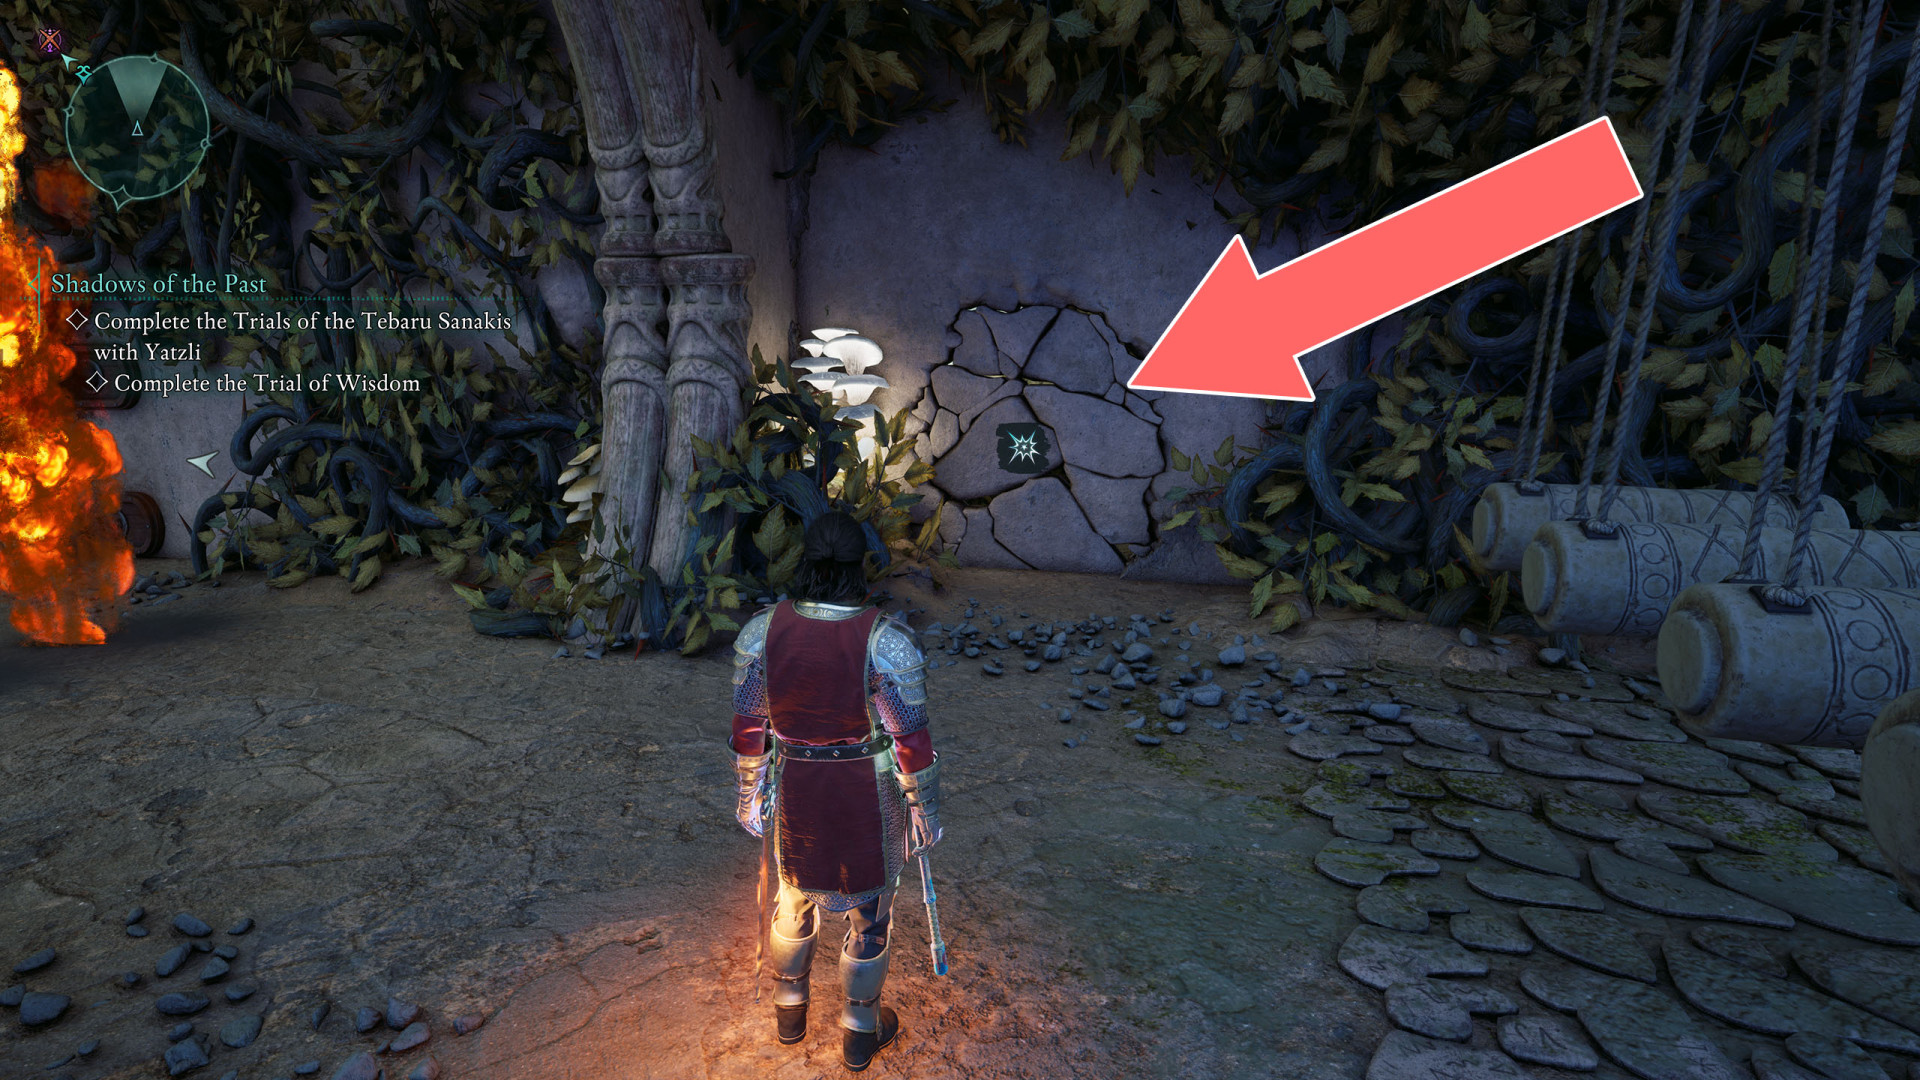
223Weak Wall
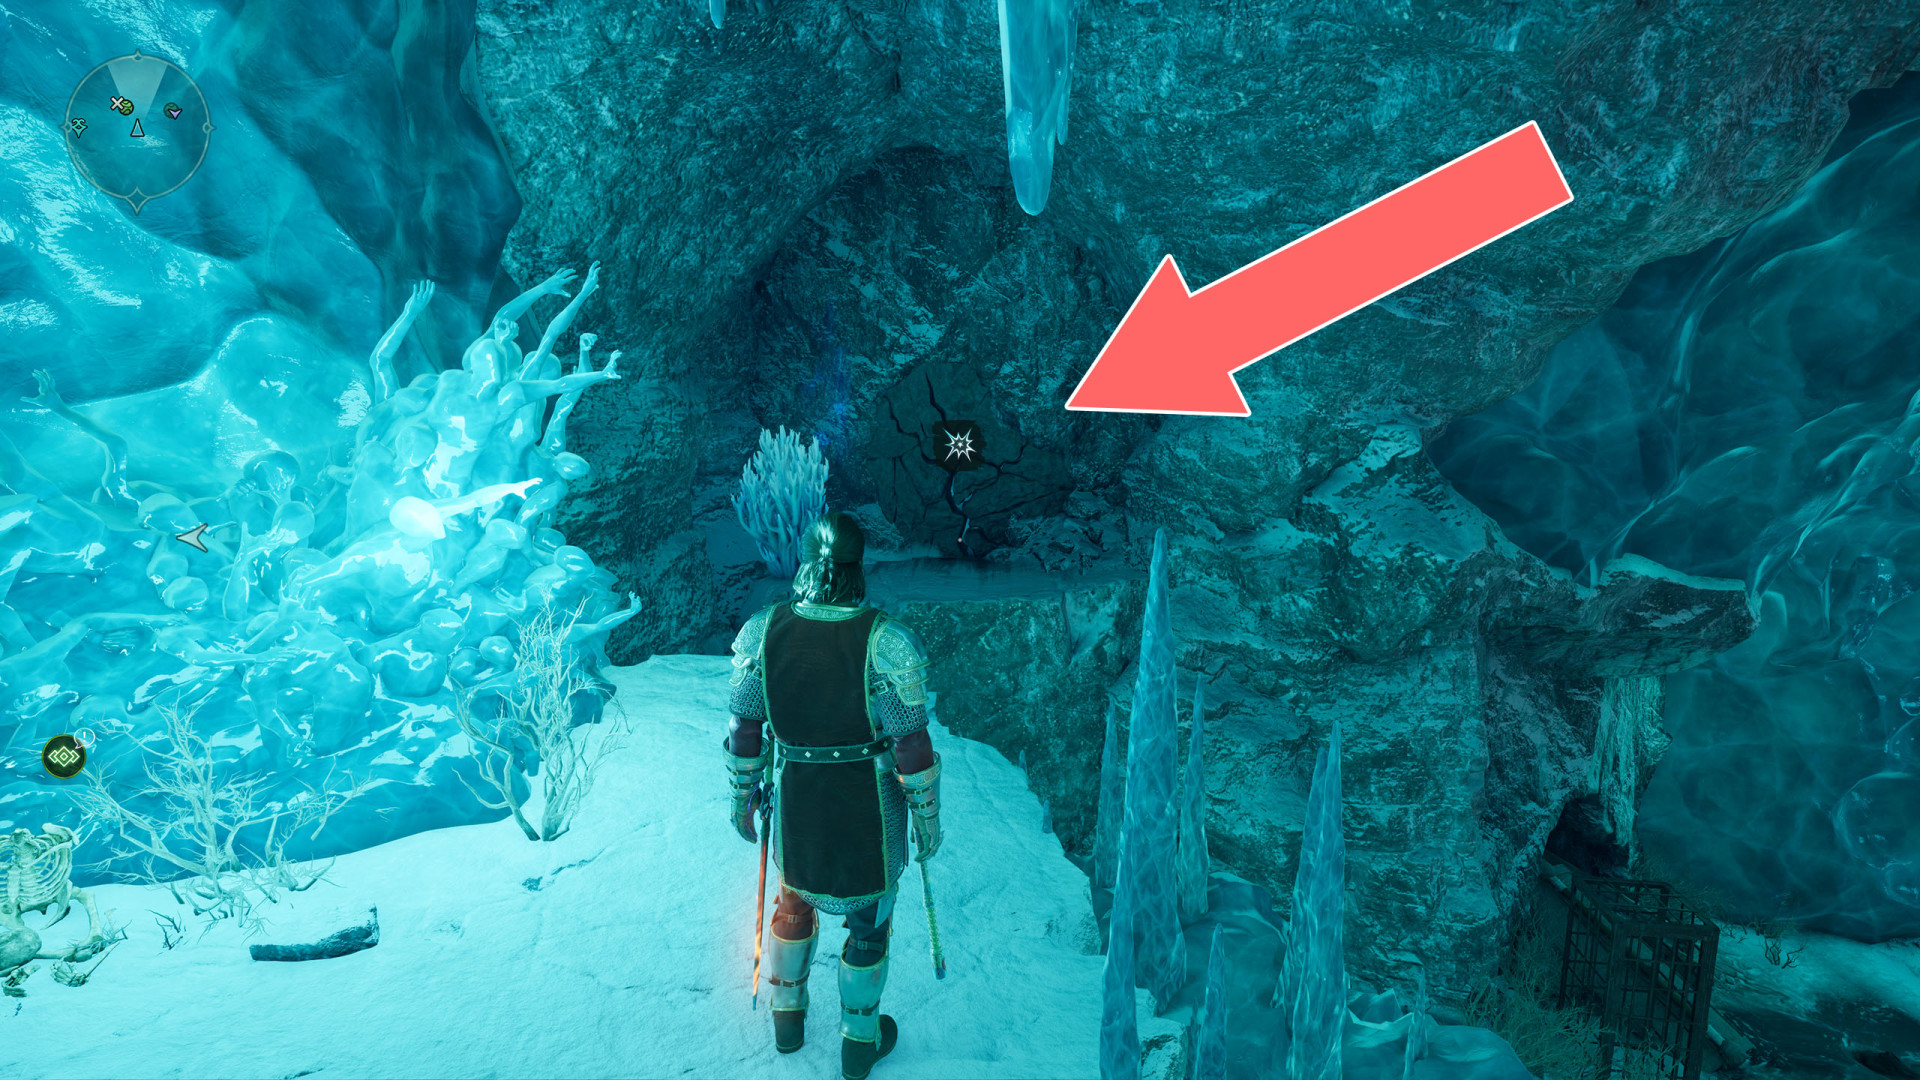
224Weak Wall
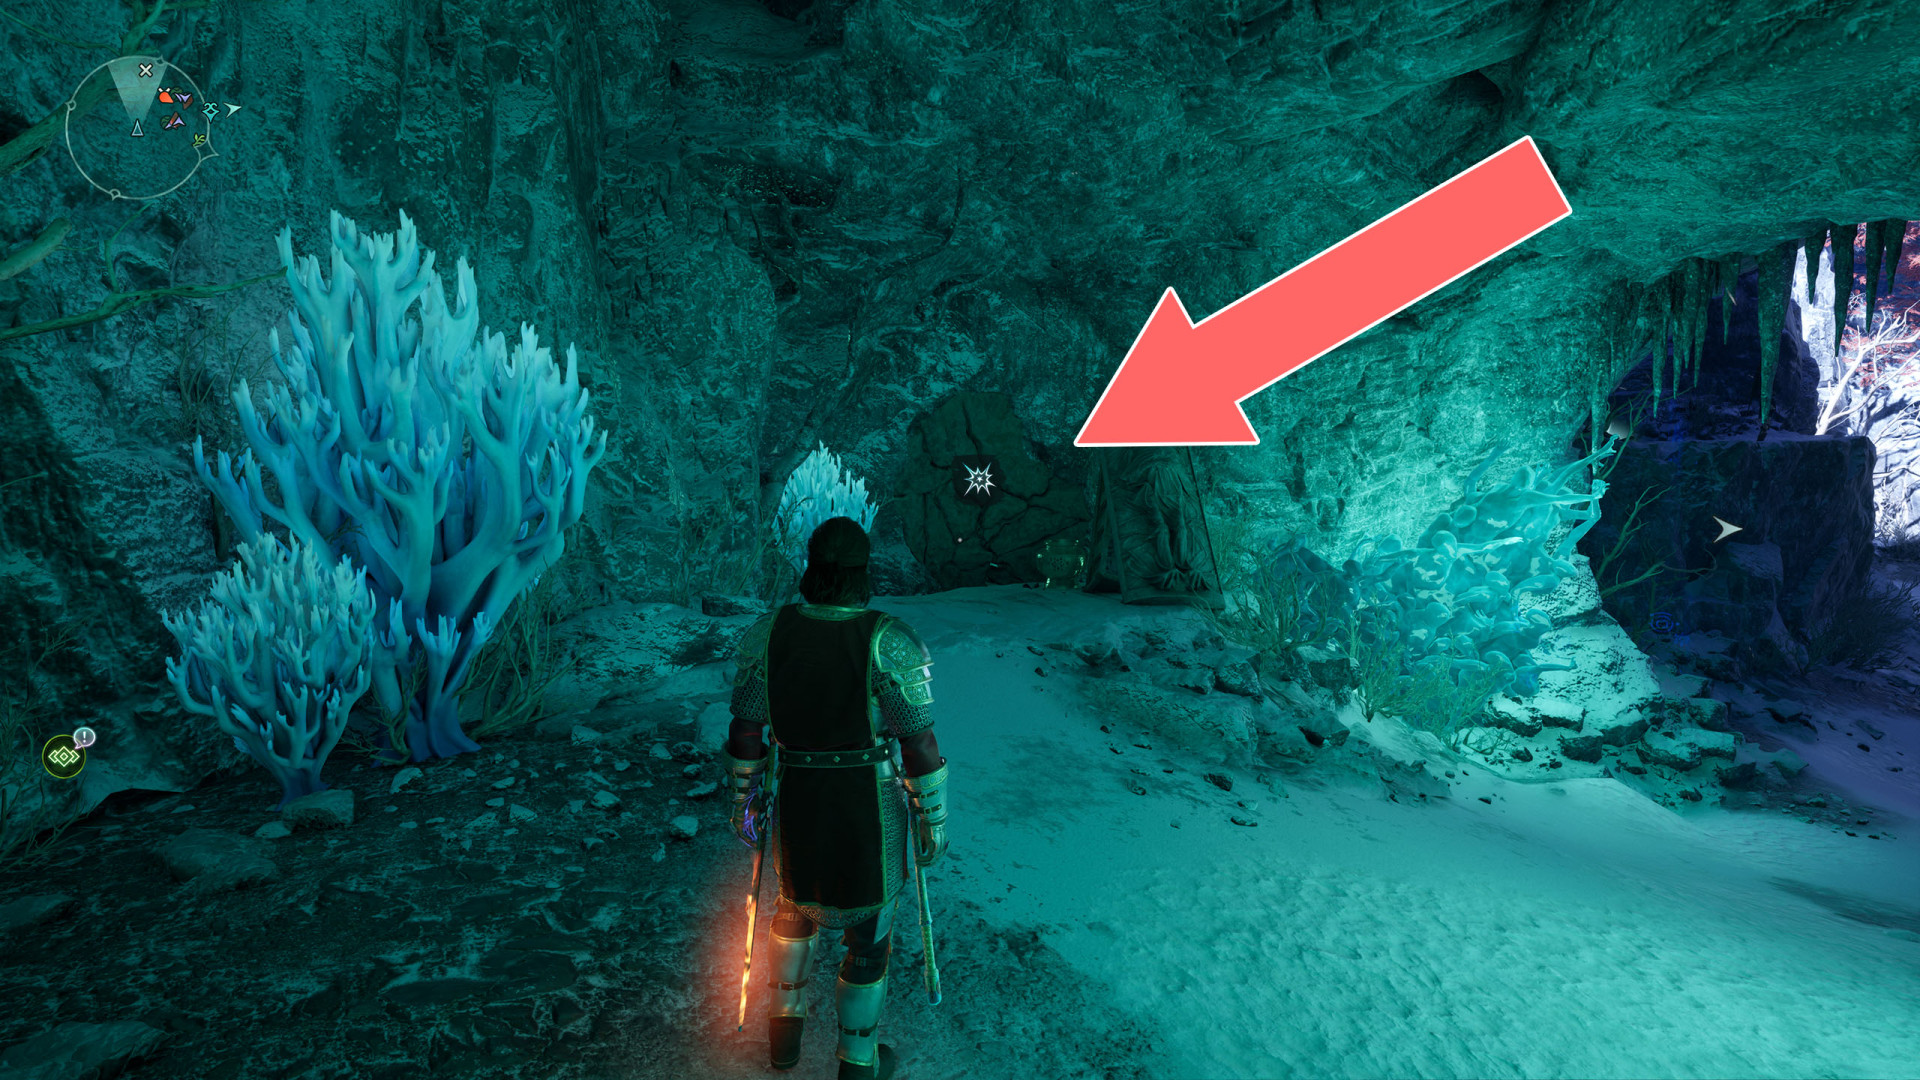
225Weak Wall
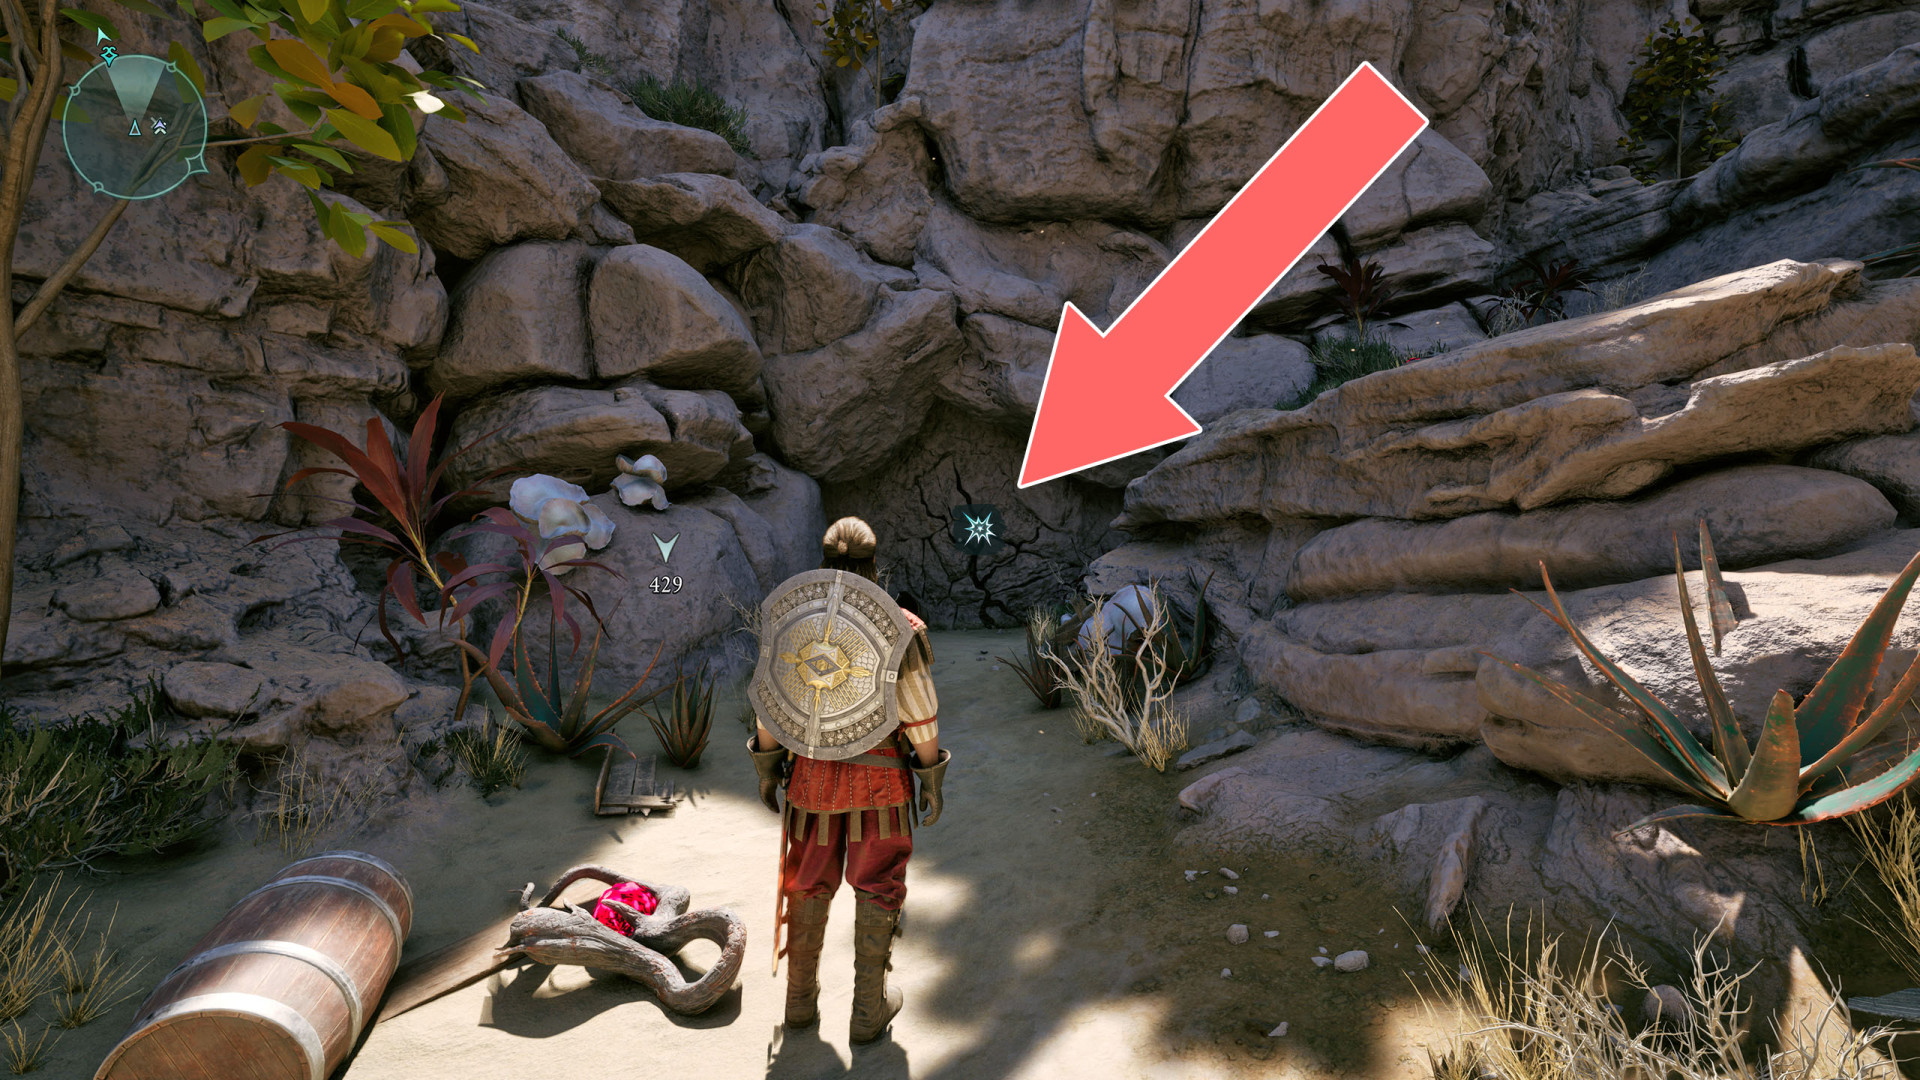
226Weak Wall
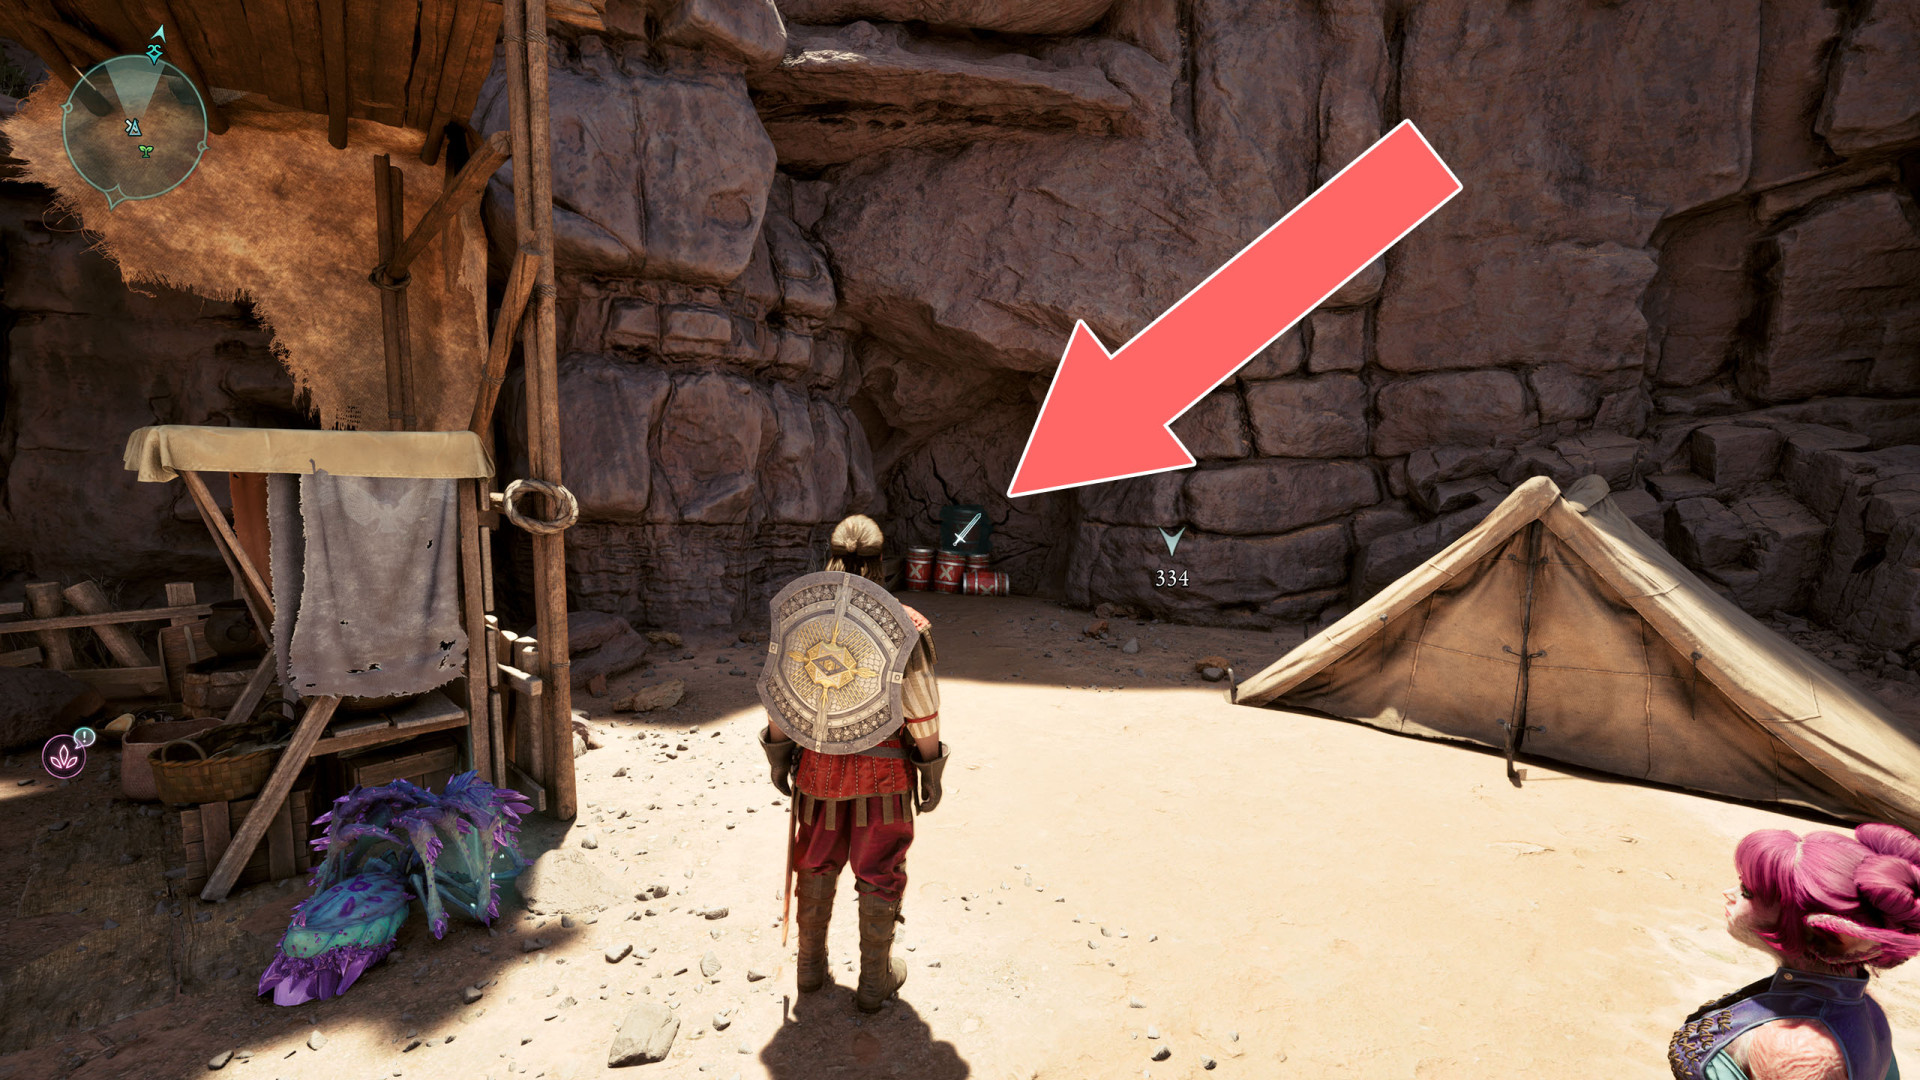
227Weak Wall
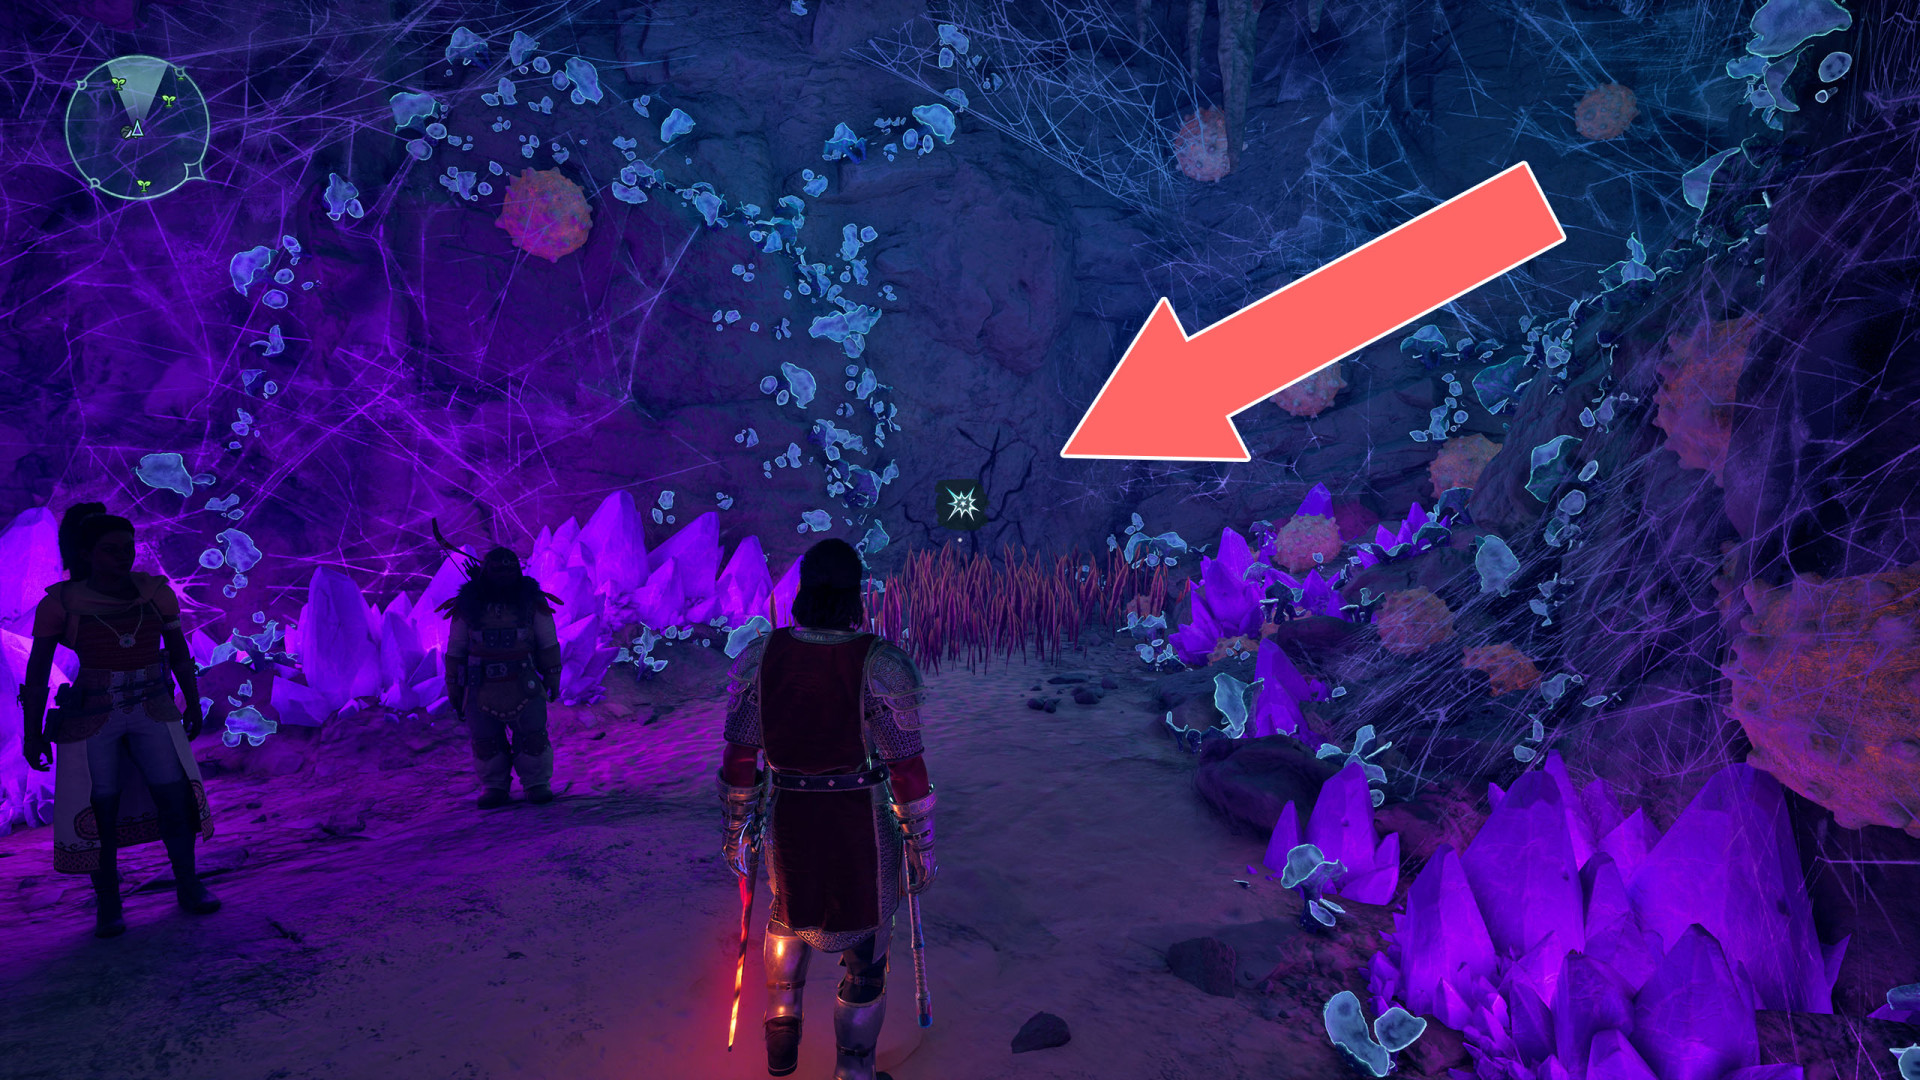
228Weak Wall
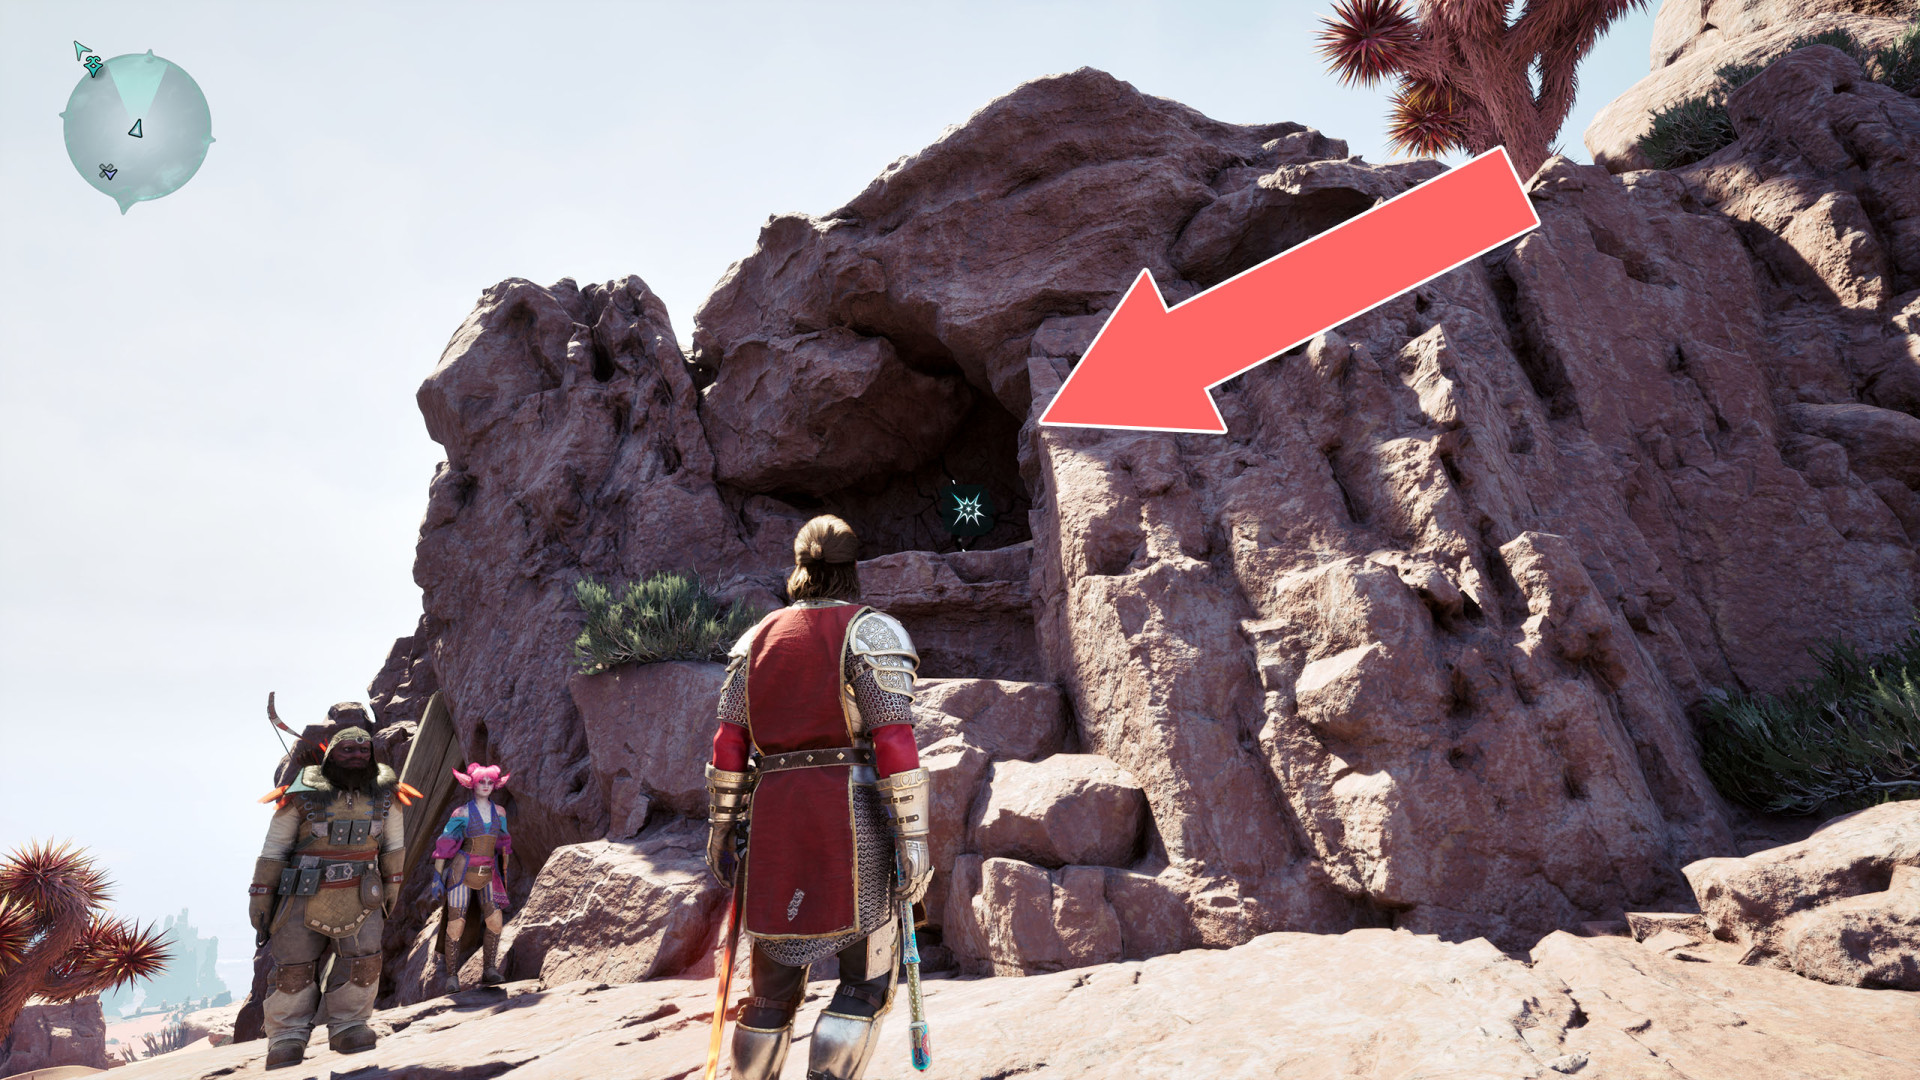
229Wooden Barrier
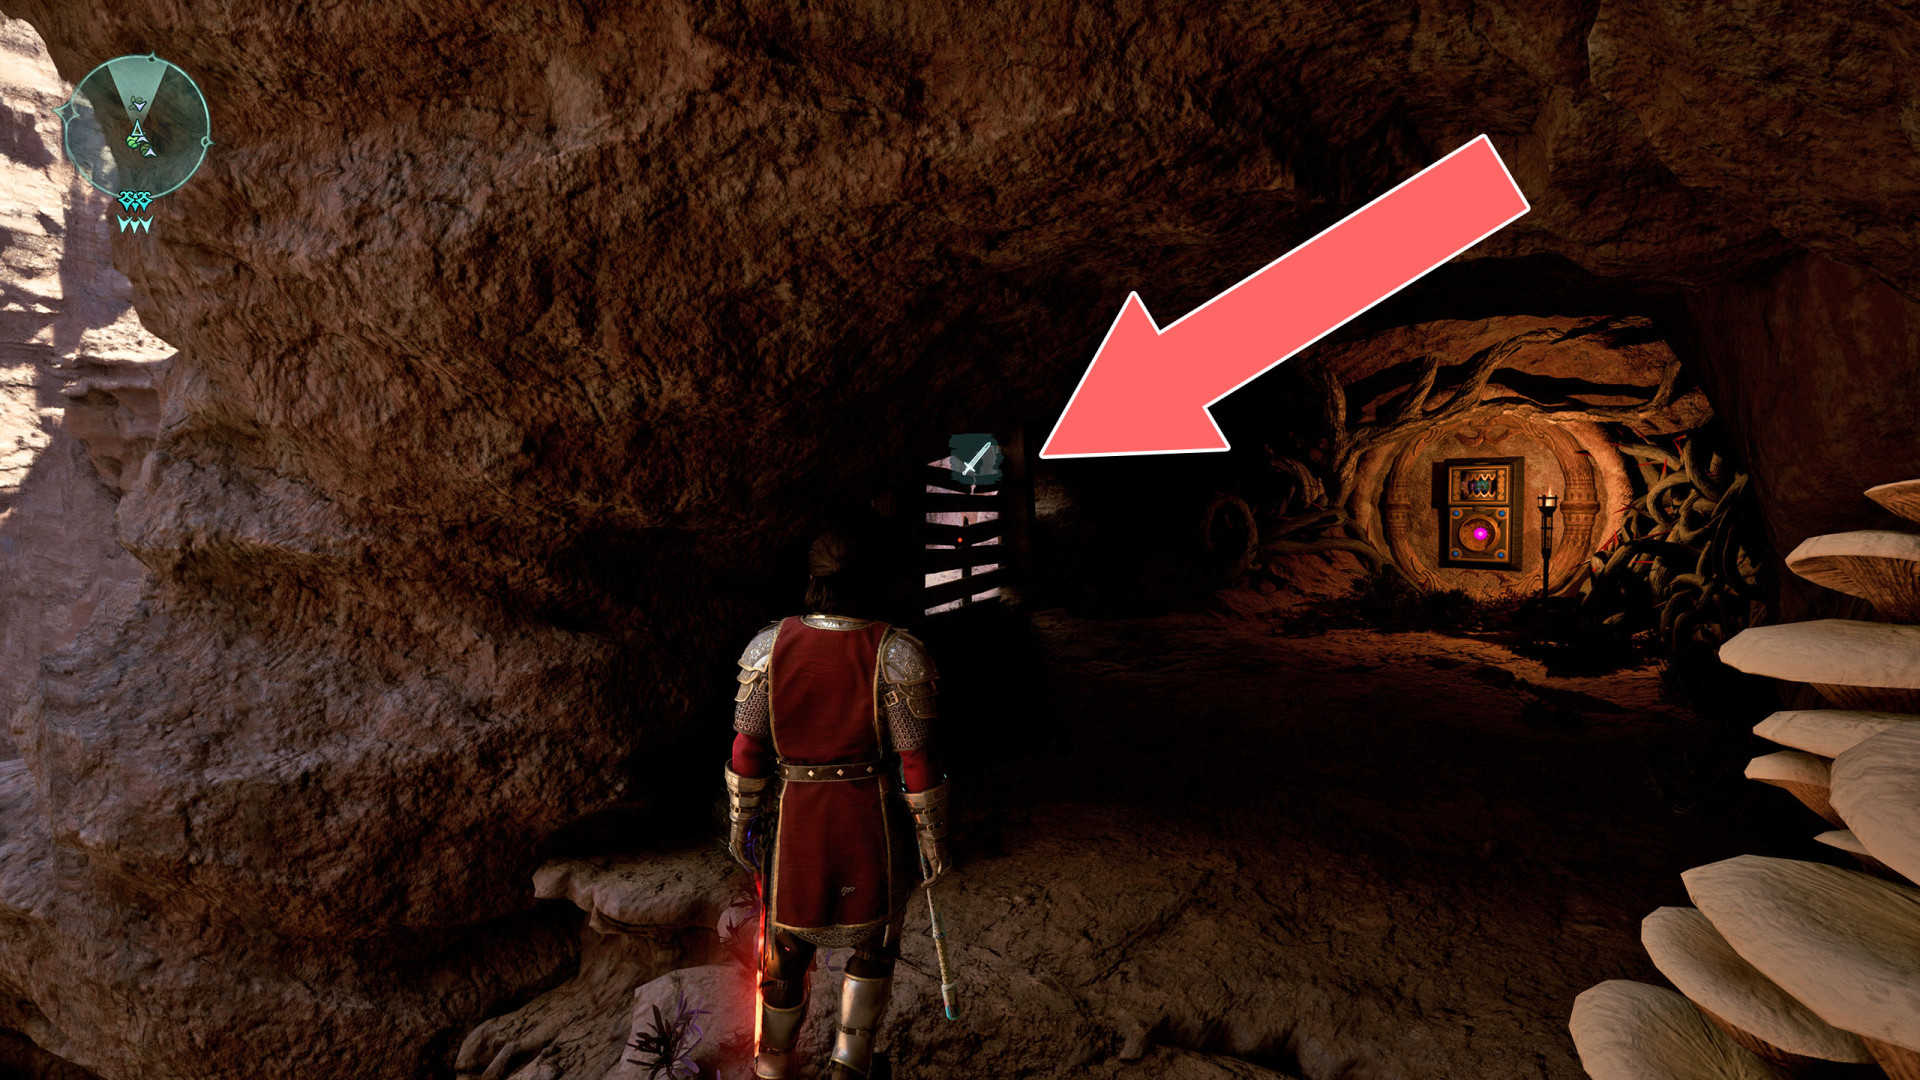
230Wooden Barrier
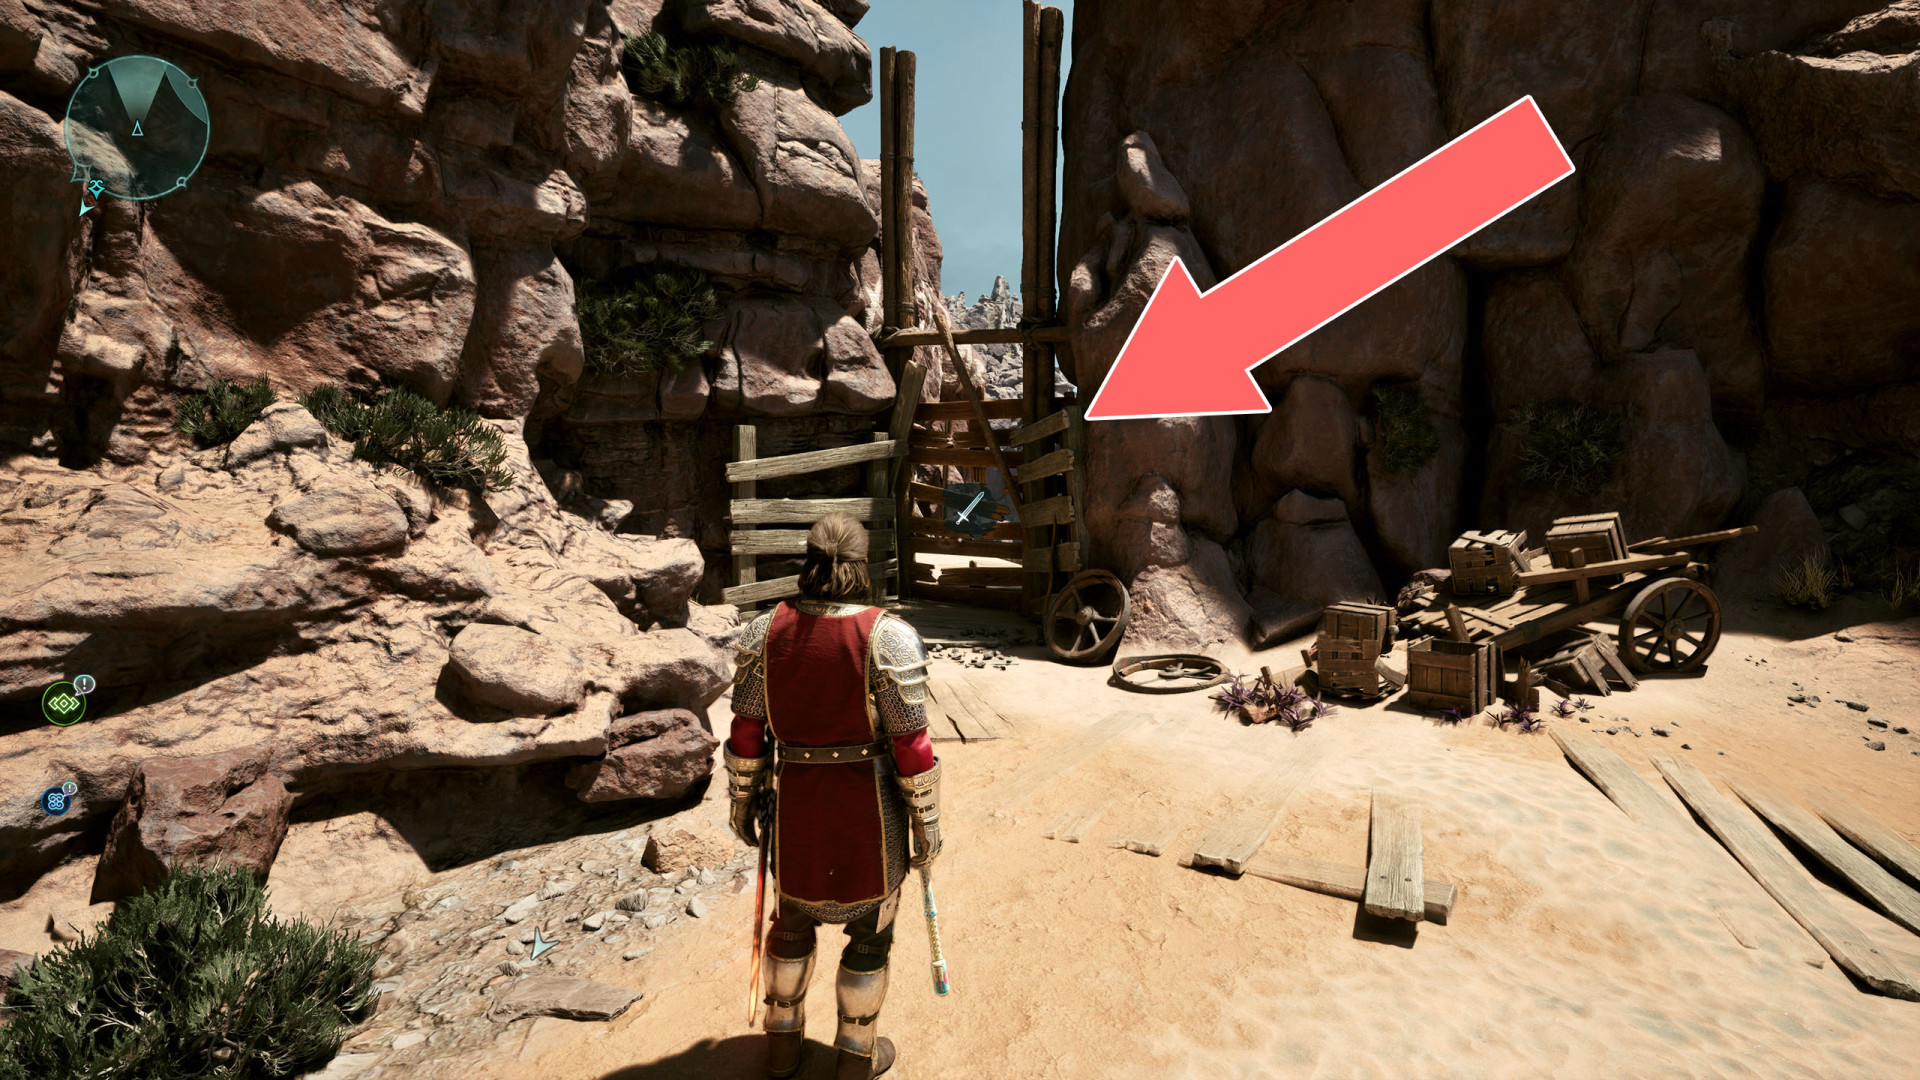
231Wooden Barrier
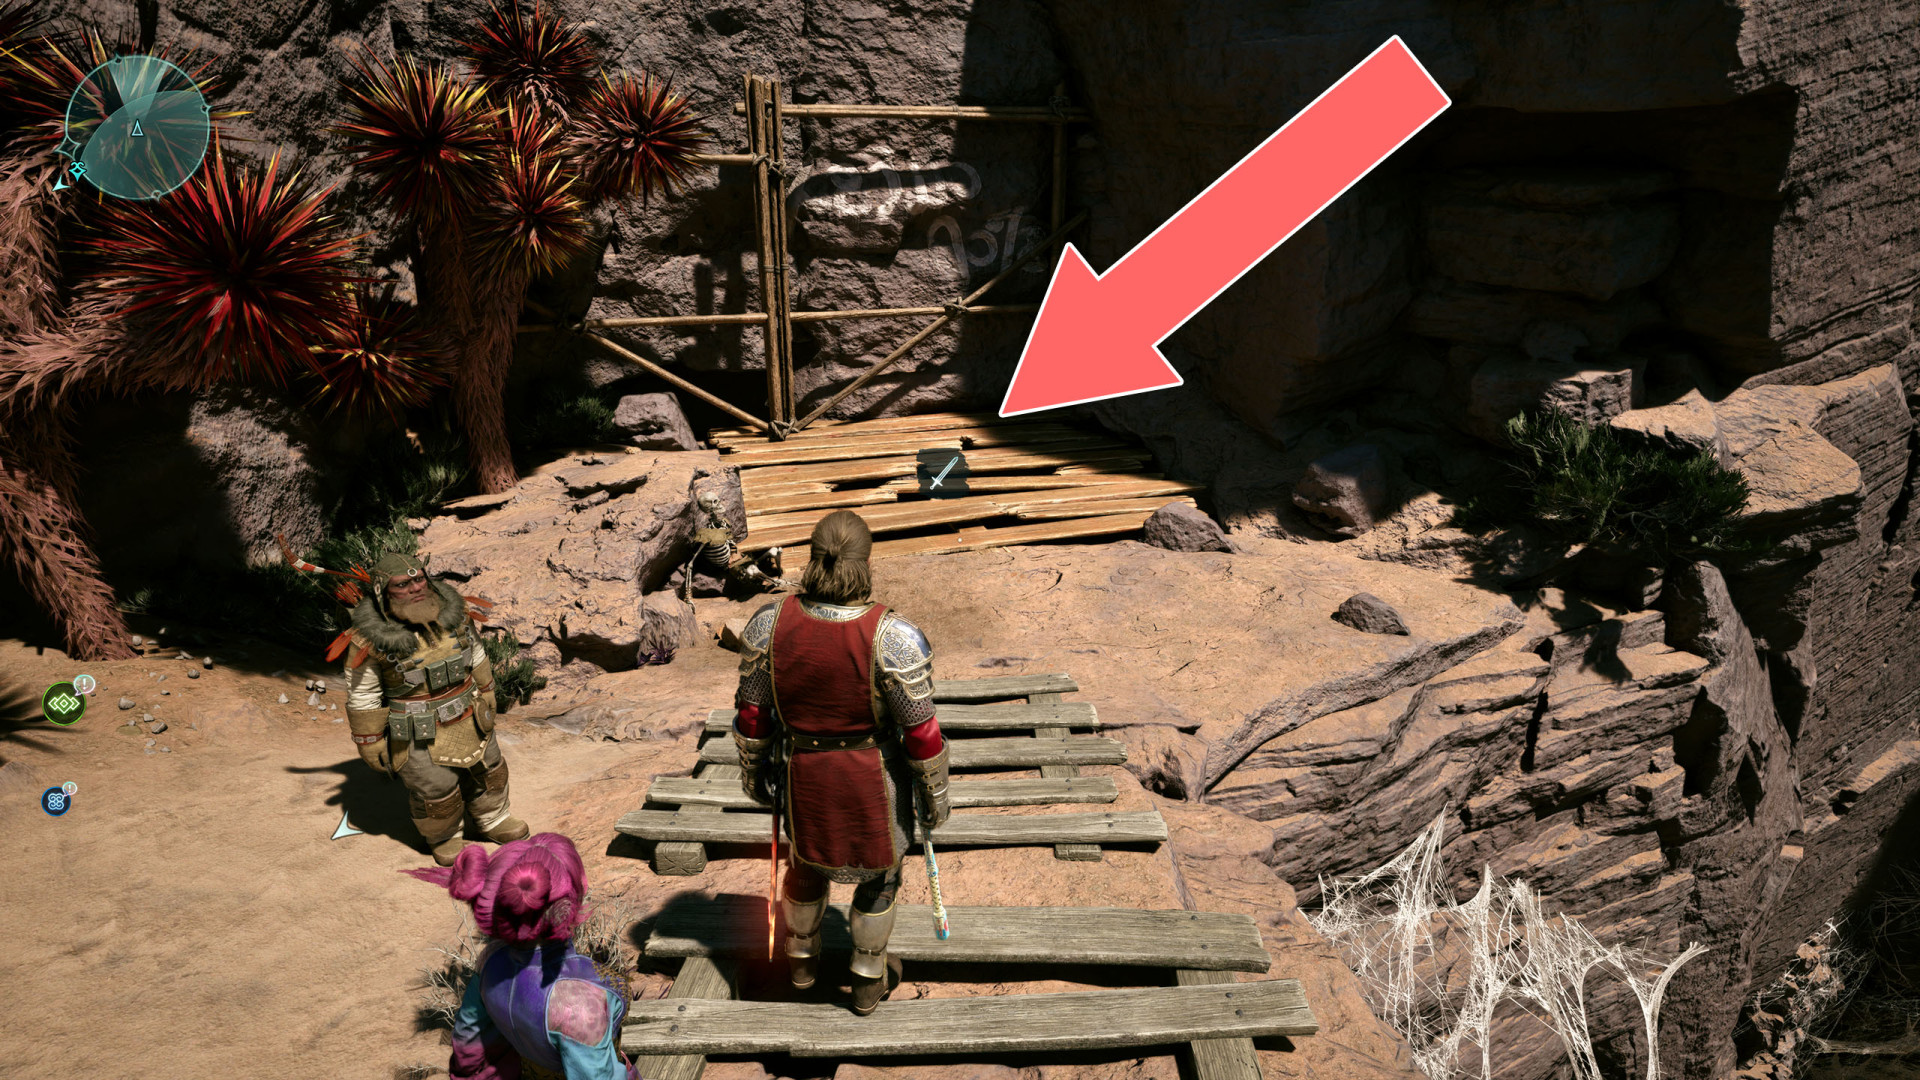
232Wooden Barrier
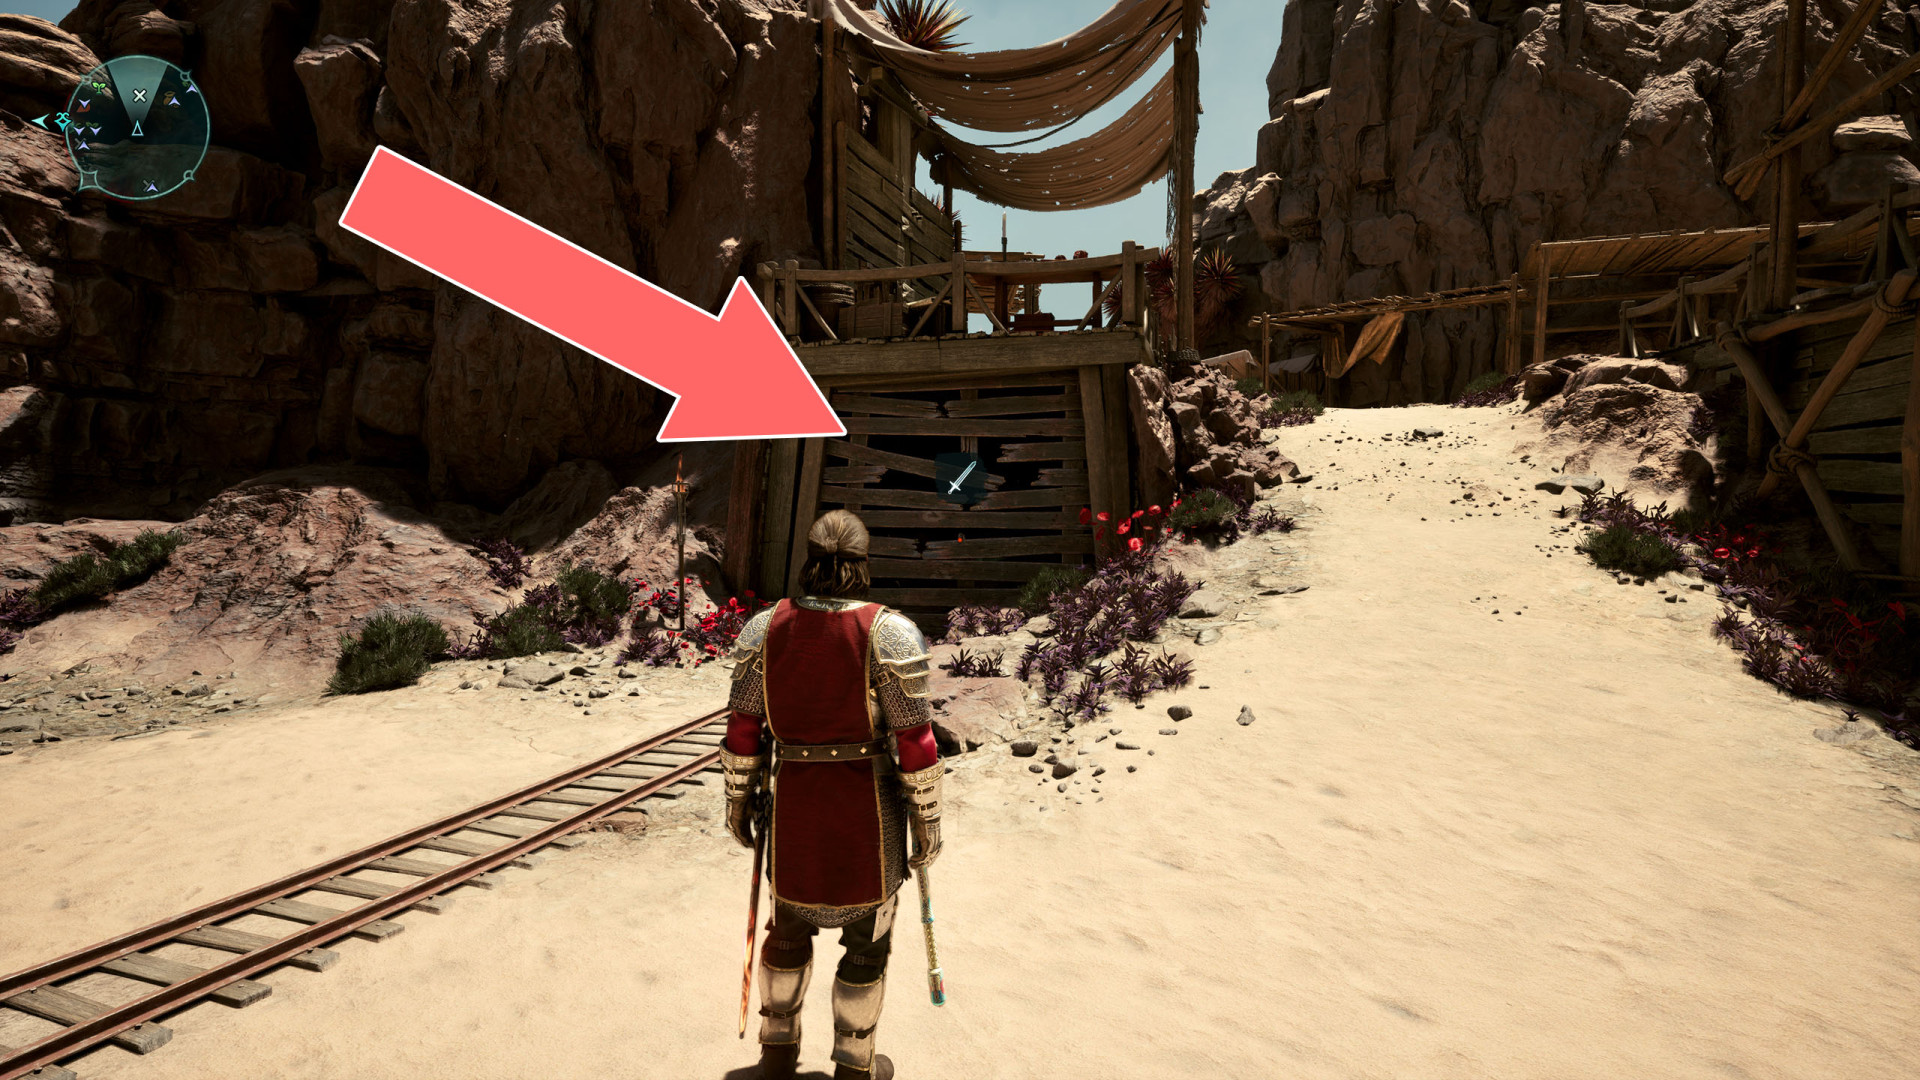
233Wooden Barrier
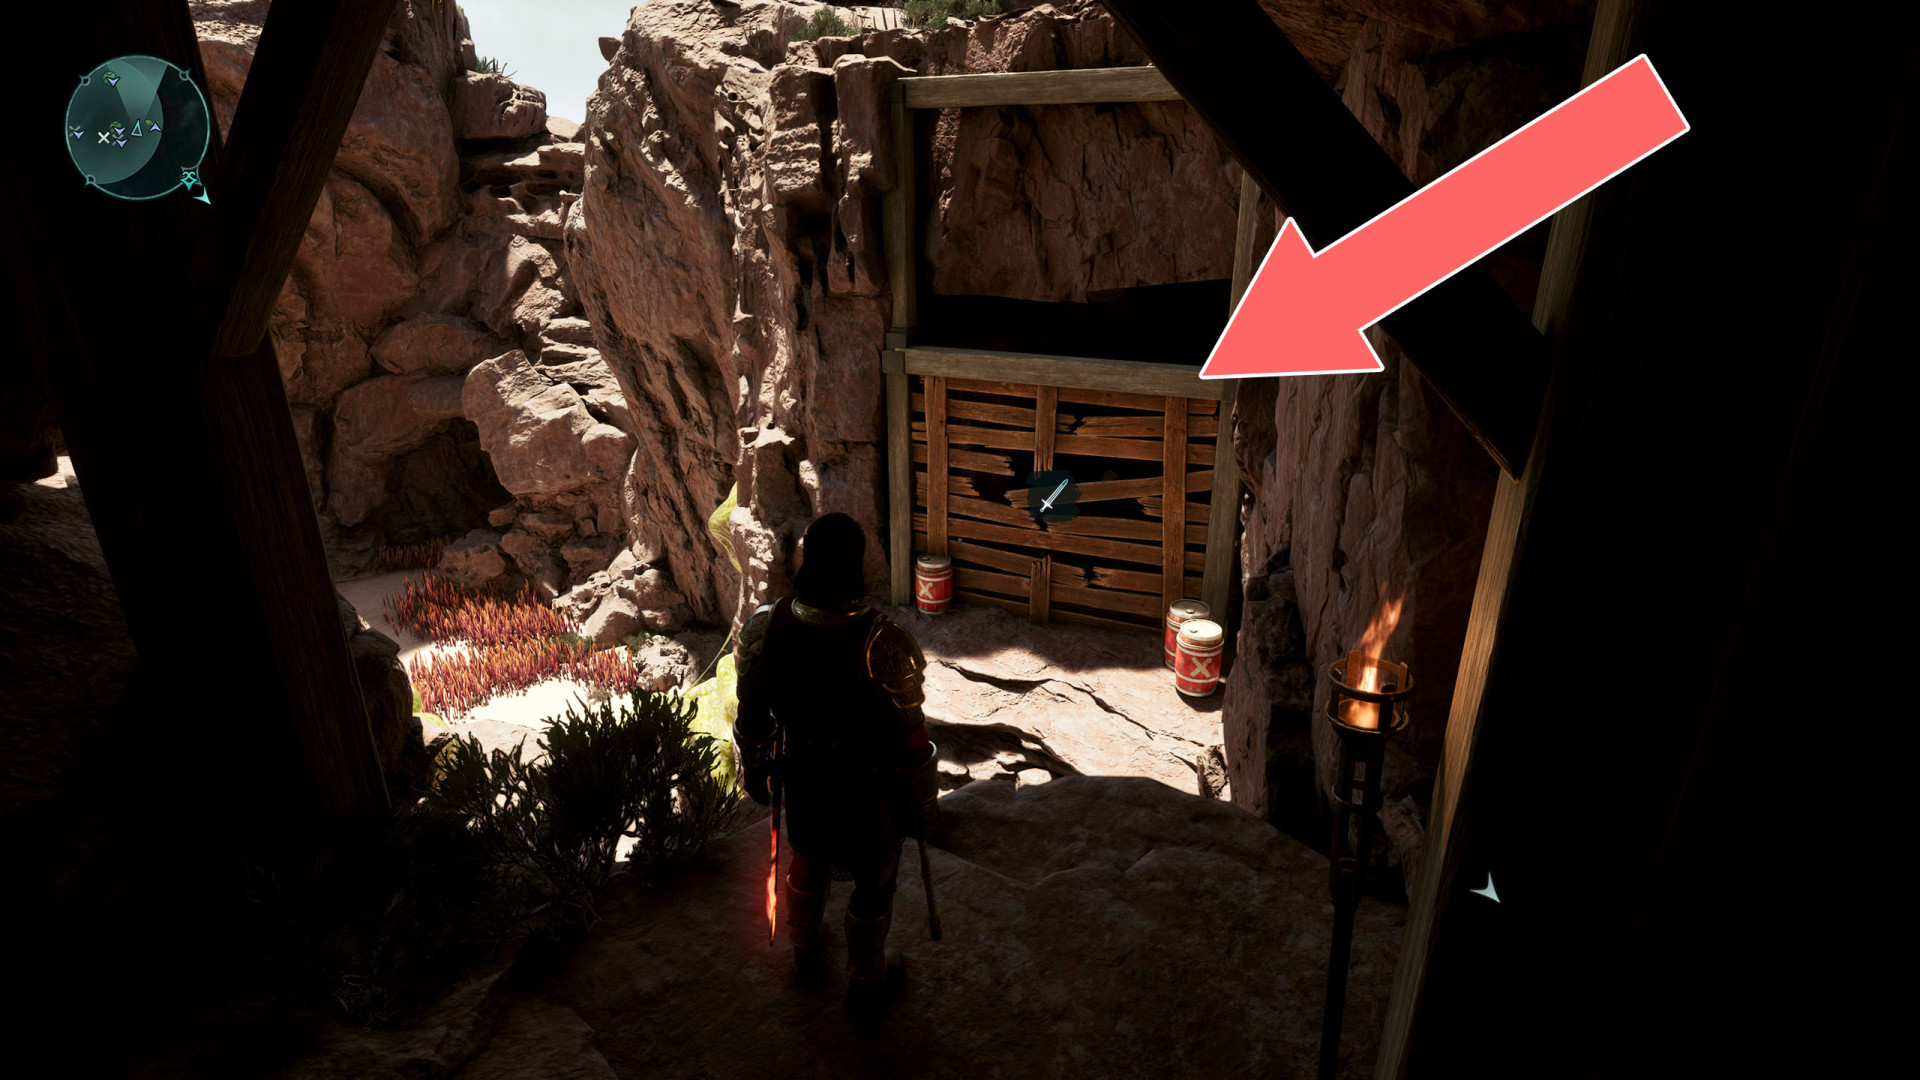
234Wooden Barrier
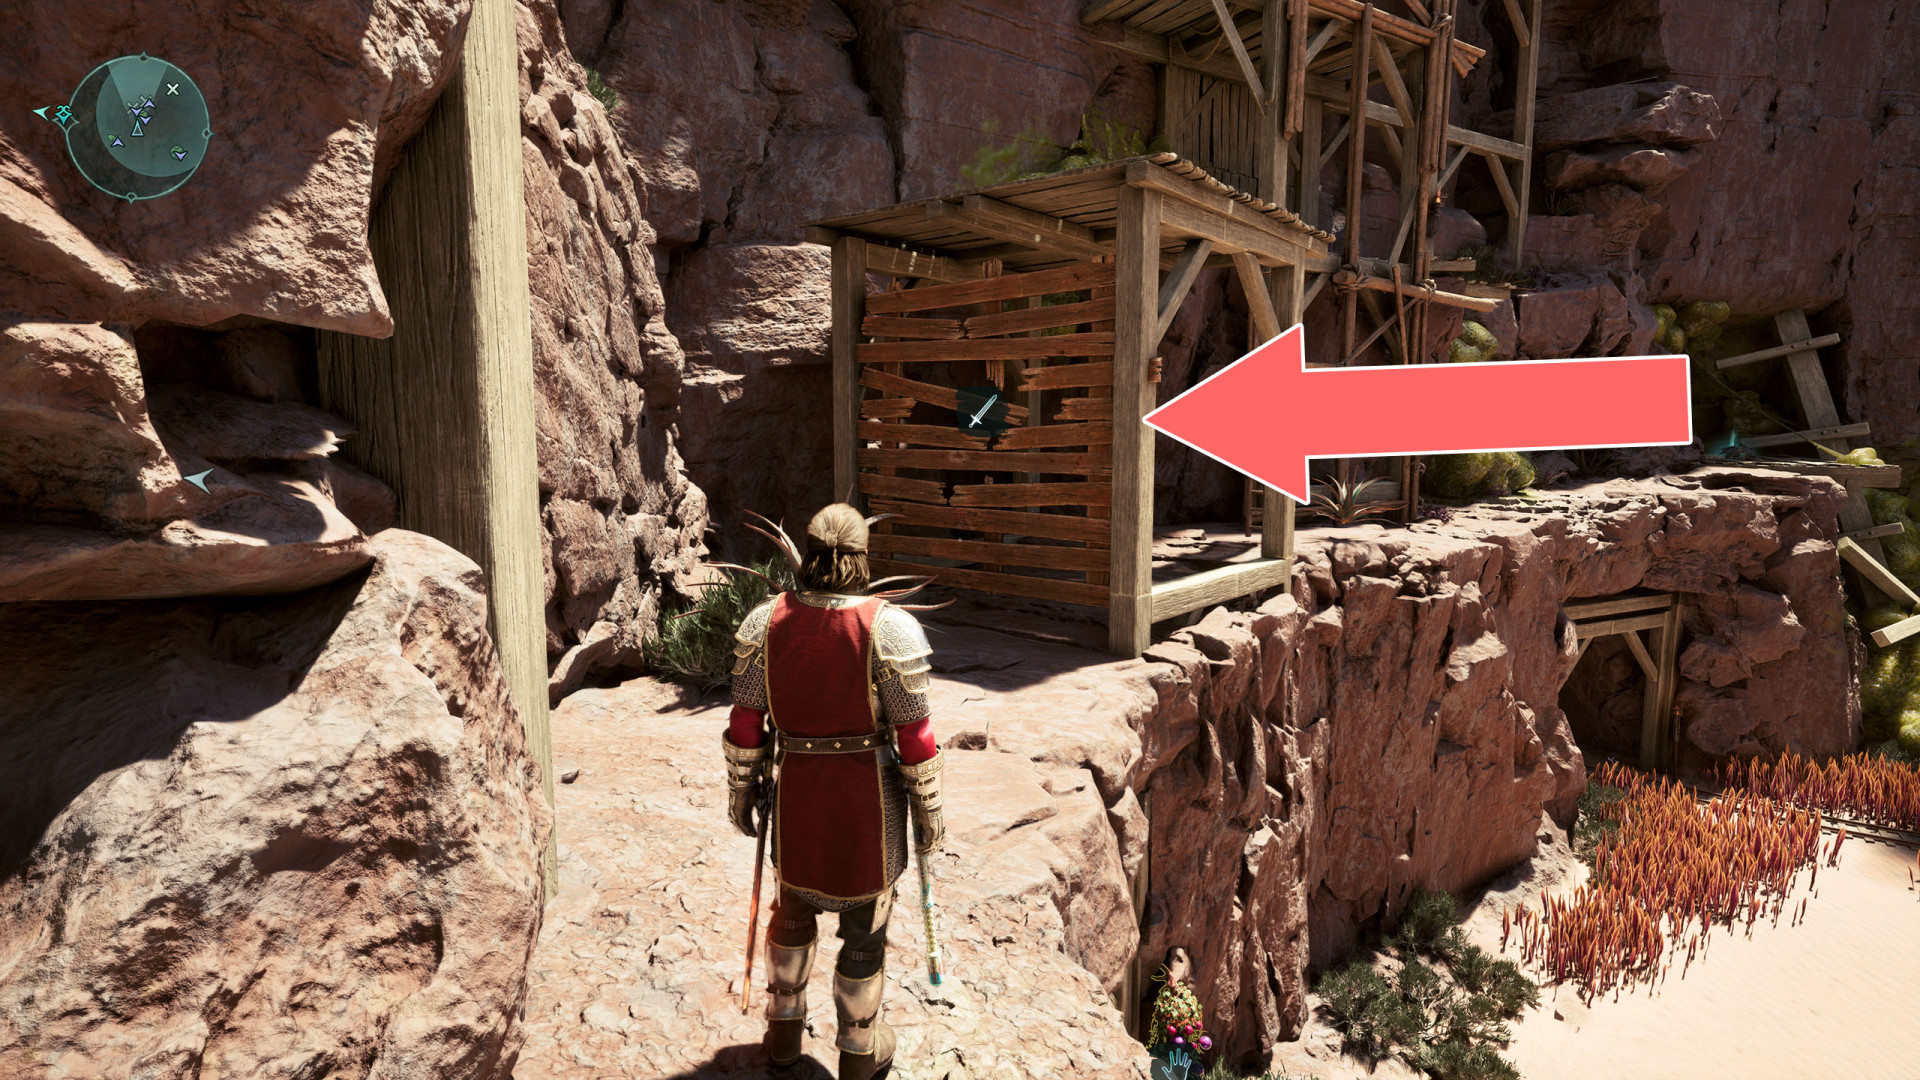
235Wooden Barrier
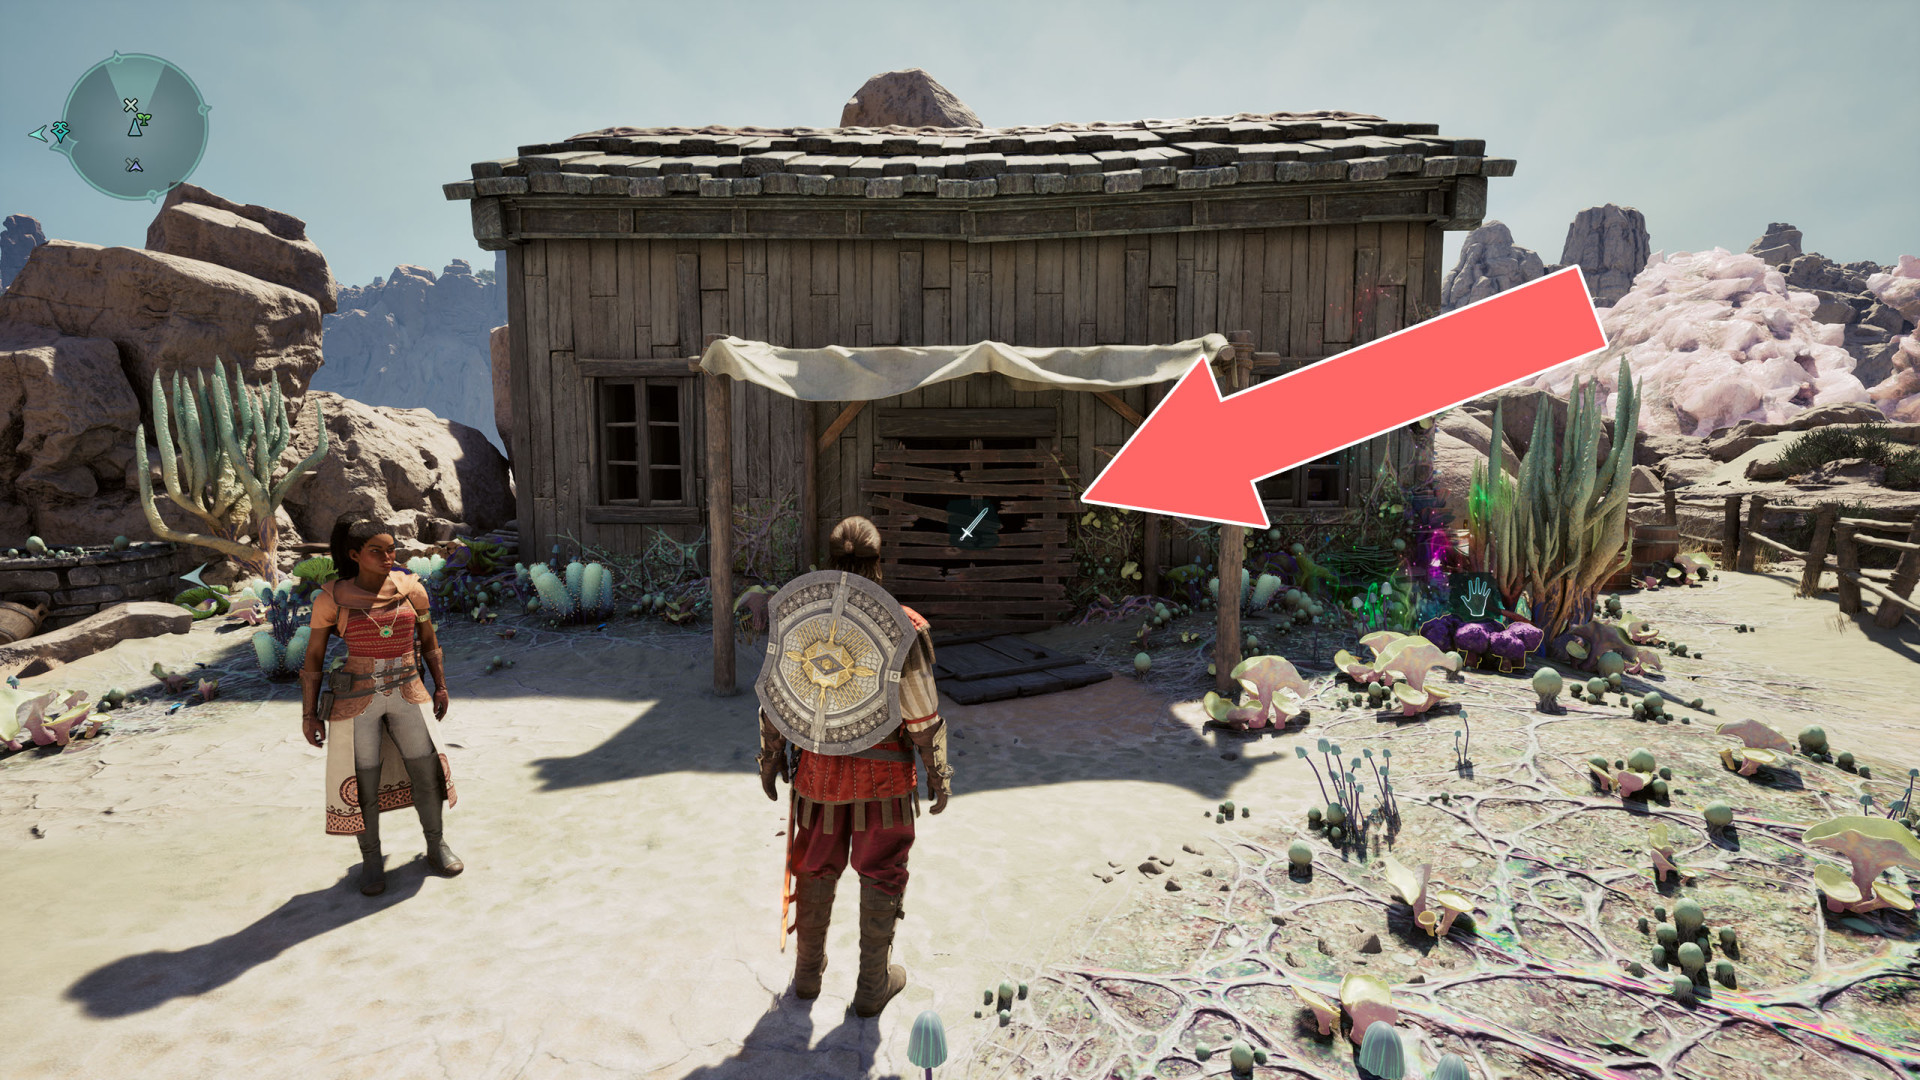
Locations on Galawain's Tusks
236Barred Door
The door can be opened from the inside and the first way to enter the building is through the hole in the roof.
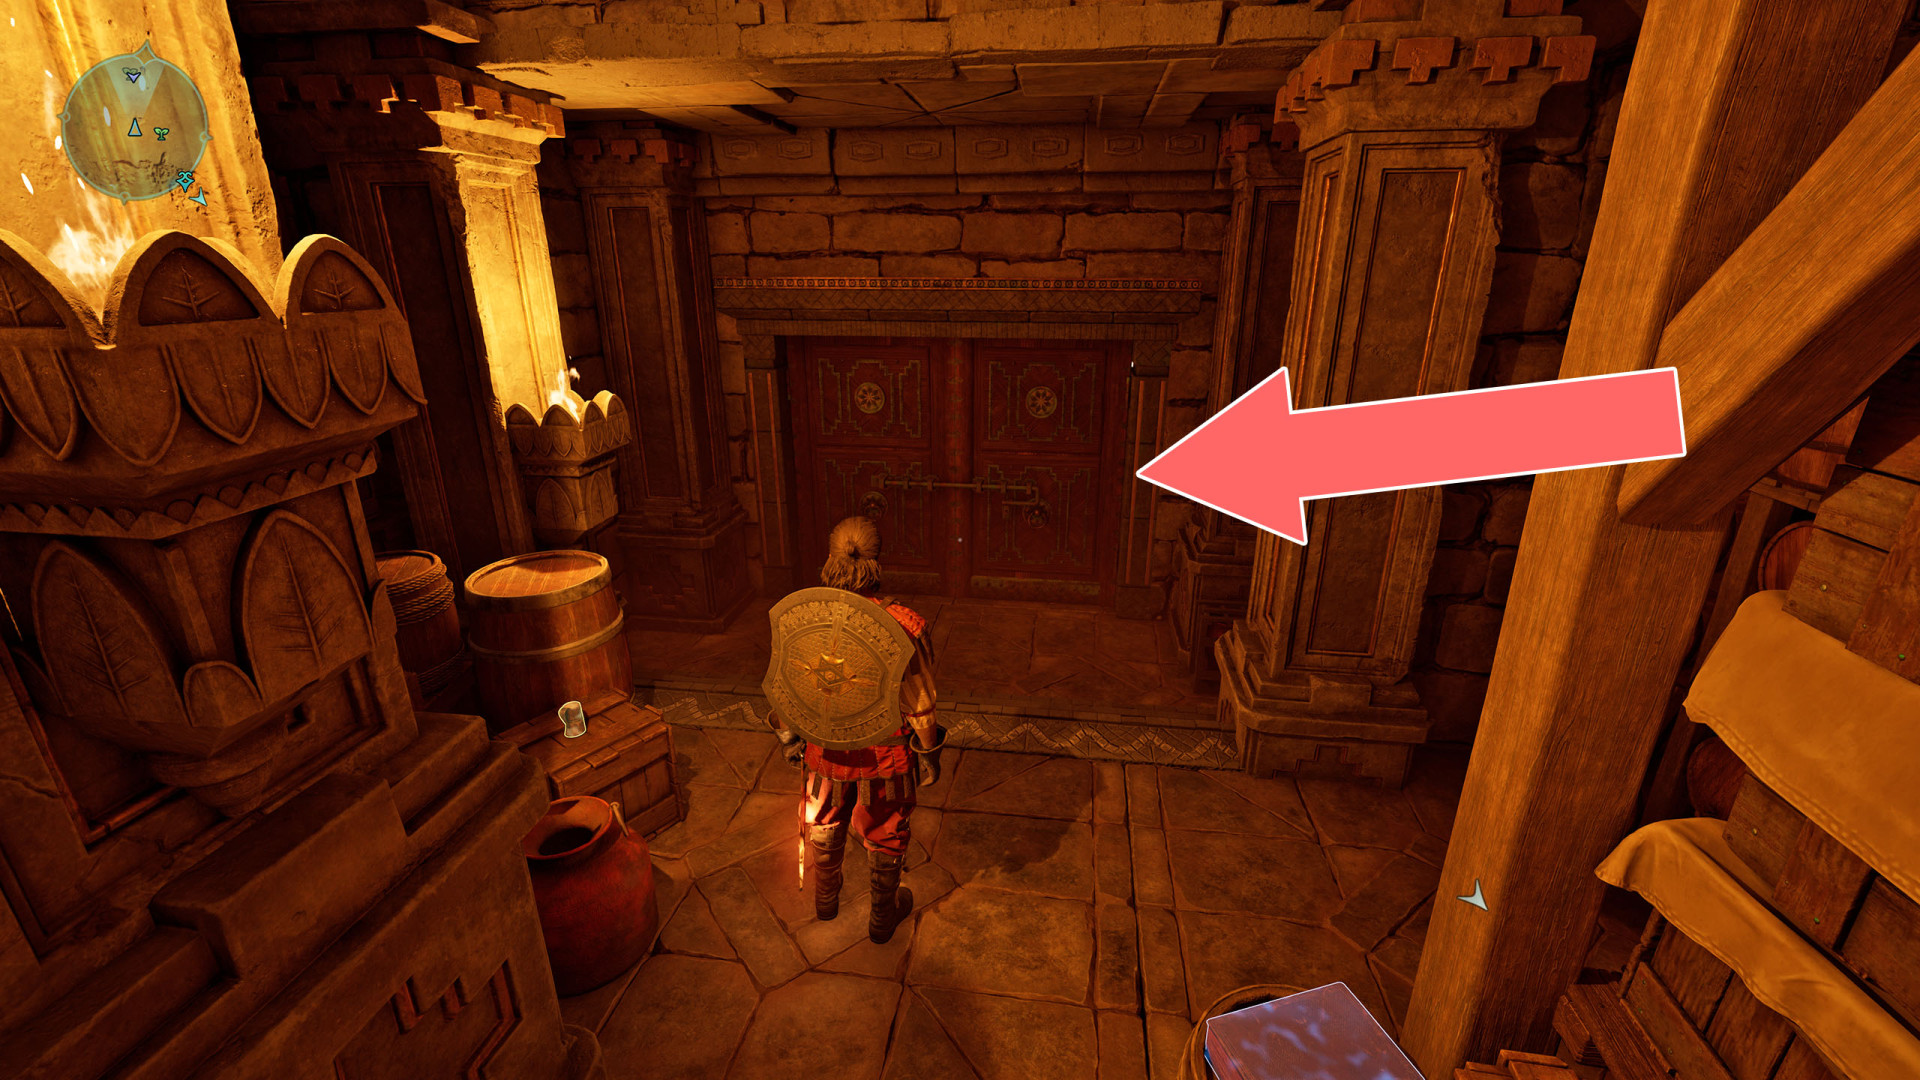
237Barred Door
They can be unlocked from the courtyard.
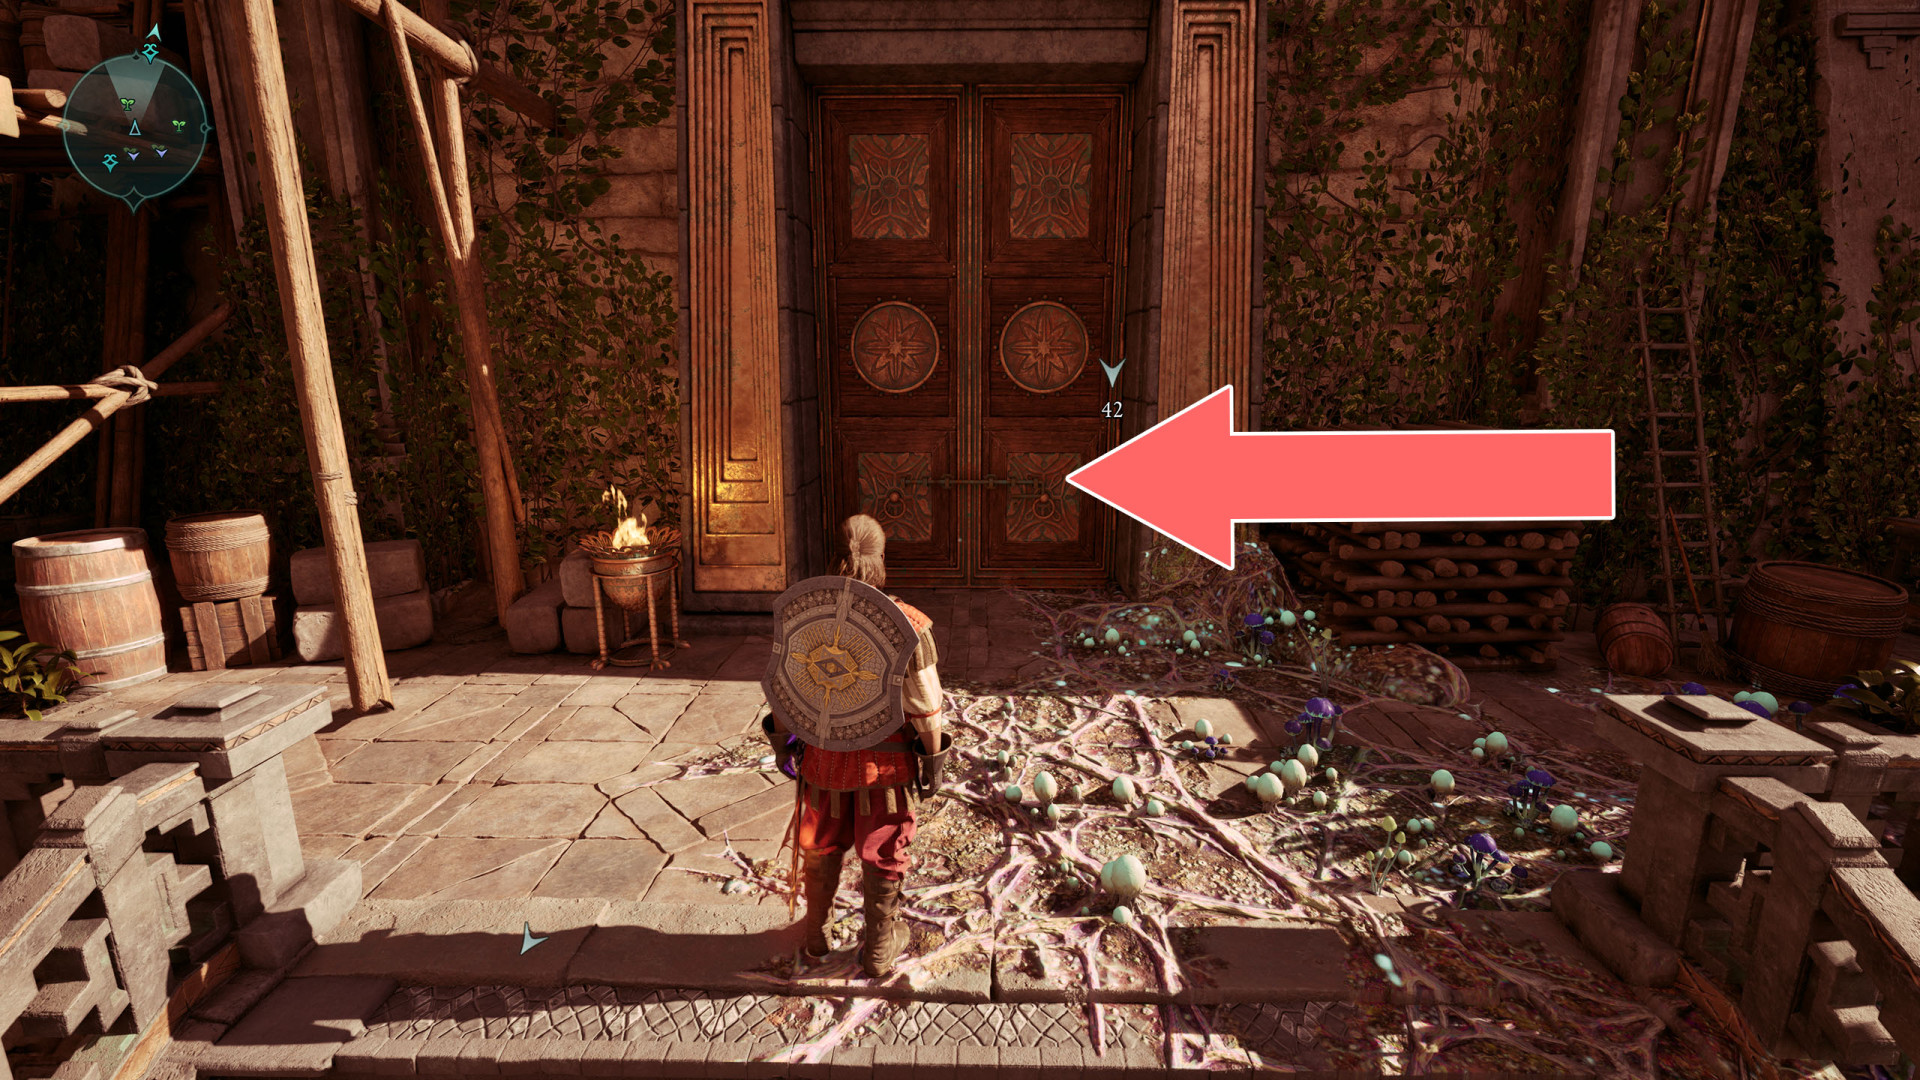
238Barred Gate
It can be unlocked from the south side.
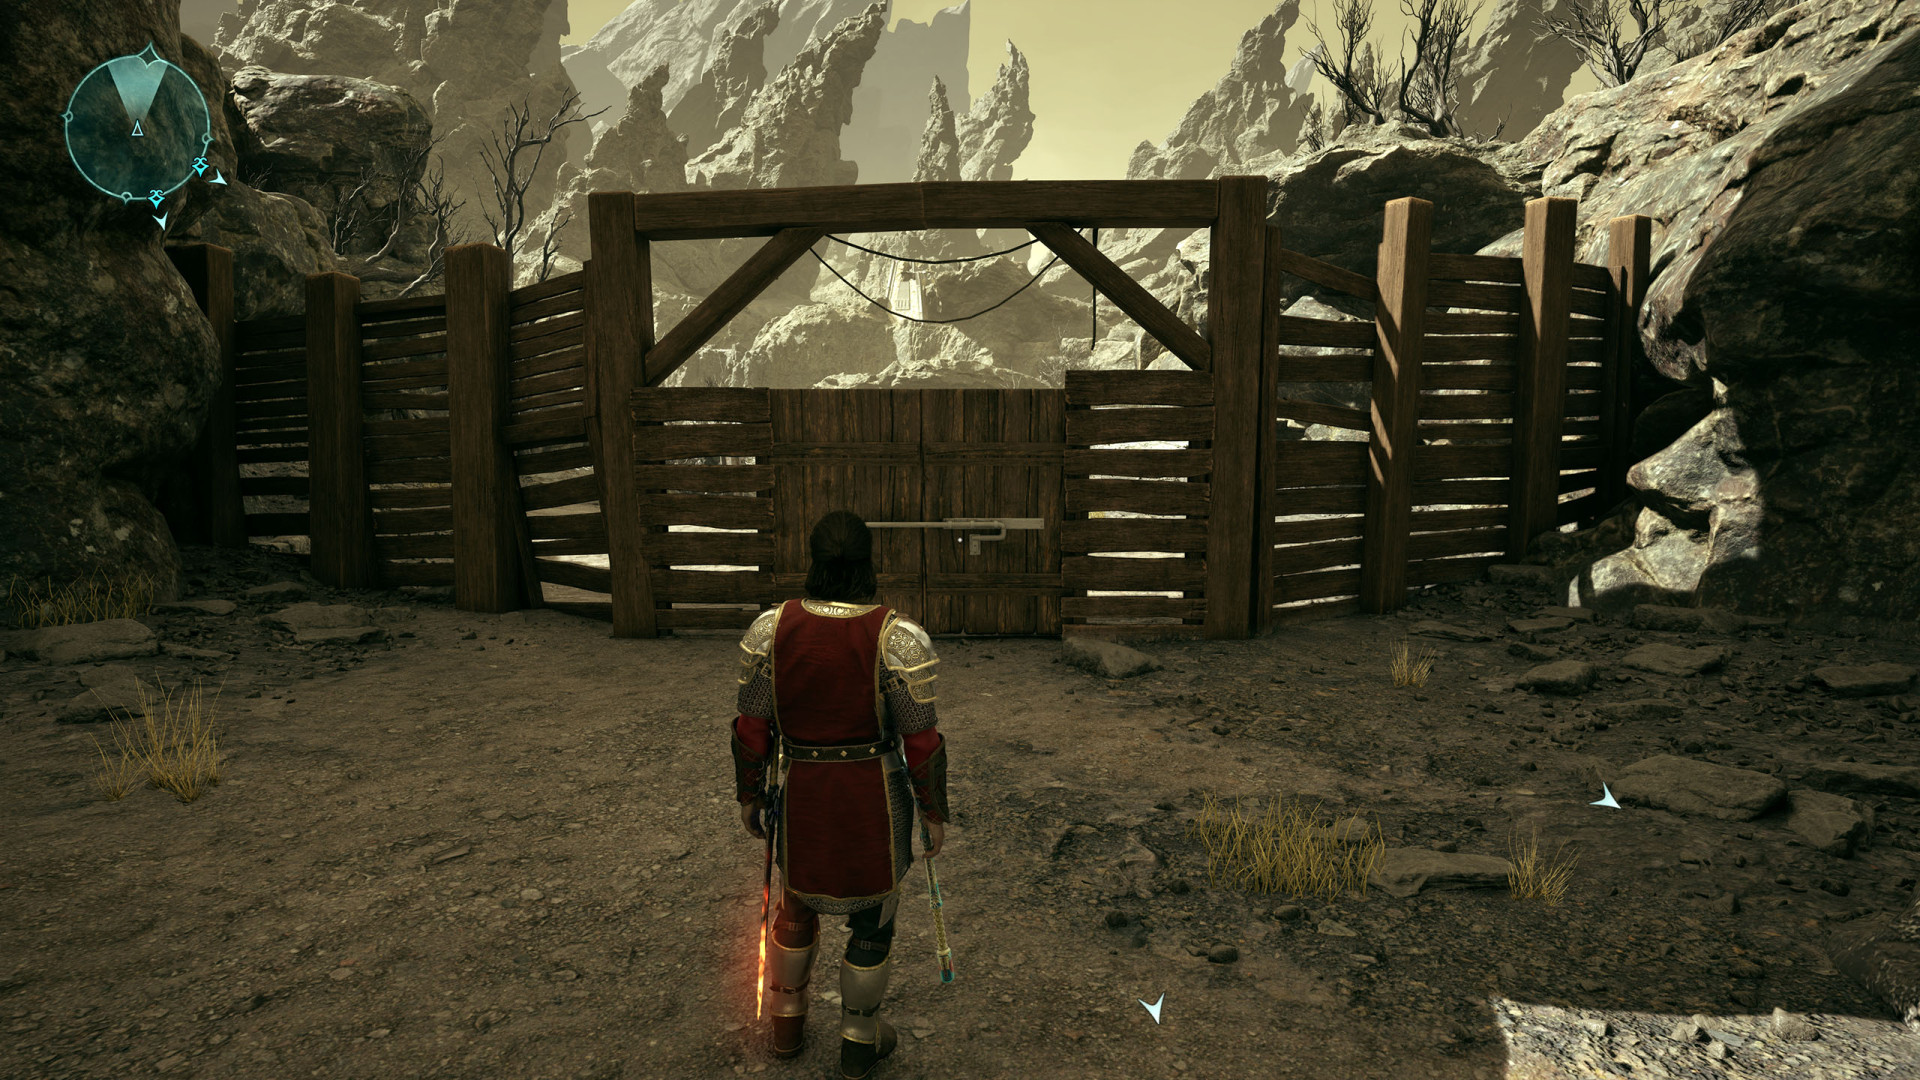
239Brambles
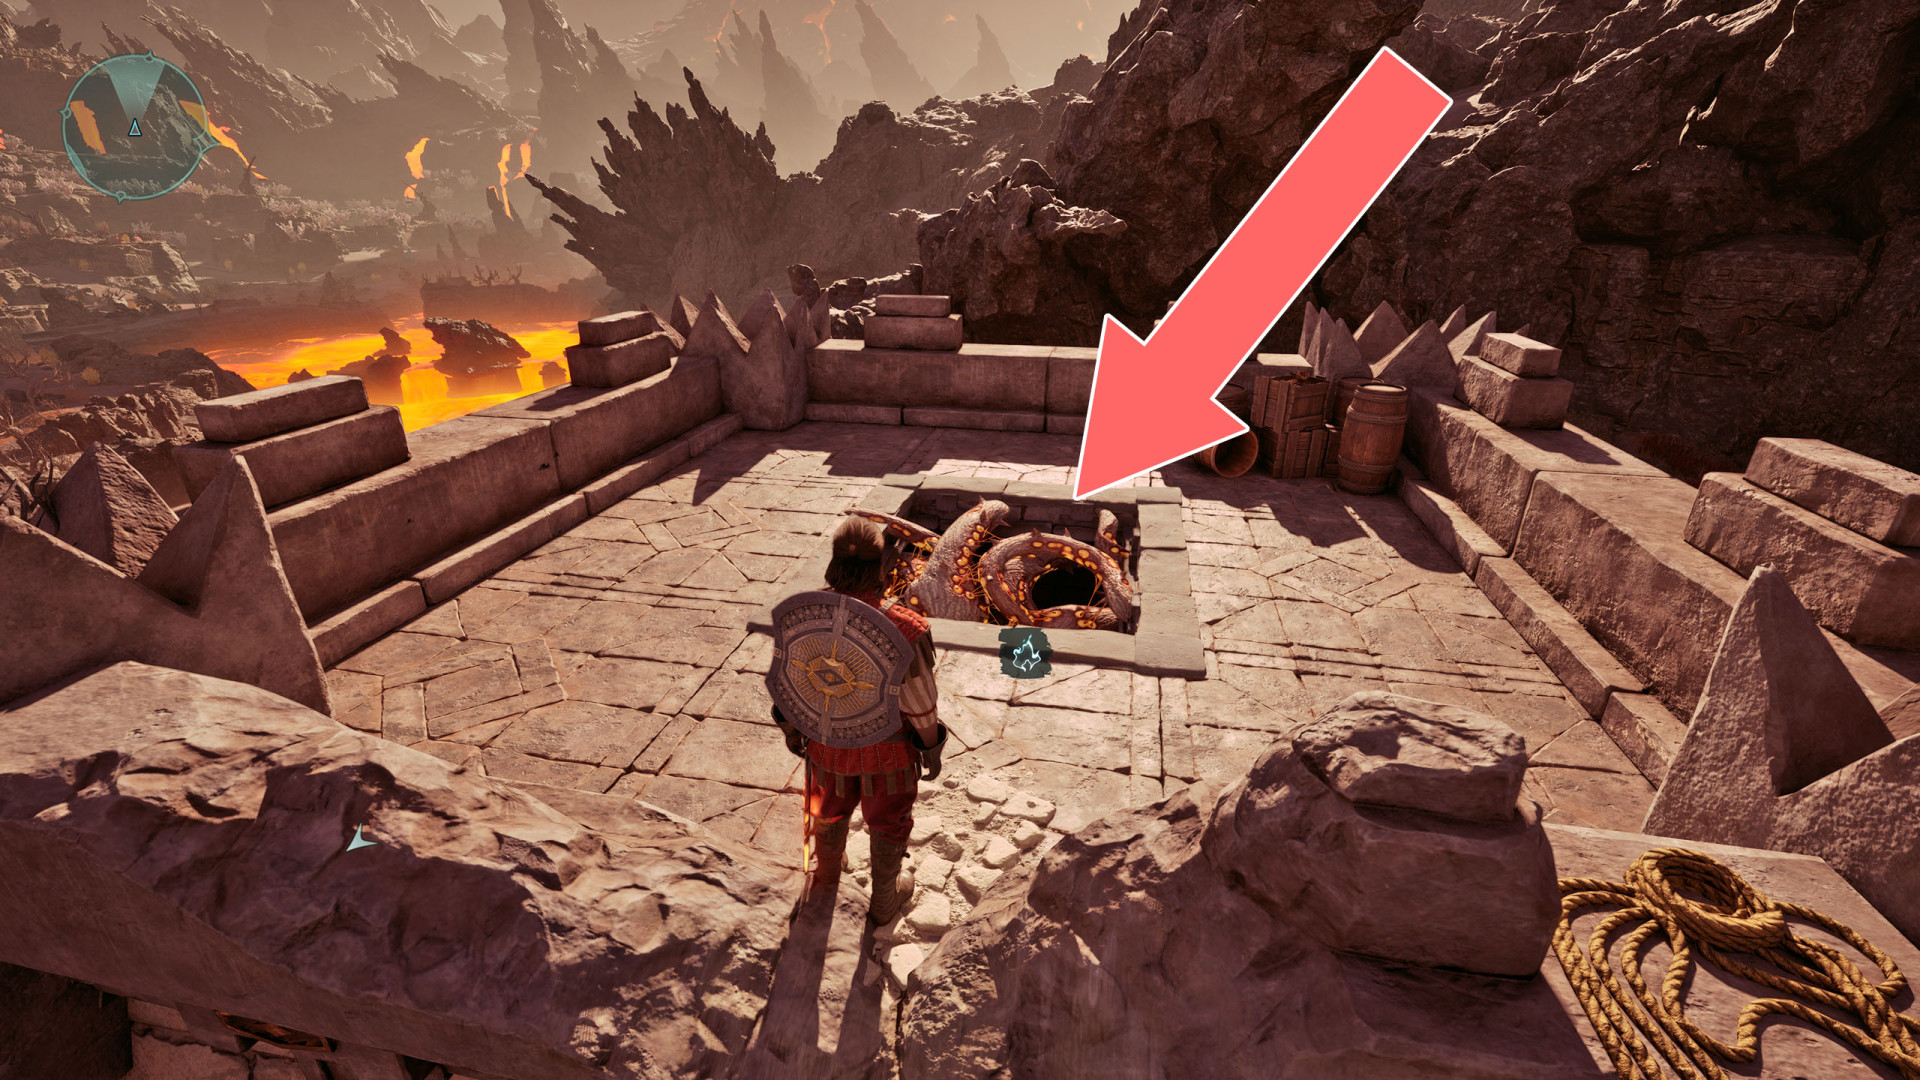
240Brambles
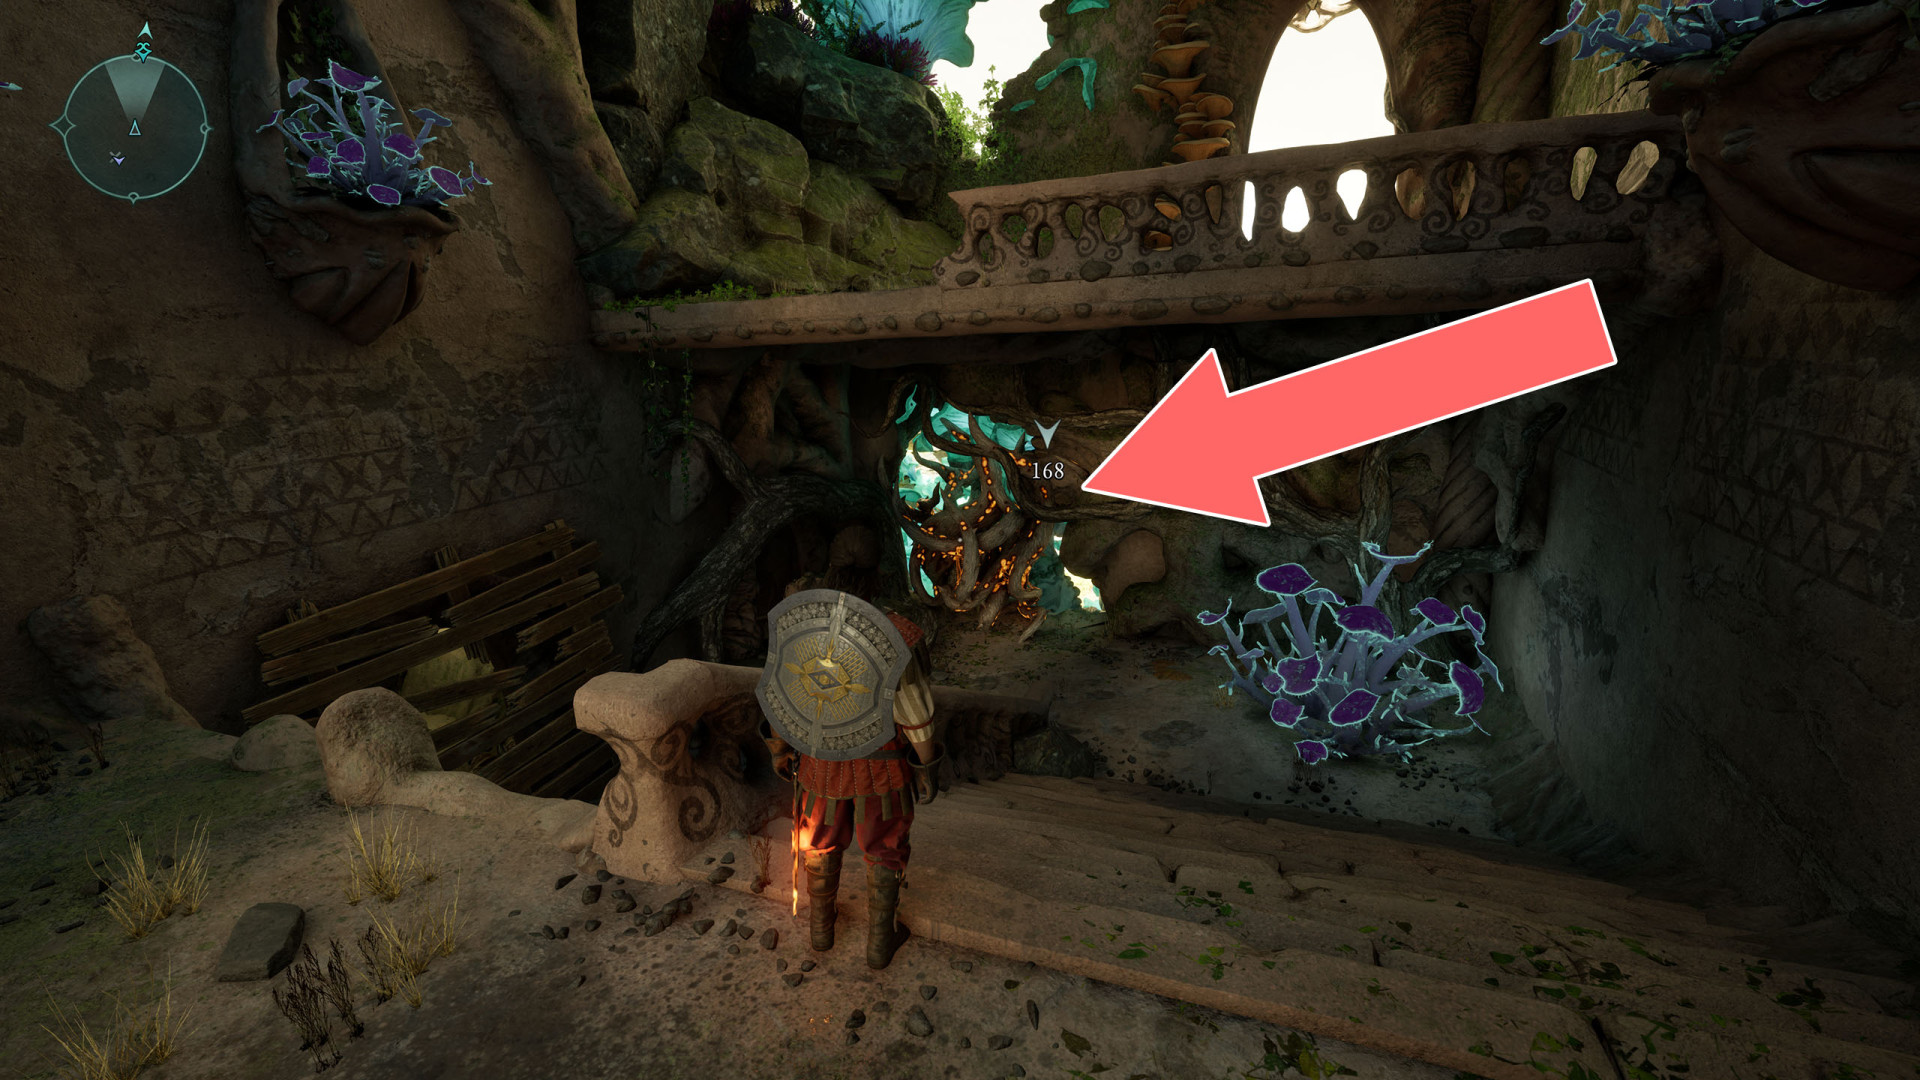
241Brambles
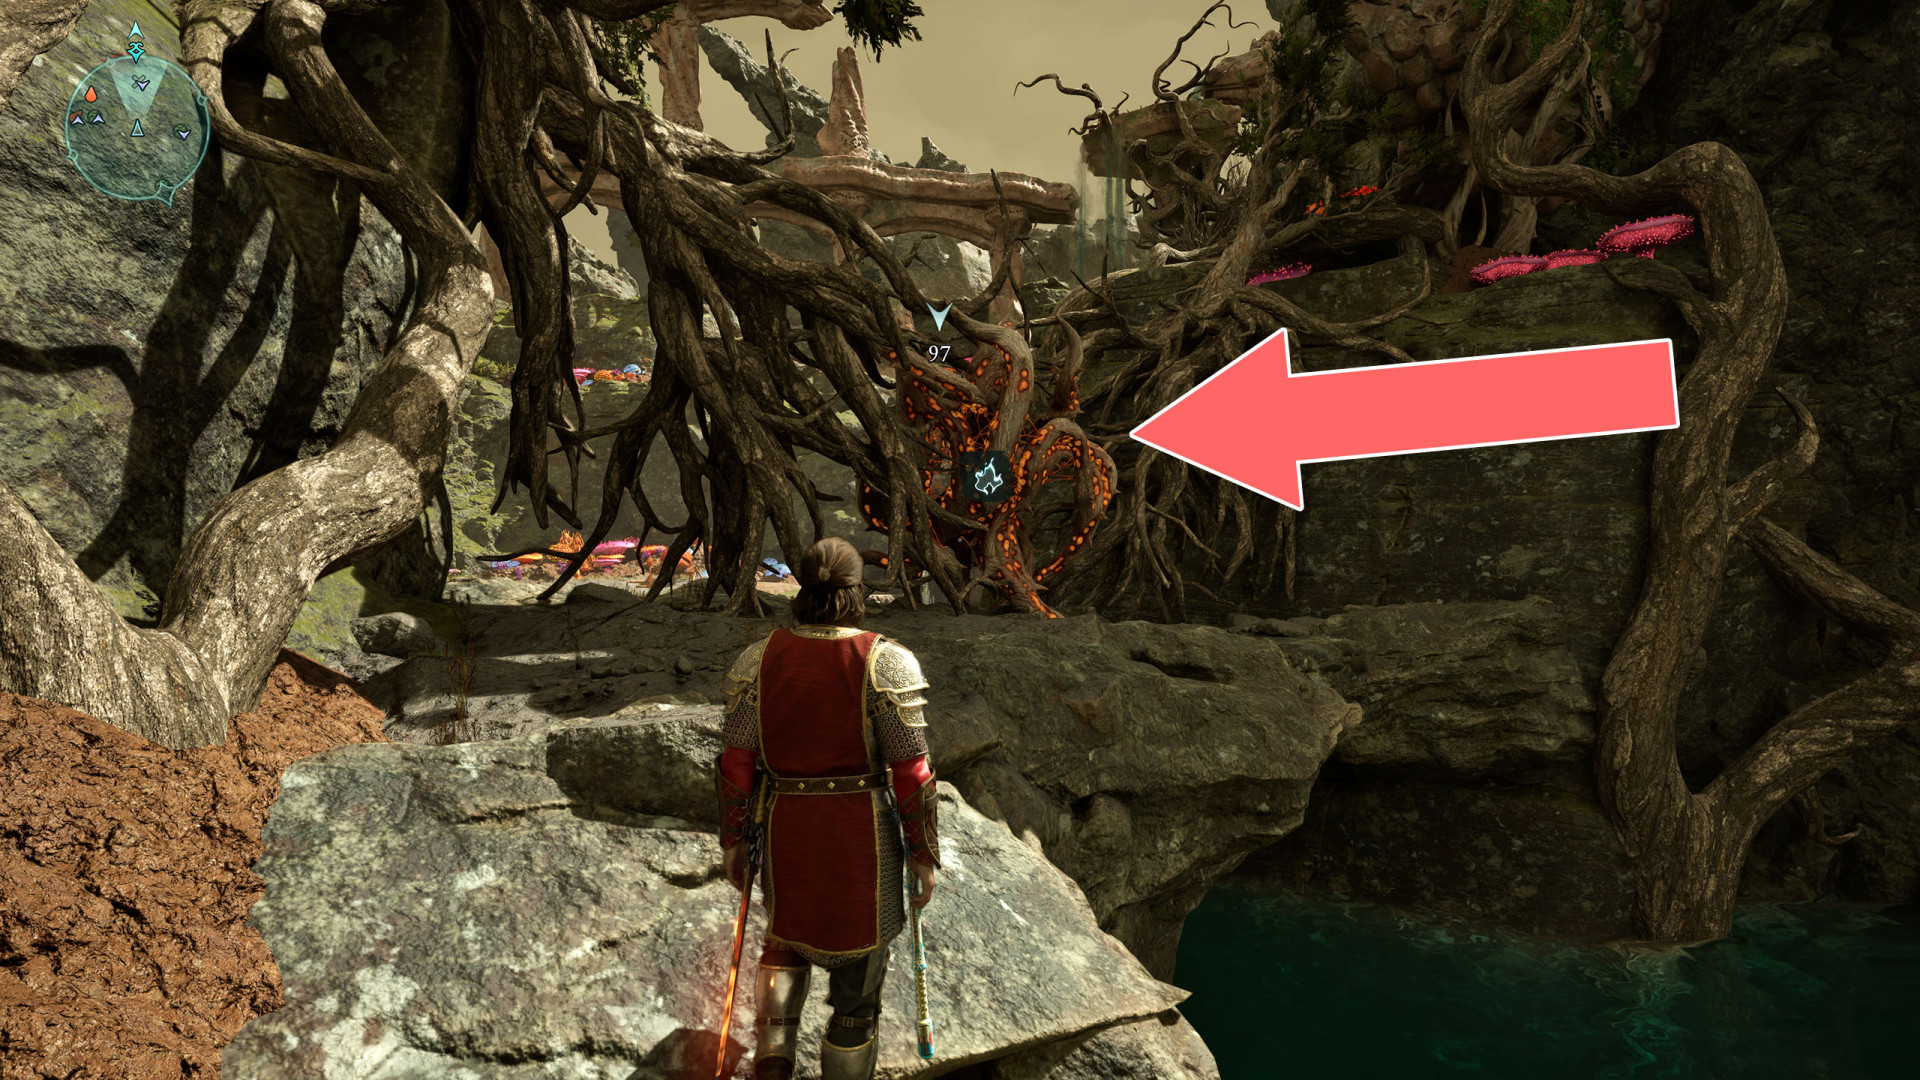
242Brambles
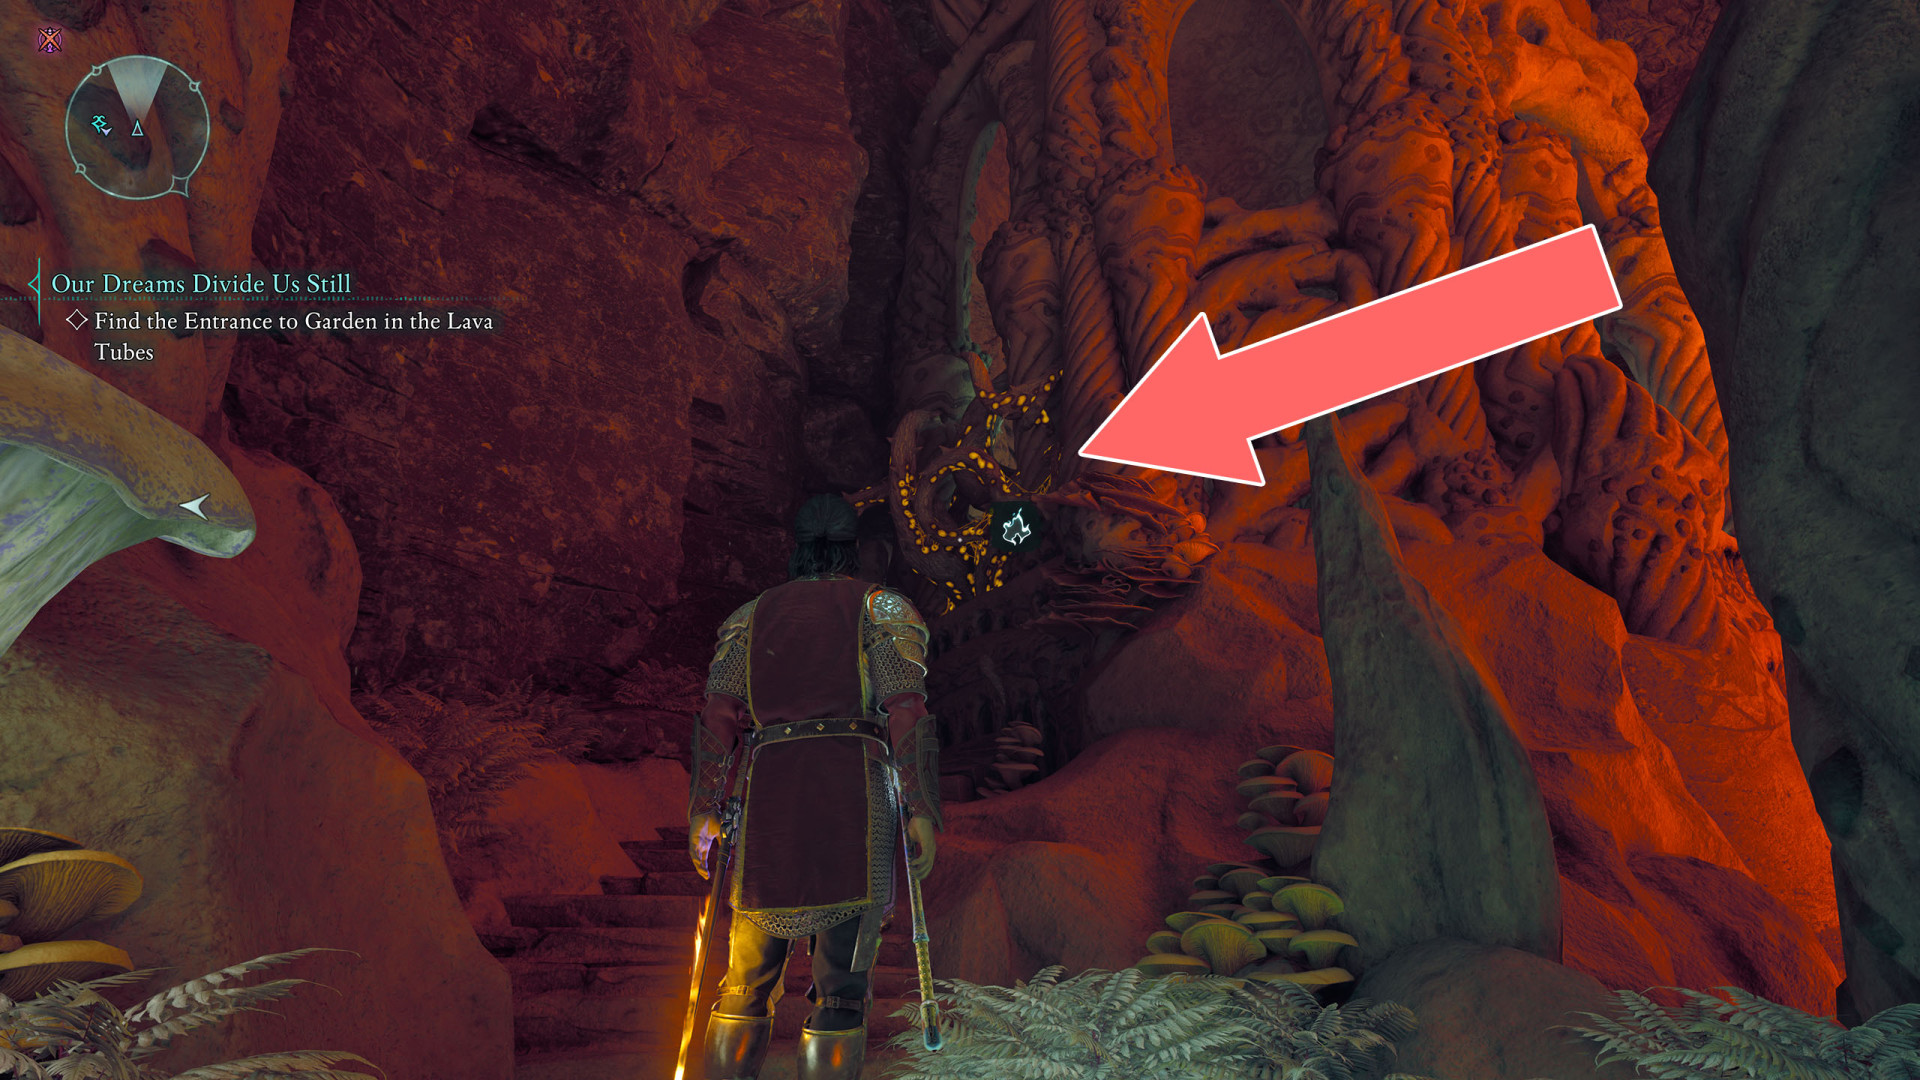
243Brambles
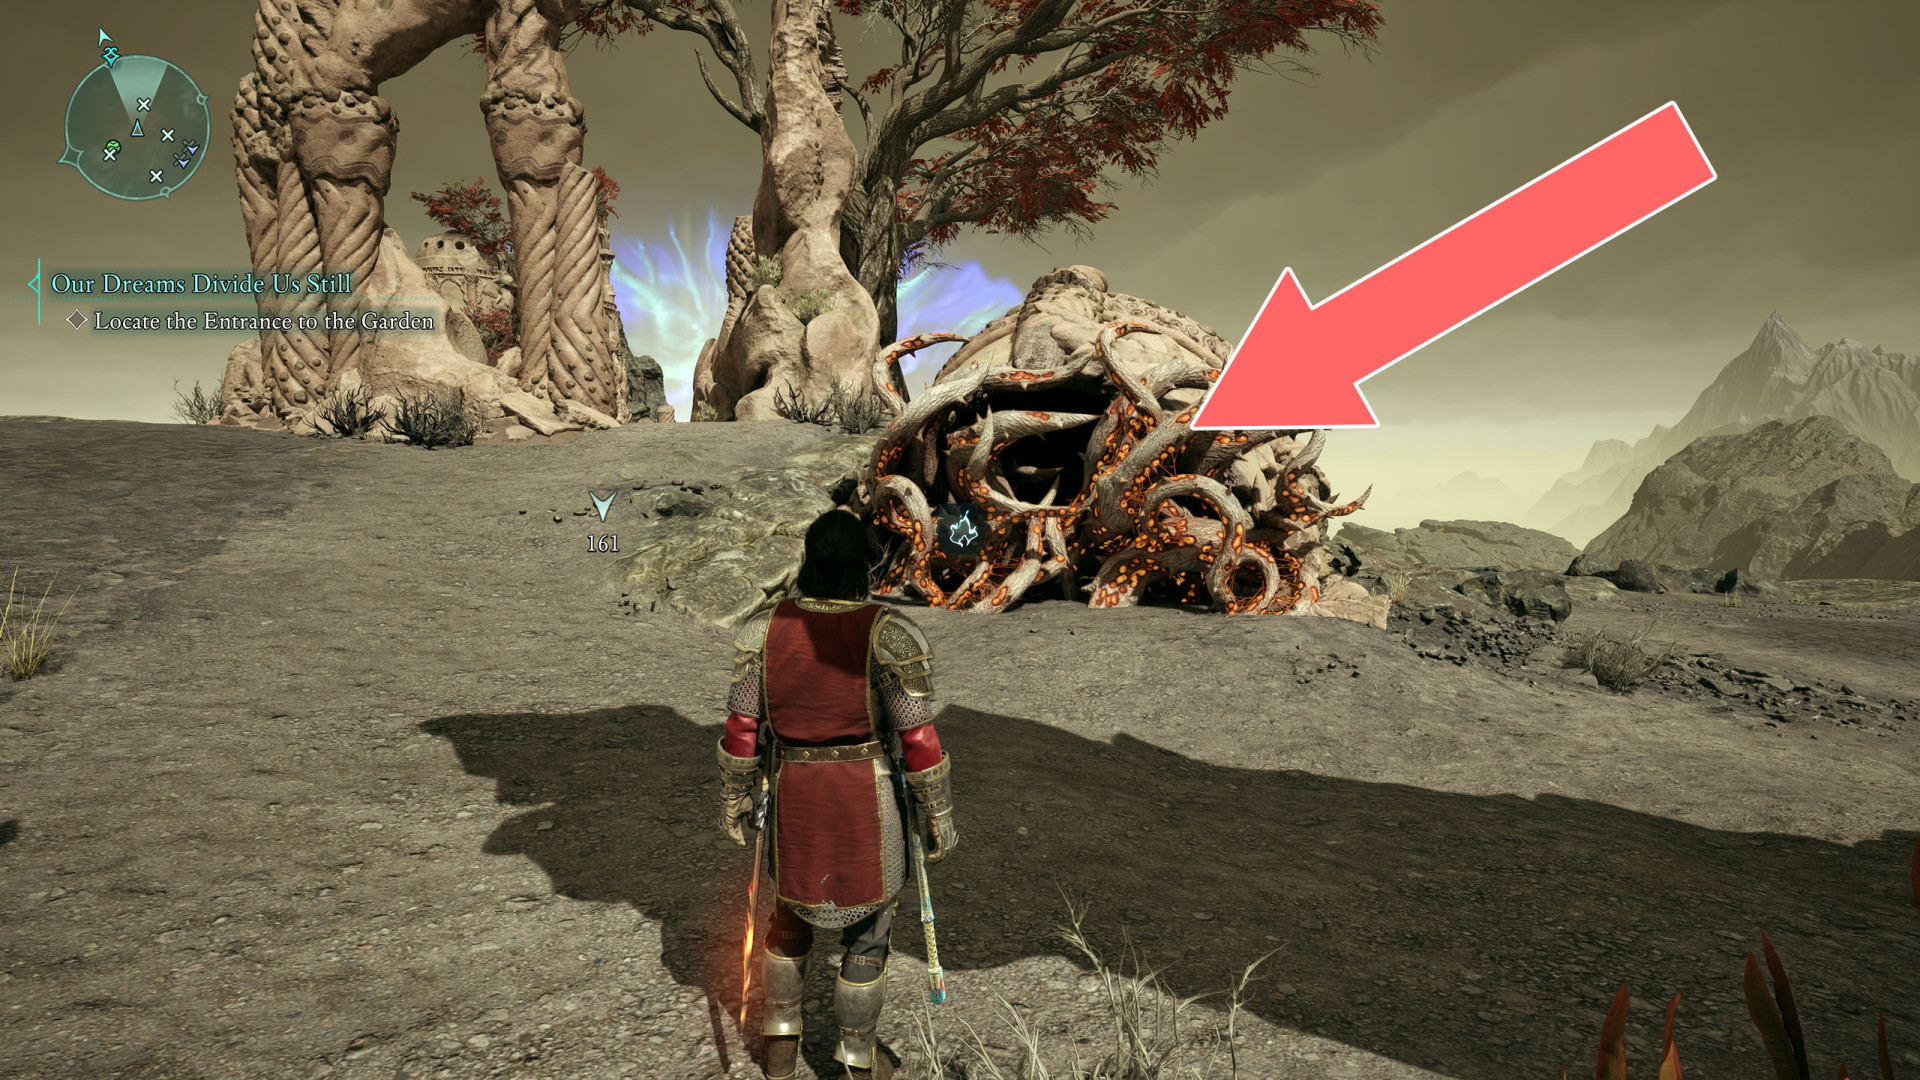
244Brambles
Related side quest: Boundaries of Antiquity.
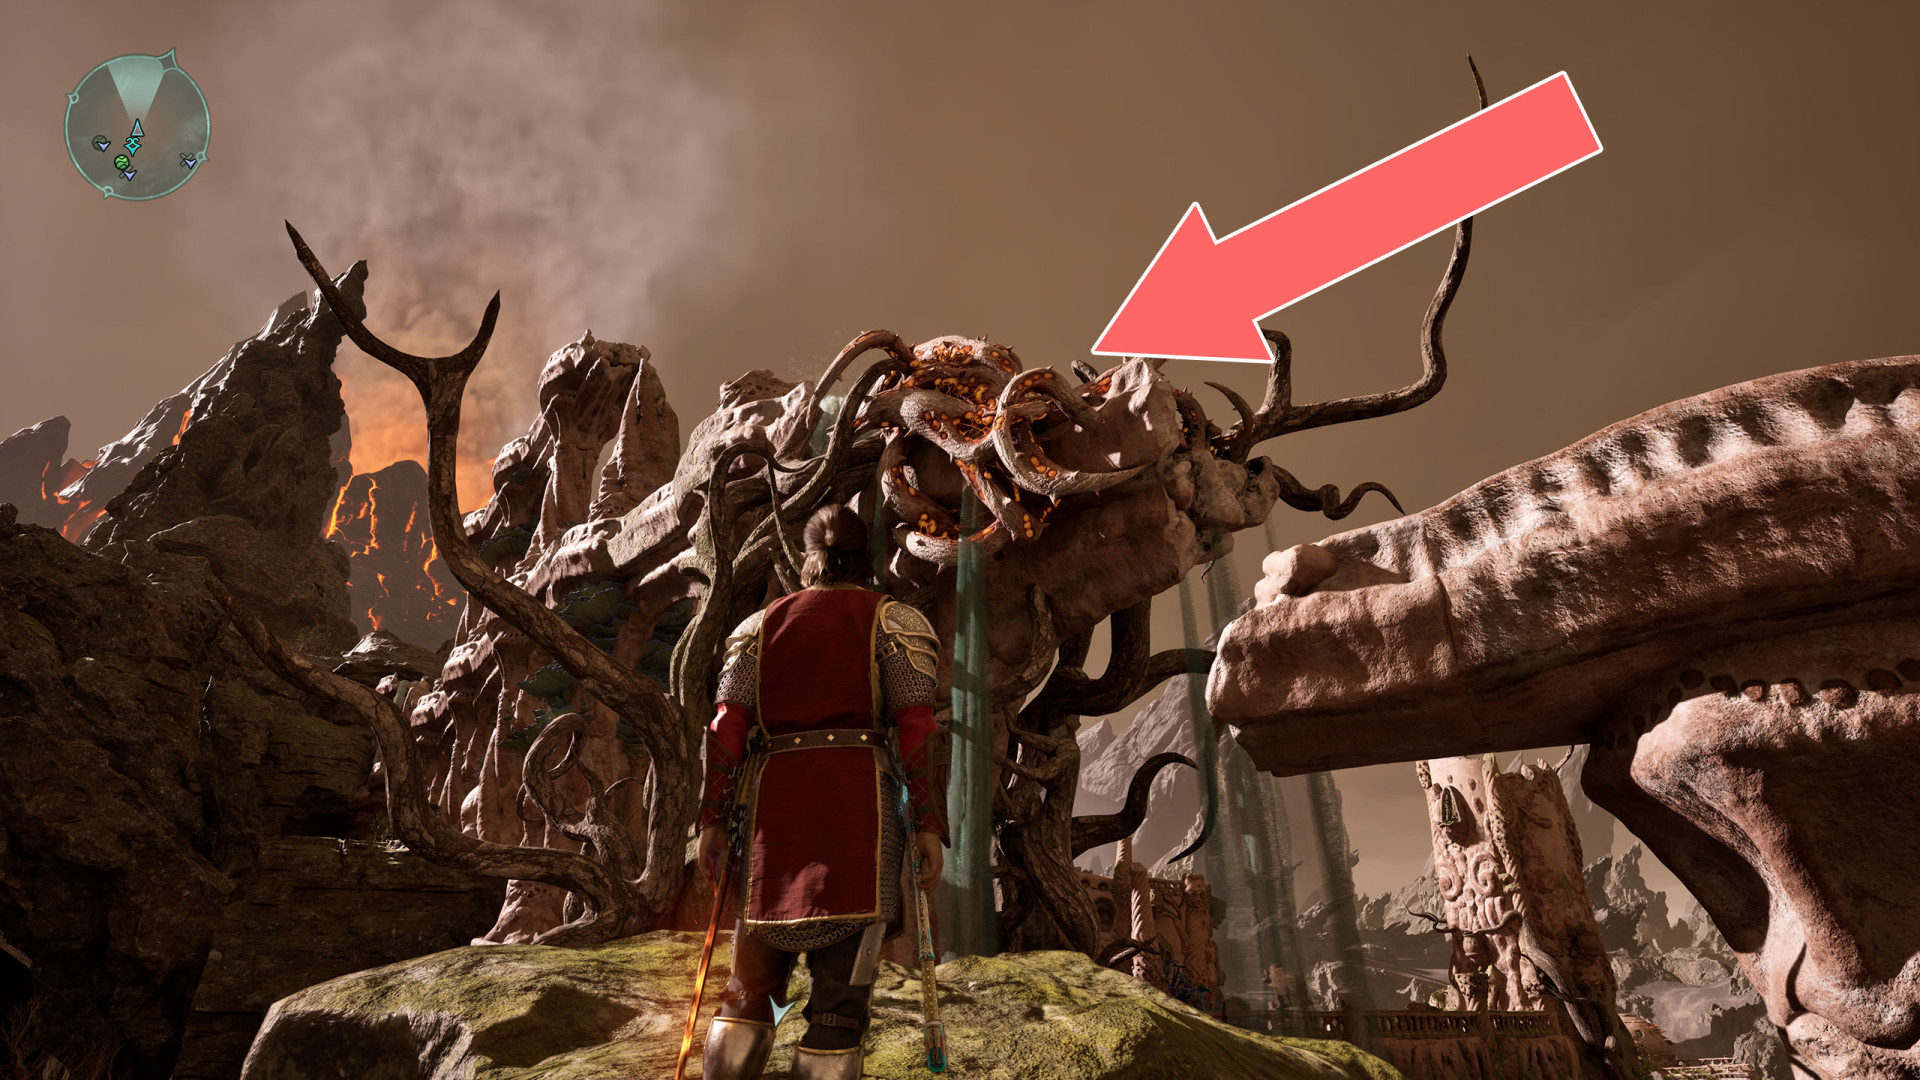
245Brambles
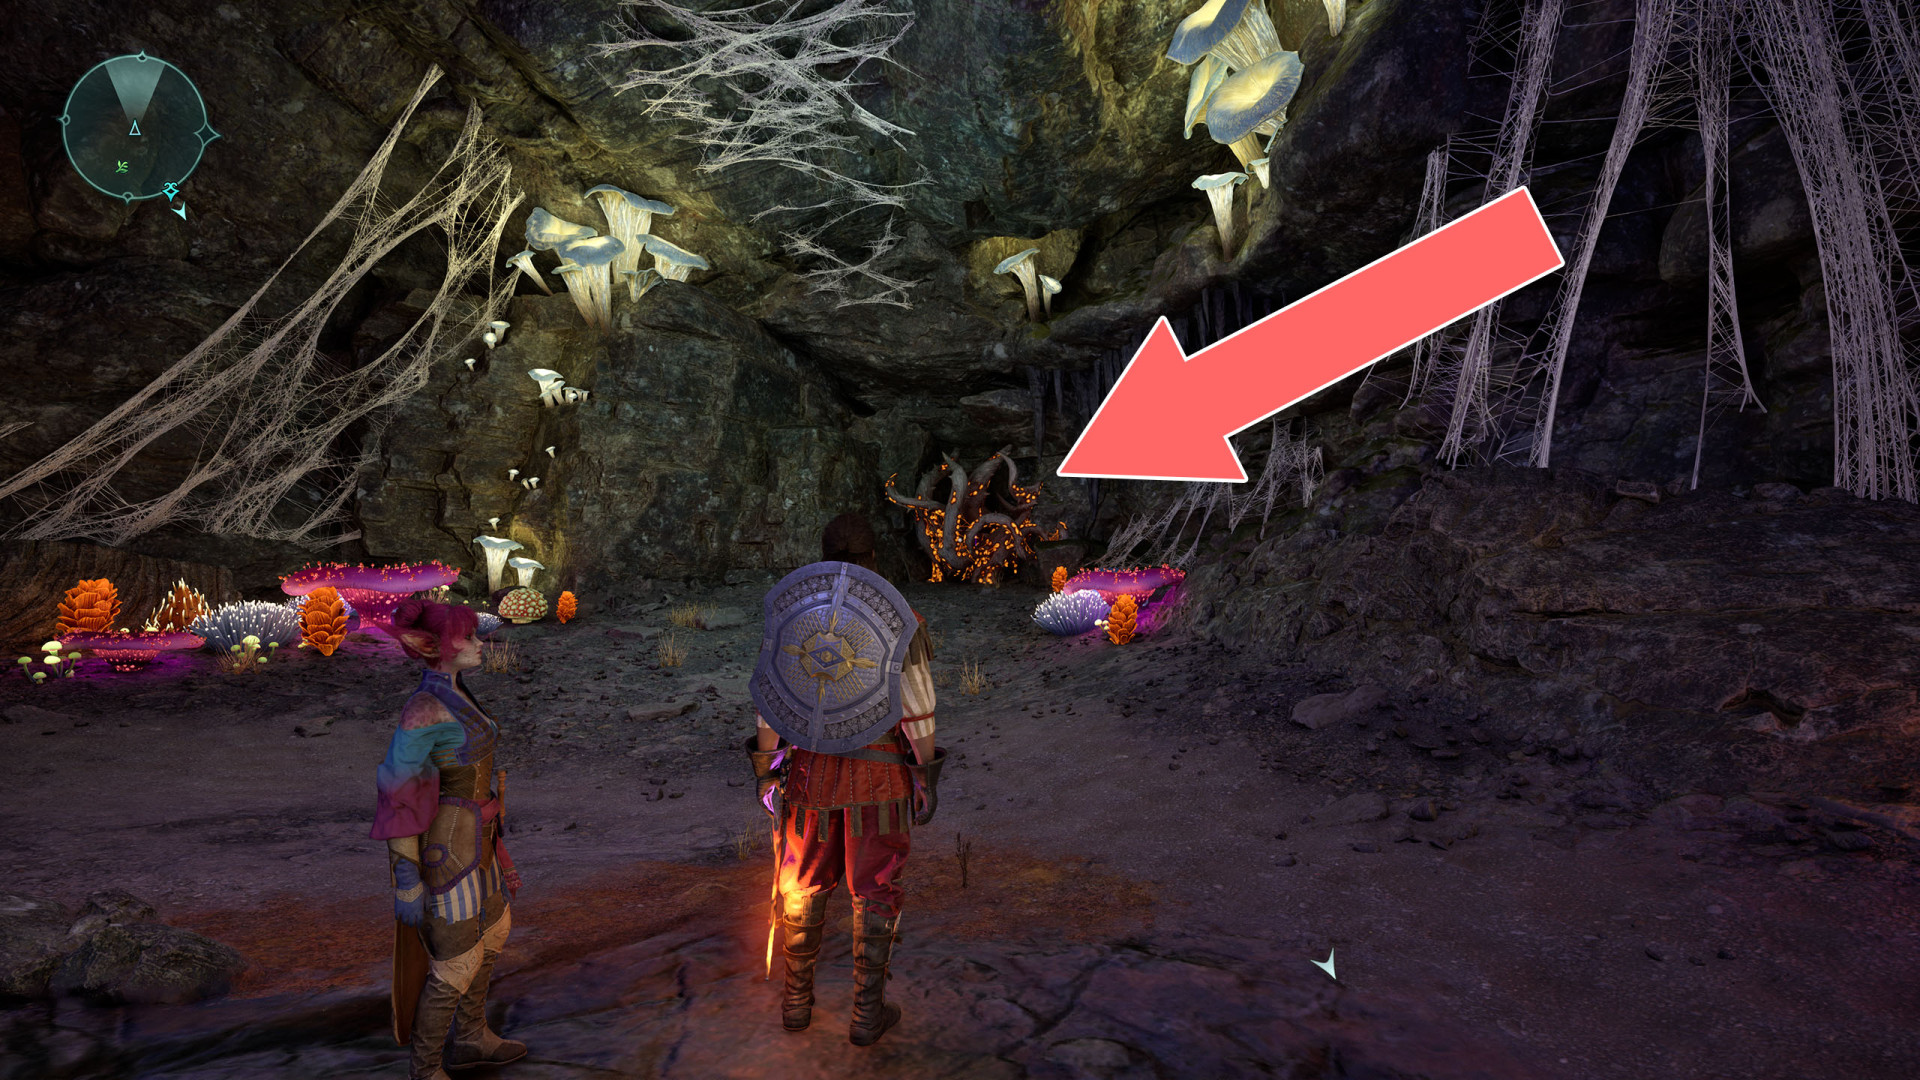
246Brambles
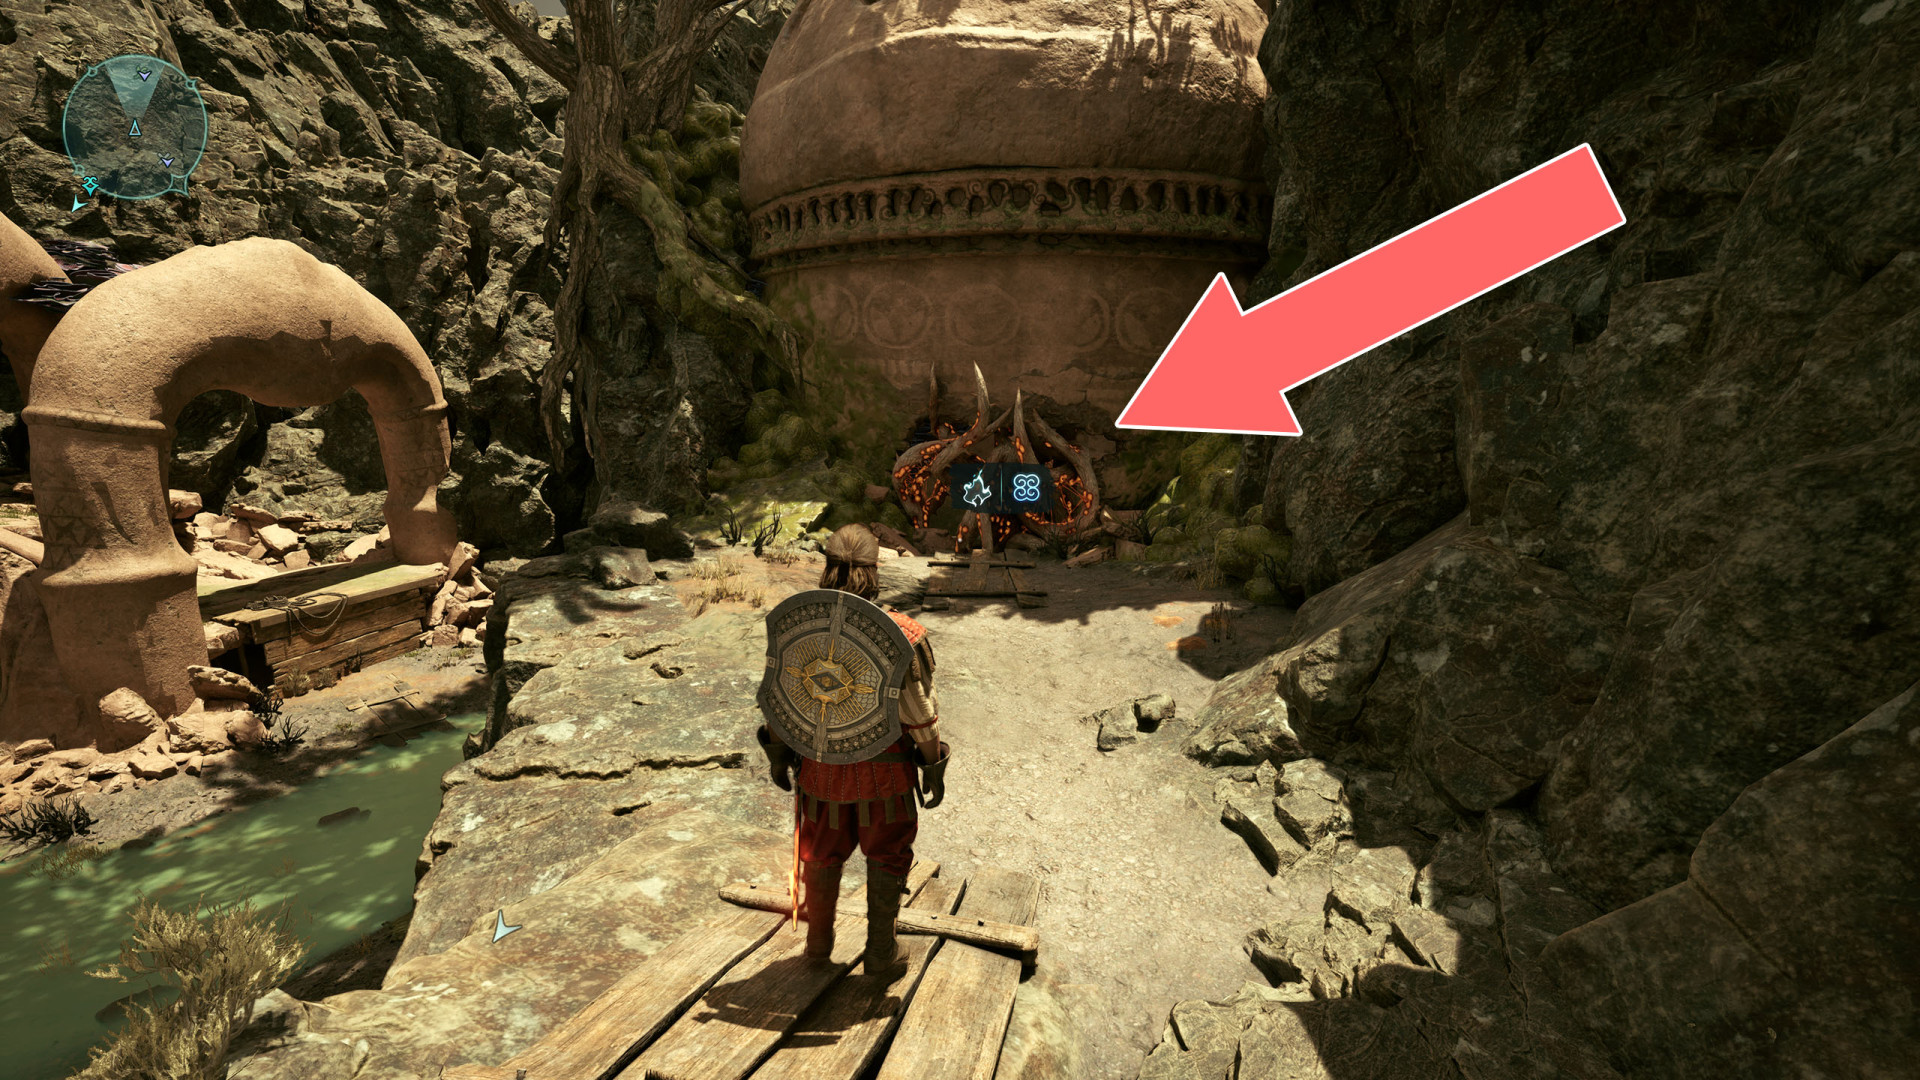
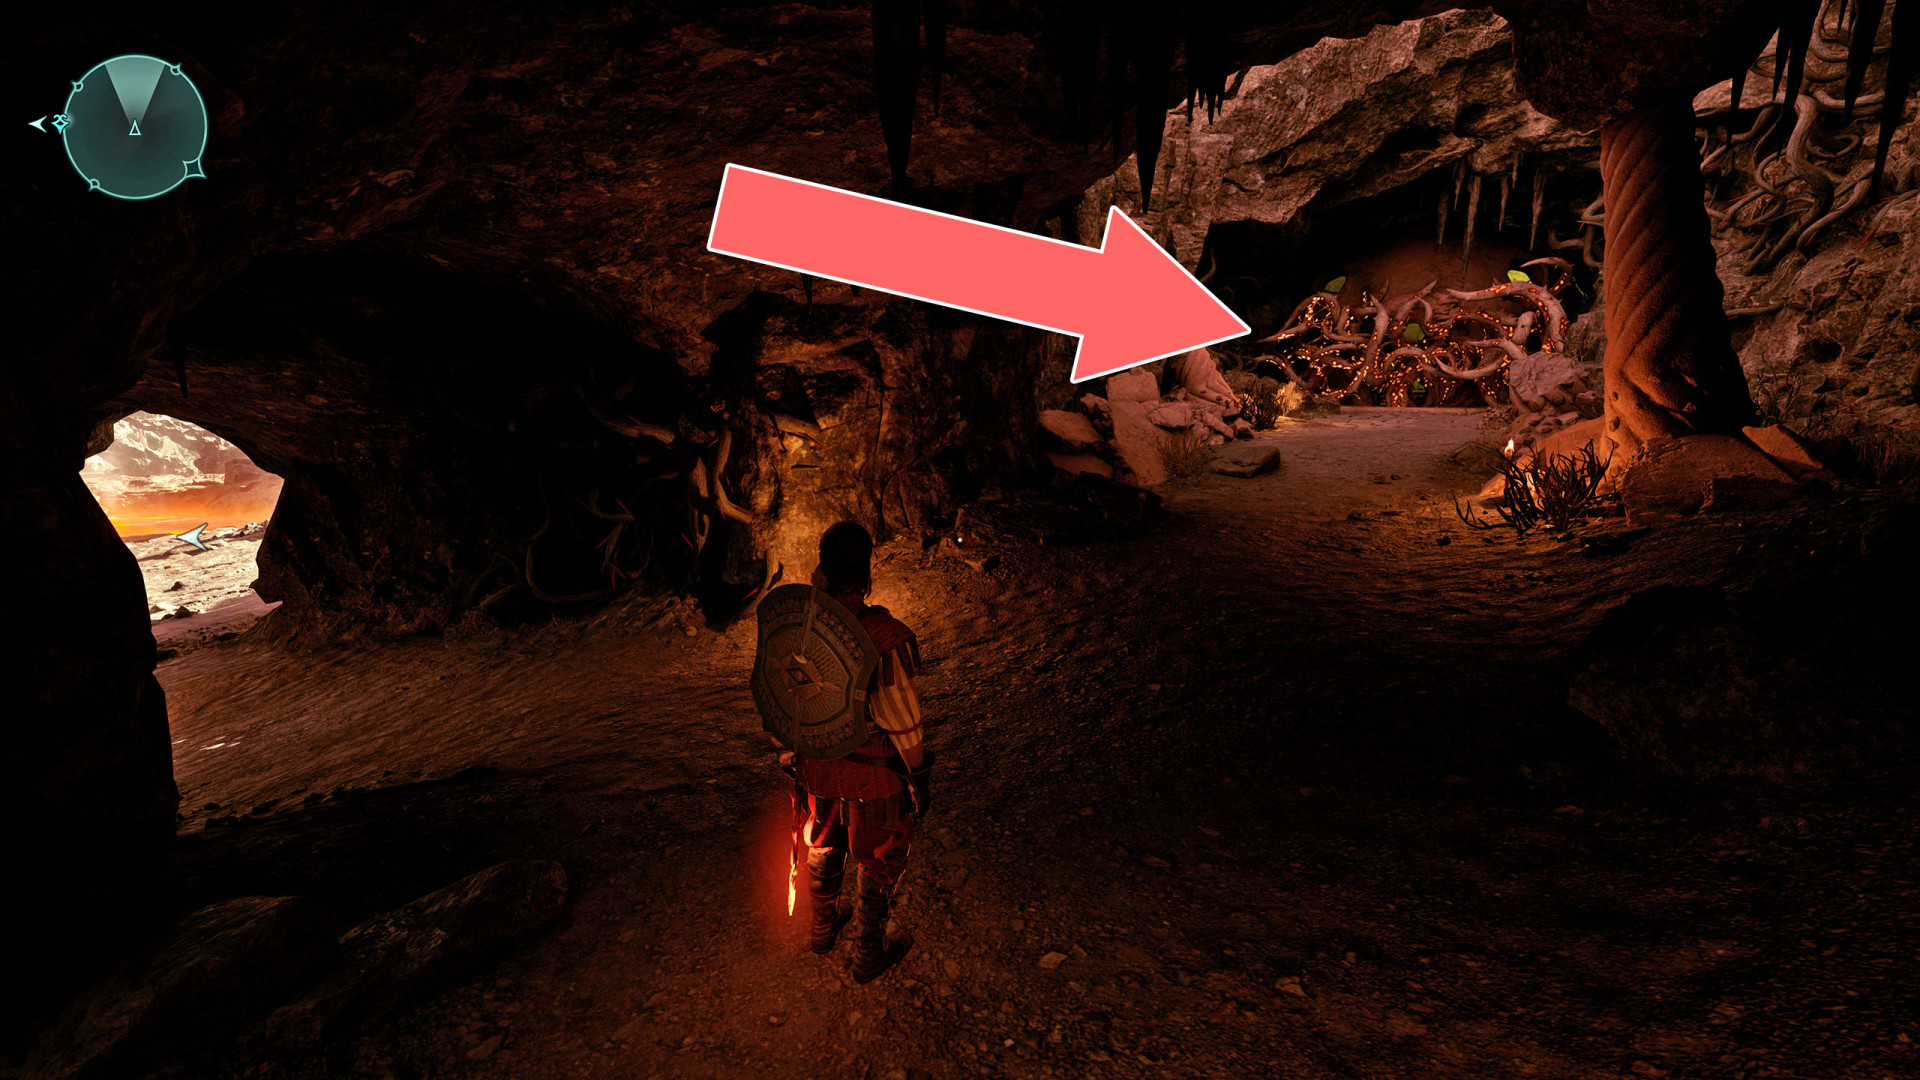
247Brambles x3
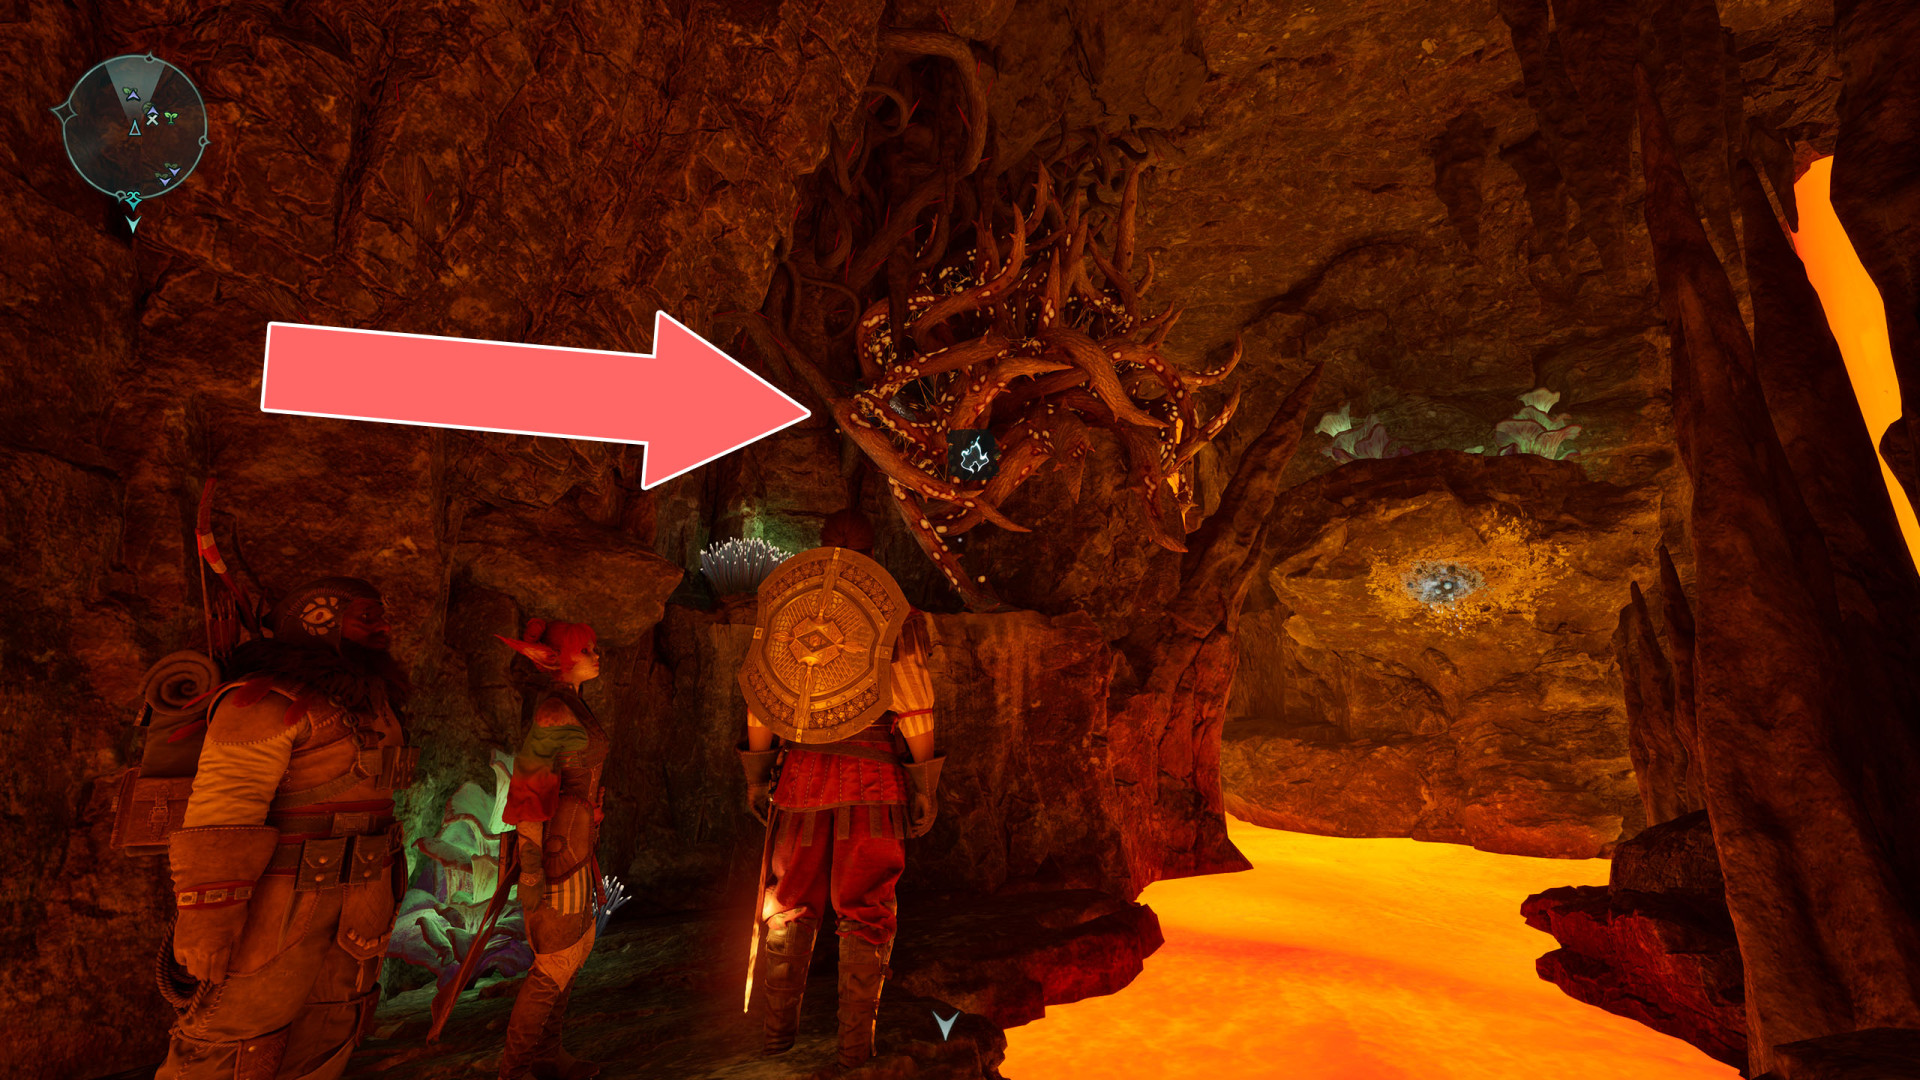
248Brambles x4
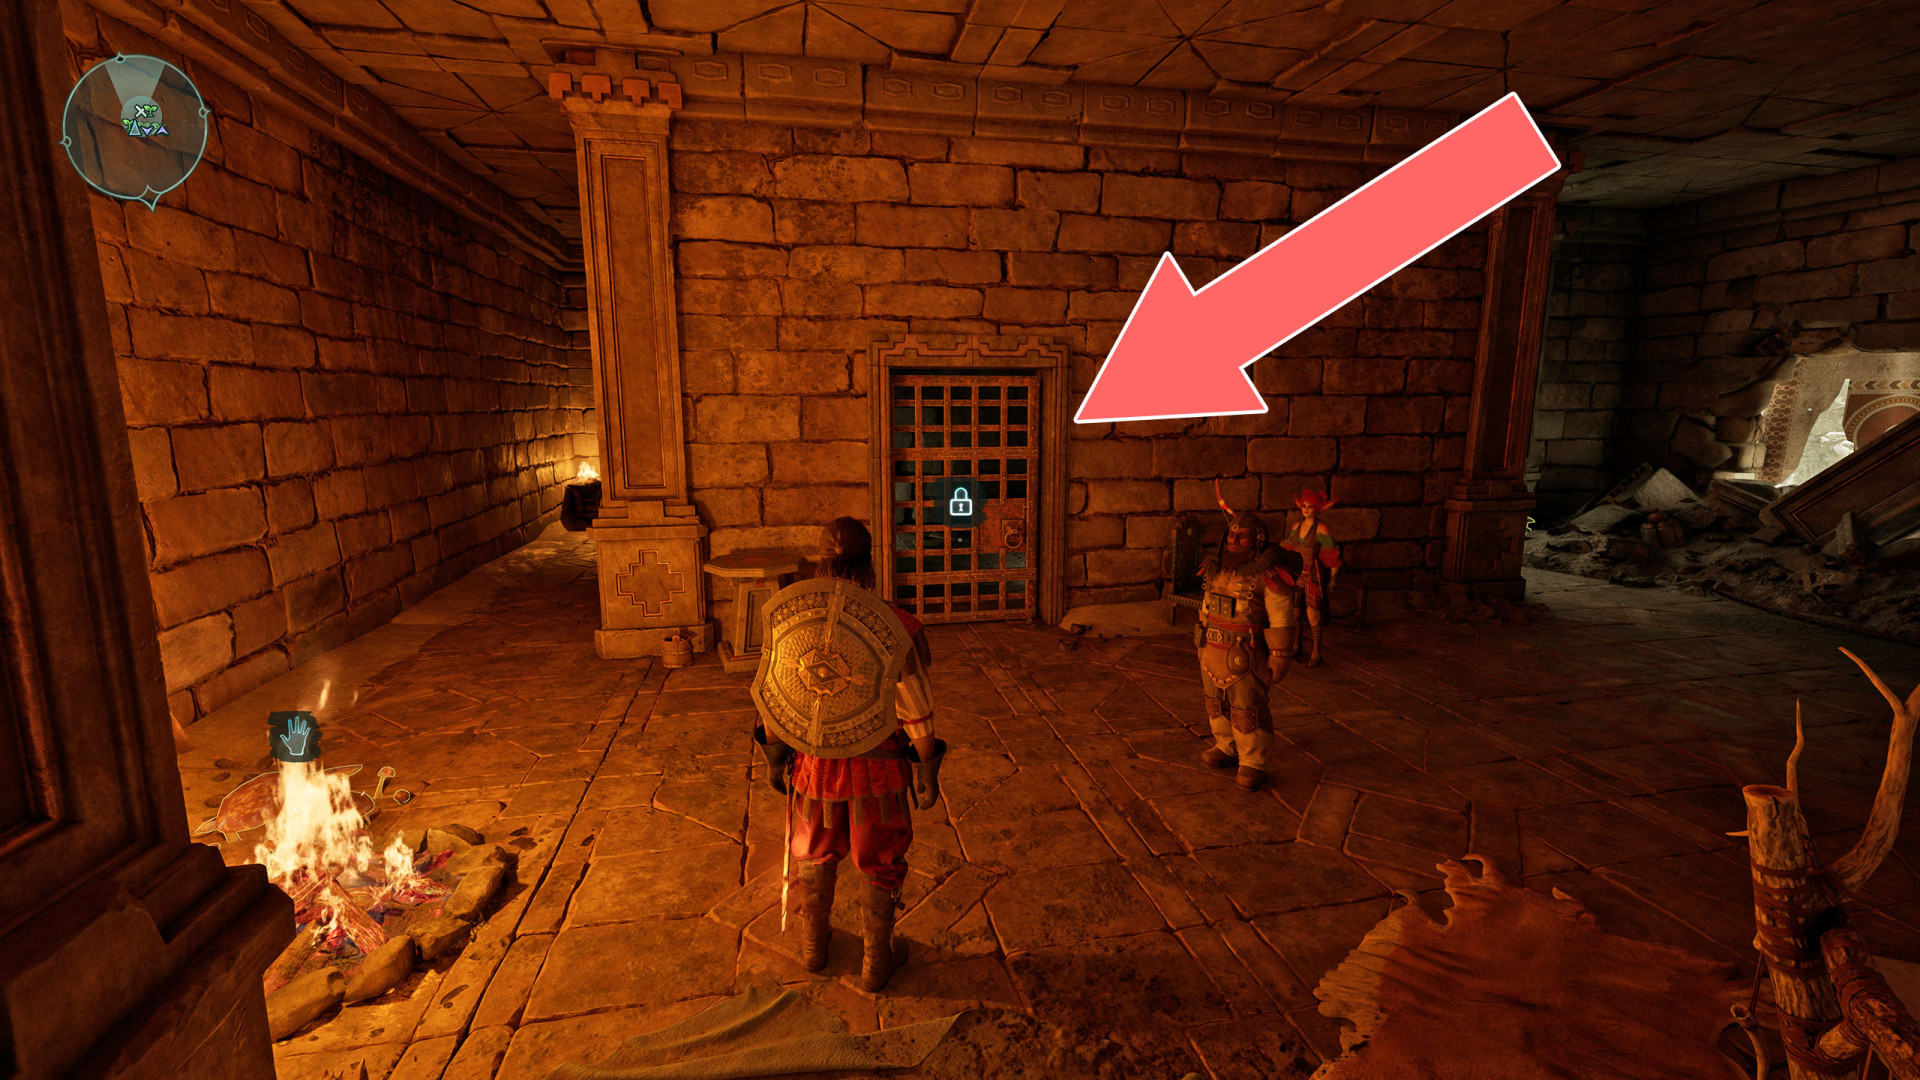
249Cell Gate
Unlocks with: Twisted Iron Key or Lockpick x5.
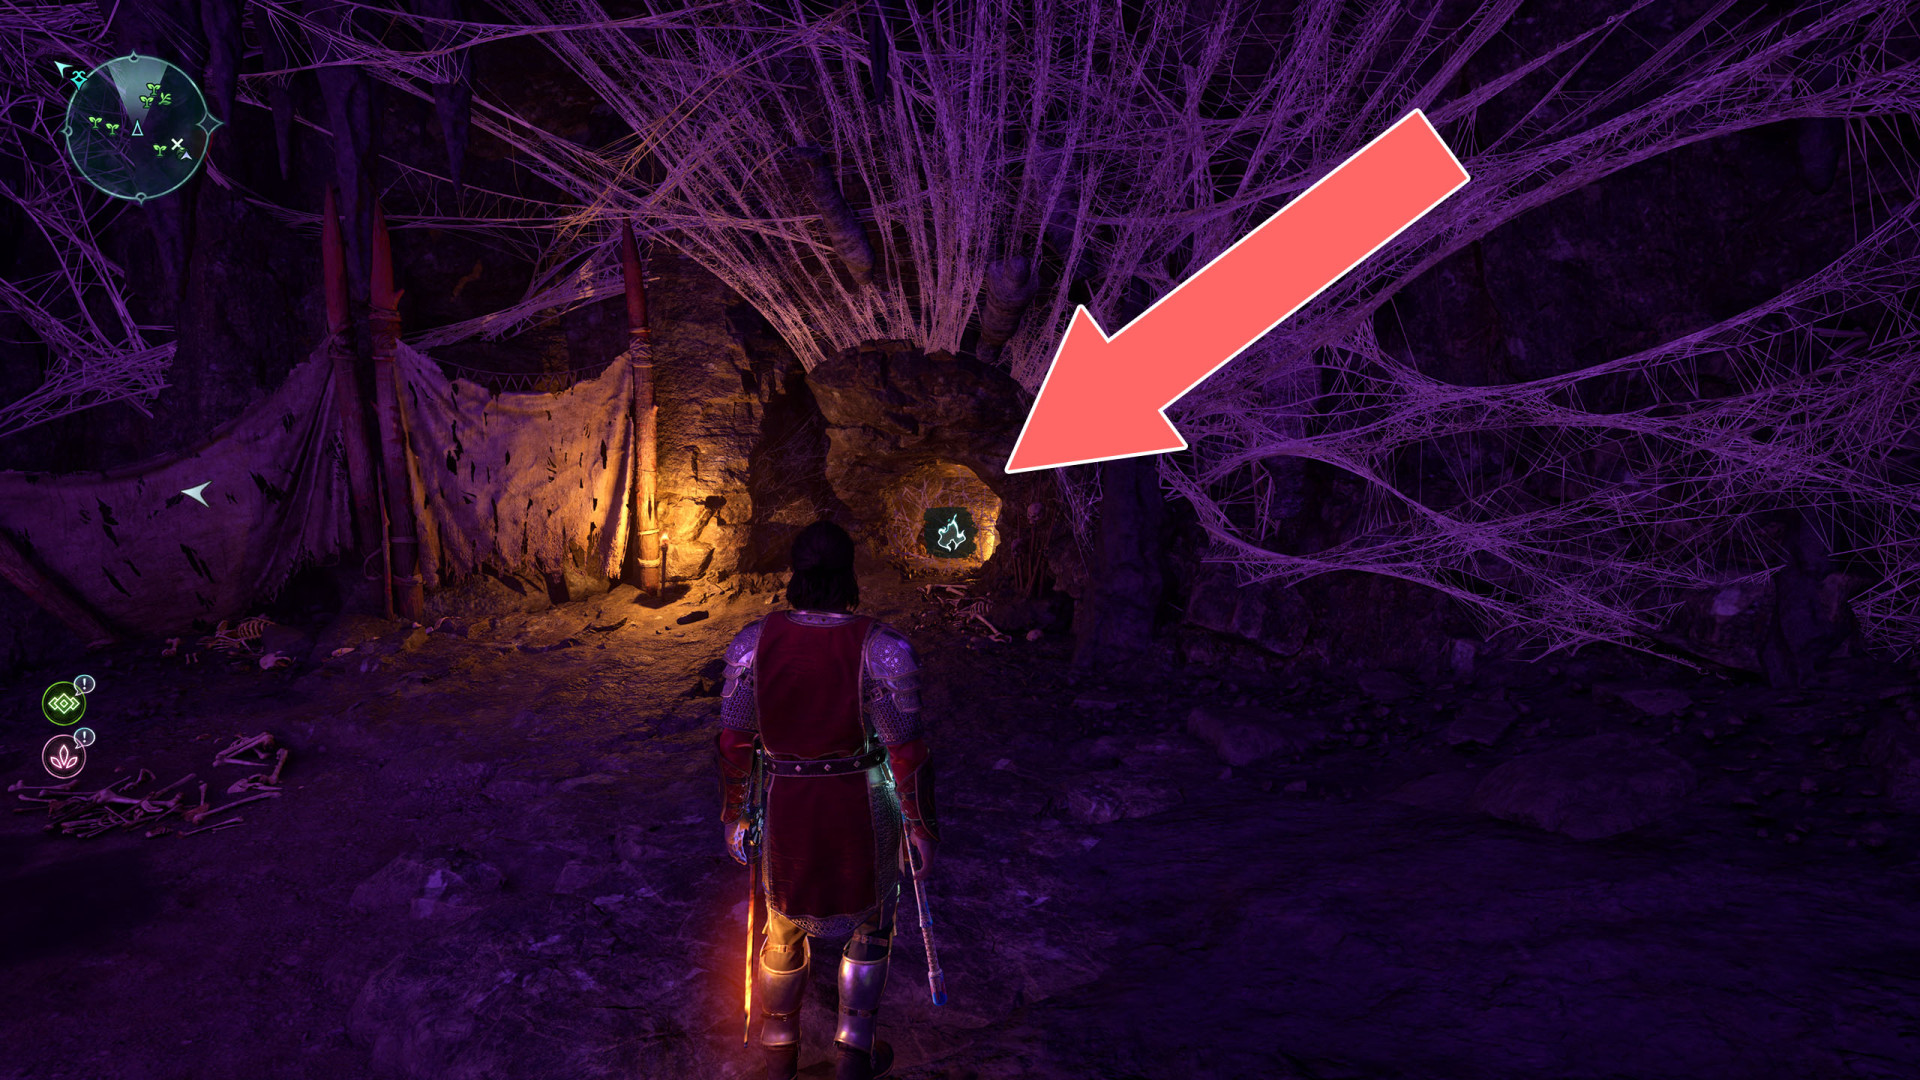
250Cobweb
251Courtyard Door
Unlocks with: Living Archives Courtyard Key or Lockpick x5.
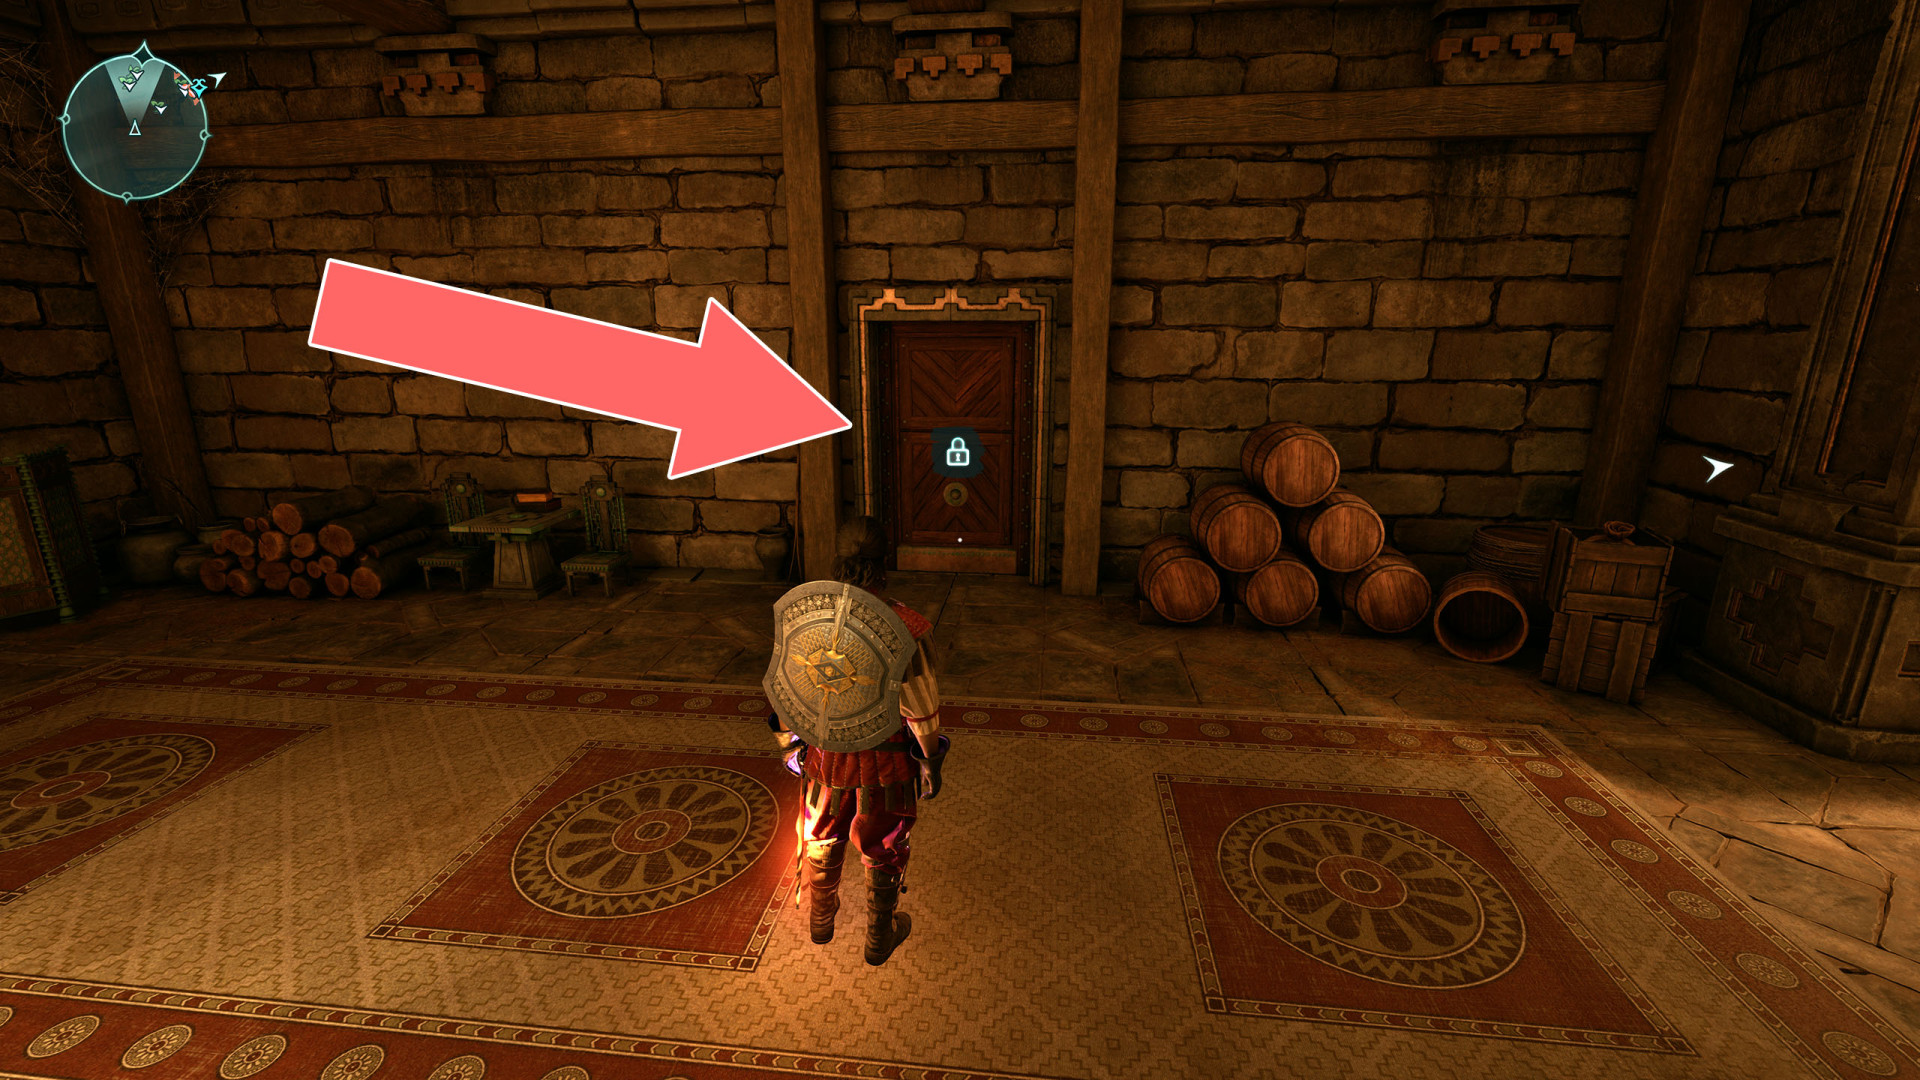
252Farmhouse Door
Unlocks with: Bent Farmhouse Key or Lockpick x5.
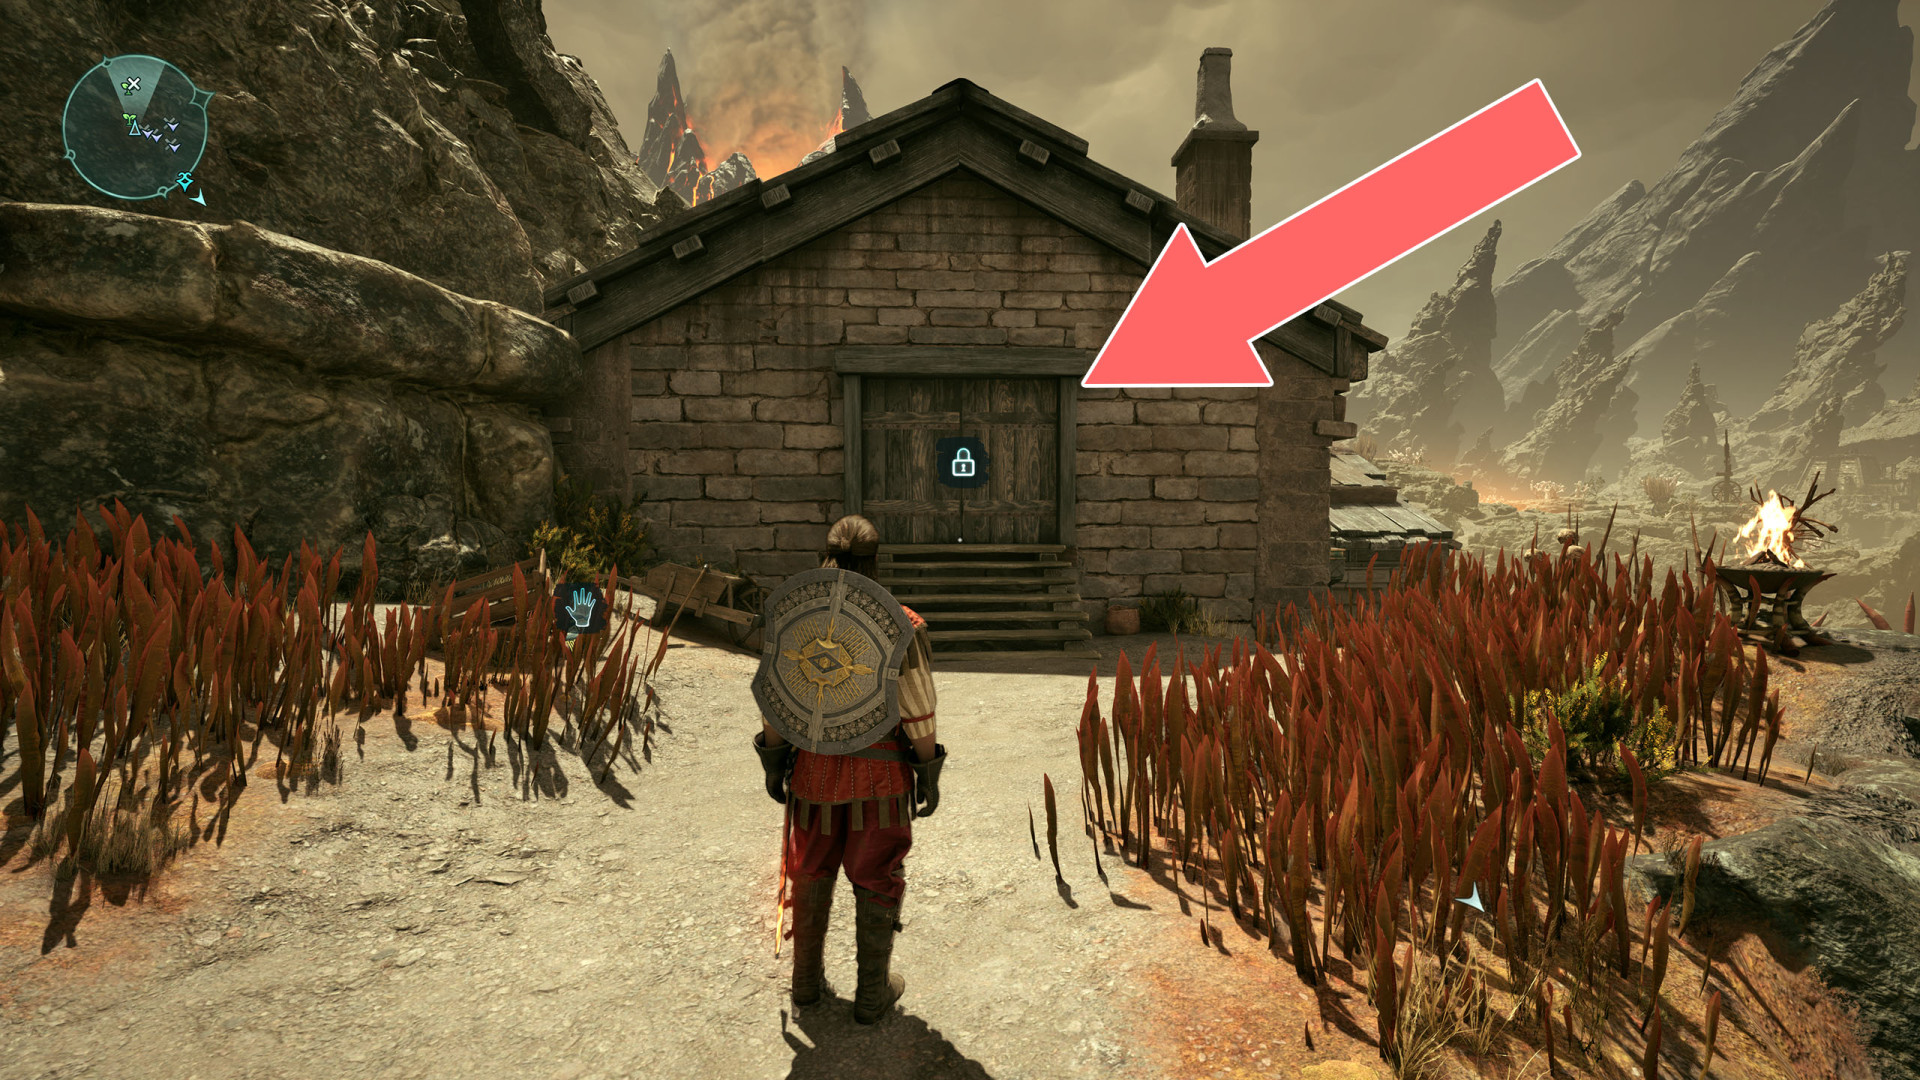
253Illusion
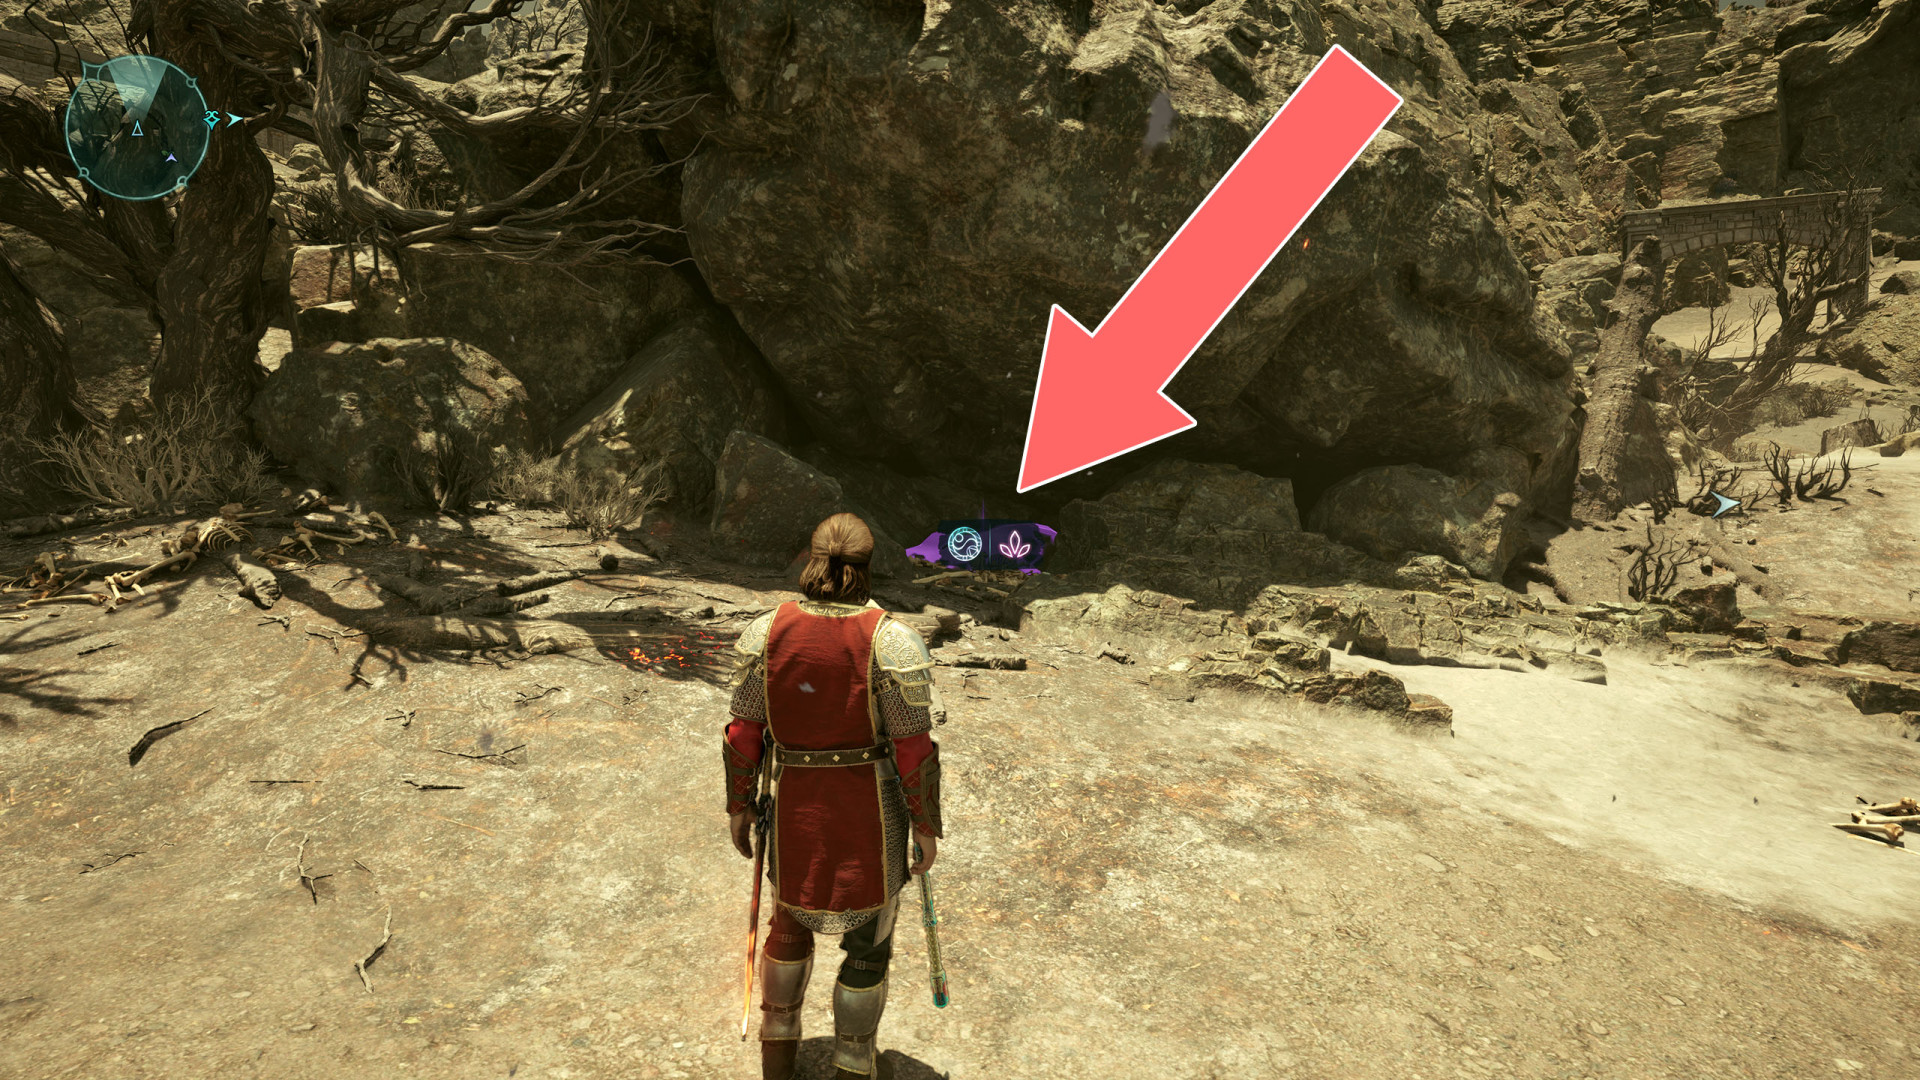
254Illusion
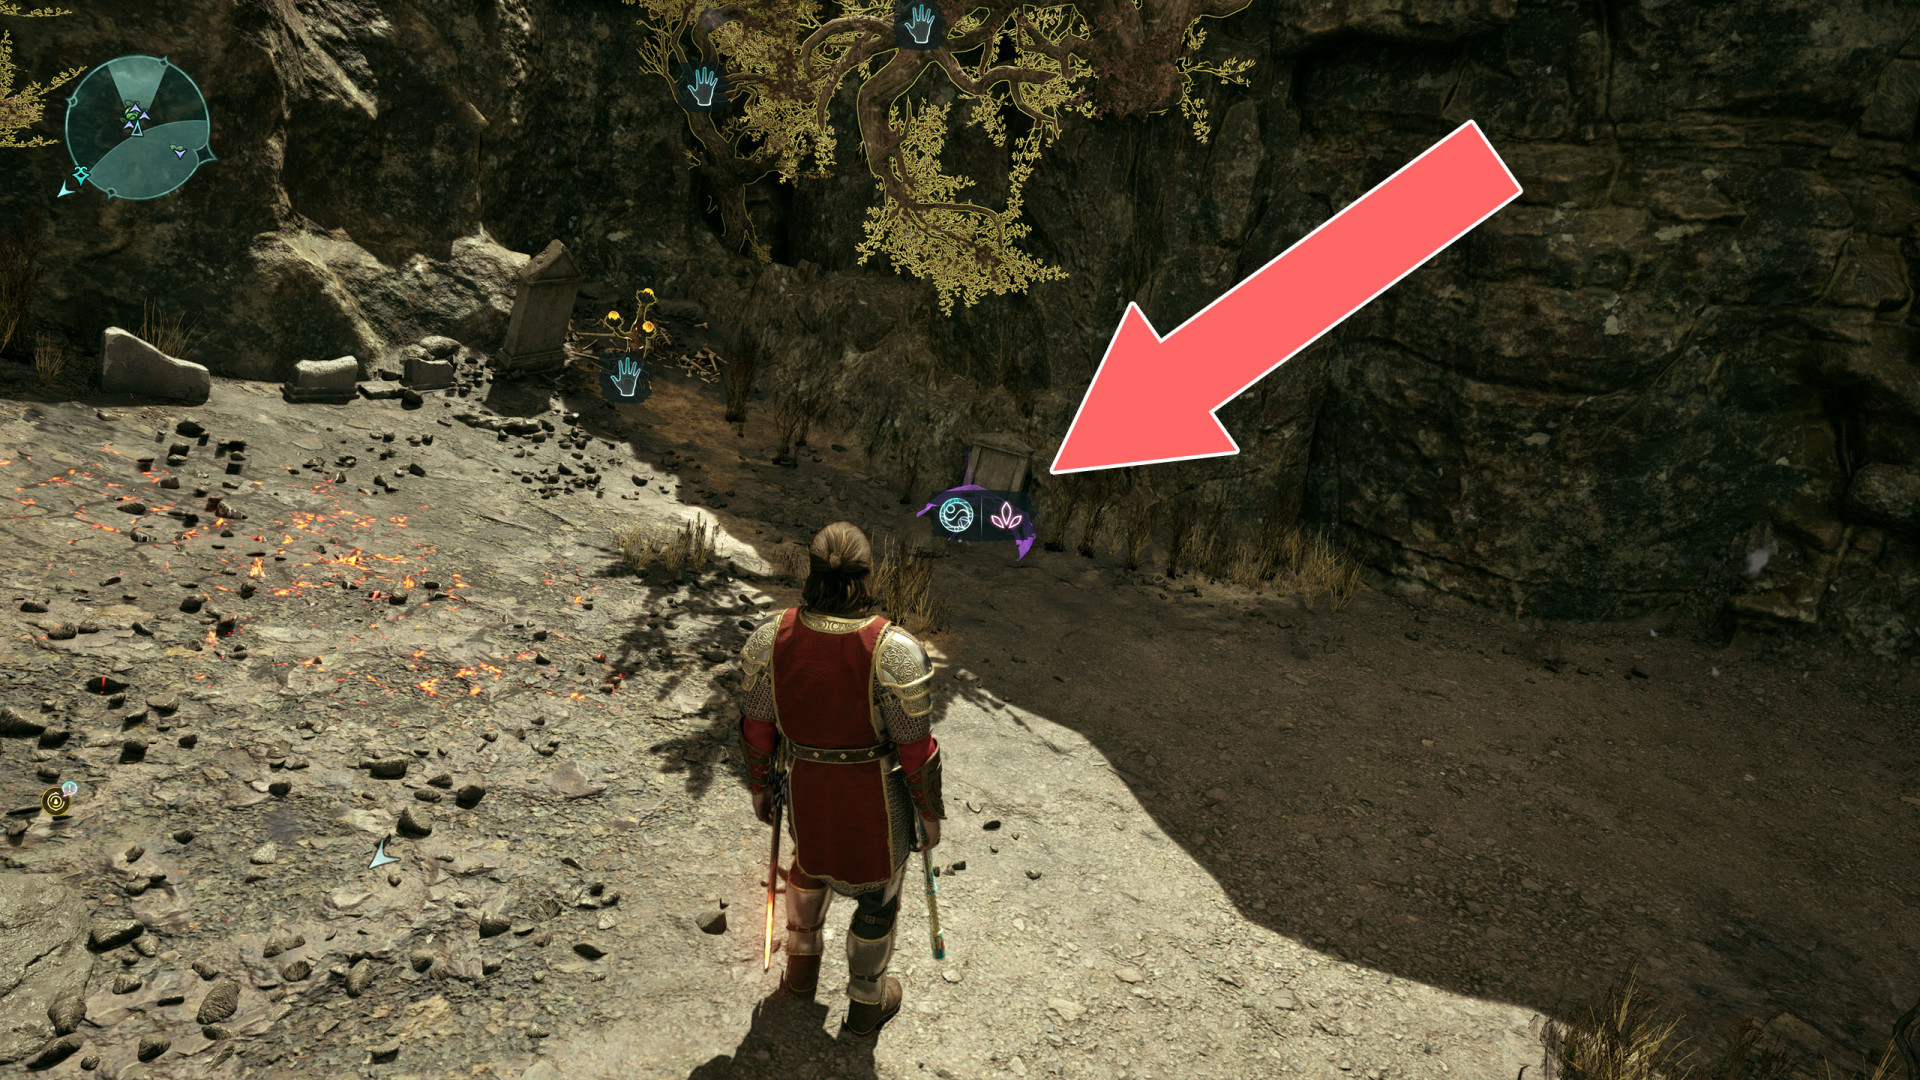
255Illusion
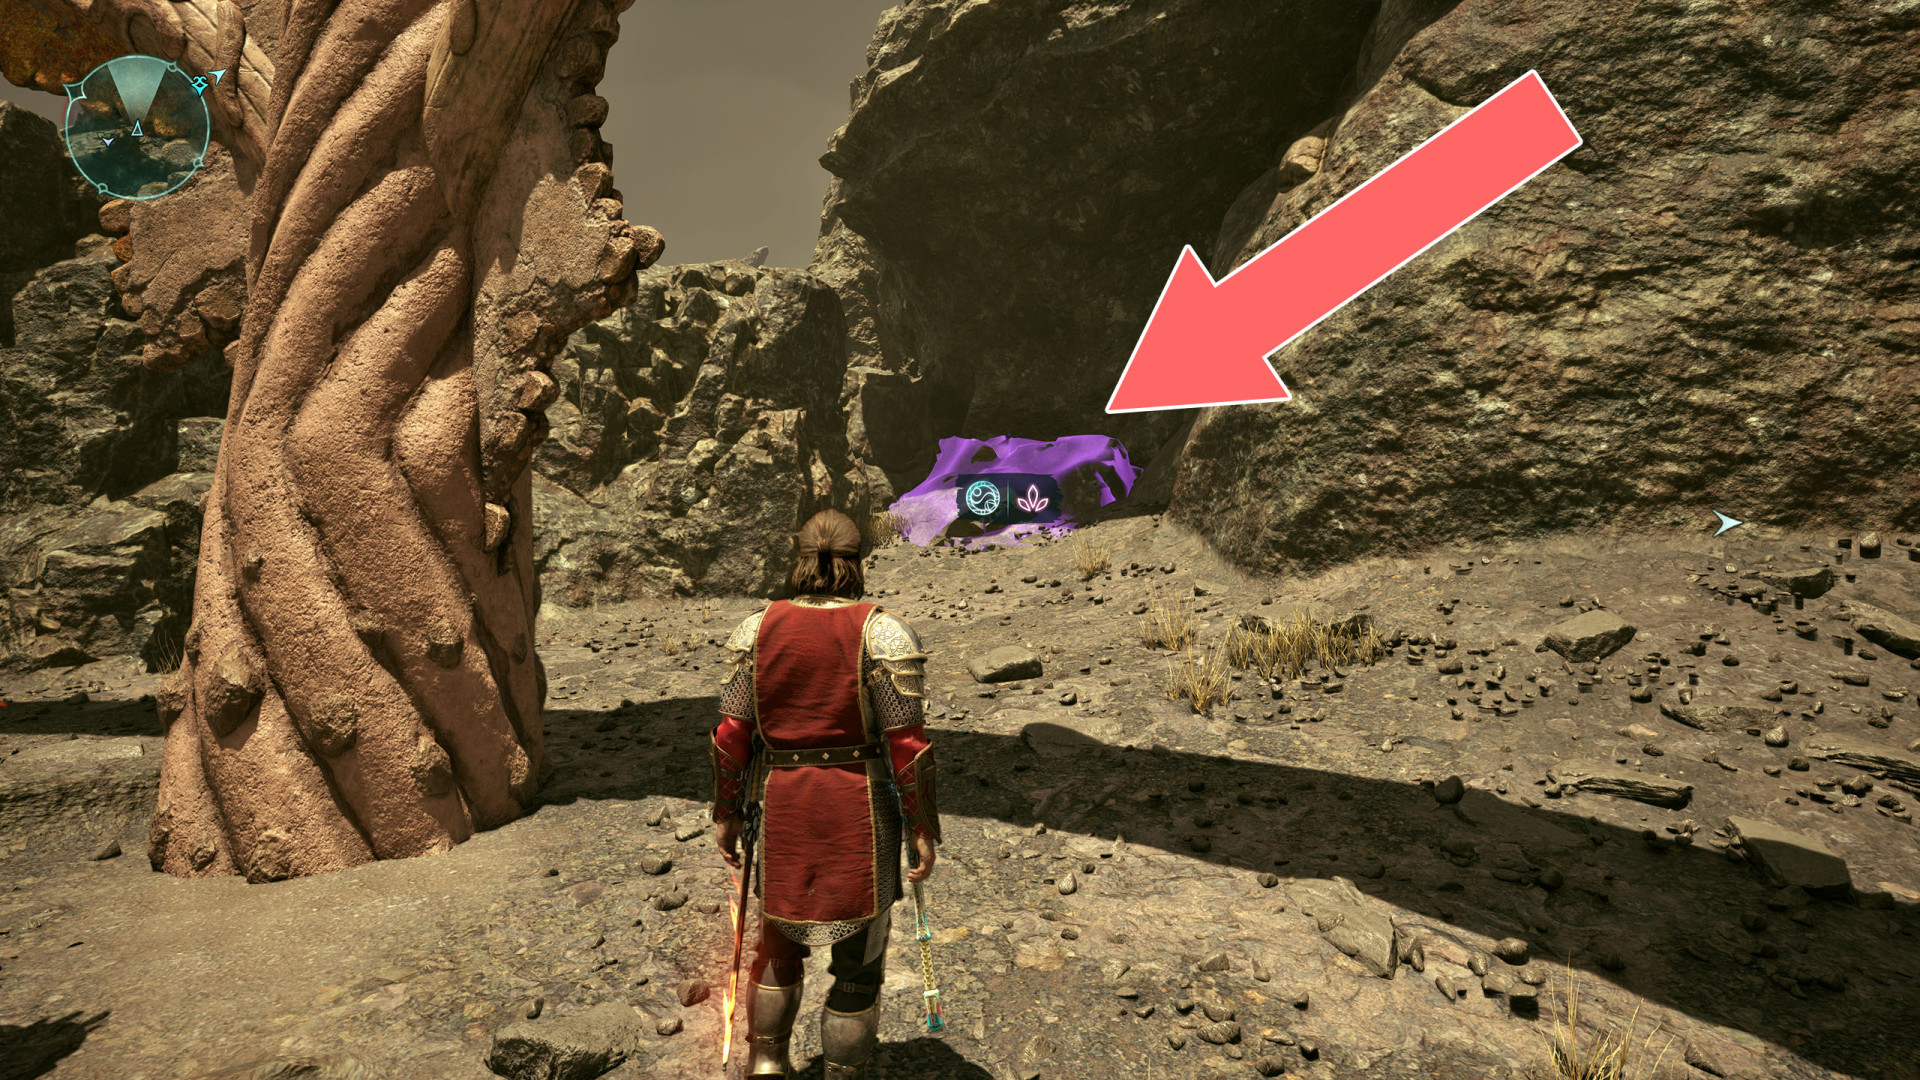
256Illusion
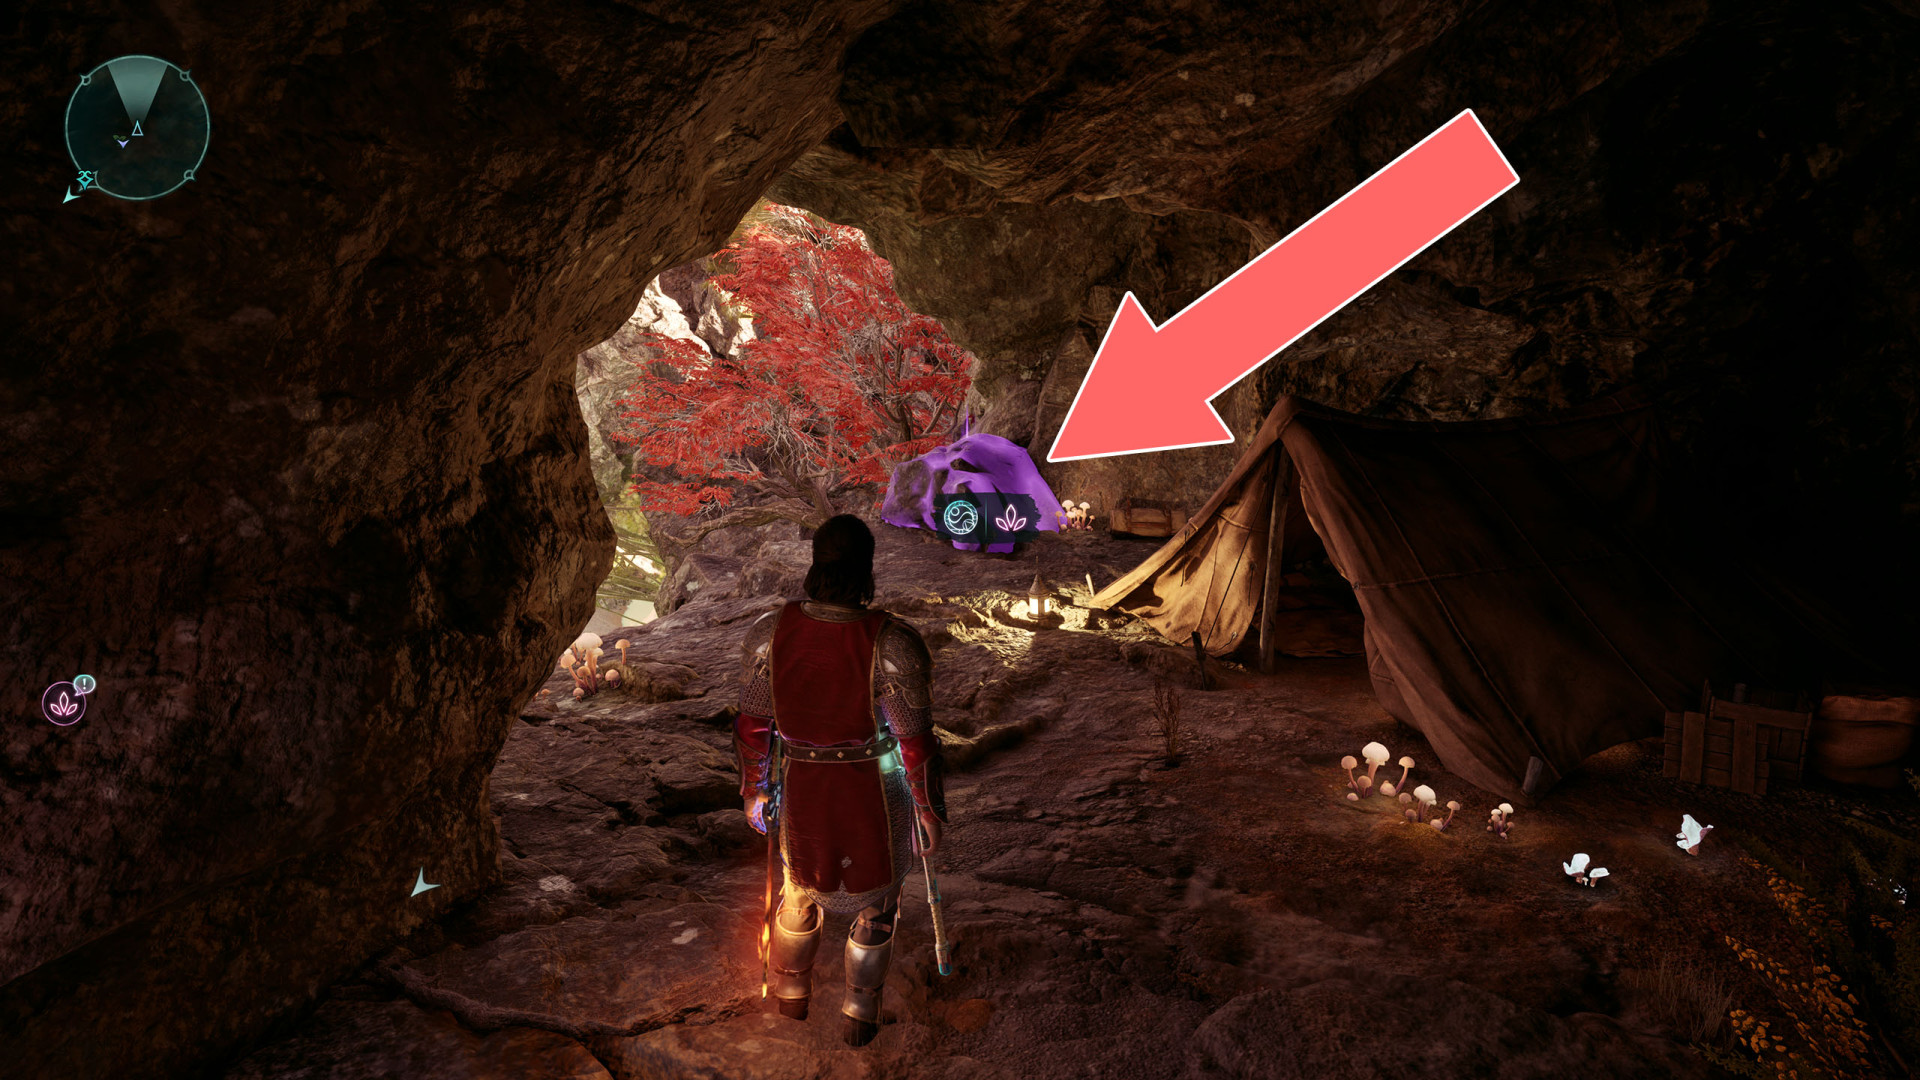
257Illusion Door
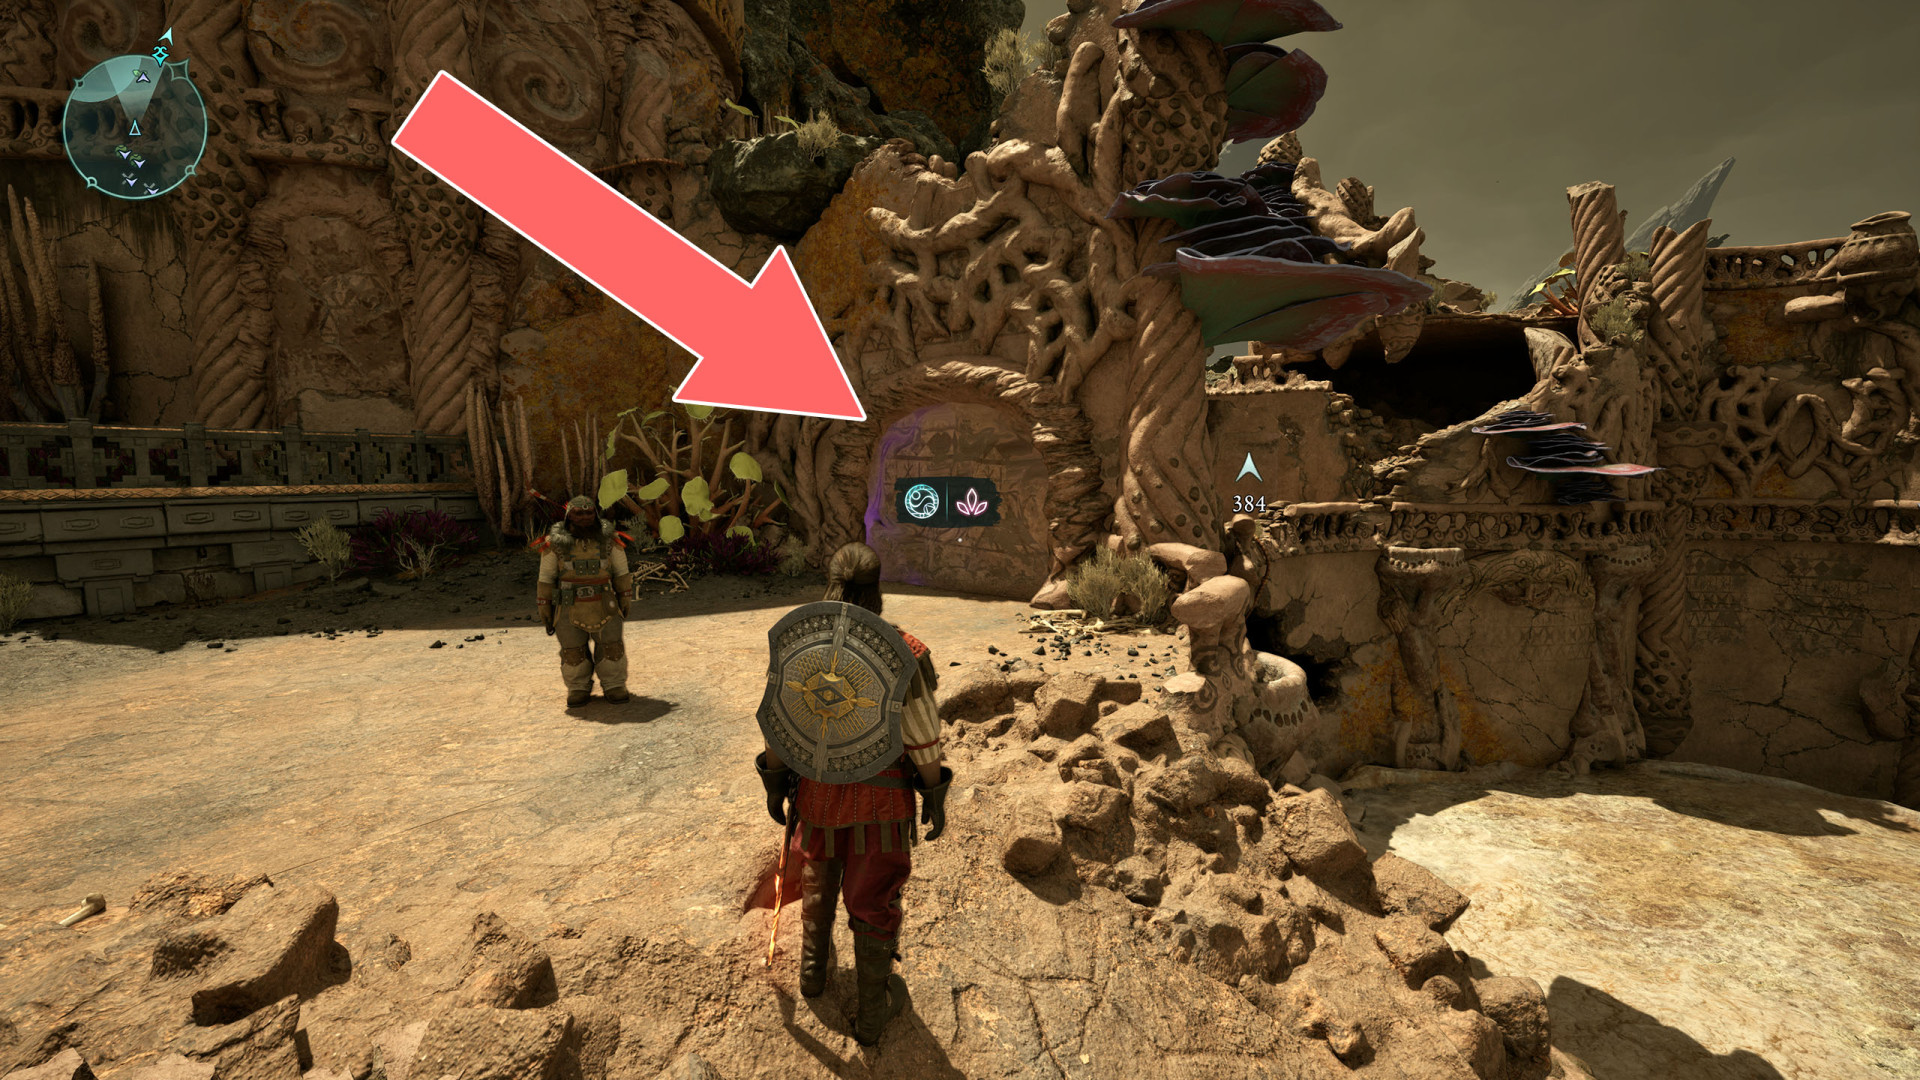
258Illusion Wall
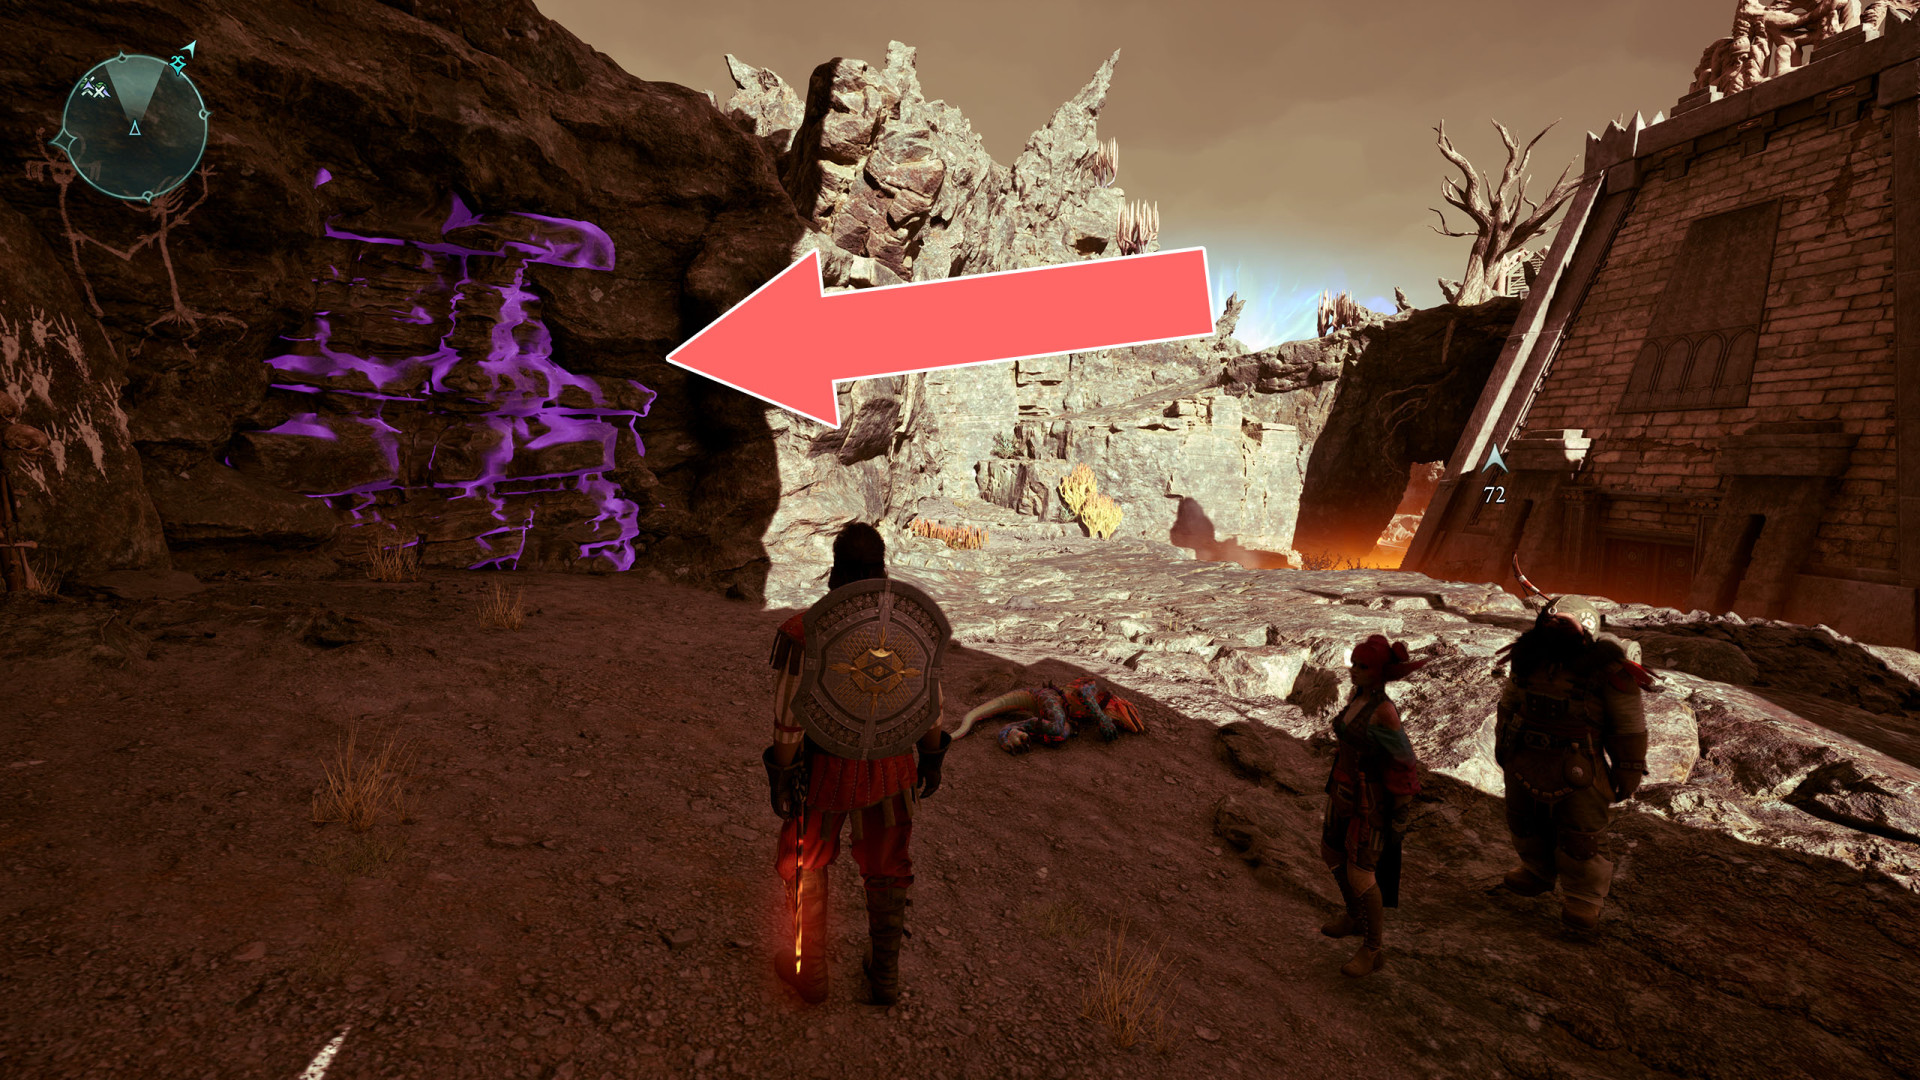
259Illusion Wall
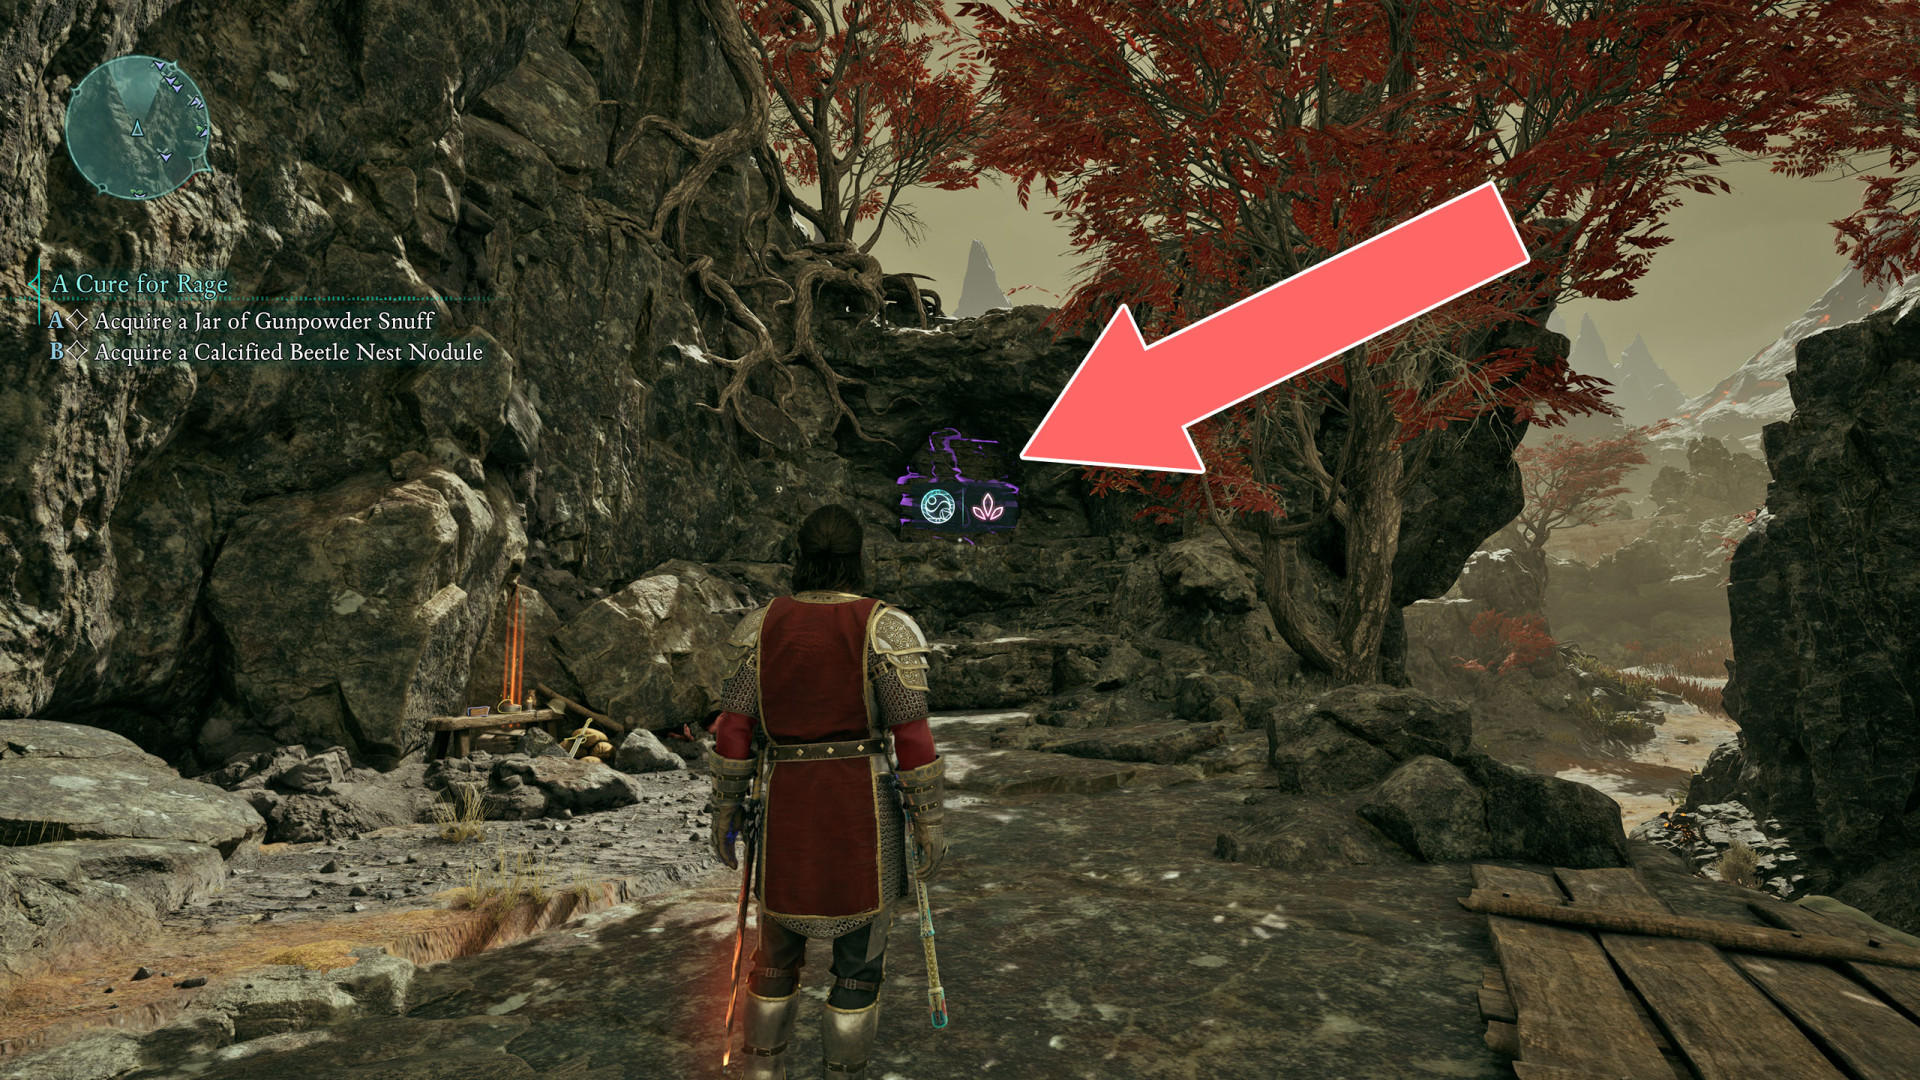
260Illusion Wall
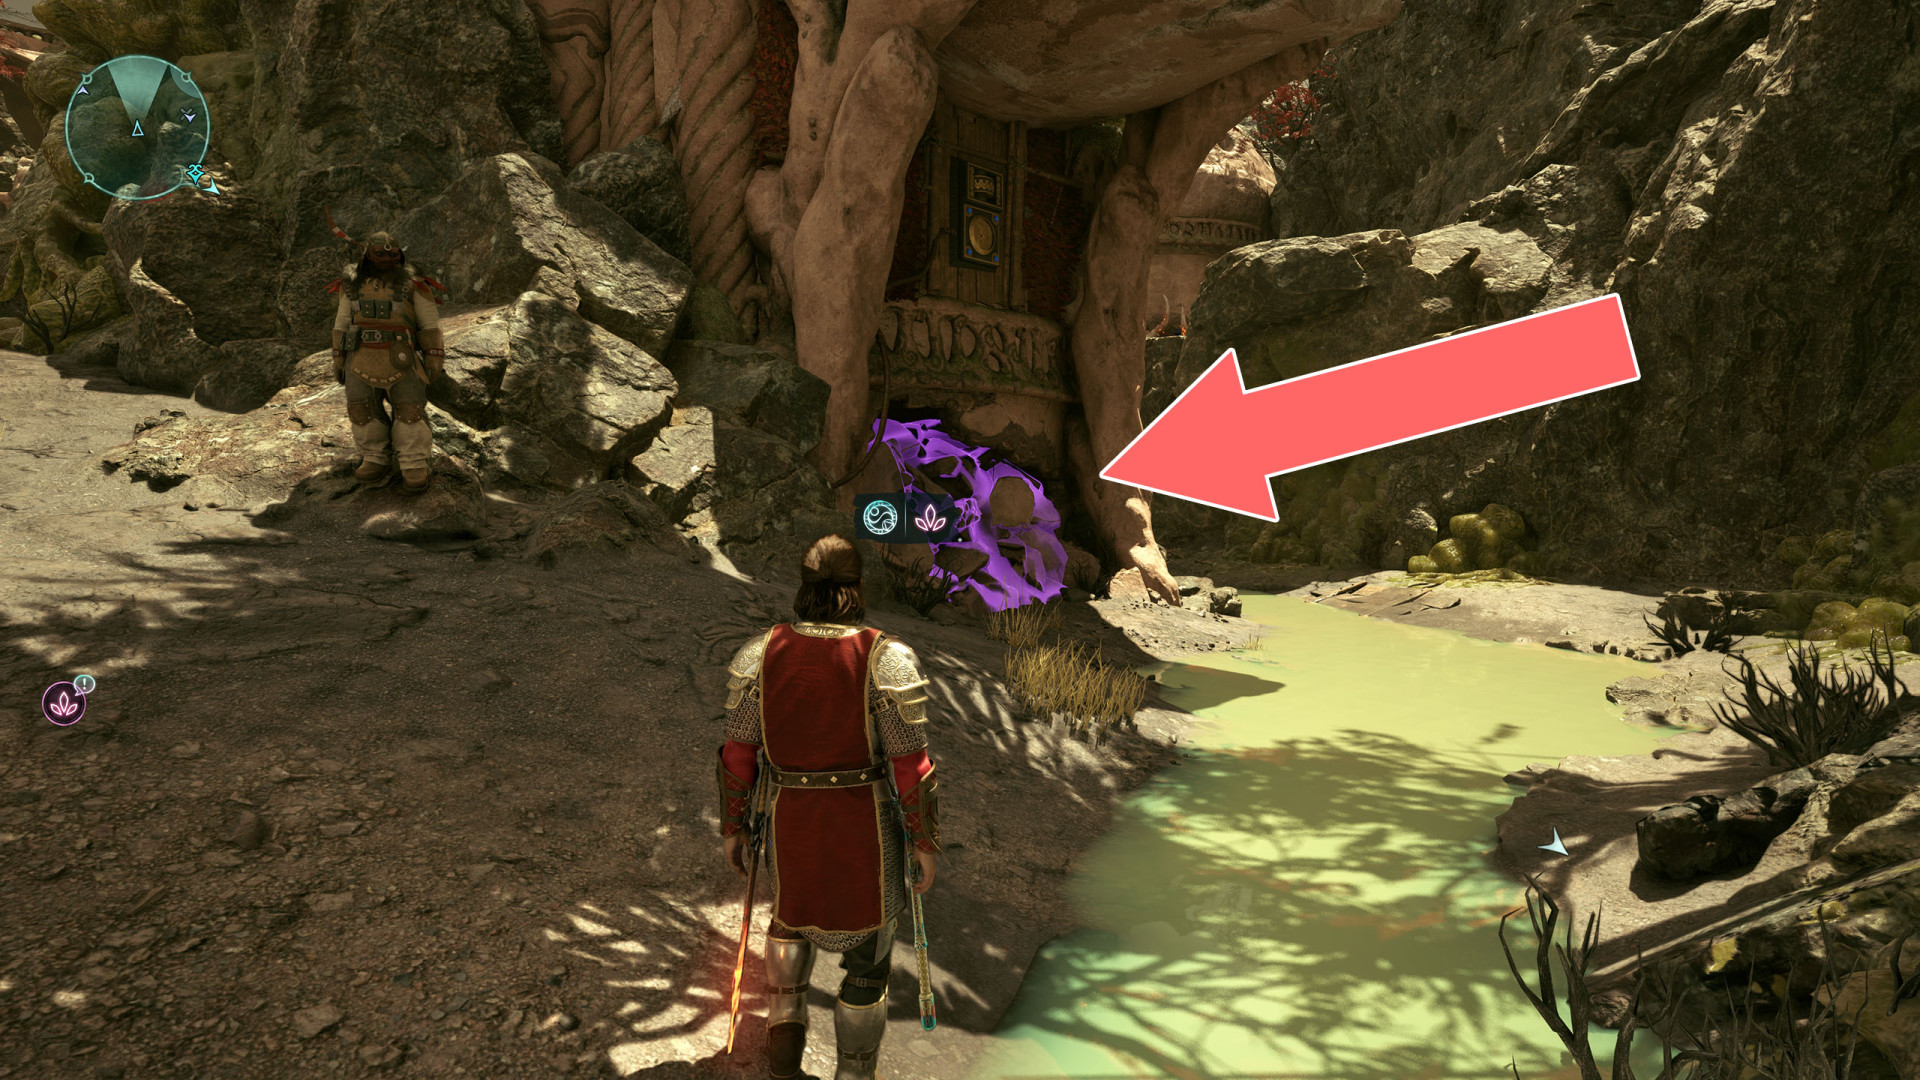
261Locked Door
Unlocks with: Lockpick x3.
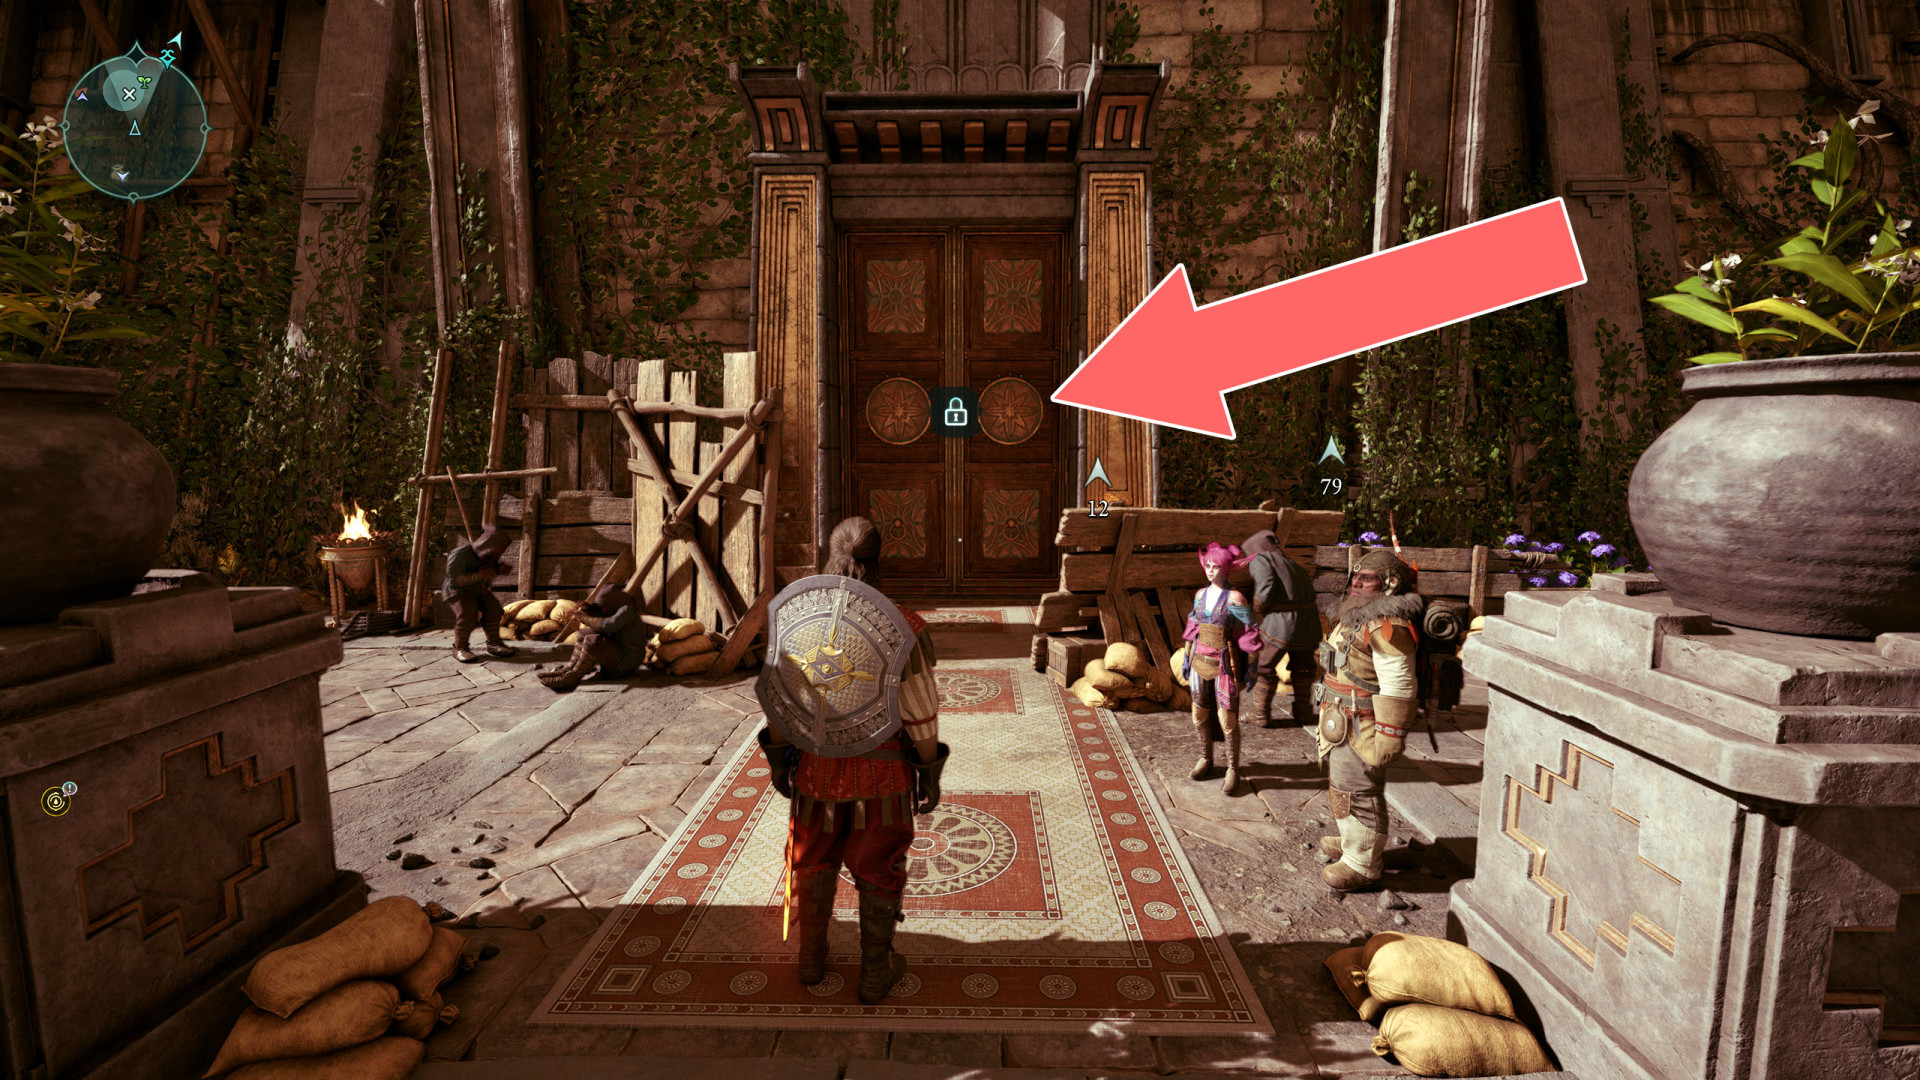
262Locked Door
Unlocks with: Lockpick x5.
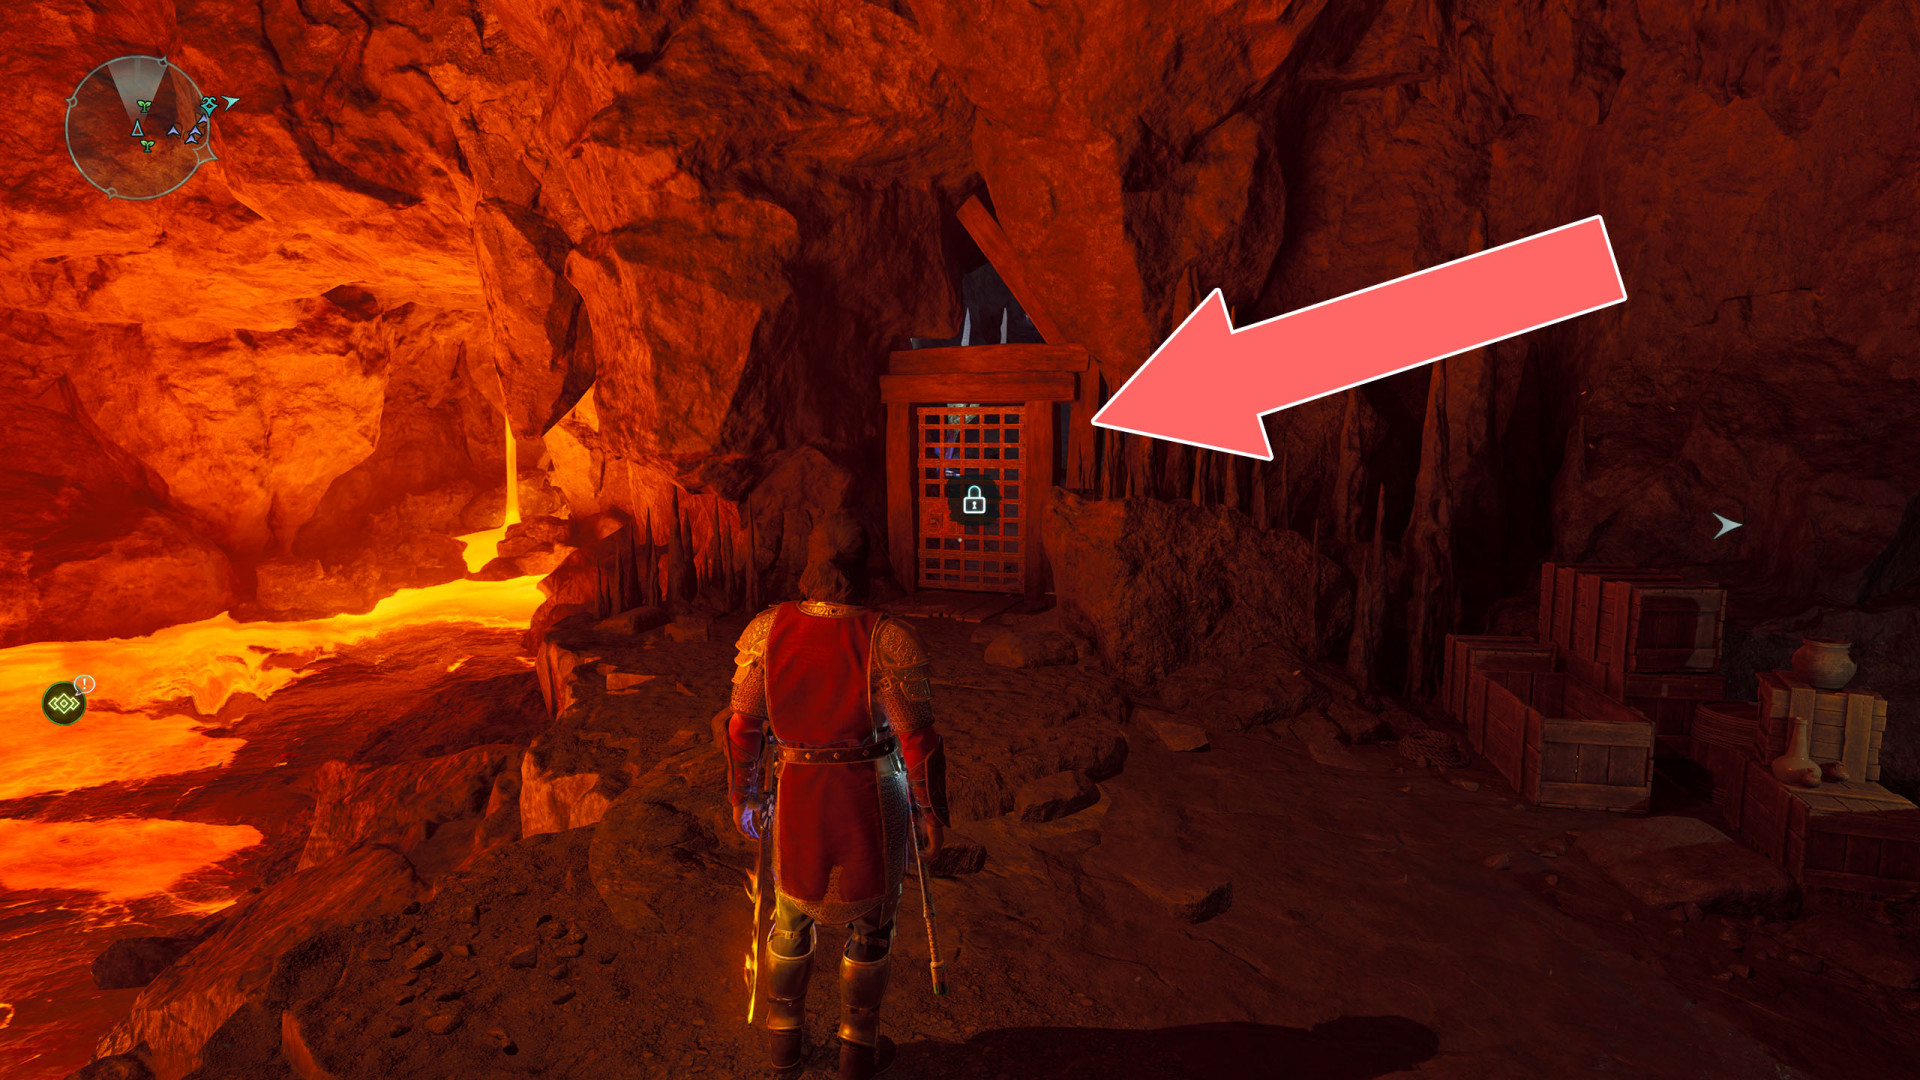
263Locked Door
Unlocks with: Lockpick x3.
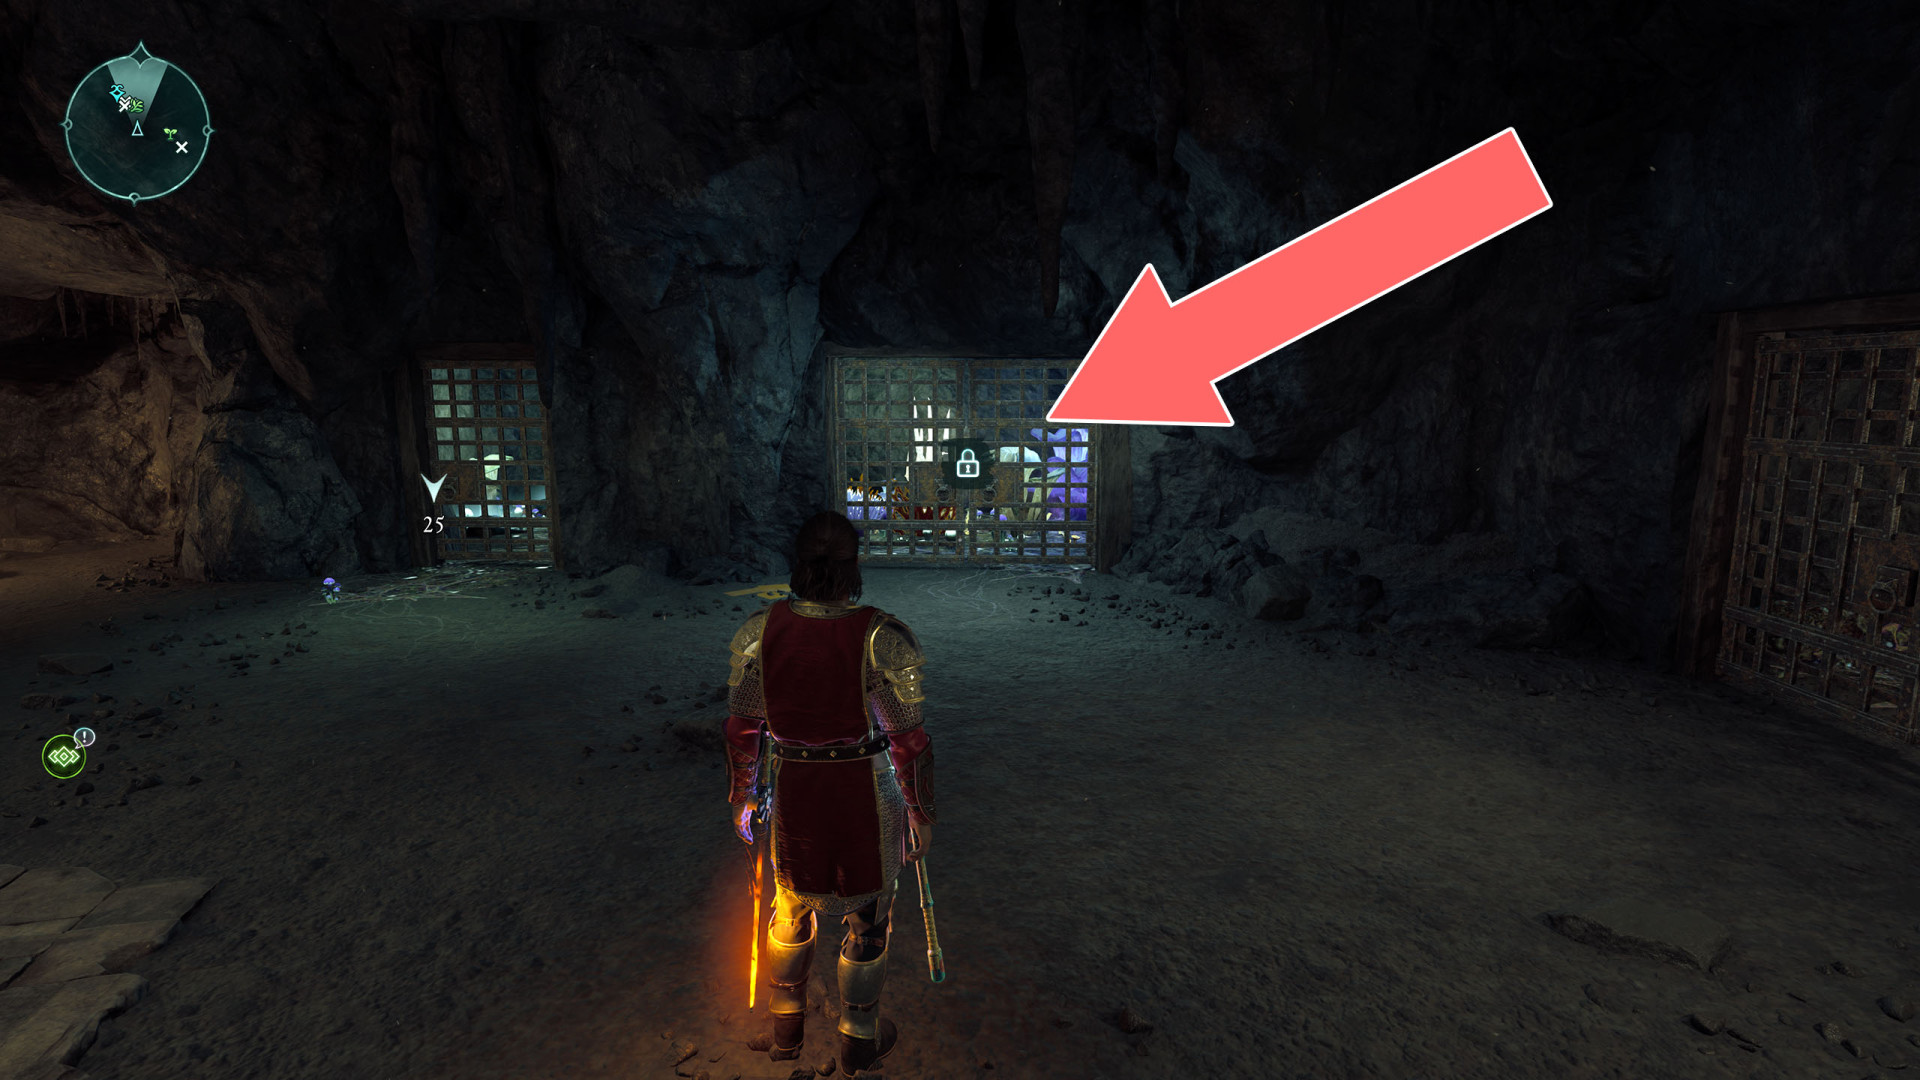
264Locked Door
Unlocks with: Petru's Key or Lockpick x3.
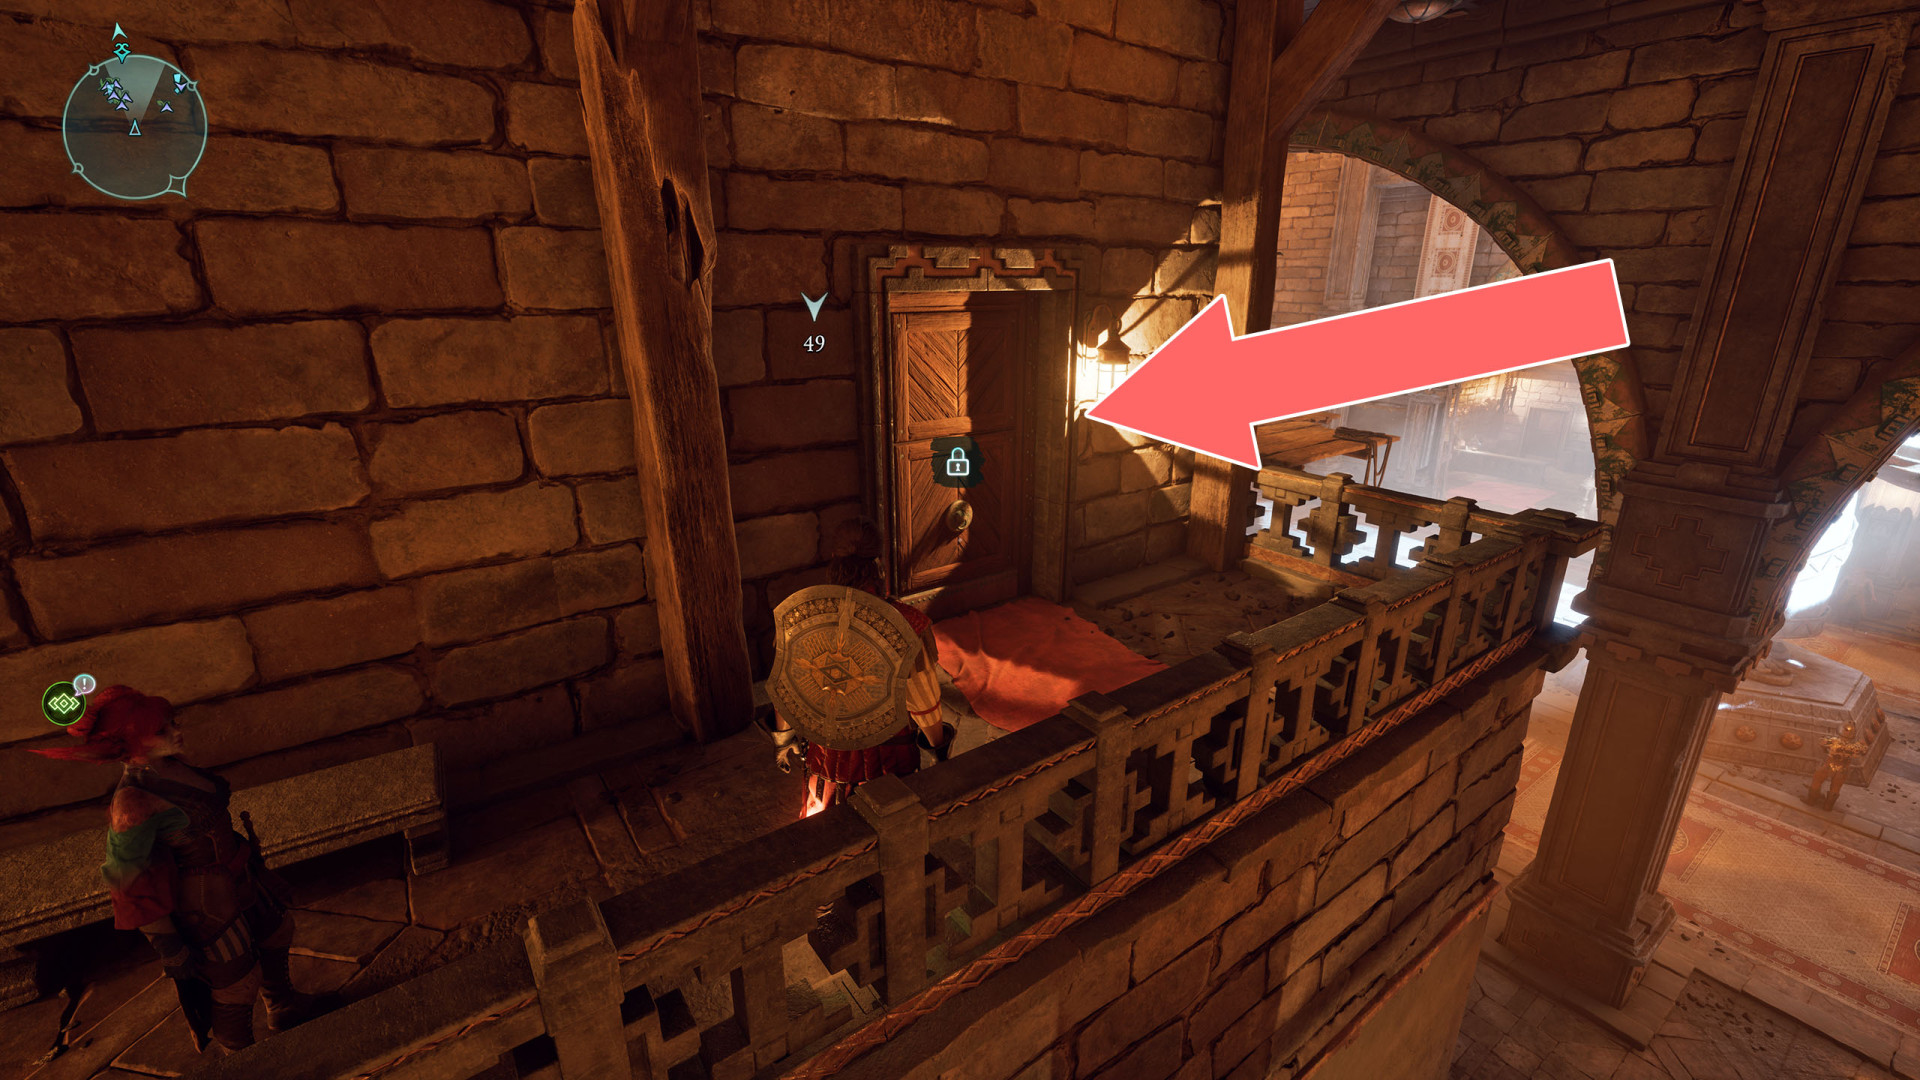
265Locked Door
You can open them from the inside by pulling the lever.
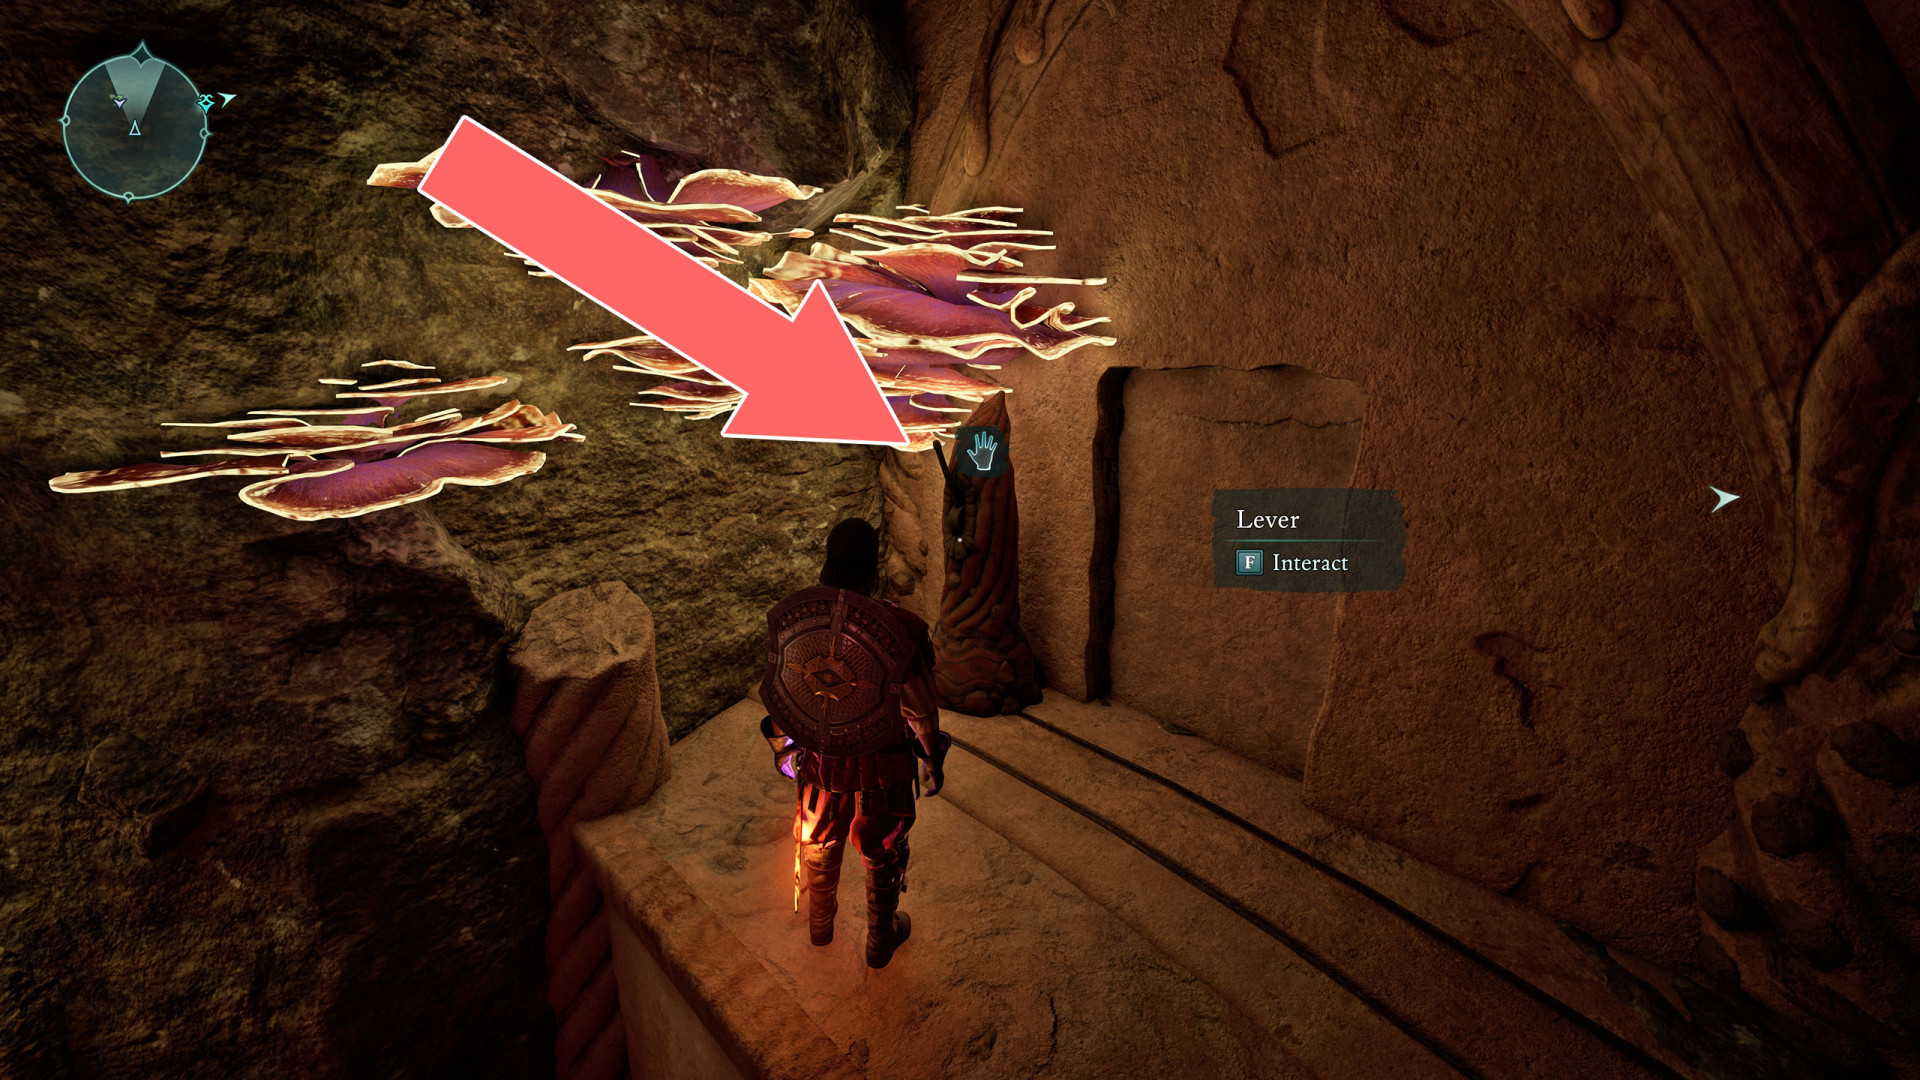
266Locked Door
Unlocks with: Lockpick x5.
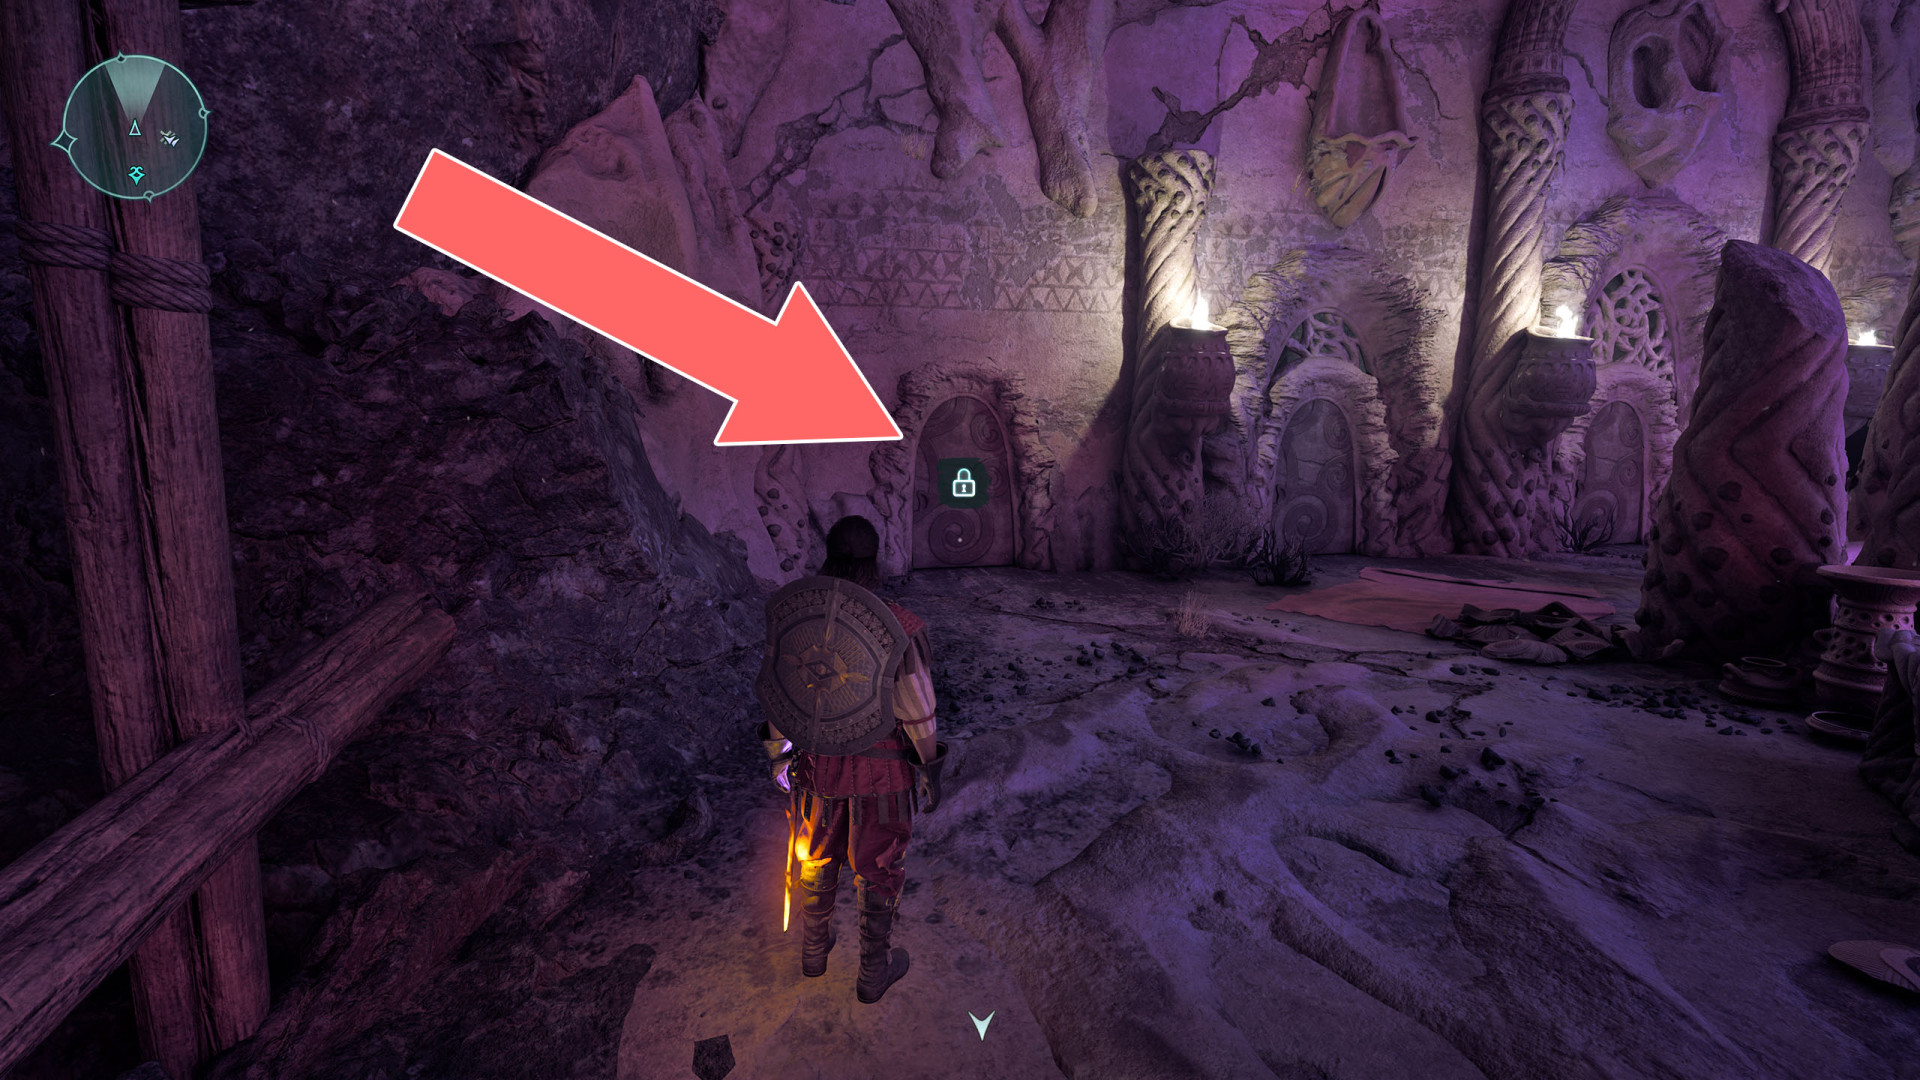
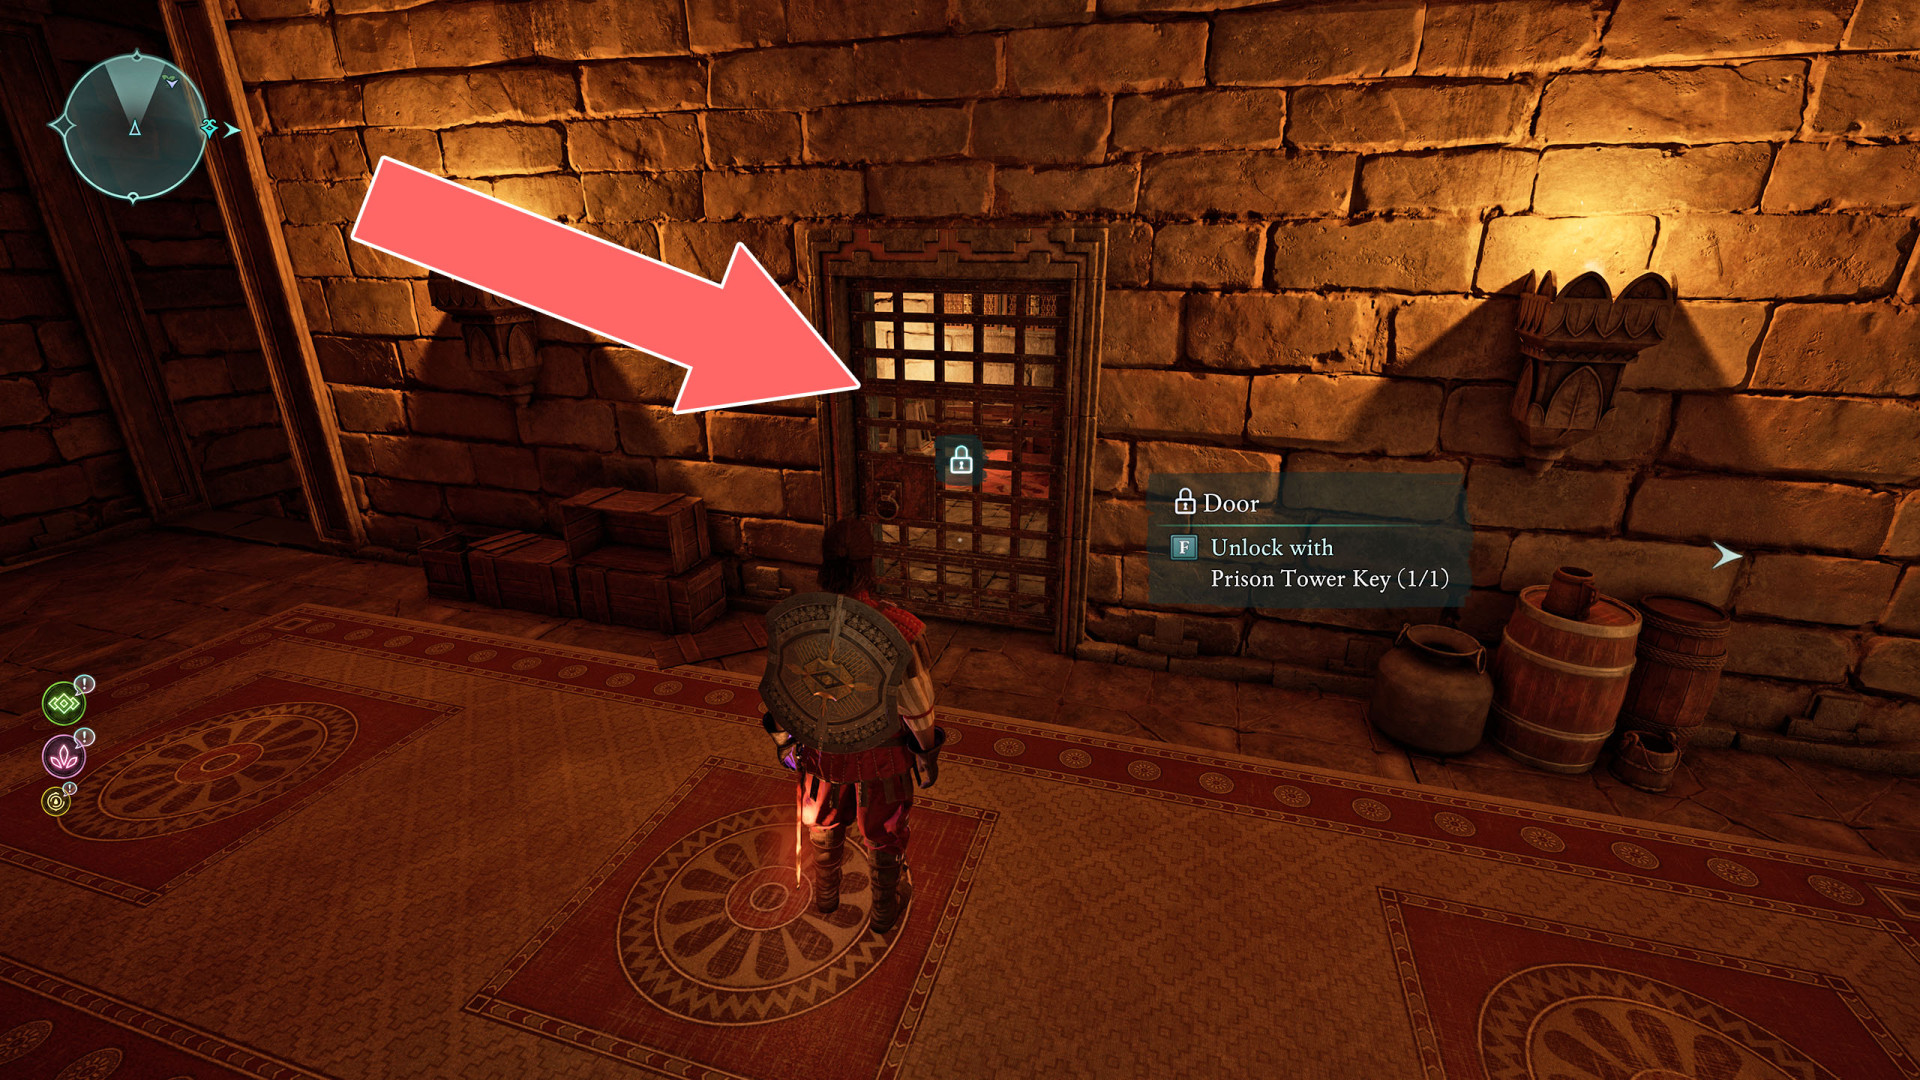
267Prison Tower Cell
Unlocks with: Prison Tower Key or Lockpick x3.
268Razvan's House Door
Unlocks with: Razvan's Key.
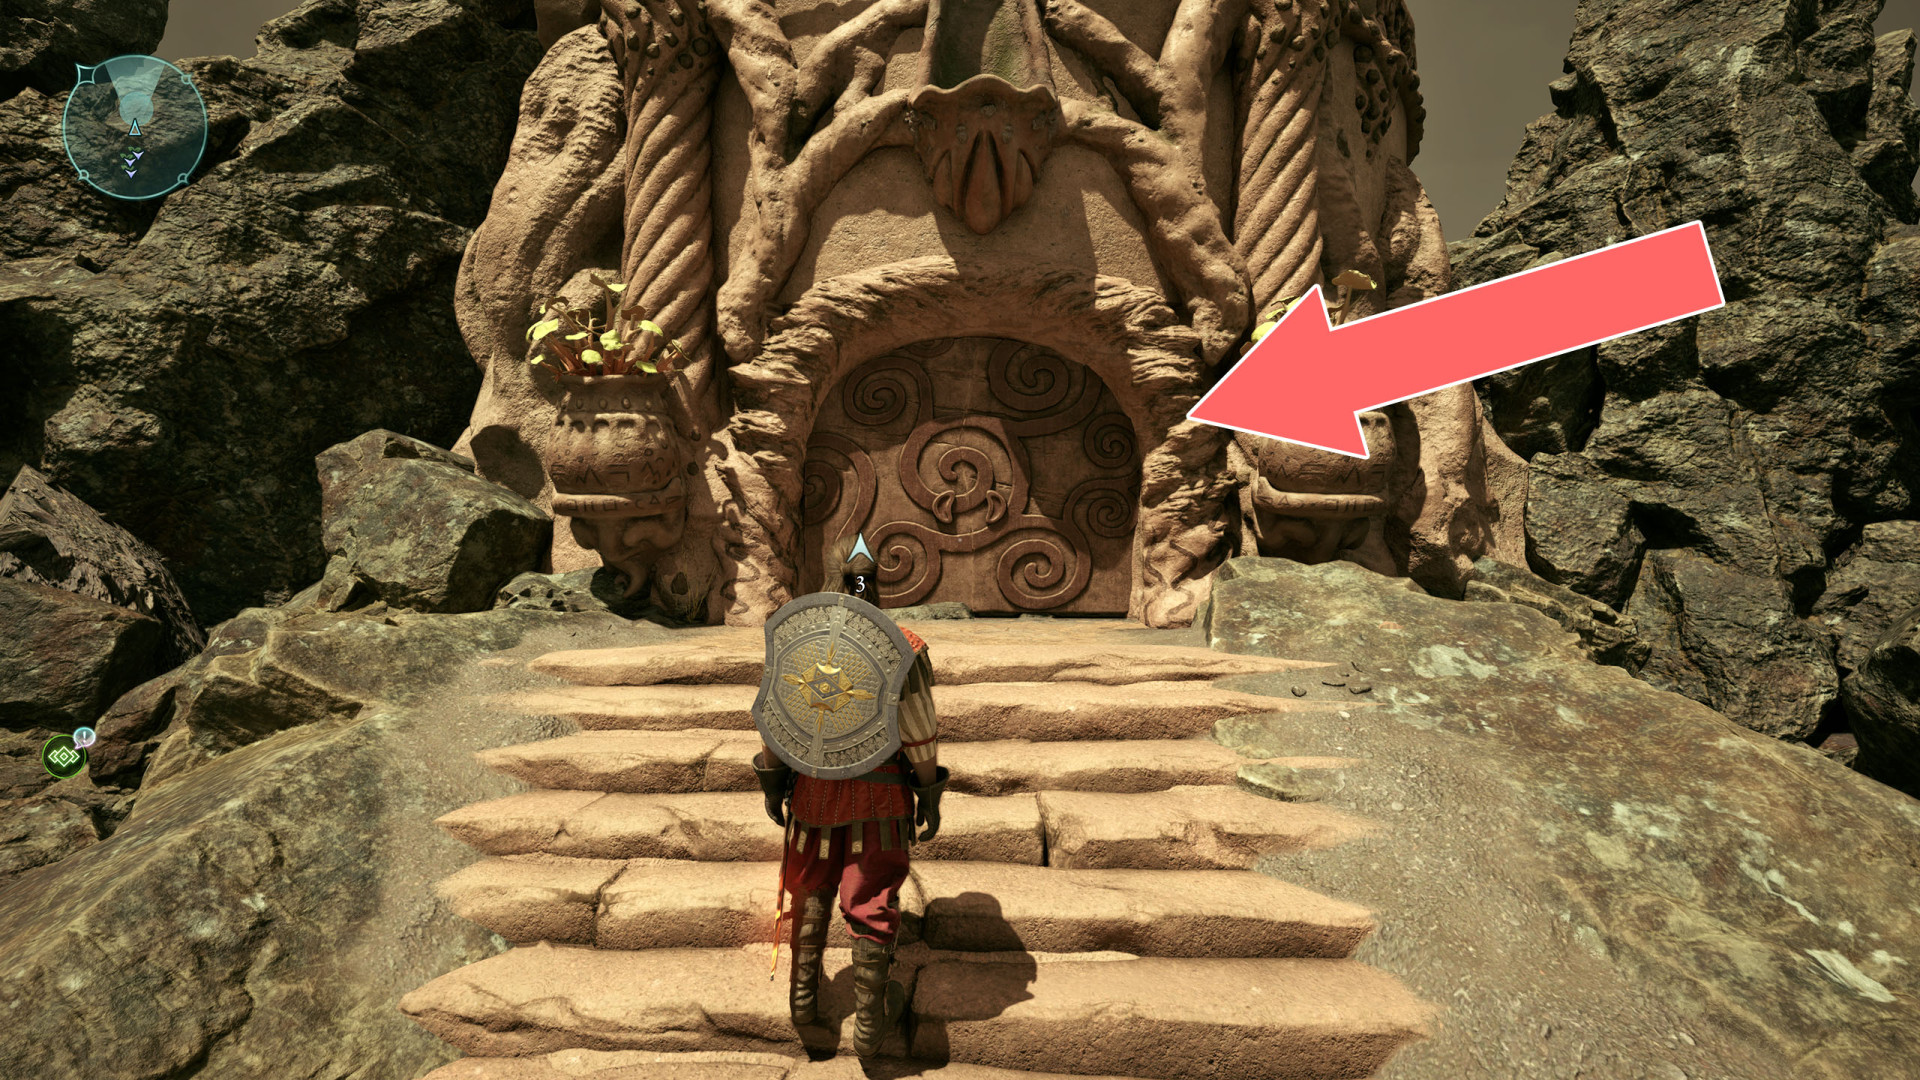
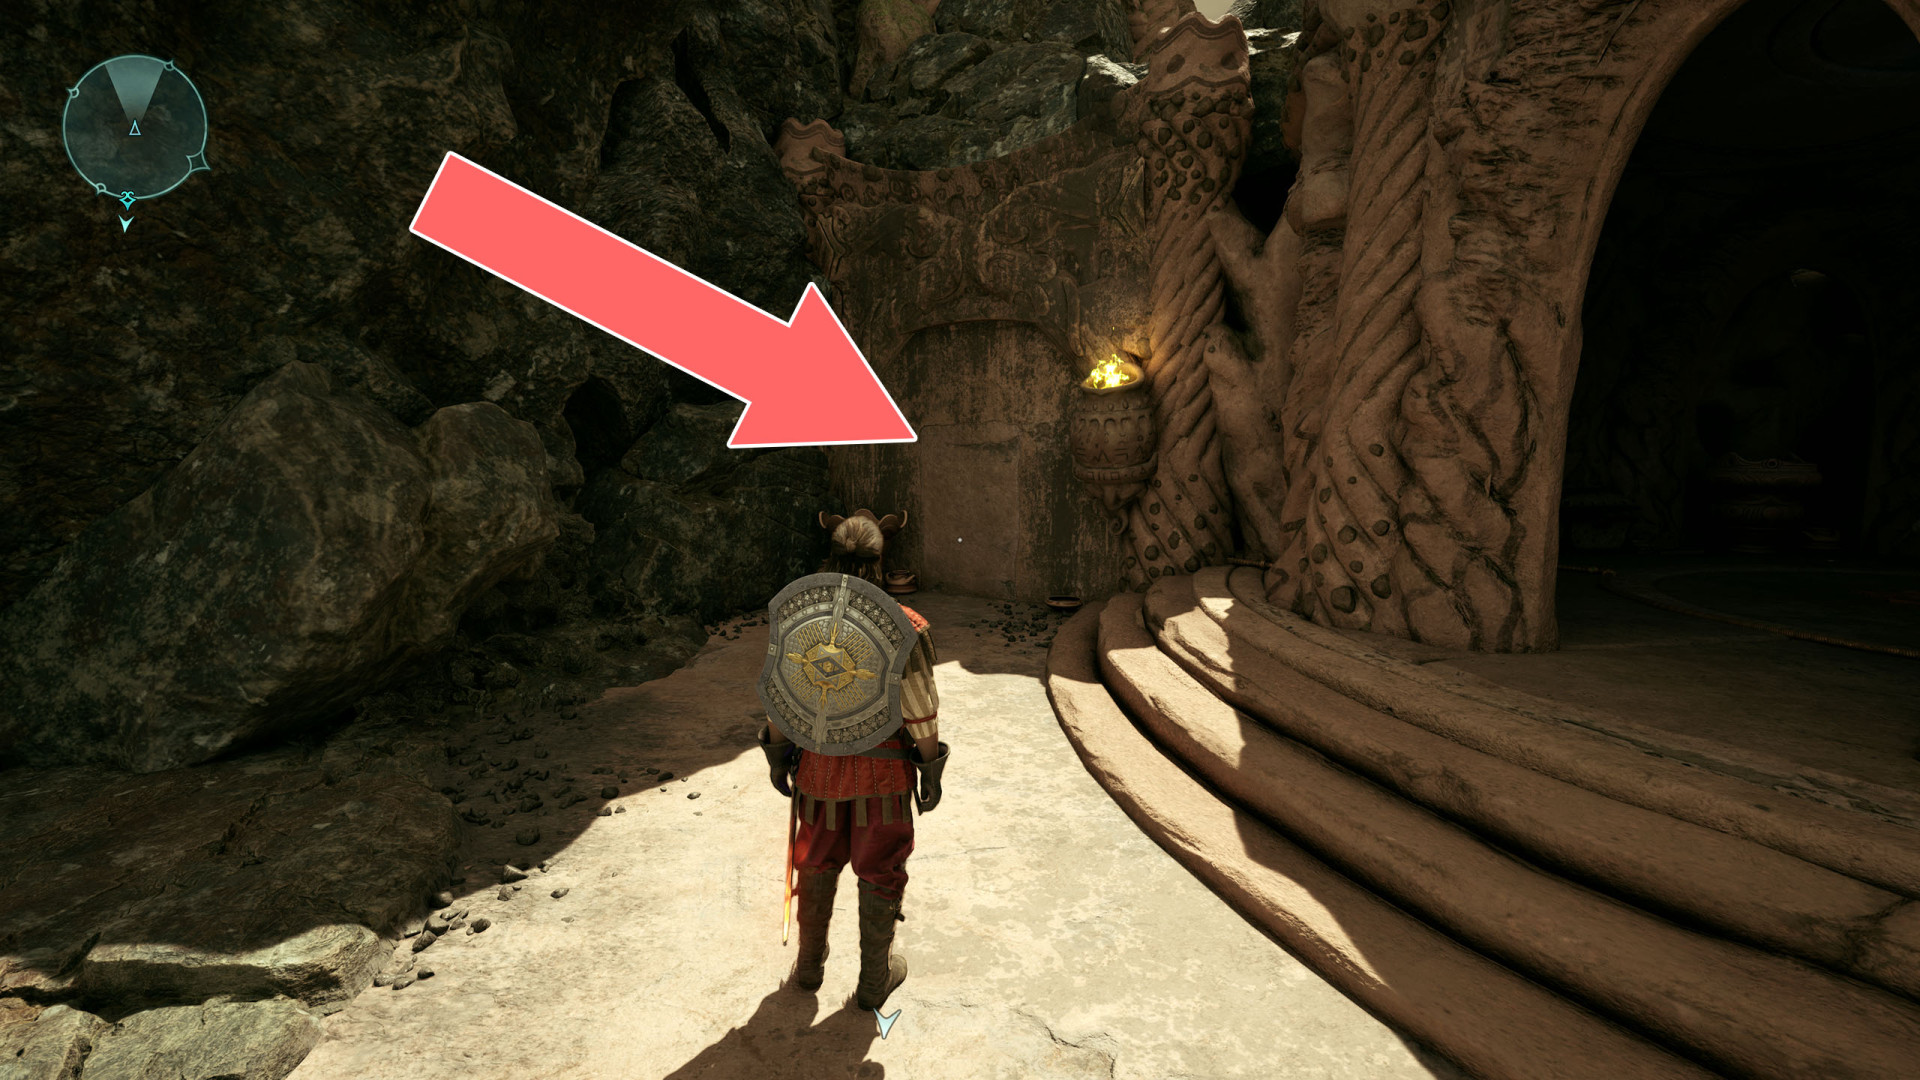
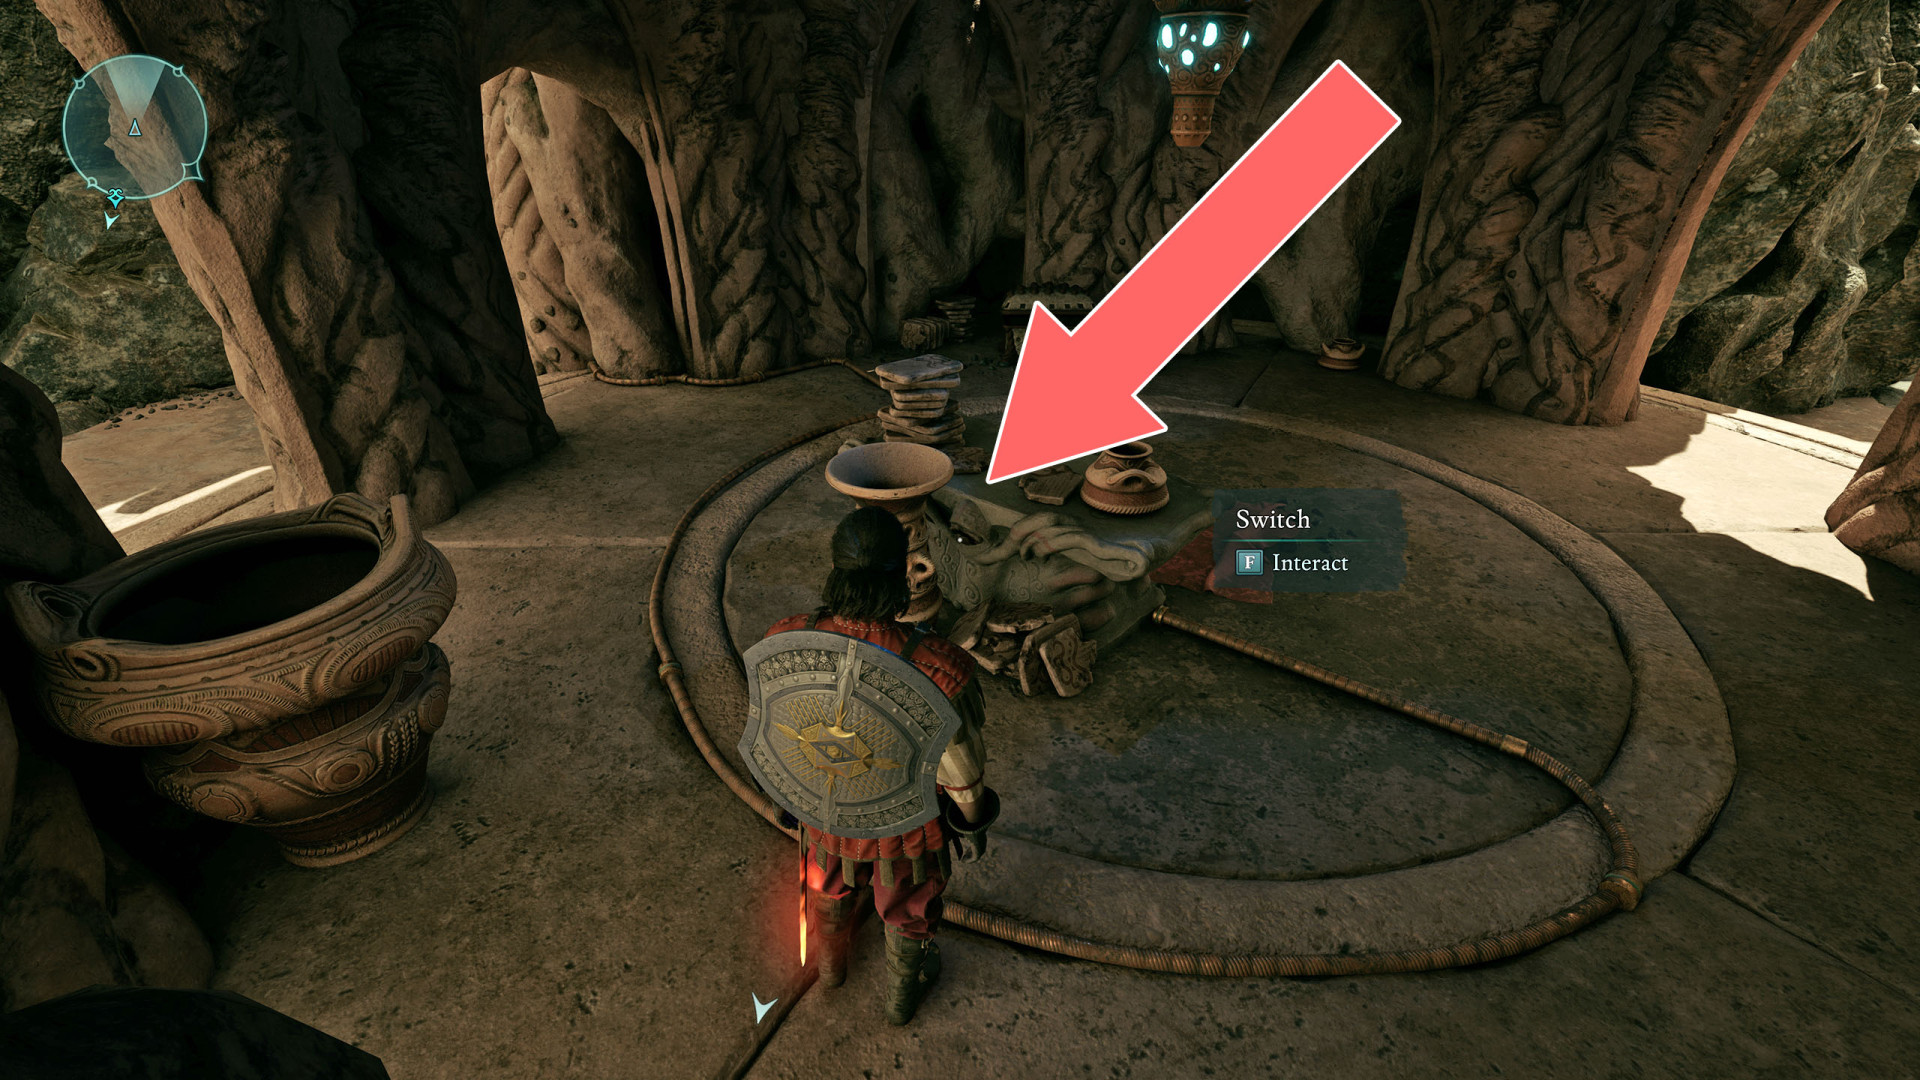
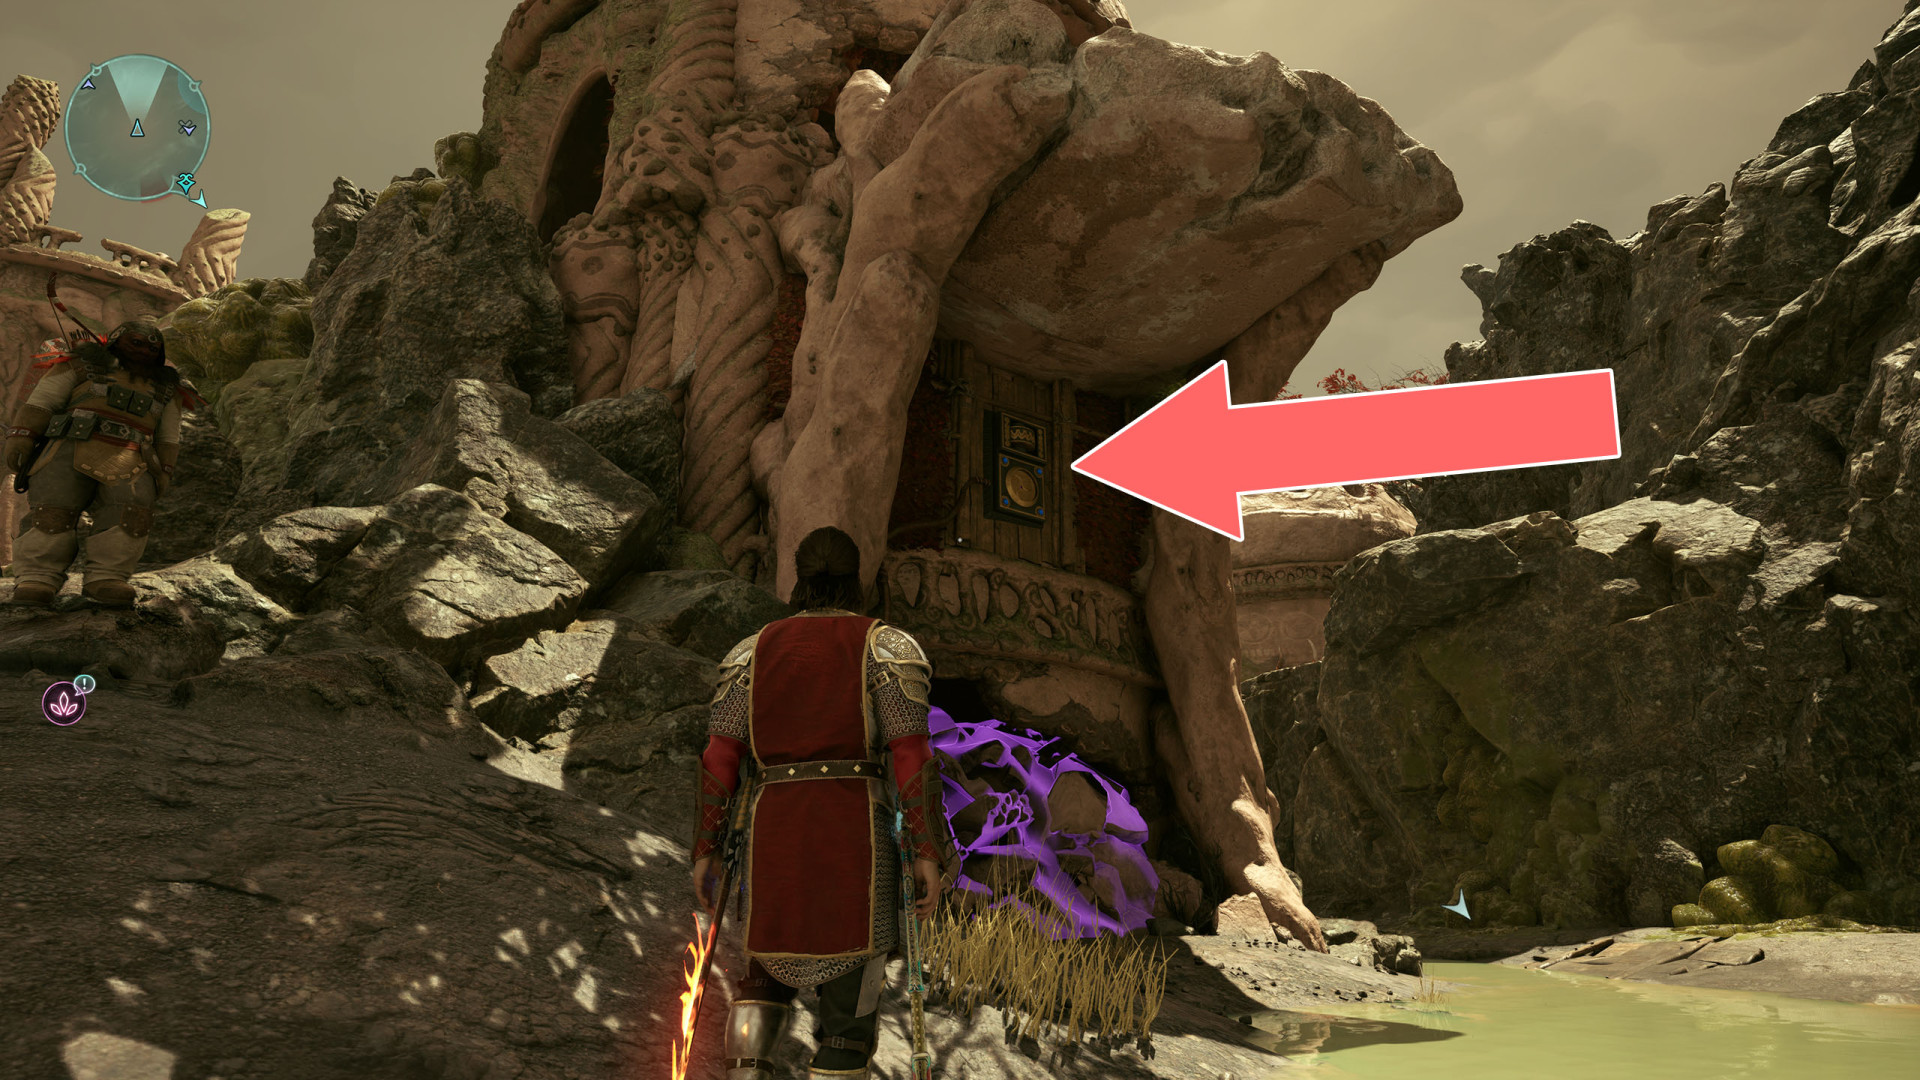
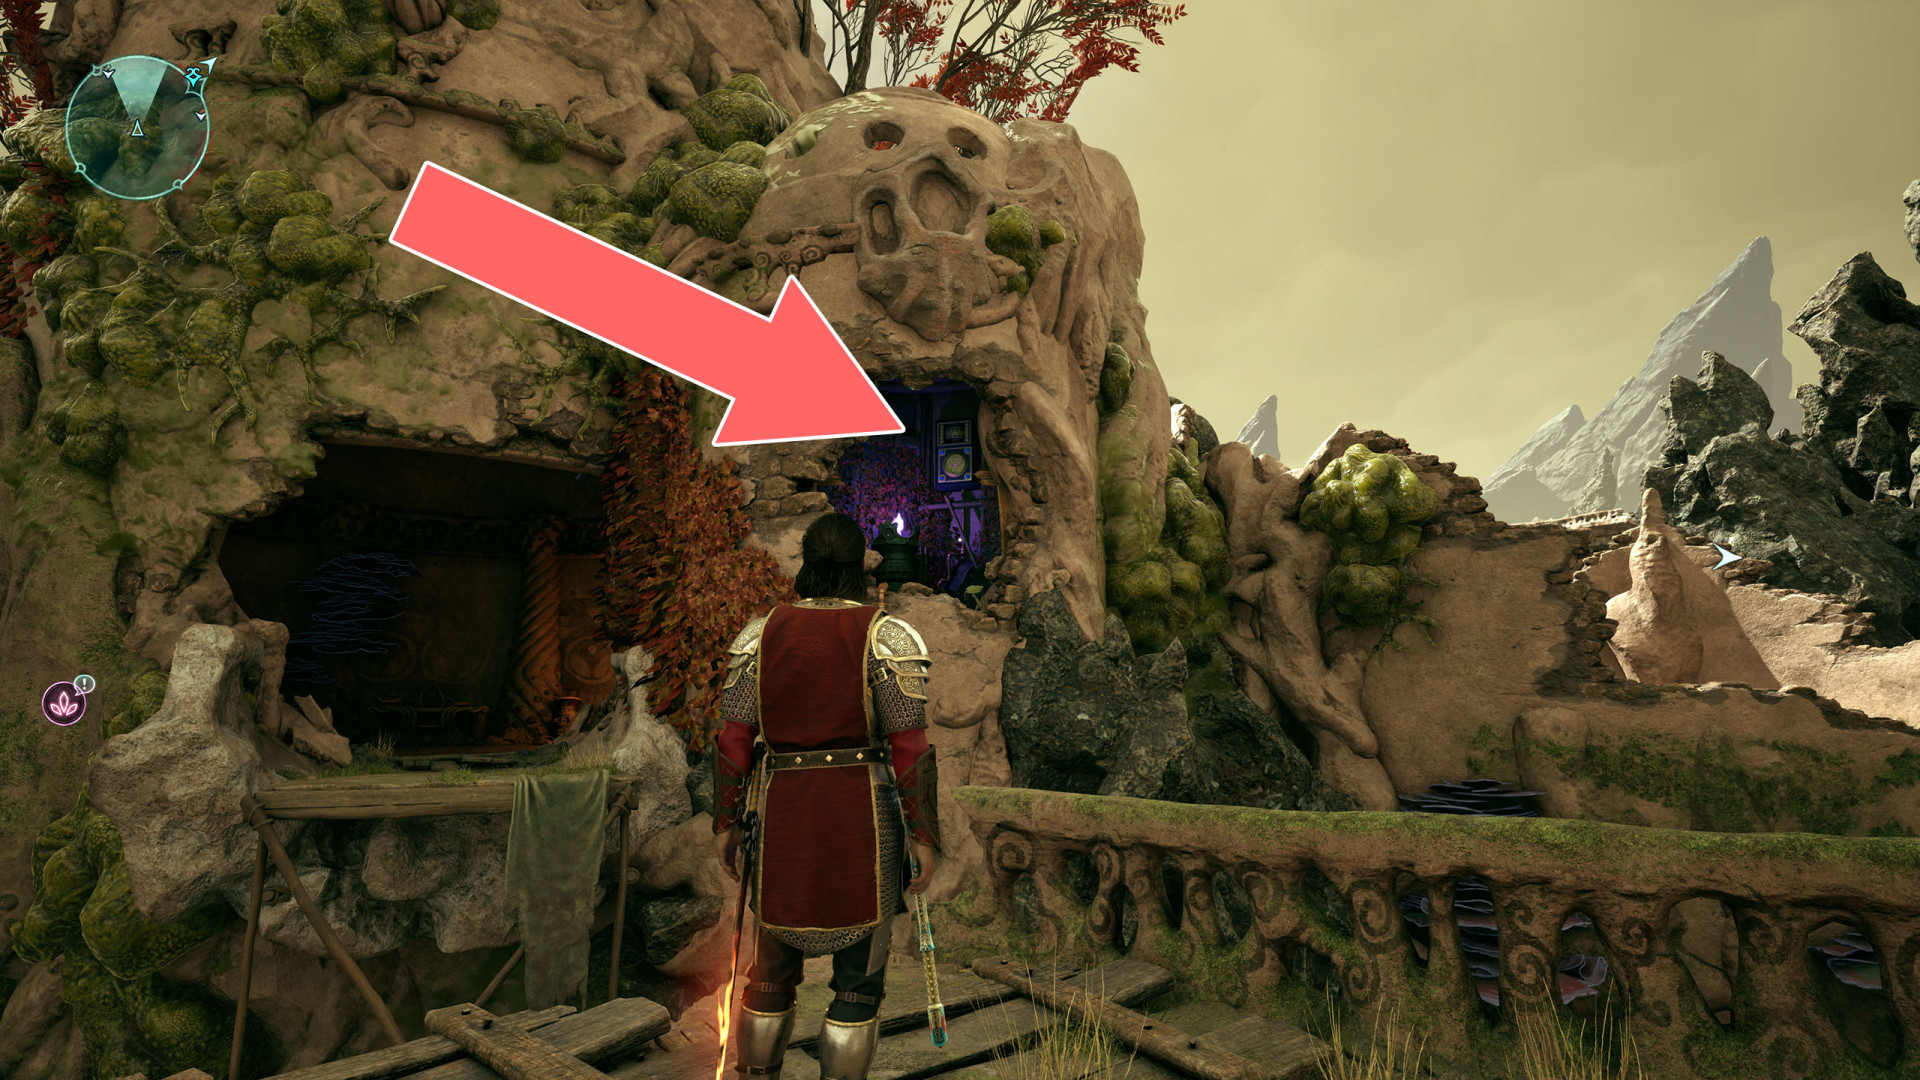
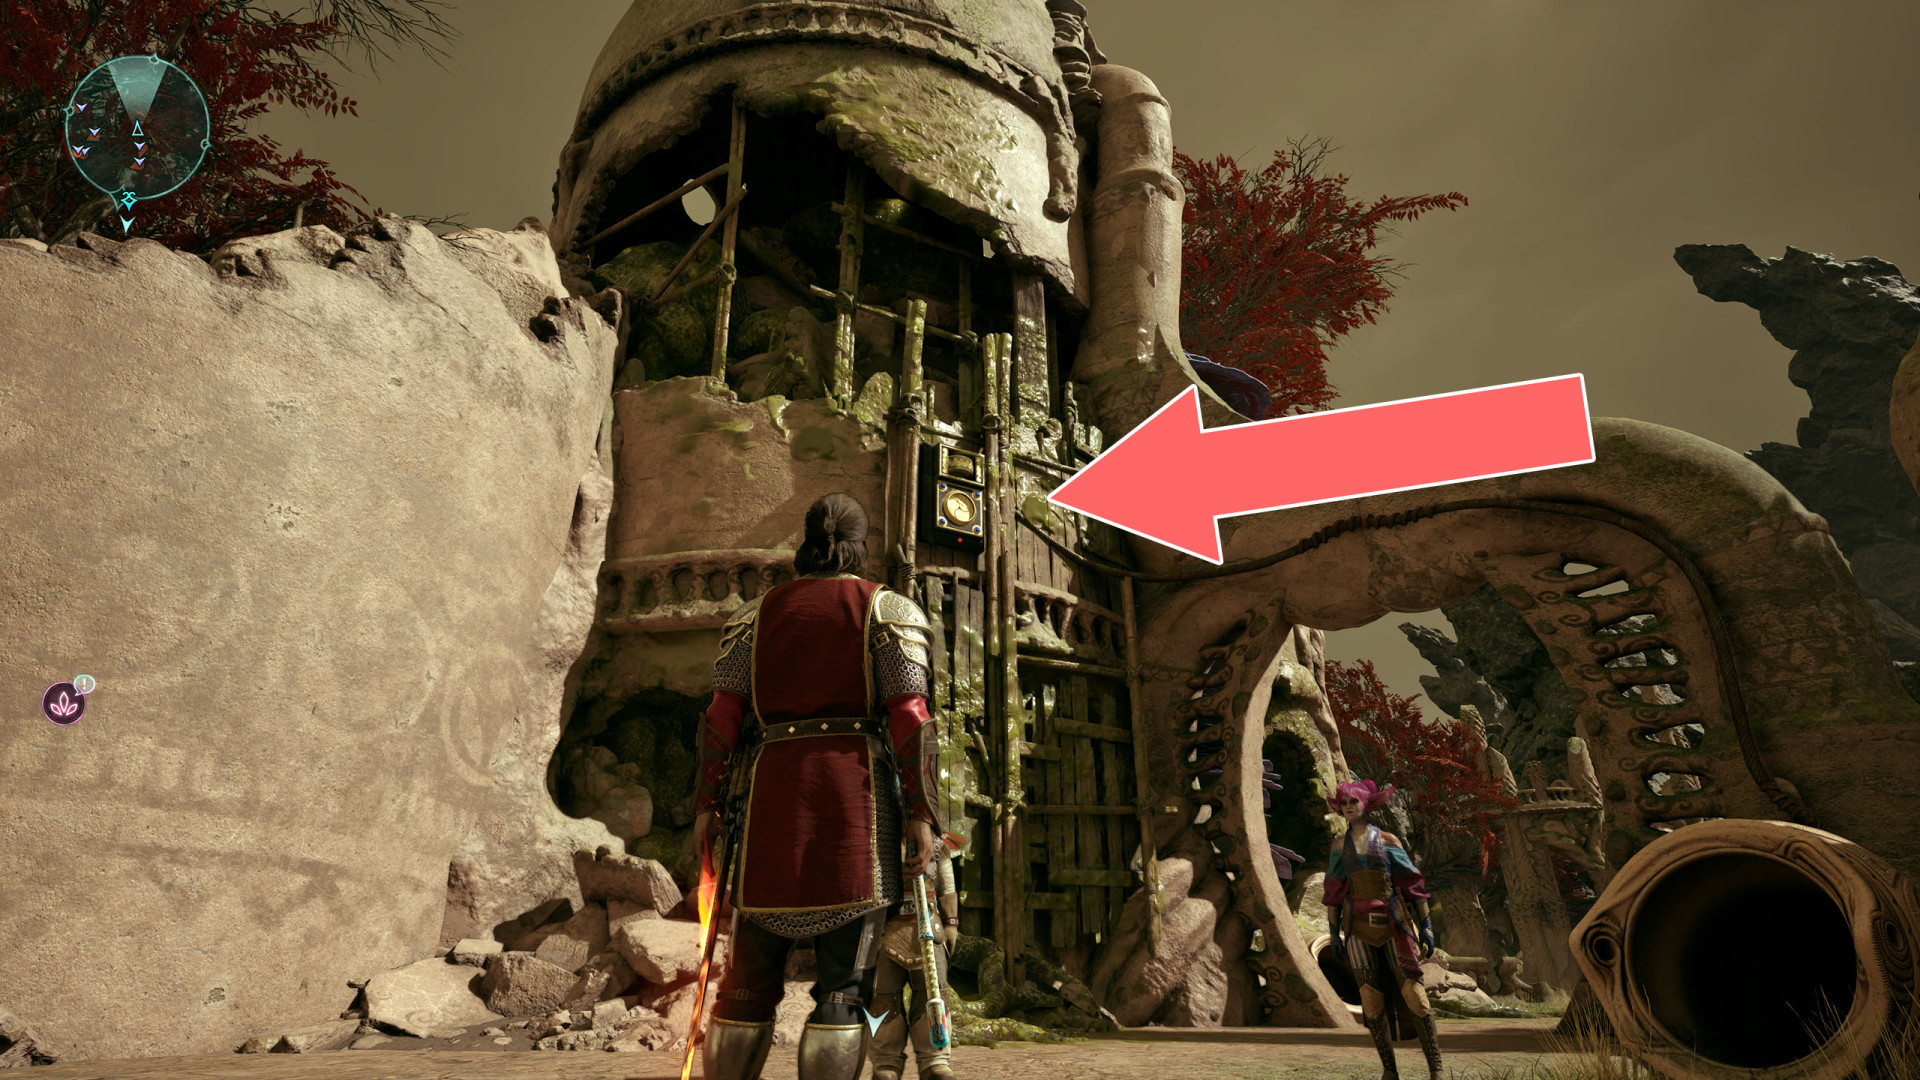
269Secret Door
To open this passage, press the button located on the small altar inside the building.
270Shock Door (3)
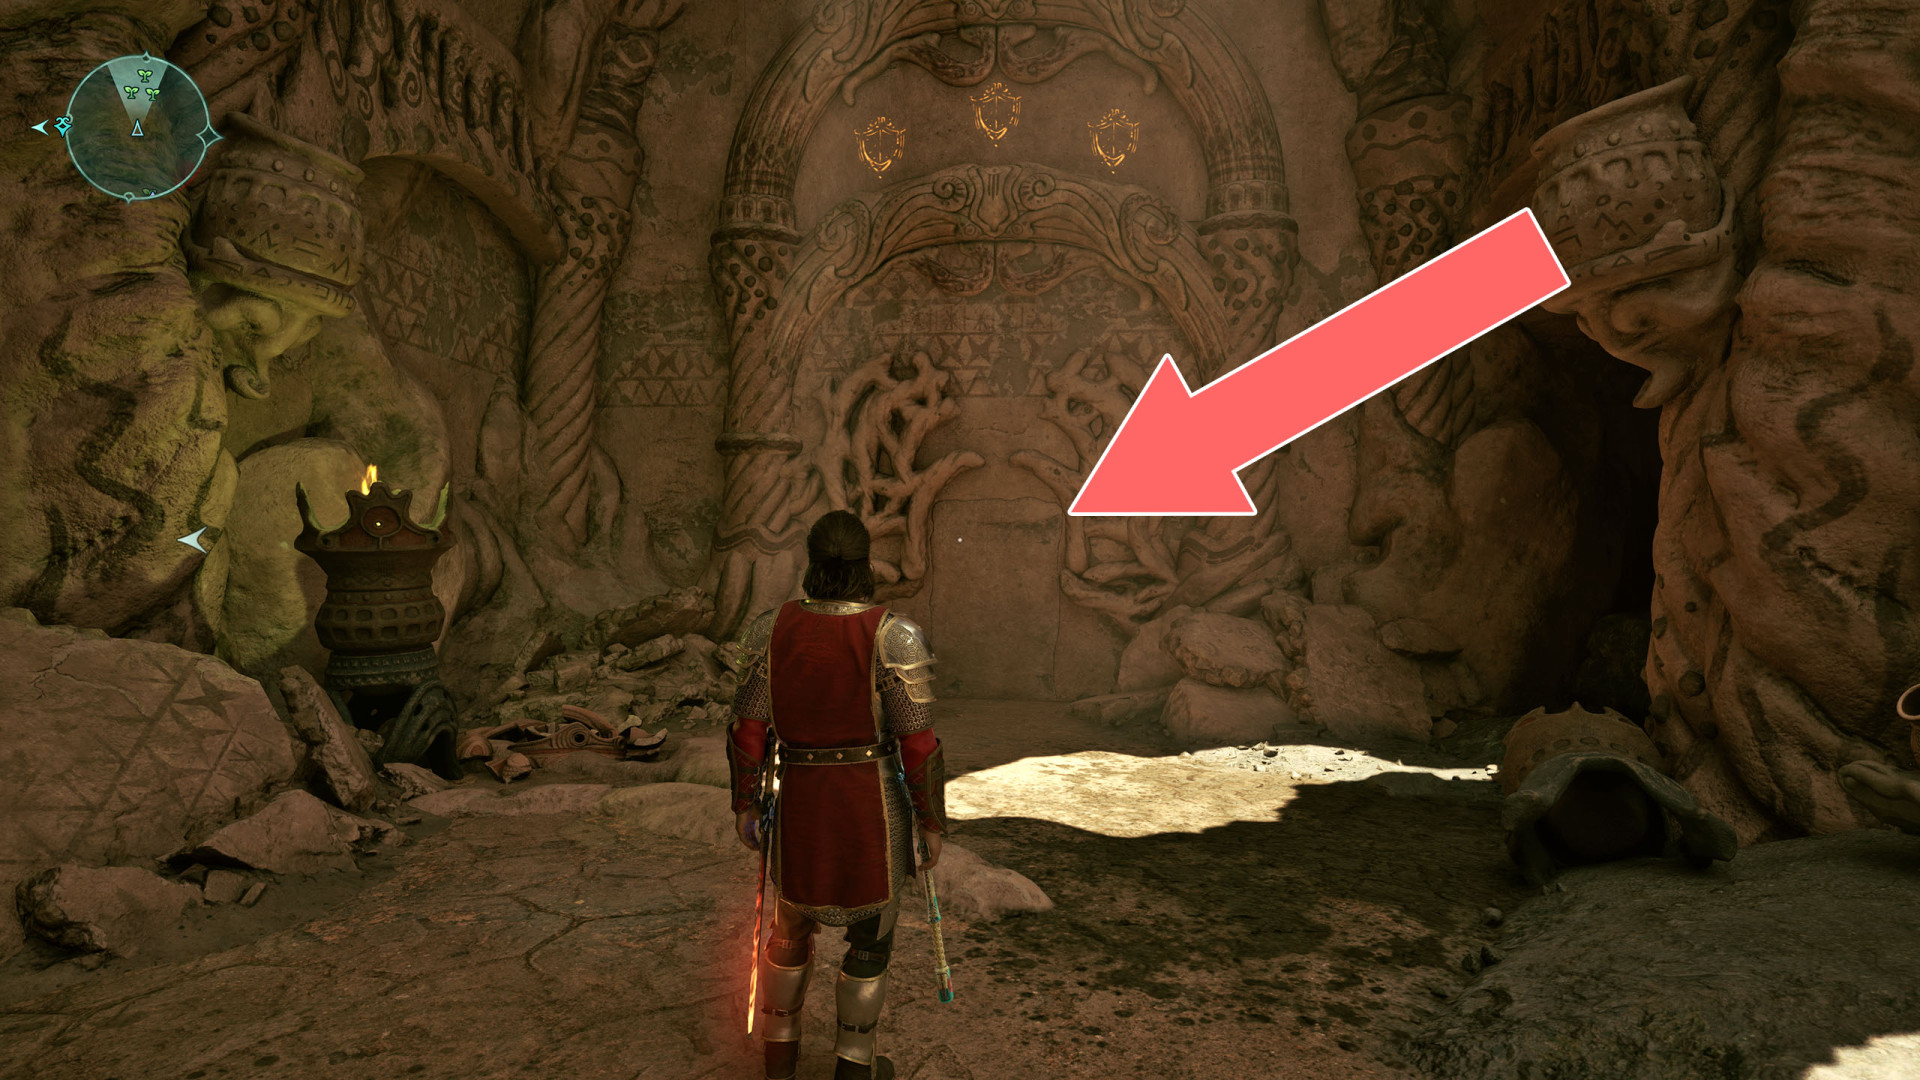
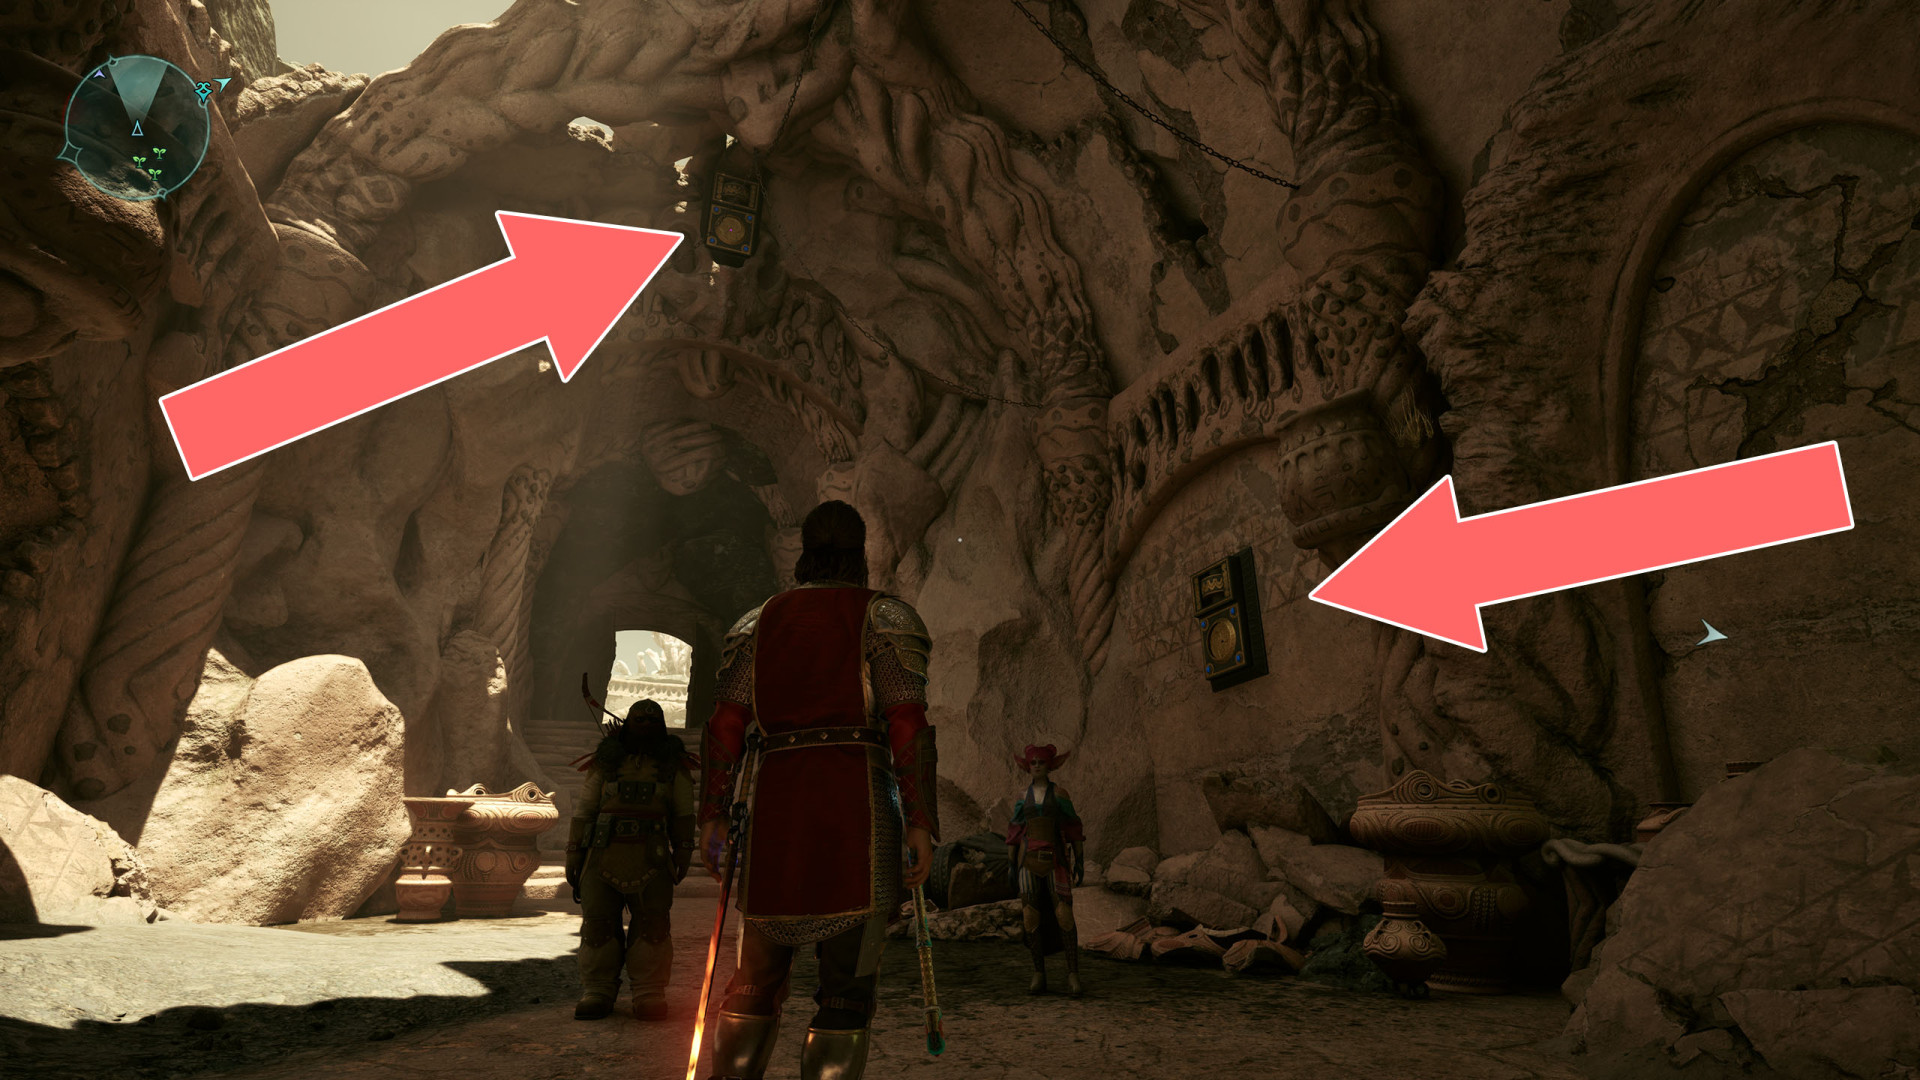
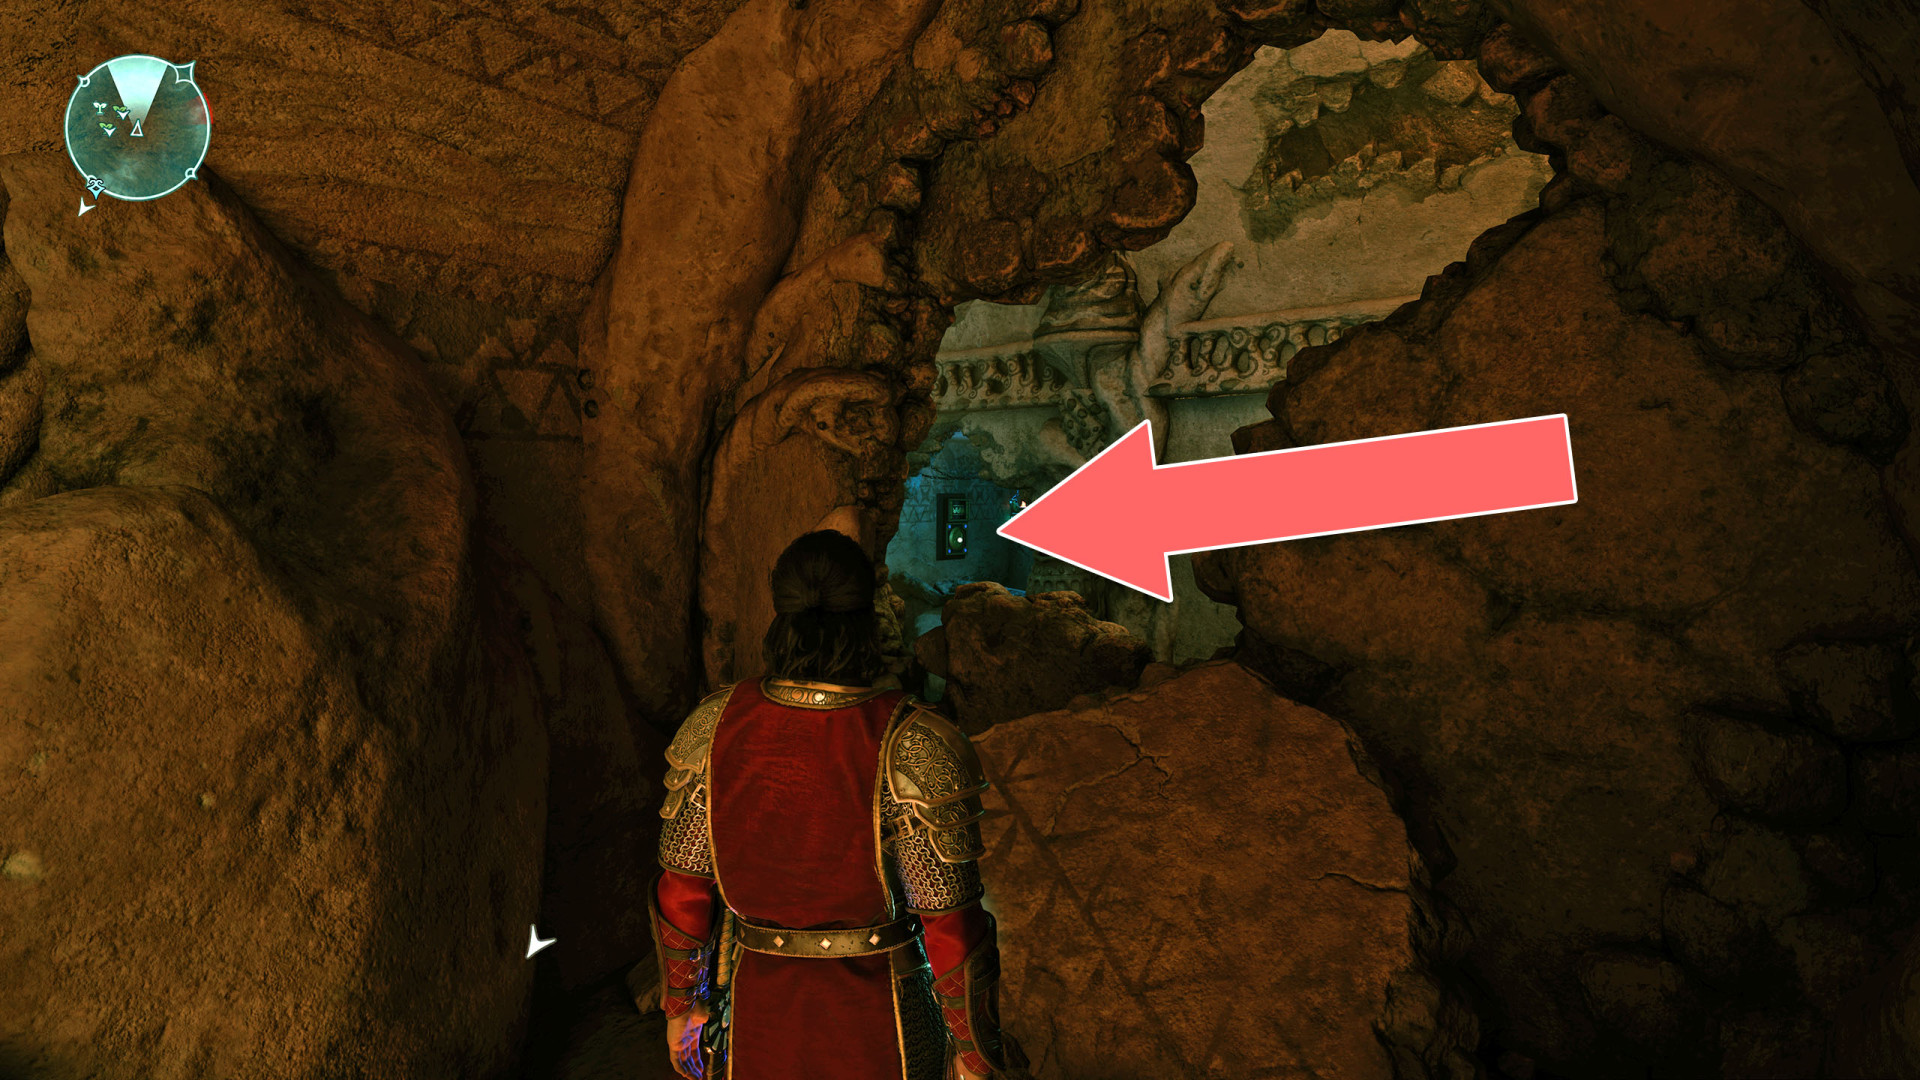
271Shock Door (3)
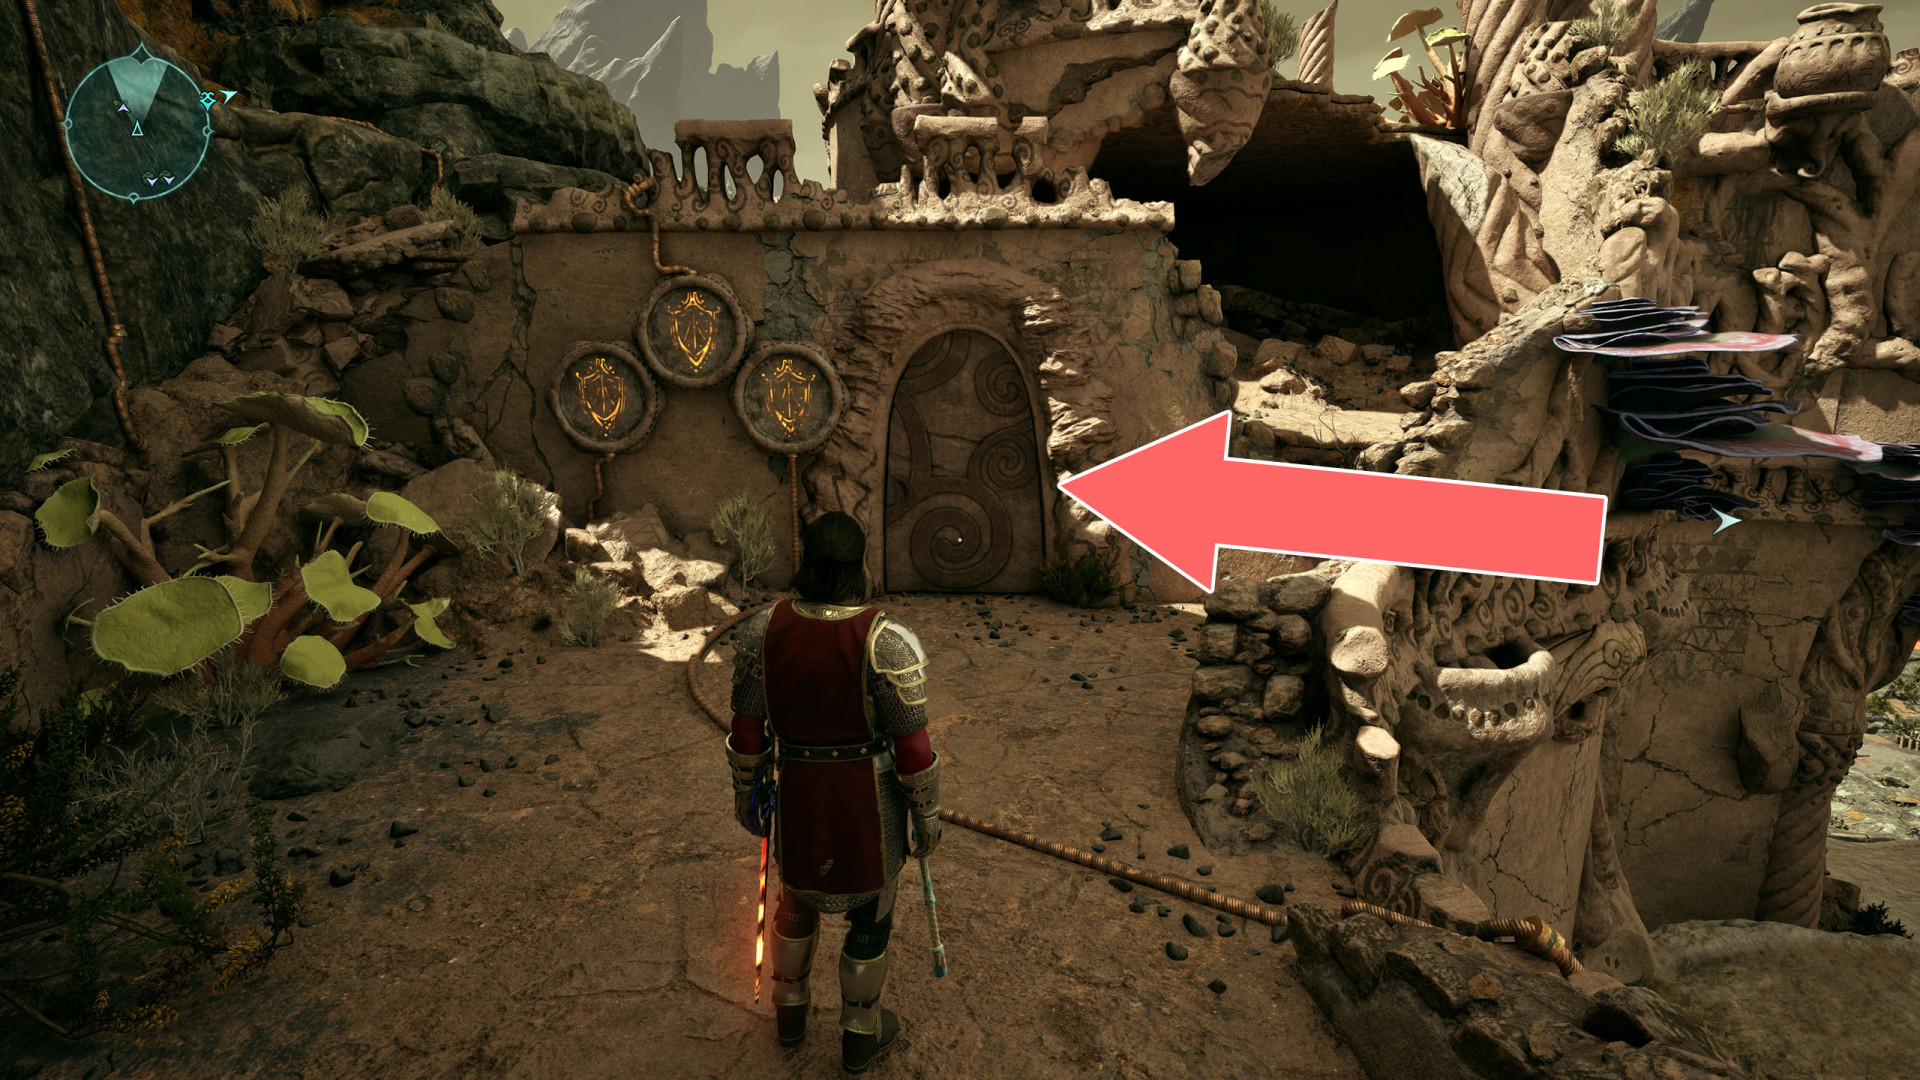
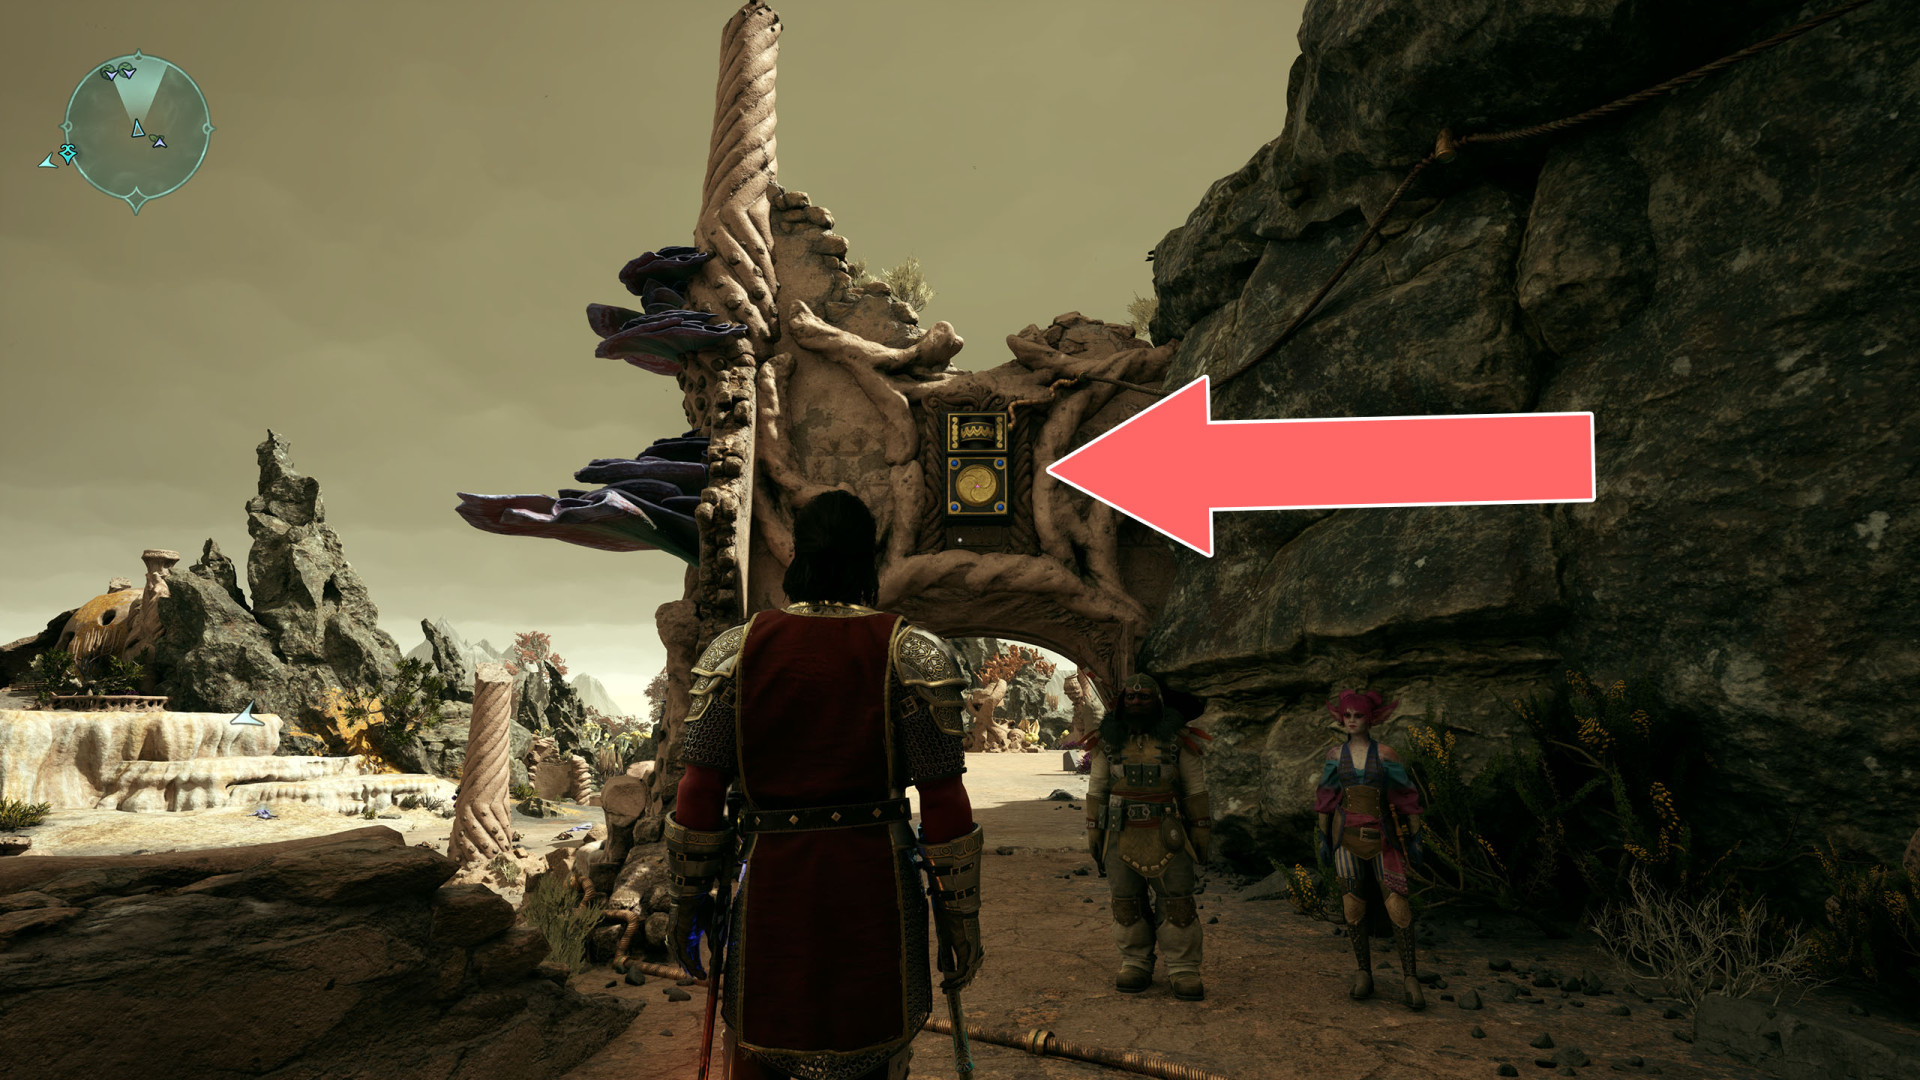
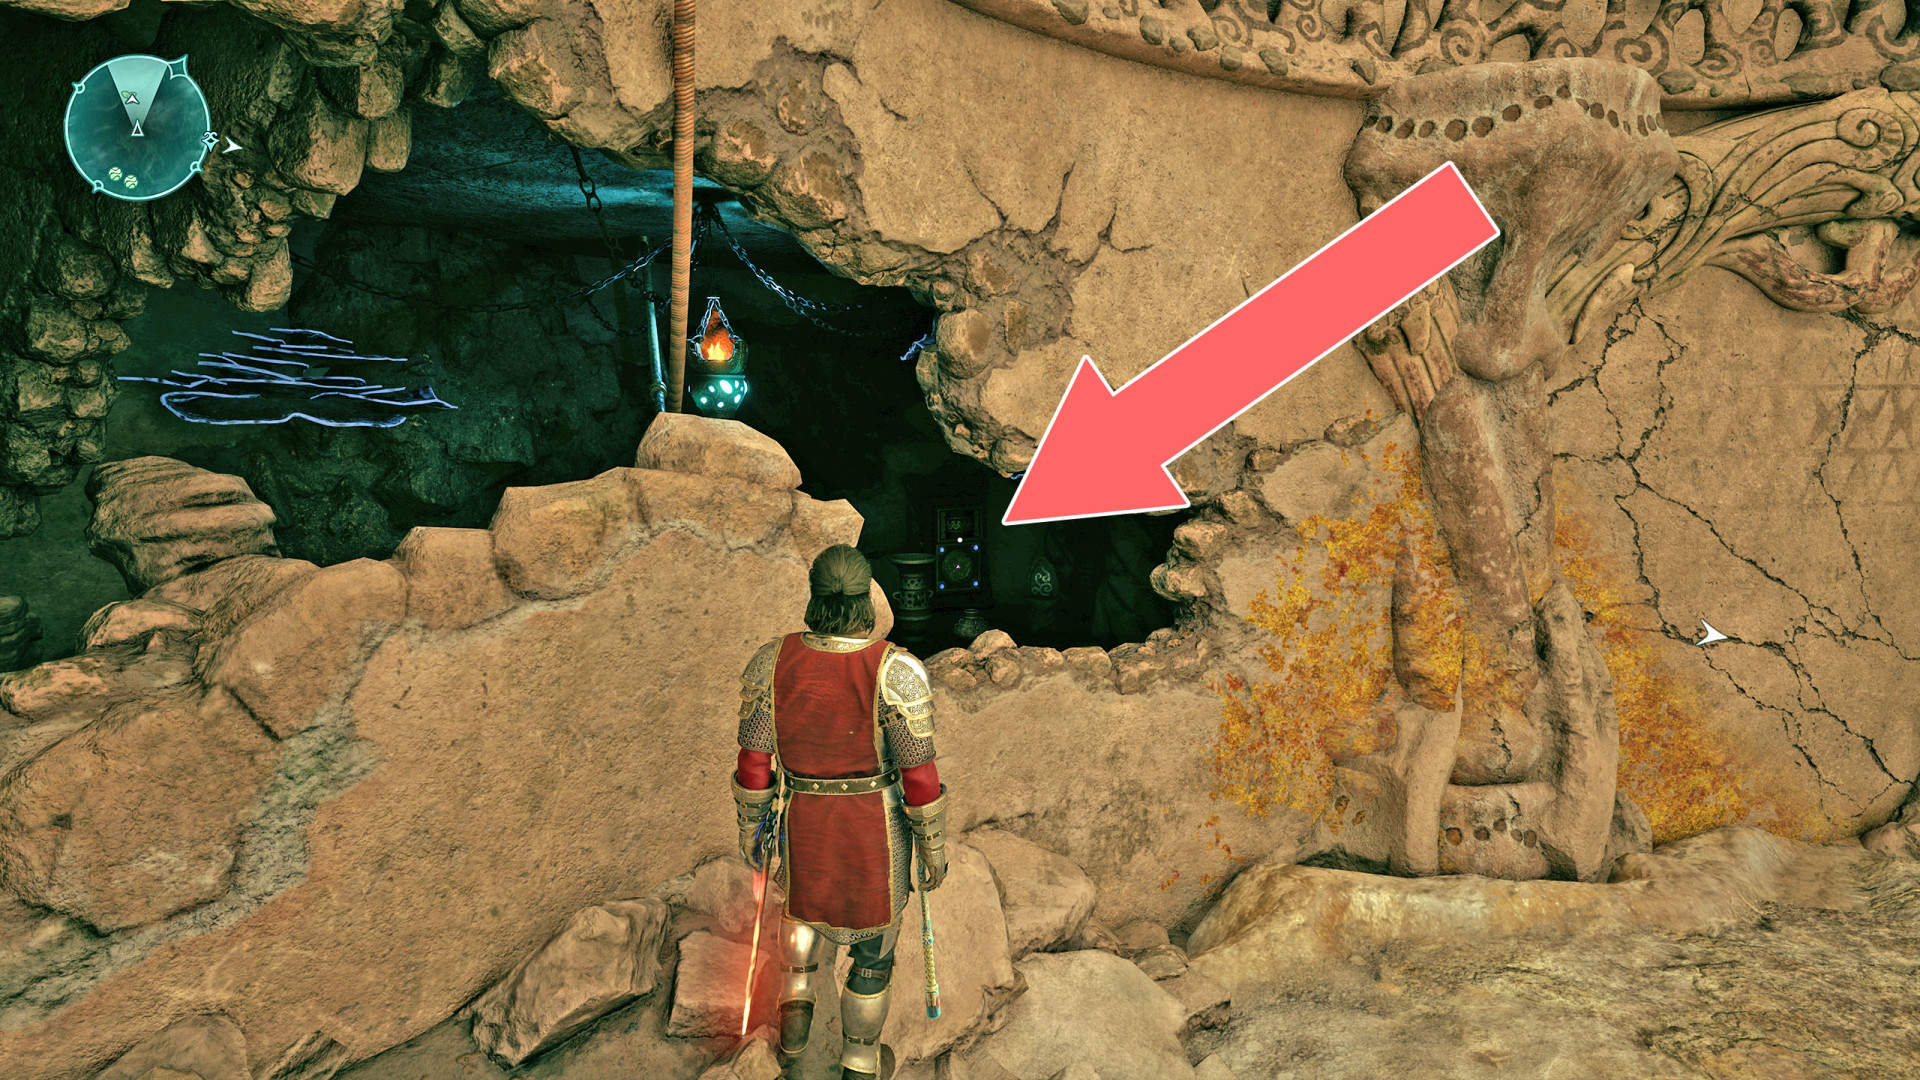
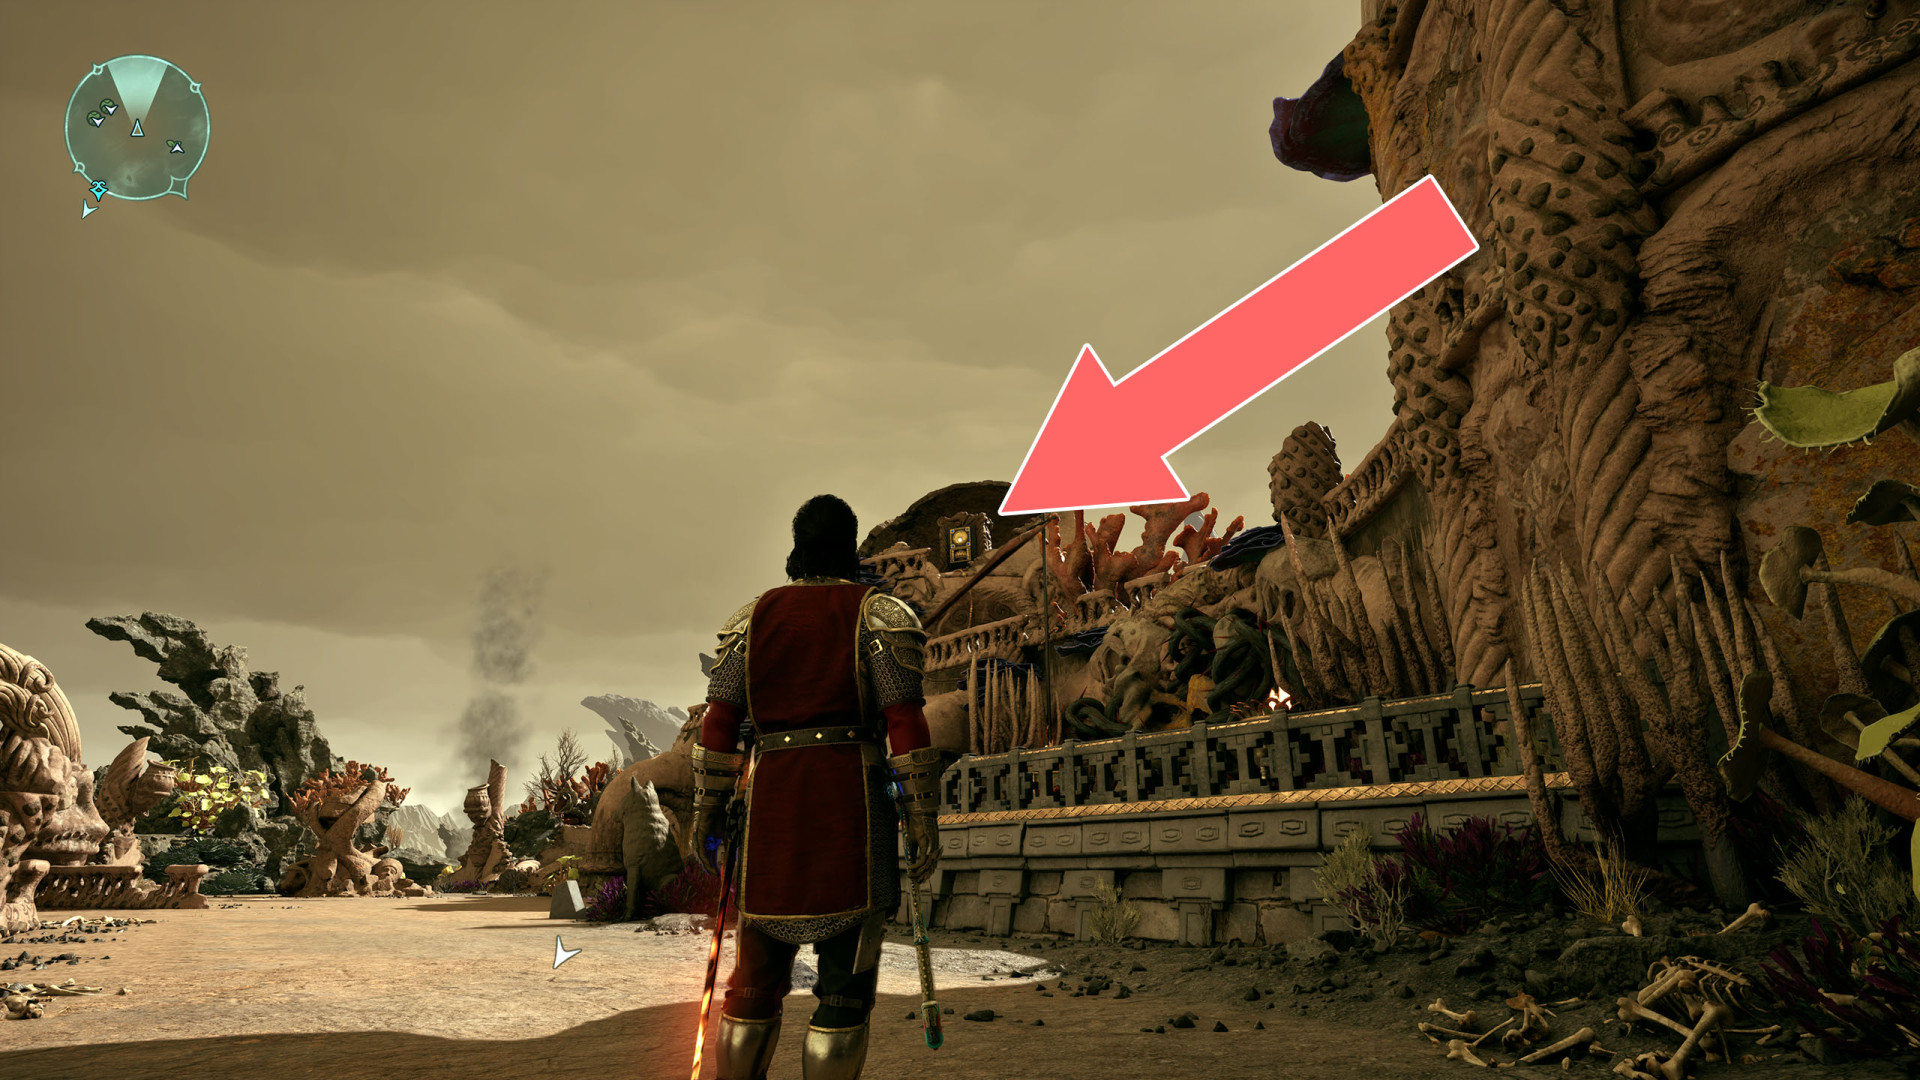
272Shock Door (3)
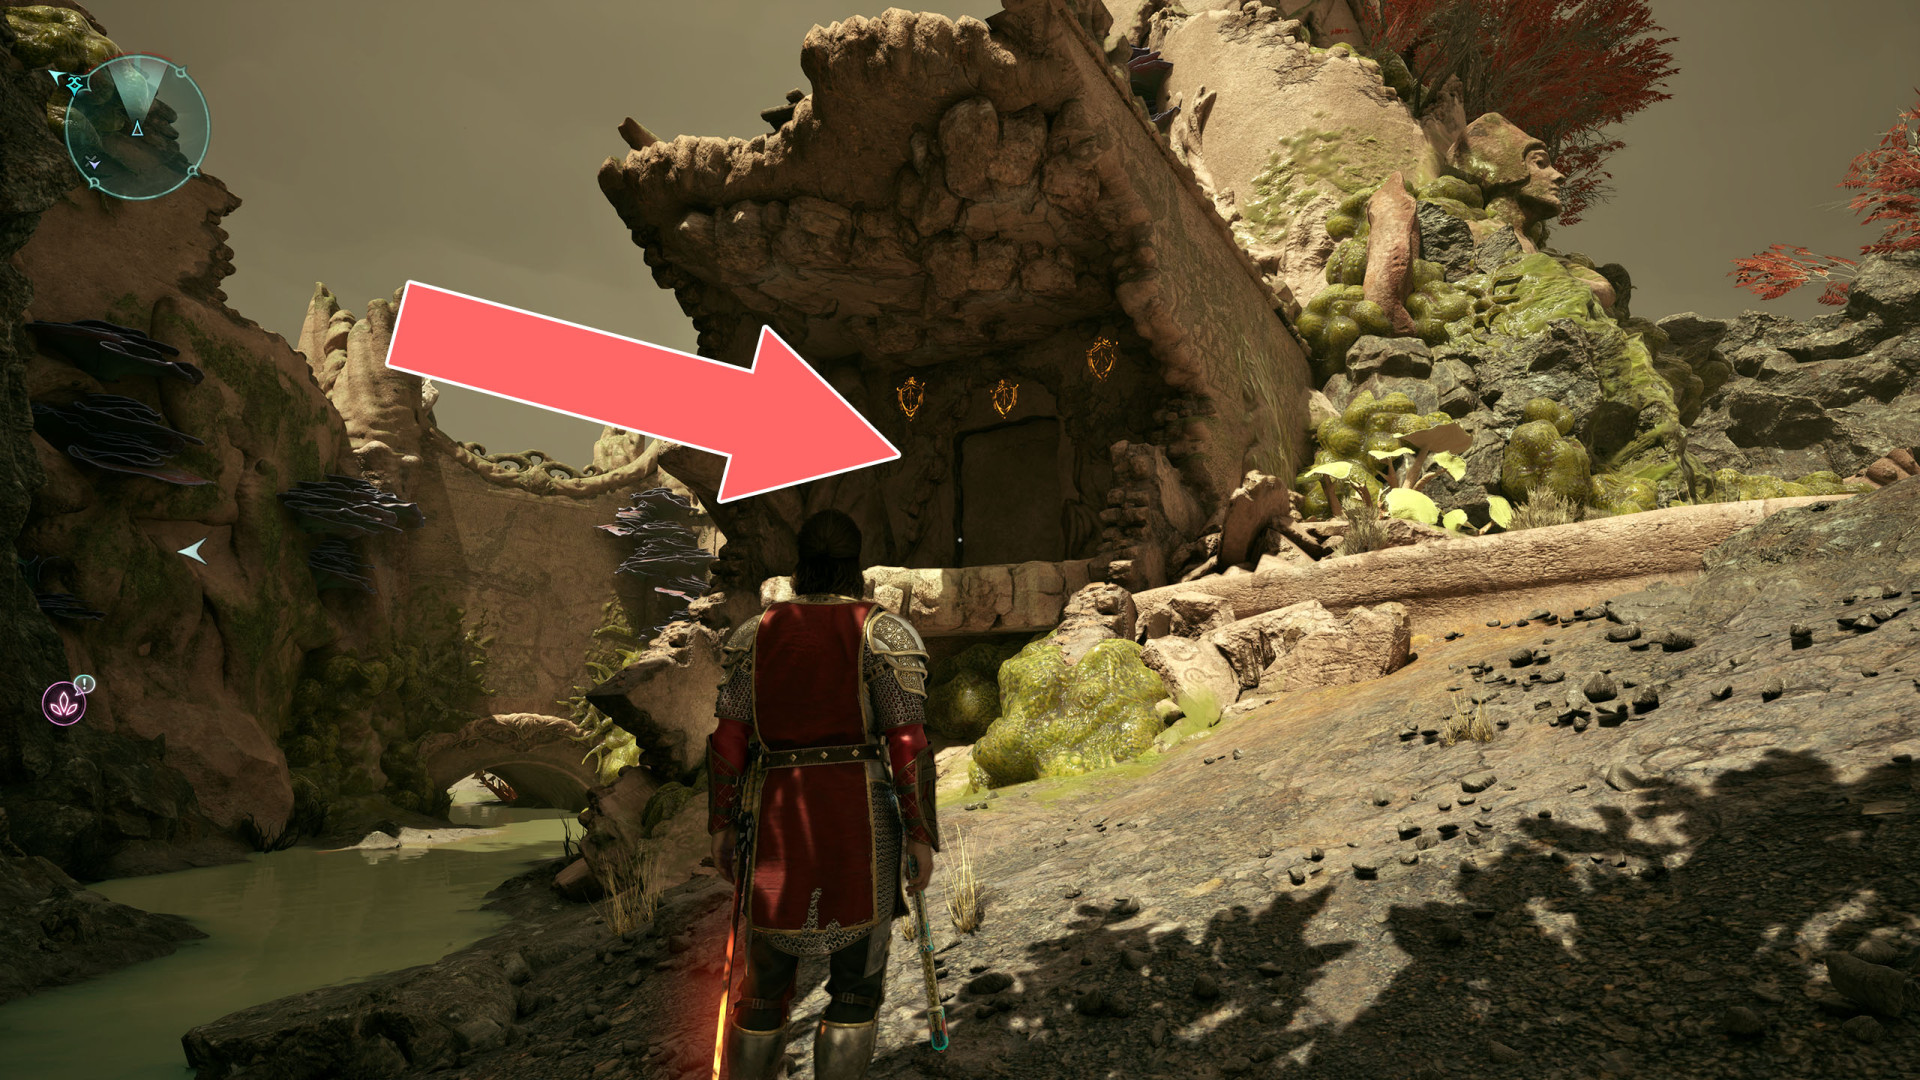
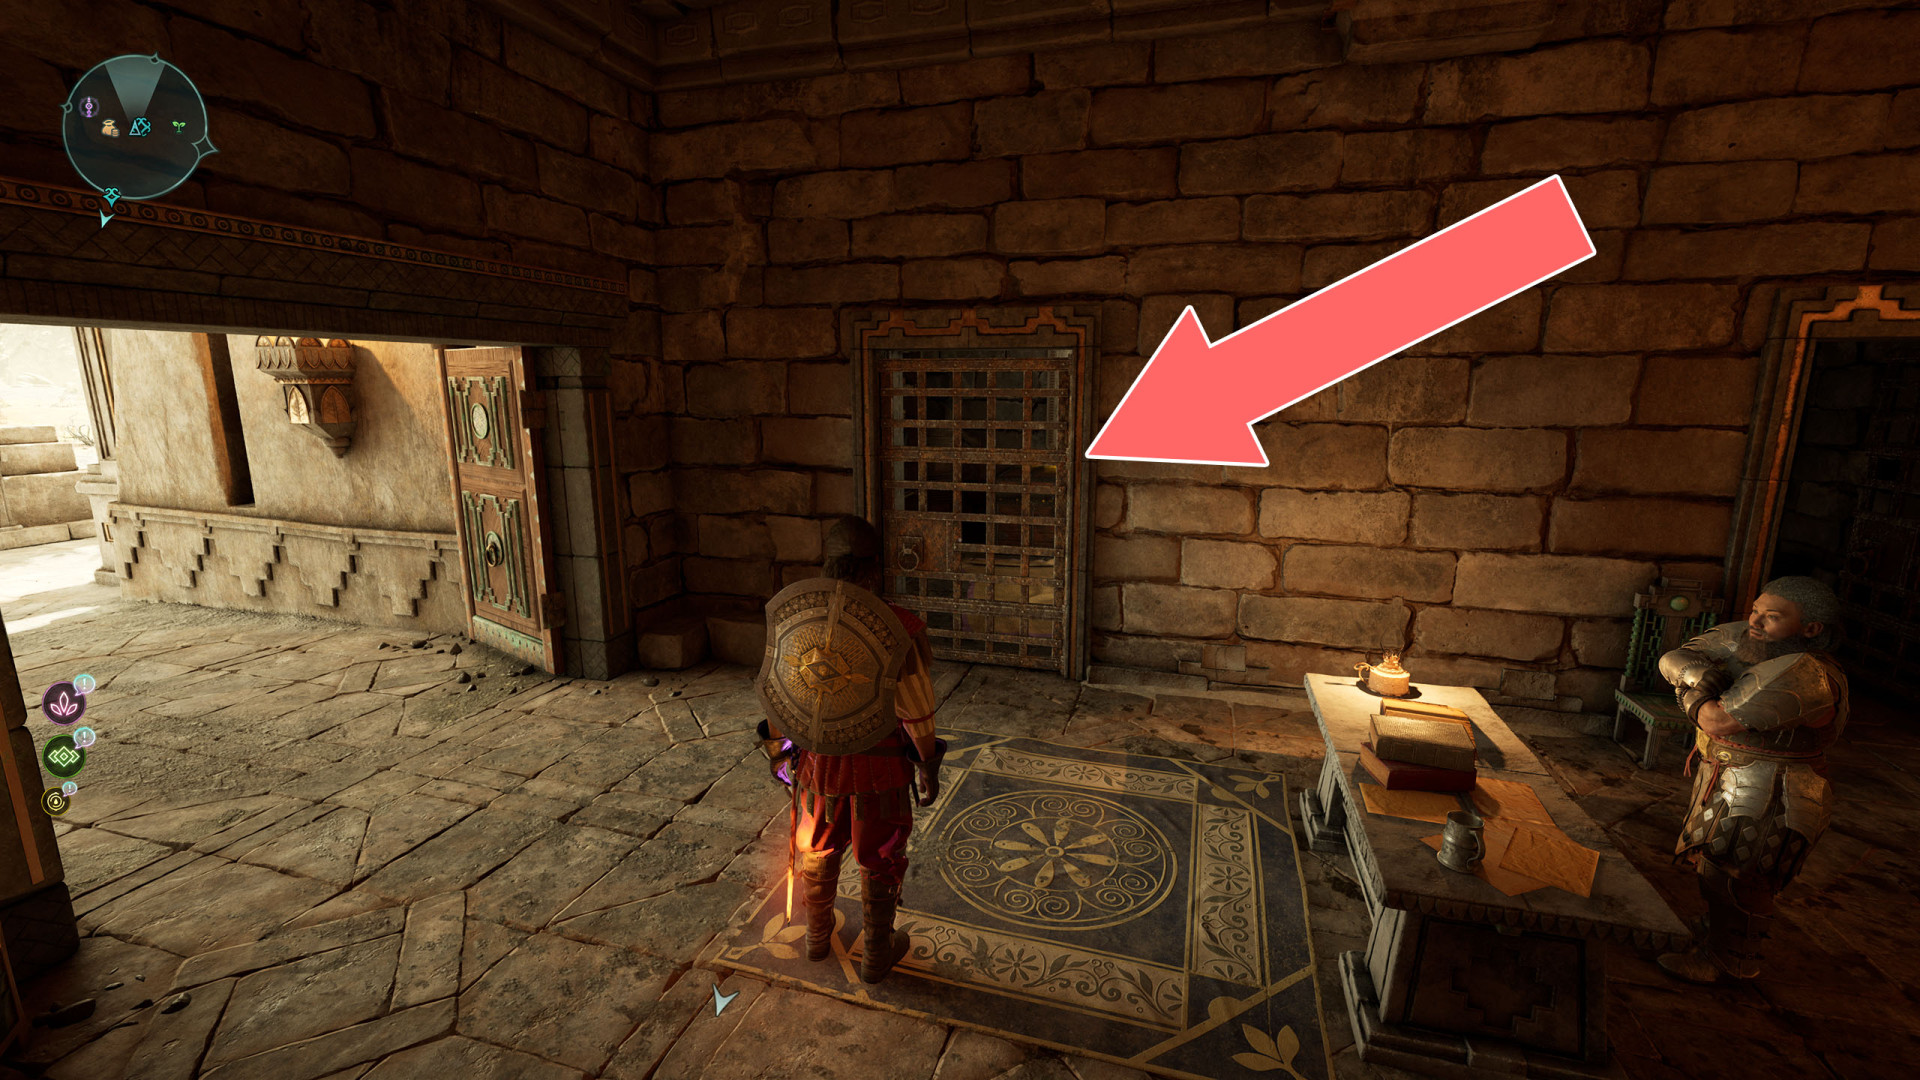
273Storage Room
Unlocks with: Storage Room Key.
274Weak Wall
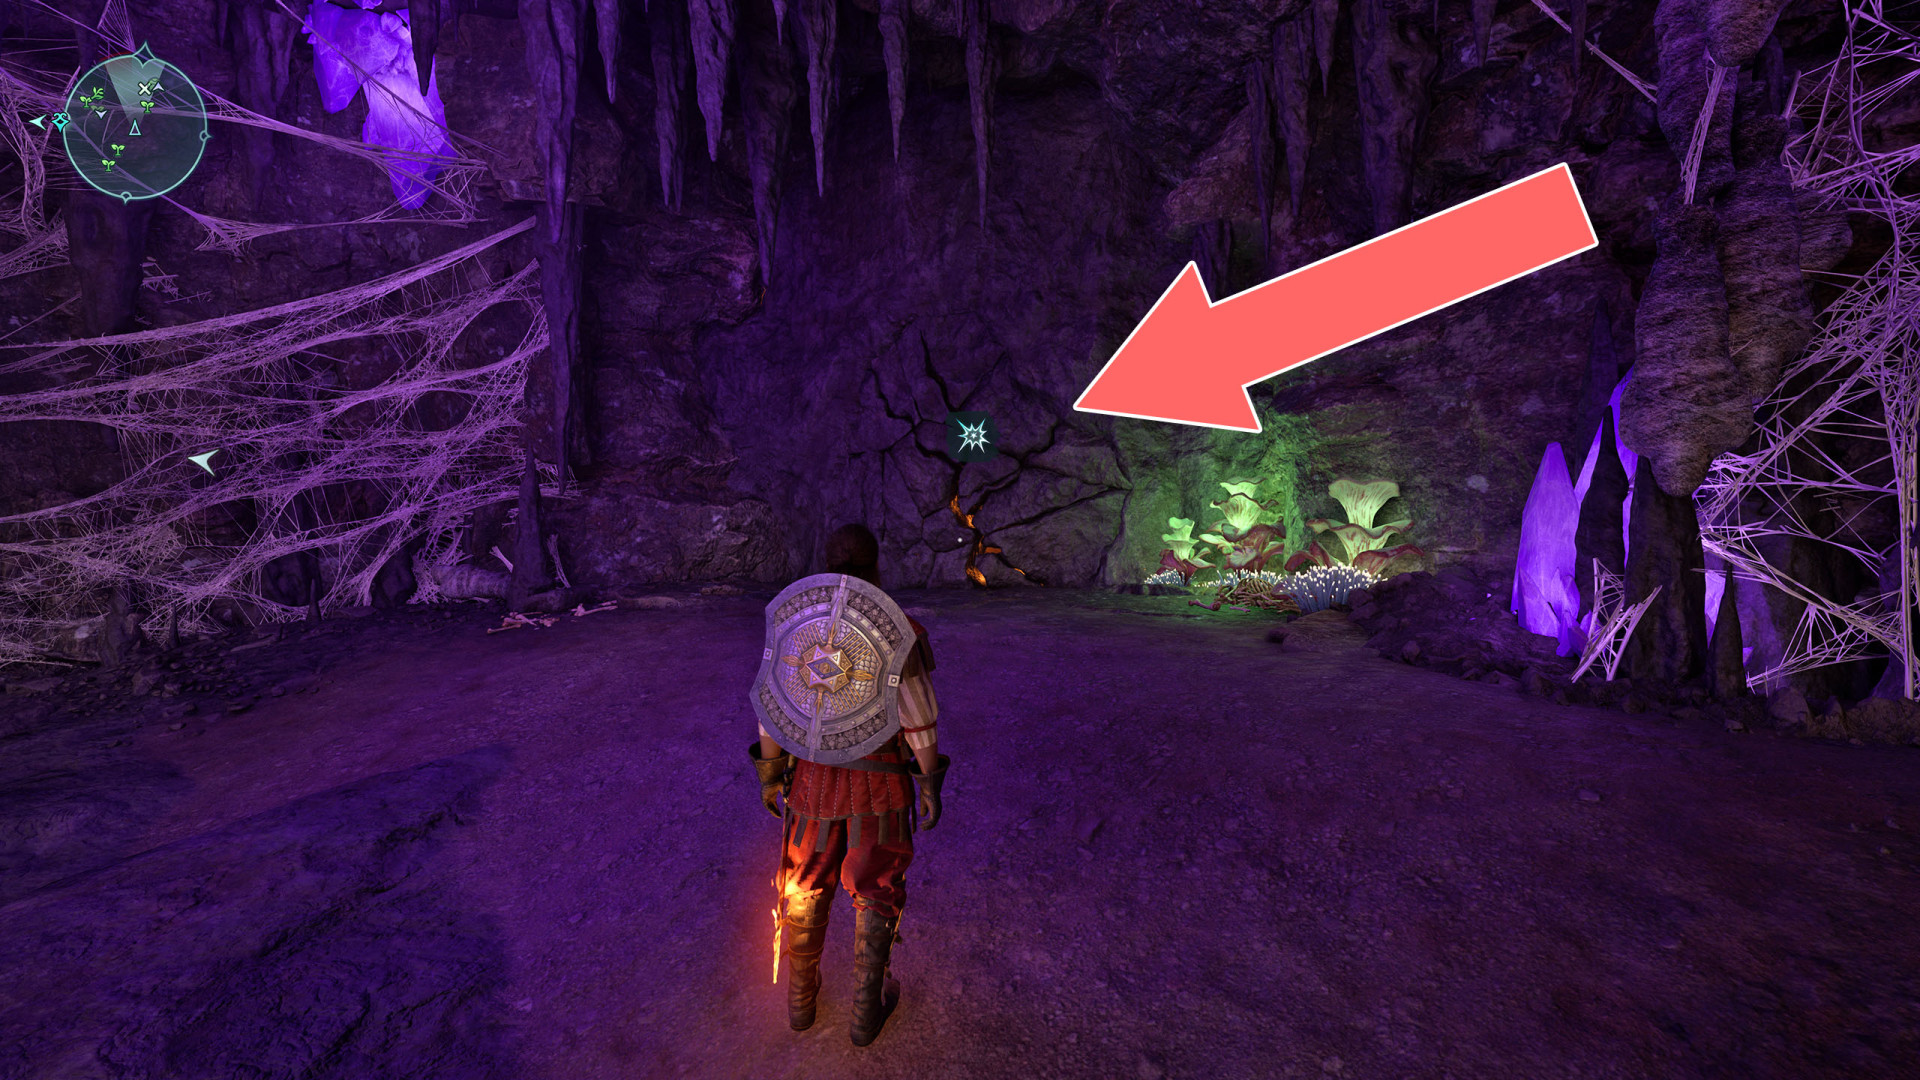
275Weak Wall
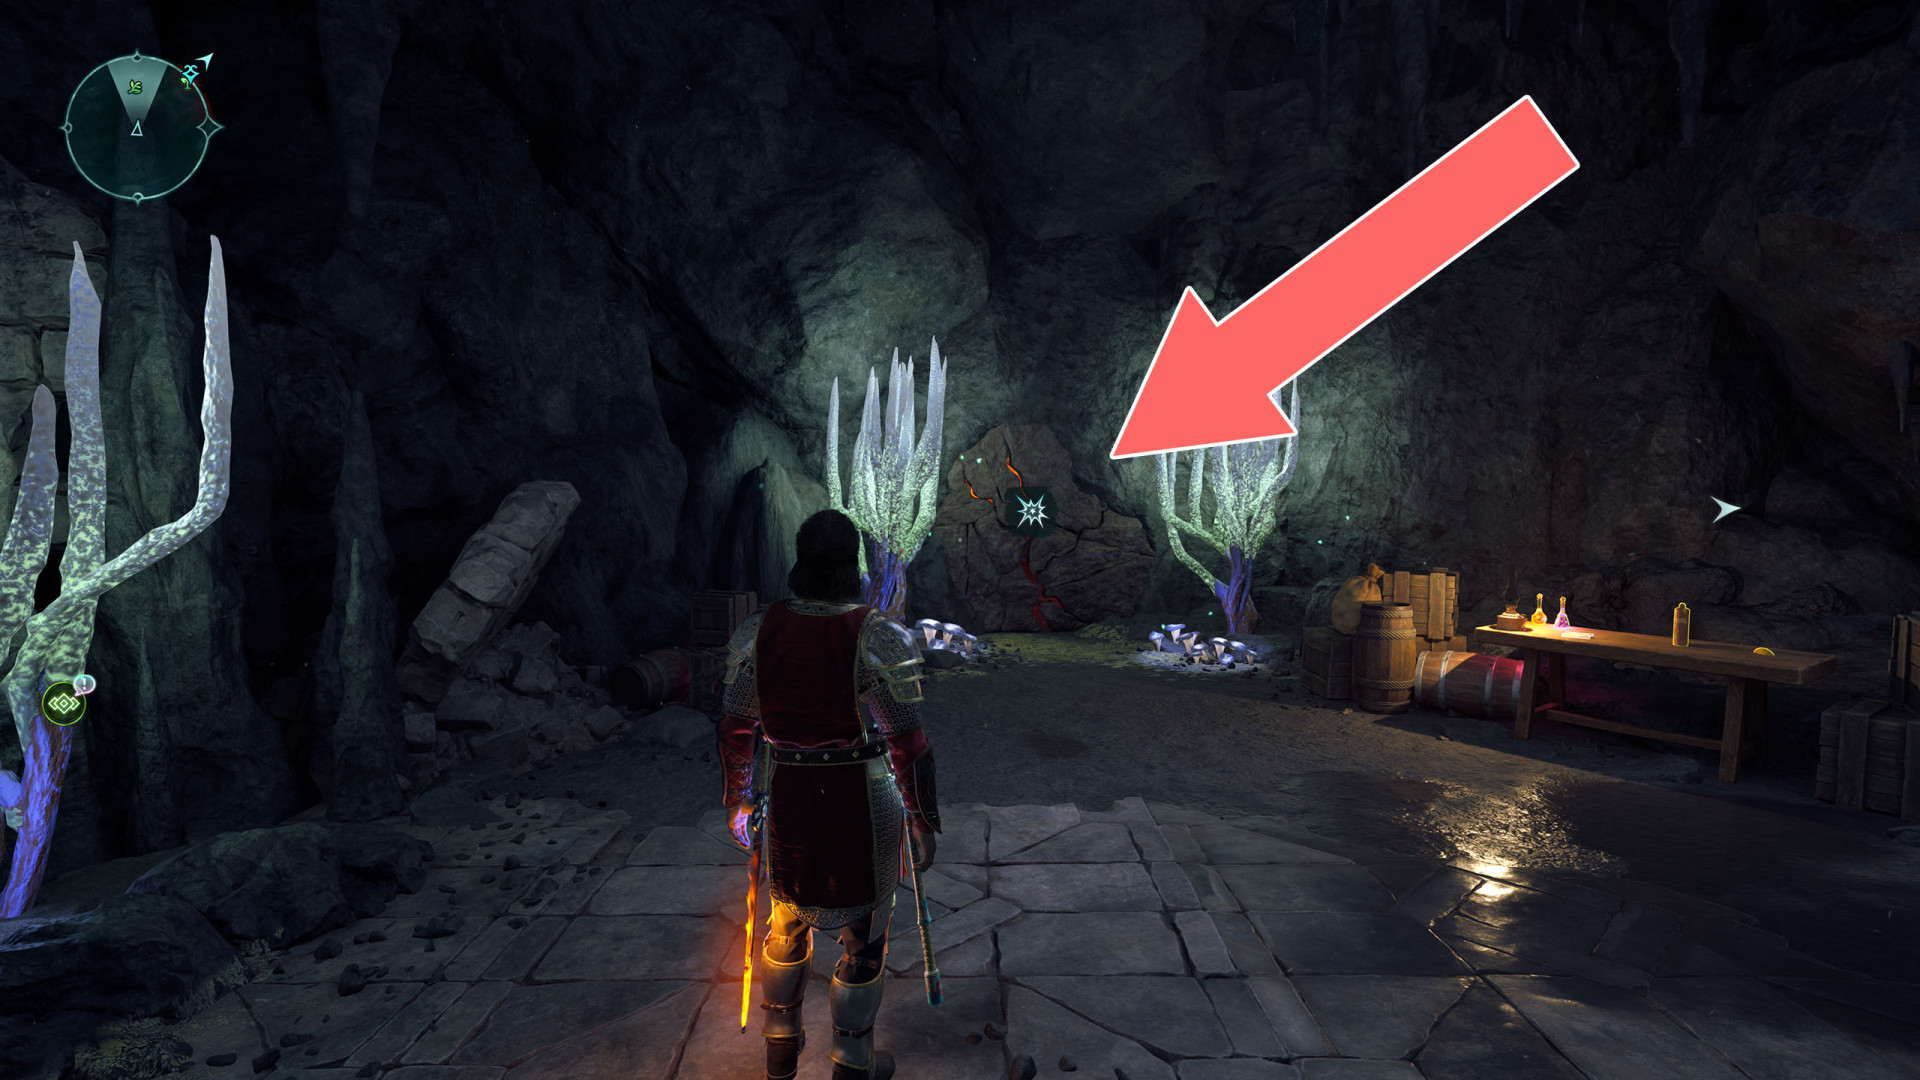
276Weak Wall
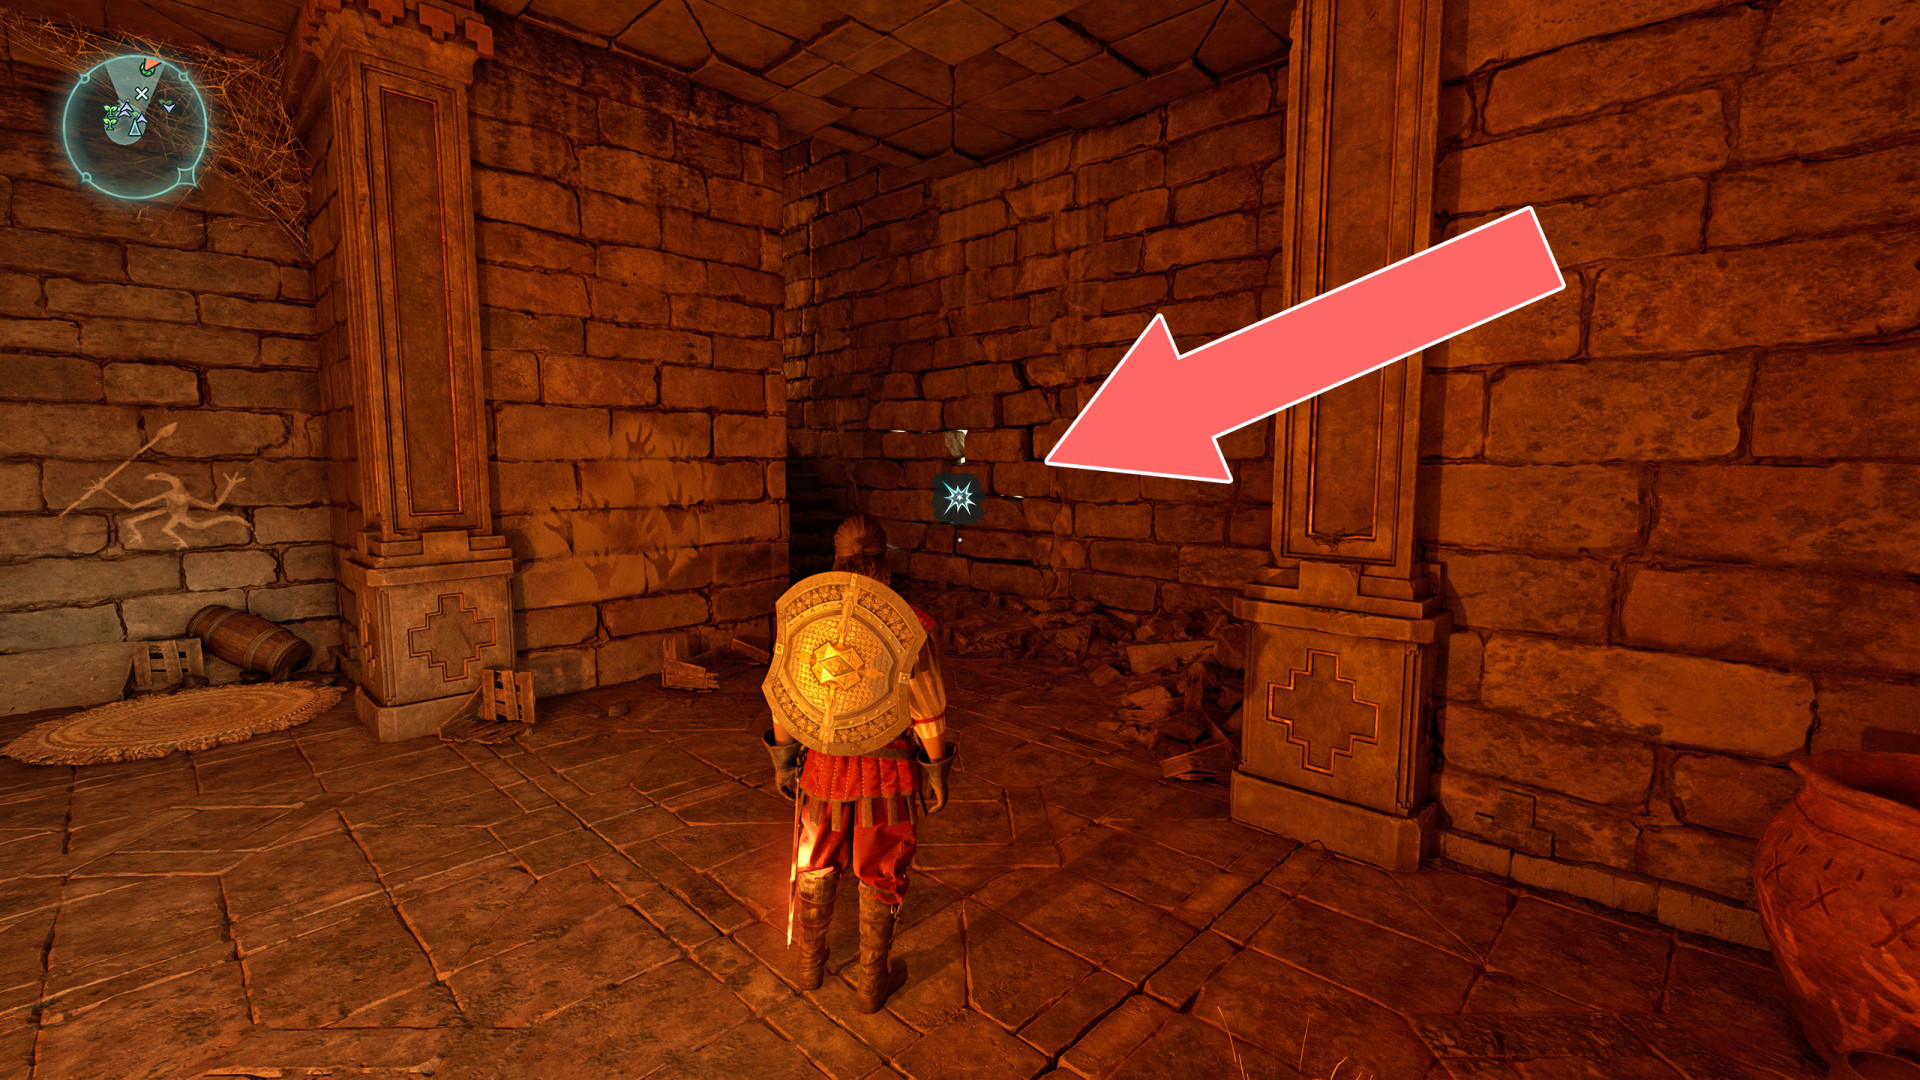
277Weak Wall
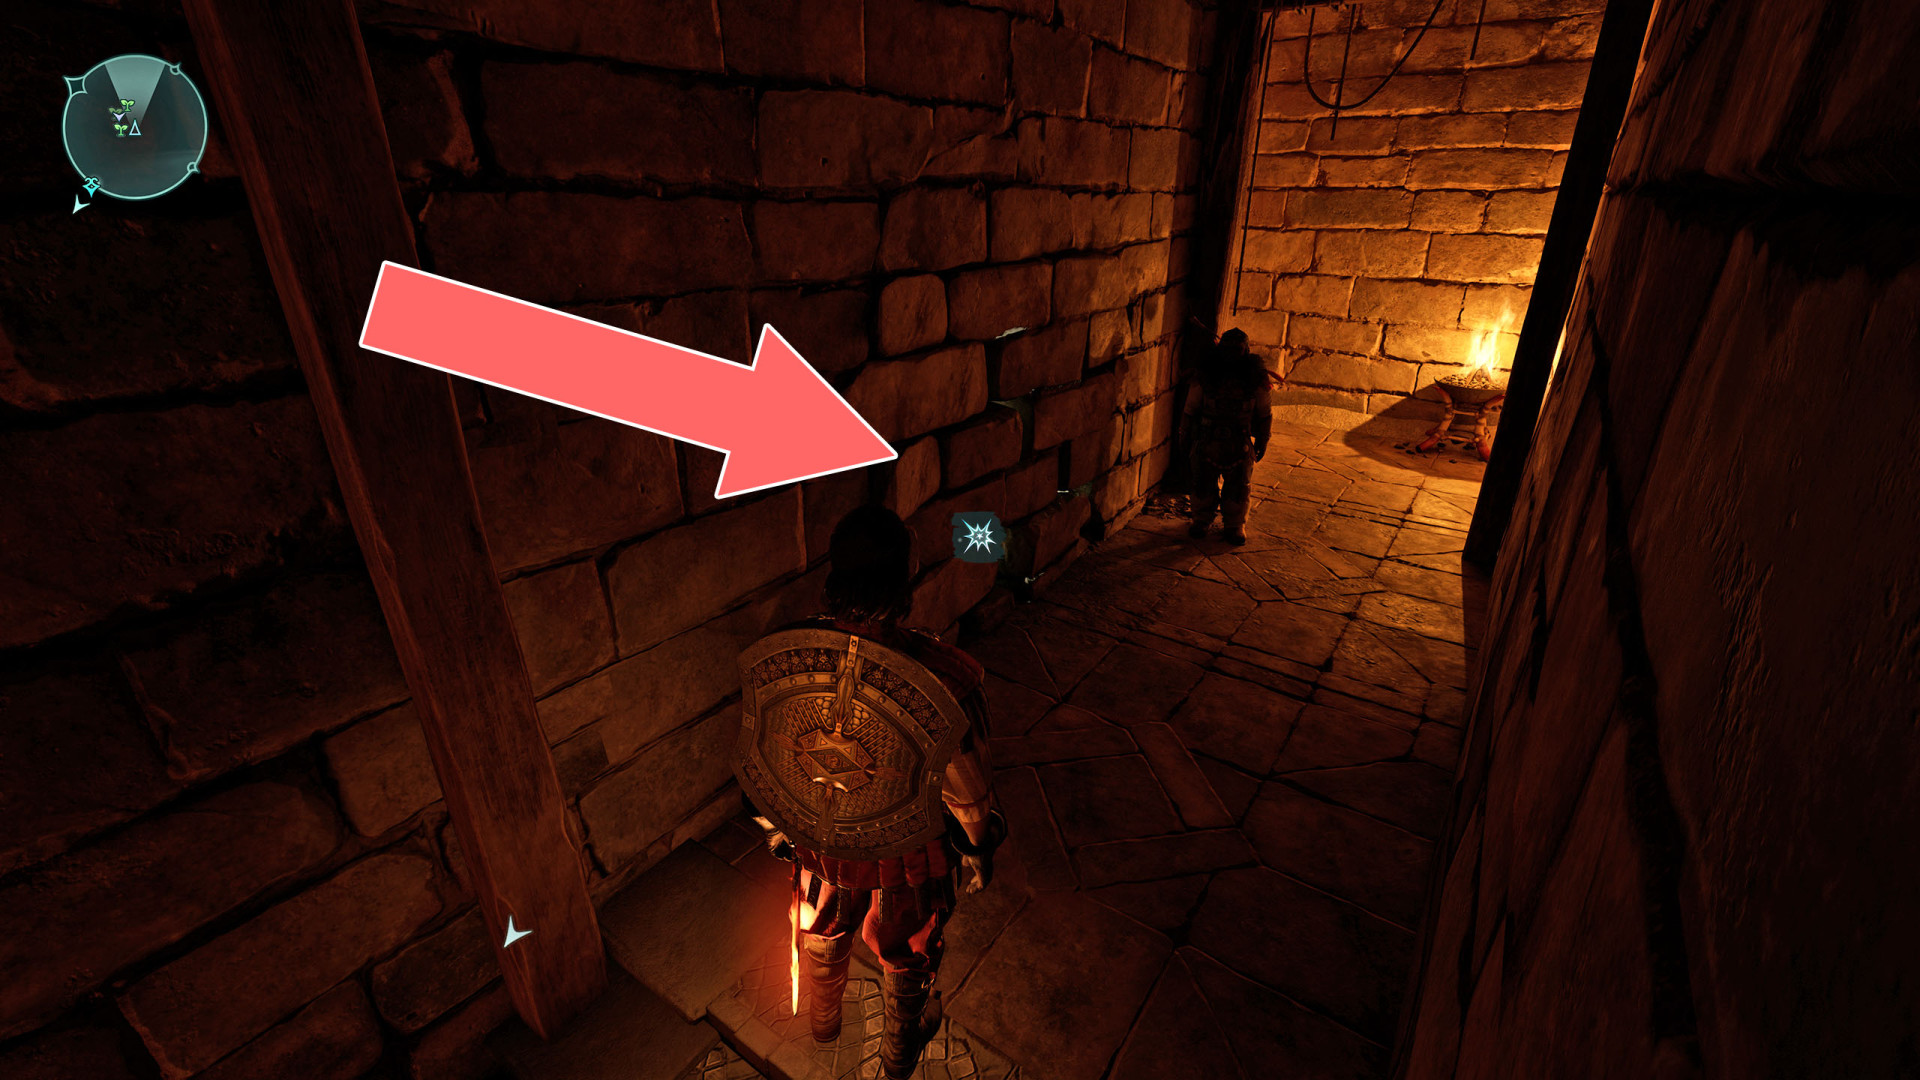
278Weak Wall
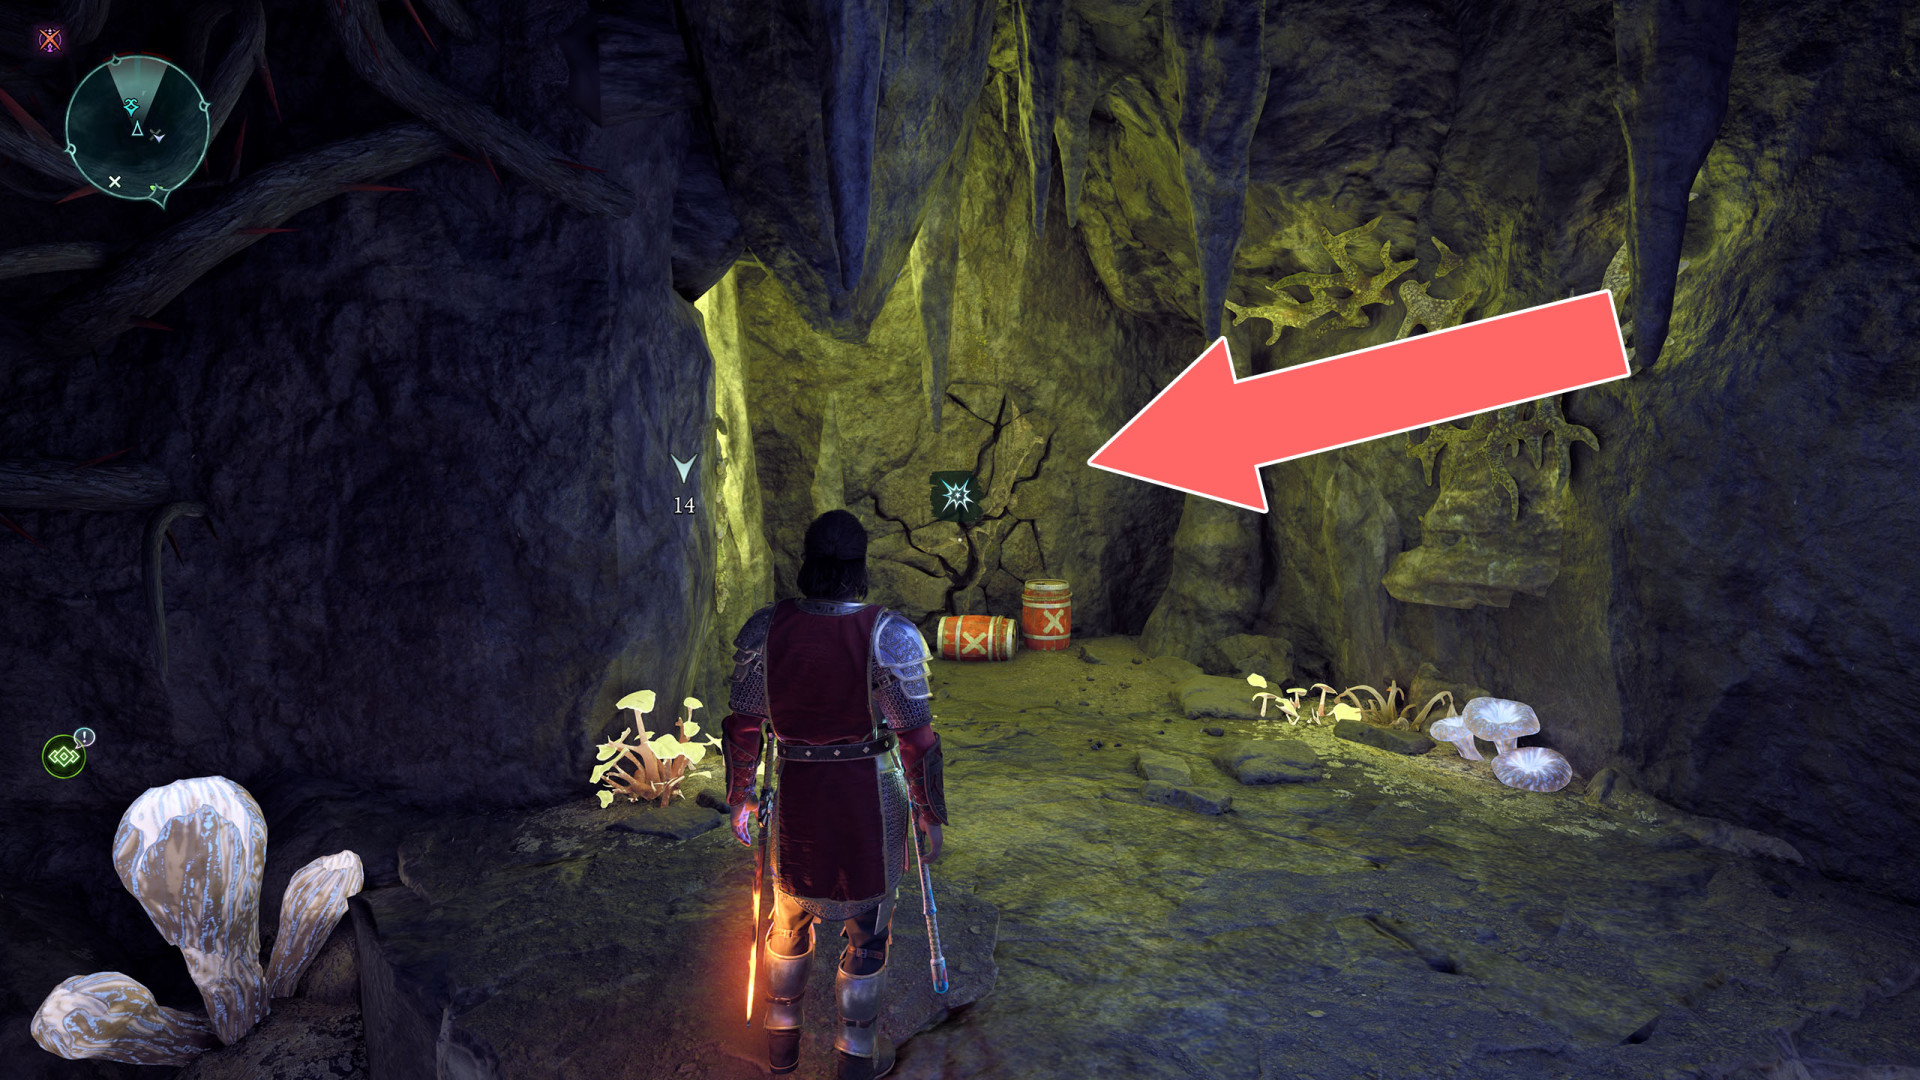
279Weak Wall
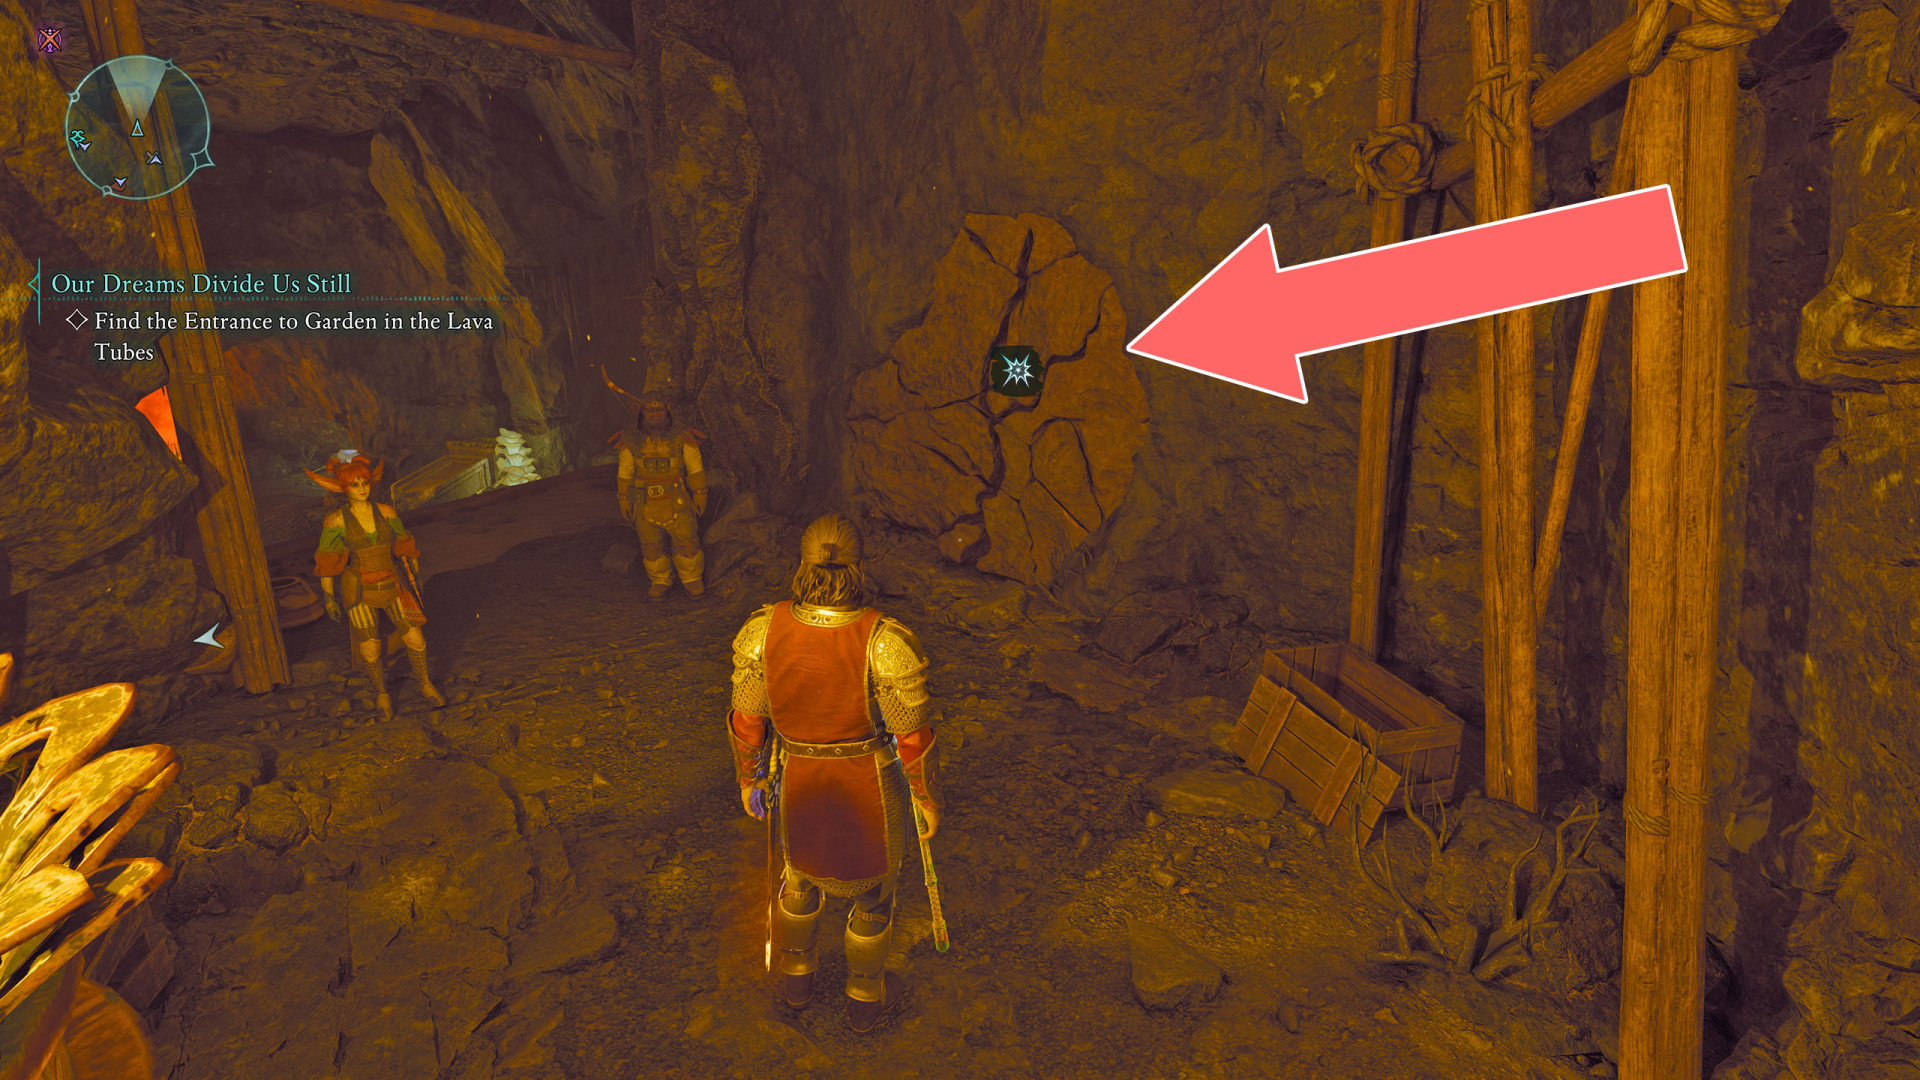
280Wooden Barrier
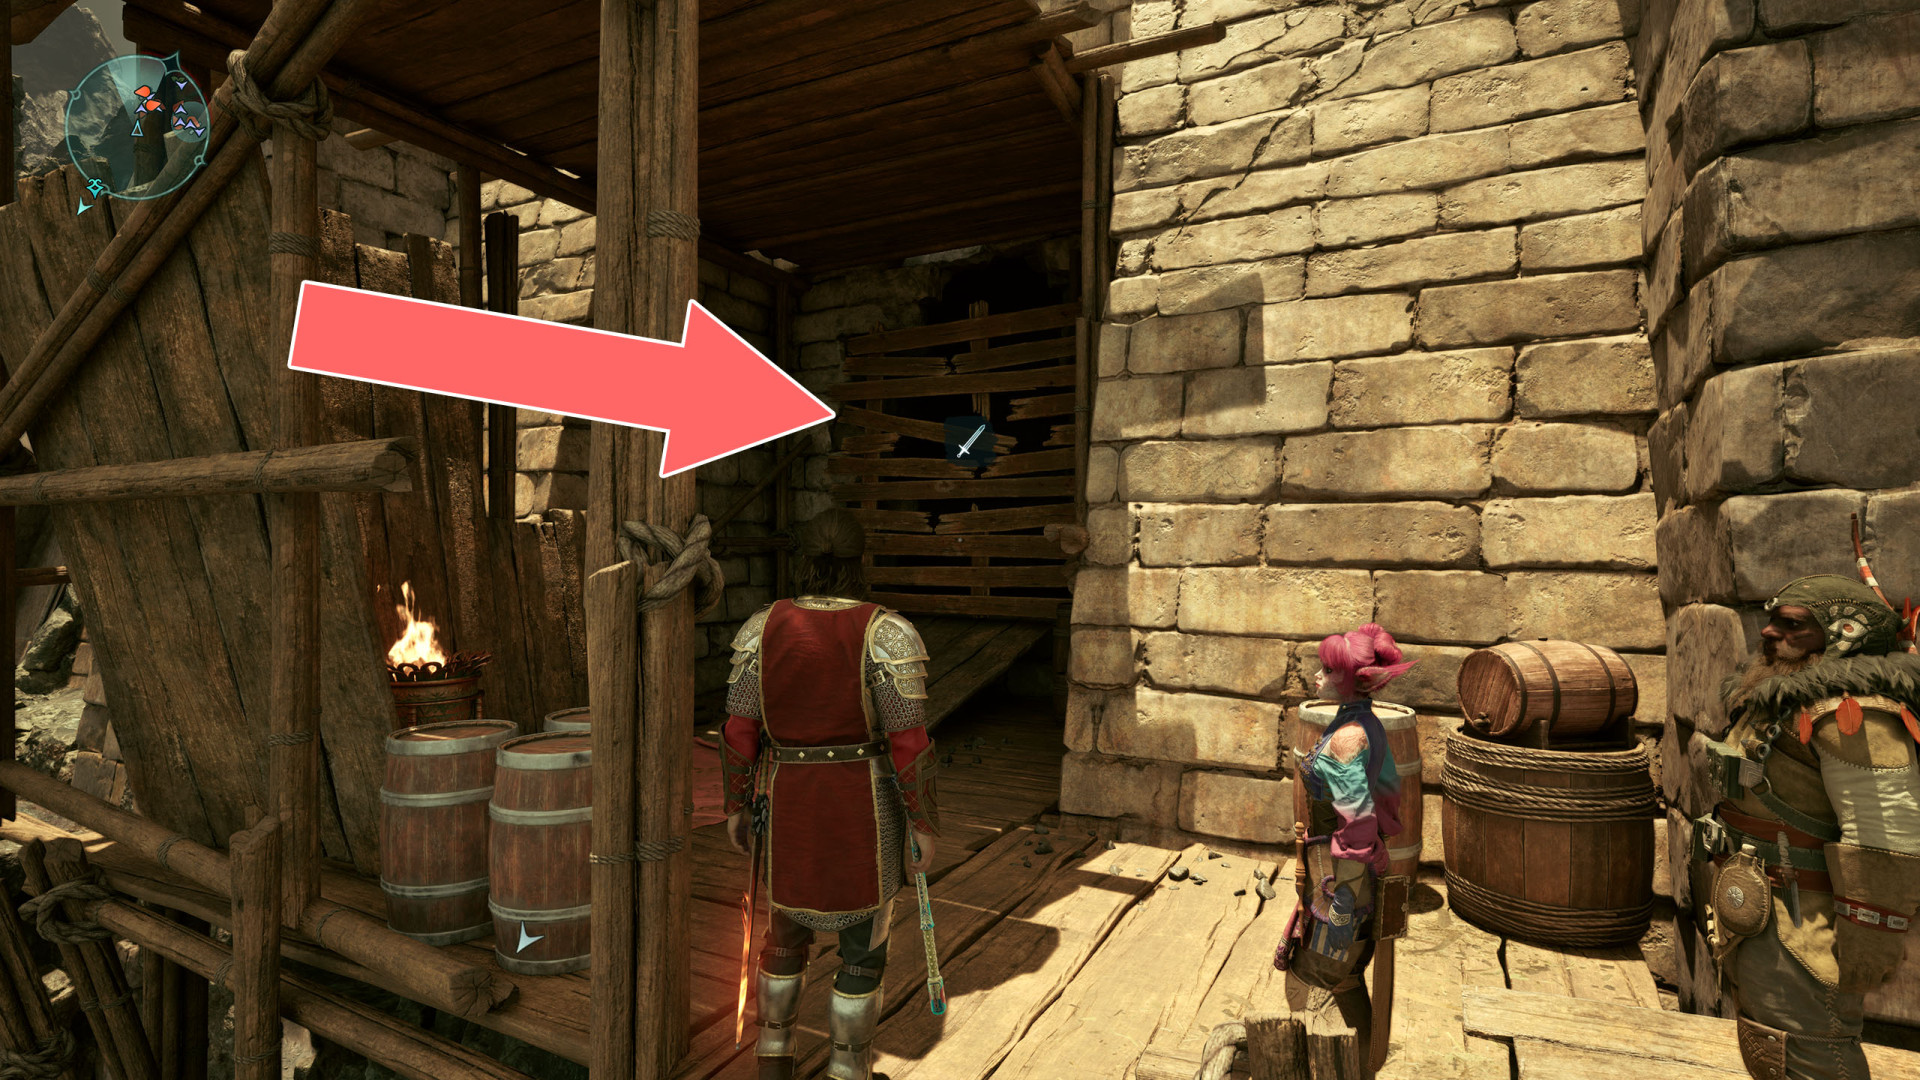
281Wooden Barrier
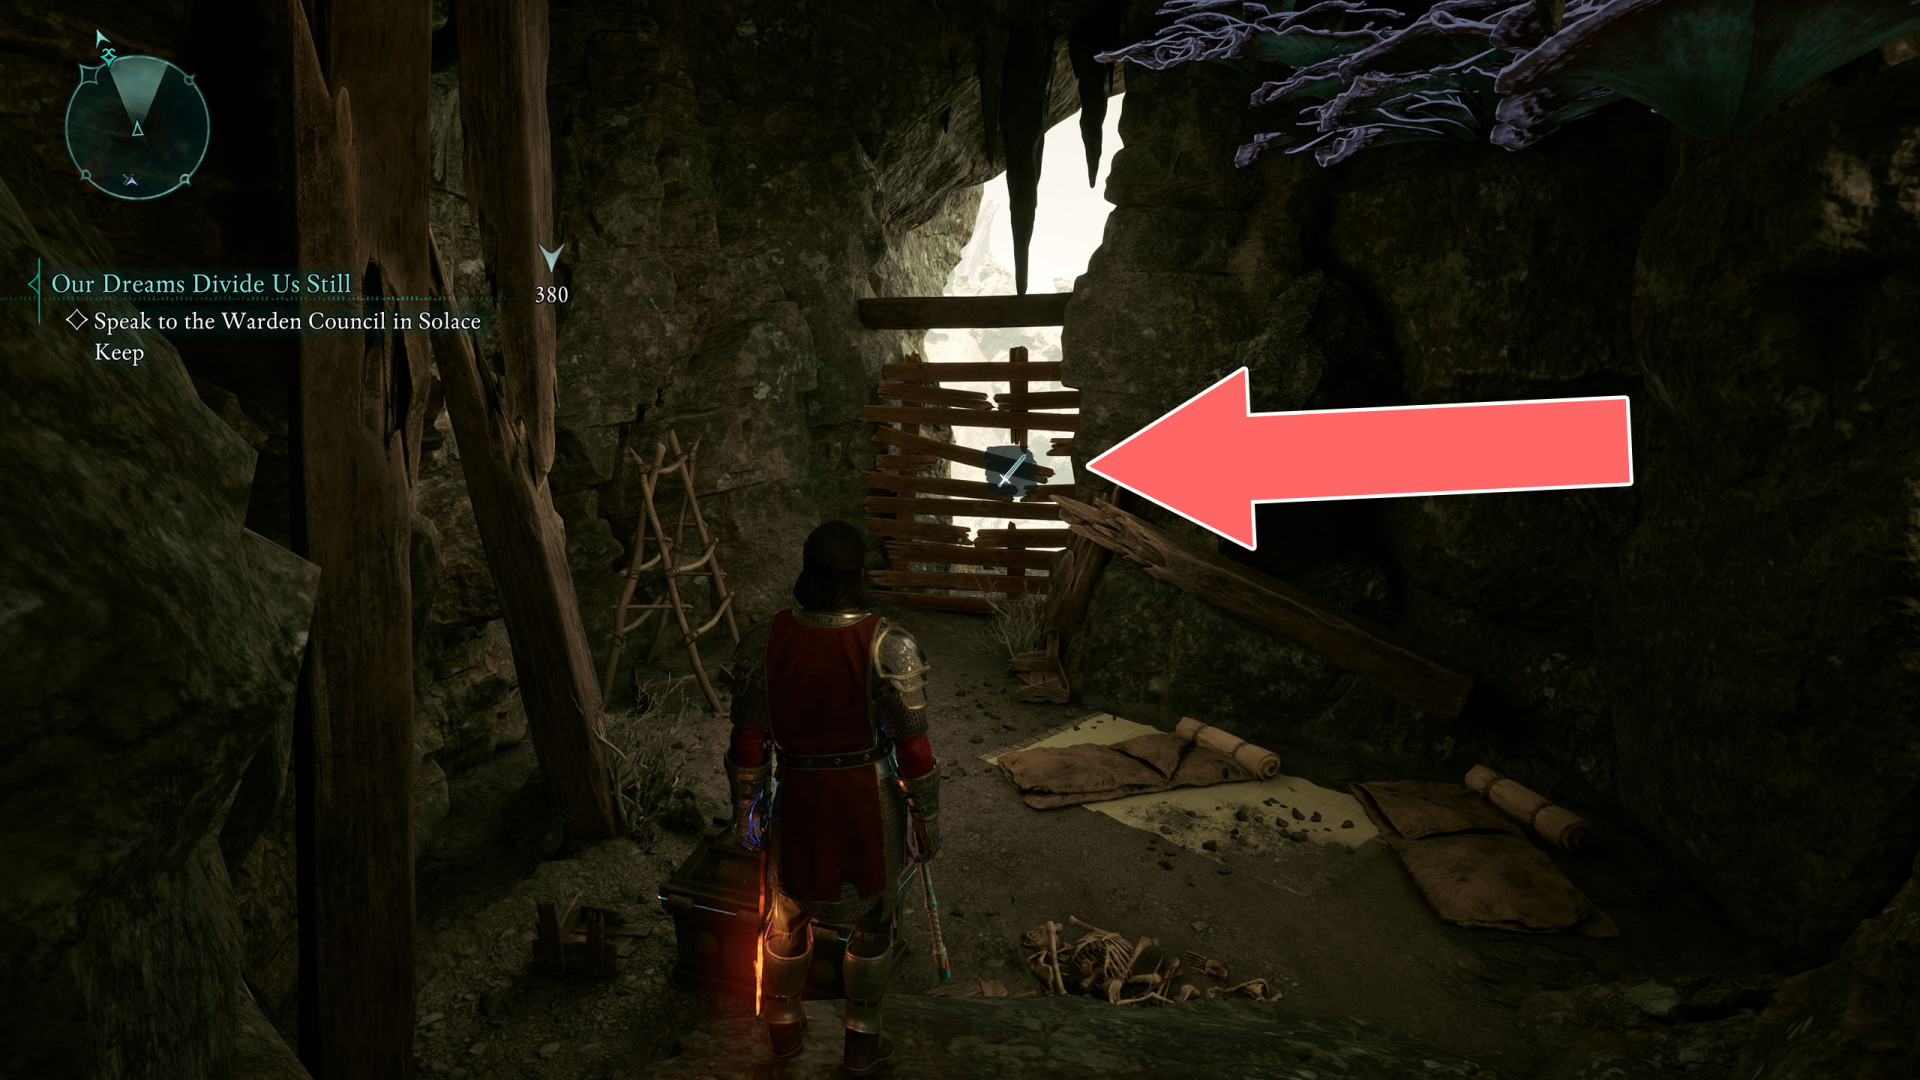
282Wooden Barrier
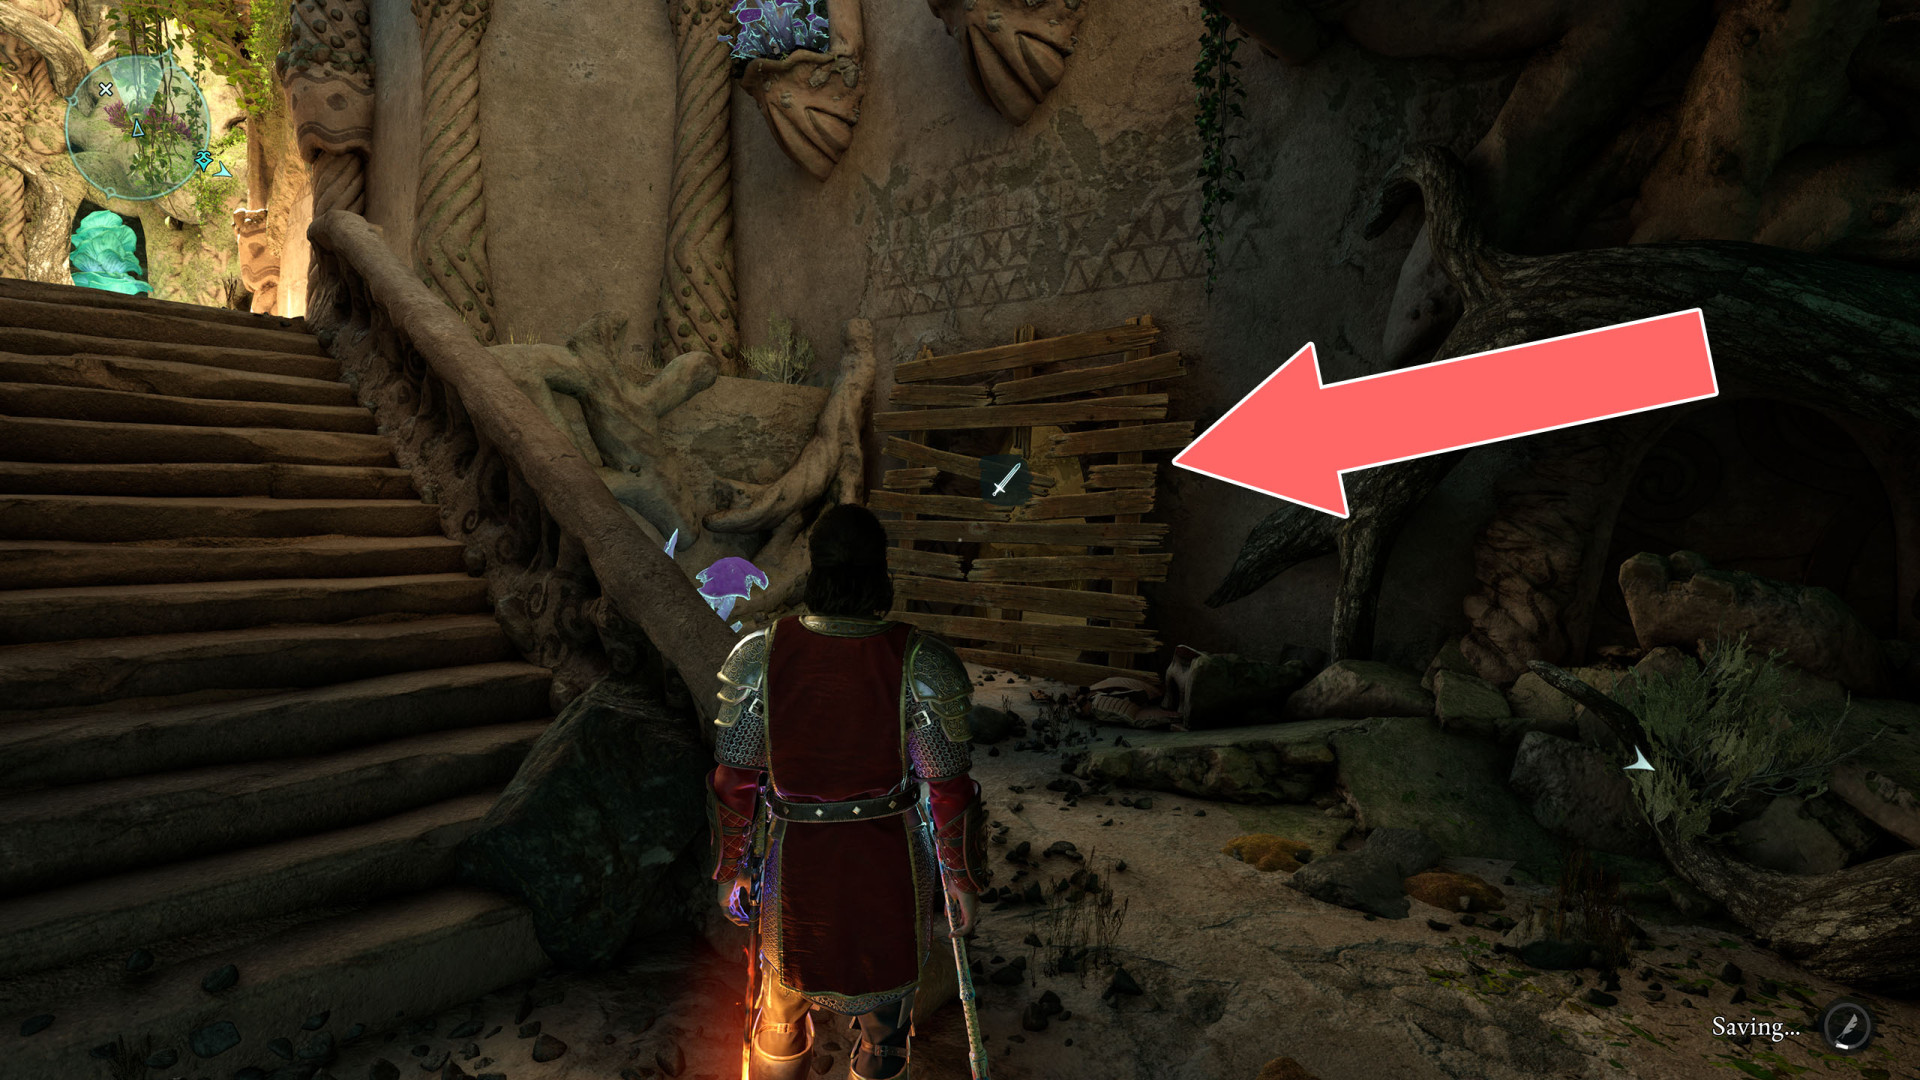
283Wooden Barrier
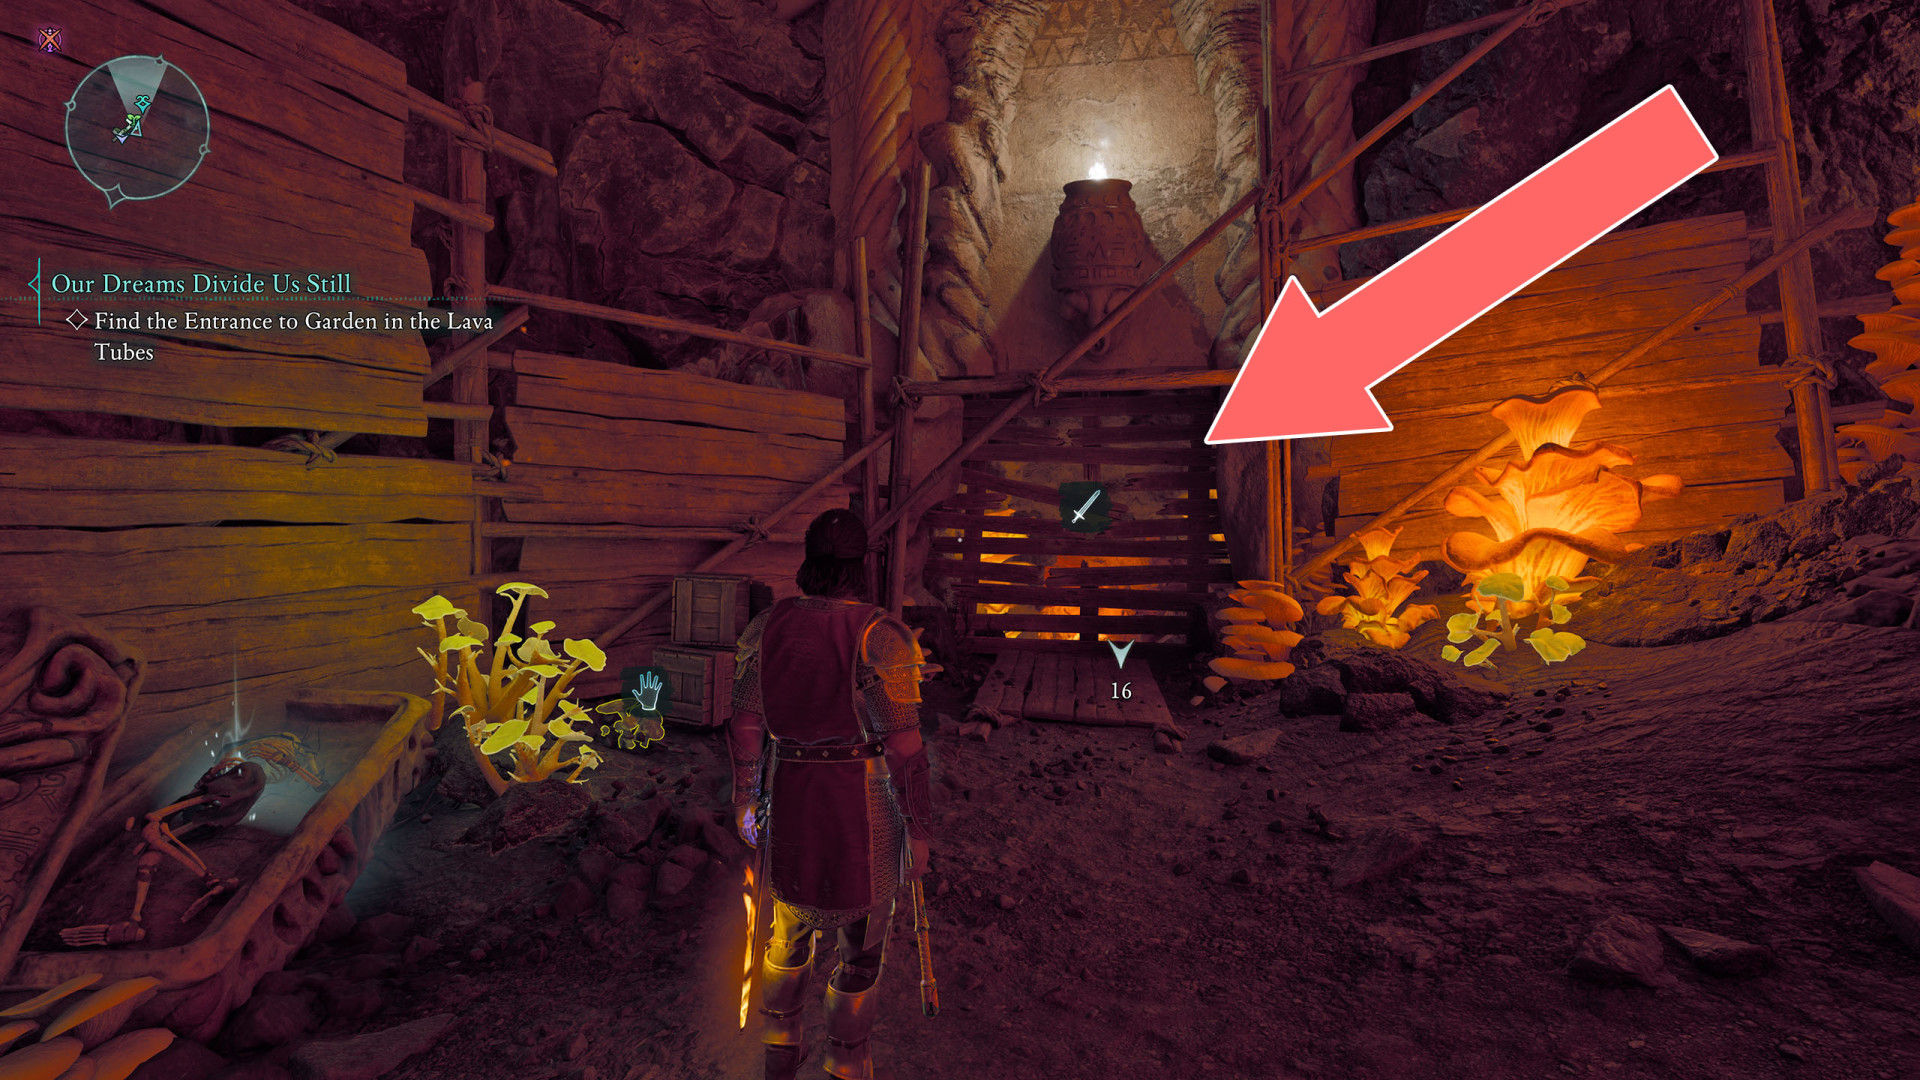
284Wooden Barrier
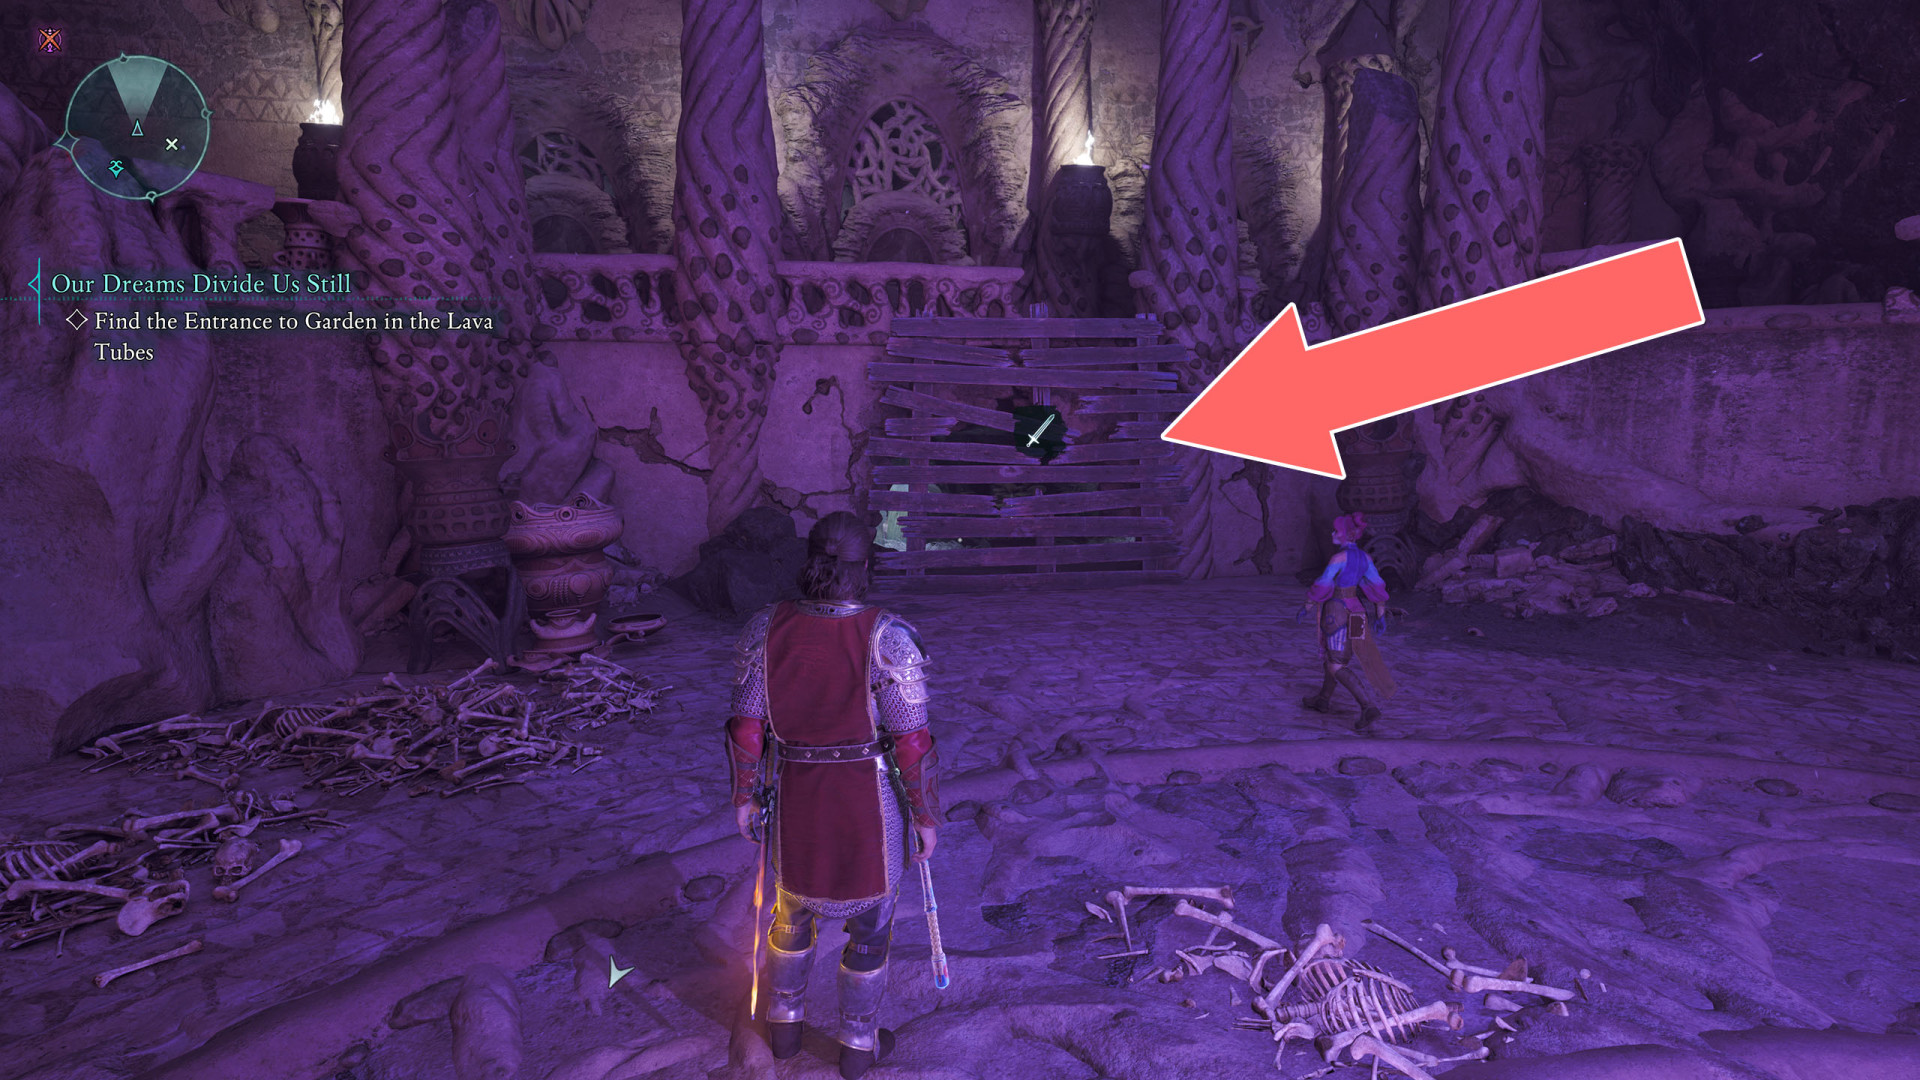
285Wooden Barrier
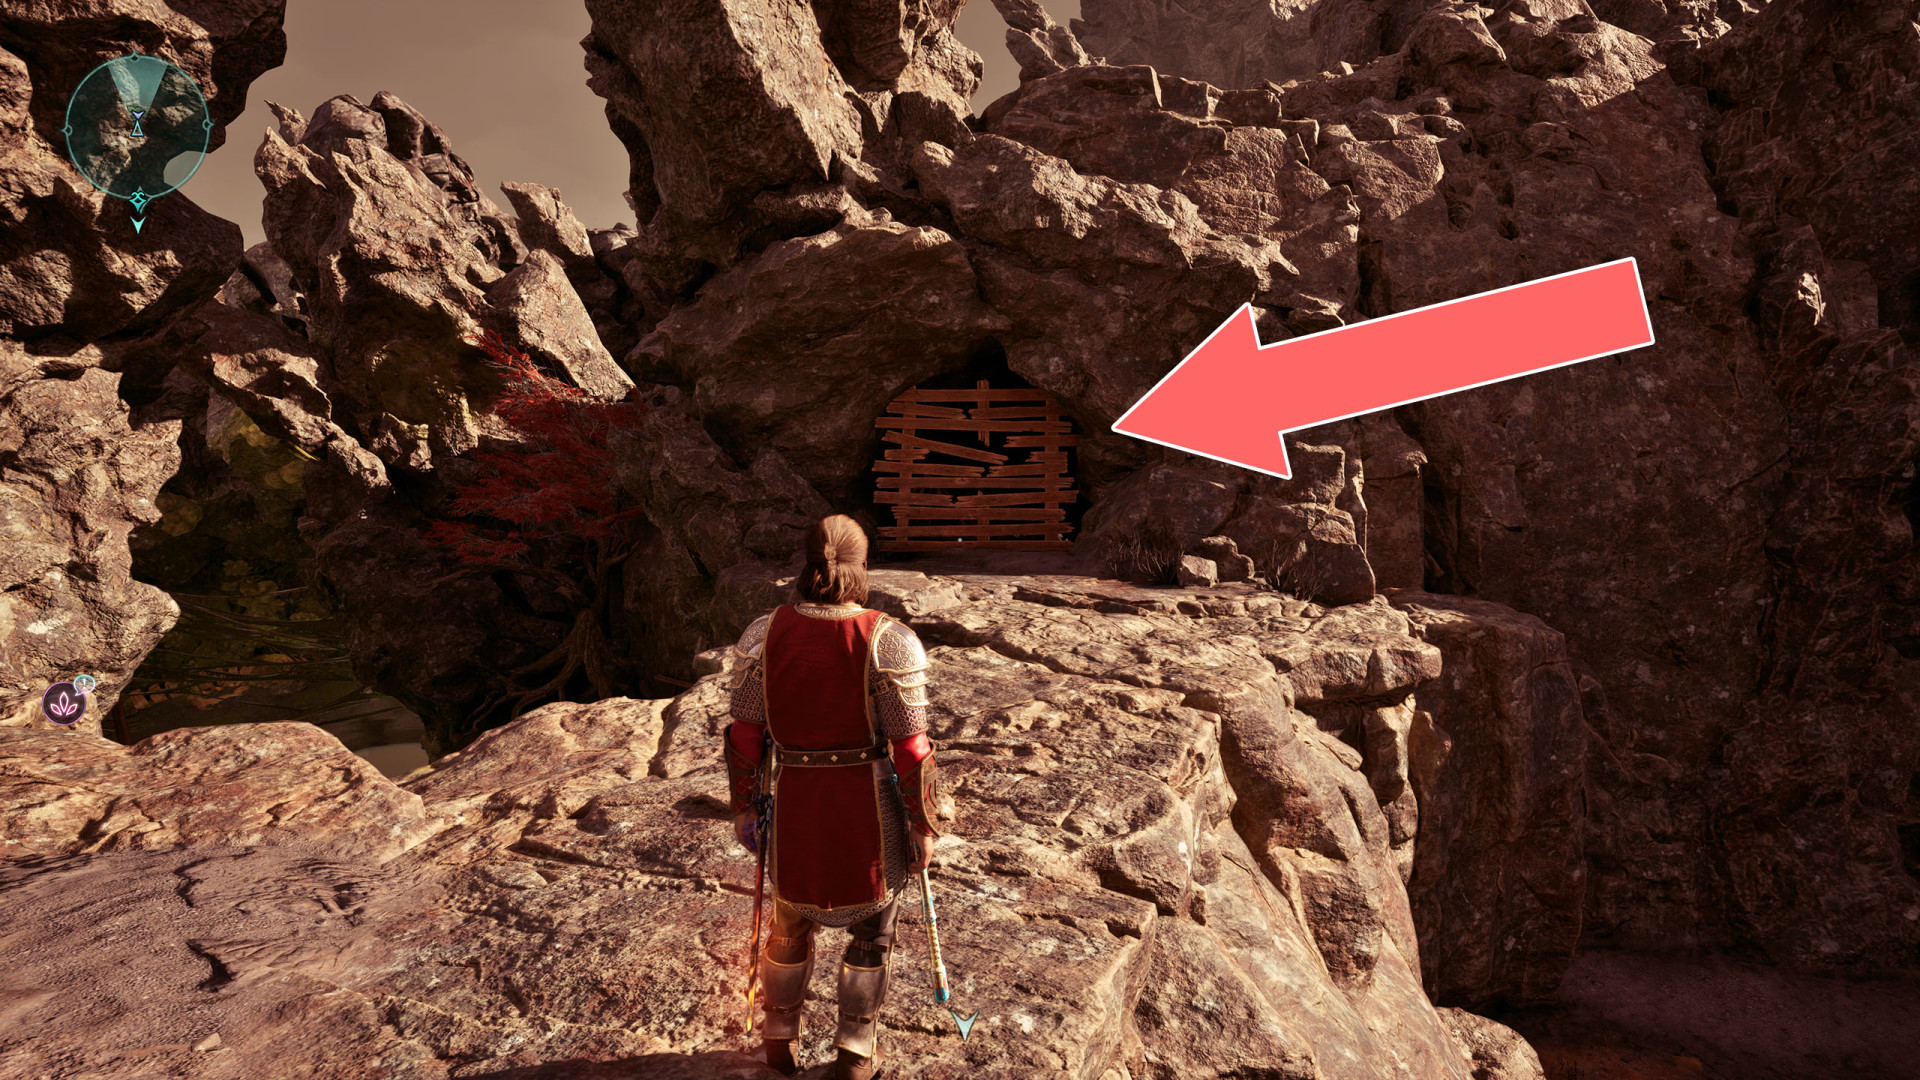
286Wooden Barrier
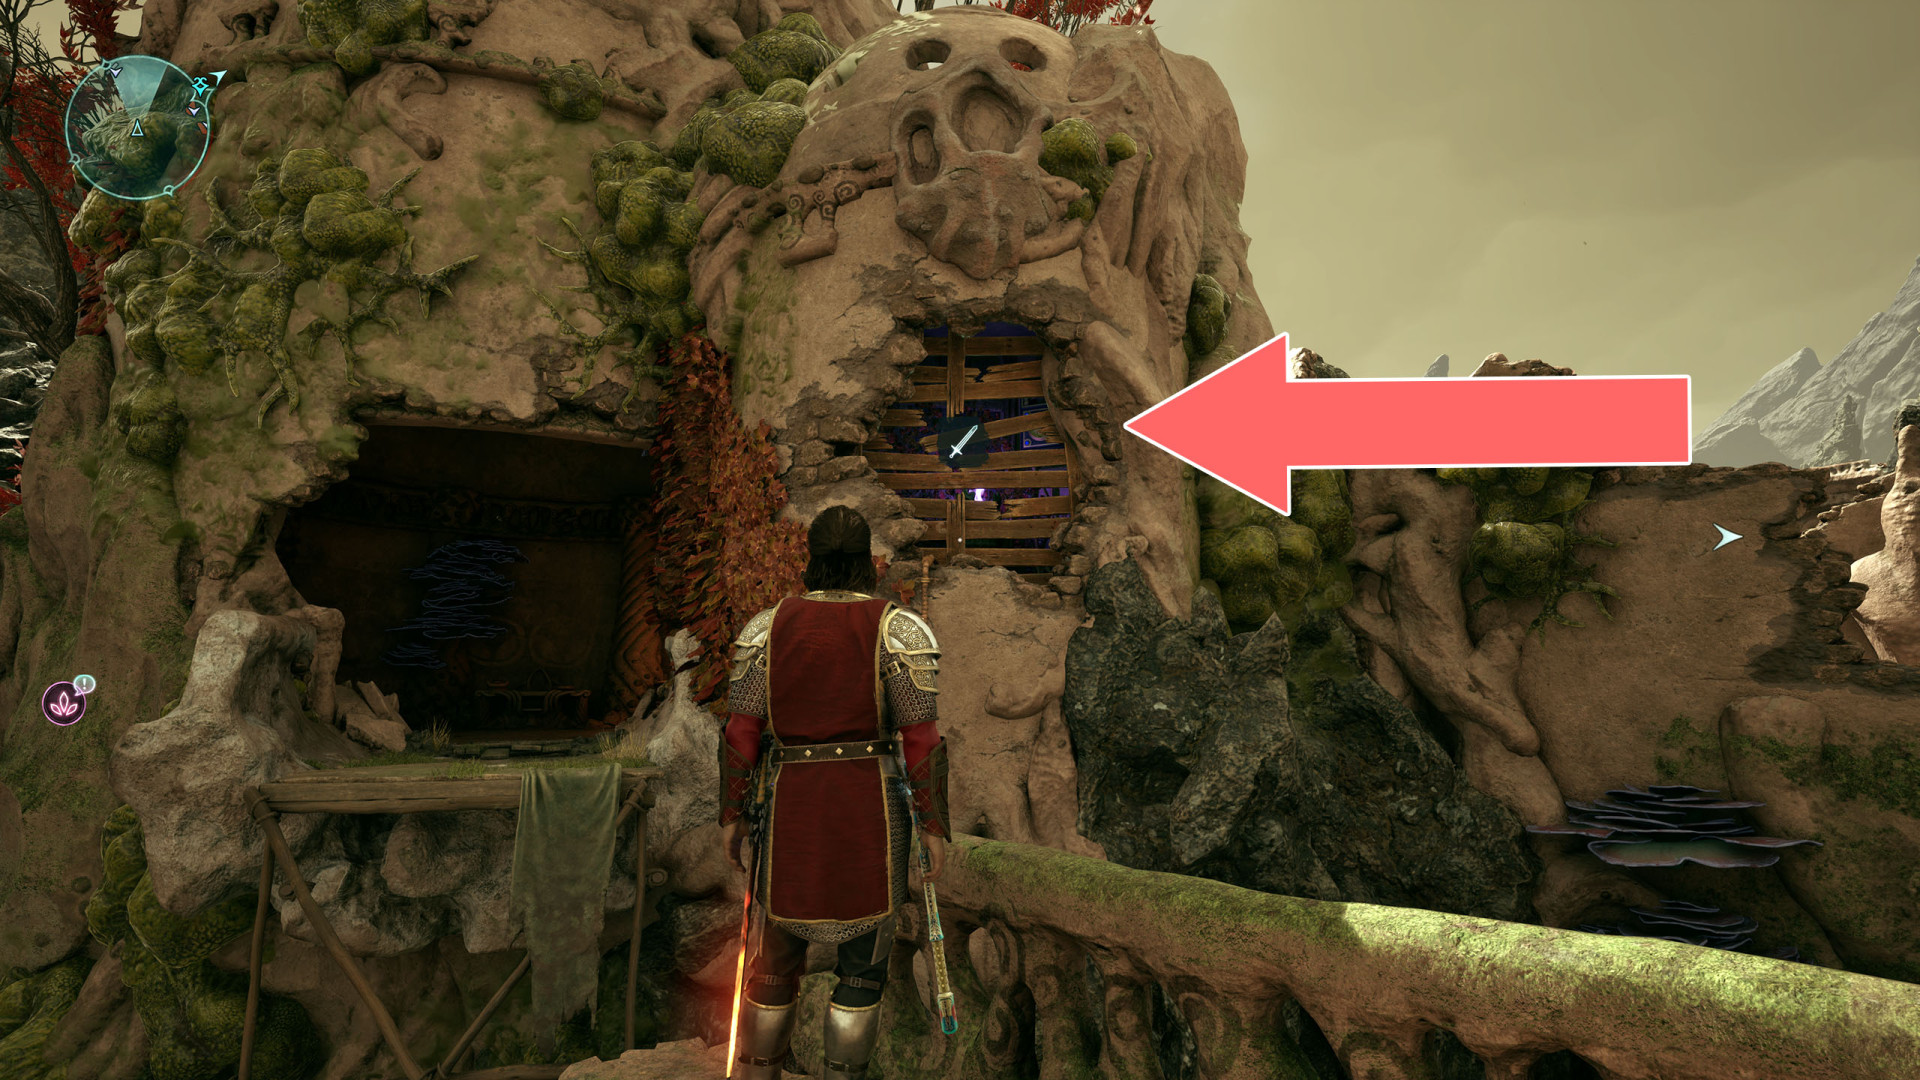
287Wooden Barrier x2
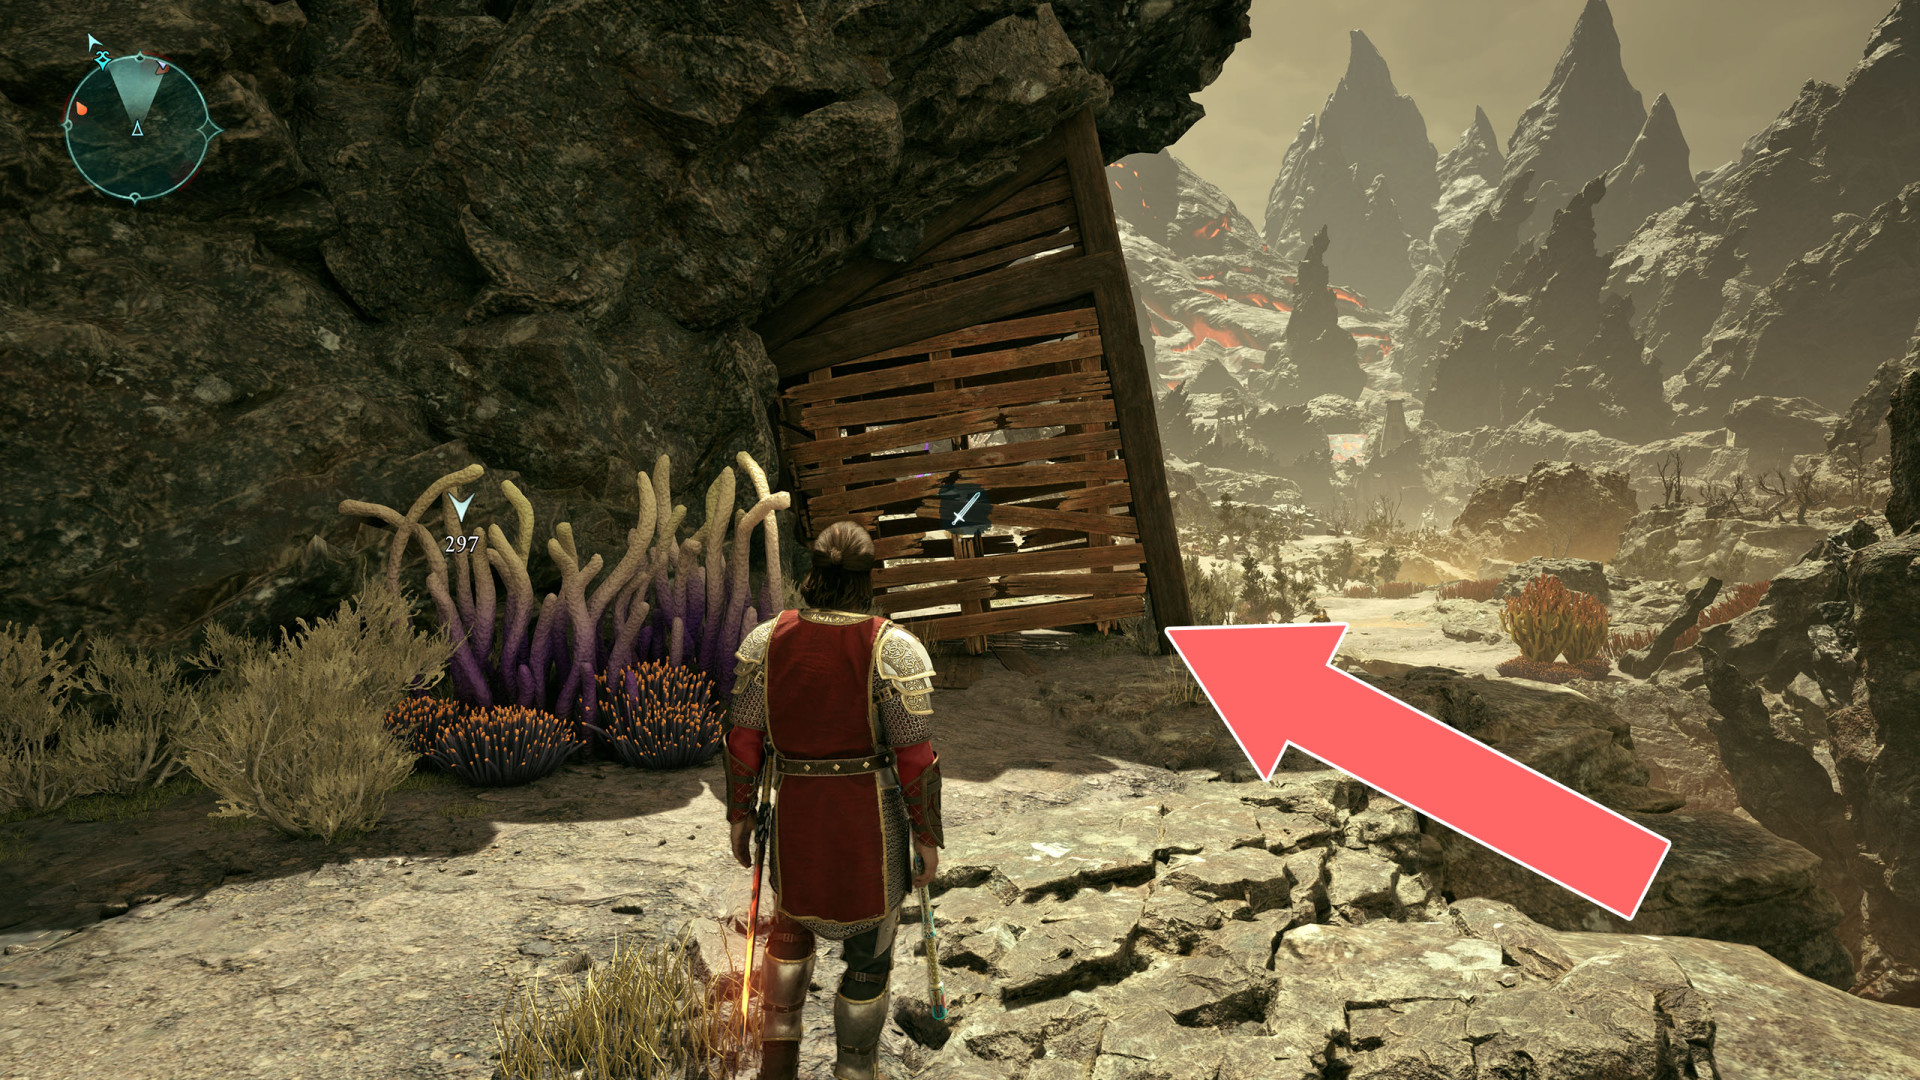
Locations on The Garden
288Brambles
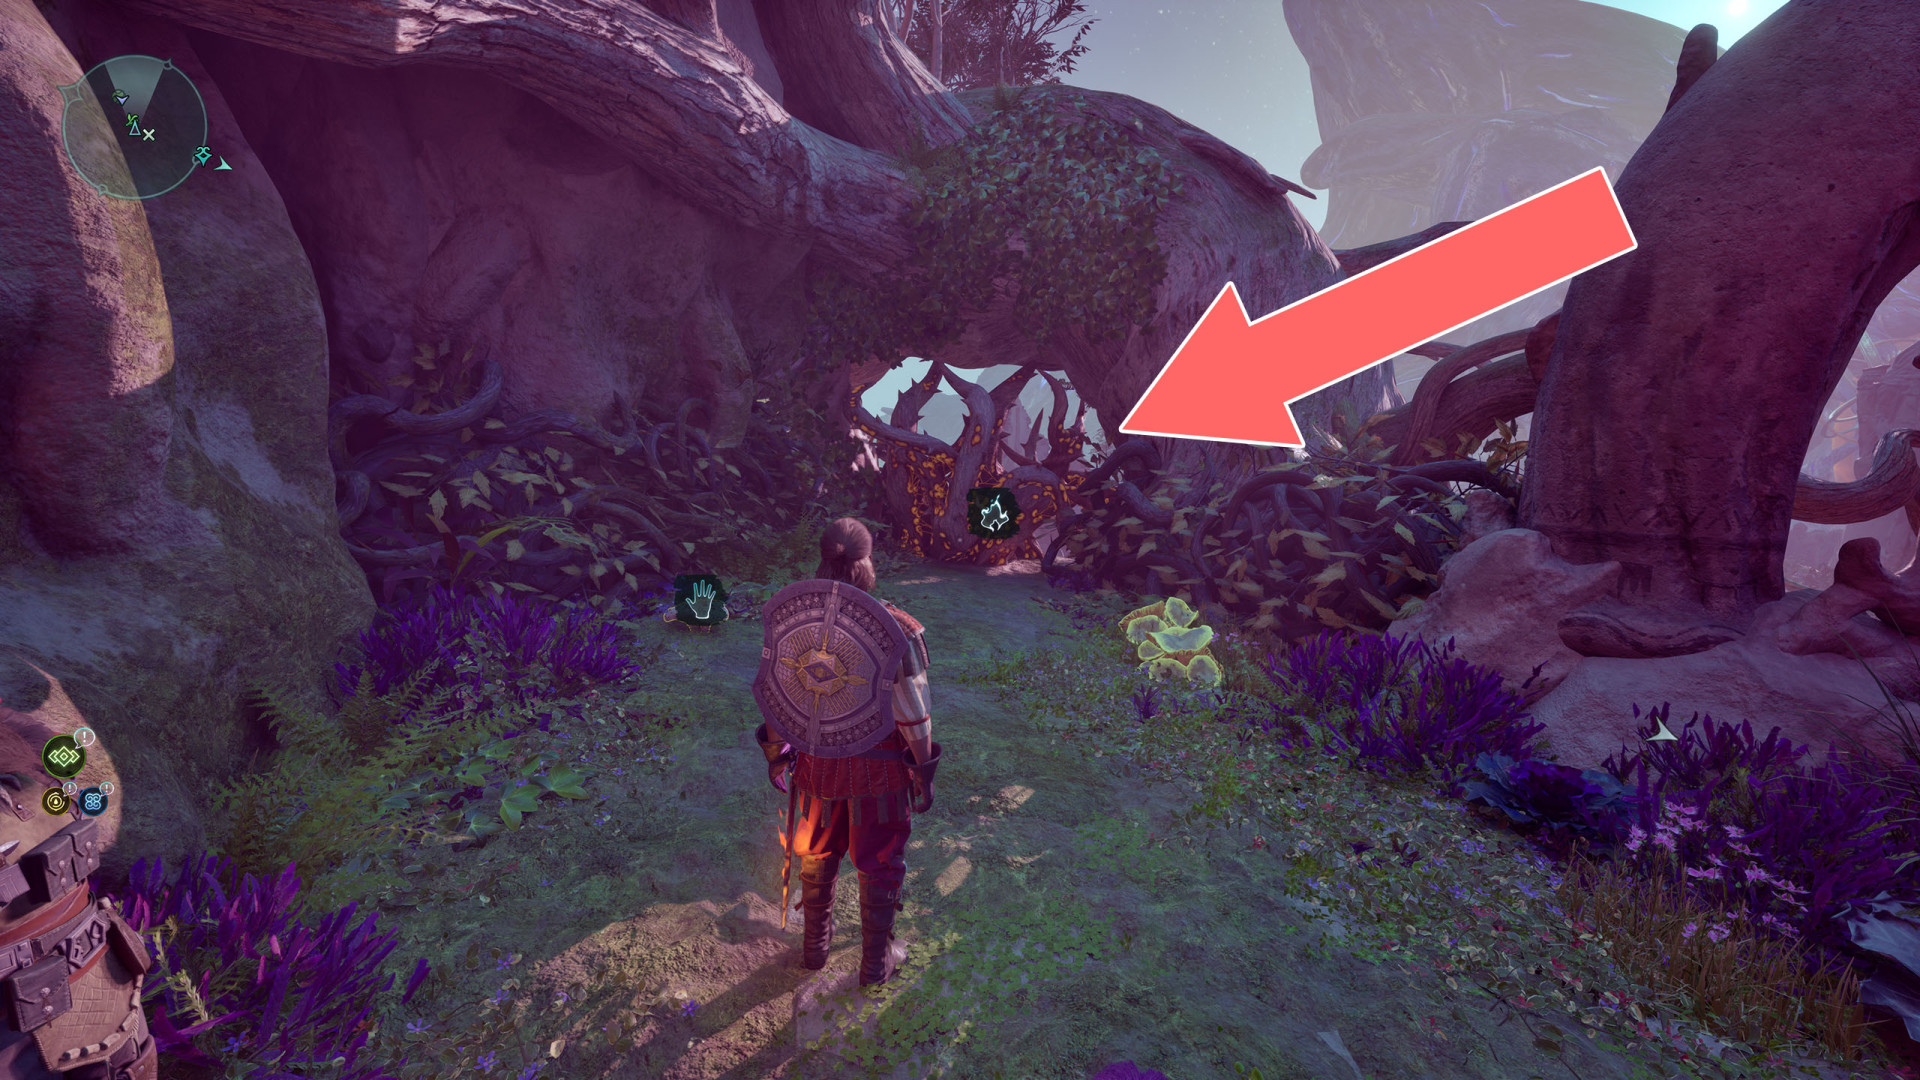
289Brambles
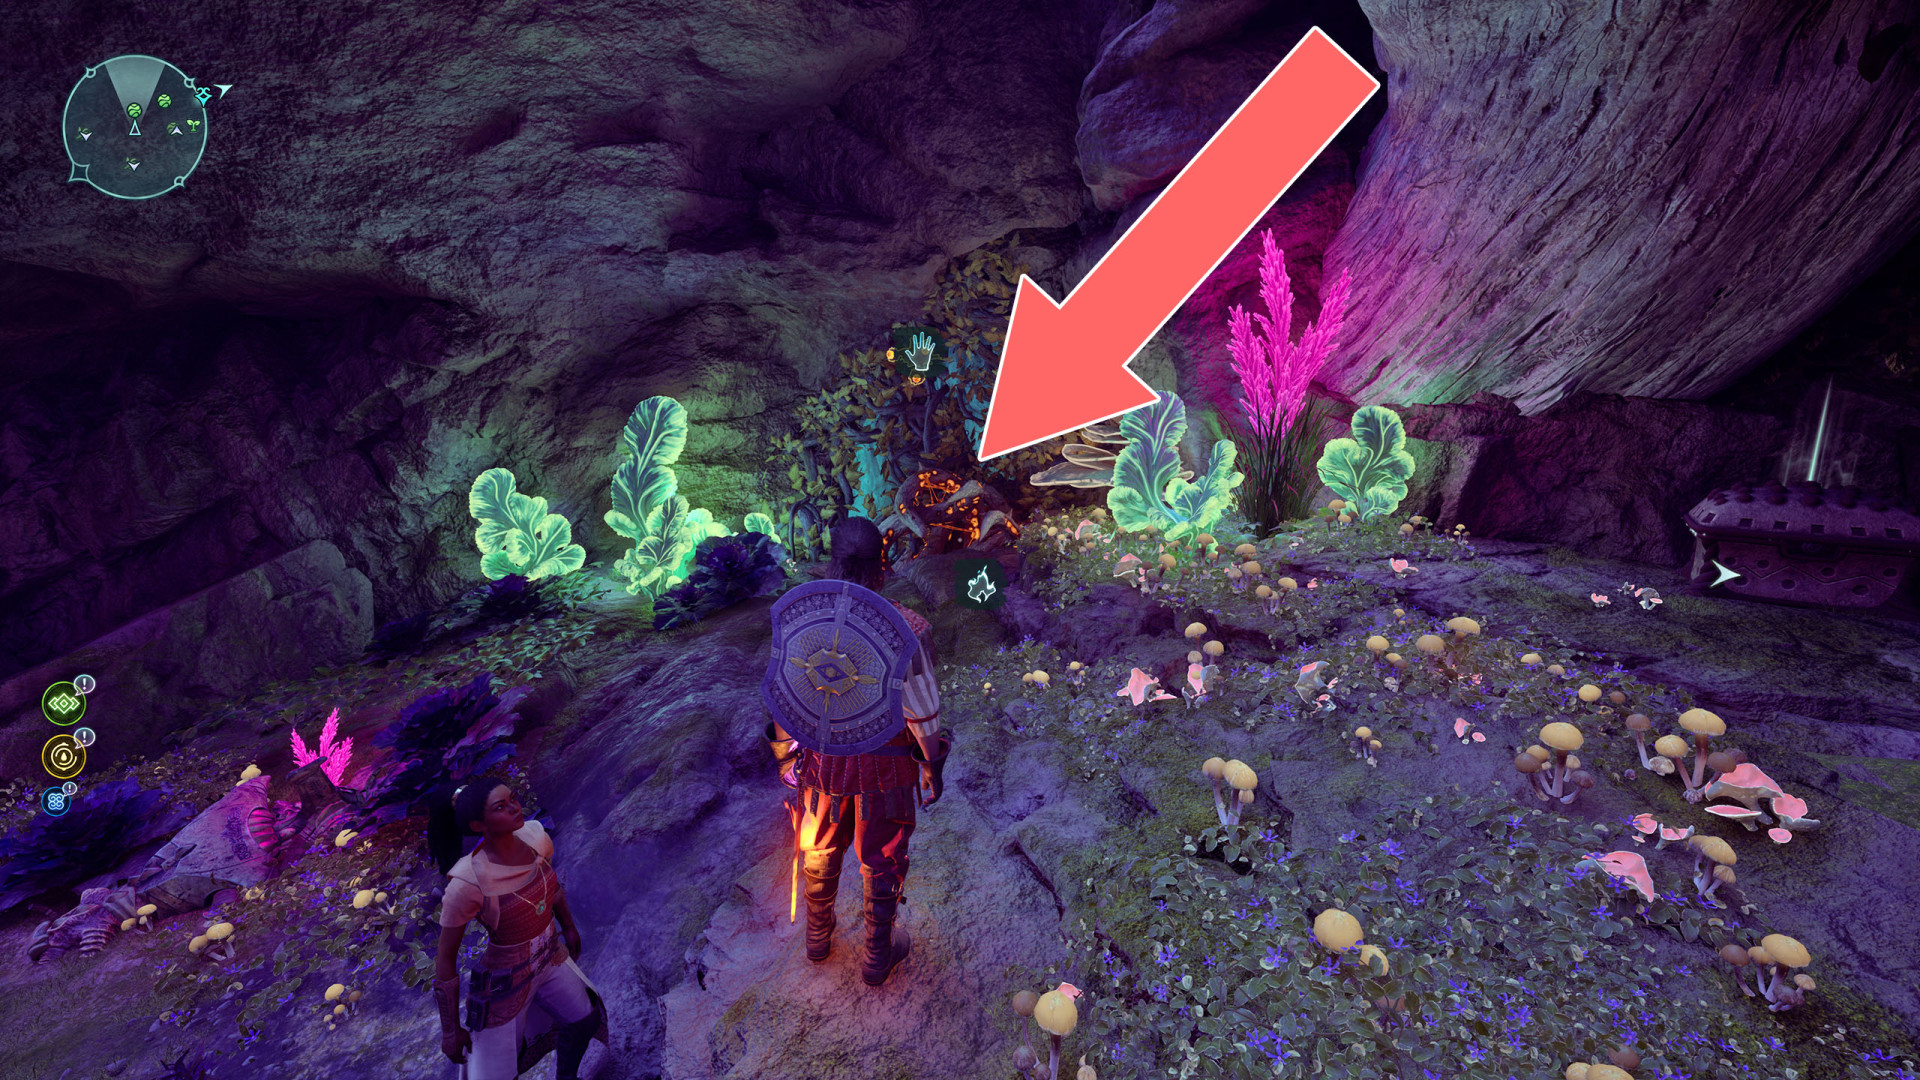
290Brambles
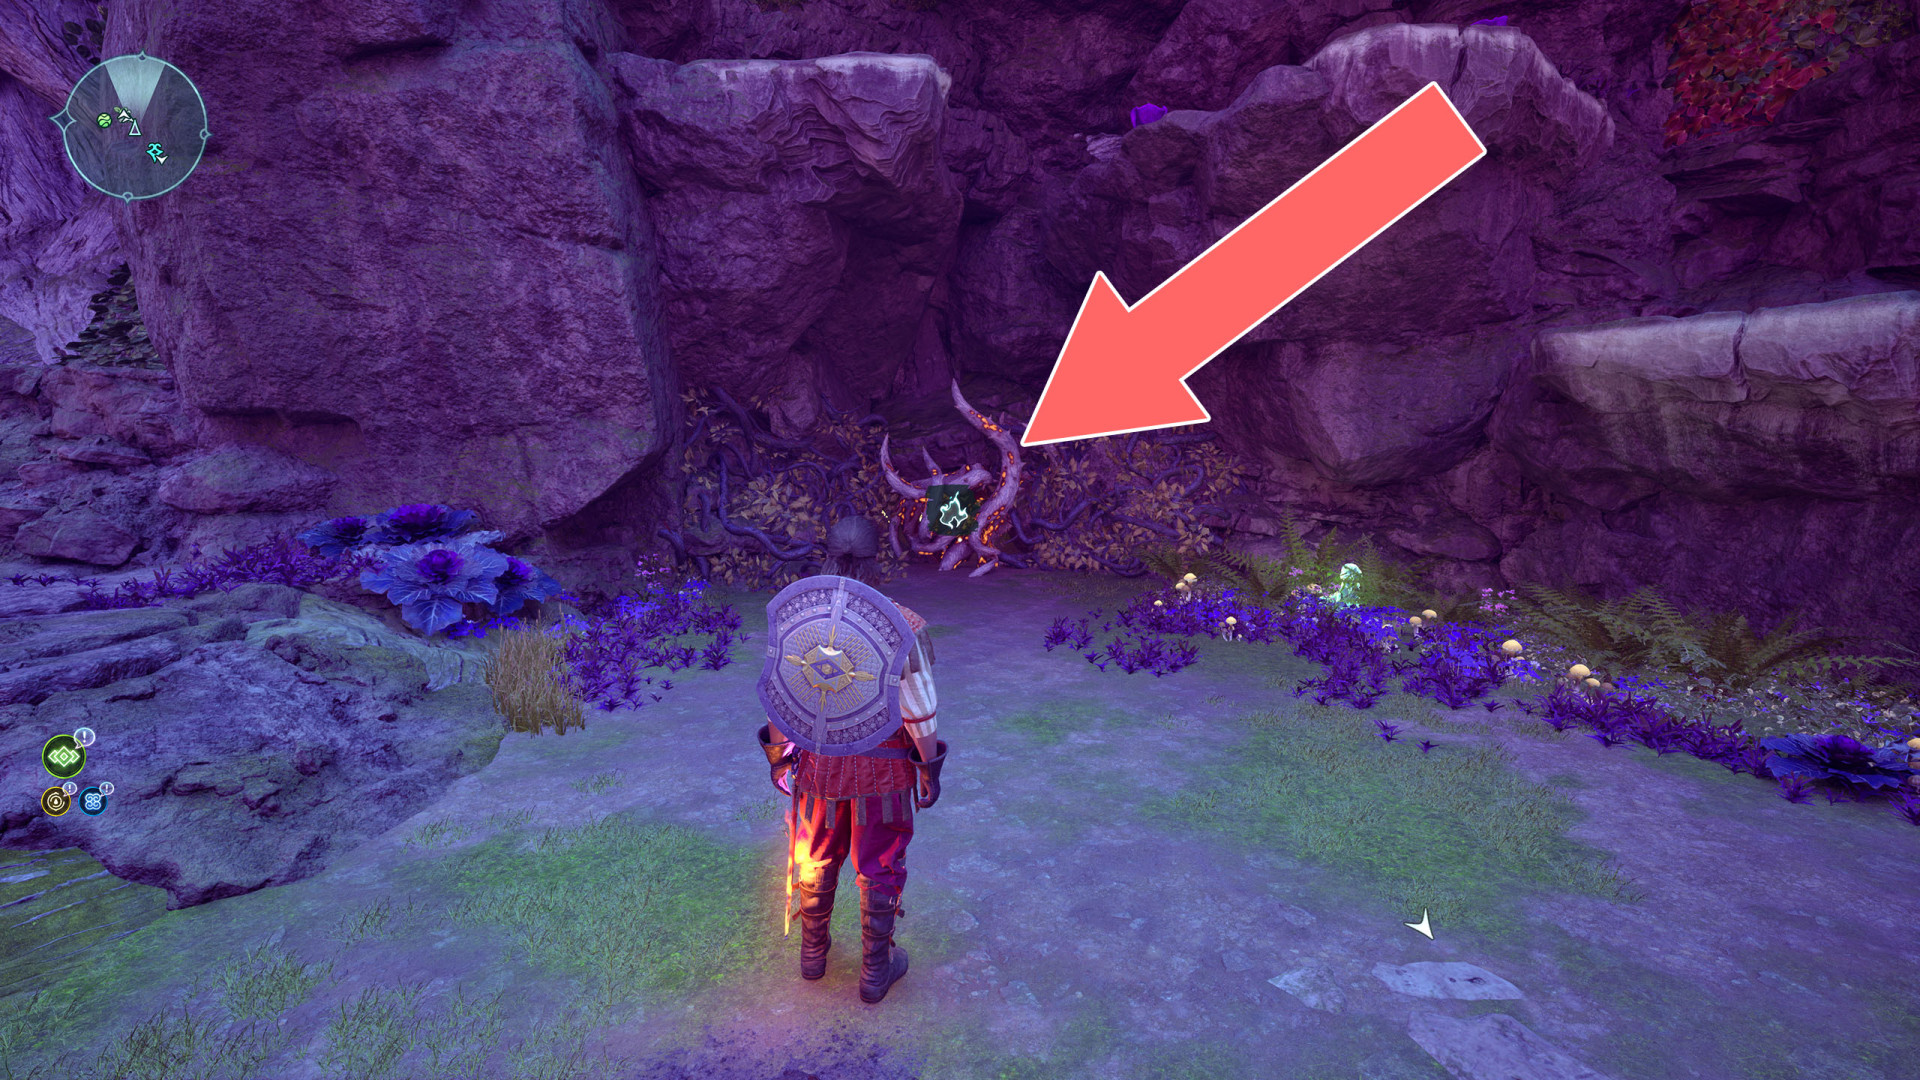
291Brambles
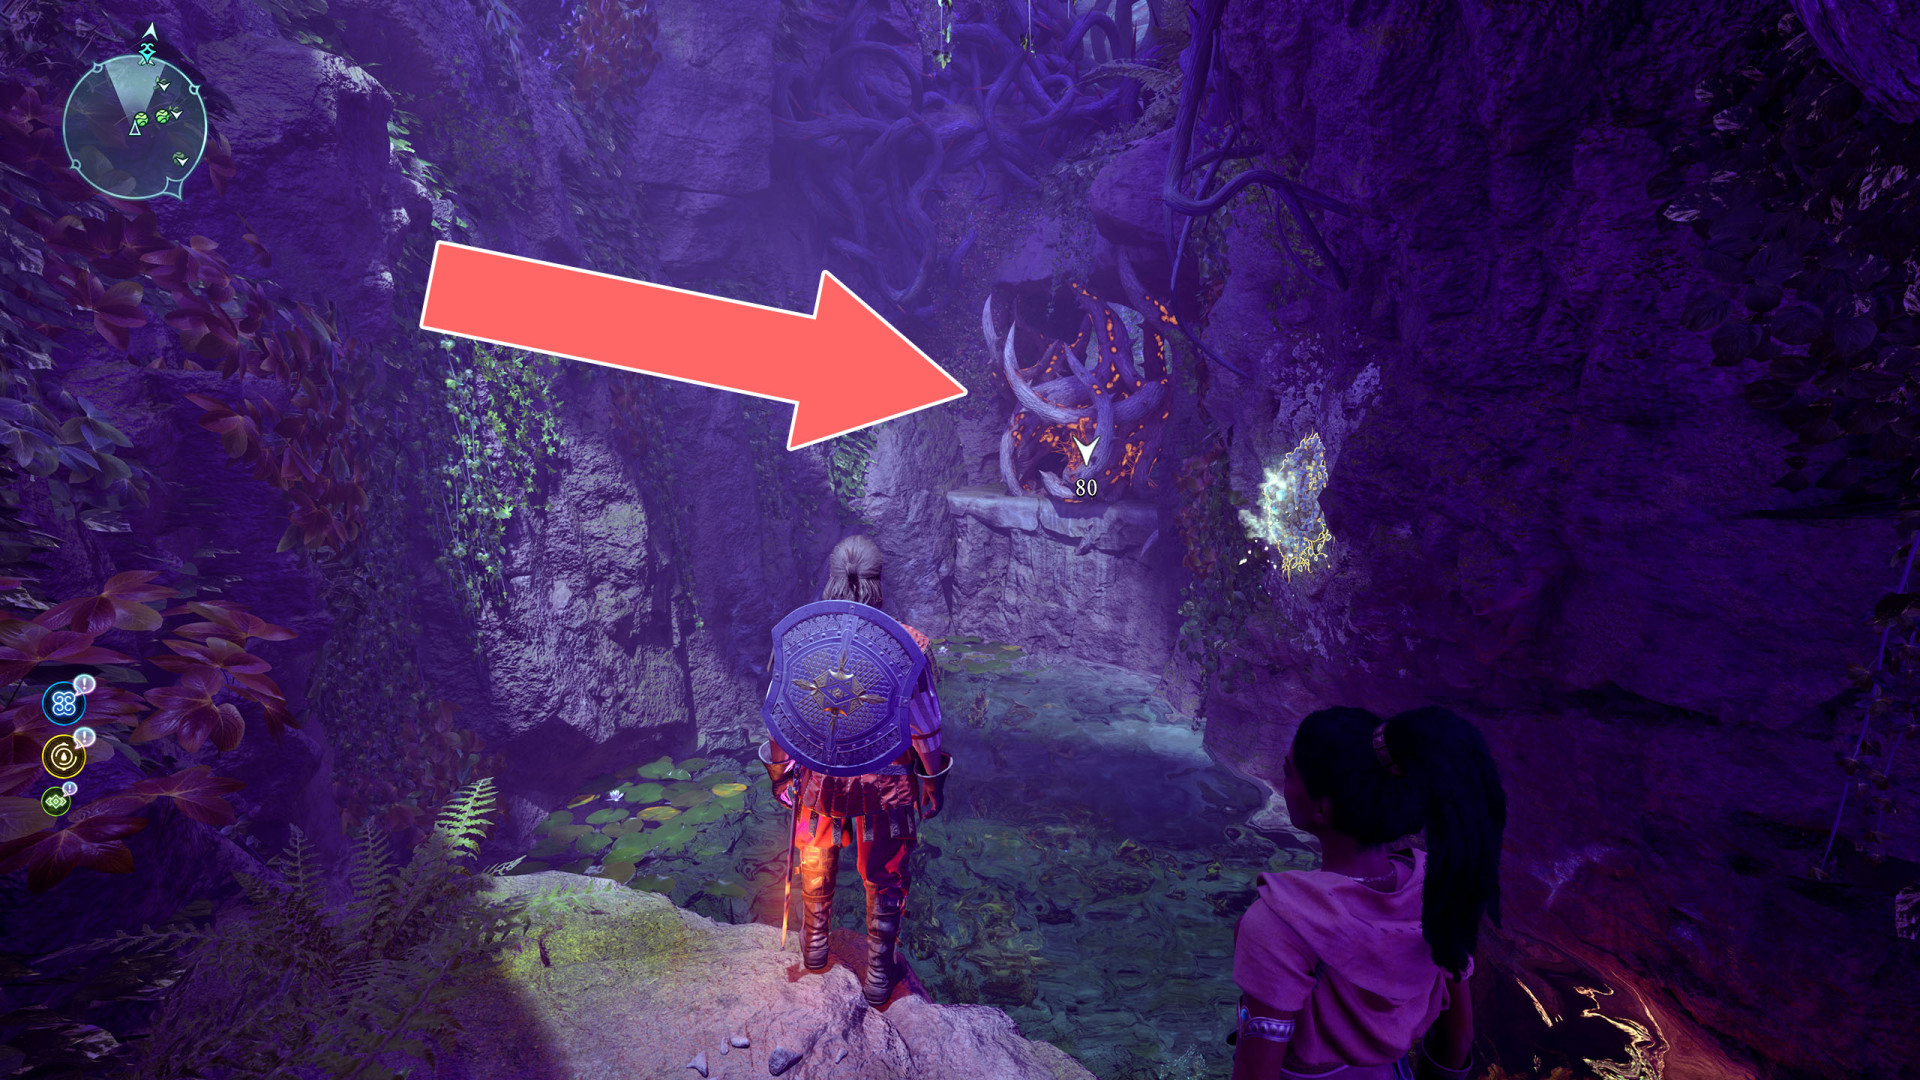
292Cobweb
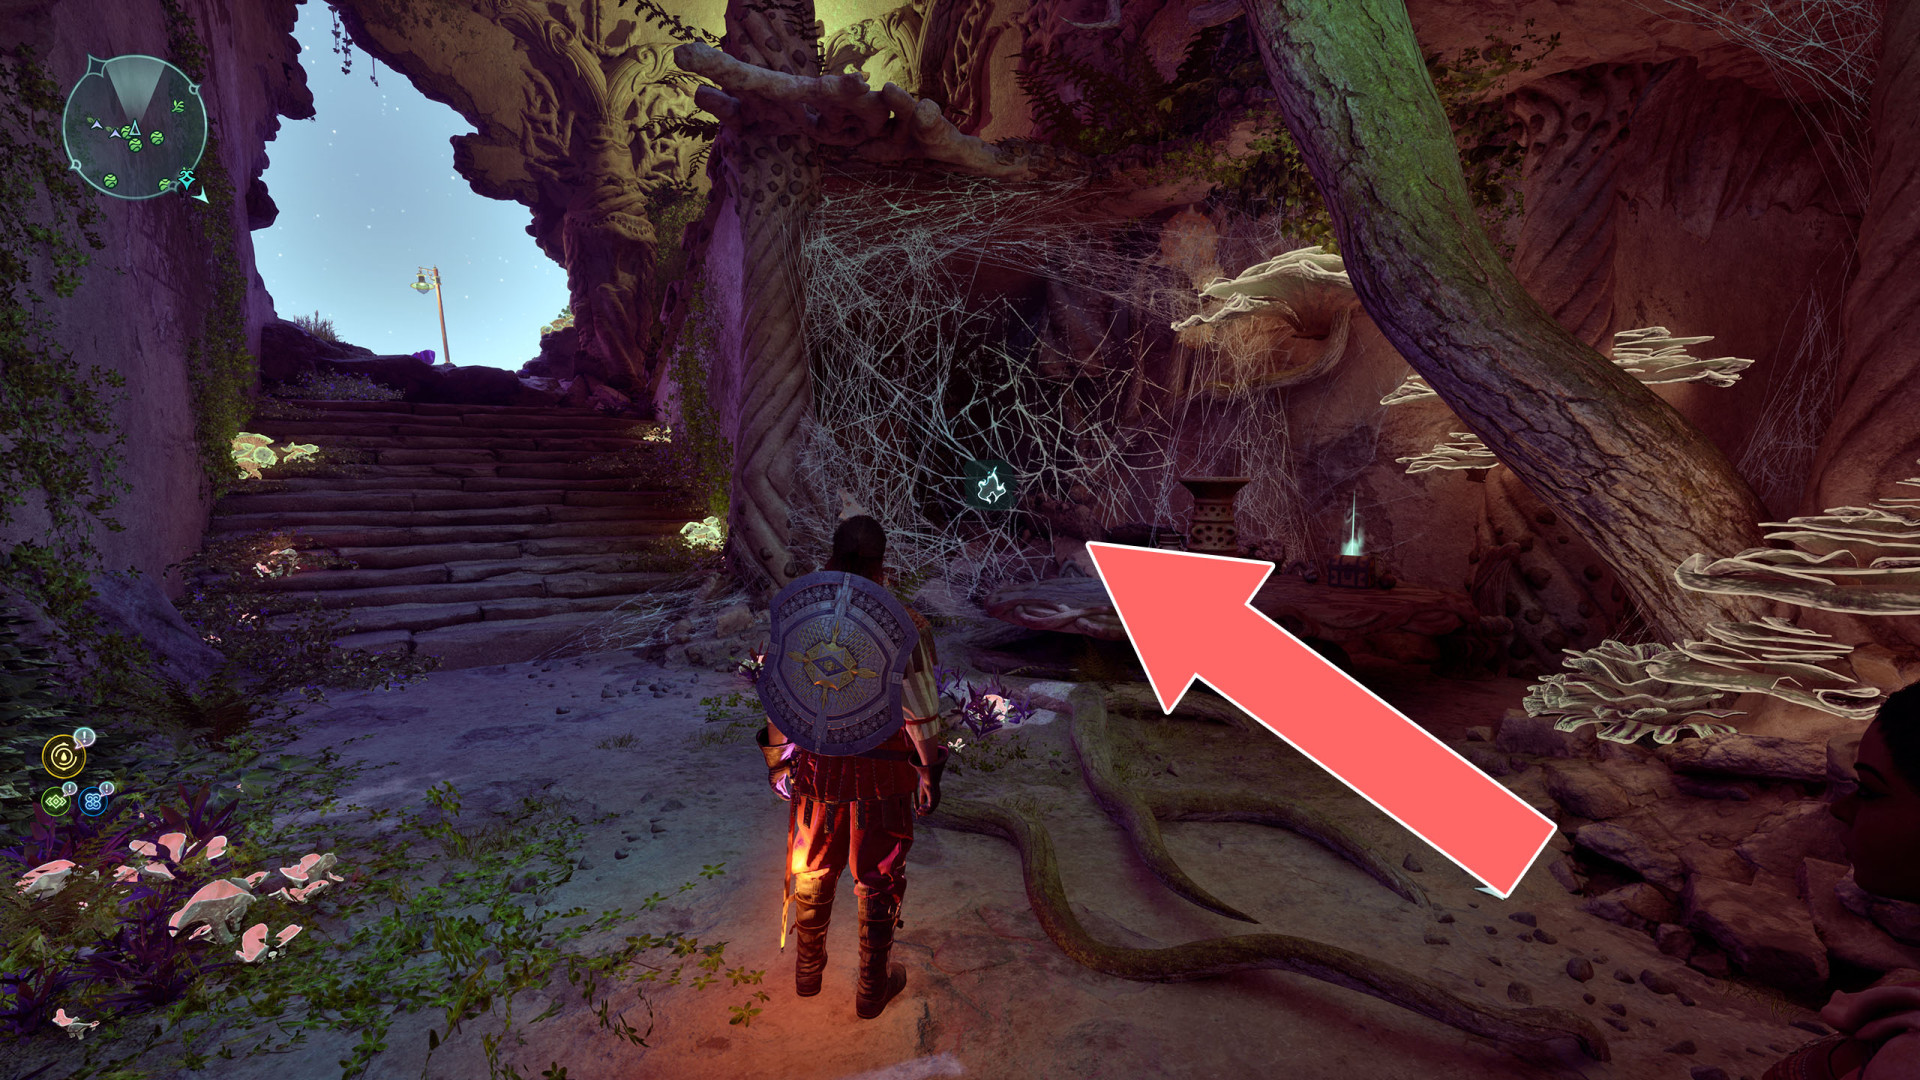
293Cobweb
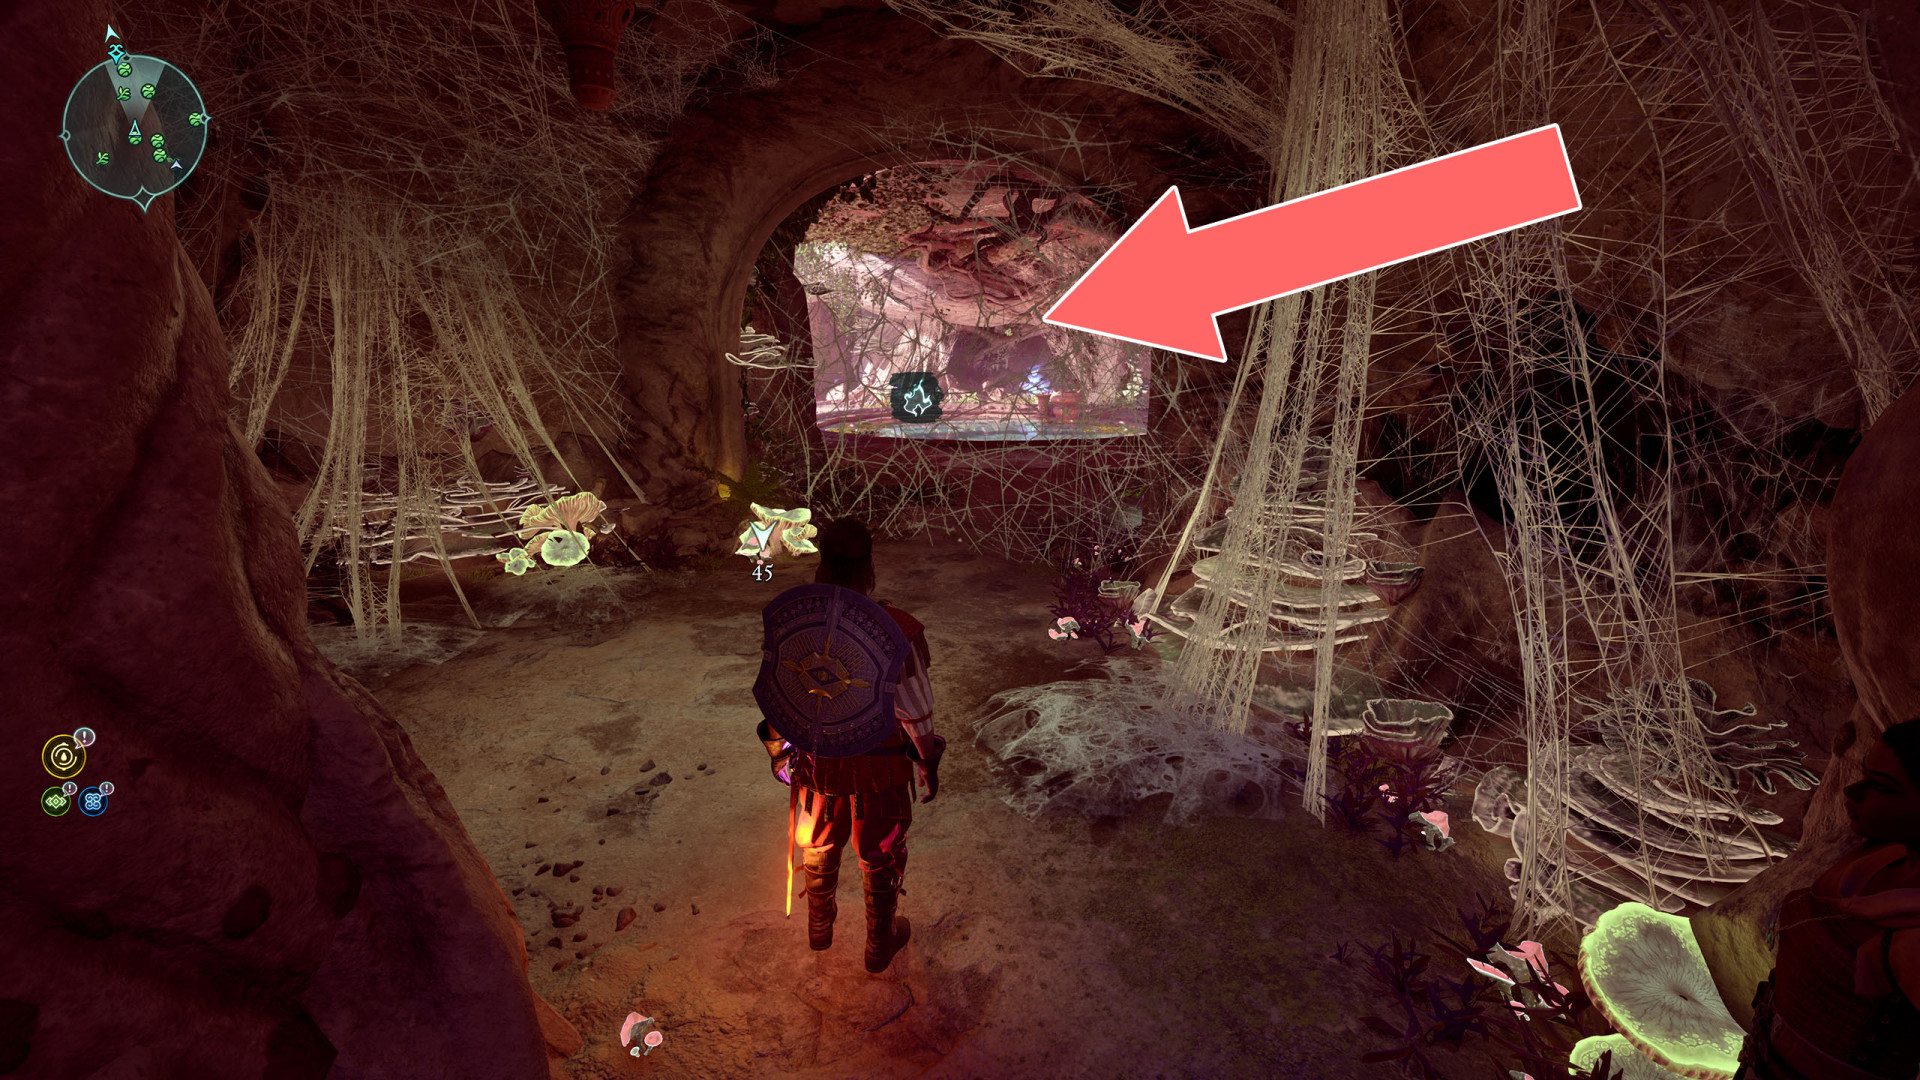
294Cobweb
The cobweb blocks the exit from the water. You can destroy it through a small hole in the wall before jumping into the water.
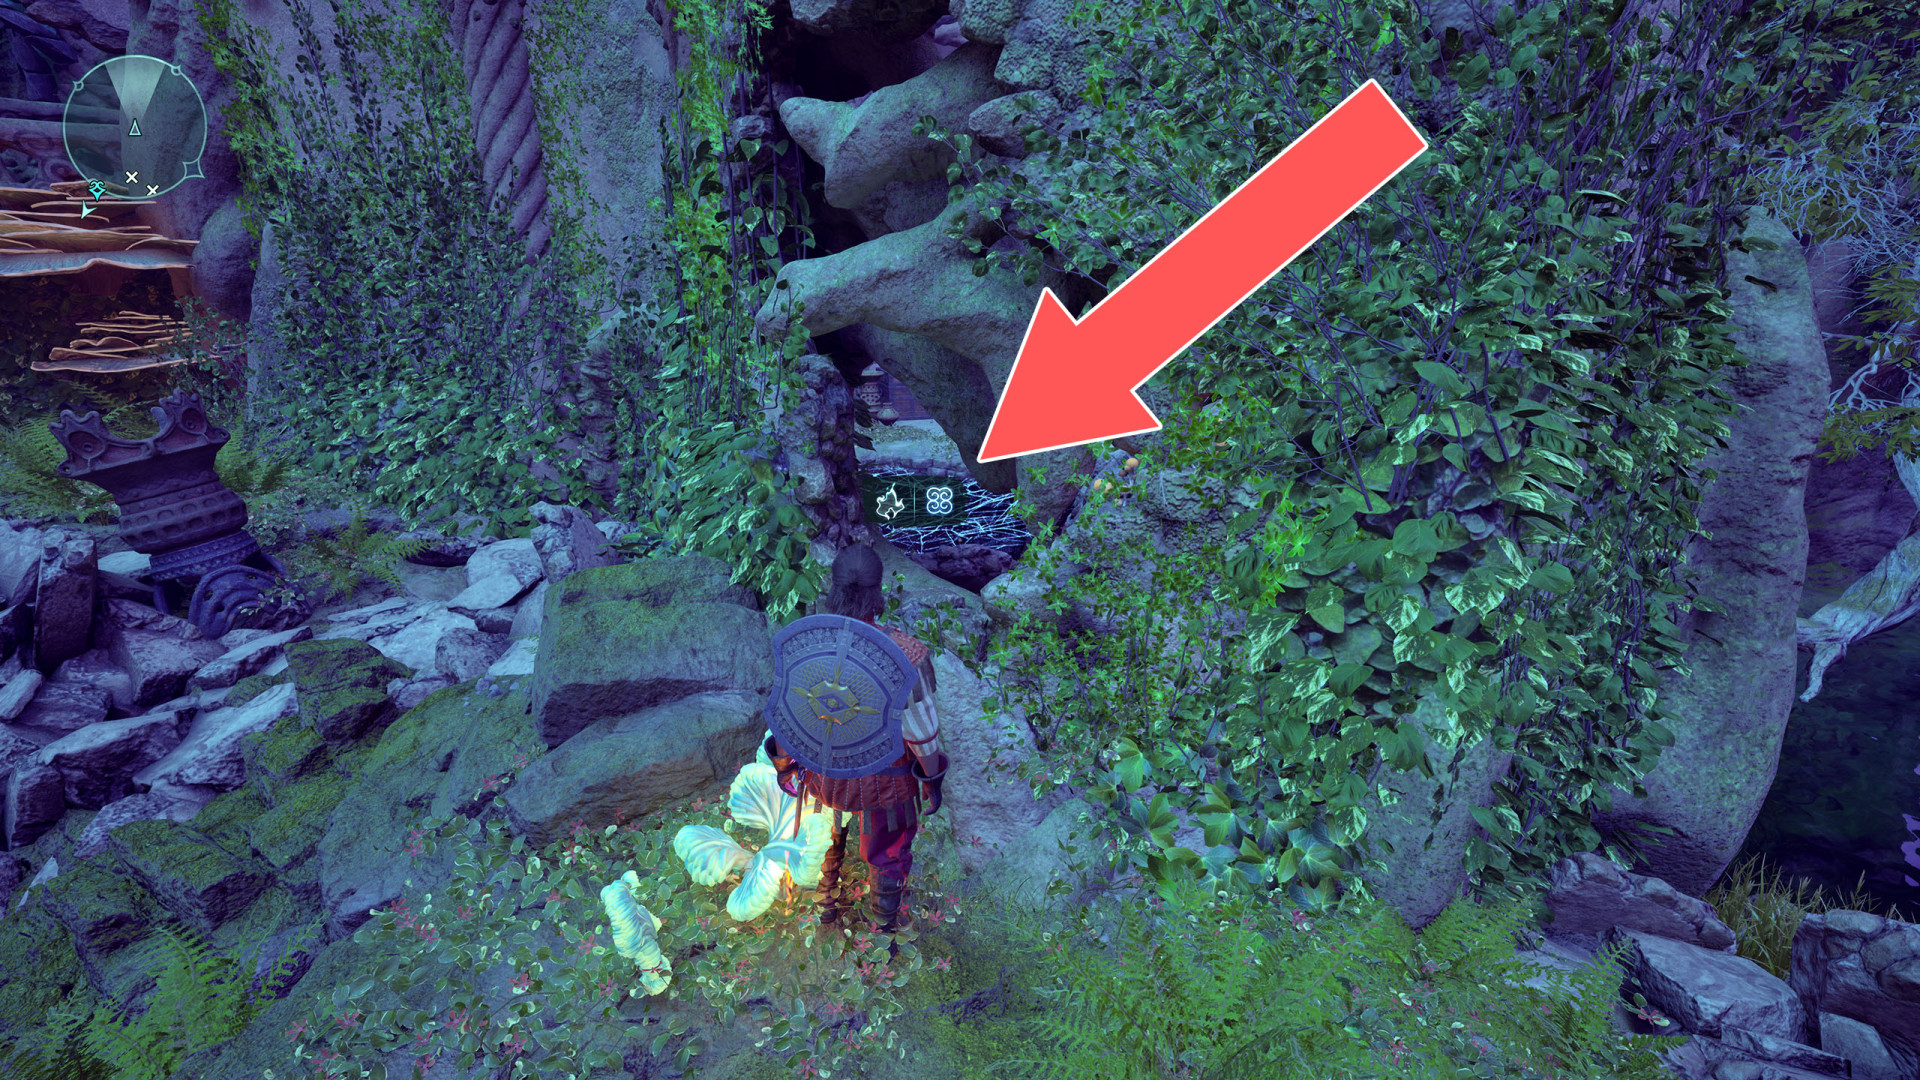
295Illusion Wall
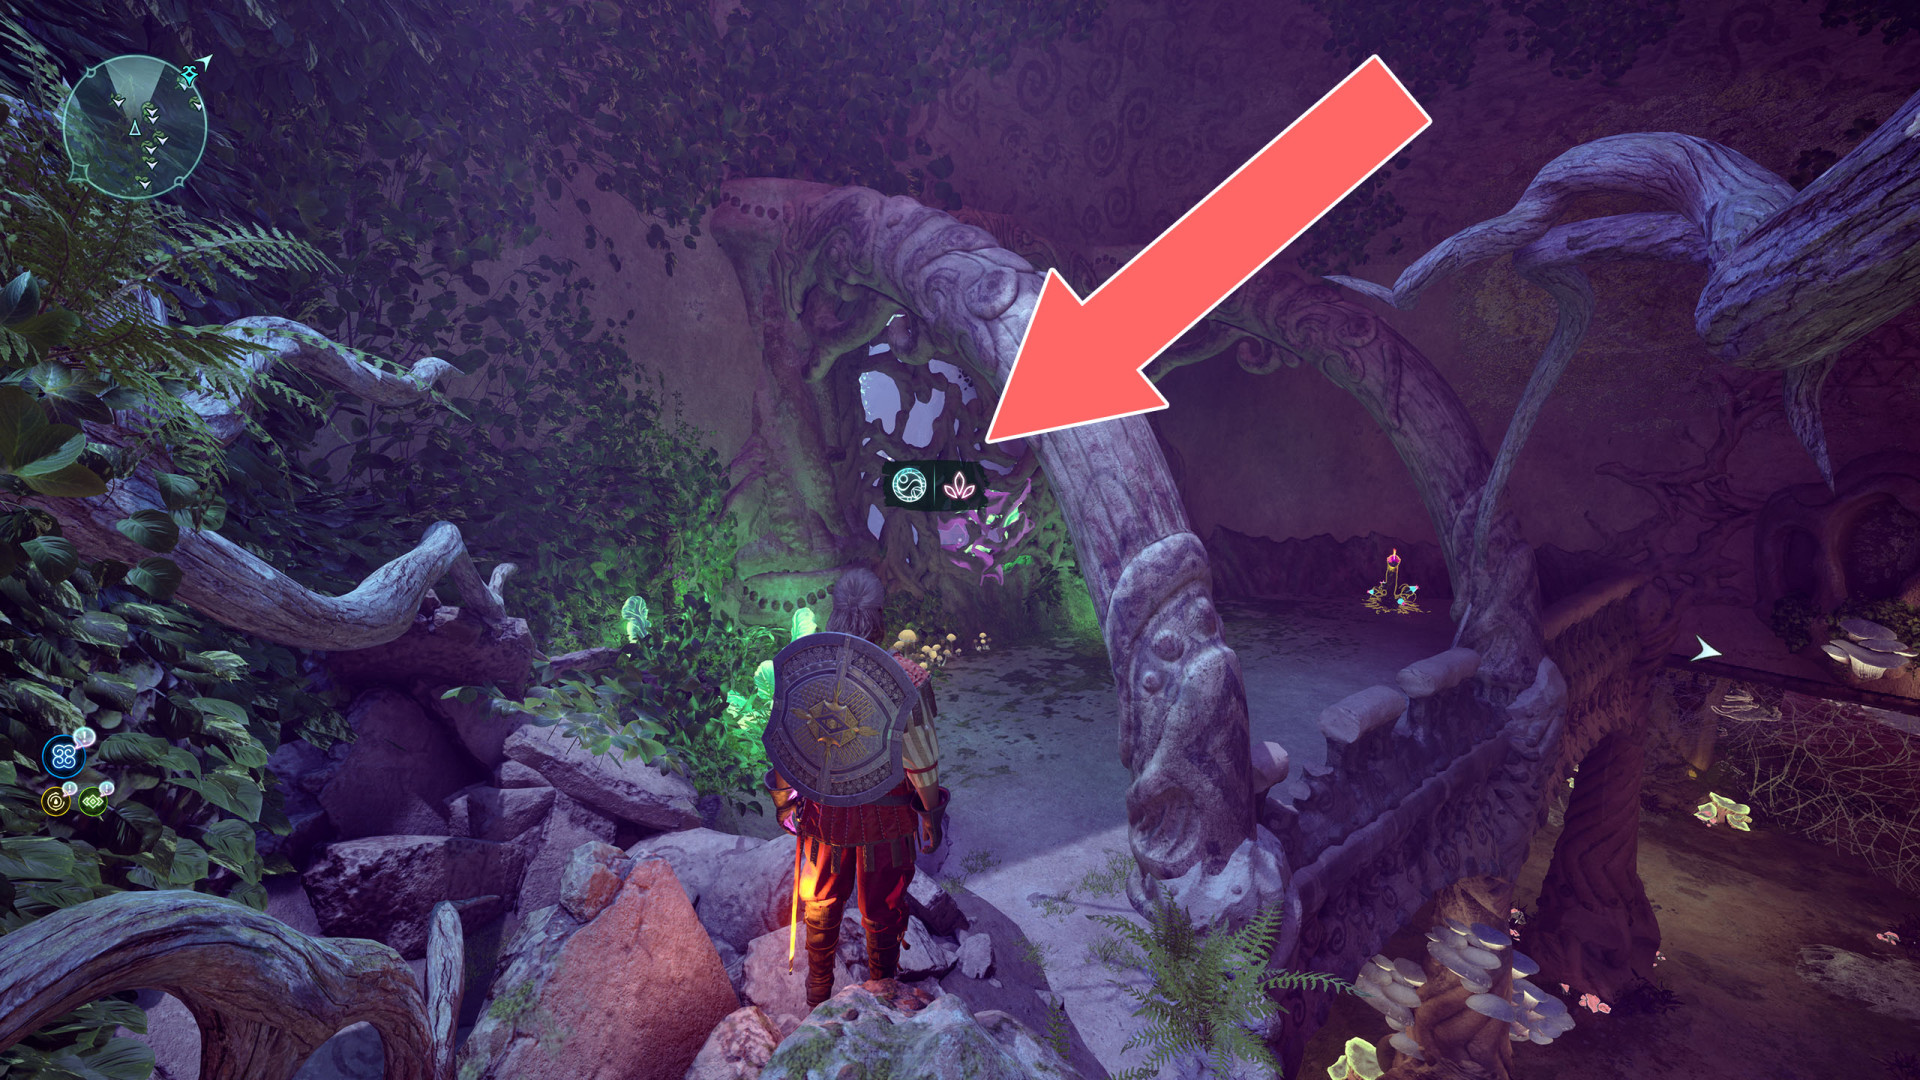
296Illusion Wall
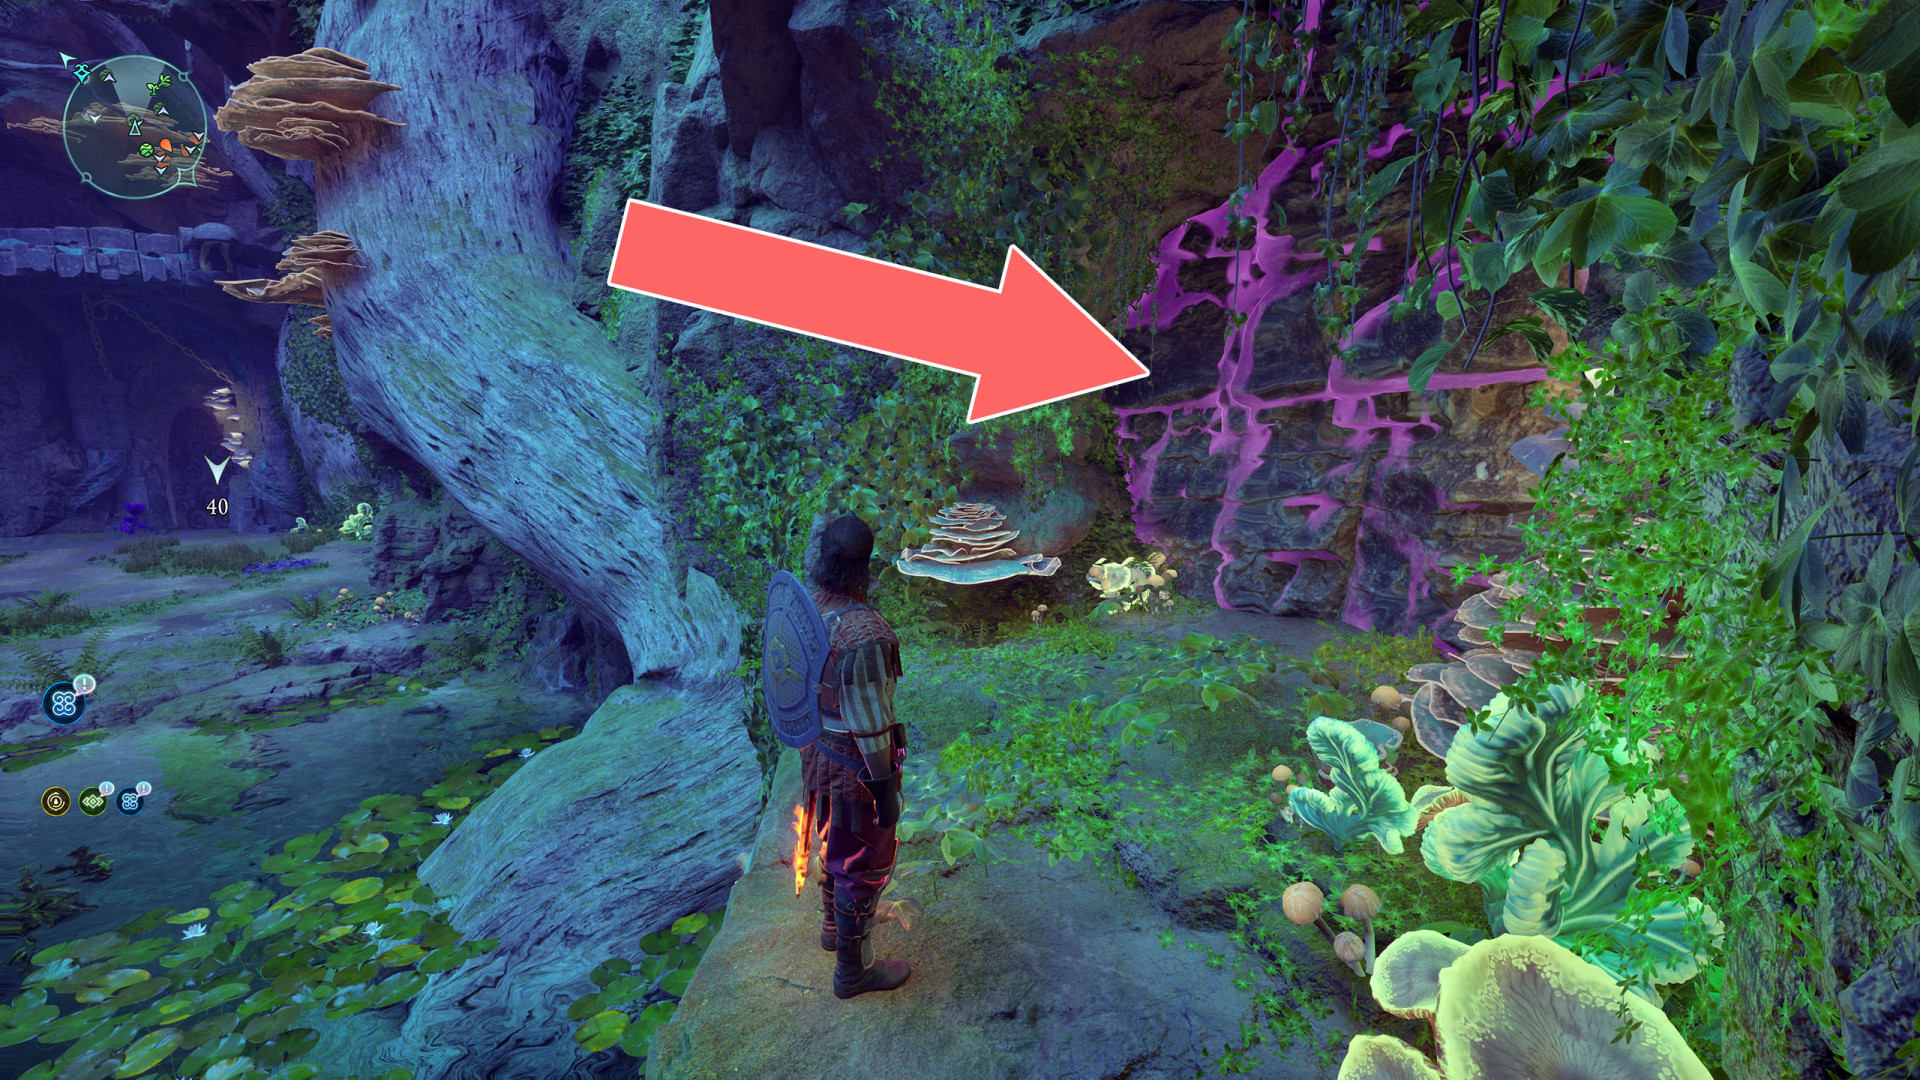
297Prison Gate
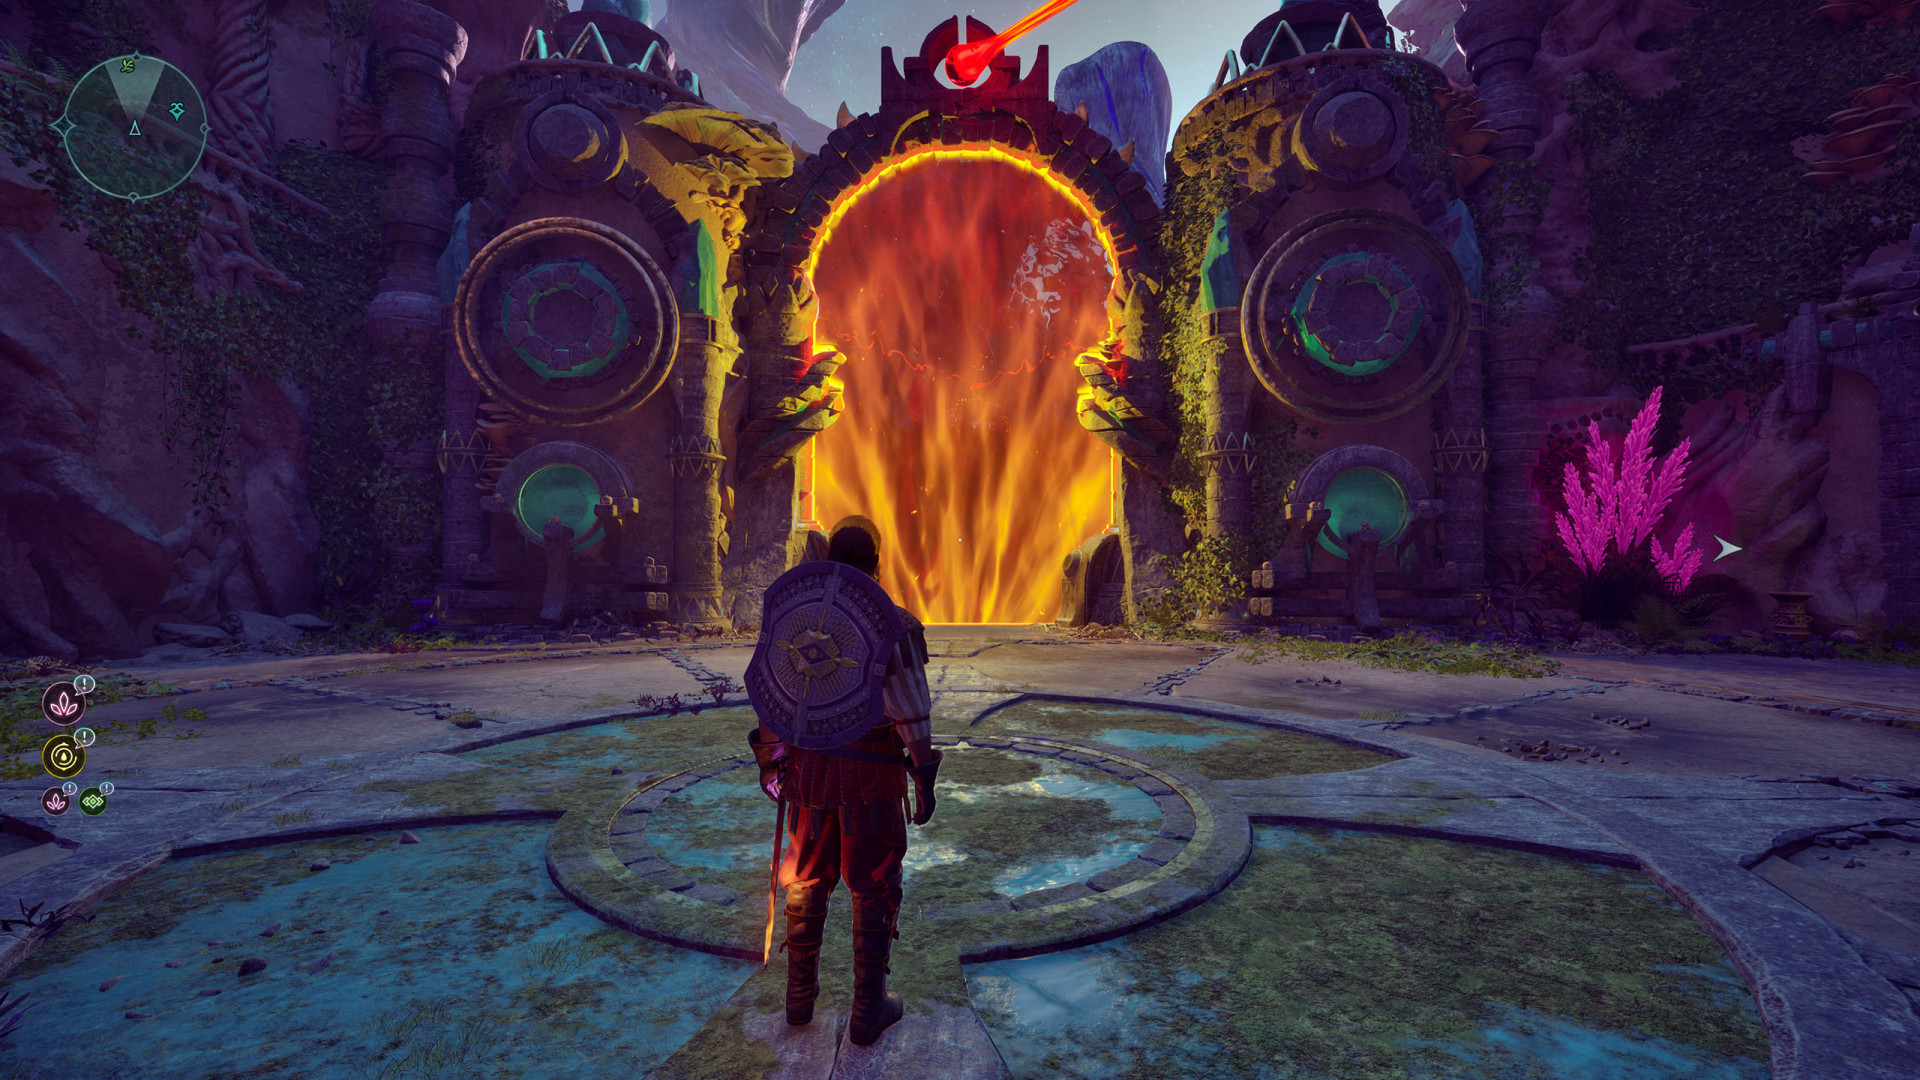
298Secret Door
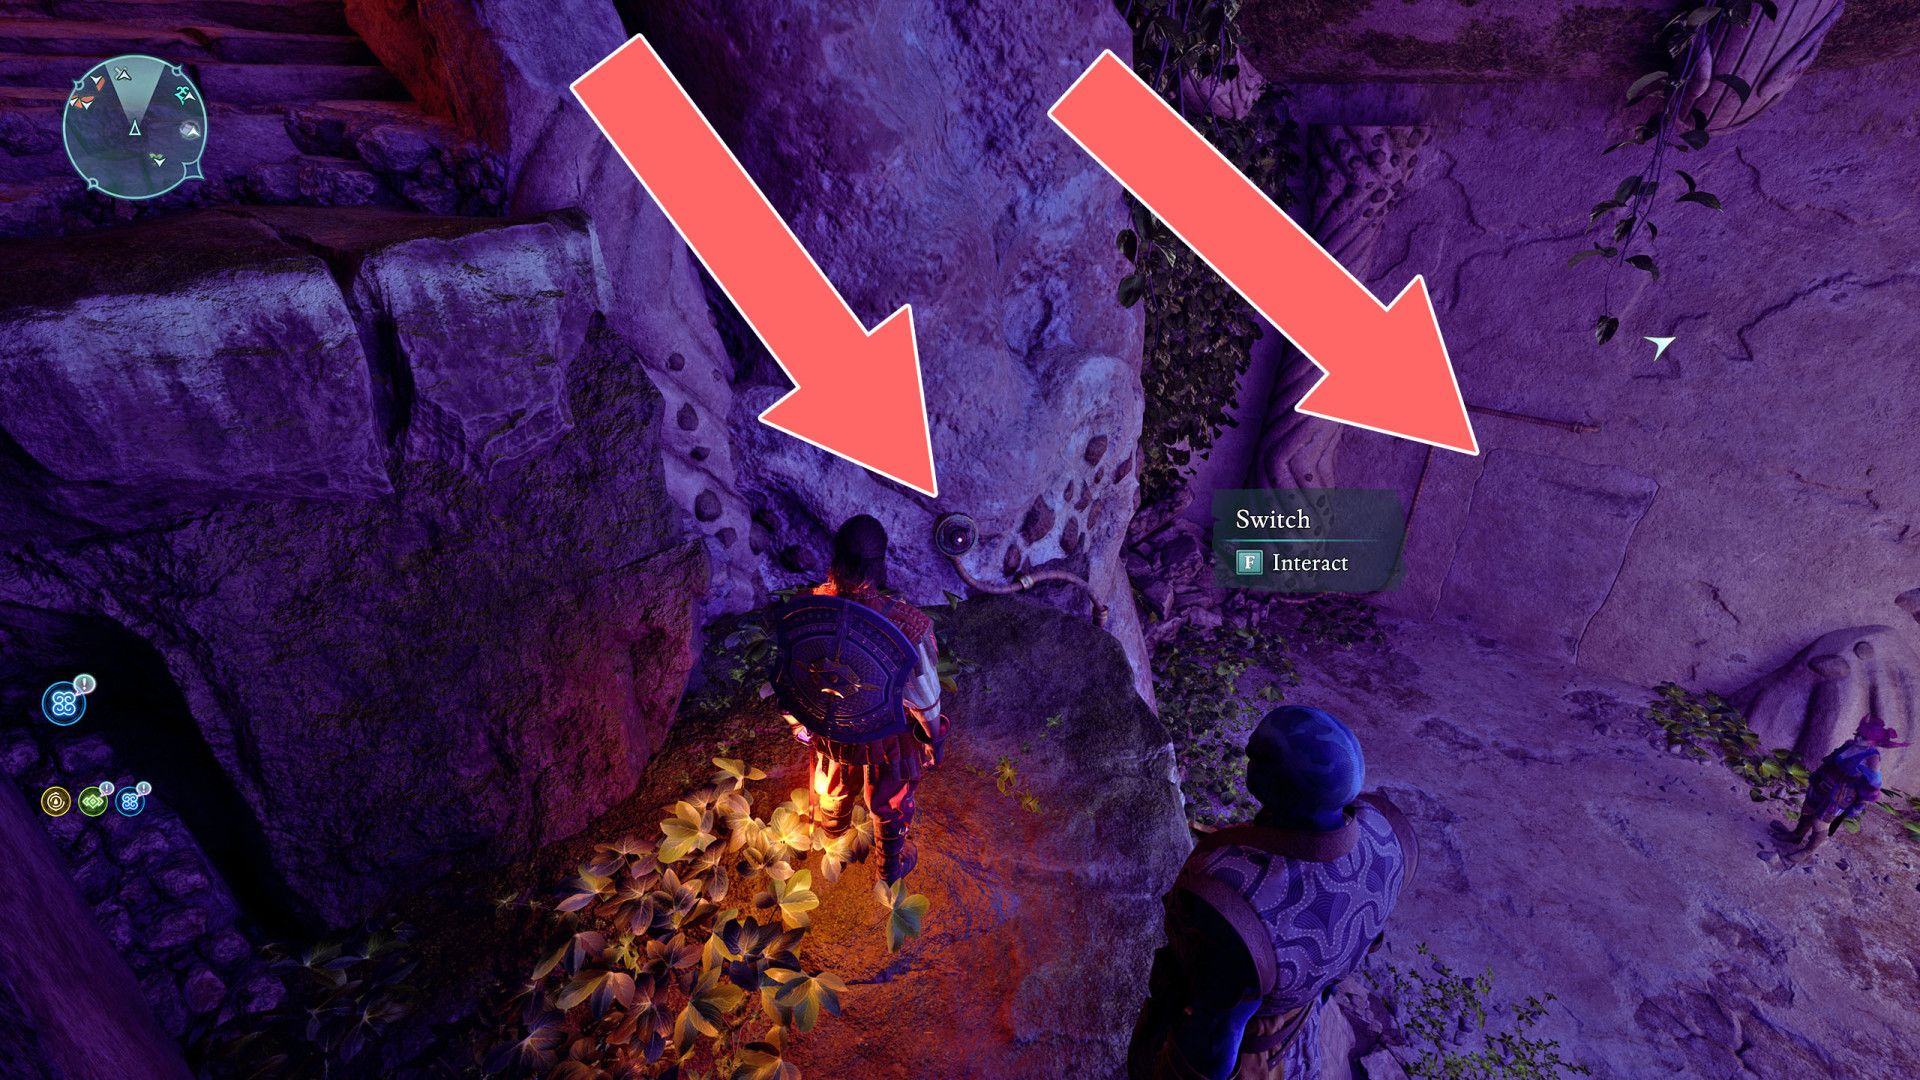
299Shock Door (1)
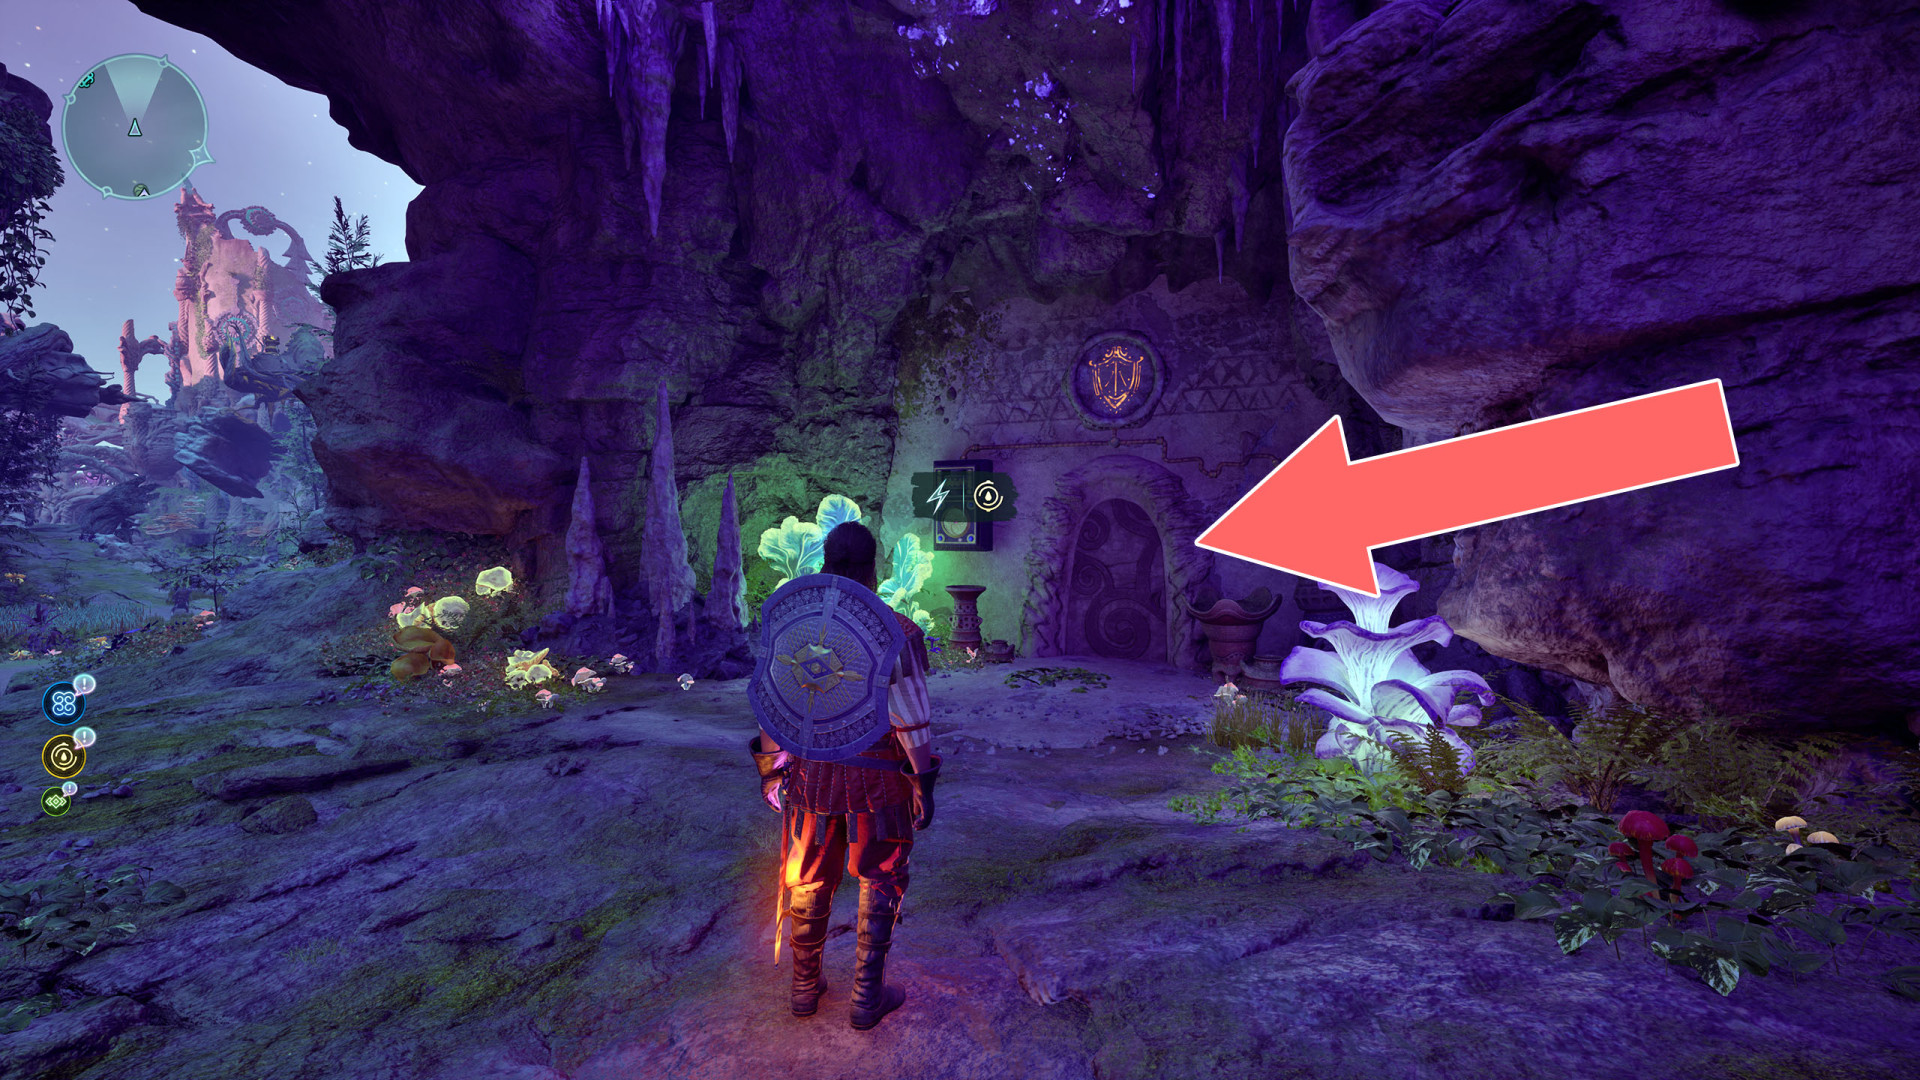
300Shock Door (2)
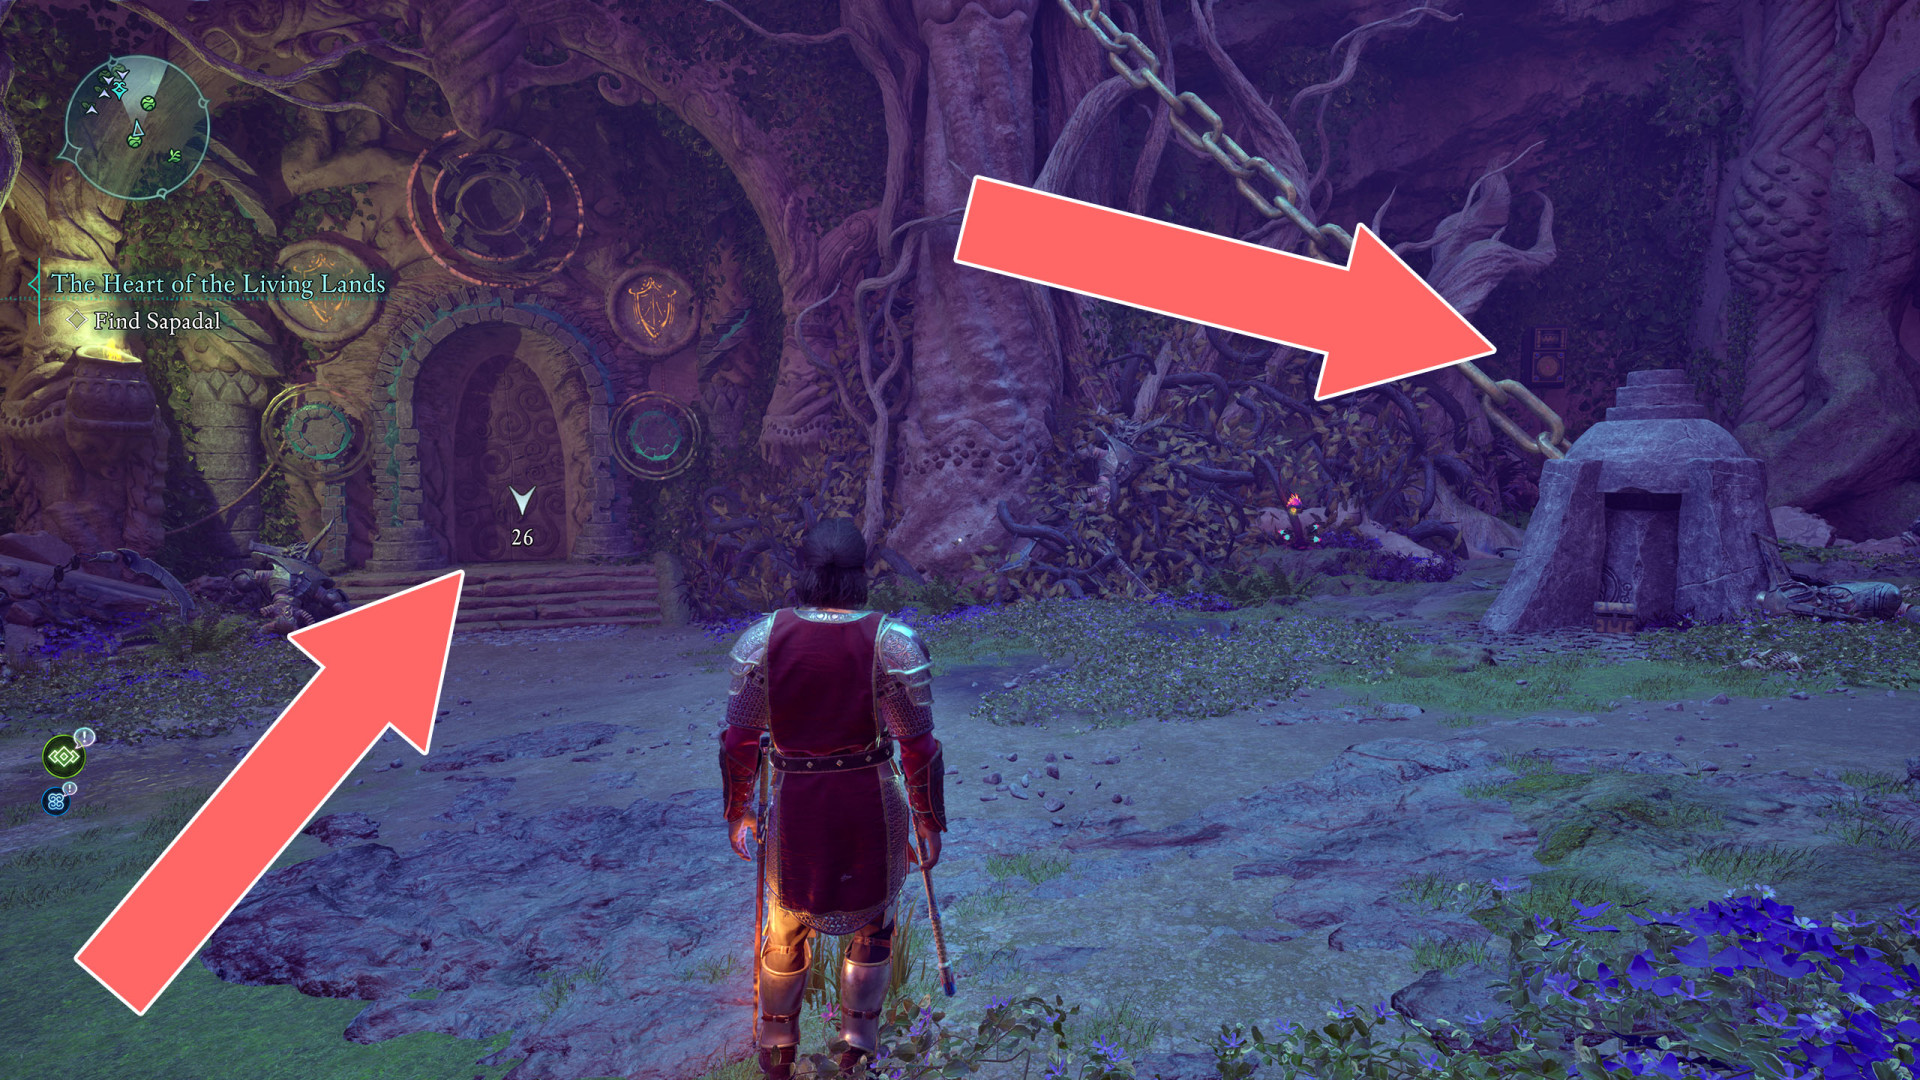
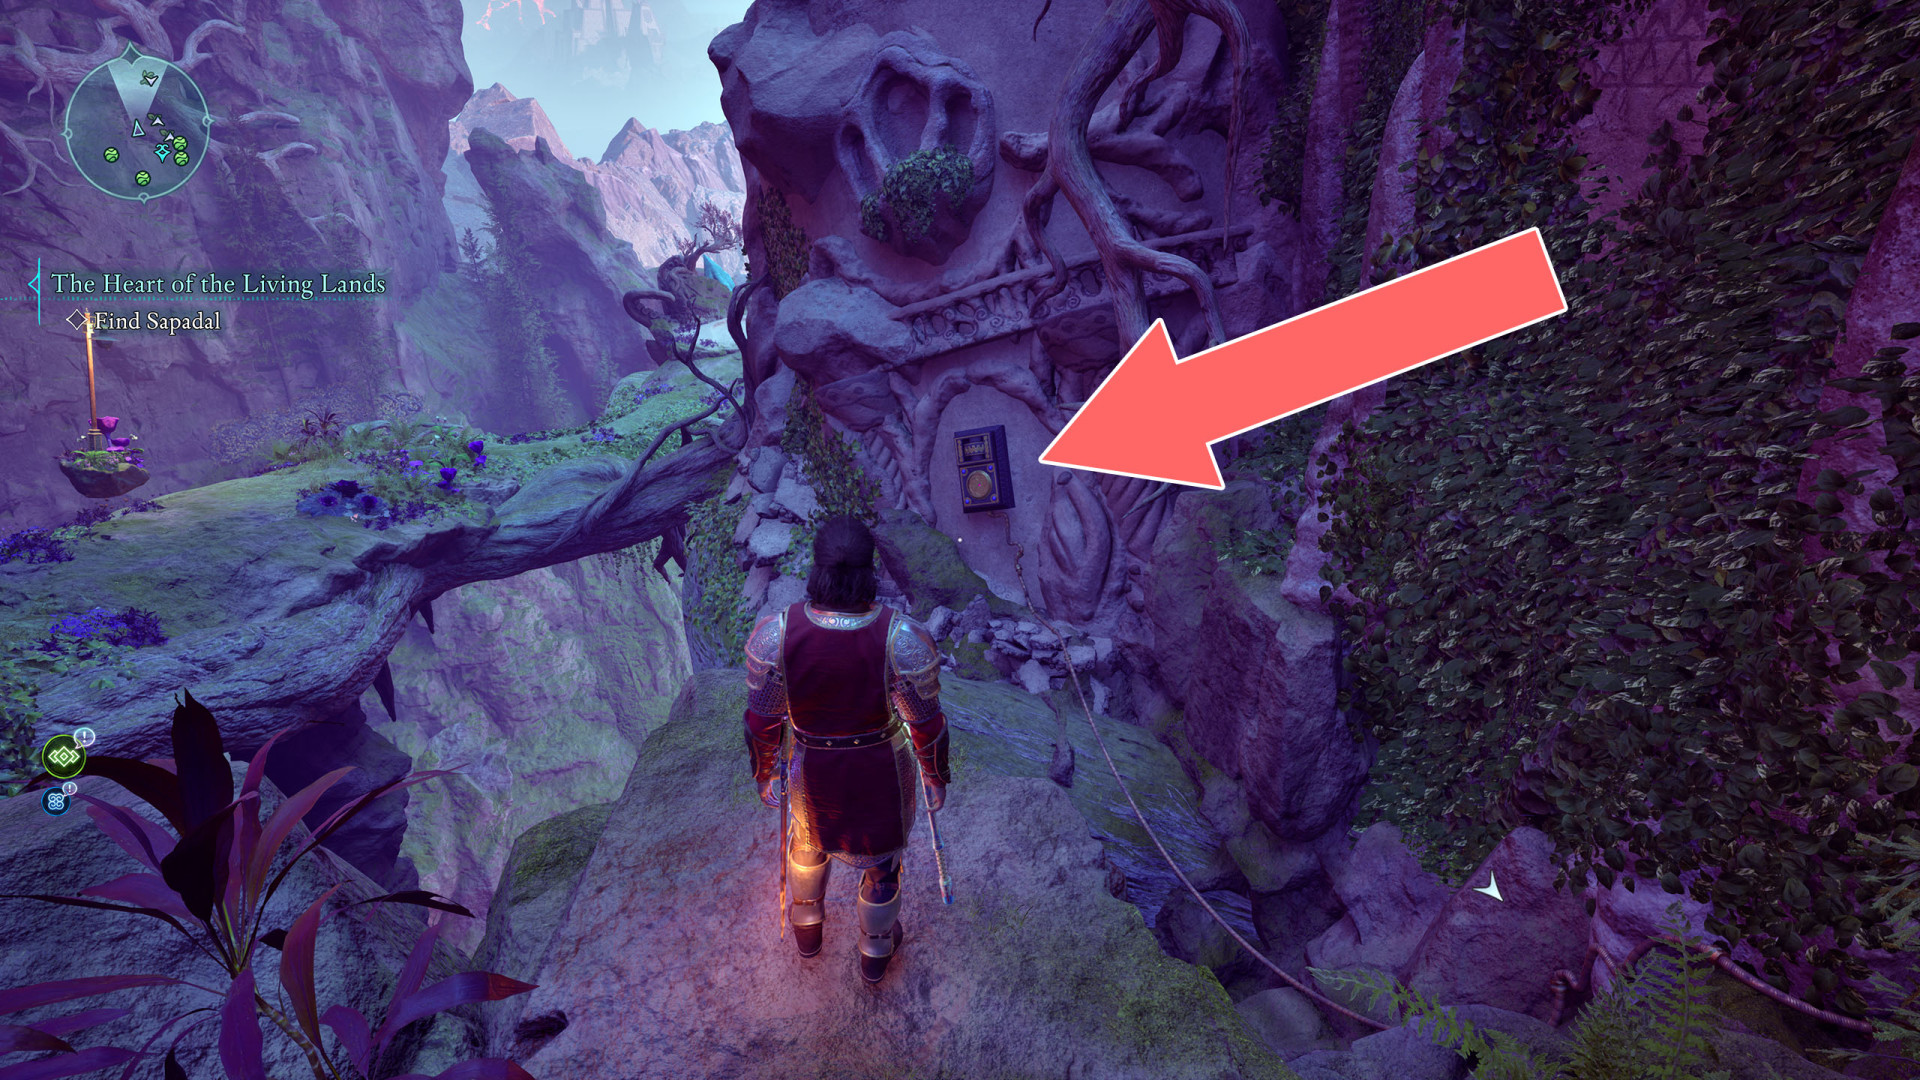
301Shock Door (x3)
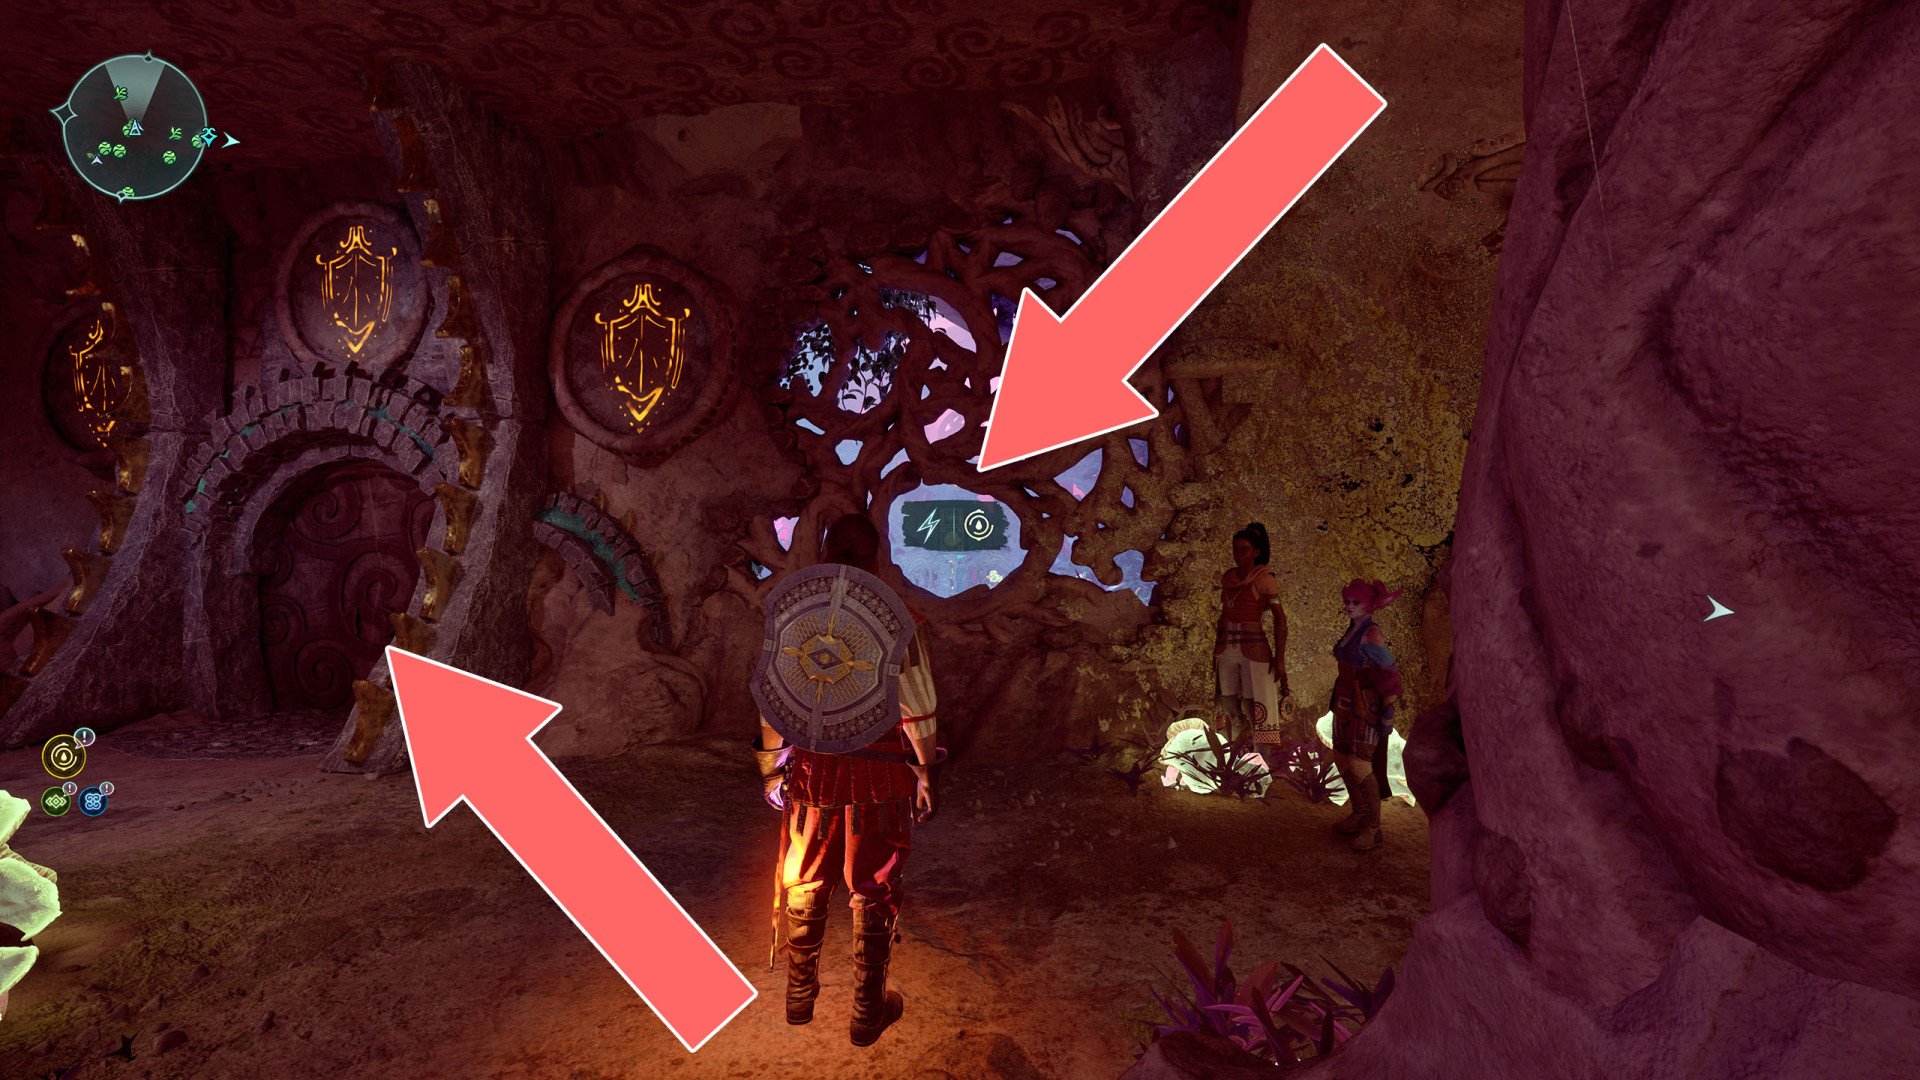
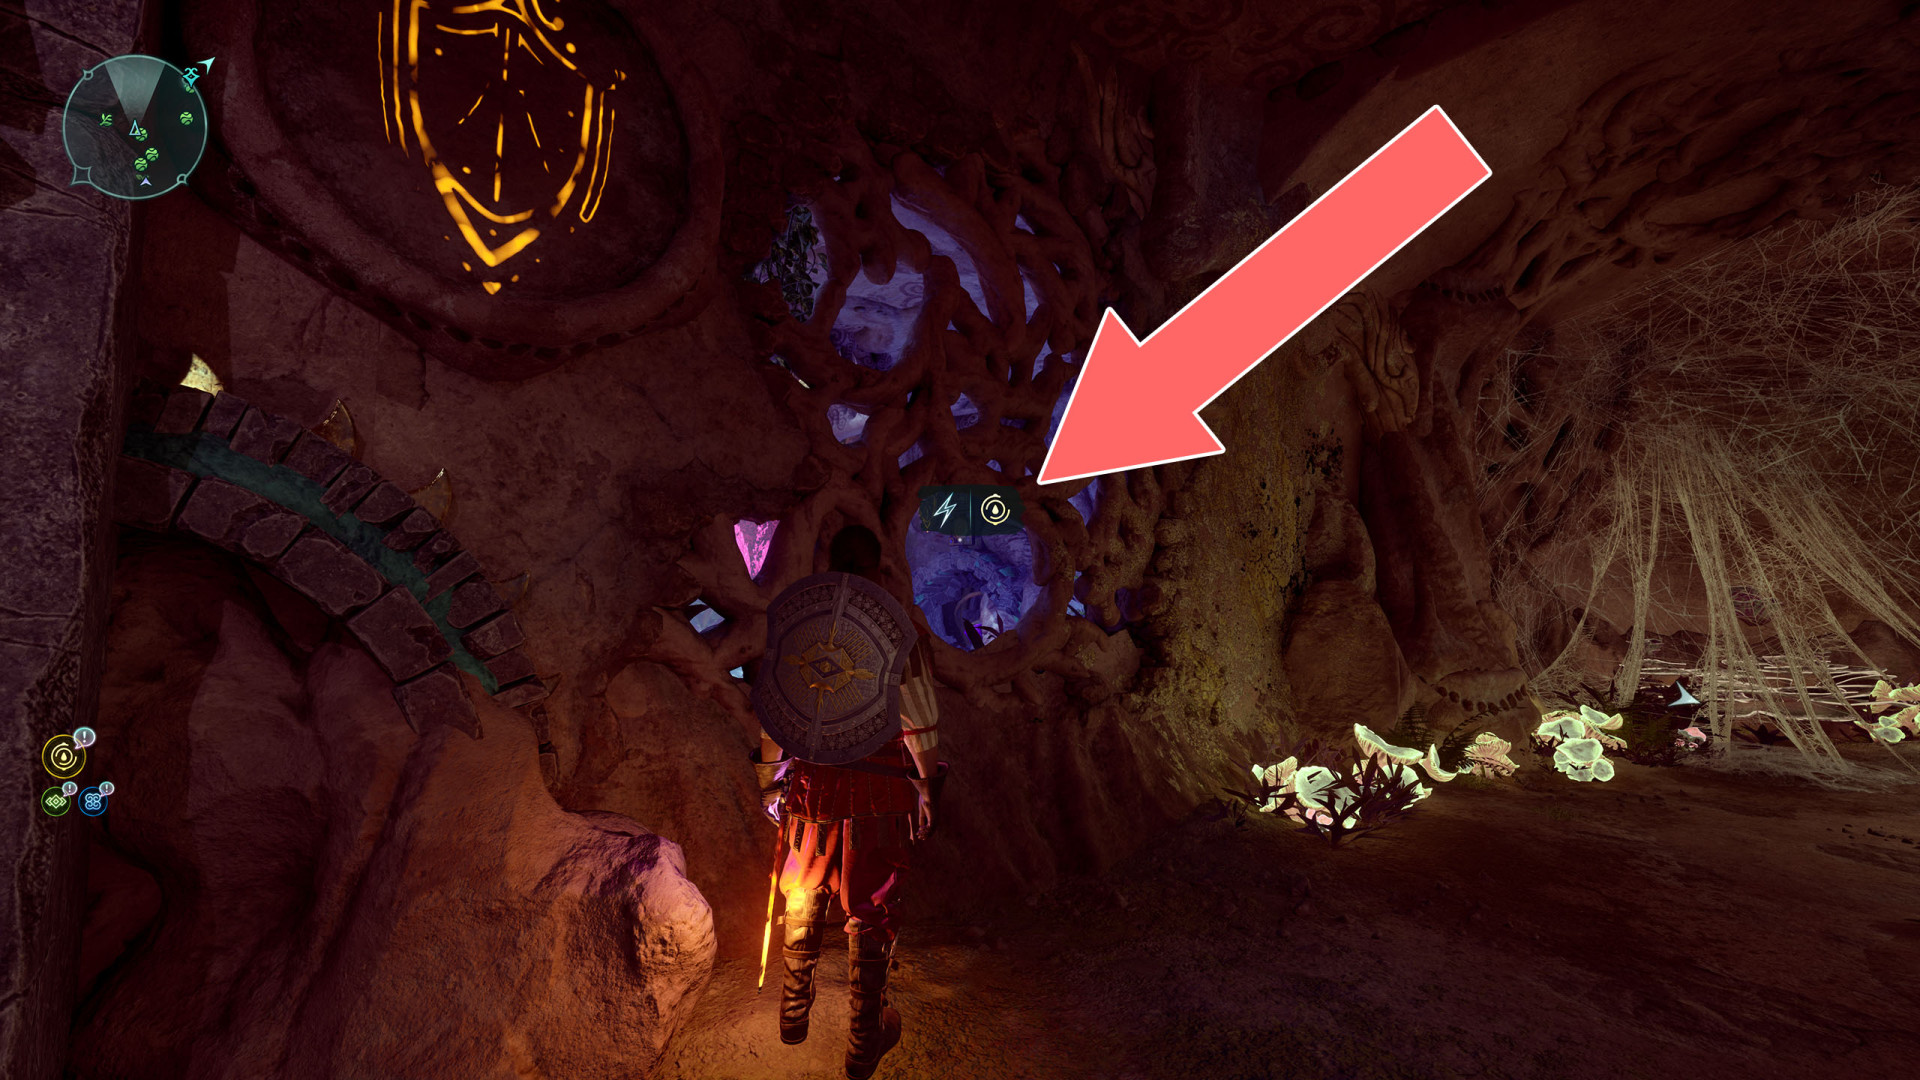
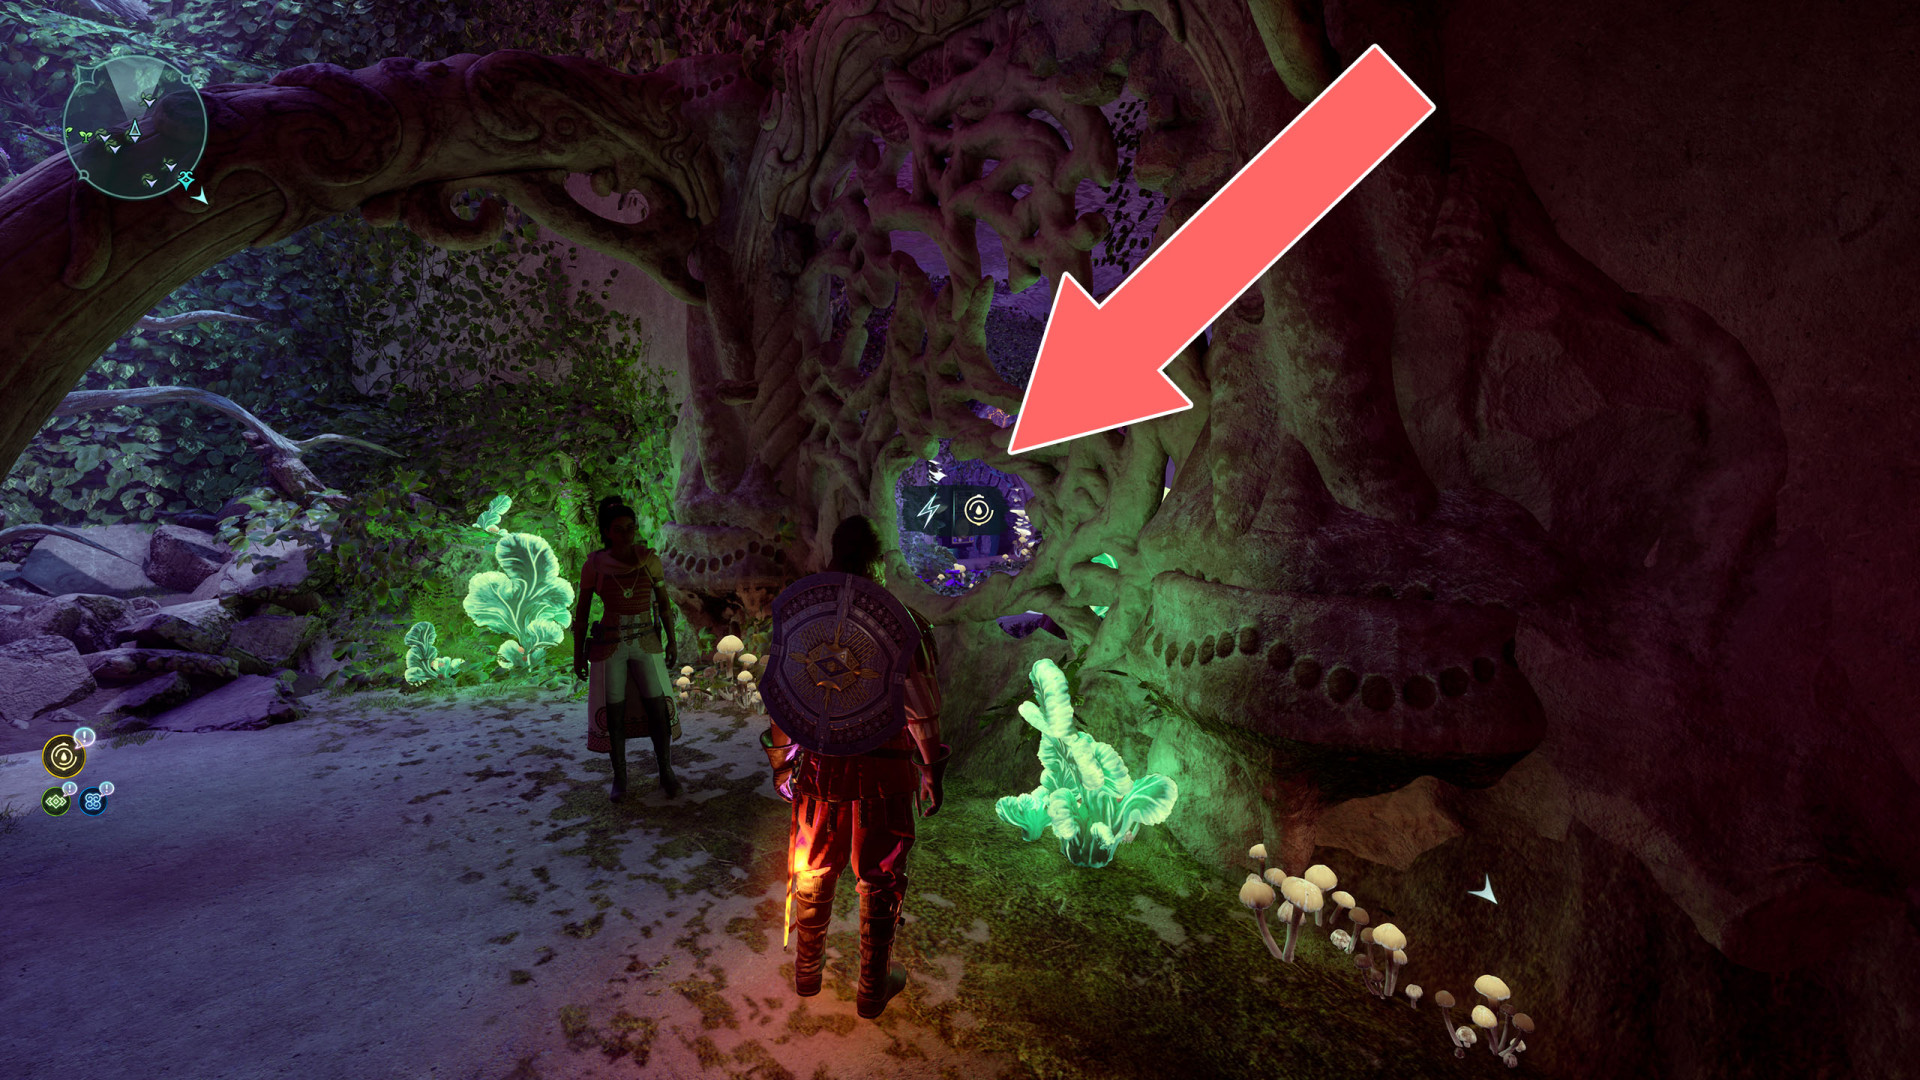
302Traps