This collection includes every marker from the Accessories category of points of interest in Avowed, all placed on interactive maps created specifically for the game.
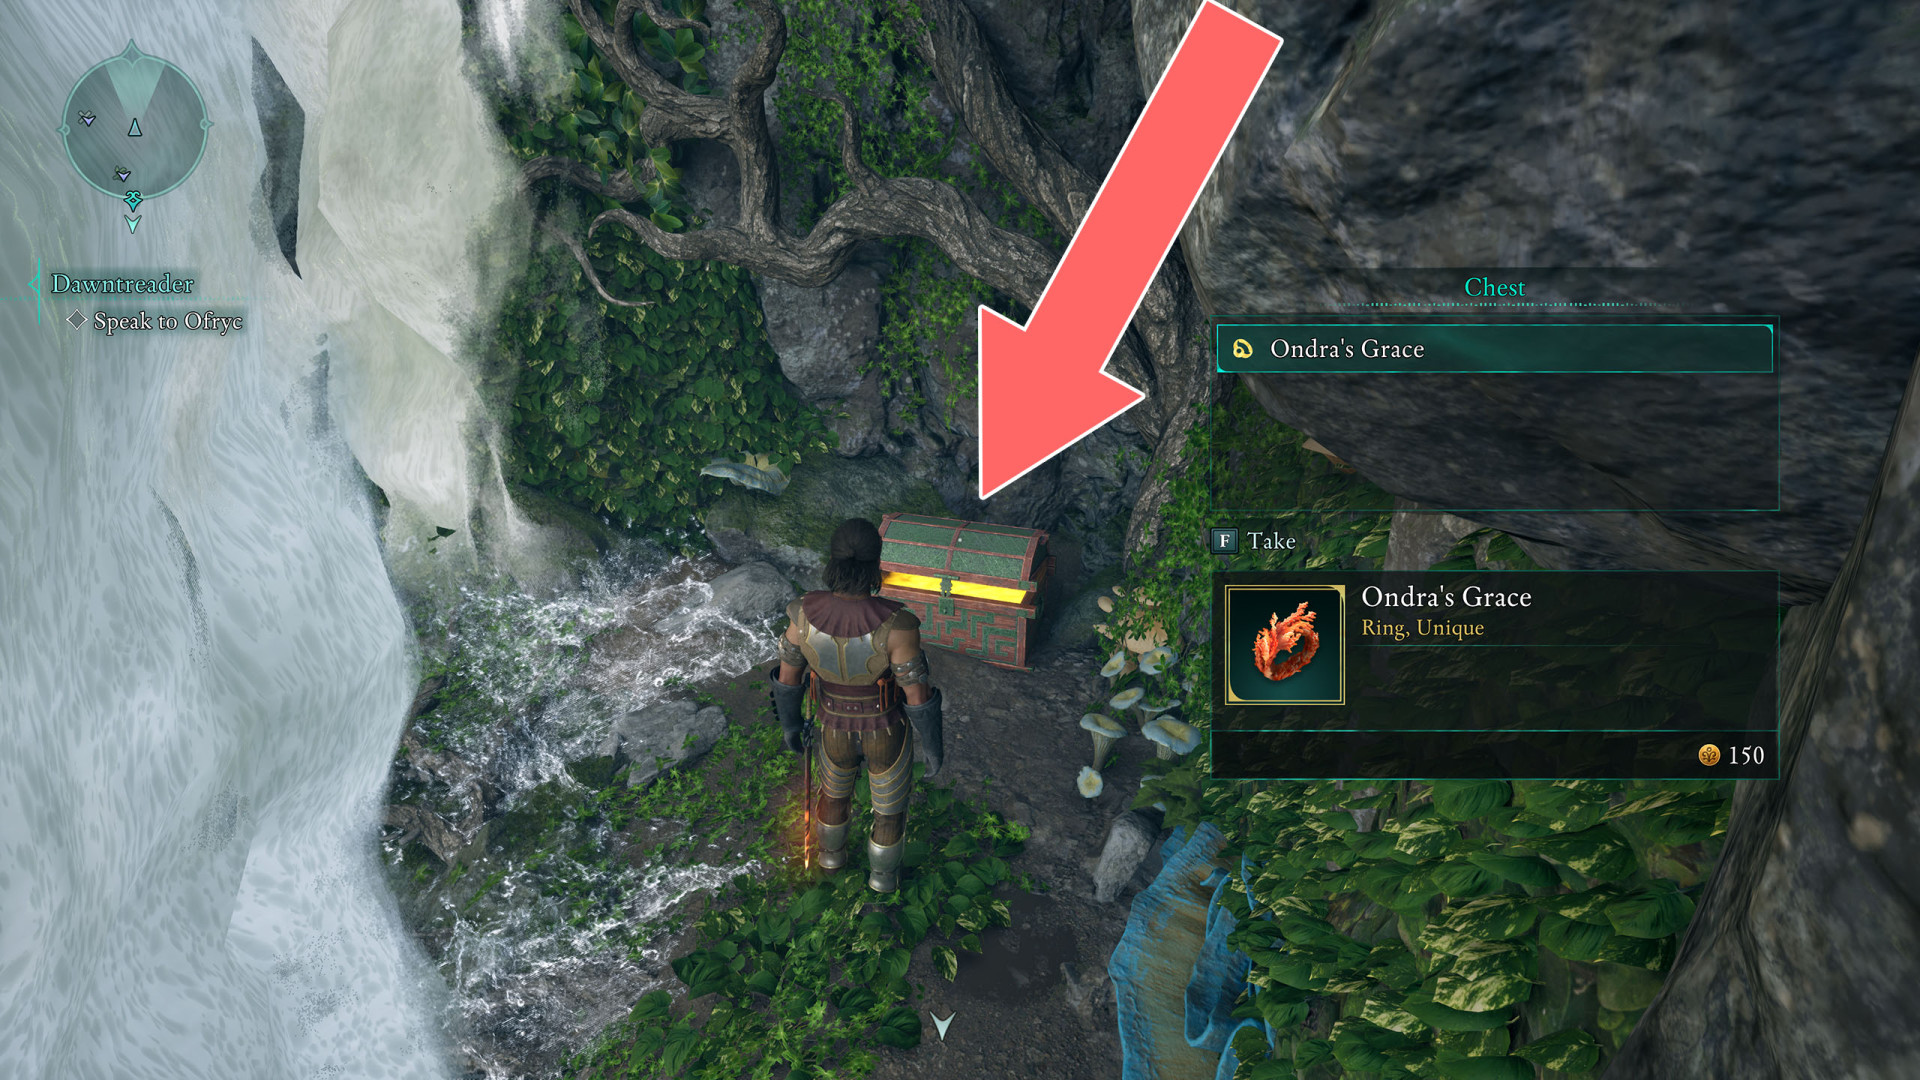
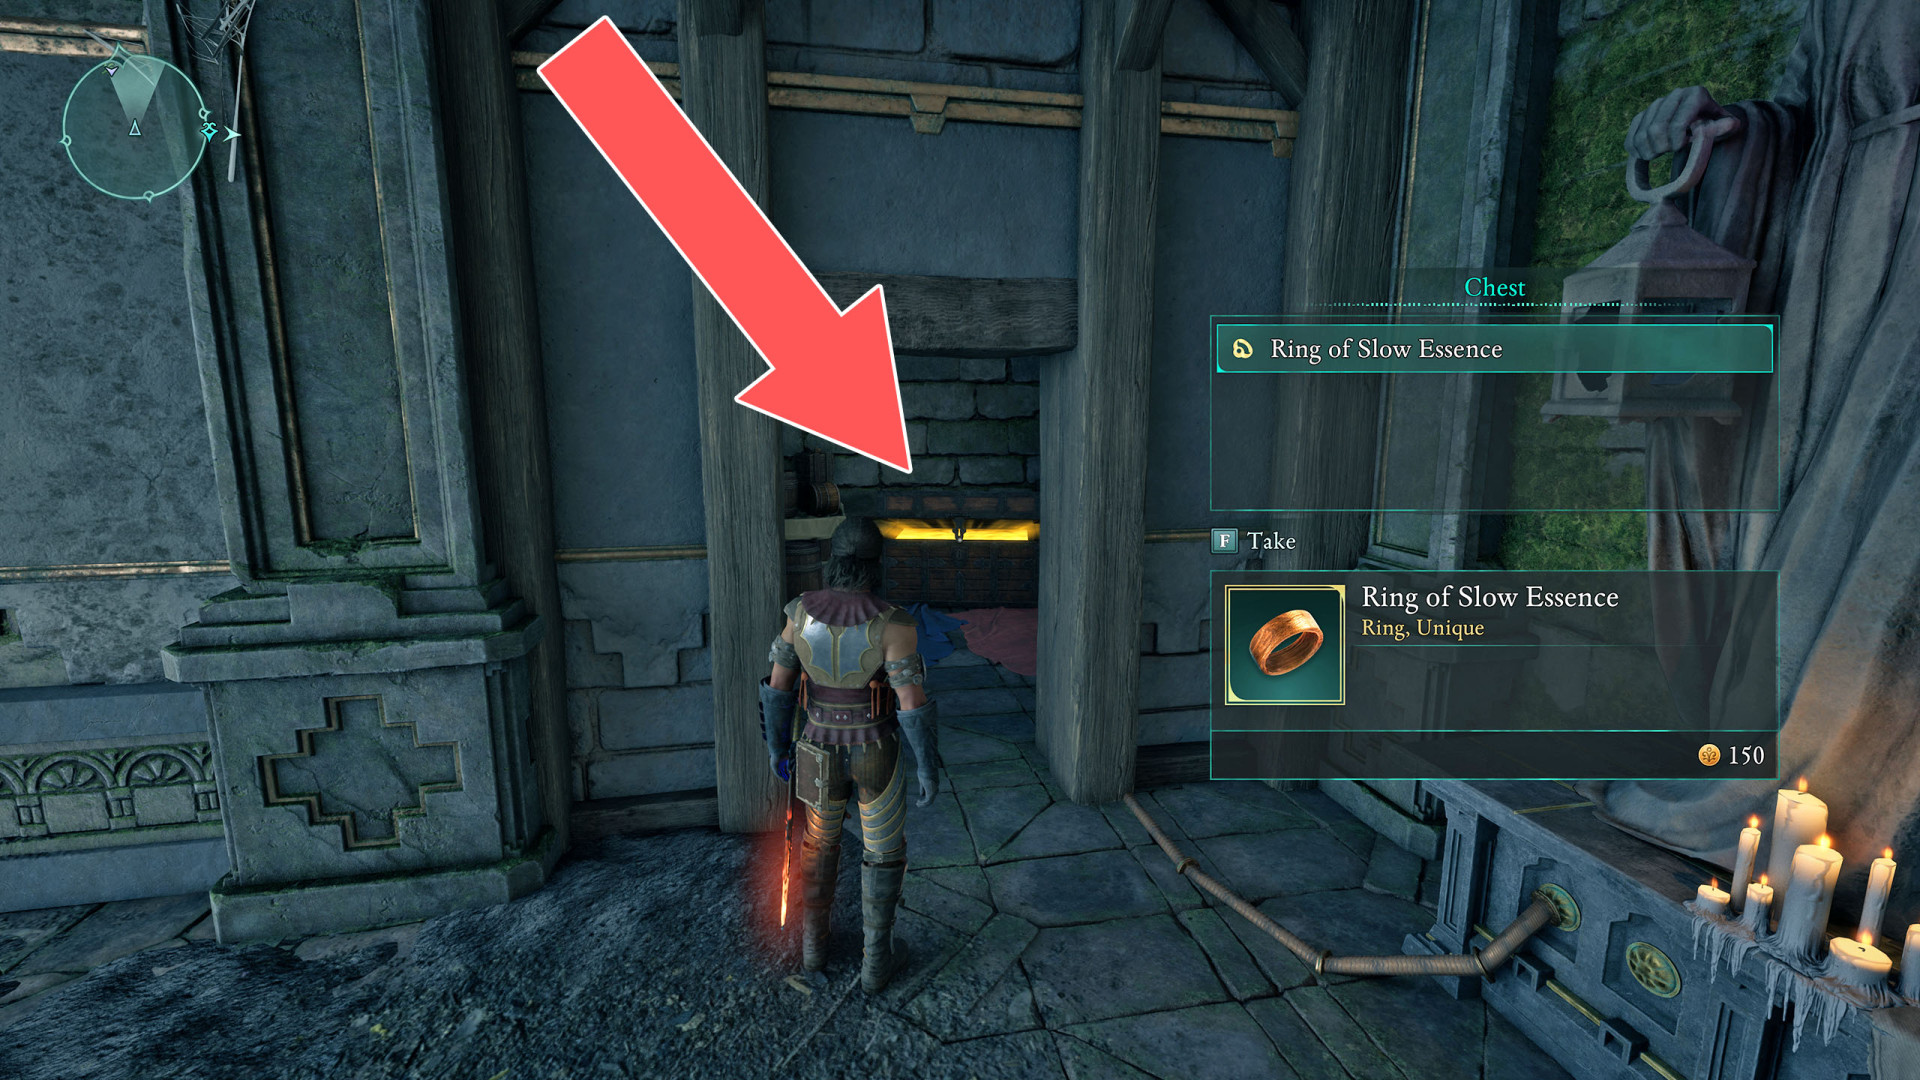
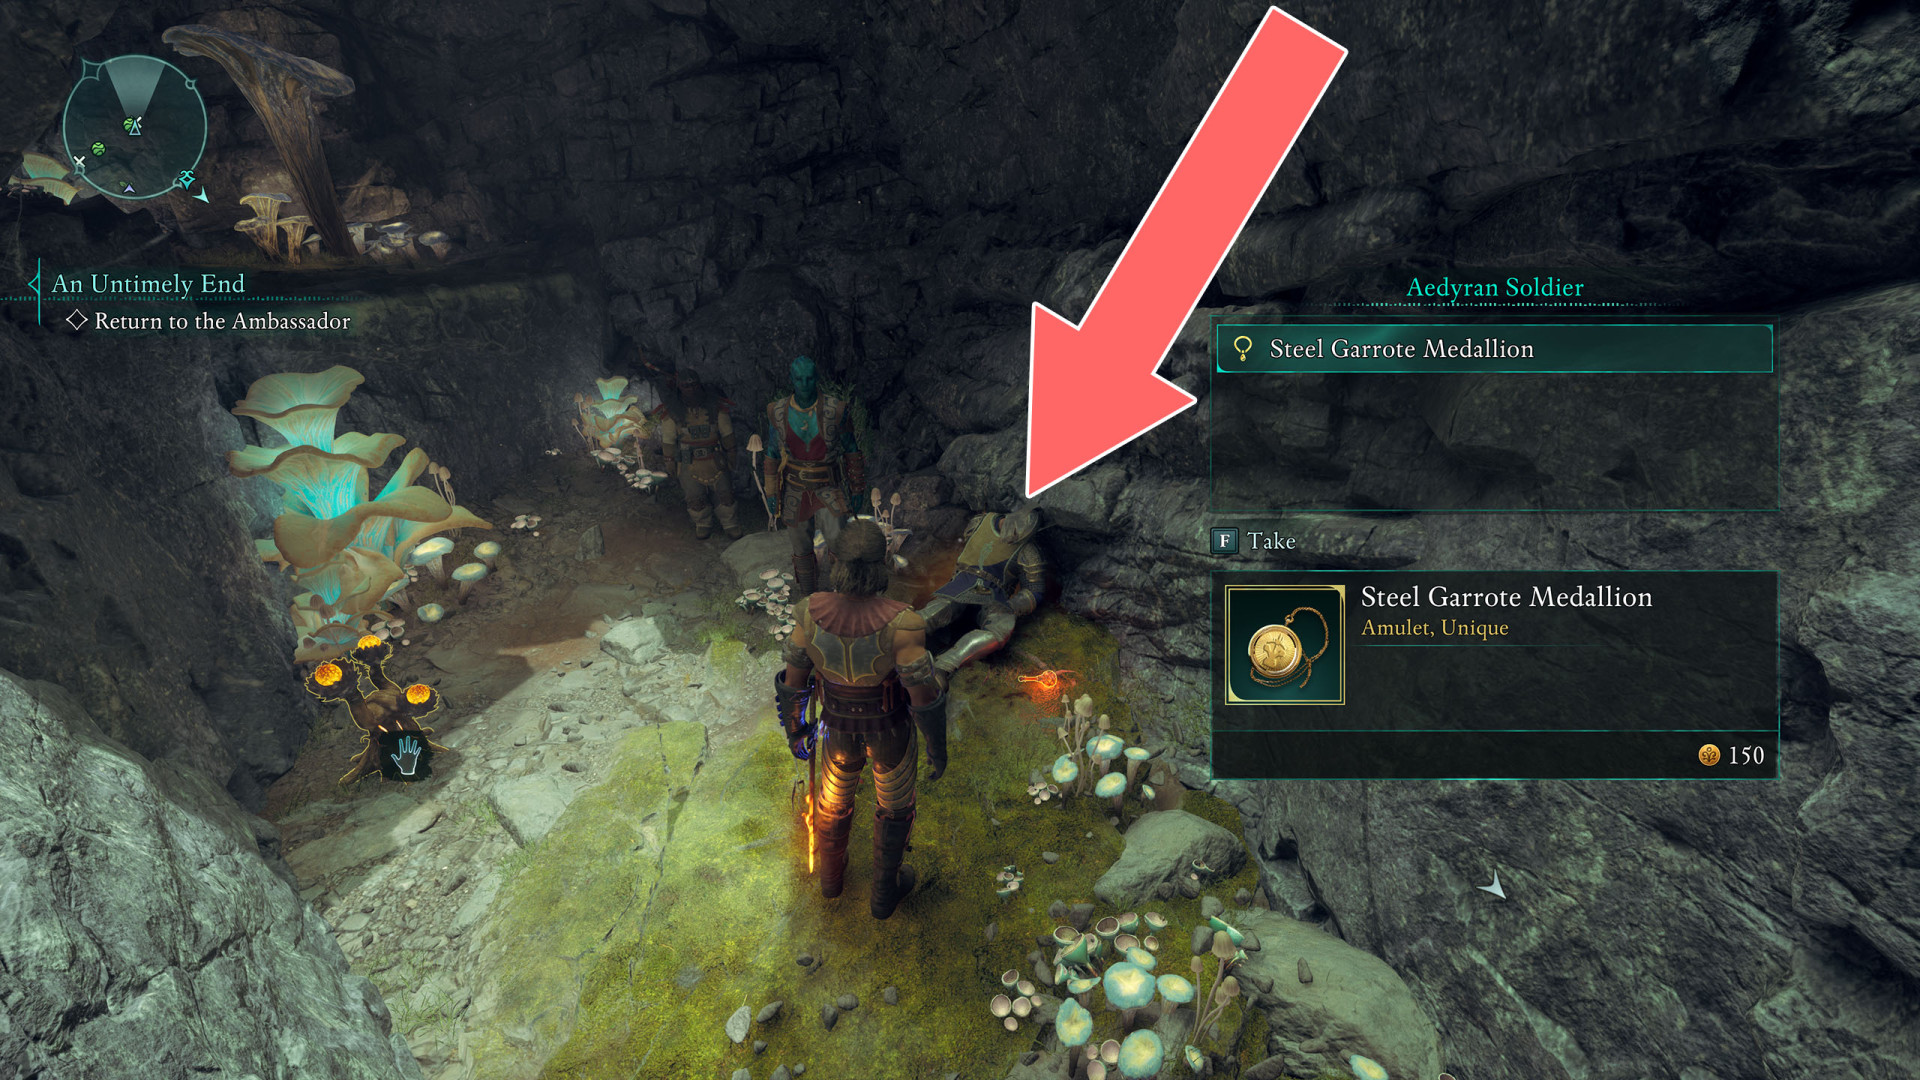
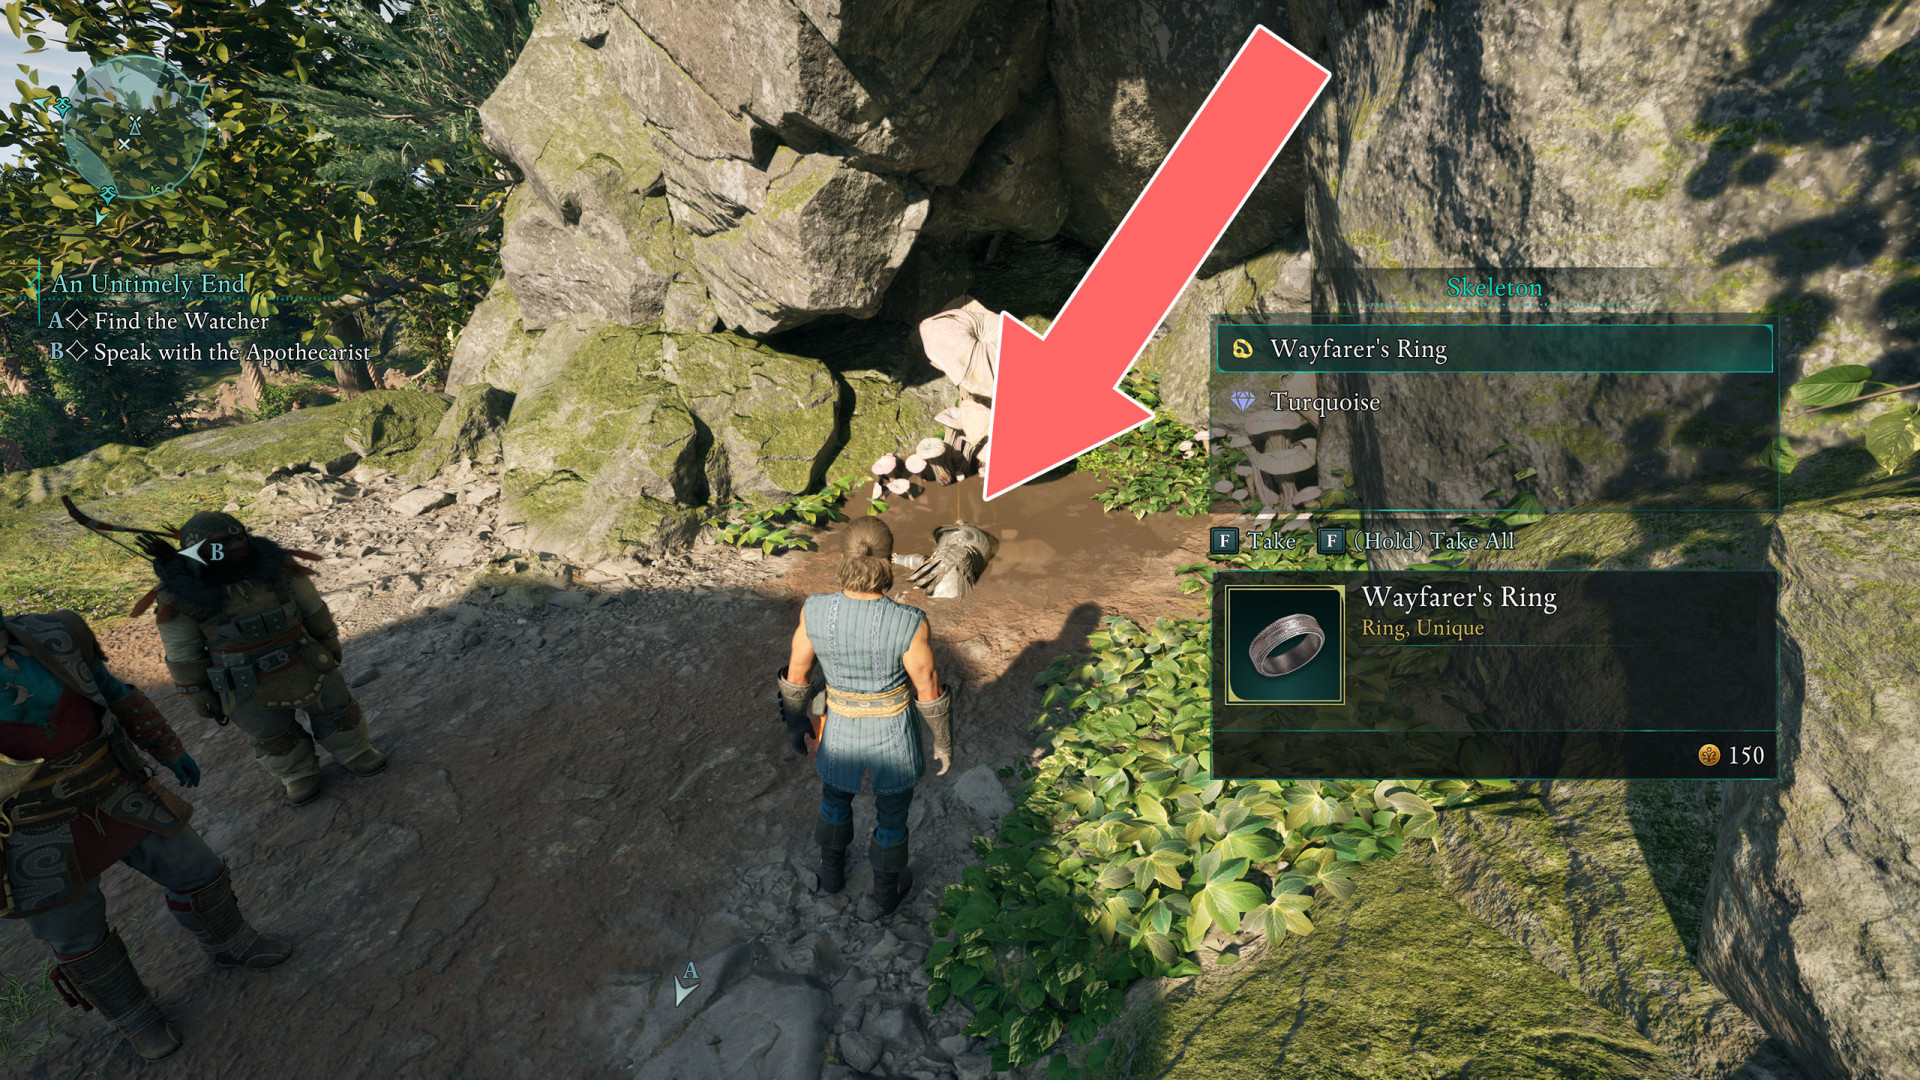
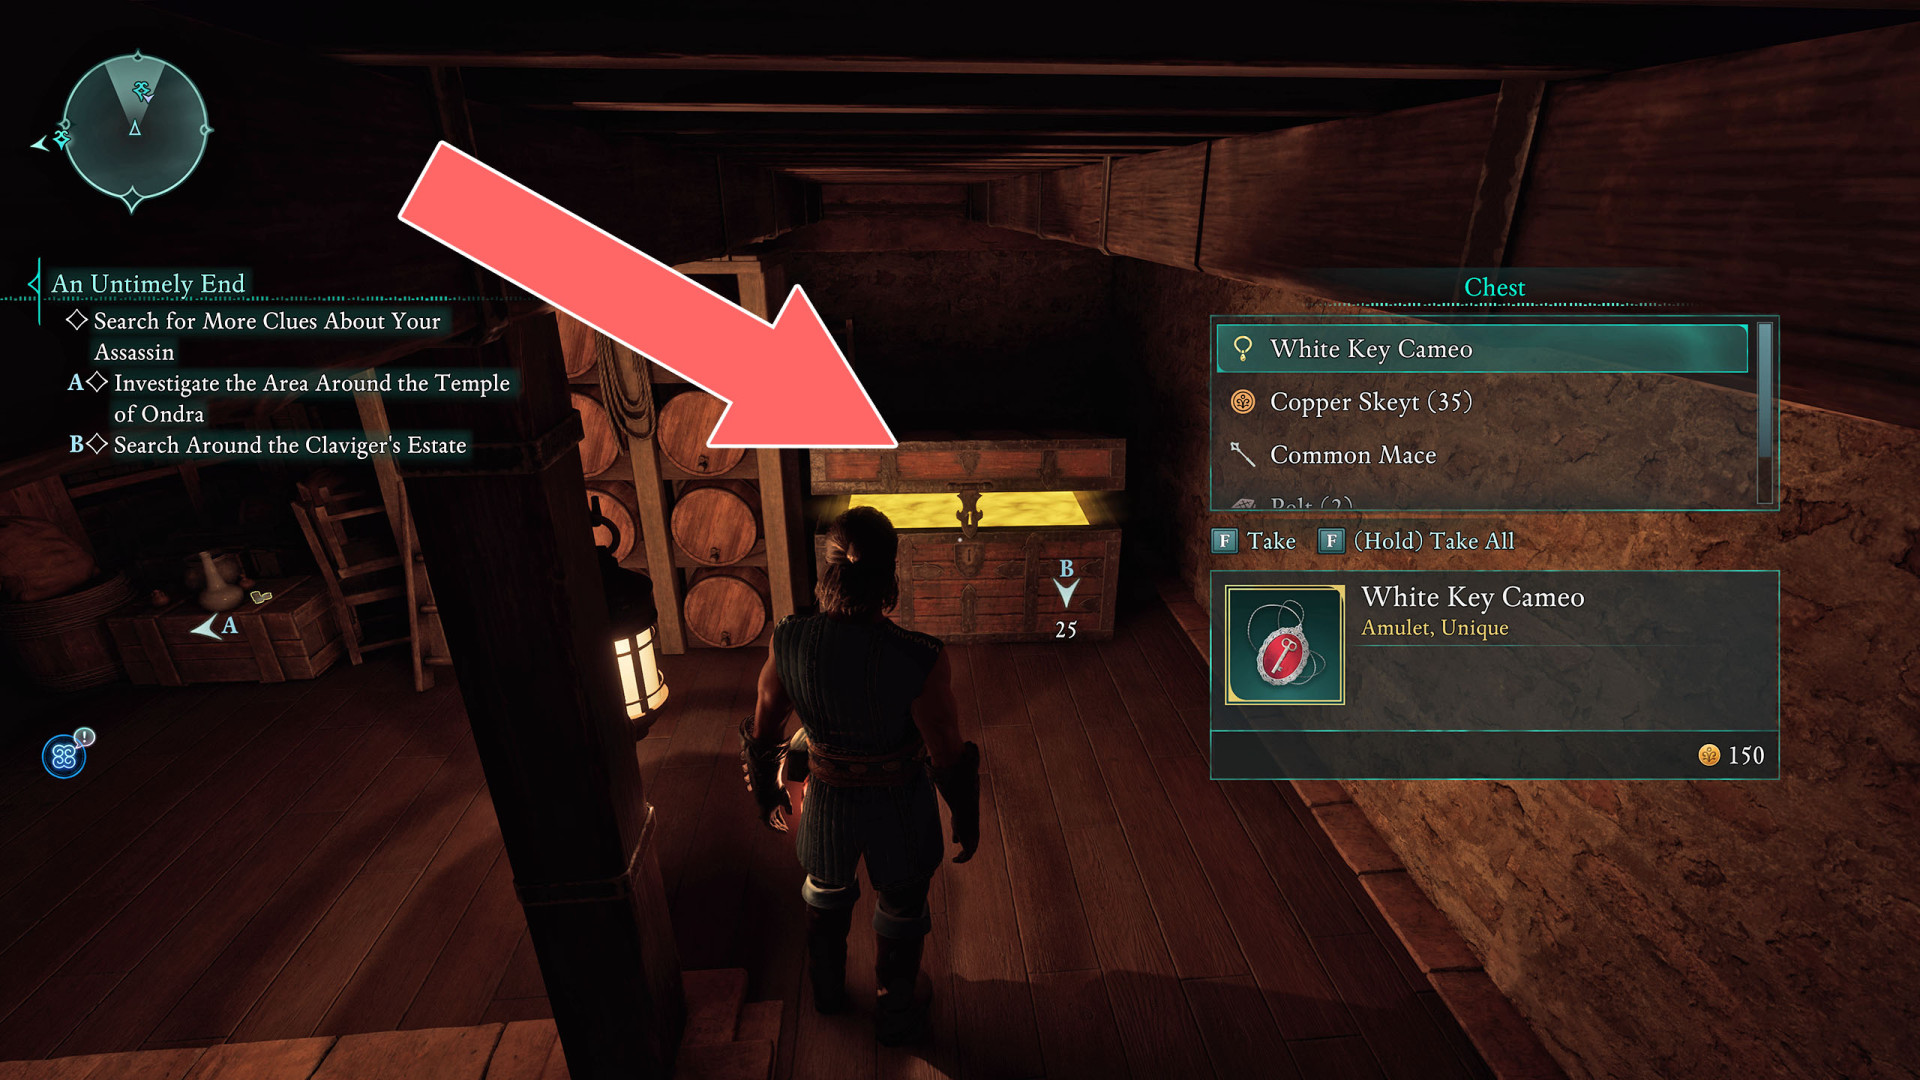
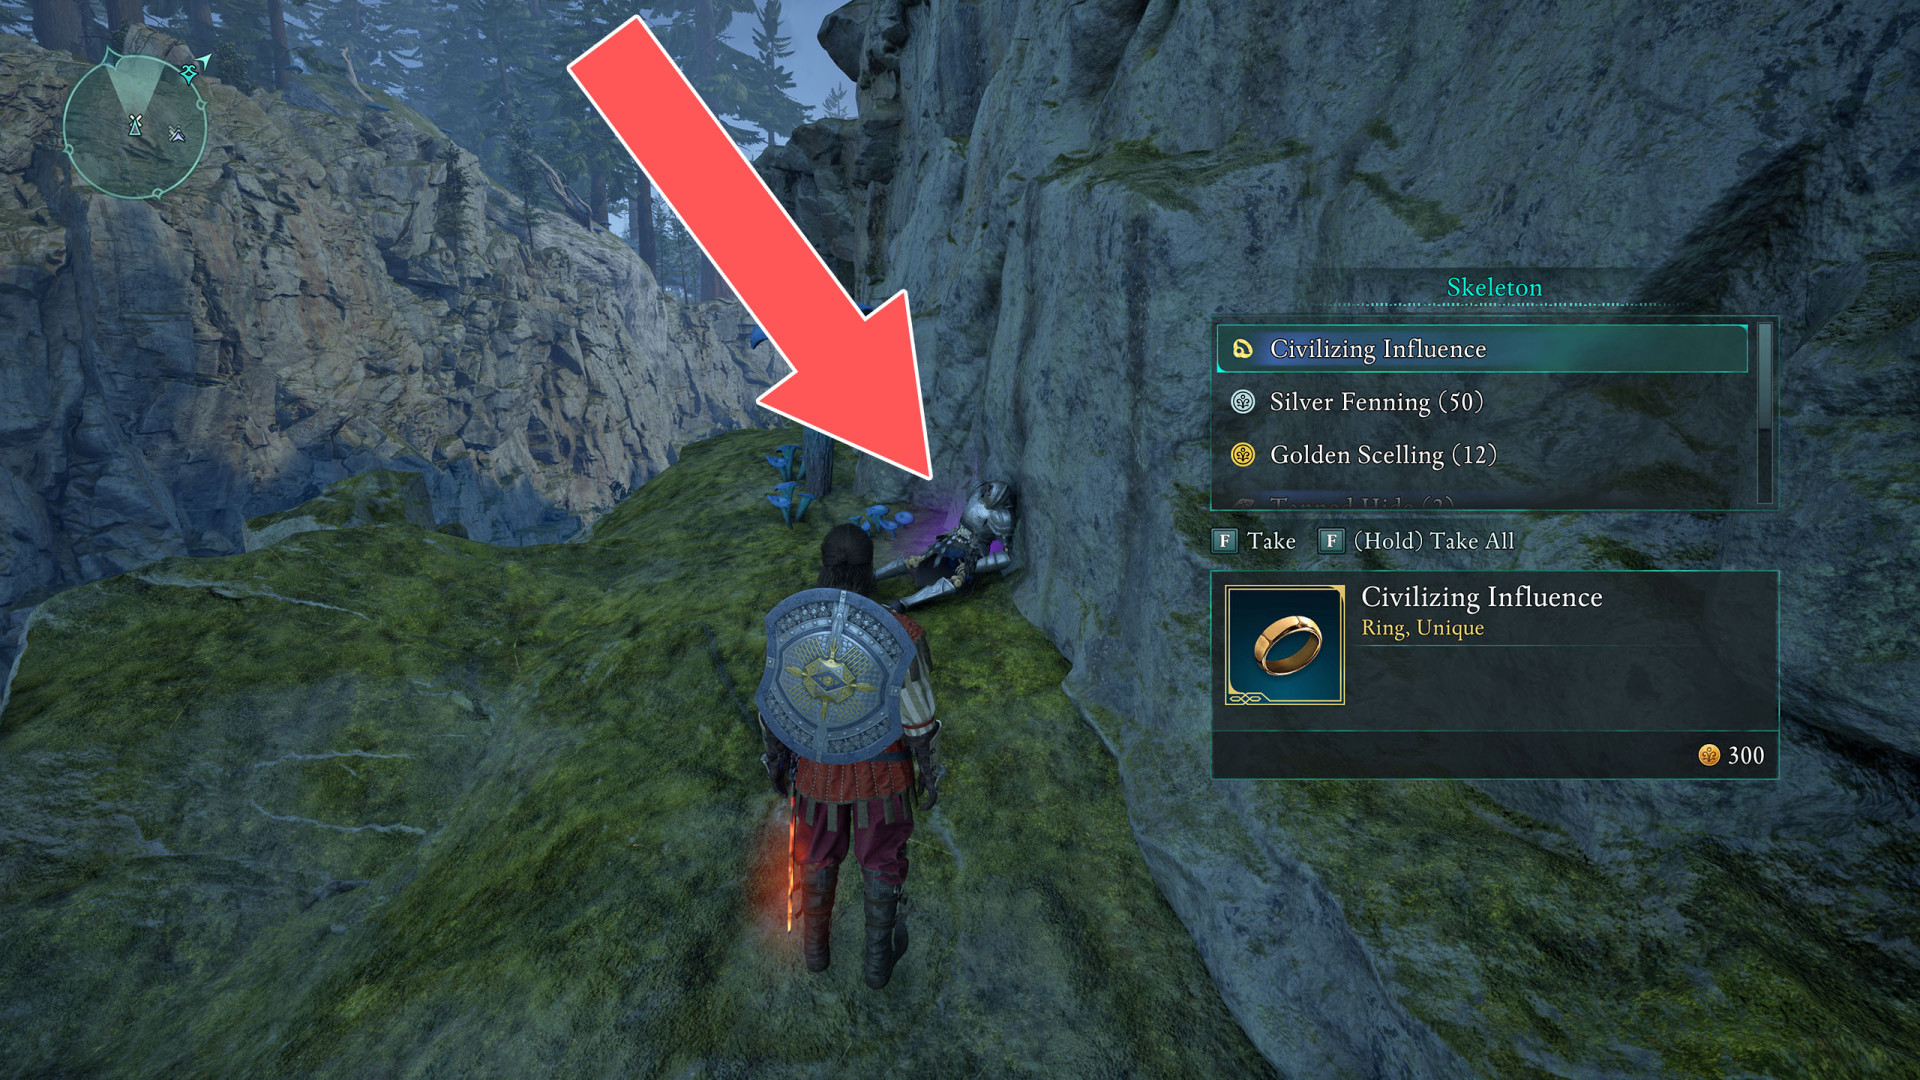
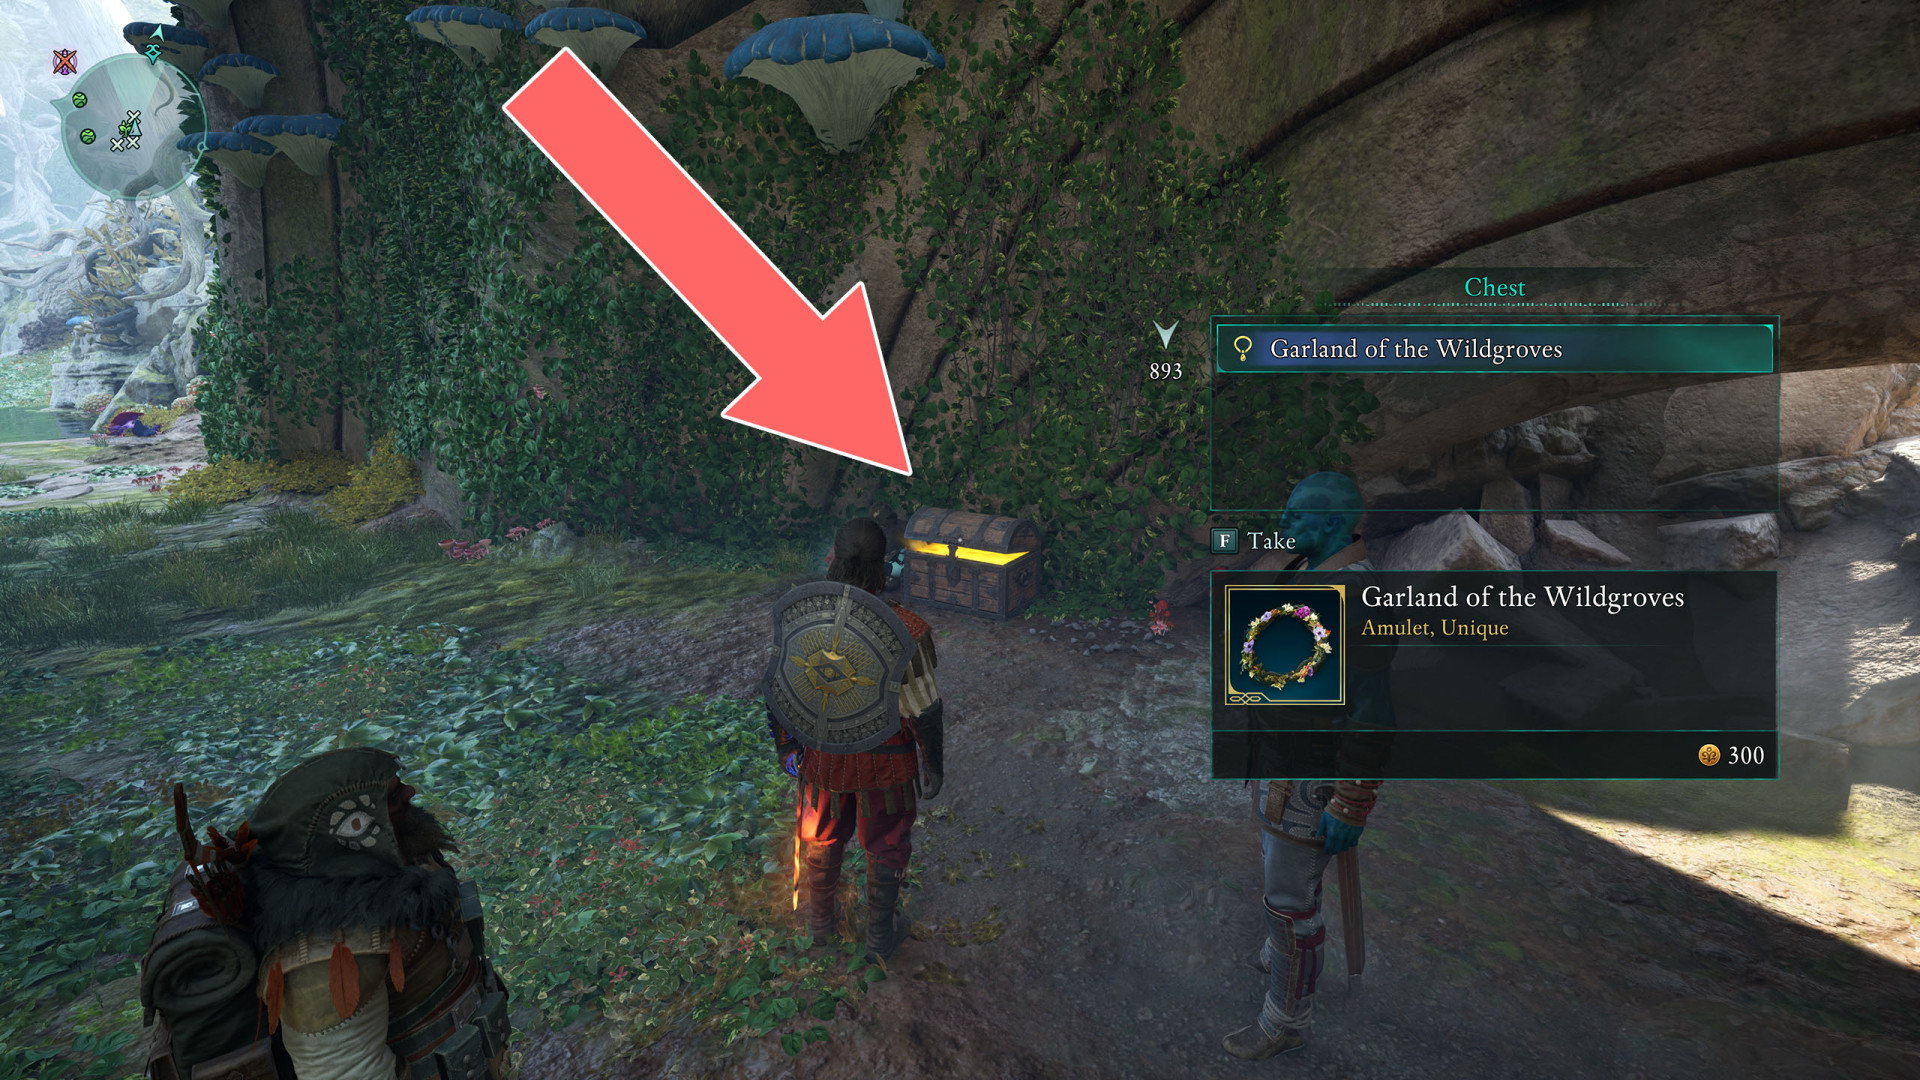
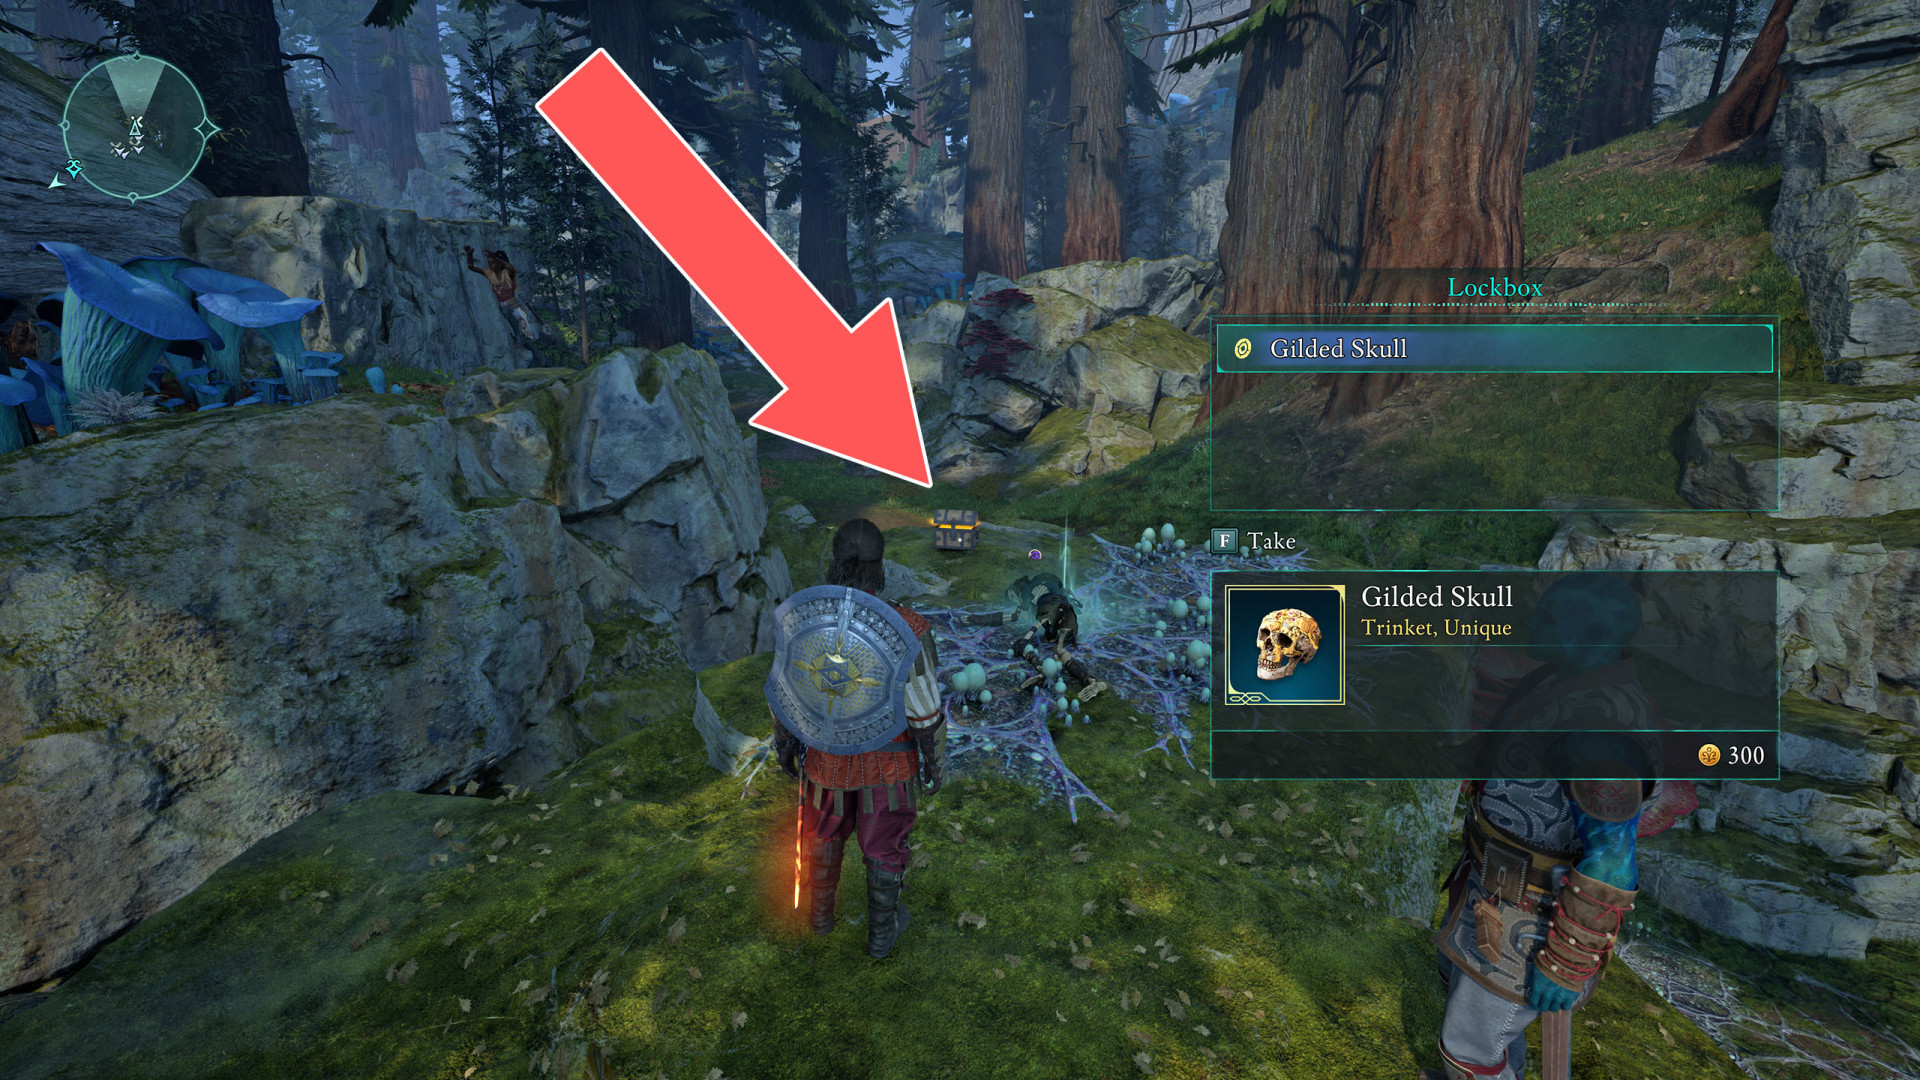
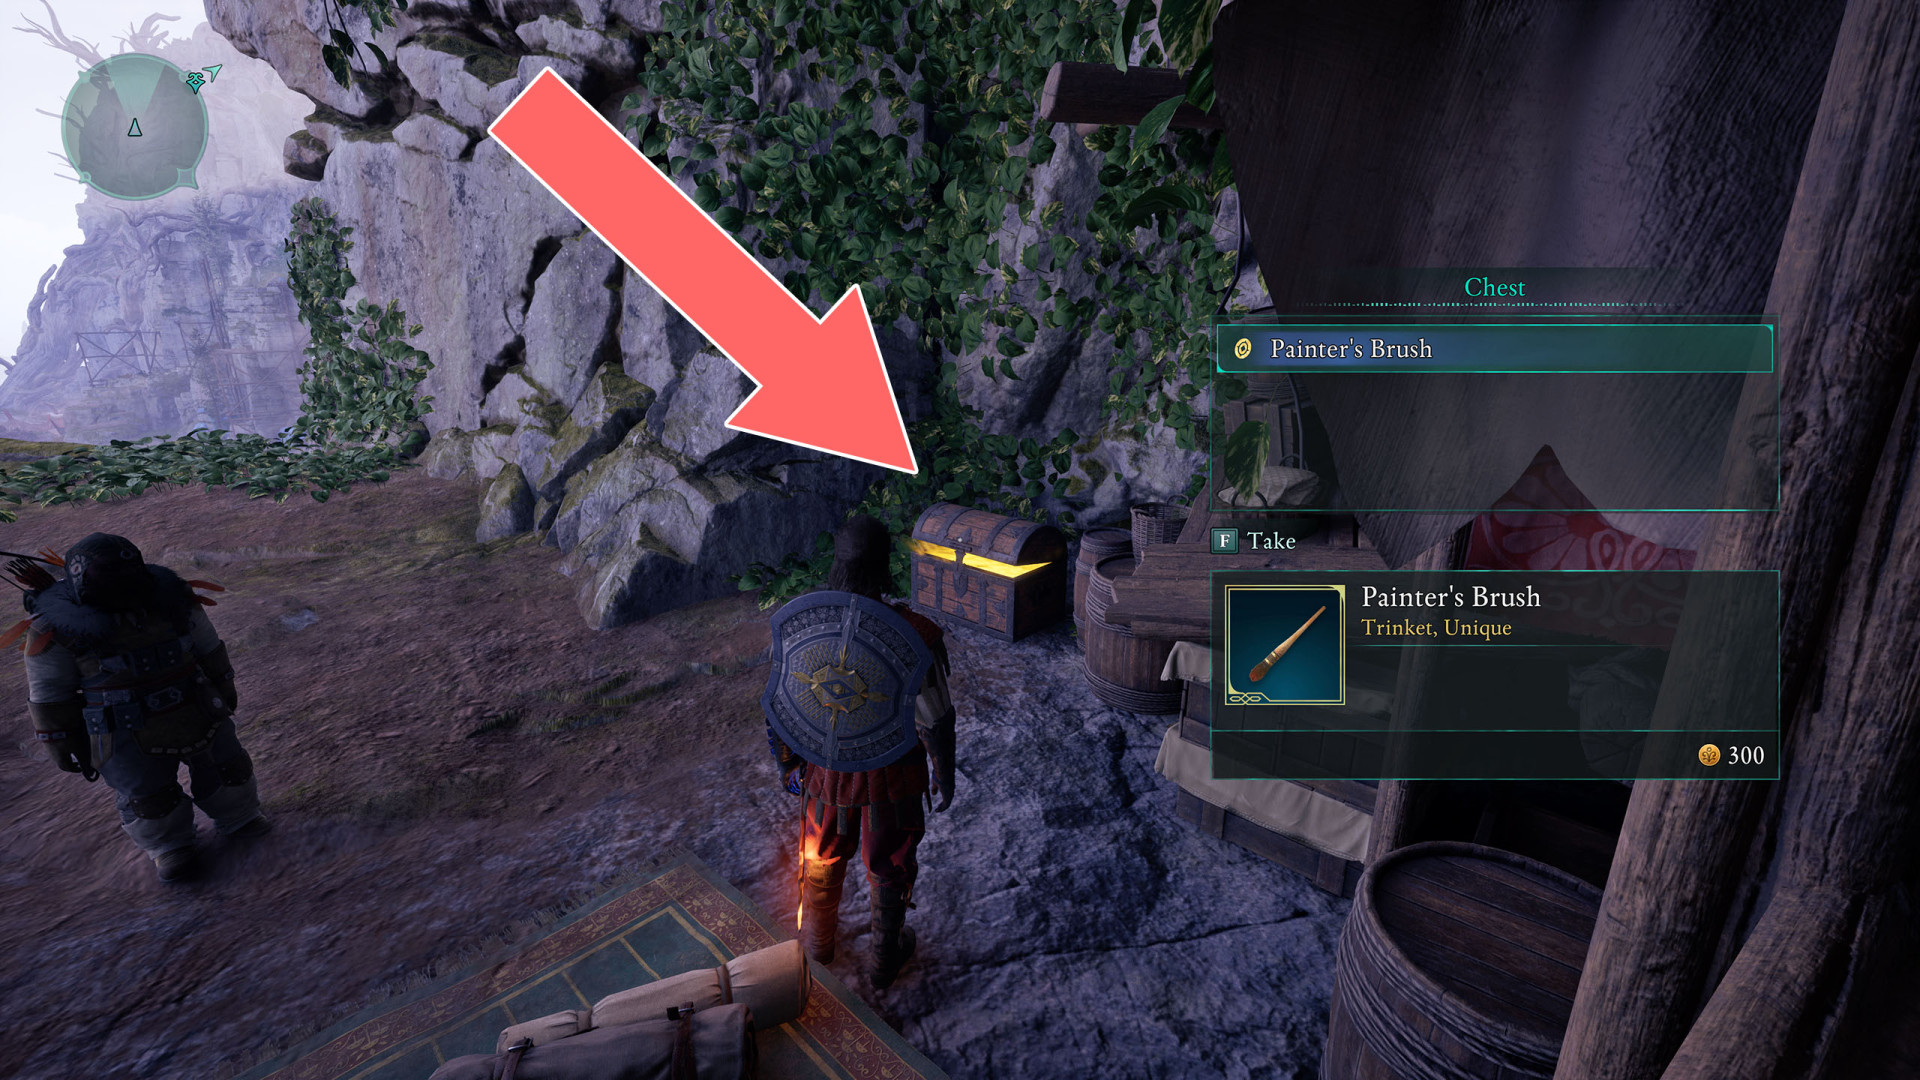
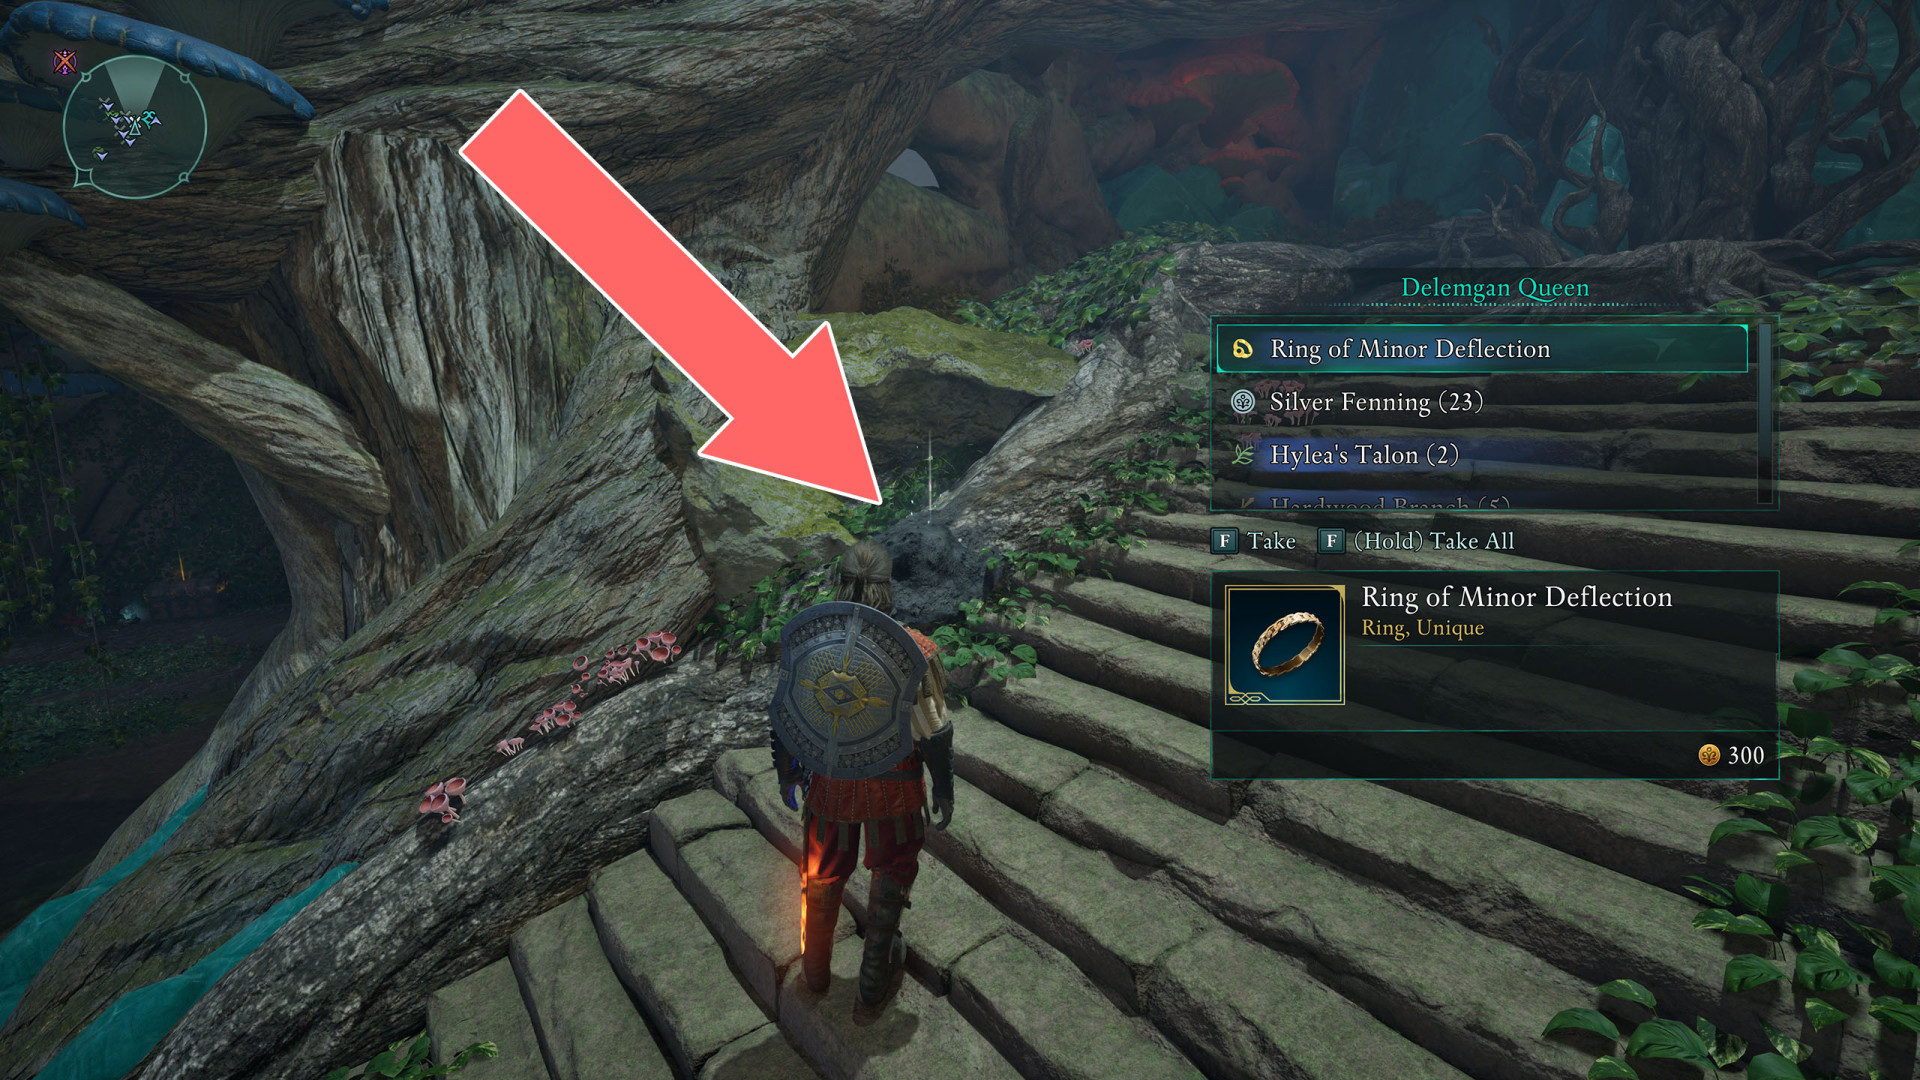
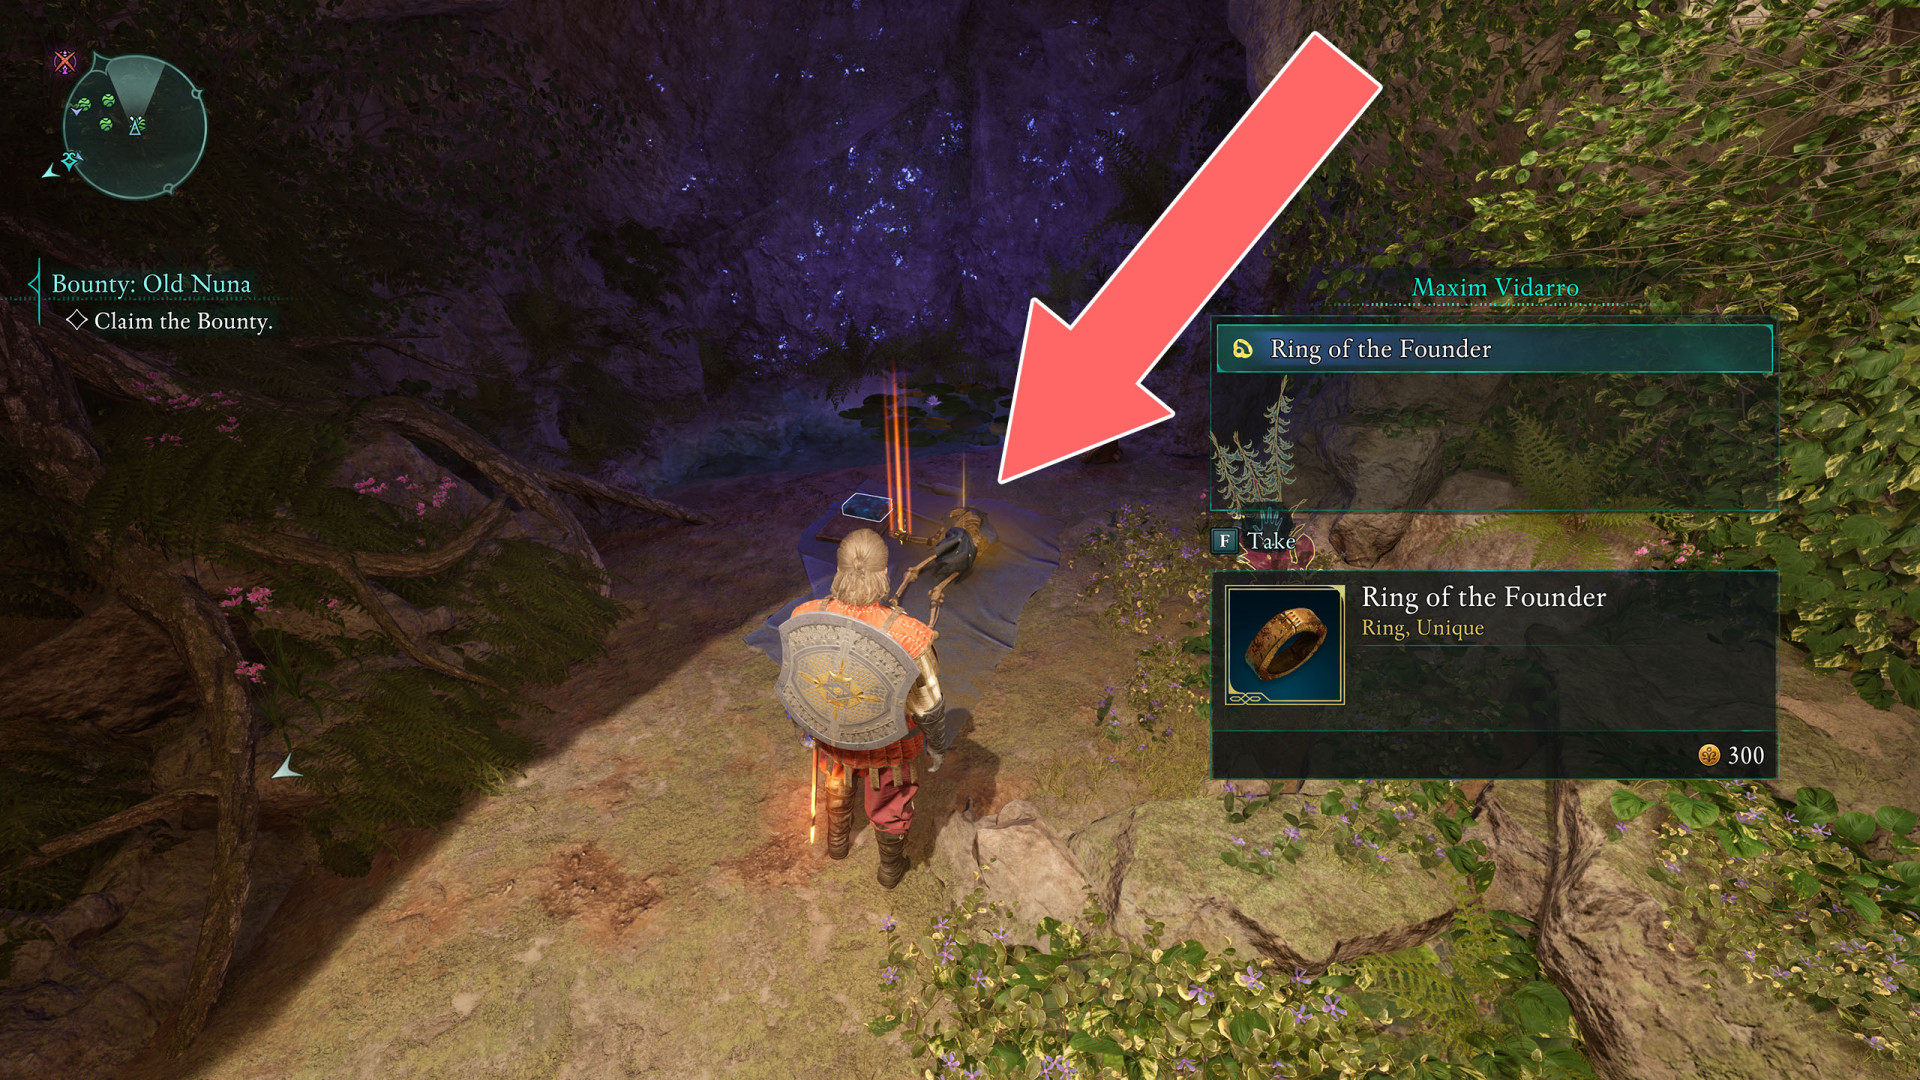
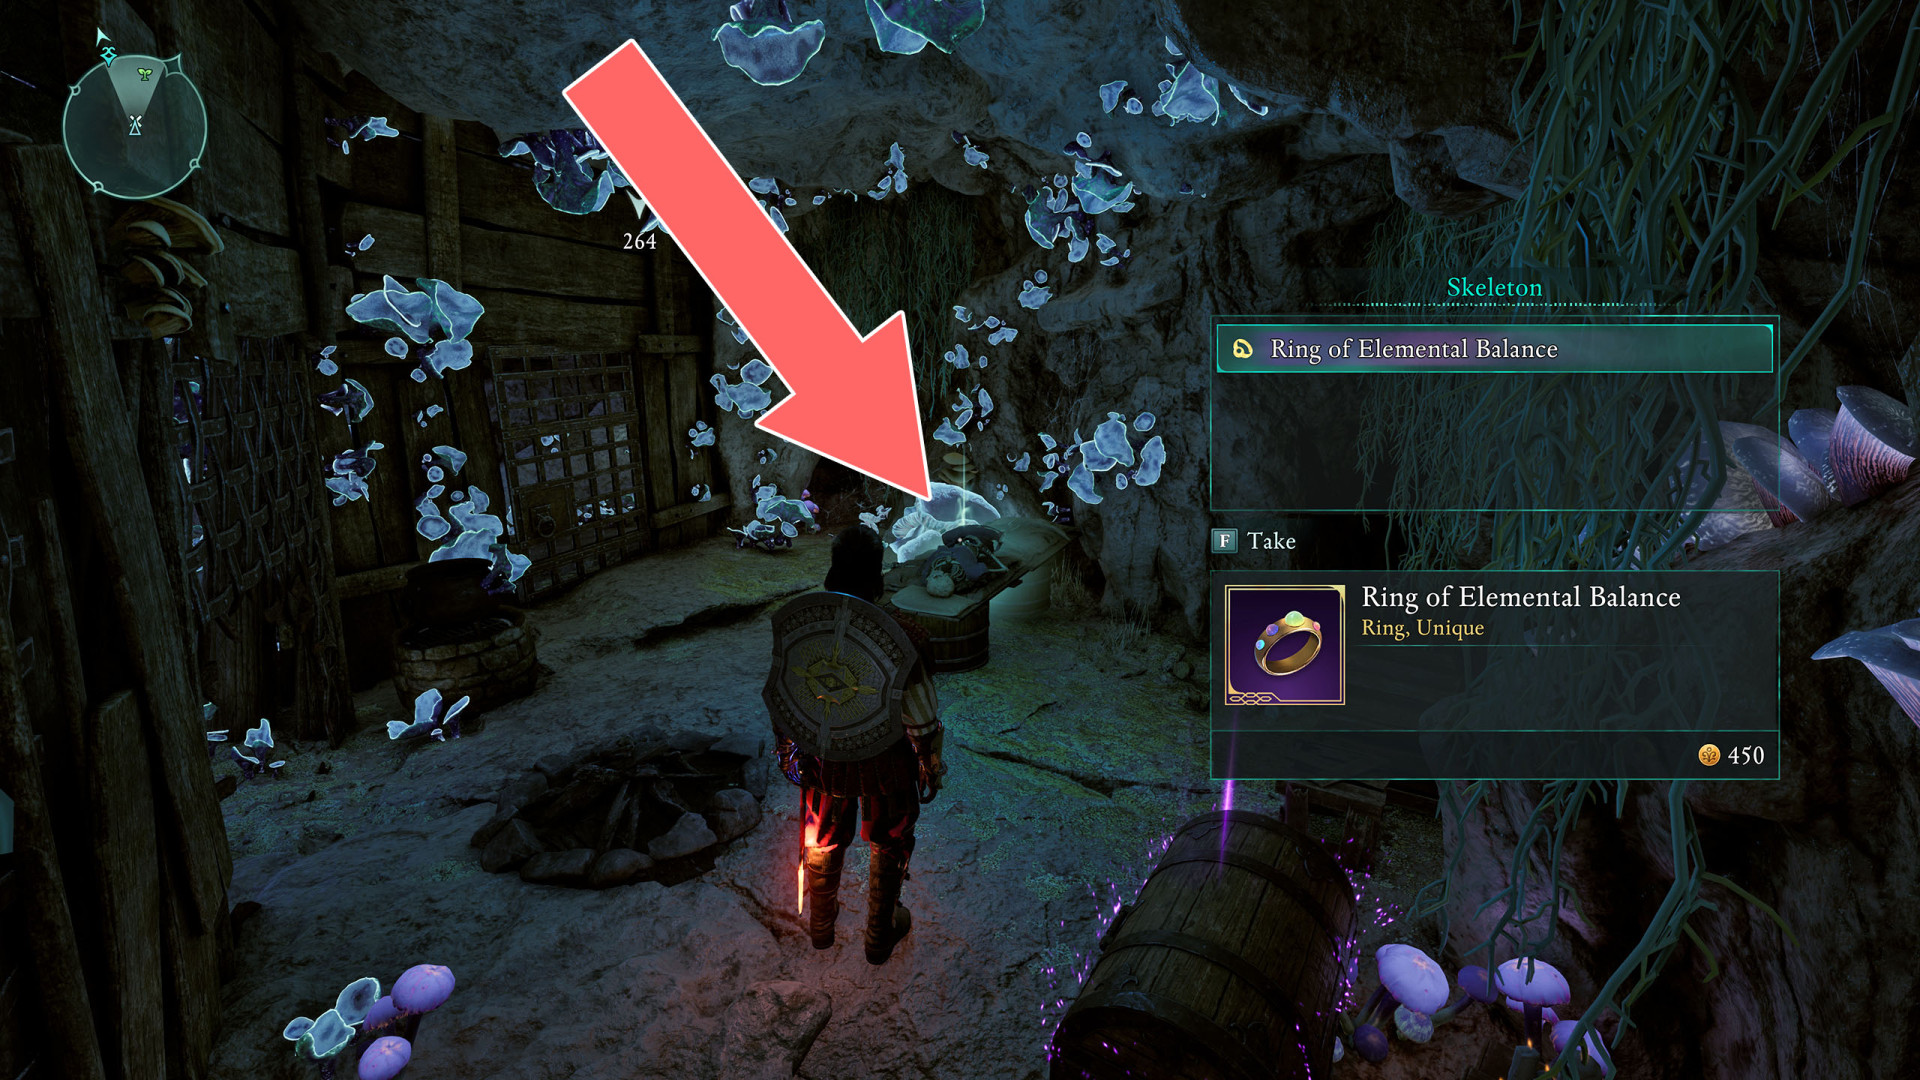
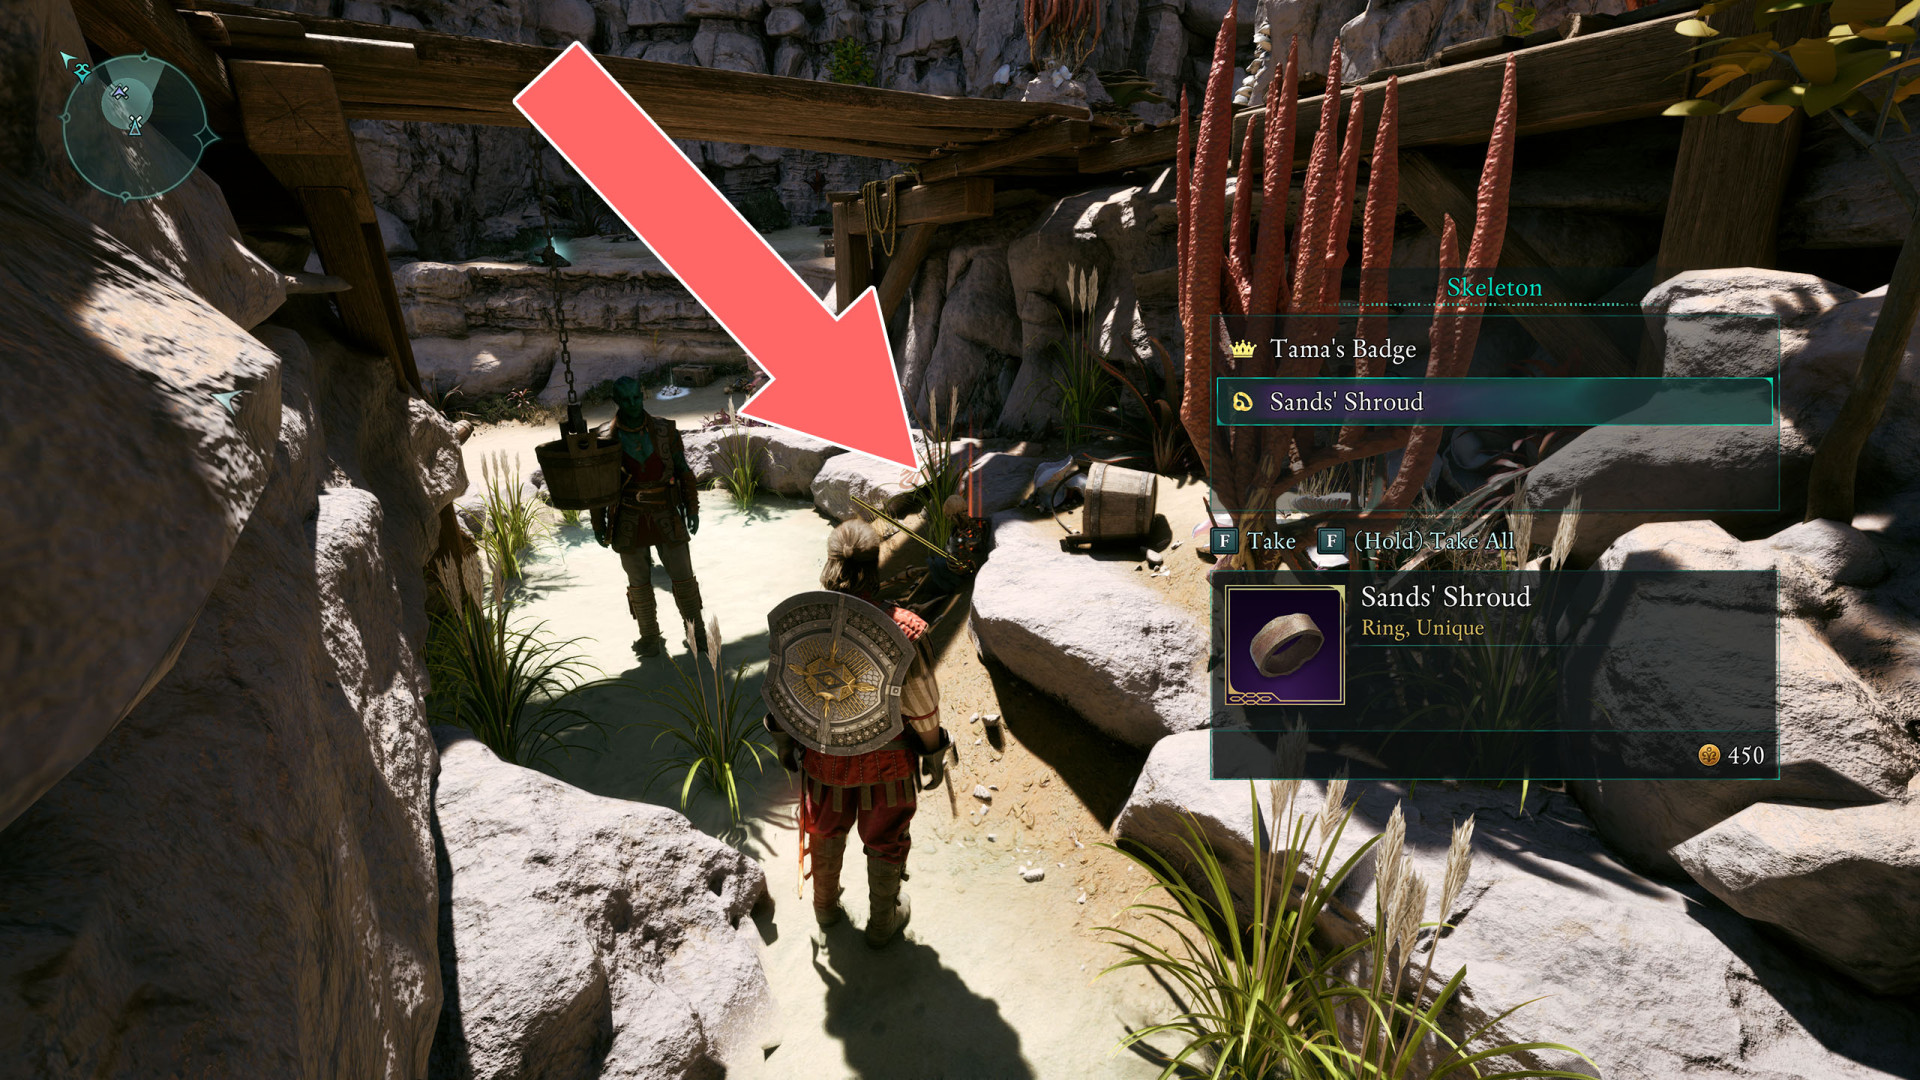
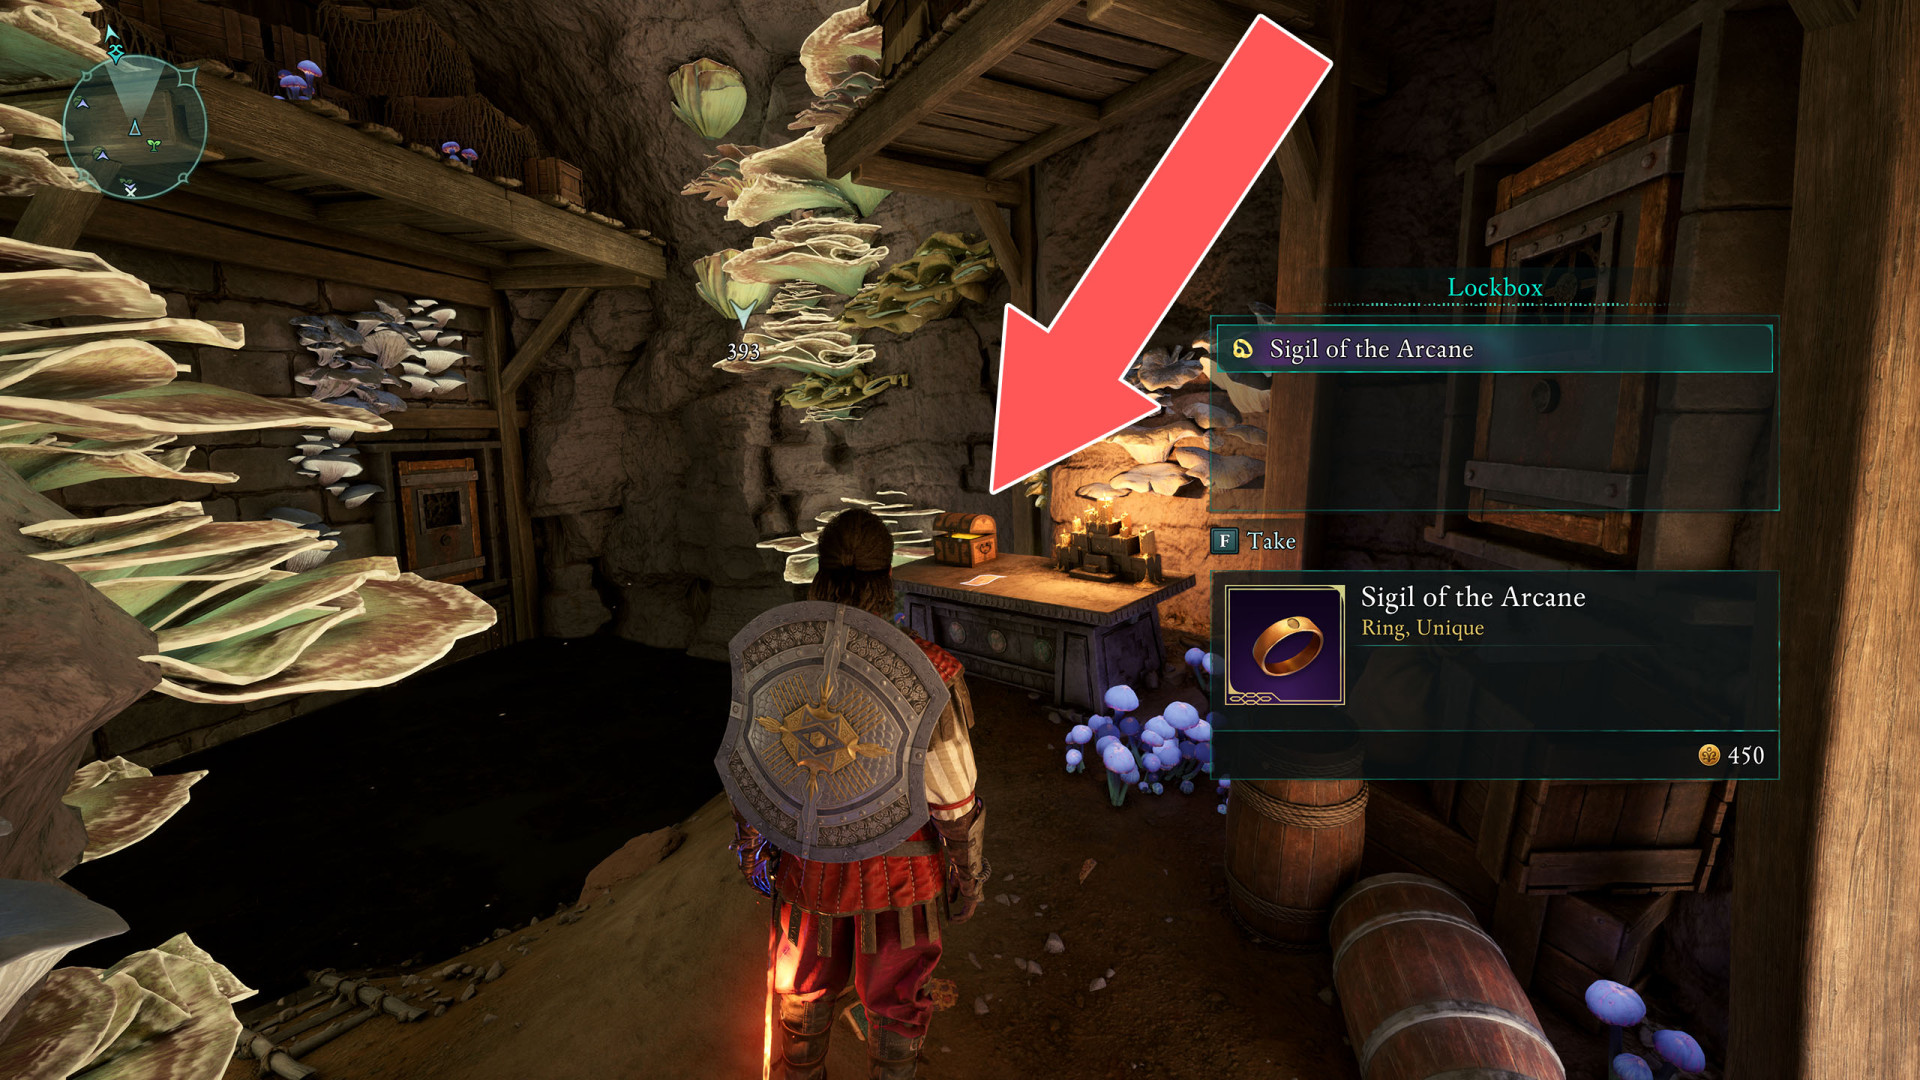
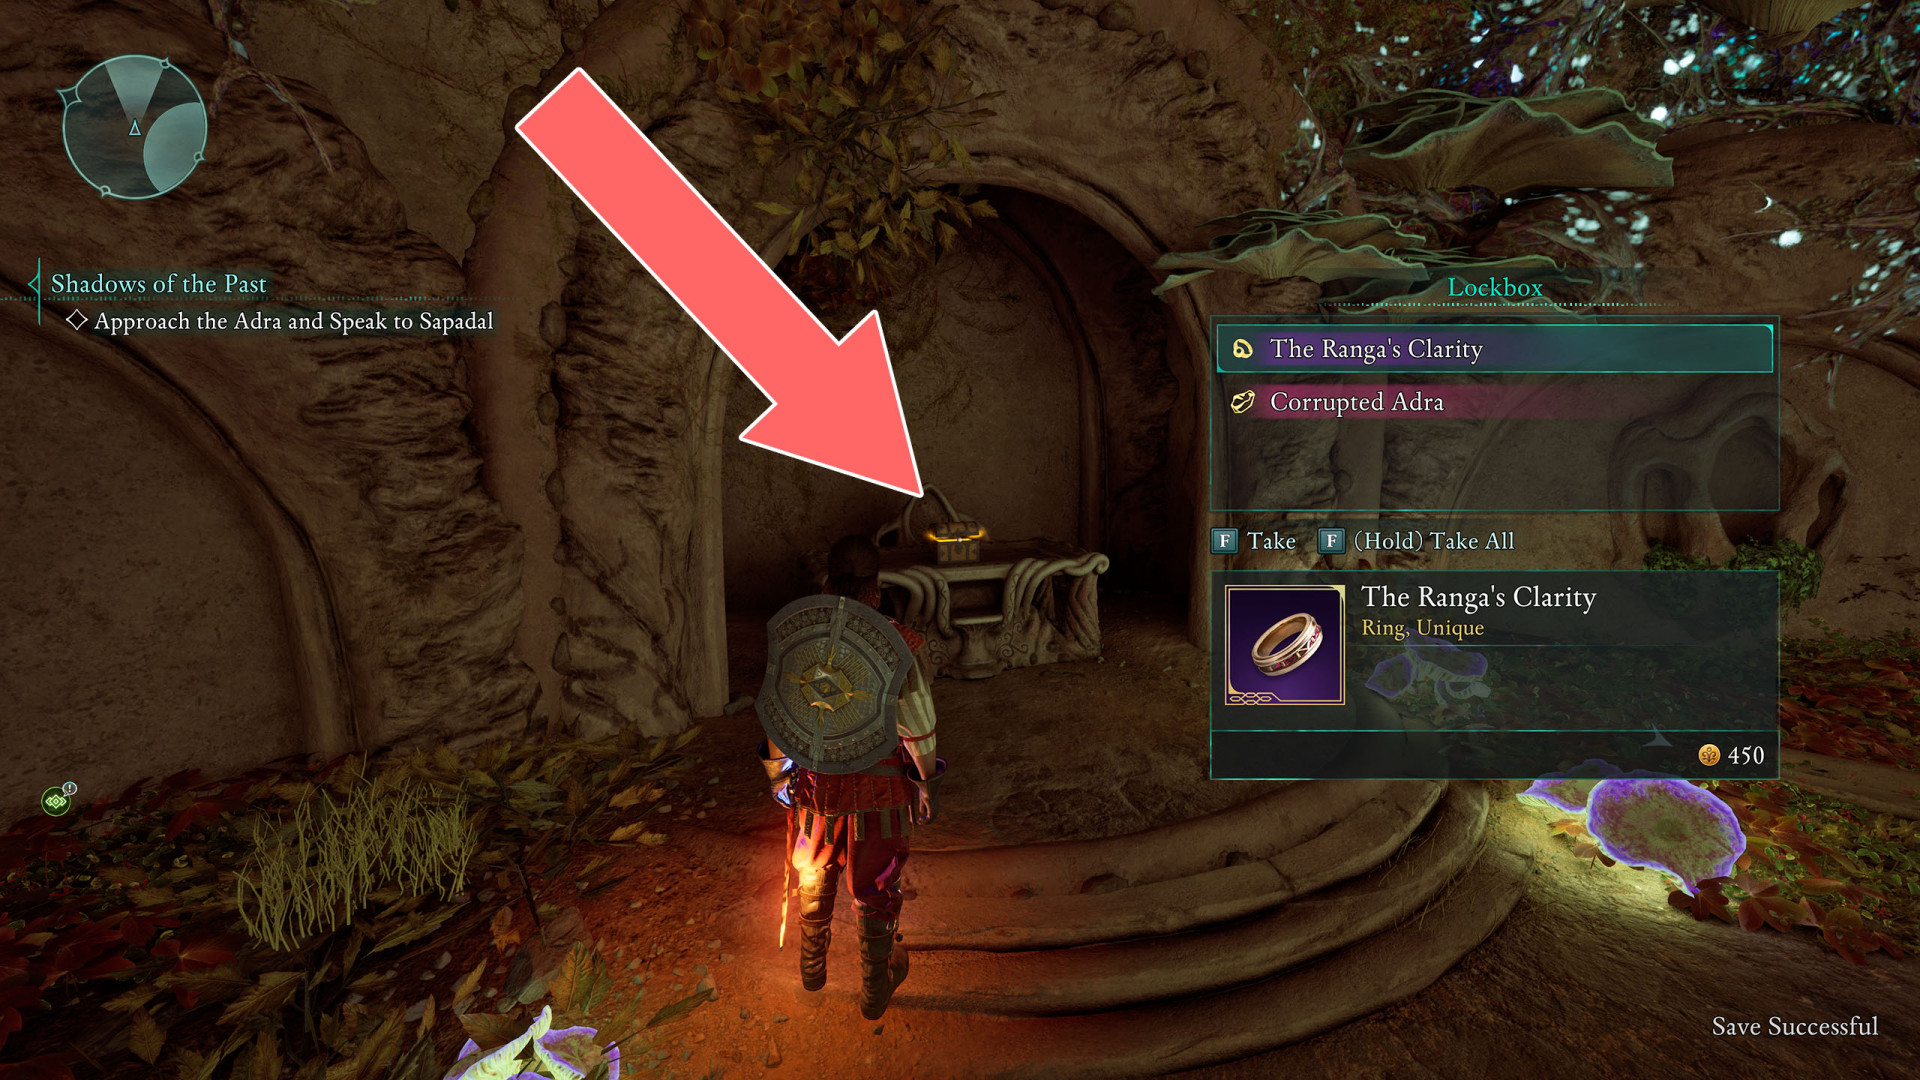
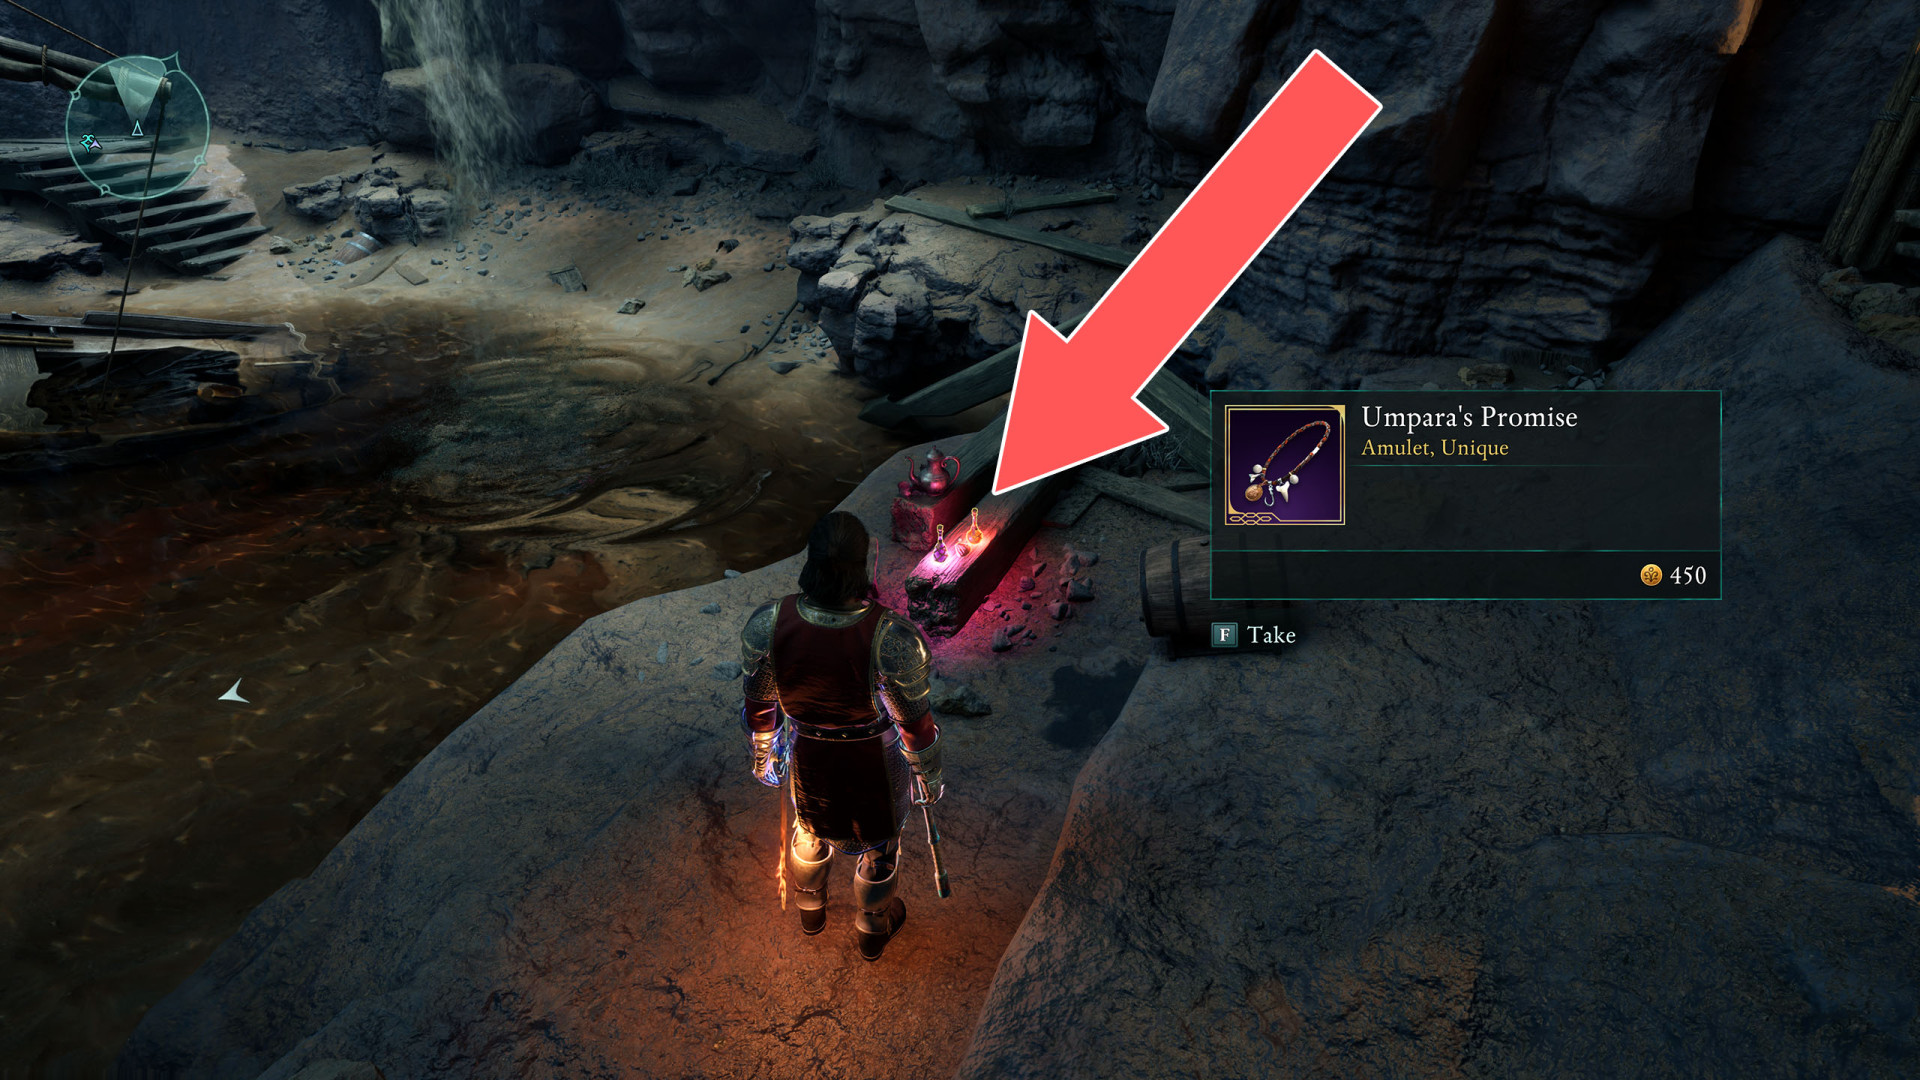
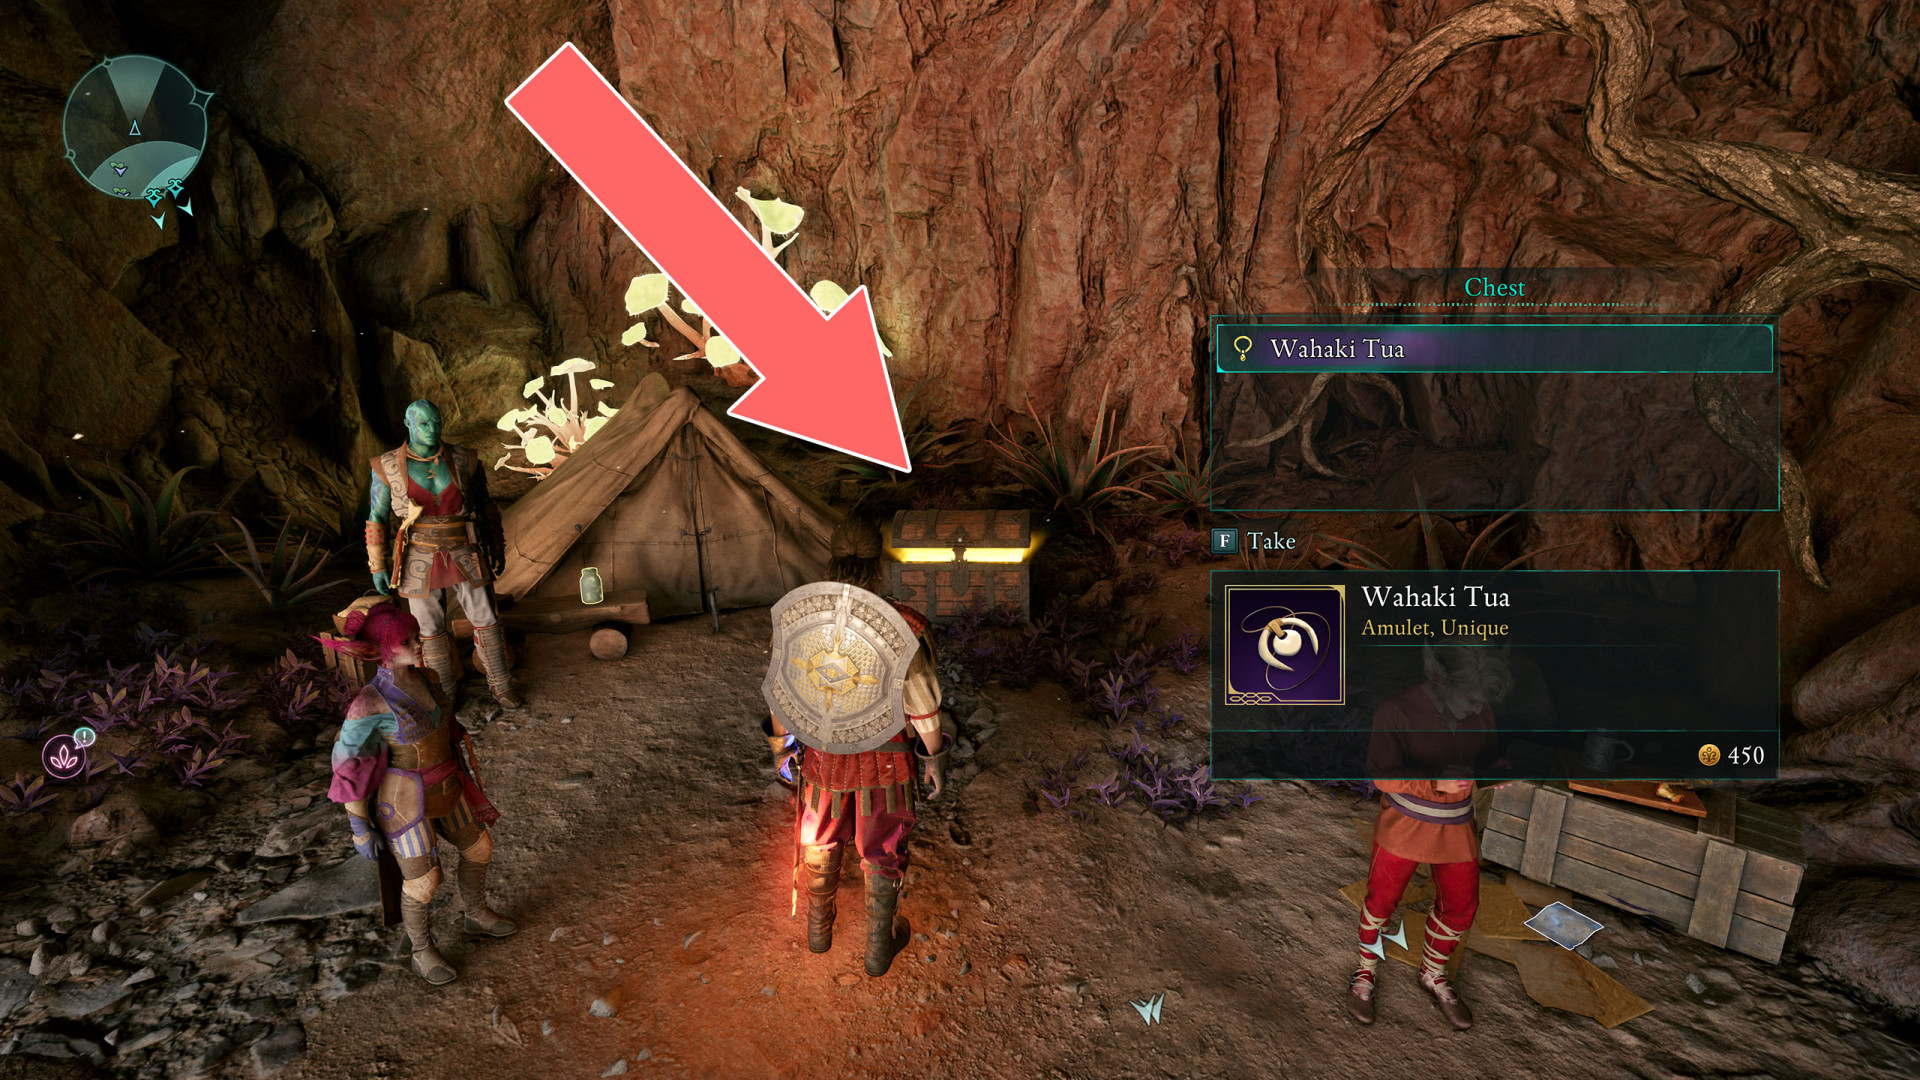
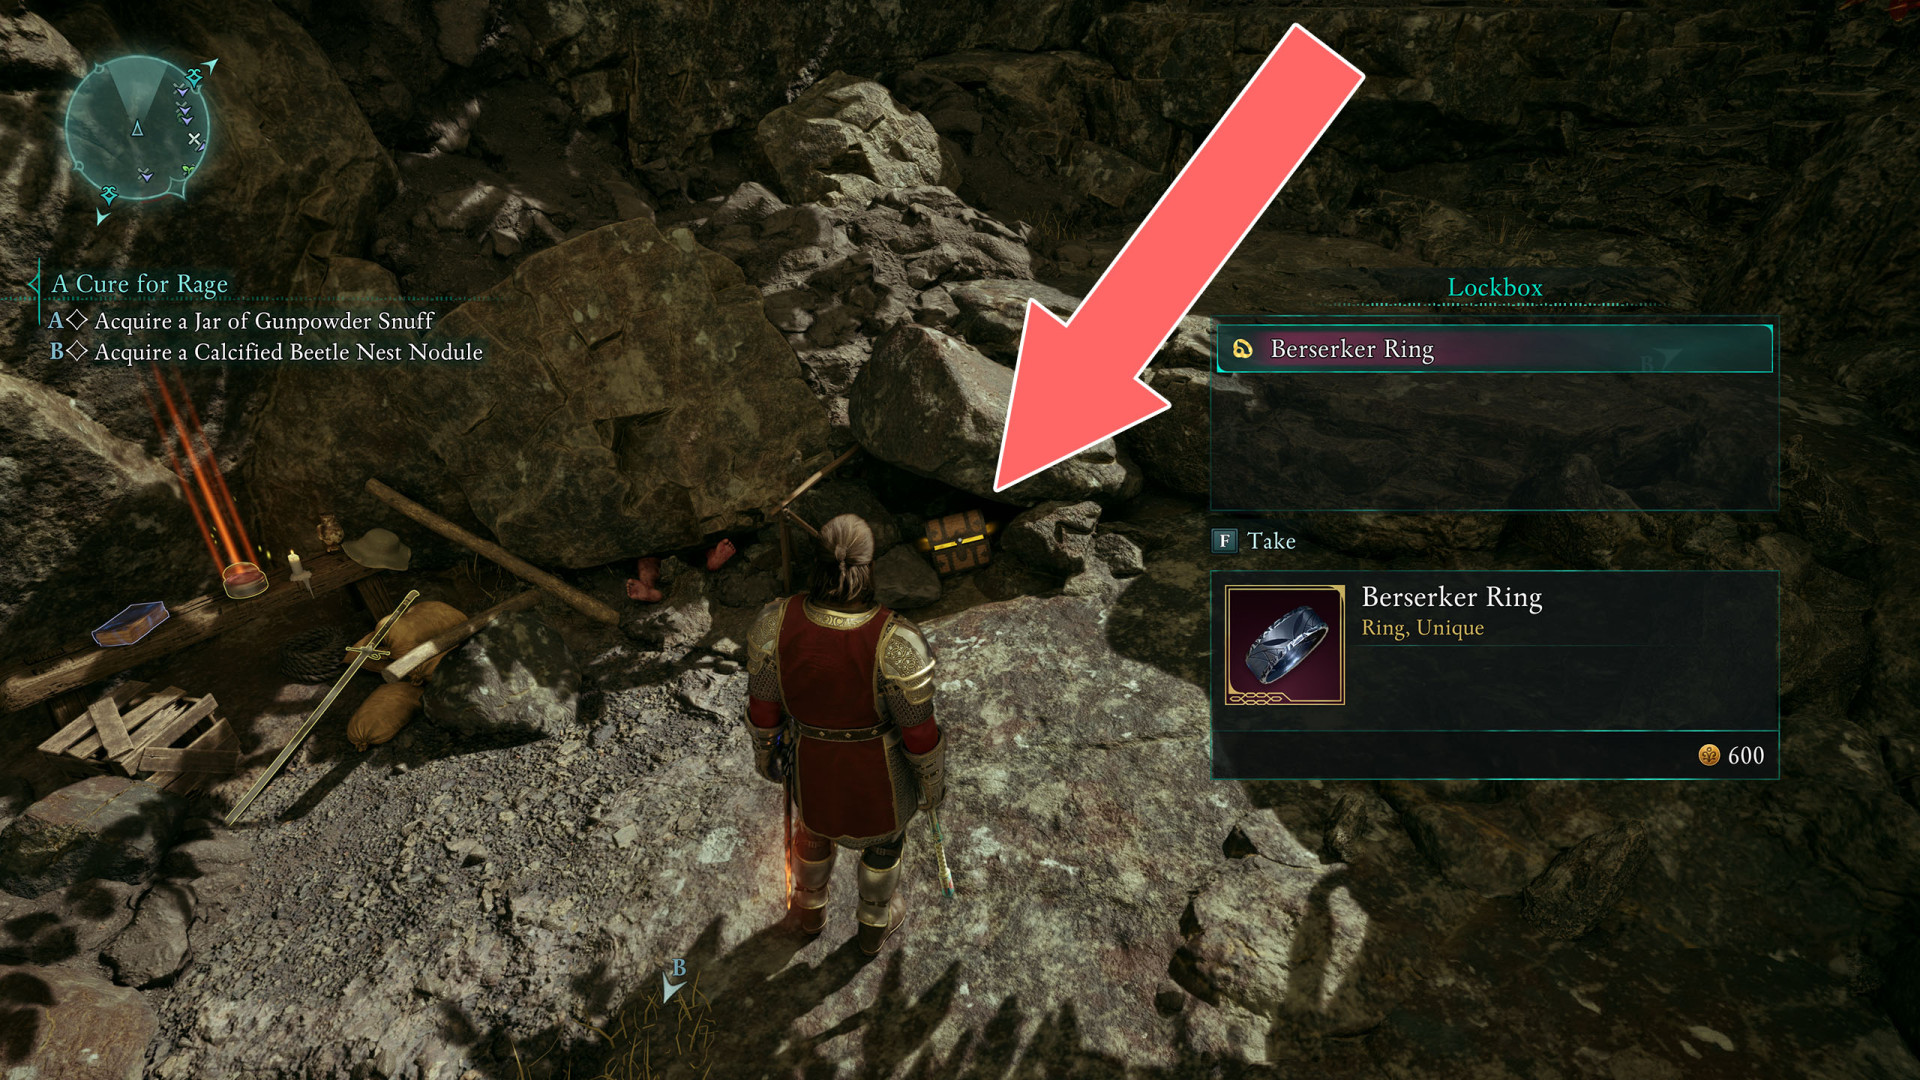
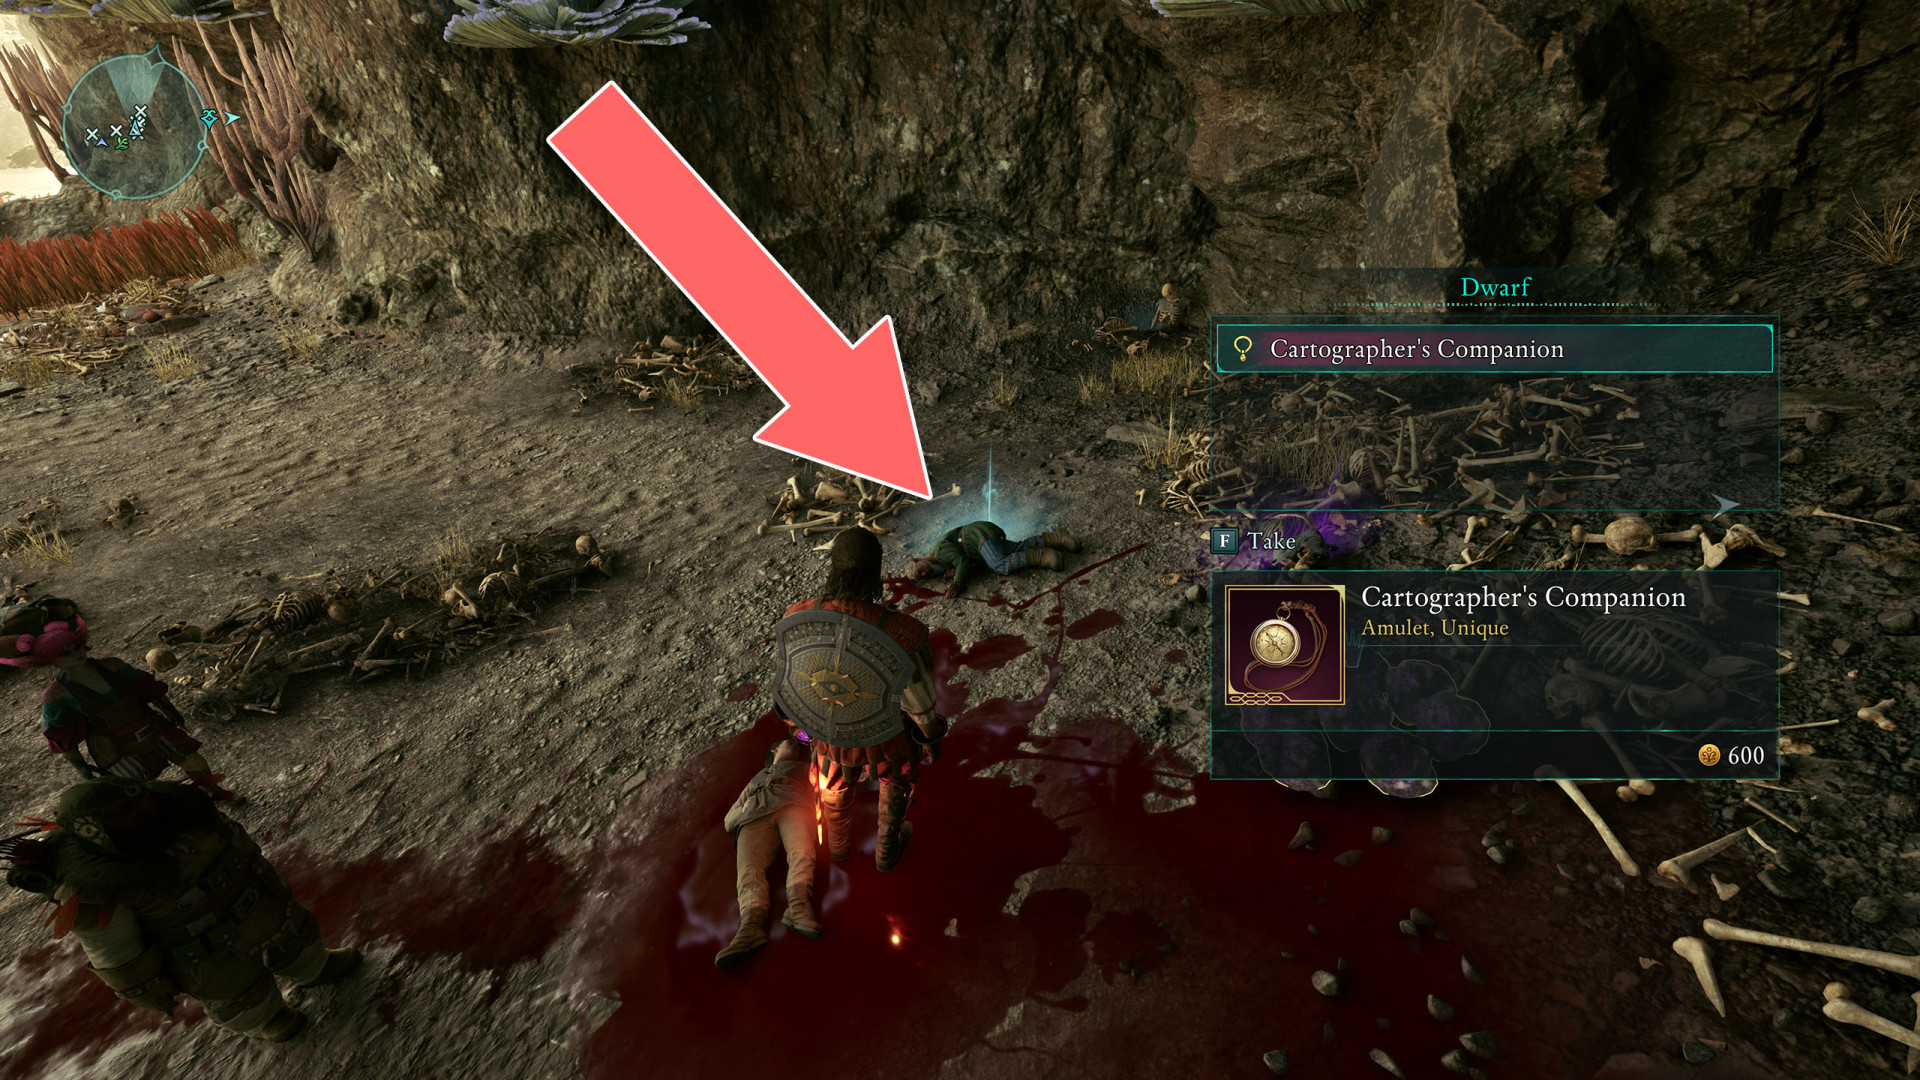
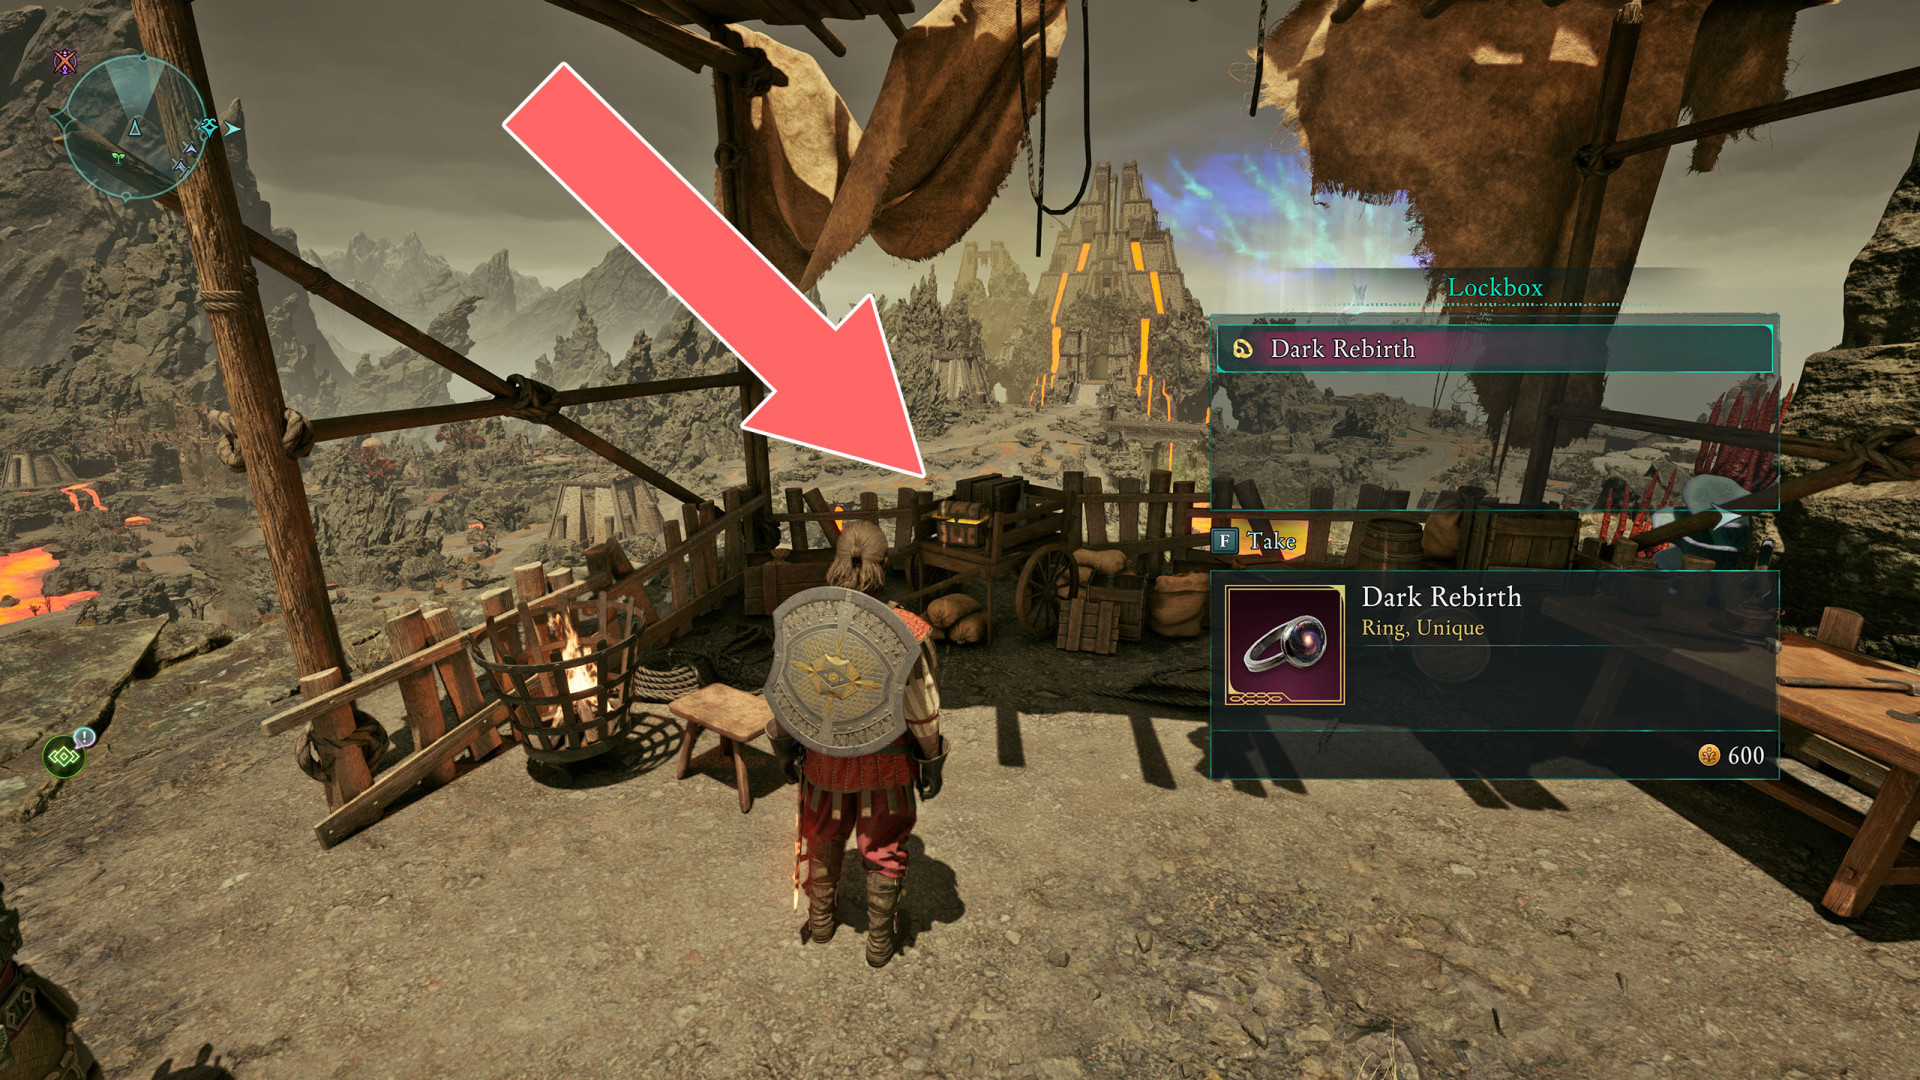
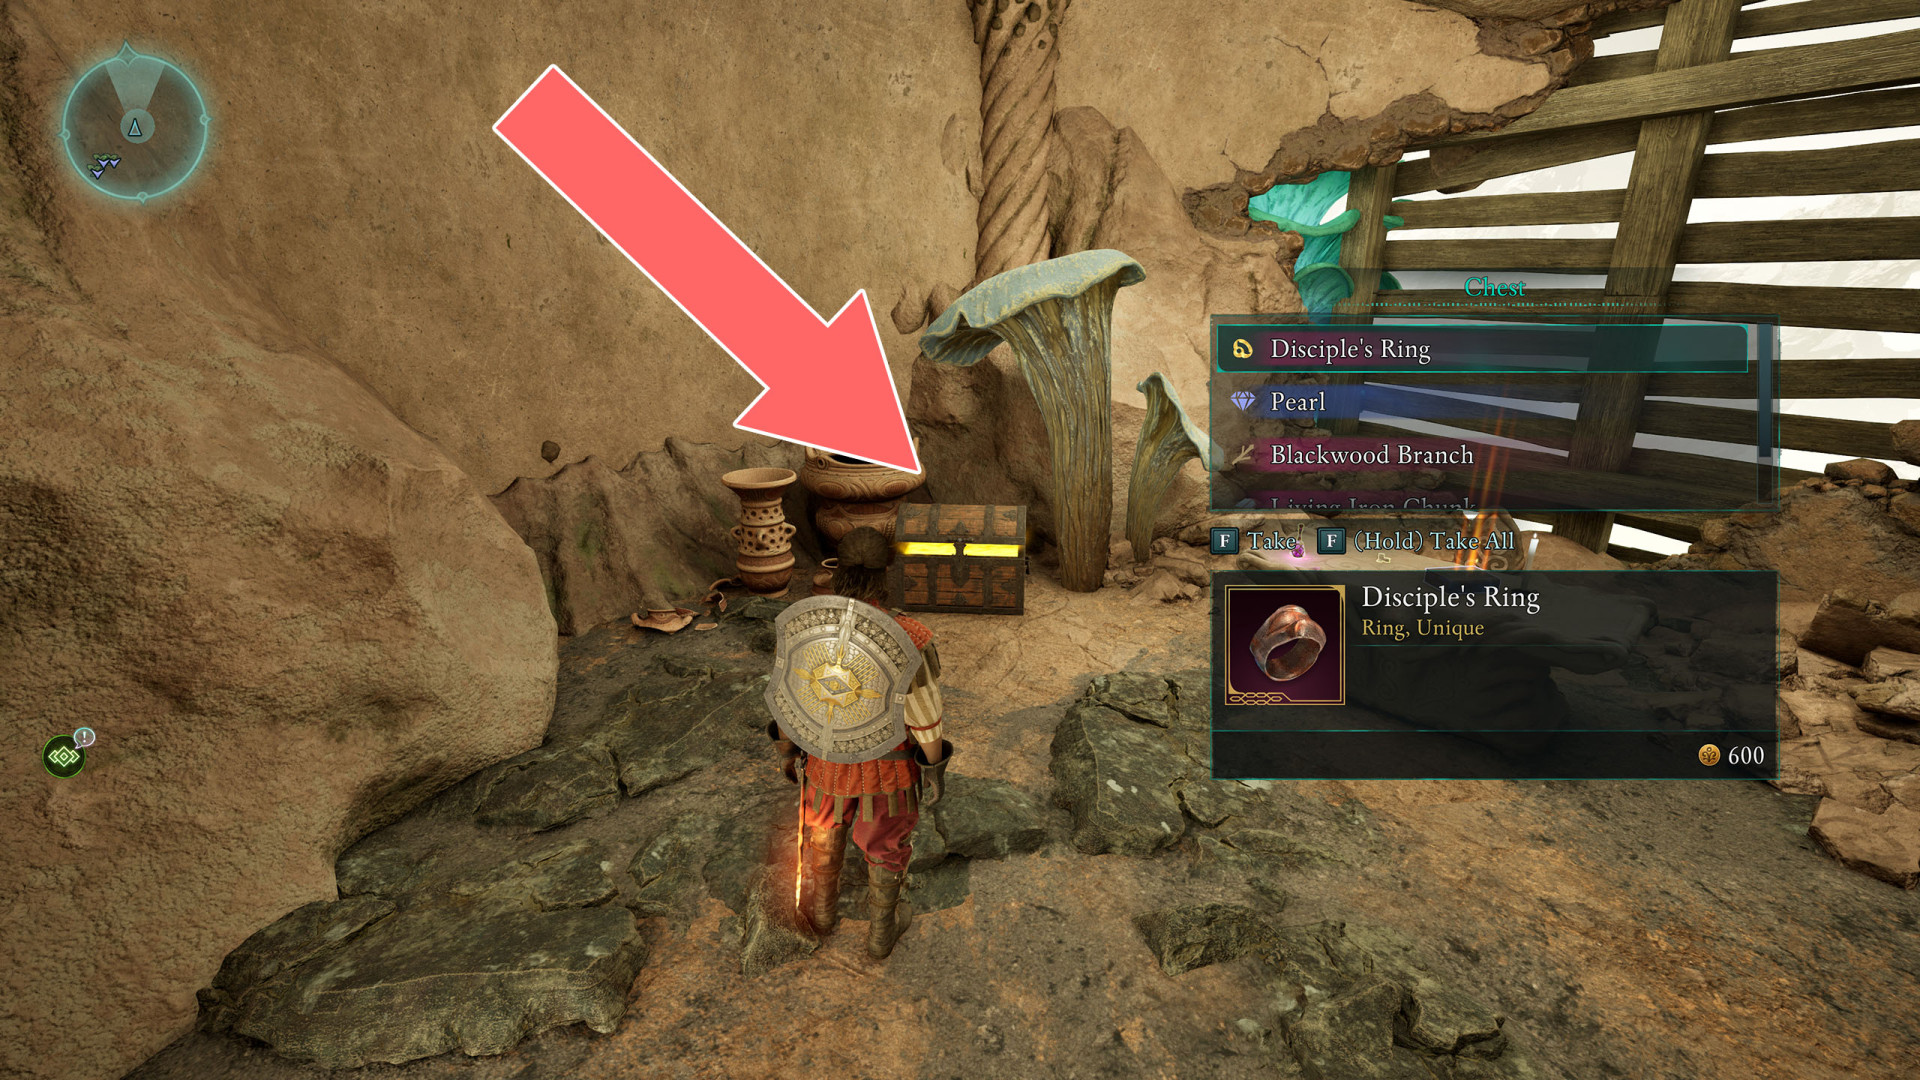
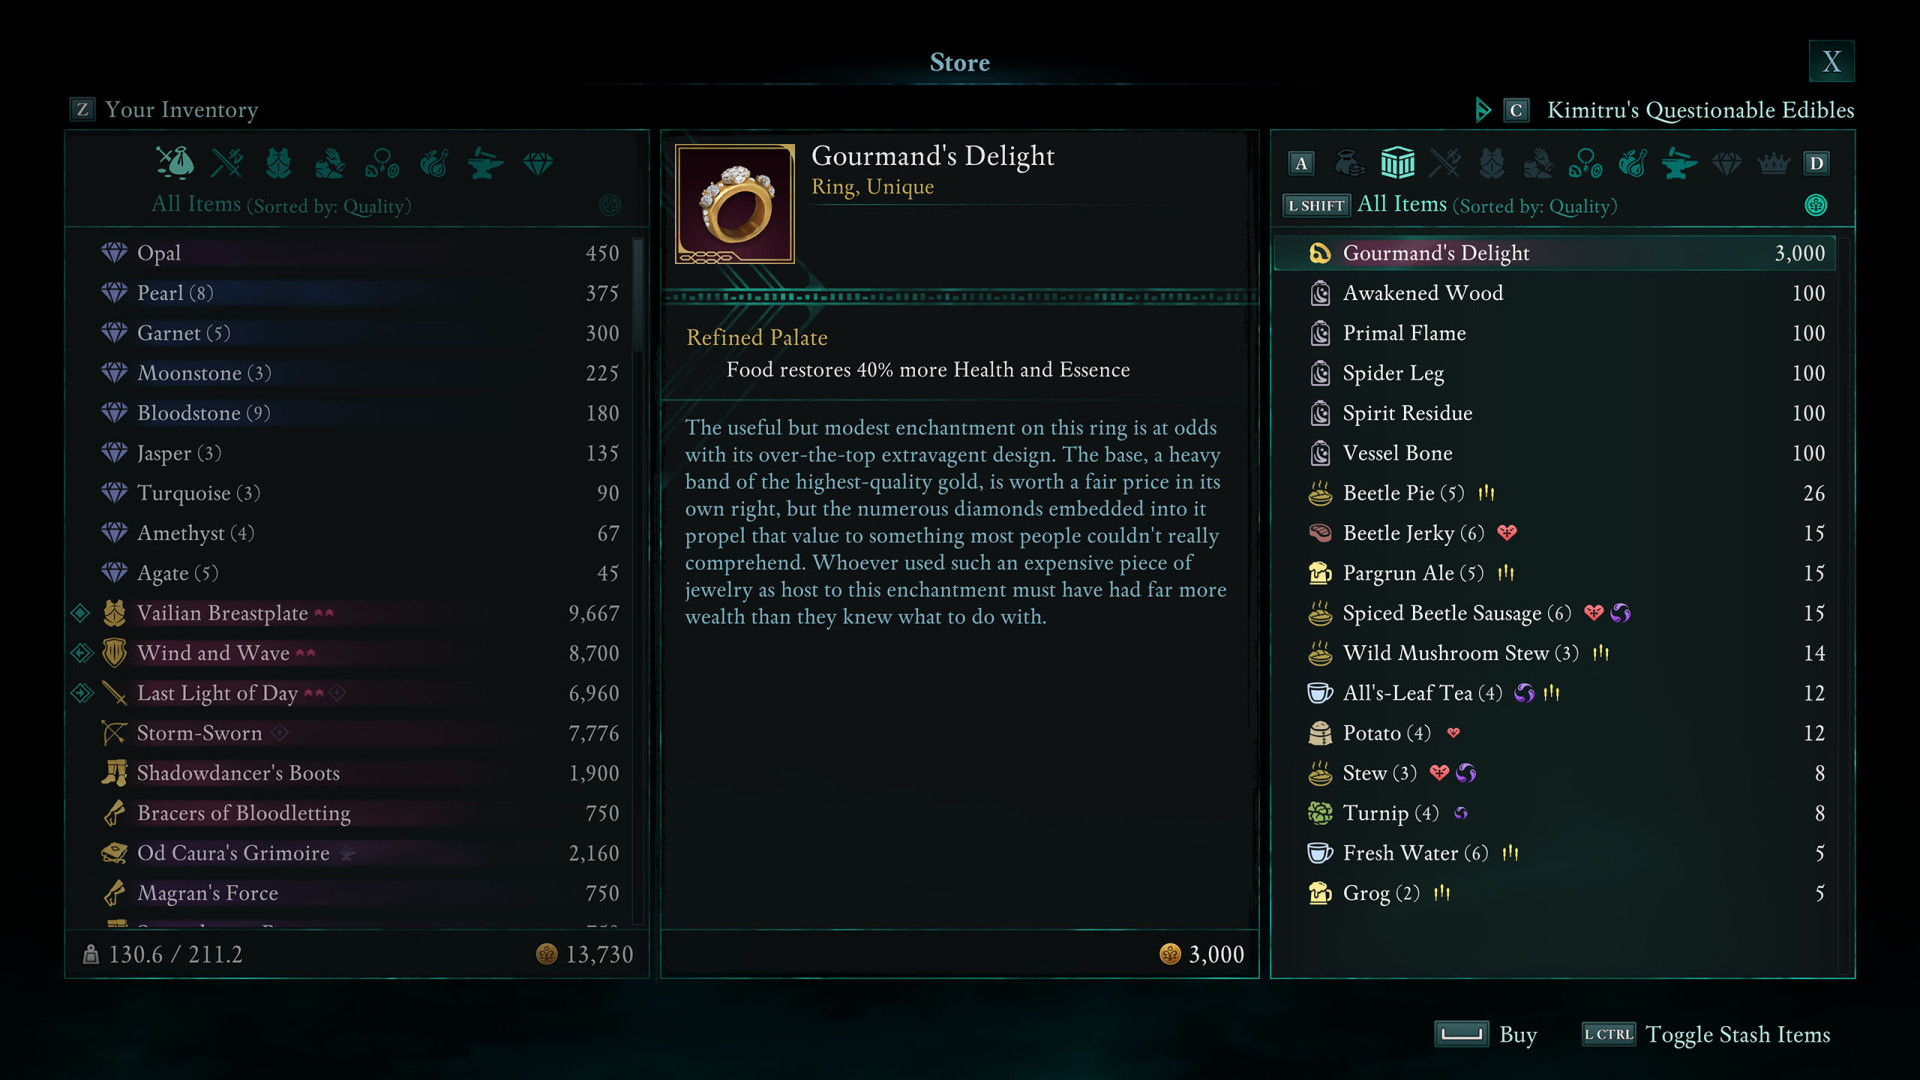
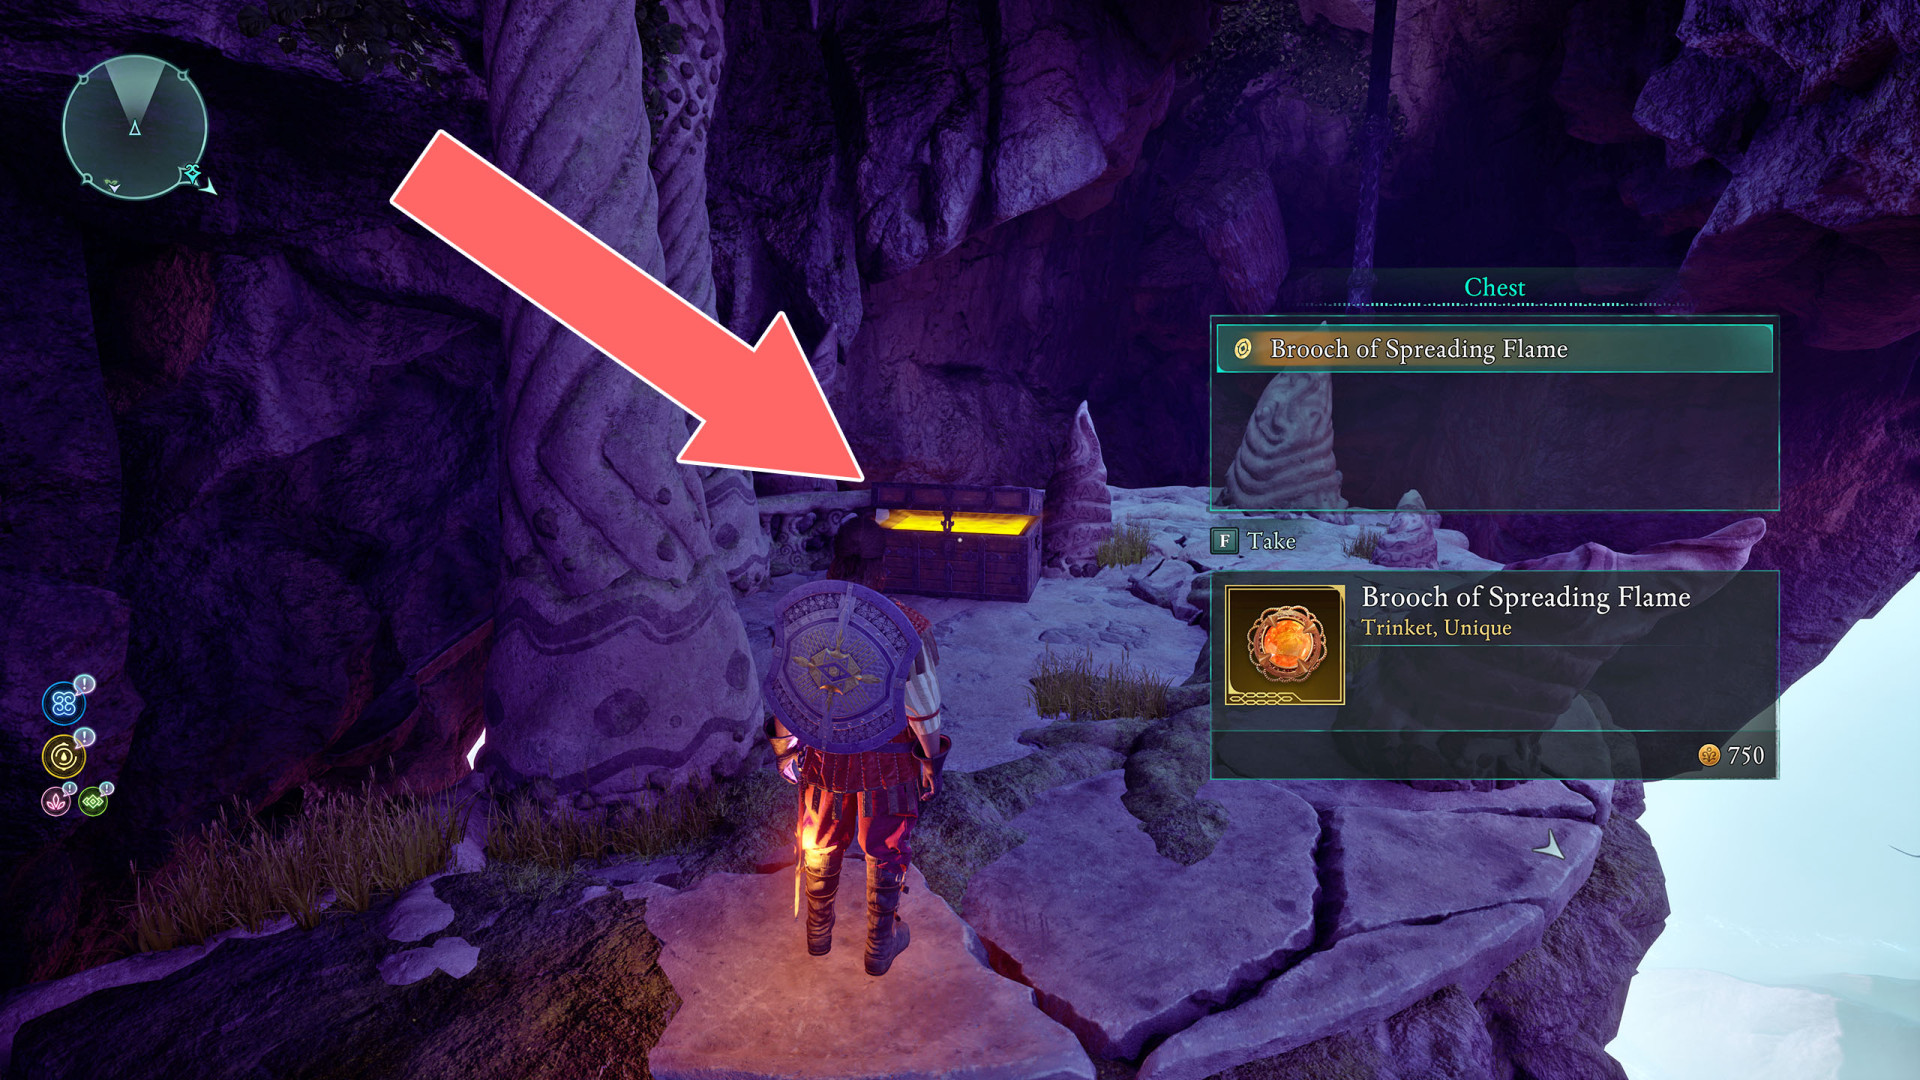
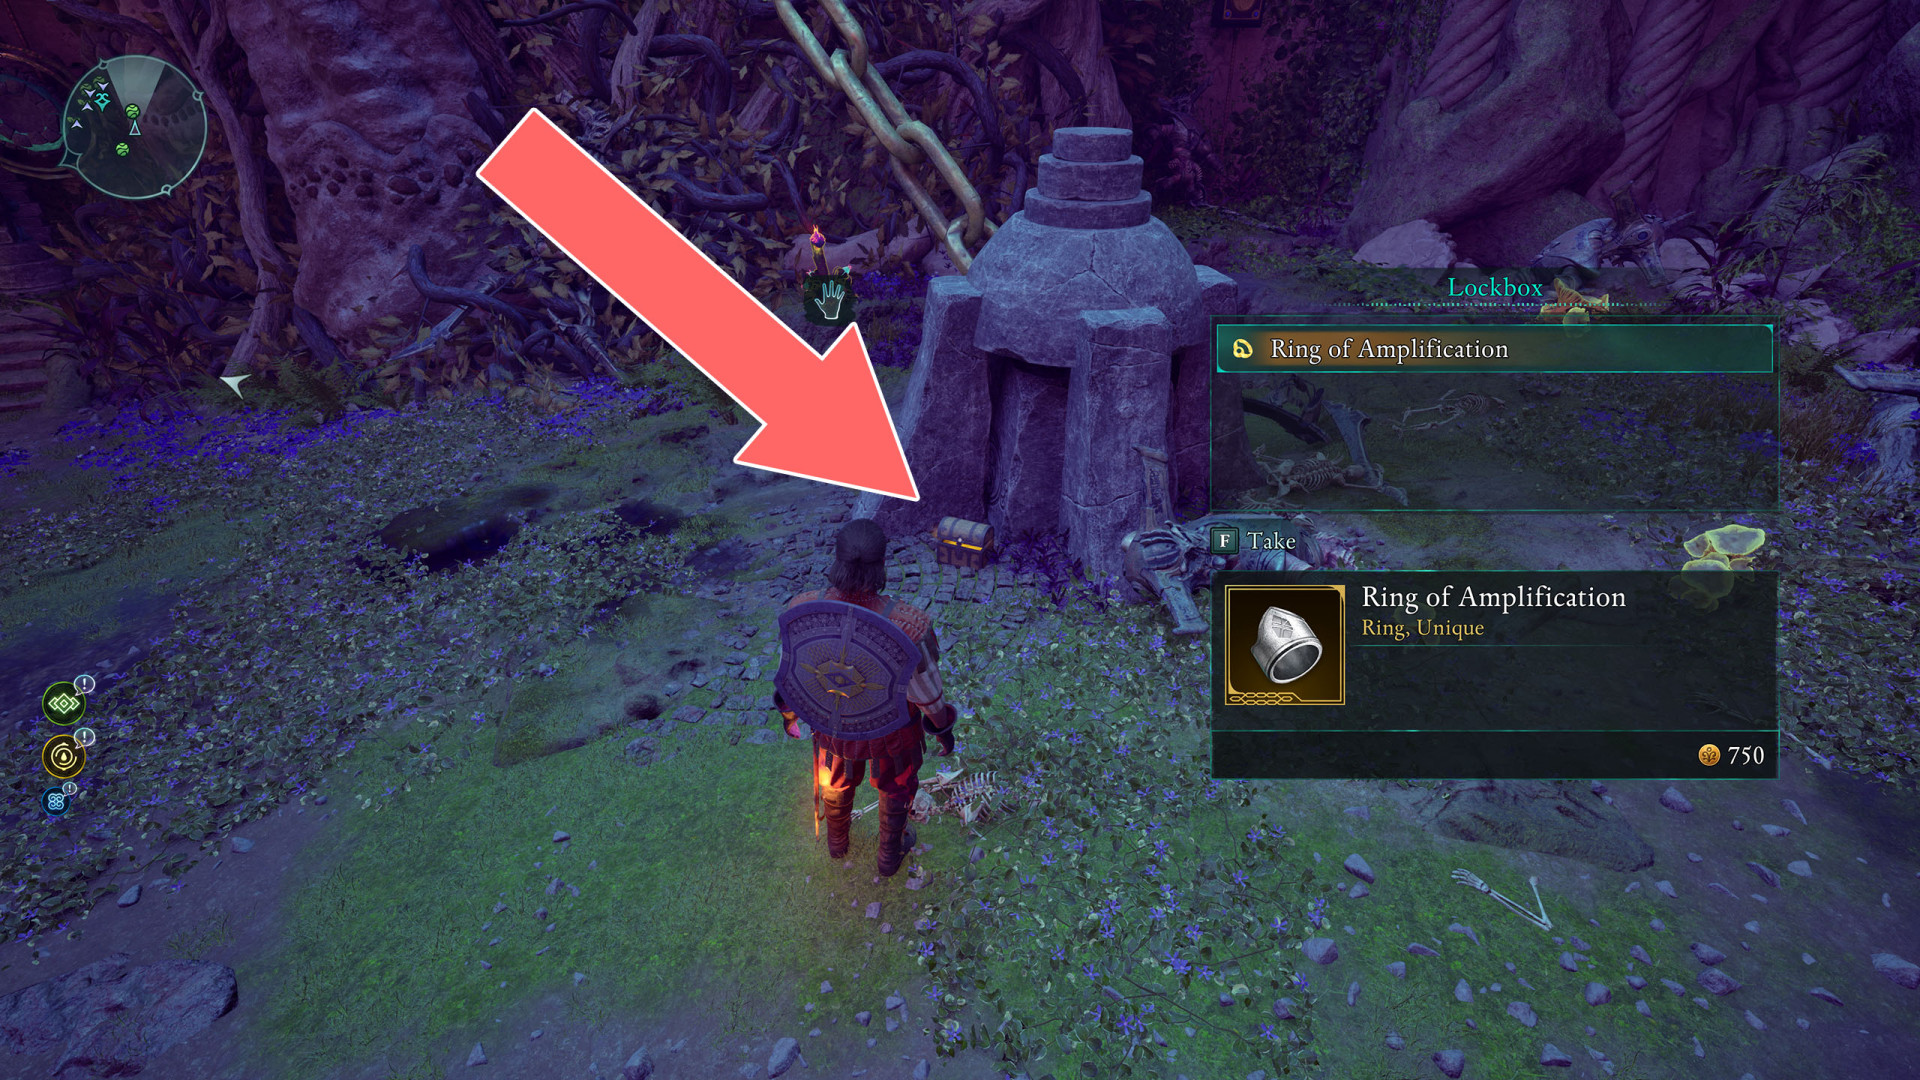
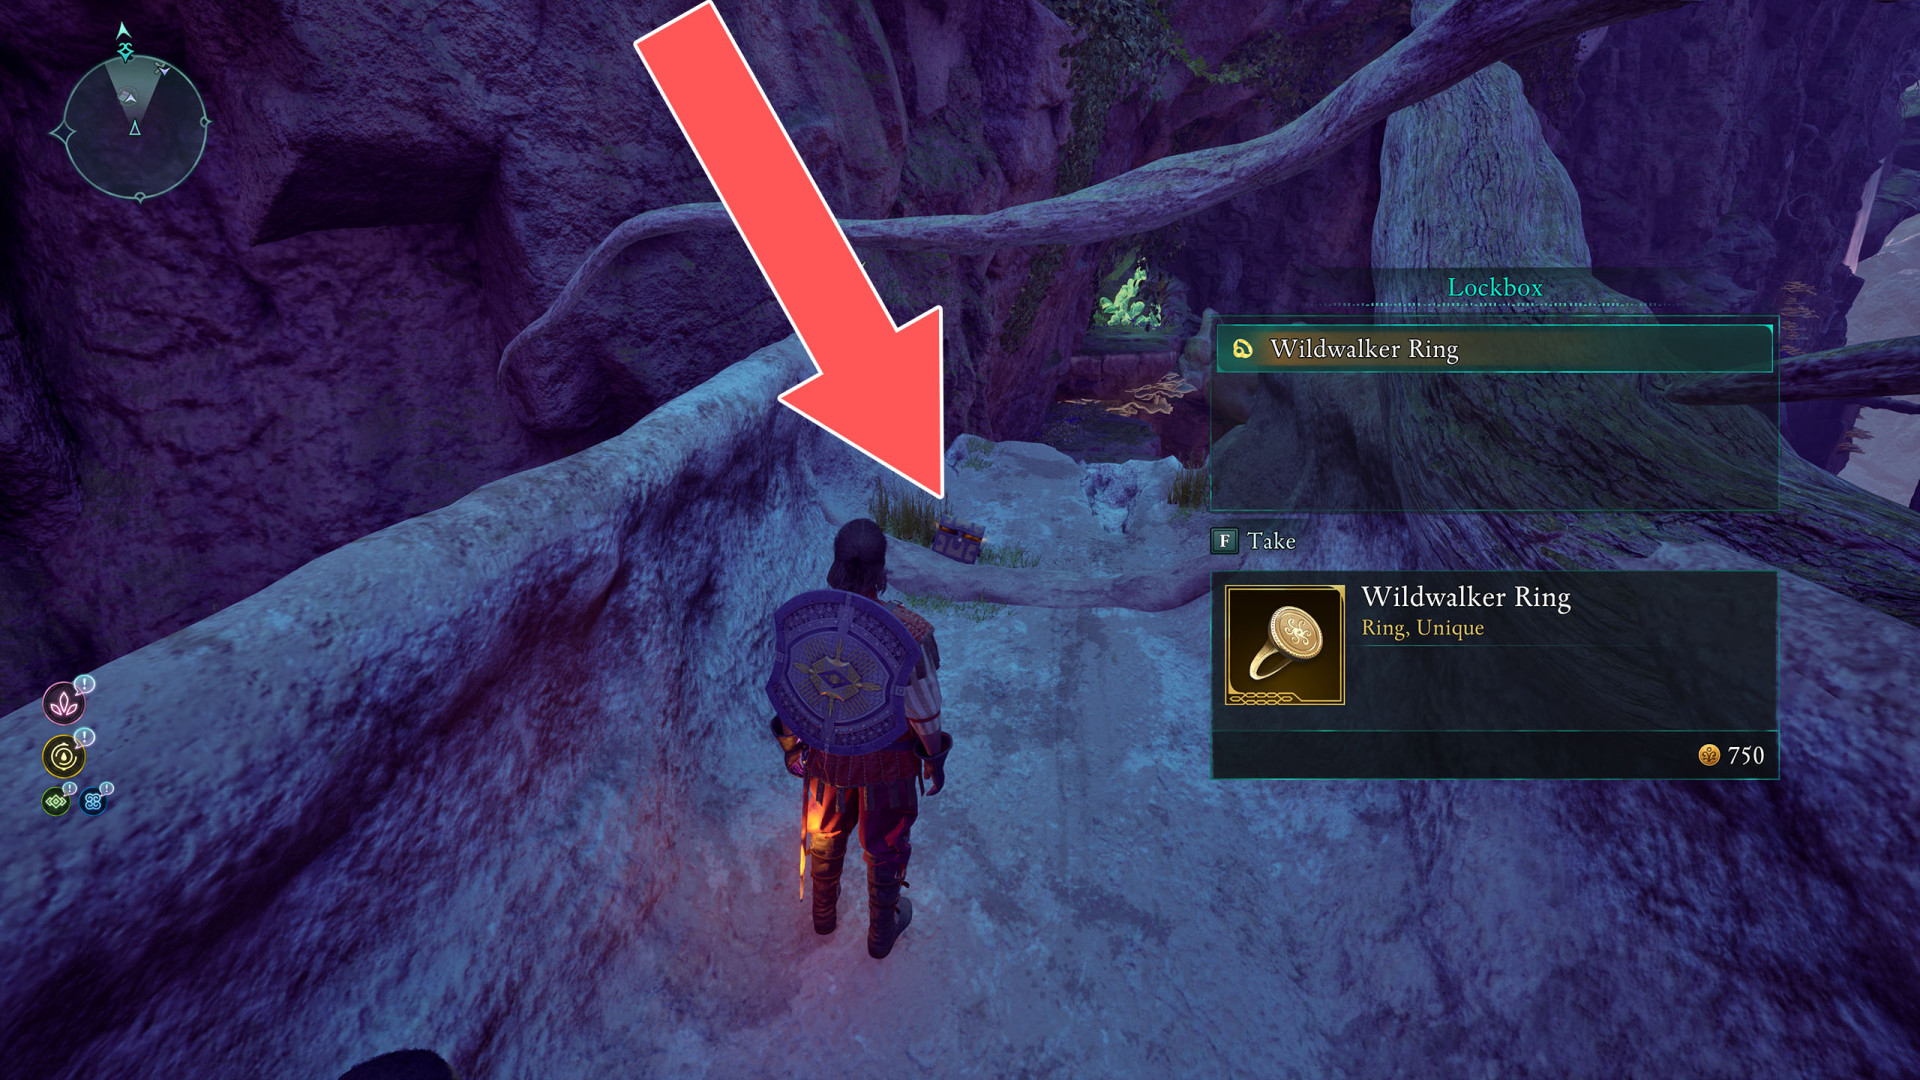
All Accessories are unique, and they serve as supplementary gear that can fine-tune your playstyle or offer unique advantages. You can equip up to one Trinket or Amulet and up to two Rings at any given time.
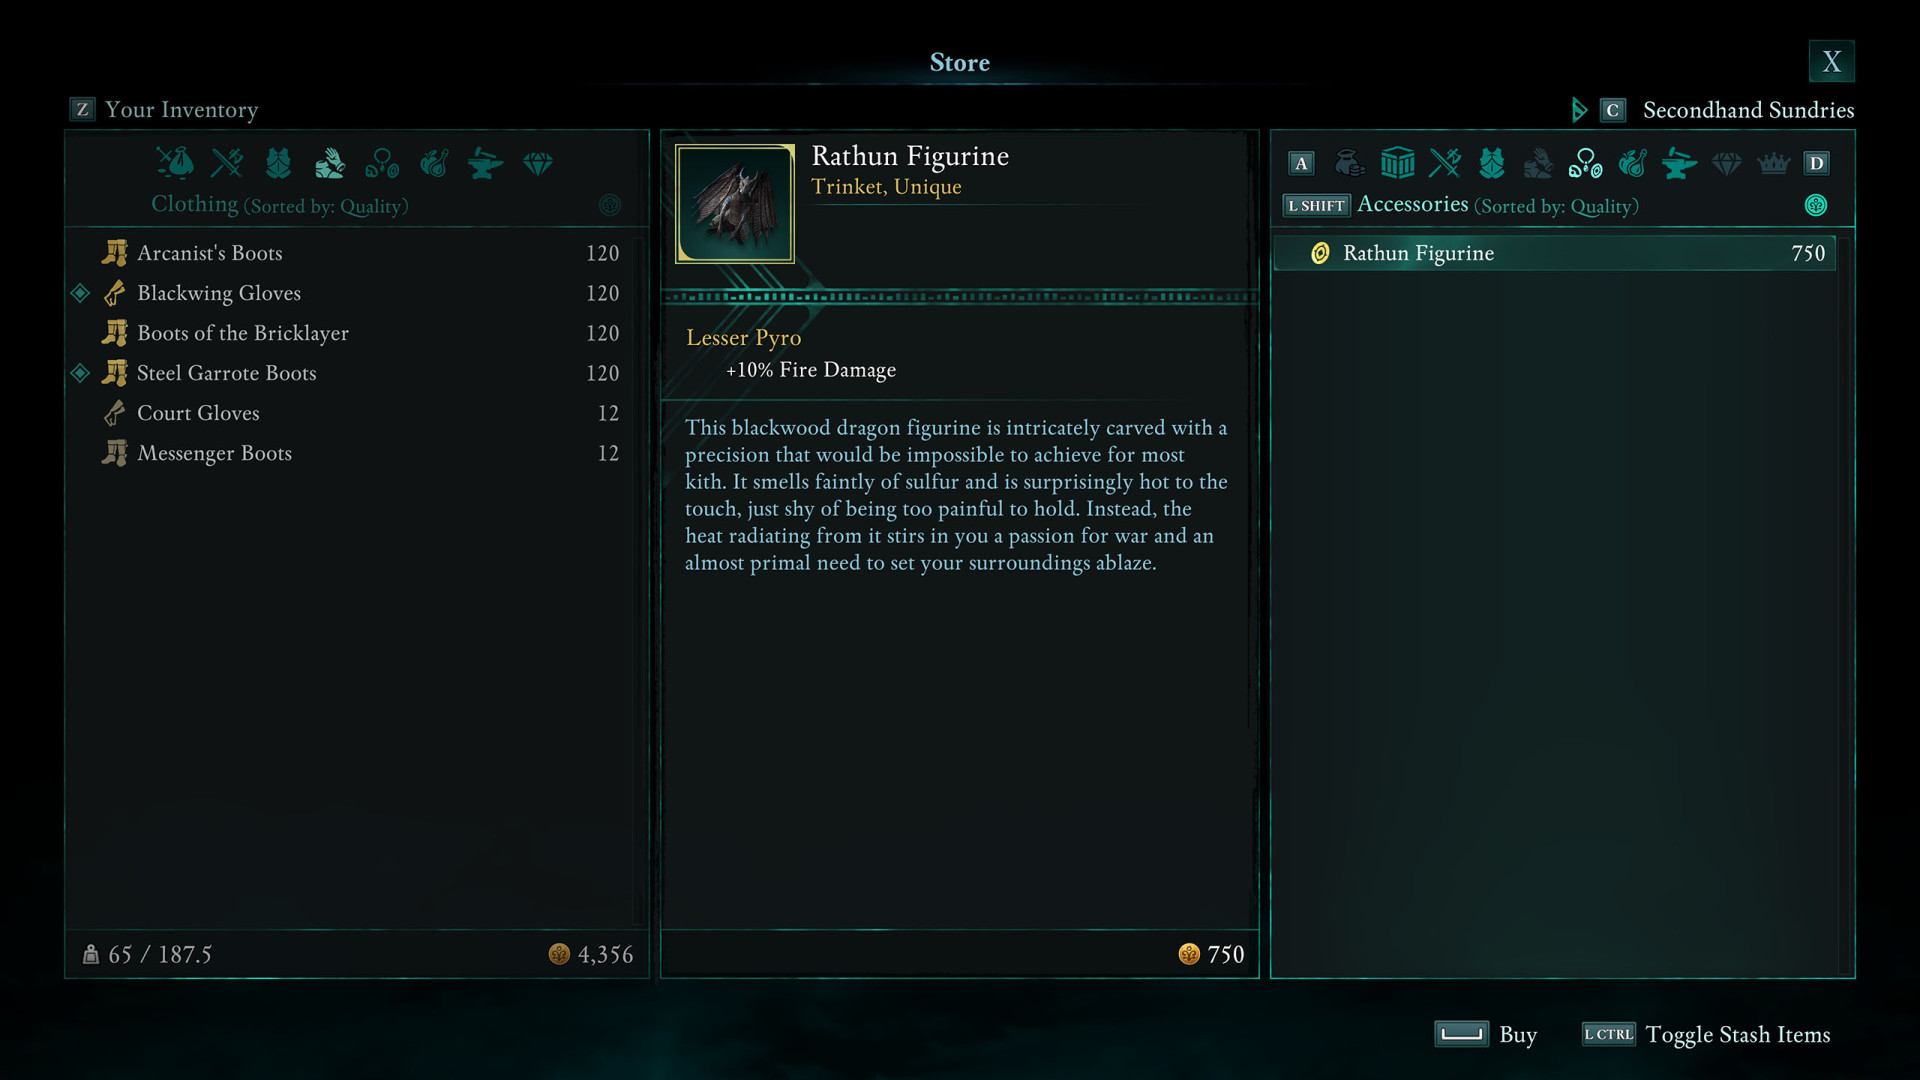
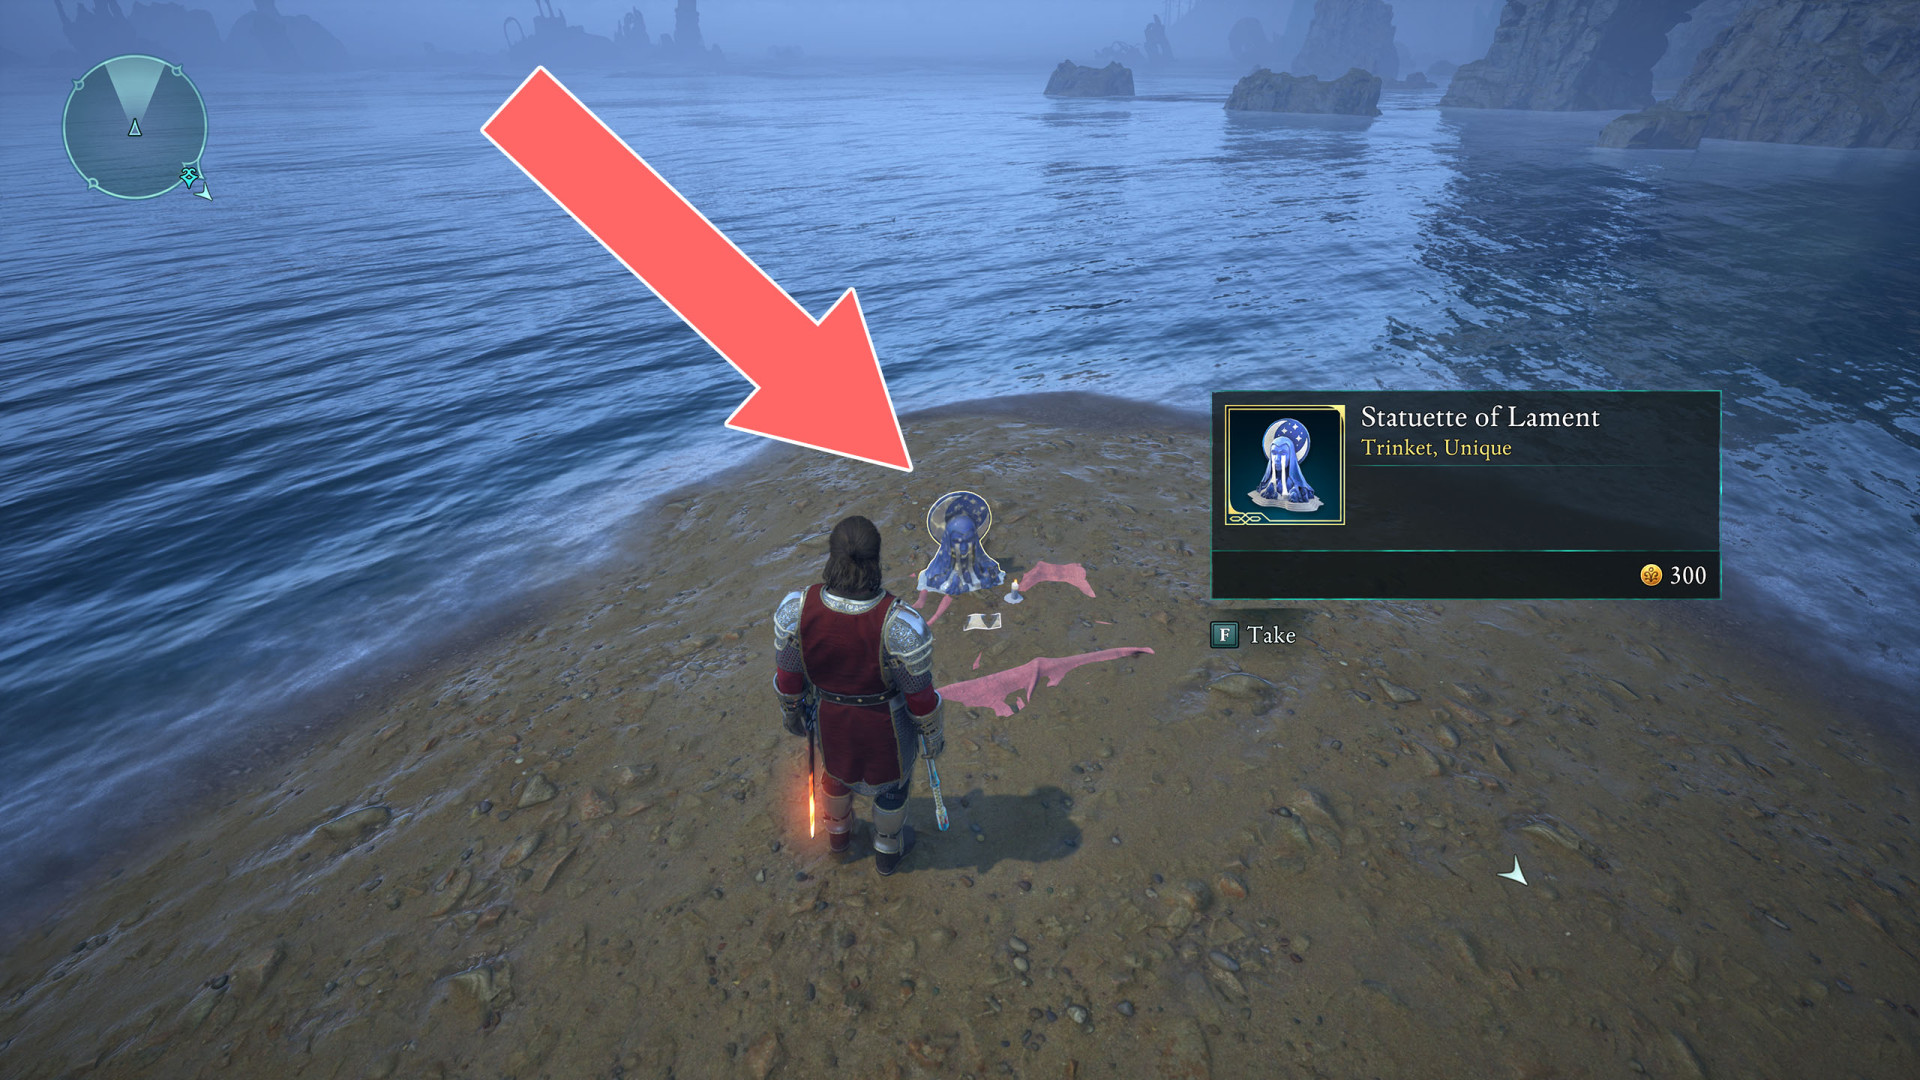
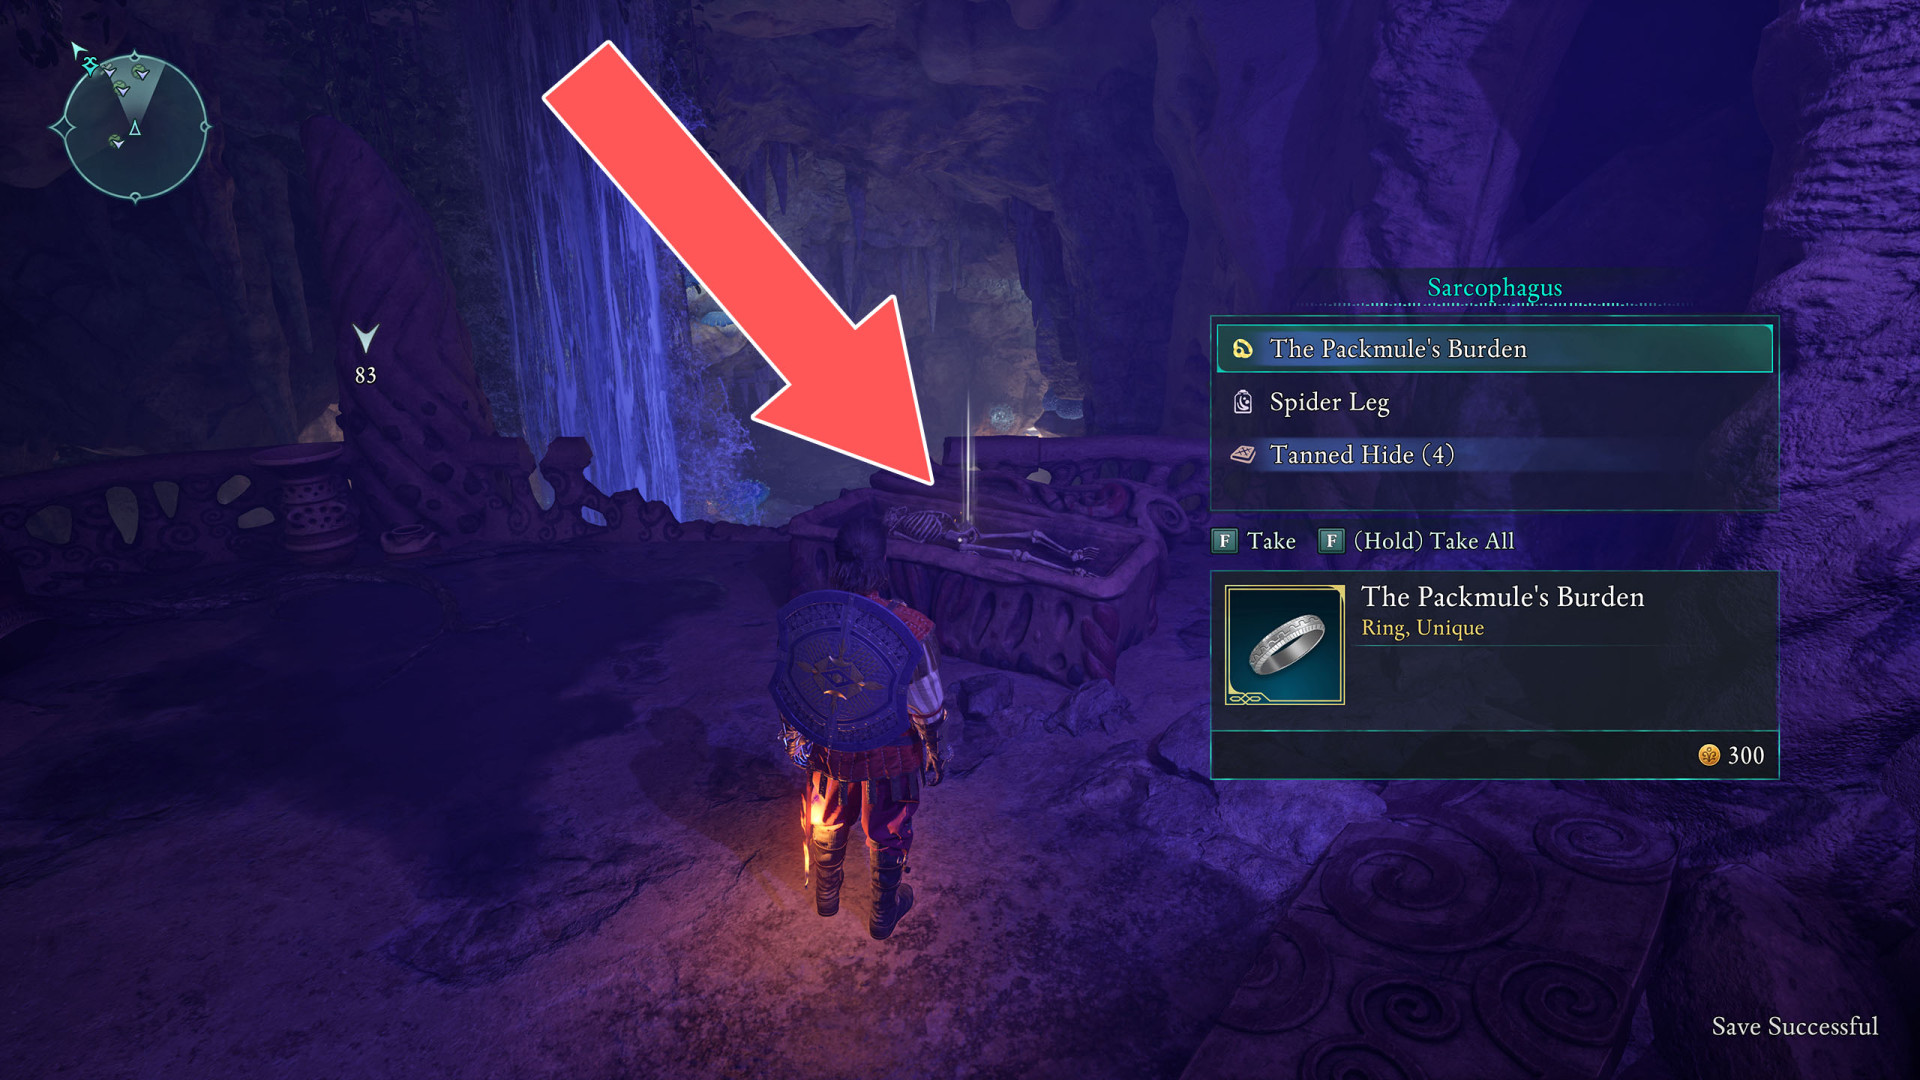
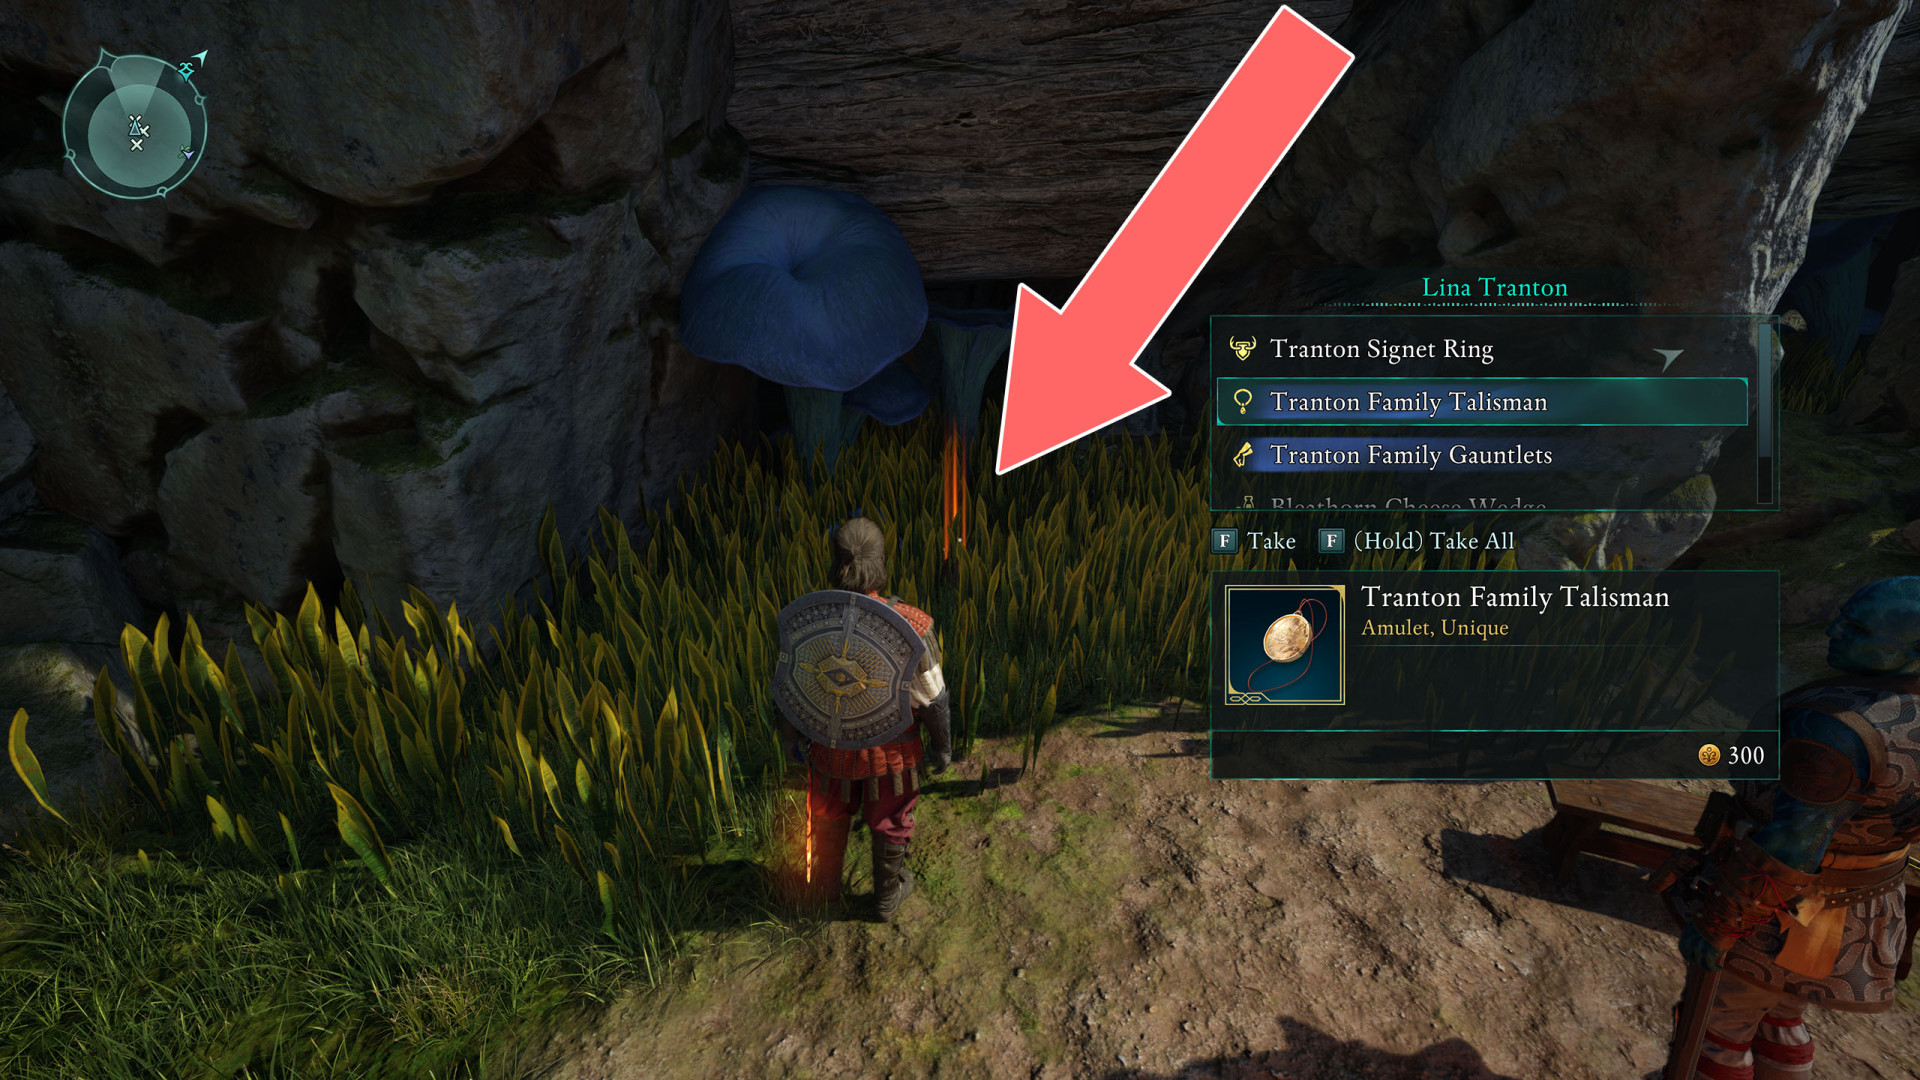
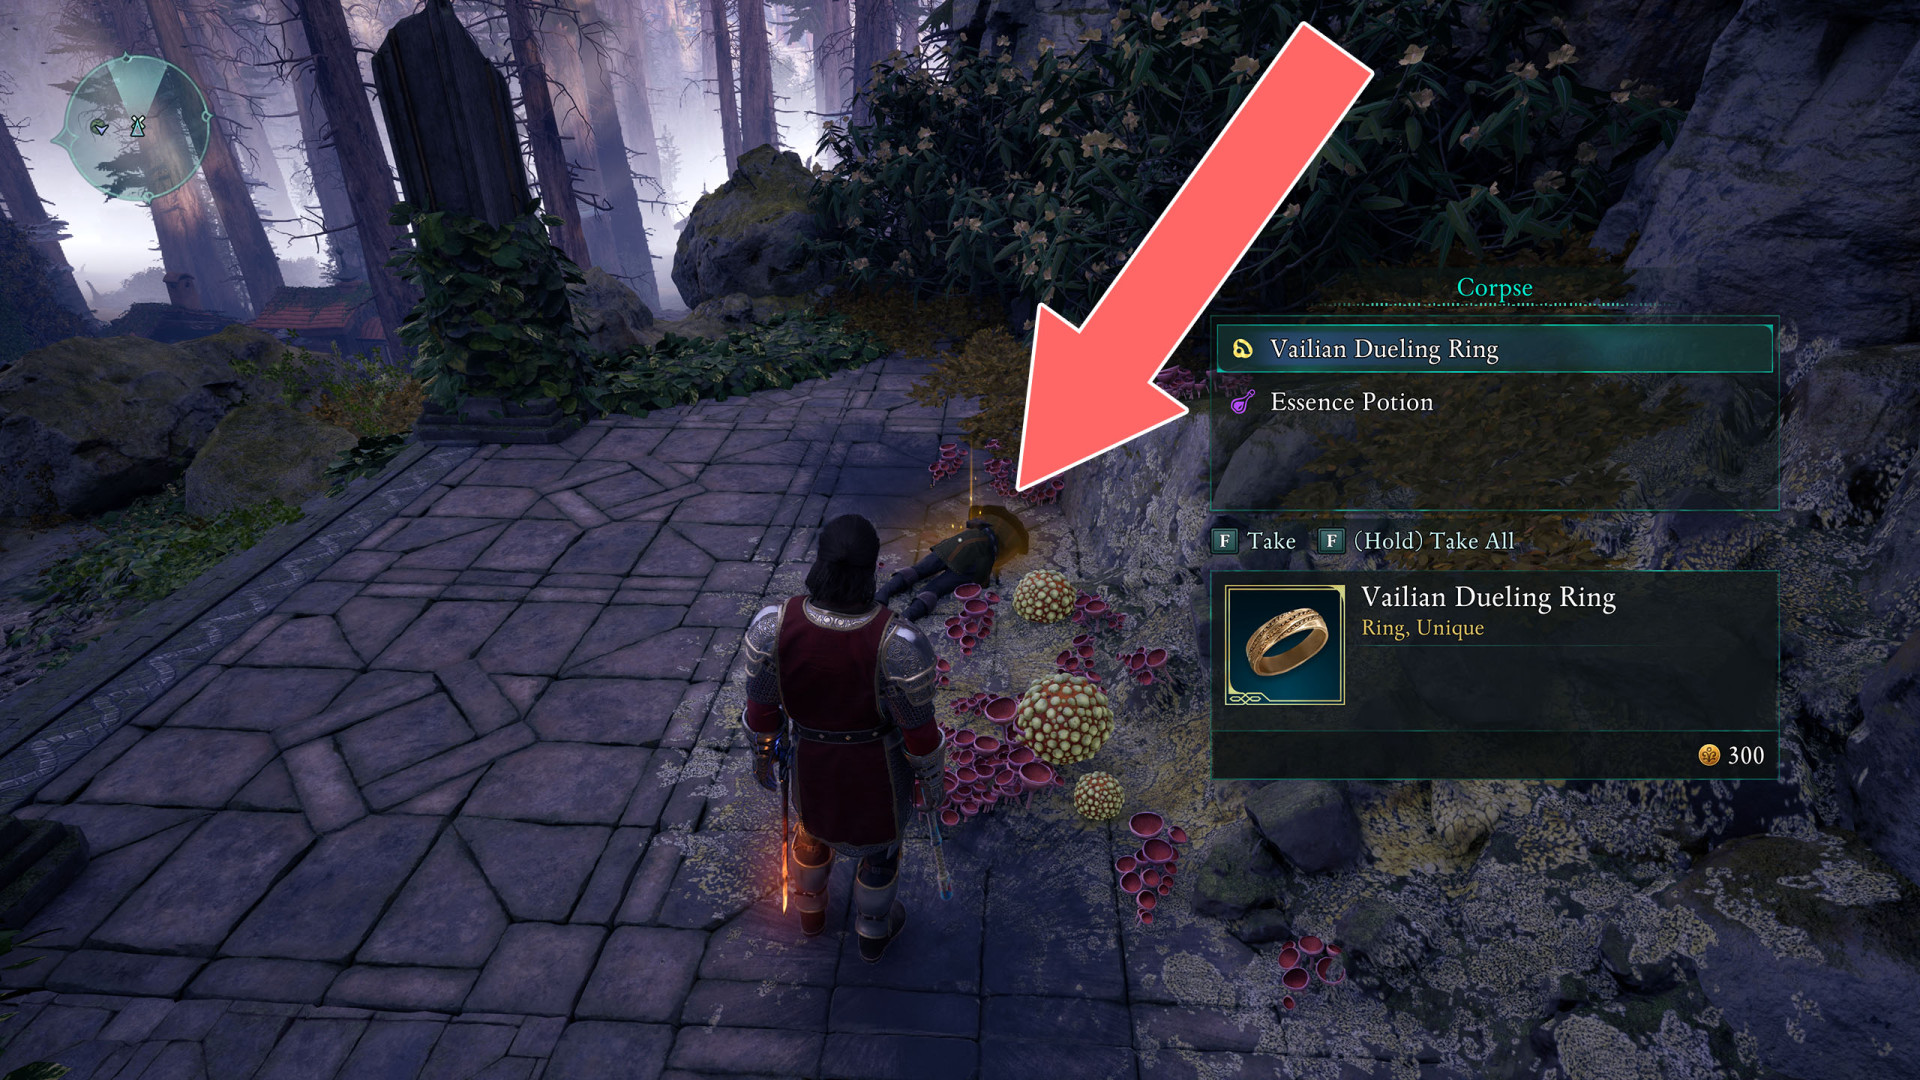
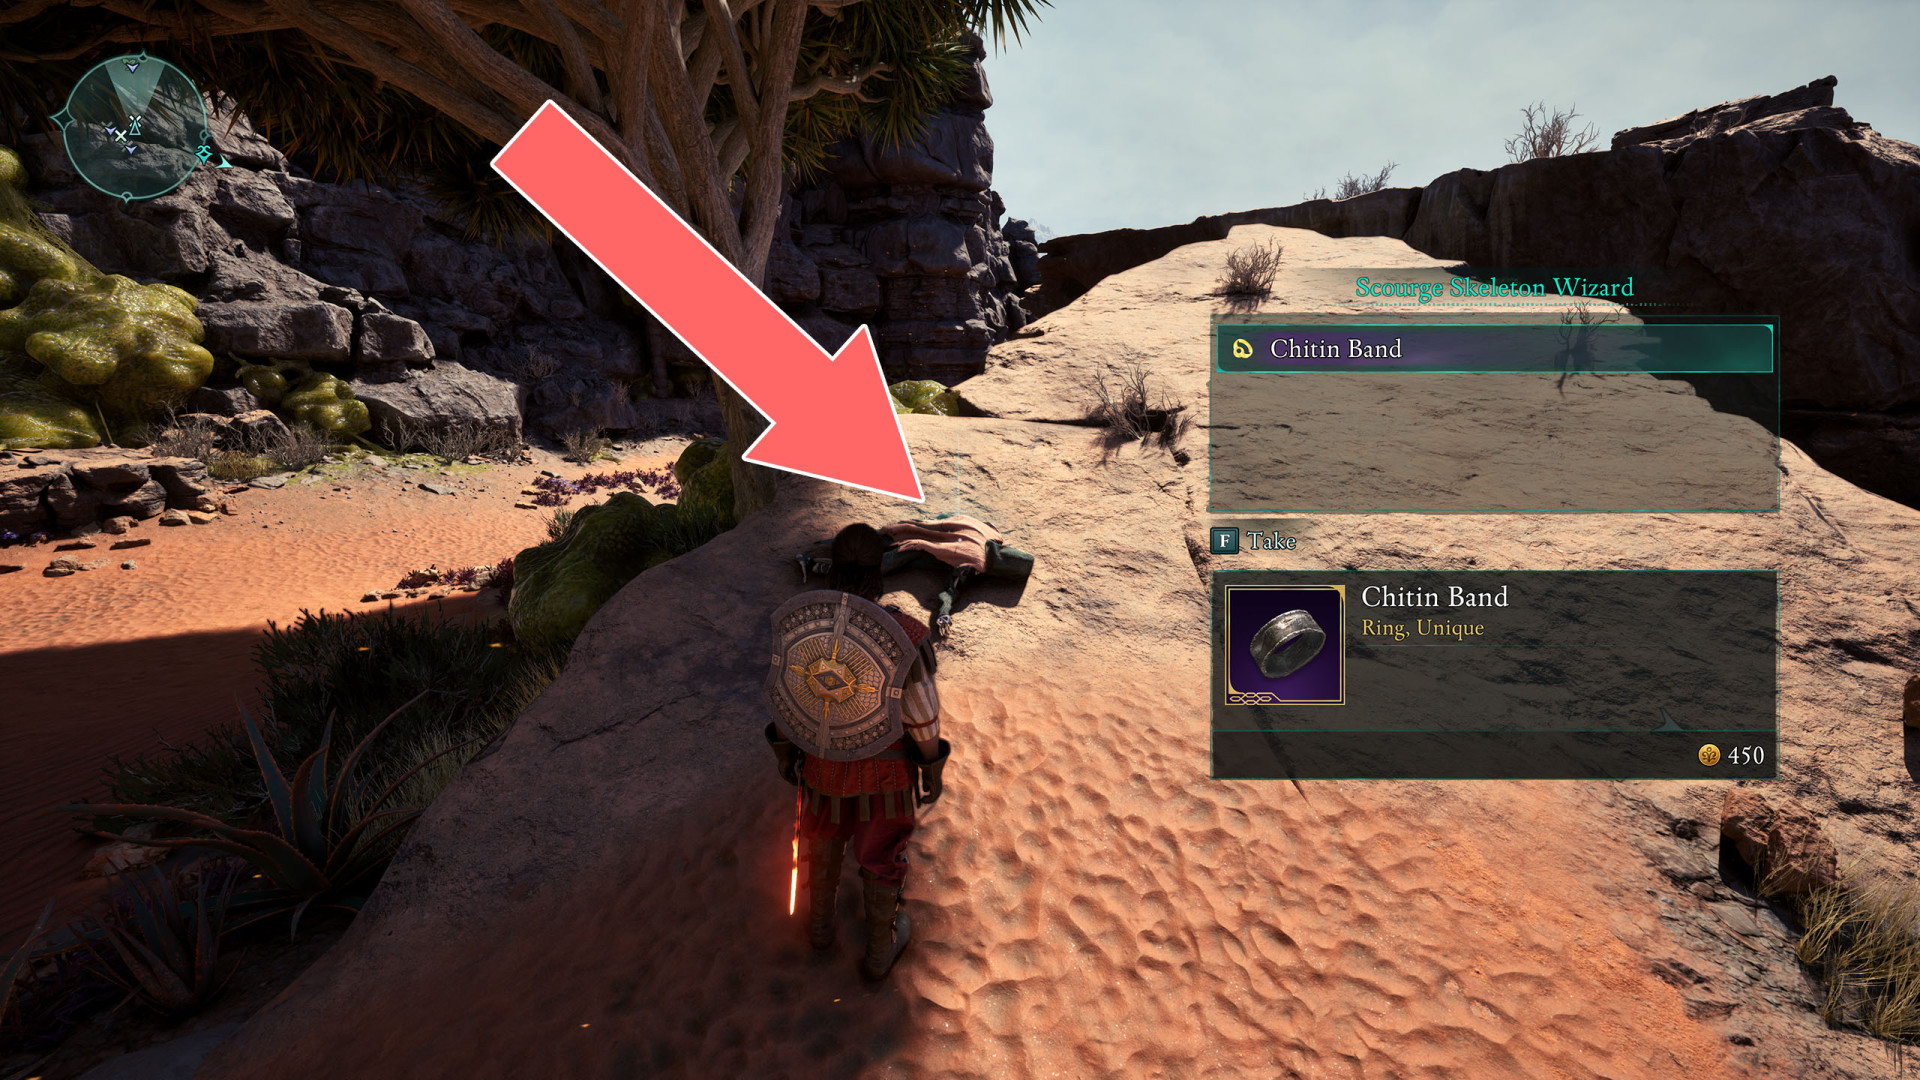
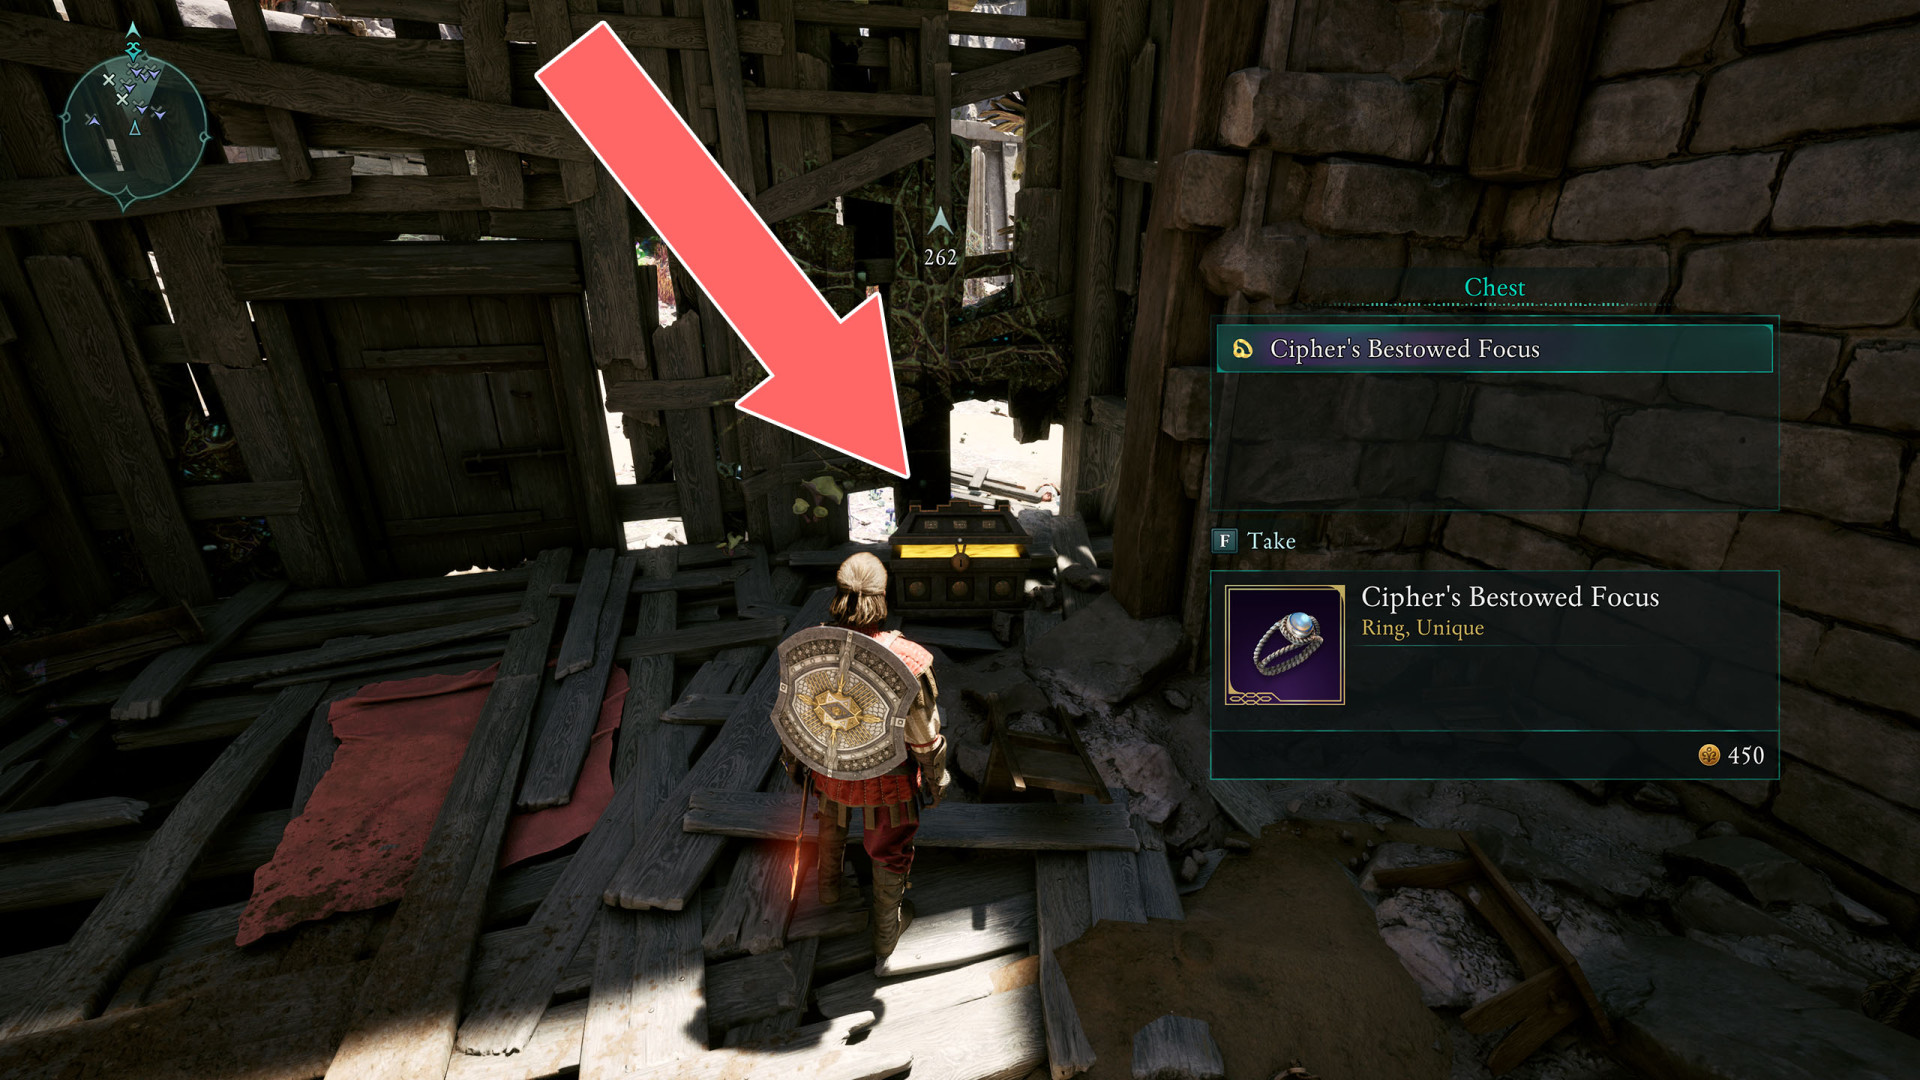
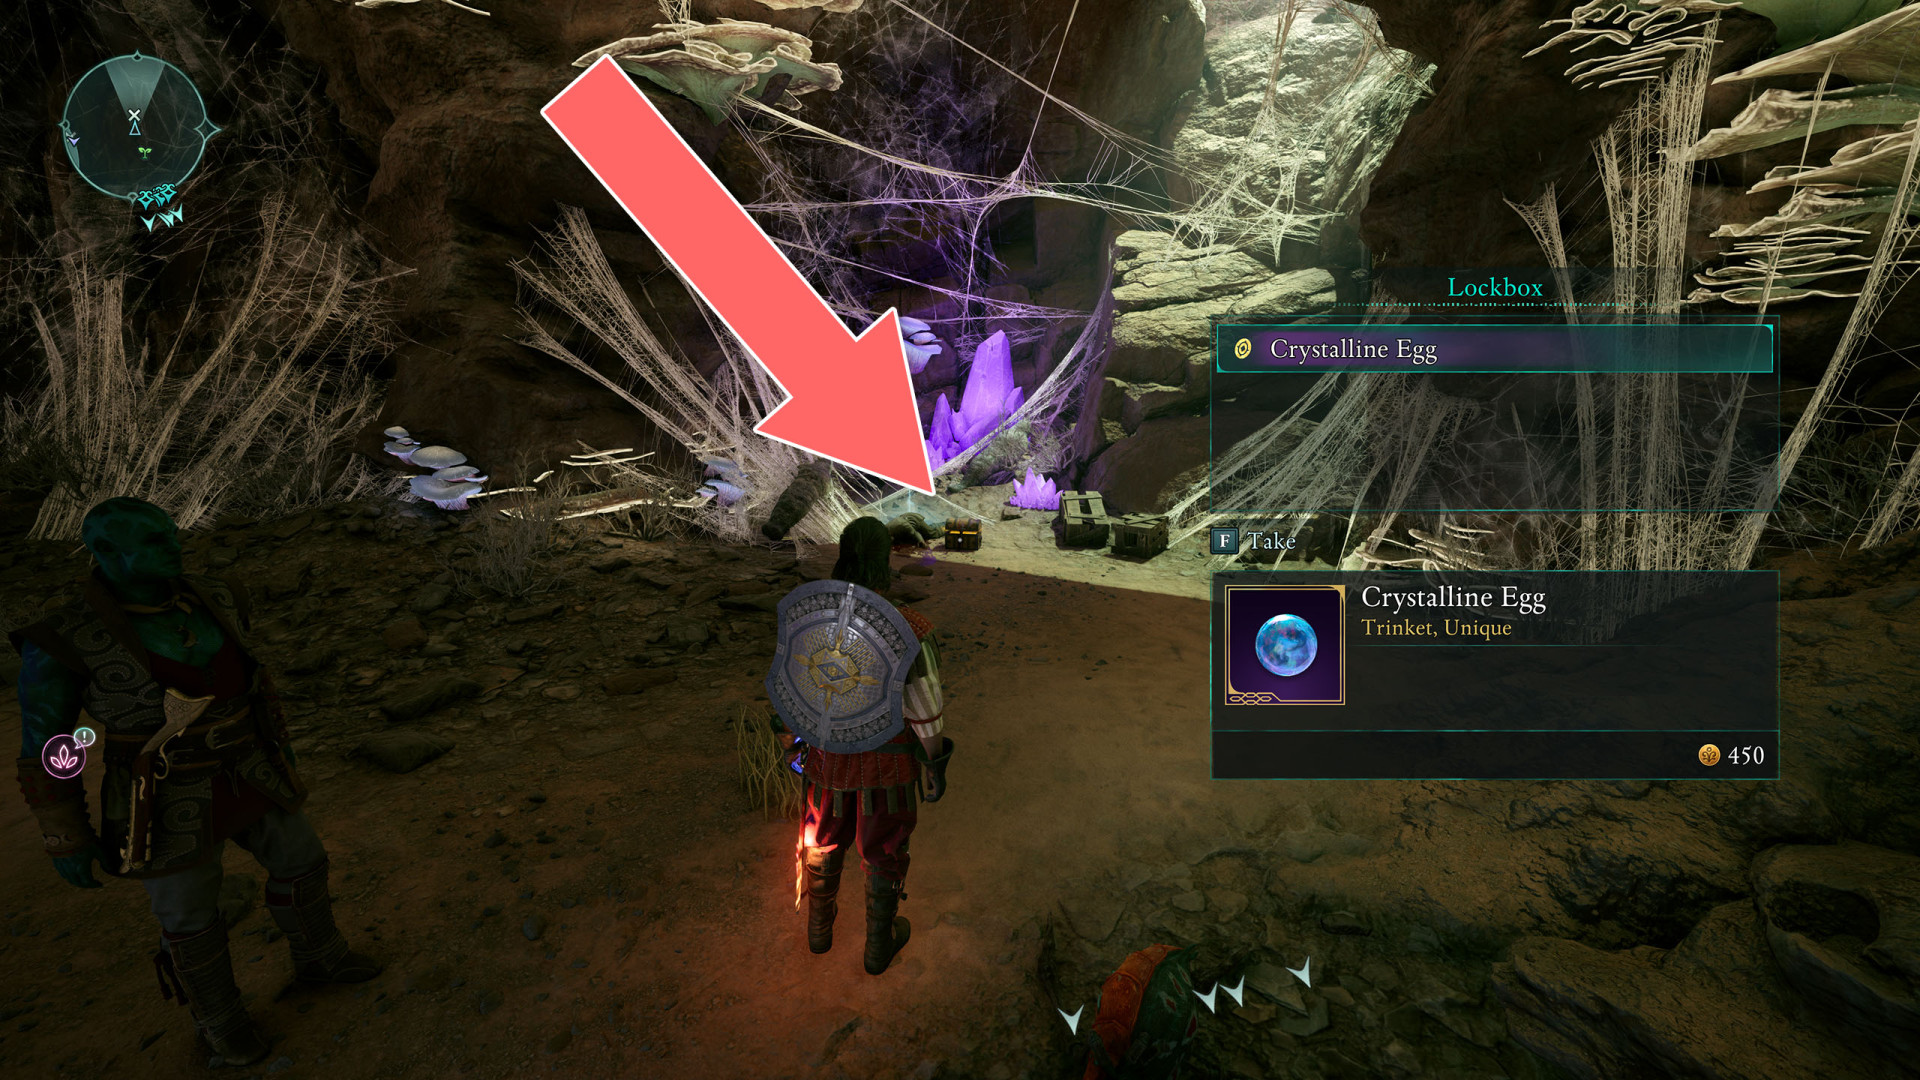
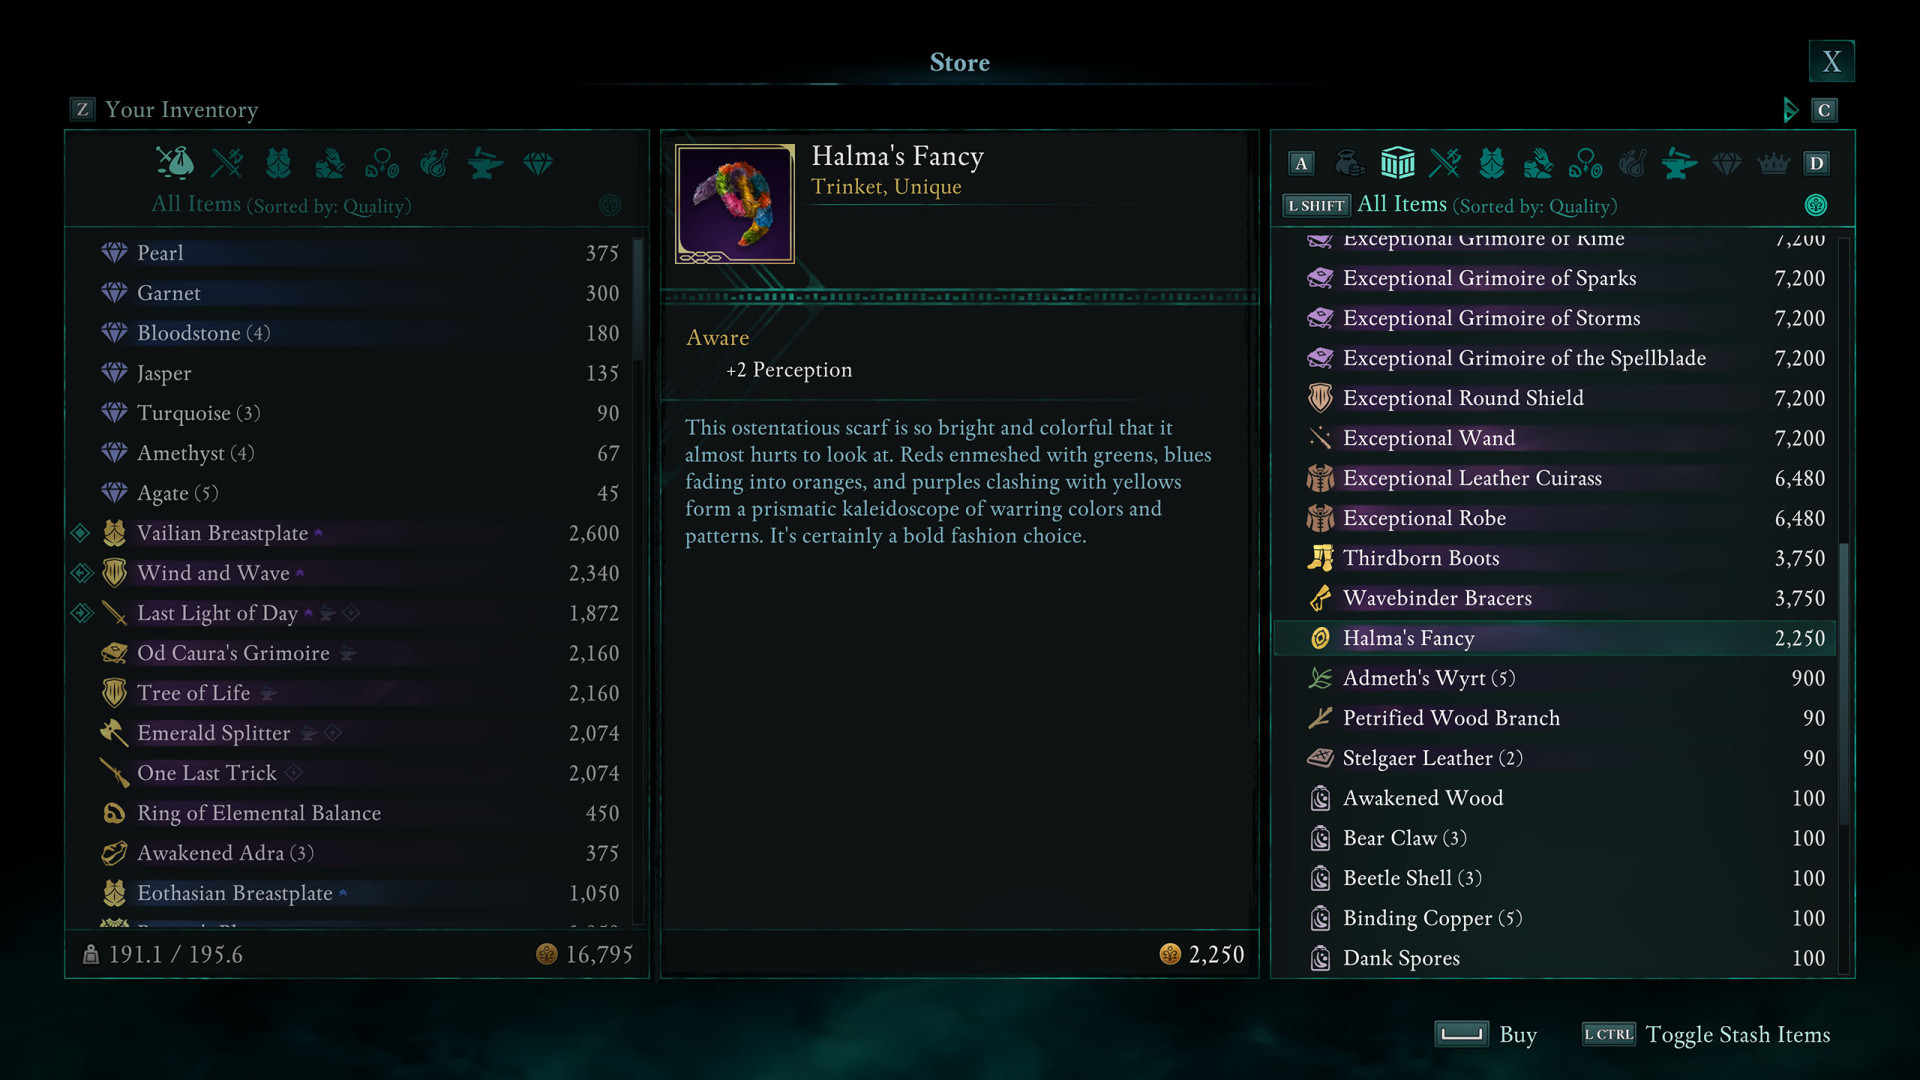
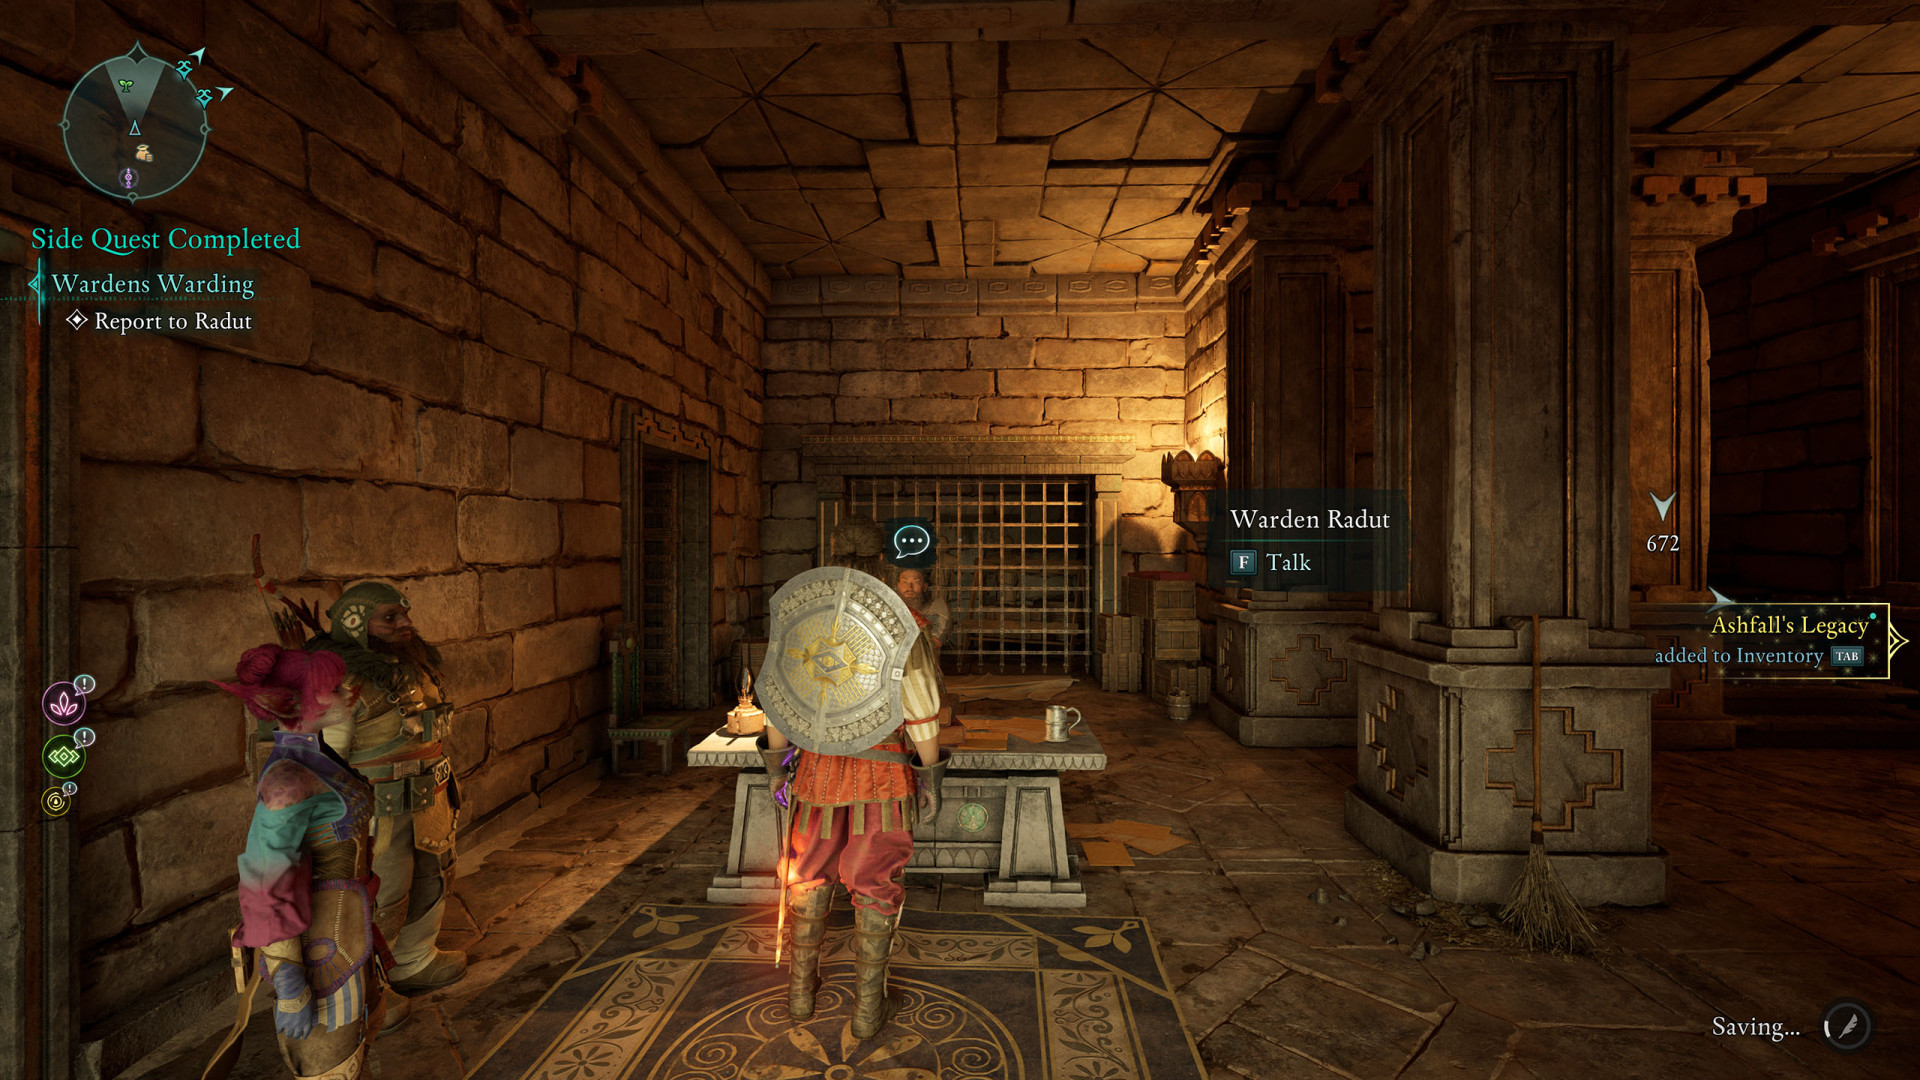
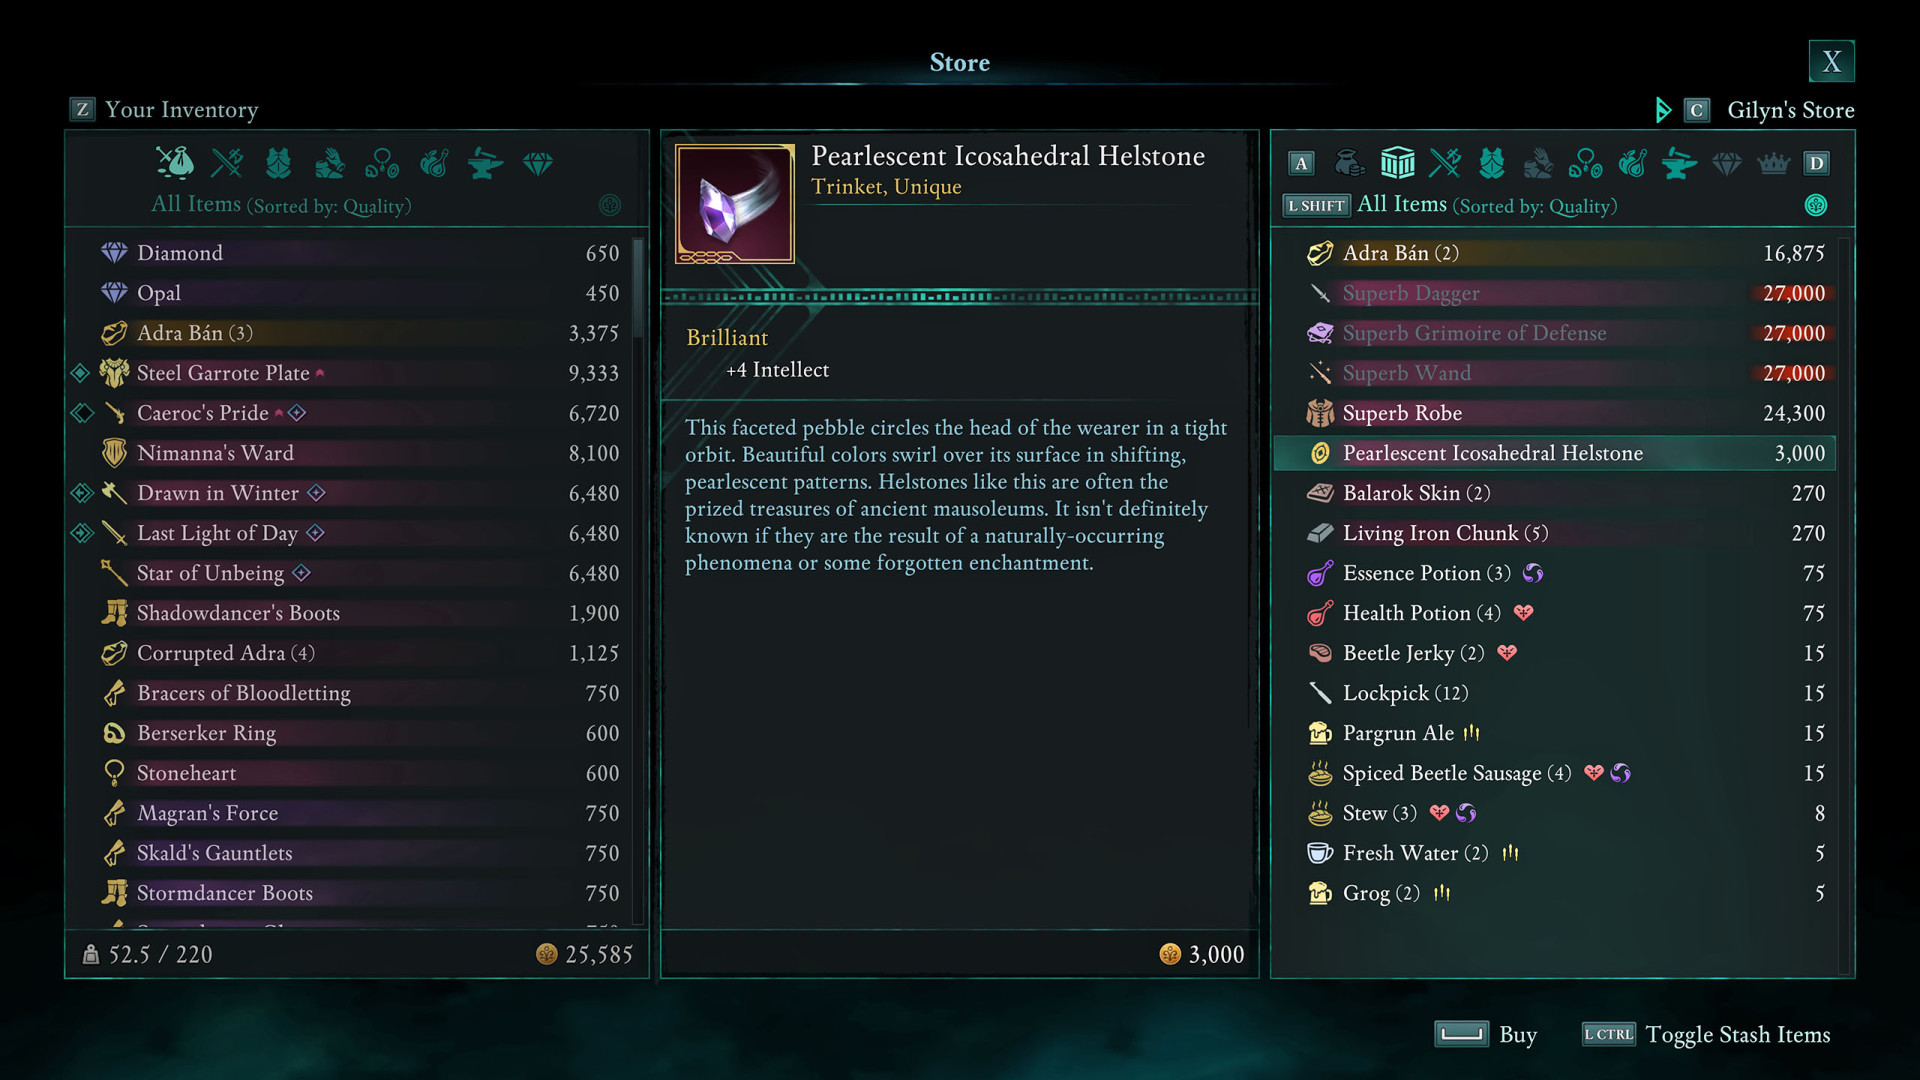
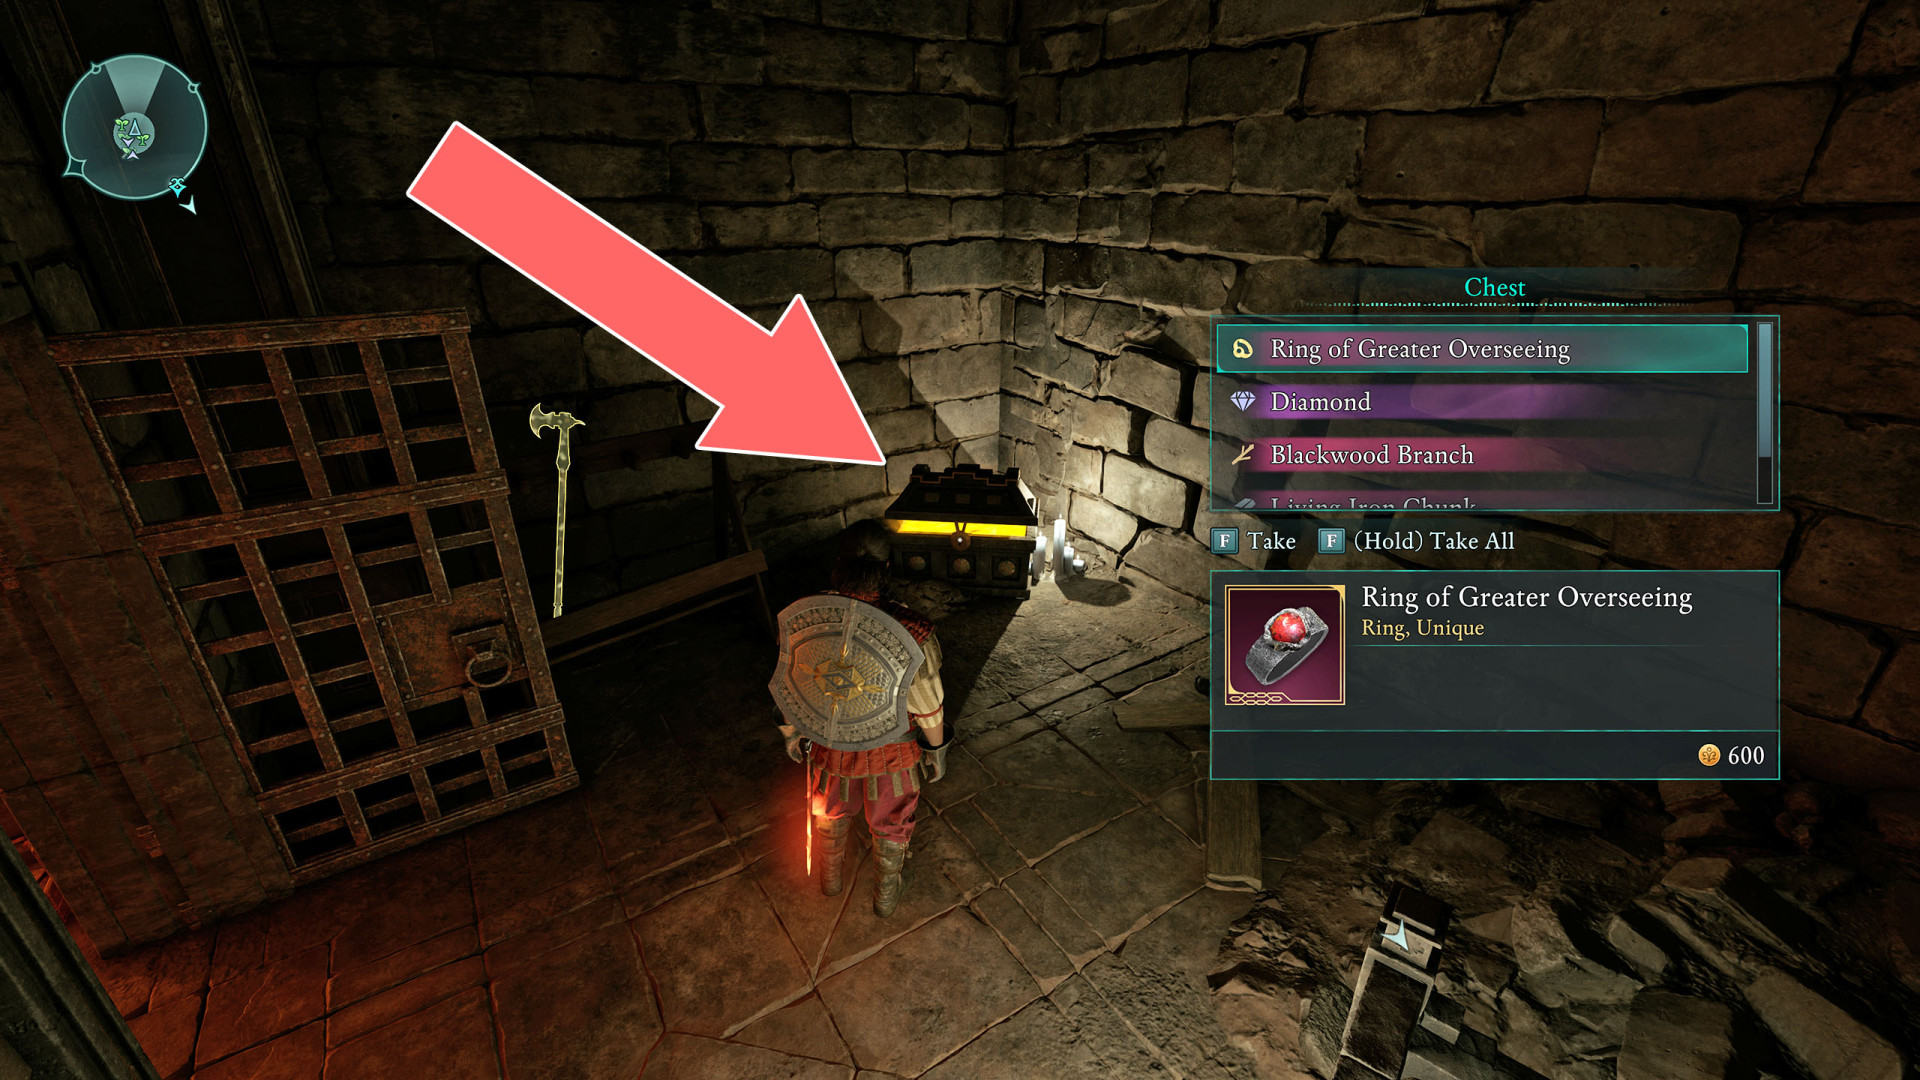
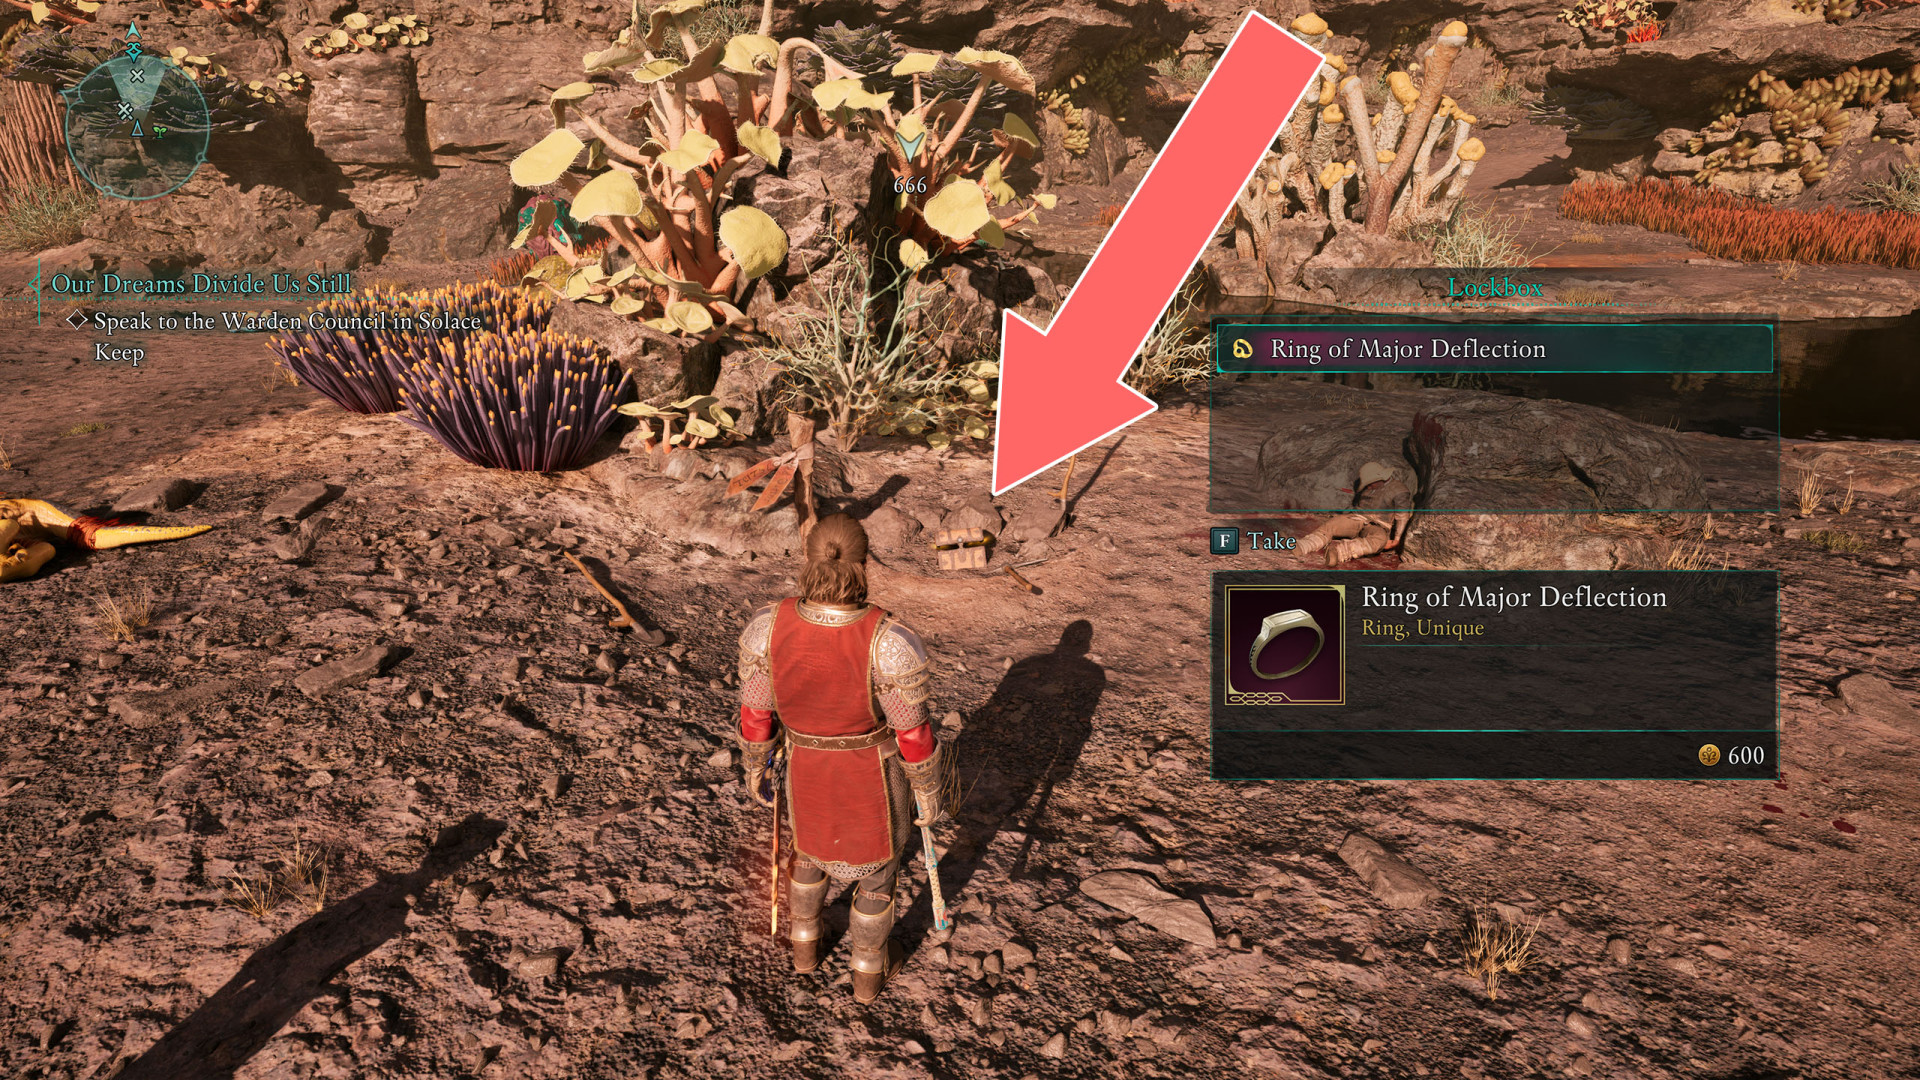
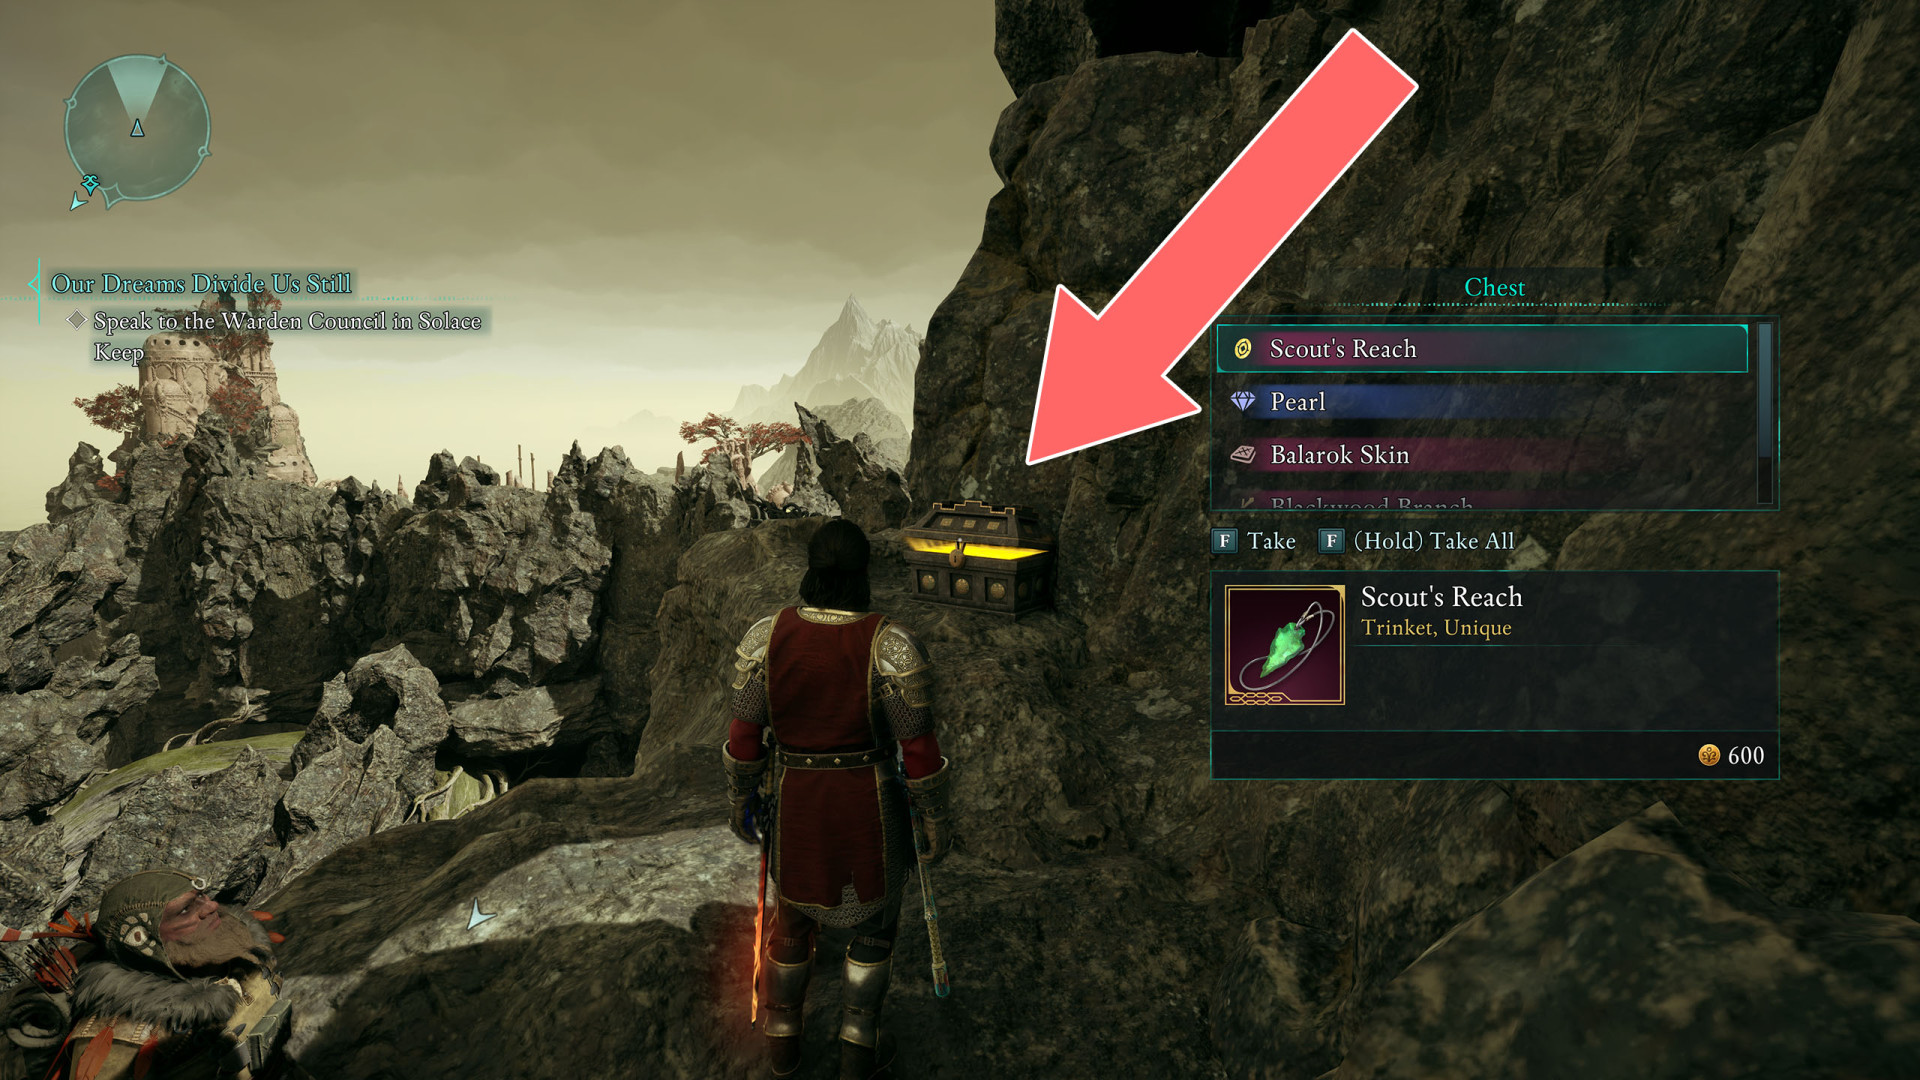
There are several ways to acquire accessories in Avowed. You can find them in chests while exploring the game world, earn them as rewards from side quests, purchase them from traders, or loot them from defeated foes.
The index below enables quick navigation to the desired marker / point of interest.
Underwater, at the bottom of the canal.
Effects:
You can find it in the muck. You can give it to the Paradis Citizen for free or demand 100 copper.
Effect:
It's an optional reward for completing the "Lost Suoles" side quest. You will get this if, when you handing over suolenets you first demand to be paid or you hand them over for free and when Miteno, as a token of gratitude, offers you his souolenet, you tell him to keep it.
Effect:
If you won't give healing potion to Caedmon.
Effects:
It's a reward for completing the "Dawntreader" side quest.
Effects:
It's an optional reward for completing the "Lost Suoles" side quest. Miteno will offer it to you when you give him suolenets for free.
Effect:
Bounty Master Aldrich will give it to you when you complete all the bounties in Dawnshore.
Effects:
It's a reward for completing the "A Lady Never Tells" side quest.
Effect:
The chest is in a niche hidden behind the waterfall.
Effect:
You can buy it from the Shantytown Merchant for 750 copper.
Effect:
It's a reward for completing all "Mapping" side quests for Sanza.
Effect:
In the Ruinous Cavern. In the upper part of the dungeon, before you jump into the hole.
Effect:
It's a reward for completing the "Precious Light" side quest.
Effect:
It's a reward for completing the "Cabin Fever" side quest.
Effect:
In a chest located in the attic.
Effect:
It's a reward for completing the "Elder Offerings" side quest.
Effect:
This is the reward for completing "Food Theft" quest. Bring the crops back to Sielo and tell him to keep the money.
Effect:
Related treasure map: Painter's Regret.
Effect:
It's a reward for completing the "Nature vs. Nurture" side quest. You have to kill Amadio or lie that you have solved the problem.
Effect:
+15% Critical Damage
Show the mapIt's a reward for completing the "Missing Rangers" side quest.
It only appears after the meteorite has been handed over to the presenter at the end of the "Memory of the Deep" quest.
Effect:
To get there, turn off the electricity in the hallway with water, then dive in at the place where there is a hole in the grate and swim through the underwater tunnel.
Effect:
You will find it in the corpse of the wizard you kill here.
Effect:
To receive it, give the Lost Aedyran Scout the Strangely-Marked Xaurip Spear.
Effect:
Can be bought from the Merchant in Thirdborn for 2,250 copper.
Effect:
This is a reward for completing the "Heart of Valor" quest. You must keep the heart or give it to Chiko.
Effects:
It's a reward for completing the "The Wasteland Courier" side quest.
Effect:
It's a reward for completing the "One Last Drink" side quest.
Effect:
This is a reward for completing the "Heart of Valor" quest. You must give Chiko the heart and talk to her appropriately.
Effect:
It's an optional reward for completing the "The Wasteland Courier" side quest.
Effect:
It's a reward for completing the "Wardens Warding" side quest.
Effect:
It's in a locked chest. Unlocks with: Lockpick x5.
Effect:
Can bebought from Chef Kumitru for 3,000 copper.
Effect:
Can be bought from Gilyn for 3,000 copper.
Effect:
It's in a locked chest. Unlocks with: Twisted Iron Key or Lockpick x5.
Effect:
It's a reward for completing the "A Cure for Rage" side quest. You have to bring Grakohr the cure.
Effect:
It's a reward for completing all bounties in Galawain's Tusks.
Effect:
Effect: