This mission starts automatically after you and Kaiser return to Red Devils HQ, which happens at the end of the "War Relics" mission.
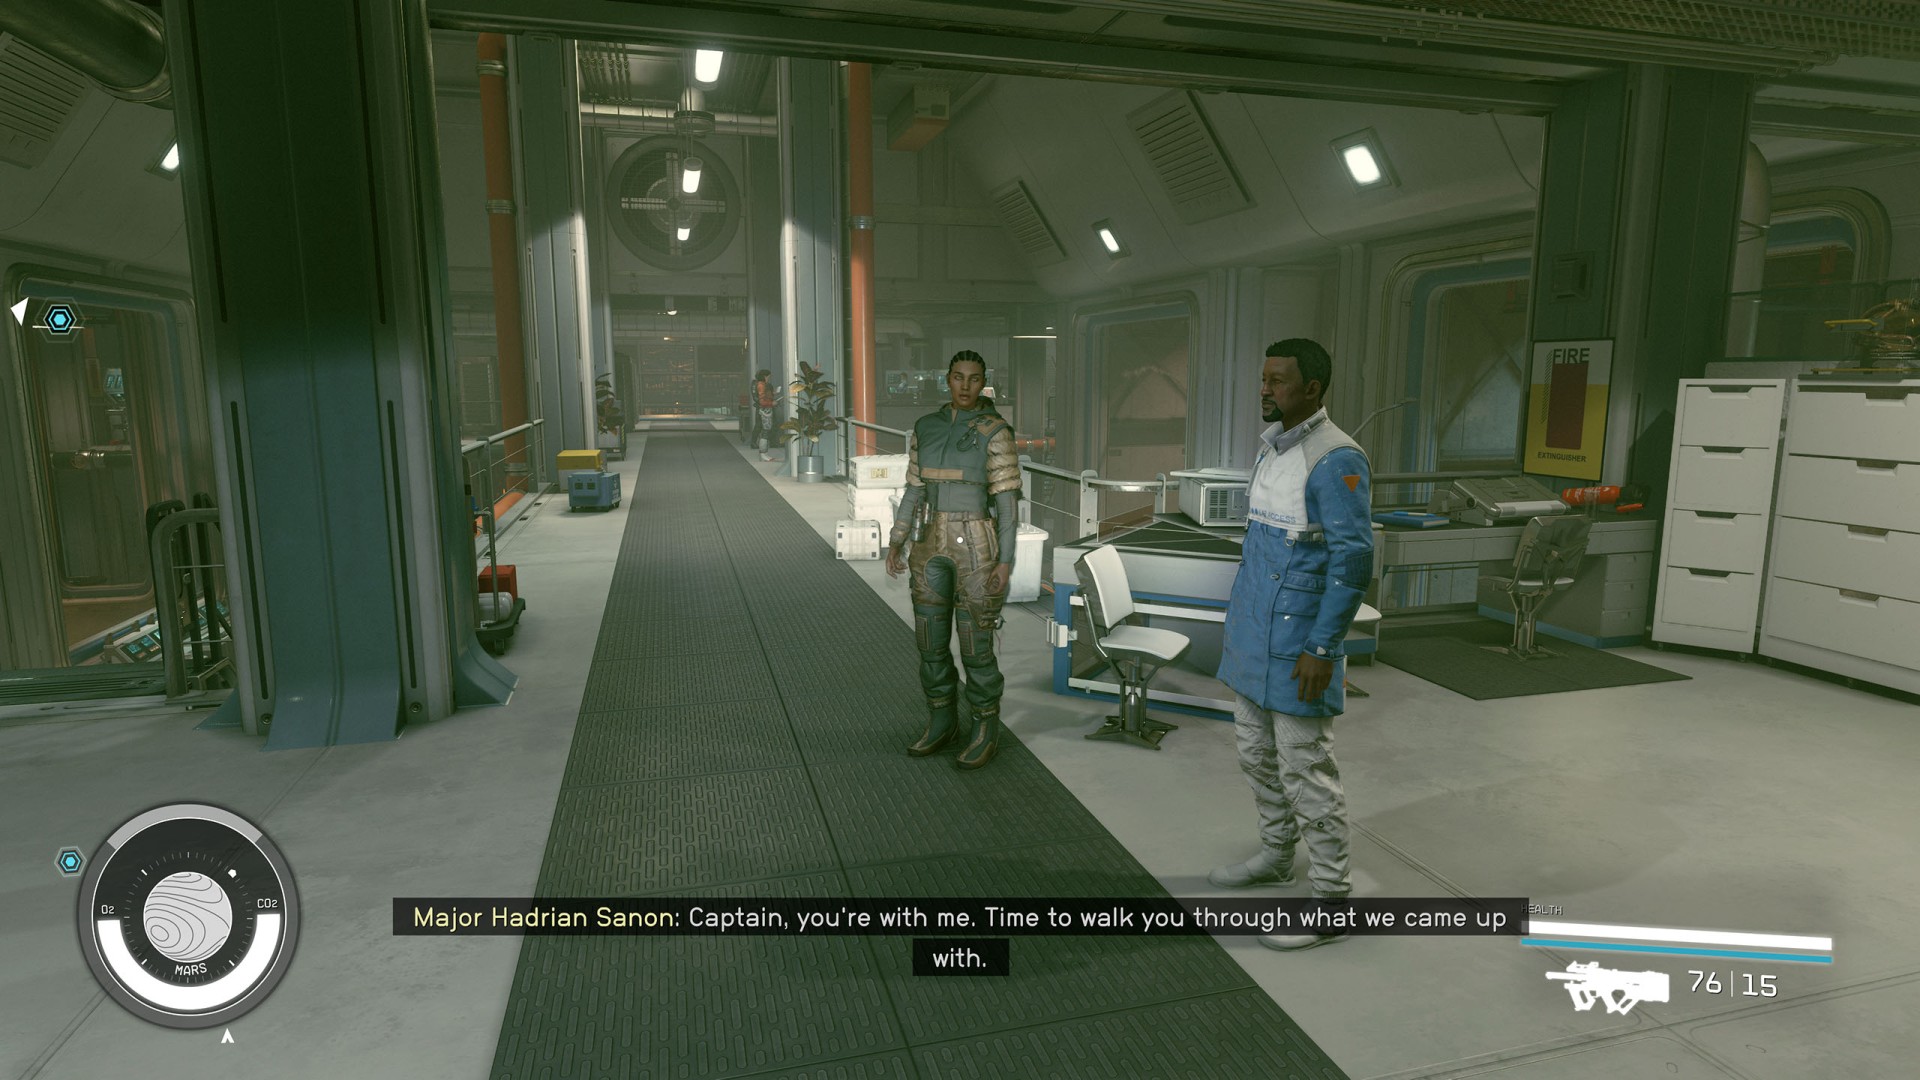
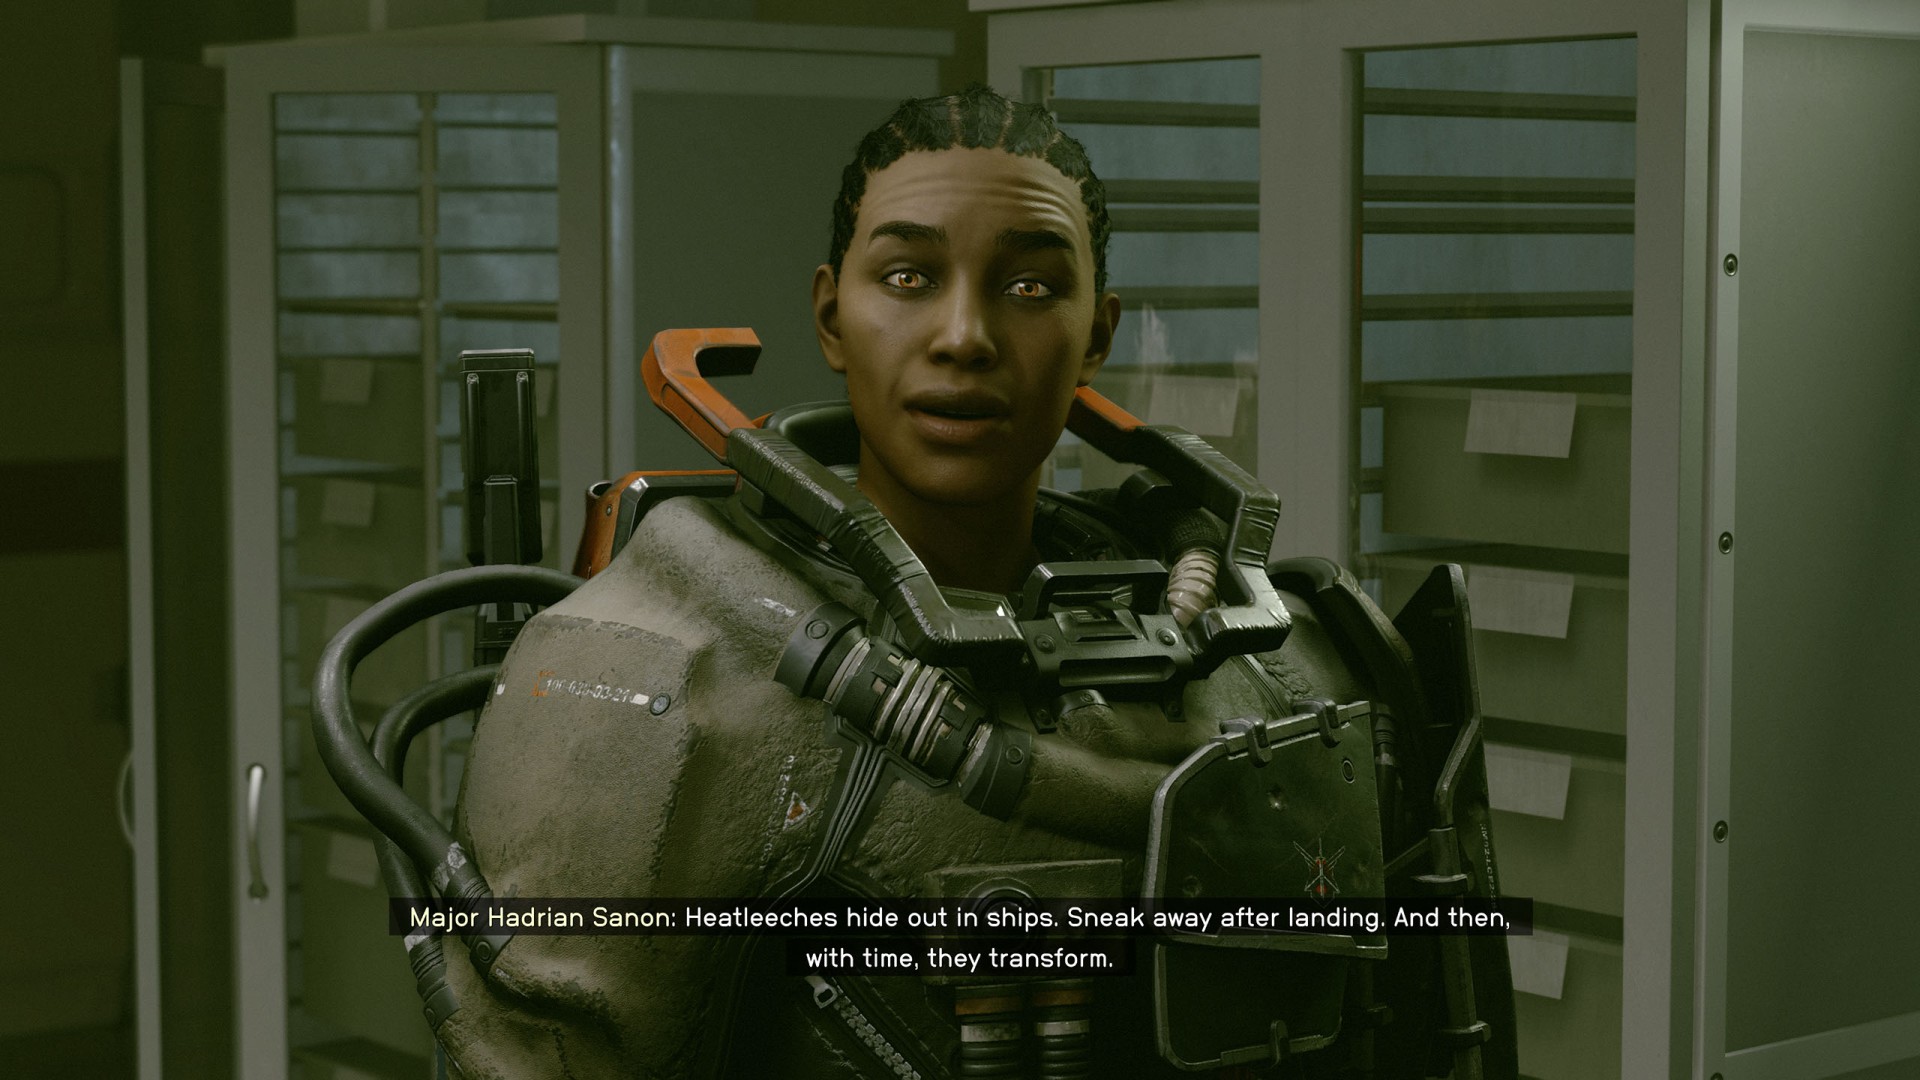
Hadrian says she has a plan for dealing with the Terrormorphs. I should follow her to find out more.
This mission starts automatically after you and Kaiser return to Red Devils HQ, which happens at the end of the "War Relics" mission.
Hadrian says she has a plan for dealing with the Terrormorphs. I should follow her to find out more.
Follow Hadrian to the lower level and talk to her. She will brief you on two ways to get rid of the Terrormorphs and tell you what your next moves should be.
You may want to replenish your supplies, buy a new gear, etc. before continuing on your journey.
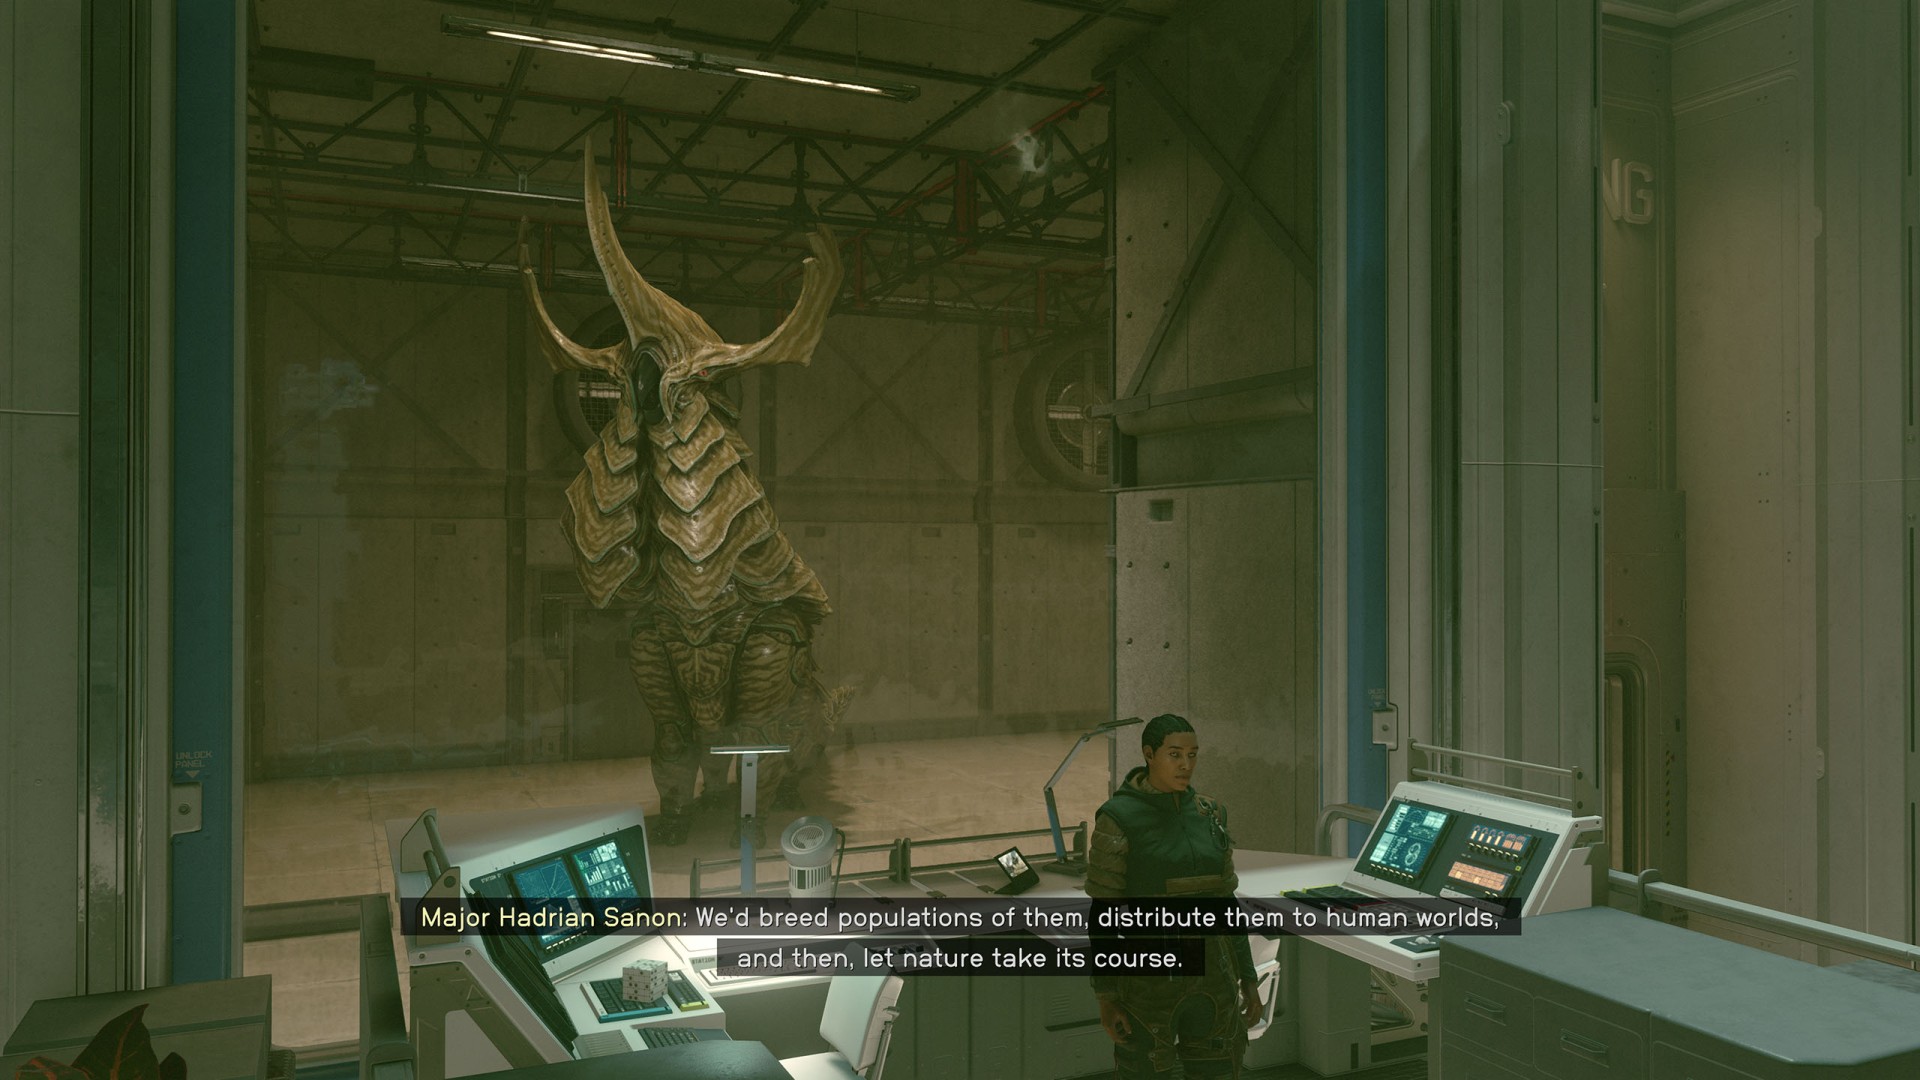
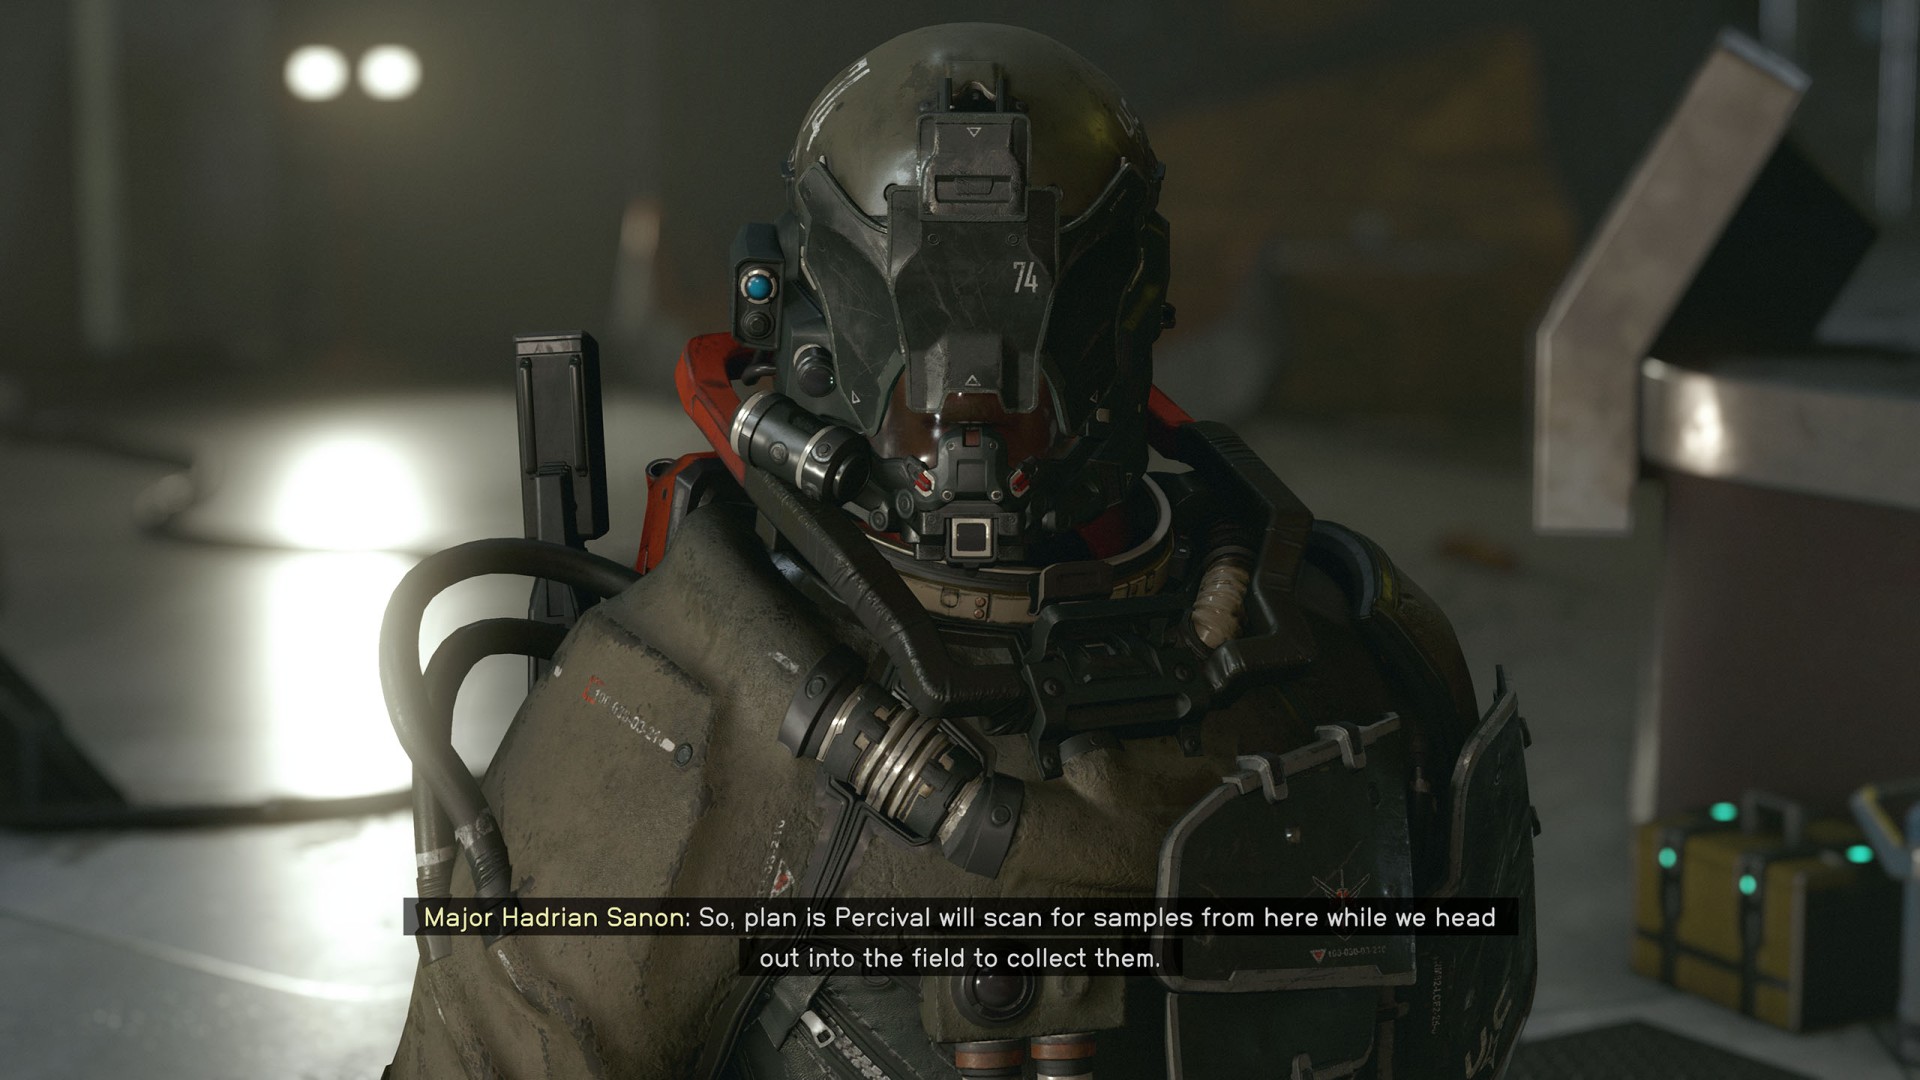
The plan is to remove the Terrormorphs from human worlds - by either bringing back their natural predator or releasing a microbe to deal with them. But first, we'll need some raw materials. And the only place to collect those? Londinion. I'm to speak to Commander Hatoum on the only base on the planet.
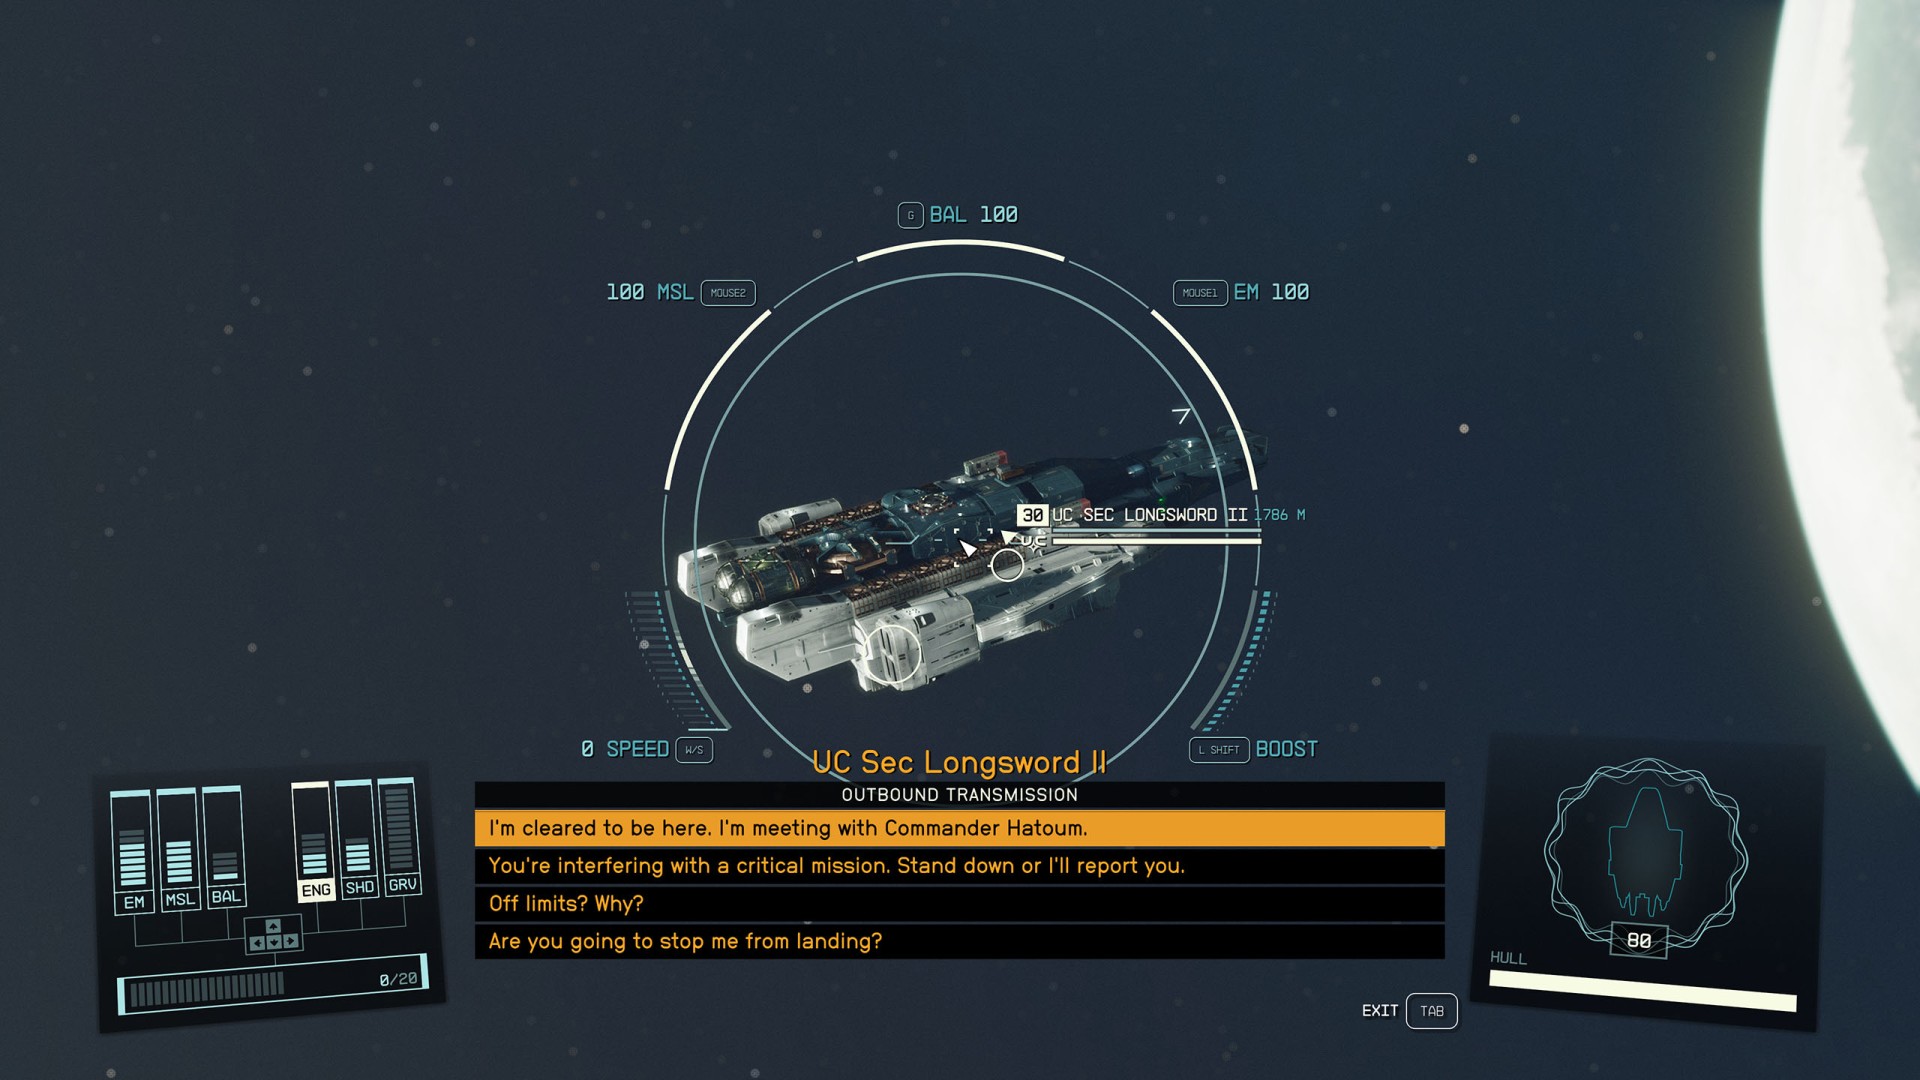
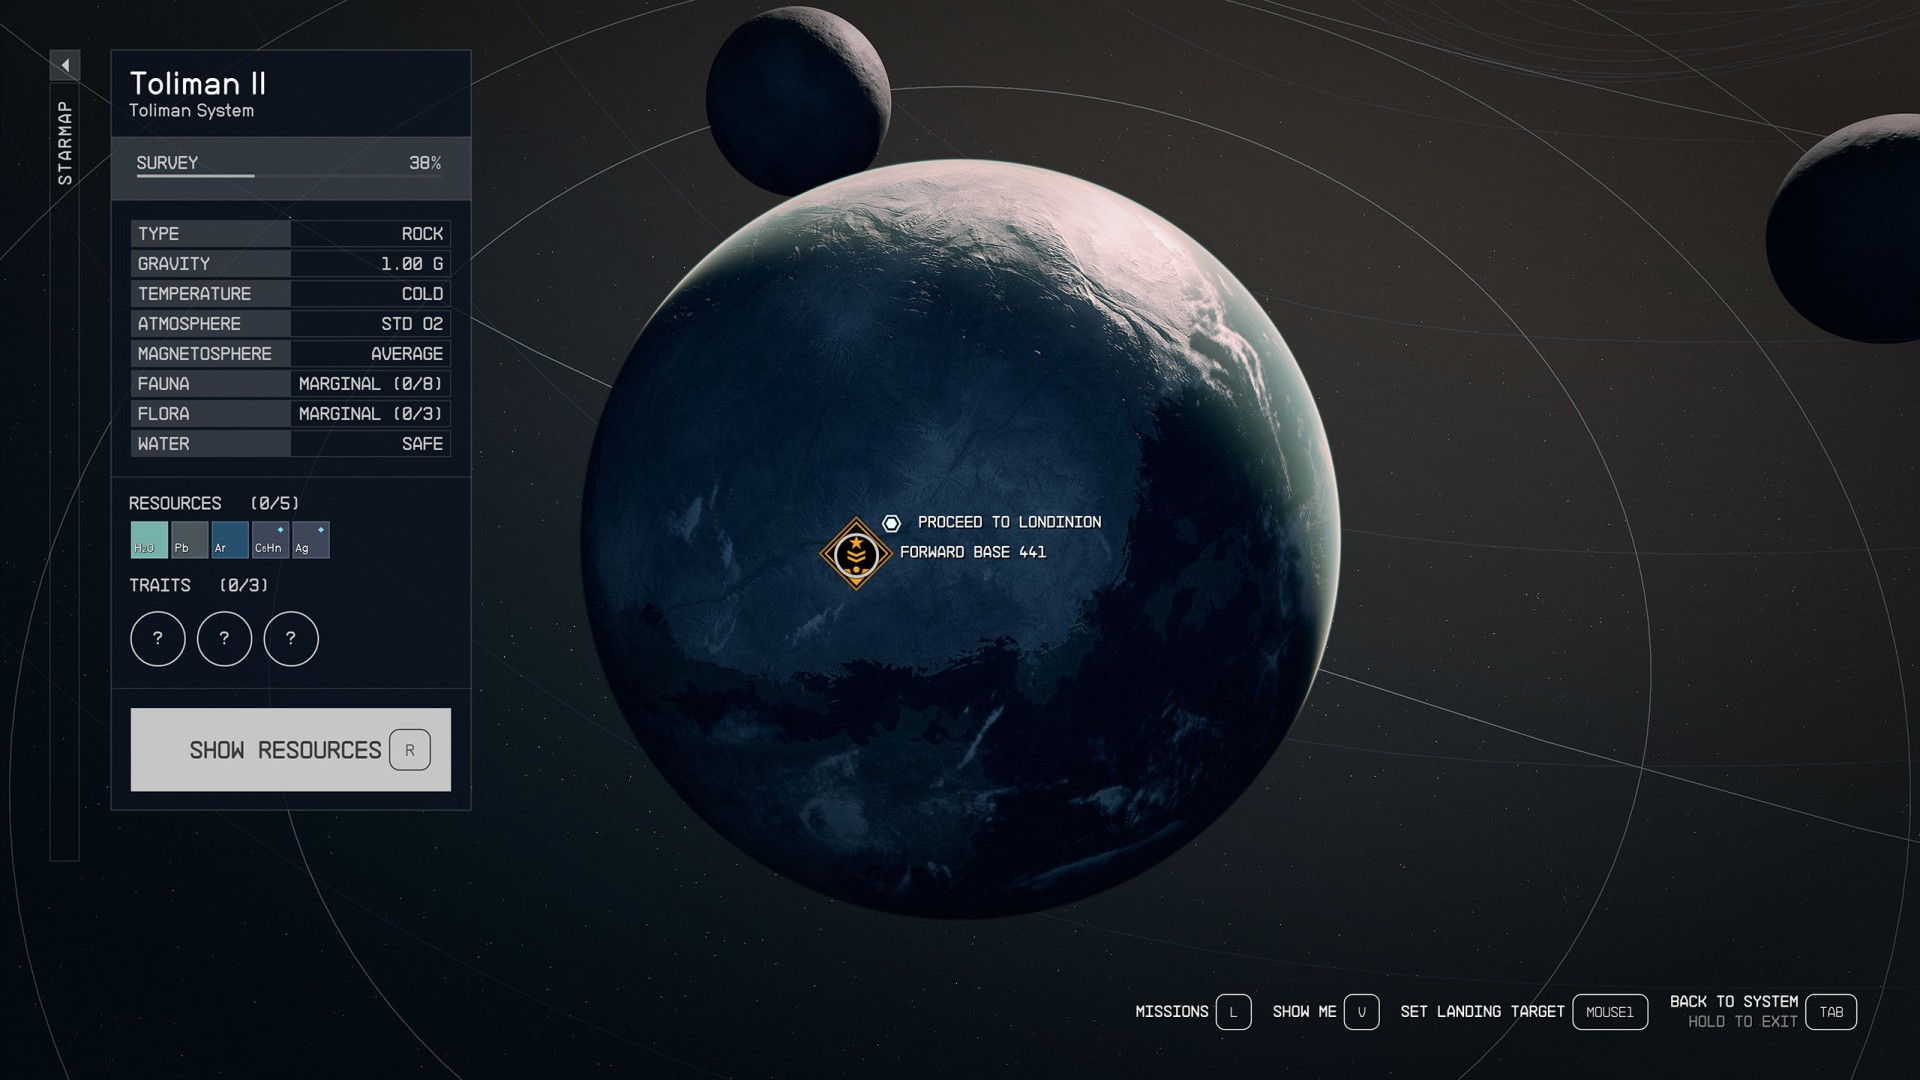
Travel to the Toliman System > Toliman II. When you reach orbit you will be hailed by a UC ship. Tell them the purpose of your visit and you will be given permission to land.
Land at the Forward Base 441.
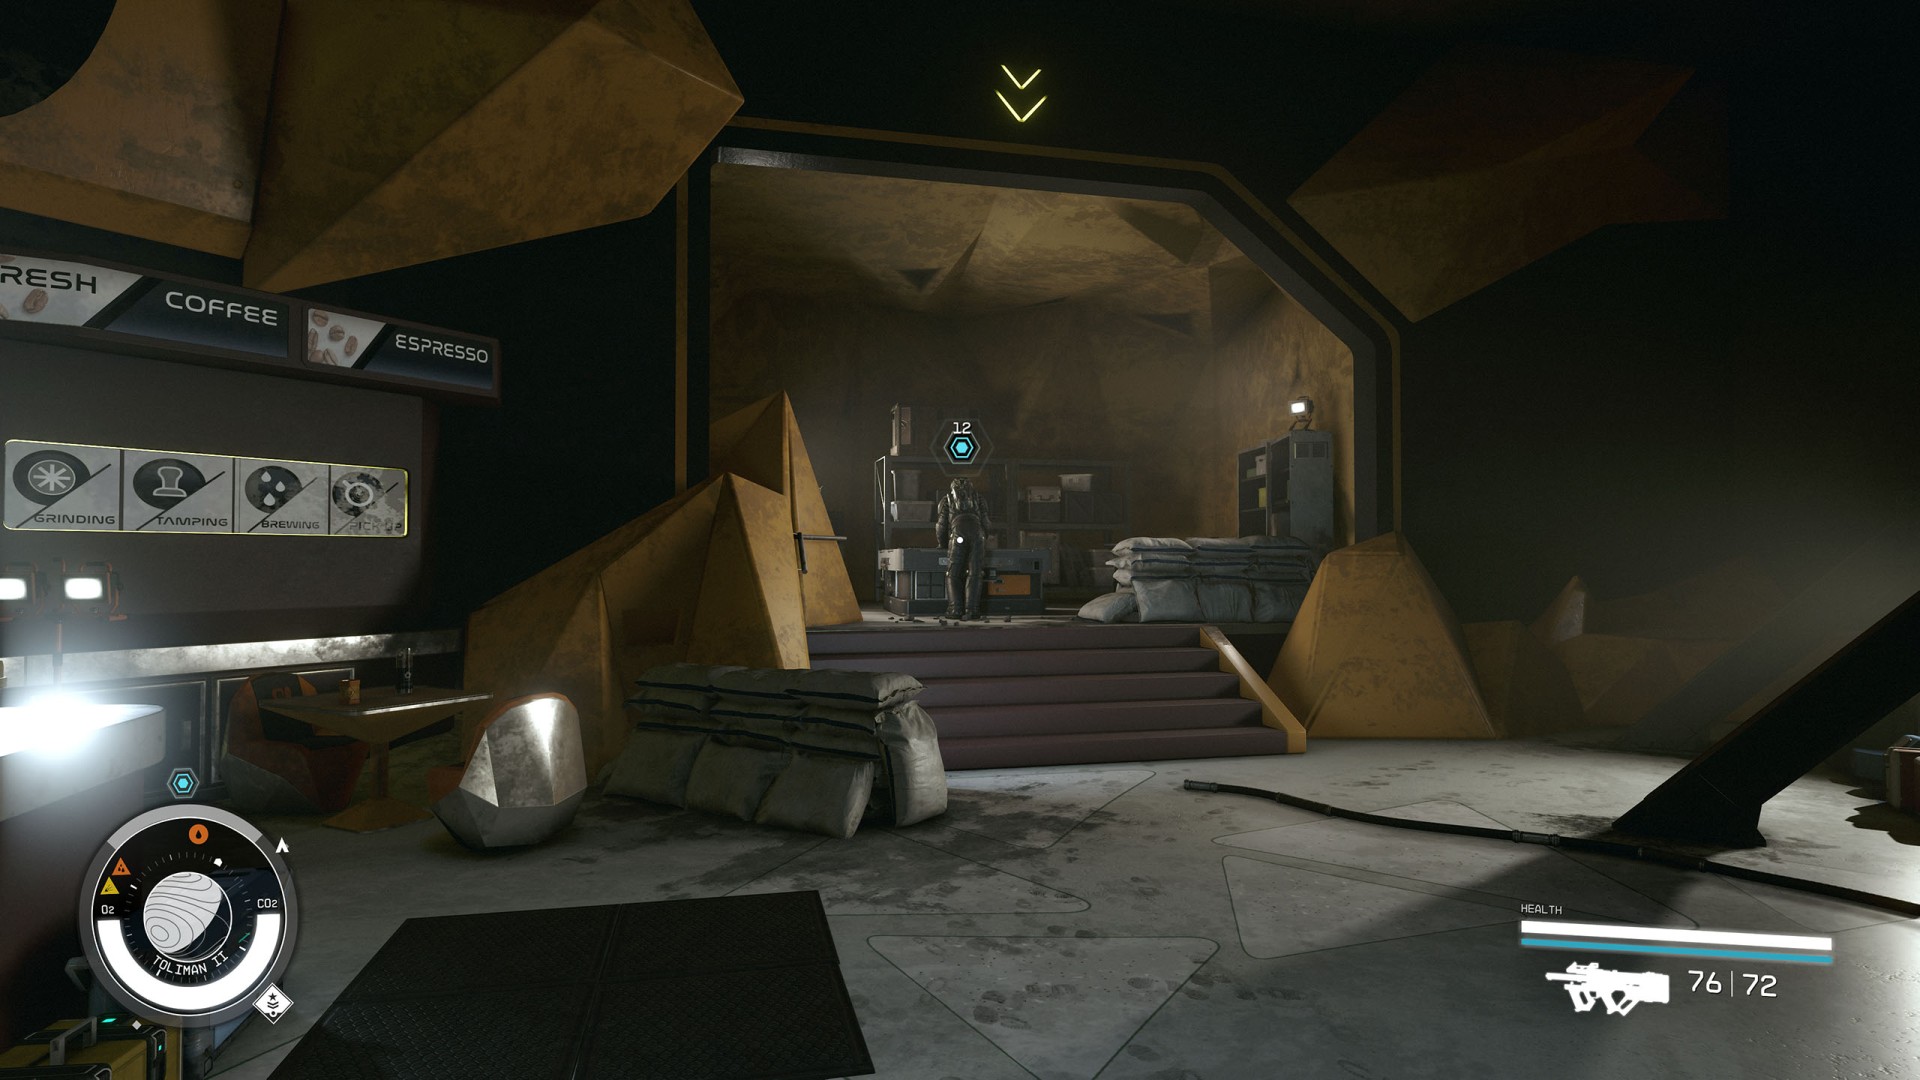
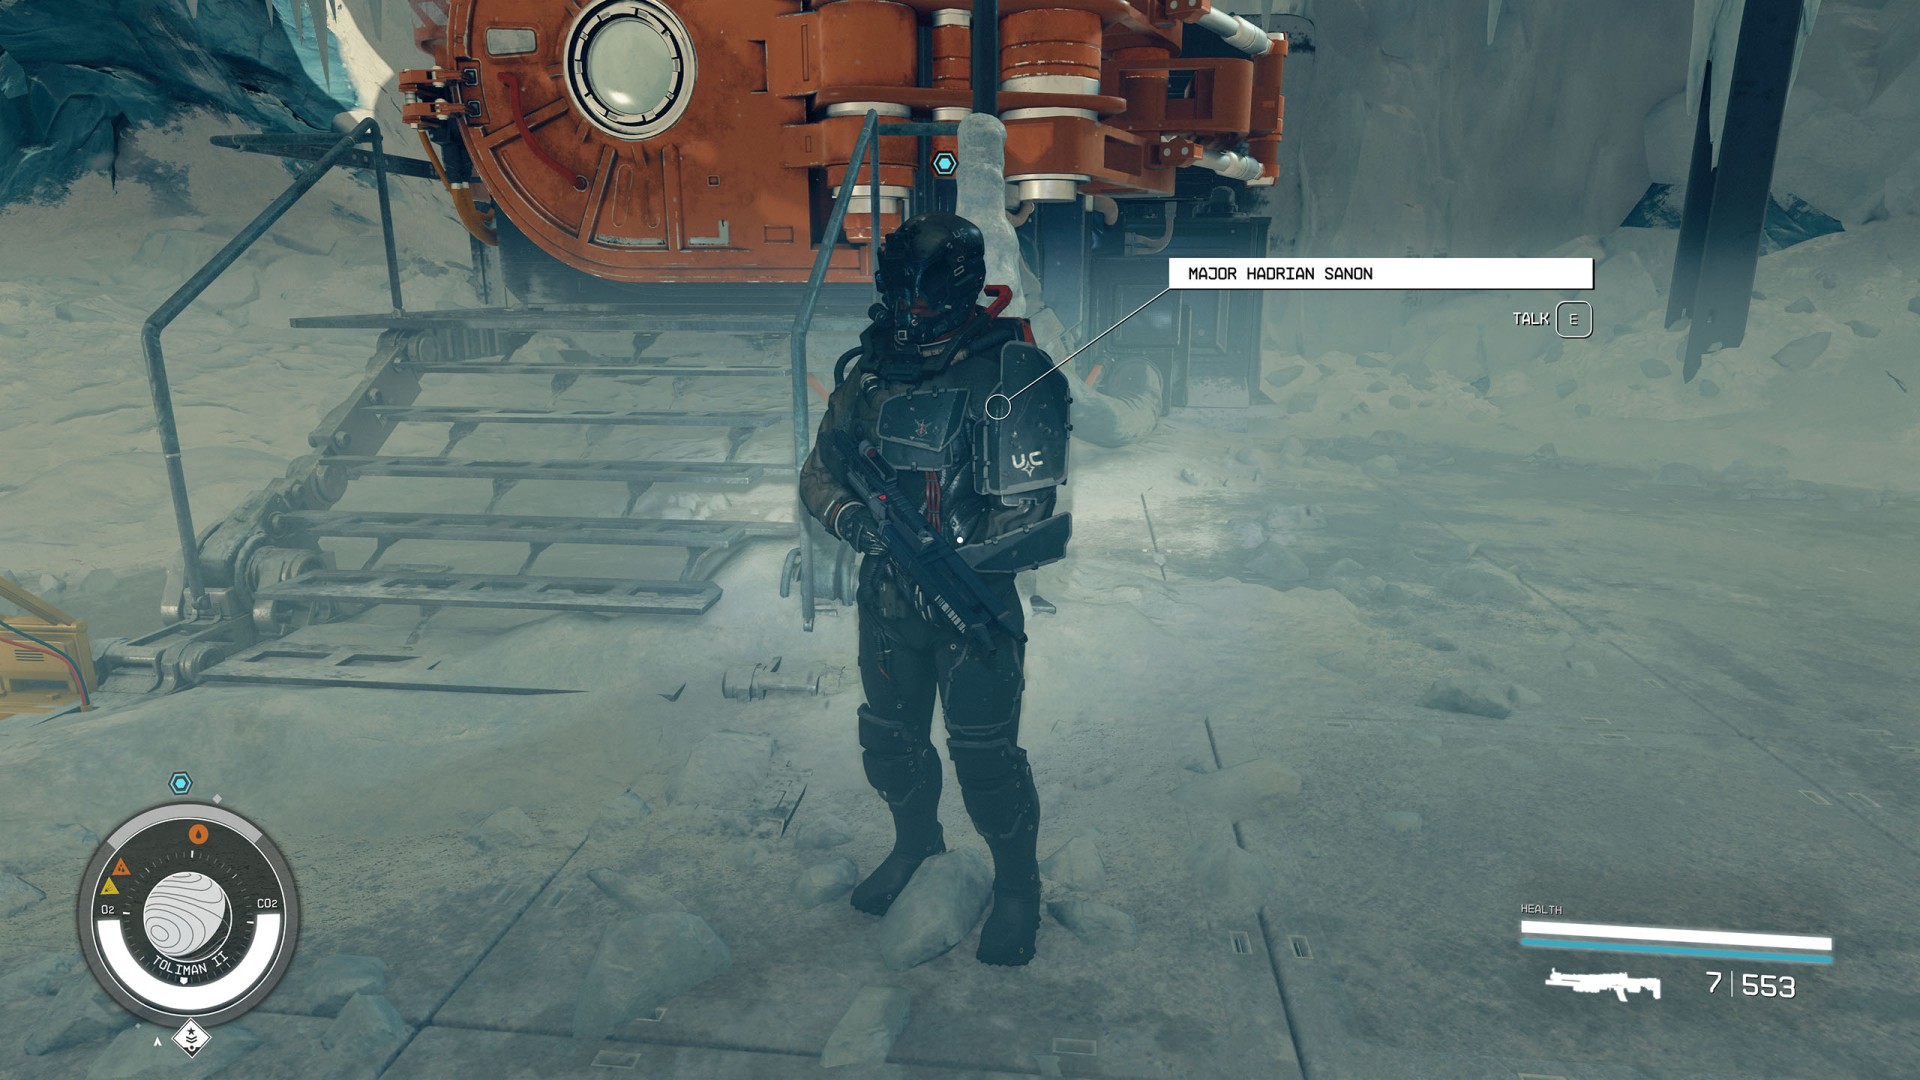
After landing, head to one of the base's buildings where Commander Hatoum will be waiting for you. Listen to what she has to say to you.
Commander Hatoum's finished her briefing. We're going to be on our own out there. Hadrian has a couple remaining things she wants to discuss.
Then listen further to what Hadrian has to tell you about what you need to do.
Briefings complete. I can either head to the armory to collect my gear or speak to Hadrian about moving out.
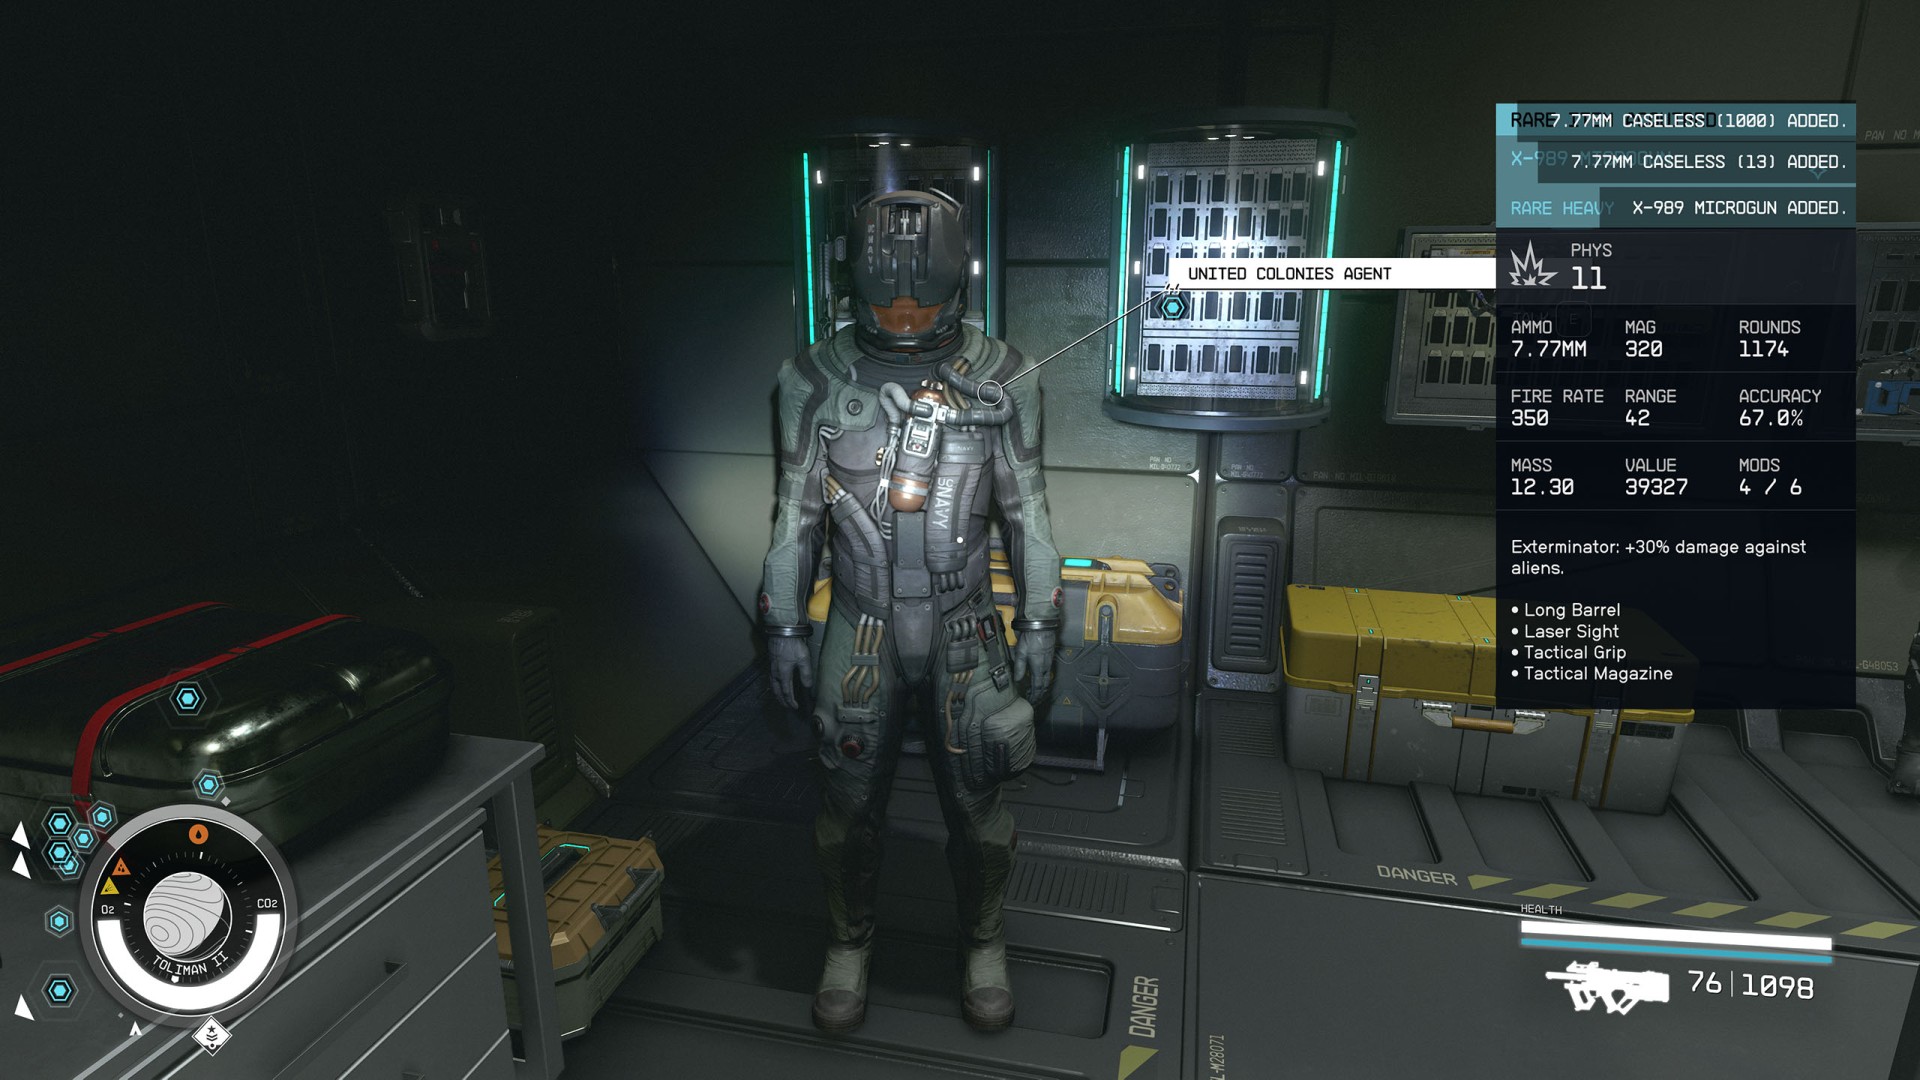
In a nearby room you will find a lot of equipment that you may need.
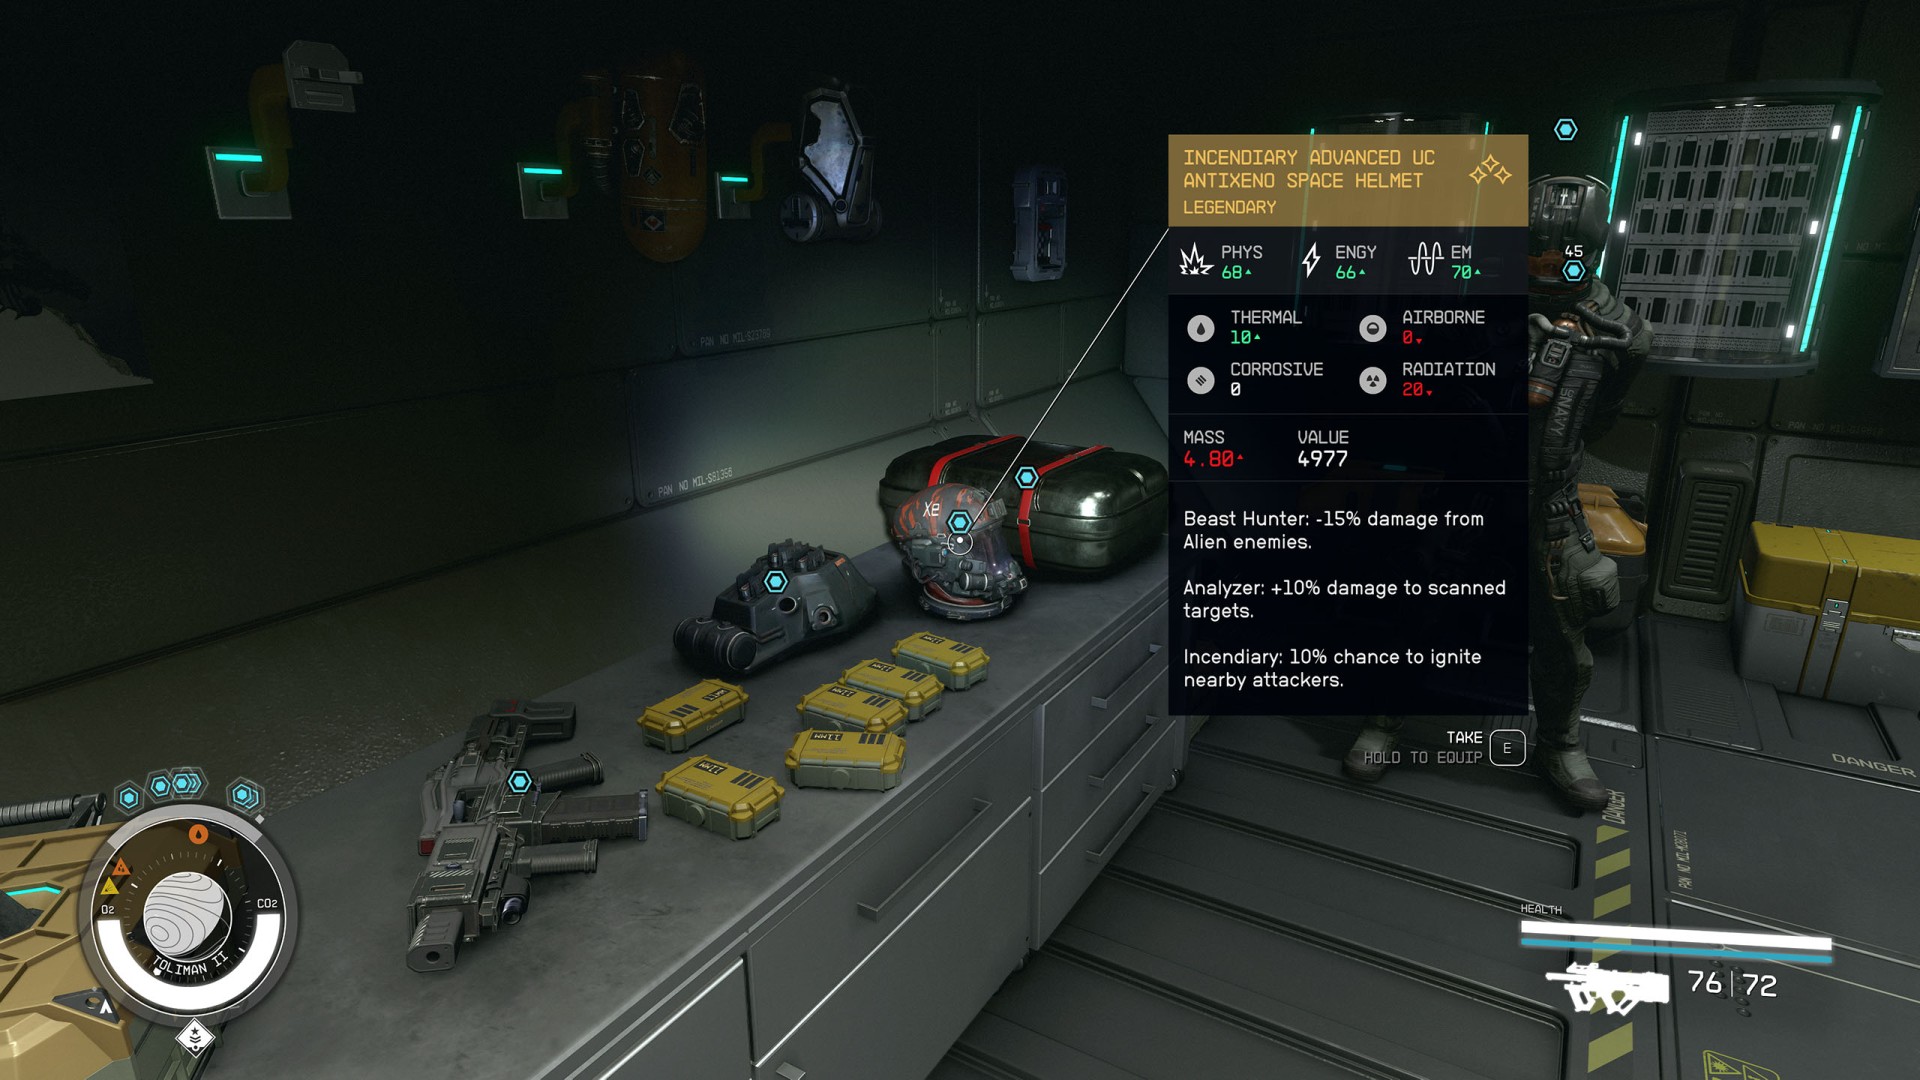
Also talk to the agent you'll encounter there.
All gear collected. Time to check in with Hadrian.
When you are ready to leave then inform Hadrian who is waiting at the airlock.
Into Londinion we go.
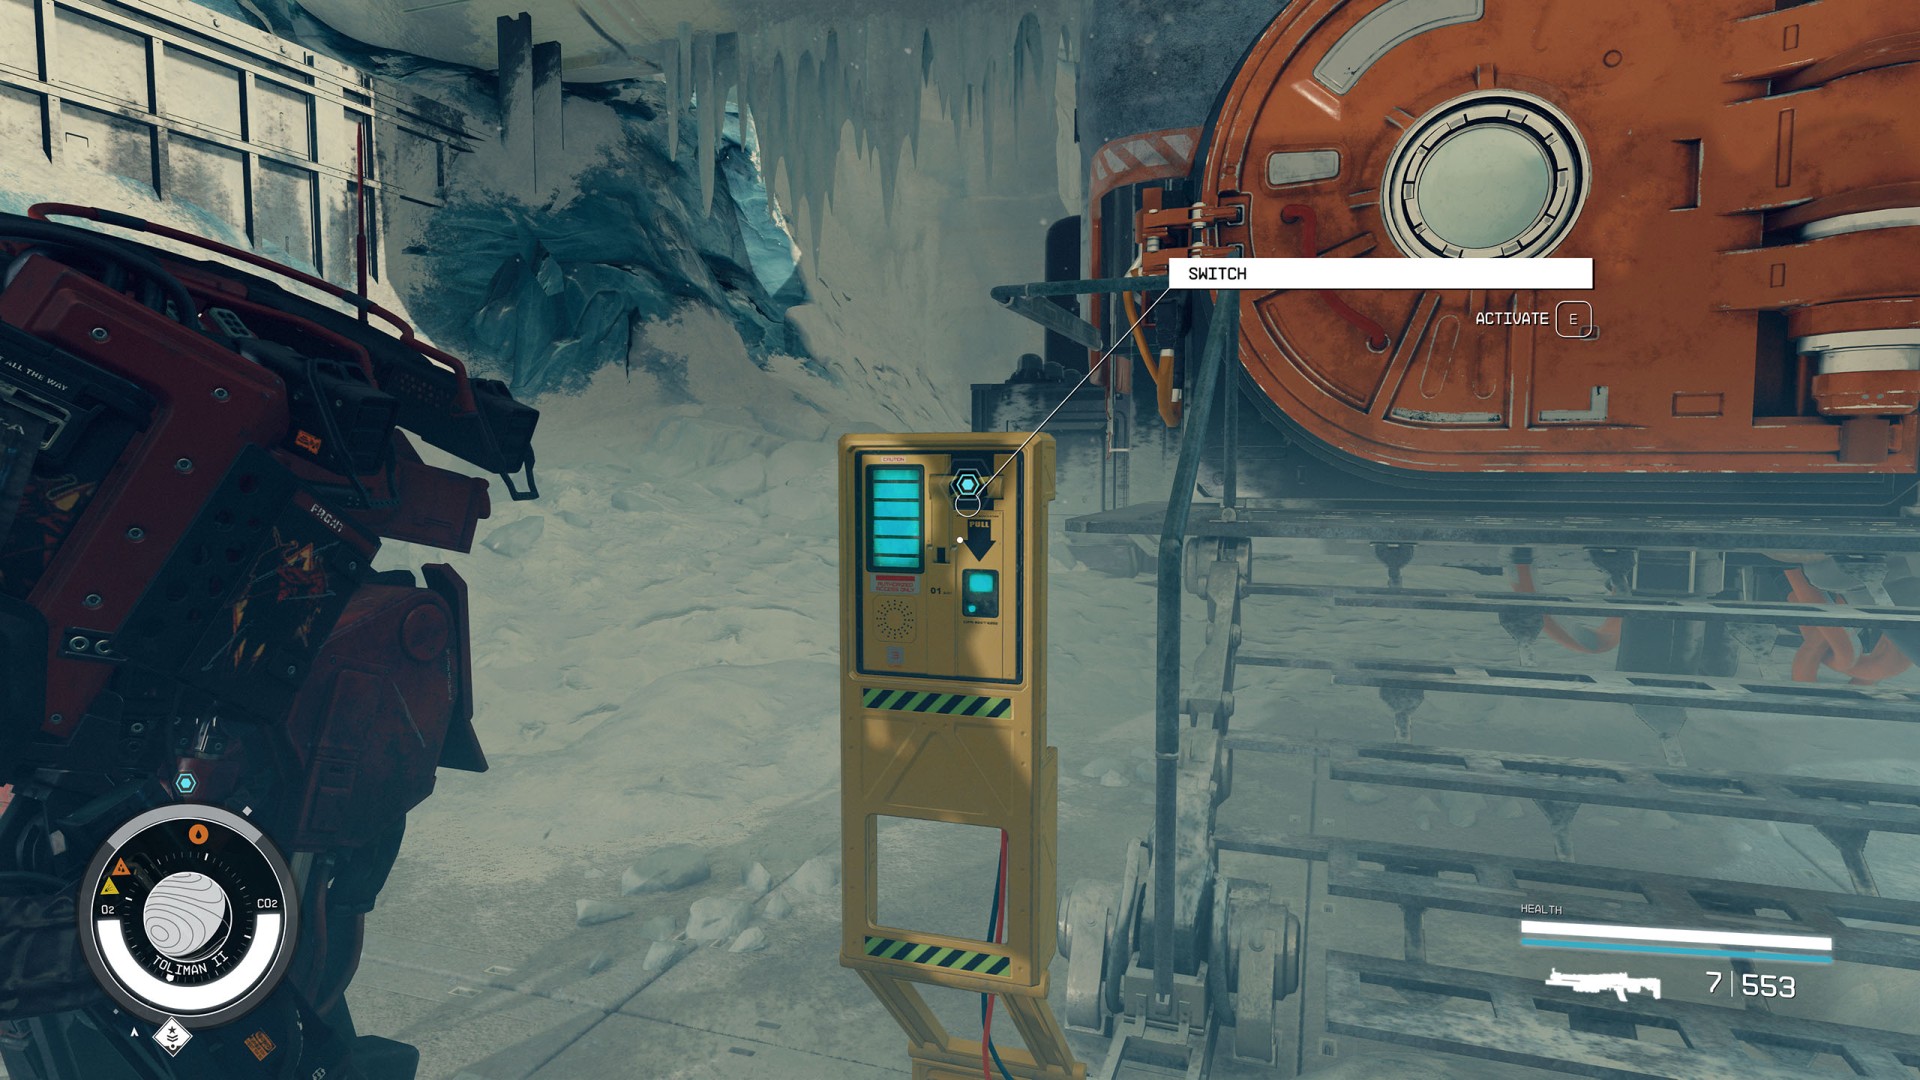
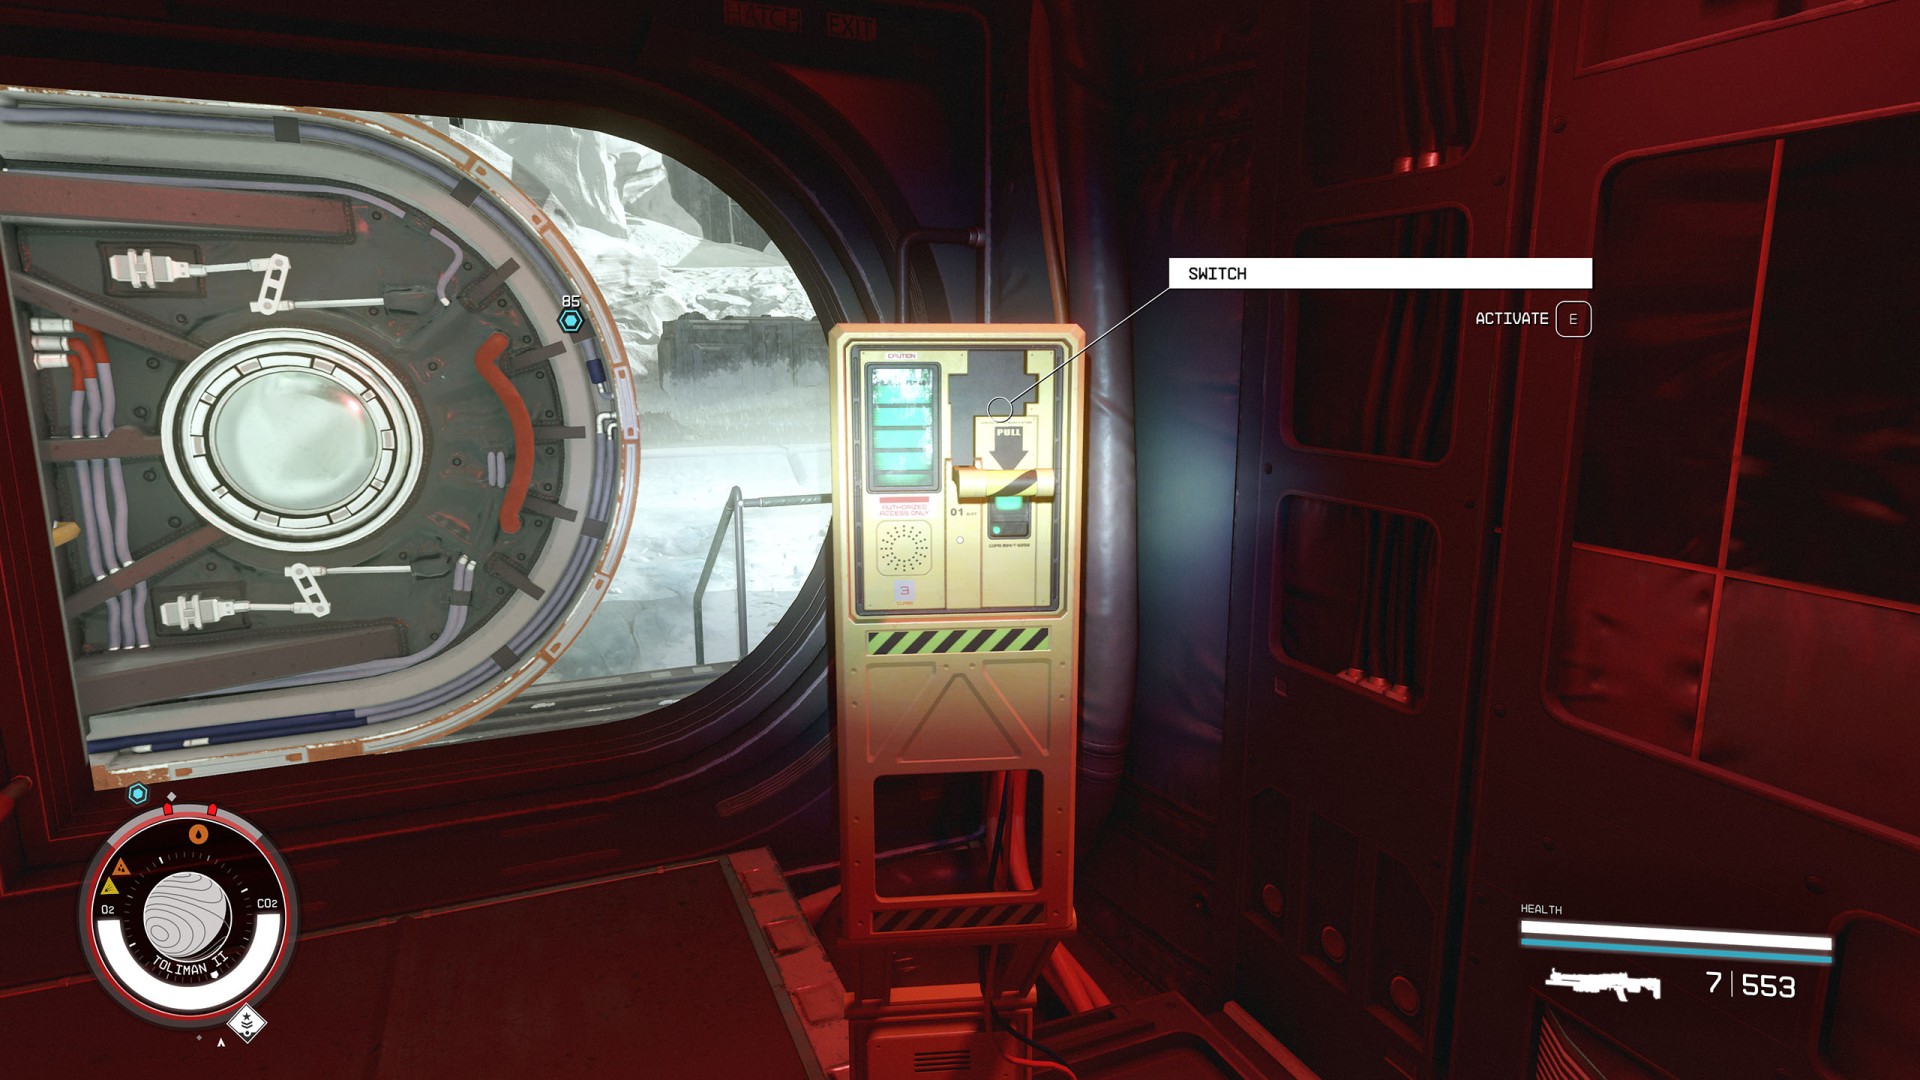
Wait a while for Kaiser to unlock the airlock and then press the switch to open it.
Percival's found us our first materials in a nearby shipping yard. We're heading there now.
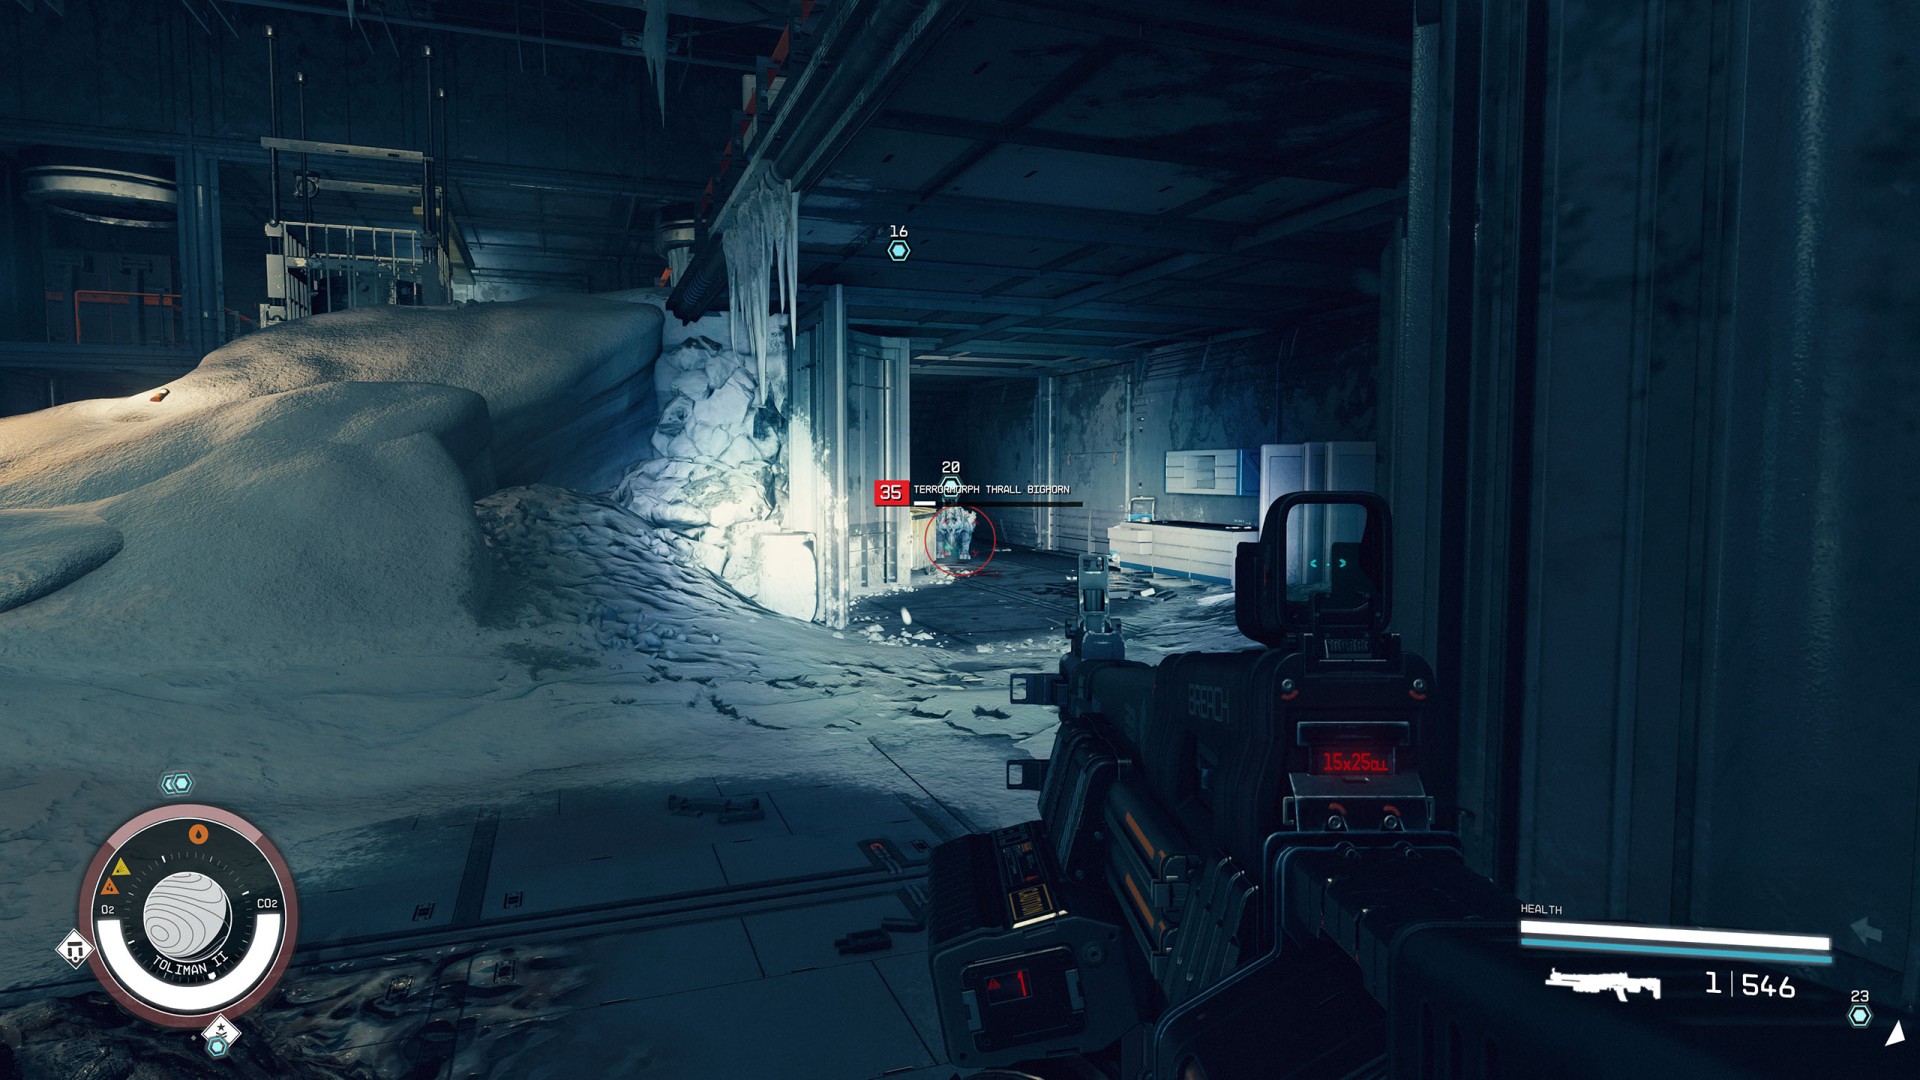
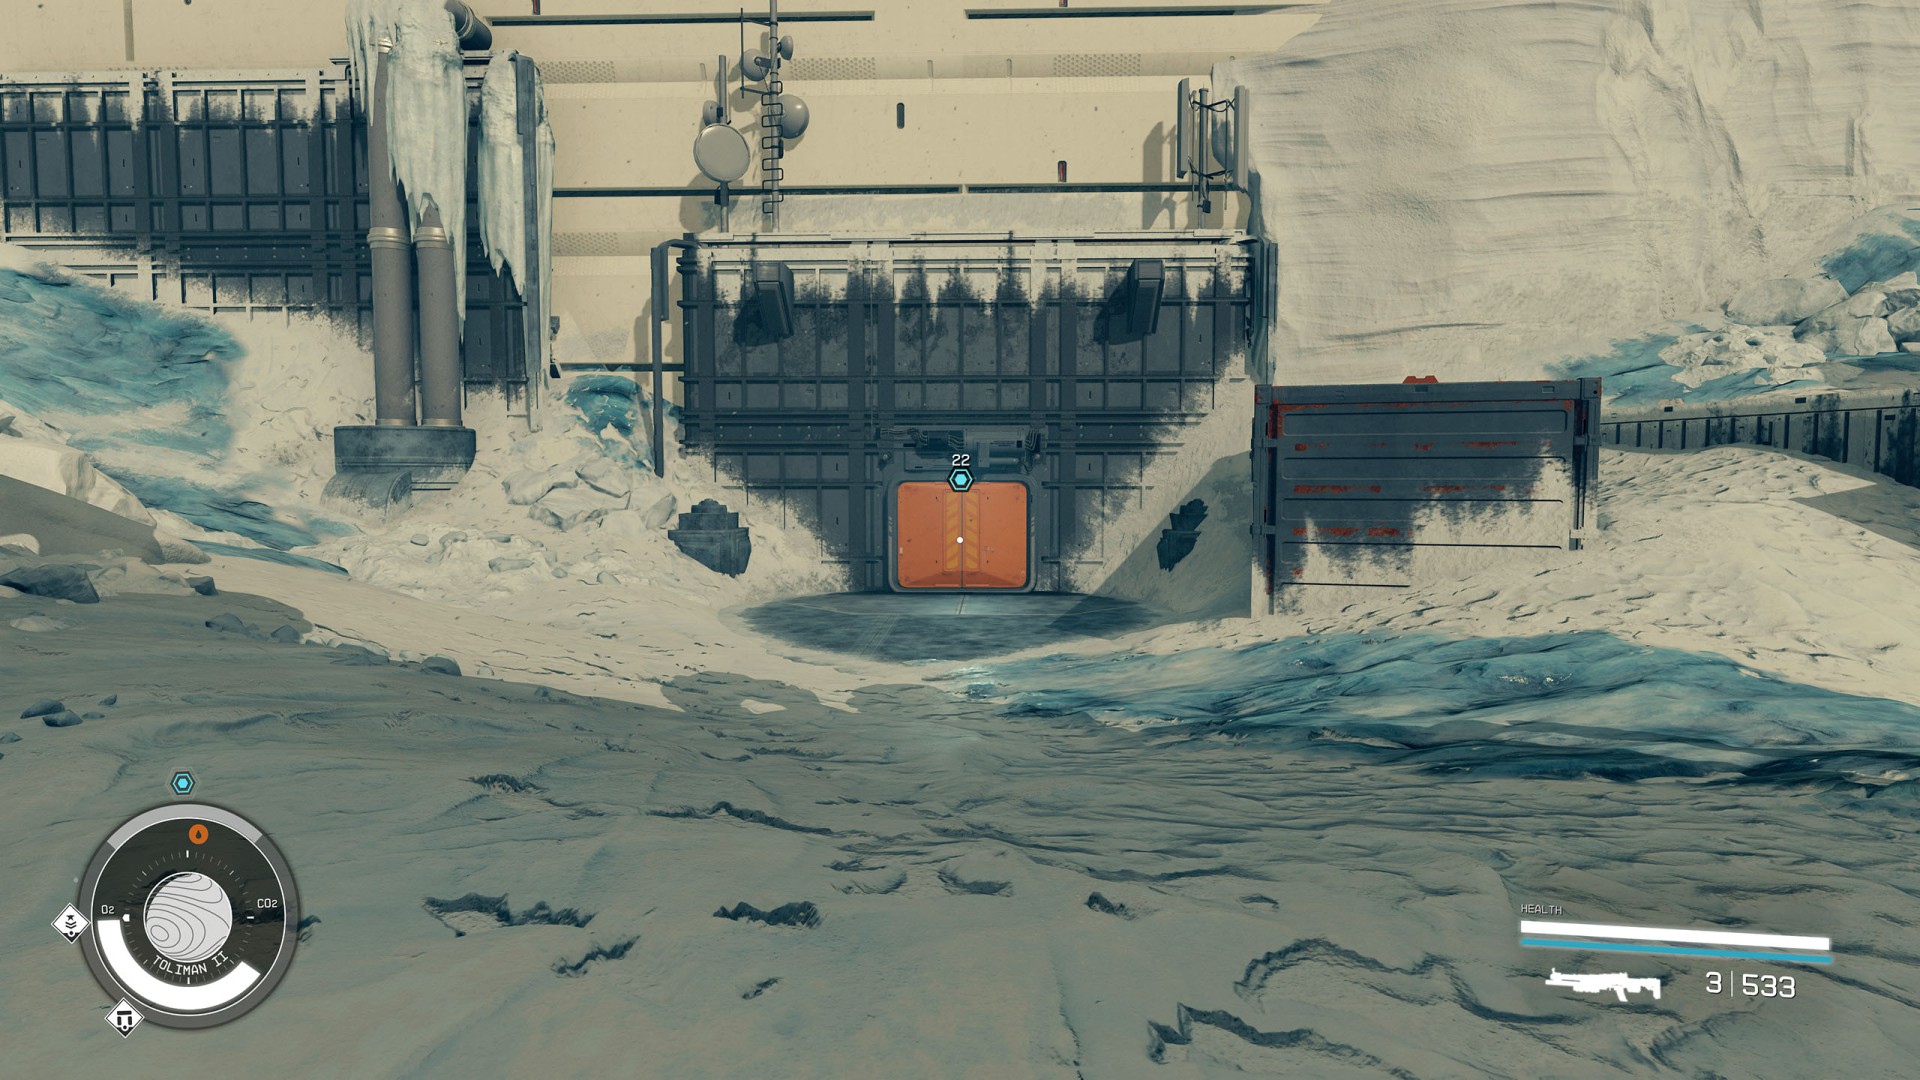
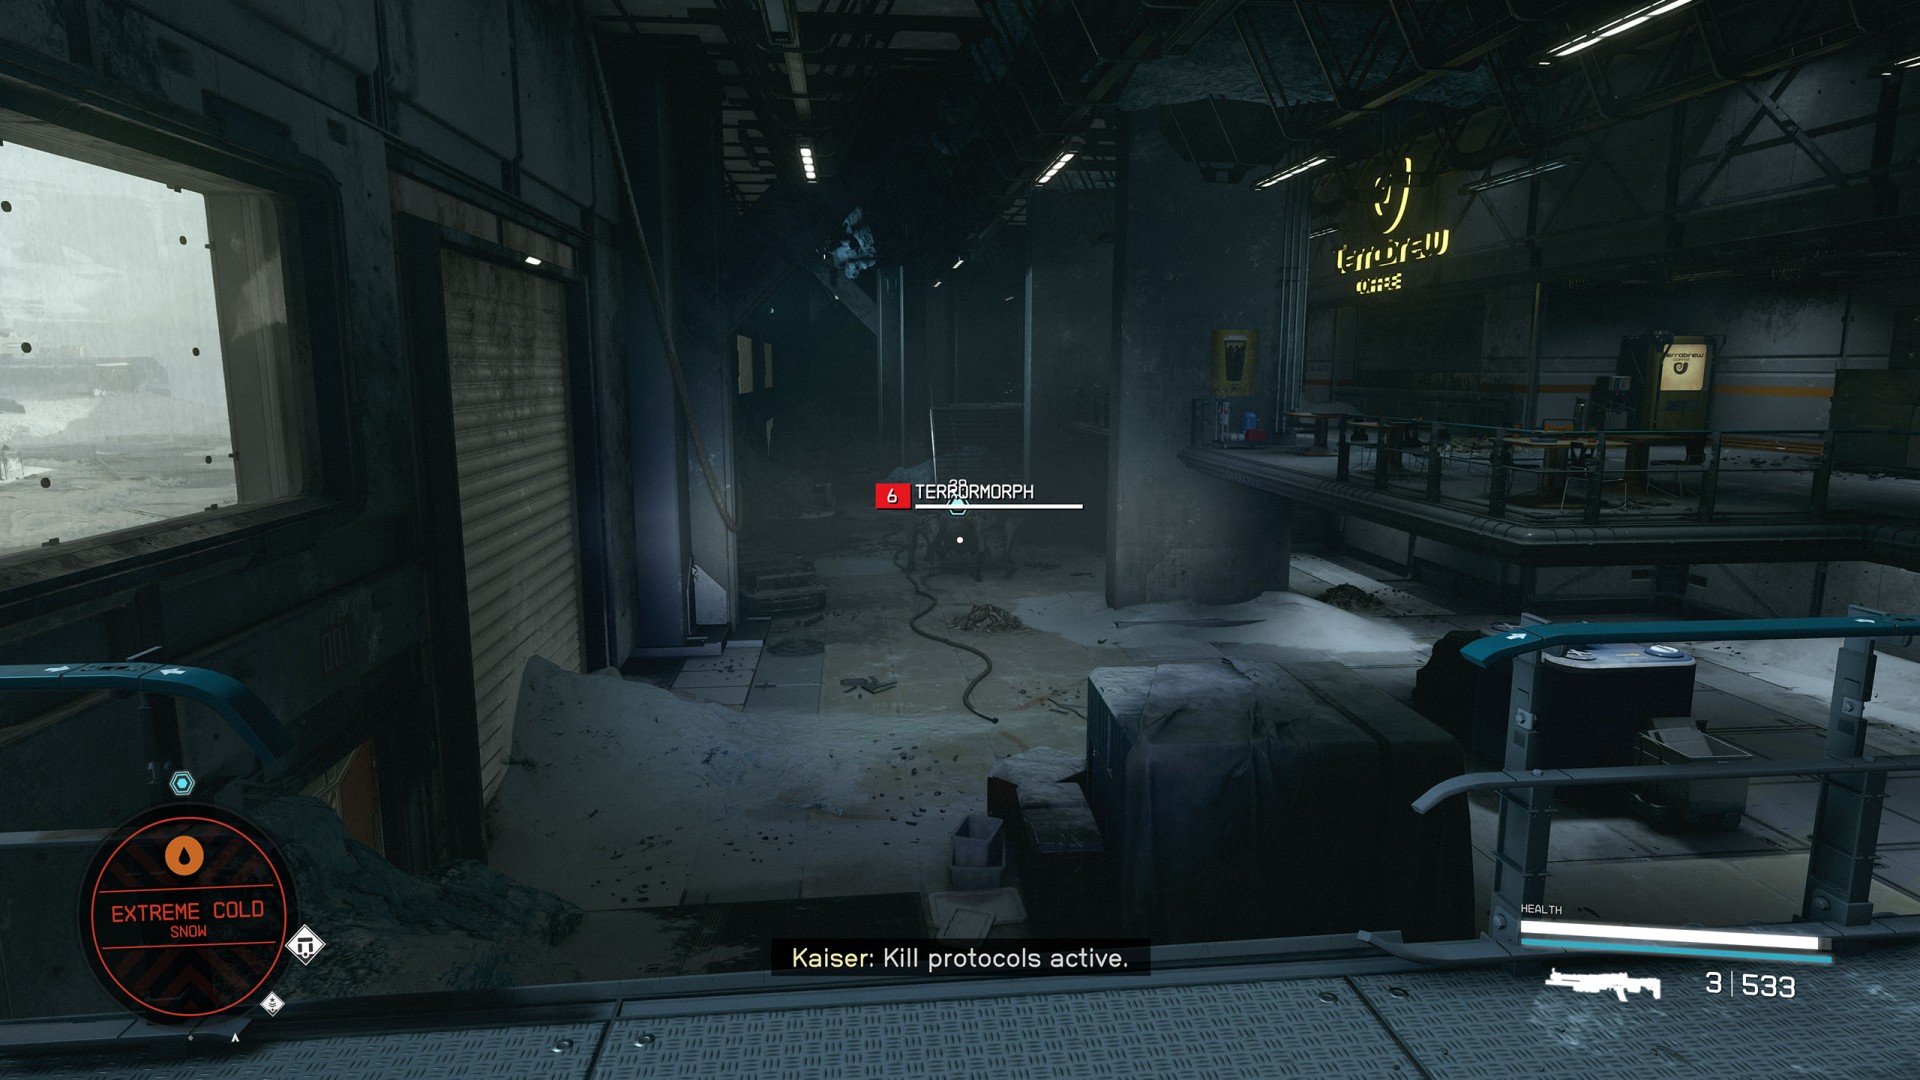
Move forward. Soon you will reach a gate through which you will get to the Abandoned Processing Plant. Be prepared to be attacked by various types of Terrormorphs there.
Our path through the plant's blocked! We need to deal with these creatures!
Kill all Terrormorphs that are located in the processing plant area.
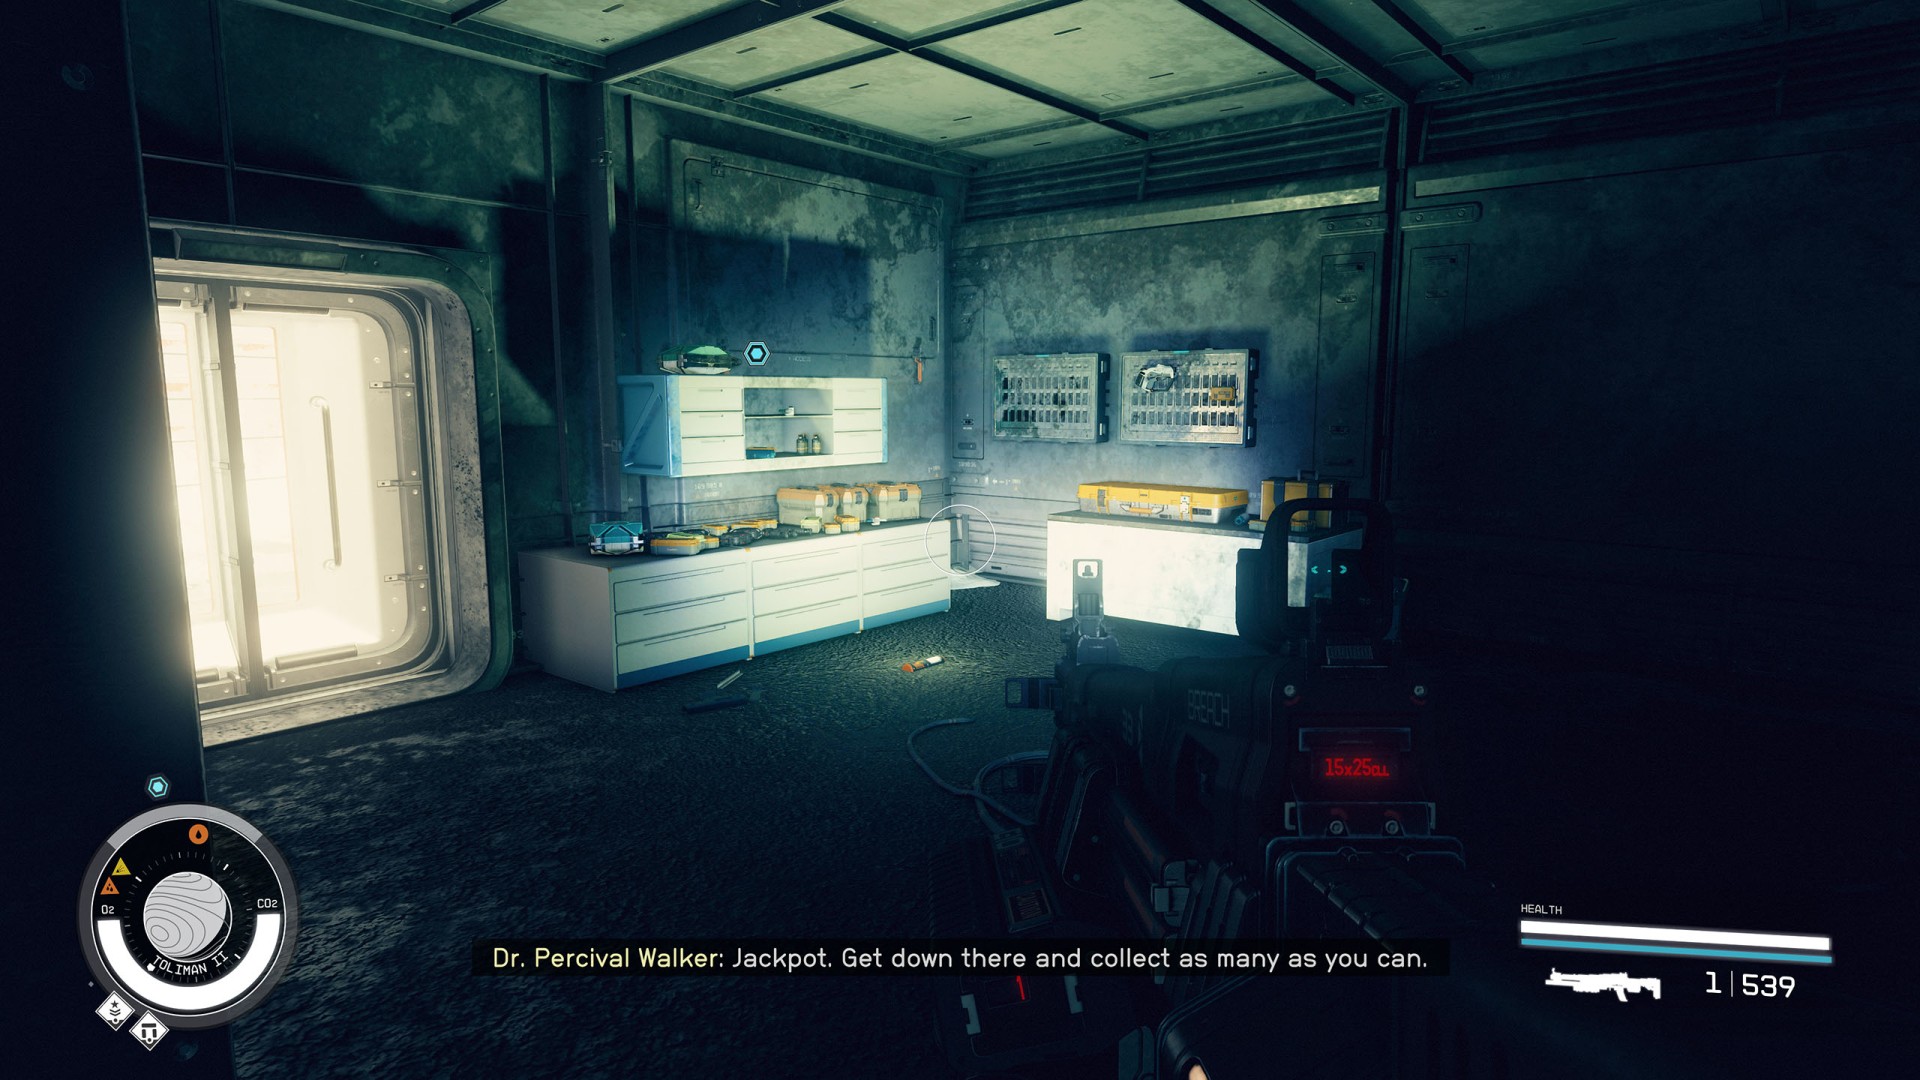
The processing plant's been cleared and it appears there's a field cache in here. We should check it out to recharge.
In one of the rooms you will find a stockpile of ammunition and other equipment, where you can replenish your supplies.
Kaiser's pinpointed the location of the Aceles cells in the shipping yard. Just need to find them, collect them, and not get eaten in the process.
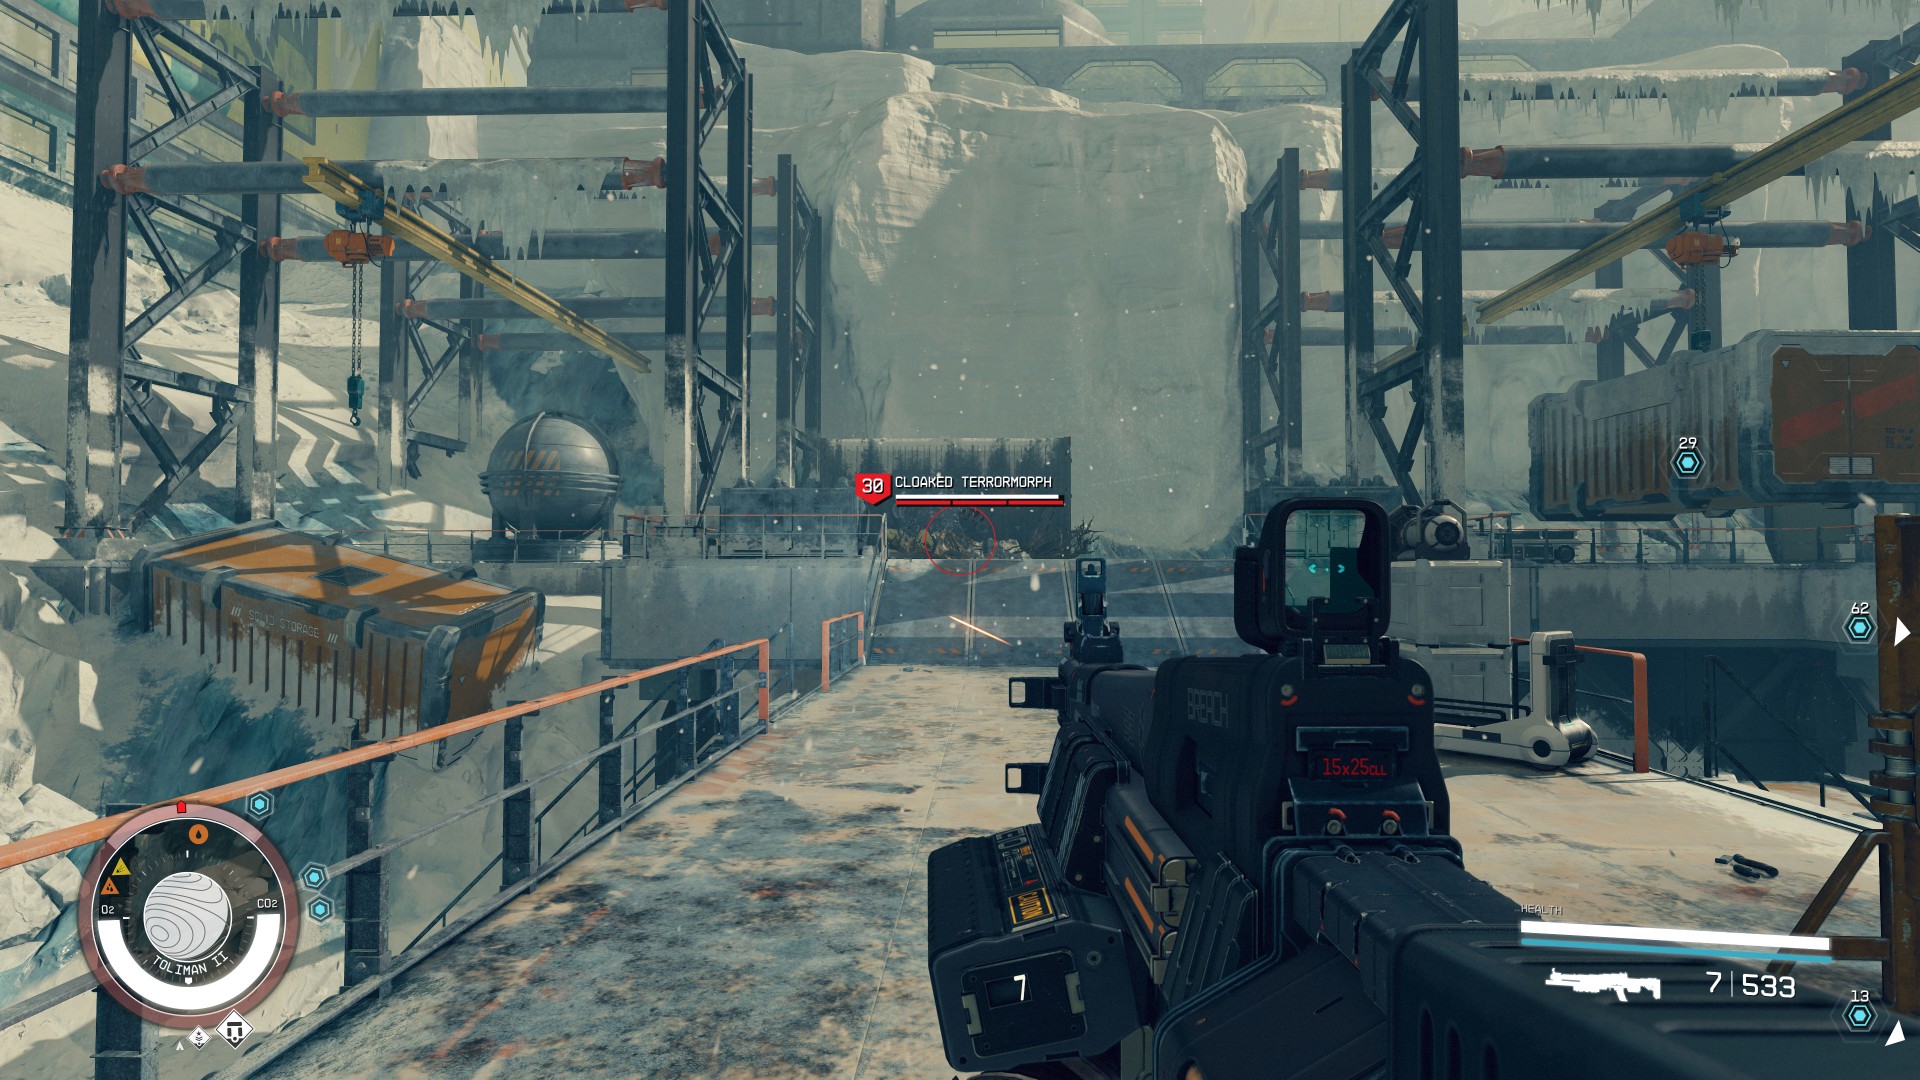
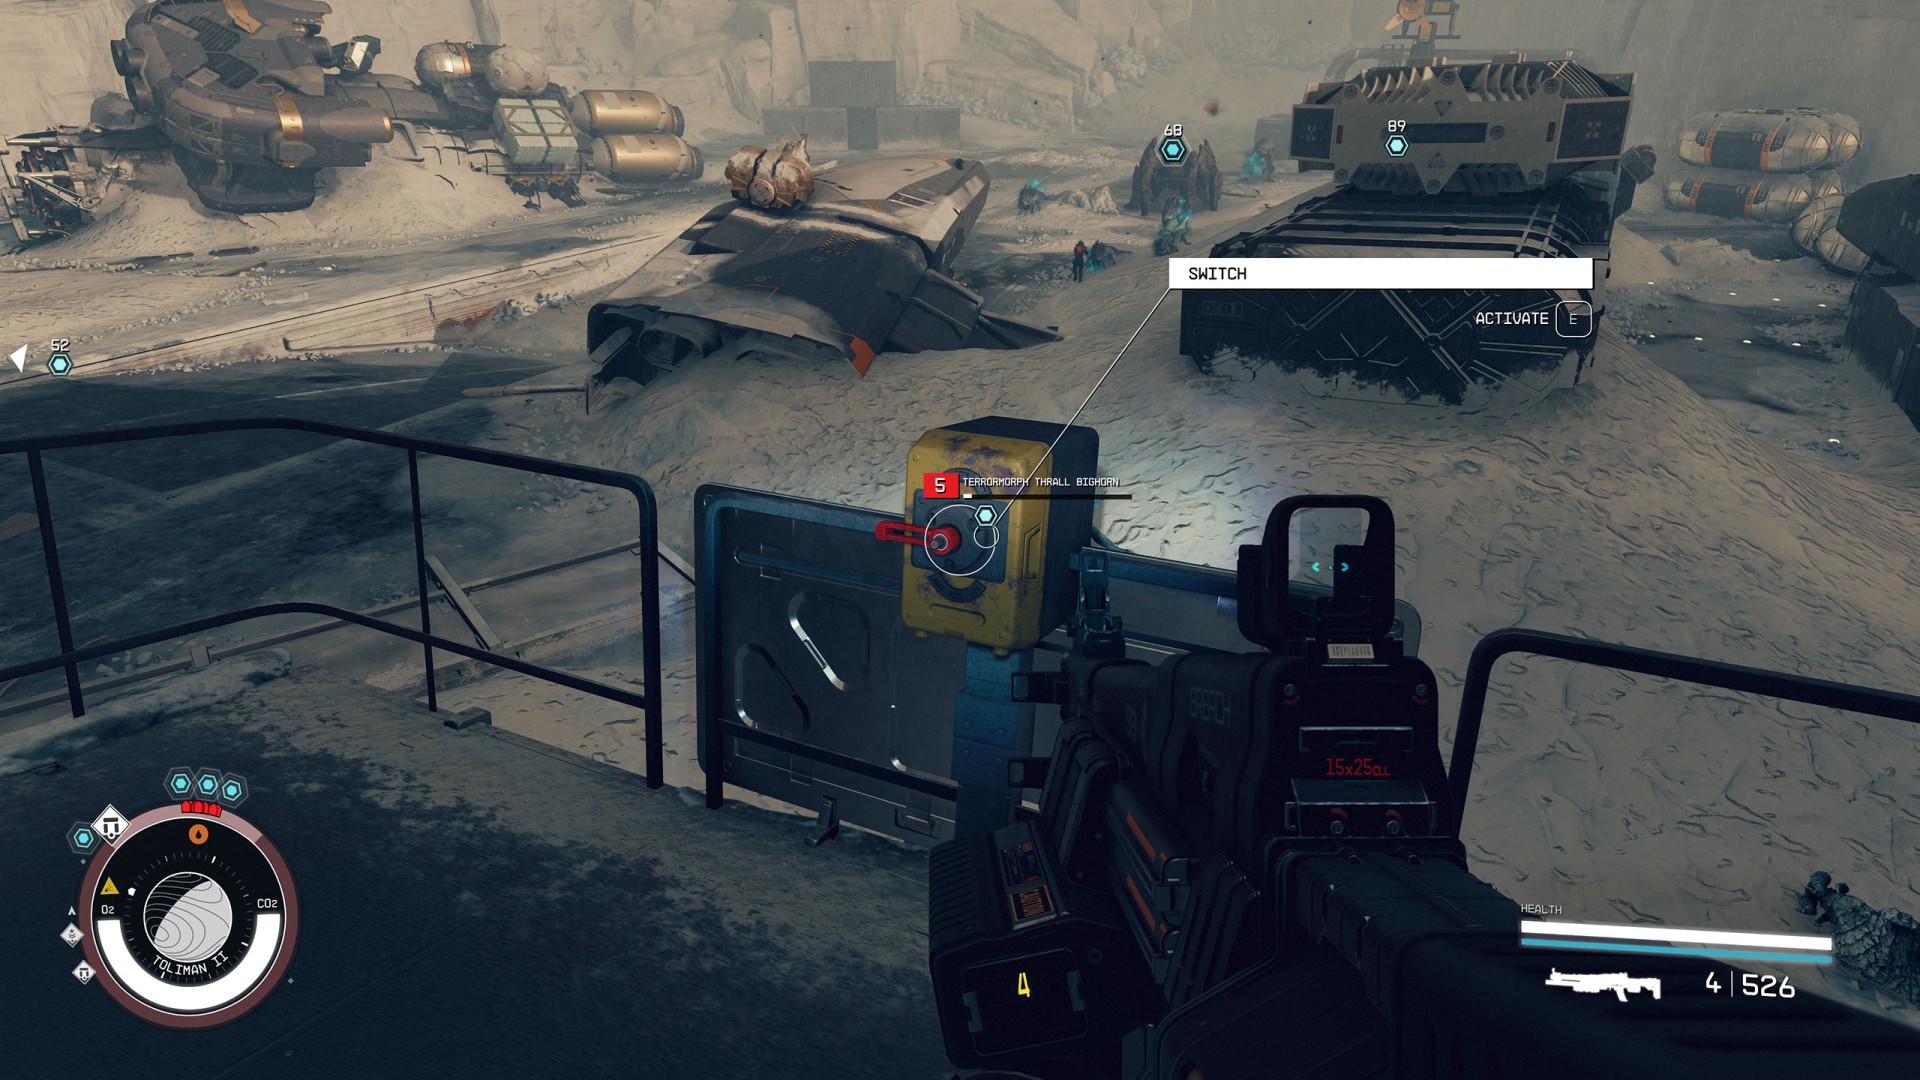
Keep walking until you reach a larger outdoor area with containers. Be prepared that when you get there you will be attacked by two strong Terrormorphs - Cloaked Terrormorph and Albino Terrormorph.
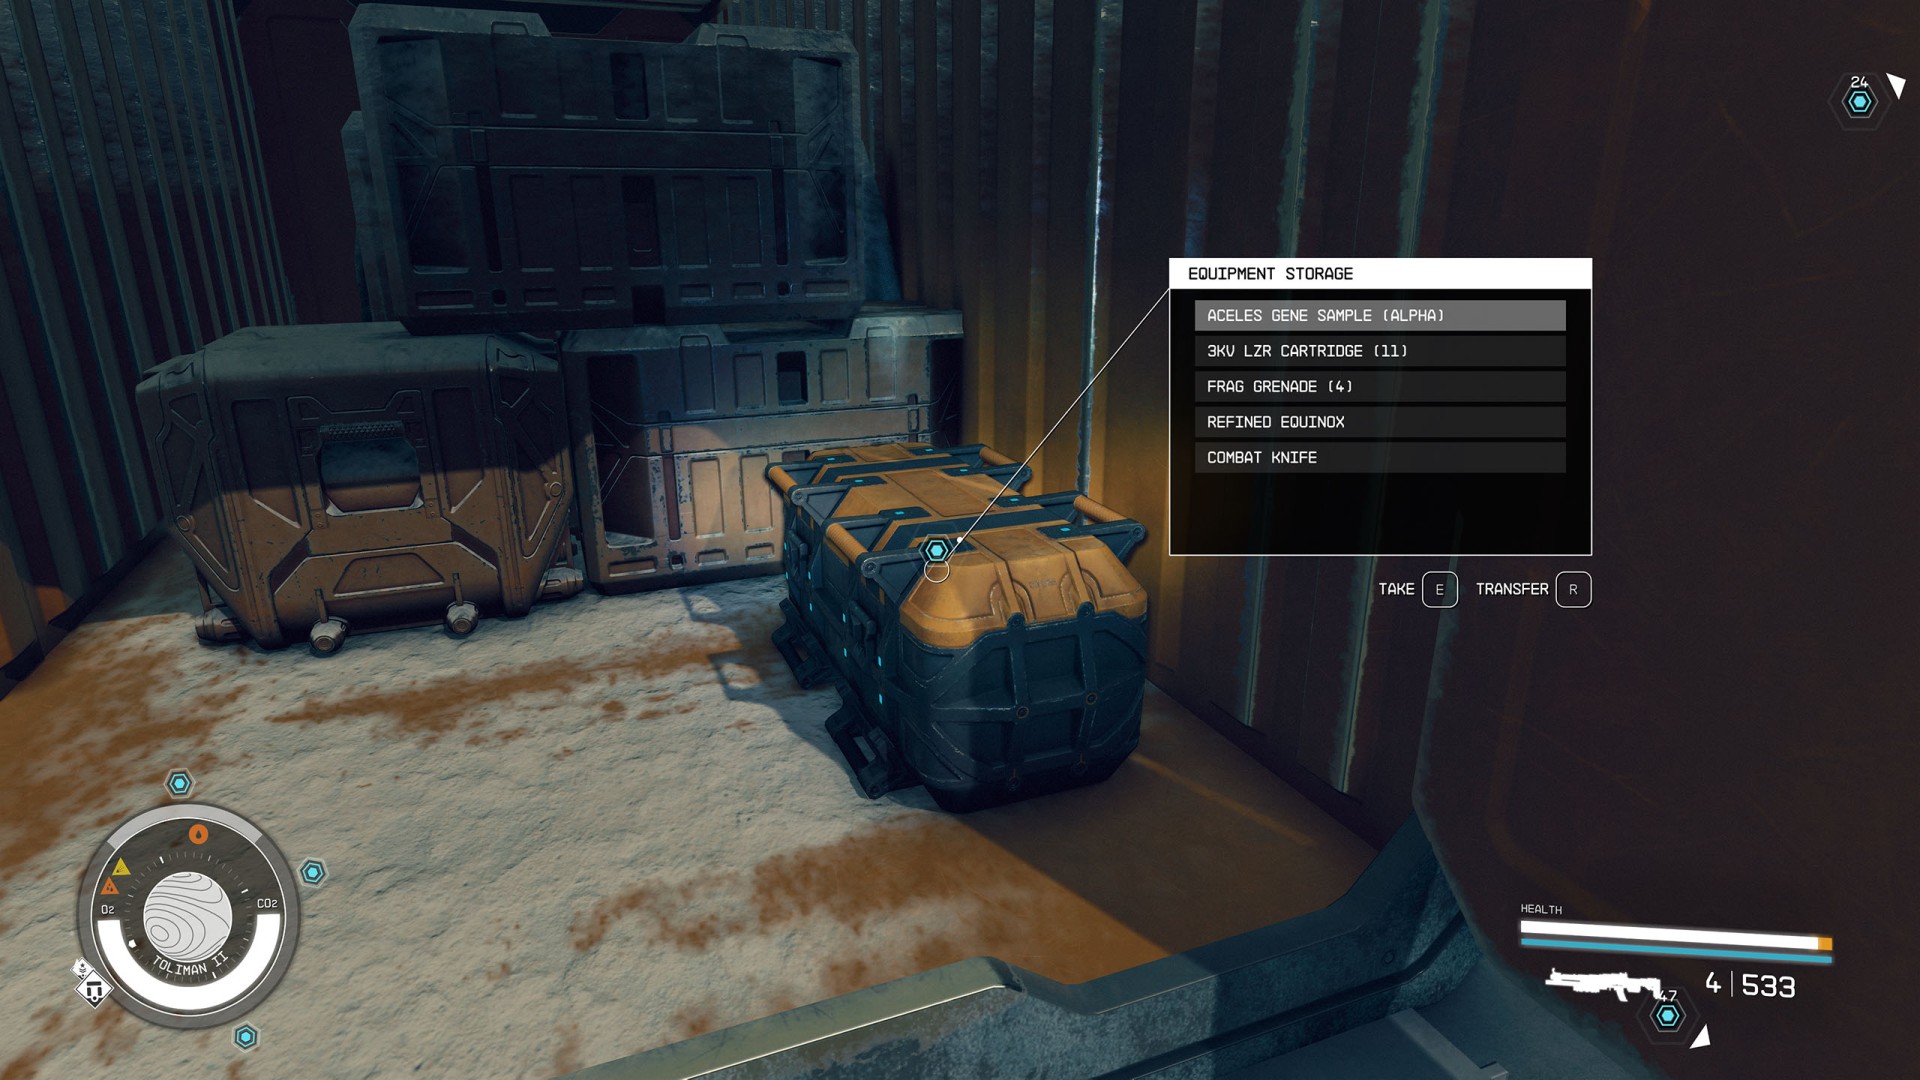
Open the three marked containers and take three samples from the crates you find inside them.
All samples collected! Now I just need to hand them off to Kaiser.
Just talk to Kaiser.
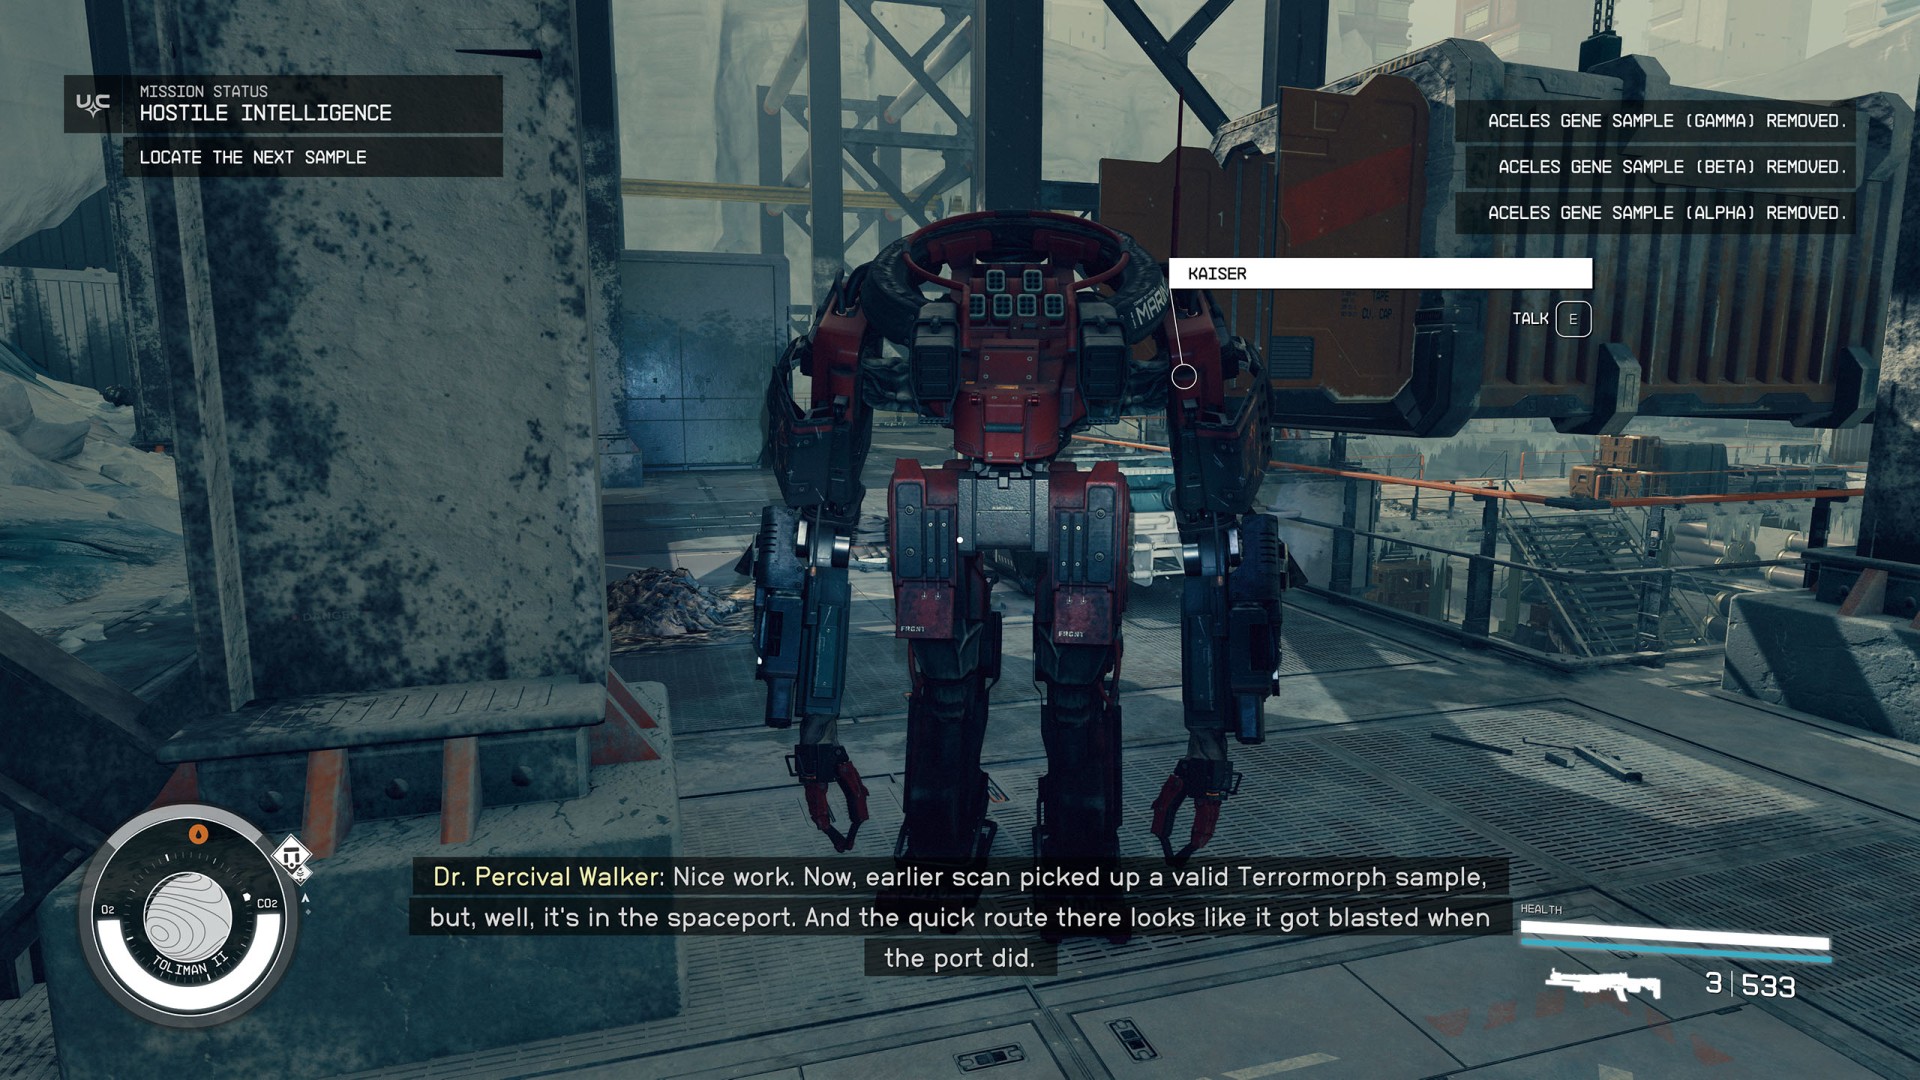
I've handed over the Aceles samples to Kaiser. Now we just need to figure out where we're heading next.
Wait a while for Kaiser to determine where you should go.
Looks like the path to our next sample leads through the Londinion steam tunnels.
Enter the tunnels...
...and follow them until you reach a room with glass window and Lazarus Plant in bloom behind it.
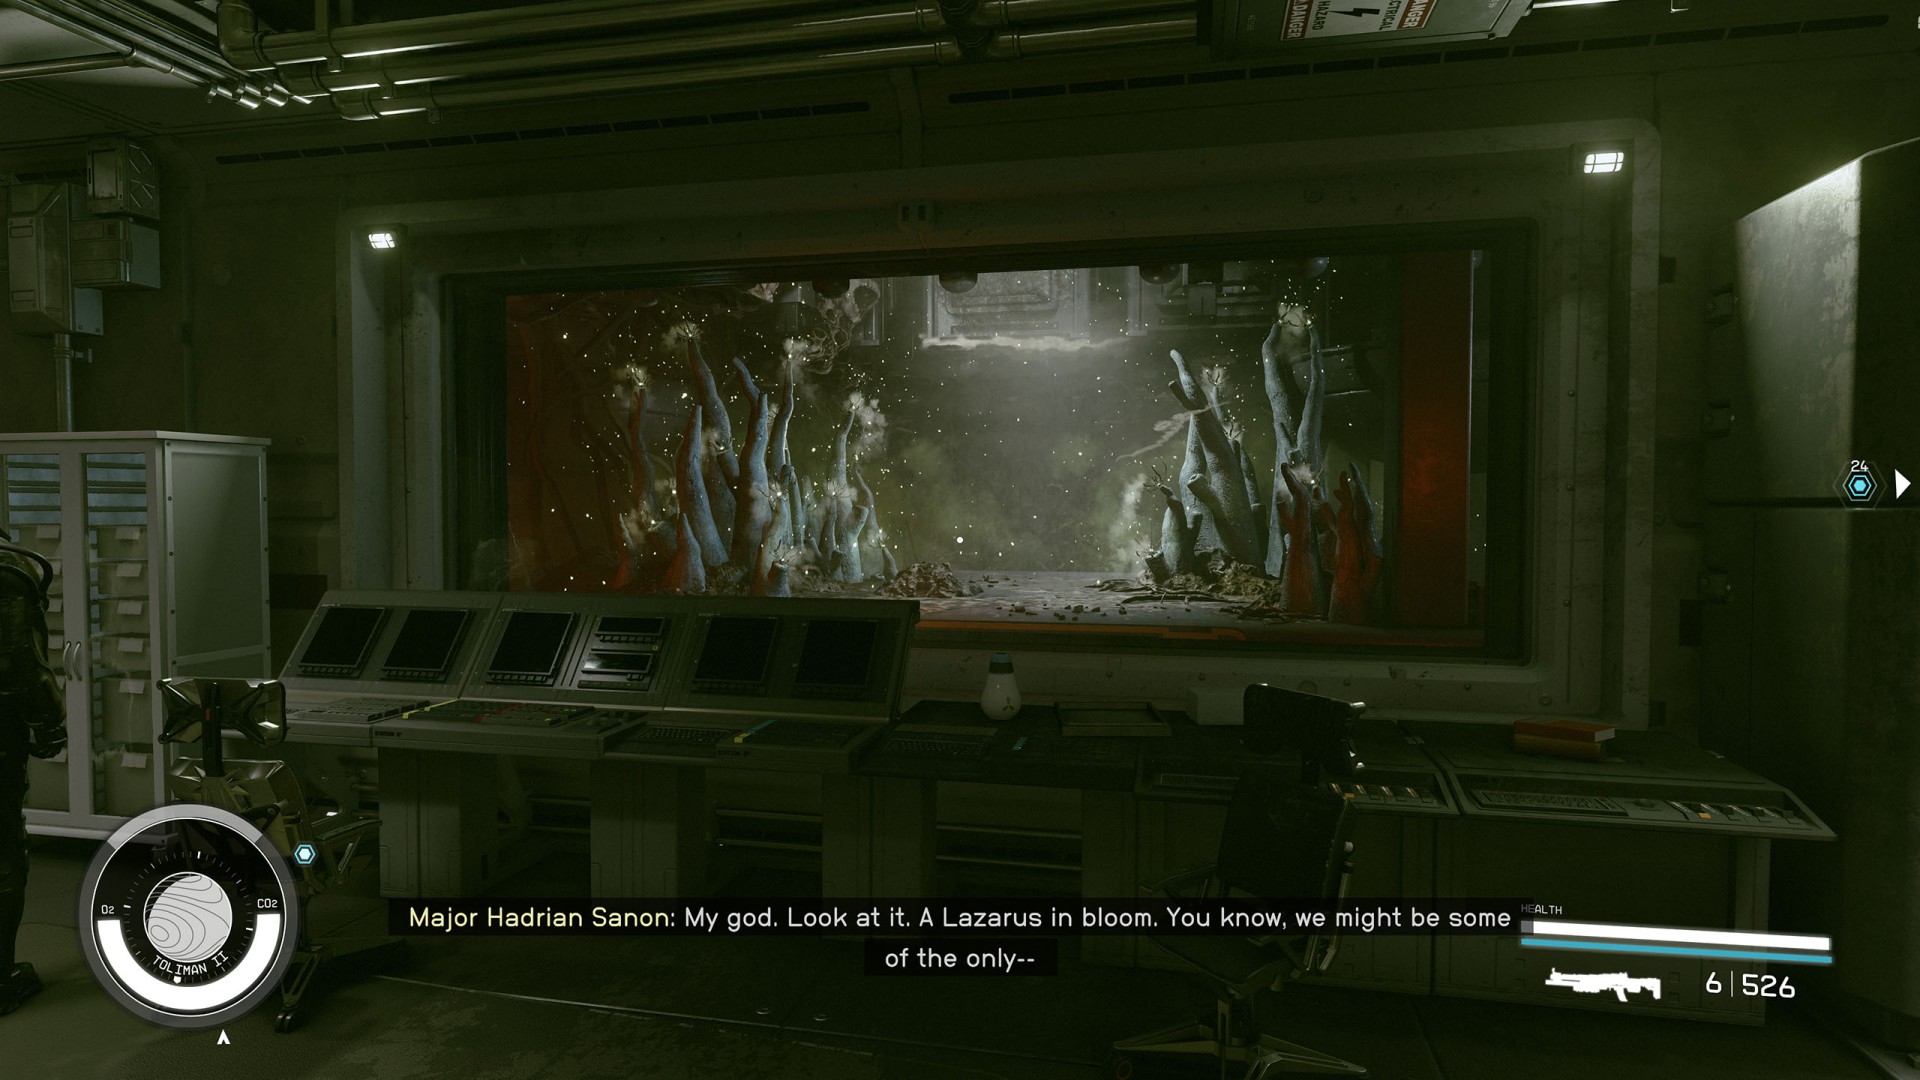
Hadrian's spotted a Lazarus Plant in bloom - a real rarity, she says. I should go take a look.
Wait and observe the transformation that will happen.
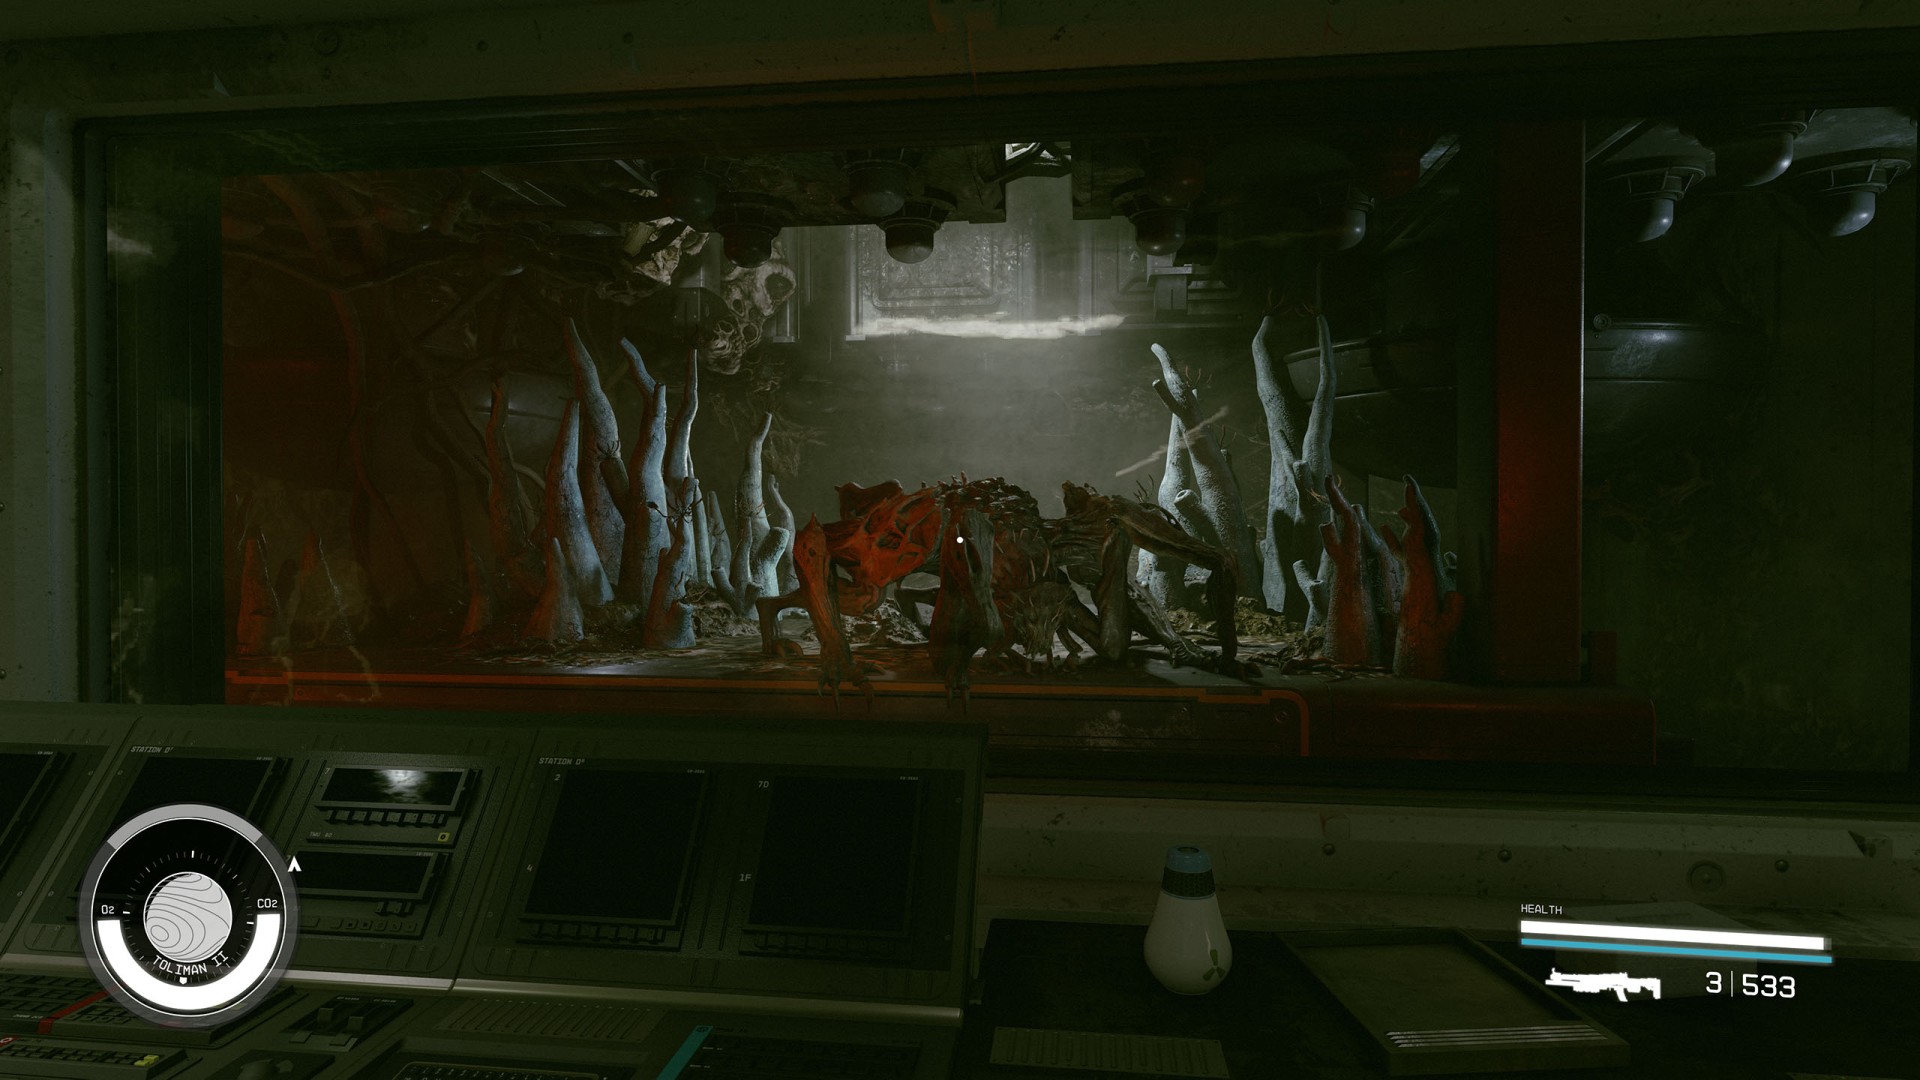
We just watched a Heatleech... become a Terrormorph. I should talk to Hadrian about what this might mean!
We need to track and kill the Terrormorph... or Heatleech... and kill it and figure out if this might have something to do with the attacks!
Walk down the corridor and use the door to return to Londinion. There you will encounter the Terrormorph. Kill it.
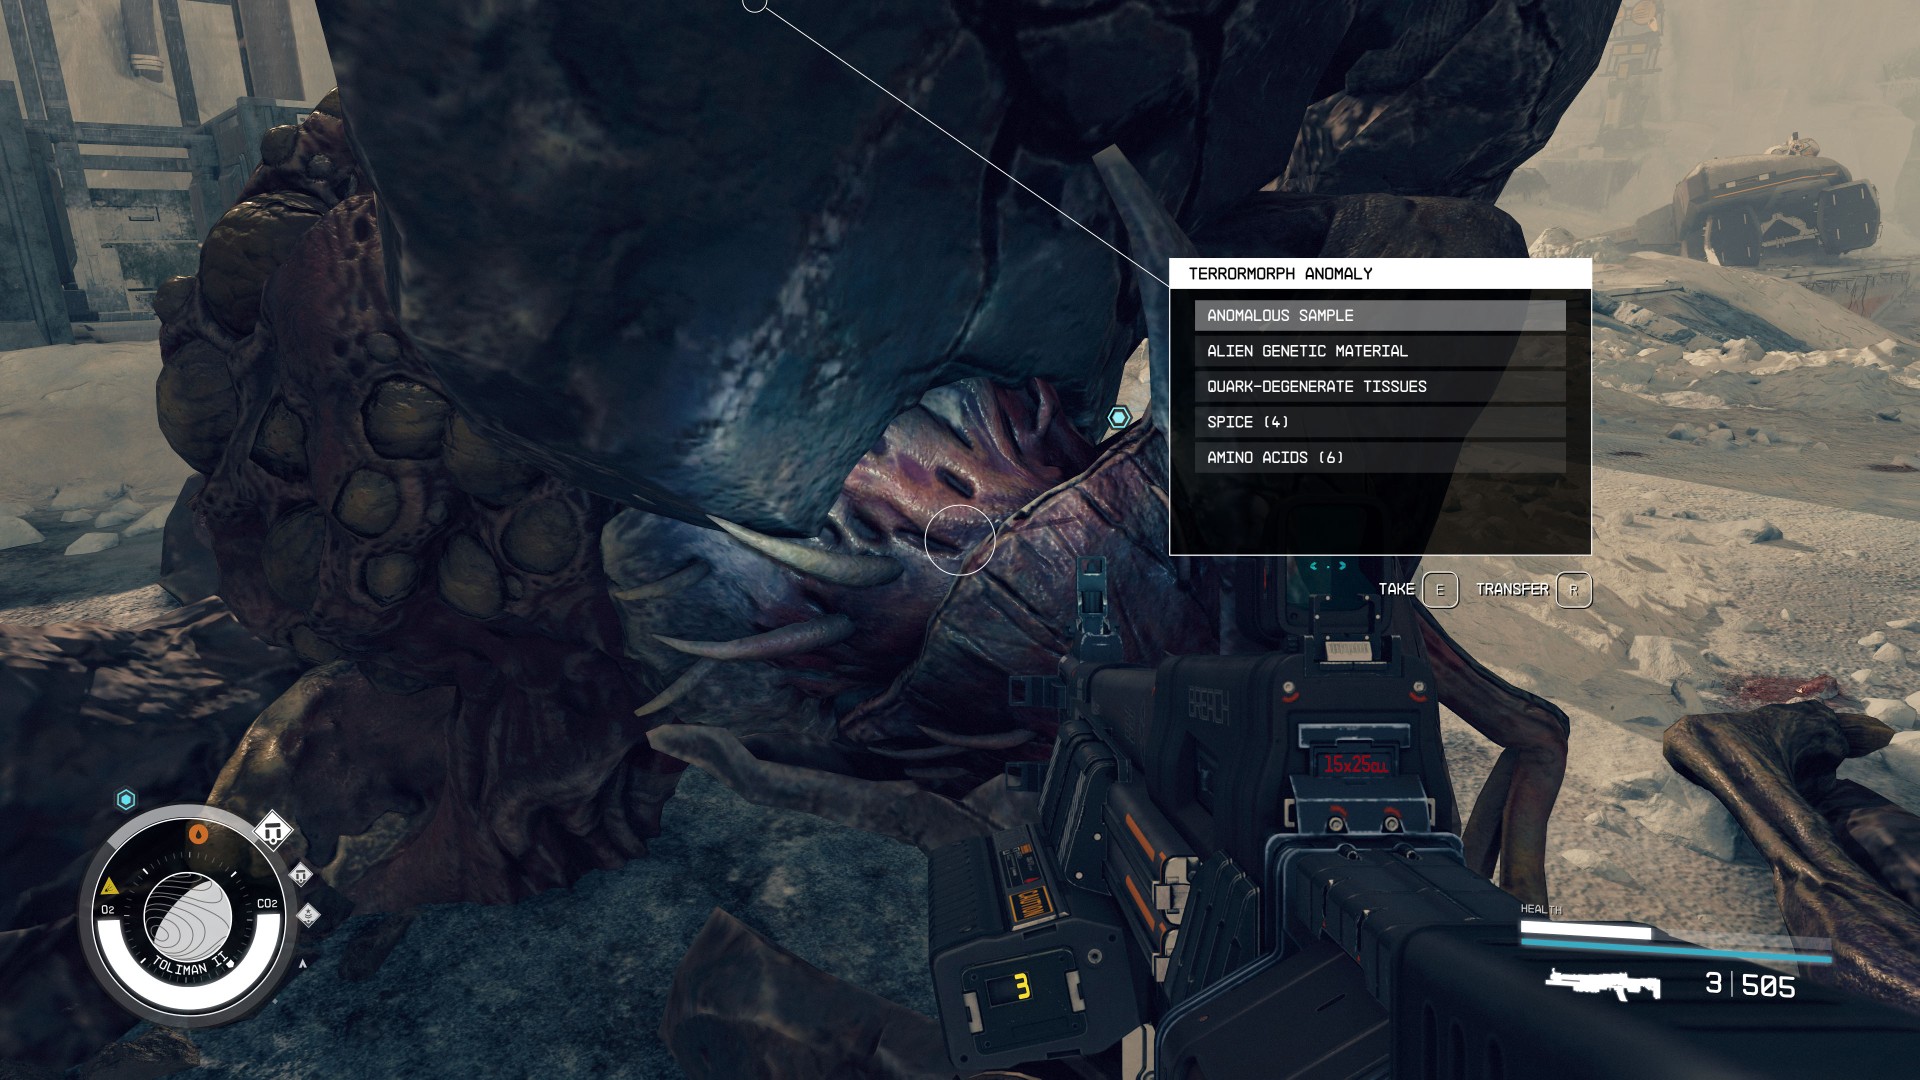
We took care of the Terrormorph. I just need to collect a tissue sample.
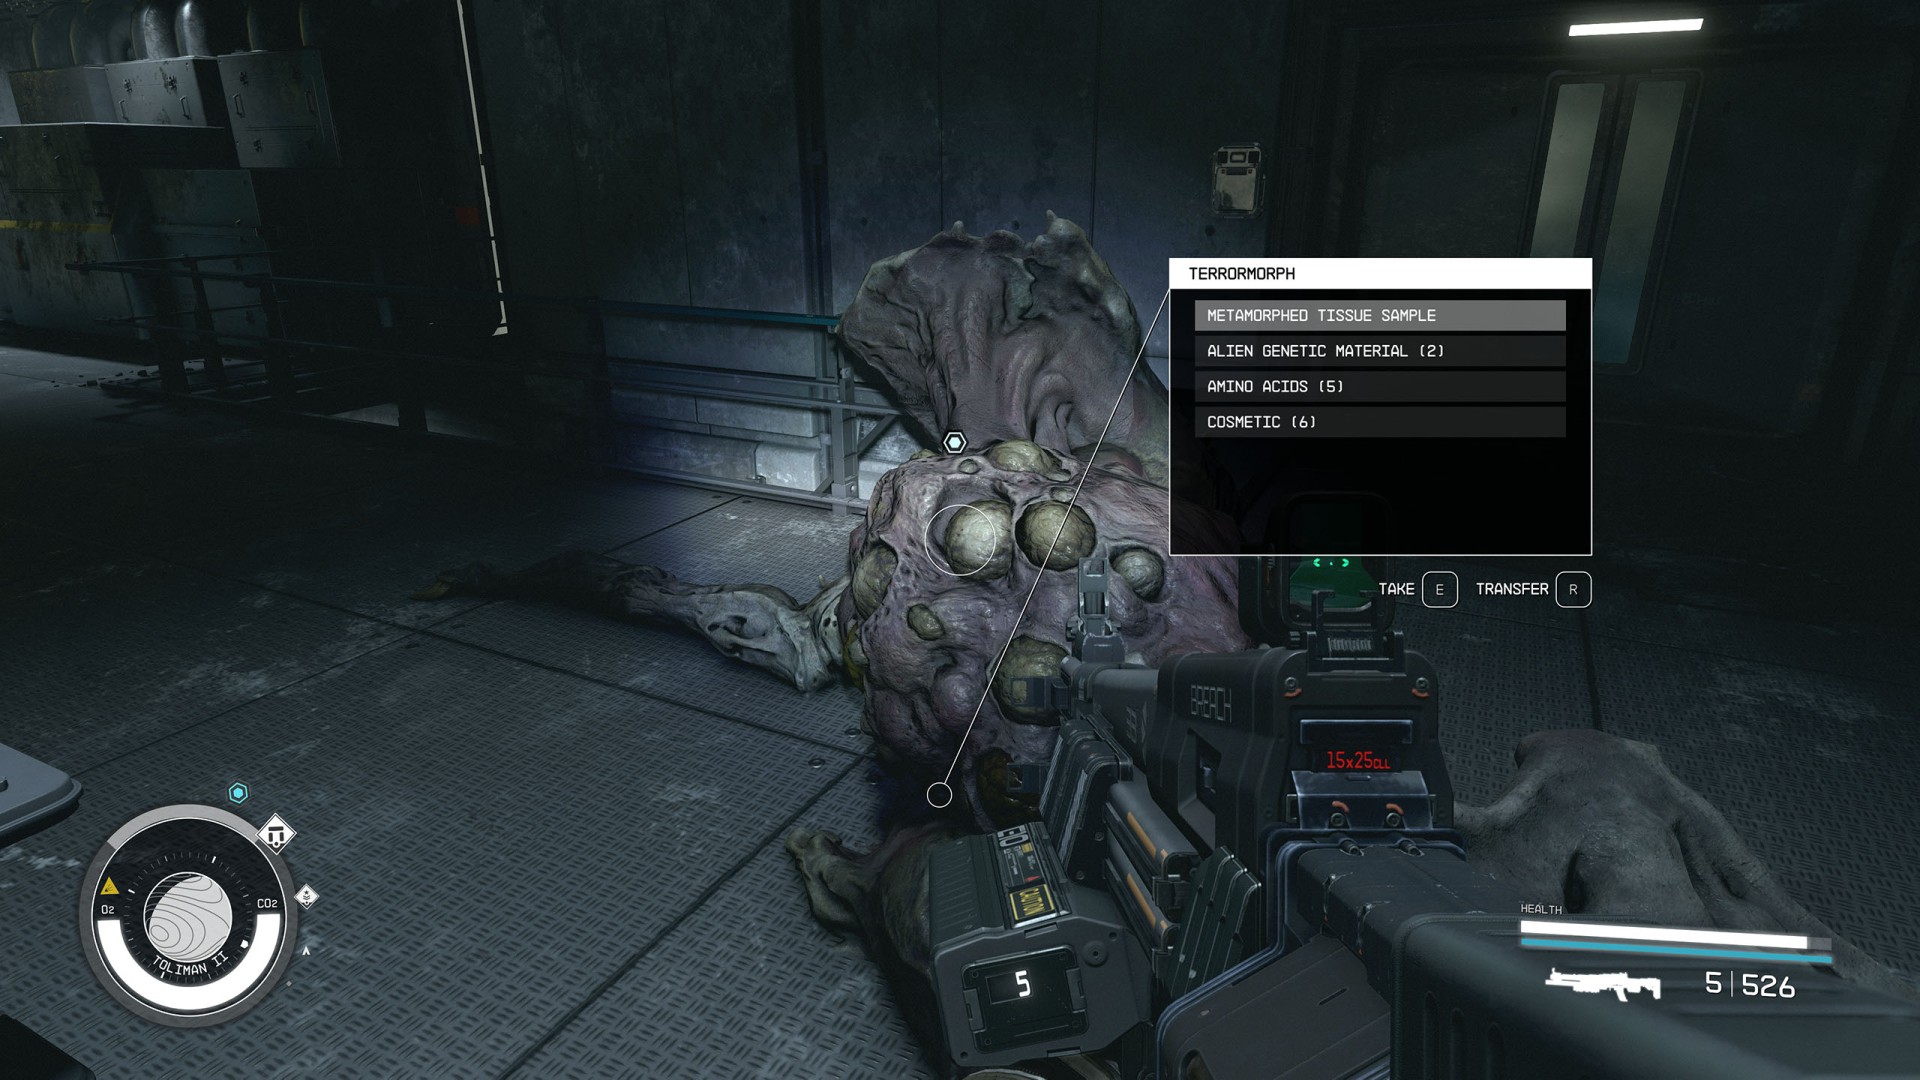
I need to hand over the sample to Kaiser and we can get to the bottom of the transformation we witnessed.
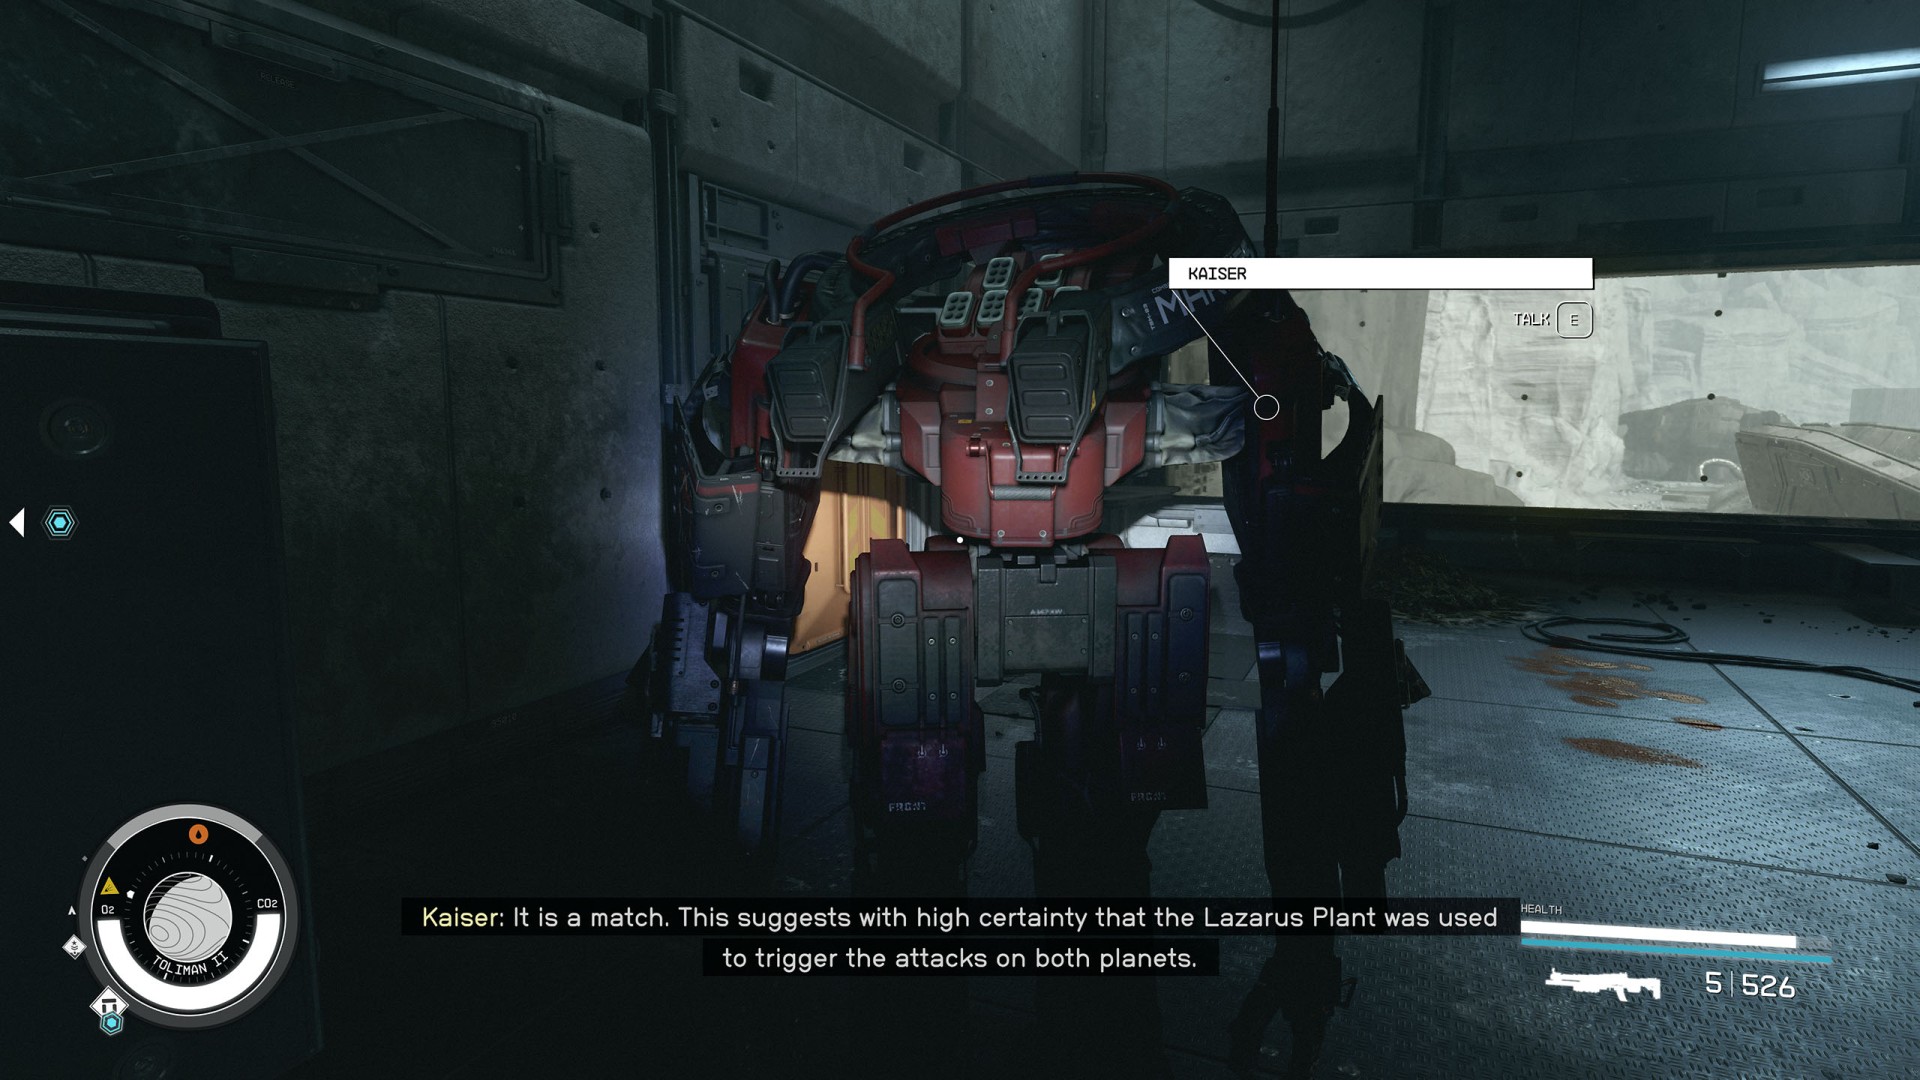
The sample we just found is a match for the ones from New Atlantis and Tau Ceti. This means someone most likely coordinated those attacks. I need to discuss this with Hadrian.
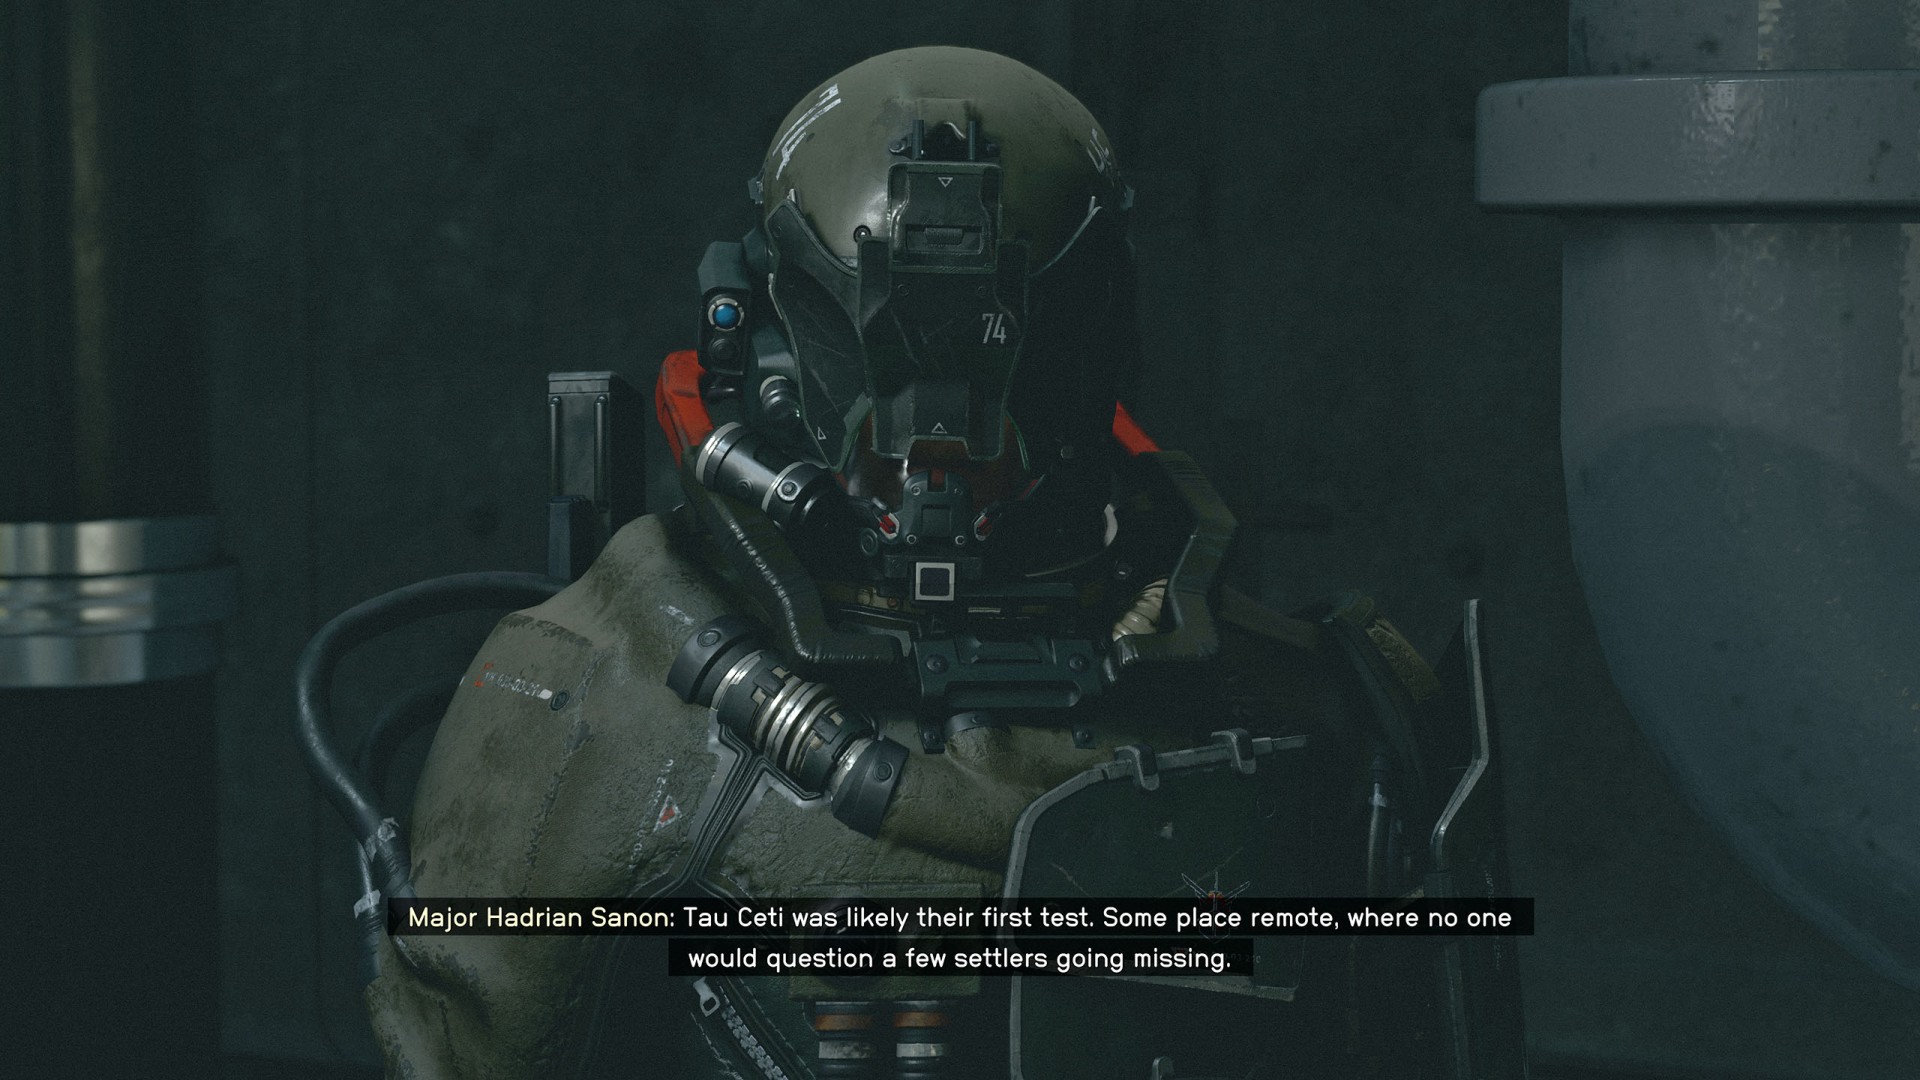
Our conclusion is the Terrormorph attacks may well have been triggered. But by who? And why? Regardless, our current task is still worth finishing. Time to find that final sample.
Follow Kaiser to the door to the space port. Unfortunately, he will not be able to open them due to lack of power.
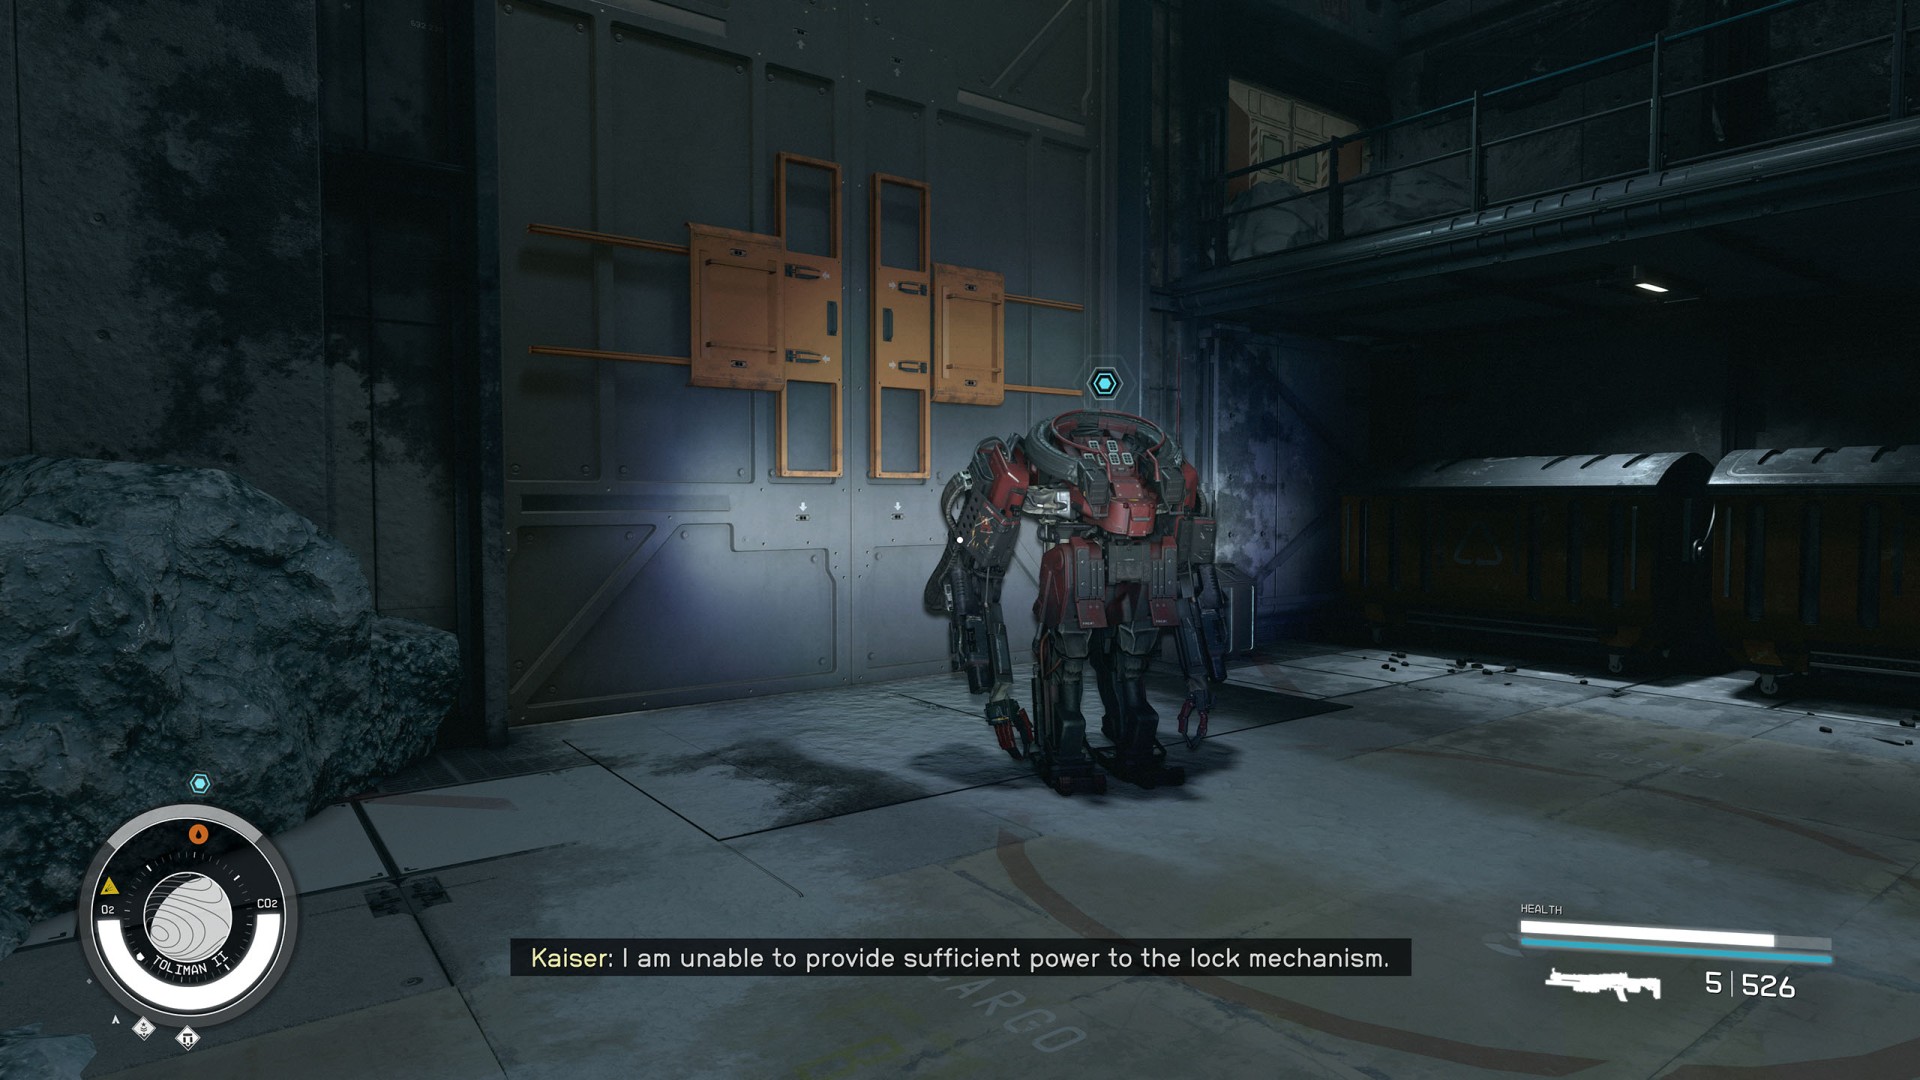
The door out to the spaceport - and the final sample - has lost power. There should be a power control board in the Security Office upstairs.
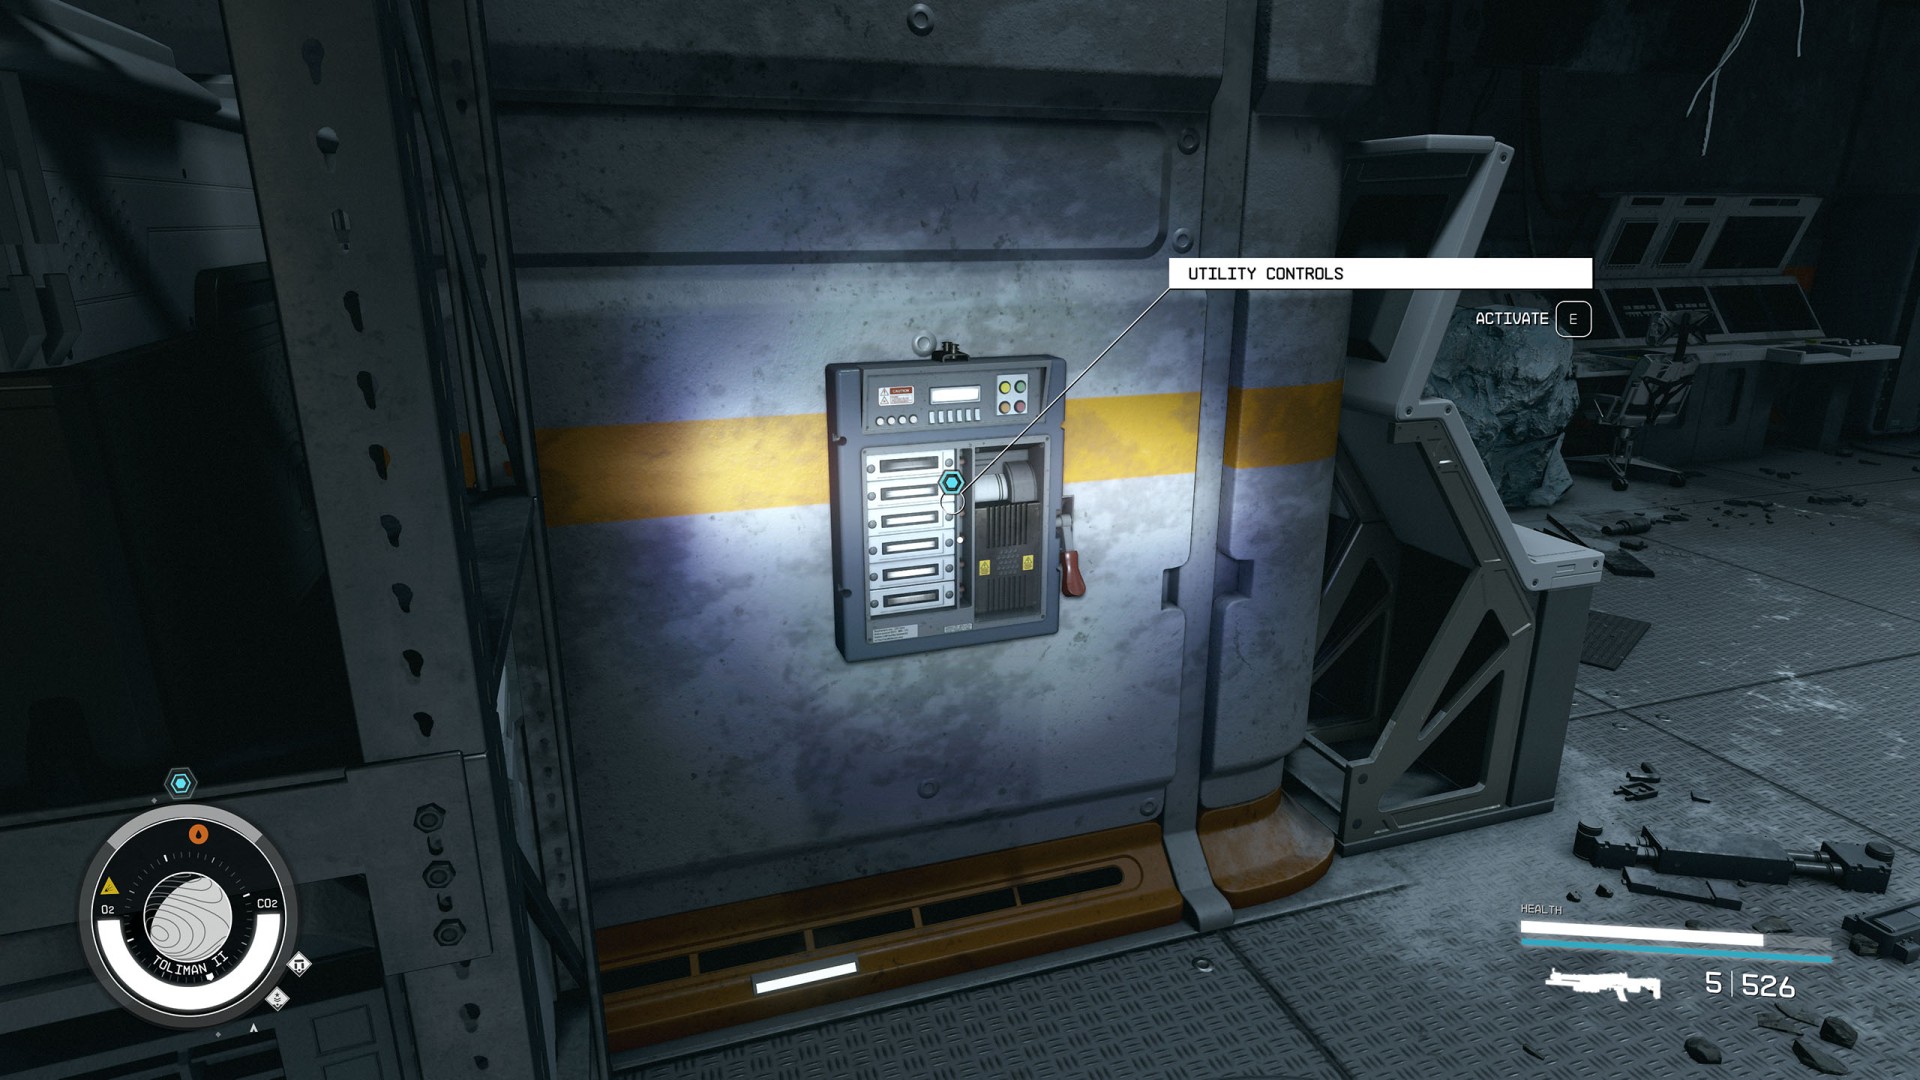
We restored the power to the room, but the system needs a reboot. Must be a reset button around here somewhere.
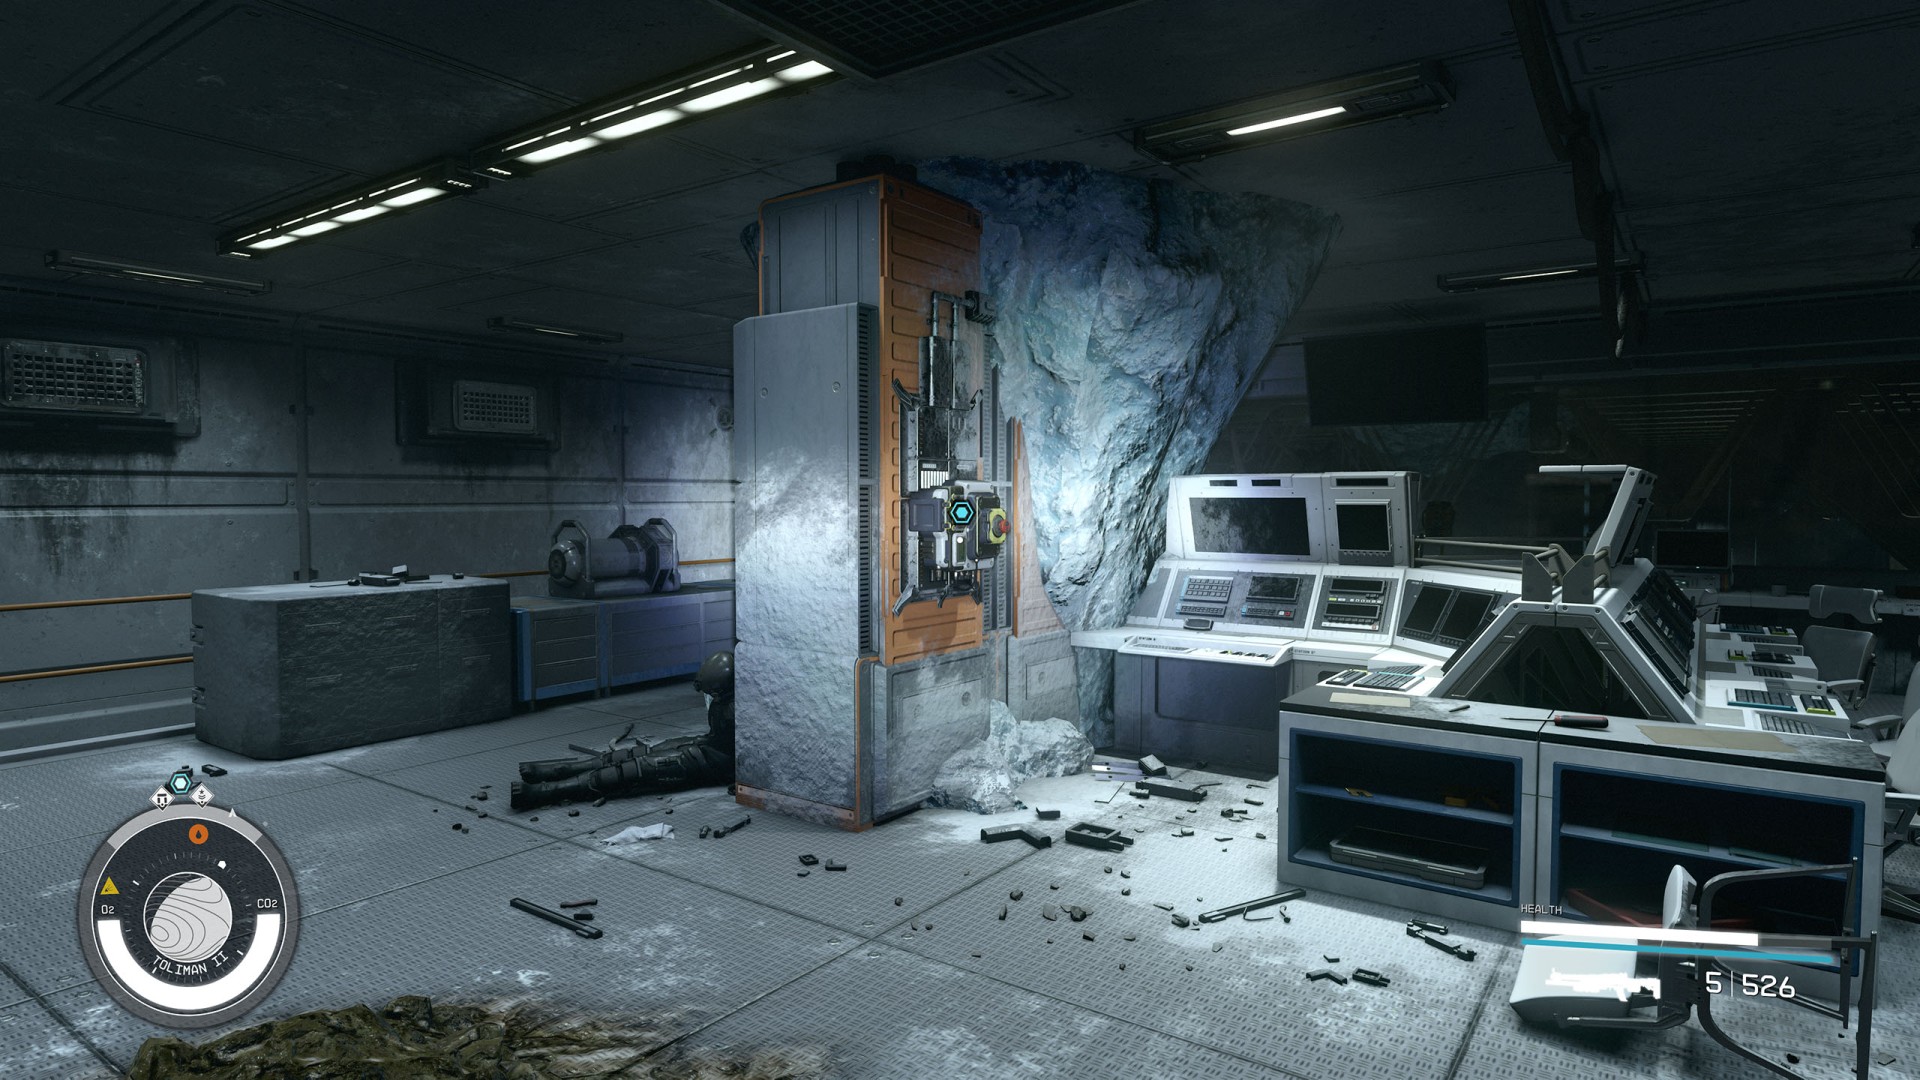
I triggered a system reboot. I should listen in to see if it fixes things.
Listen to the recording and you will learn that Vae Victis knew about the Lazarus Plan "powers".
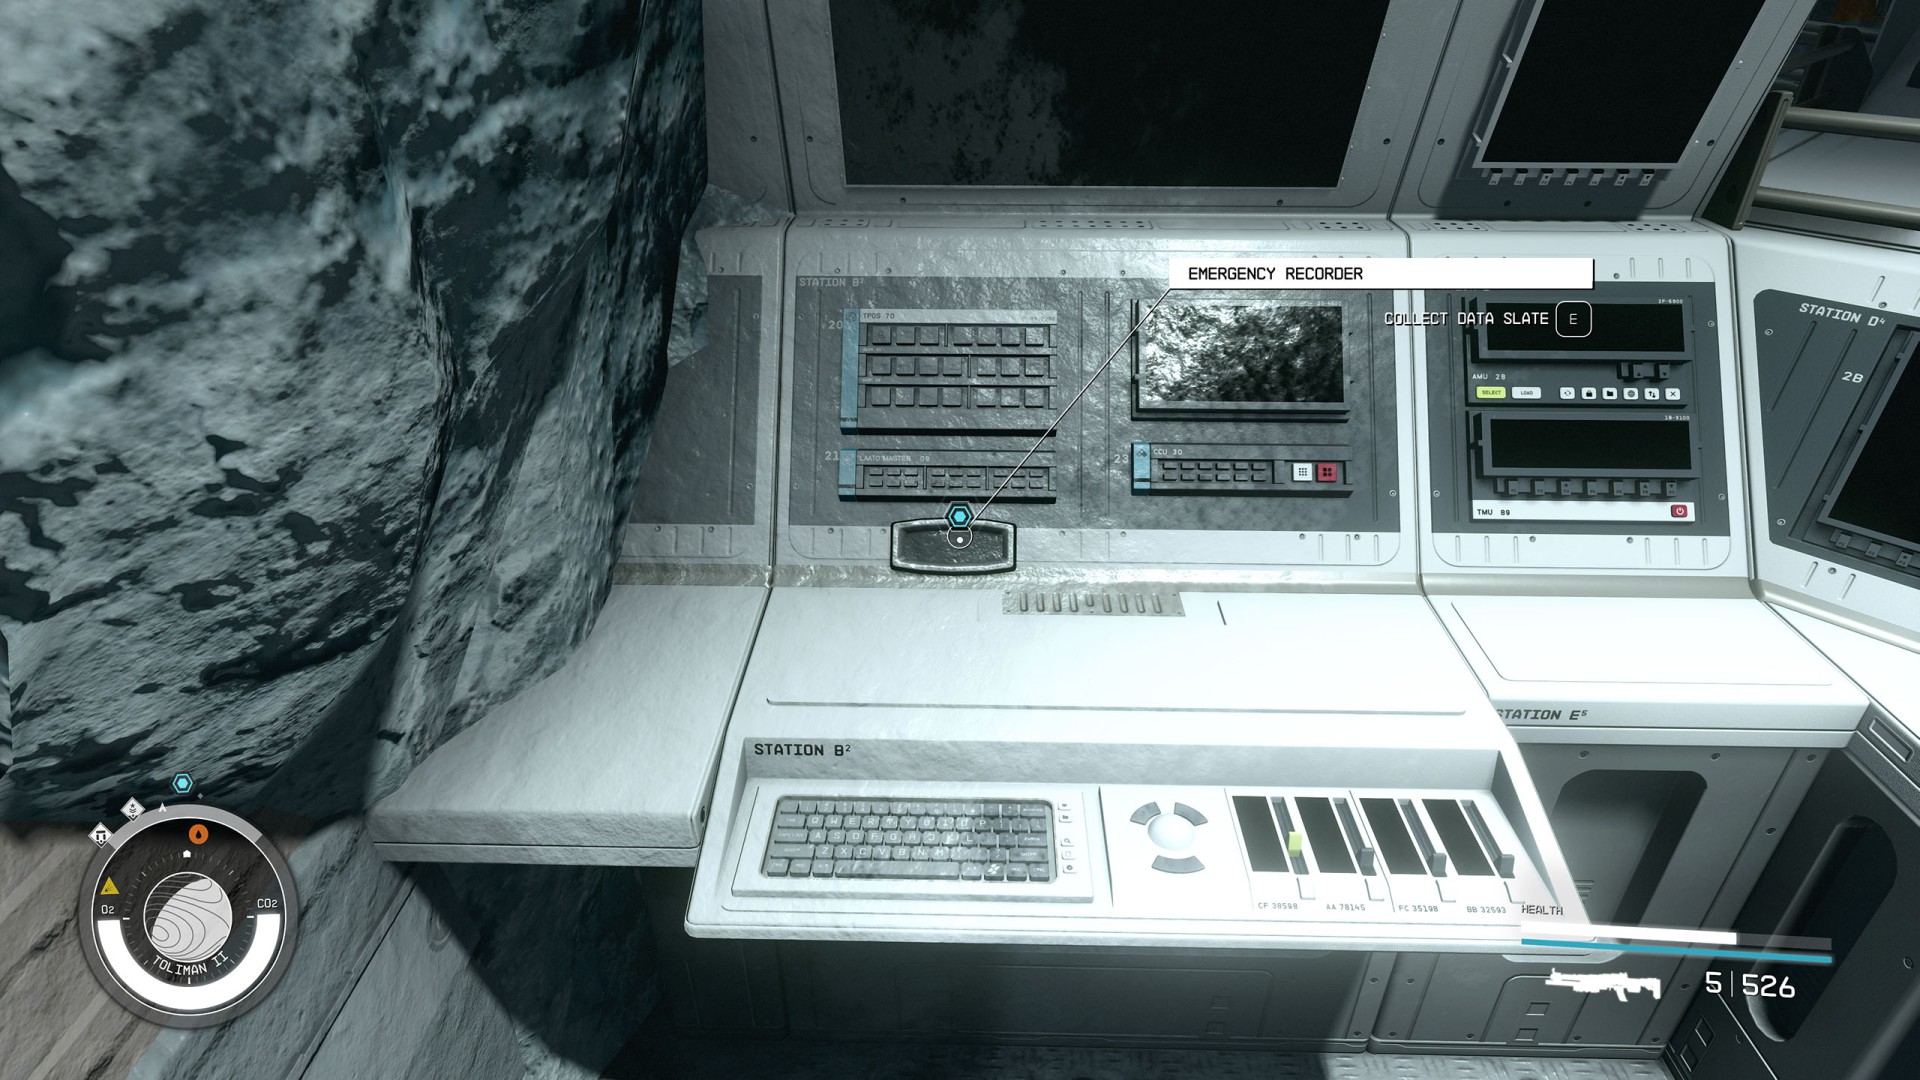
The recording we just heard... it sounded a lot like Vae Victis knew about the Lazarus Plant. I should grab the transcription and speak to Hadrian about what we learned.
Collect the Data Slate - Londinion Transcription.
I've got the recorder log documenting that Vae Victis was here and knew about the Lazarus Plant. I should discuss what I've learned with Hadrian.
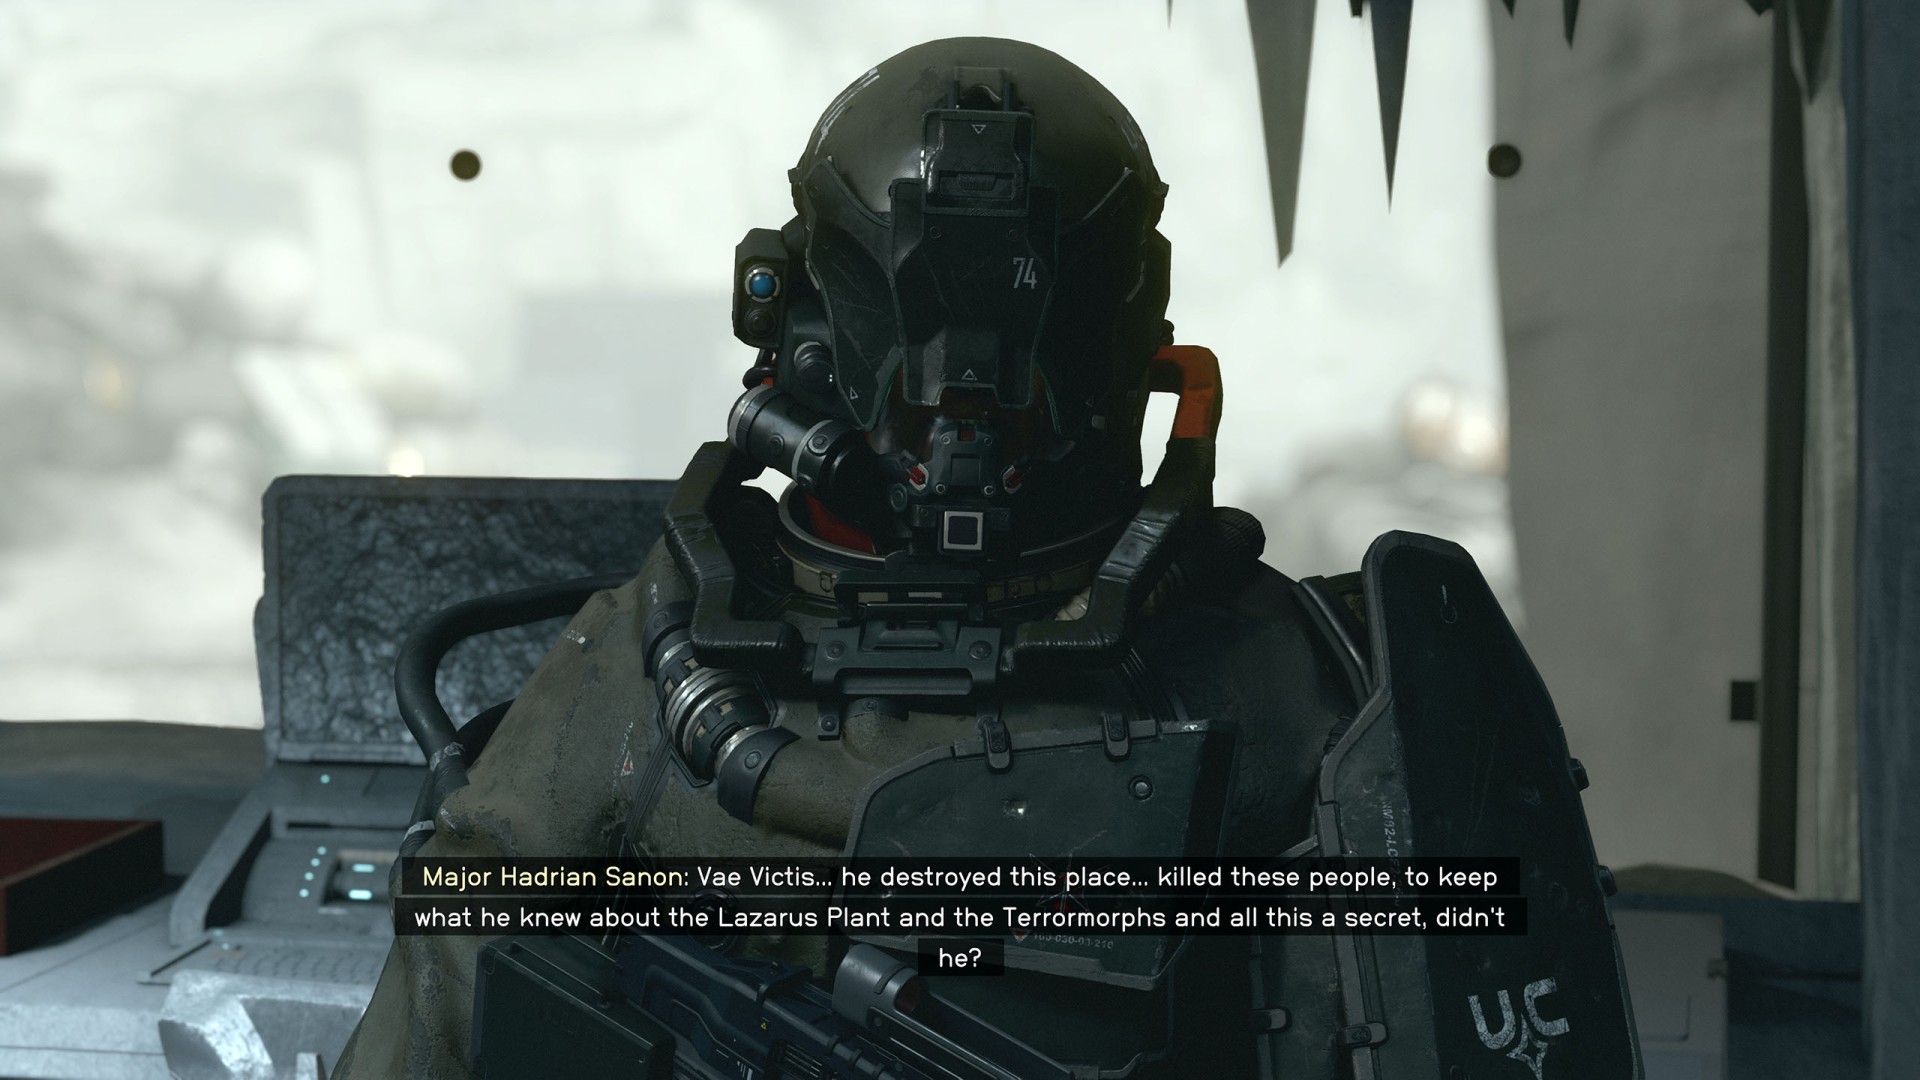
Vae Victis knew about the Lazarus Plant and likely blew the spaceport to pieces trying to cover it up. But we've got work still to do. Time to collect that final sample and get out of here.
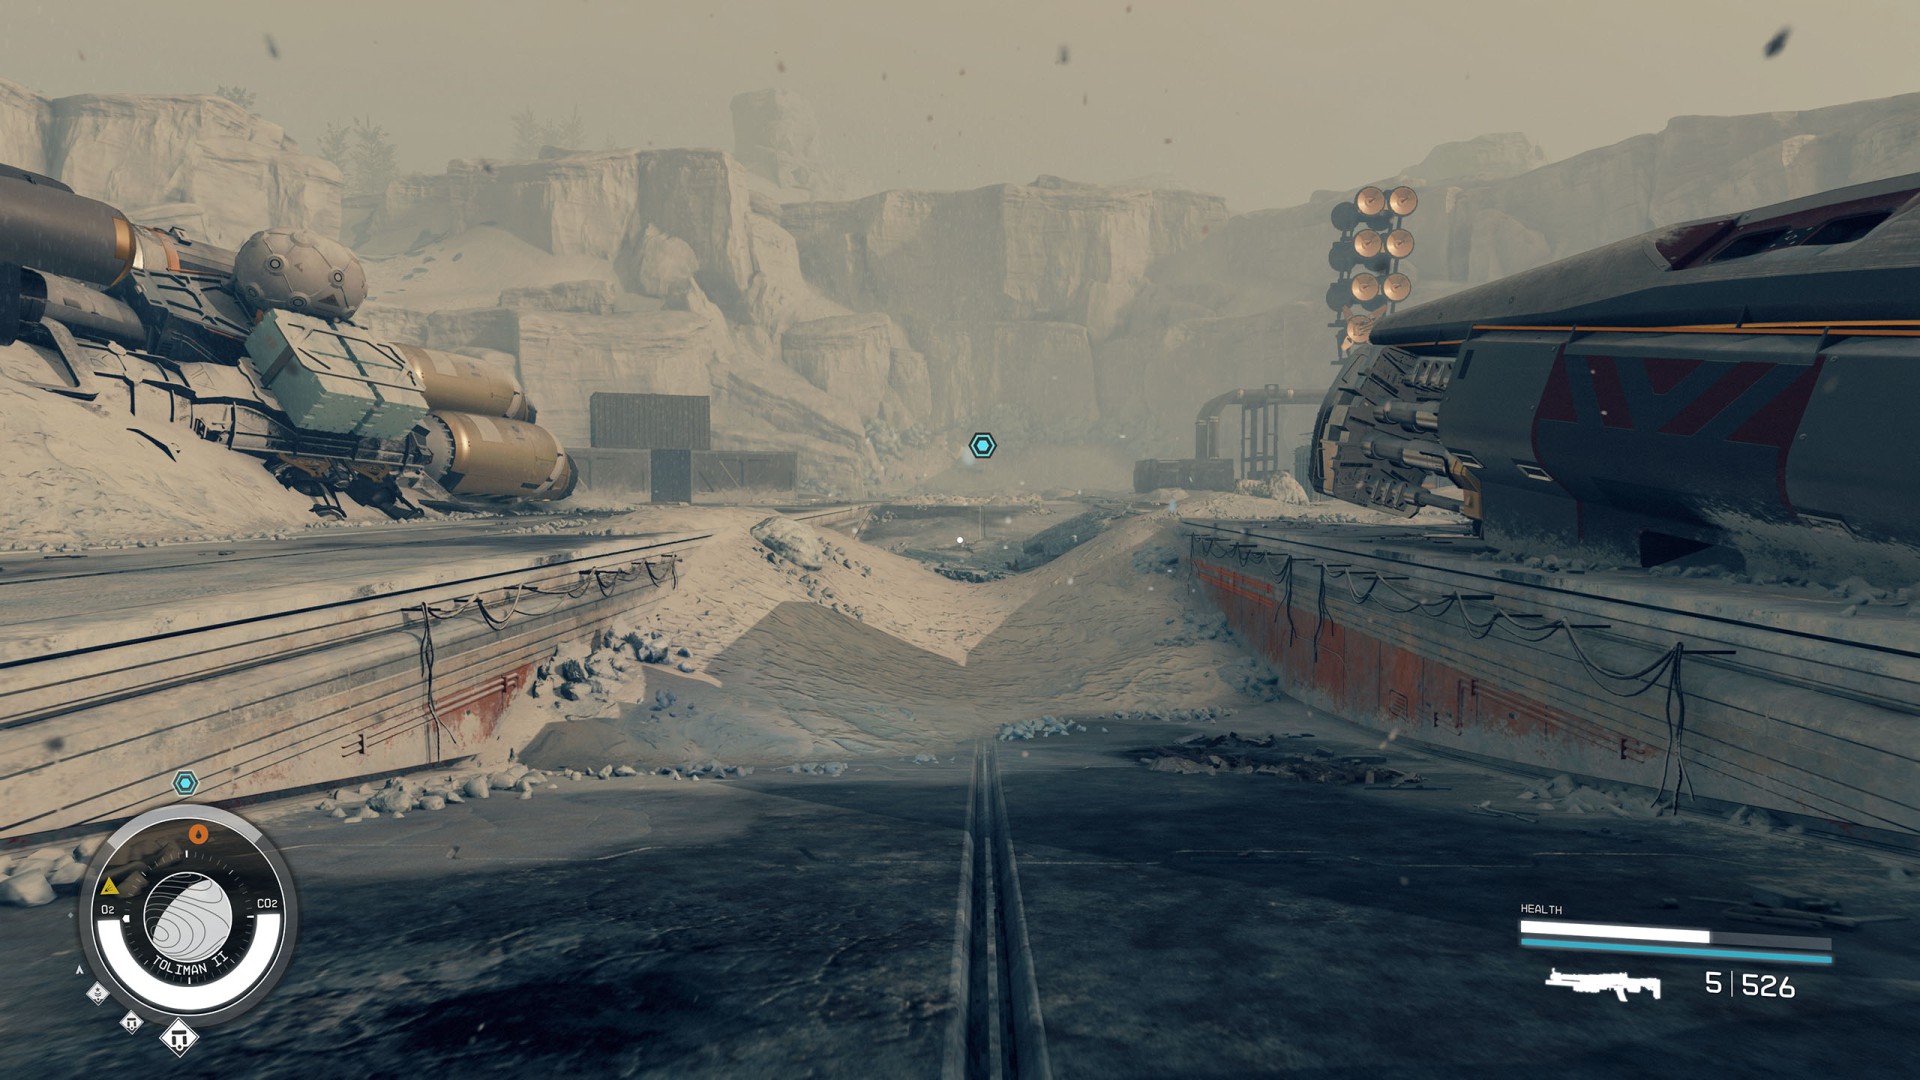
Return to Kaiser who will open the gate. Then proceed to the other end of the destroyed spaceport. Get ready to confront a powerful opponent.
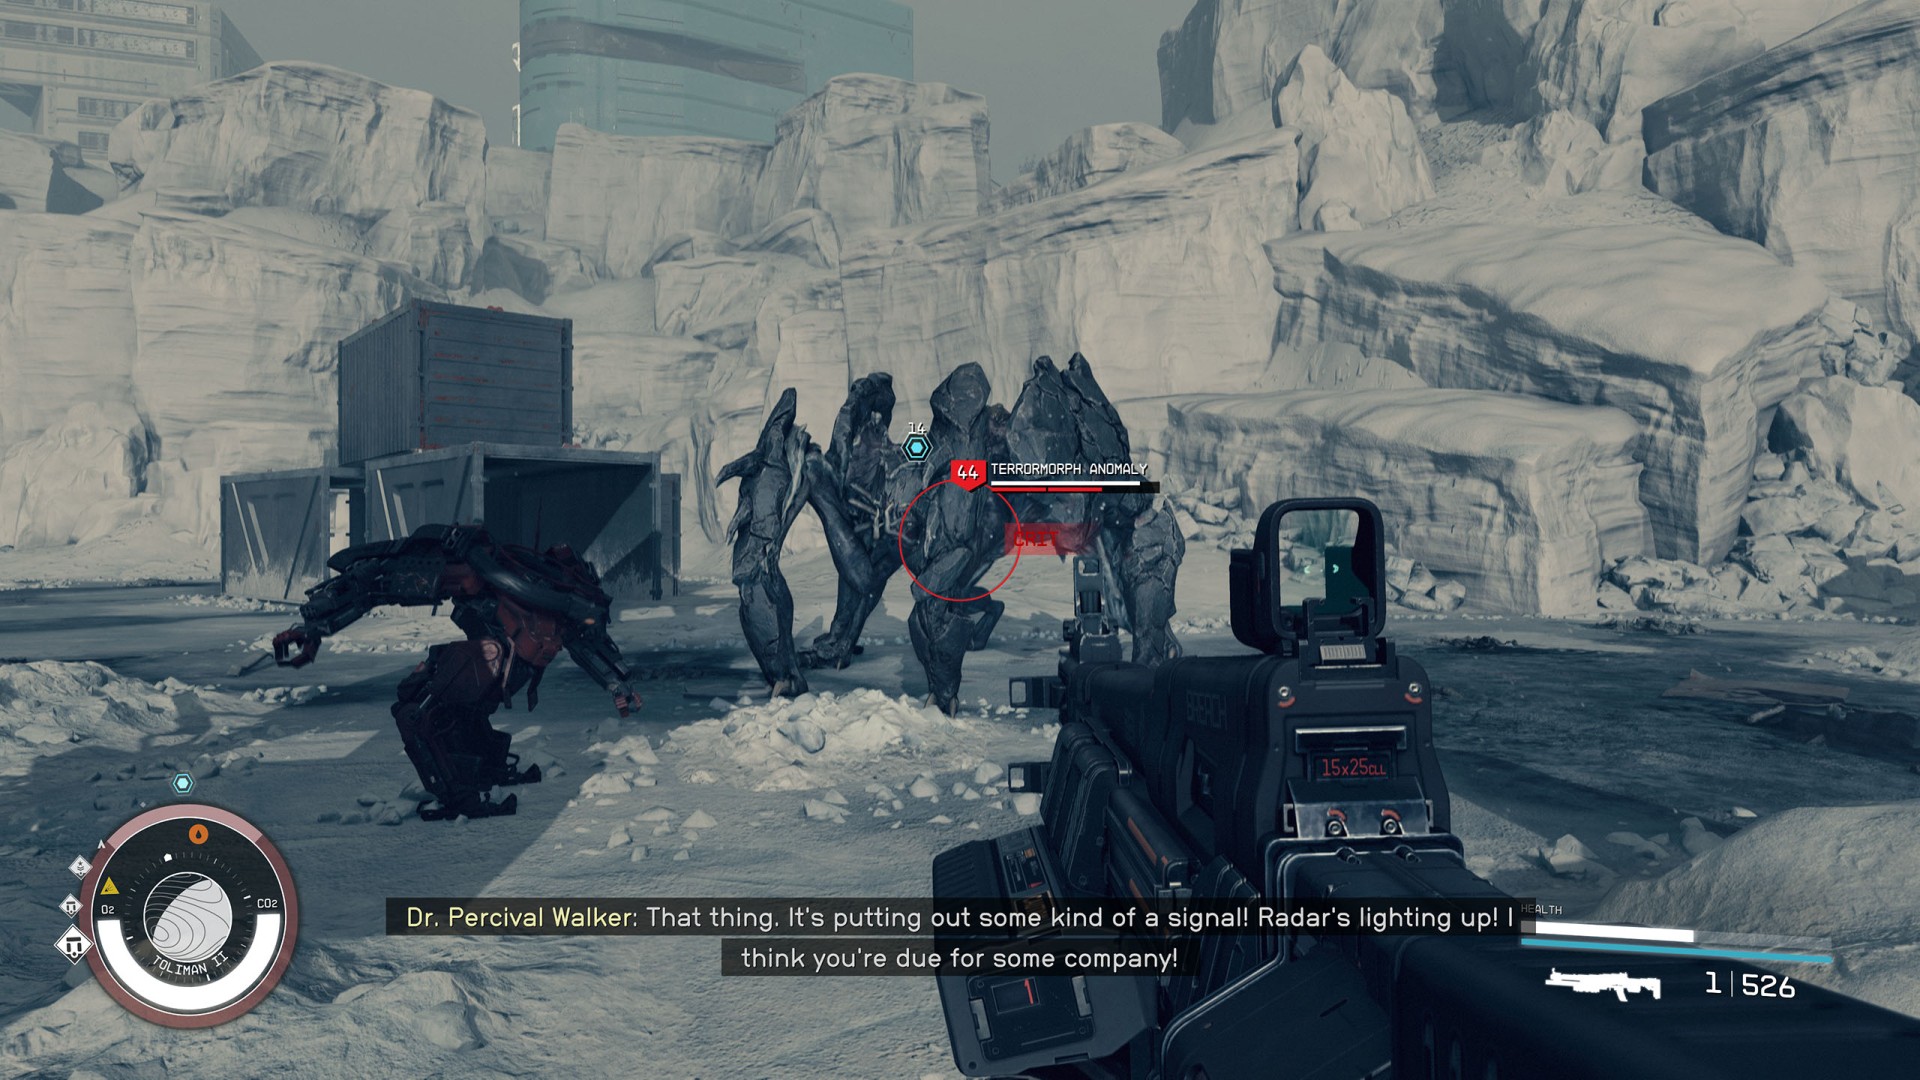
When you reach the other end of the port then a powerful Terrrormorph will pop up from underground and attack you. After a while it will start summoning its thralls.
The final sample is inside a Terrormorph! We need to take it down!
Moments later, you should receive another mission objective about restoring power to three radar dishes.
It sounds like Percival's got a way for me to nullify the anomaly's connection to its thralls! Powering up the radar dishes around the spaceport should do the trick!
Do this asap, because when you restore power to the radar dishes, you will break Terrormorph's connection with his thralls, and they will start attacking Terrormorph making it much easier to defeat him. In addition, they will remain peaceful to you after the battle.
We've taken down the Terrormorph containing our final sample. Time to collect it and get out of here.
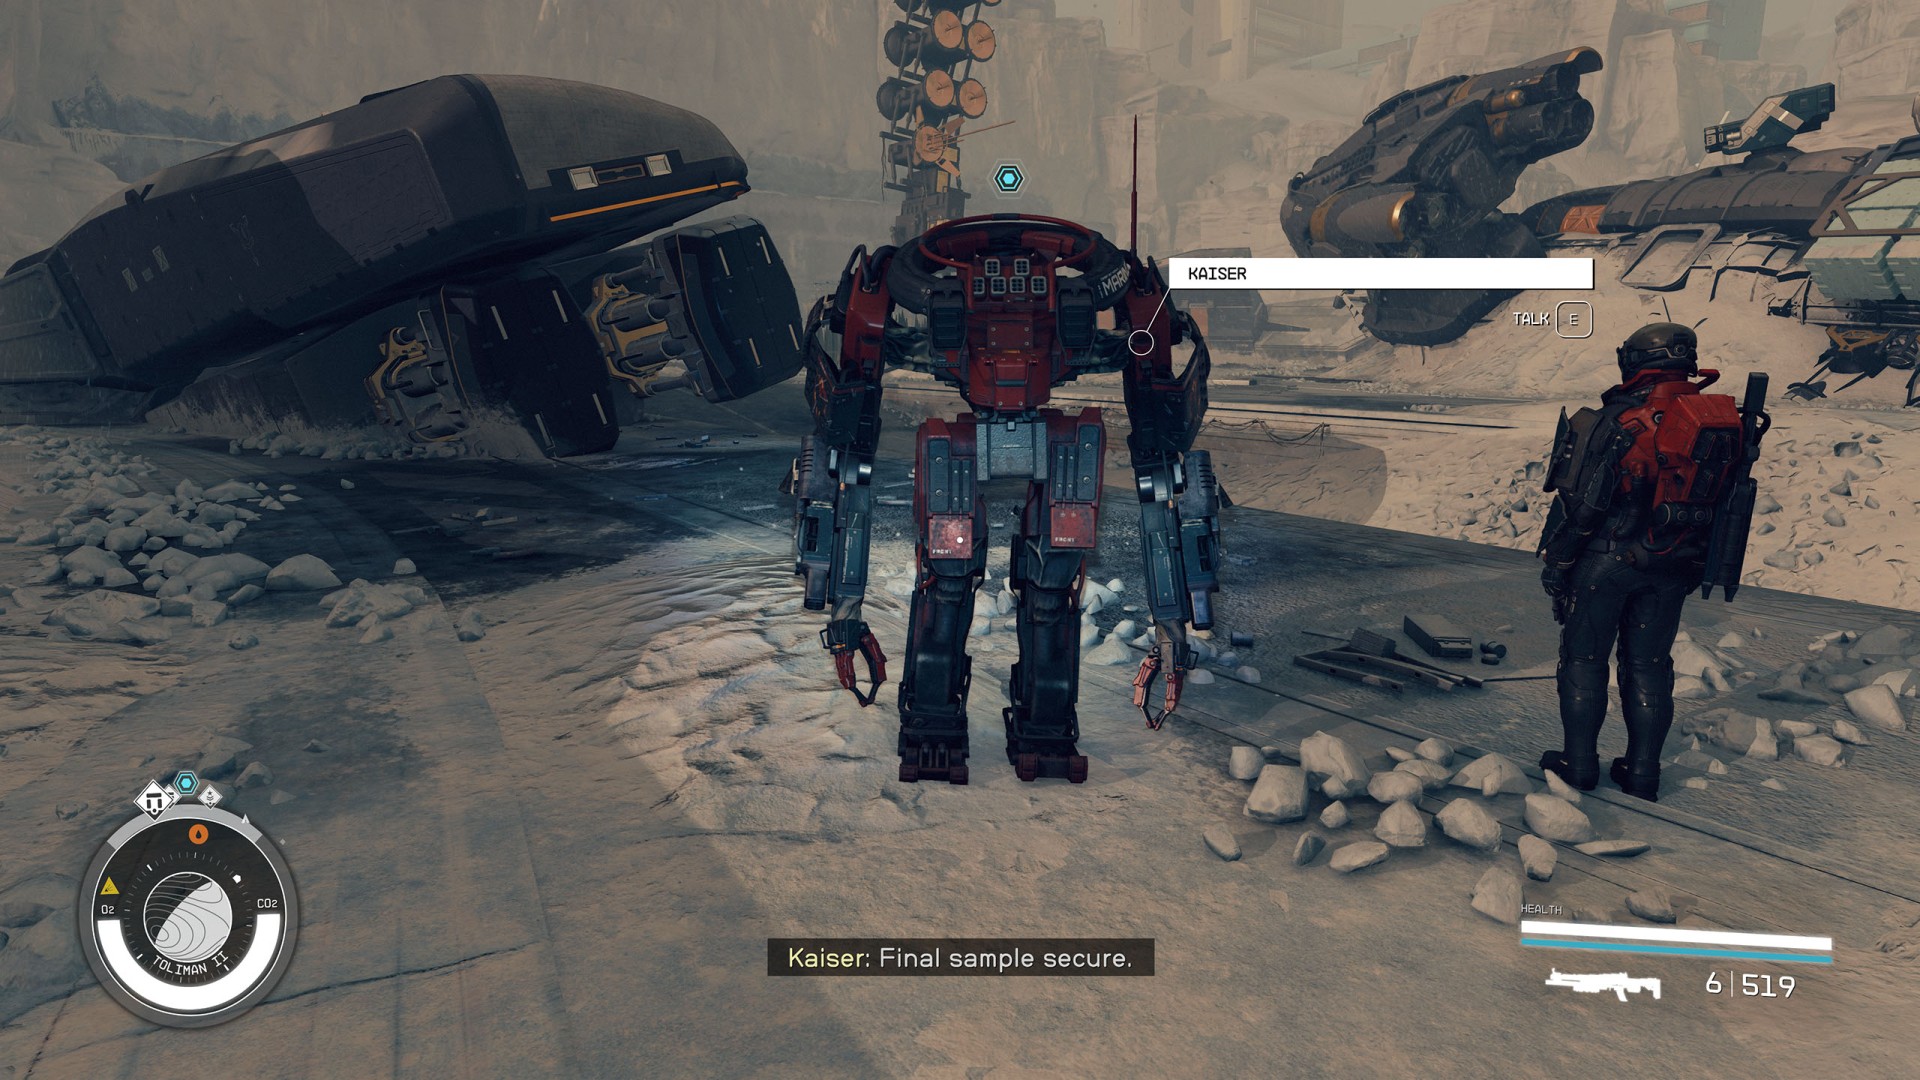
All right. Sample acquired. Just need to store it in Kaiser.
Hand over the acquired sample to Kaiser.
Sample secure. Time to blow this icicle stand and debrief with Percival back at the base.
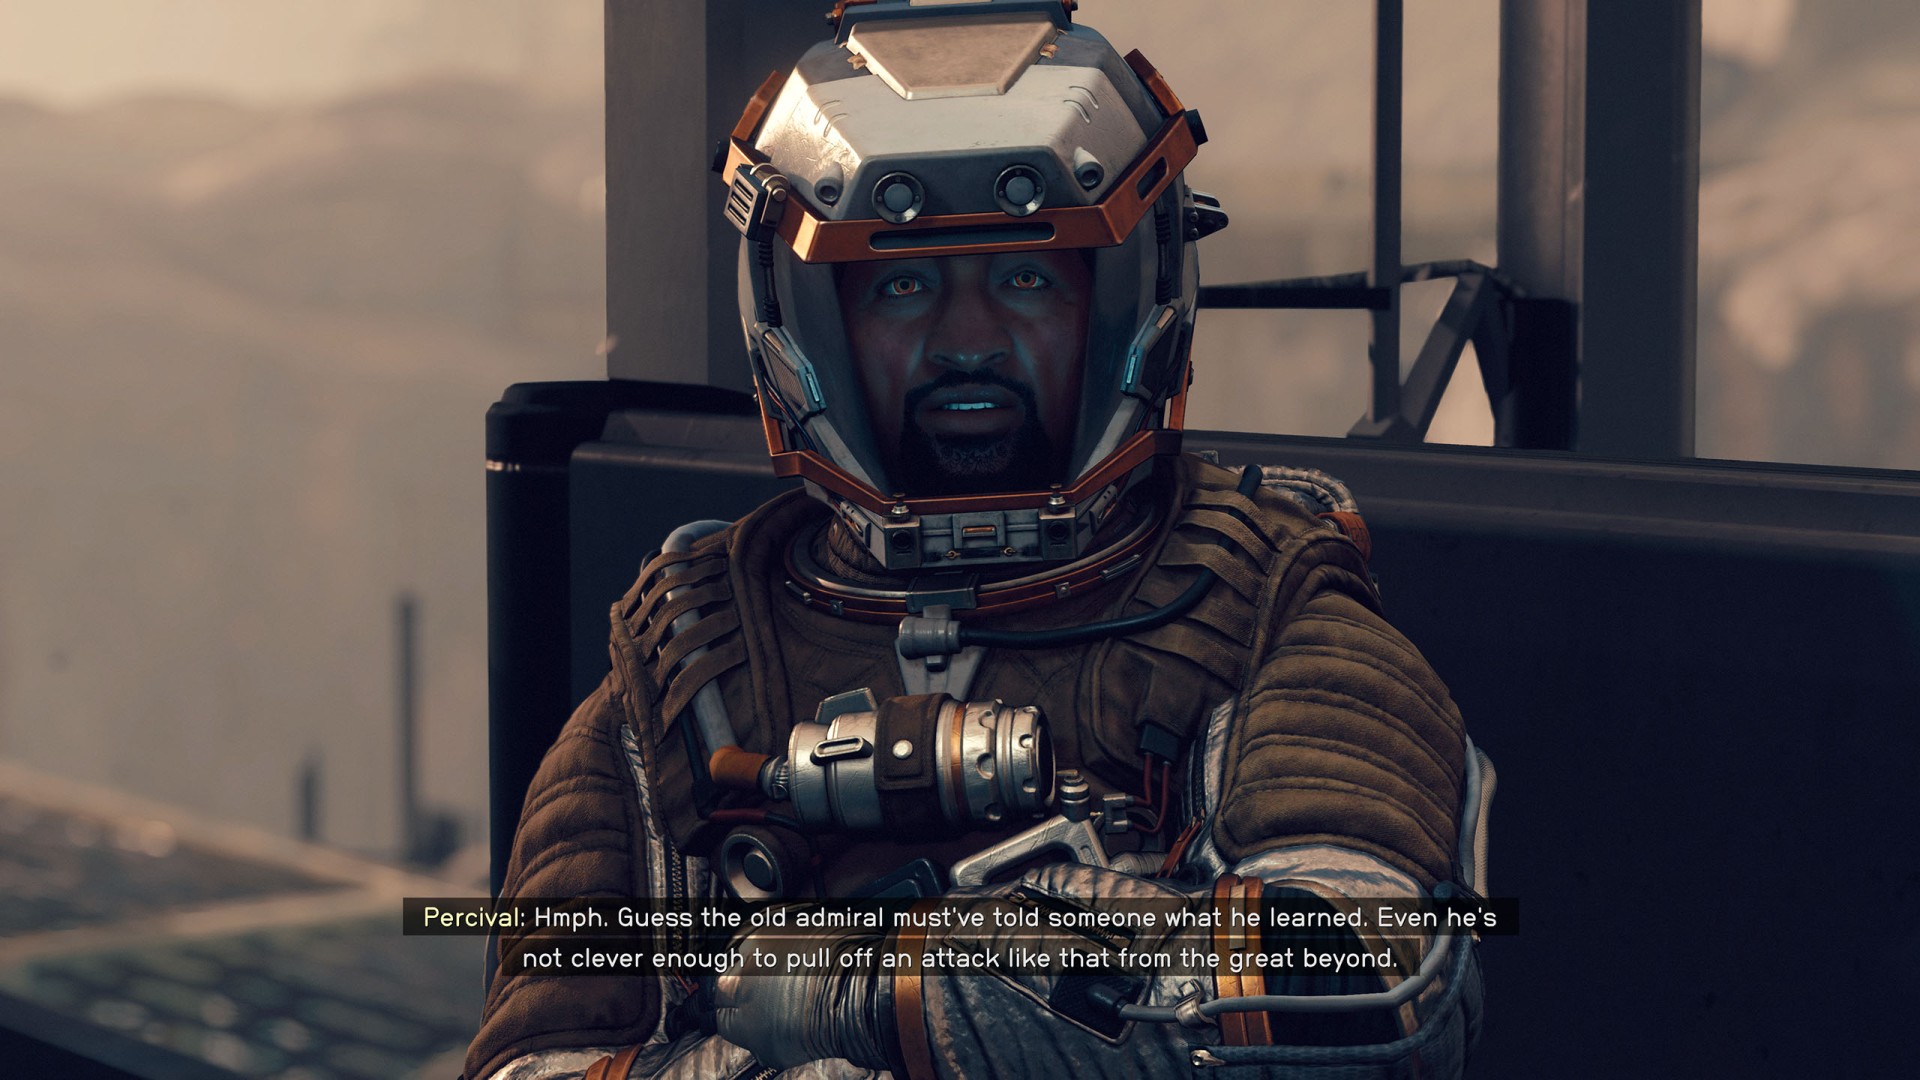
Return to the base and debrief with Percival and Hadrian.
It will complete this mission. You will receive 350 XP and 12,000 credits and the next mission will begin - "A Legacy Forged".
We've got all the raw materials we need to get the Terrormorph clean up program off the ground... but we discovered something much bigger on Londinion - the Lazarus Plant was used in the attacks on New Atlantis and Vae Victis knew about the plant. I'm going to confront him about it now.