Taming a Desert Mass Effect: Andromeda Mission
Type: Heleus Assignments
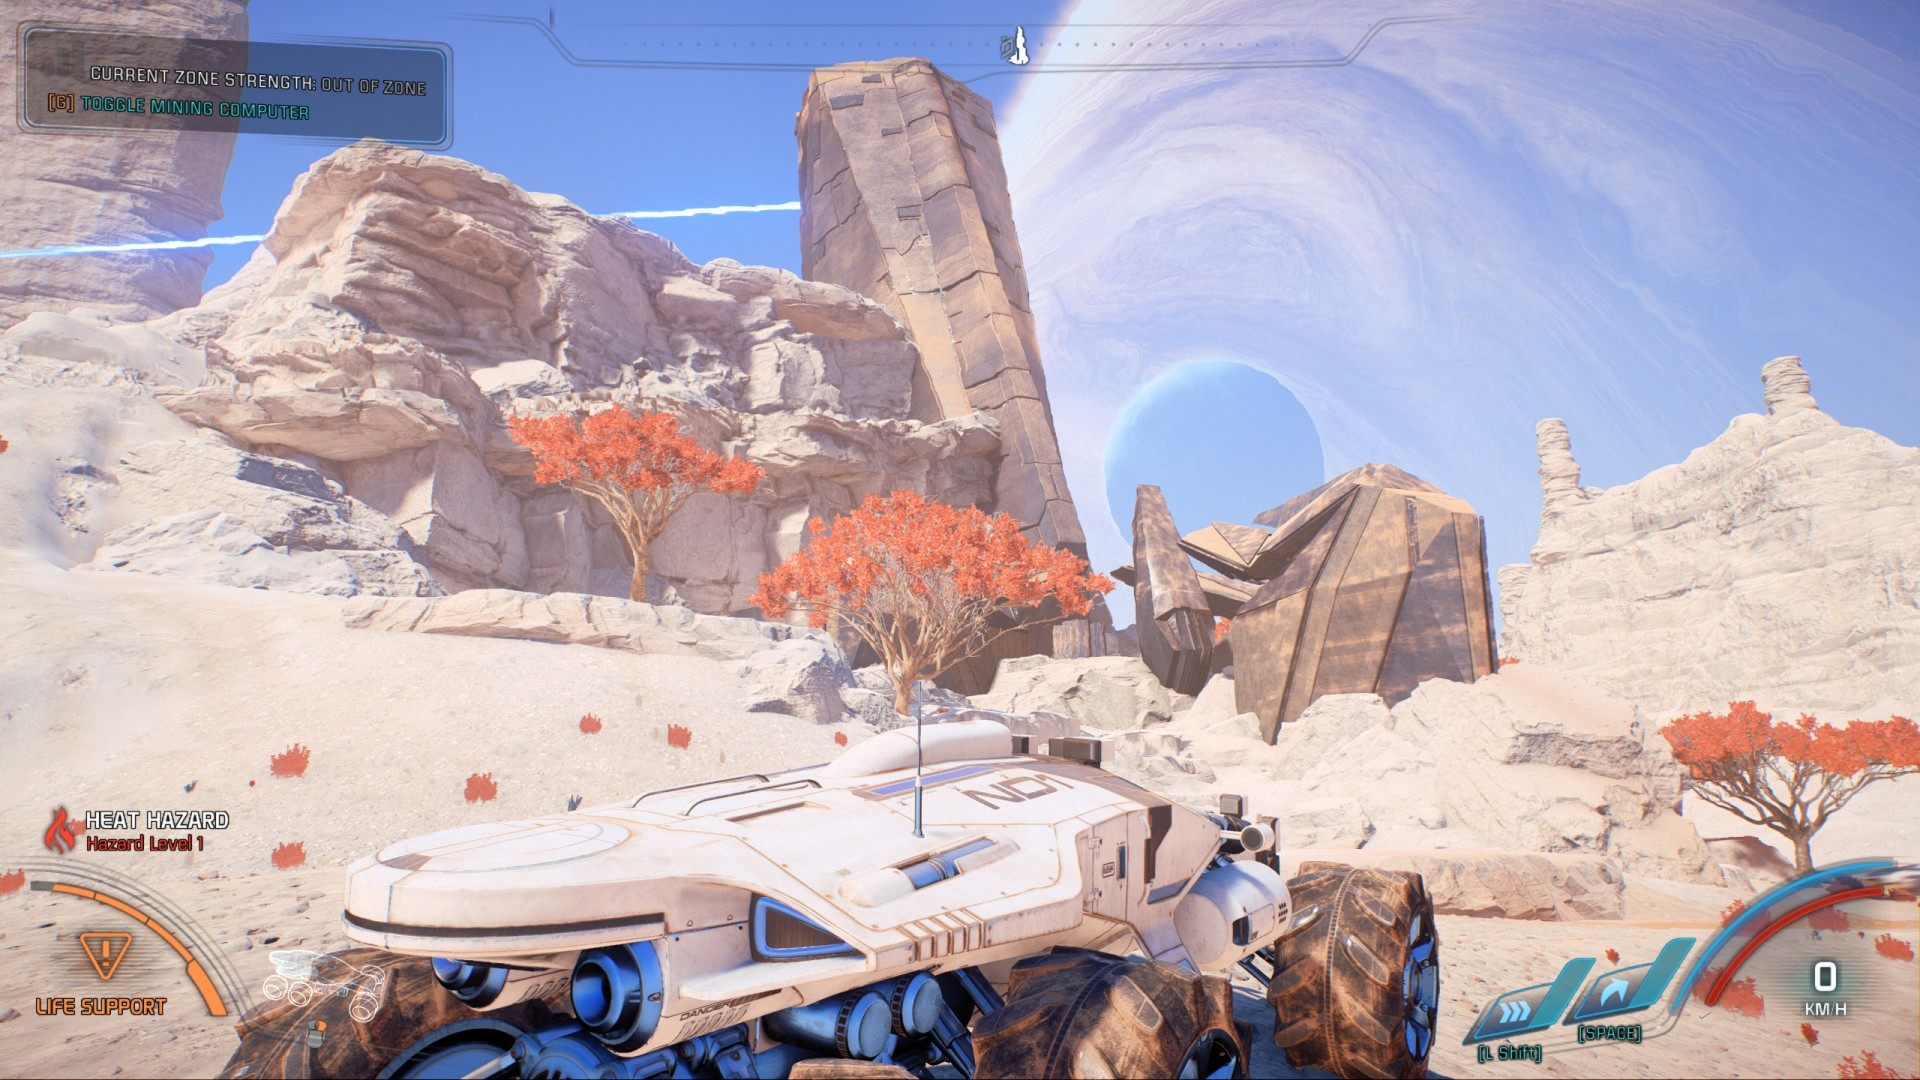
Zone / Planet: Elaaden
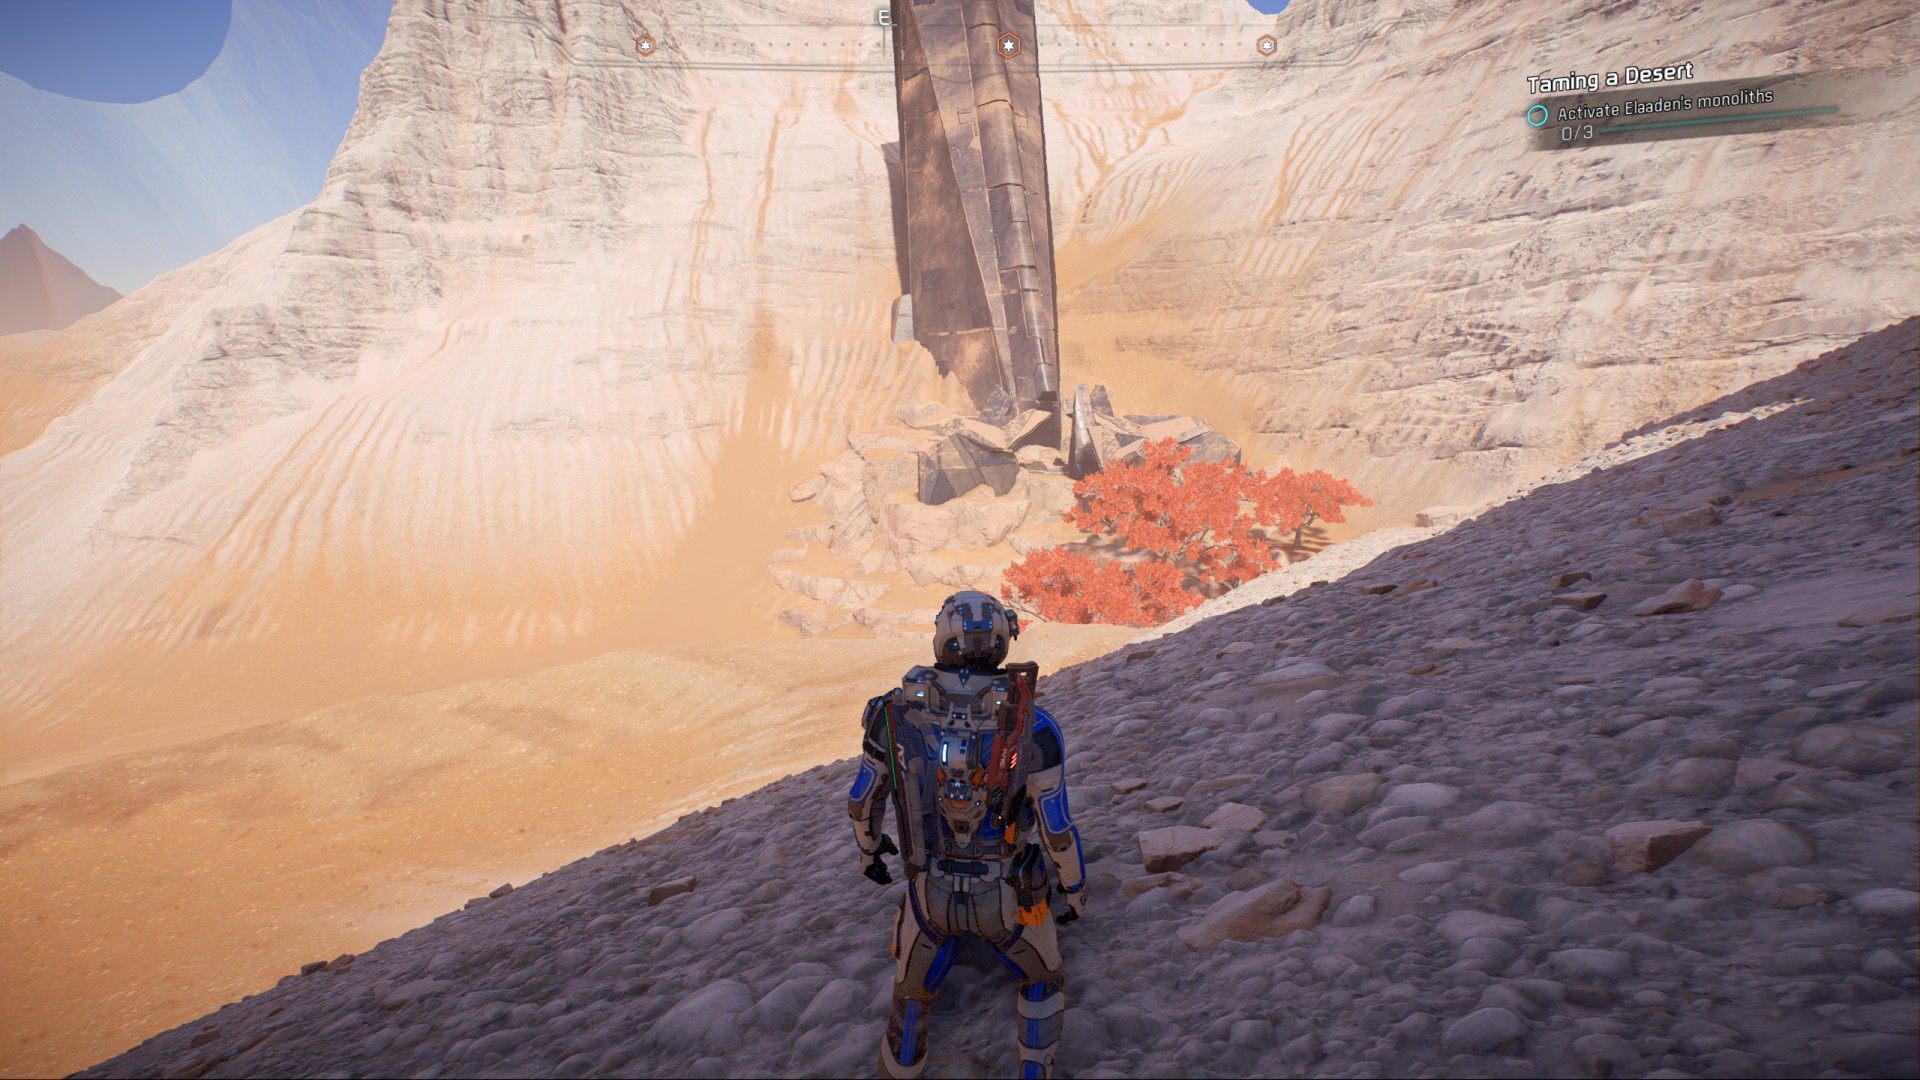
Elaaden is an arid, burning desert, but Remnant technology could make conditions more livable for Milky Way species and the angara. The key to doing so is the vault, which can be unearthed by activating the Remnant monoliths scattered arround the planet.
To start this mission you should approach one of the monoliths.
Related points of interest
![]() Remnant Monolith #1
Elaaden
Remnant Monolith #1
Elaaden
![]() Remnant Monolith #2
Elaaden
Remnant Monolith #2
Elaaden
![]() Remnant Monolith #3
Elaaden
Remnant Monolith #3
Elaaden
![]() Remnant Vault
Elaaden
Remnant Vault
Elaaden
Mission objectives of Taming a Desert
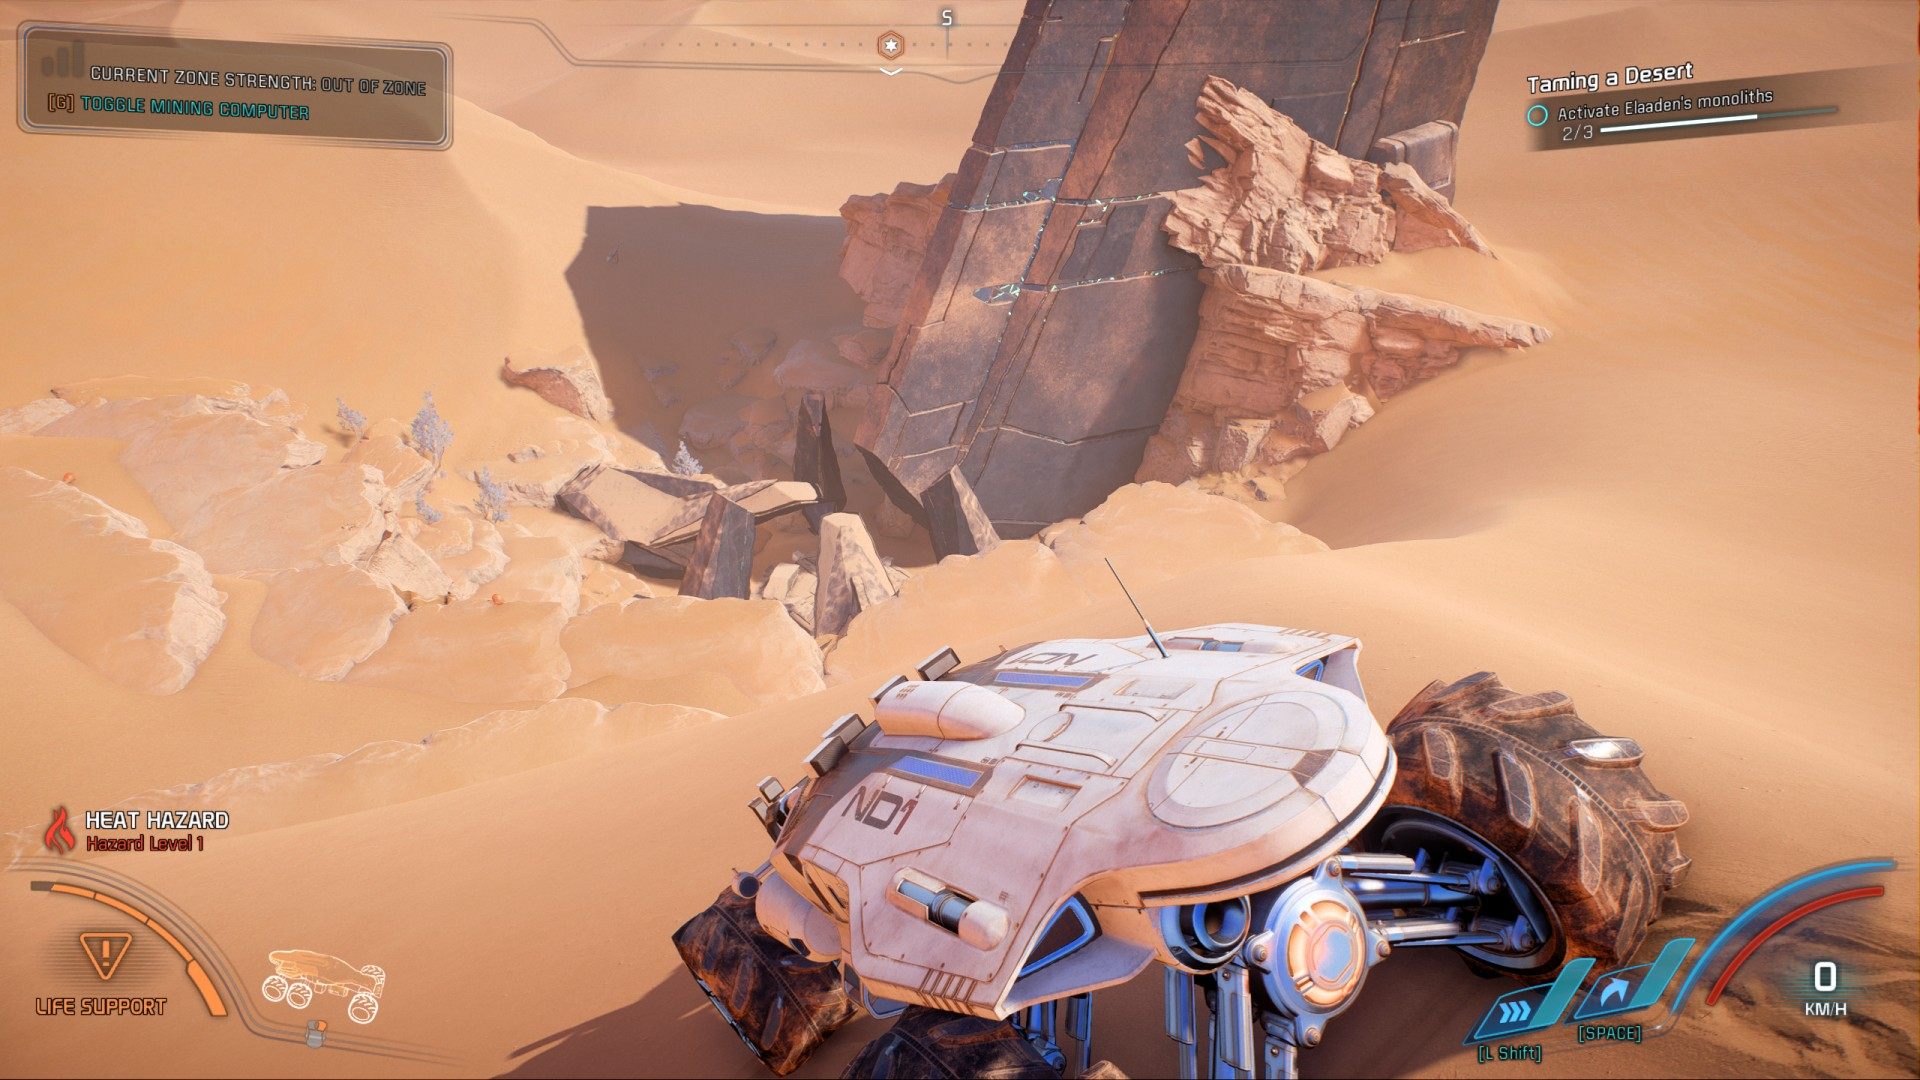
1. Activate Elaaden's monoliths (x3)
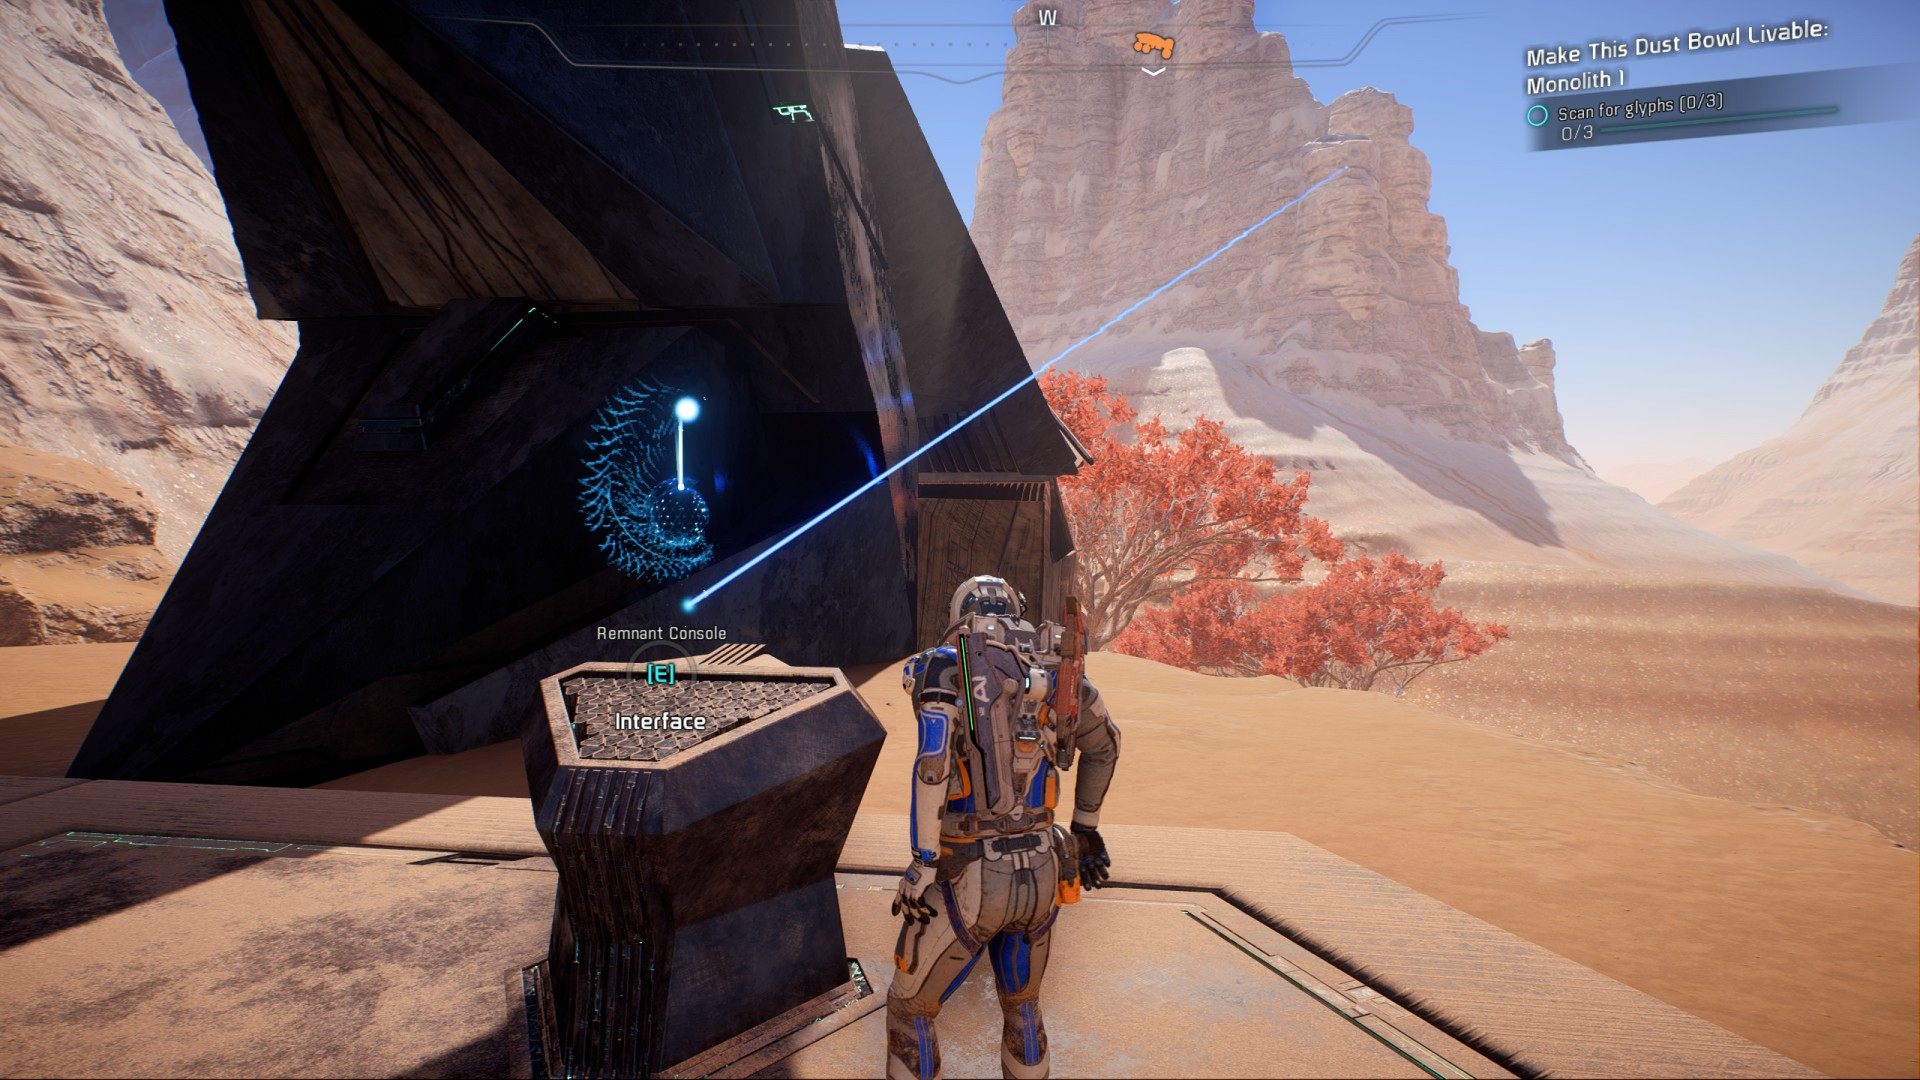
1.1. Make This Dust Bowl Livable: Monolith 1
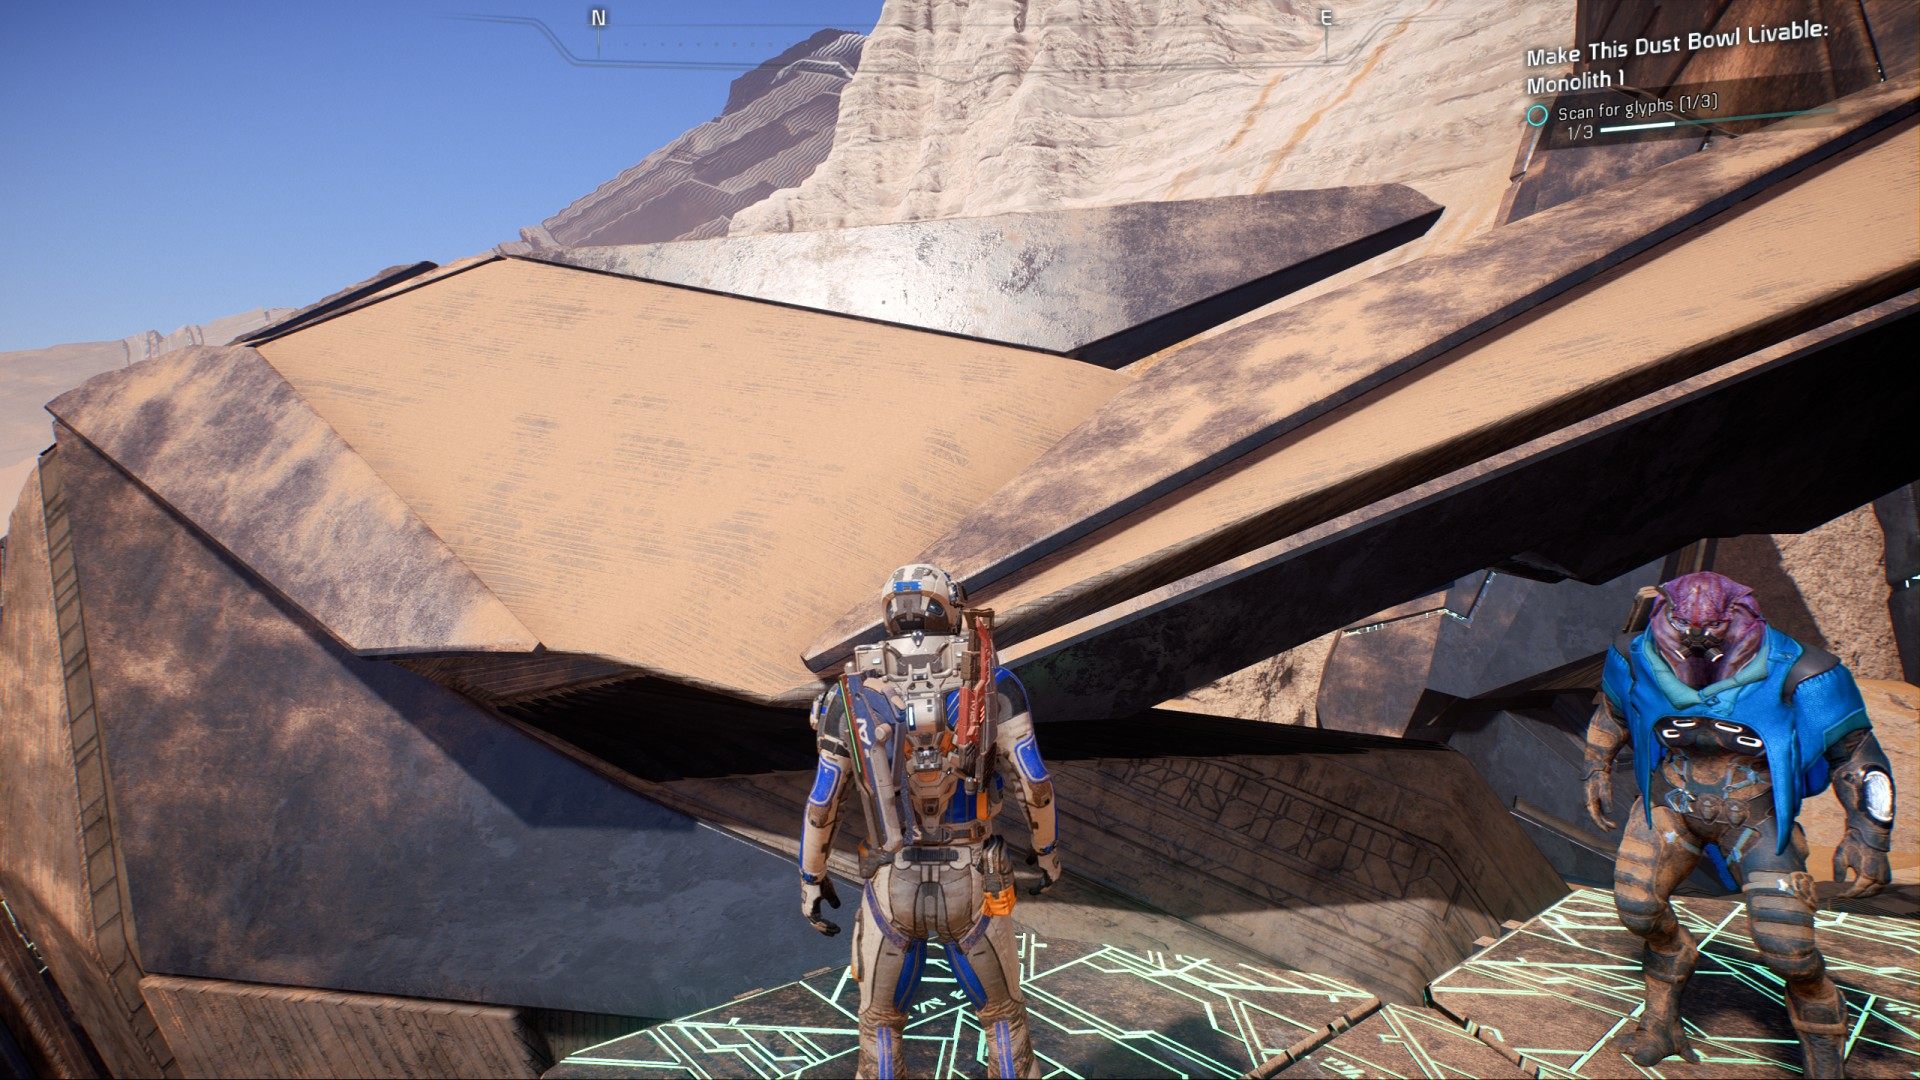
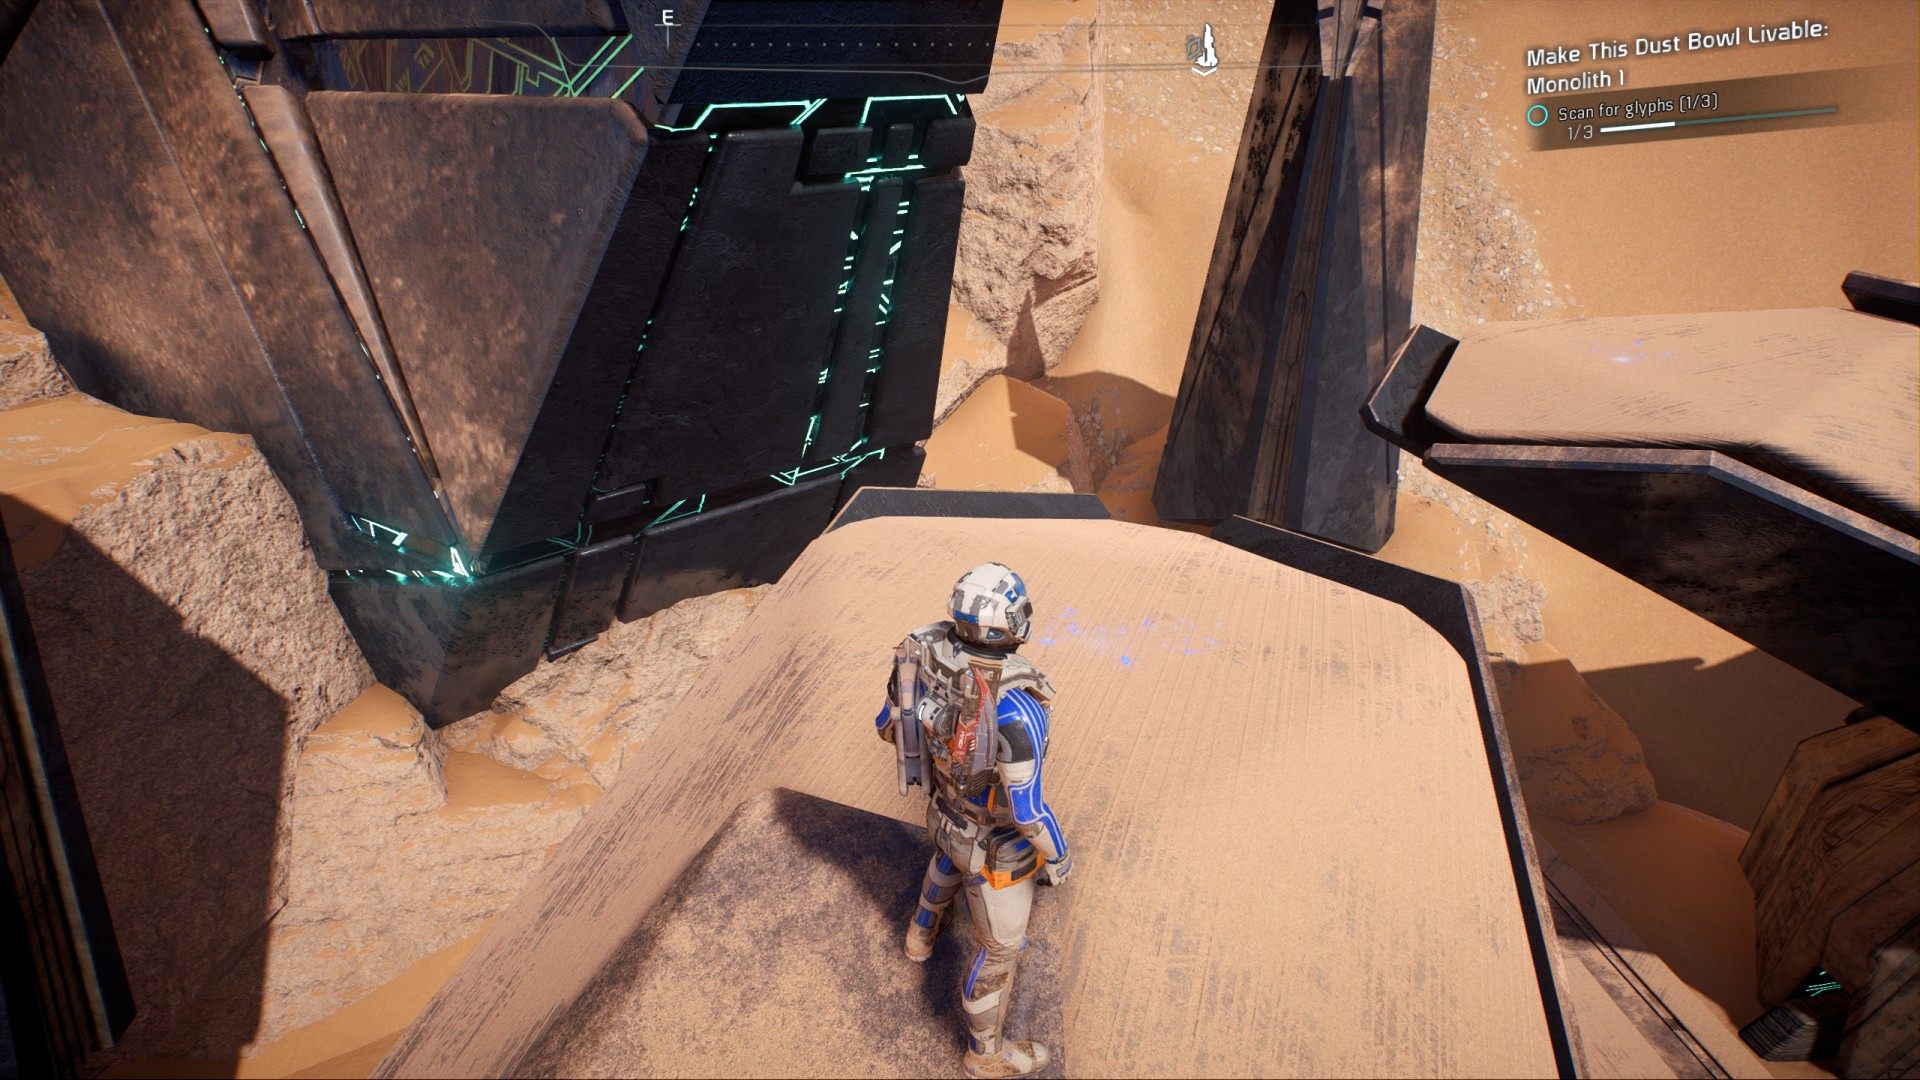
1.1.1. Scan for glyphs (x3)
Glyphs are located on top of the alien structures. To get to all of them, you have to activate this console. This will cause the pillars to rise from the ground, after which you will be able to jump up and then scan the glyphs.
First glyph - Verdurous Glyph is on the structure to the left. You can jump on this structure from the higest pillar.
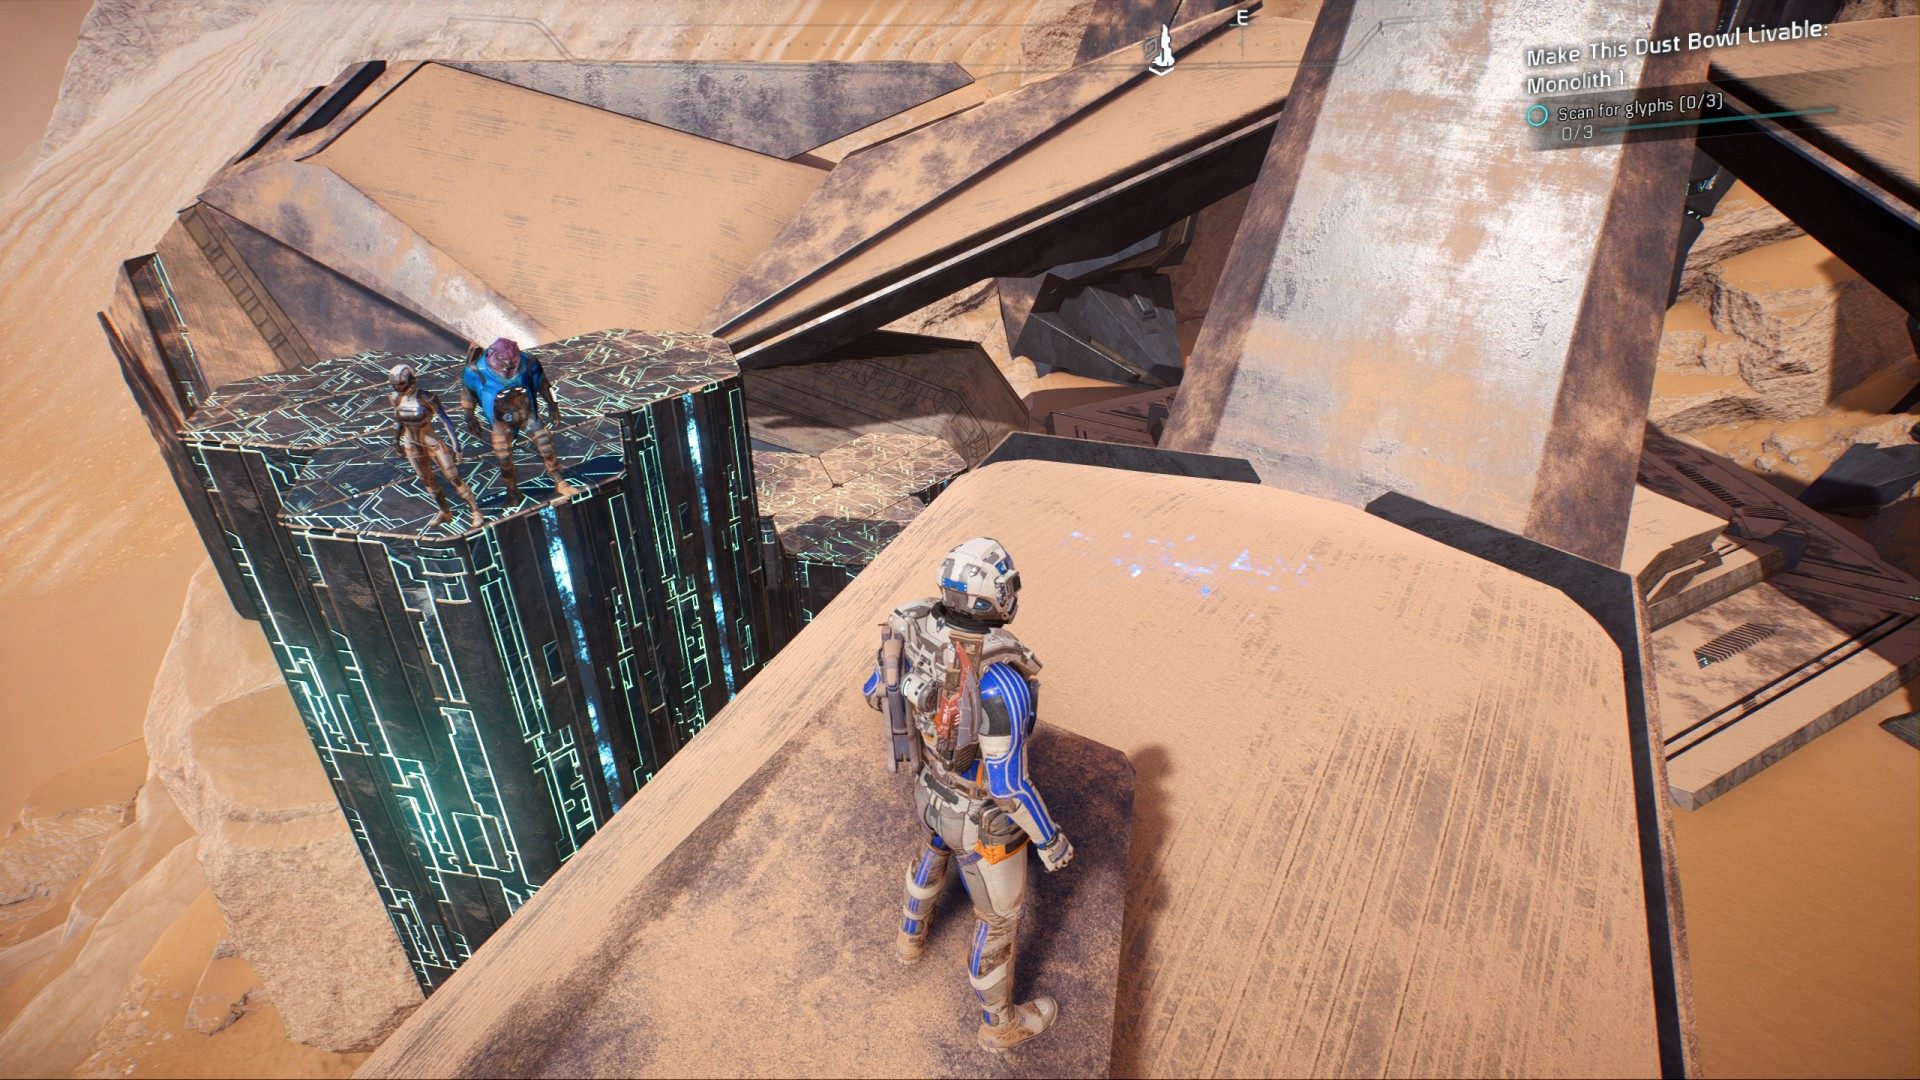
You can jump onto structure located on the right from the middle pillar.
Now you have access to two more glyphs - Magnitude Glyph and Nihility Glyph. You can scan the last glyph from distance, or you can simply jump to the other structure and then scan the glyph.
1.1.2. Activate the monolith
Activate the main console. No puzzle to solve here.
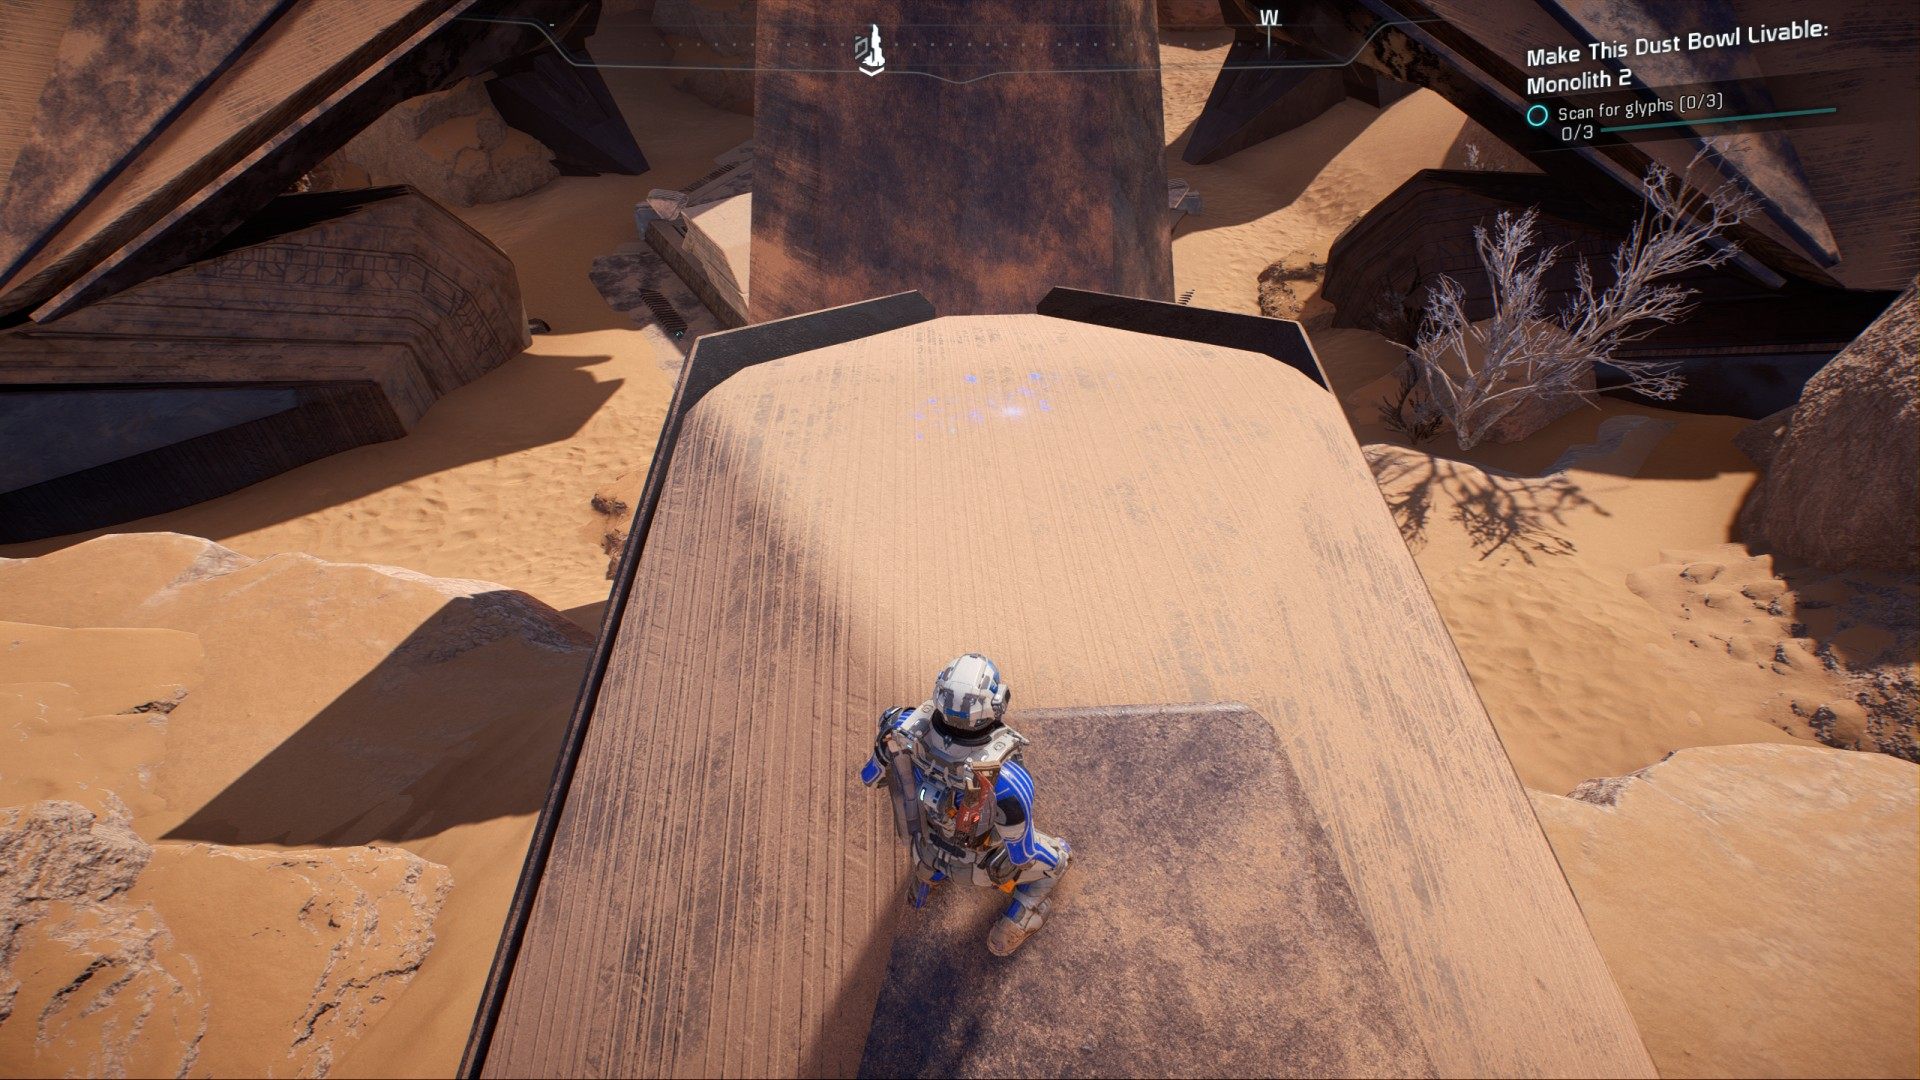
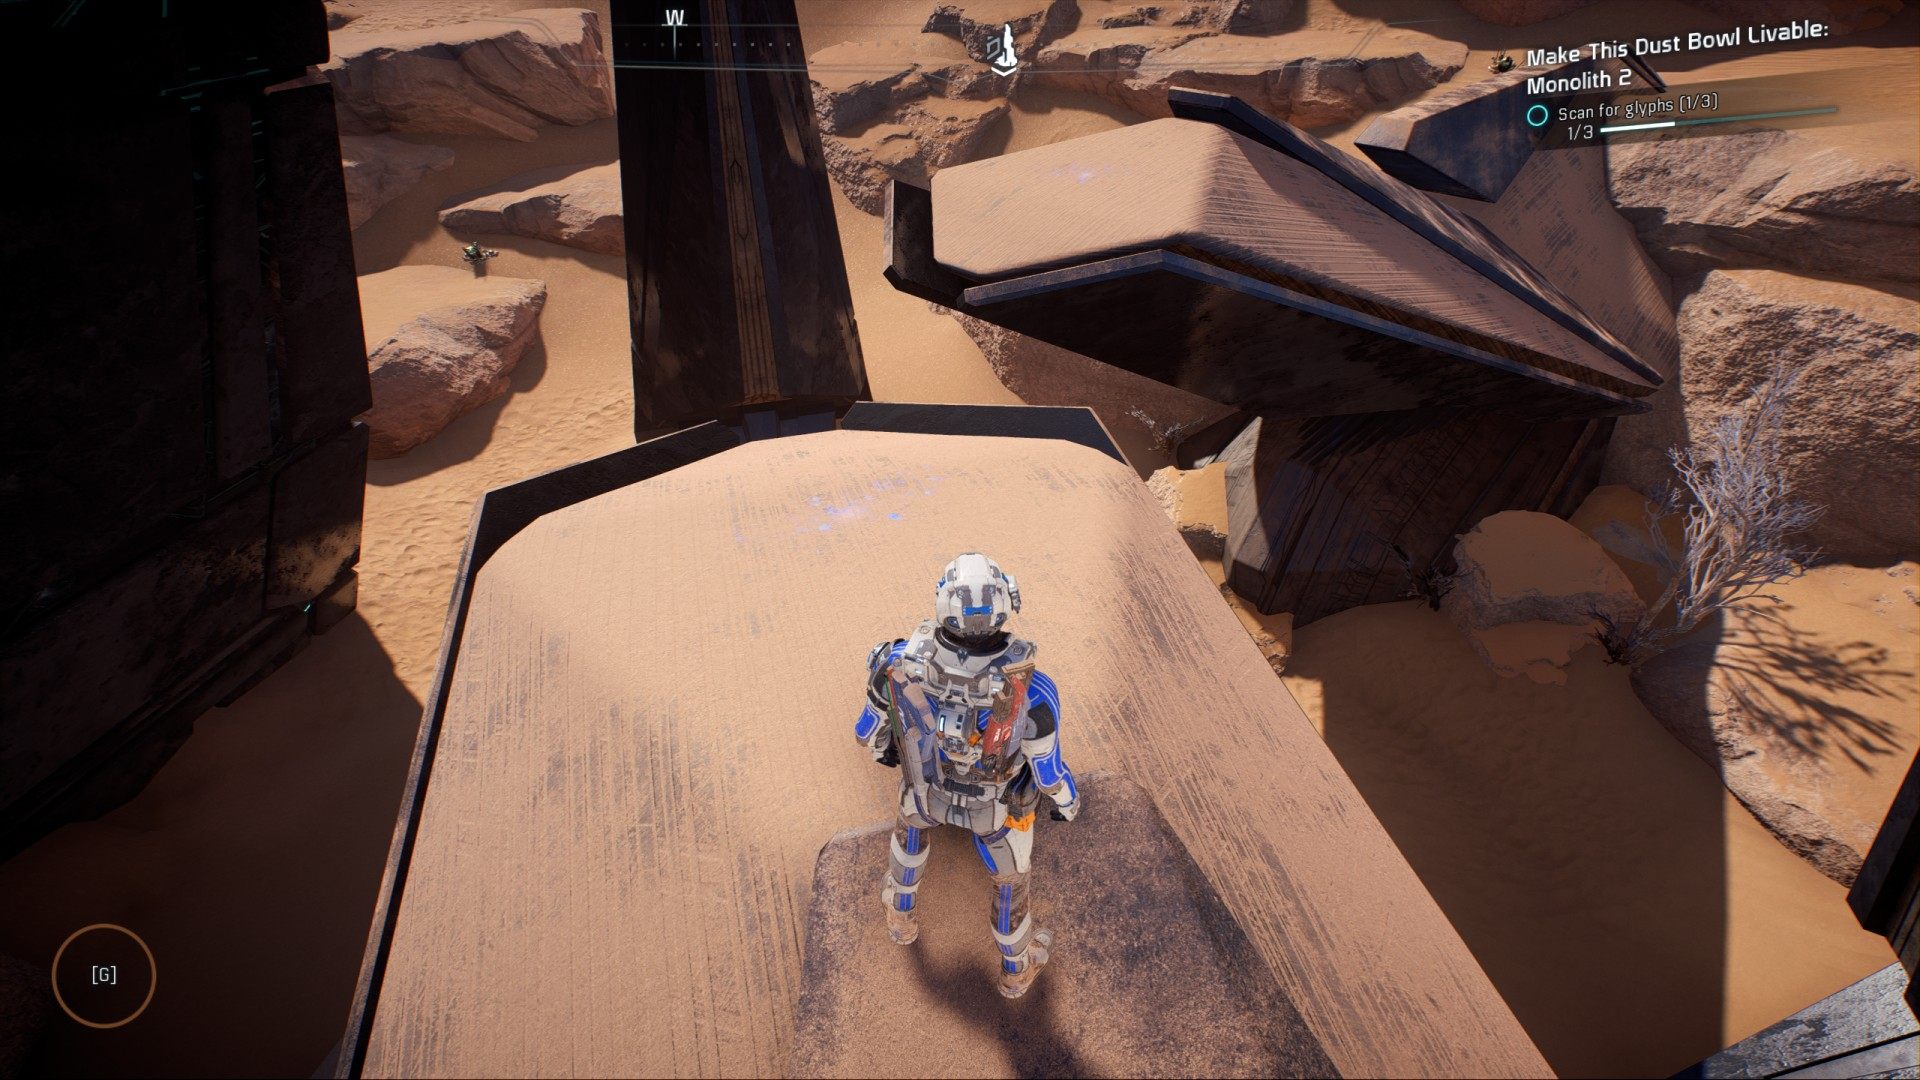
1.2. Make This Dust Bowl Livable: Monolith 2
1.2.1. Scan for glyphs (x3)
Stratospheric Glyph, Hydrodynamic Glyph, and Accretion Glyph are easily reachable. They are as usual at the top of the structures.
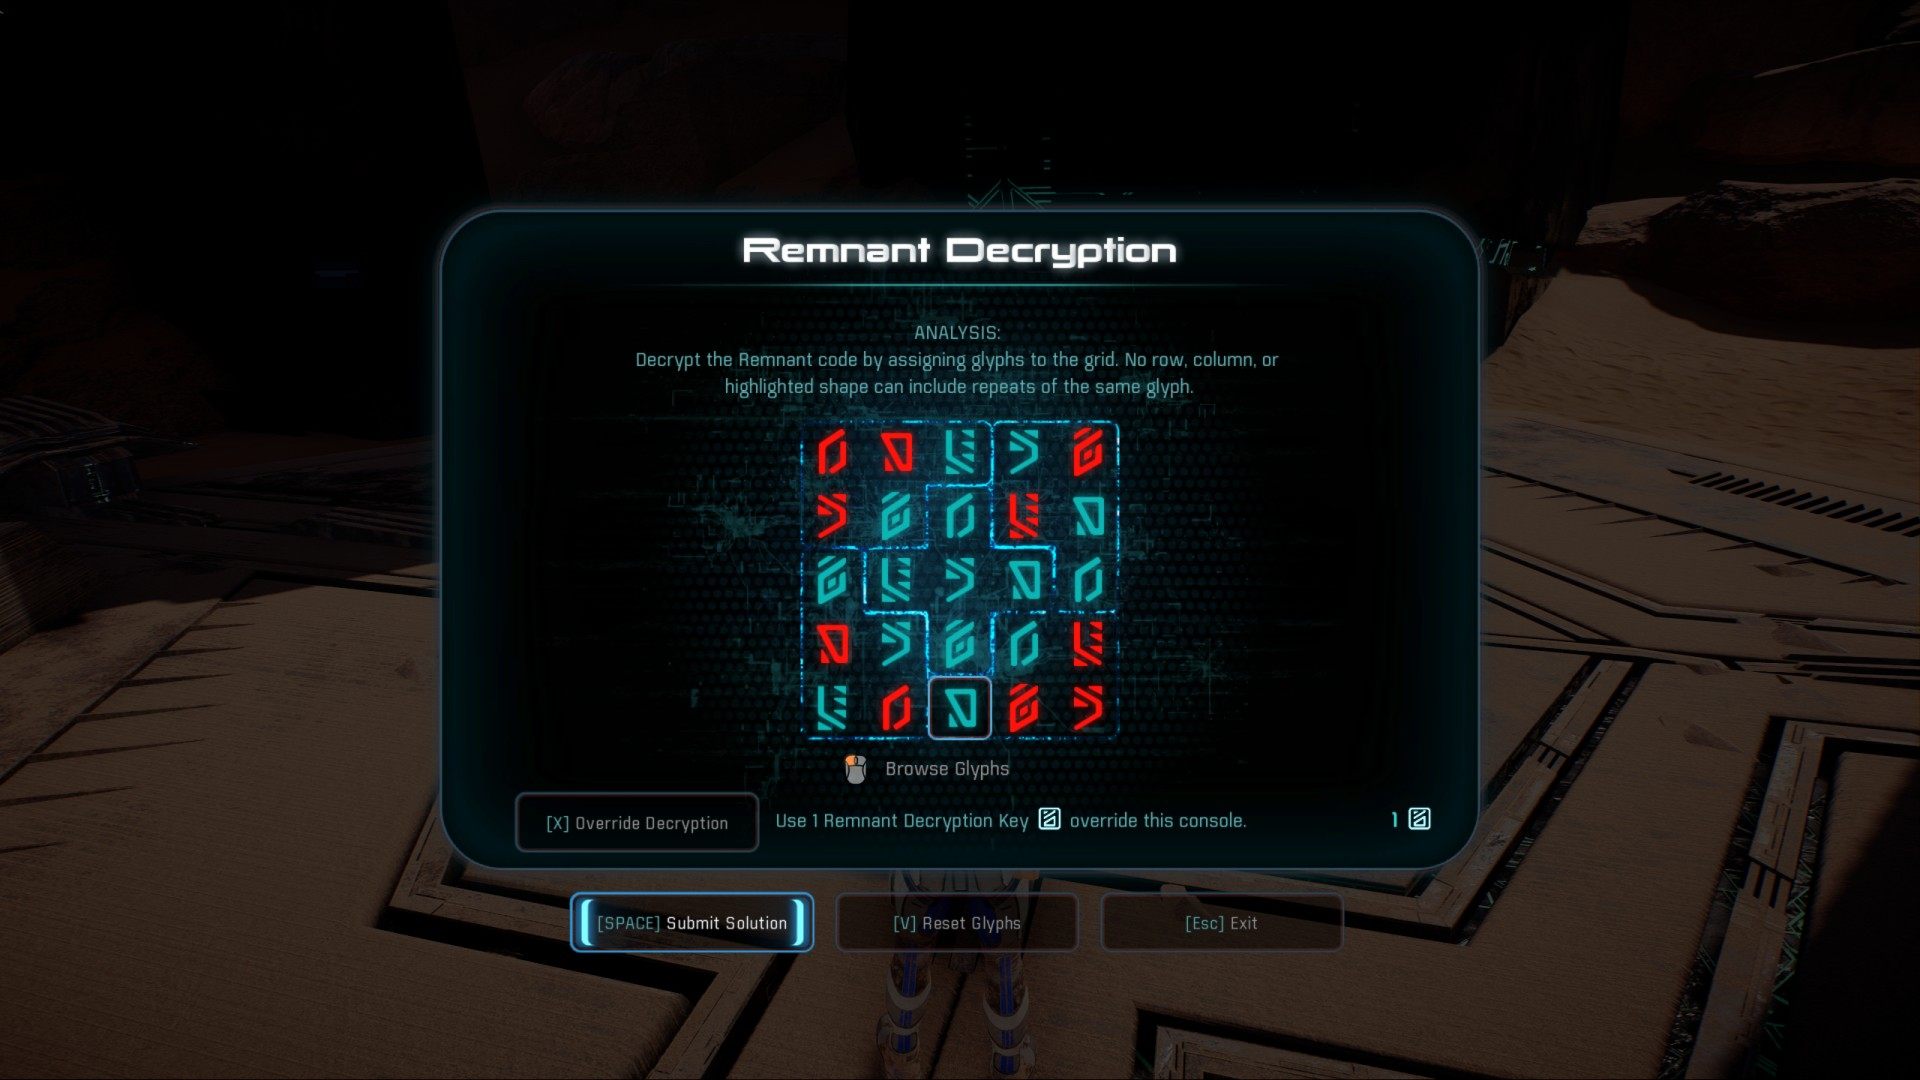
1.2.2. Activate the monolith
Correct solution of the puzzle.
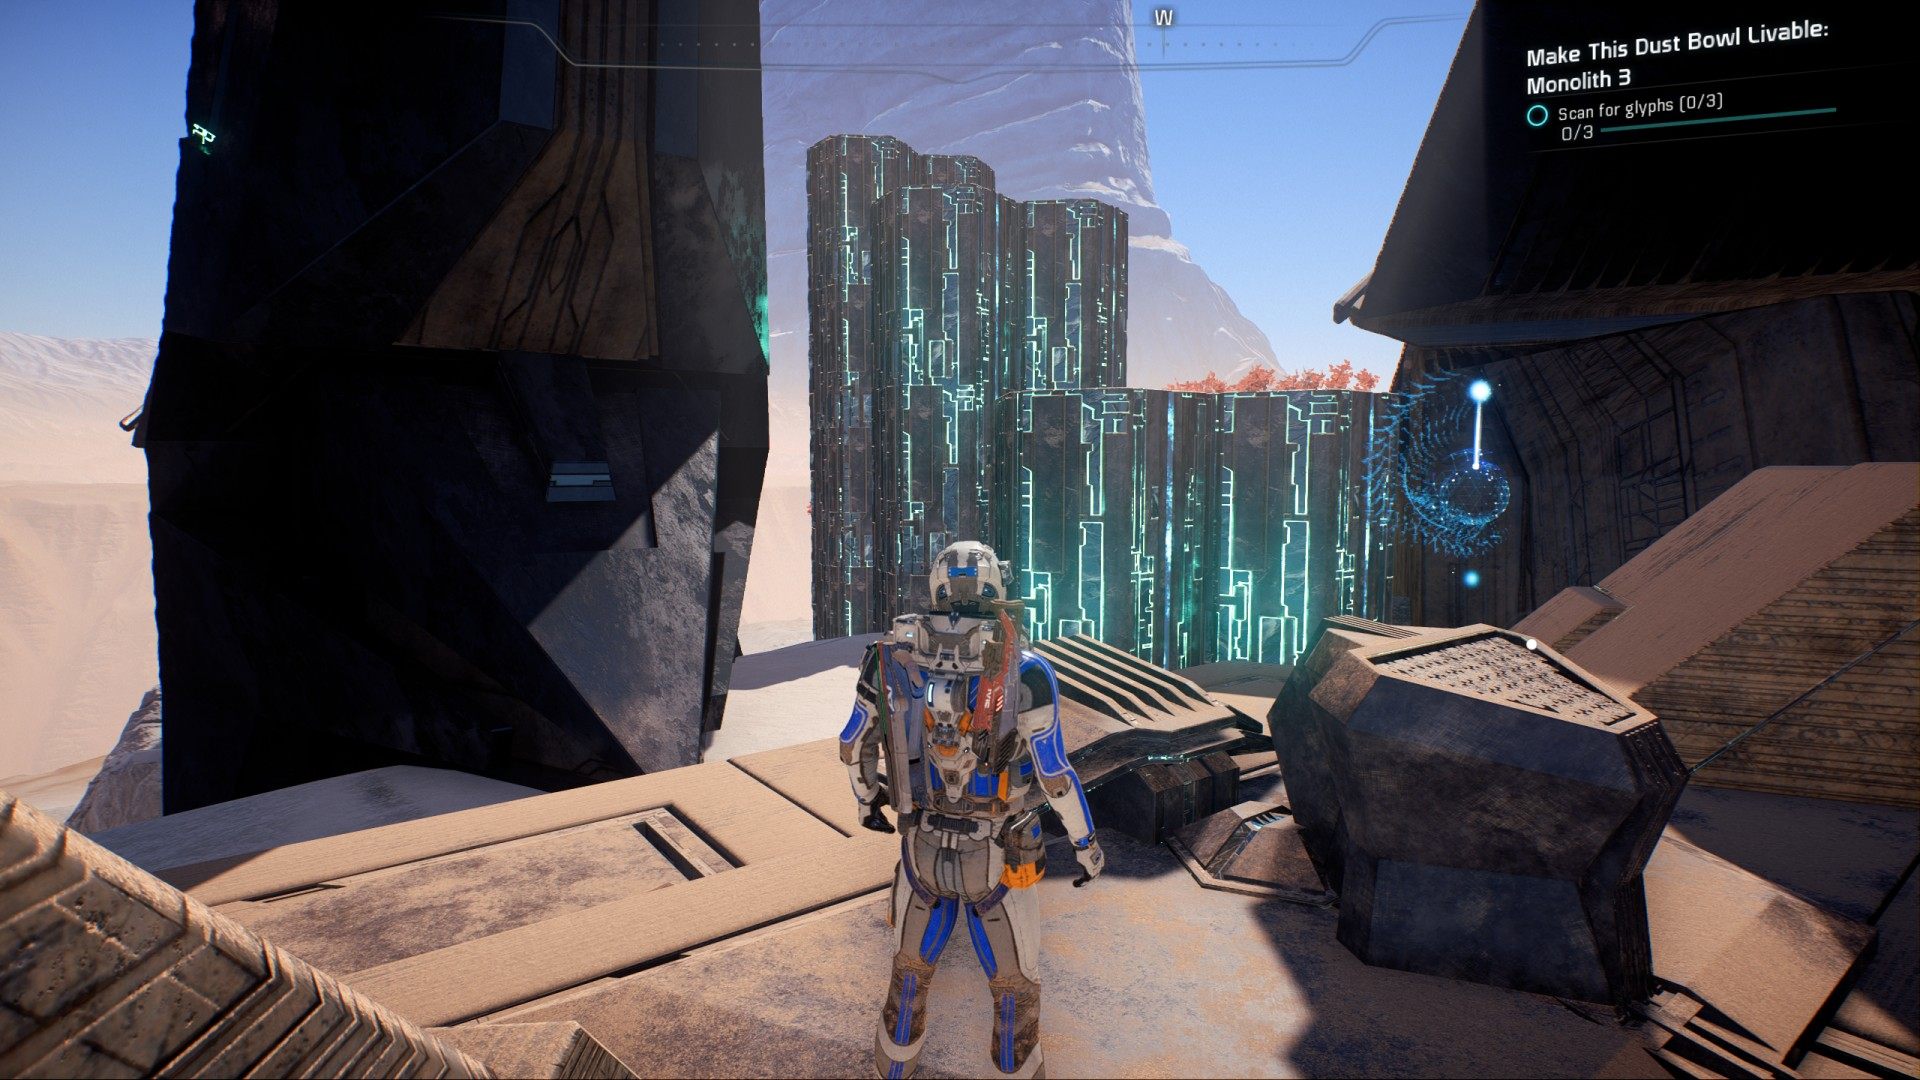
1.3. Make This Dust Bowl Livable: Monolith 3
1.3.1. Scan for glyphs (x3)
There are three additional consoles here - Left, Right, and Center. One of the pillars you need - lower one is up, you need to bring up two more.
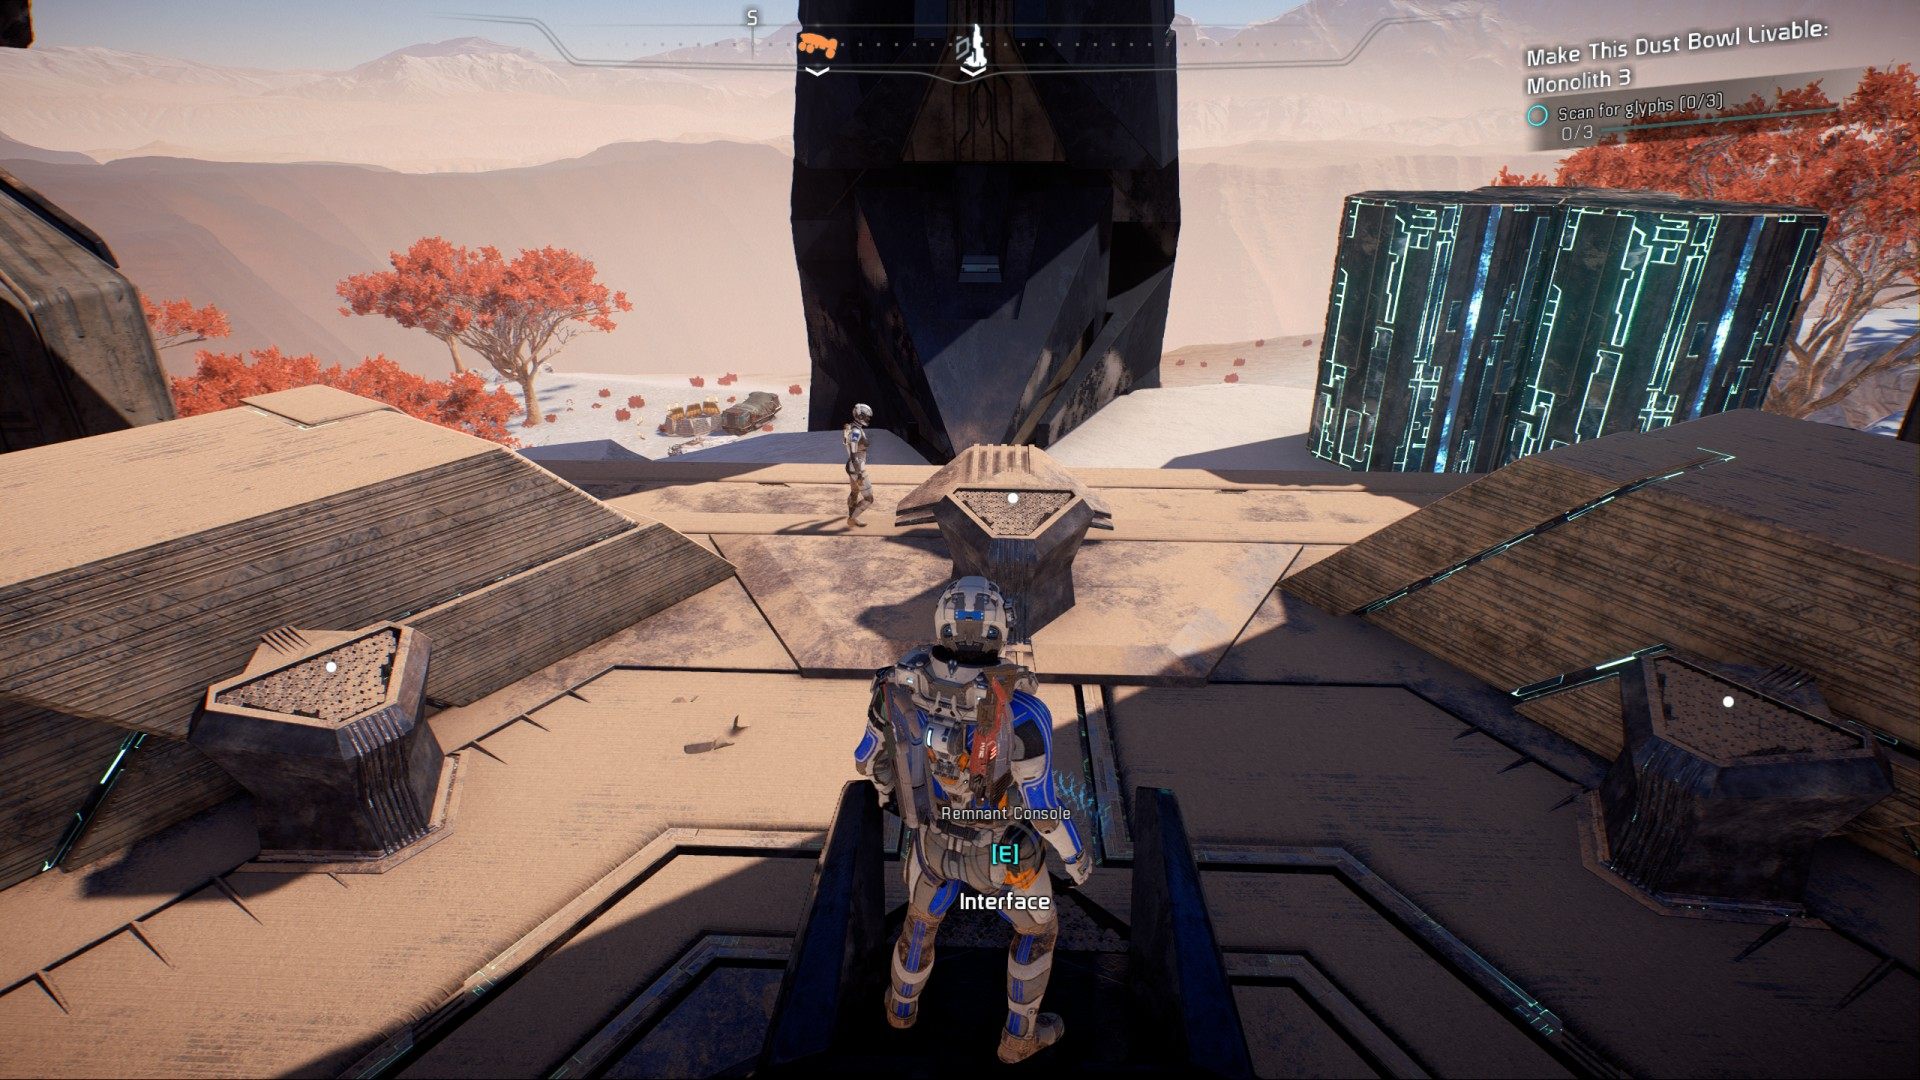
Activate left console, right console and then double-activate center one. Final result should be like in the picture below. It will allow you to reach all three glyphs - Zero Glyph, Semiosis Glyph, and Synaptic Glyph.
1.3.2. Activate the monolith
Activate the main console. No puzzle to solve here.
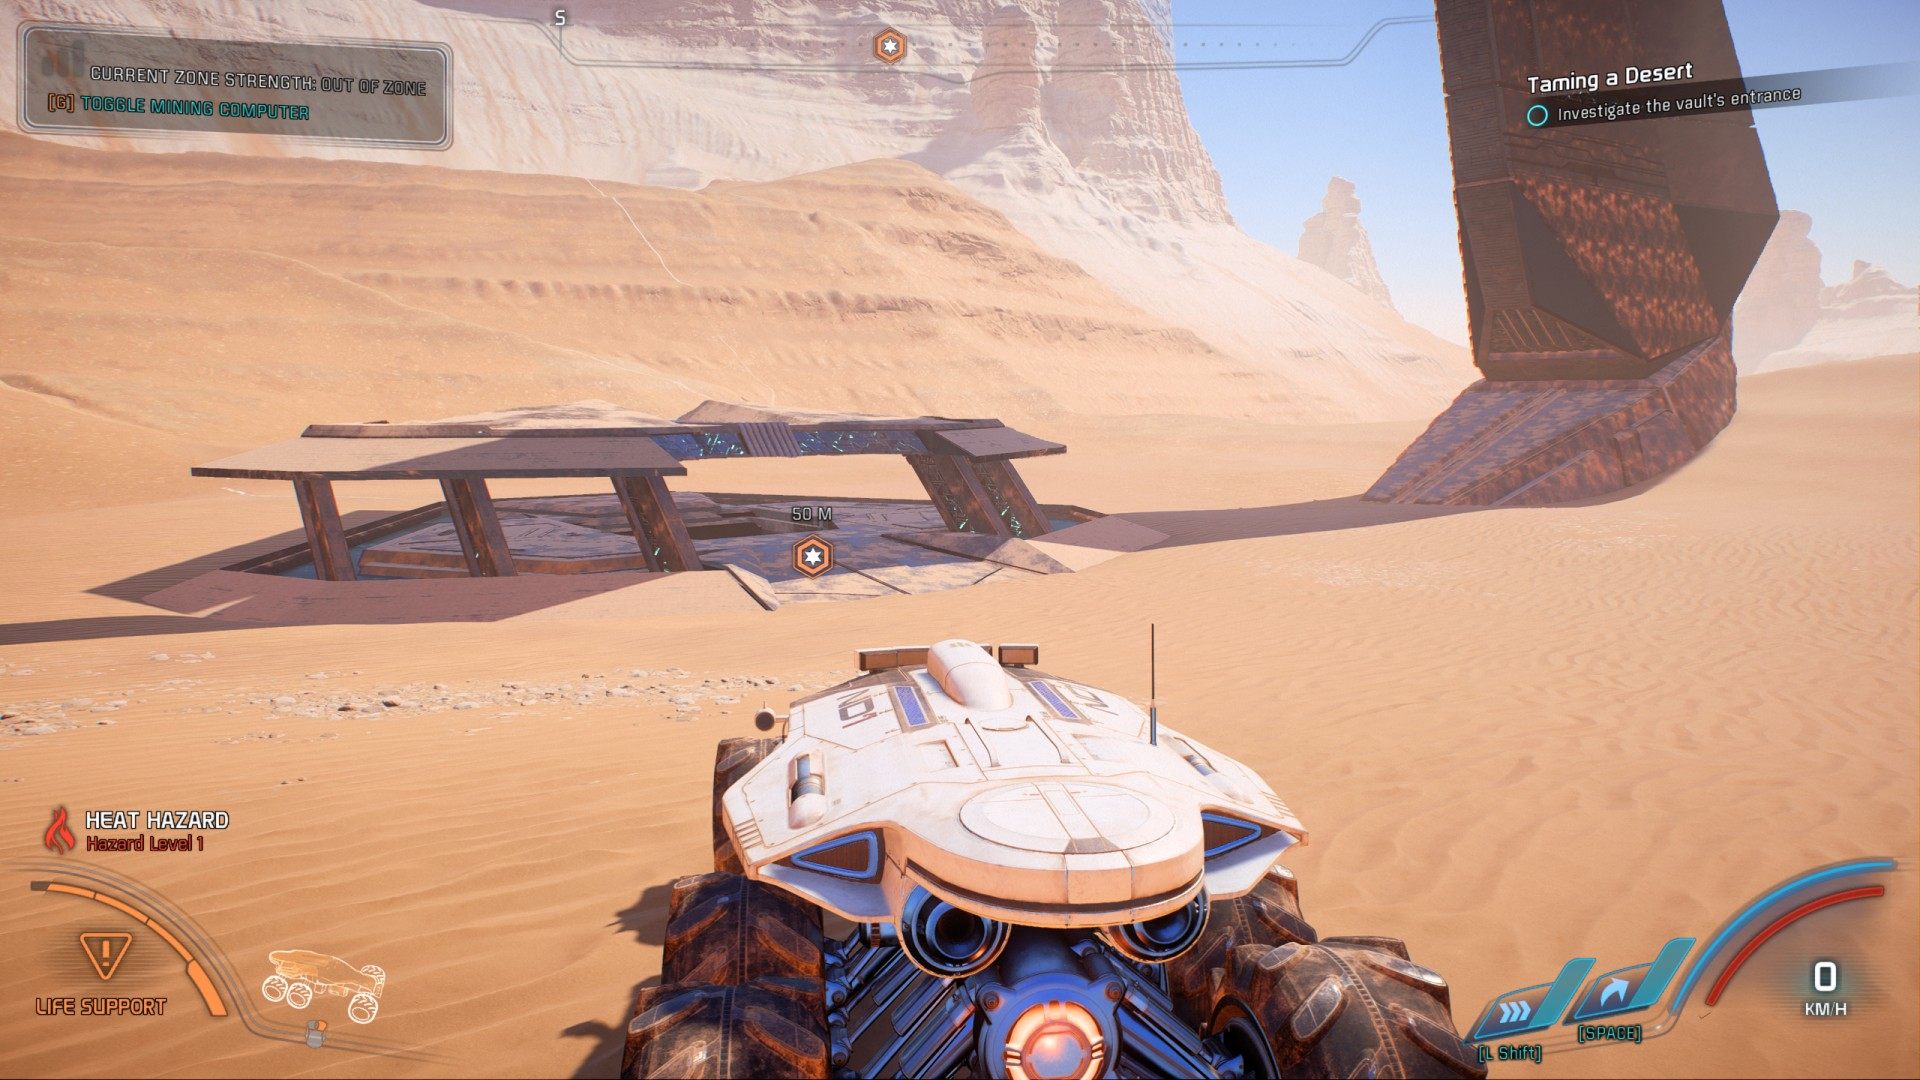
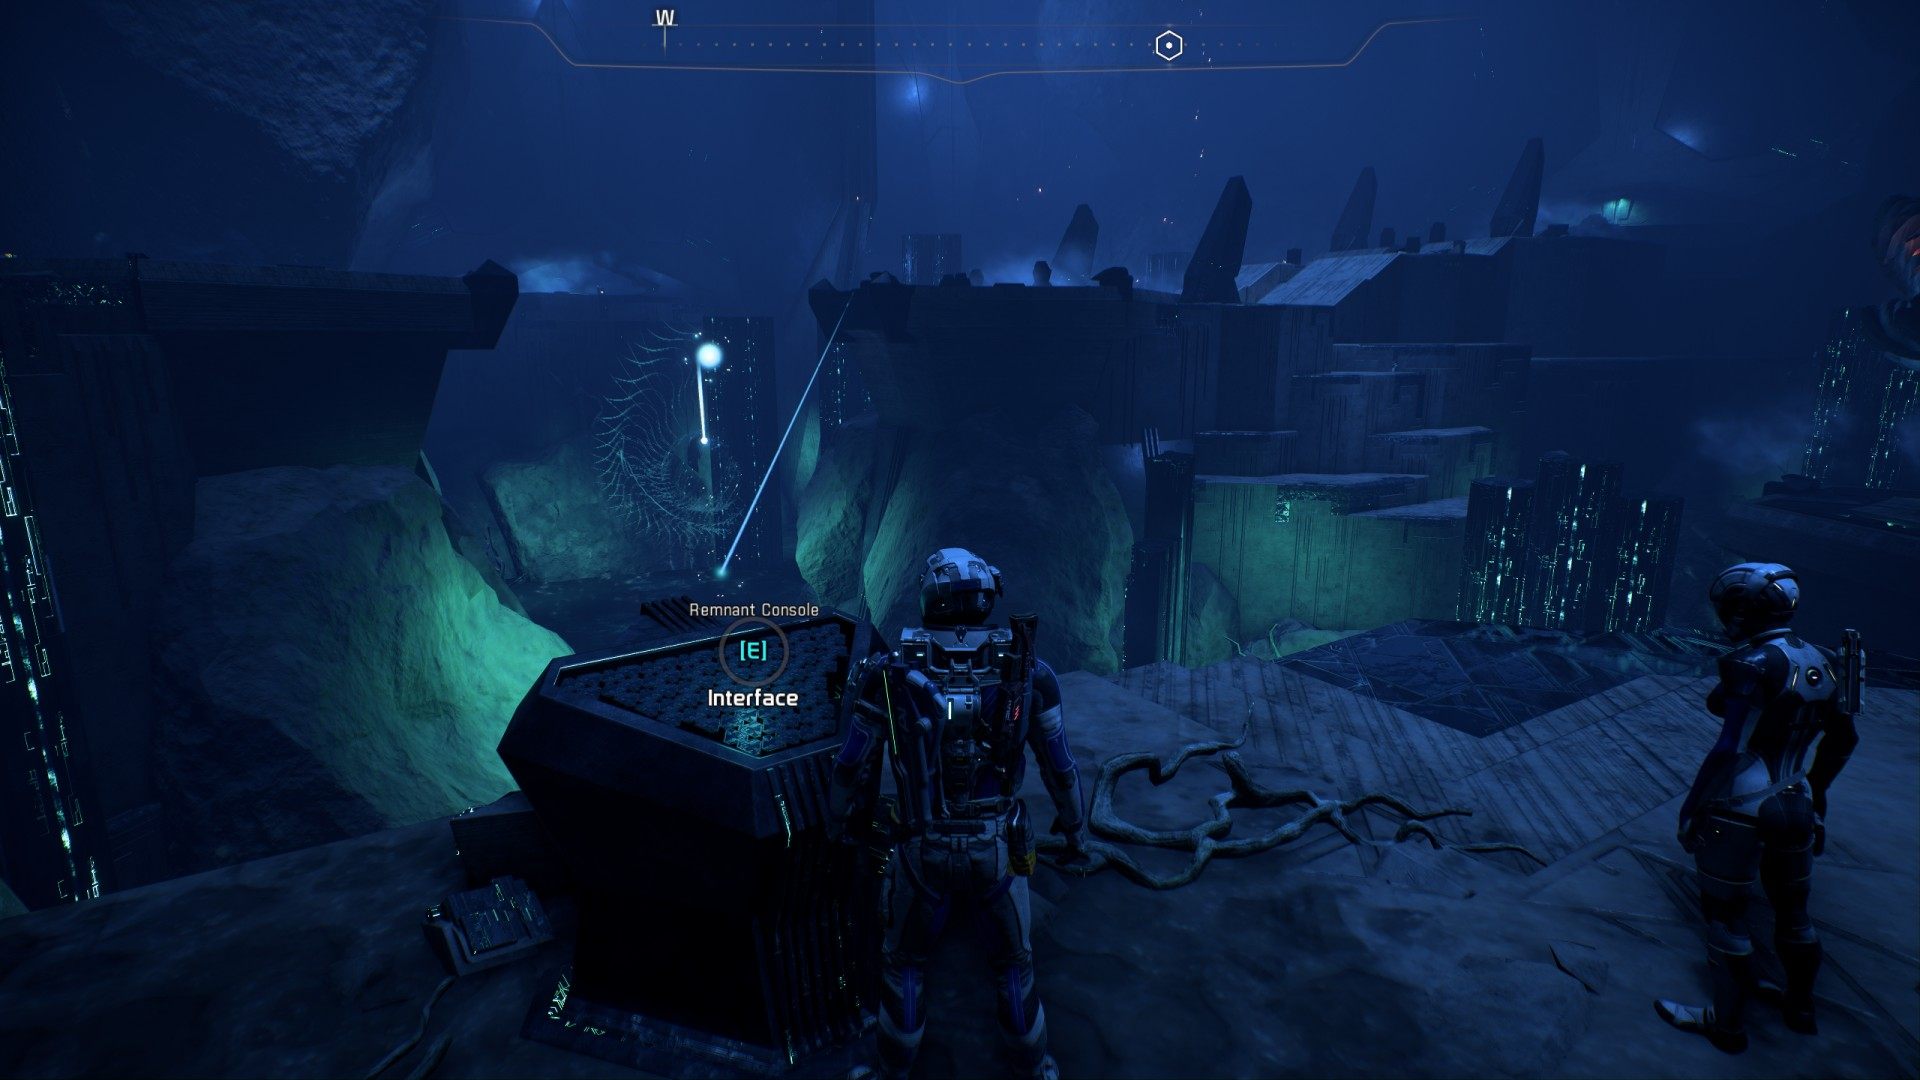
2. Investigate the vault's entrance
3. Map of the Remnant vault on Elaaden
Select "Open link in new tab / window" for full size map.
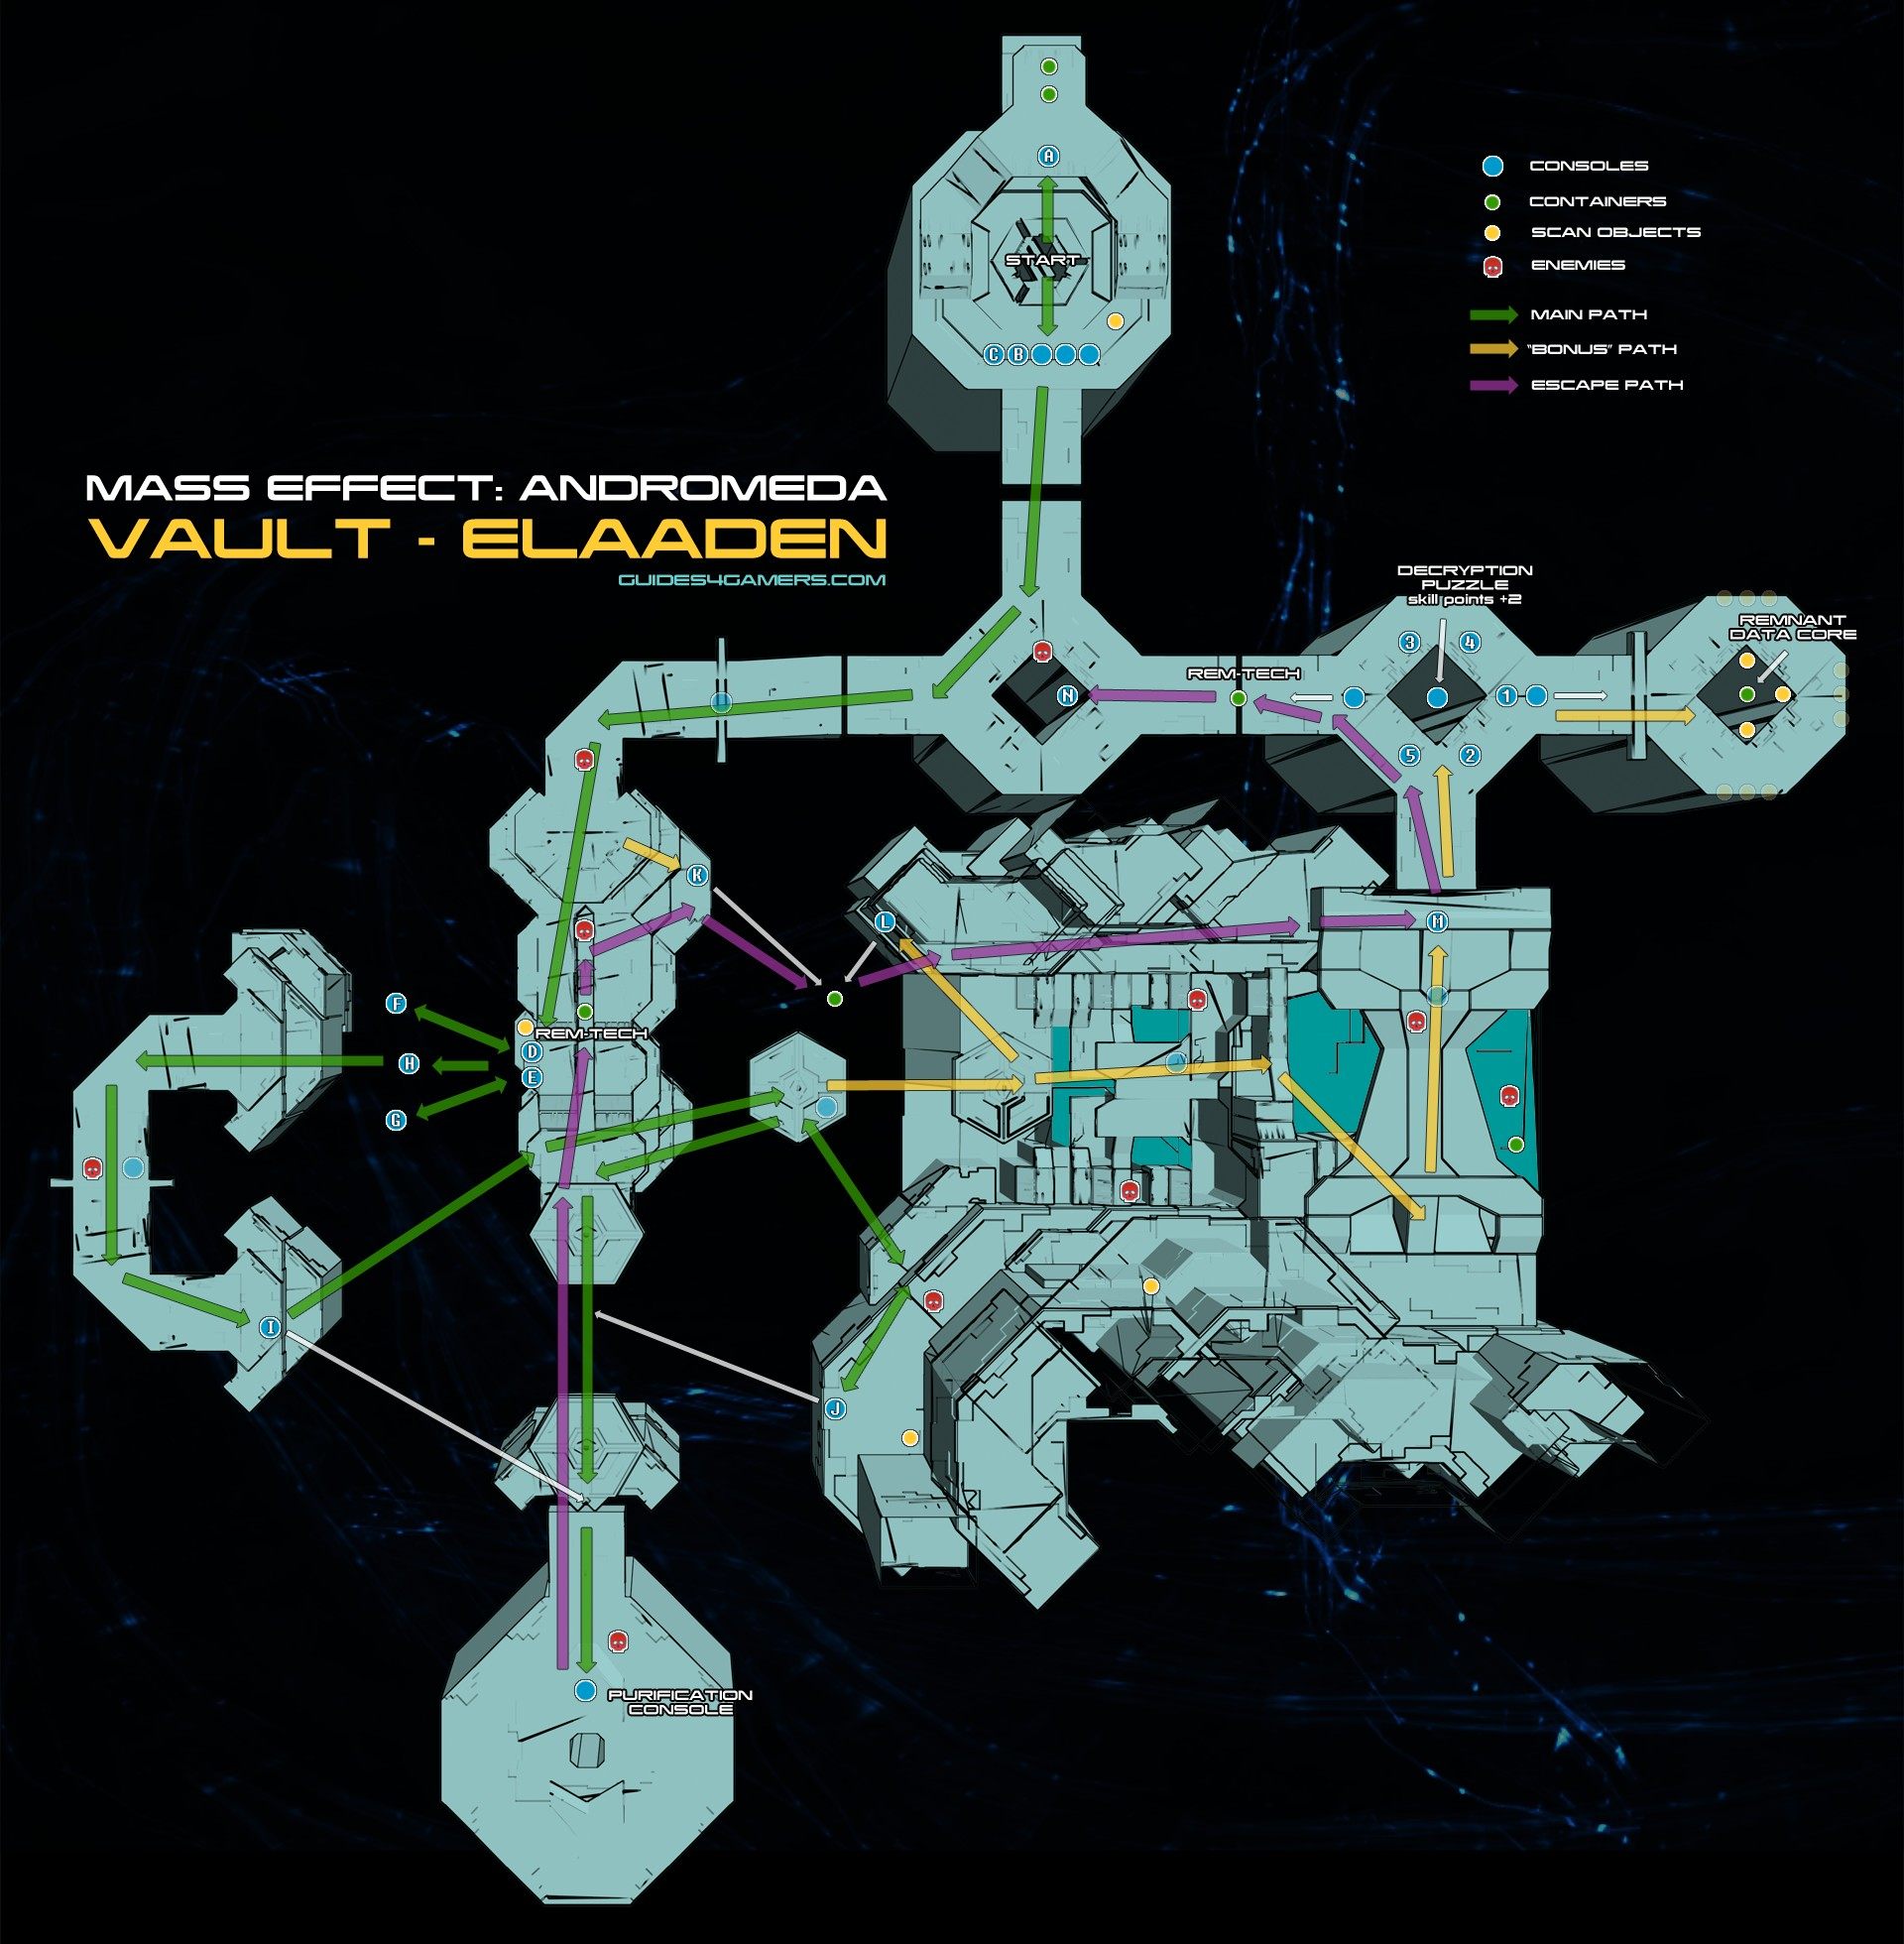
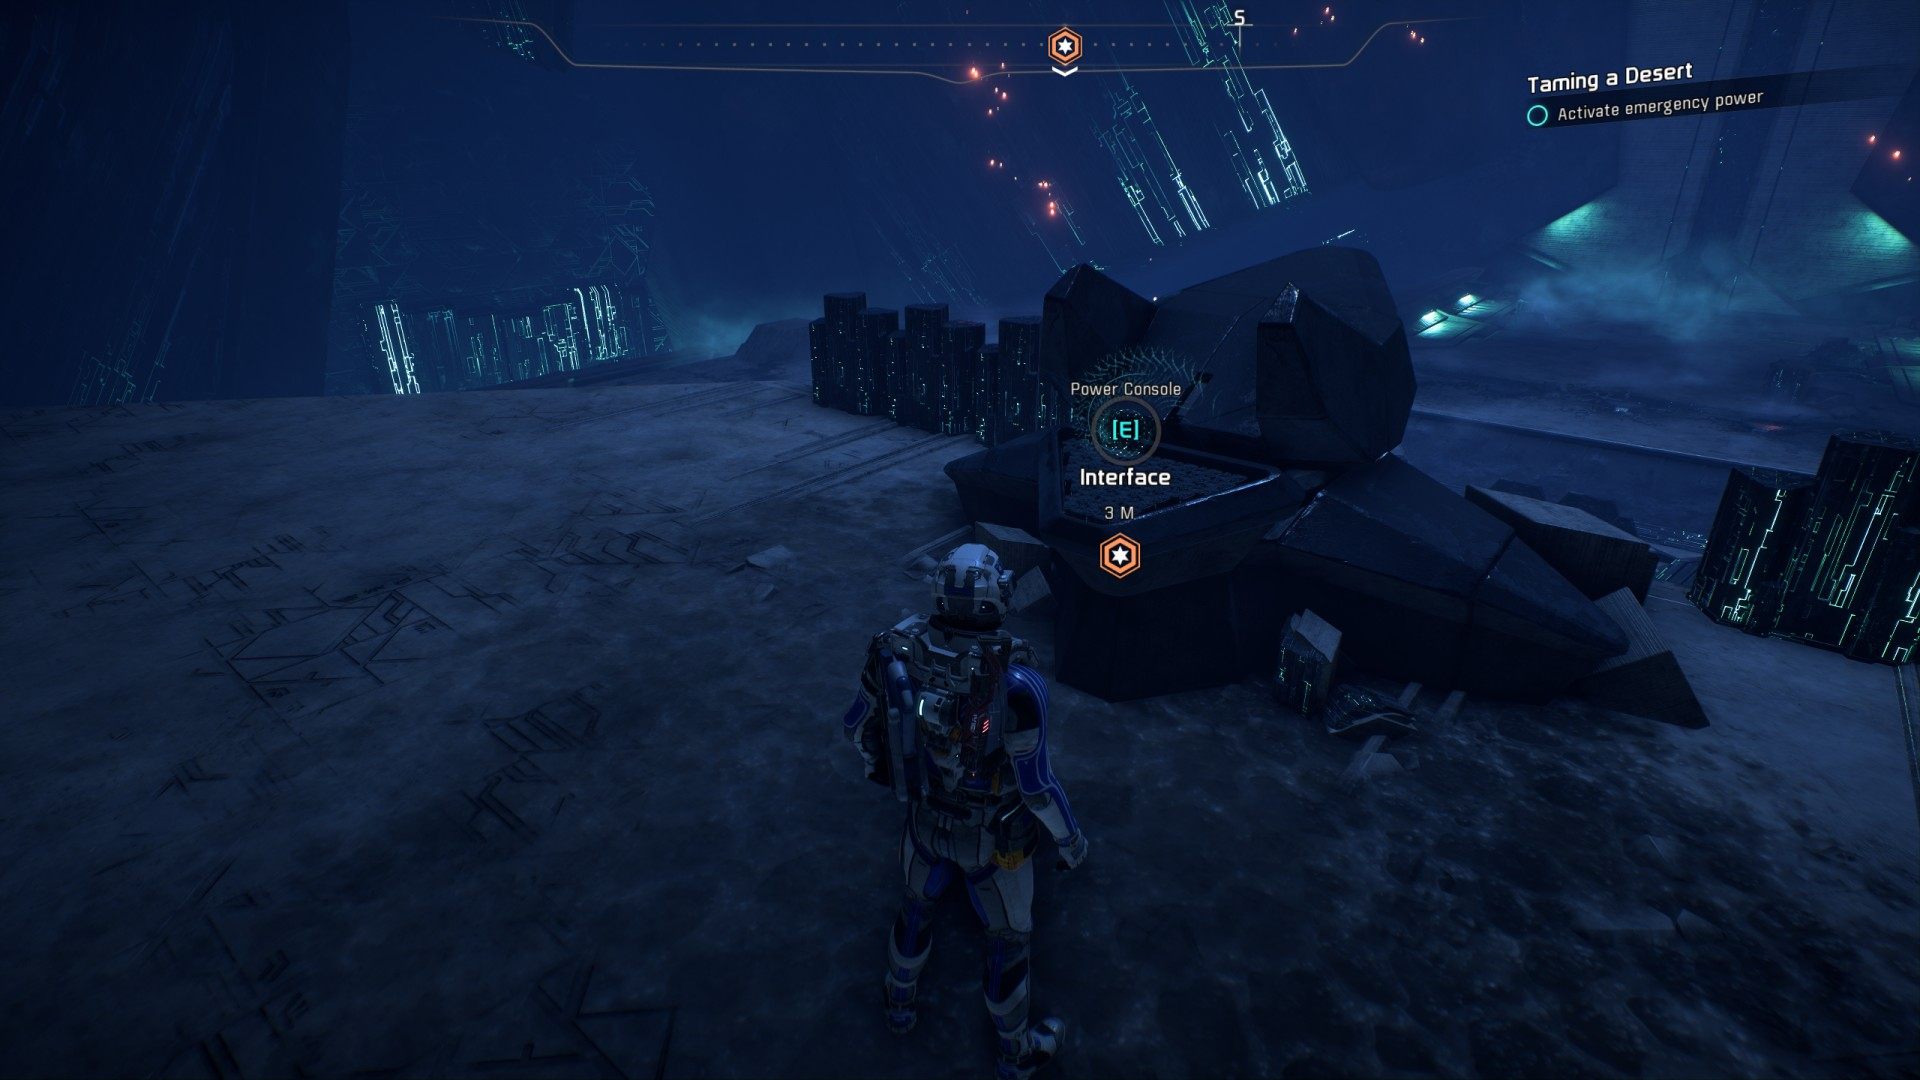
4. Activate emergency power
Activate the first Remnant console (A).
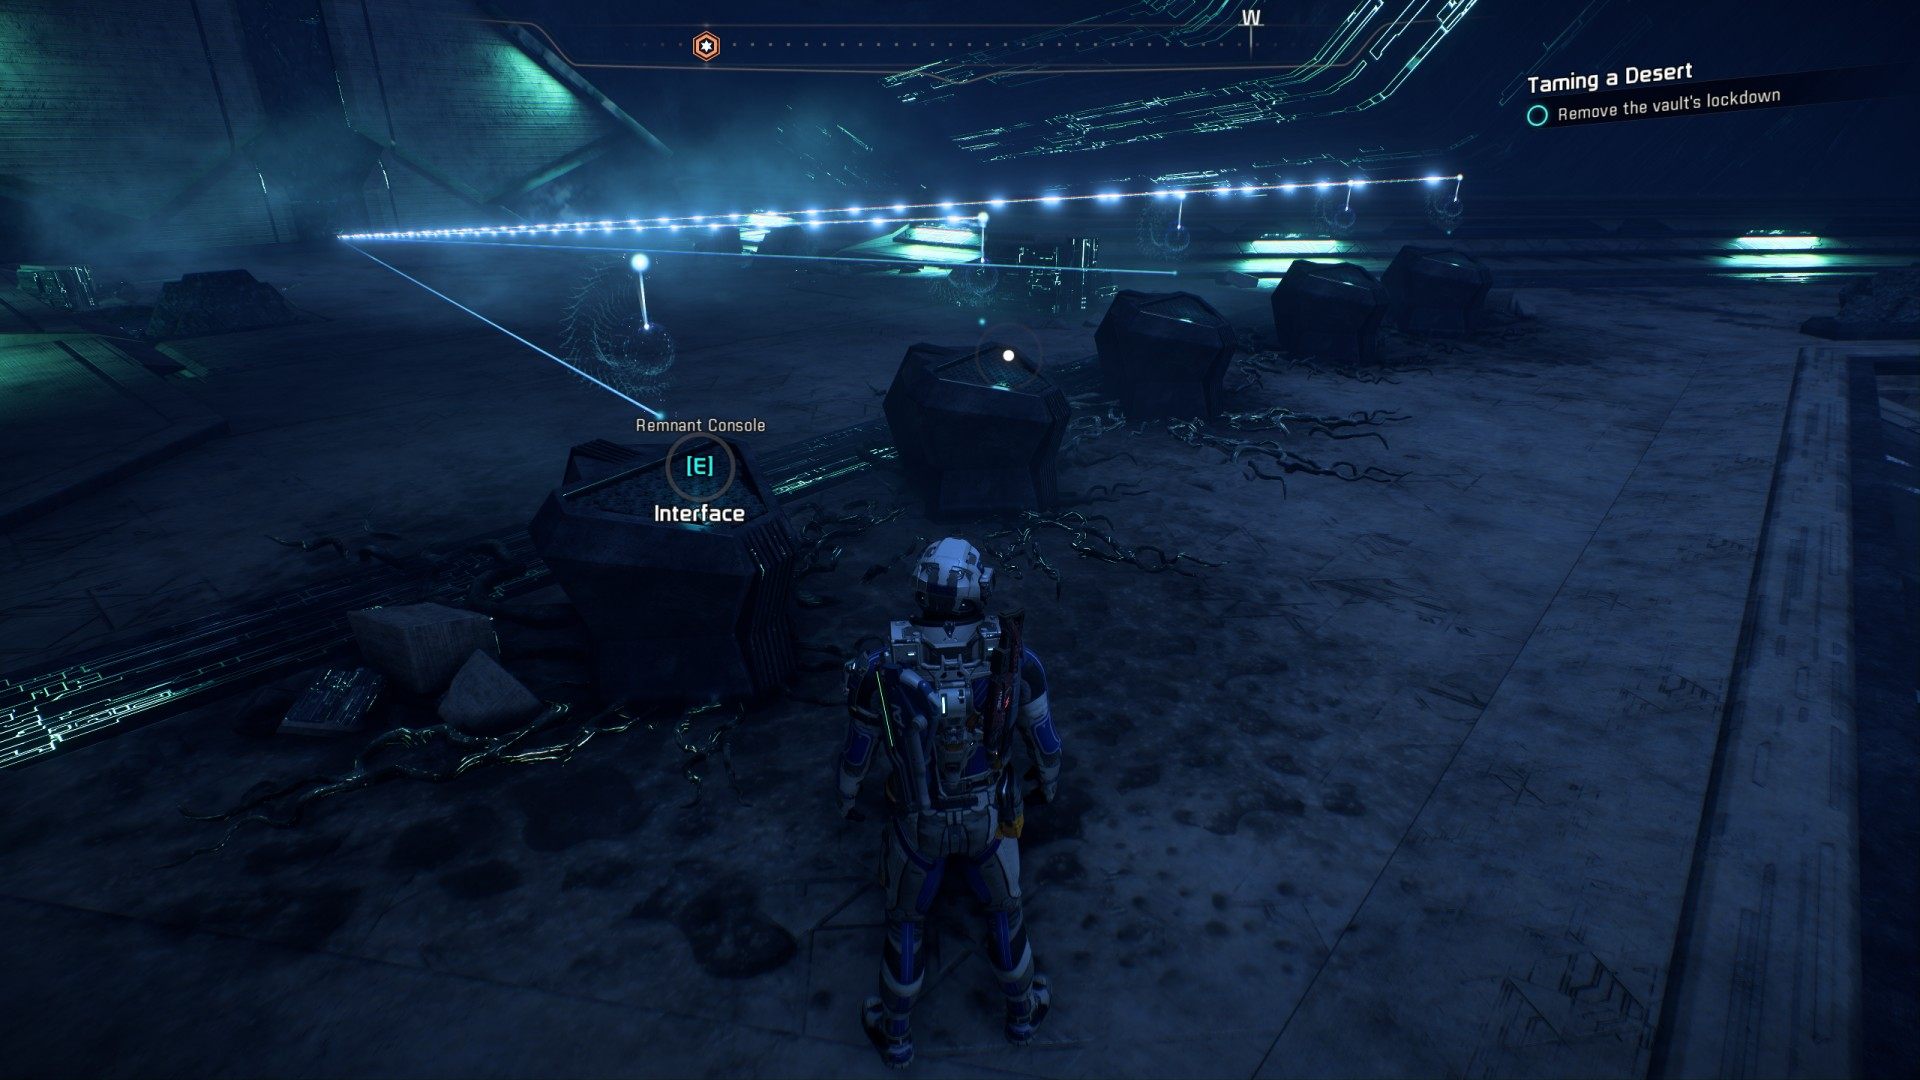
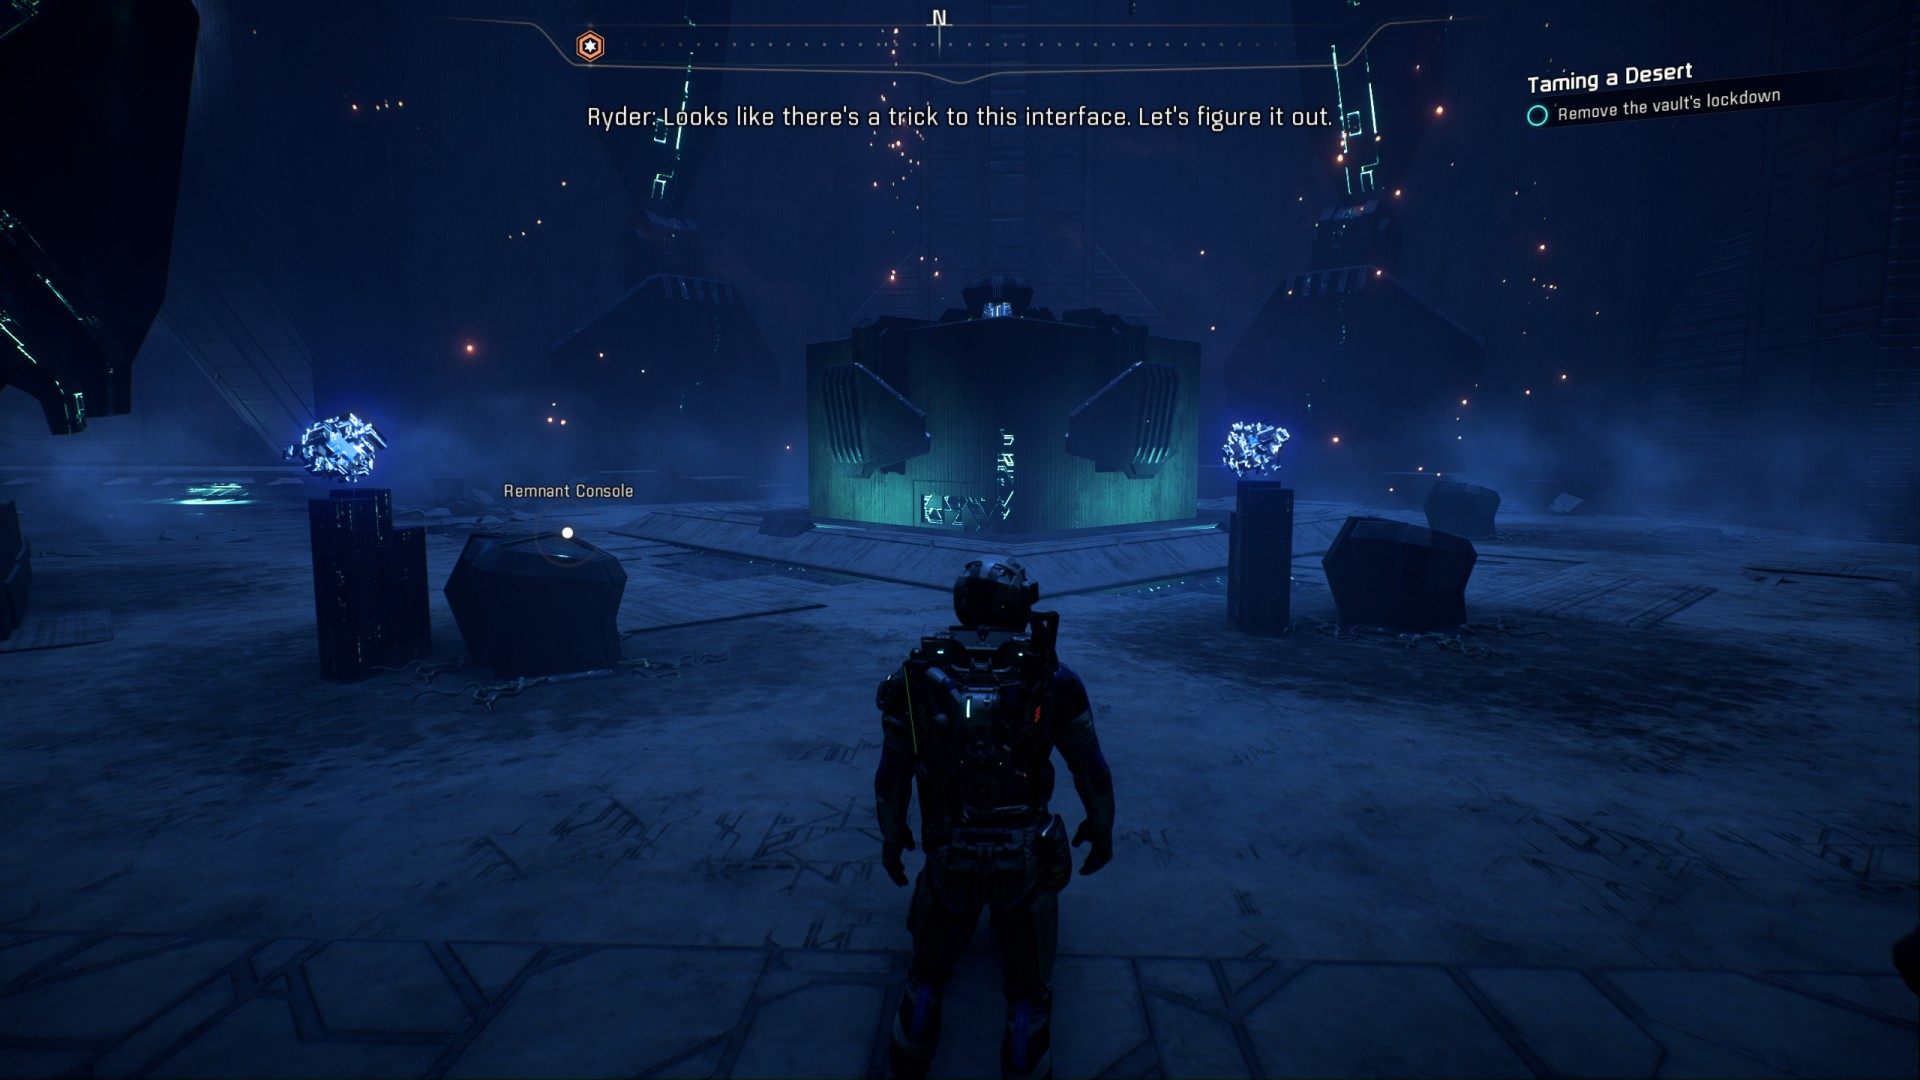
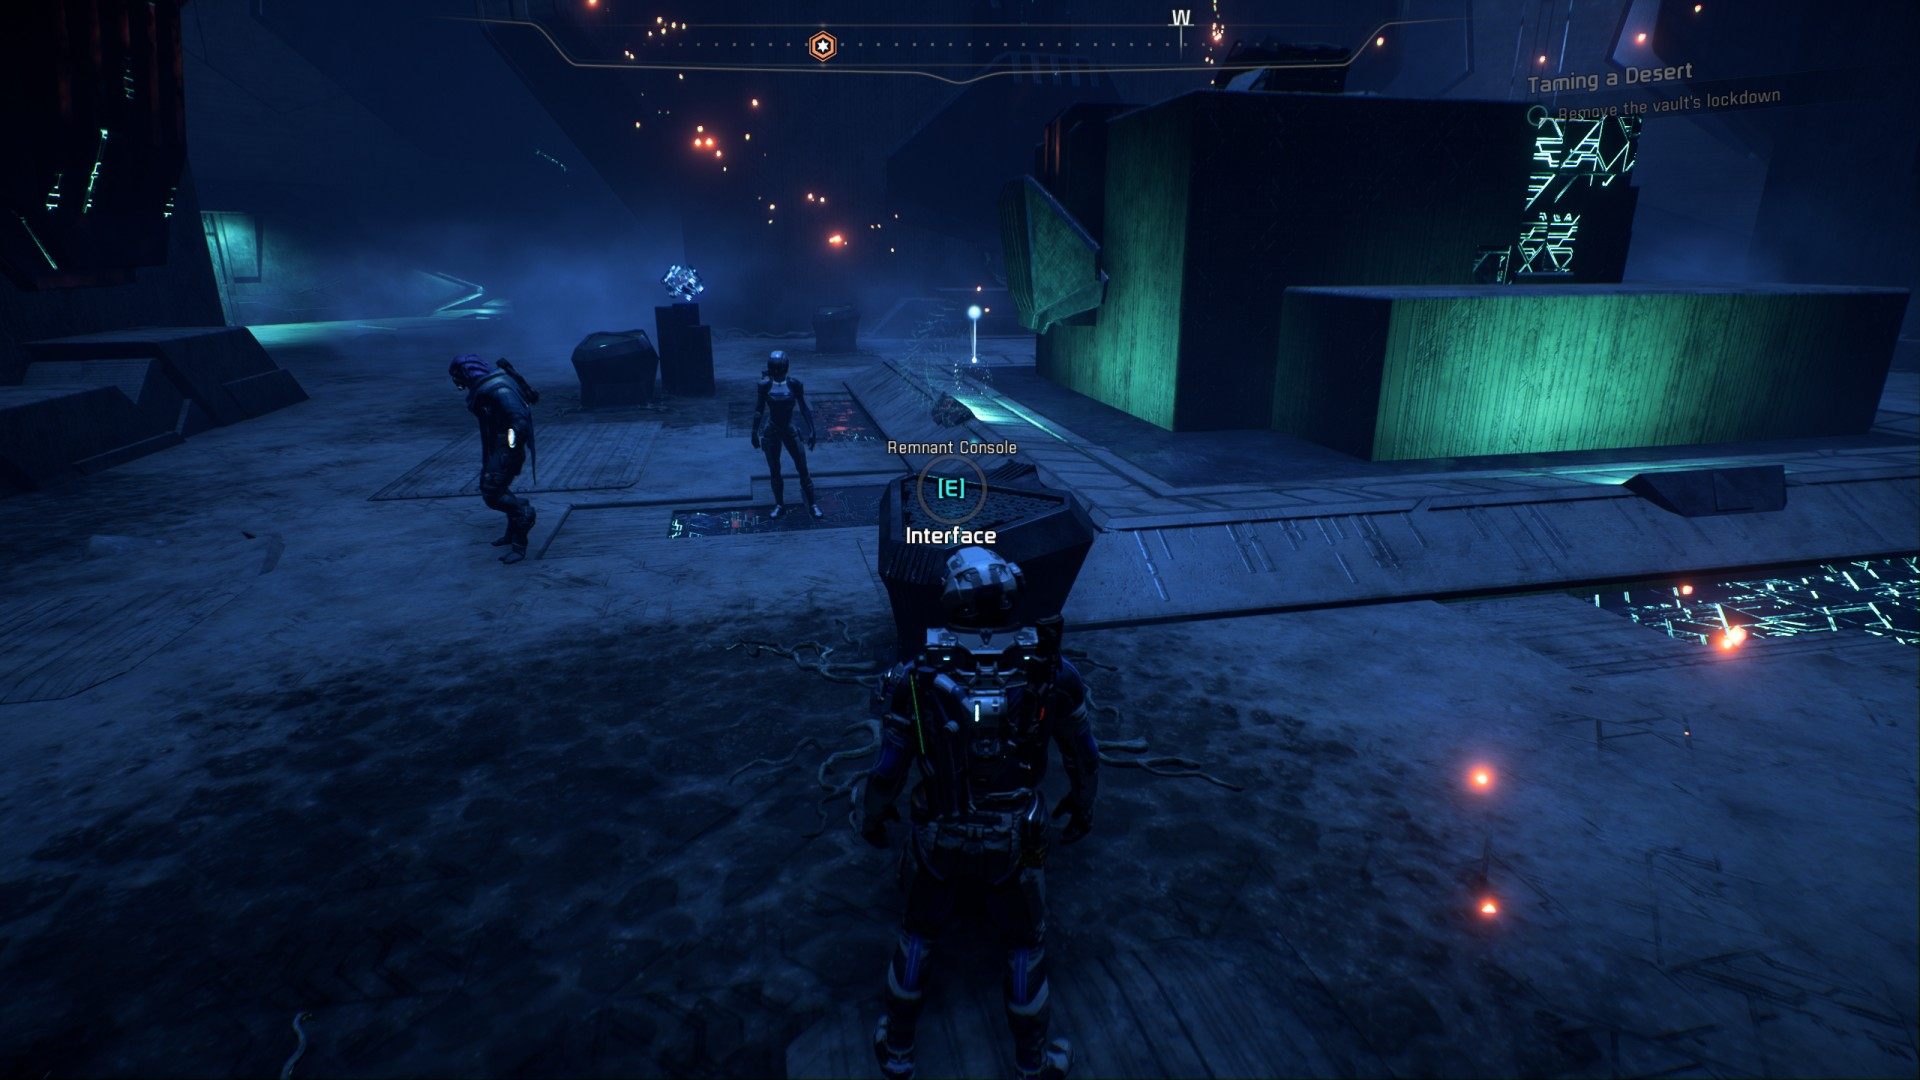
5. Remove the vault's lockdown
There are five consoles in the first room.
(LEFT) 1 - 2 - 3 - 4 - 5 (RIGHT)
The door will open when all five "console beams" are active. Use of the console will change the state of the beams coming out of the console itself and its neighbors. The first and fifth consoles are also neighbors. For example, using the second console will change the state of the first, second, and third beam.
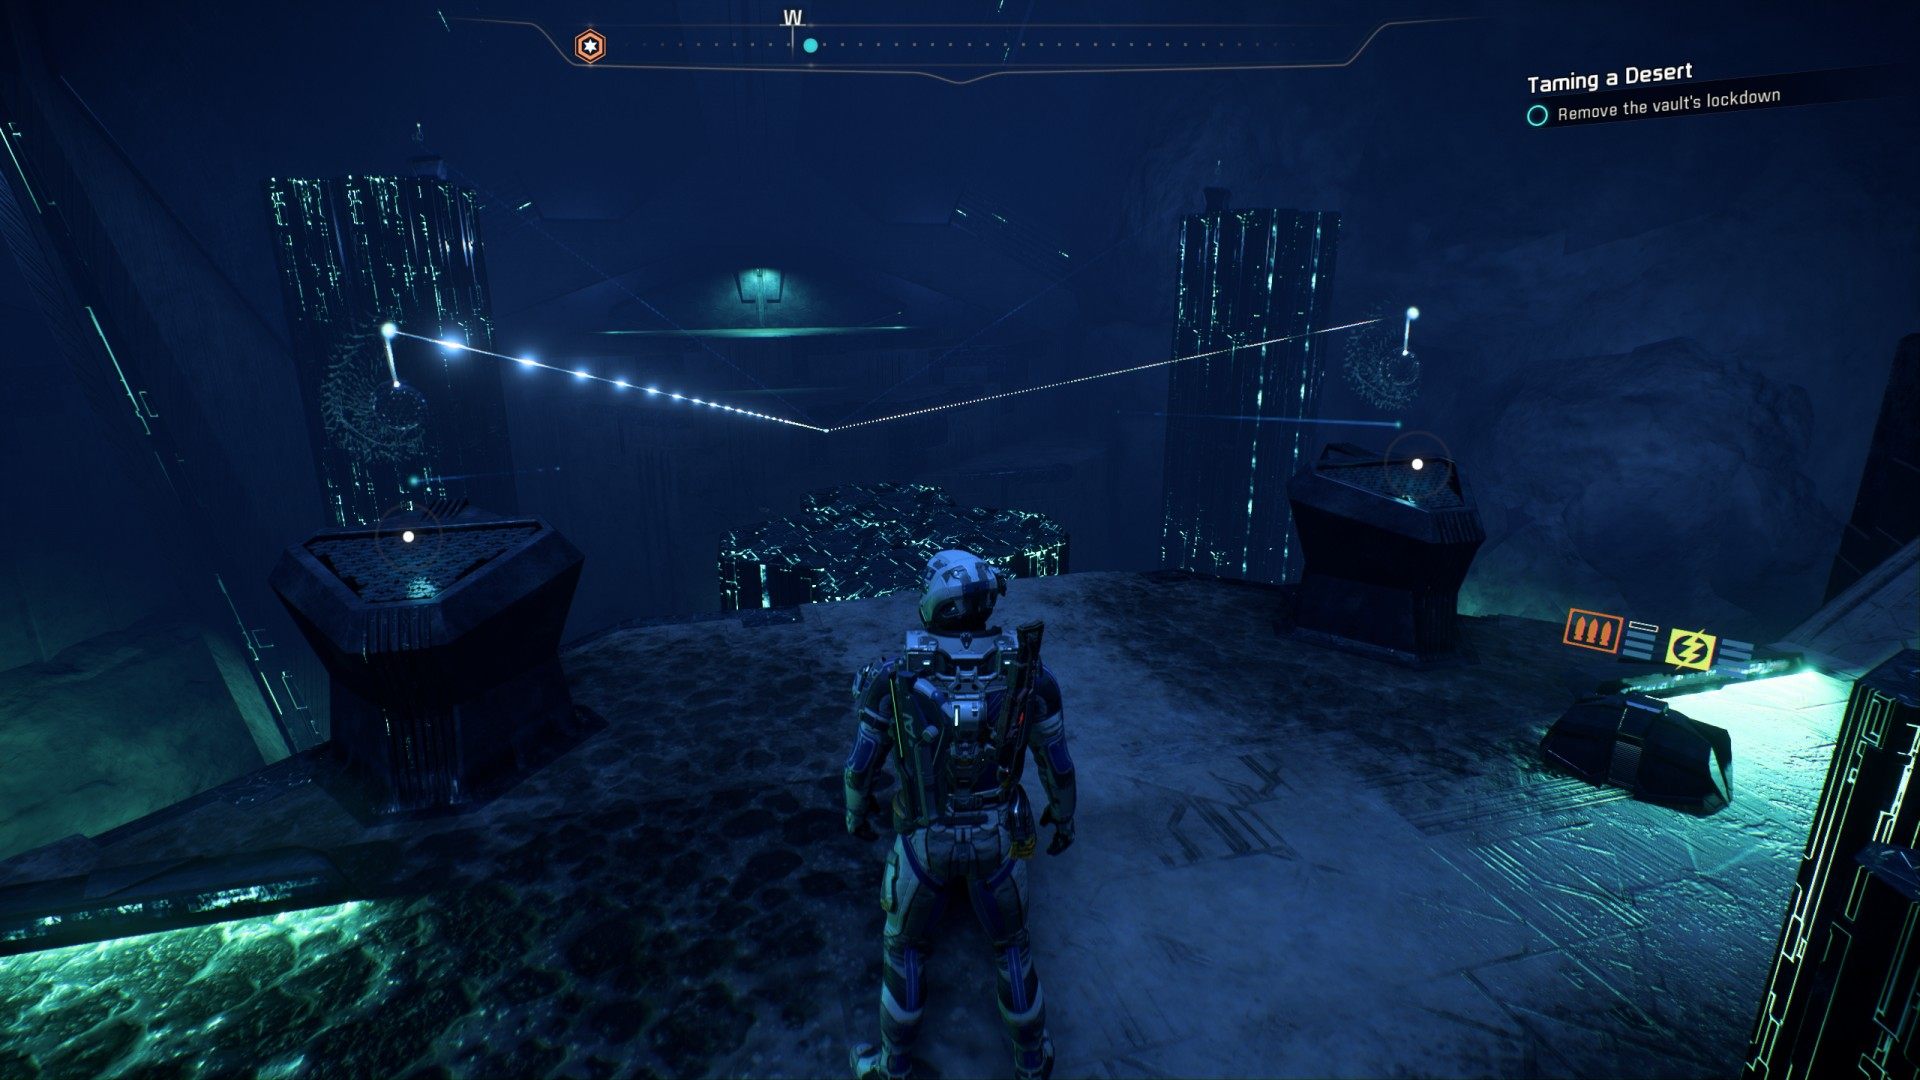
The fastest solution: Activate 4th console, and then activate 5th console. (B) (C) or (C) (B).
Locate the consoles (D) (E) shown in the screenshot below. Activate both of them, it will allow you to reach two consoles located on the highest pillars (F) (G). Jump up and activate both.

Return to the previous two consoles (D) (E) and activate both again. A new pillar with a console (H) will show up. Jump onto it, and activate the console - it will open the door in front of you.
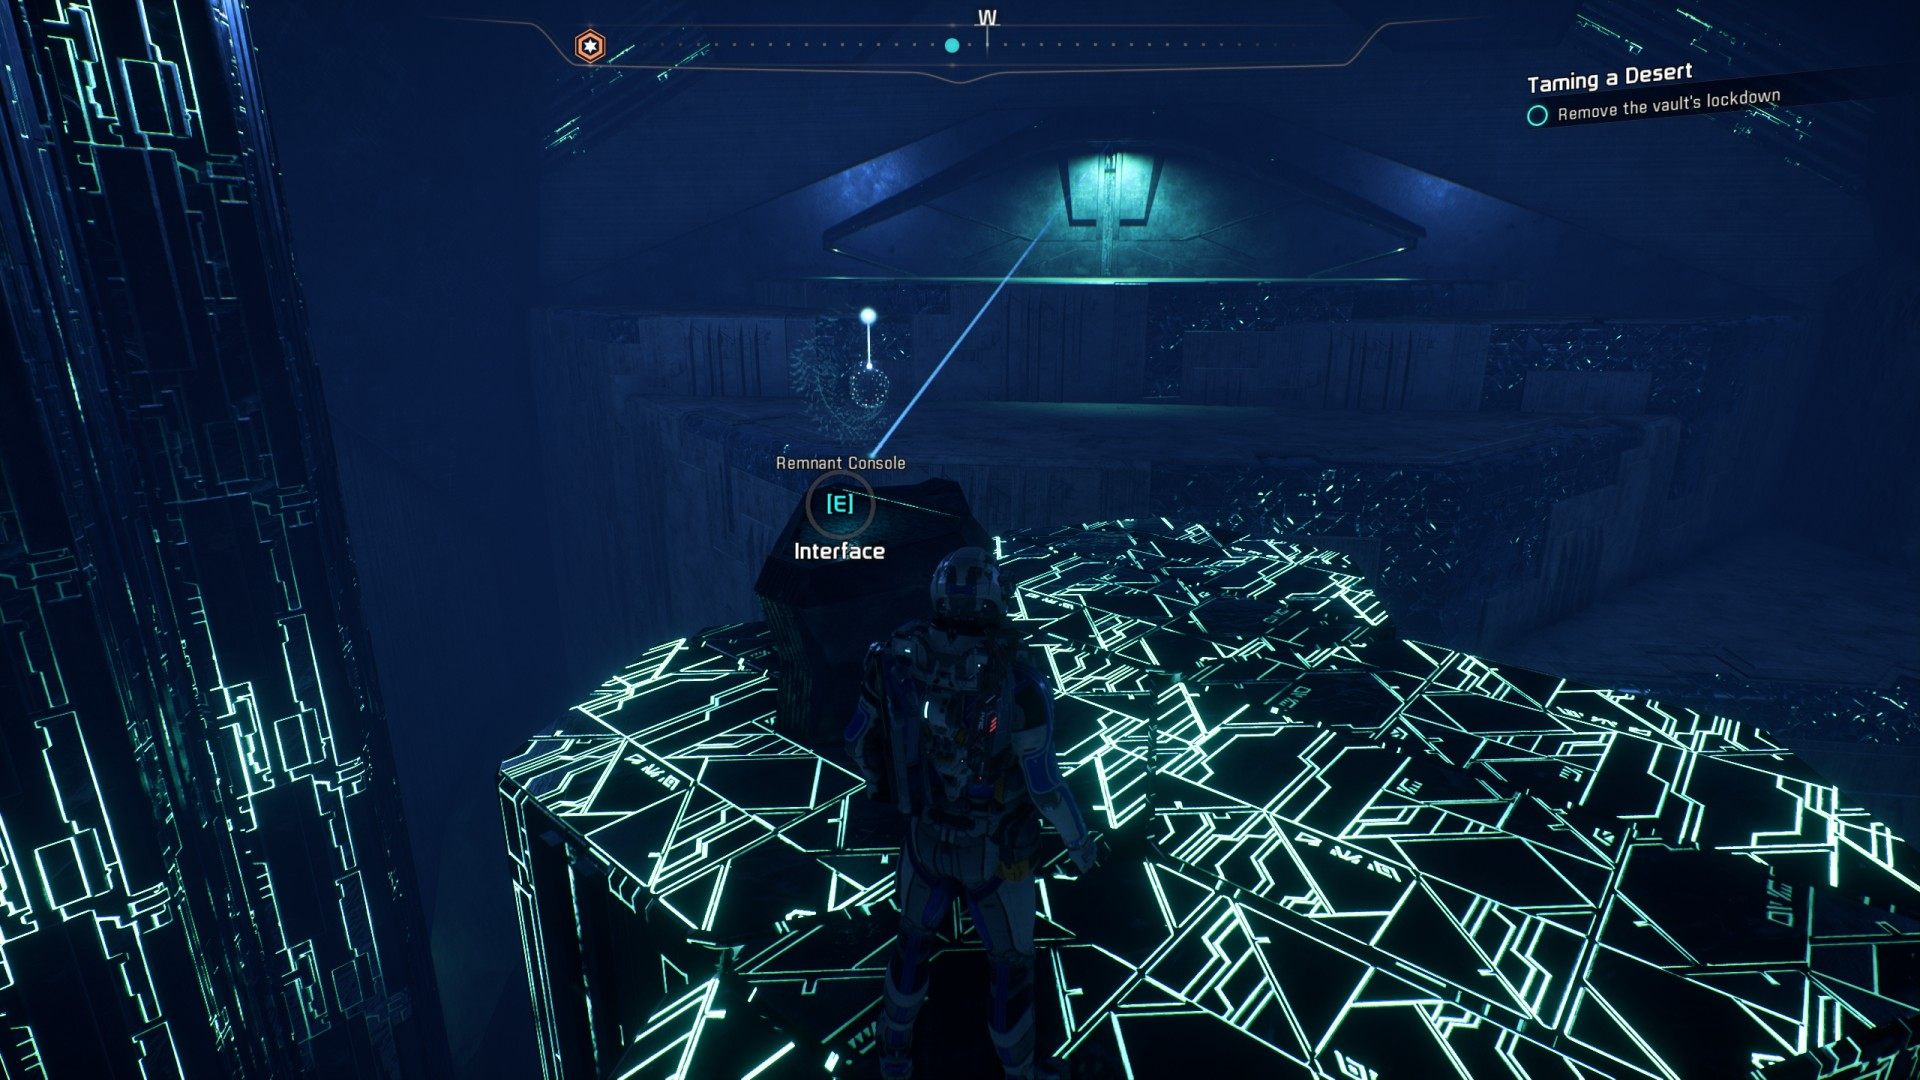
Move forward, you will reach the console (I) which allows you to open the door to purification chamber.

Use "new" pillars to go back to the center and find the console (K) shown in the screenshot below, activate it - new pillar will help you during escape (if you want to grab both Rem-techs). Console (L) will bring up one more helpful pillar.

Go to the "cosmic flower" then turn right. The console responsible for a bridge to the purification chamber (J) is shown in the picture below.
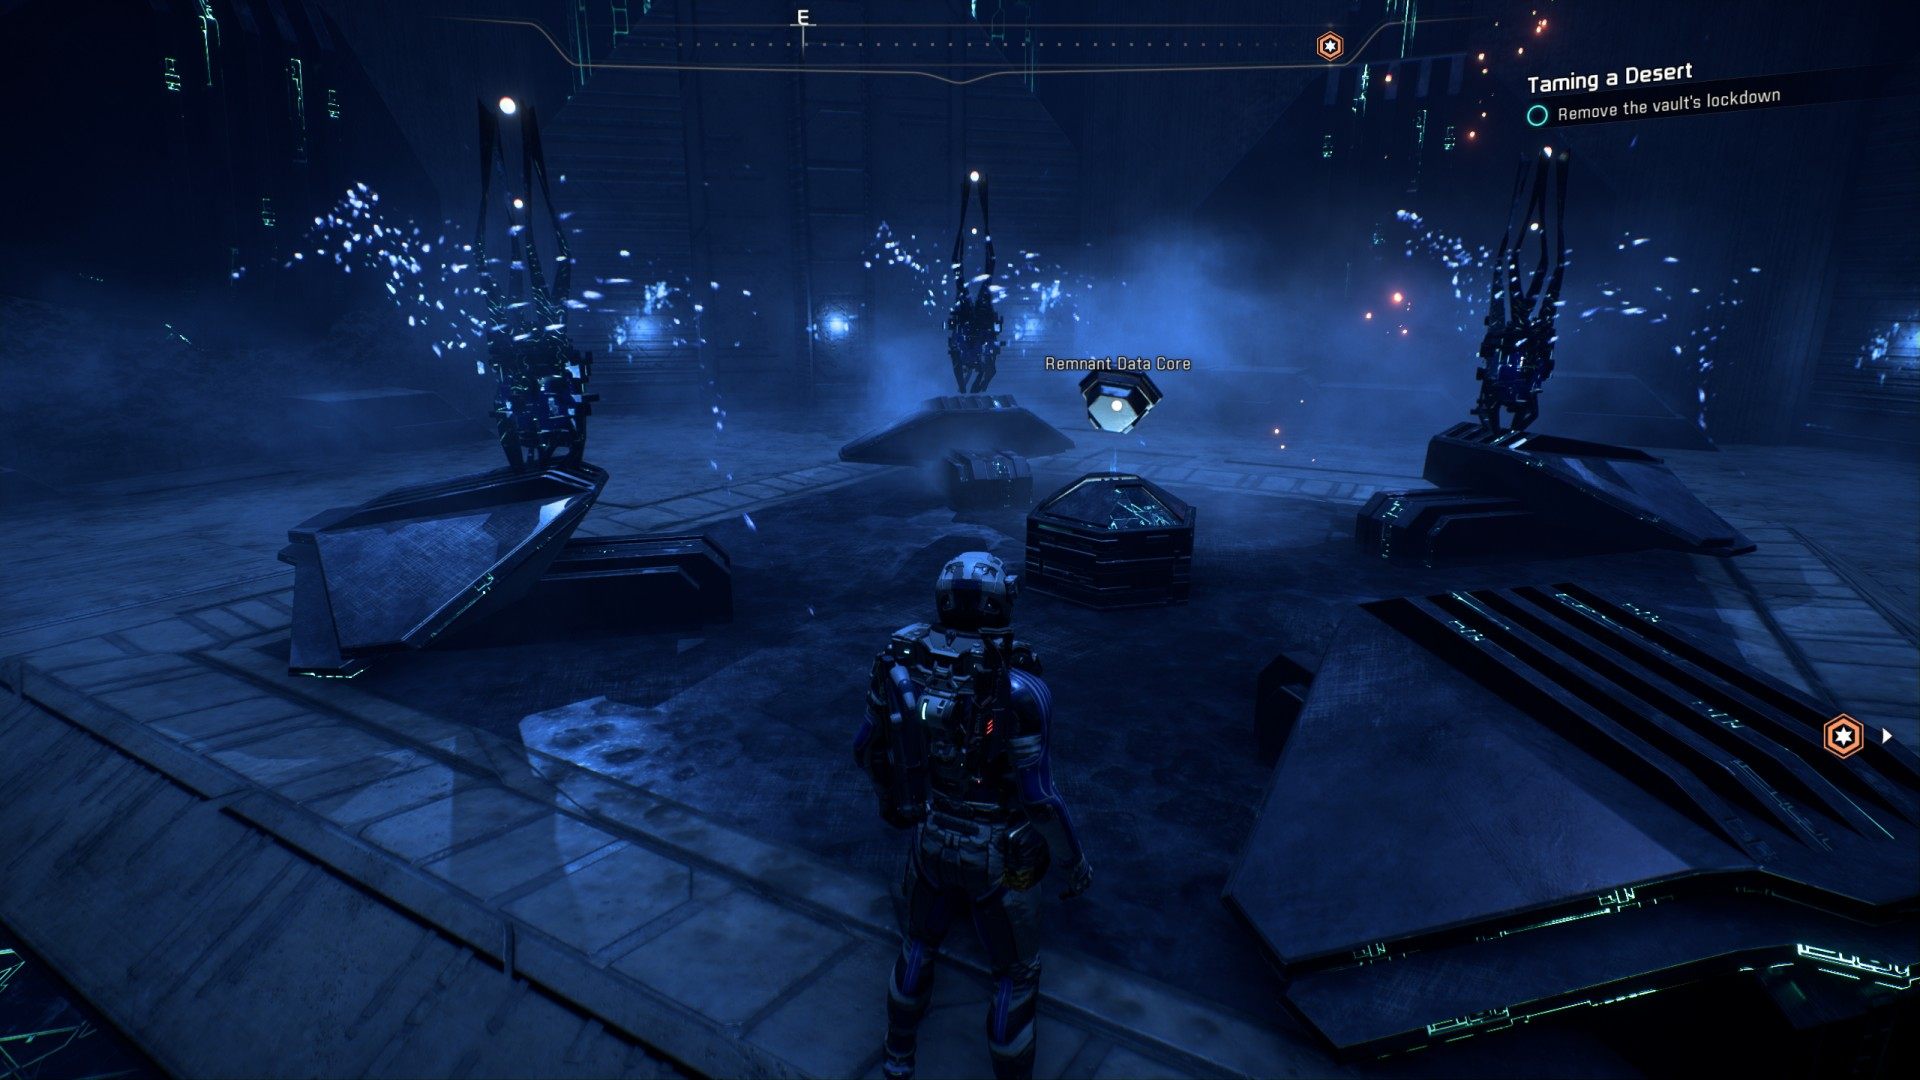
Kill all Remnant enemies in the eastern part of the vault (including the Destroyer), use the console (M) to open the door and enter the room with Remnant Decryption Console / Remnant Puzzle in the middle and few other consoles around.
Correct solution to the Remnant decryption puzzle.
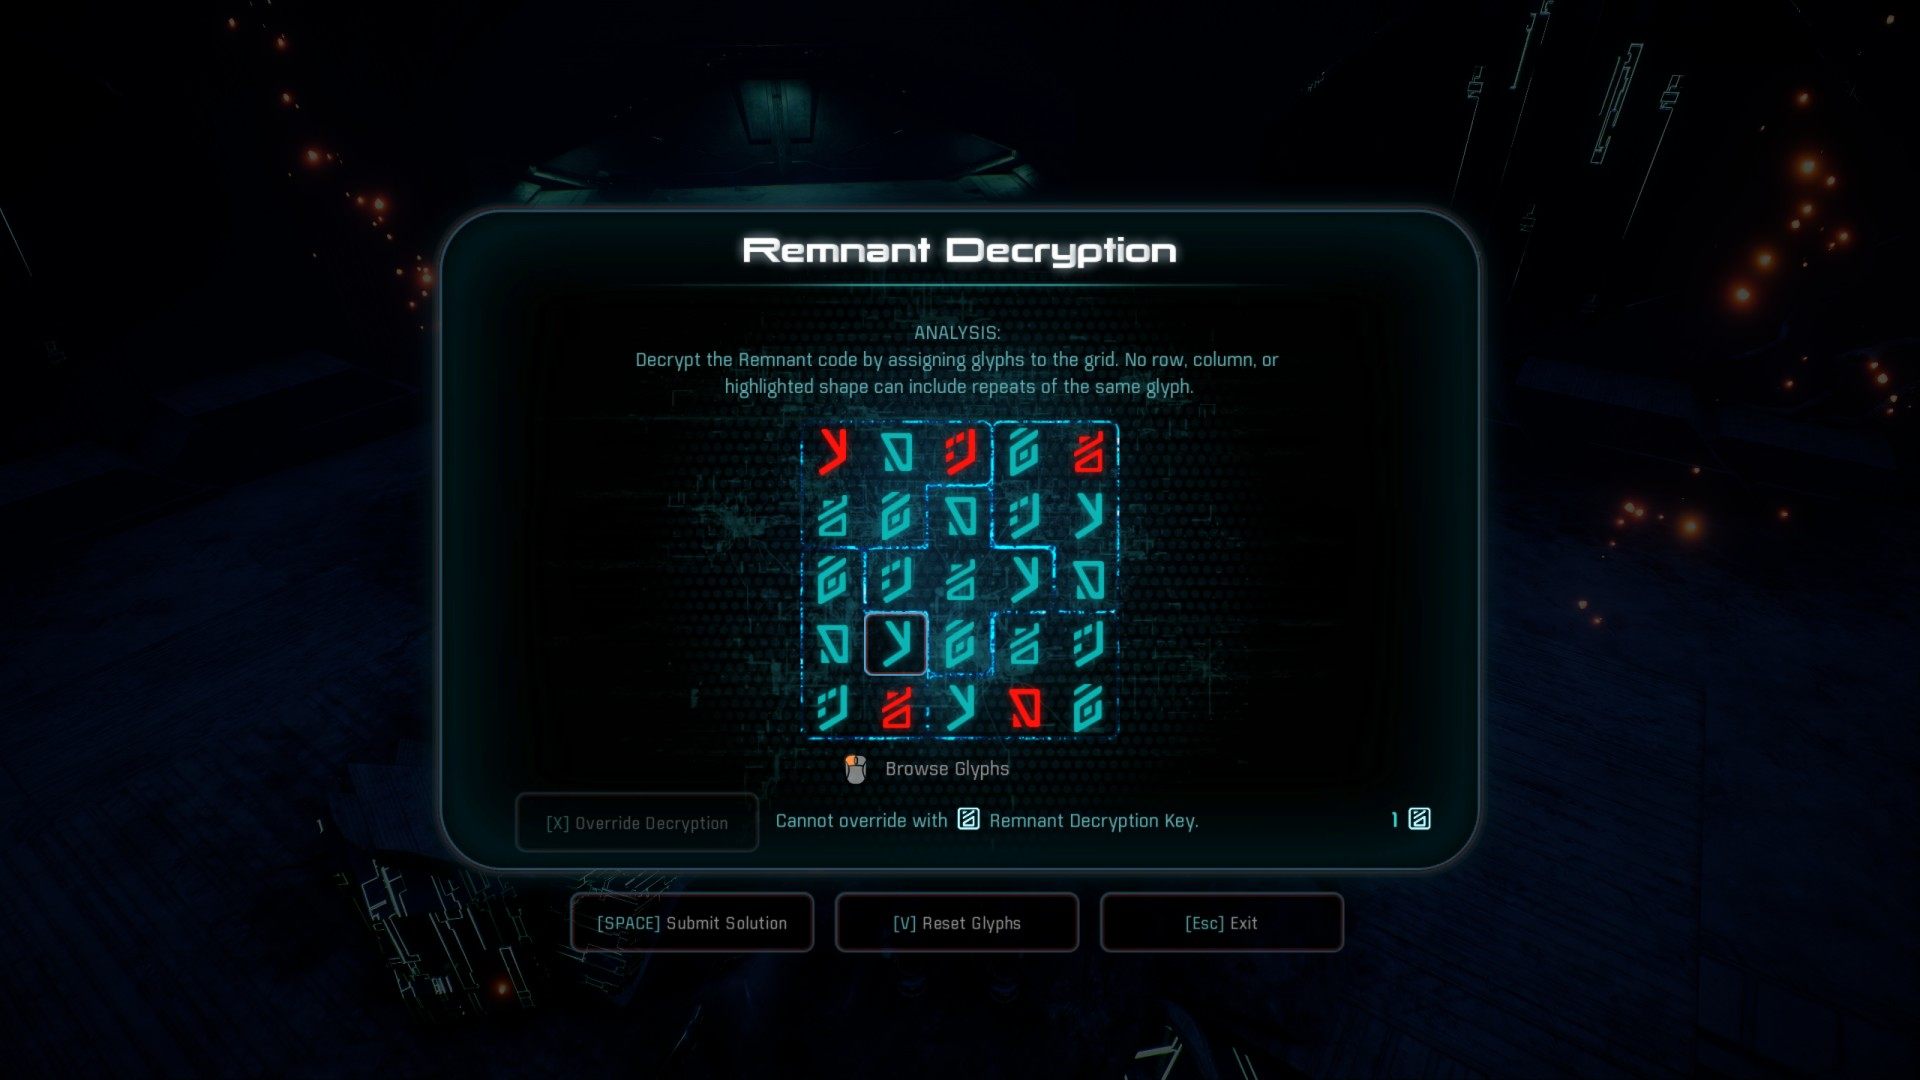
To open the door on the both sides of the room (eastern one leads to the room with data core), you need to solve another puzzle. At the beginning there are five active consoles, one of them has no glowing crystal nearby, activate it, one of the other consoles should loose its glowing crystal, find it and activate, etc (1) -> (2) -> (3) -> (4) -> (5). A the end two new consoles will show up, use them to open both doors - grab the data core and scan the room.
Remnant Data Core.
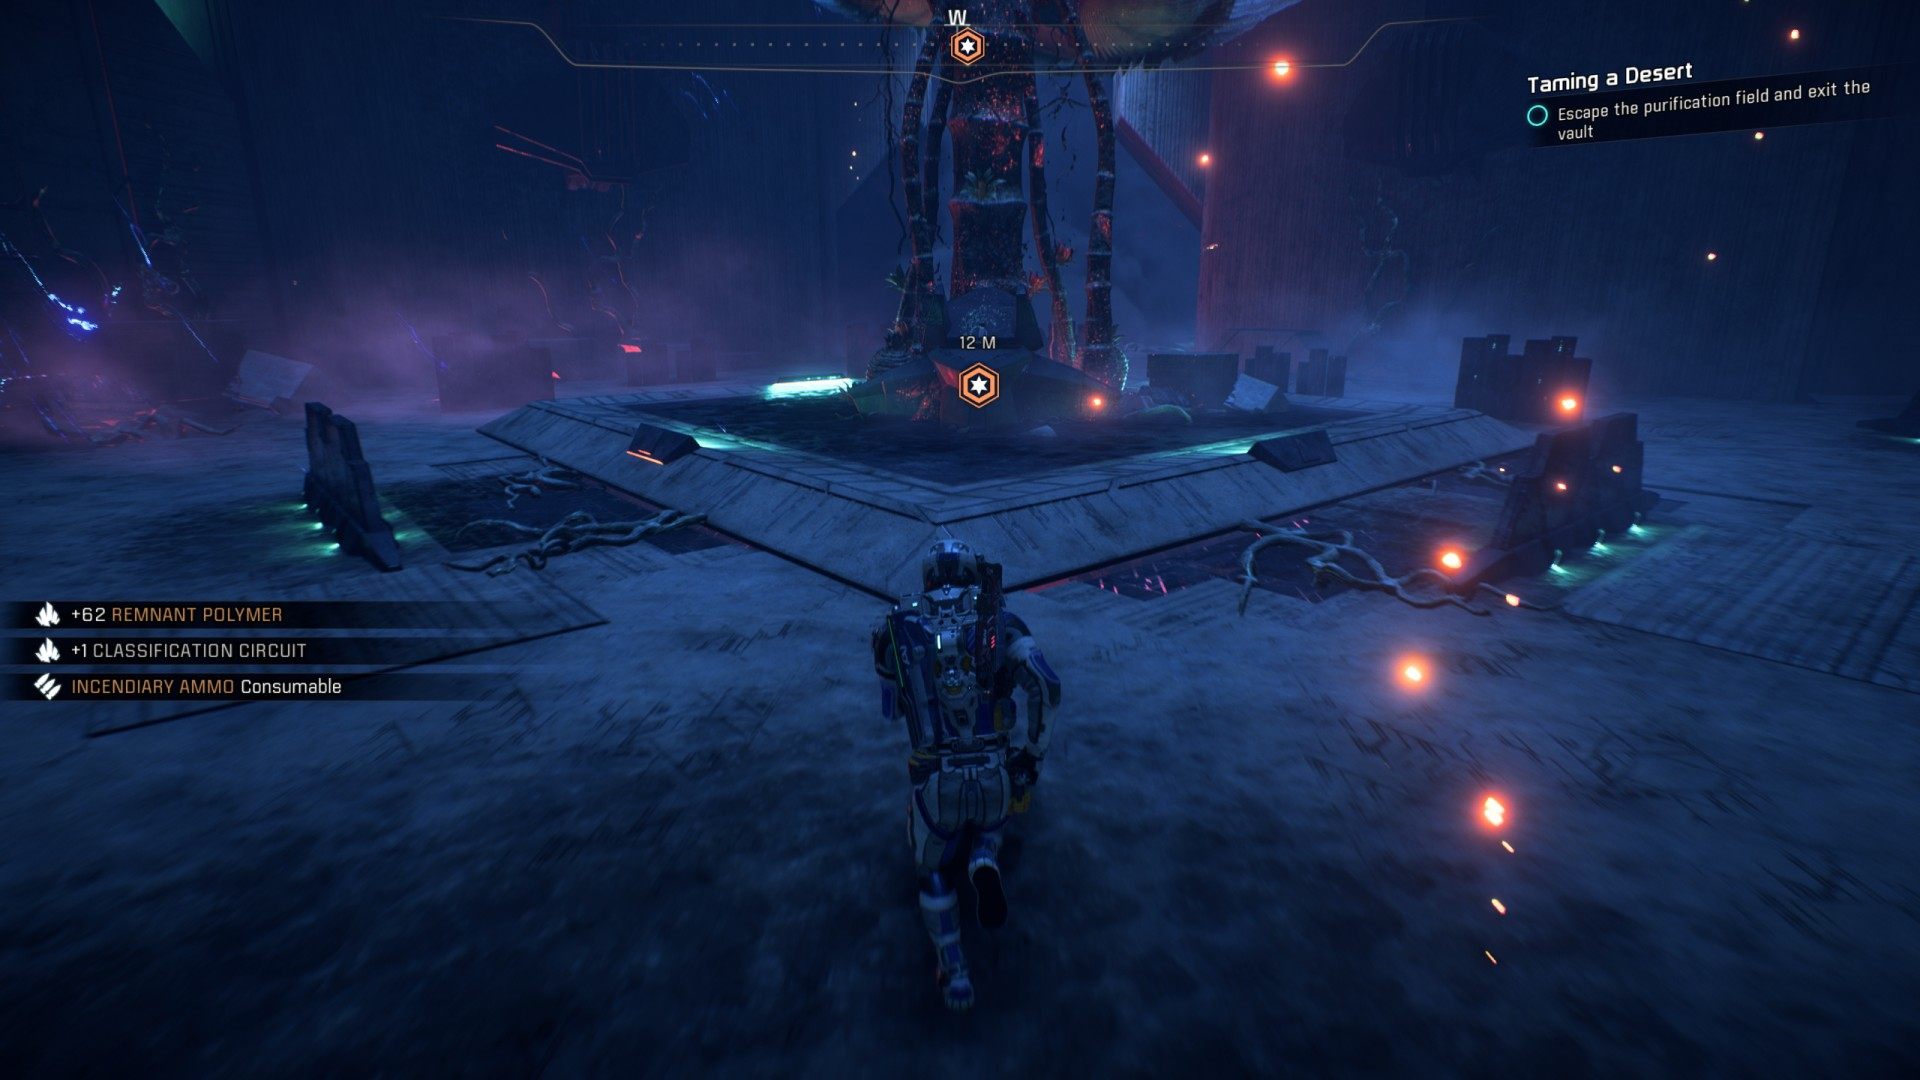
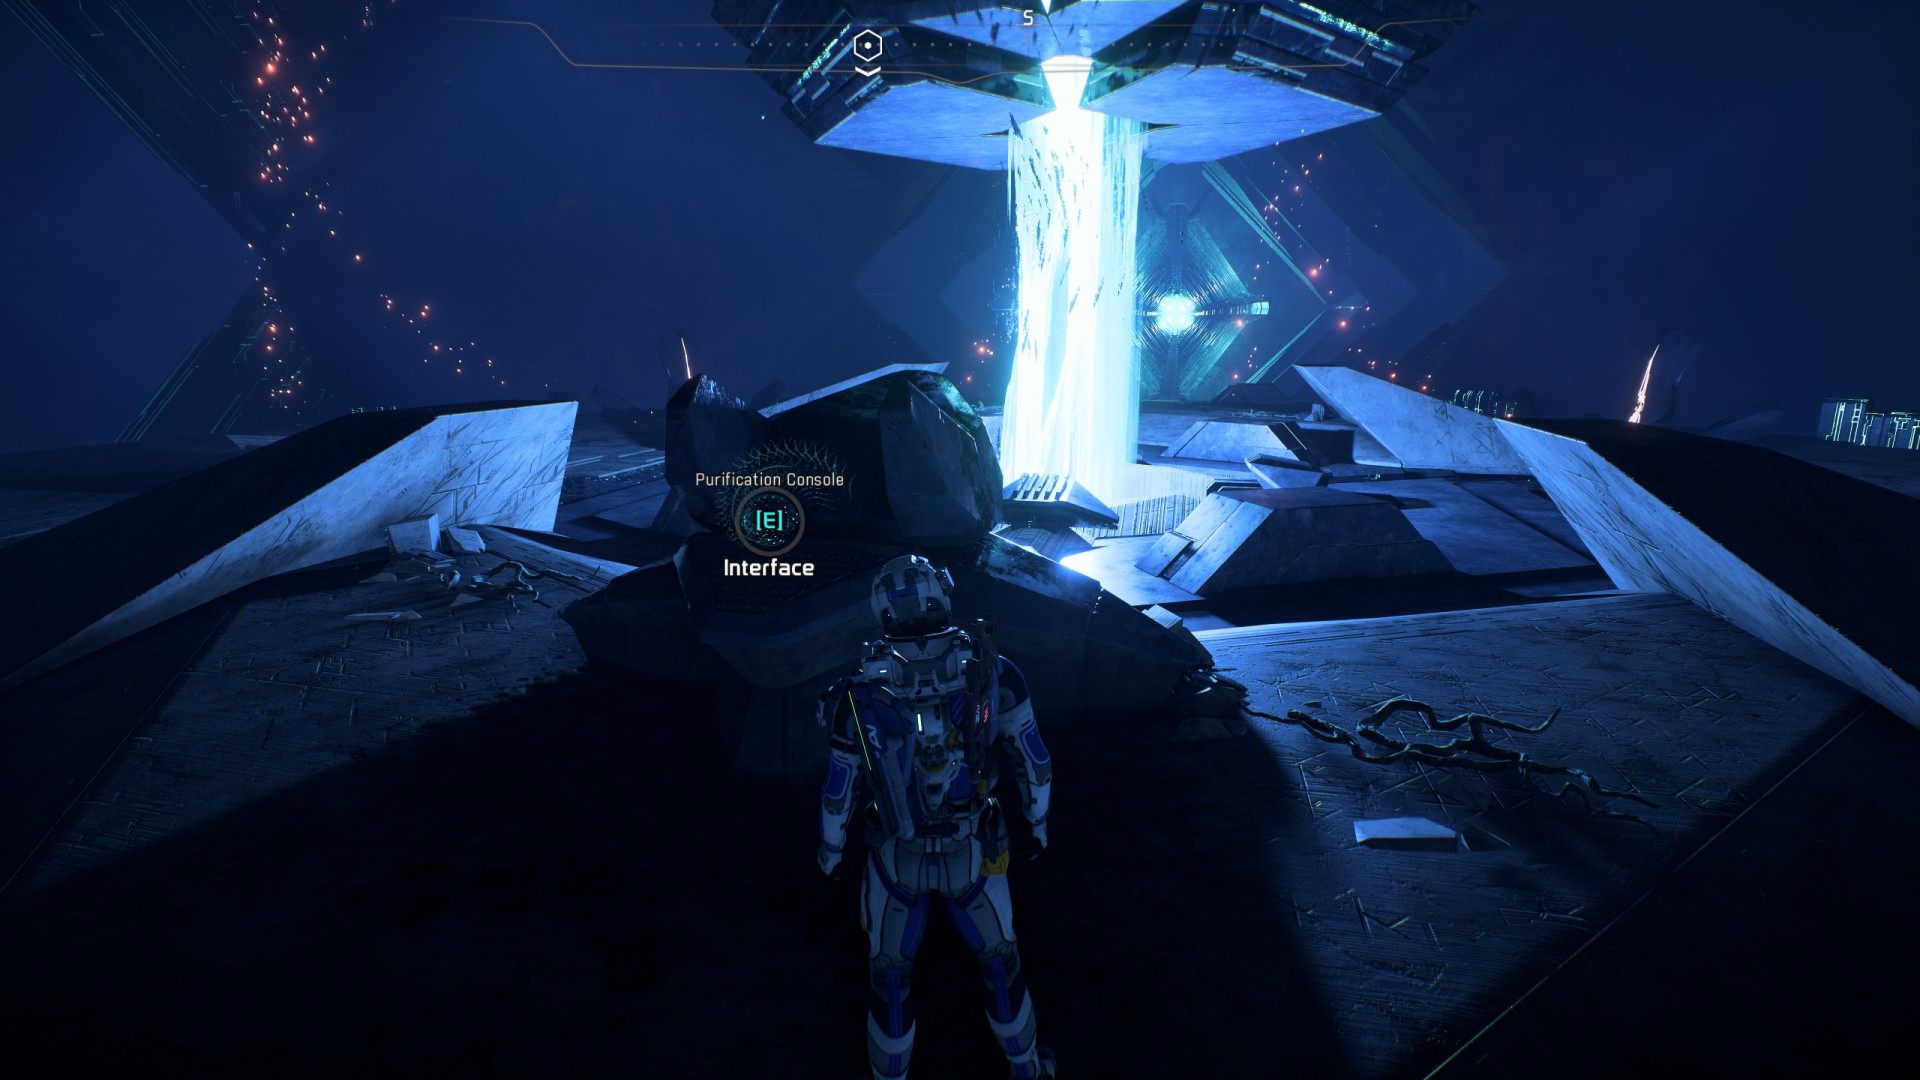
Now you can go back to the purification chamber, and activate the purification process.
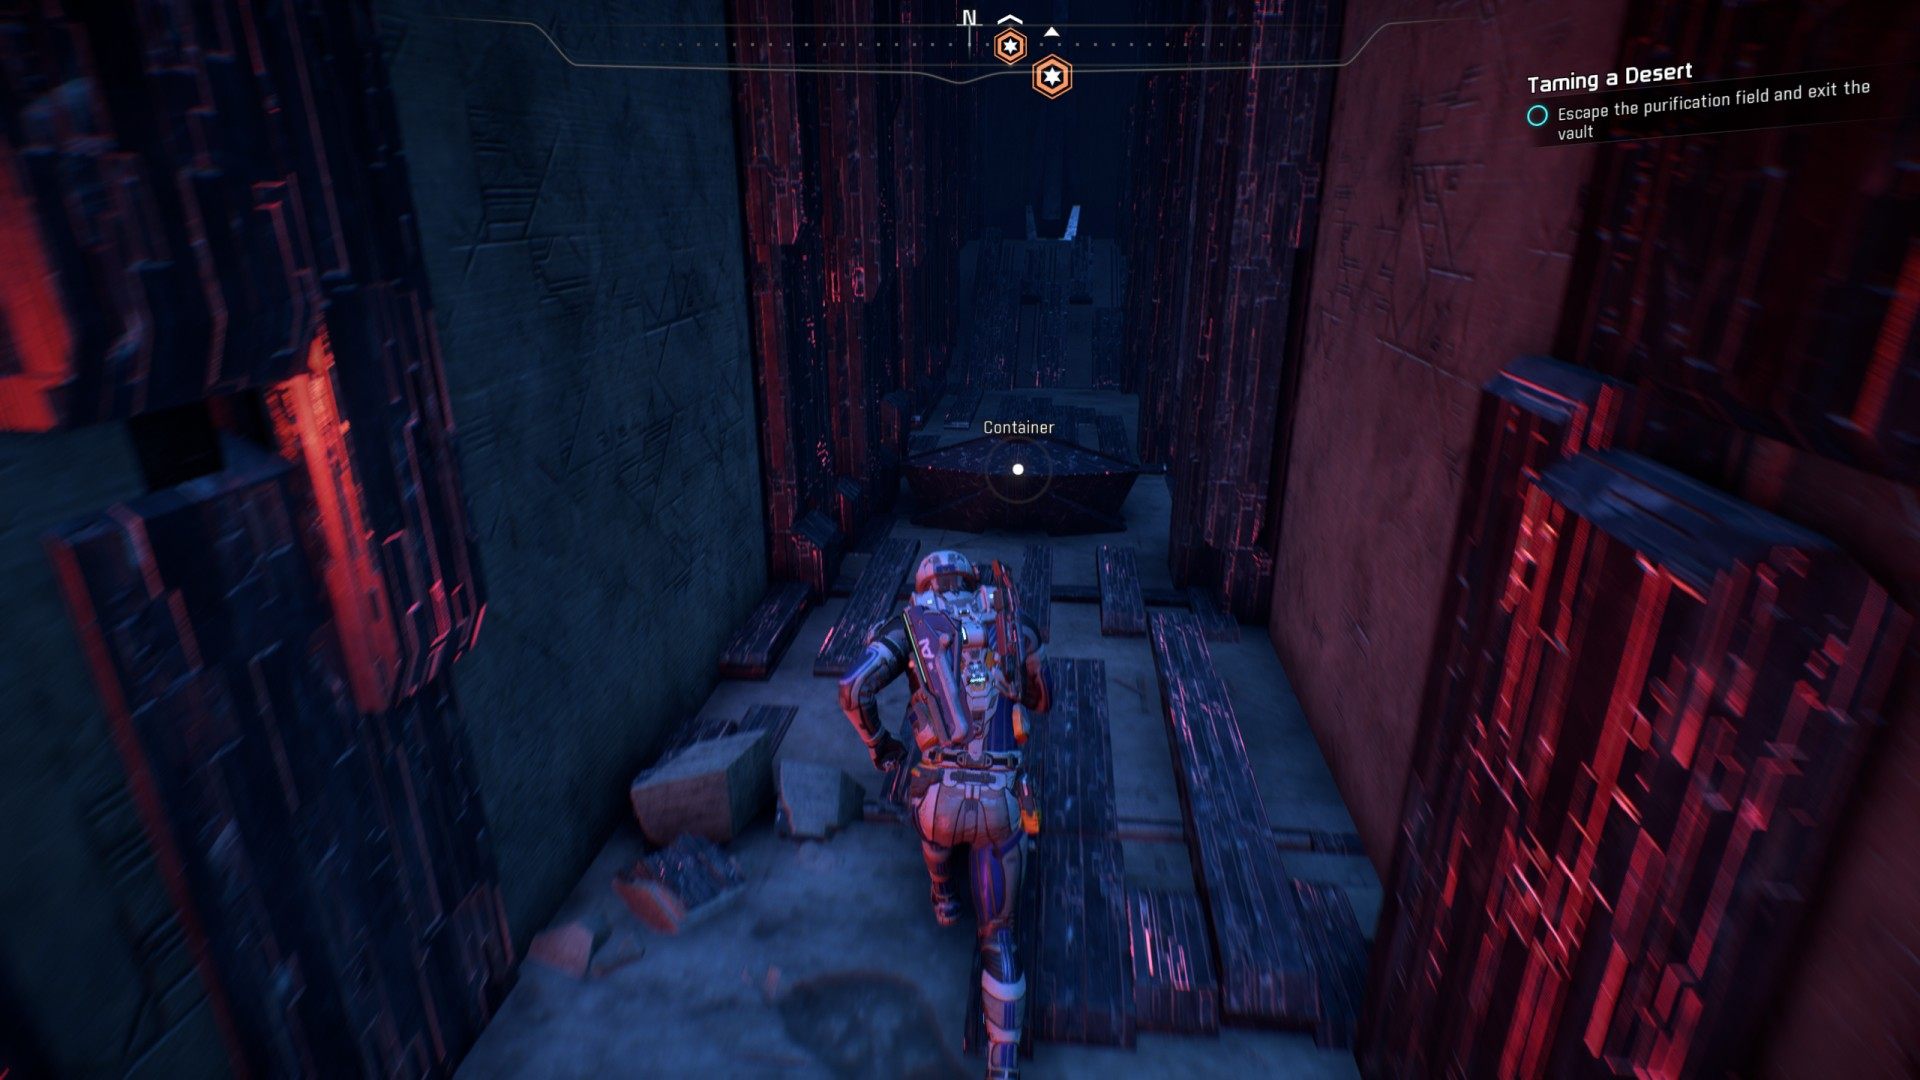
6. Escape the purification field and exit the vault
Run, pick up both Rem-Tech containers on the way out, and finally activate the console (N) next to the "cosmic flower". It will close the vault and you will be safe. Use the gravity well and go outside.