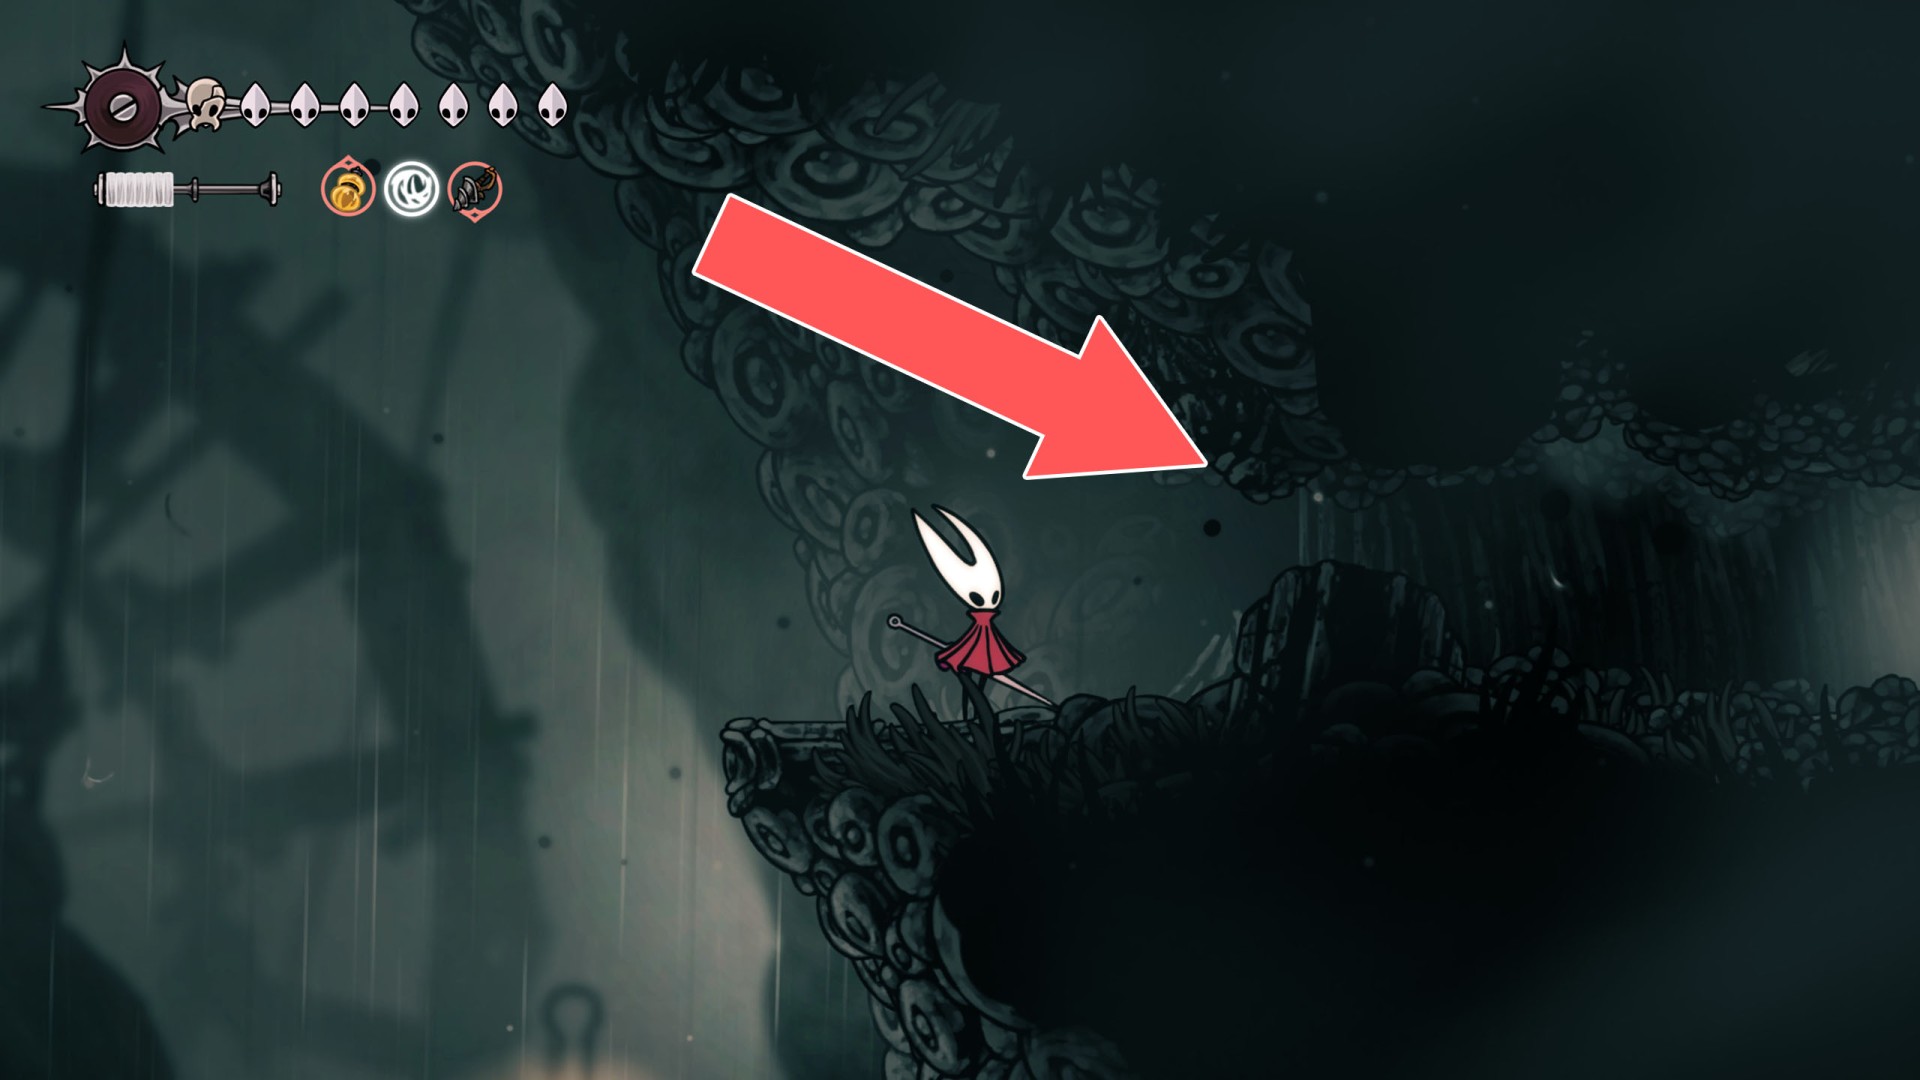
One-way Blockers are different types of passages that can be passed the first time only by approaching them from a particular side. These can be, for example, gates or trapdoors that can be opened by pulling a lever located on one side of them, weak walls or wooden blockades that can be destroyed but only by hitting them from a particular side, etc.
One-way Blockers
Locations on Pharloom
1 Box
Box
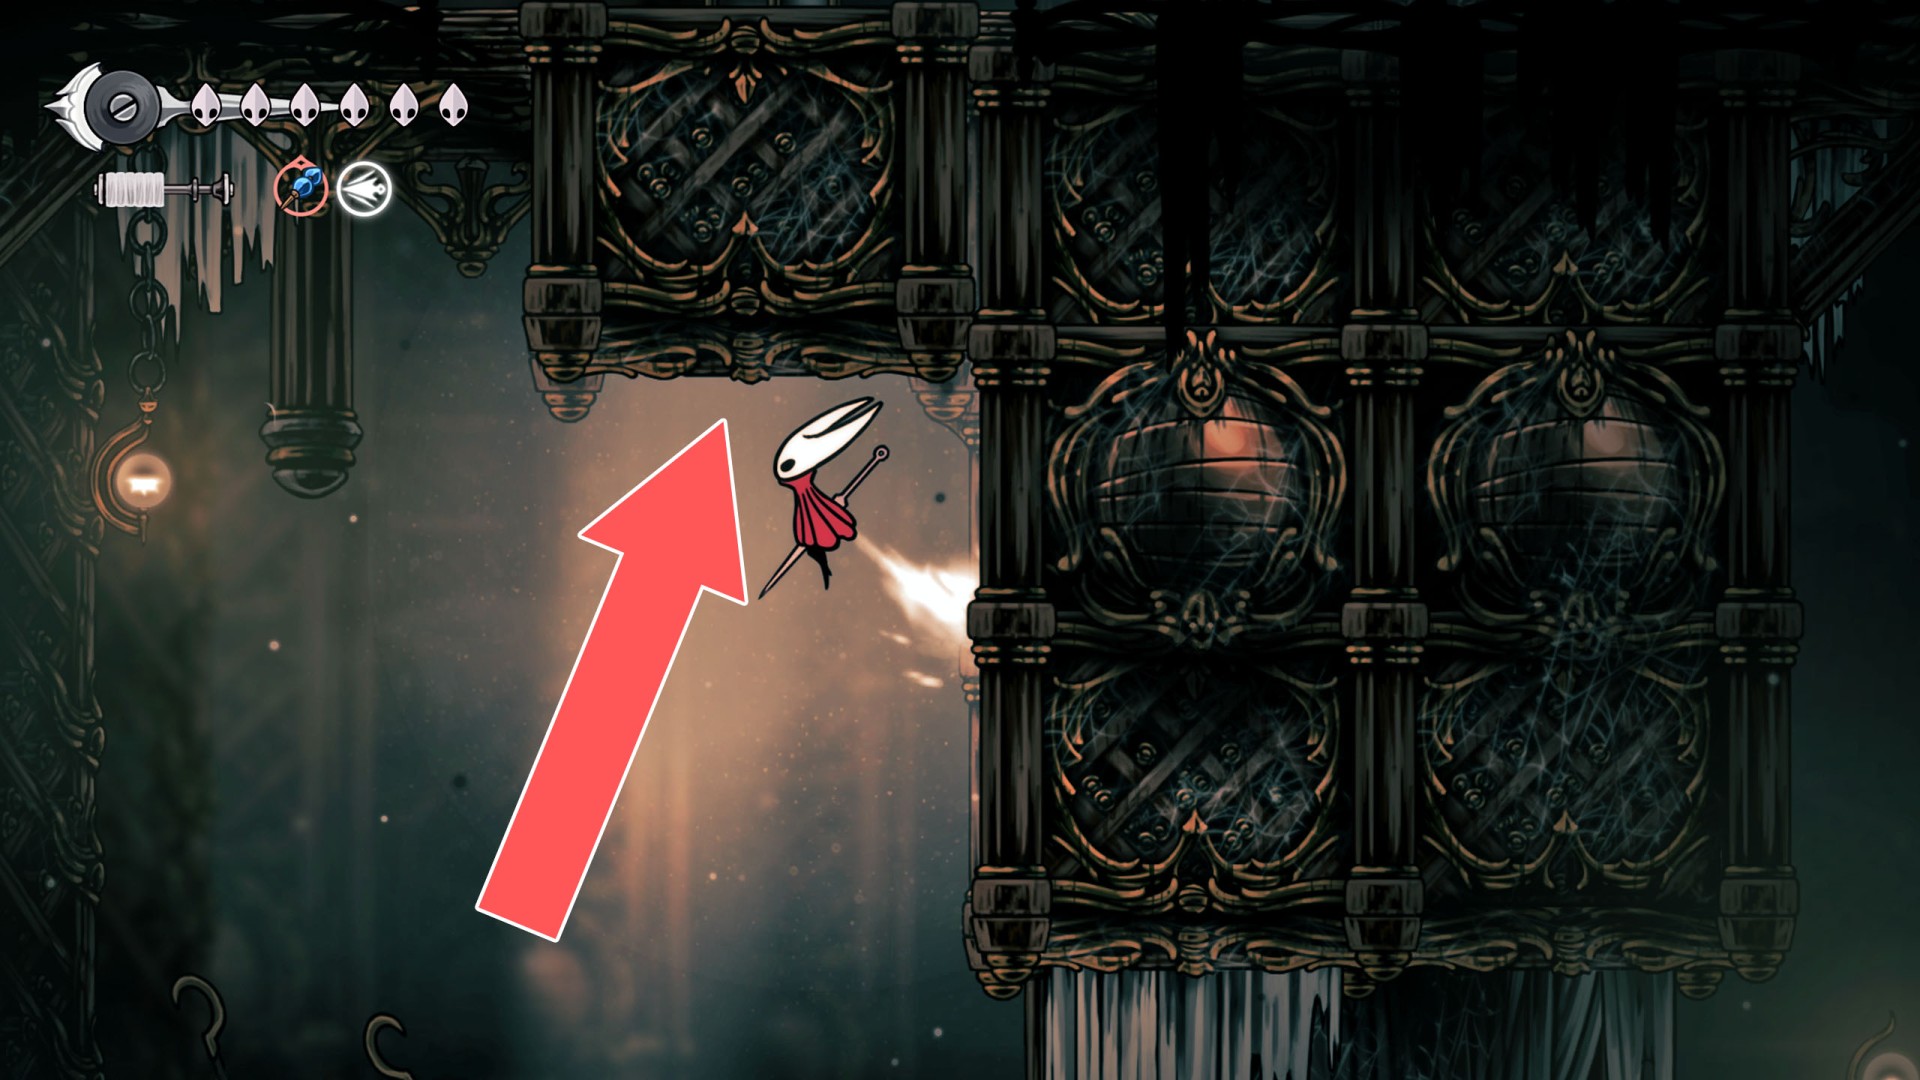
2 Box
Box
By moving this box to the right and then up, you will gain access to the Hidden Passage.
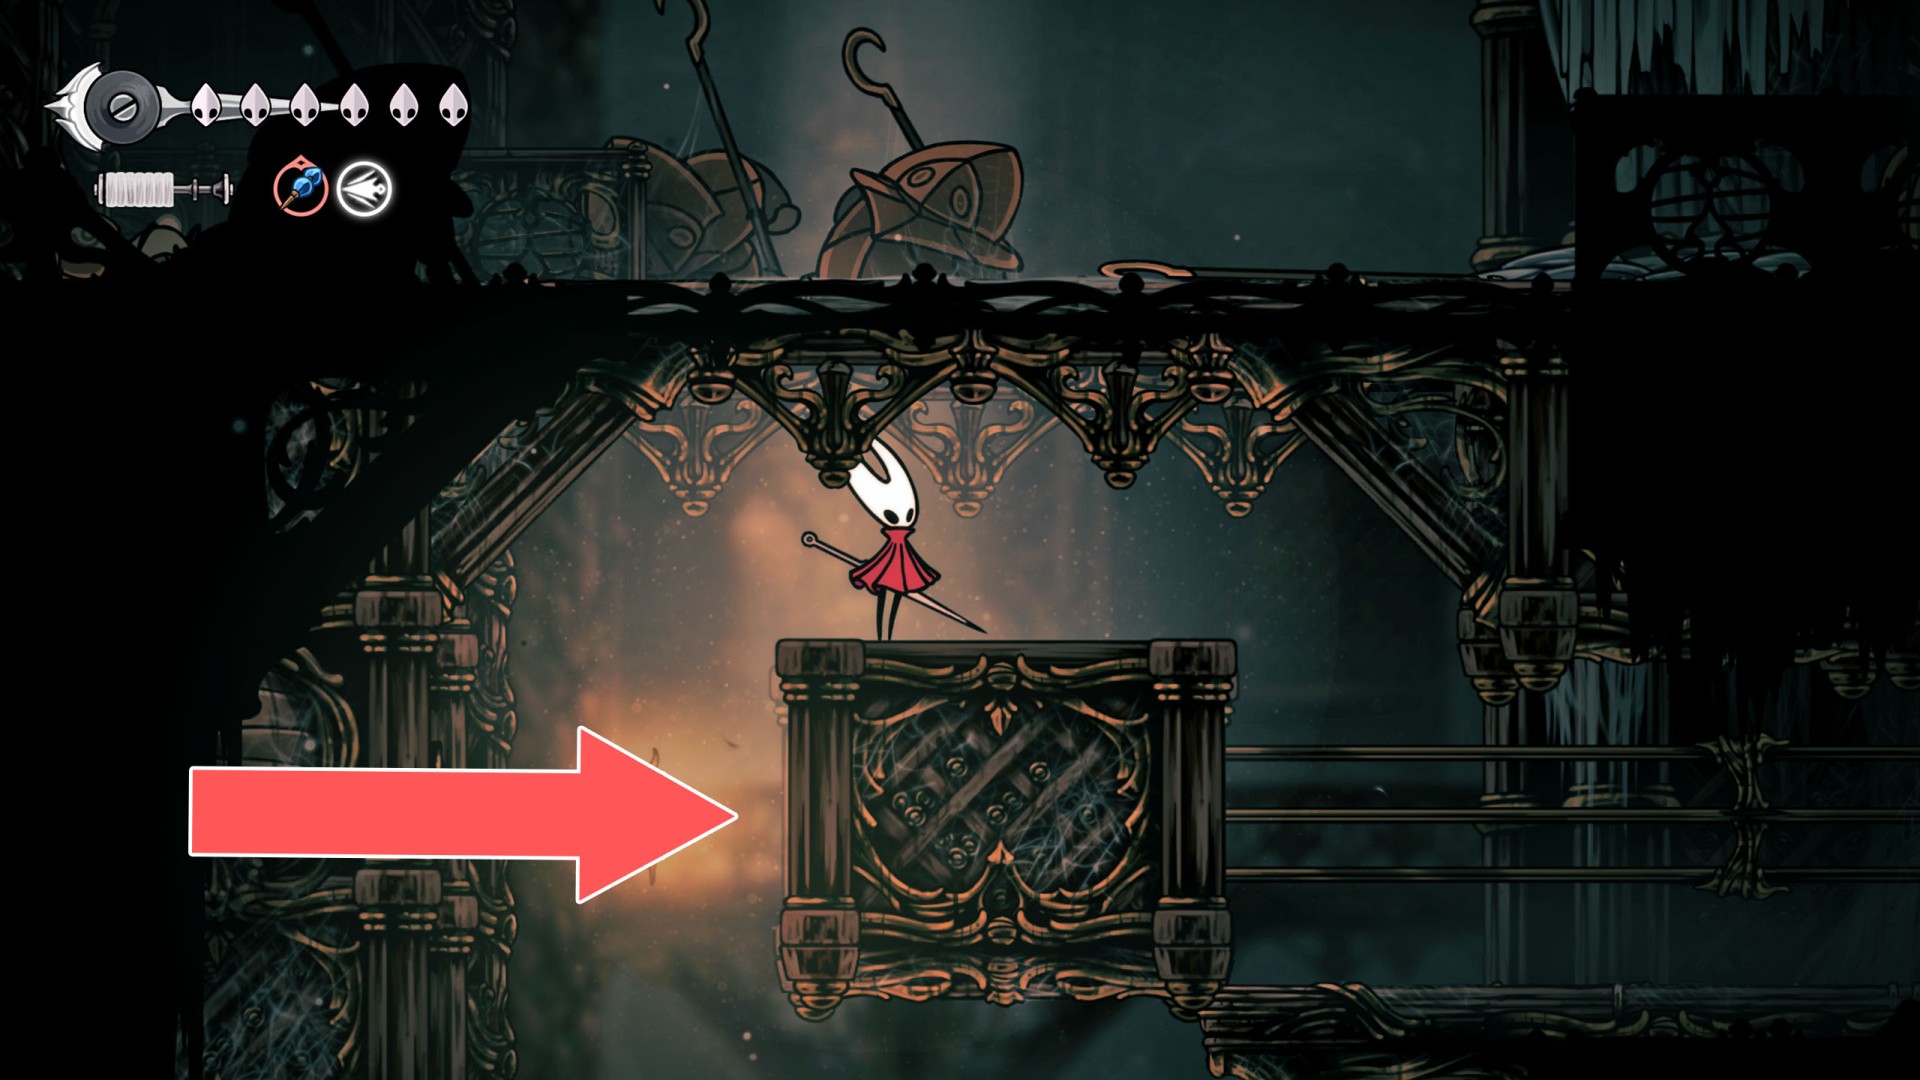
3Box
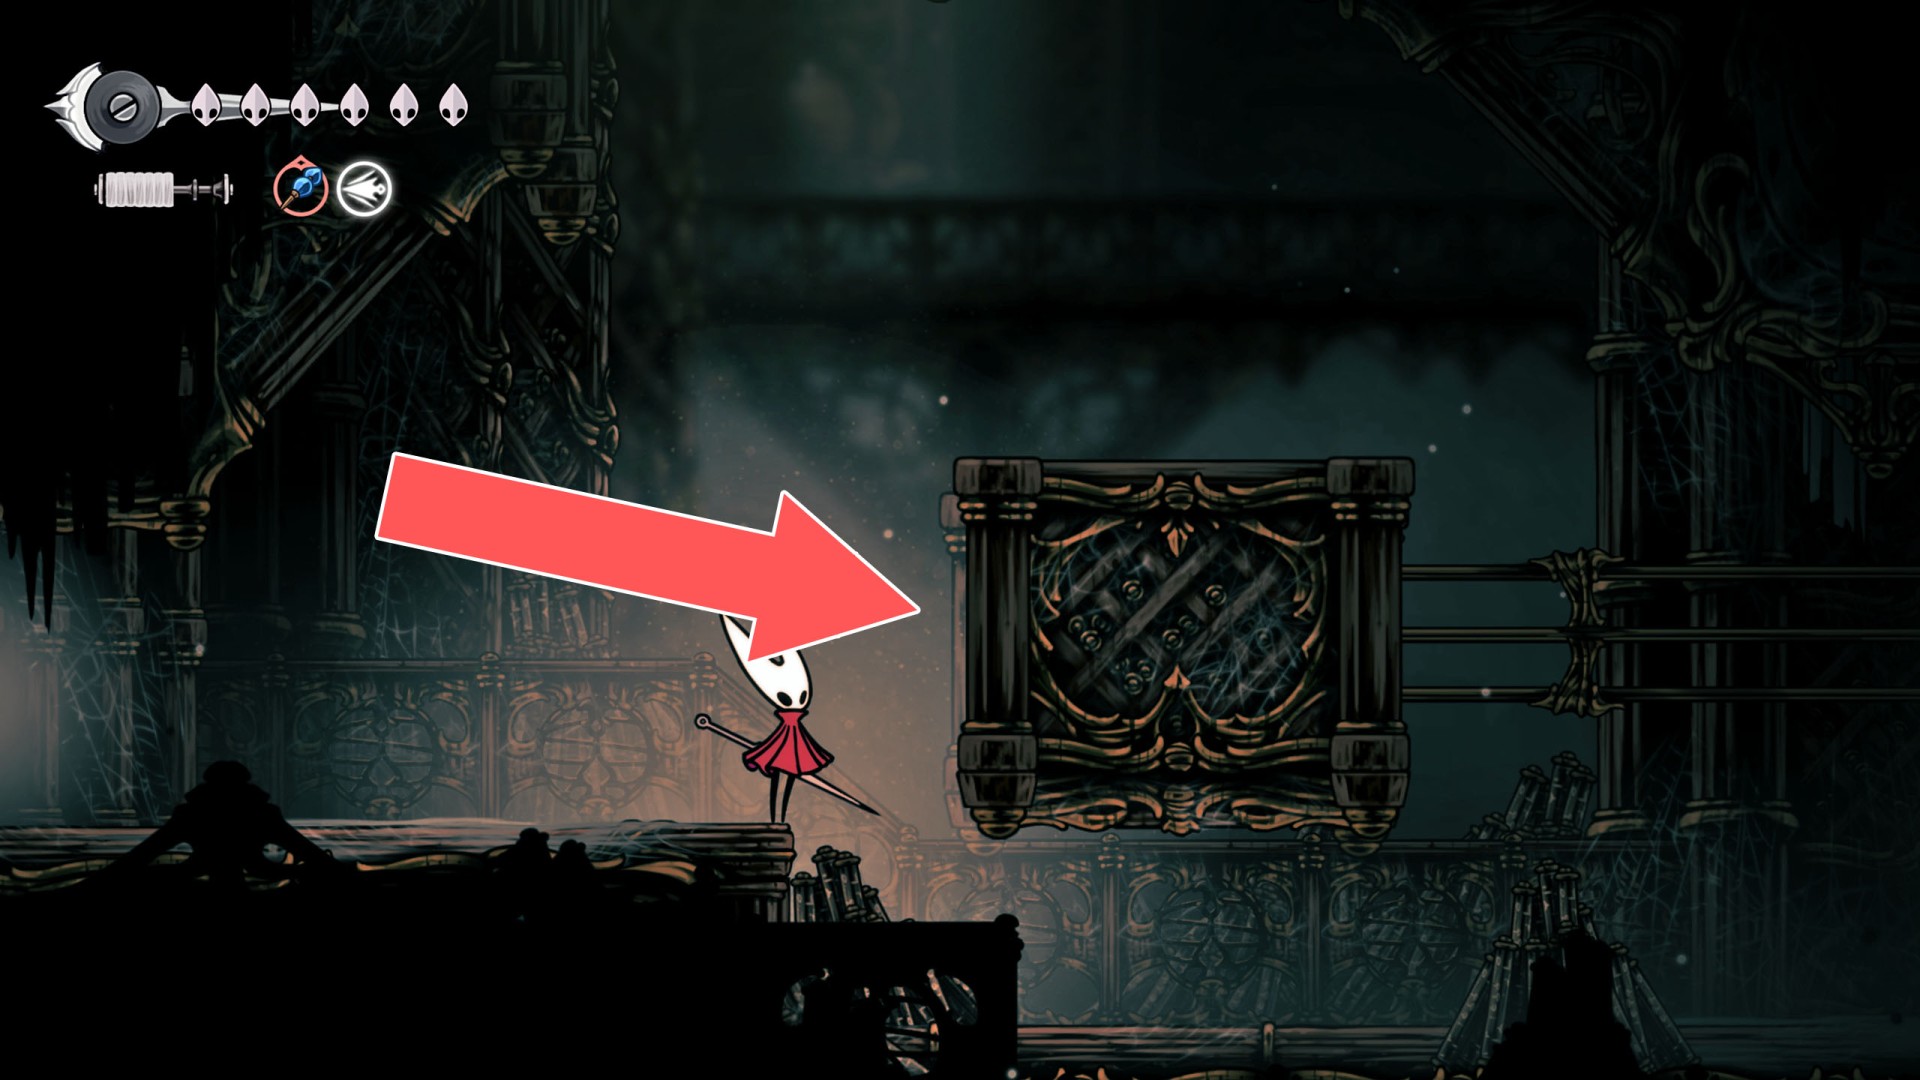
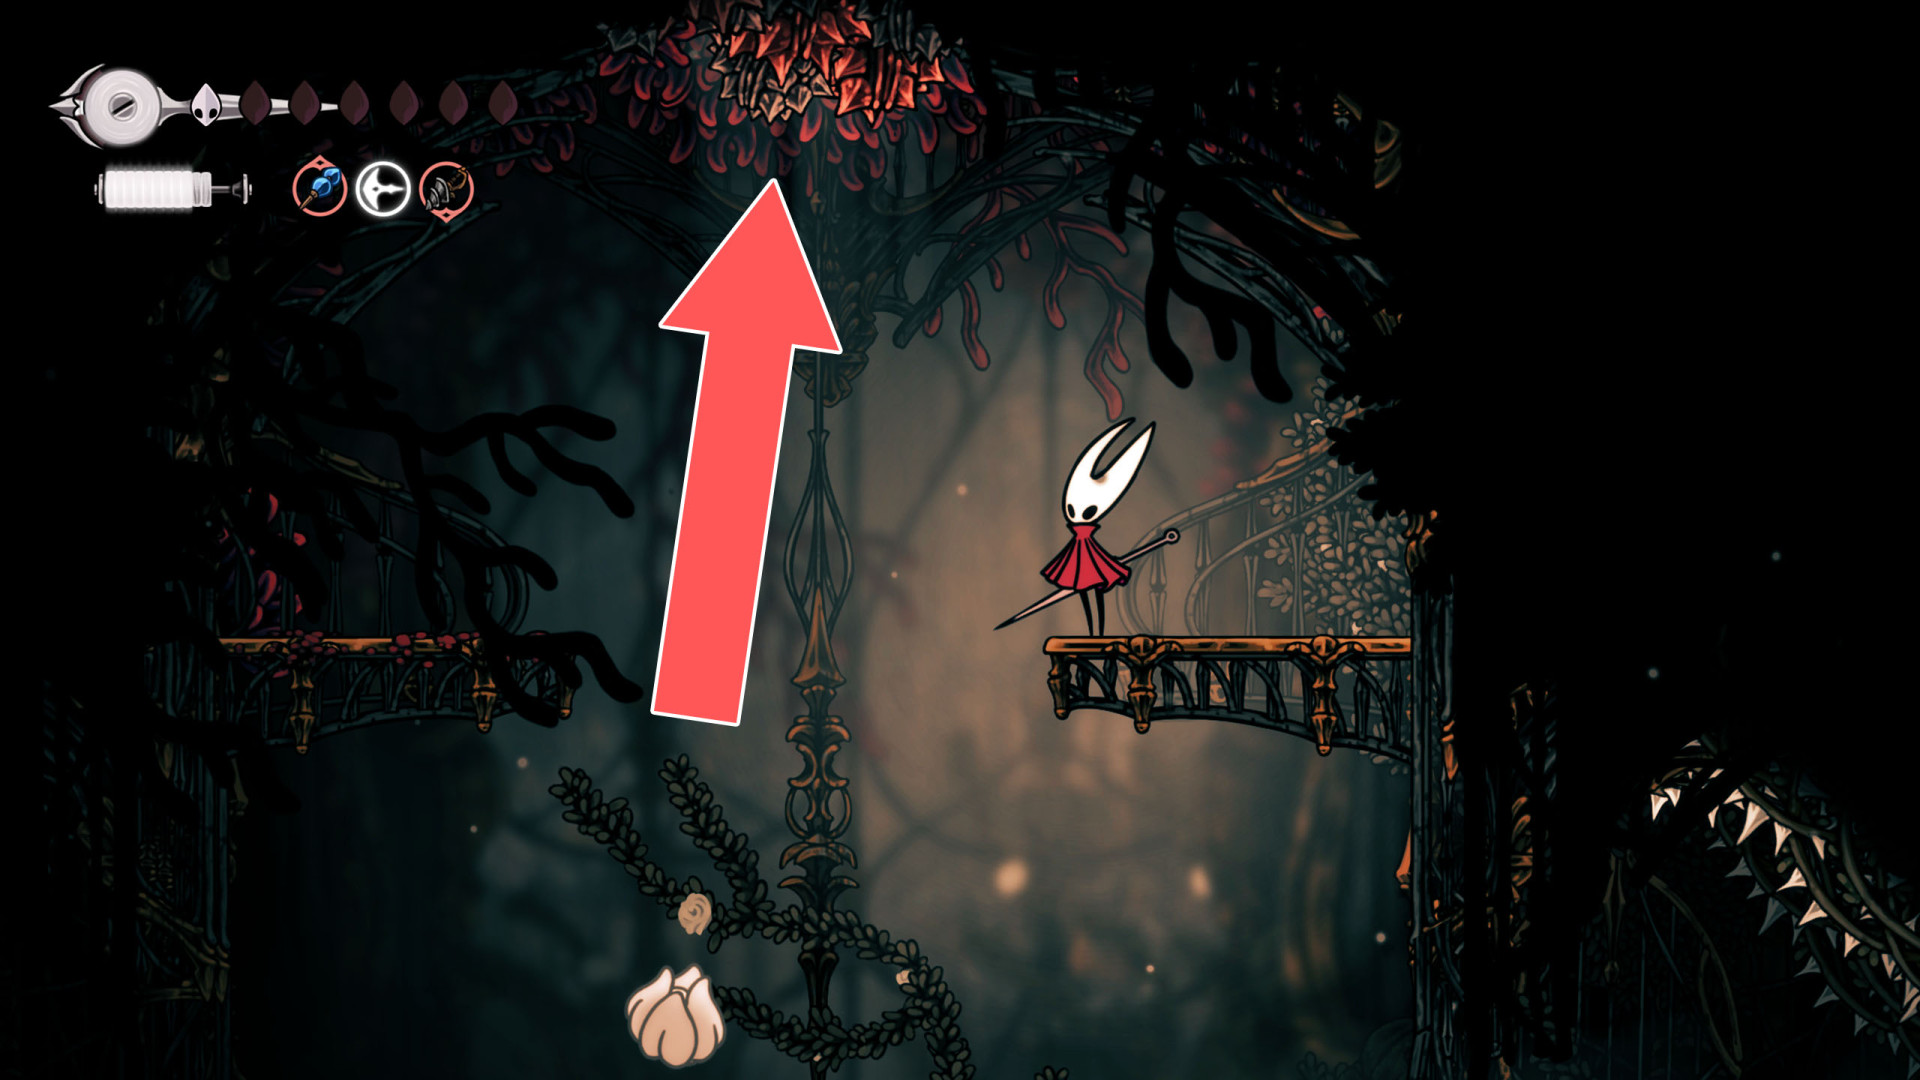
4Breakable Ceiling
You can destroy this ceiling from below.
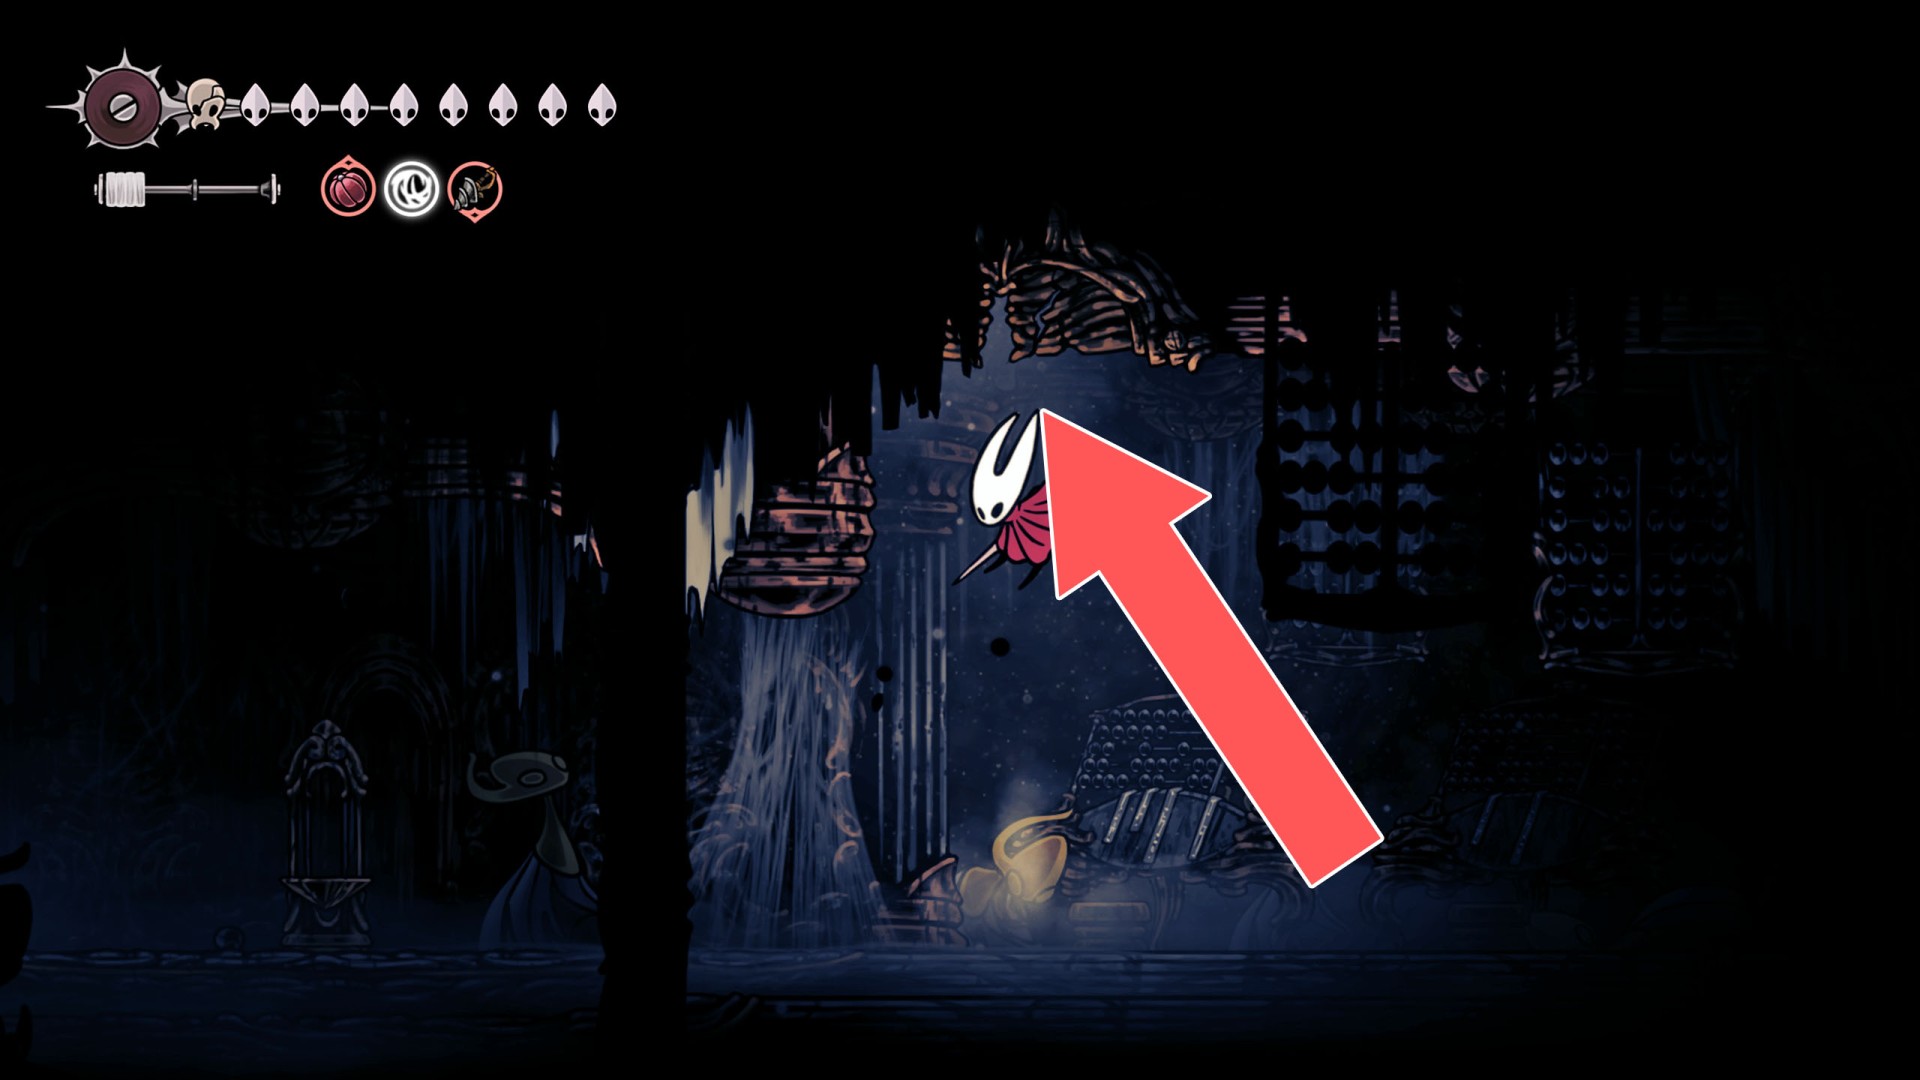
5Breakable Ceiling
Hit the ceiling a few times to make a passage.
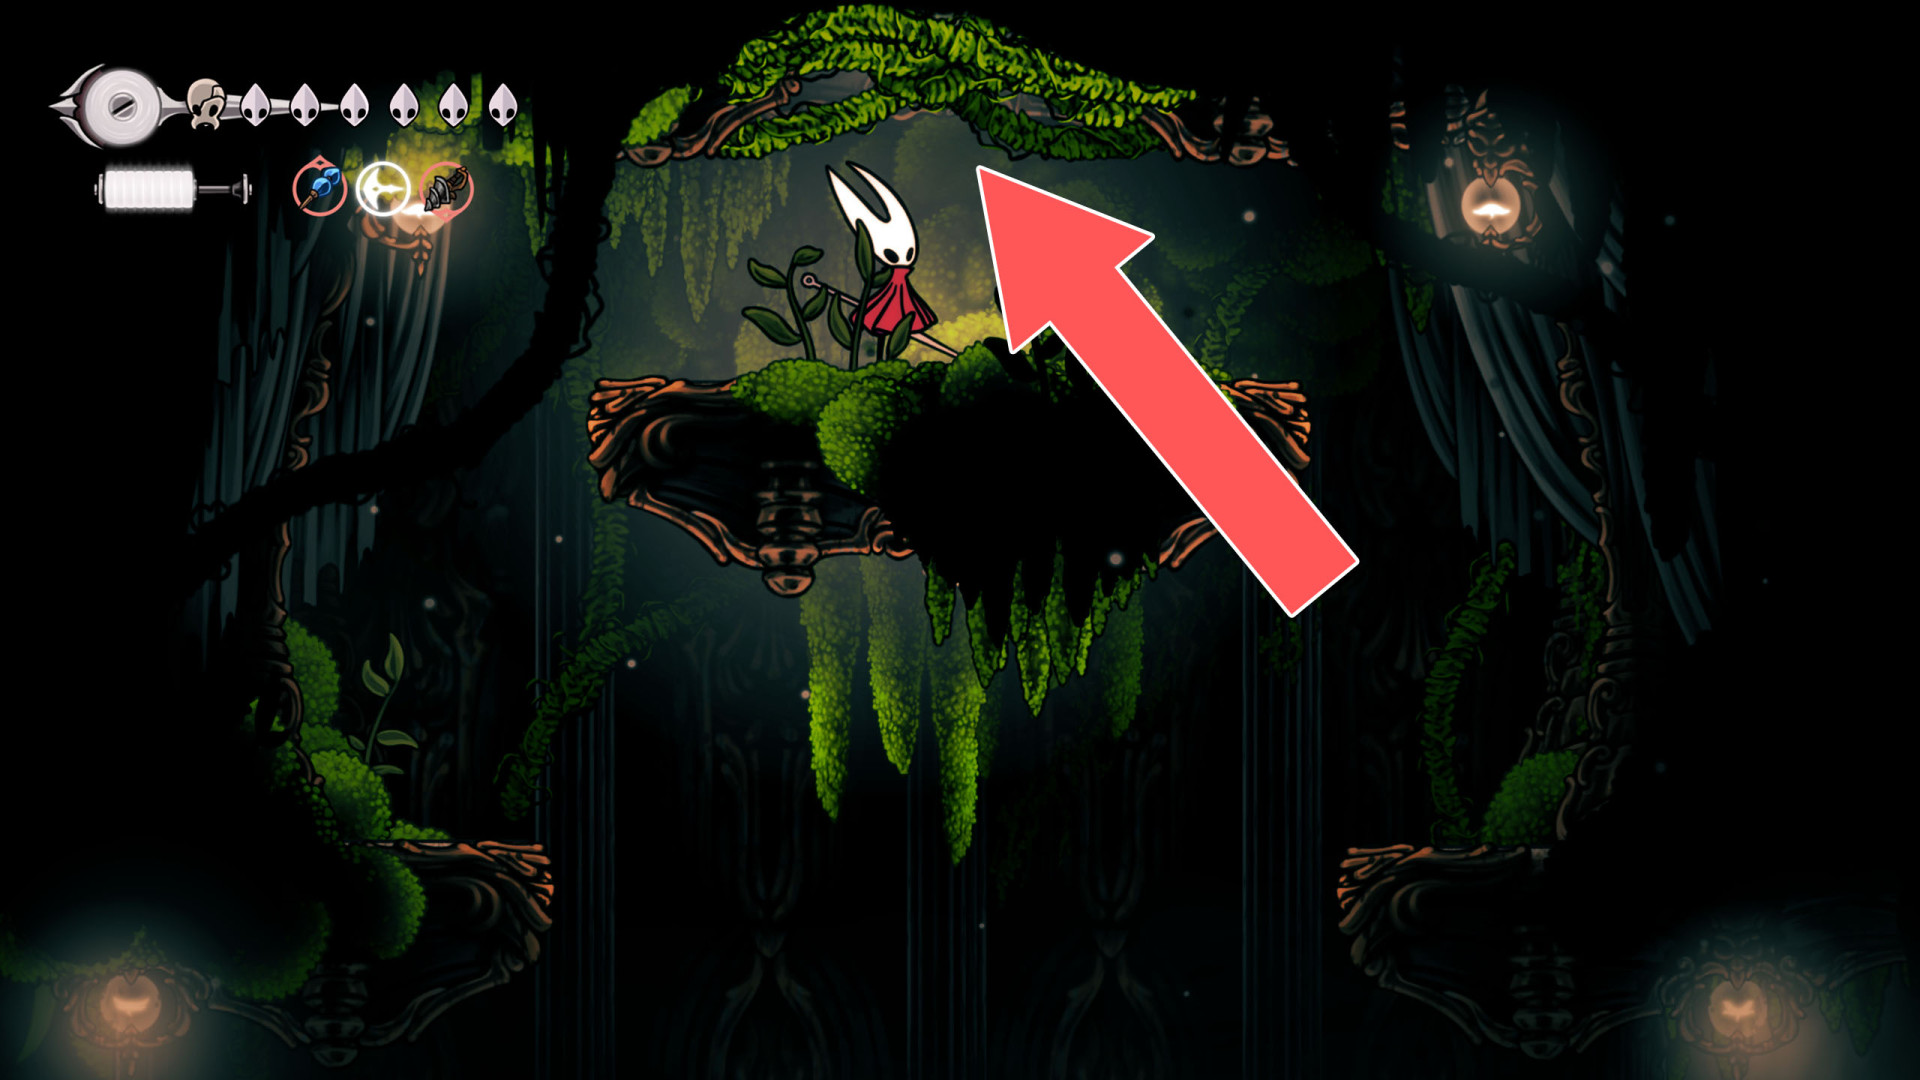
6Breakable Ceiling
Hit the ceiling a few times to make a passage.
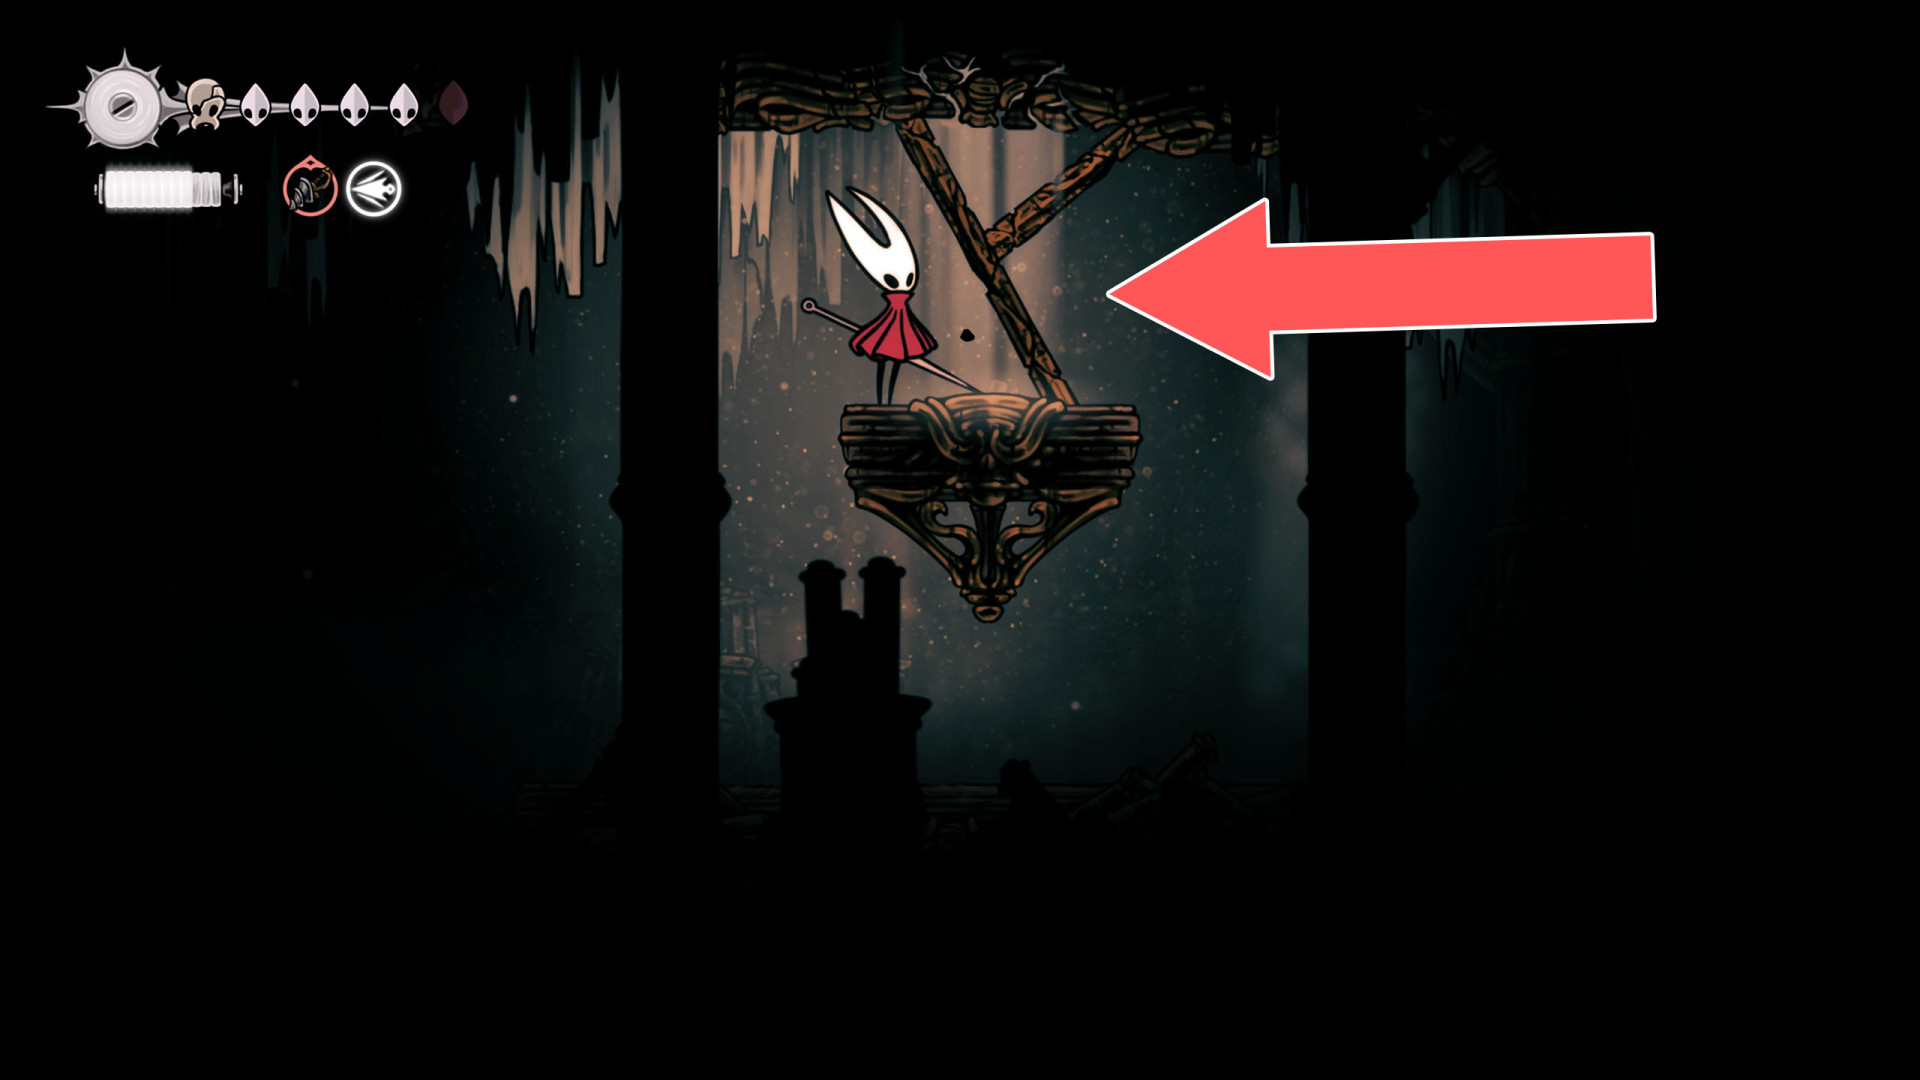
7Breakable Ceiling
You can destroy this ceiling and open a passage by destroying its support below.
8Breakable Ceiling
You can destroy this roadblock by approaching it from the bottom.
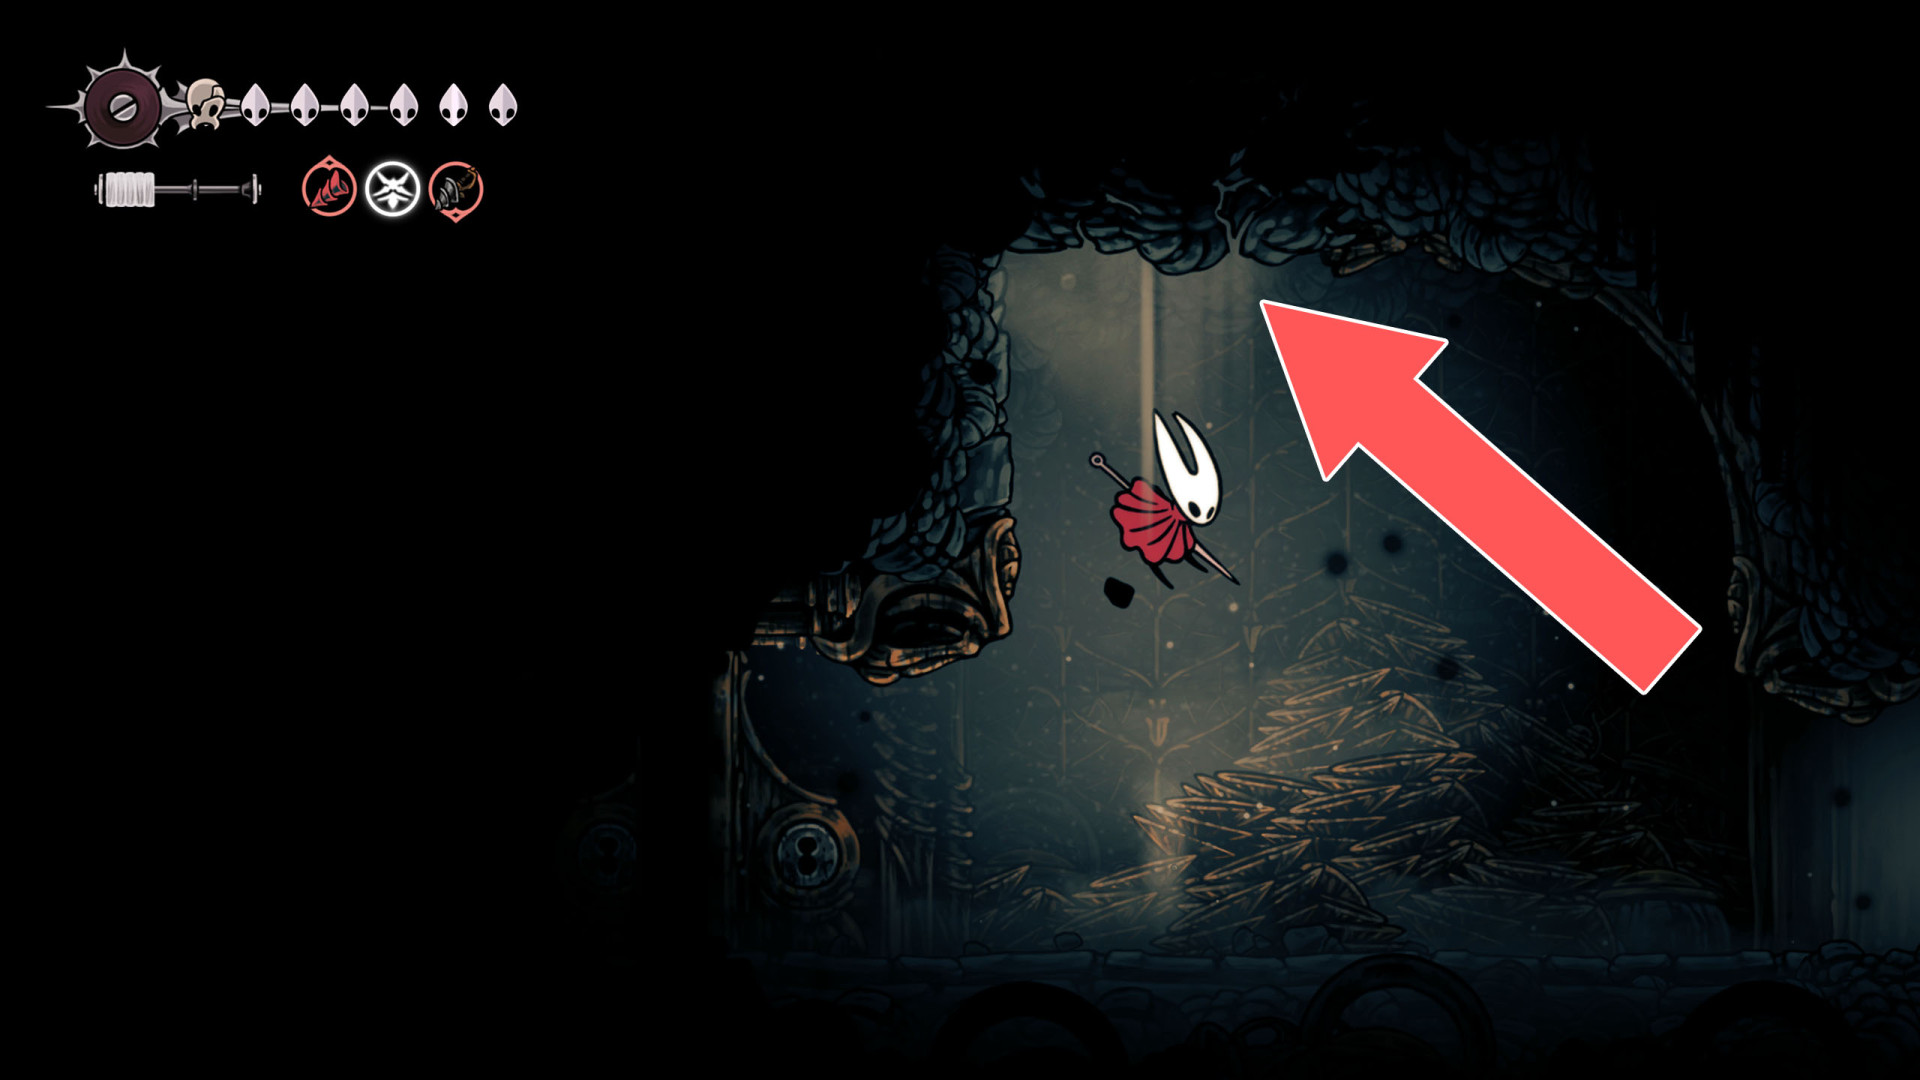
9Breakable Ceiling
Destroy the support below to open the passage.
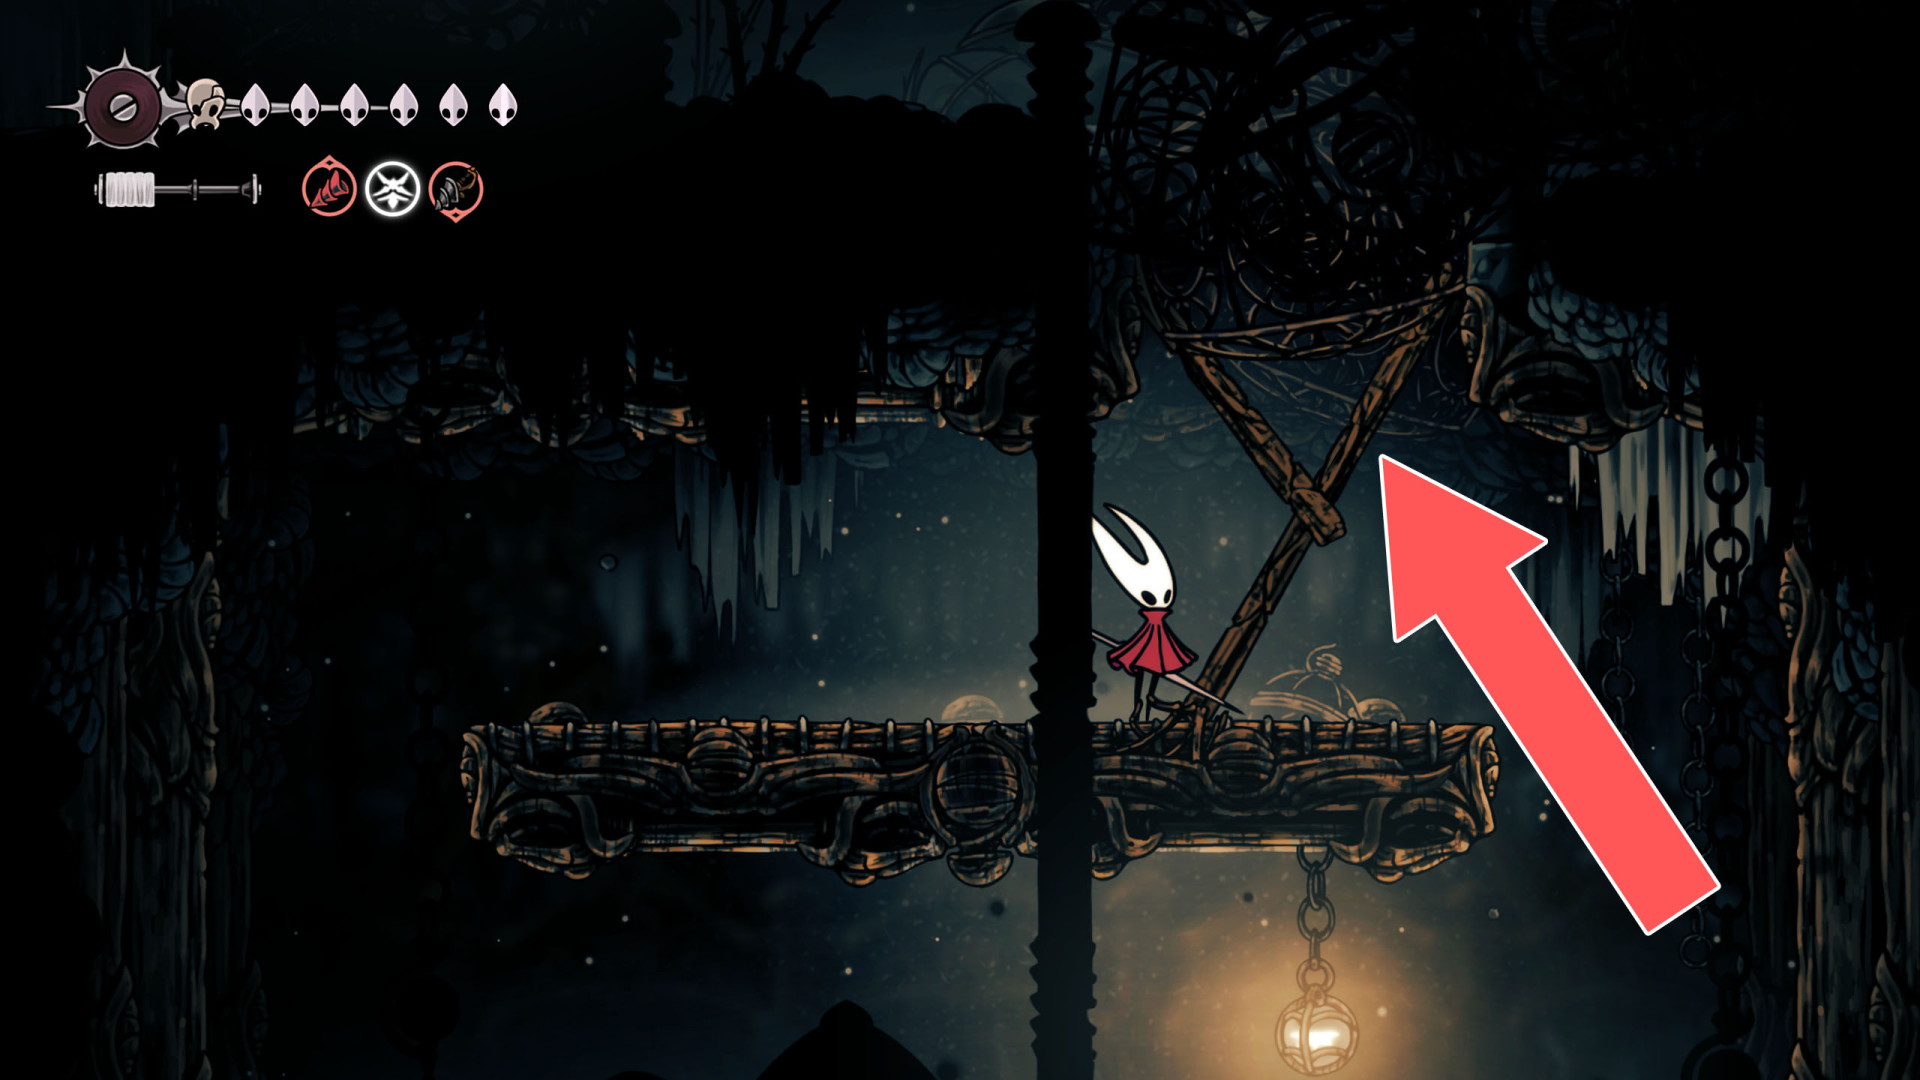
10Breakable Ceiling
Hit the loose panel to open a passage.
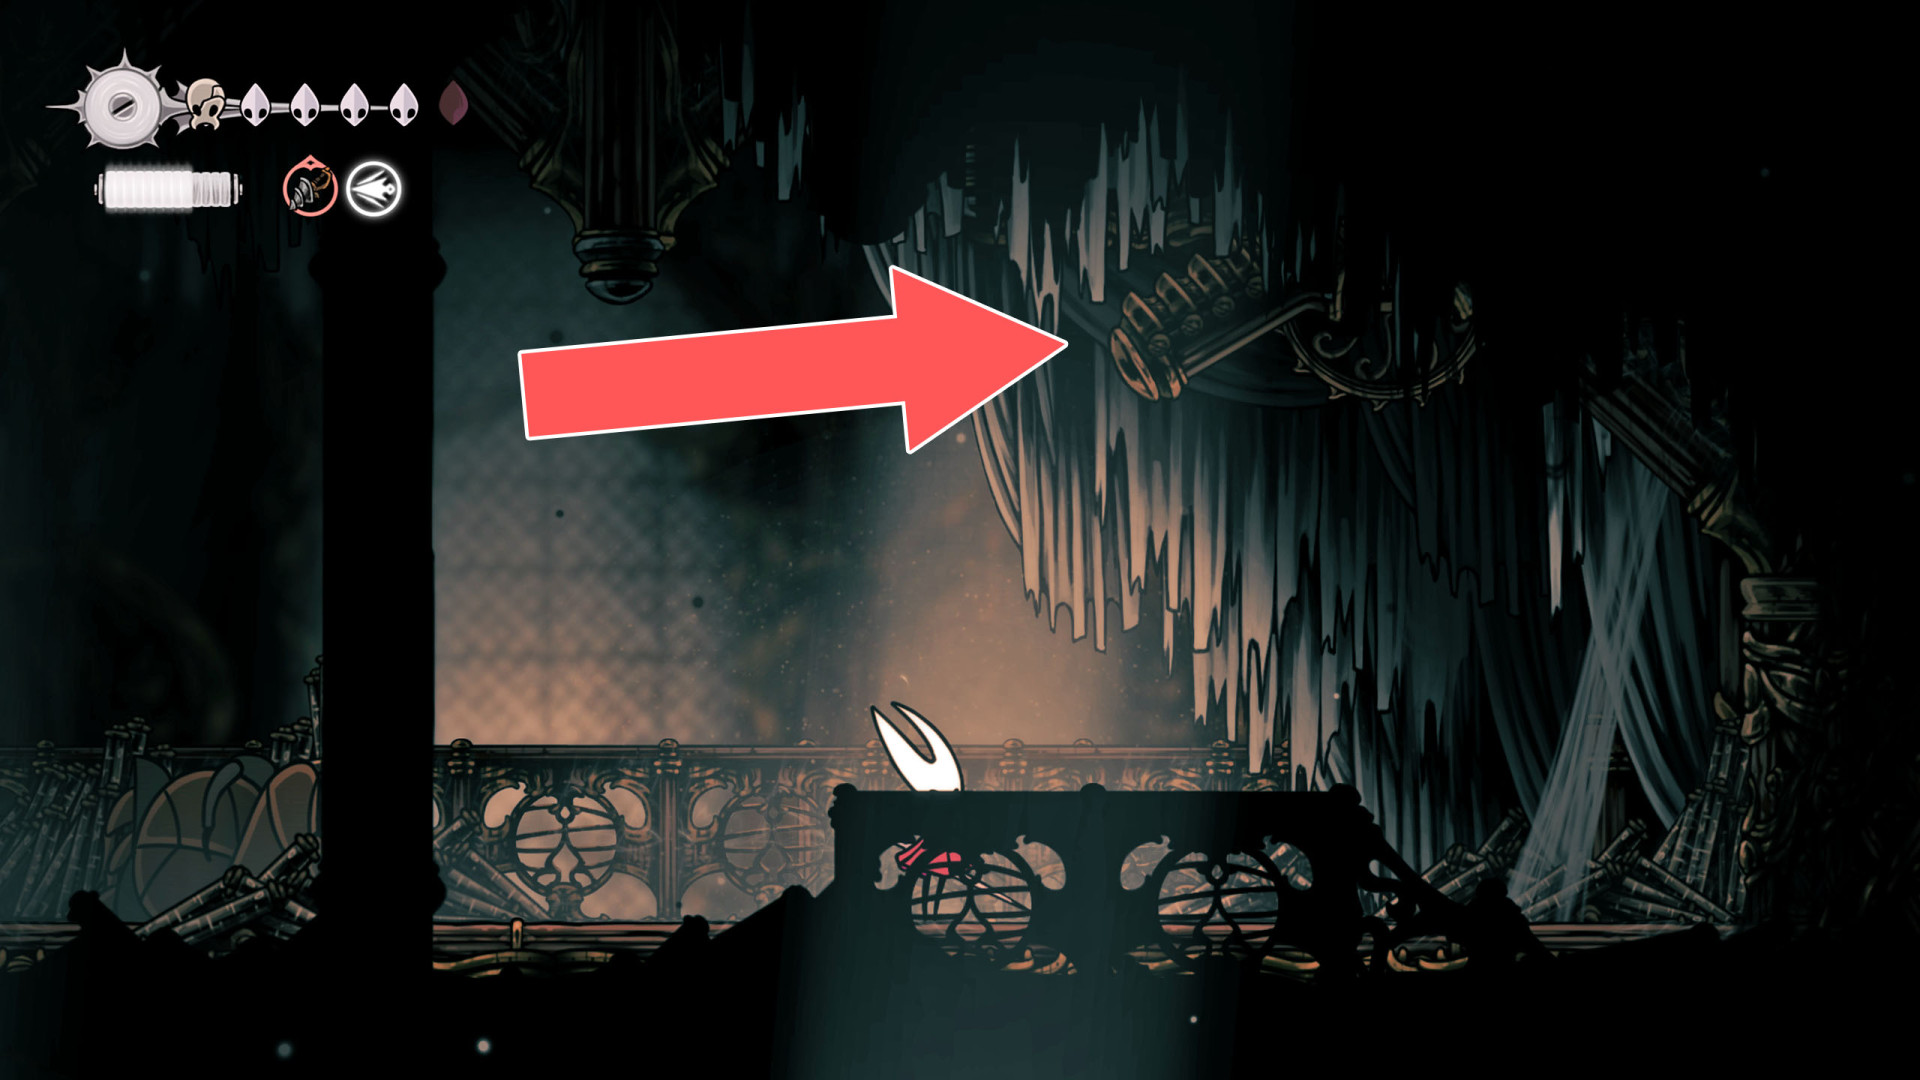
11Breakable Ceiling
Destroy the support below to open the passage.
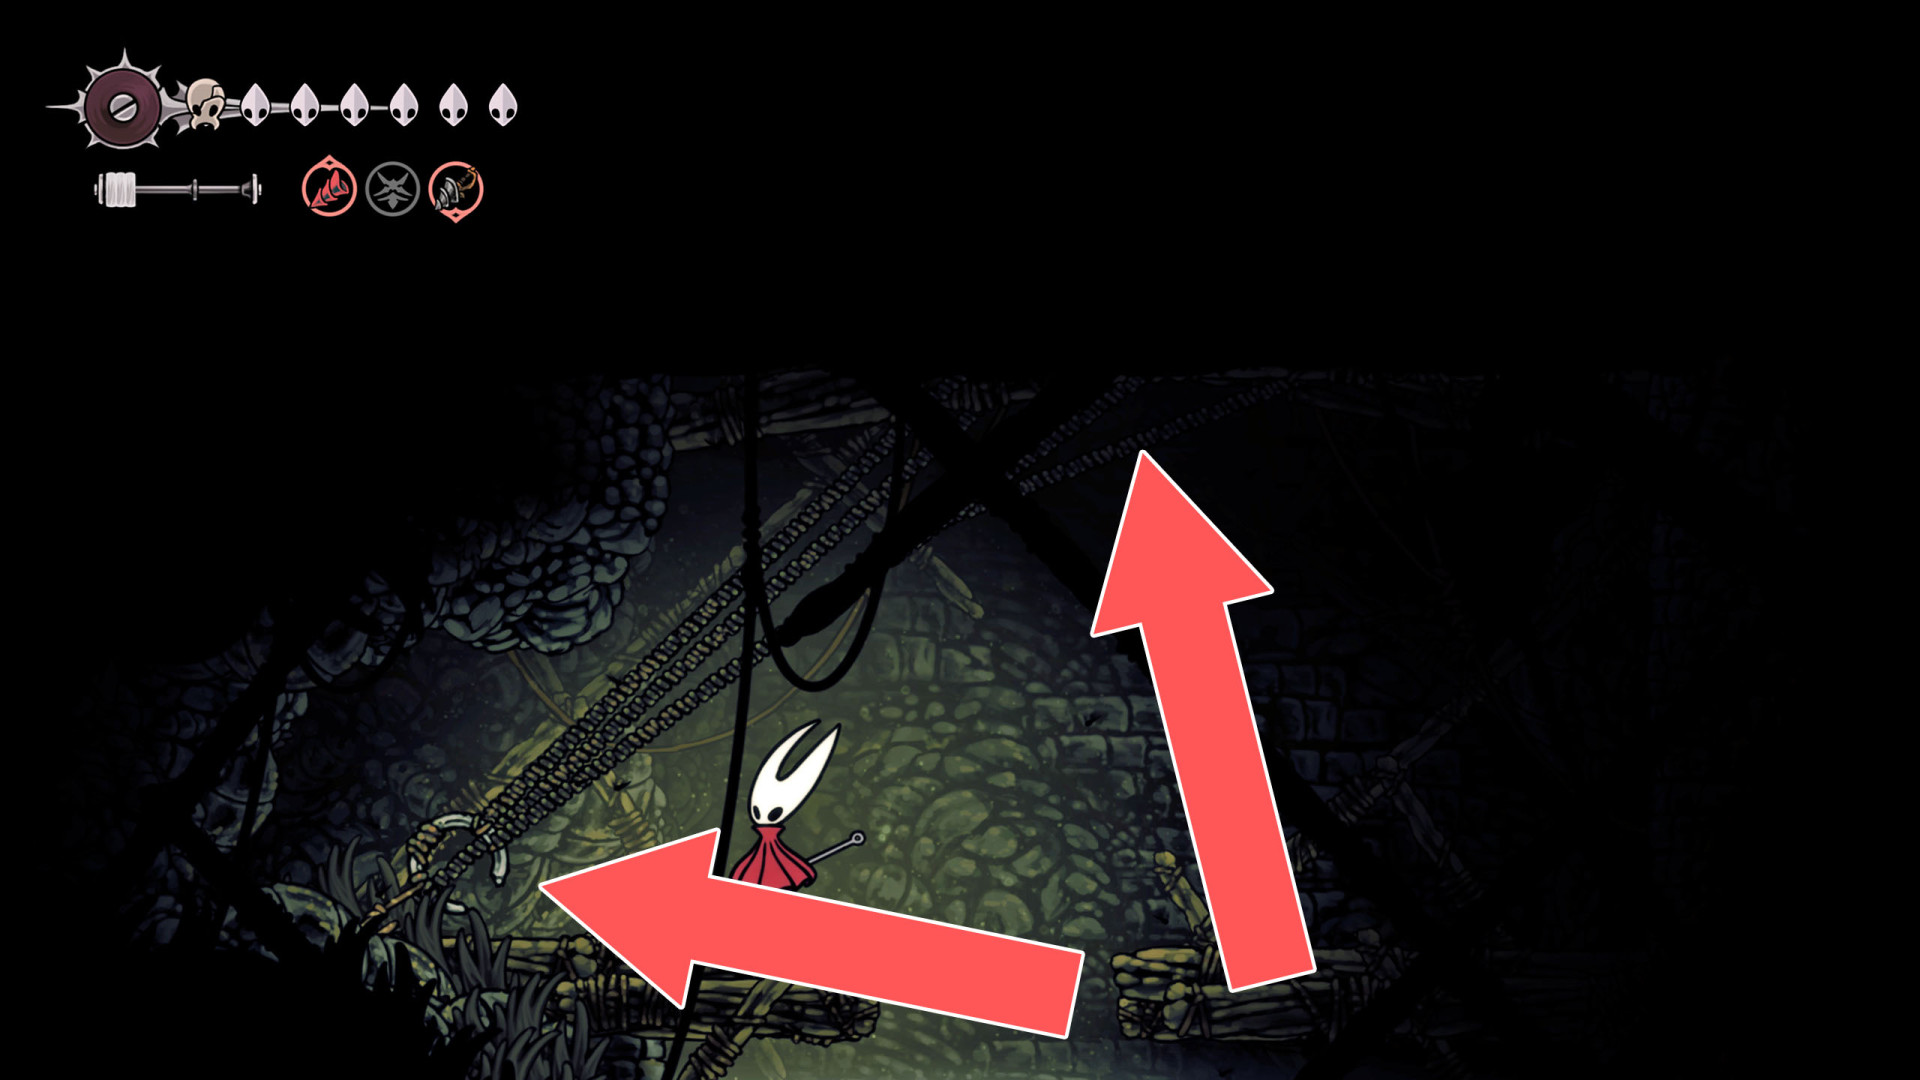
12Breakable Ceiling
Destroy the support below to open the passage.
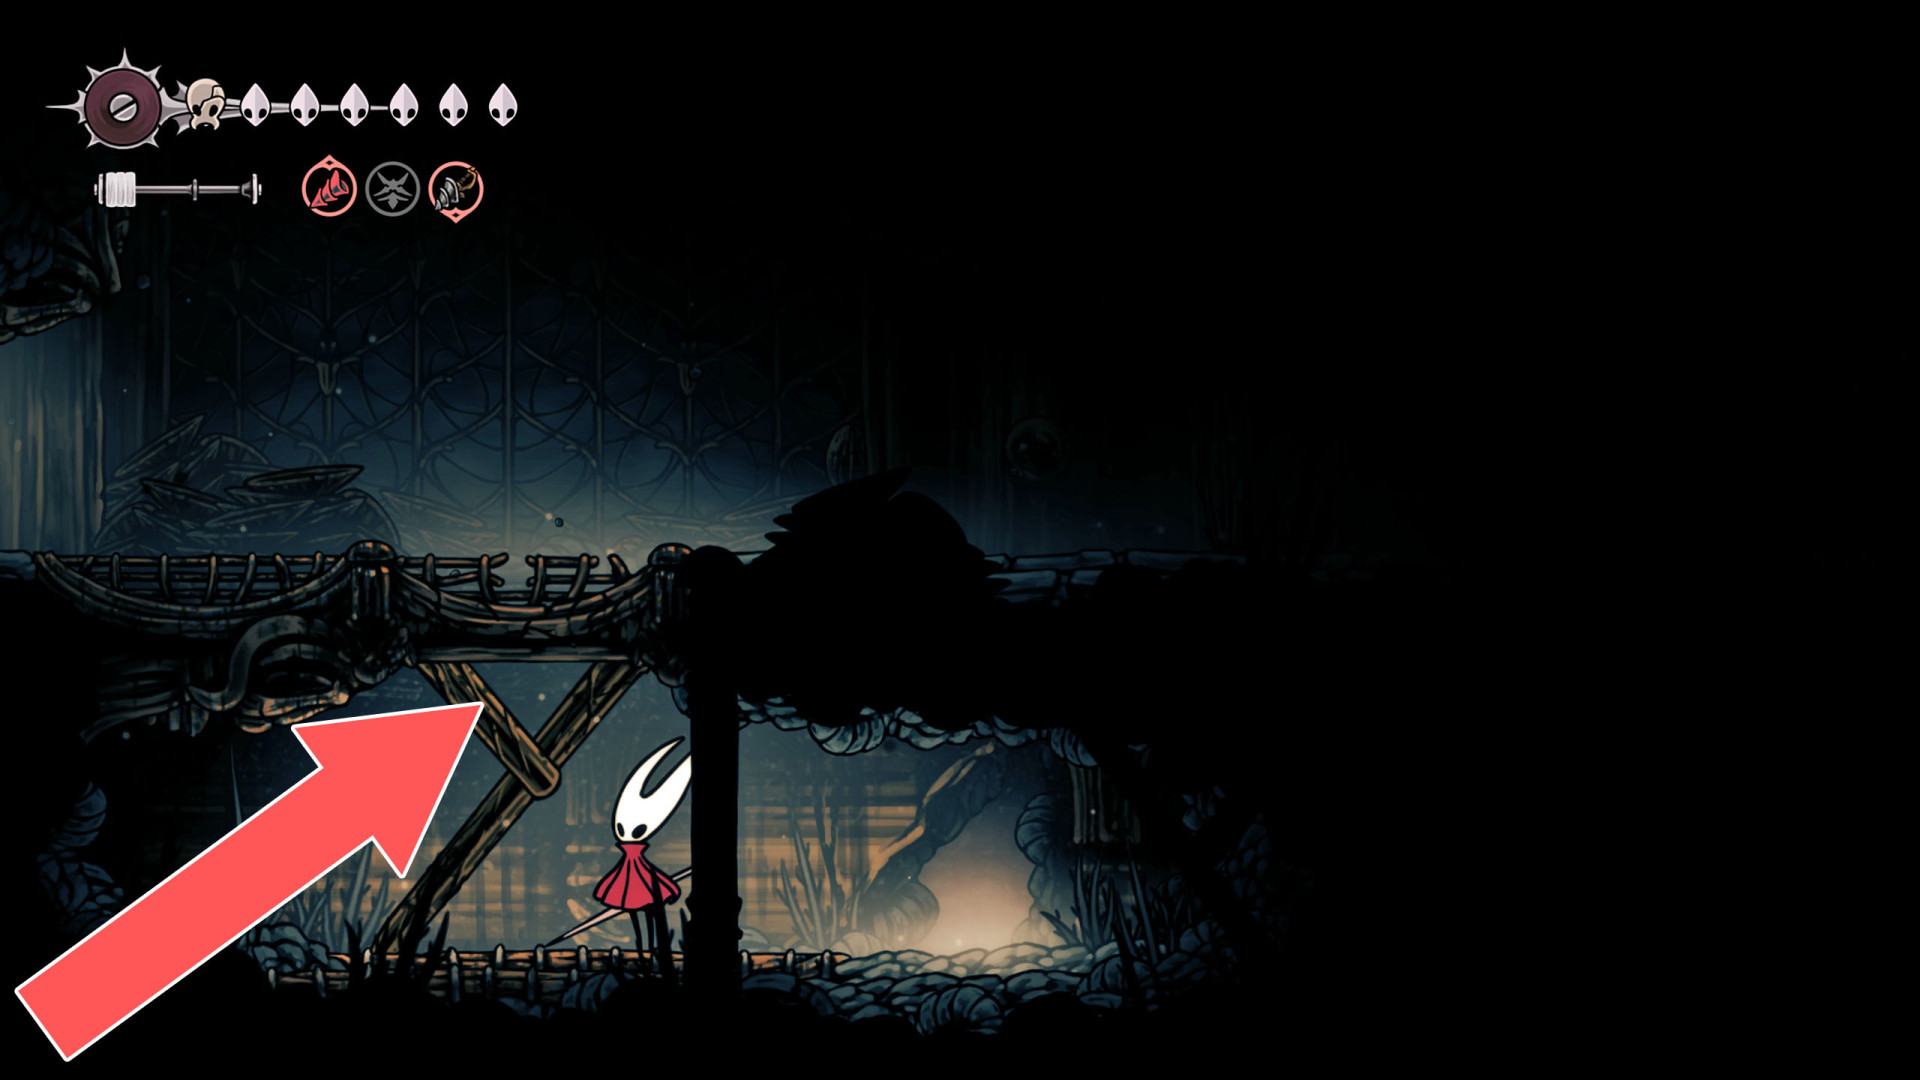
13Breakable Ceiling
You can destroy this roadblock by approaching it from the bottom.
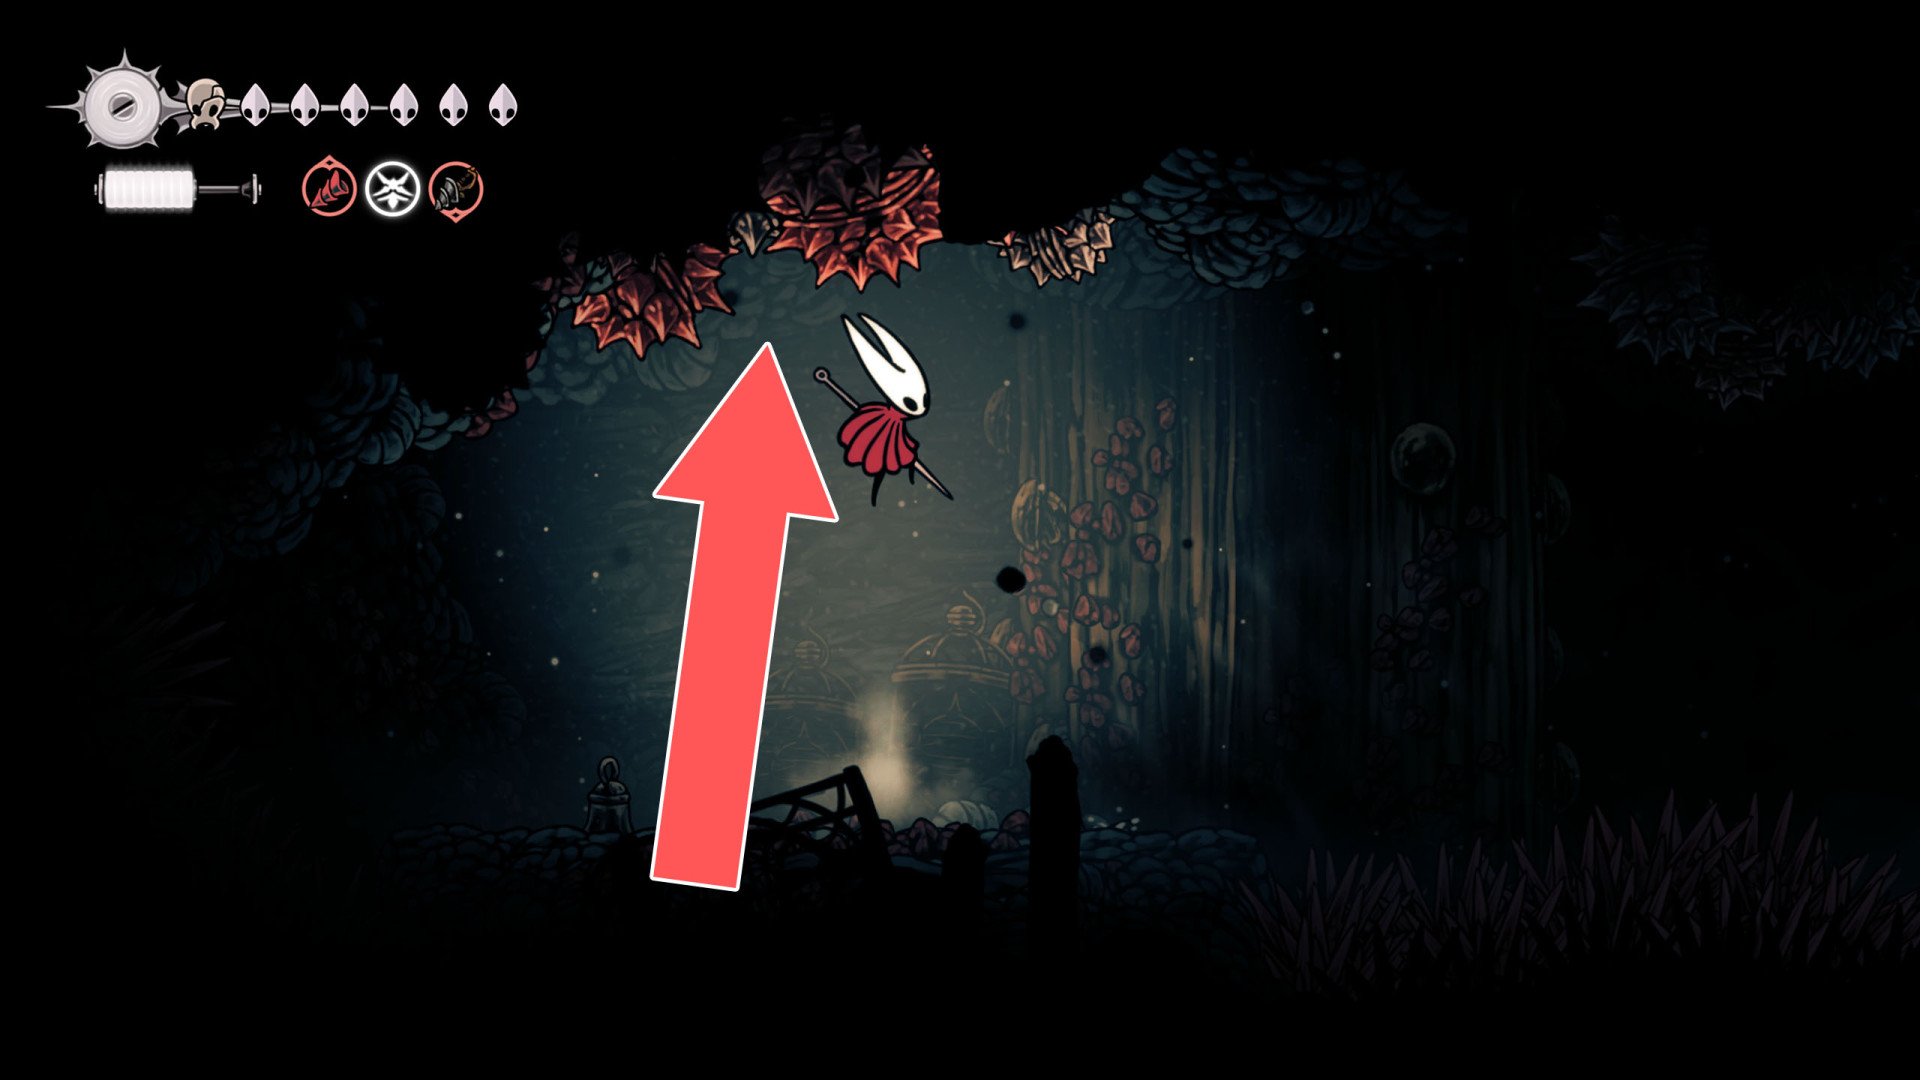
14Breakable Ceiling
To open the passage, jump and hit the support several times.
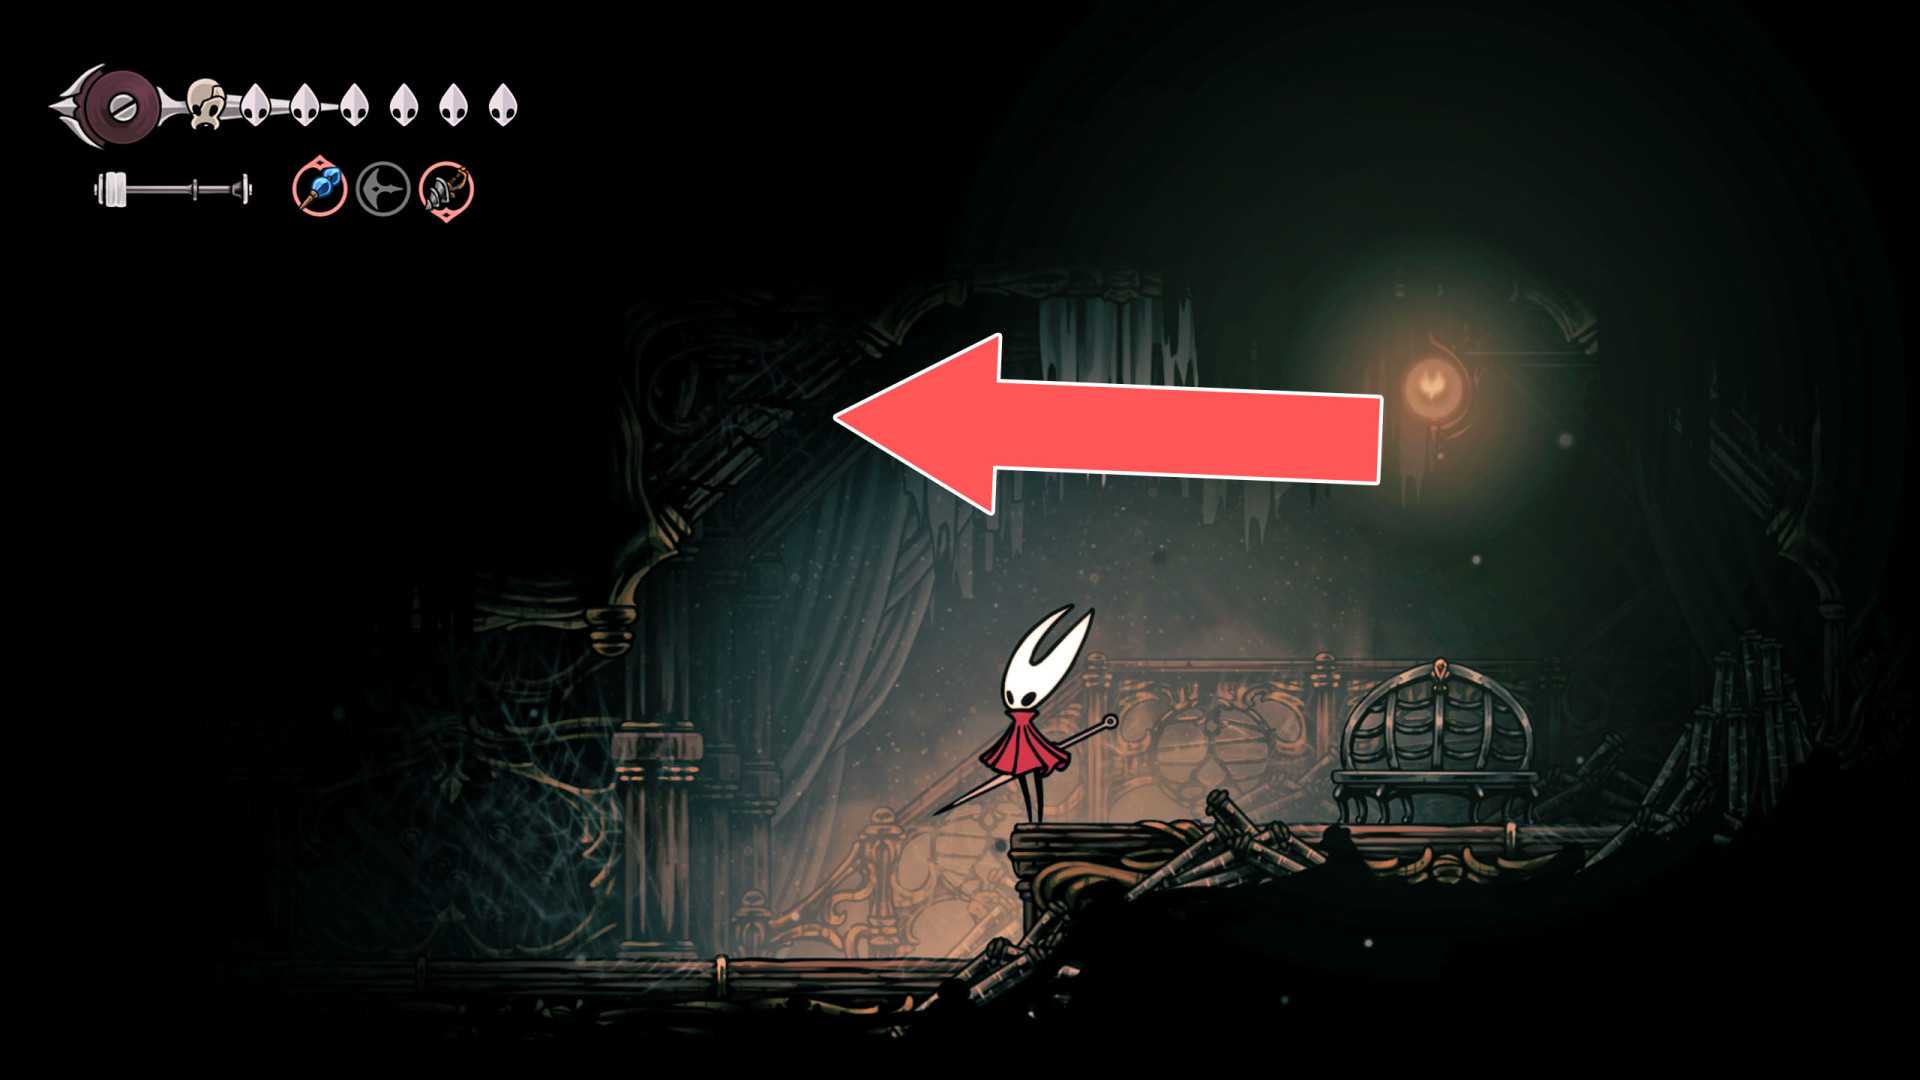
15Breakable Ceiling
You can destroy this roadblock by approaching it from the bottom.
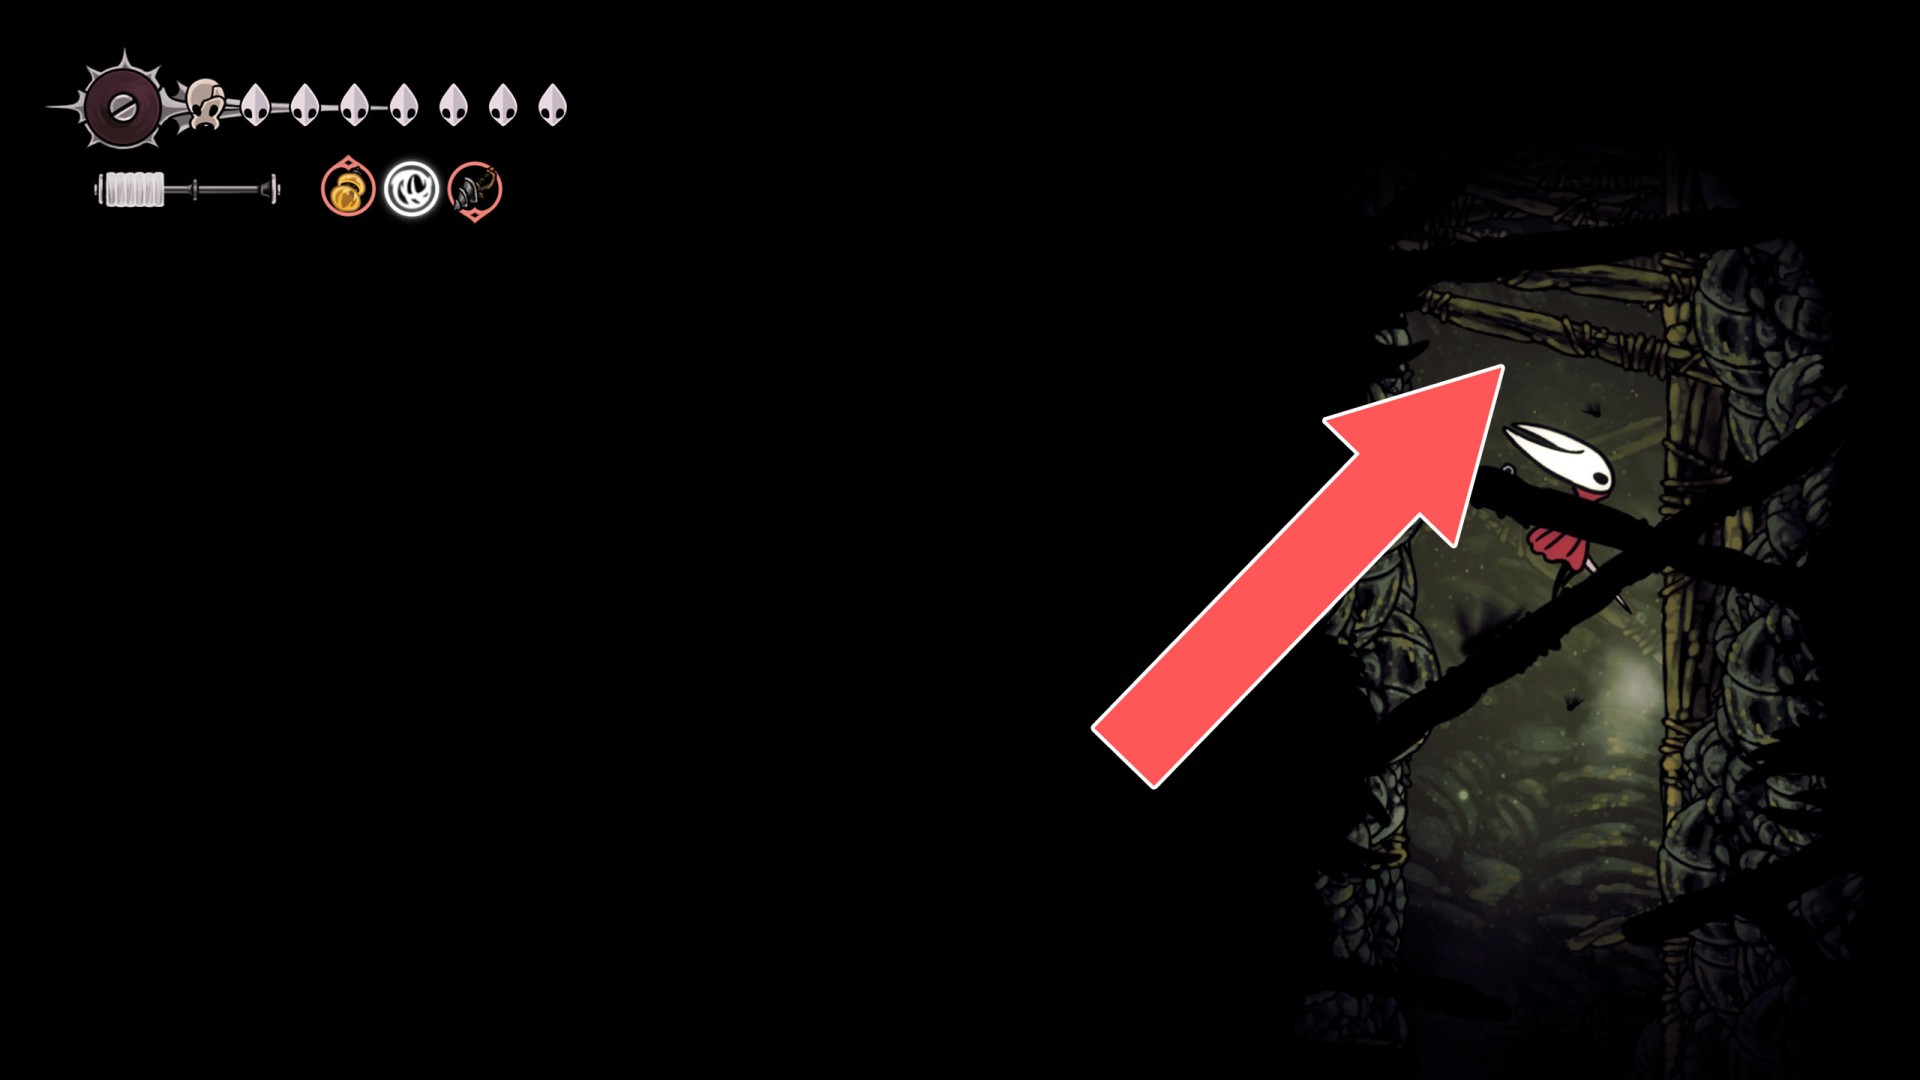
16Breakable Ceiling
You can destroy this roadblock by approaching it from the bottom.
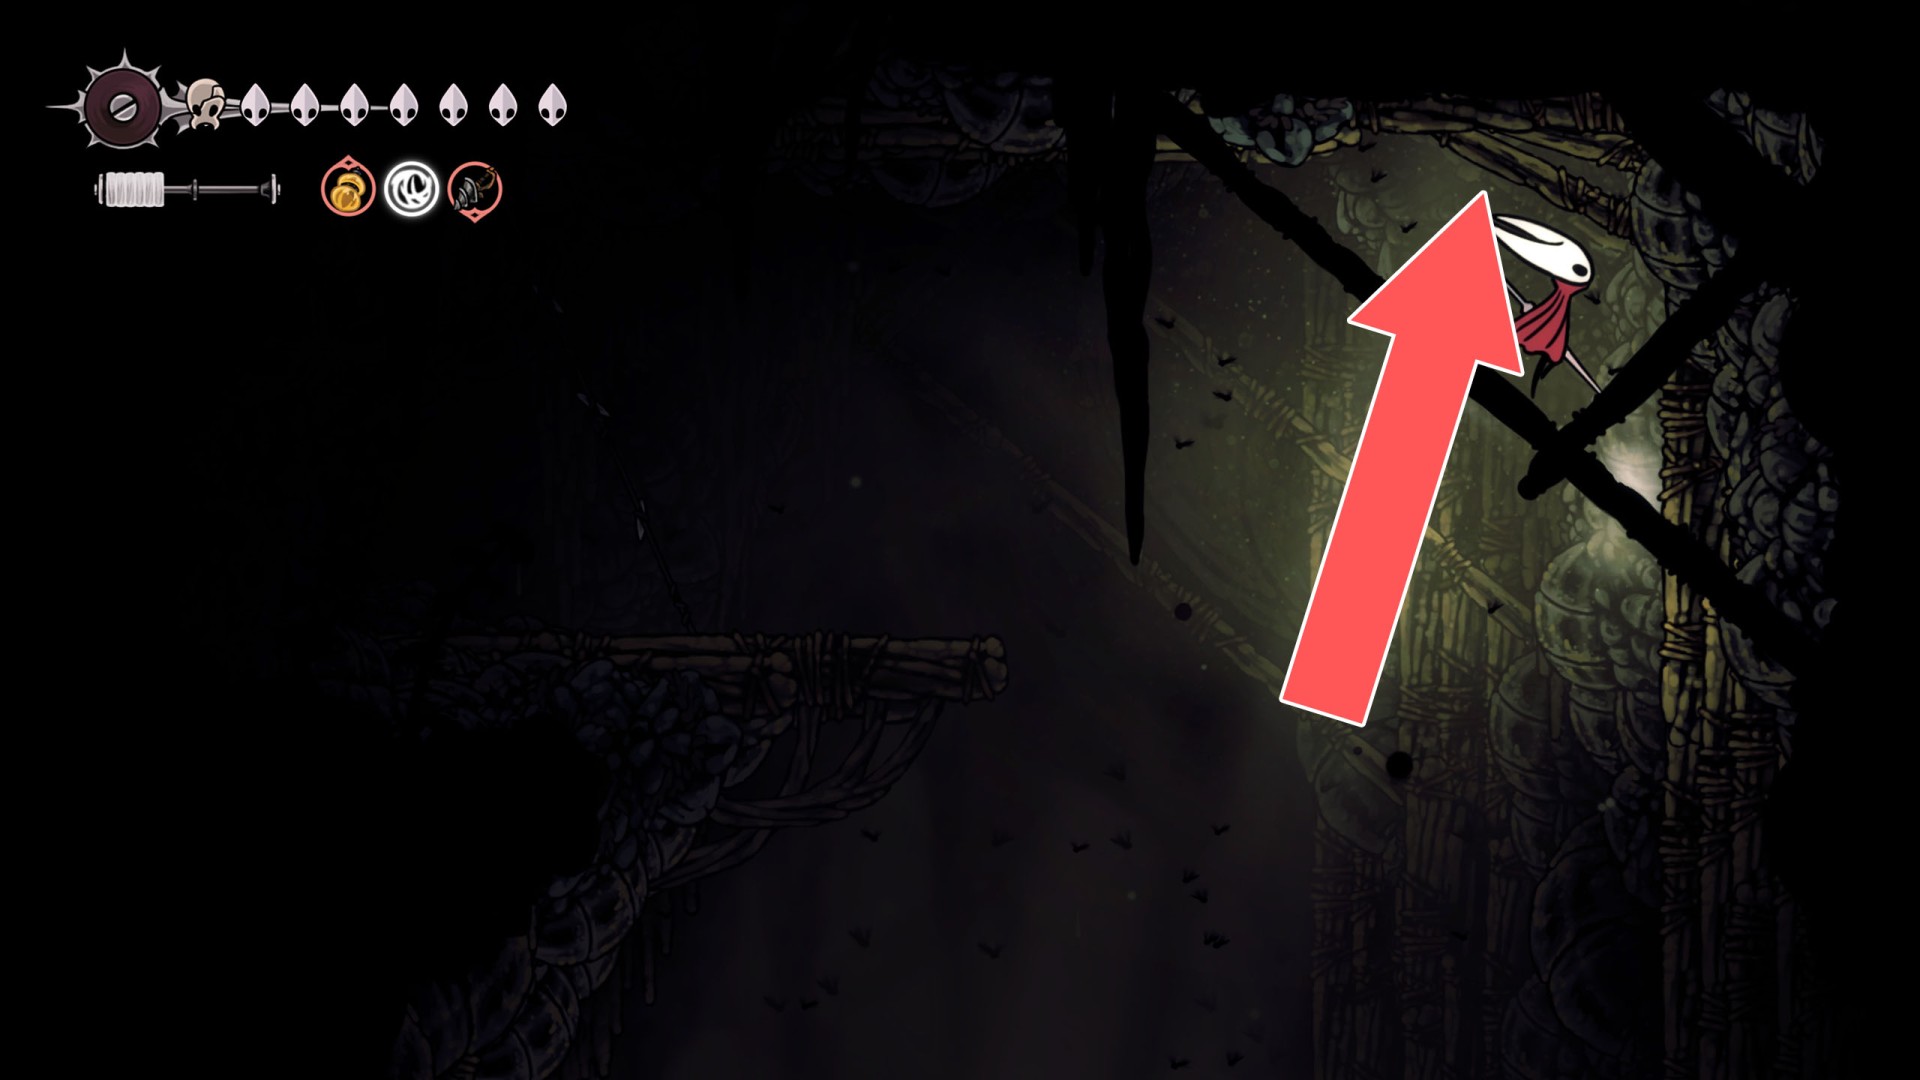
17Breakable Ceiling
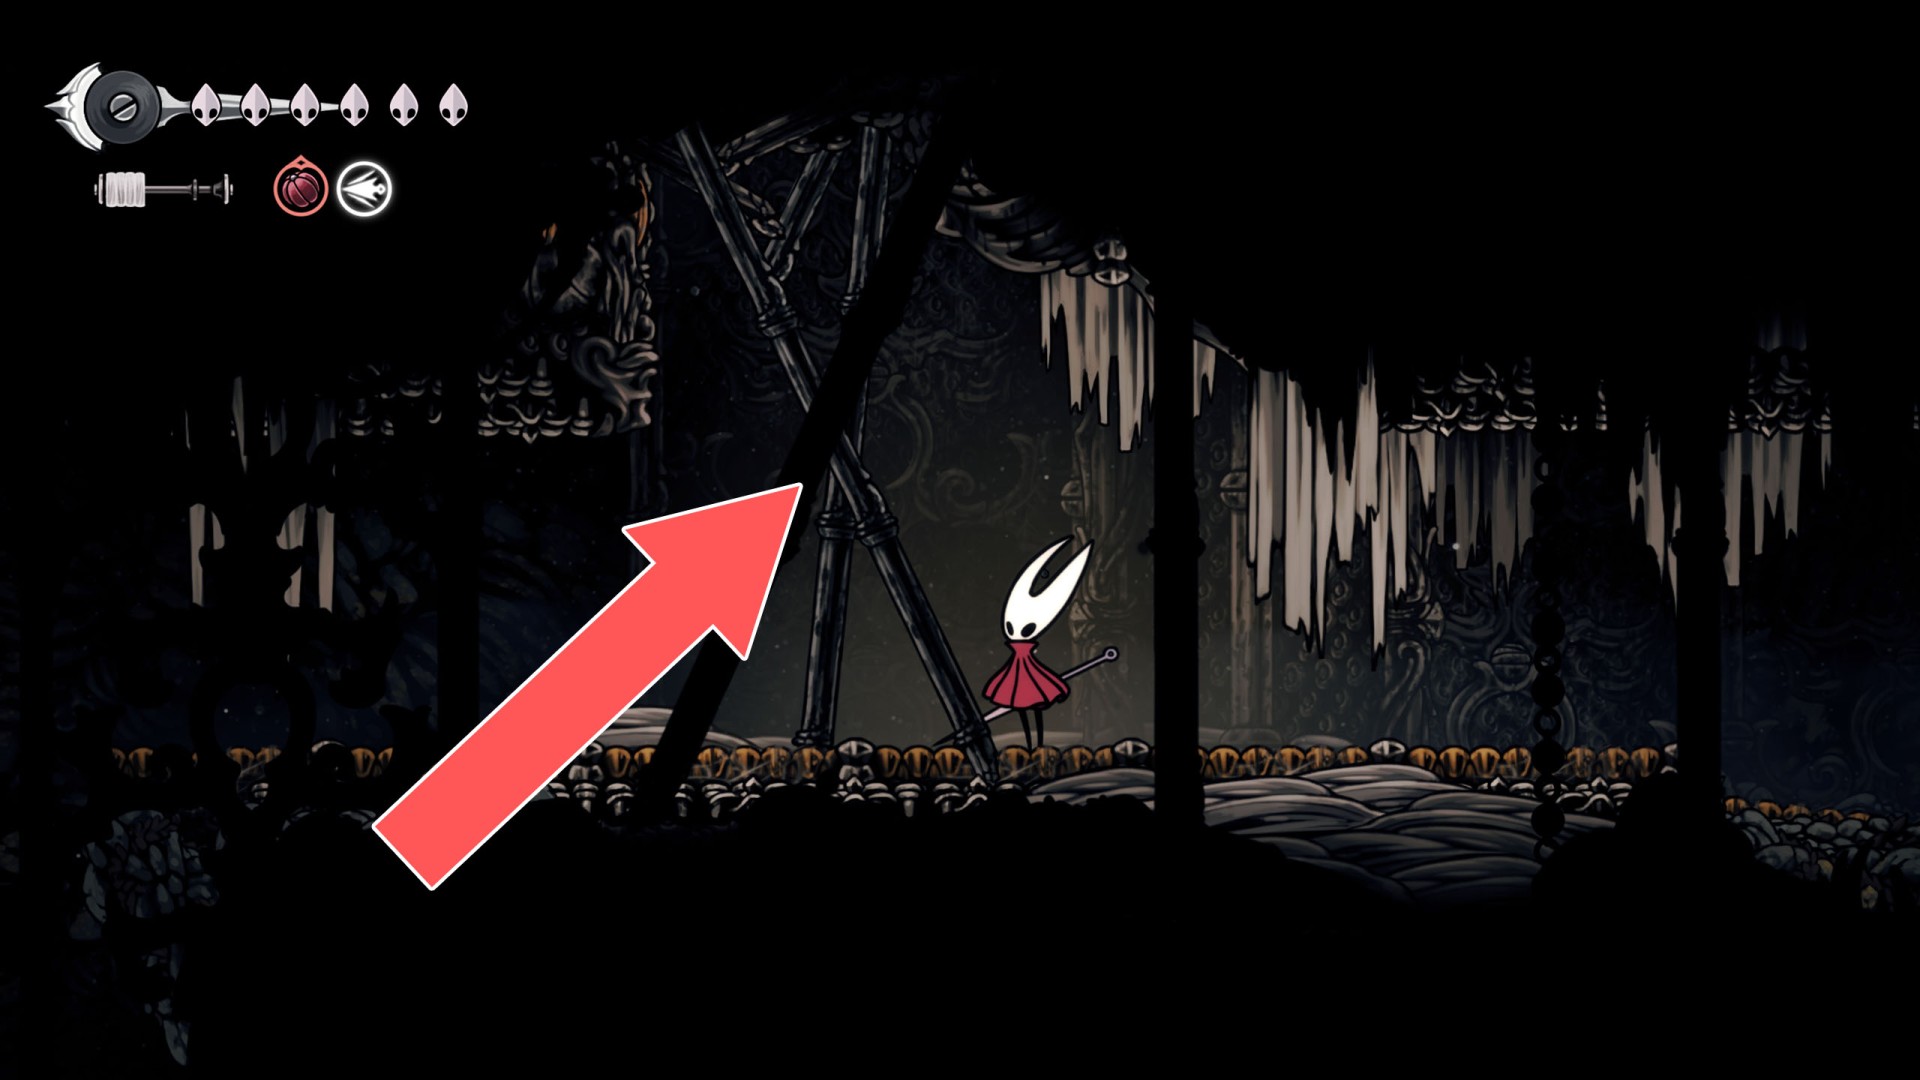
18Breakable Ceiling
You can destroy it from below.
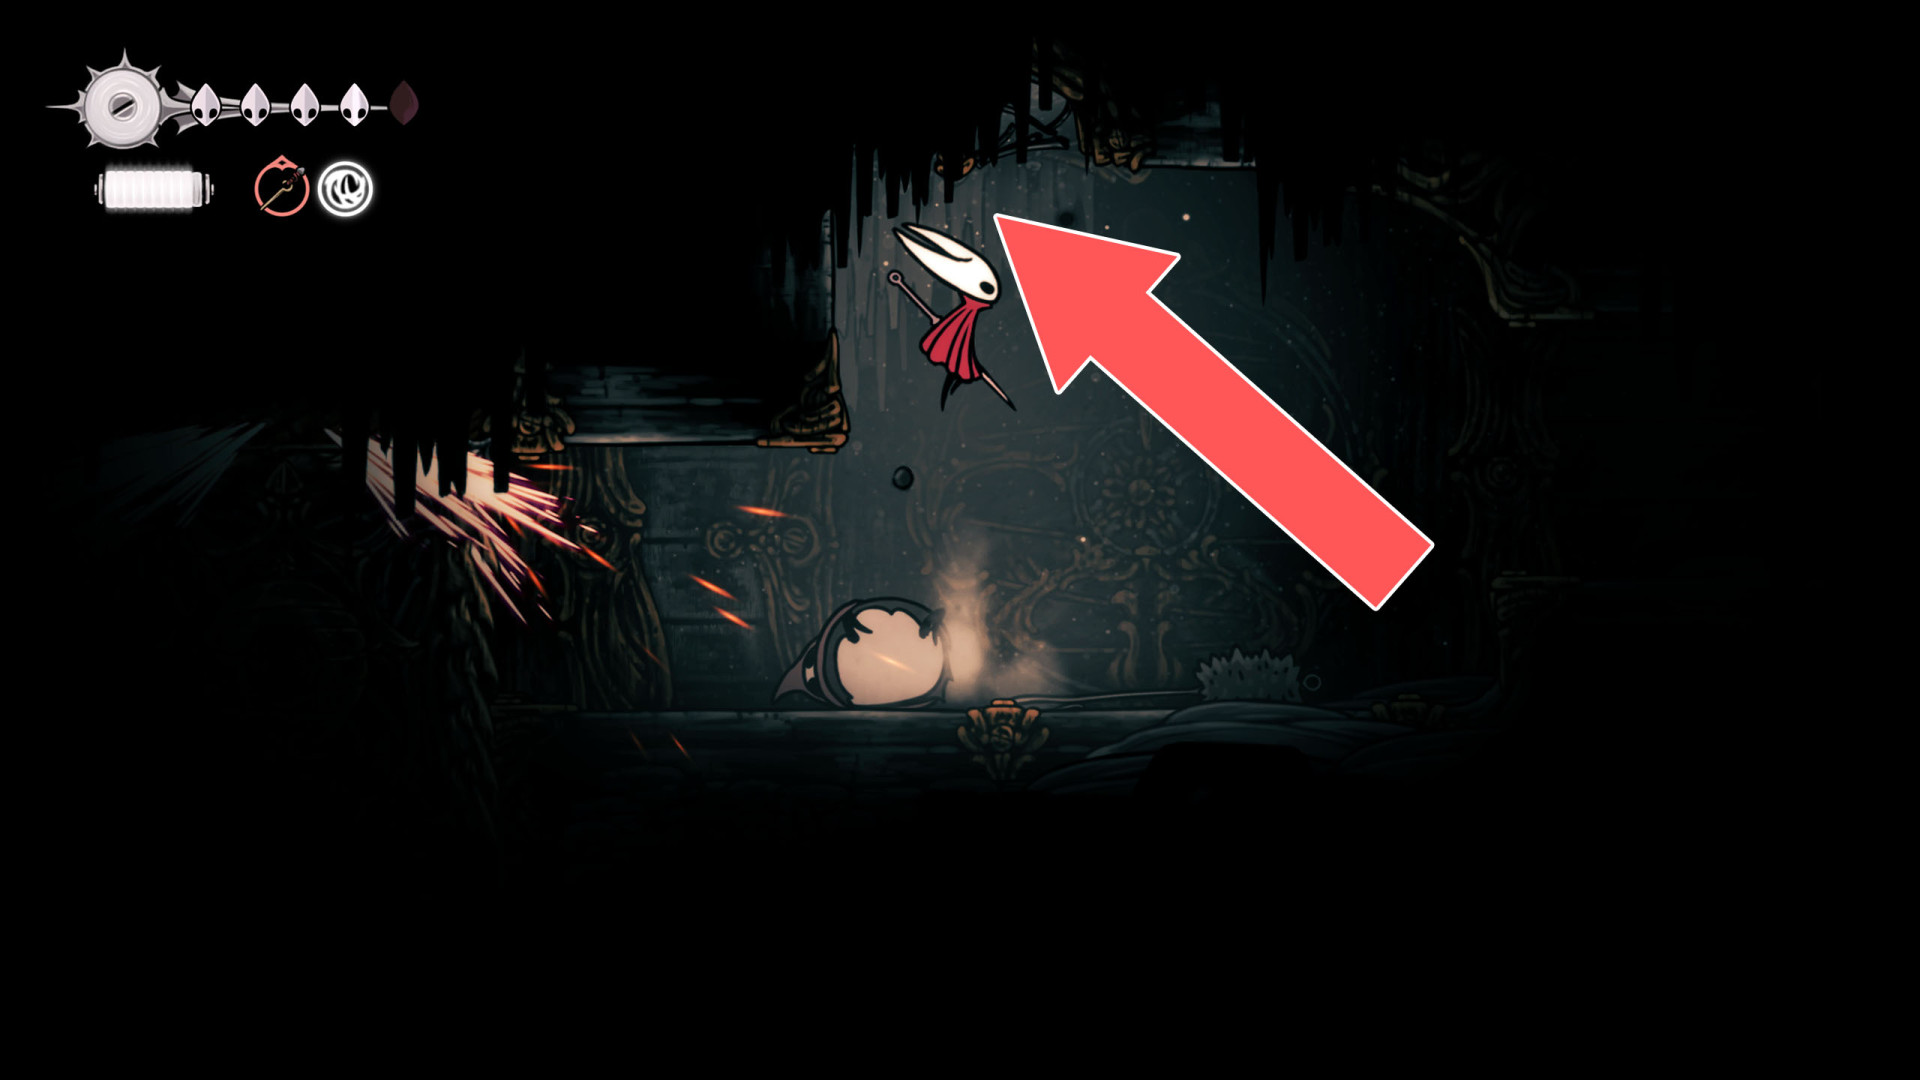
19Breakable Ceiling
You can break down this roadblock by hitting its support from below.
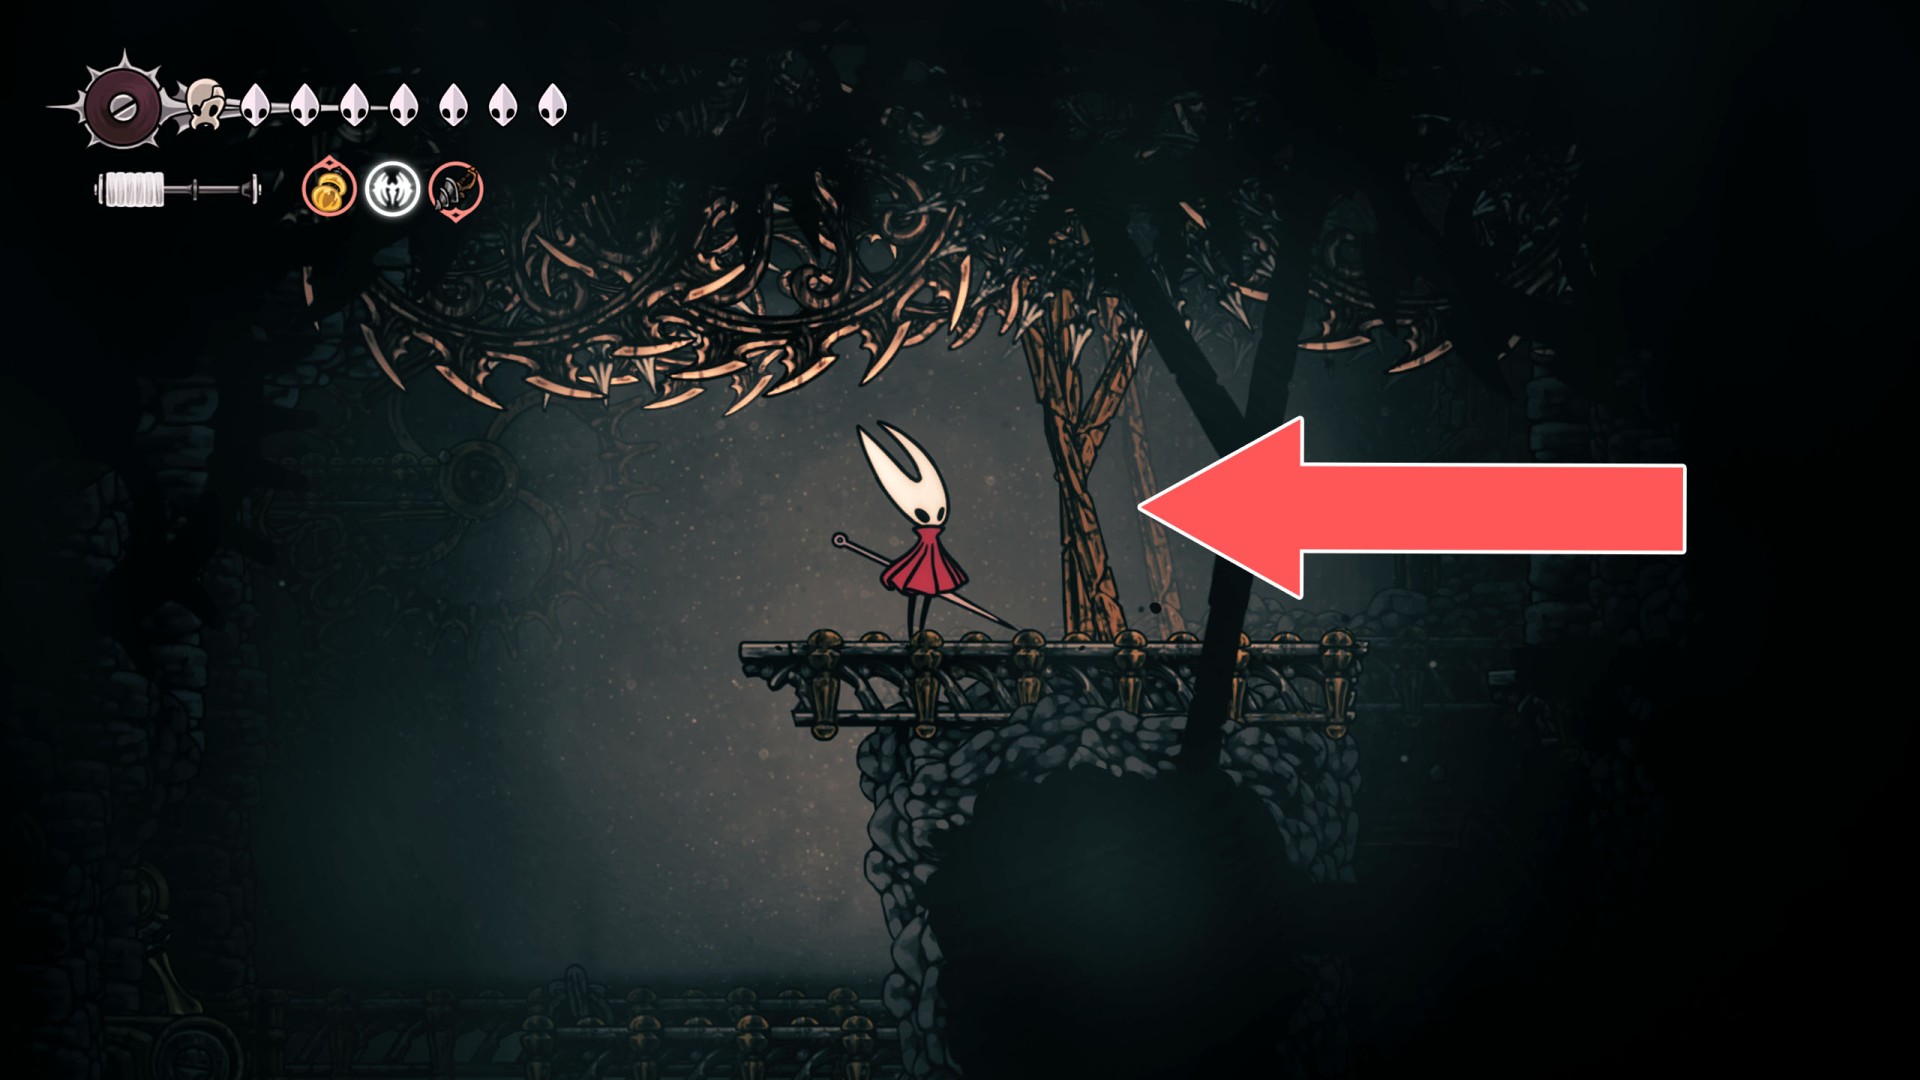
20Breakable Ceiling
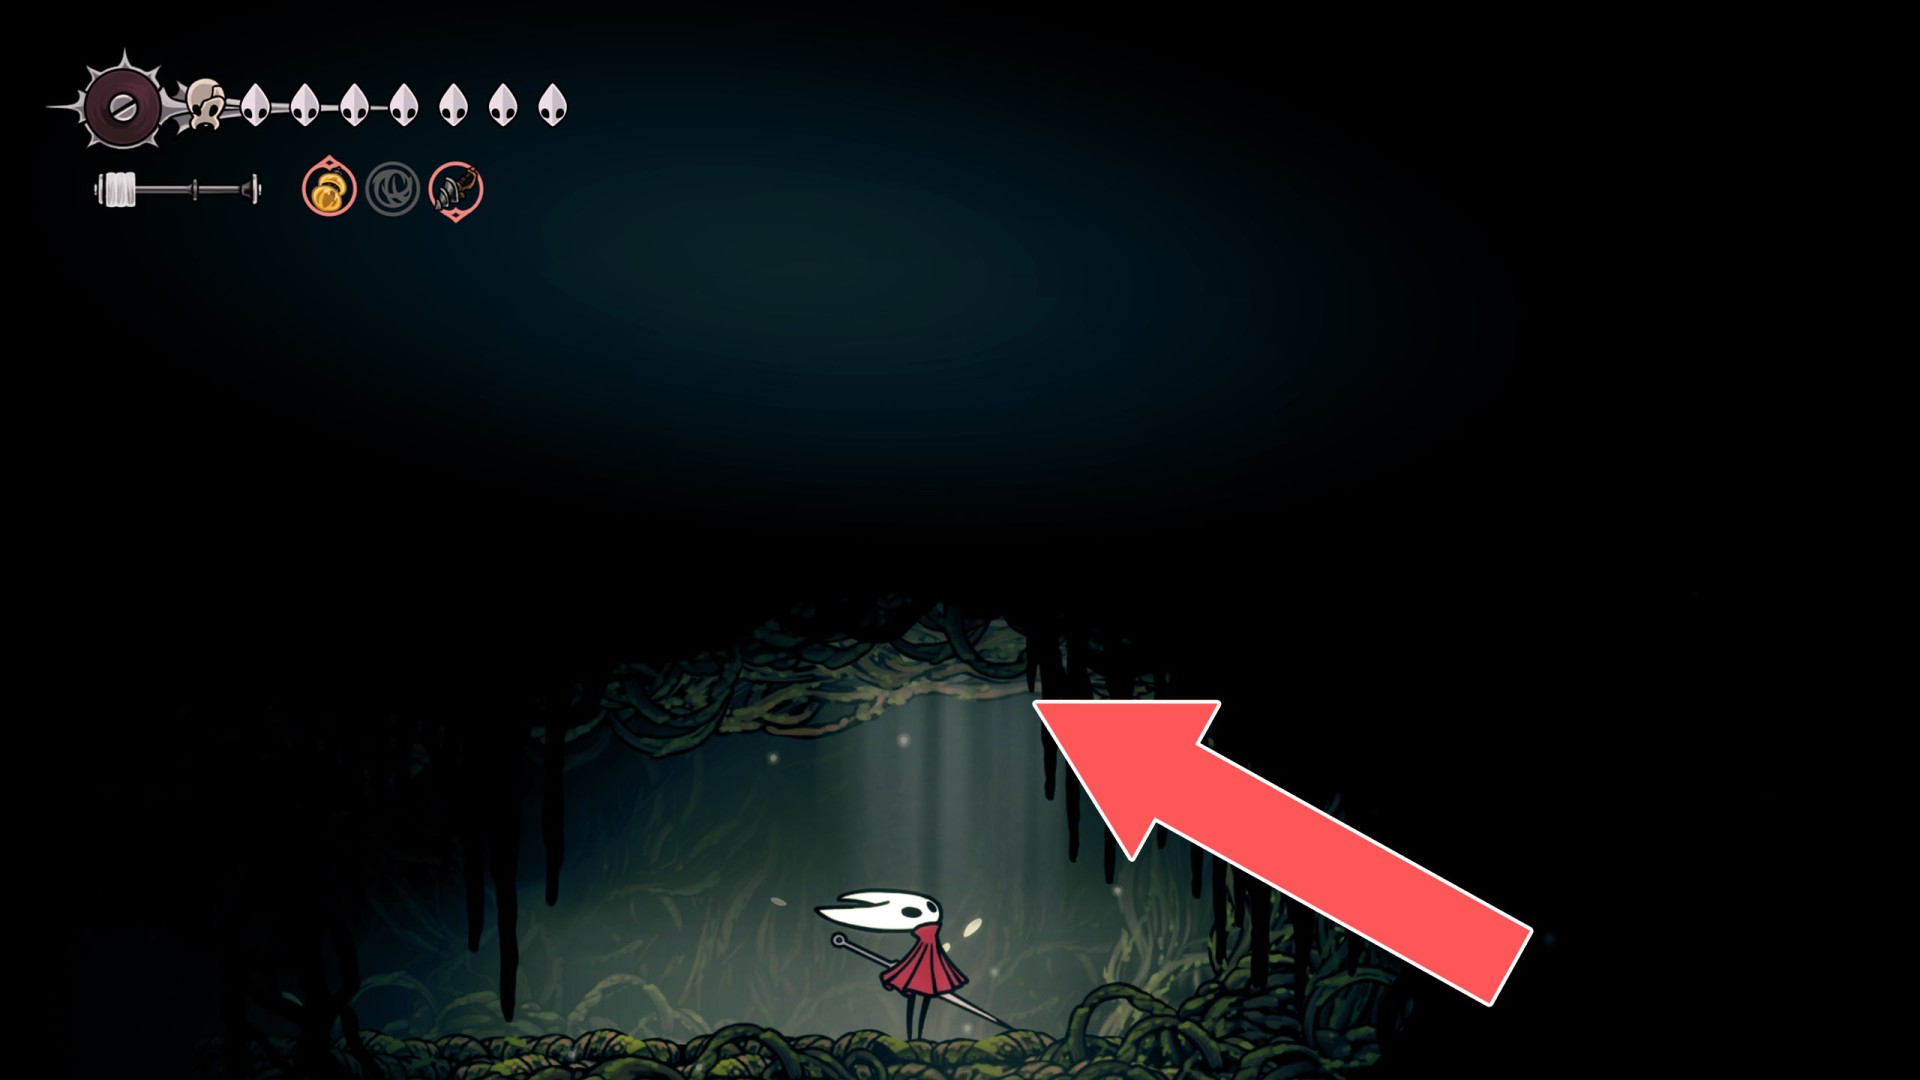
Hit the ceiling a few times to make a passage.
21Breakable Ceiling
You can break down this ceiling by hitting it from below.
22Breakable Ceiling
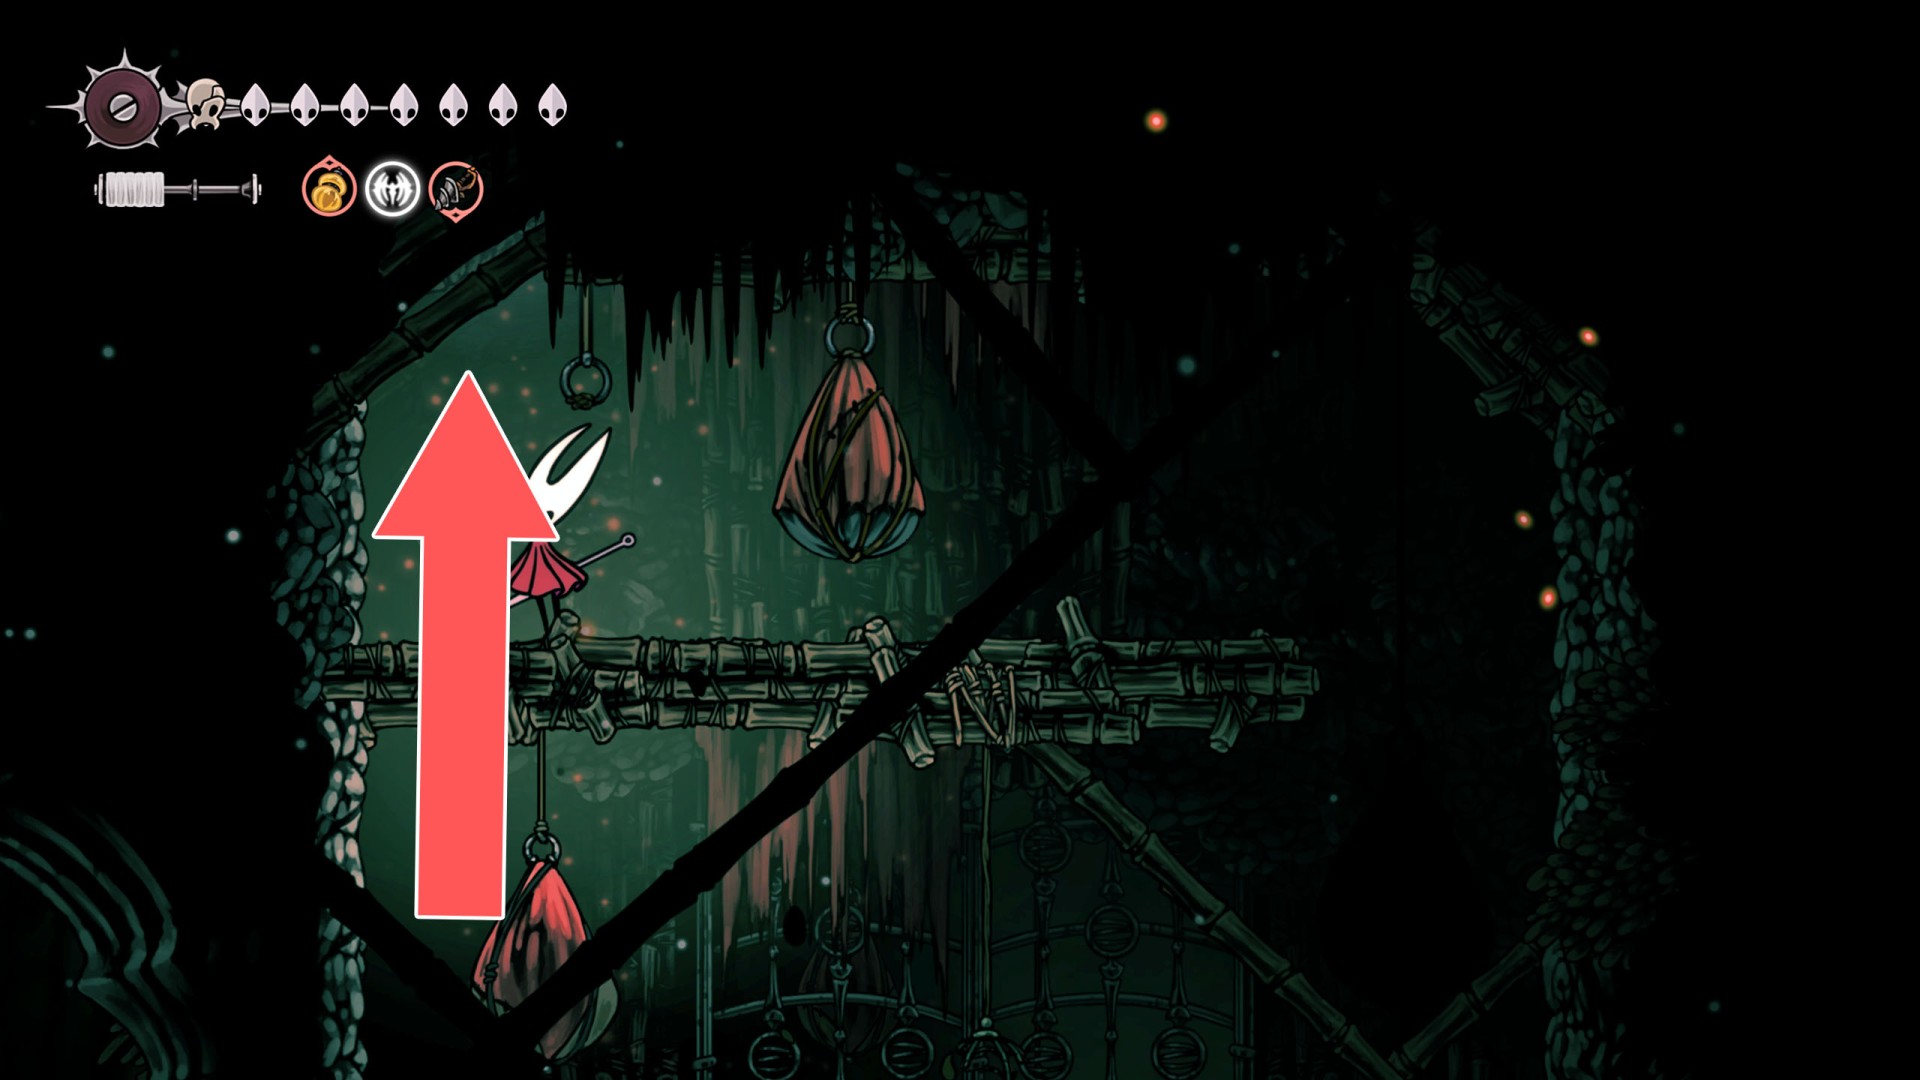
Destroy the support below to open the passage.
23Breakable Ceiling
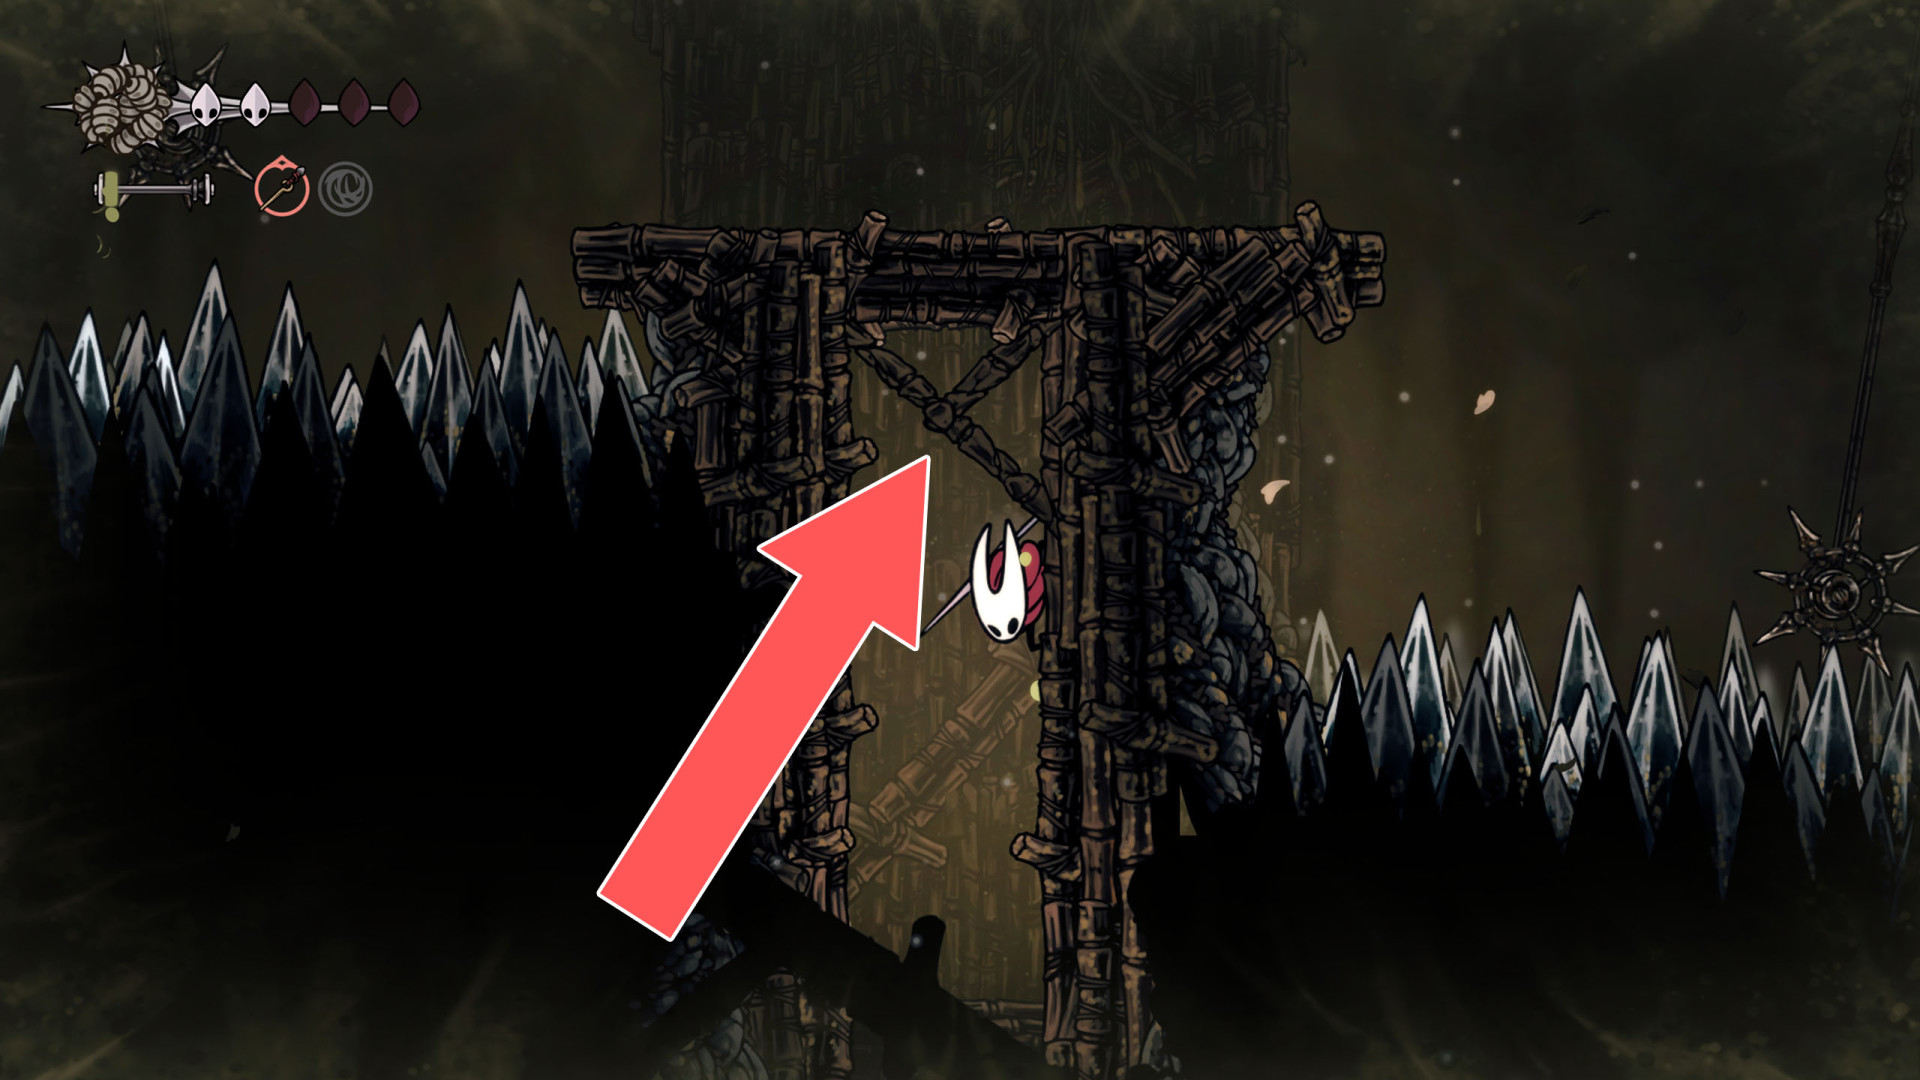
You can break down this ceiling by hitting it from below.
24Breakable Ceiling
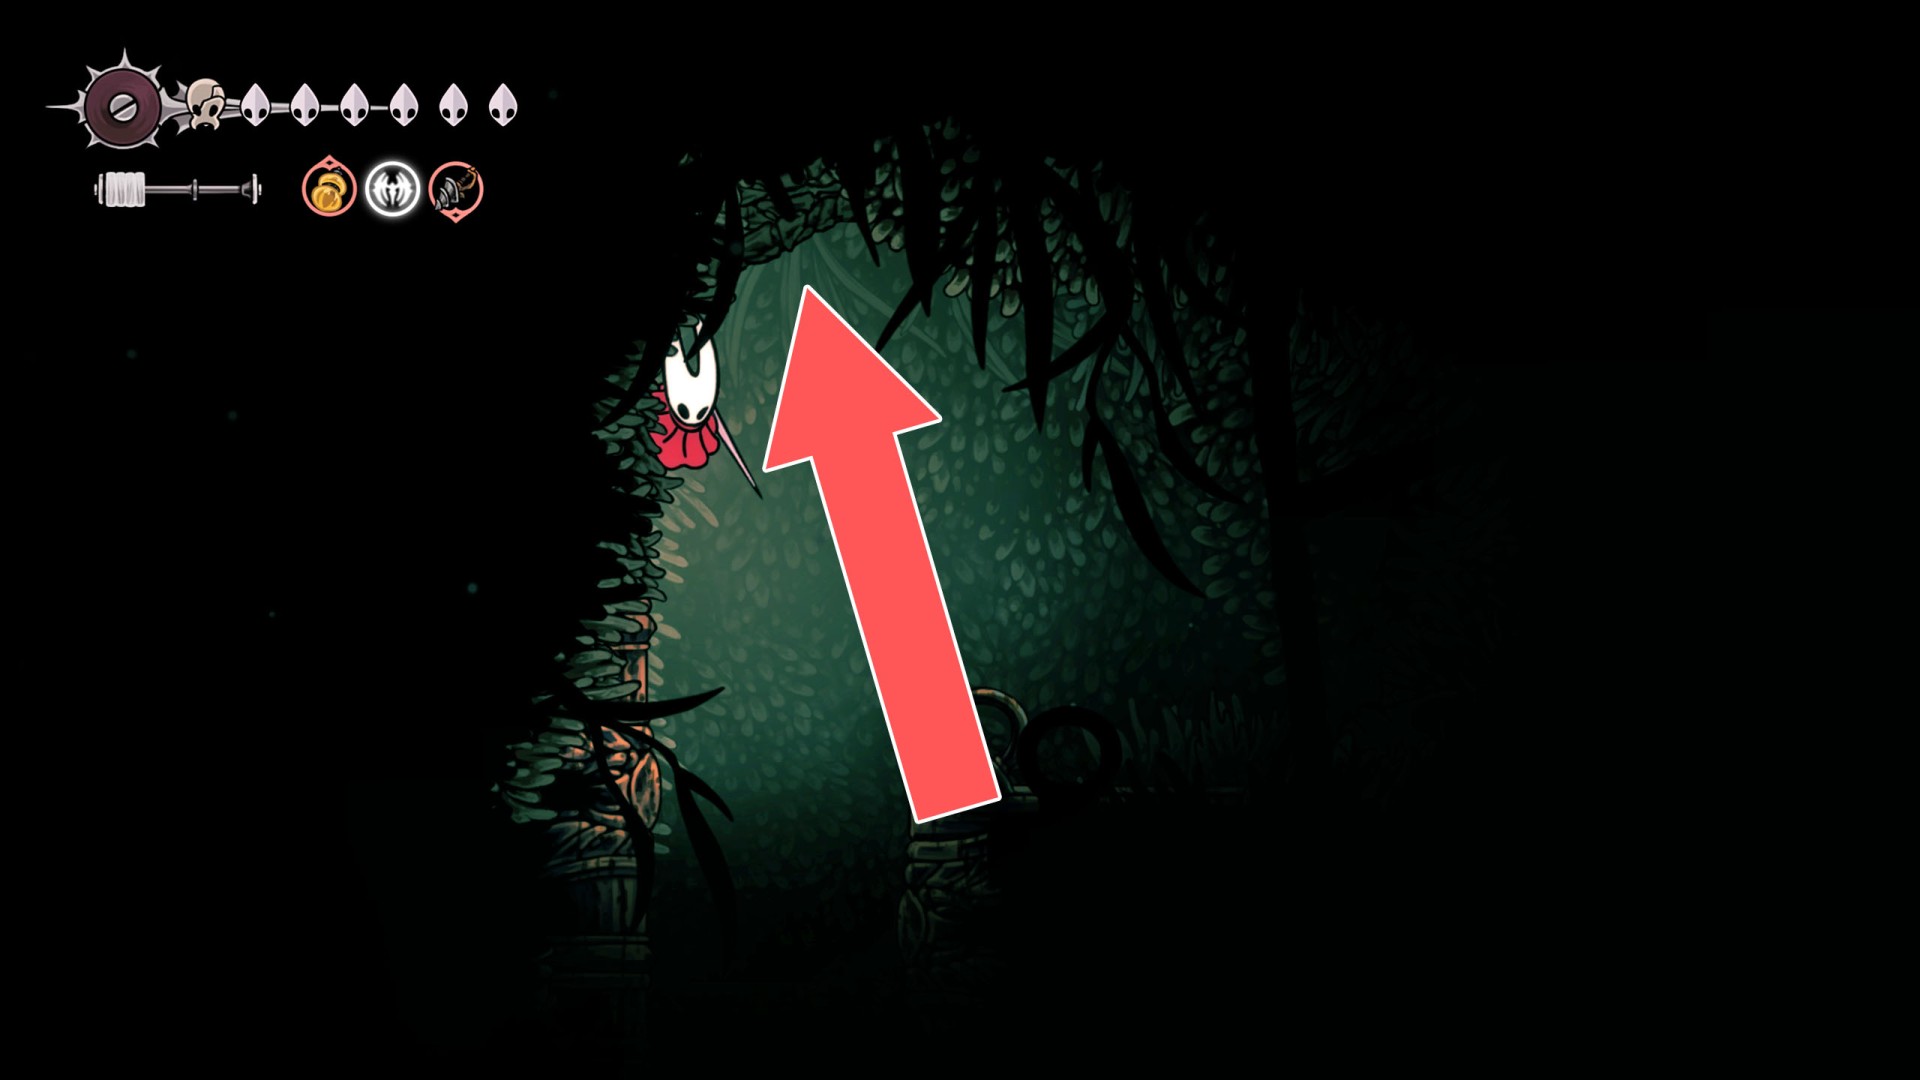
Destroy the support below to open the passage.
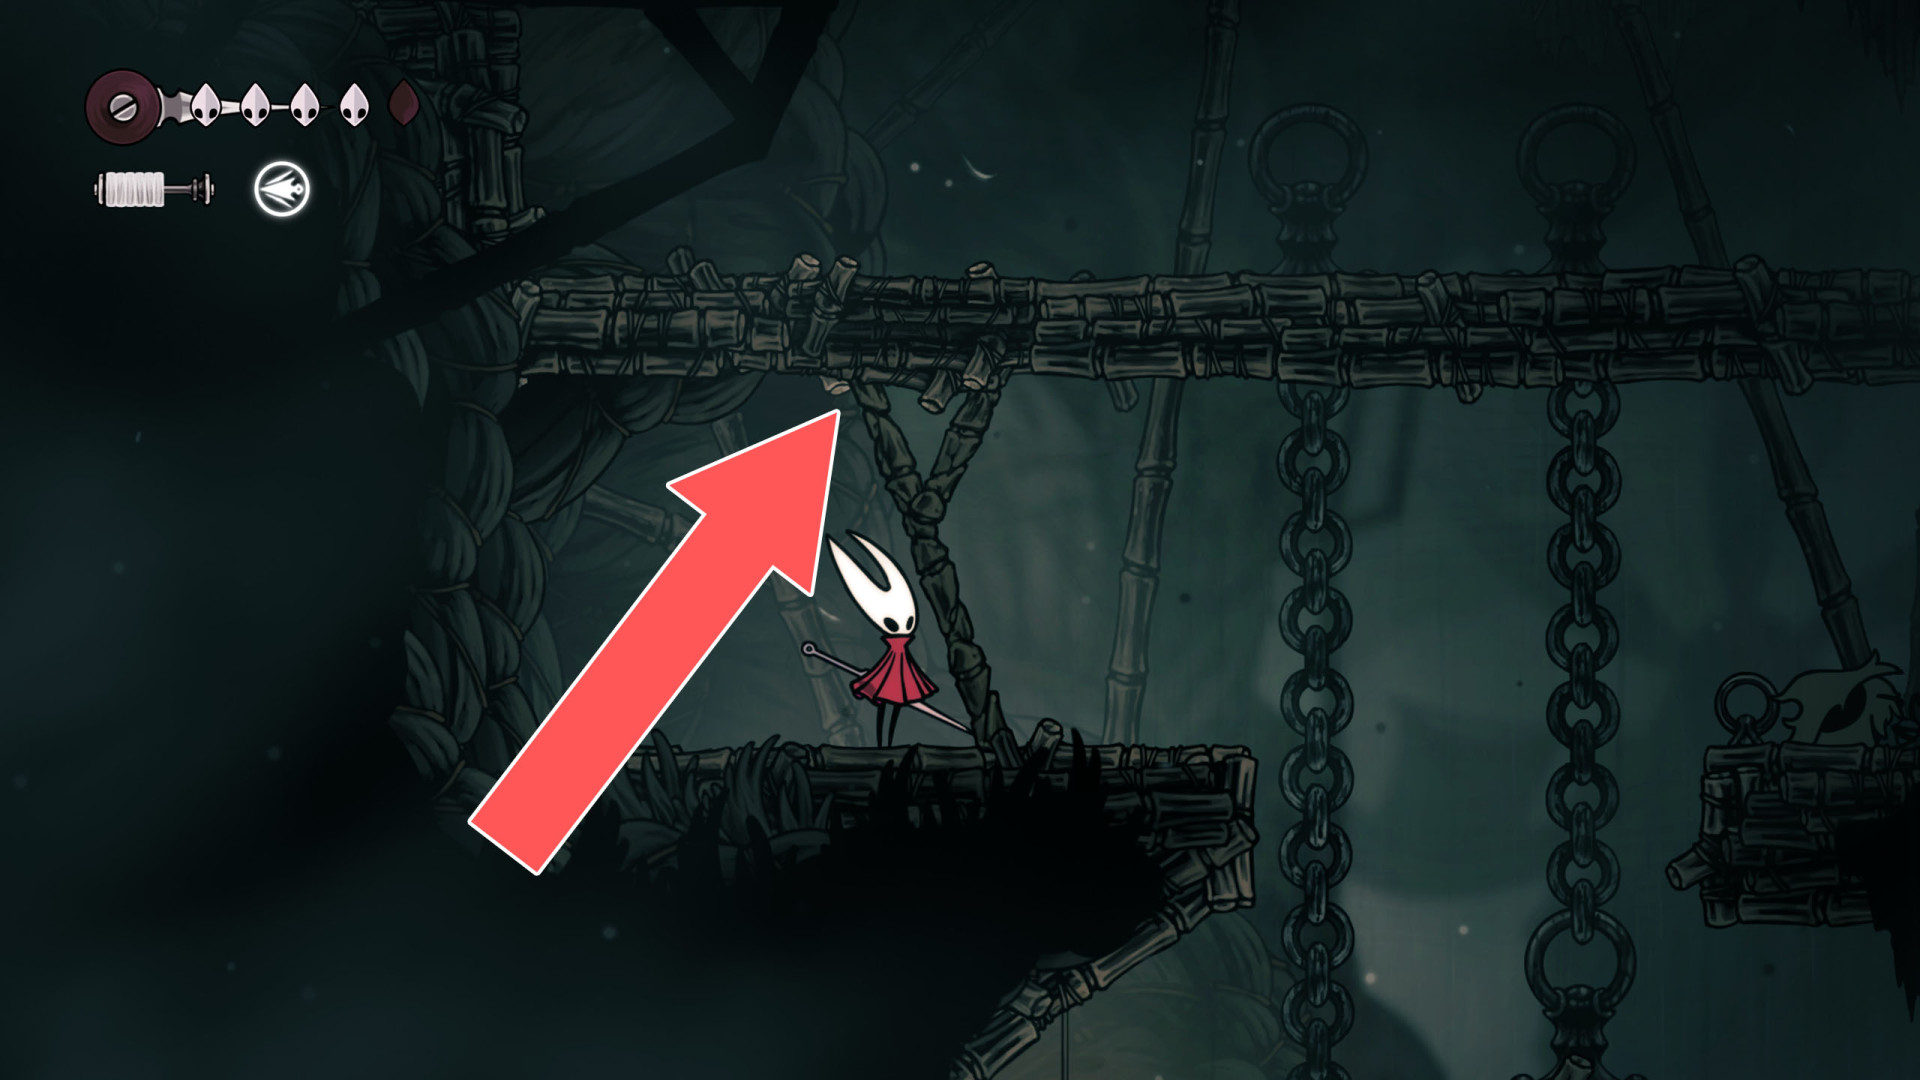
25Breakable Ceiling
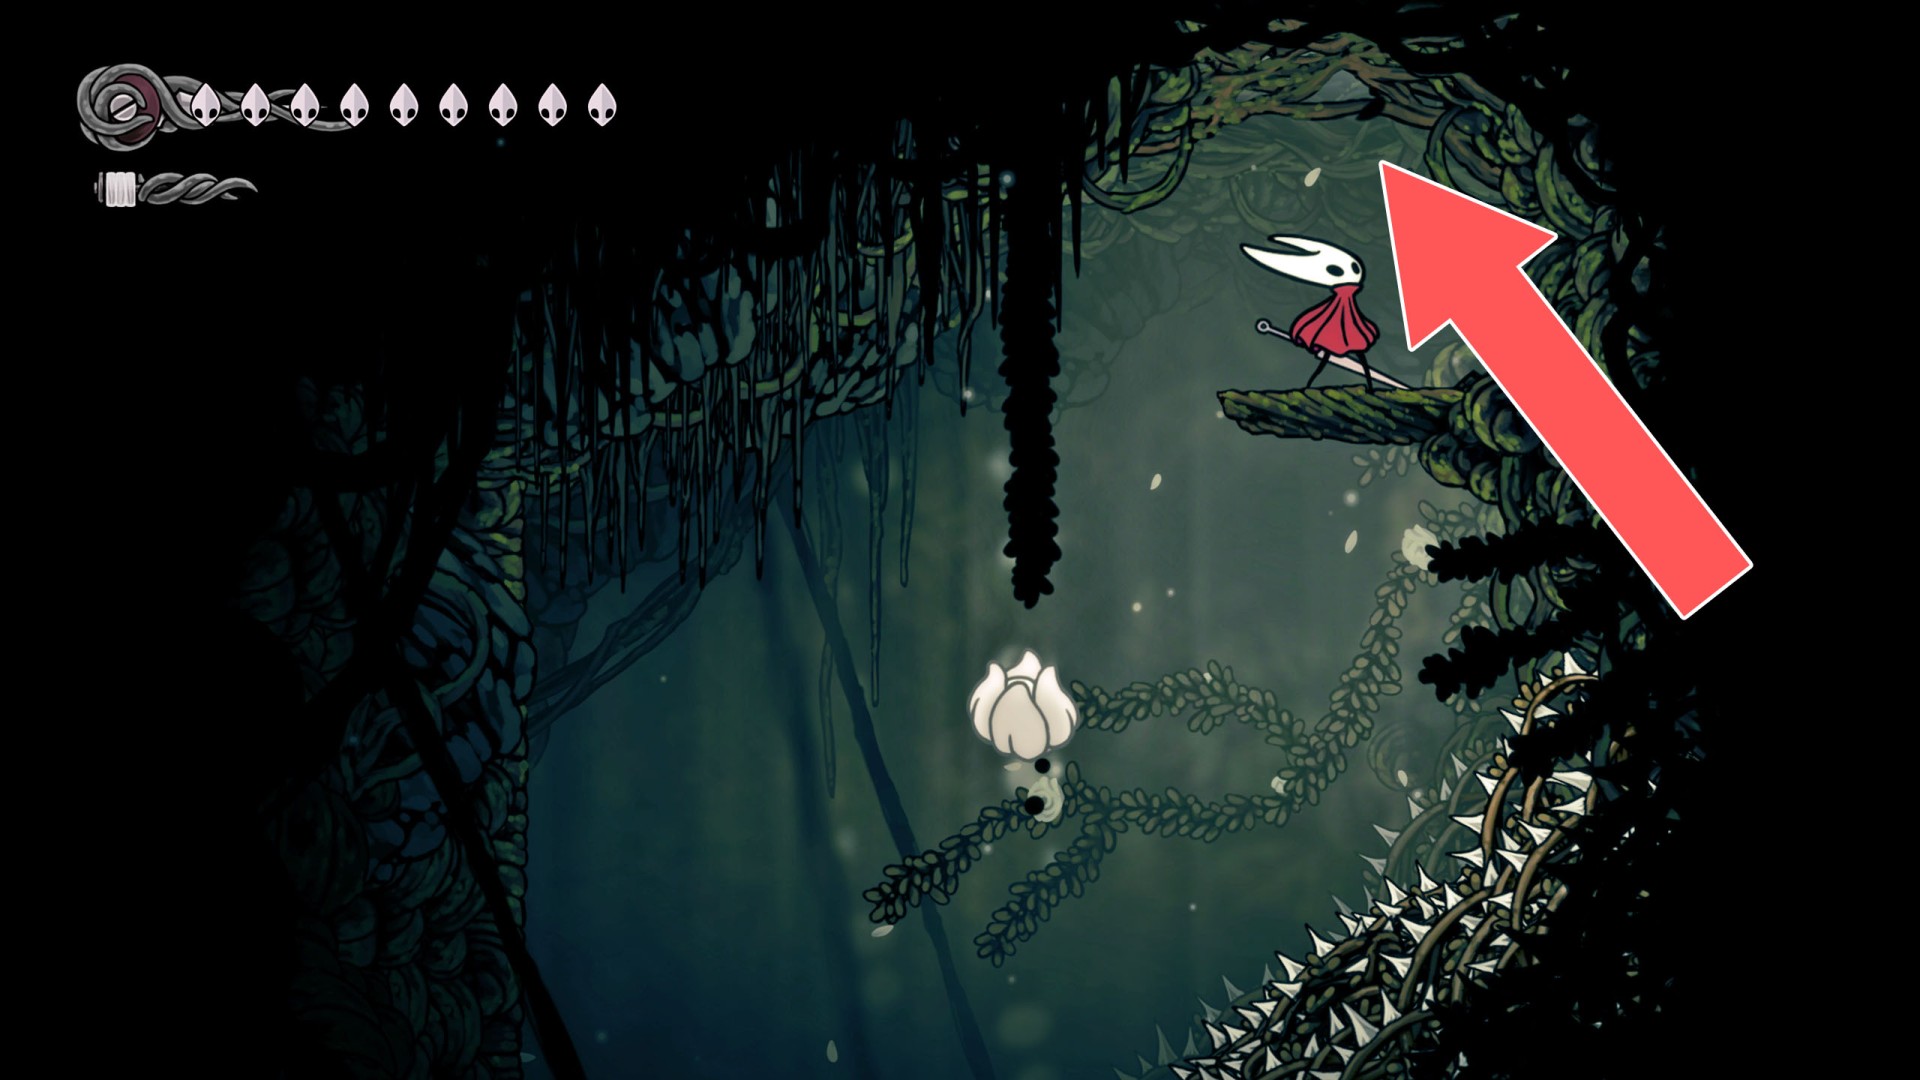
26Breakable Ceiling
You can break down this ceiling by hitting its support from below.
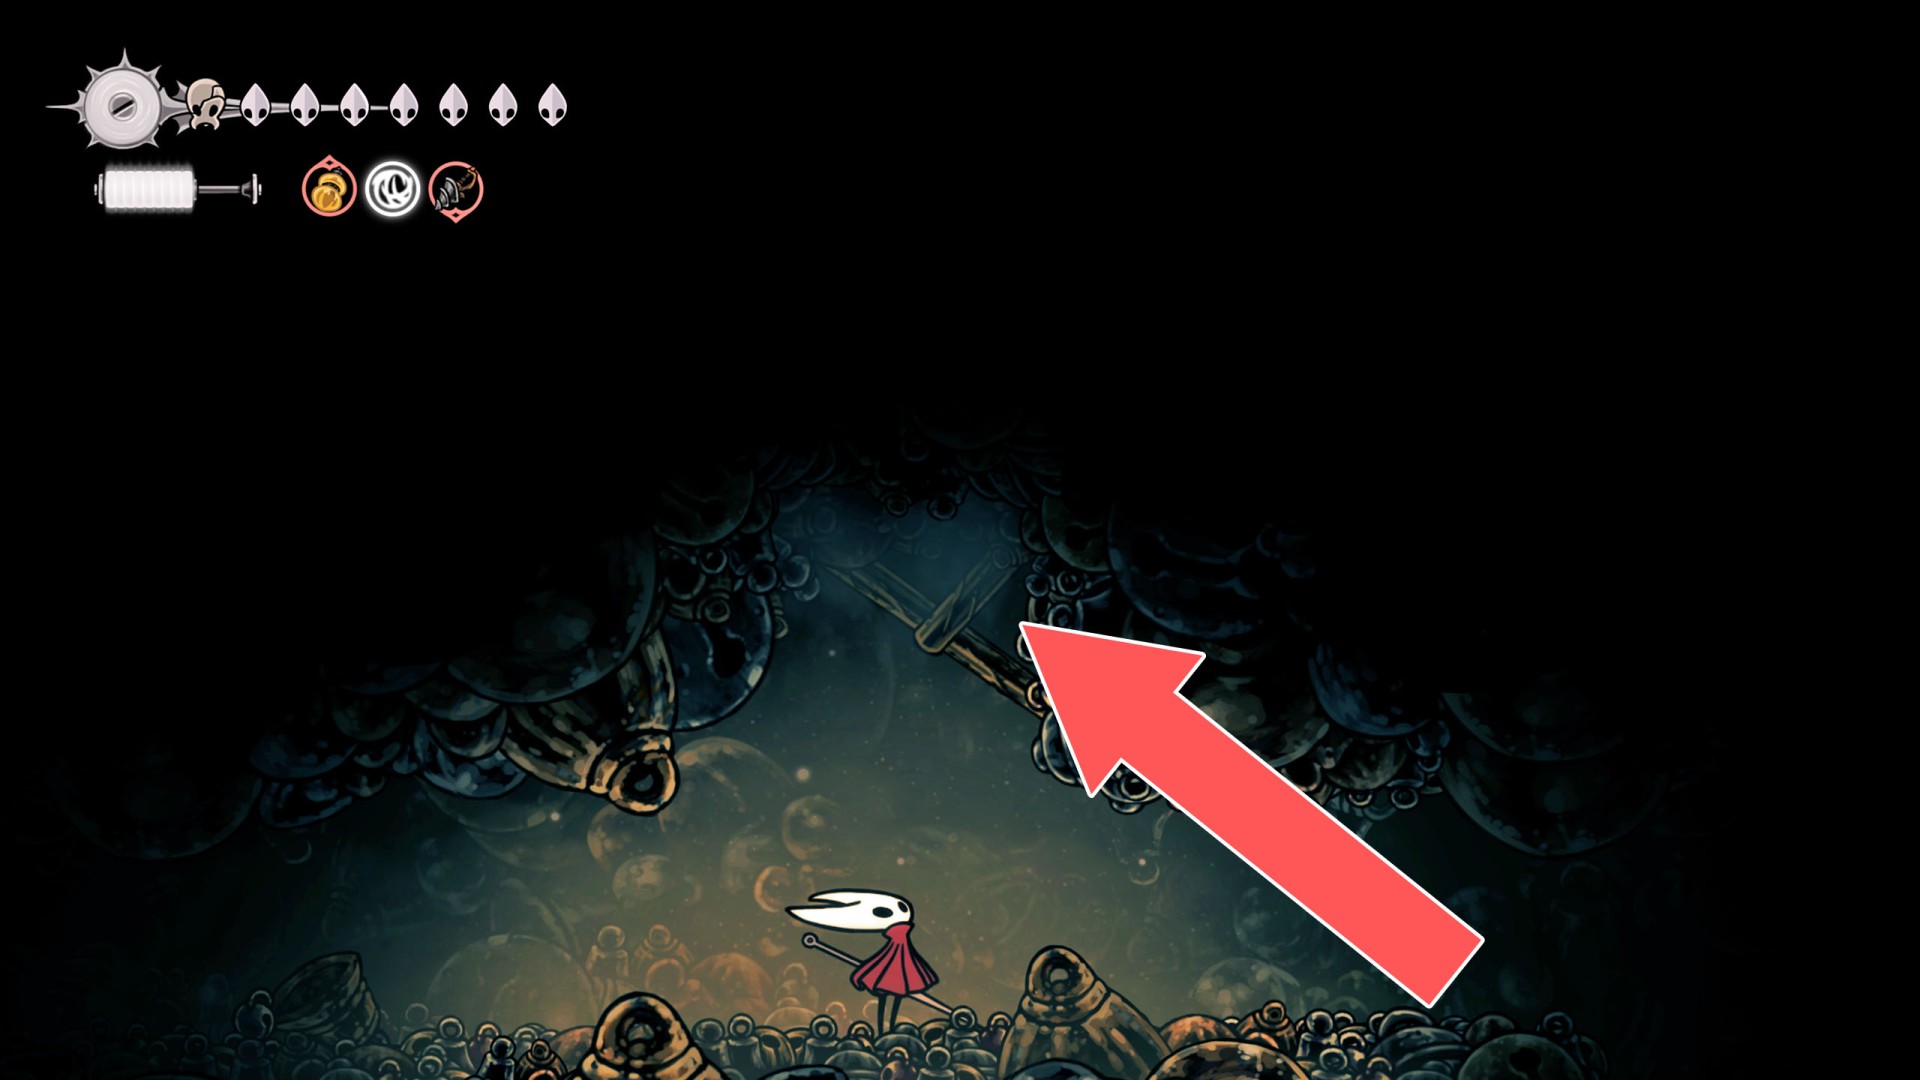
27Breakable Ceiling
Hit the explosive rock on the ceiling to open the passage.
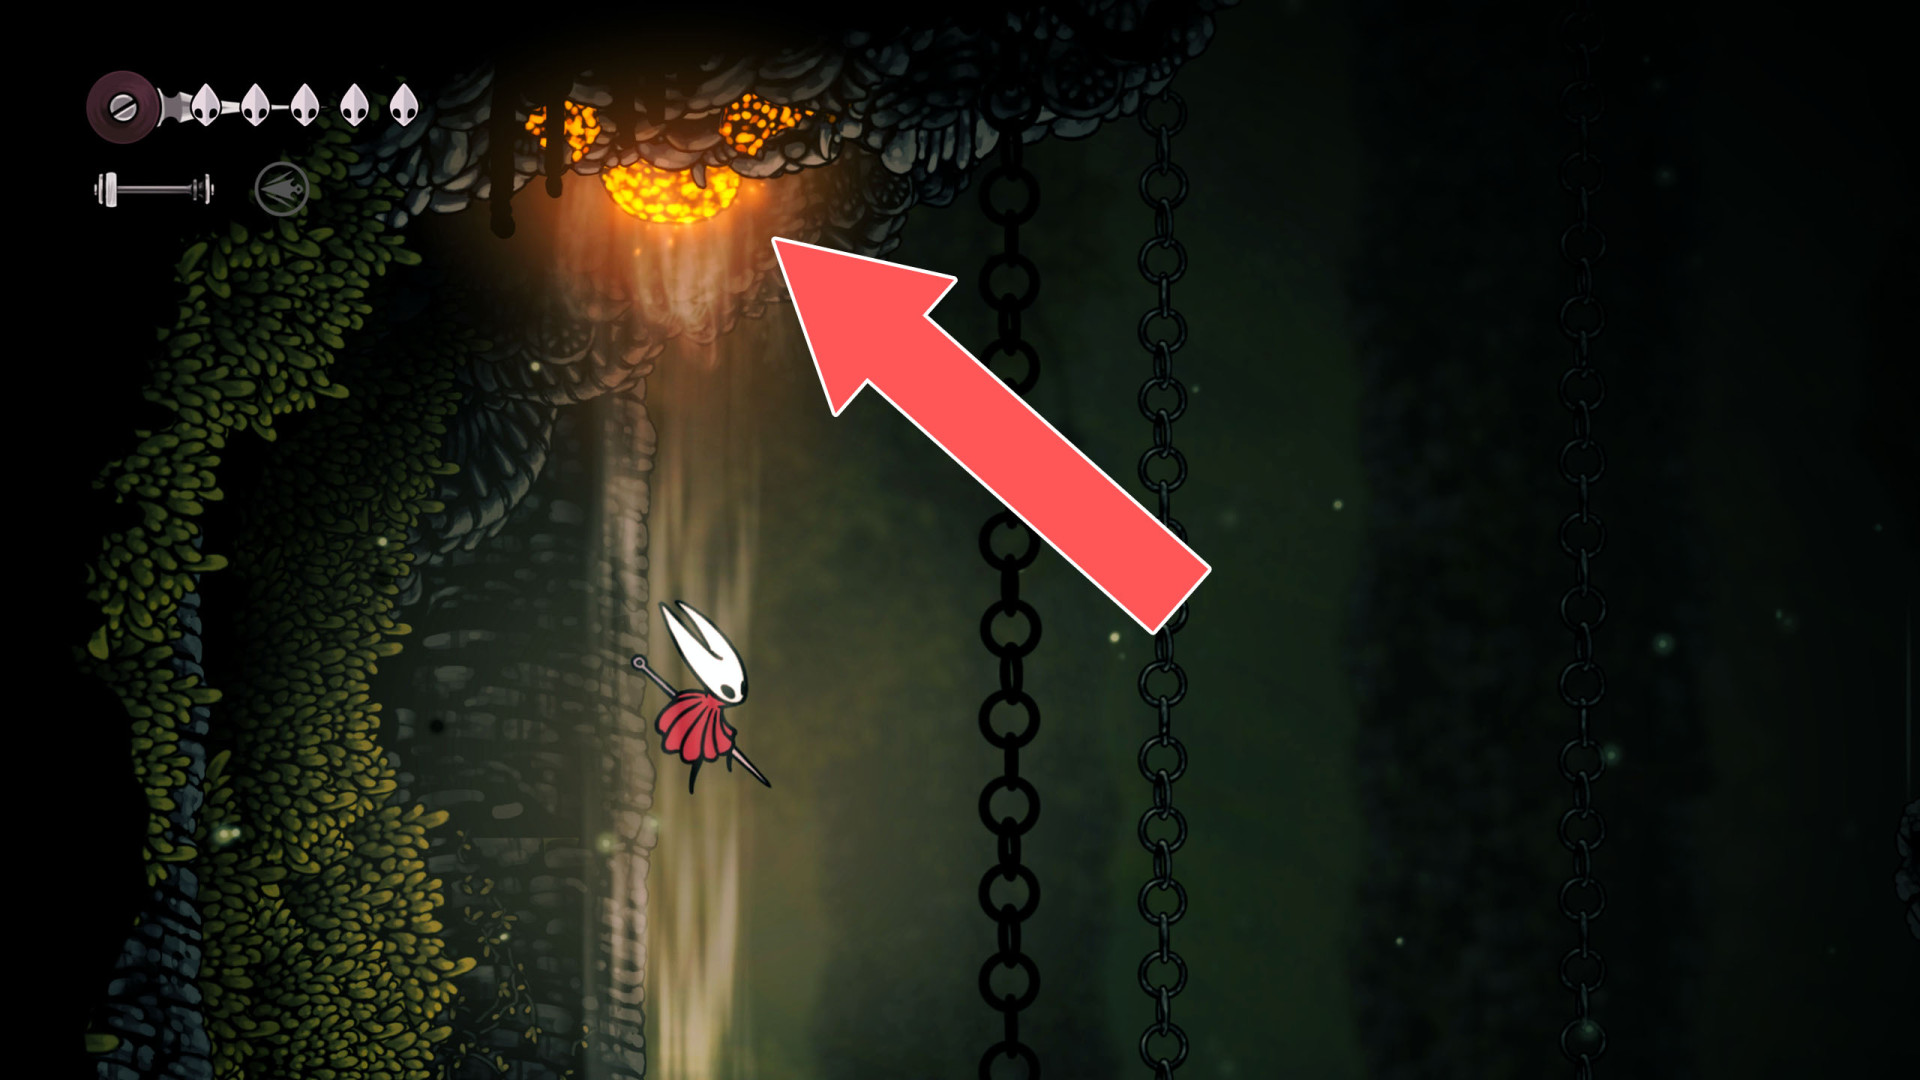
28Breakable Ceiling
Hit the support a few times to make a passage.
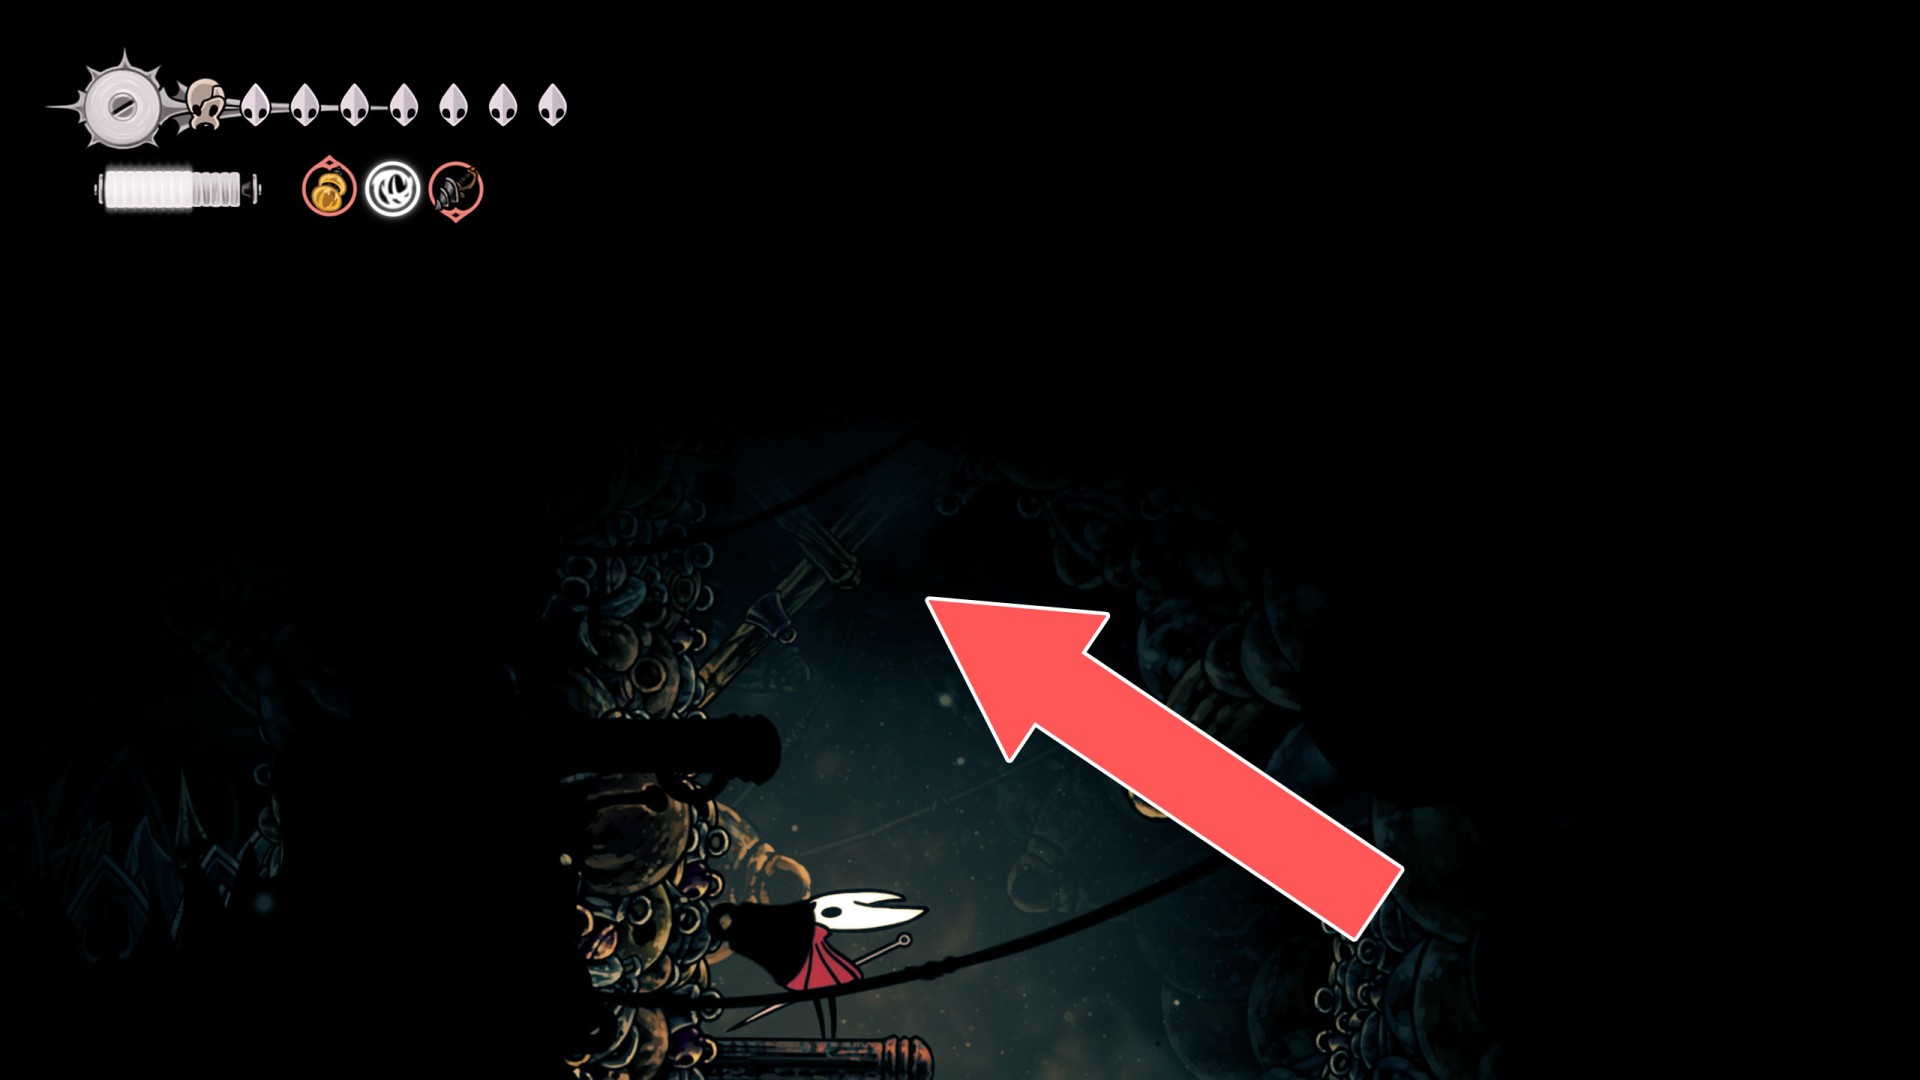
29Breakable Ceiling
Hit the explosive rock to create a hole in the ceiling.
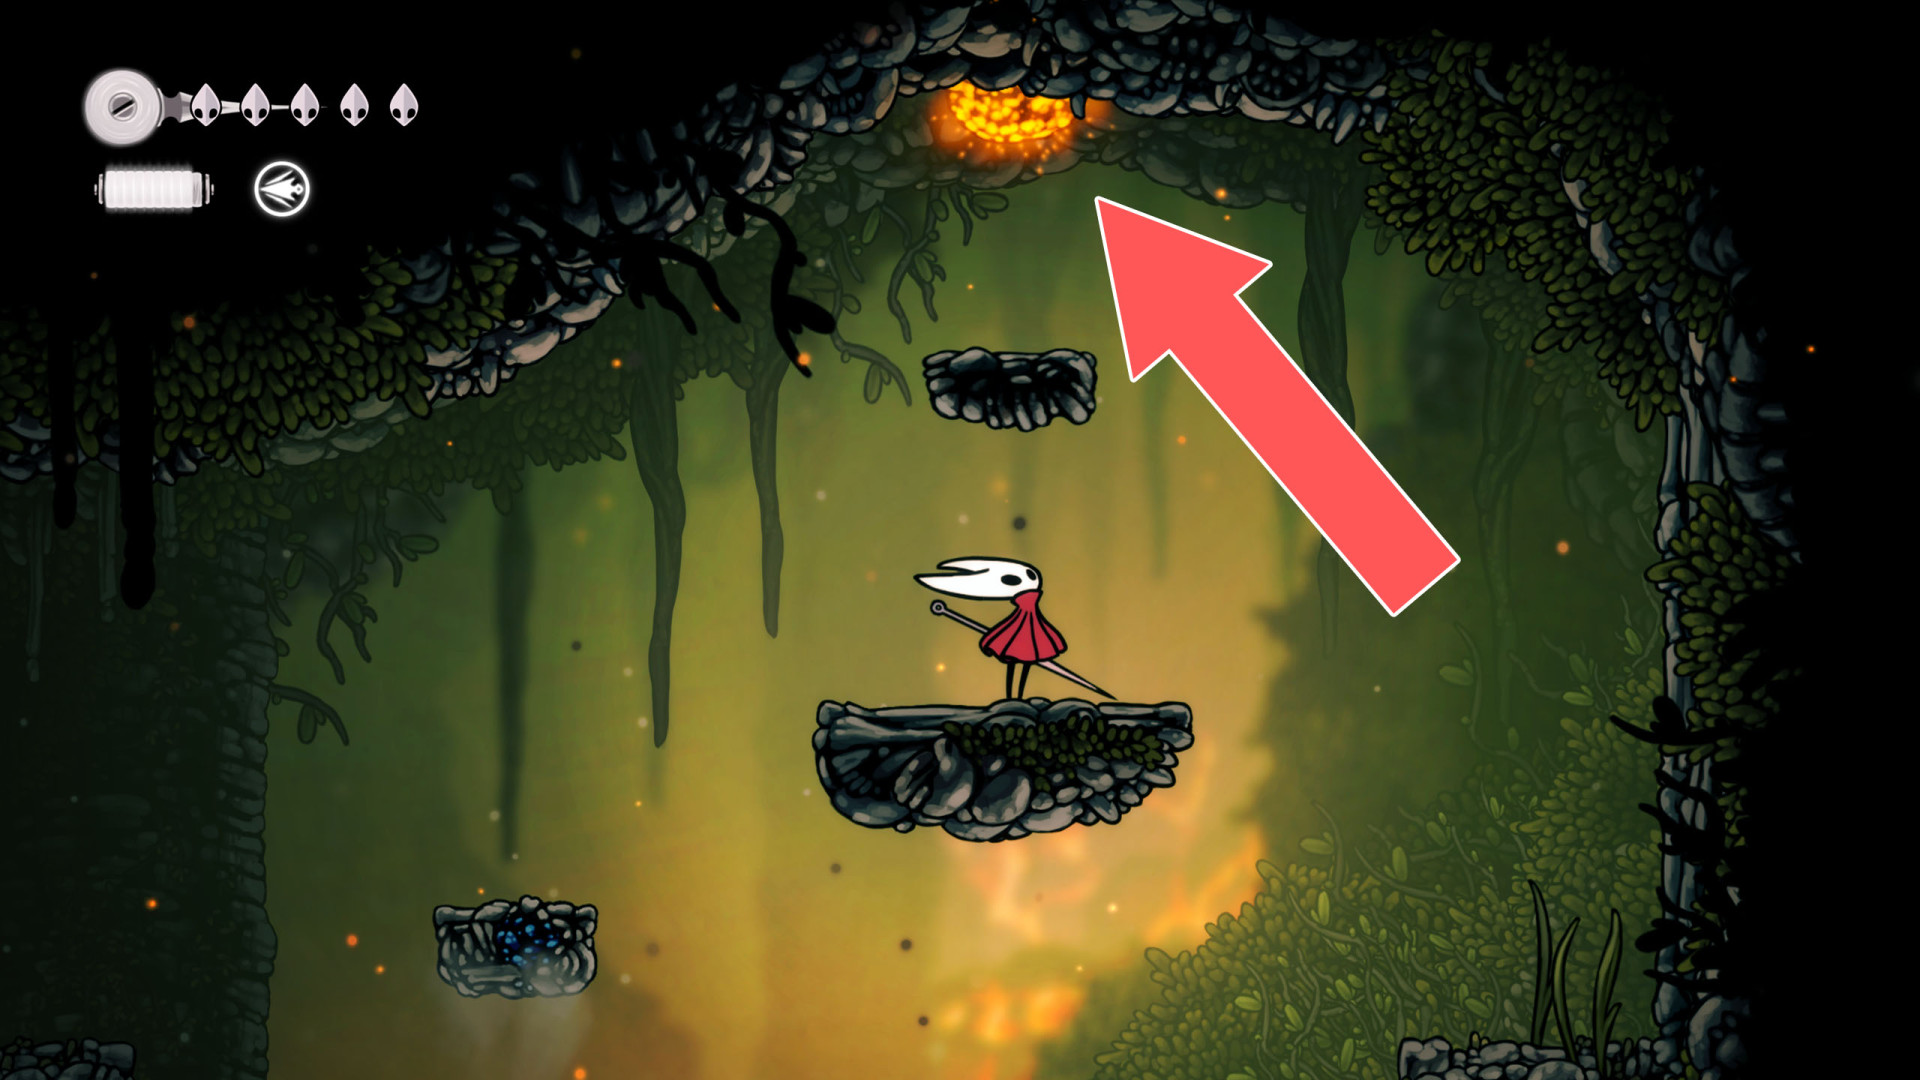
30Breakable Ceiling
Hit the explosive rock on the ceiling to open the passage.
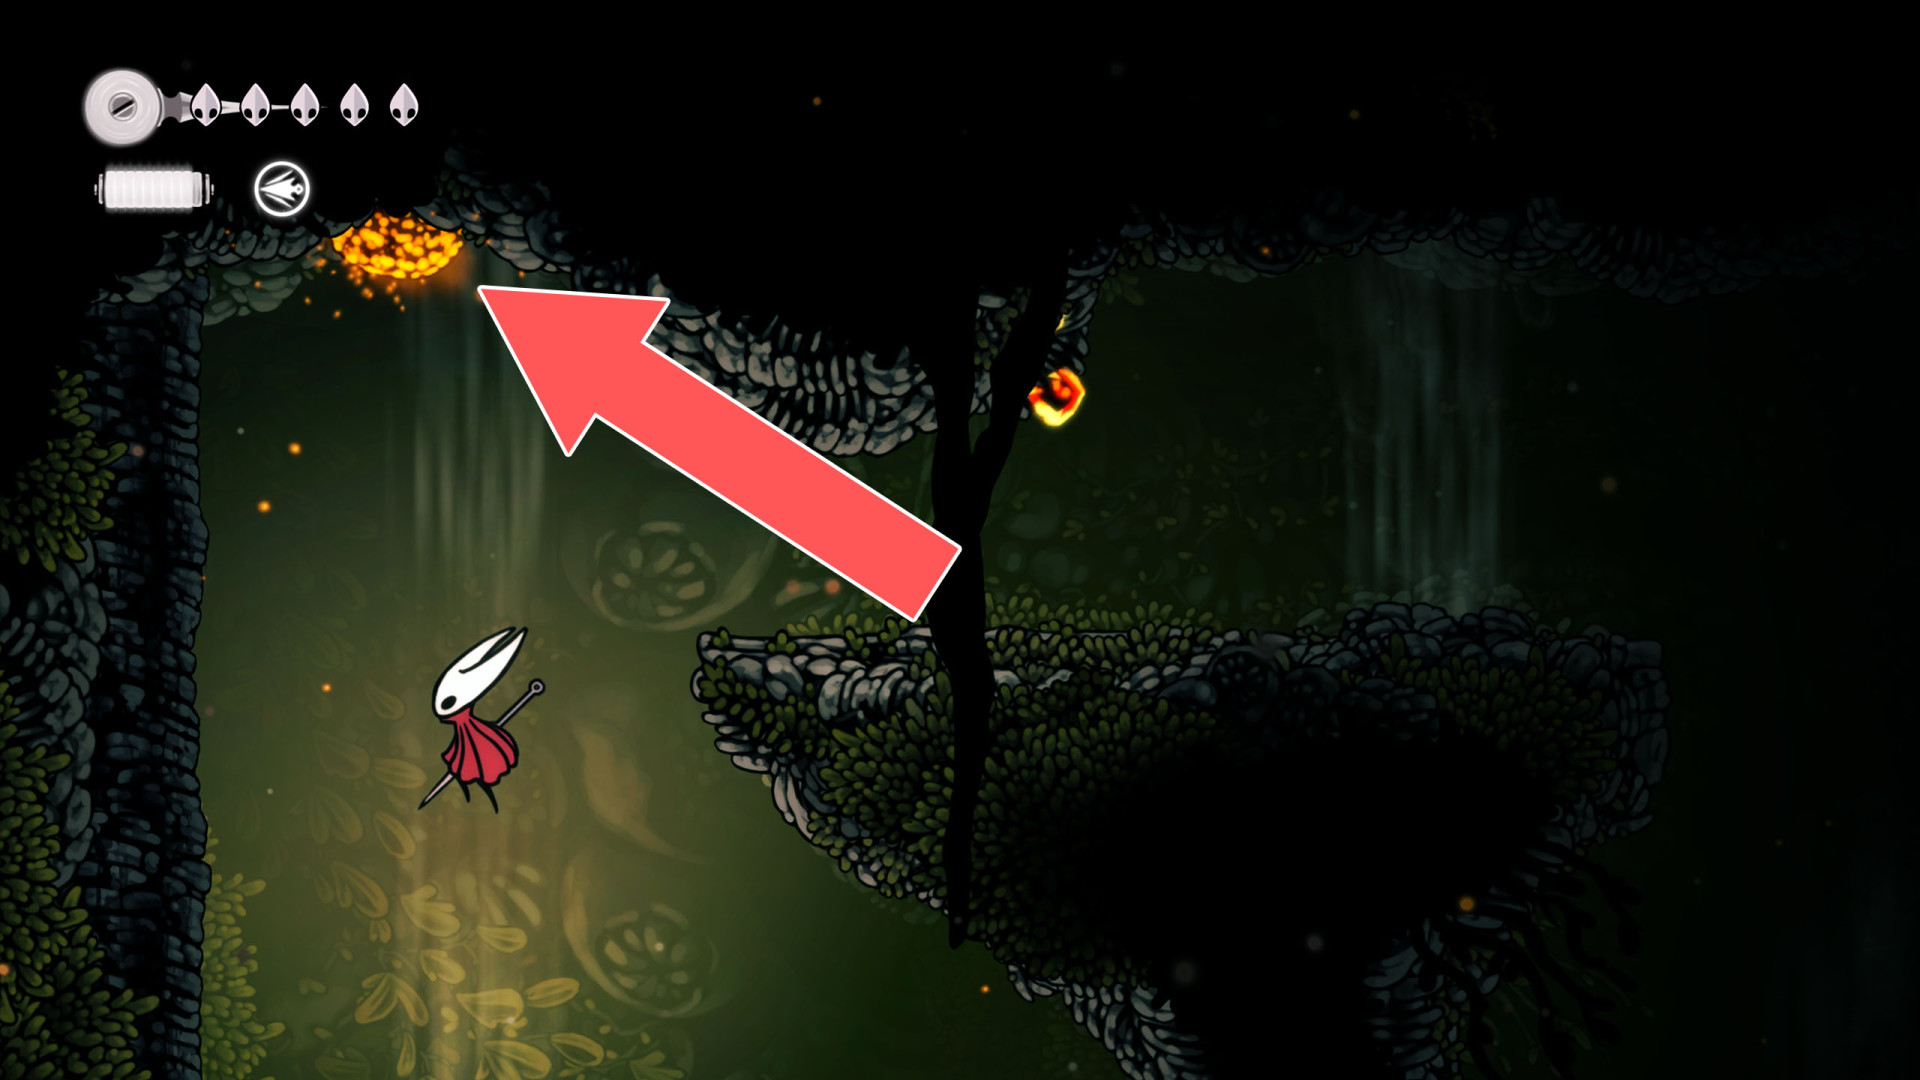
31Breakable Ceiling
You can destroy this roadblock by approaching it from below.
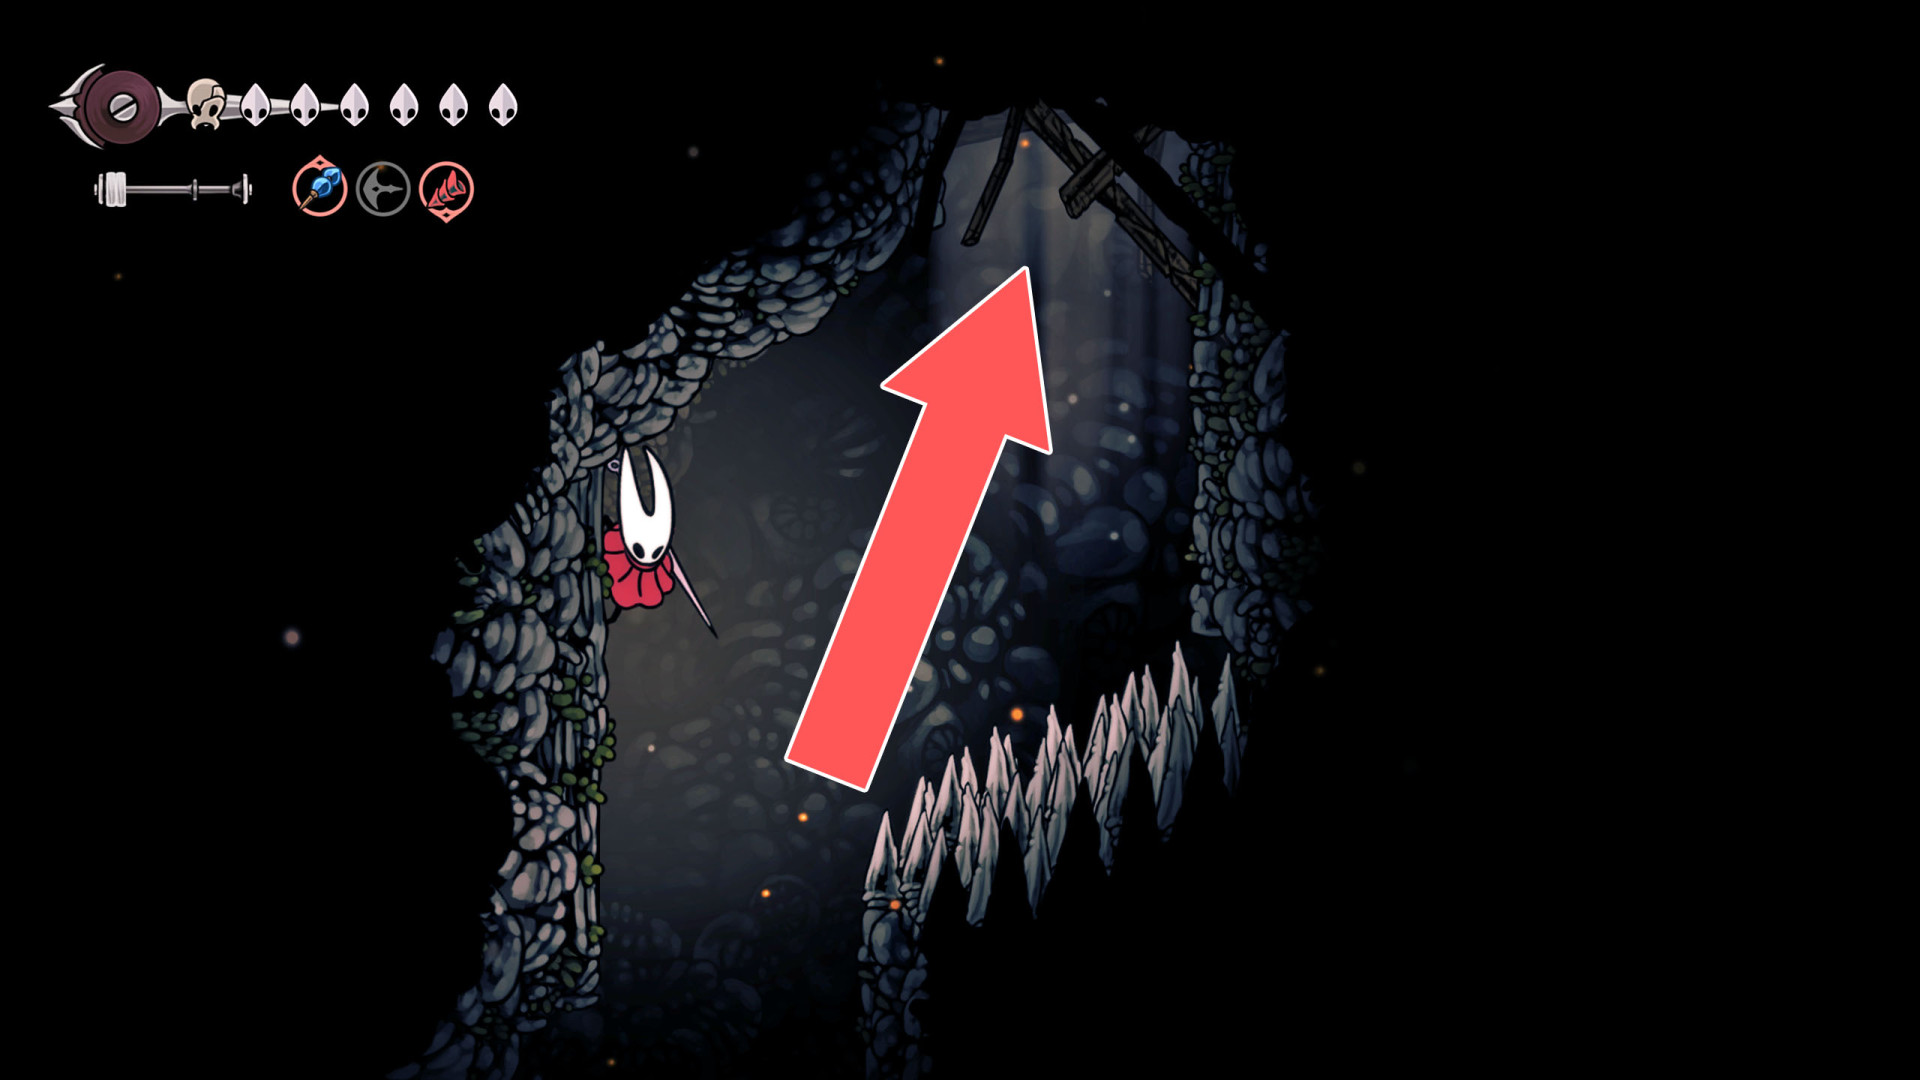
32Breakable Ceiling
Hit the explosive rock at the ceiling to open the passage.
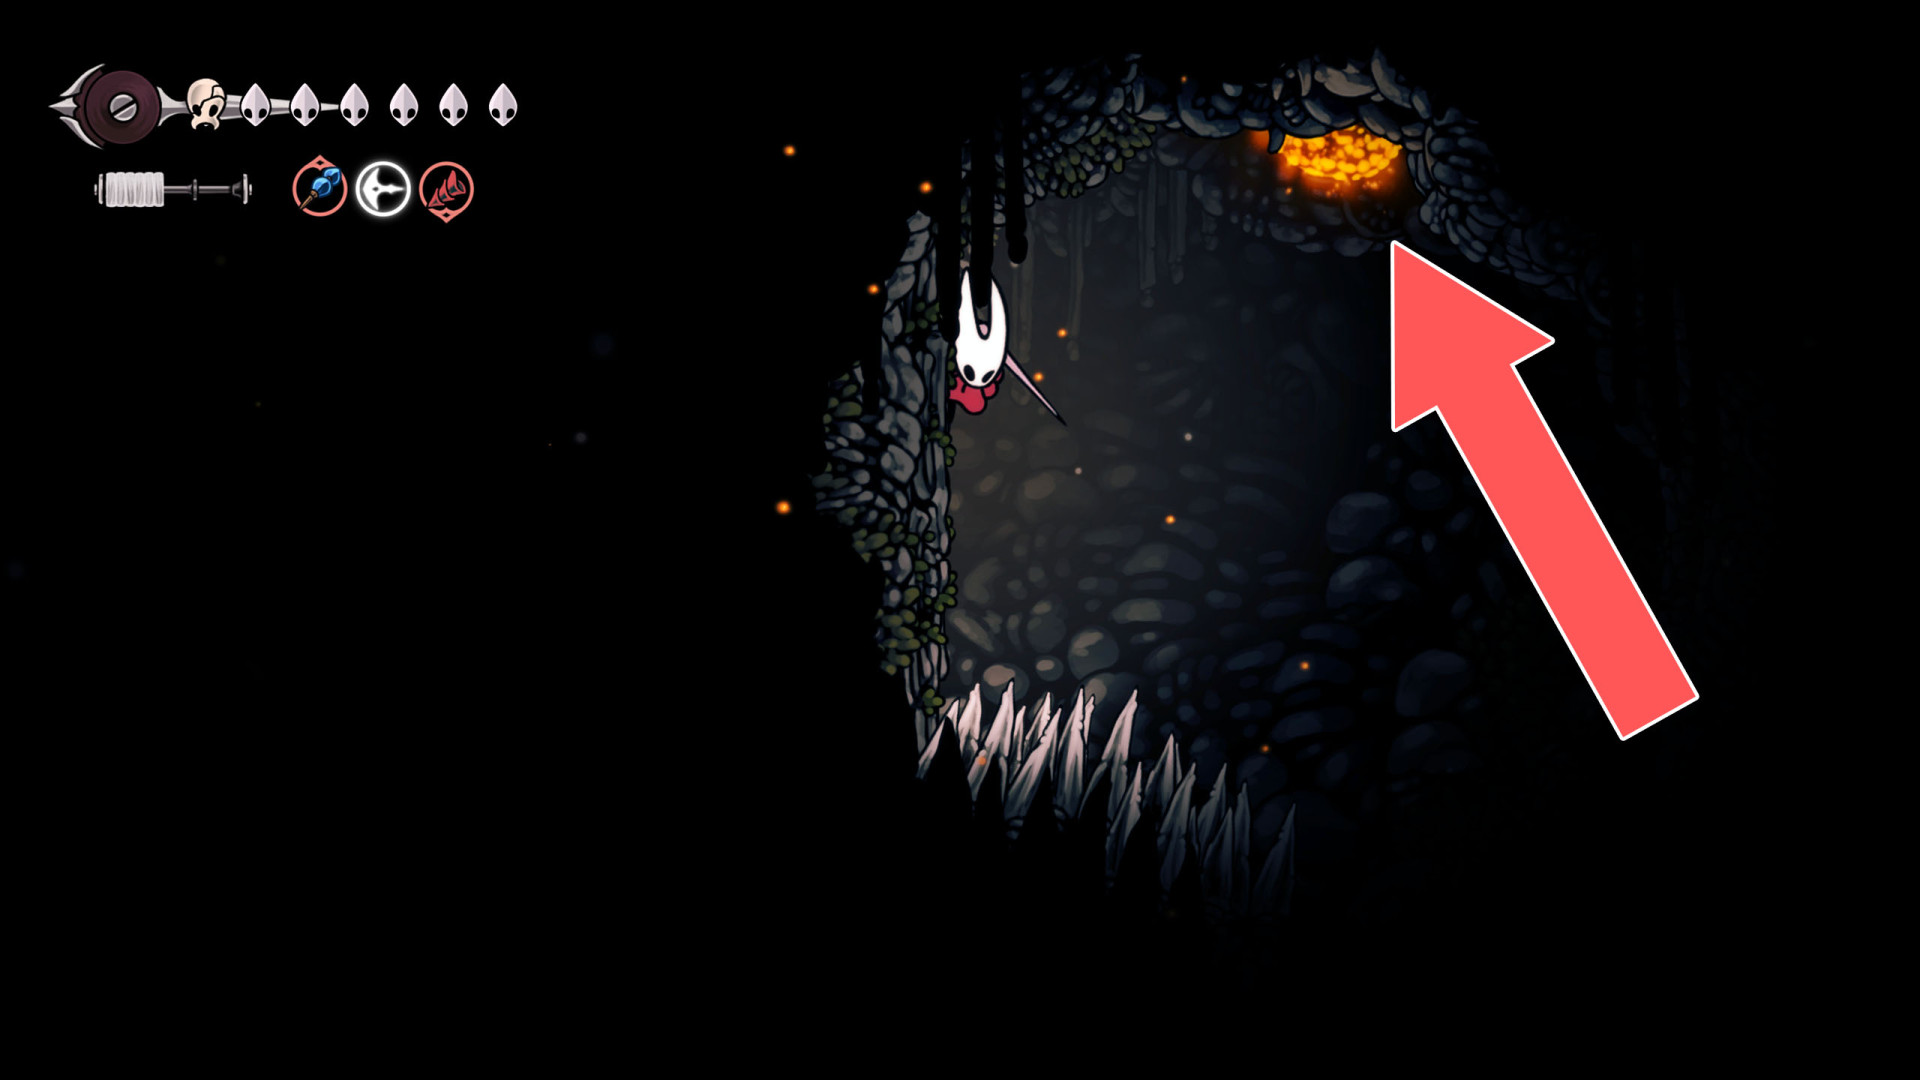
33Breakable Ceiling
Hit the explosive rock at the ceiling to open the passage.
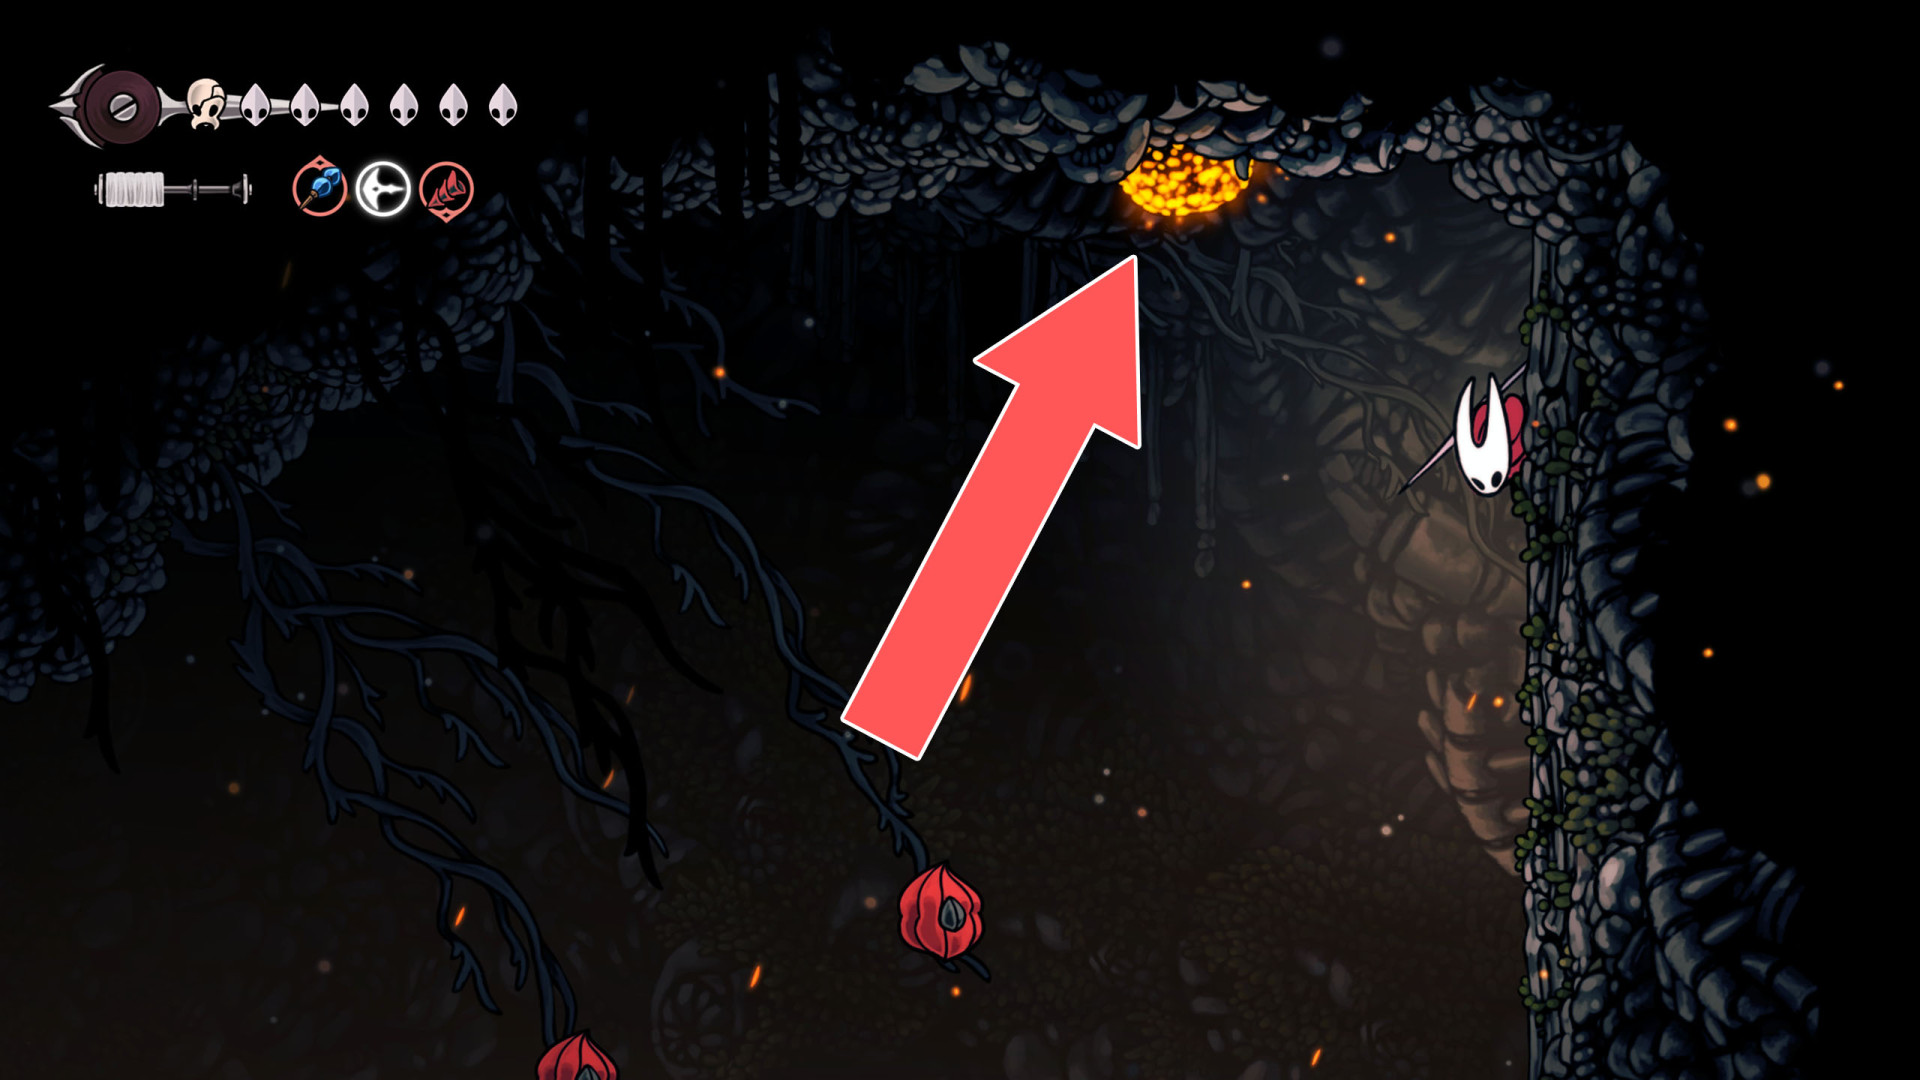
34Breakable Ceiling
Hit the explosive rock at the ceiling to open the passage.
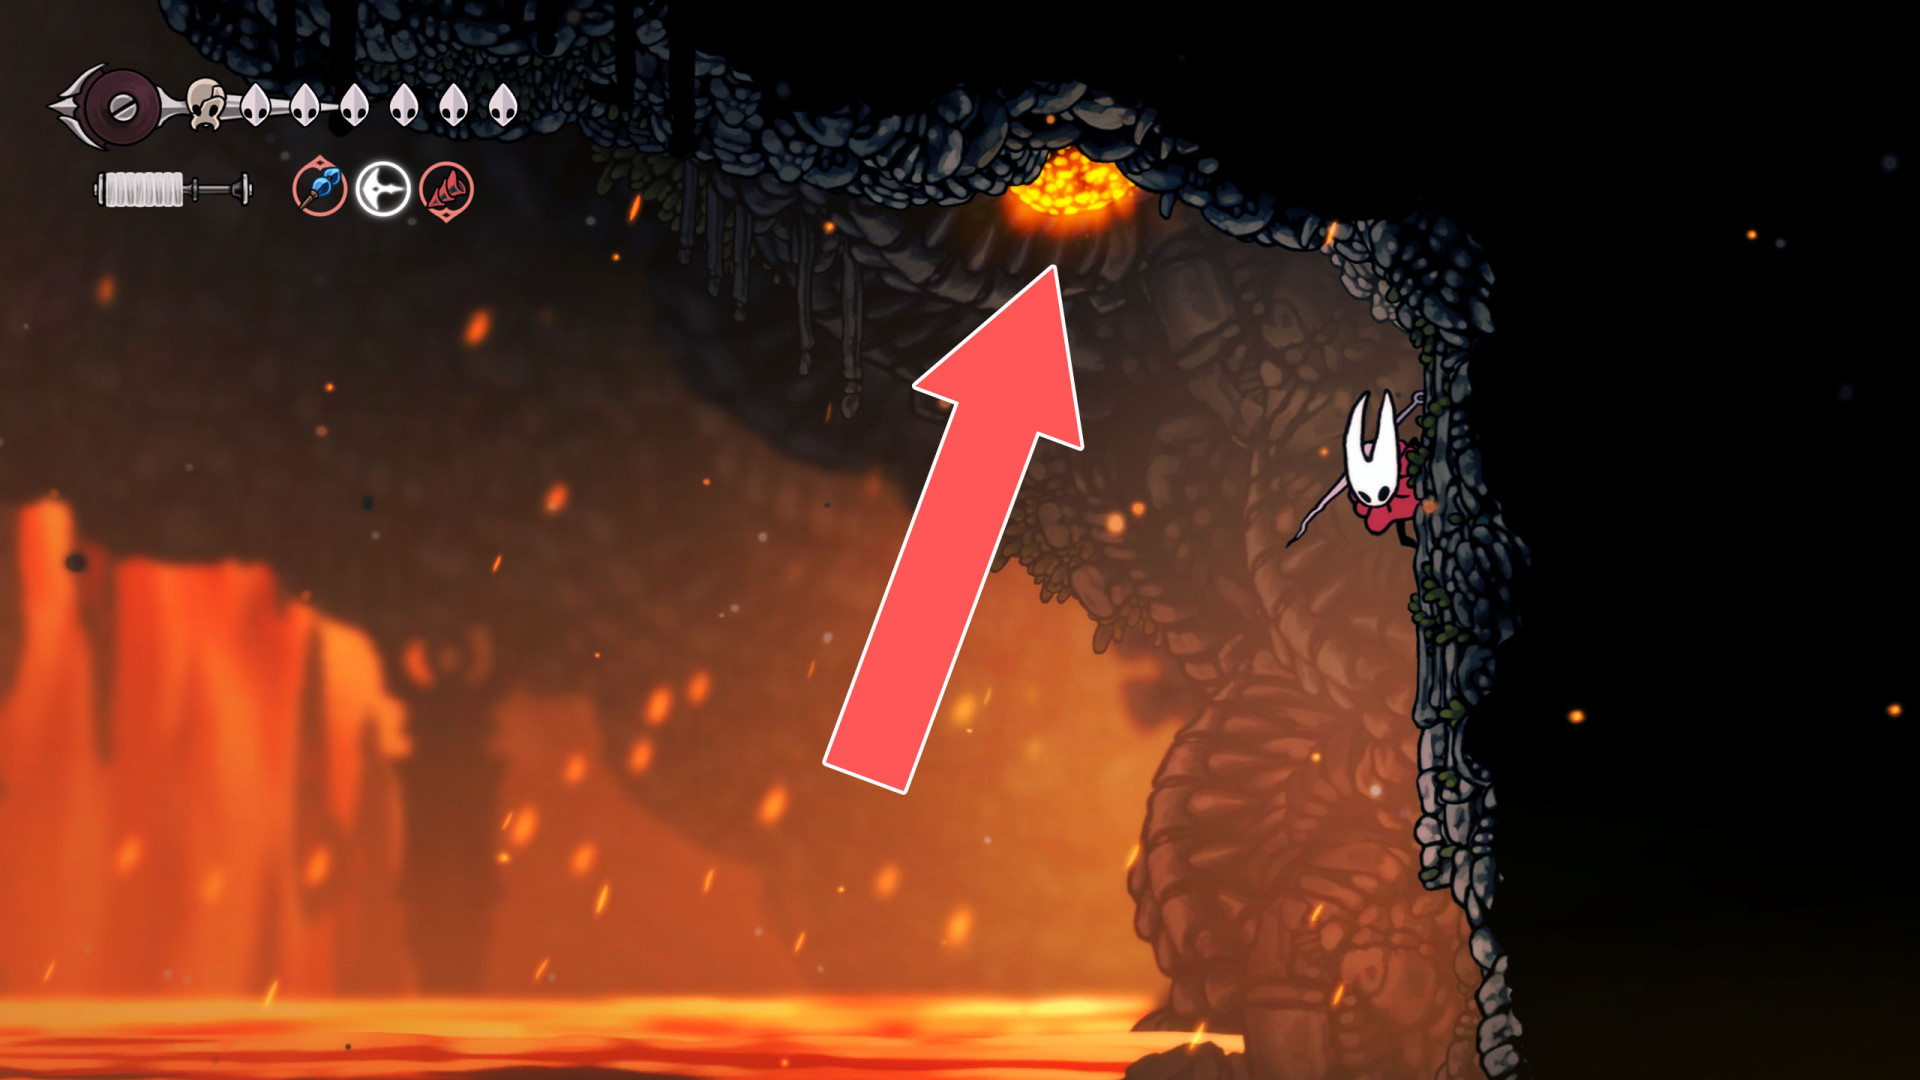
35 Breakable Floor
To open the passage use the lever located above it.
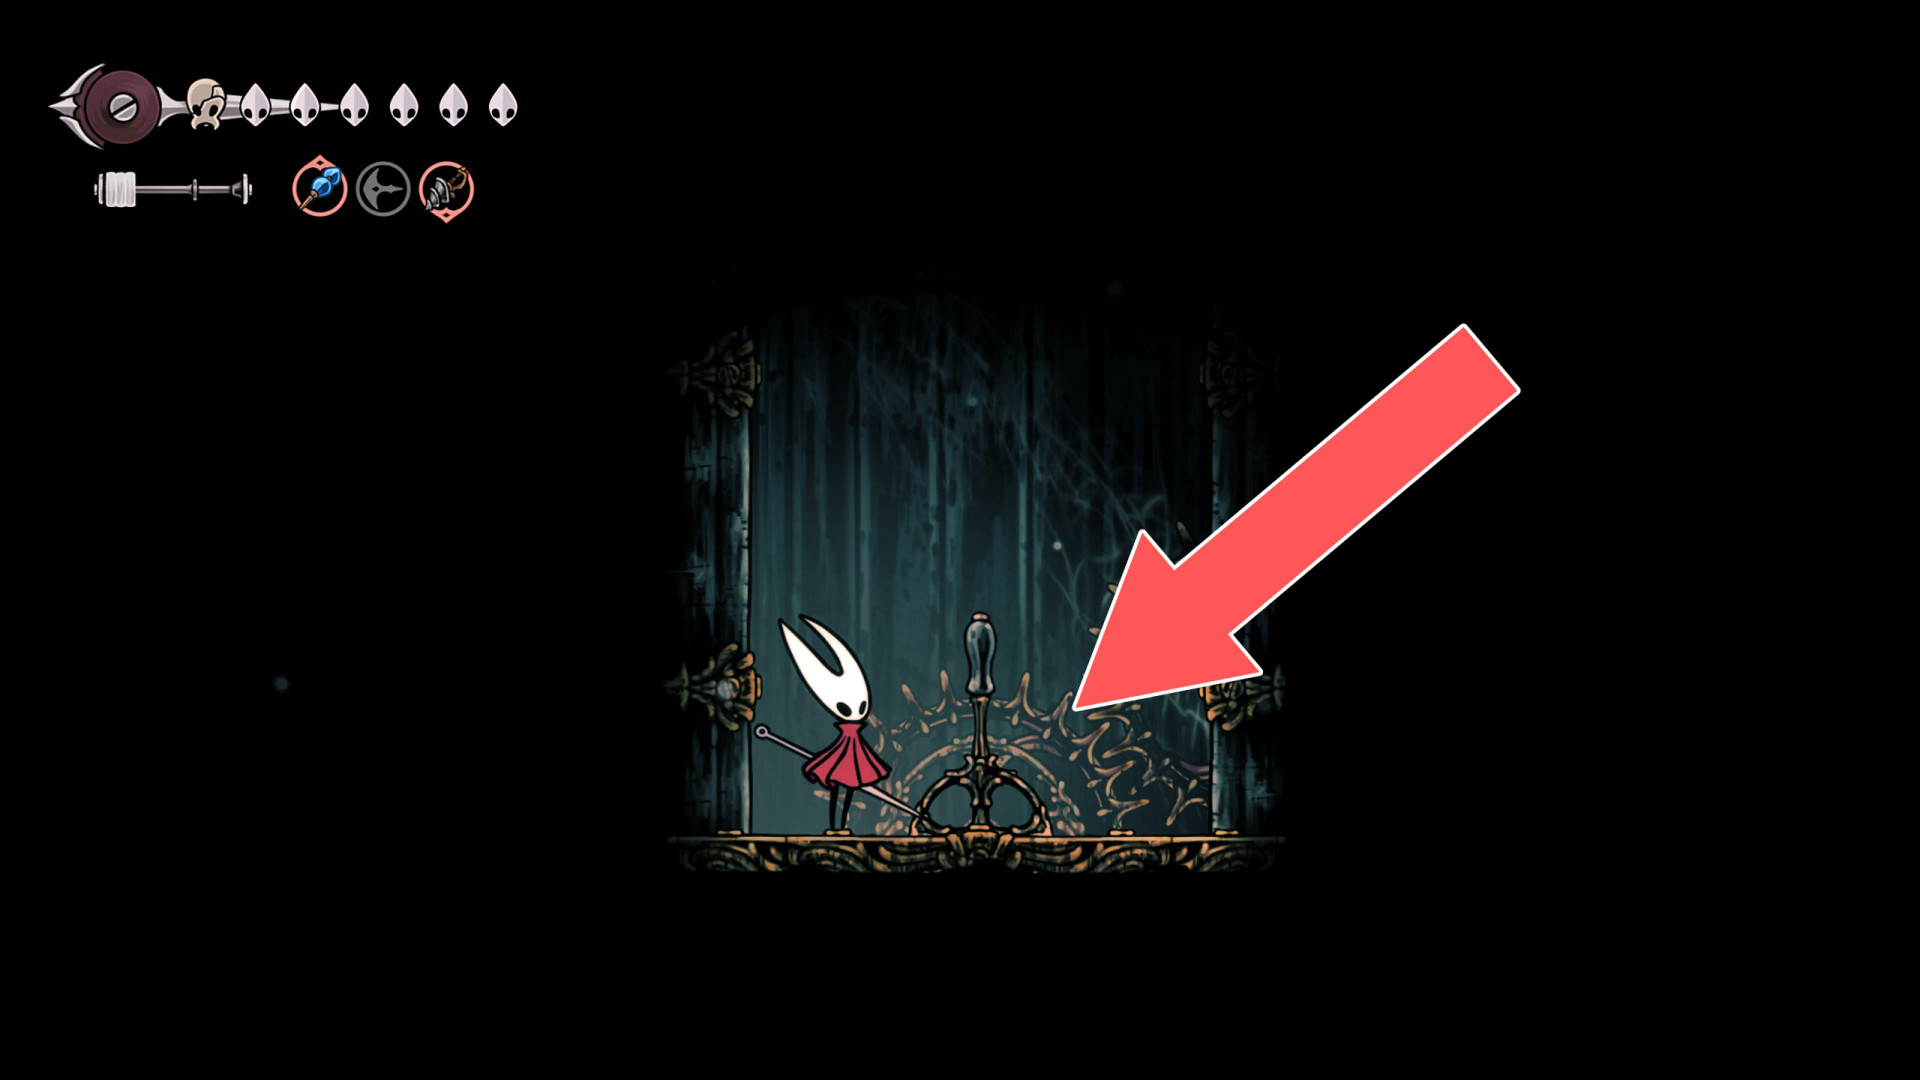
36Breakable Floor
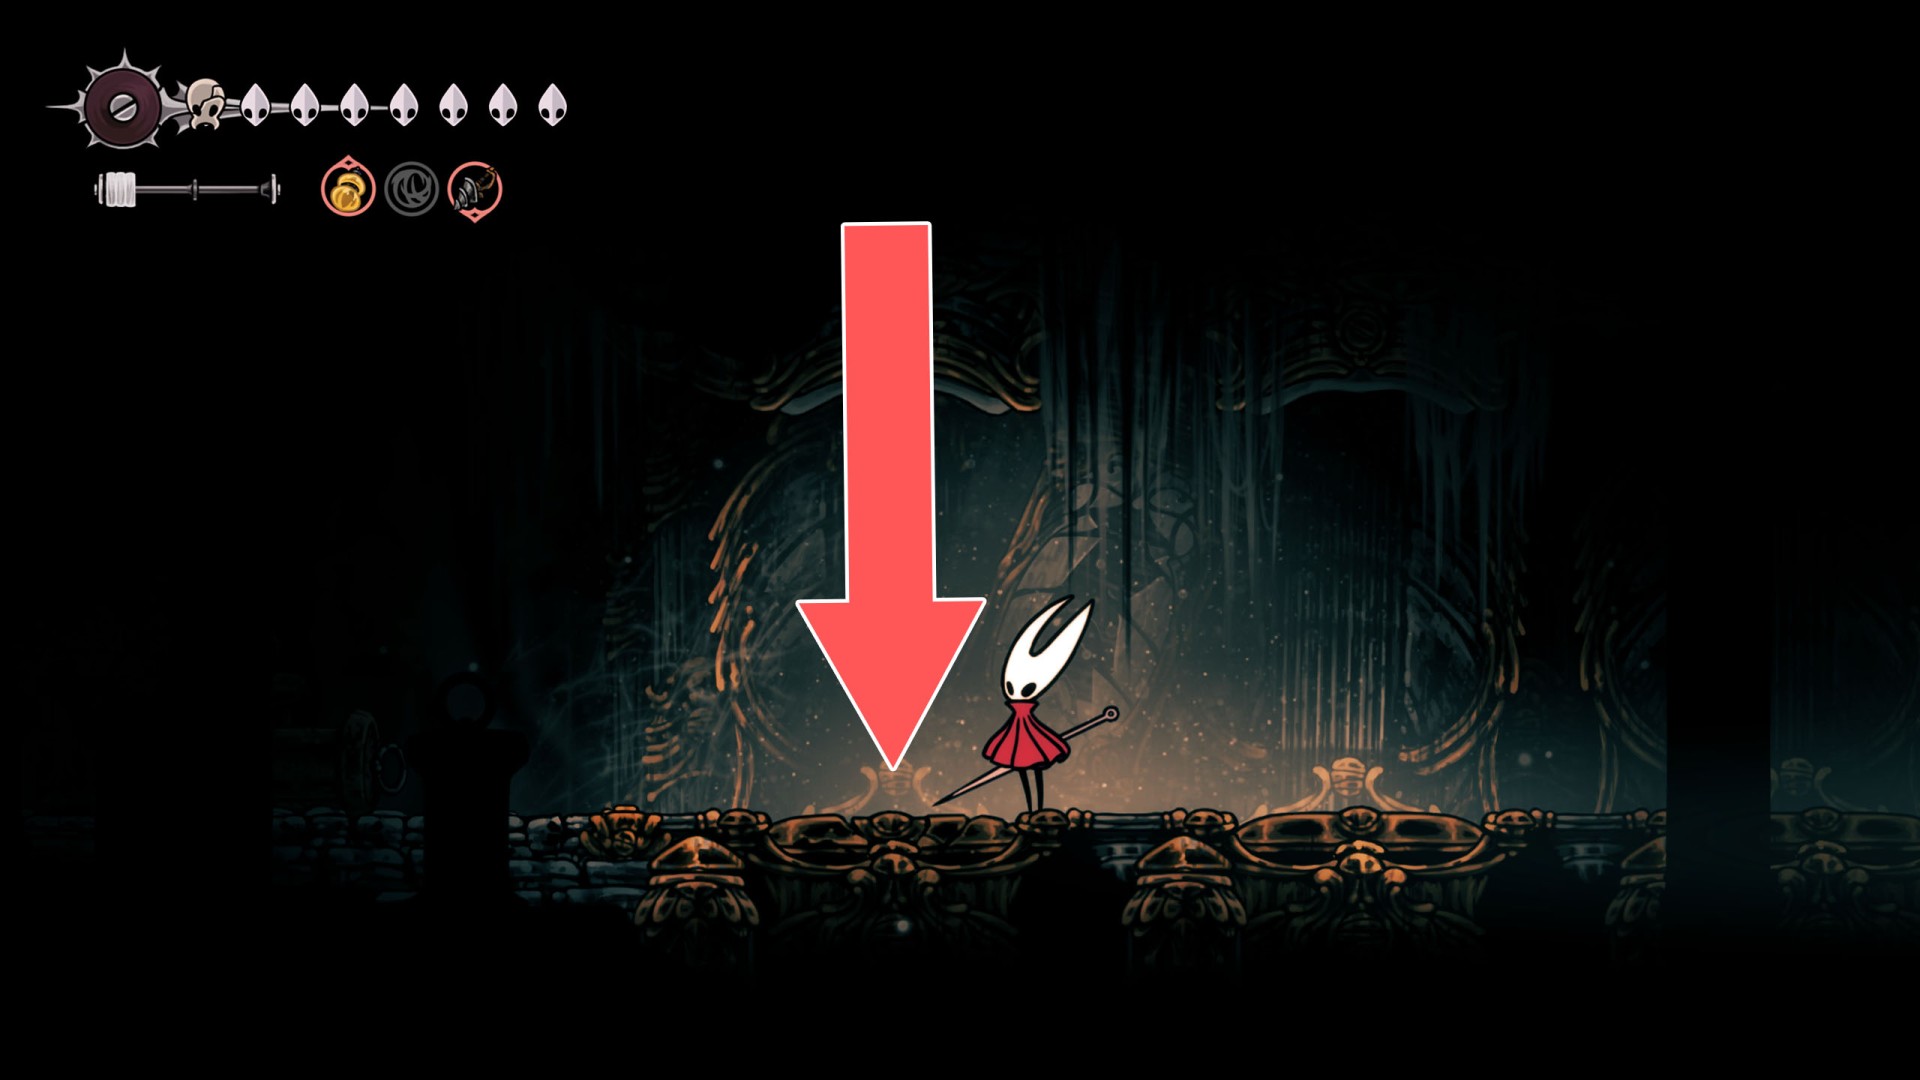
Entrance to a tunnel with the Silkeater (The Cradle) at the end.
37Breakable Floor
38Breakable Floor
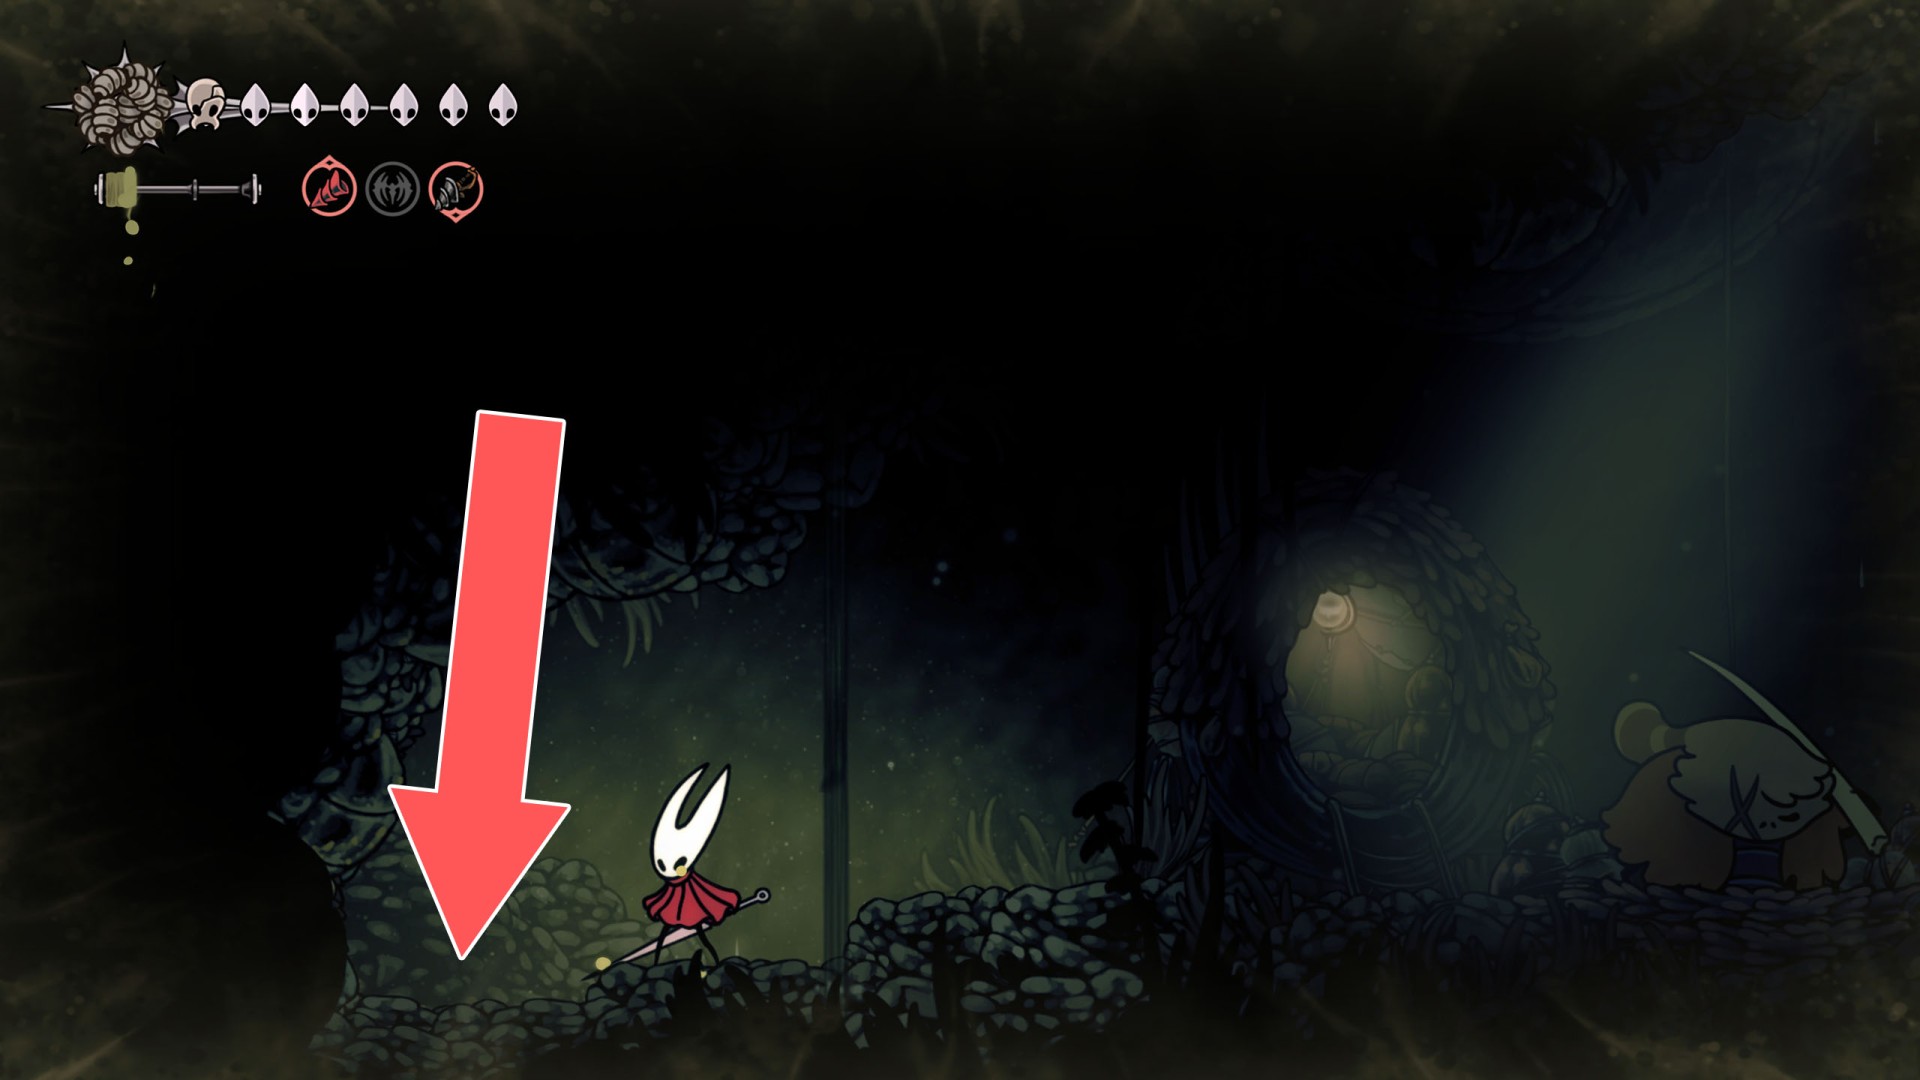
You can destroy this roadblock by approaching it from the top.
39Breakable Floor
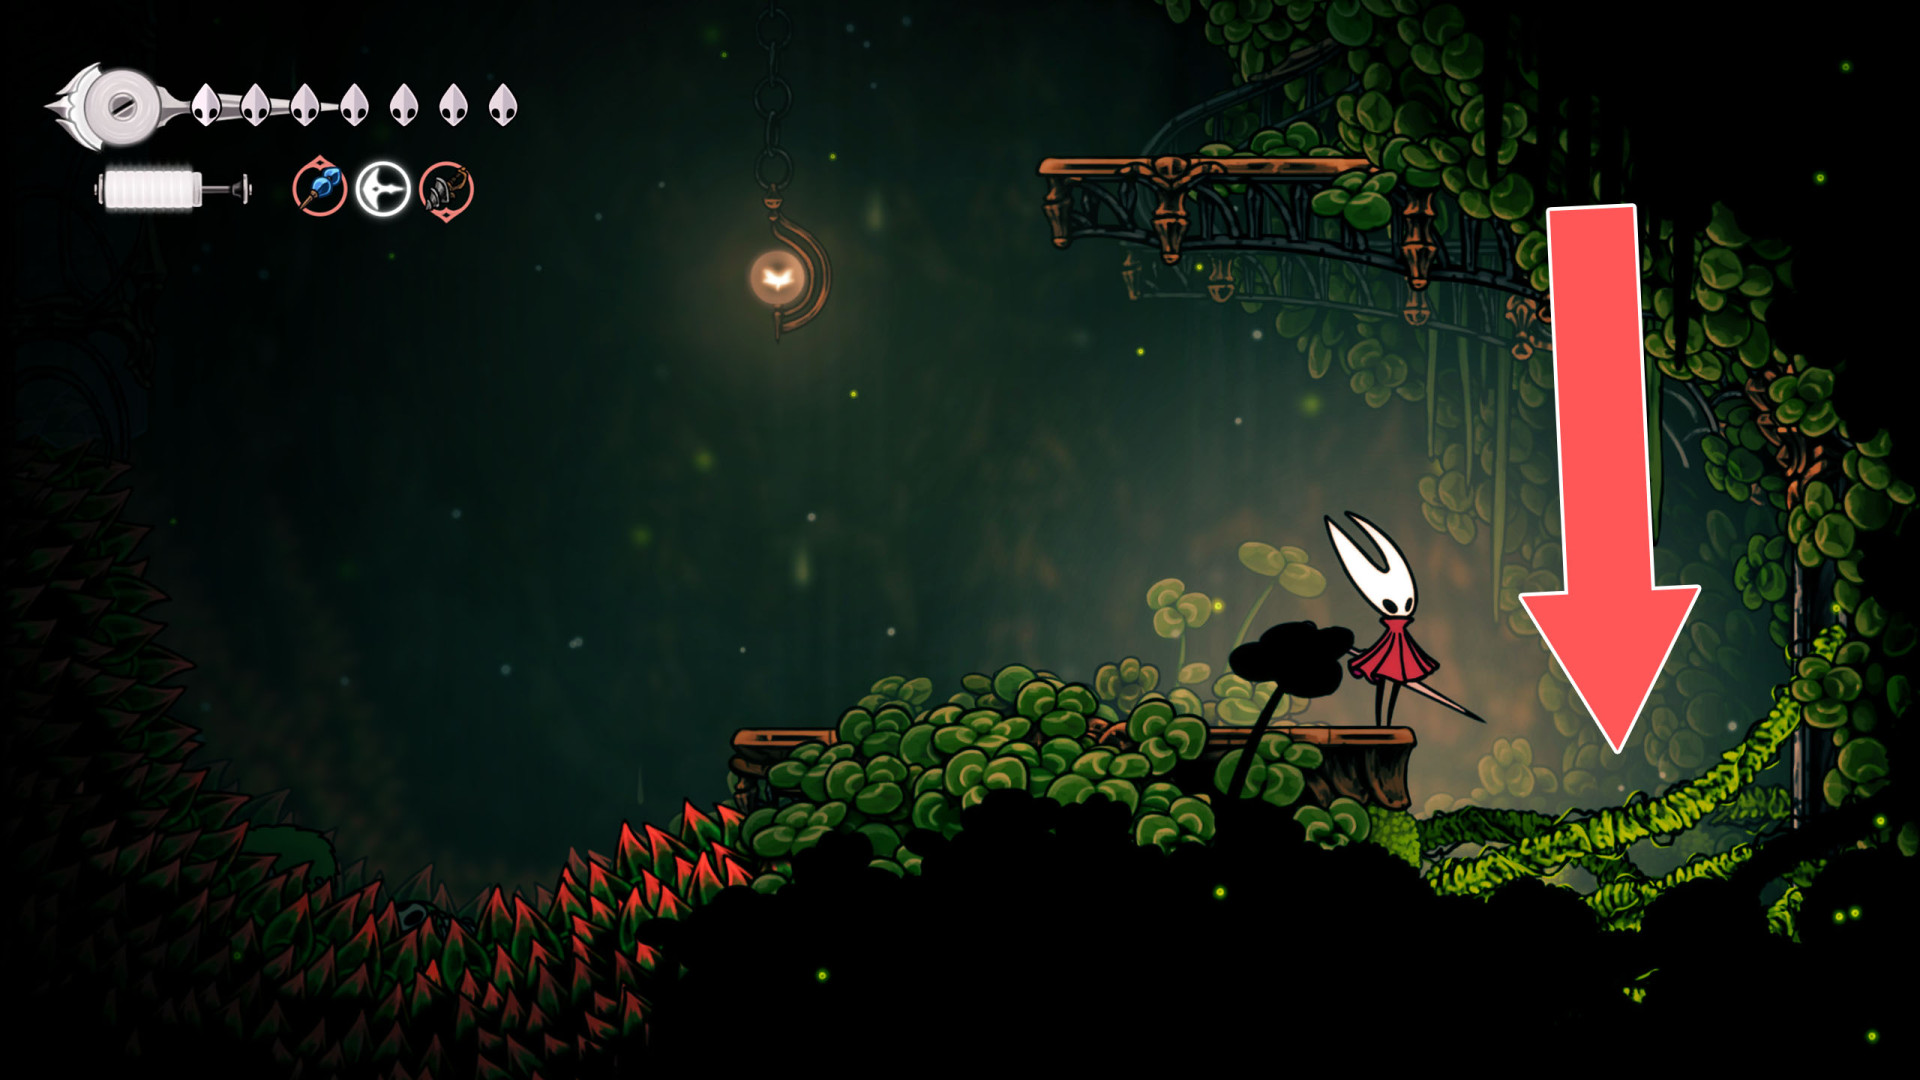
You can destroy this roadblock by approaching it from the top.
40Breakable Floor
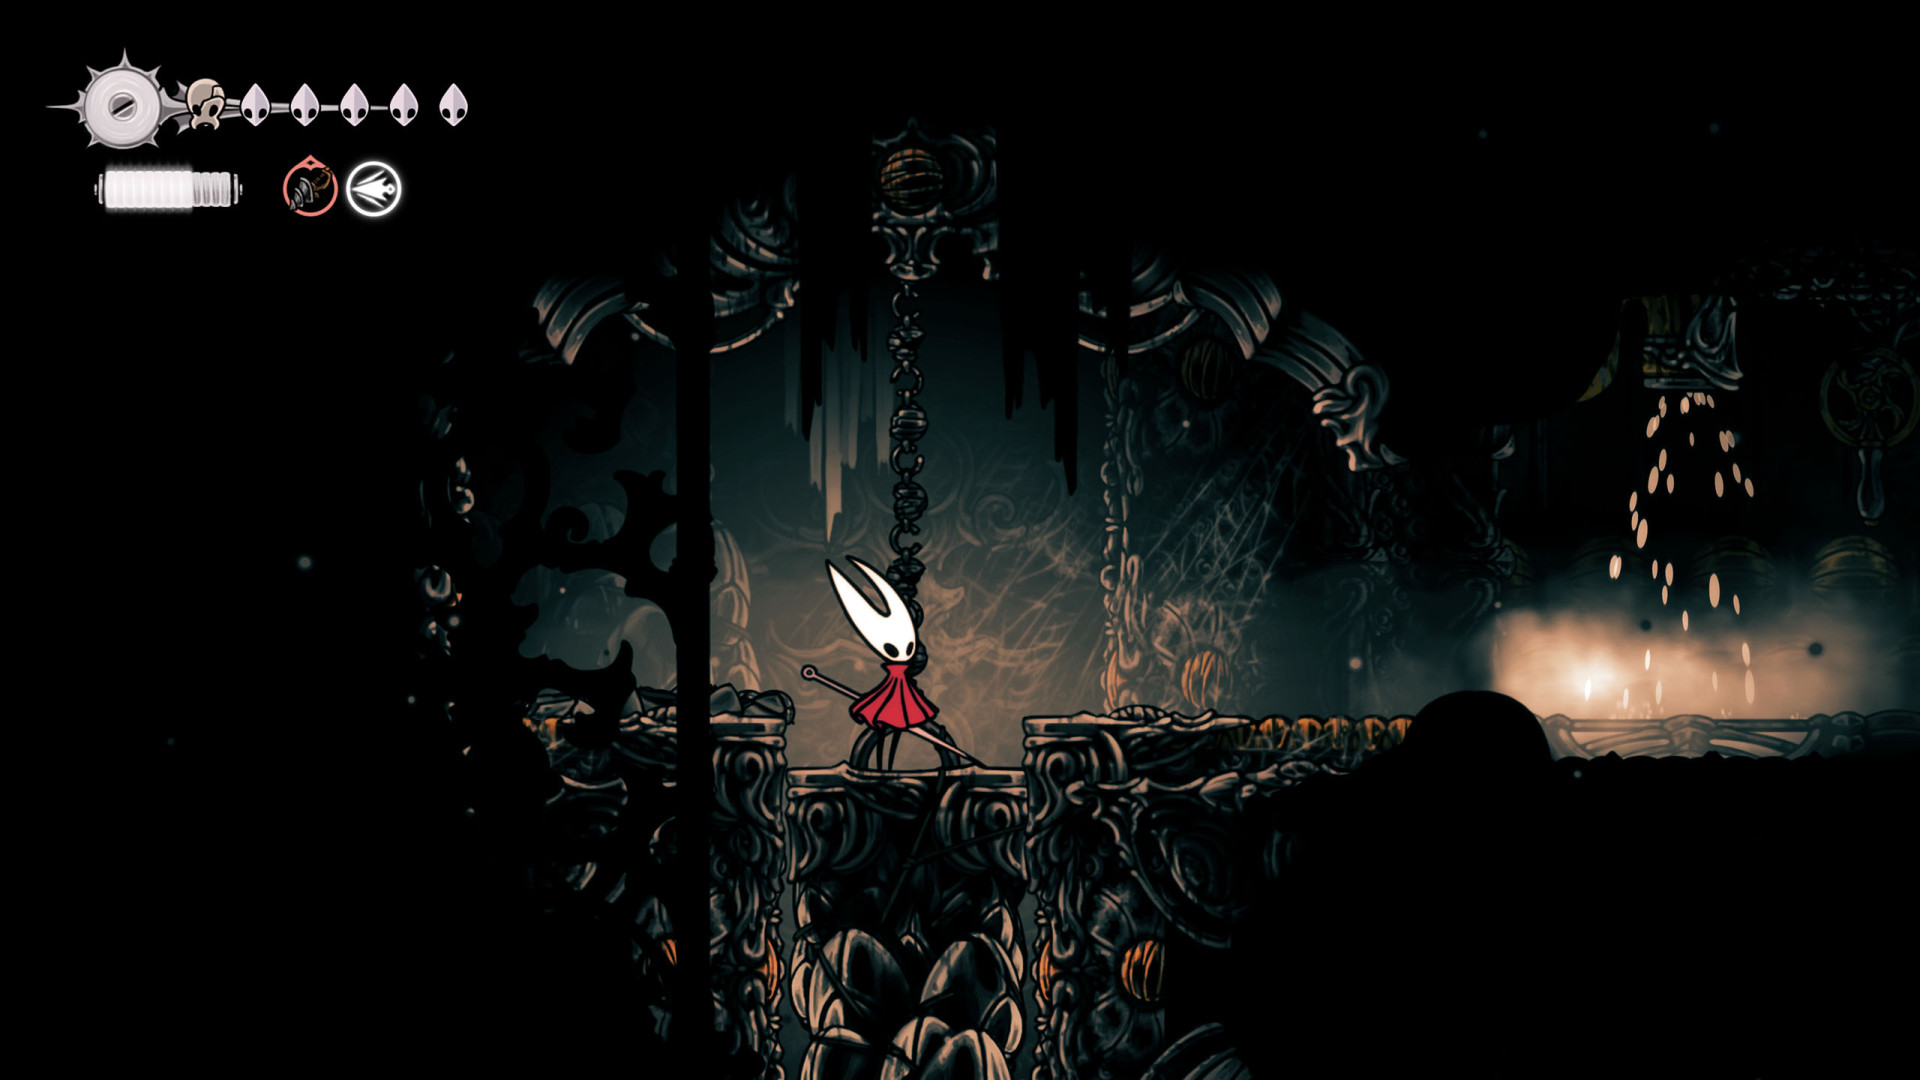
41Breakable Floor
Simply stand on it to open the passage.
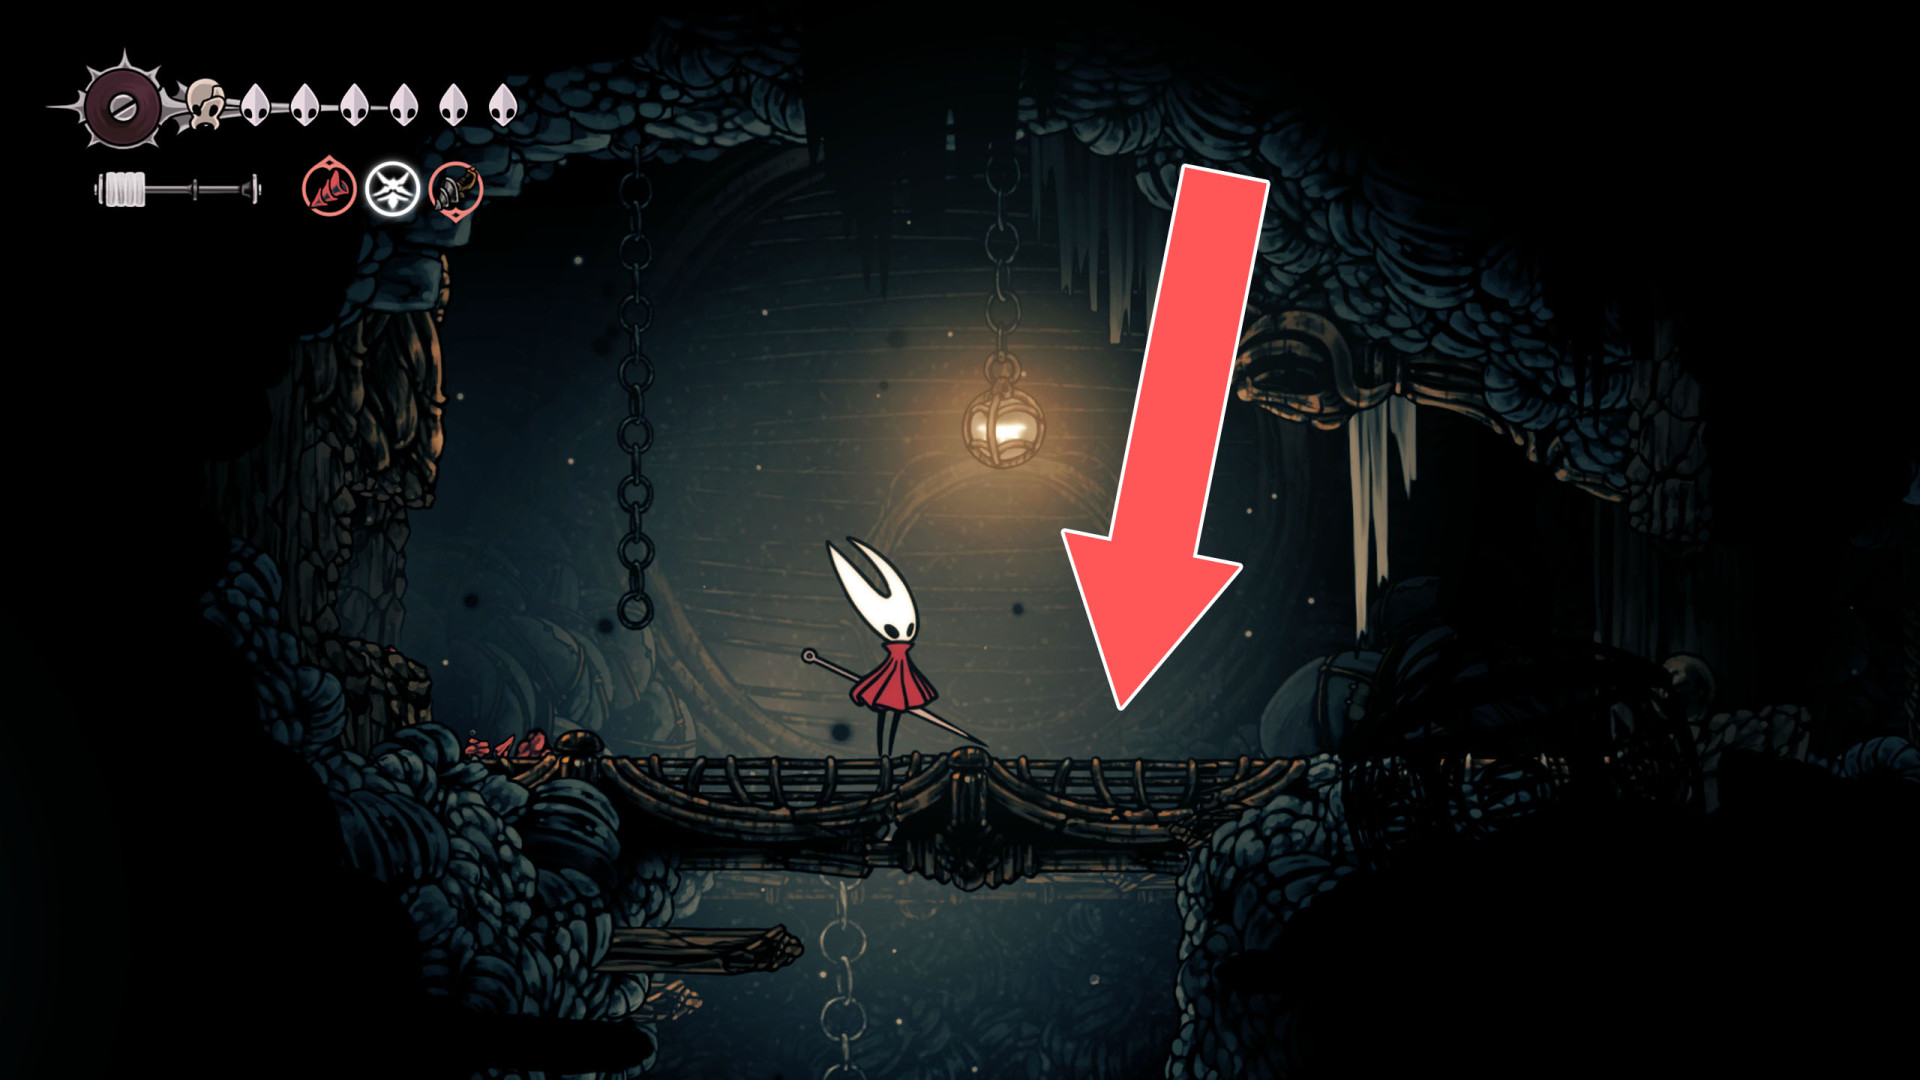
42Breakable Floor
You can make a hole in the floor by knocking down the stalactite hanging above.
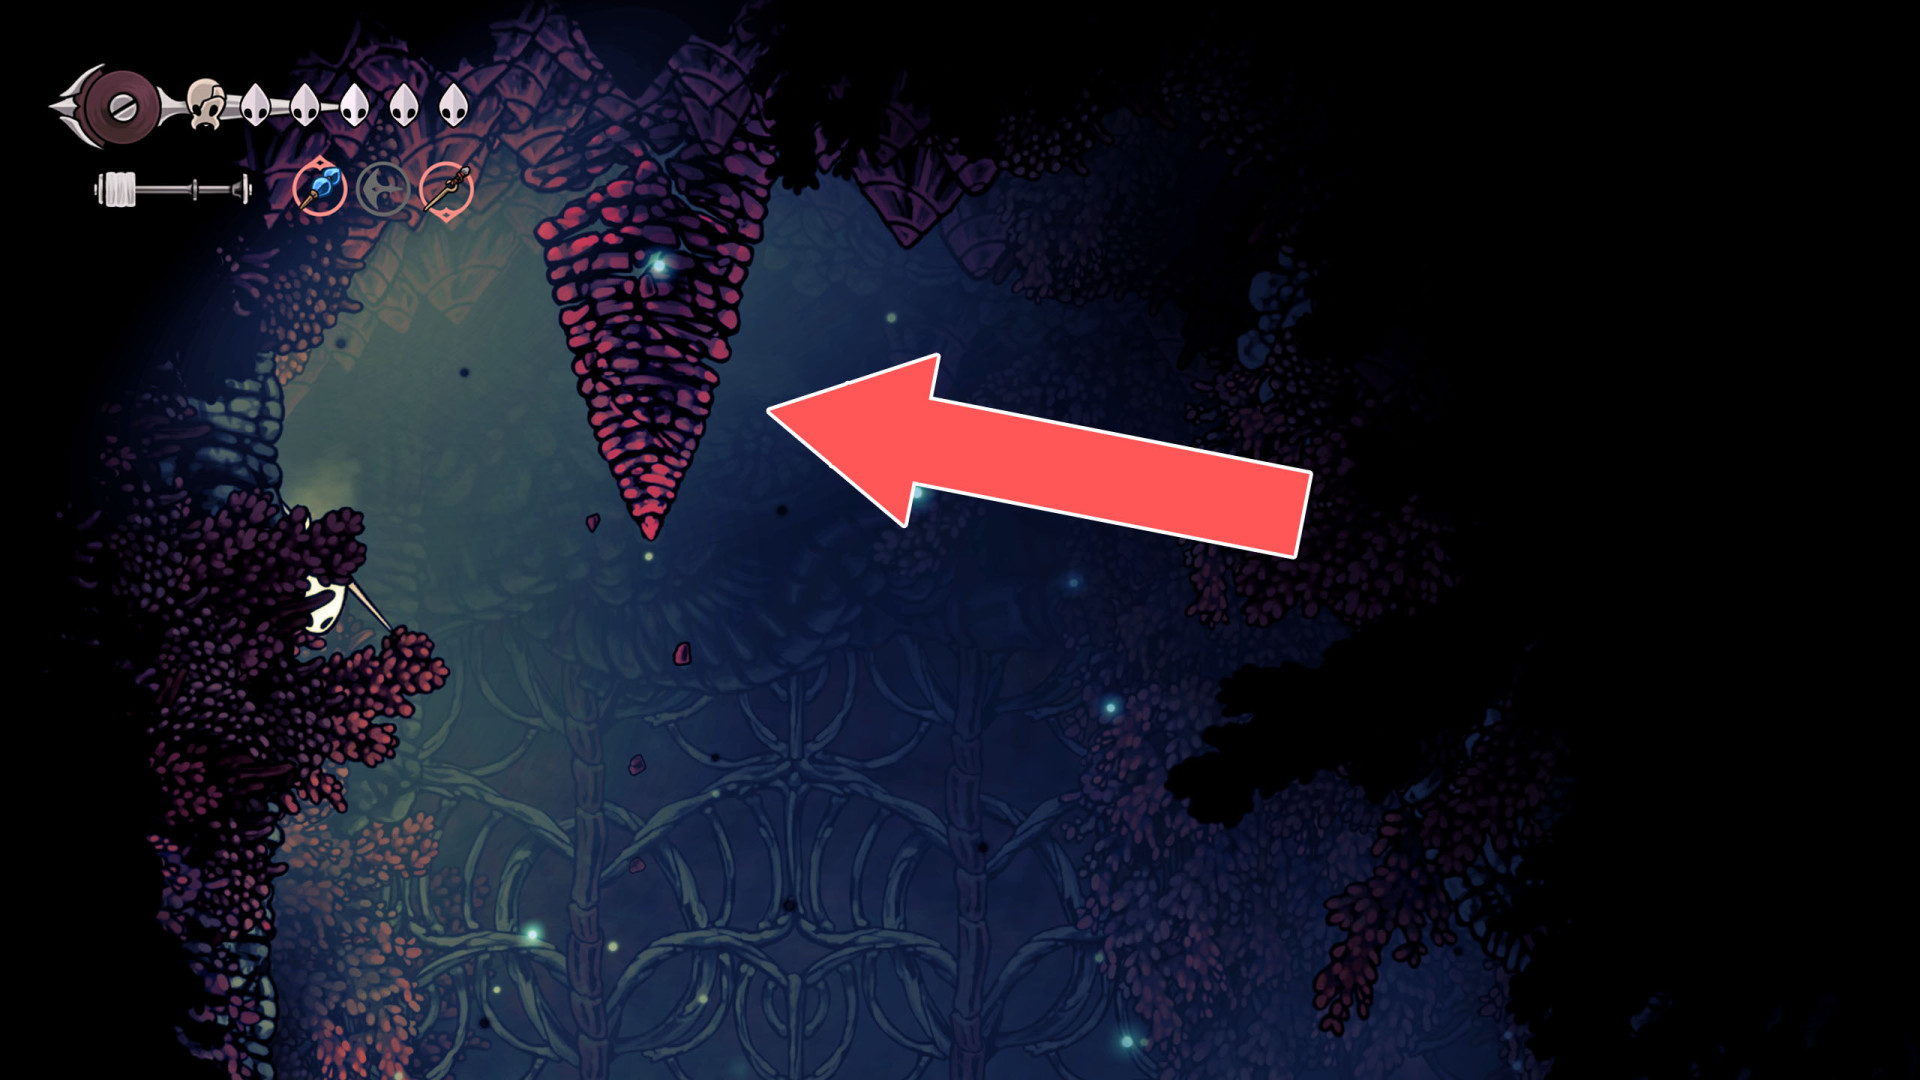
43Breakable Floor
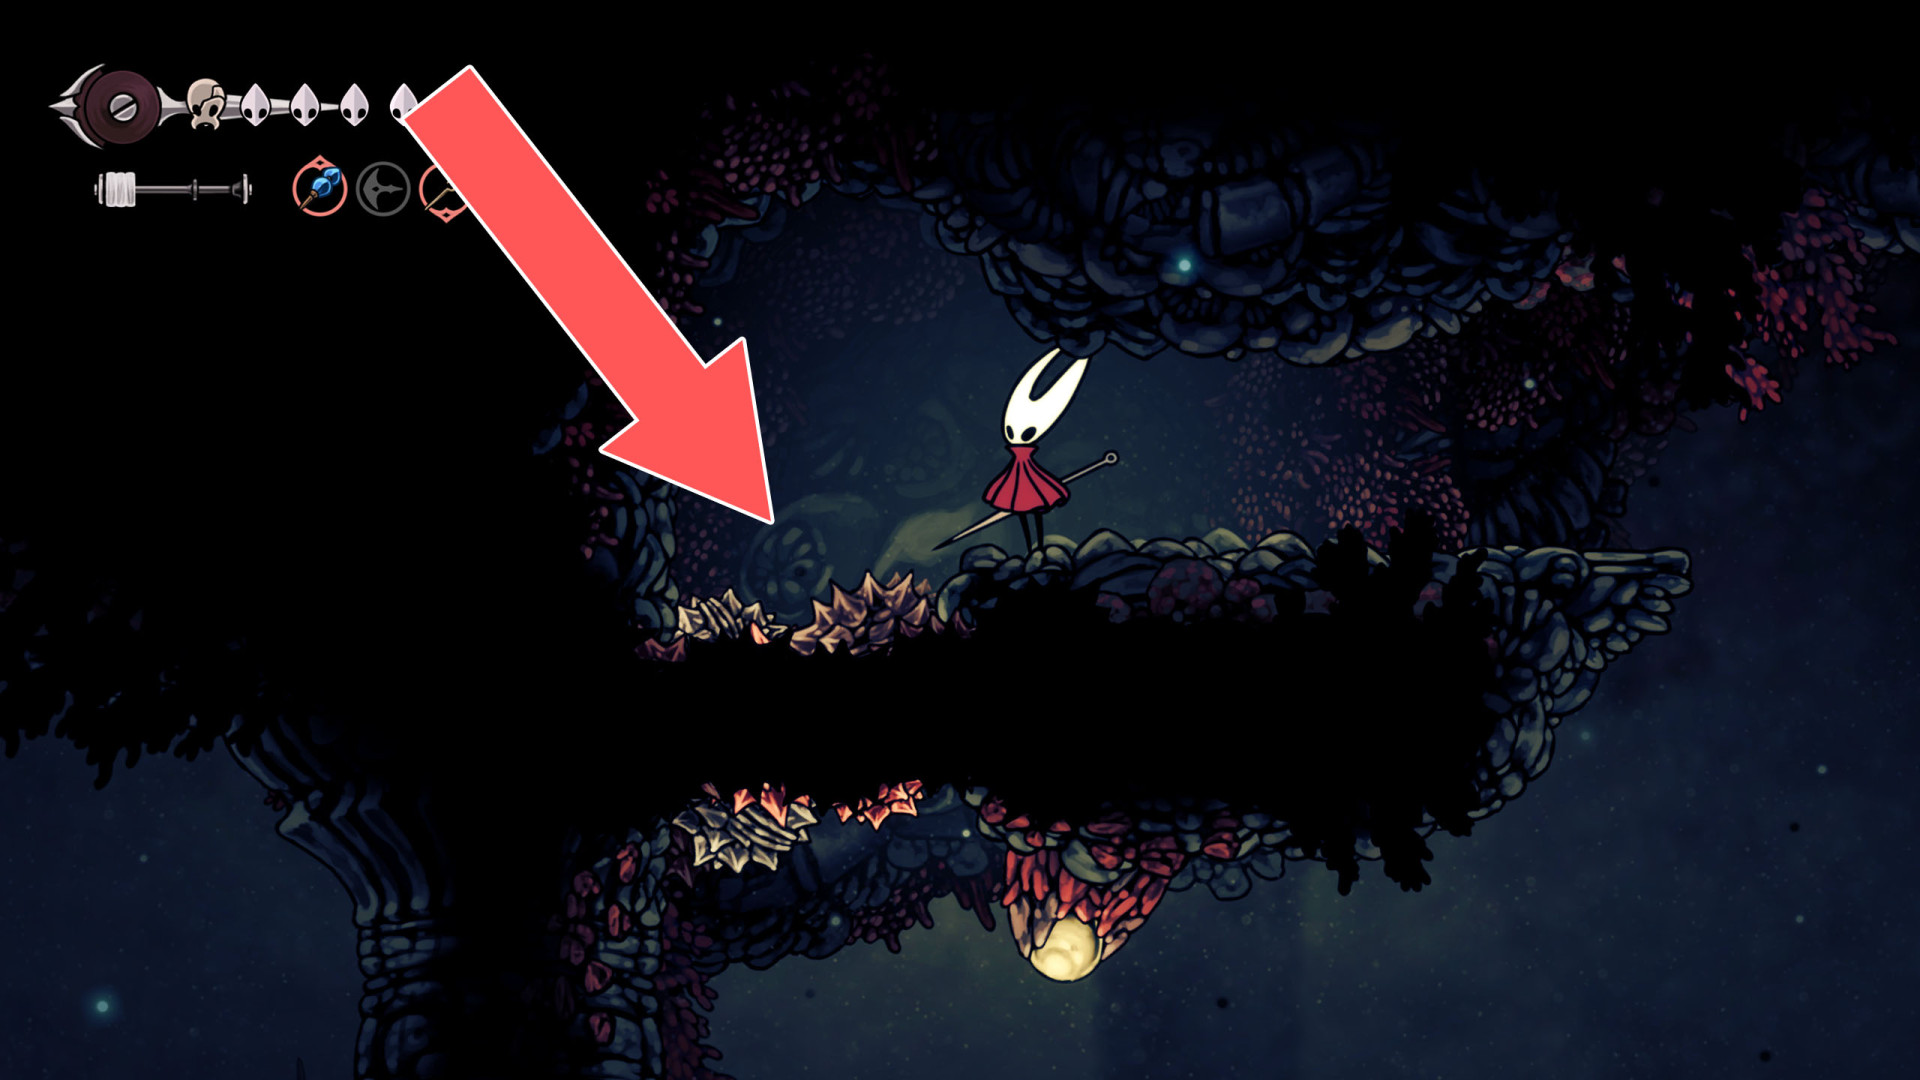
44Breakable Floor
You can make a hole in the floor by knocking down the stalactite hanging above.
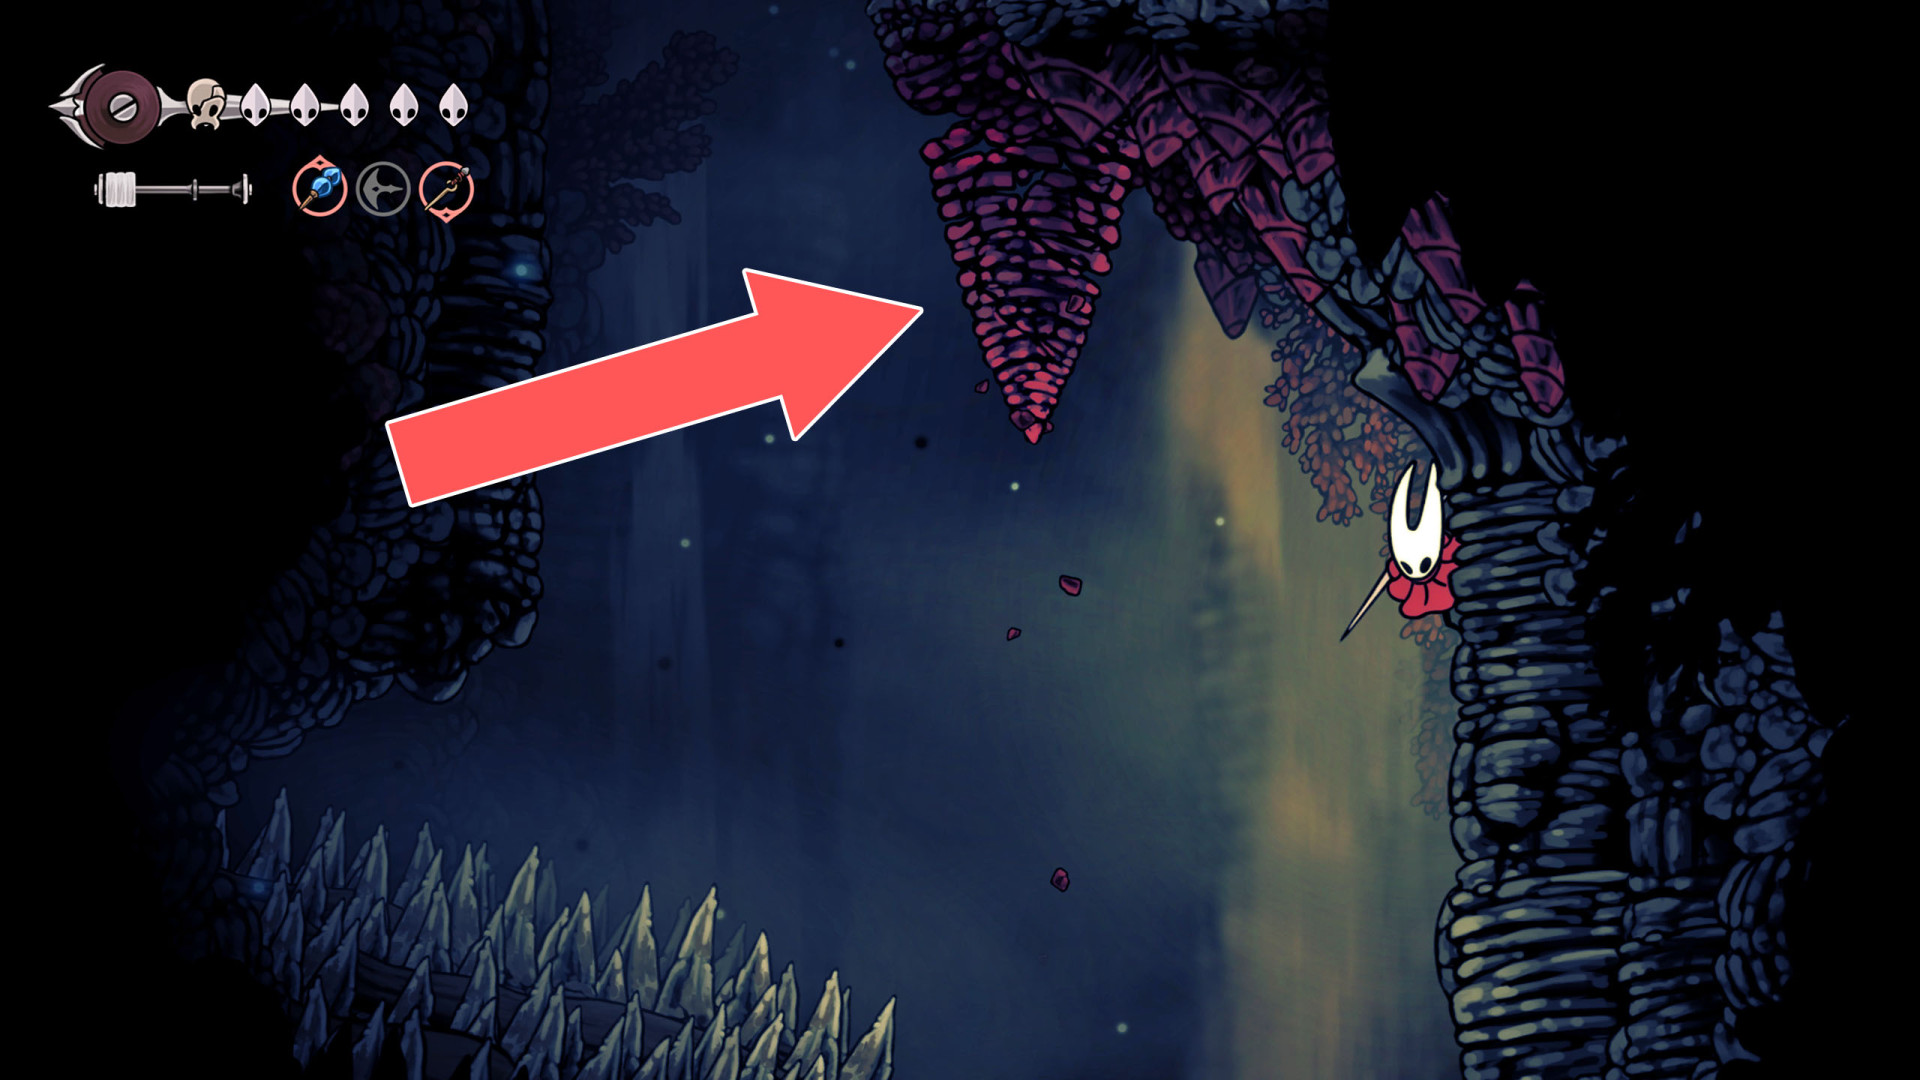
45Breakable Floor
To create a passage, chop down the rock hanging above, which will fall and create a gap.
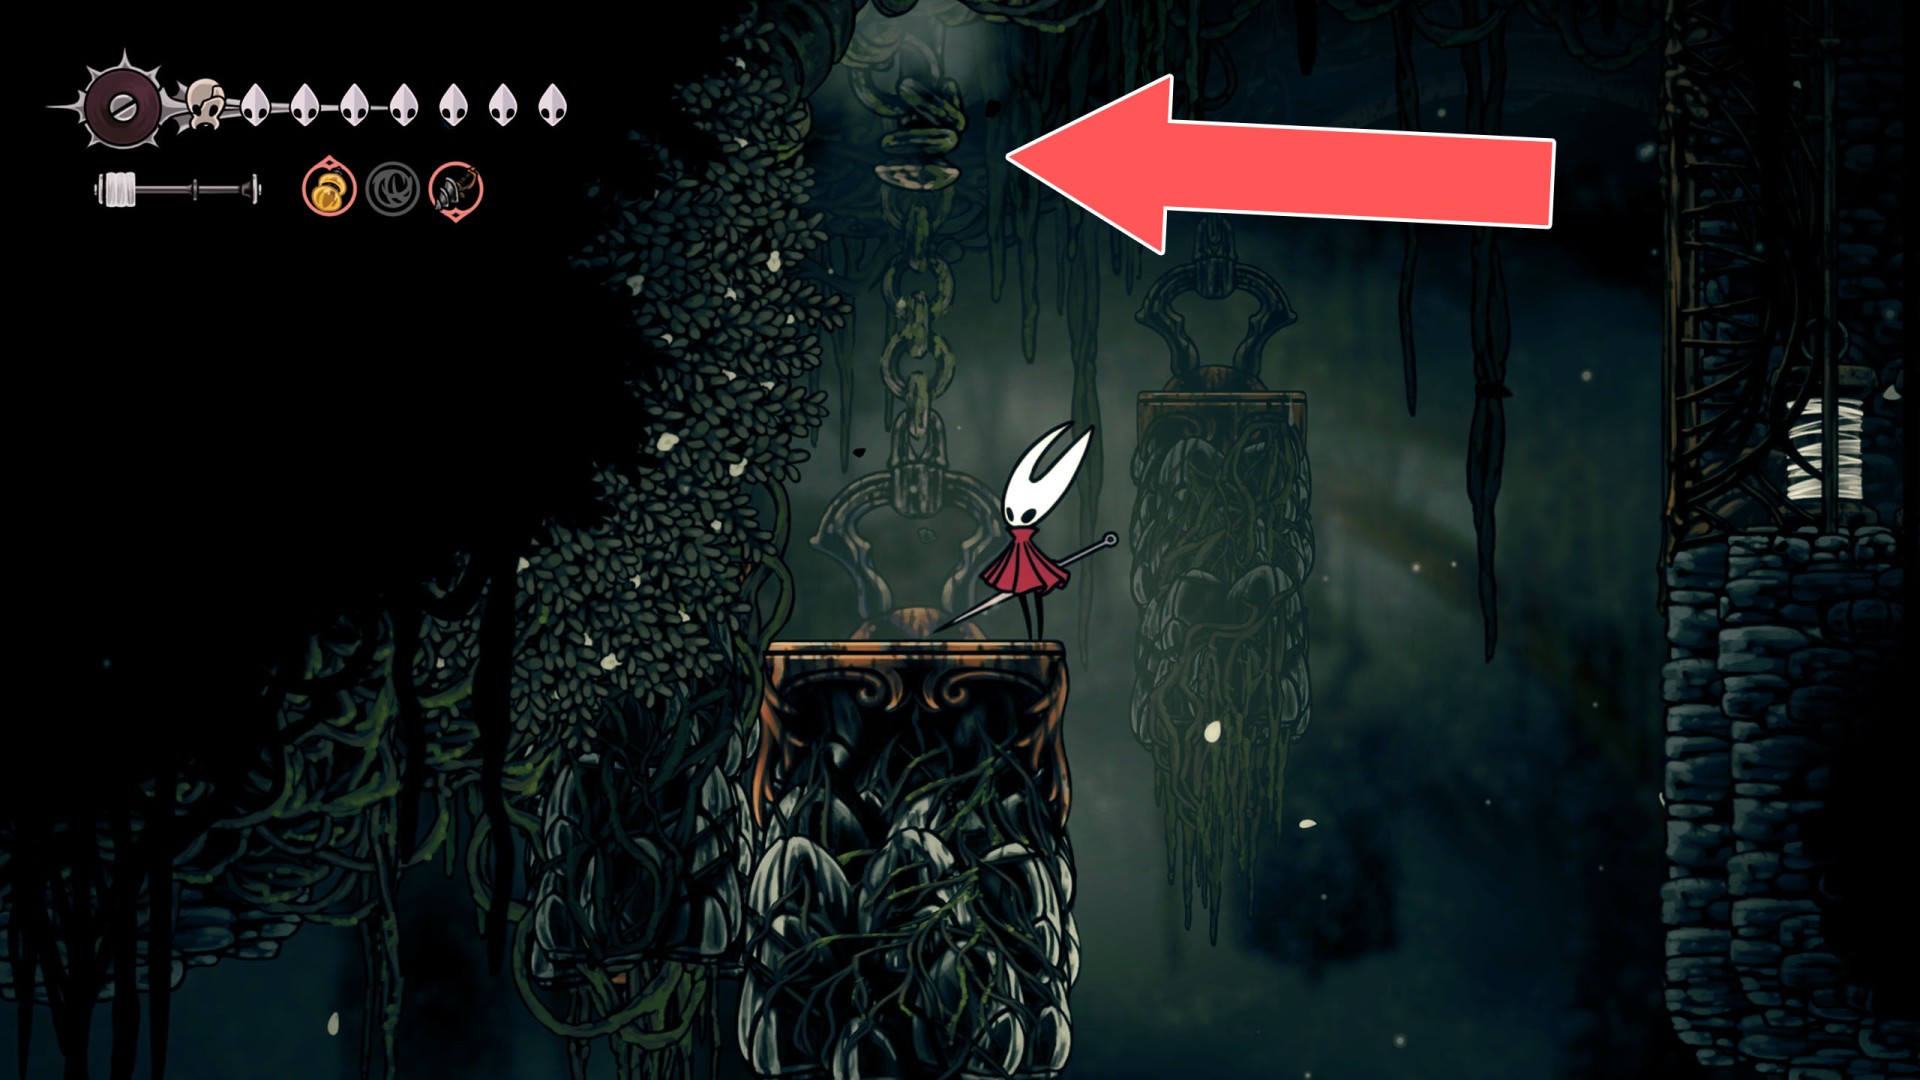
46Breakable Floor
Hit the explosive rock to create a stream of air that can carry you upward.
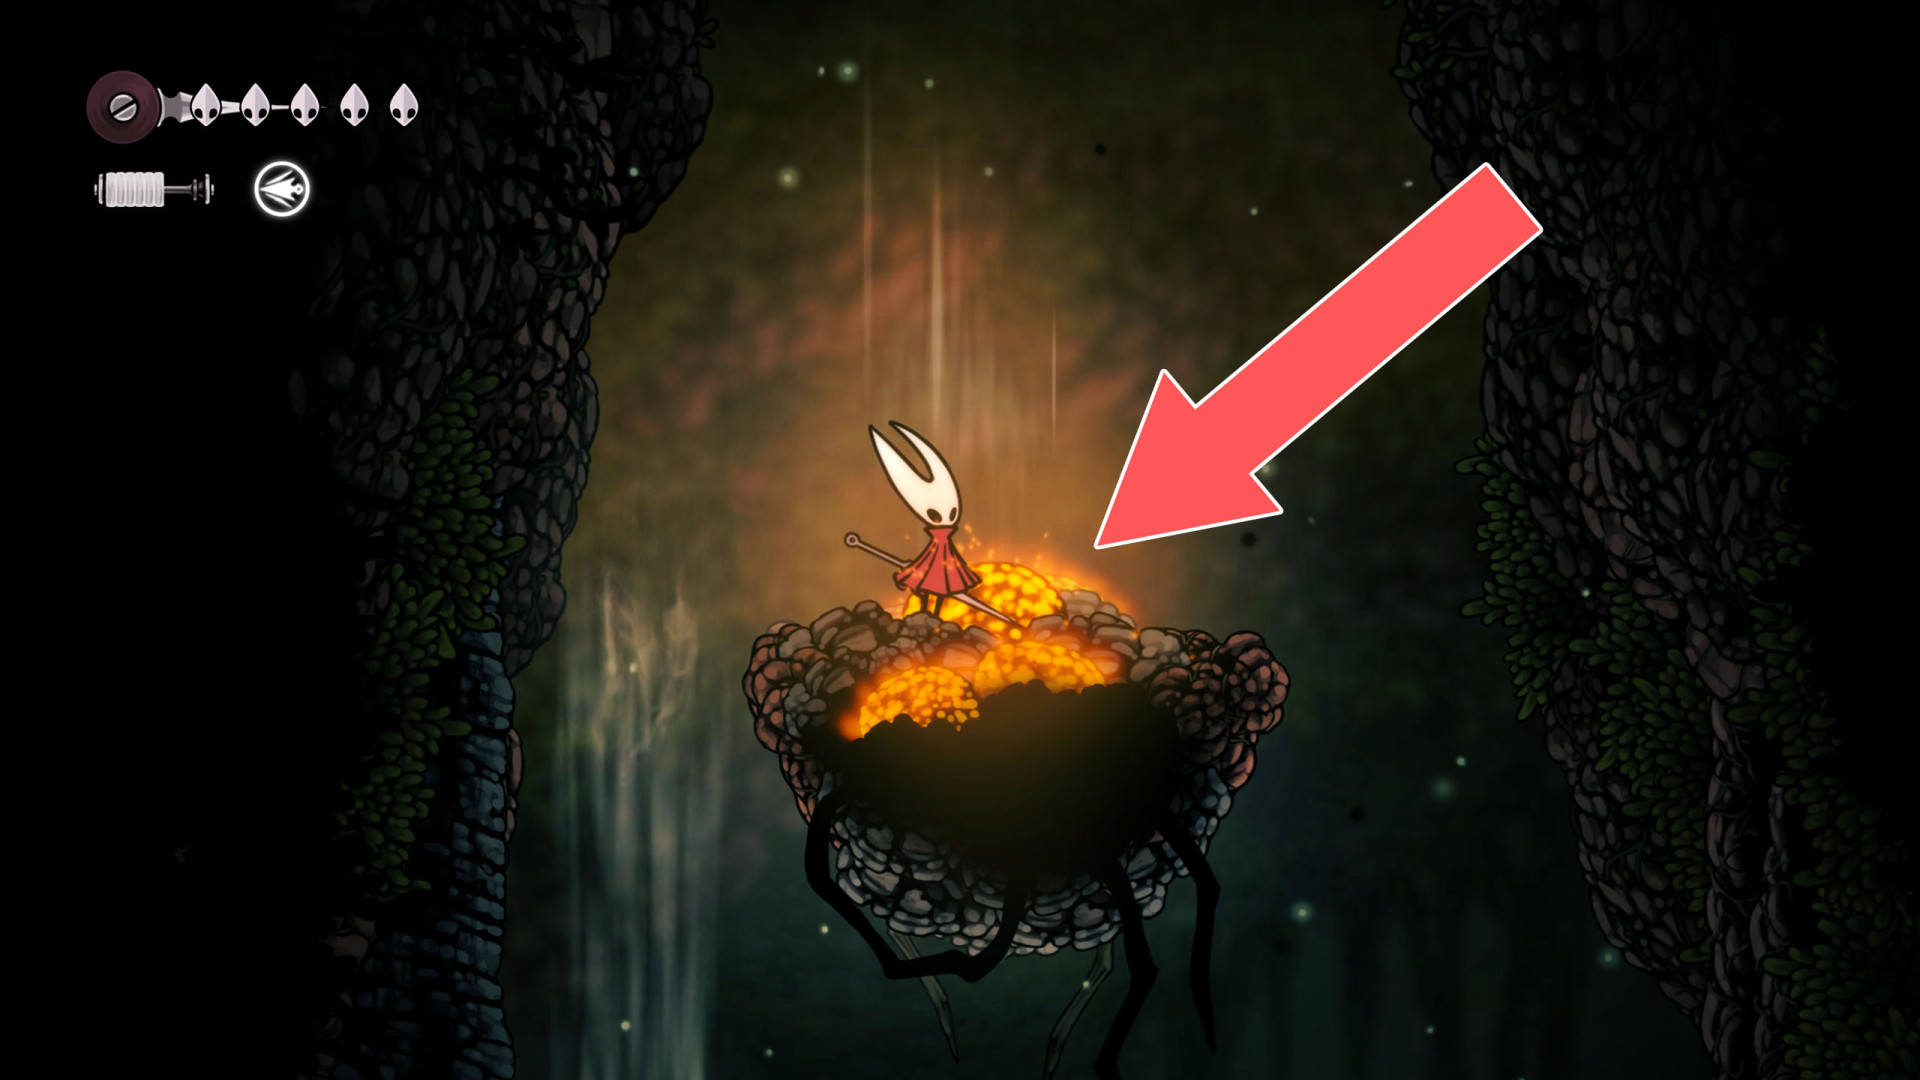
47Breakable Floor
Destroy the ropes above to open the passage.
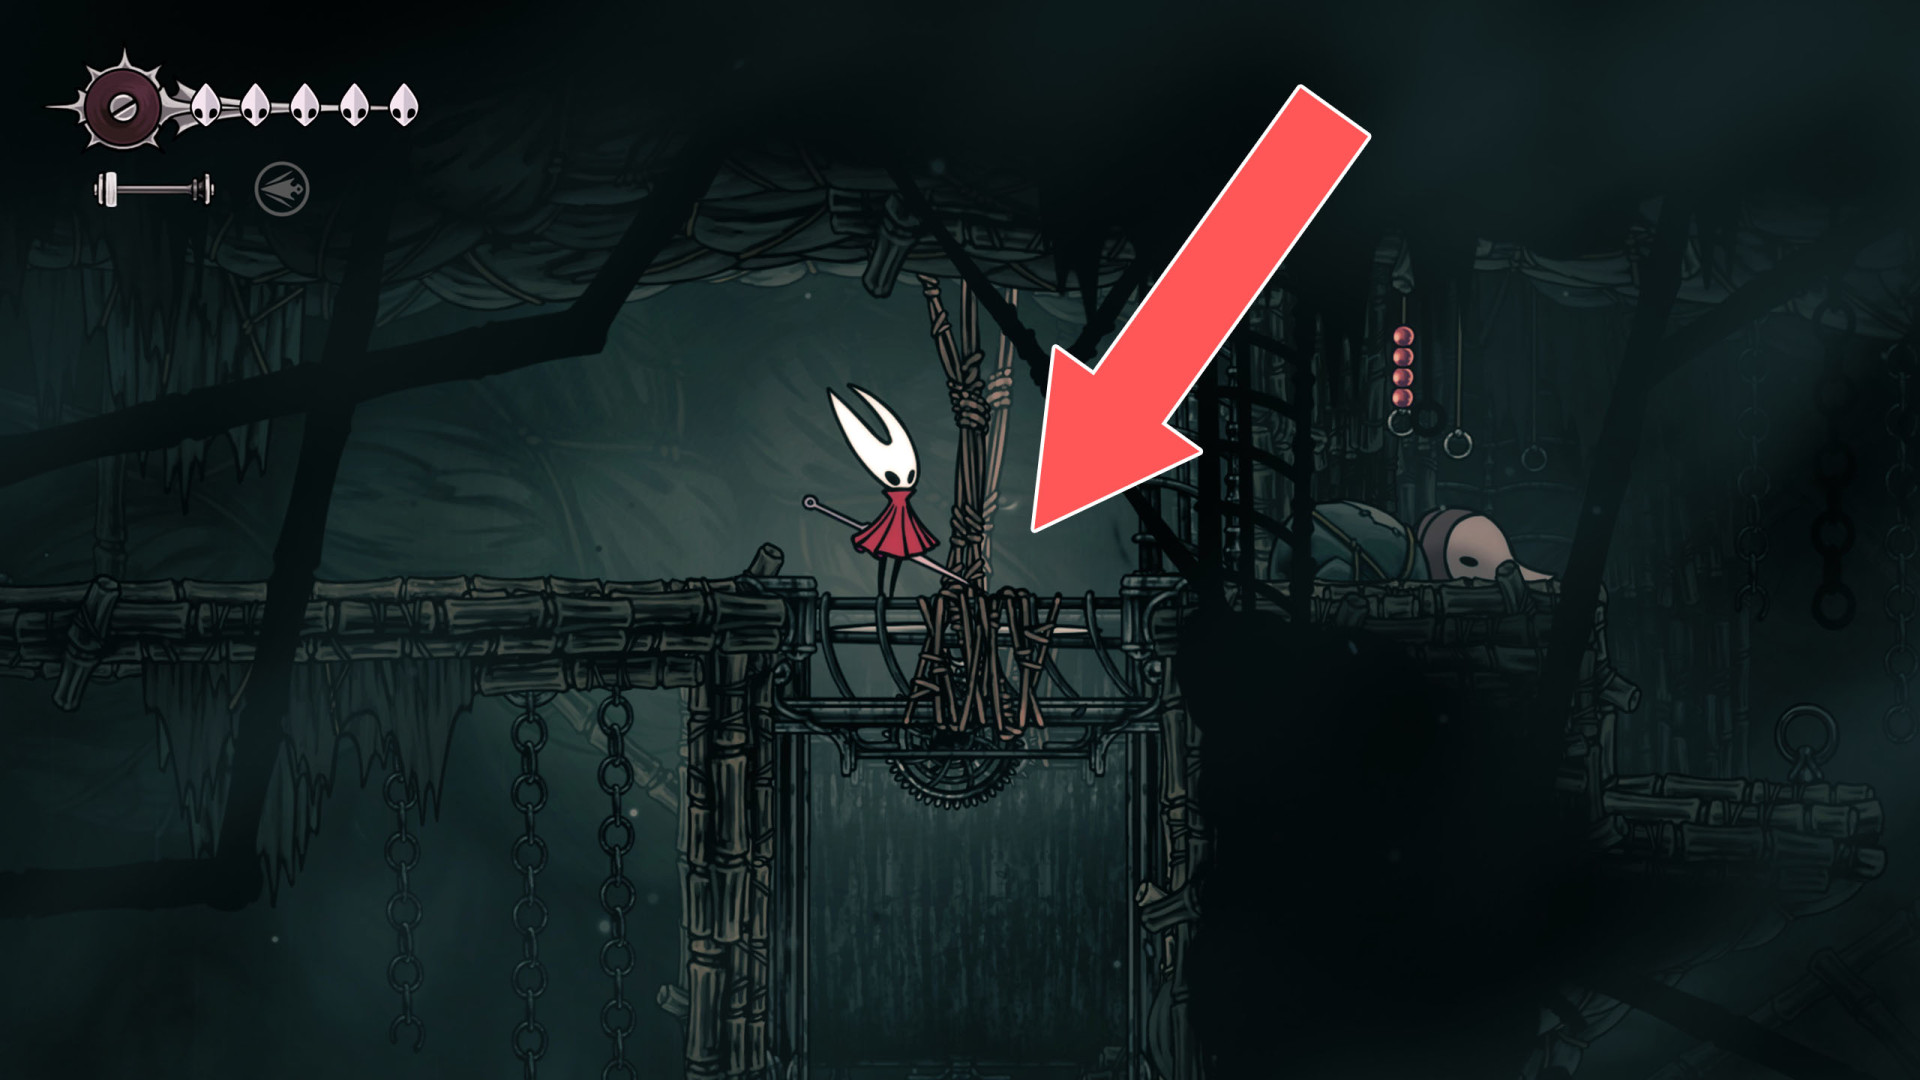
48Breakable Floor
Destroy the ropes above to open the passage.
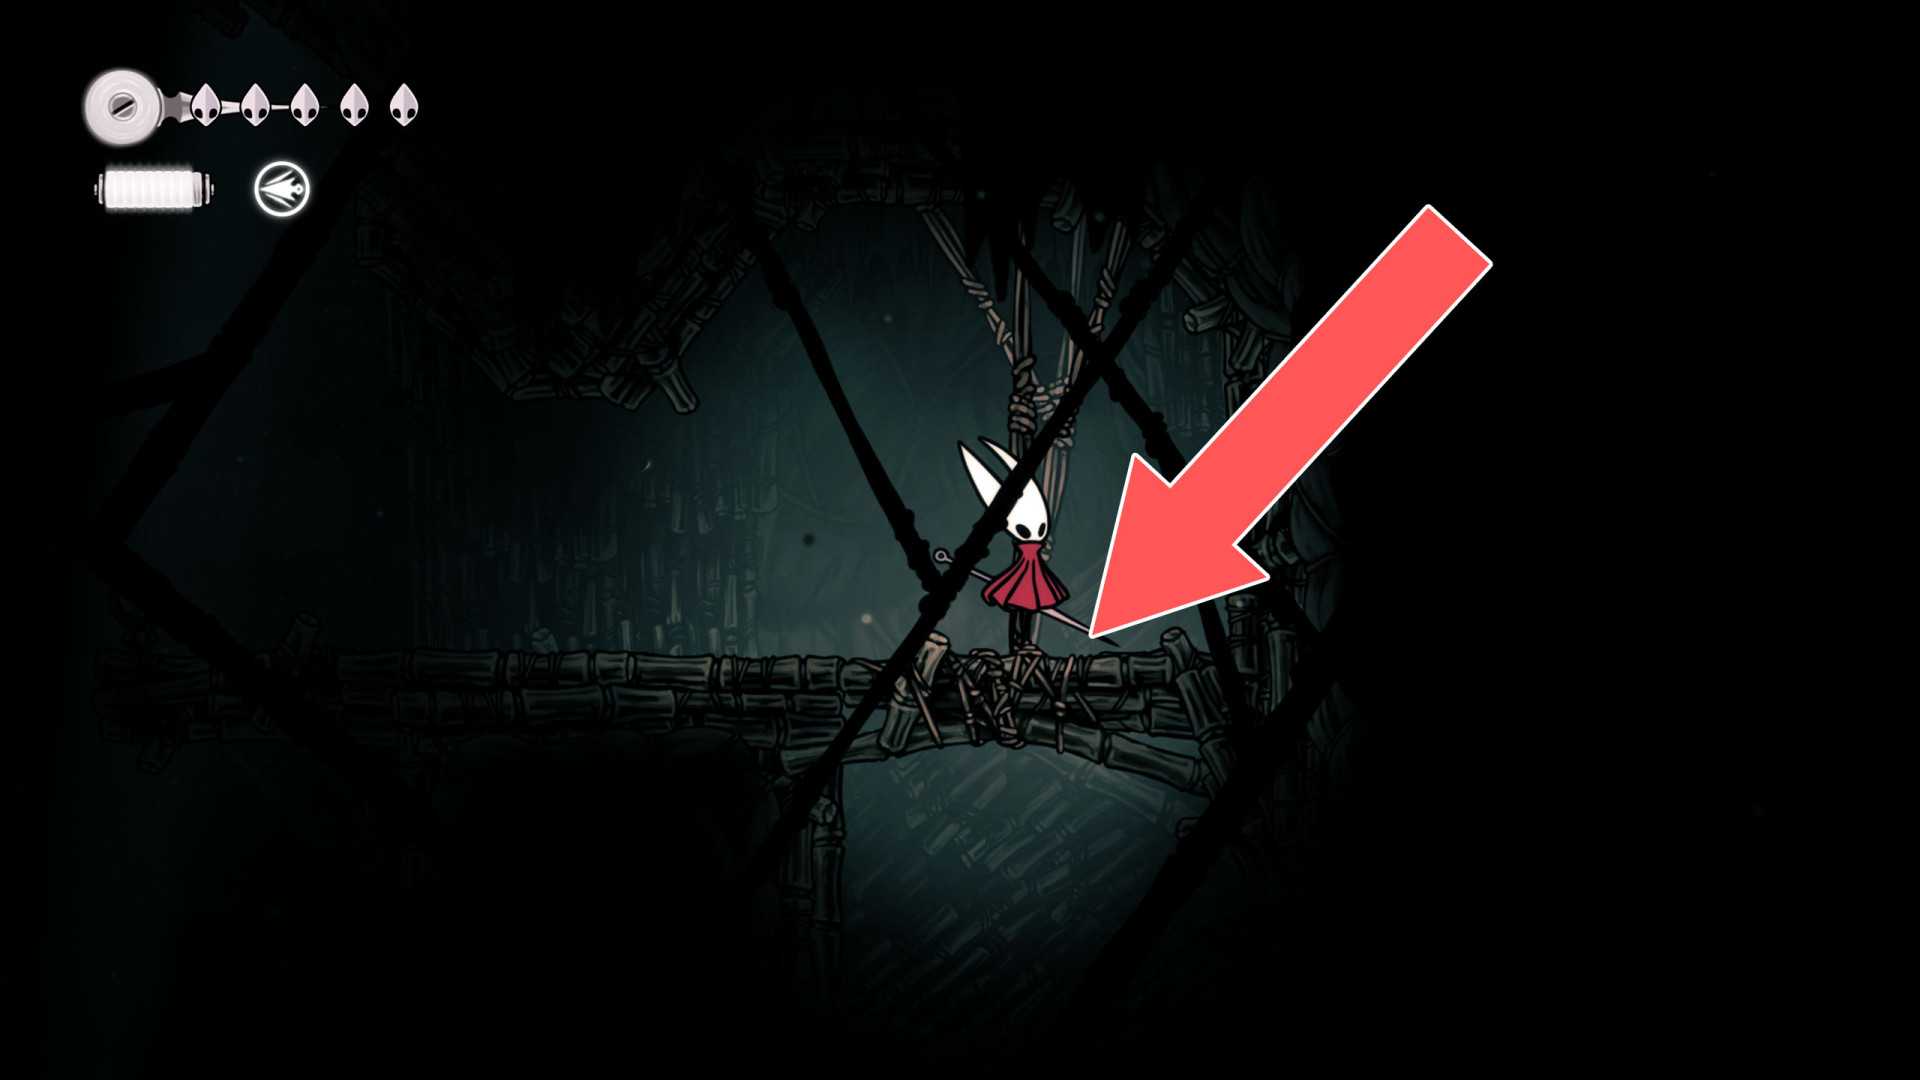
49Breakable Floor
You can break down this floor by hitting its support from the top.
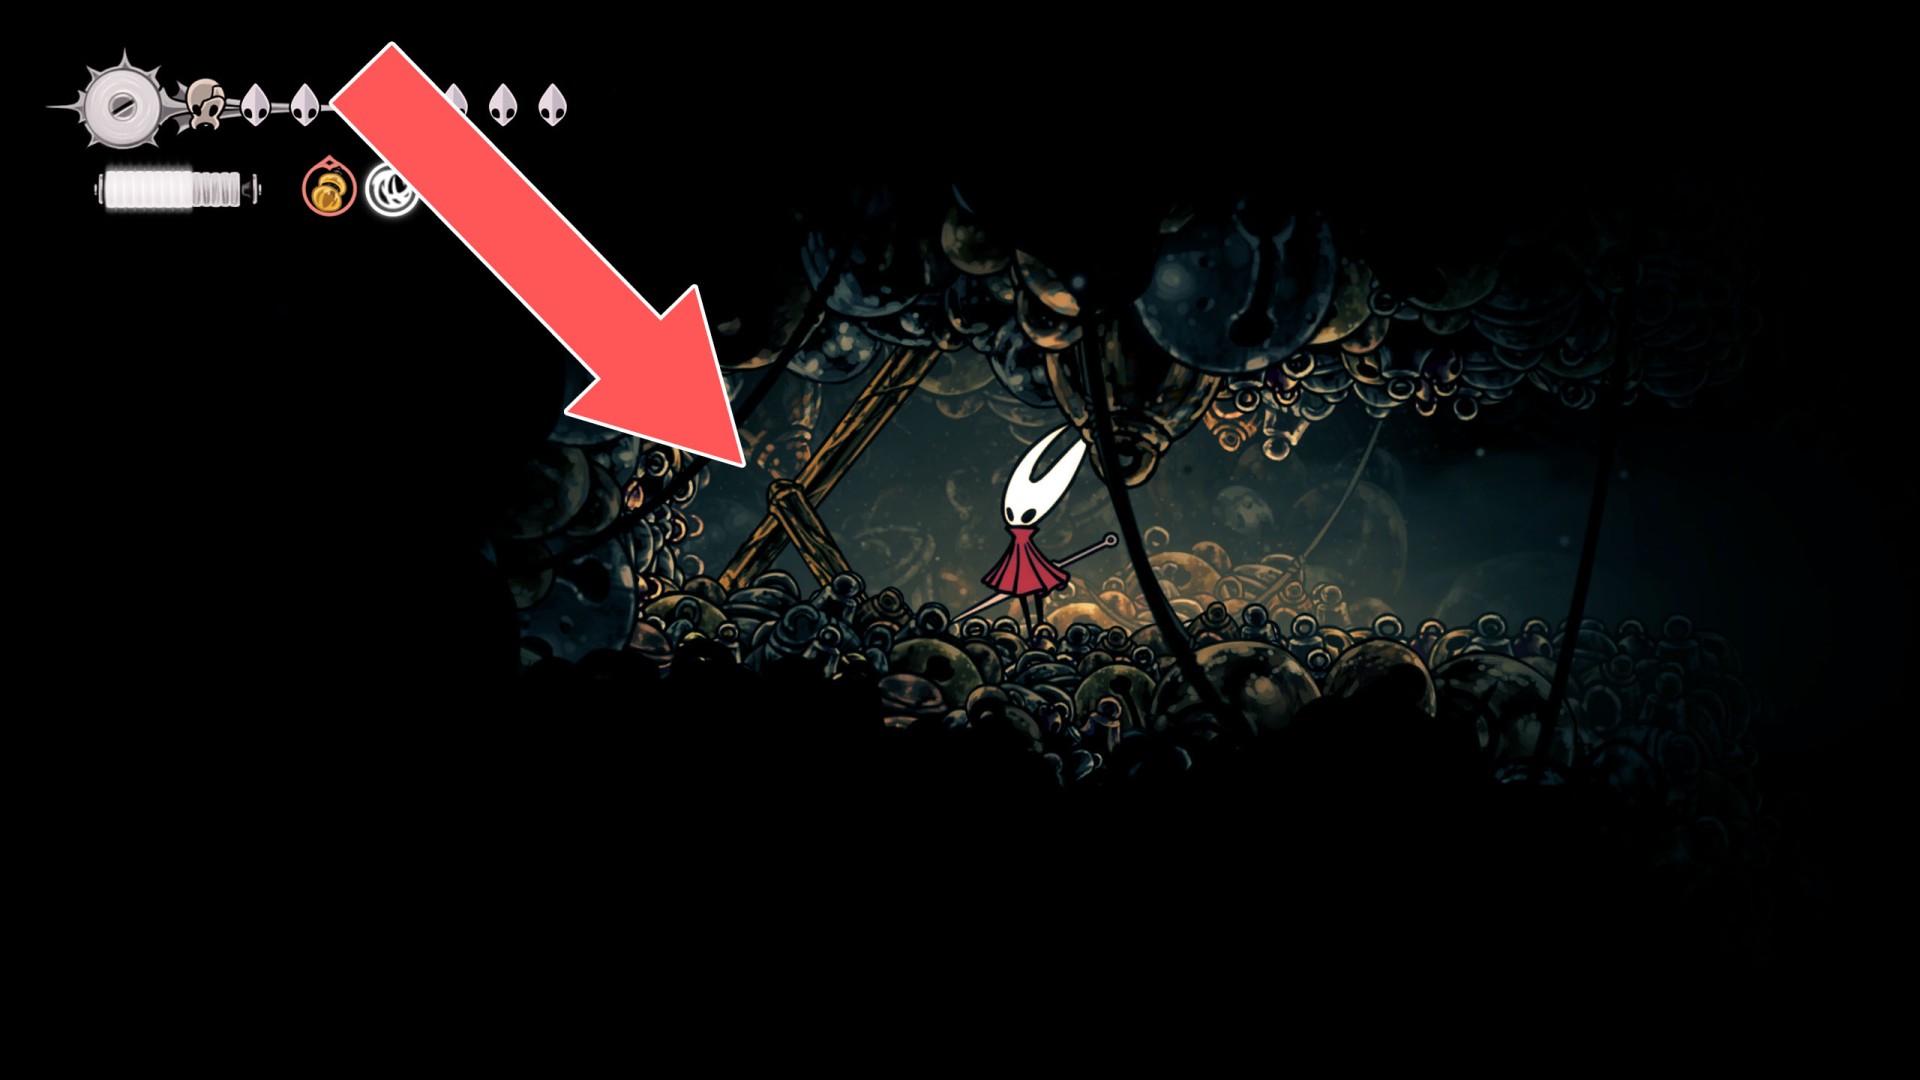
50Breakable Floor
Hit the explosive rock to create a stream of air that can carry you upward.
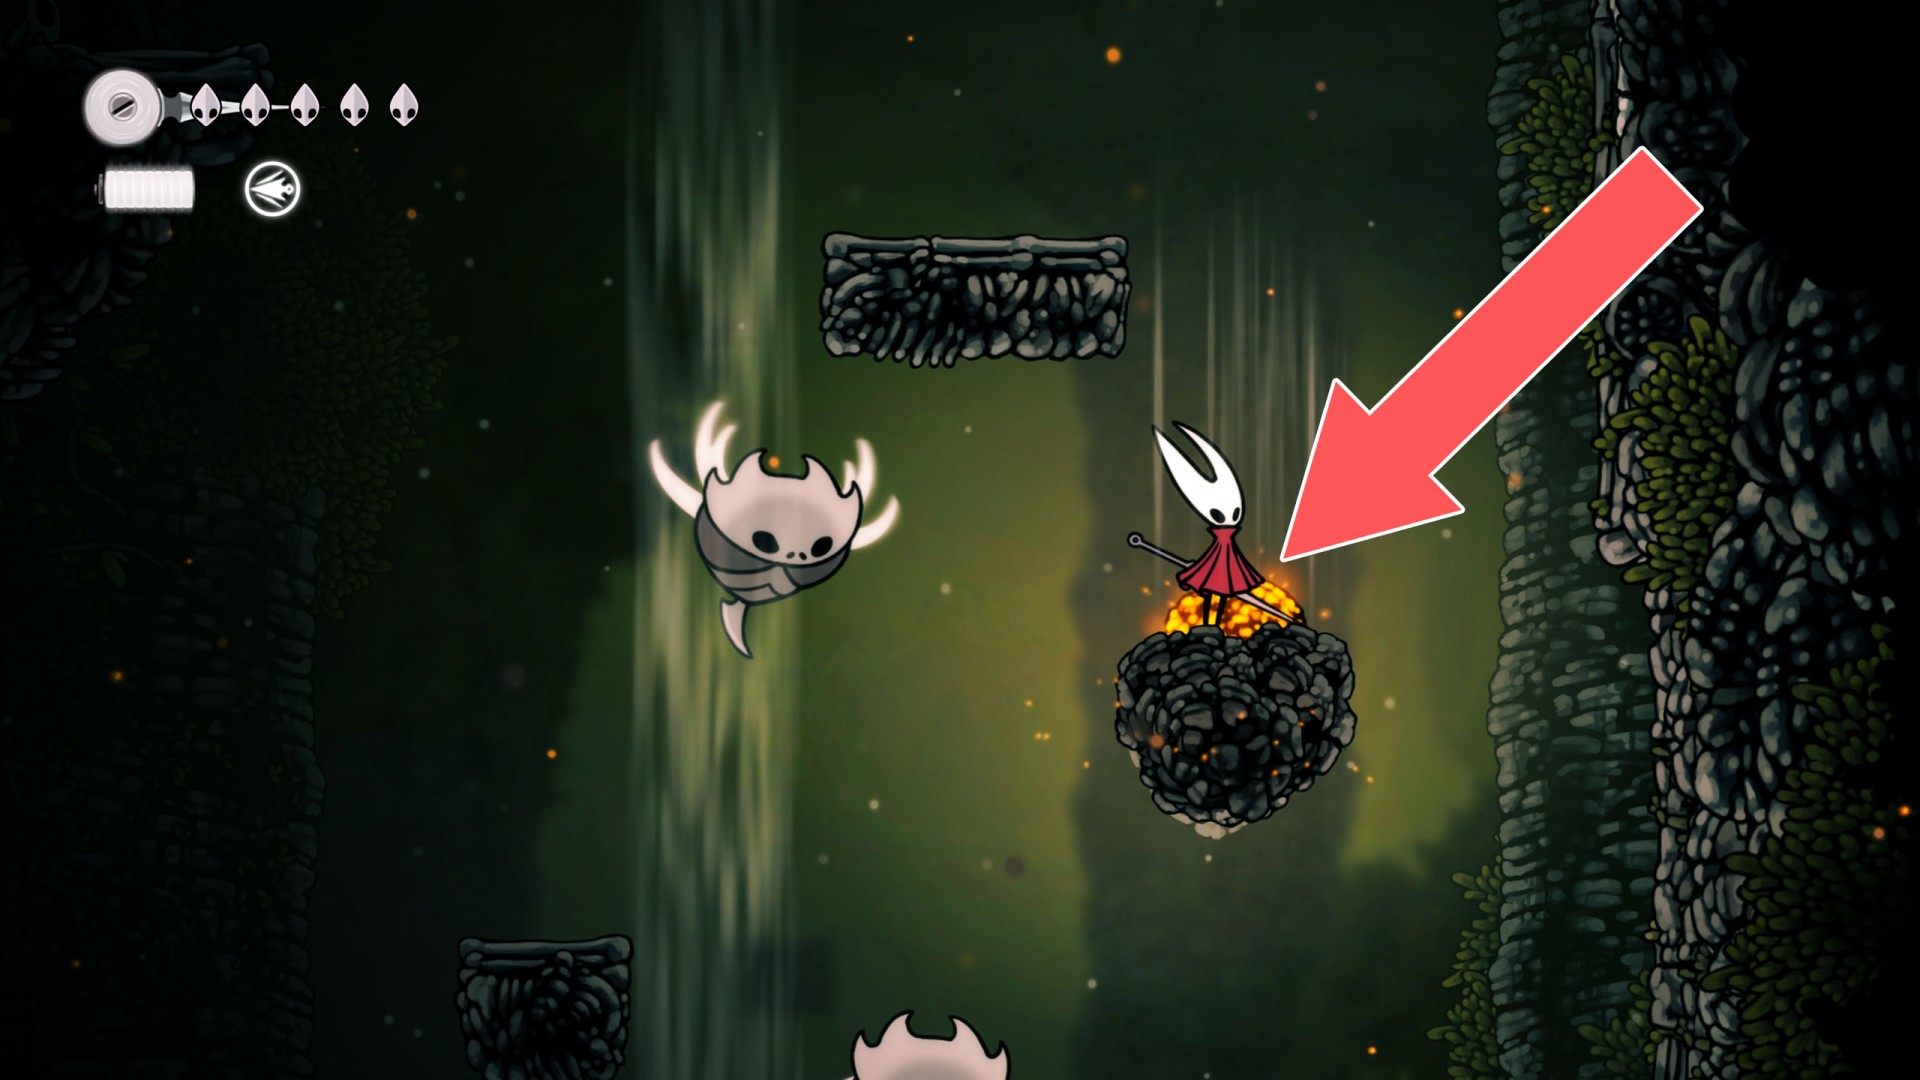
51Breakable Floor
Hit the explosive rock to create a stream of air that can carry you upward.
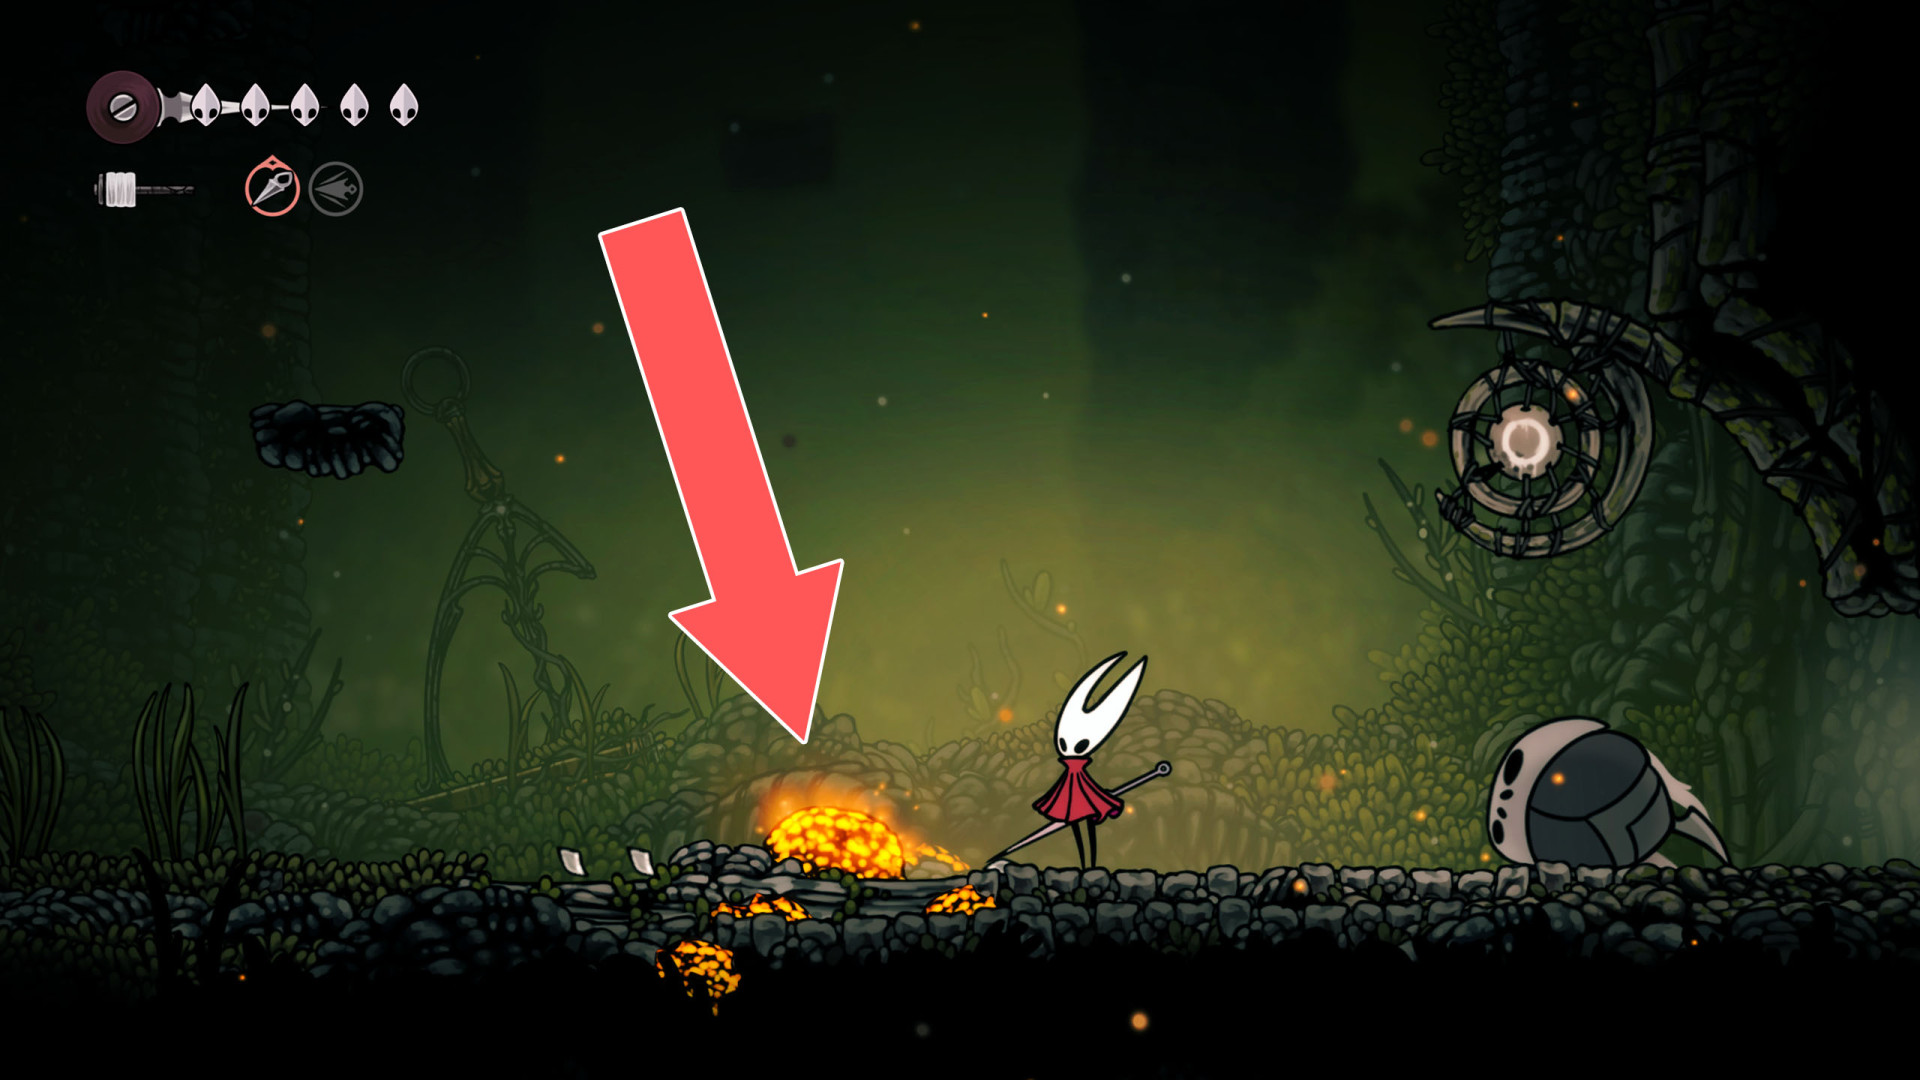
52Breakable Floor
Hit the explosive rock to create a stream of air that can carry you upward.
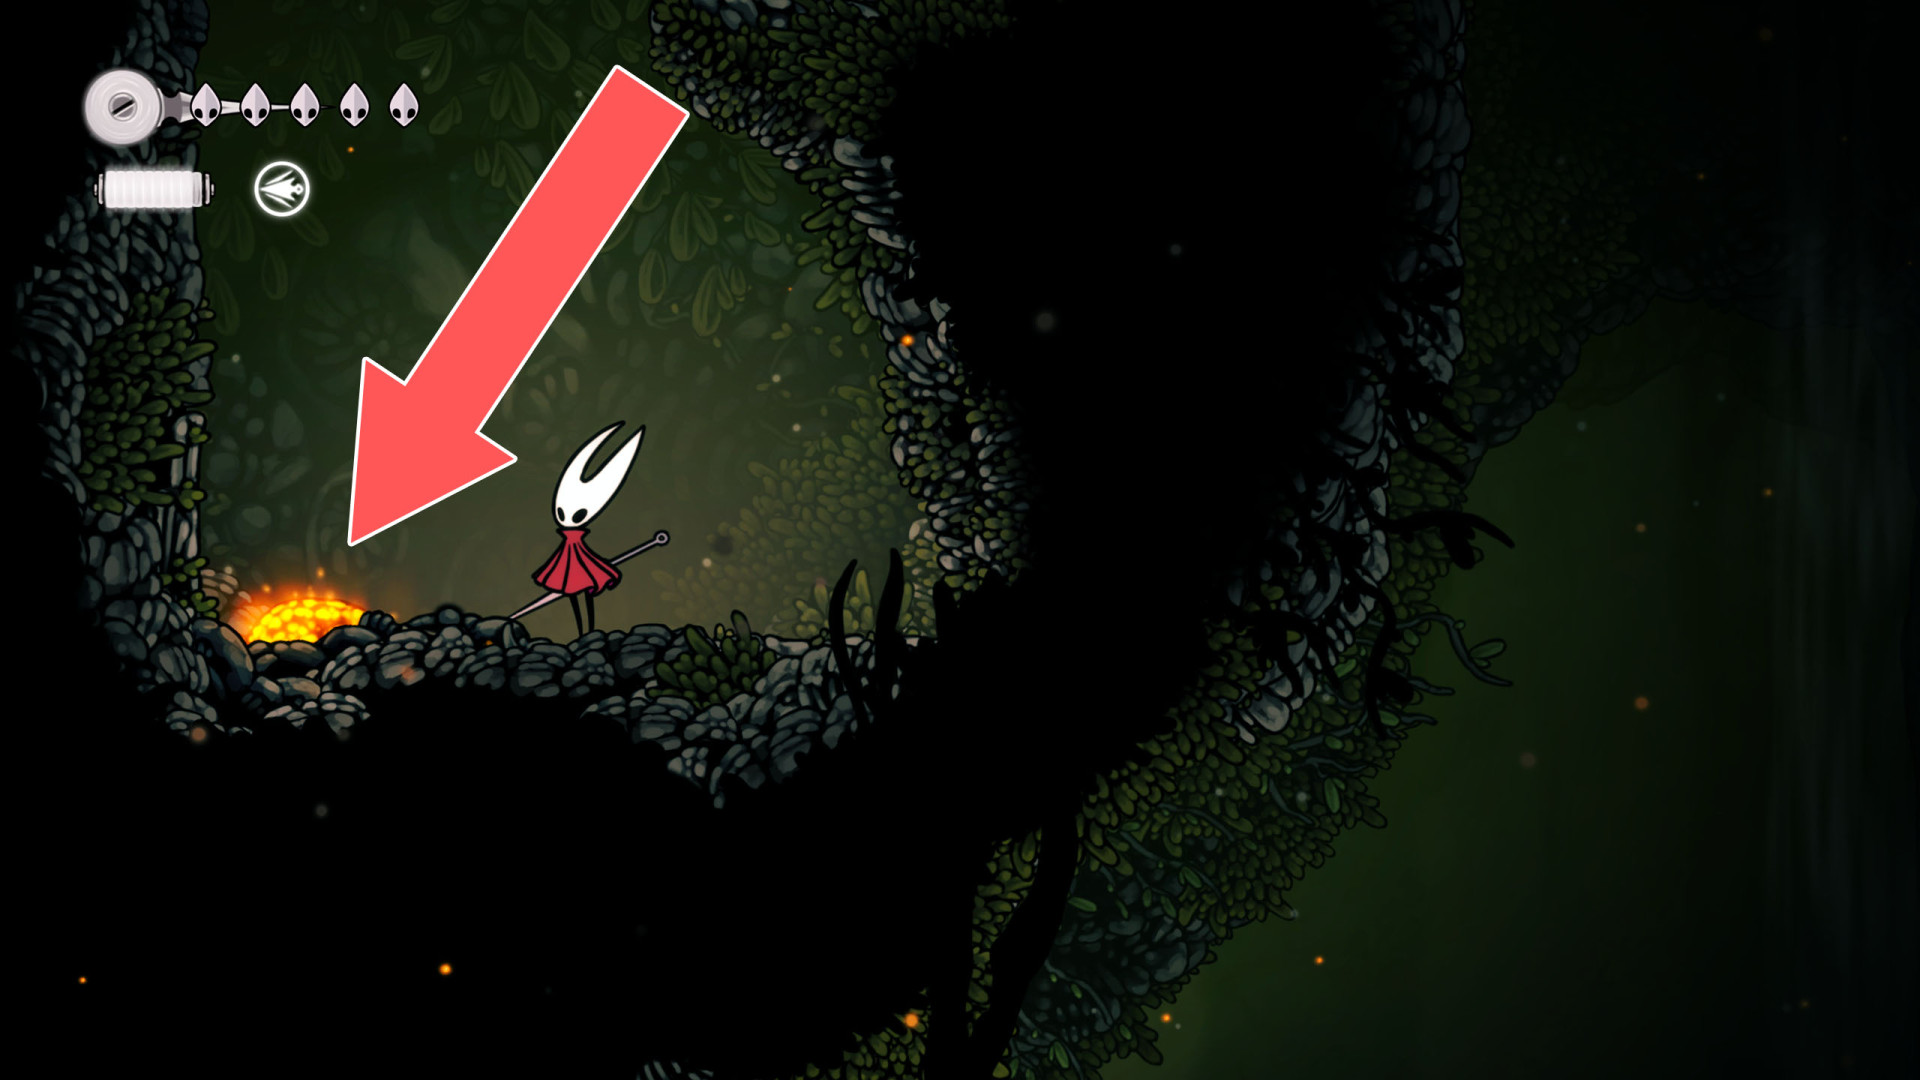
53Breakable Floor
To open the passage hit the explosive rock on the floor.
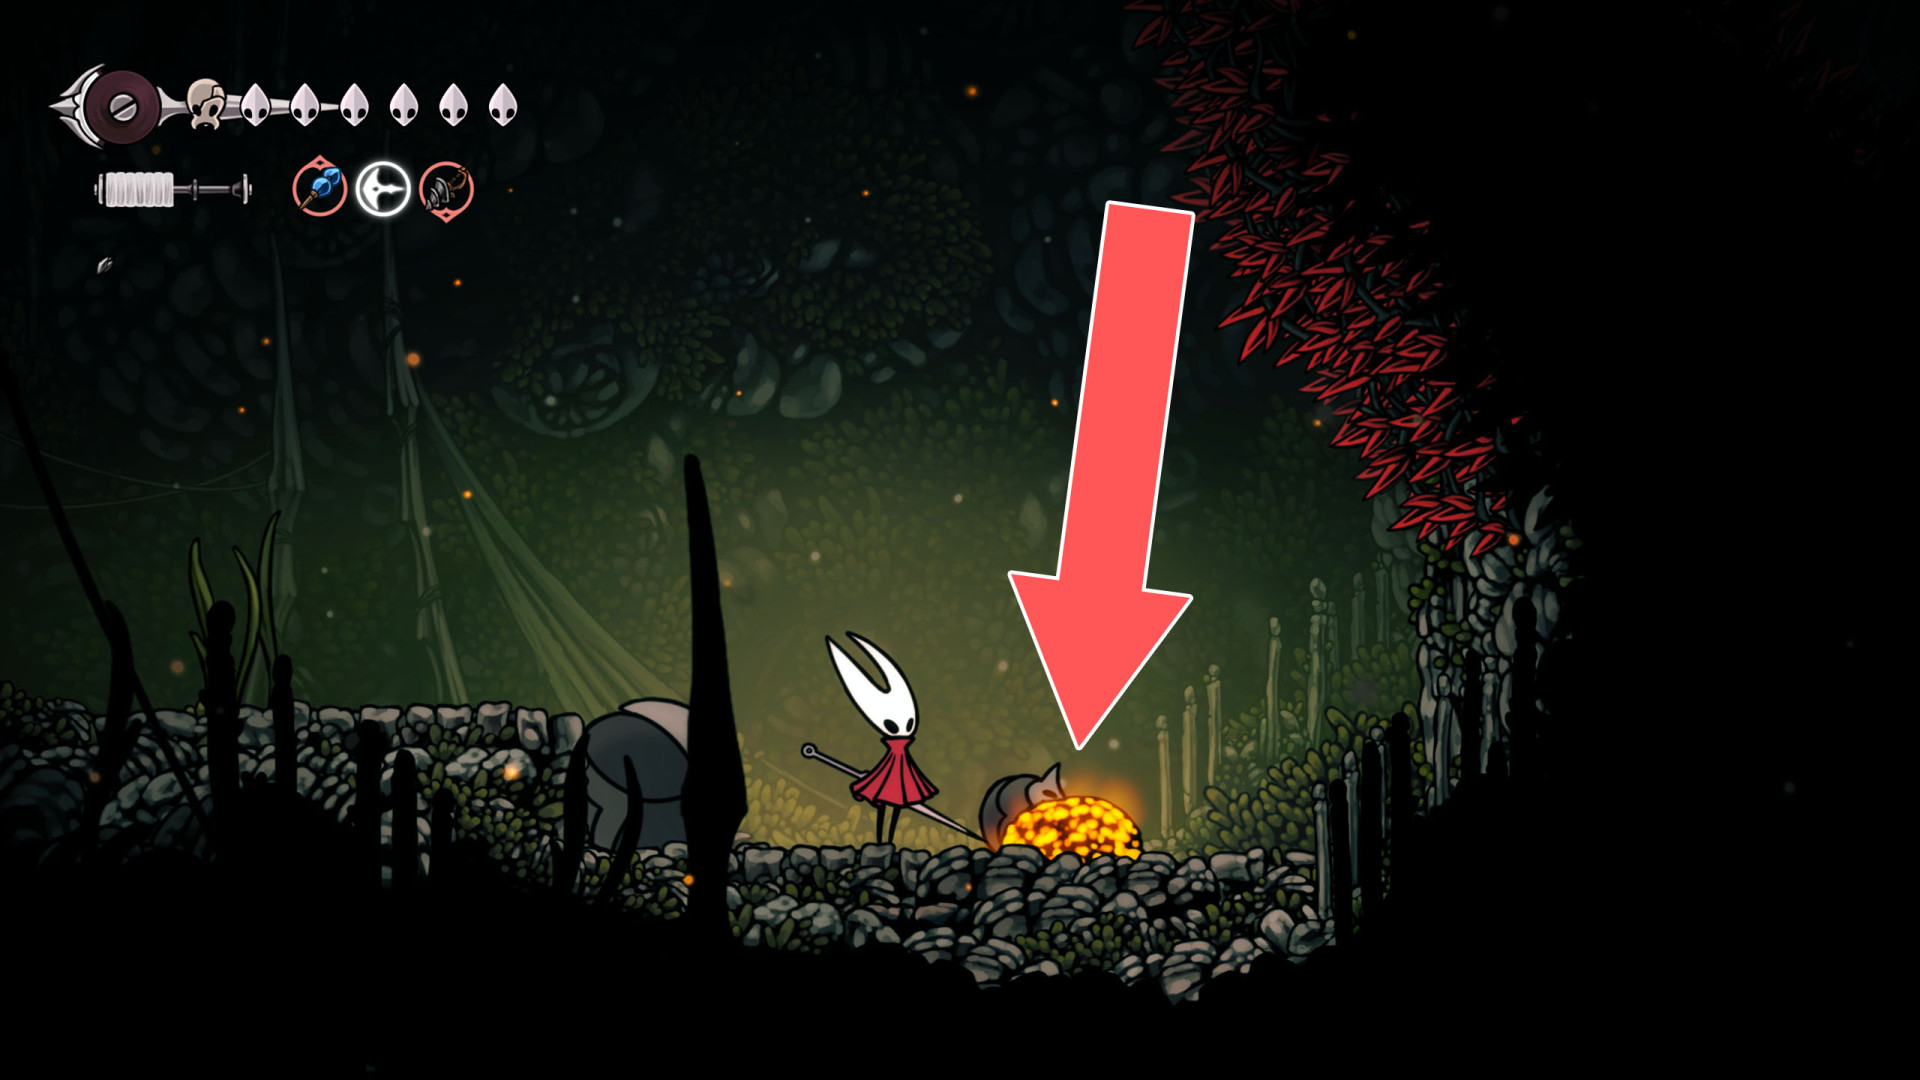
54Breakable Floor
Hit the explosive rock to create a stream of air that can carry you upward.
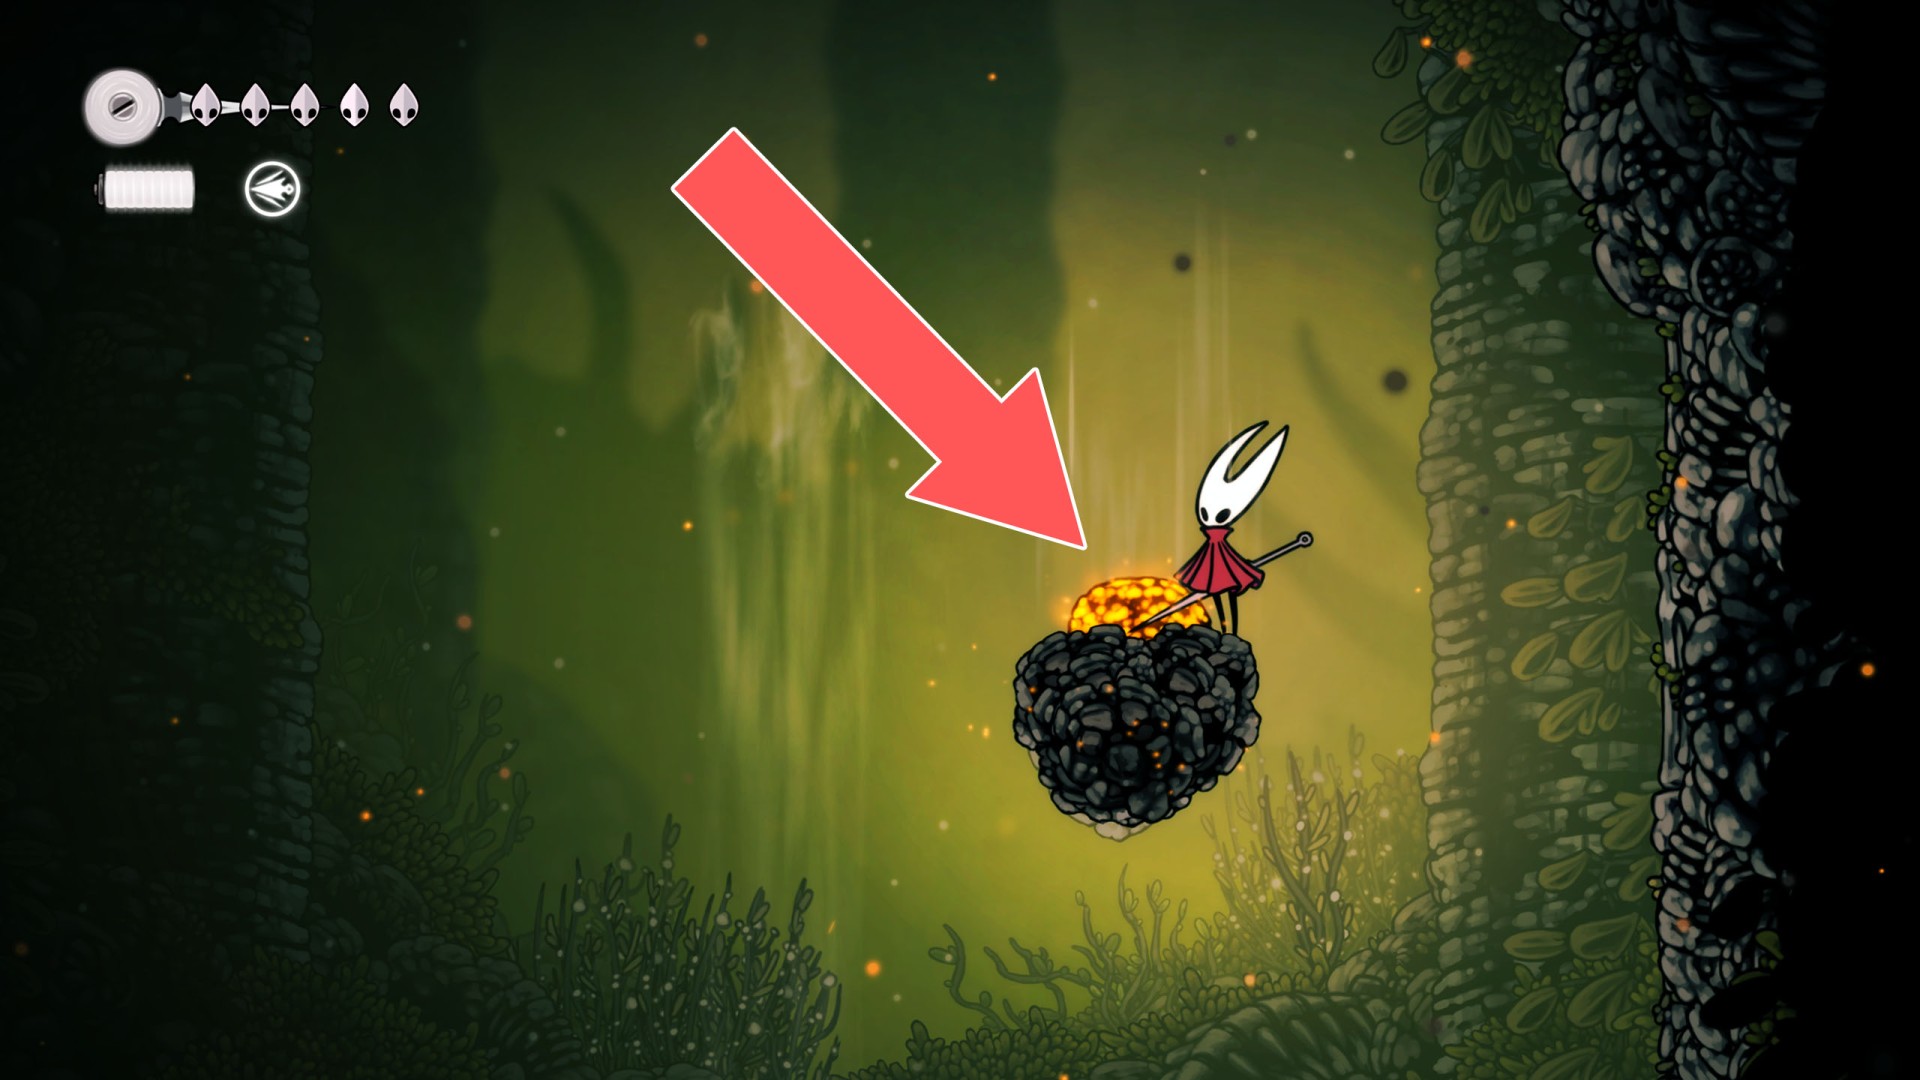
55Breakable Floor
Hit the explosive rock hanging above to make a hole in the floor.
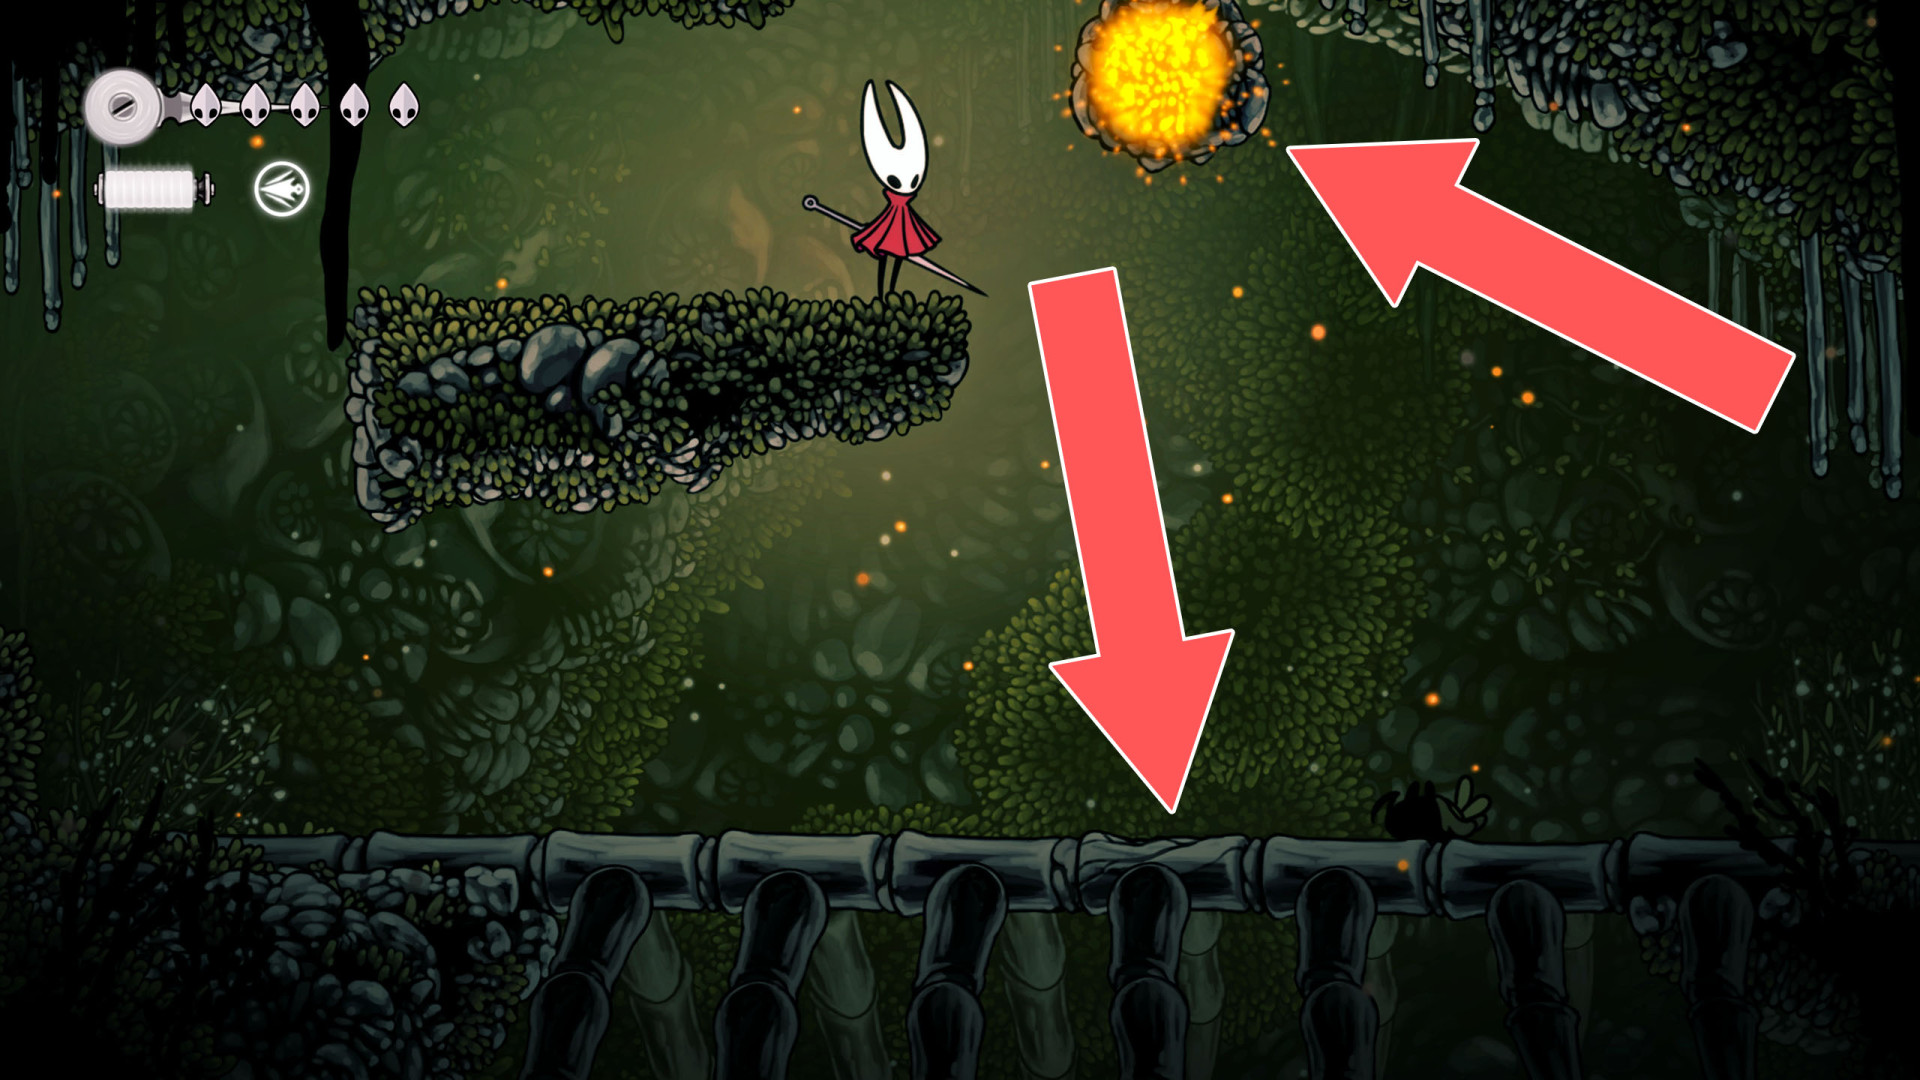
56Breakable Floor
Hit the explosive rock at the bottom to open the passage.
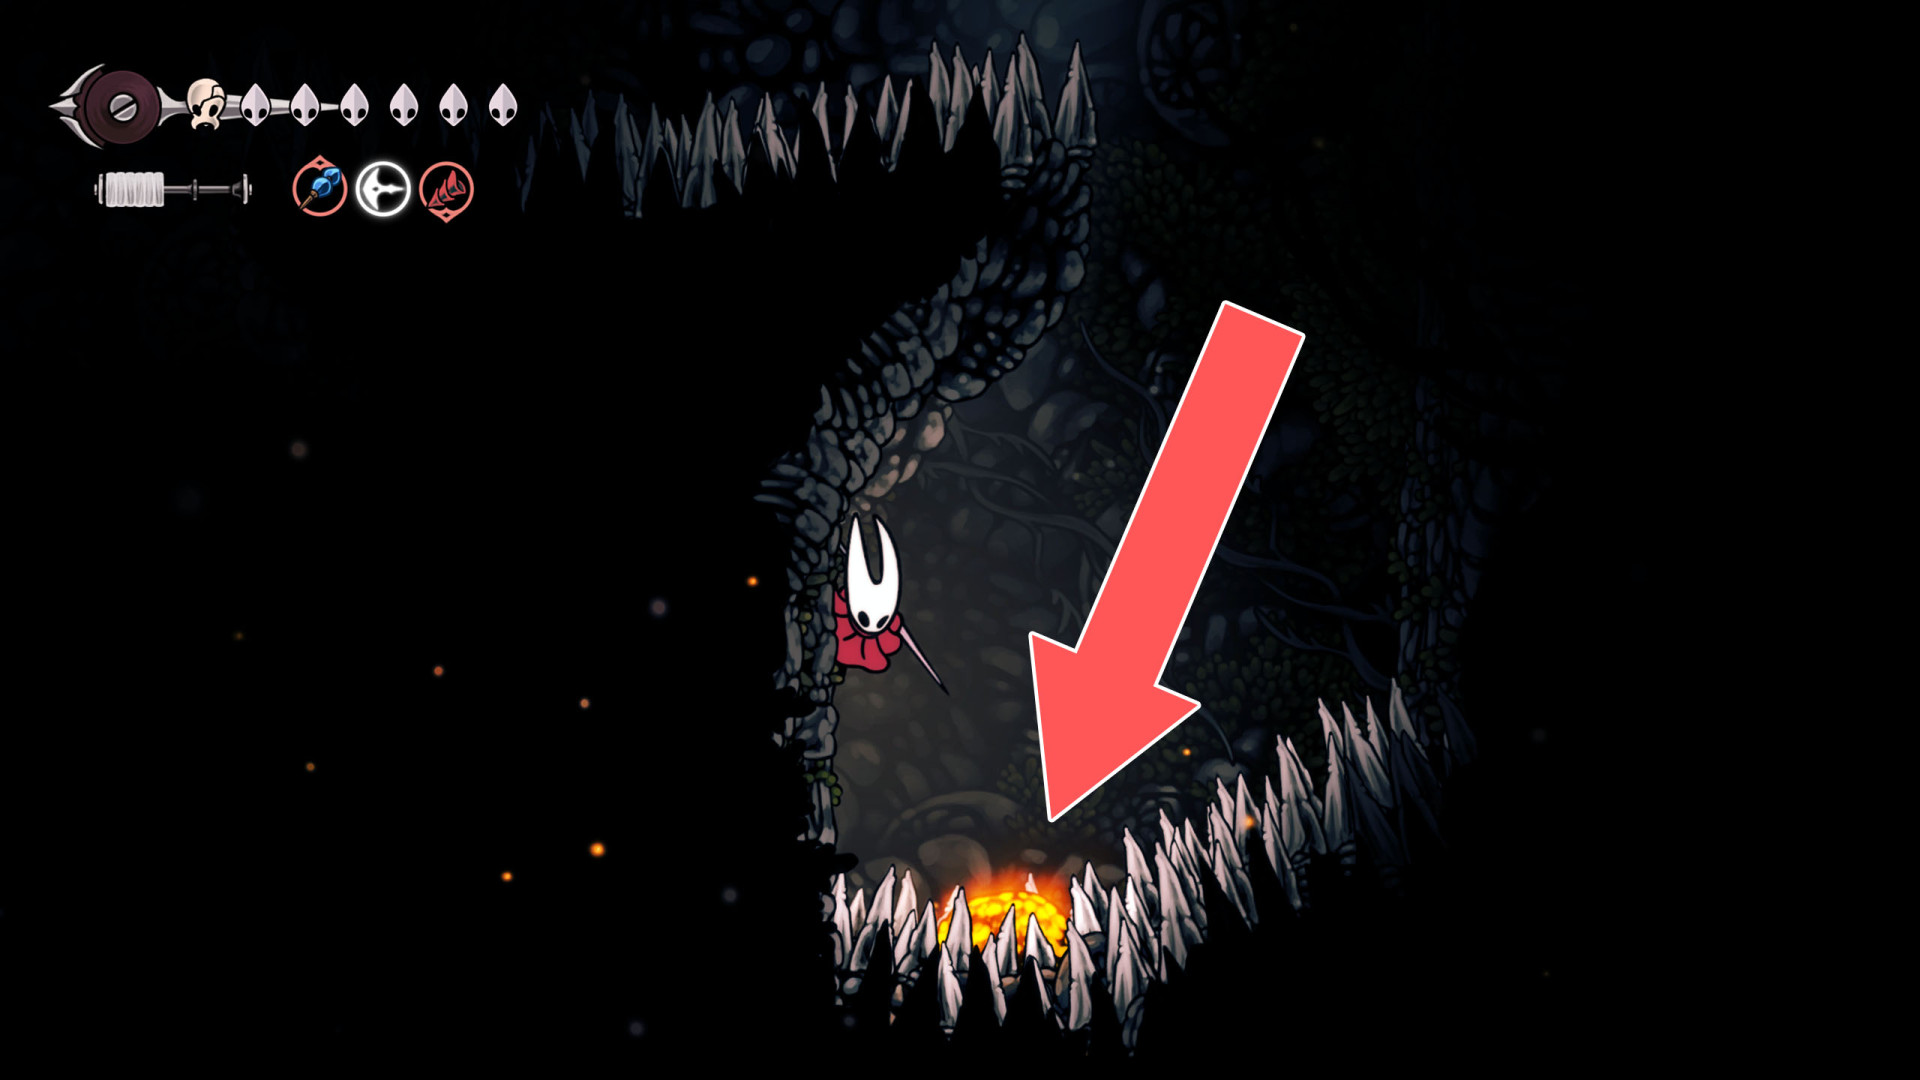
57Breakable Floor
You can destroy this roadblock and open a passage by hitting it from the top.
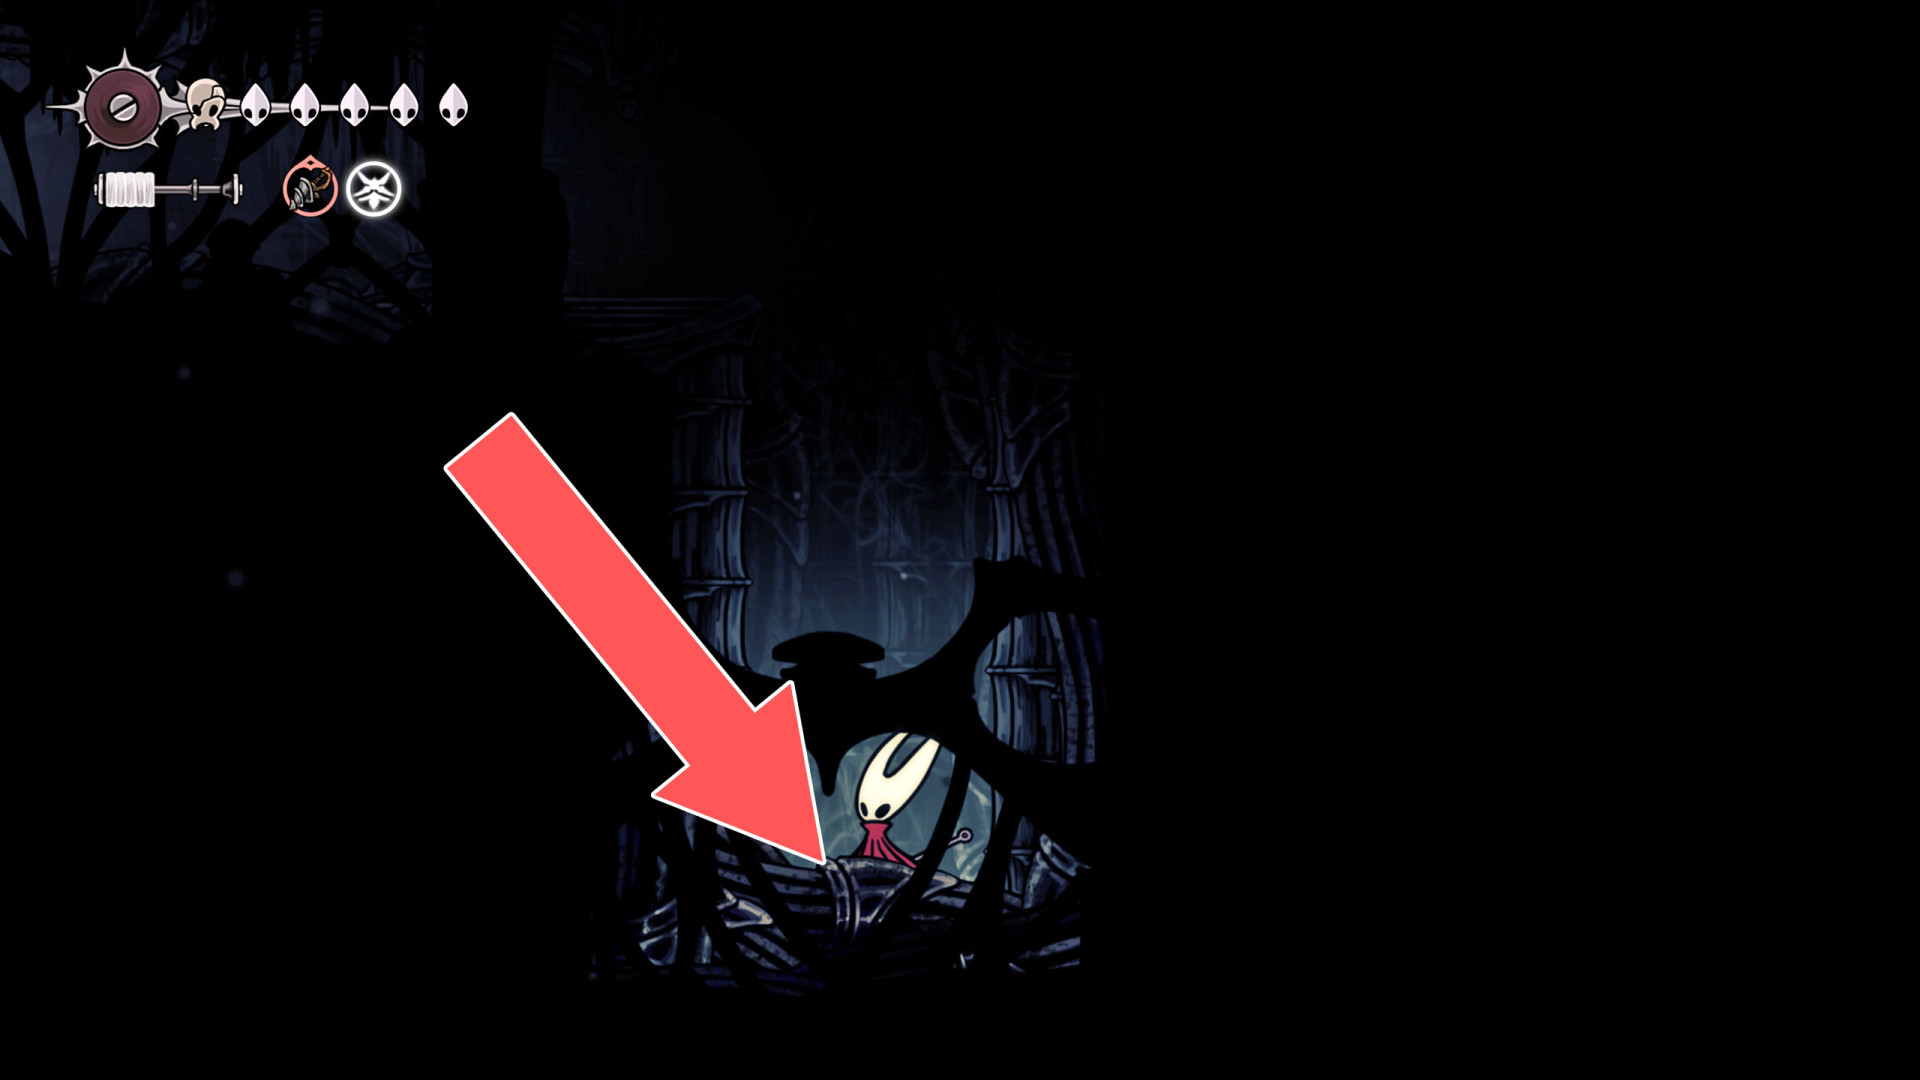
58Breakable Floor
You can break down this roadblock by hitting it from the west (top) side.
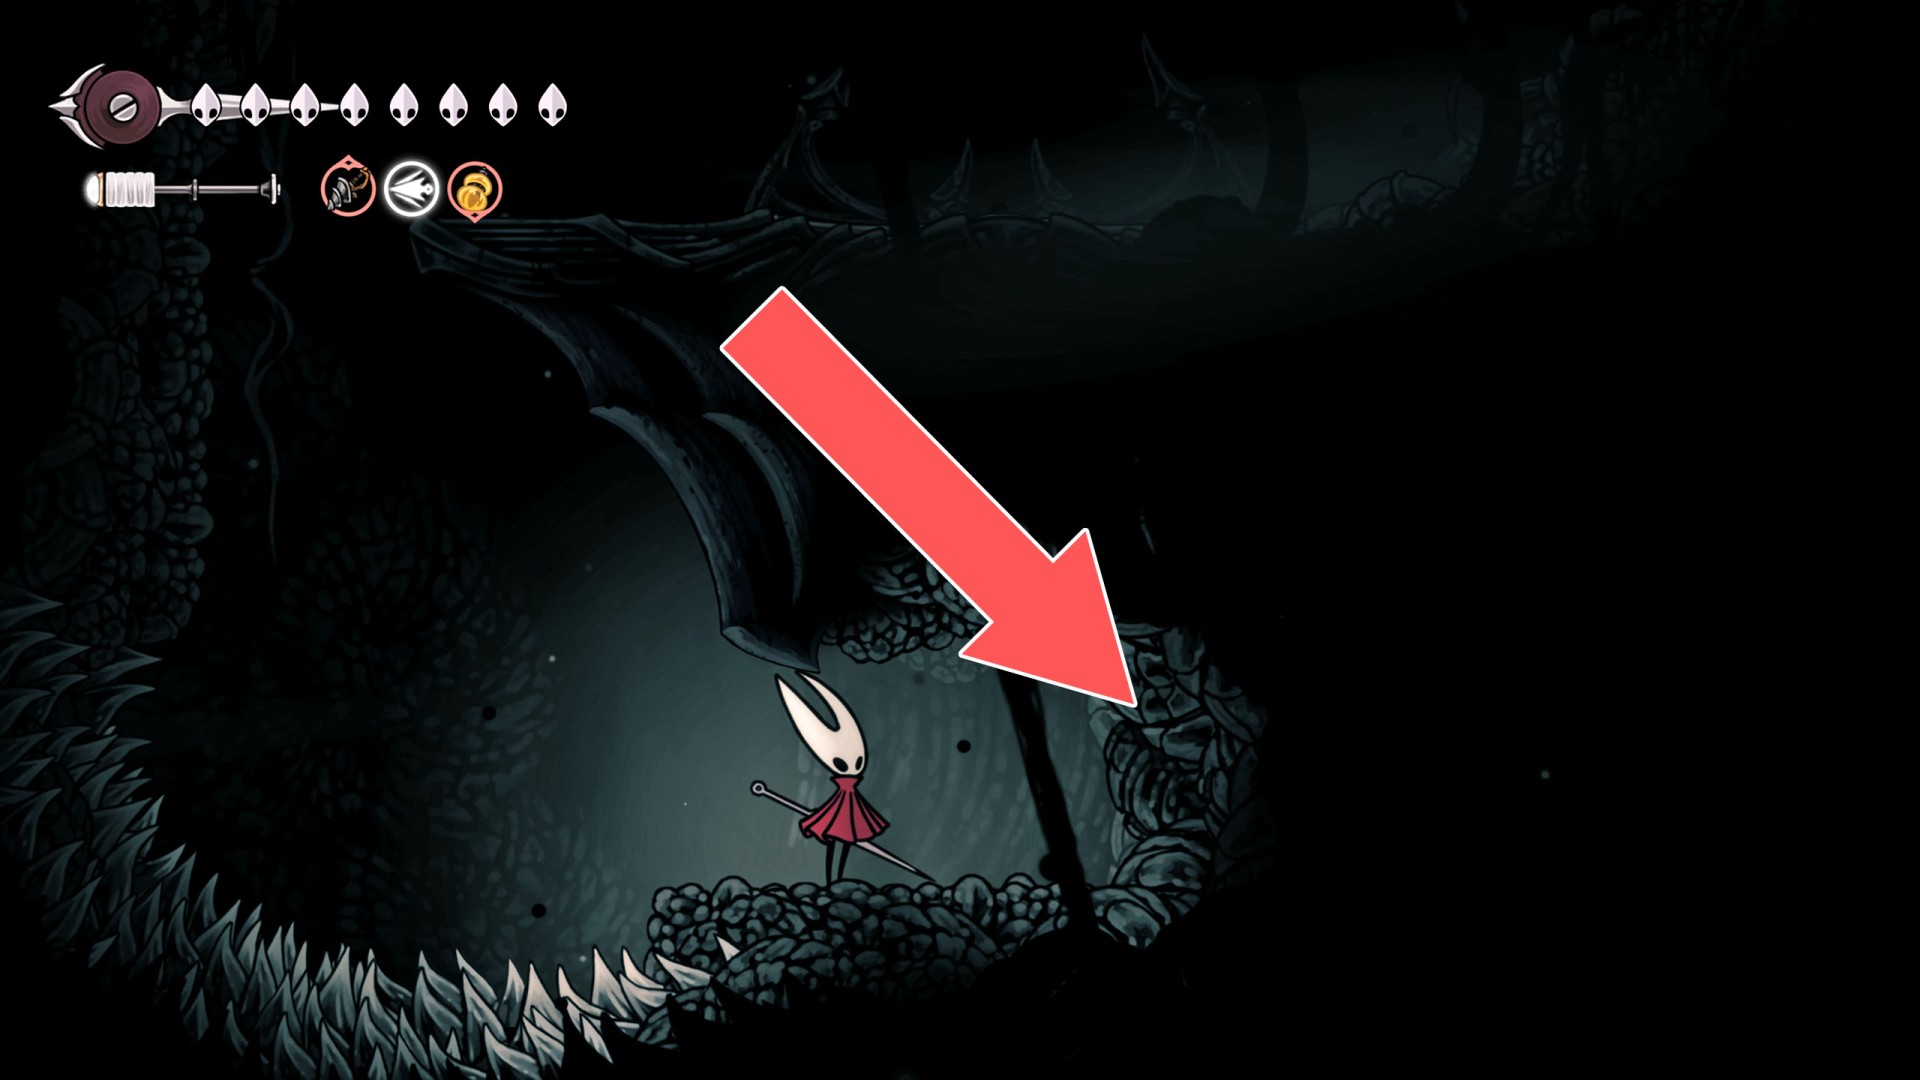
59Breakable Wall
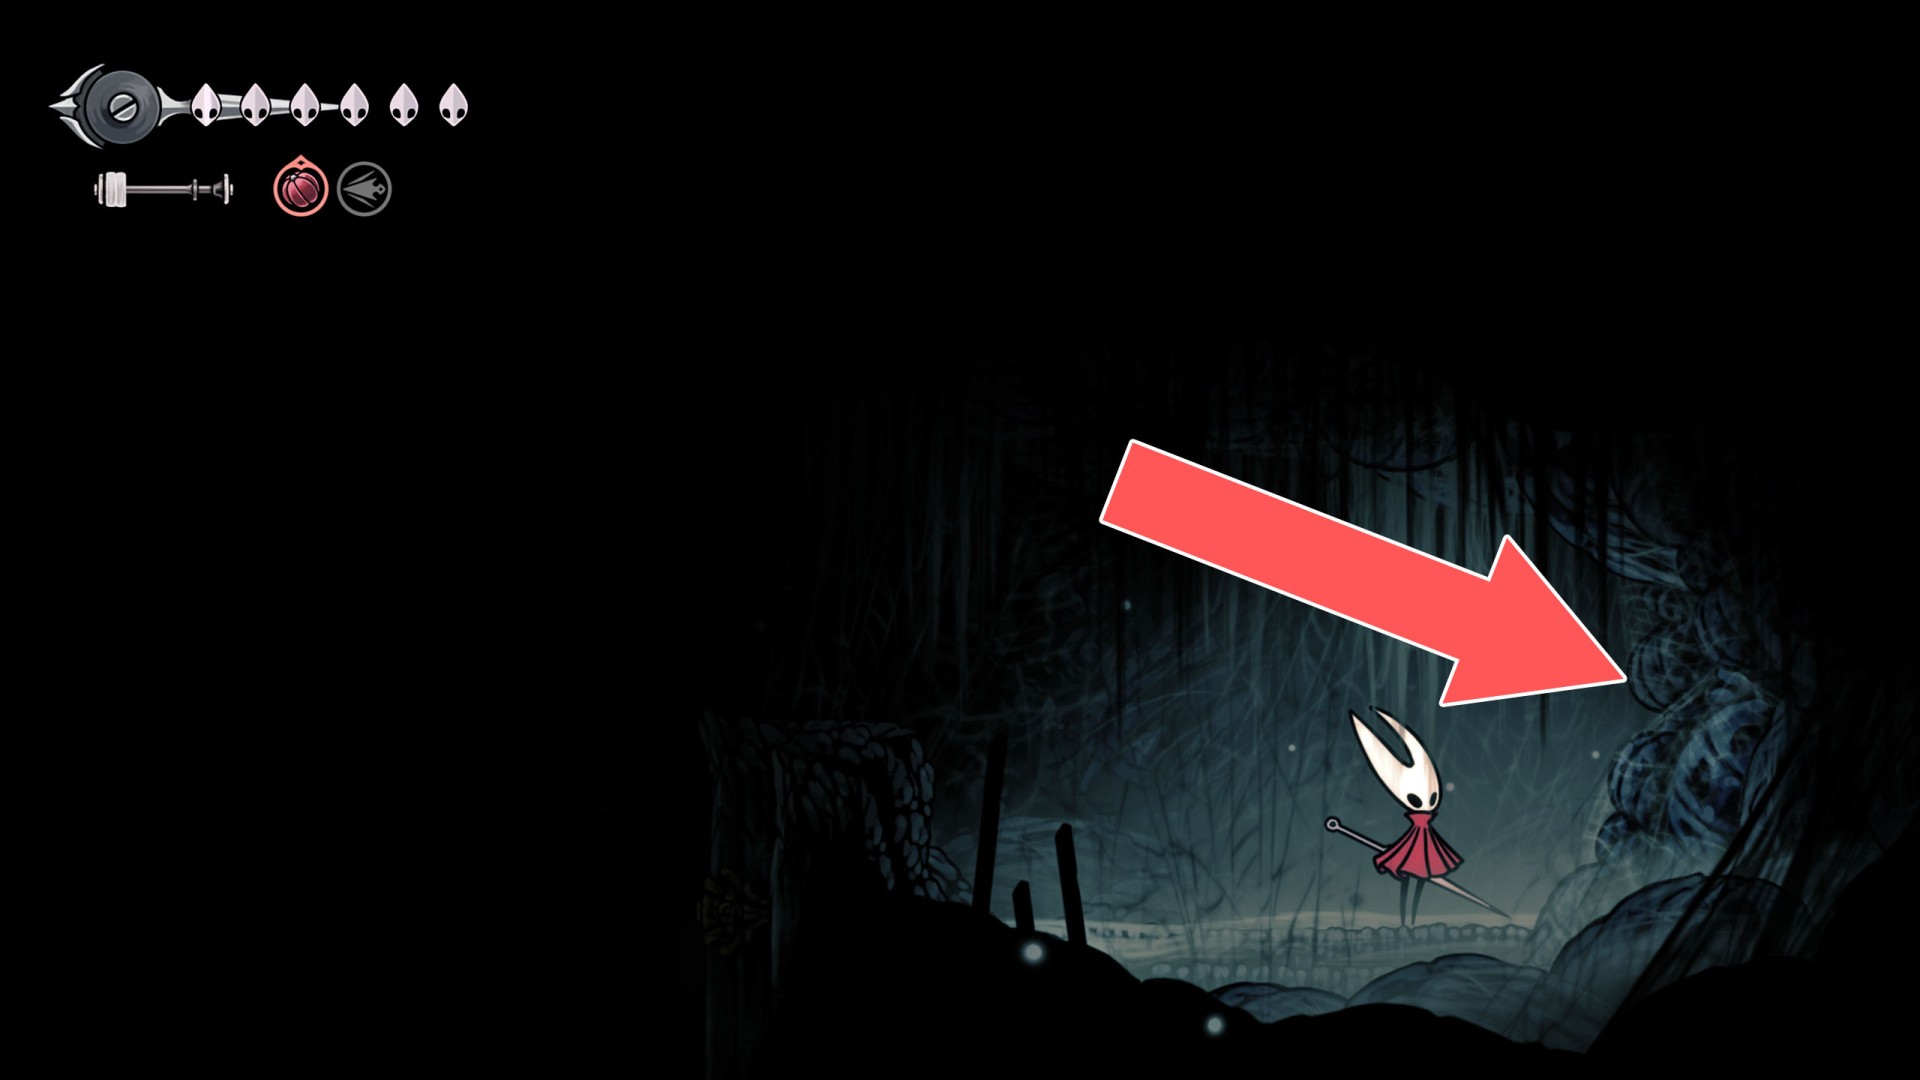
60 Breakable Wall
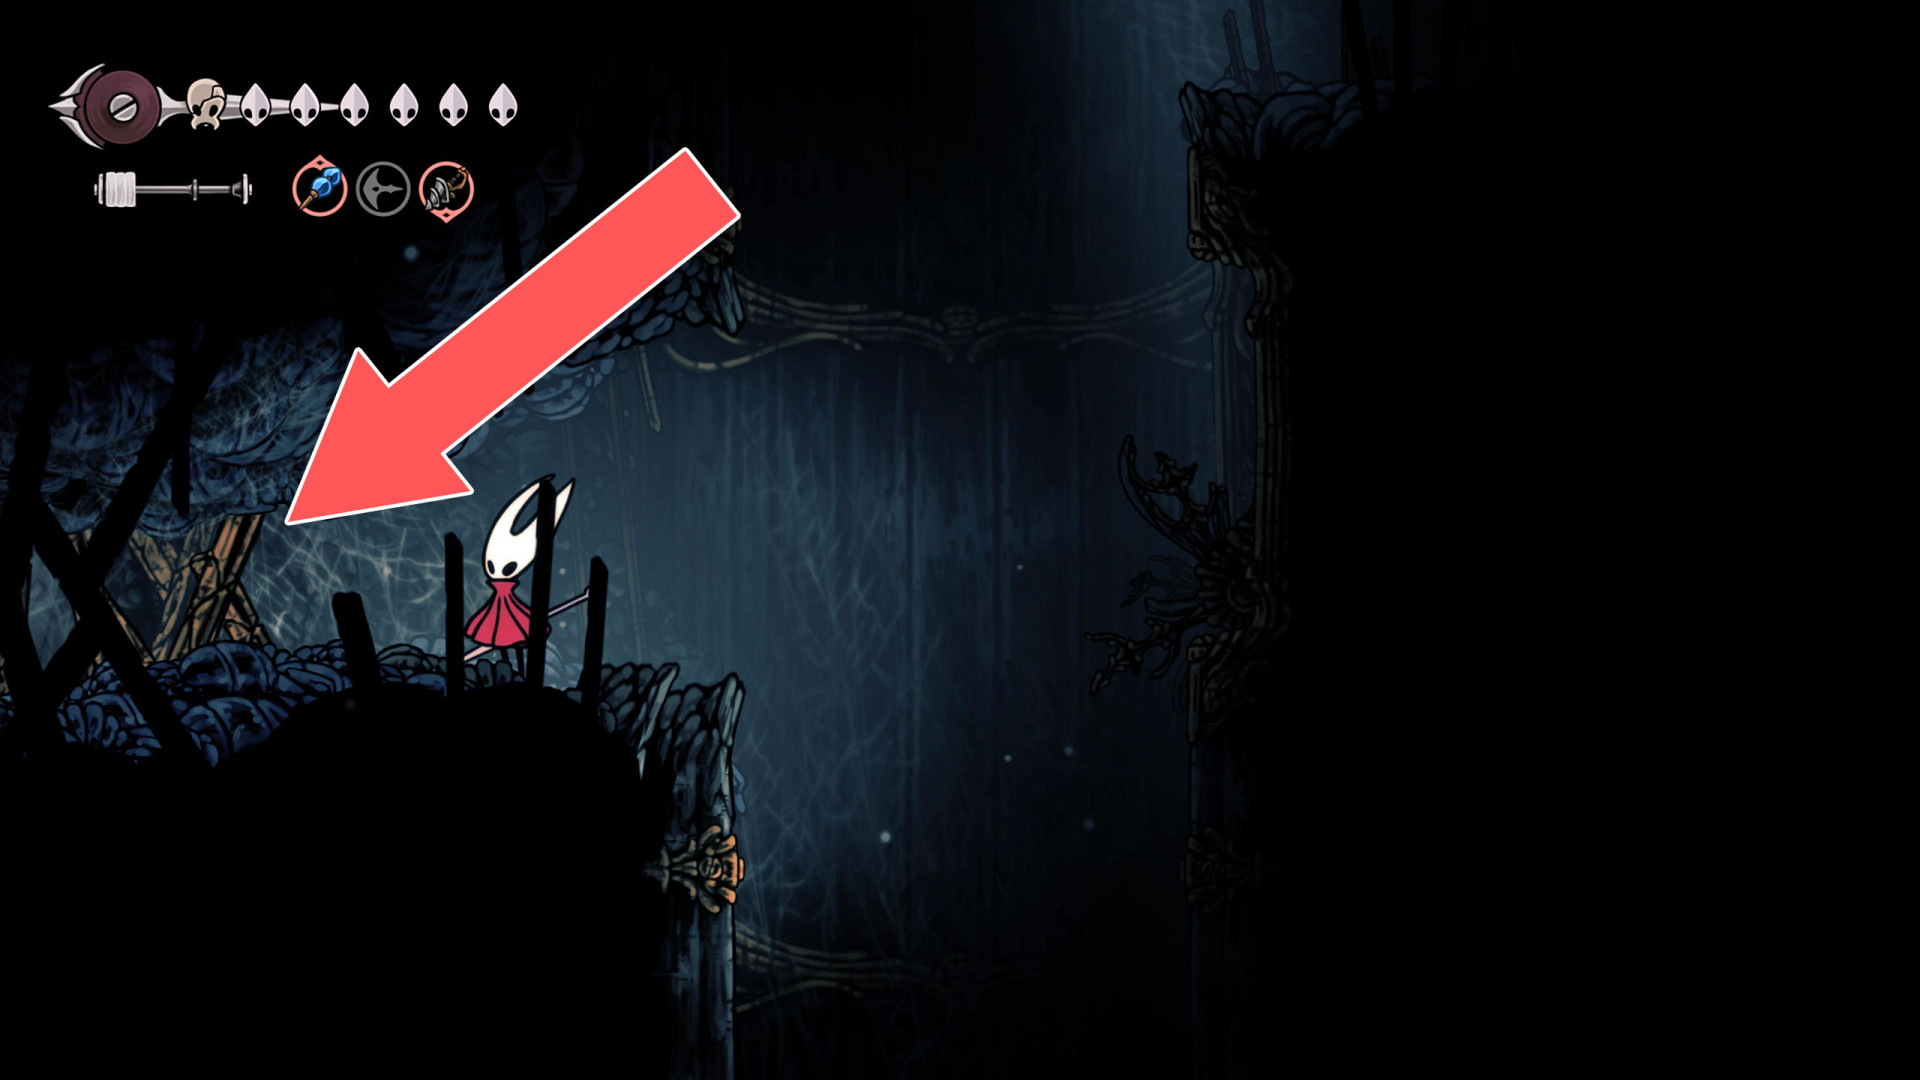
You can destroy this roadblock from the east side.
61Breakable Wall
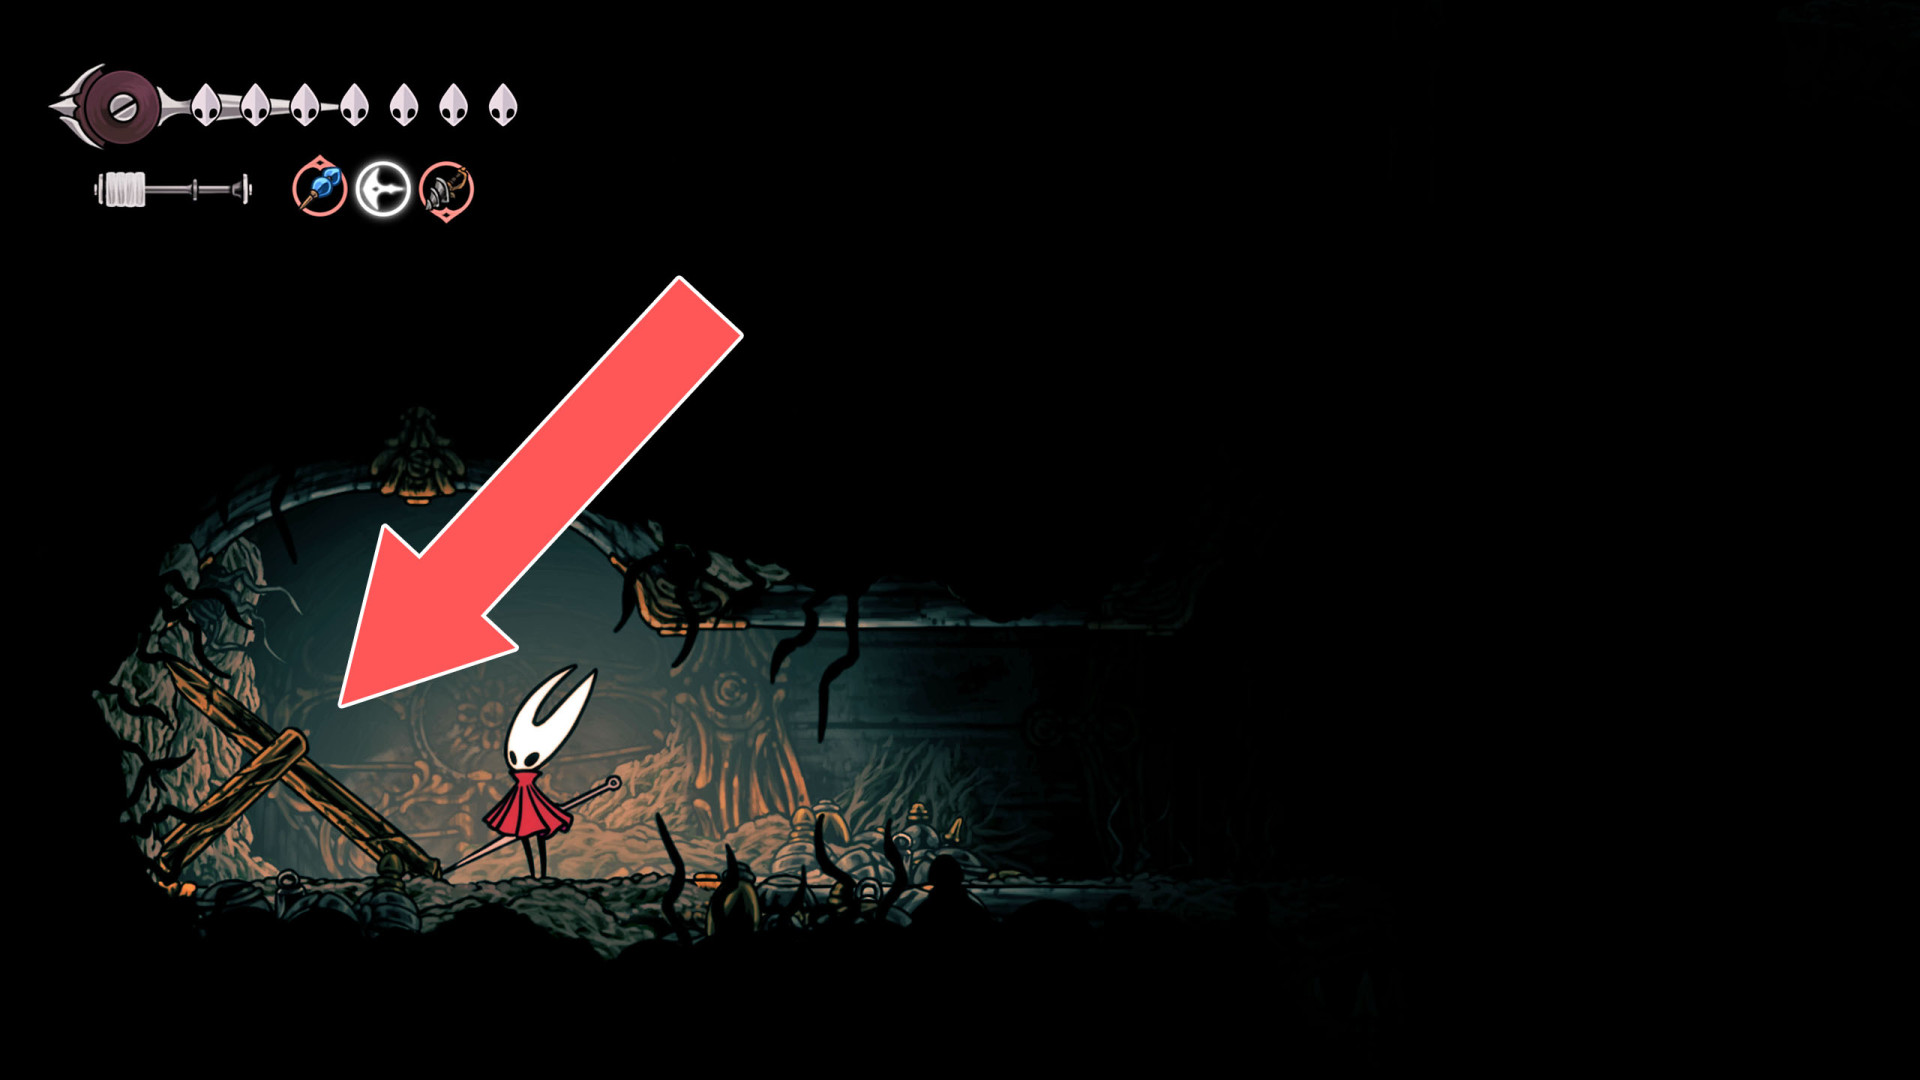
You can destroy this roadblock by approaching it from the east.
62Breakable Wall
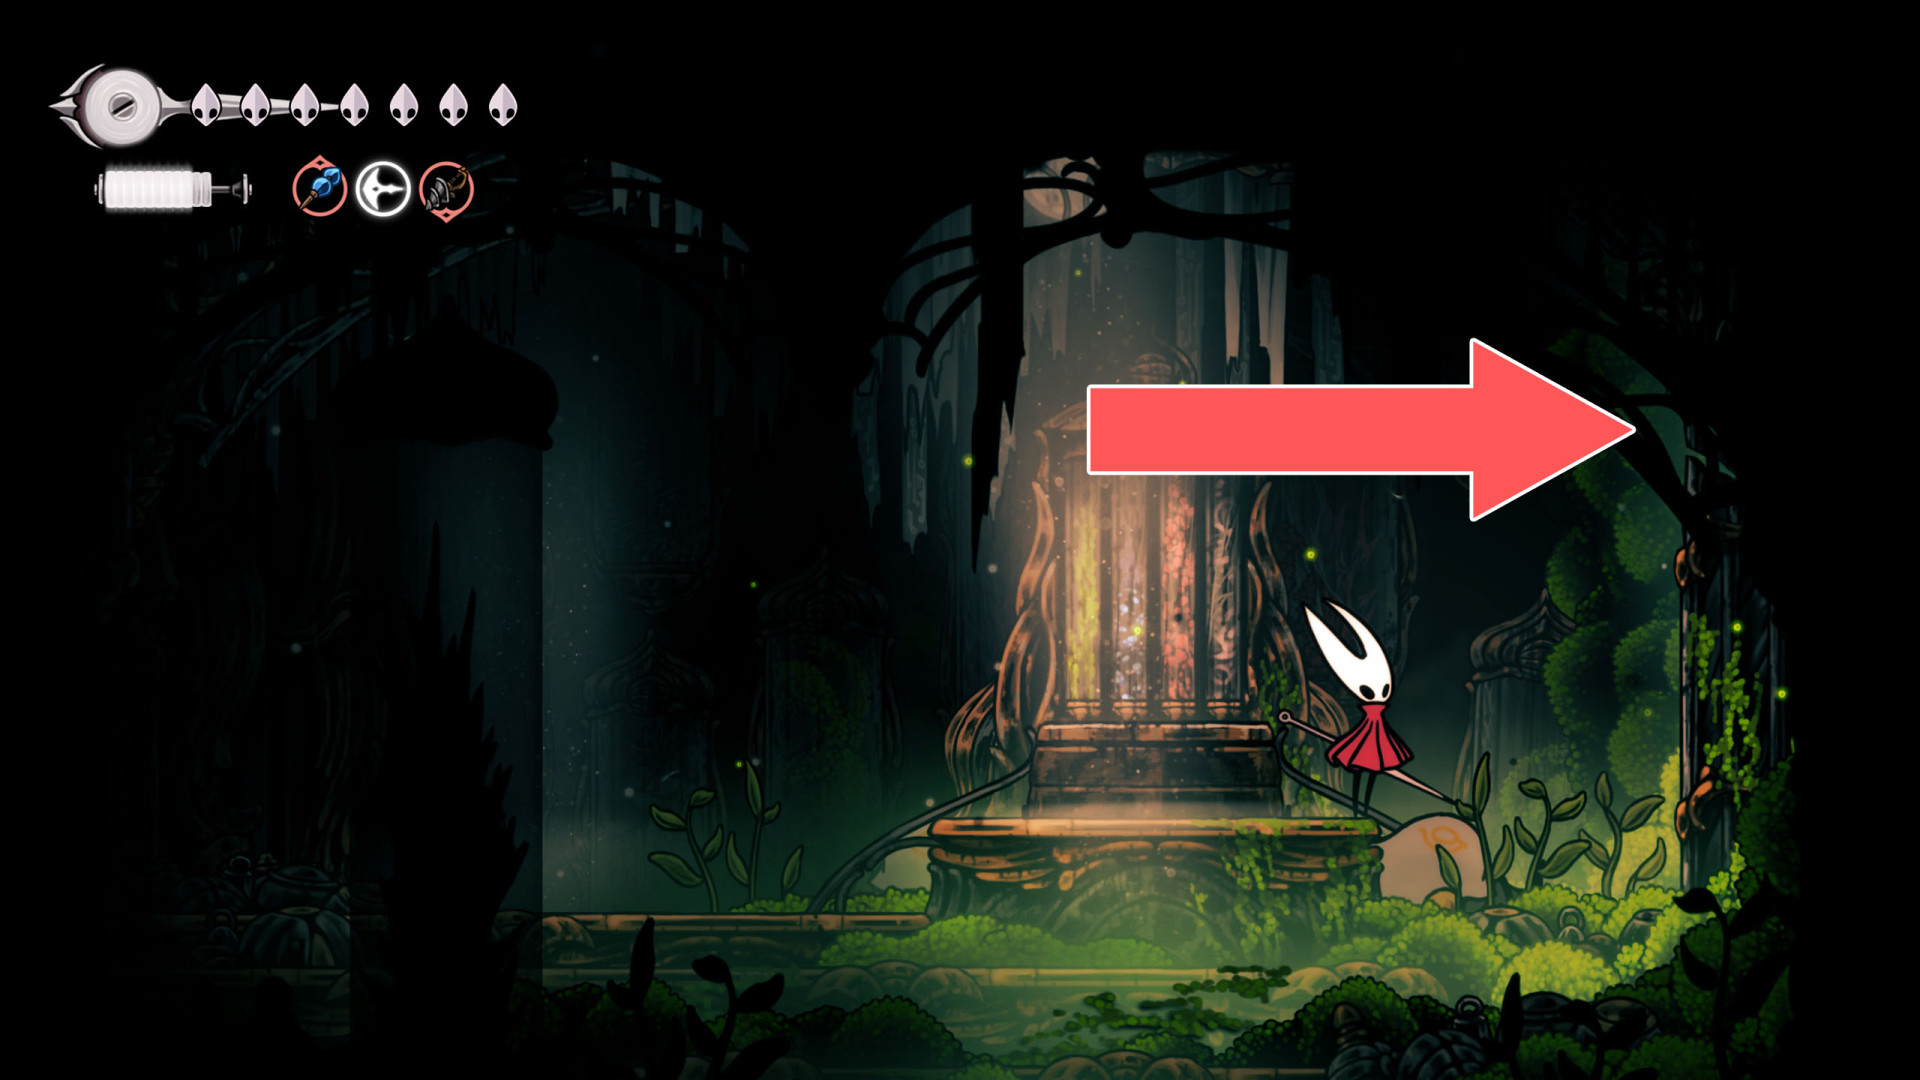
You can destroy this roadblock by approaching it from the west.
63Breakable Wall
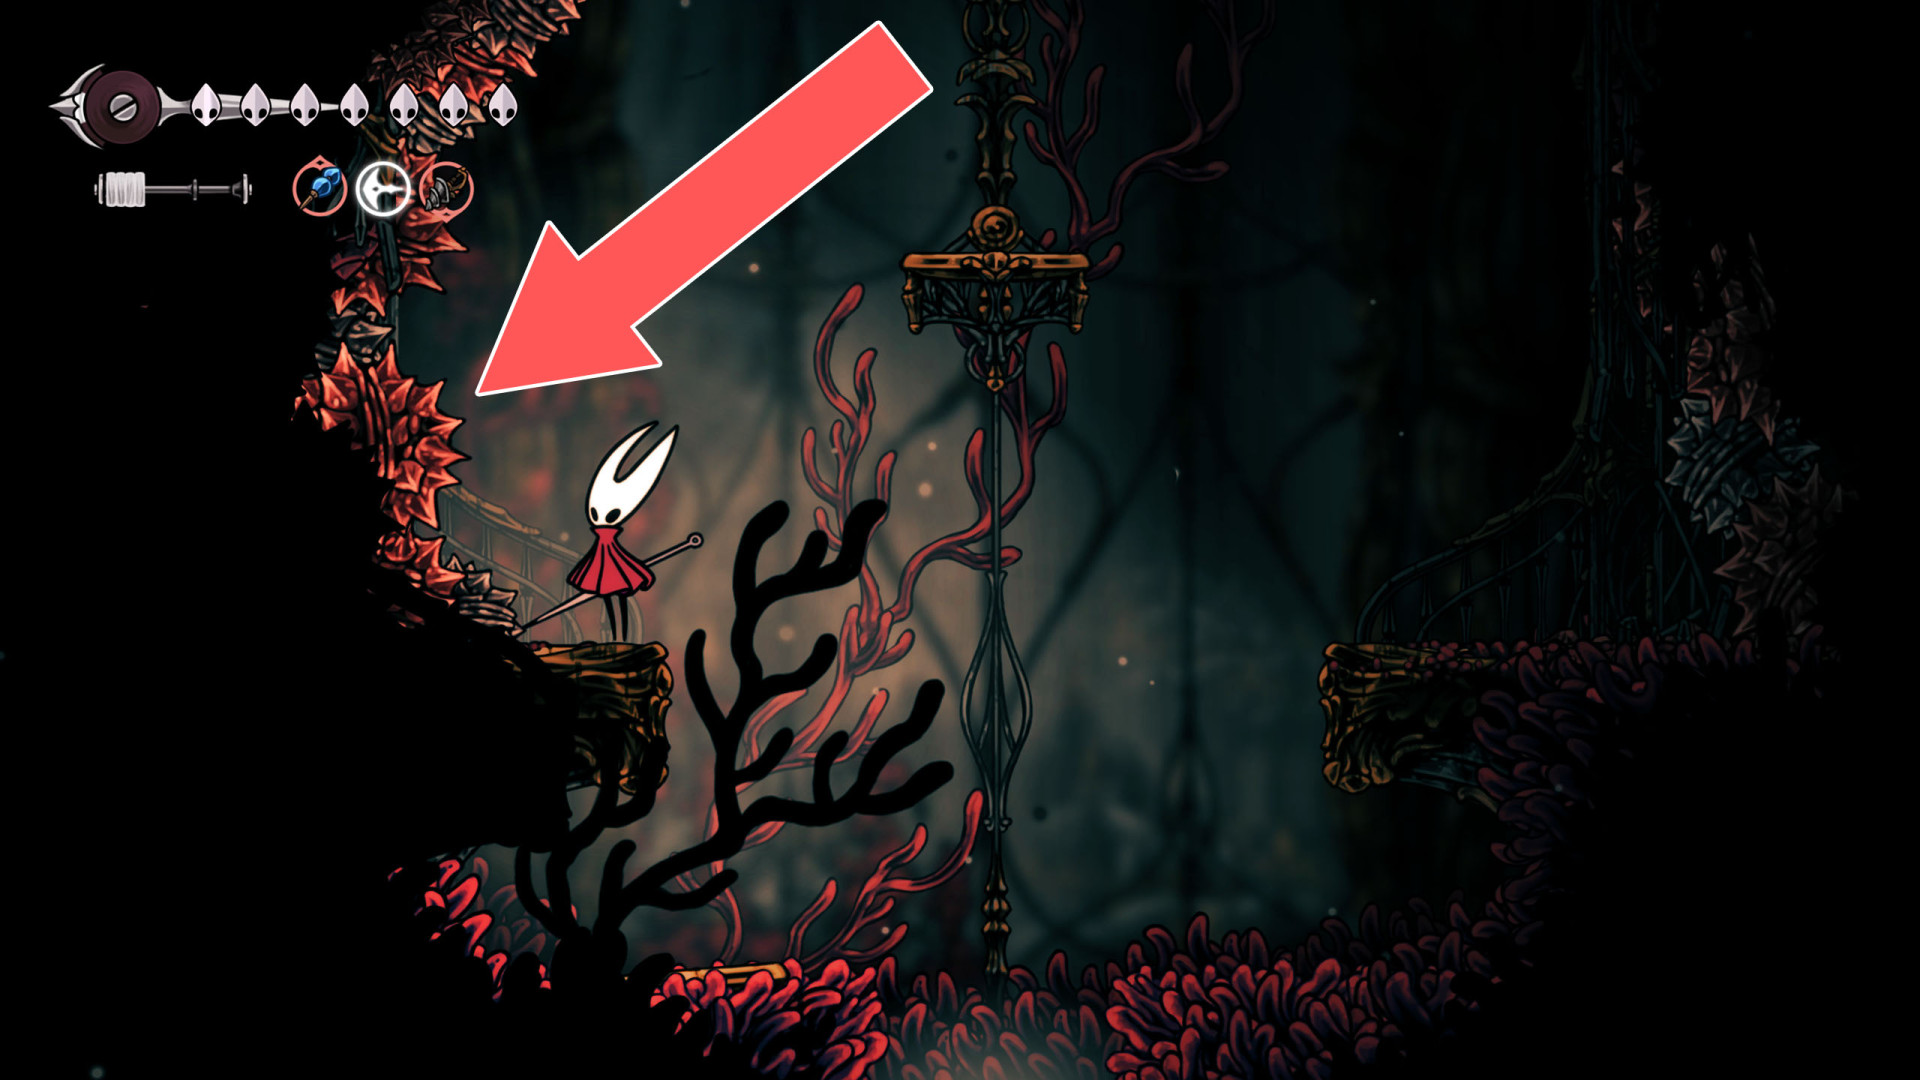
You can destroy this roadblock by approaching it from the east.
64Breakable Wall
You can destroy this roadblock by approaching it from the west.
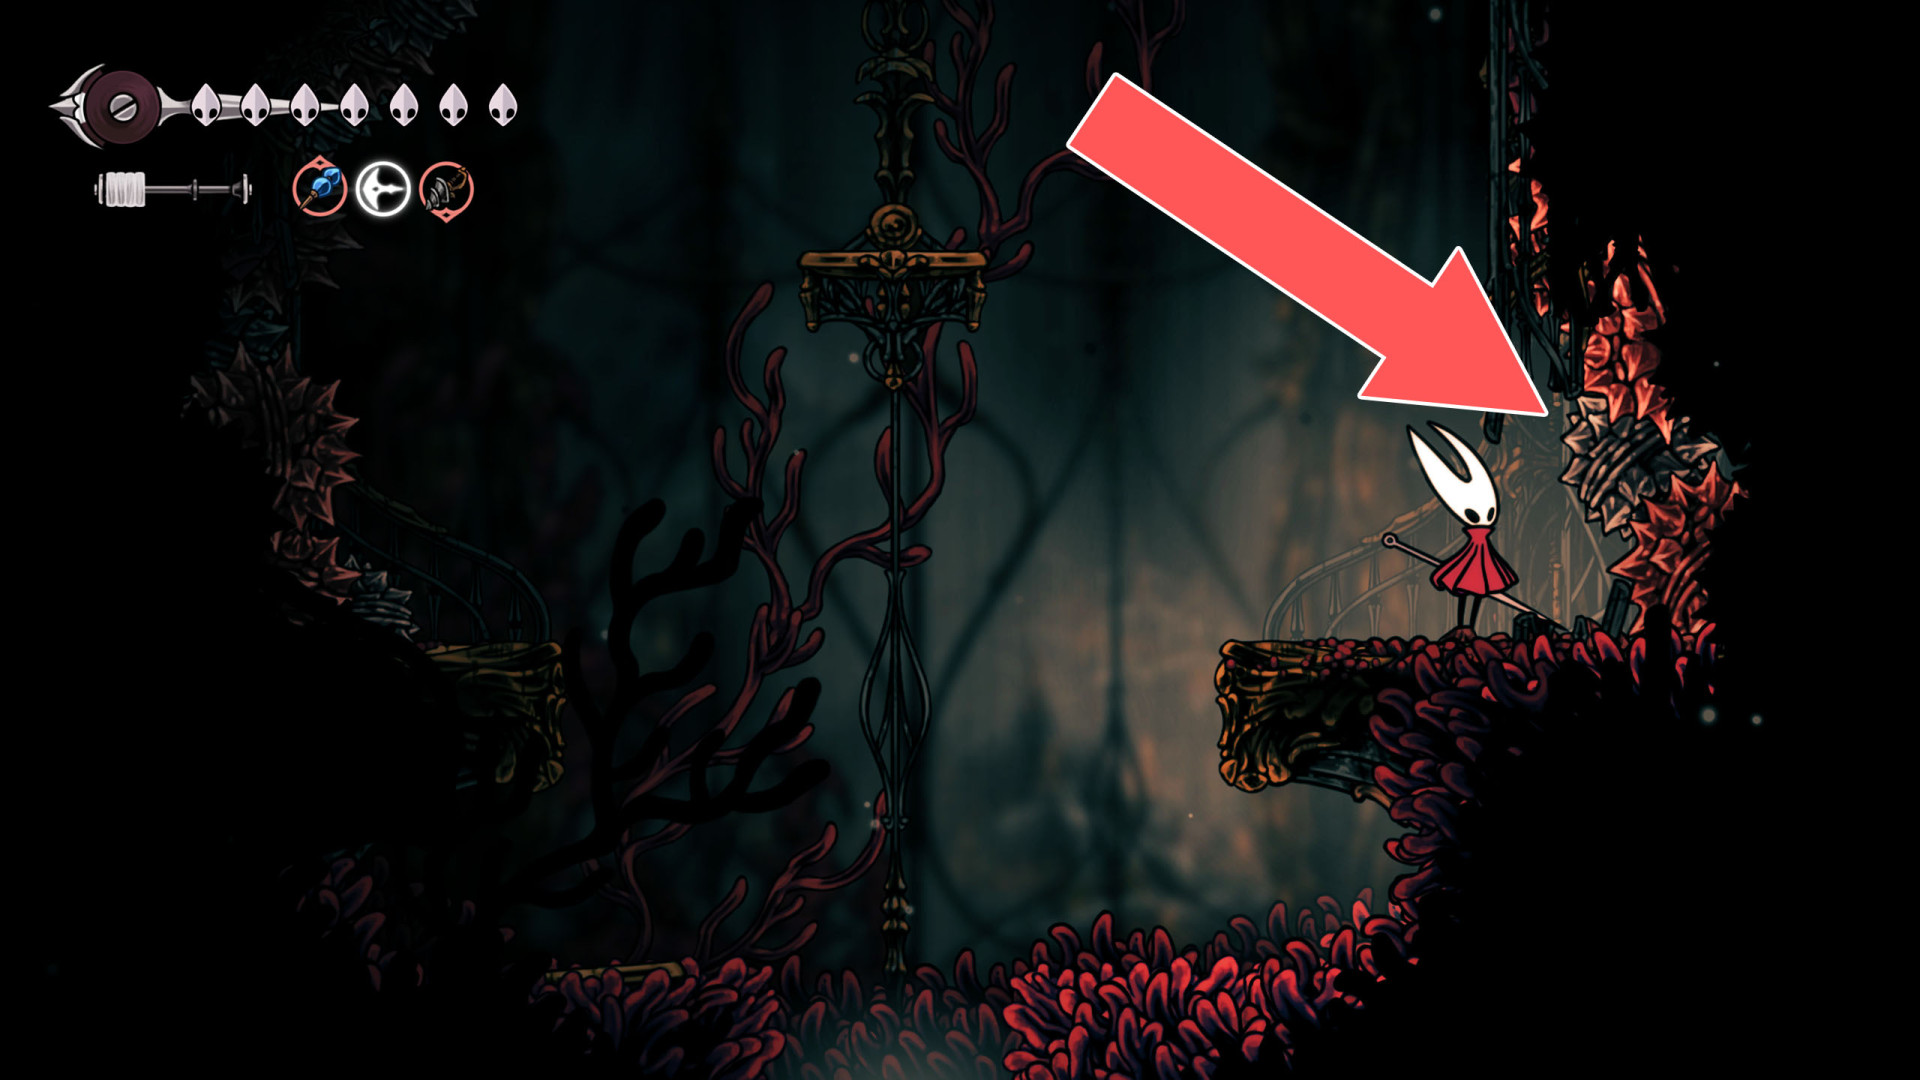
65Breakable Wall
You can destroy this roadblock by approaching it from the west.
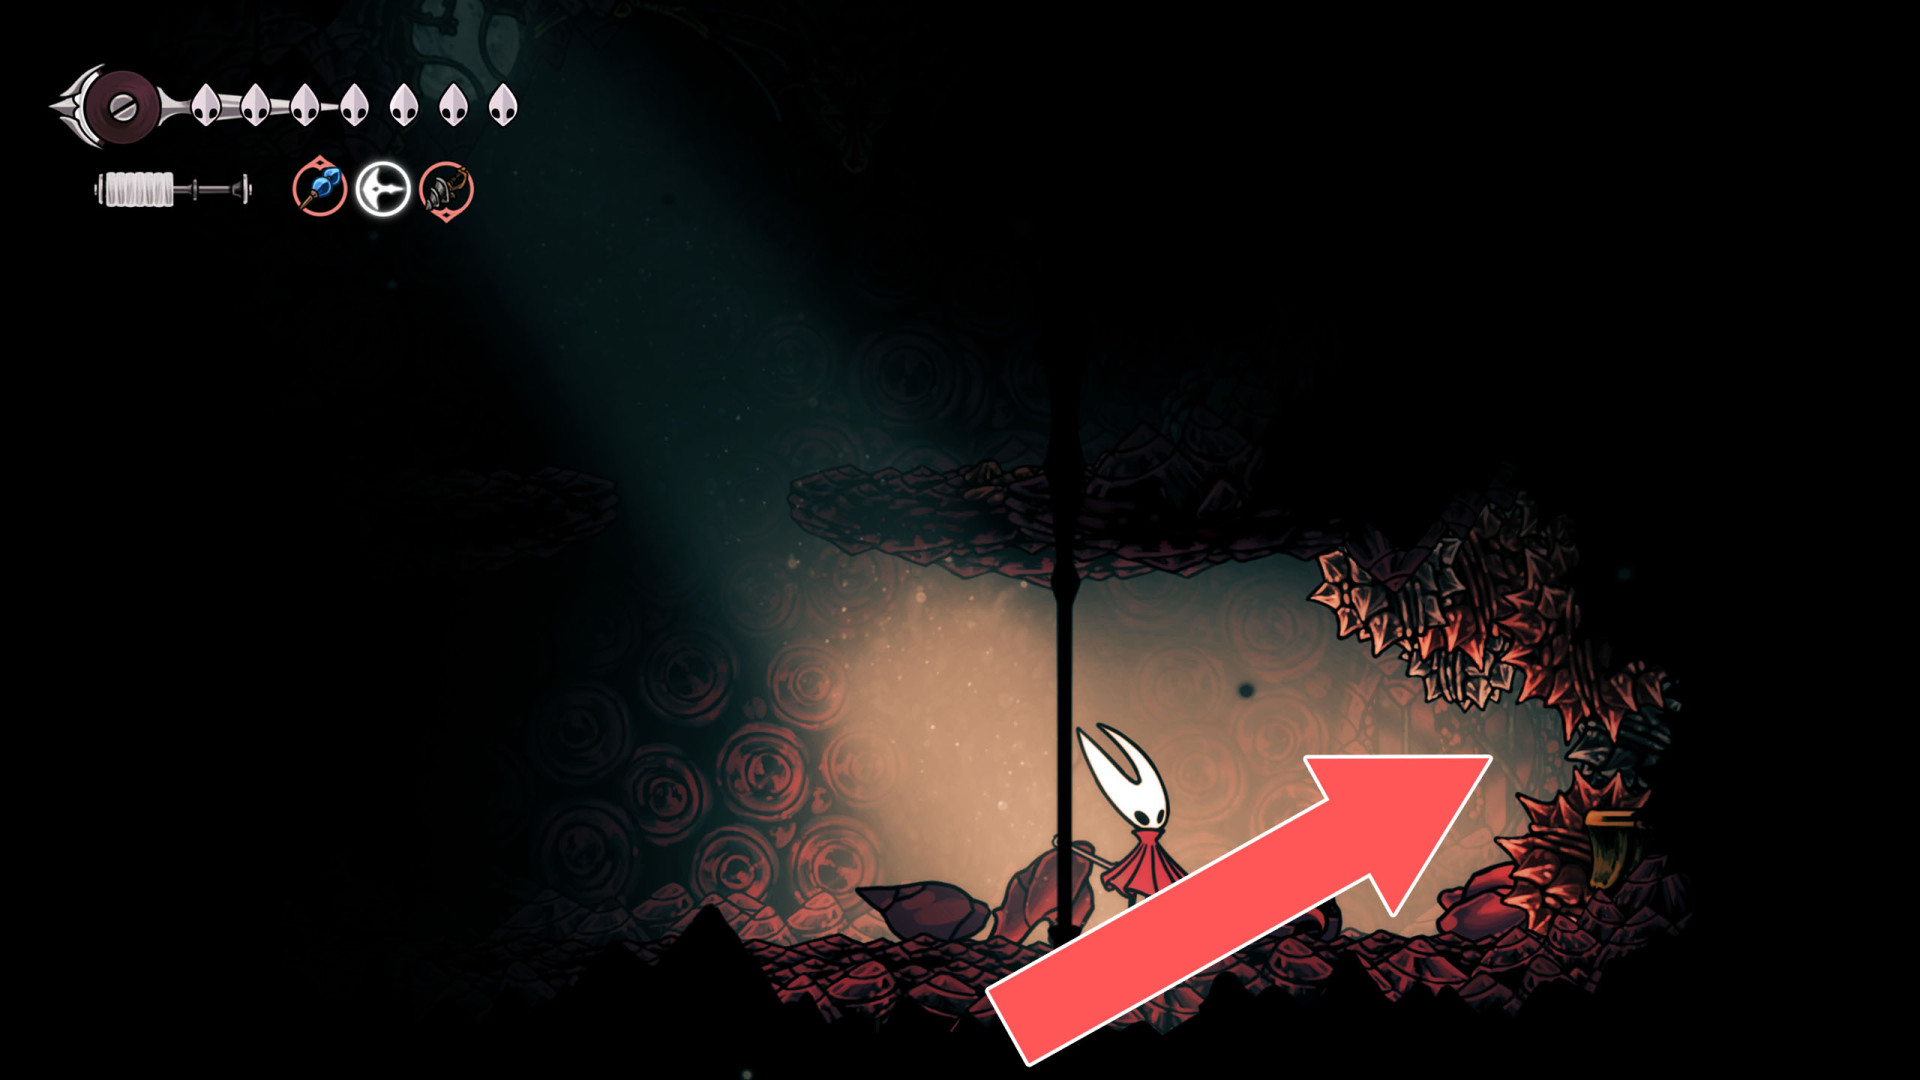
66Breakable Wall
You can destroy this wall by attacking it from the east side.
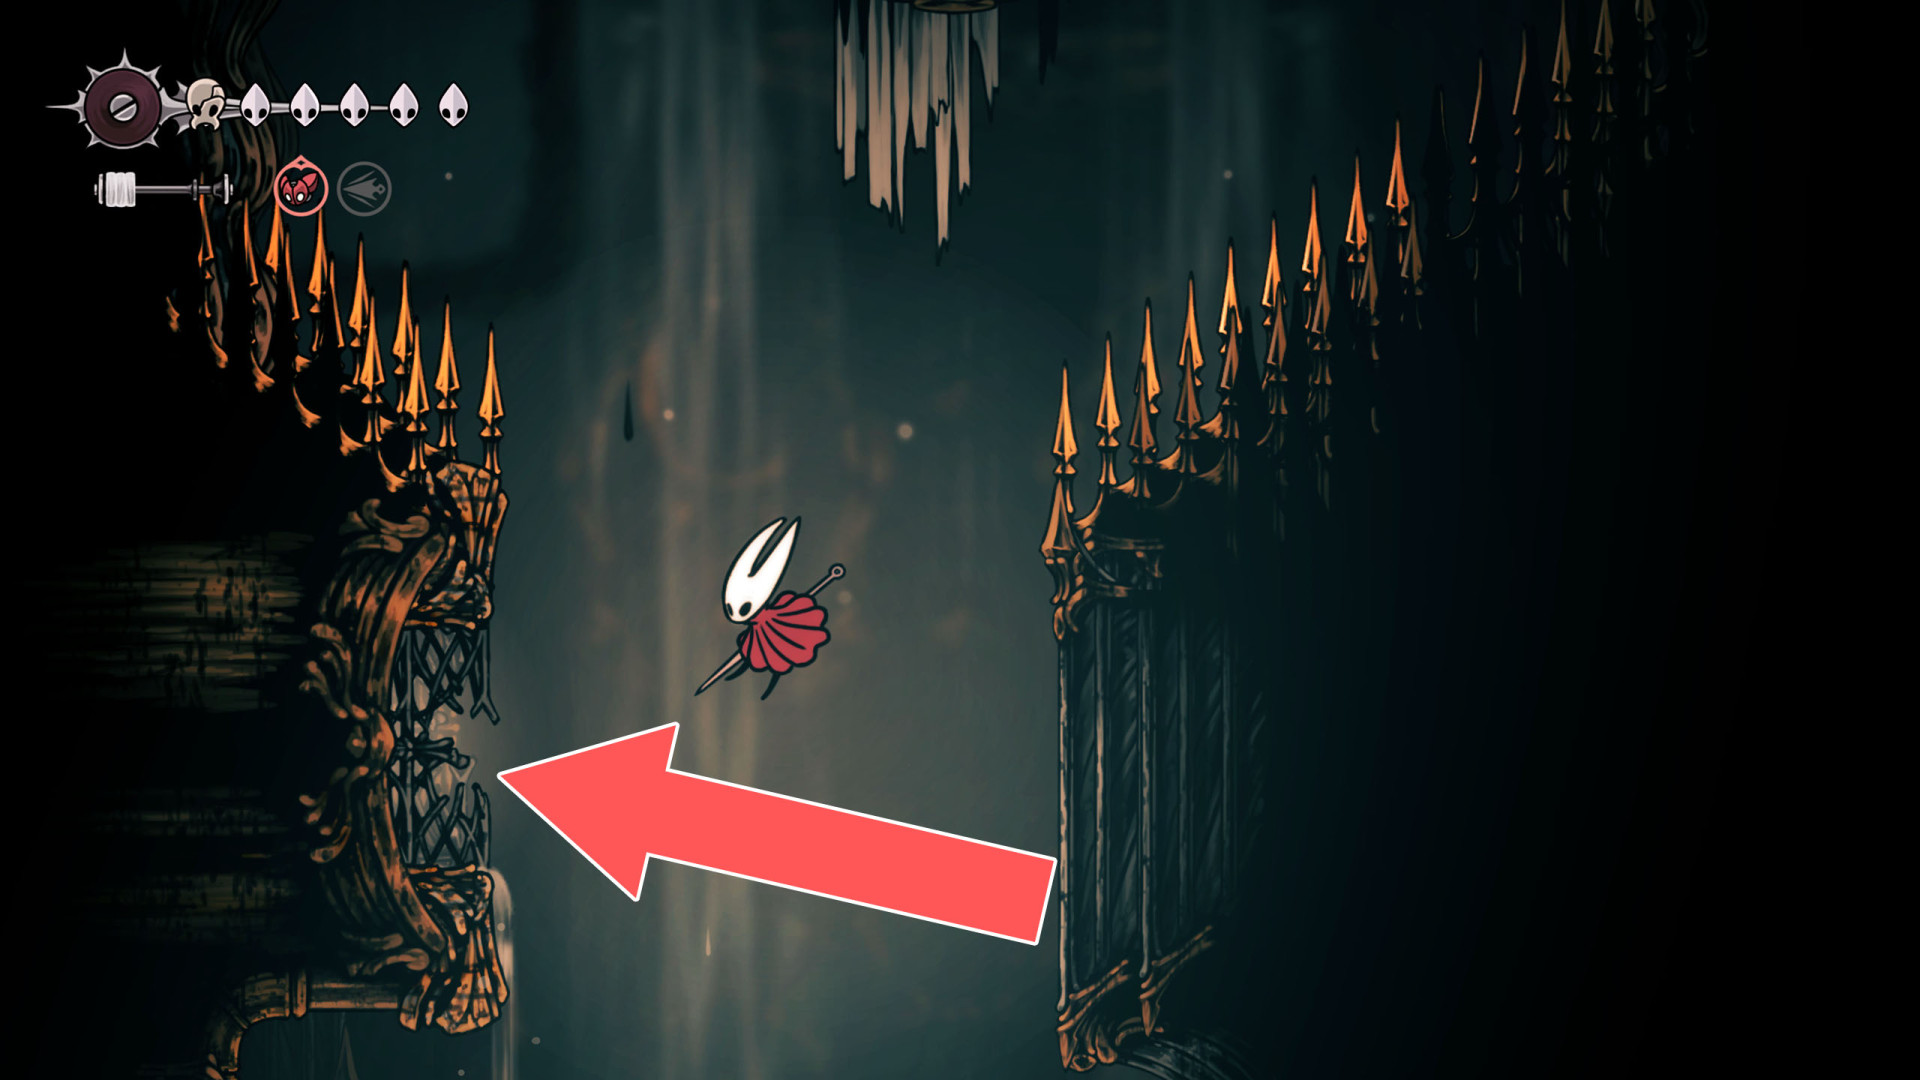
67Breakable Wall
You can destroy this wall by attacking it from the east side.
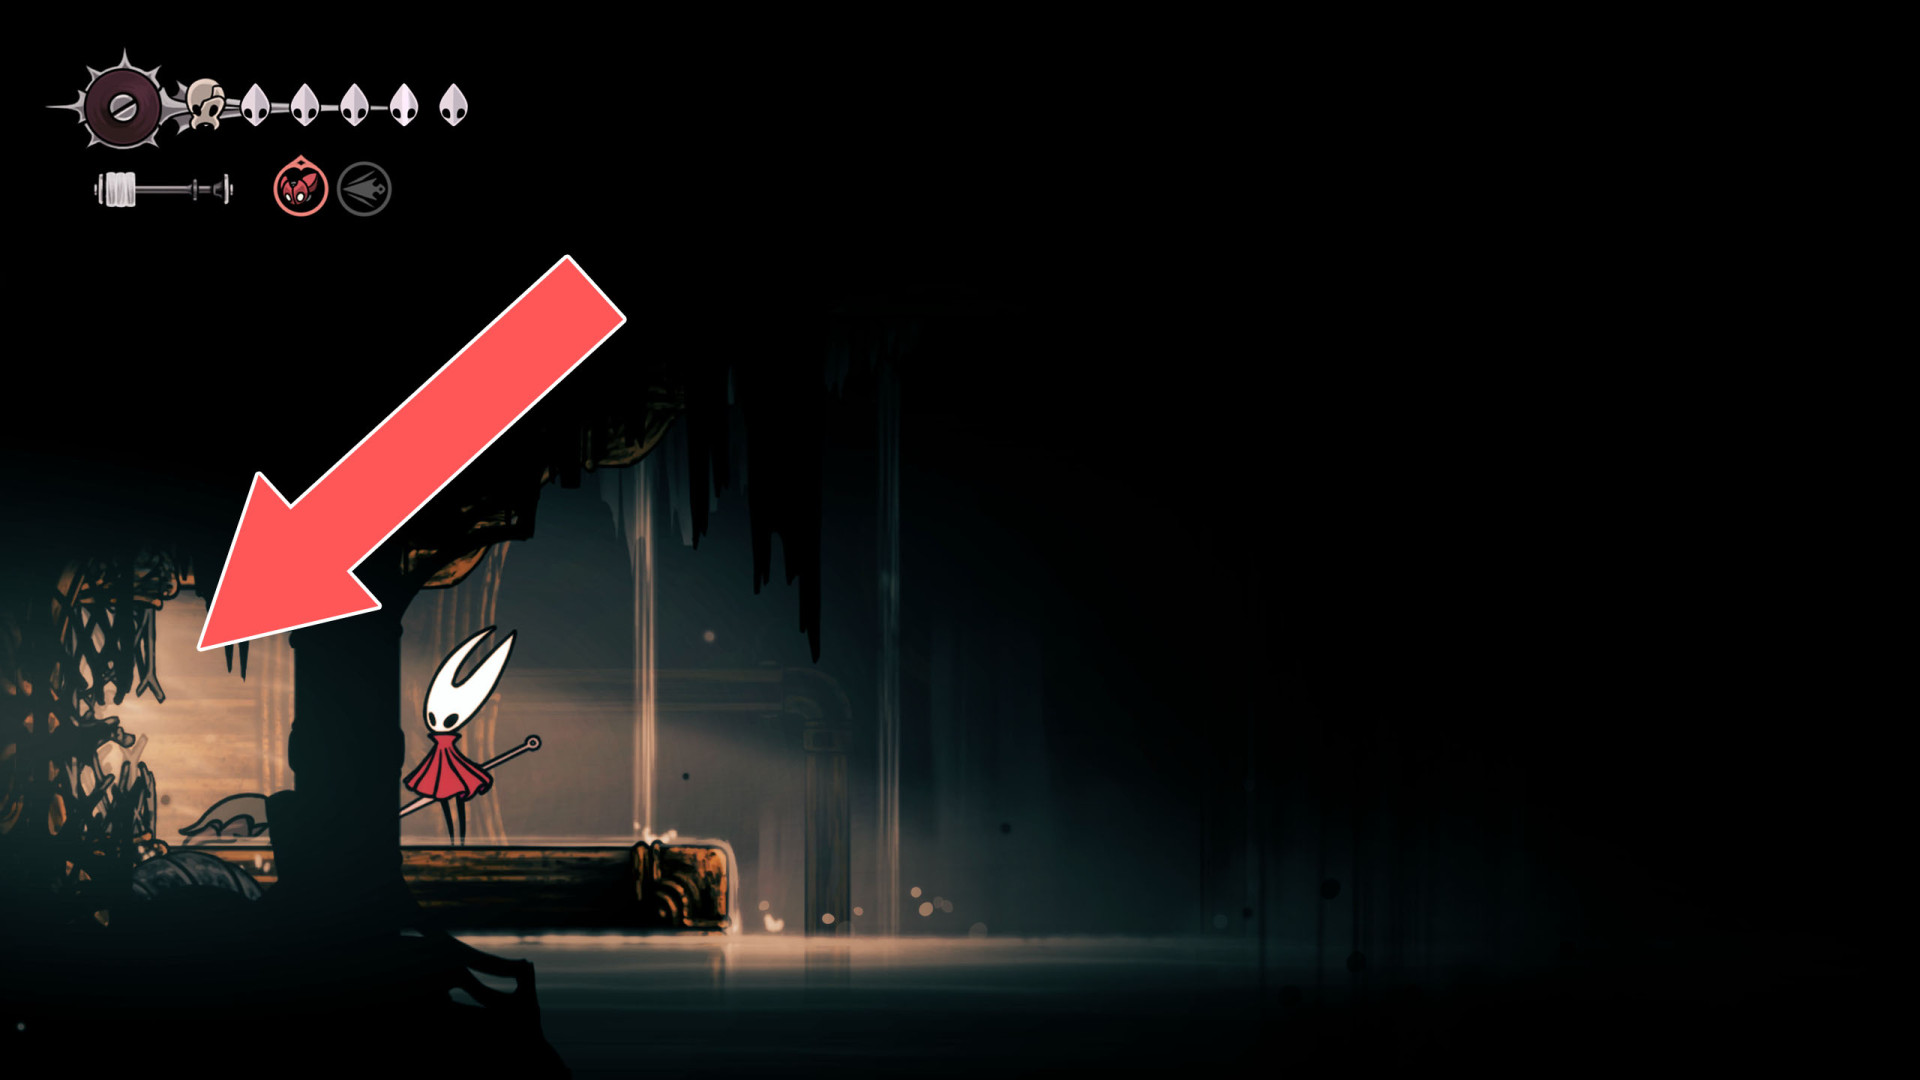
68Breakable Wall
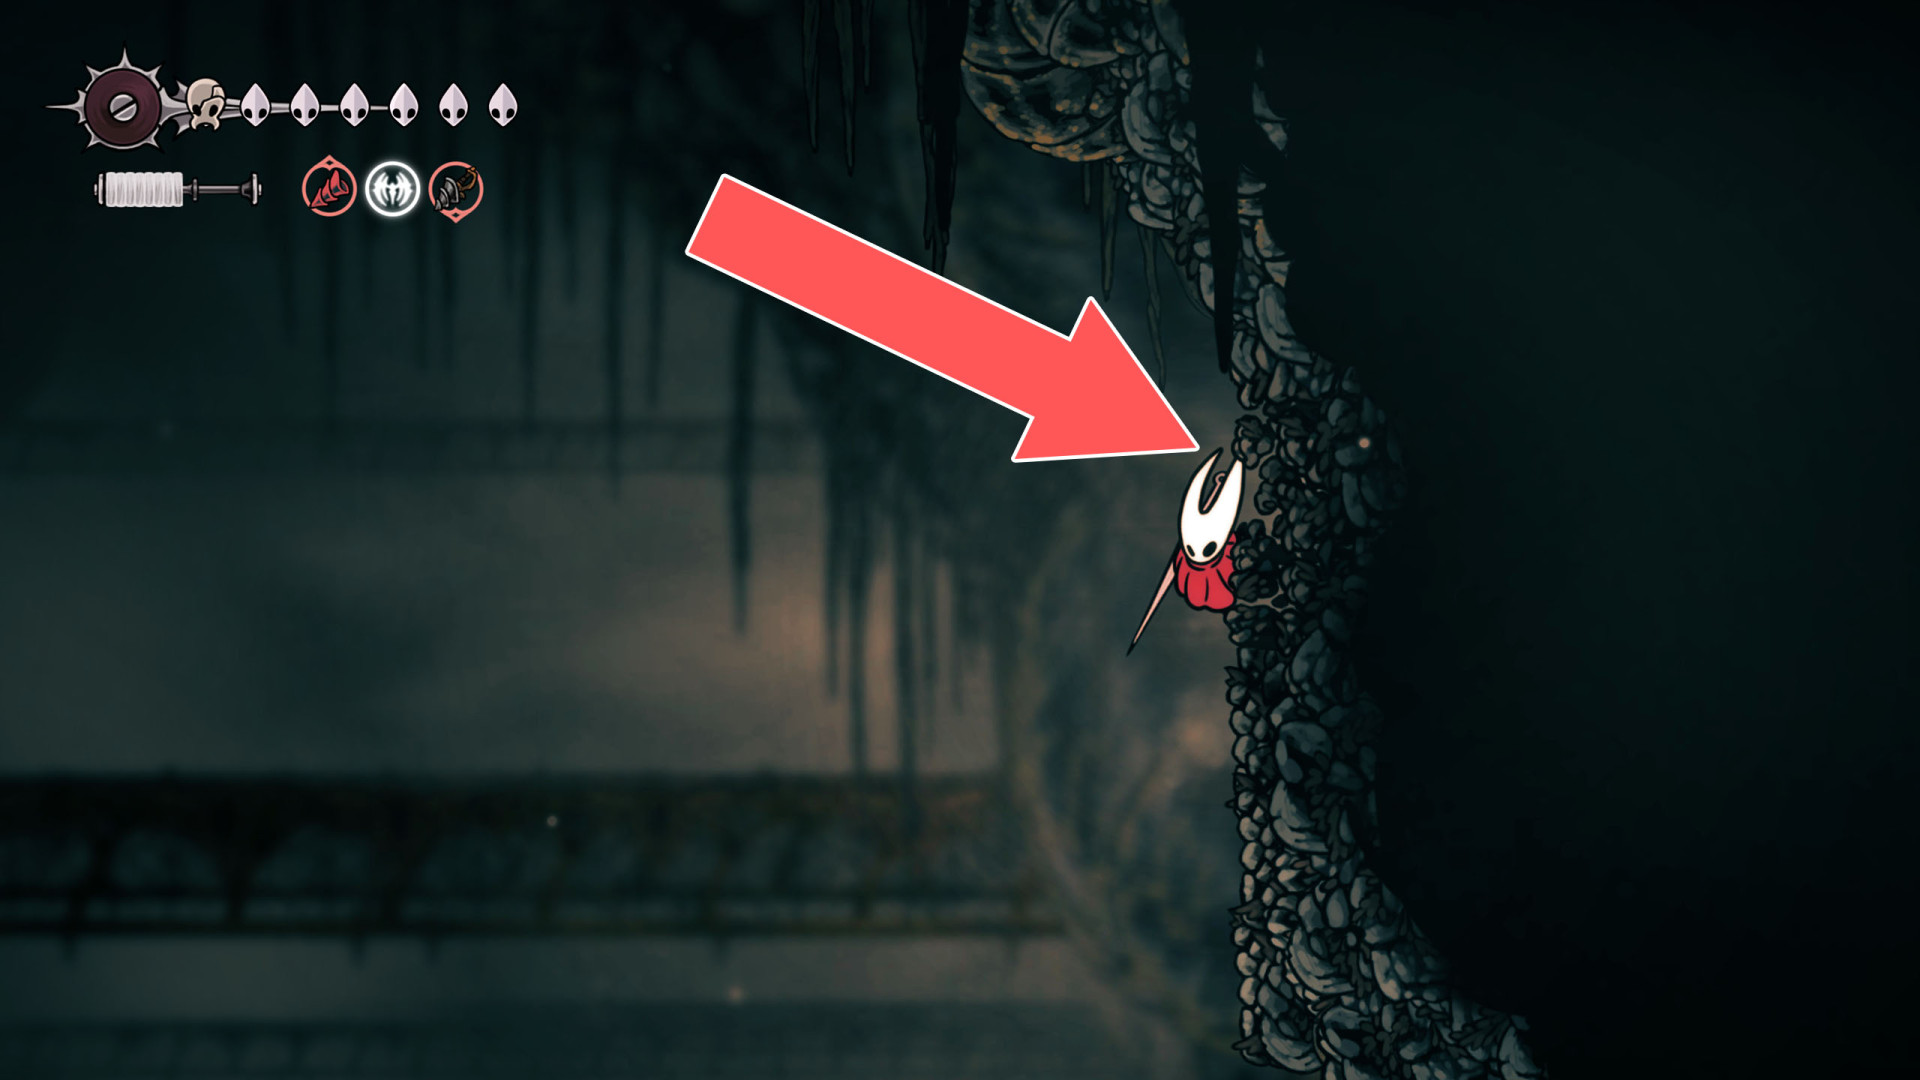
69Breakable Wall
You can destroy this roadblock by approaching it from the east side.
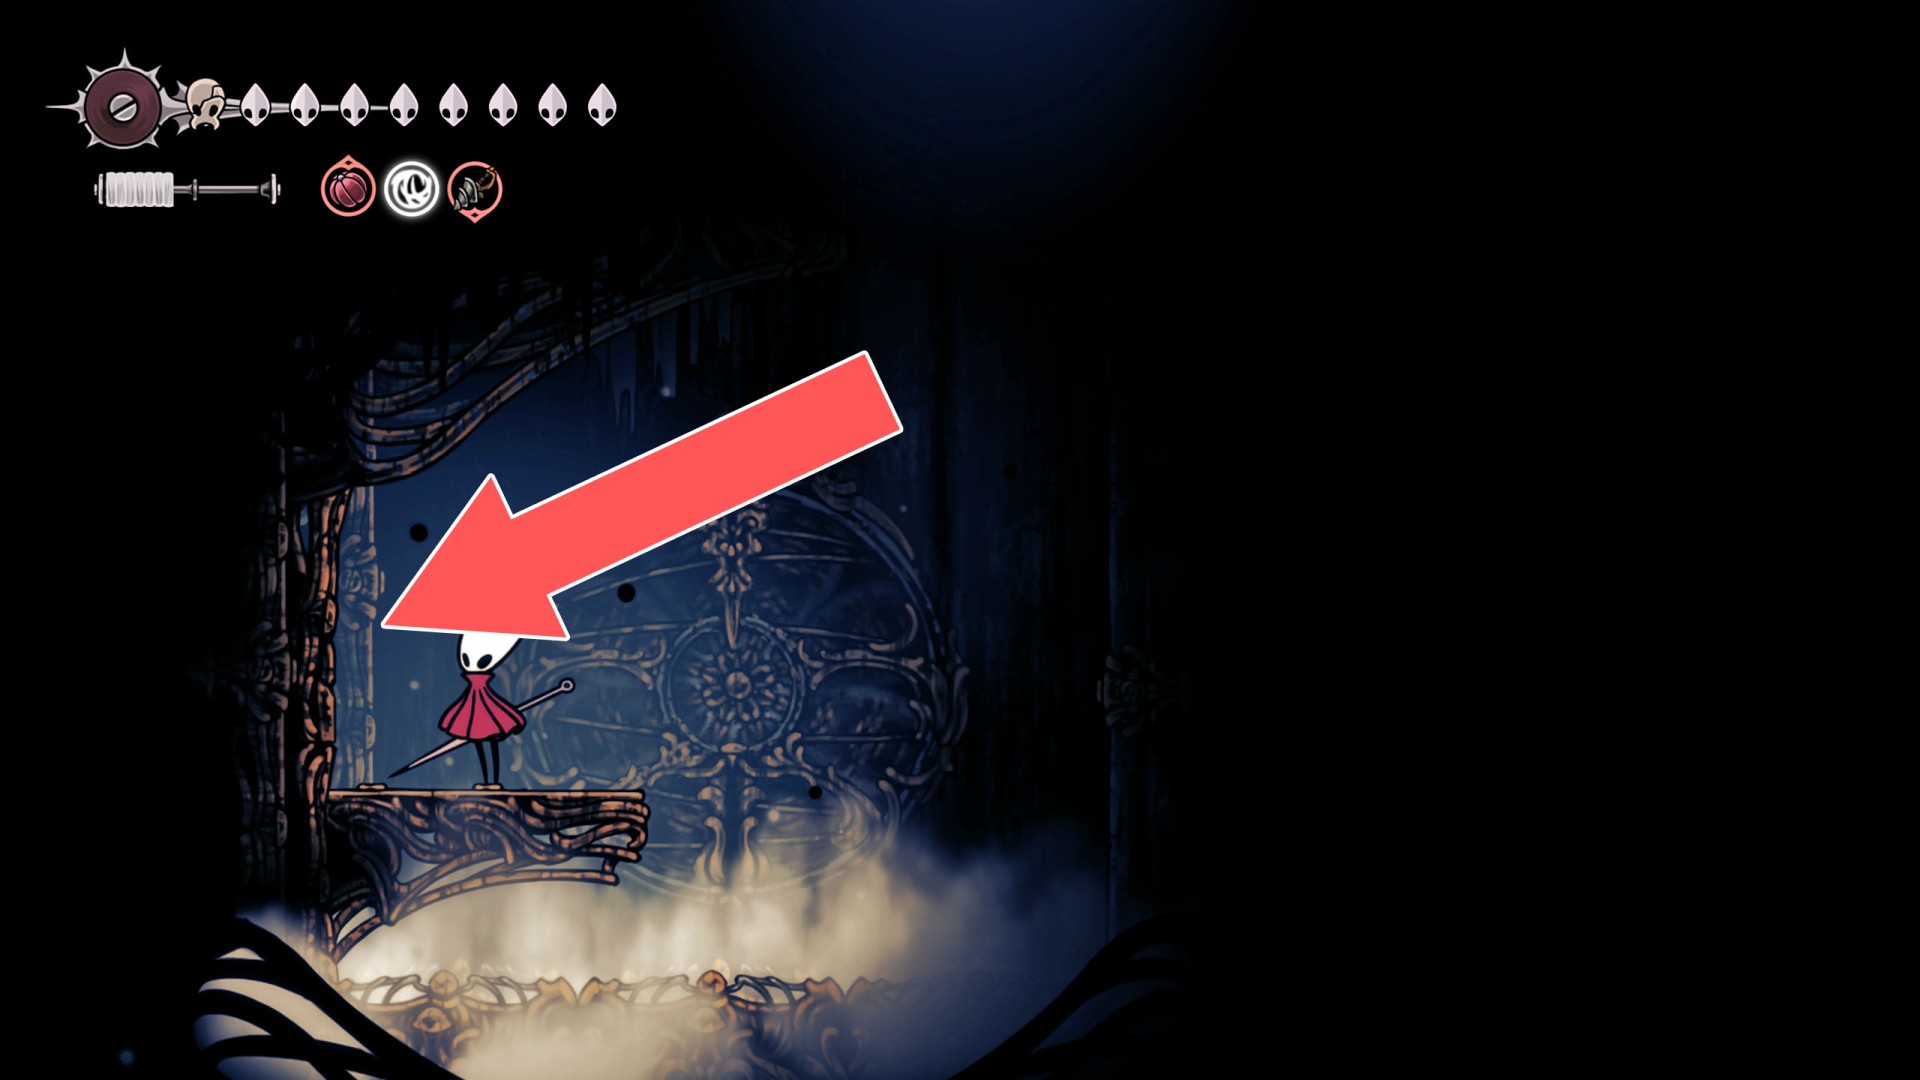
70Breakable Wall
You can destroy this wall by attacking it from the east side.
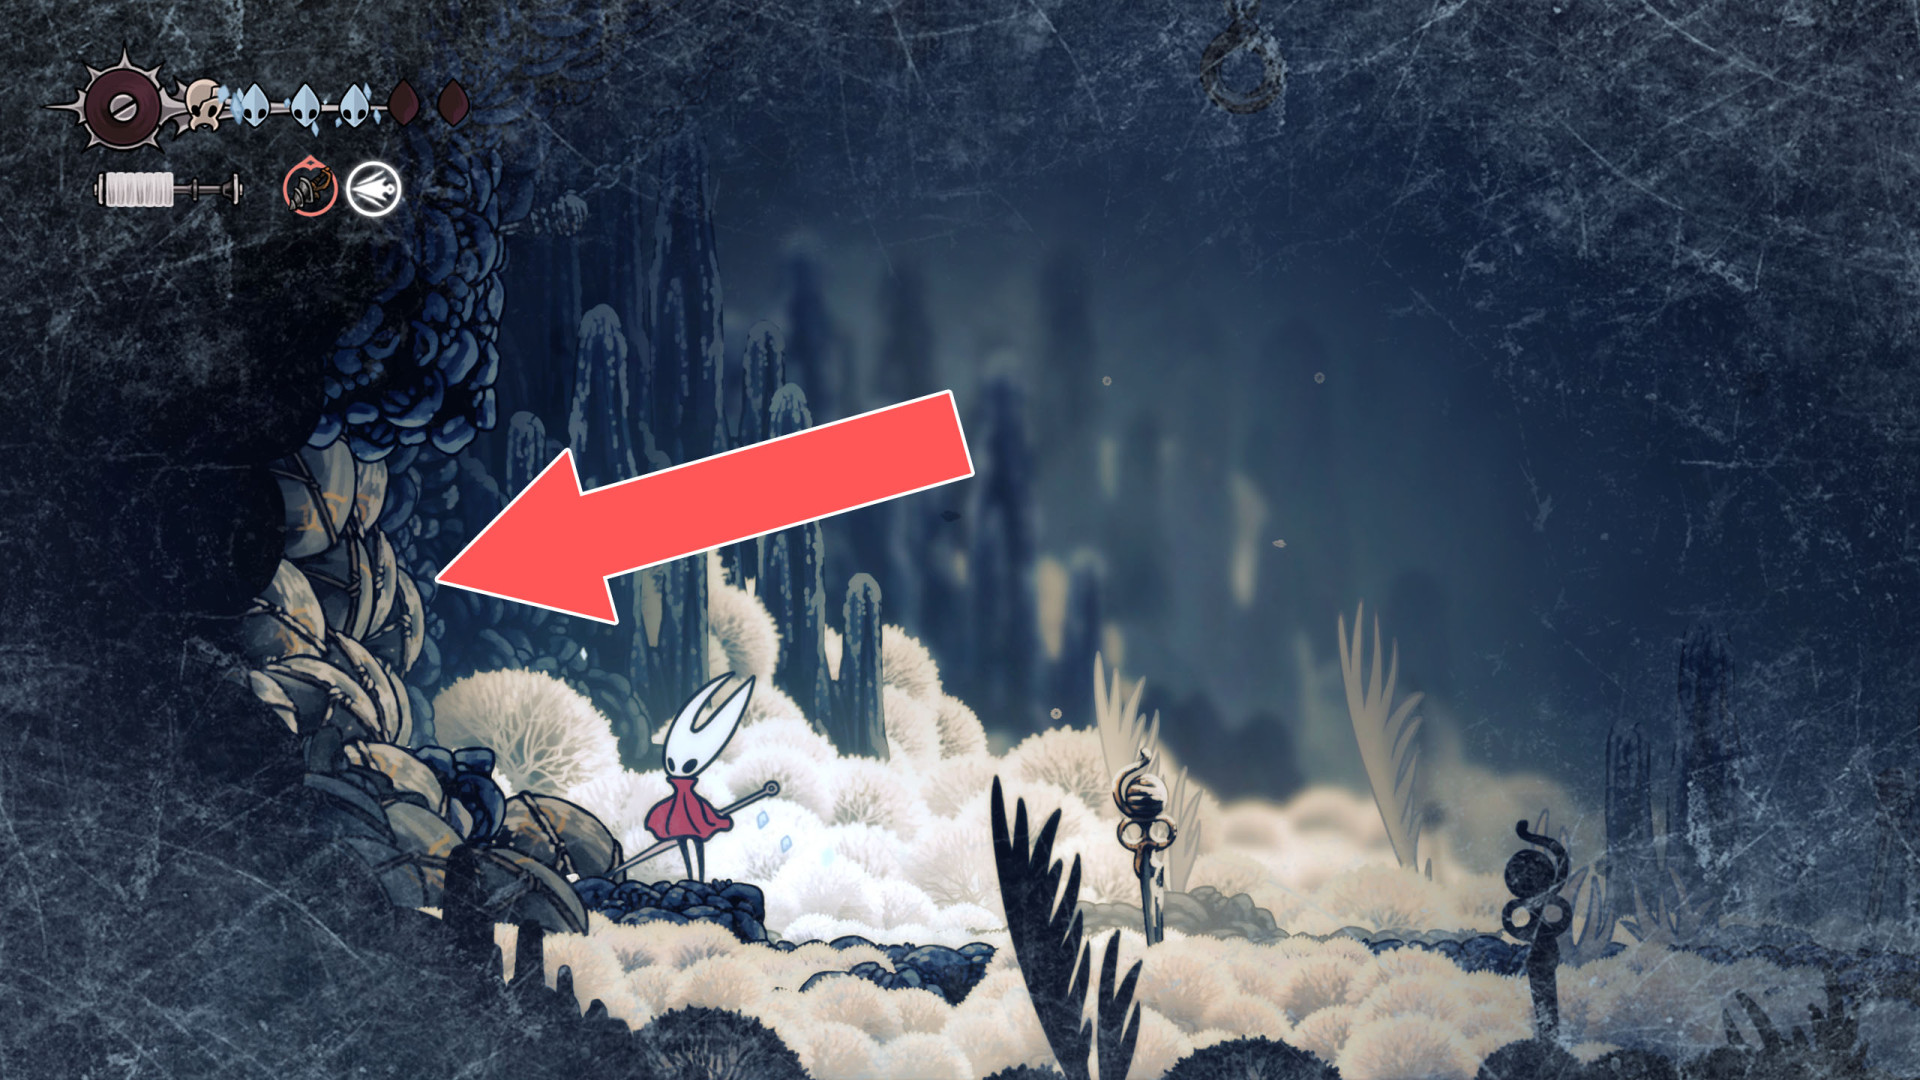
71Breakable Wall
You can destroy this wall from the east side.
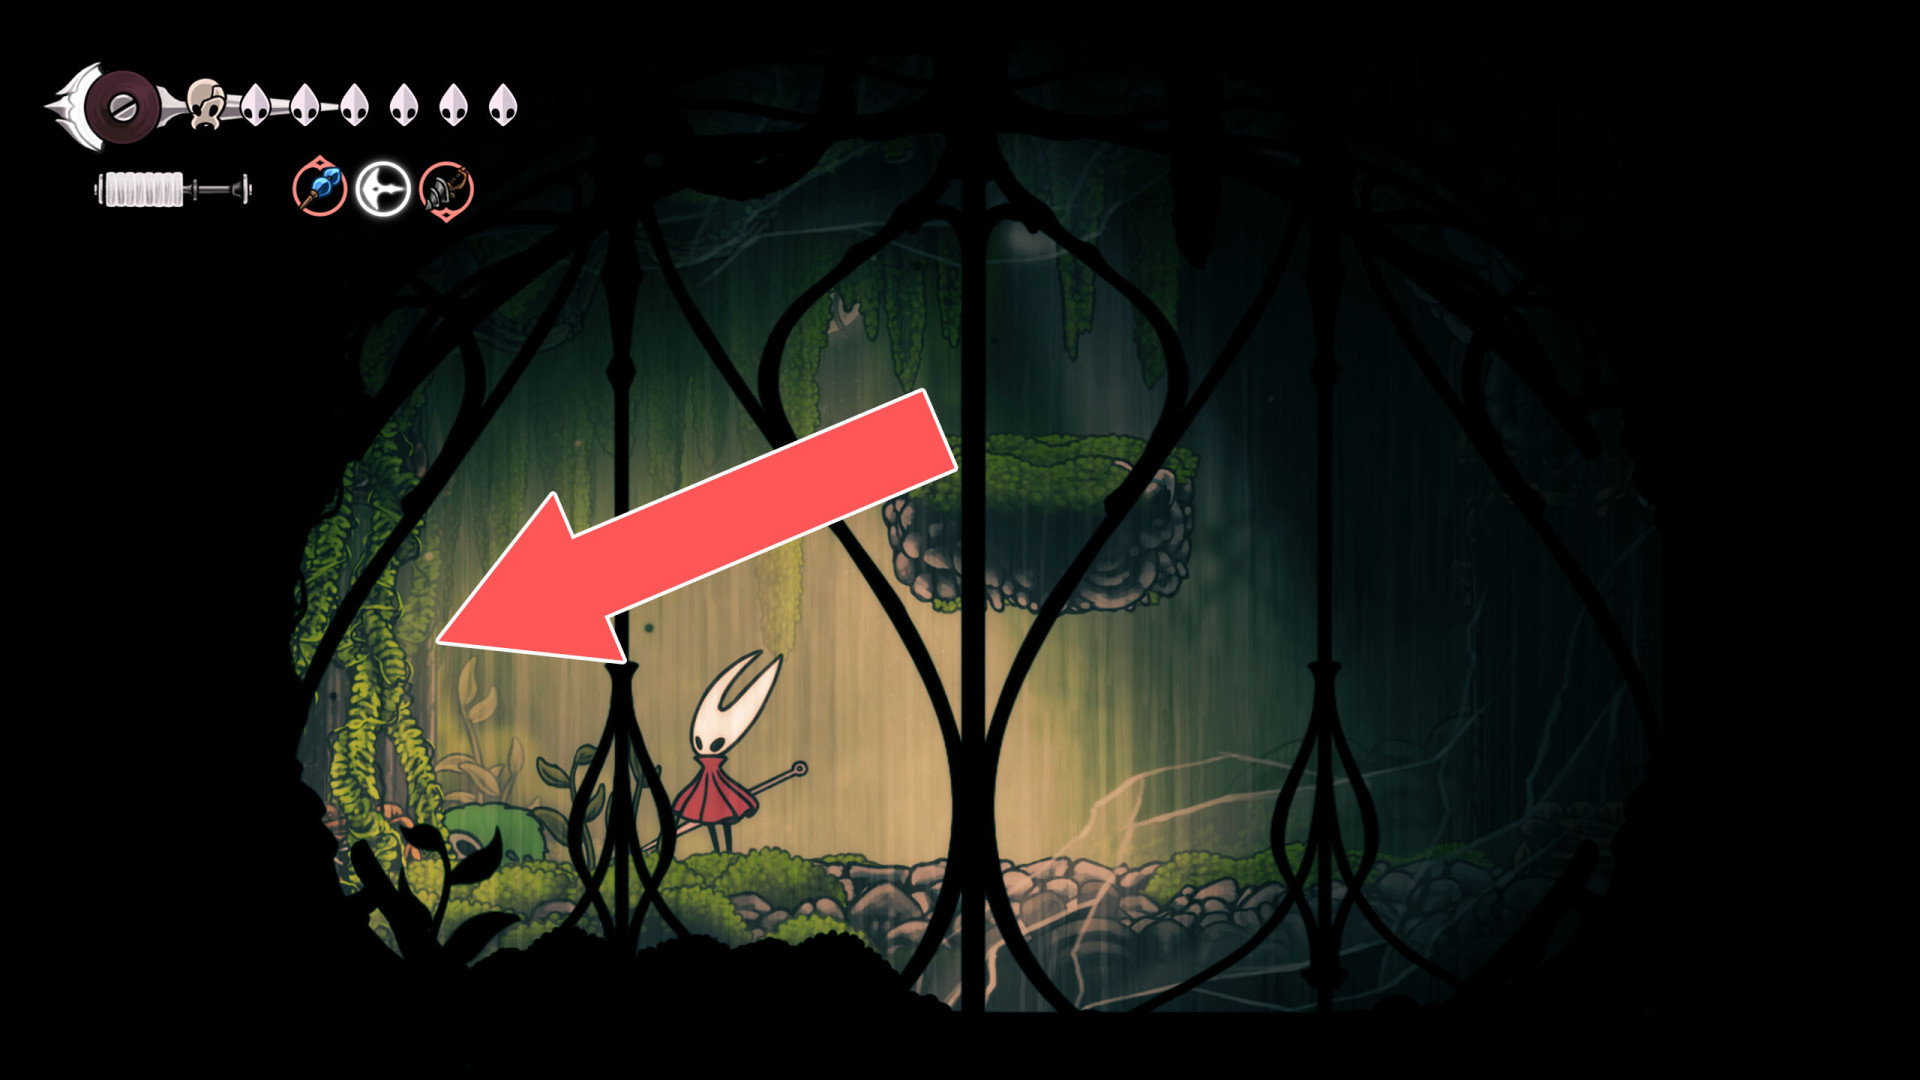
72Breakable Wall
You can destroy this wall from the east side.
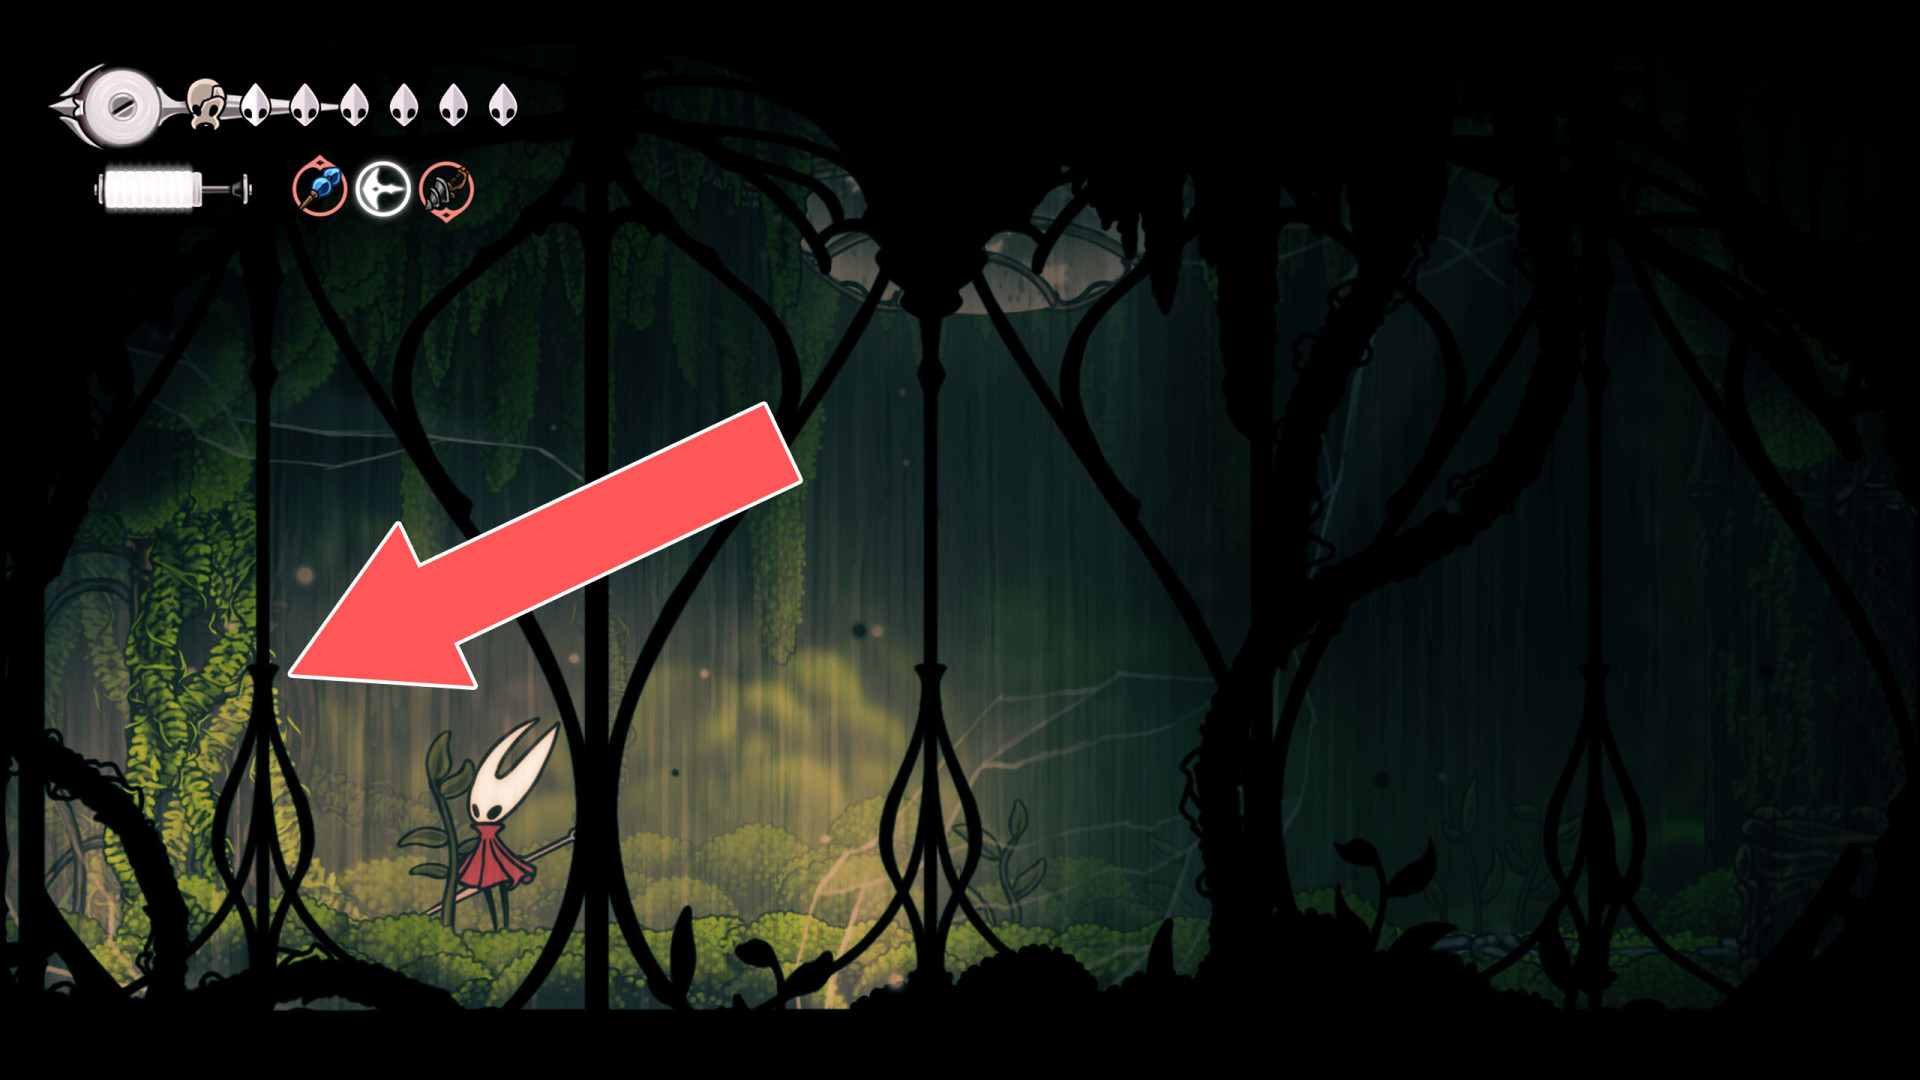
73Breakable Wall
You can destroy this wall from the east side.
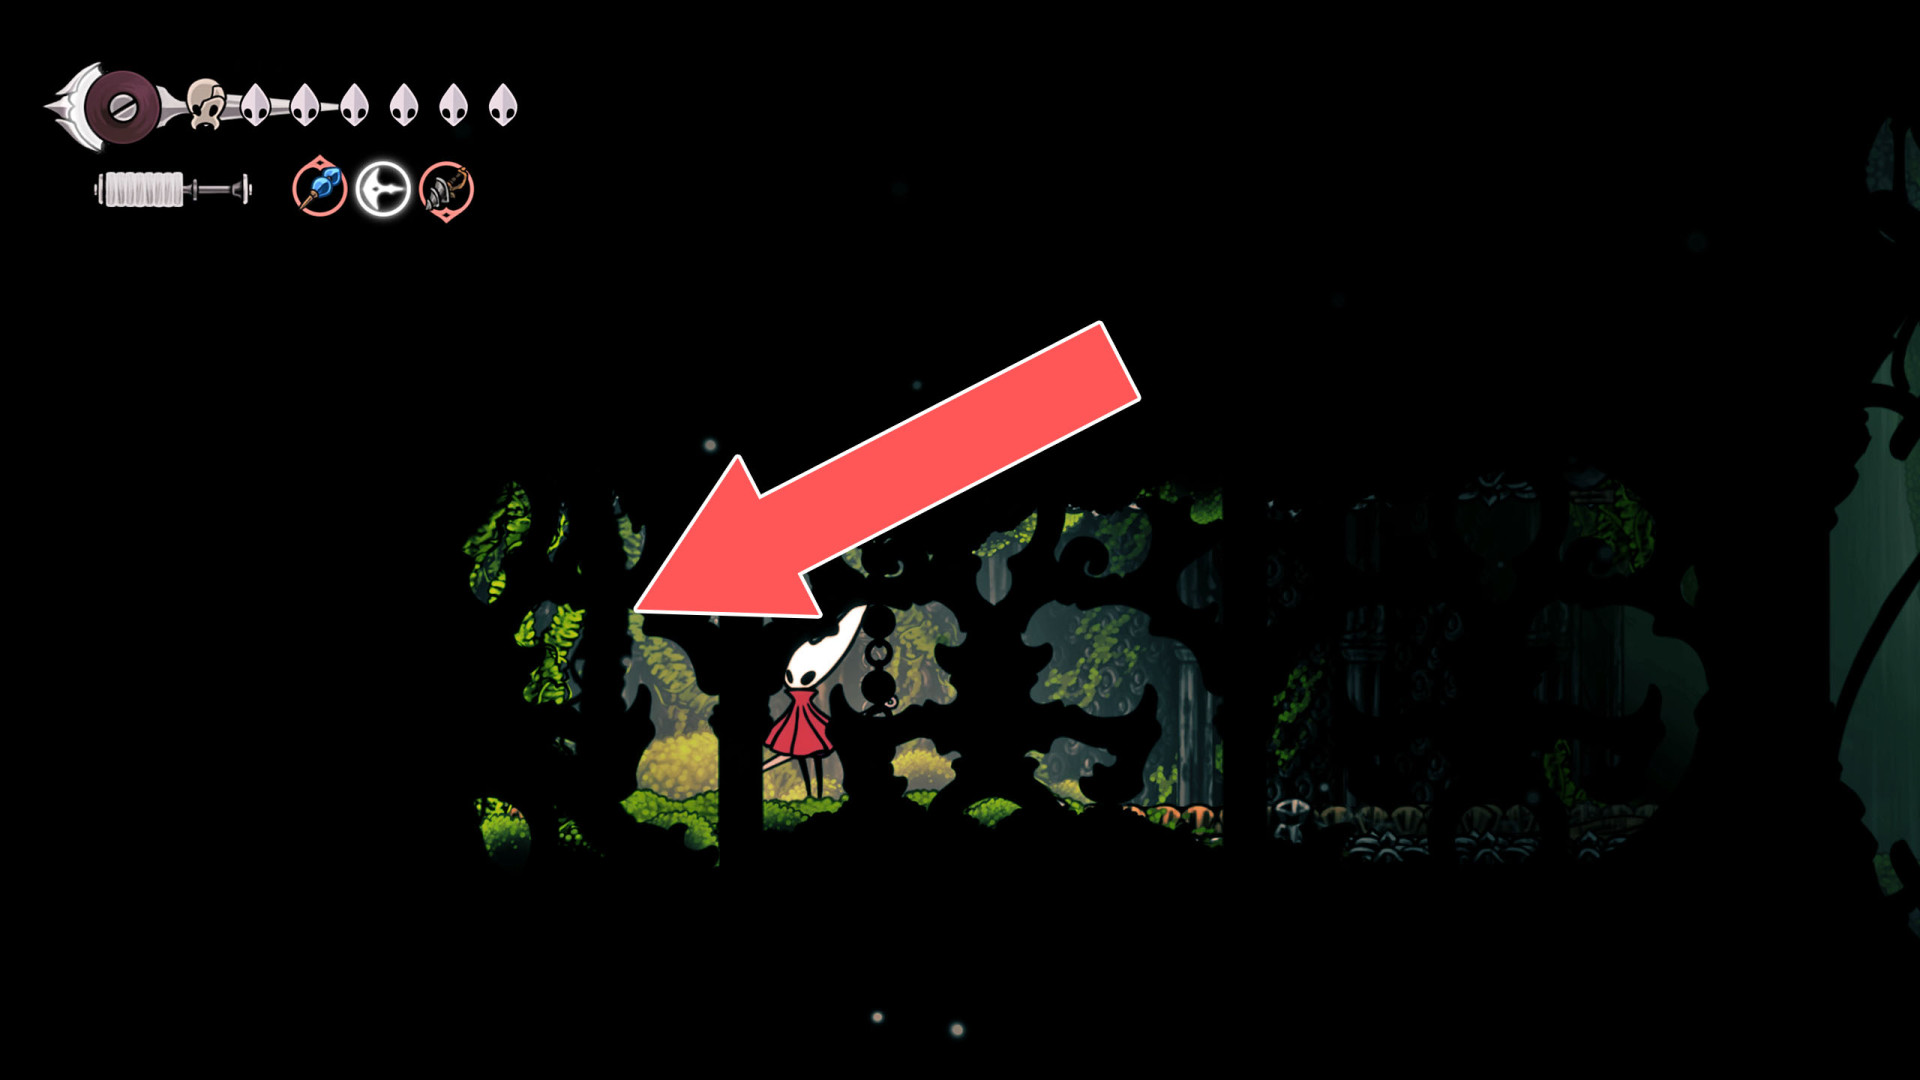
74Breakable Wall
You can destroy this roadblock by approaching it from the west.
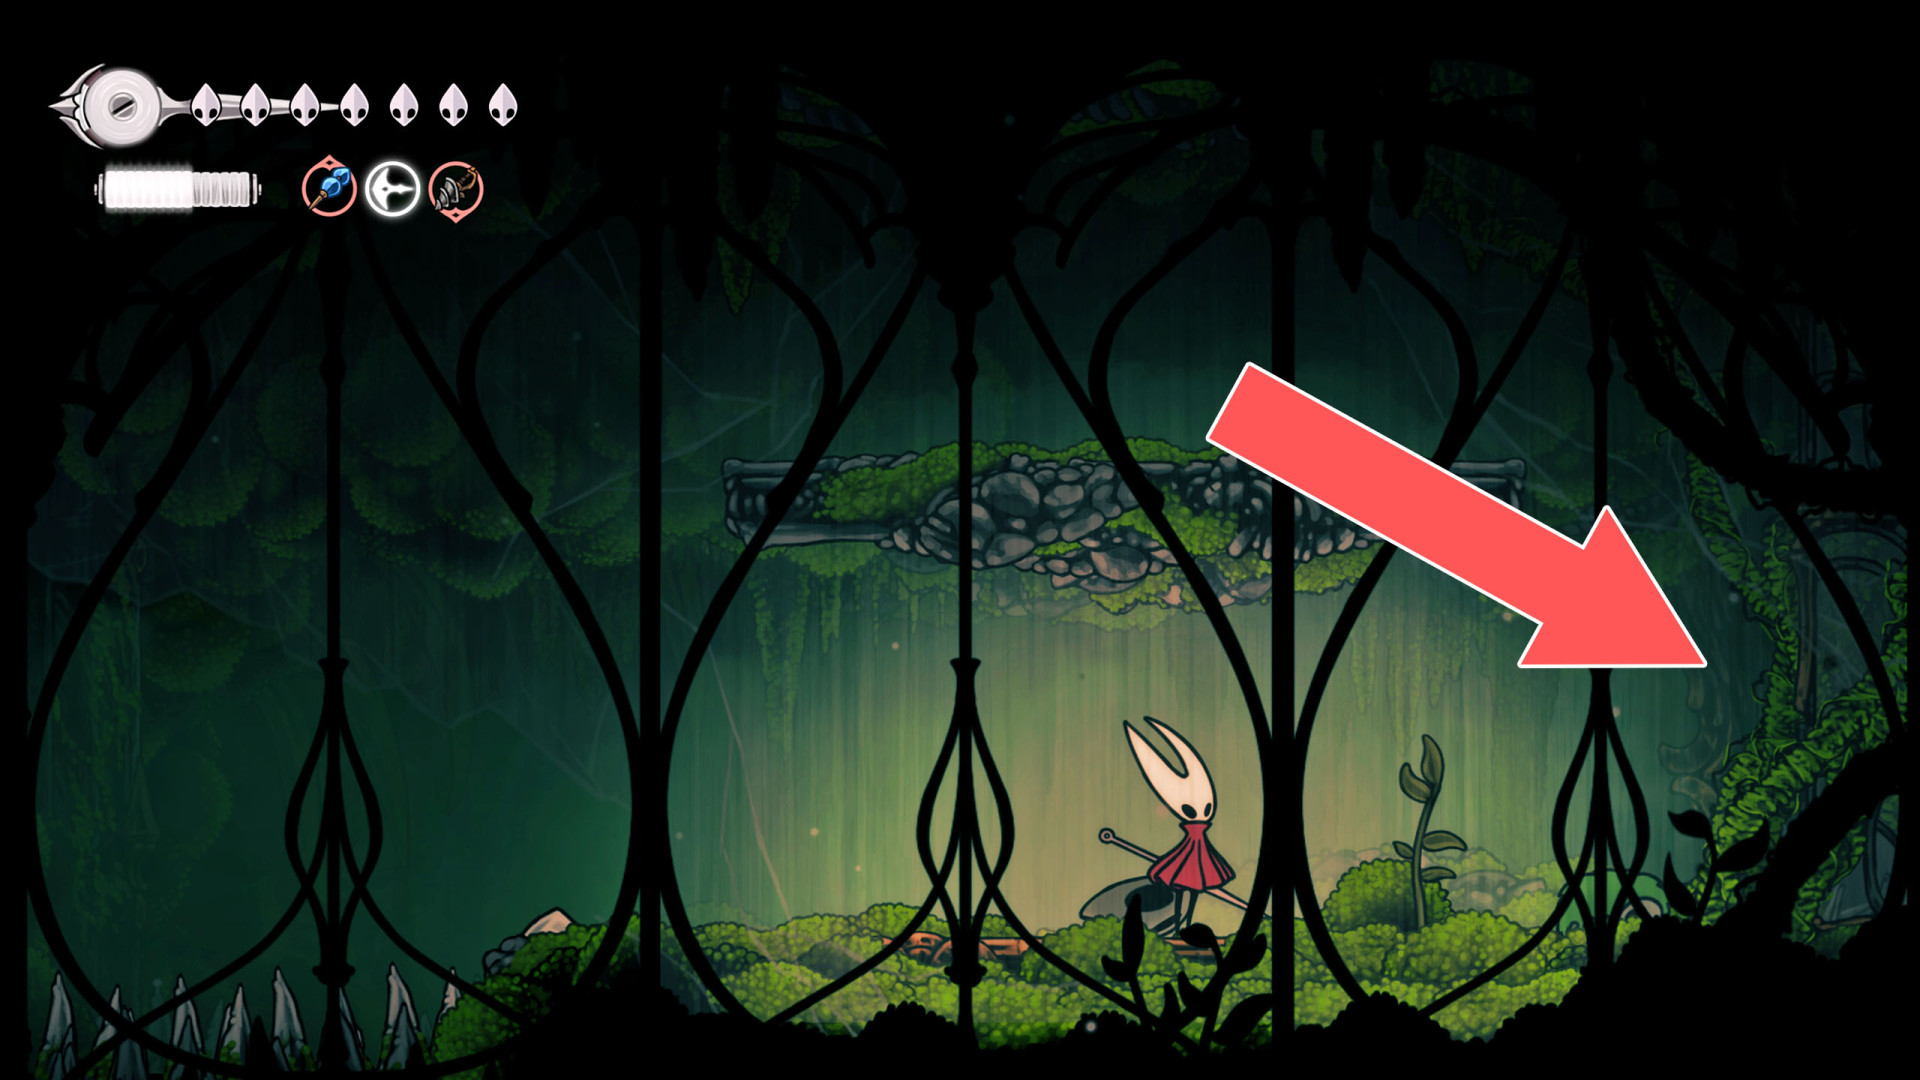
75Breakable Wall
You can destroy this roadblock by approaching it from the east.
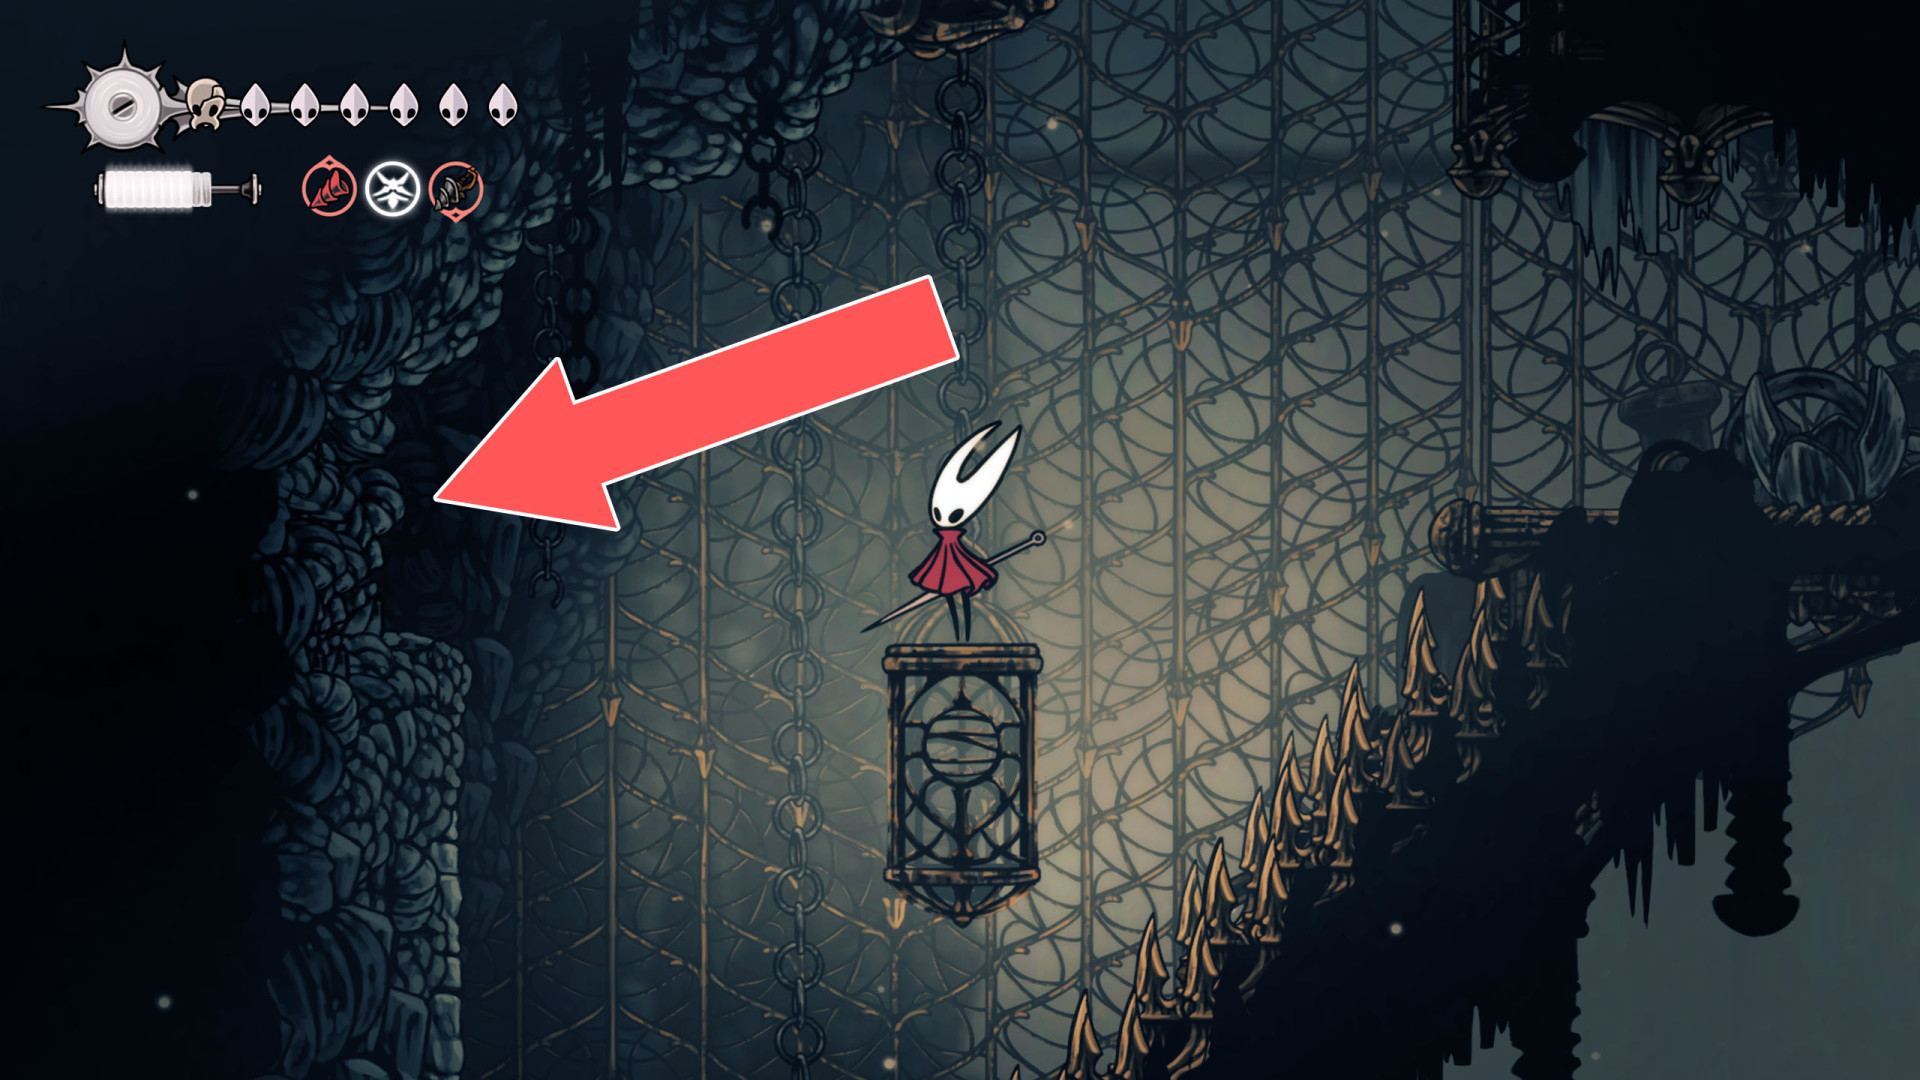
76Breakable Wall
You can break down this wall by hitting it from the east side.
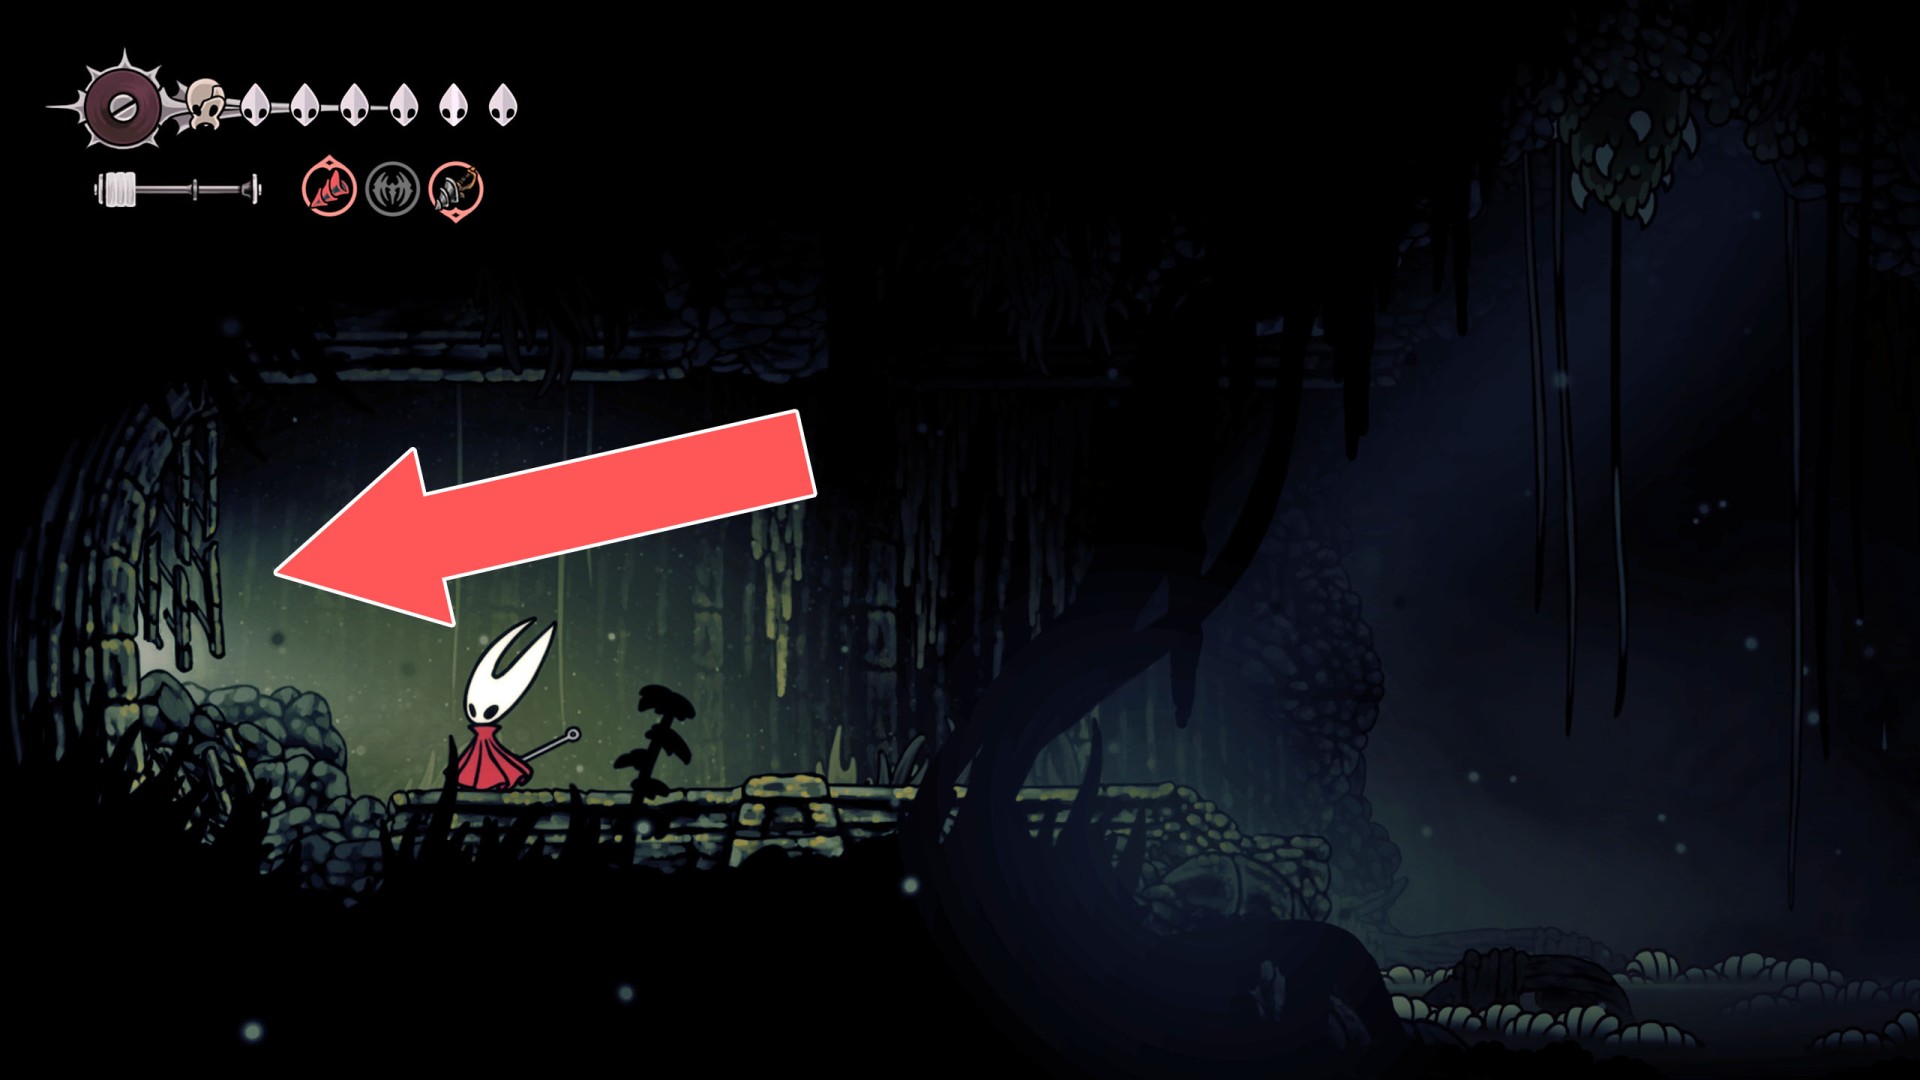
77Breakable Wall
You can destroy this wall by attacking it from the west side.
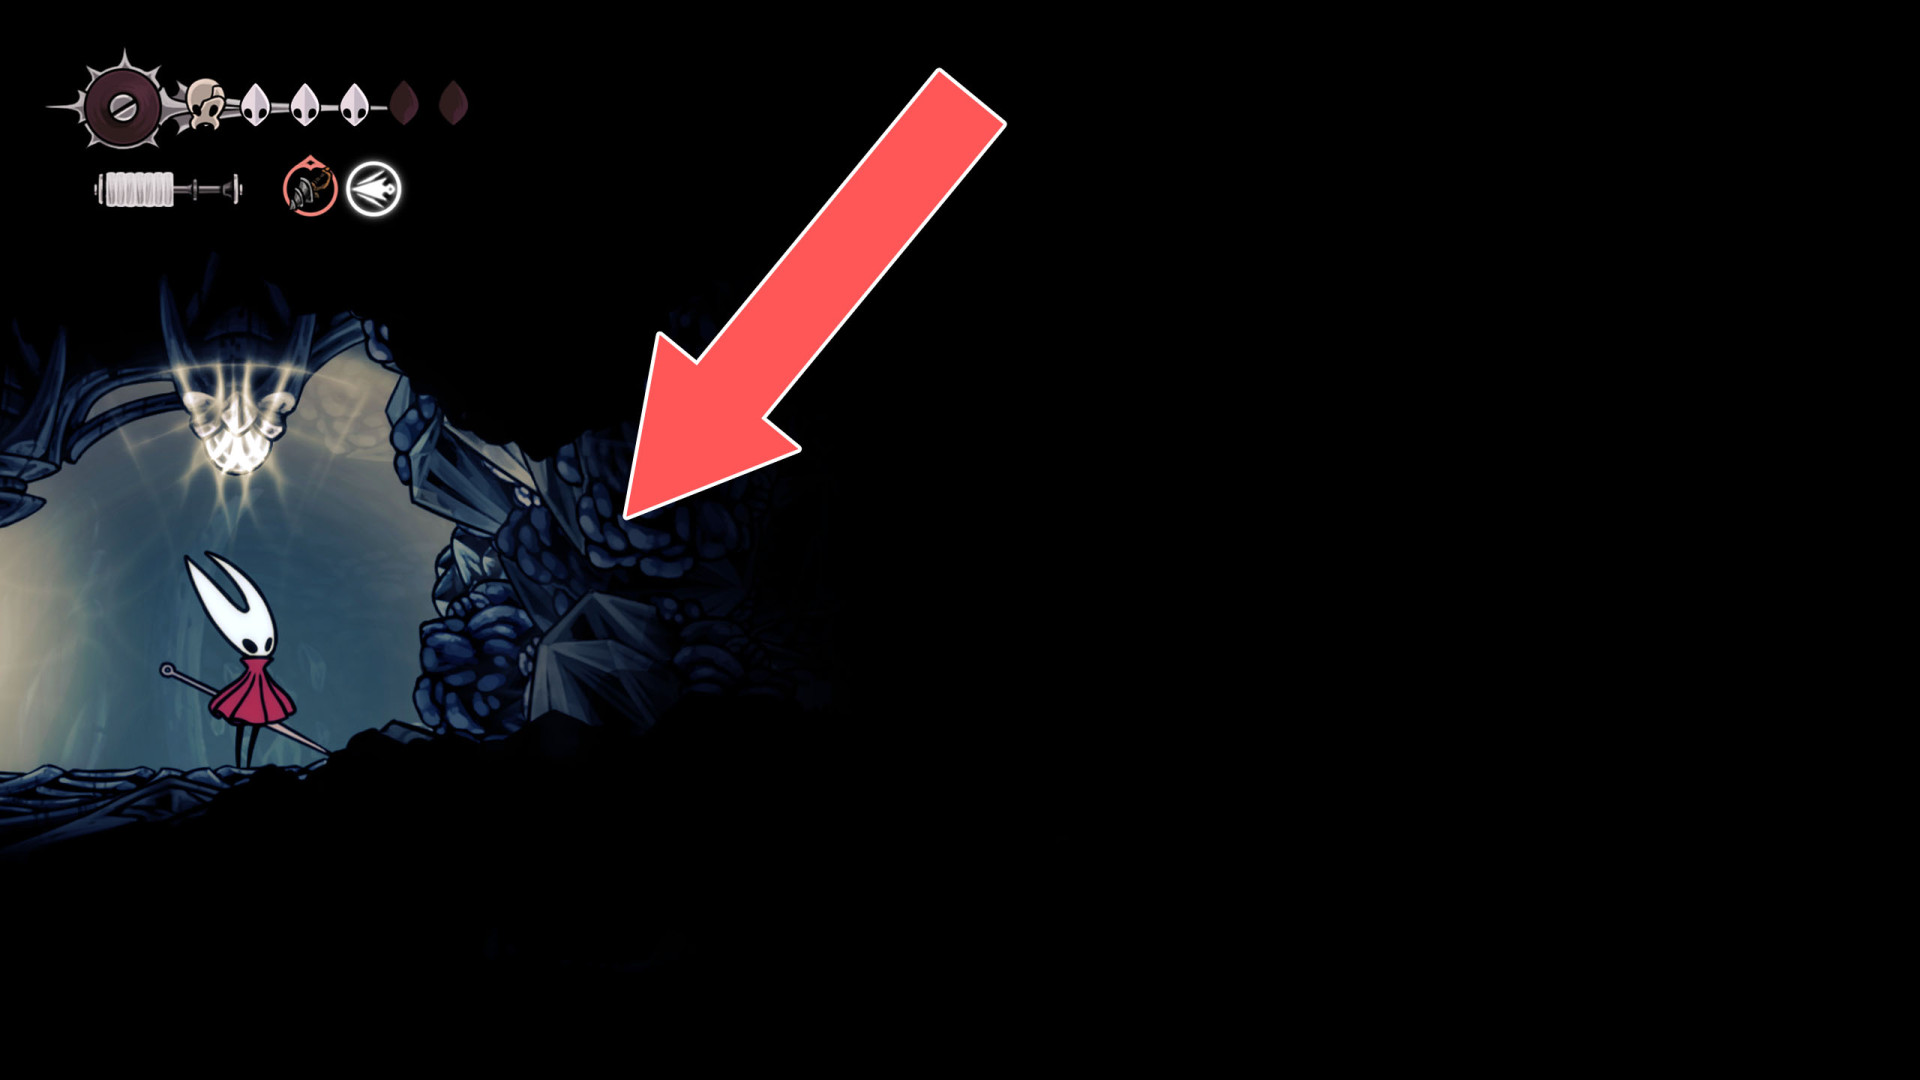
78Breakable Wall
You can destroy this roadblock by approaching it from the east.
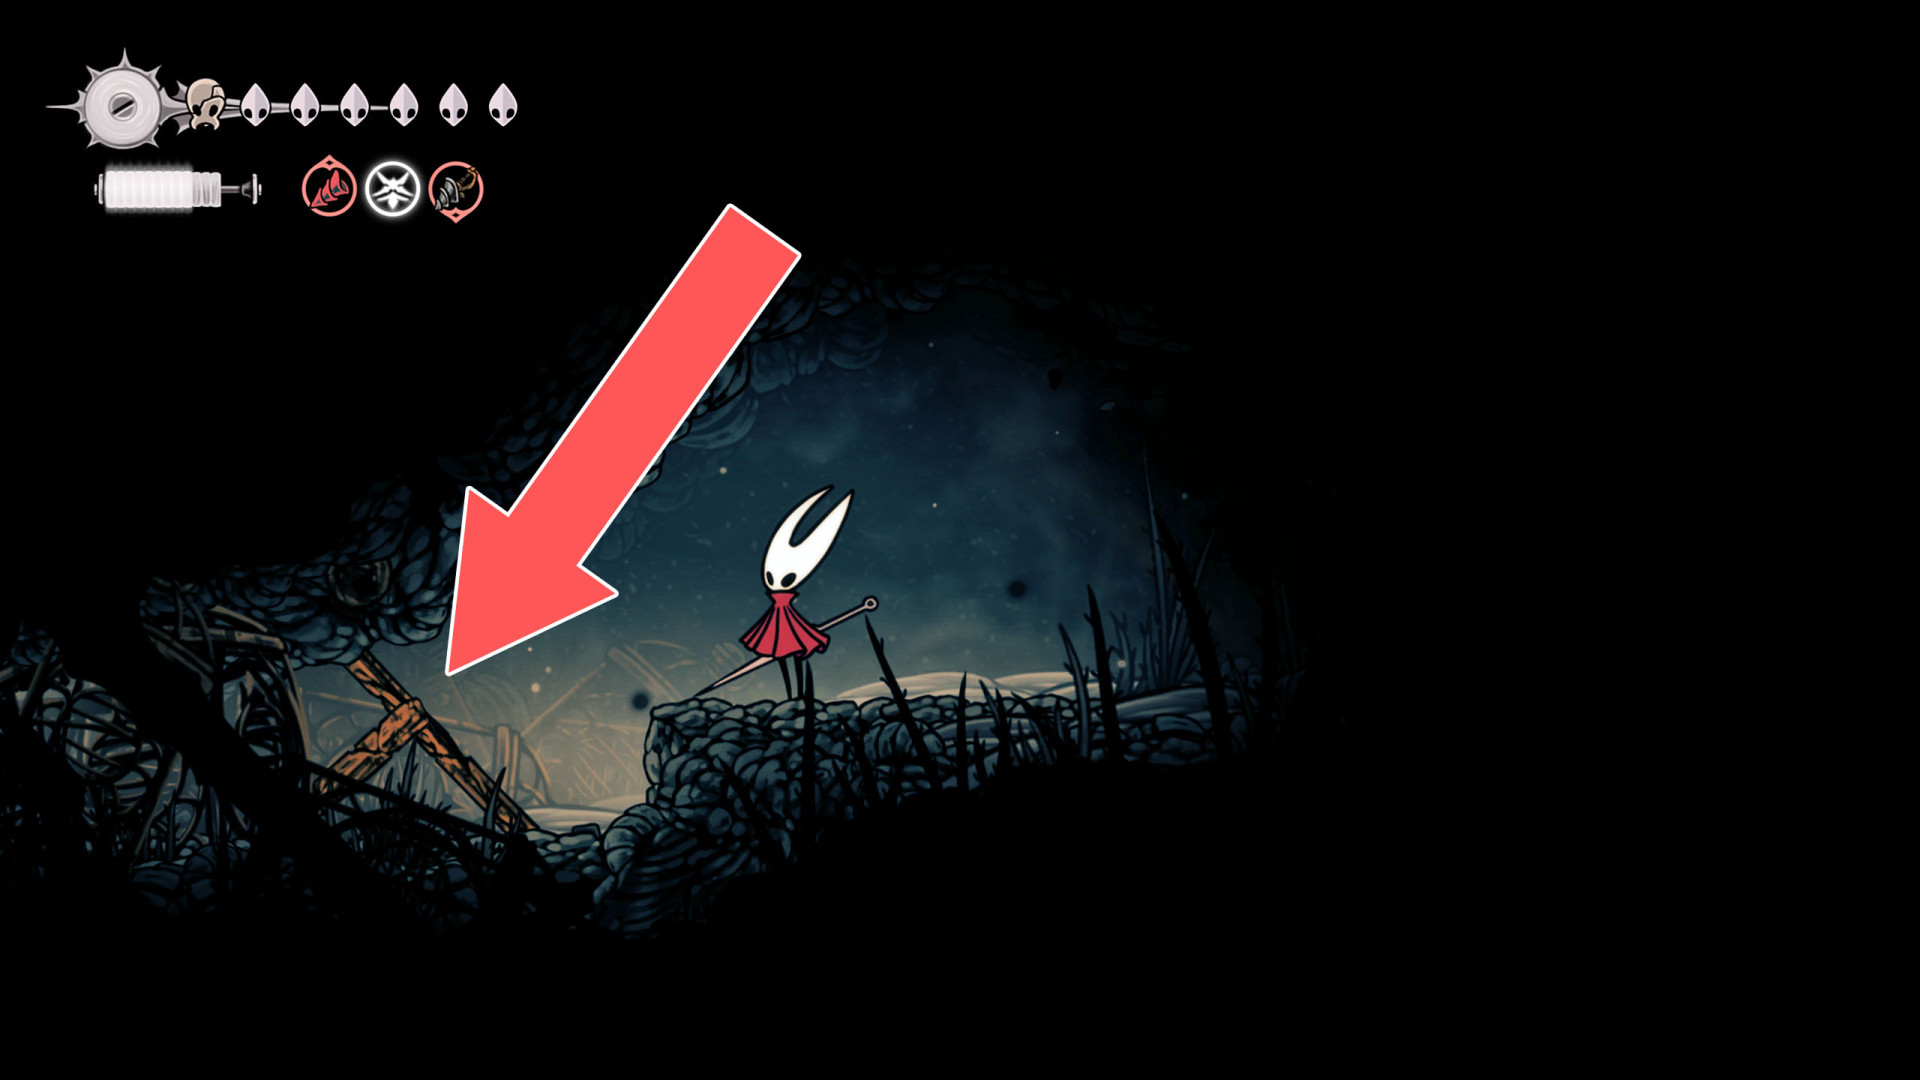
79Breakable Wall
You can destroy this roadblock by approaching it from the east.
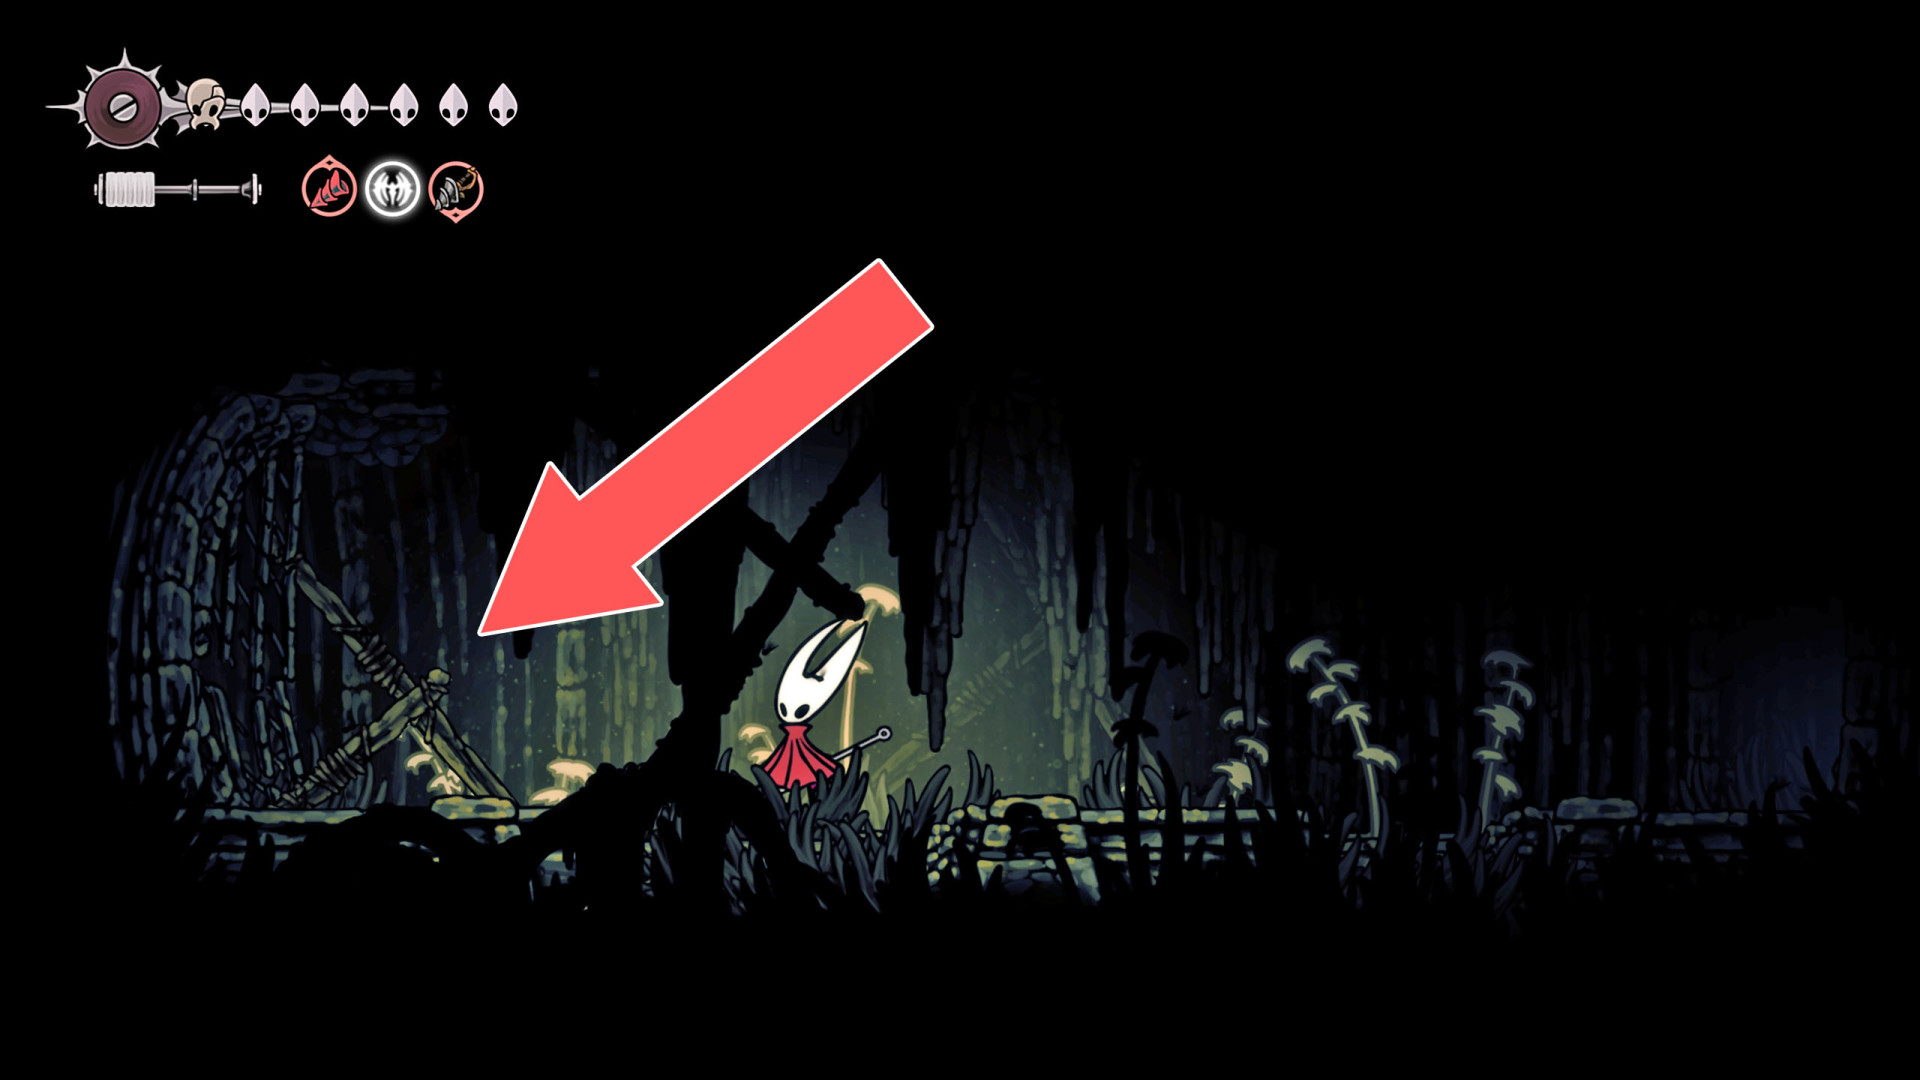
80Breakable Wall
You can destroy this roadblock by approaching it from the east.
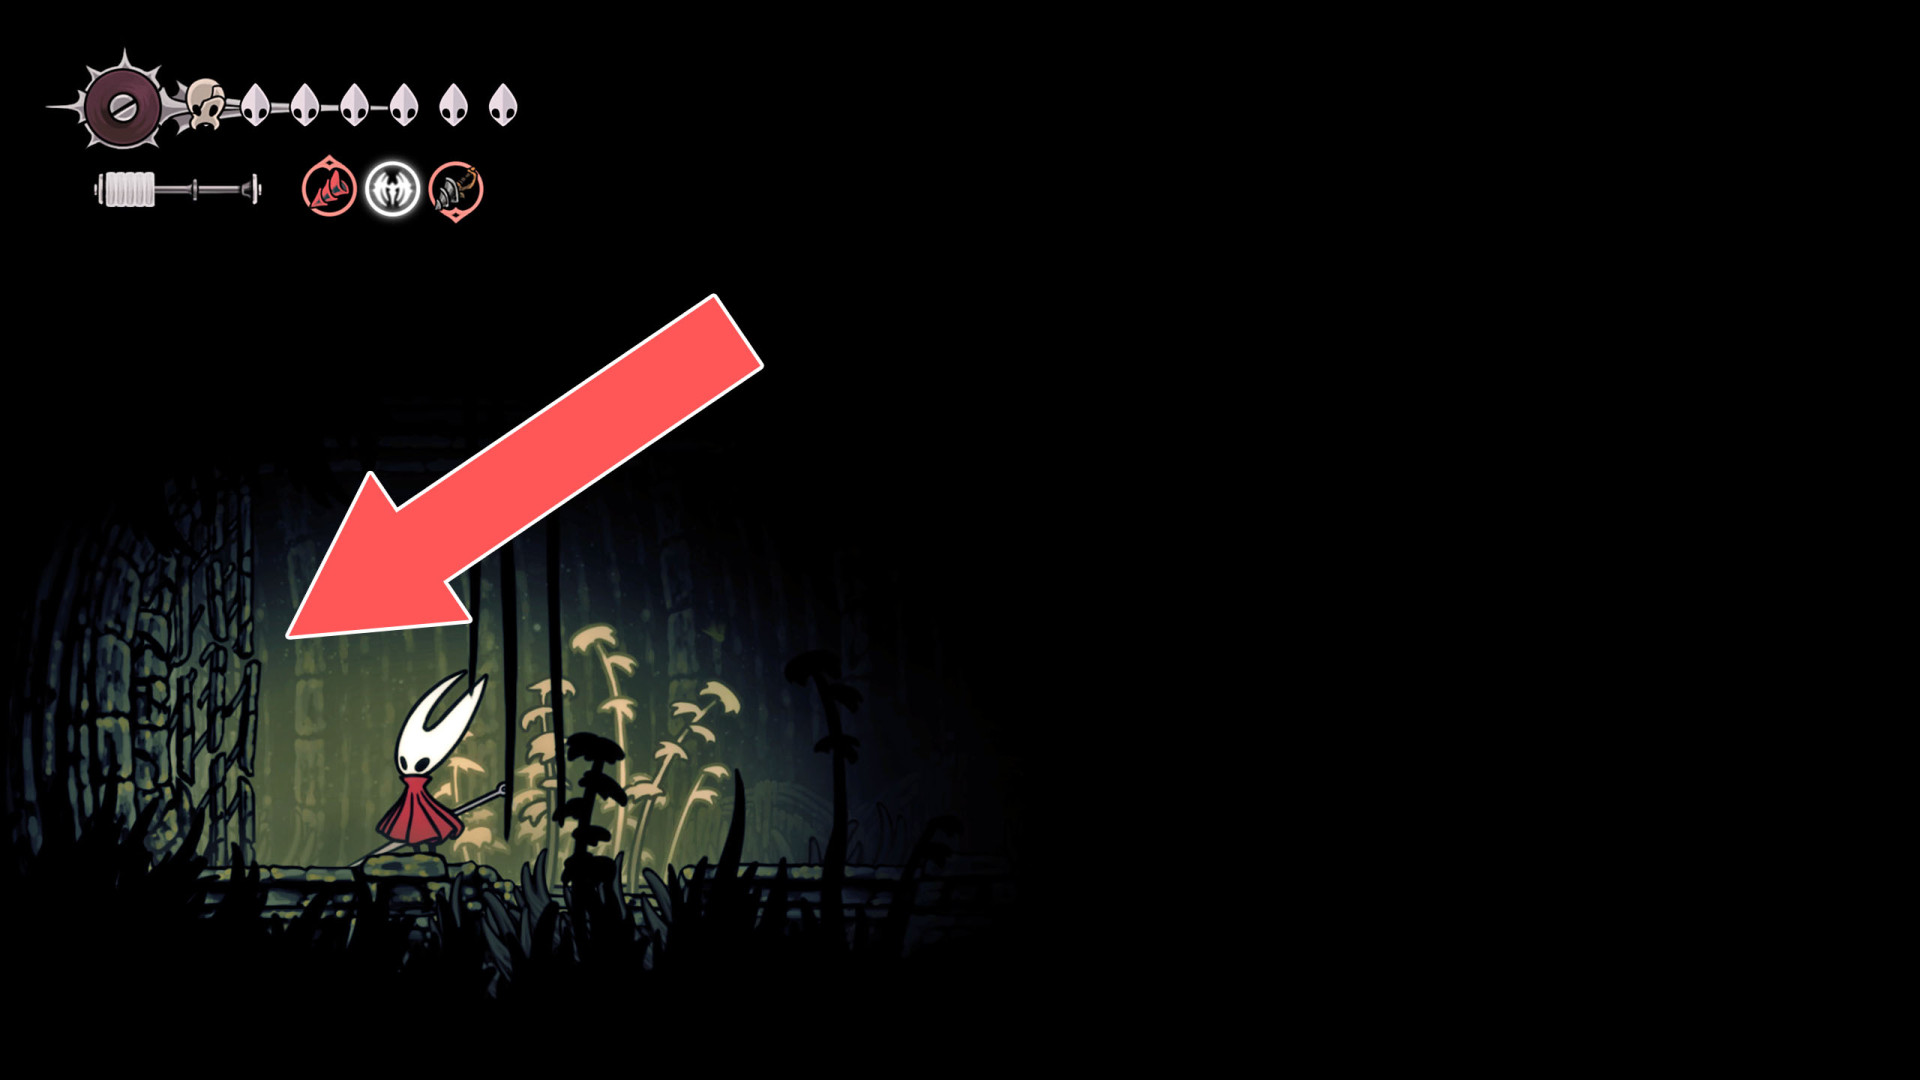
81Breakable Wall
You can destroy this wall by attacking it from the west side.
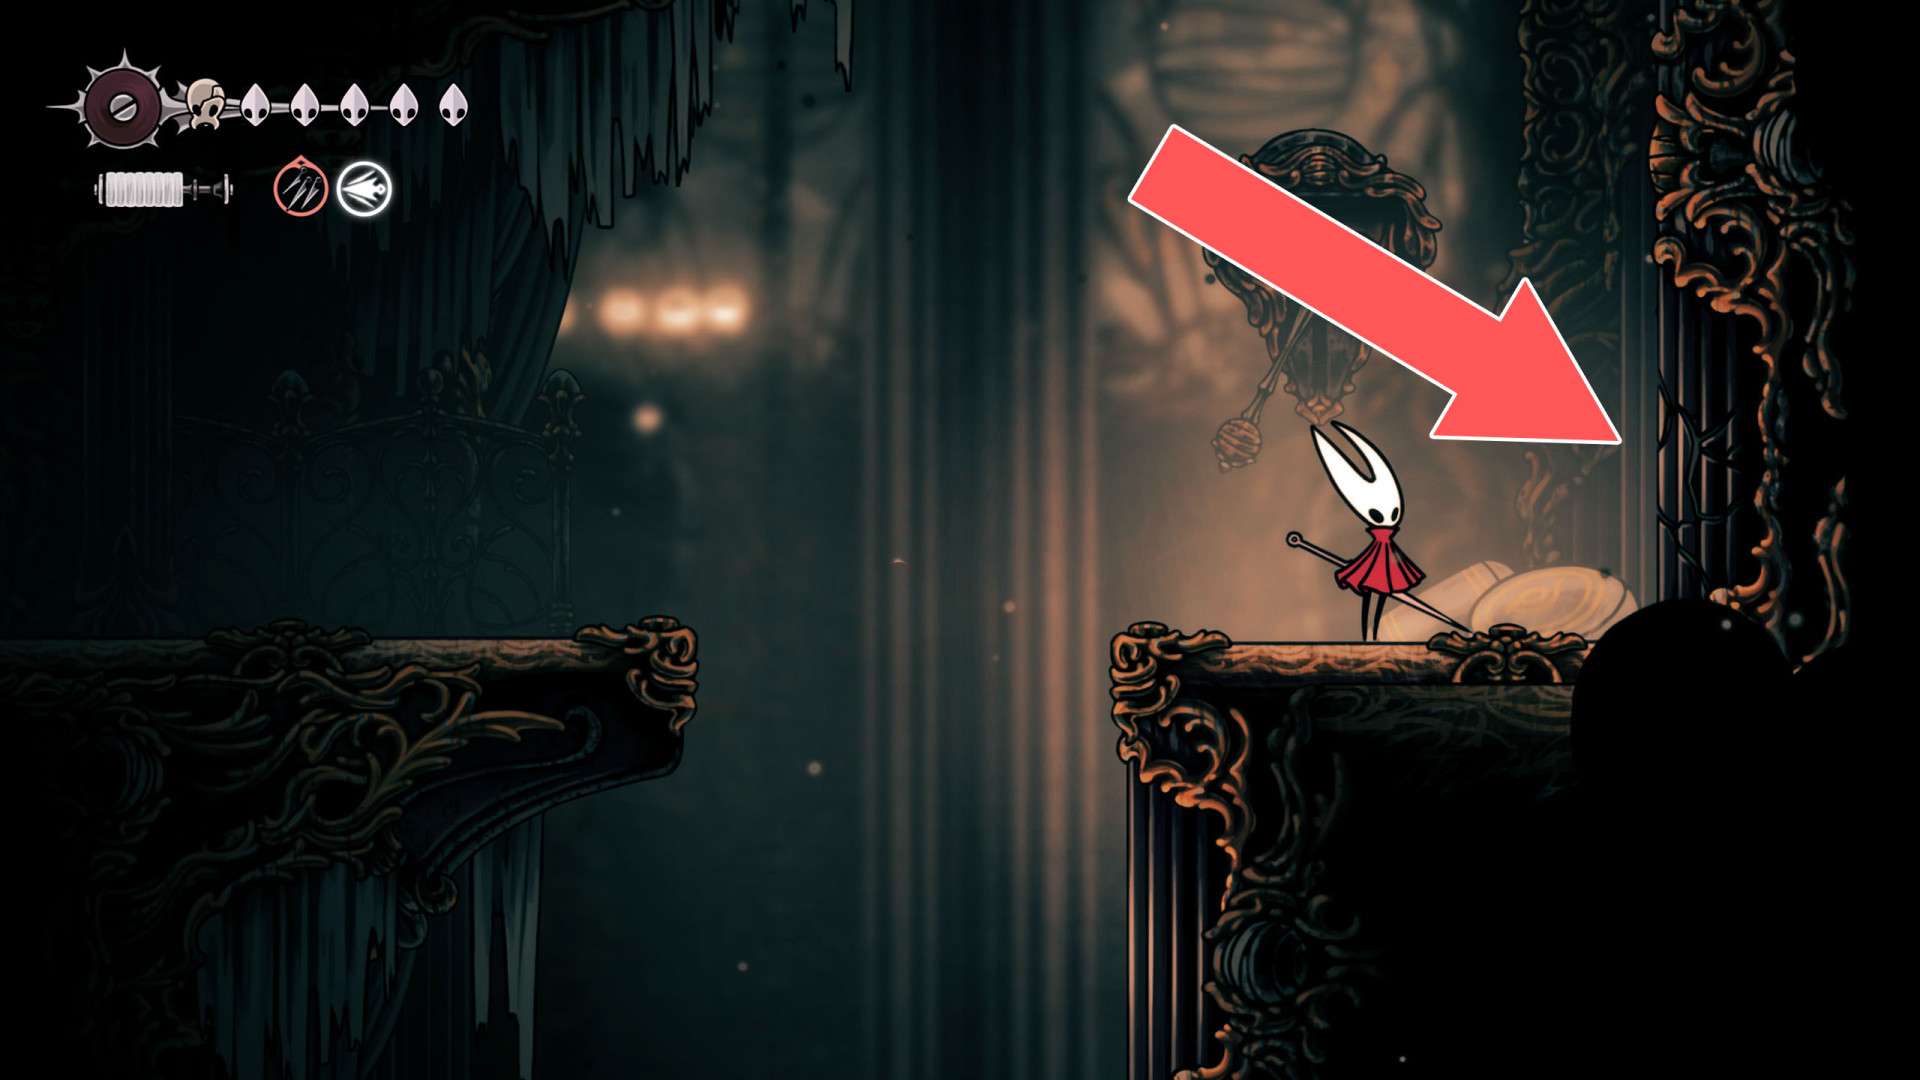
82Breakable Wall
You can destroy this roadblock by approaching it from the west.
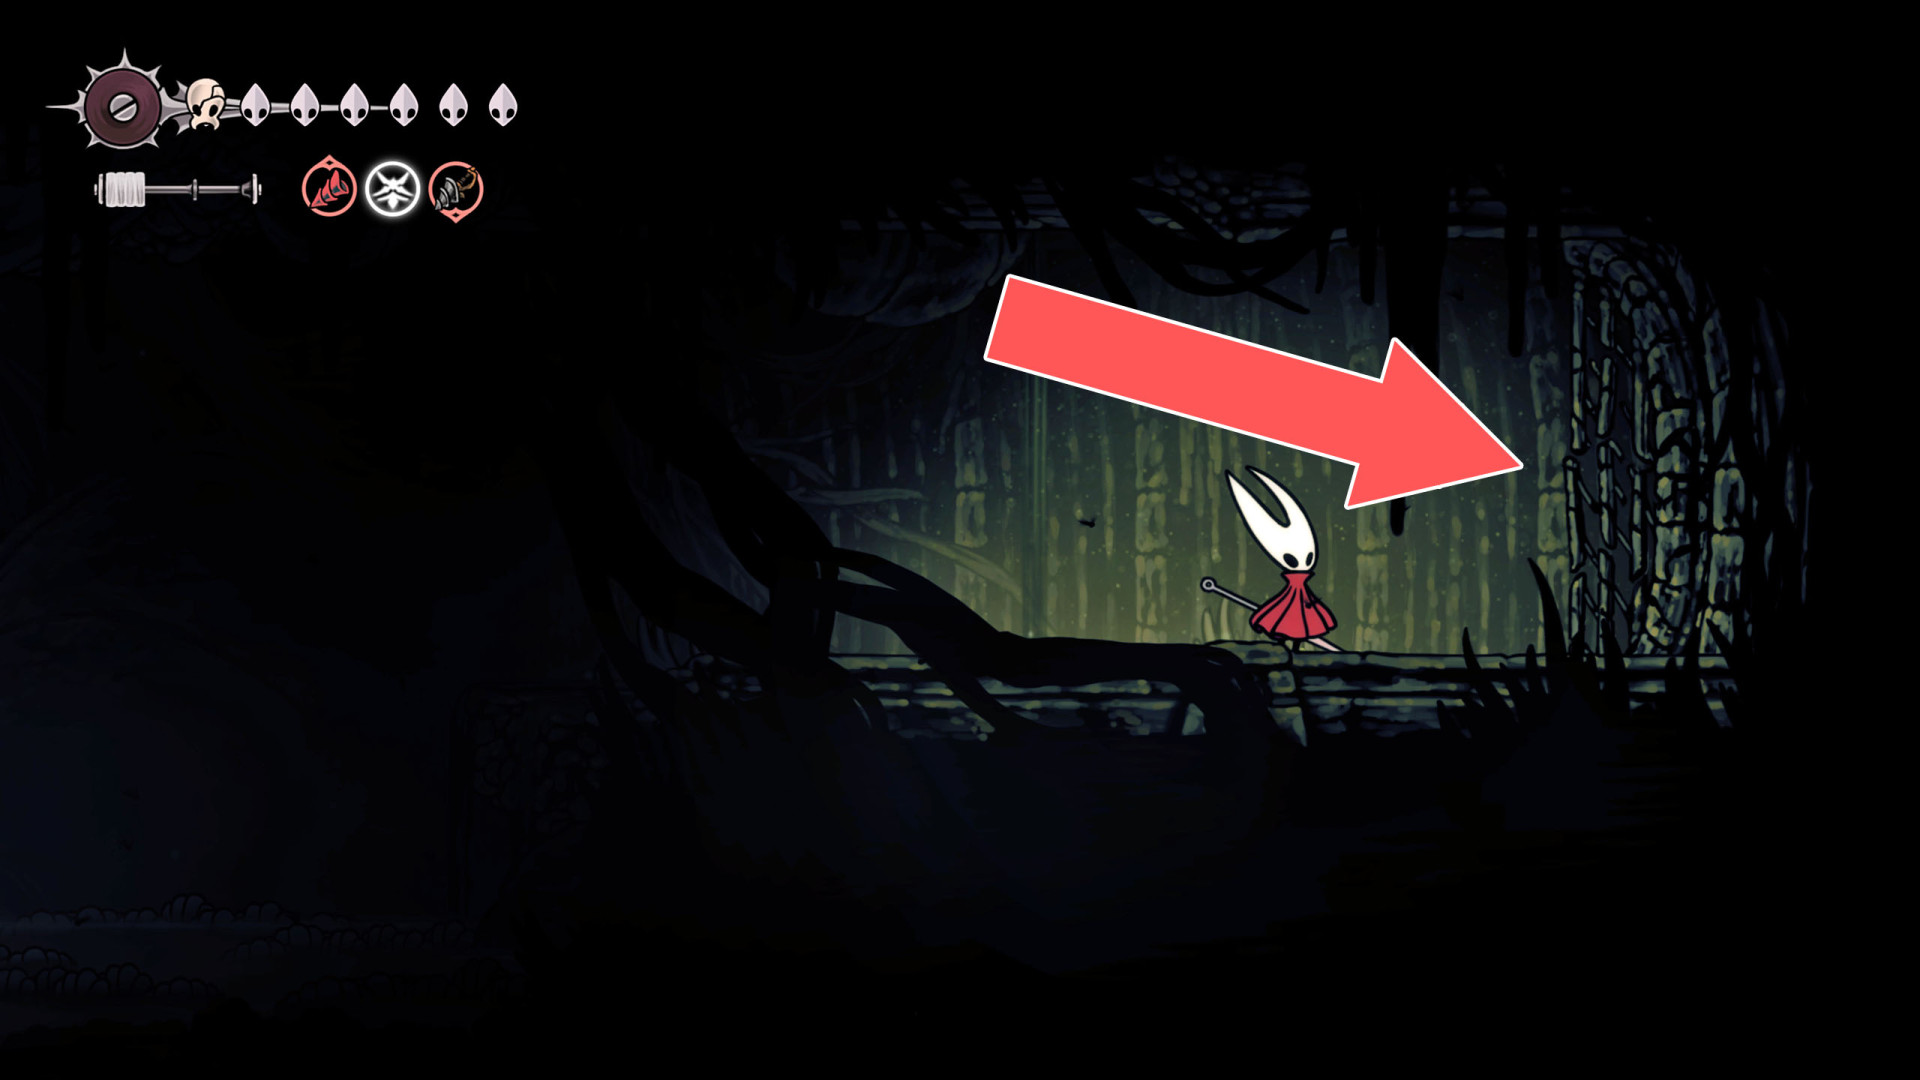
83Breakable Wall
You can destroy this roadblock and open a passage by hitting it from the west side.
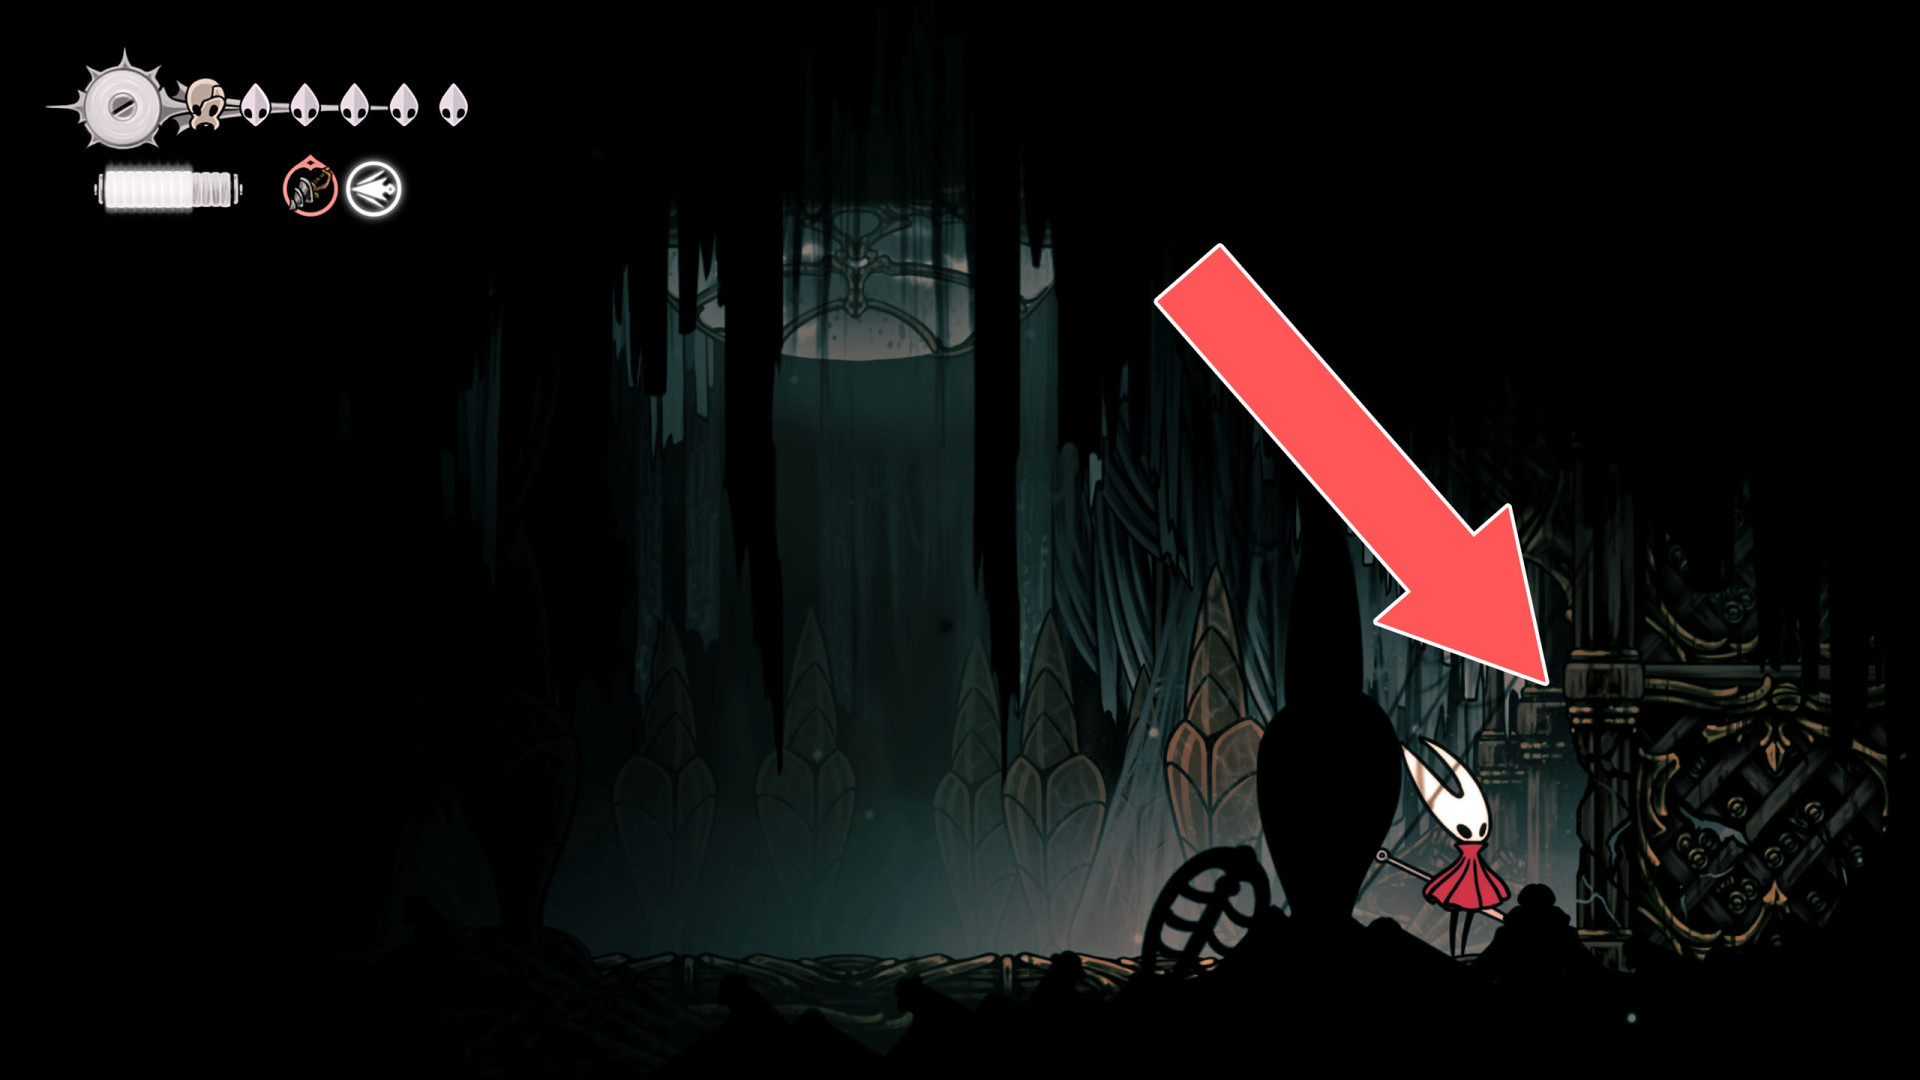
84Breakable Wall
You can destroy this wall by attacking it from the west side.
85Breakable Wall
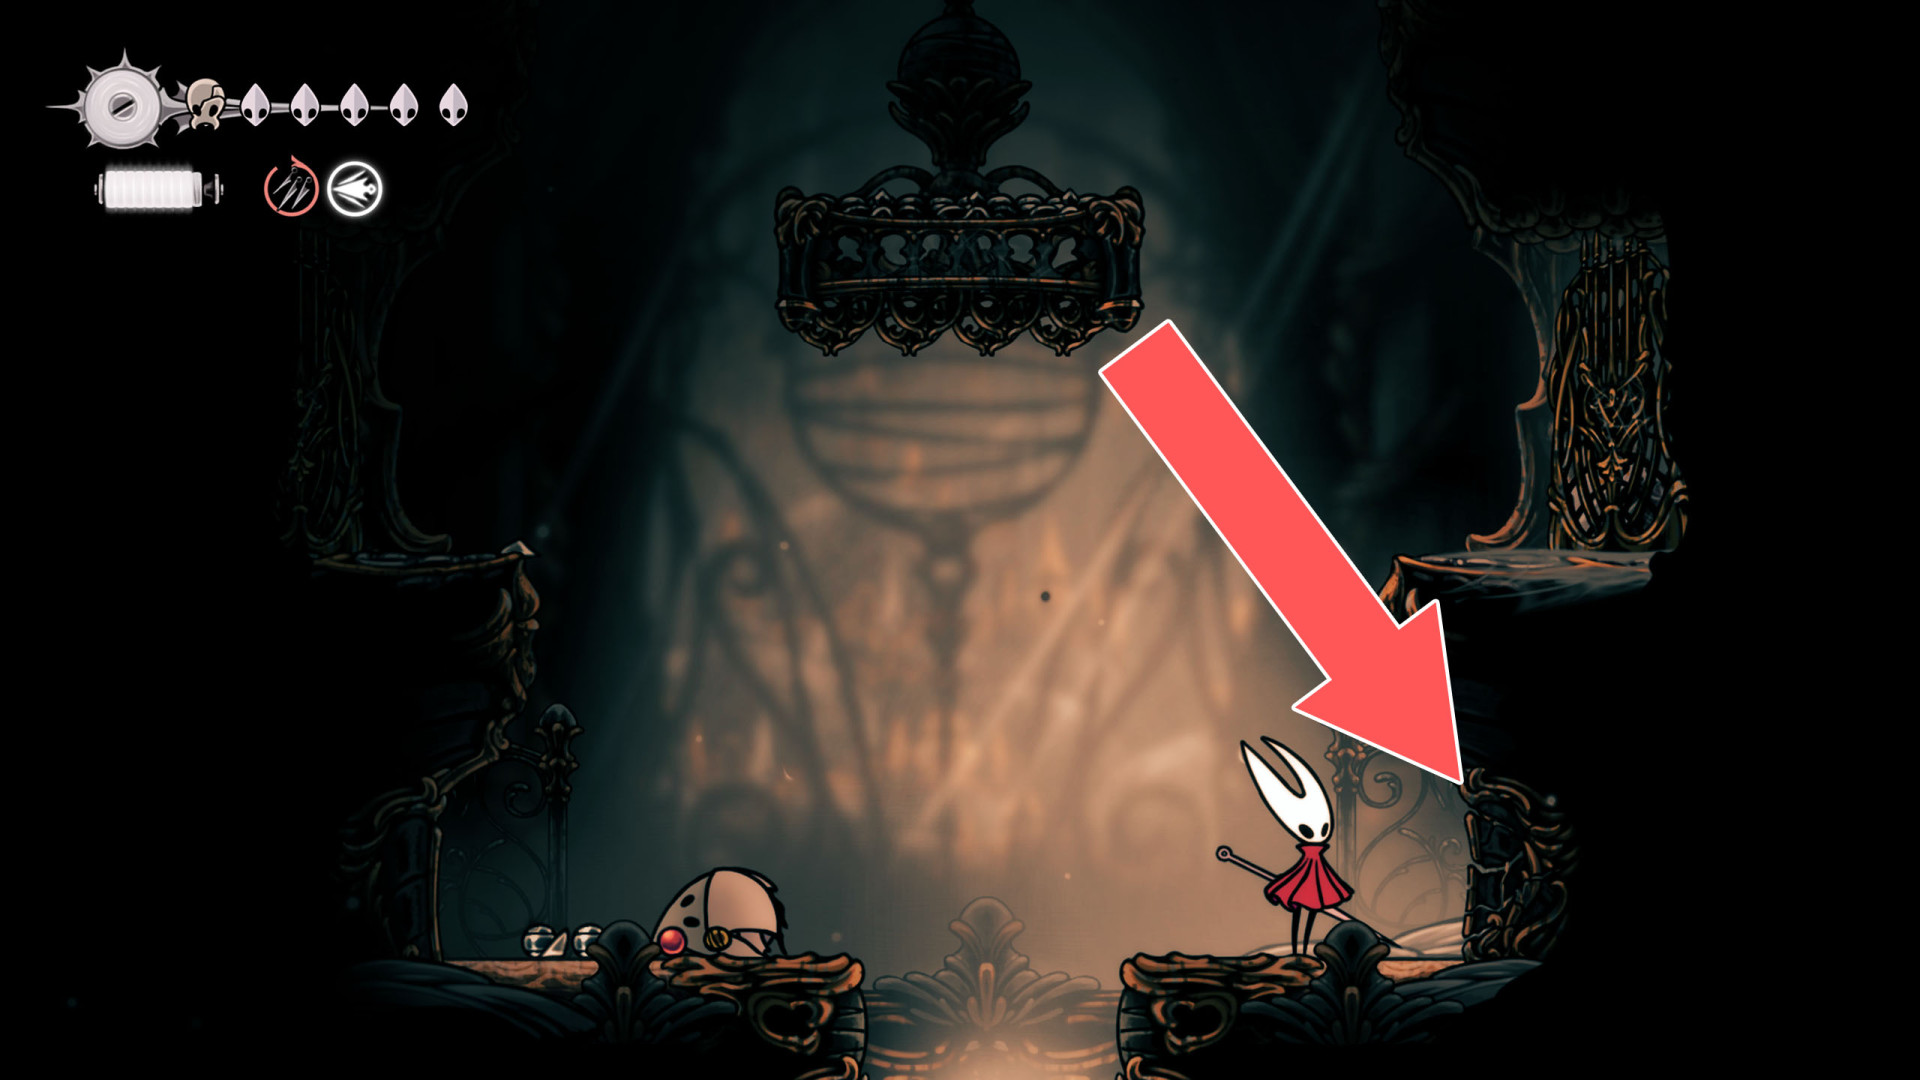
You can destroy this wall by attacking it from the west side.
86Breakable Wall
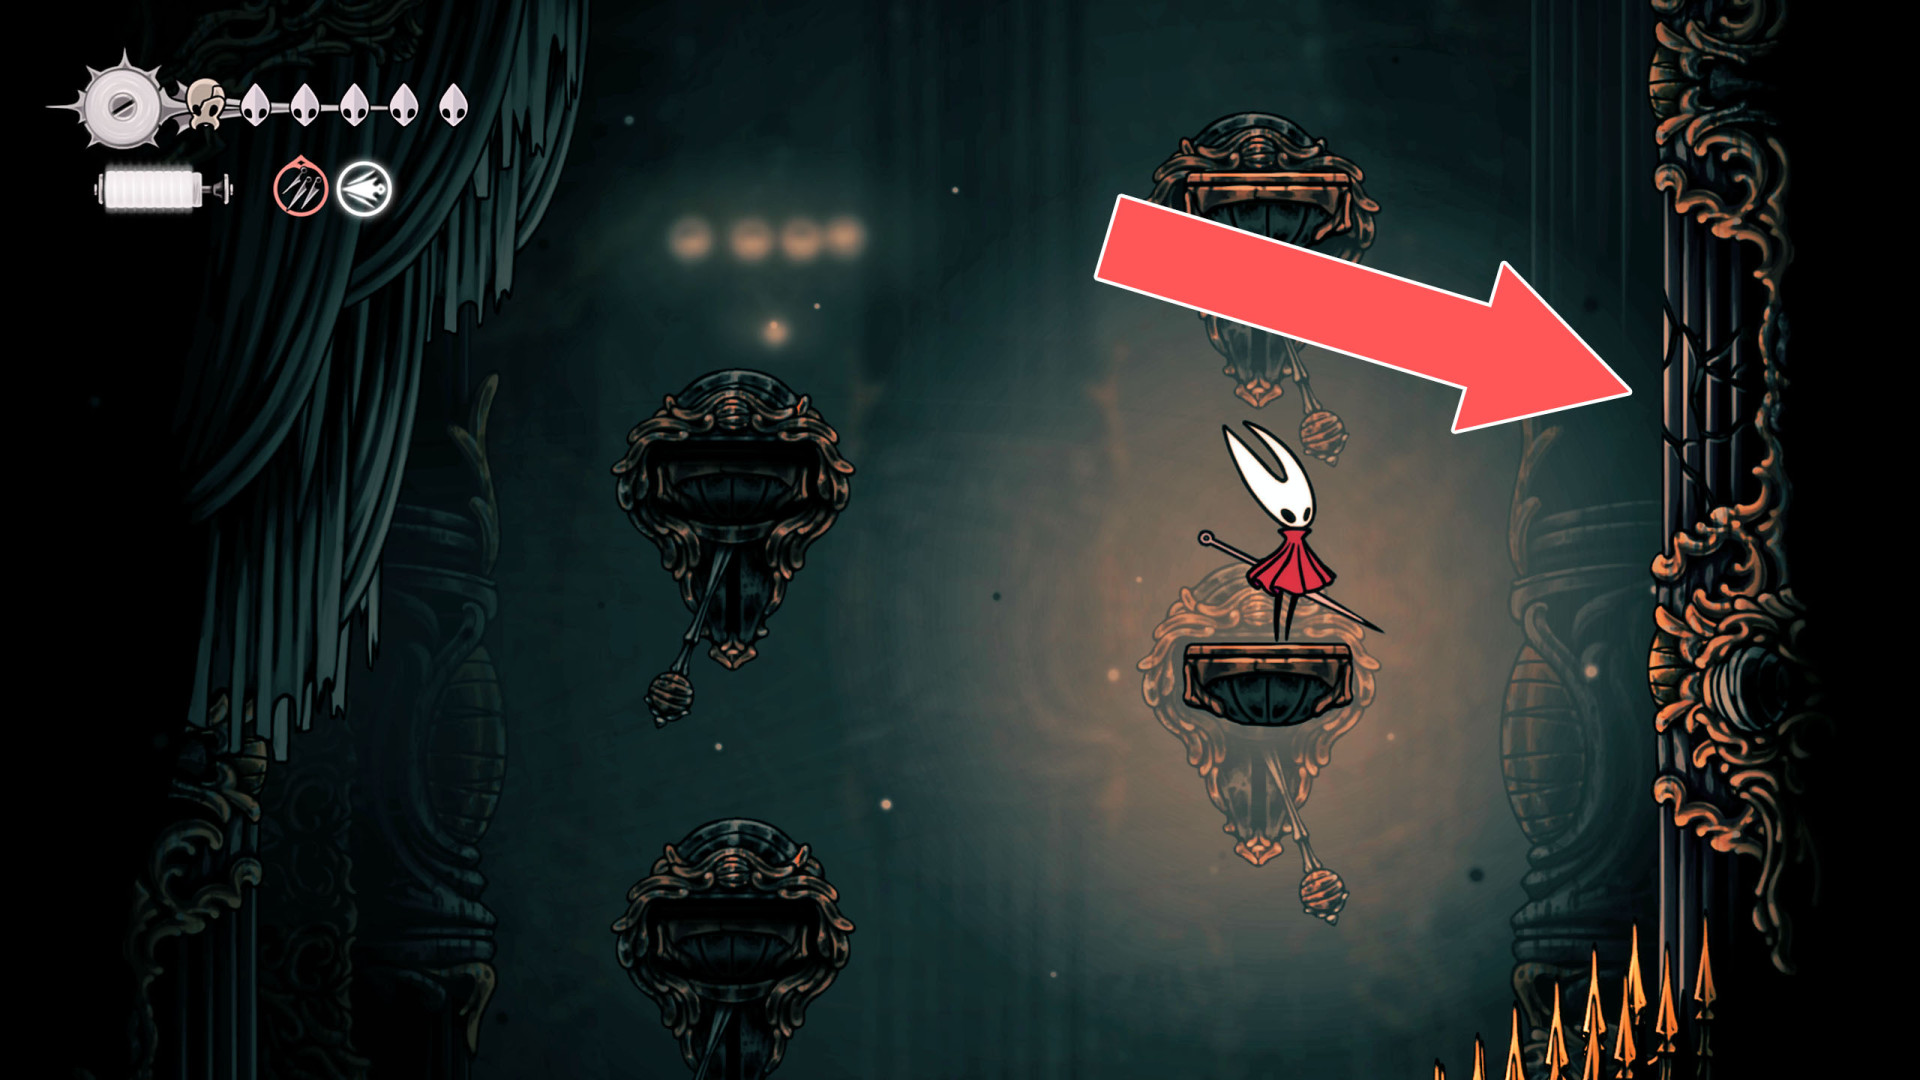
You can destroy this wall by attacking it from the east side.
87Breakable Wall
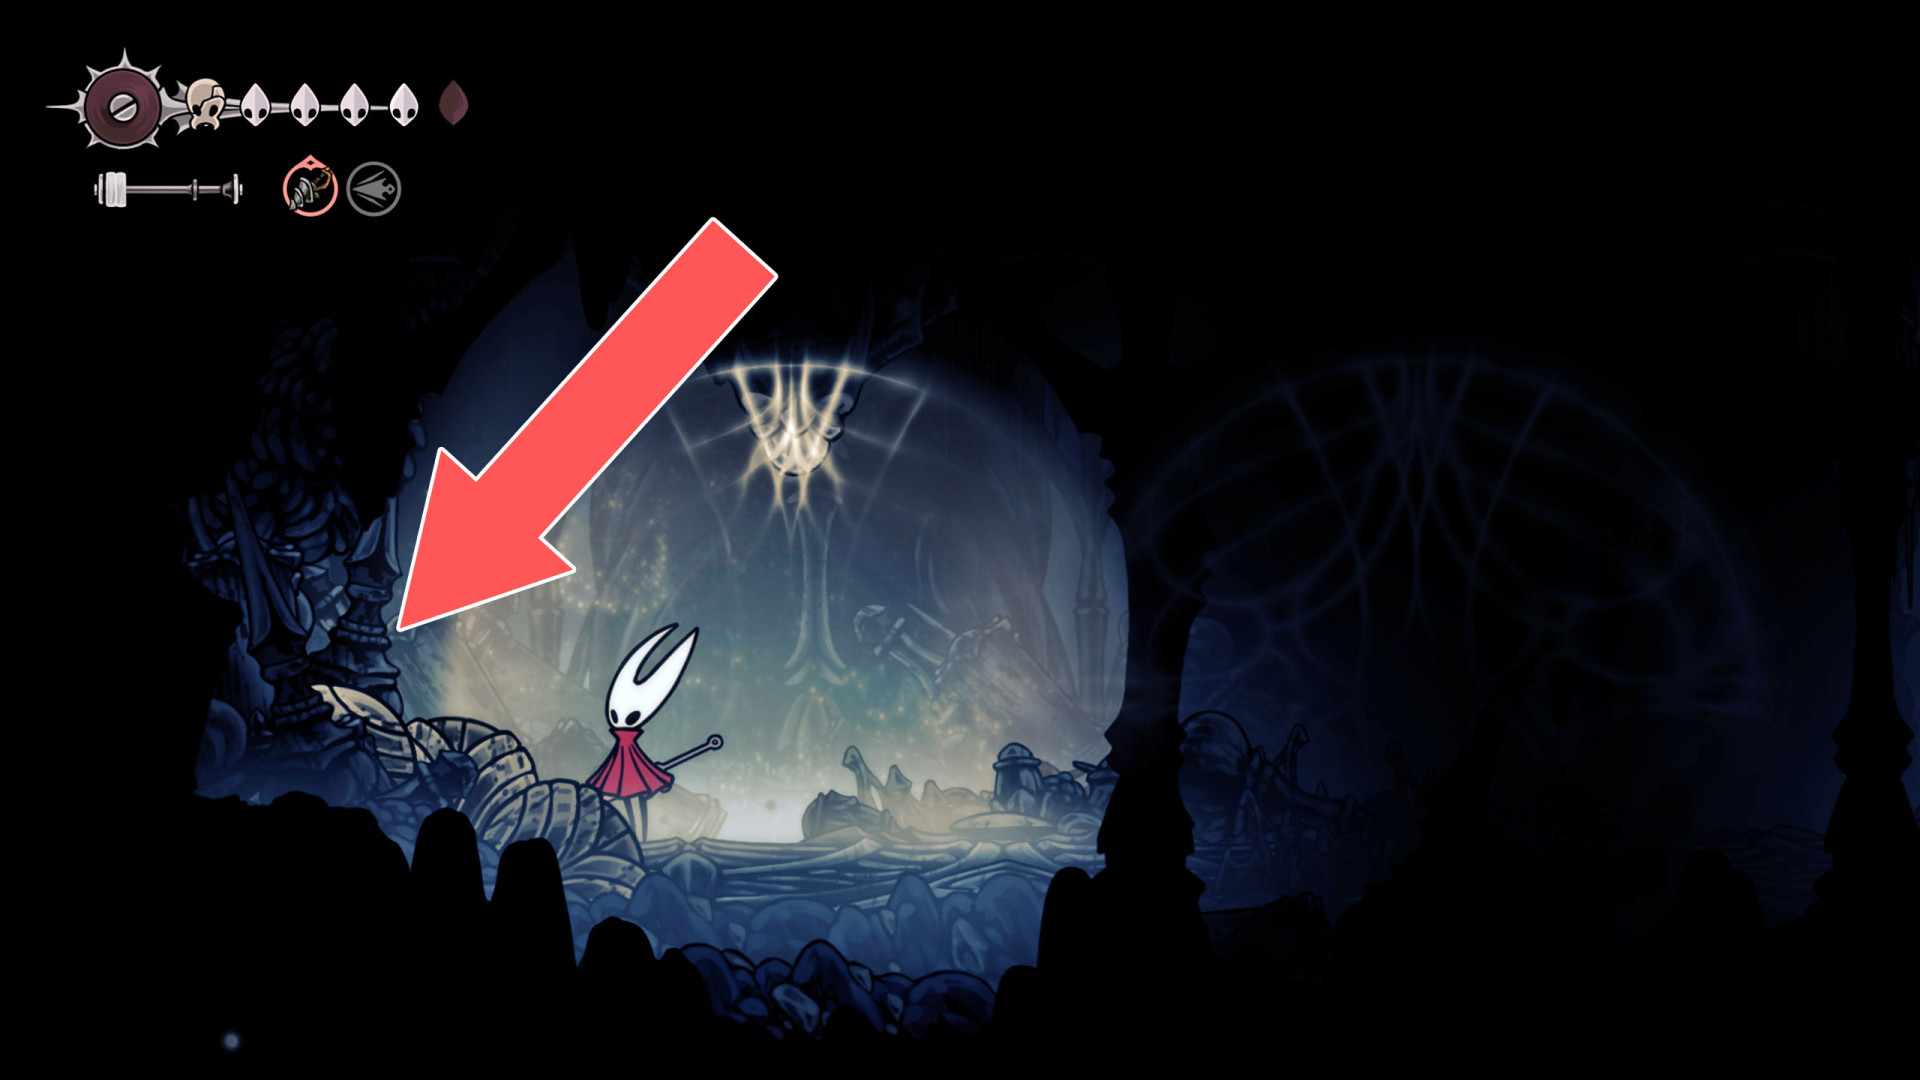
Use The Slab Shortcut (Entrance) to get here. You can destroy this roadblock by approaching it from the west.
88Breakable Wall
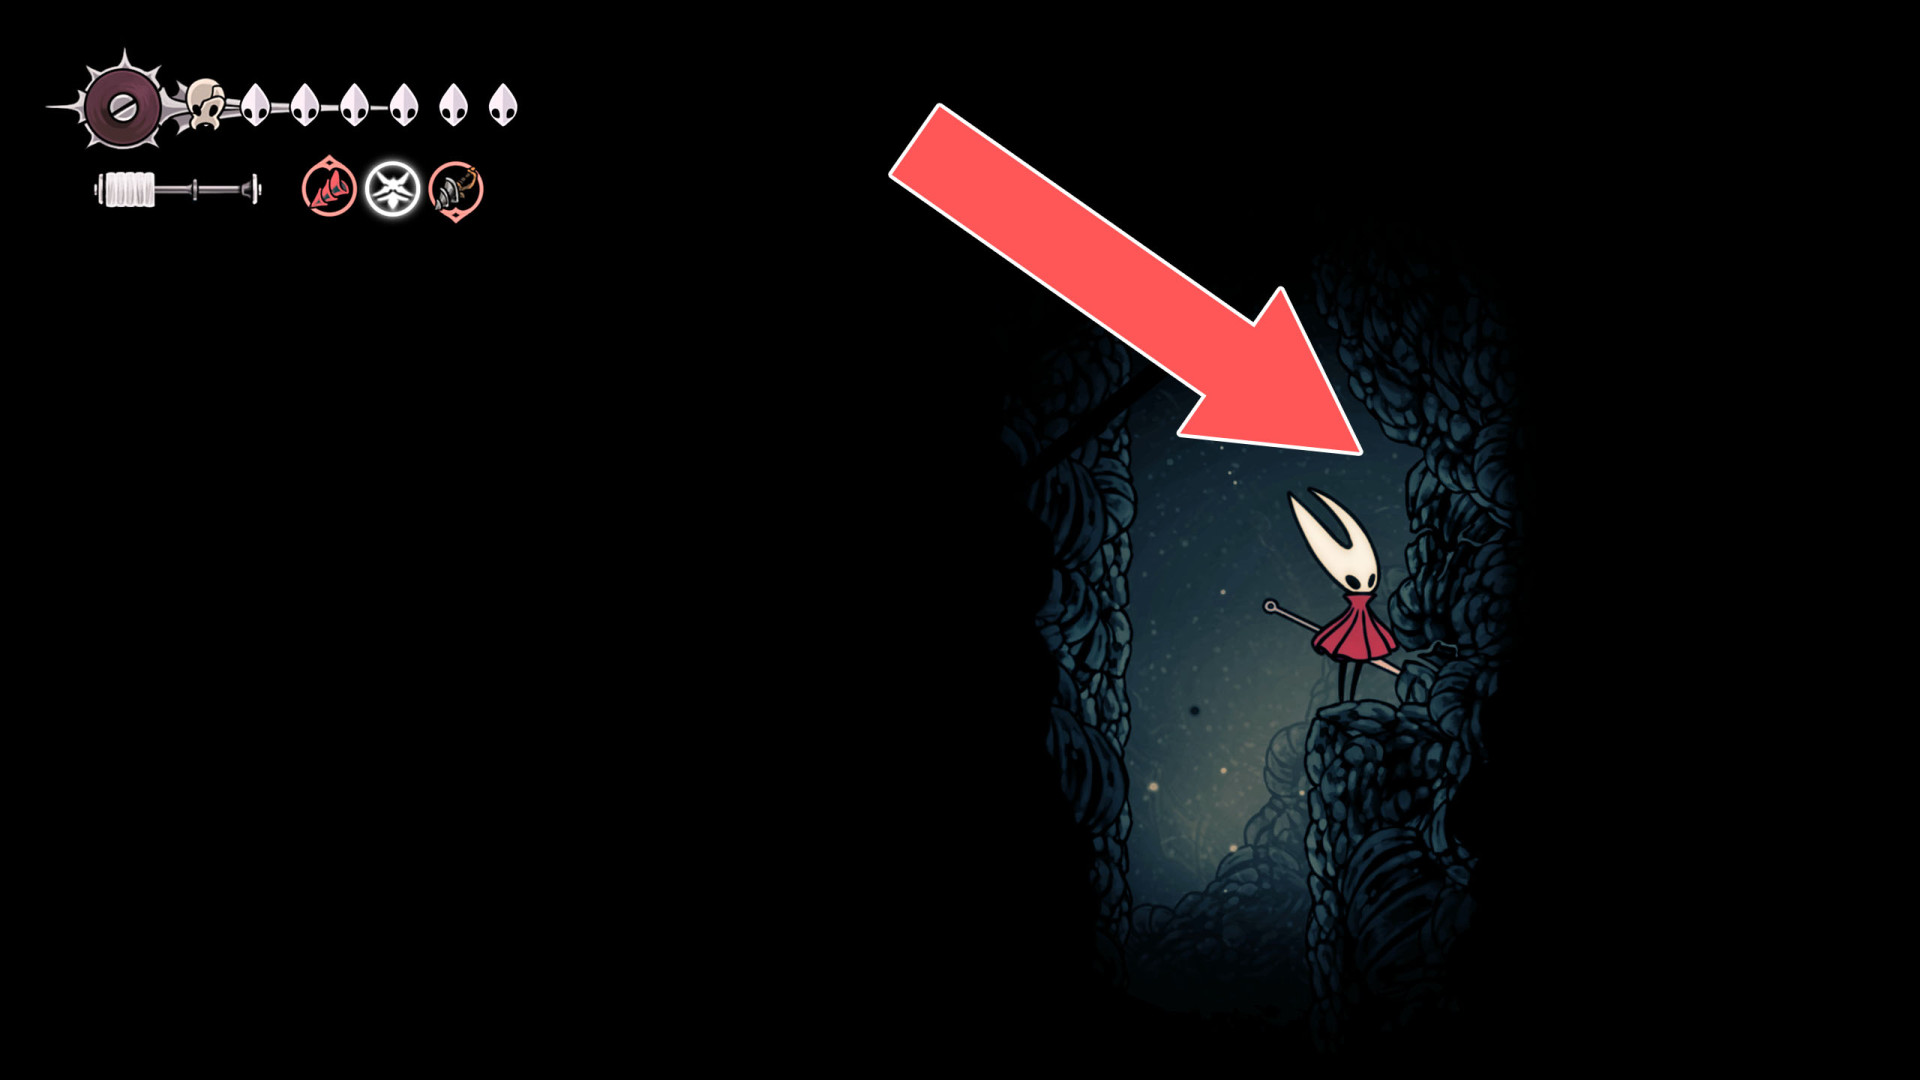
You can destroy this wall by attacking it from the west side.
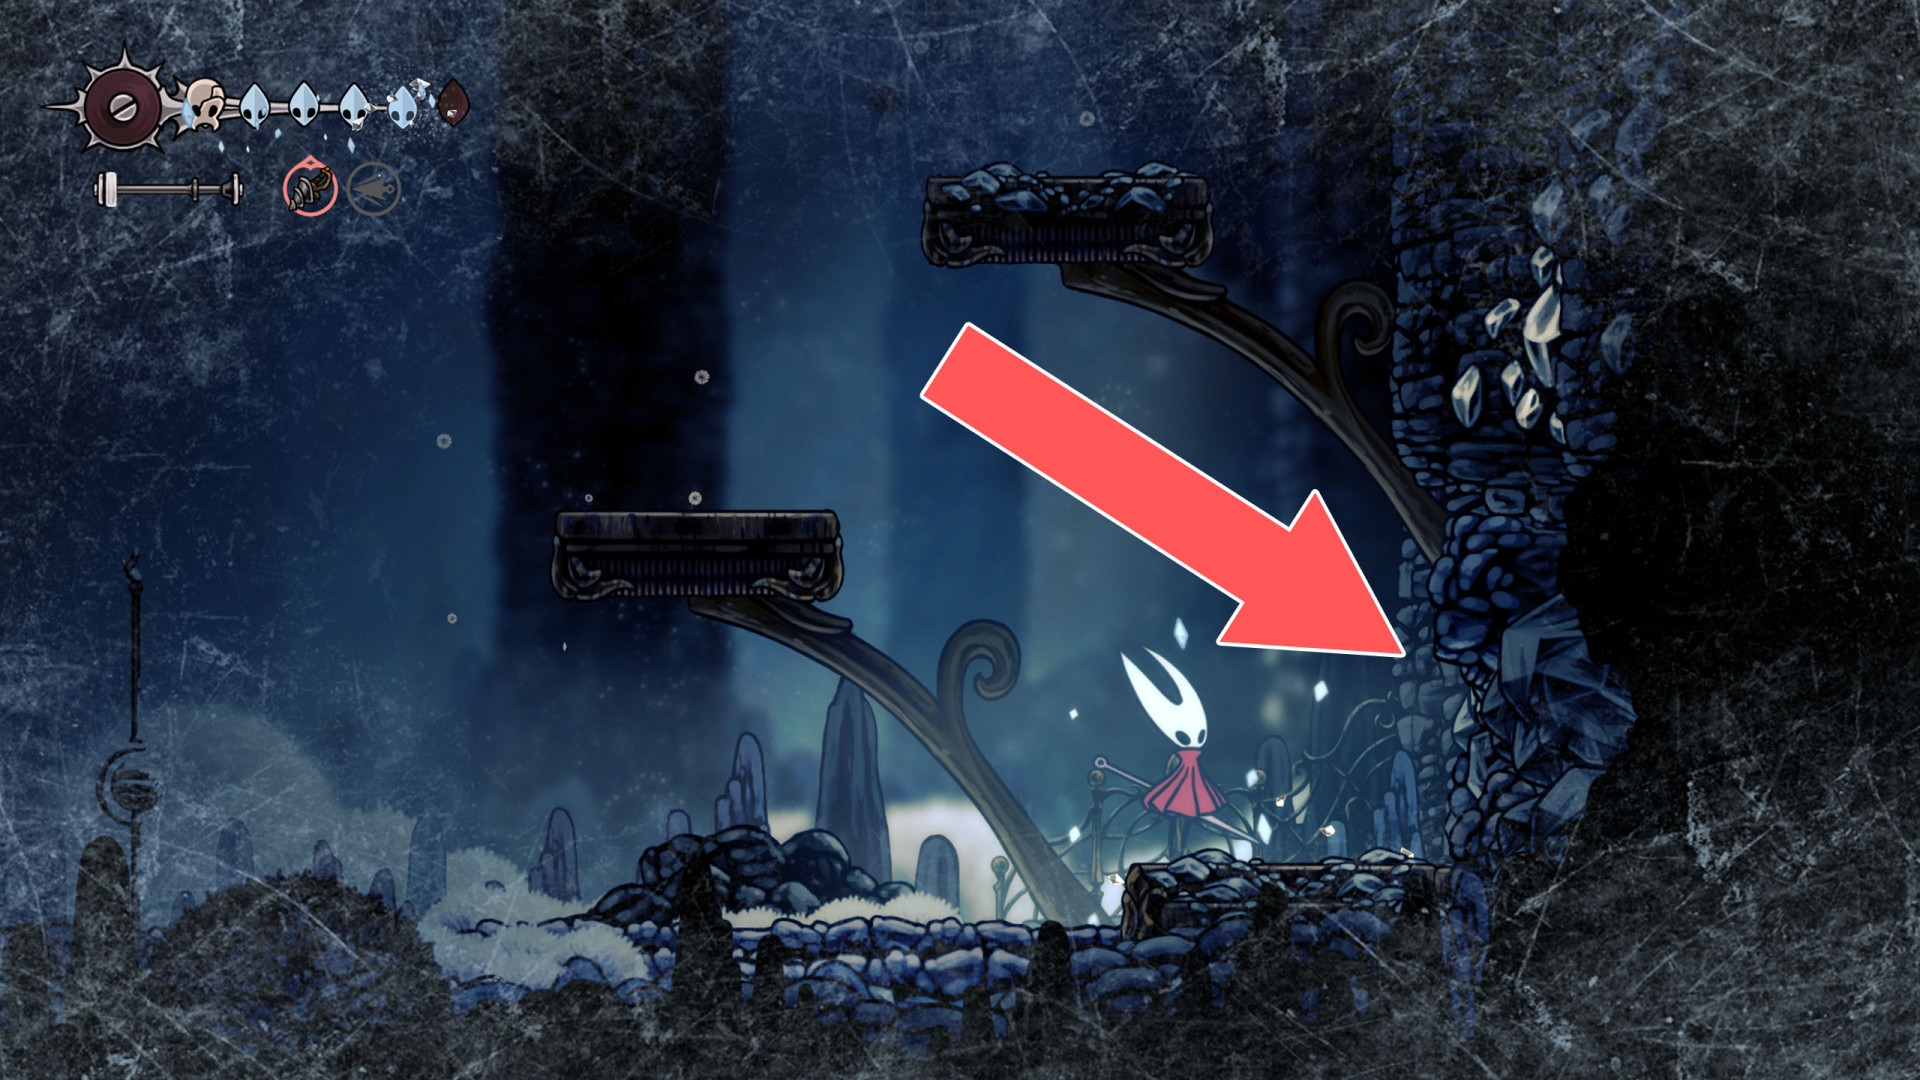
89Breakable Wall
You can destroy this wall by attacking it from the west side.
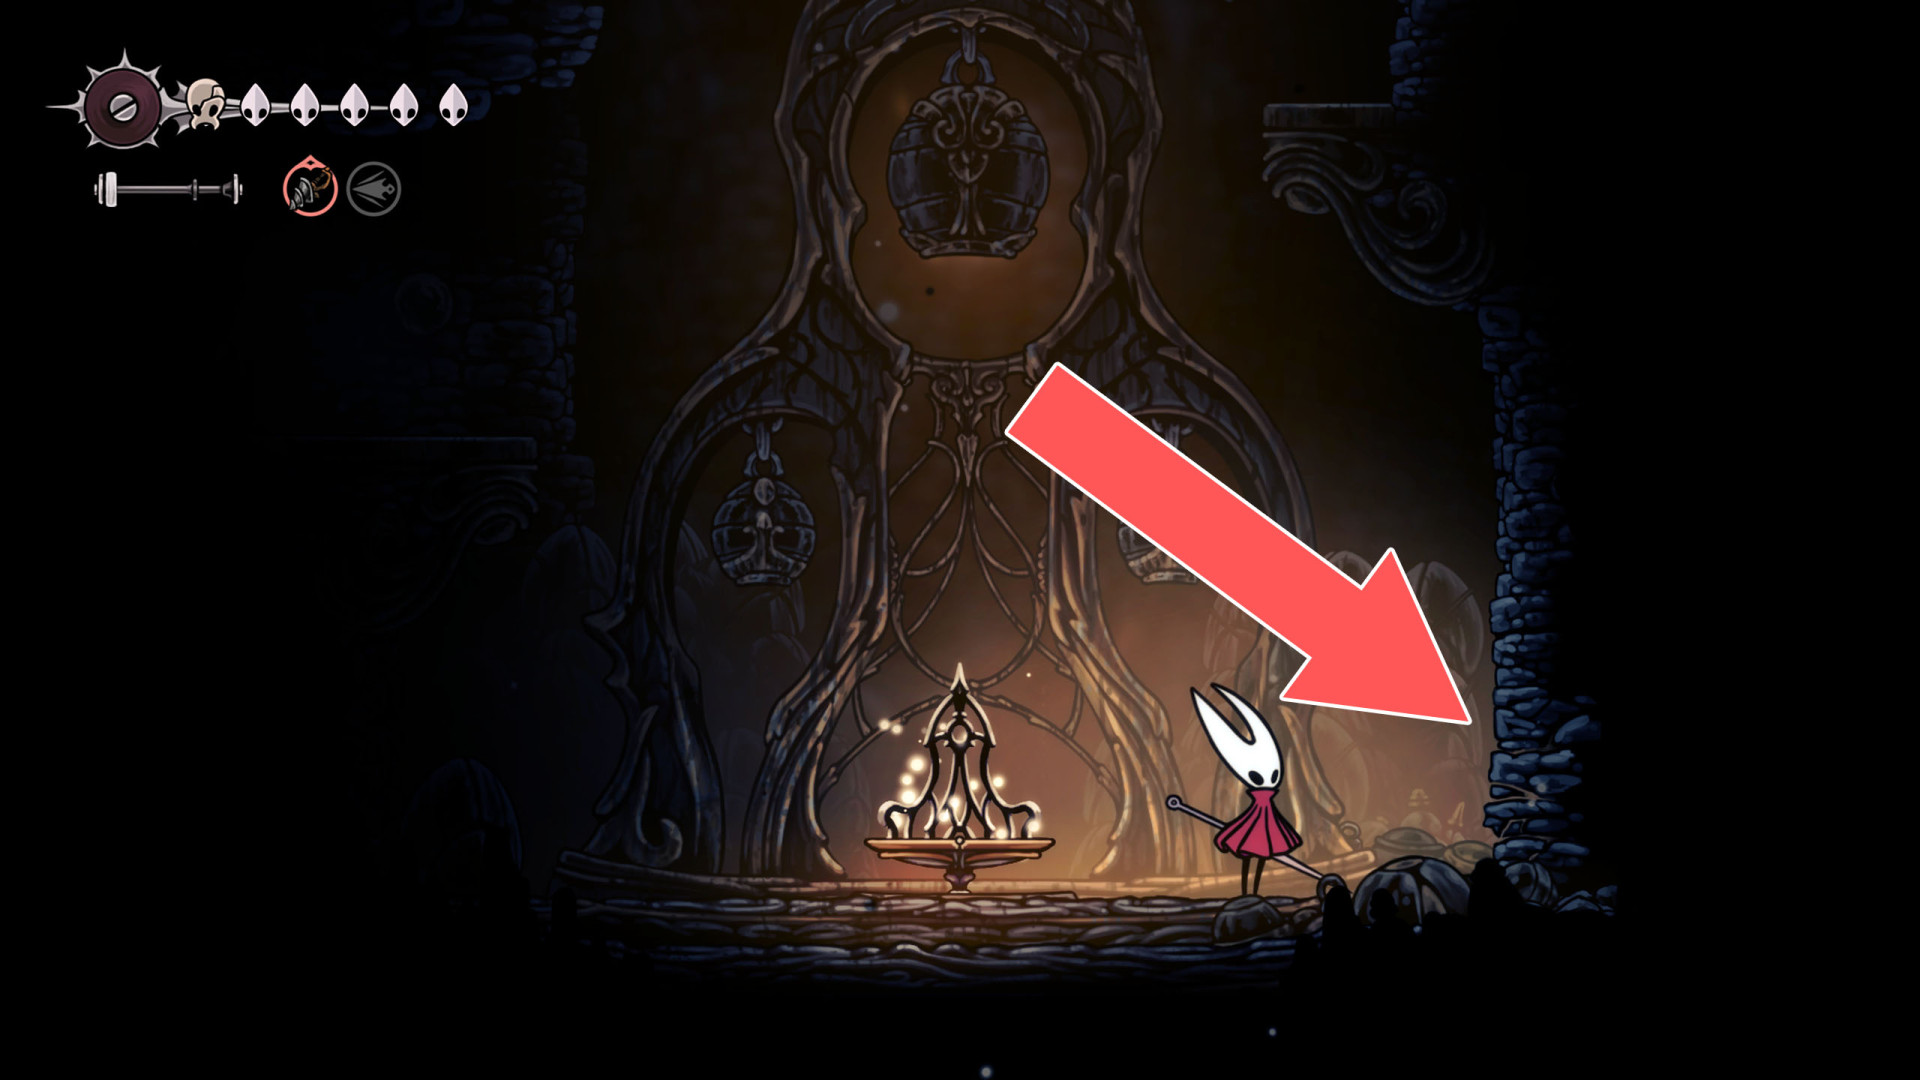
90Breakable Wall
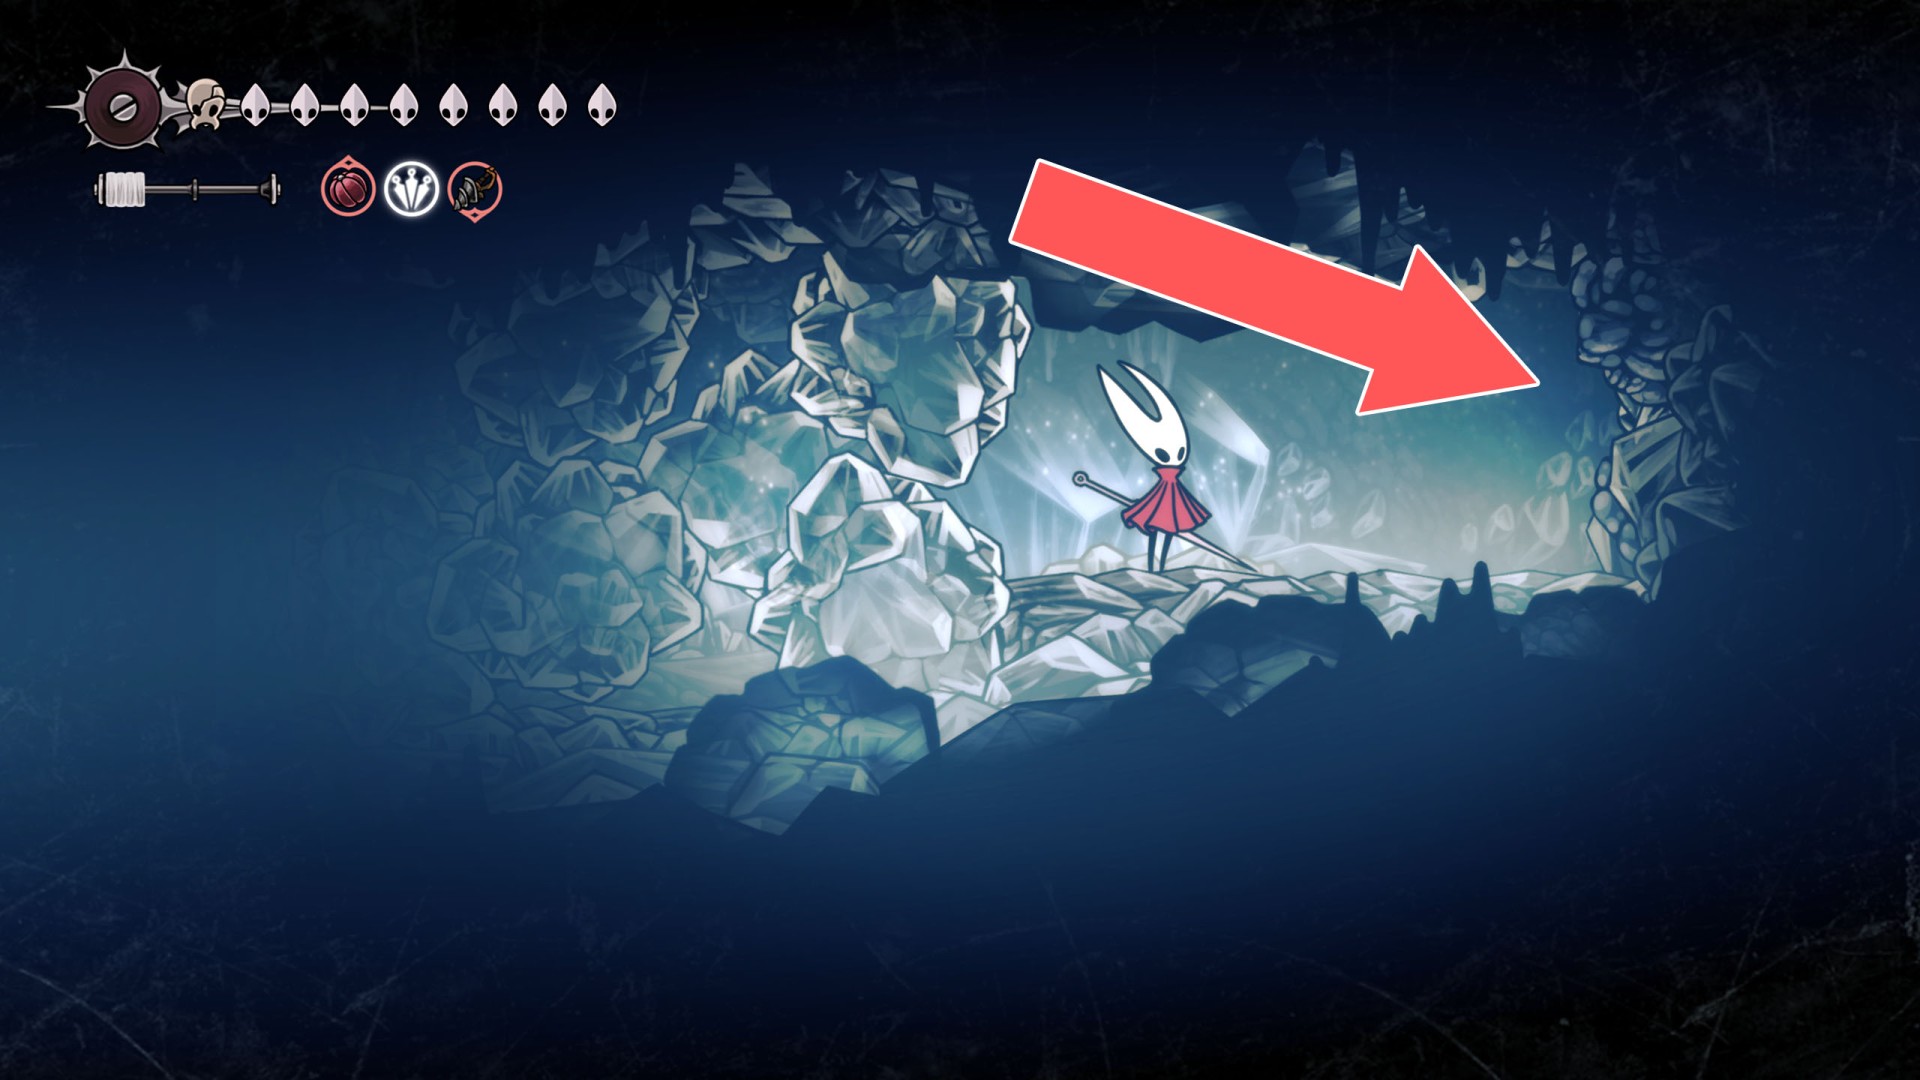
91Breakable Wall
You can destroy this wall by attacking it from the east side.
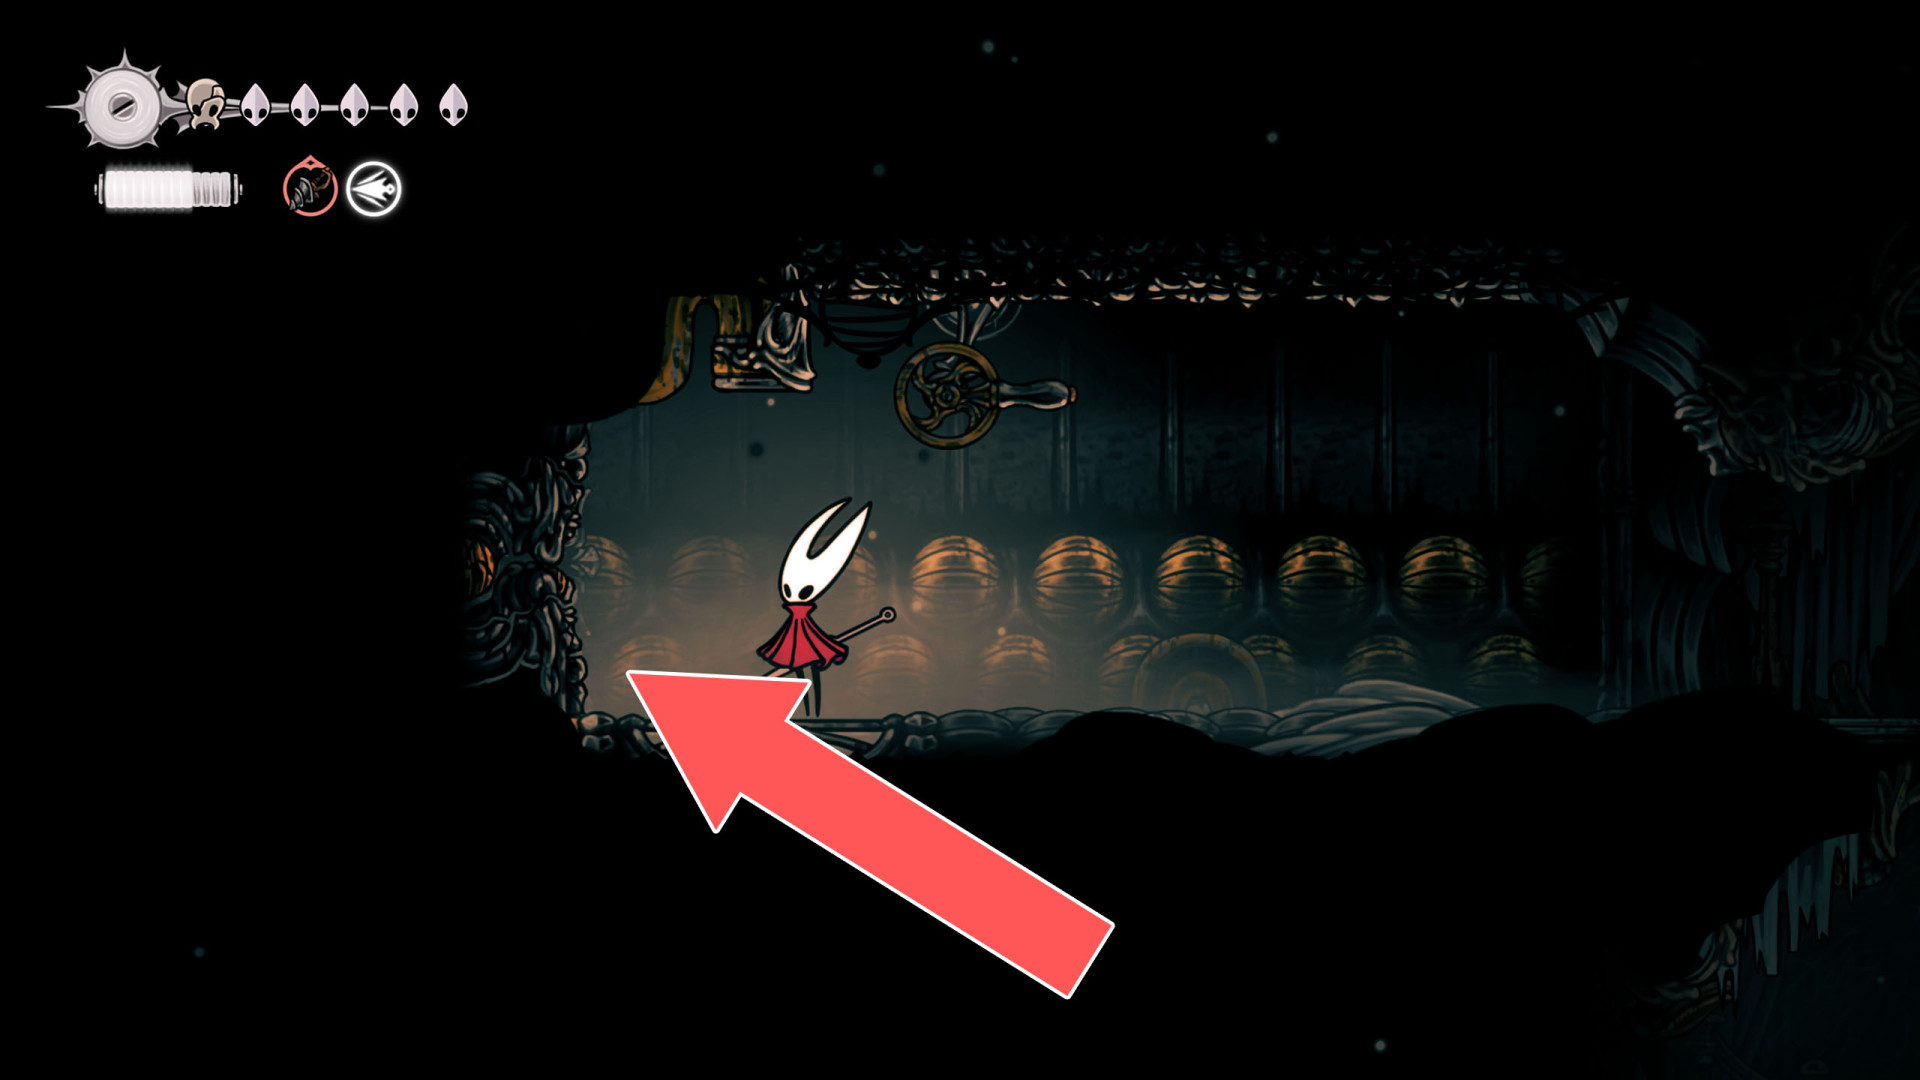
92Breakable Wall
You can destroy this roadblock and open a passage by hitting it from the west side.
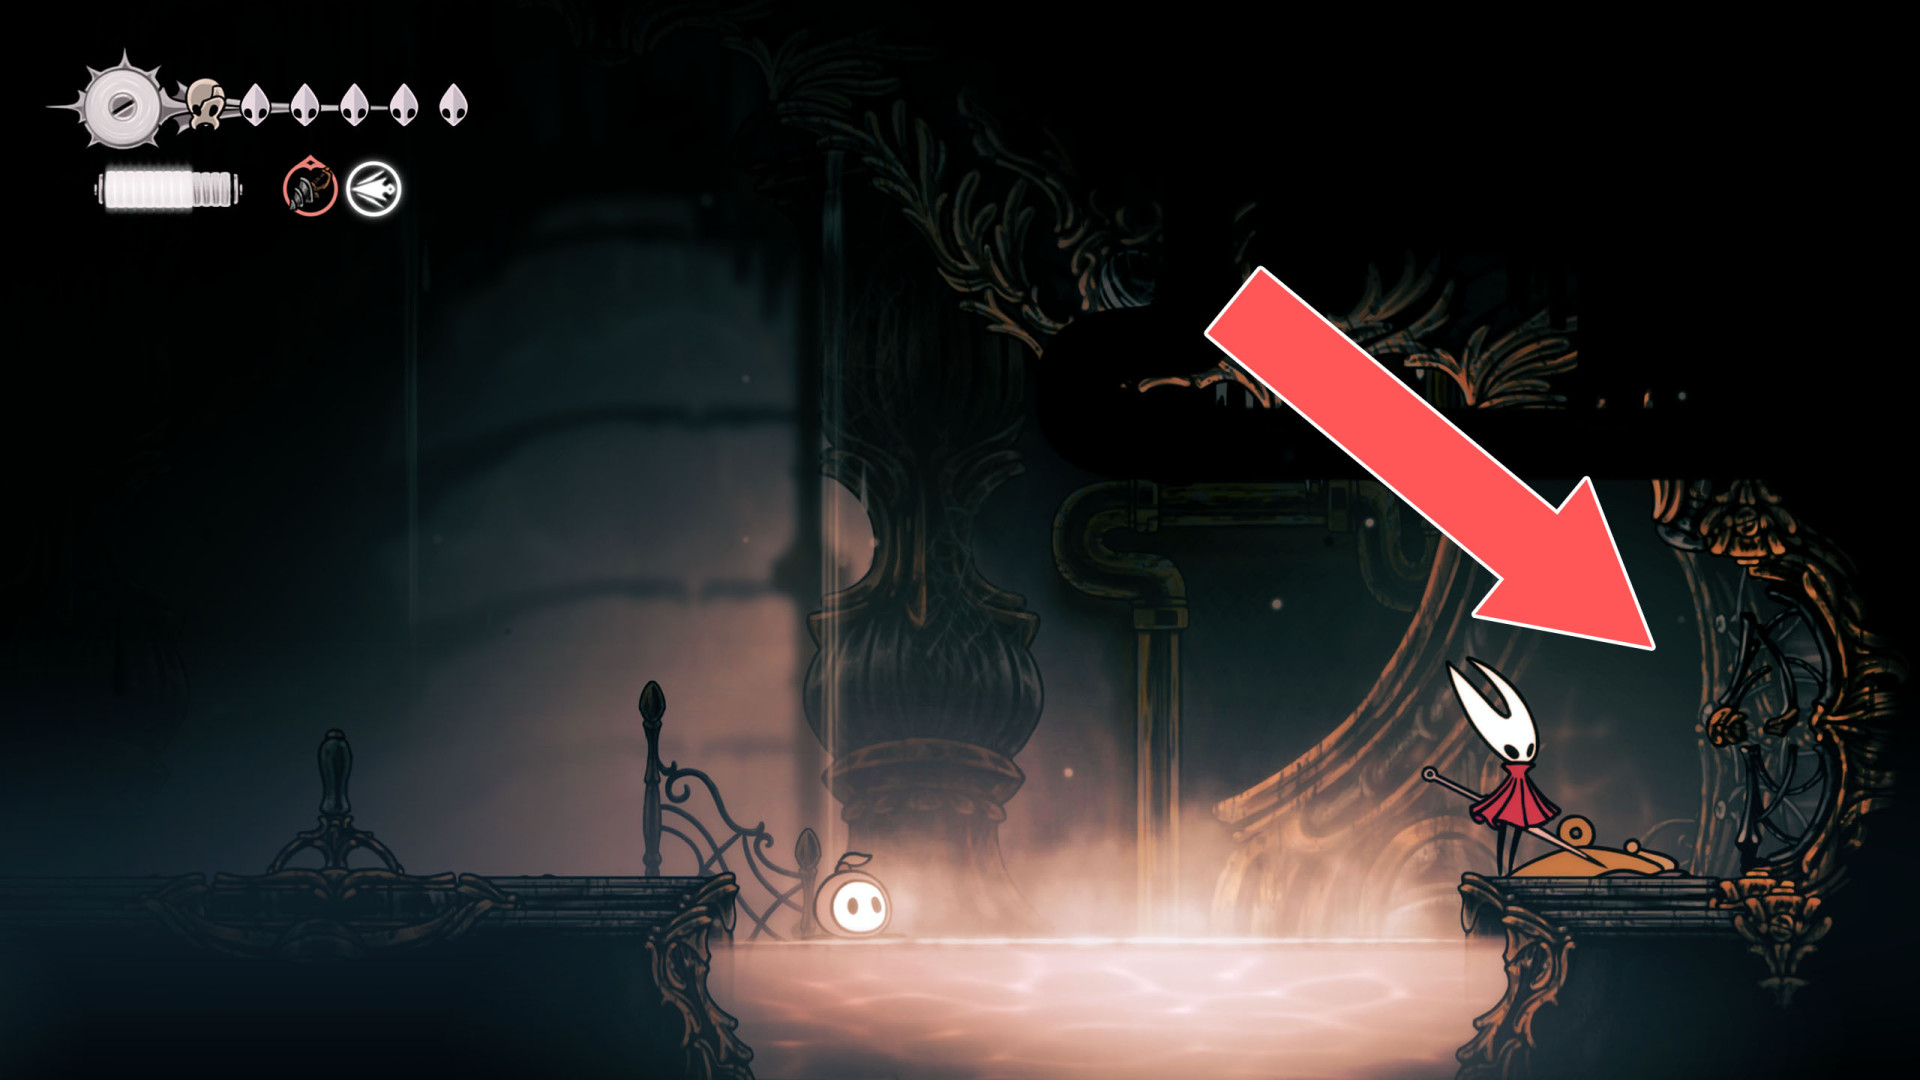
93Breakable Wall
You can destroy this wall and open a passage by hitting it from the east side.
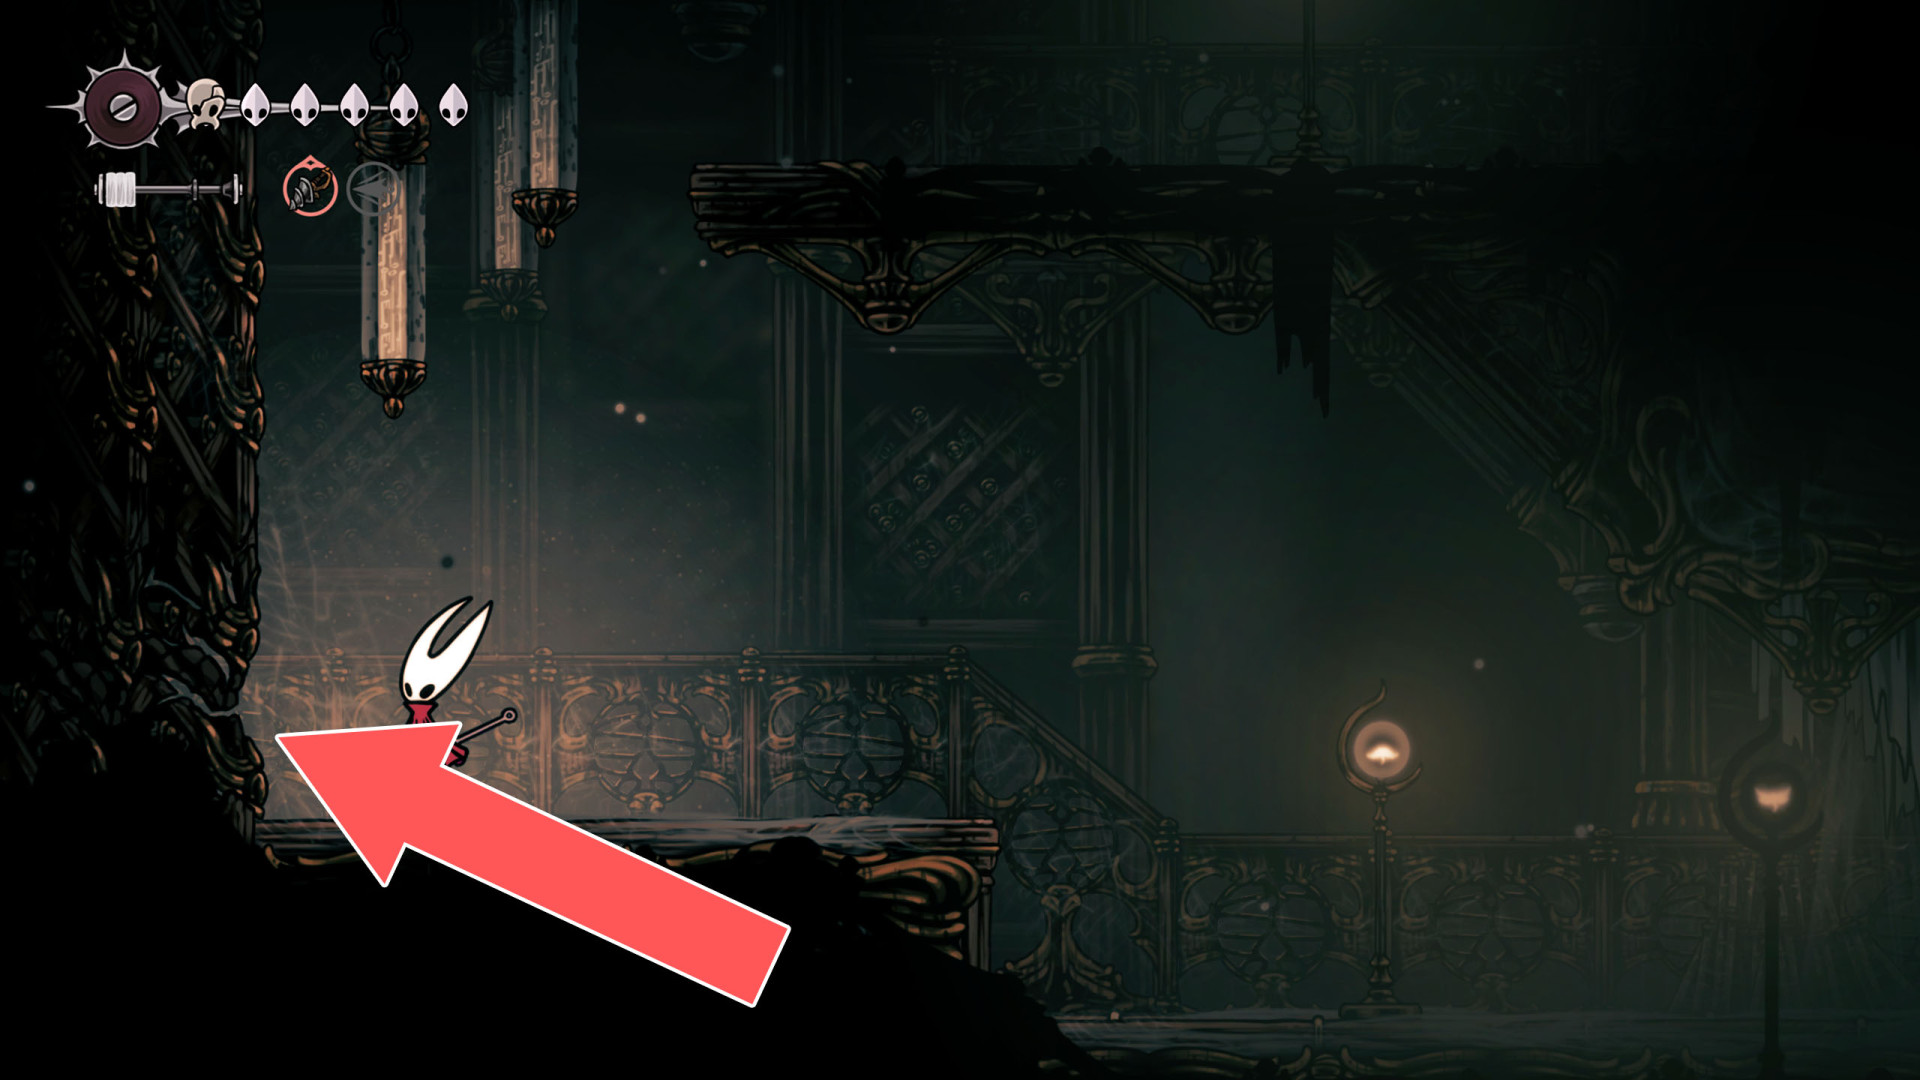
94Breakable Wall
You can destroy this roadblock by approaching it from the west.
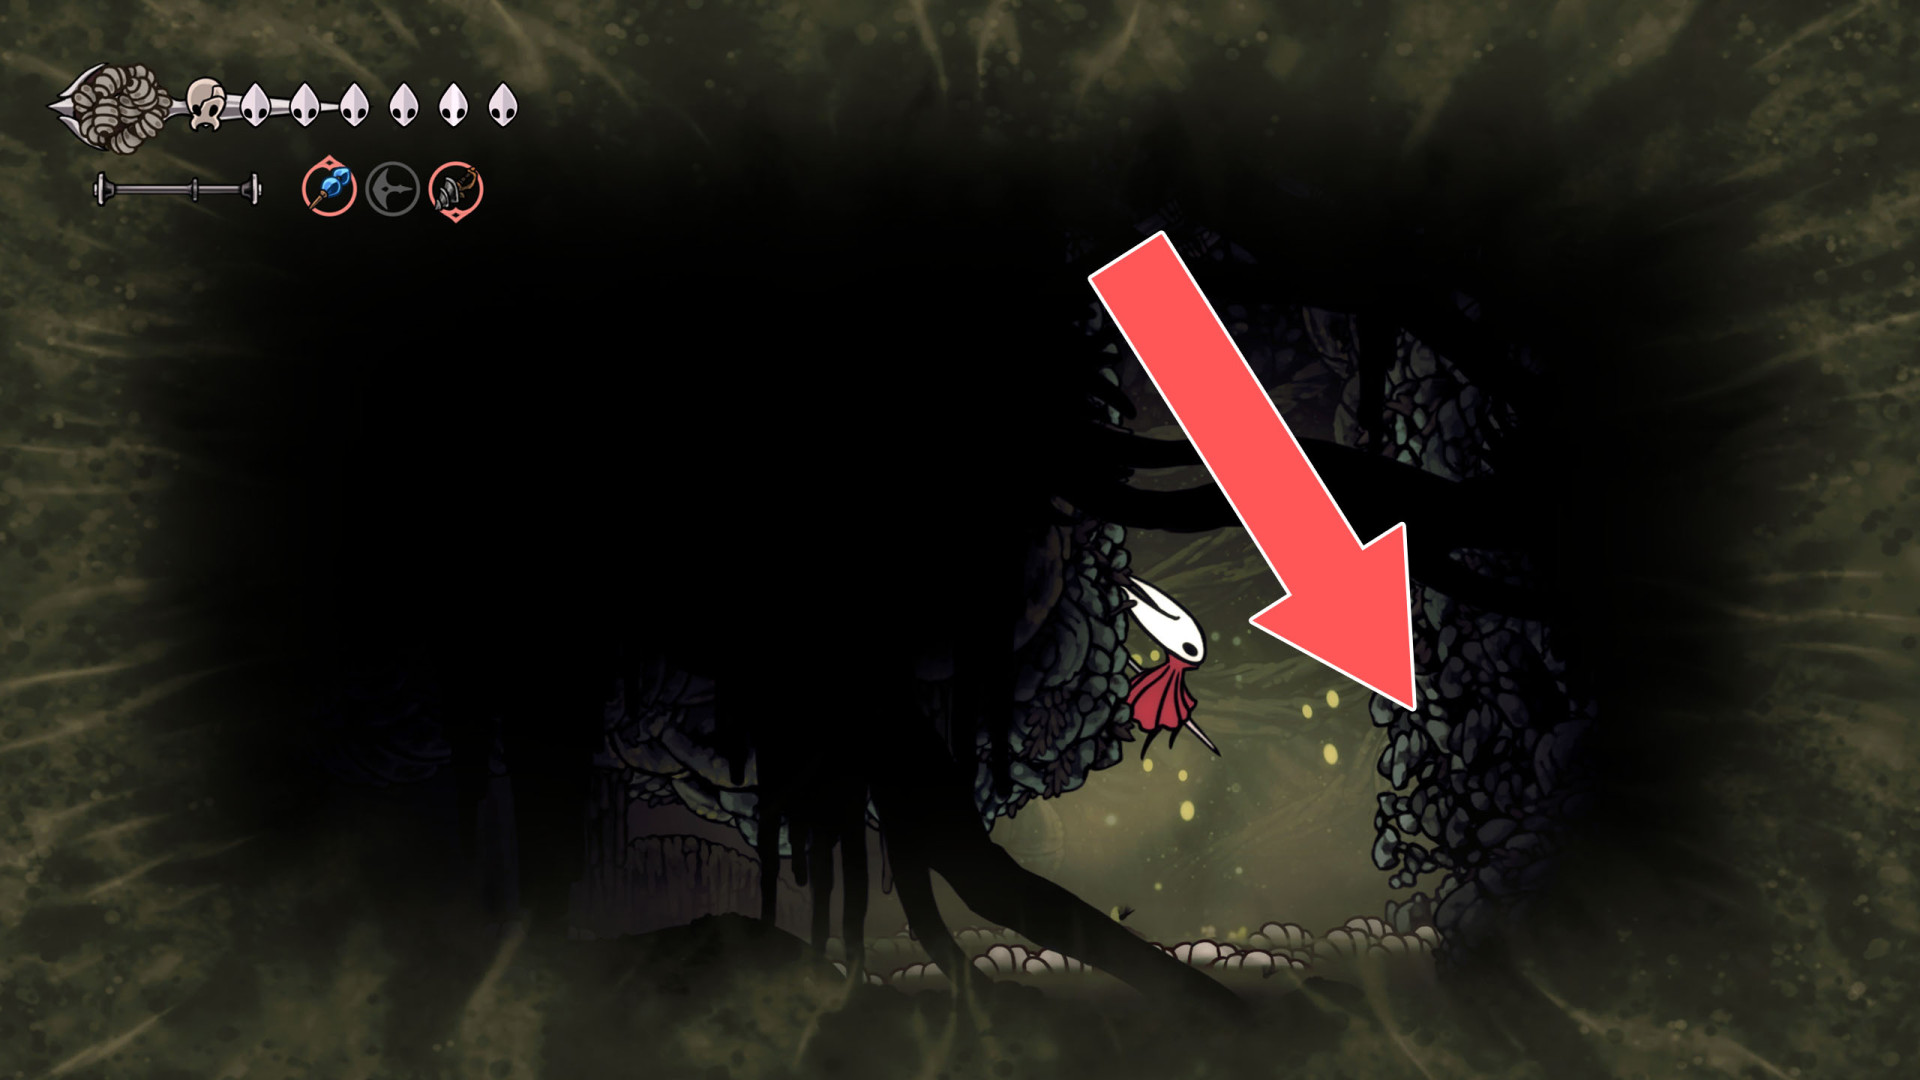
95Breakable Wall
You can destroy this roadblock by approaching it from the west.
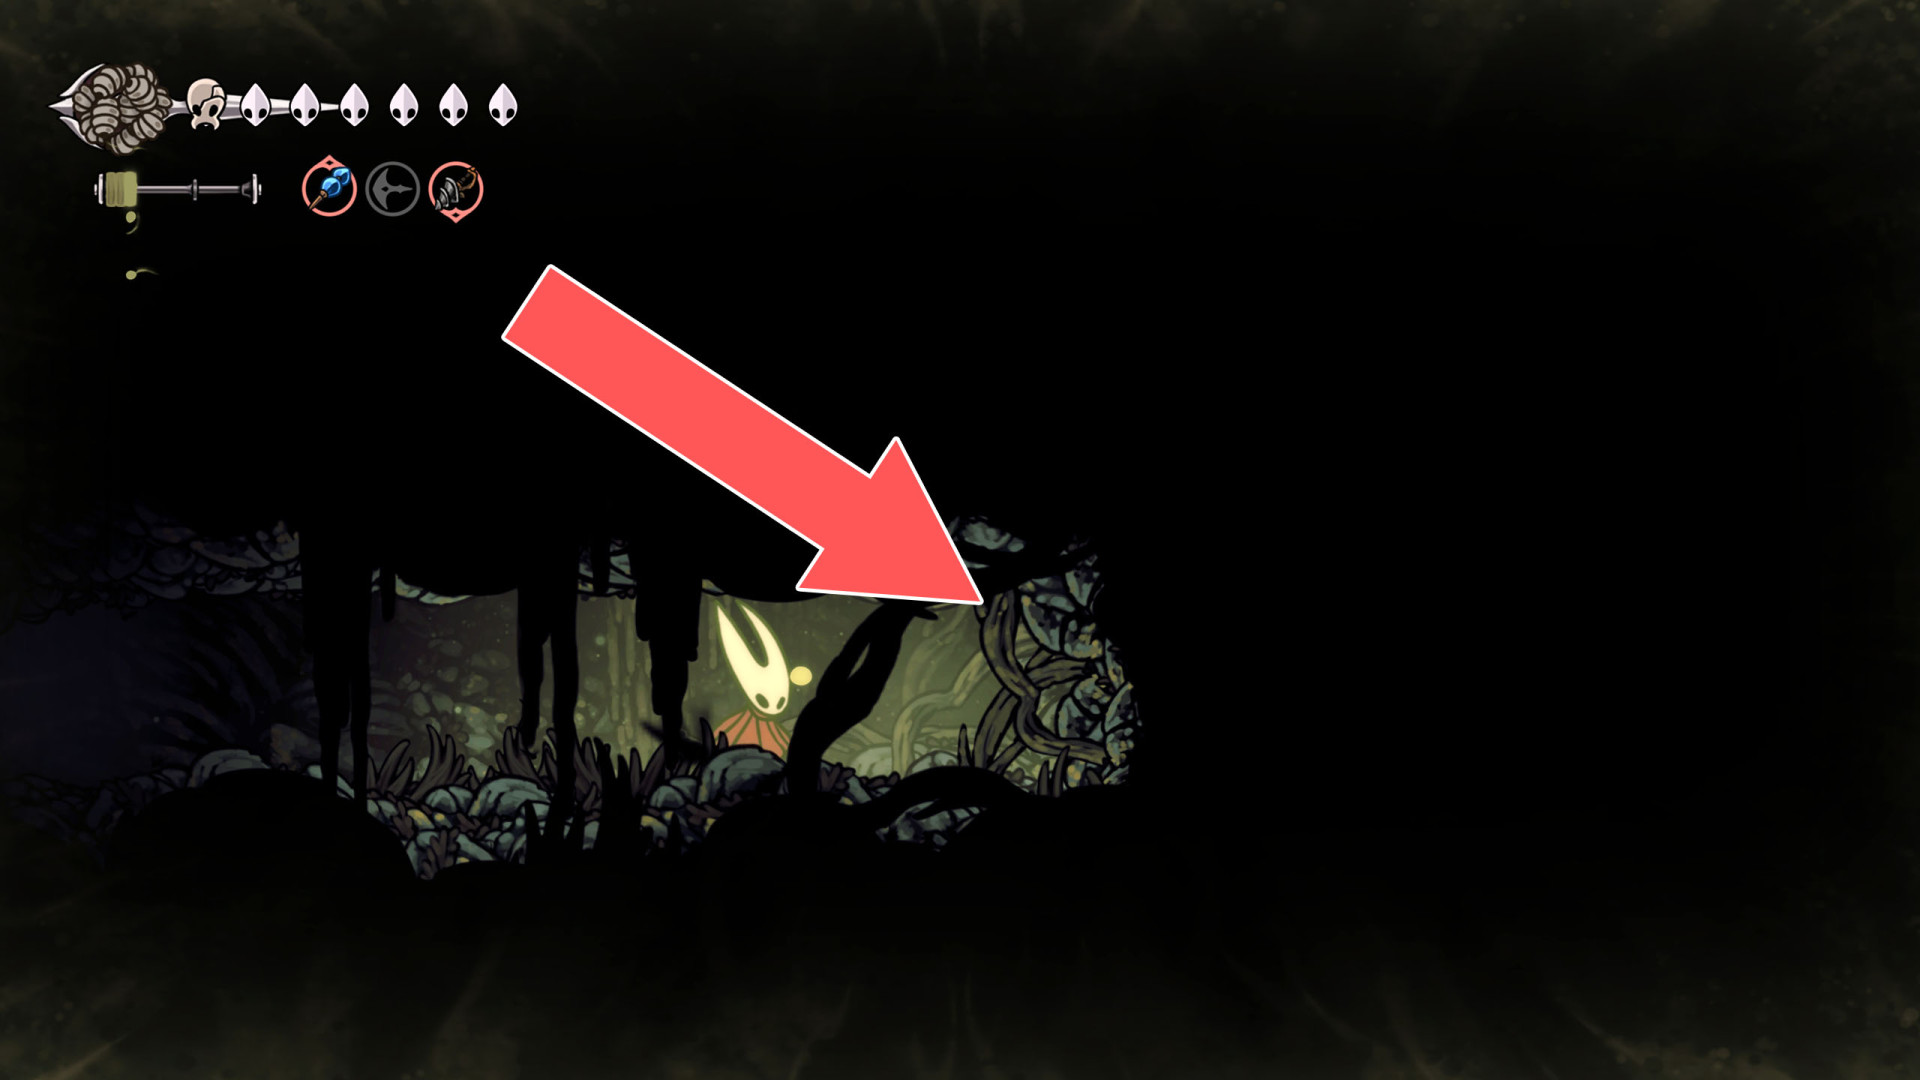
96Breakable Wall
You can destroy this roadblock by approaching it from the east.
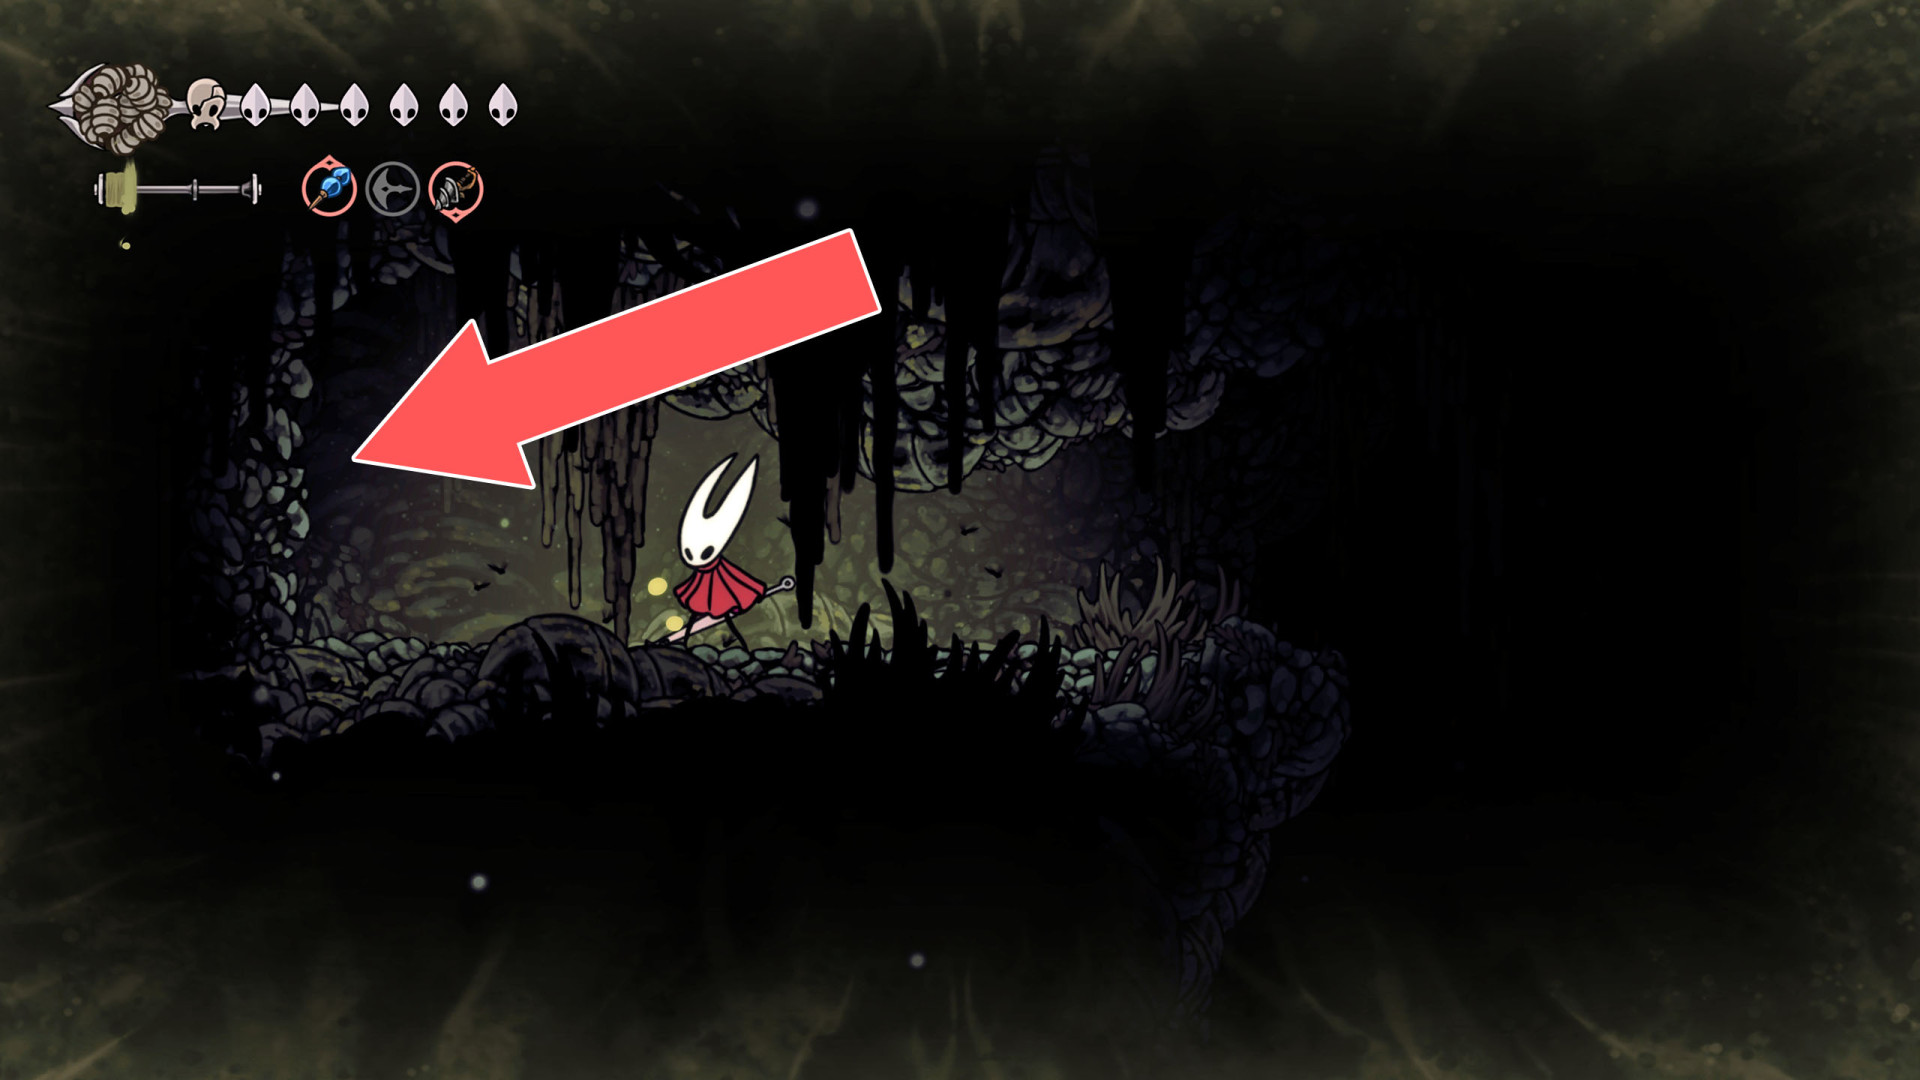
97Breakable Wall
You can destroy this roadblock by approaching it from the west.
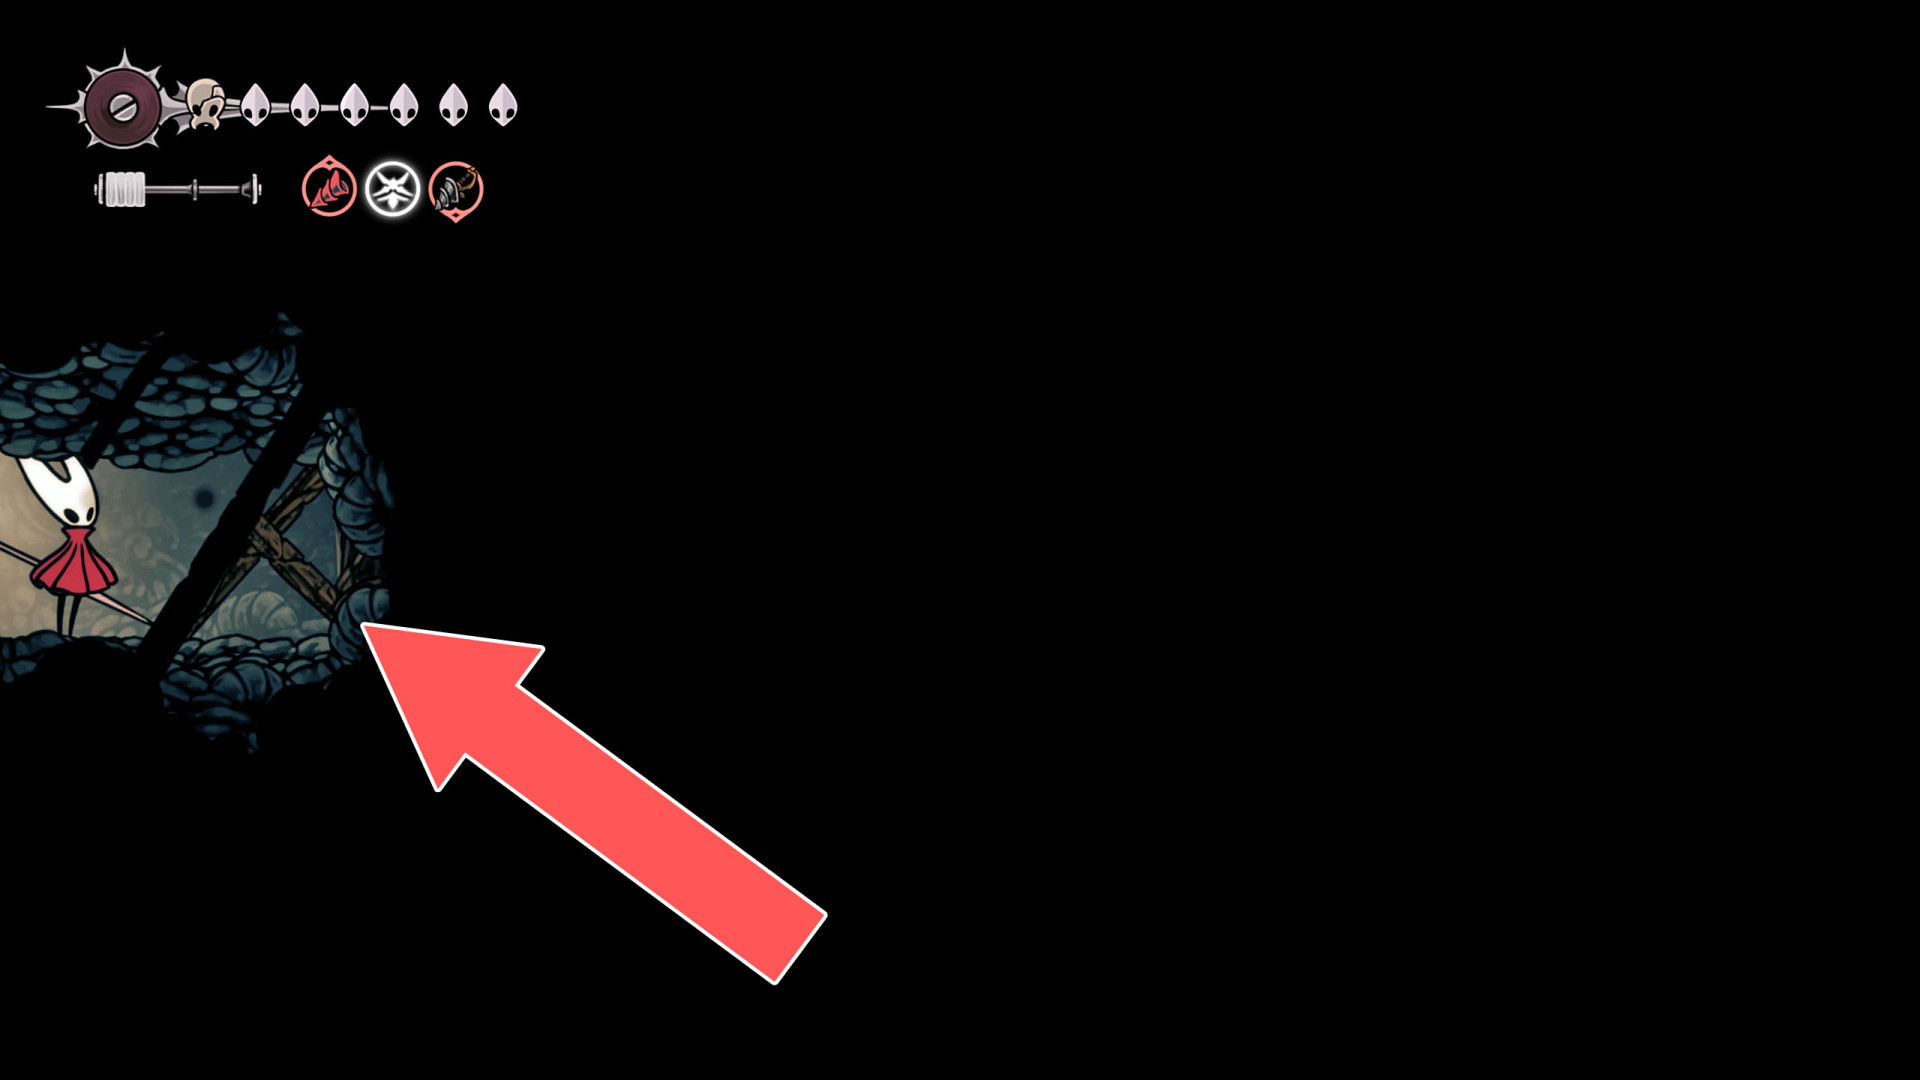
98Breakable Wall
You can destroy this roadblock by approaching it from the west.
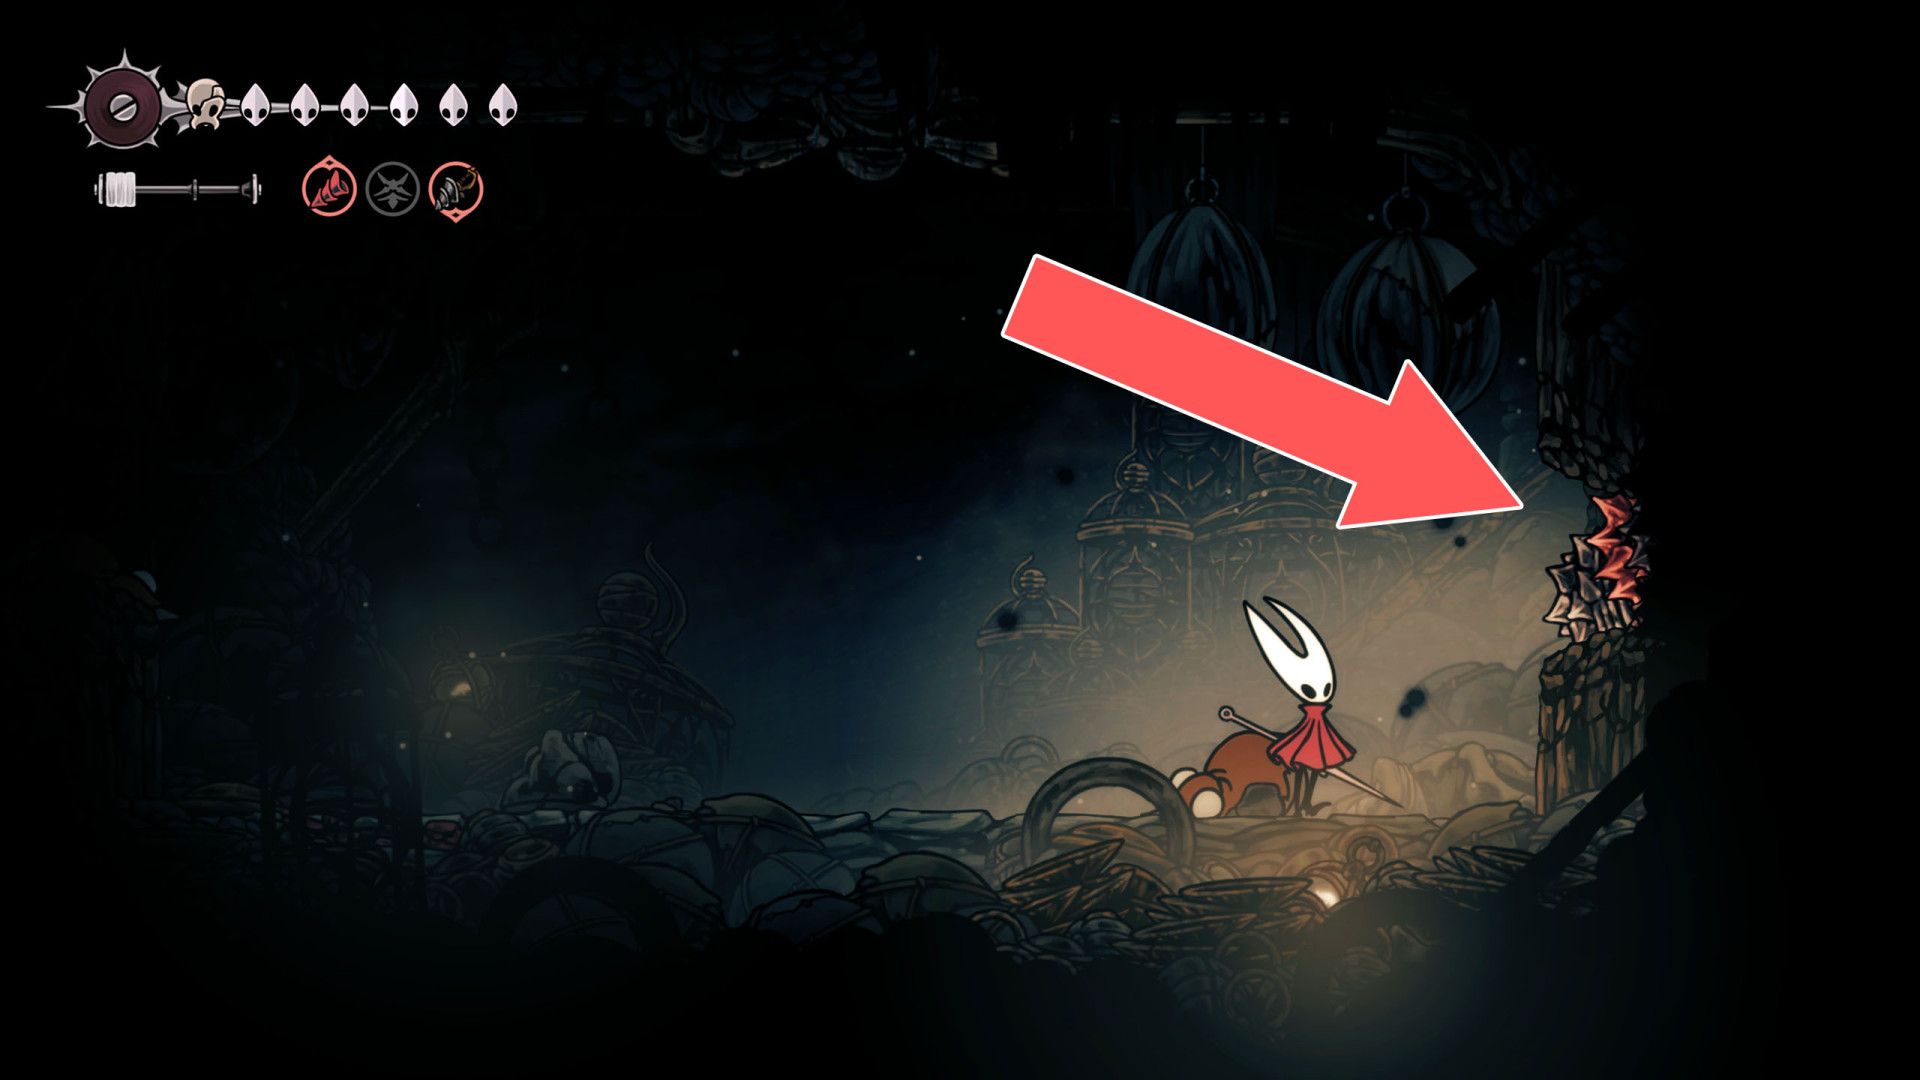
99Breakable Wall
You can destroy this roadblock and open a passage by hitting it from the east side.
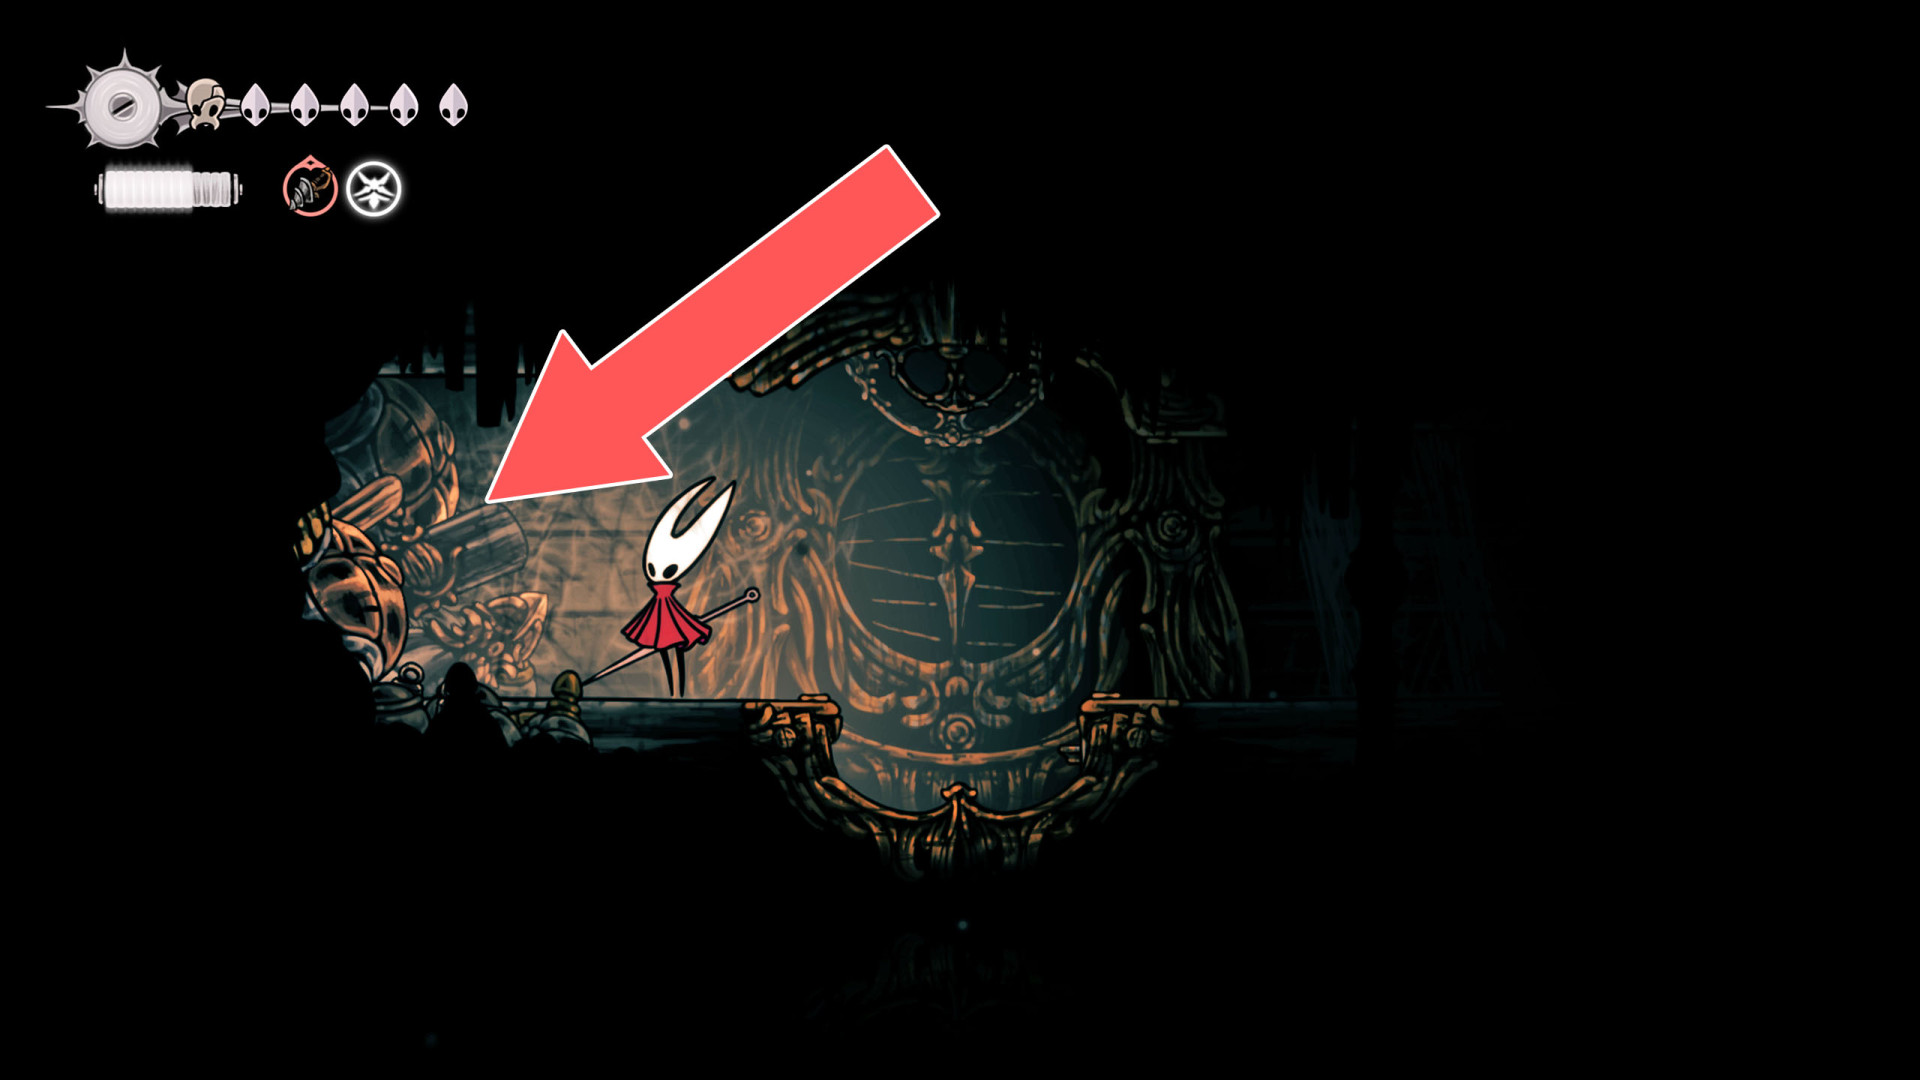
100Breakable Wall
You can destroy this roadblock by approaching it from the east.
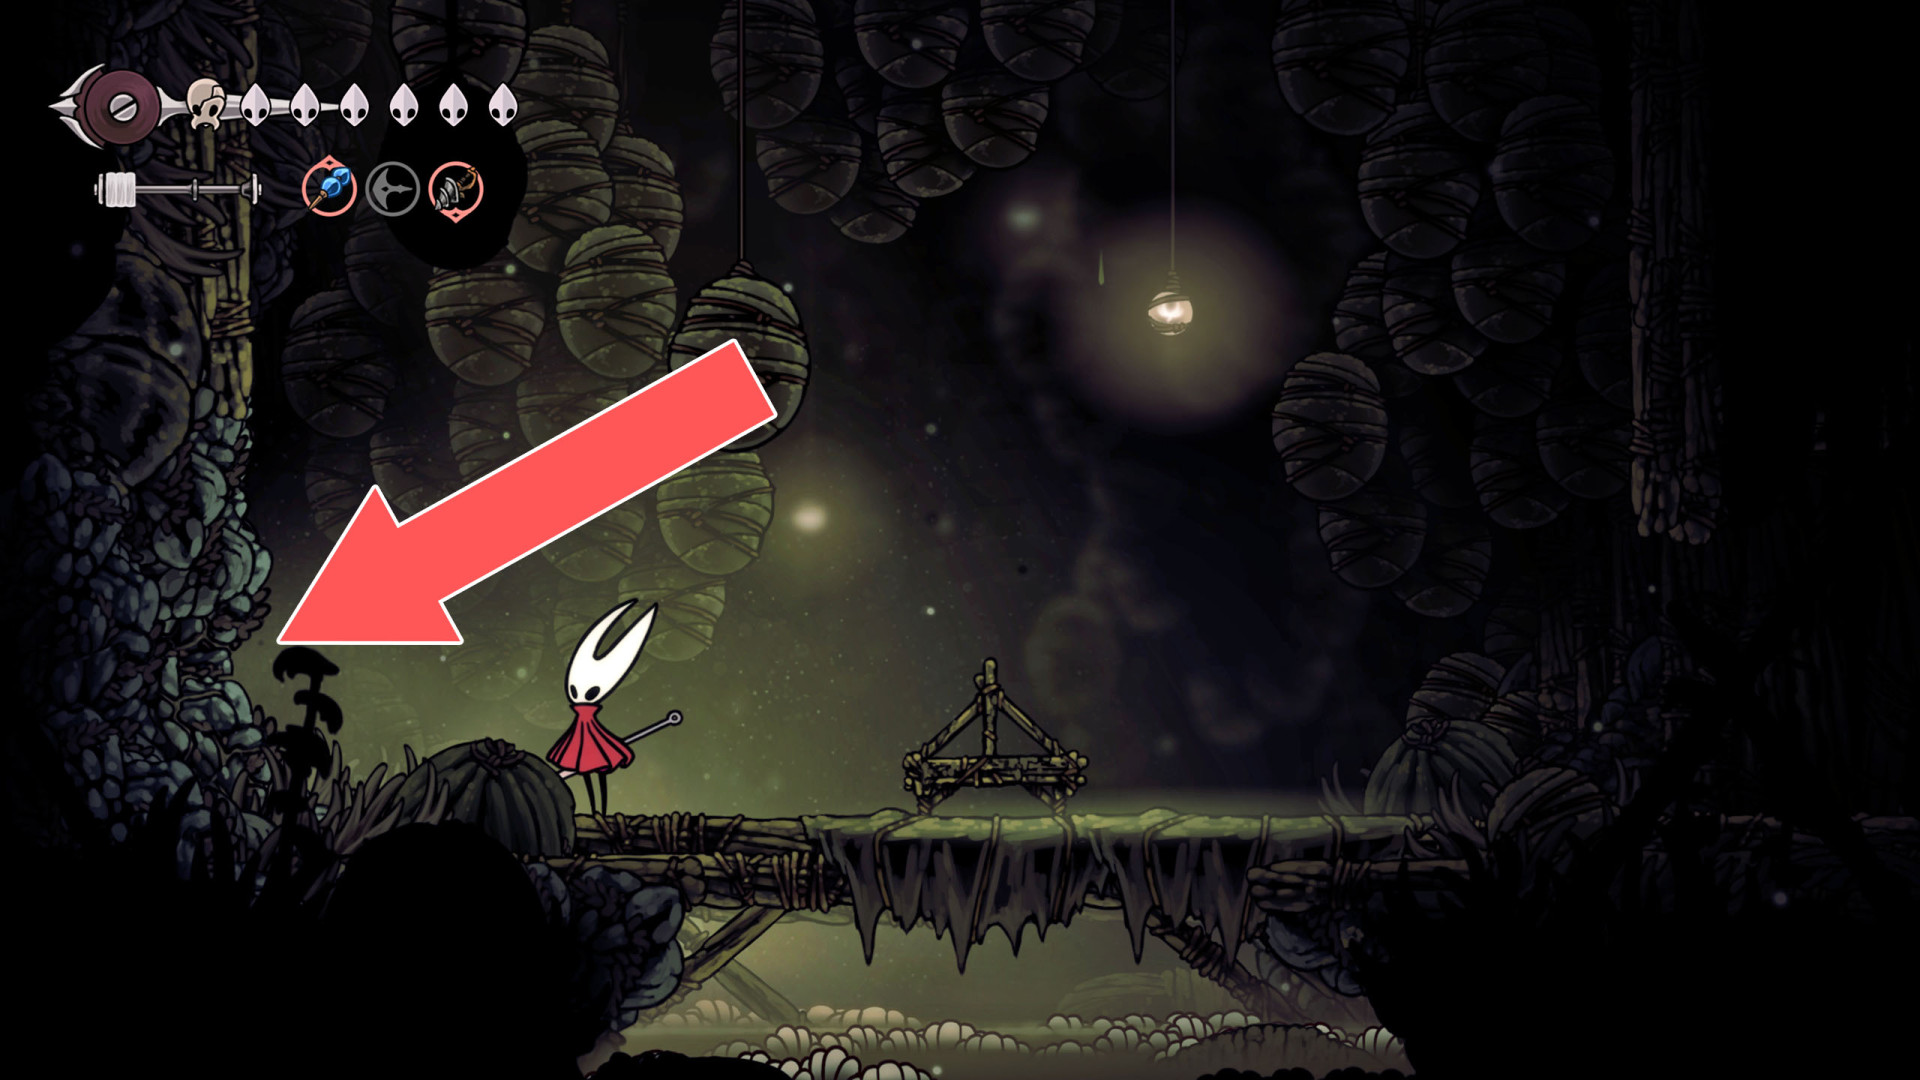
101Breakable Wall
You can destroy this roadblock by approaching it from the east.
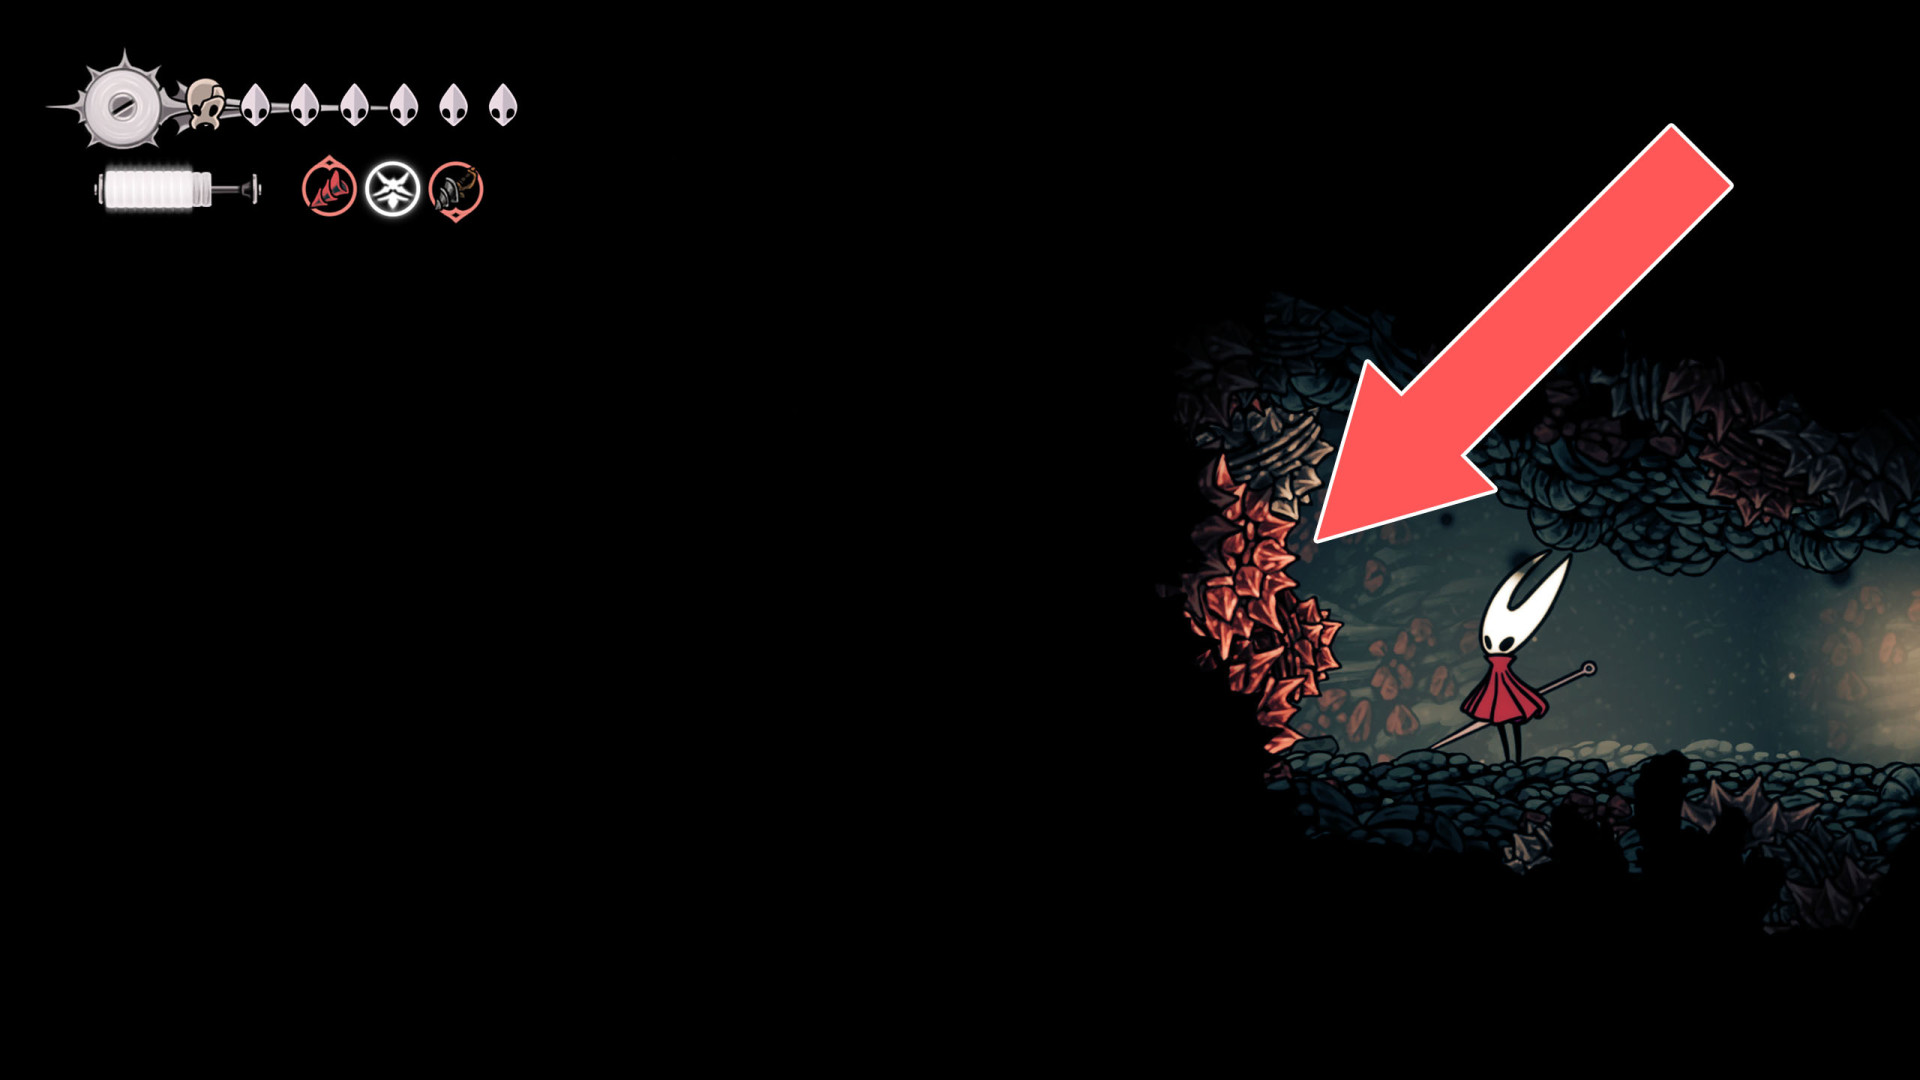
102Breakable Wall
You can destroy this roadblock by approaching it from the west.
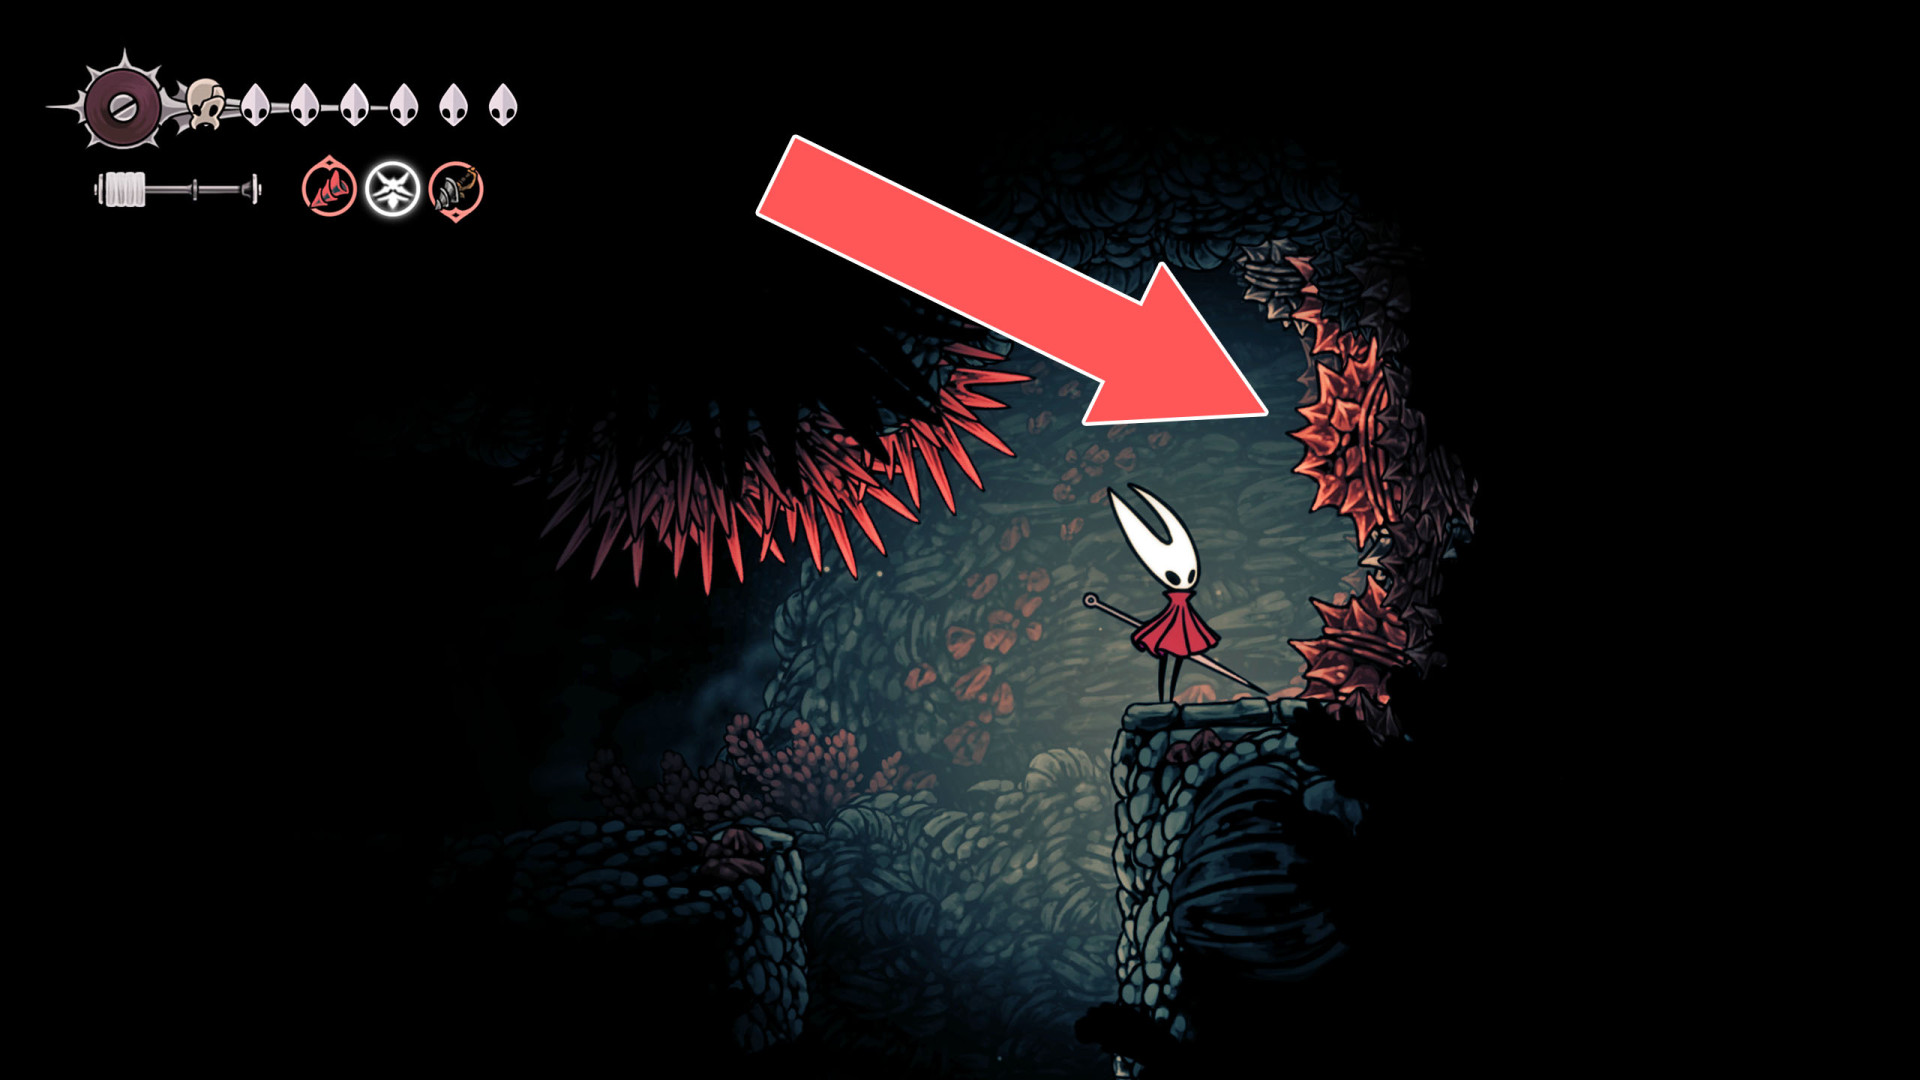
103Breakable Wall
You can destroy this roadblock by approaching it from the west.
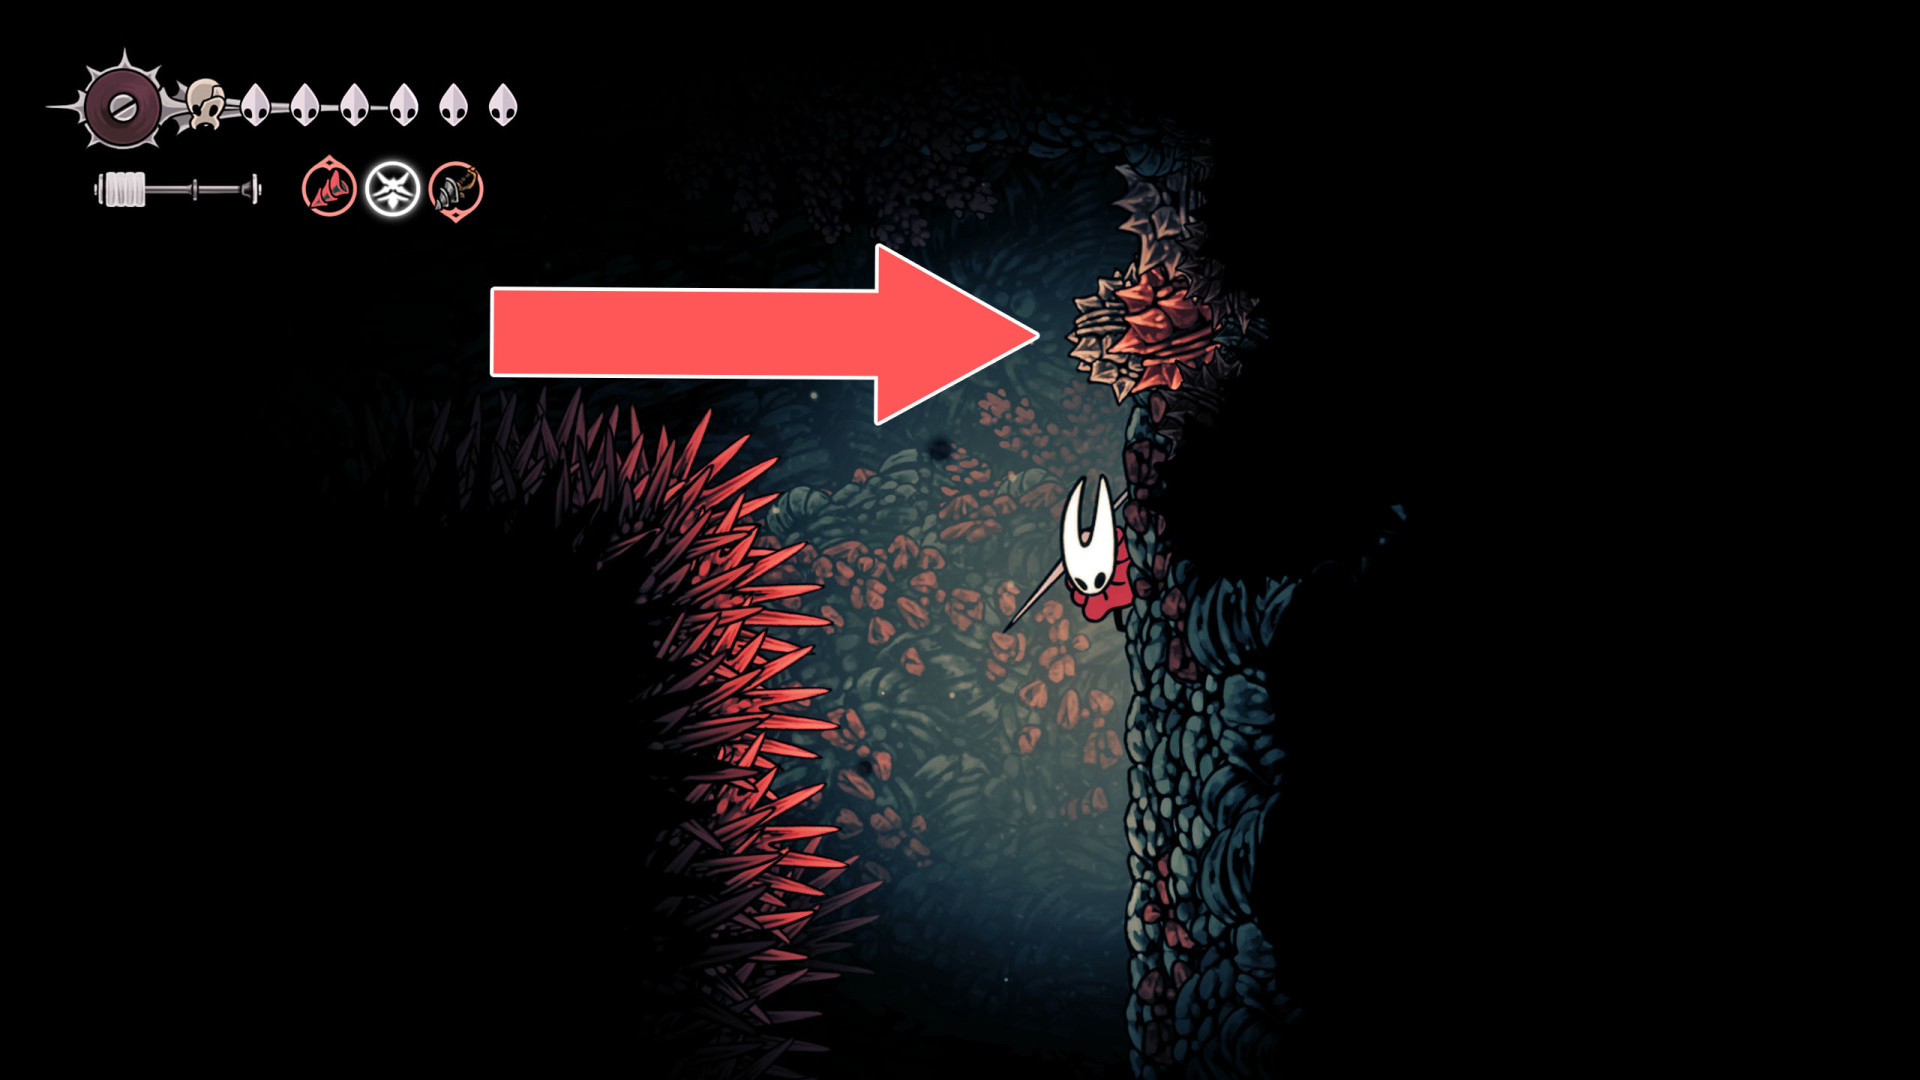
104Breakable Wall
You can destroy this roadblock by approaching it from the west.
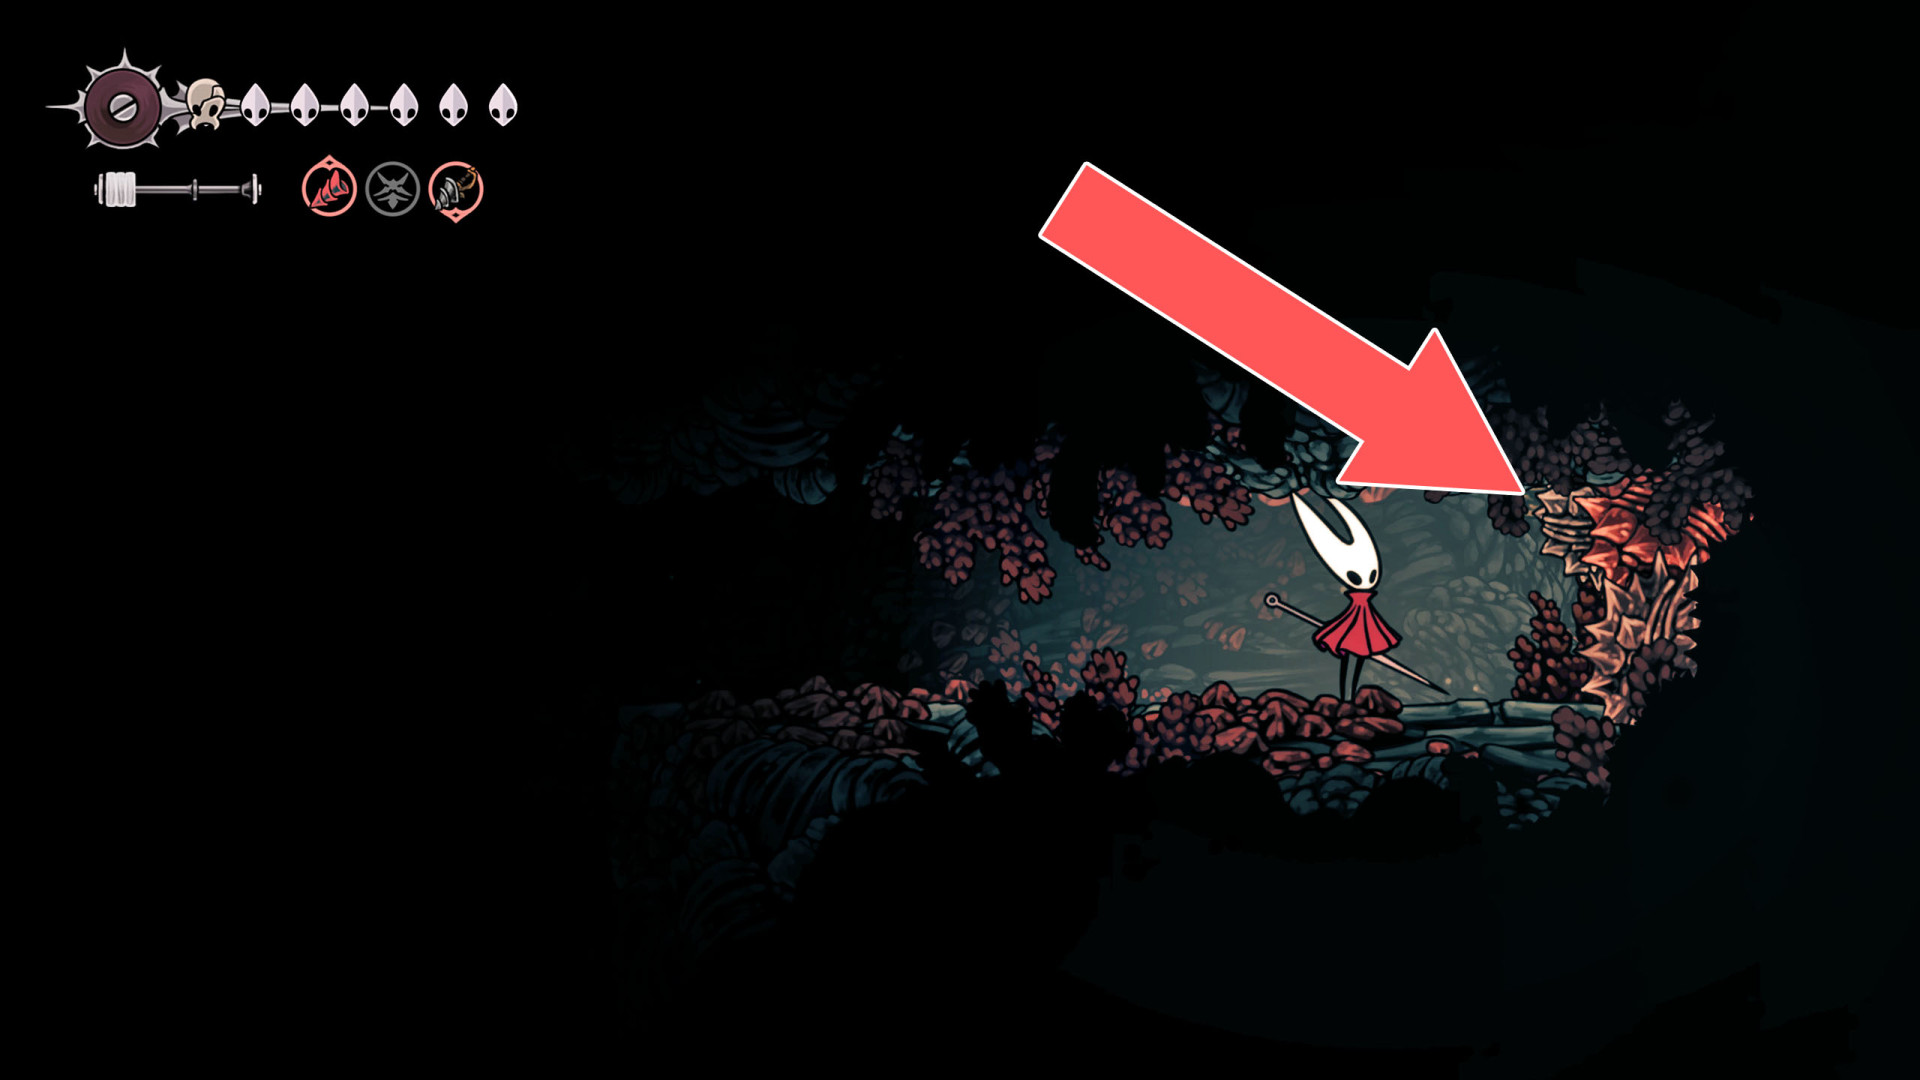
105Breakable Wall
You can destroy this roadblock by approaching it from the west.
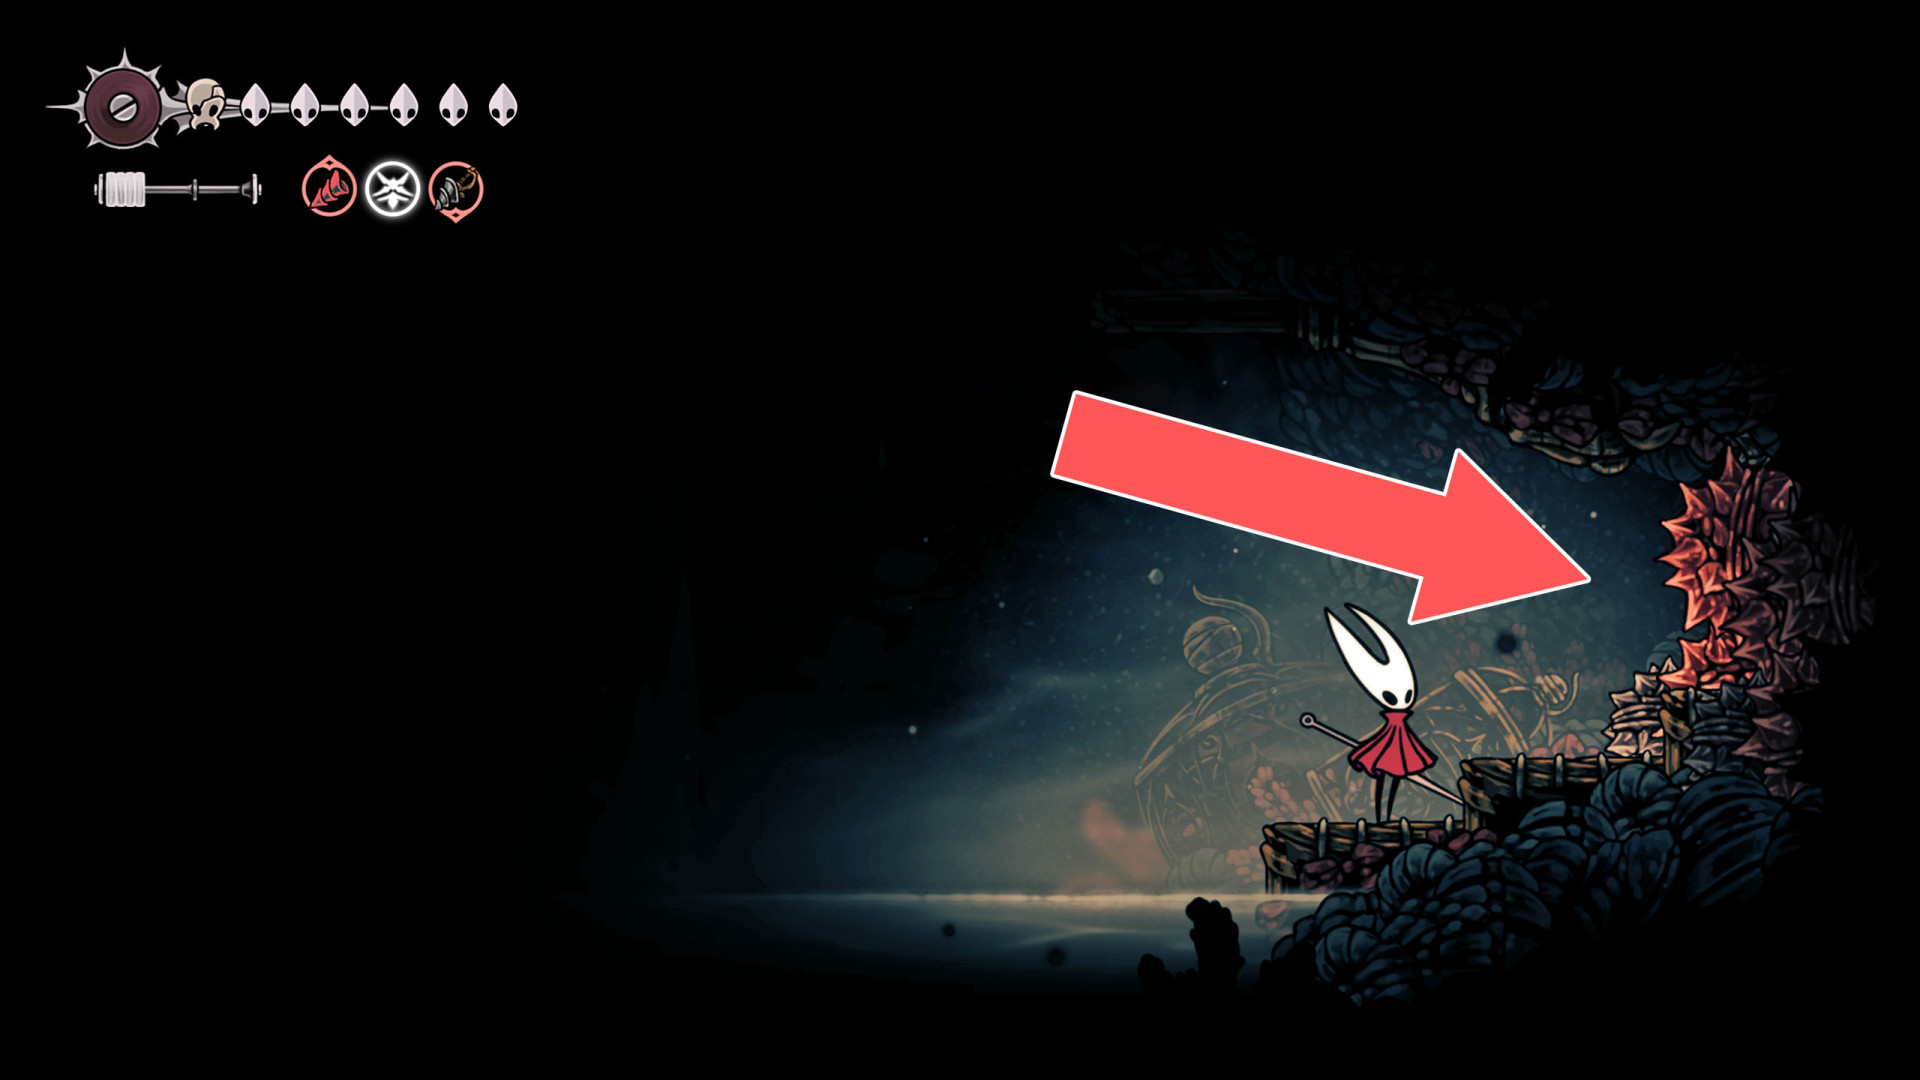
106Breakable Wall
You can break down this wall by hitting it from the west side.
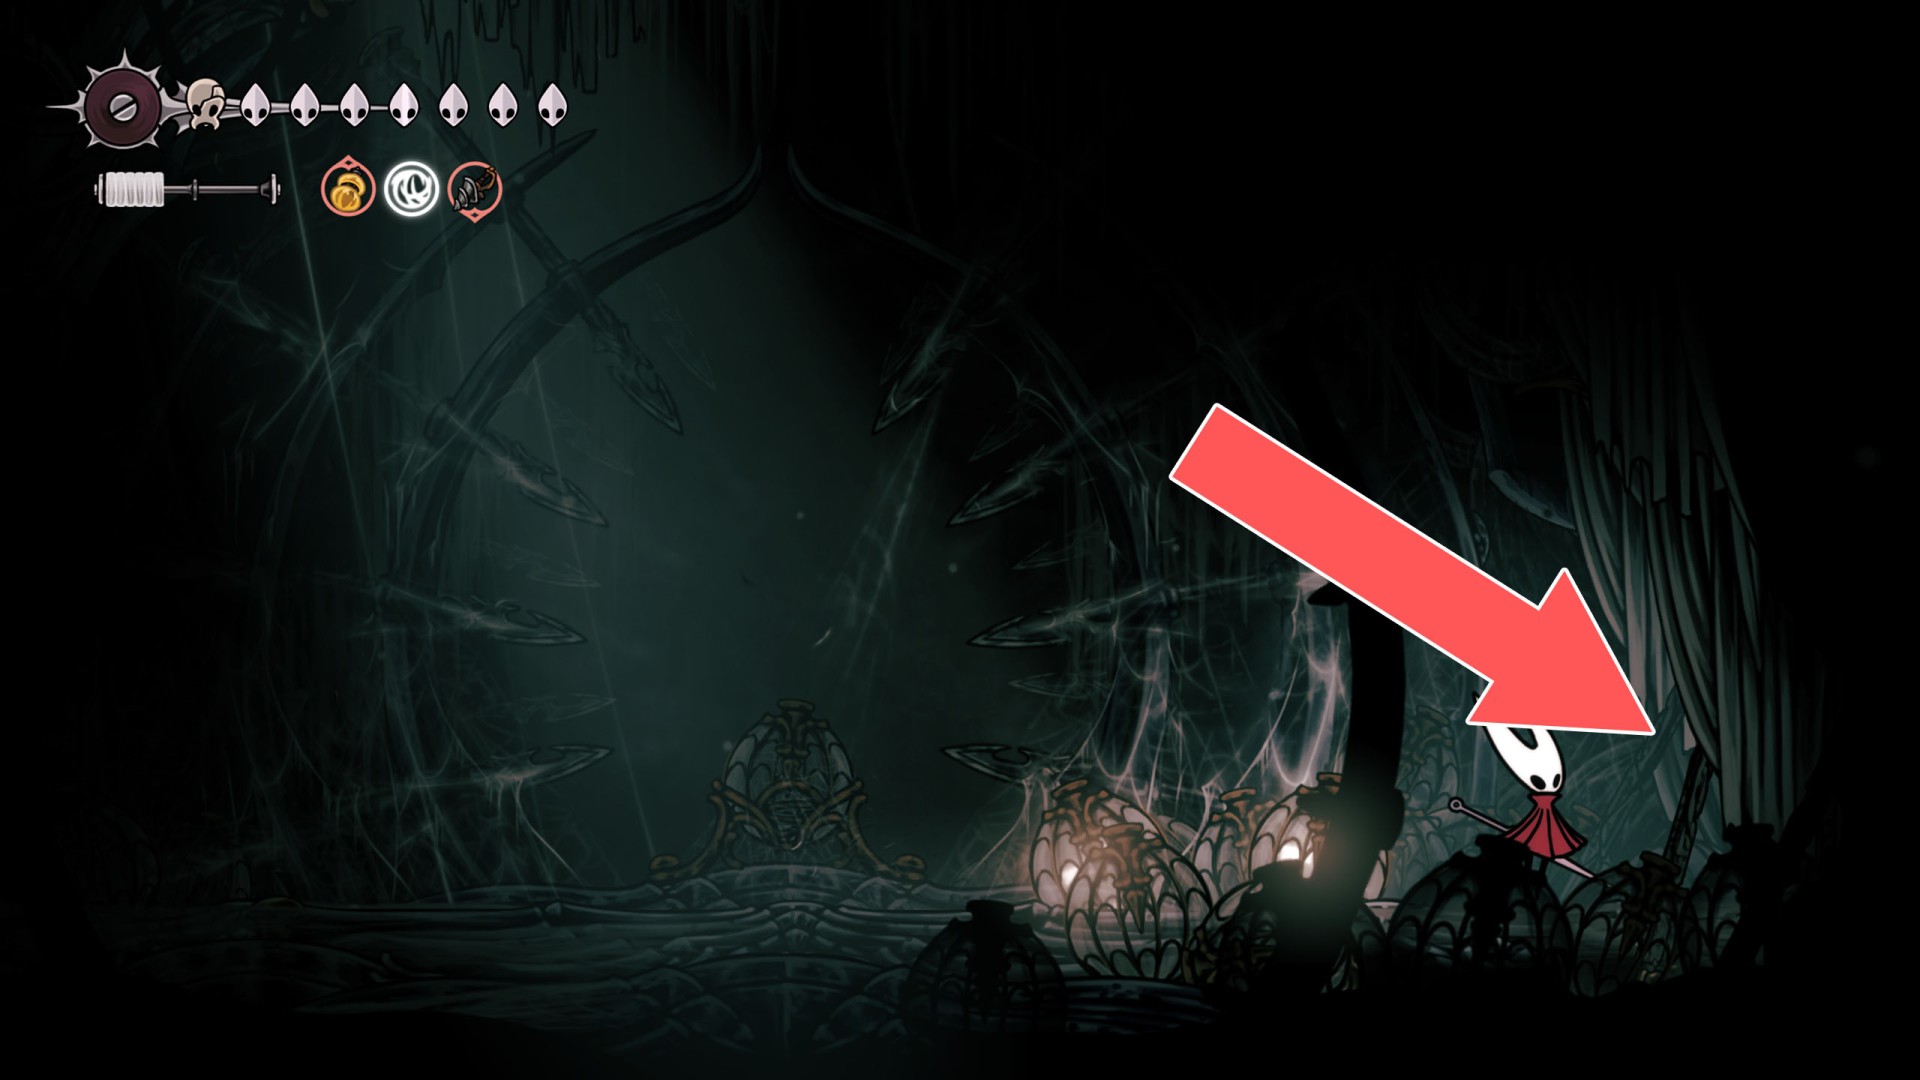
107Breakable Wall
You can break down this wall by hitting it from the east side.
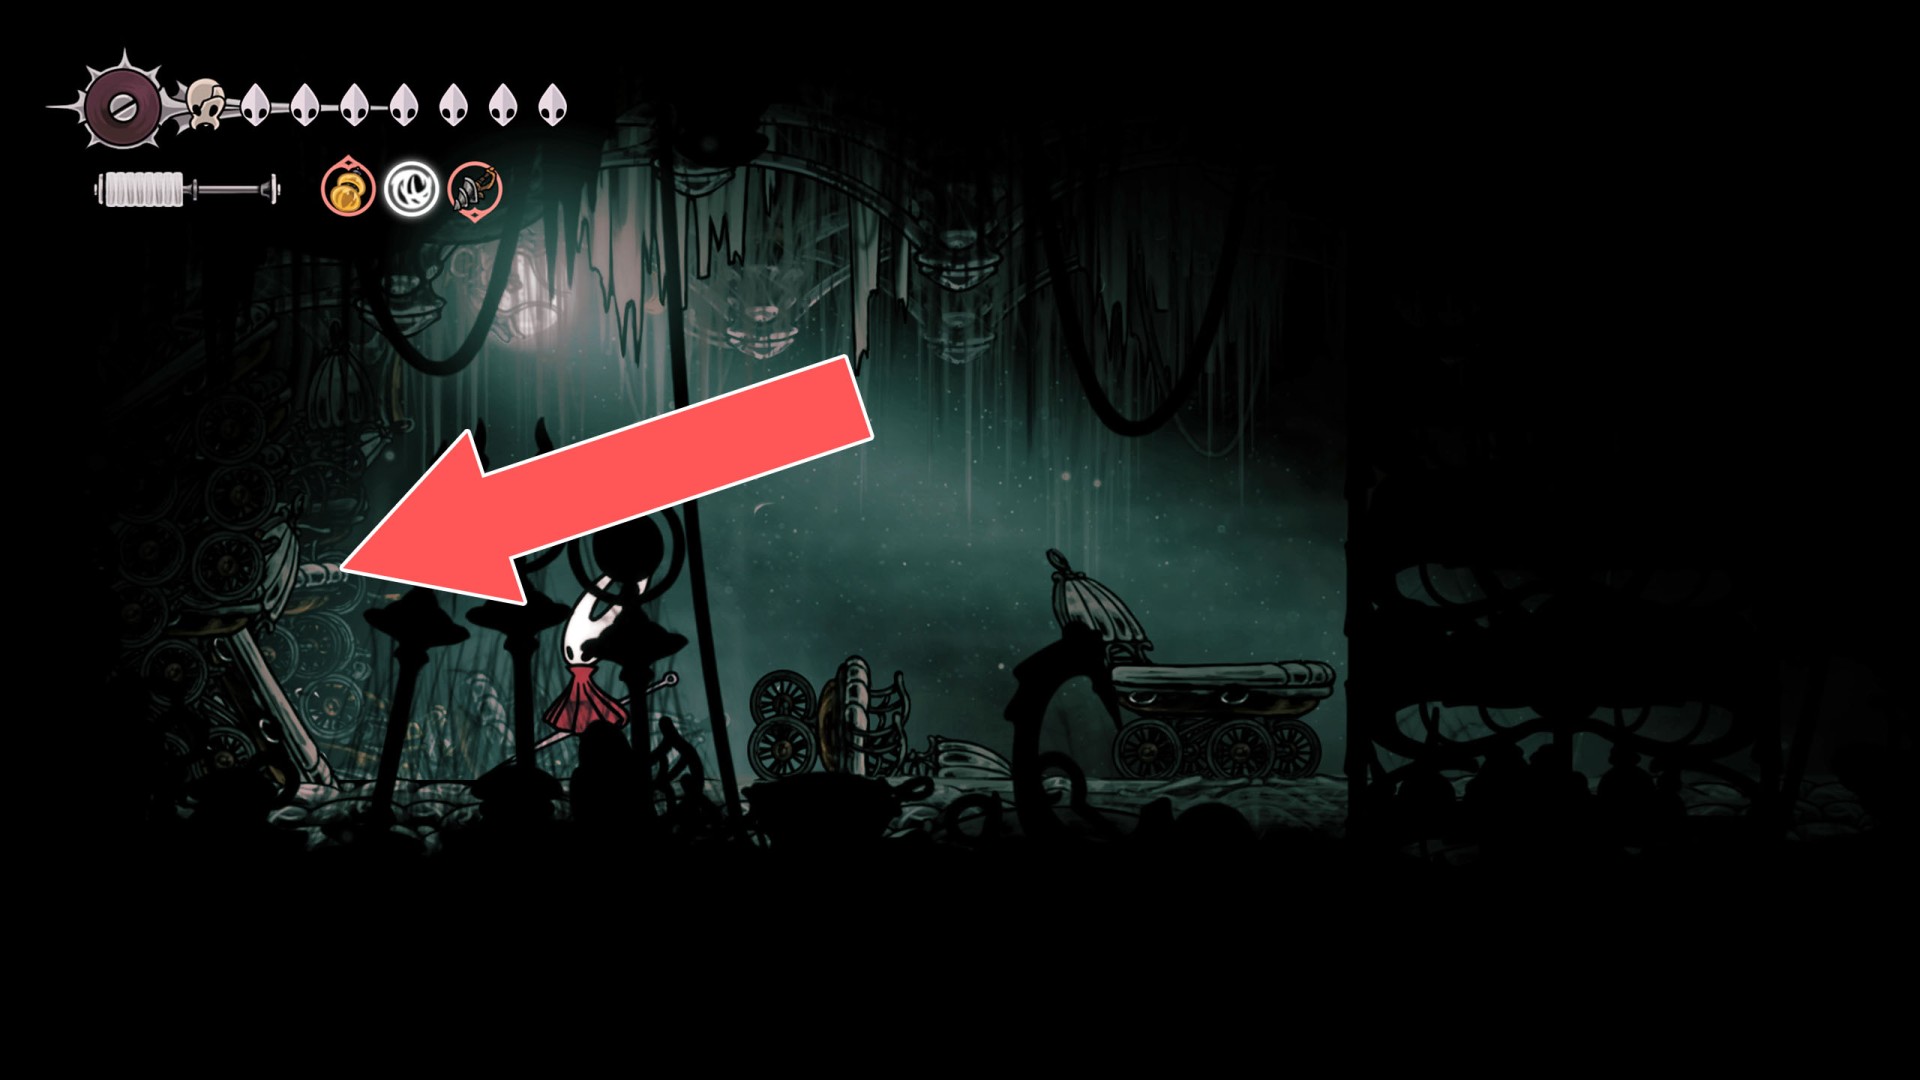
108Breakable Wall
You can destroy this roadblock by attacking it from the west side.
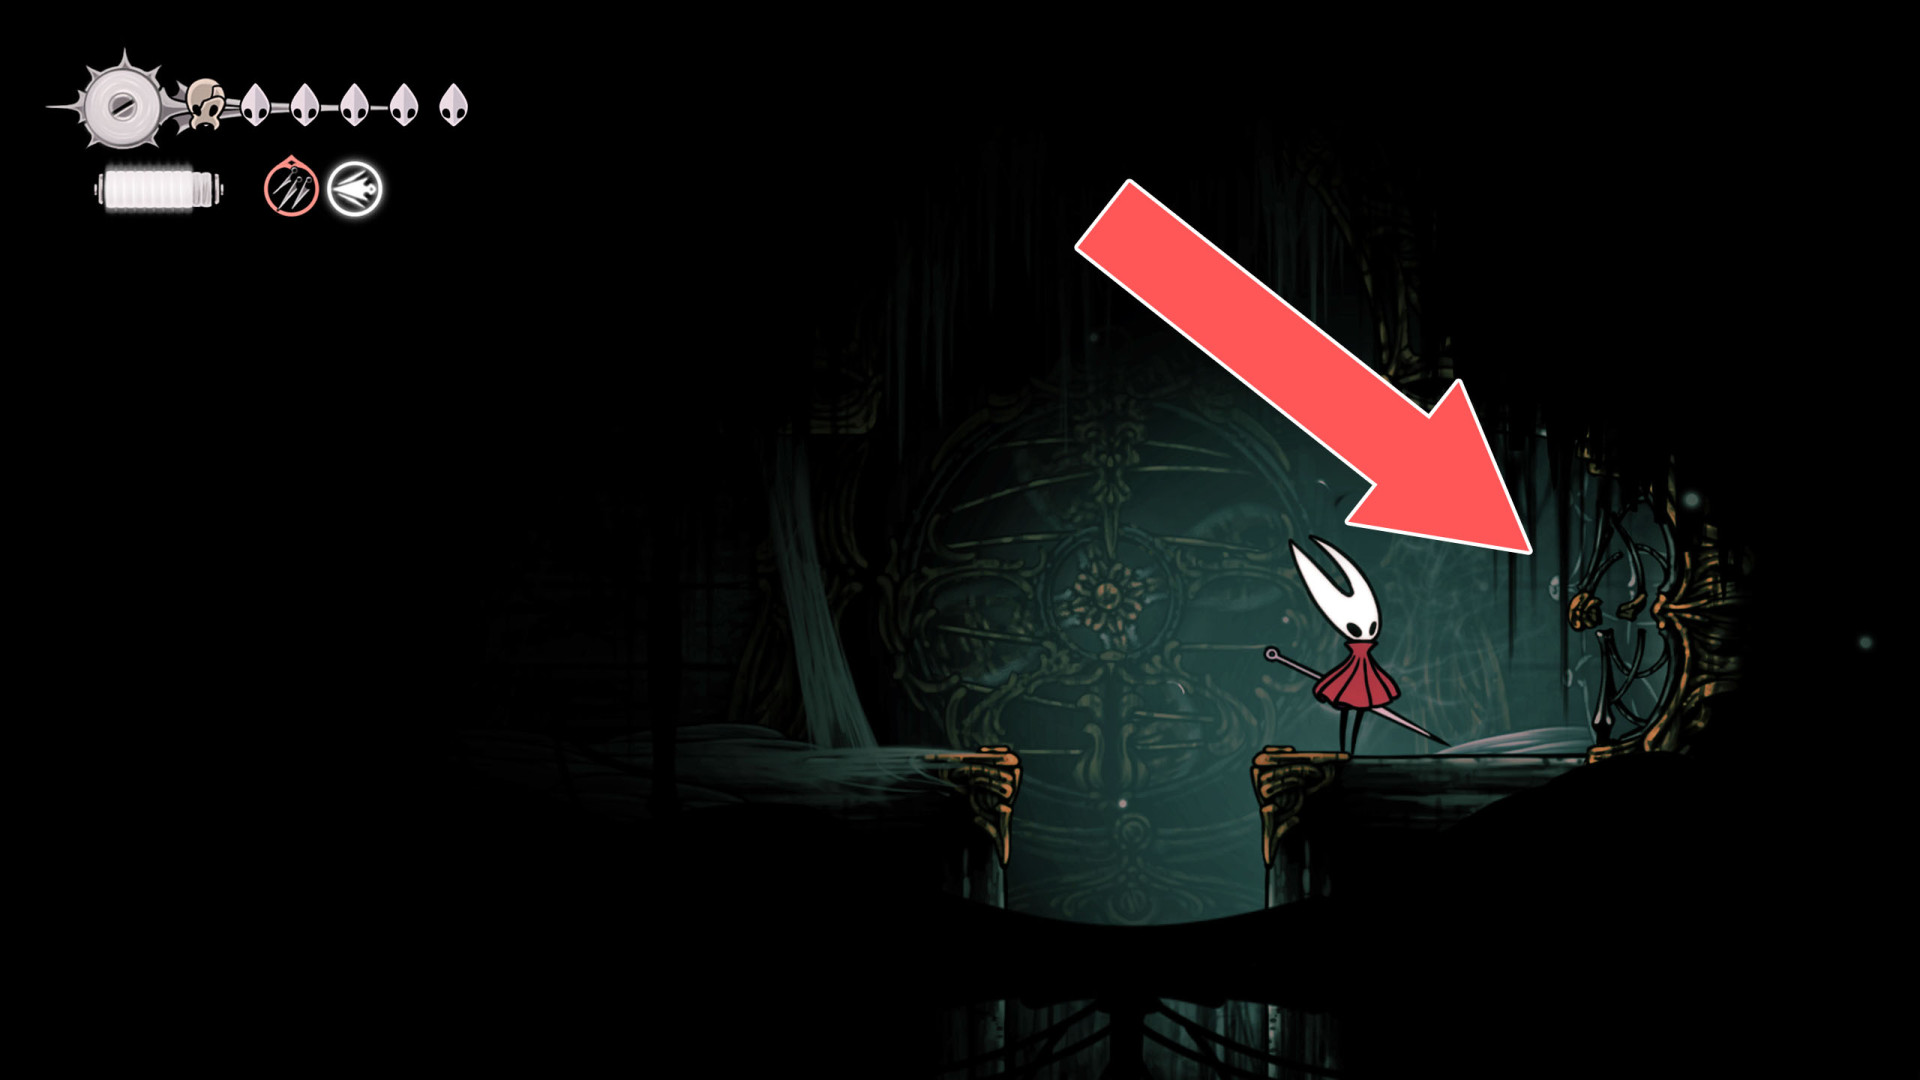
109Breakable Wall
You can break down this wall by hitting it from the west side.
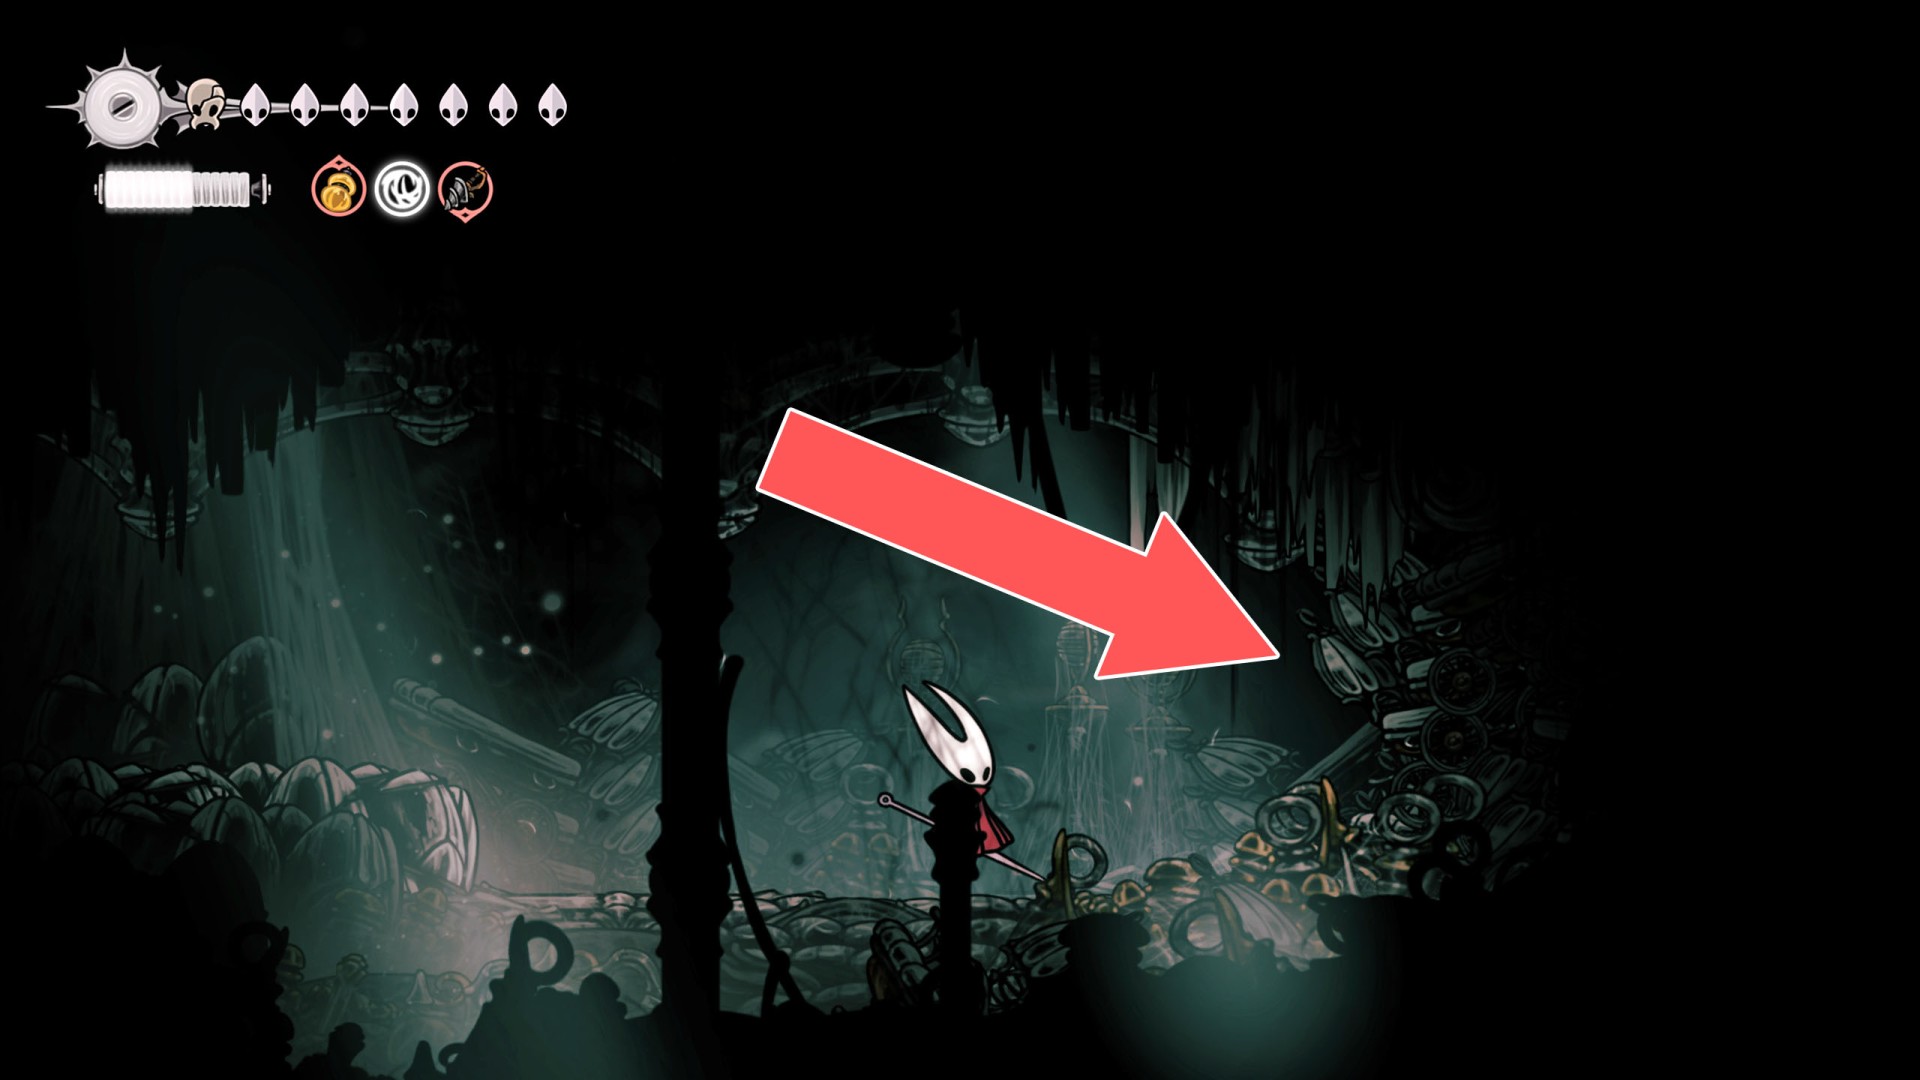
110Breakable Wall
You can destroy this roadblock and open a passage by hitting it from the east side.
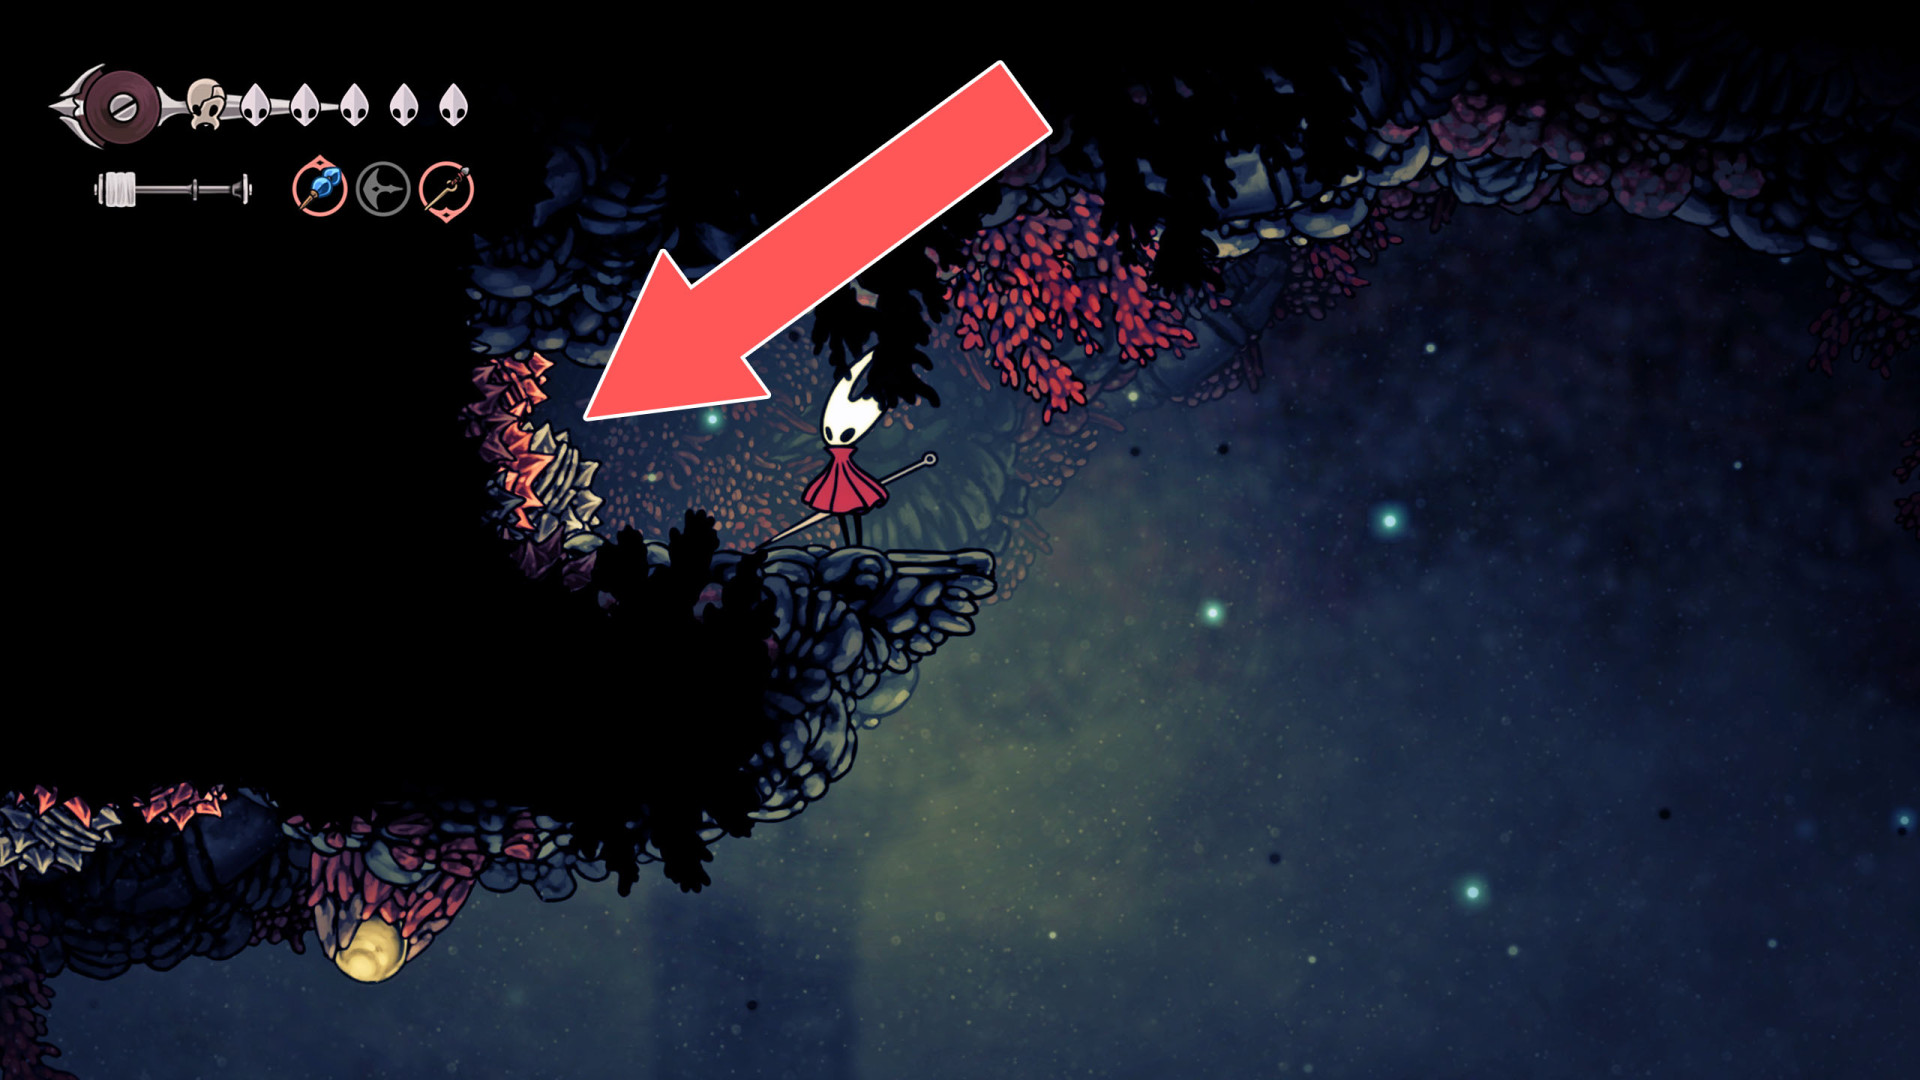
111Breakable Wall
To break down this roadblock and open the passage, approach it from the west and hit it several times.
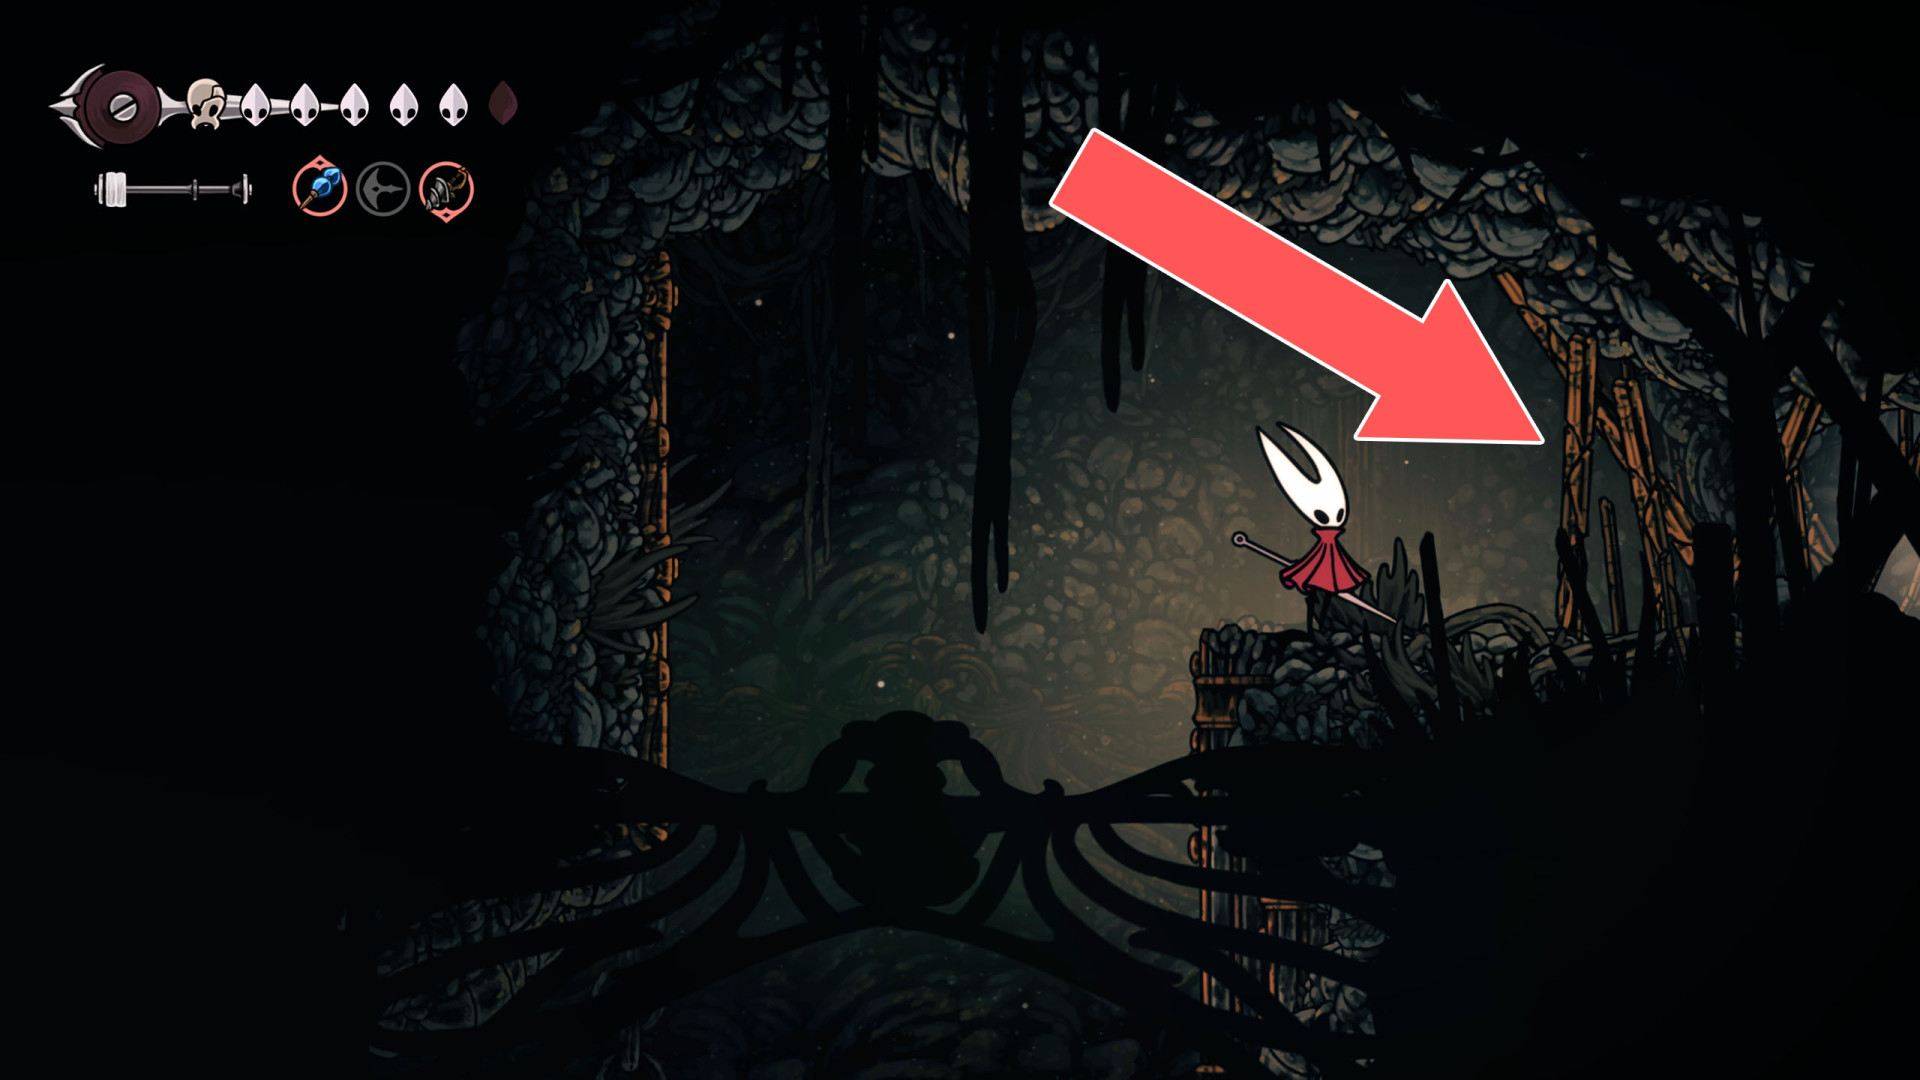
112Breakable Wall
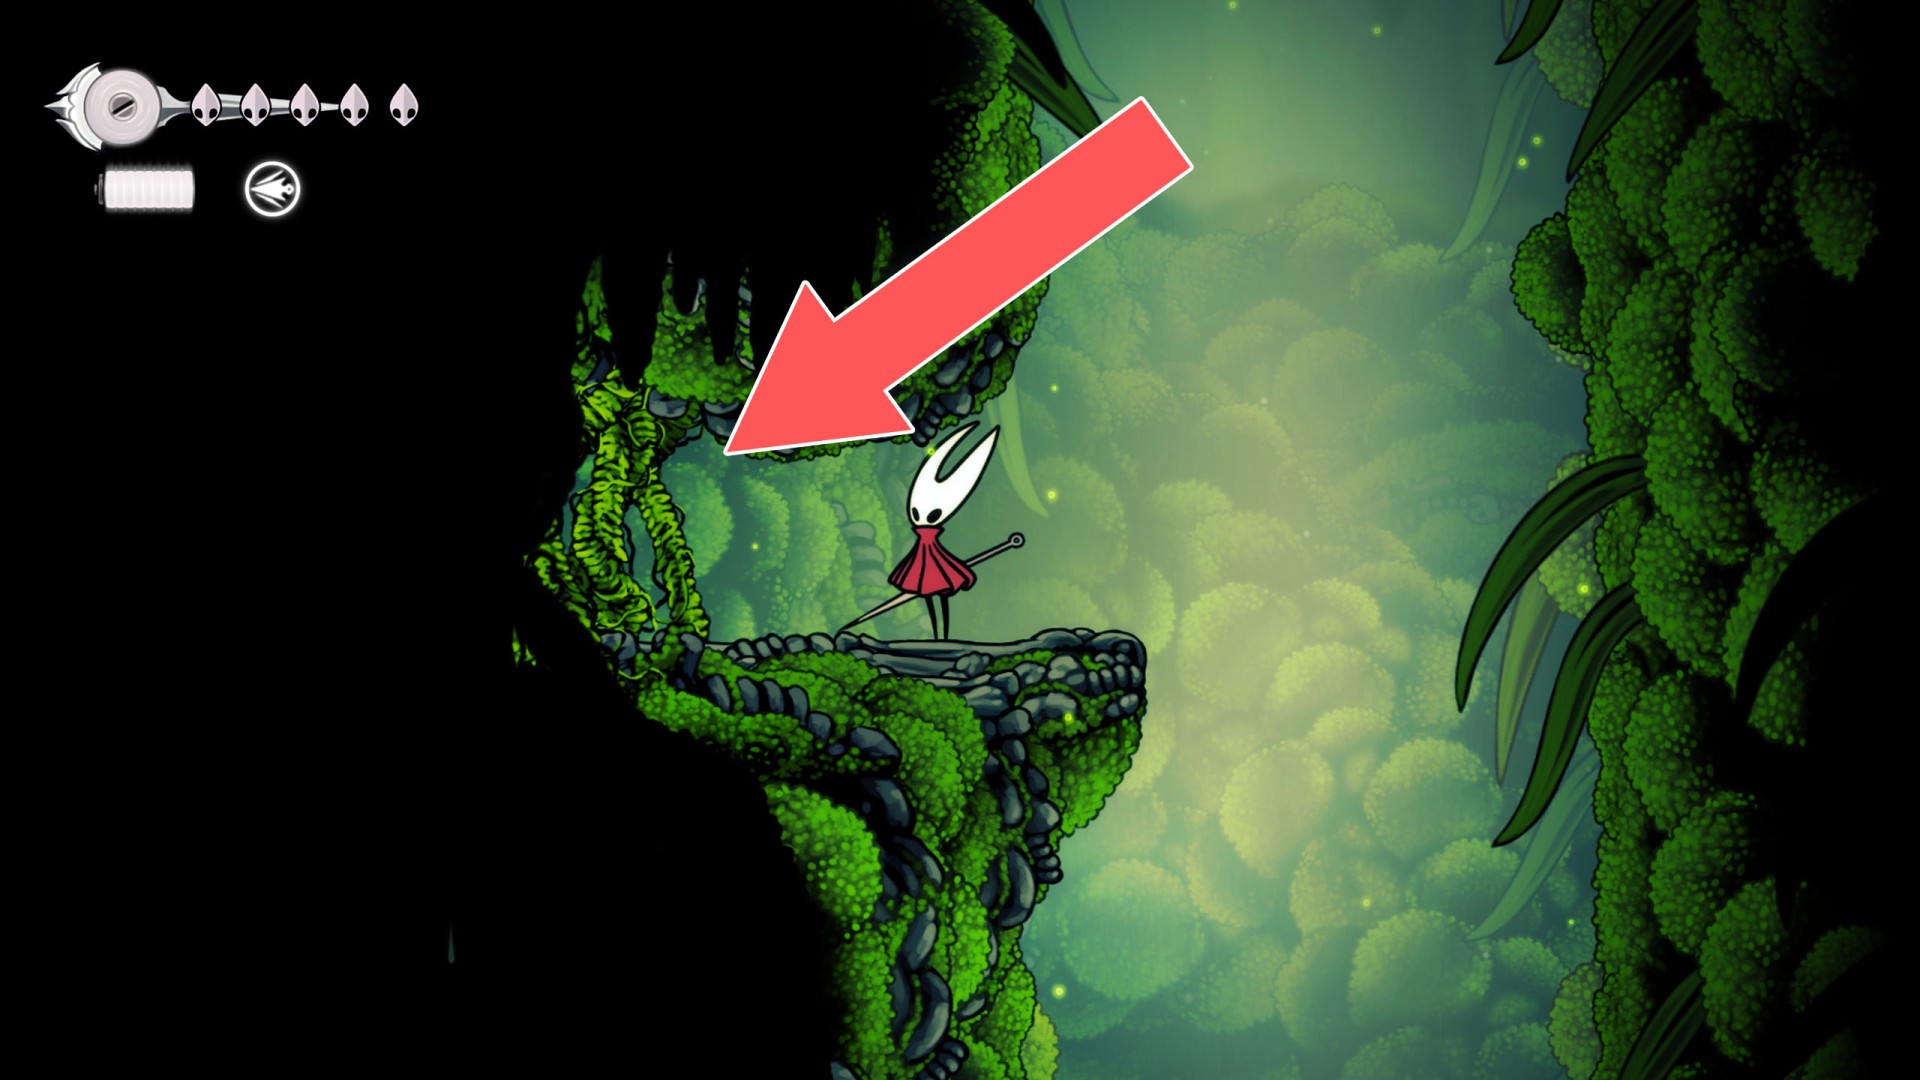
113Breakable Wall
You can destroy this wall and open a passage by hitting it from the west side.
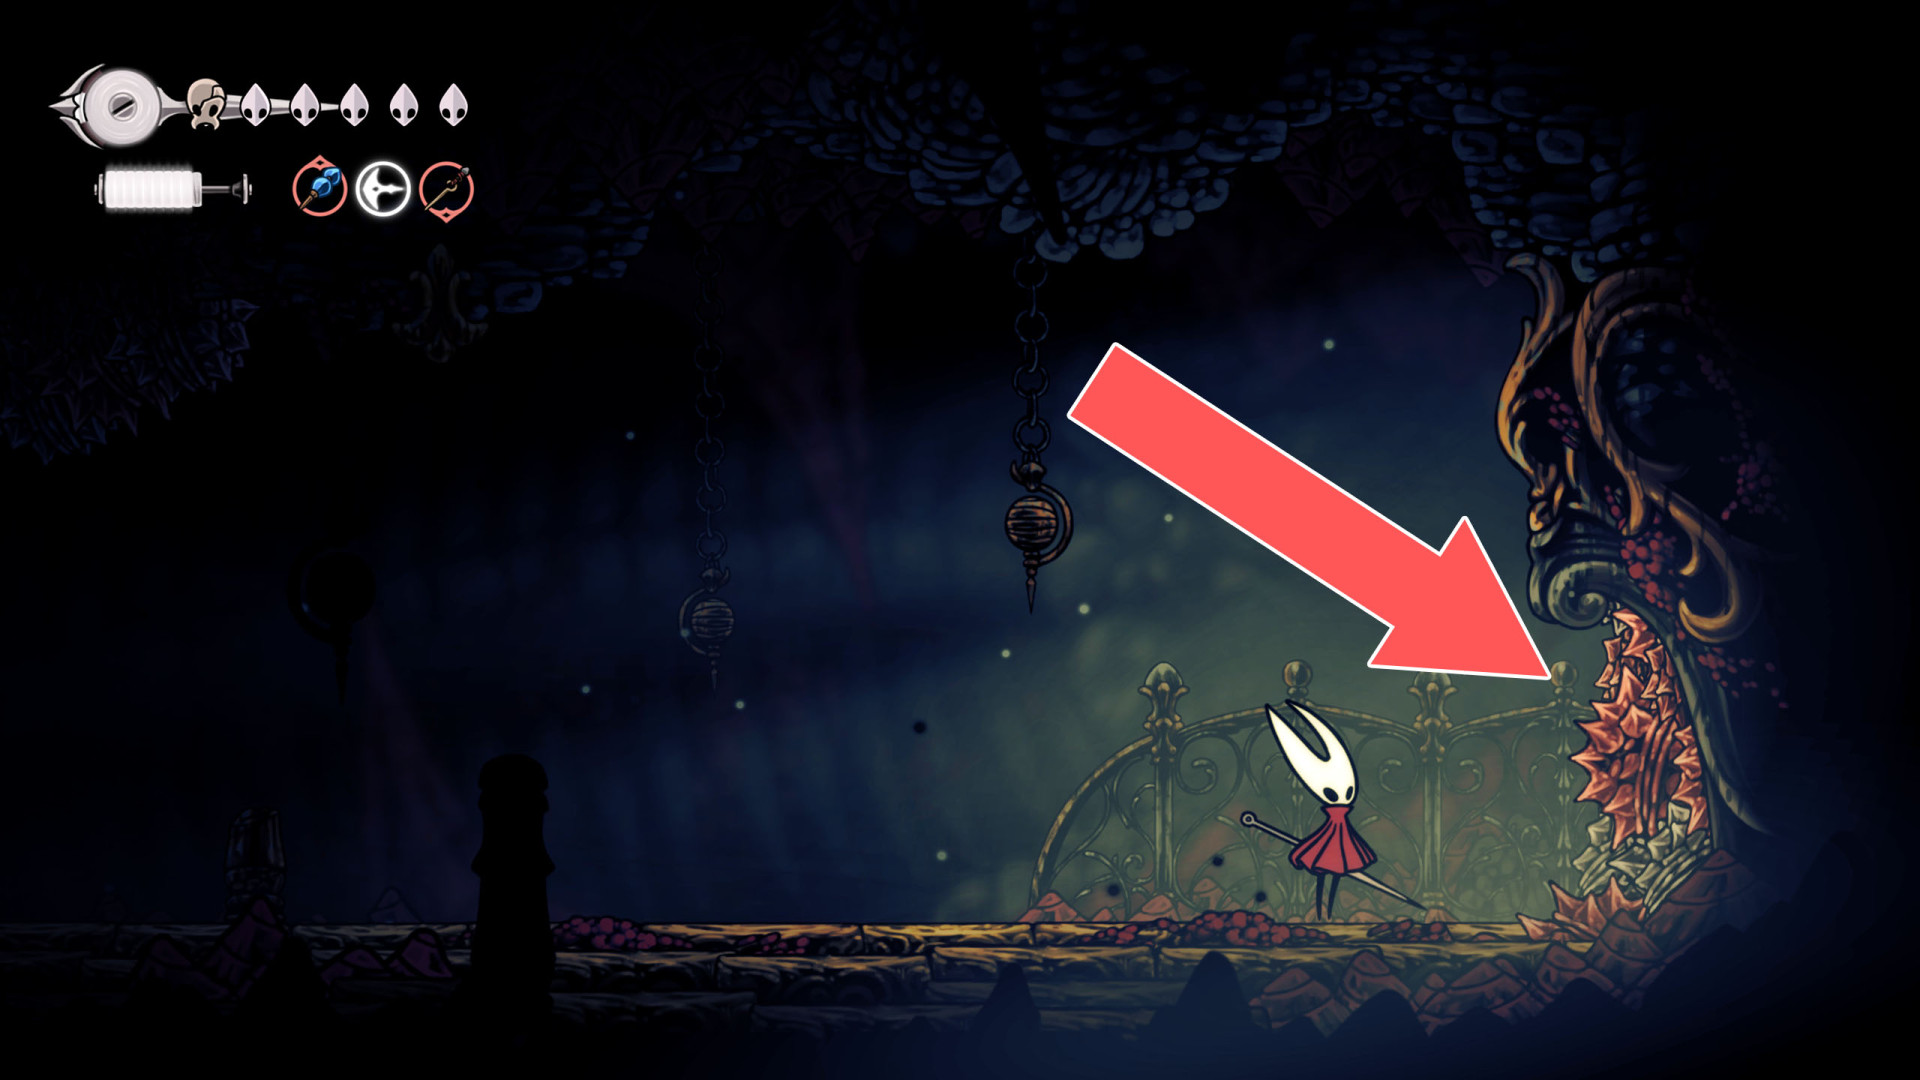
114Breakable Wall
You can destroy this wall and open a passage by hitting it from the west side.
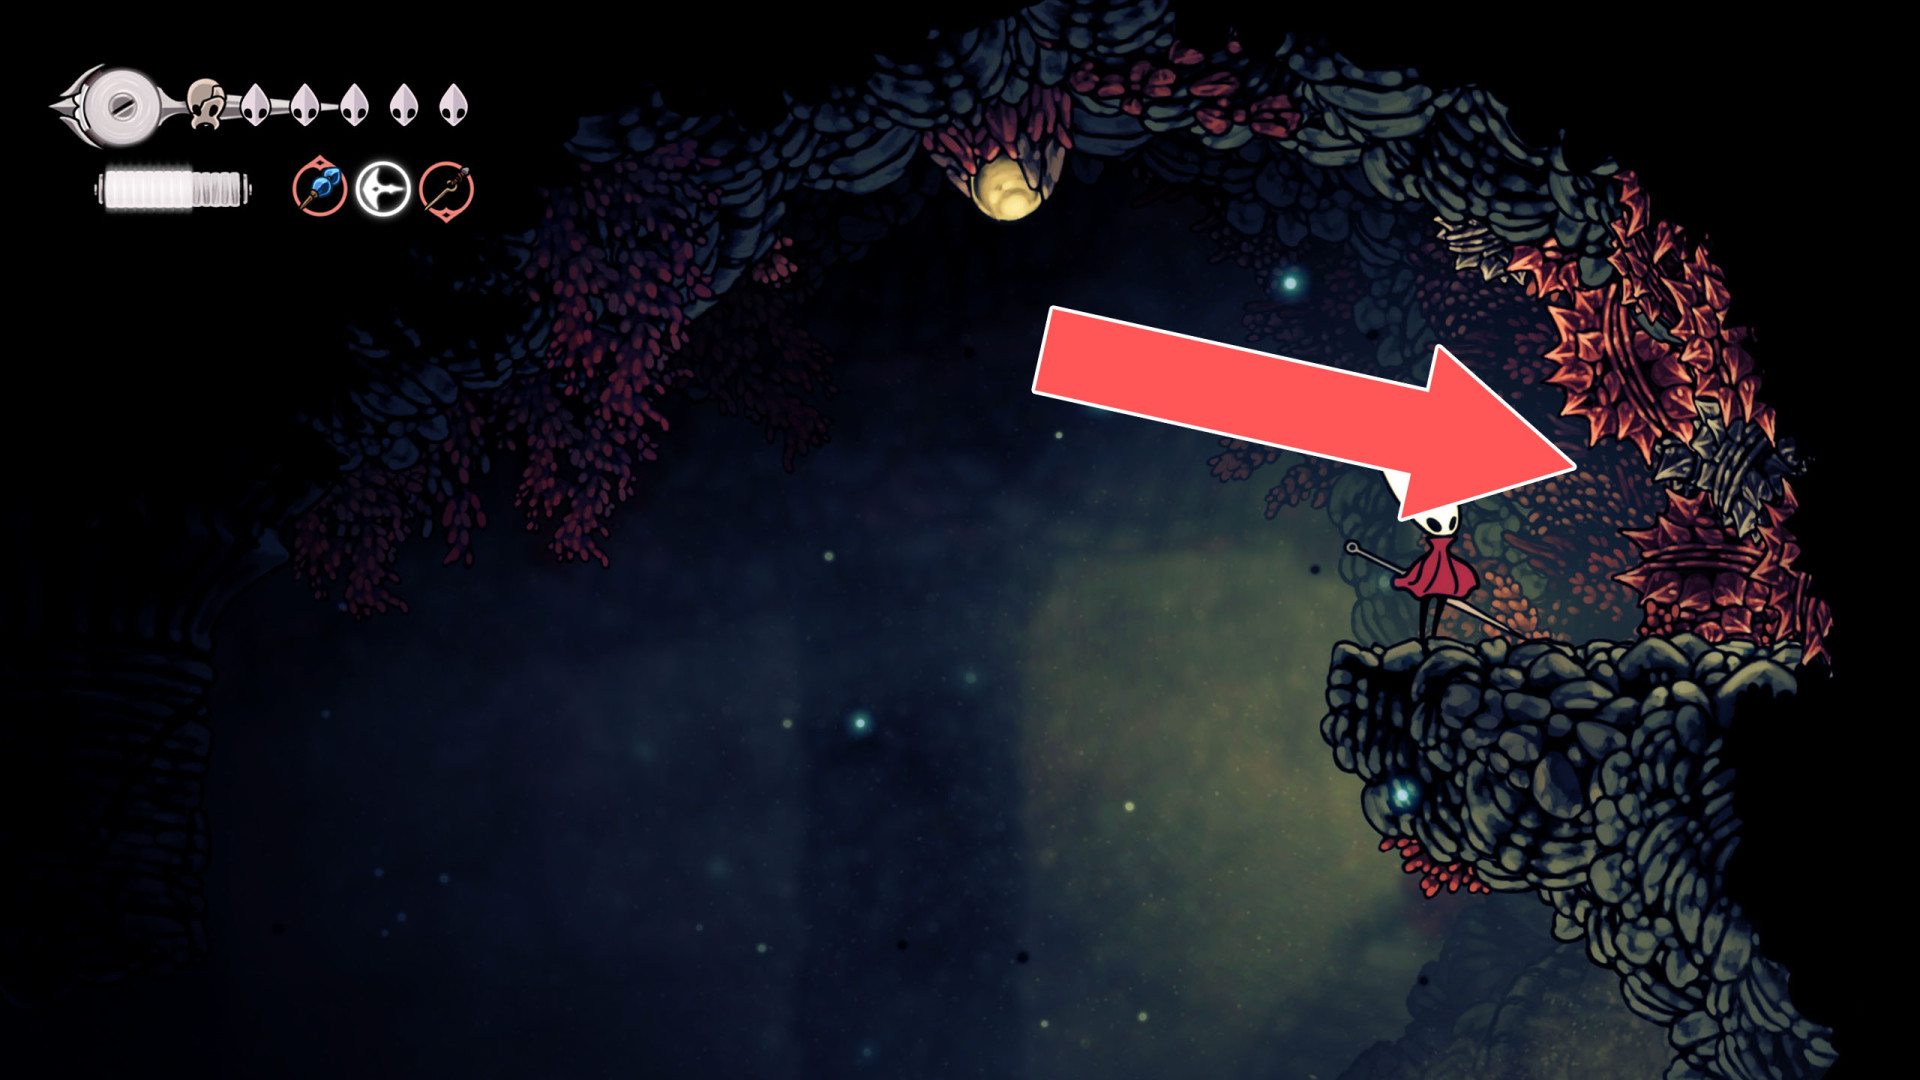
115Breakable Wall
You can destroy this wall and open a passage by hitting it from the east side.
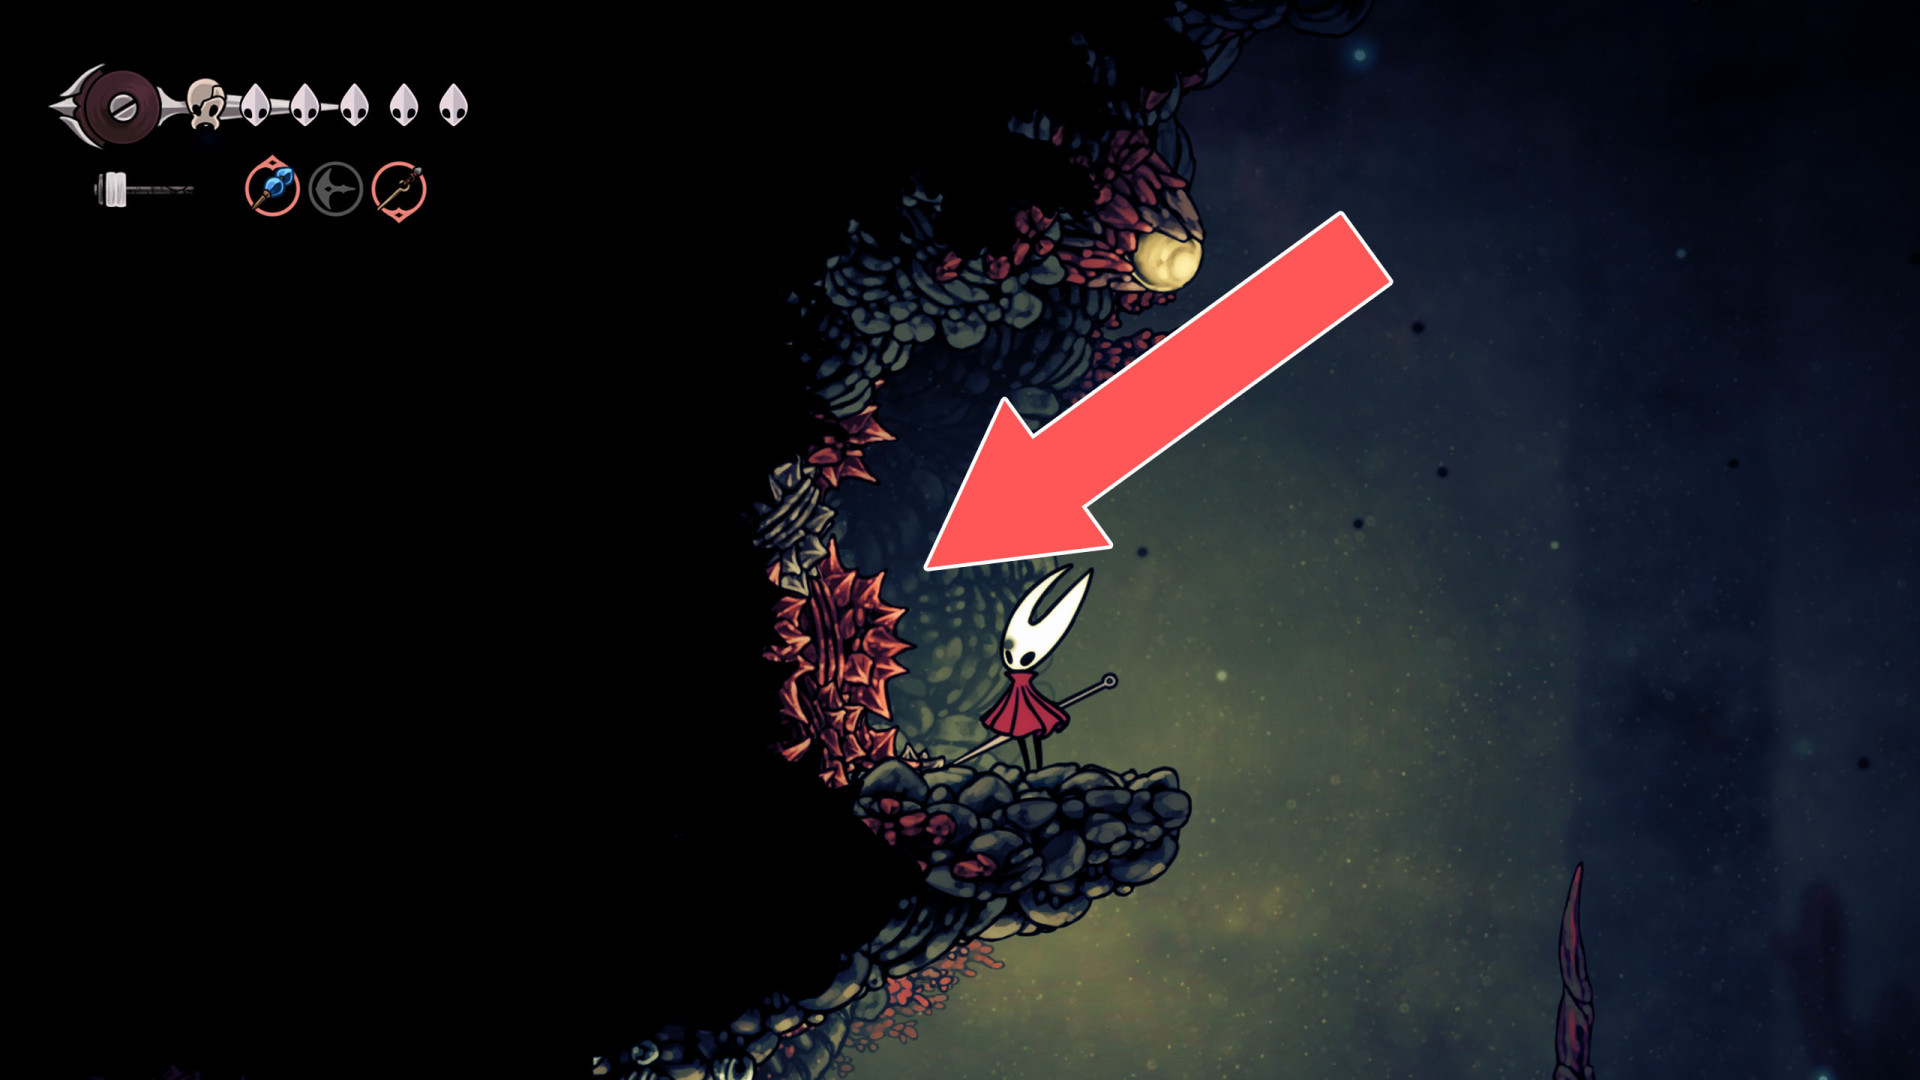
116Breakable Wall
You can destroy this roadblock by approaching it from the east side.
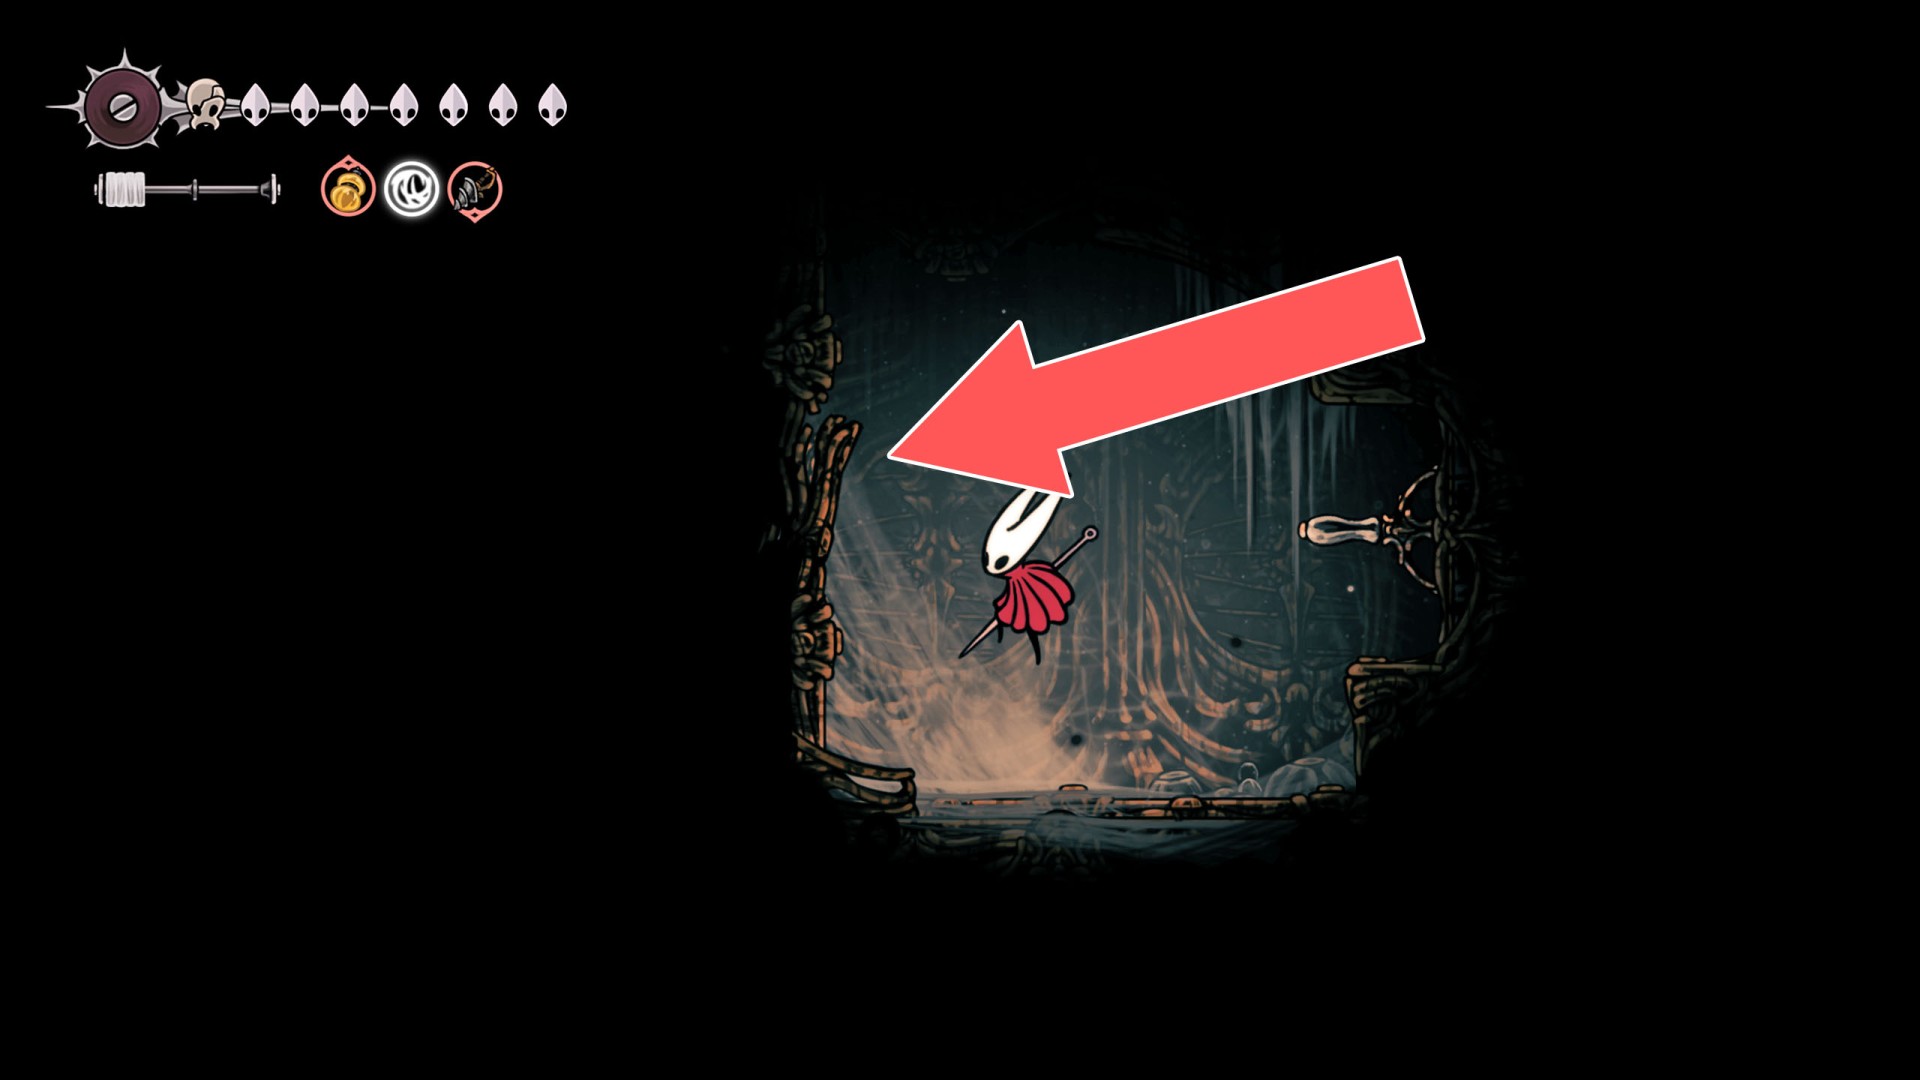
117Breakable Wall
To break down this roadblock and open the passage, approach it from the east and hit it several times.
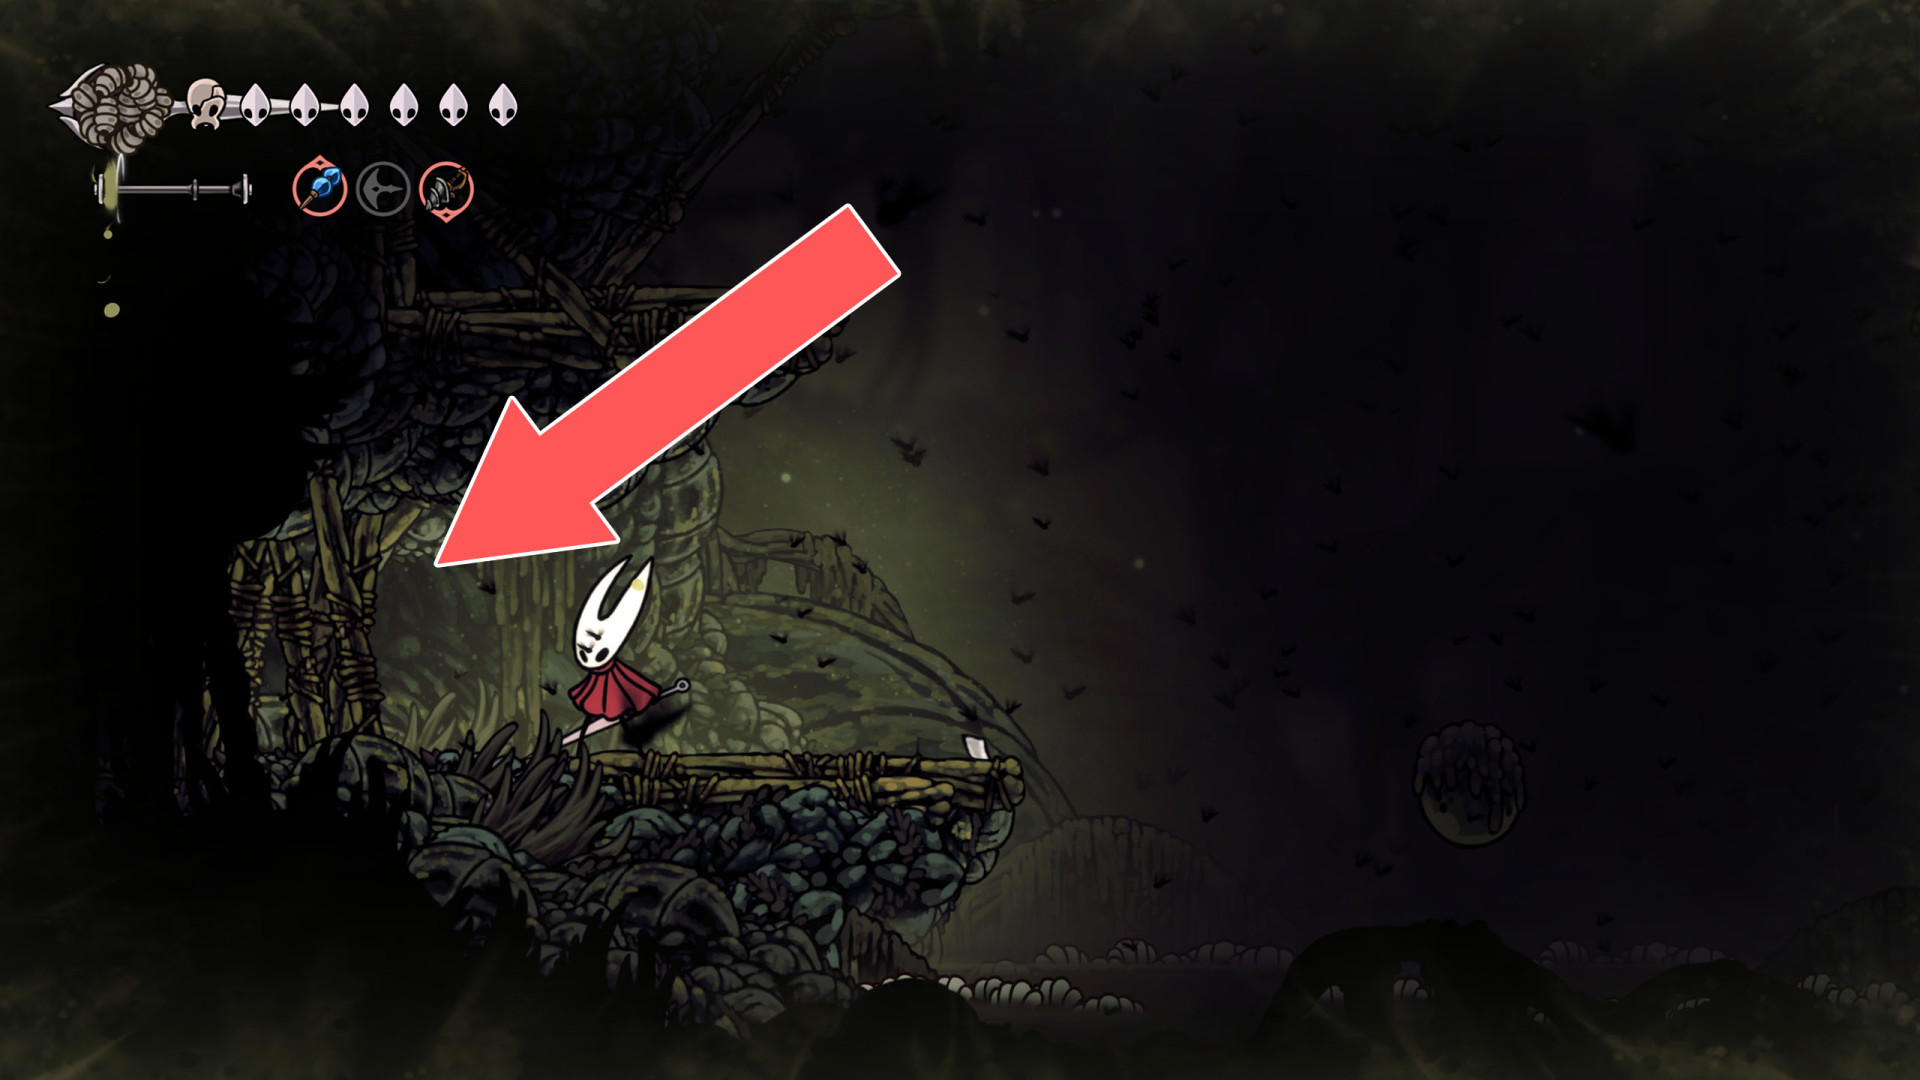
118Breakable Wall
You can destroy this roadblock by approaching it from the east side.
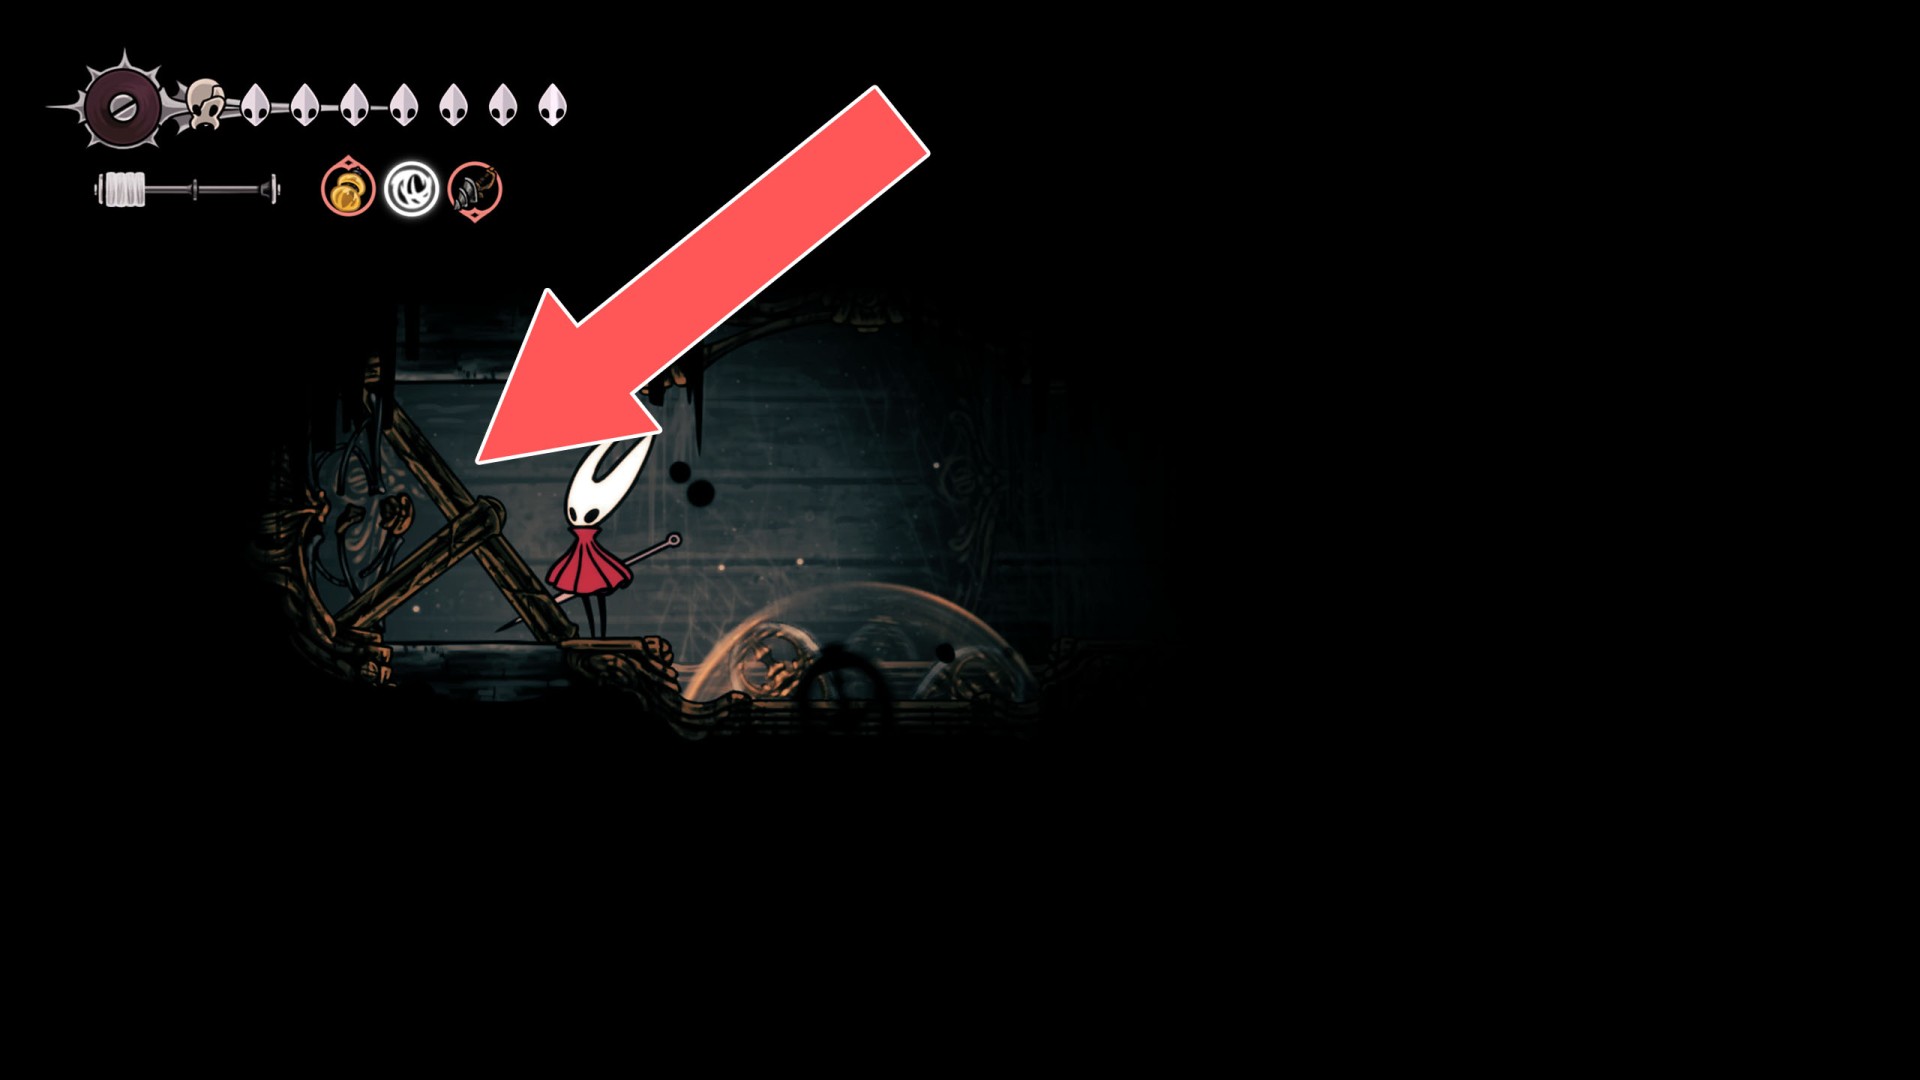
119Breakable Wall
You can destroy this roadblock by approaching it from the west side.
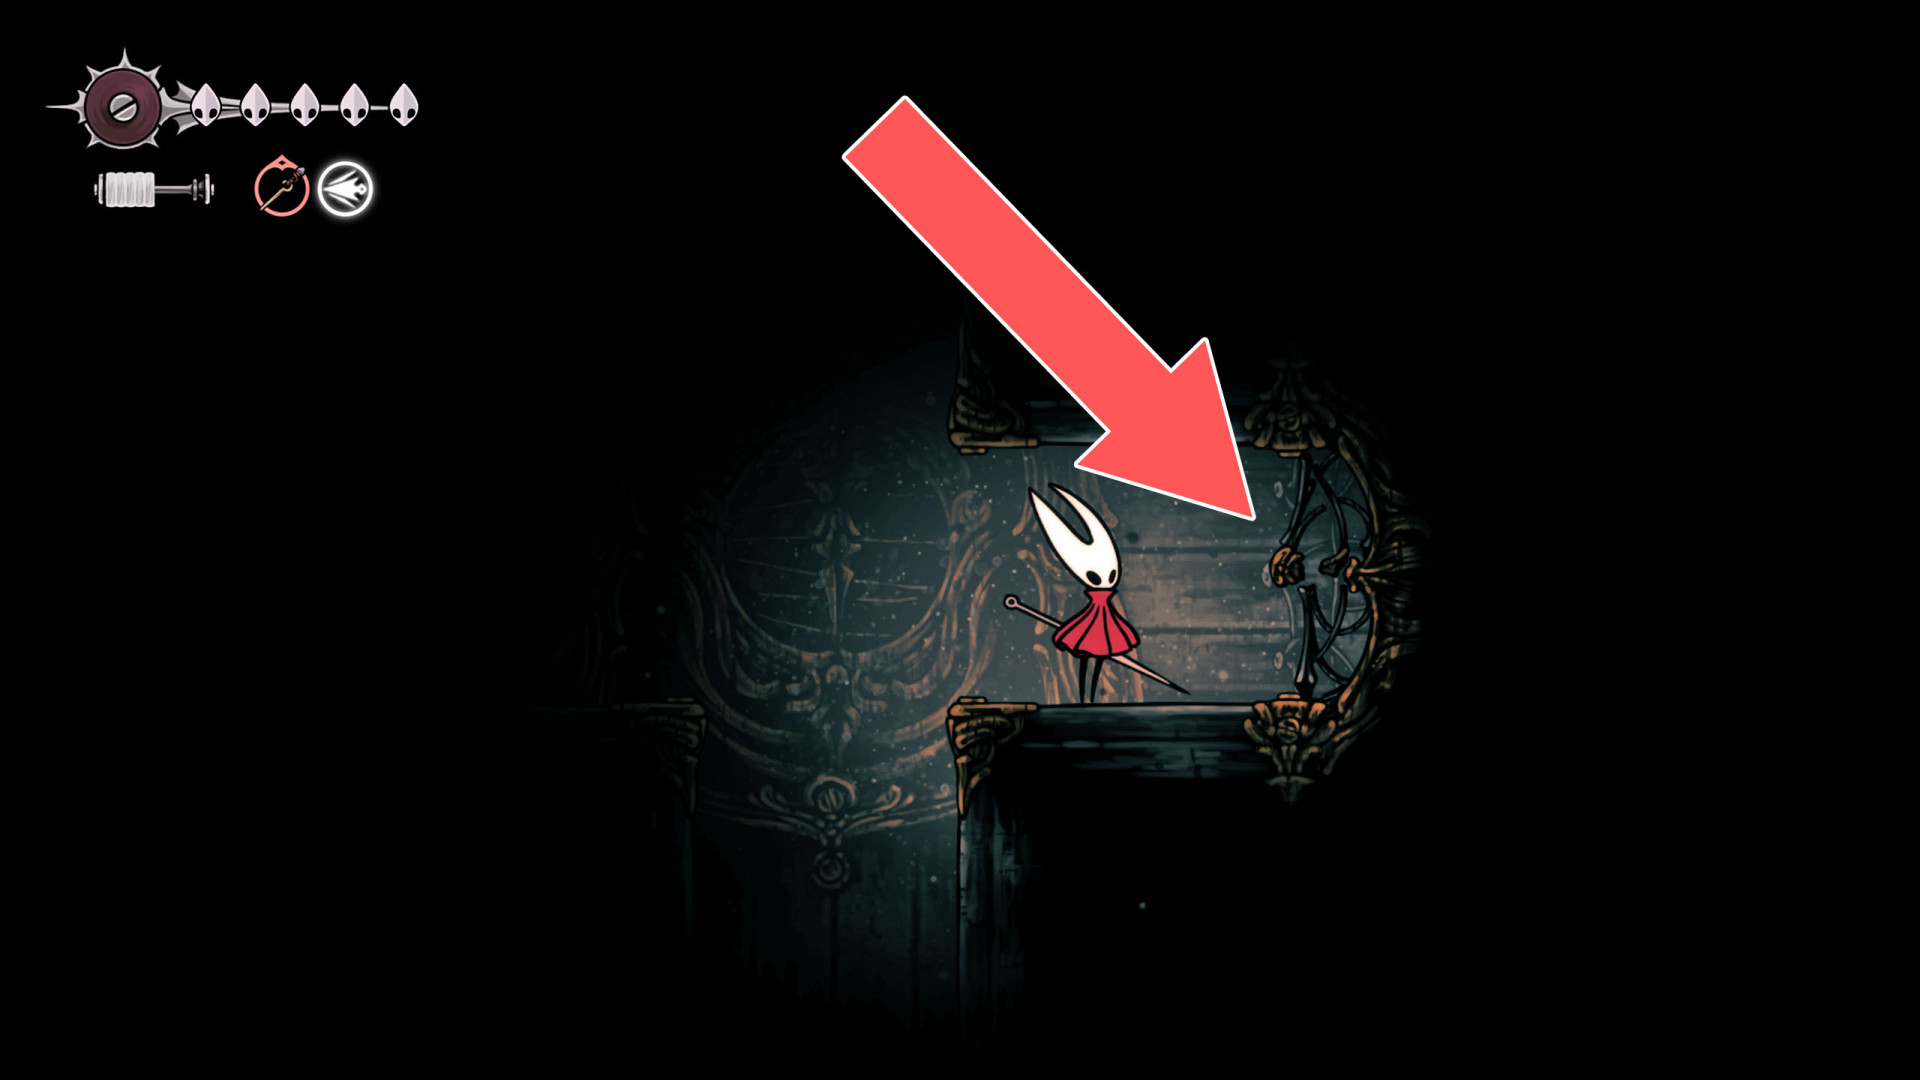
120Breakable Wall
You can destroy this roadblock and open a passage by hitting it from the west side.
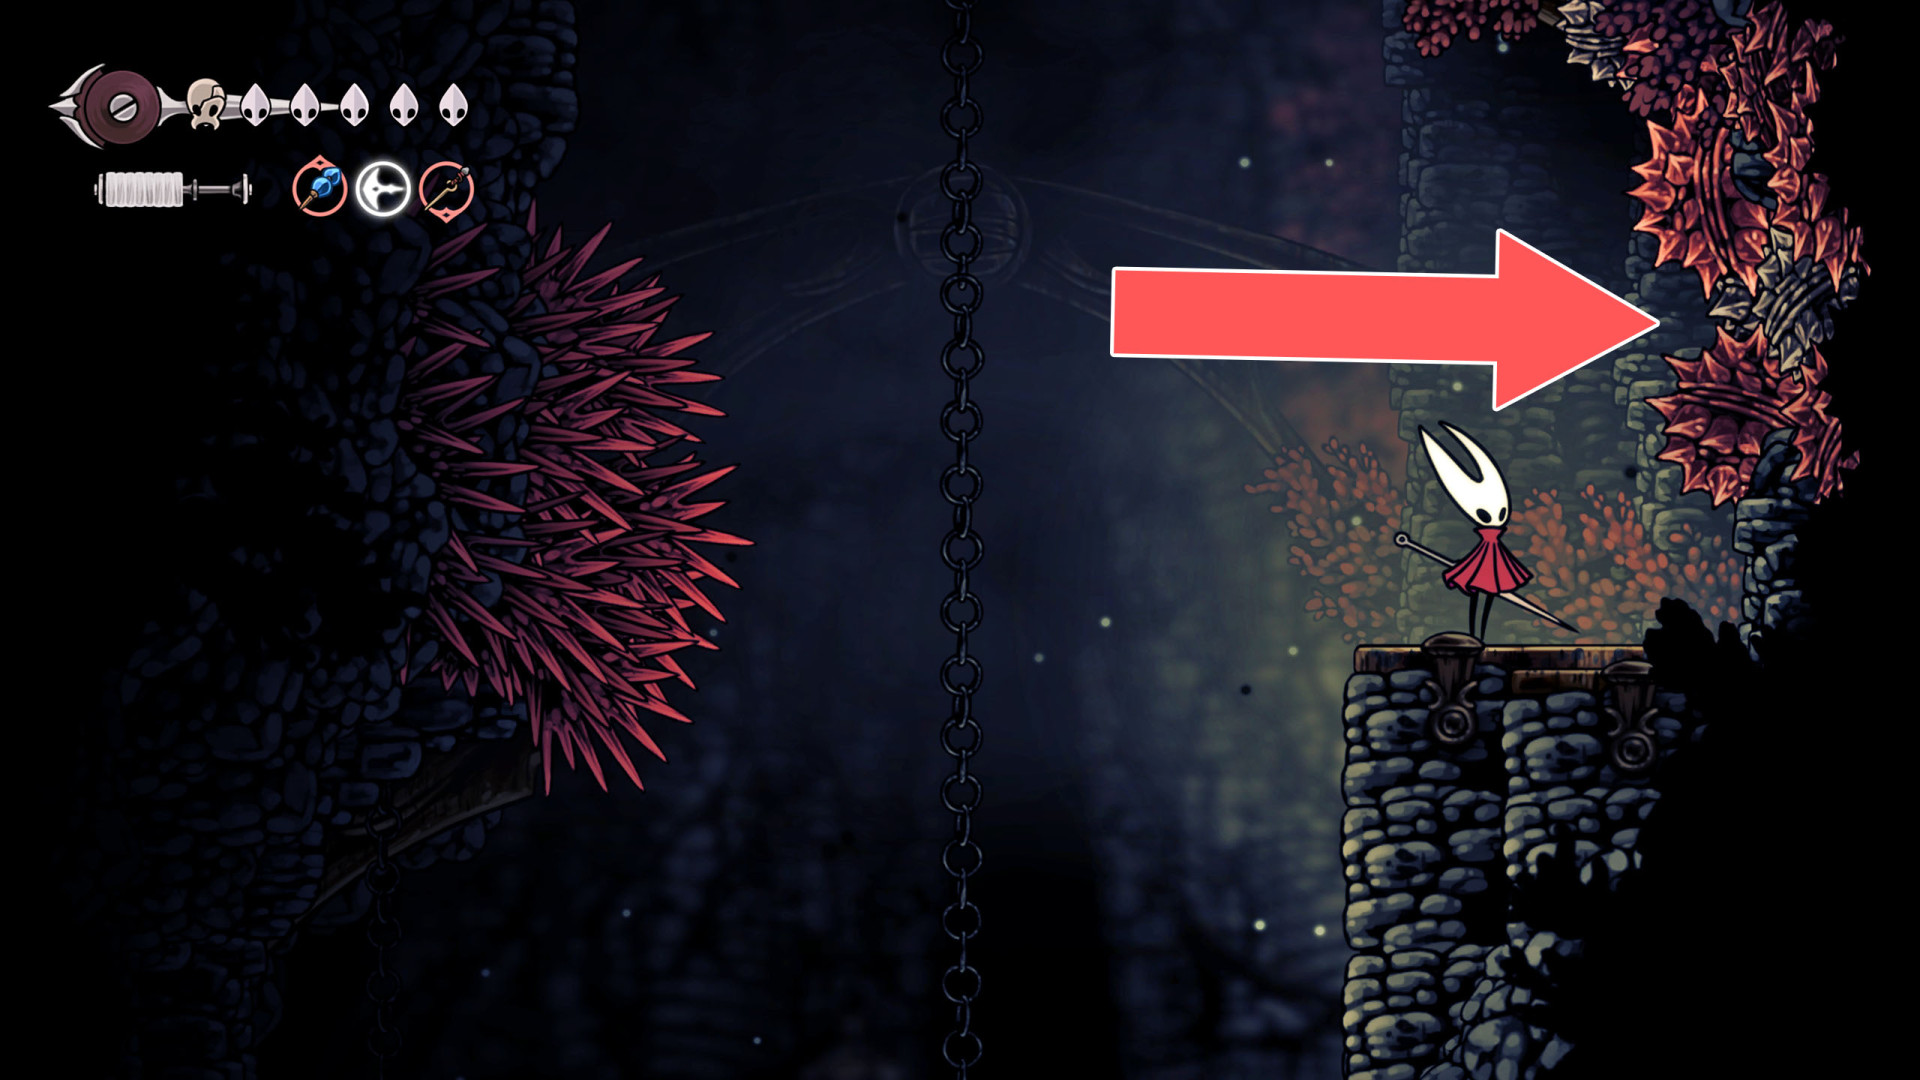
121Breakable Wall
You can destroy this wall and open a passage by hitting it from the west side.
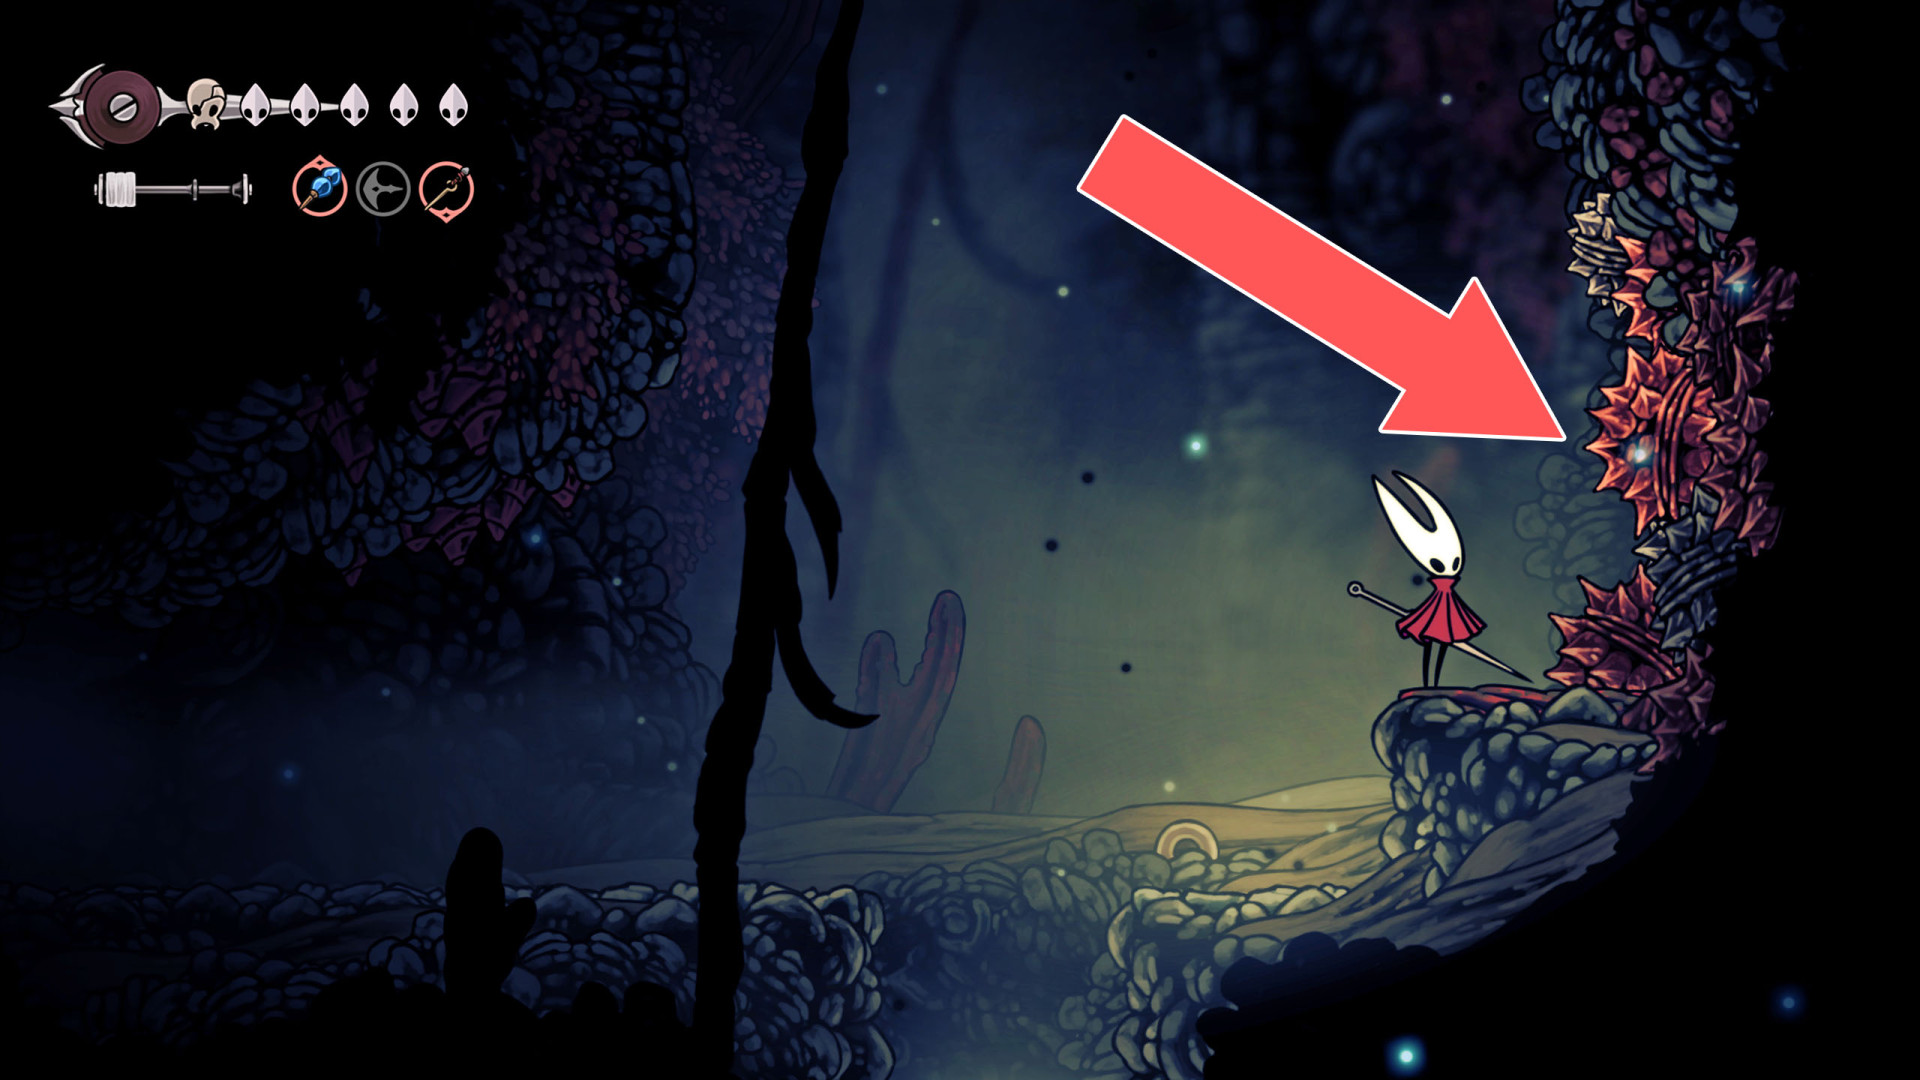
122Breakable Wall
You can break down this wall by hitting it from the east side.
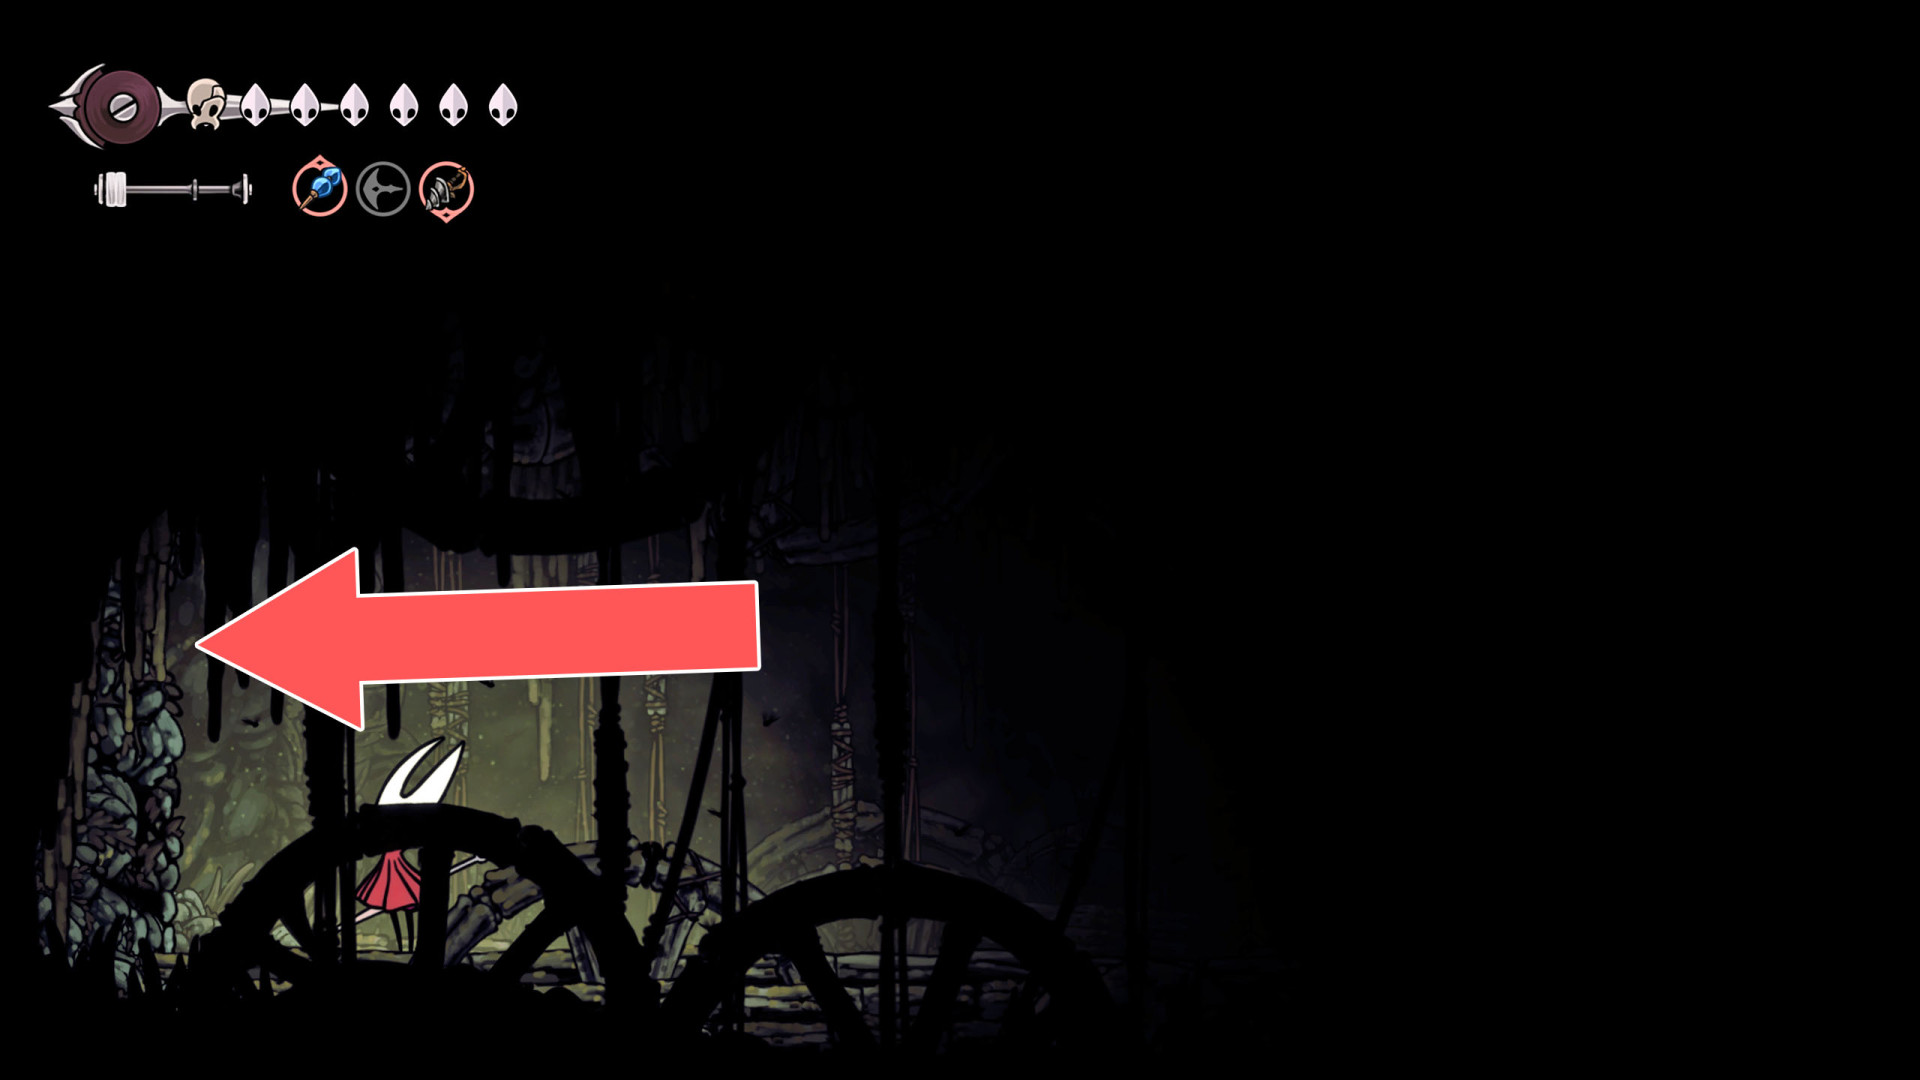
123Breakable Wall
You can destroy this roadblock and open a passage by hitting it from the east side.
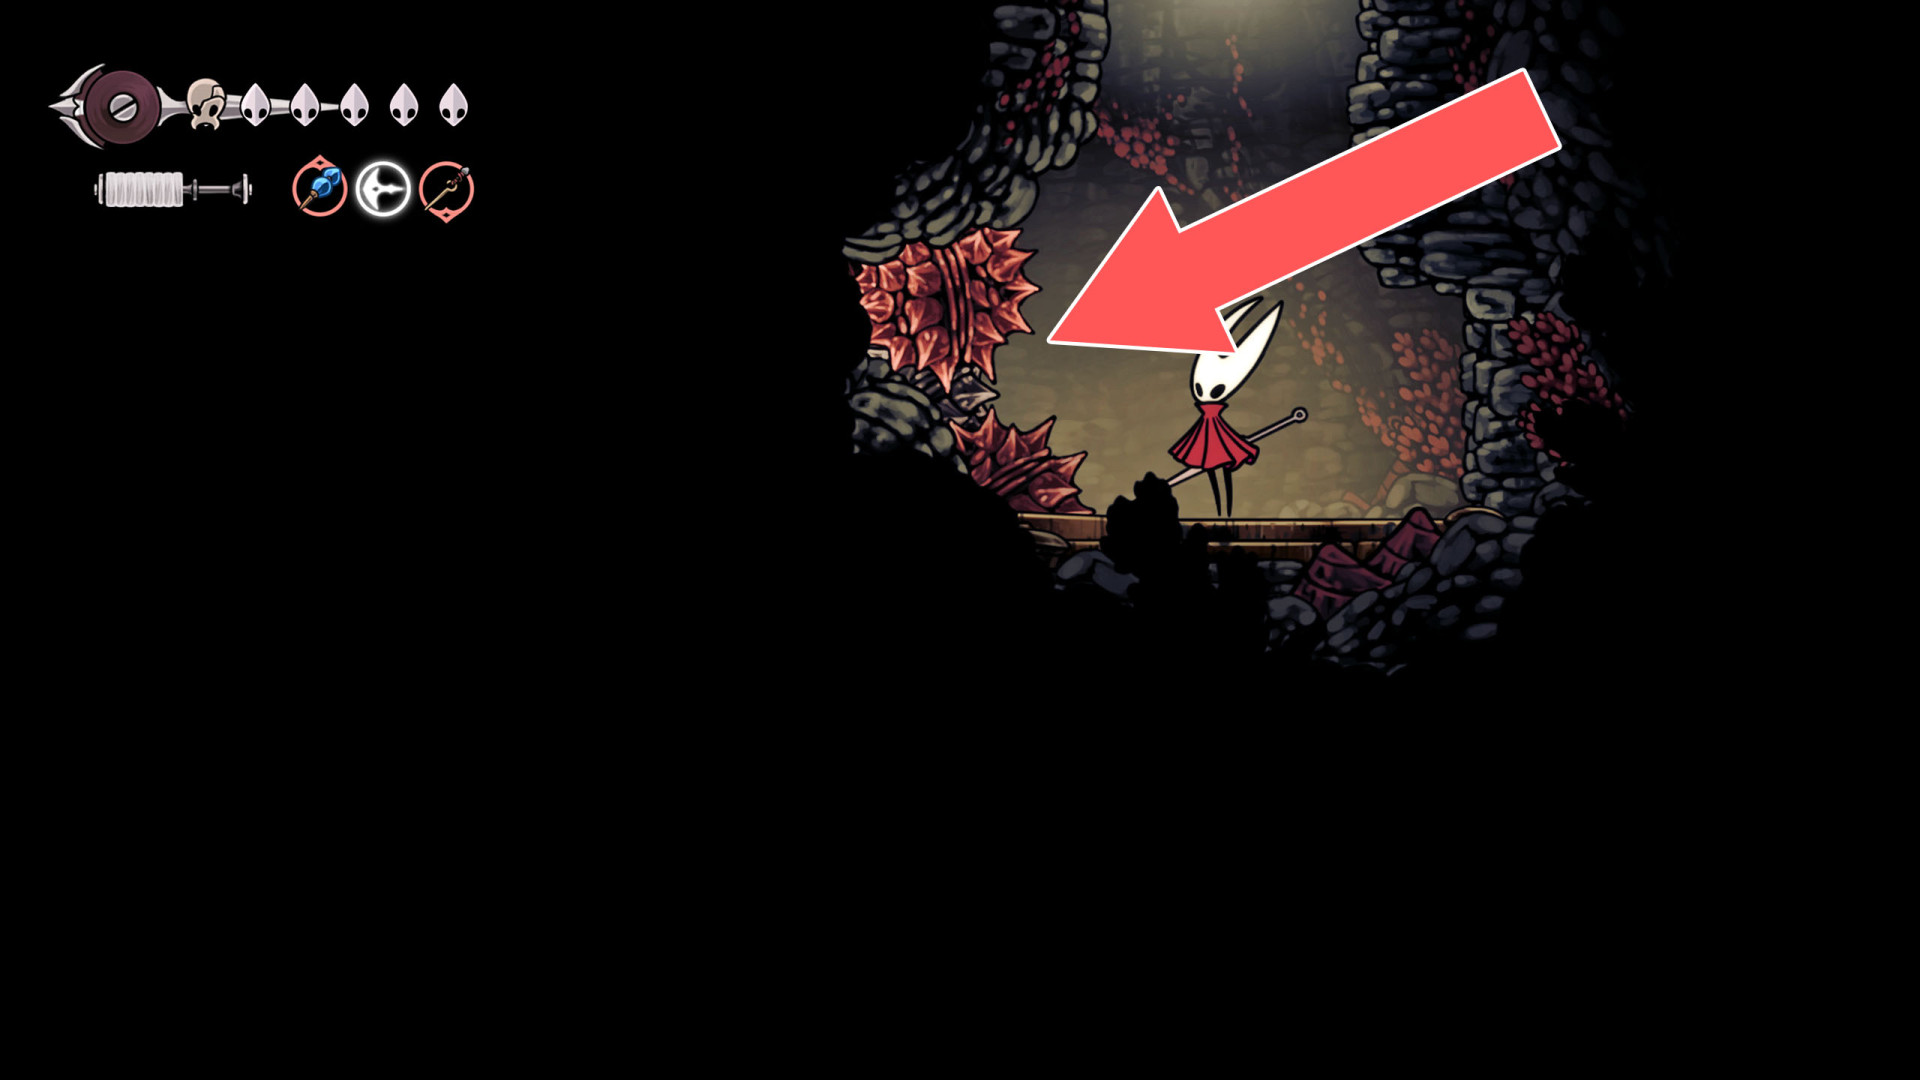
124Breakable Wall
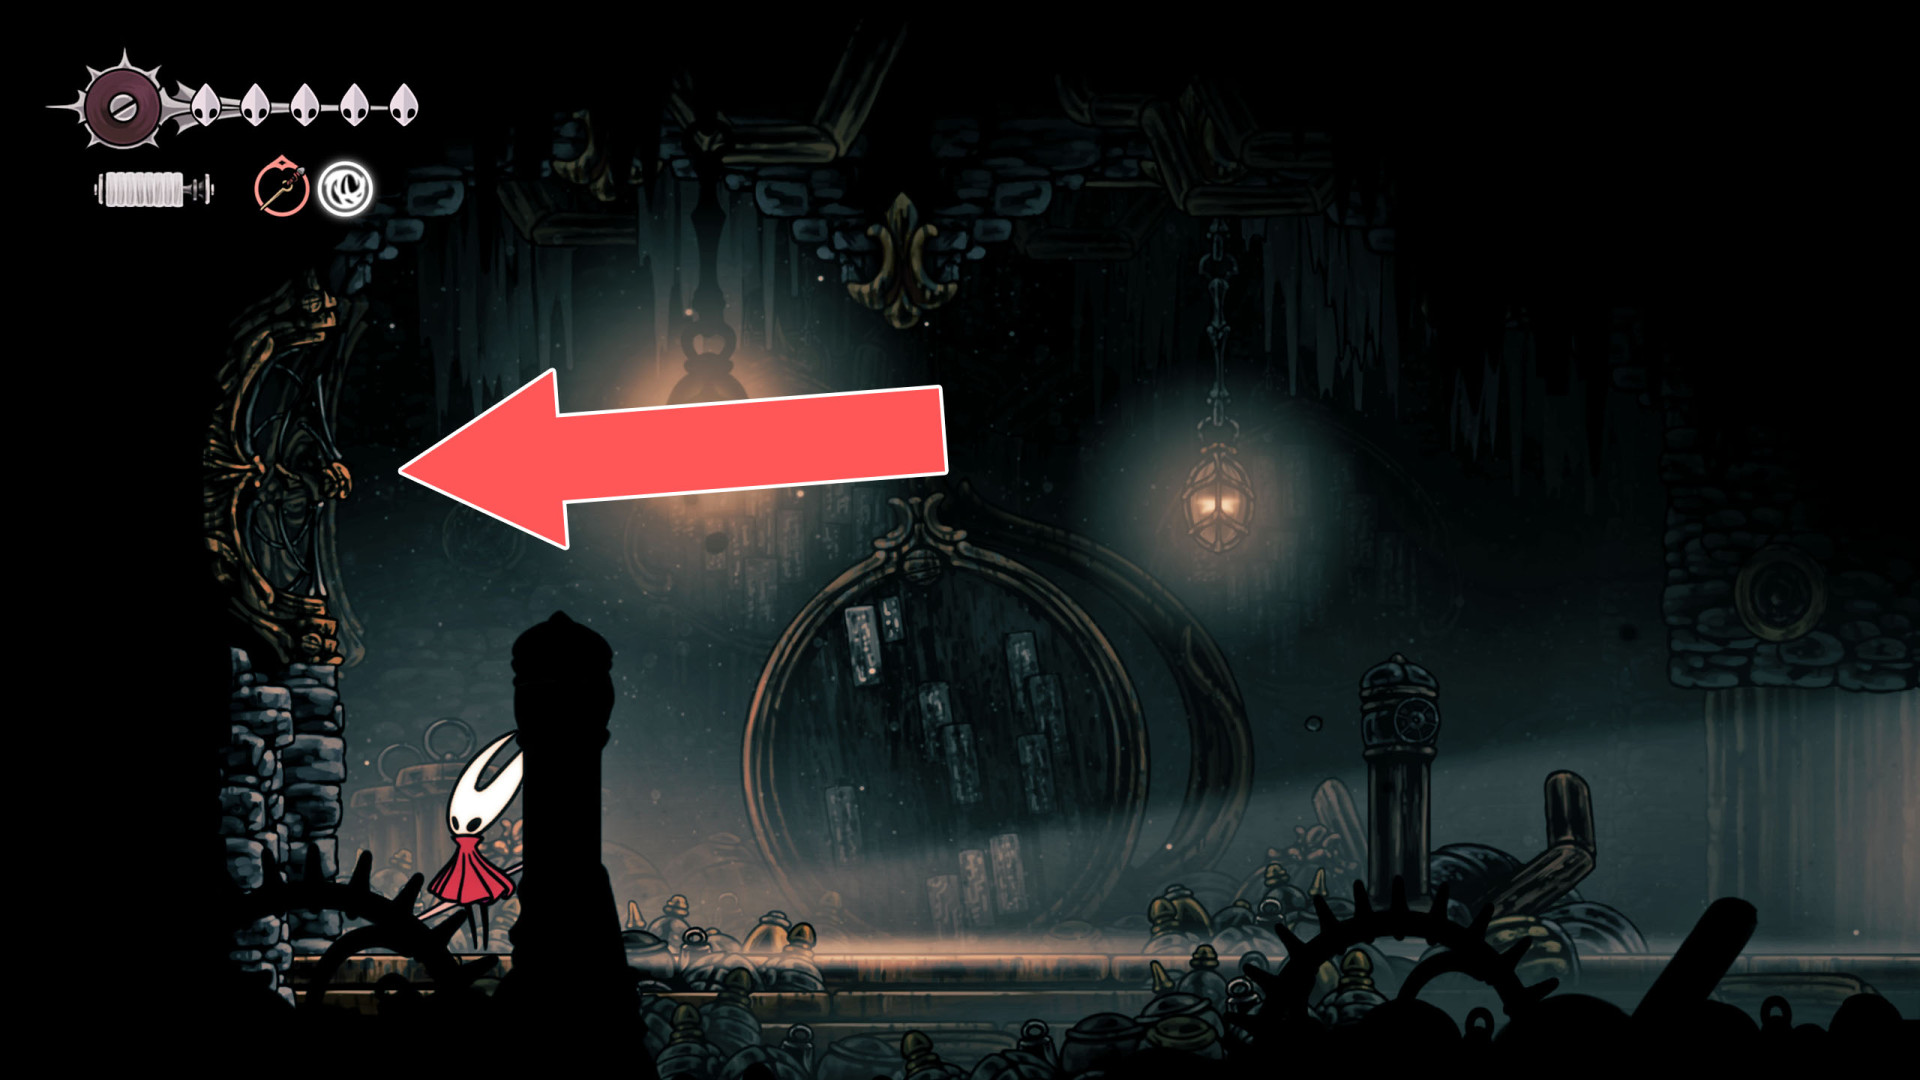
To create a passage, strike from the east side.
125Breakable Wall
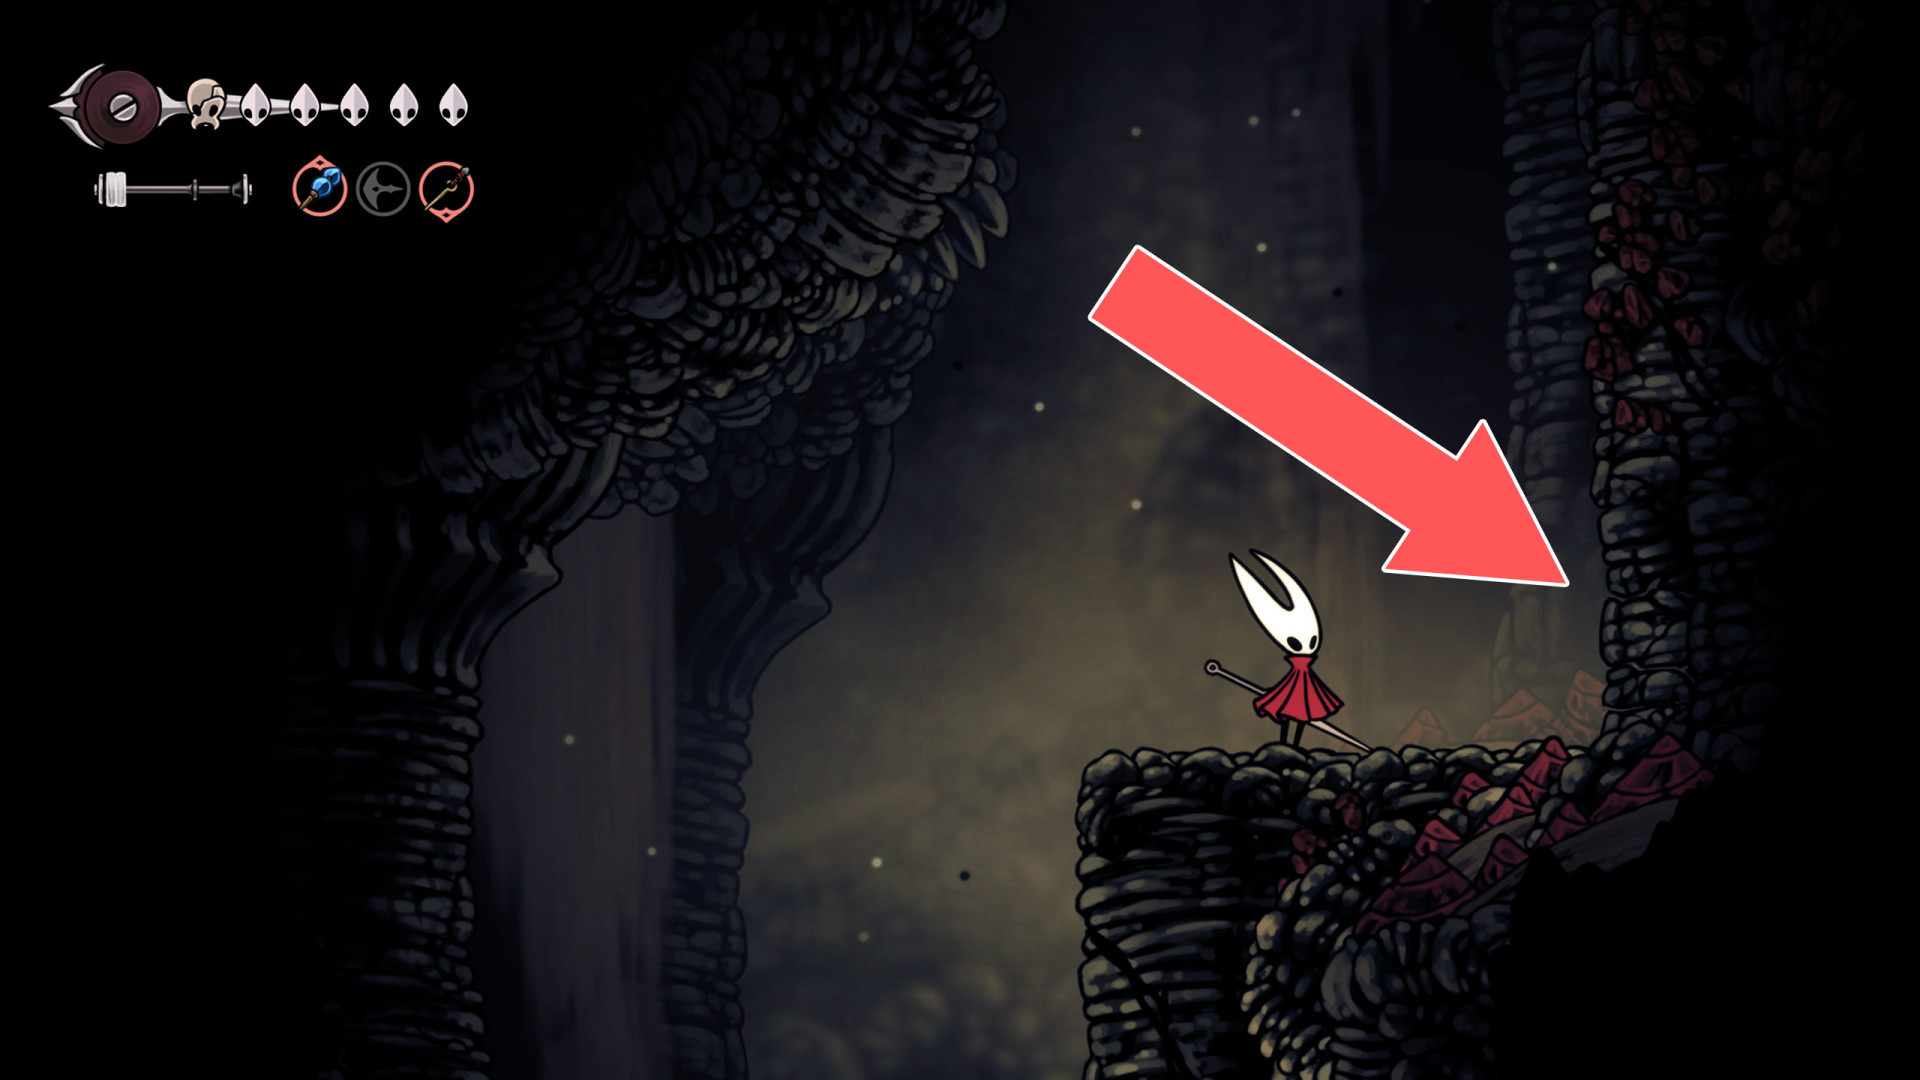
You can break down this wall by hitting it from the west side.
126Breakable Wall
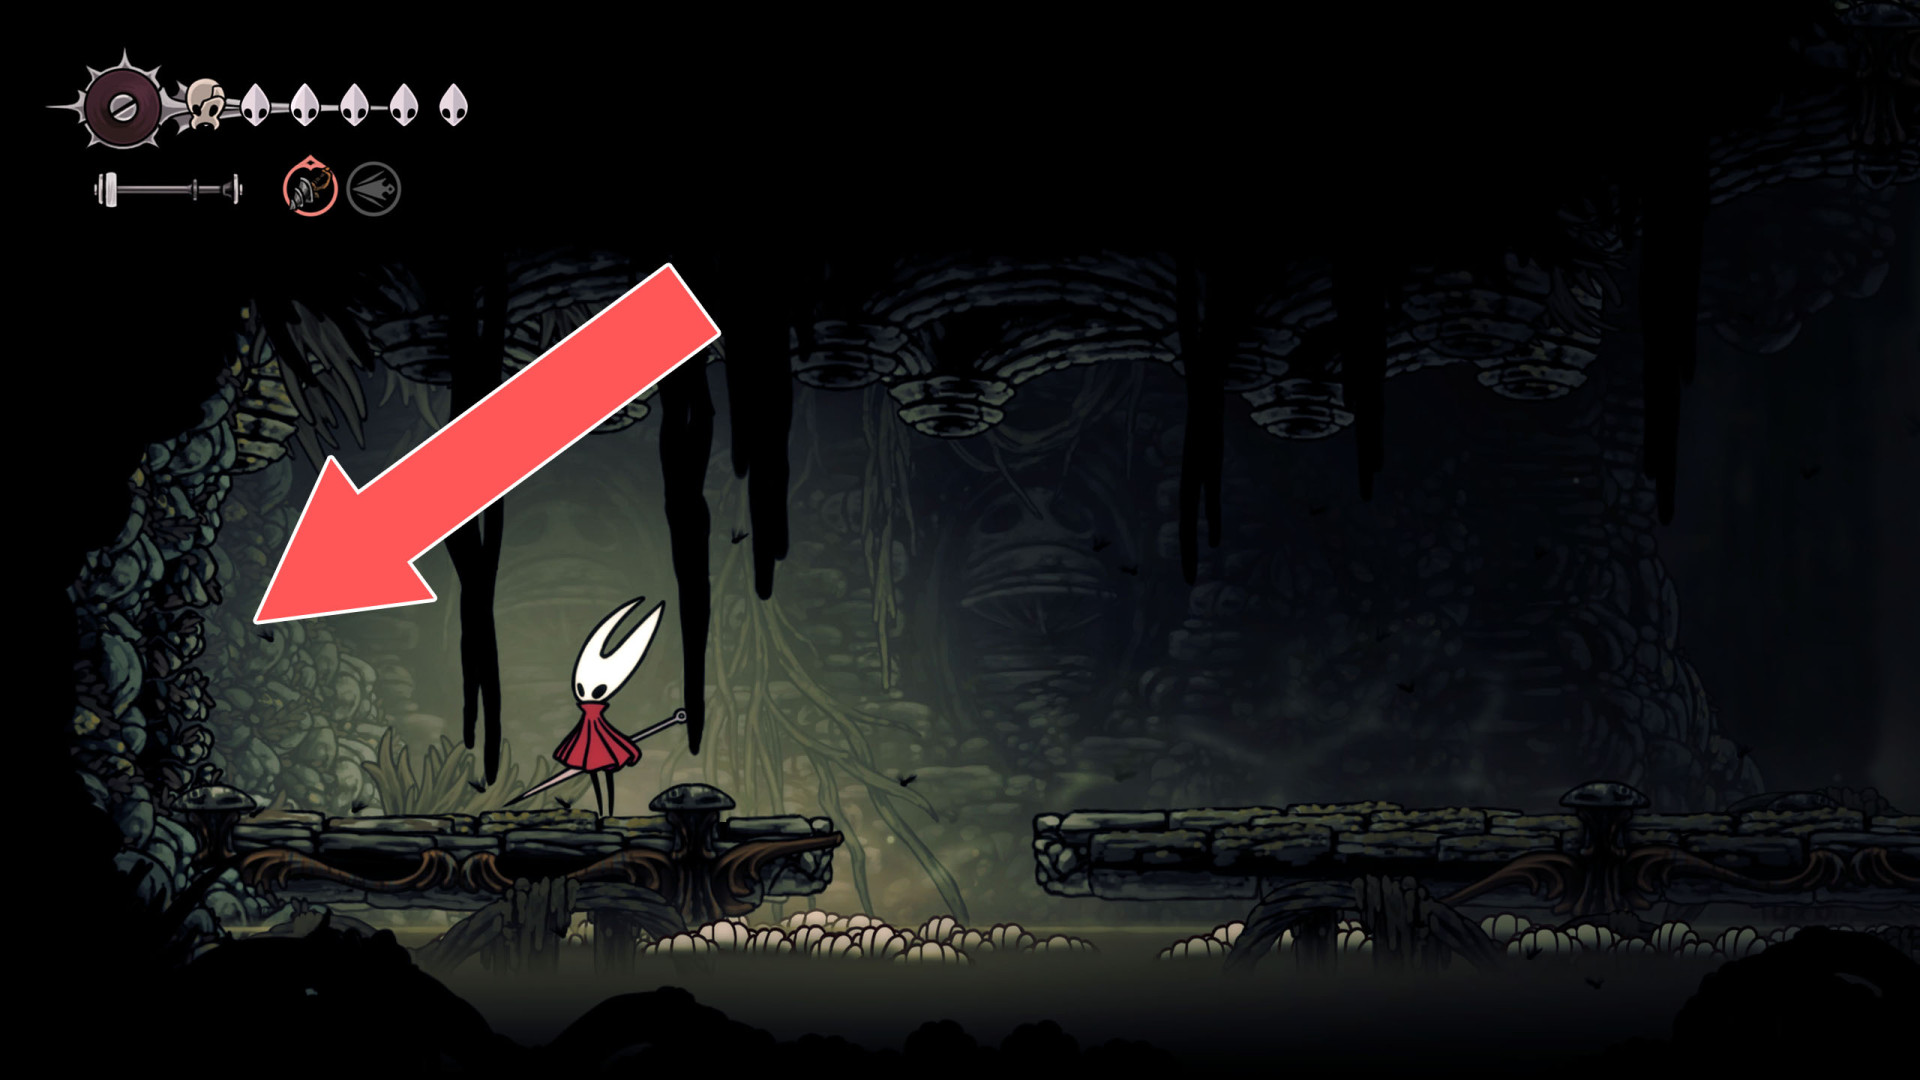
You can destroy this wall by approaching it from the east side.
127Breakable Wall
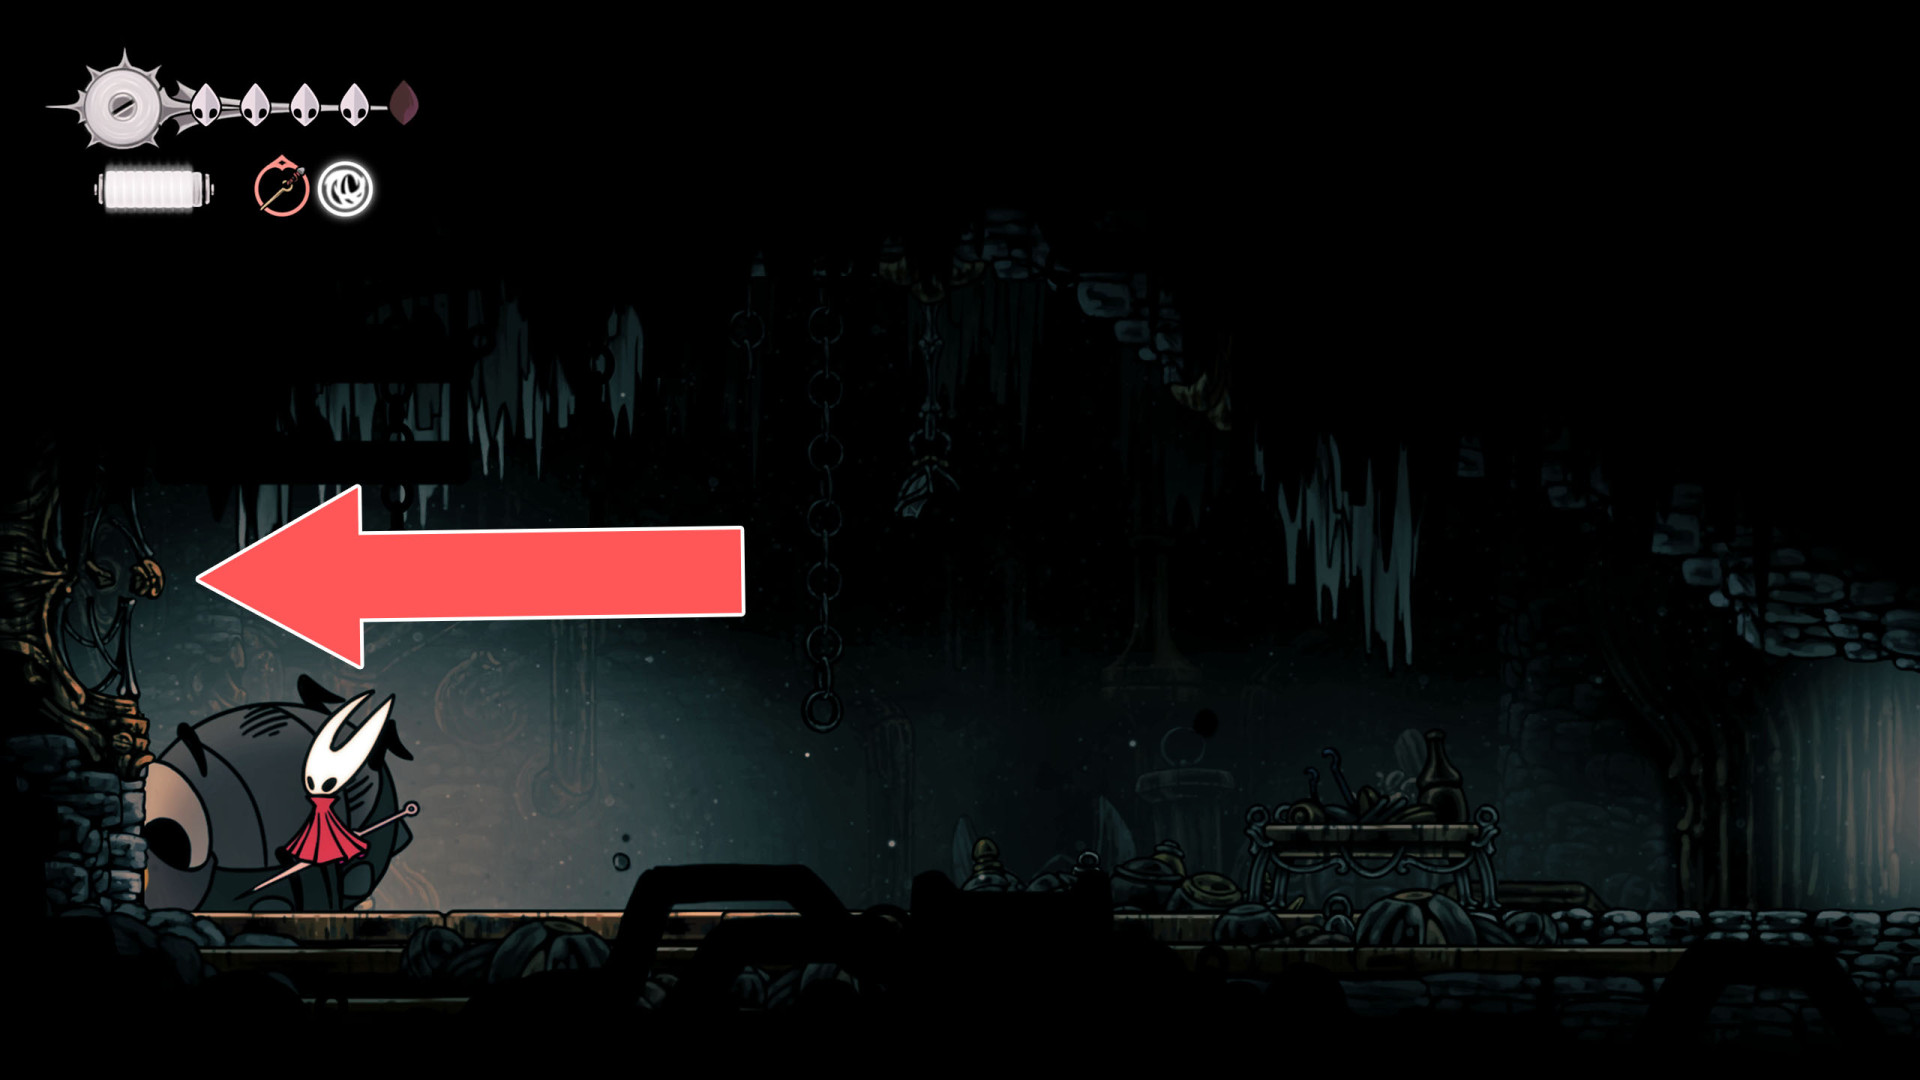
You can destroy this roadblock and open a passage by hitting it from the east side.
128Breakable Wall
To create a passage, strike from the east side.
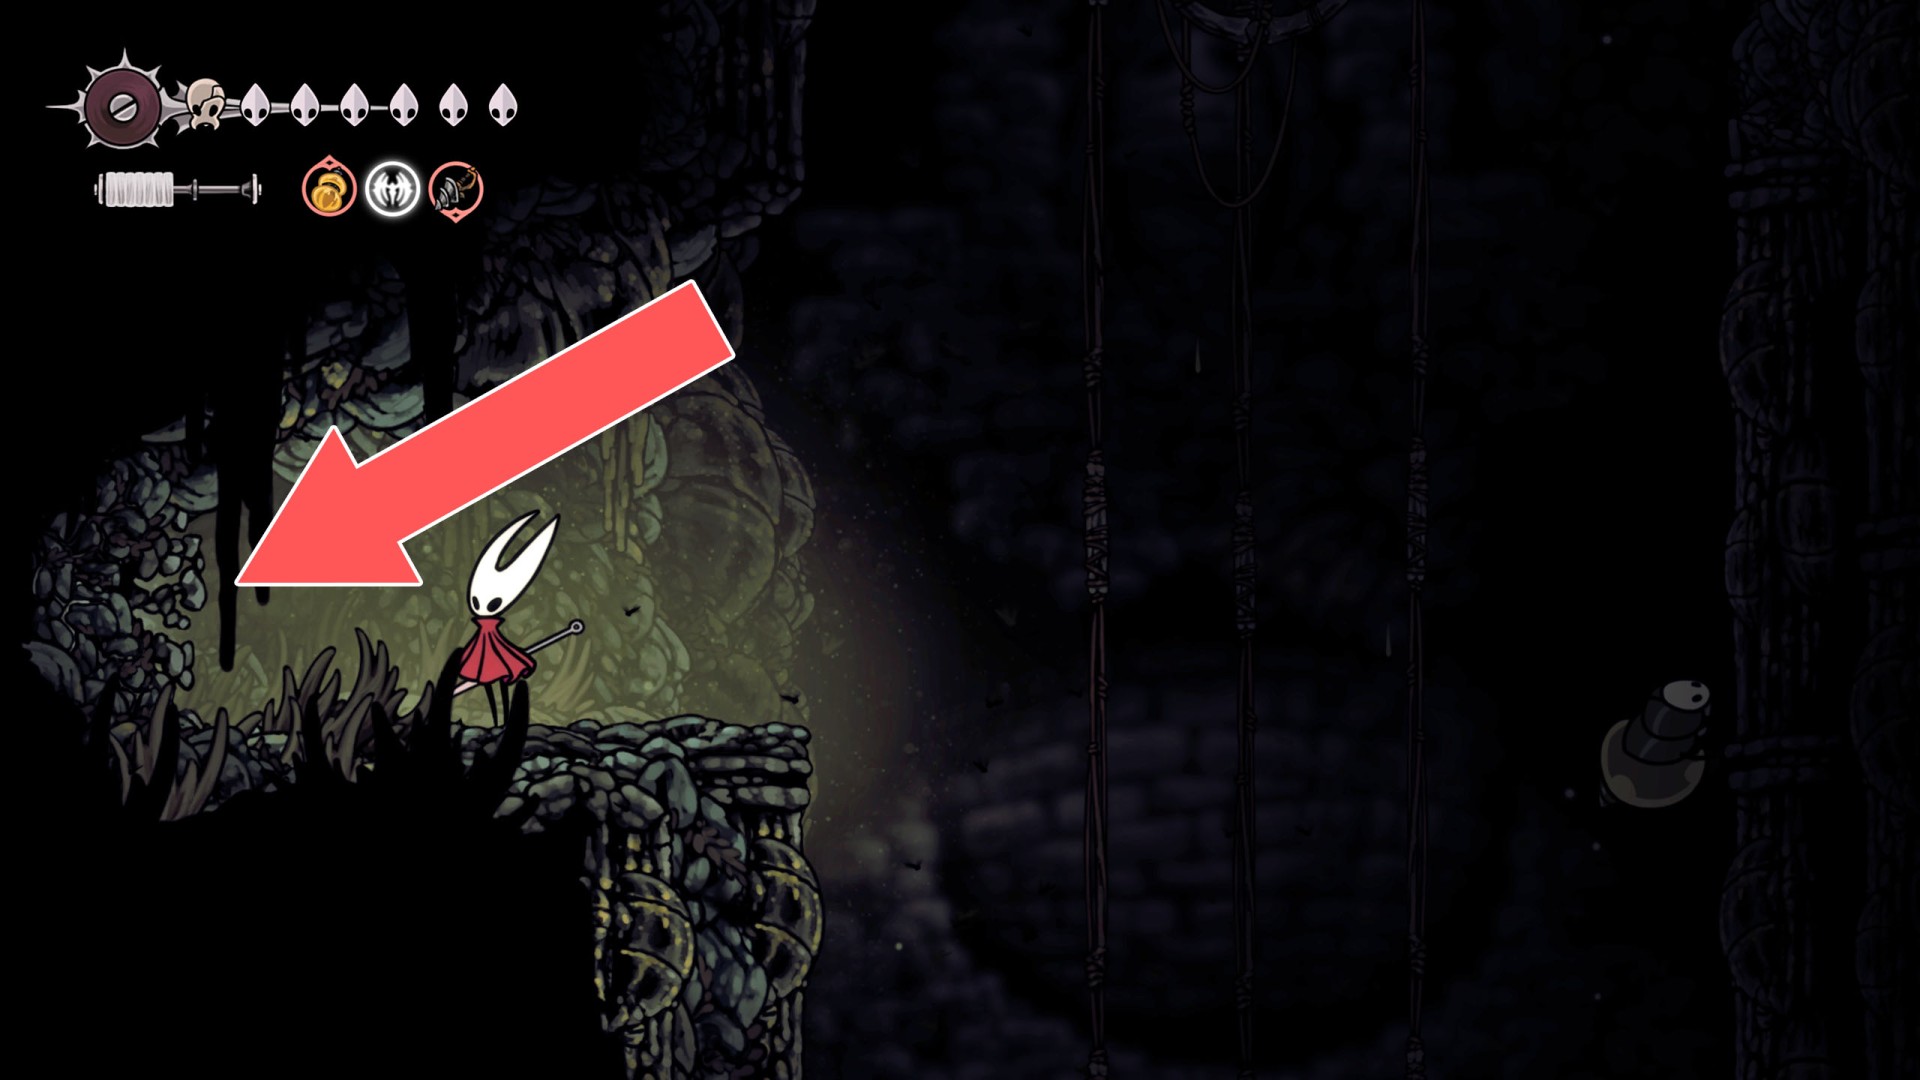
129Breakable Wall
You can destroy this roadblock by attacking it from the east side.
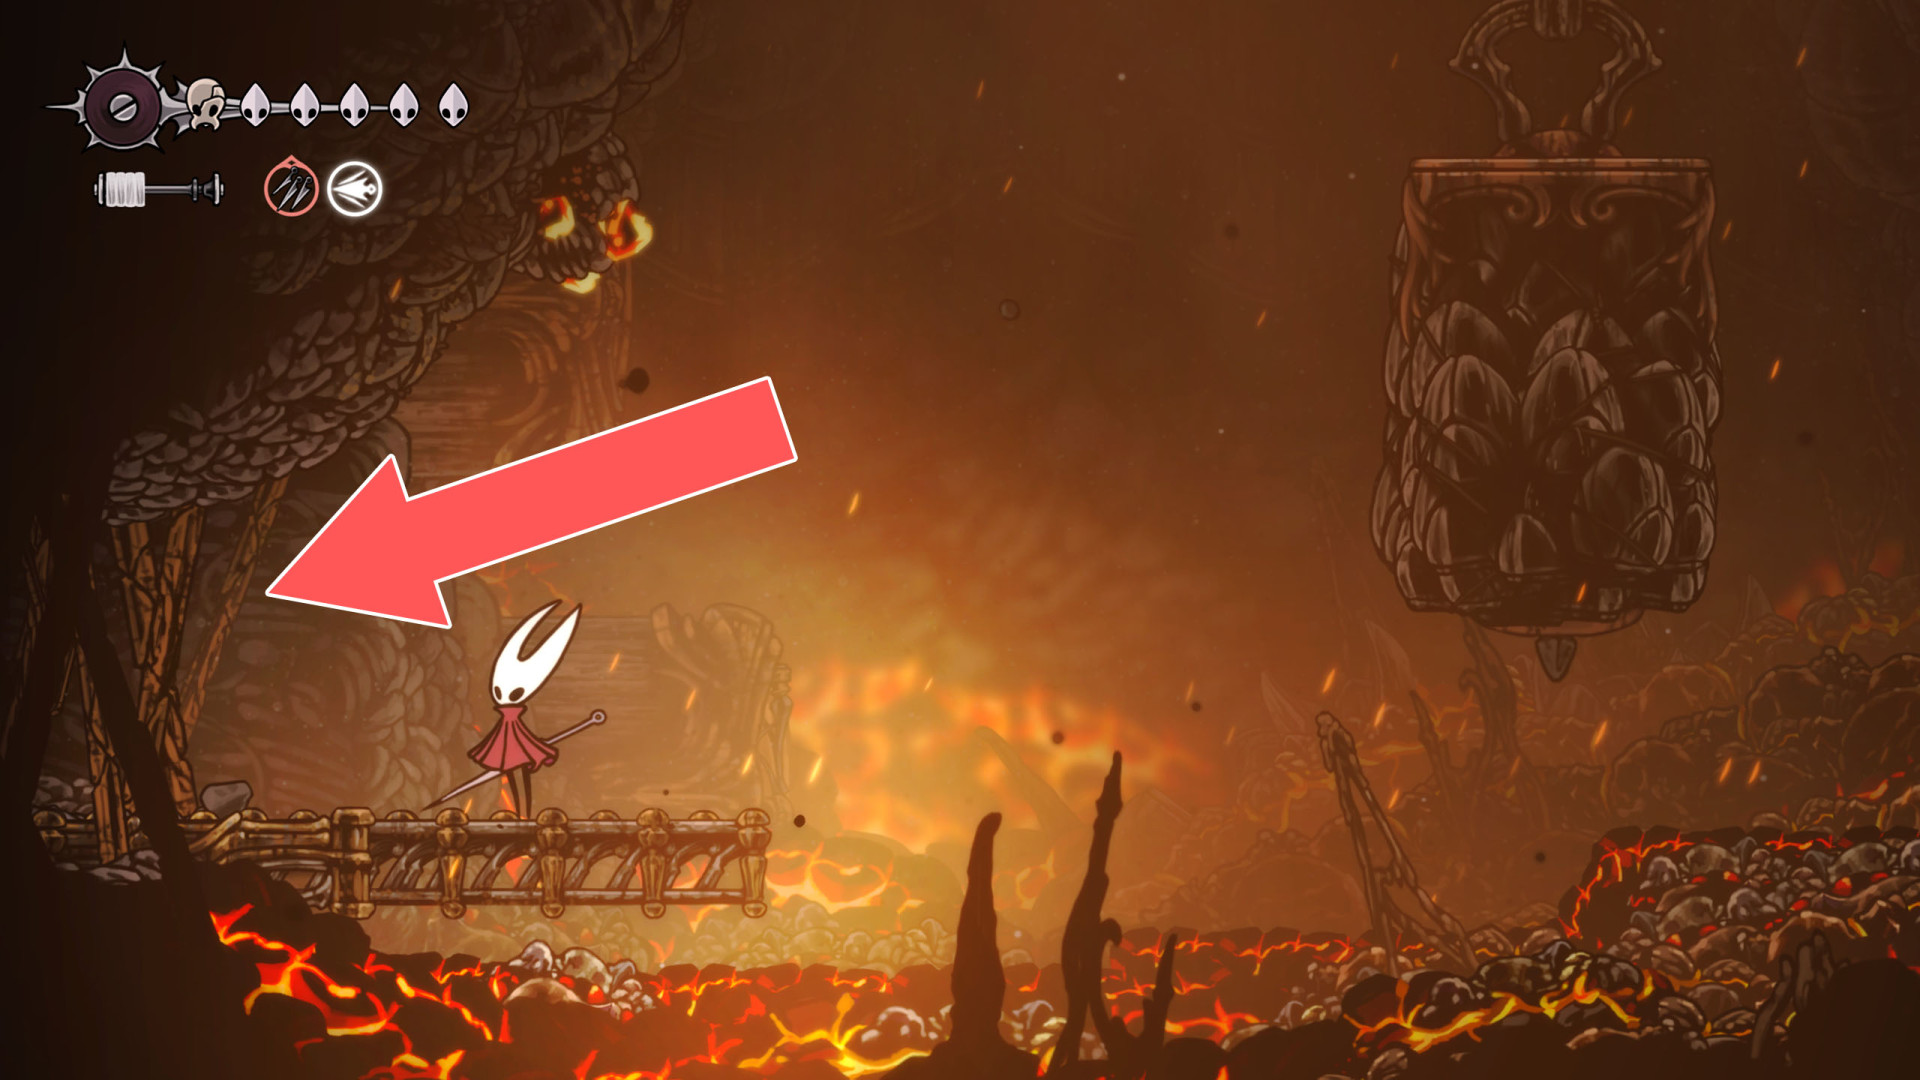
130Breakable Wall
This is the way you will go down after collecting the Simple Key (Sinner's Road).
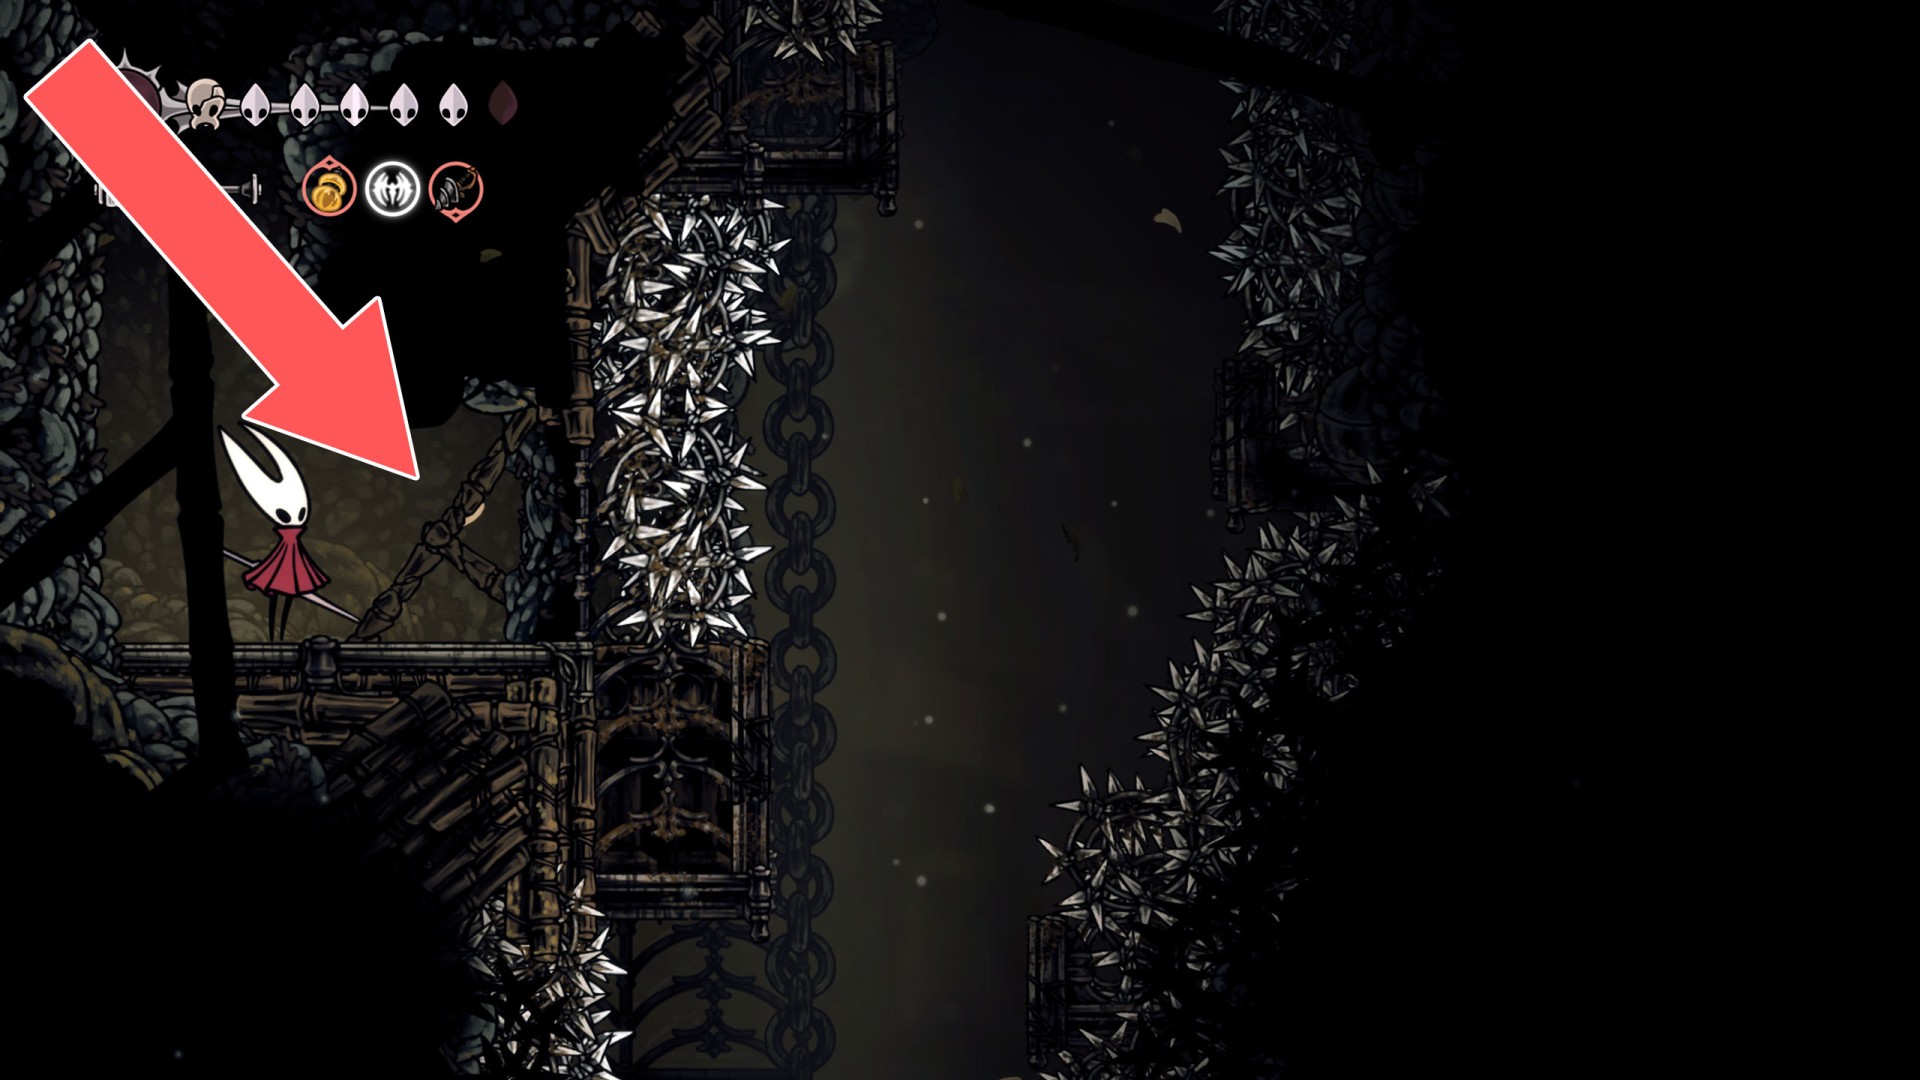
131Breakable Wall
You can break down this wall by hitting it from the east side.
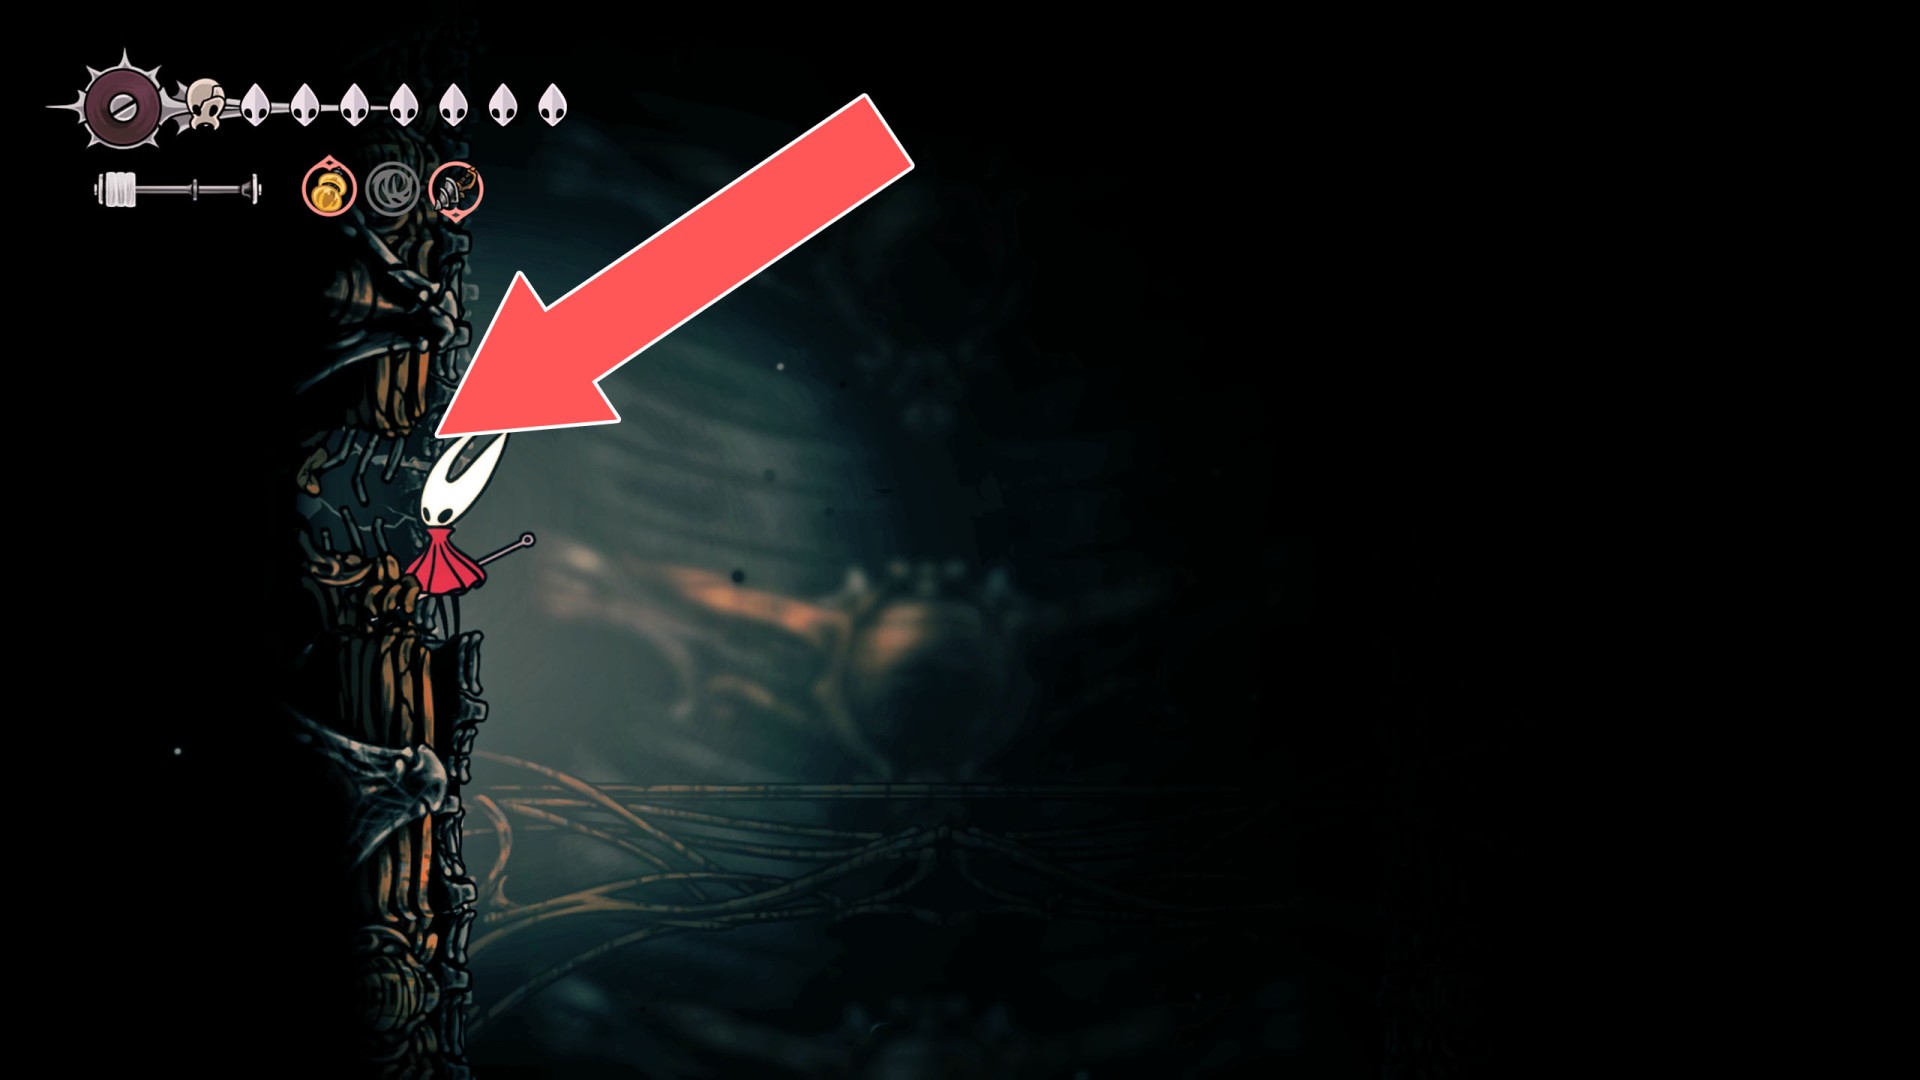
132Breakable Wall
To create a passage, strike from the west side.
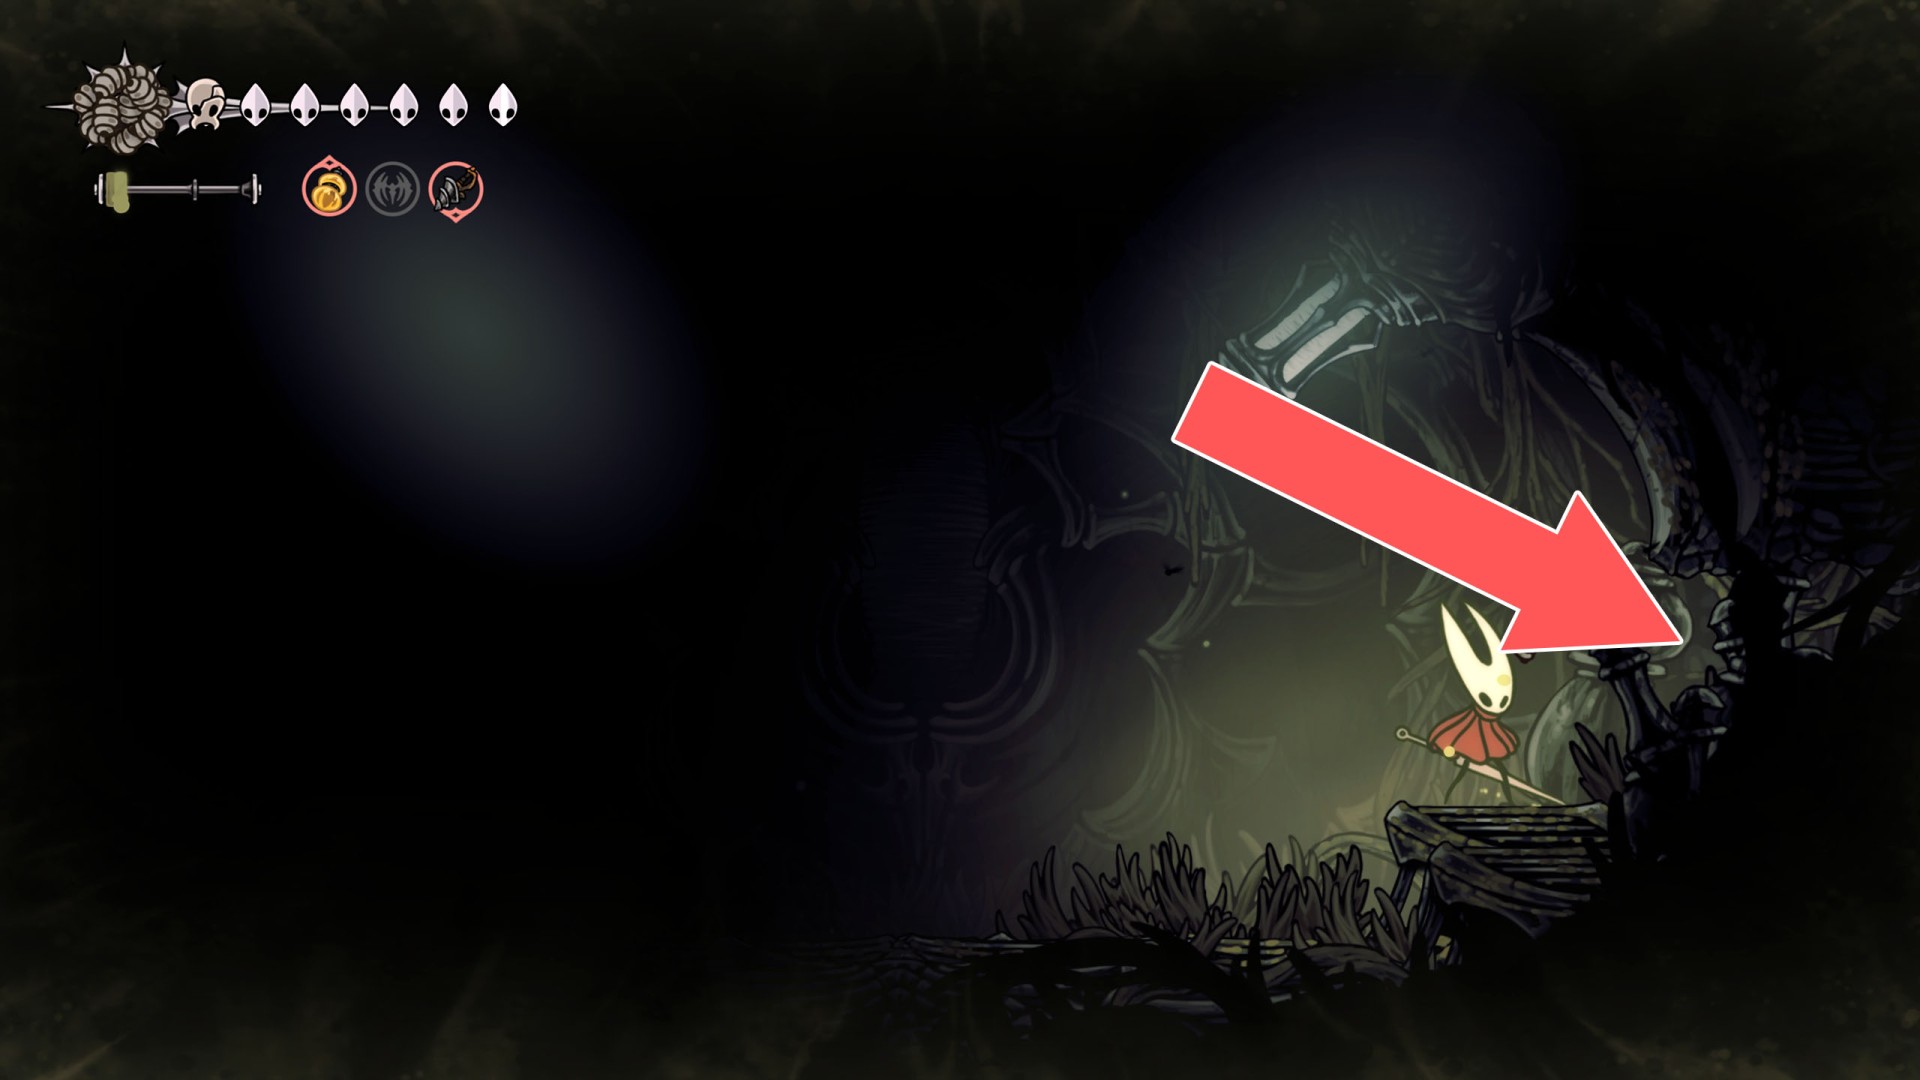
133Breakable Wall
To create a passage, strike from the east side.
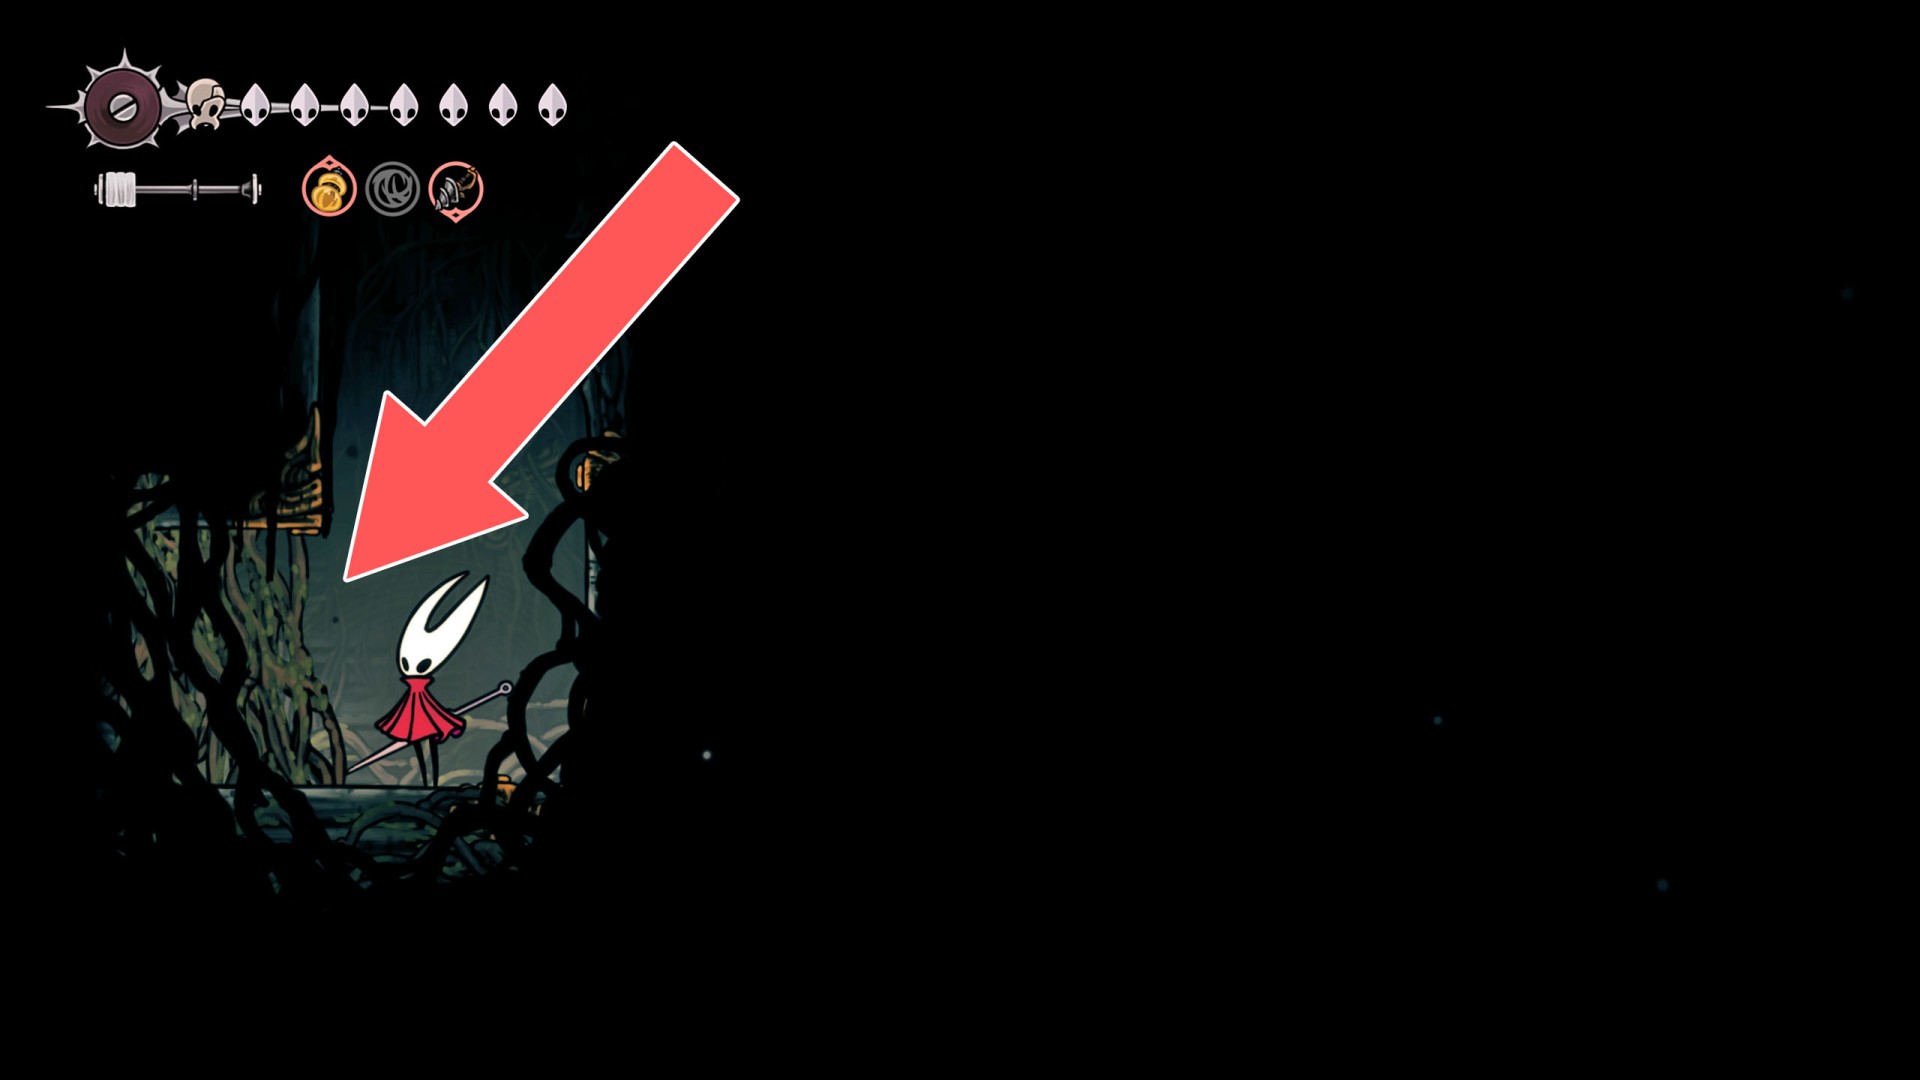
134Breakable Wall
To create a passage, strike from the east side.
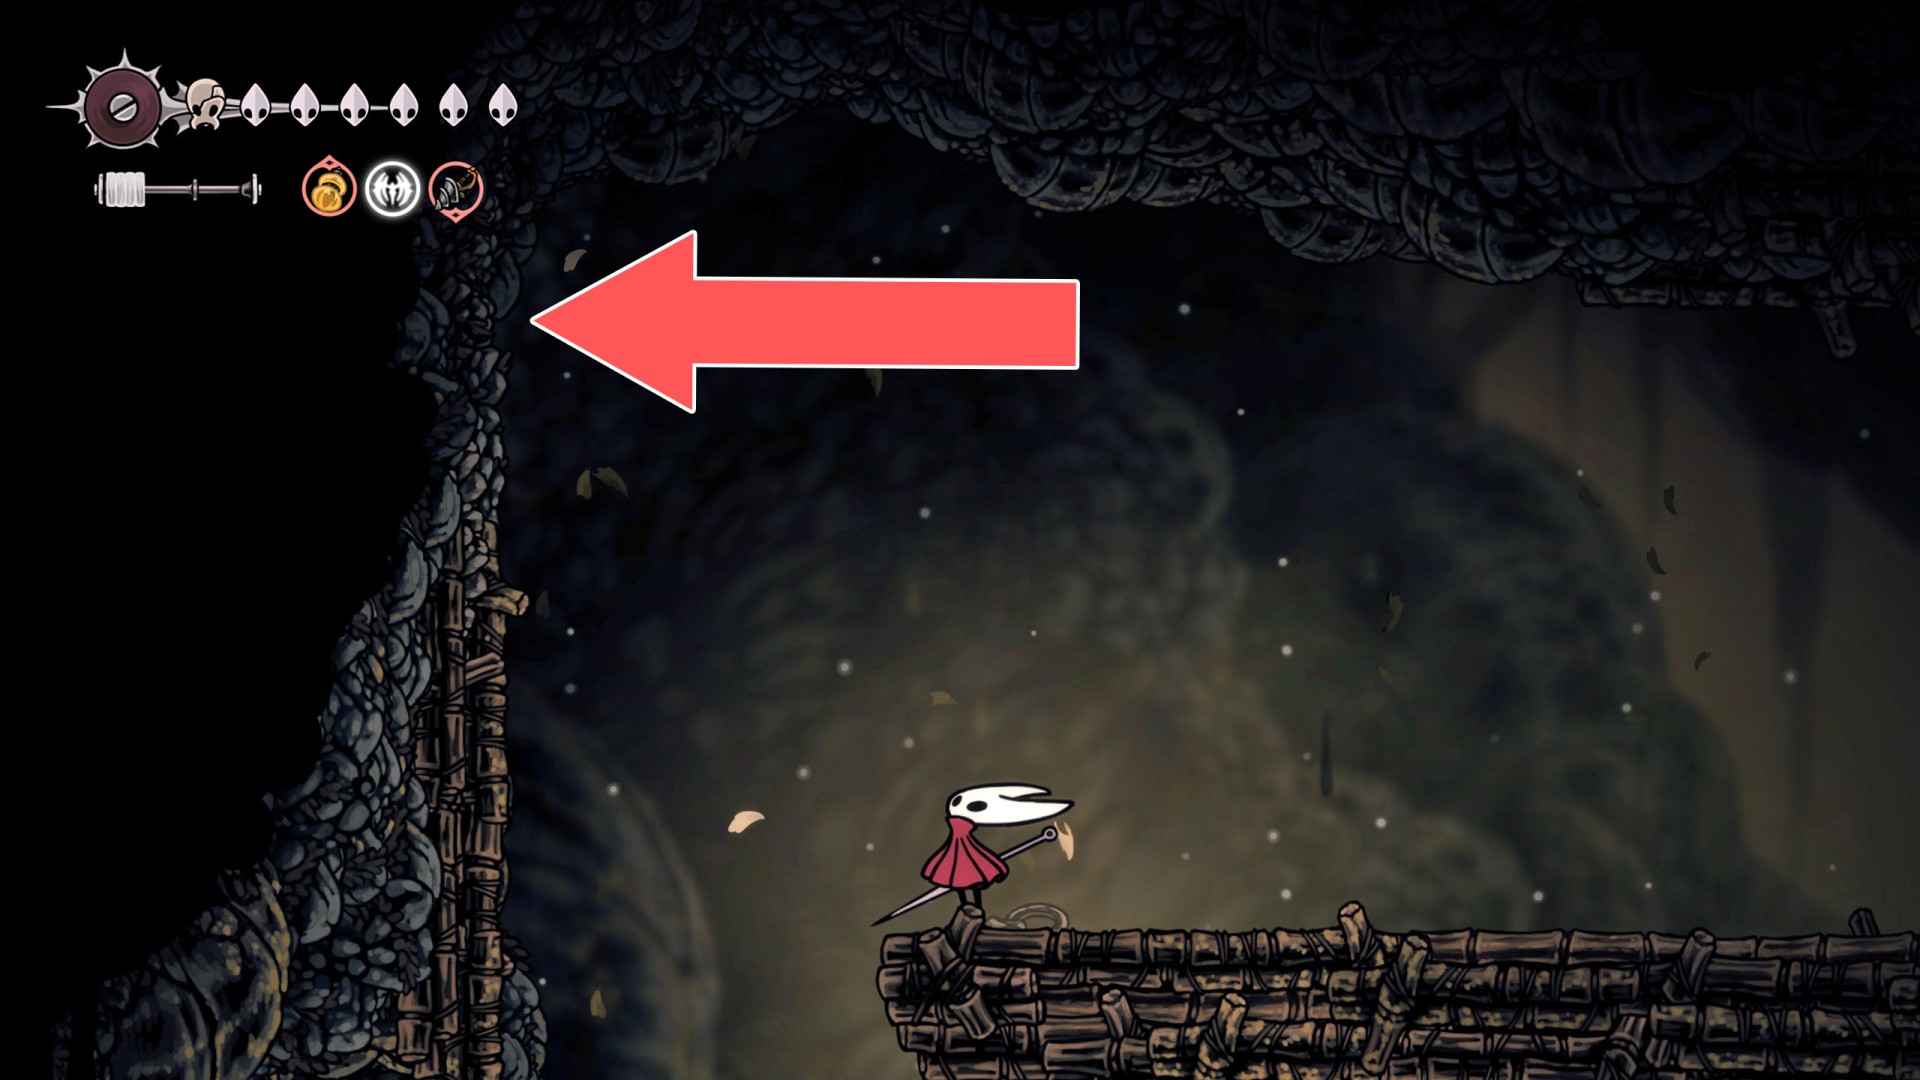
135Breakable Wall
You can break down this wall by hitting it from the west side.
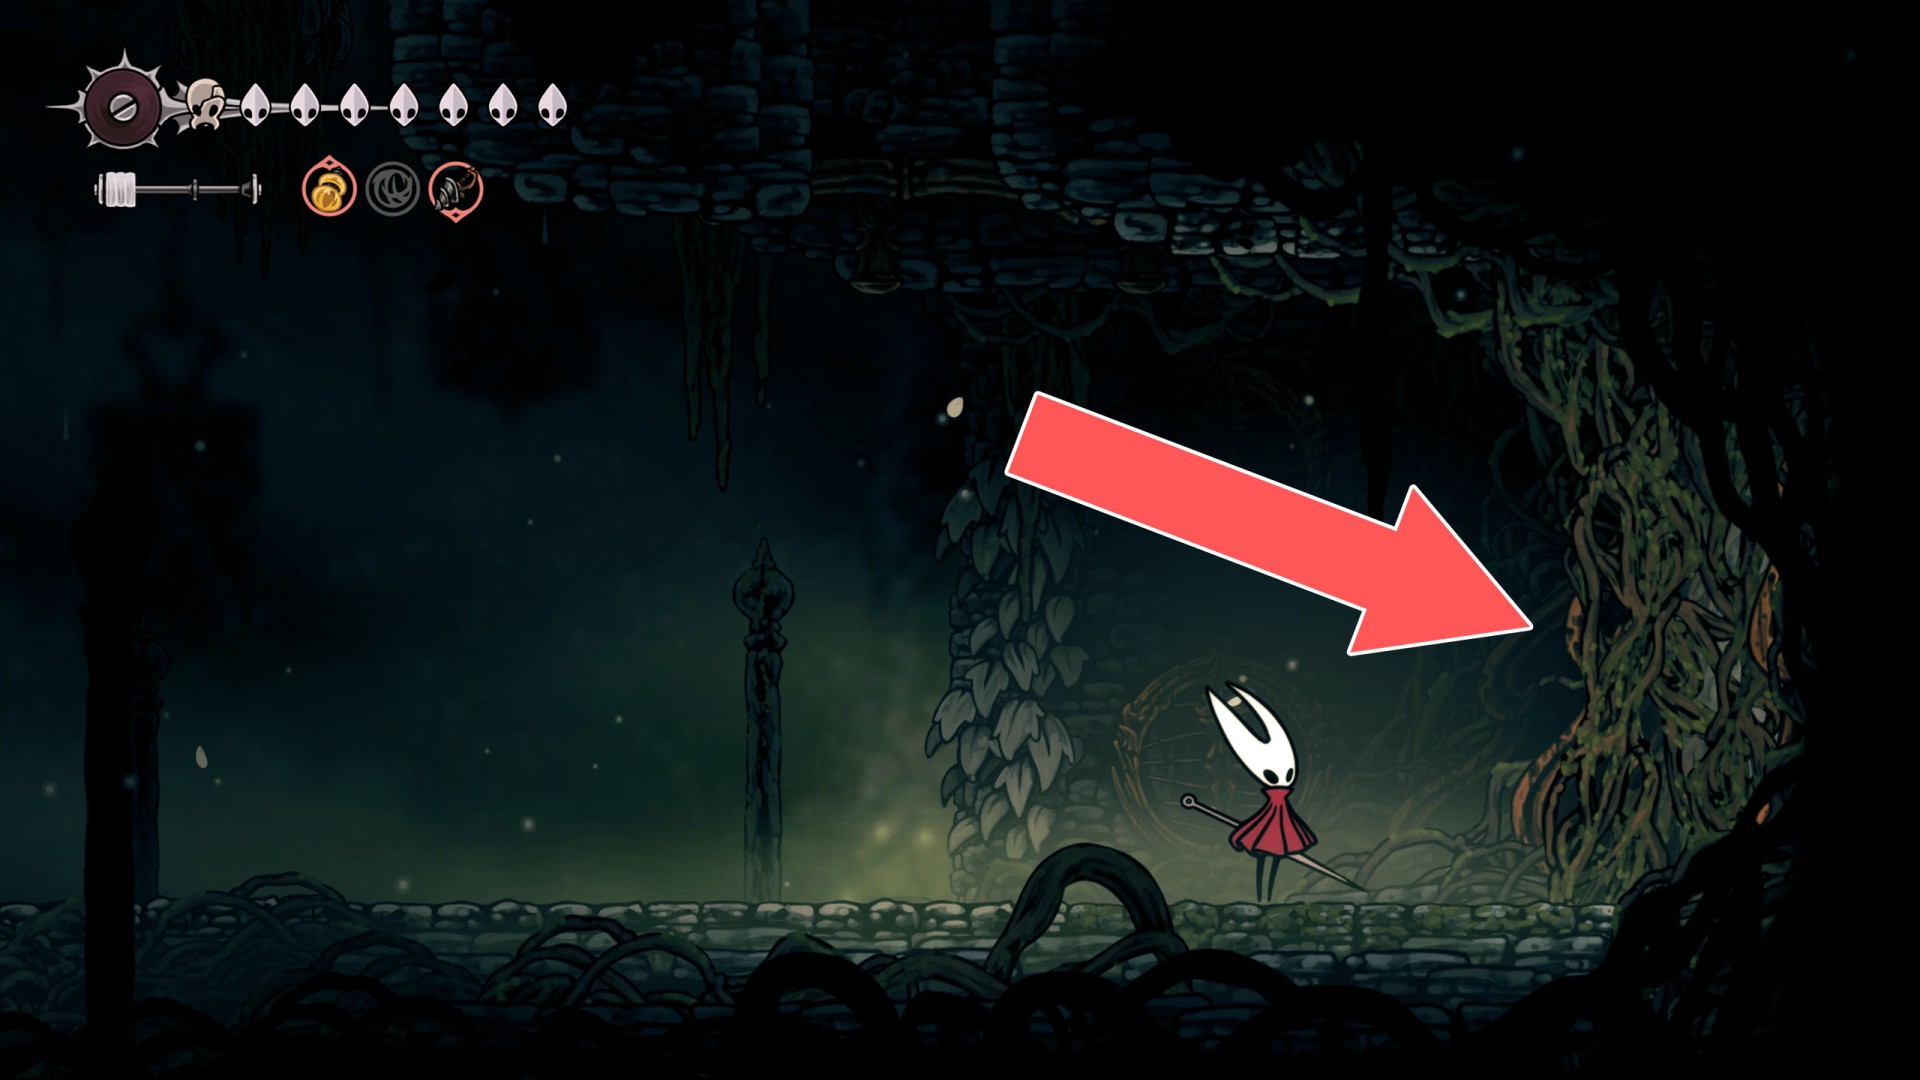
136Breakable Wall
You can break down this wall by hitting it from the east side.
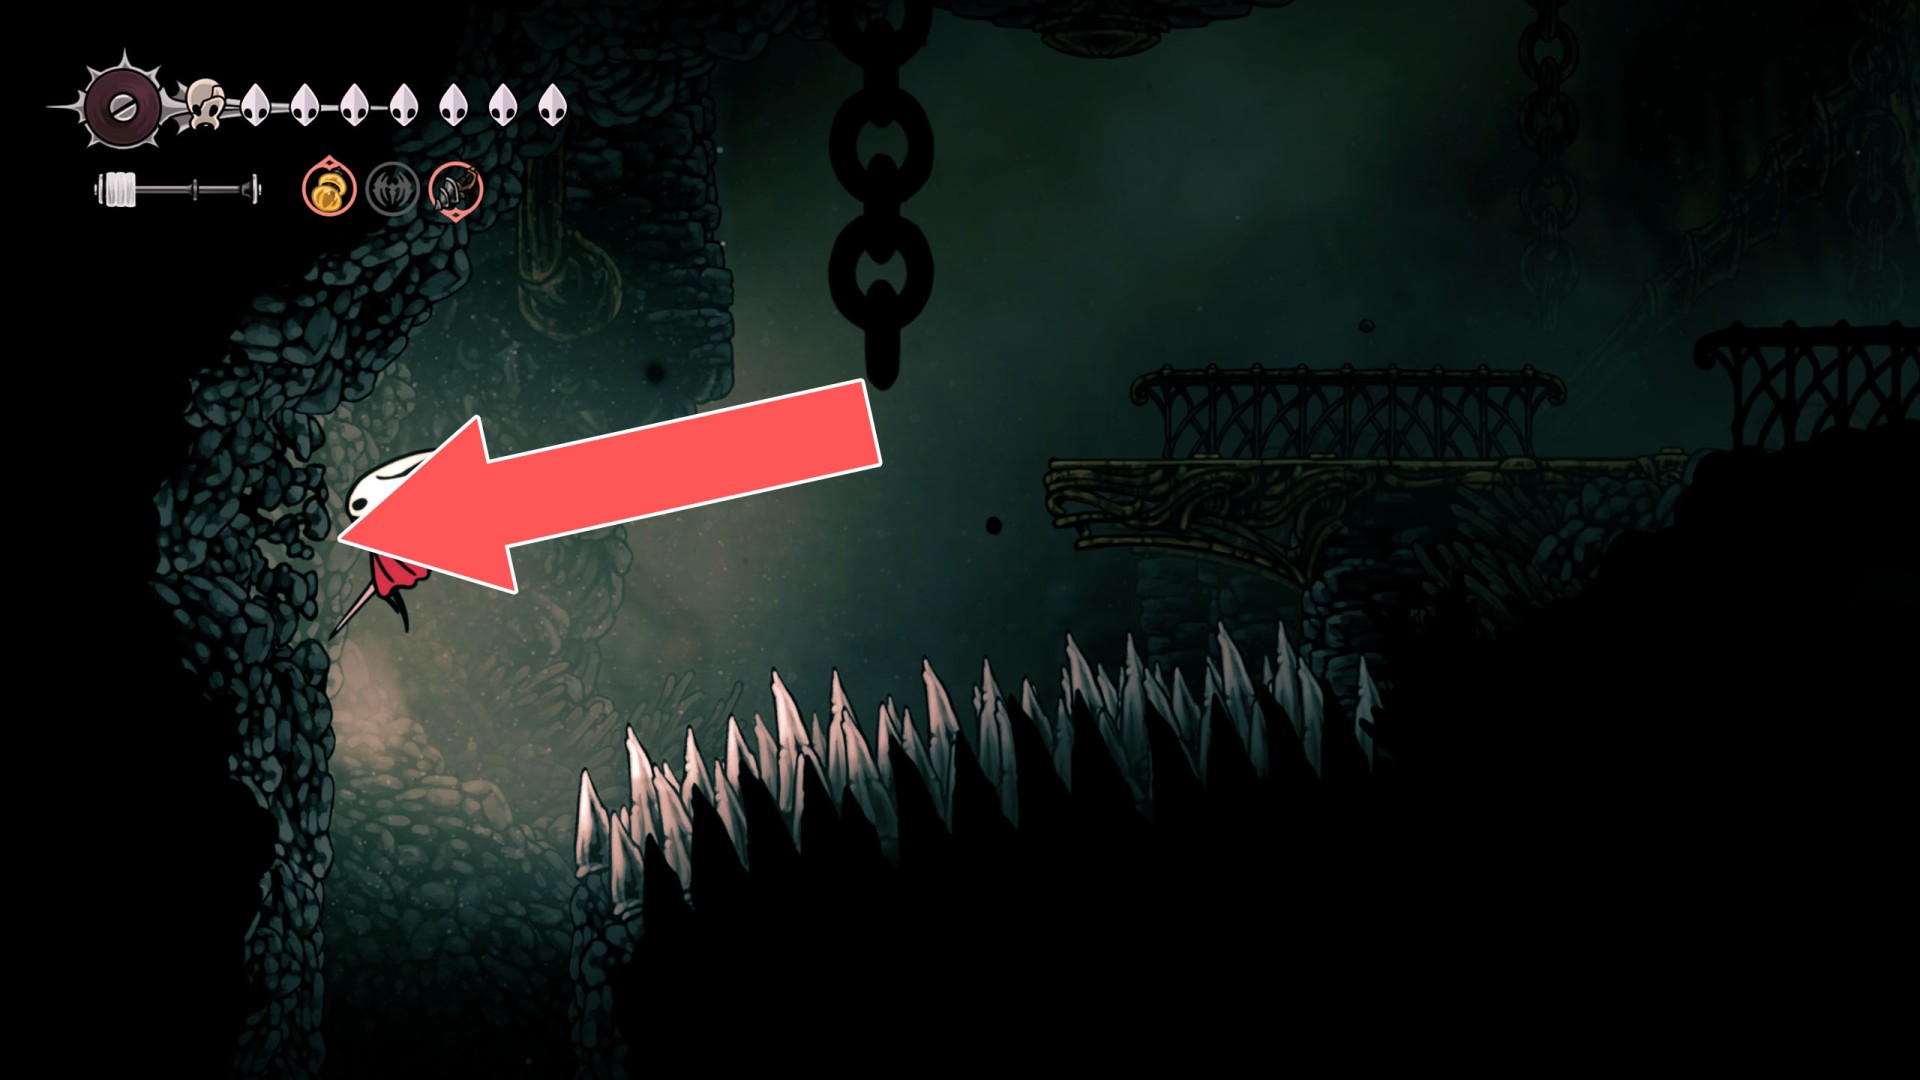
137Breakable Wall
To create a passage, strike from the west side.
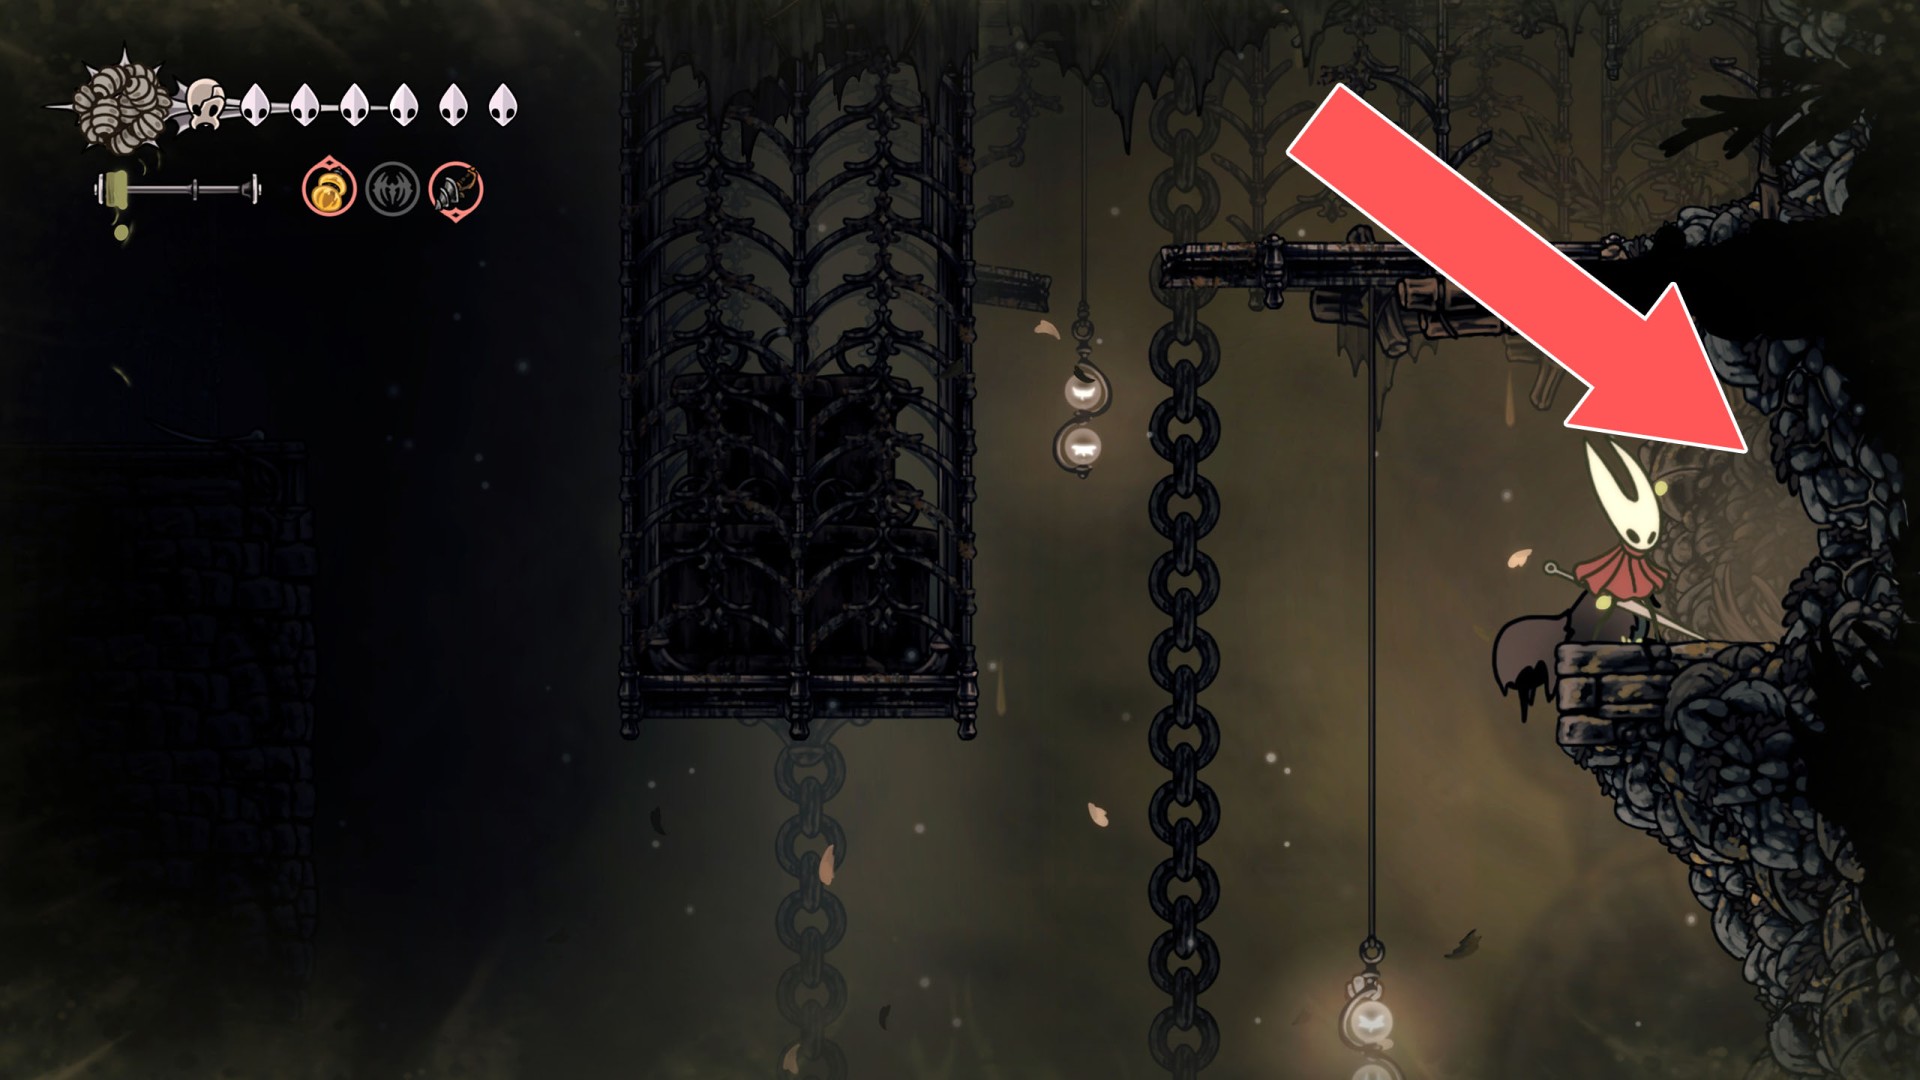
138Breakable Wall
You can break down this wall by hitting it from the east side.
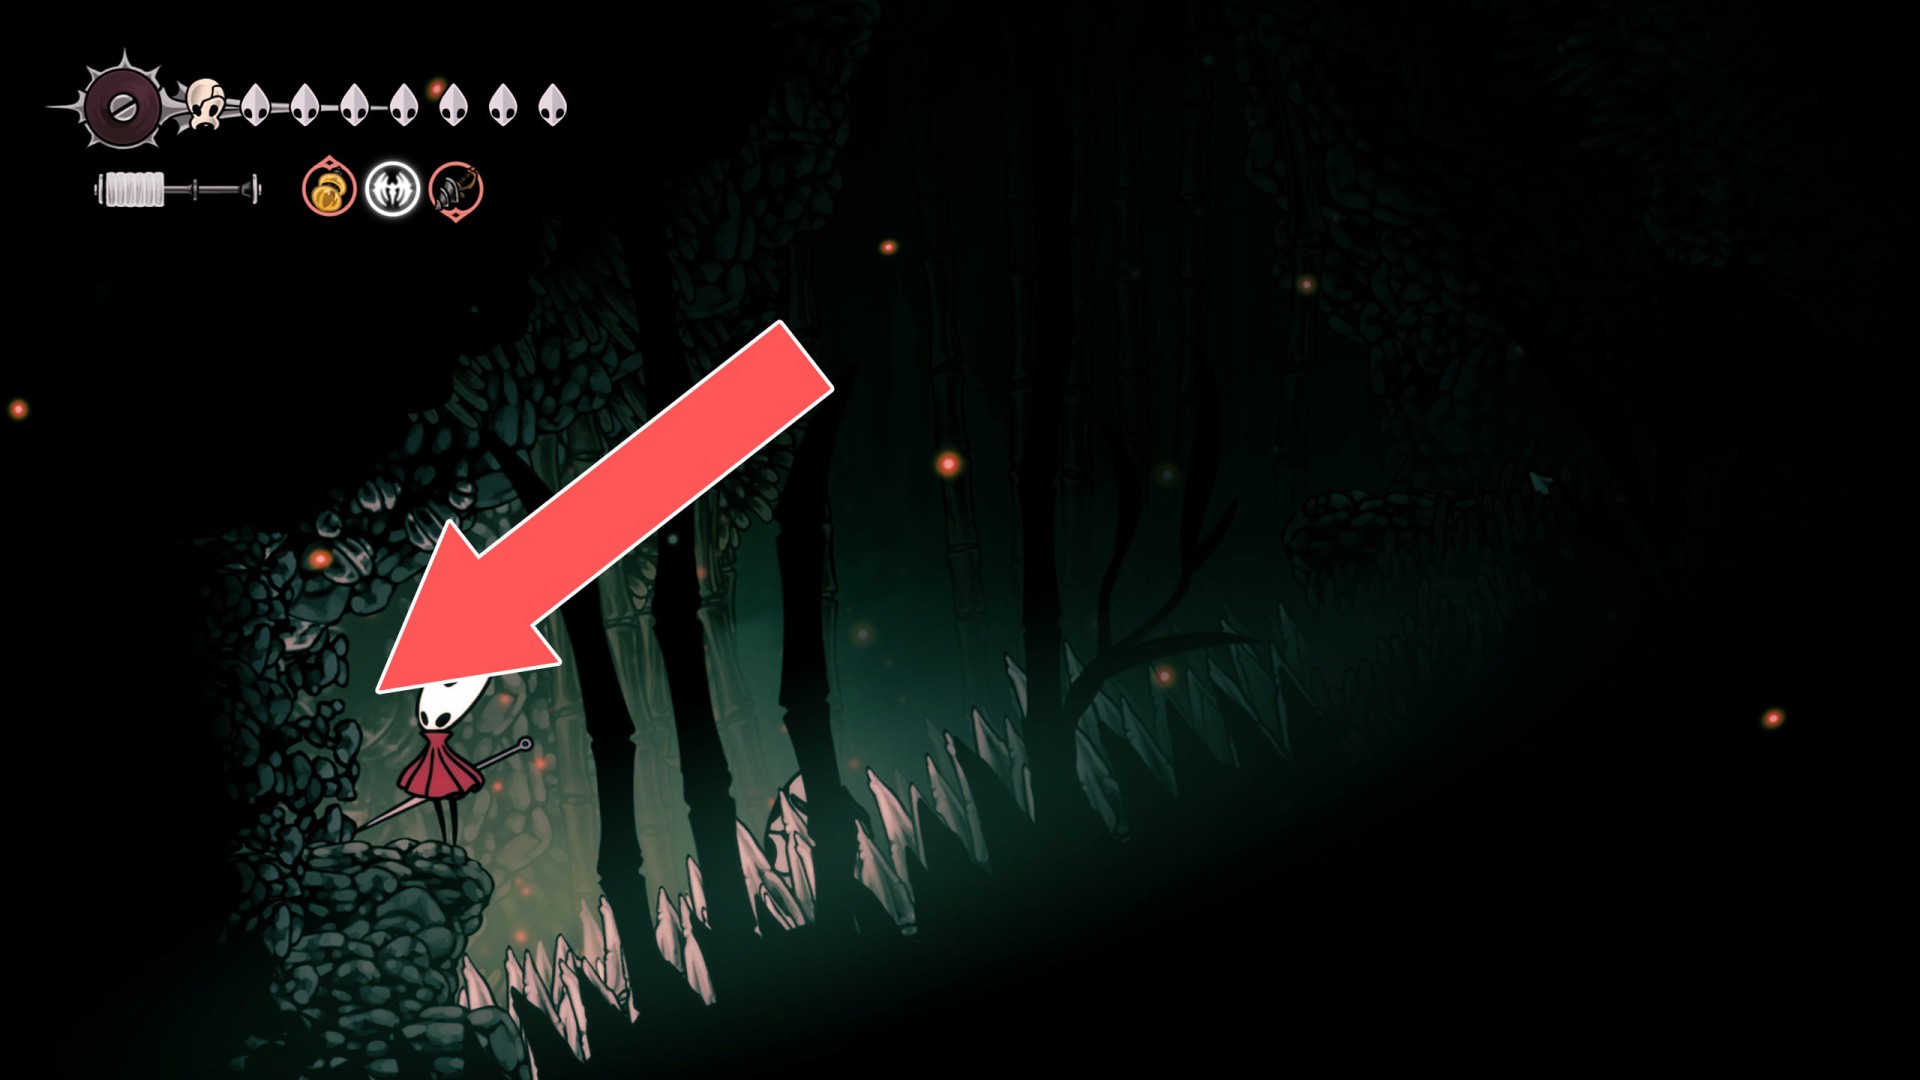
139Breakable Wall
You can break down this wall by hitting it from the west side.
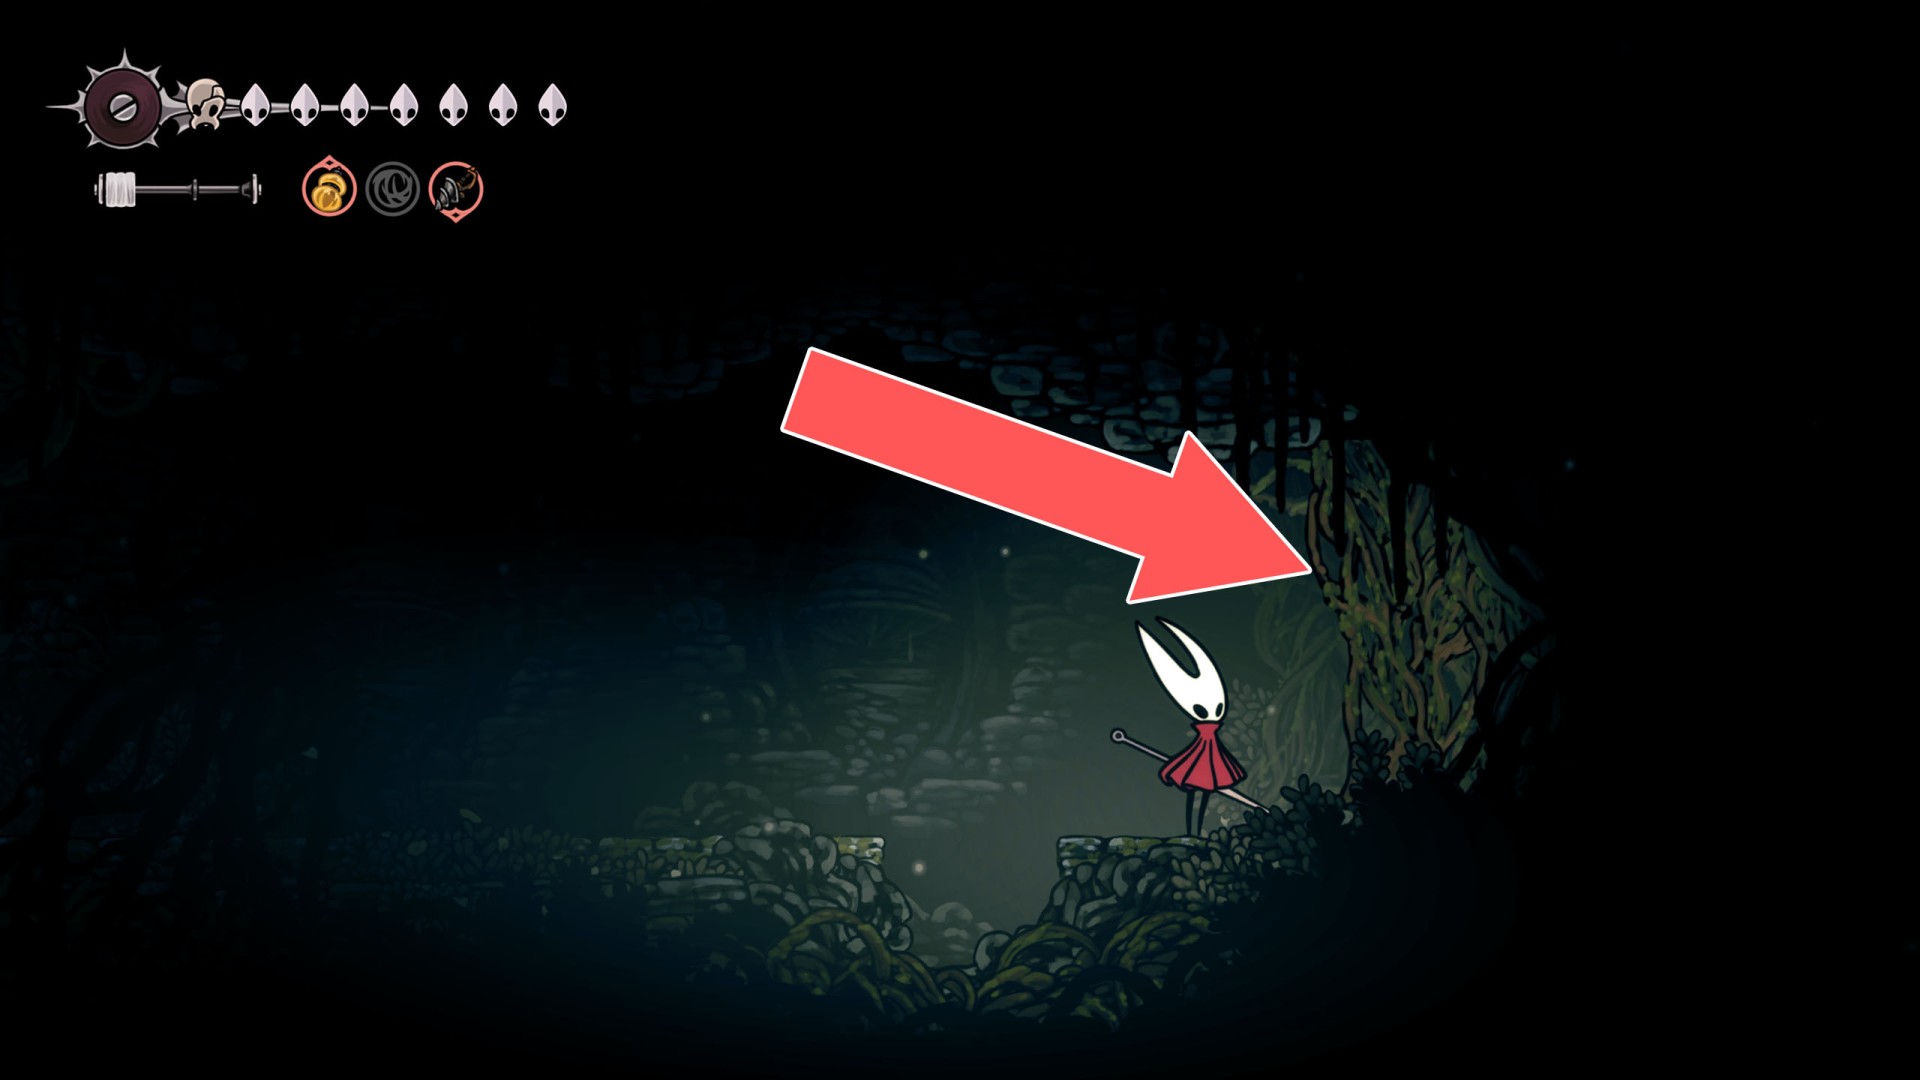
140Breakable Wall
You can break down this wall by hitting it from the west side.
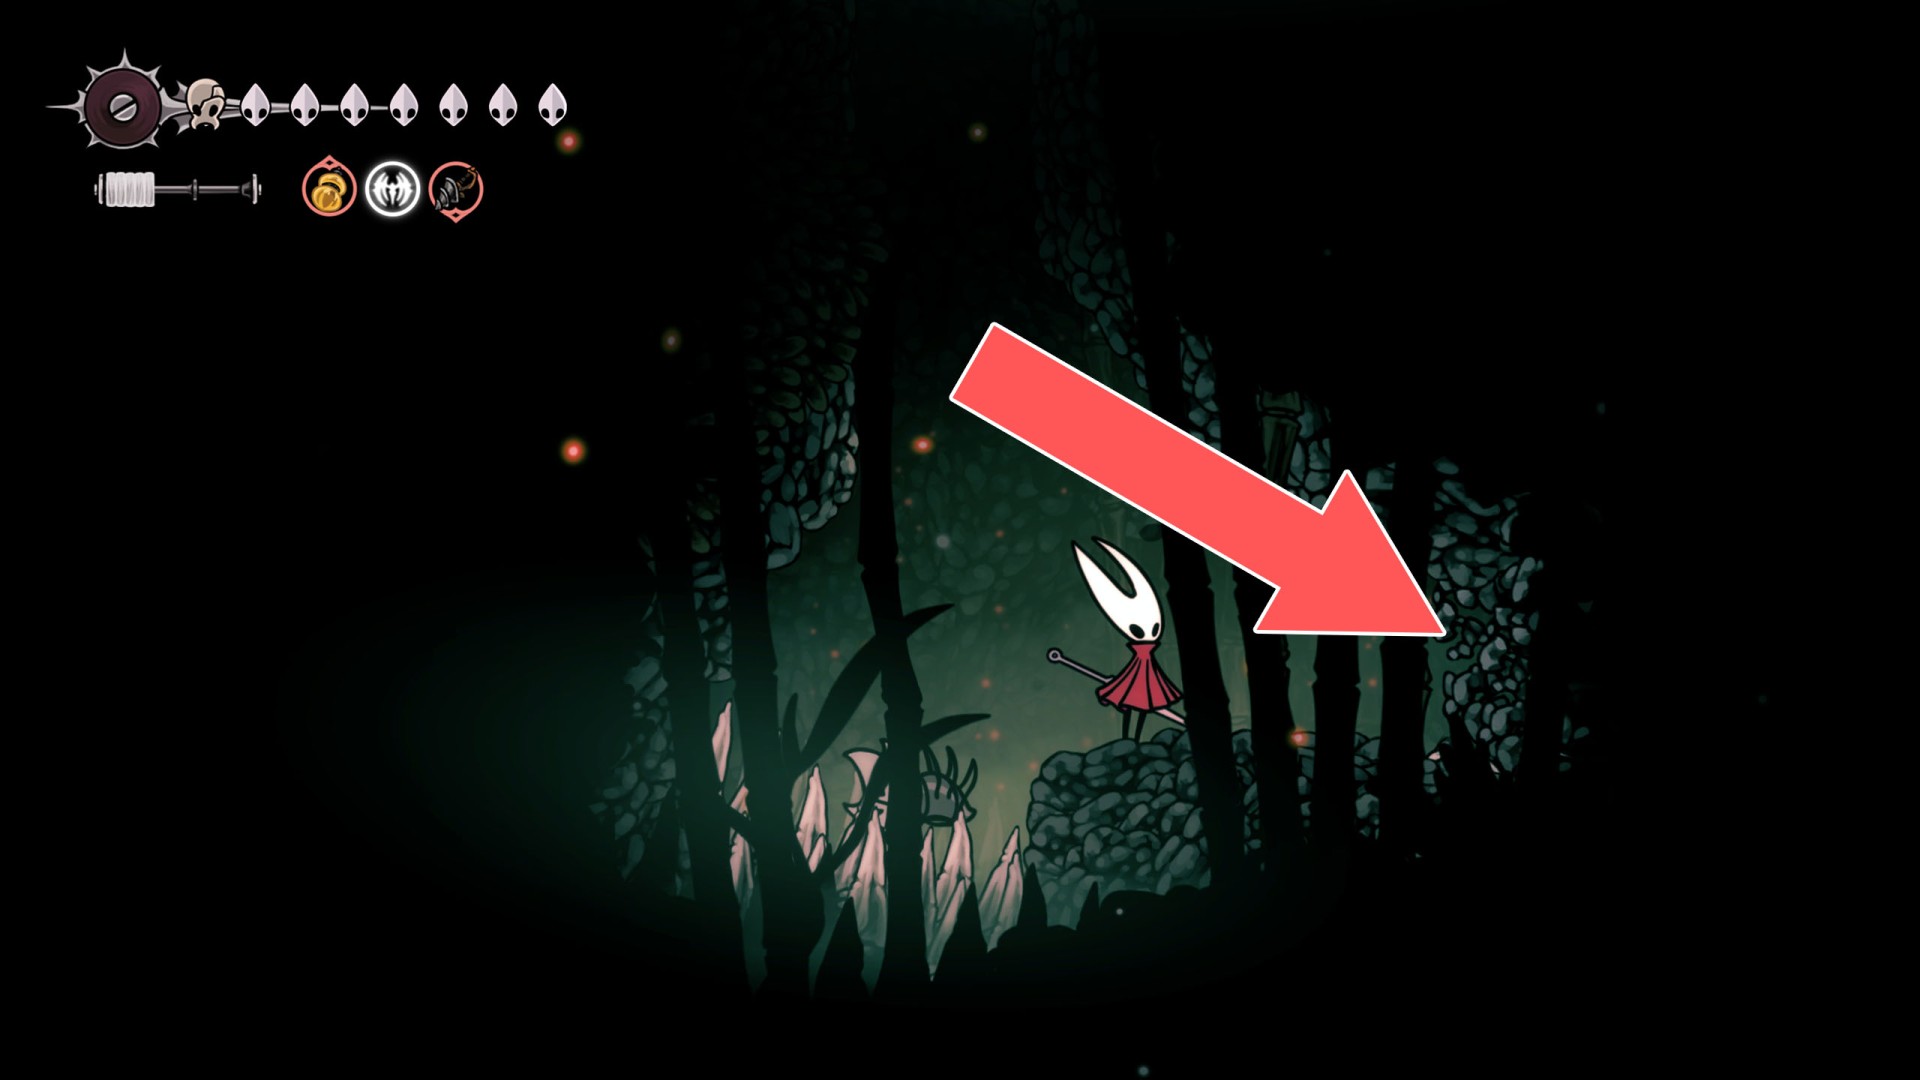
141Breakable Wall
You can break down this wall by hitting it from the east side.
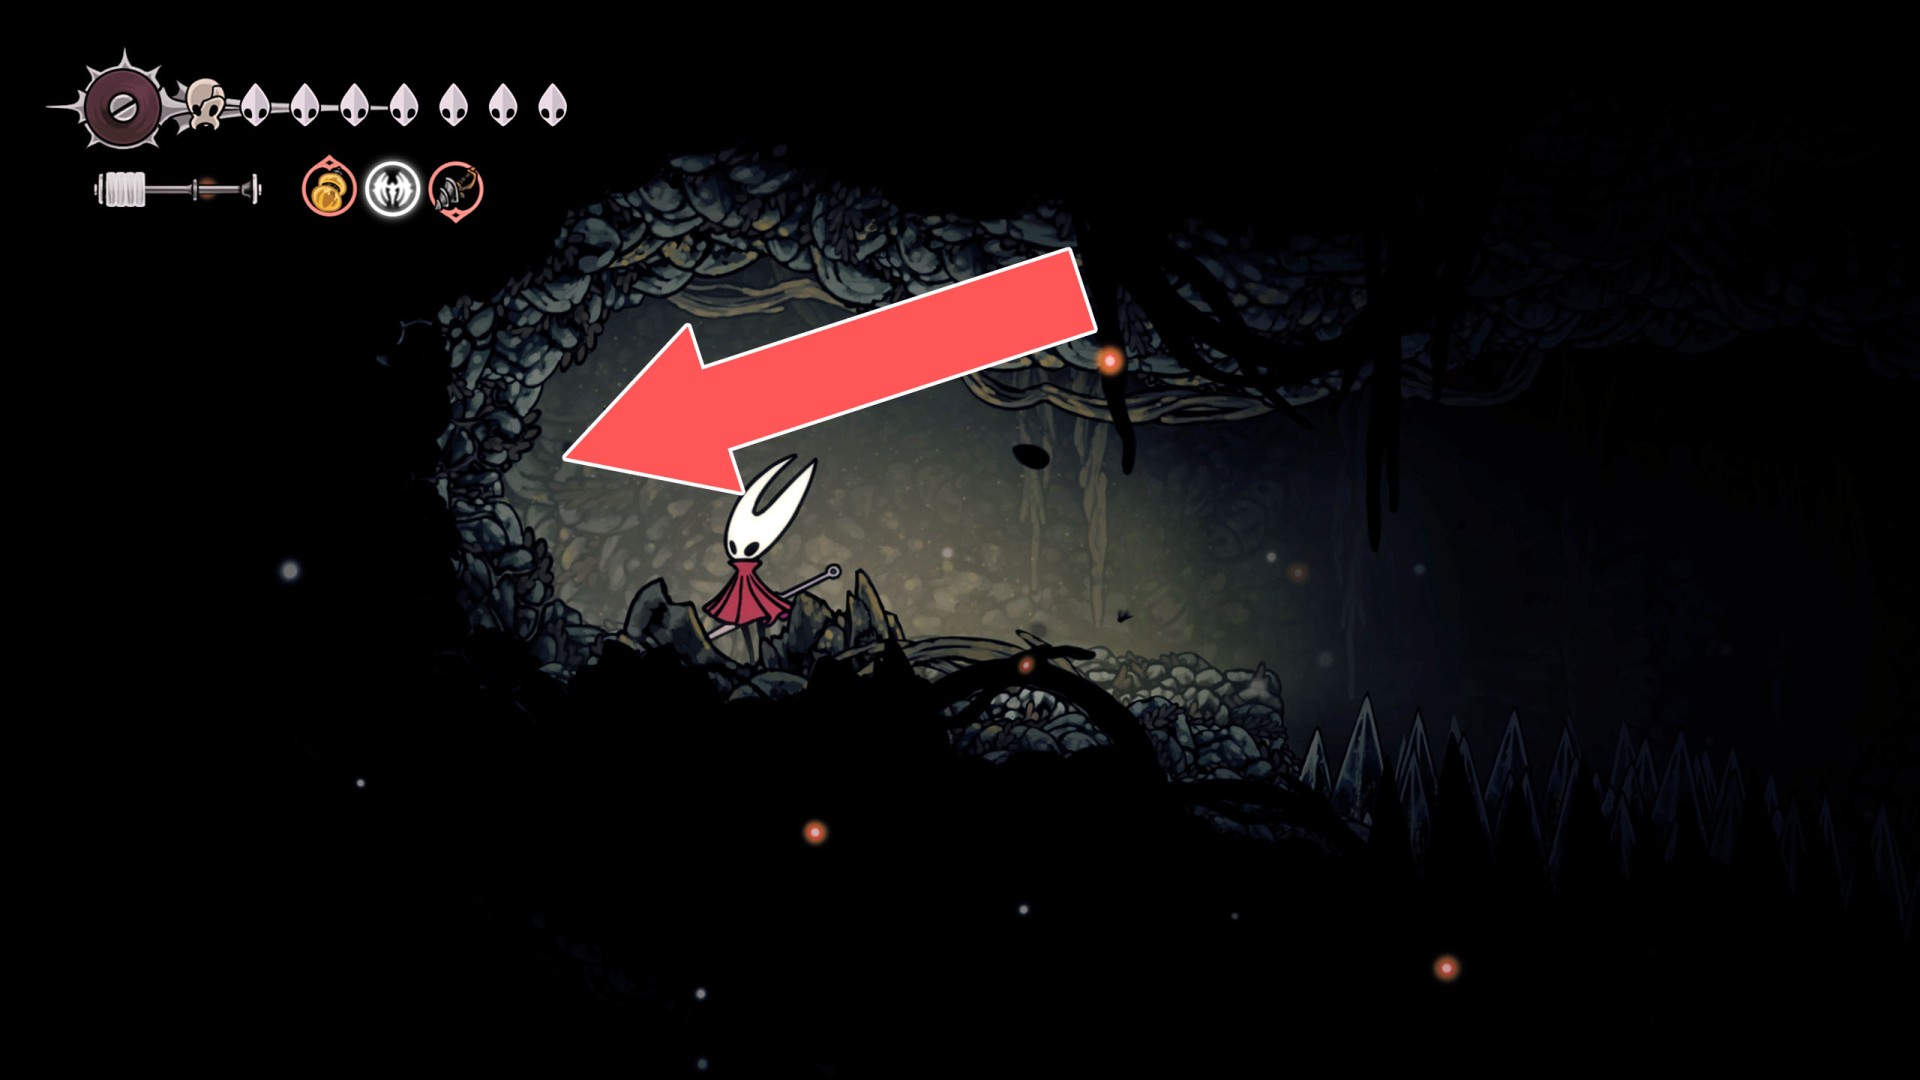
142Breakable Wall
You can destroy this wall and open a passage by hitting it from the east side.
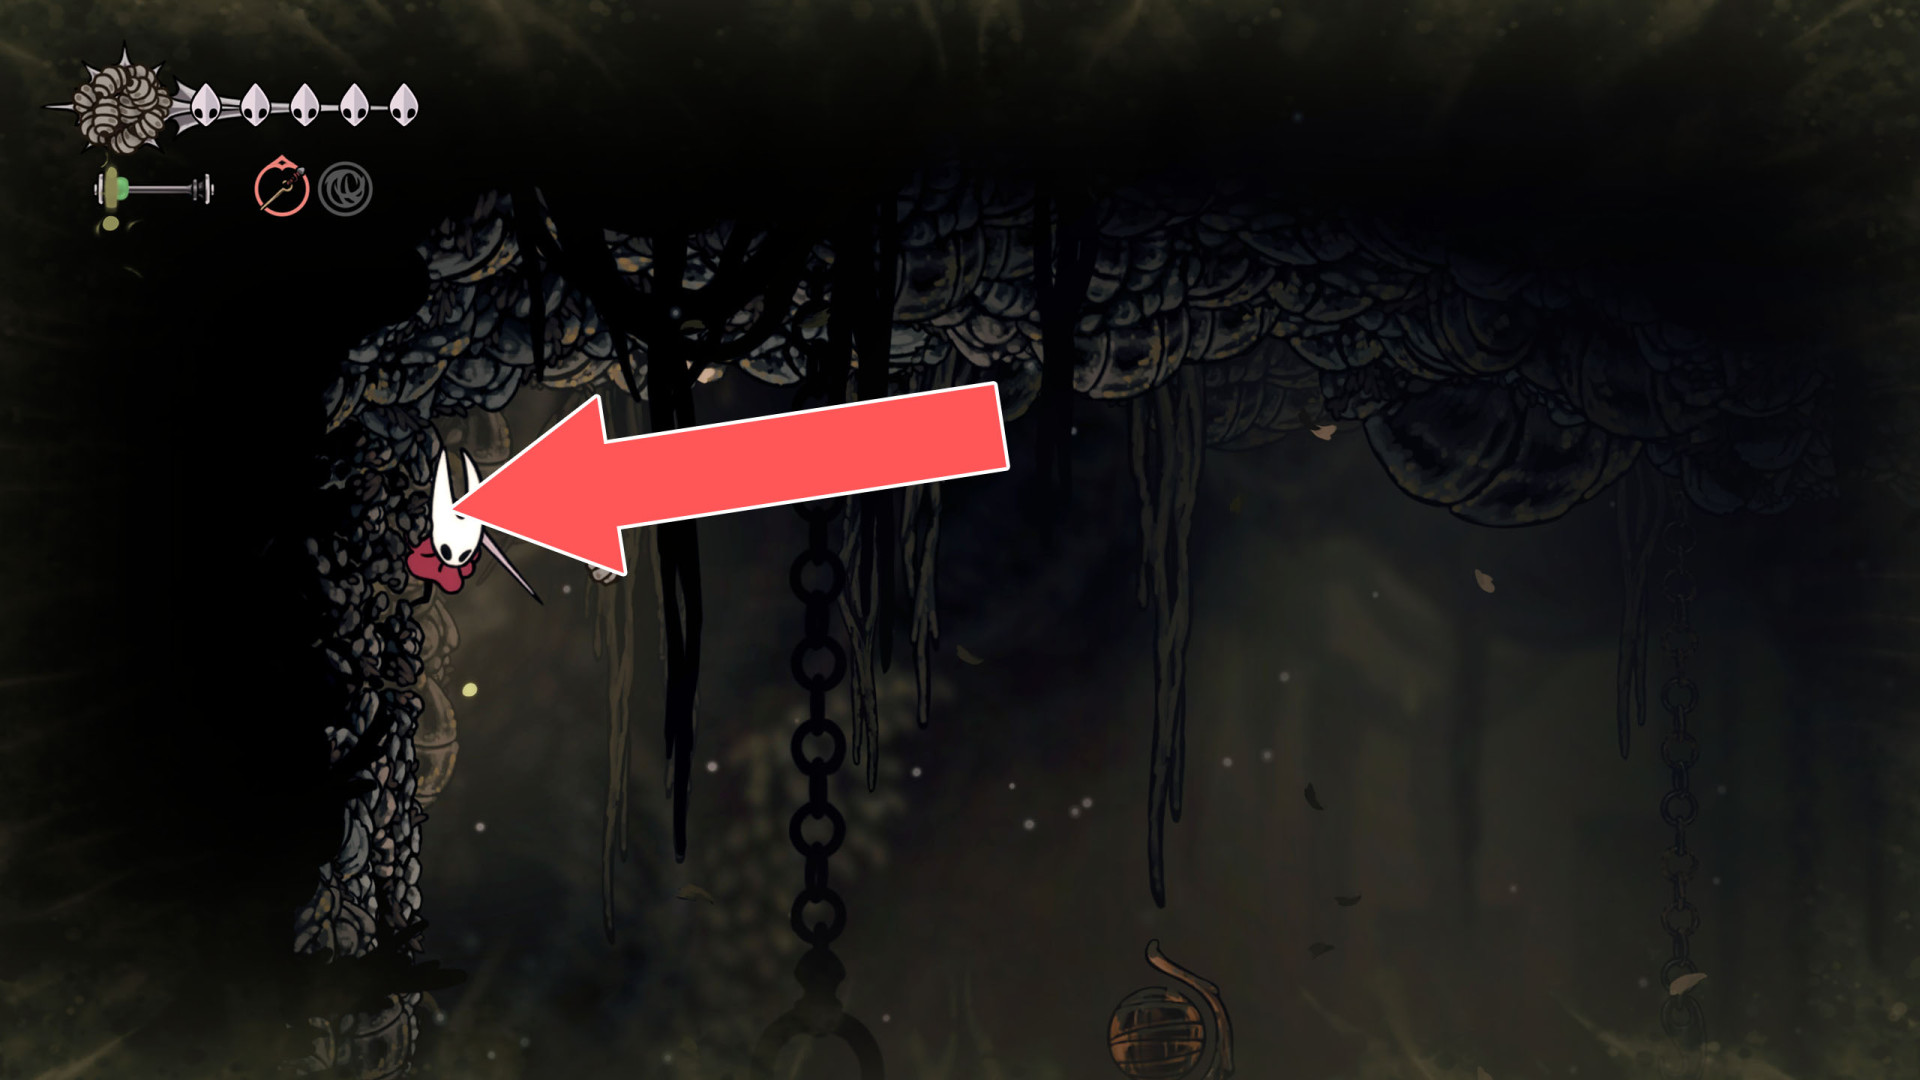
143Breakable Wall
You can destroy this wall by attacking it from the west side.
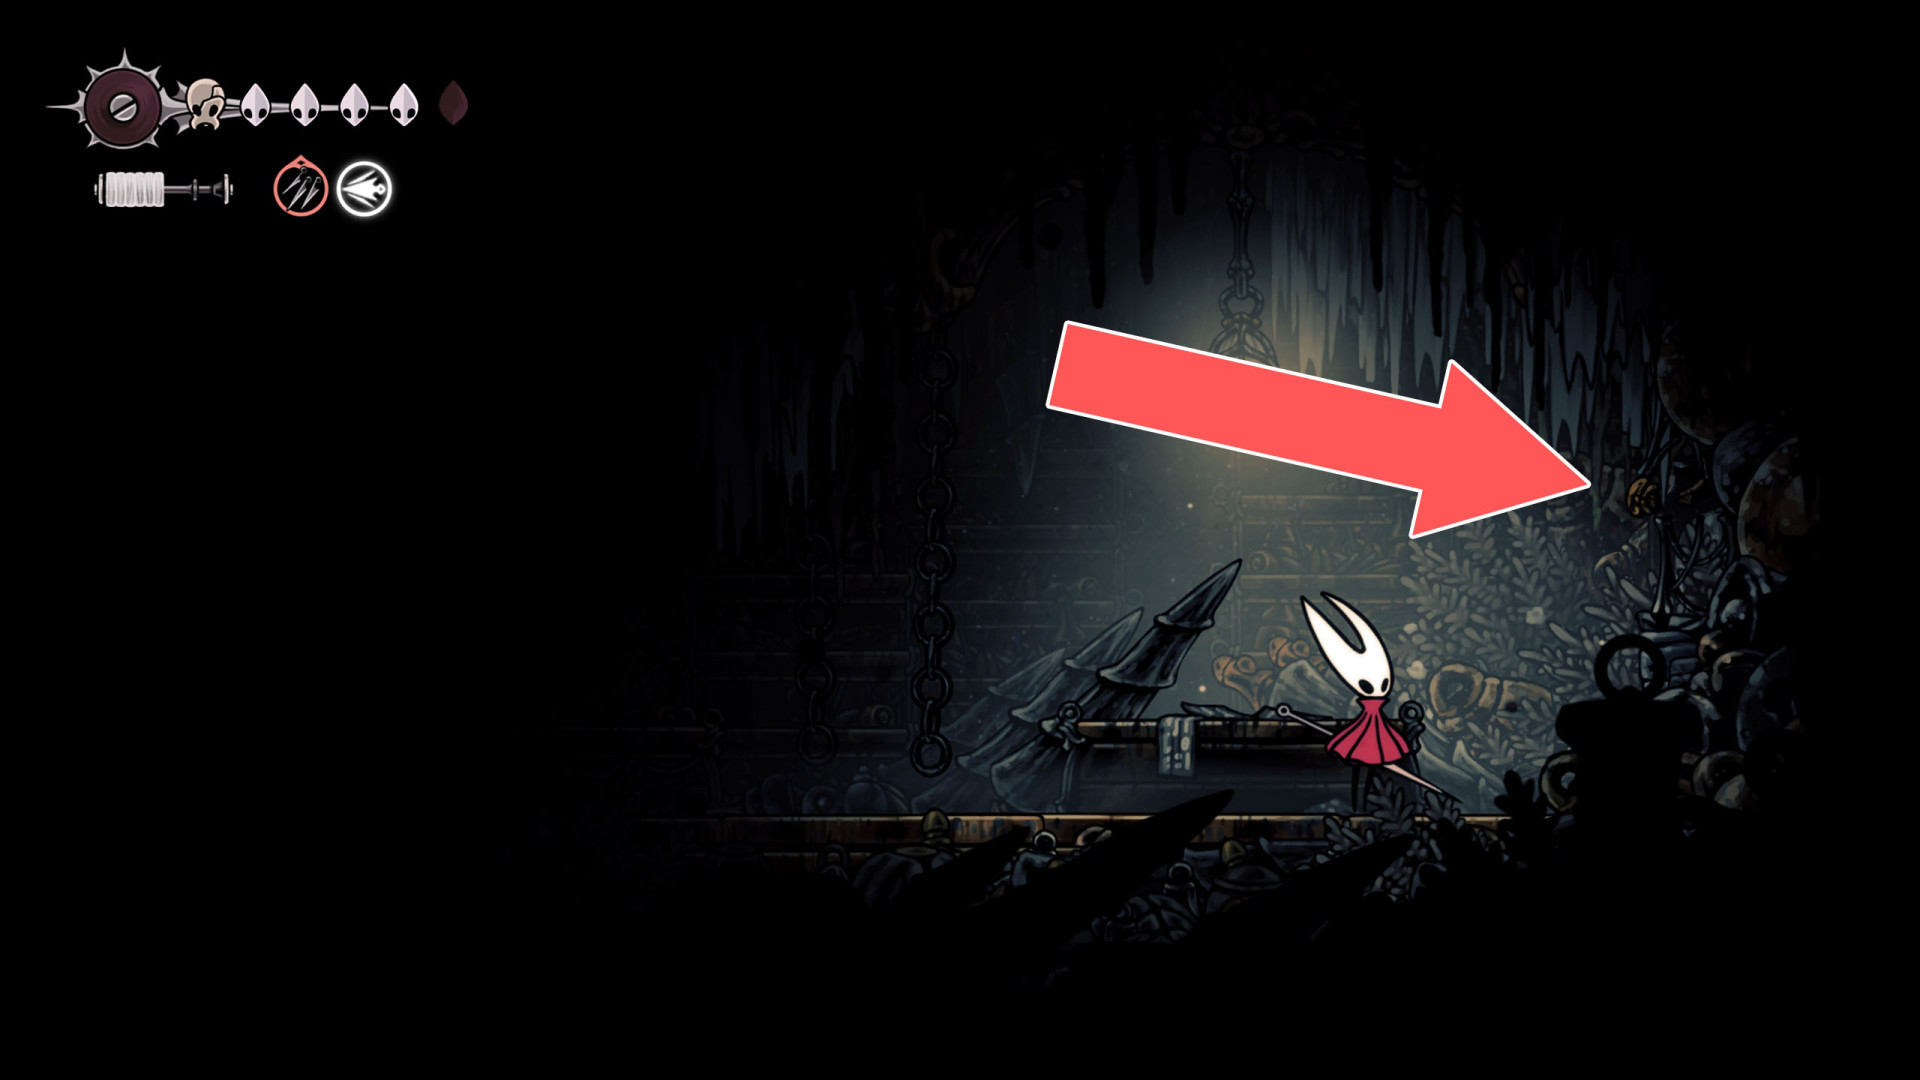
144Breakable Wall
You can destroy this roadblock by approaching it from the east.
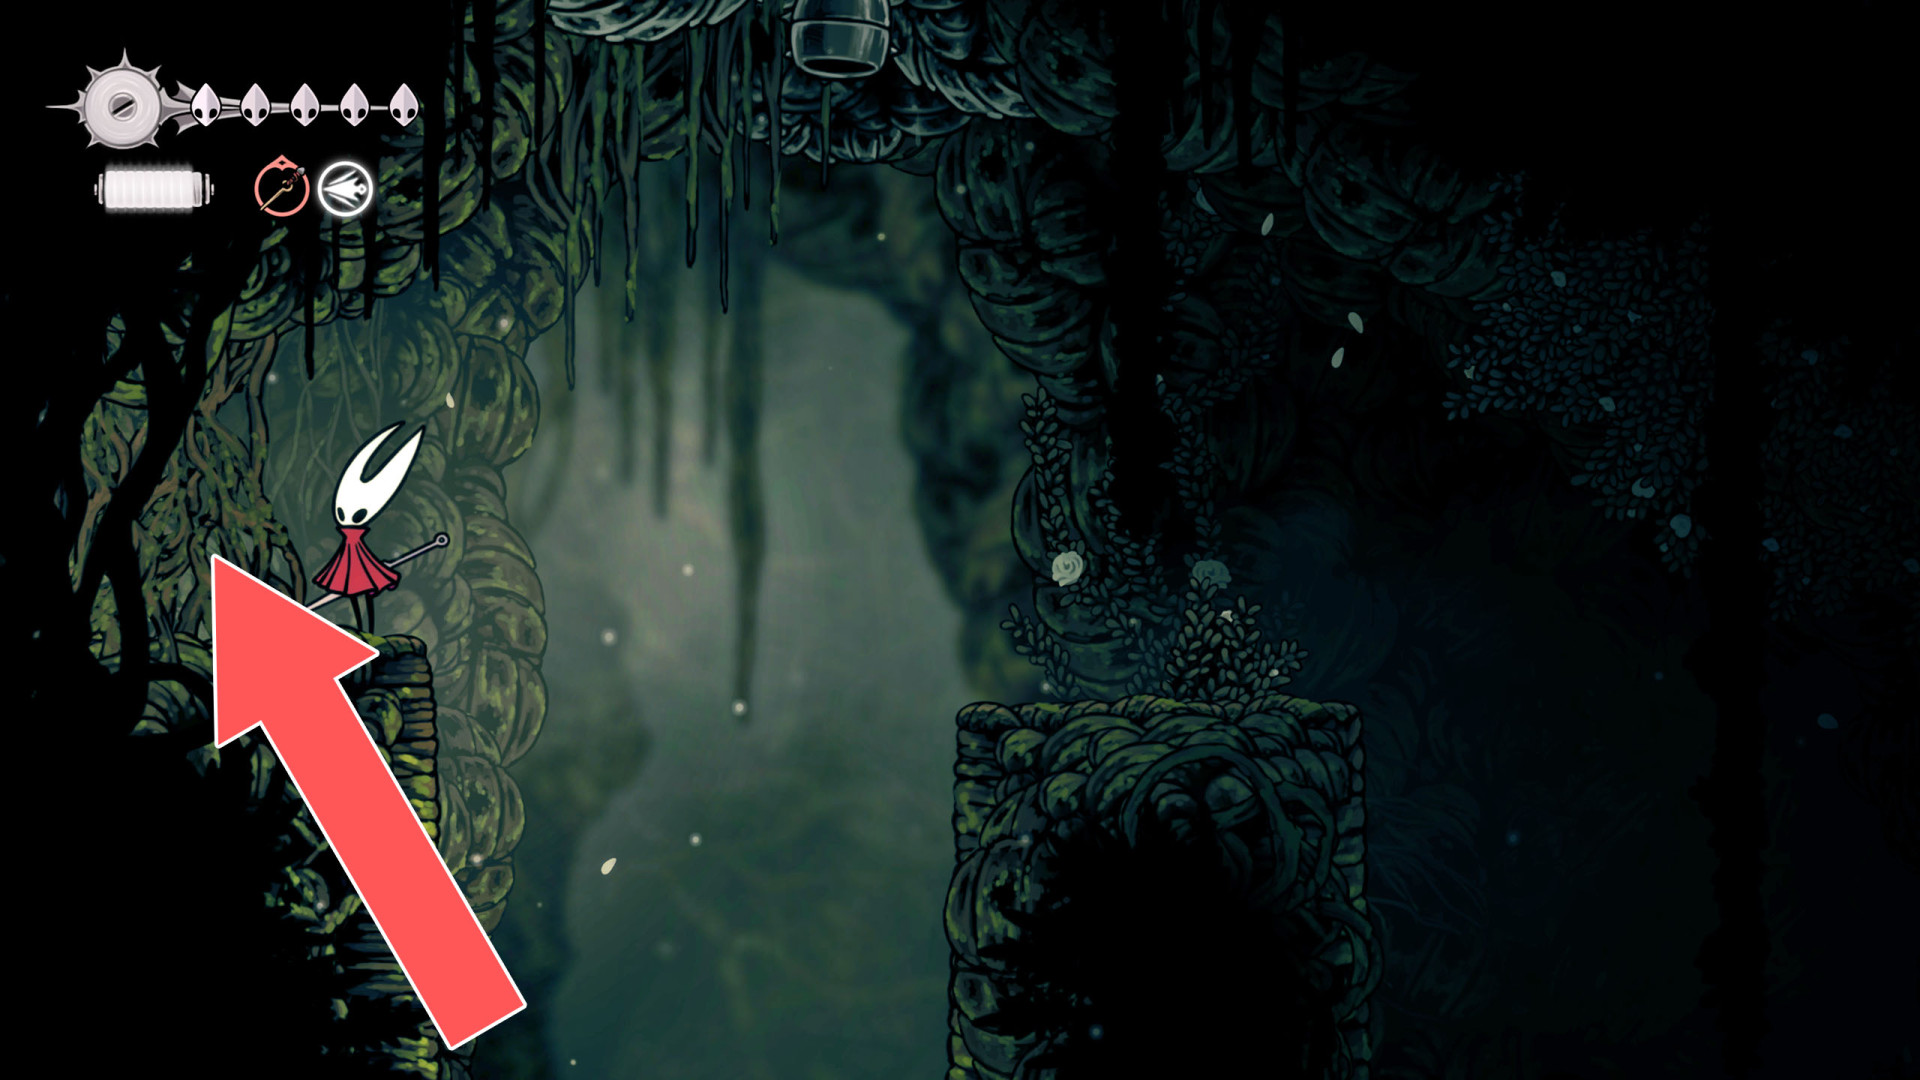
145Breakable Wall
You can destroy this roadblock by approaching it from the west.
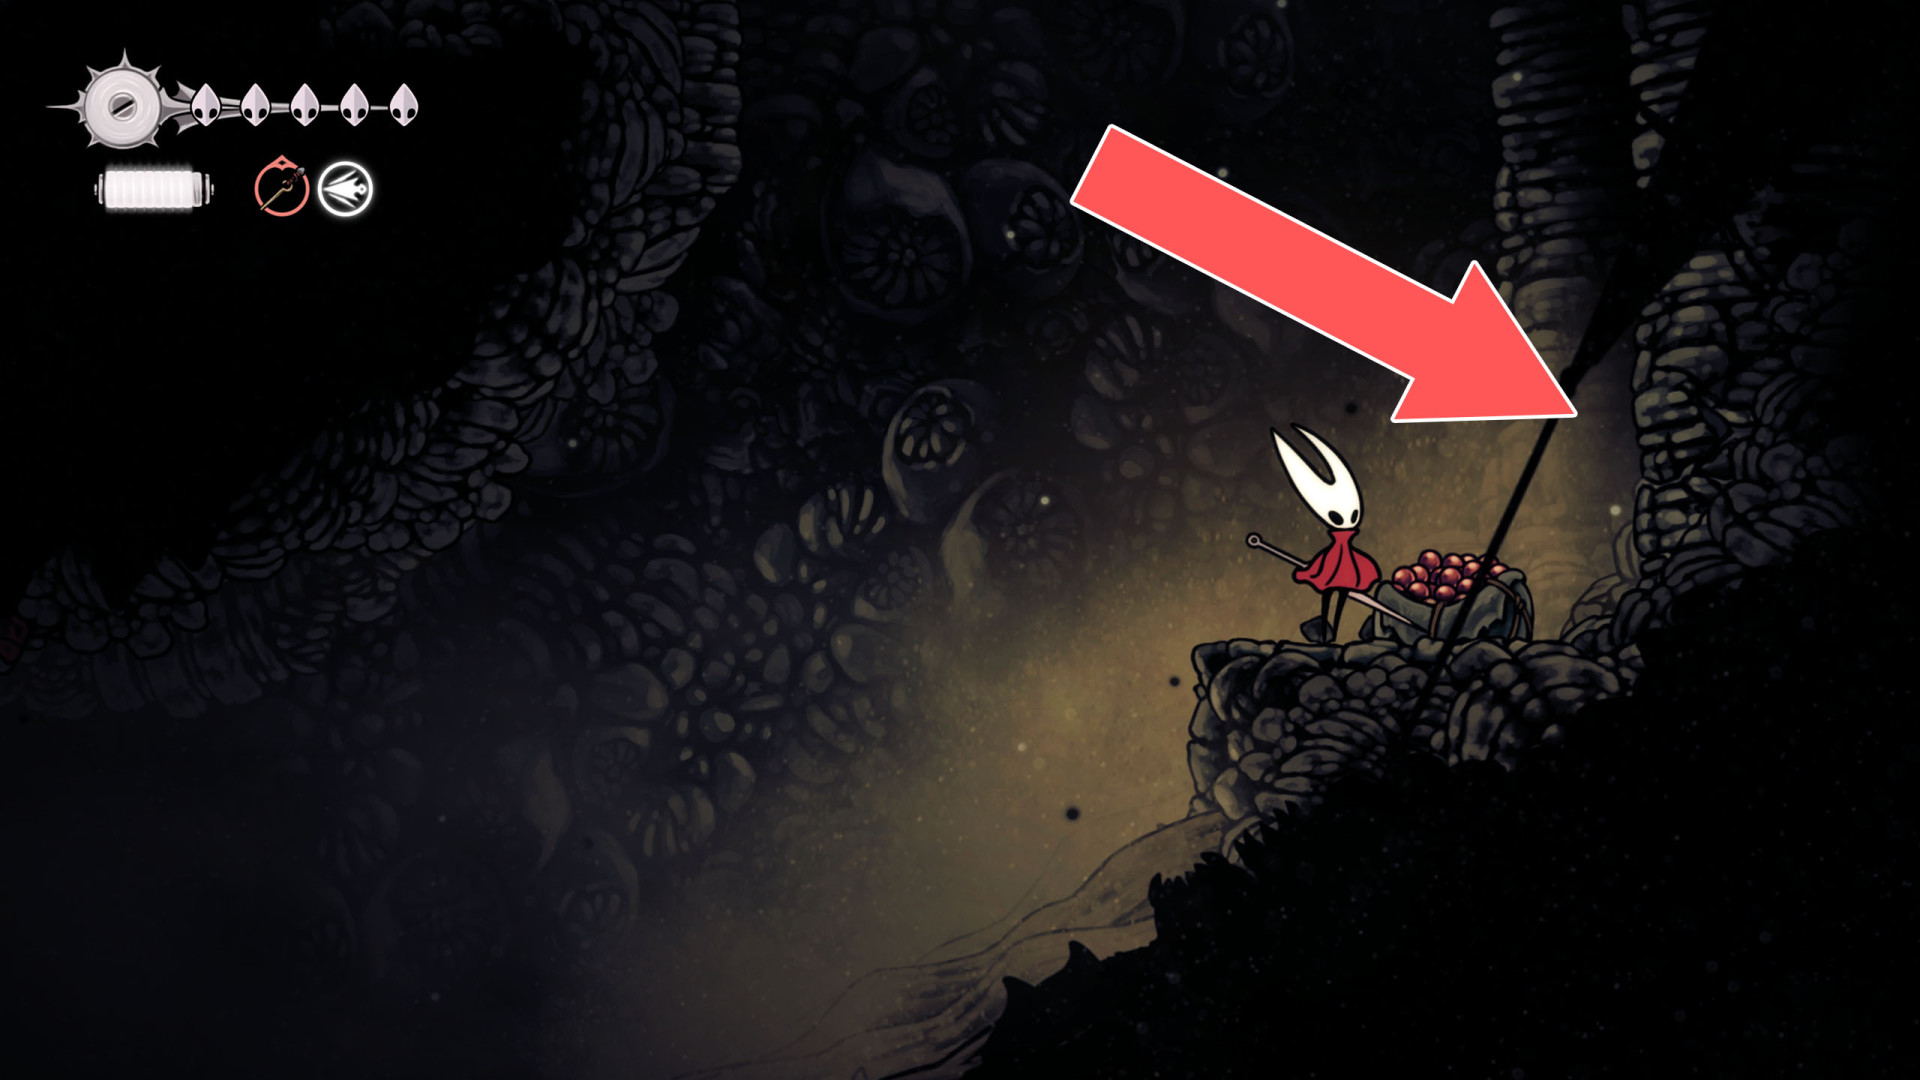
146Breakable Wall
You can break down this roadblock by hitting it from the west side.
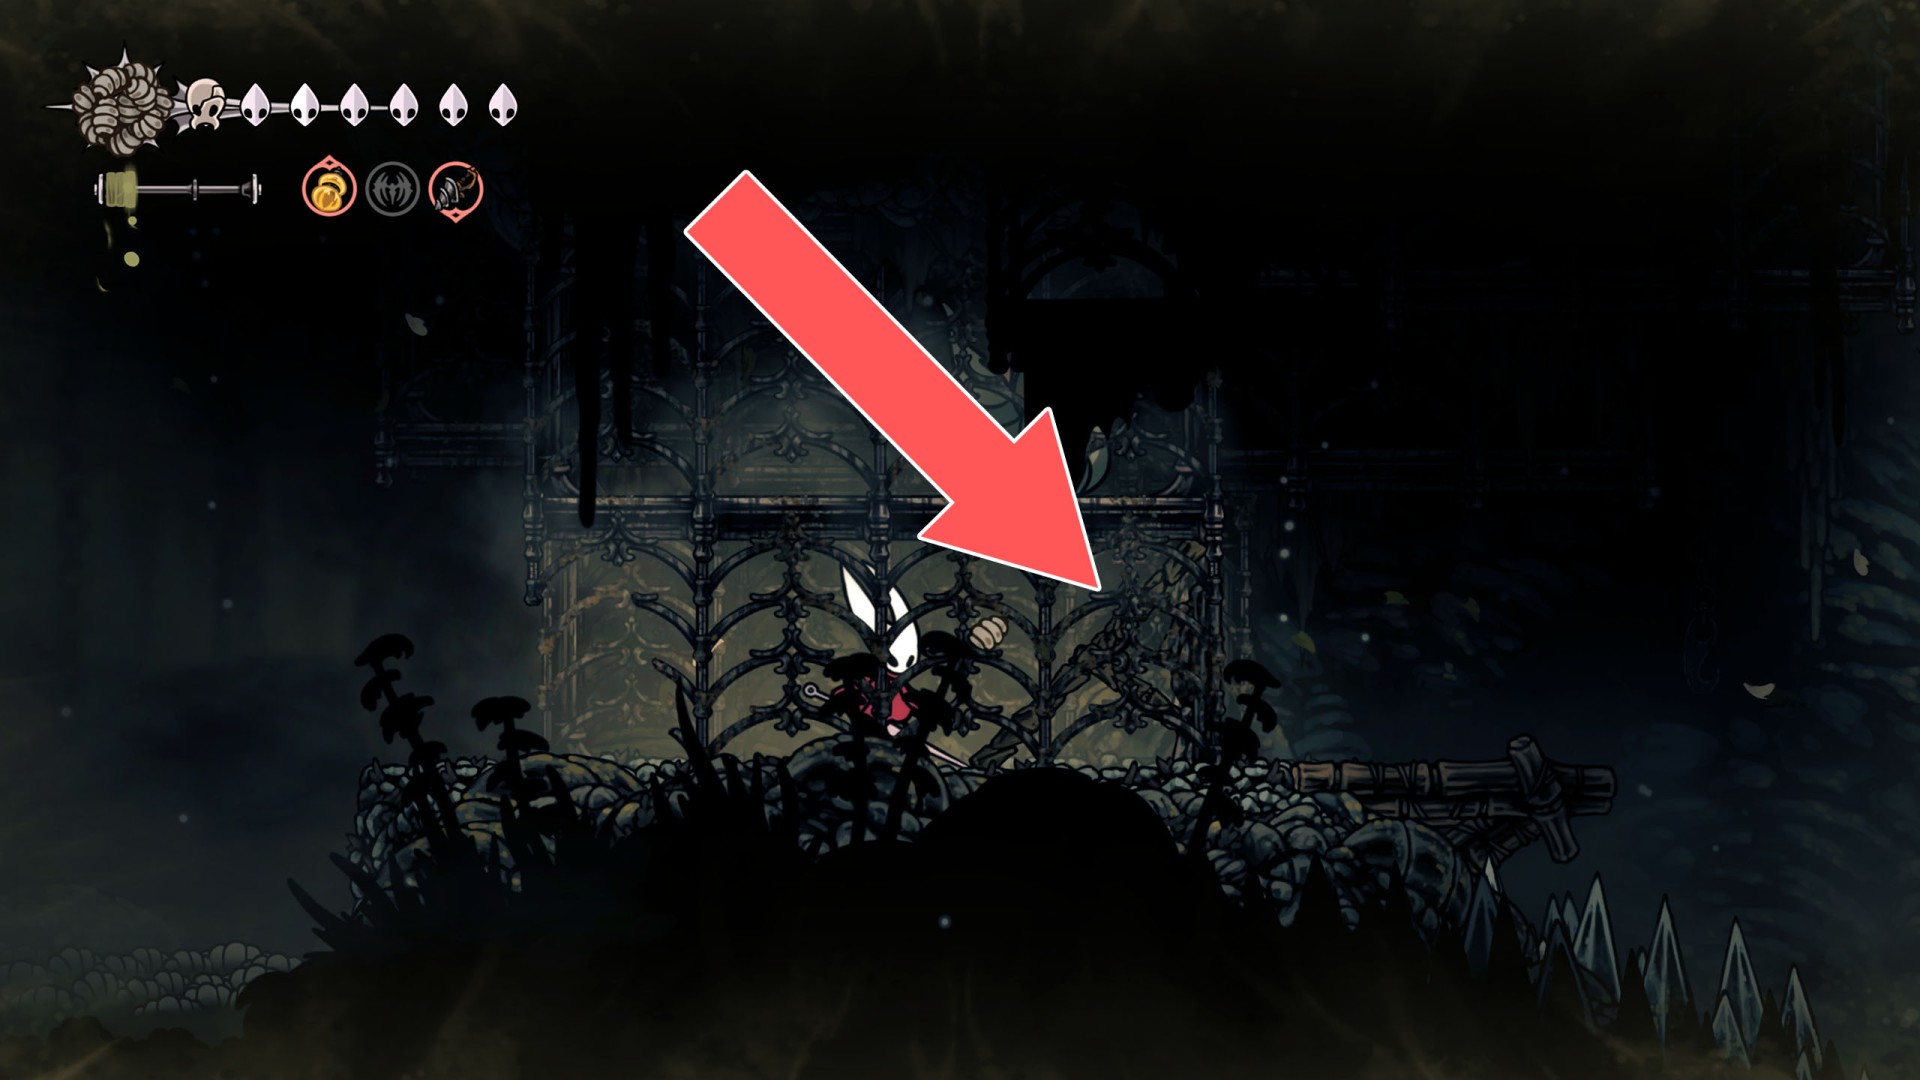
147Breakable Wall
You can destroy this roadblock and open a passage by hitting it from the east side.
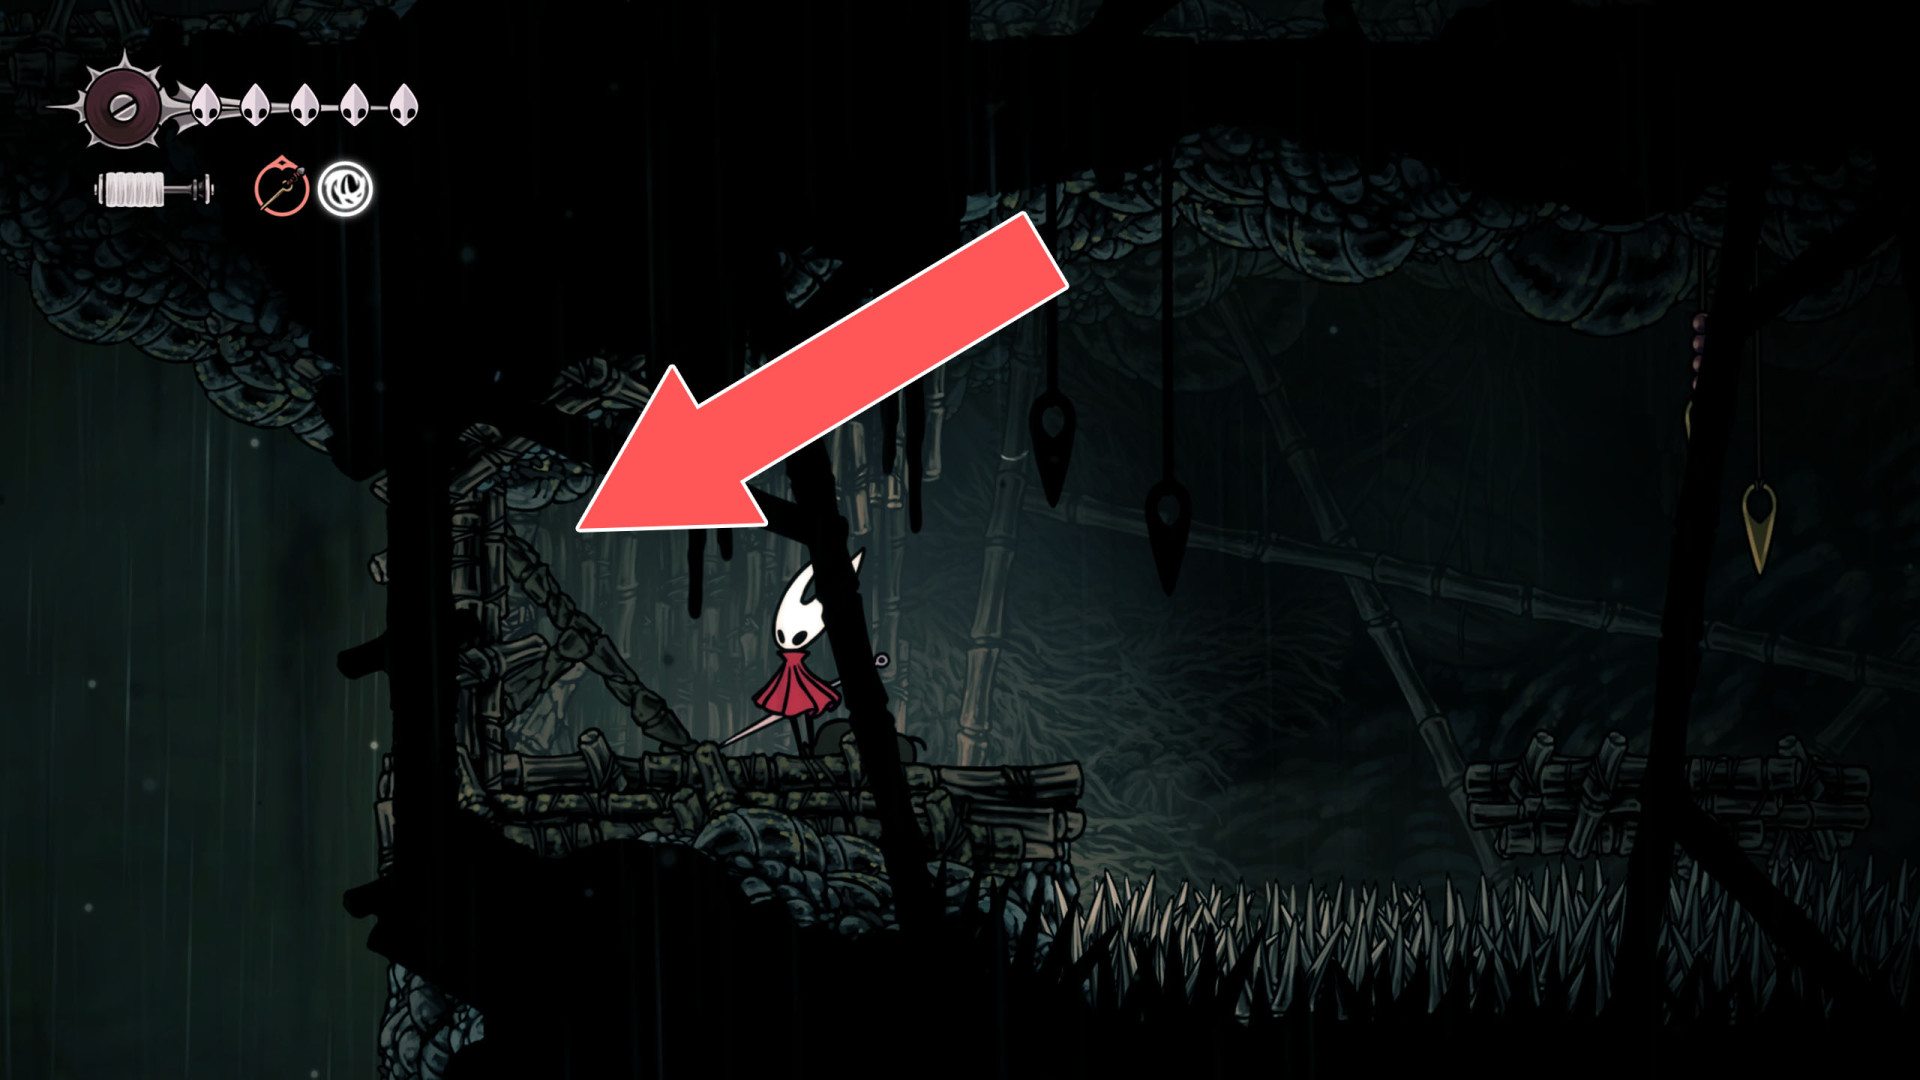
148Breakable Wall
To create a passage, strike from the west side.
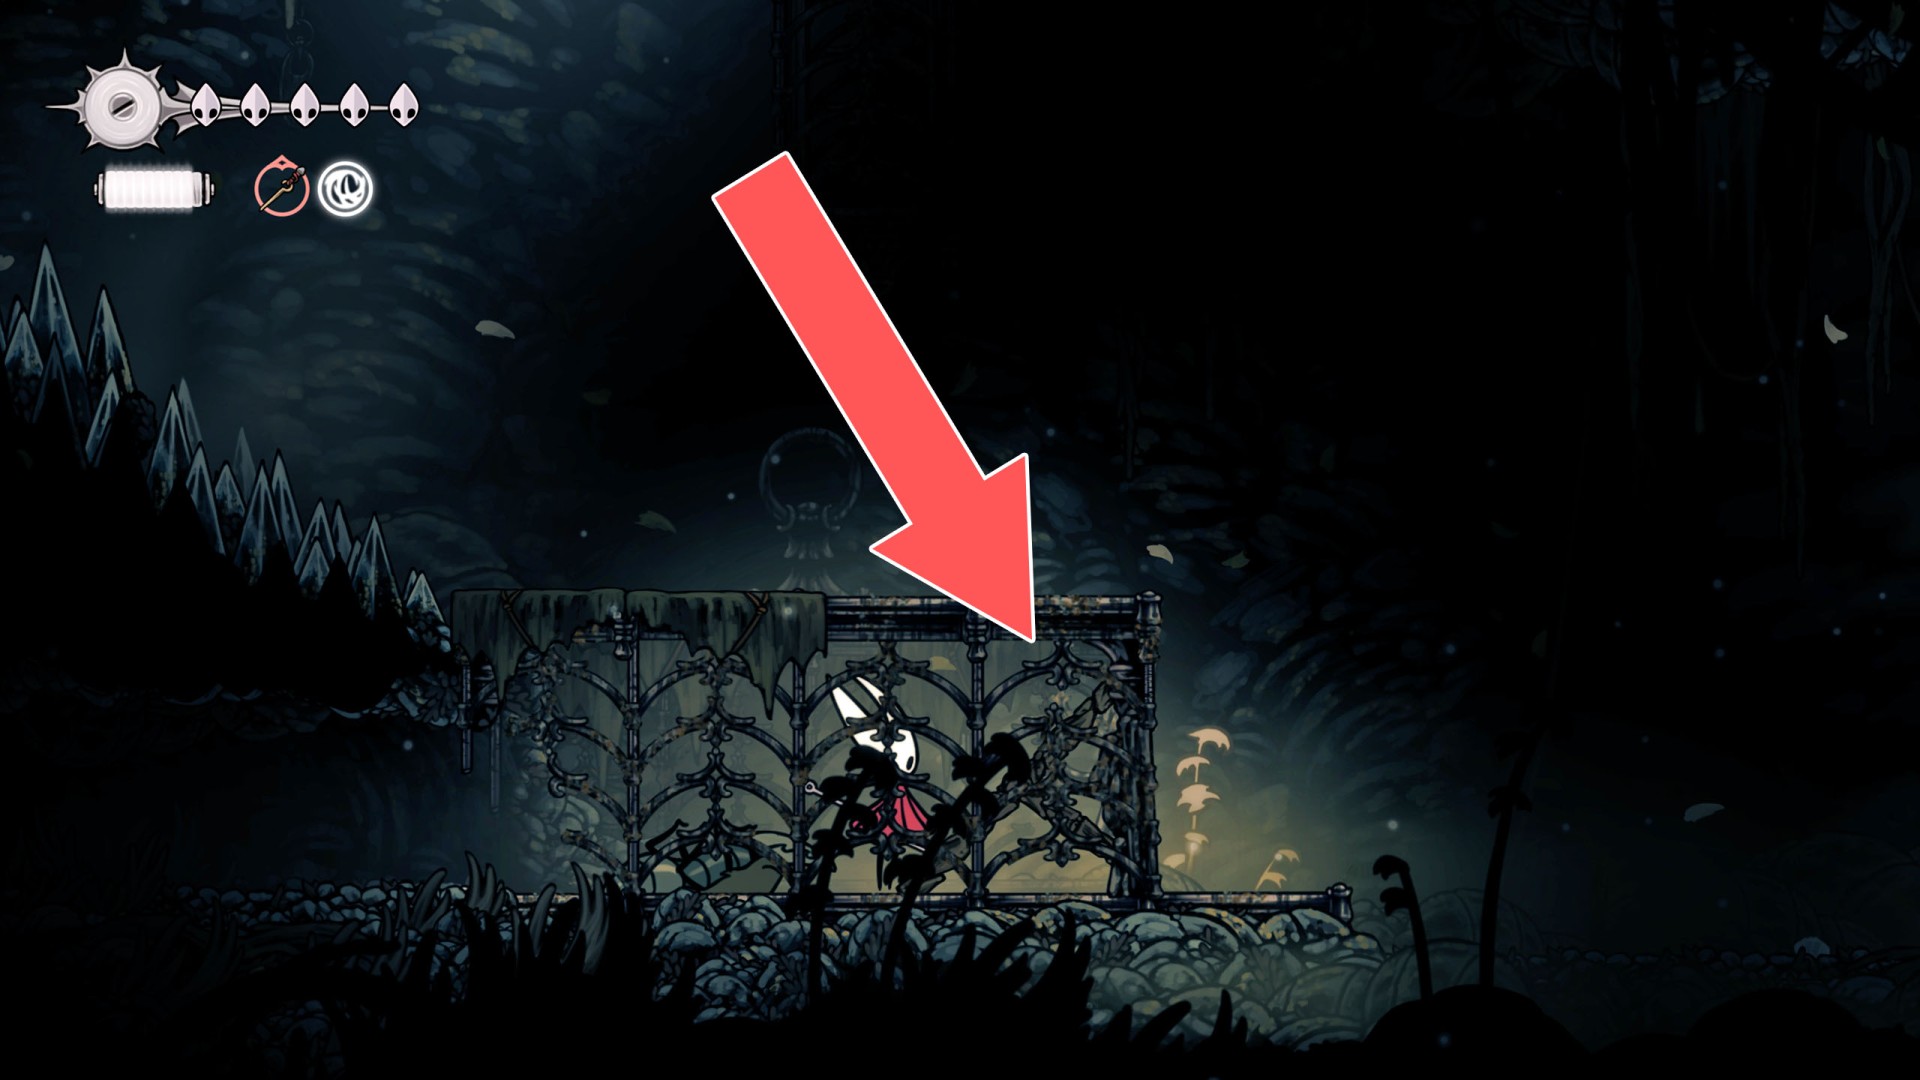
149Breakable Wall
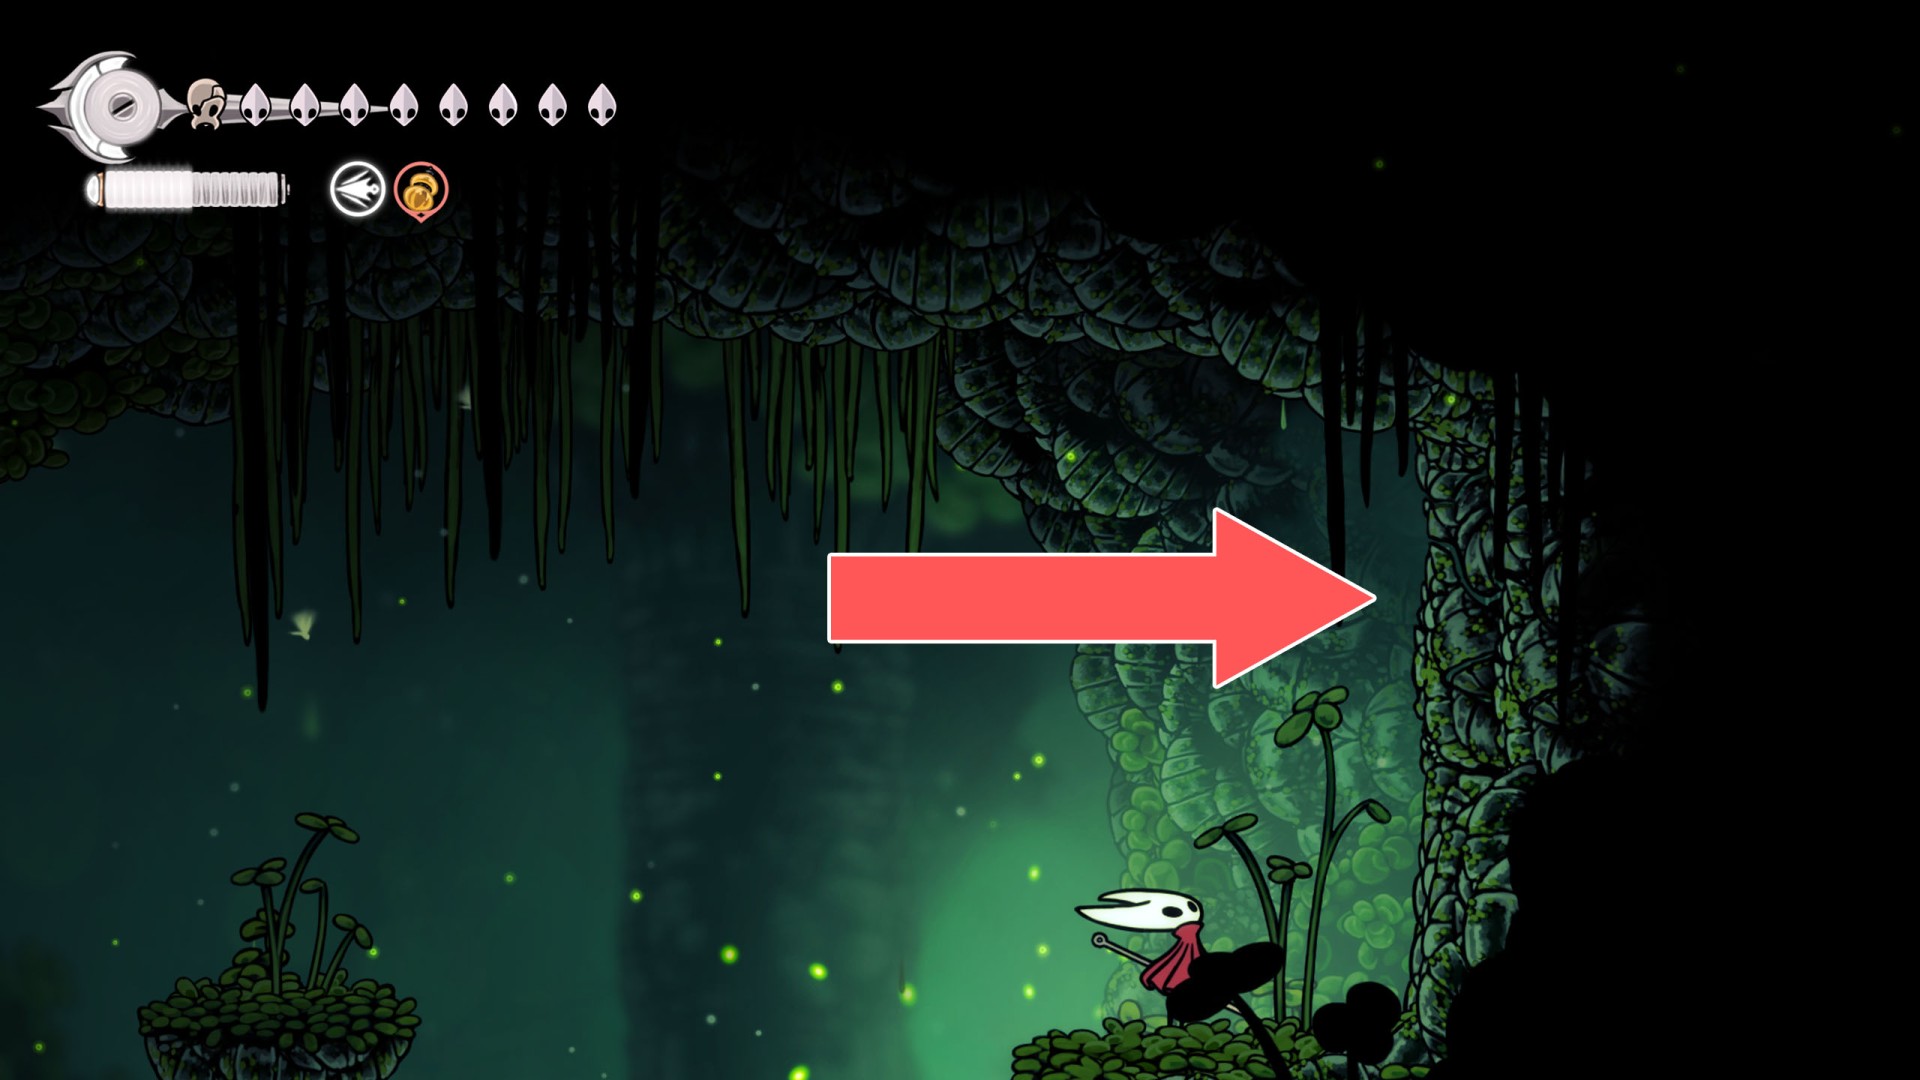
150Breakable Wall
To create a passage, strike from the west side.
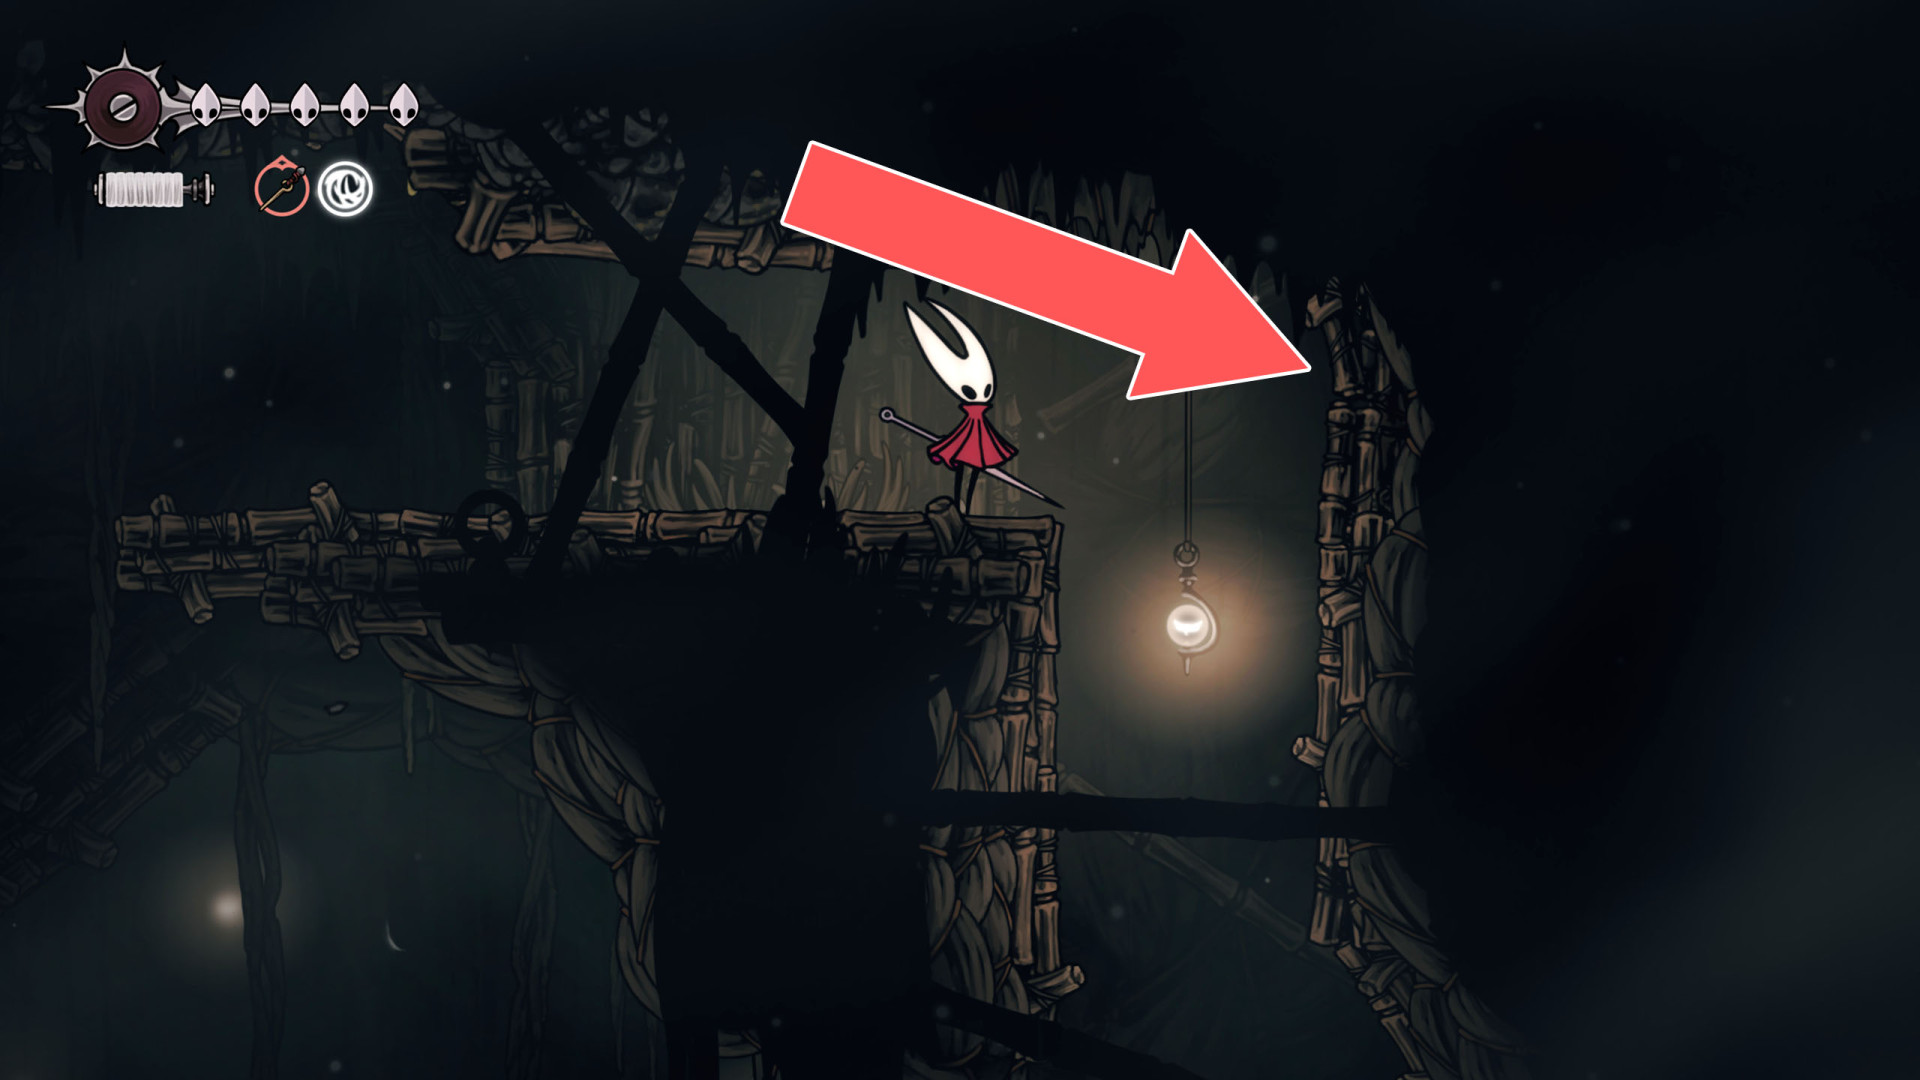
151Breakable Wall
You can destroy this roadblock and open a passage by hitting it from the east side.
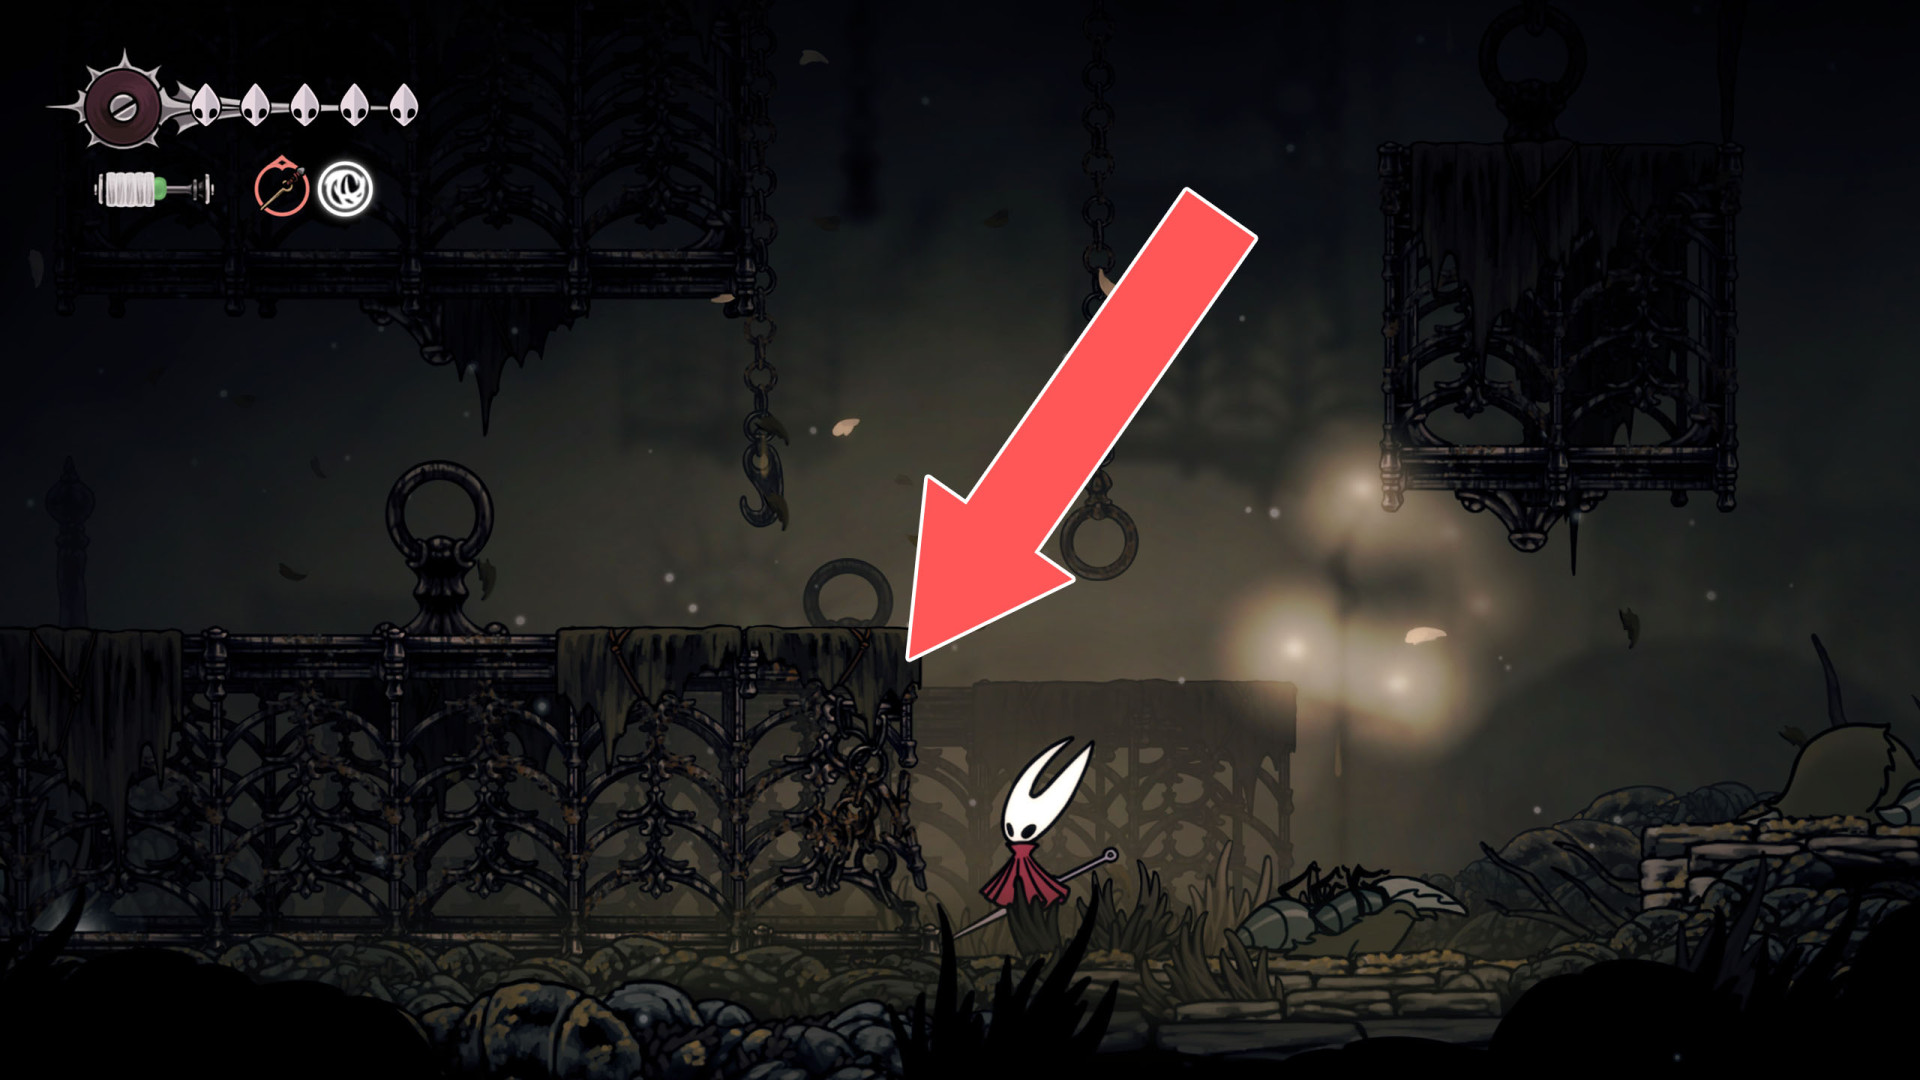
152Breakable Wall
You can destroy this roadblock by approaching it from the west.
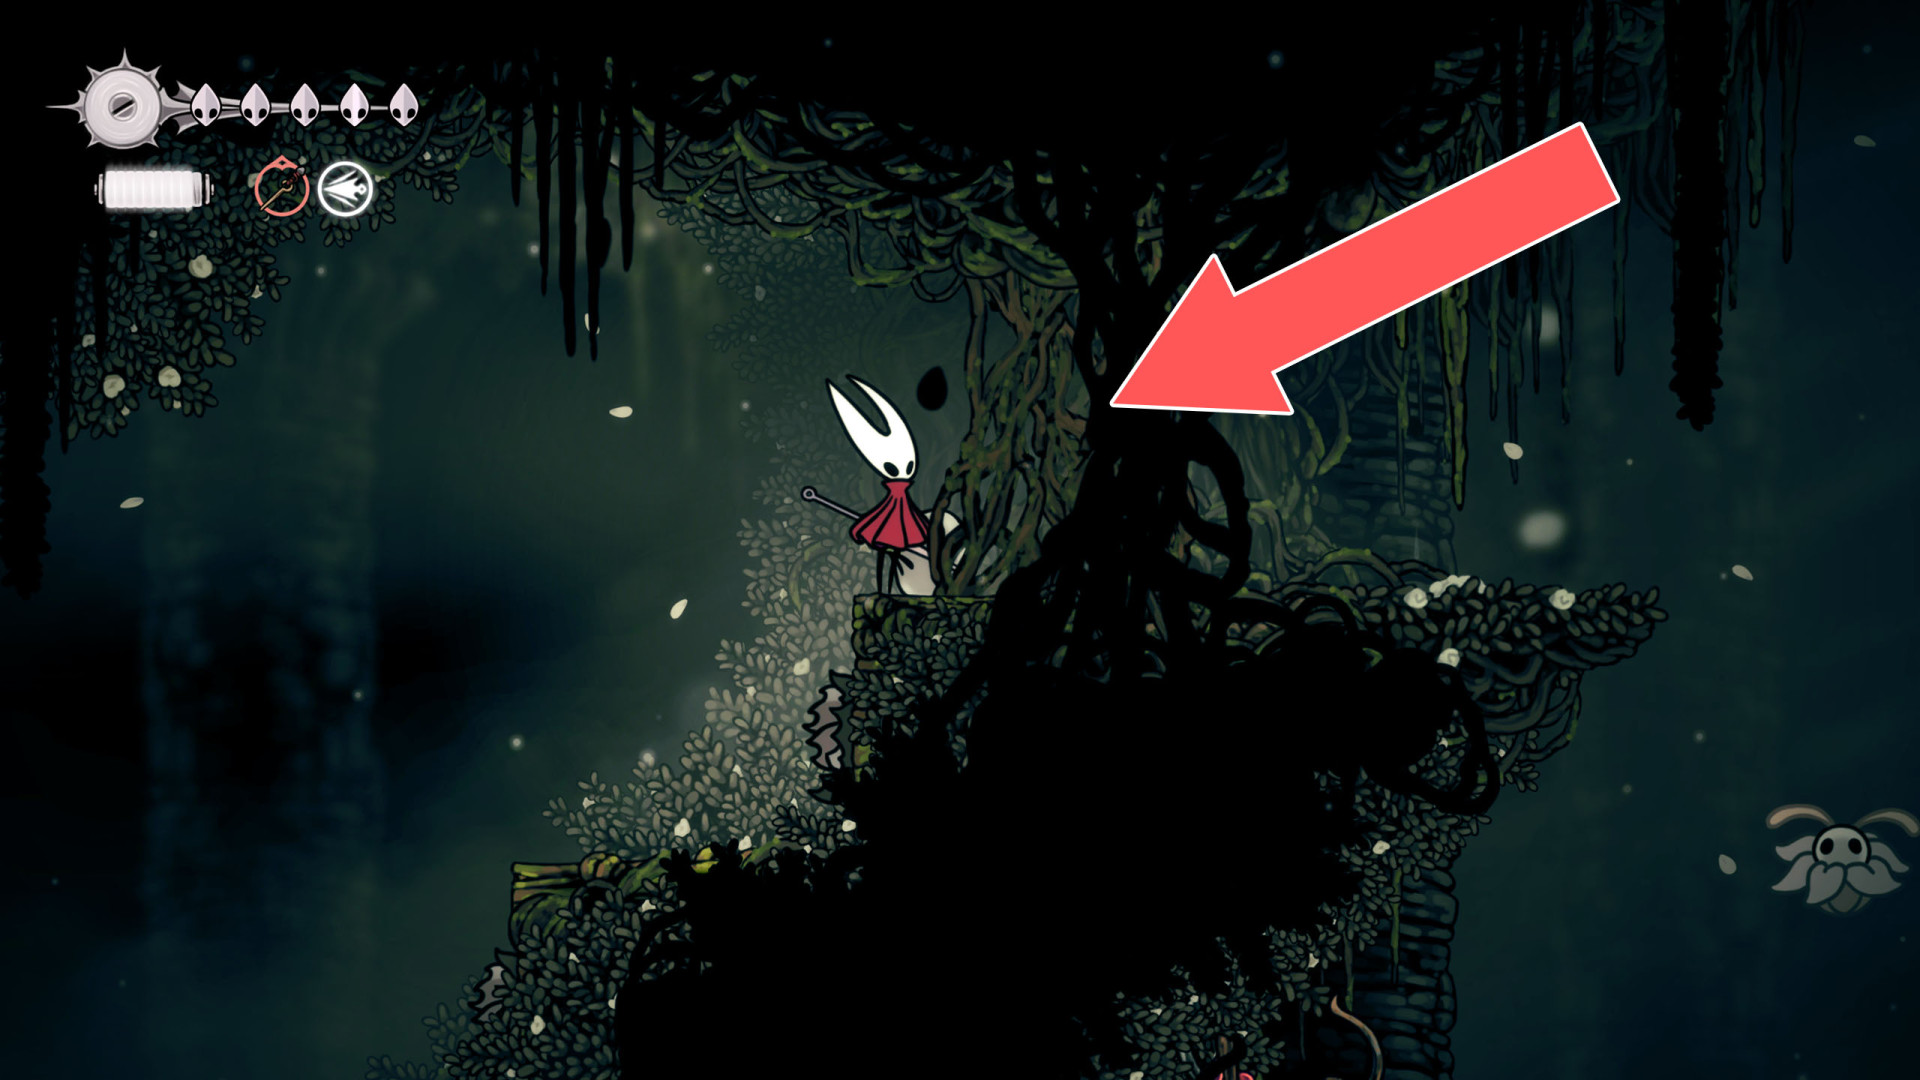
153Breakable Wall
You can destroy this roadblock and open a passage by hitting it from the east side.
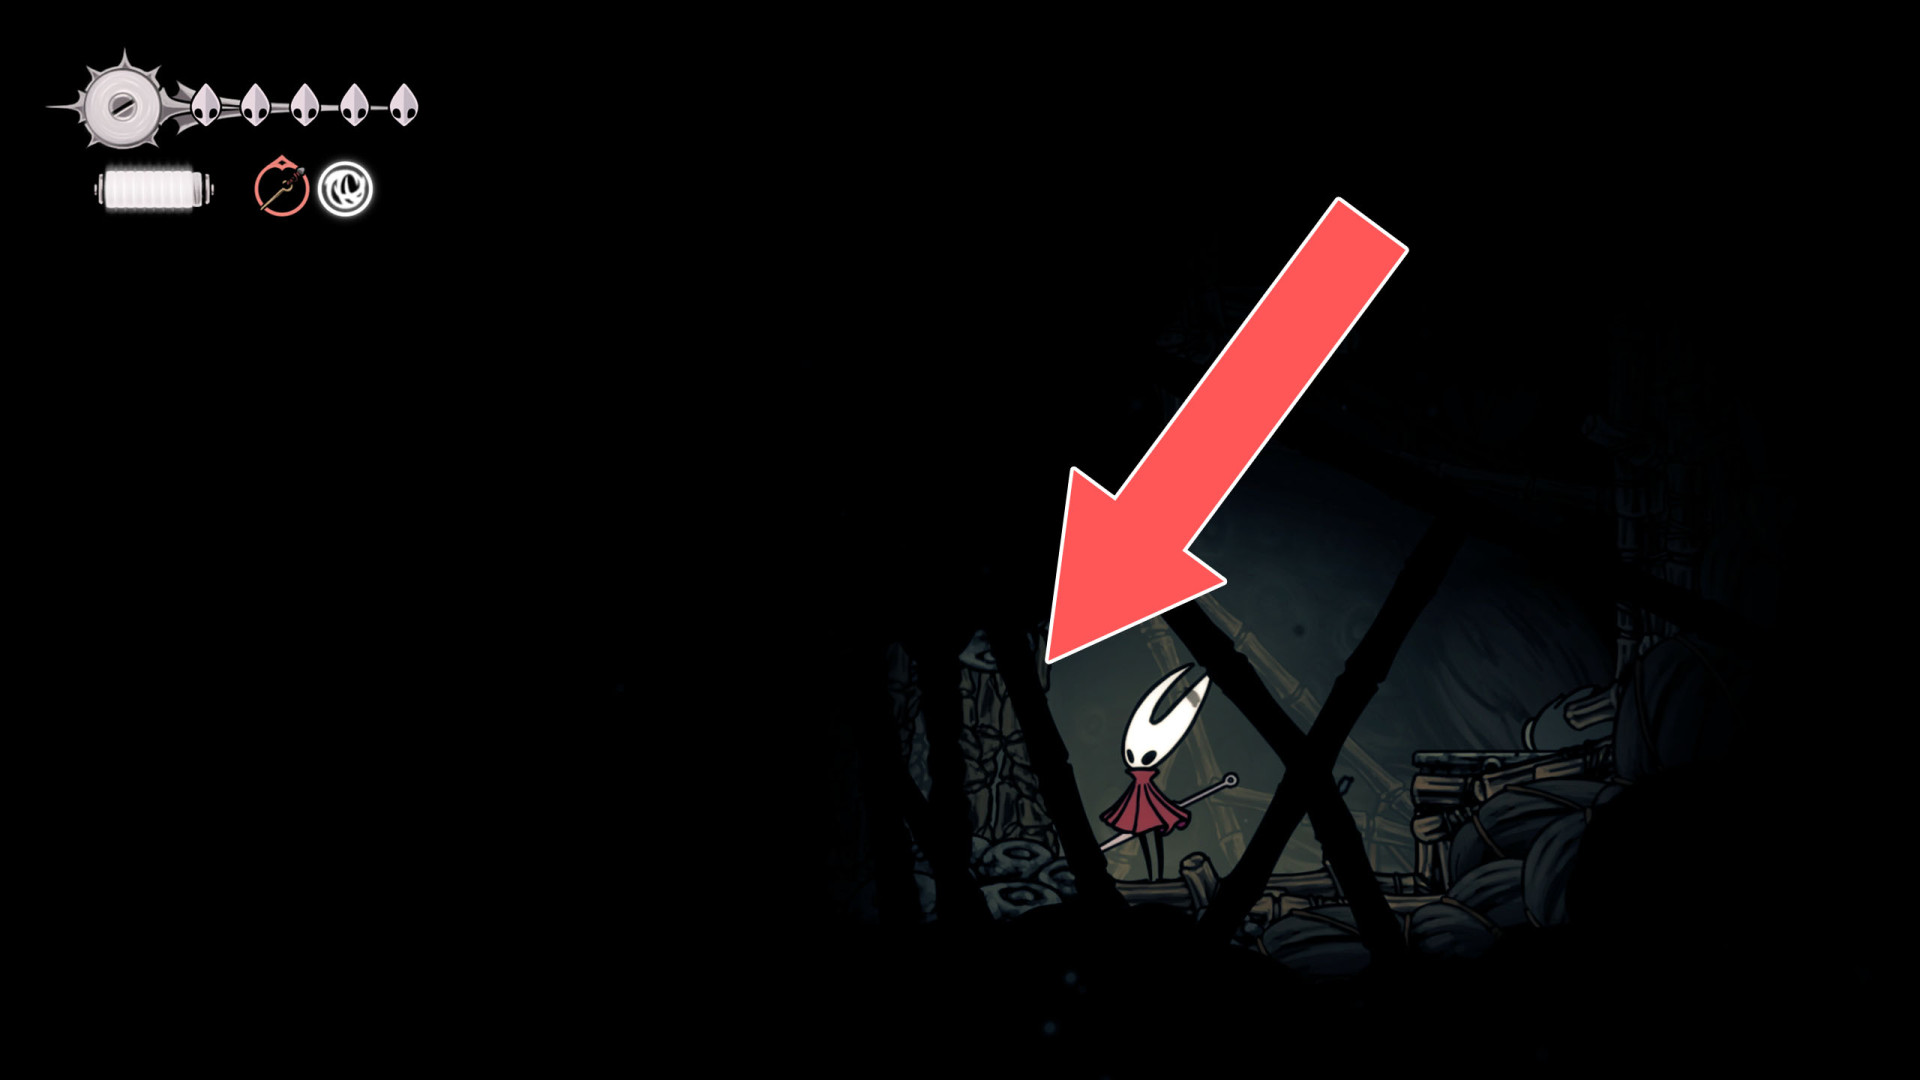
154Breakable Wall
You can destroy this roadblock by approaching it from the west.
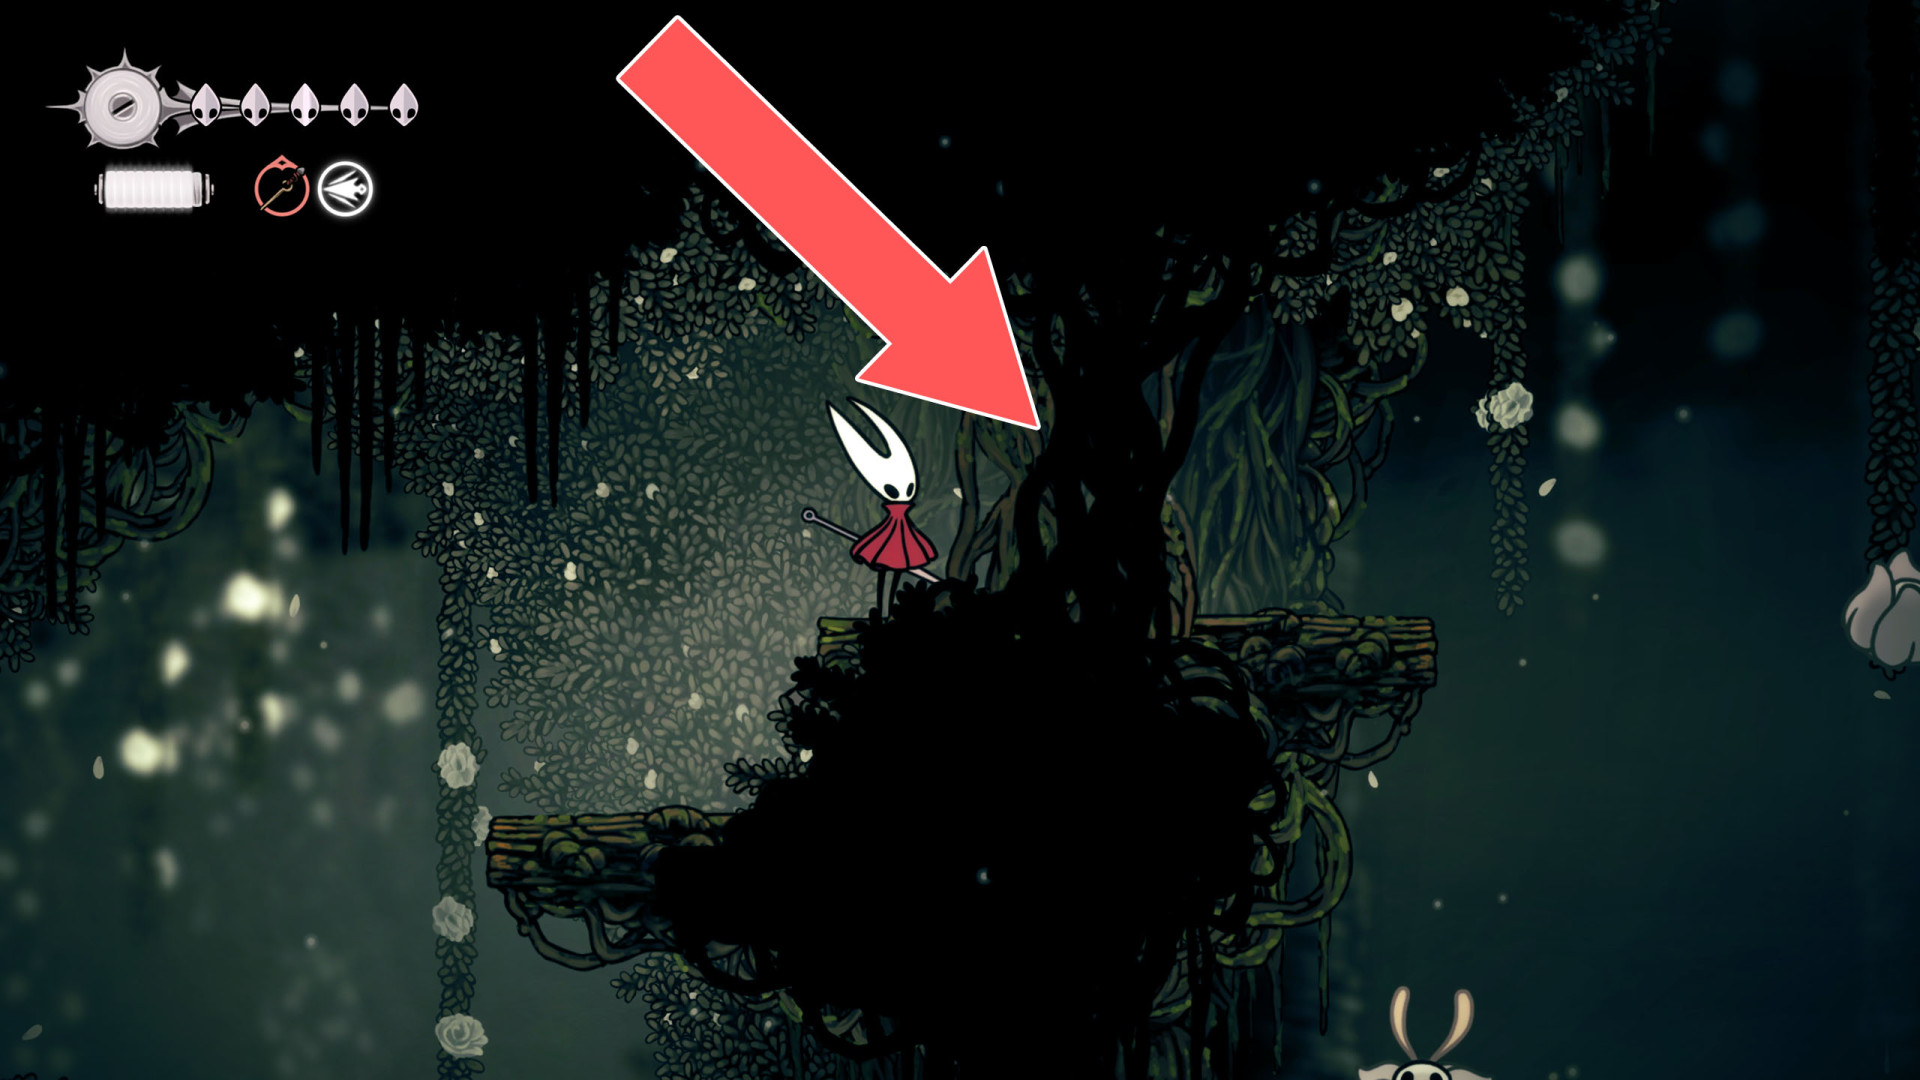
155Breakable Wall
You can destroy this roadblock by approaching it from the west.
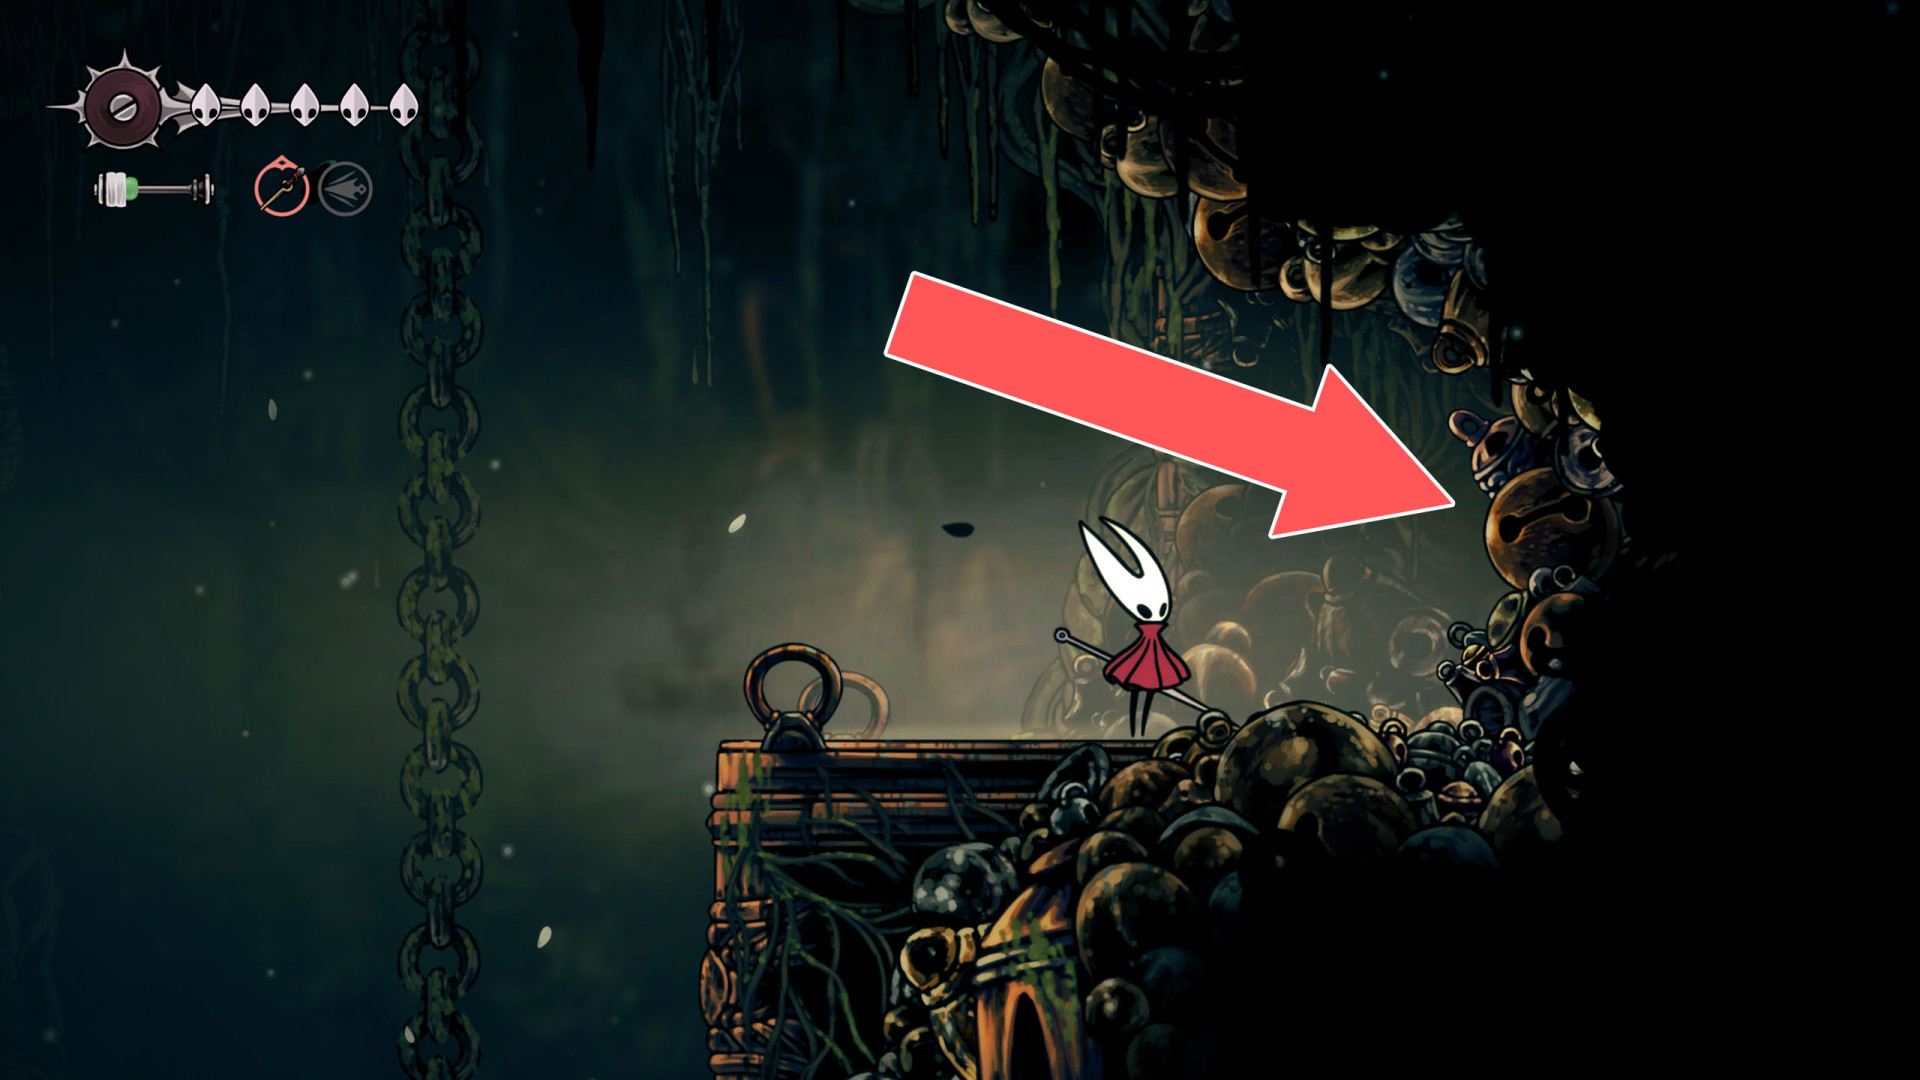
156Breakable Wall
You can destroy this roadblock by approaching it from the west.
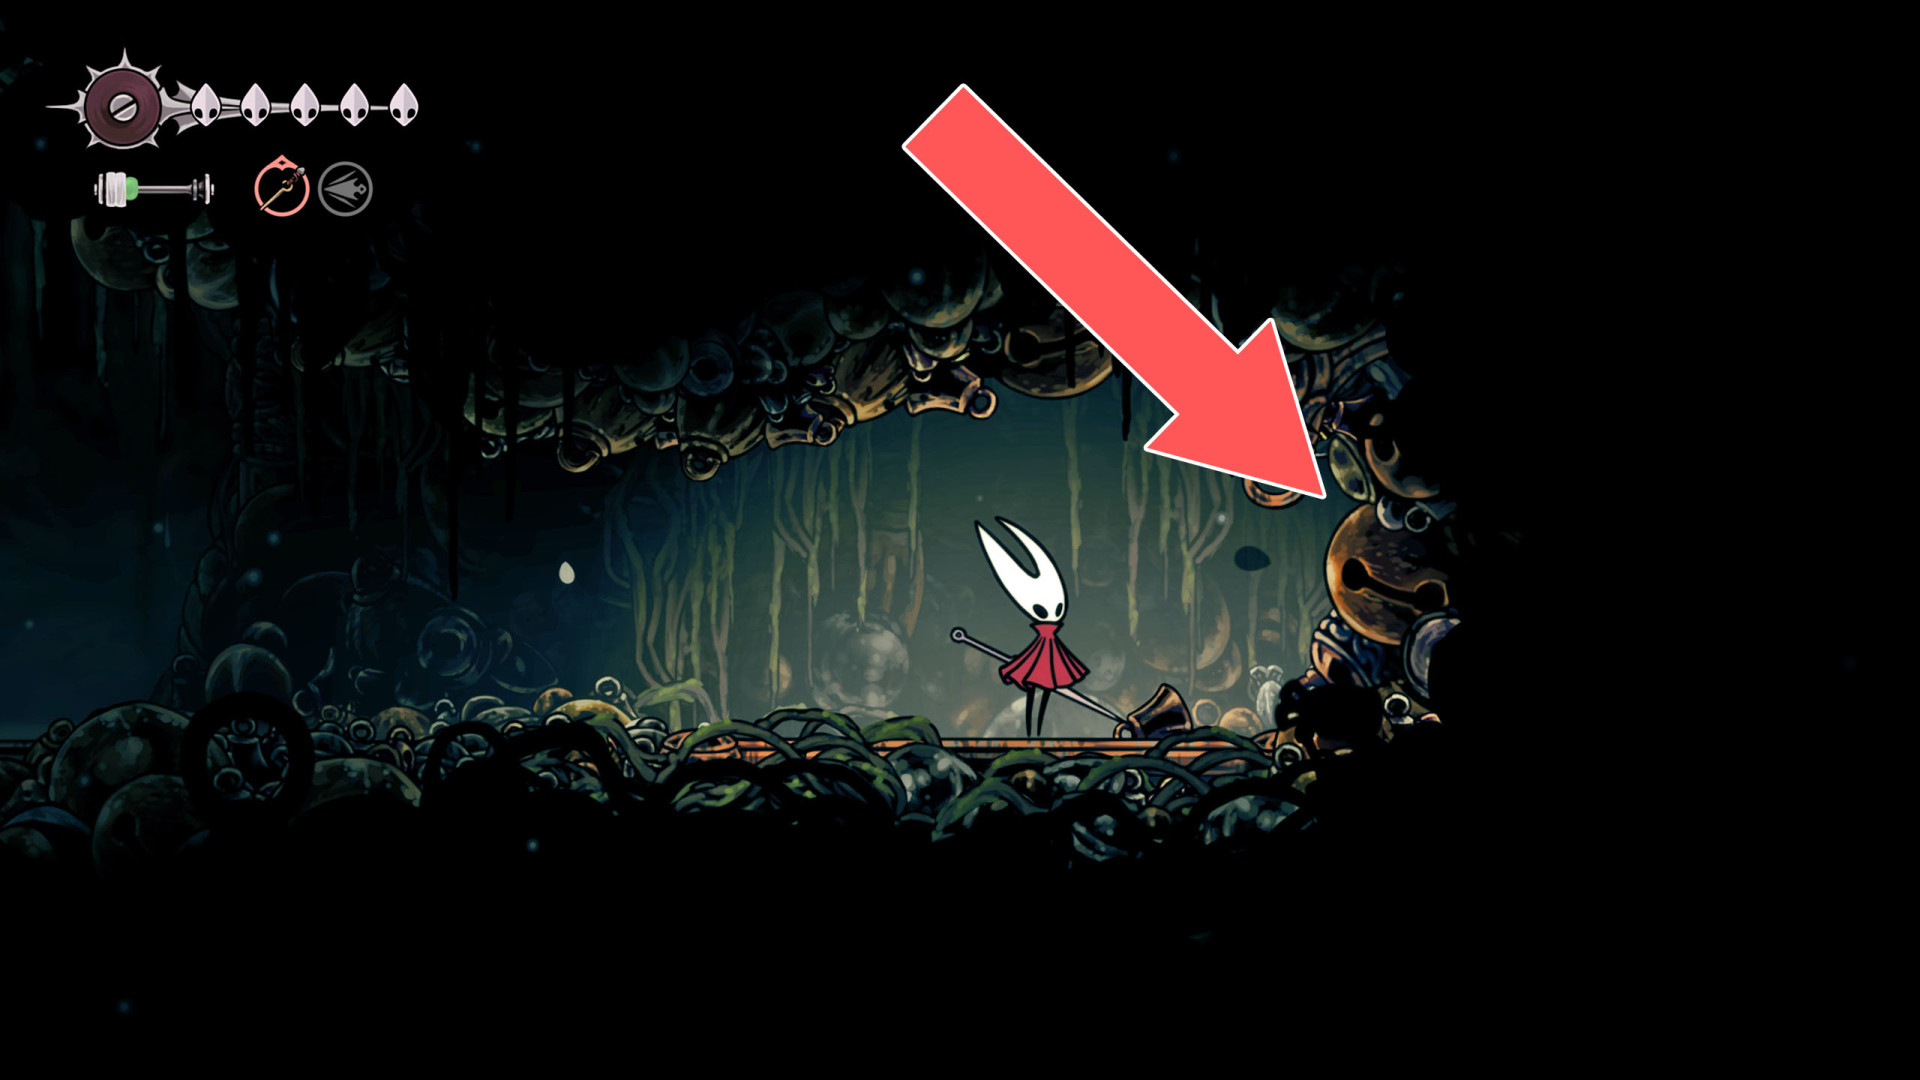
157Breakable Wall
You can destroy this roadblock by approaching it from the west.
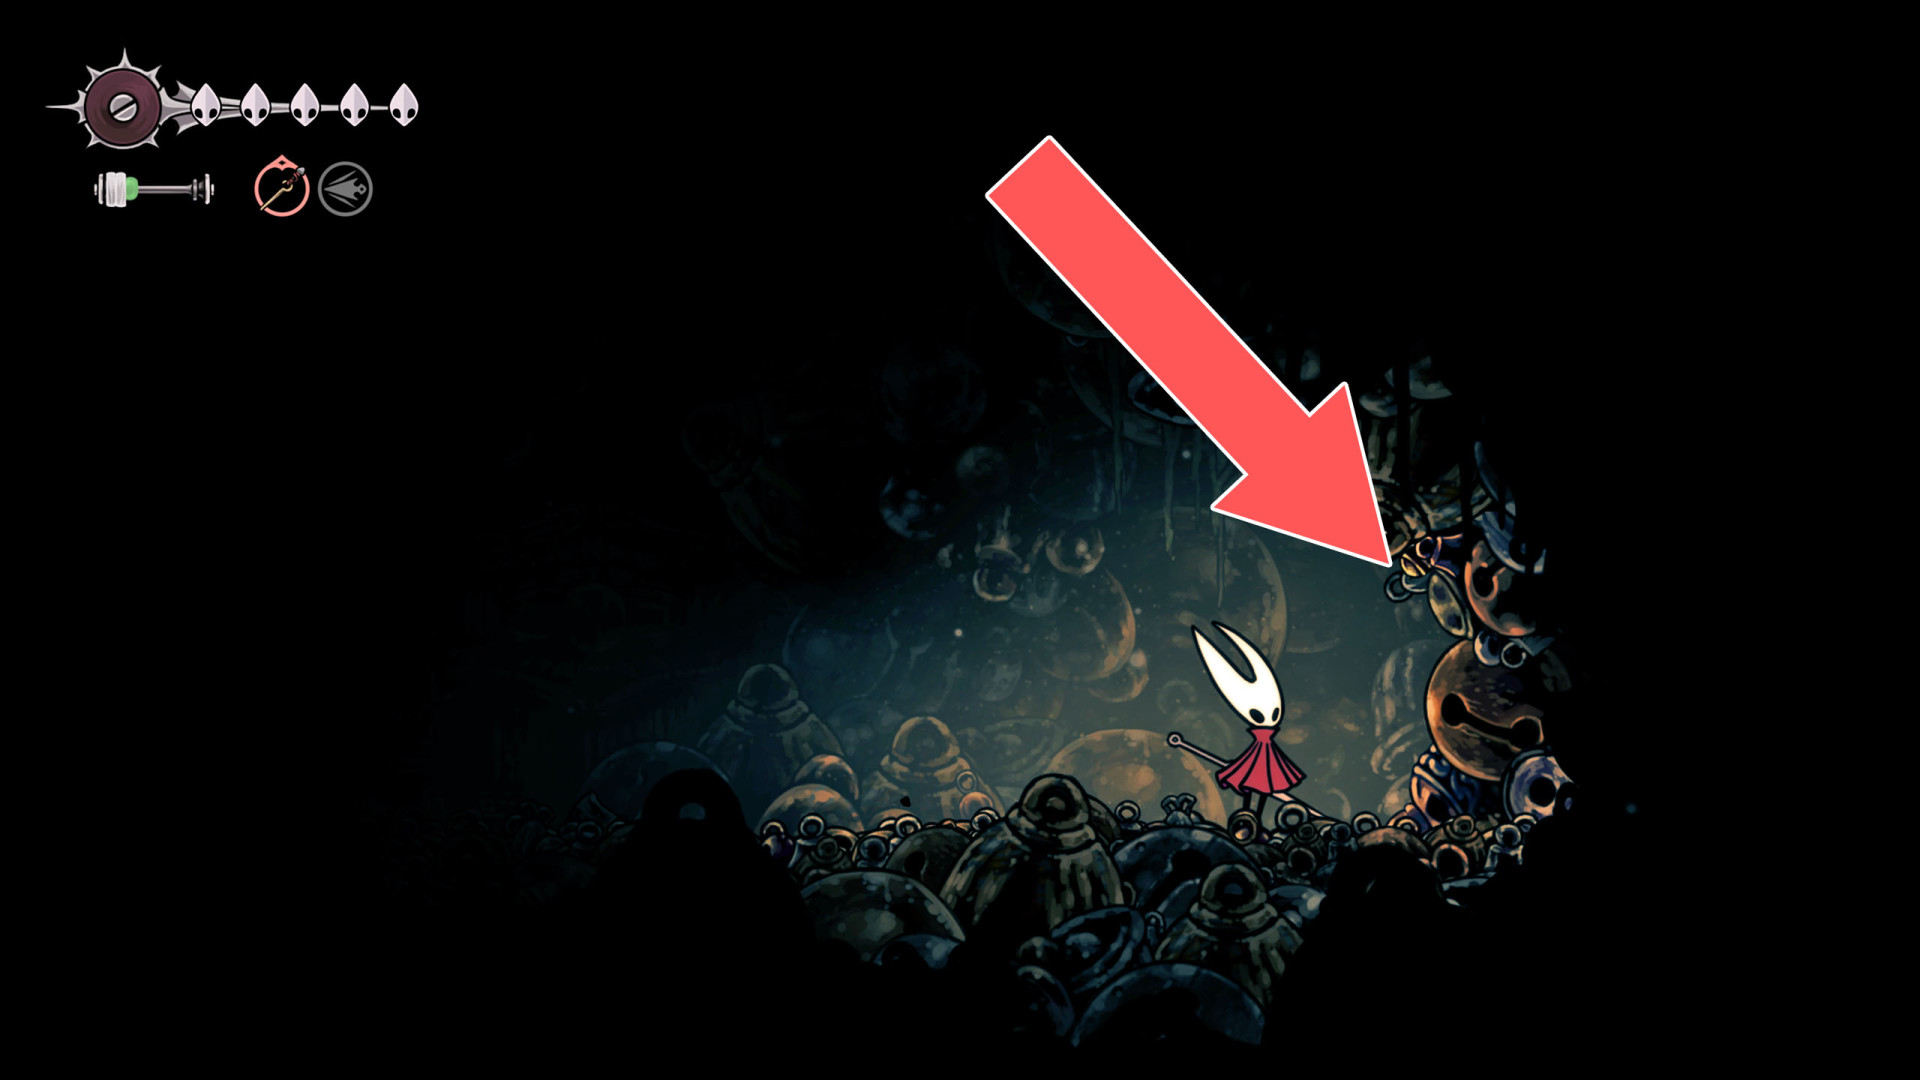
158Breakable Wall
You can destroy this roadblock by approaching it from the west.
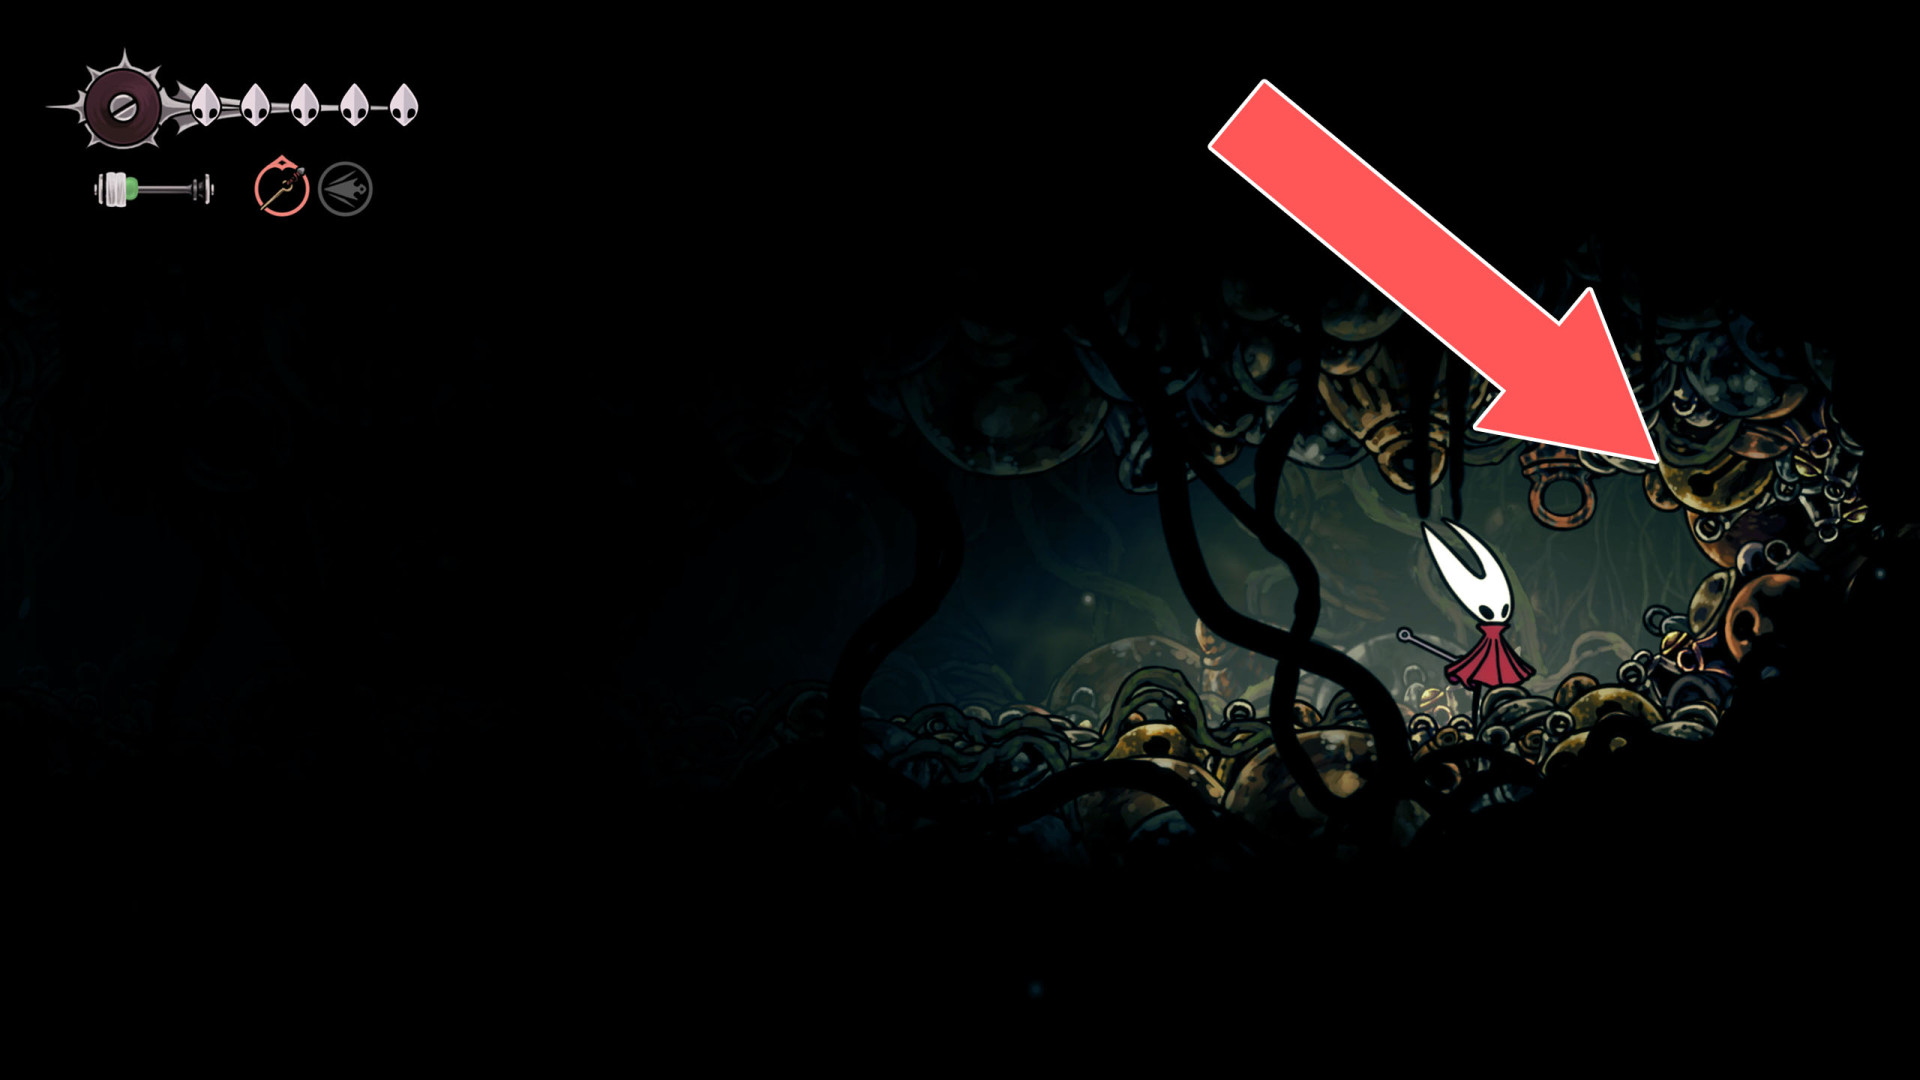
159Breakable Wall
You can destroy this roadblock by approaching it from the east.
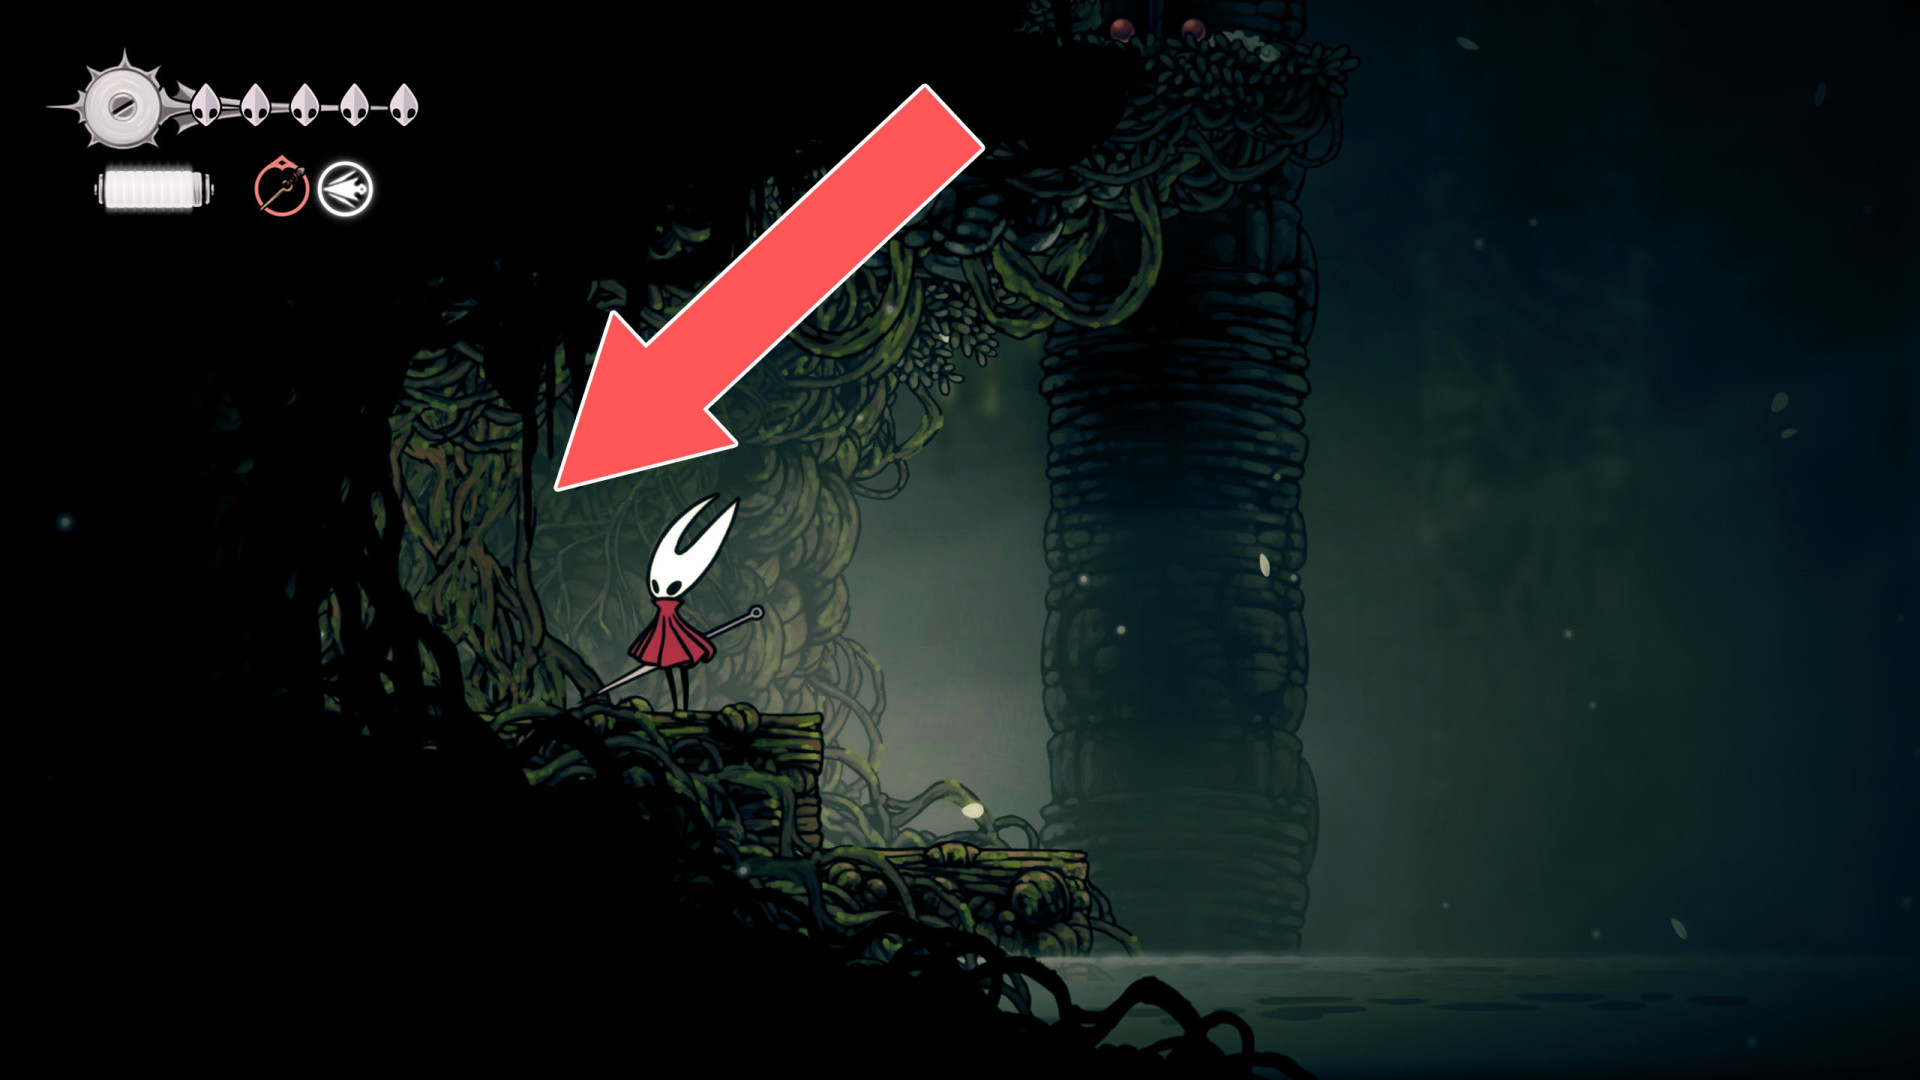
160Breakable Wall
You can destroy this wall and open a passage by hitting it from the west side.
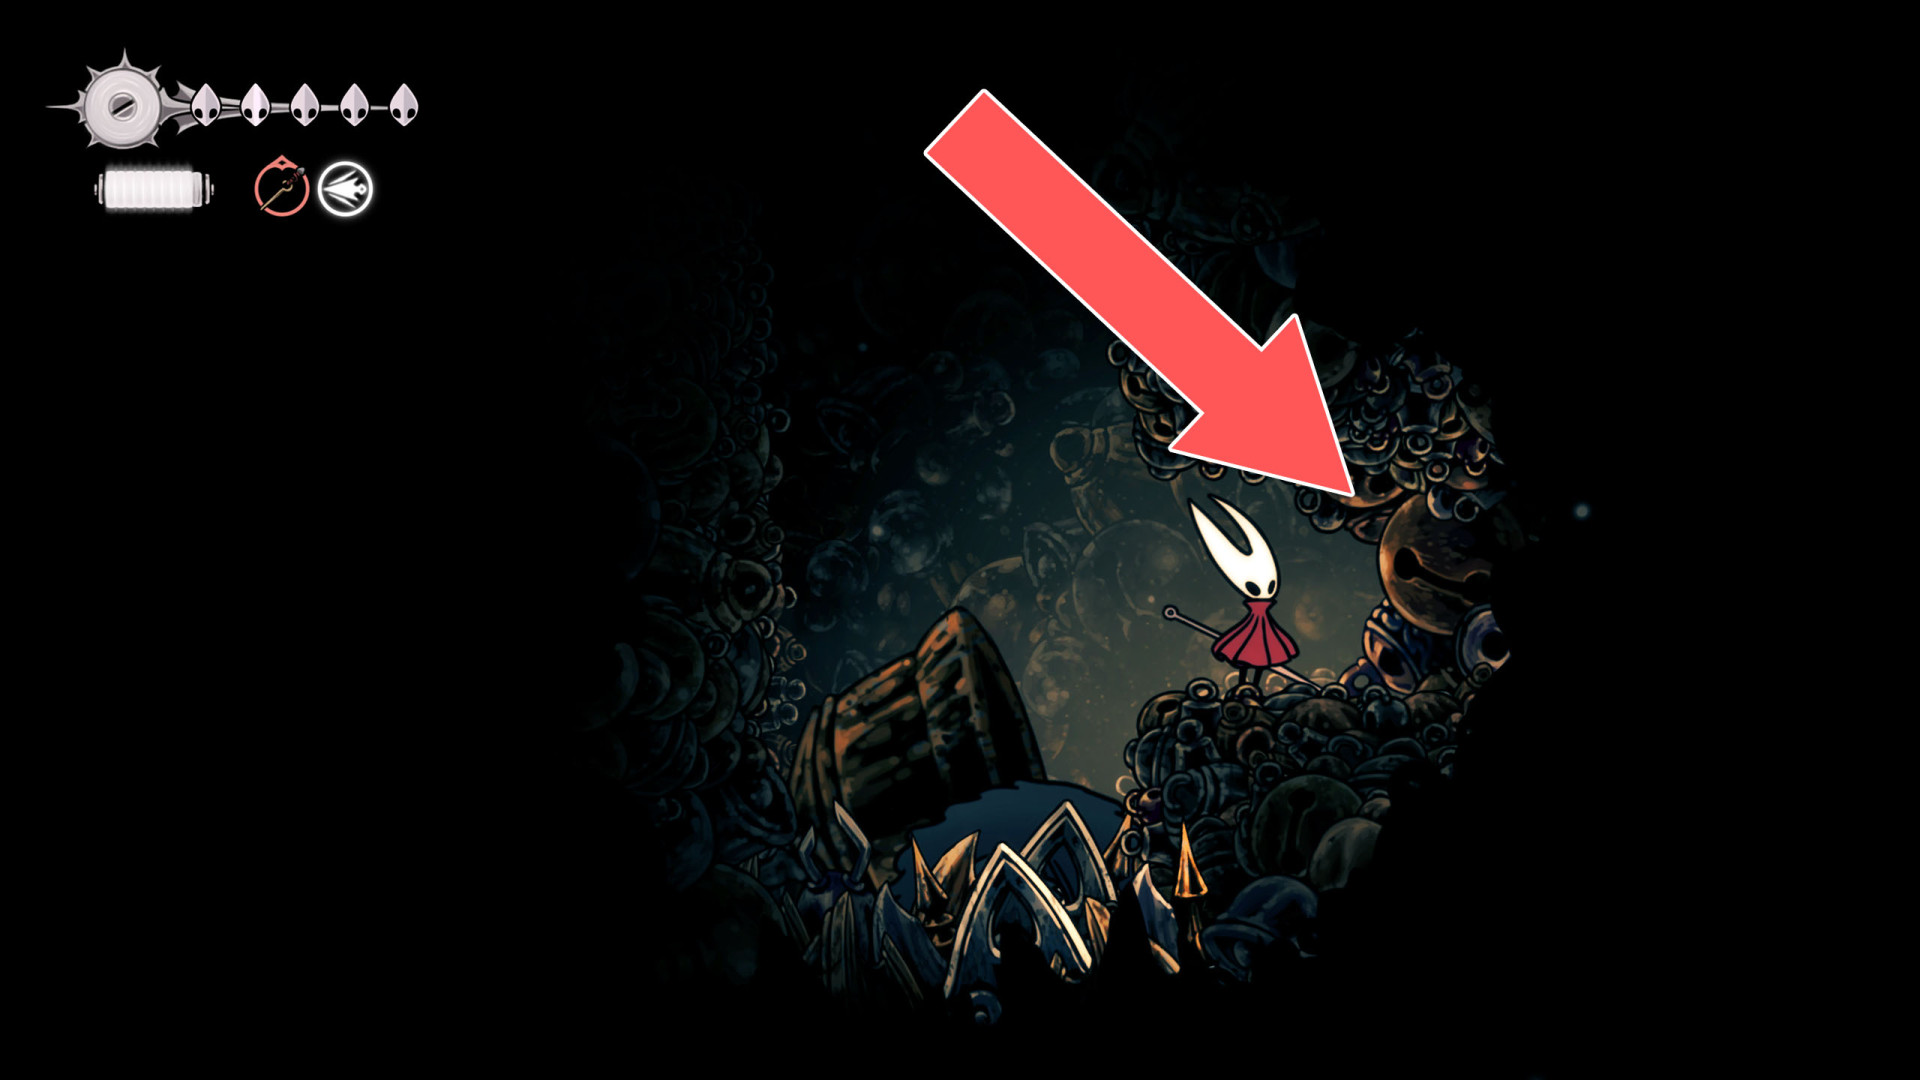
161Breakable Wall
You can destroy this roadblock and open a passage by hitting it from the west side.
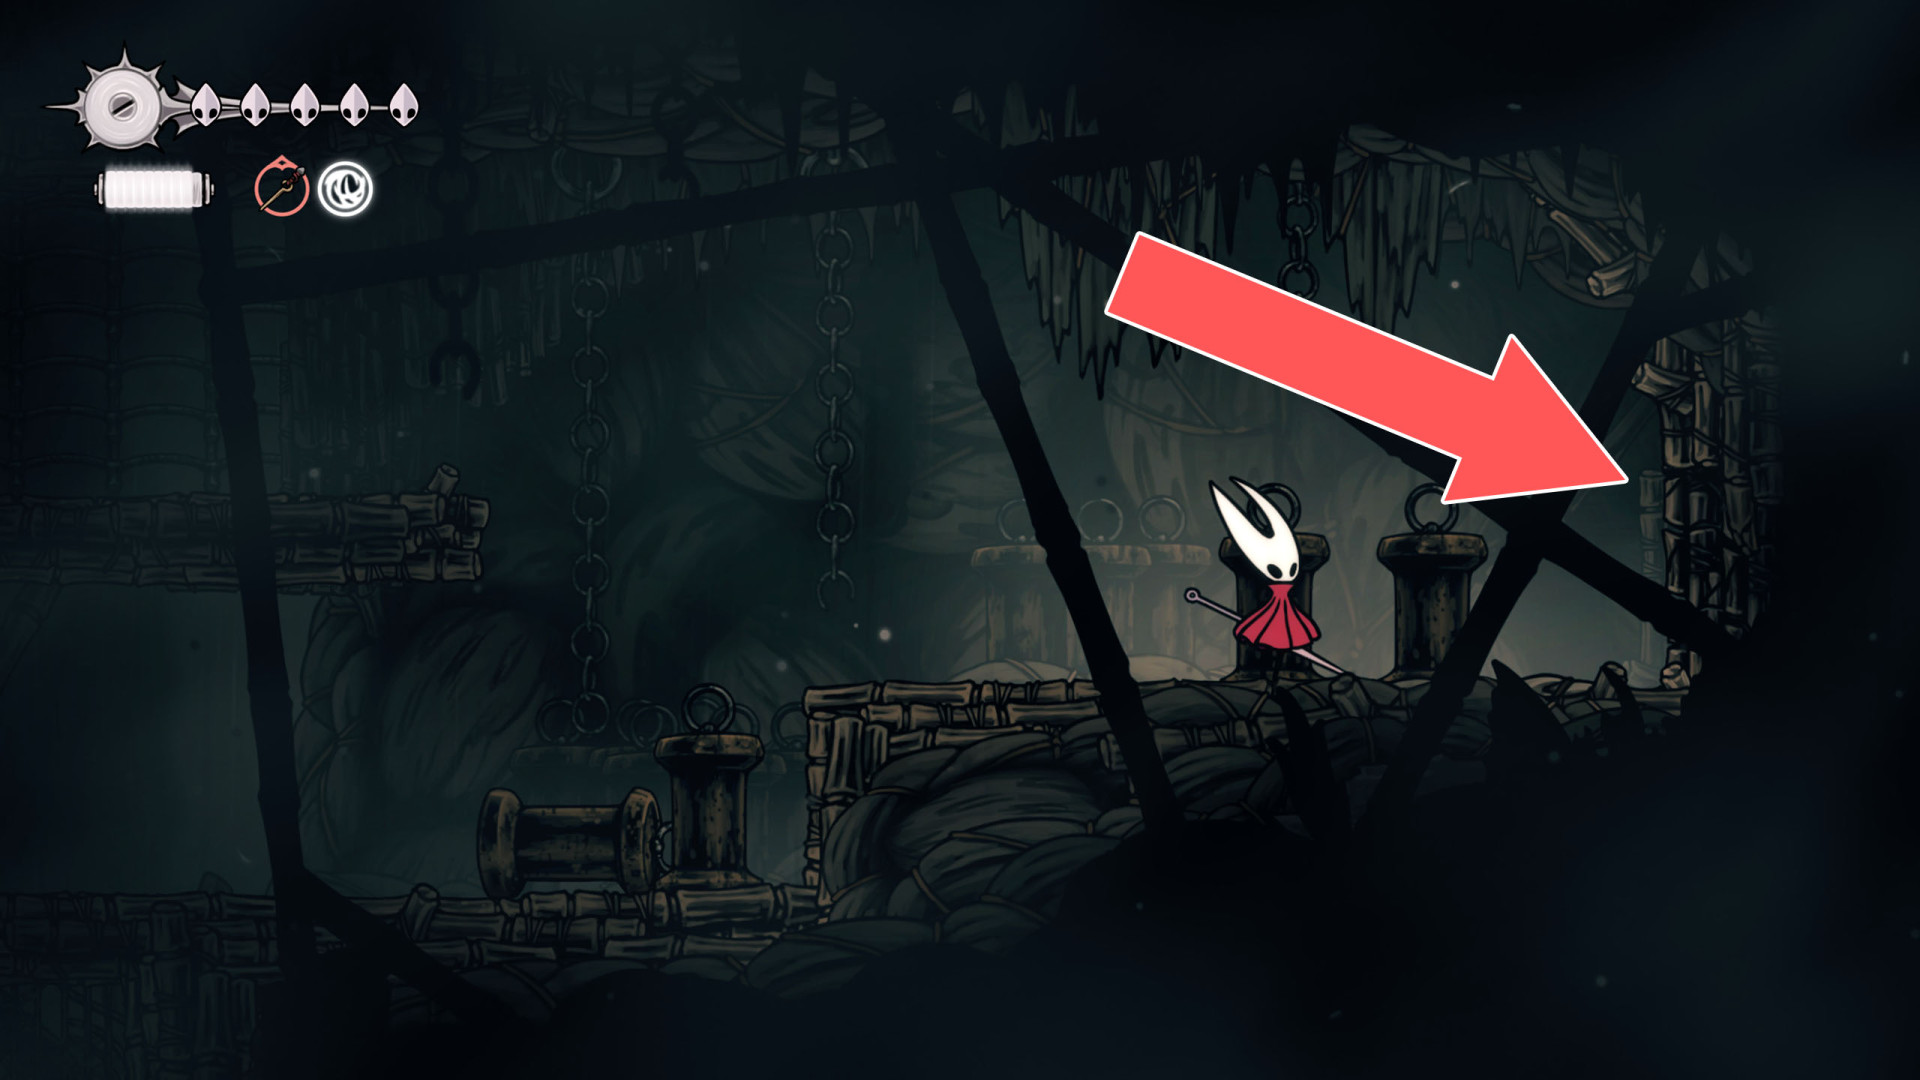
162Breakable Wall
You can destroy this wall and open a passage by hitting it from the west side.
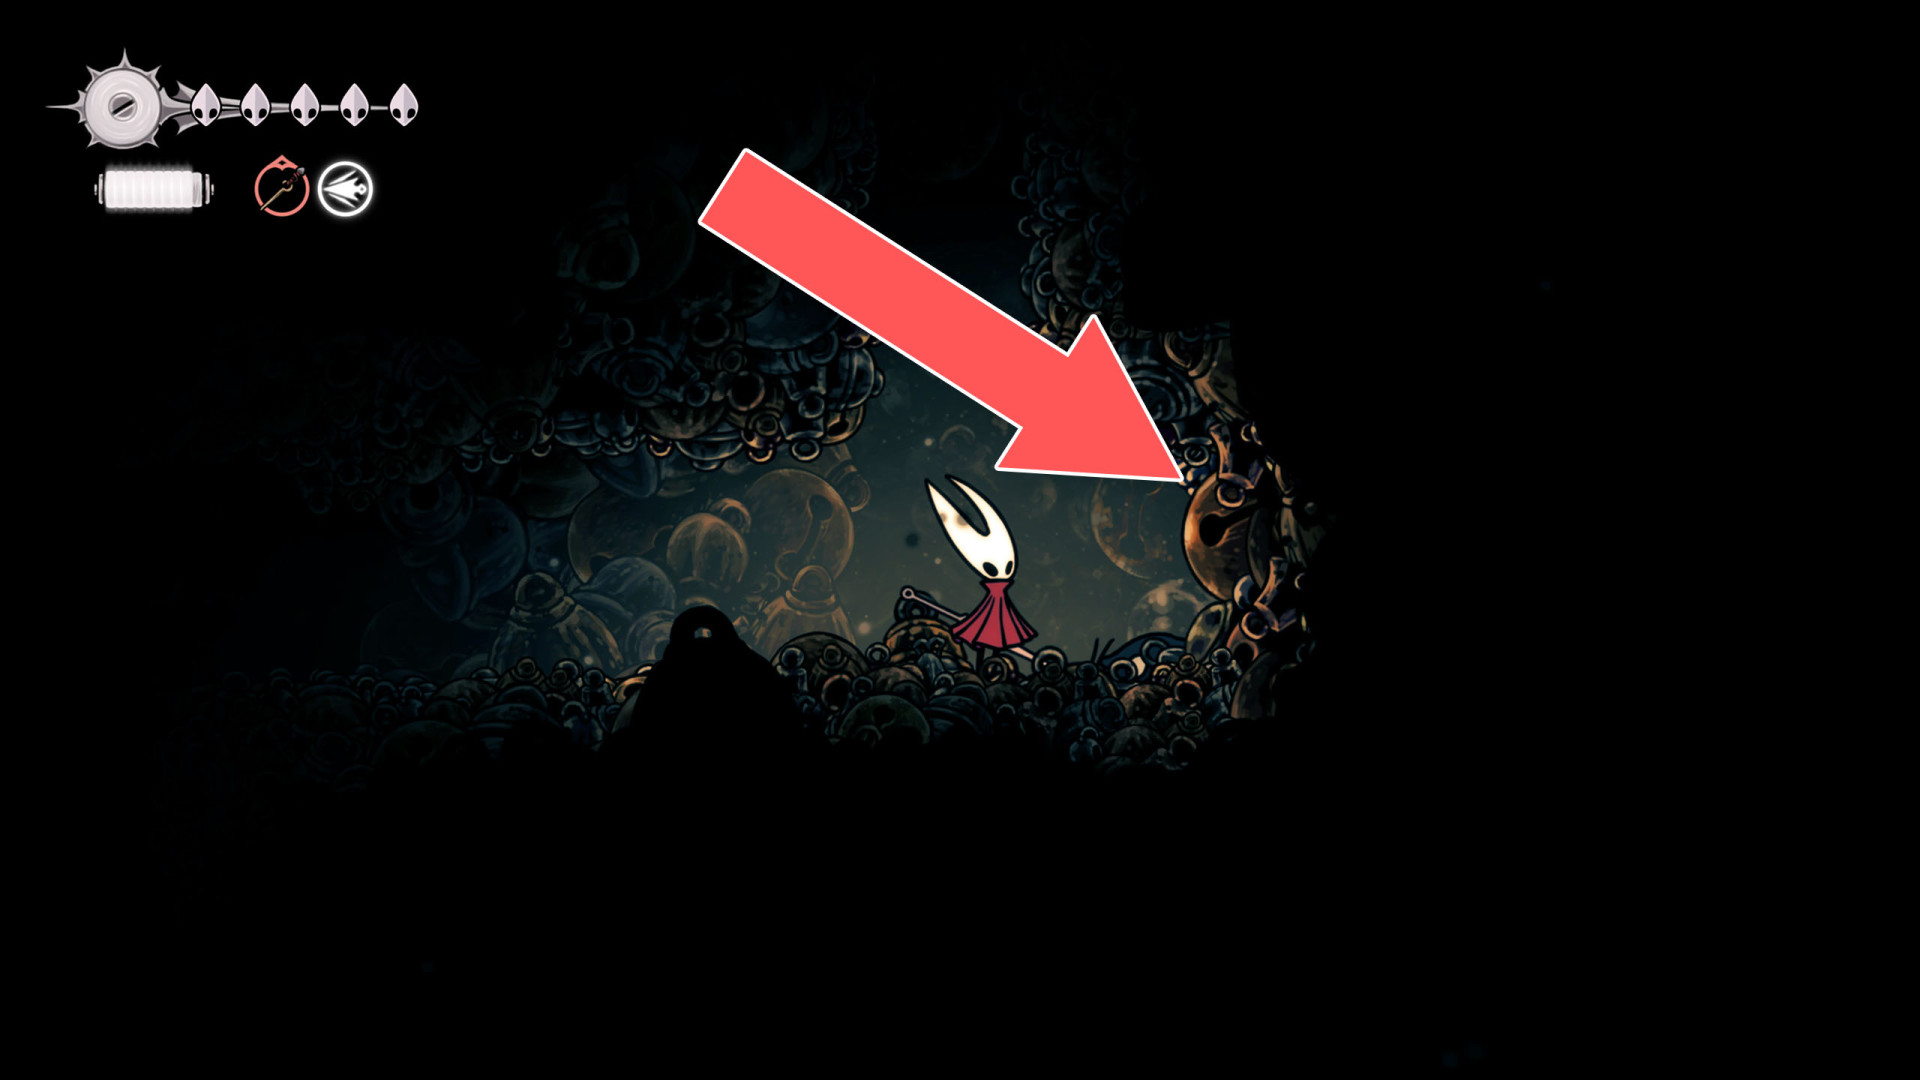
163Breakable Wall
You can destroy this wall and open a passage by hitting it from the east side.
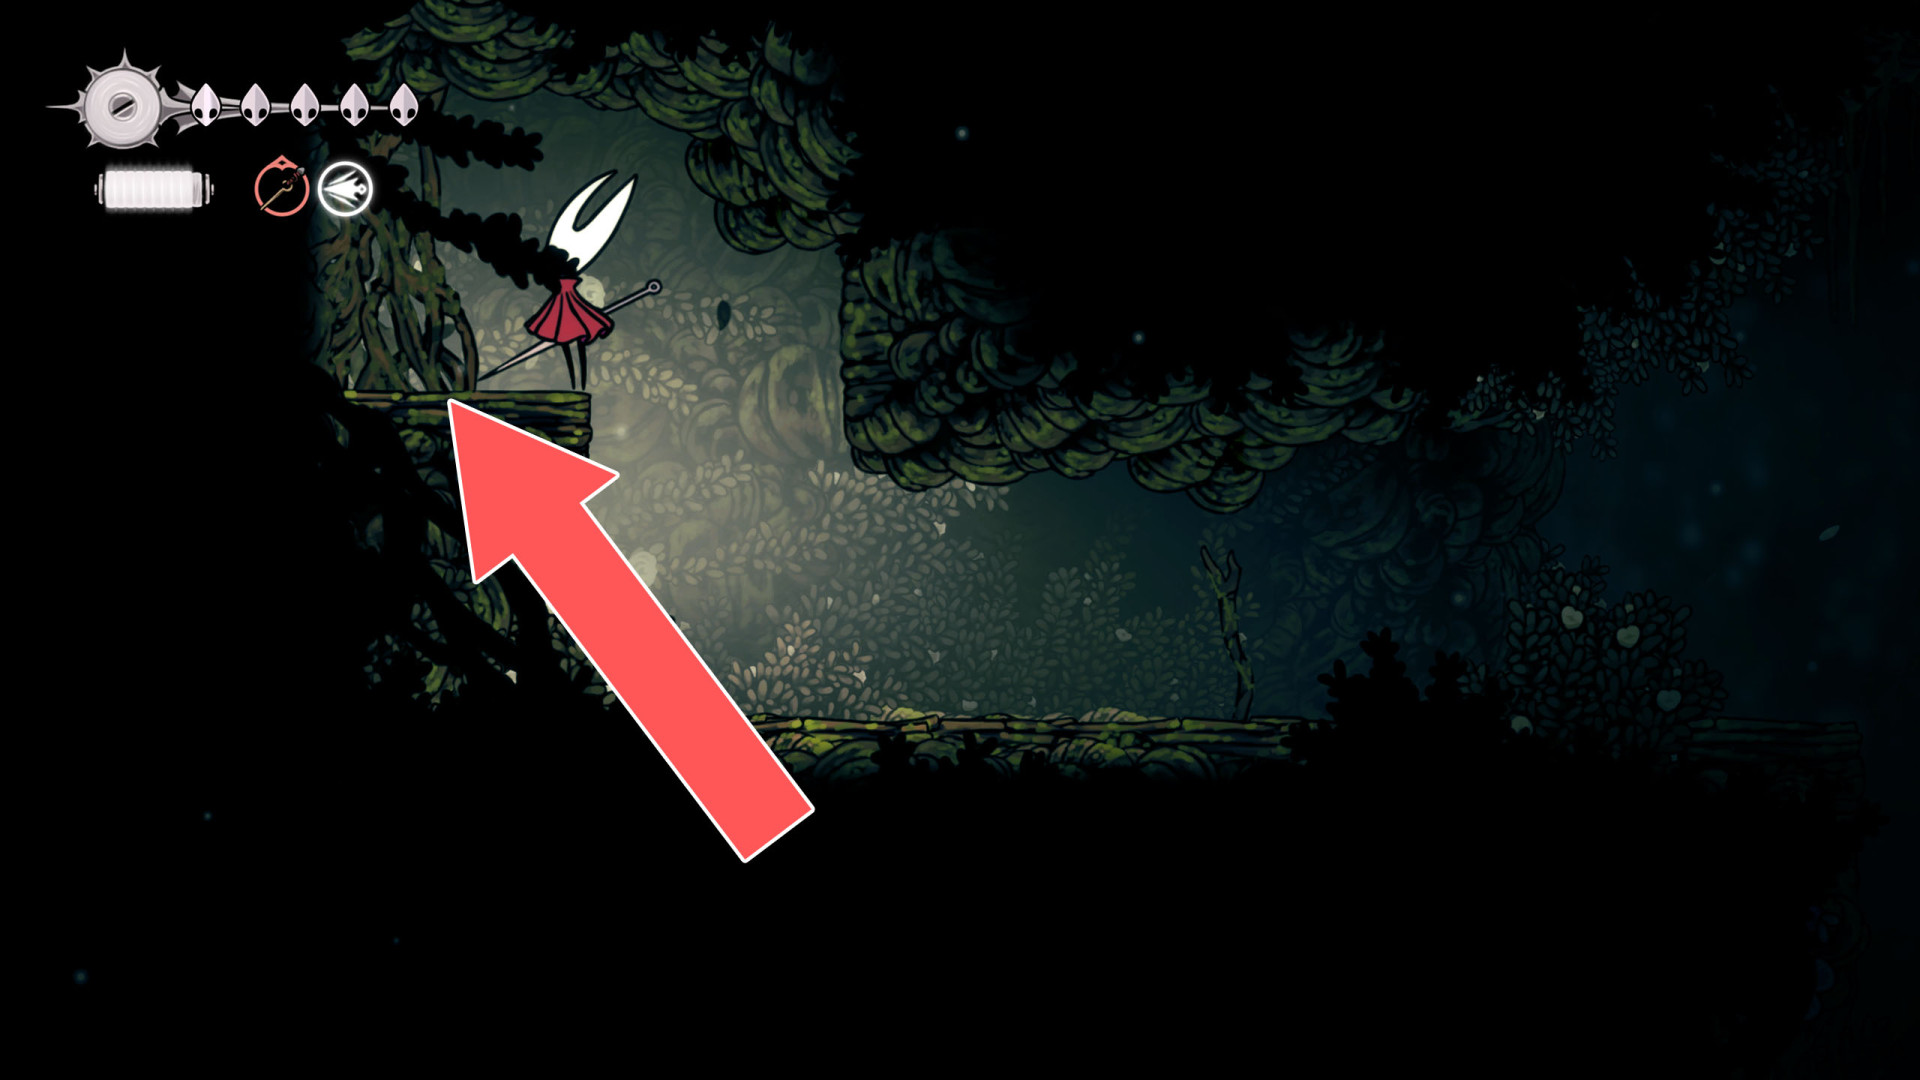
164Breakable Wall
You can destroy this roadblock by approaching it from the east.
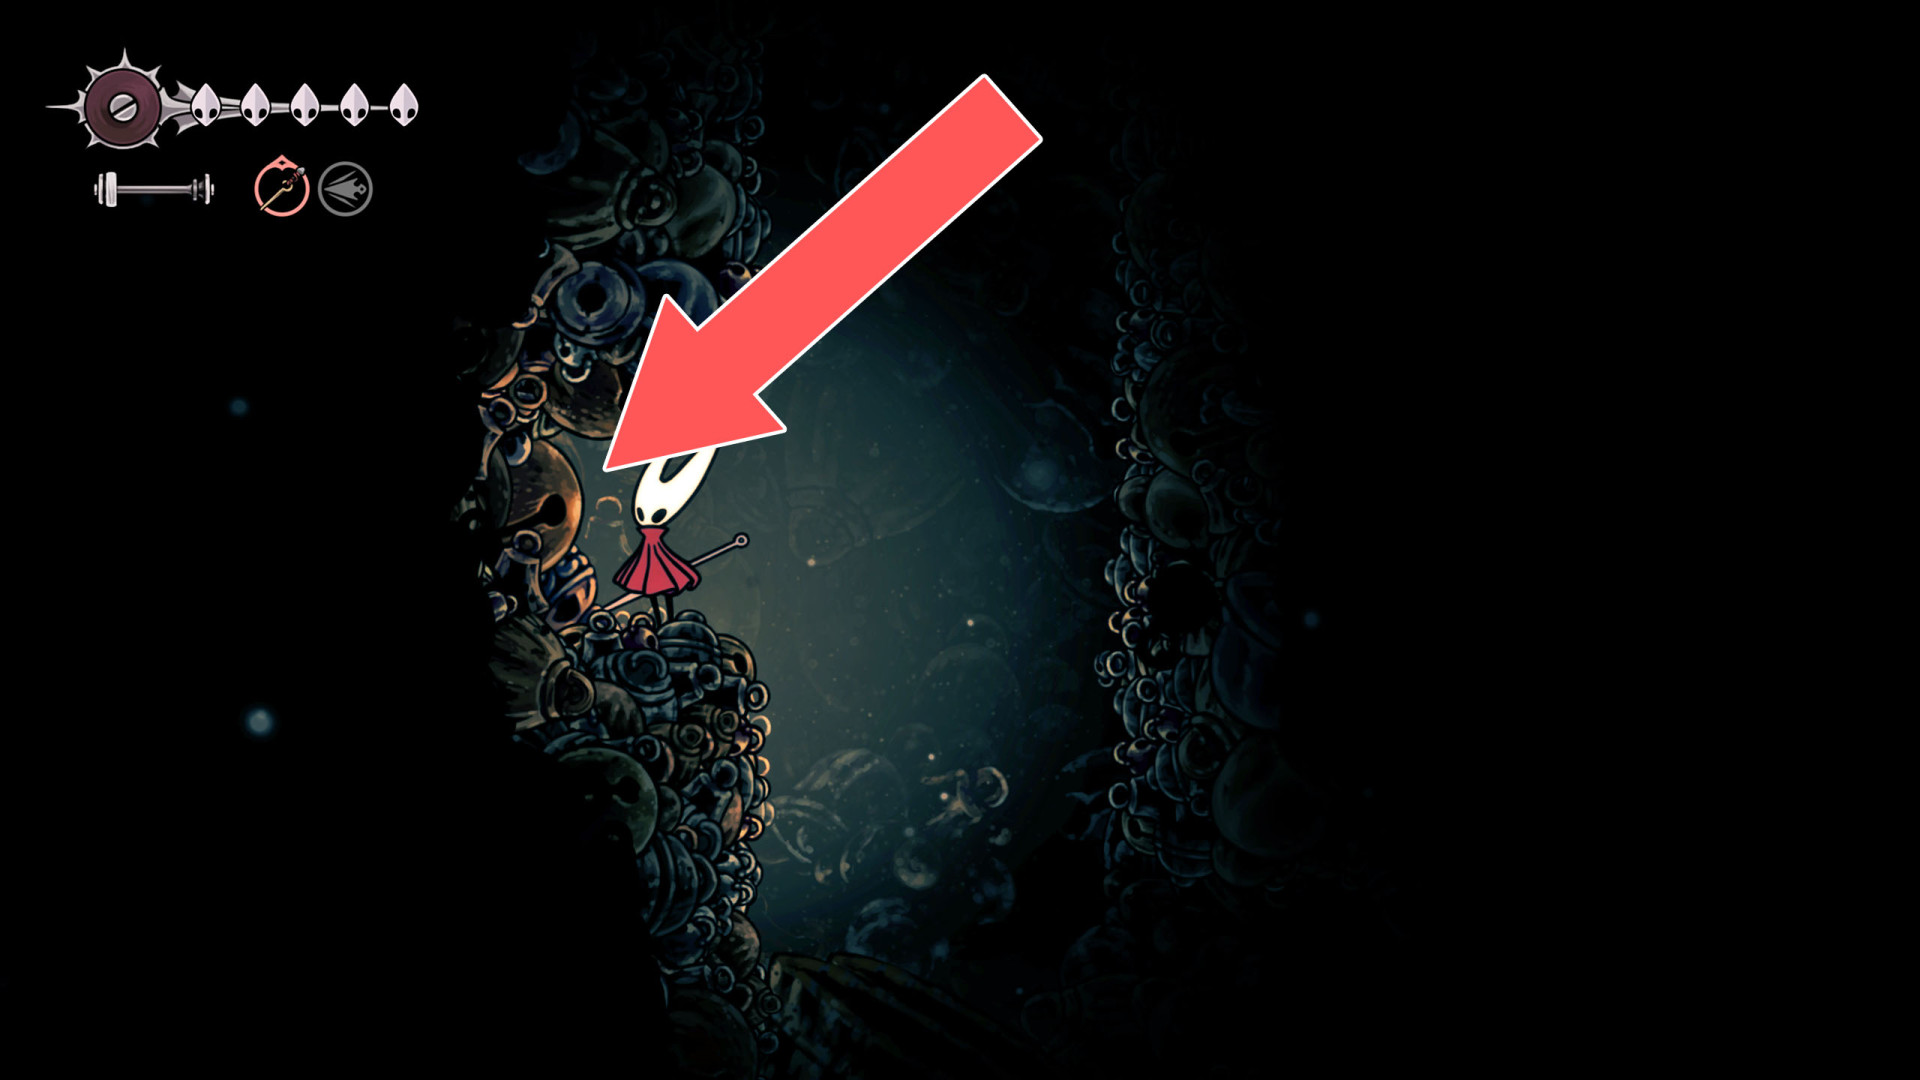
165Breakable Wall
You can destroy this roadblock by approaching it from the west.
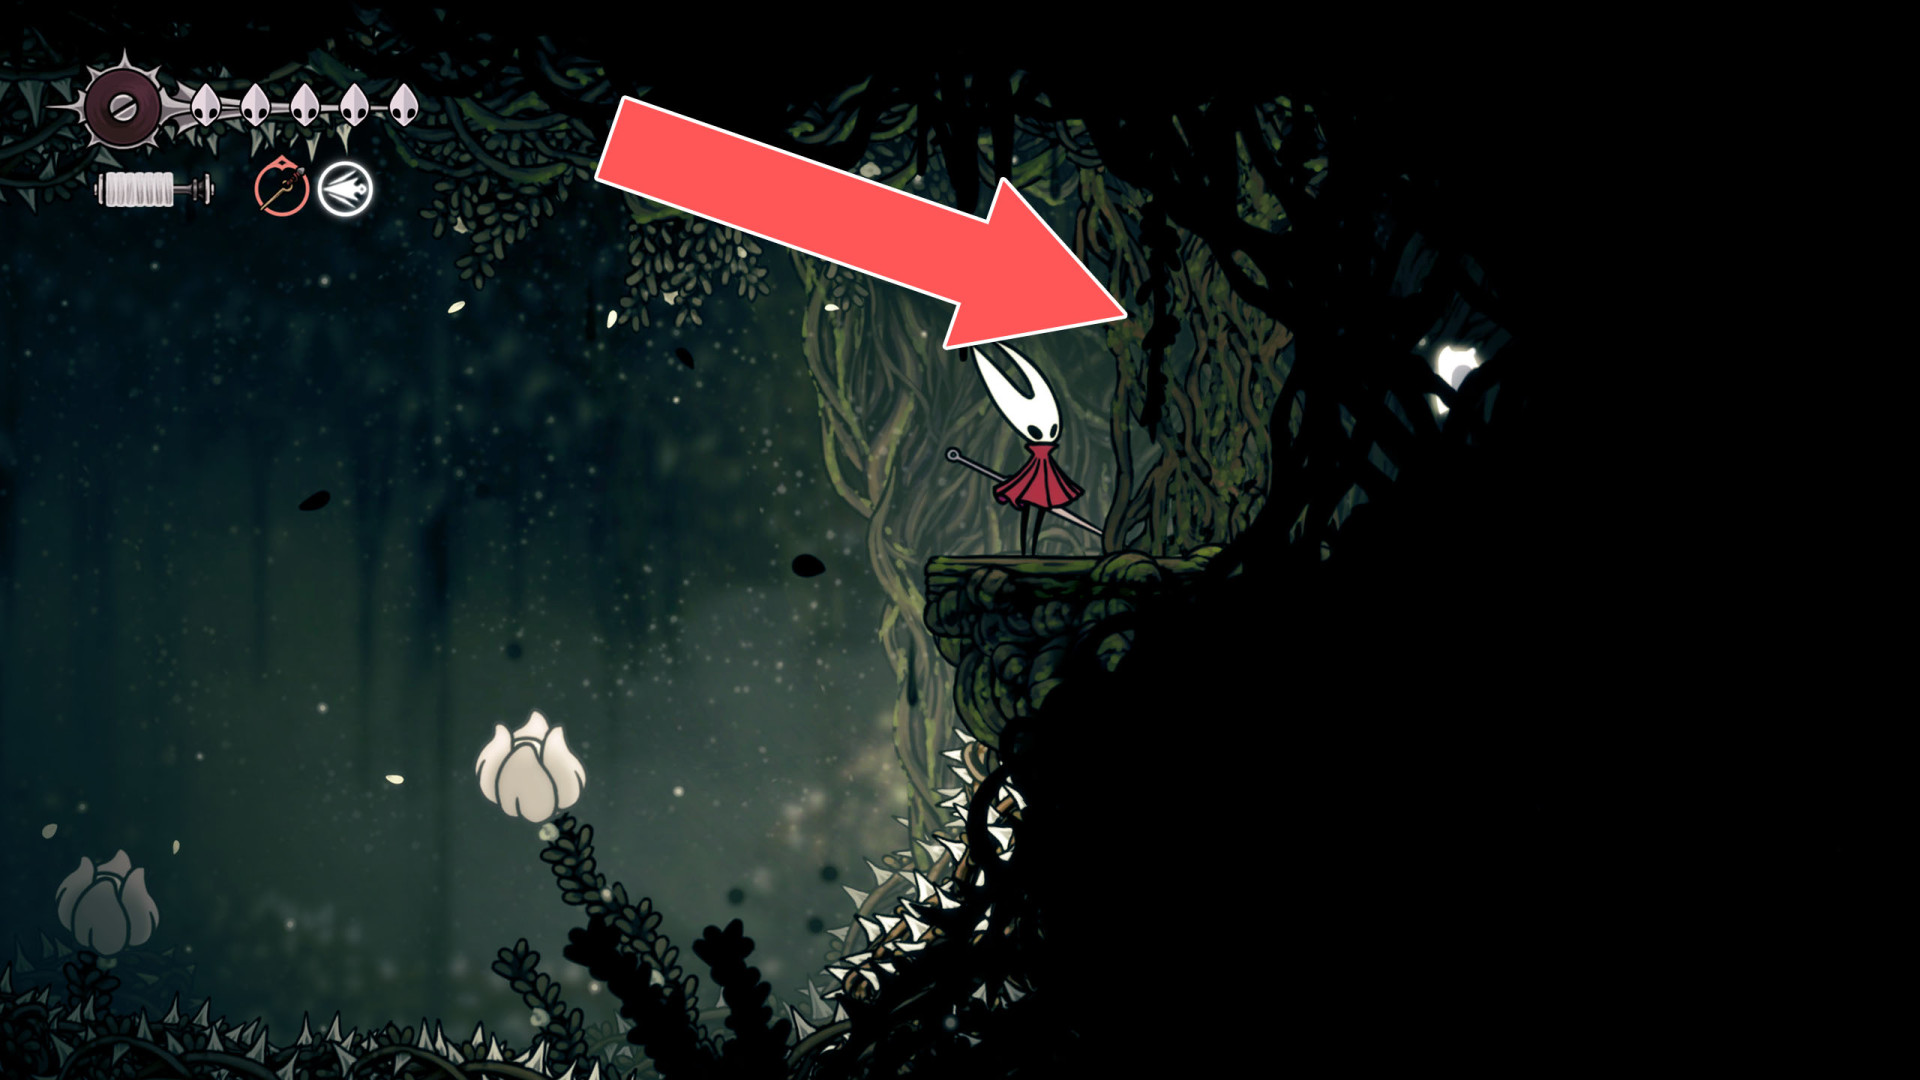
166Breakable Wall
You can destroy this wall and open a passage by hitting it from the east side.
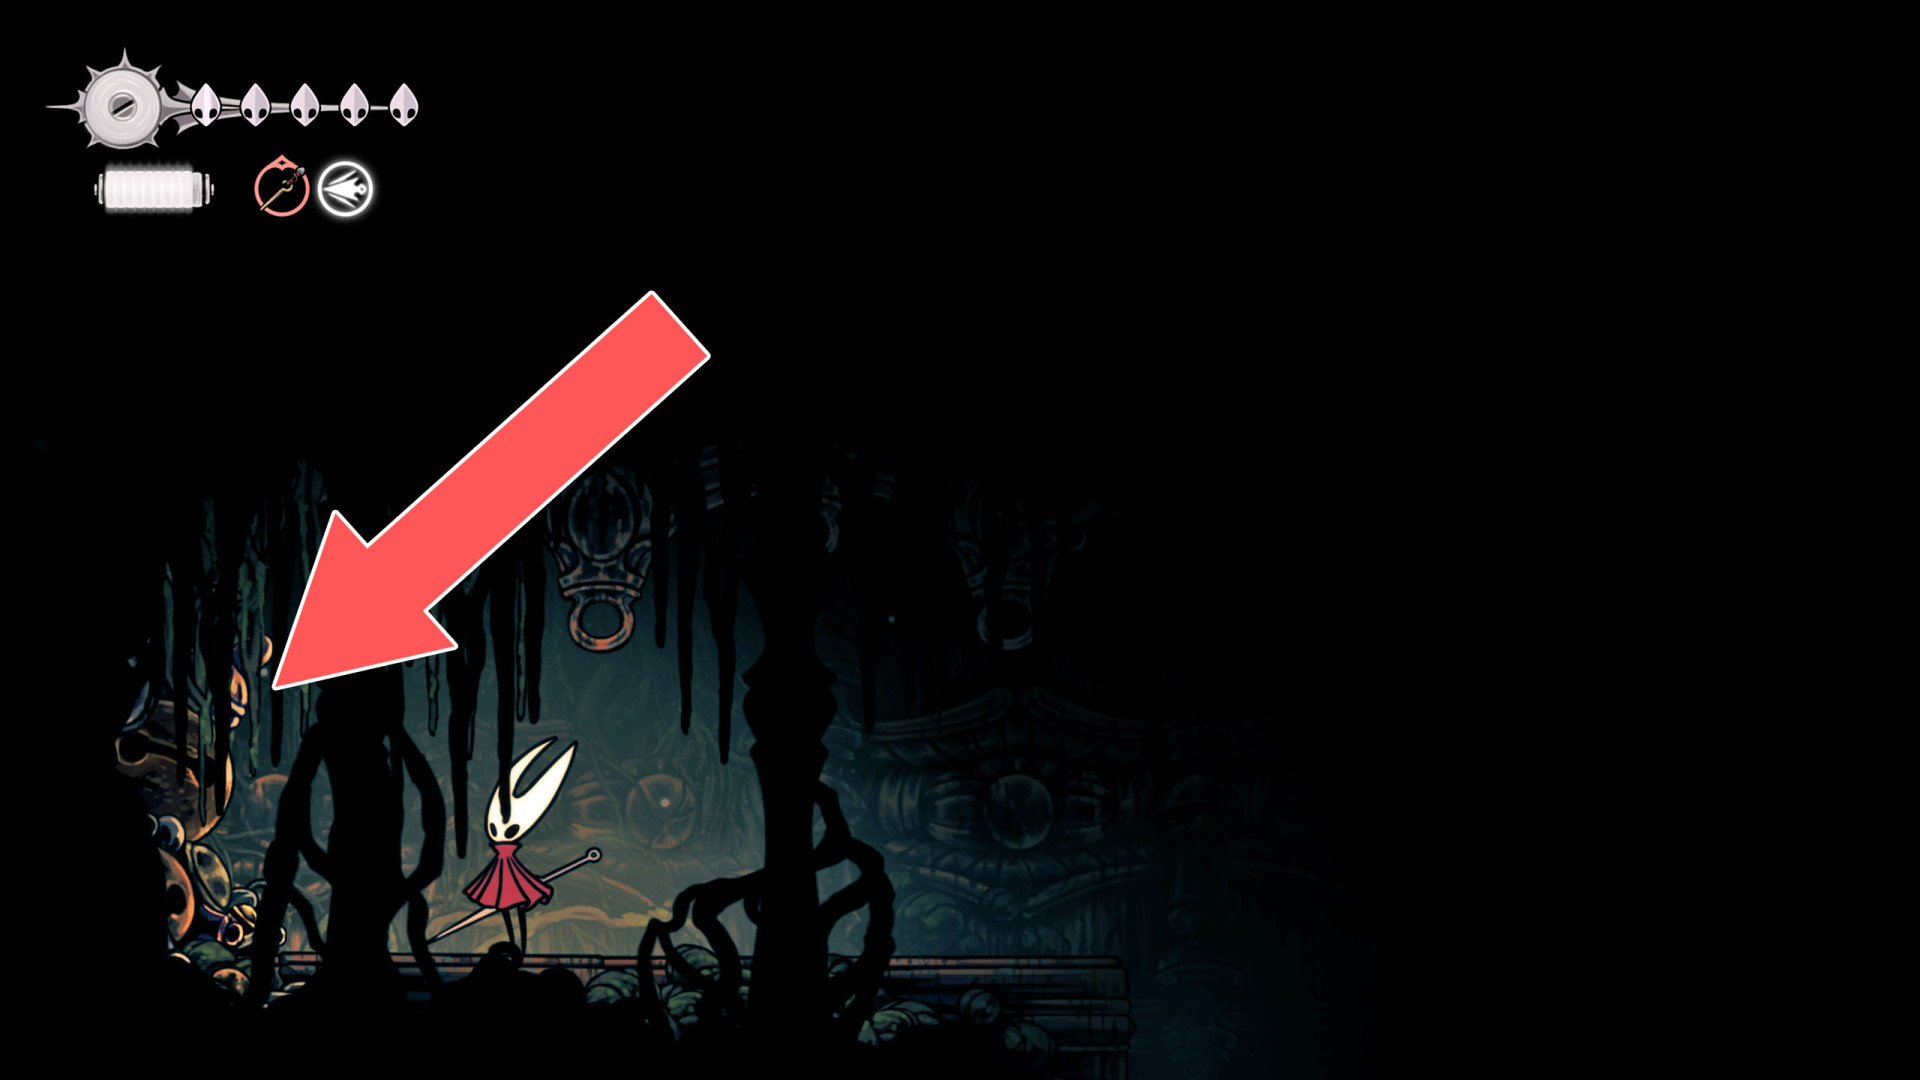
167Breakable Wall
You can destroy this roadblock and open a passage by hitting it from the west side.
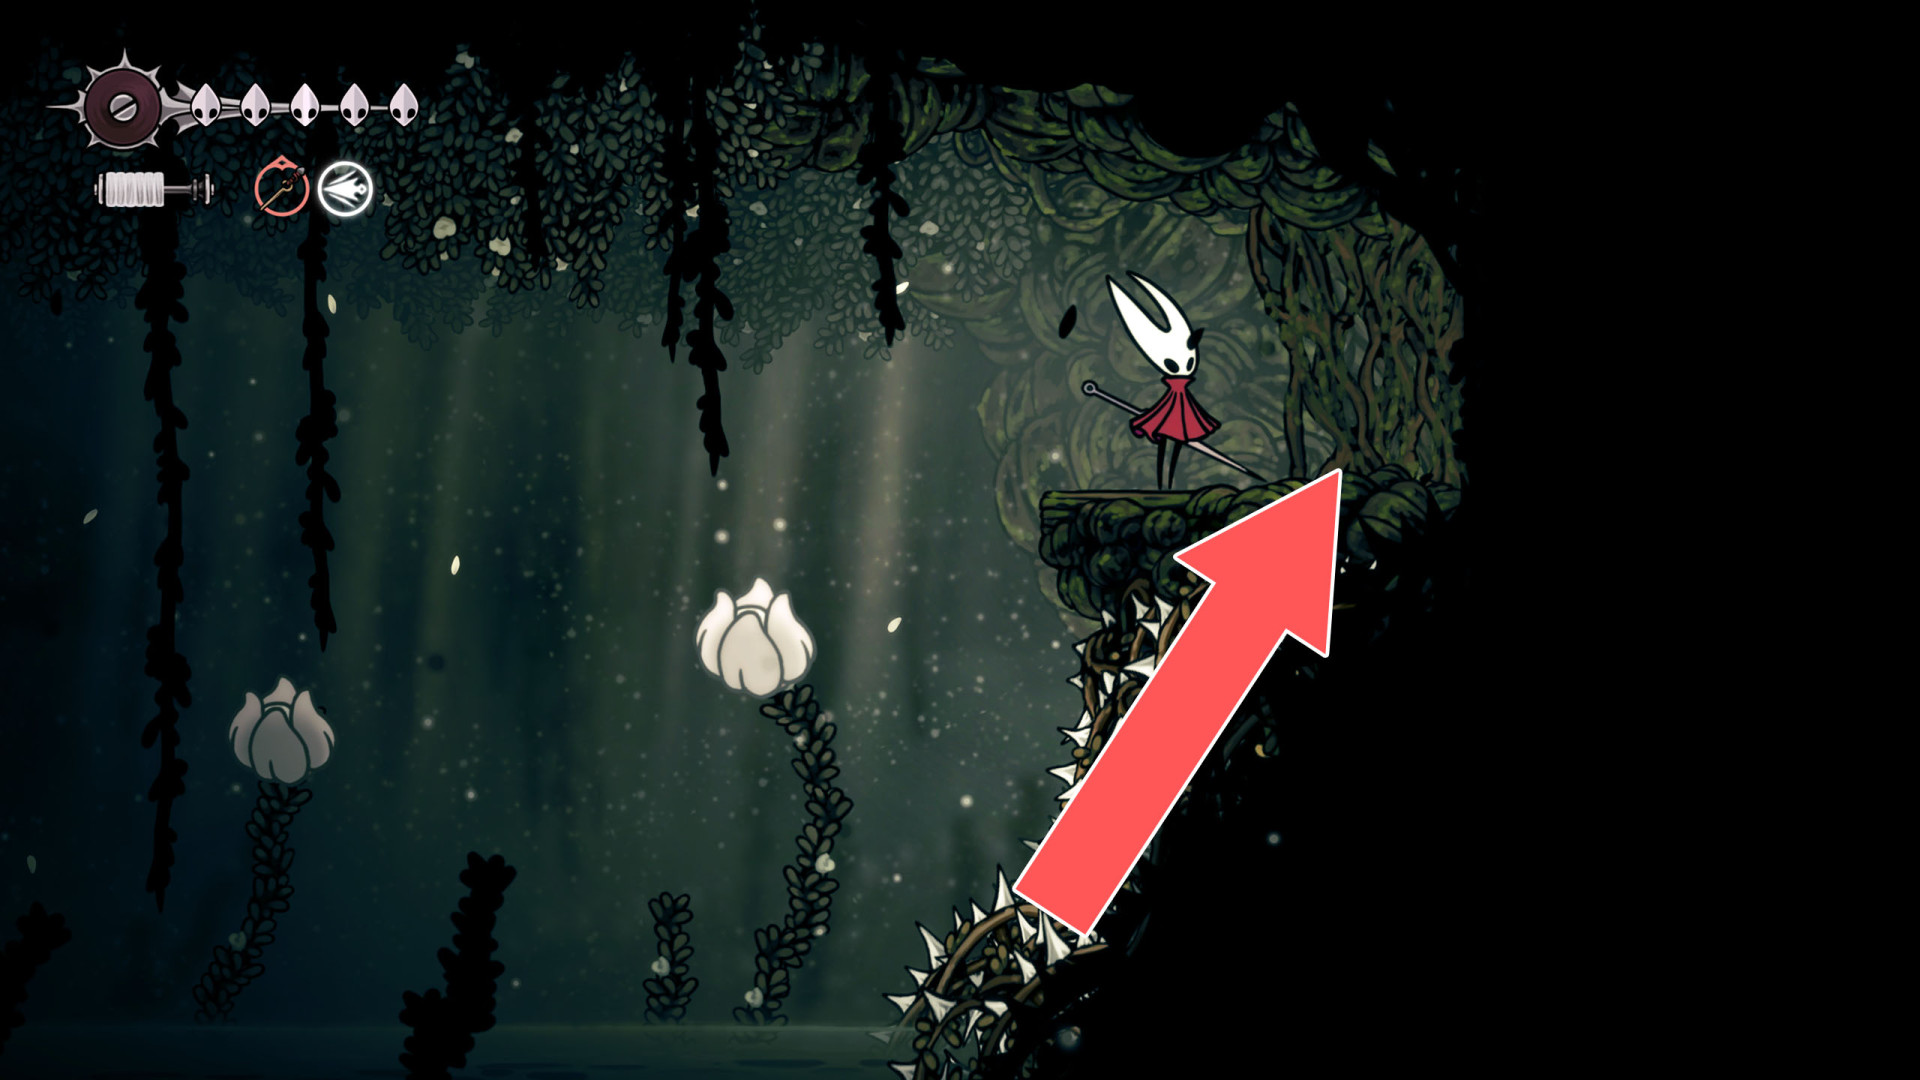
168Breakable Wall
You can destroy this roadblock and open a passage by hitting it from the east side.
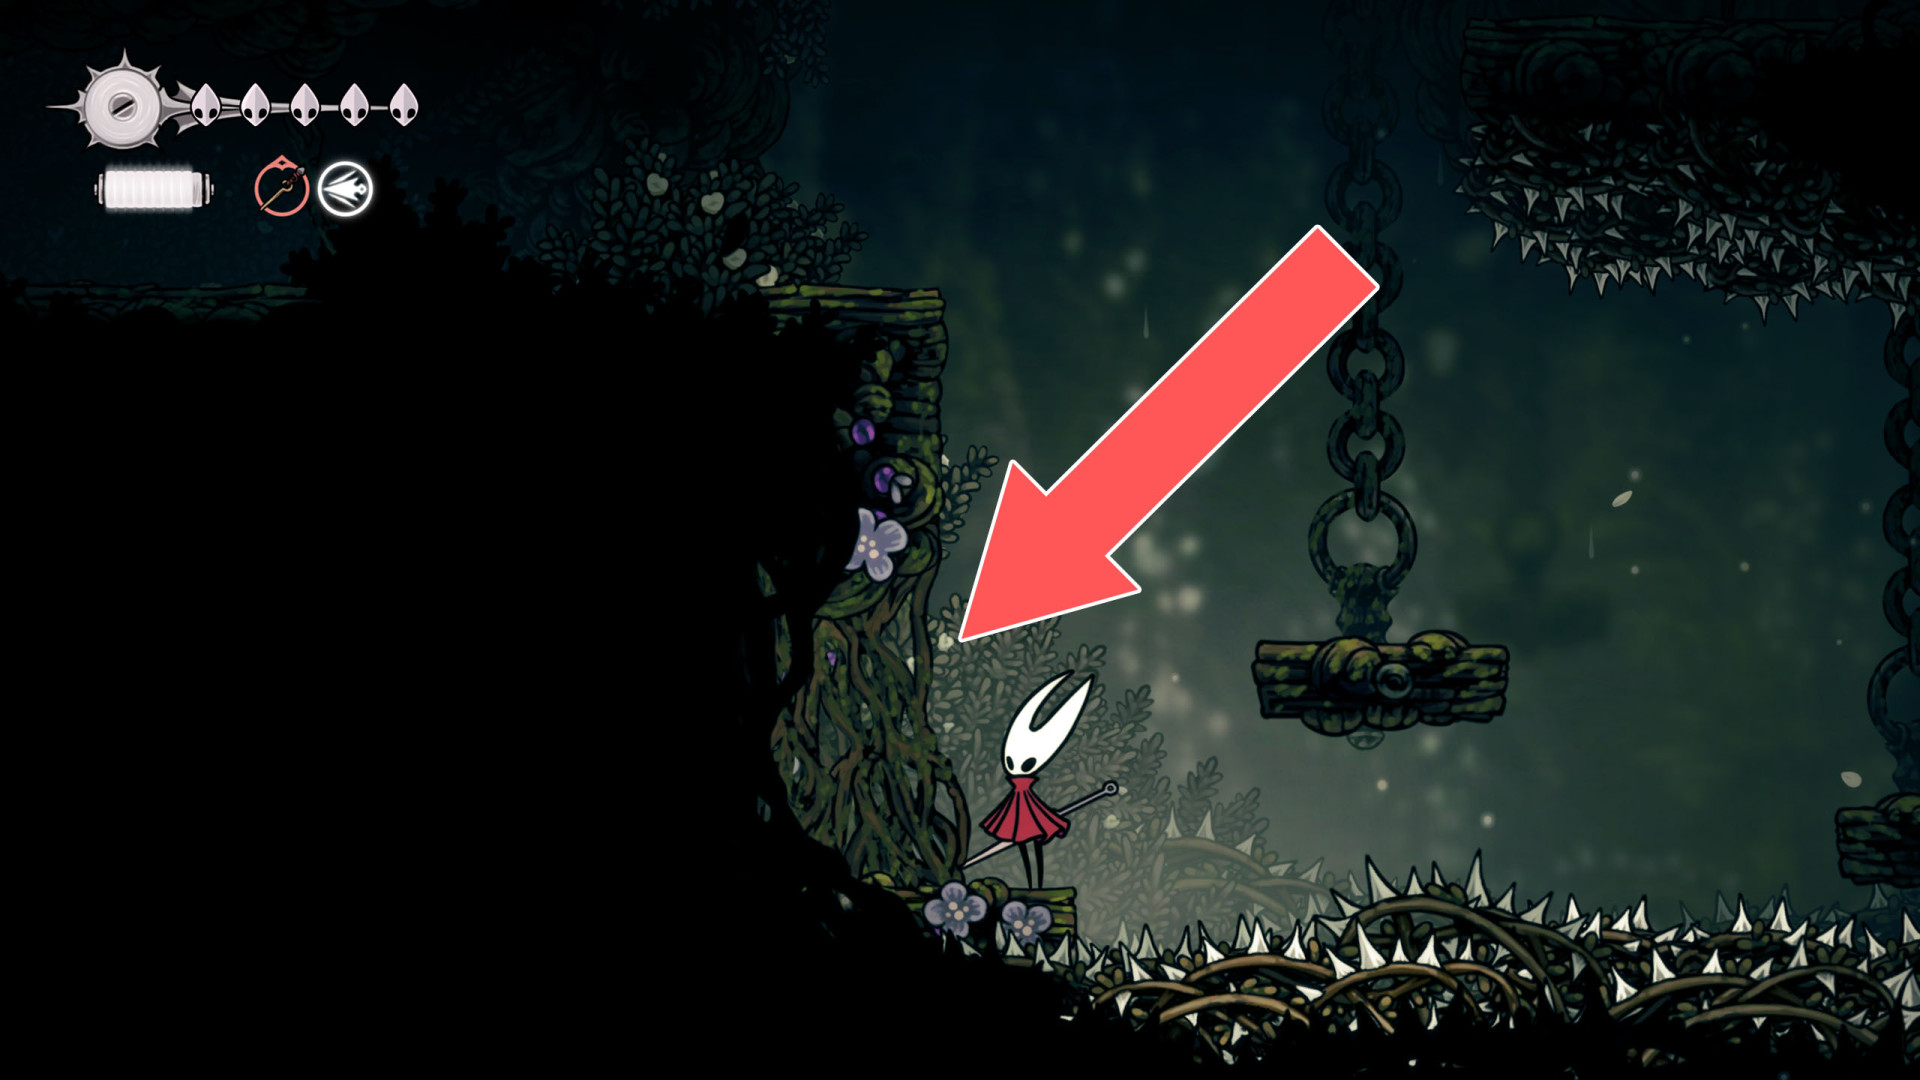
169Breakable Wall
You can destroy this roadblock by approaching it from the west side.
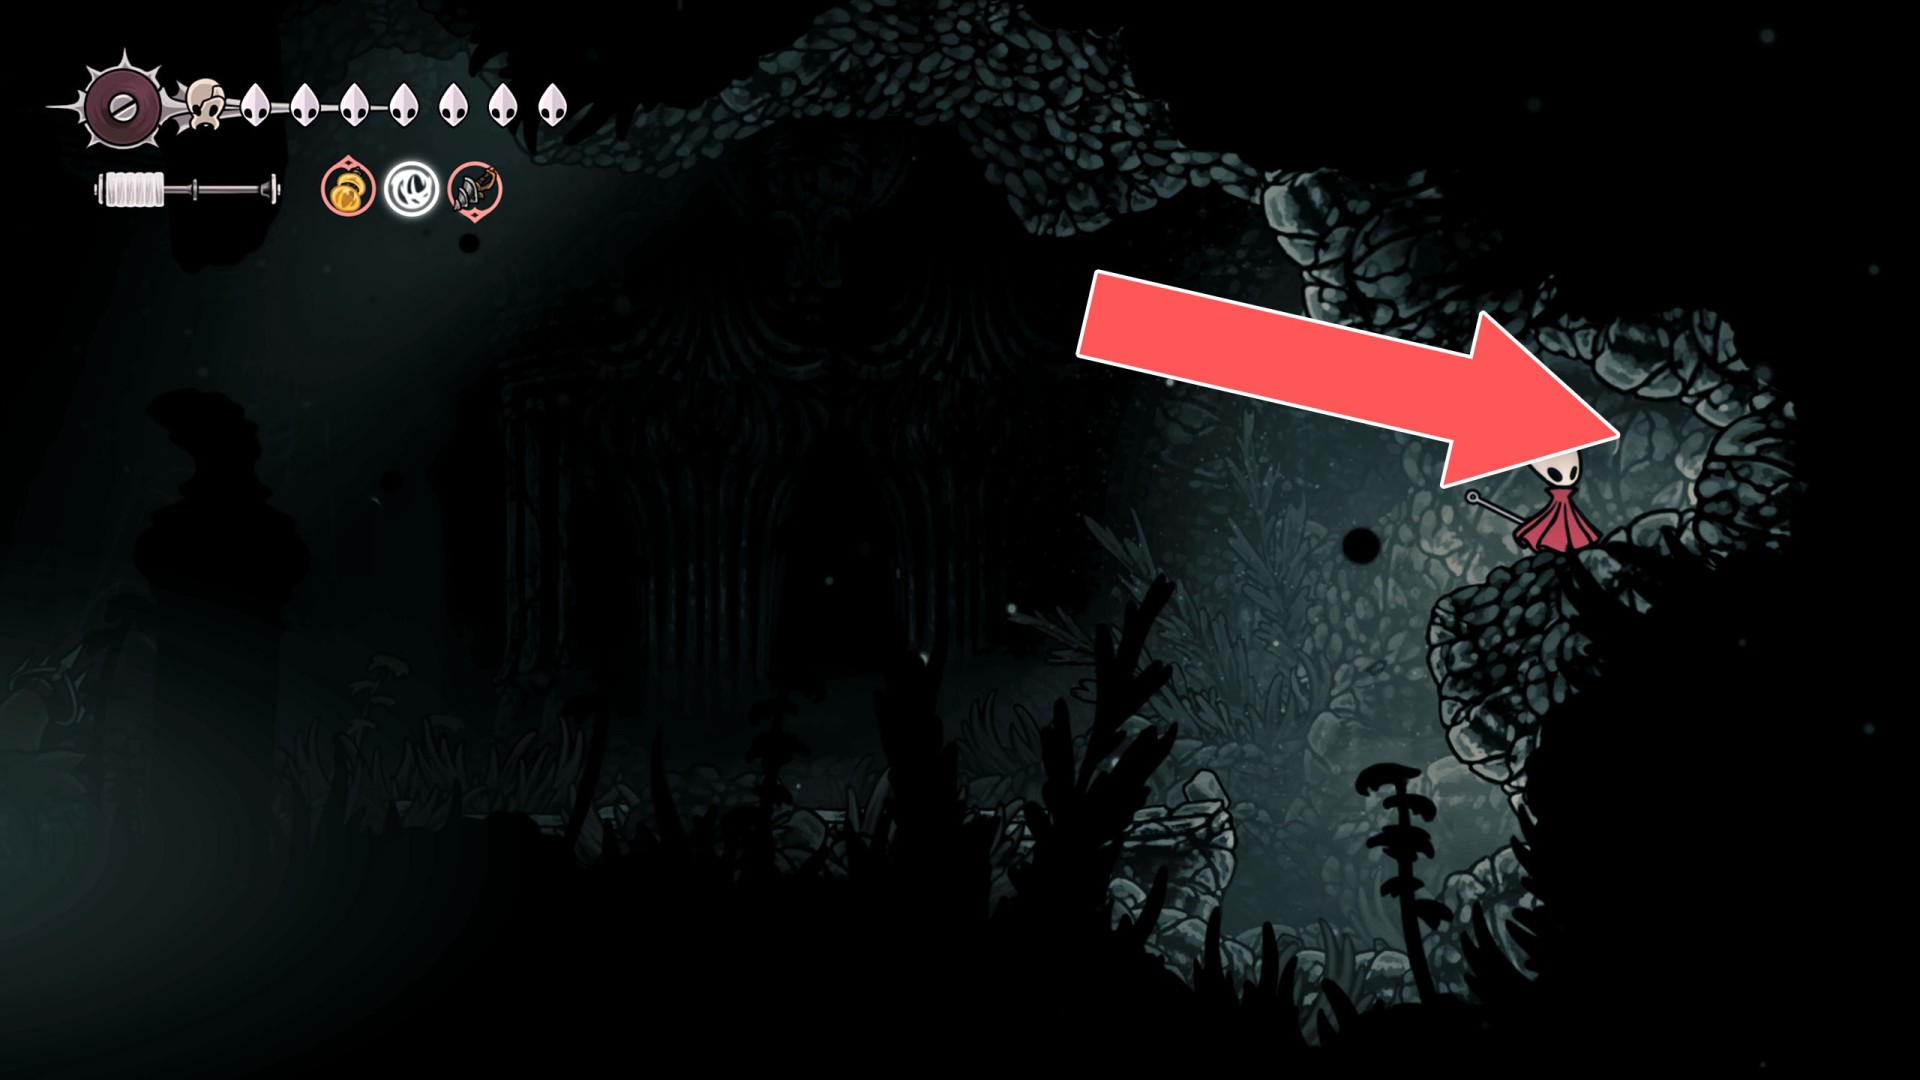
170Breakable Wall
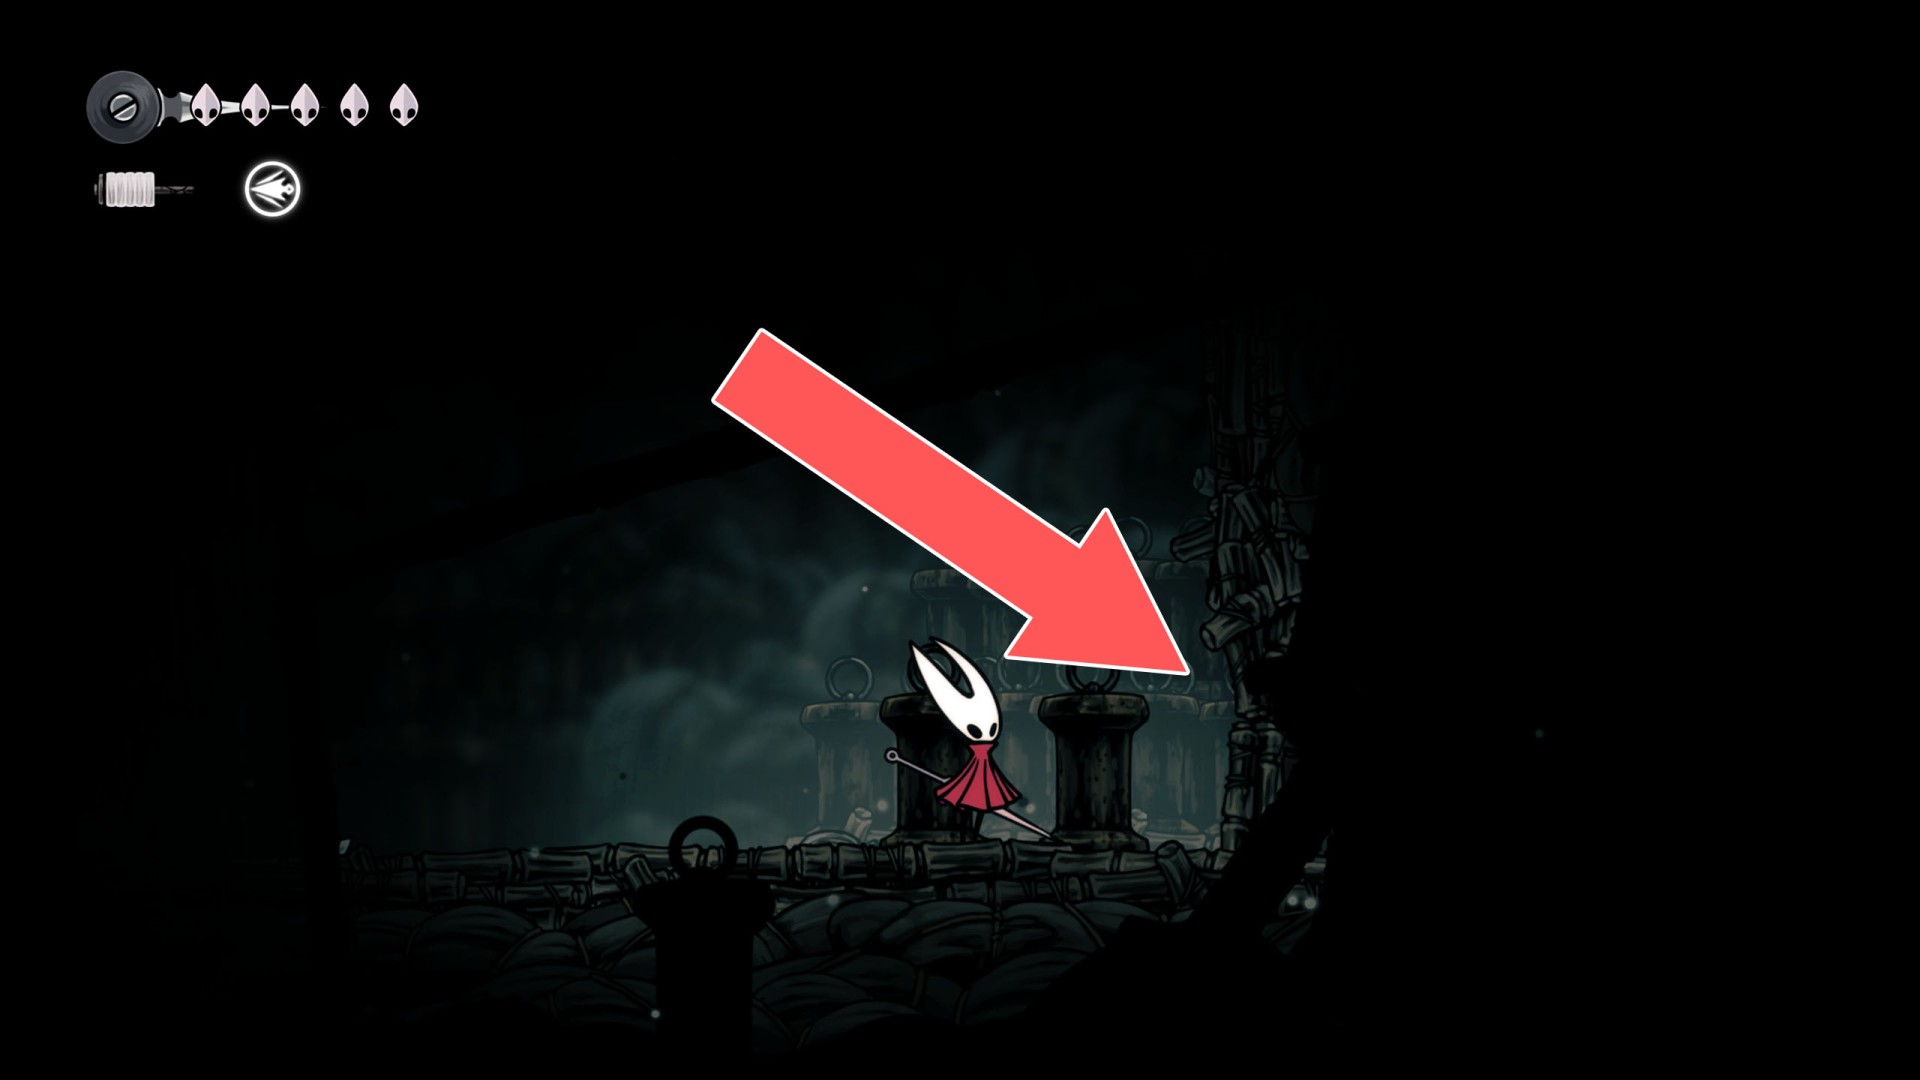
171Breakable Wall
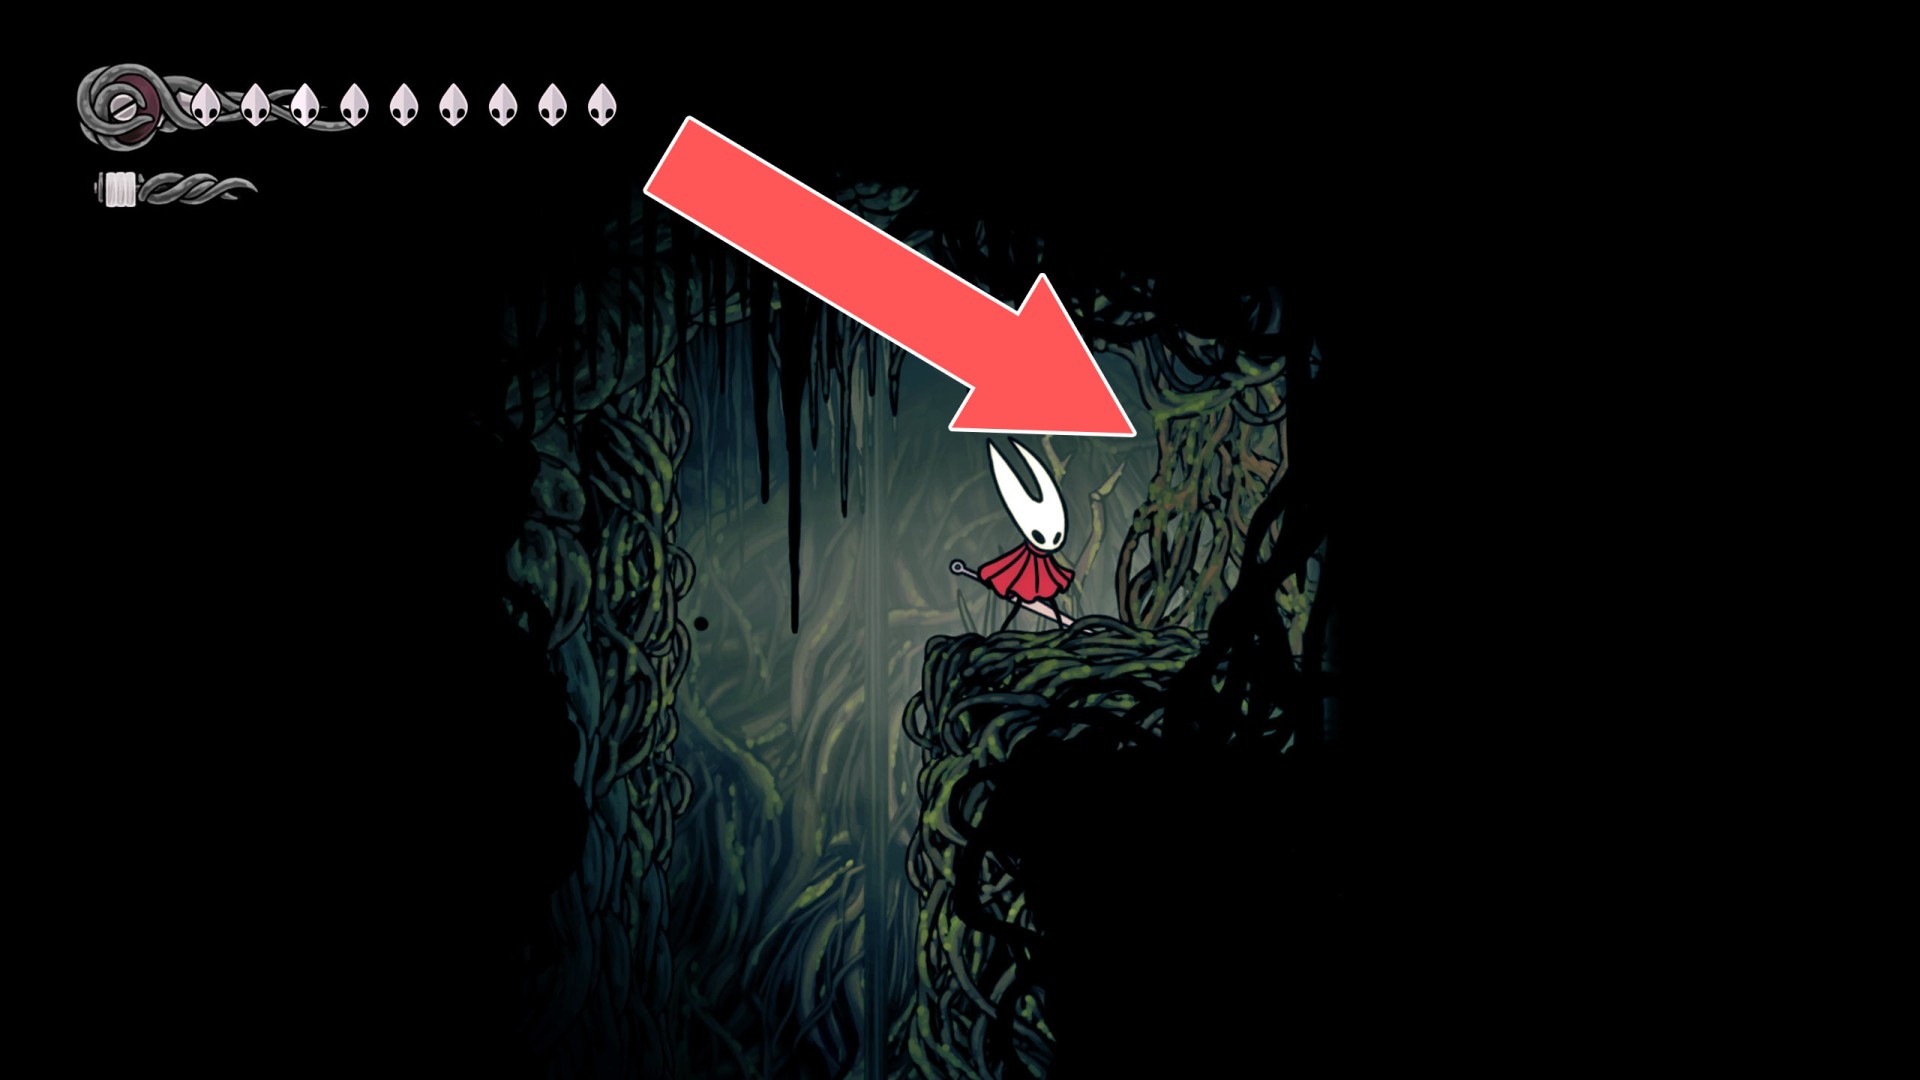
172Breakable Wall
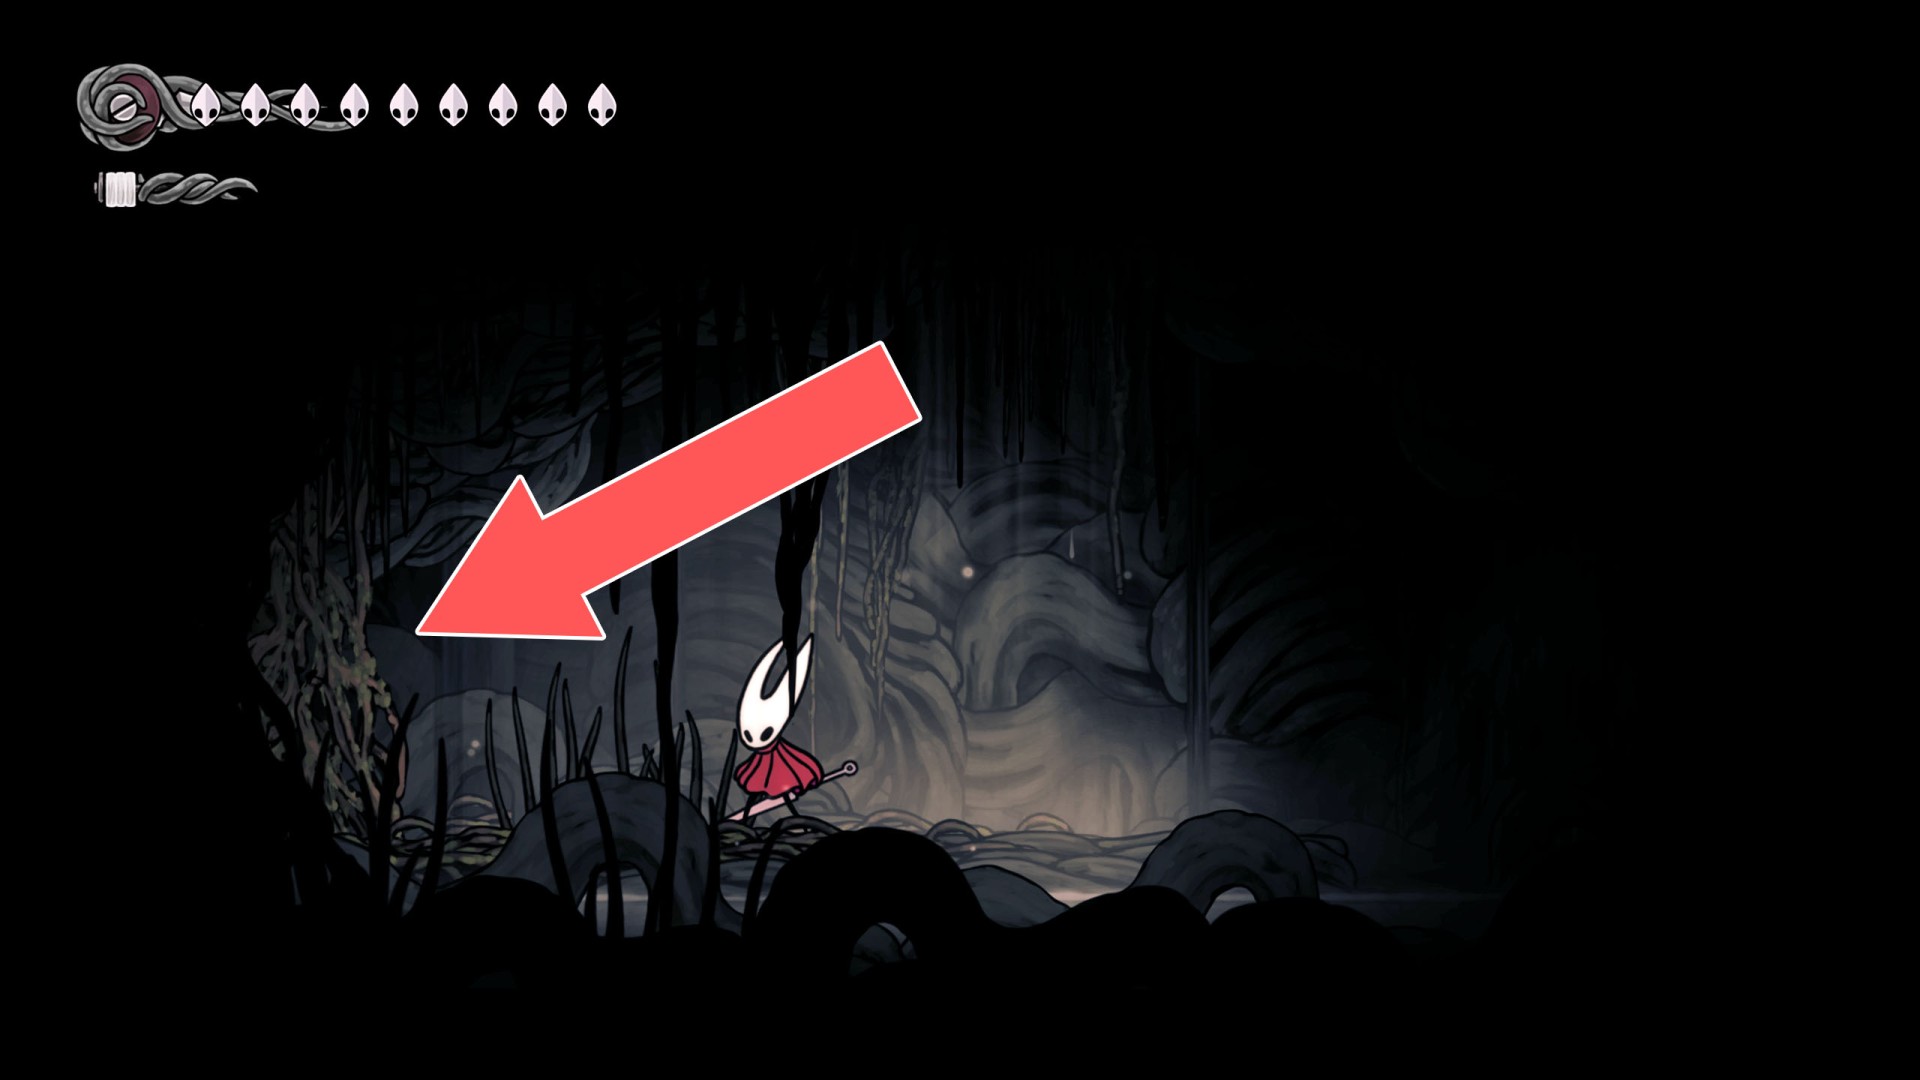
173Breakable Wall
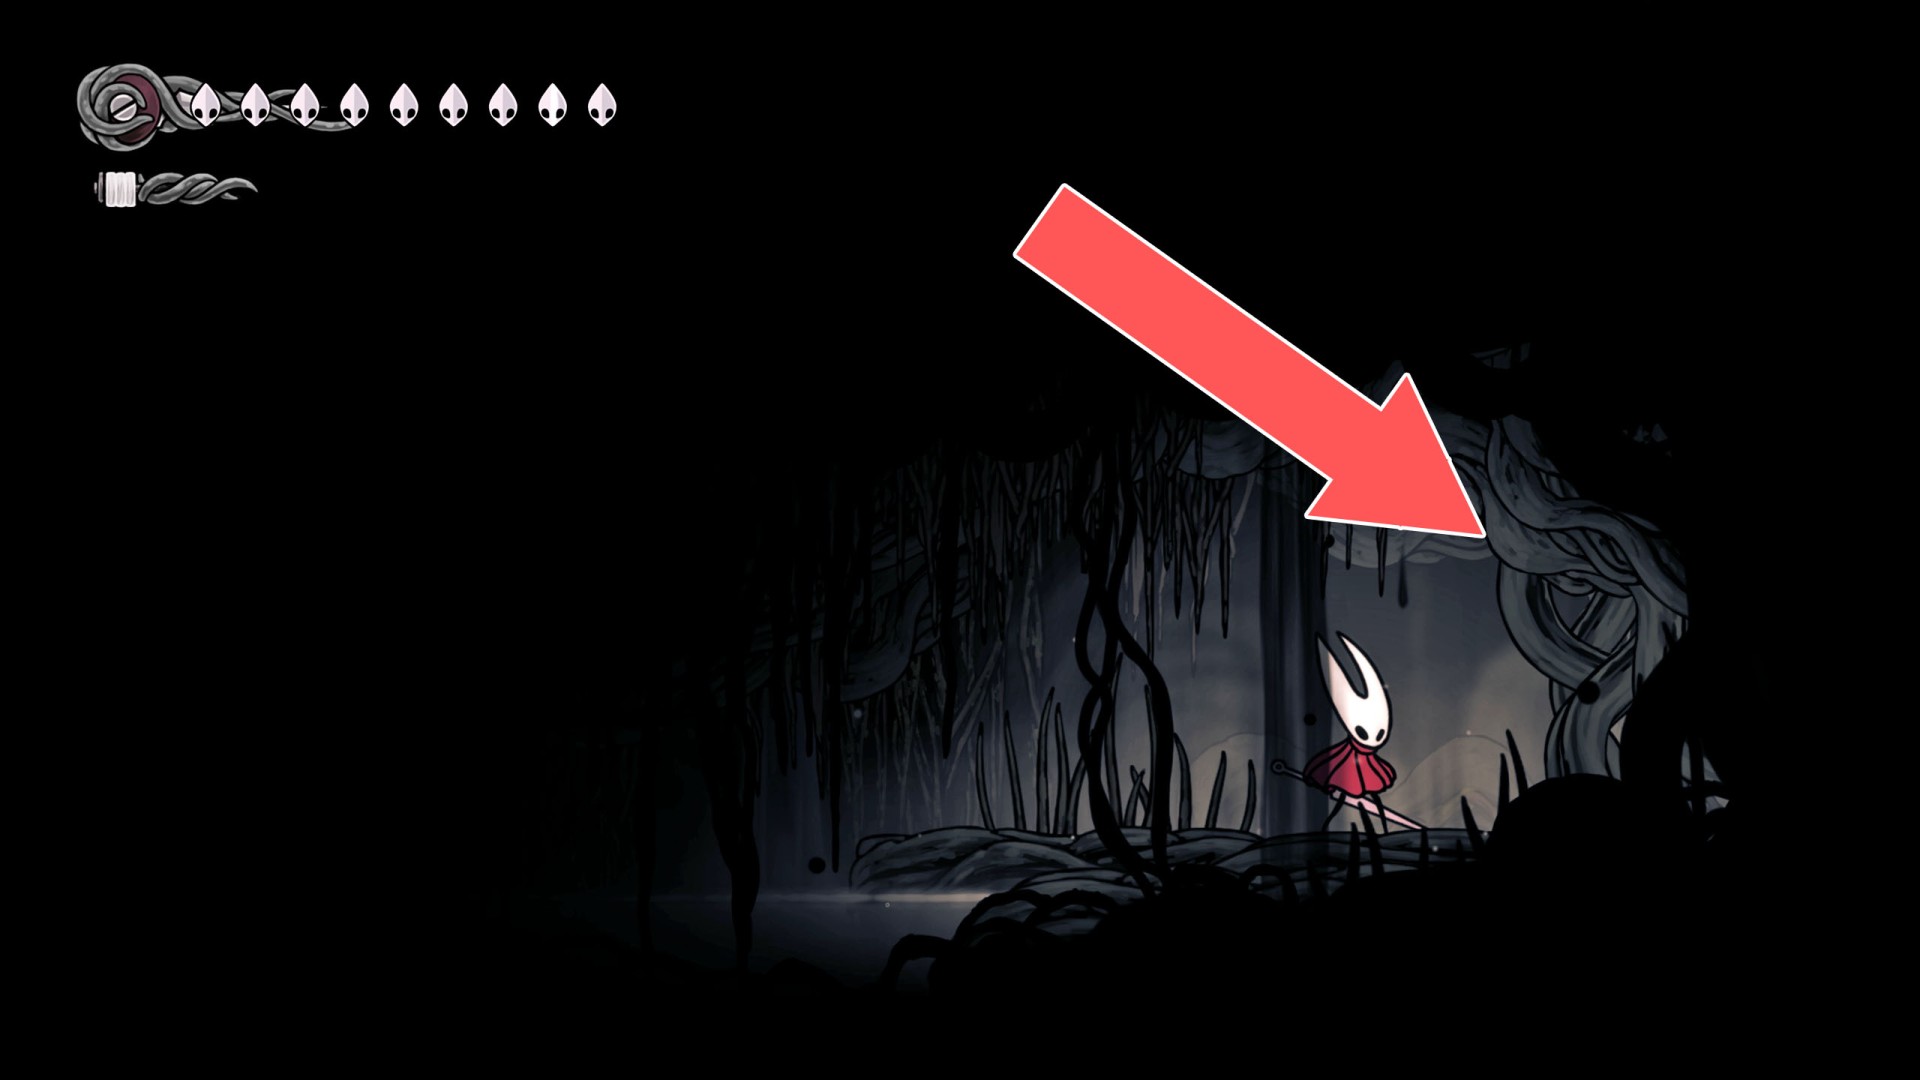
174Breakable Wall
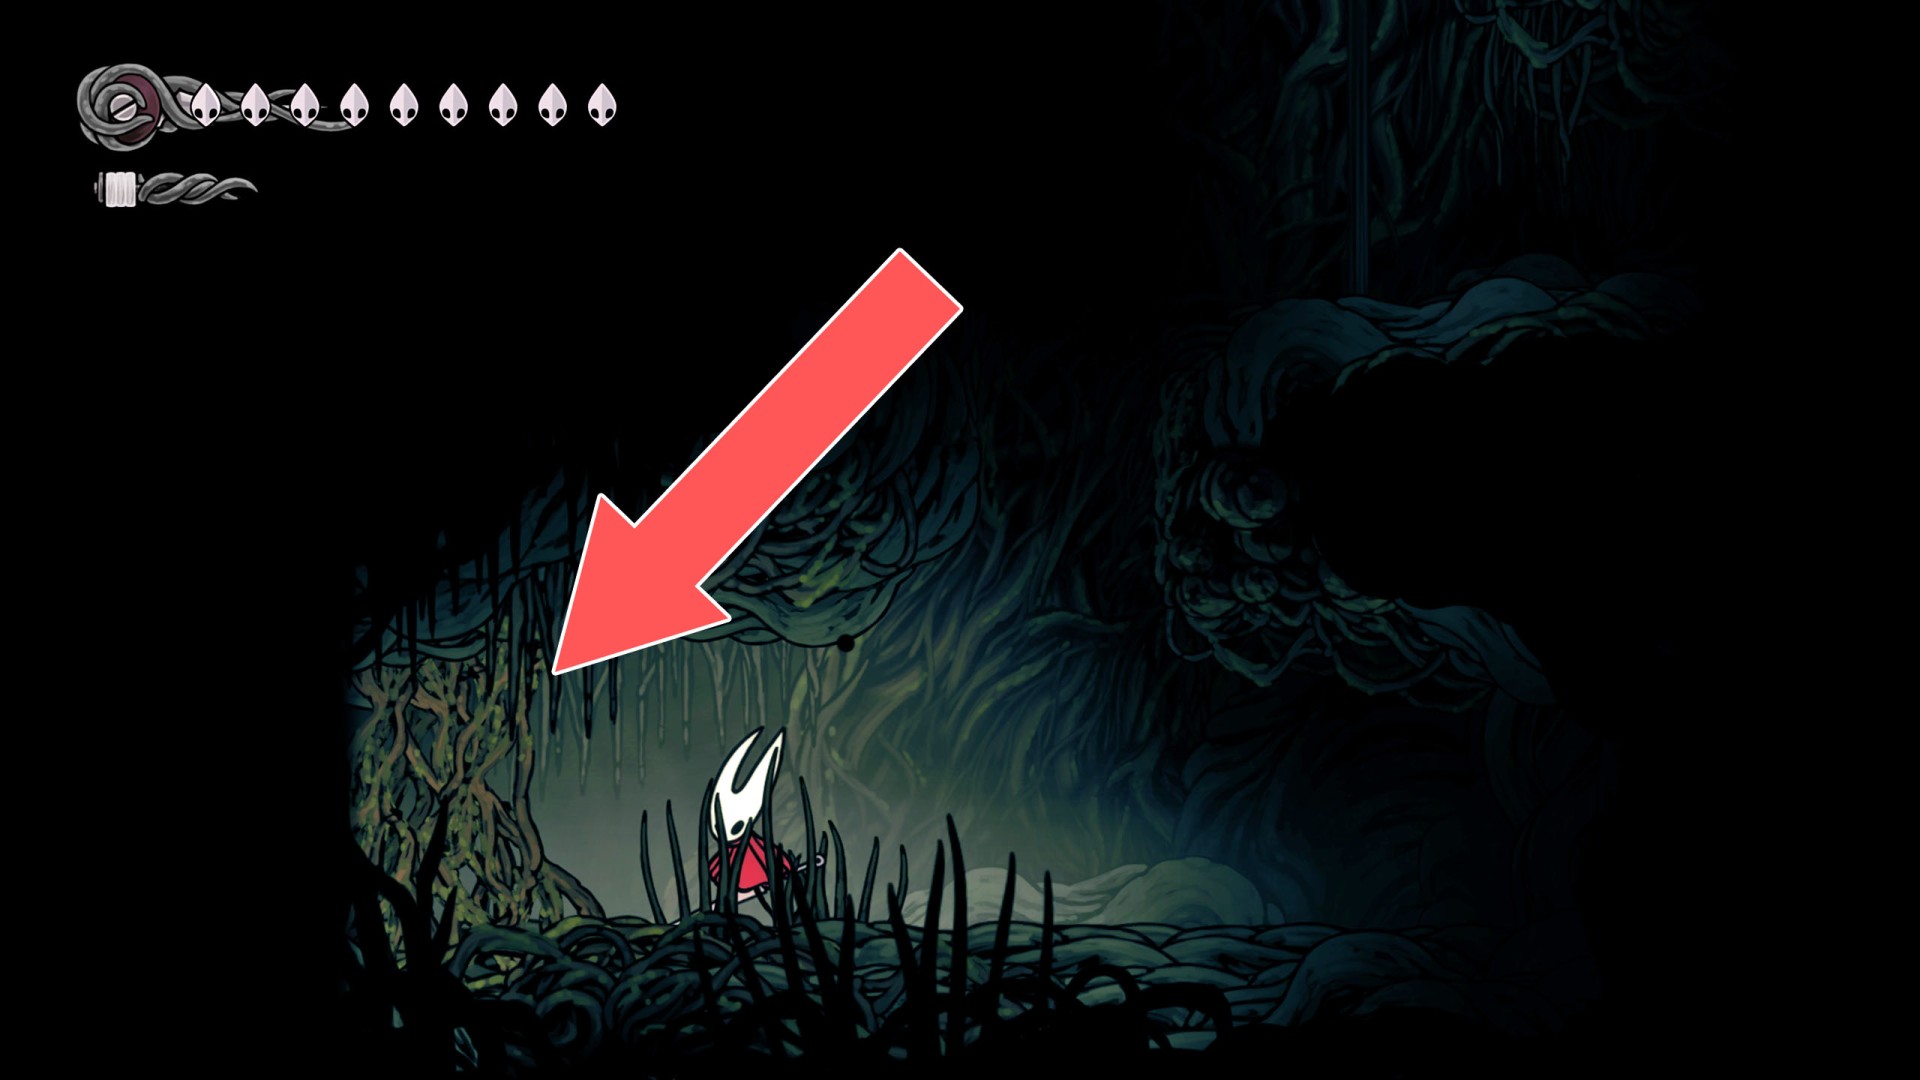
175Breakable Wall
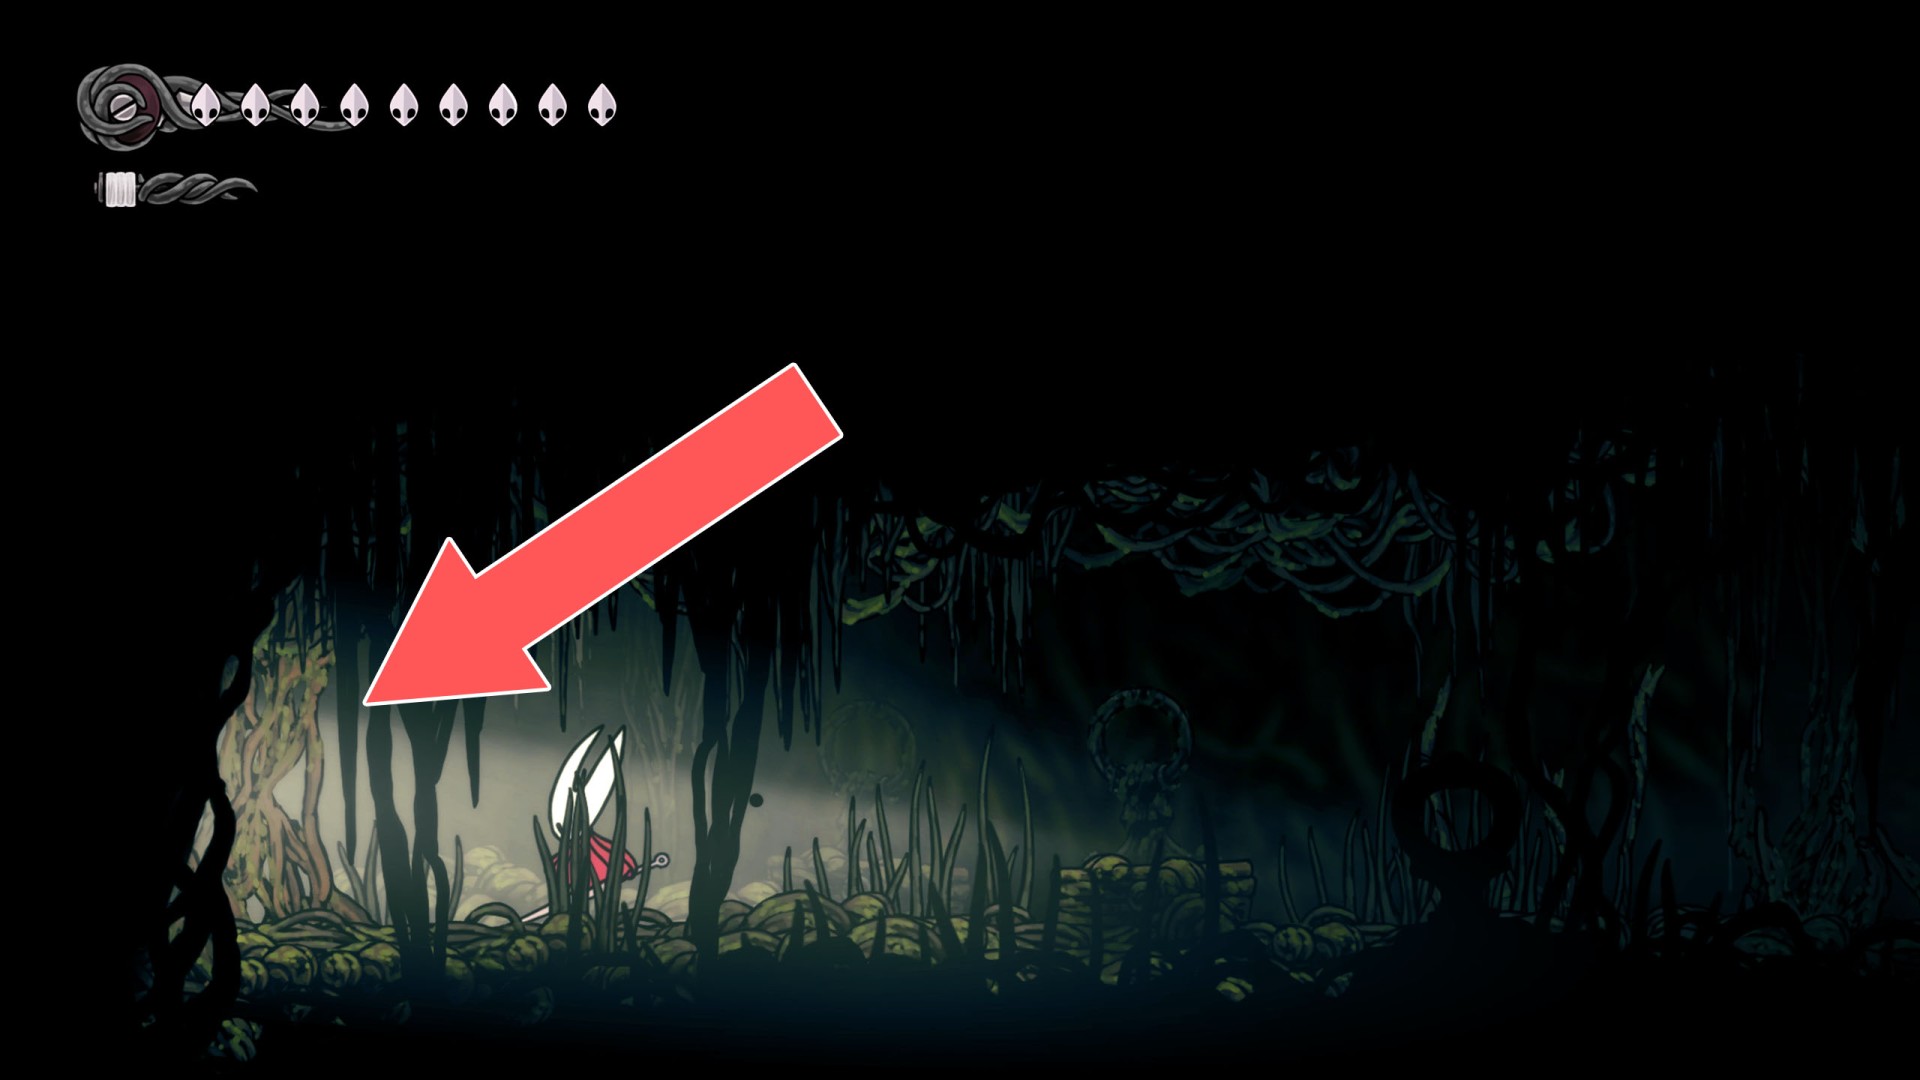
176Breakable Wall
You can break down this wall by hitting it from the west side.
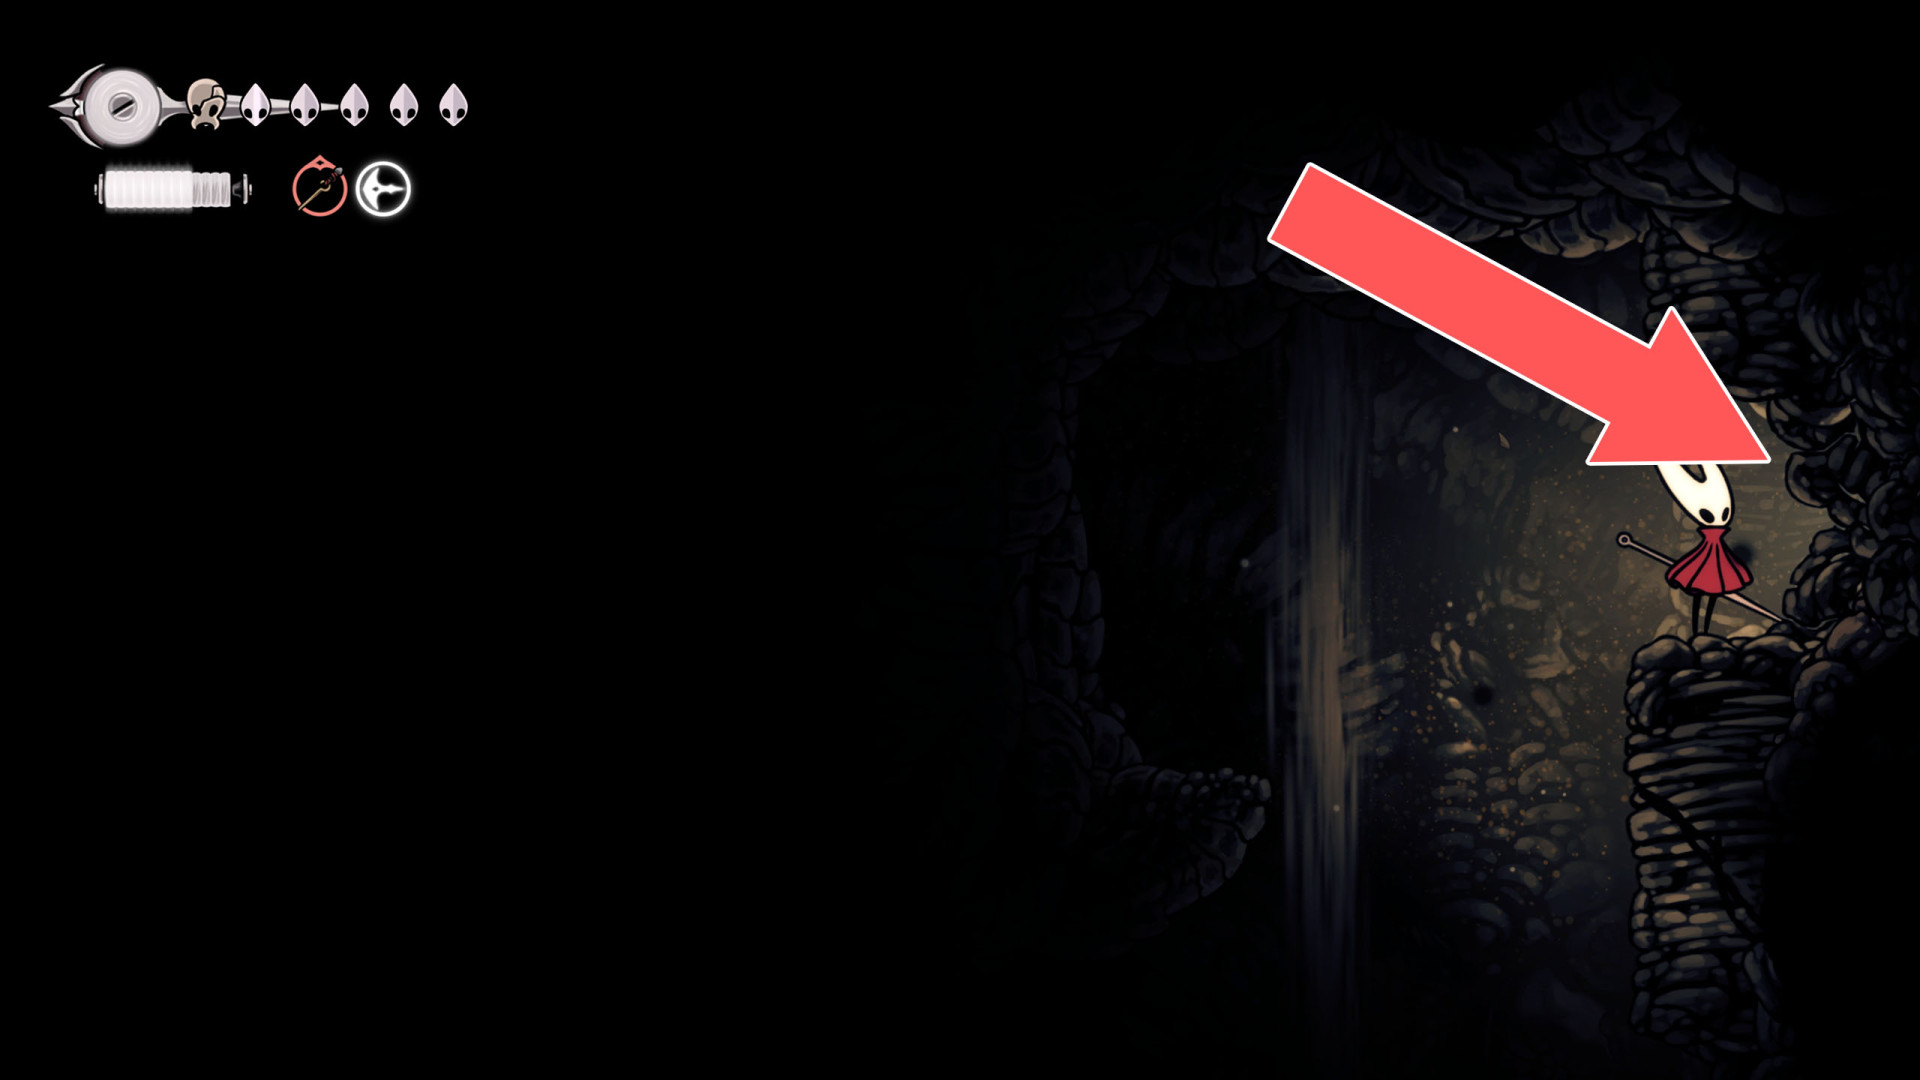
177Breakable Wall
Hit the explosive rock on the wall to open the passage.
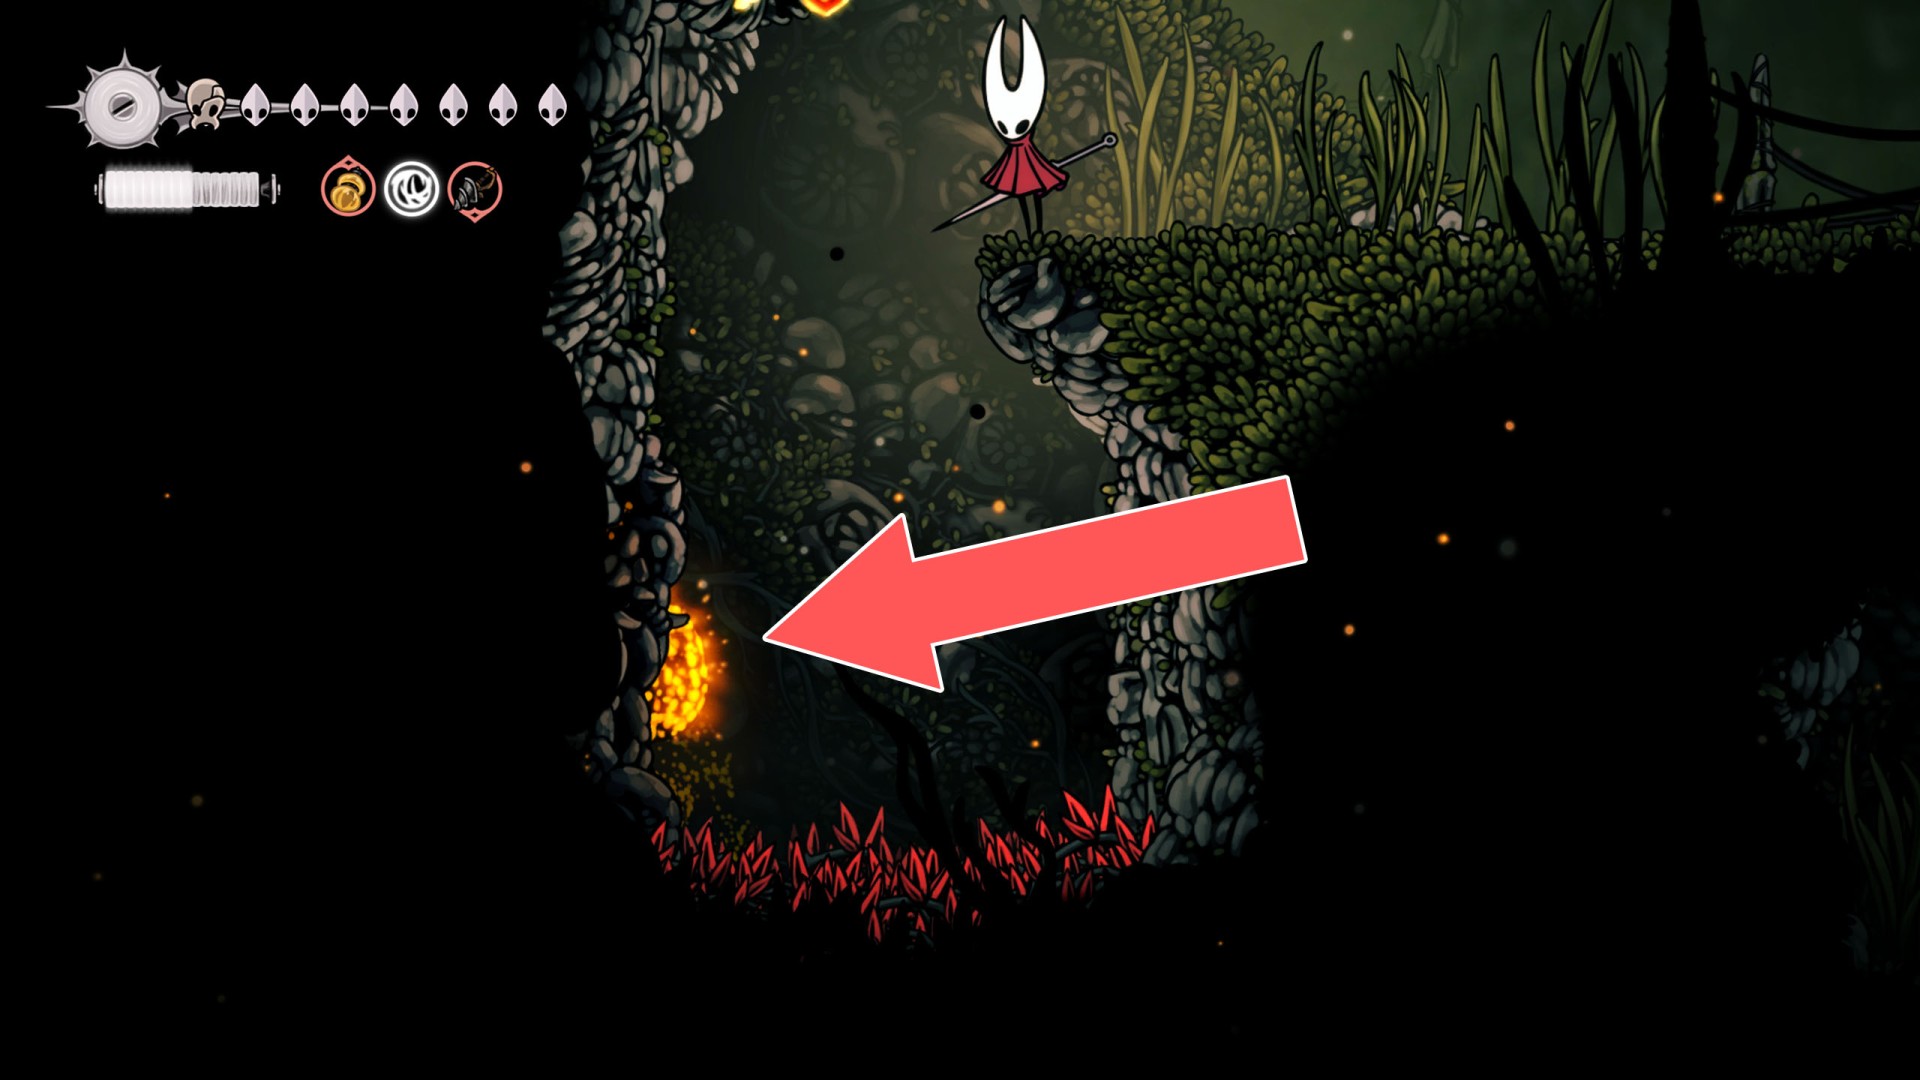
178Breakable Wall
Hit the explosive rock on the west side of it to open the passage.
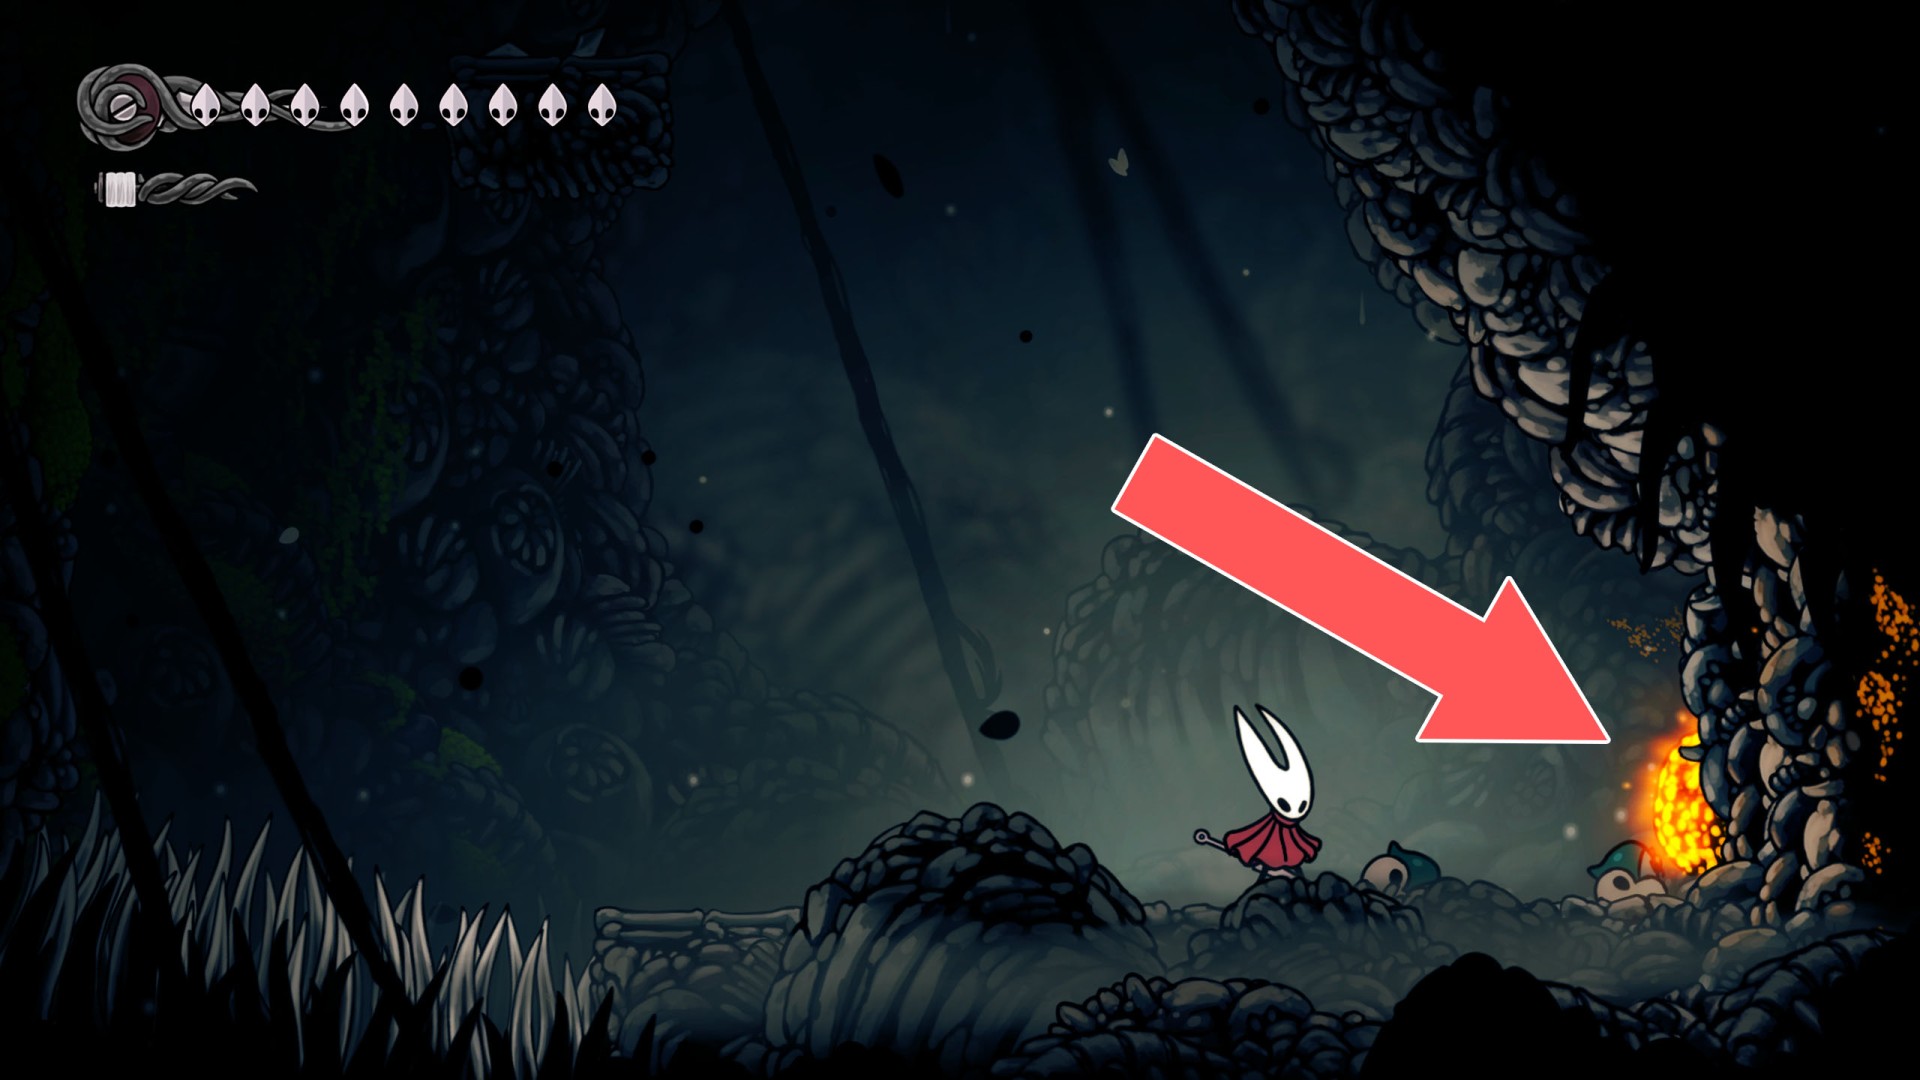
179Breakable Wall
You can break down this wall by hitting it from the east side.
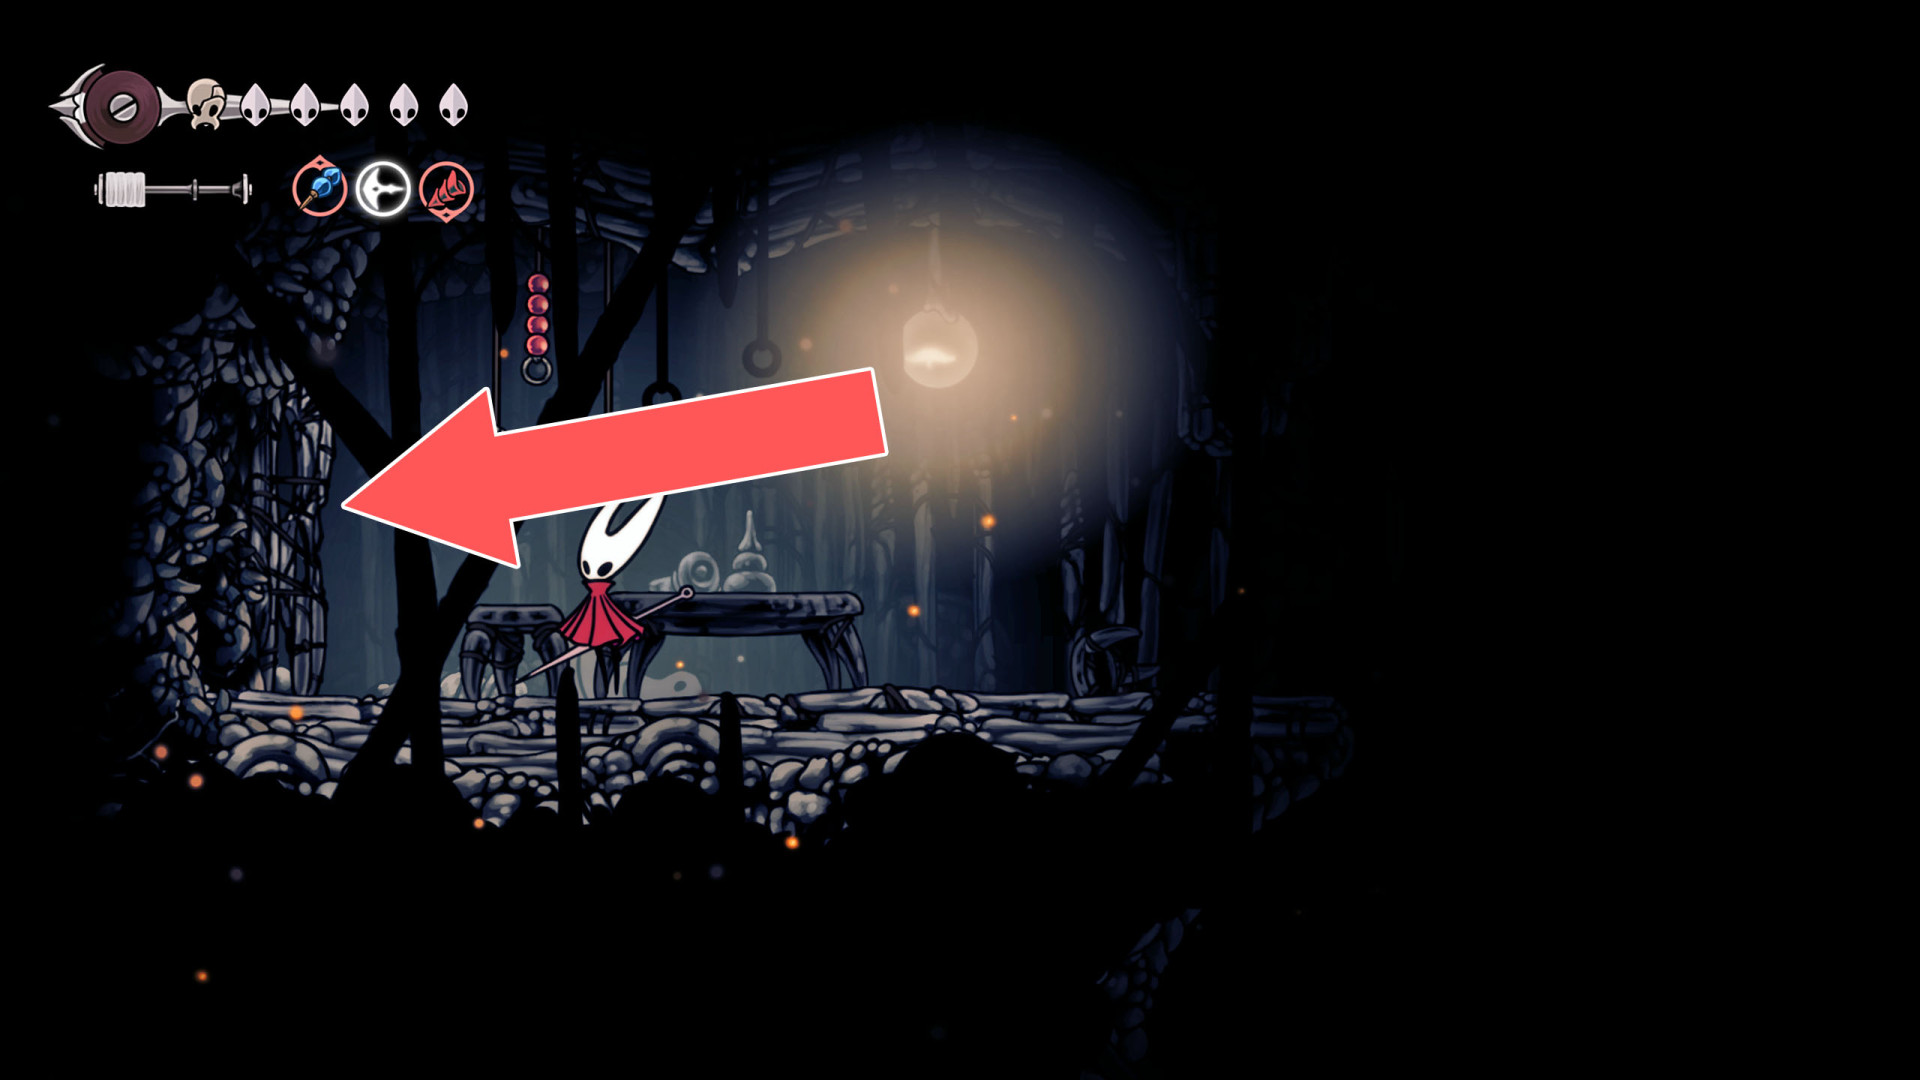
180Breakable Wall
You can break down this wall by hitting it from the east side.
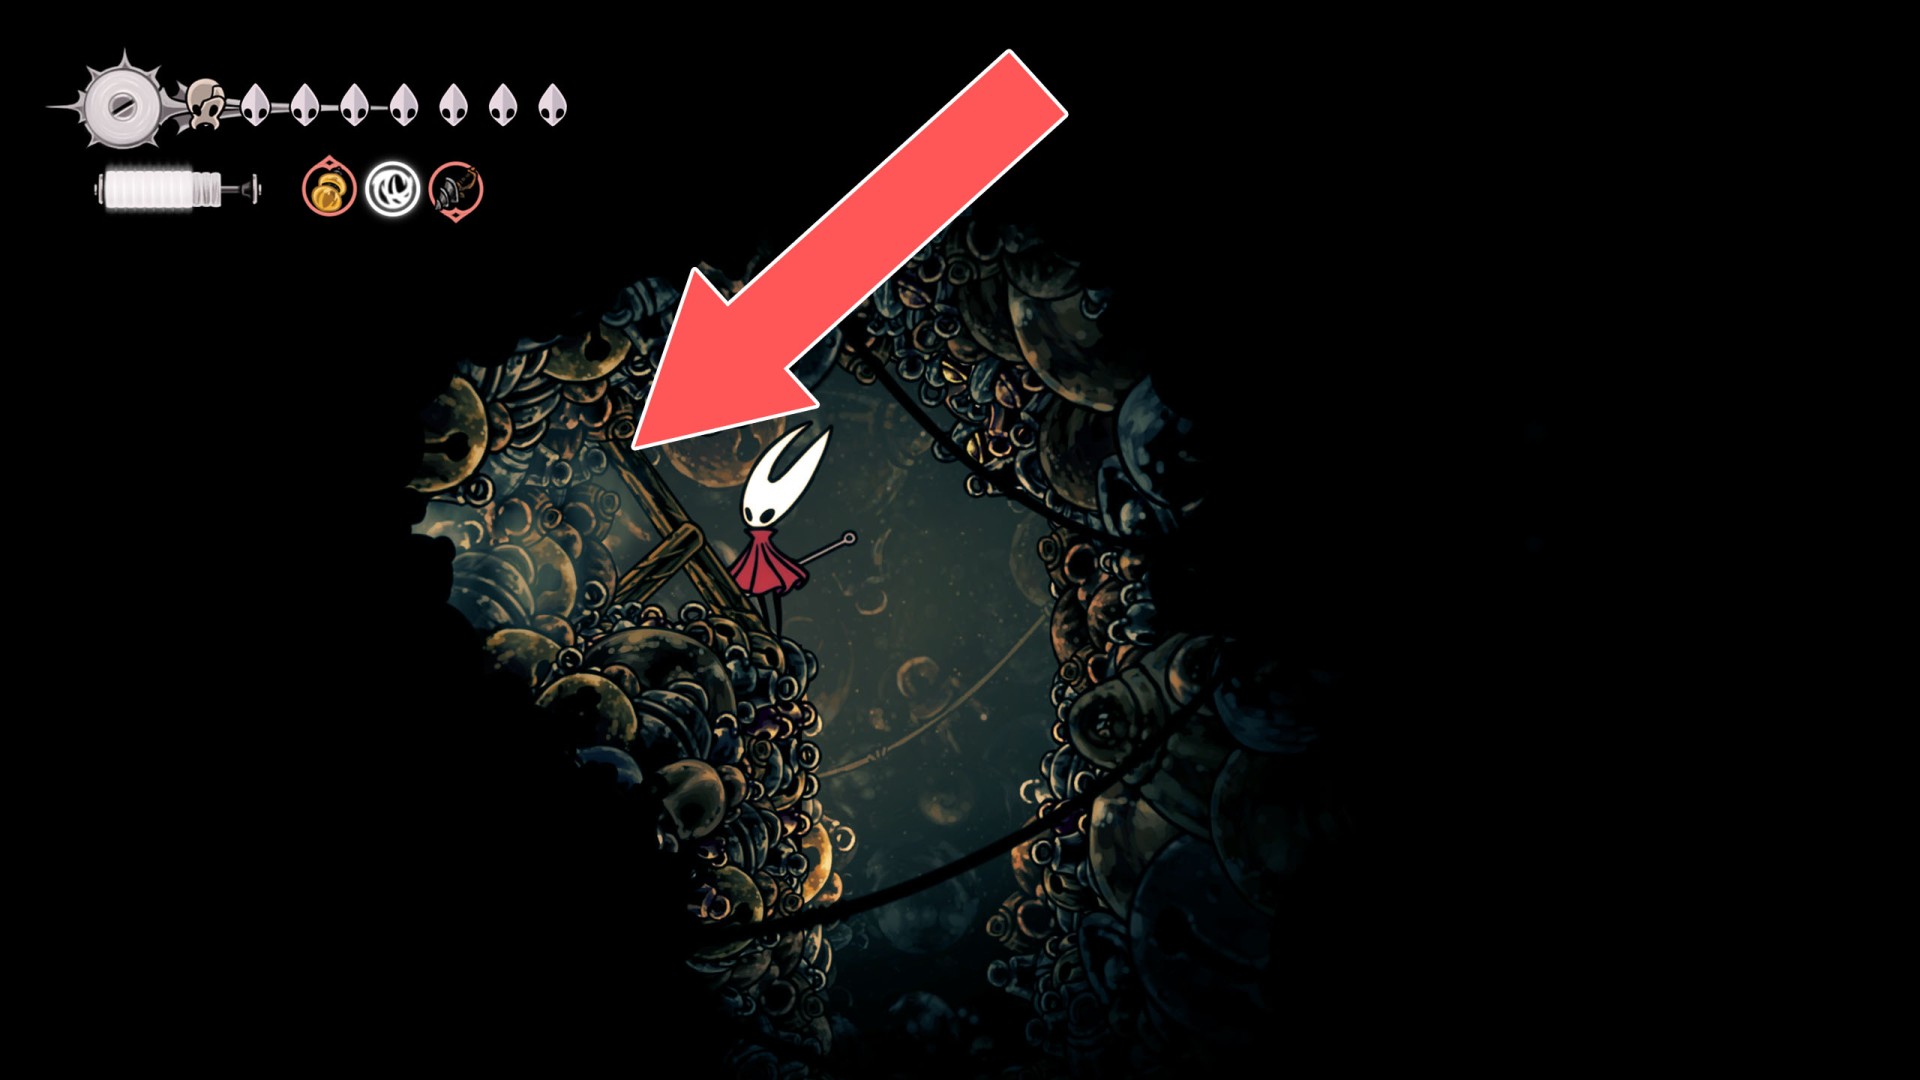
181Breakable Wall
Approach it from the east side and hit the wall several times to break it.
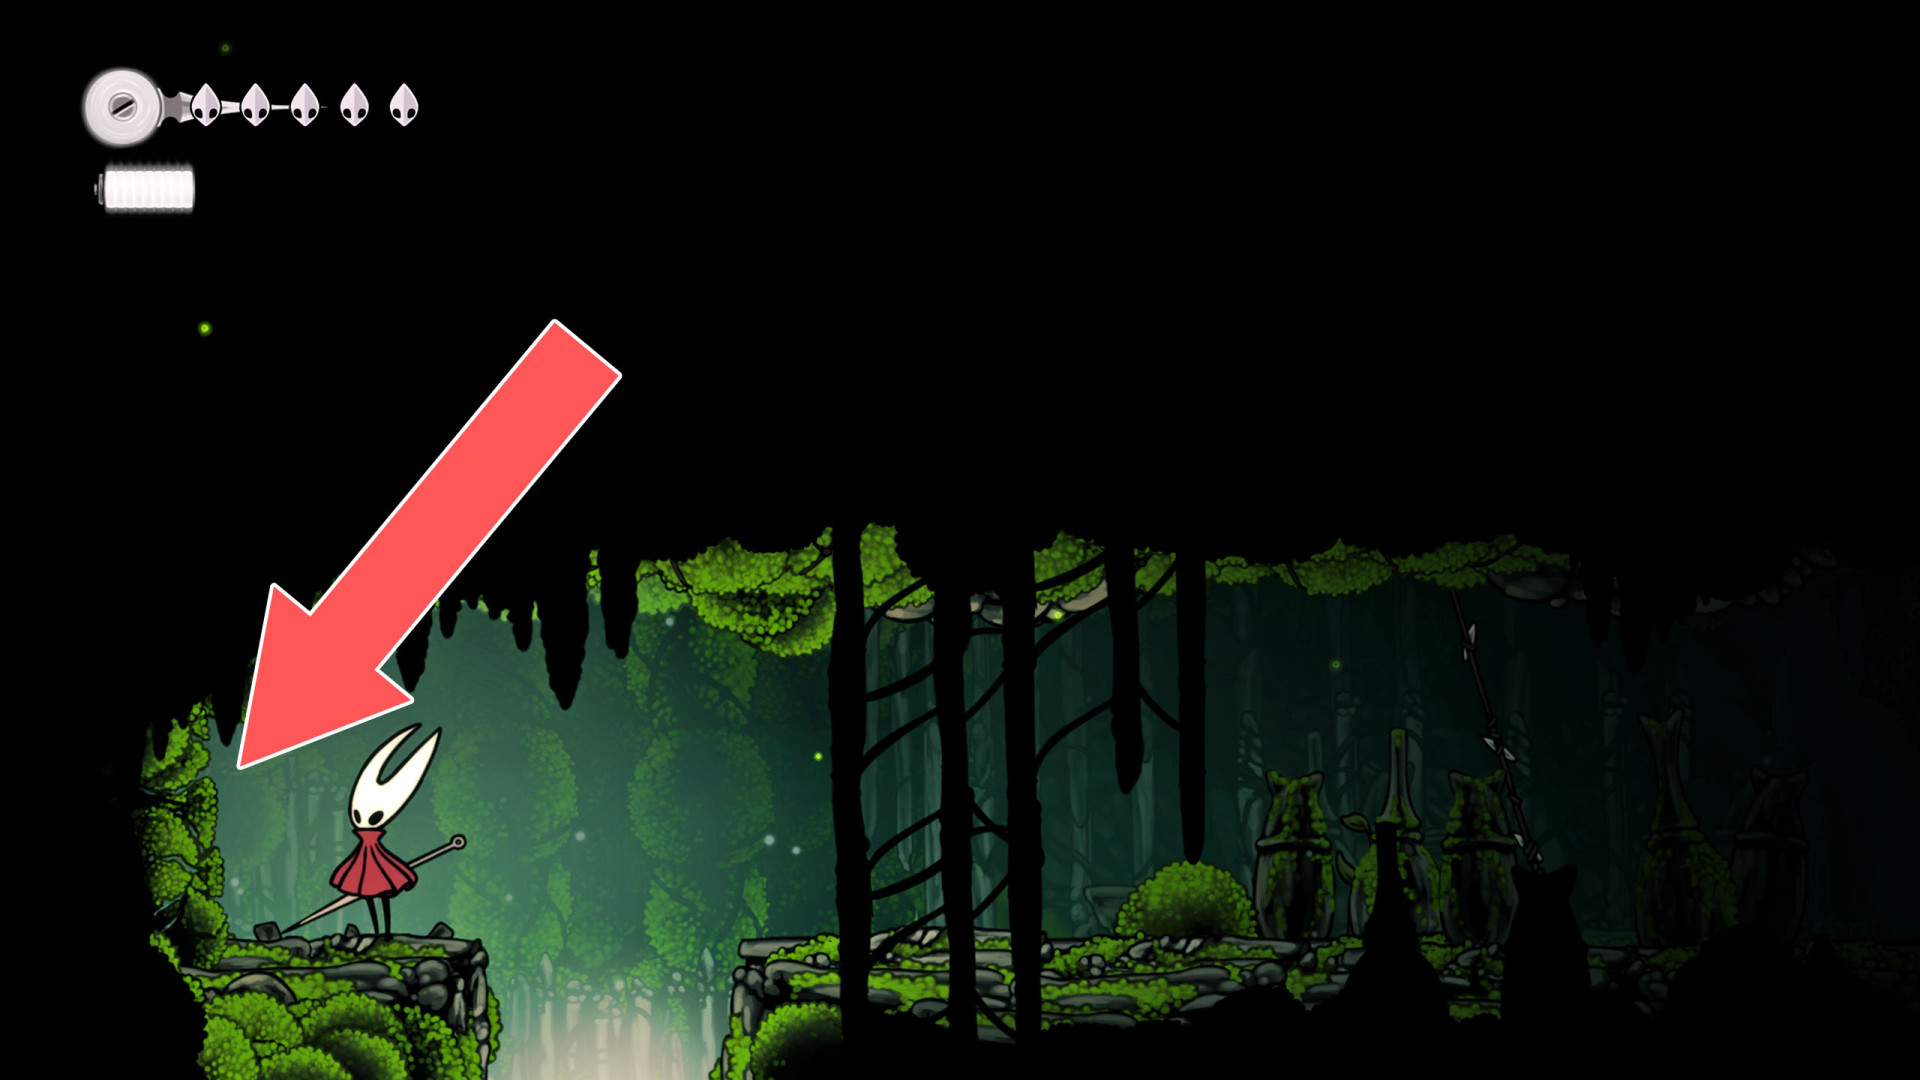
182Breakable Wall
Approach it from the west side and hit the wall several times to break it.
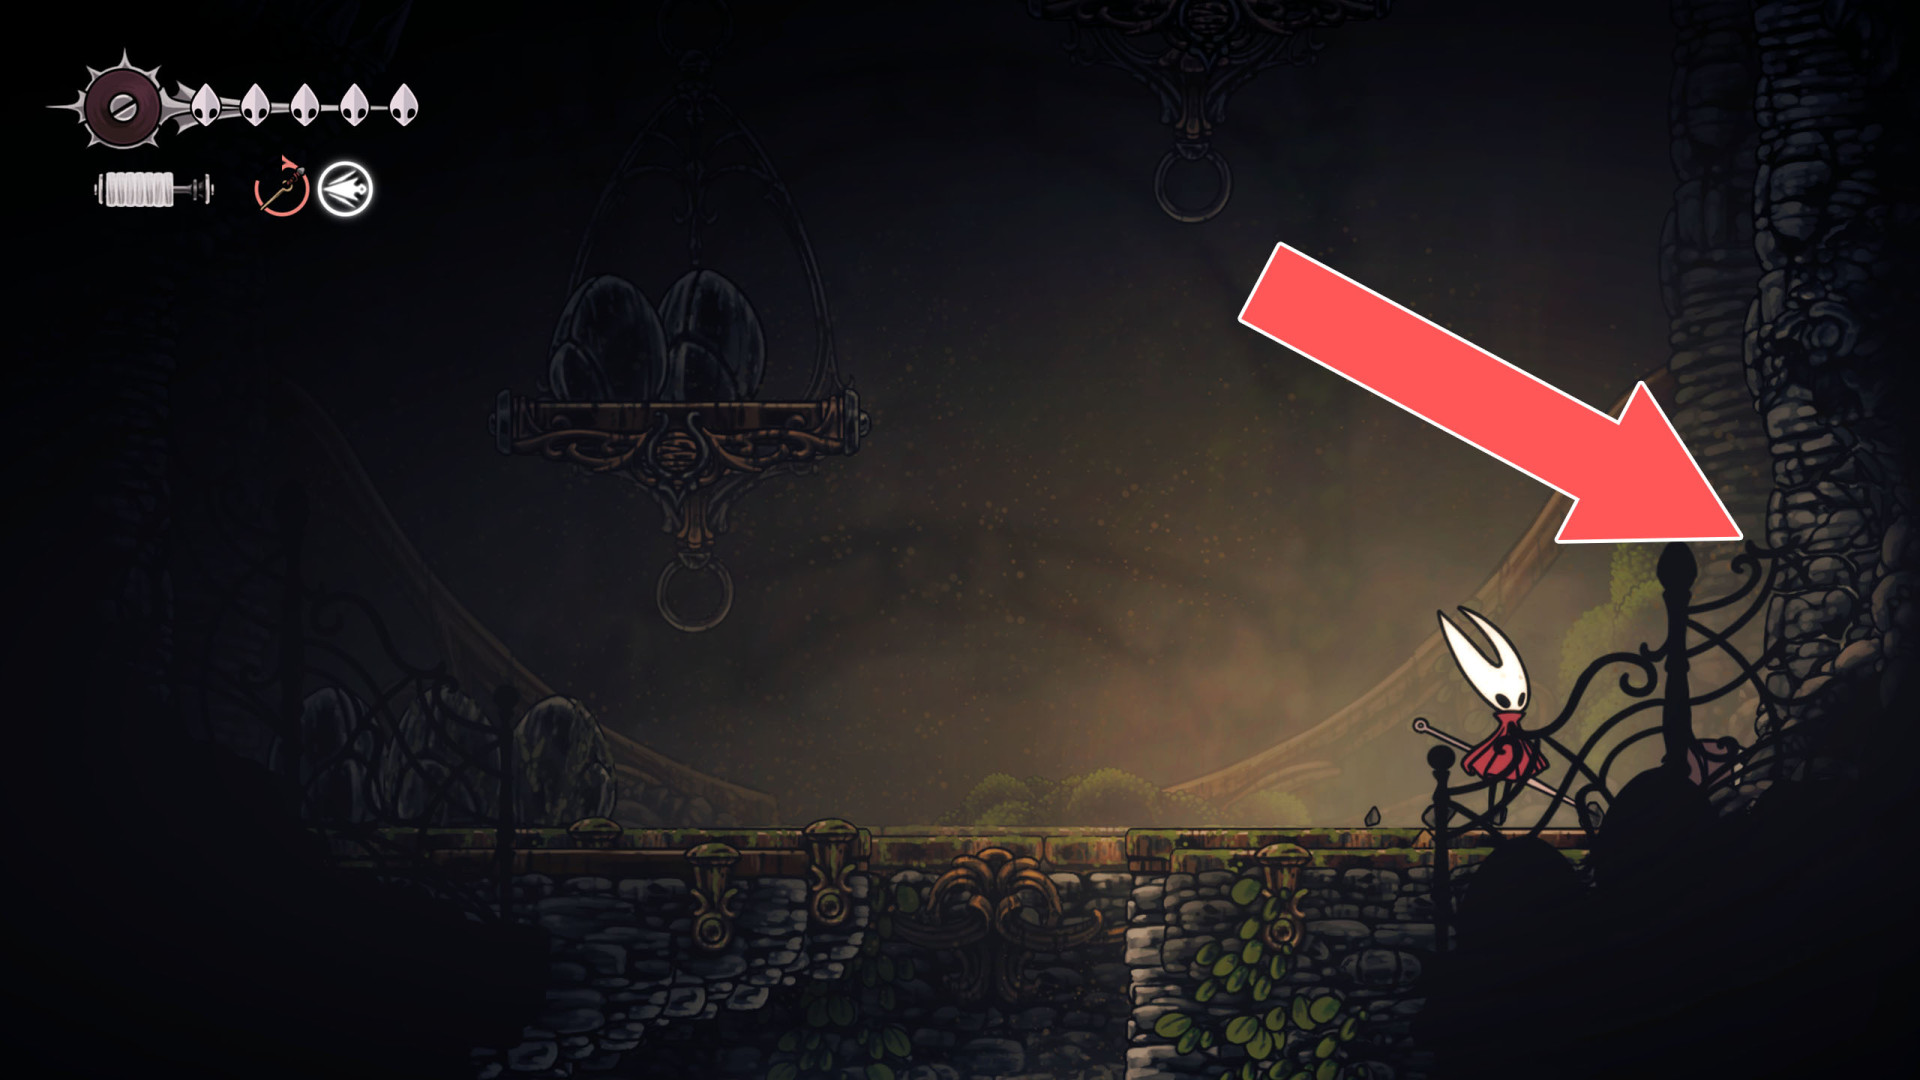
183Breakable Wall
To open the passage hit the explosive rock on the wall.
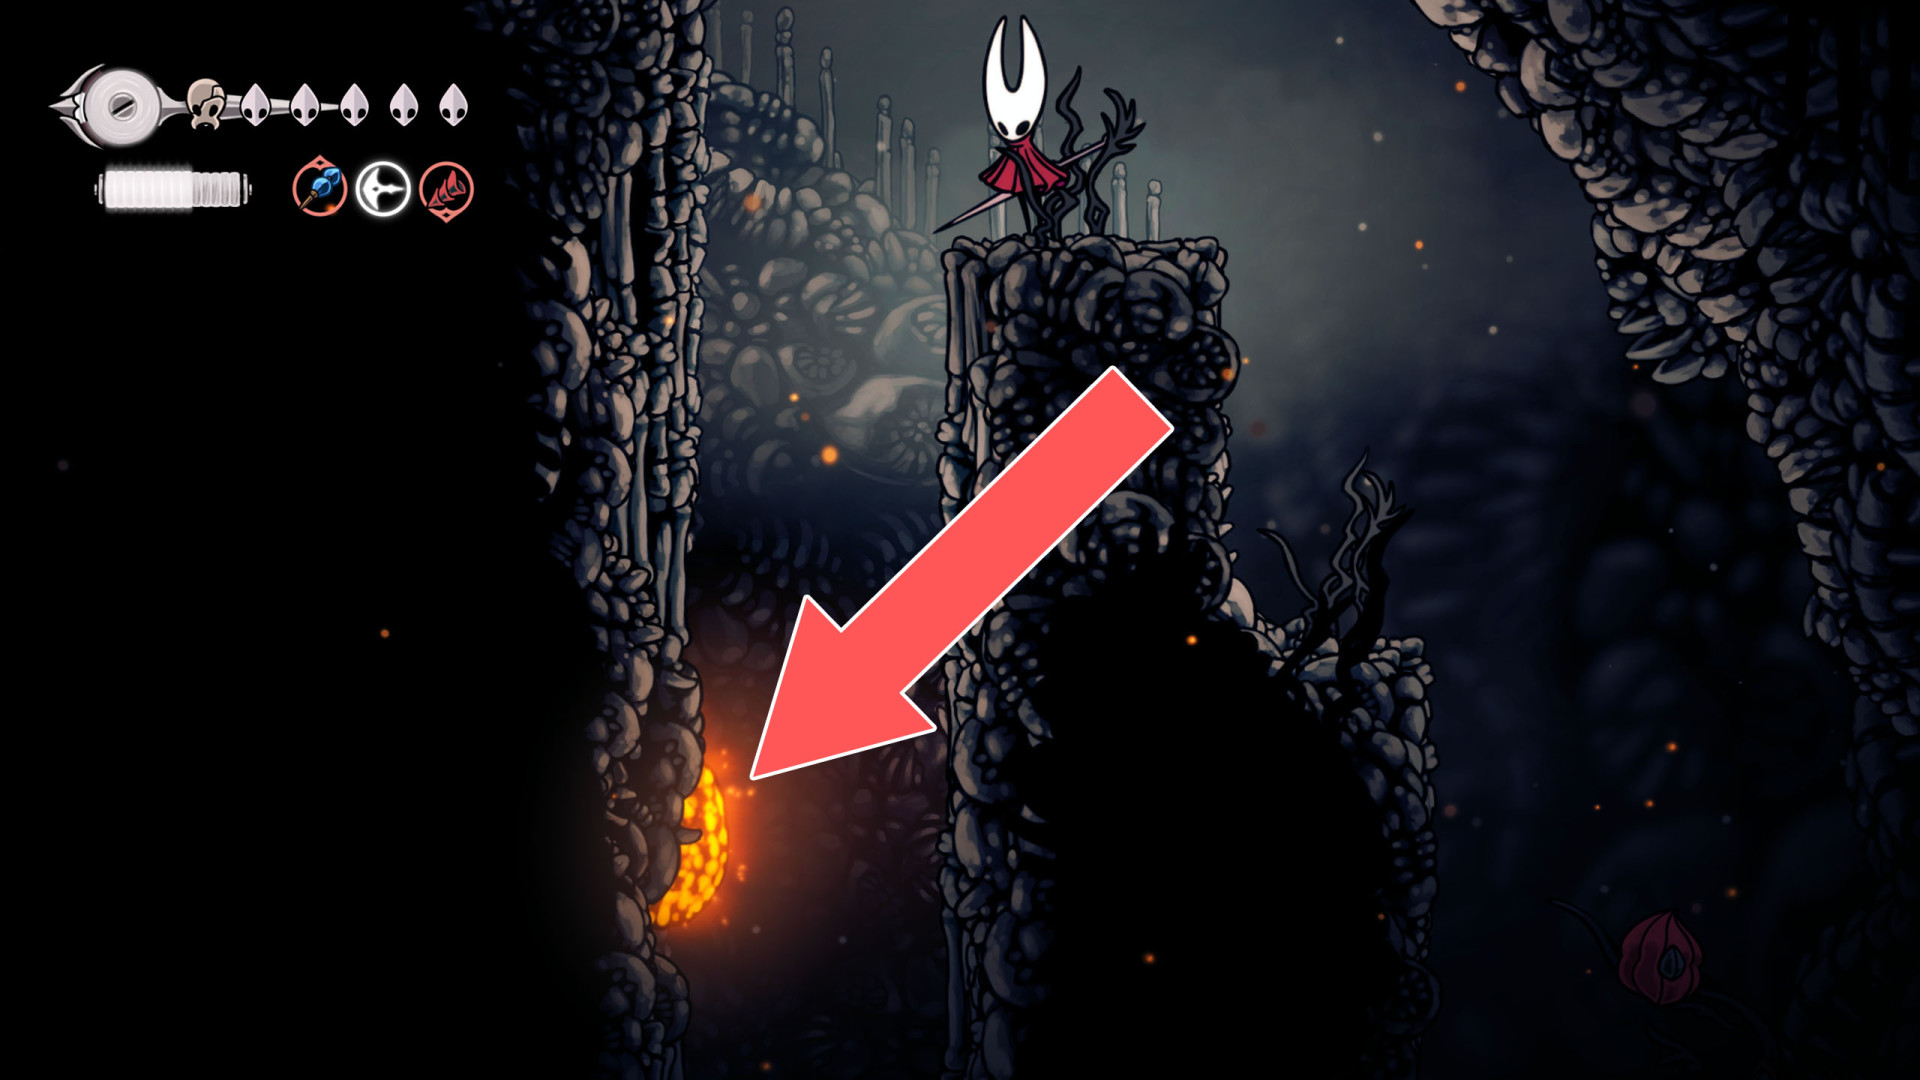
184Breakable Wall
Hit the explosive rock on the east side to open the passage.
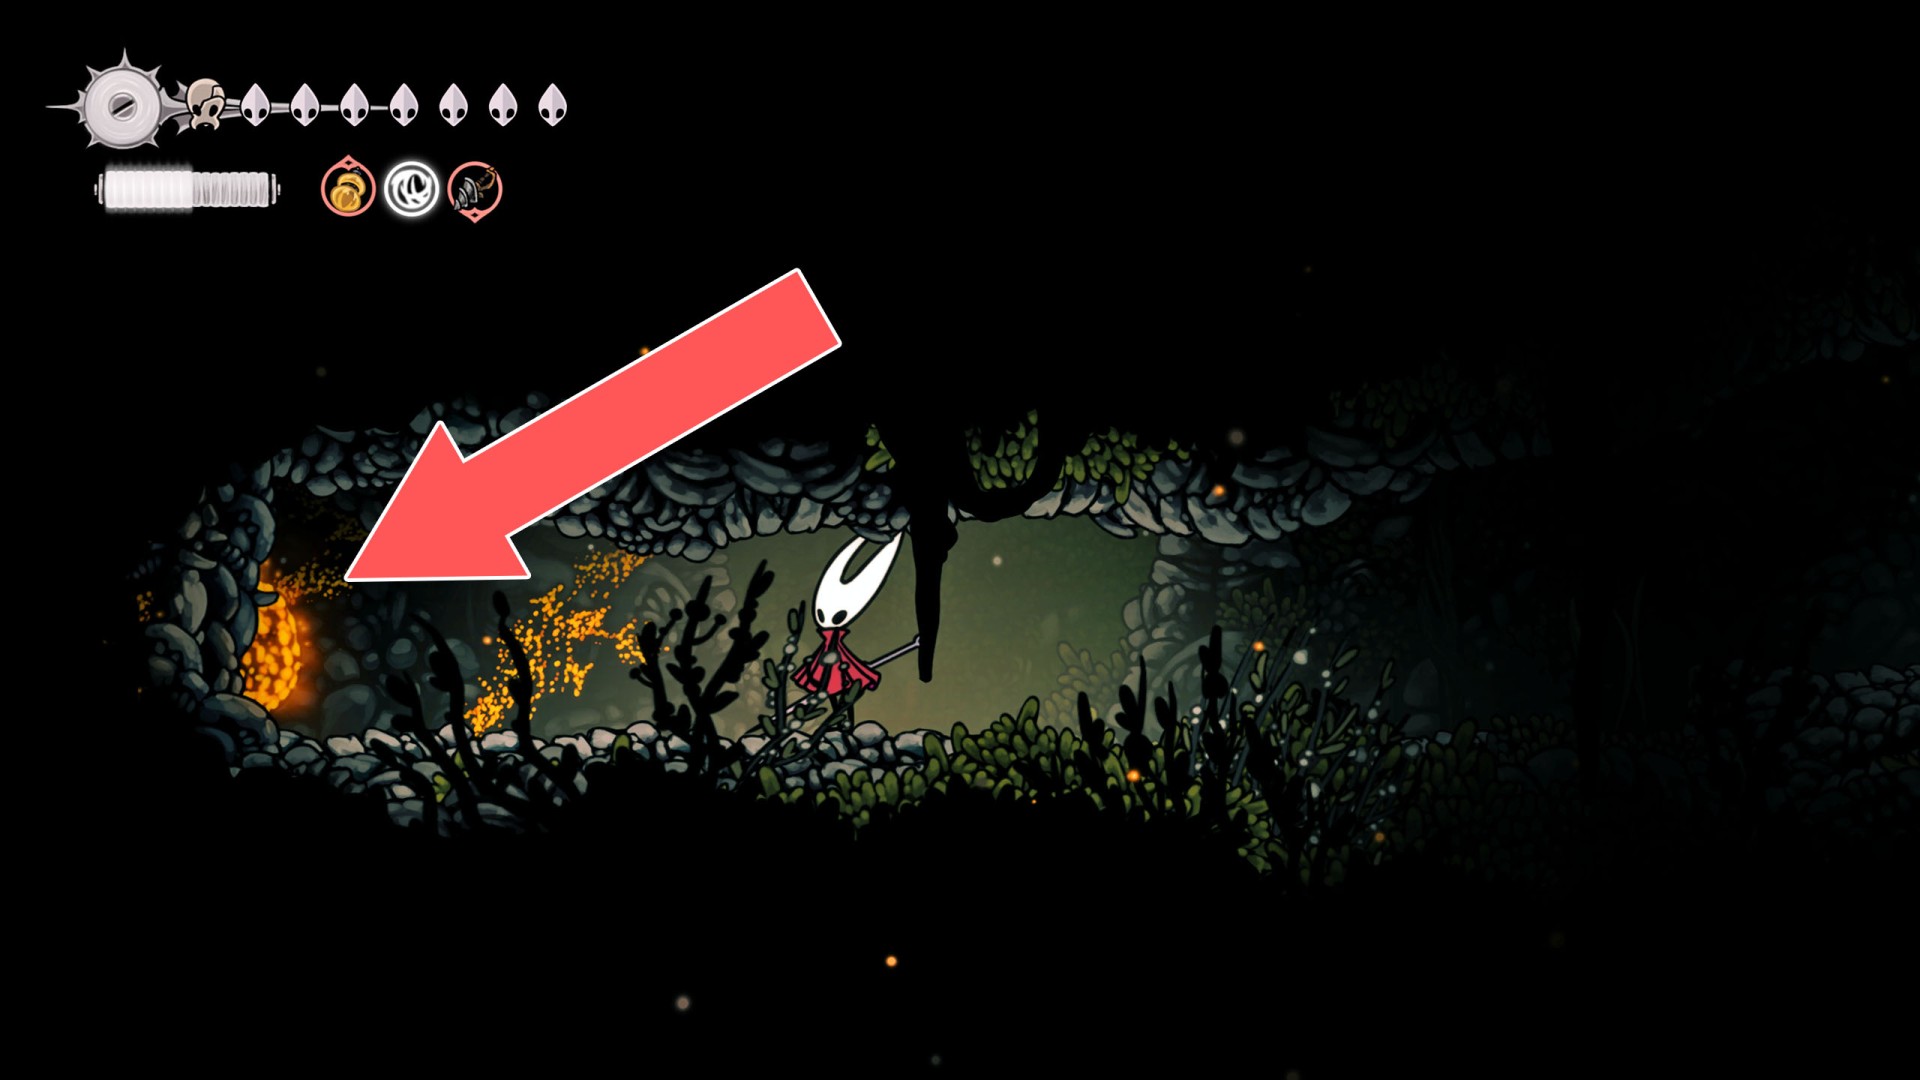
185Breakable Wall
Hit the explosive rock on the east side of it to open the passage.
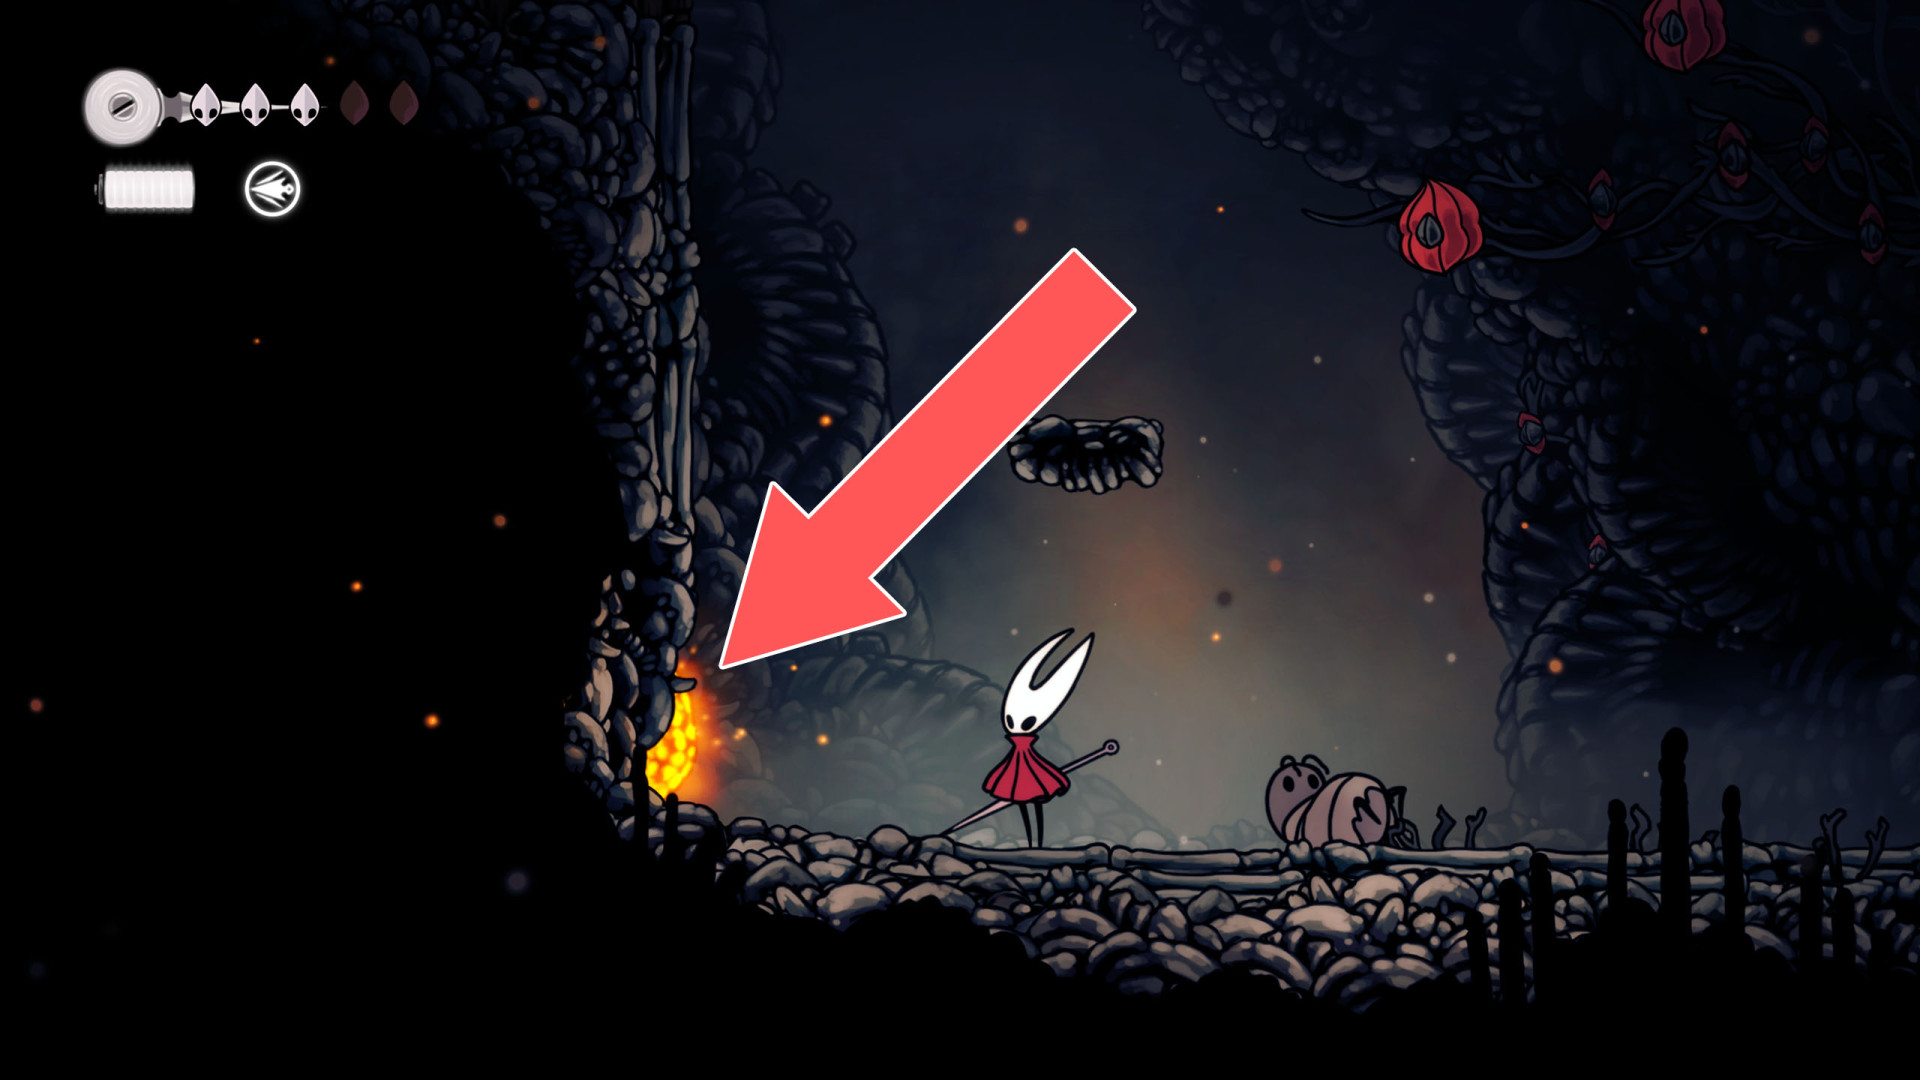
186Breakable Wall
Approach it from the west side and hit the wall several times to break it.
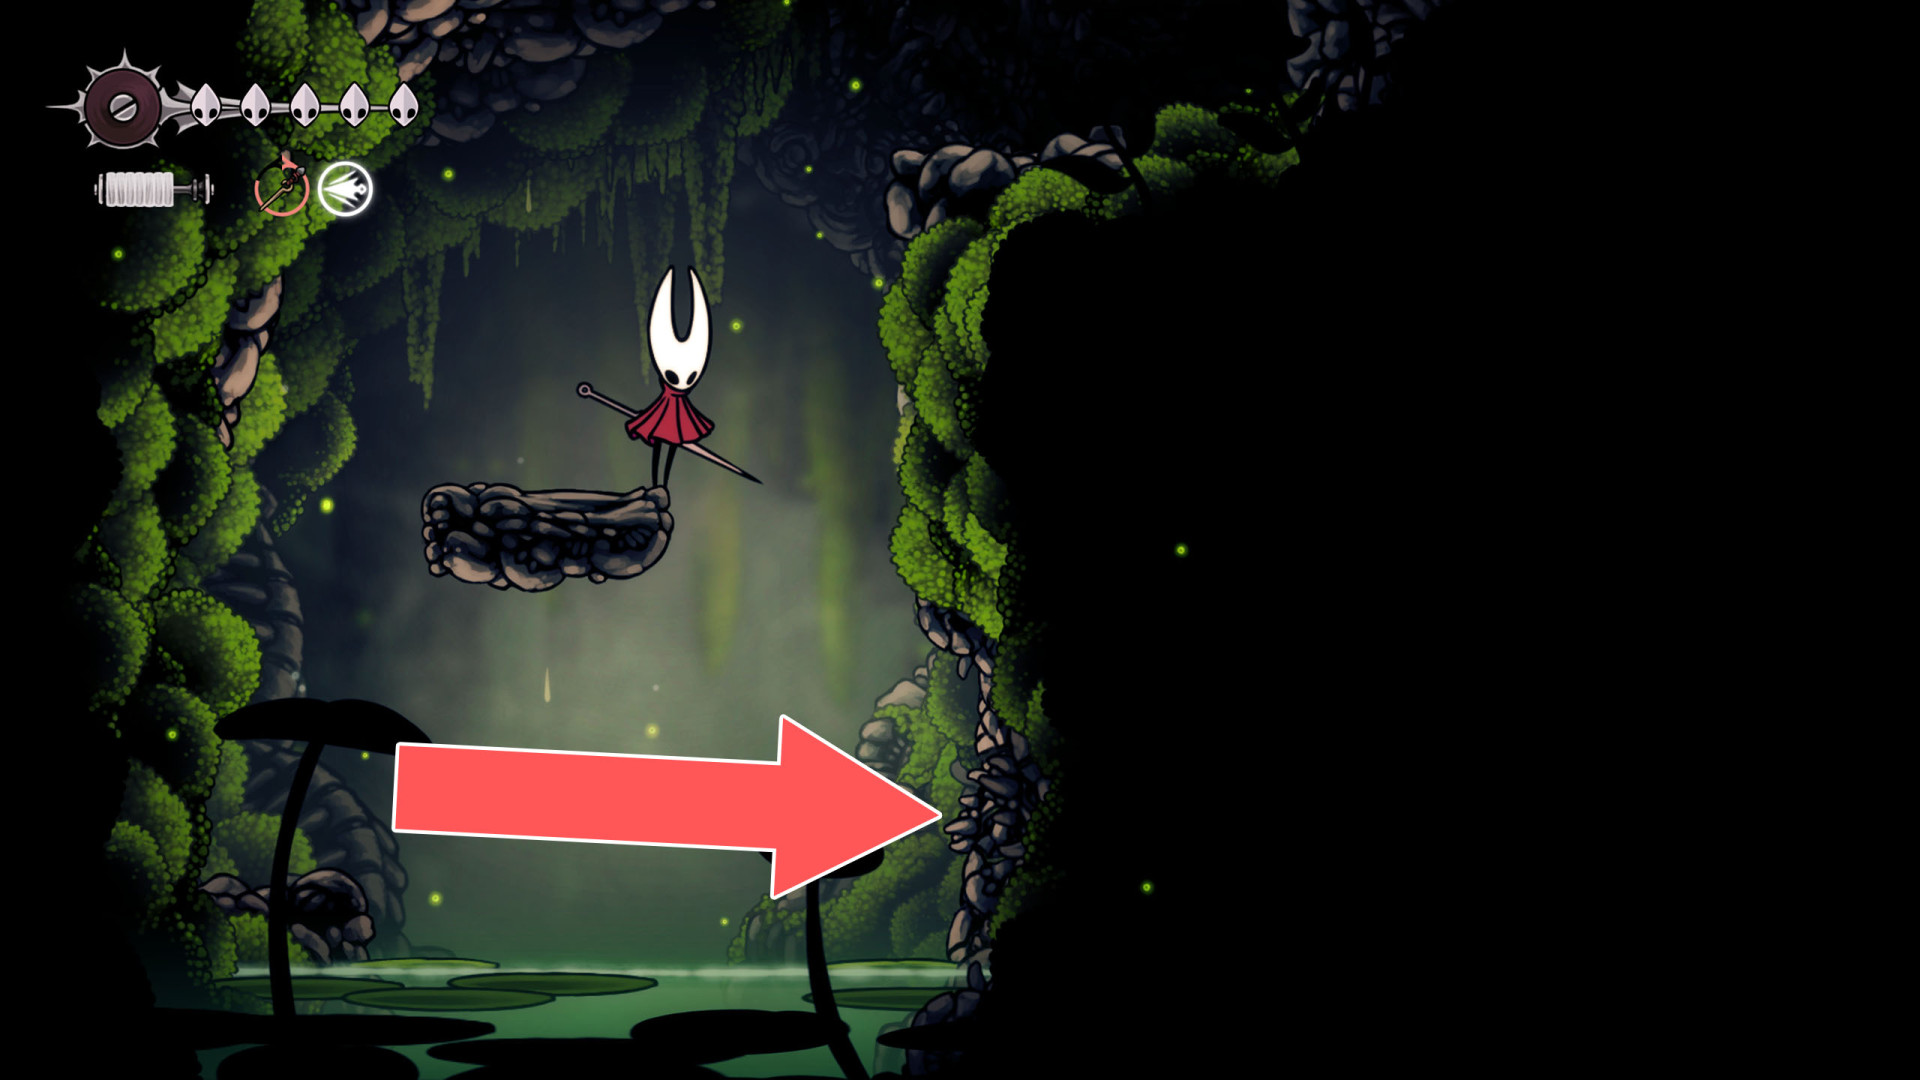
187Breakable Wall
You can break down this wall by hitting it from the east side.
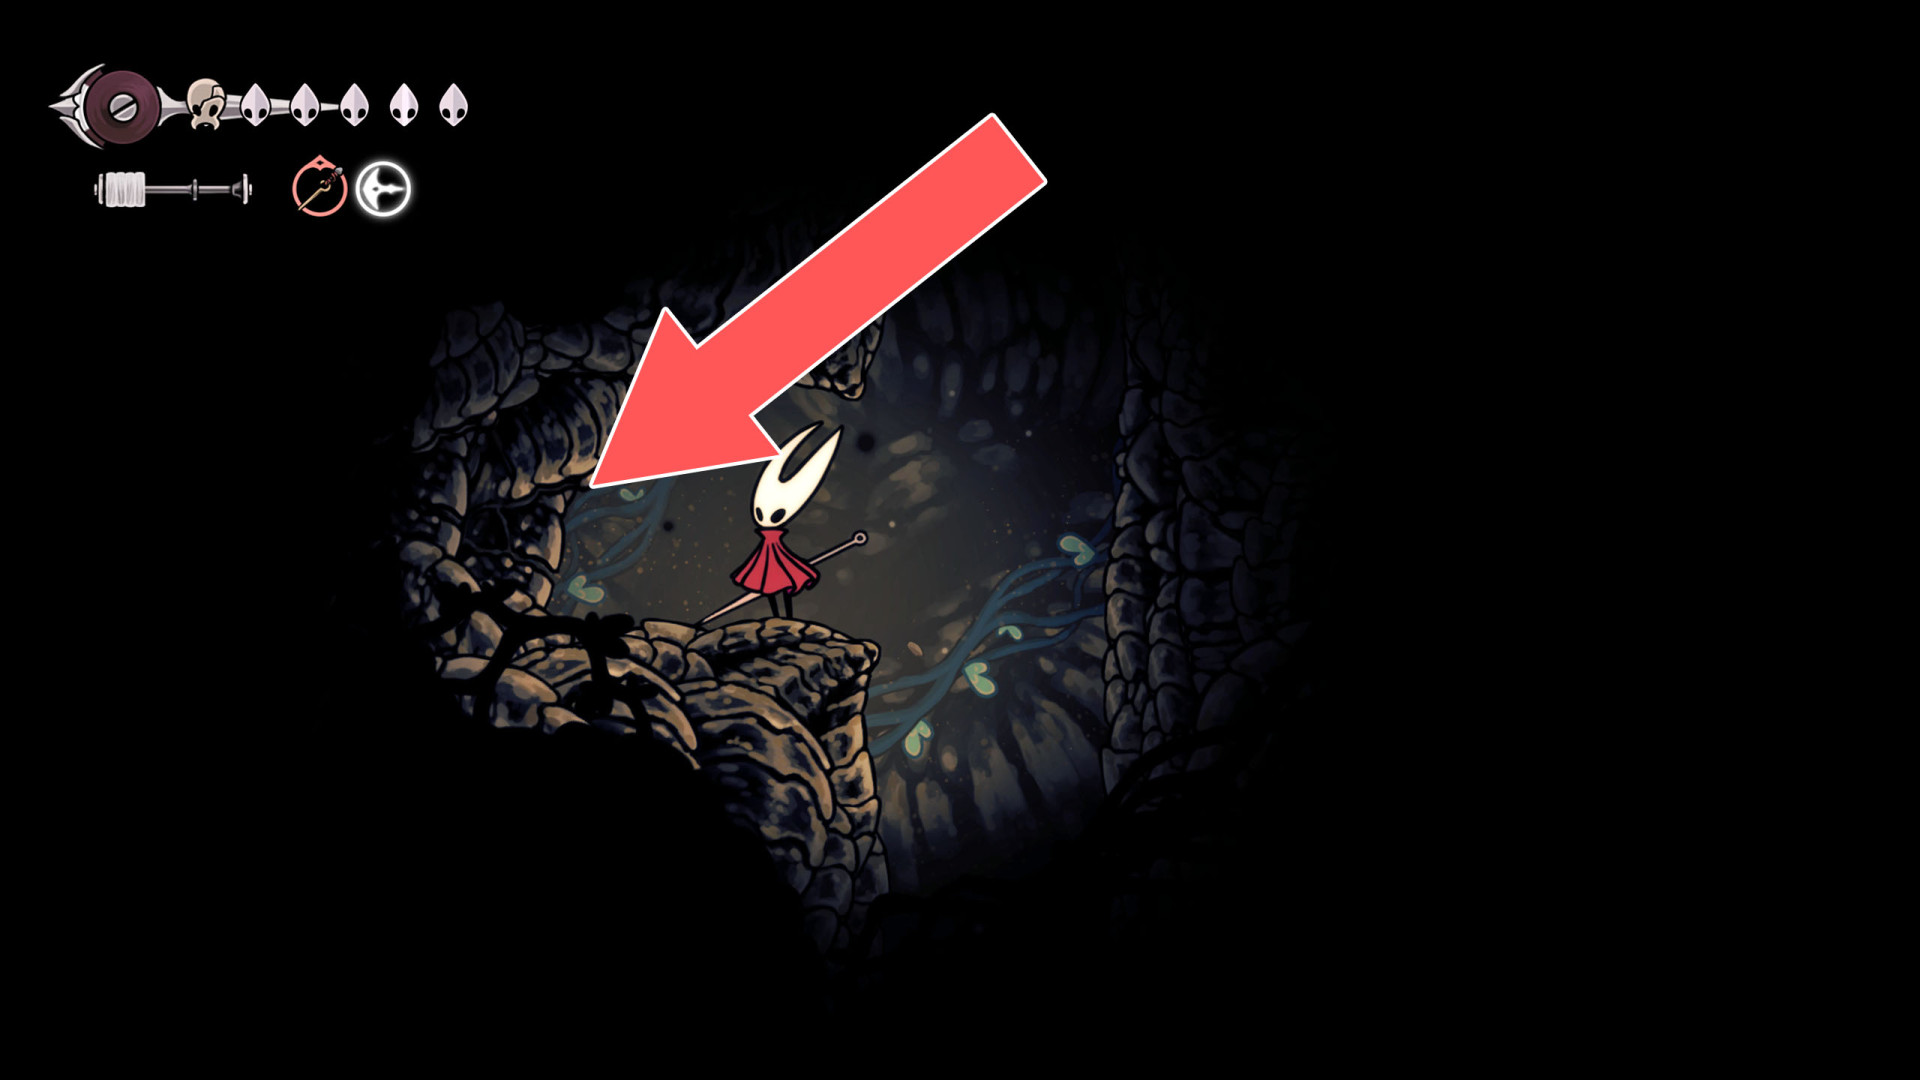
188Breakable Wall
You can break down this wall by hitting it from the east side.
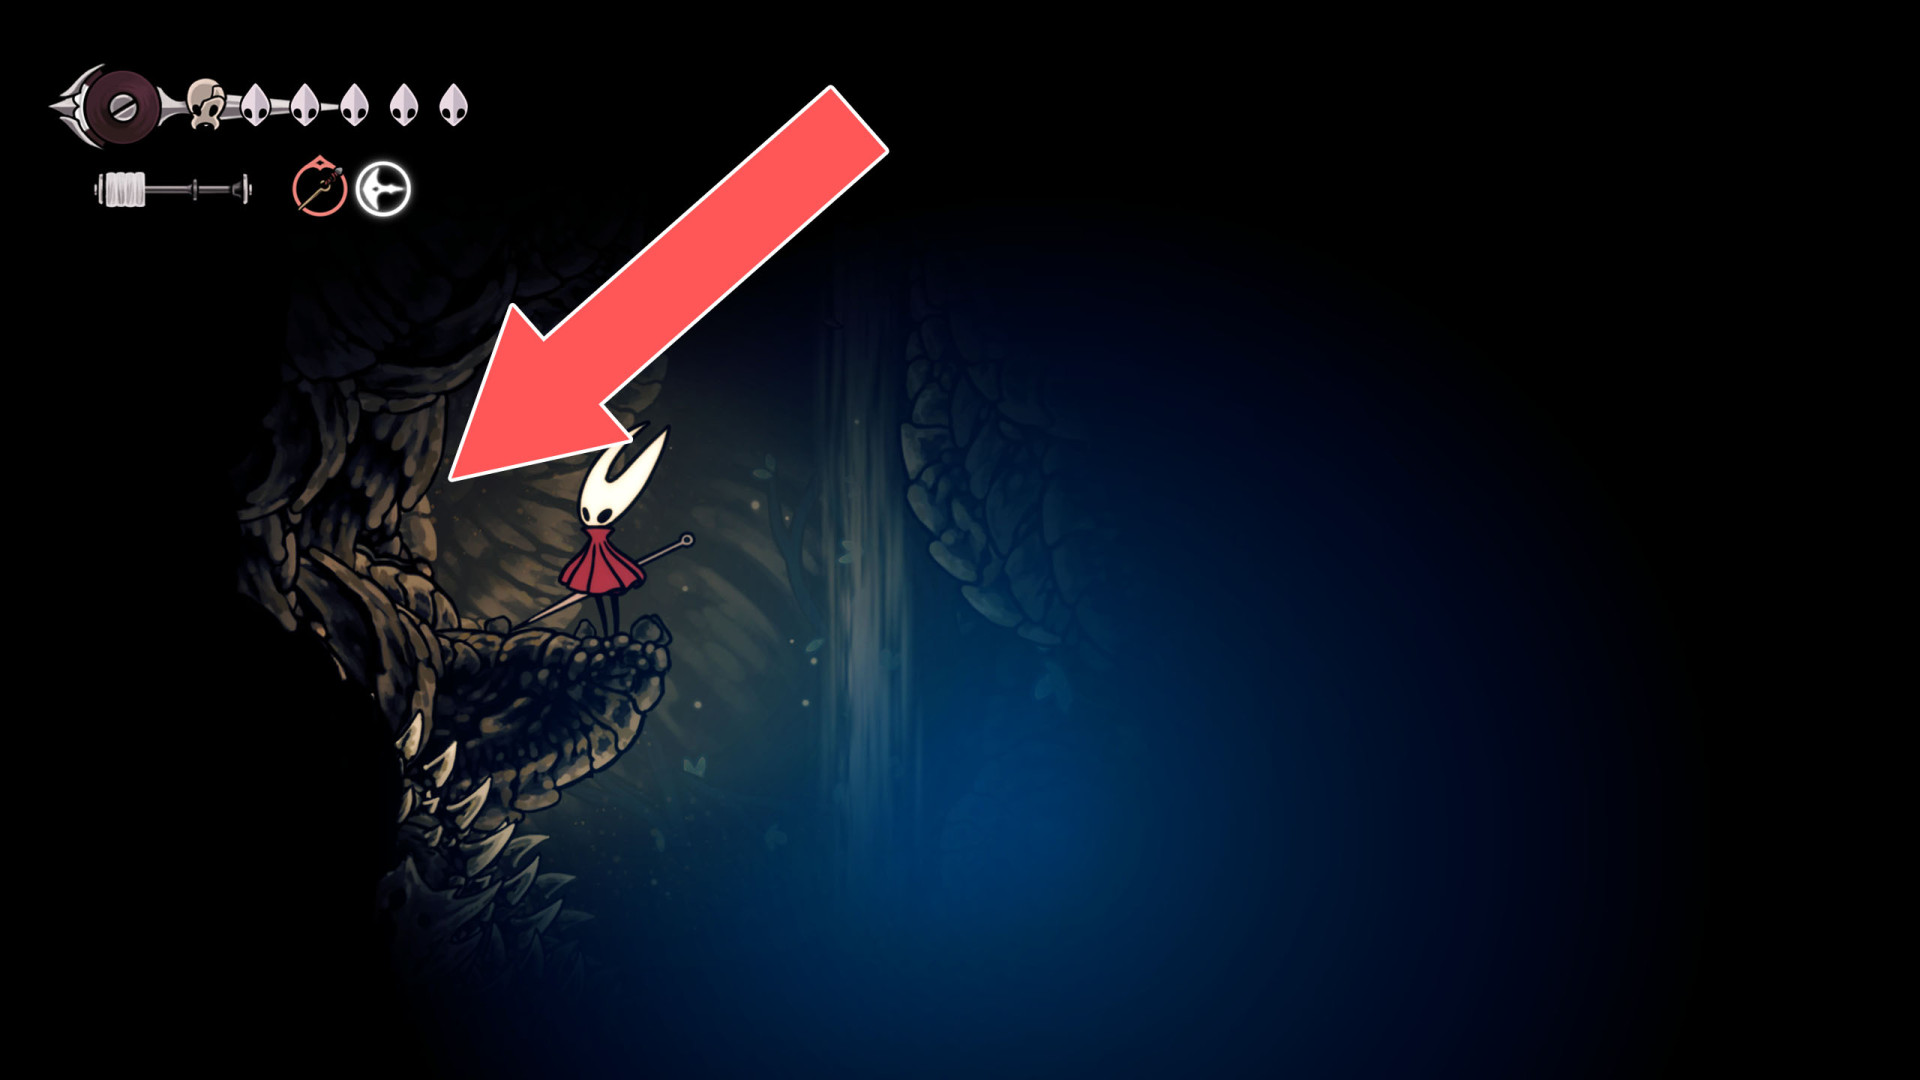
189Breakable Wall
Approach it from the east side and hit the wall several times to break it.
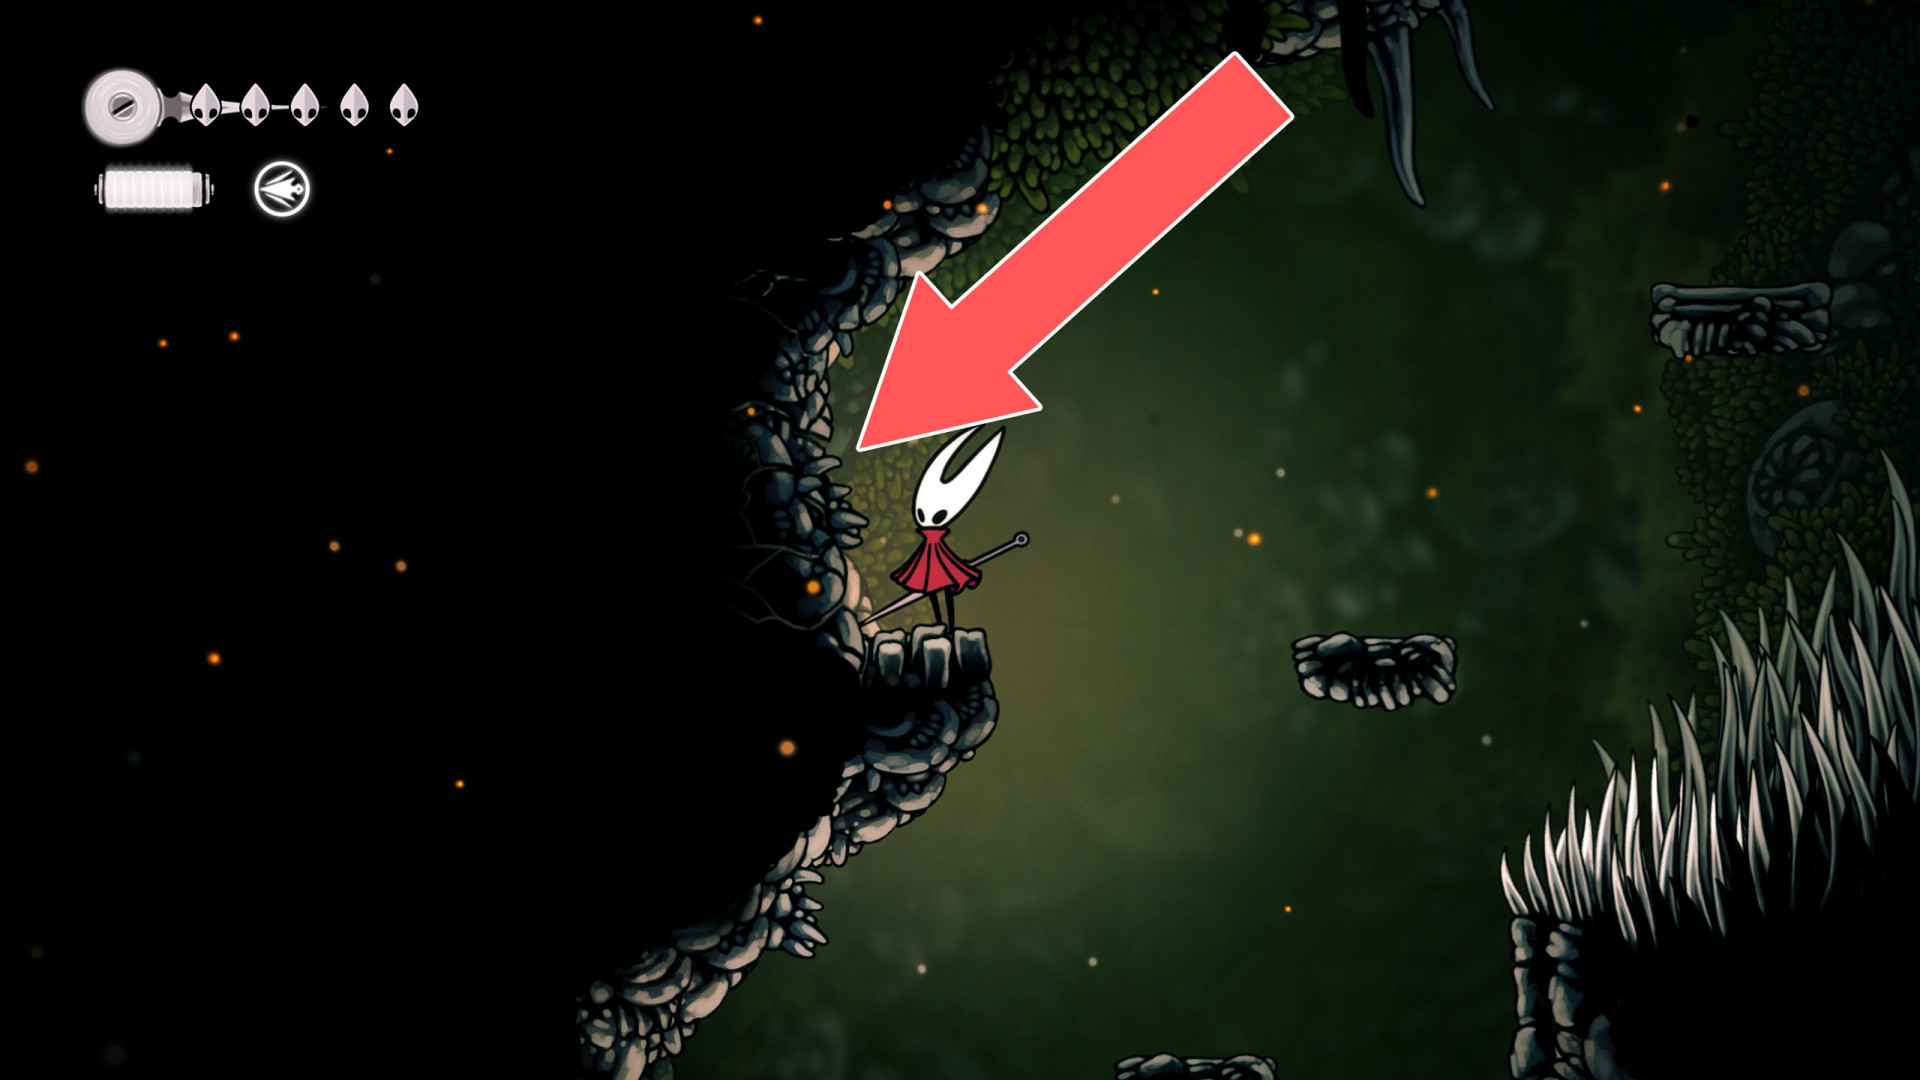
190Breakable Wall
Approach it from the east side and hit the wall several times to break it.
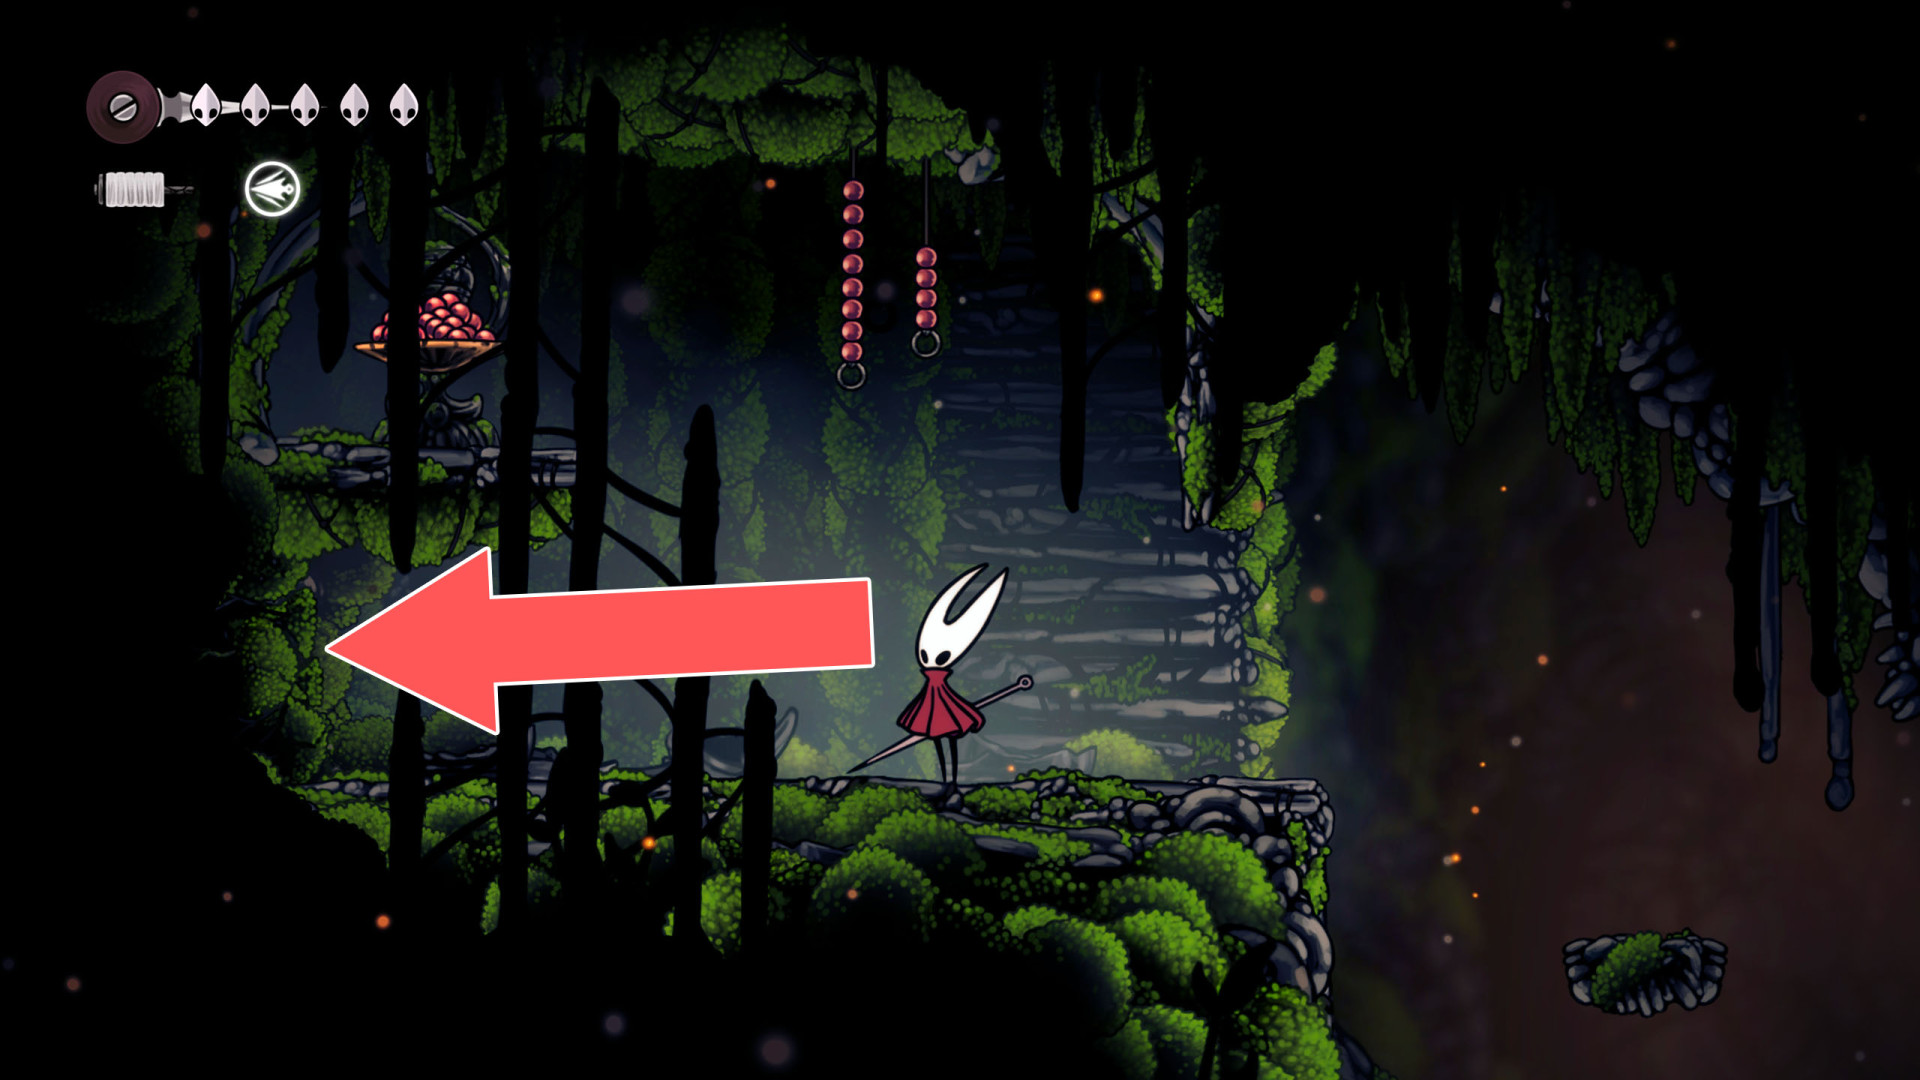
191Breakable Wall
Approach it from the east side and hit the wall several times to make a passage.
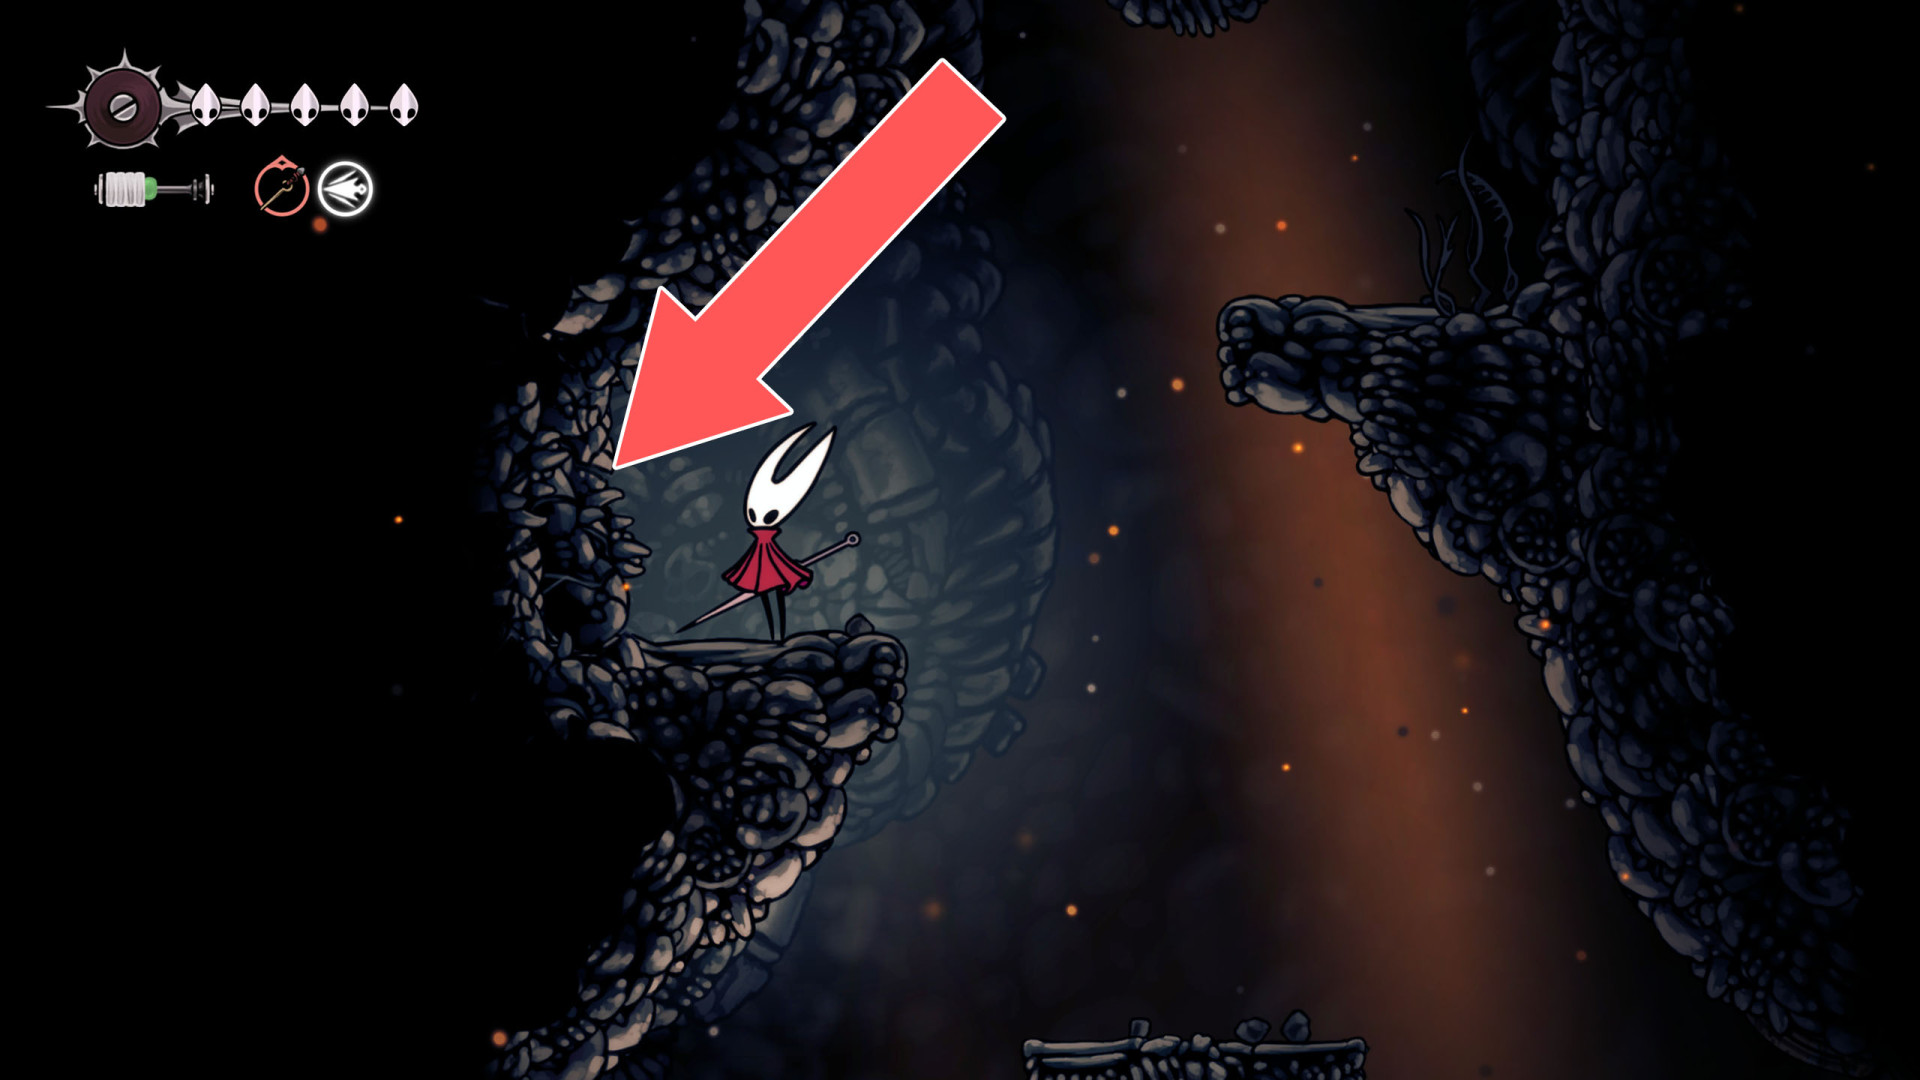
192Breakable Wall
Hit it from the west side of it to open the passage.
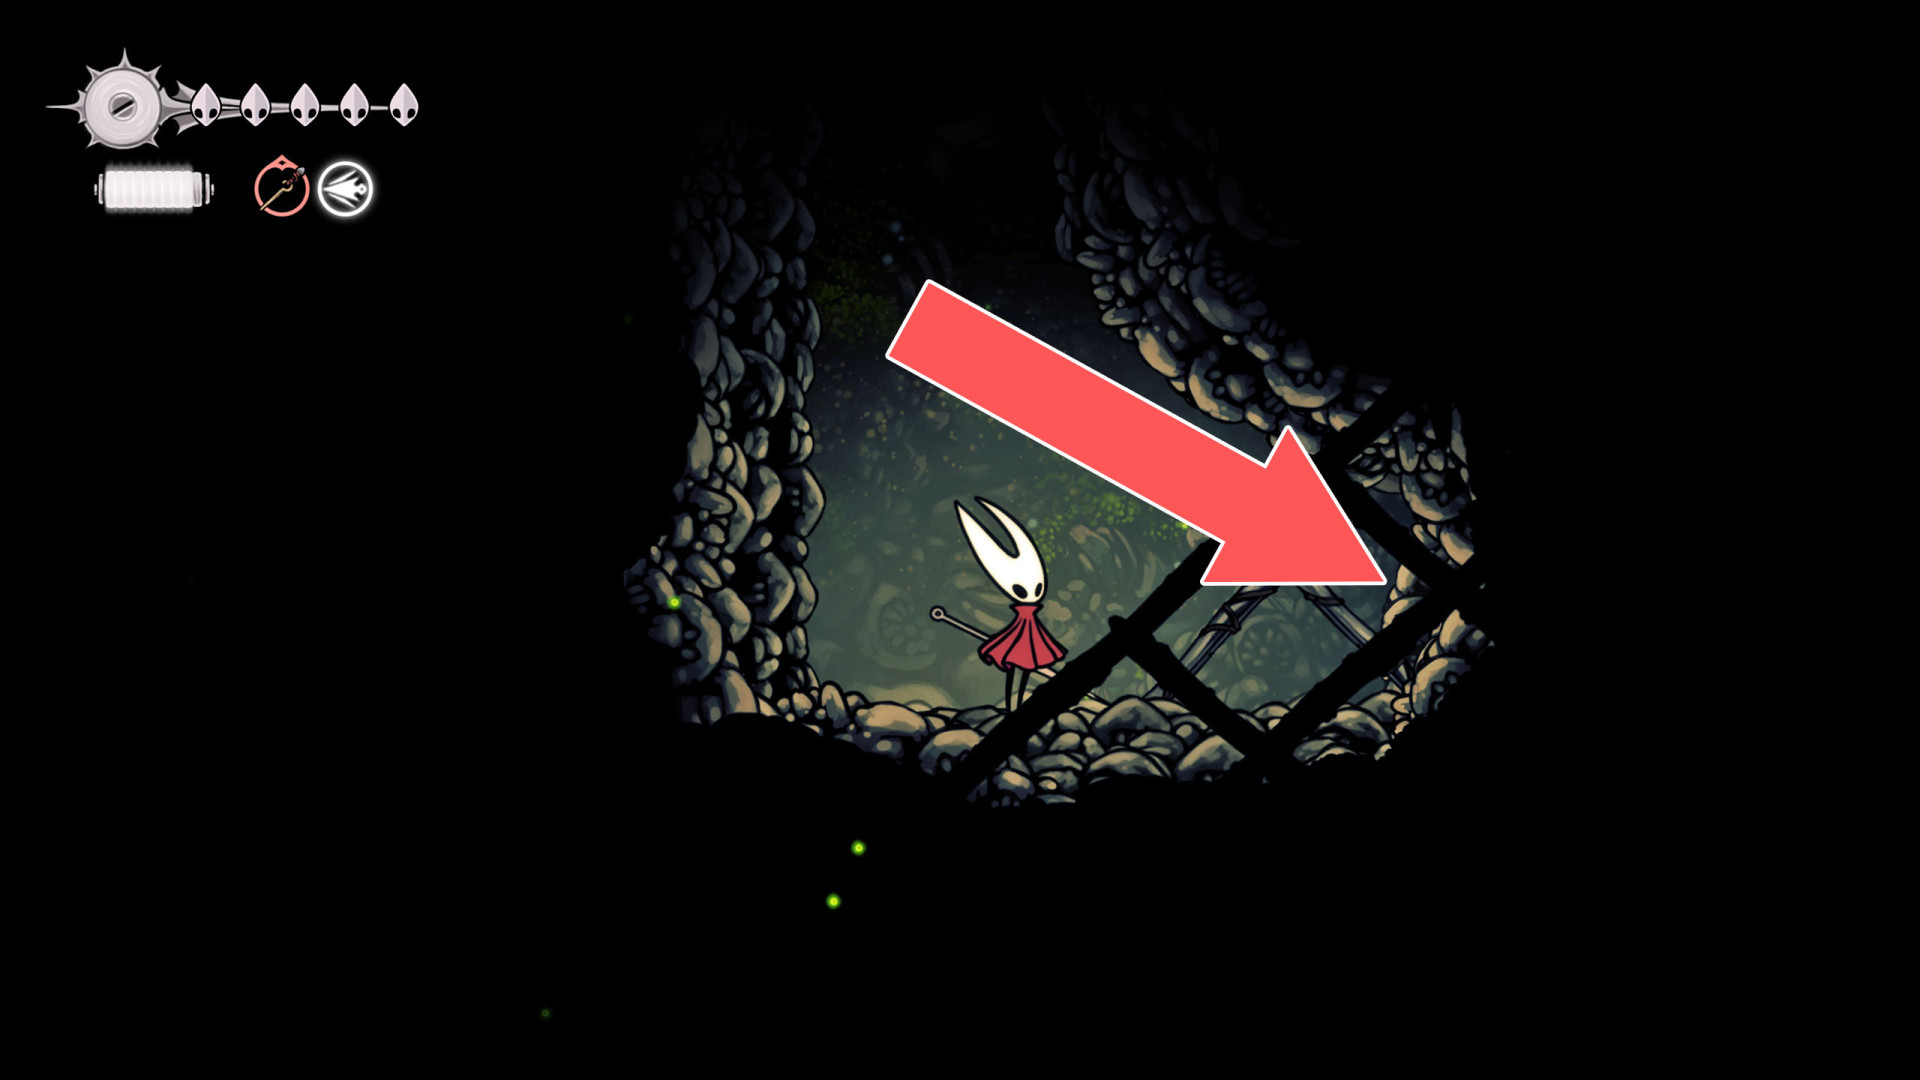
193Breakable Wall
Hit the explosive rock on the west side of it to open the passage.
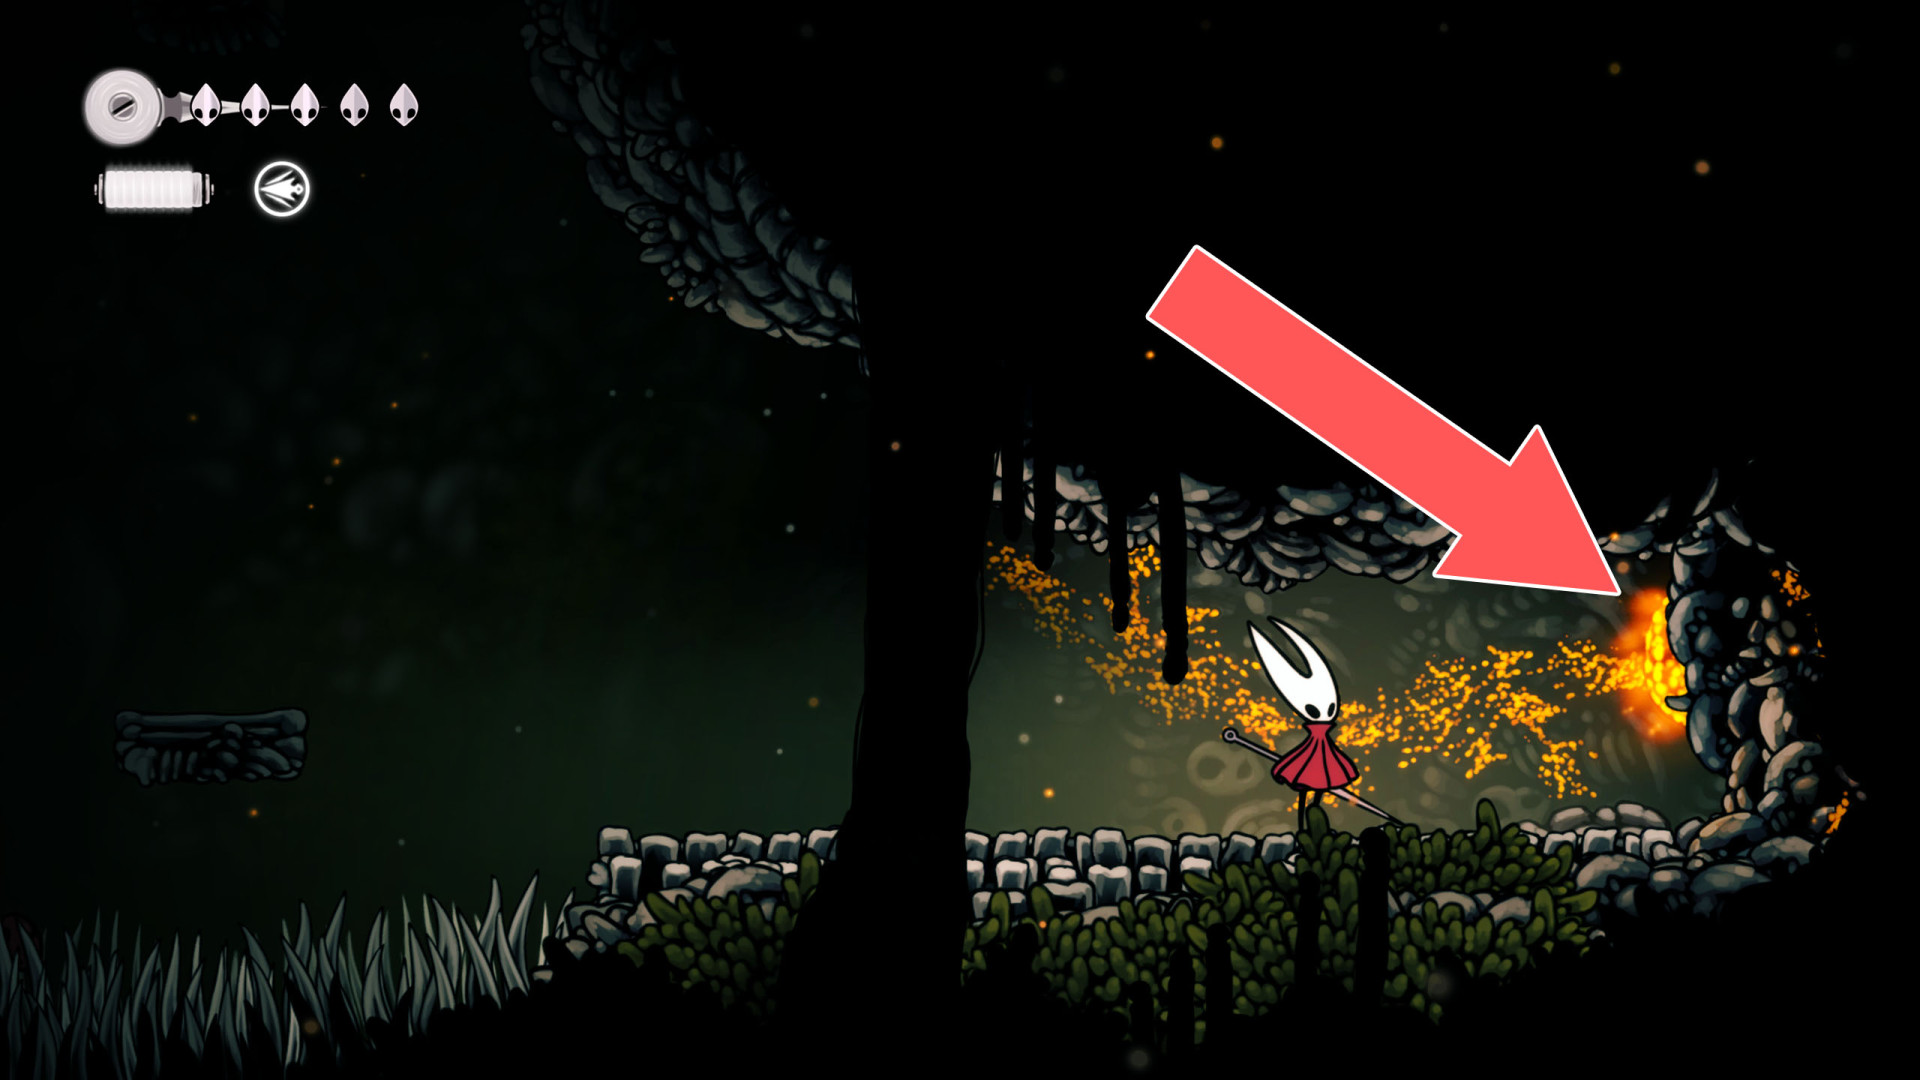
194Breakable Wall
You can break down this wall by hitting it from the west side.
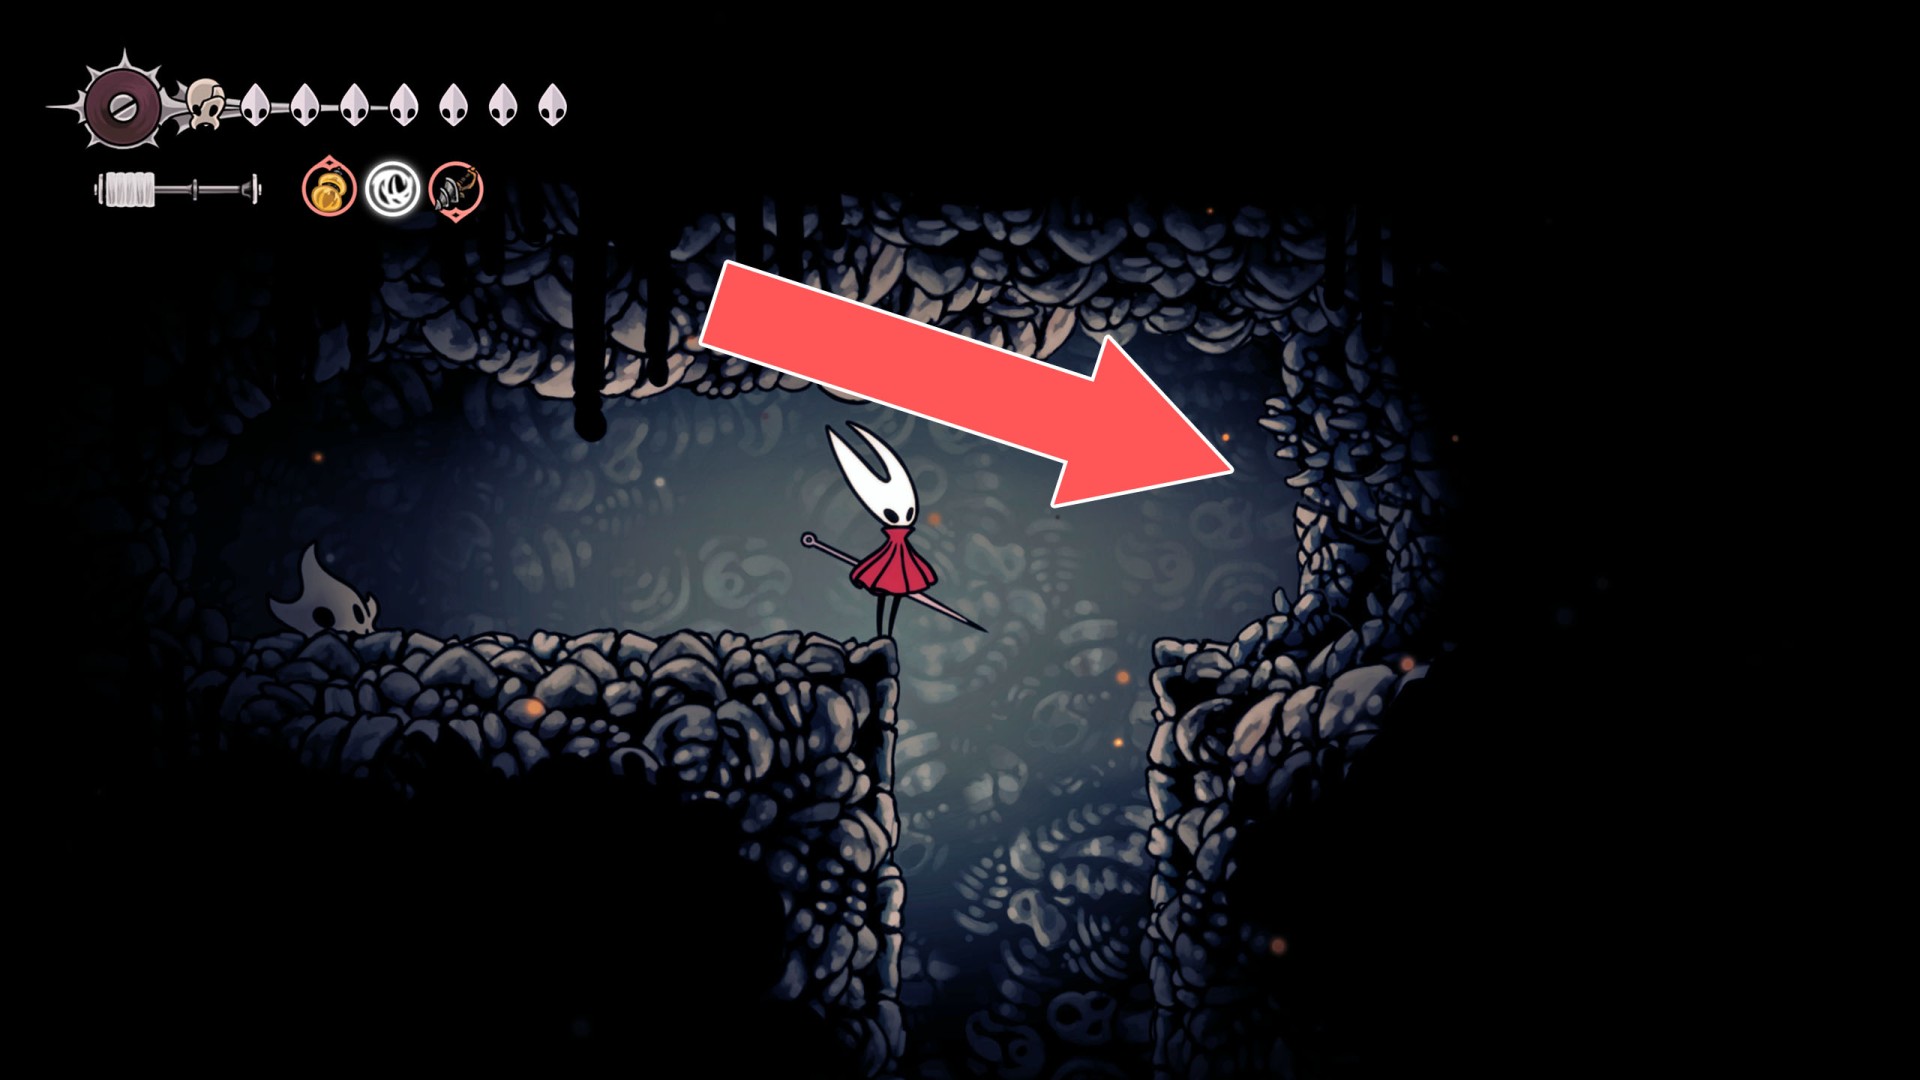
195Breakable Wall
Approach it from the west side and hit the wall several times to break it.
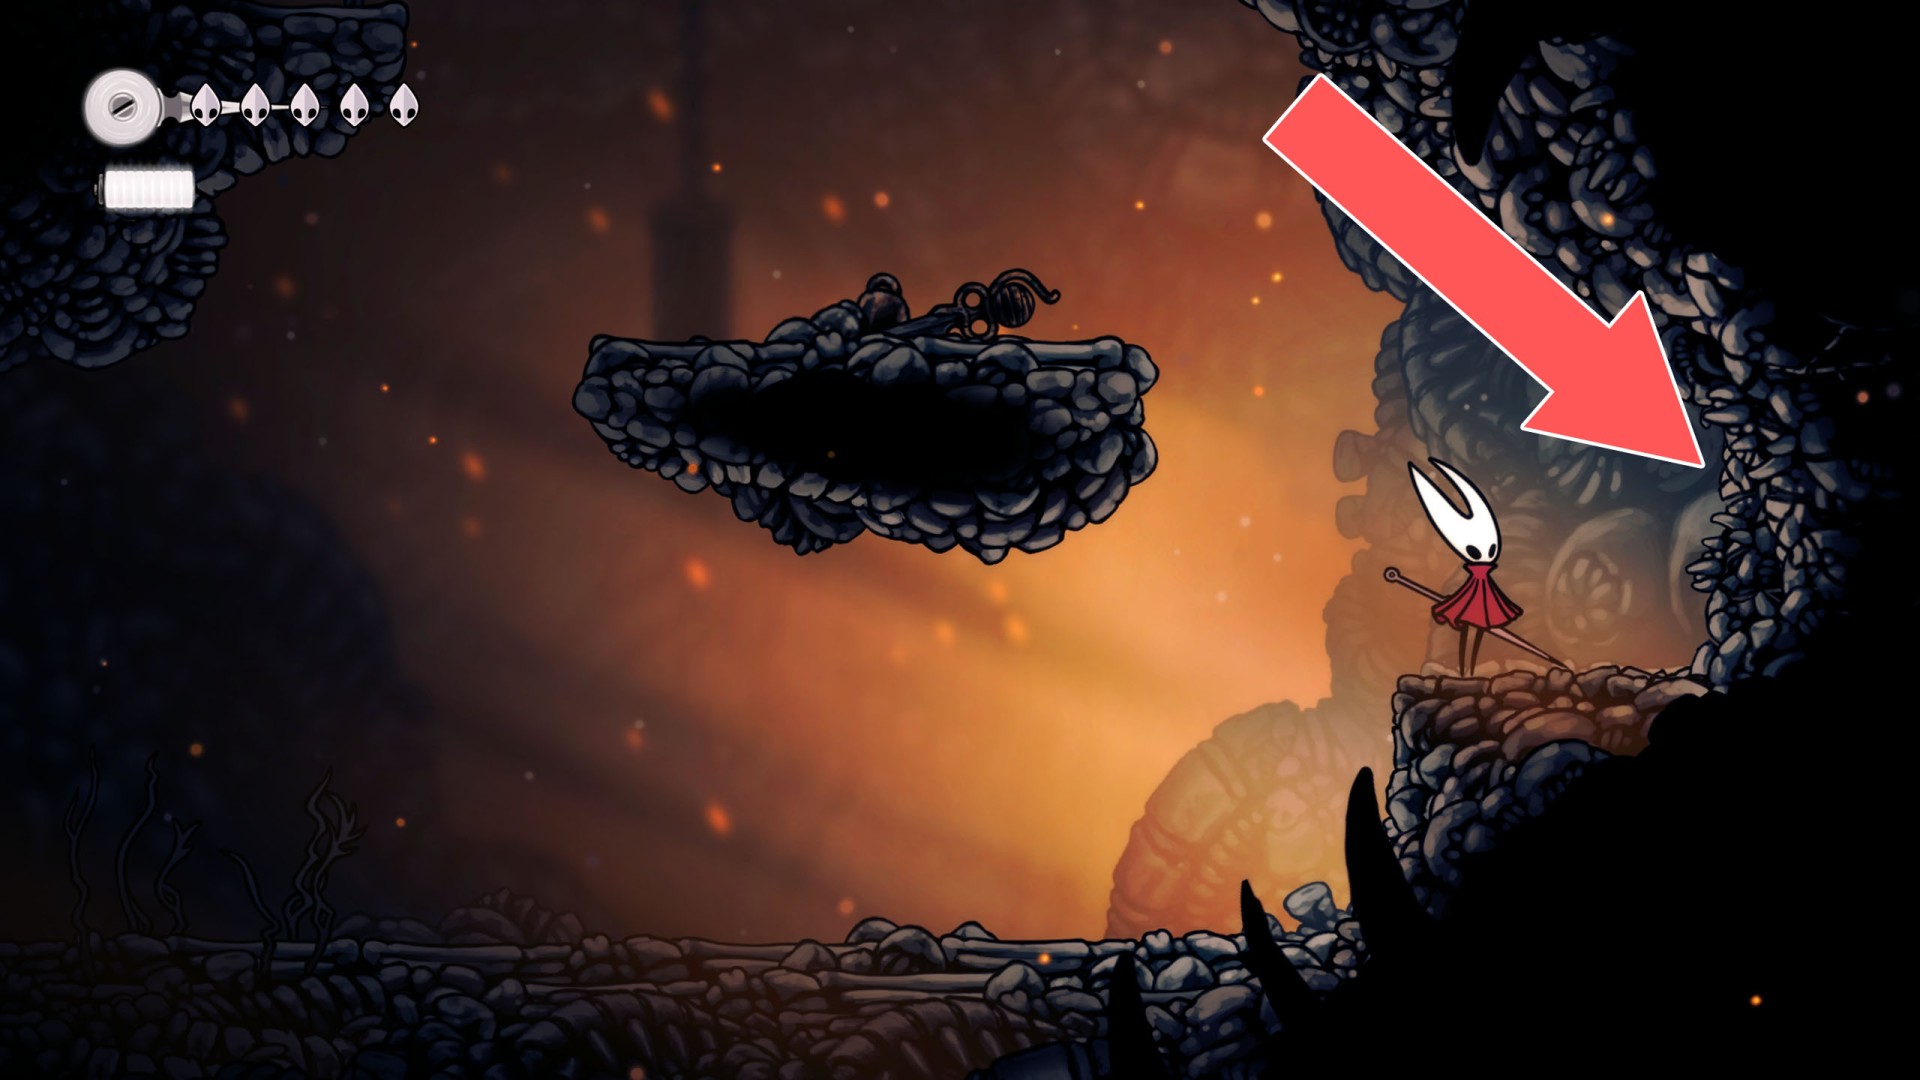
196Breakable Wall
You can break down this wall by hitting it from the east side.
197Breakable Wall
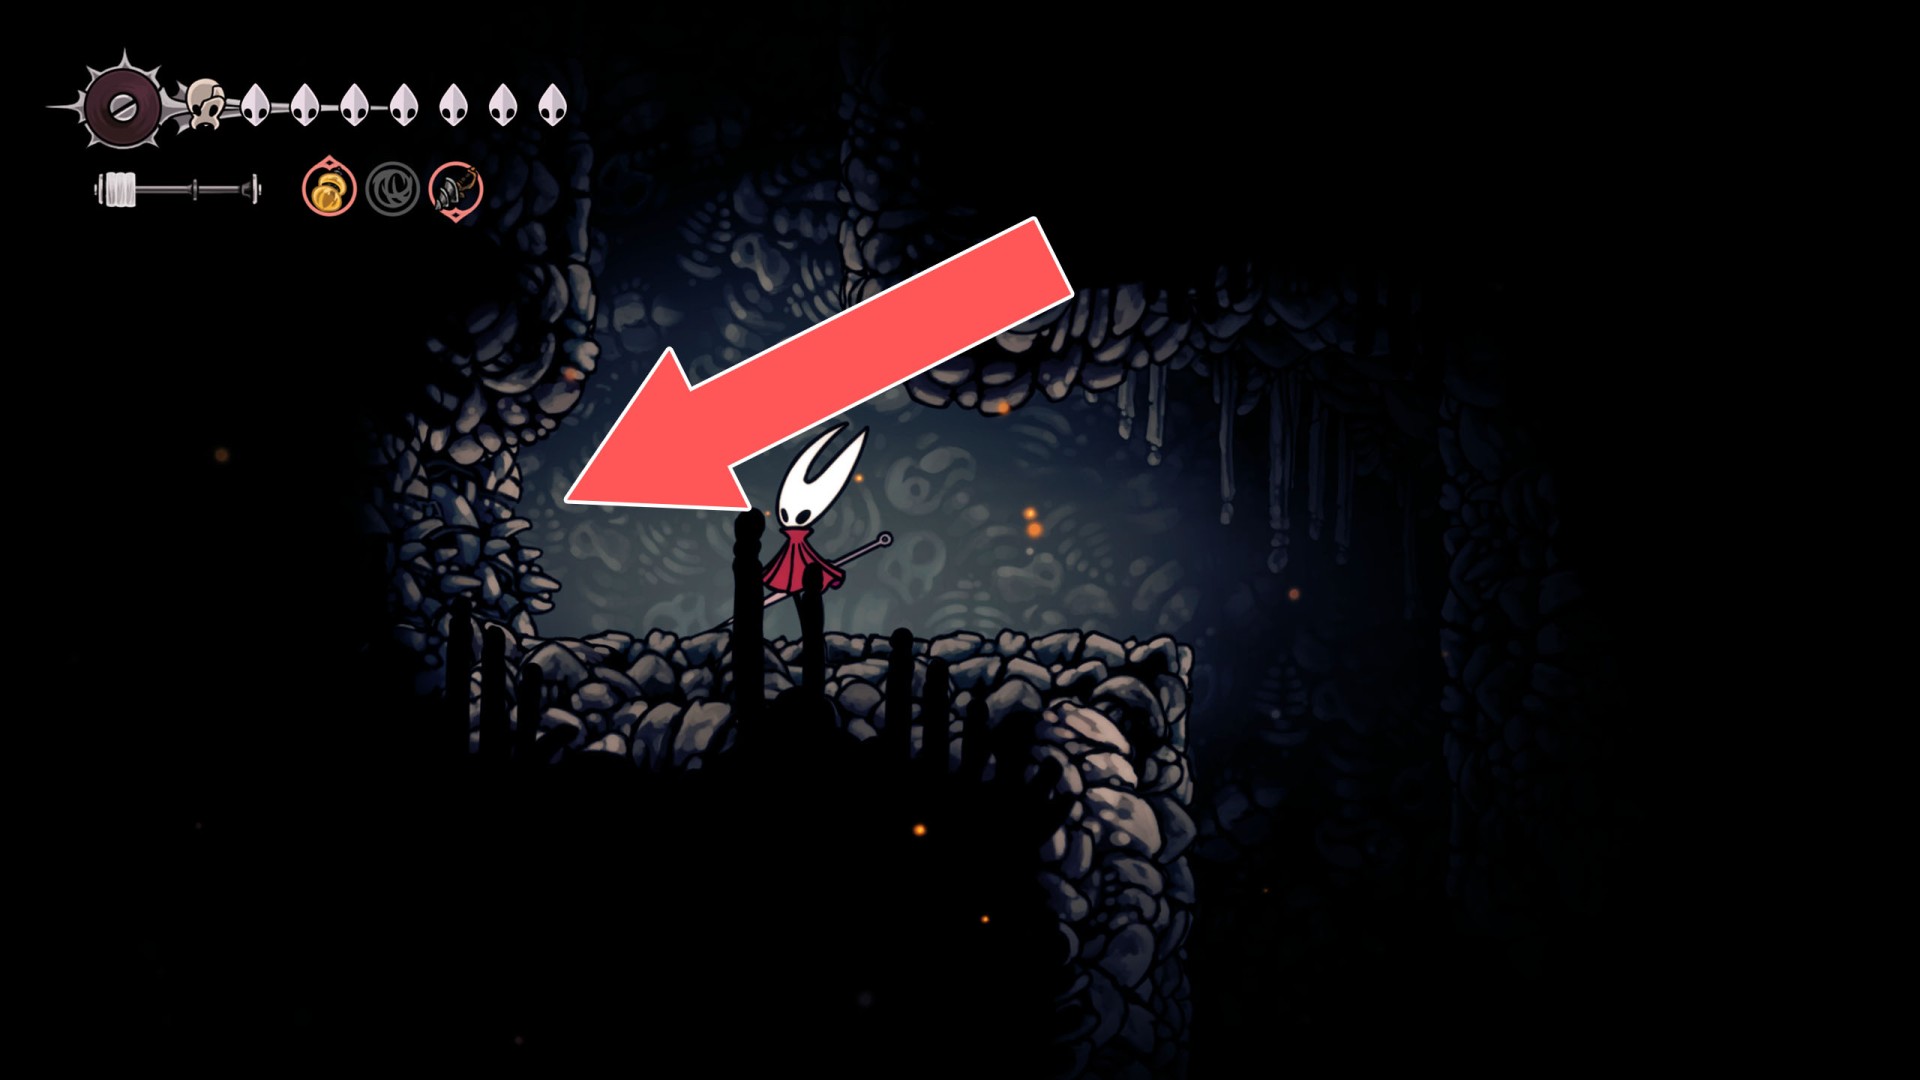
You can break down this wall by hitting it from the west side.
198Breakable Wall
199Breakable Wall
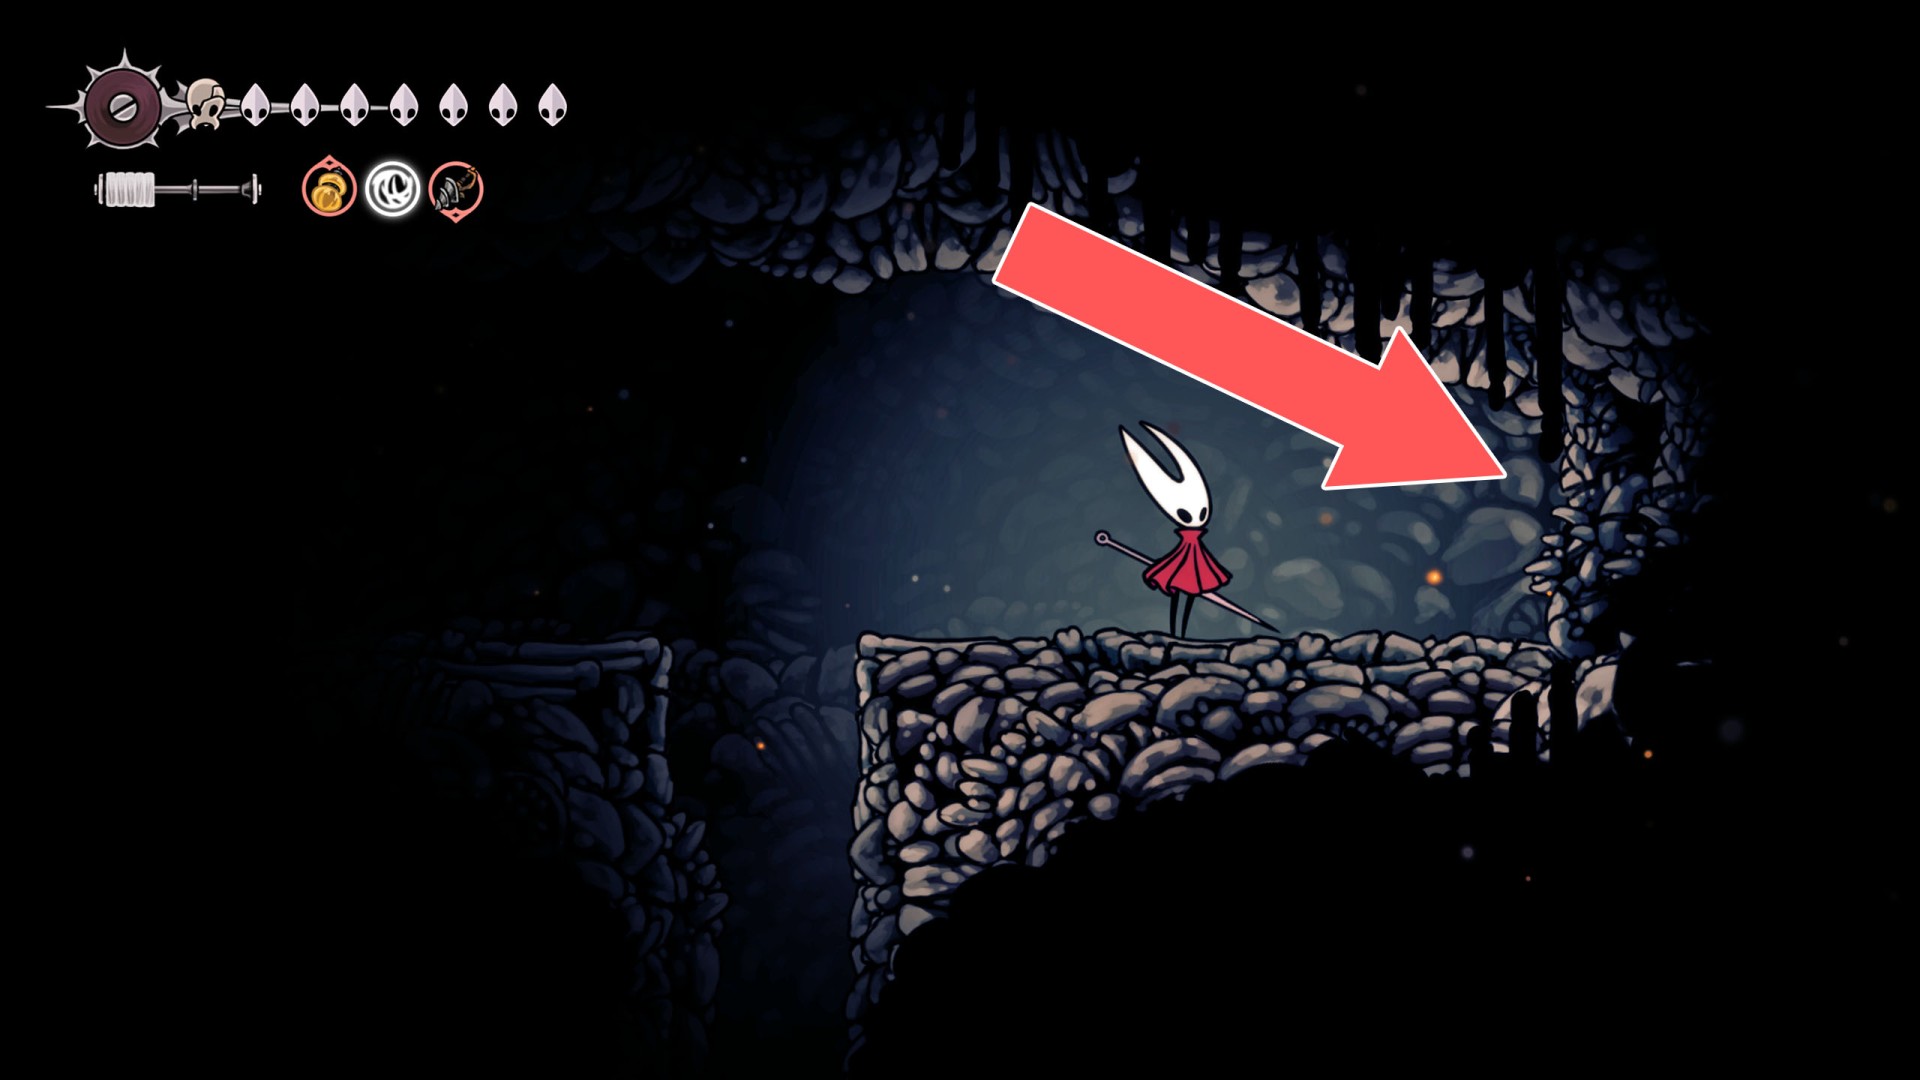
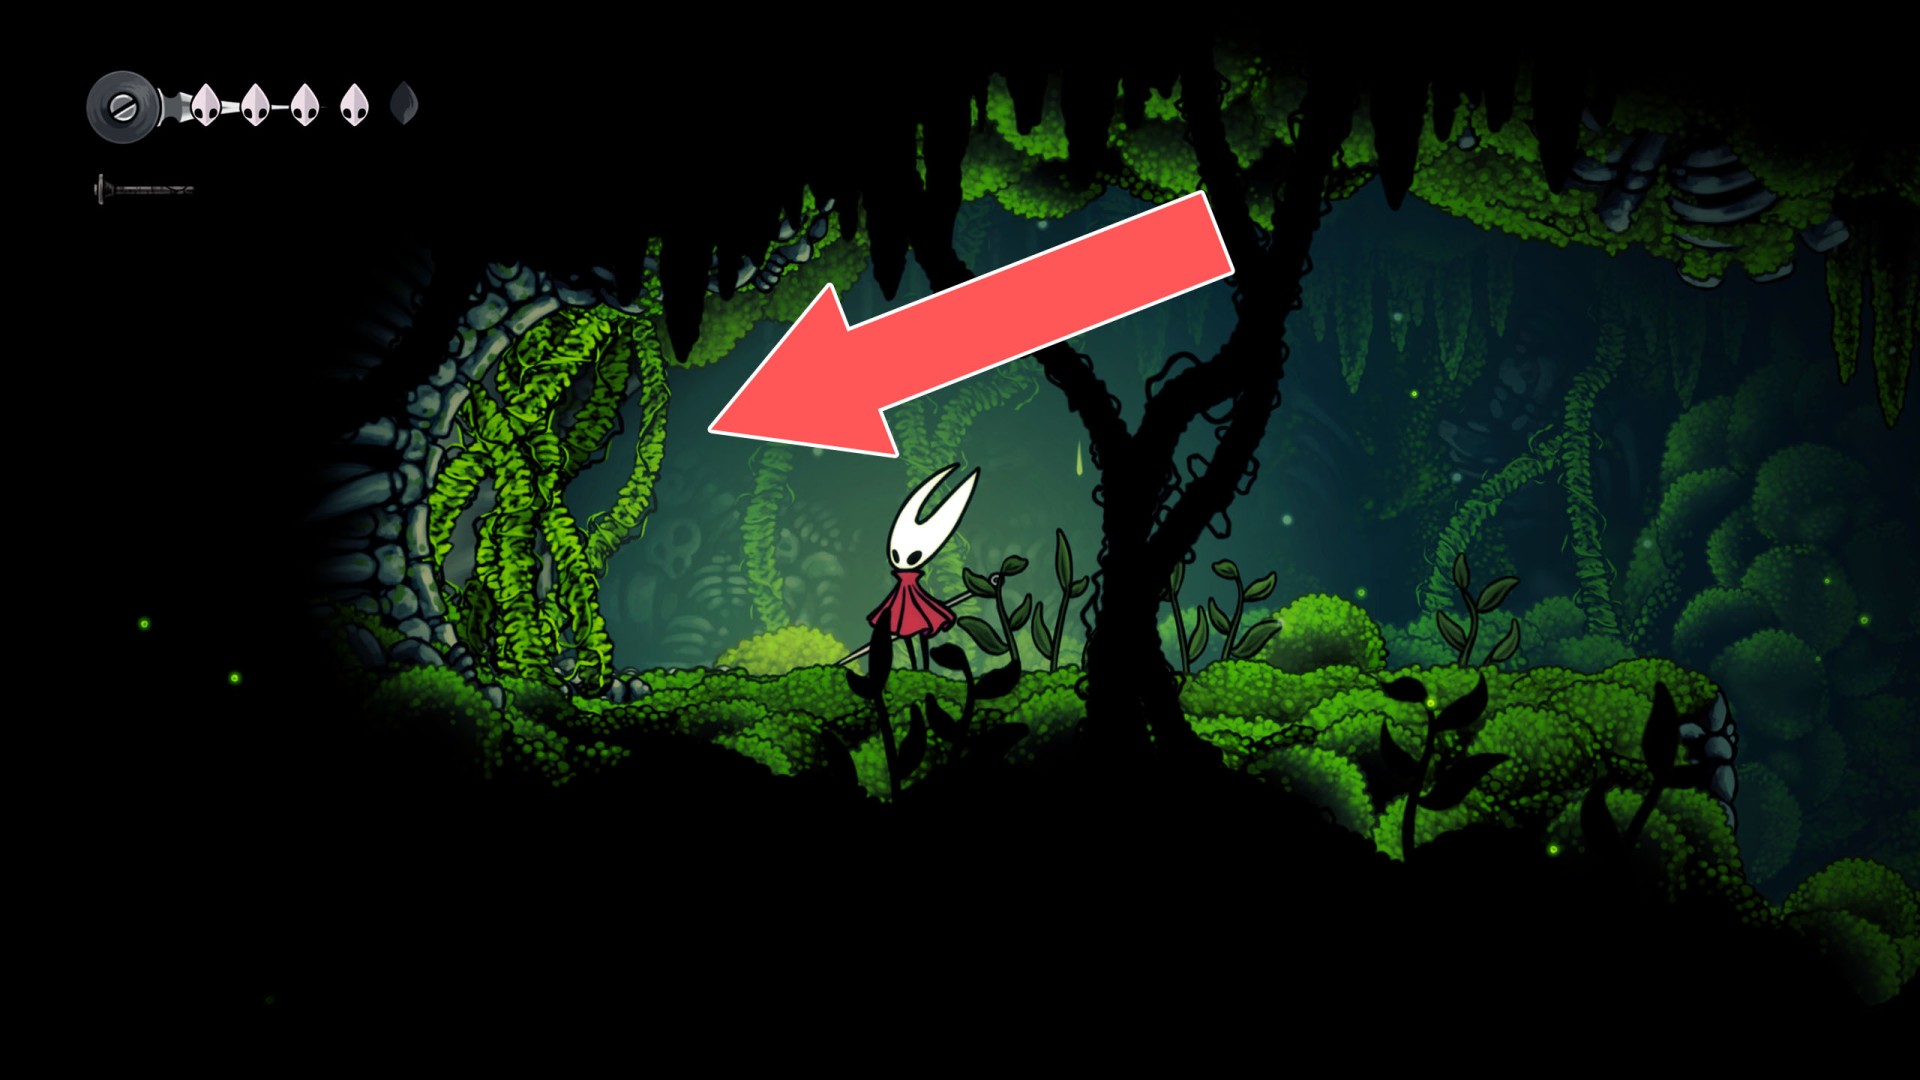
Approach it from the east side and hit the wall several times to break it.
200Breakable Wall
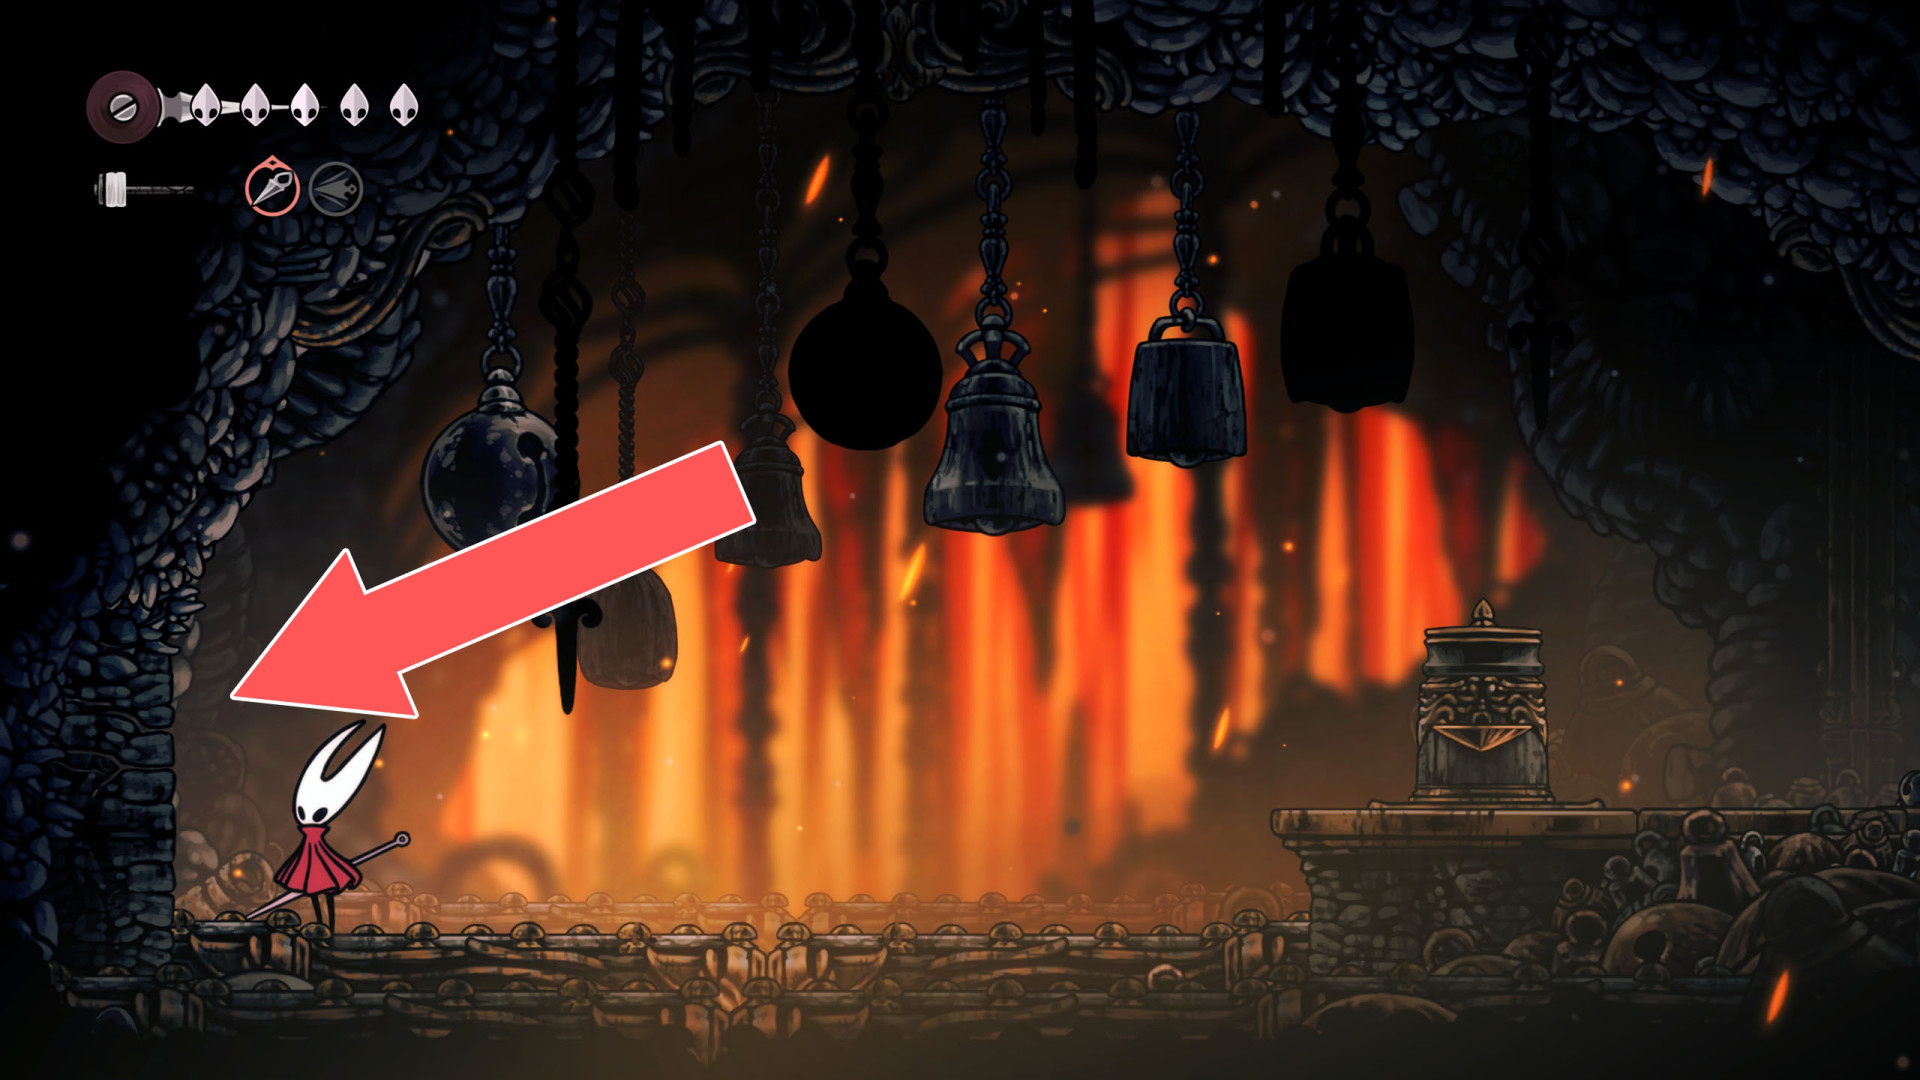
Hit the explosive rock on the wall to make a passage.
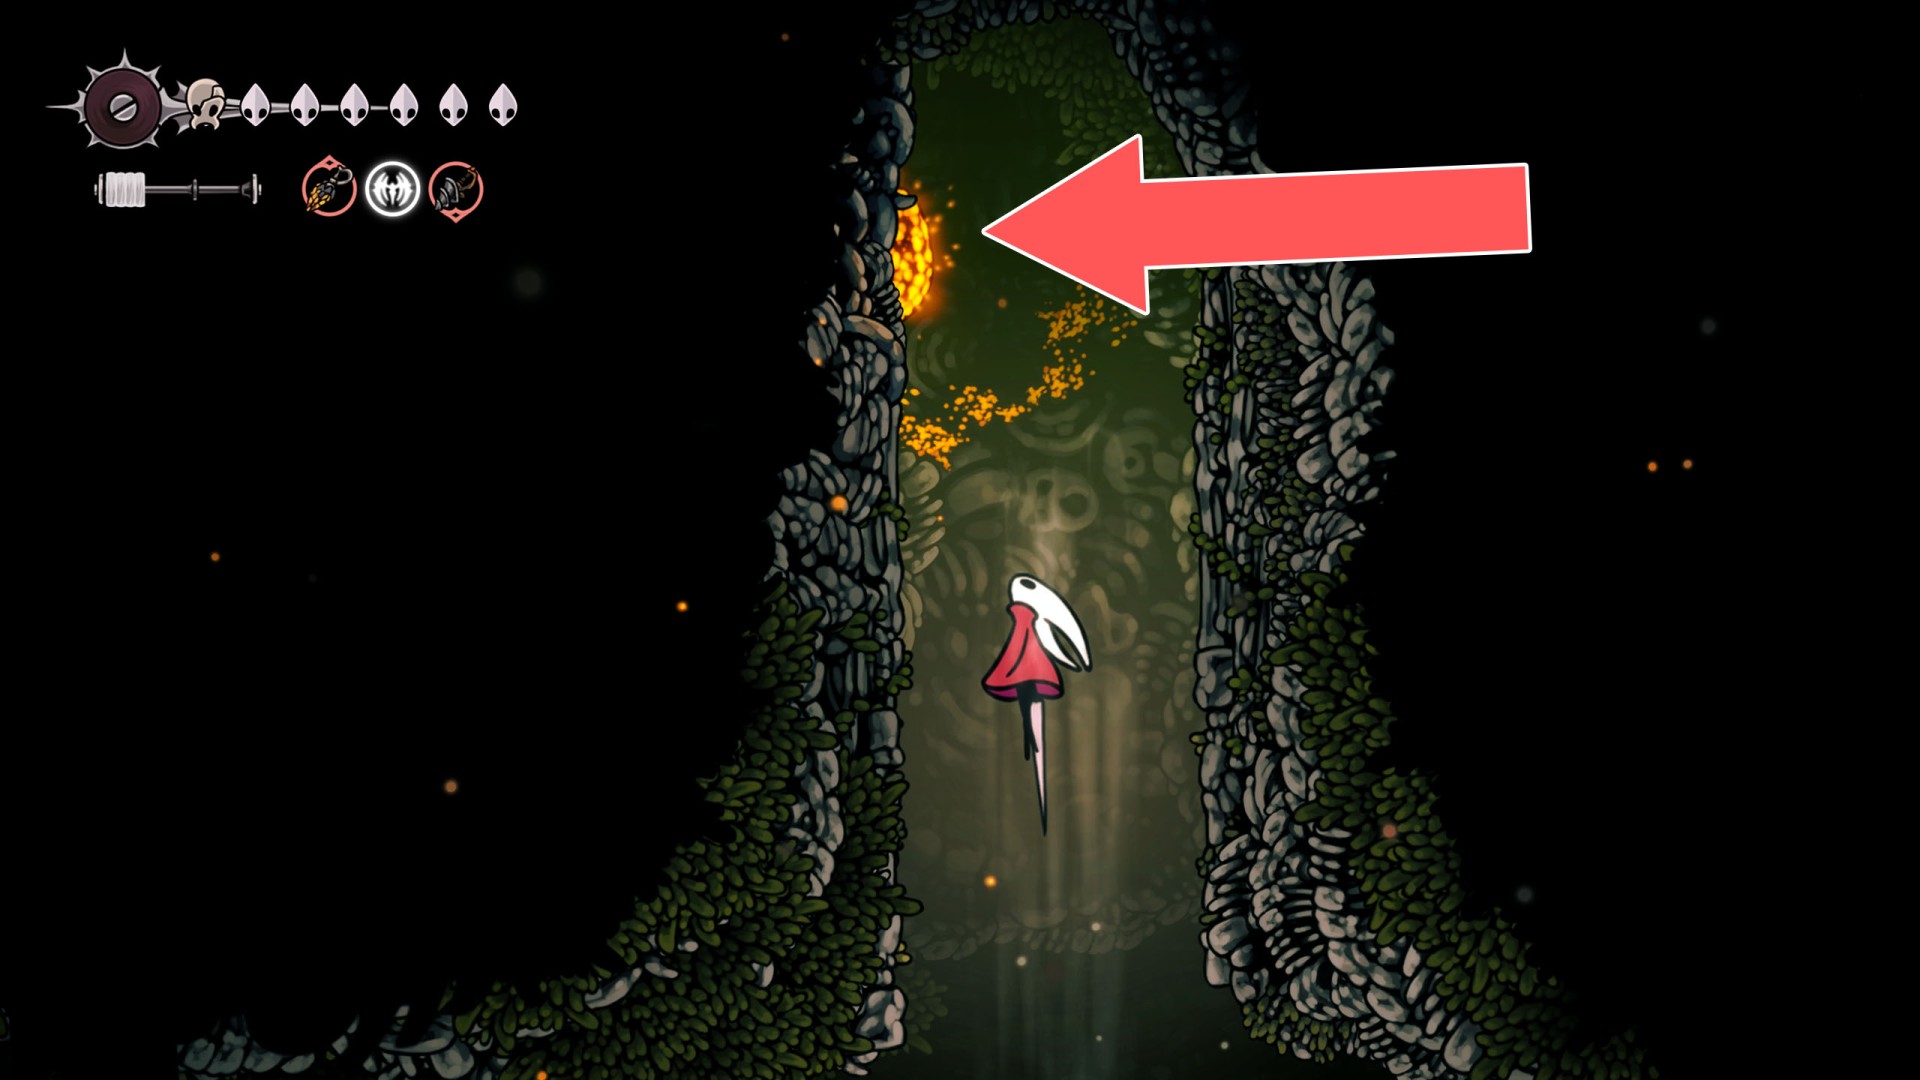
201Breakable Wall
202Breakable Wall
To open the passage, destroy the support located below.
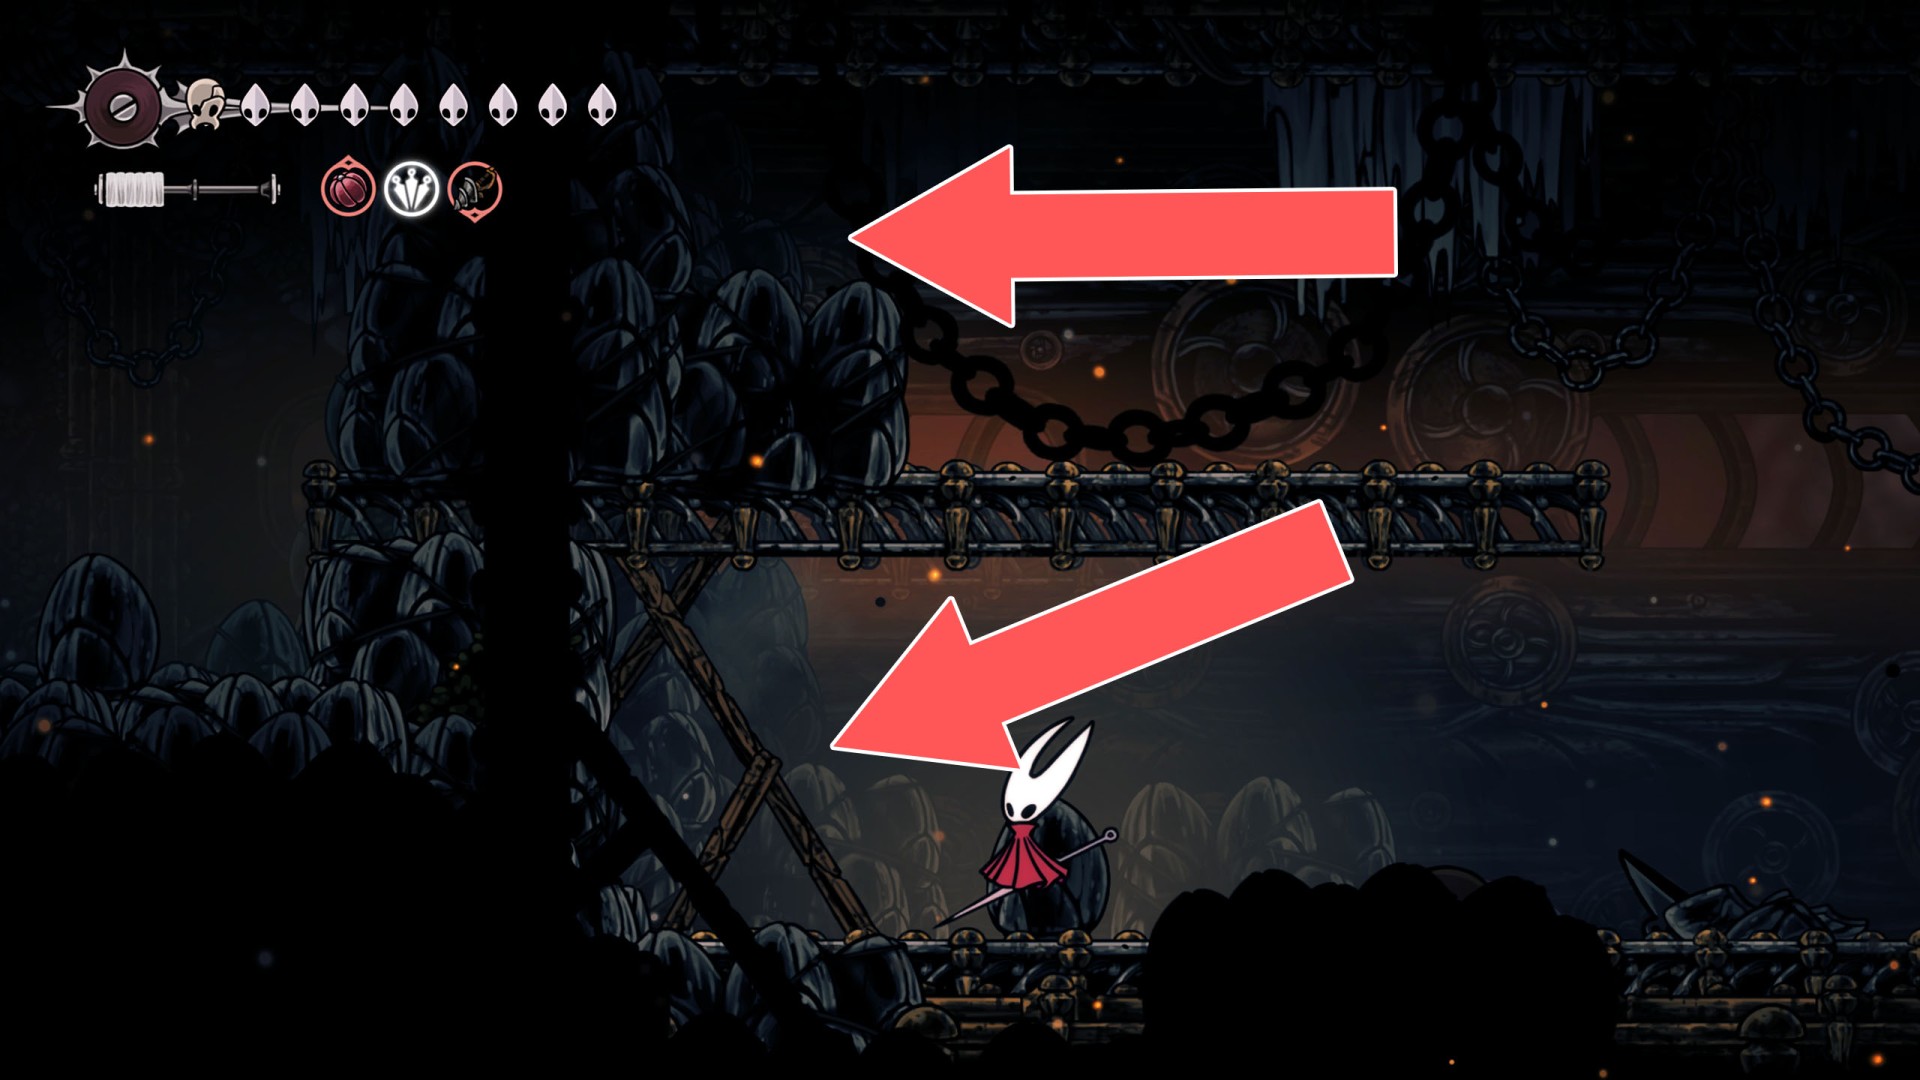
203Breakable Wall
Hit the explosive rock on the west side of it to open the passage.
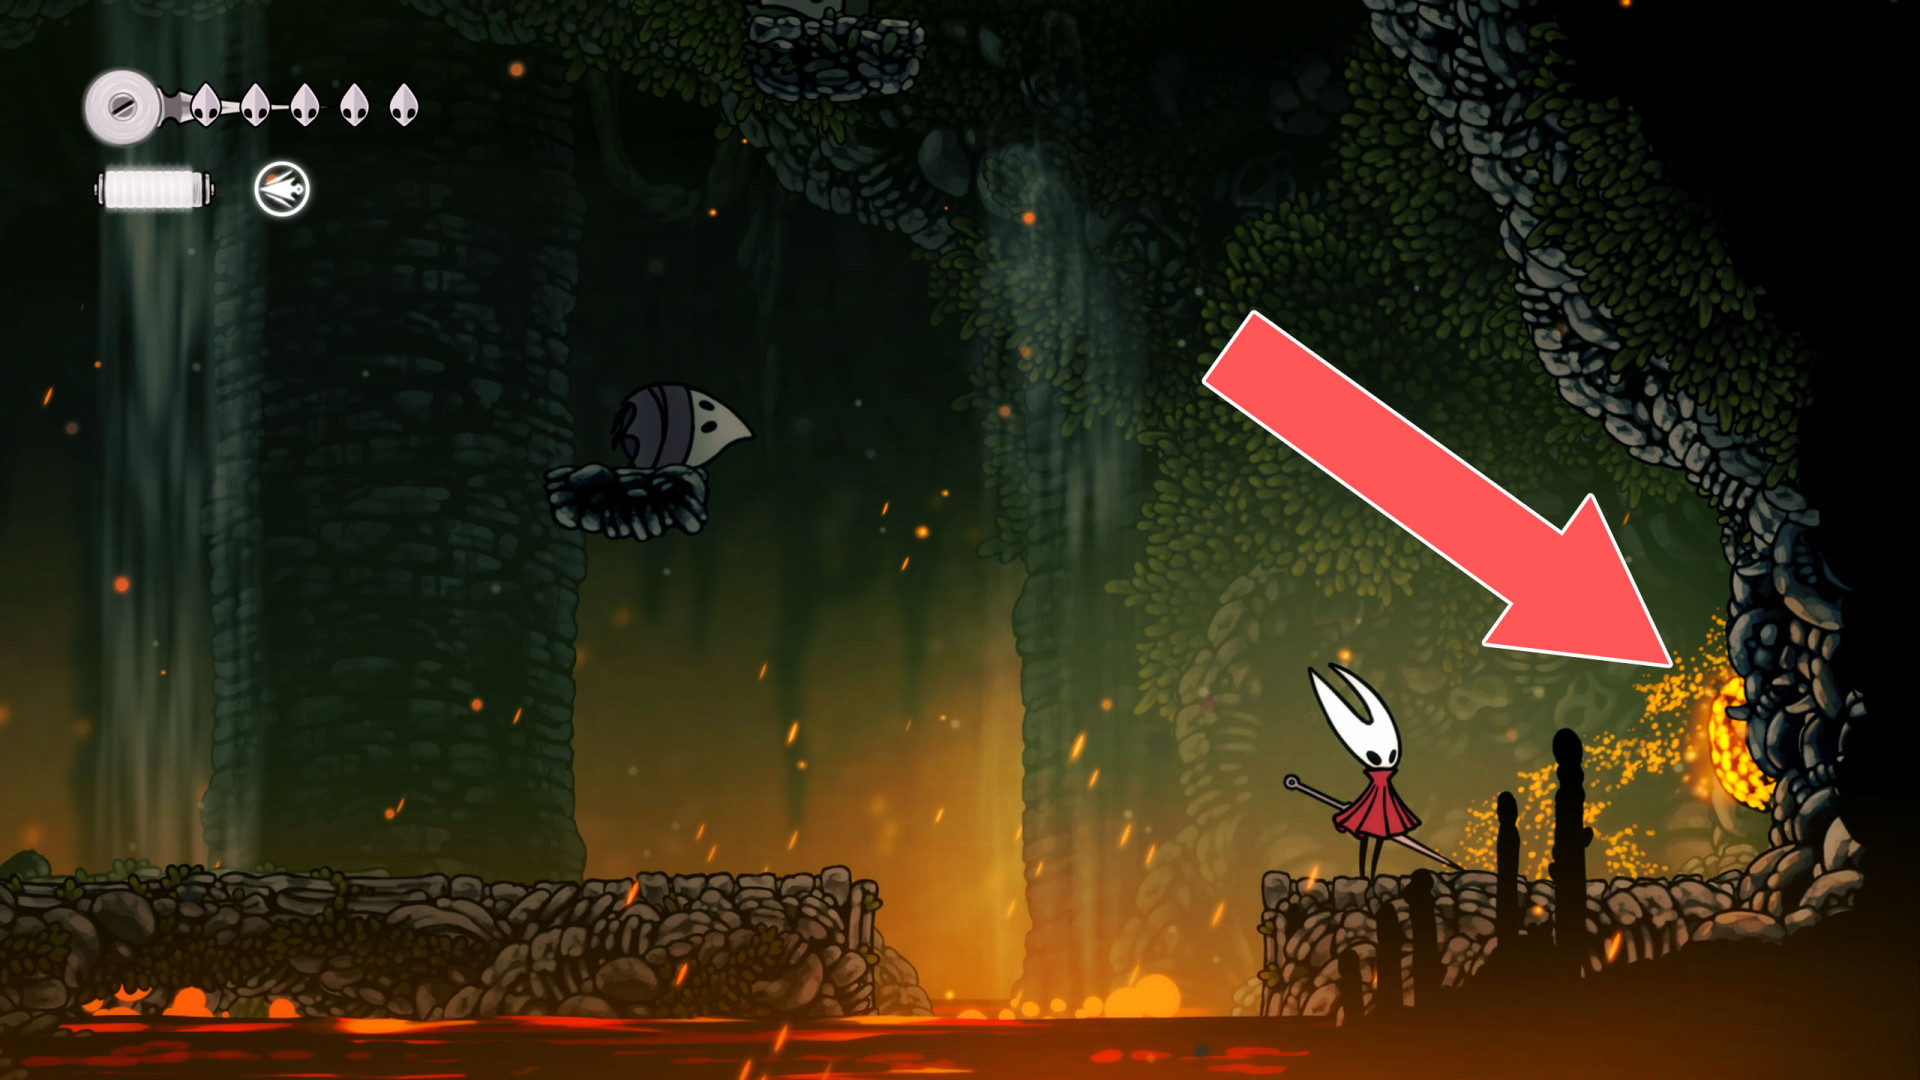
204Breakable Wall
You can destroy this roadblock by approaching it from the west.
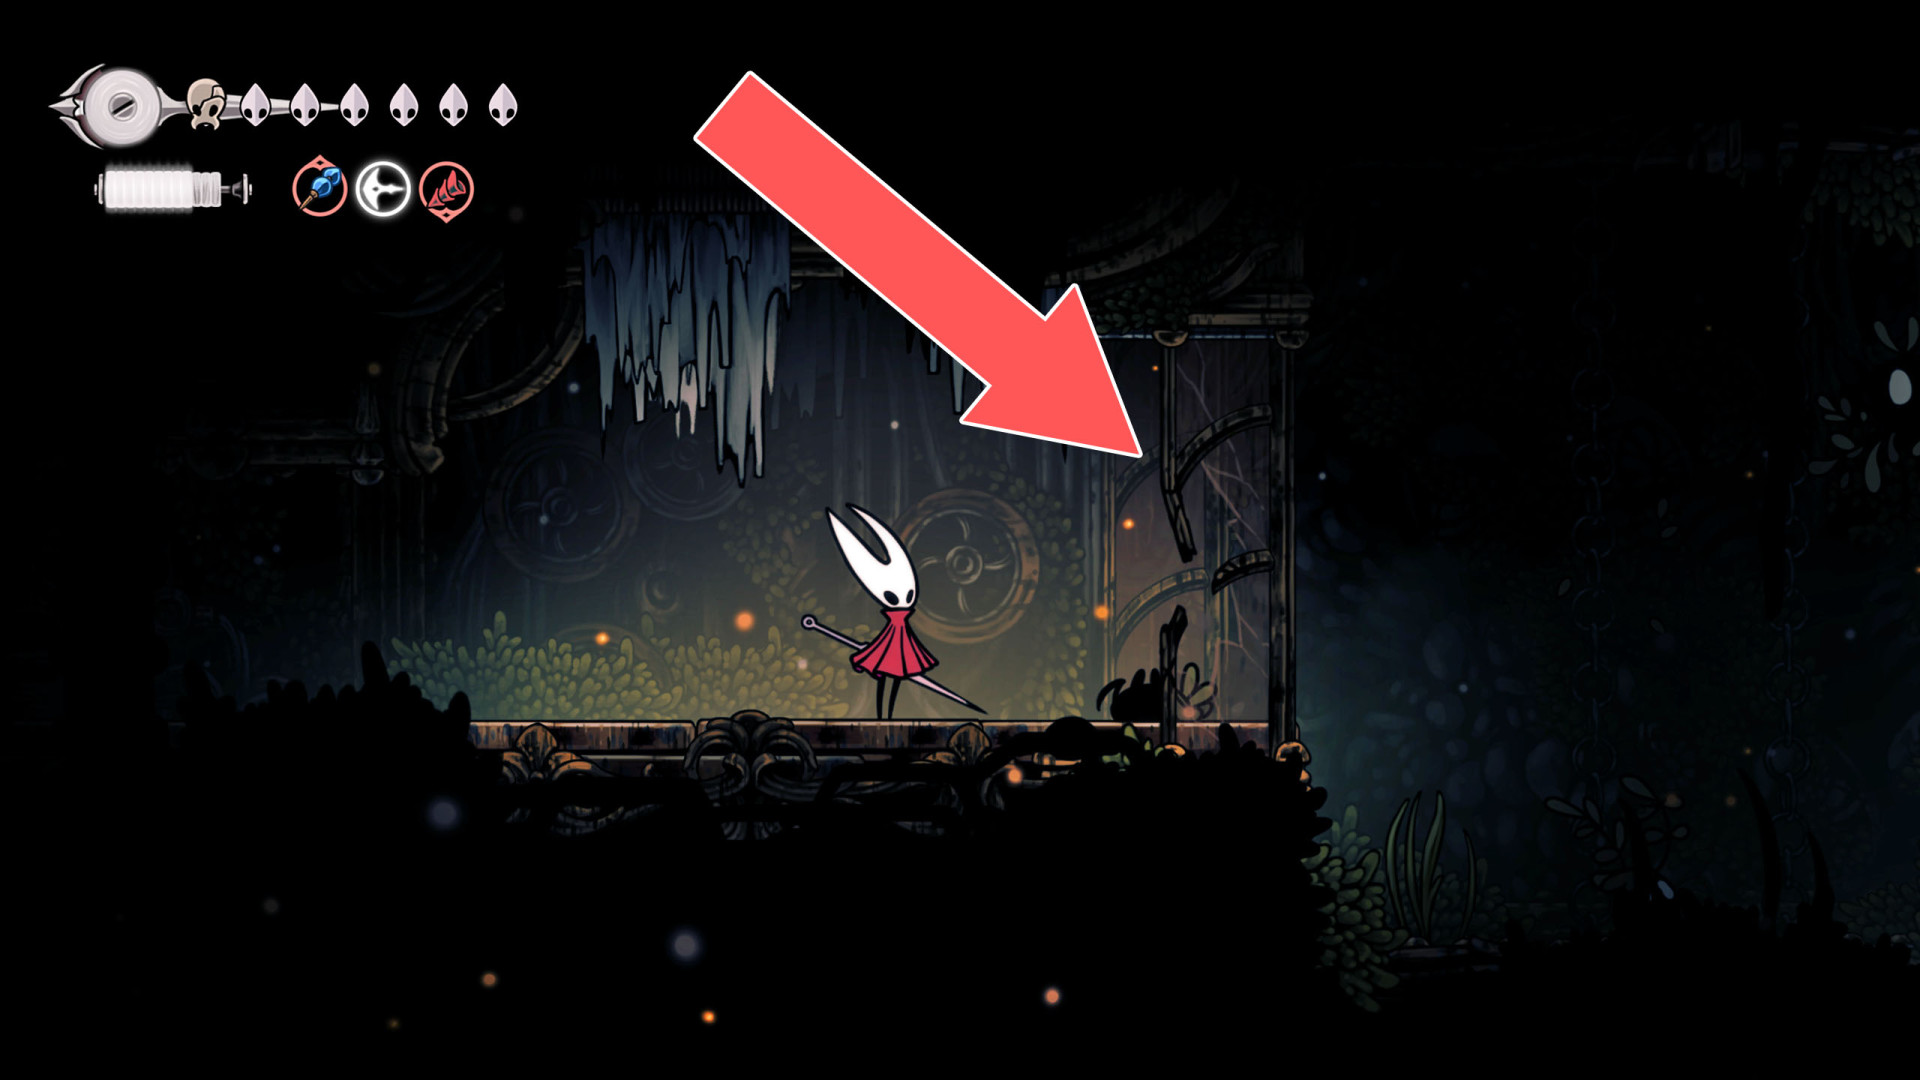
205Breakable Wall
To open the passage hit the explosive rock on the wall.
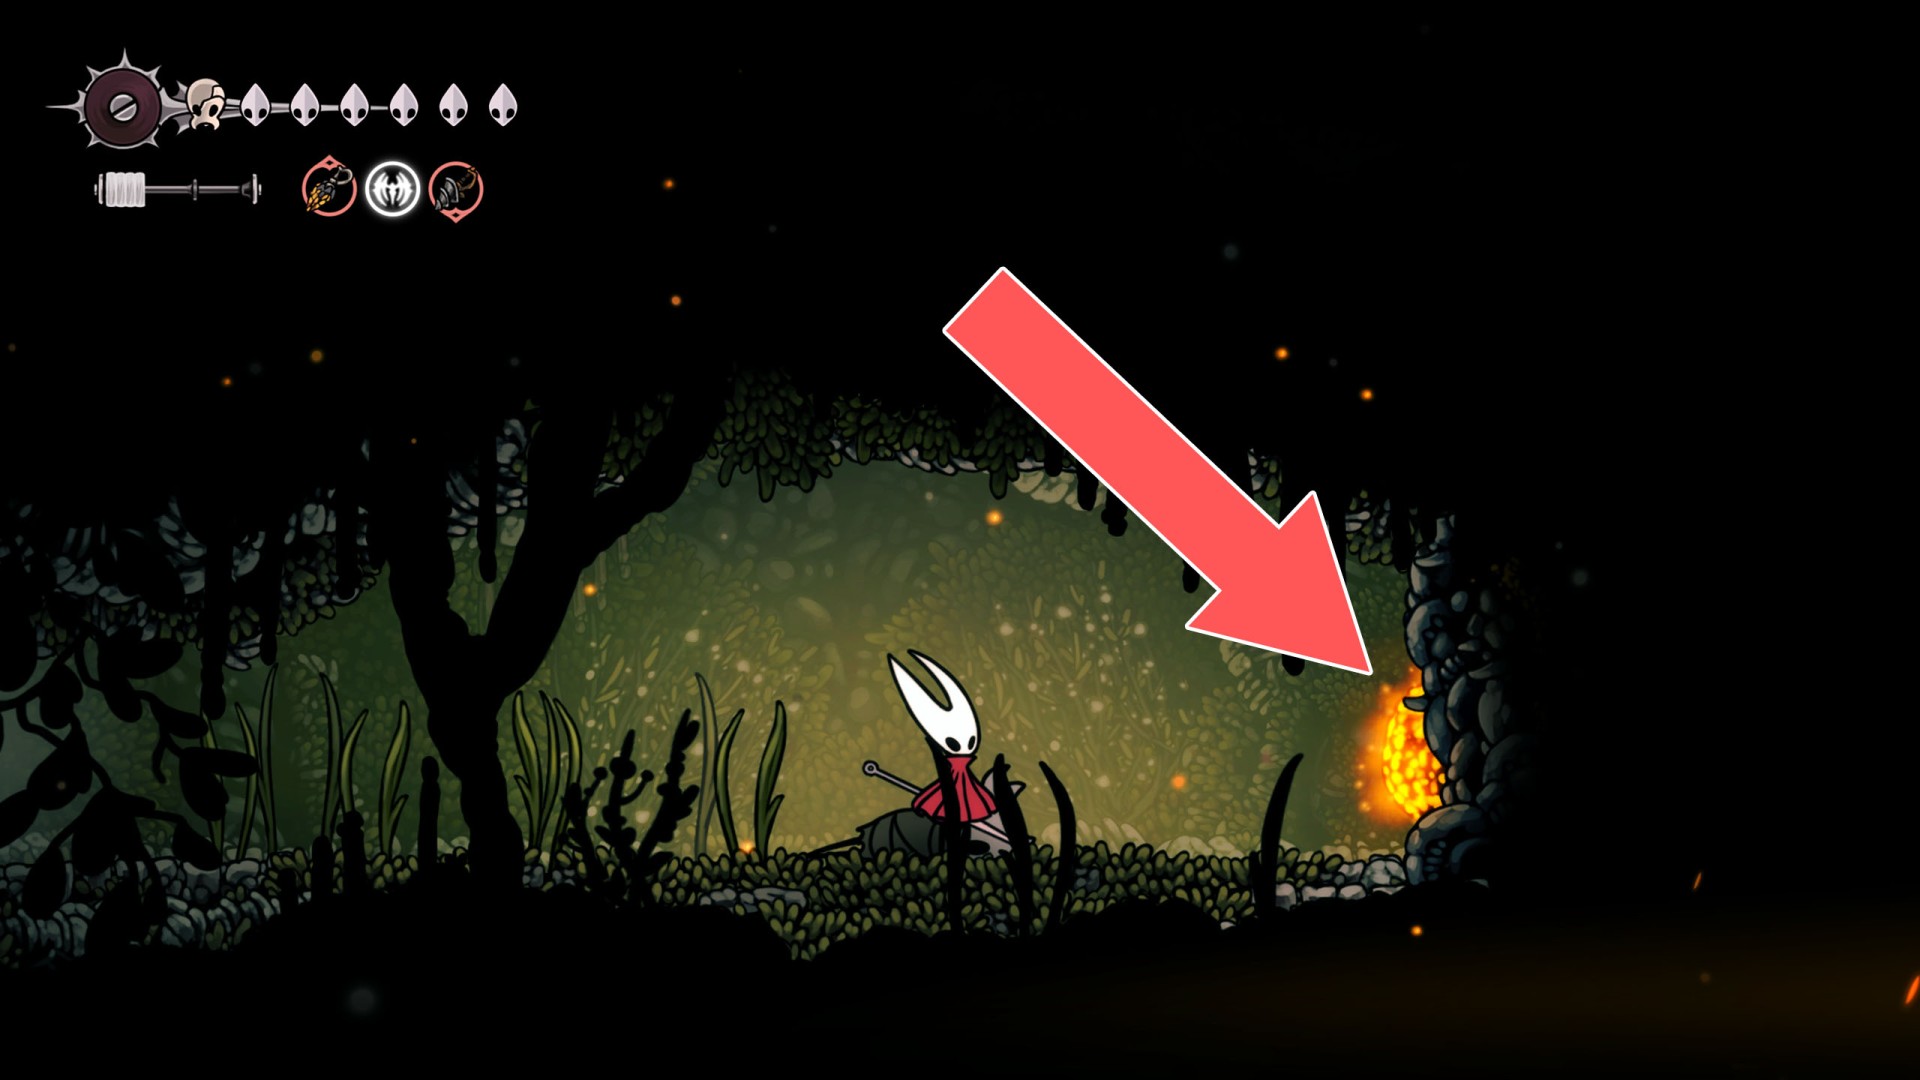
206Breakable Wall
You can destroy this wall by approaching it from the west side.
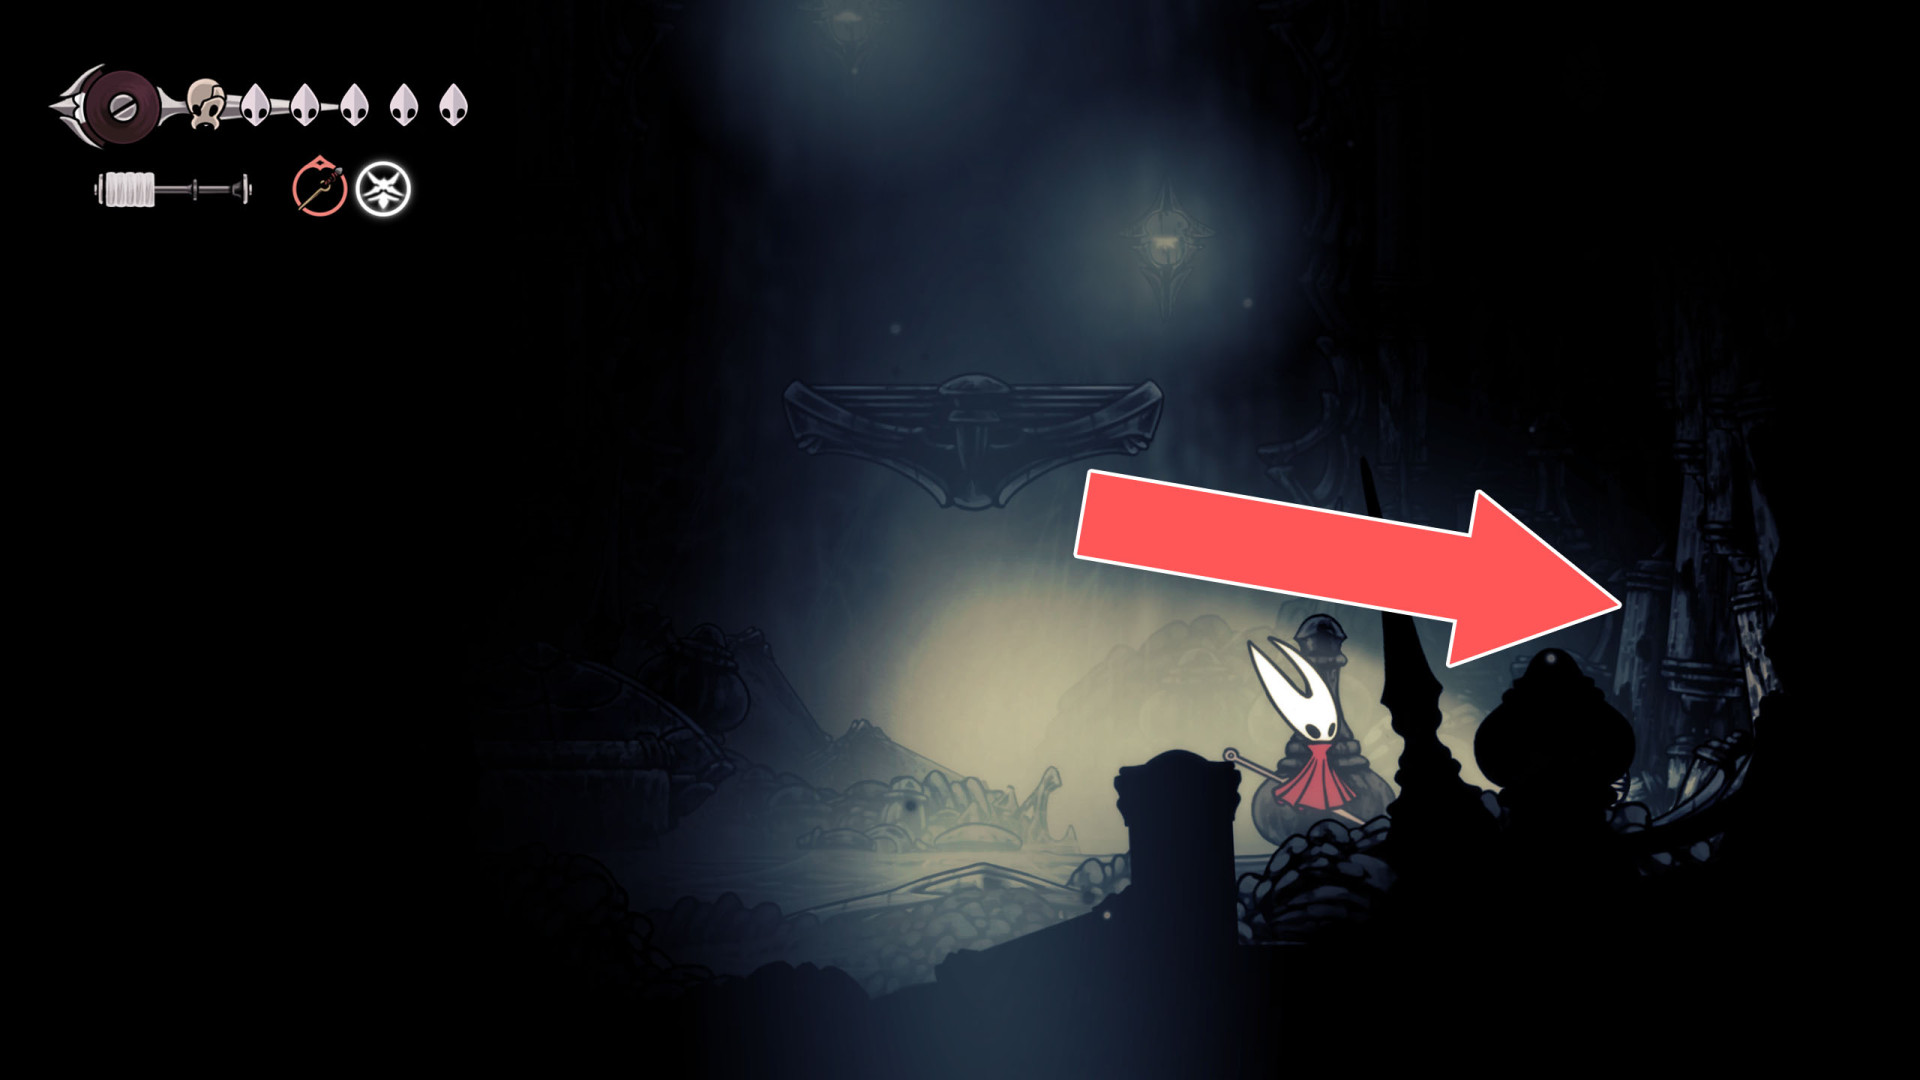
207Breakable Wall
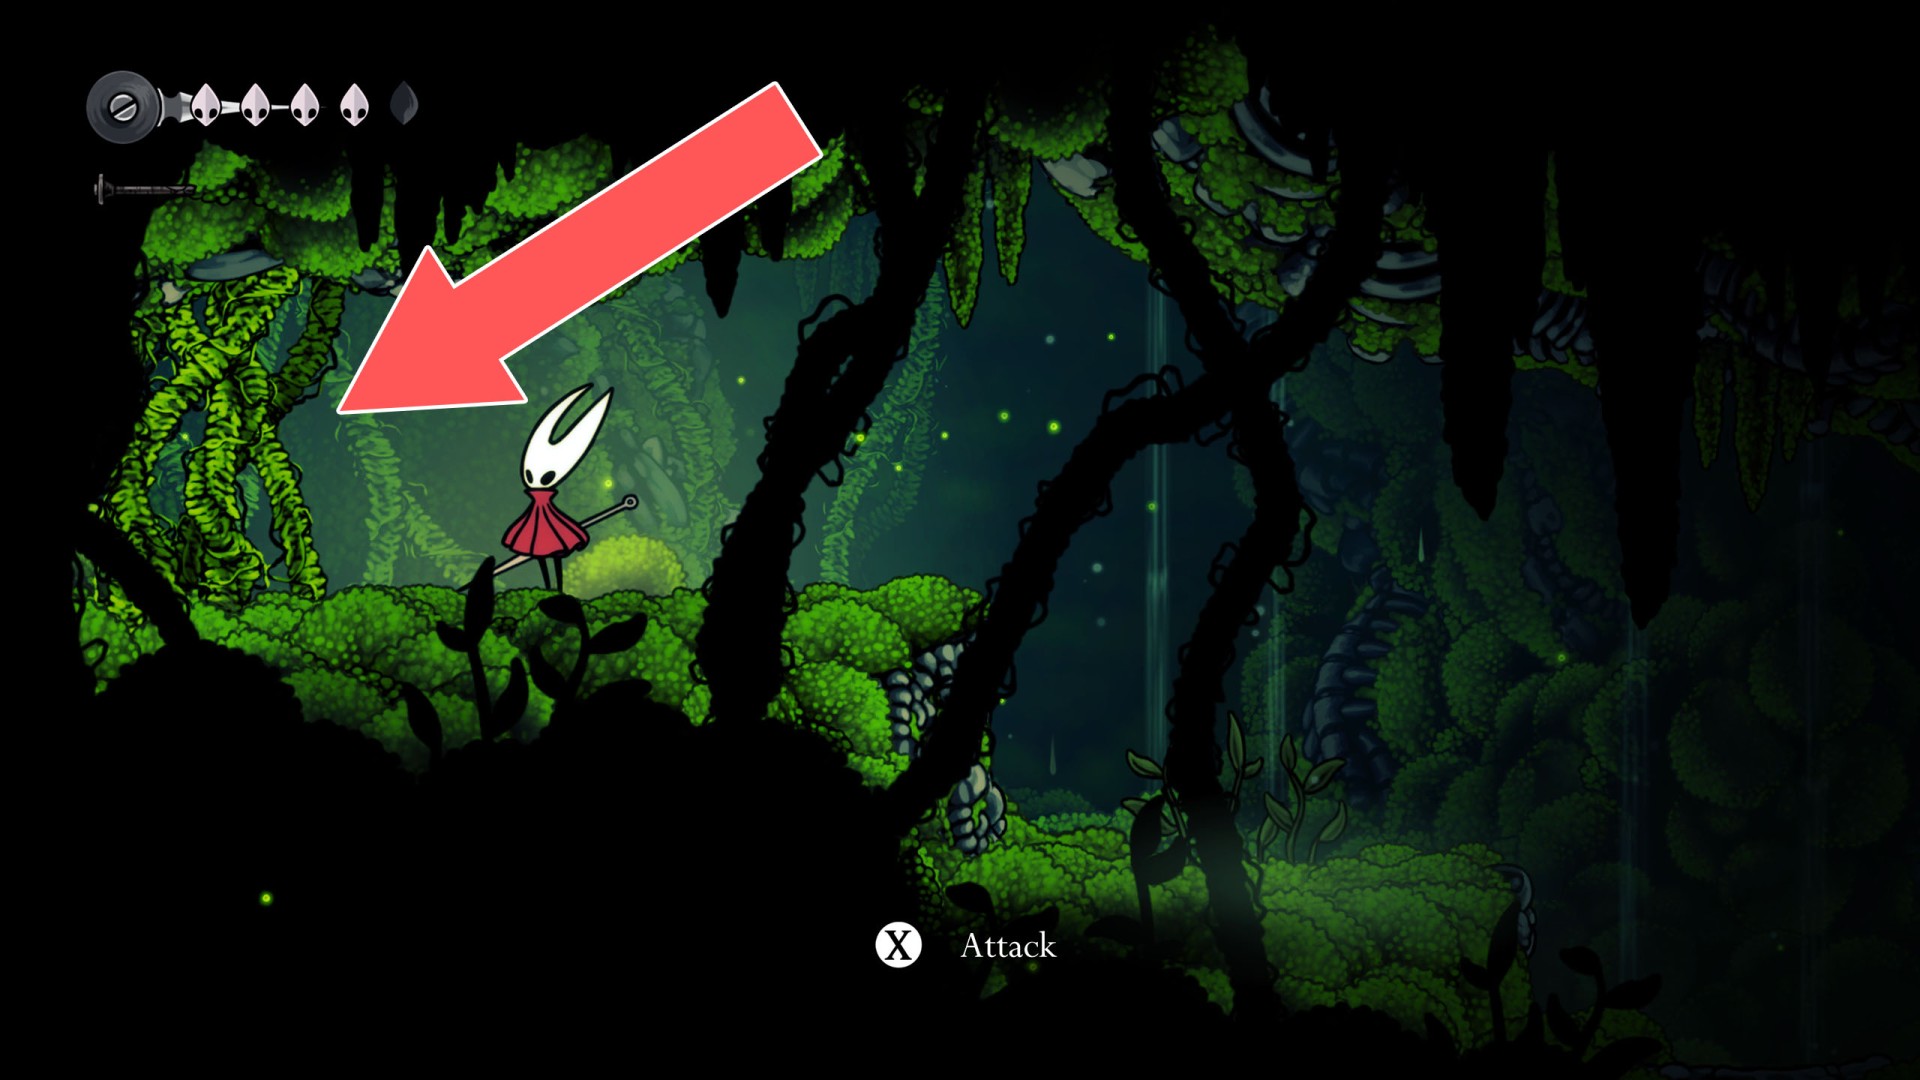
208Breakable Wall
To break down this roadblock and open the passage, approach it from the east and hit it several times.
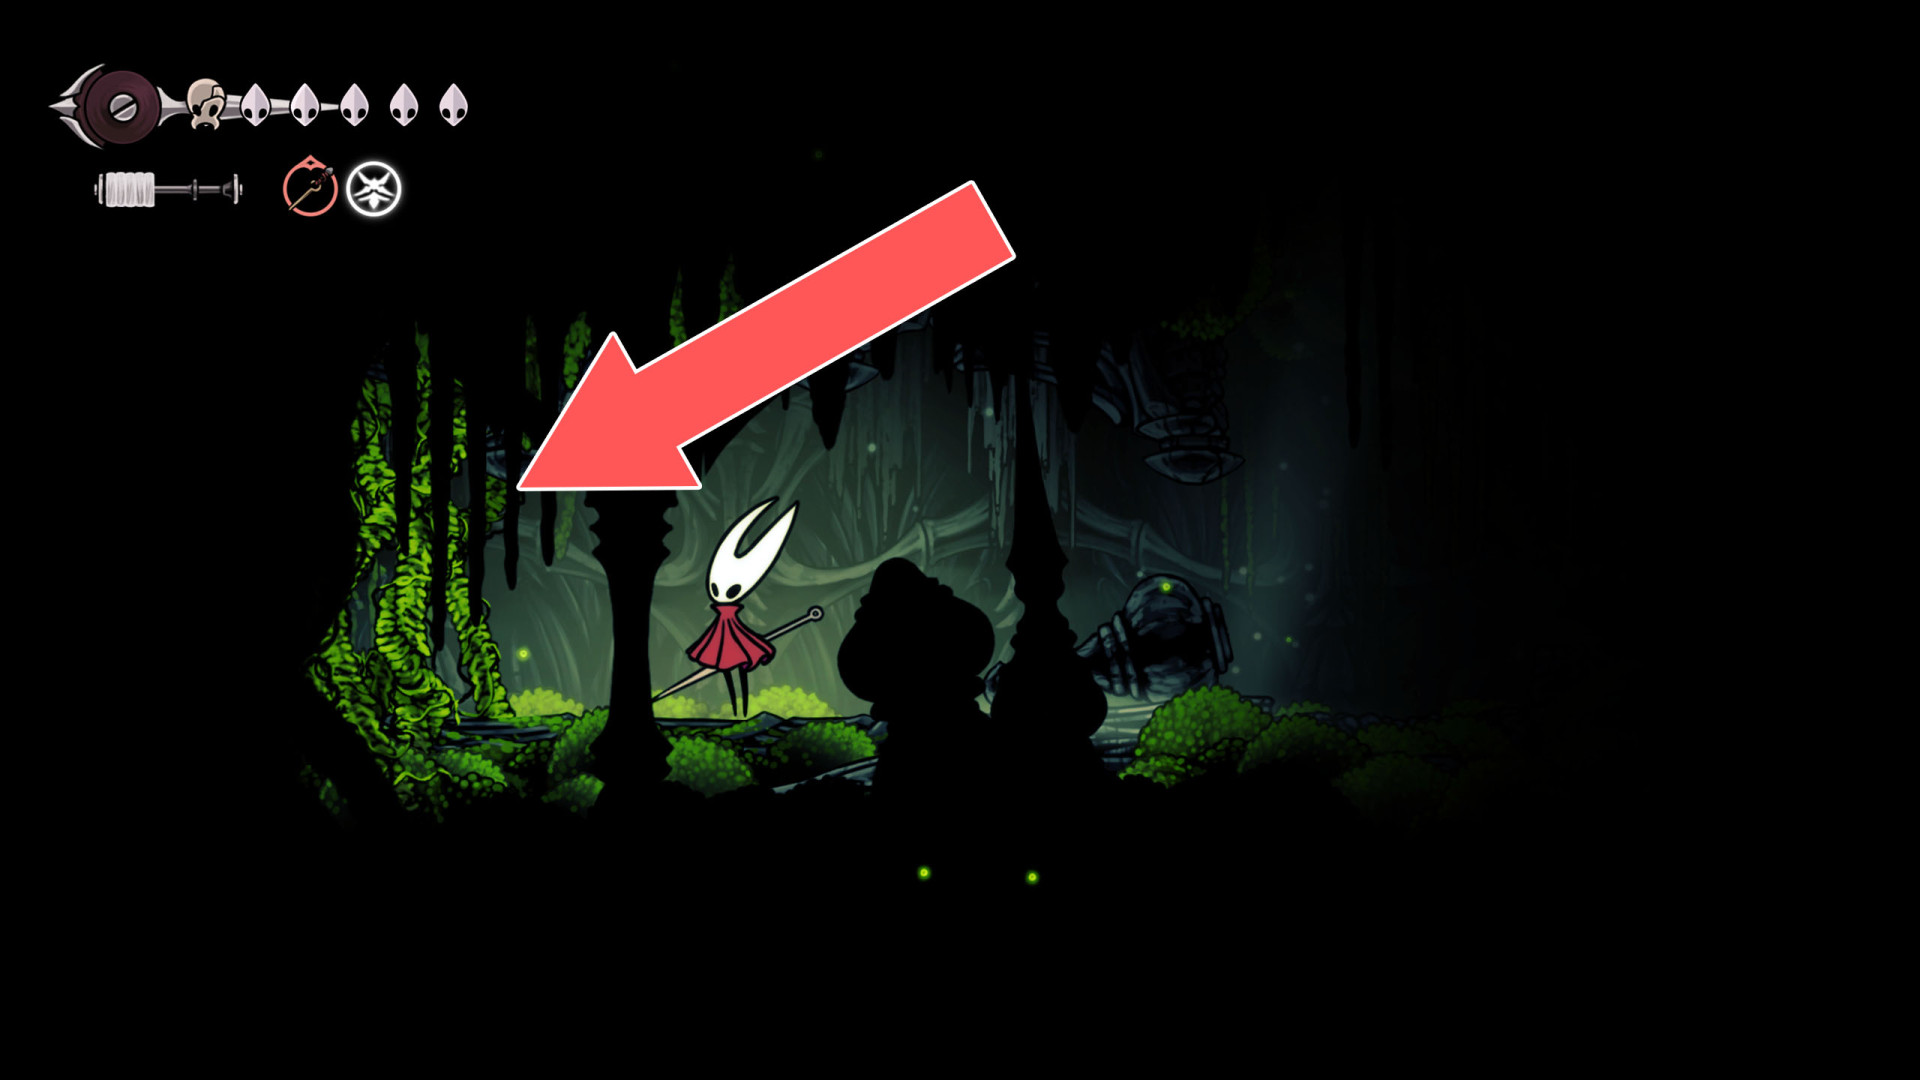
209Breakable Wall
You can destroy this wall and open a passage by hitting it from the east side.
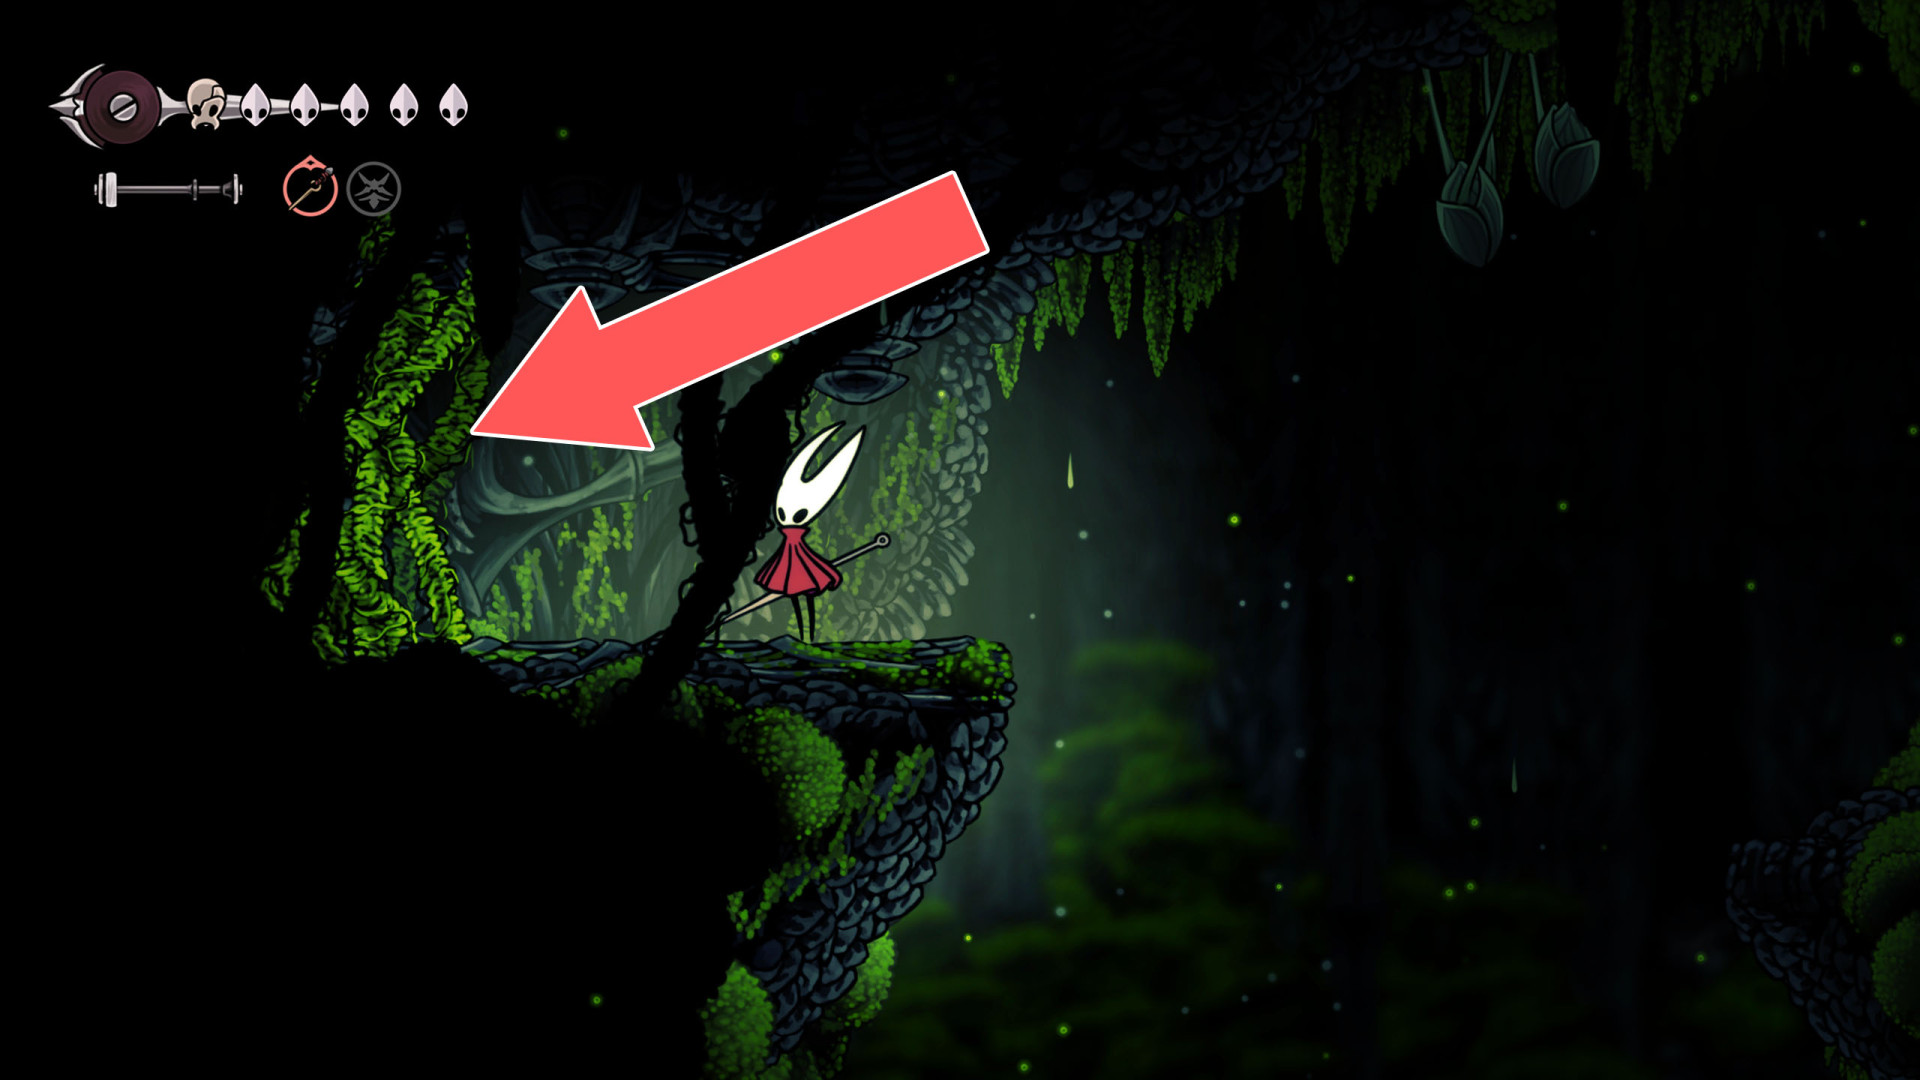
210Breakable Wall
Hit the explosive rock on the east side to open the passage.
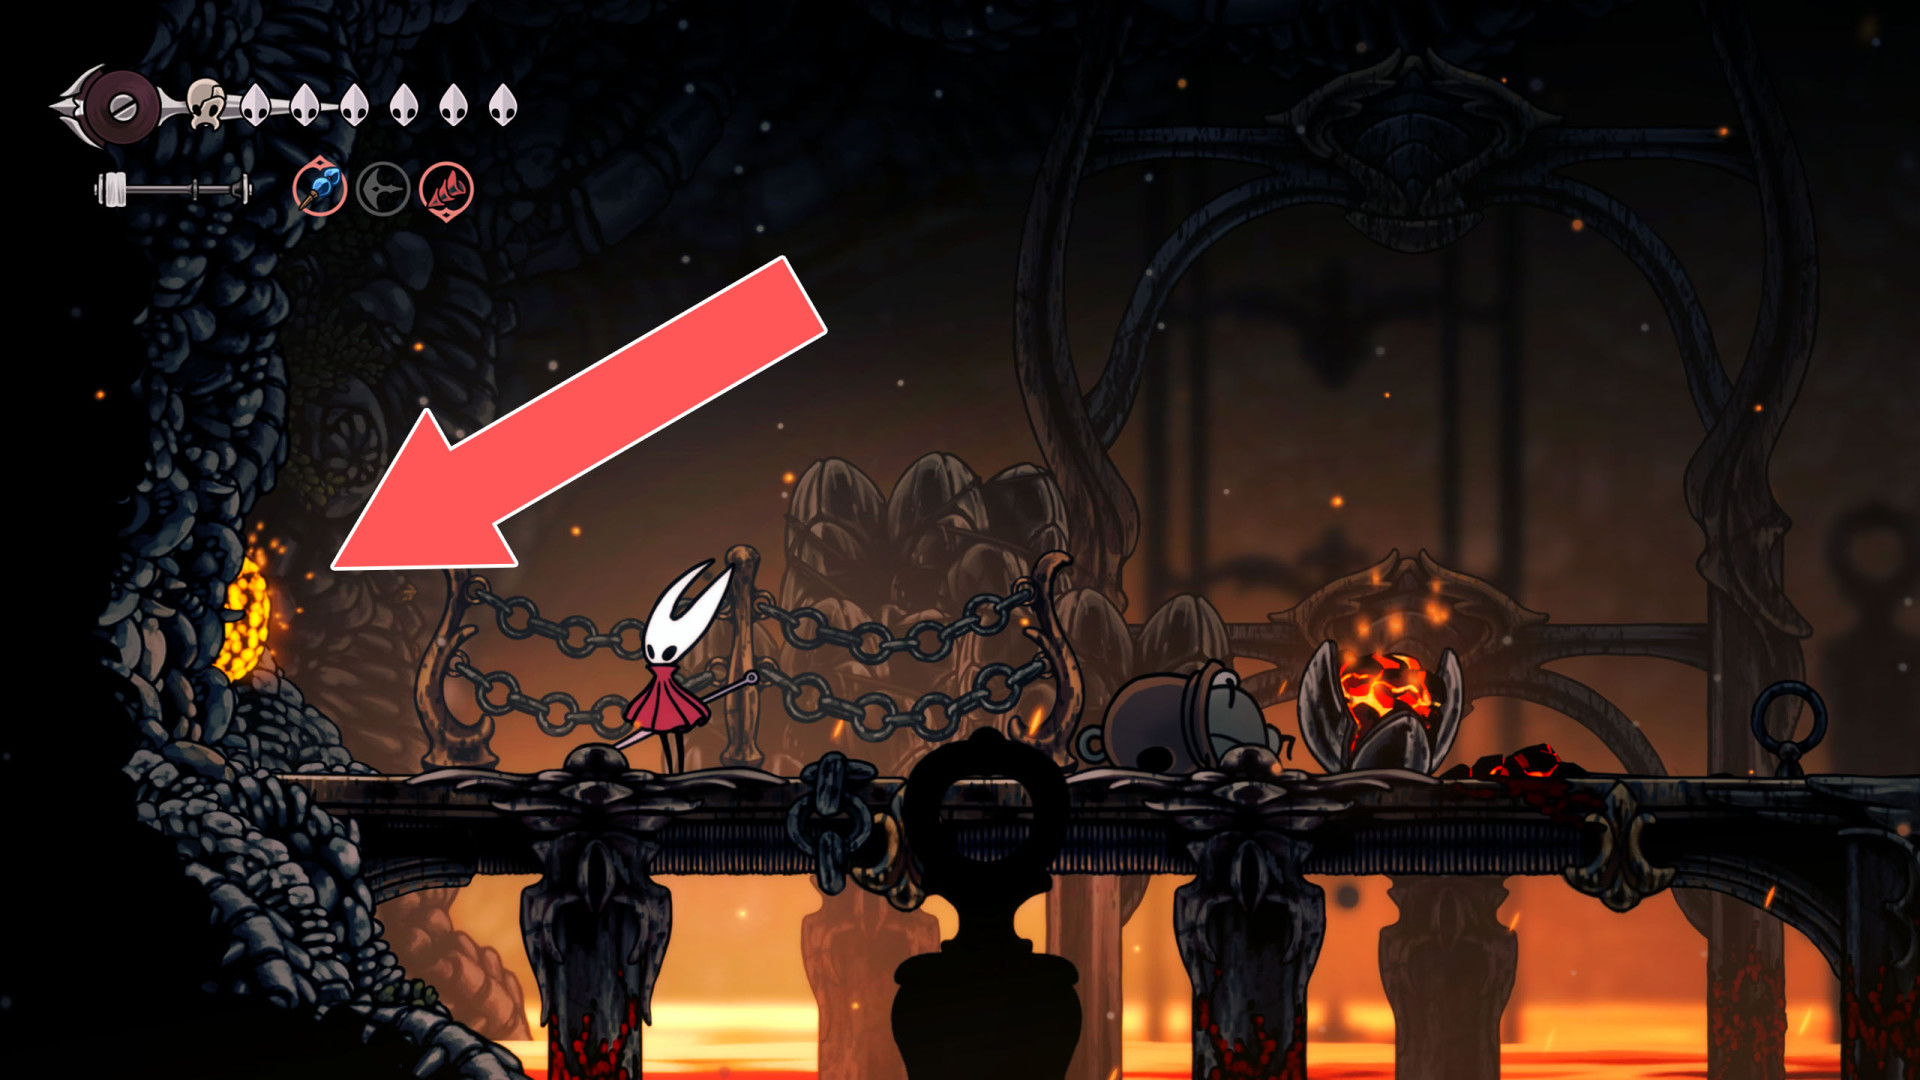
211Breakable Wall
You can destroy this wall and open a passage by hitting it from the west side.
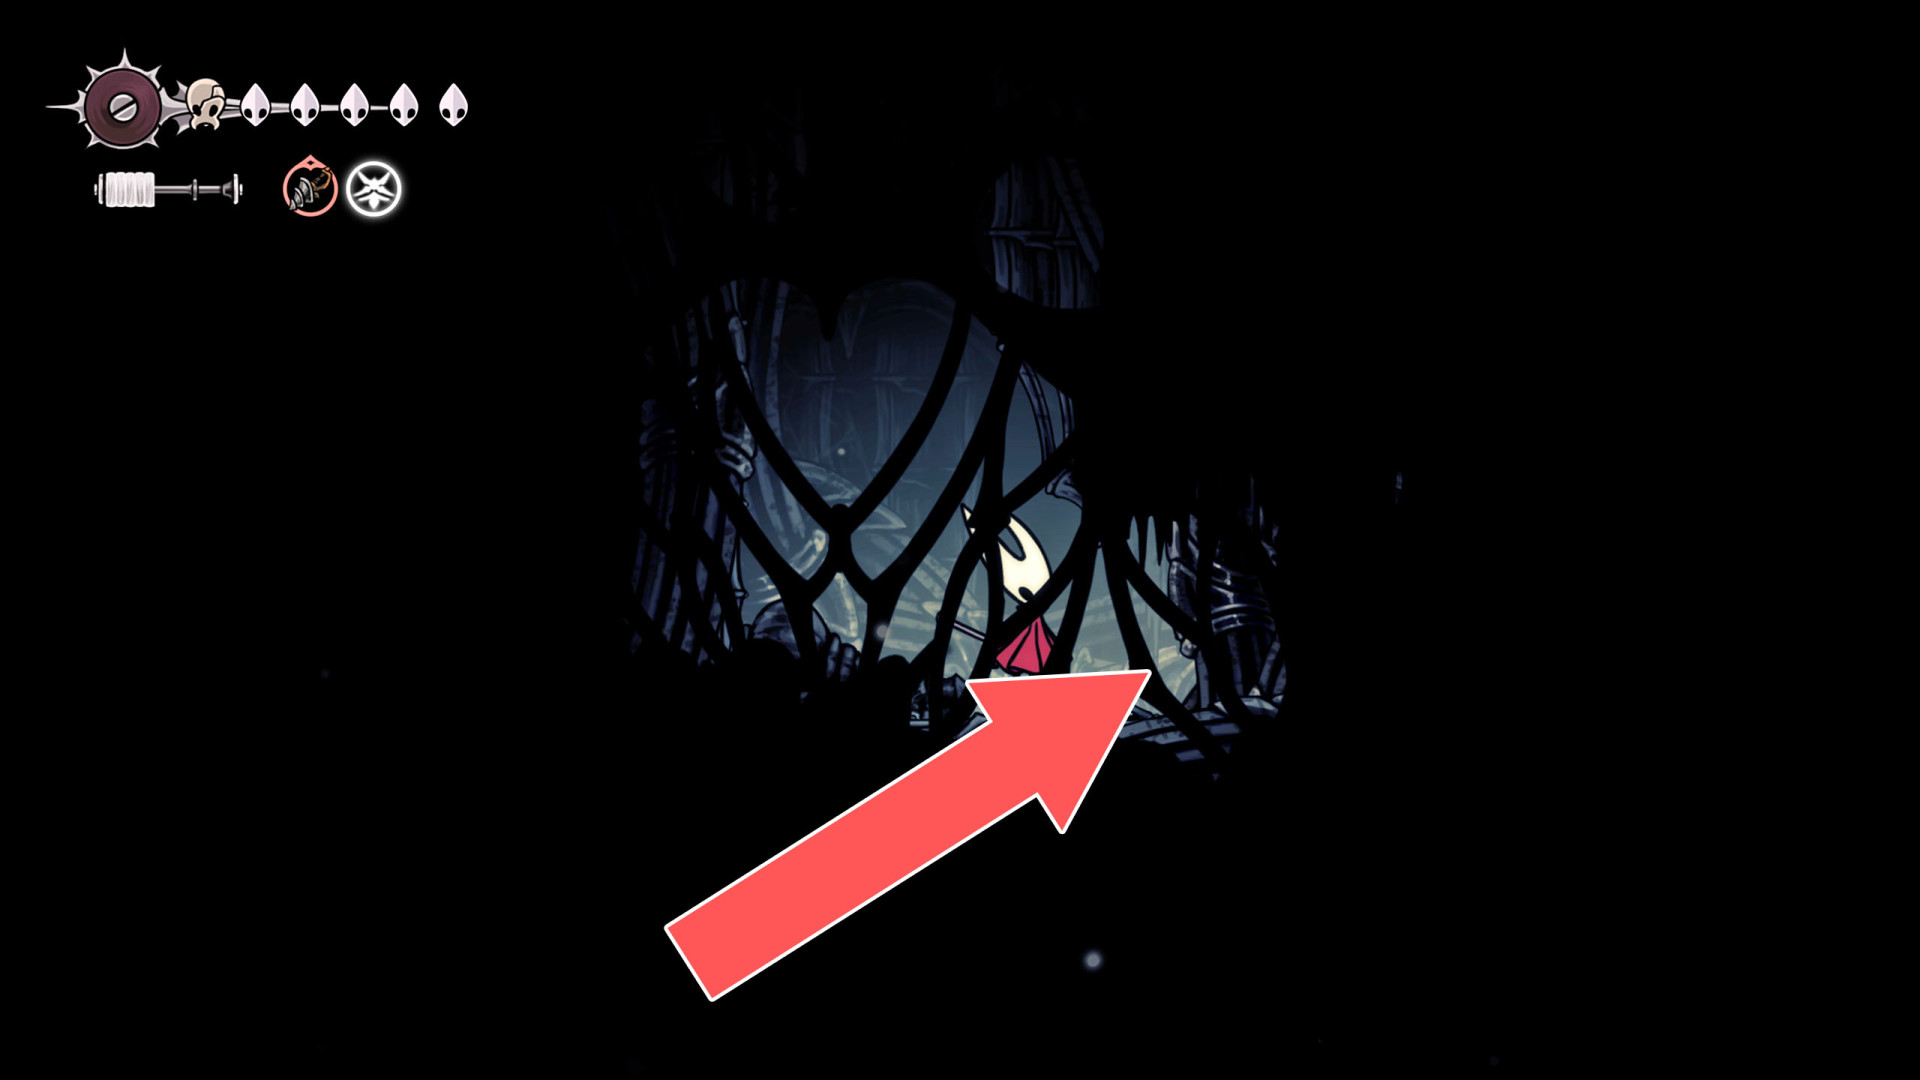
212Breakable Wall
To break down this wall and open the passage, approach it from the east and hit it several times.
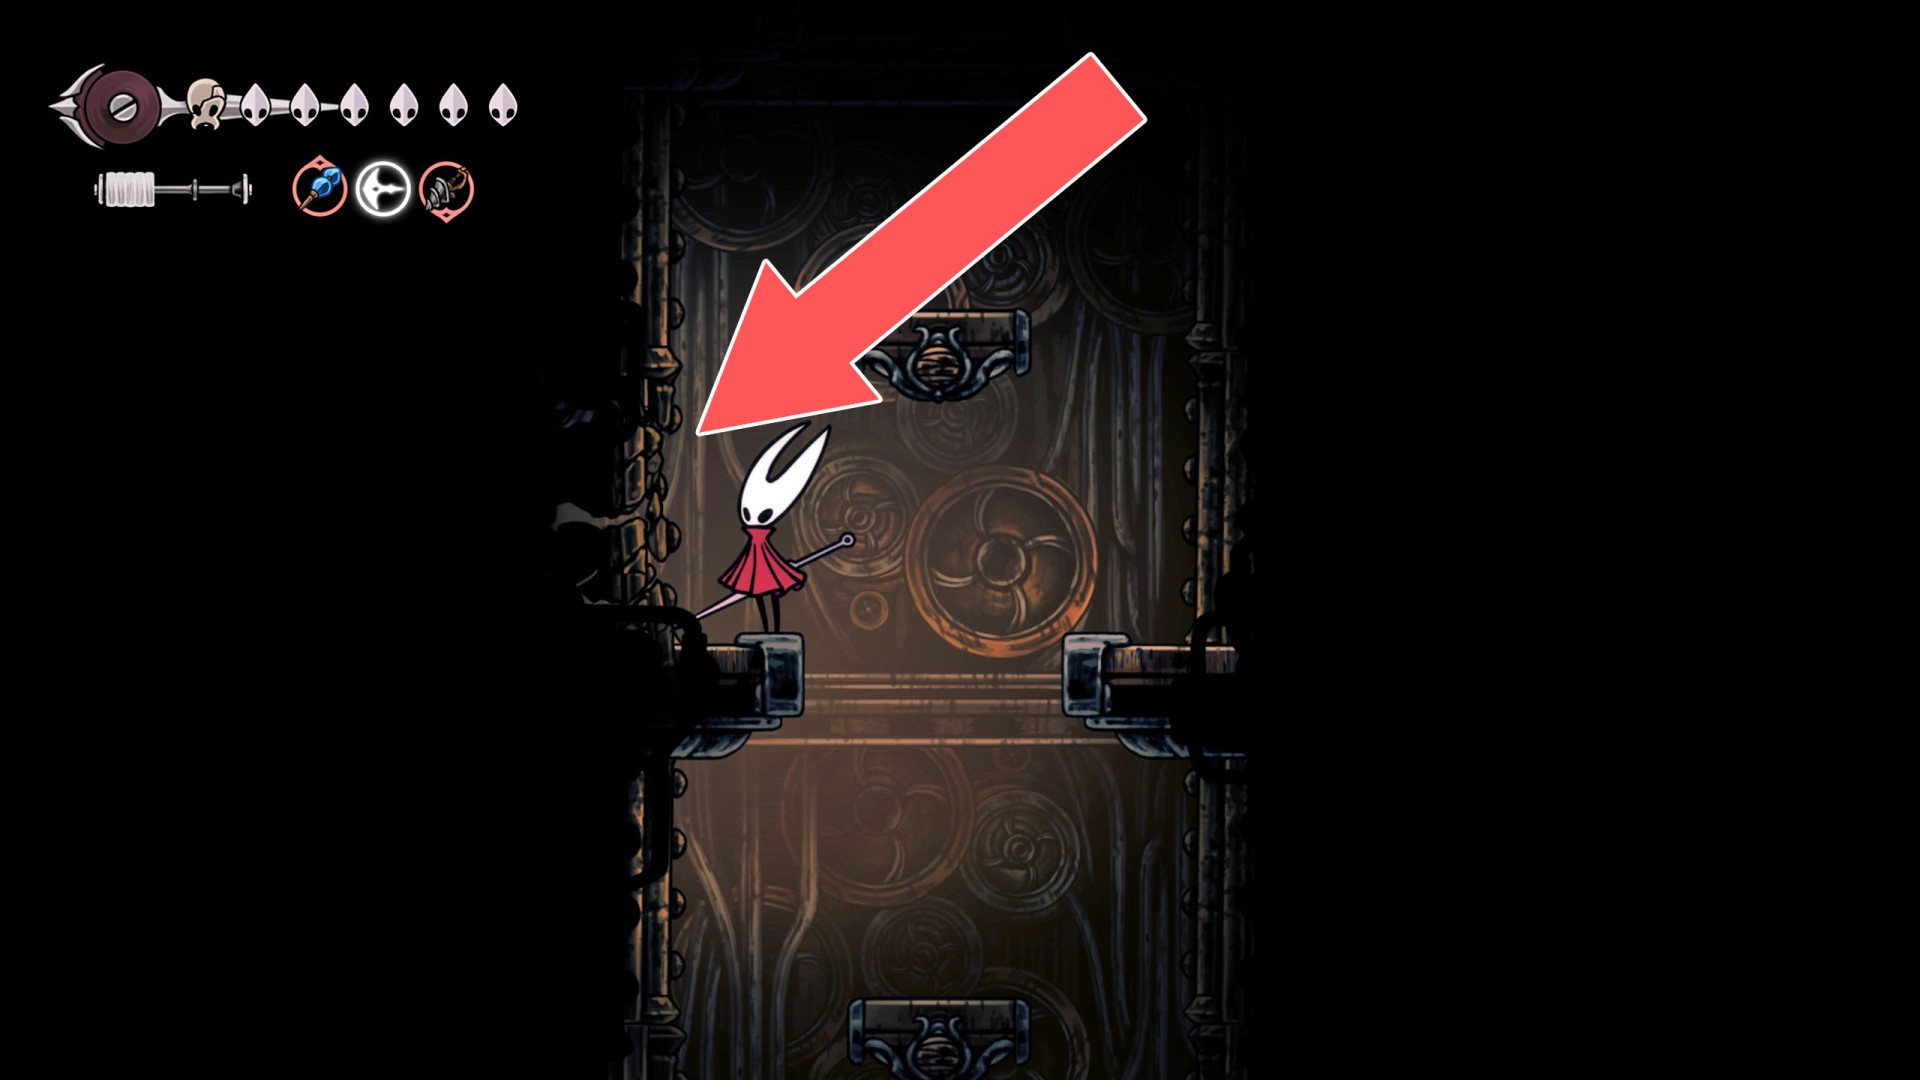
213Breakable Wall
To open the passage hit the explosive rock on the wall.
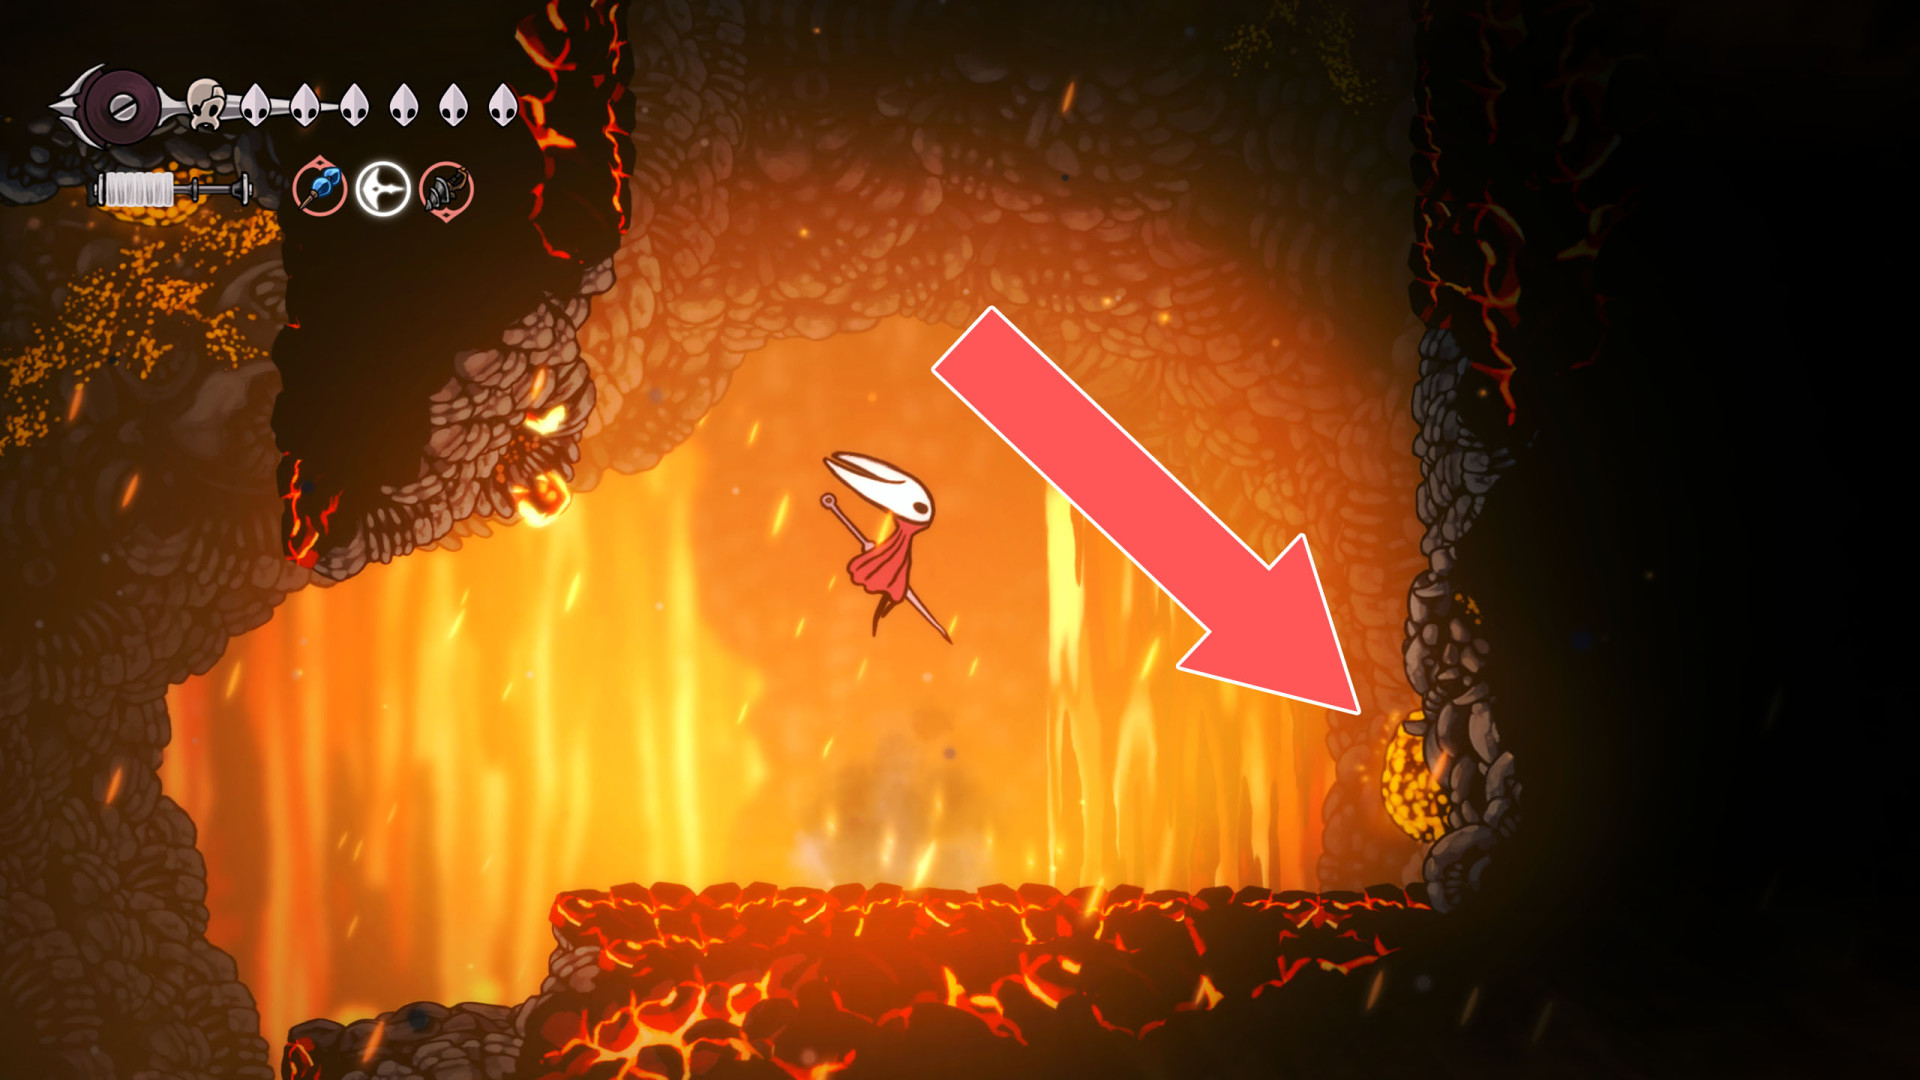
214Breakable Wall
You can break down this wall by hitting it from the east side.
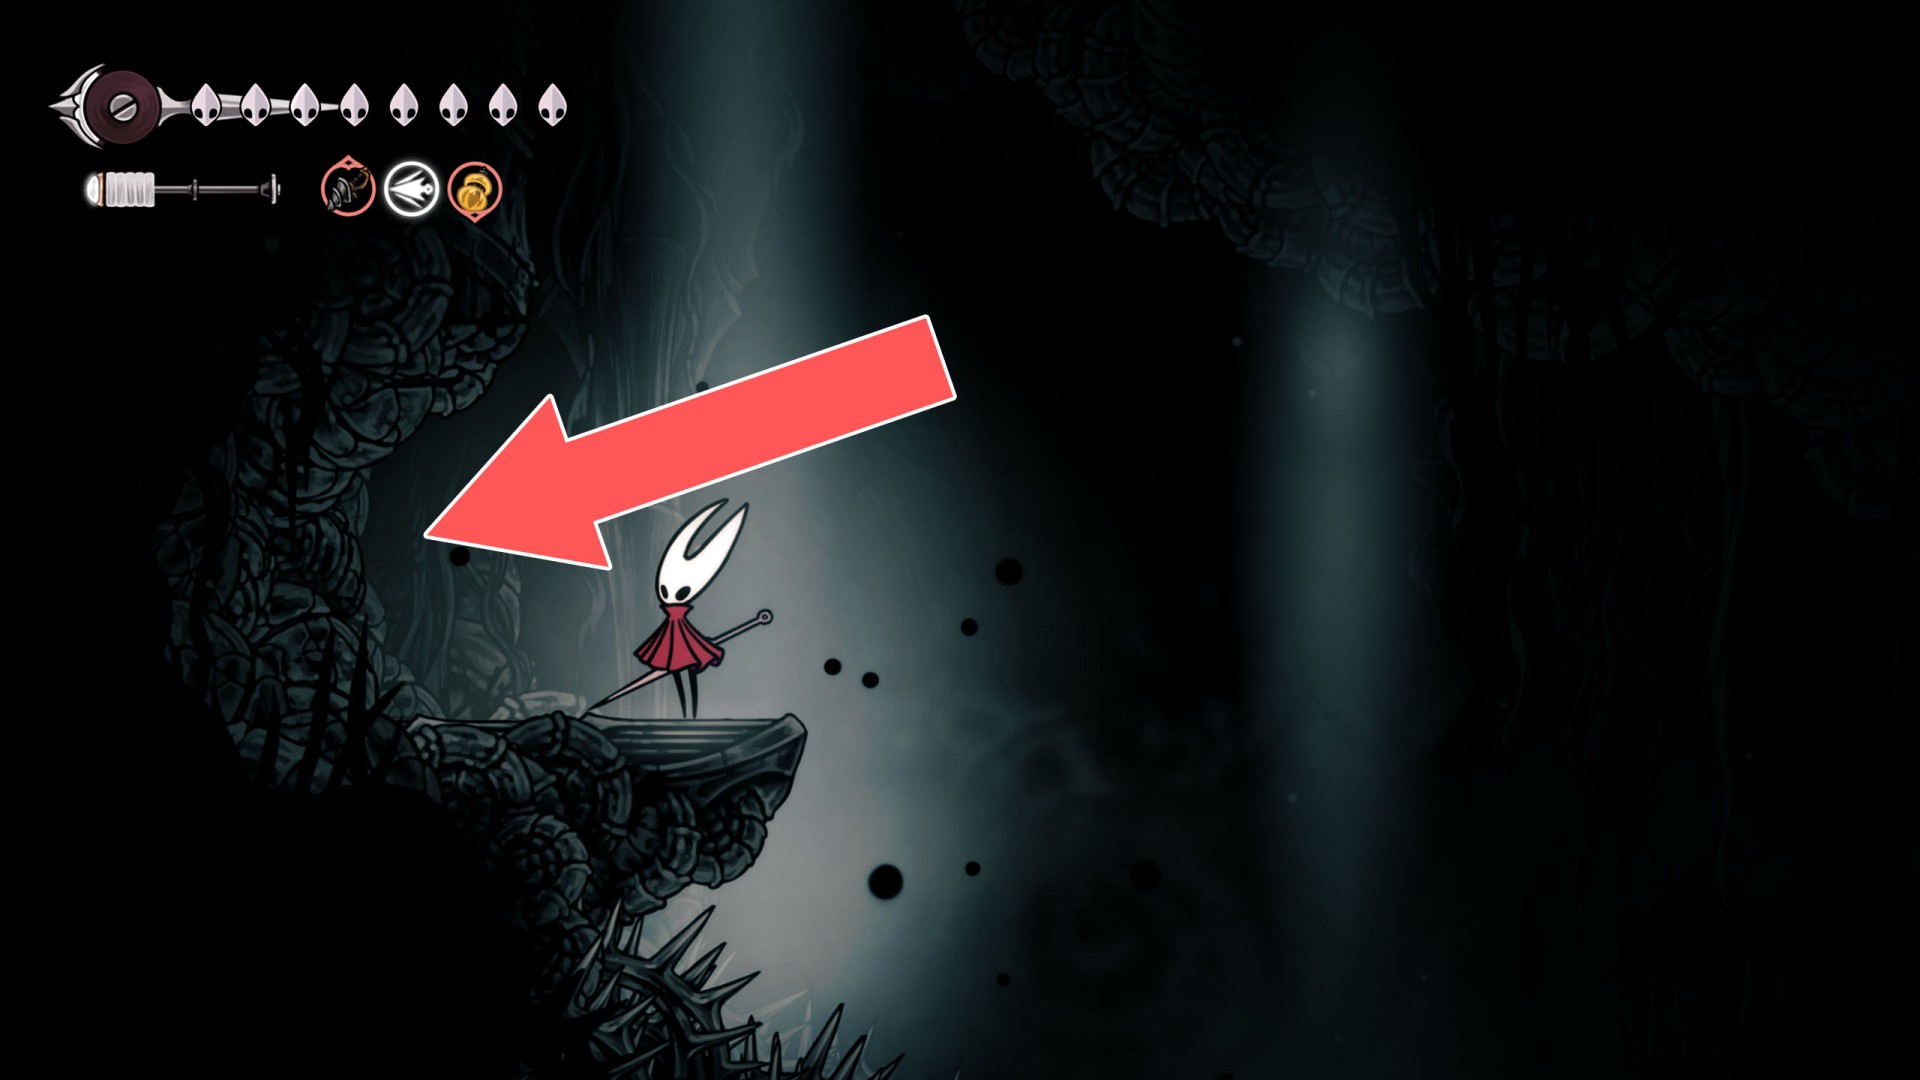
215Breakable Wall
You can break down this wall by hitting it from the east side.
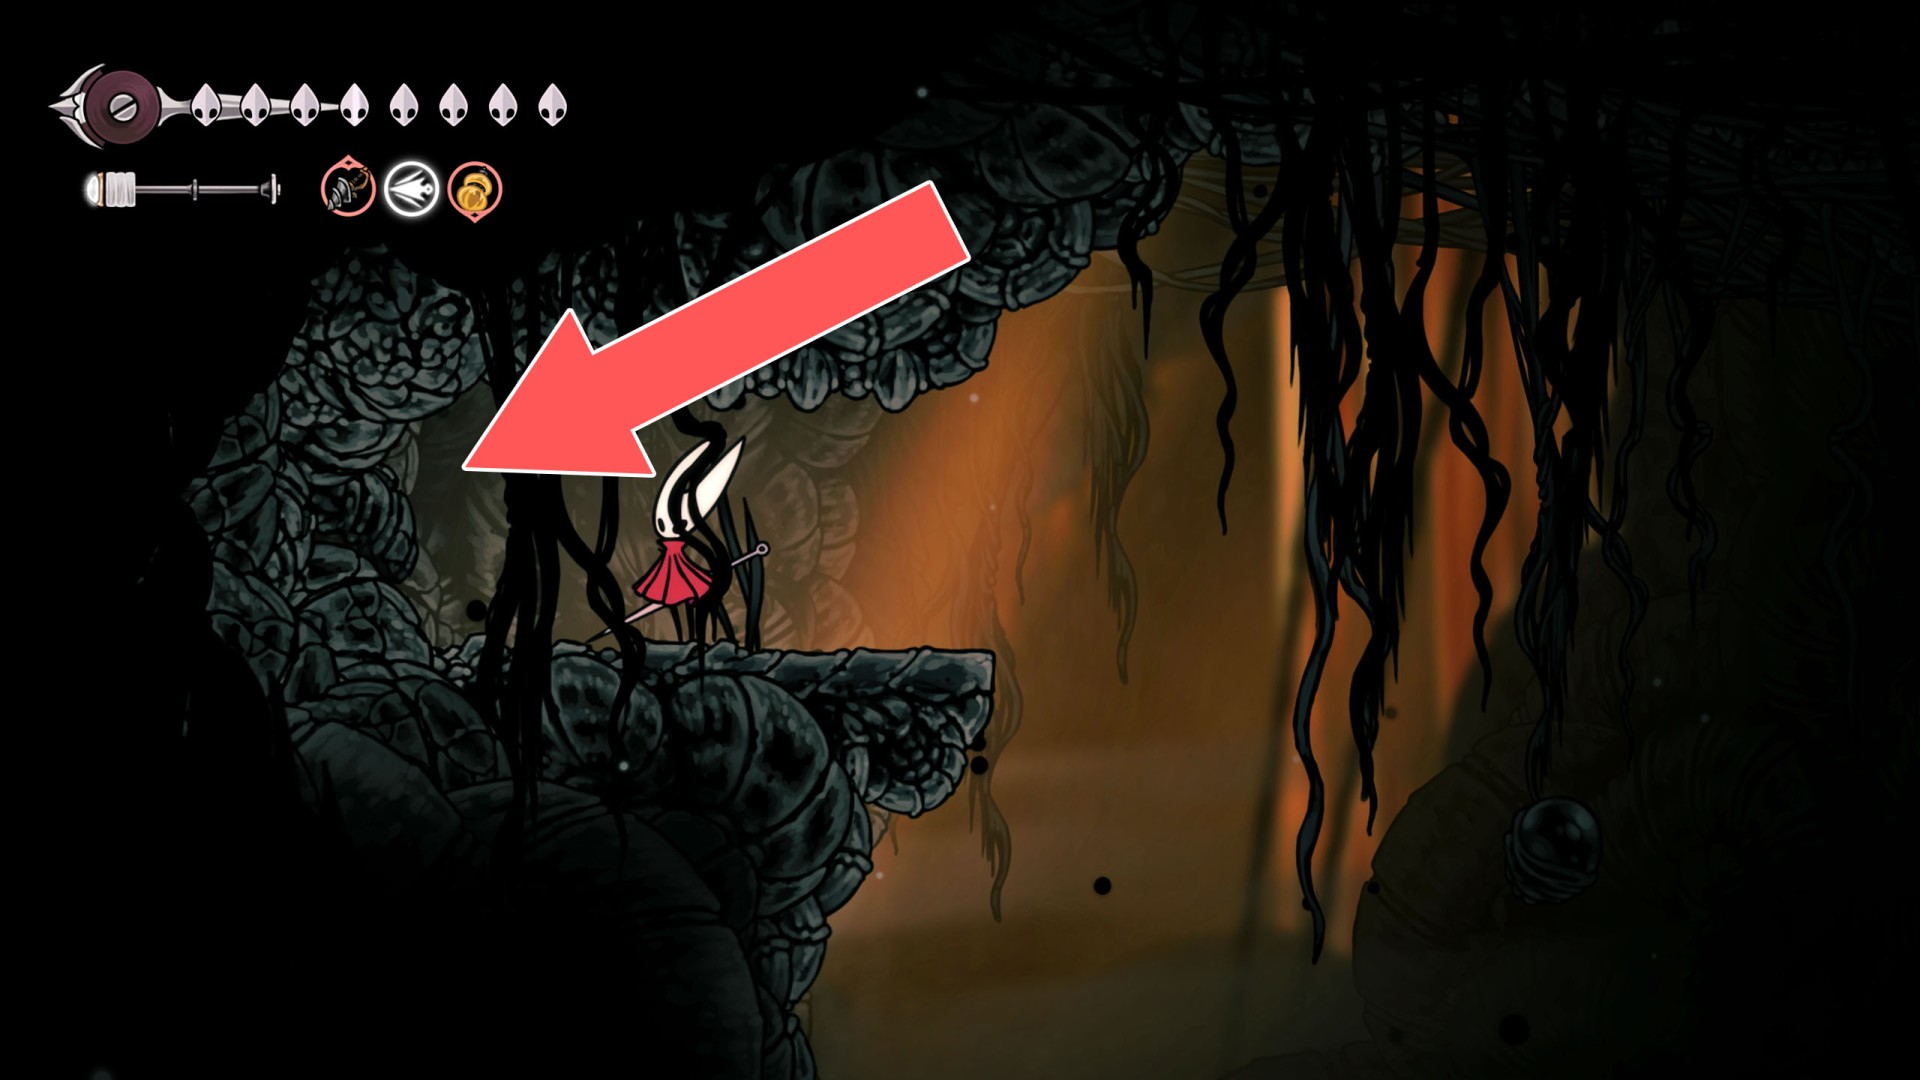
216Breakable Wall x2
You can destroy this roadblock and open a passage by hitting it from the west side.
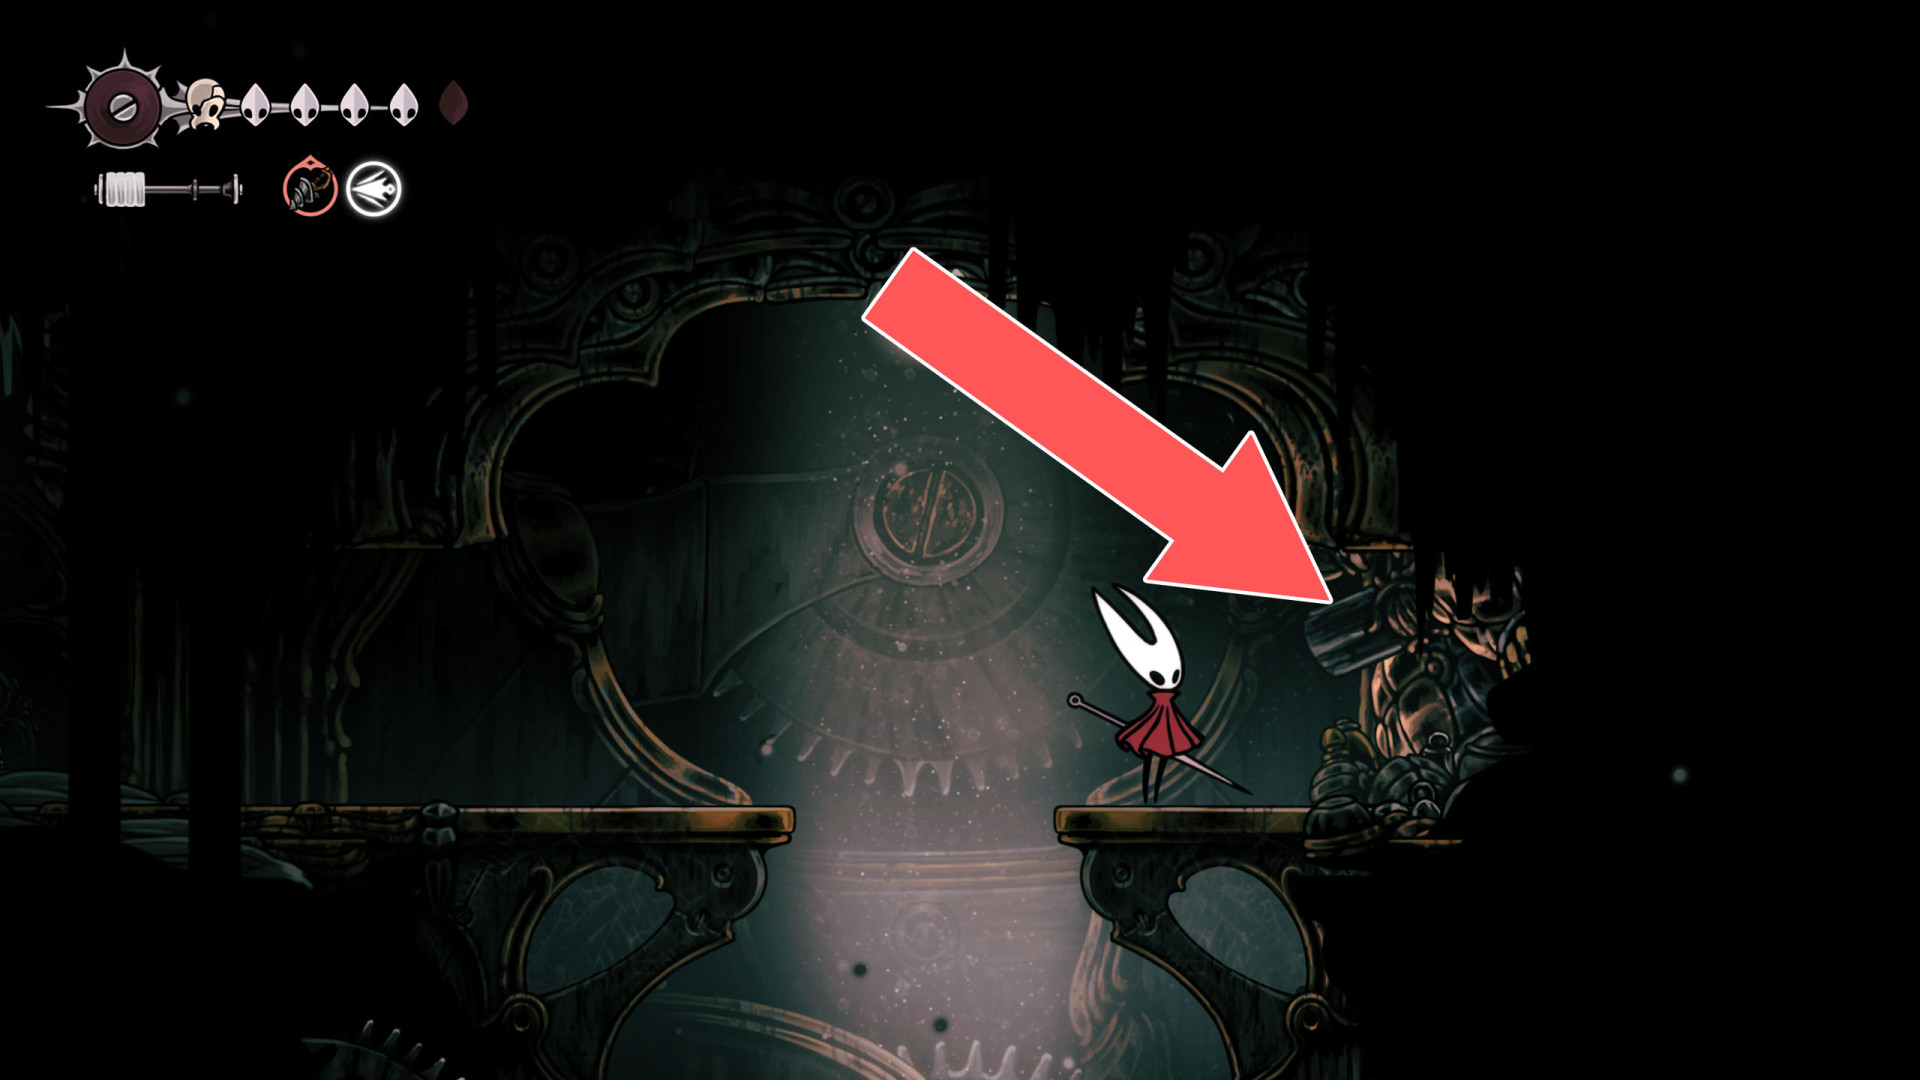
217Breakable Wall x2
To break down these walls and open the passage, approach them from the east and hit them several times.
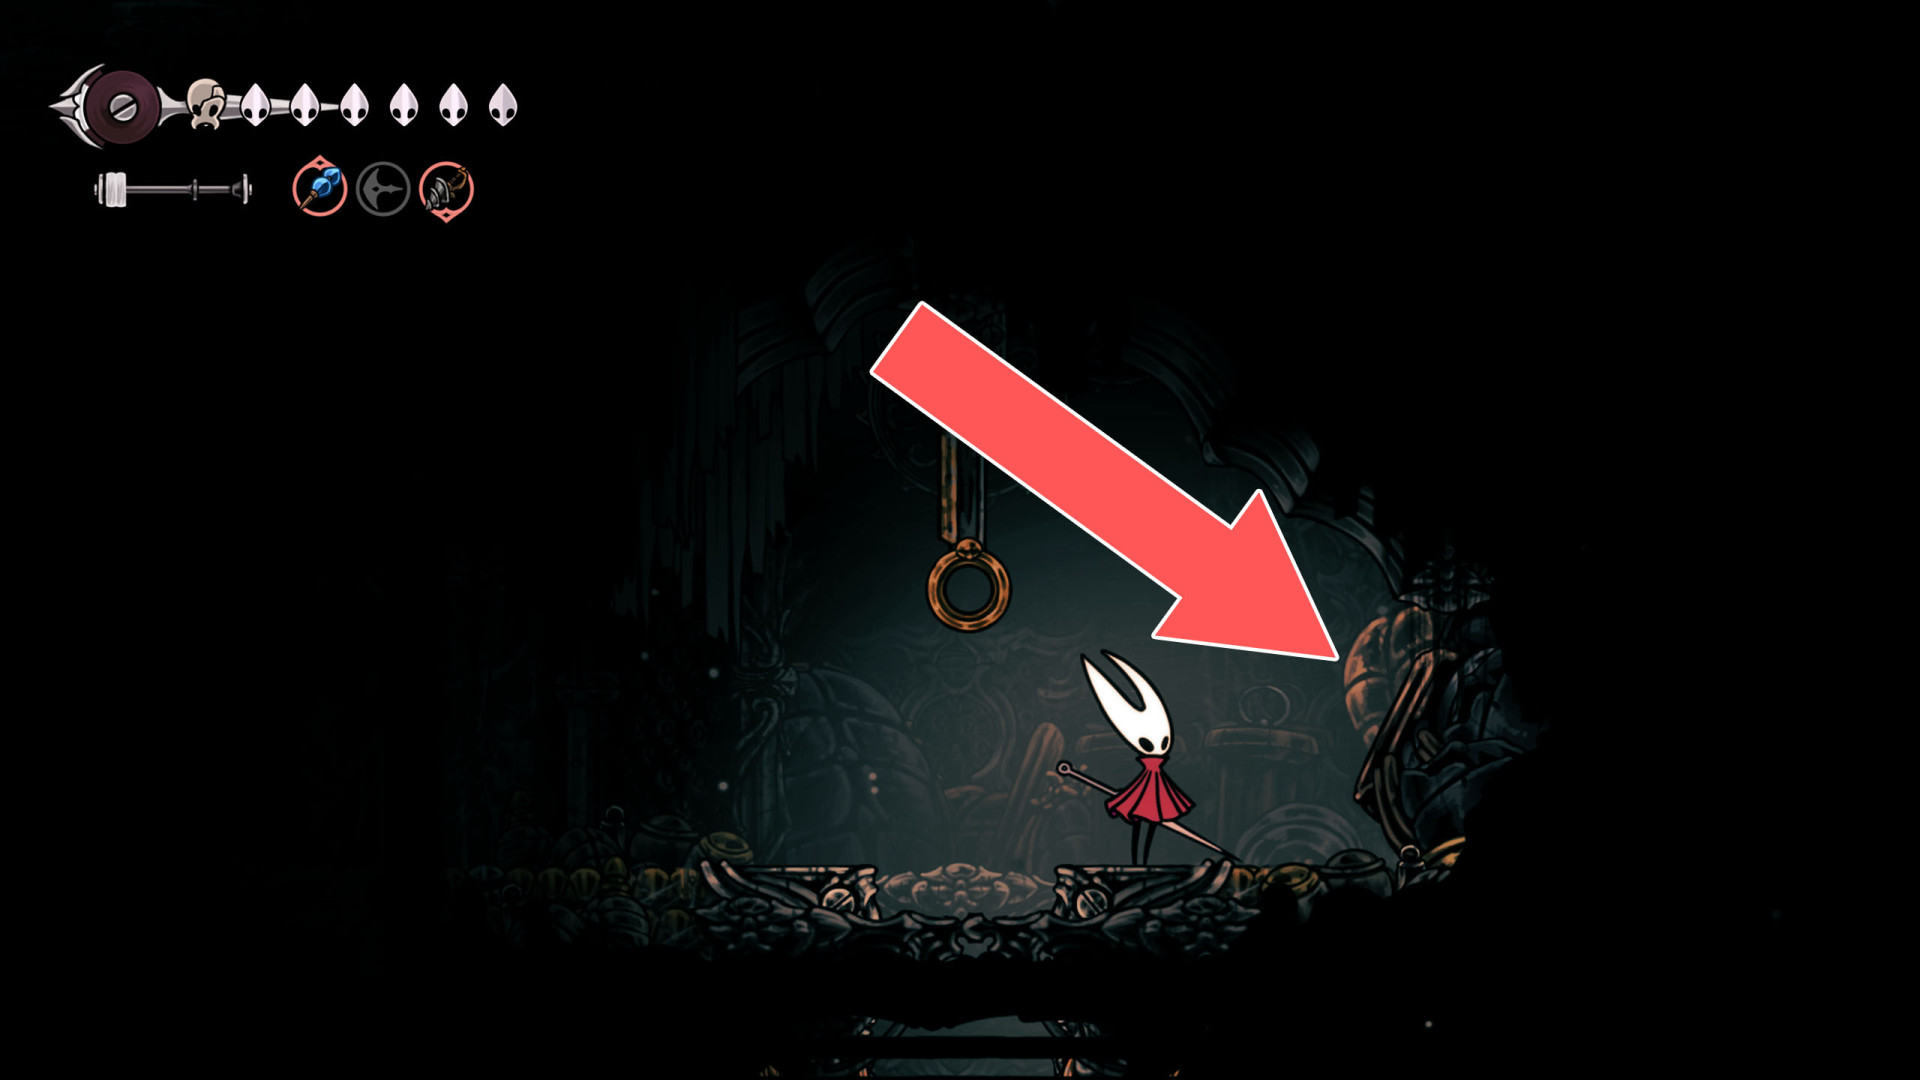
218Breakable Wall x2
You can destroy this roadblock by approaching it from the west.
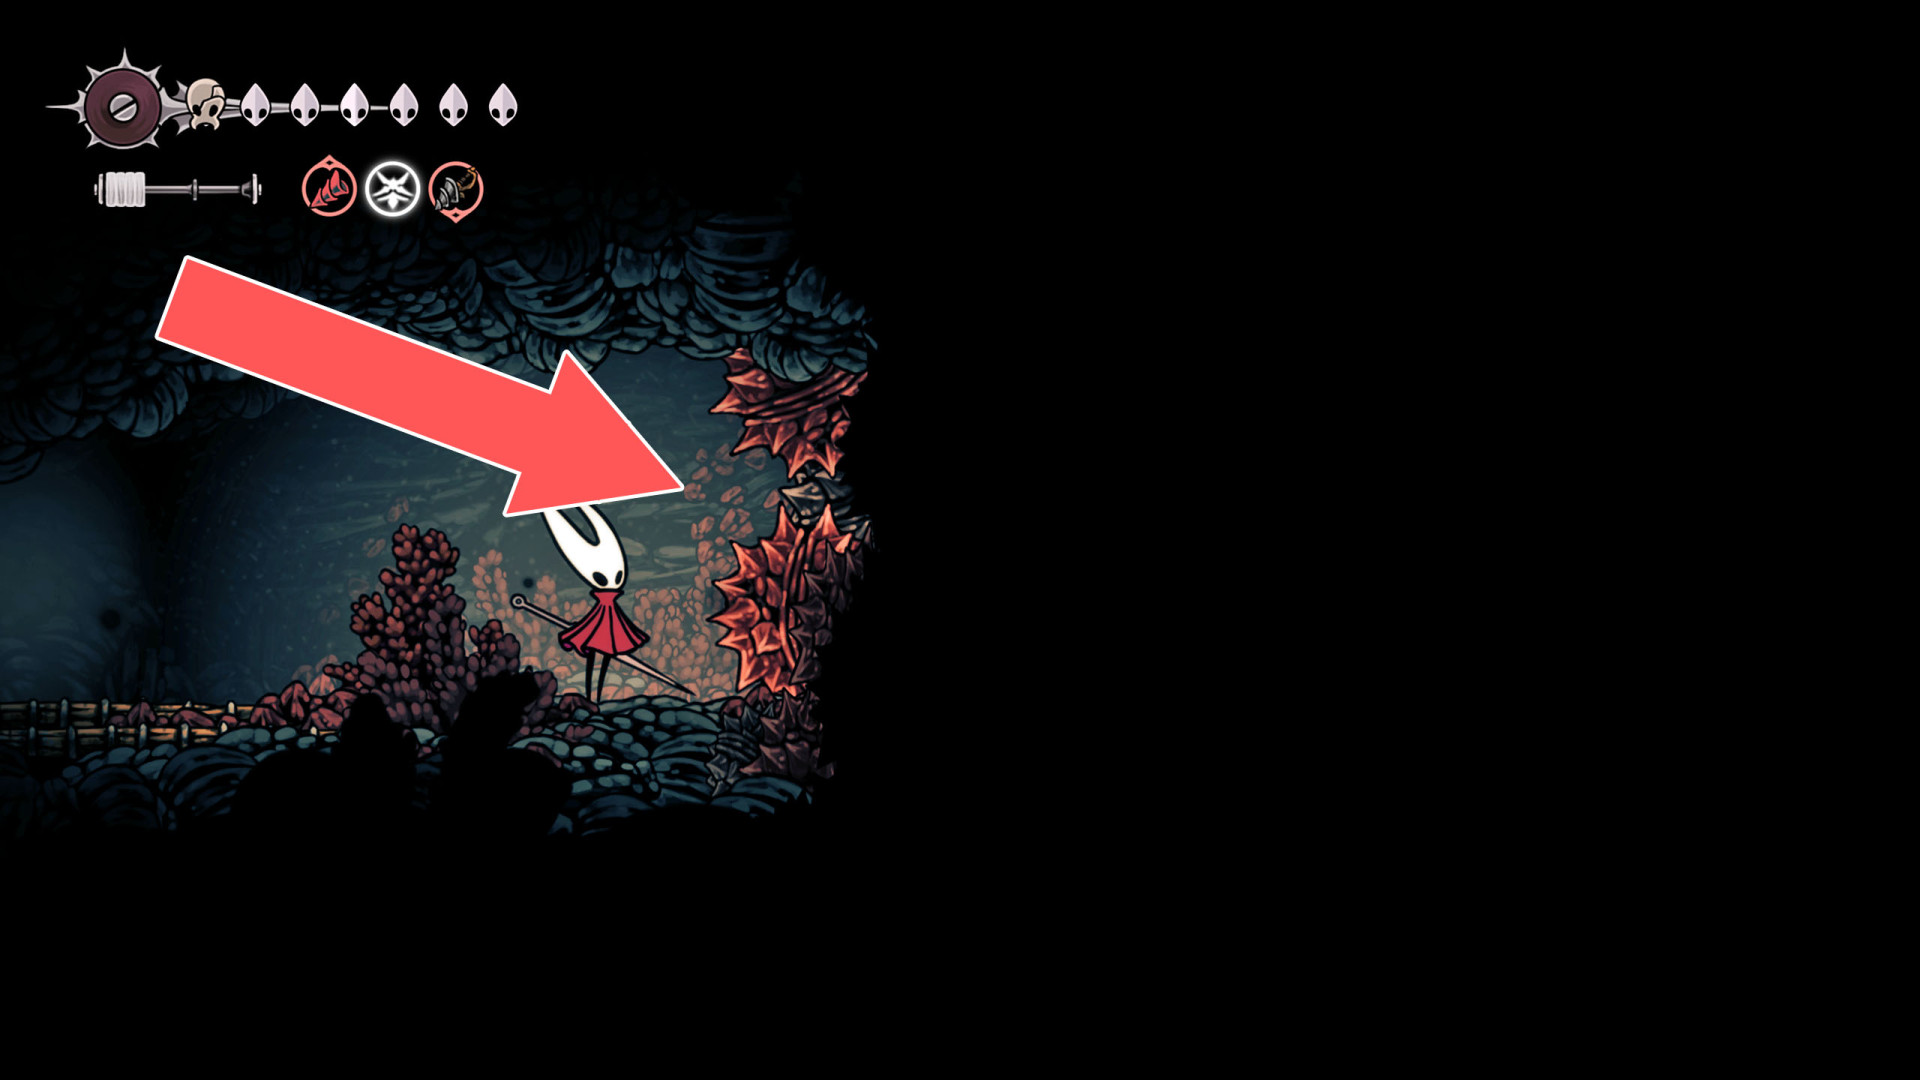
219Breakable Wall x2
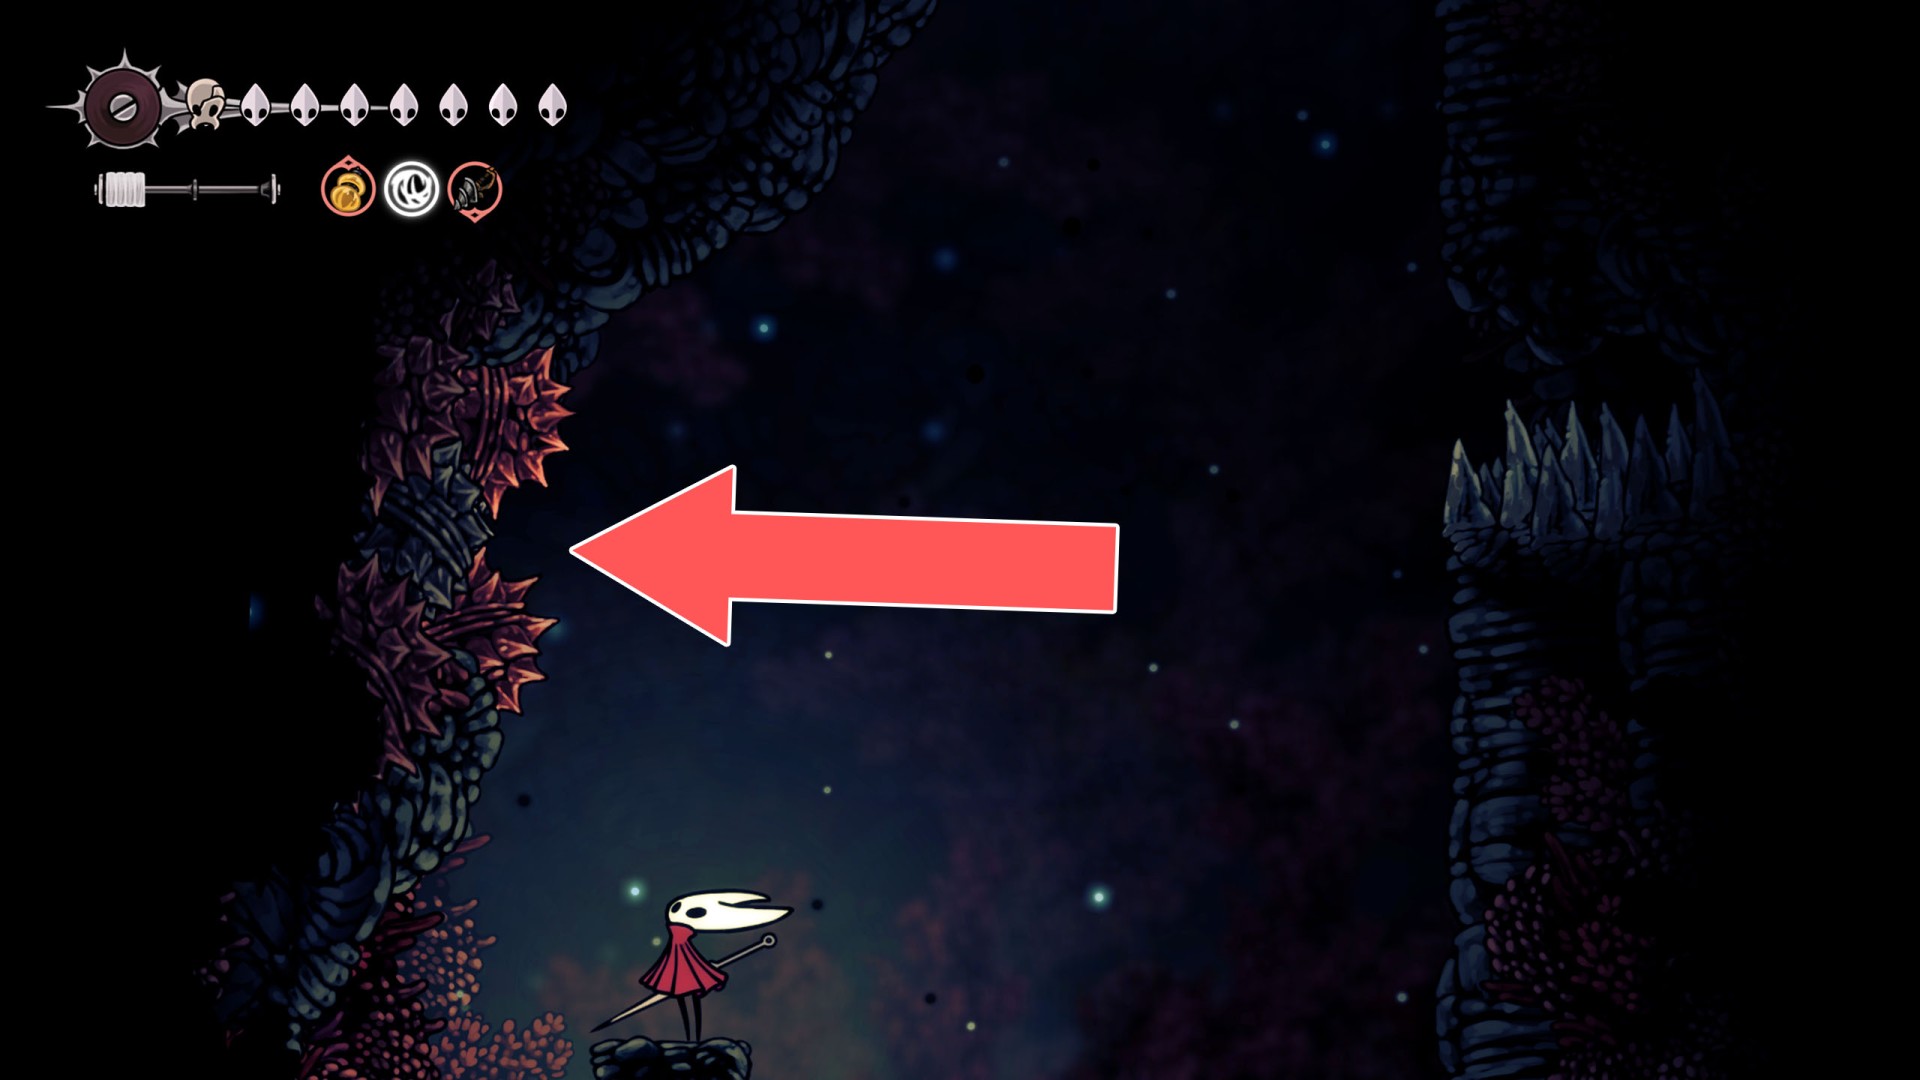
220Breakable Wall x2
You can destroy these walls and open a passage by hitting them from the west side.
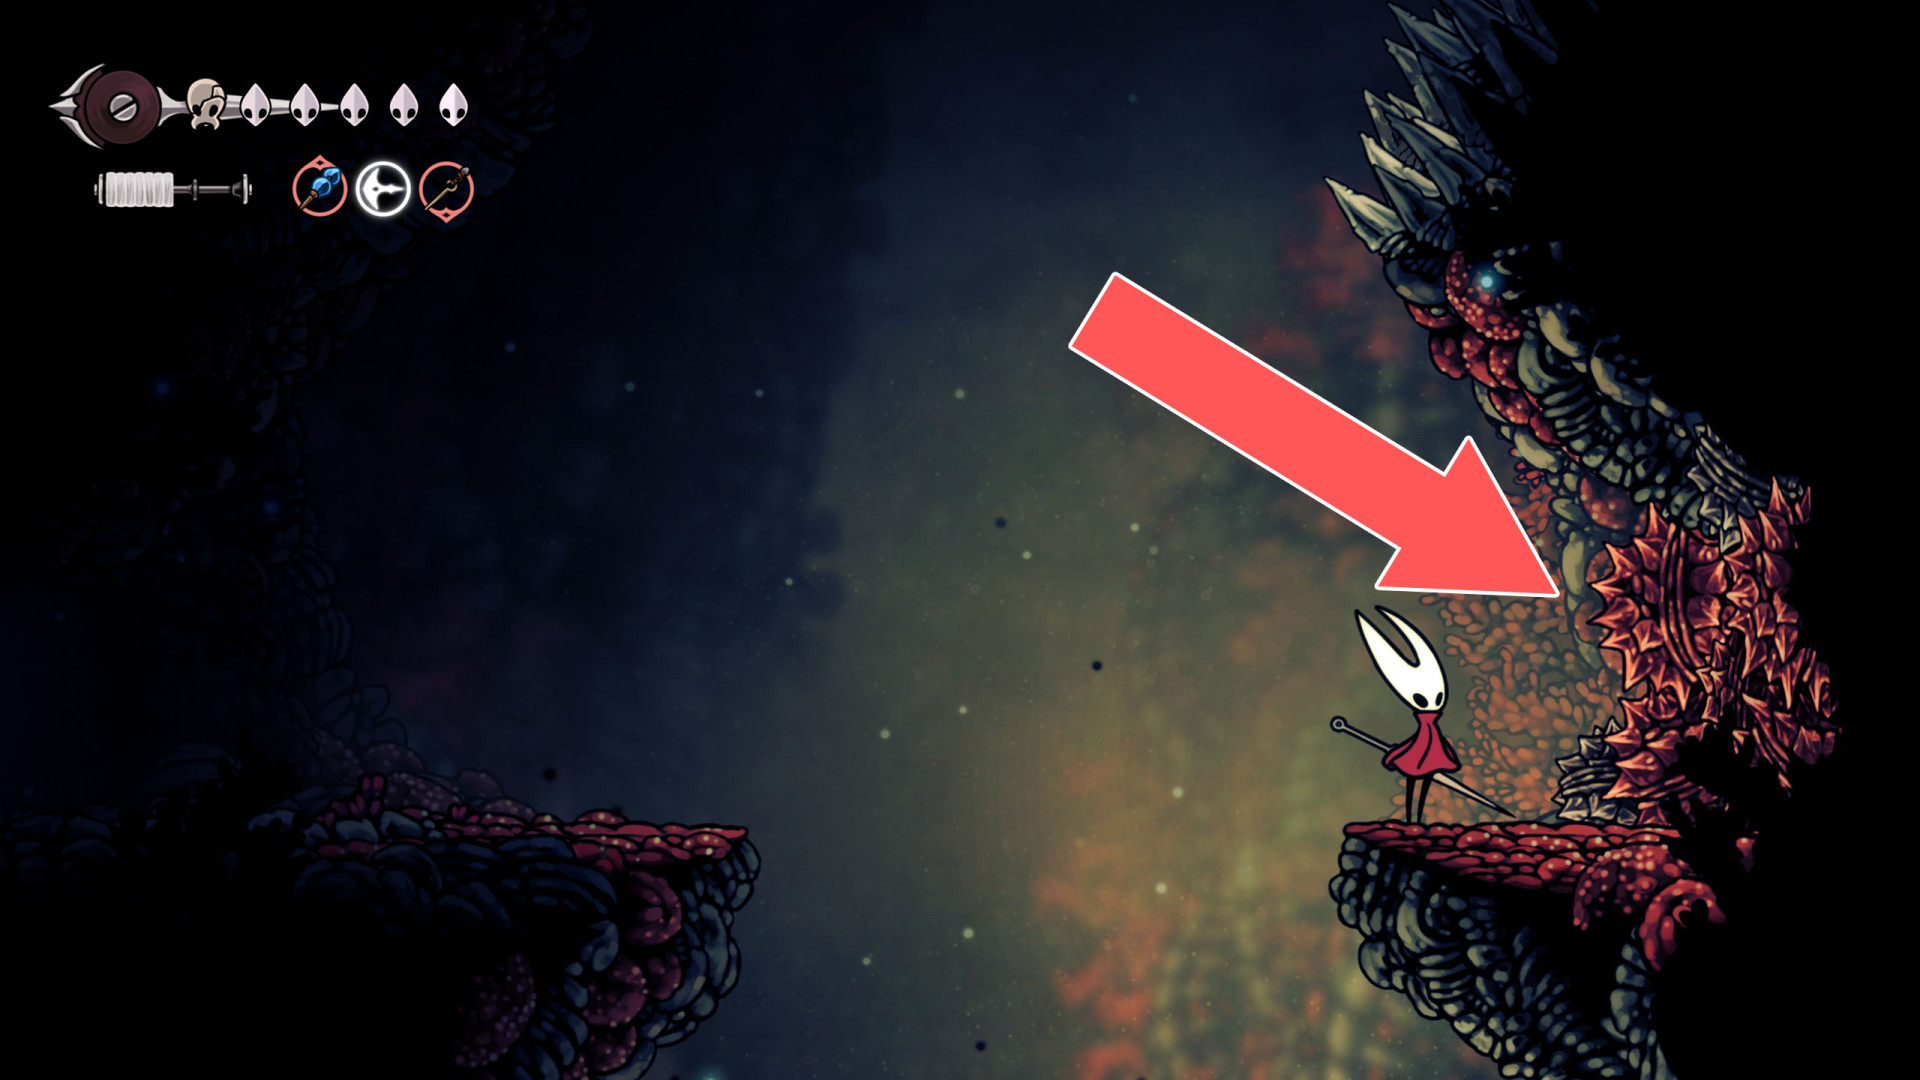
221Breakable Wall x2
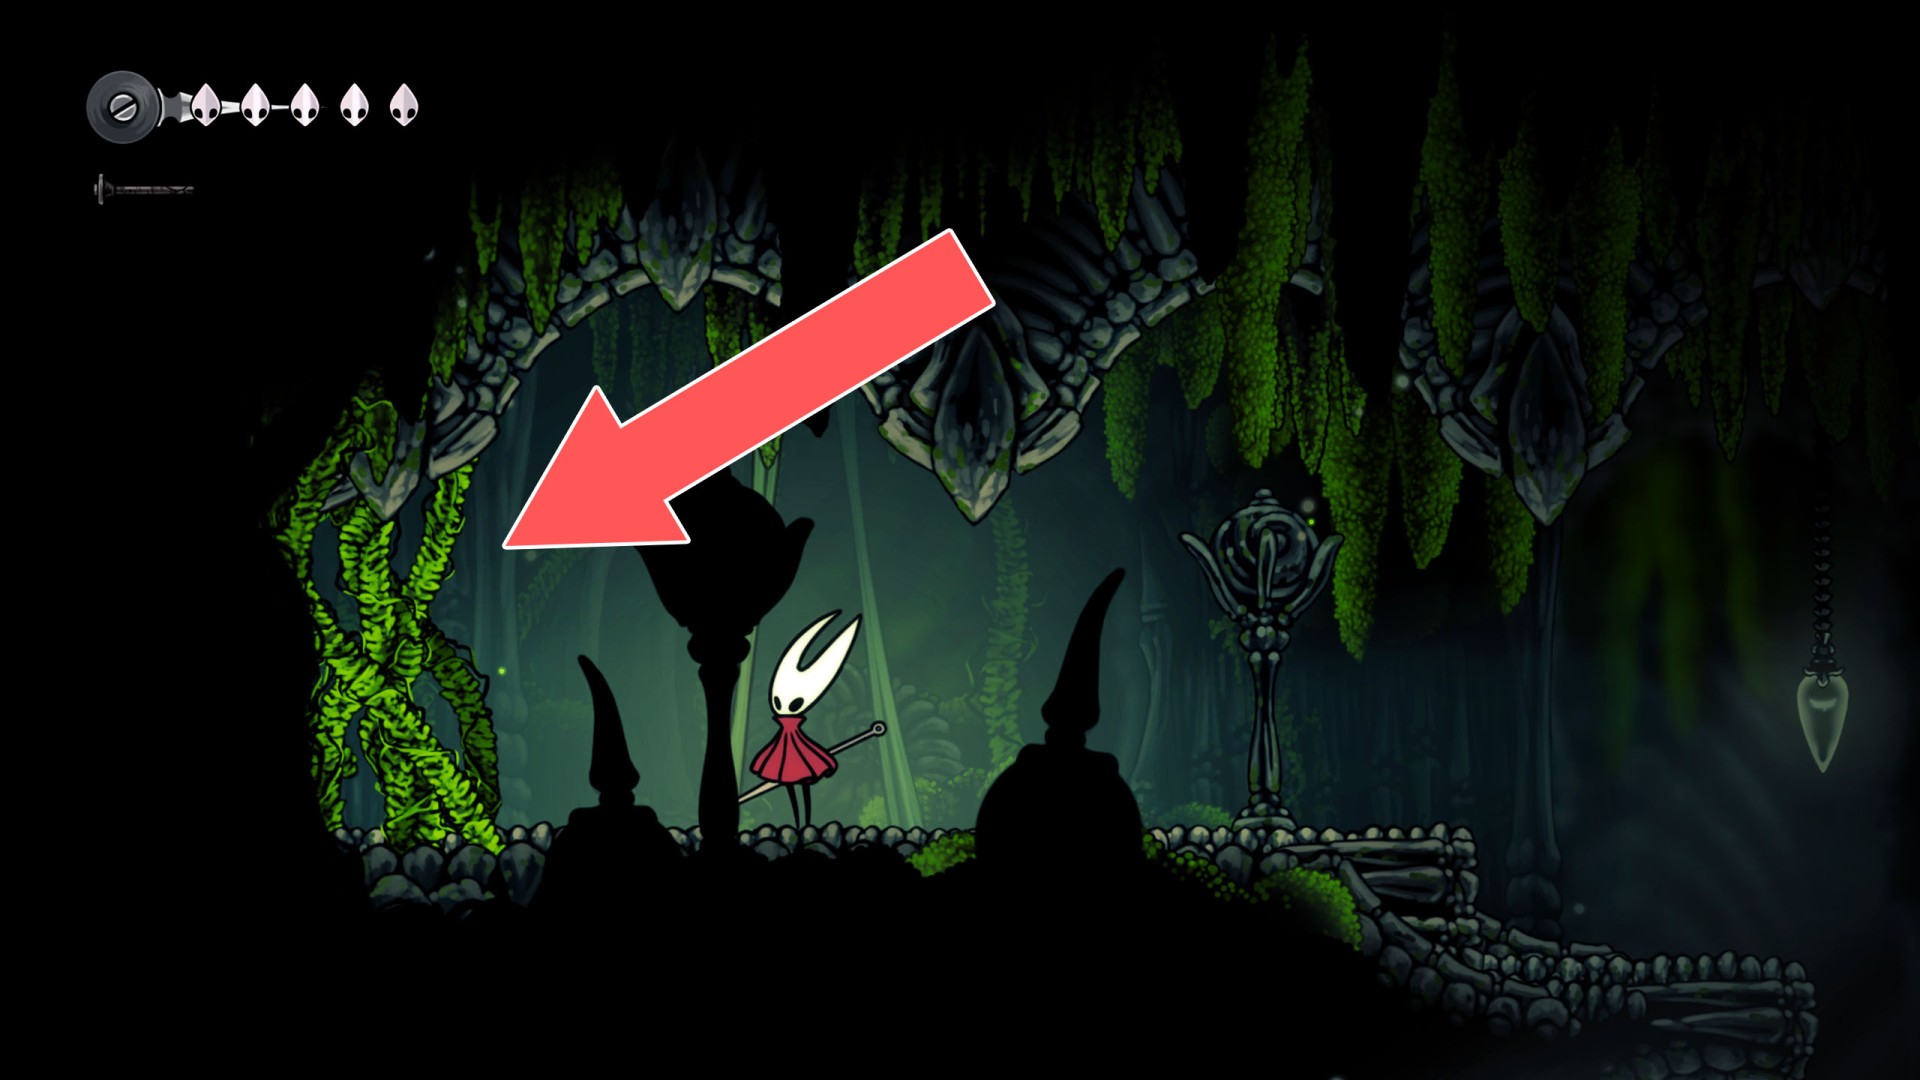
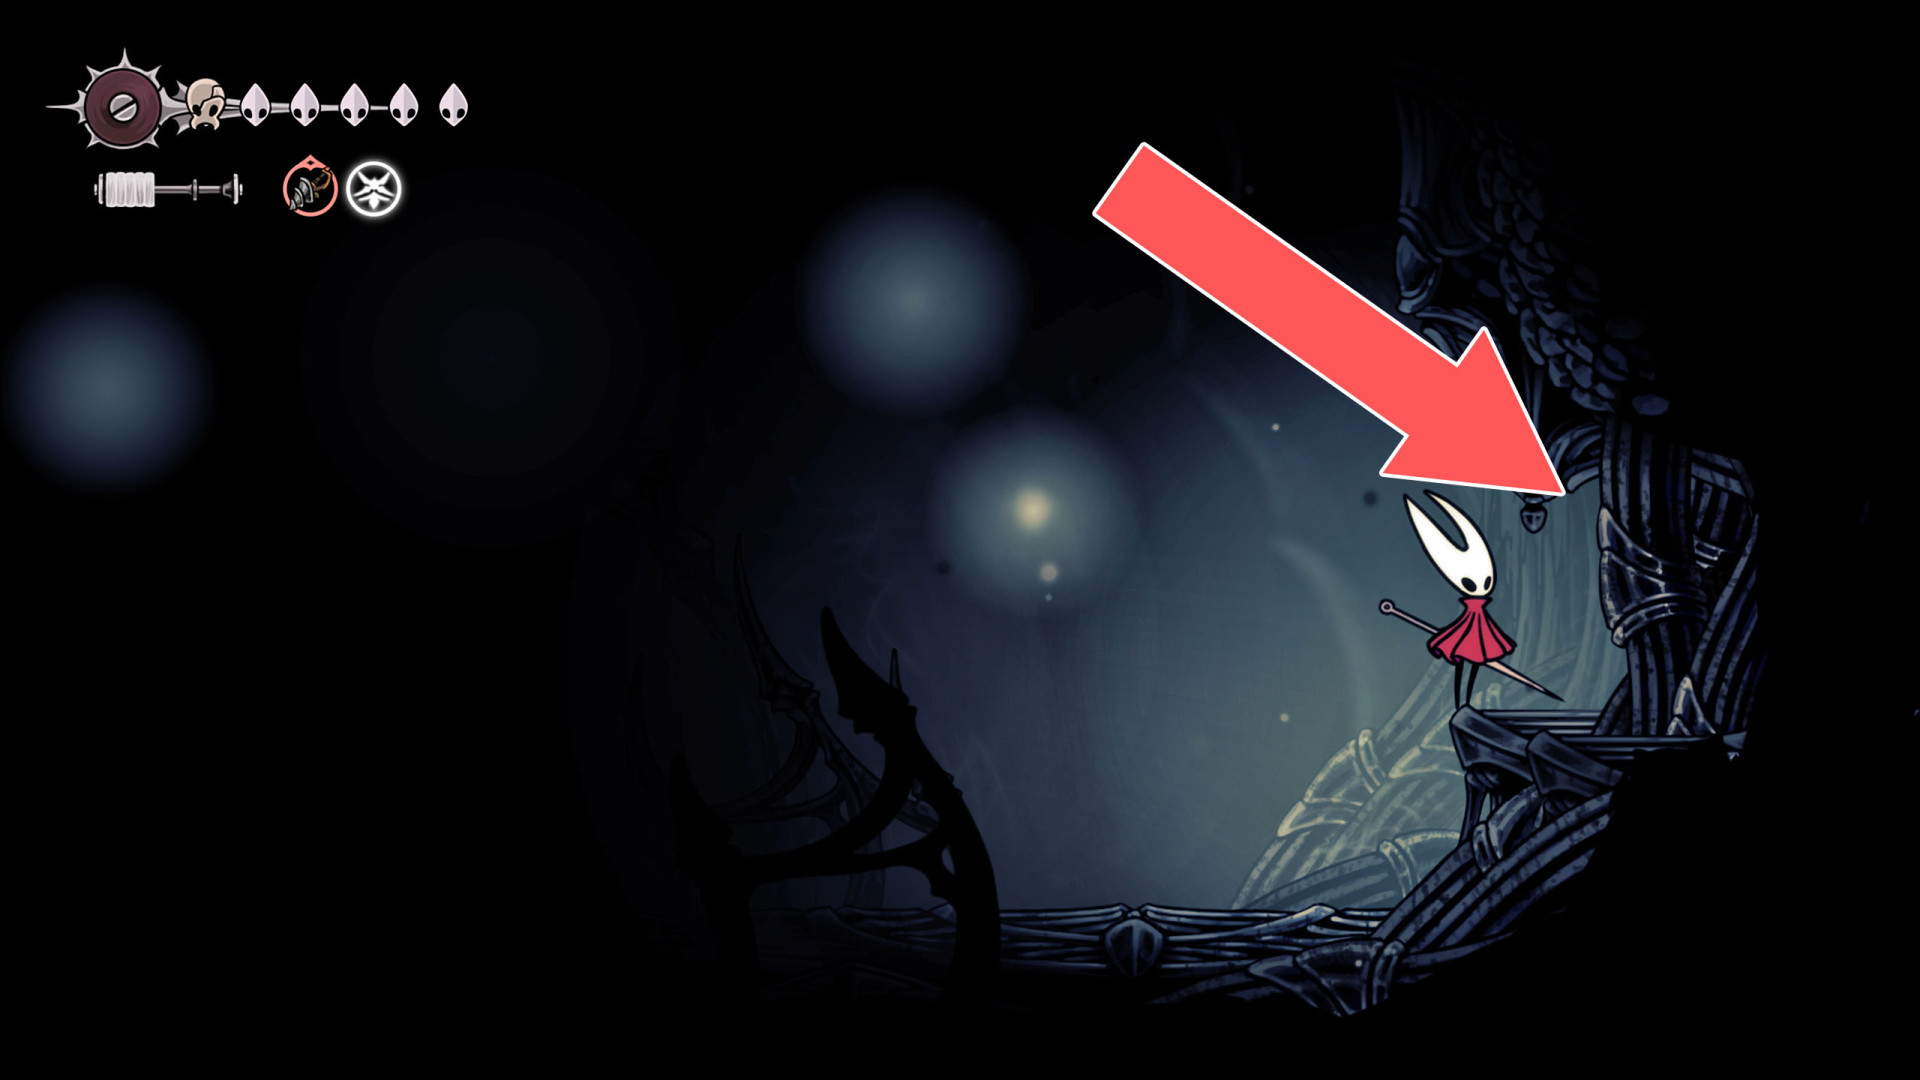
222Breakable Wall x2
You can destroy this wall and open a passage by hitting it from the west side.
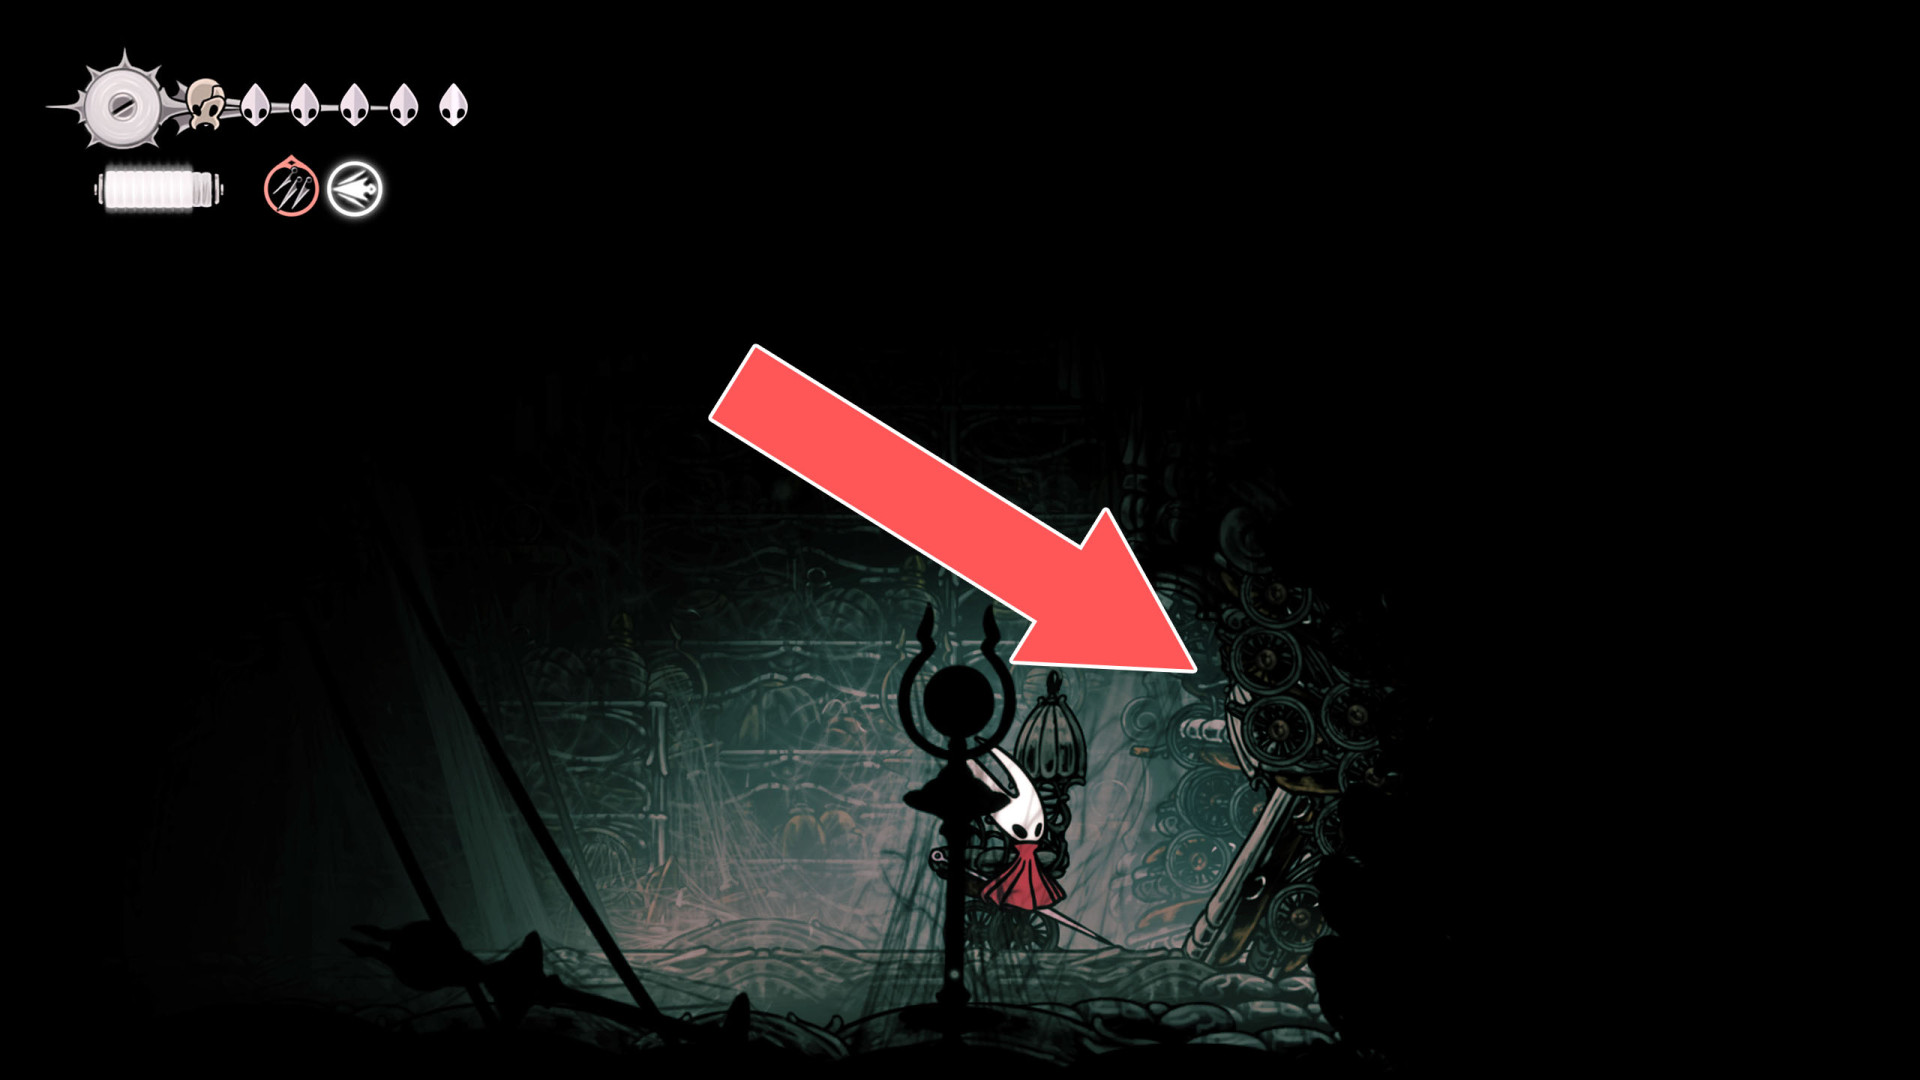
223Breakable Wall x4
You can destroy these walls by attacking them from the west side.
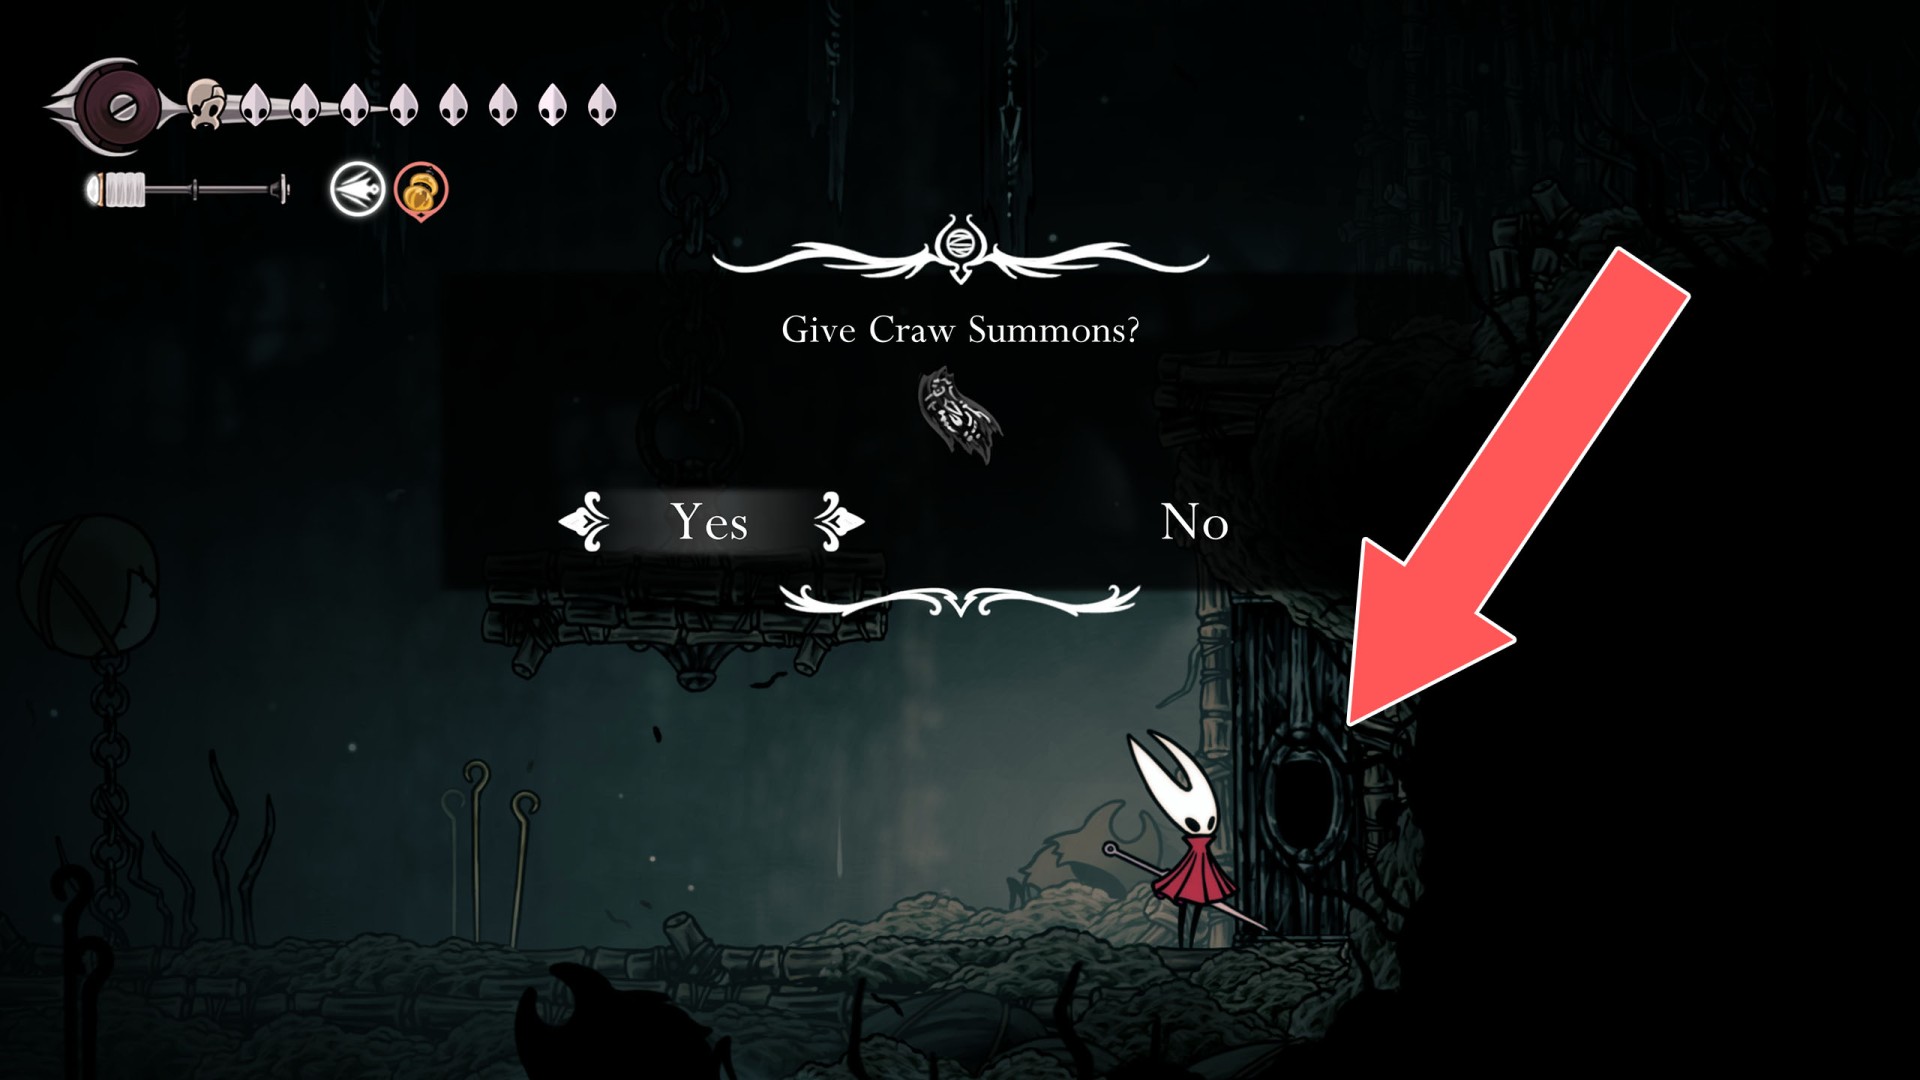
224Craw Door
You need the Craw Summon to unlock this door. Craw Summon can appear in Act 3, next to any bench you rest on.
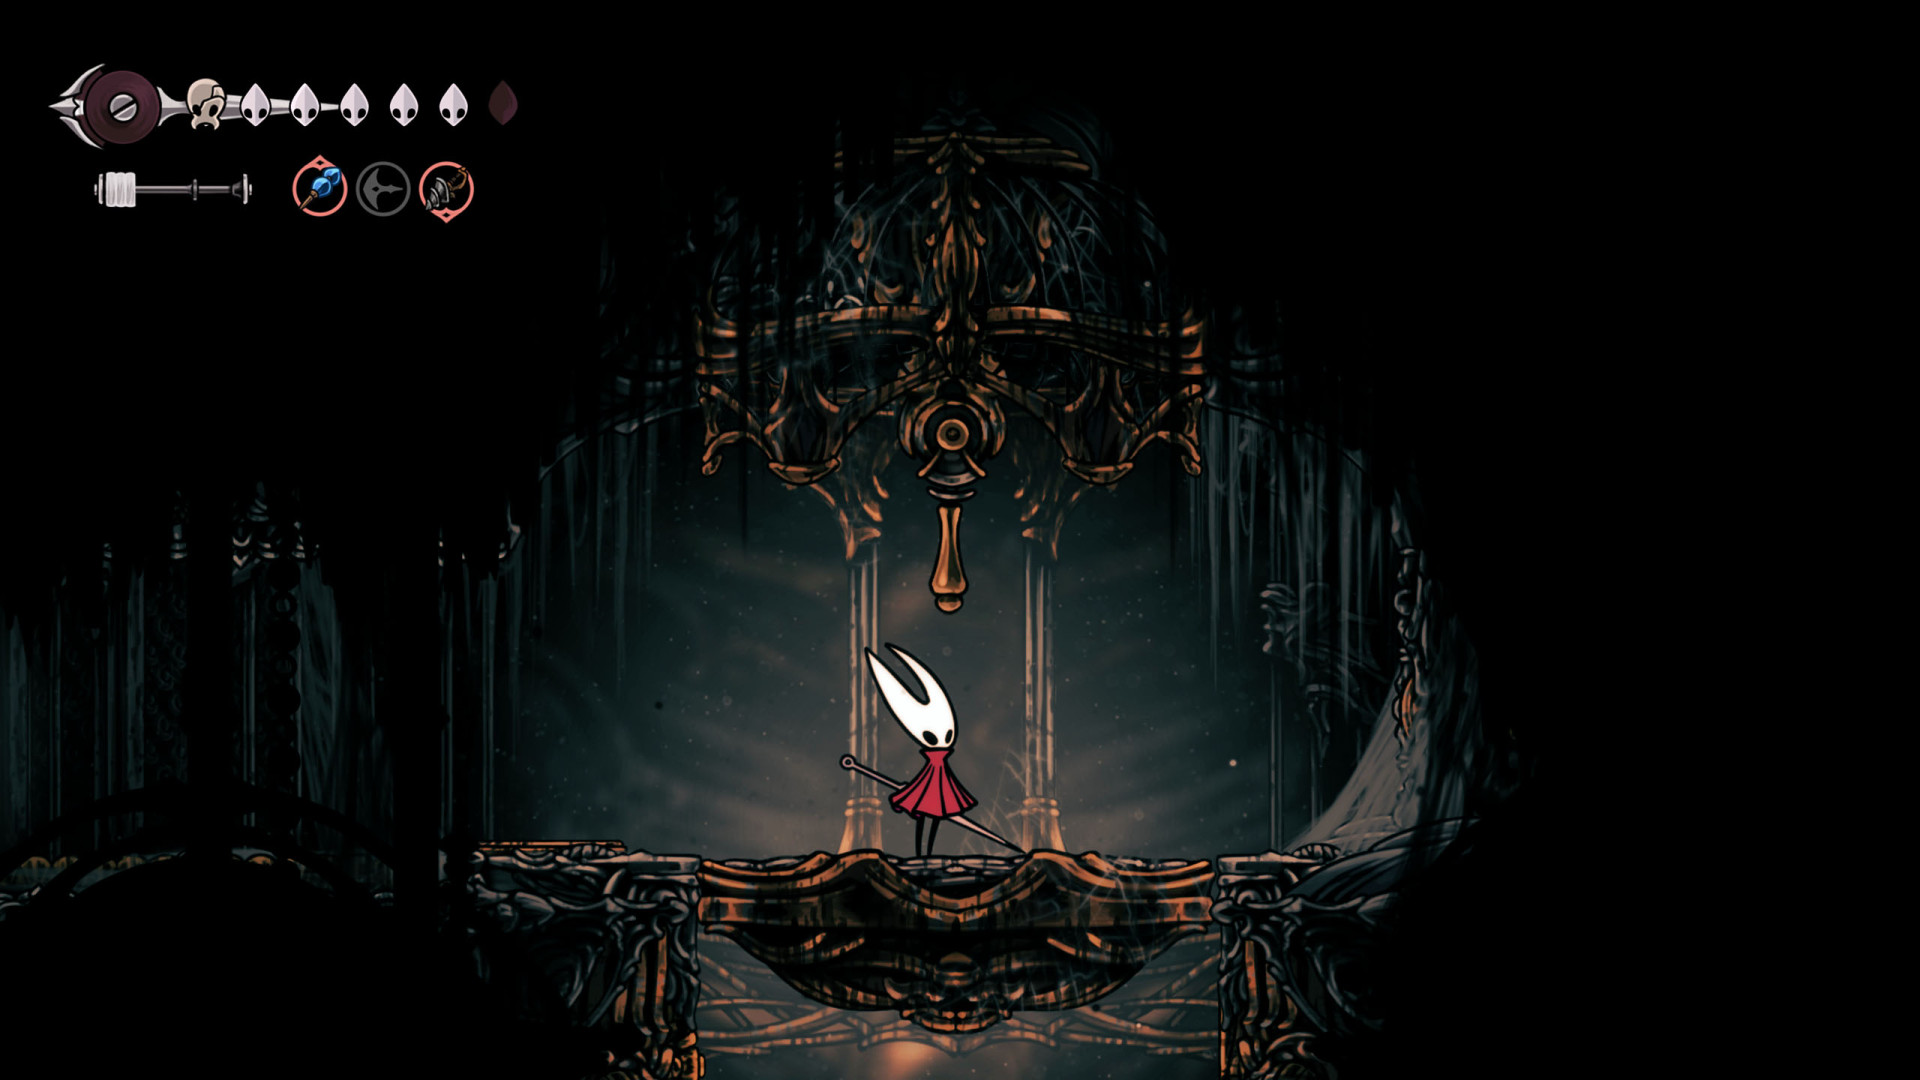
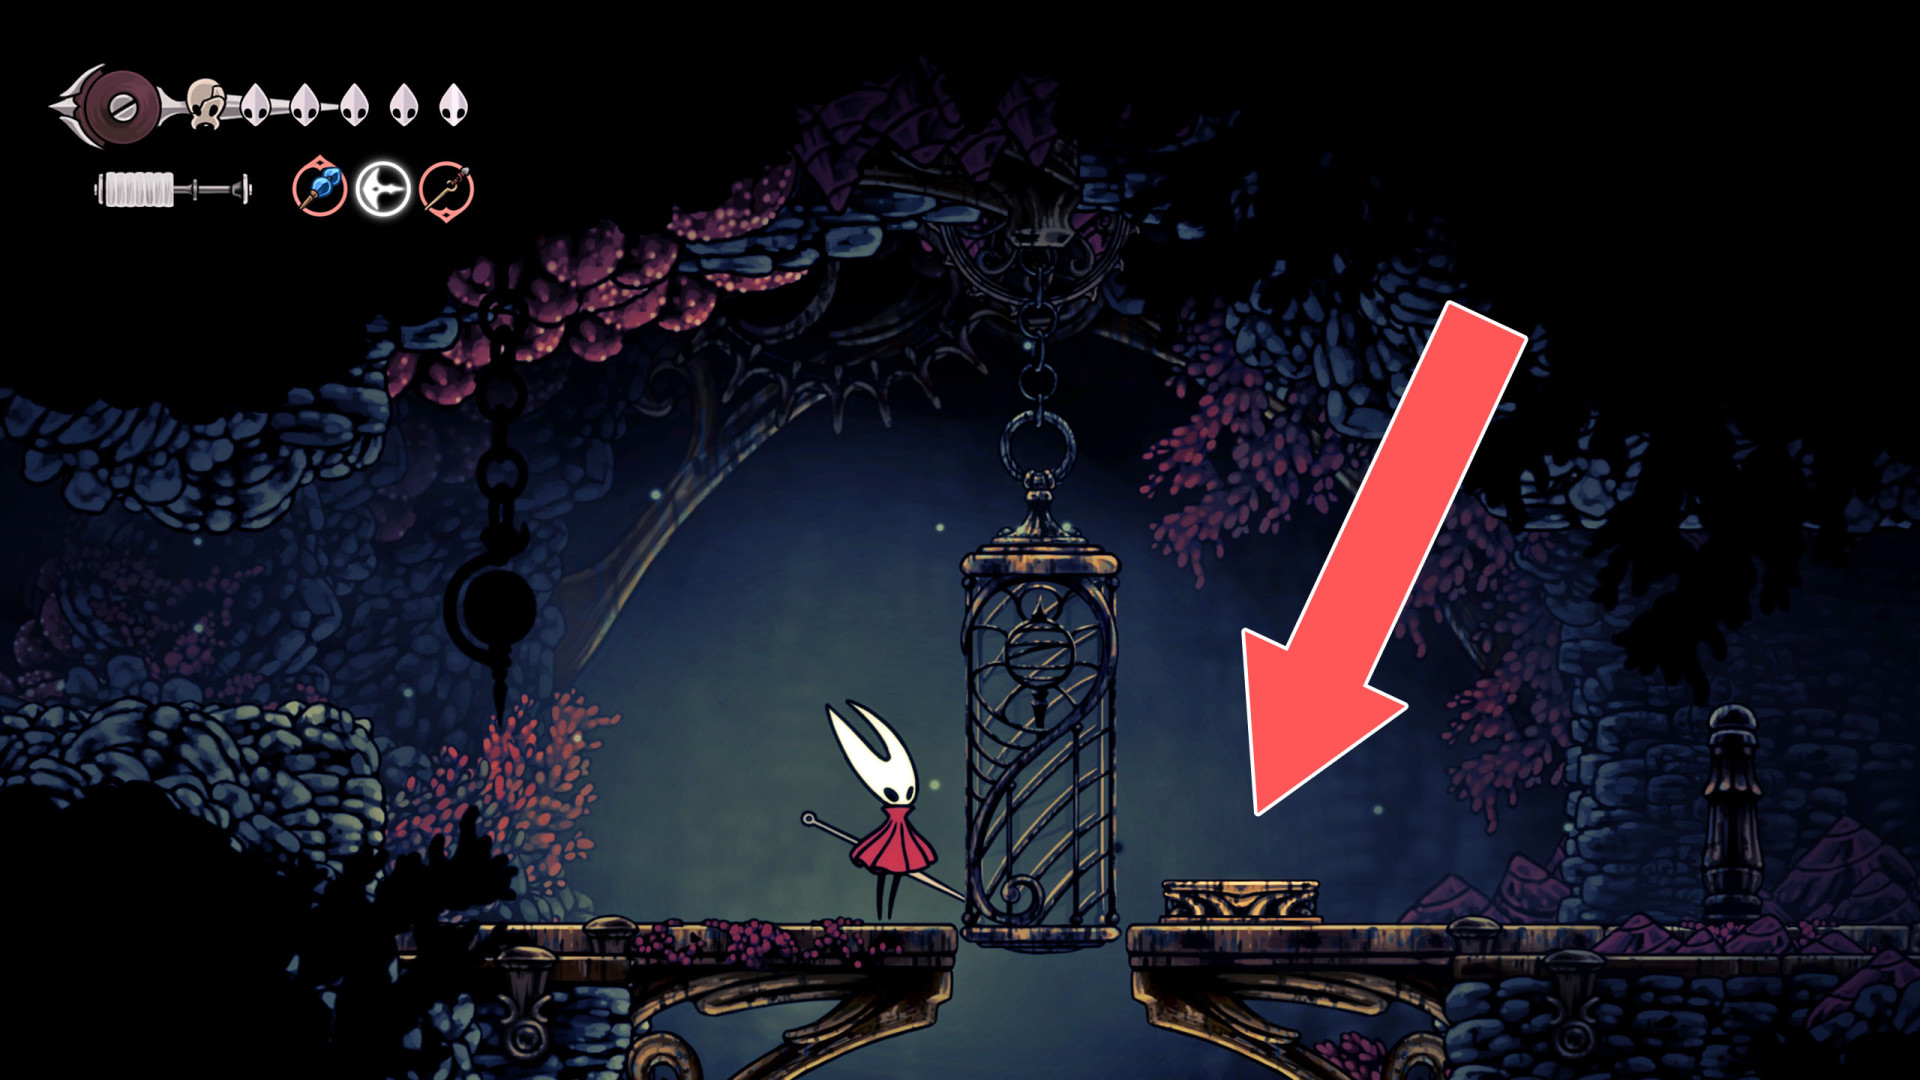
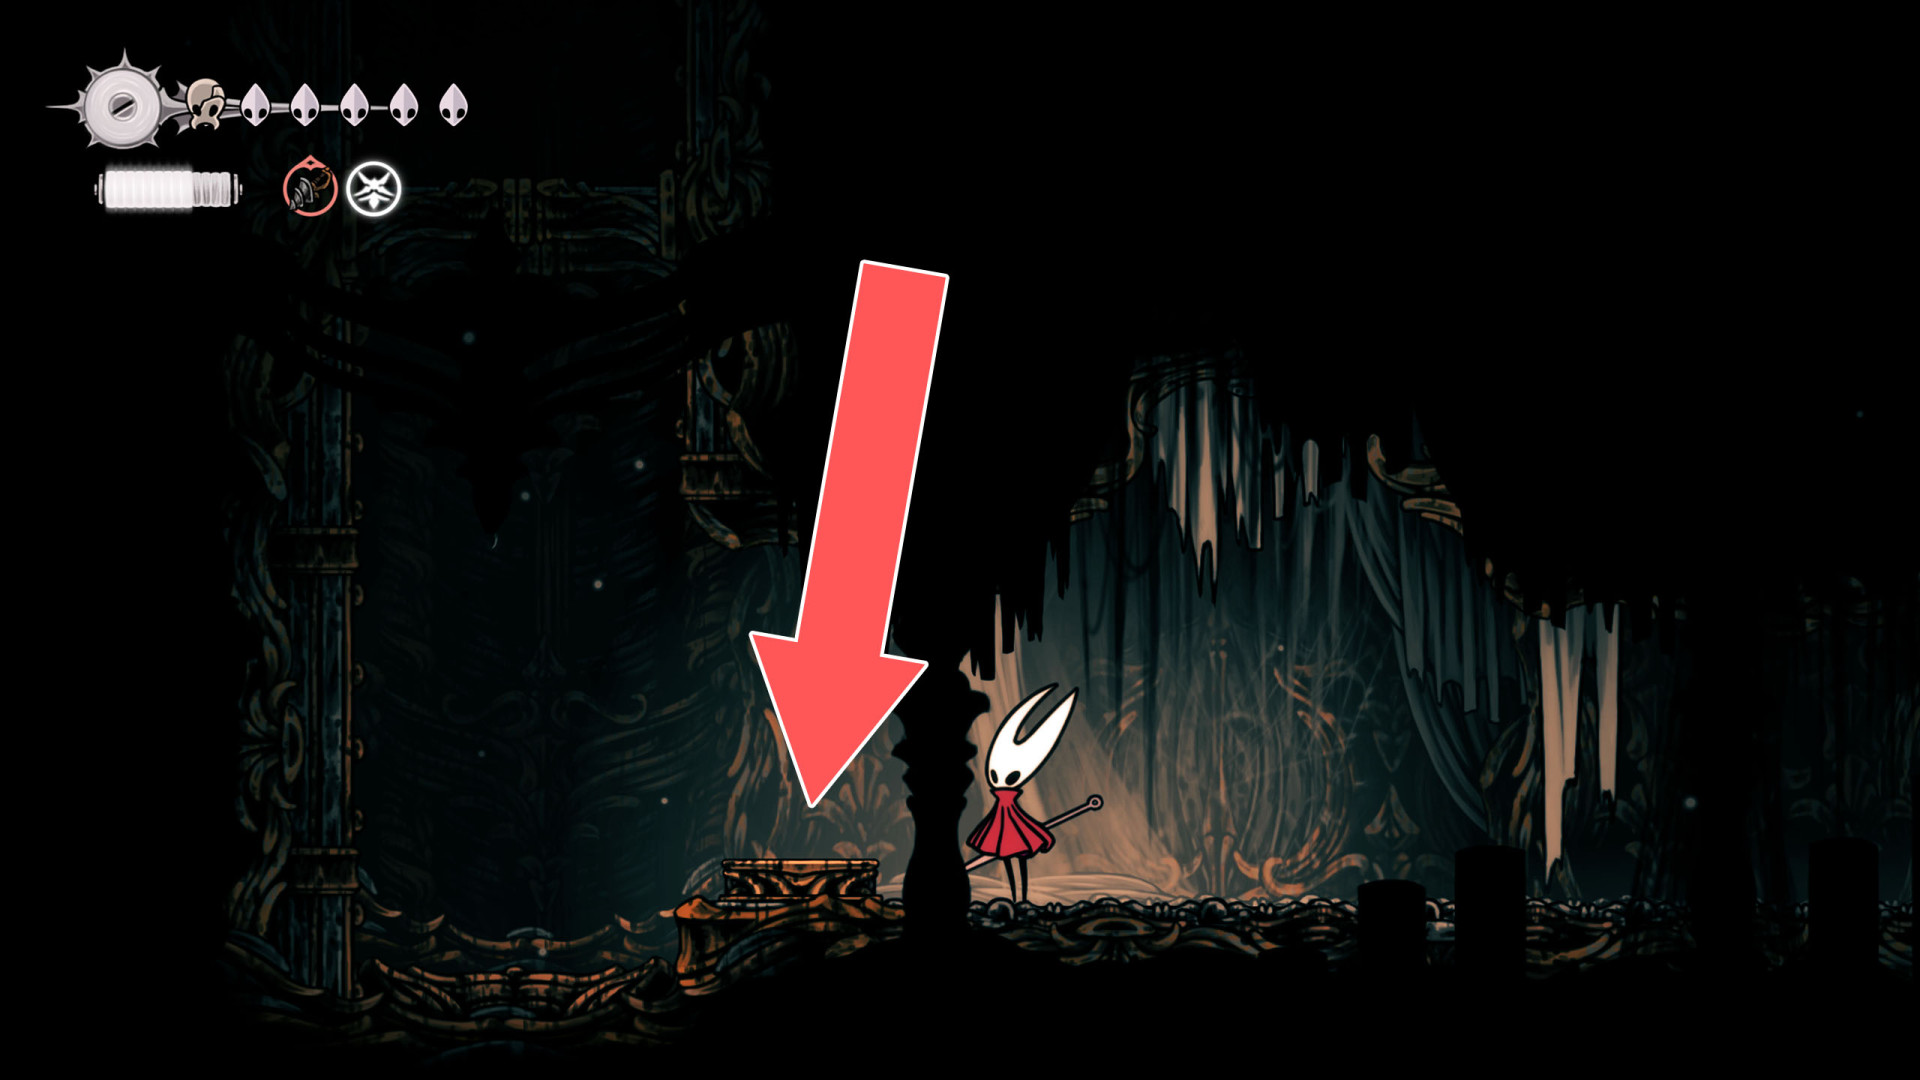
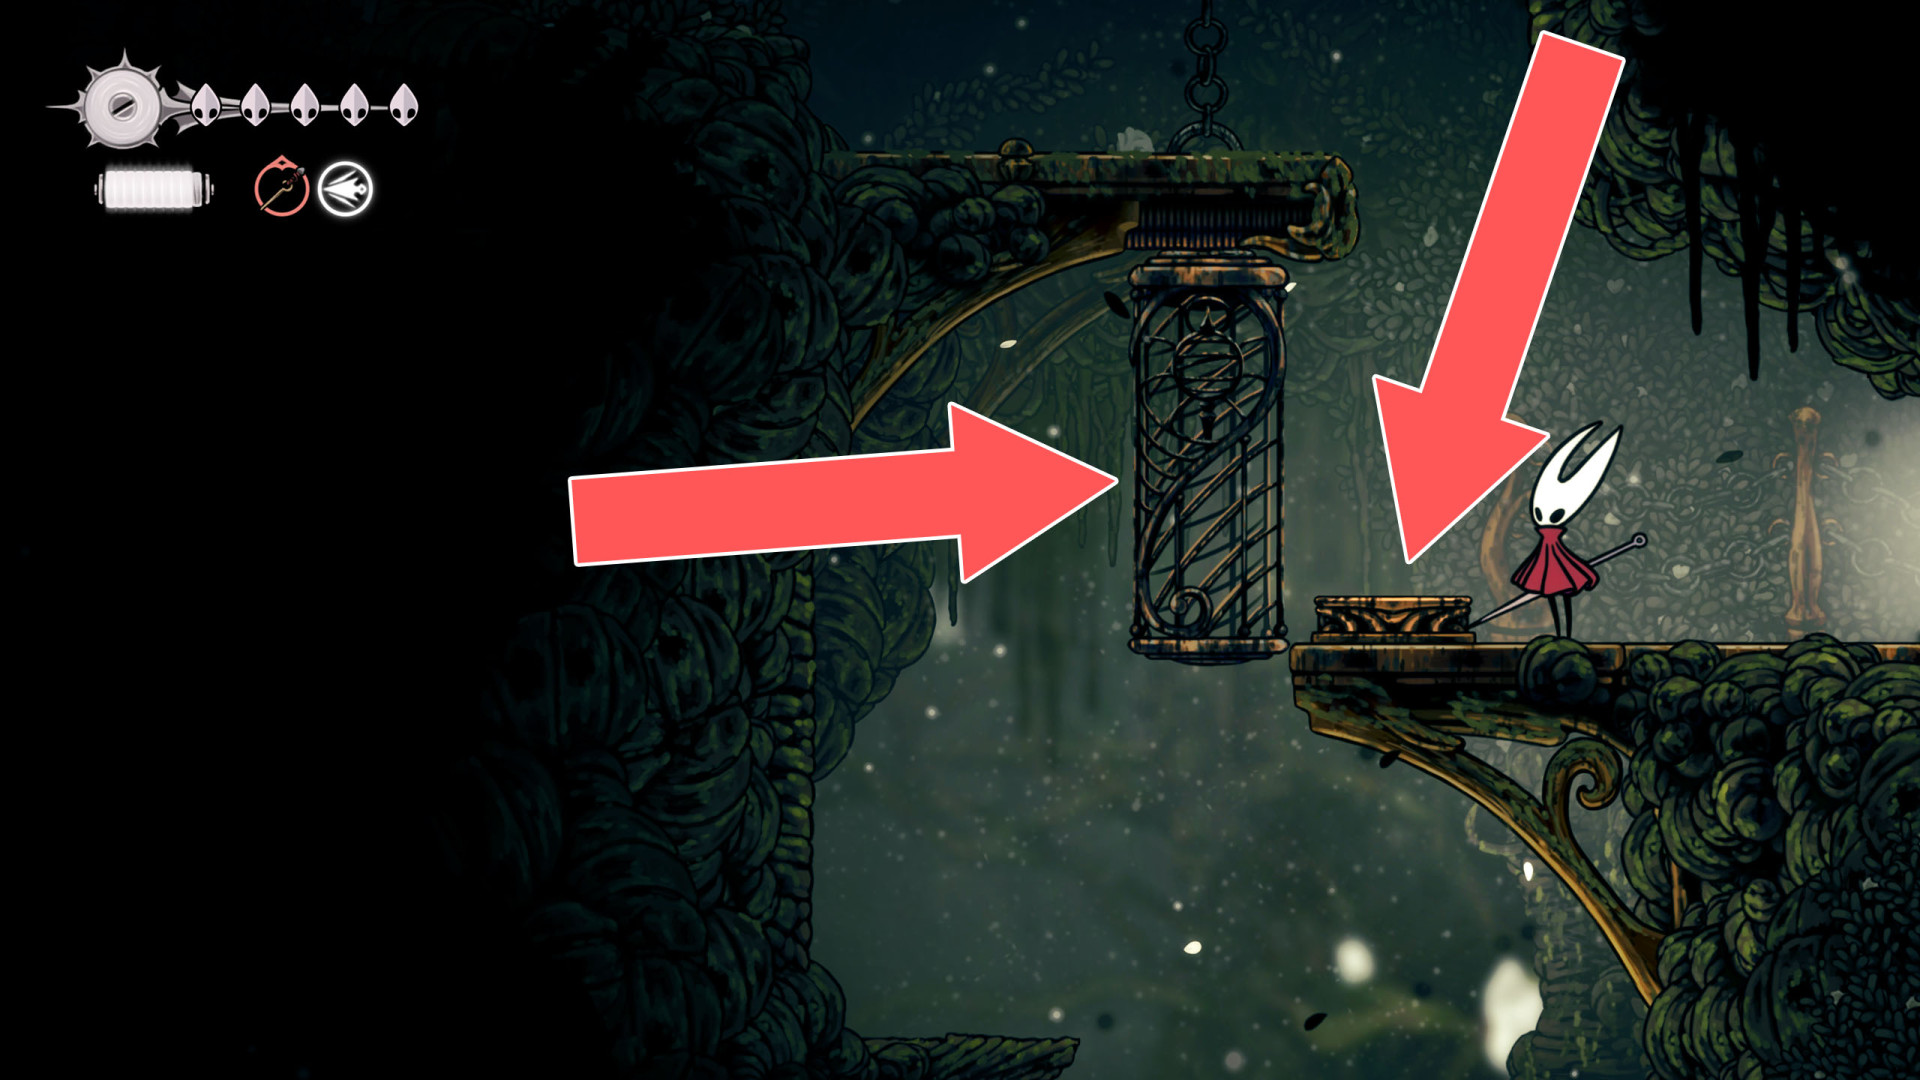
225Elevator
The elevator that takes you downstairs.
226Elevator
227Elevator
228Elevator
229Elevator
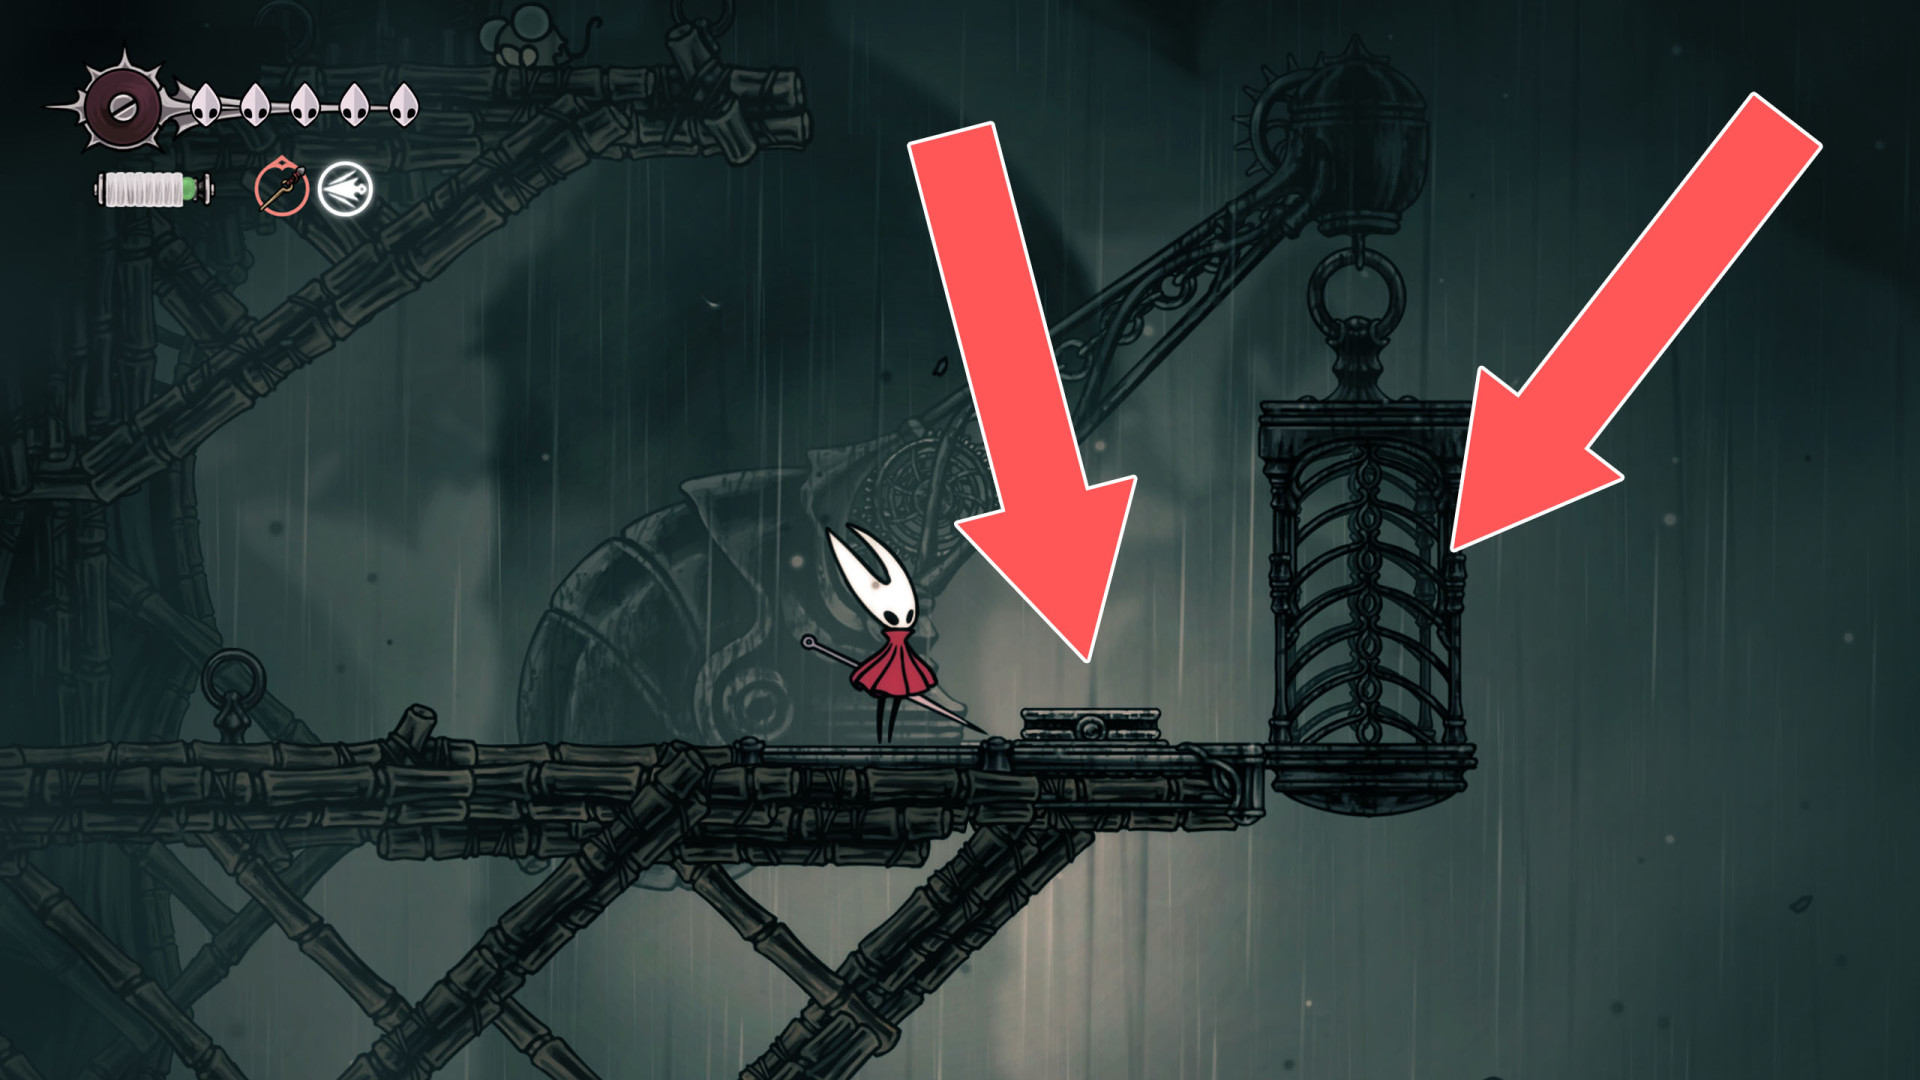
230Elevator
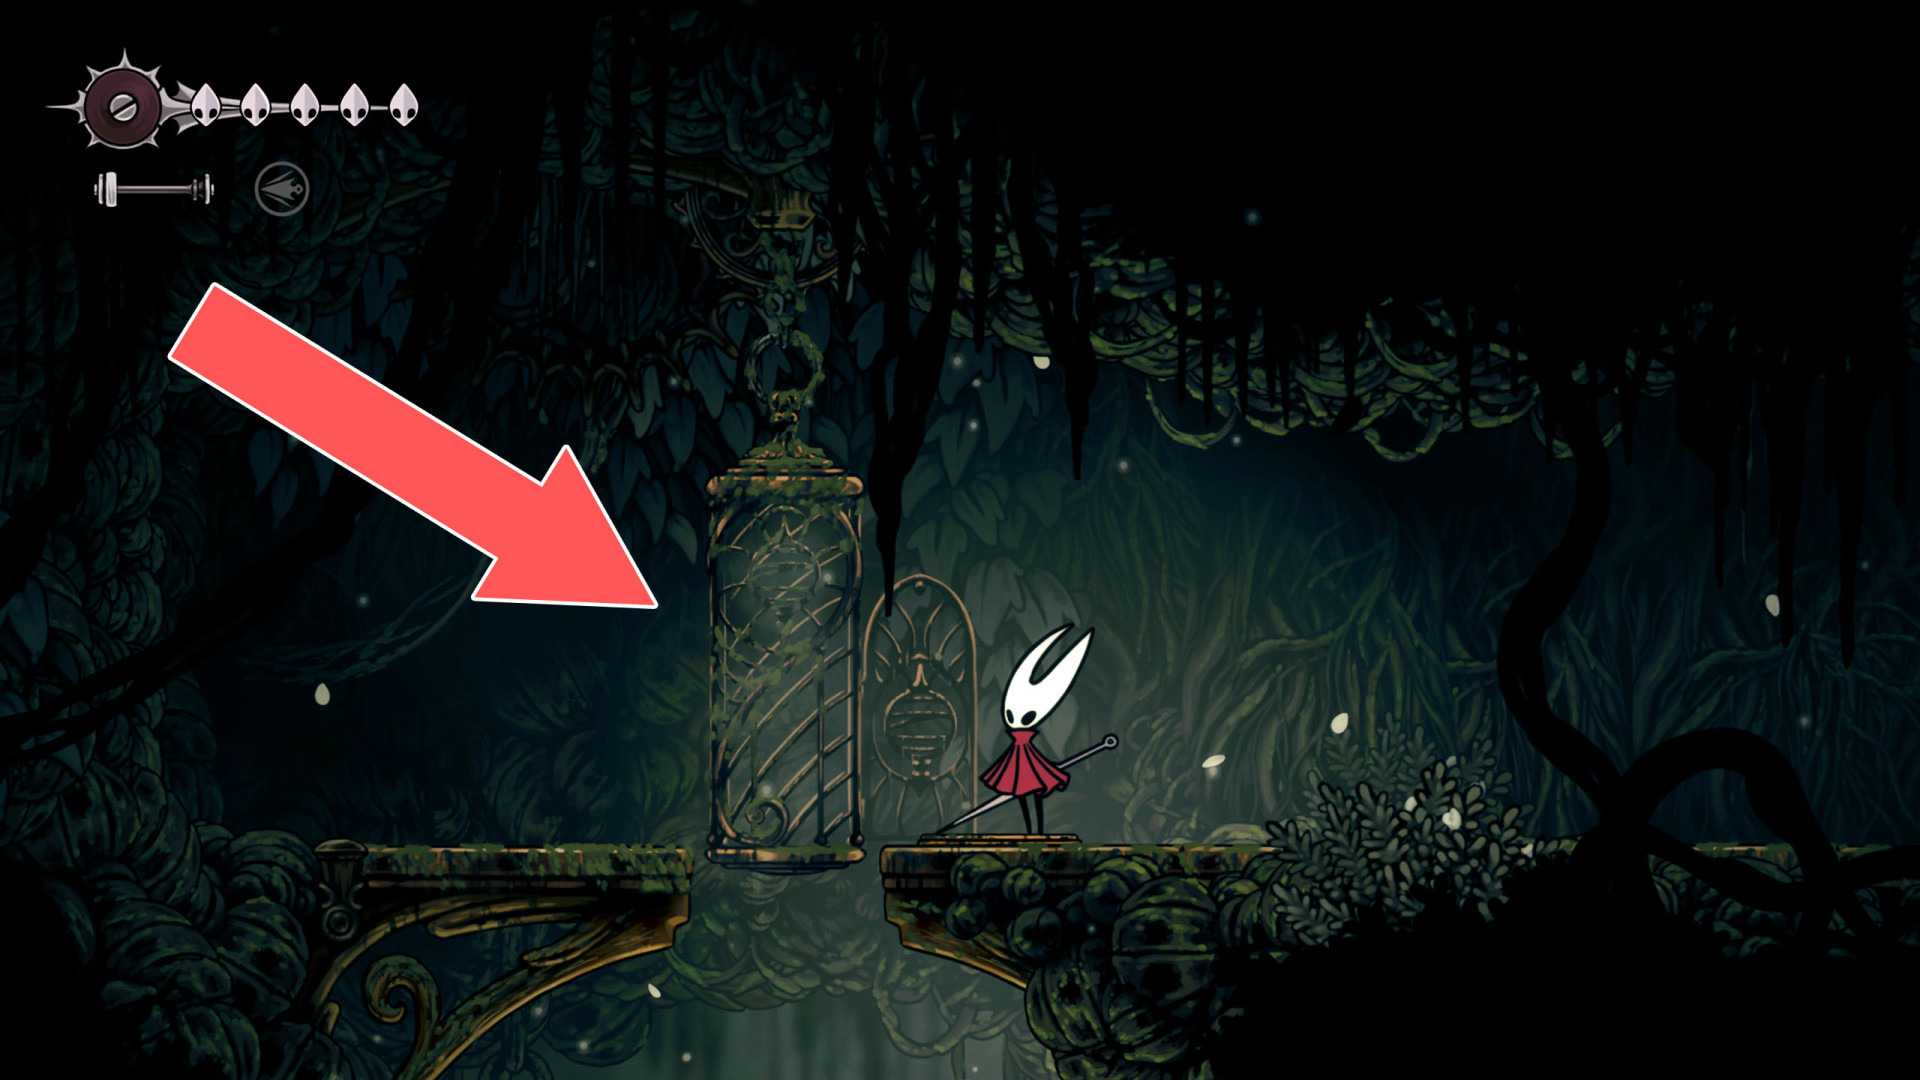
231Elevator
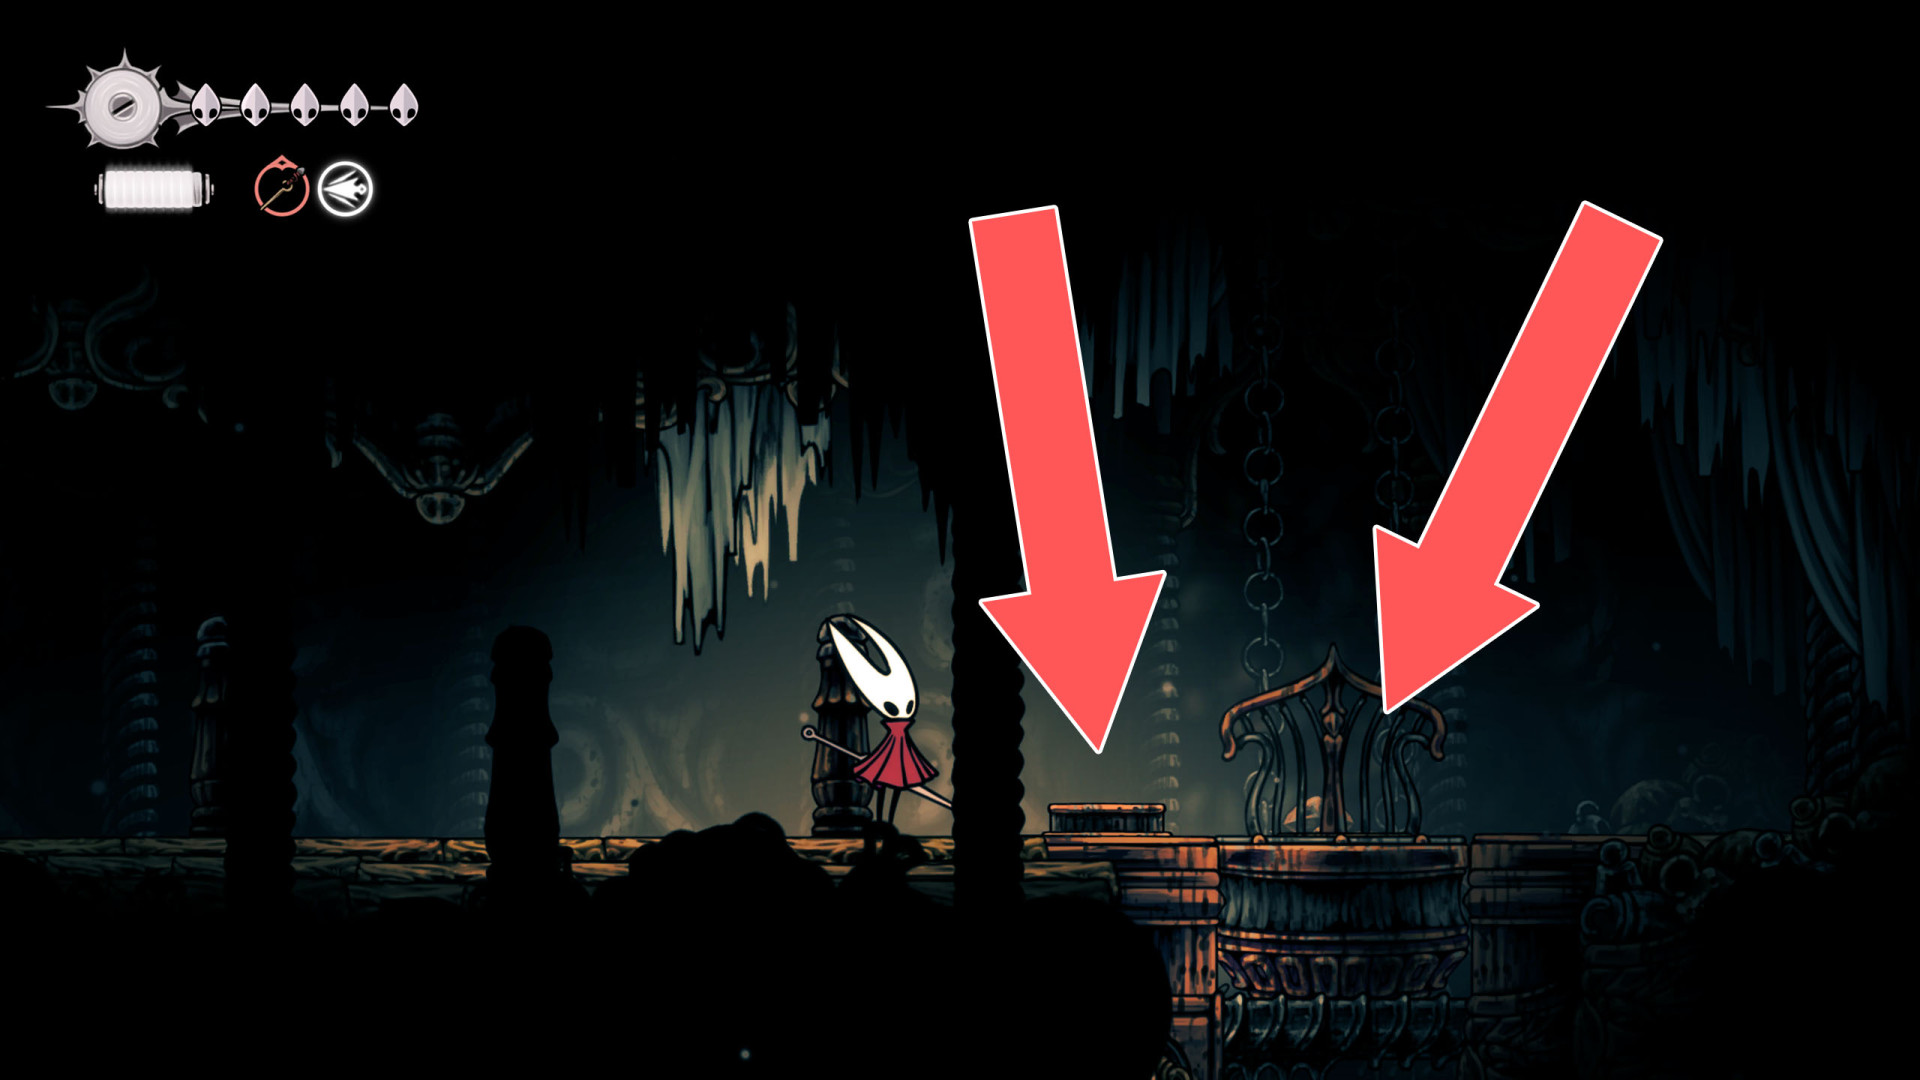
232Elevator
Hit the lever to unlock it.
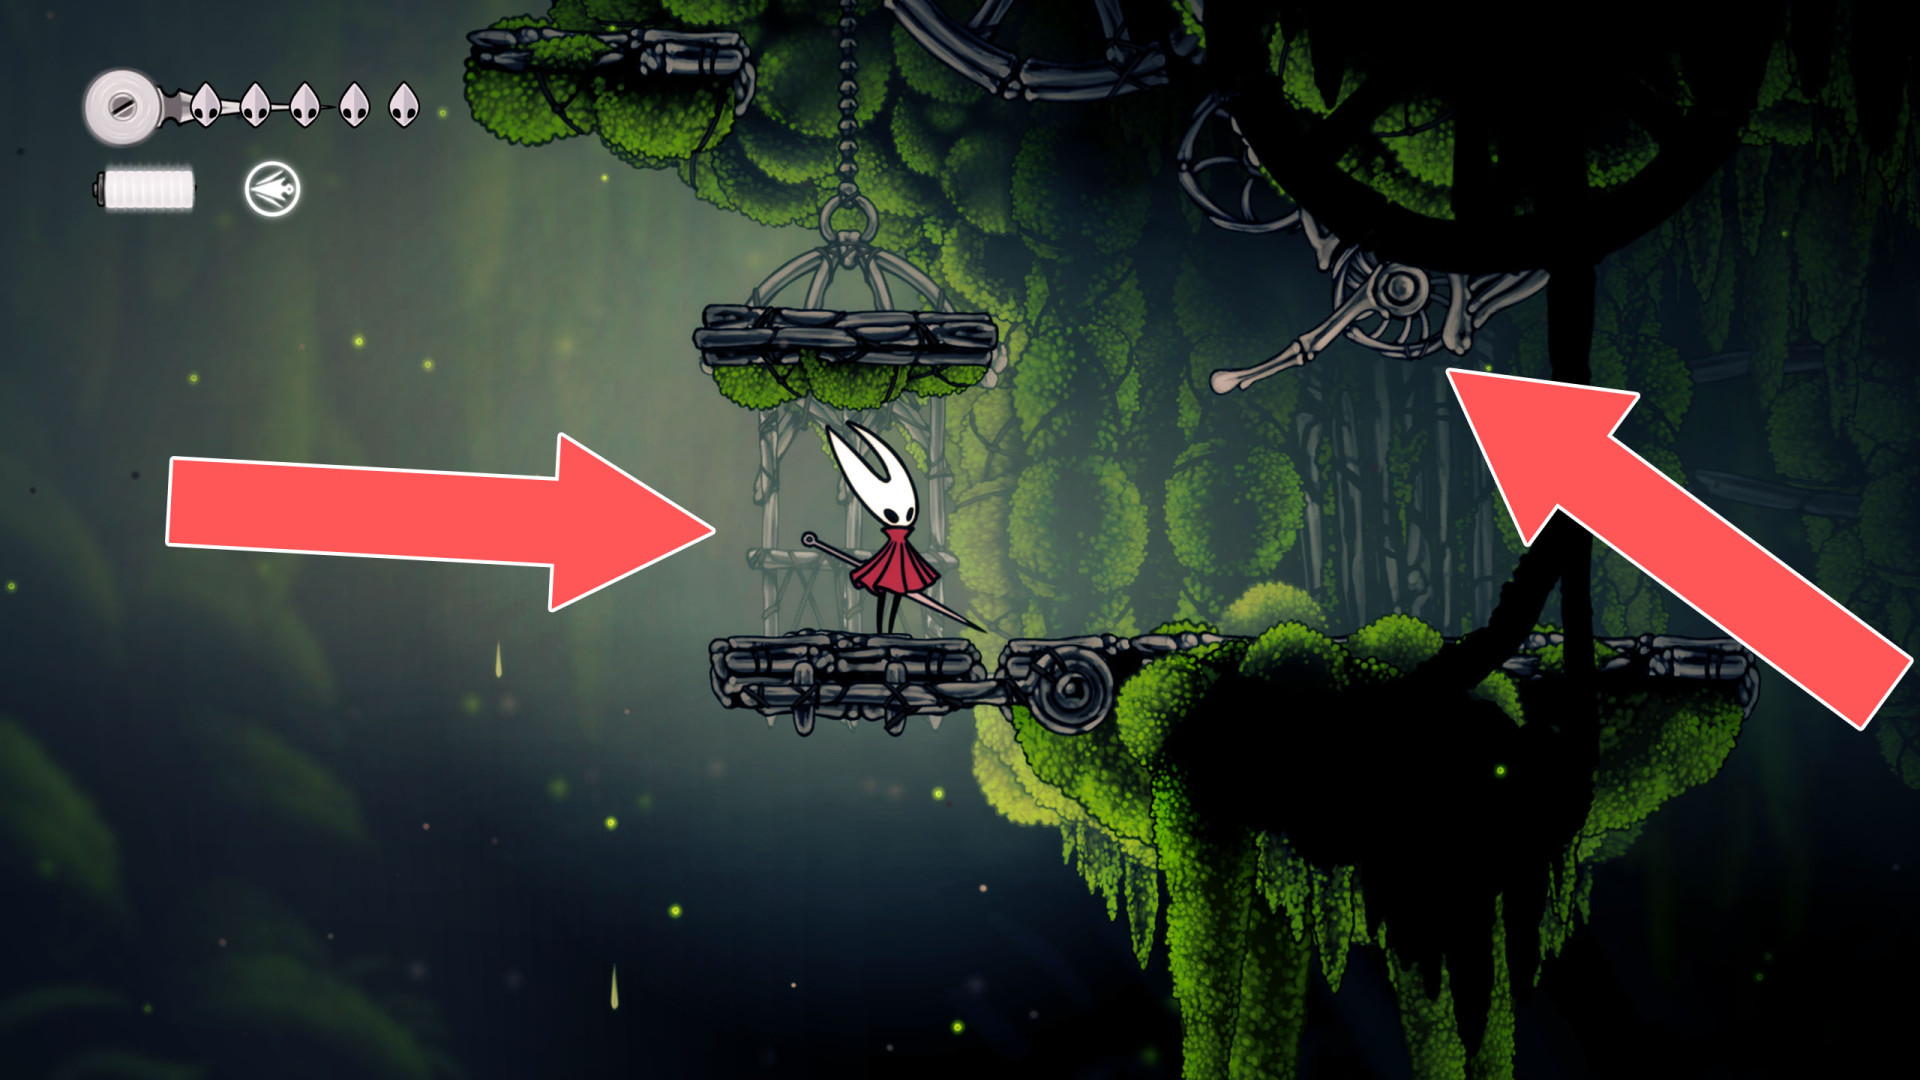
233Fan
Hit several times to activate the air stream that will lift you up.
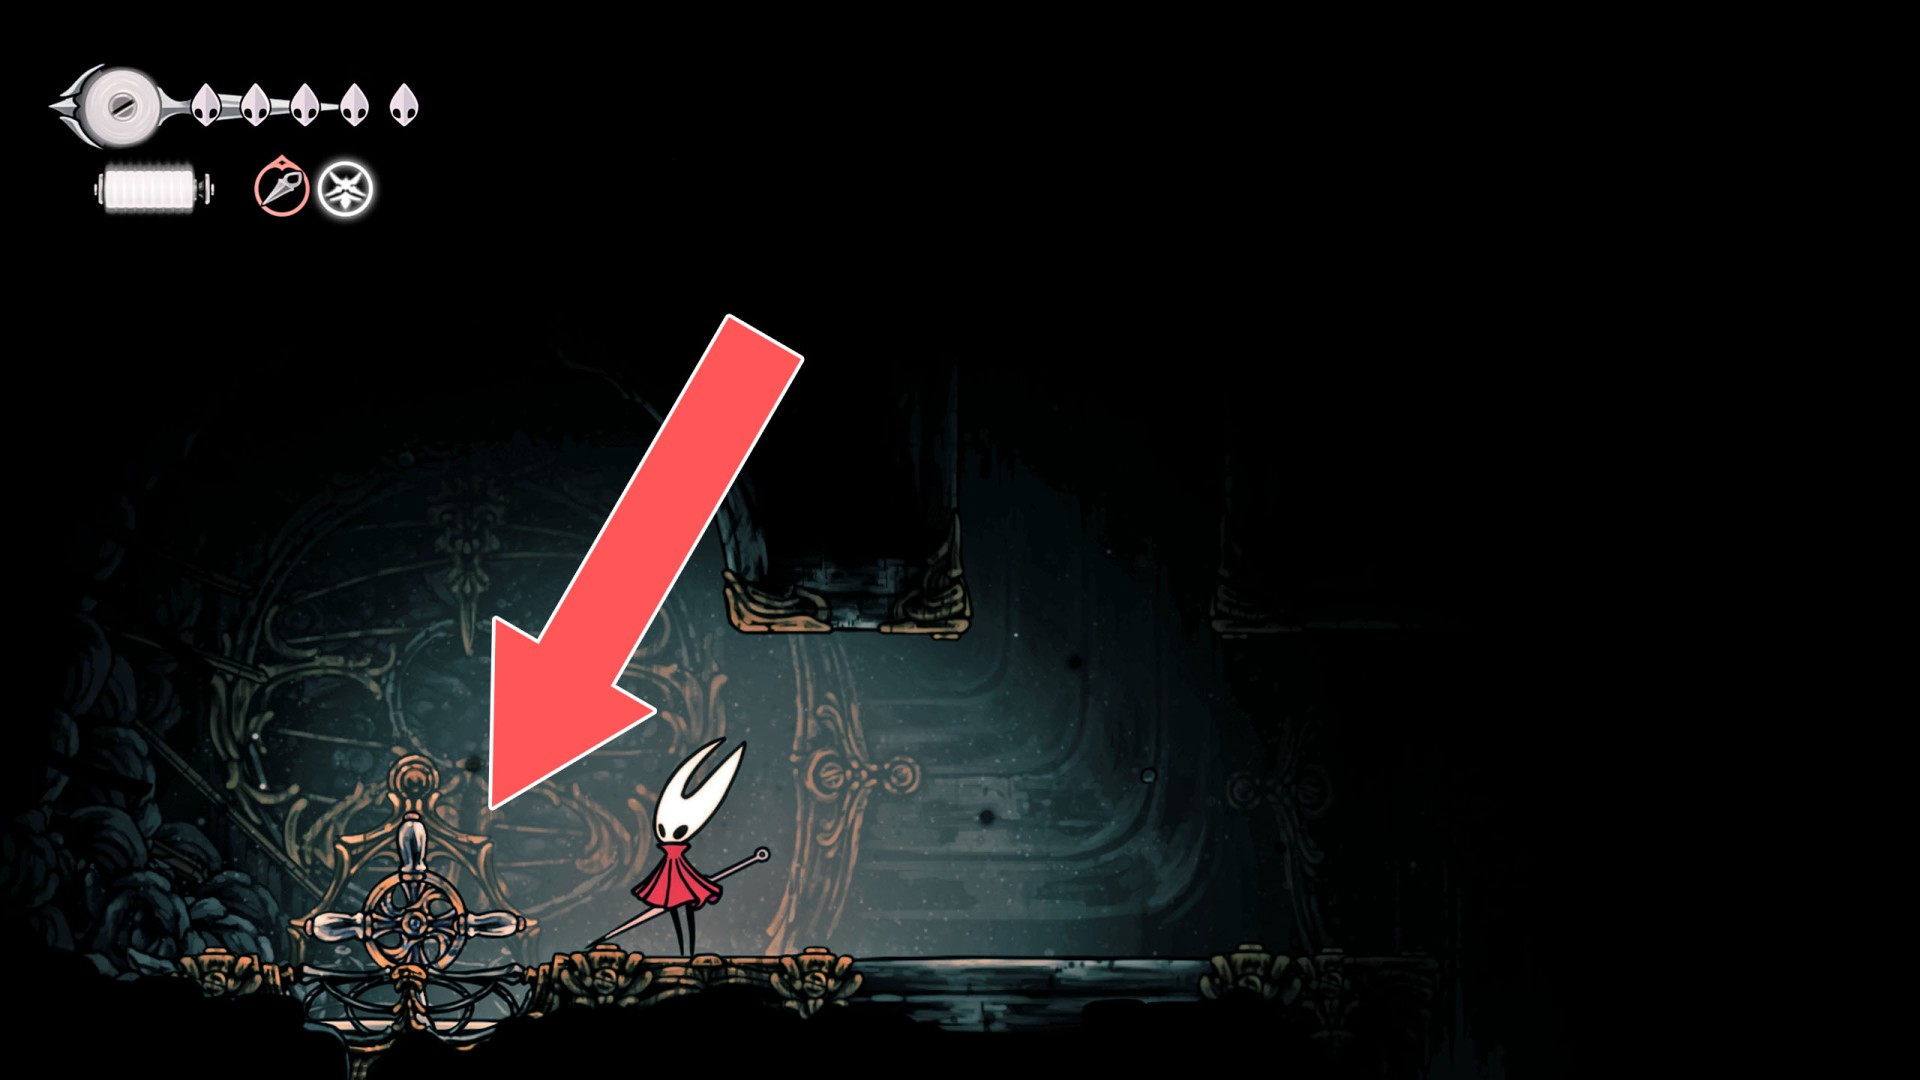
234Glass Wall
To create a passage, strike it from the west side.
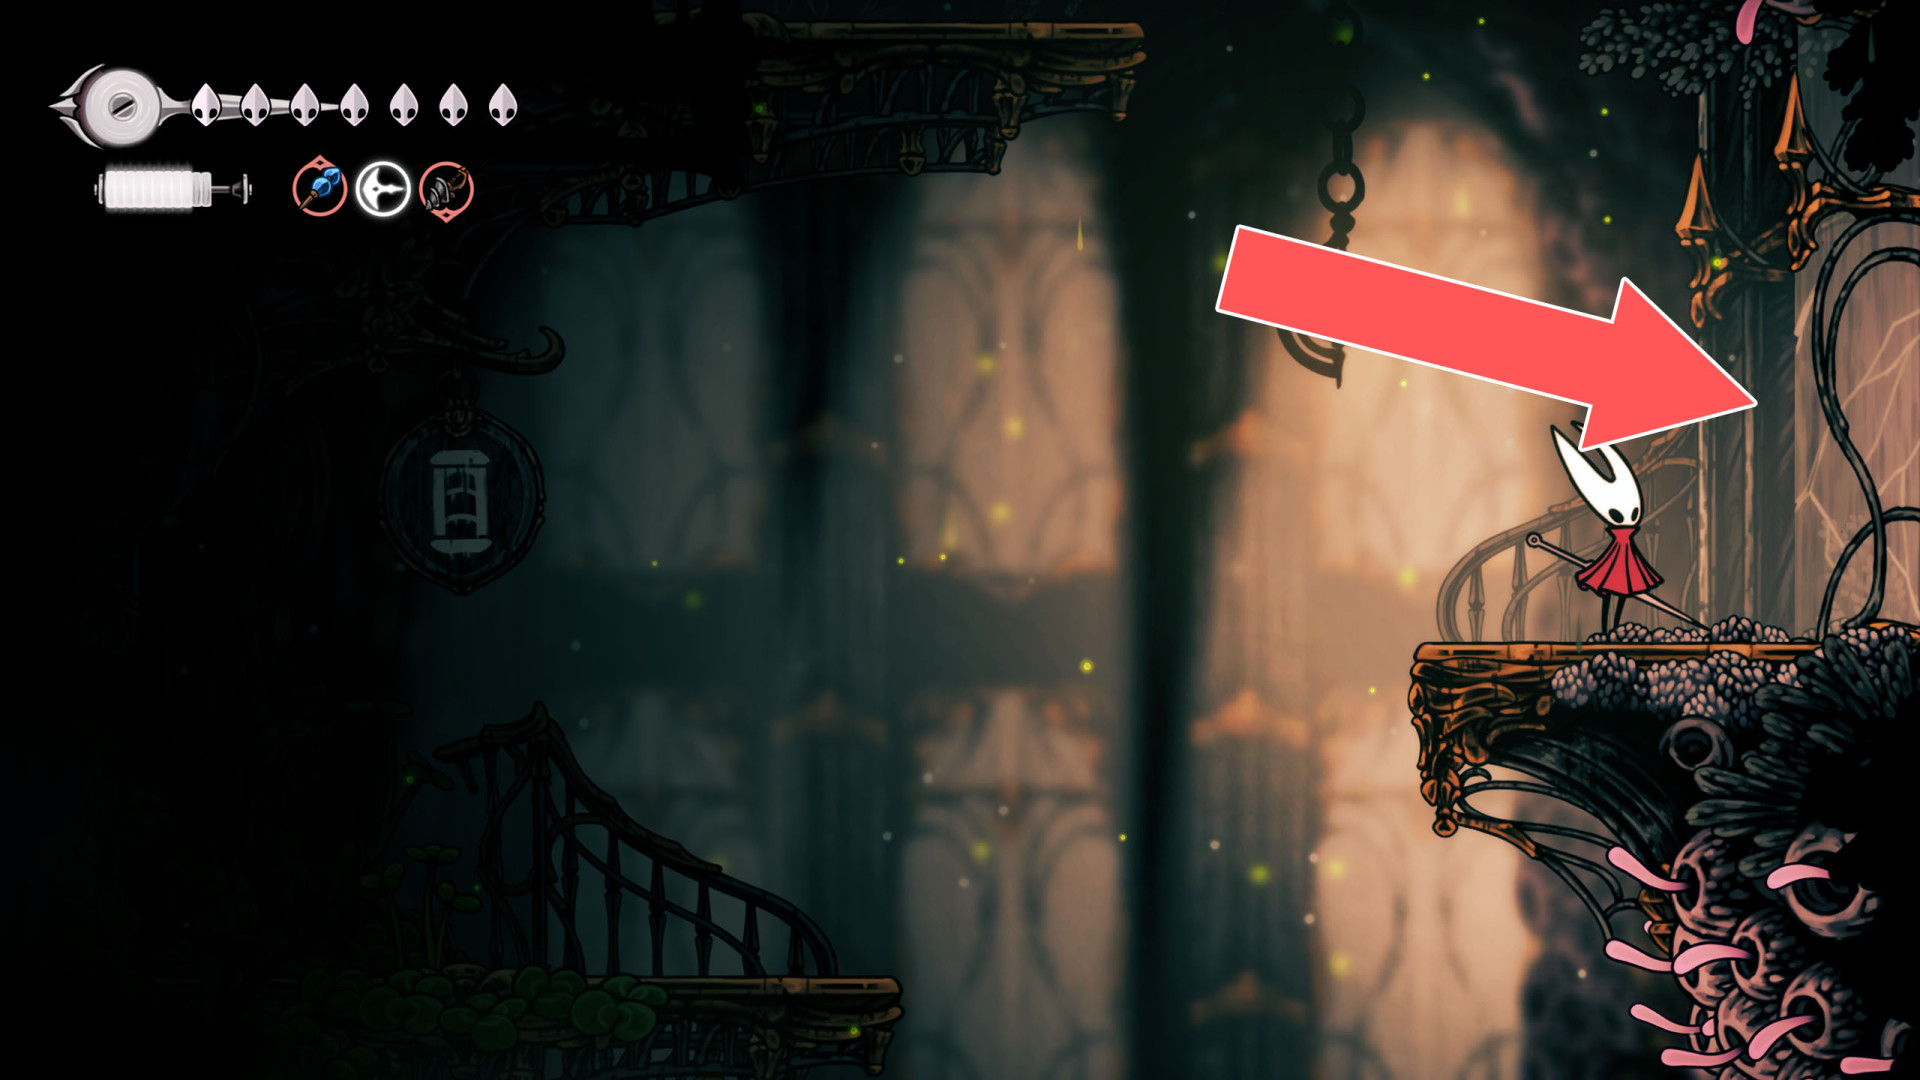
235Glass Wall
To create a passage, strike it from the west side.
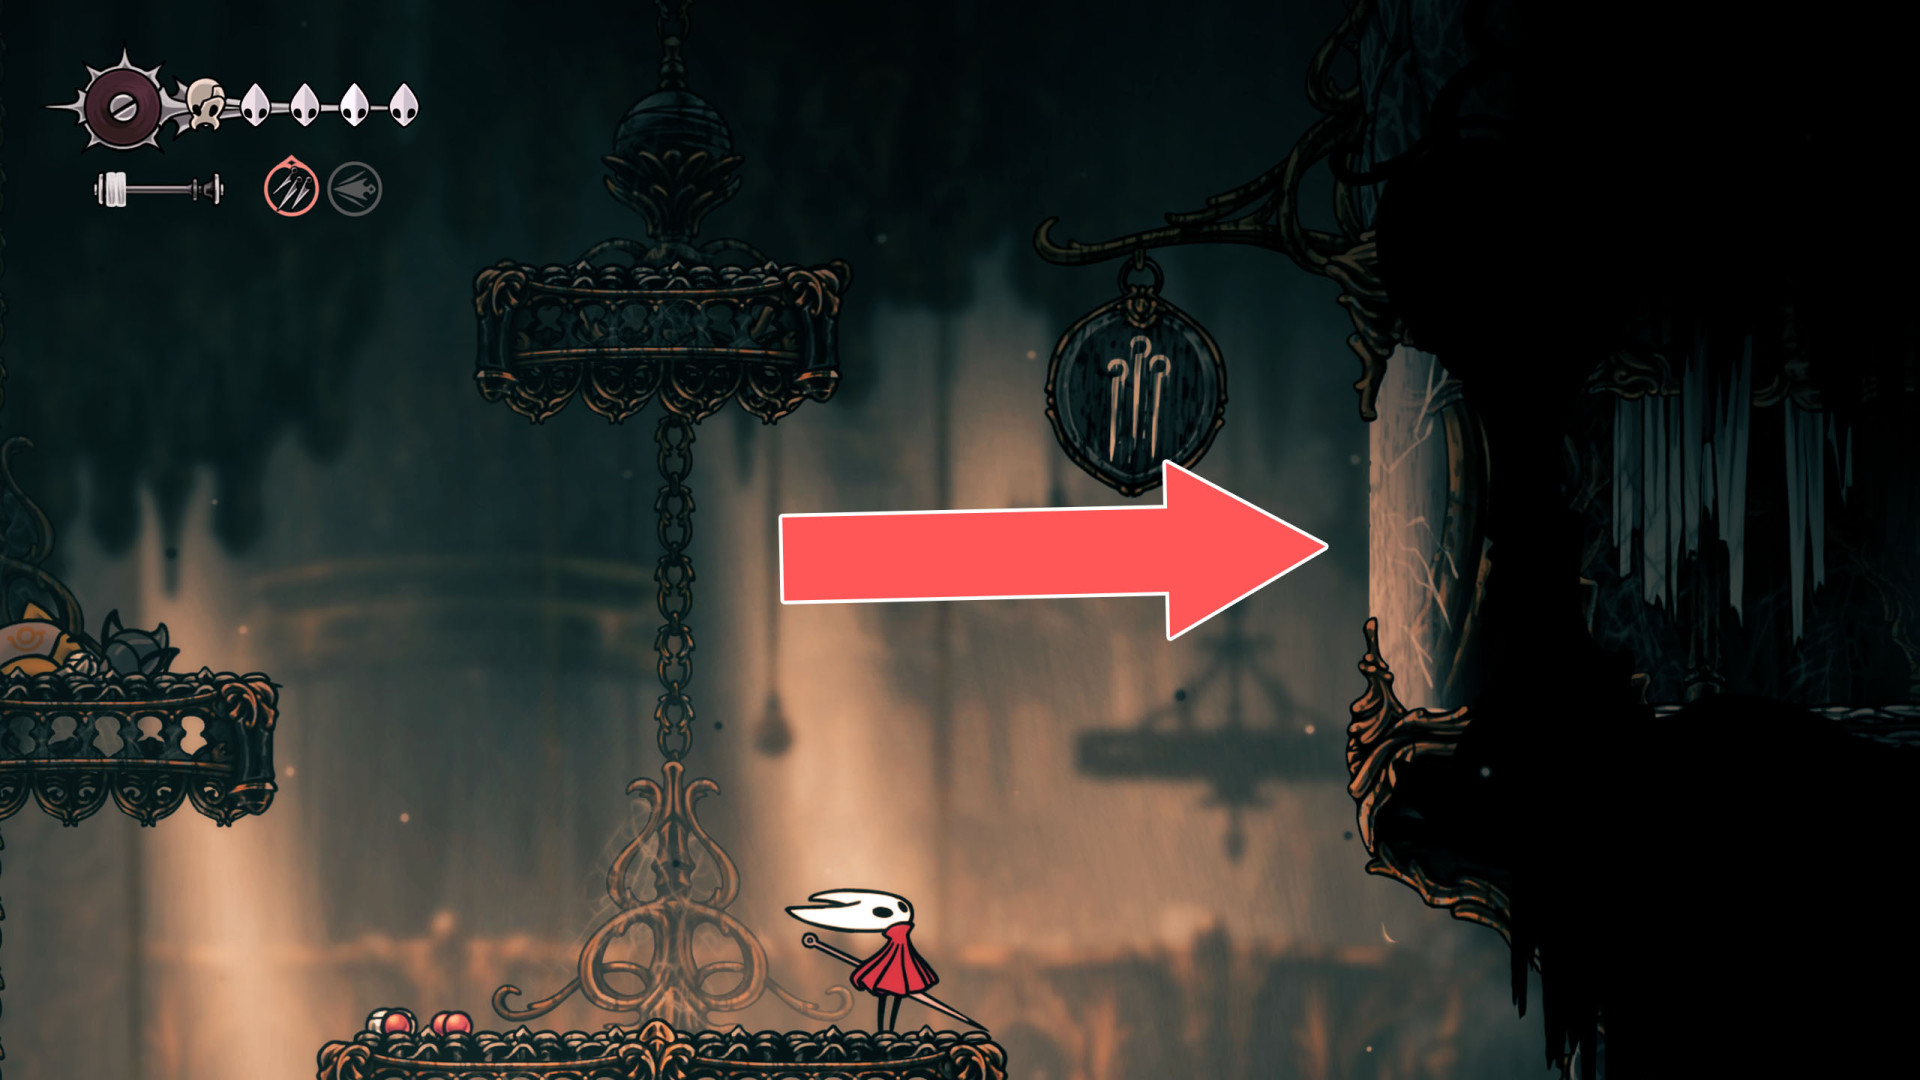
236Glass Wall
To create a passage, strike it from the east side.
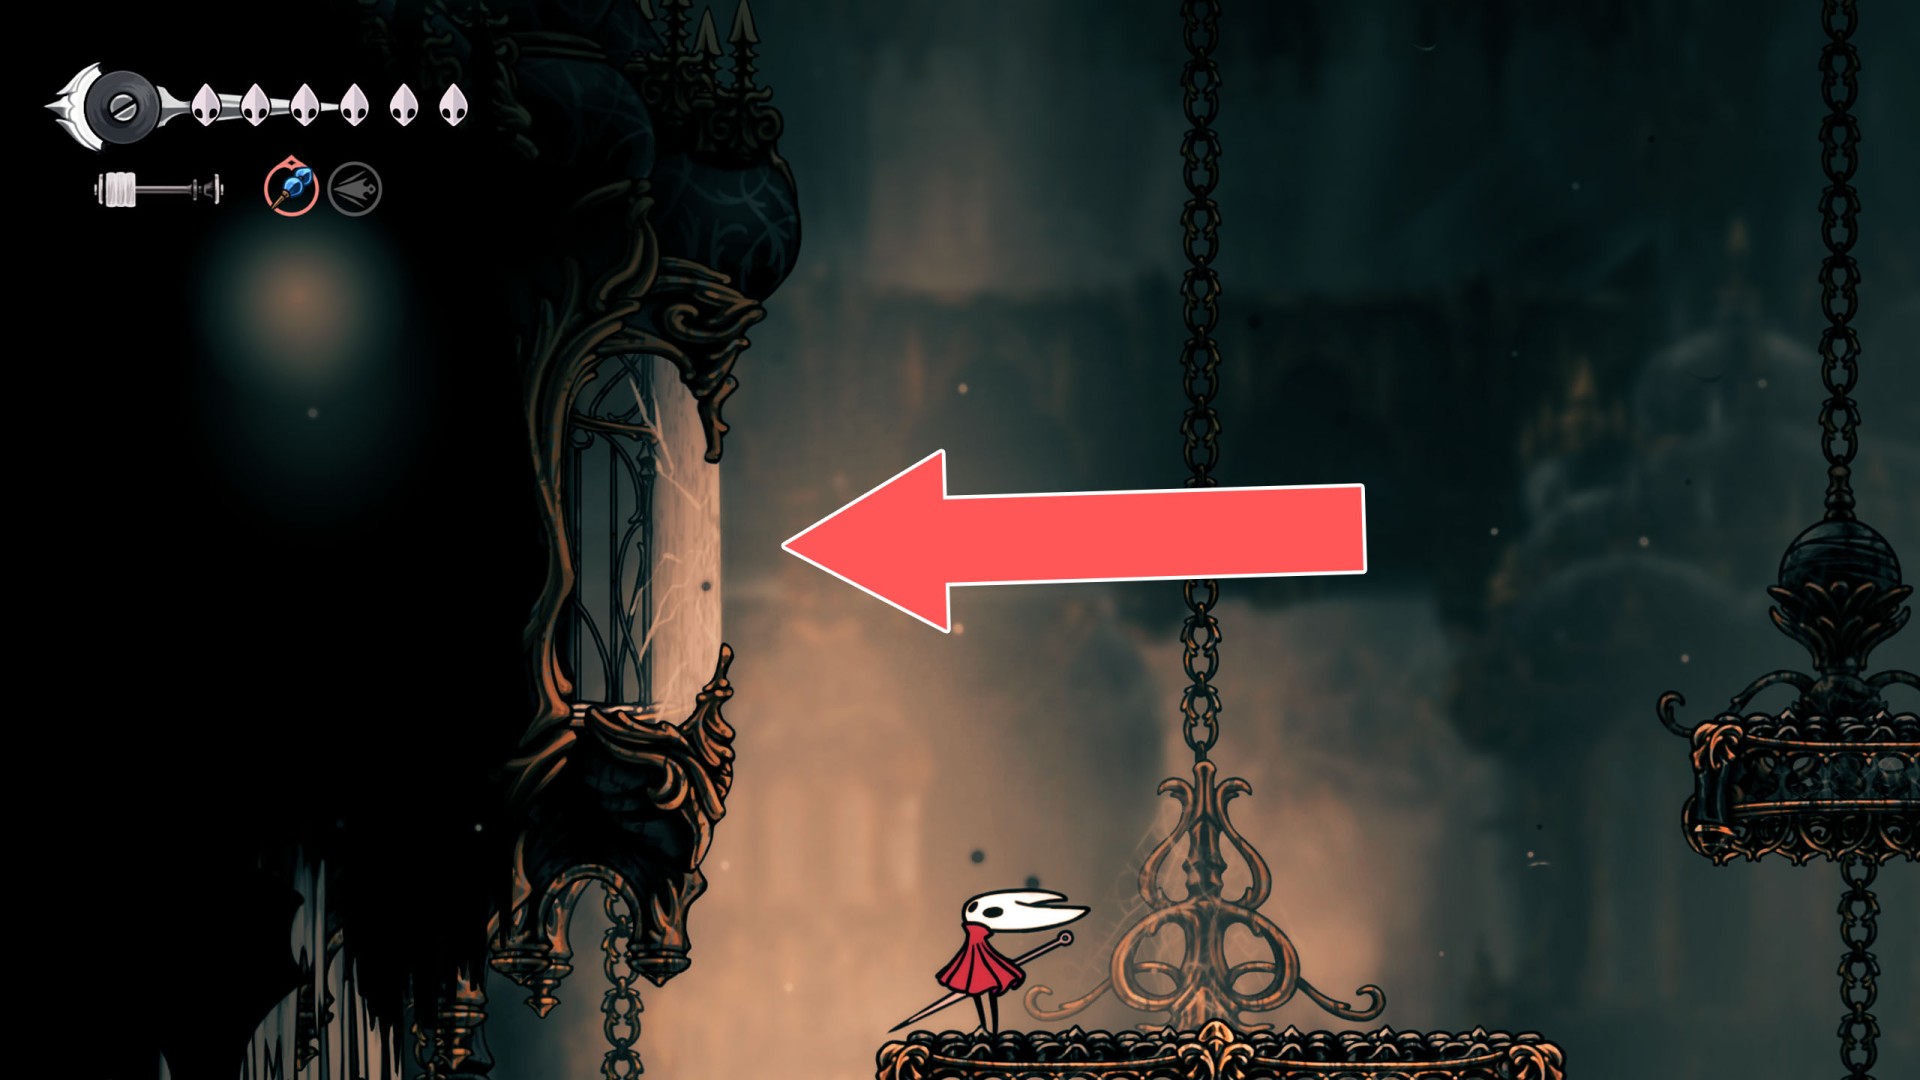
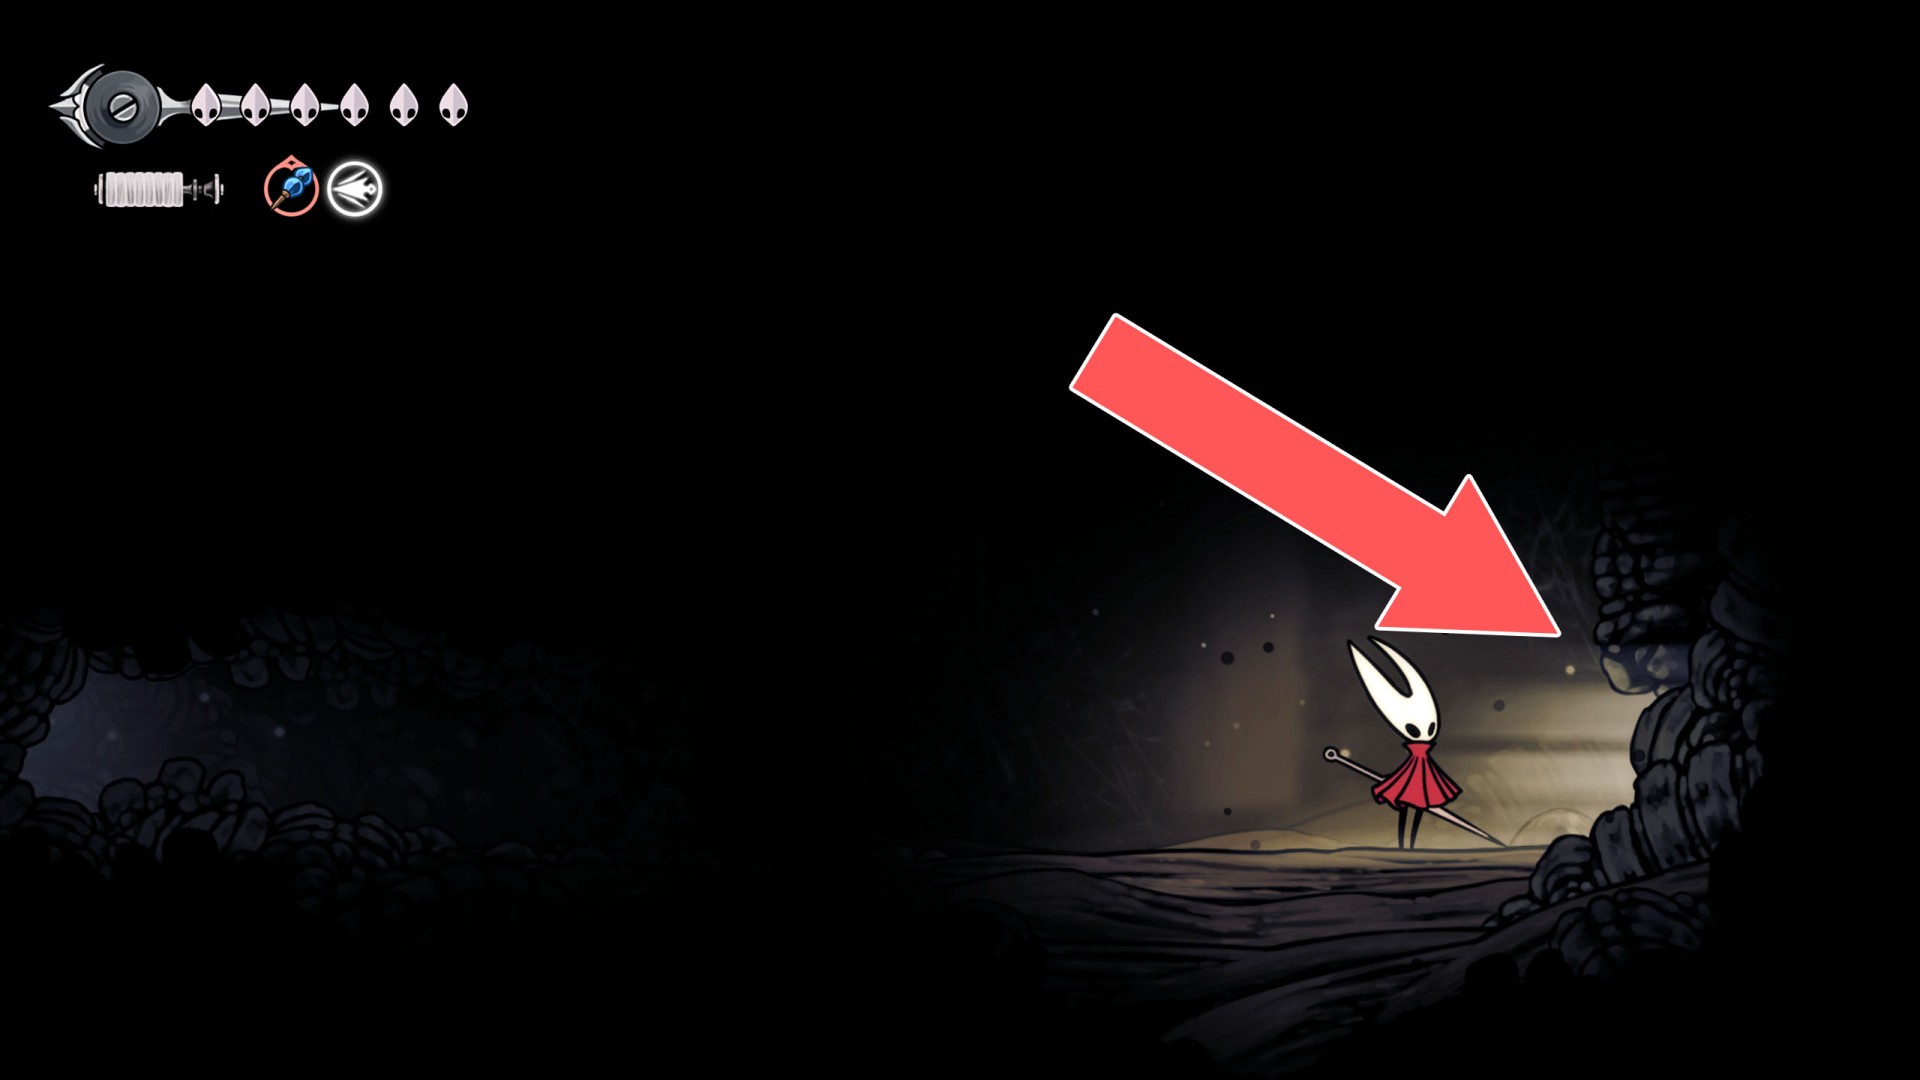
237Hidden Passage
Only opened in Steel Soul mode.
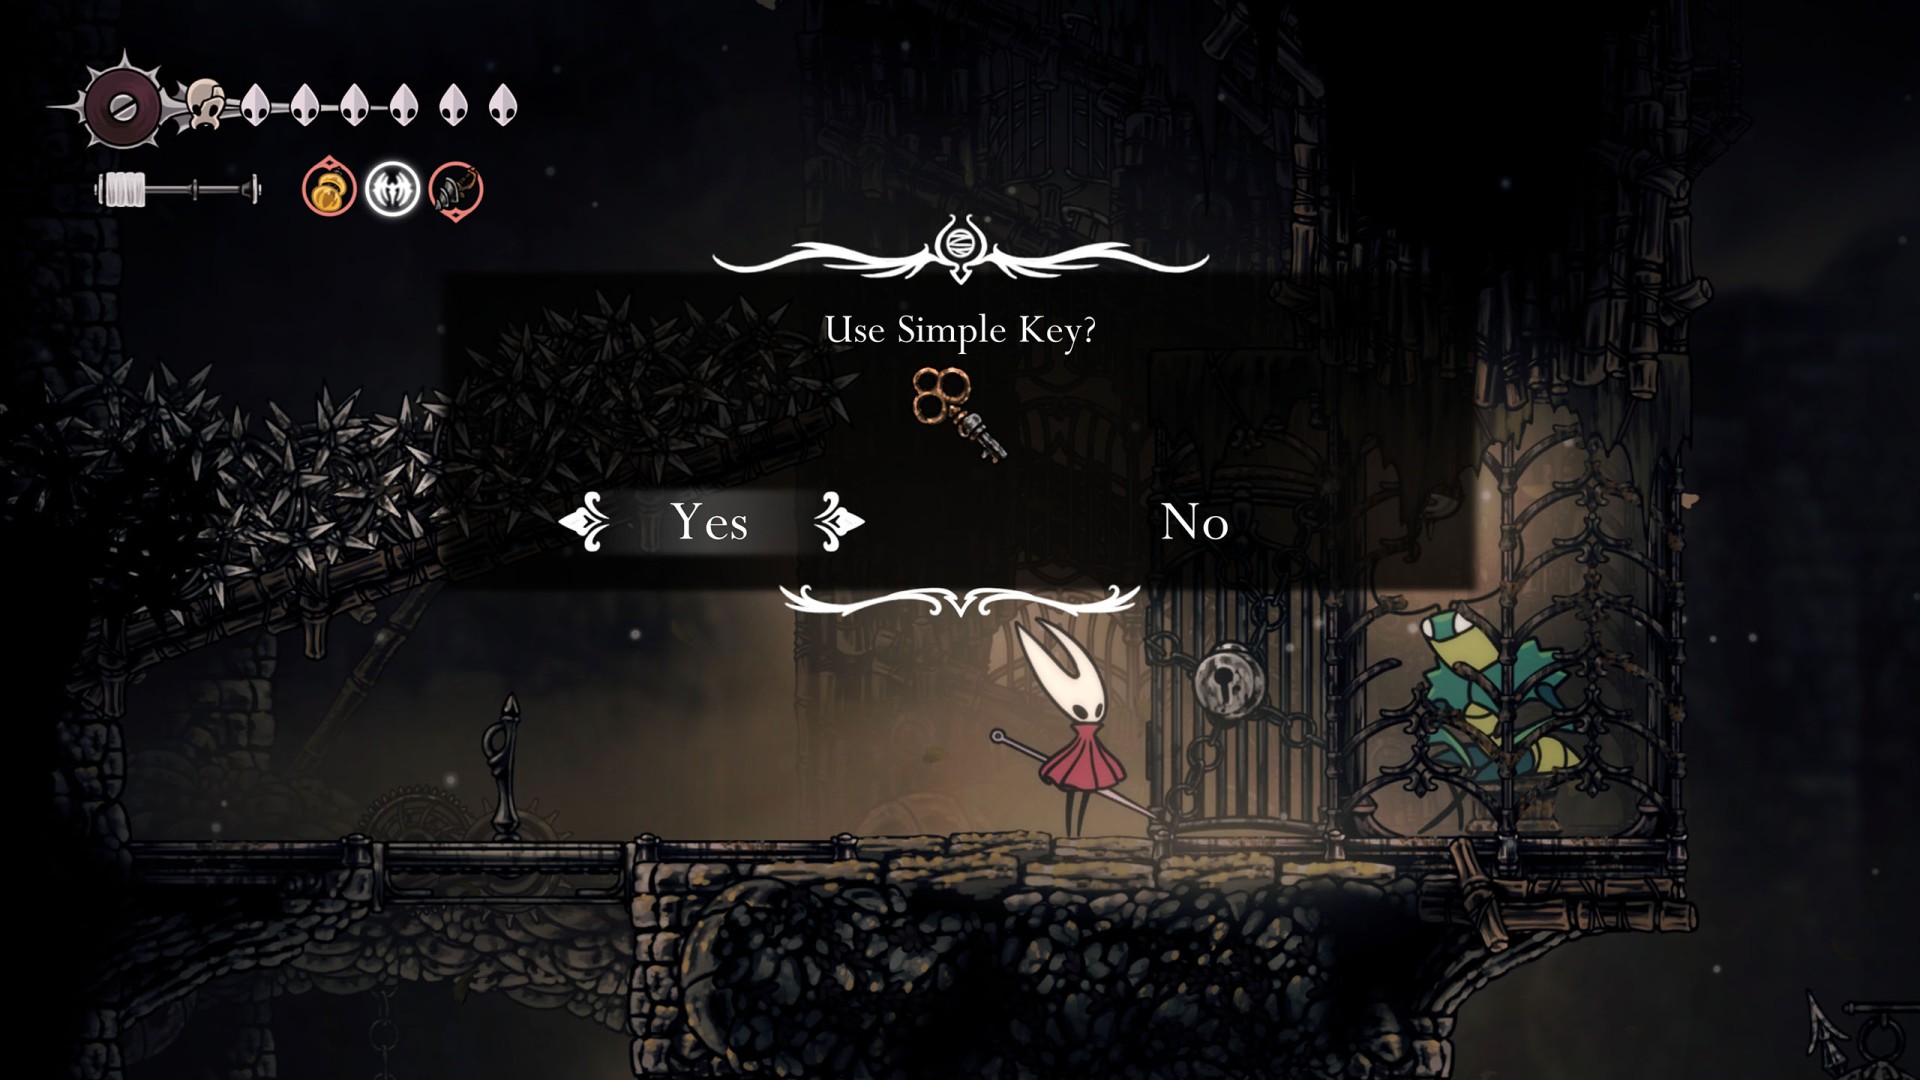
238Key Locked Cage (Simple Key)
To open this cage, you need one of the simple keys: Simple Key (Mosslands, Pebb), Simple Key (Songclave, Jubilana), Simple Key (Sinner's Road), or Simple Key (Sands of Karak).
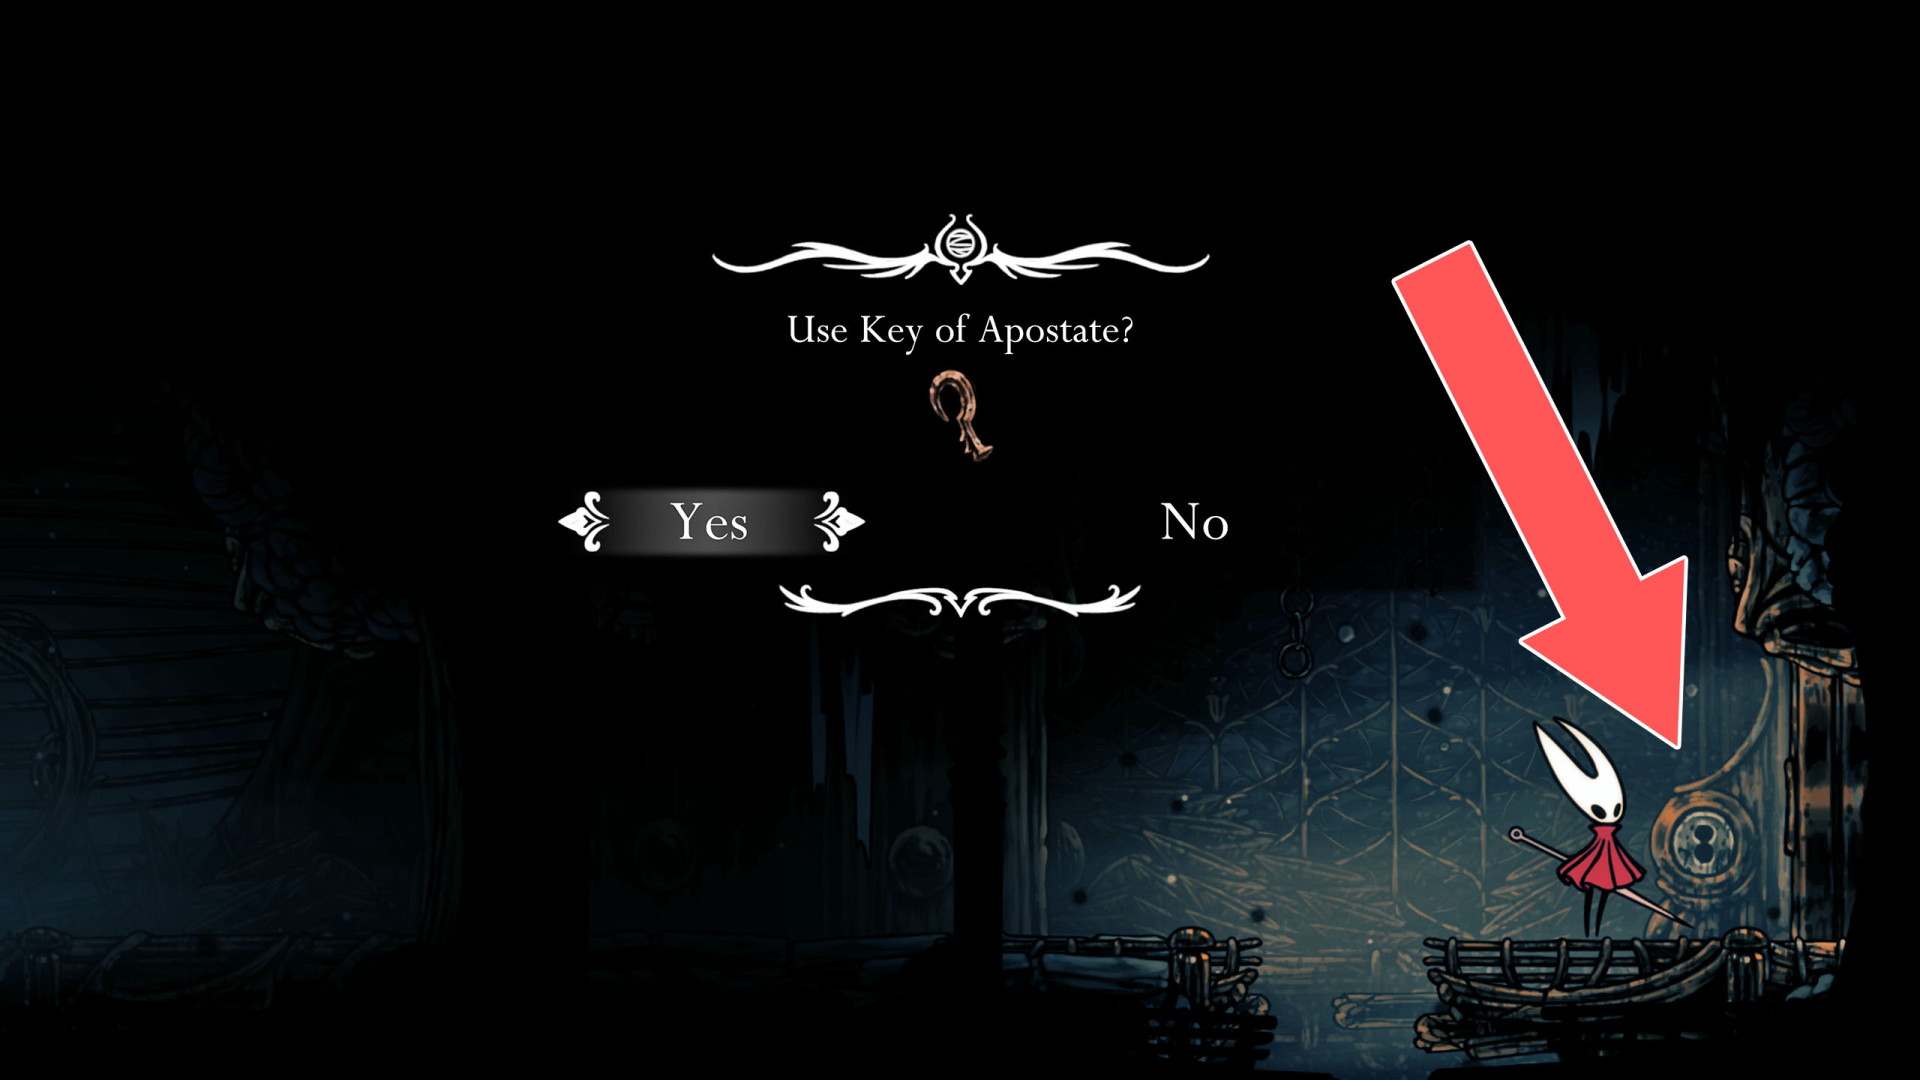
239Key Locked Door (Apostate Key)
You need the Key of Apostate to unlock this door.
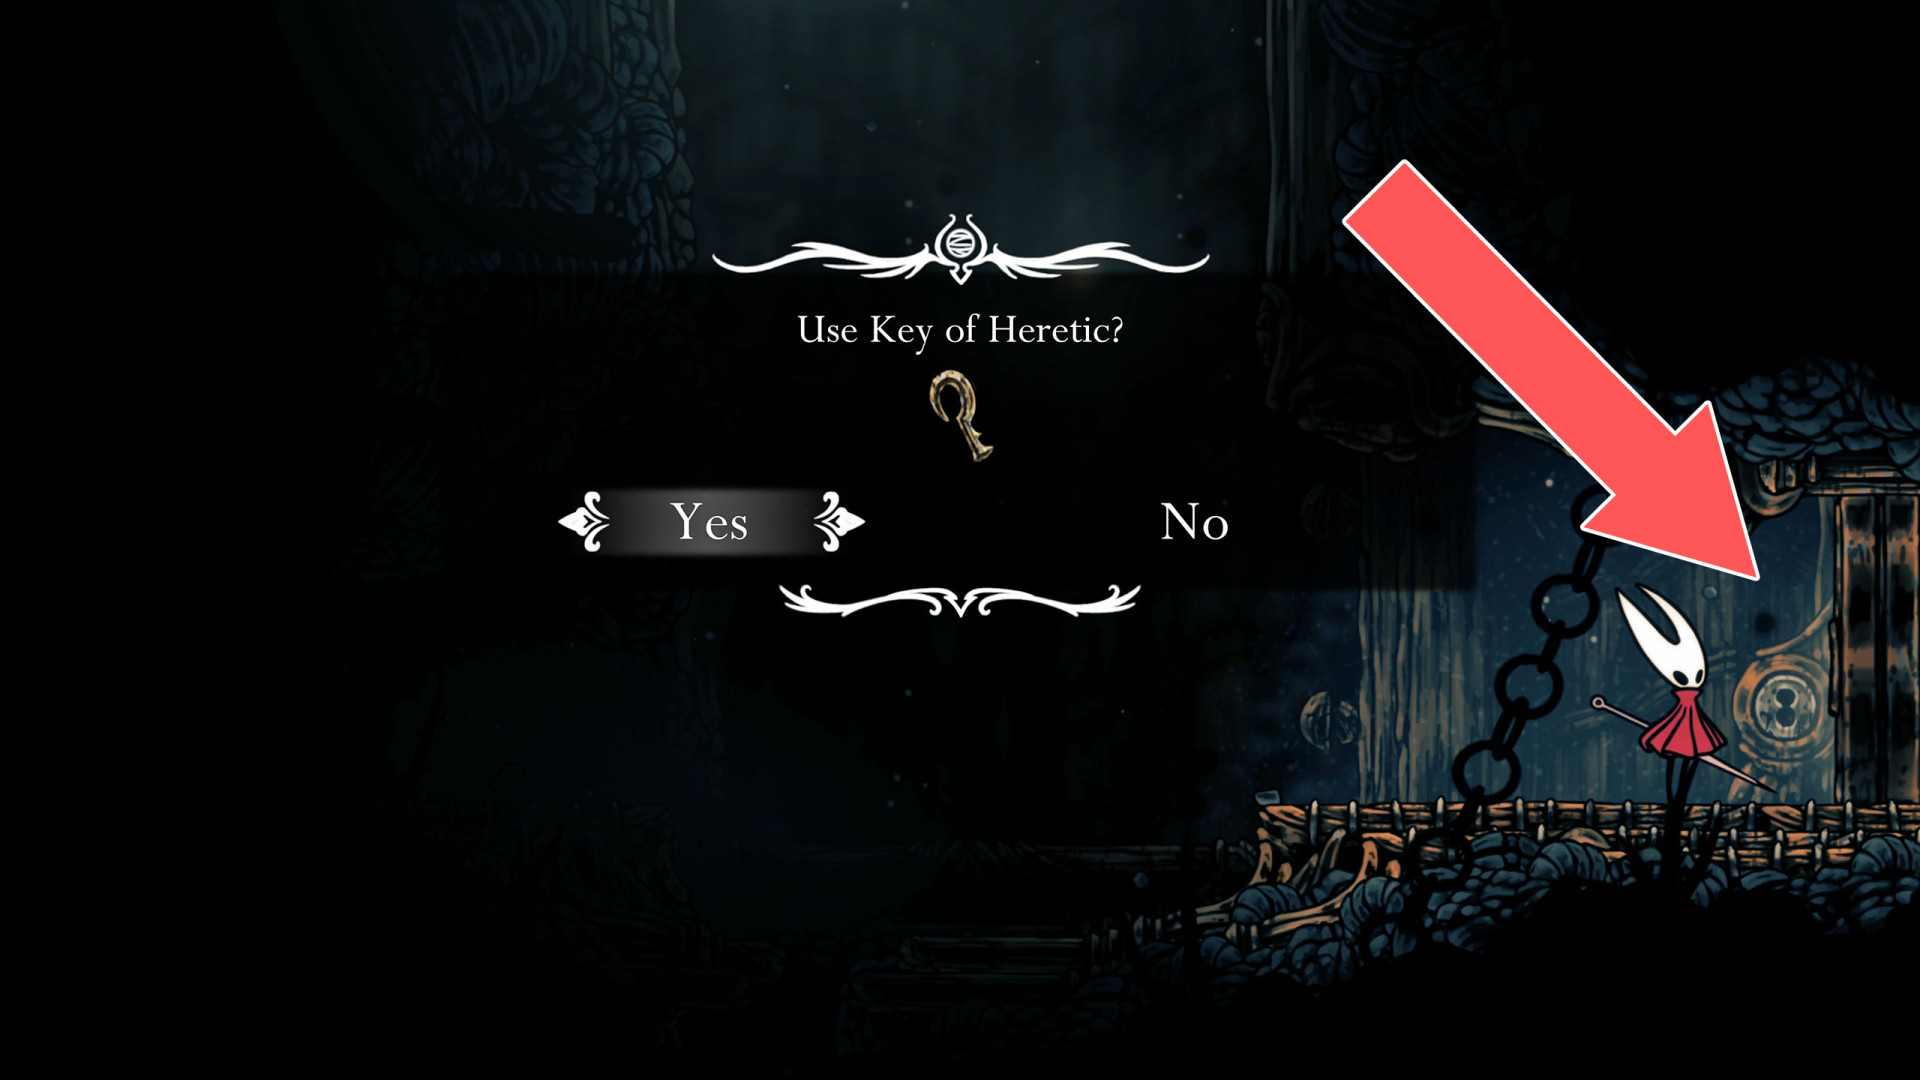
240Key Locked Door (Heretic Key)
You need the Key of Heretic to unlock this door.
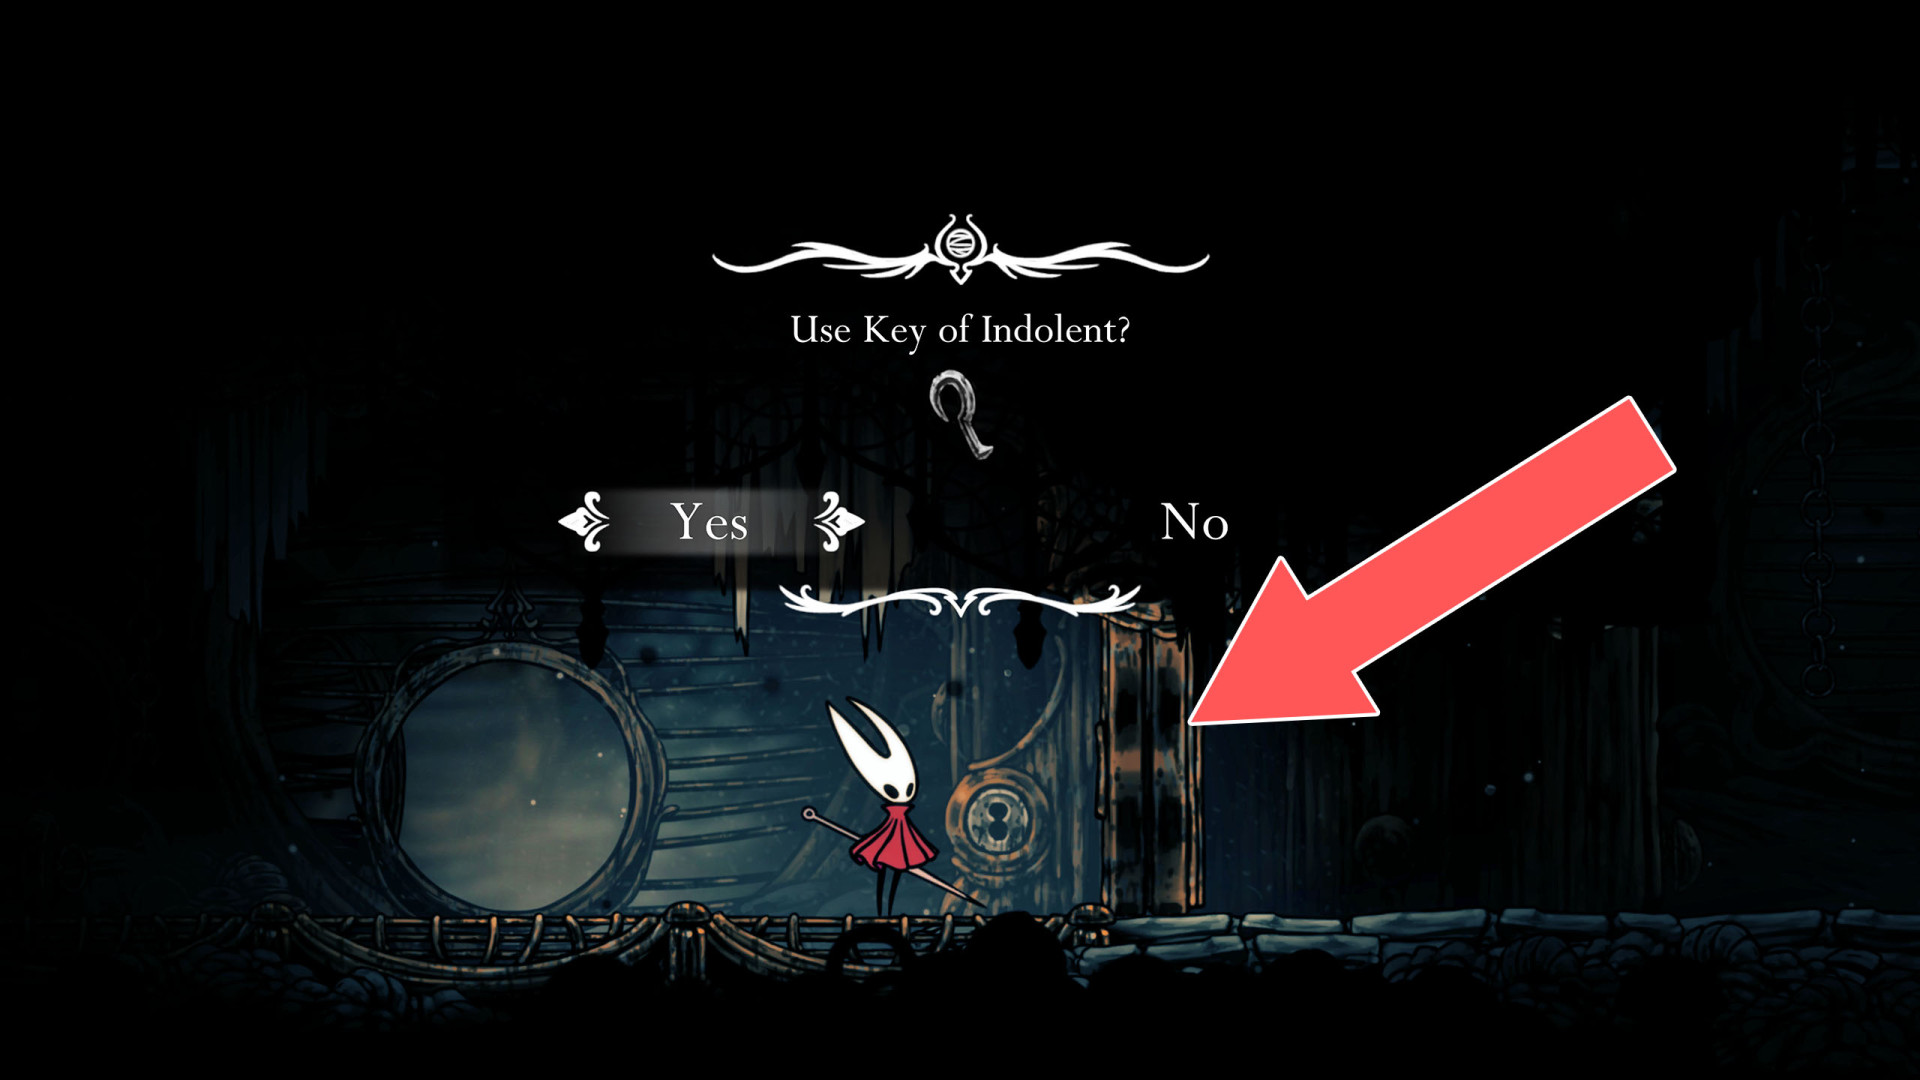
241Key Locked Door (Indolent Key)
You need the Key of Indolent to unlock this door.
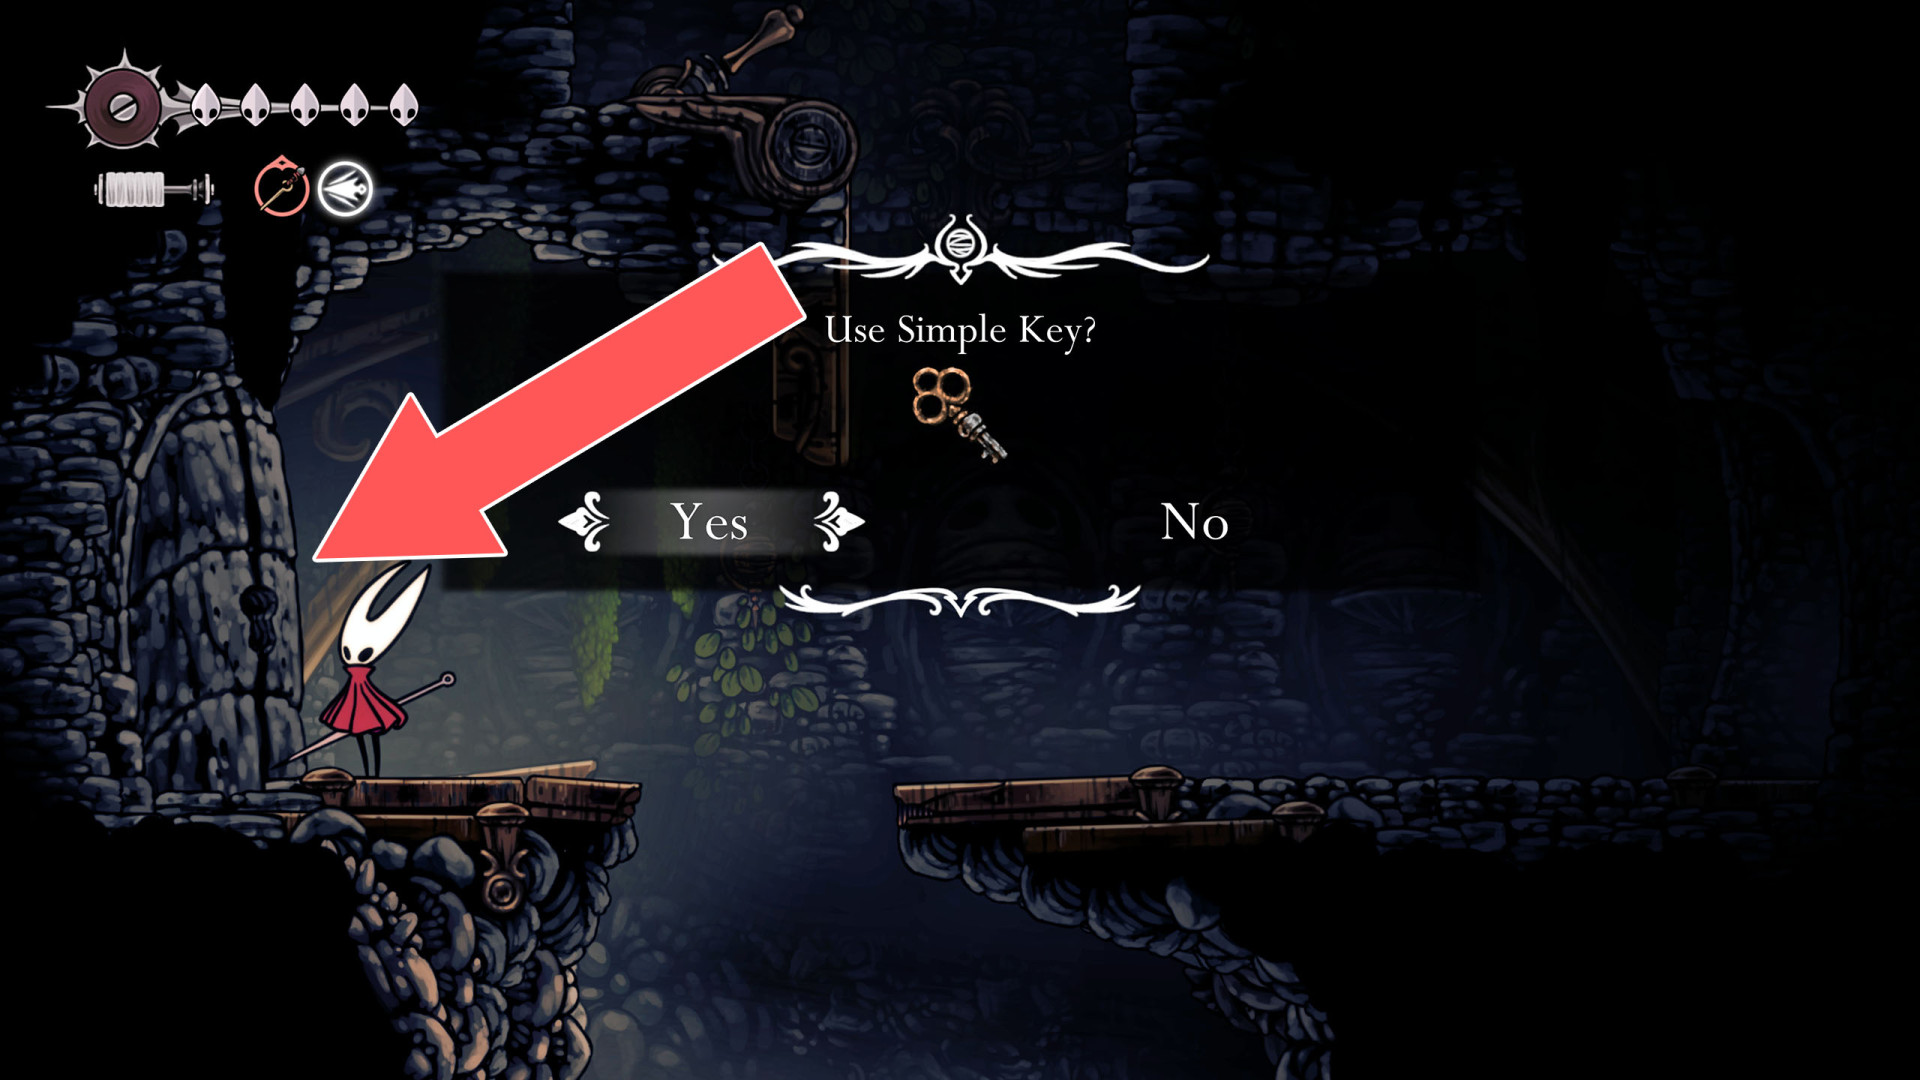
242Key Locked Door (Simple Key)
To open this door, you need one of the simple keys: Simple Key (Mosslands, Pebb), Simple Key (Songclave, Jubilana), Simple Key (Sinner's Road), or Simple Key (Sands of Karak).
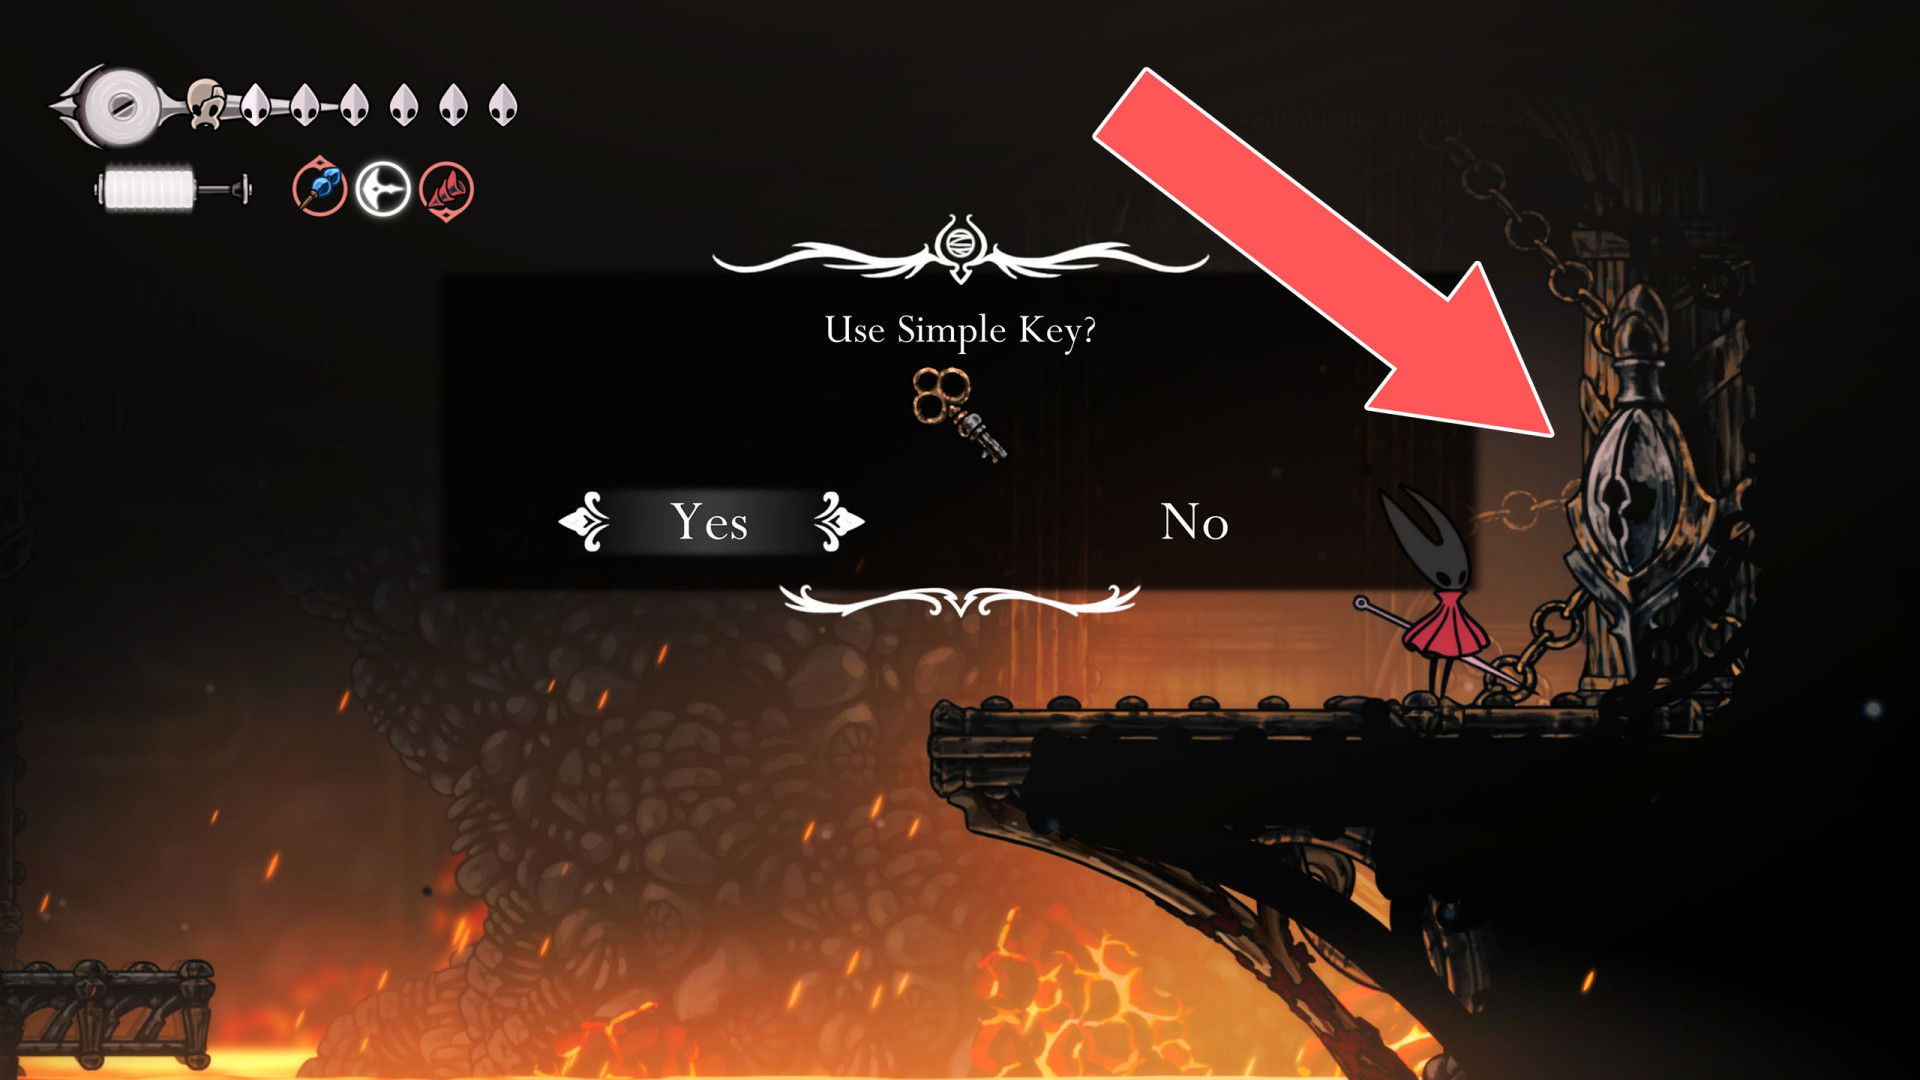
243Key Locked Door (Simple Key)
To open this door, you need one of the simple keys: Simple Key (Mosslands, Pebb), Simple Key (Songclave, Jubilana), Simple Key (Sinner's Road), or Simple Key (Sands of Karak).
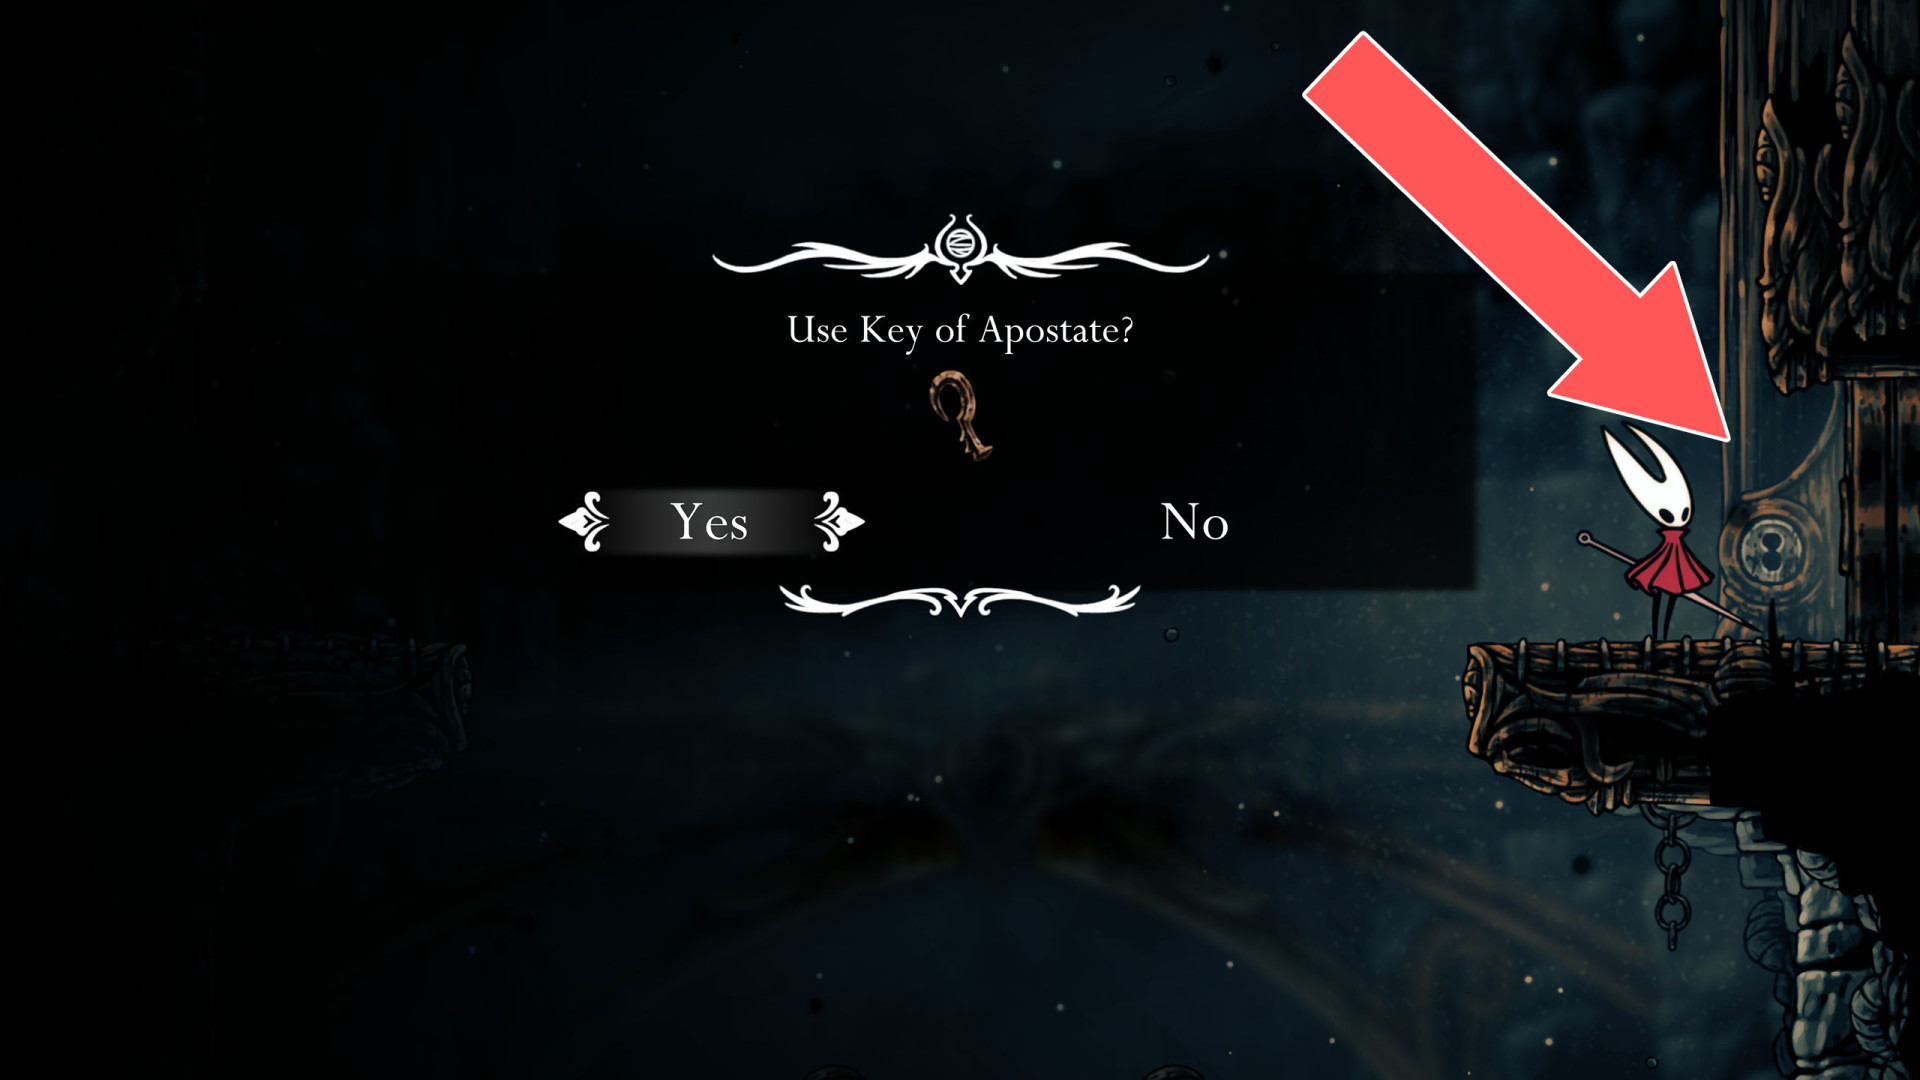
244Key Locked Gate (Apostate Key)
You need the Key of Apostate to unlock this door.
245Key Locked Gate (Heretic Key)
You need the Key of Heretic to unlock this door.
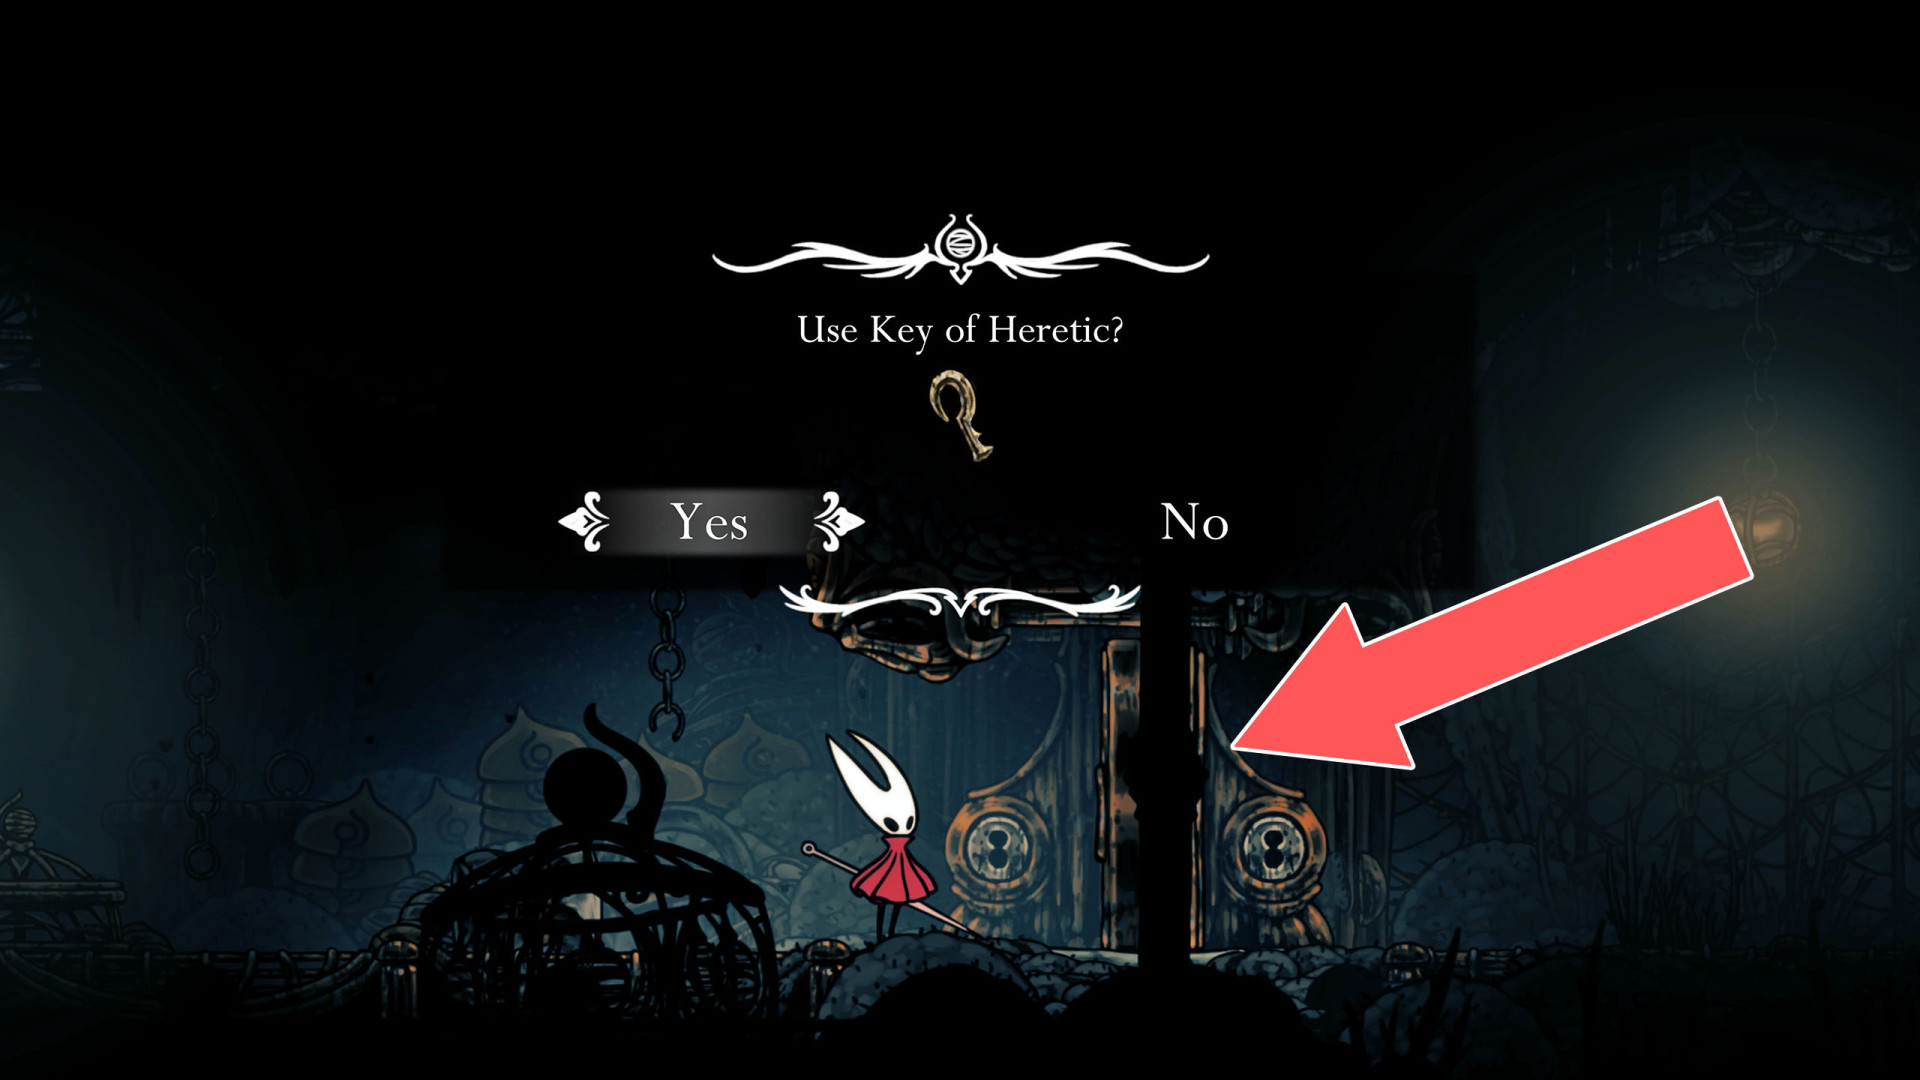
246Key Locked Gate (Indolent Key)
You need the Key of Indolent to unlock this door.
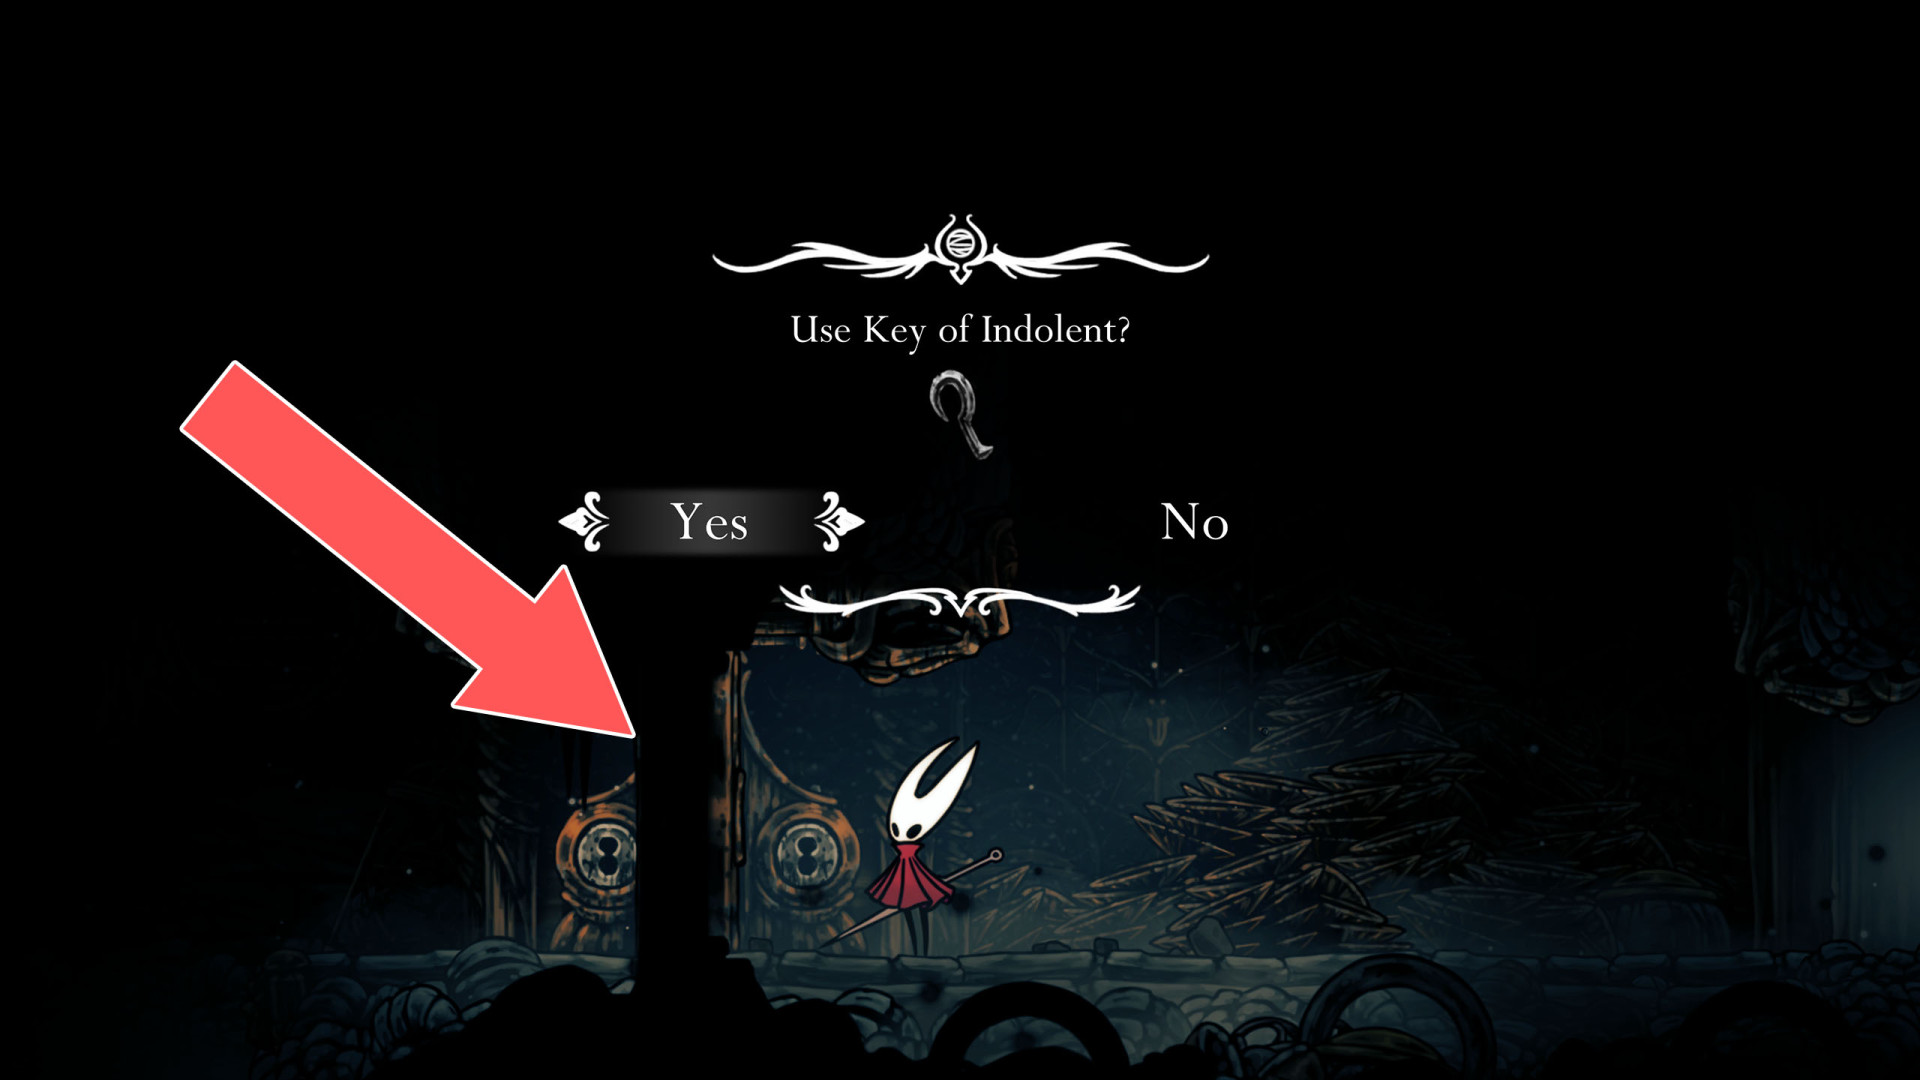
247Key Locked Trapdoor (Heretic Key)
You need the Key of Heretic to unlock this trapdoor.
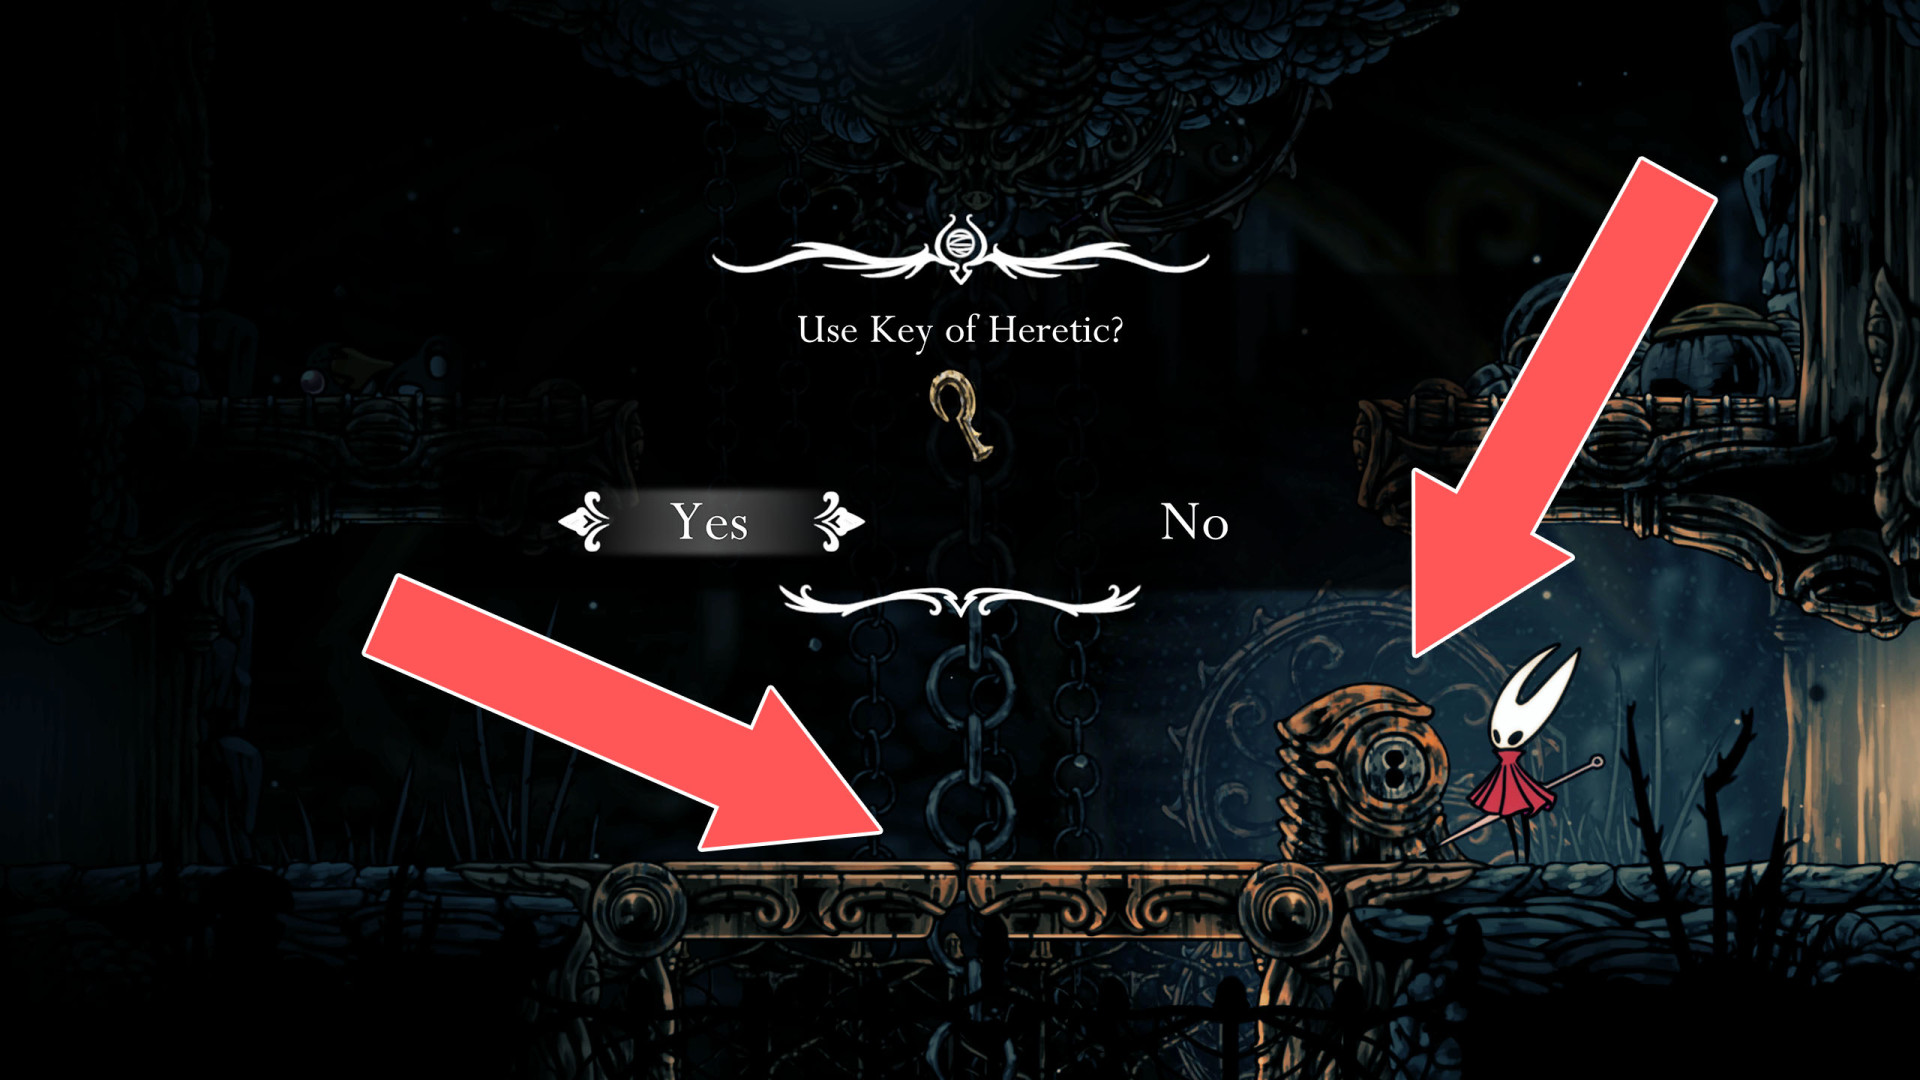
248Key Locked Trapdoor (Surgeon's Key)
You need the Surgeon's Key to unlock this passage.
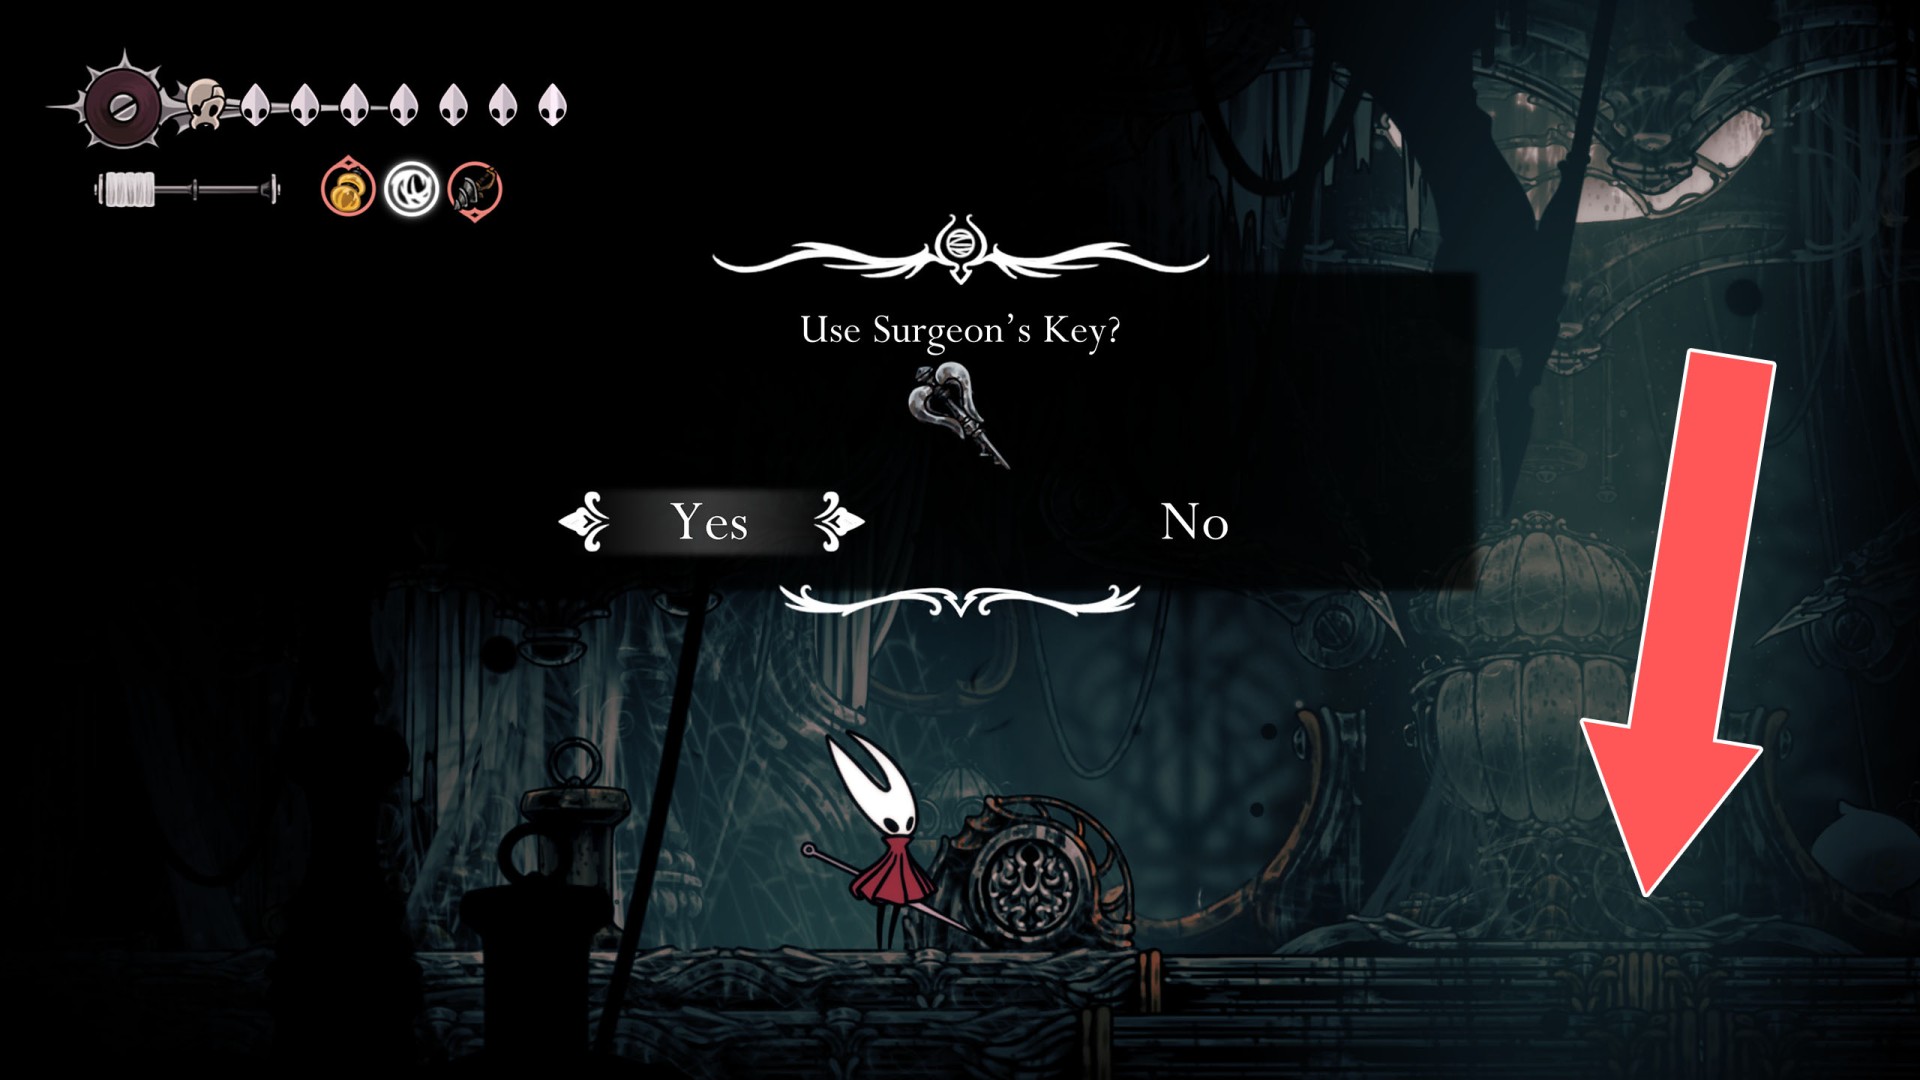
249Lever
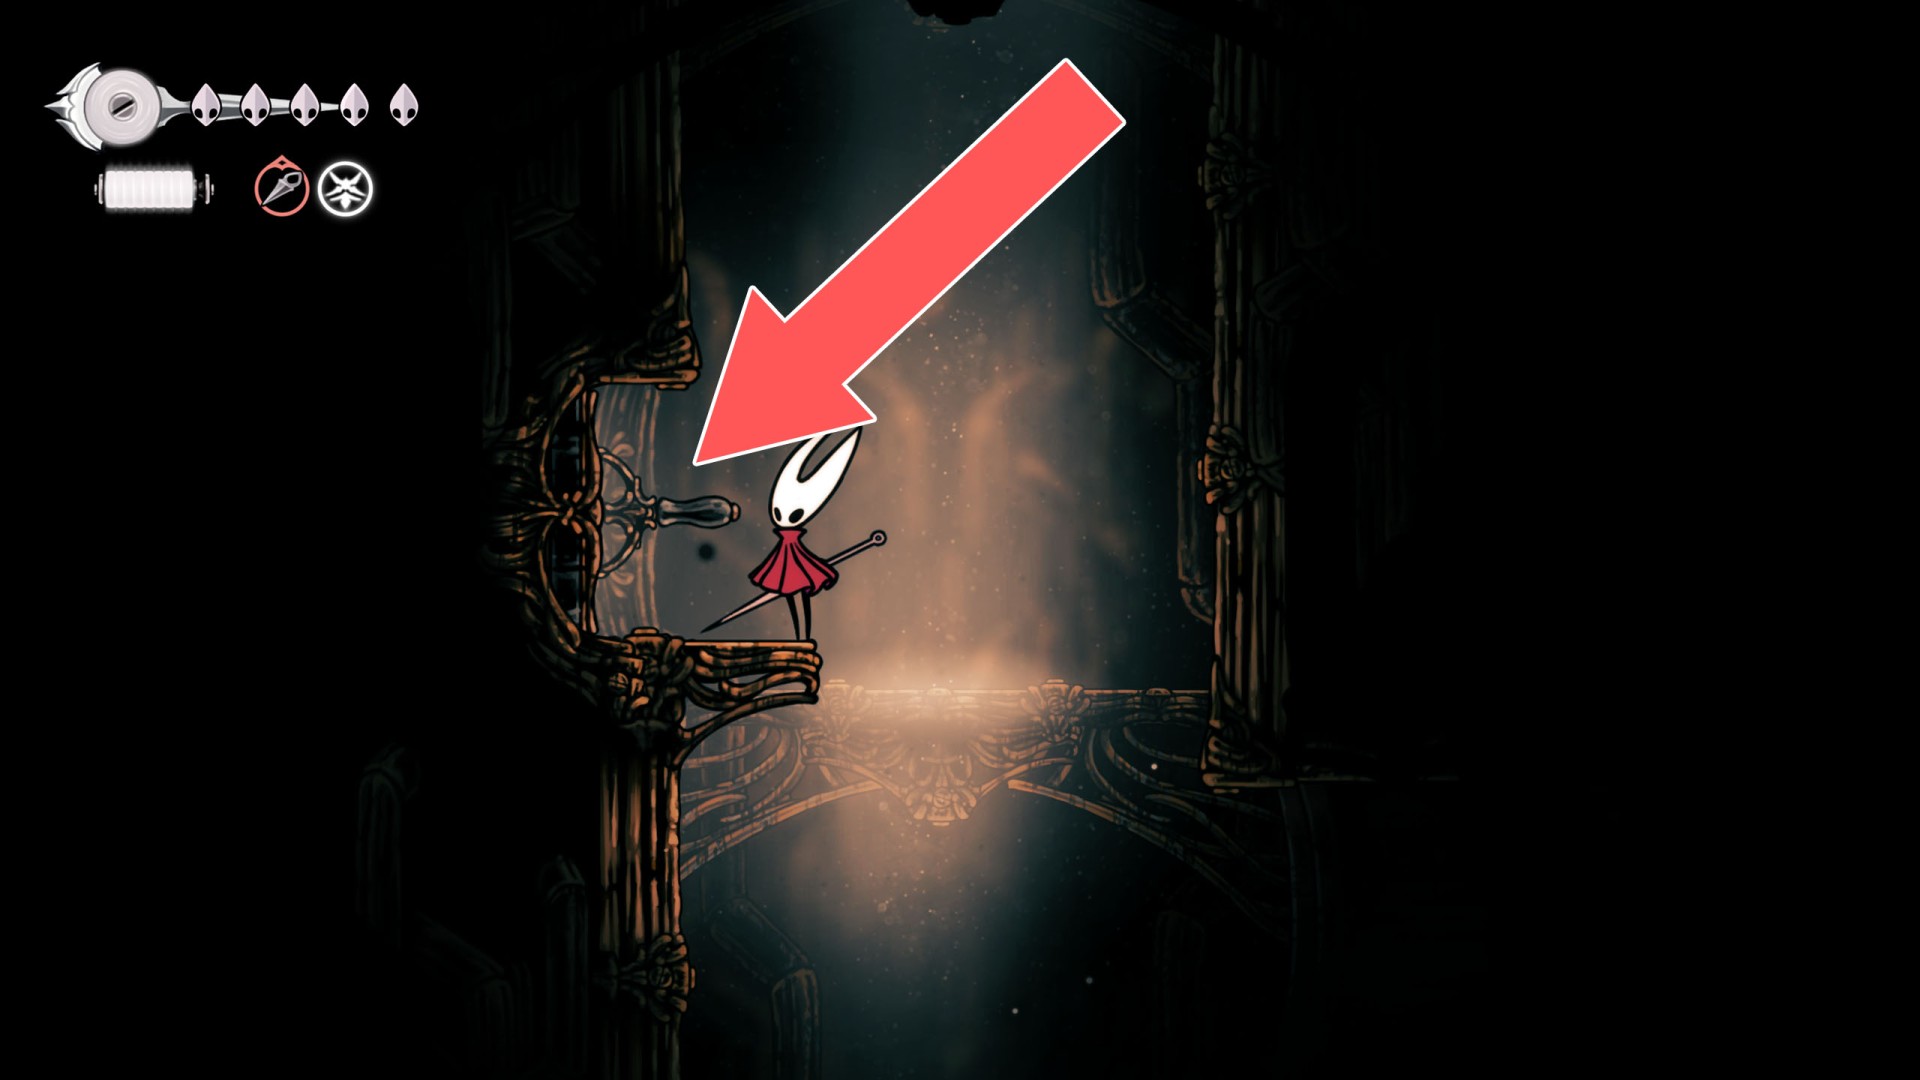
250Lift
Show the map
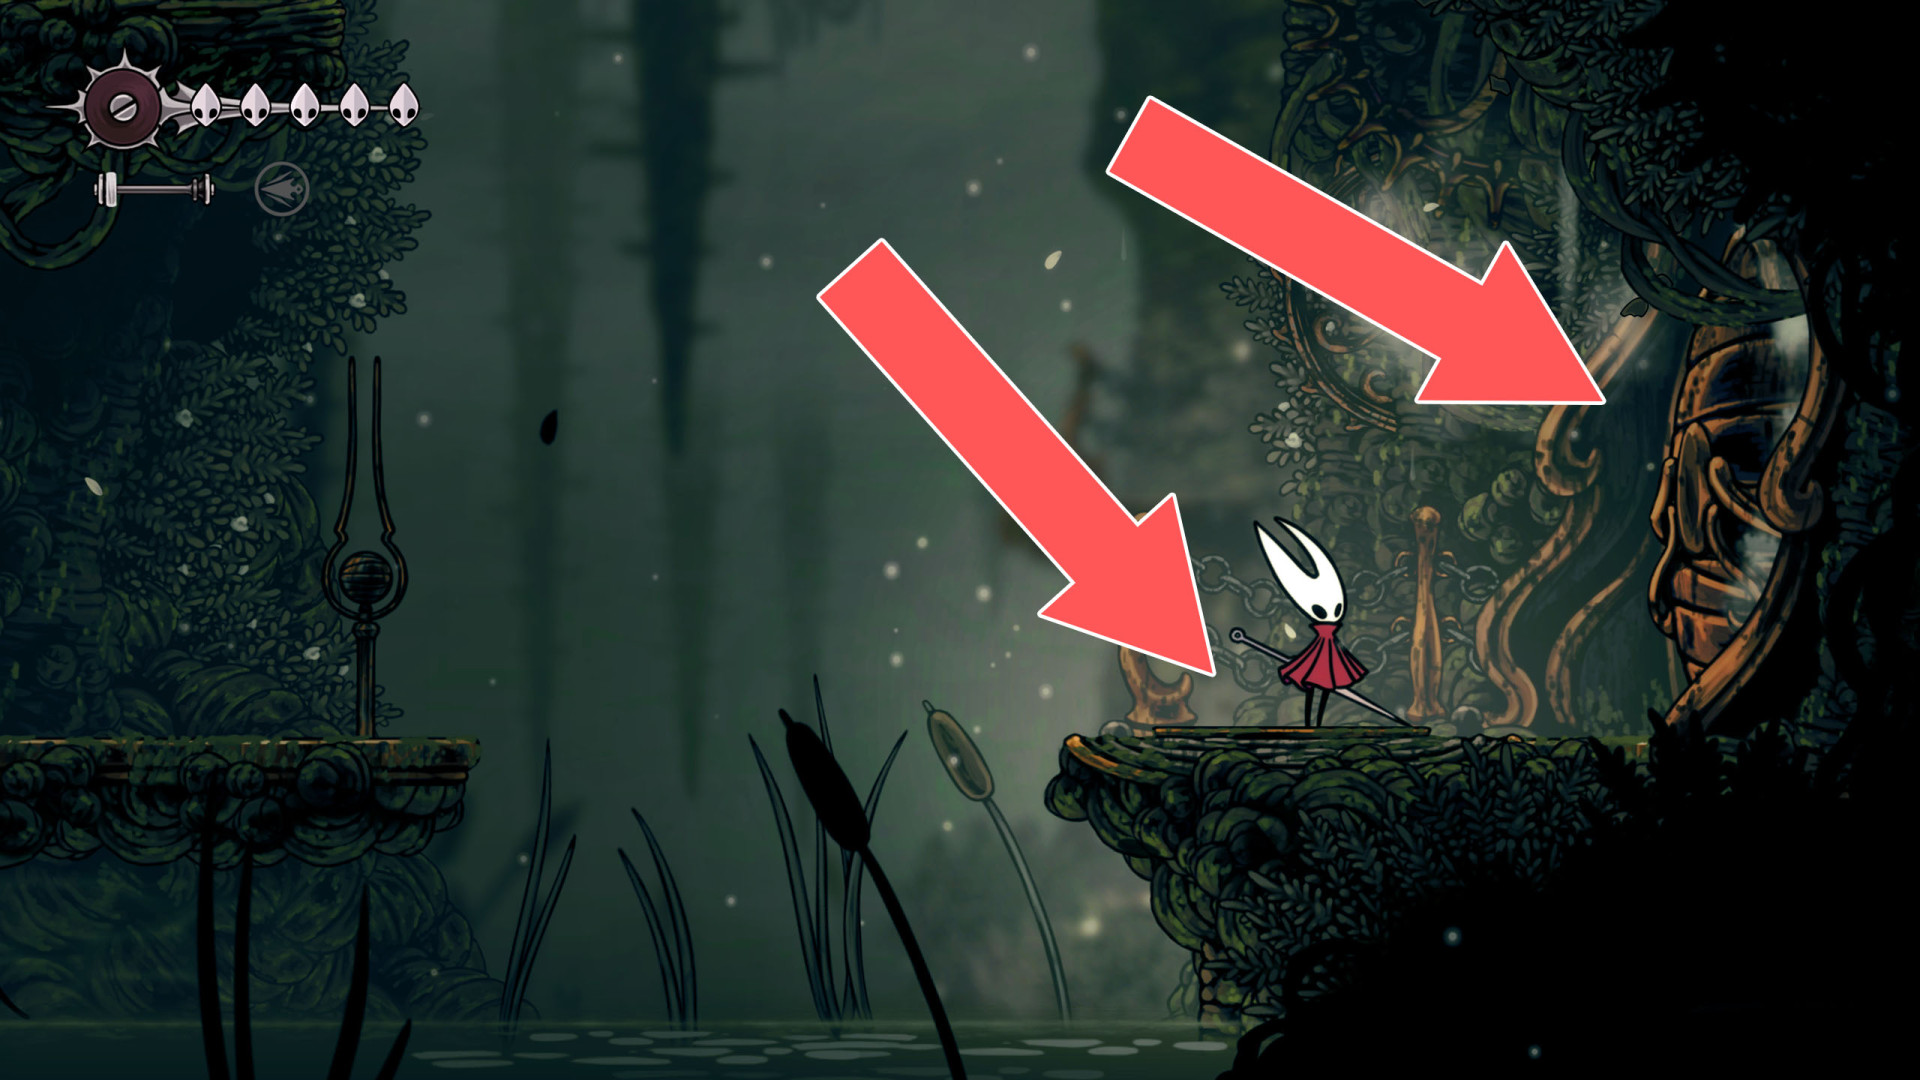
251Locked Door
The pressure plate that opens this door is located on its western side.
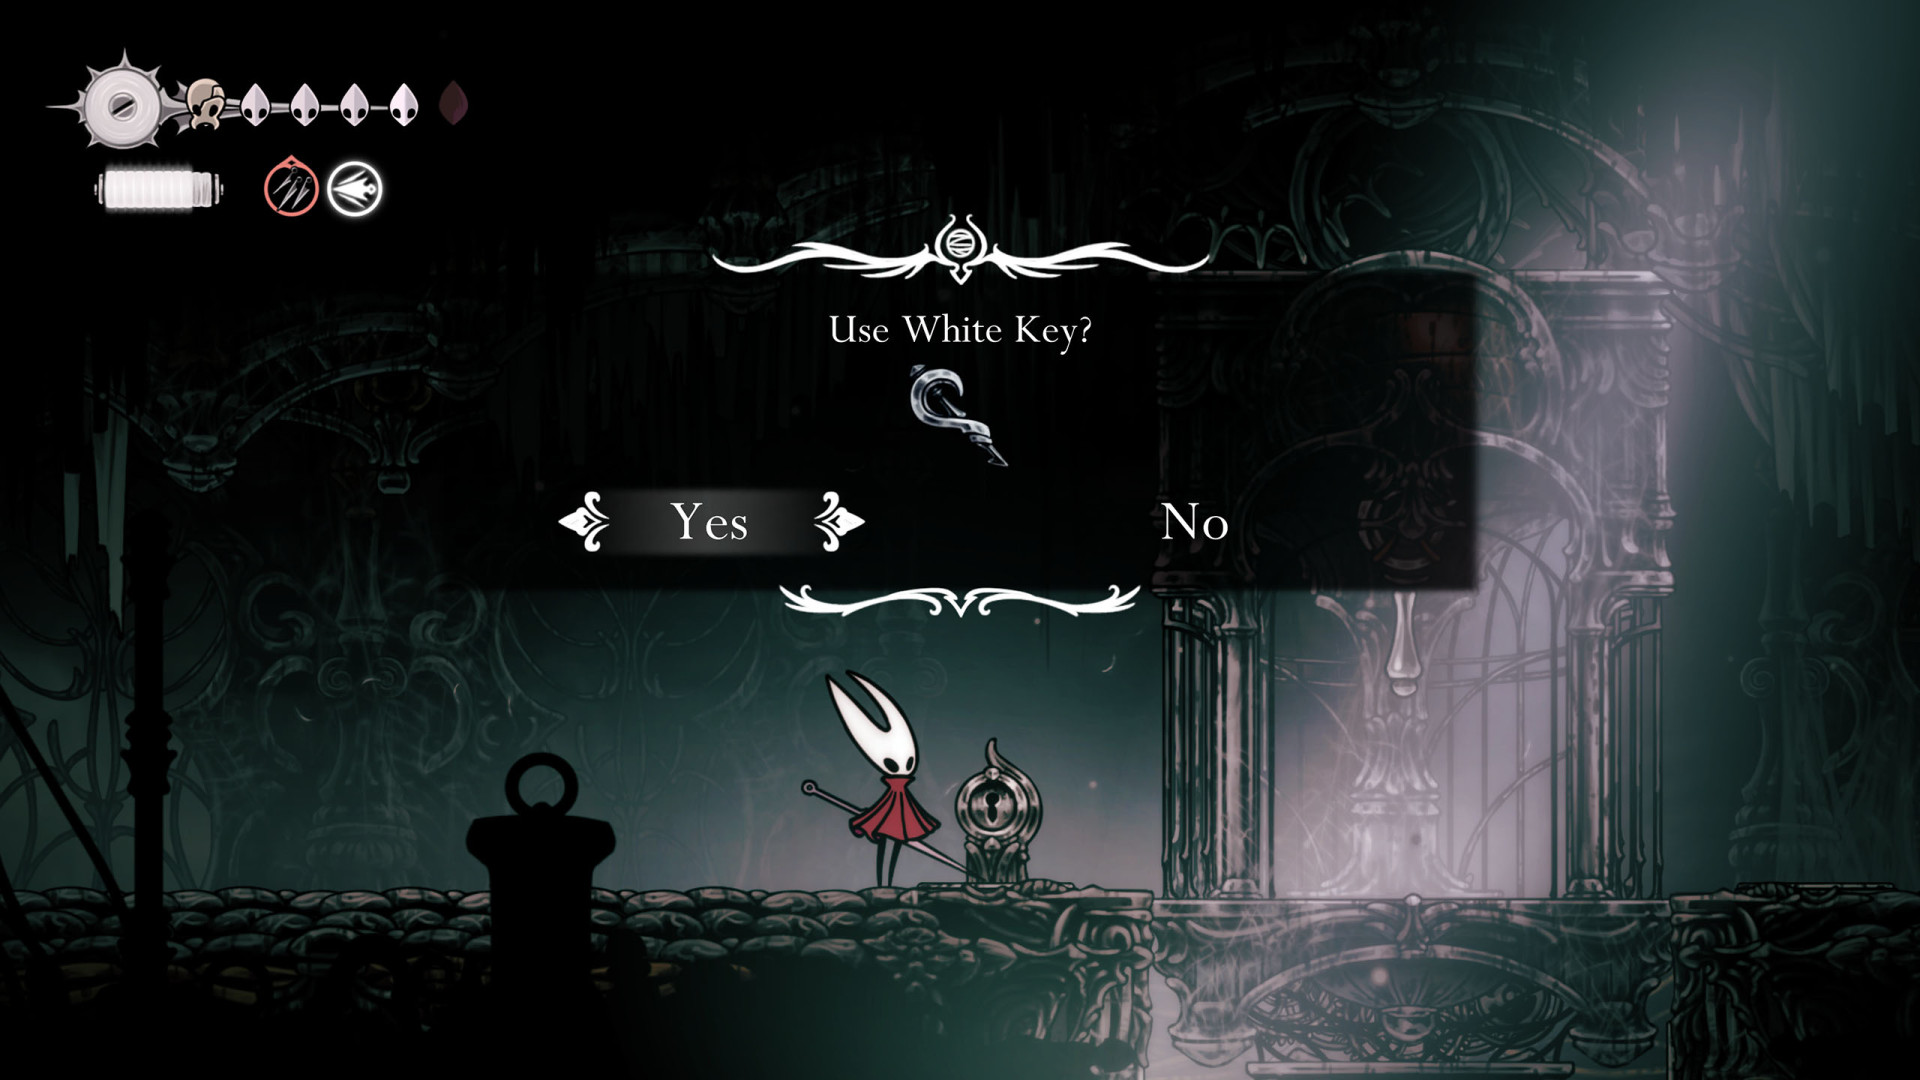
252Locked Elevator (White Key)
You need the White Key to unlock this elevator.
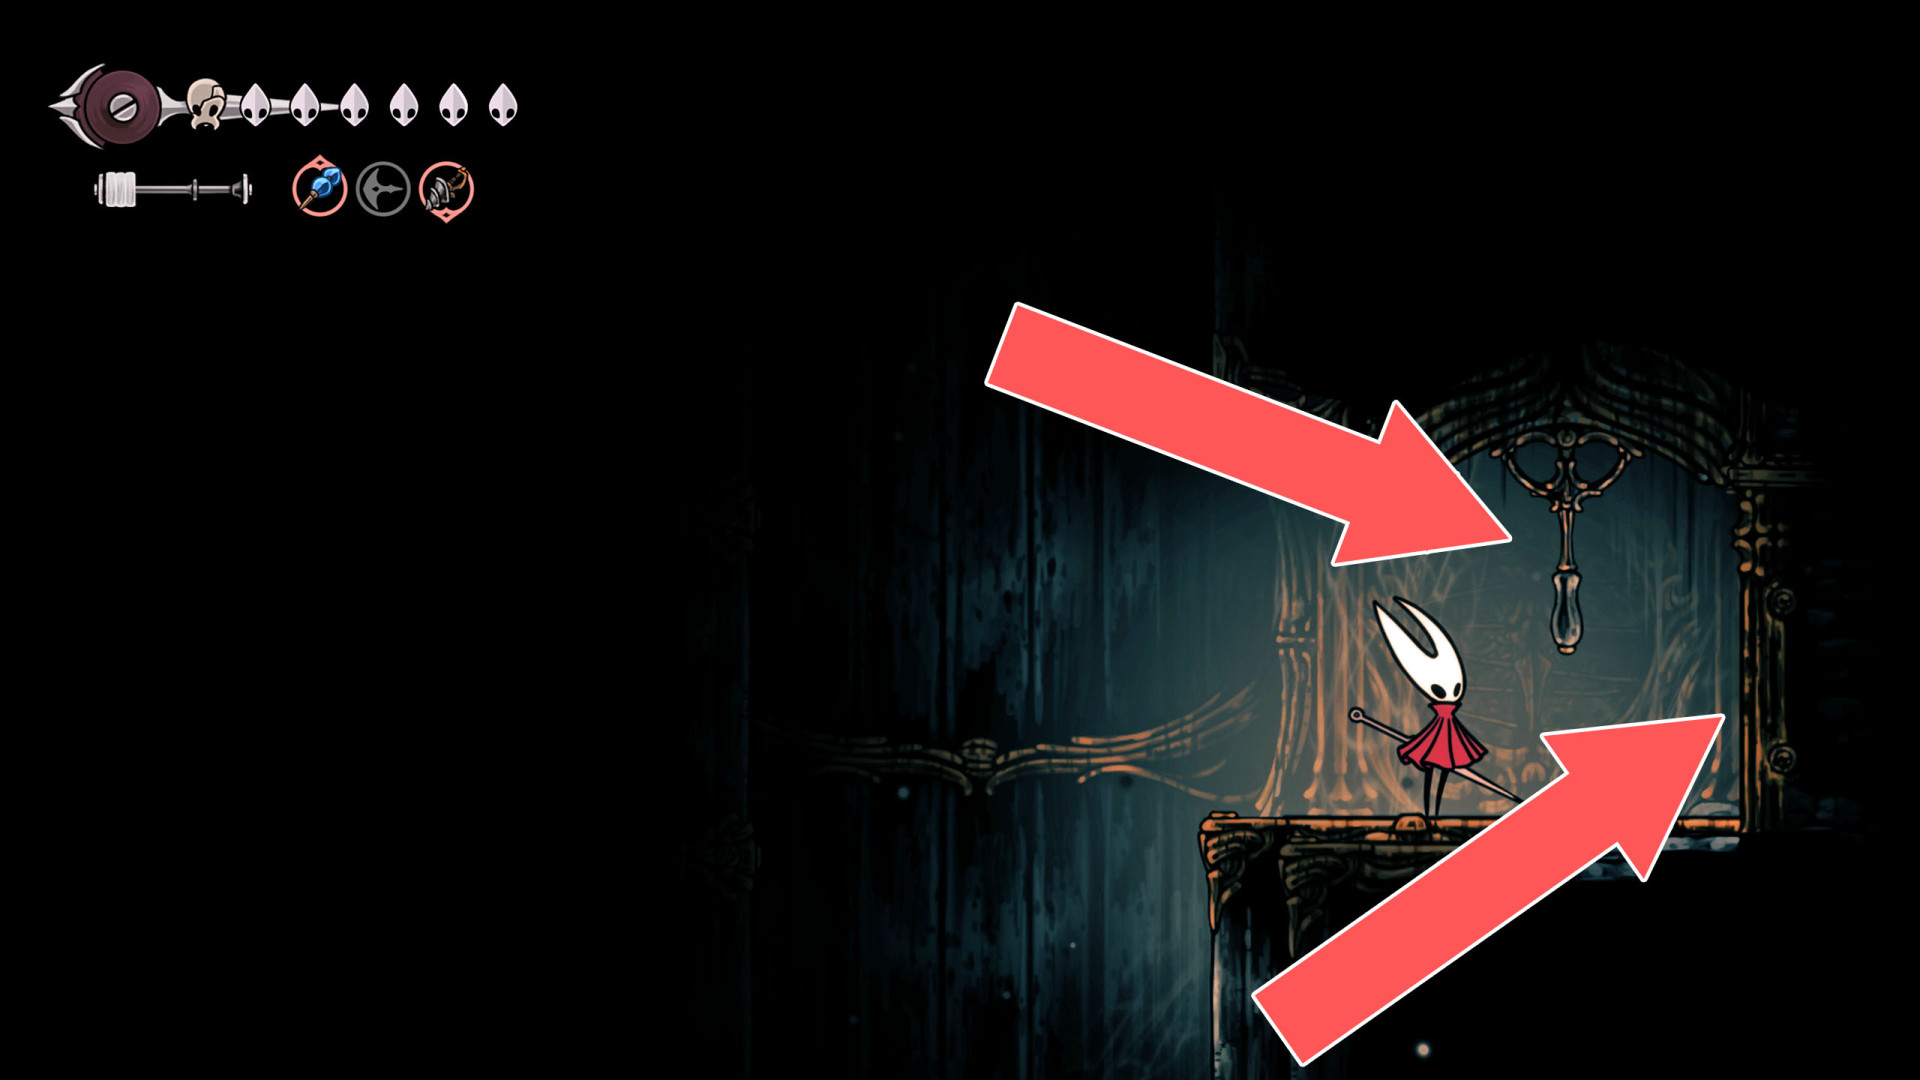
253Locked Gate
The lever that opens this gate is located on its western side.
254Locked Gate
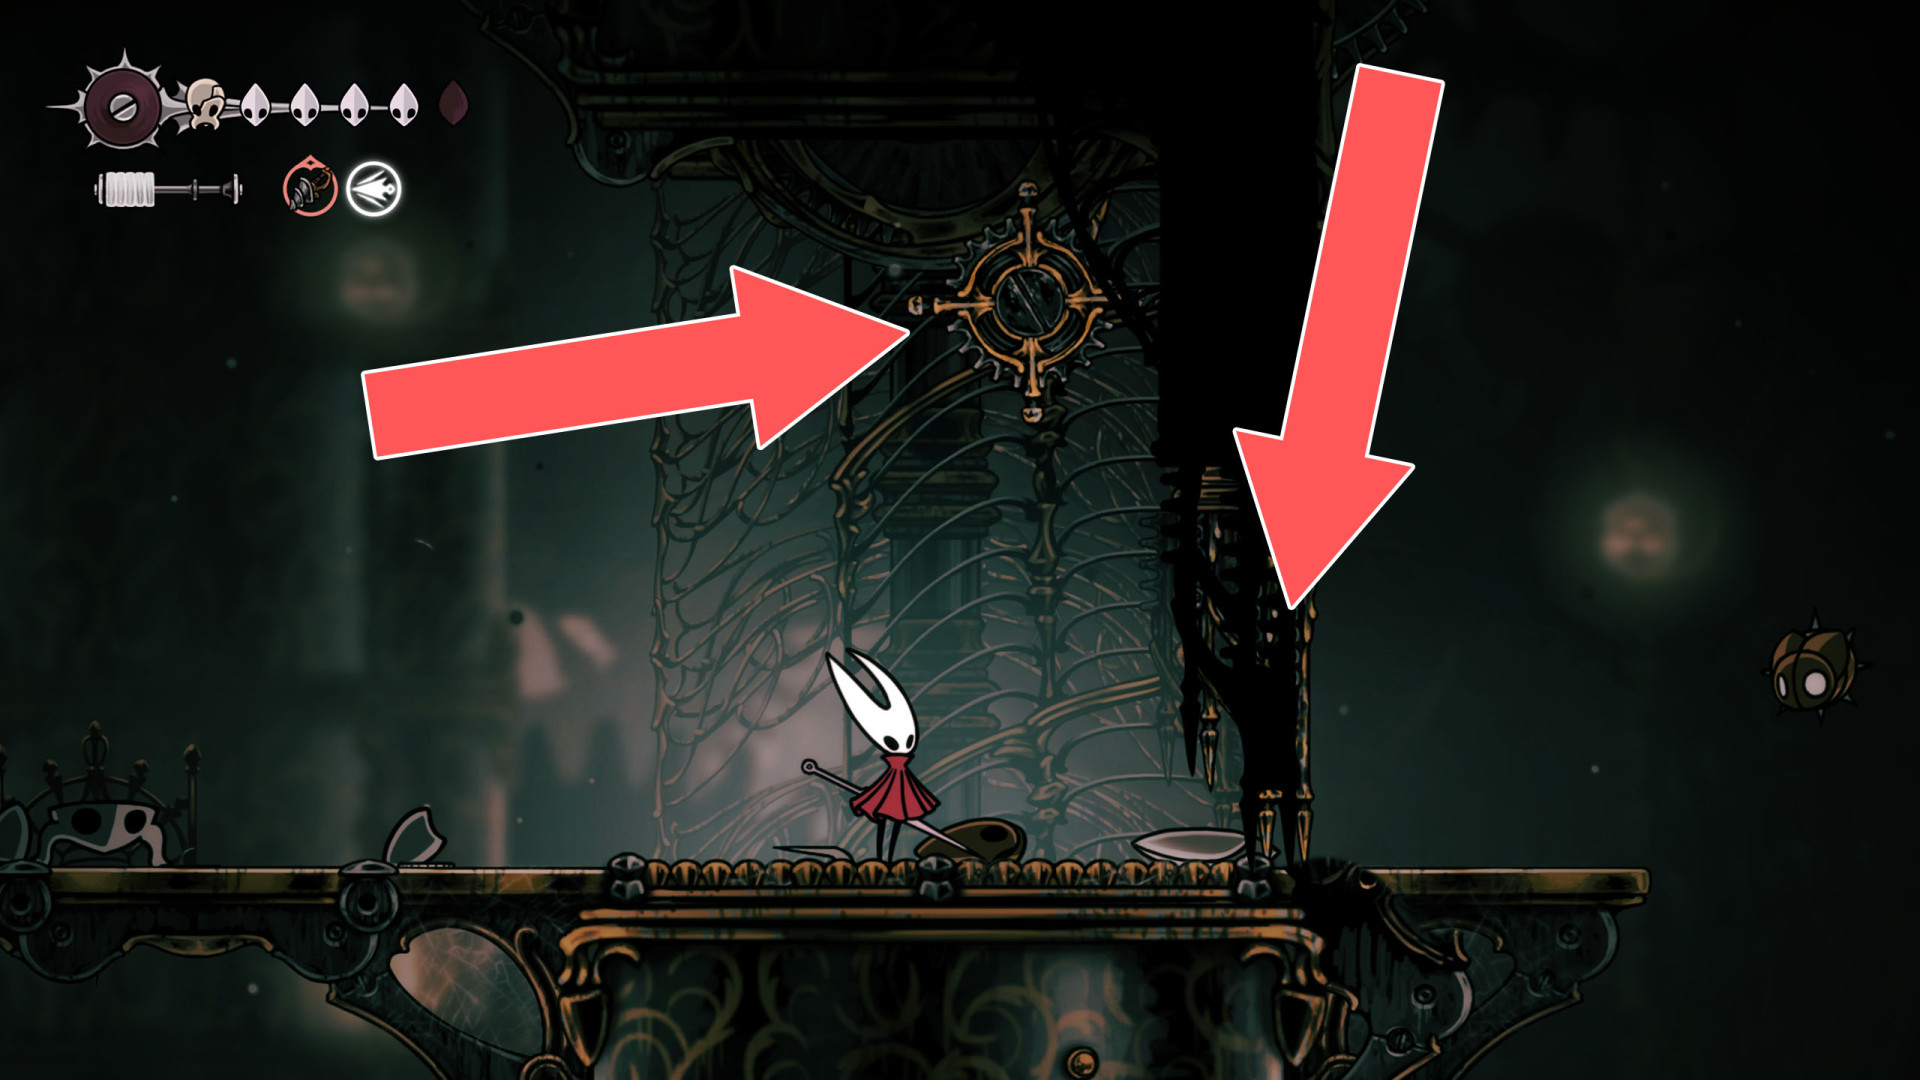
Hit a wheel located on the western side a few times to open it.
255Locked Gate
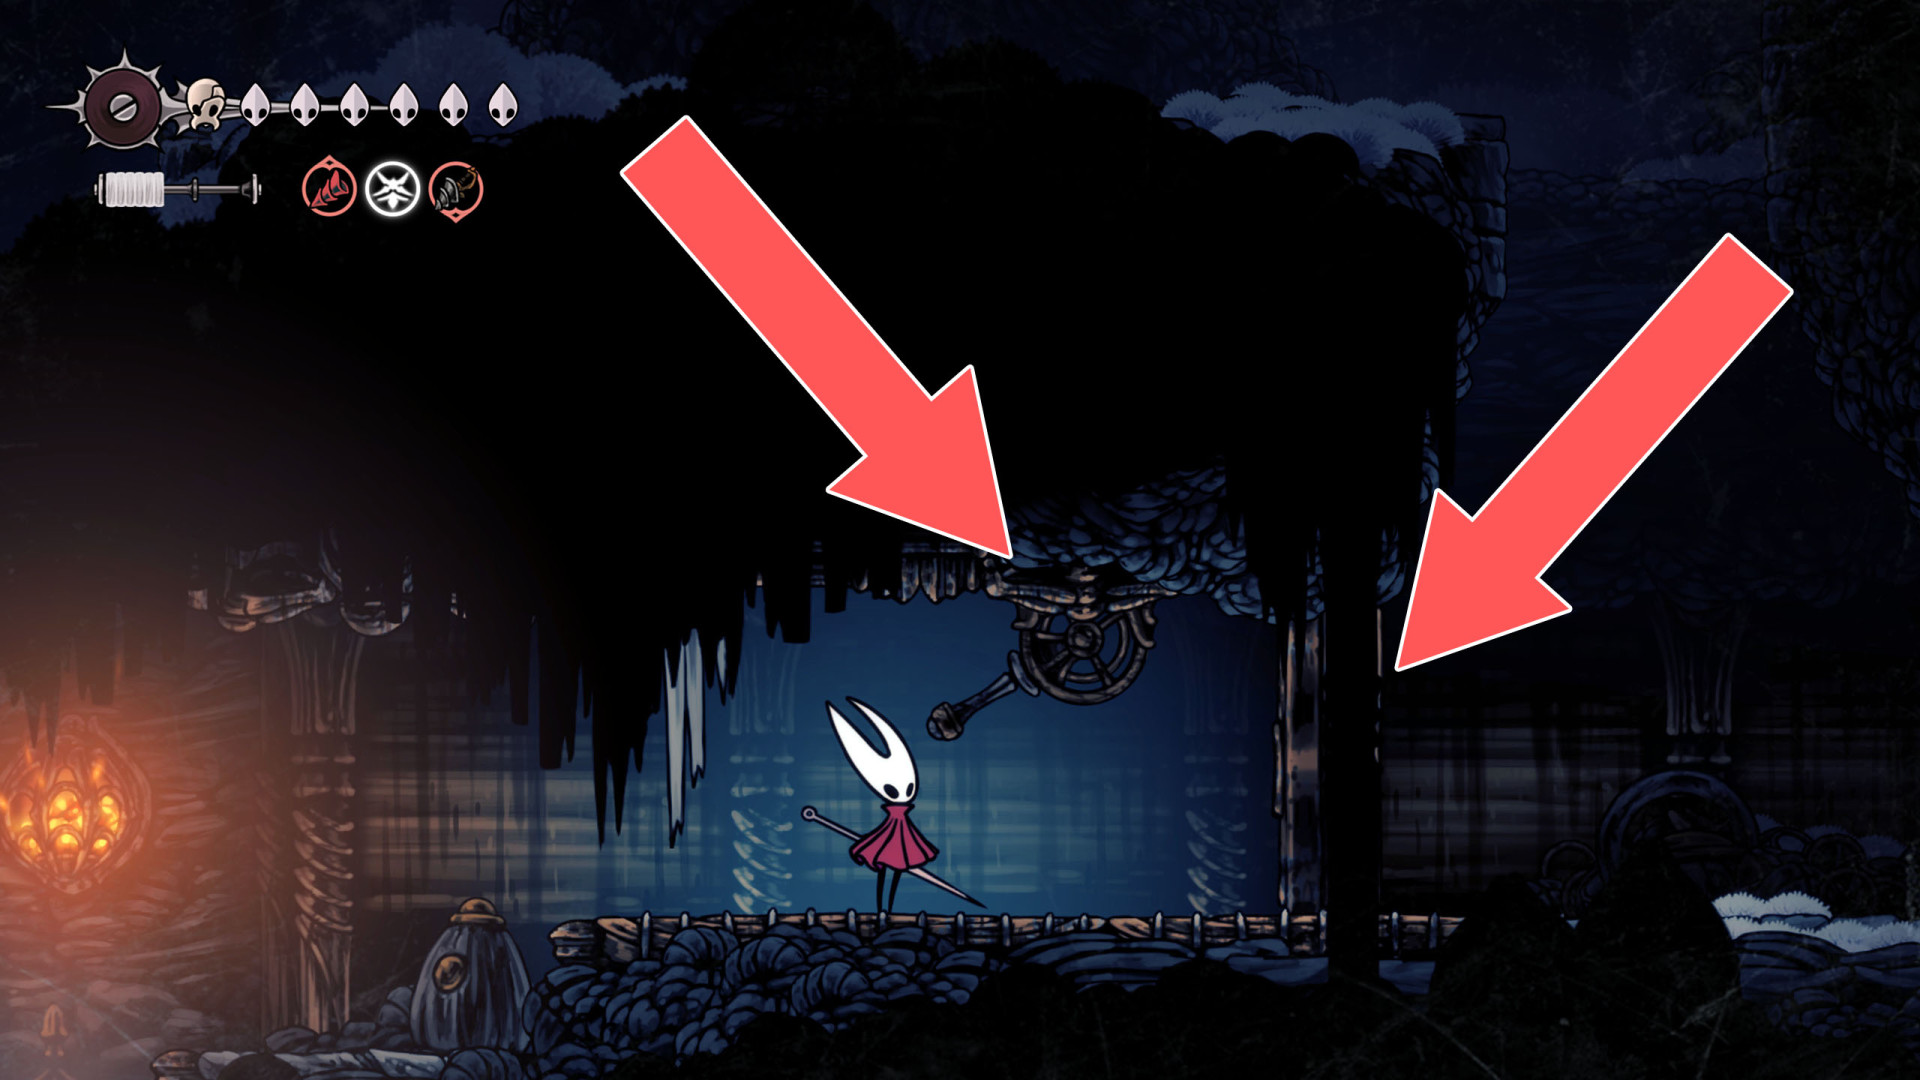
The lever that opens the gate is located on its western side.
256Locked Gate
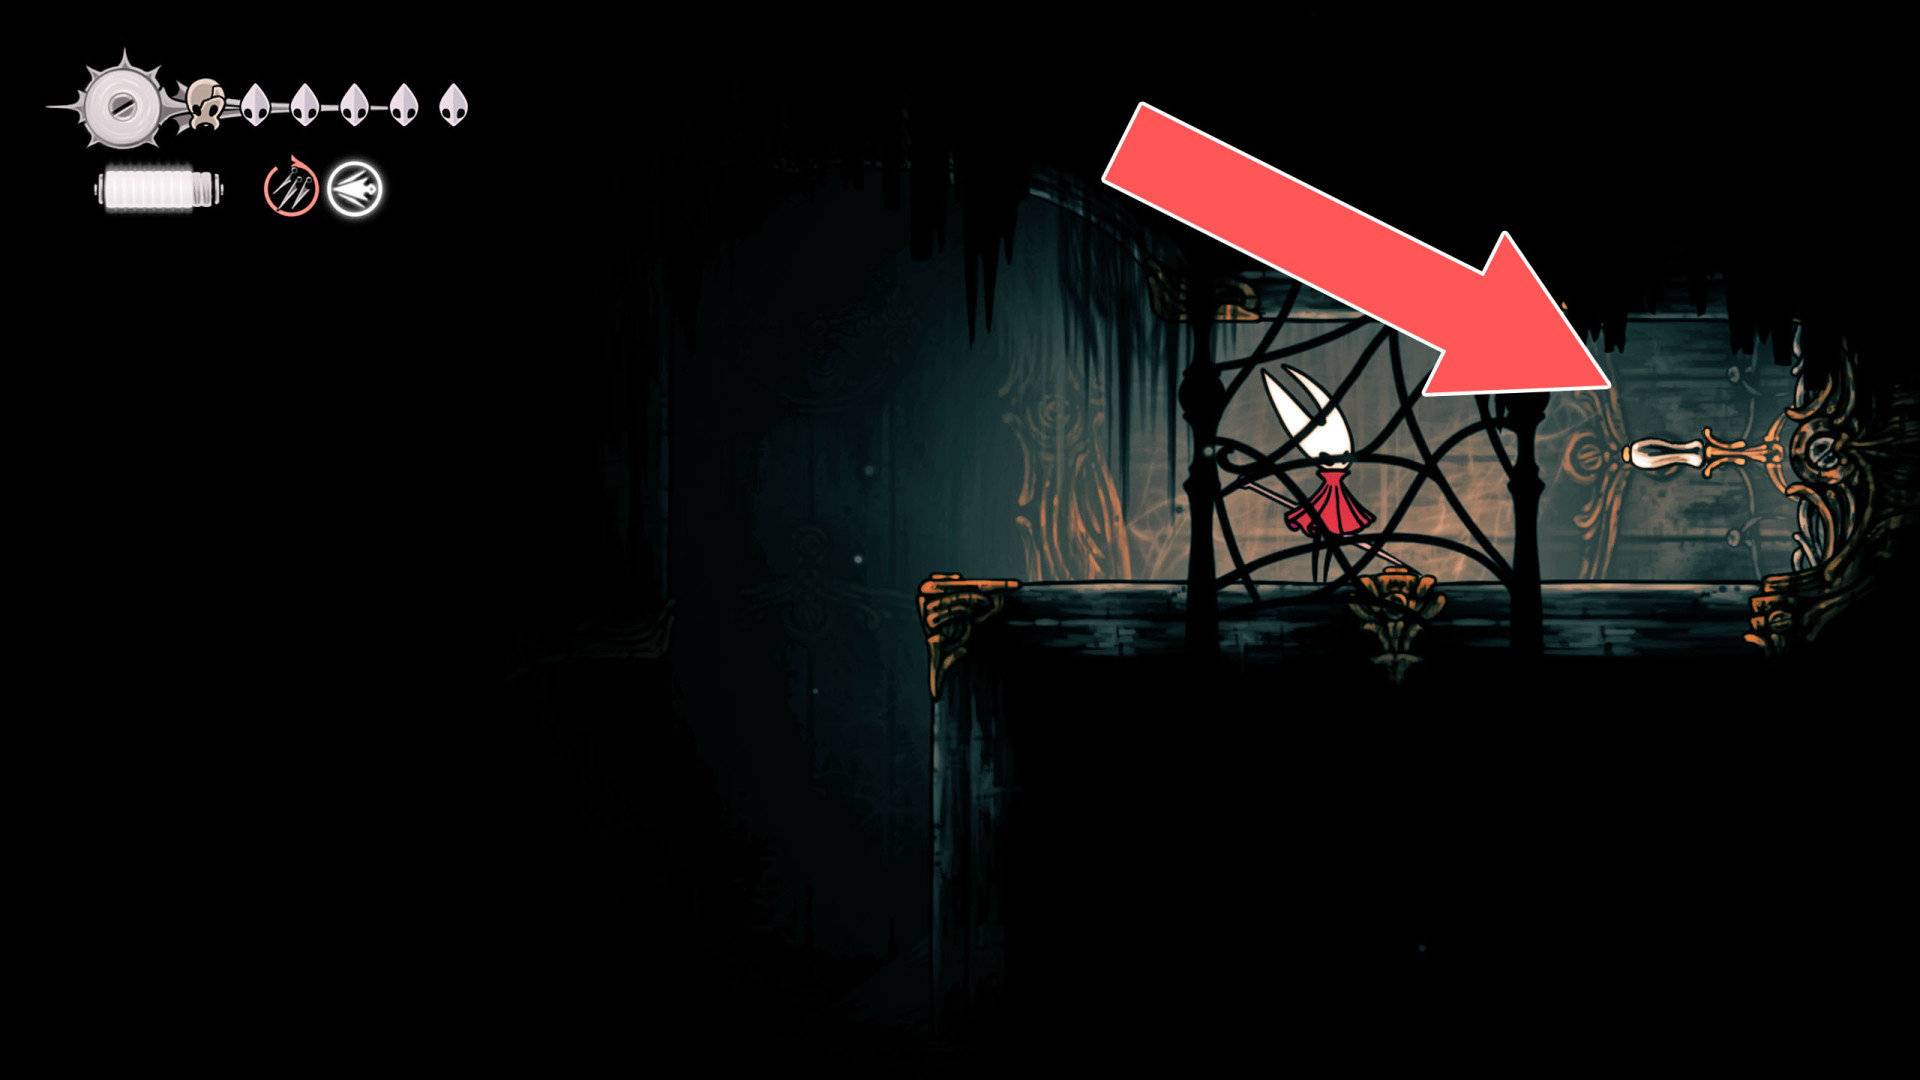
It can be opened from the west side.
257Locked Gate
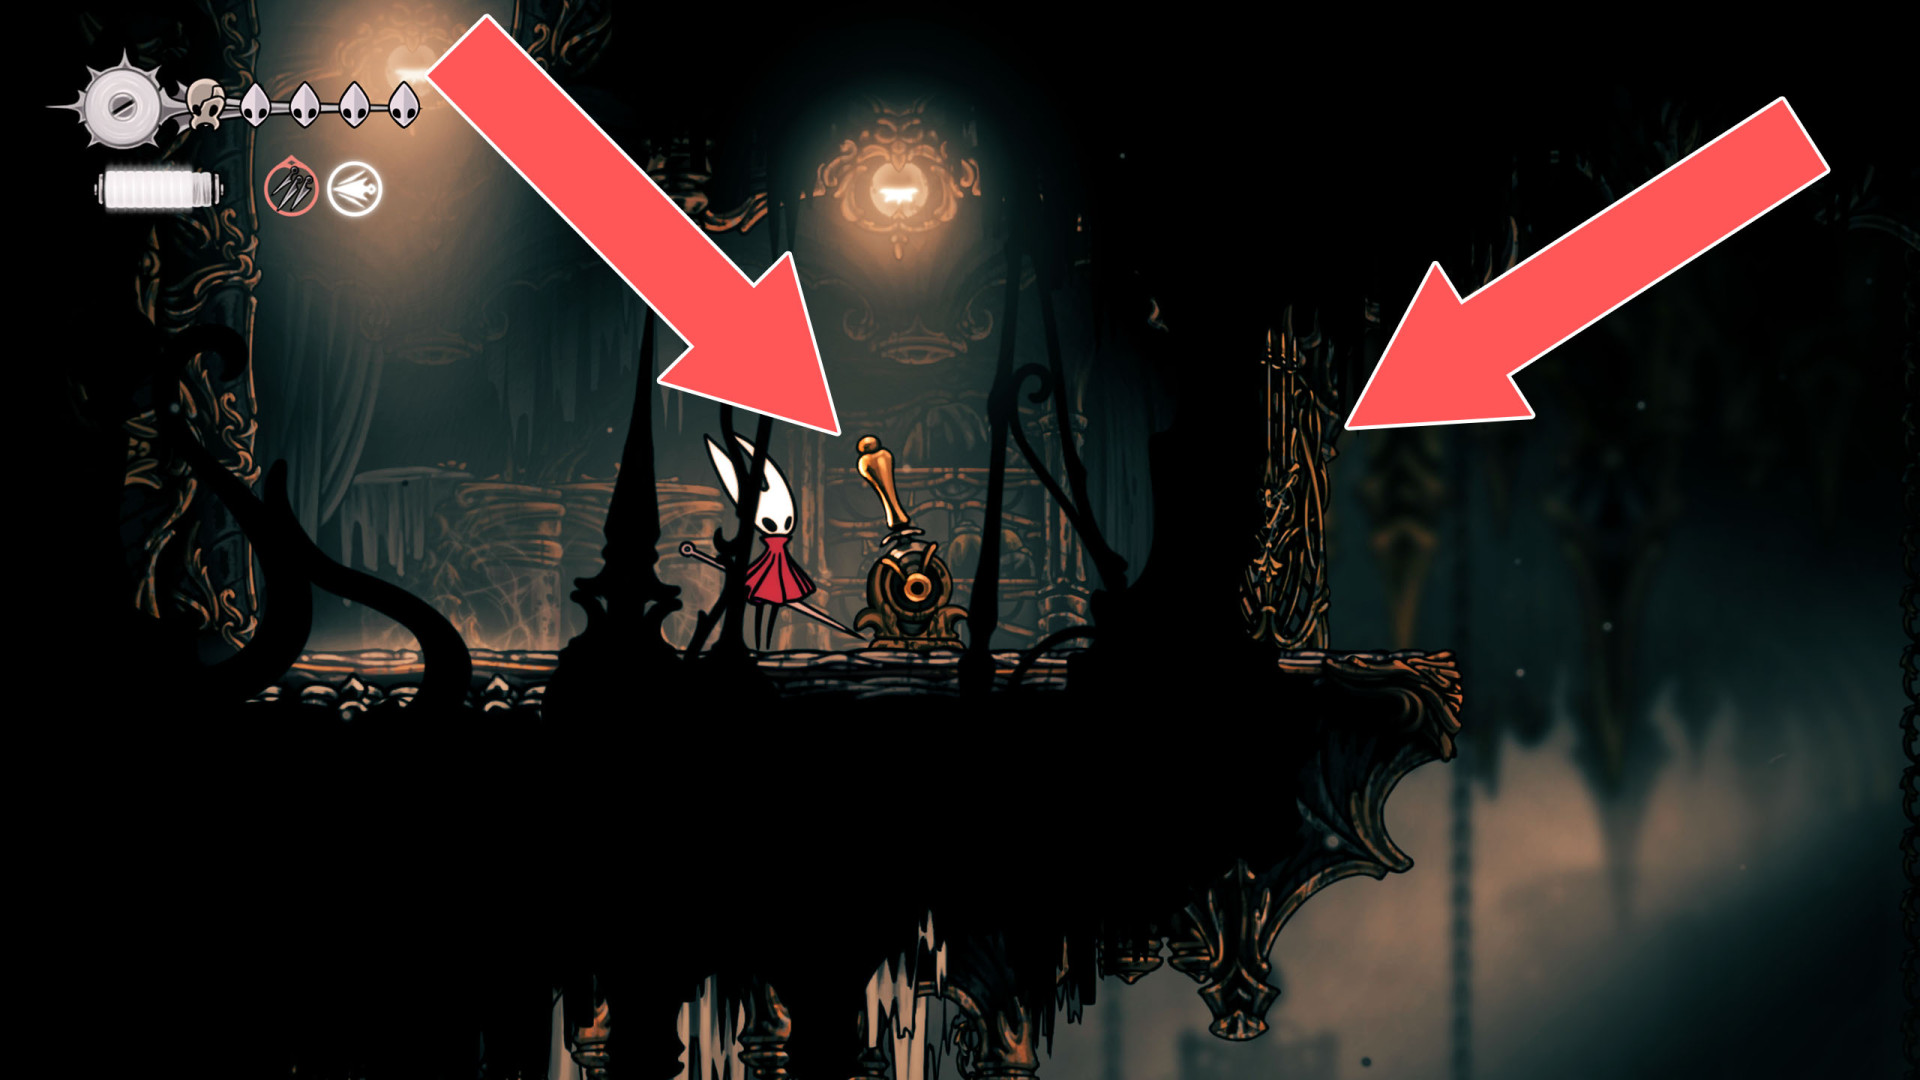
The lever that opens this gate is located on its western side.
258Locked Gate
Hit a wheel located on the eastern side a few times to open it.
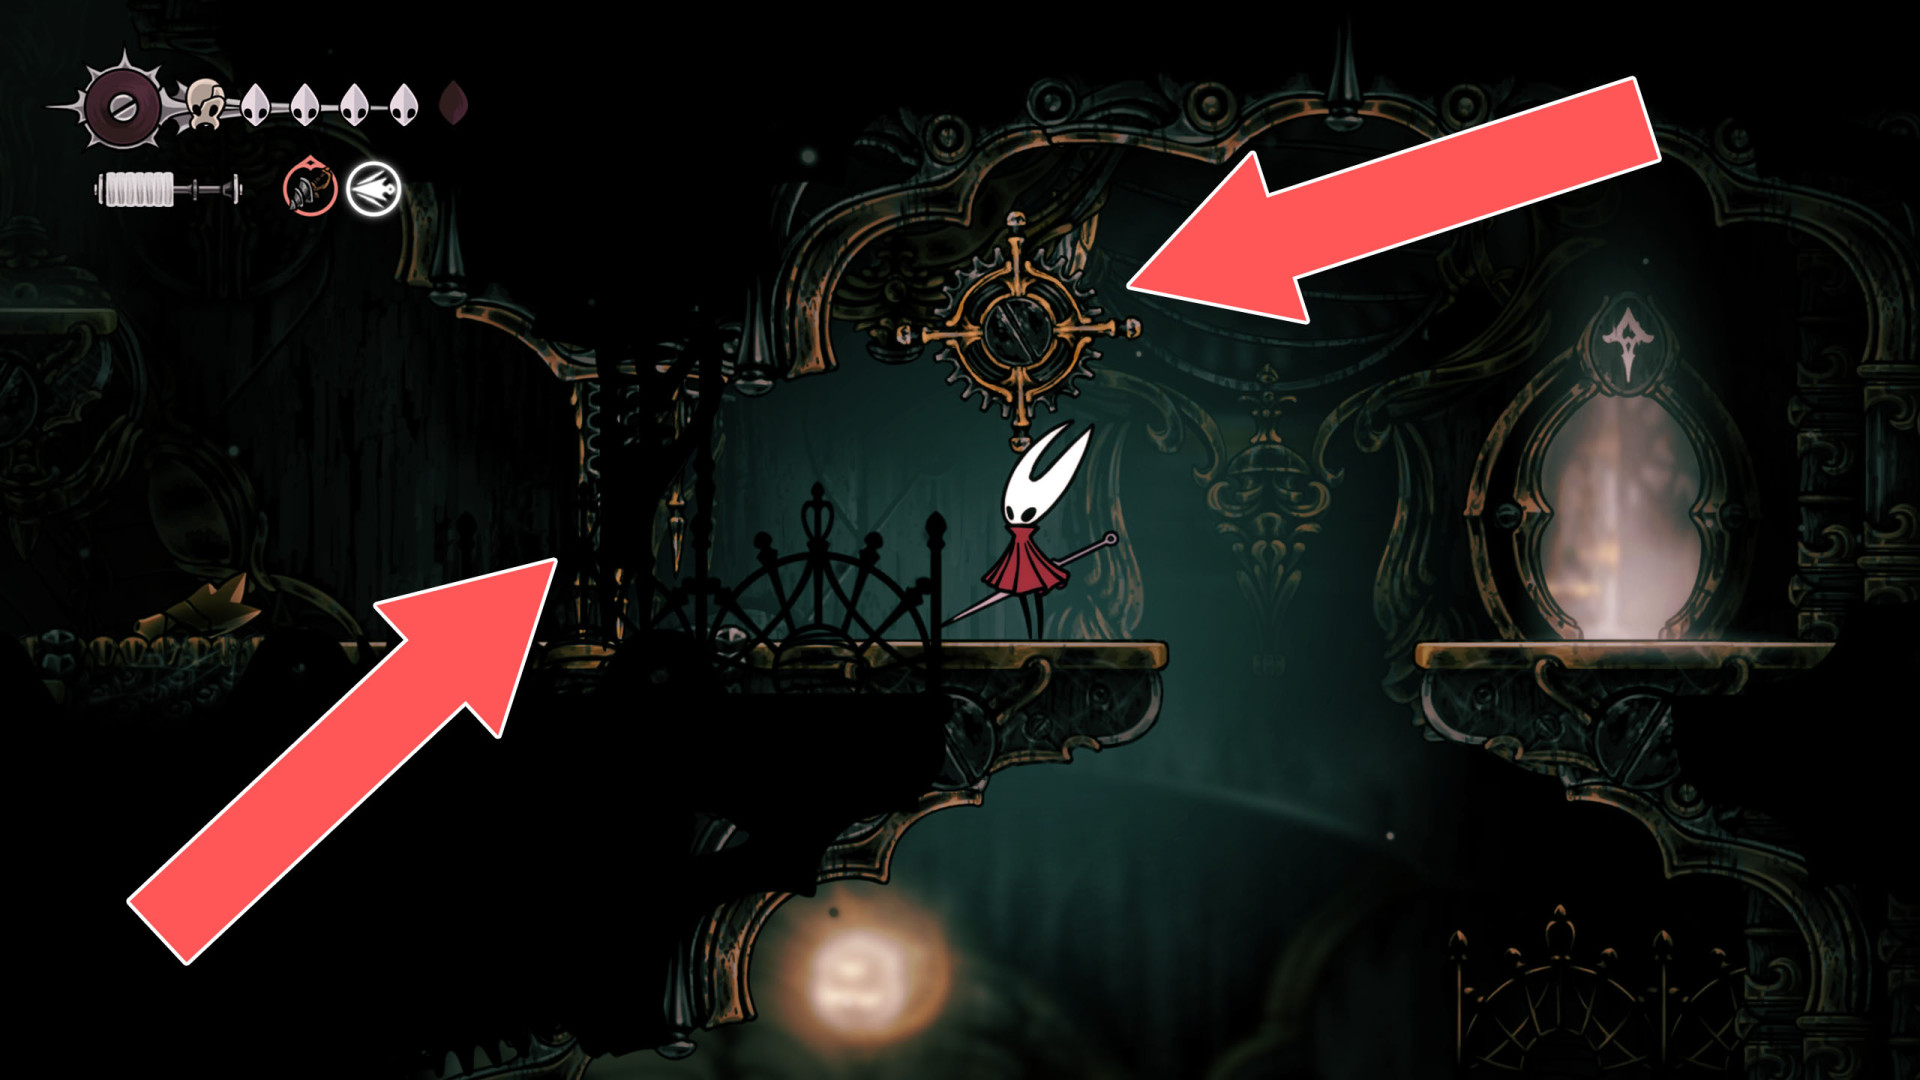
259Locked Gate
To open it stand on the pressure plate located on the eastern side.
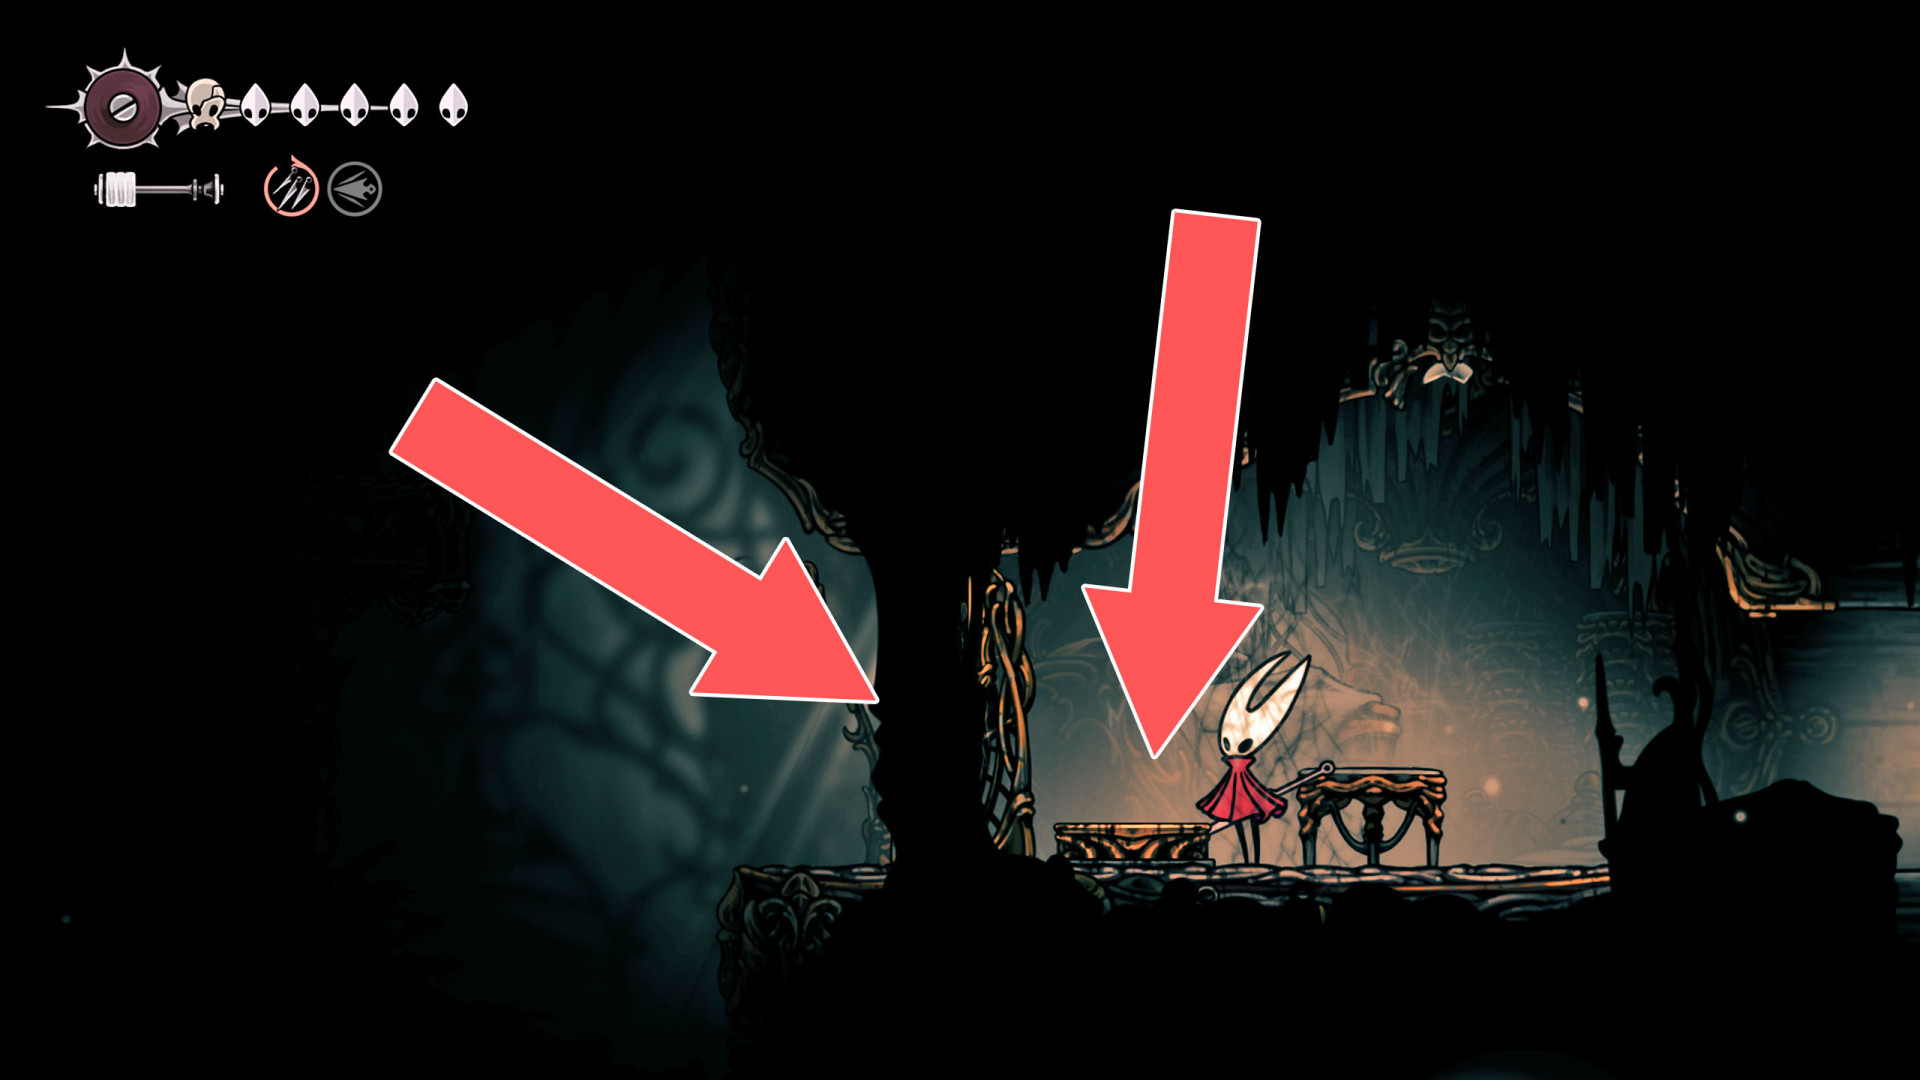
260Locked Gate
The lever that opens this passage is located on the east side.
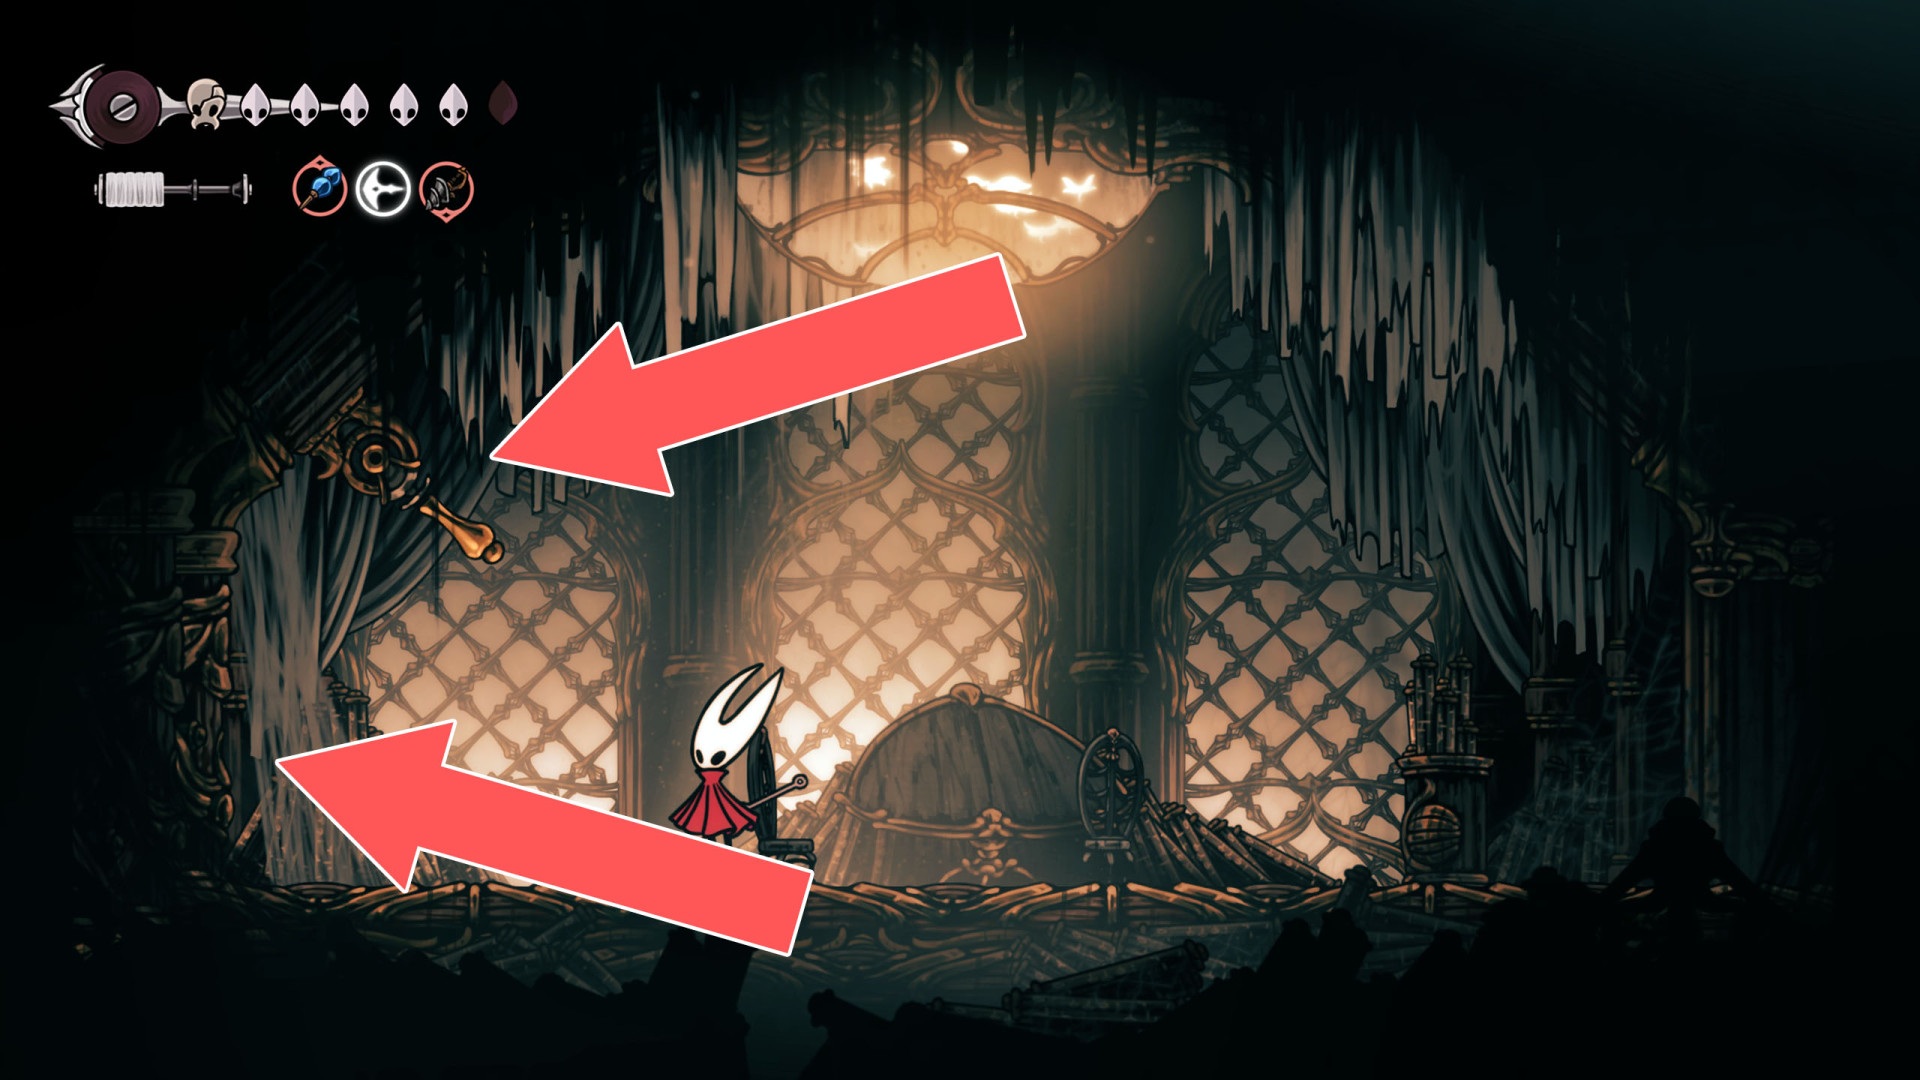
261Locked Gate
Hit a wheel located on the western side a few times to open it.
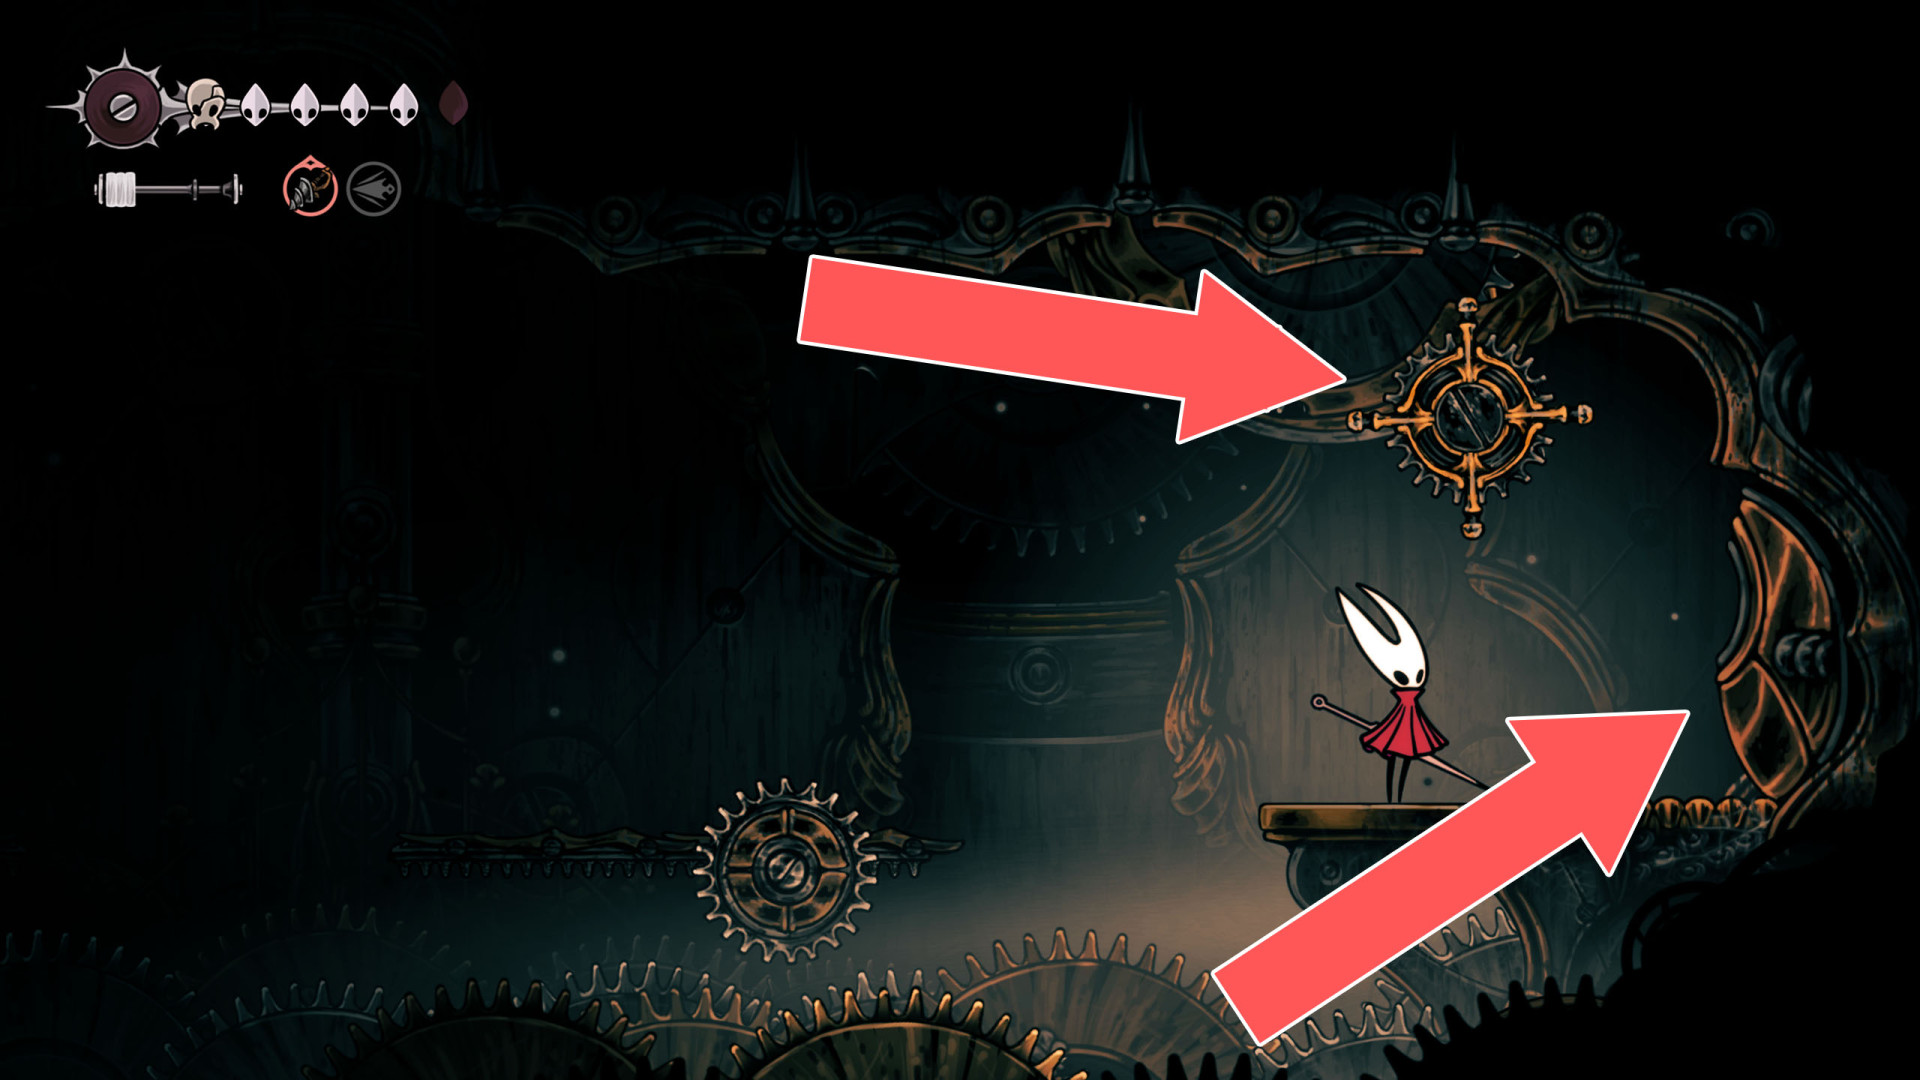
262Locked Gate
Hit a wheel located on the eastern side a few times to open it.
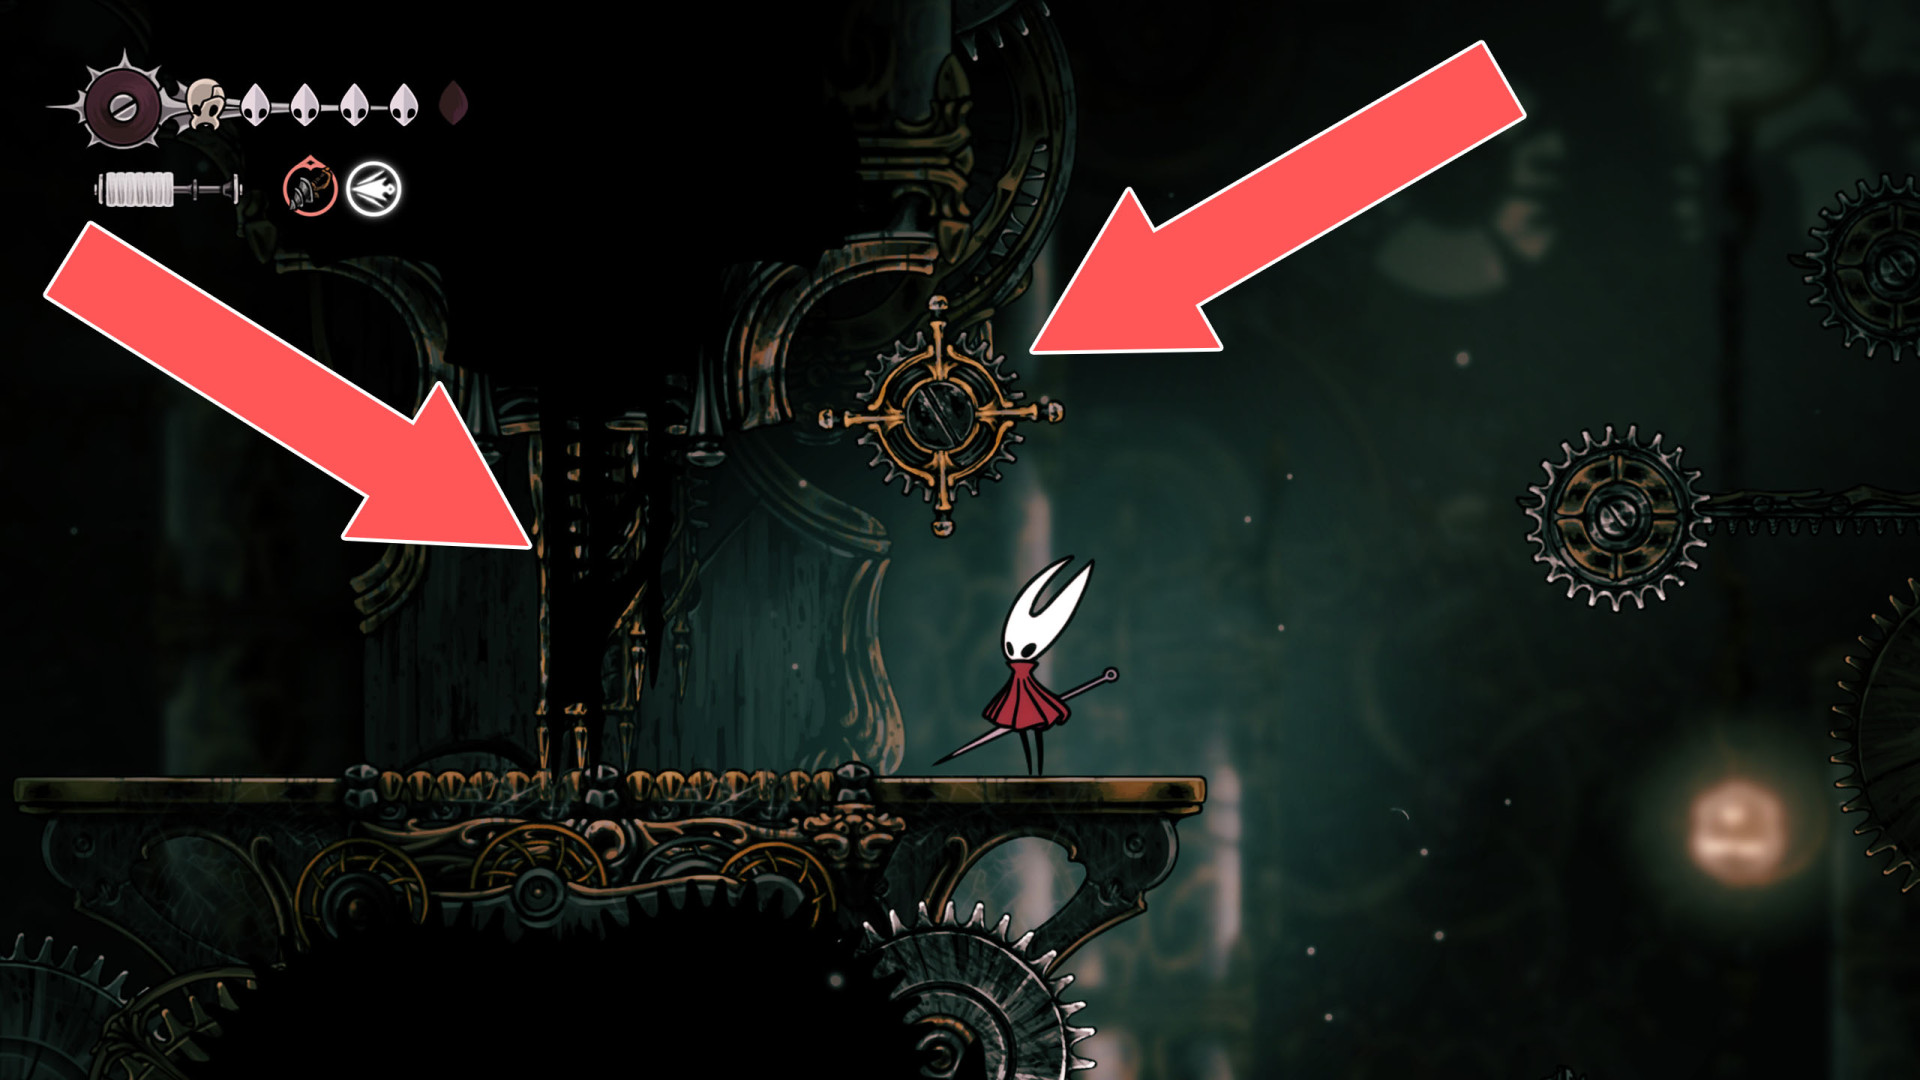
263Locked Gate
The lever that opens this passage is located on the east side.
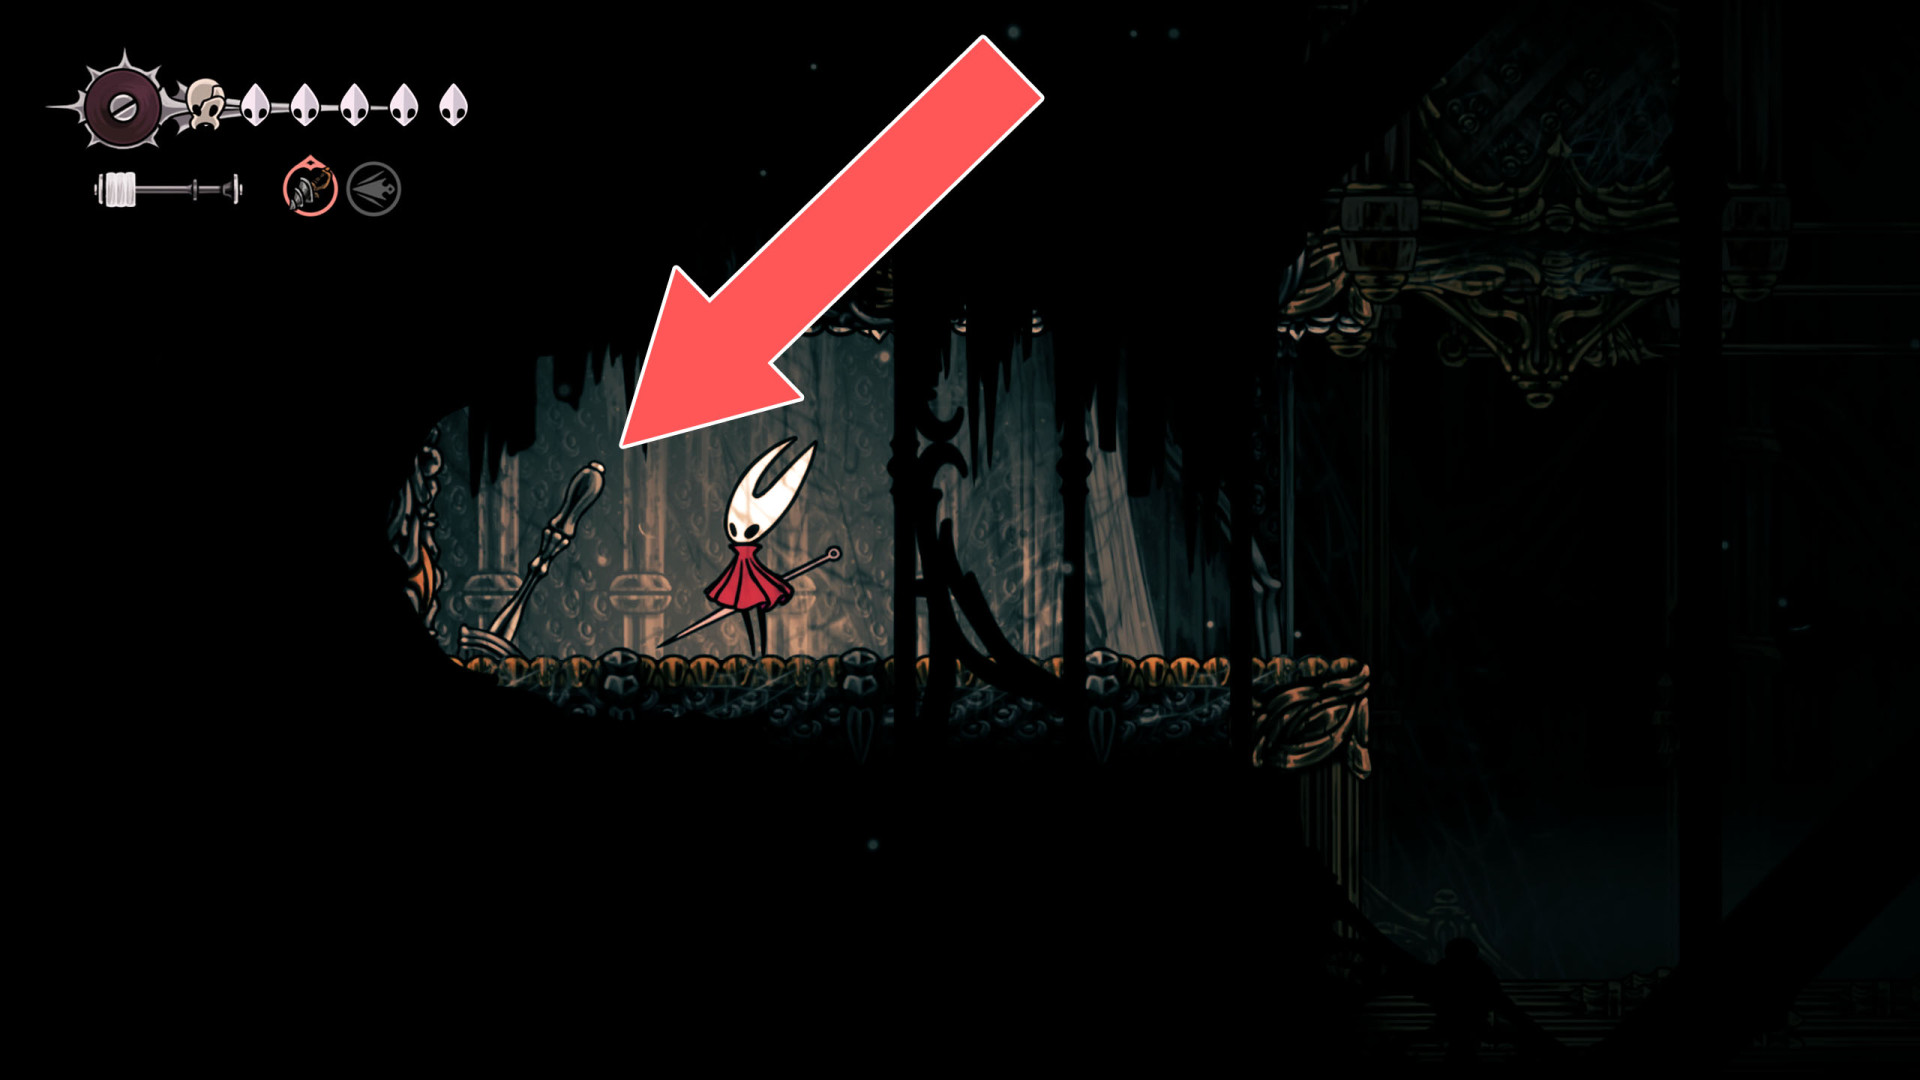
264Locked Gate
The lever that opens this gate is located on its eastern side.
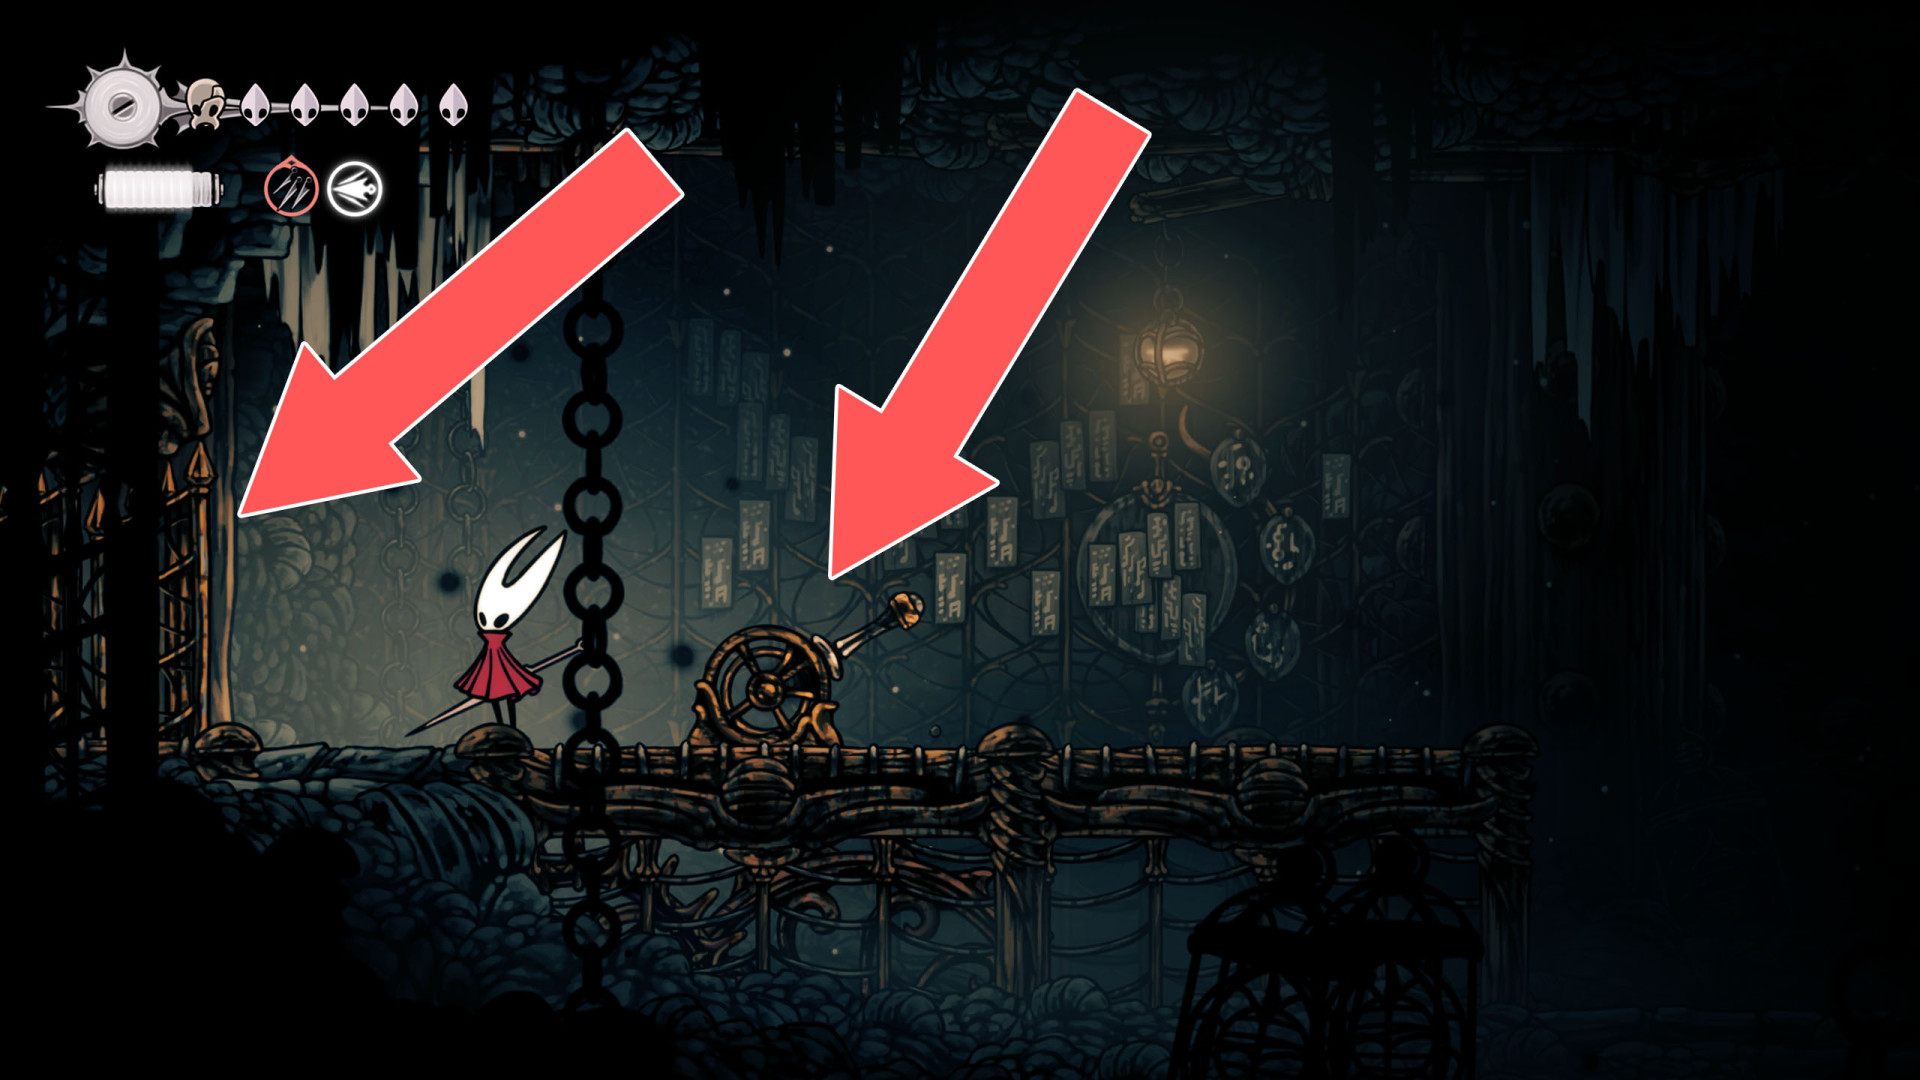
265Locked Gate
The lever that opens this gate is located on its western side.
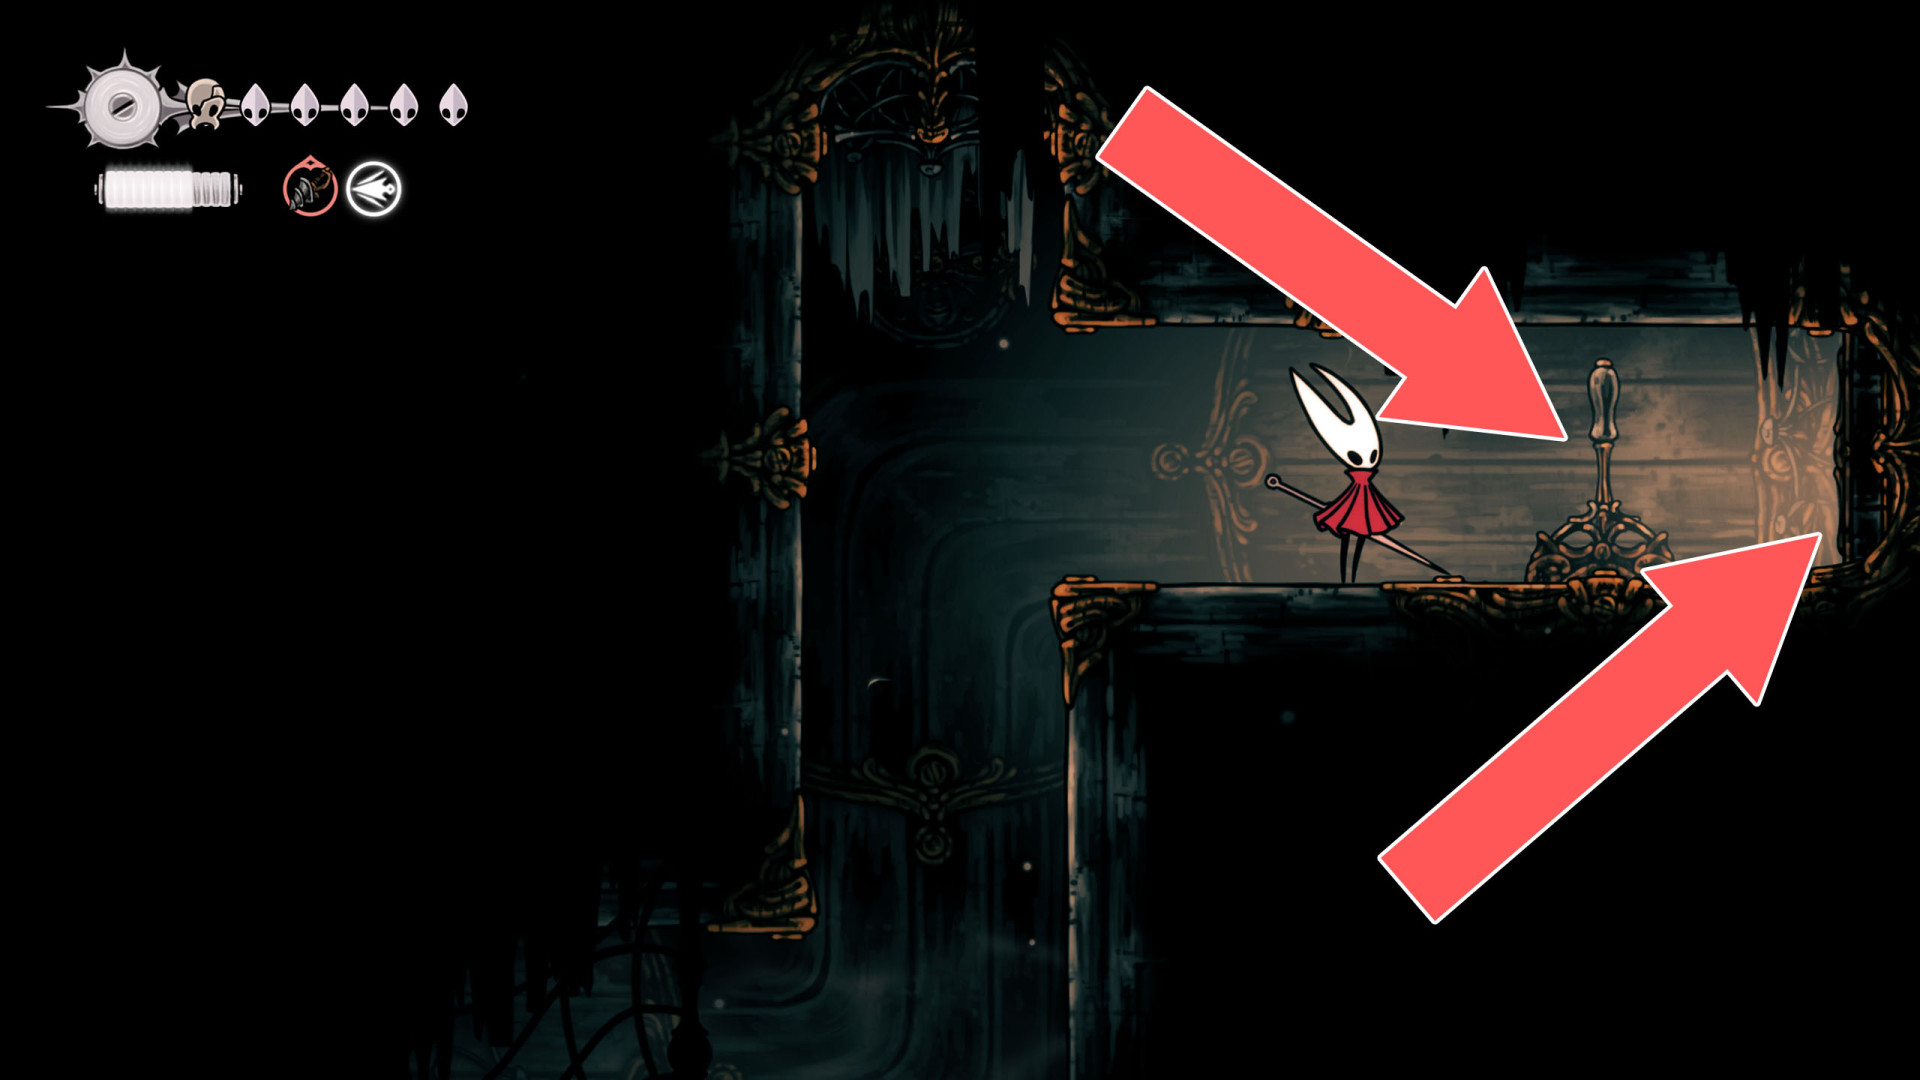
266Locked Gate
Hit a wheel located on the western side a few times to open it.
267Locked Gate
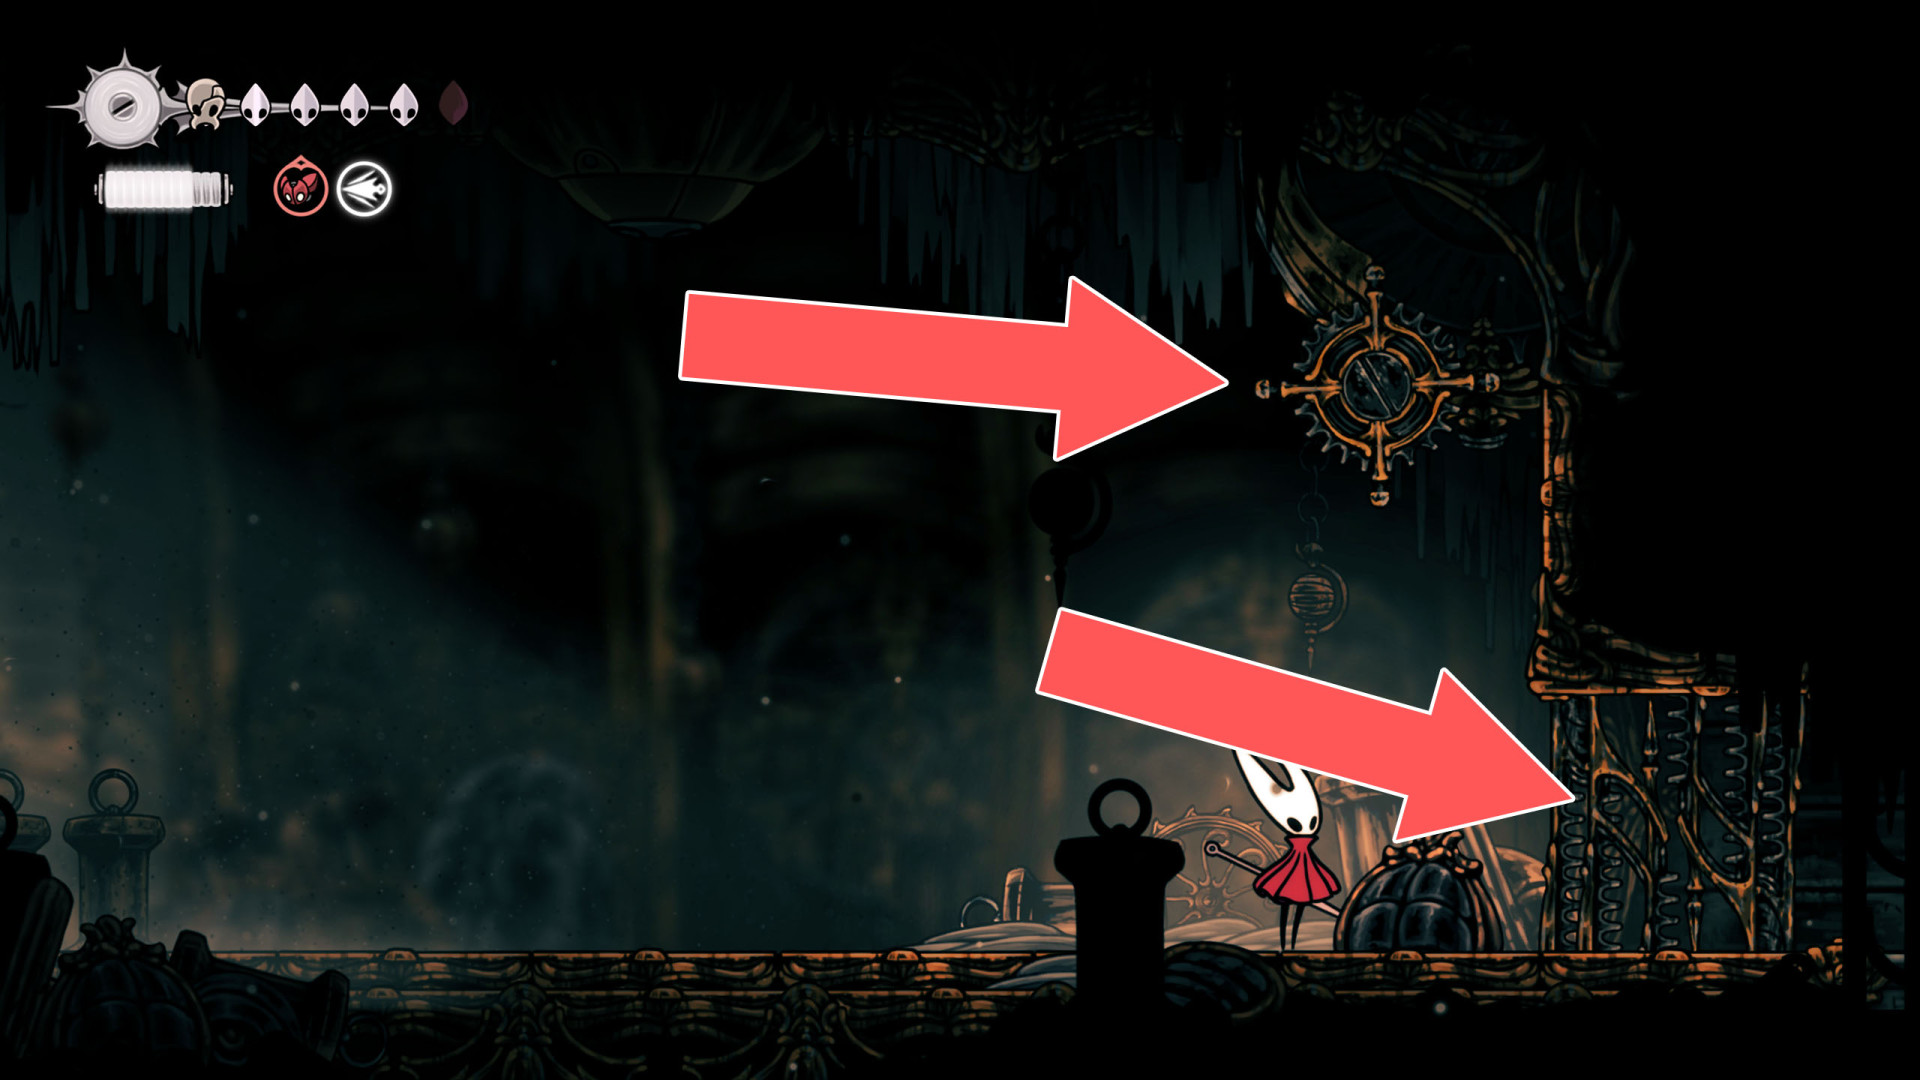
The lever that opens this gate is located on its eastern side.
268Locked Gate
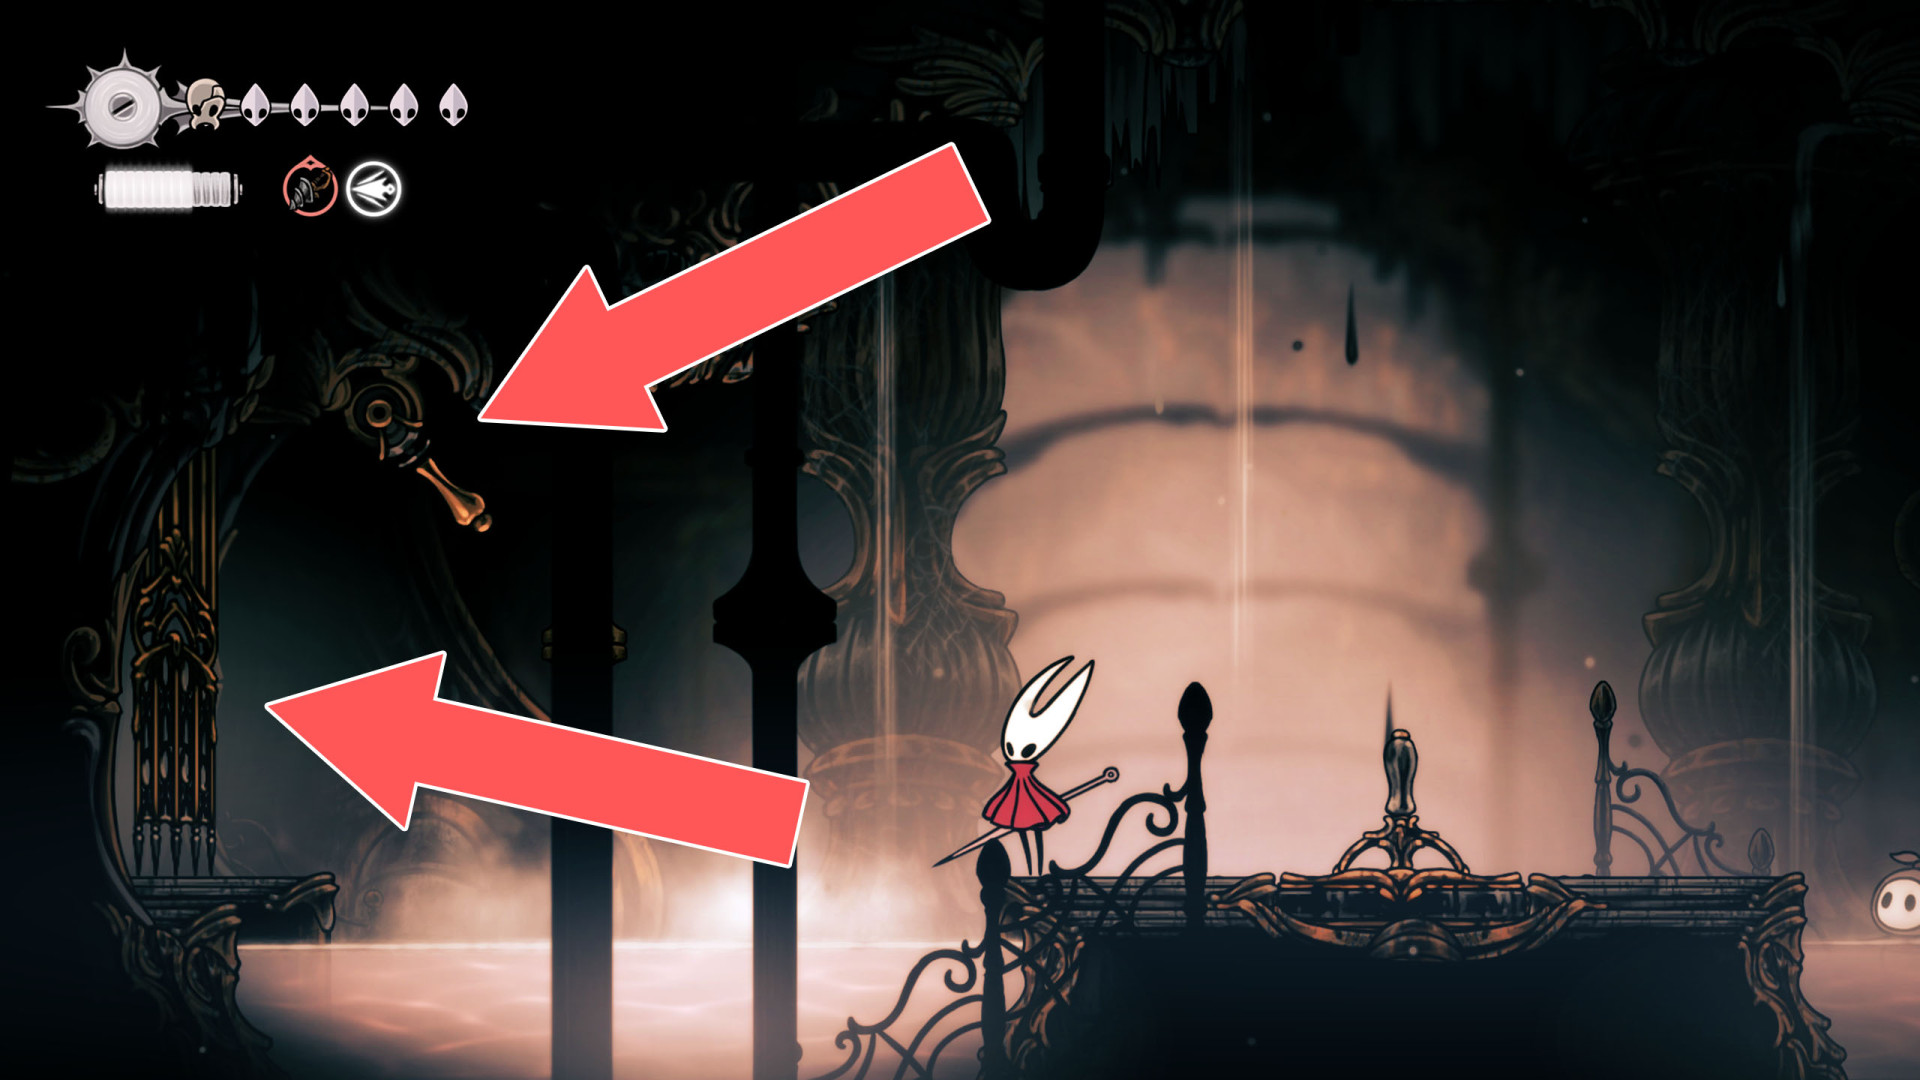
The lever that opens this passage is located on its east side.
269Locked Gate
270Locked Gate
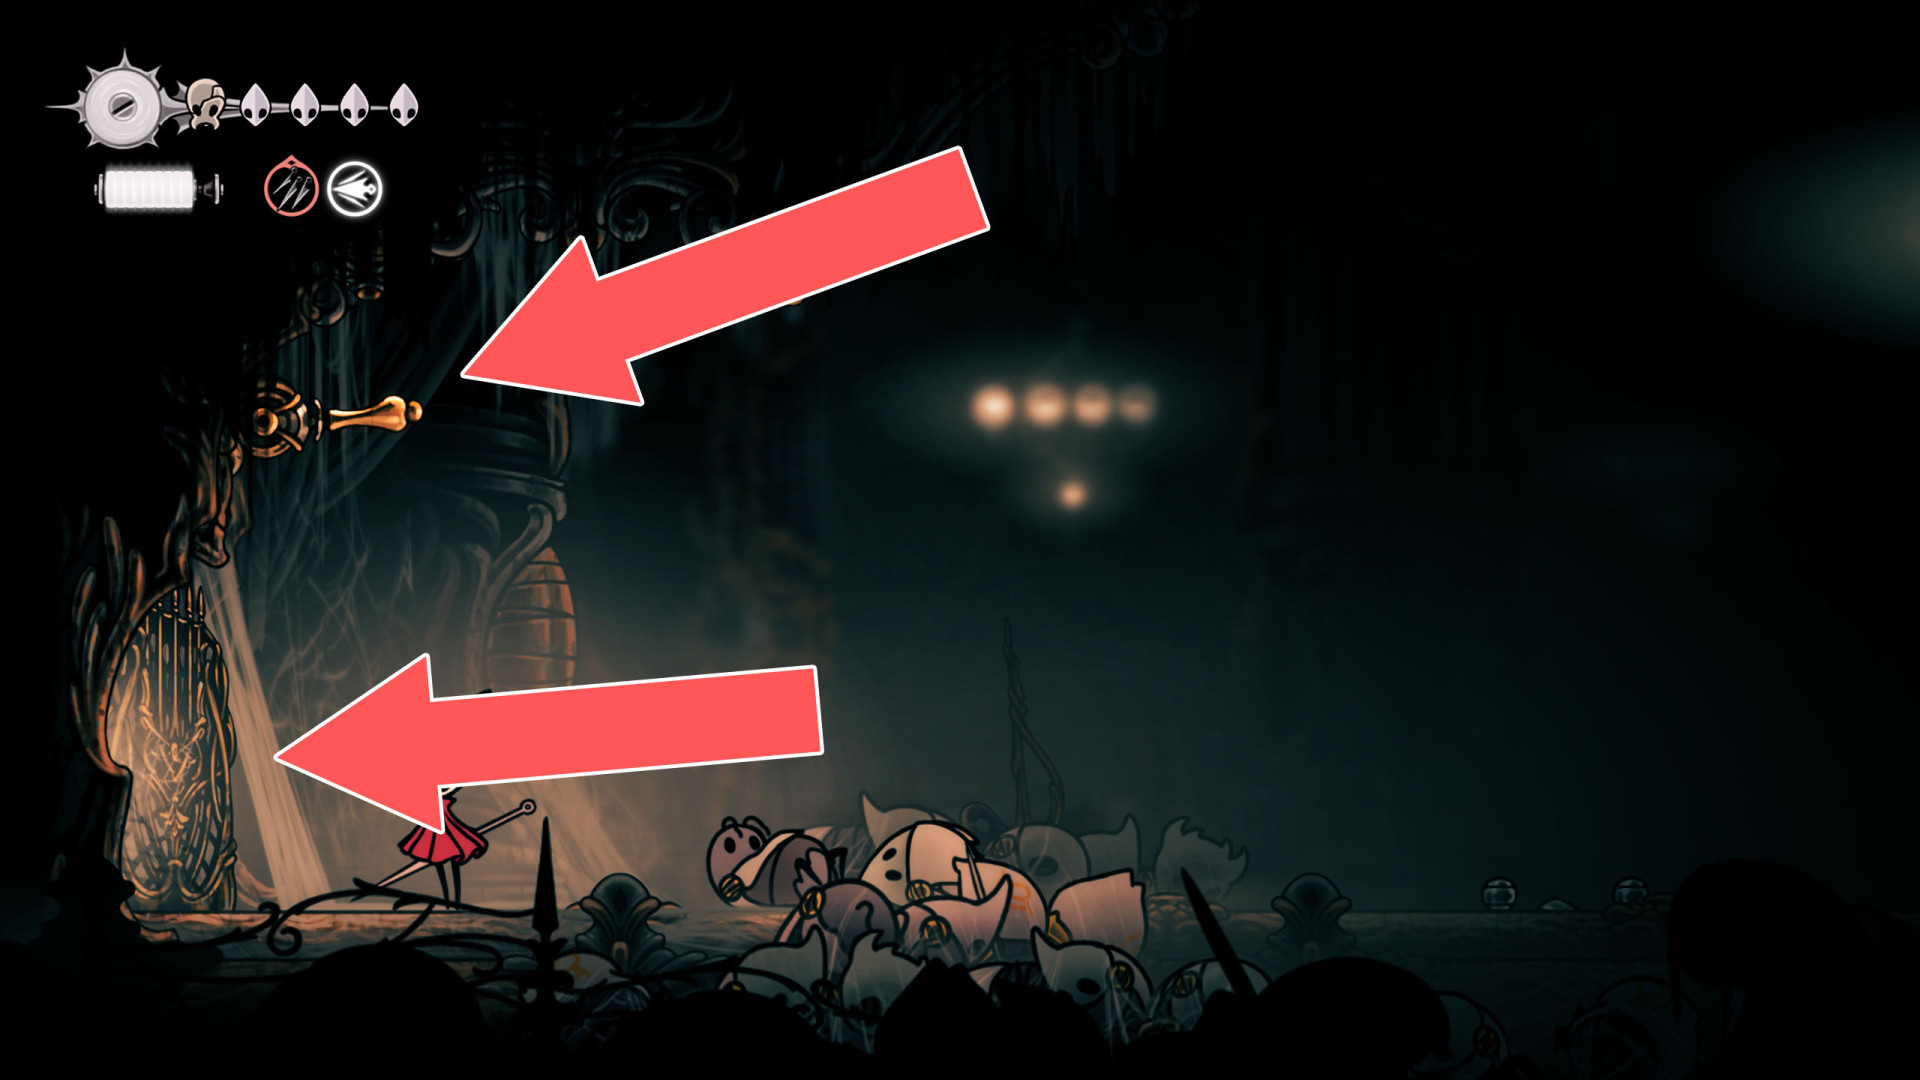
The lever that opens this gate is located on the east side.
271Locked Gate
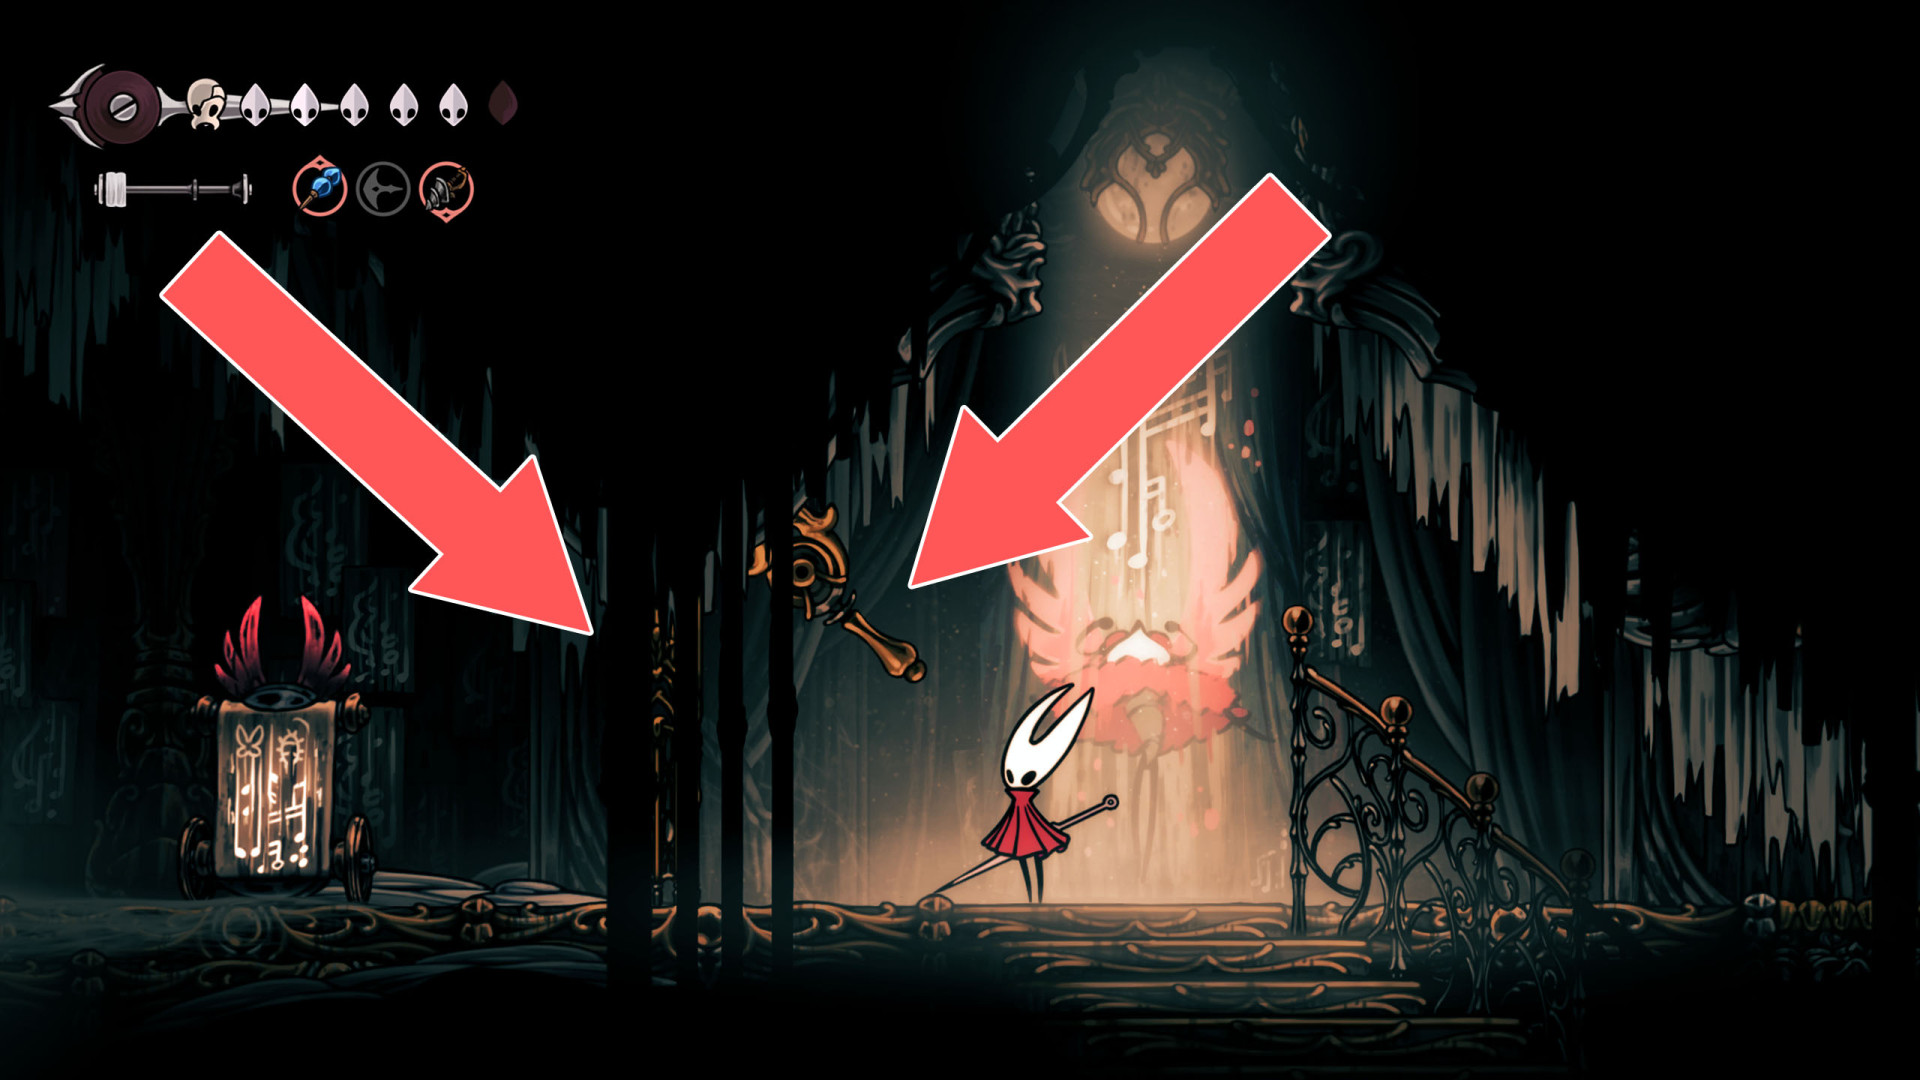
The lever that opens this gate is located on its western side.
272Locked Gate
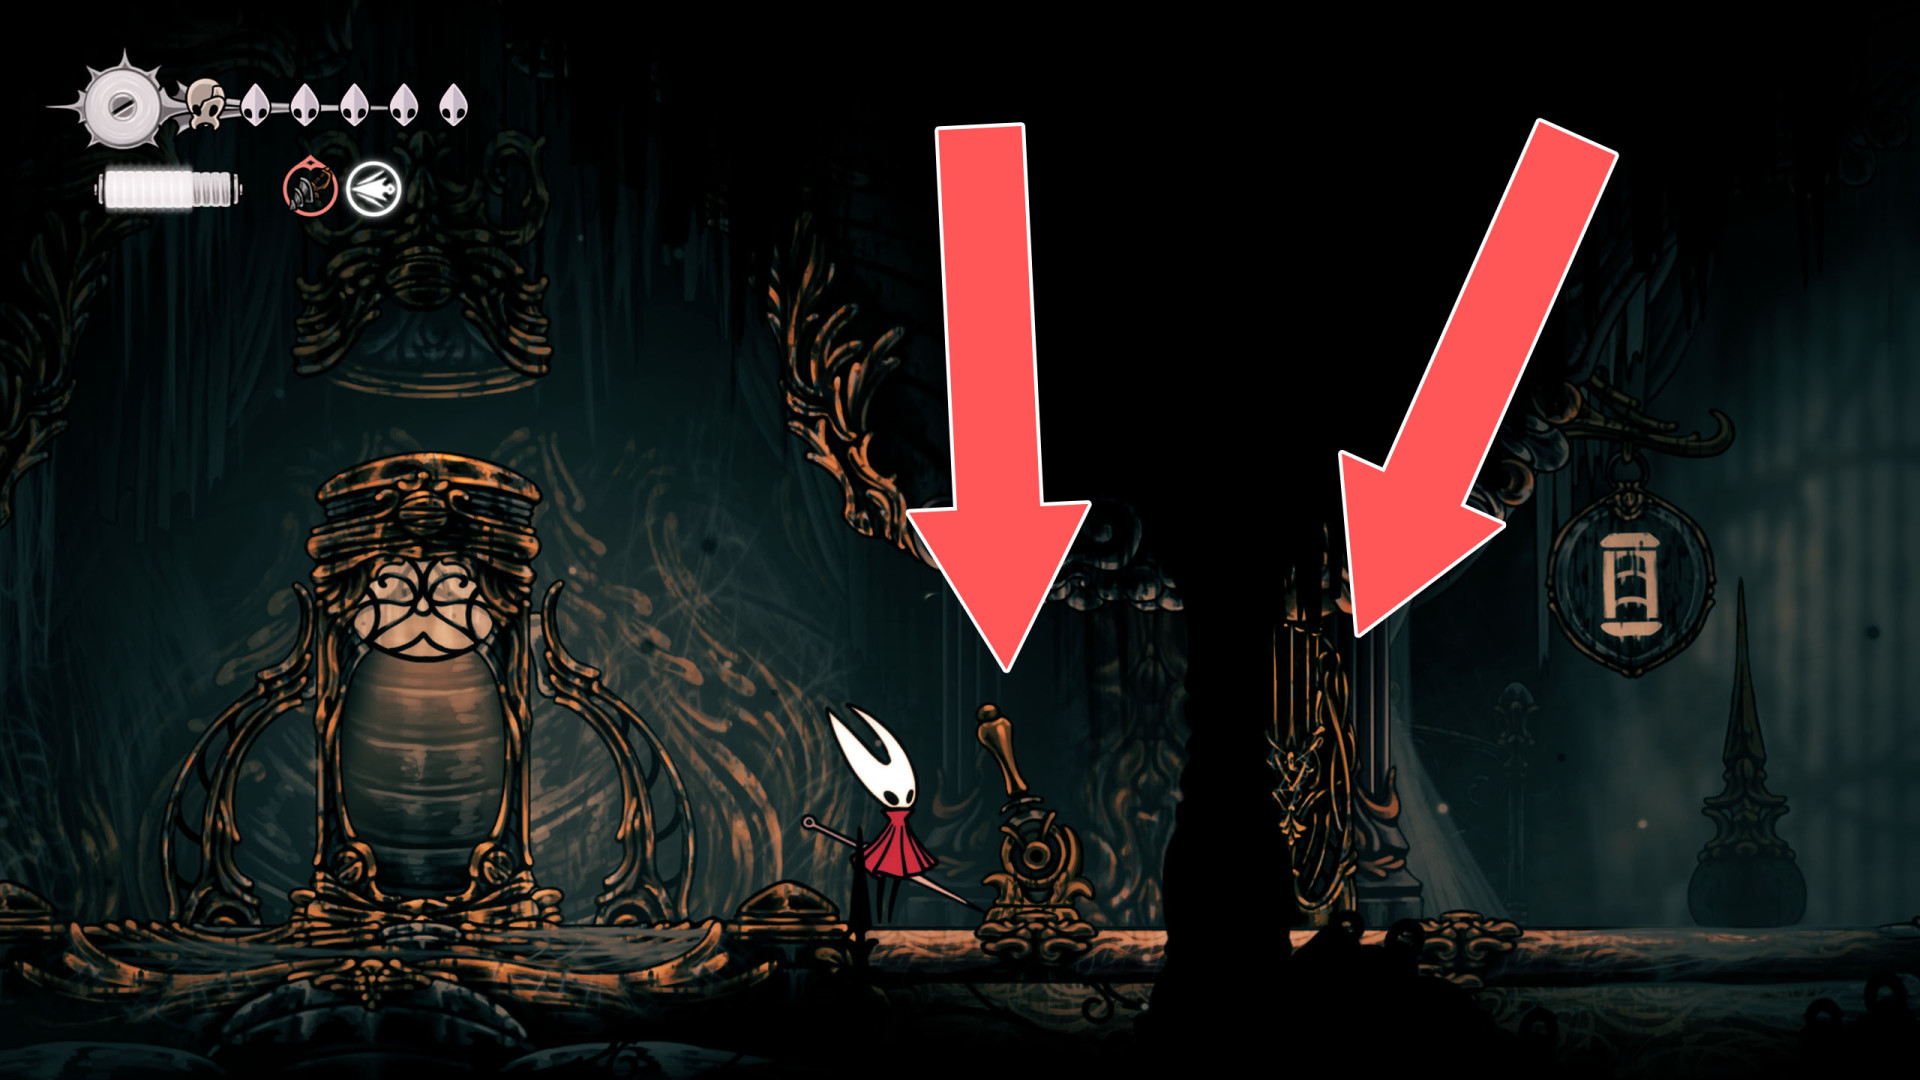
Step onto the pressure plate to open this door.
273Locked Gate
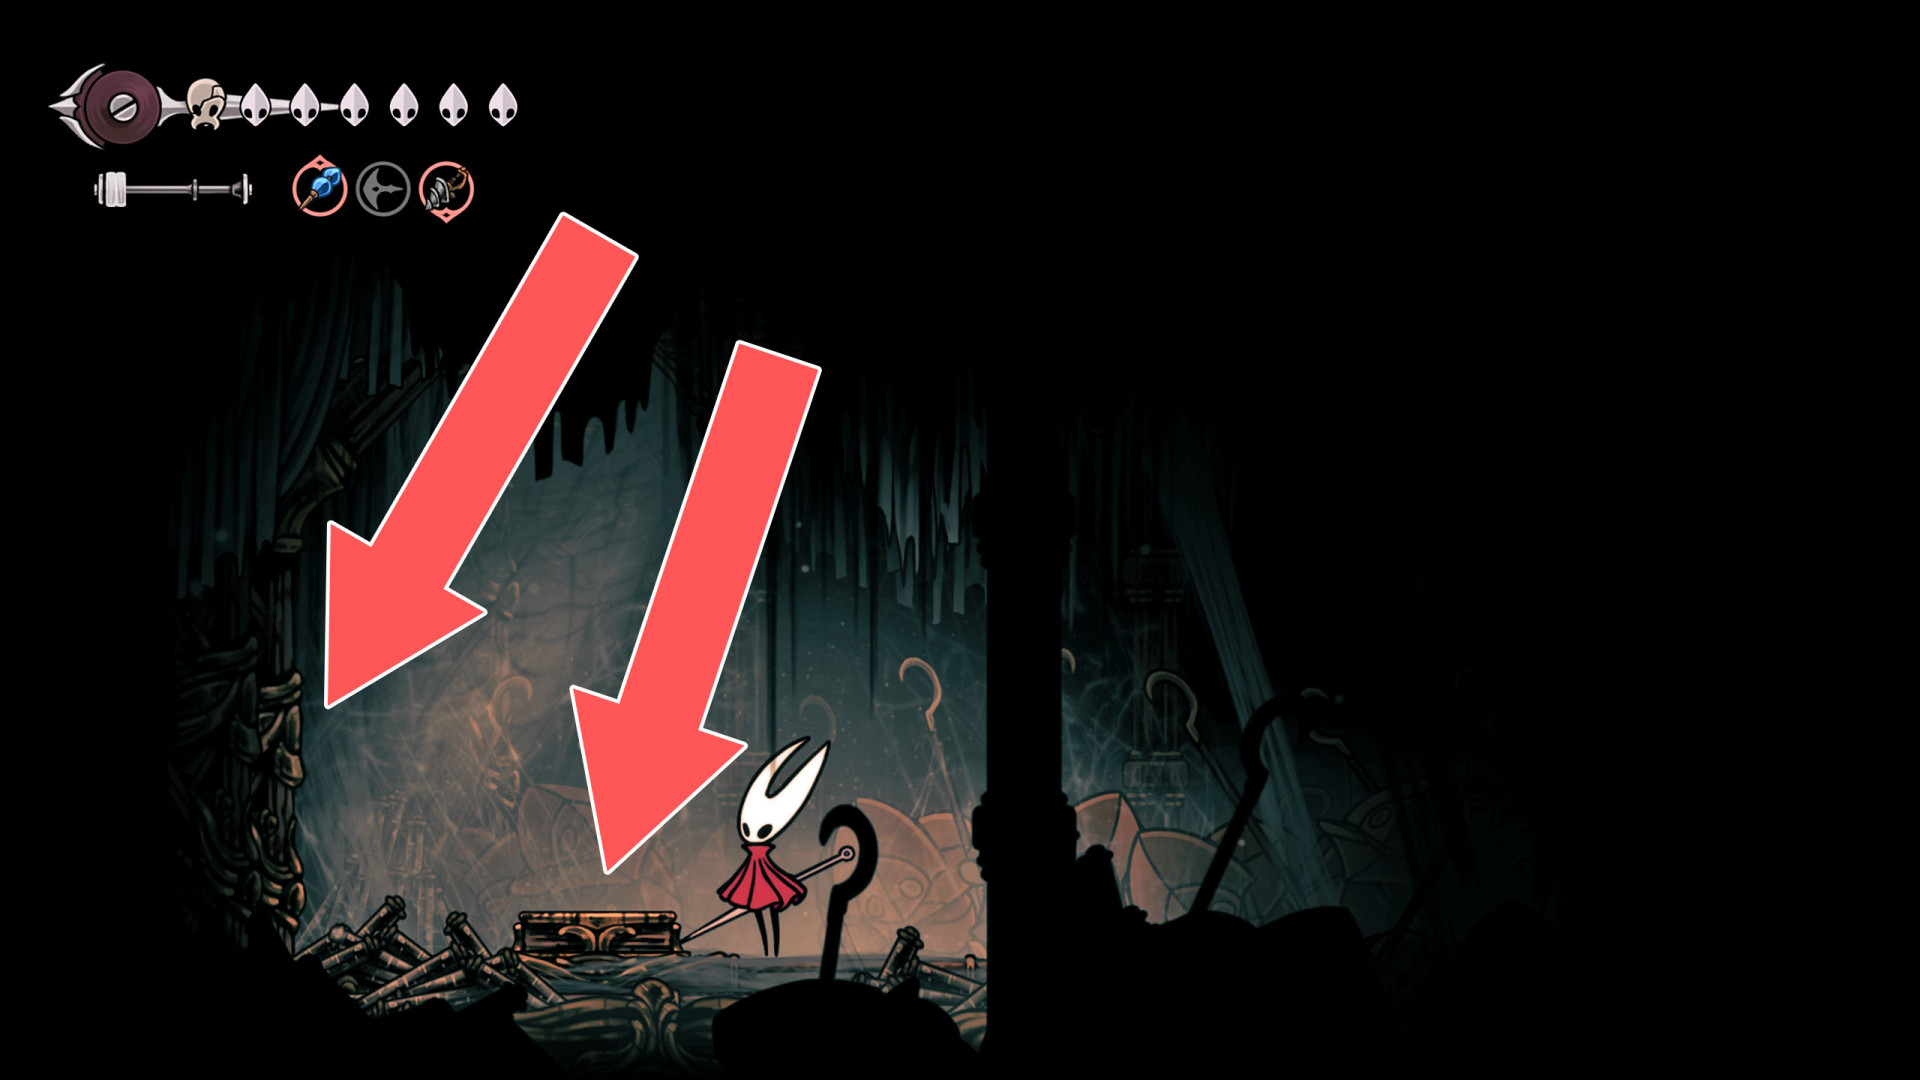
The lever that opens this passage is located on the east side.
274Locked Gate
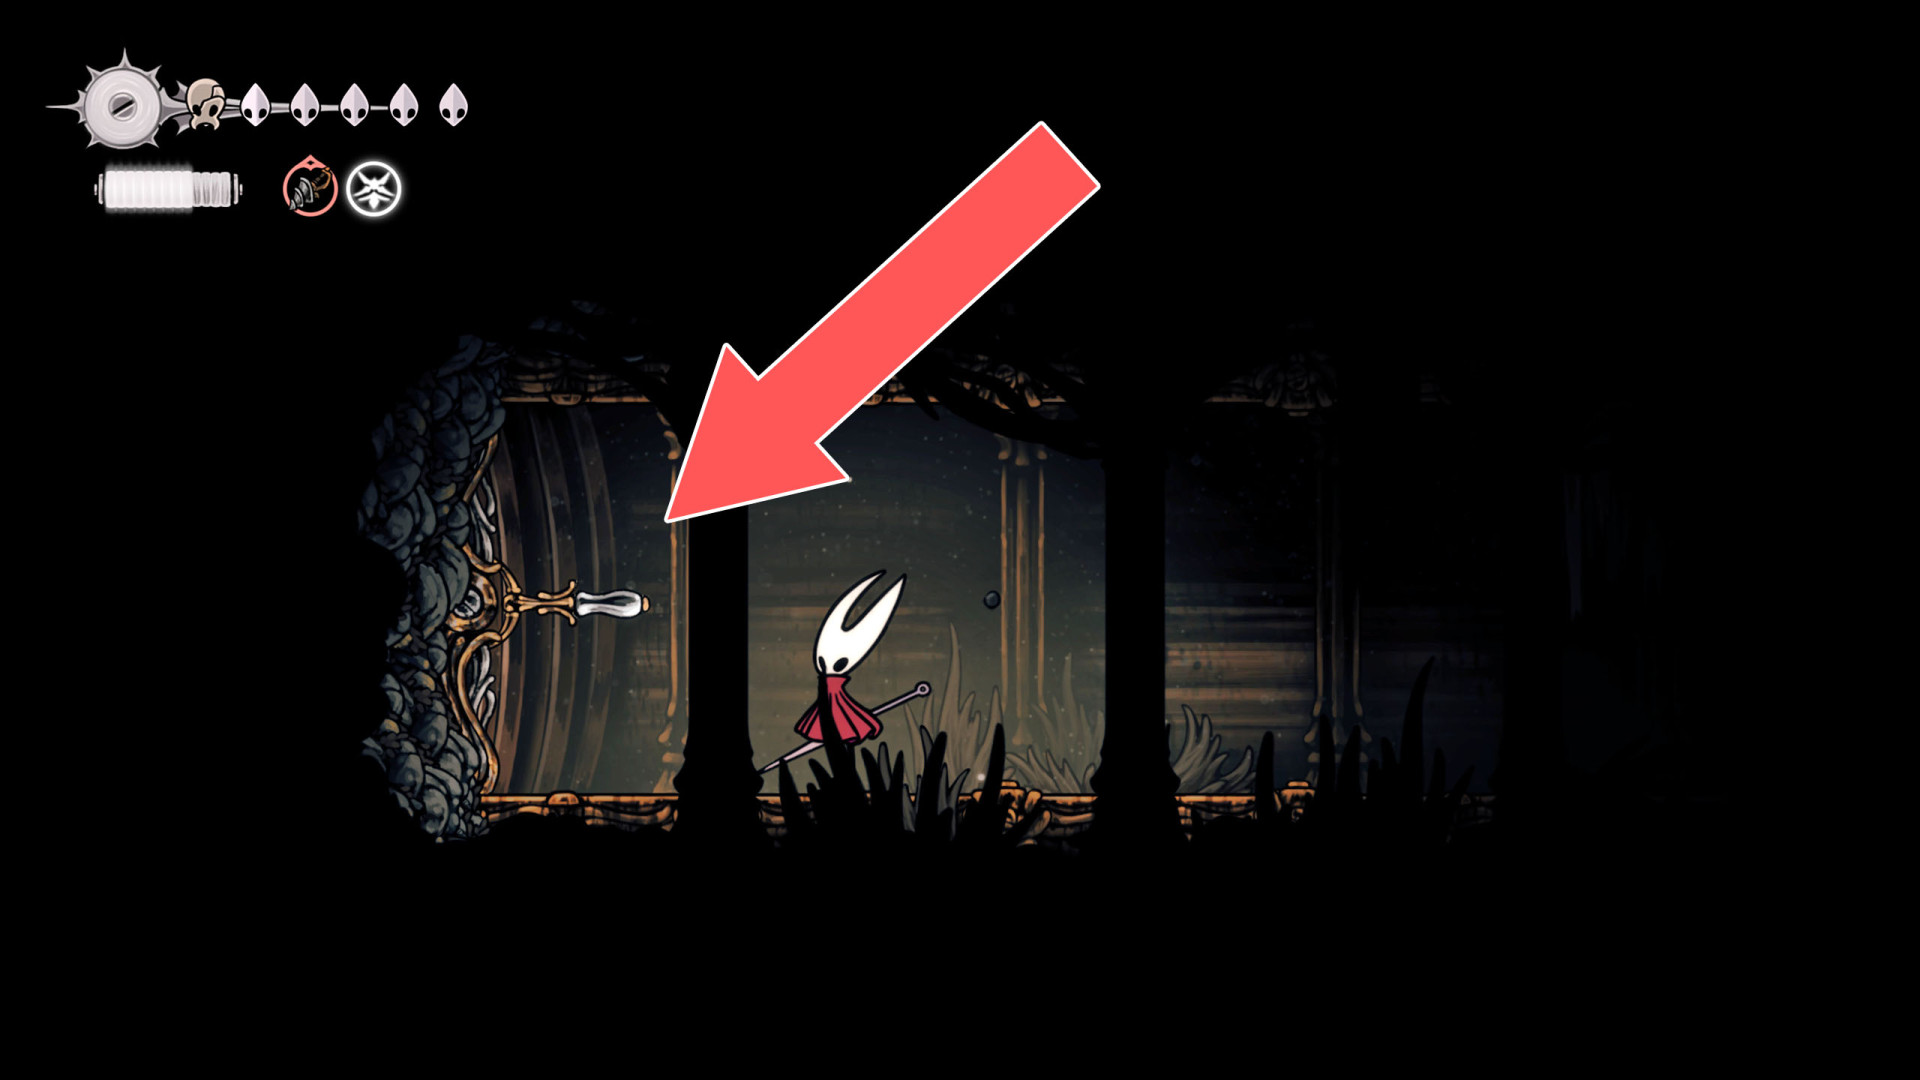
The lever that opens this gate is located on the east side.
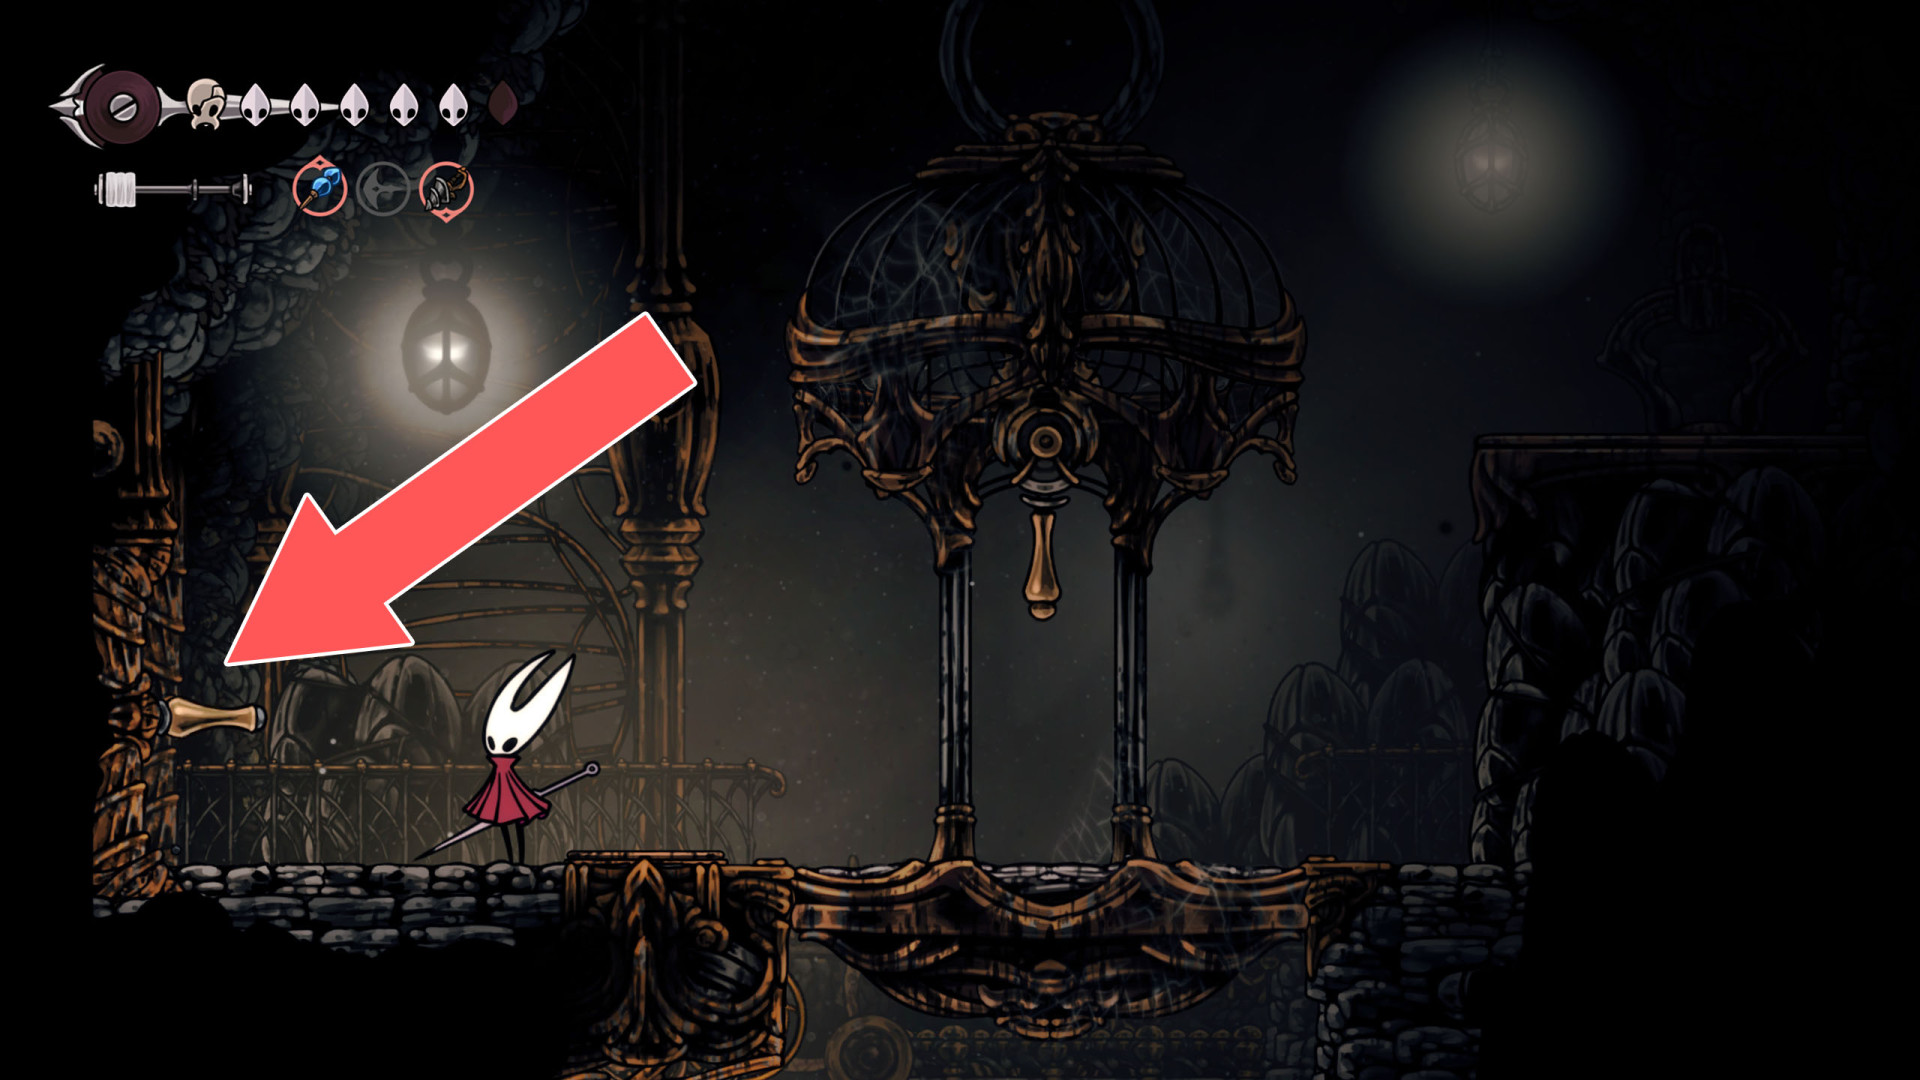
275Locked Gate
The lever that opens this passage is located on the east side.
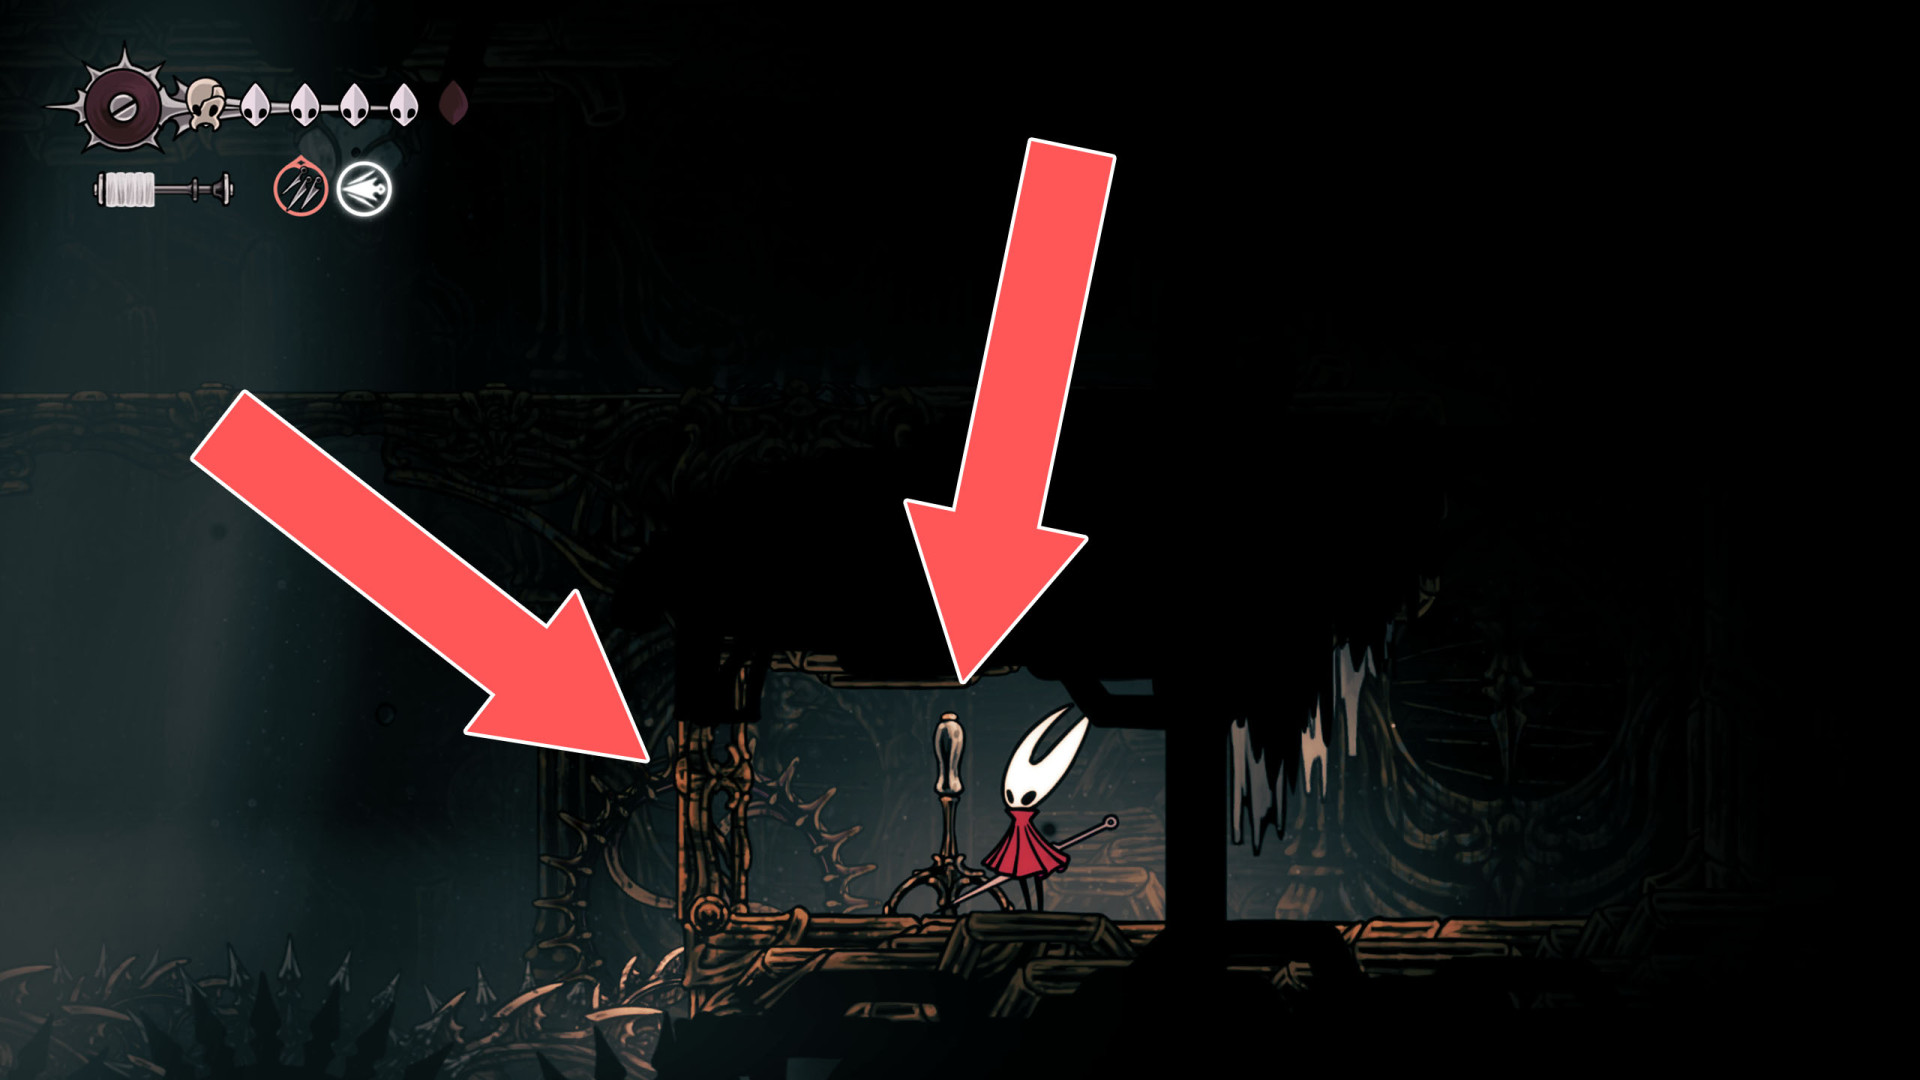
276Locked Gate
The lever that opens this passage is located on its east side.
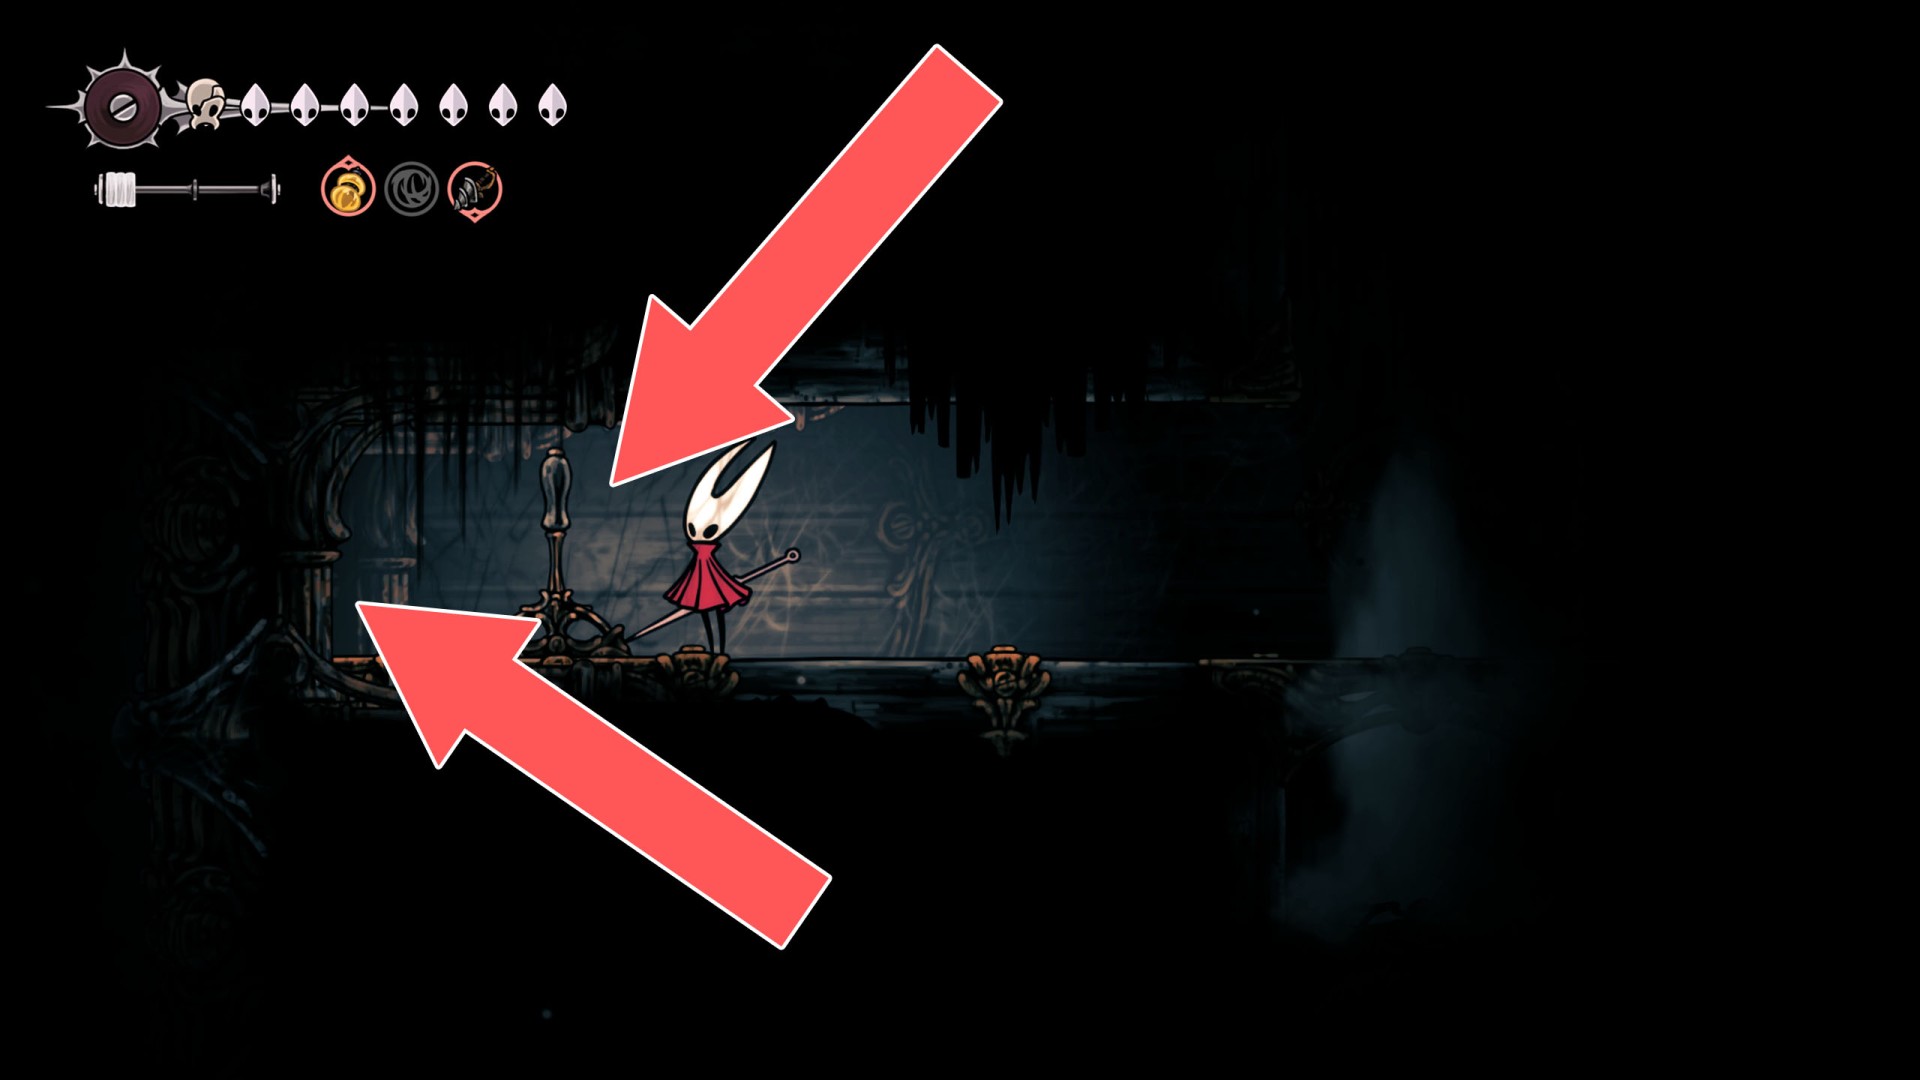
277Locked Gate
The lever that opens this passage is located on its east side.
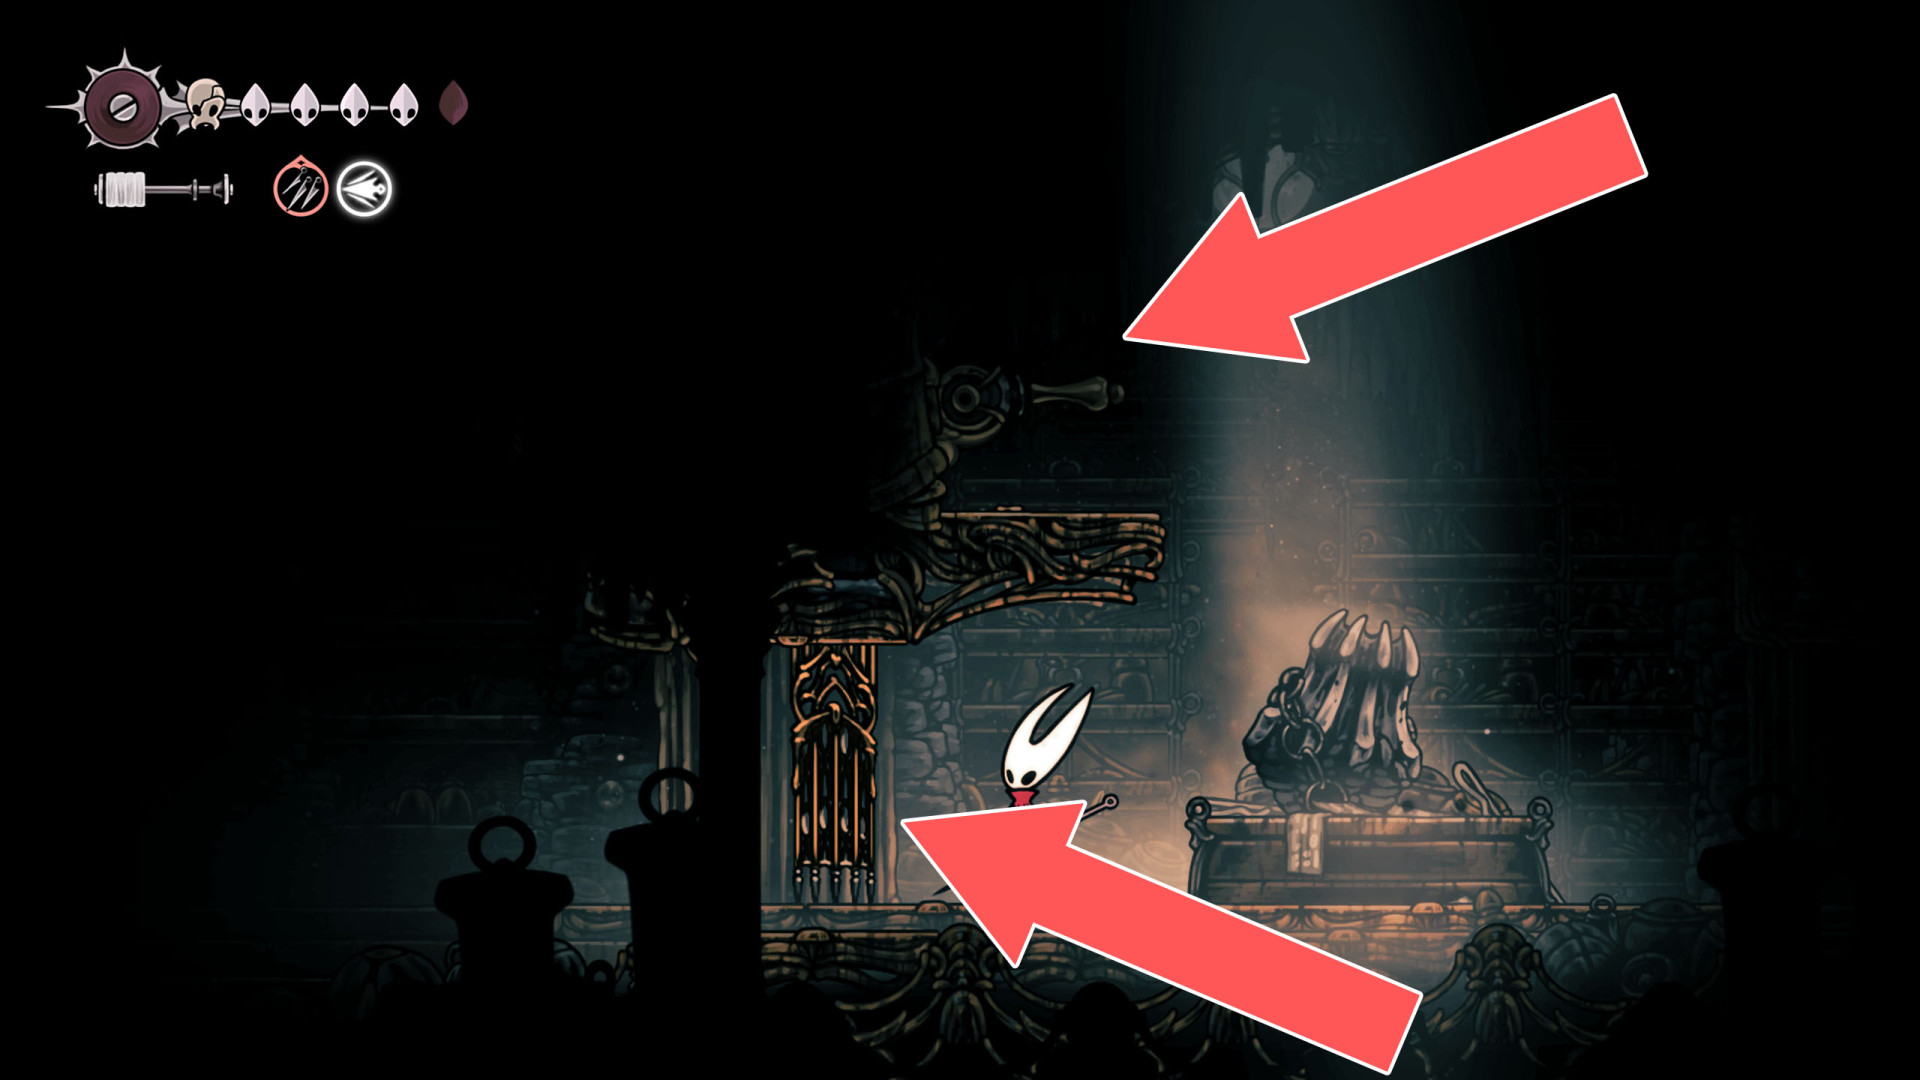
278Locked Gate
This gate can be opened from the western side.
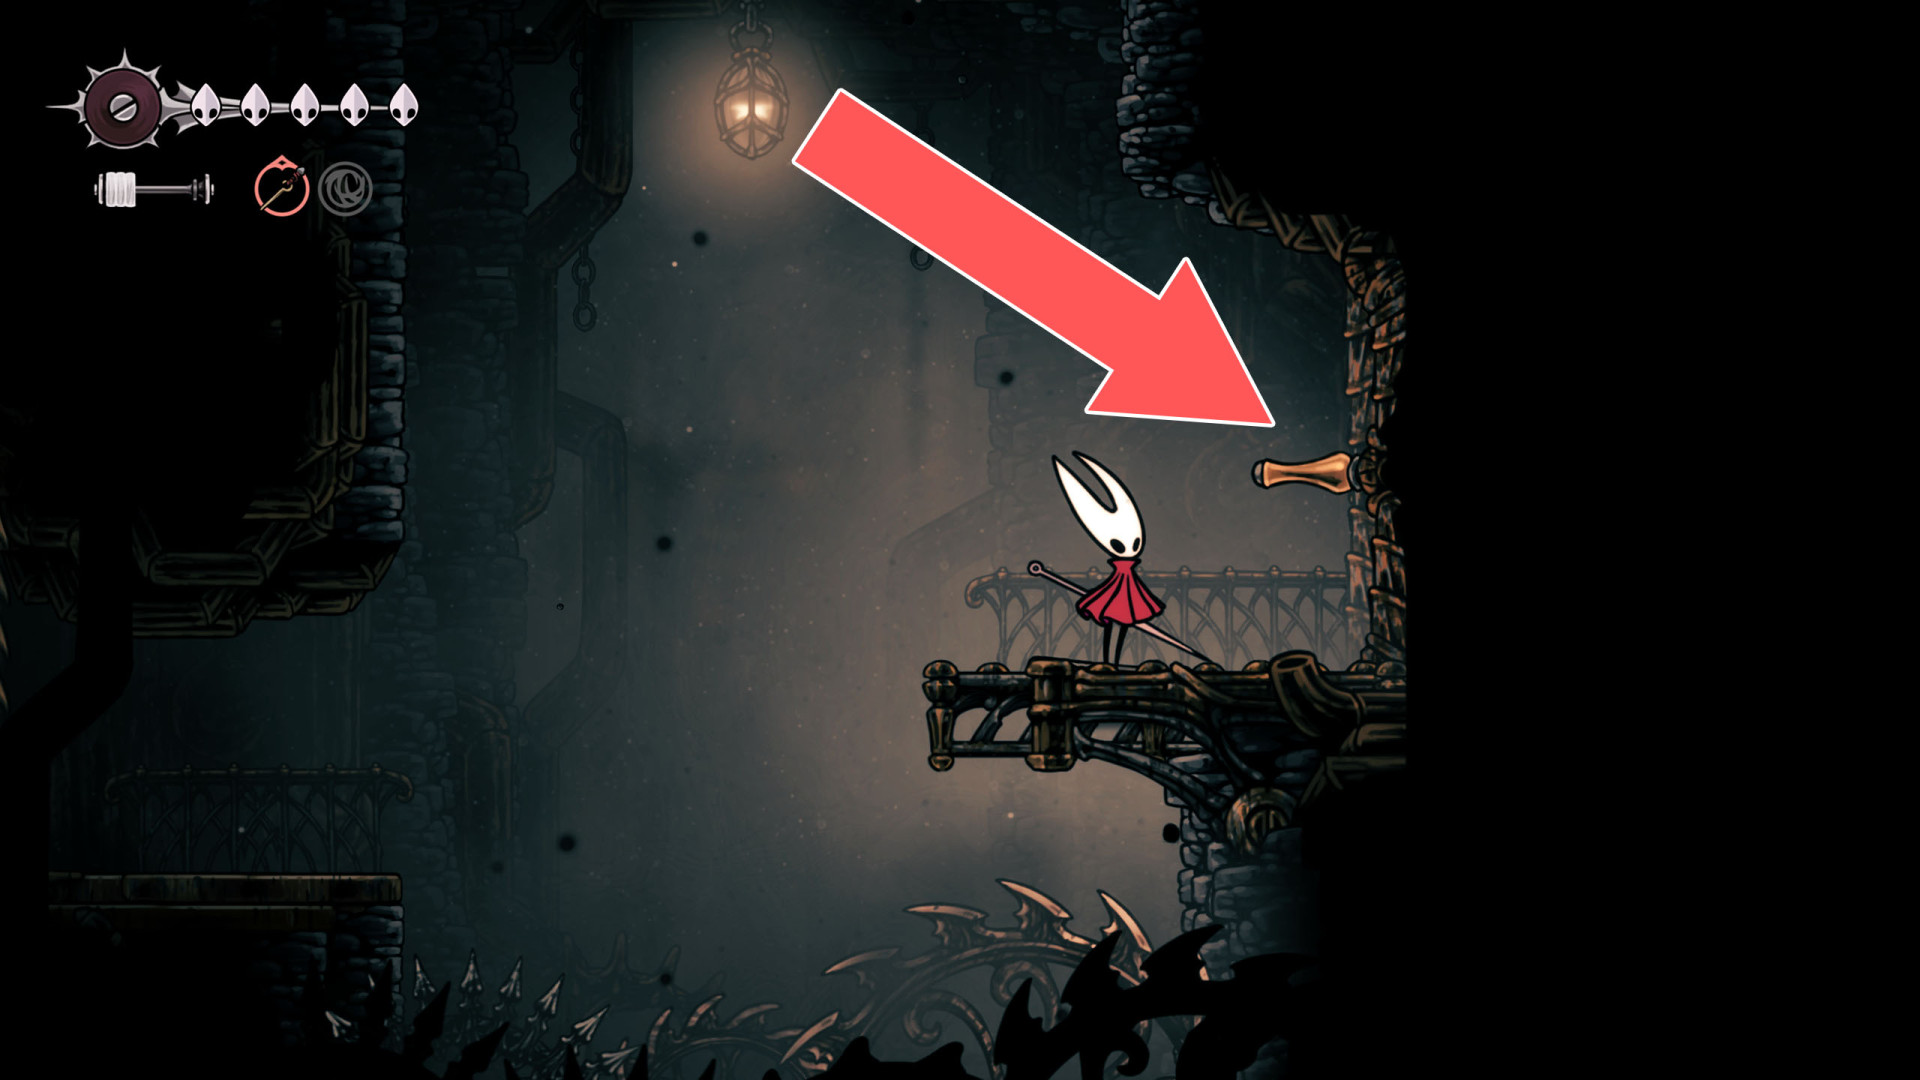
279Locked Gate
The lever that opens this gate is located on its western side.
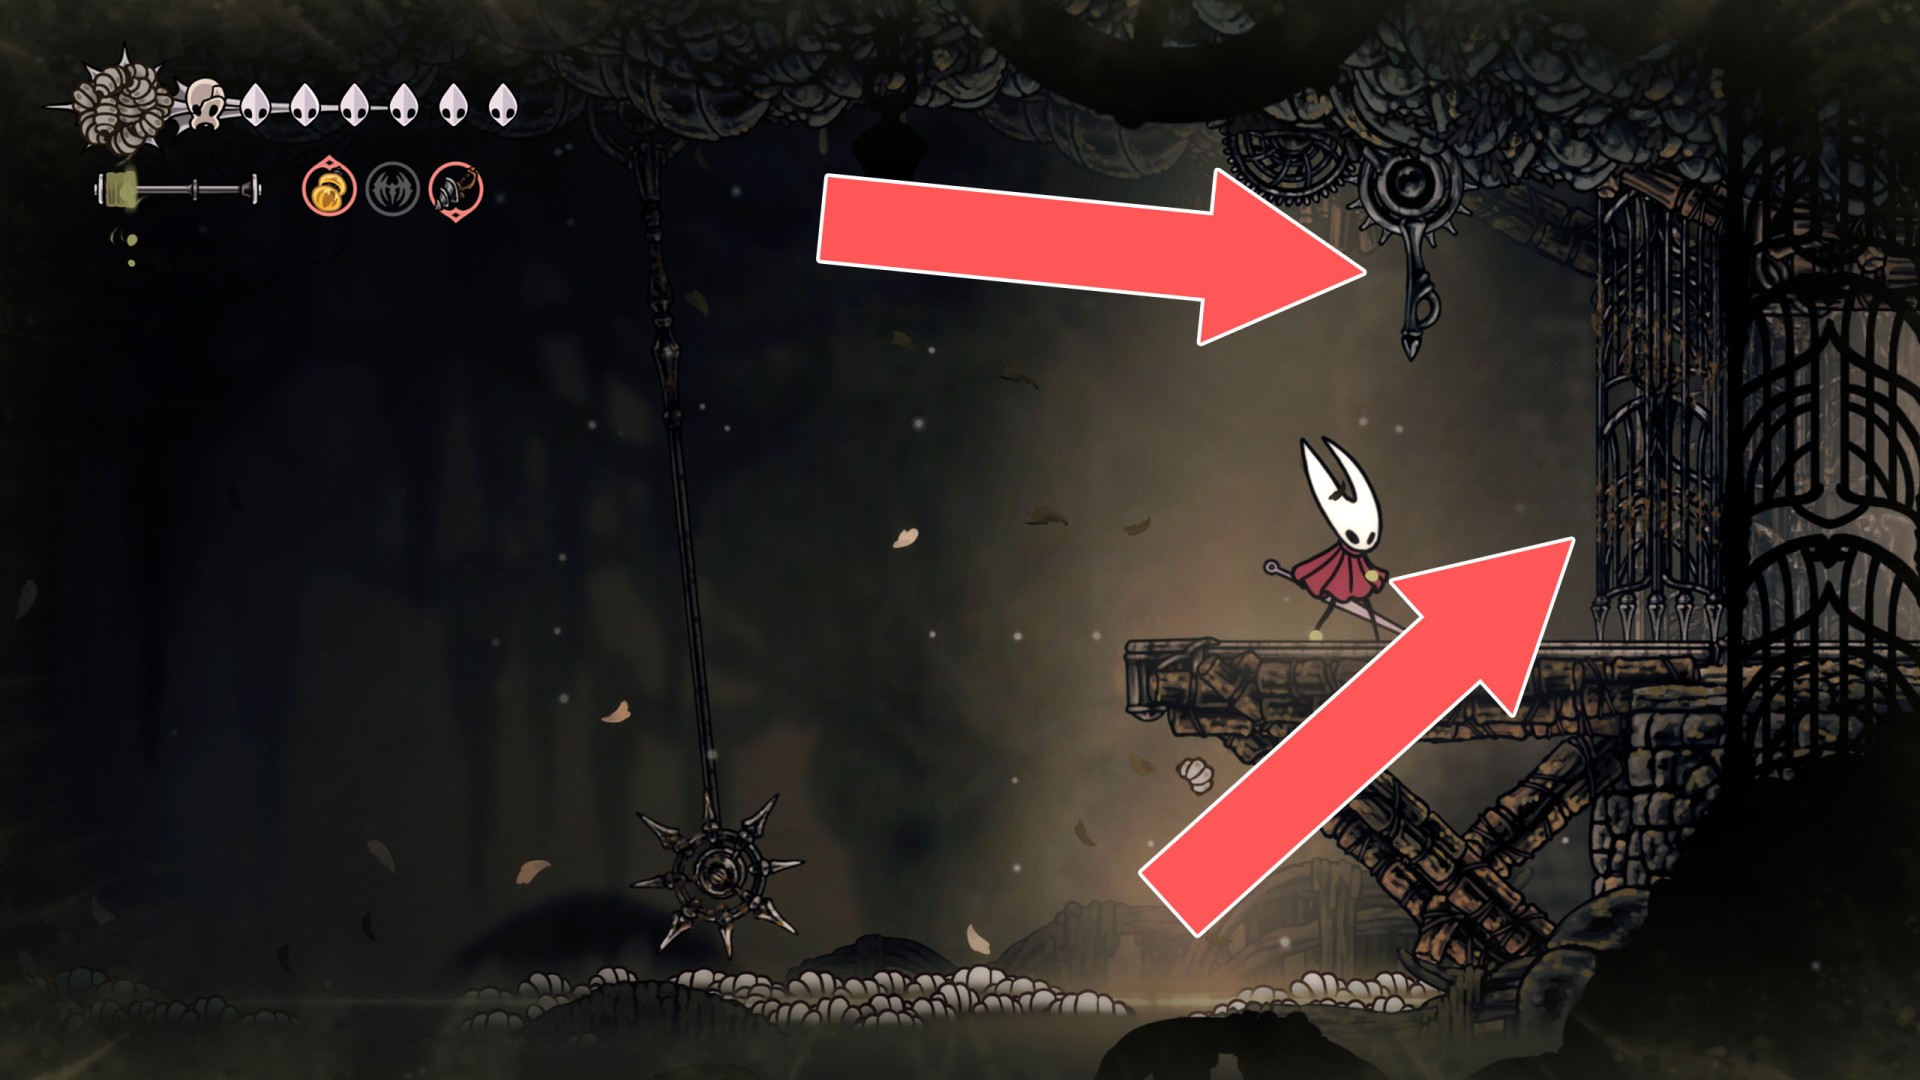
280Locked Gate
The lever that opens this gate is located on its eastern side.
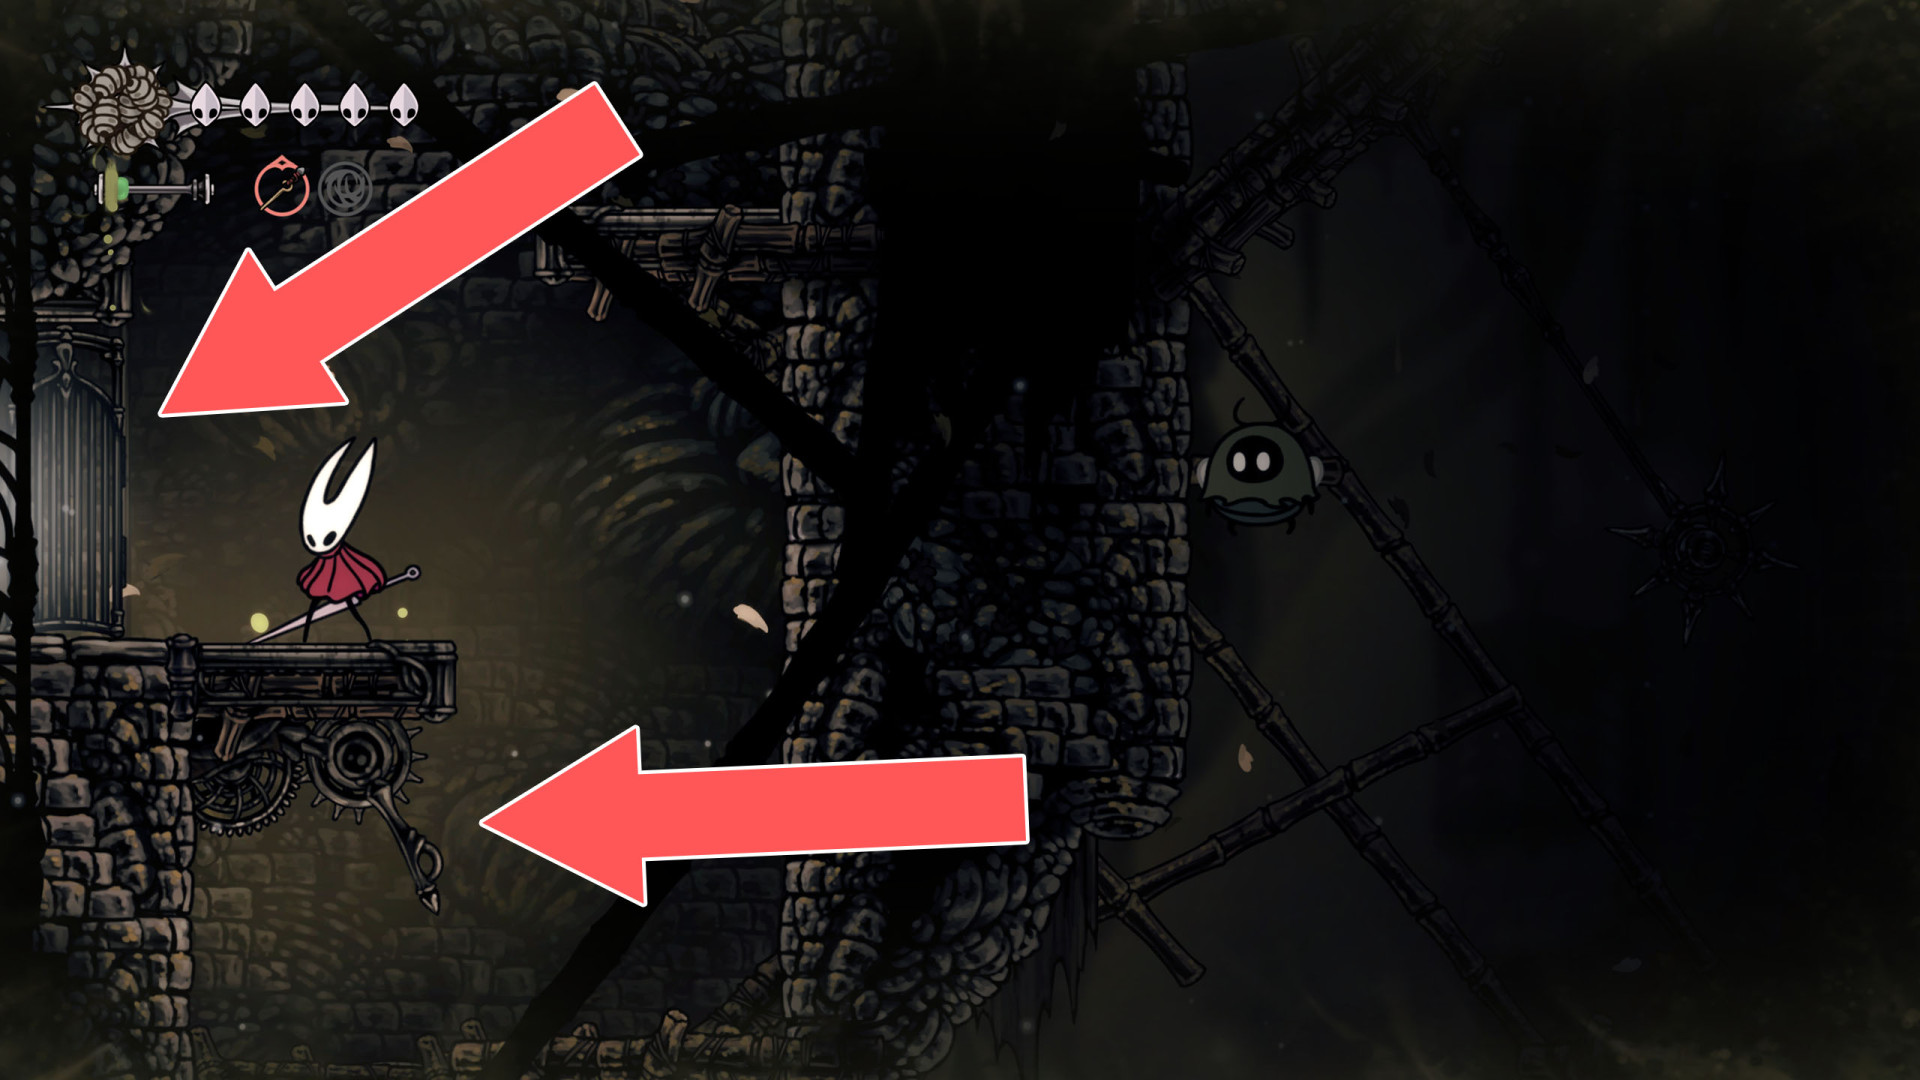
281Locked Gate
The lever that opens this gate is located on its eastern side.
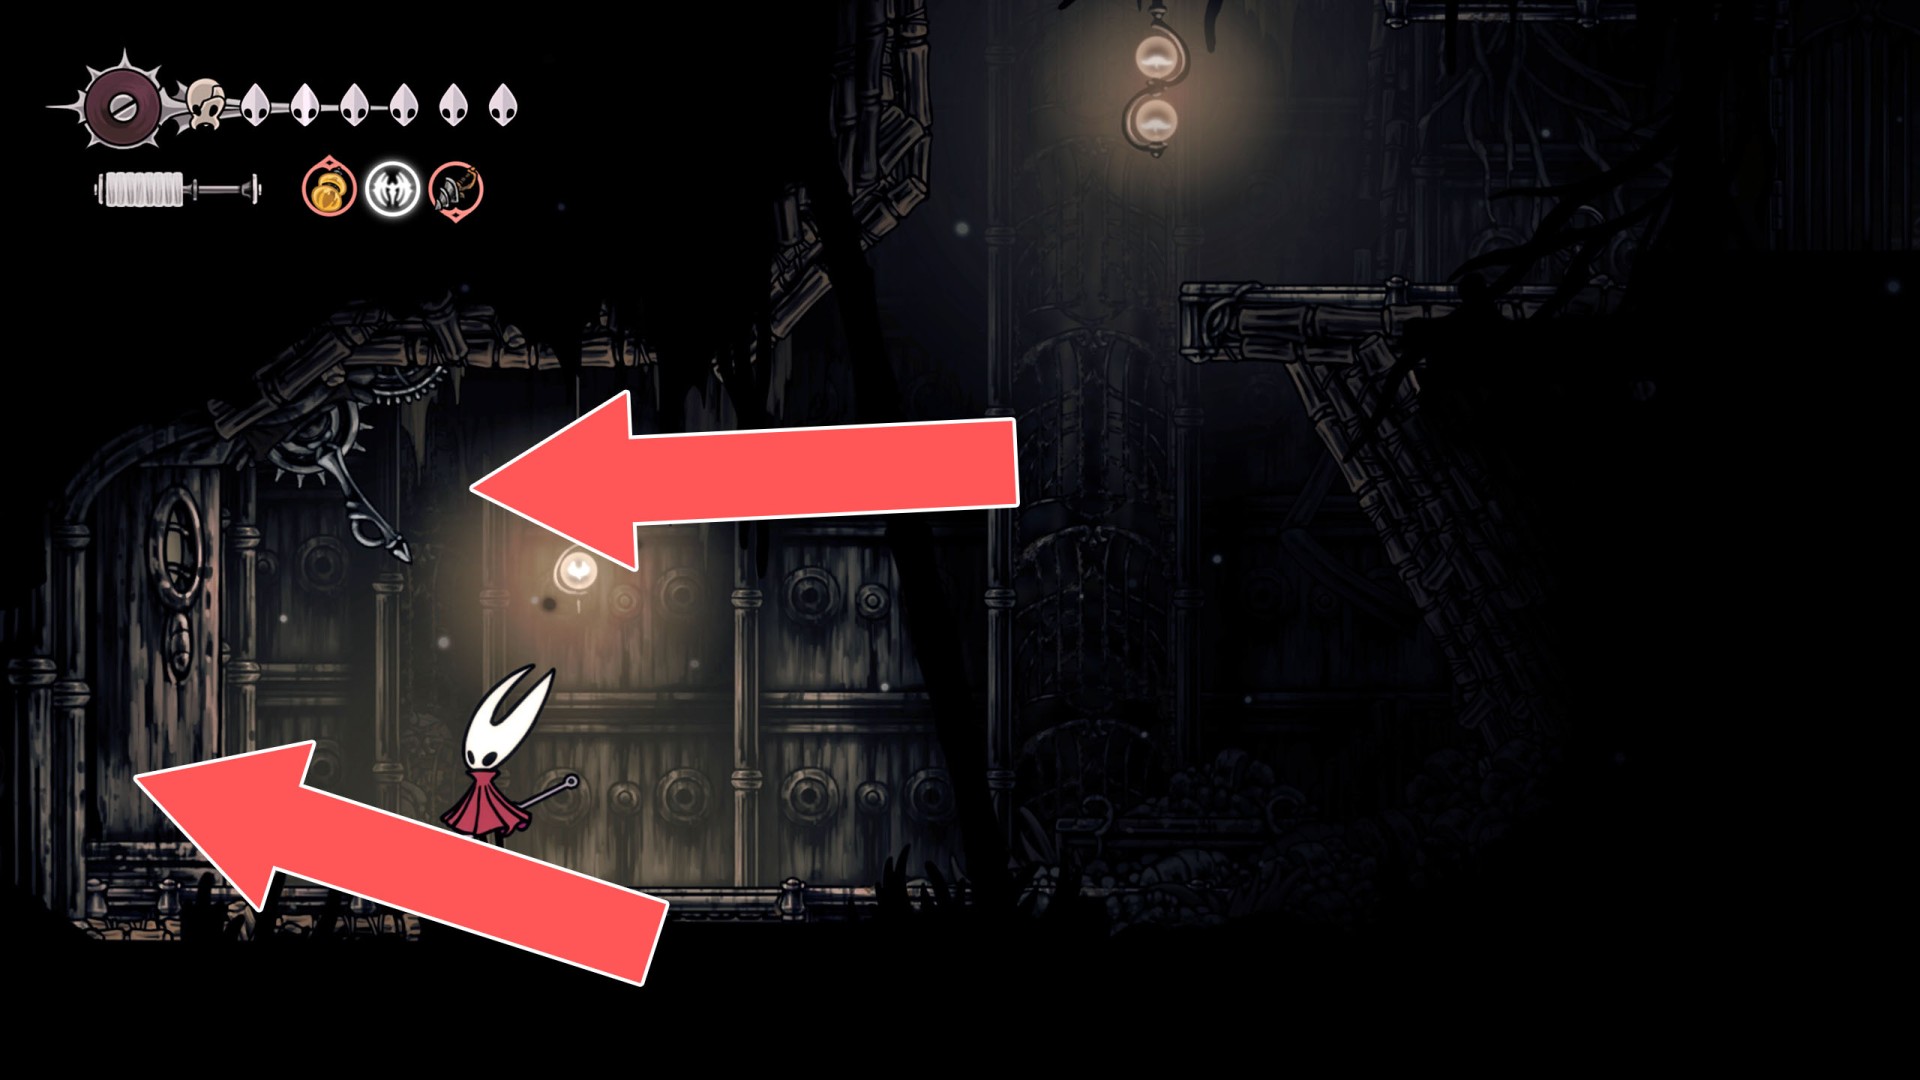
282Locked Gate
The pressure plate that opens this gate is located on its east side.
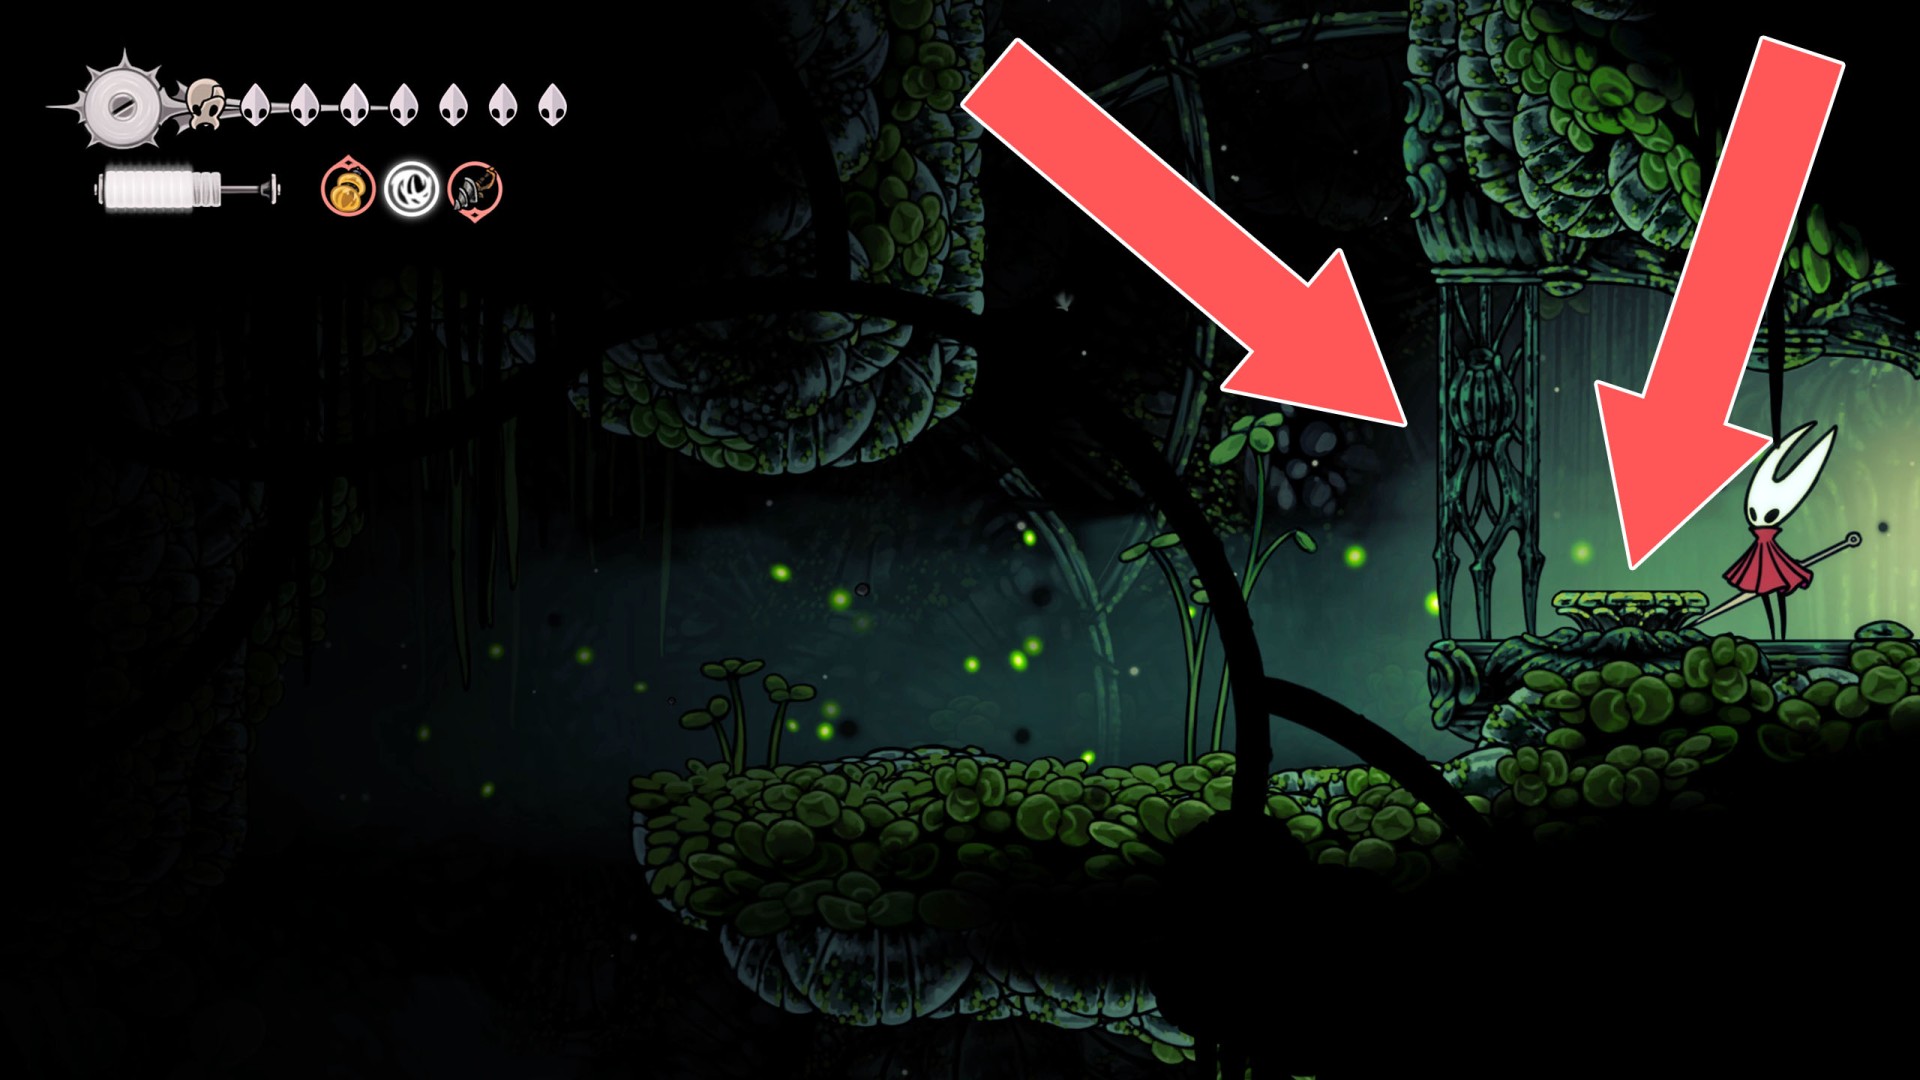
283Locked Gate
The lever that opens the gate is located on its eastern side.
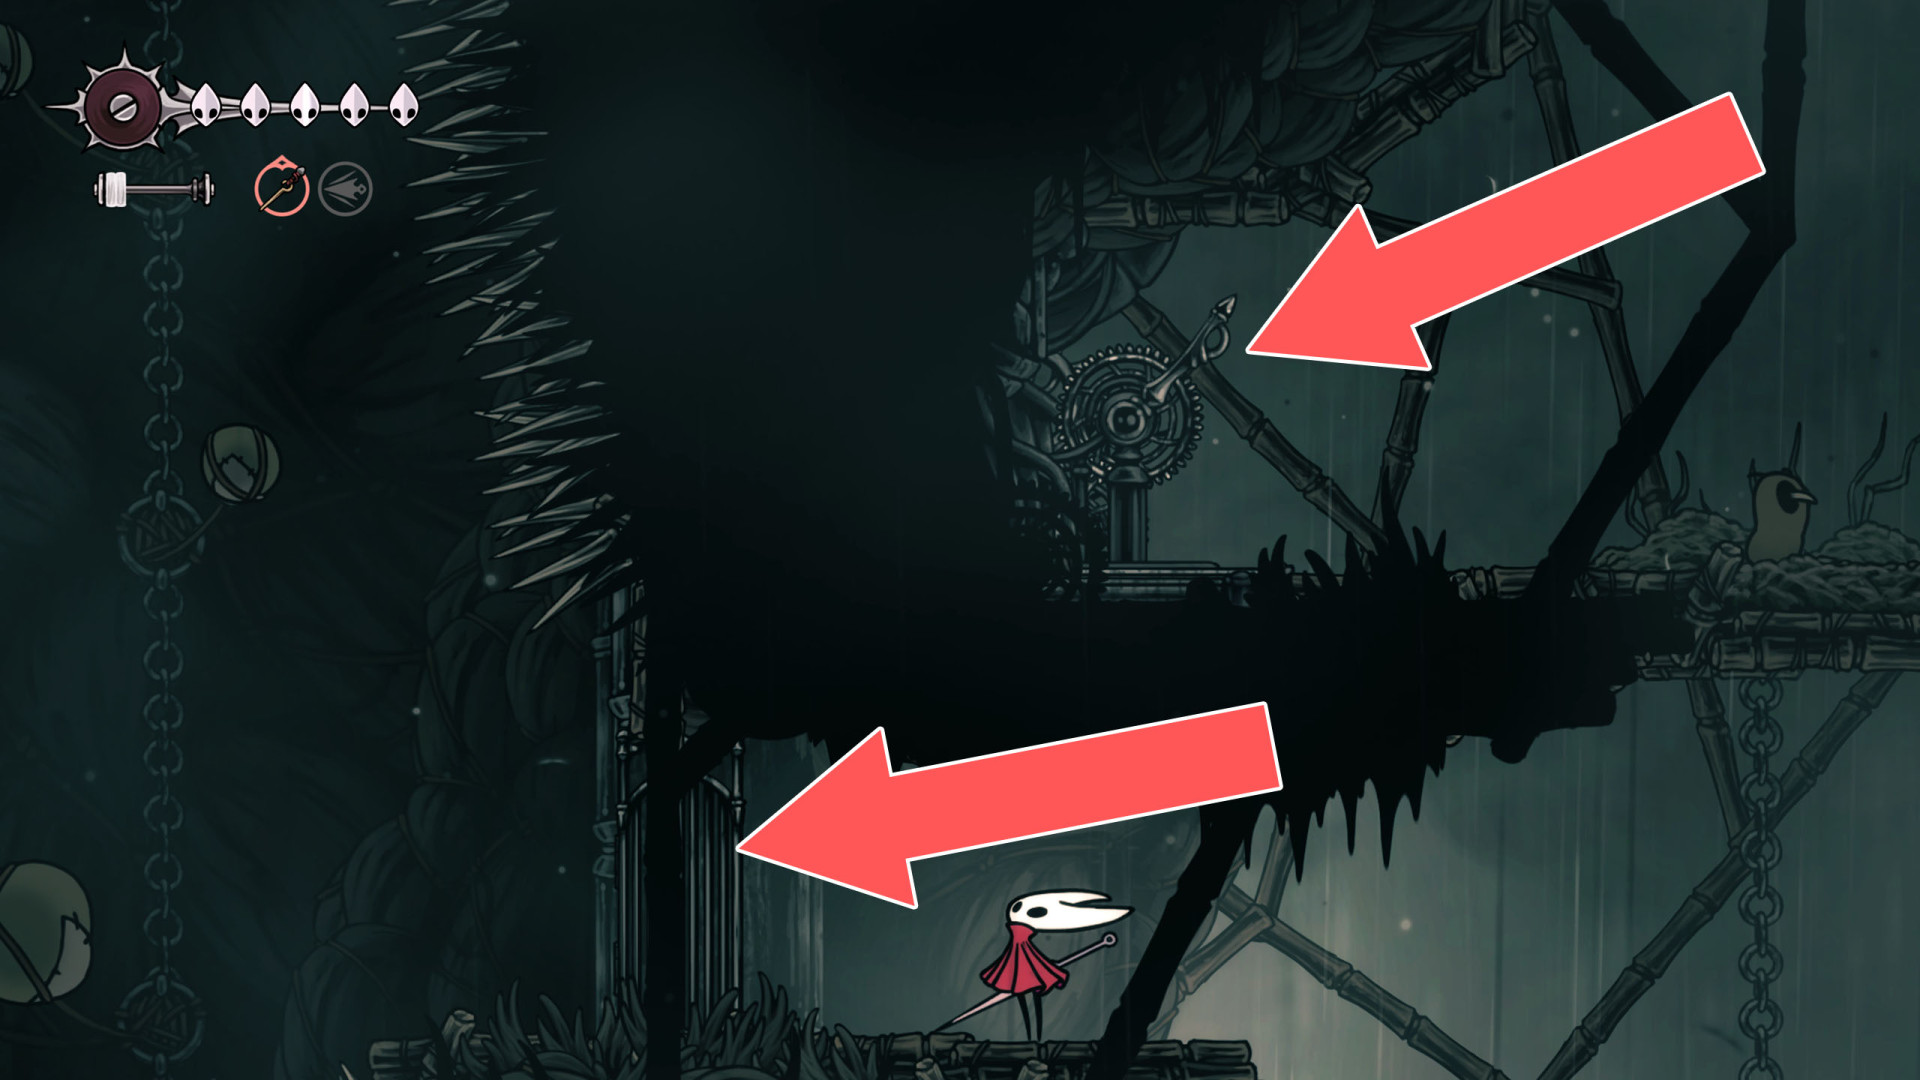
284Locked Gate
The lever that opens the gate is located on its eastern side.
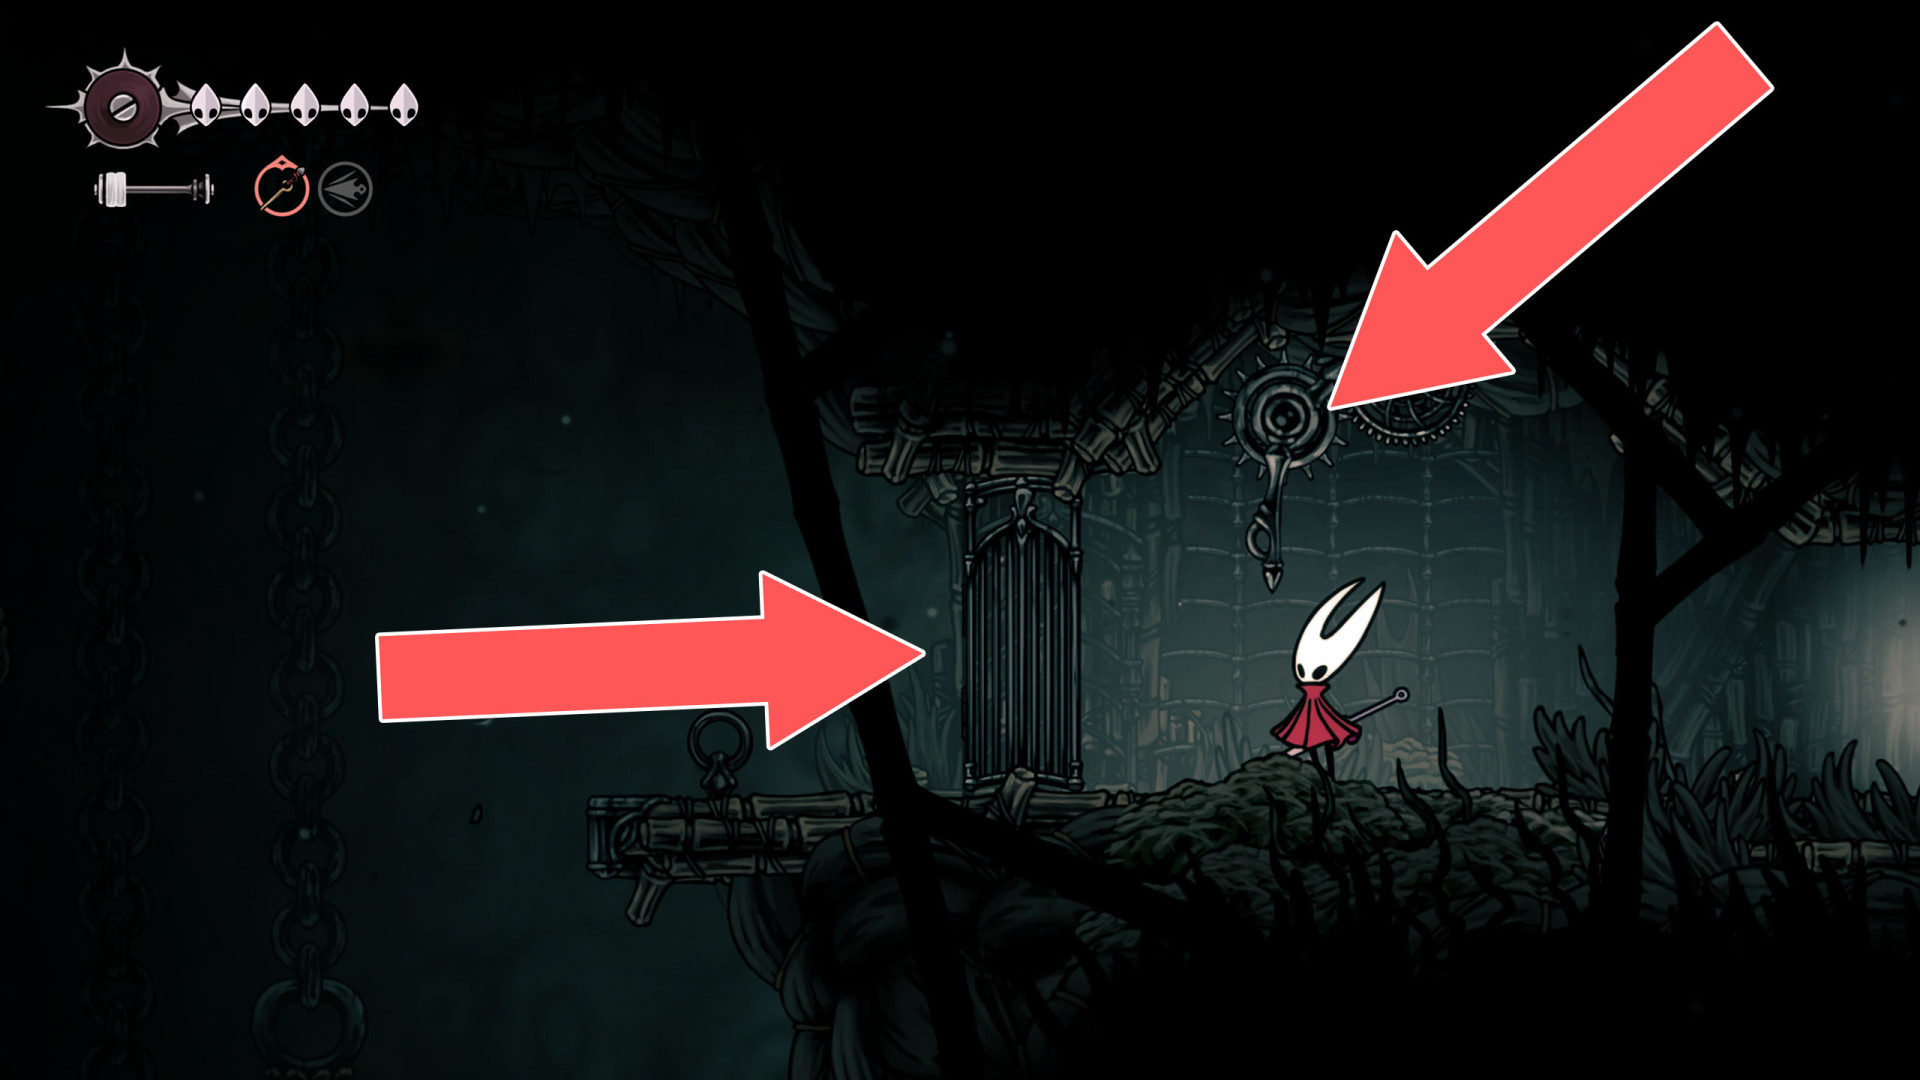
285Locked Gate
It unlocks from the west side.
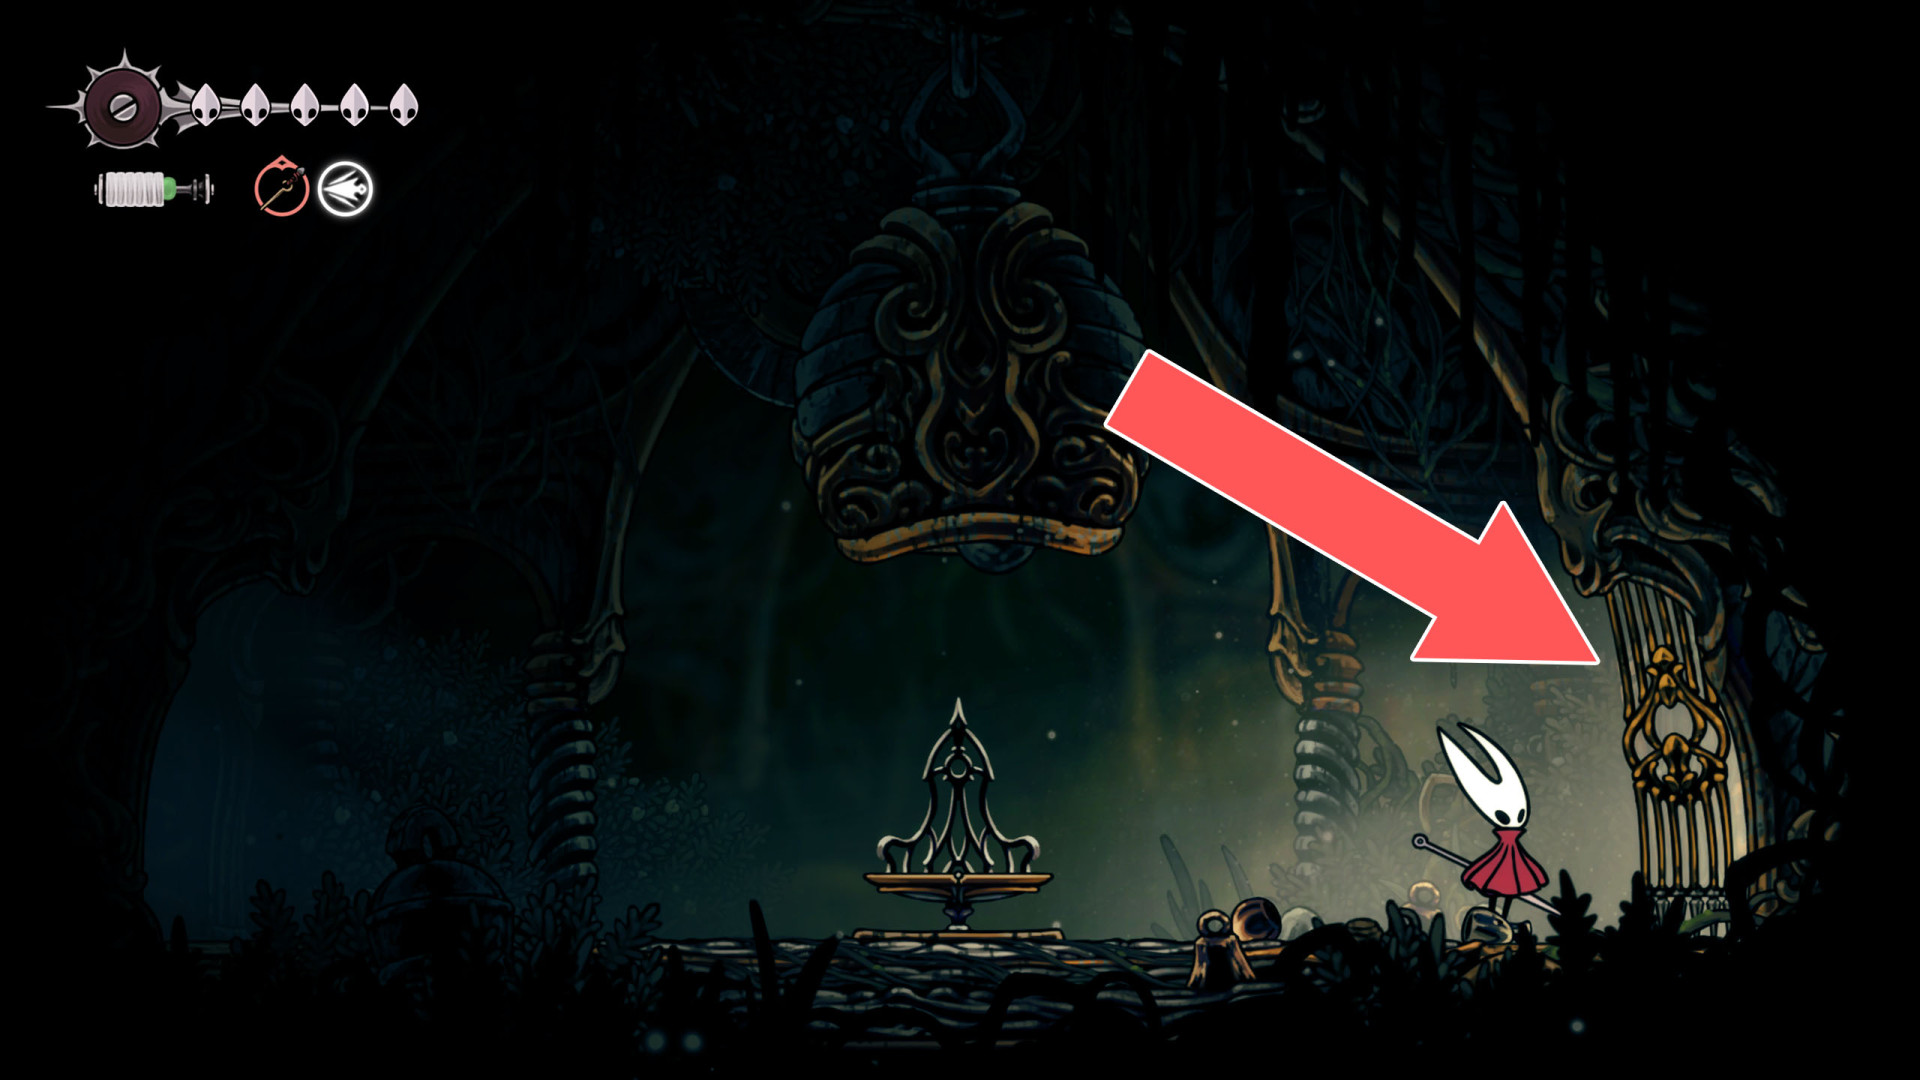
286Locked Gate
The lever that opens the gate is located on its eastern side.
287Locked Gate
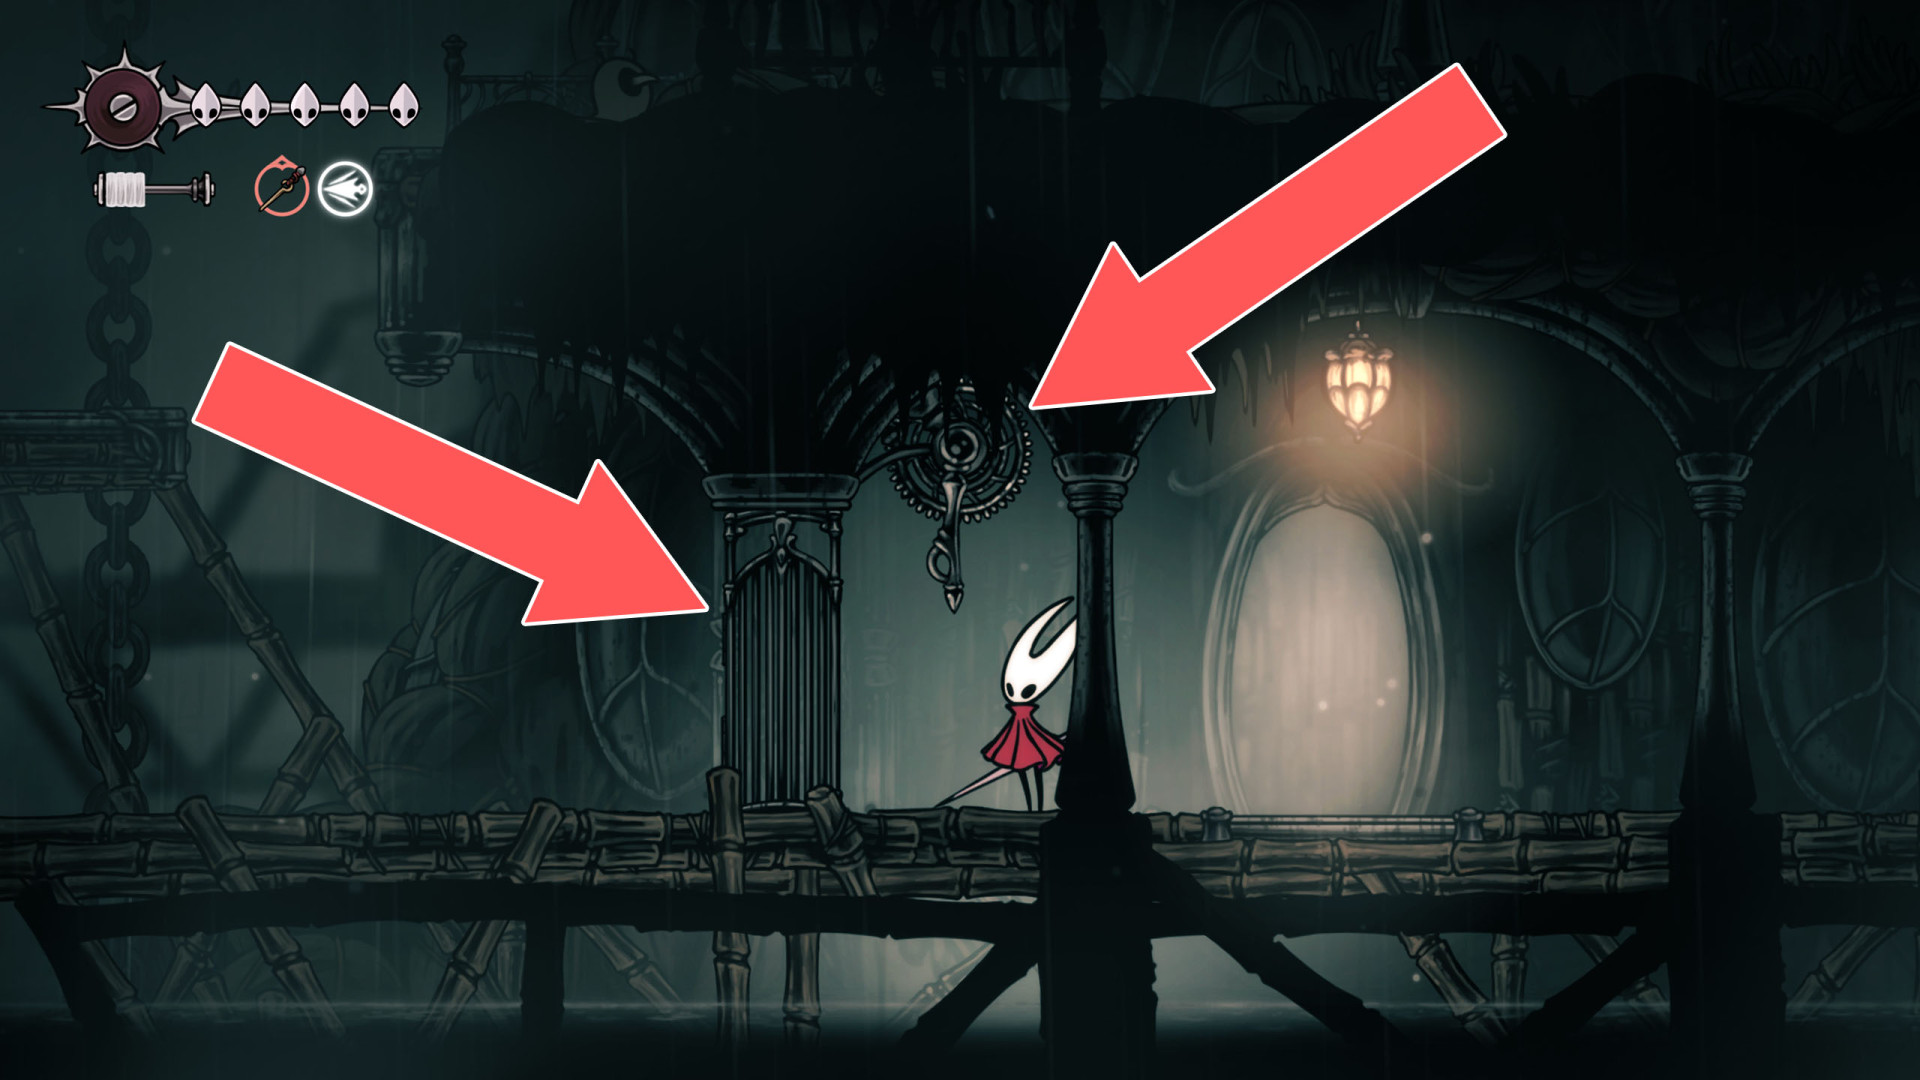
The lever that opens this gate is located on its western (above) side.
288Locked Gate
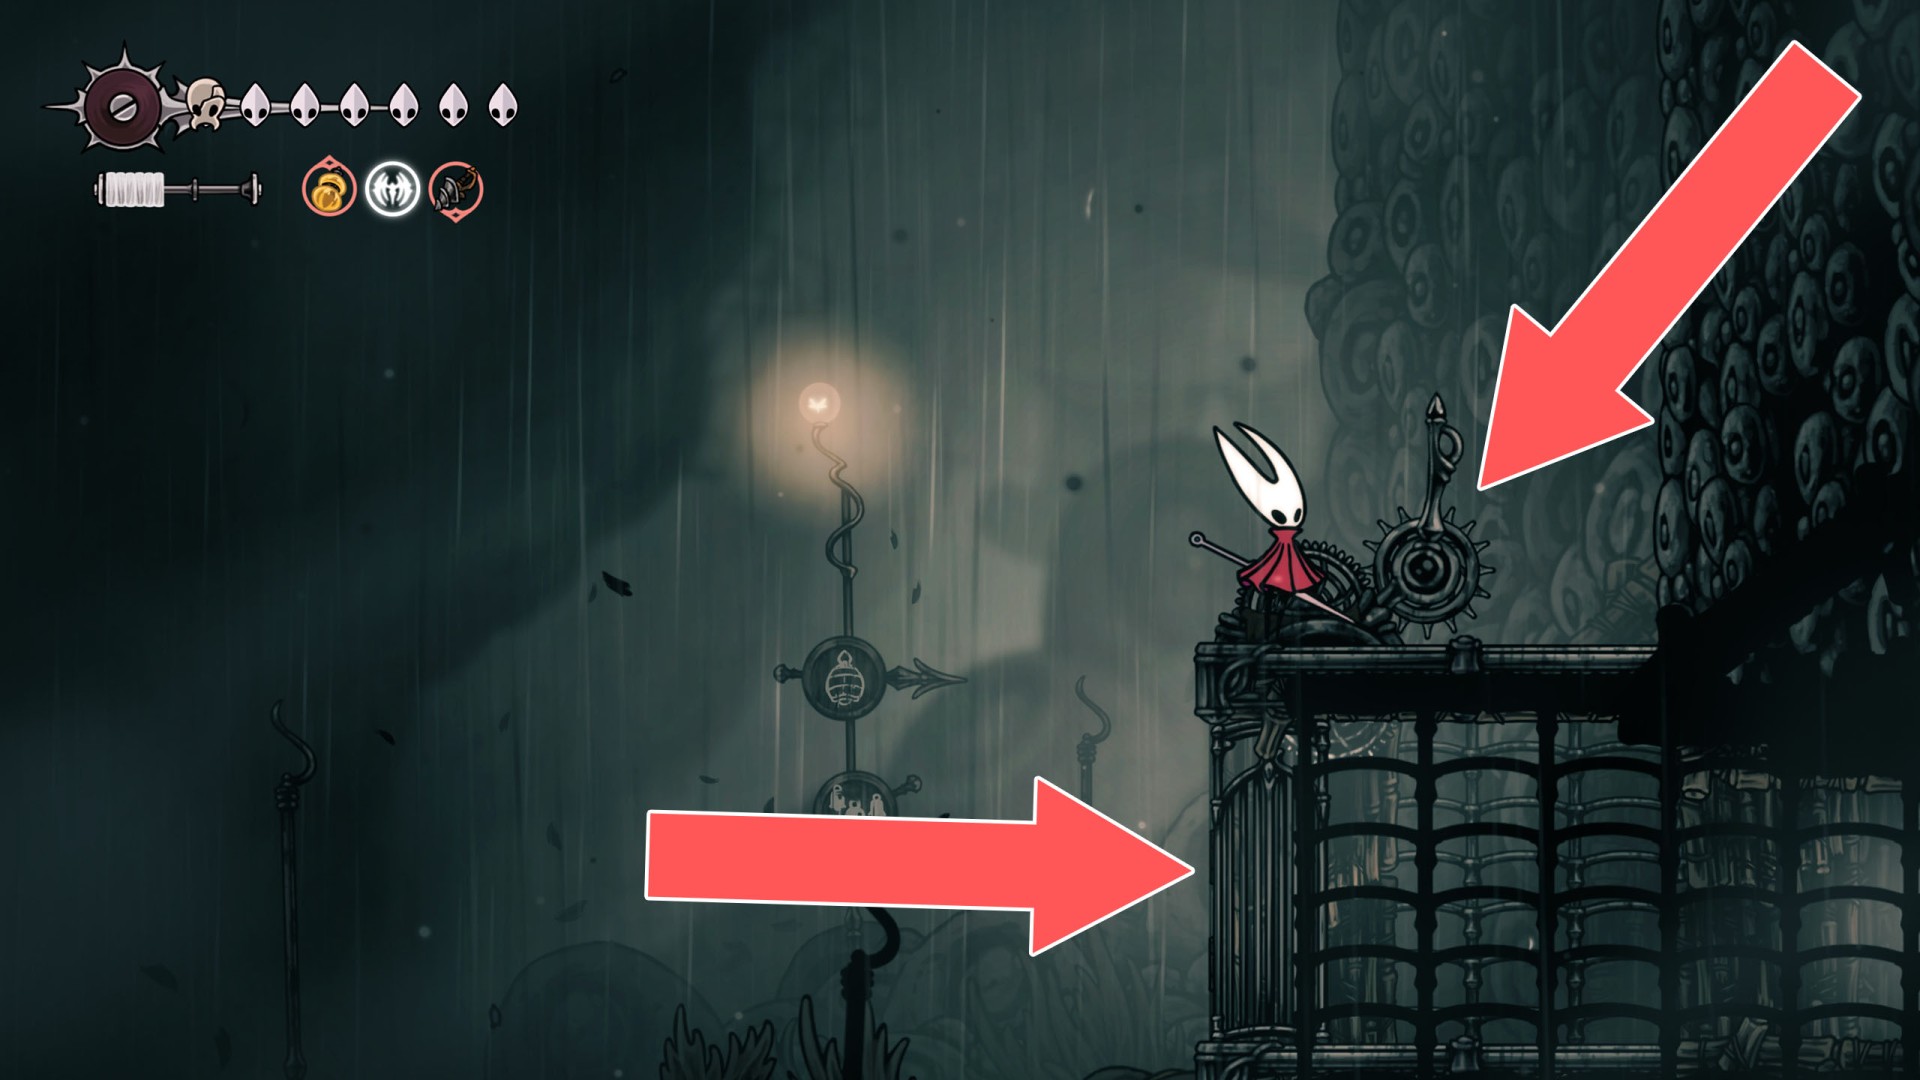
The lever that opens the gate is located on its eastern side.
289Locked Gate
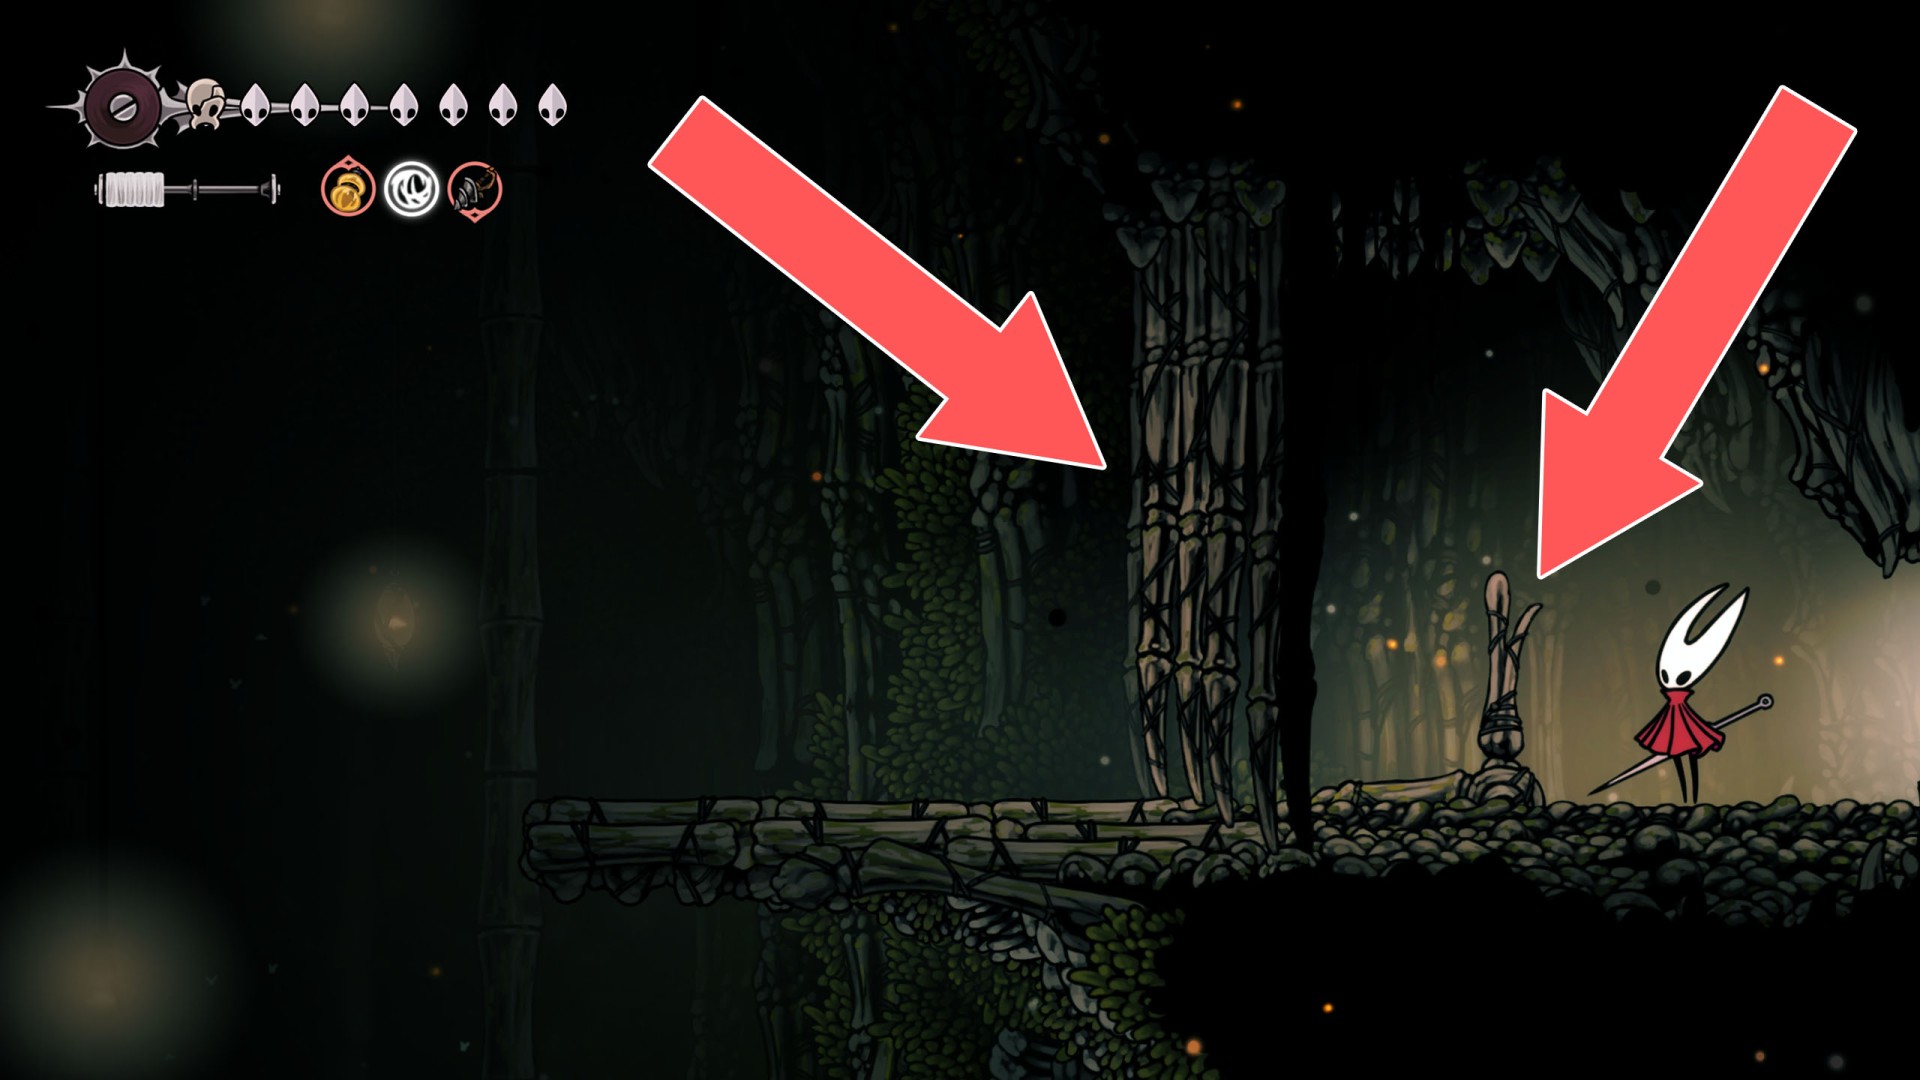
The lever that opens the gate is located on its eastern side.
290Locked Gate
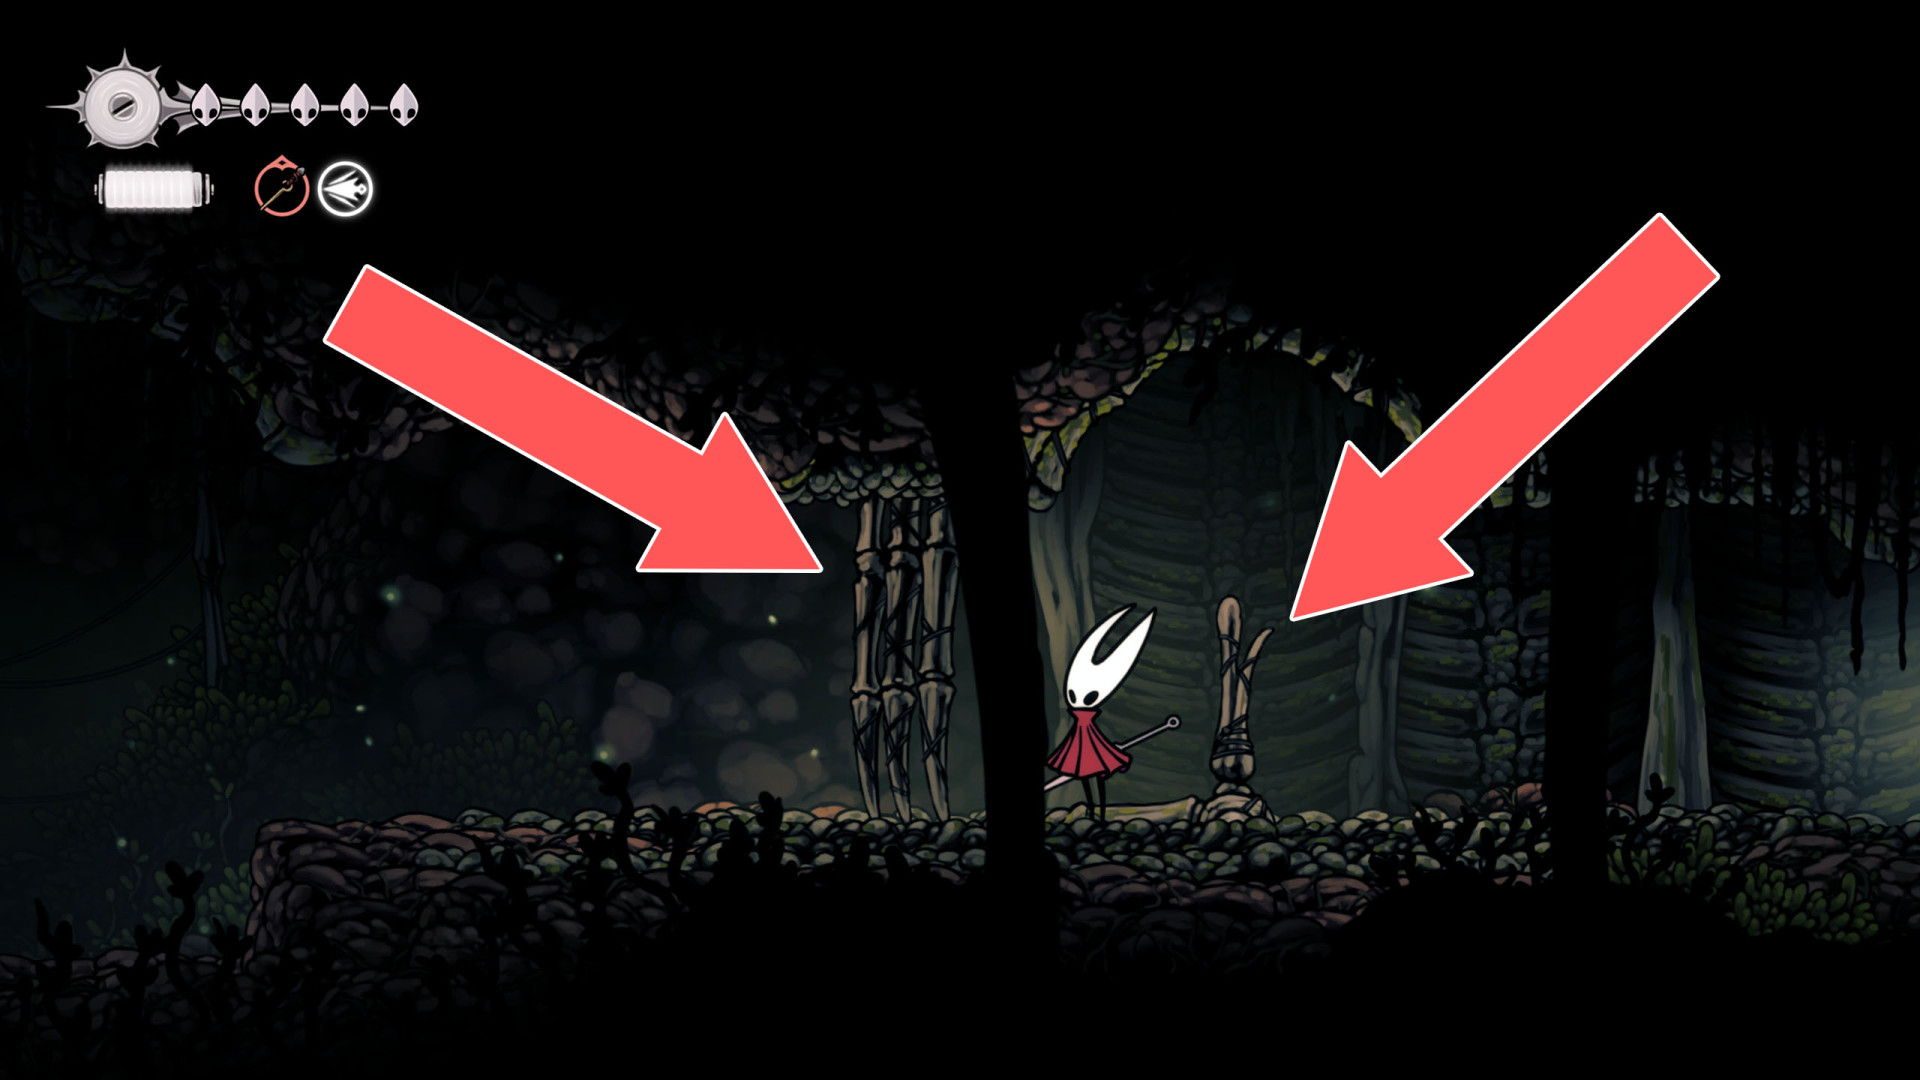
The lever that opens the gate is located on its western side.
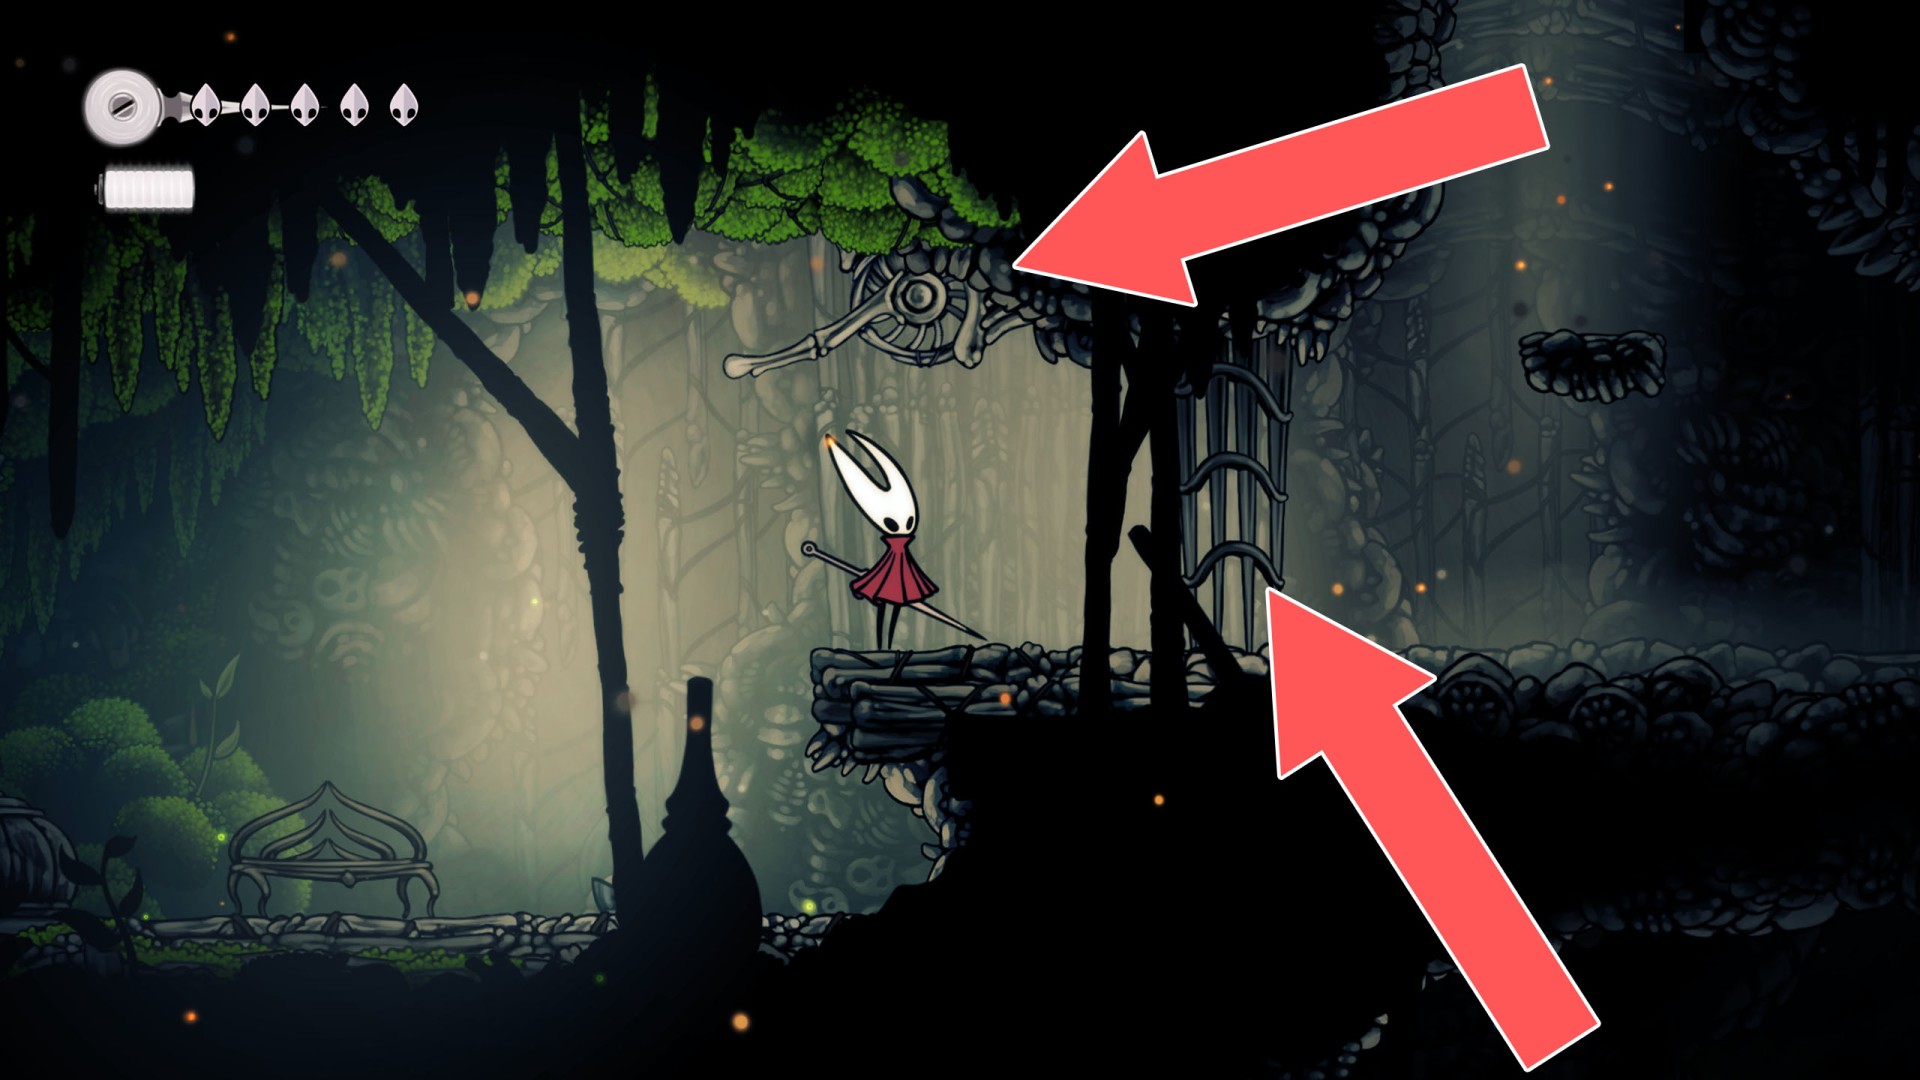
291Locked Gate
The lever that opens this gate is located on its eastern side.
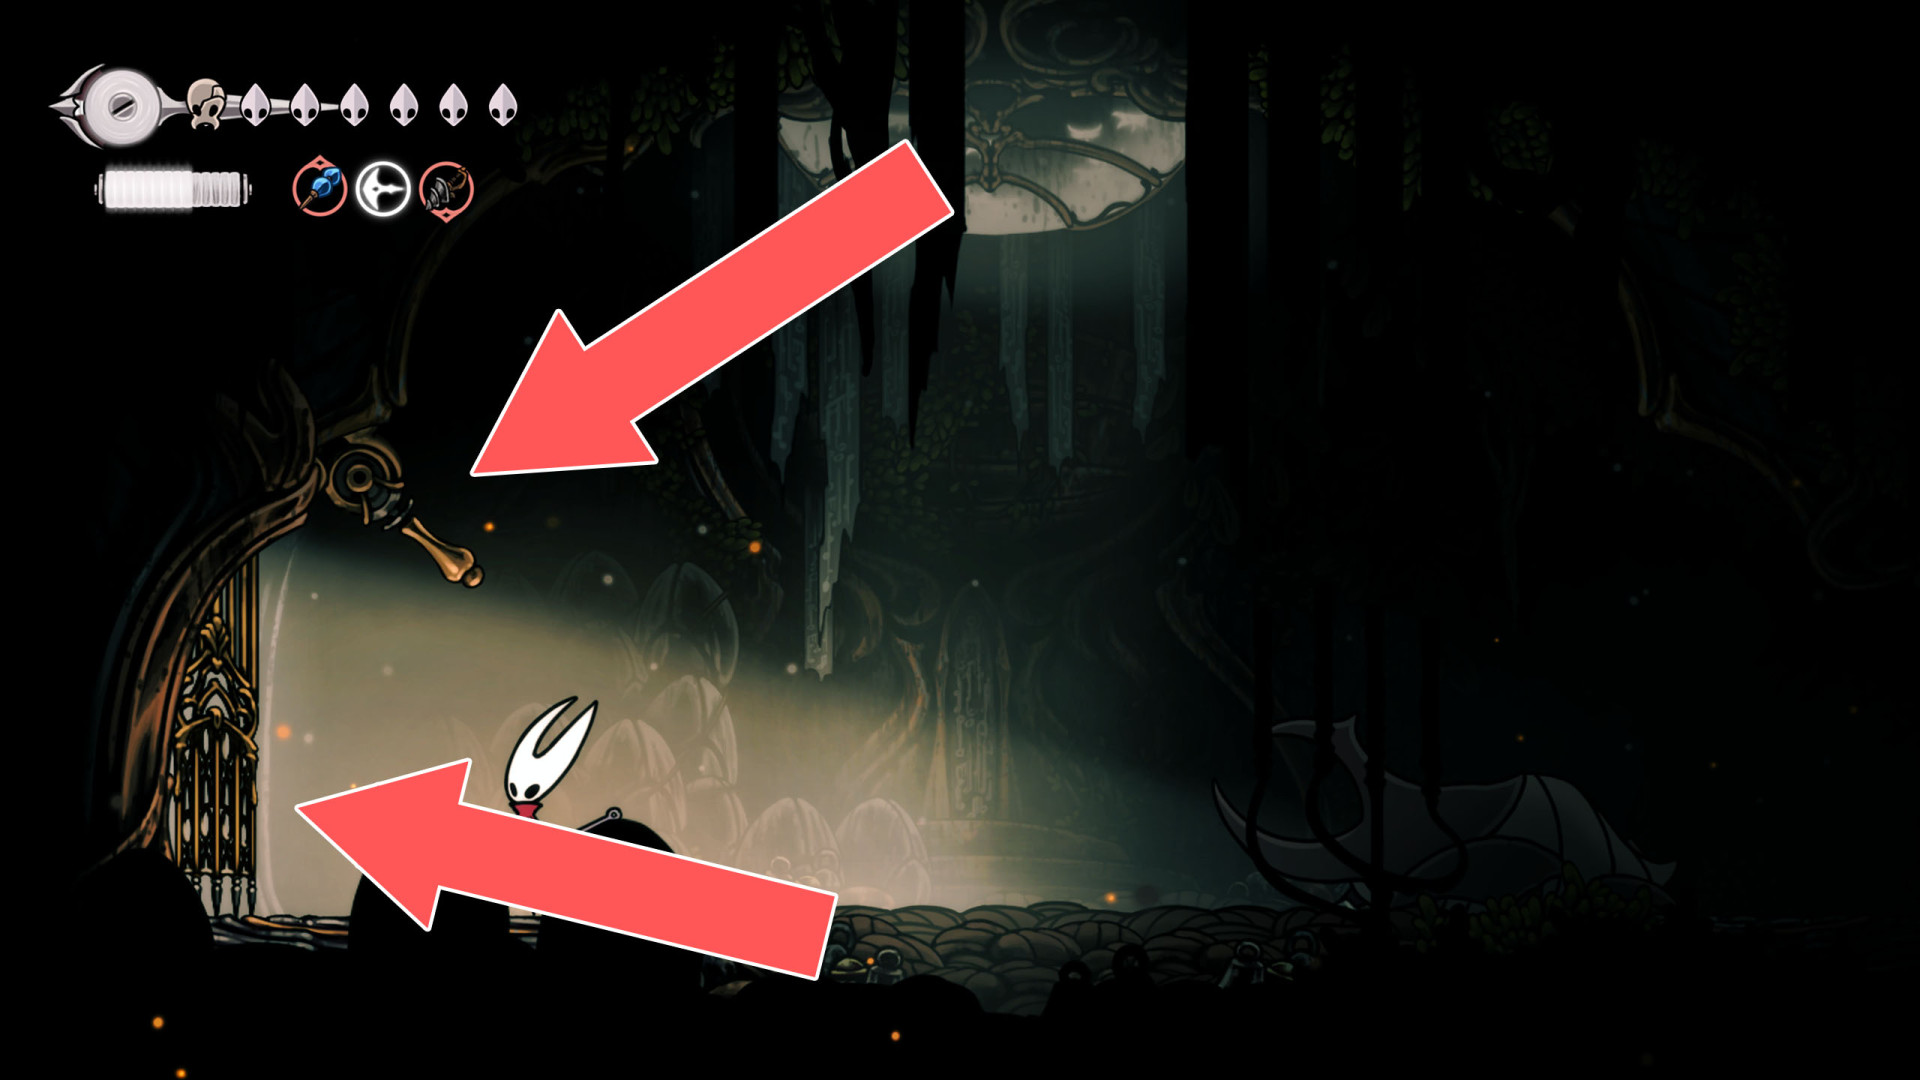
292Locked Gate
The lever that opens this gate is located on its eastern side.
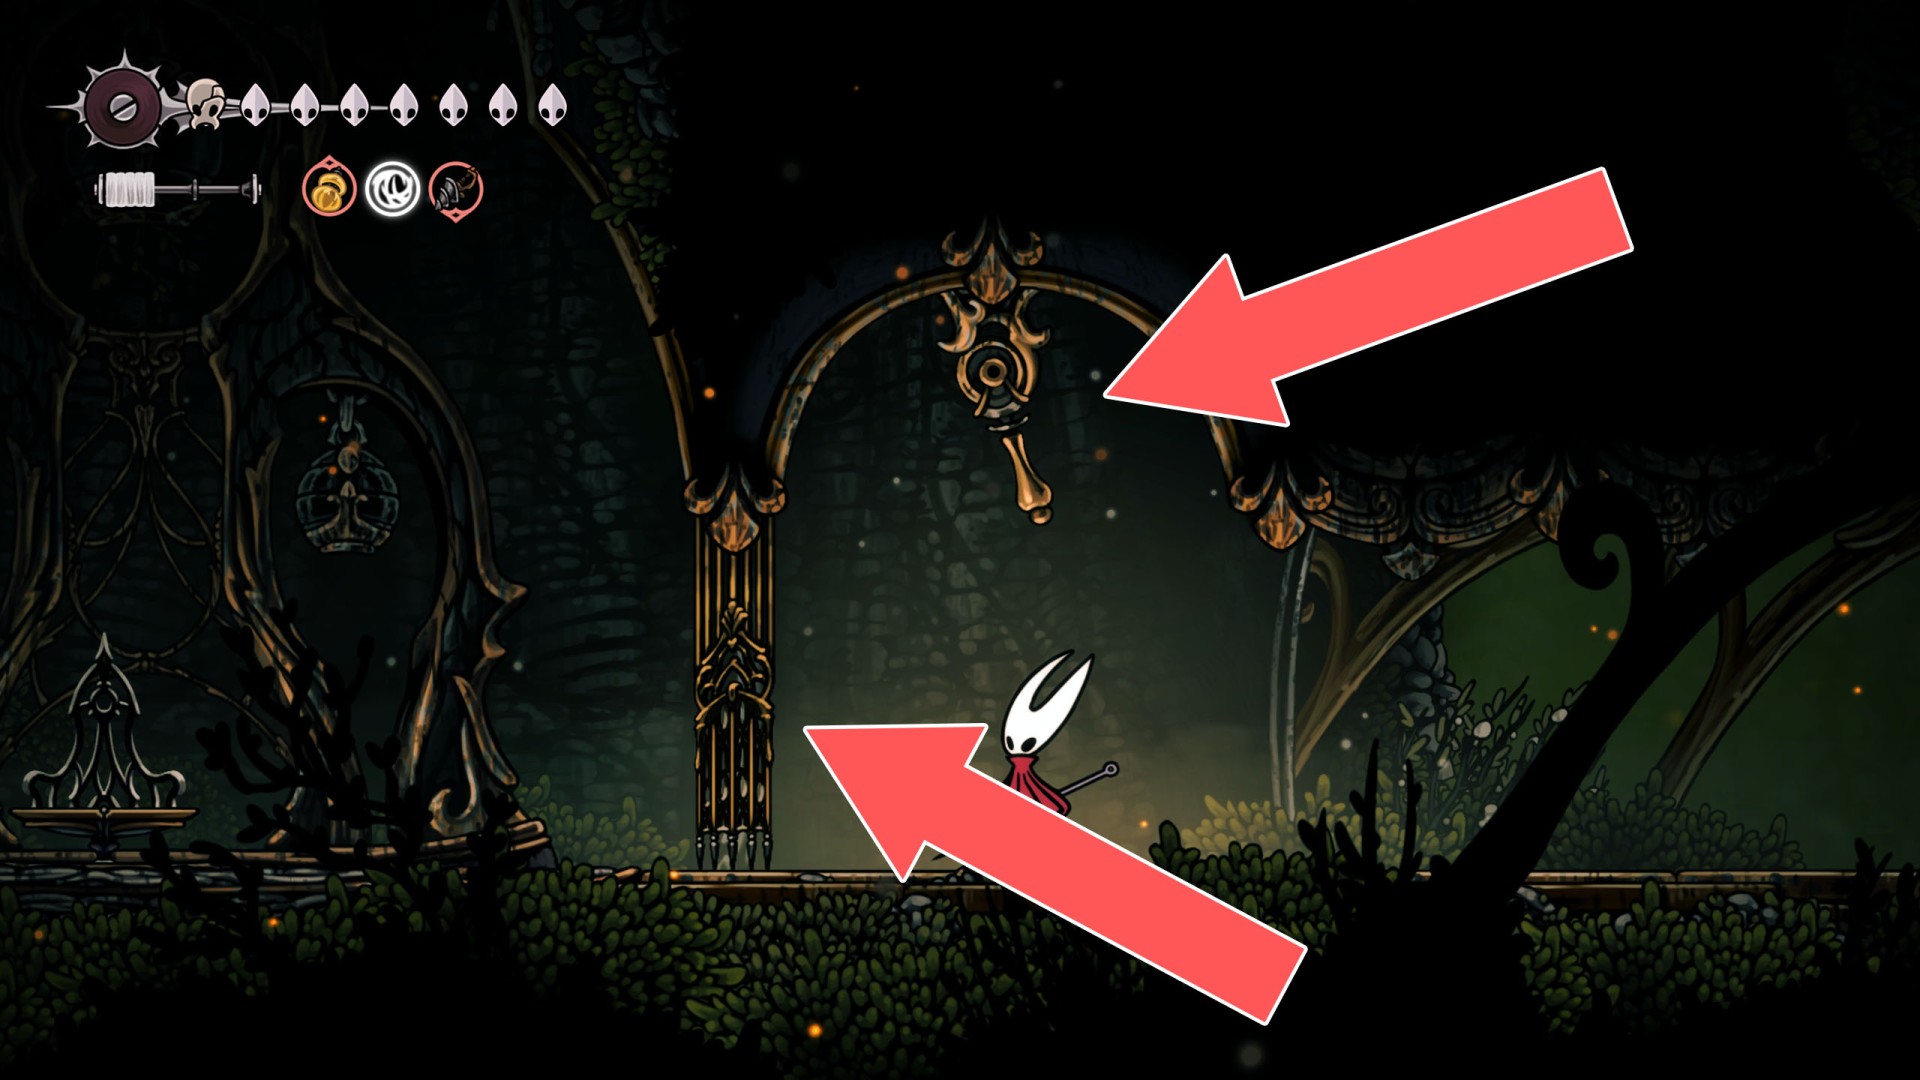
293Locked Gate
The lever that opens this gate is located on its eastern side.
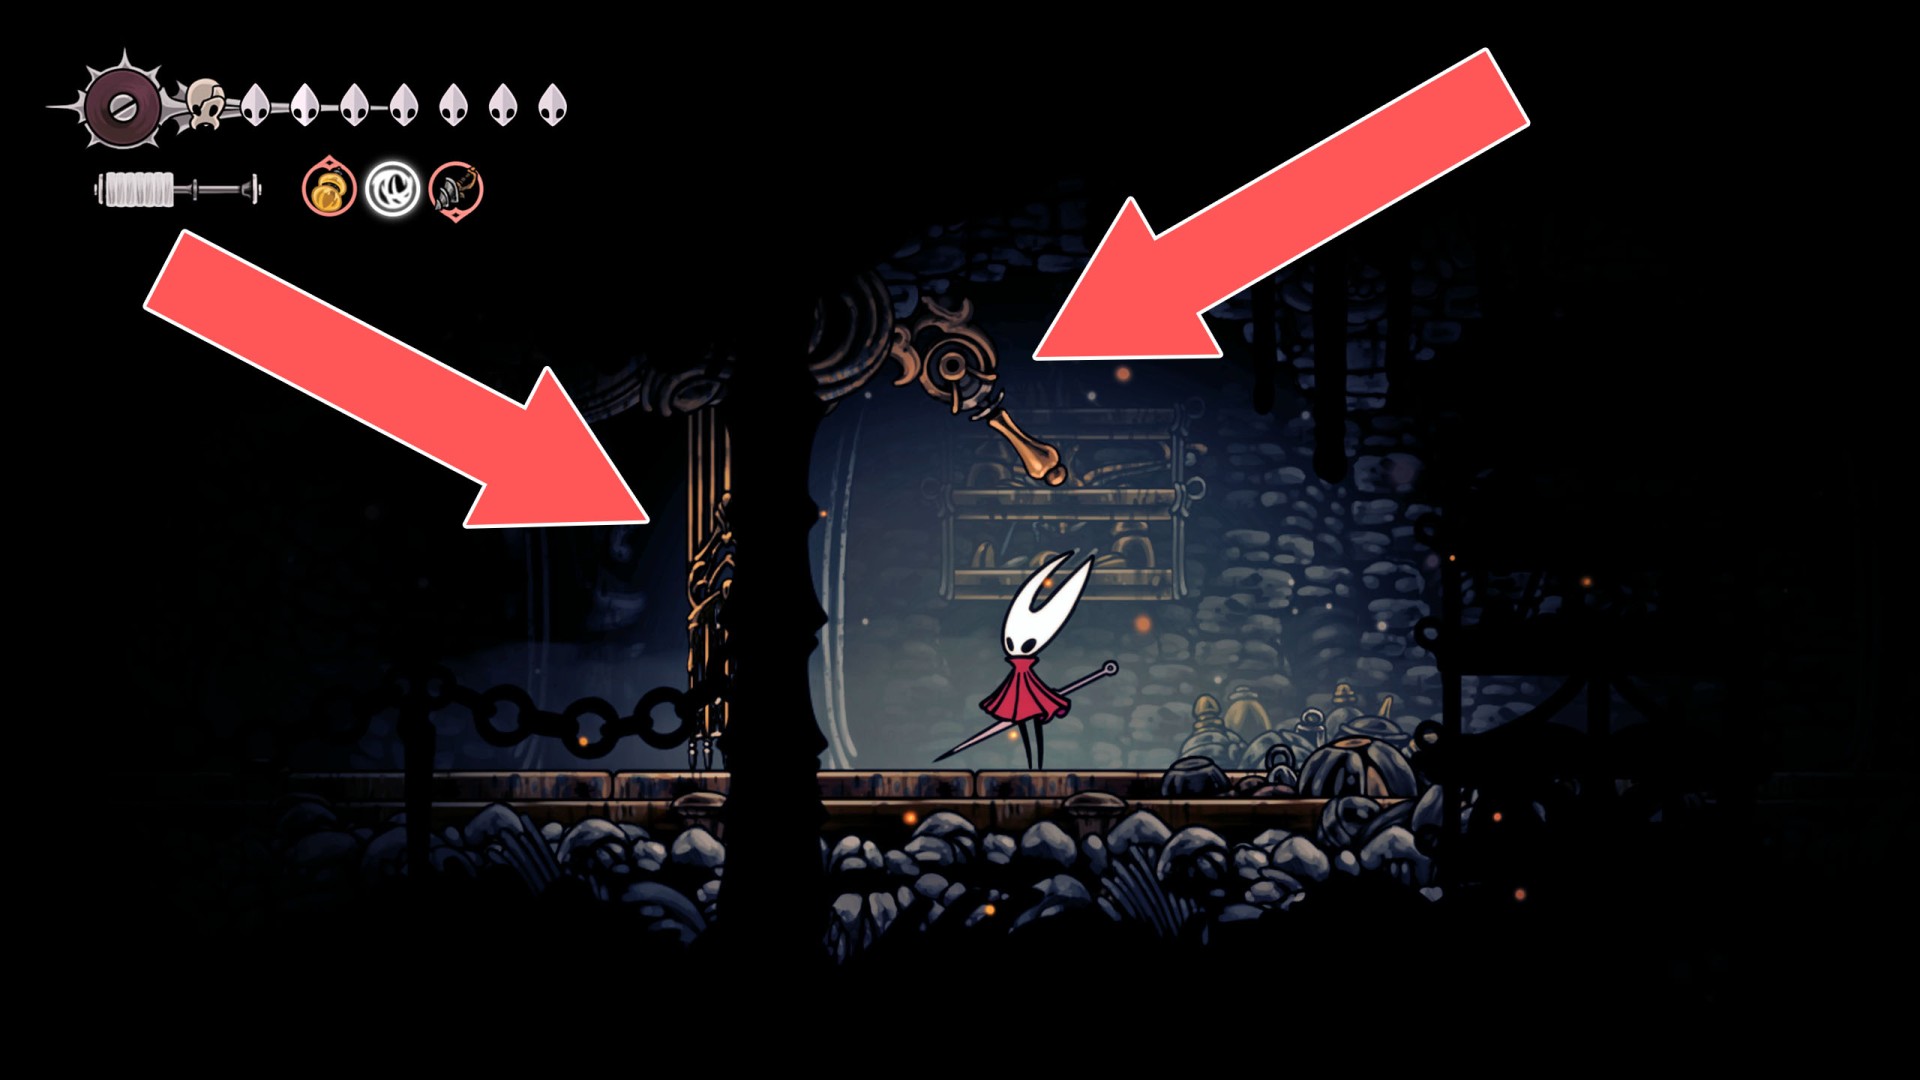
294Locked Gate
The lever that opens the gate is located on its eastern side.
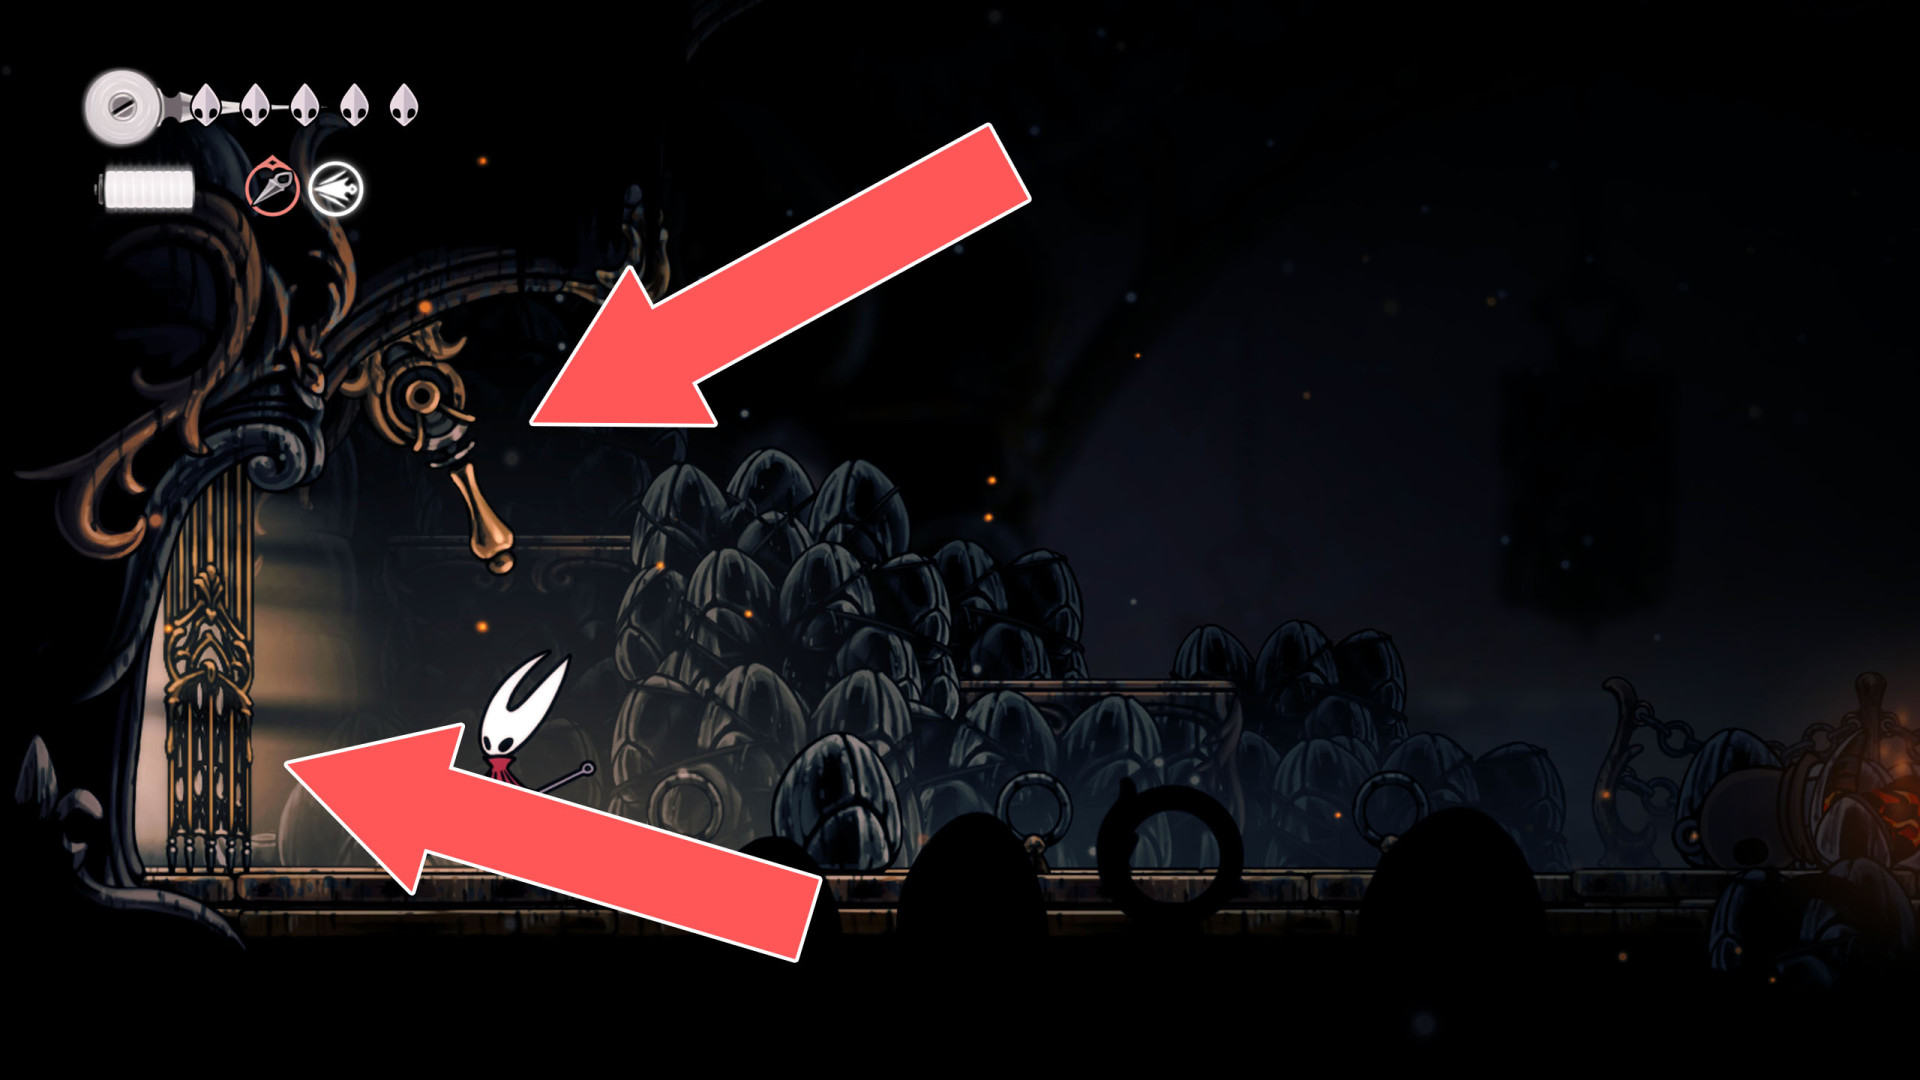
295Locked Gate
The lever that opens this gate is located on its western side.
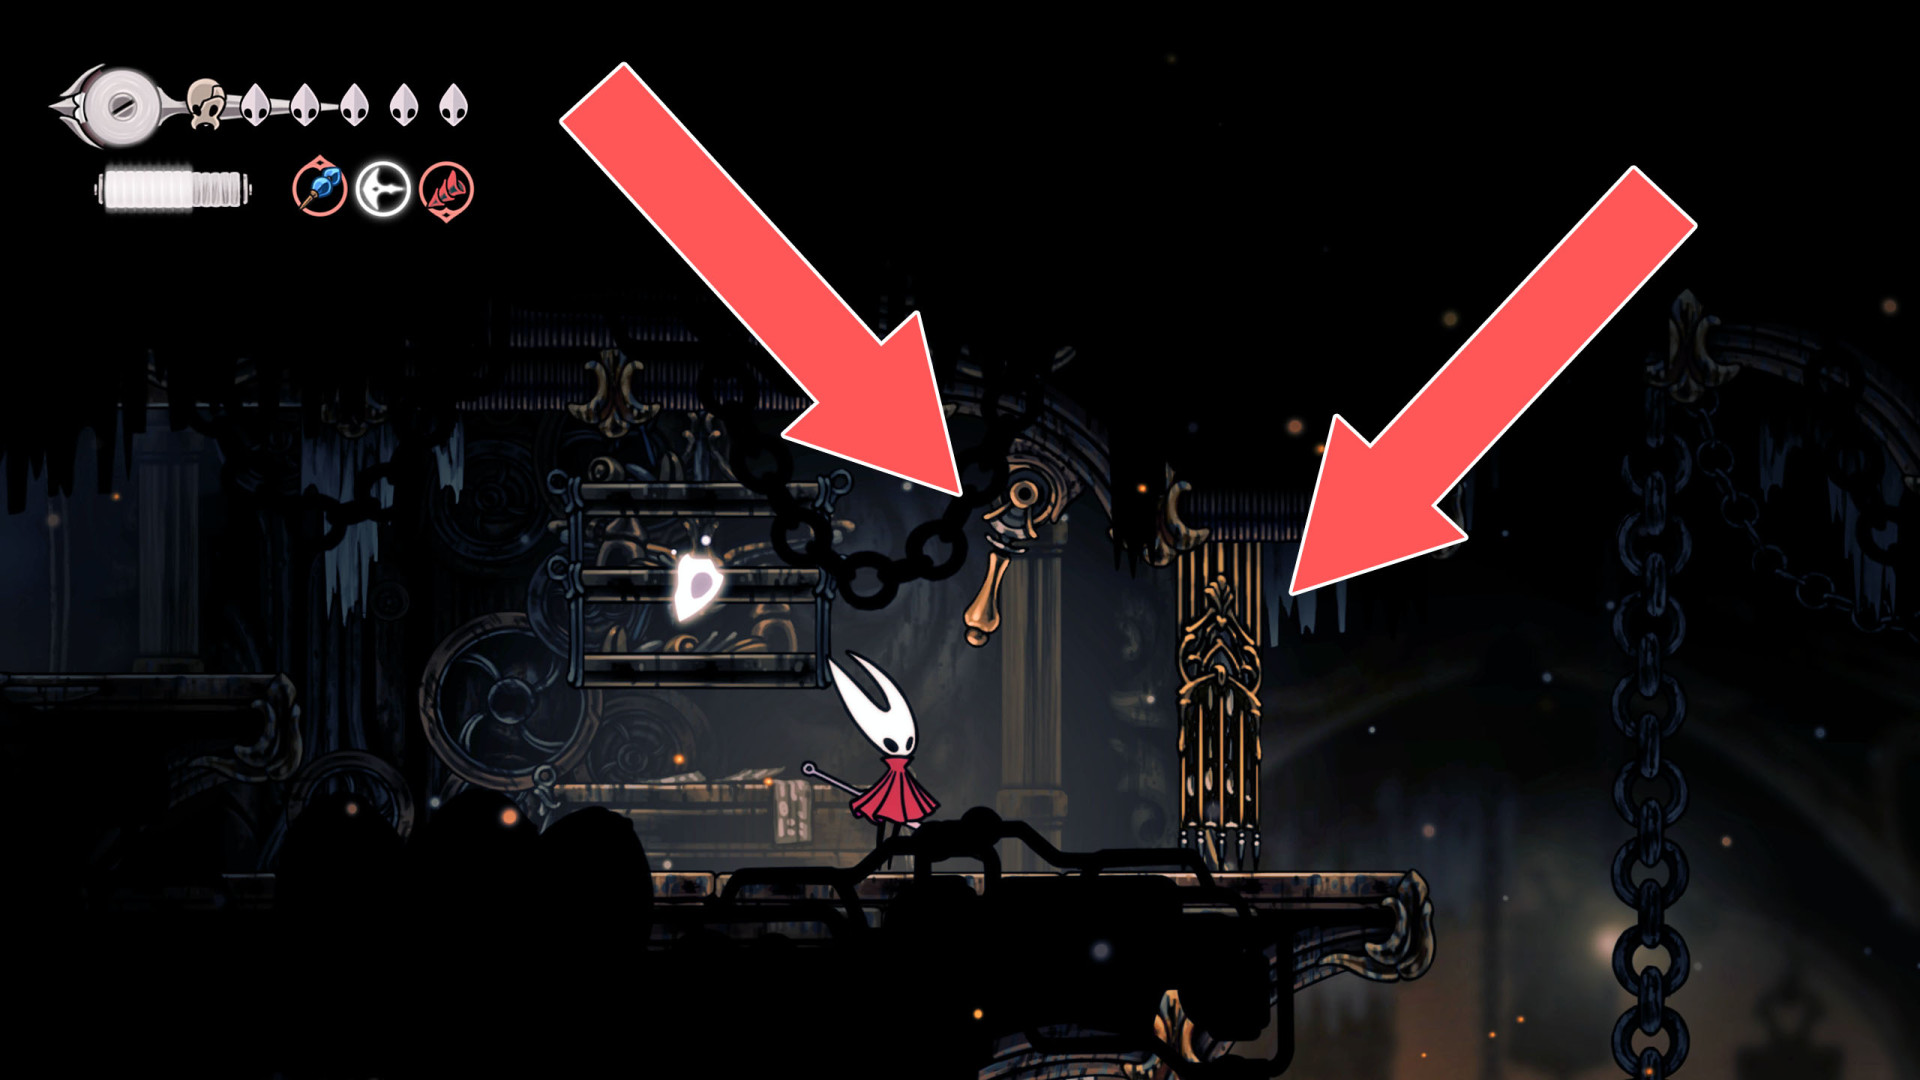
296Locked Gate
Approach it from the west side and destroy the vines.
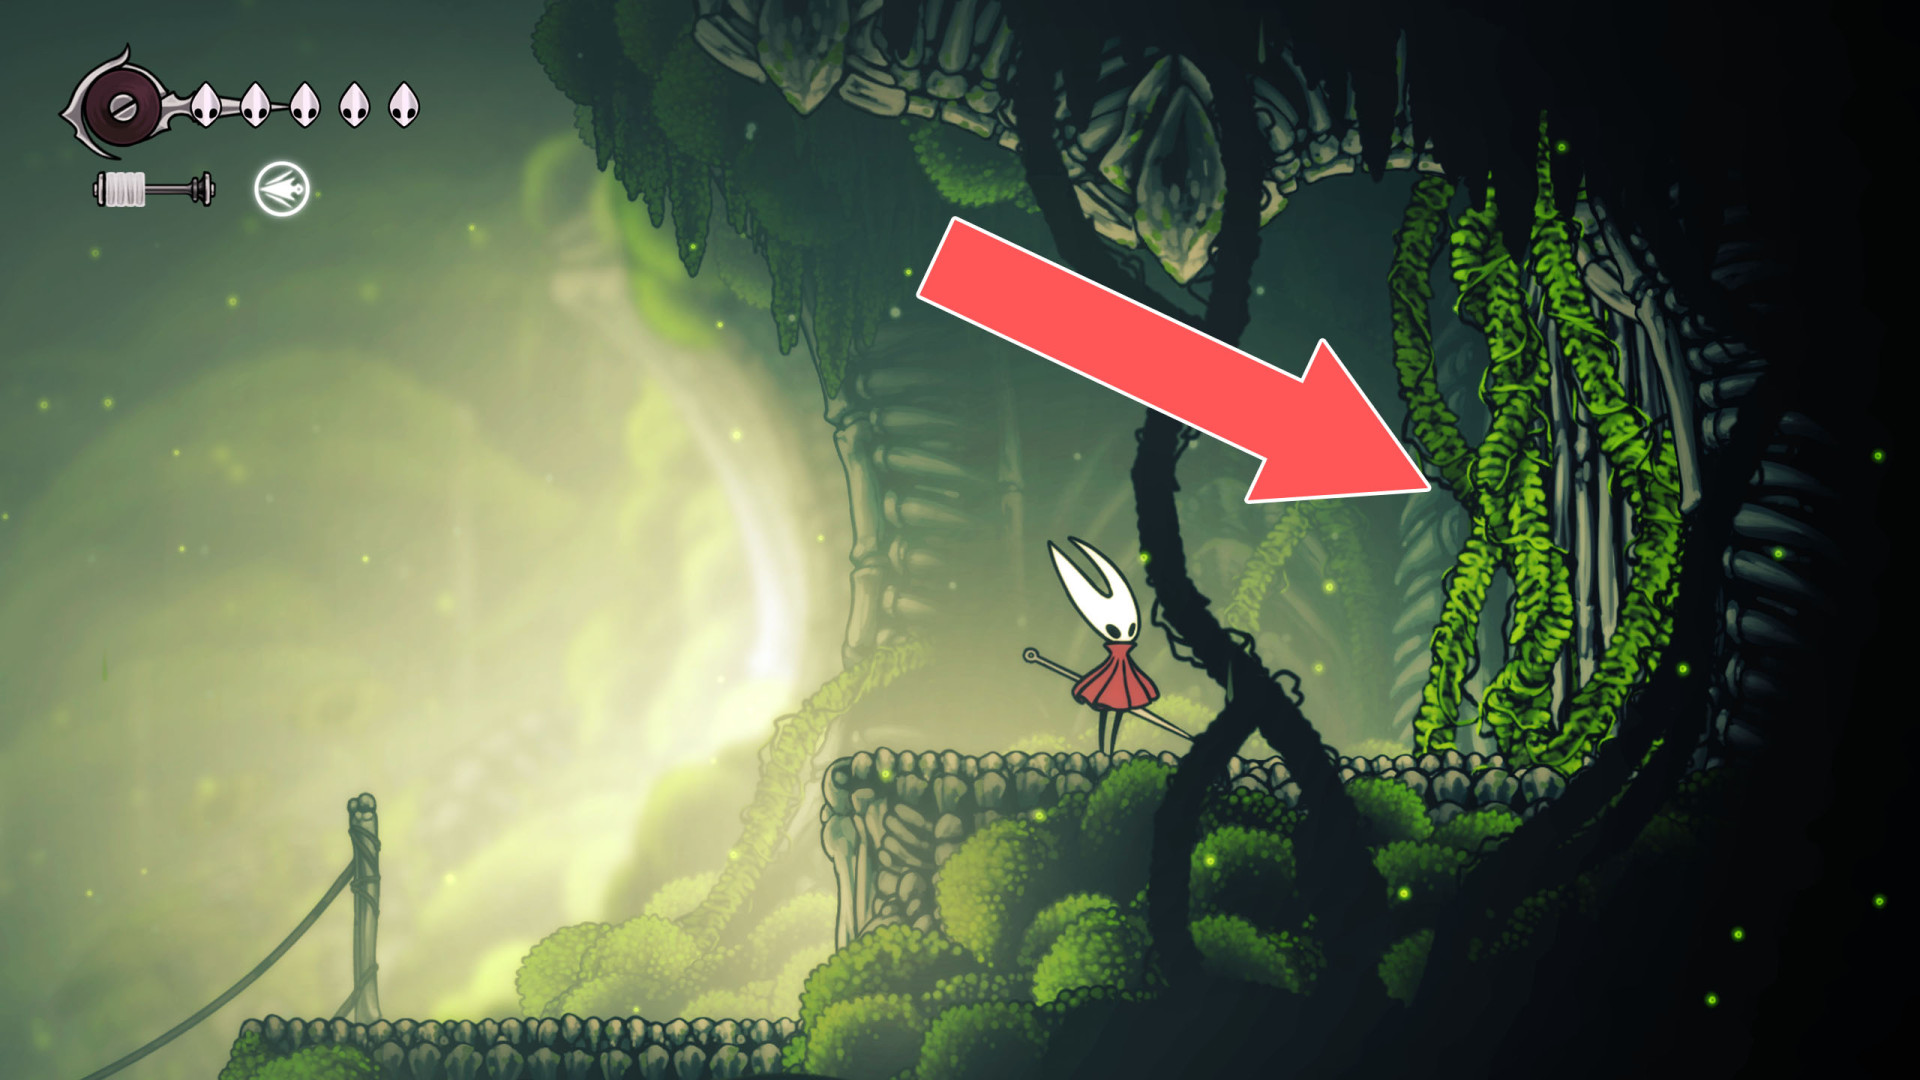
297Locked Gate
The lever that opens the gate is located on its eastern side.
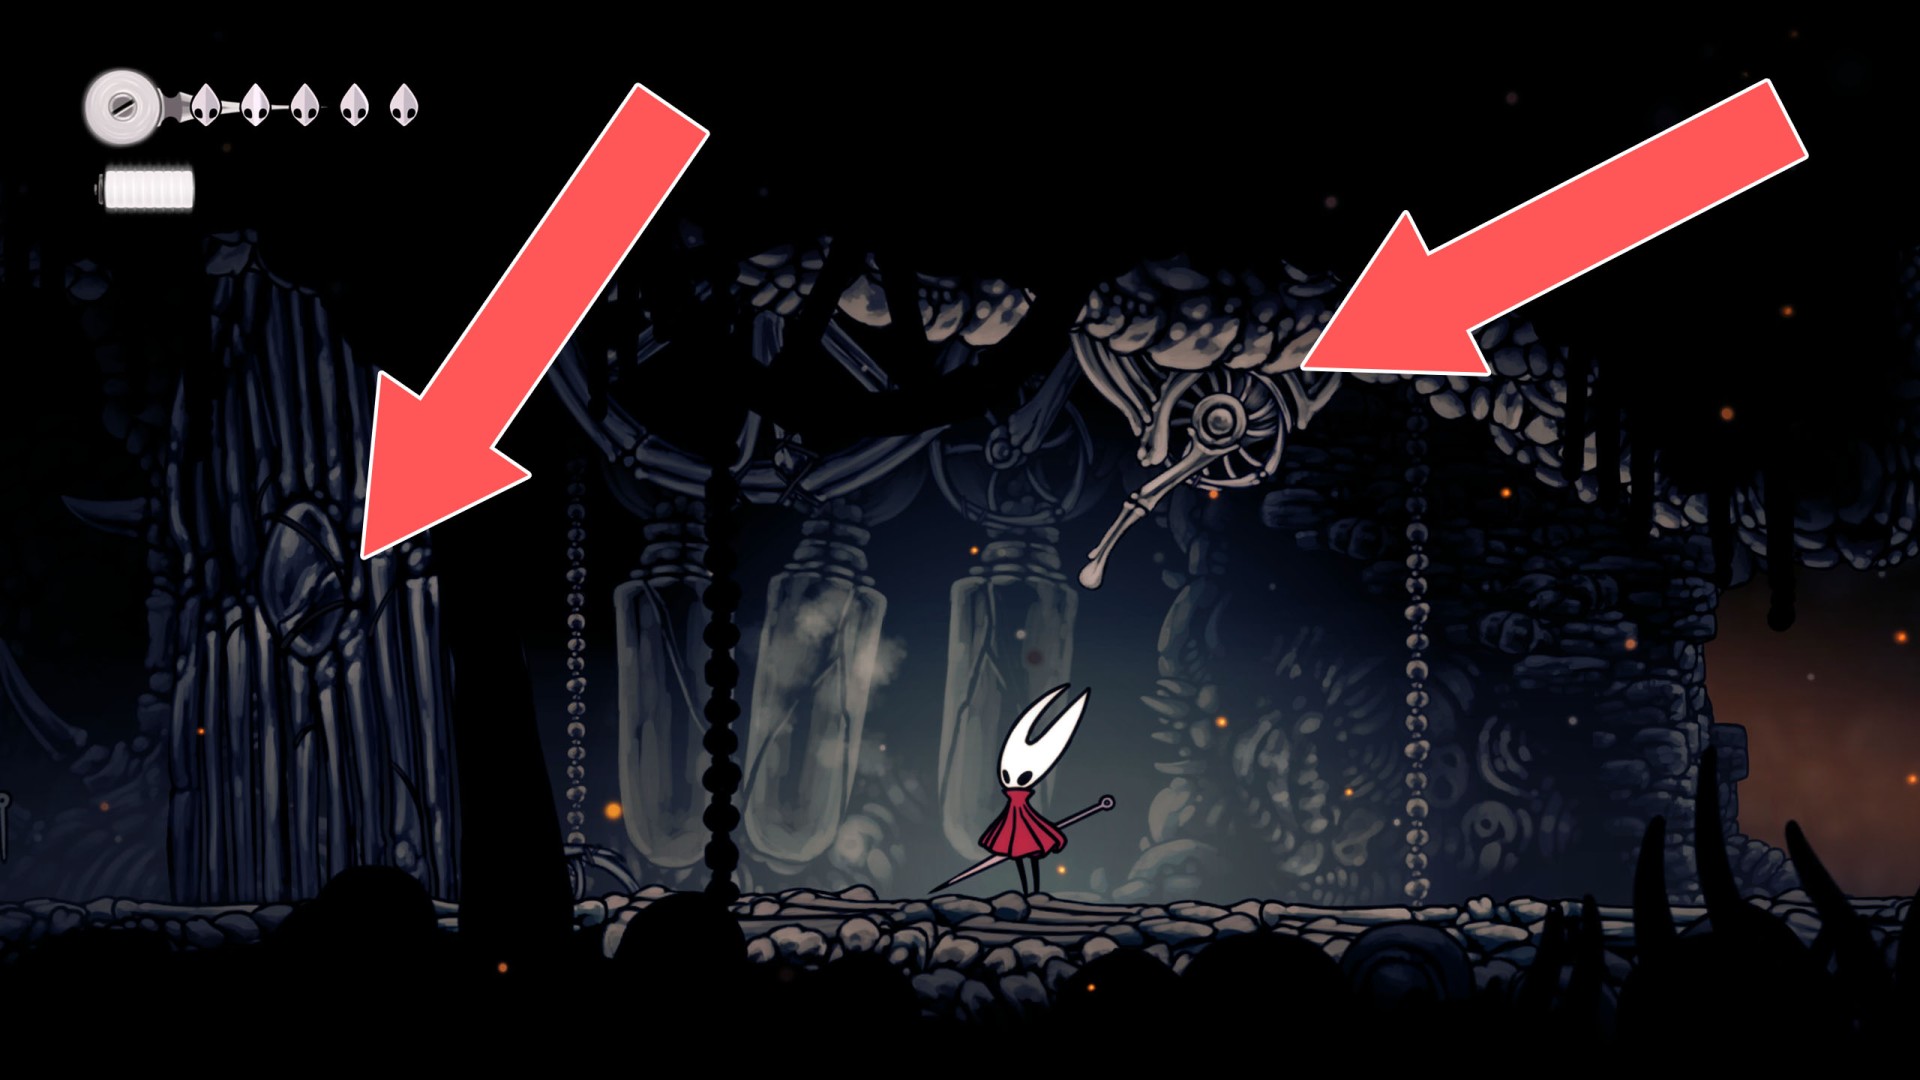
298Locked Gate
The lever that opens the gate is on a higher level. To reach it, you must have Swift Step (Dash).
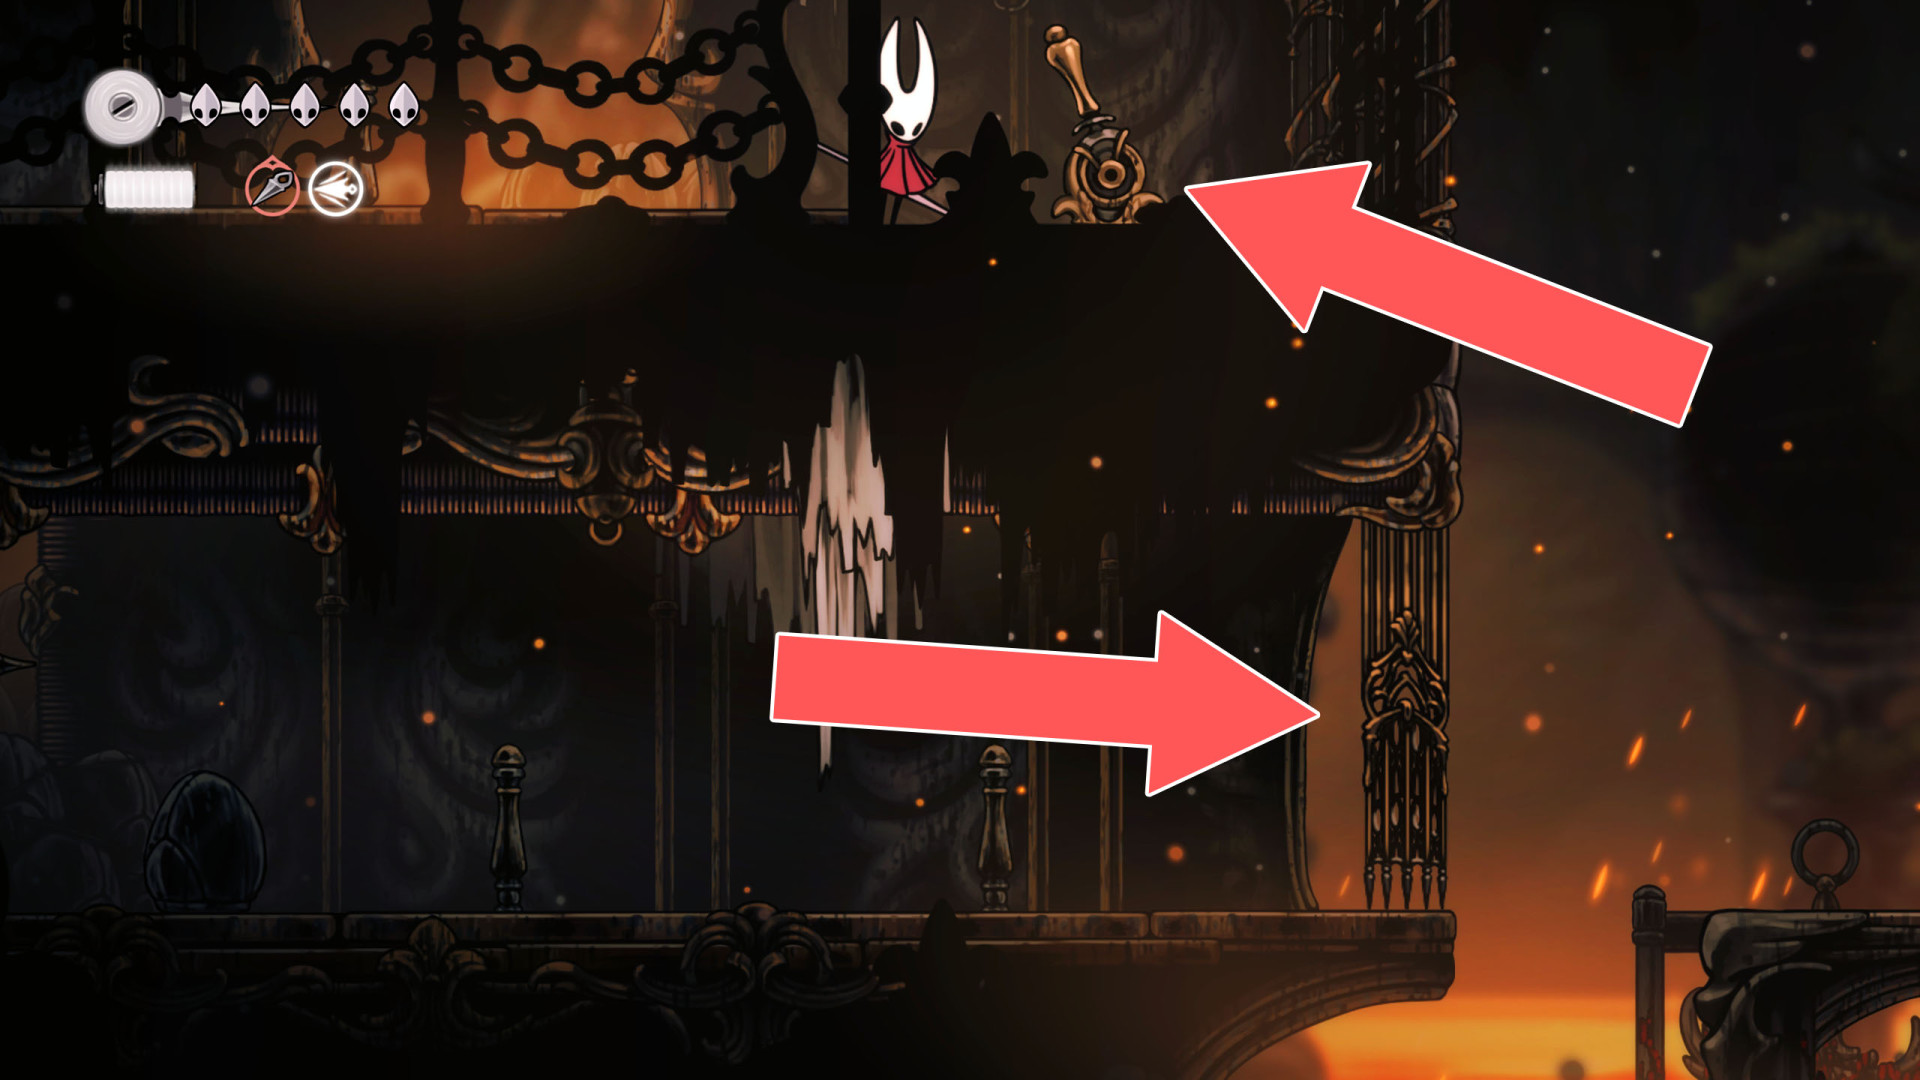
299Locked Gate
The lever that opens this gate is located on the west side.
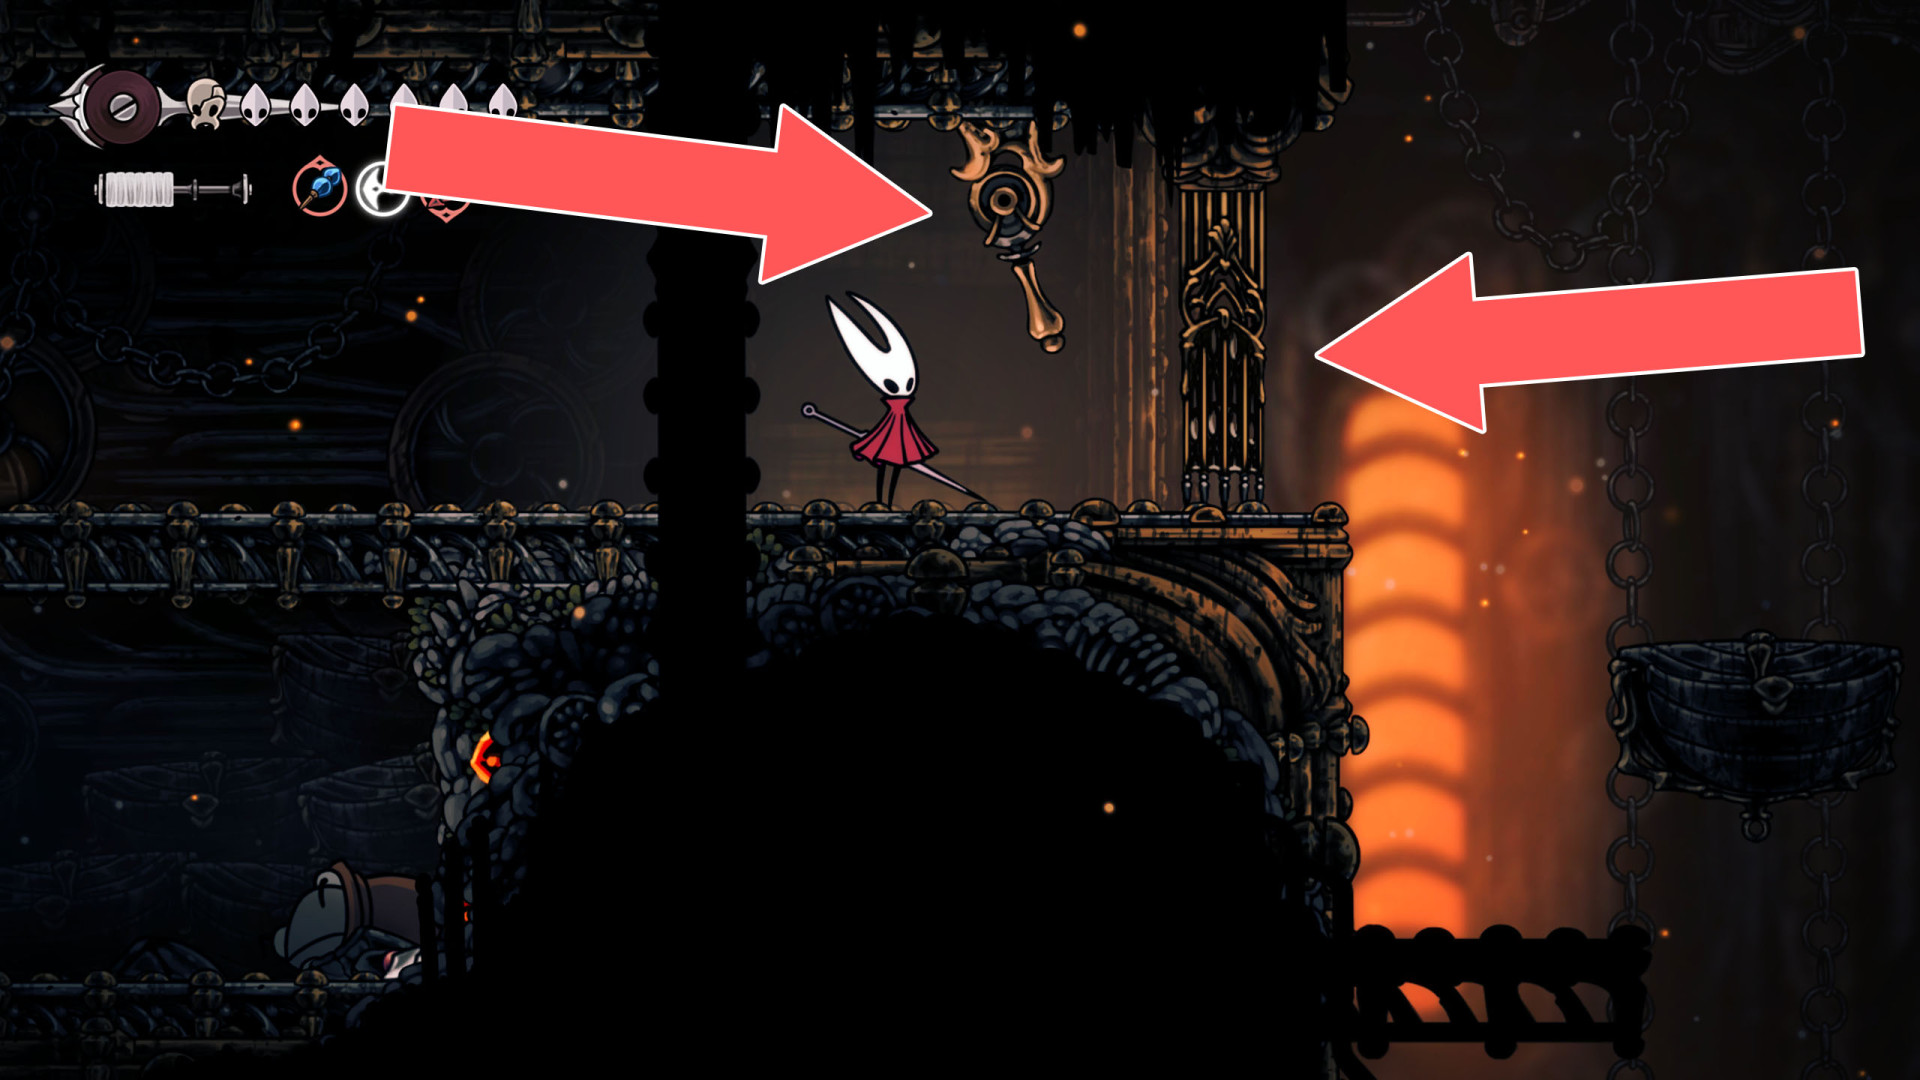
300Locked Gate
The lever that opens the gate is located on its eastern side.
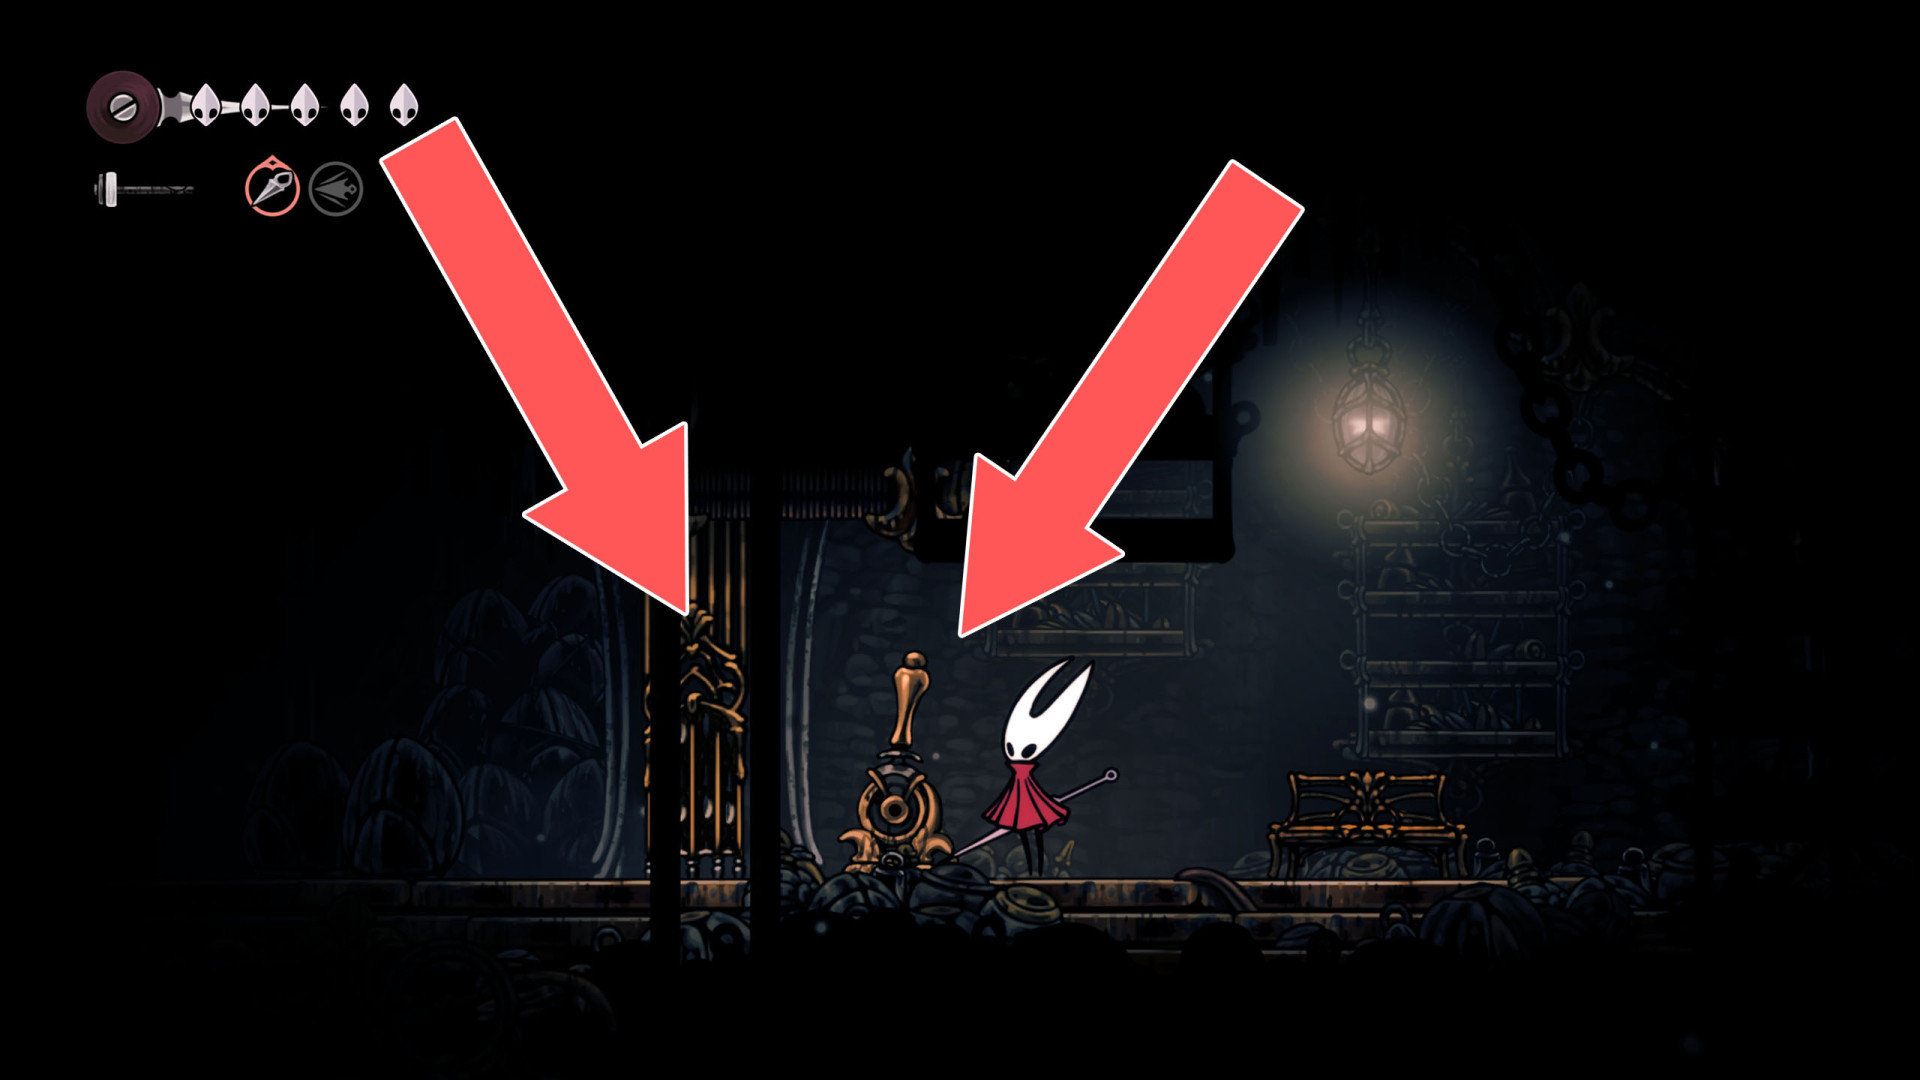
301Locked Gate
You need a Clawline (Grappling Hook) to unlock it.
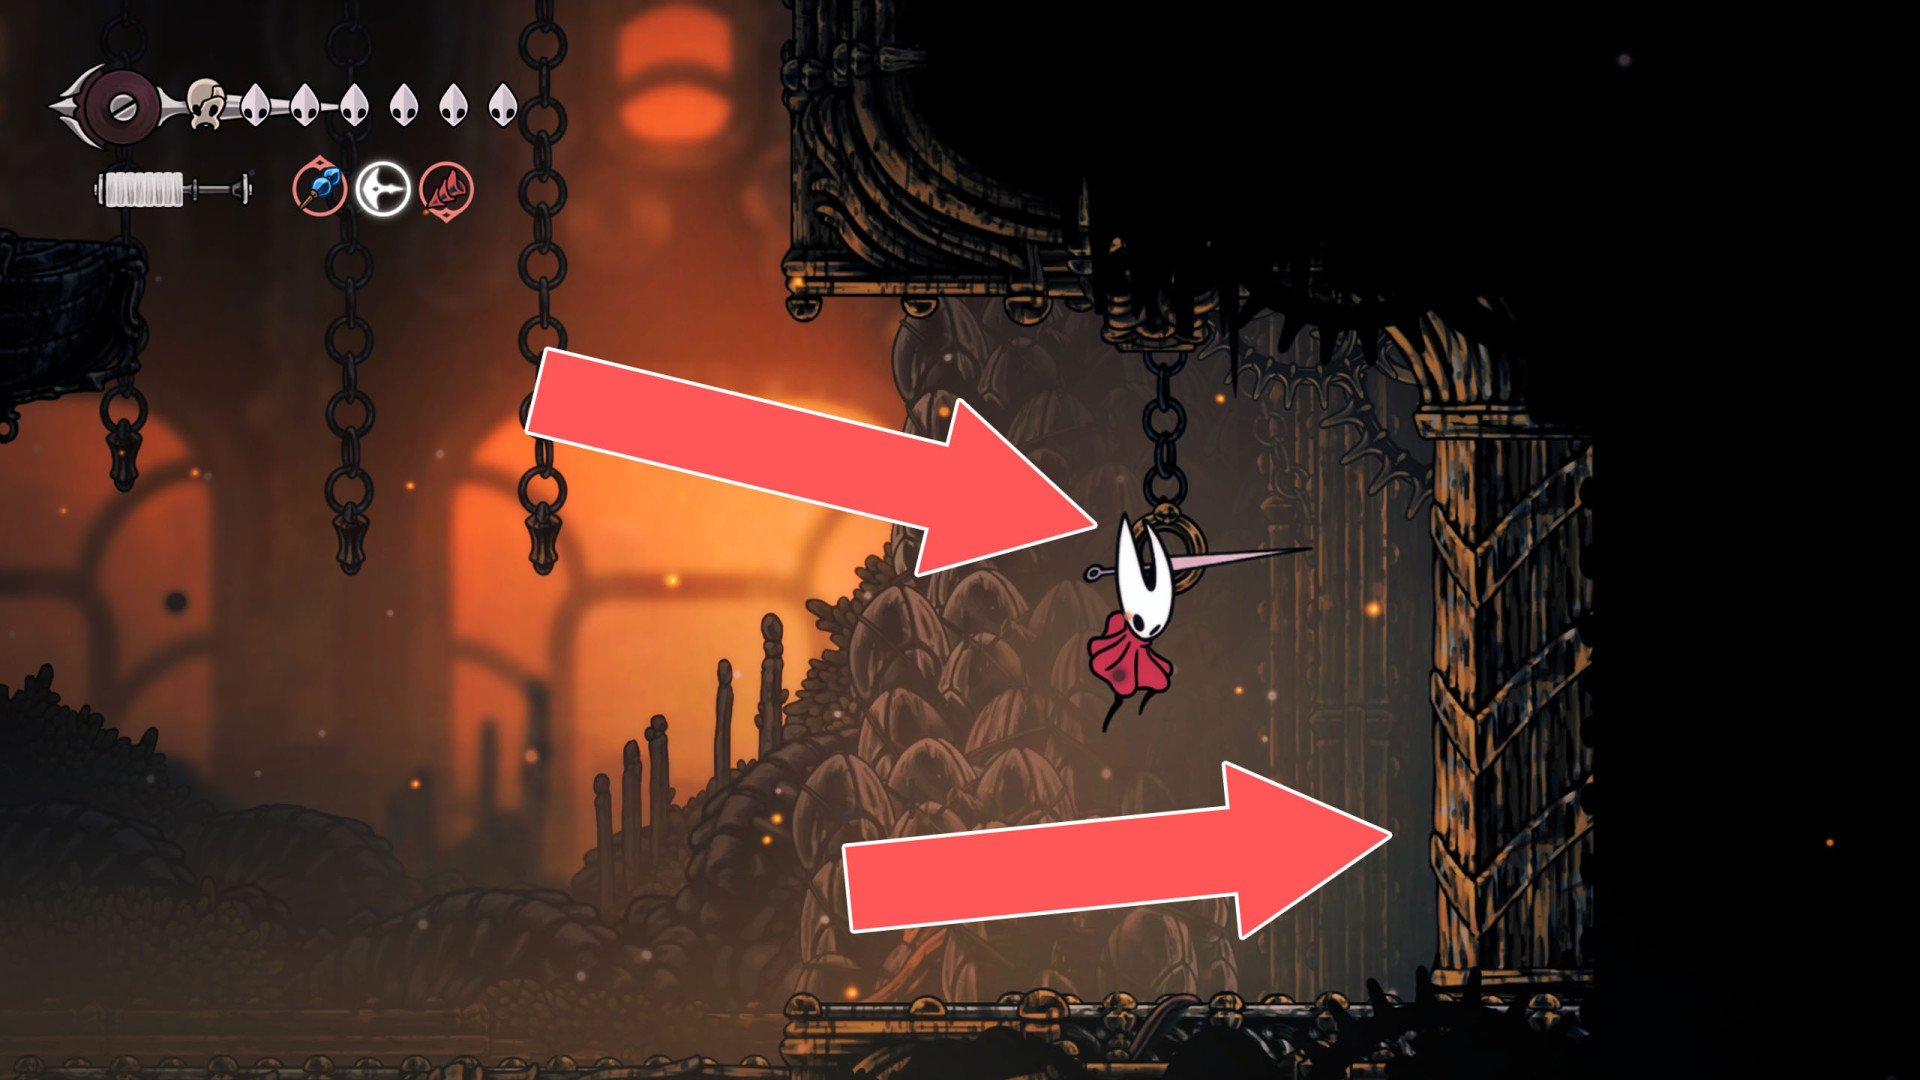
302Locked Gate
The lever that opens the gate is located on its eastern side.
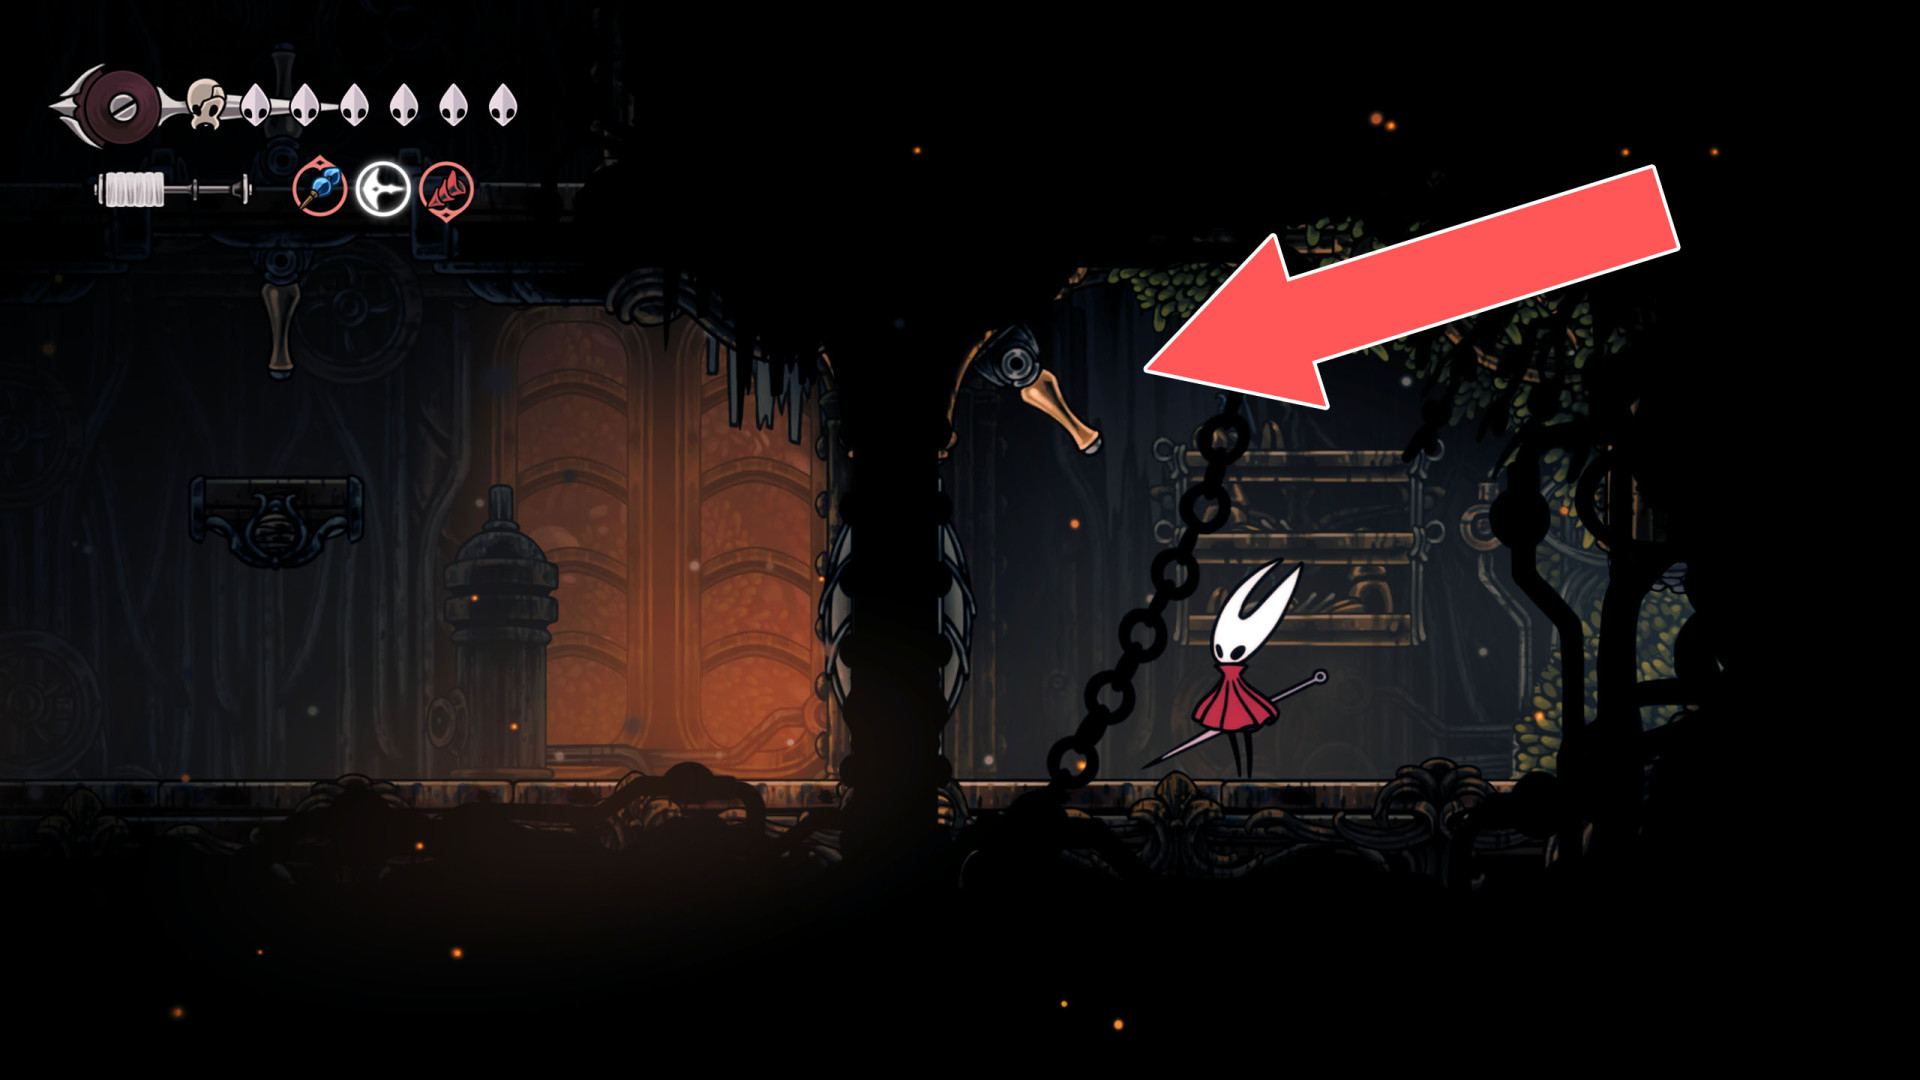
303Locked Gate
Unlocks from the west side, when the nearby ambush is defeated.
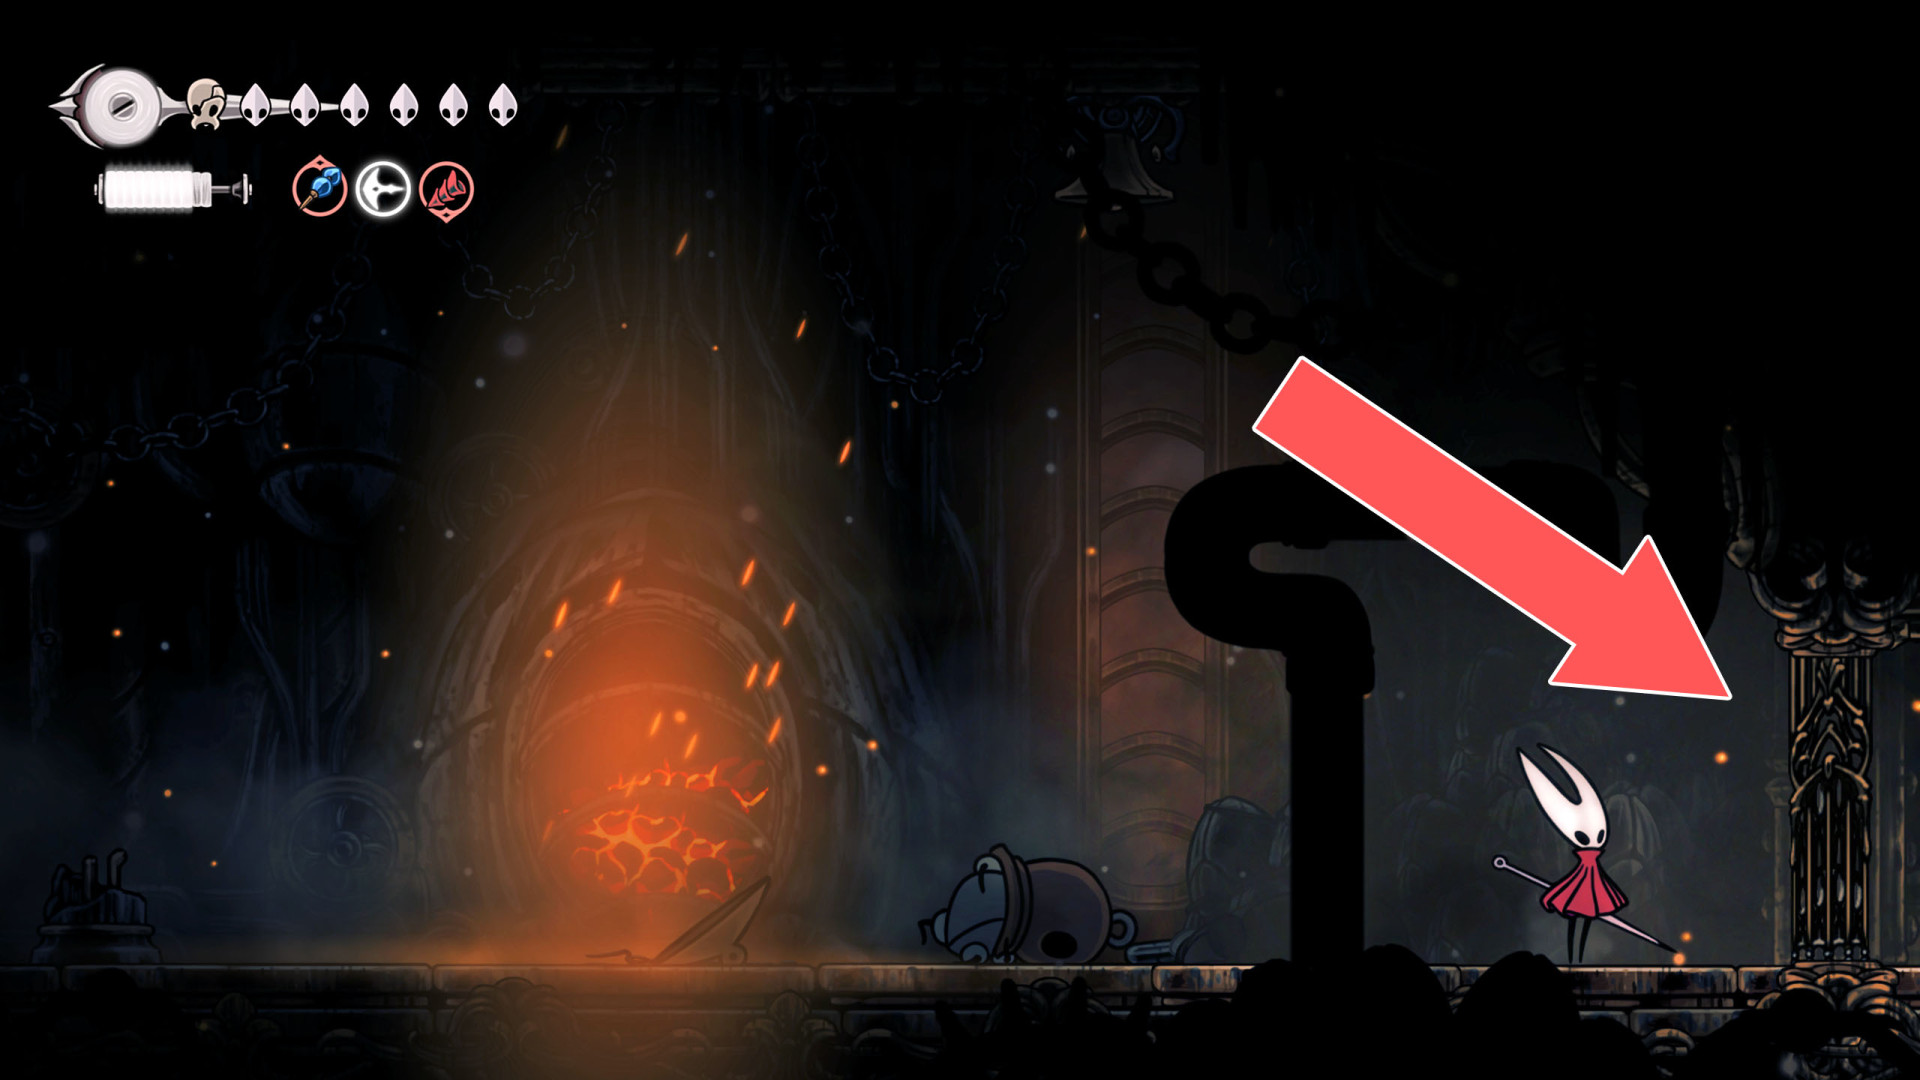
304Locked Gate
The lever that opens this gate is located on its eastern side.
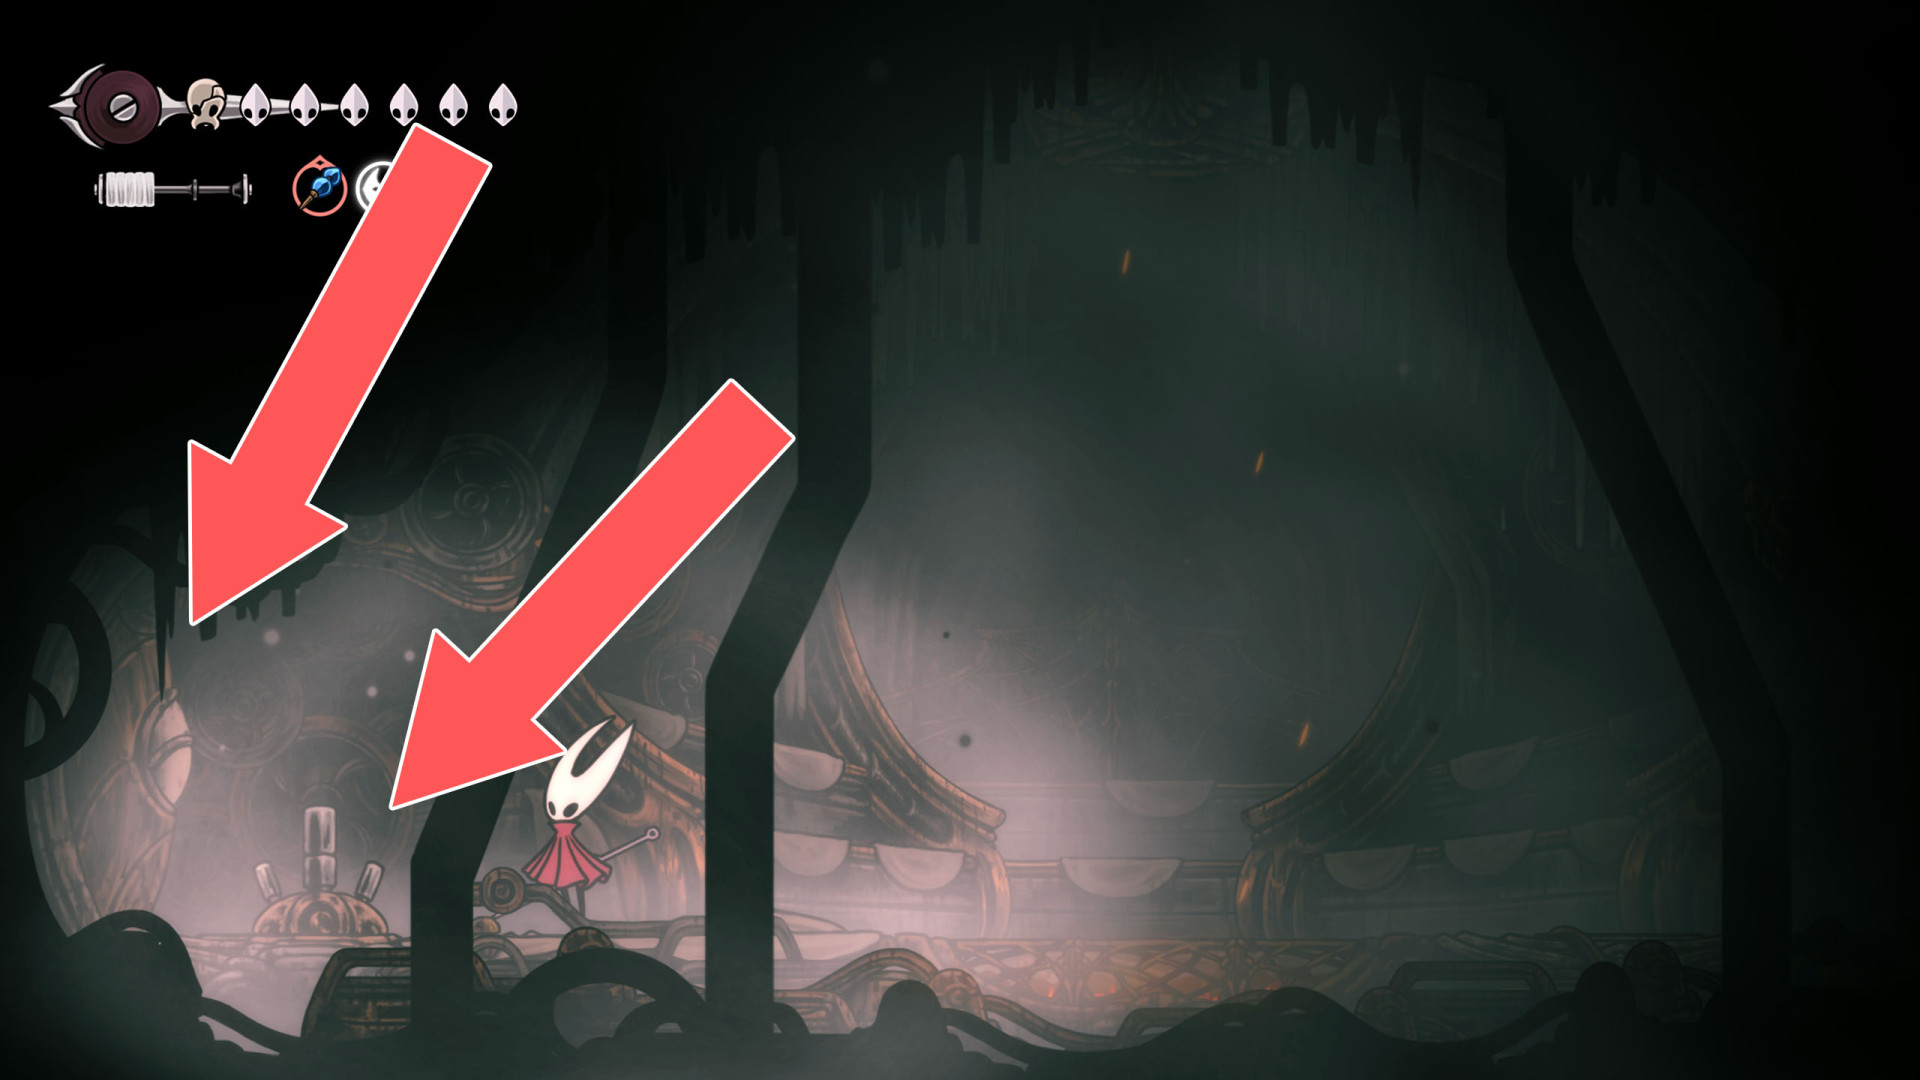
305Locked Gate
The lever that opens this gate is located on its western side.
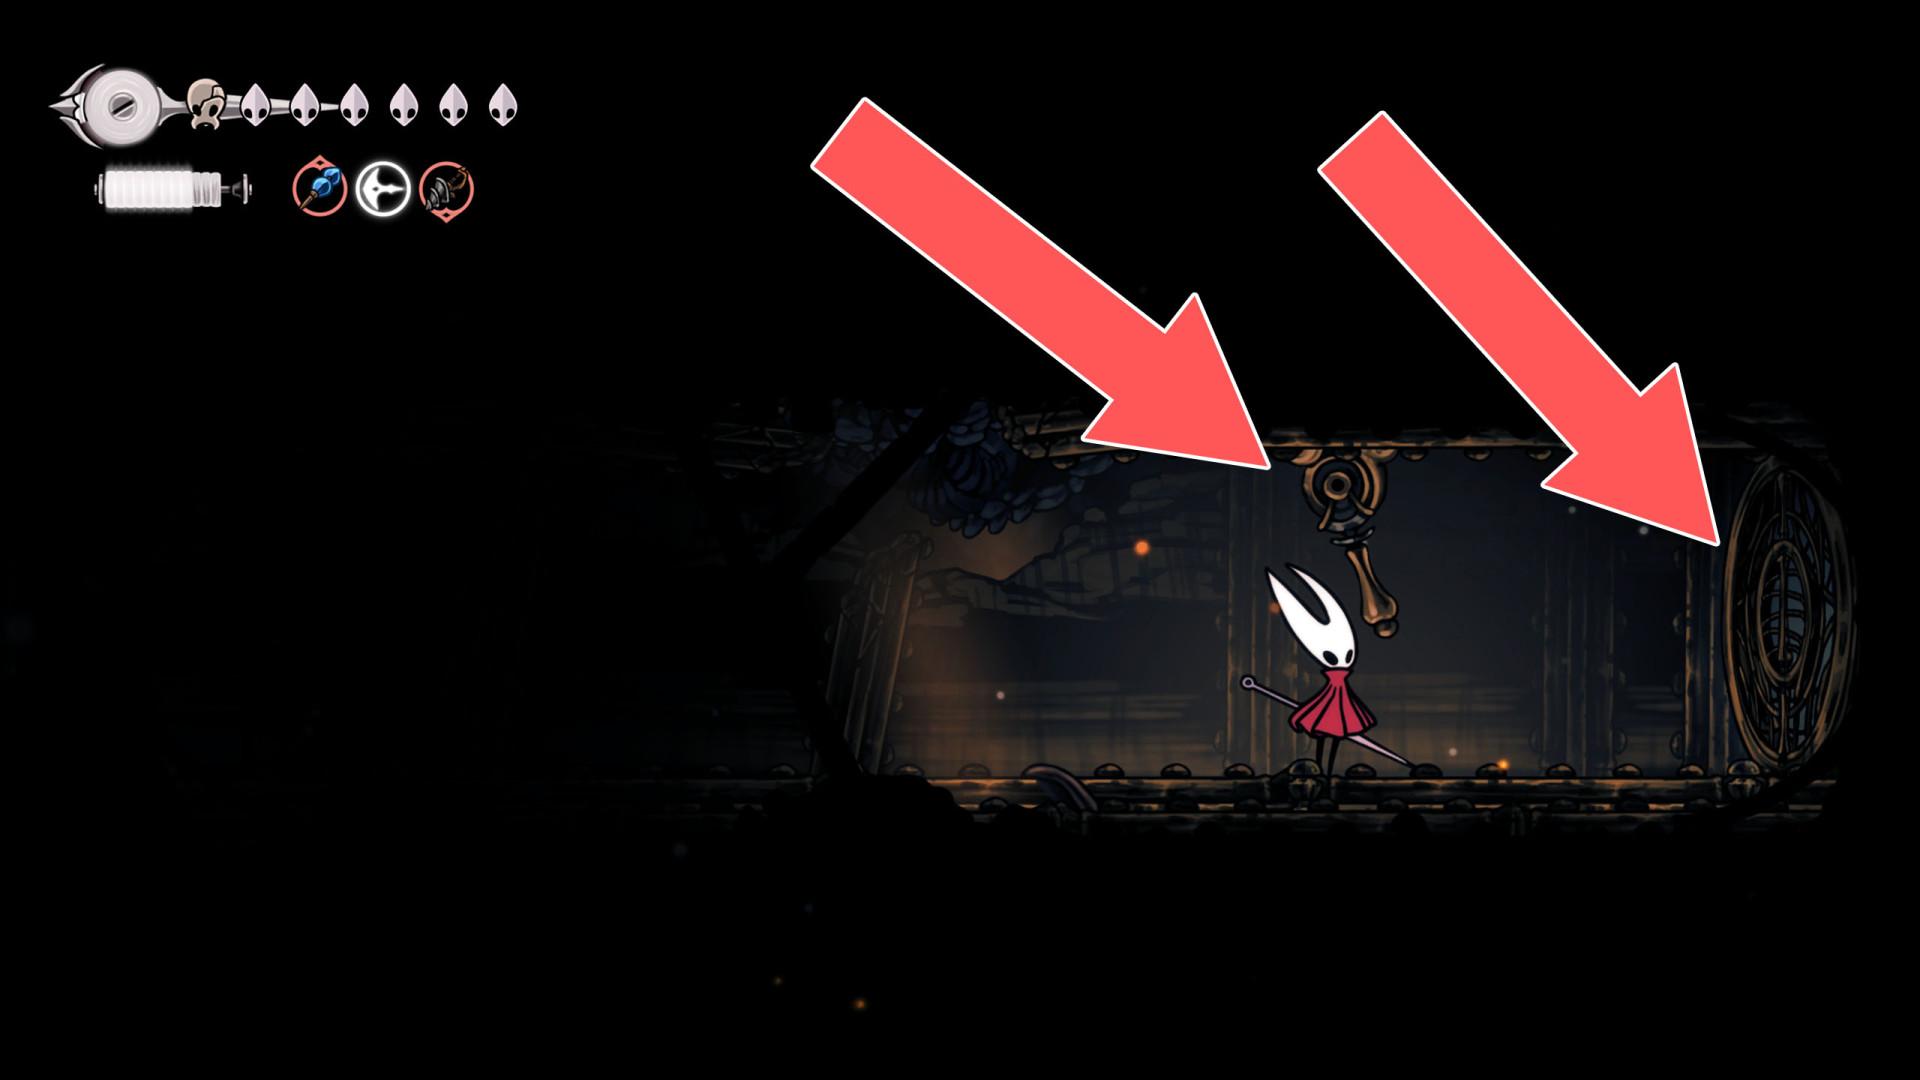
306Locked Gate
The lever that opens this gate is located on its eastern side.
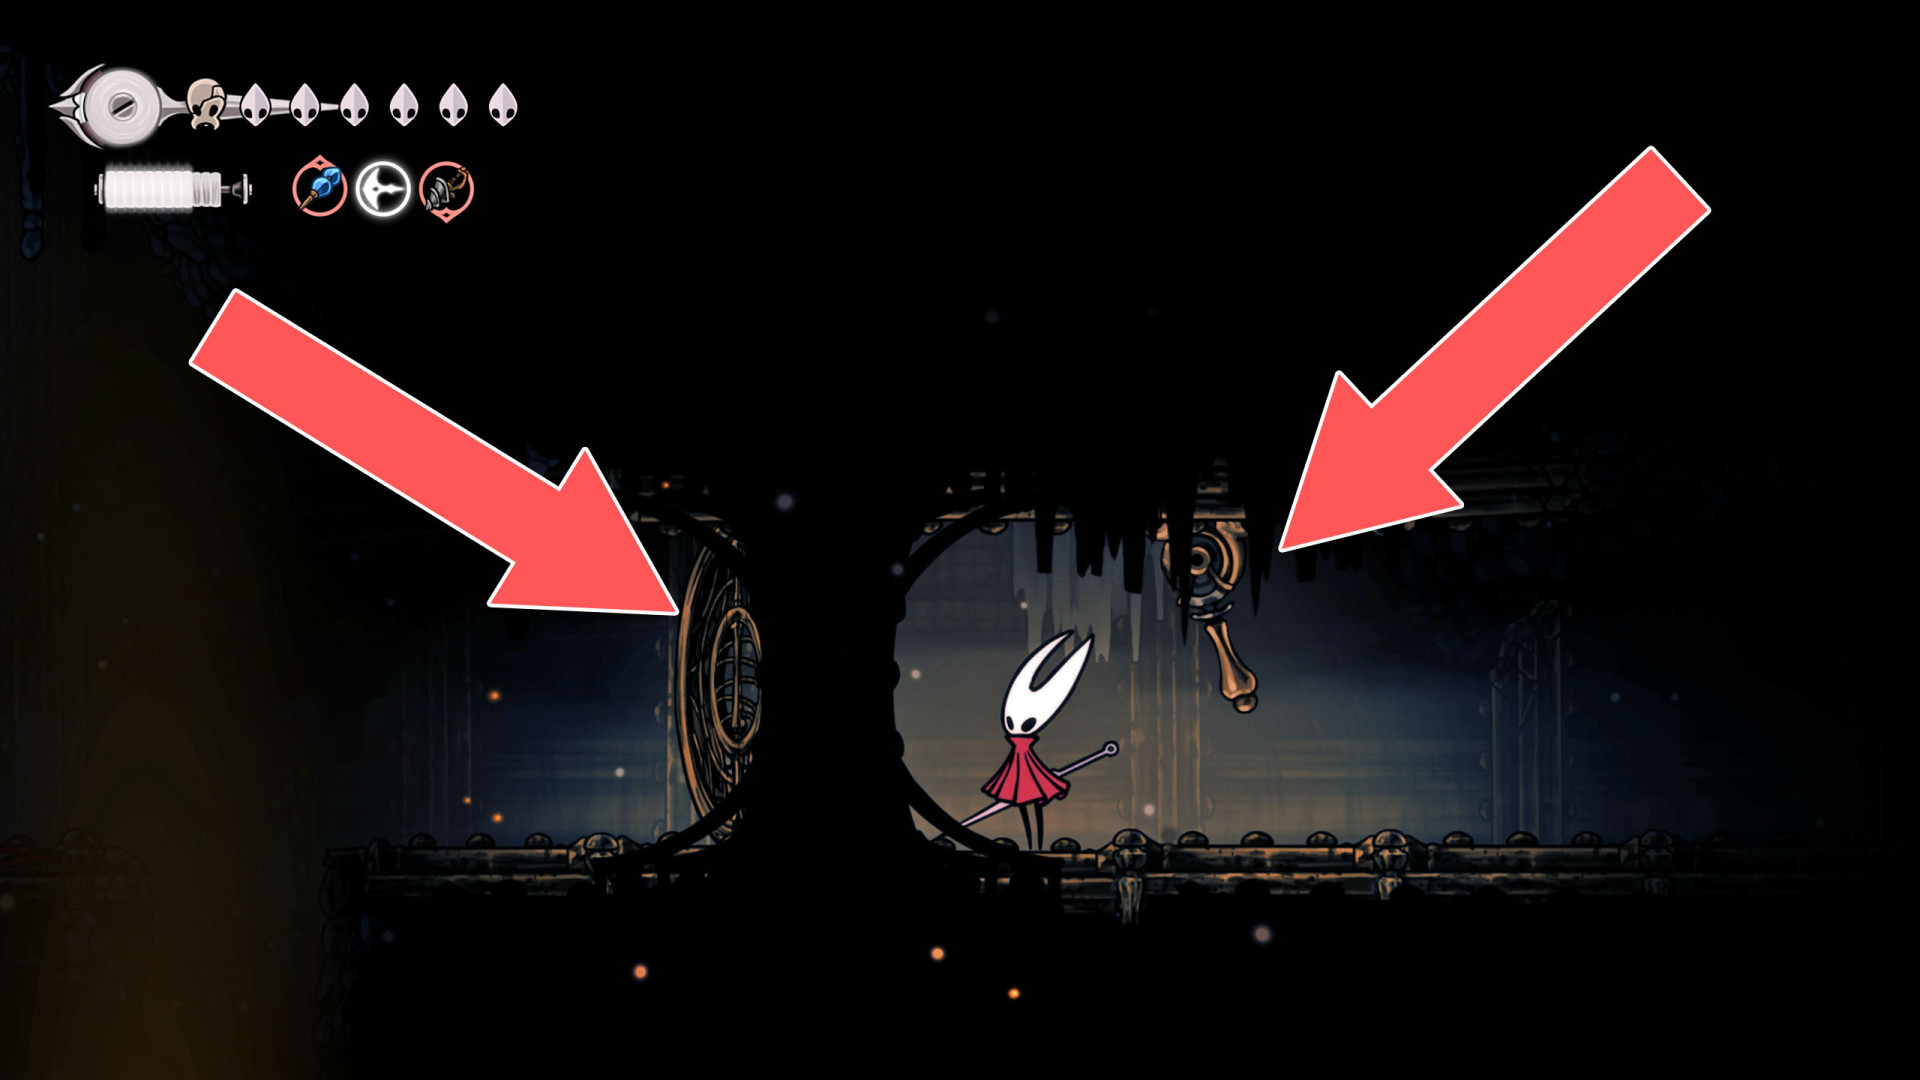
307Locked Gate
The lever that opens this gate is located on its eastern side.
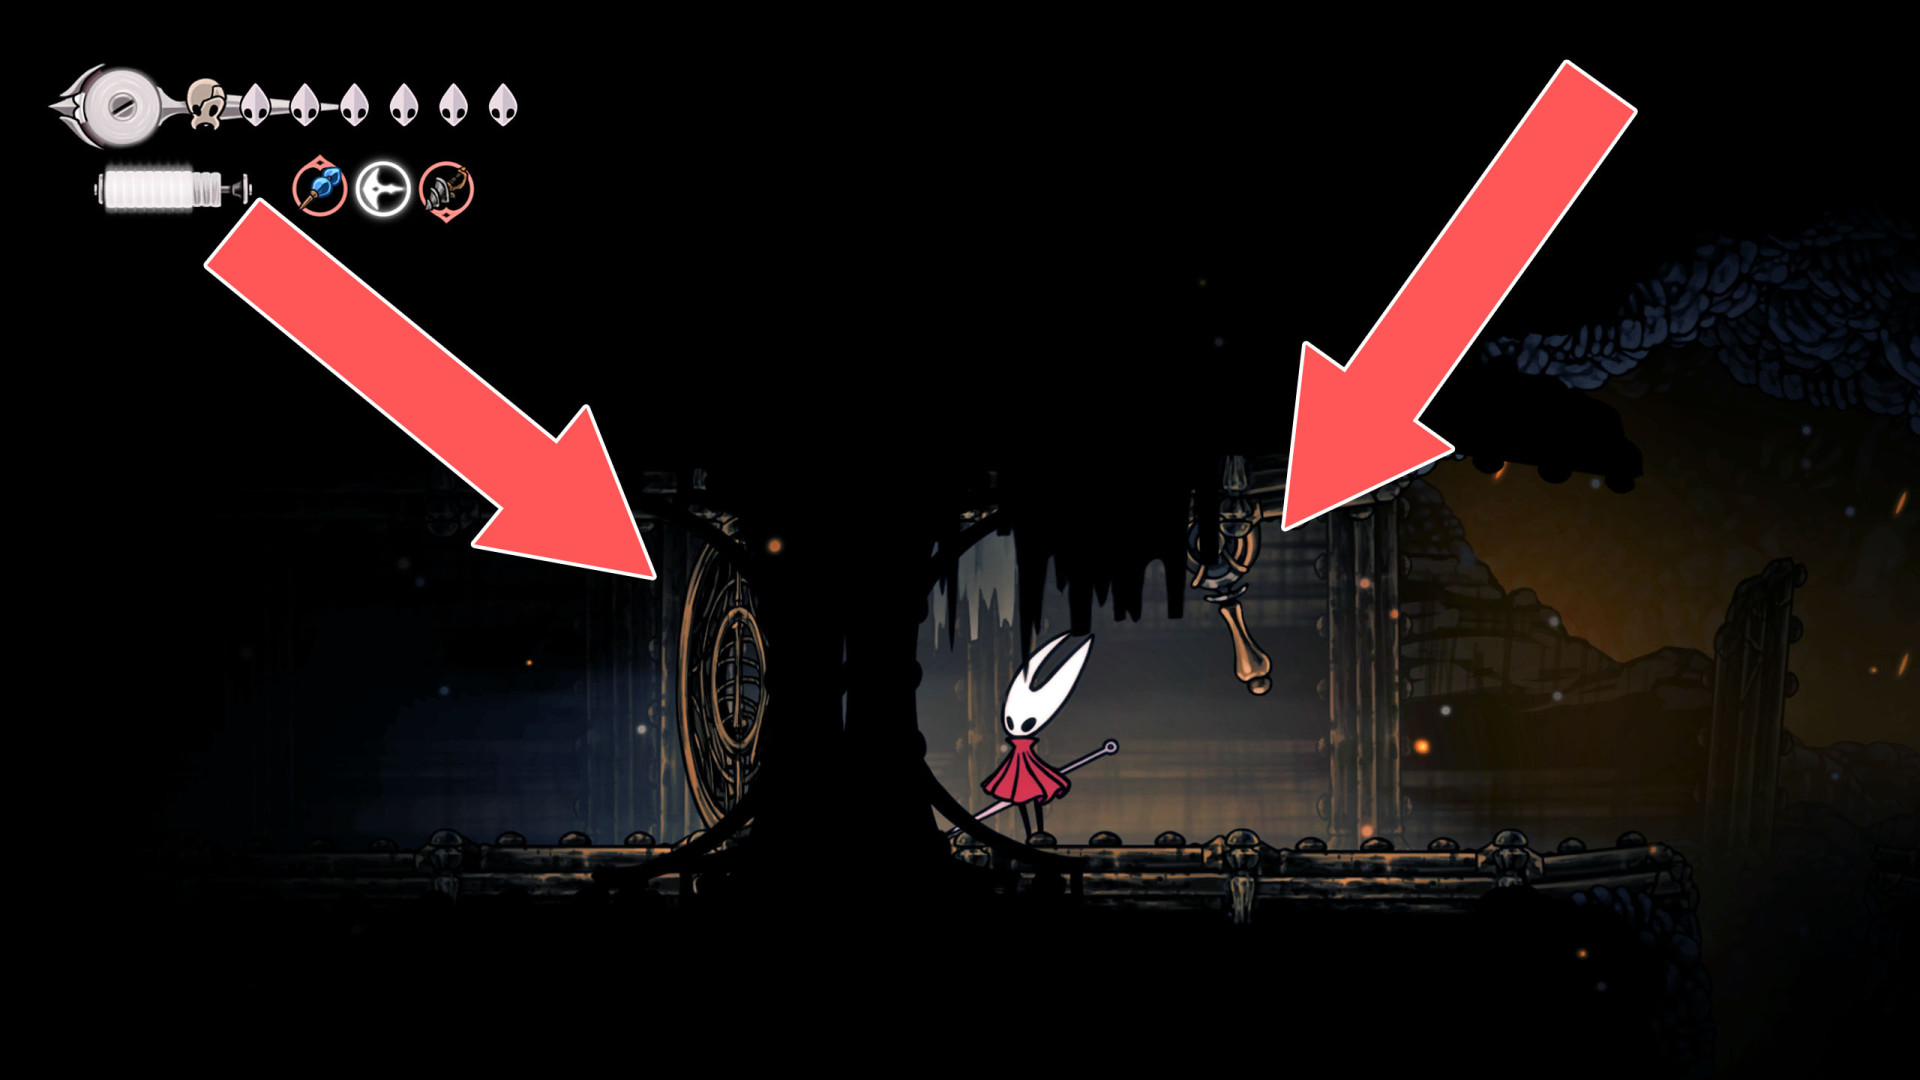
308Locked Gate (Indolent)
You need the Key of Indolent to unlock this door.
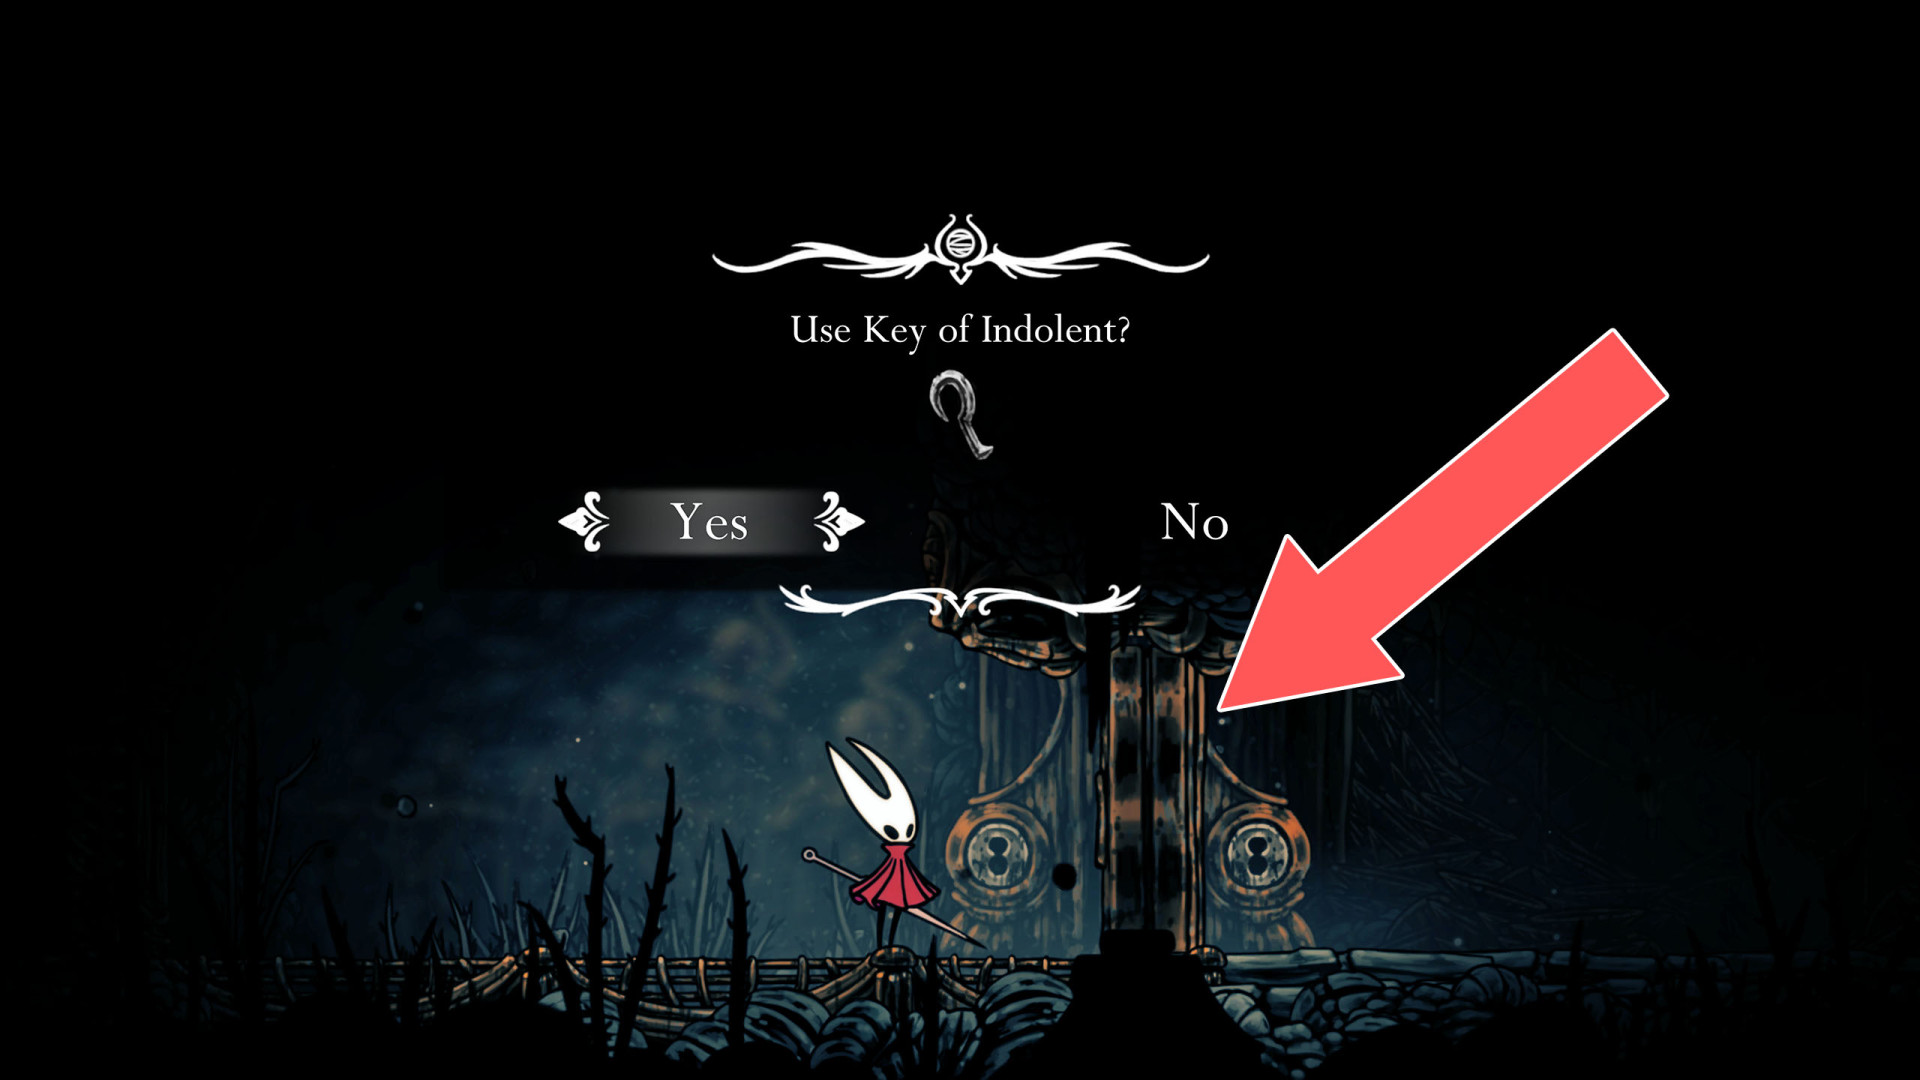
309Locked Ladder
Cut the rope to unfold the ladder.
310Locked Passage
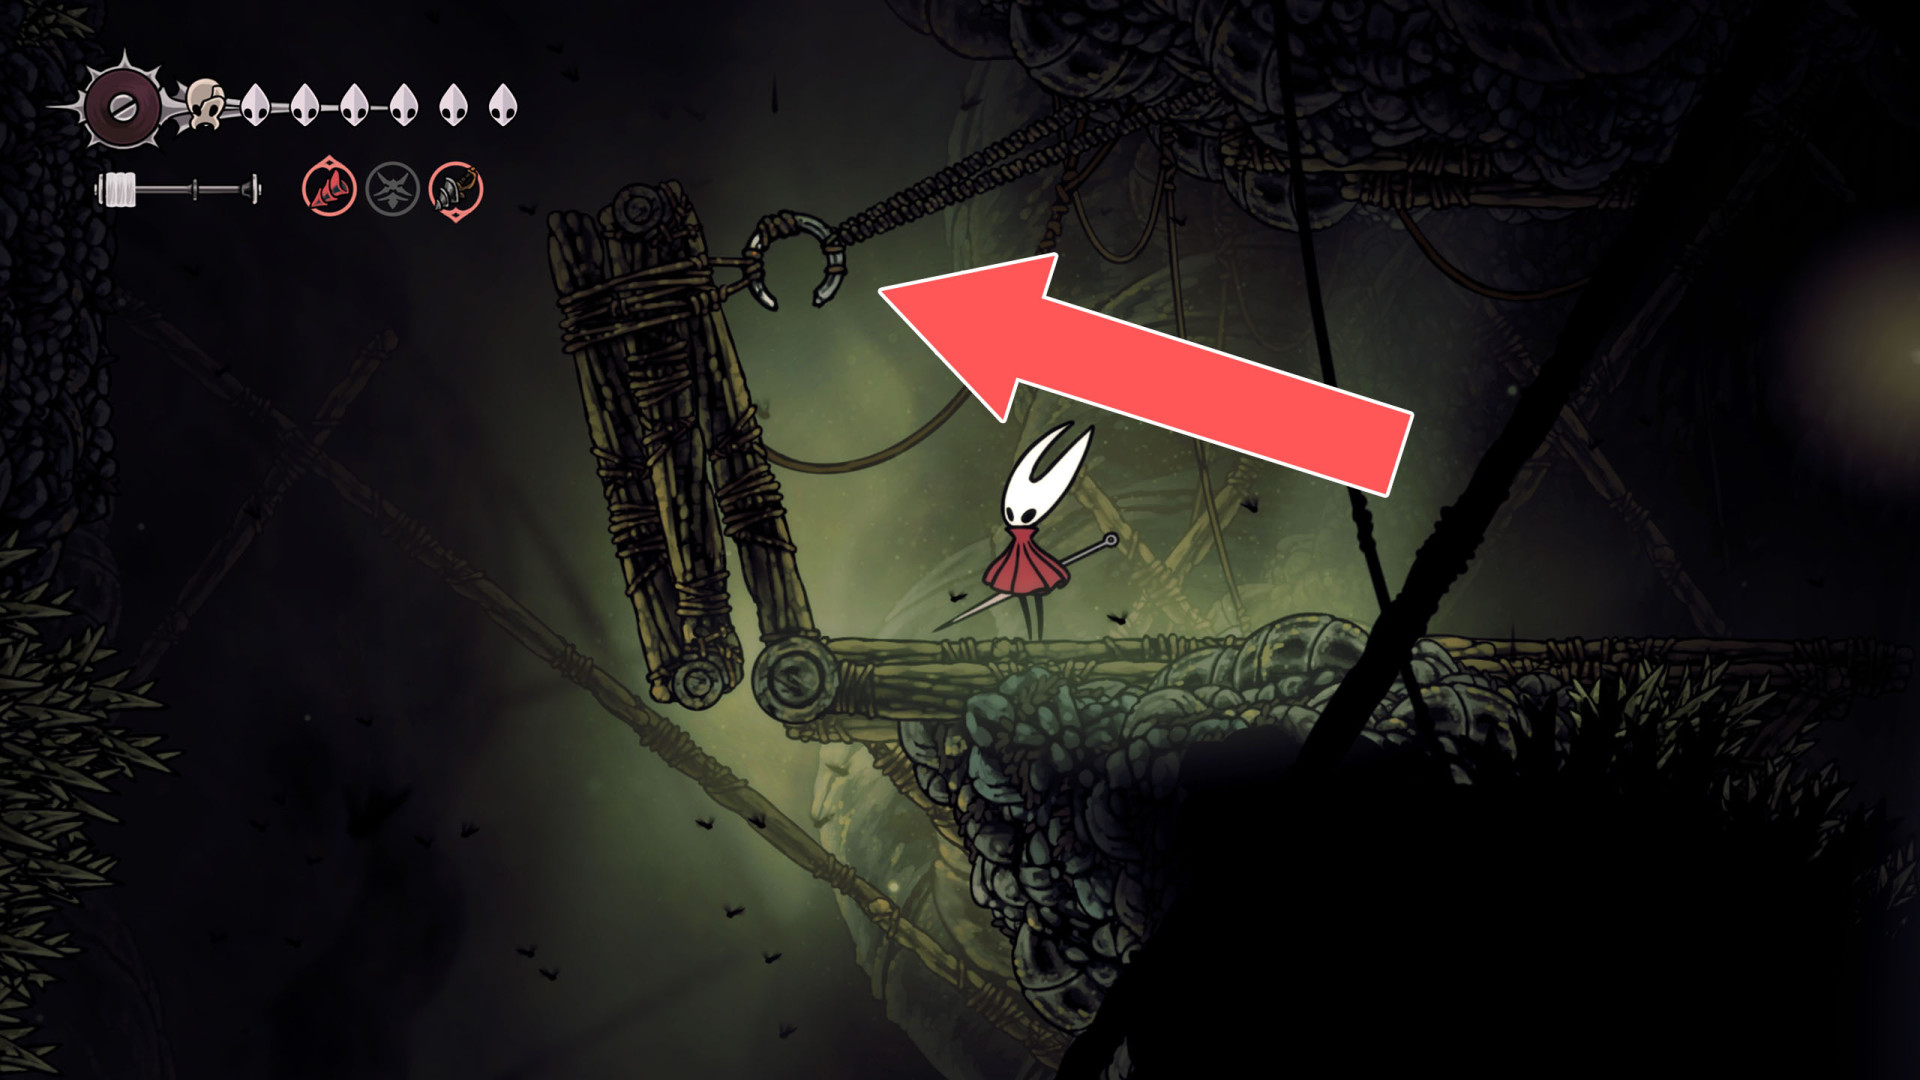
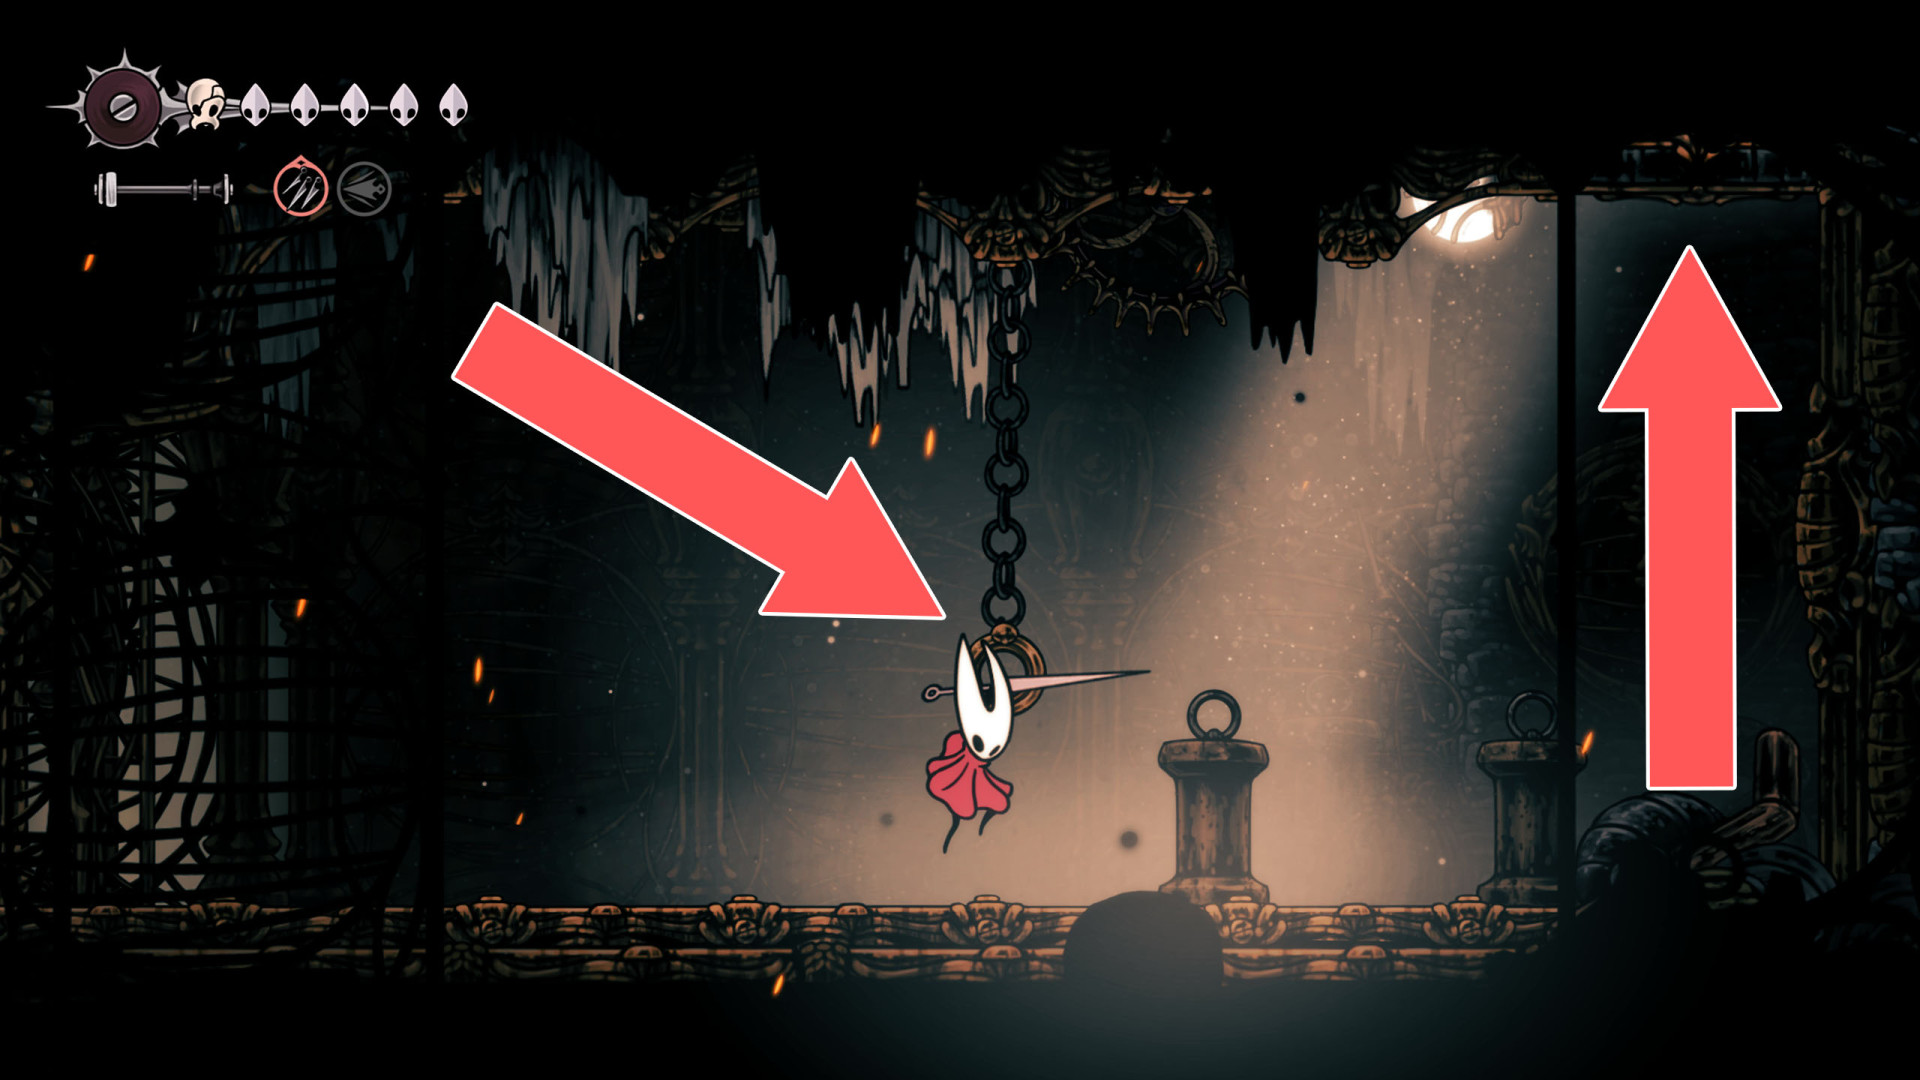
To open it use the Clawline (Grappling Hook) to hang onto the ring. Be ready for an ambush.
311Locked Passage
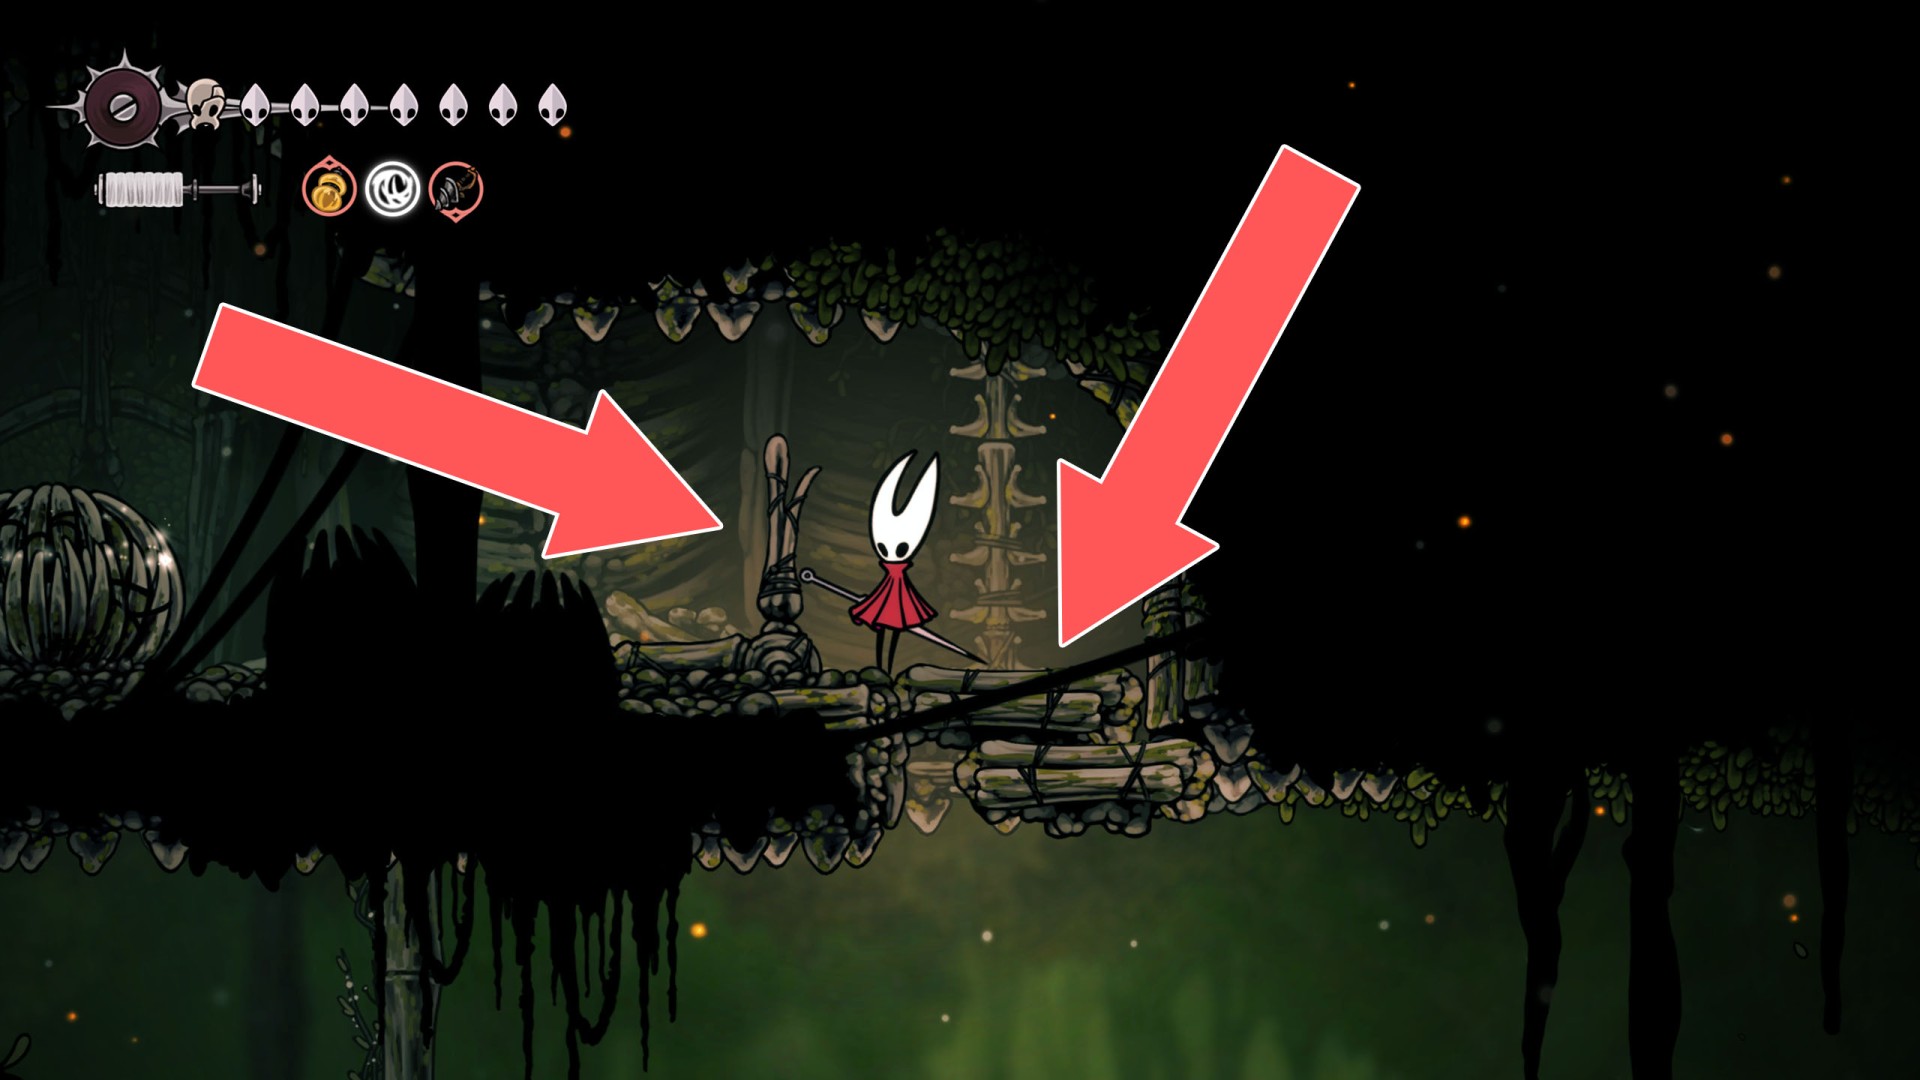
The lever that opens this passage is located above it.
312Locked Passage
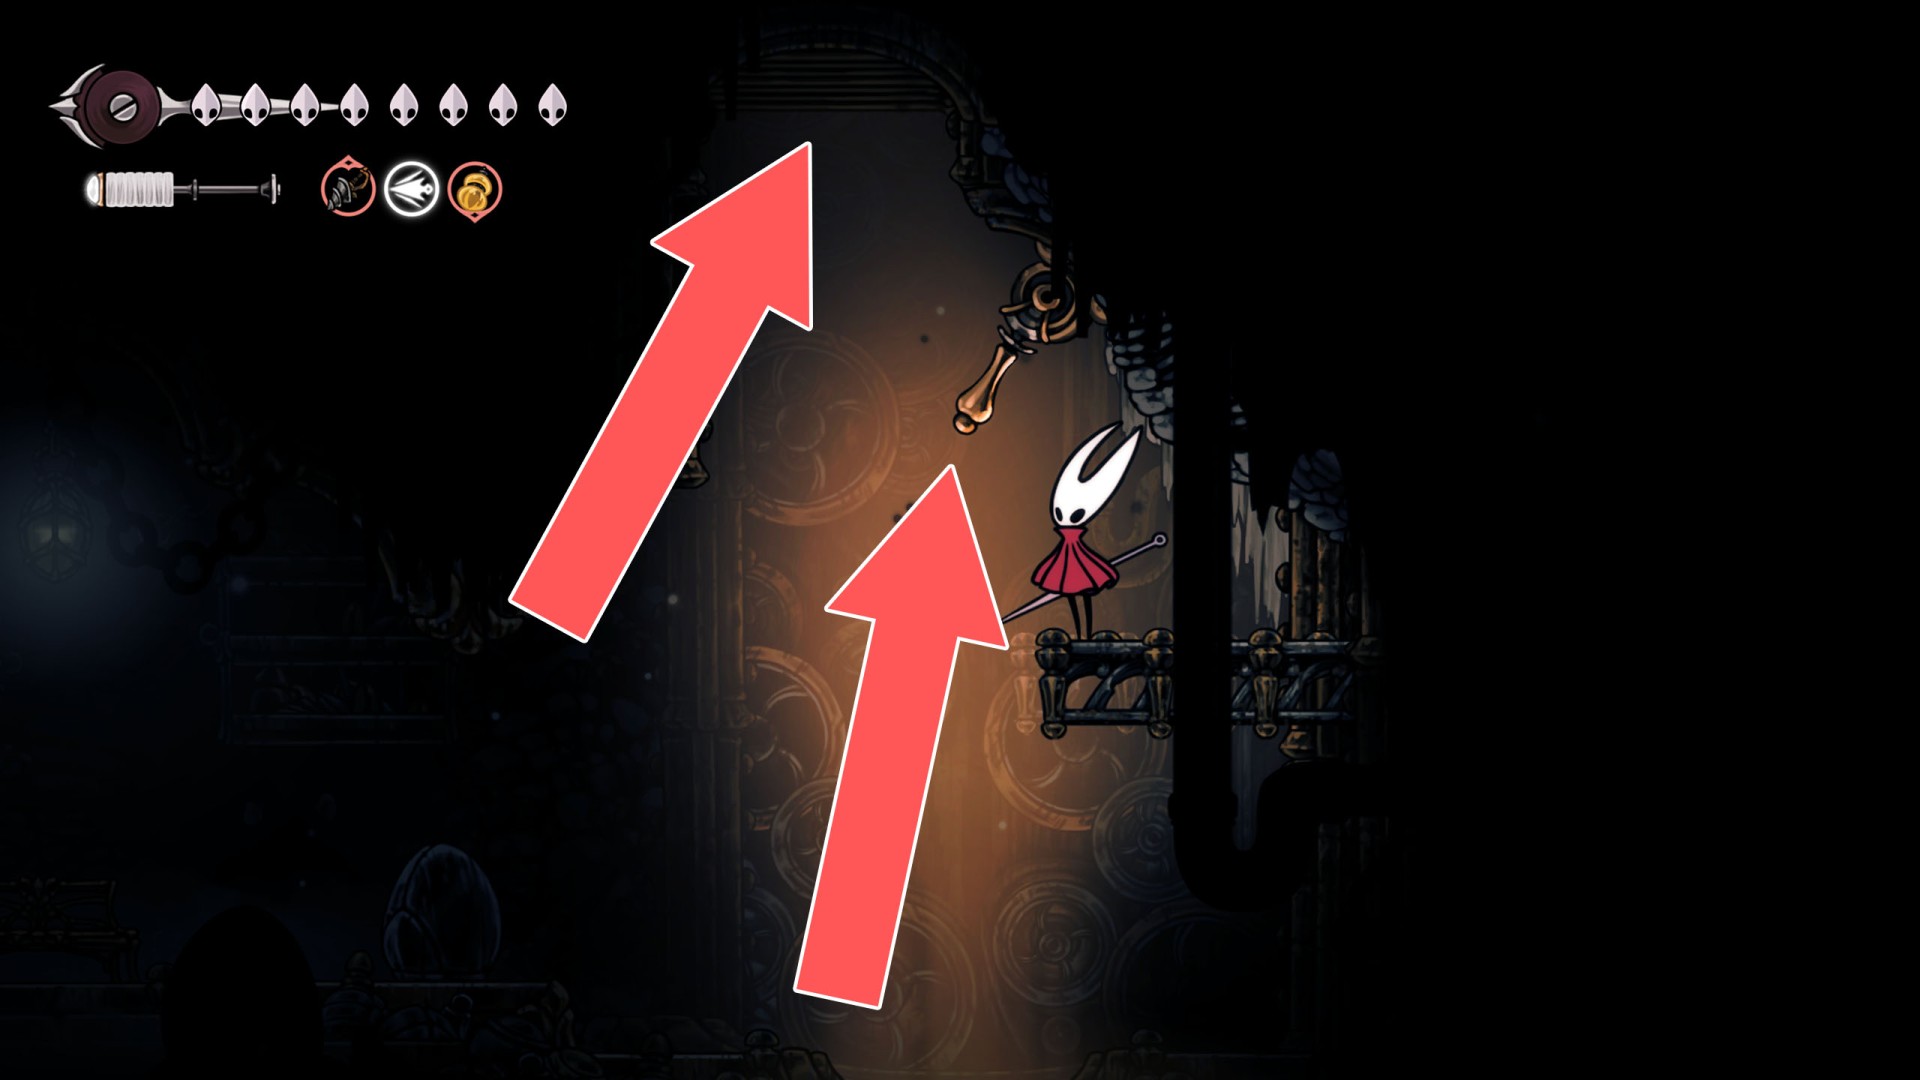
You can open this trapdoor using the lever located underneath it.
313Locked Trapdoor
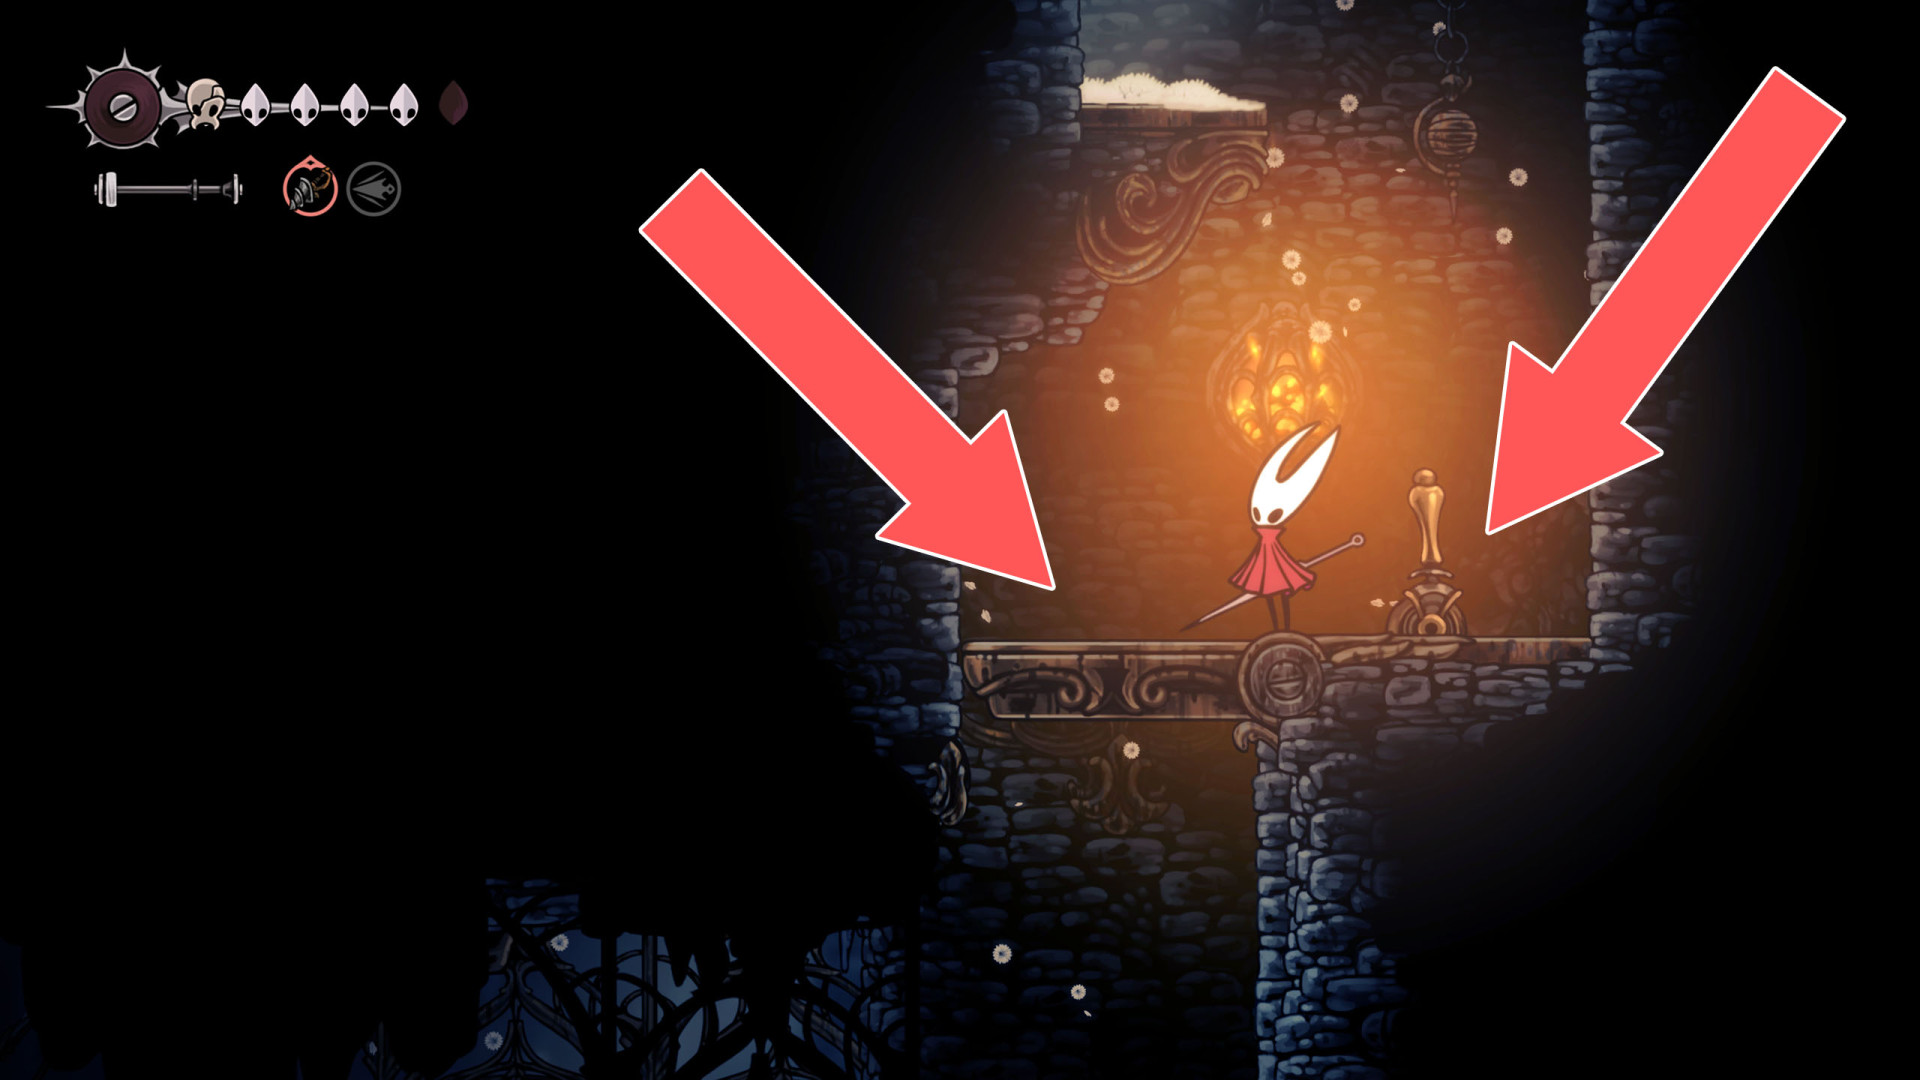
You can open this trapdoor using the lever located above it.
314Locked Trapdoor
You can open this trapdoor using the Clawline (Grappling Hook) hook located below it.
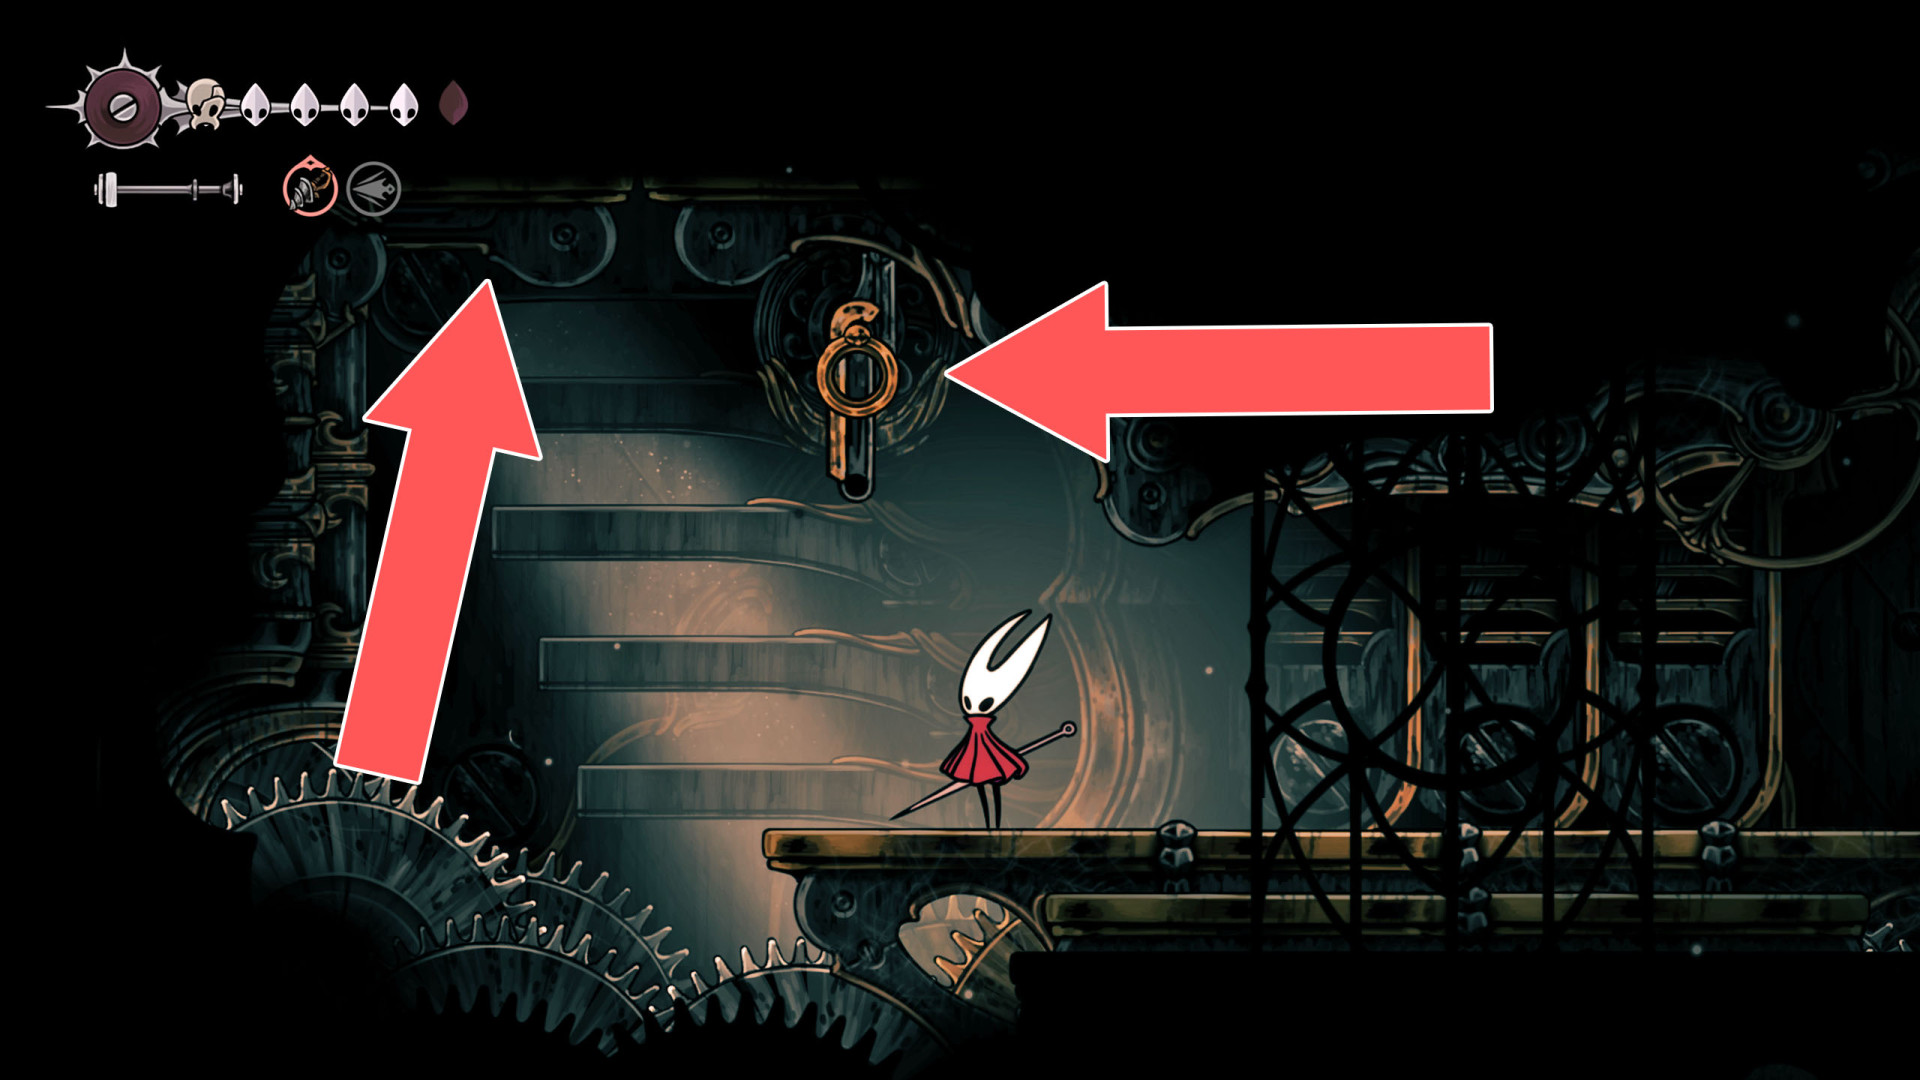
315Locked Trapdoor
You can open this trapdoor using the lever located above it.
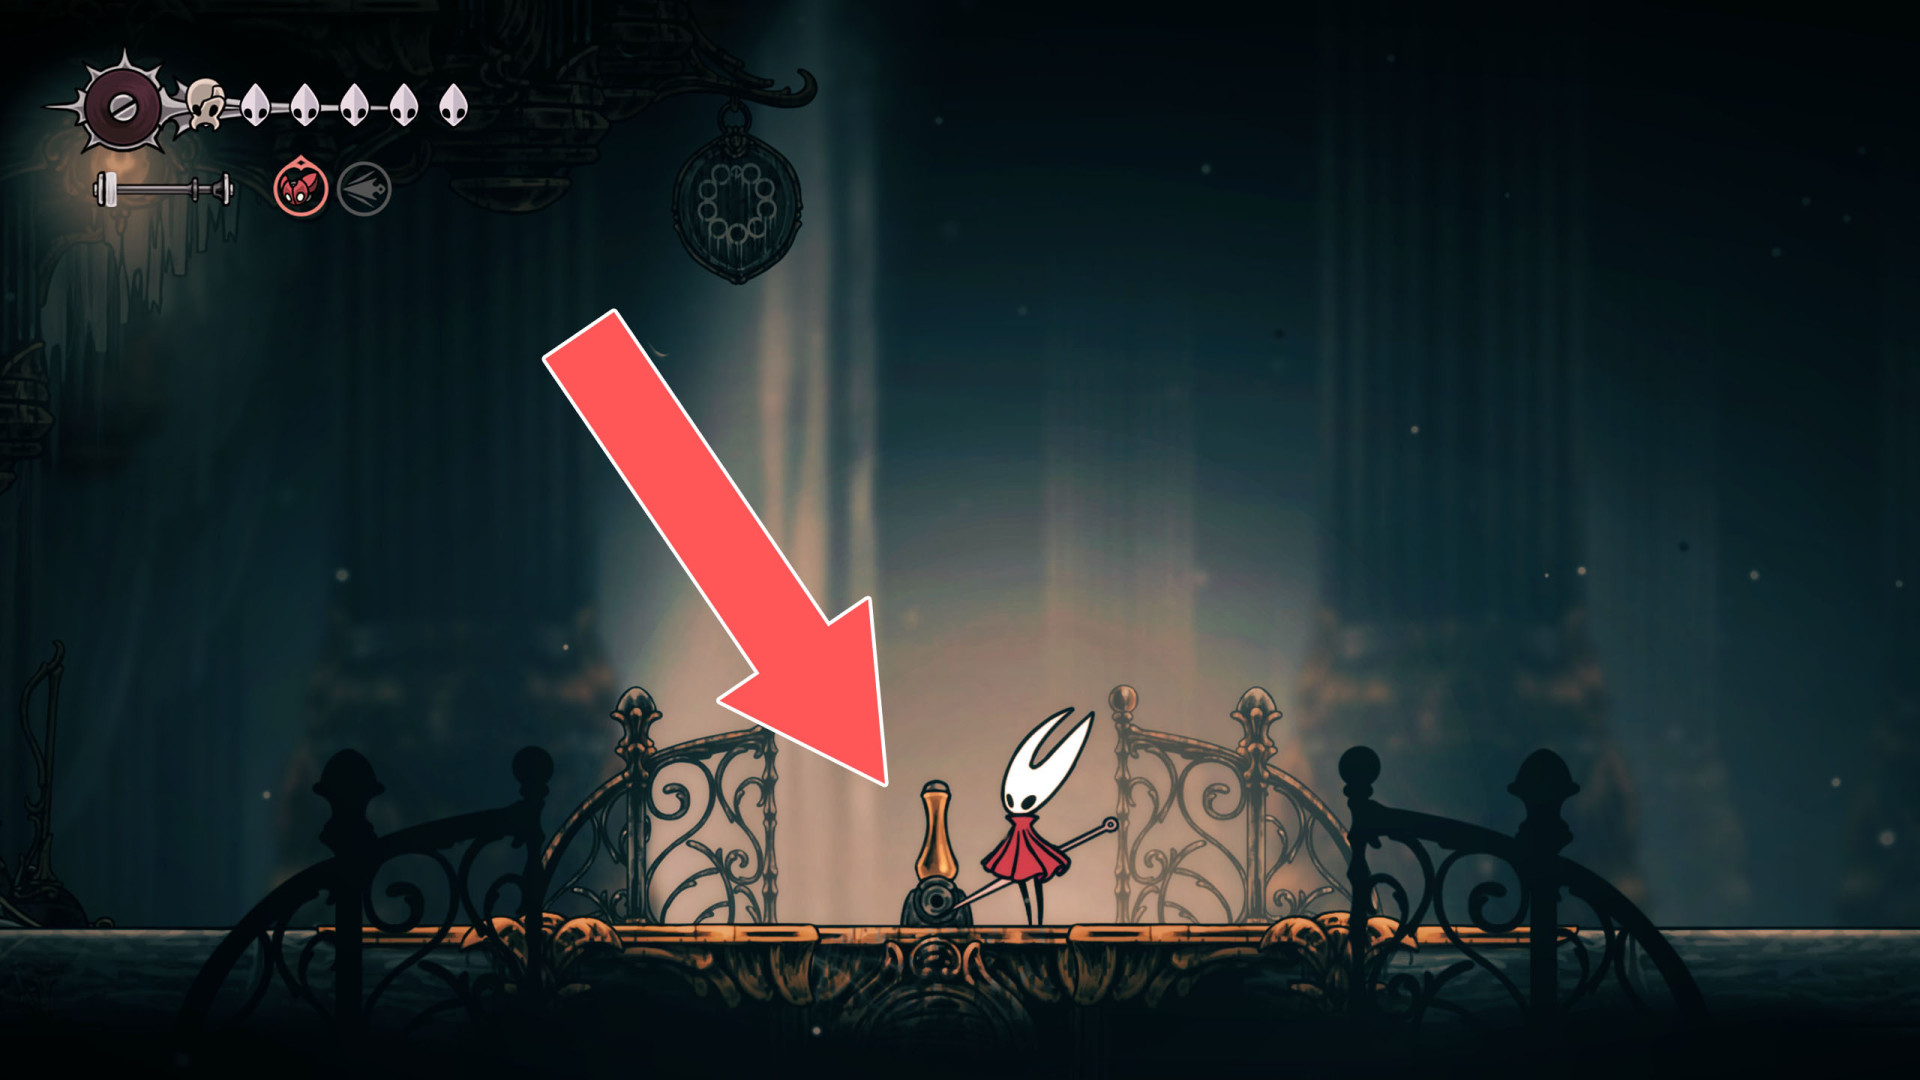
316Locked Trapdoor
You can open this trapdoor using the lever located above it.
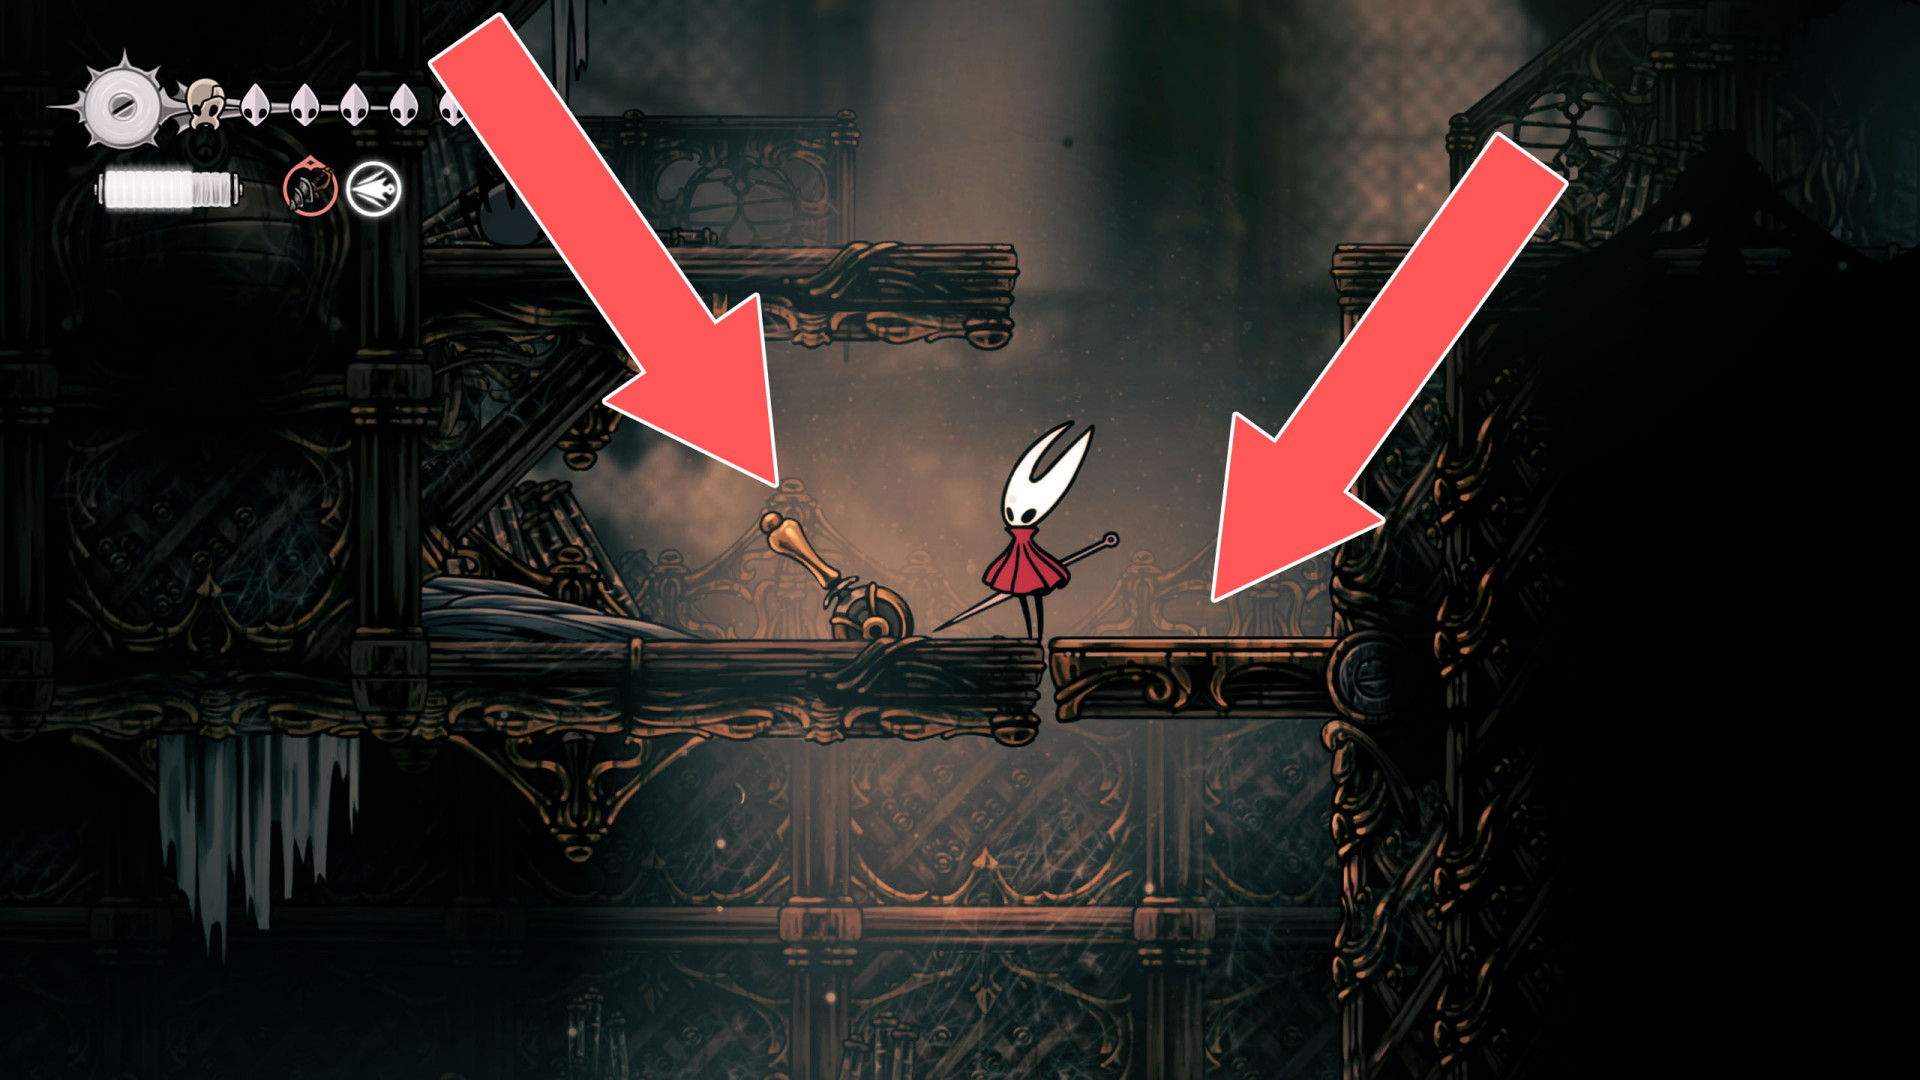
317Locked Trapdoor
You can open this trapdoor using the lever located above it.
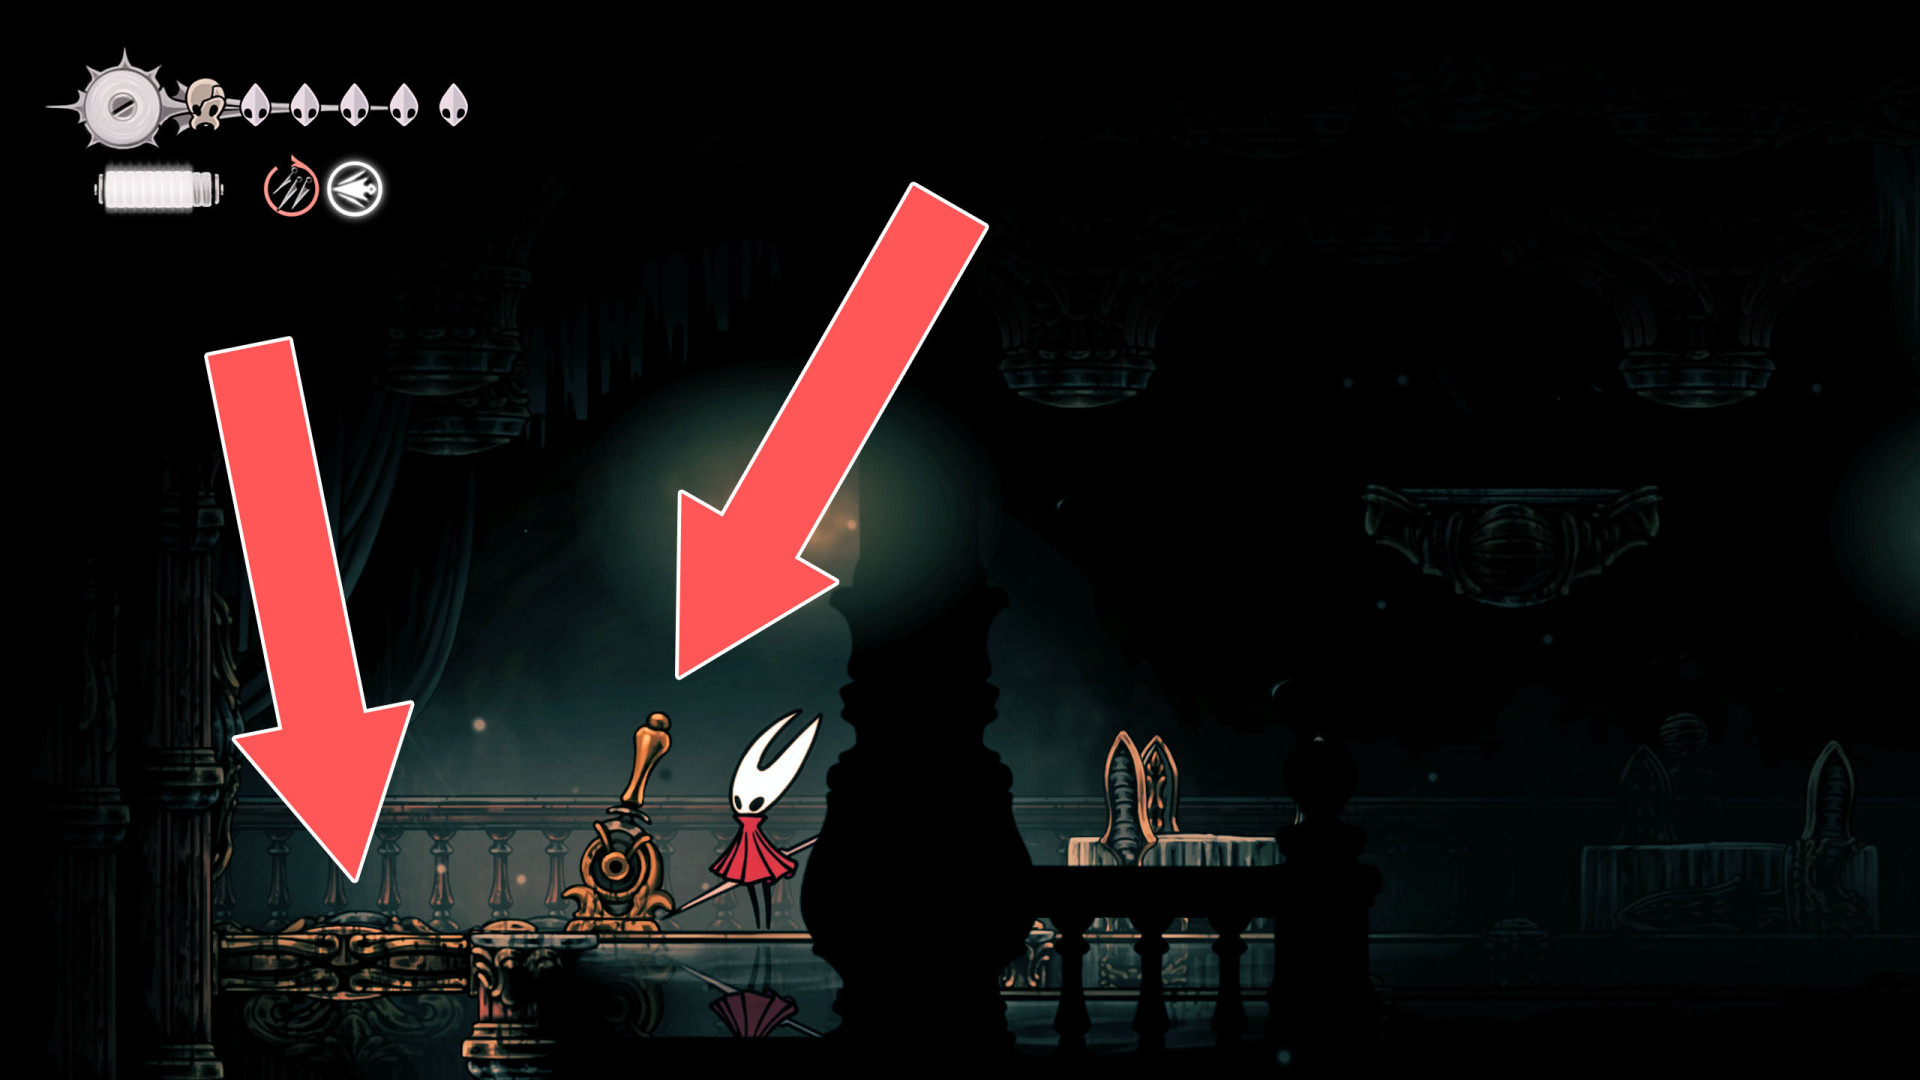
318Locked Trapdoor
The lever that opens this trapdoor is located above it.
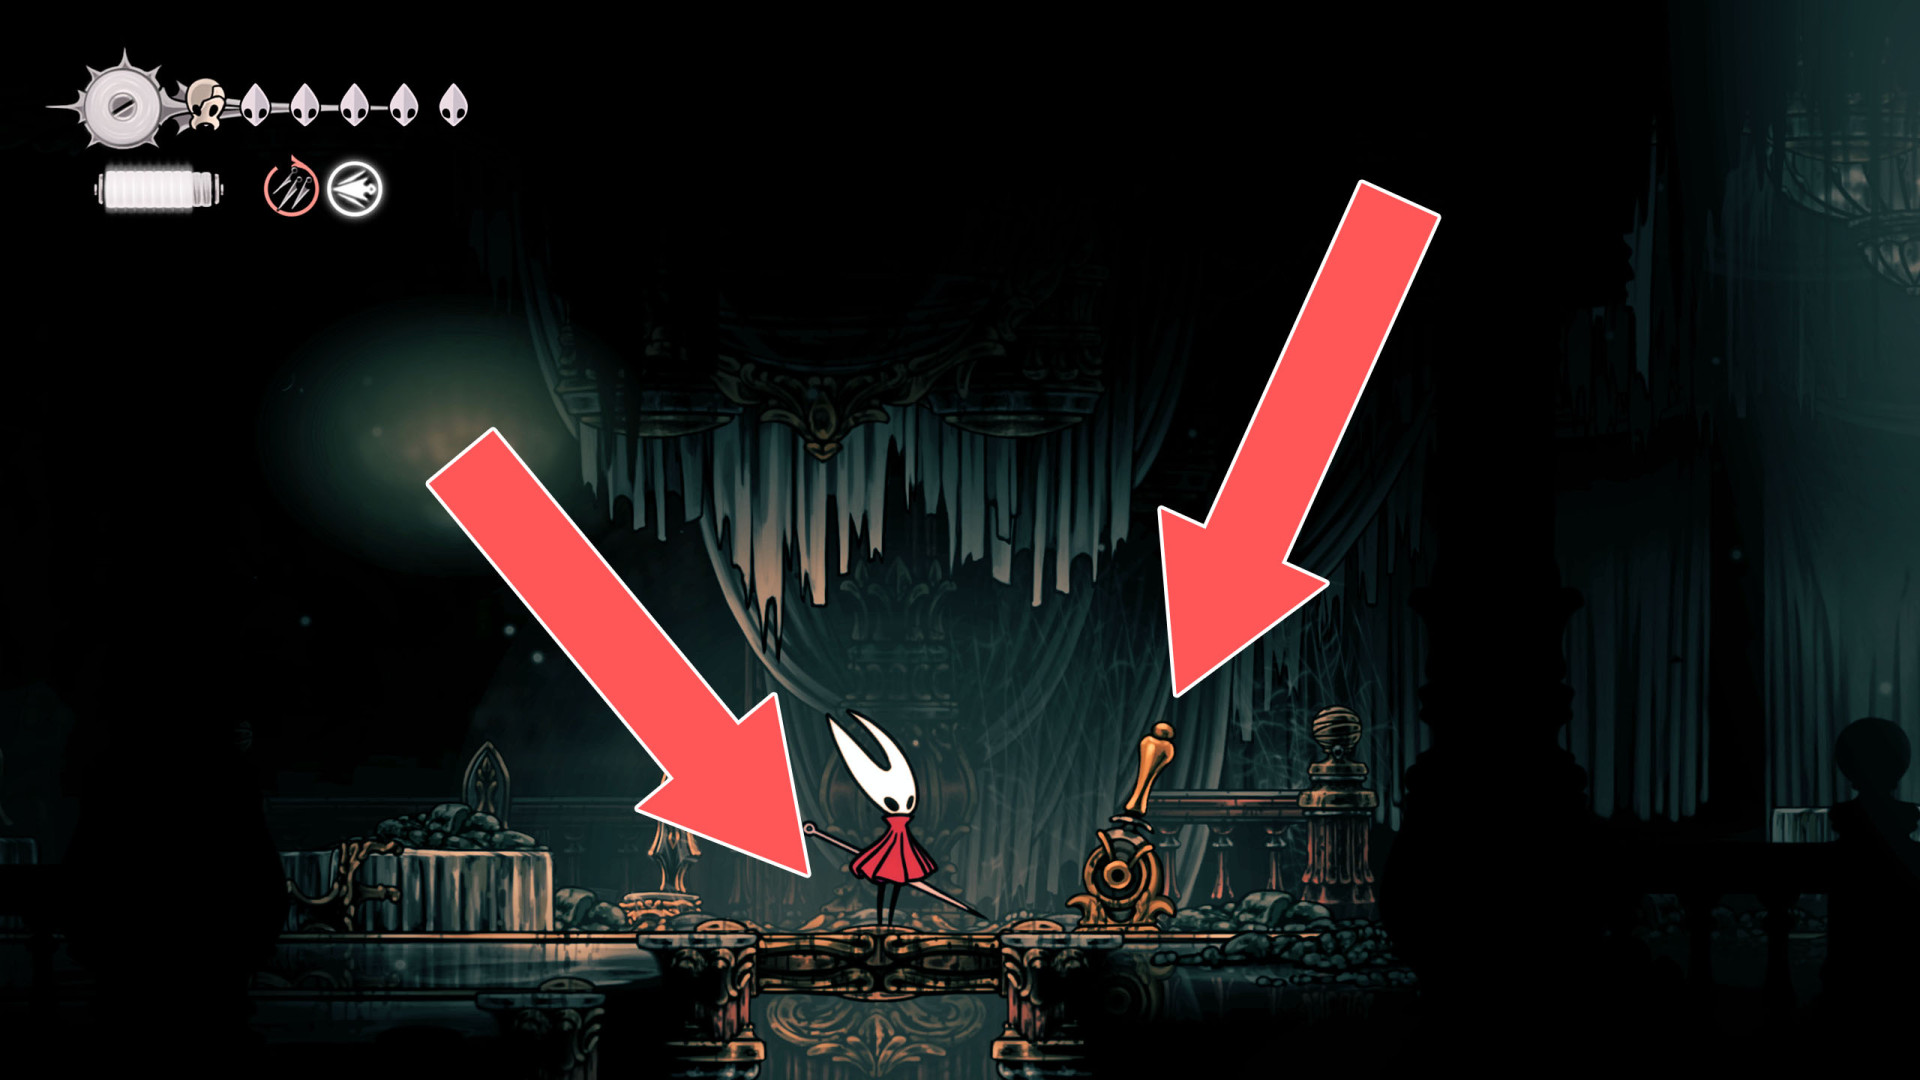
319Locked Trapdoor
You can open this trapdoor using the lever located above it.
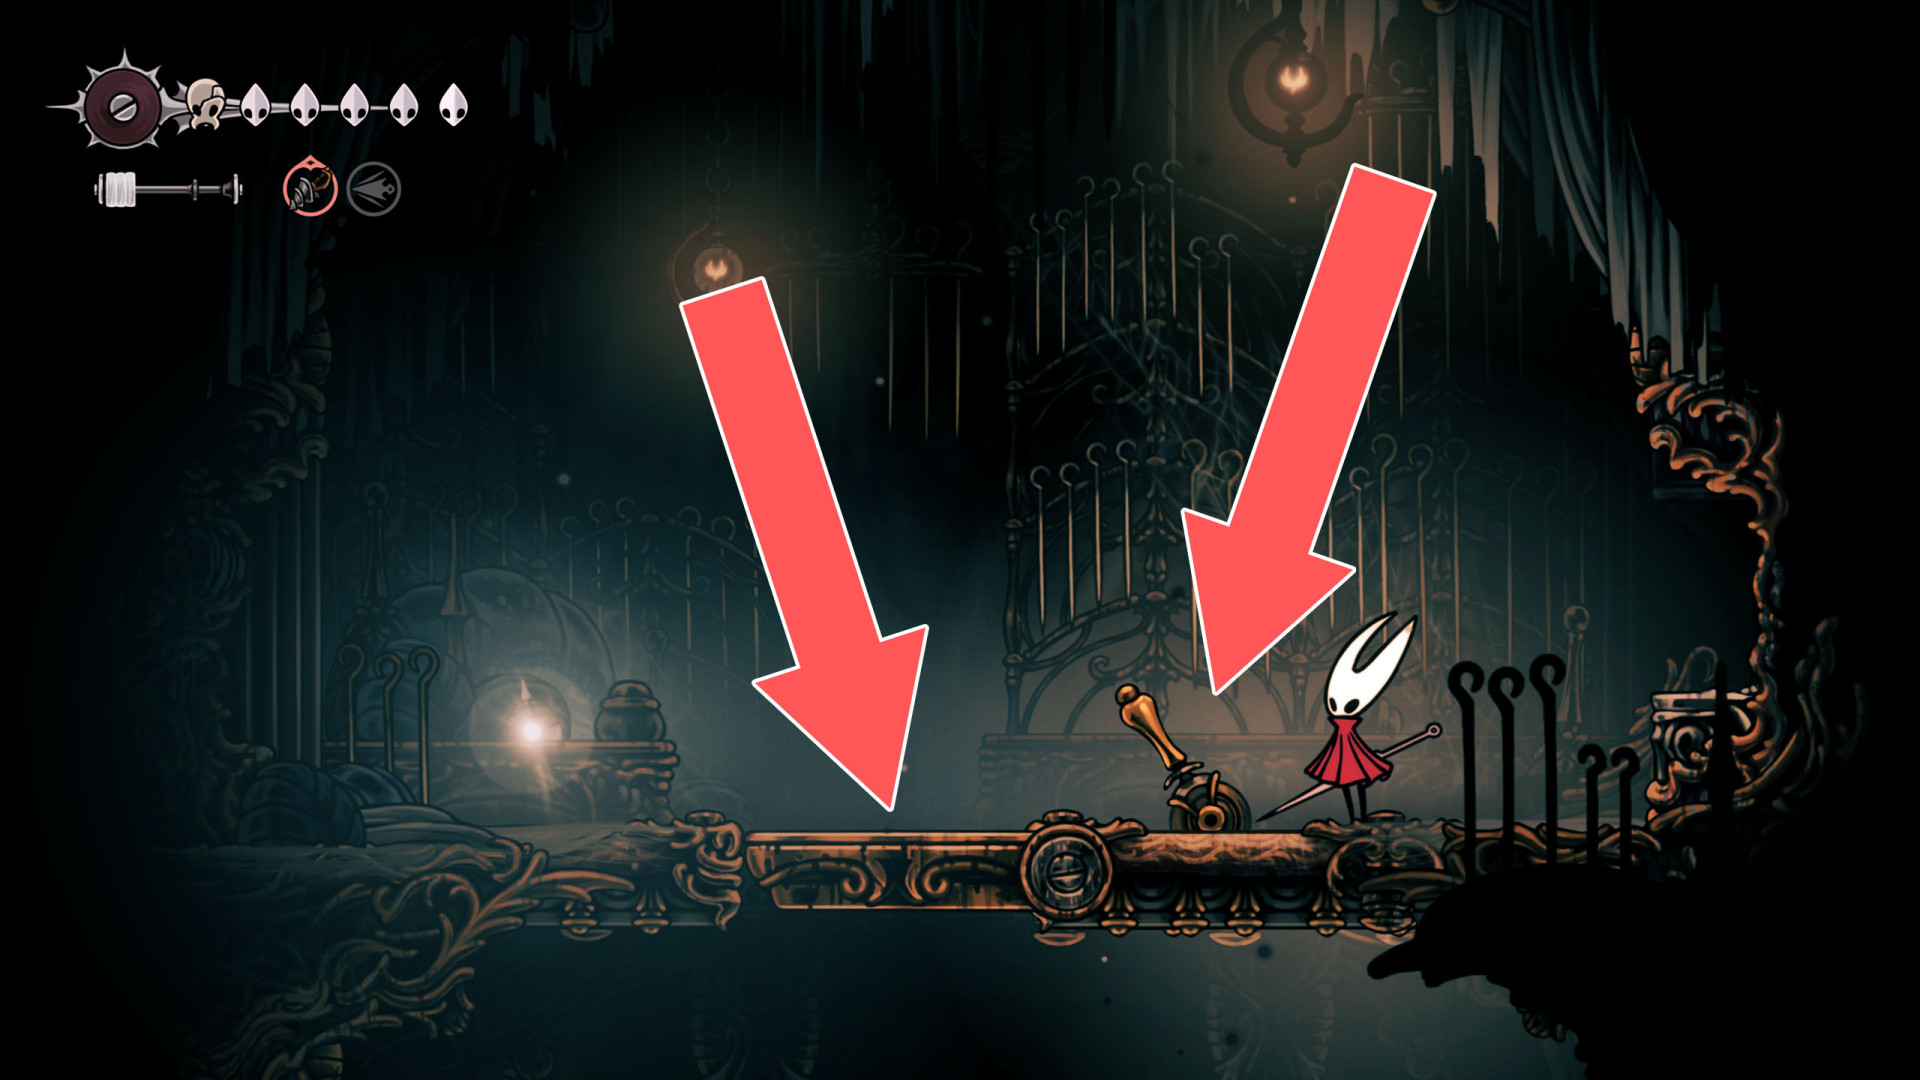
320Locked Trapdoor
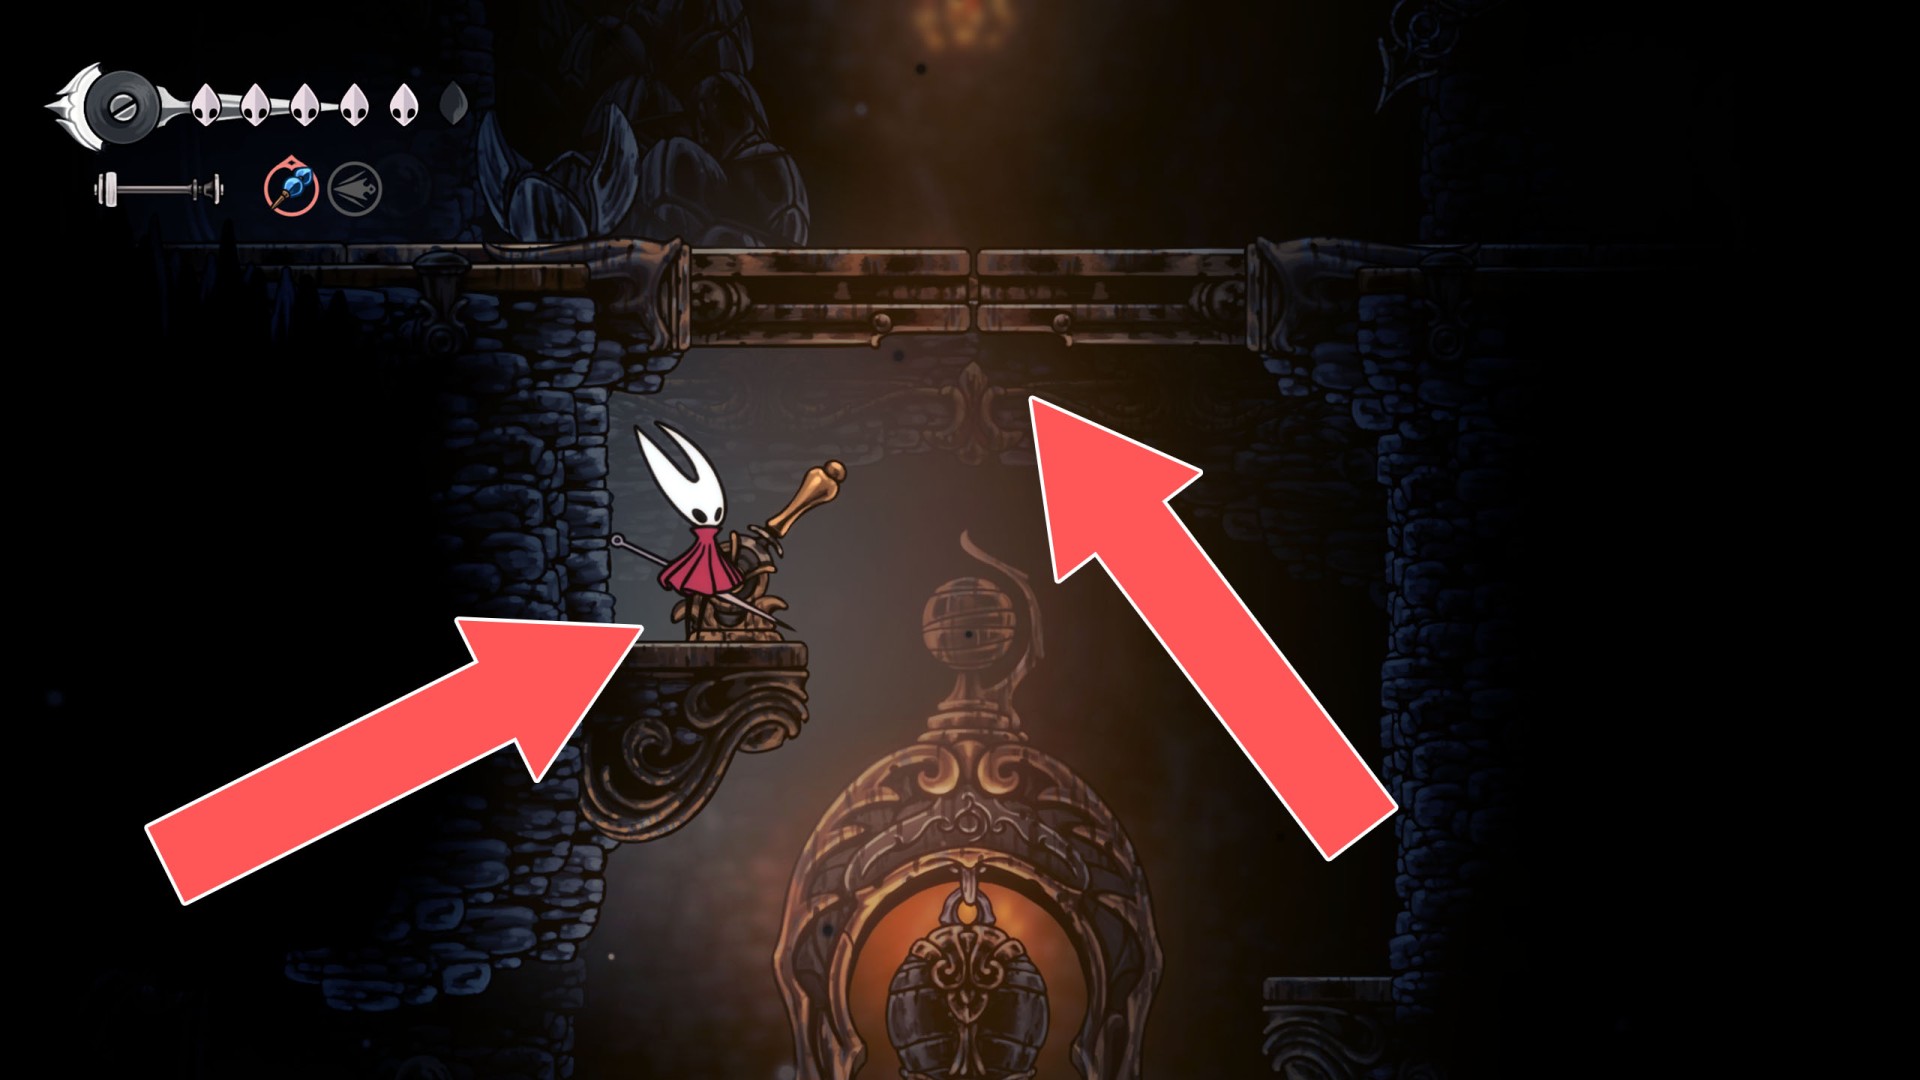
321Locked Trapdoor
The lever that opens this trapdoor is located above it.
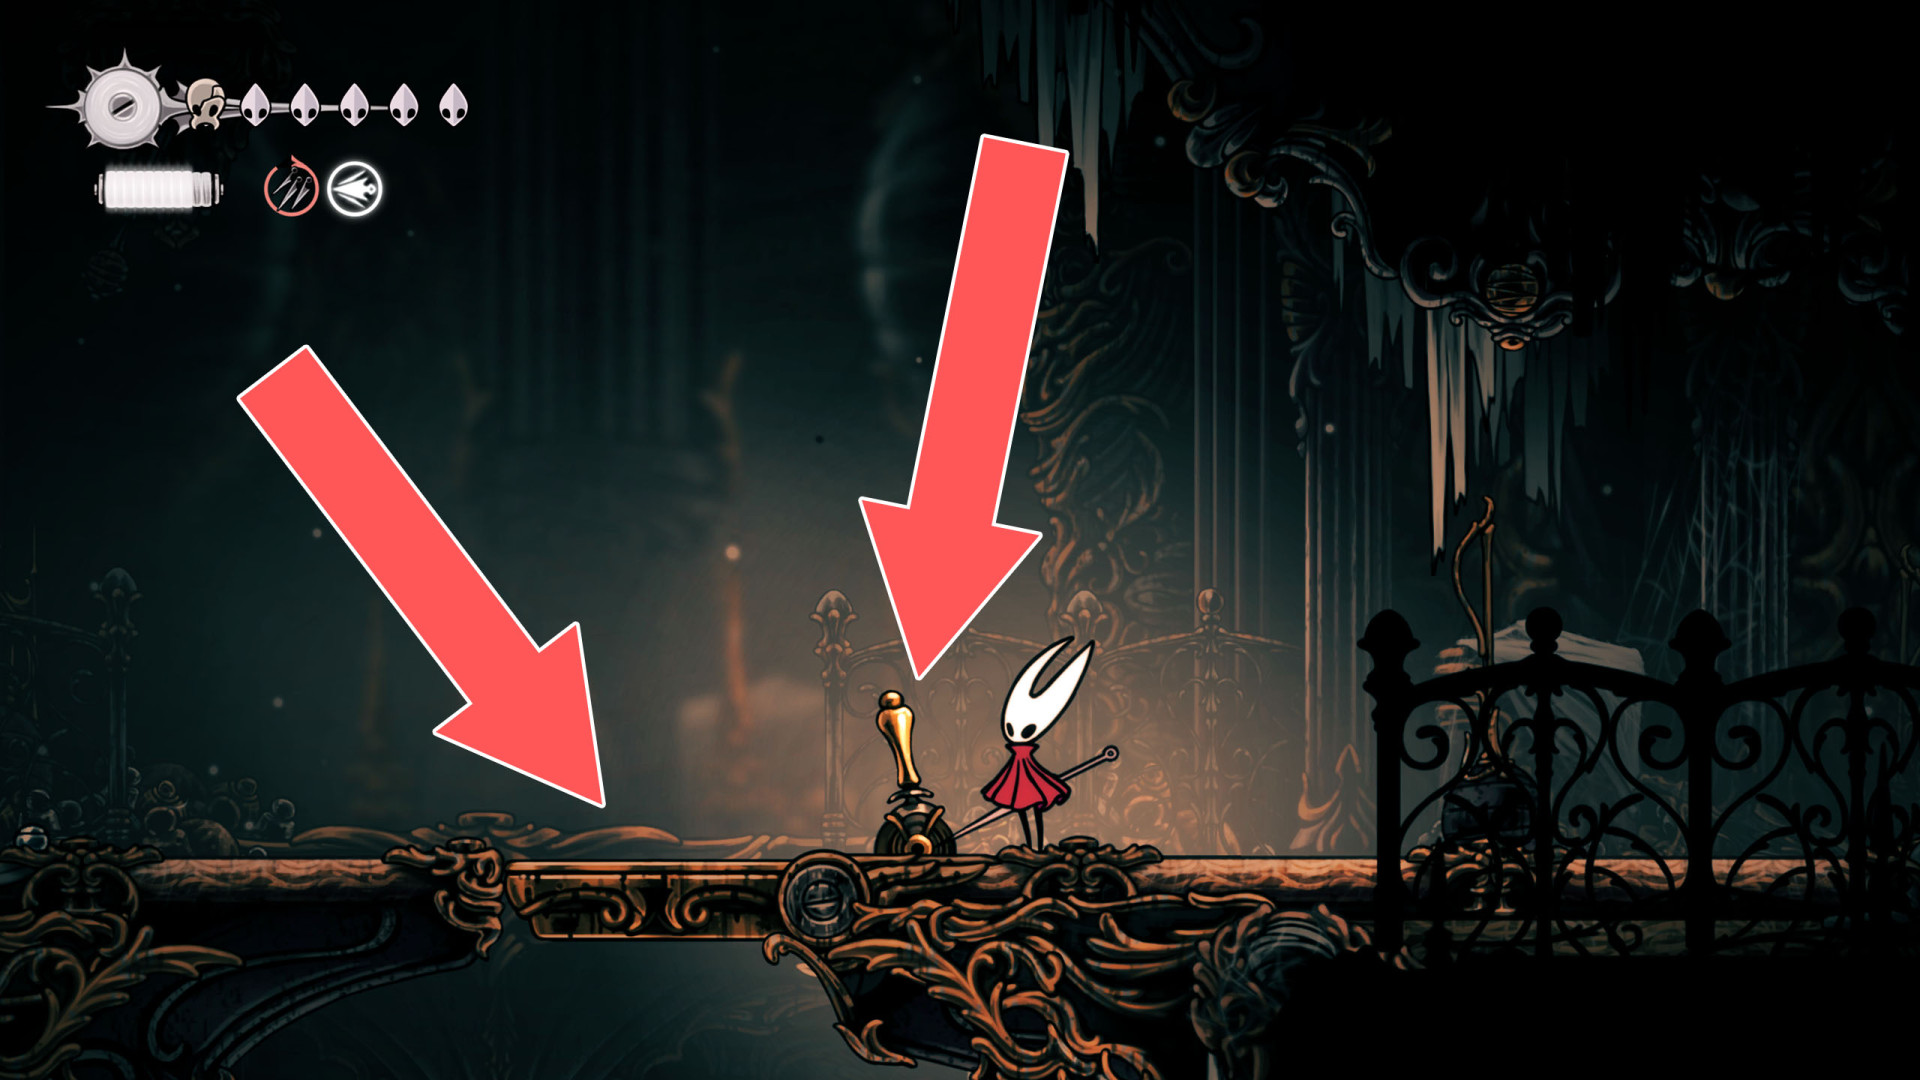
322Locked Trapdoor
You can open it using the lever located above.
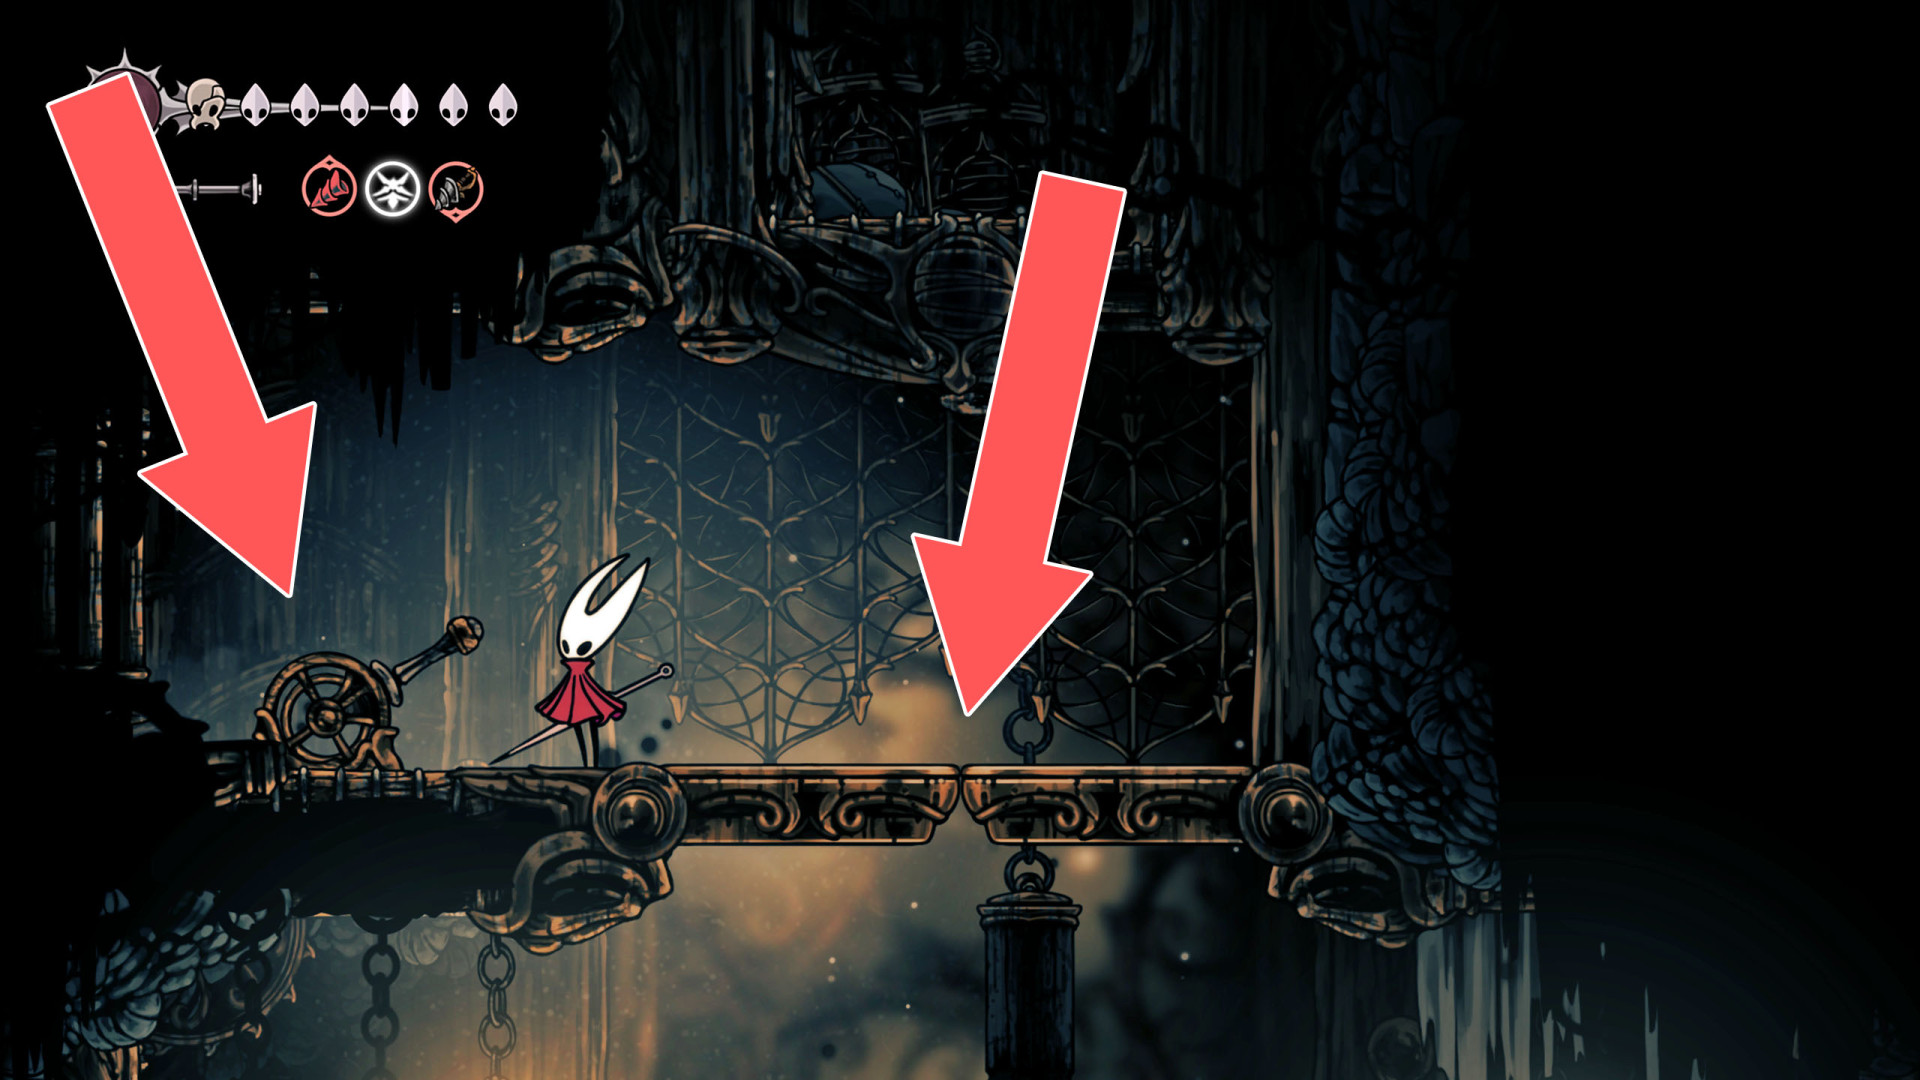
323Locked Trapdoor
You can open this trapdoor using the Clawline (Grappling Hook) hook located above it.
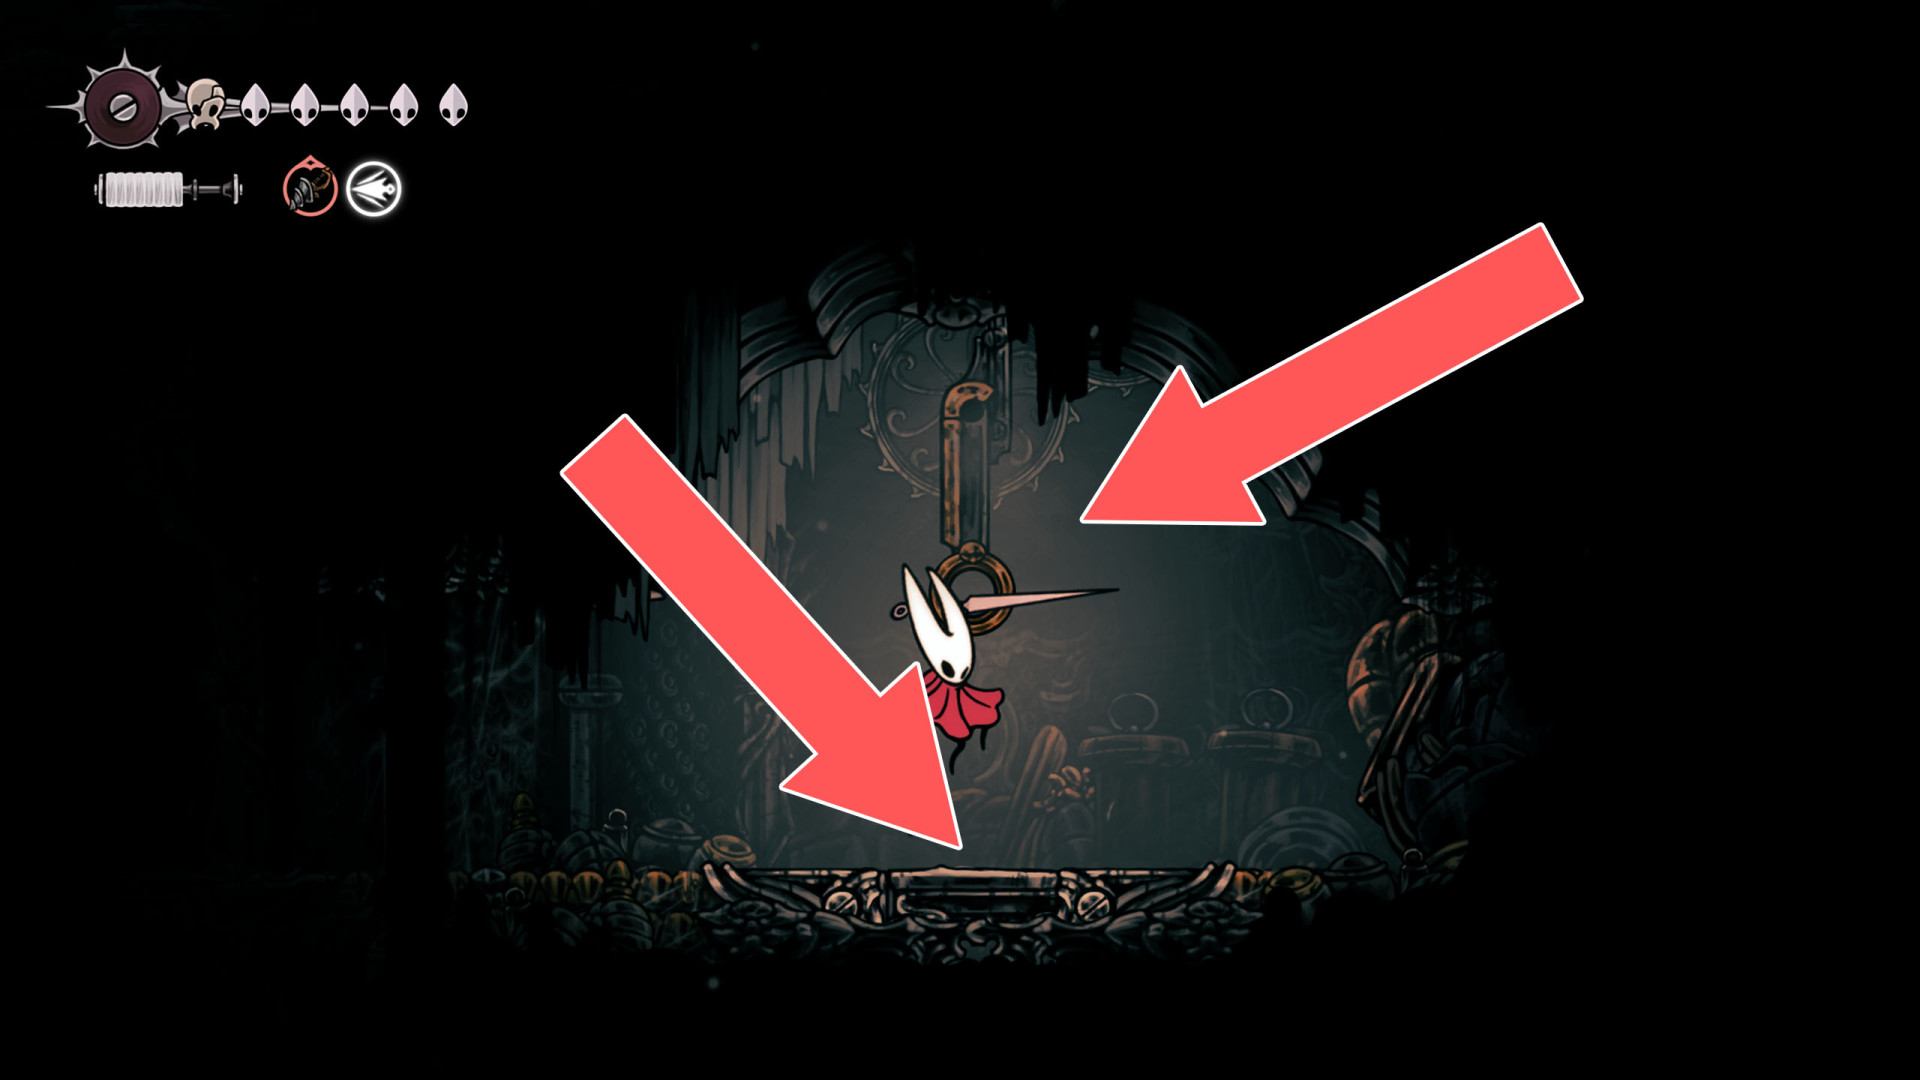
324Locked Trapdoor
You can open it using the lever located below.
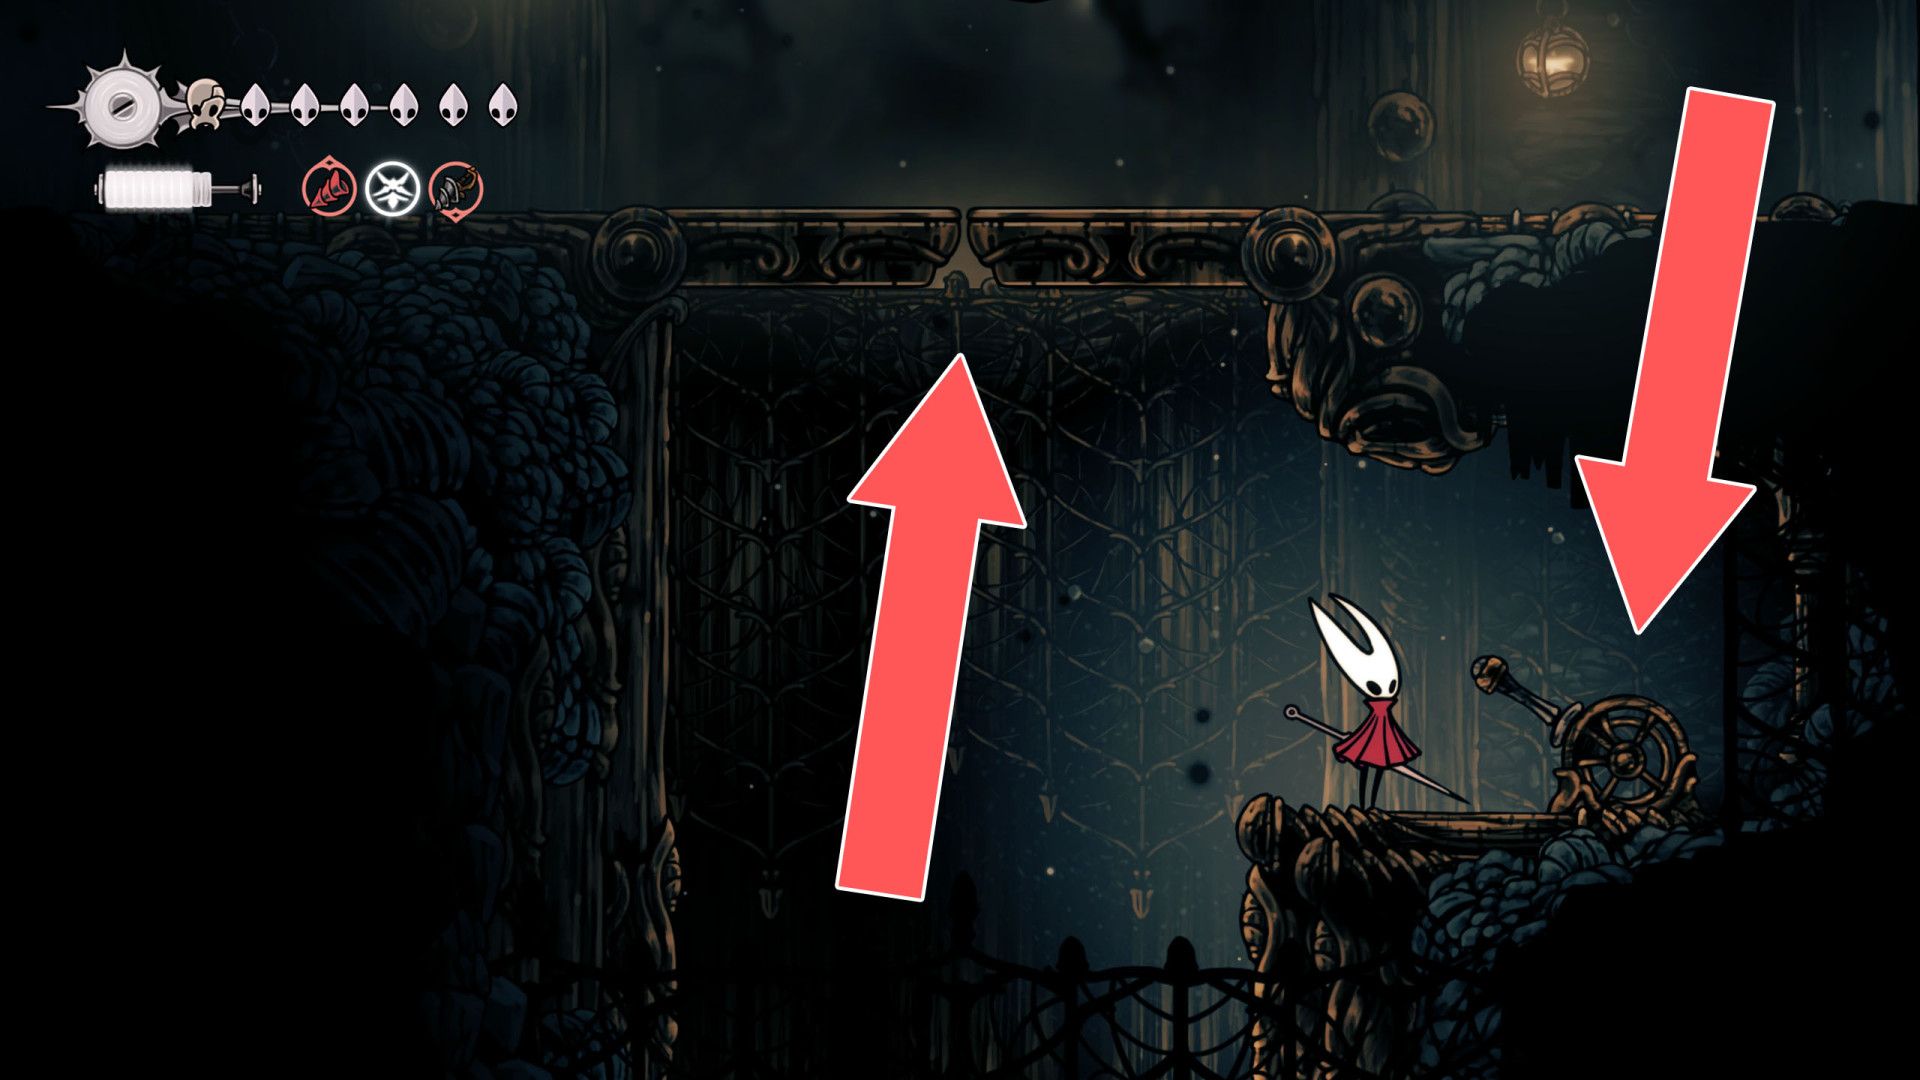
325Locked Trapdoor
You can open this trapdoor using the lever located below it.
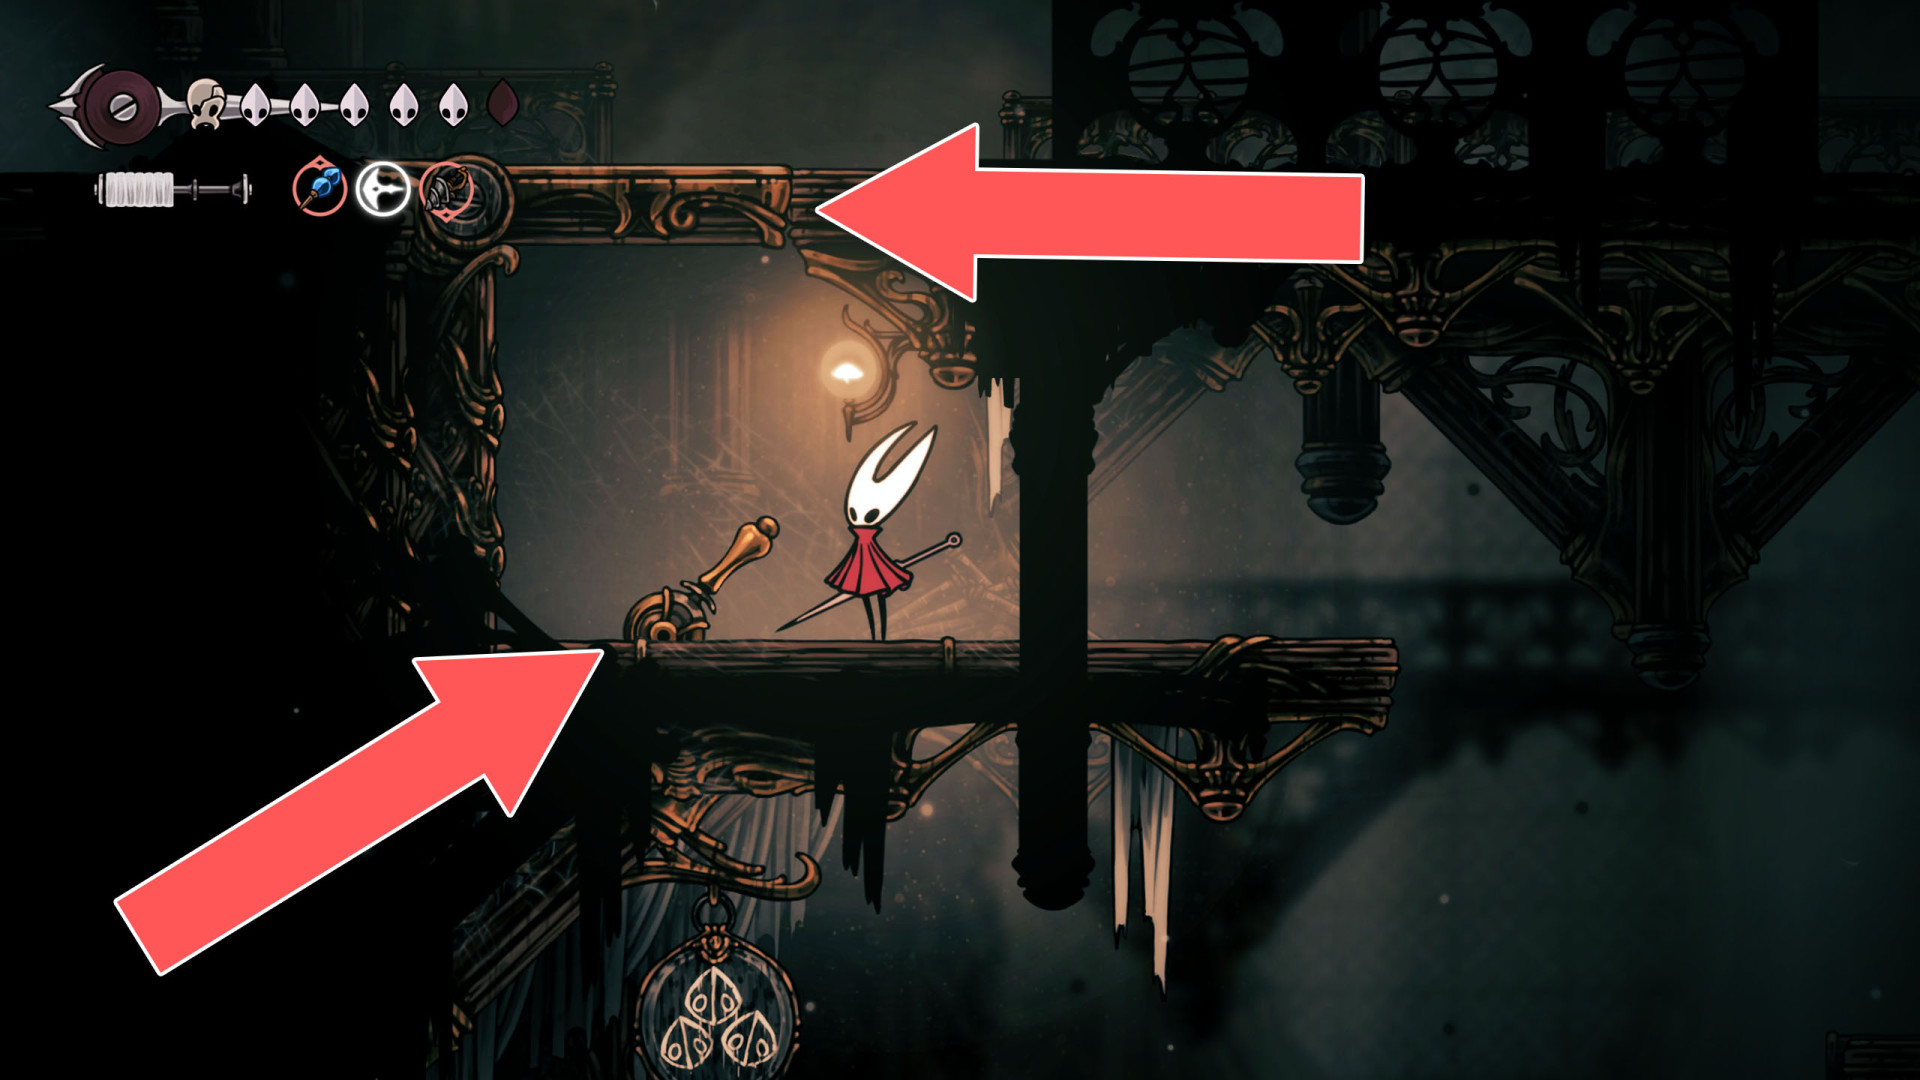
326Locked Trapdoor
You can open this trapdoor using the lever located above it.
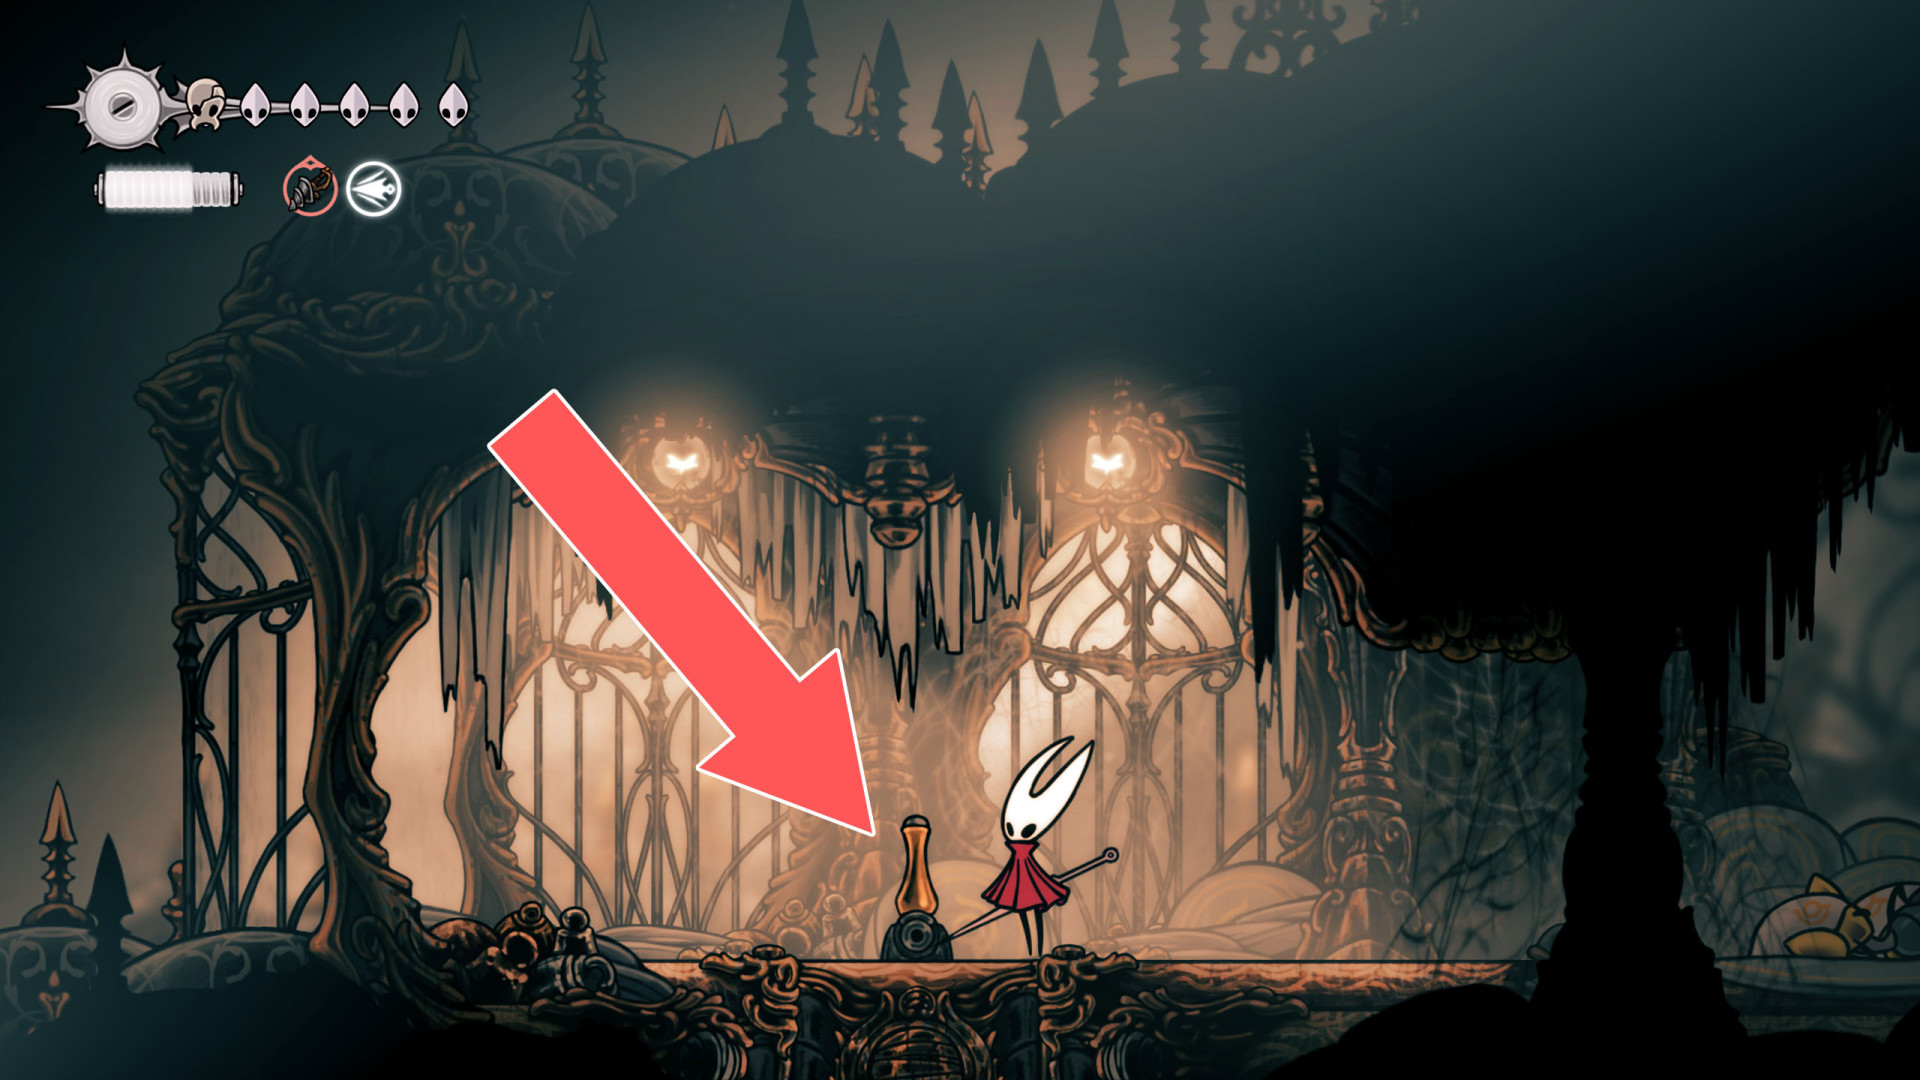
327Locked Trapdoor
Hit the ceiling to open the passage.
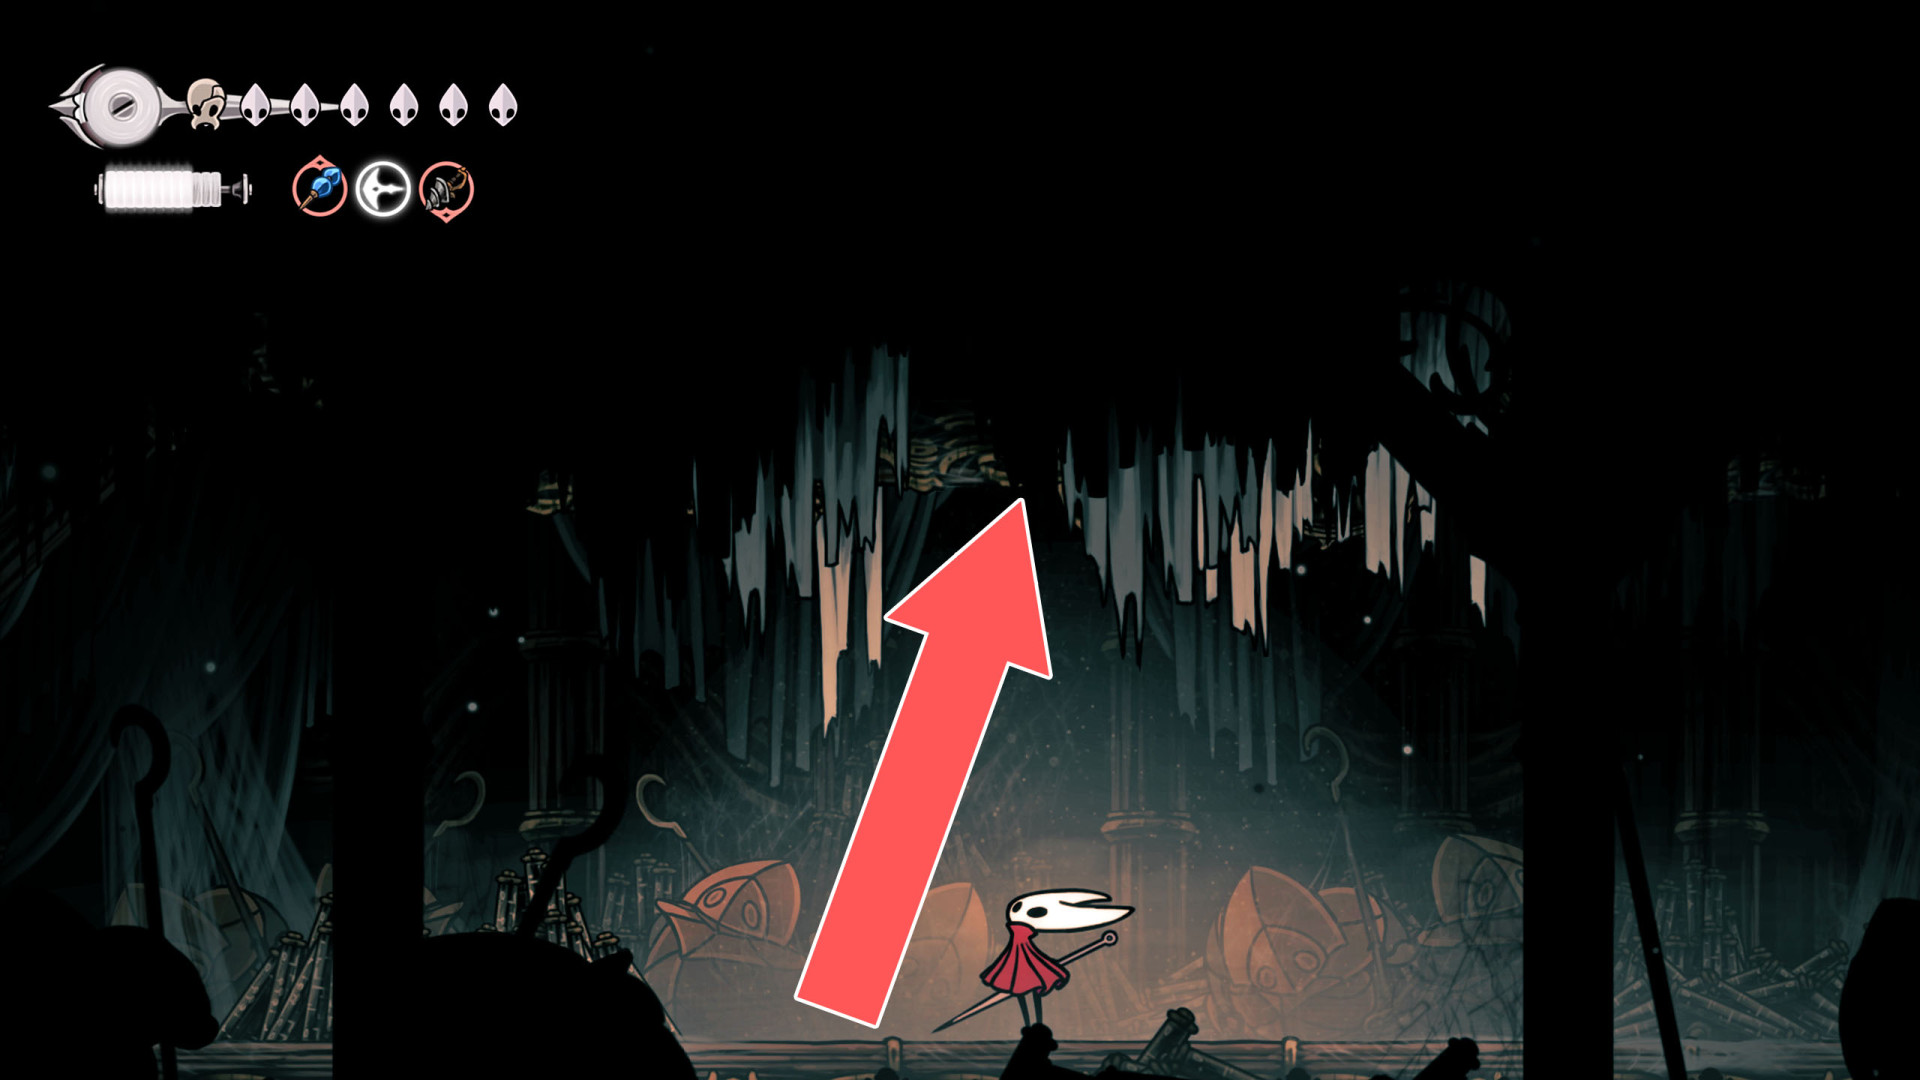
328Locked Trapdoor
You can open this trapdoor using the lever located underneath it.
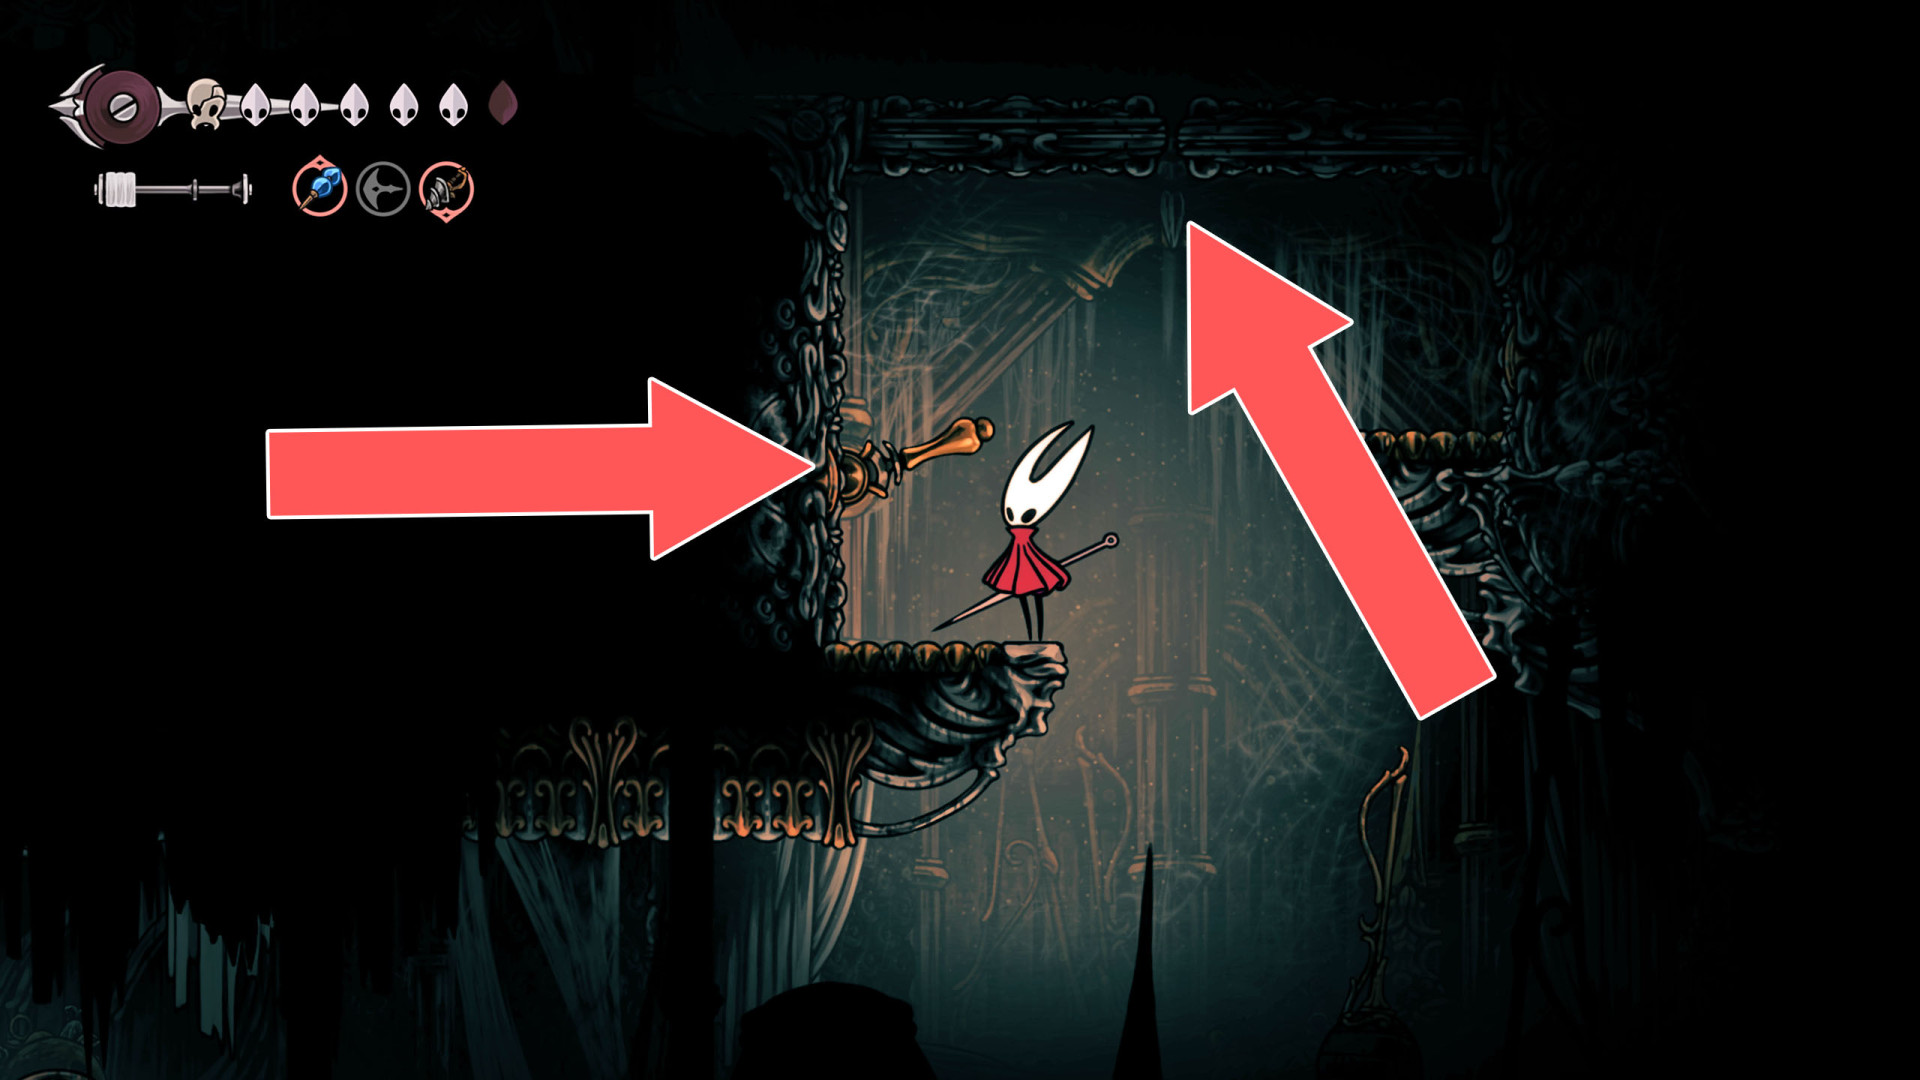
329Locked Trapdoor
You can open this trapdoor using the lever located above it.
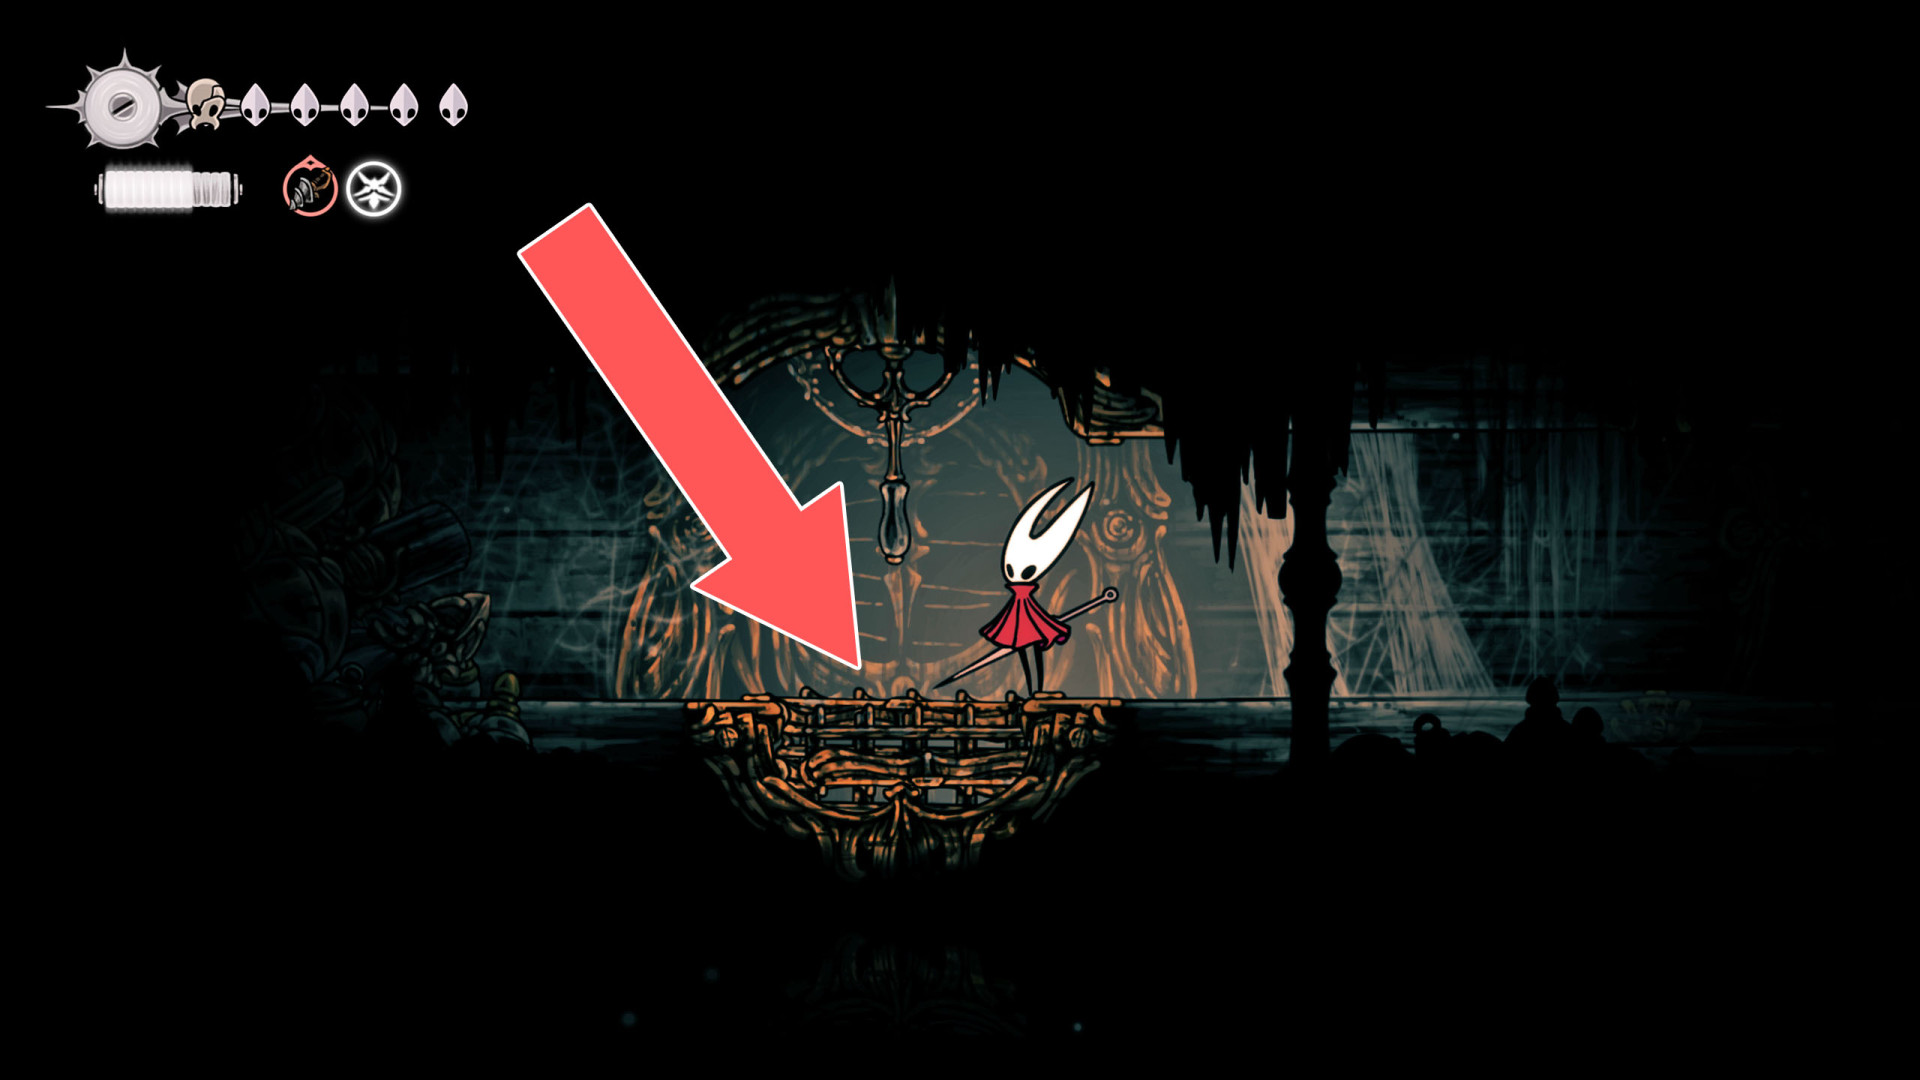
330Locked Trapdoor
You can open this trapdoor using the lever located above it.
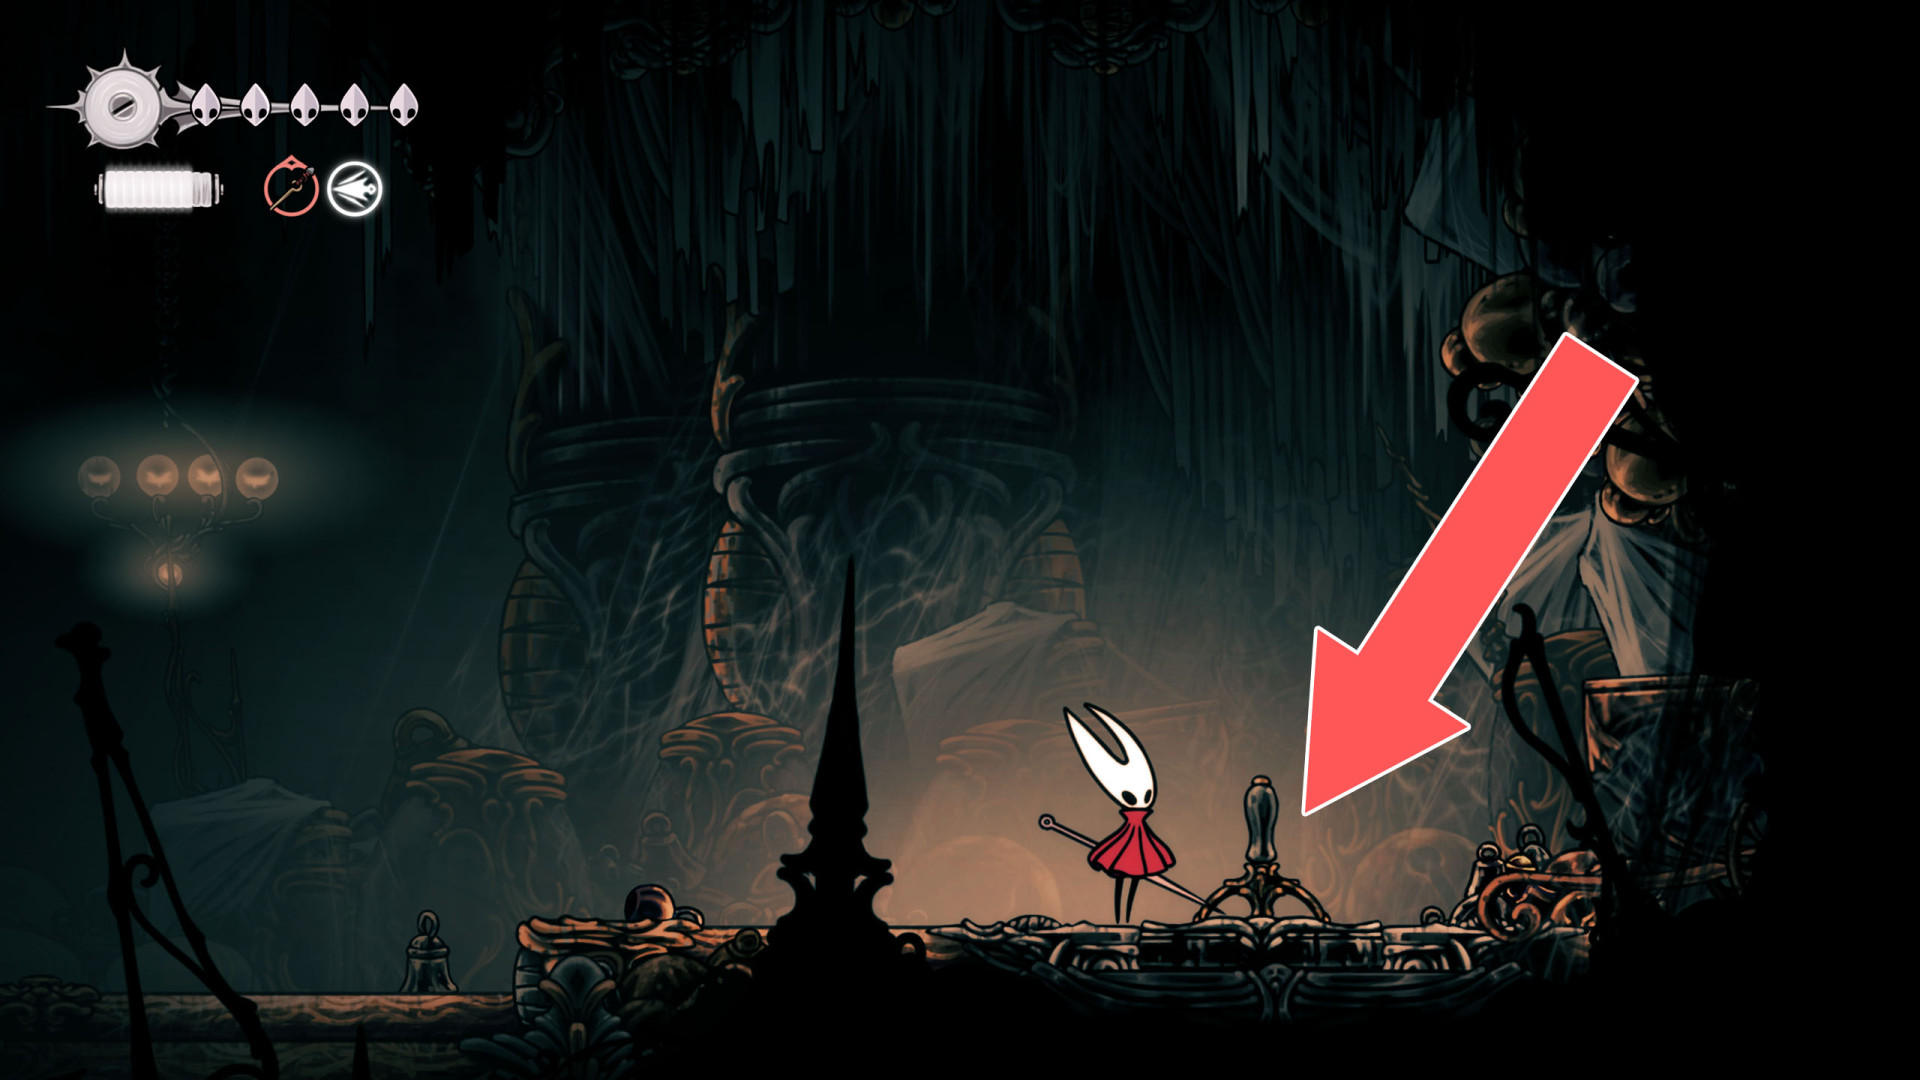
331Locked Trapdoor
You can open this trapdoor using the lever located below it.
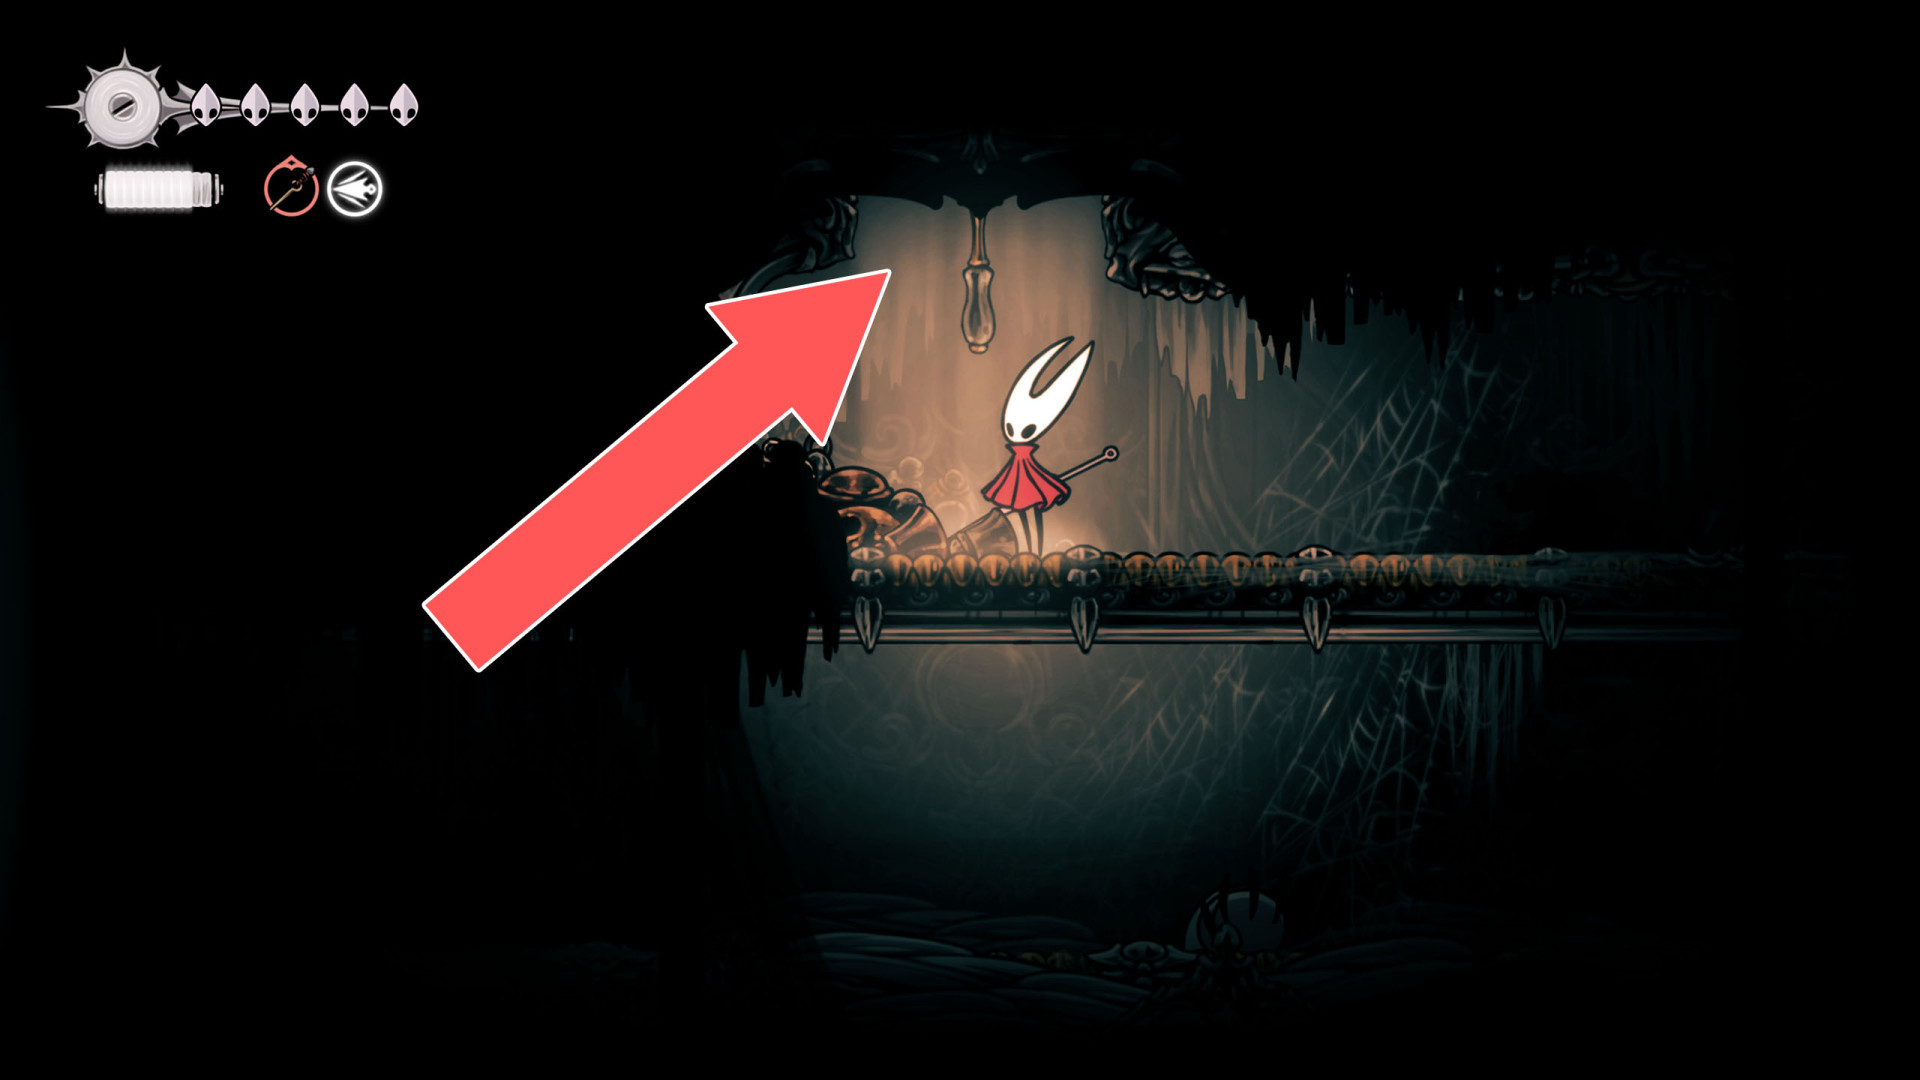
332Locked Trapdoor
You can open this trapdoor using the lever located above it.
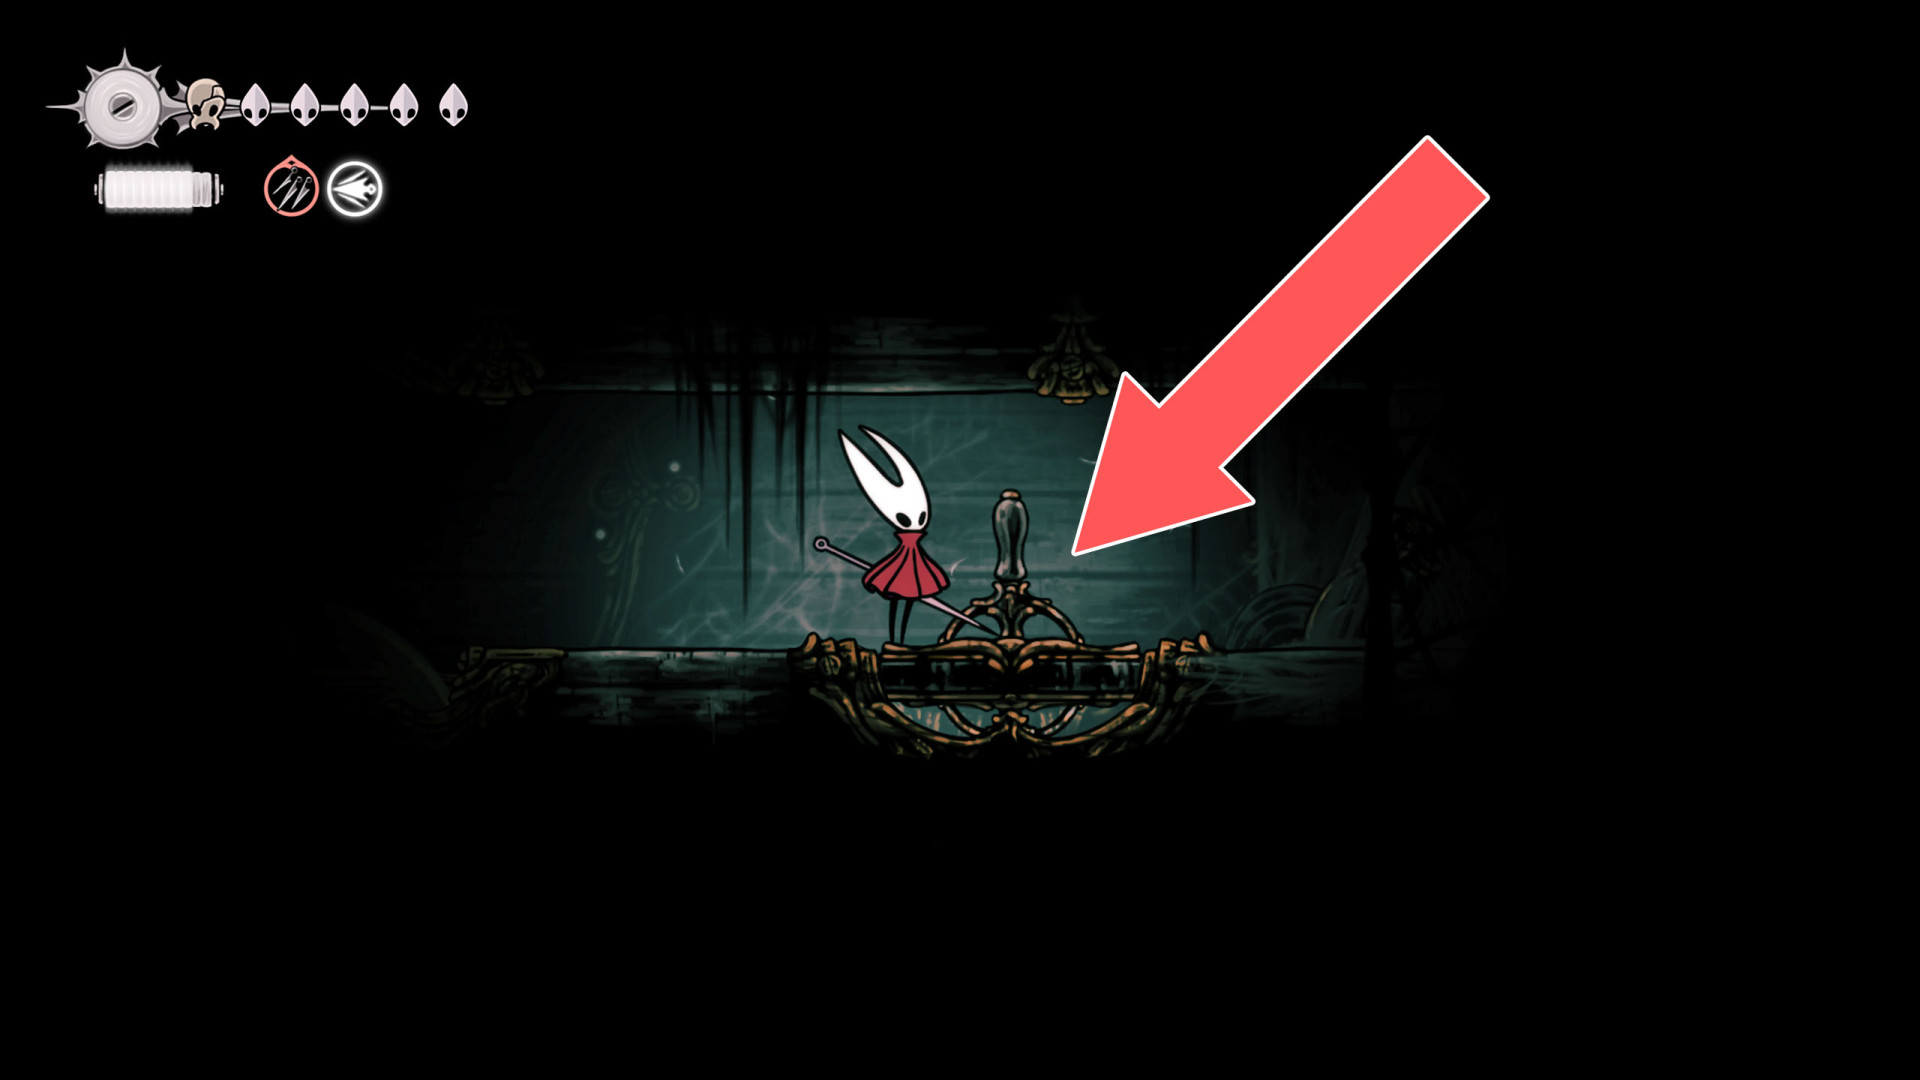
333Locked Trapdoor
You can open this trapdoor using the lever located above it.
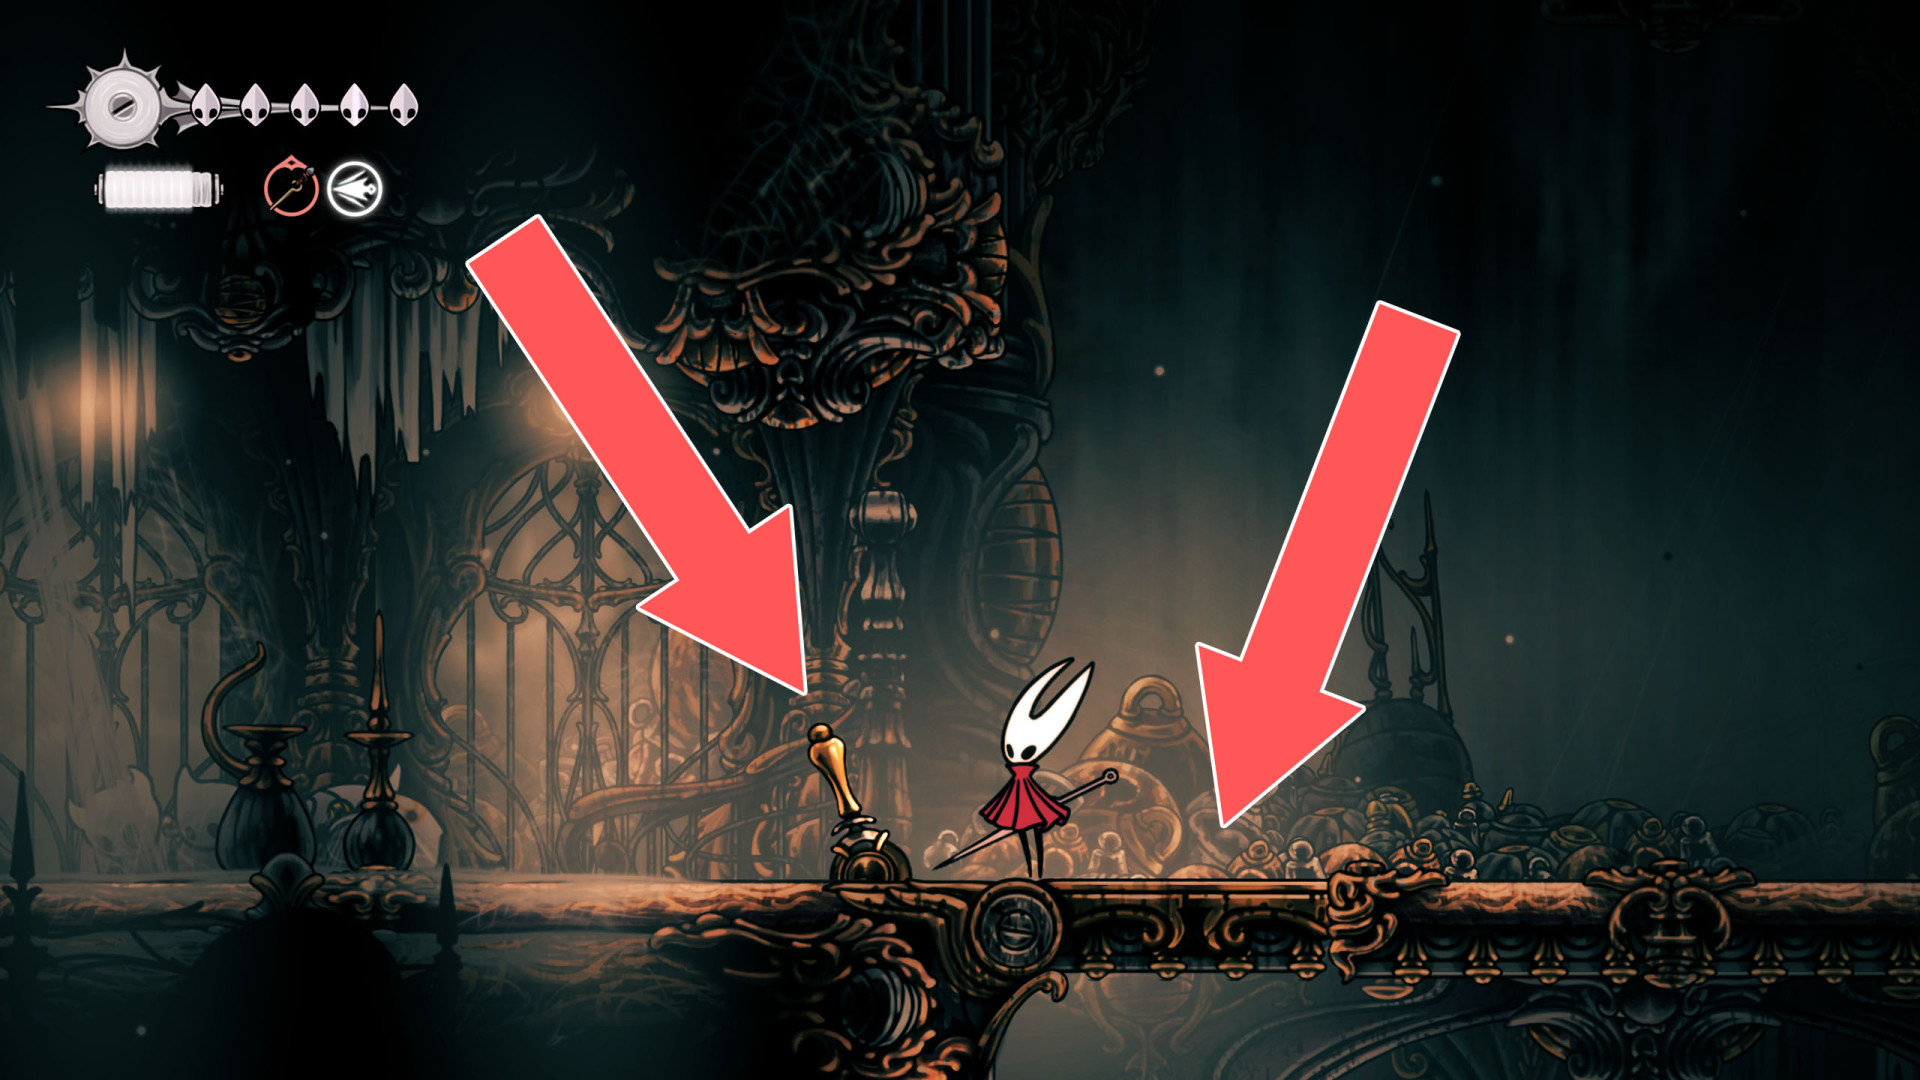
334Locked Trapdoor
You can unlock it from below.
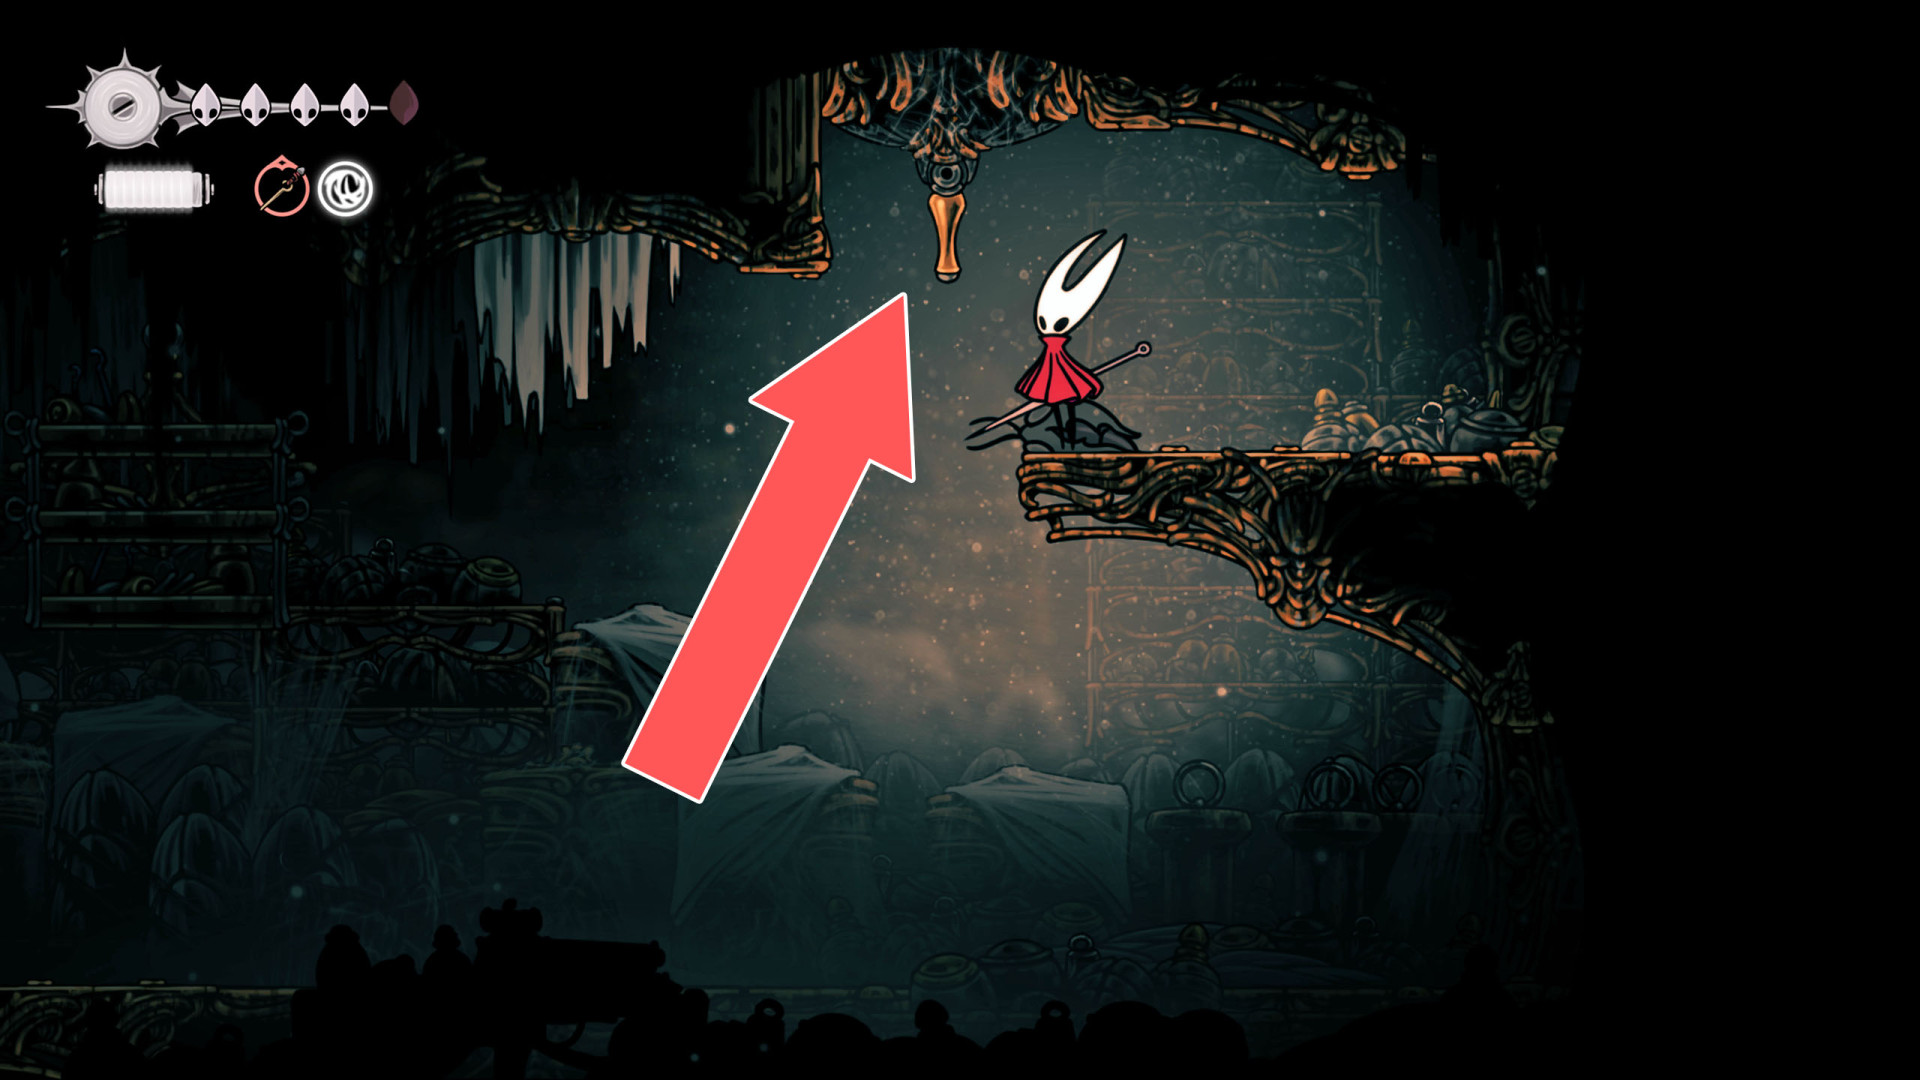
335Locked Trapdoor
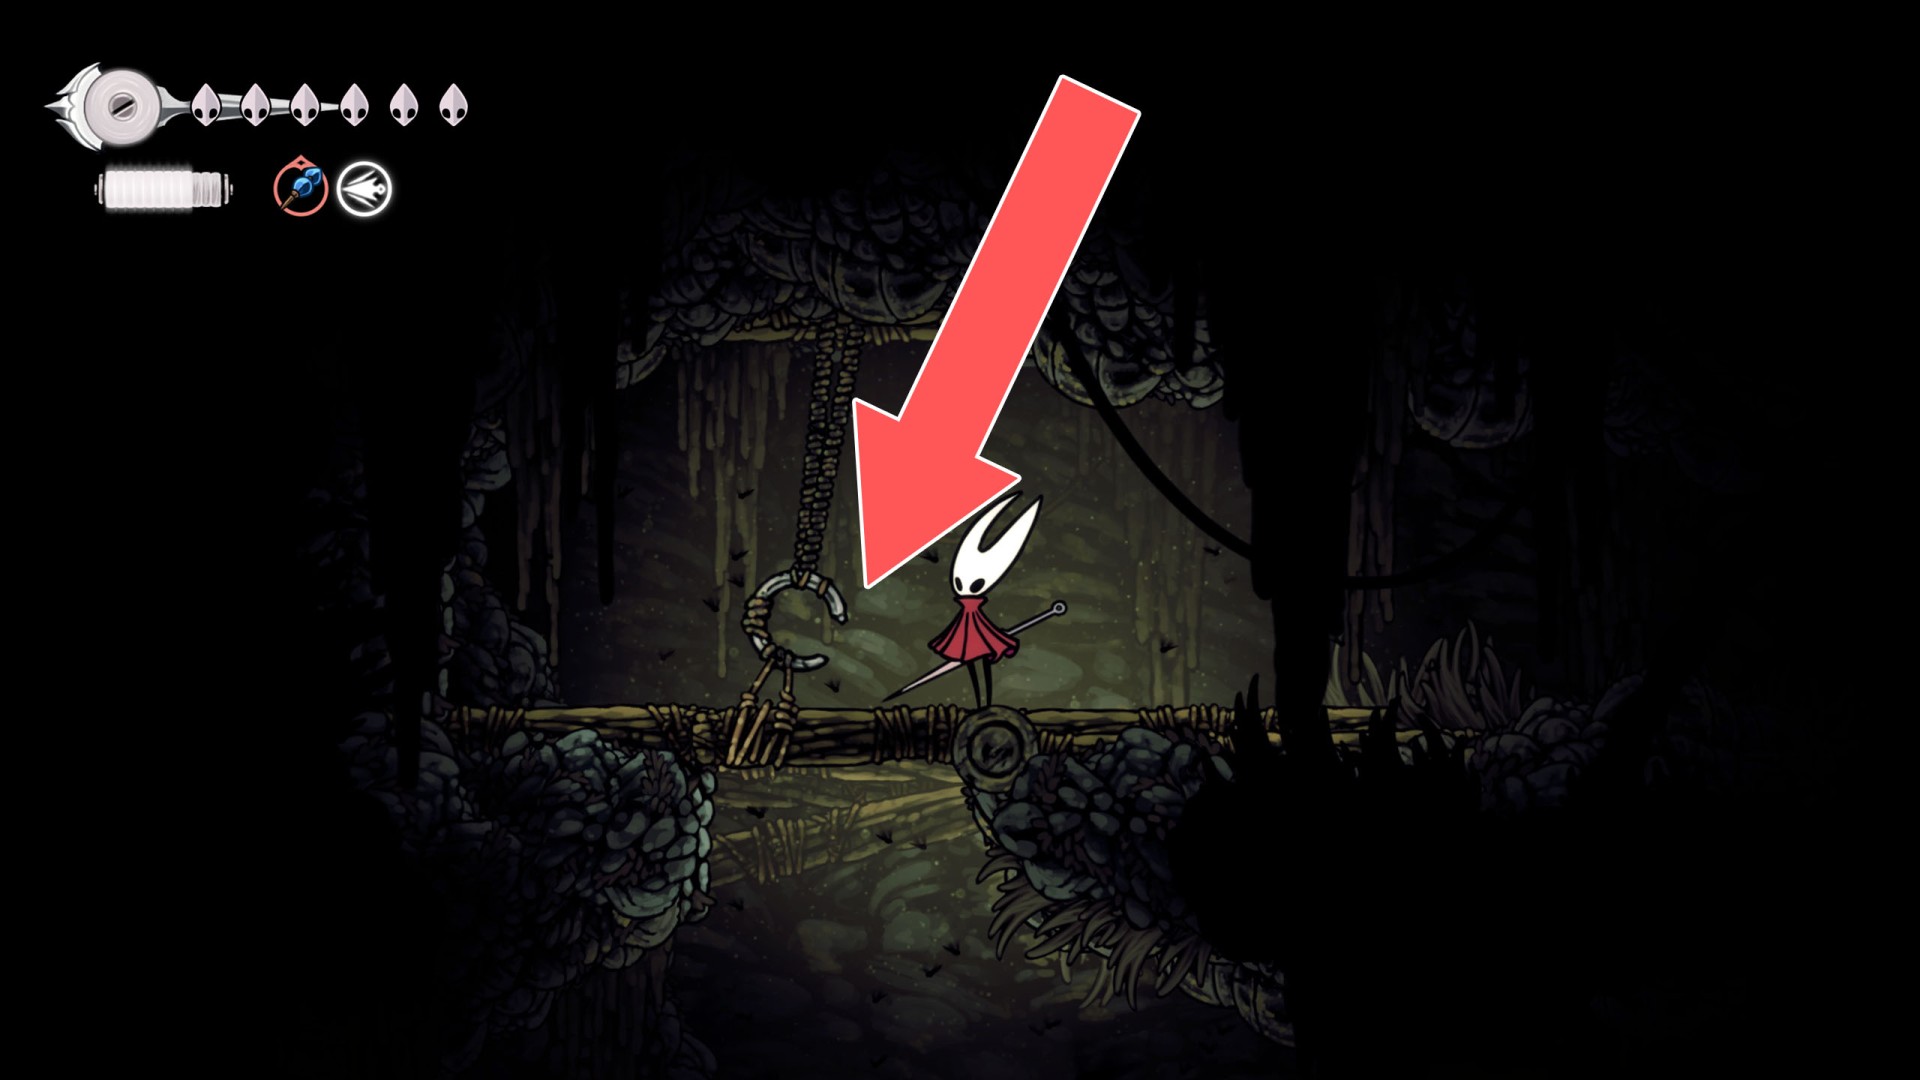
336Locked Trapdoor
You can open this trapdoor using the lever located above it.
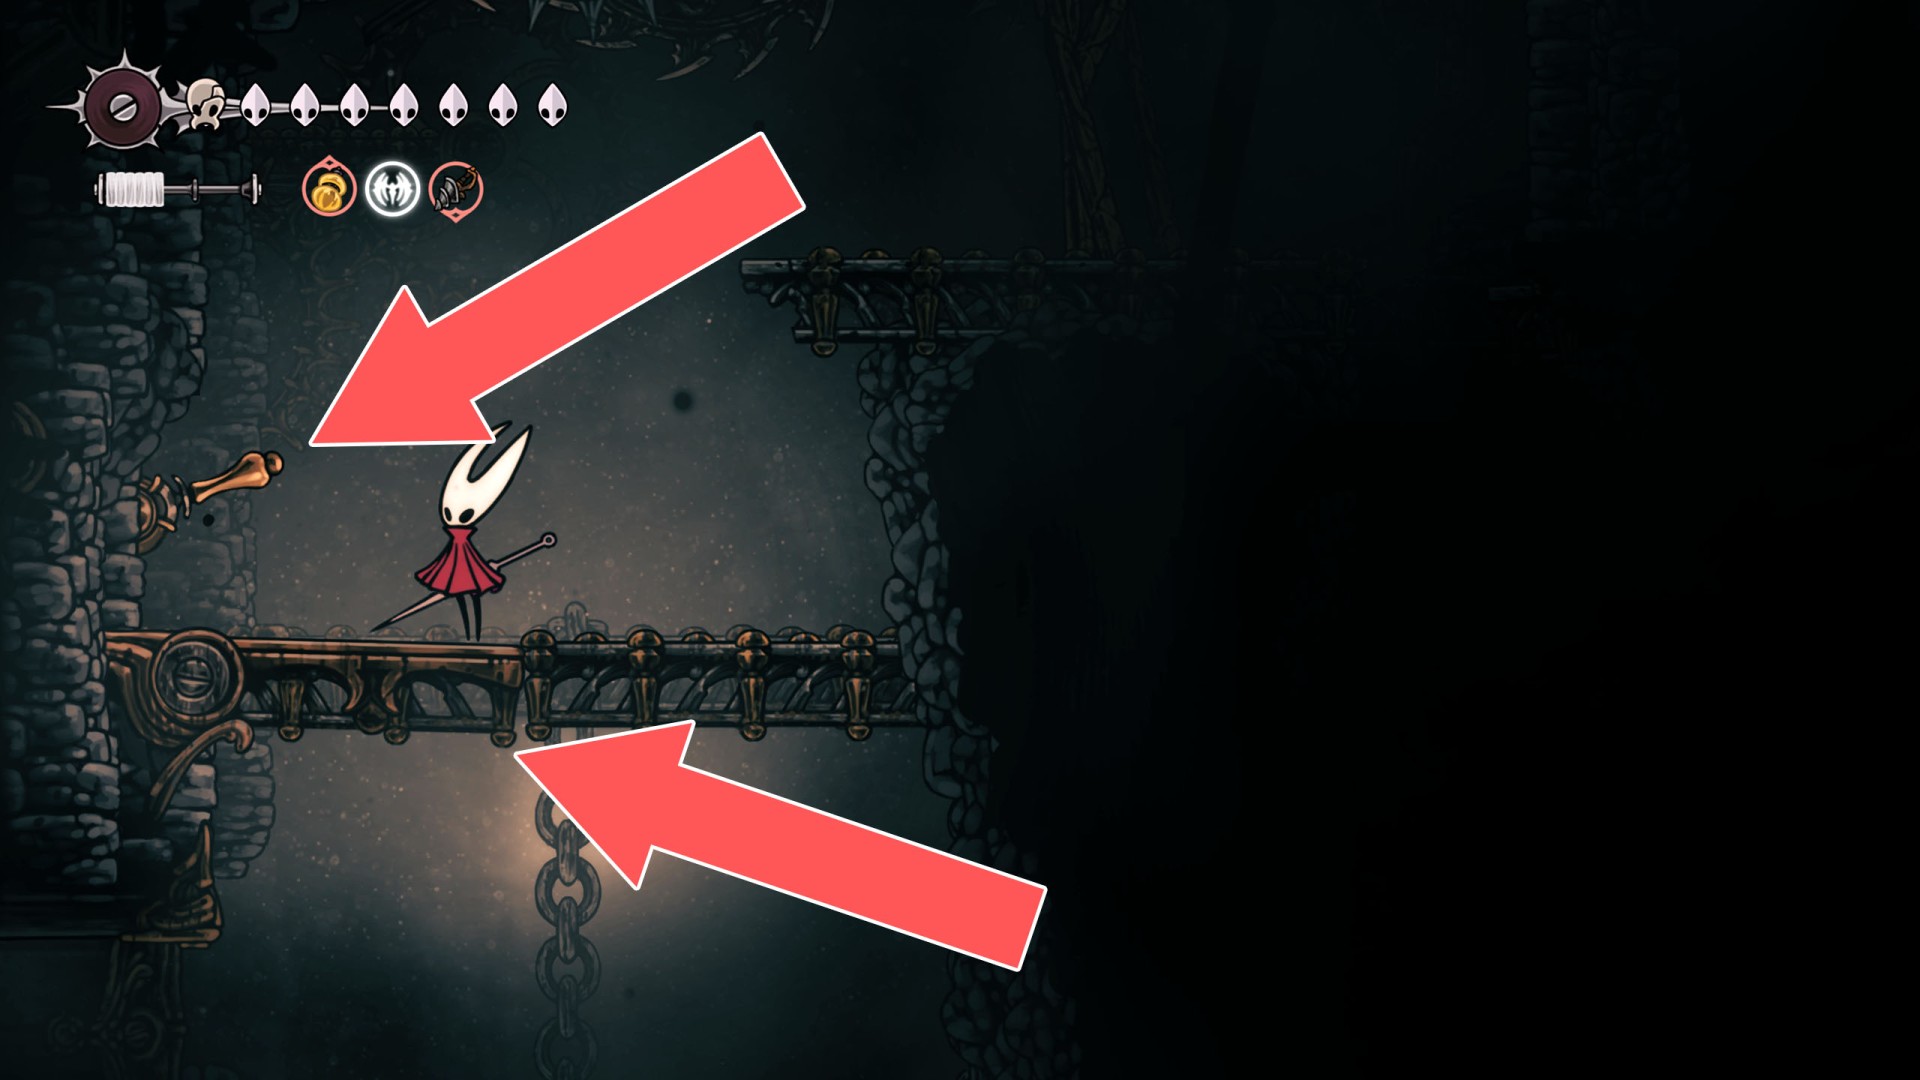
337Locked Trapdoor
You can open this trapdoor using the lever located above it.
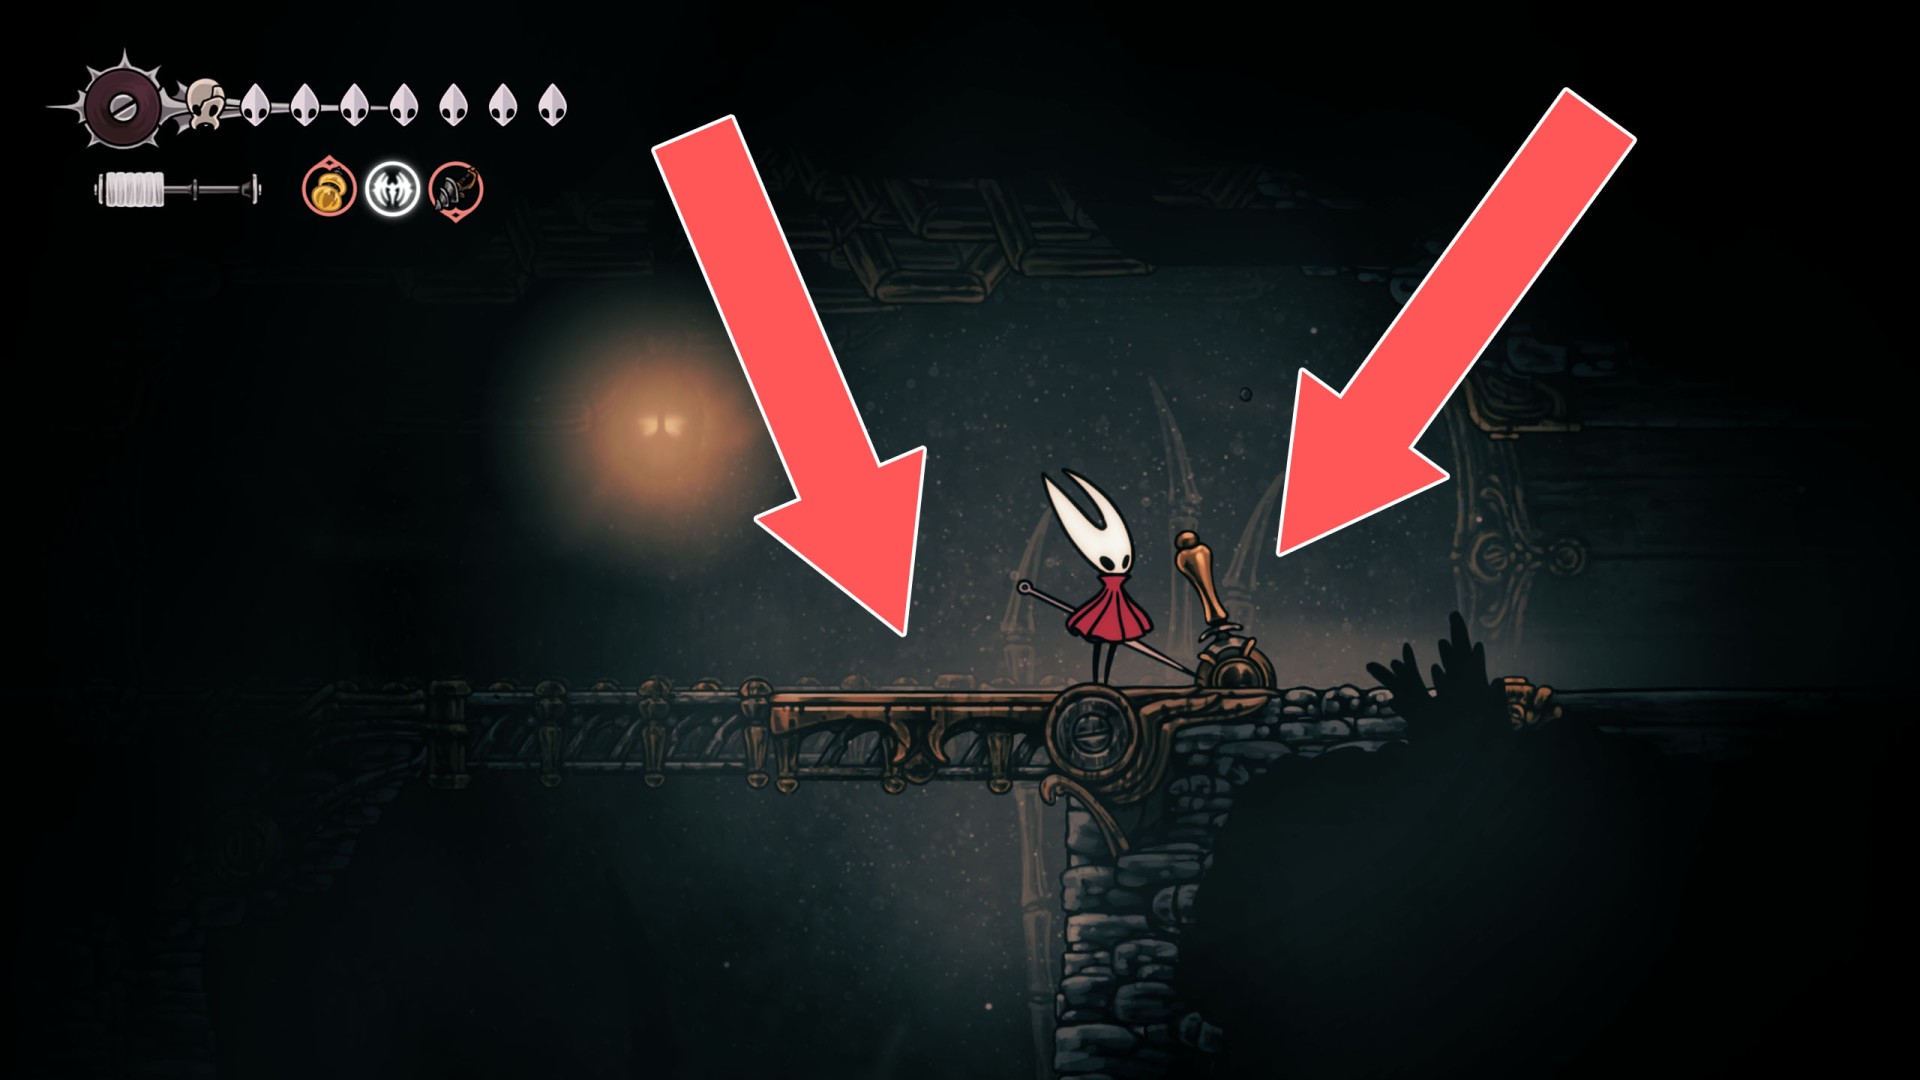
338Locked Trapdoor
You can open this passage by hitting it from the top.
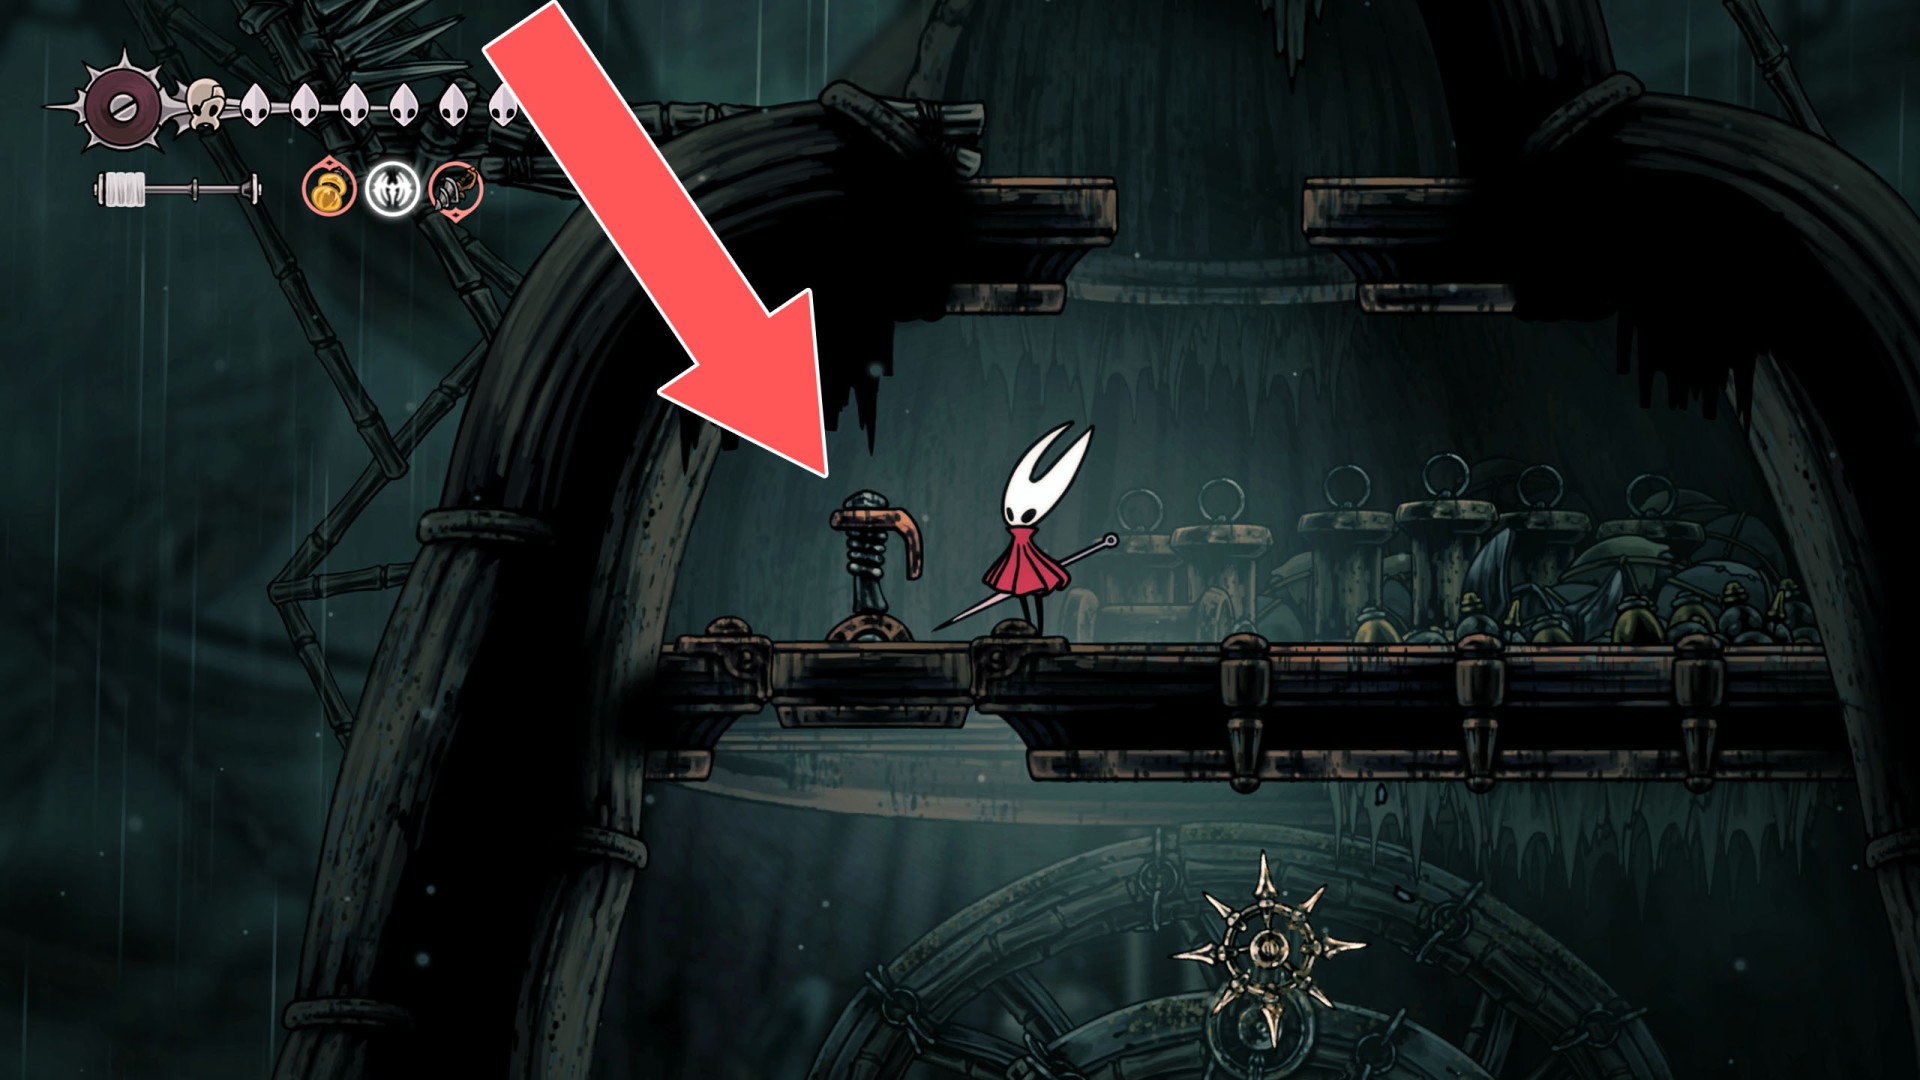
339Locked Trapdoor
The lever that opens the trapdoor is located above it.
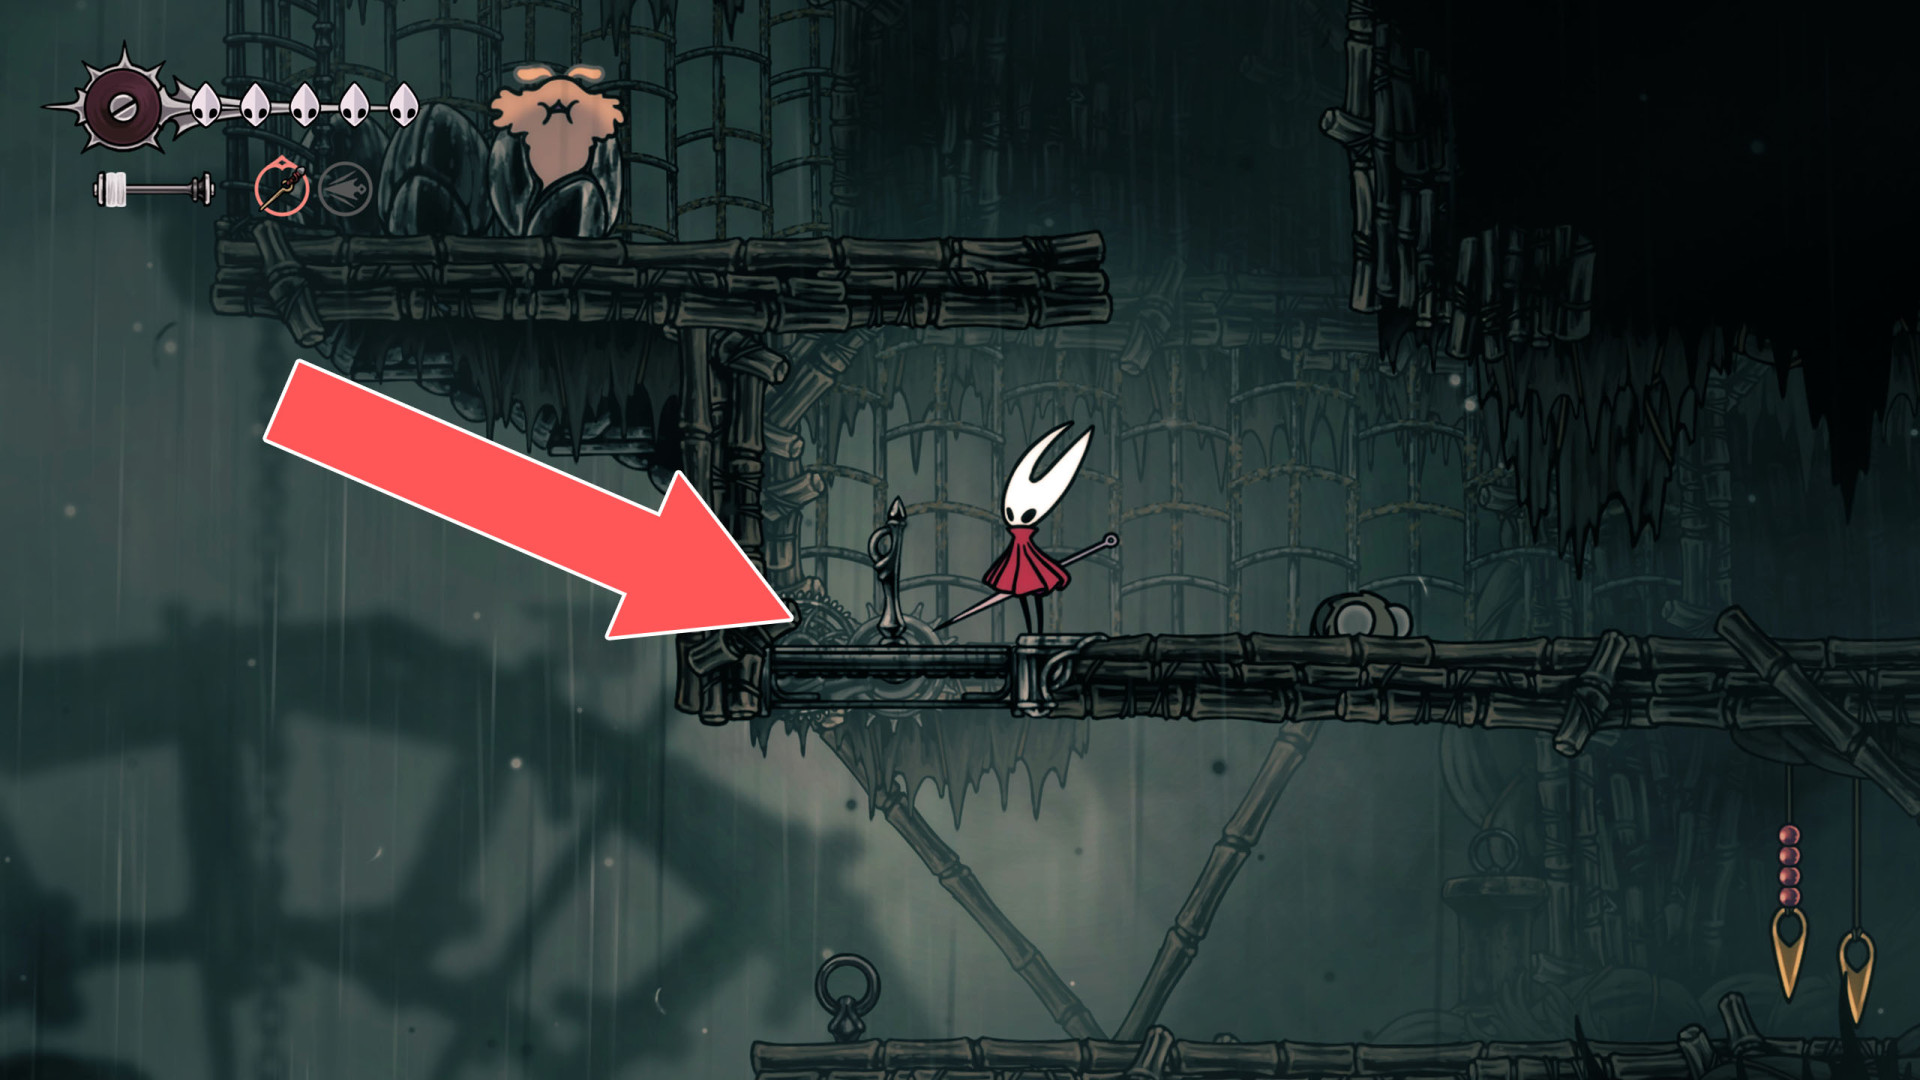
340Locked Trapdoor
You can open it using the lever located above.
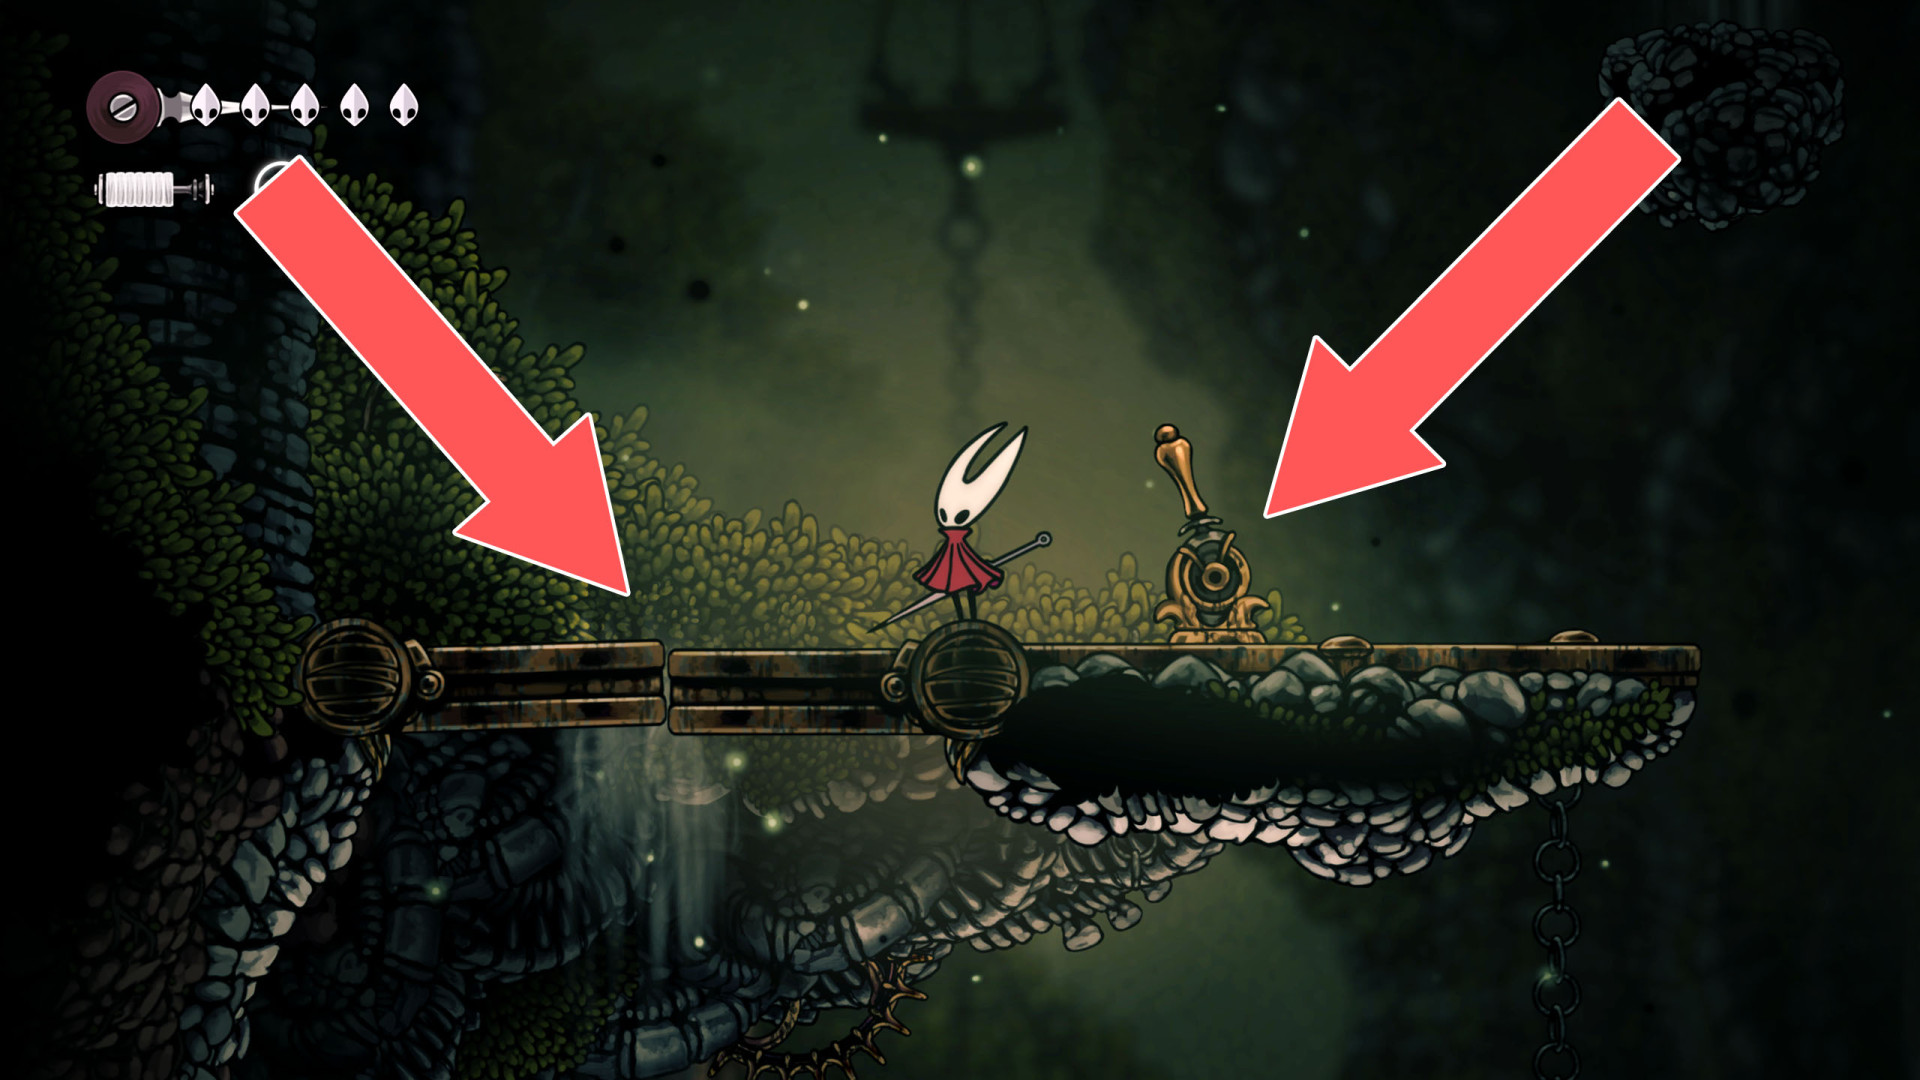
341Locked Trapdoor
You can open it using the lever located above.
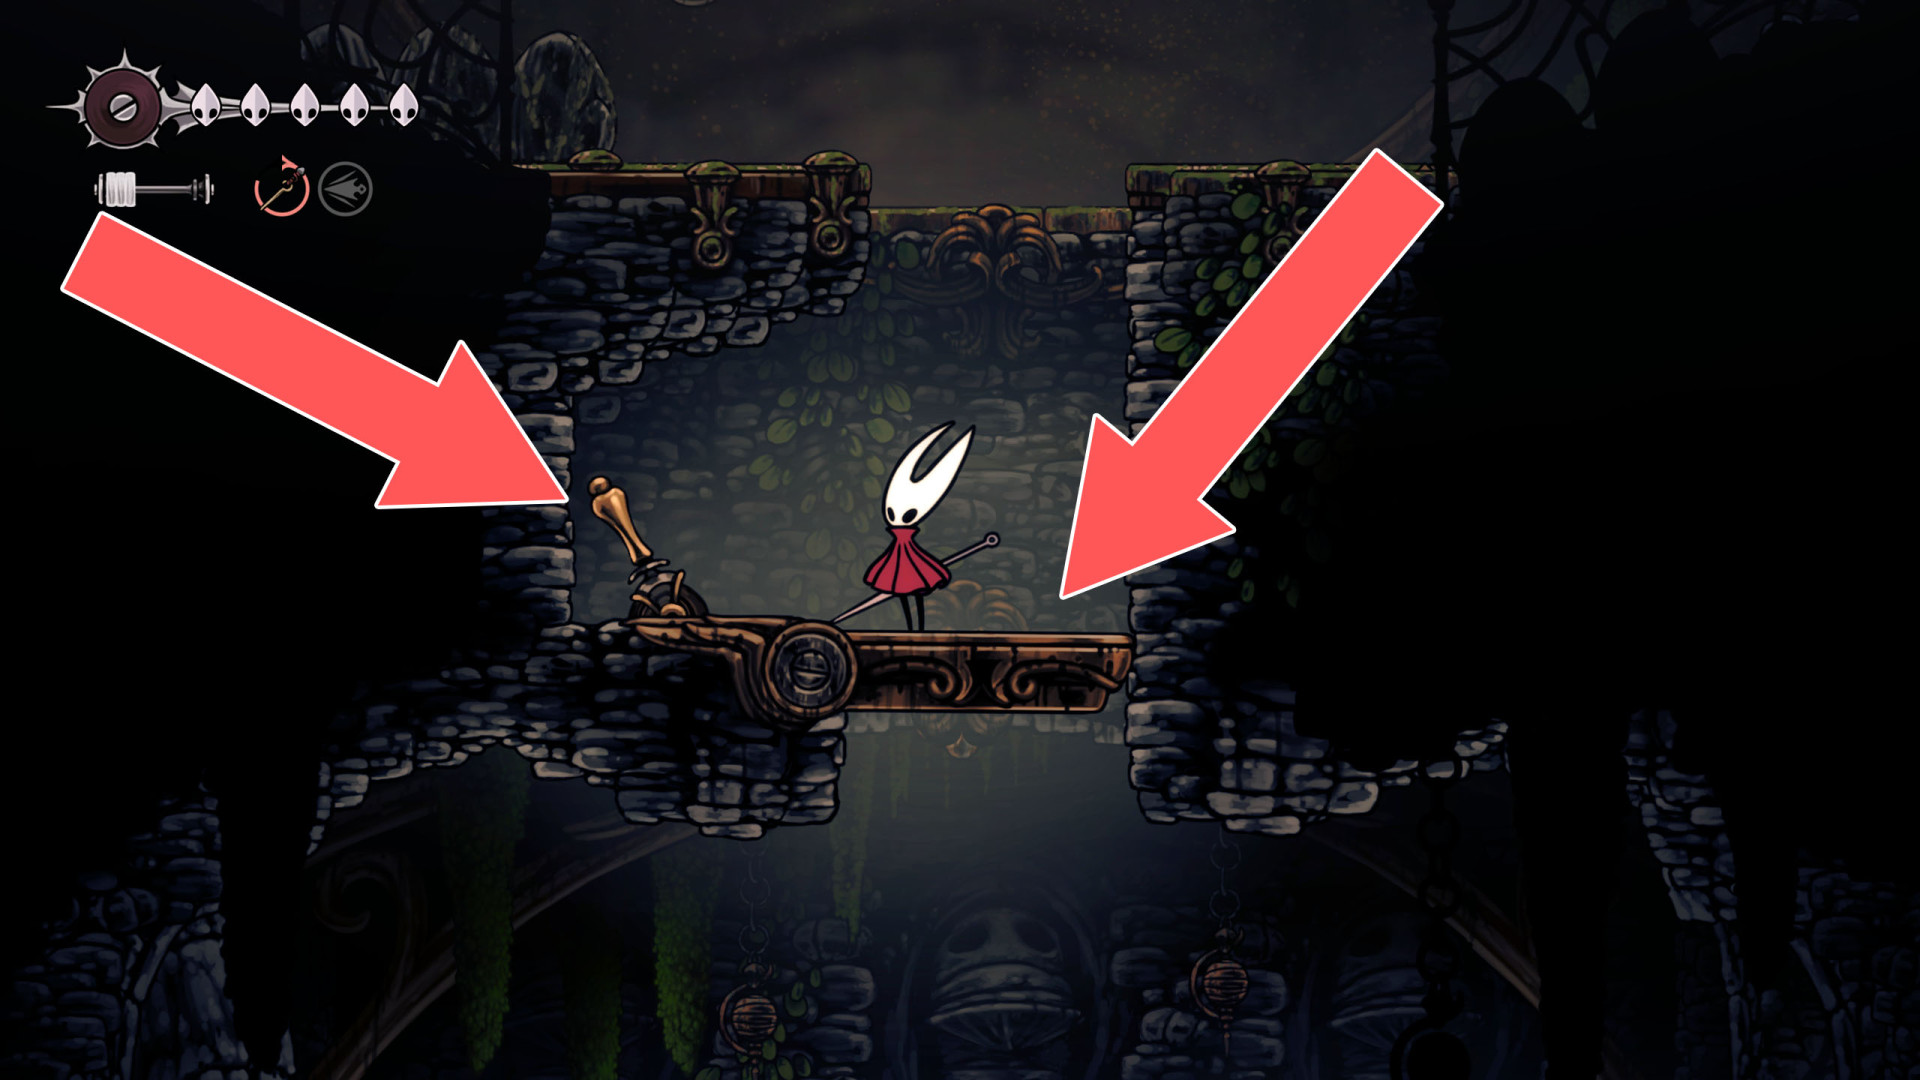
342Locked Trapdoor
You can open it using the lever located above.
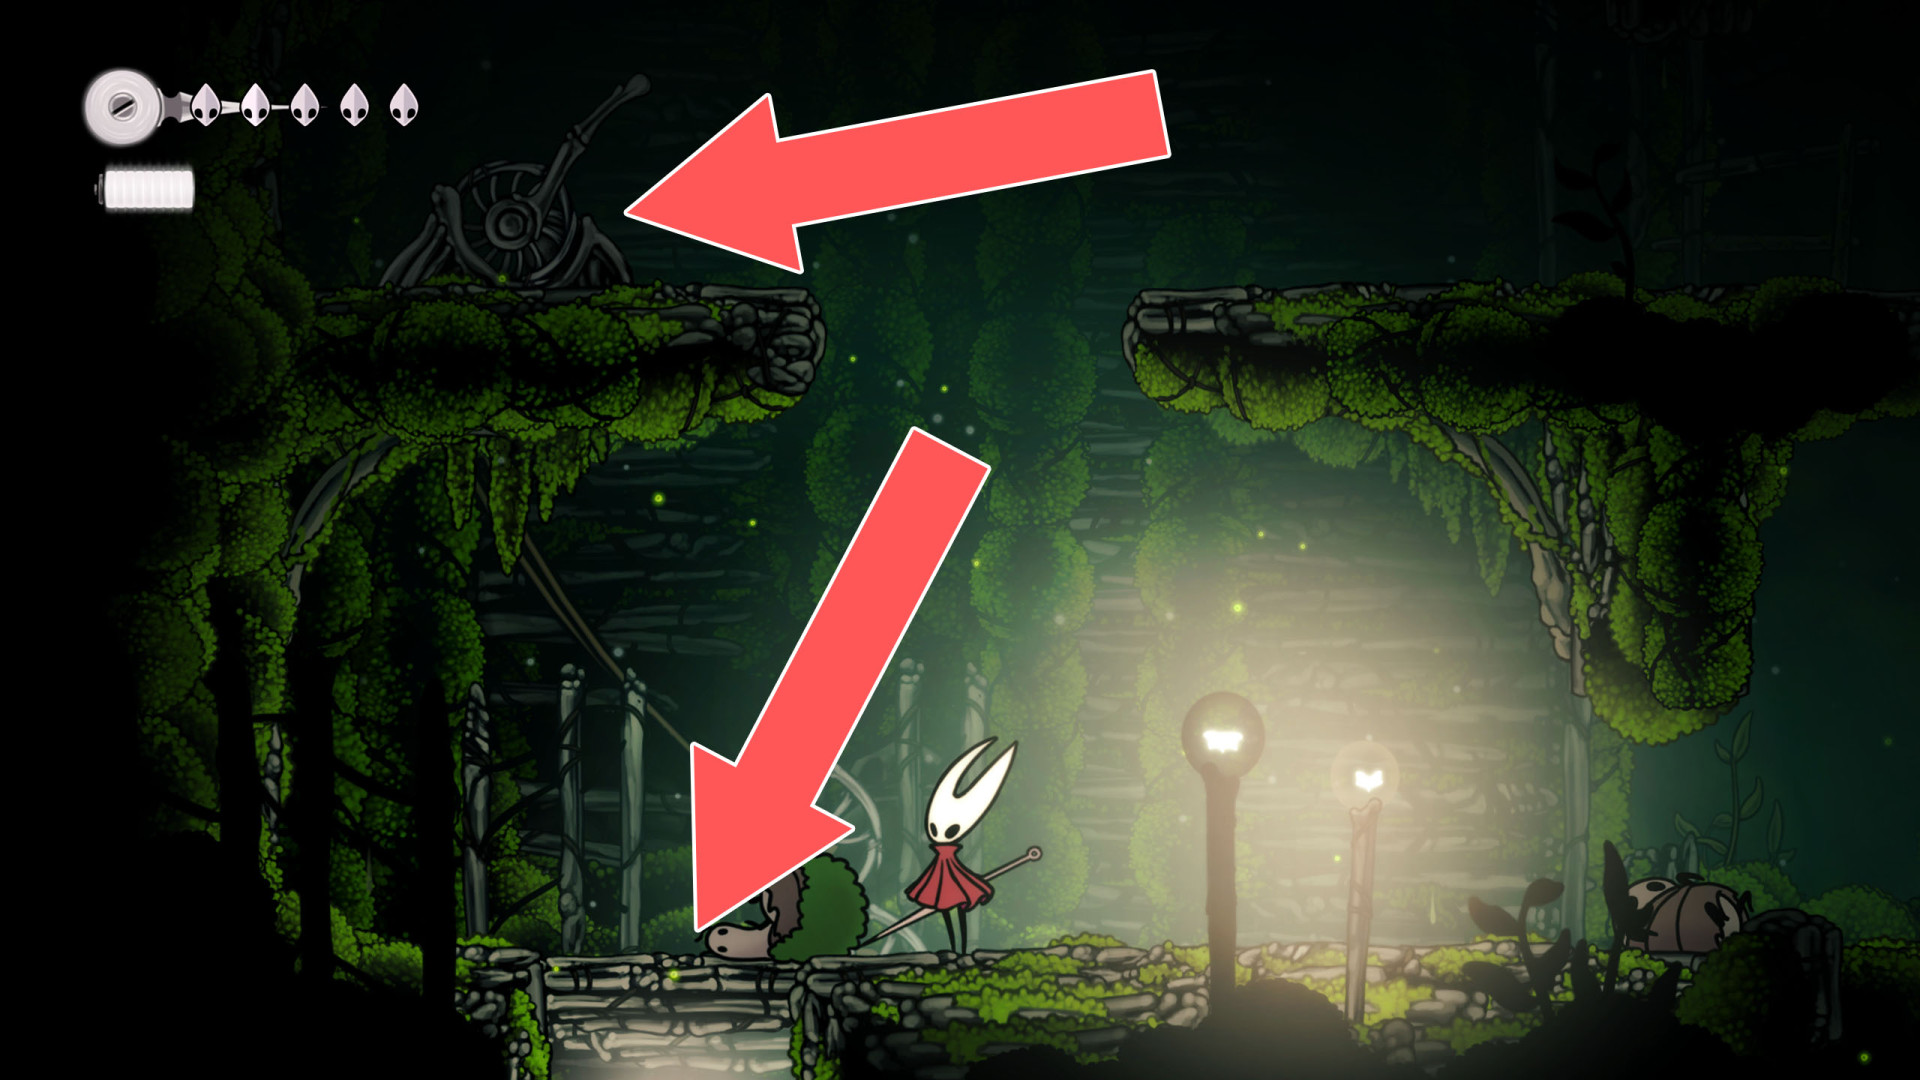
343Locked Trapdoor
You can open it using the lever located above.
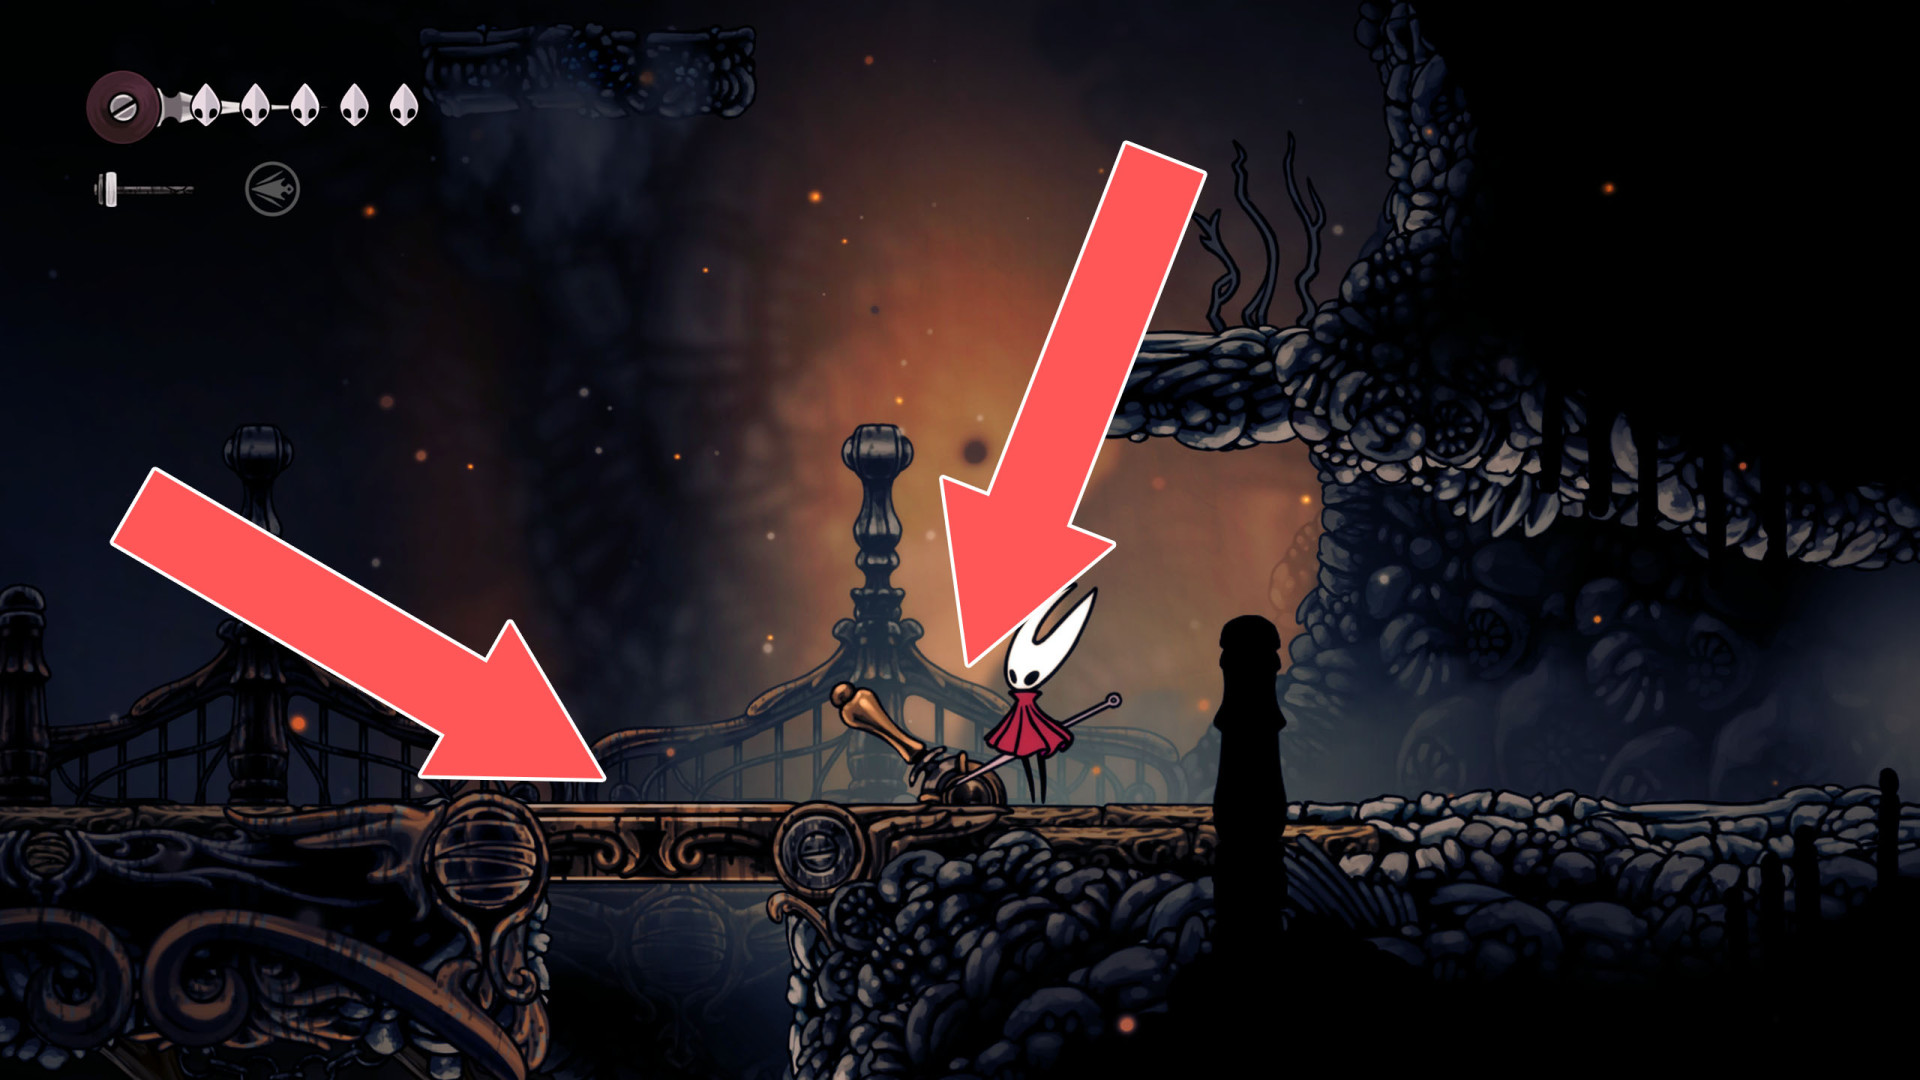
344Locked Trapdoor
You can open it using the lever located above.
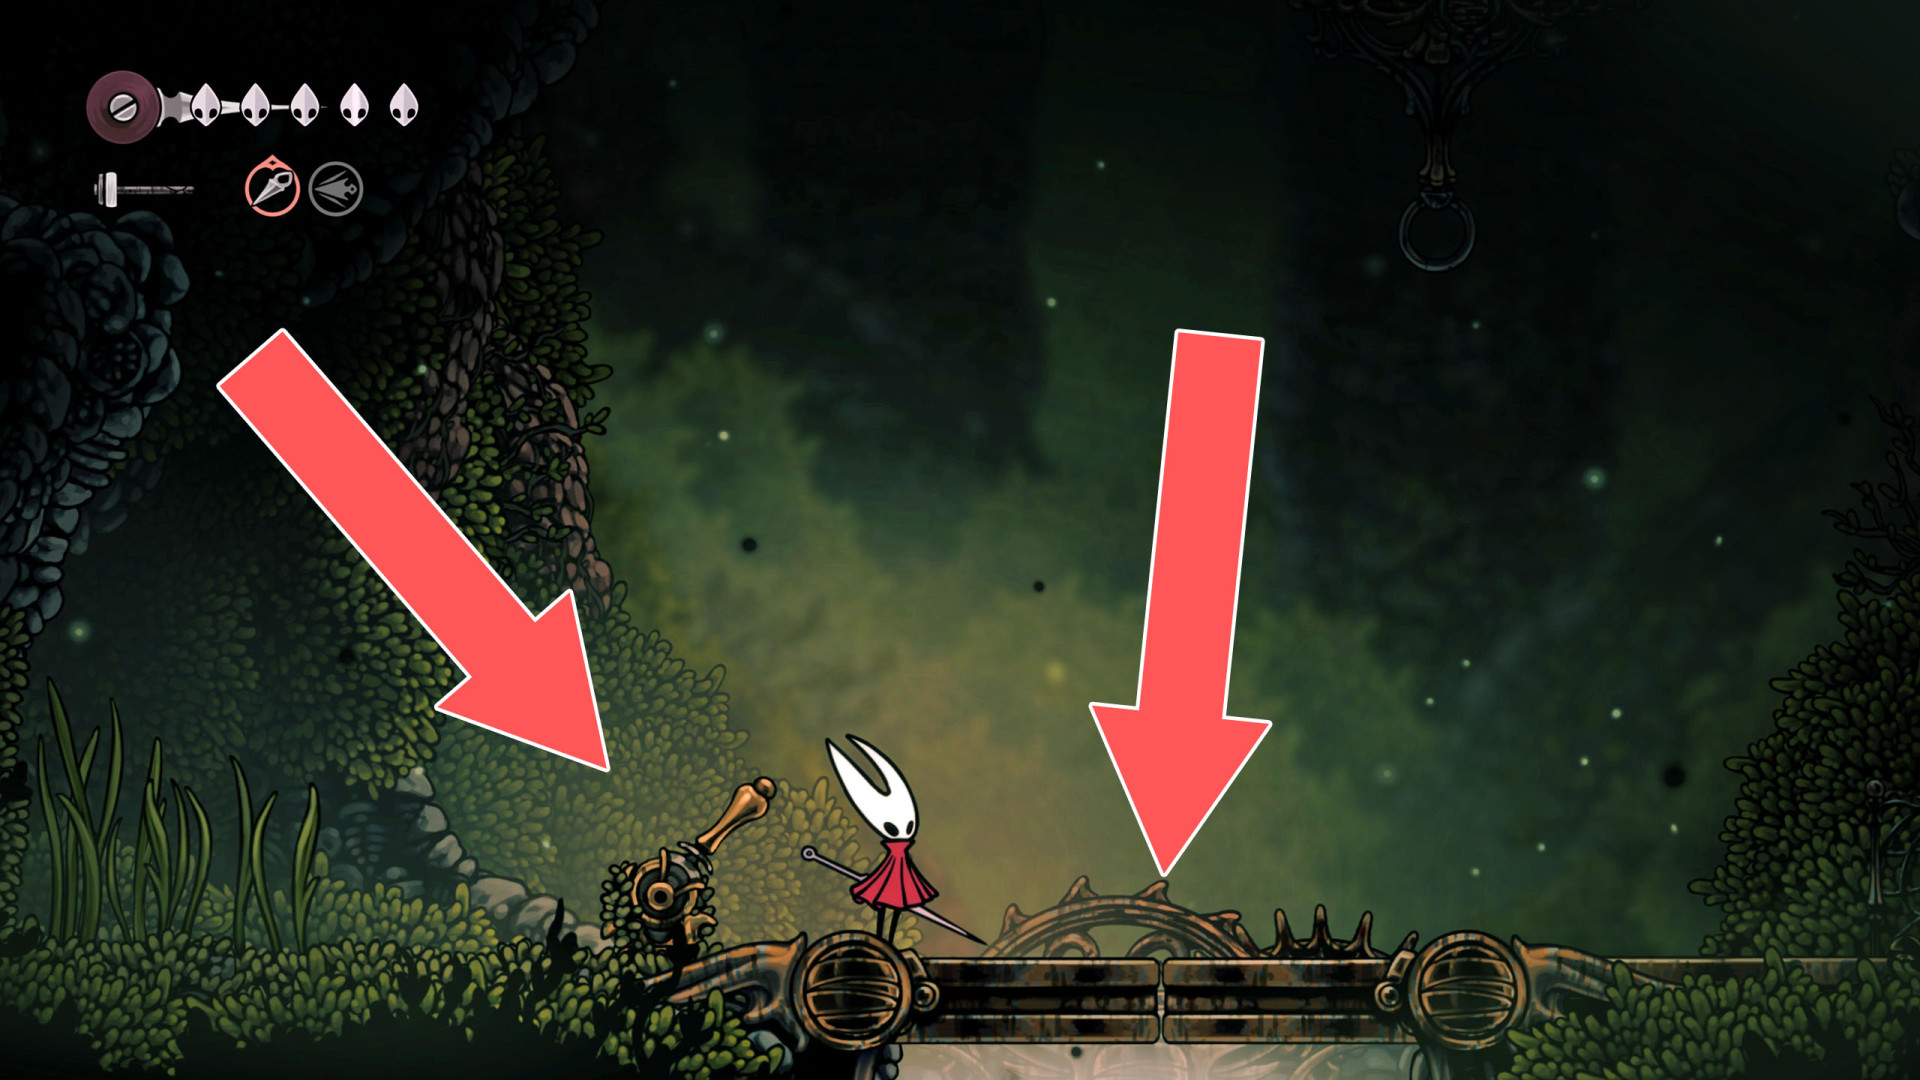
345Locked Trapdoor
You can open it using the lever located above.
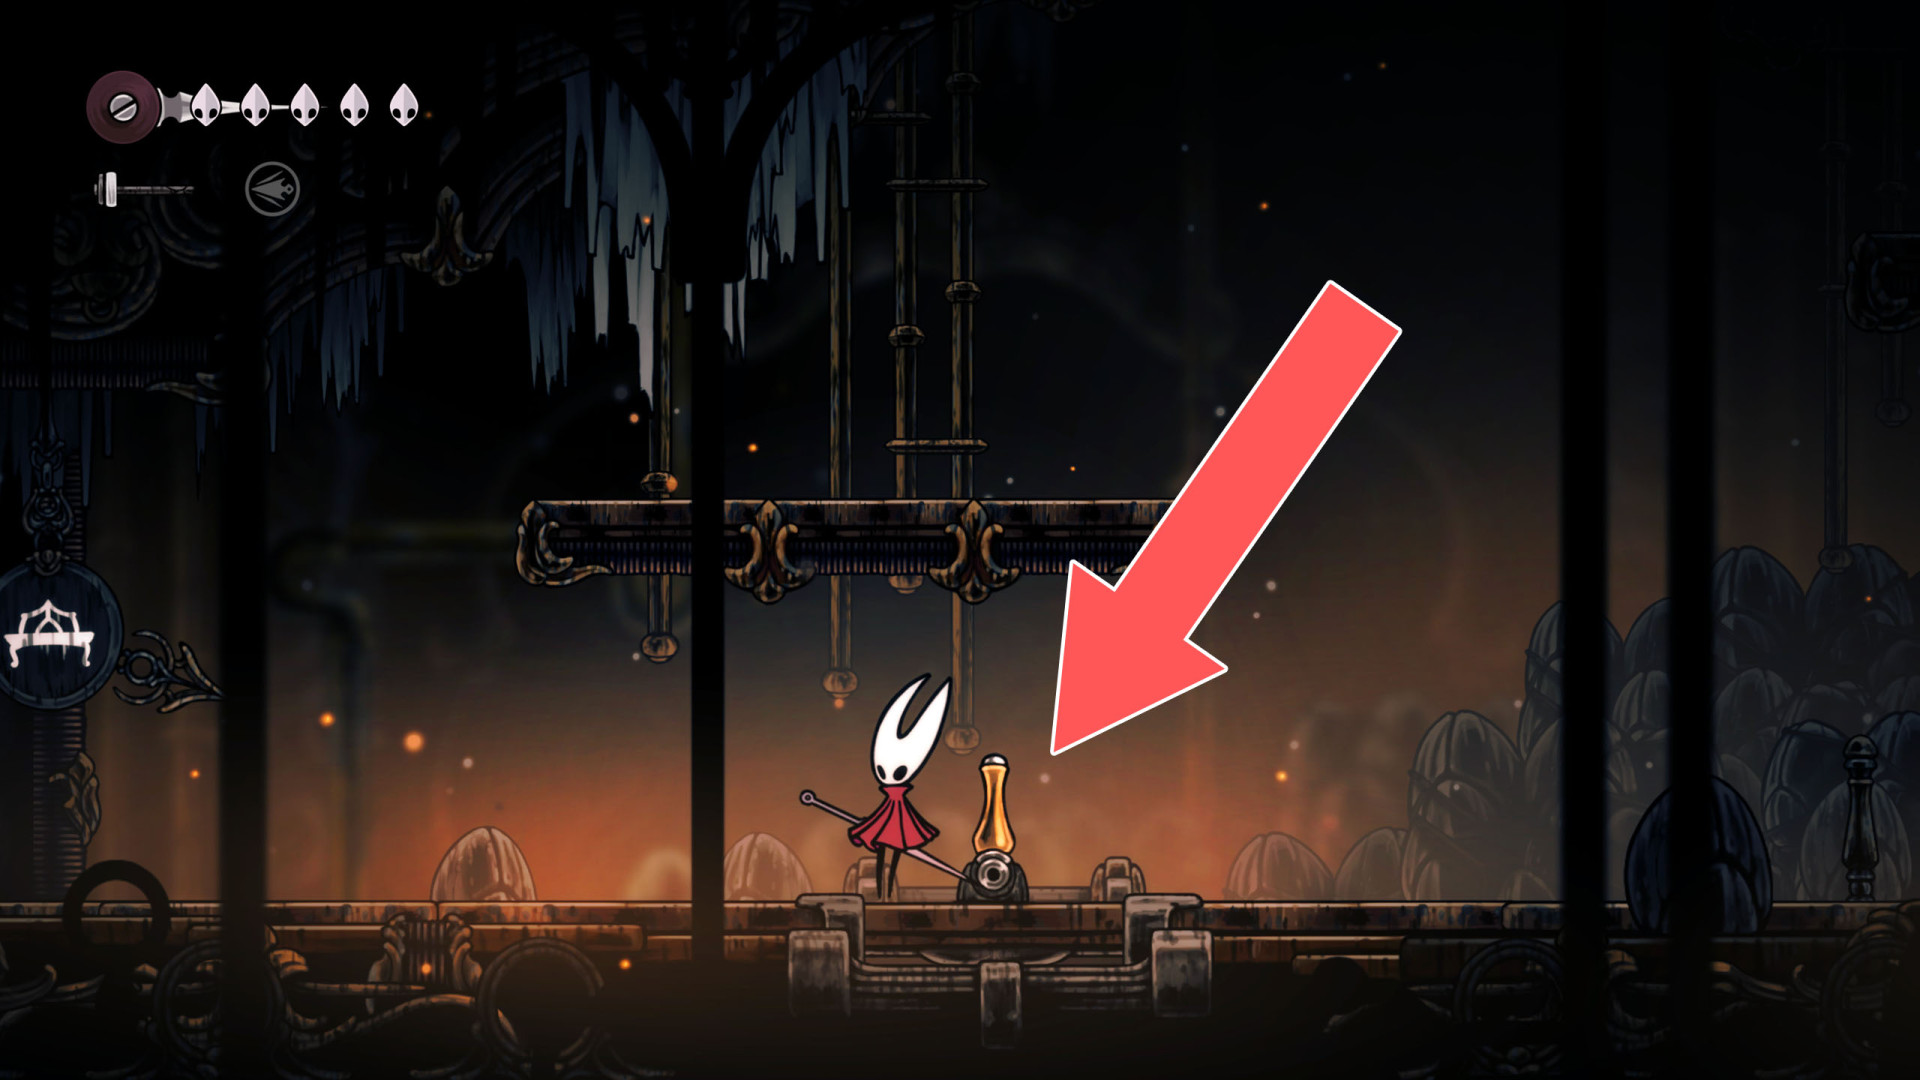
346Locked Trapdoor
You can open this trapdoor using the lever located below.
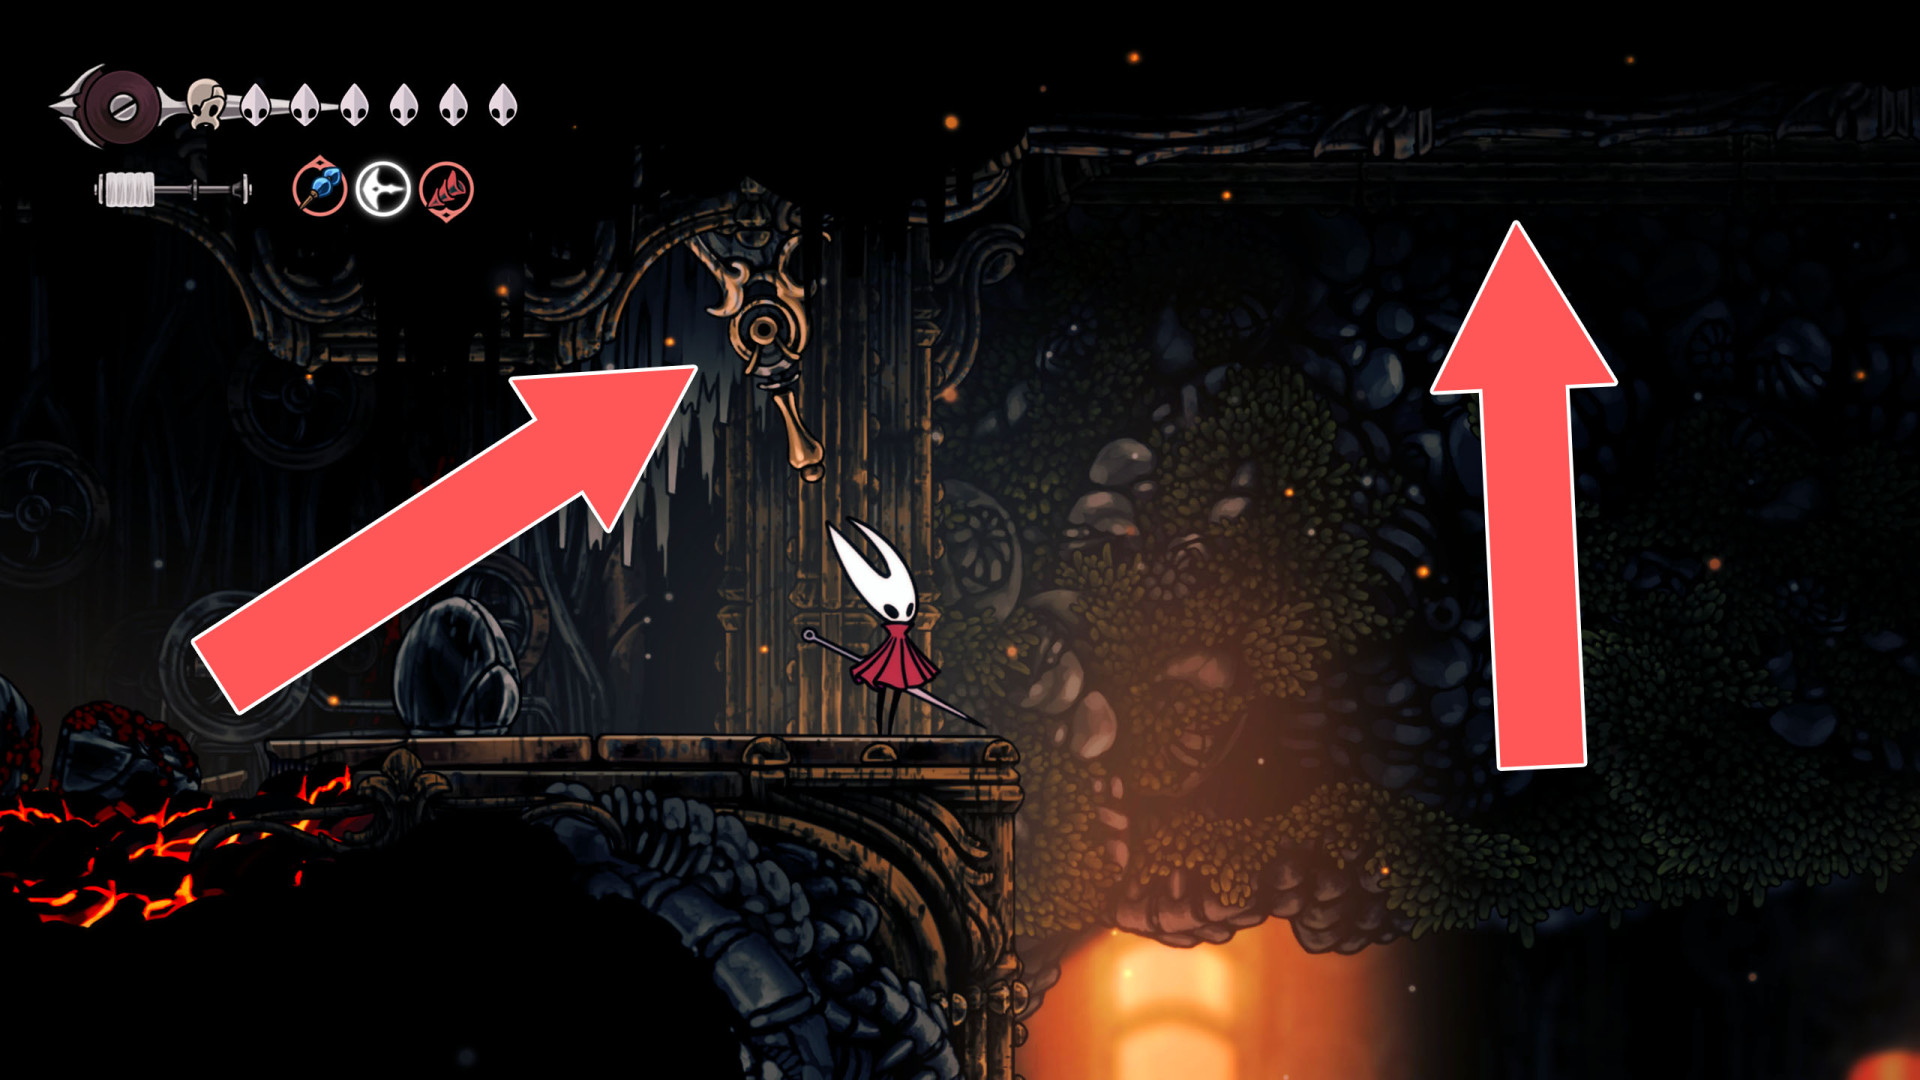
347Movable Box
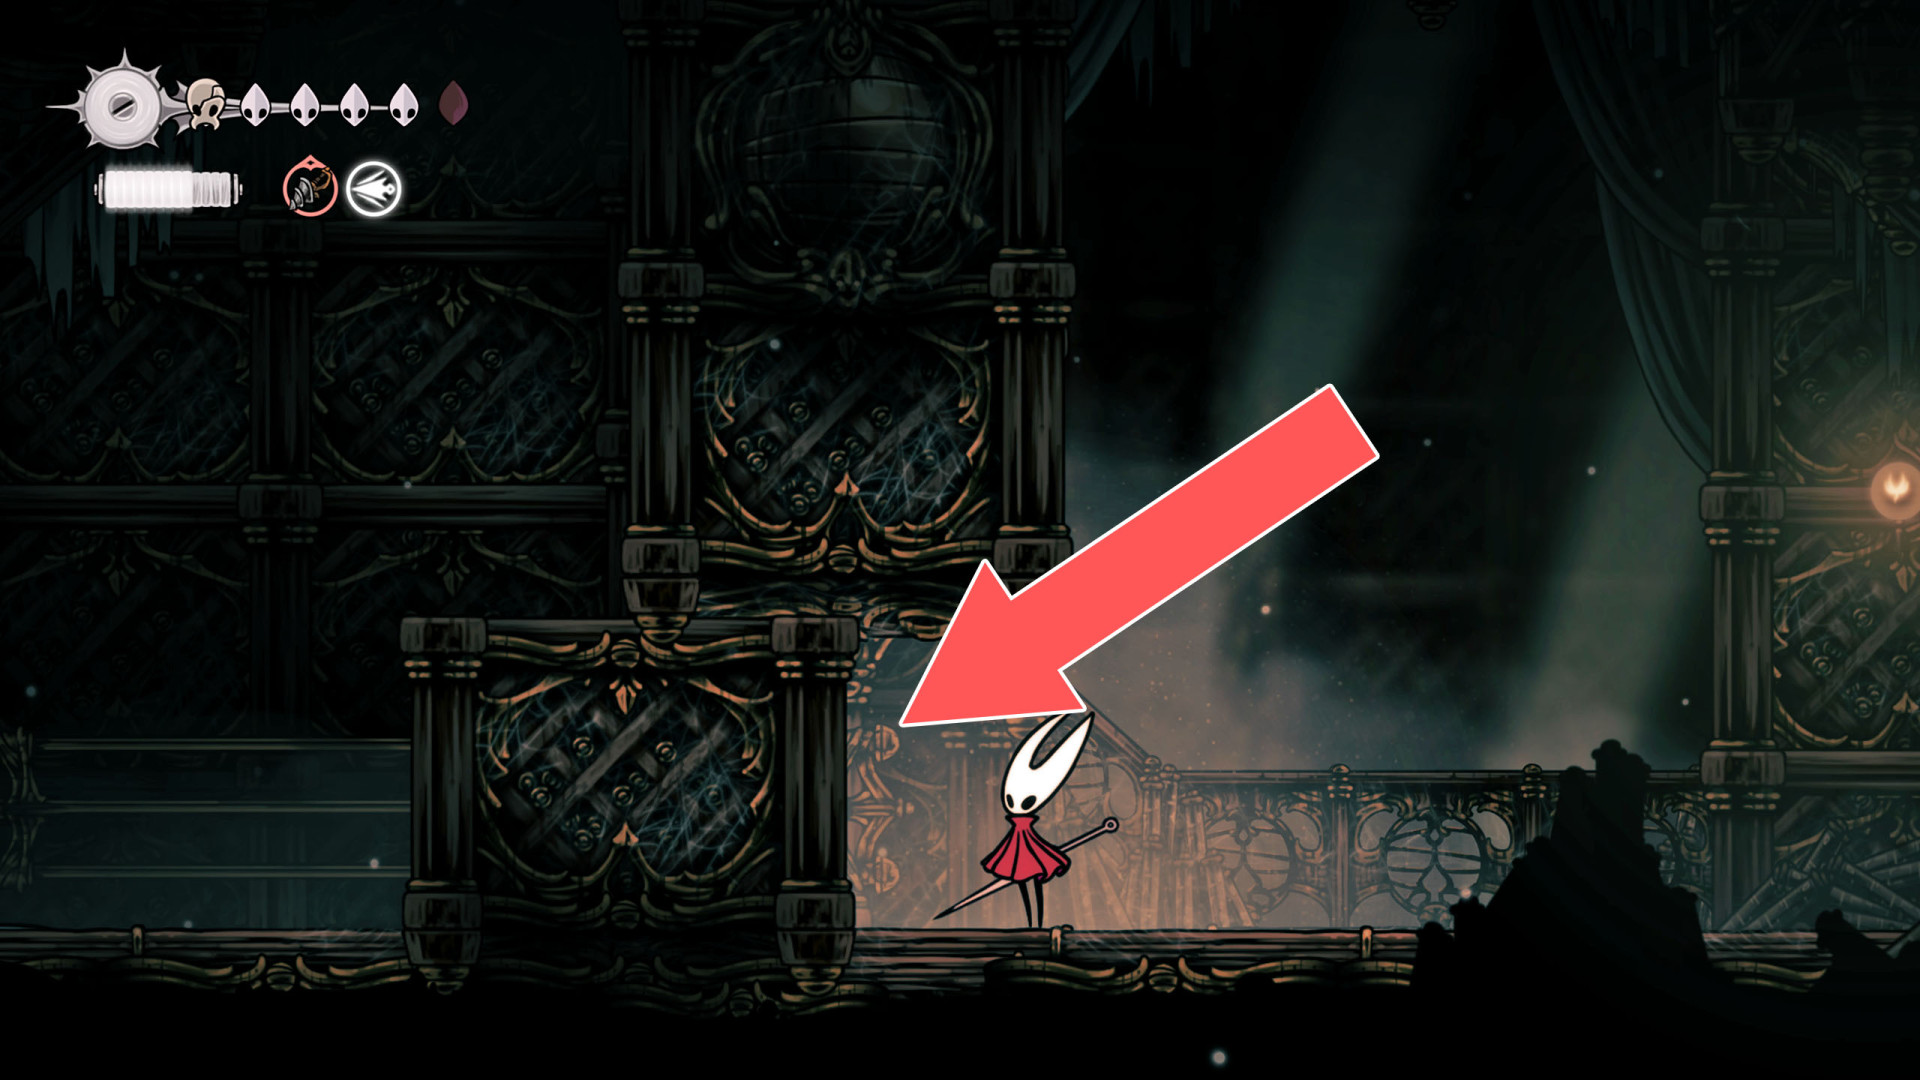
348Movable Box
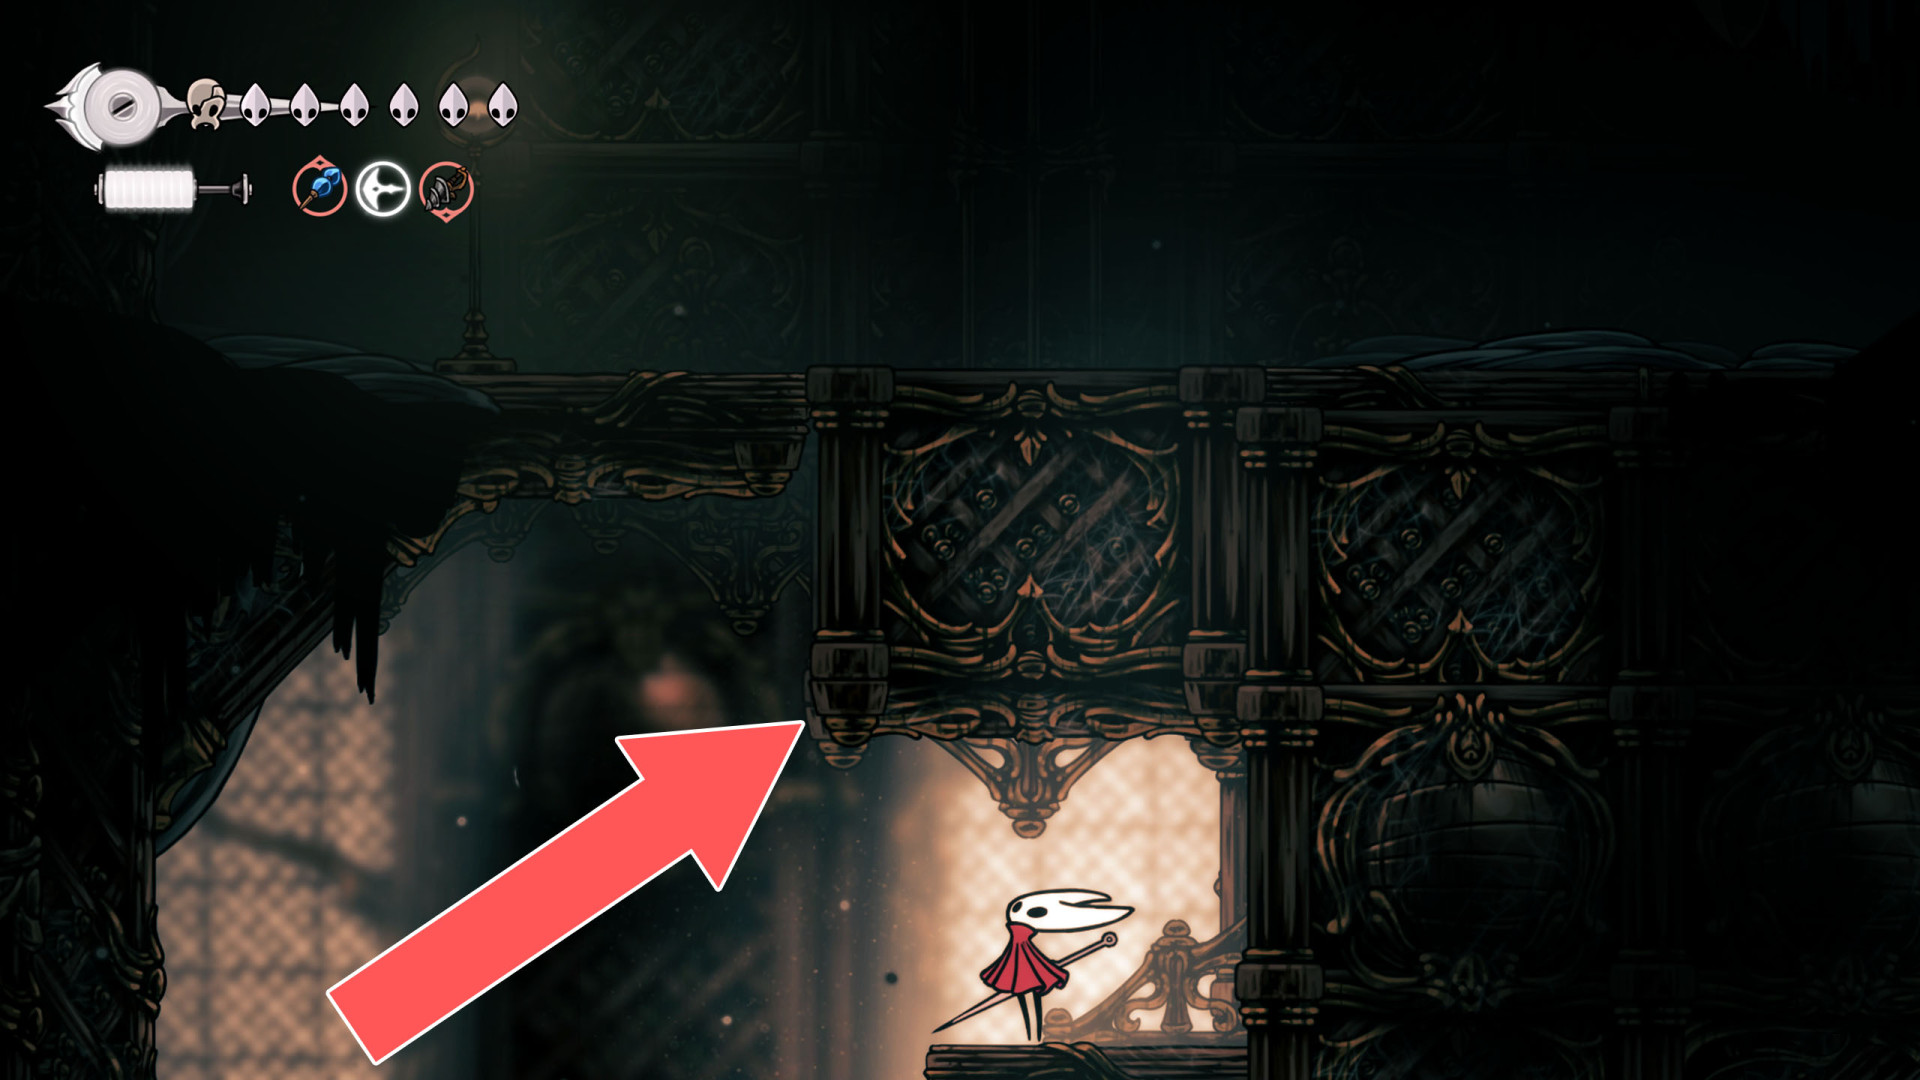
349Movable Box
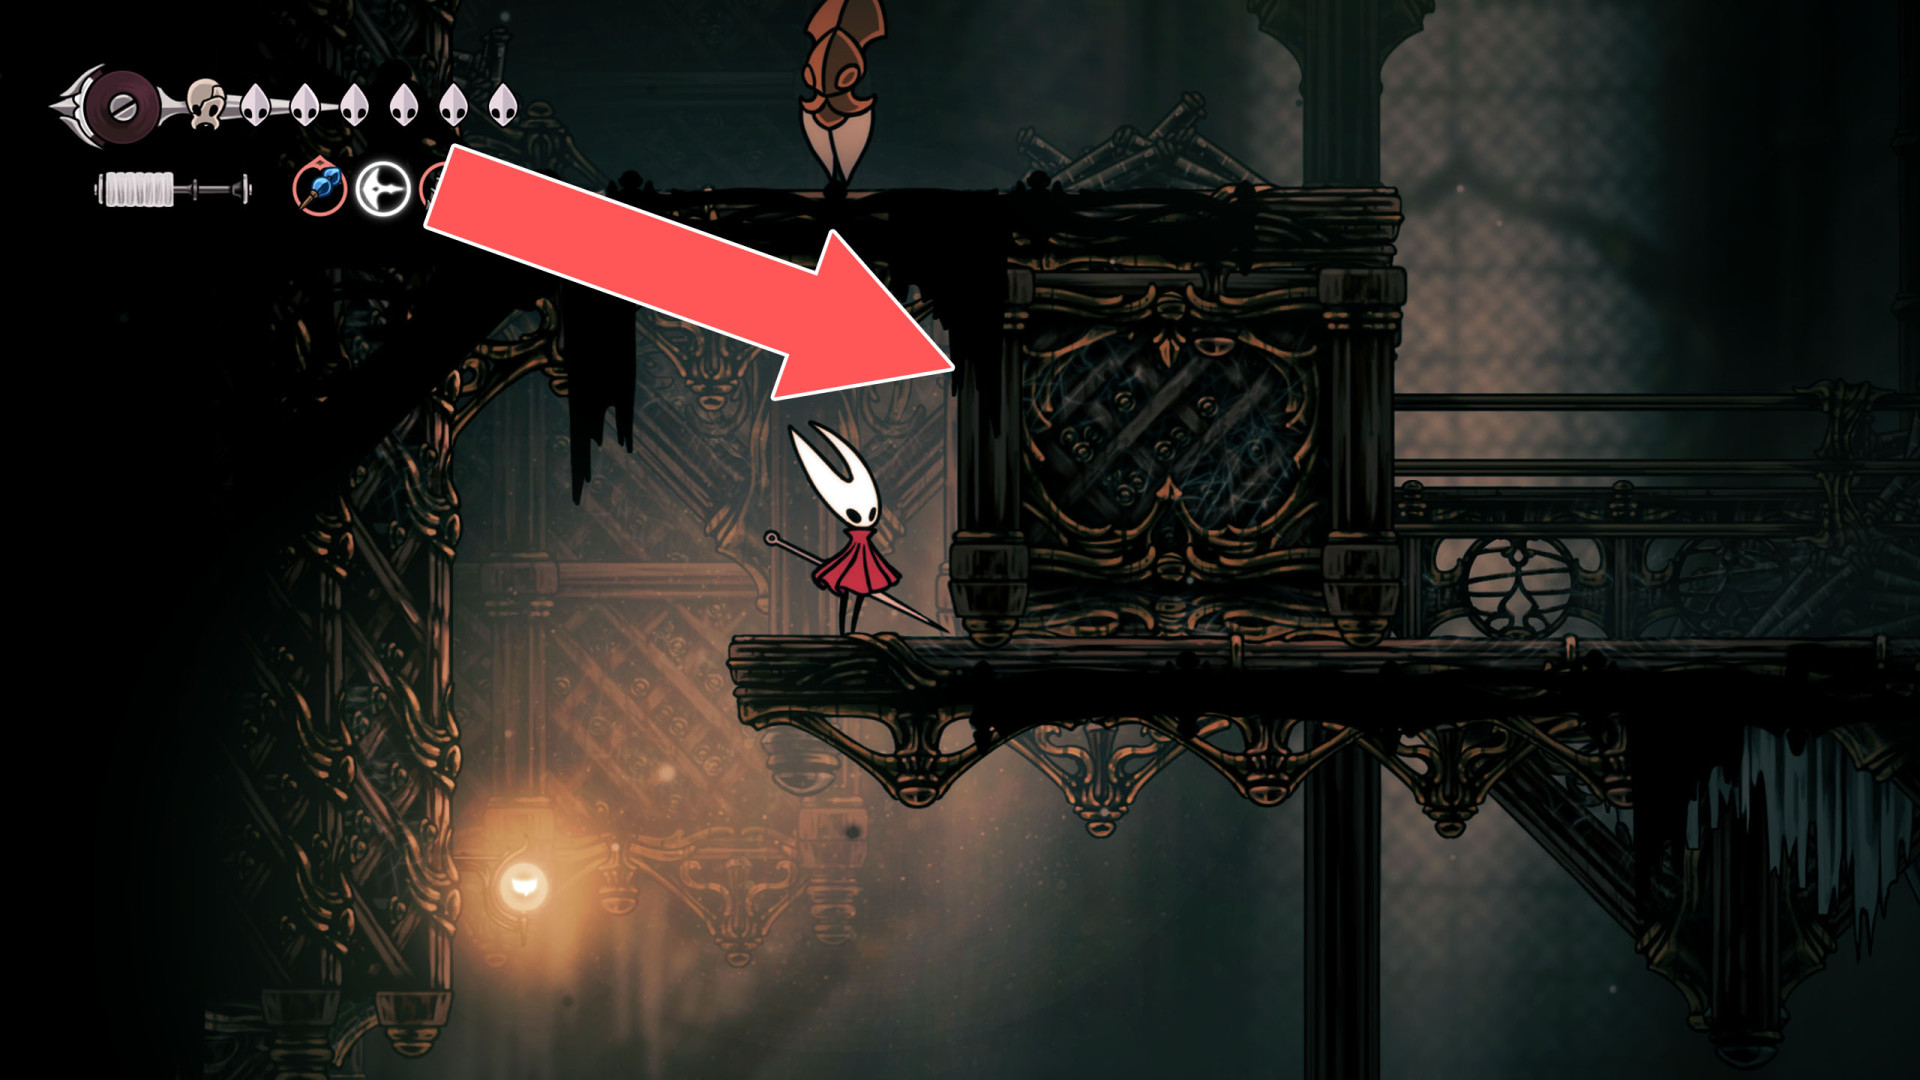
350Movable Box
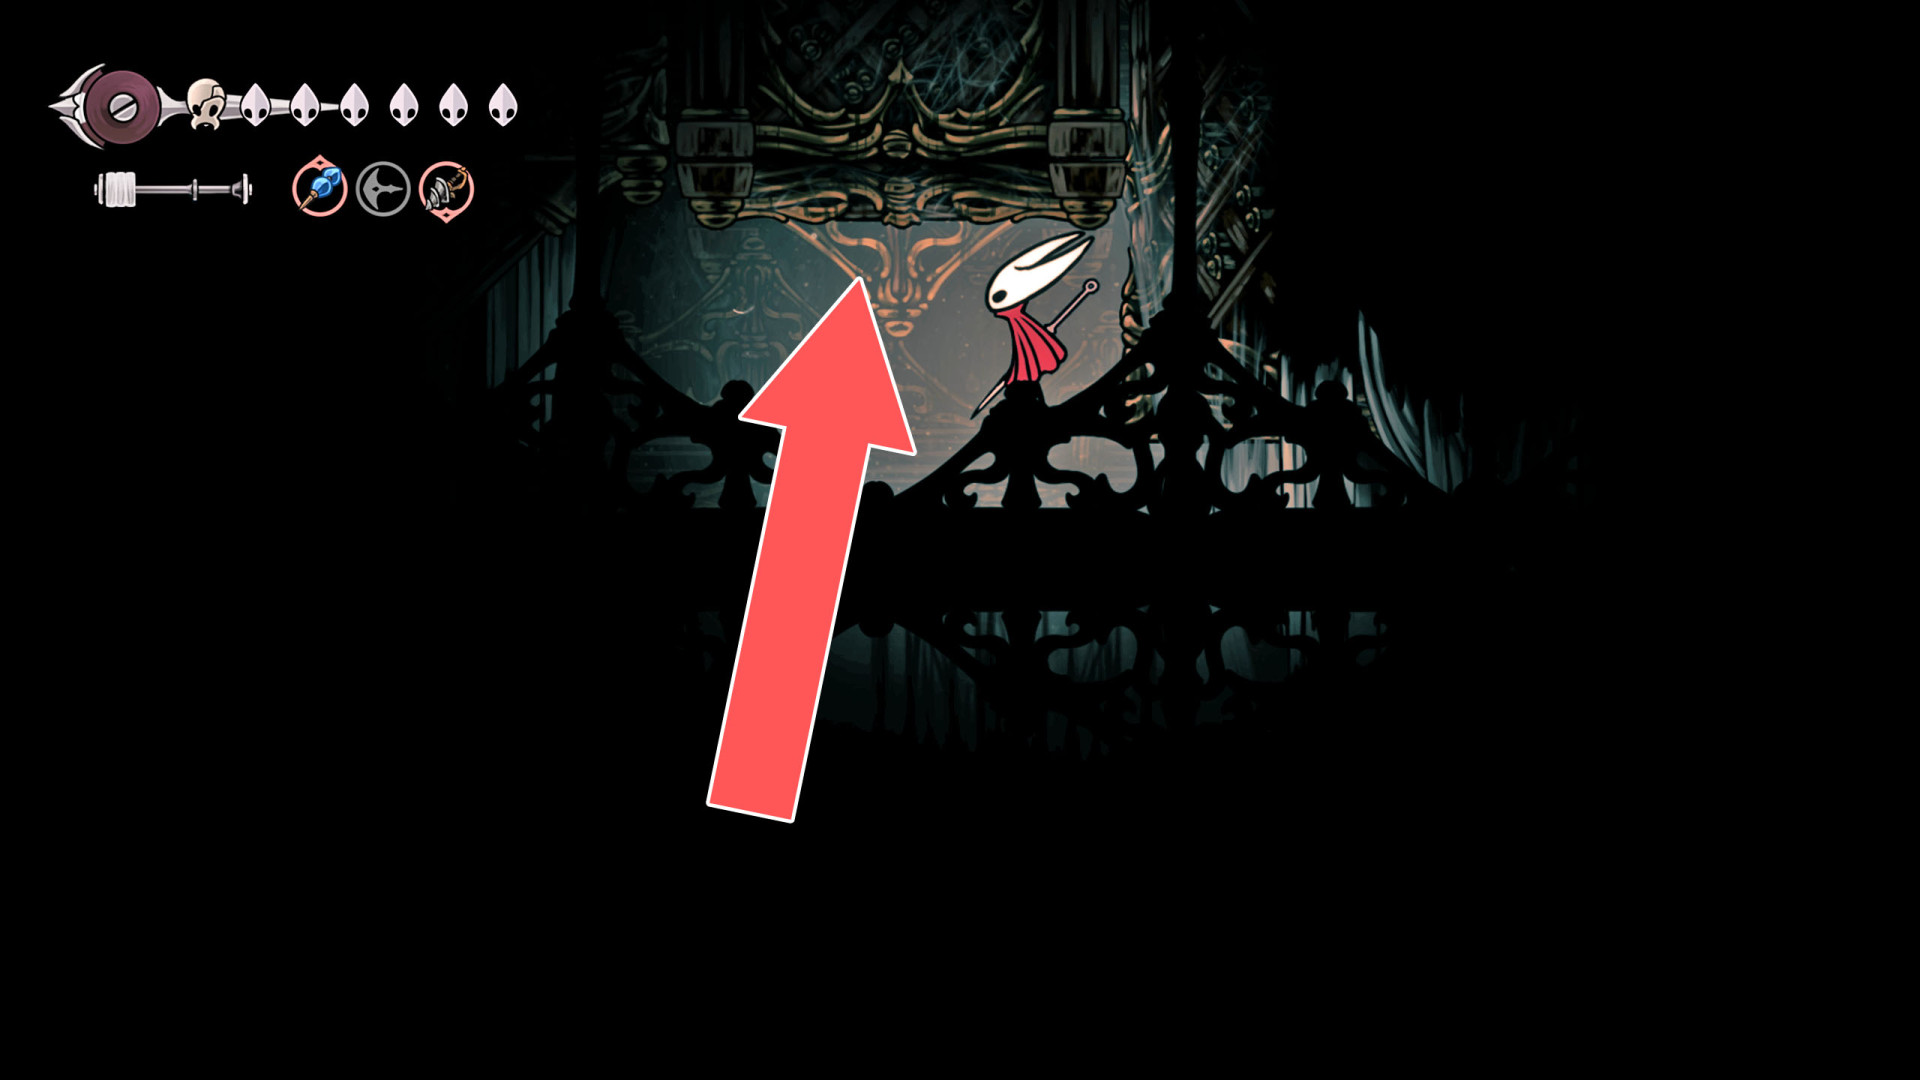
351Movable Box
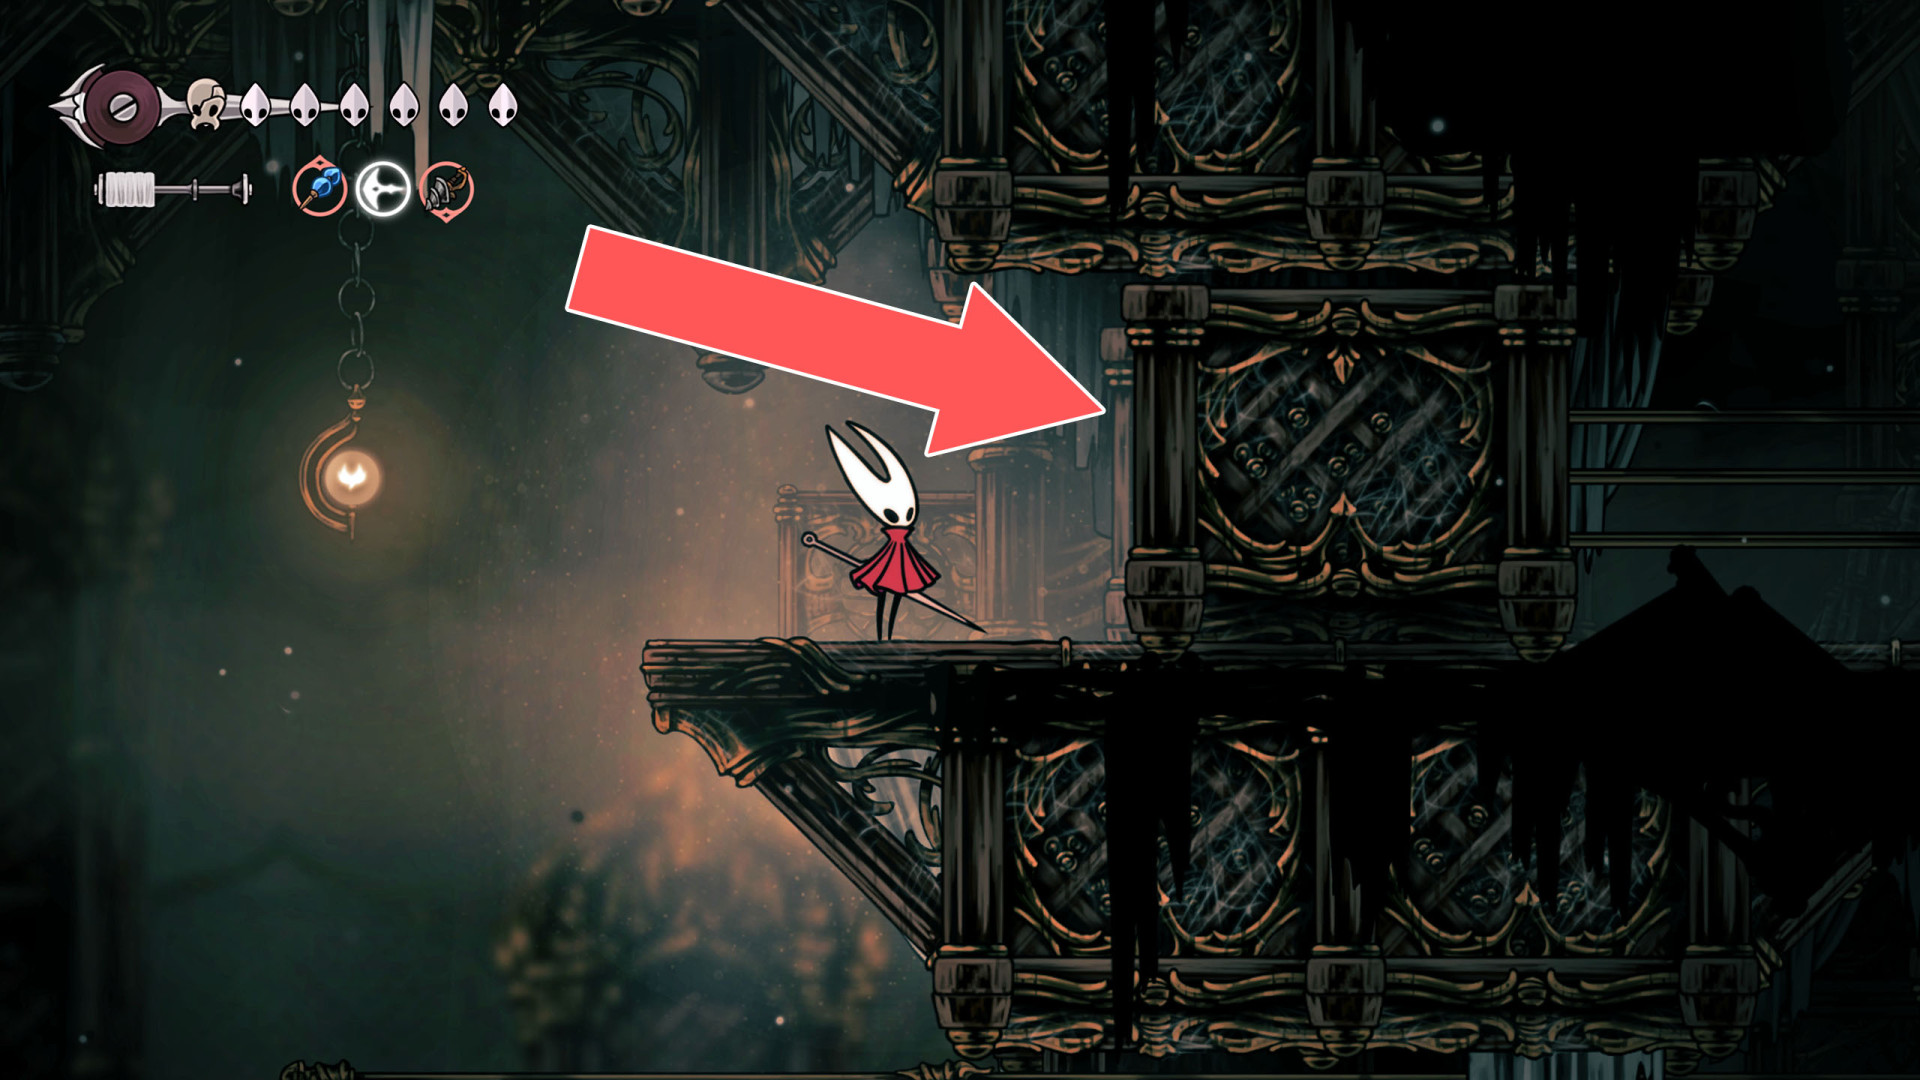
352Moving Platform
Step onto the pressure plate to unlock the moving platform.
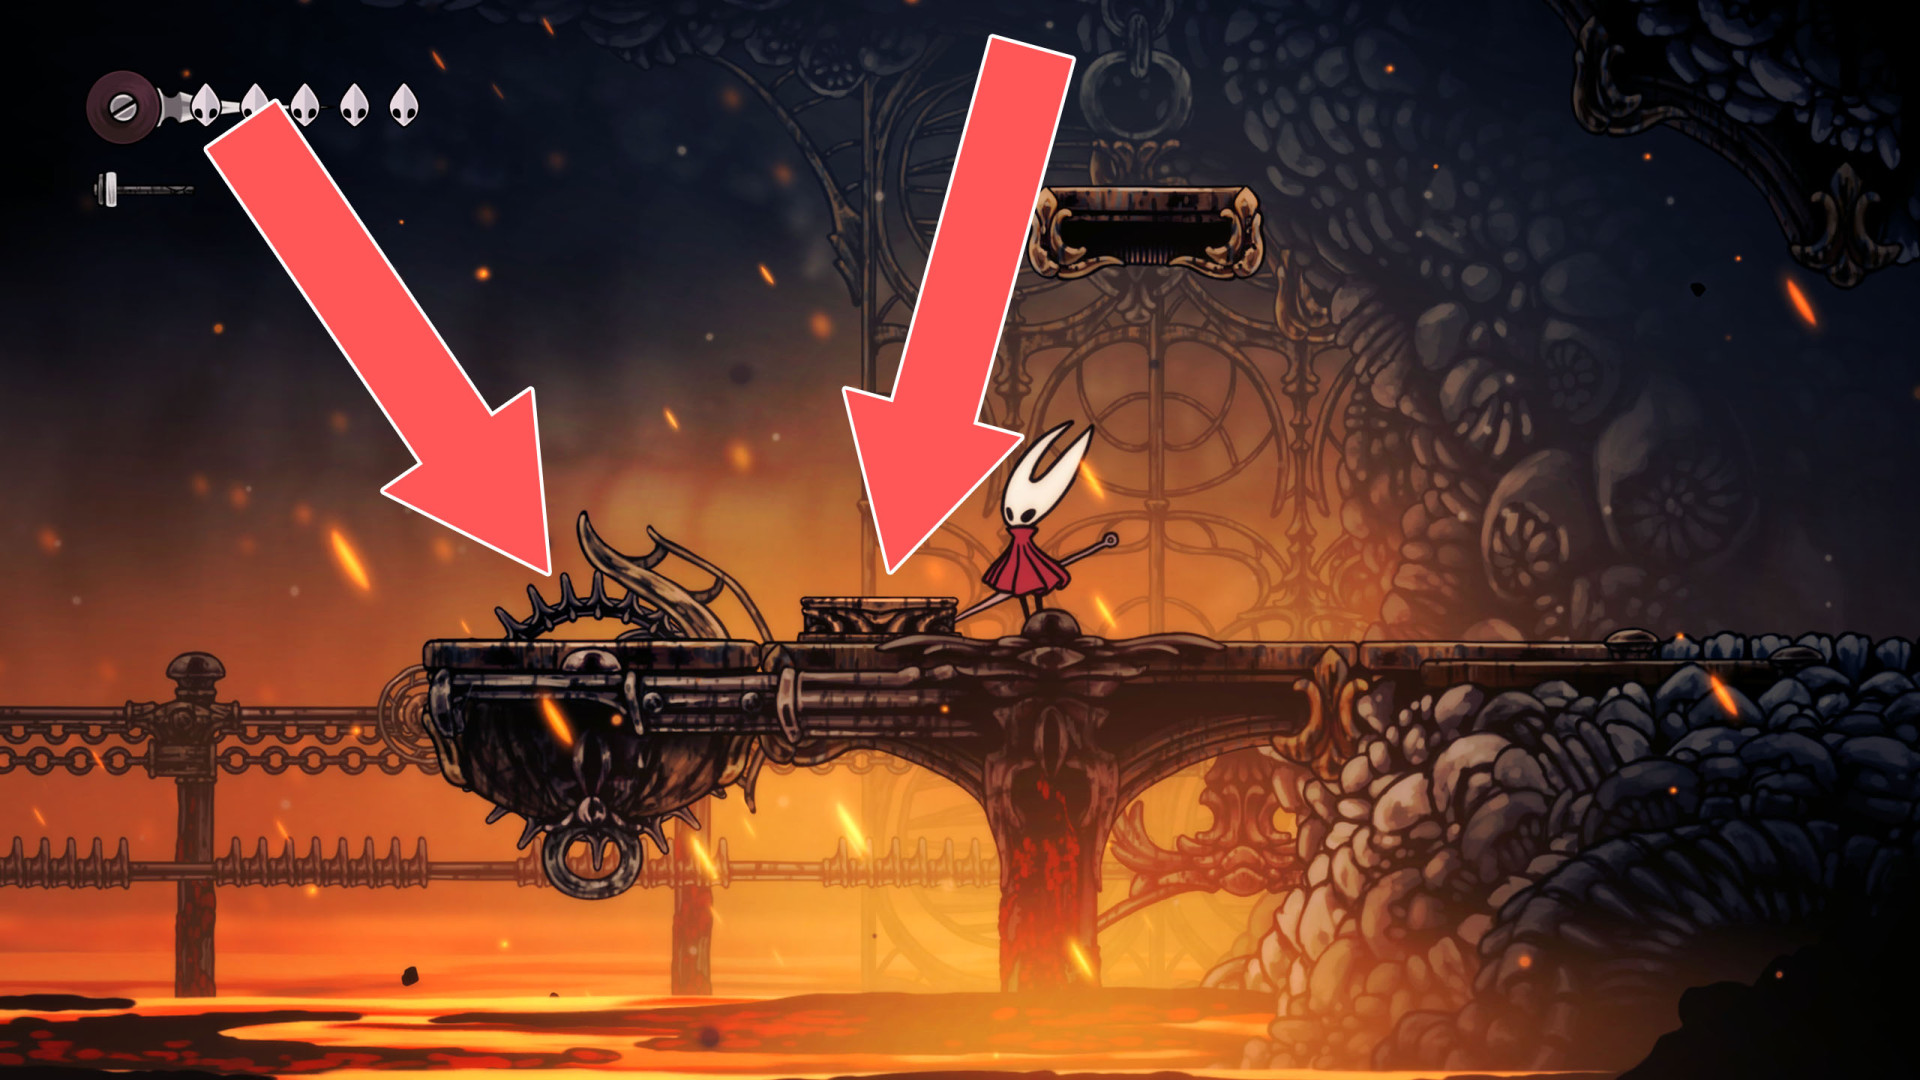
353Needolin Door
You need the Needolin ability to unlock this door.
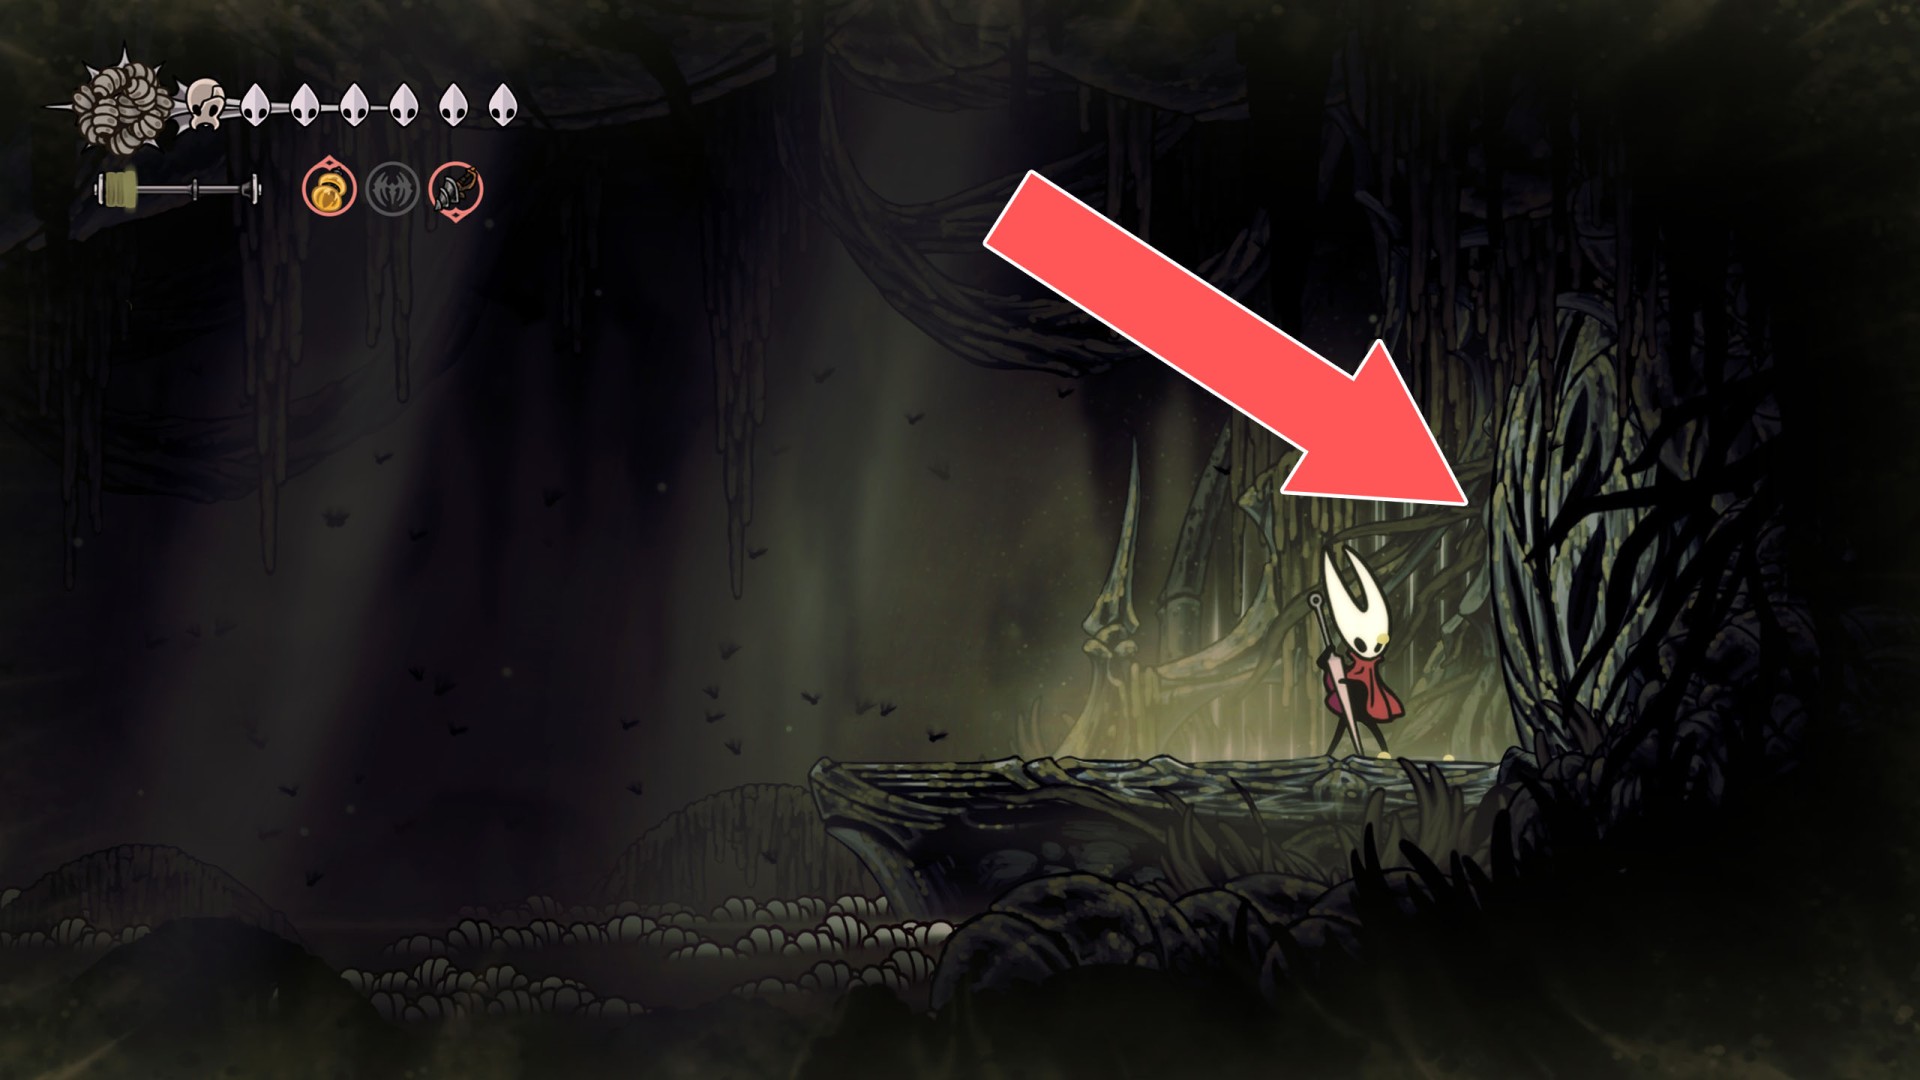
354Needolin Door
You need the Needolin ability to unlock this door.
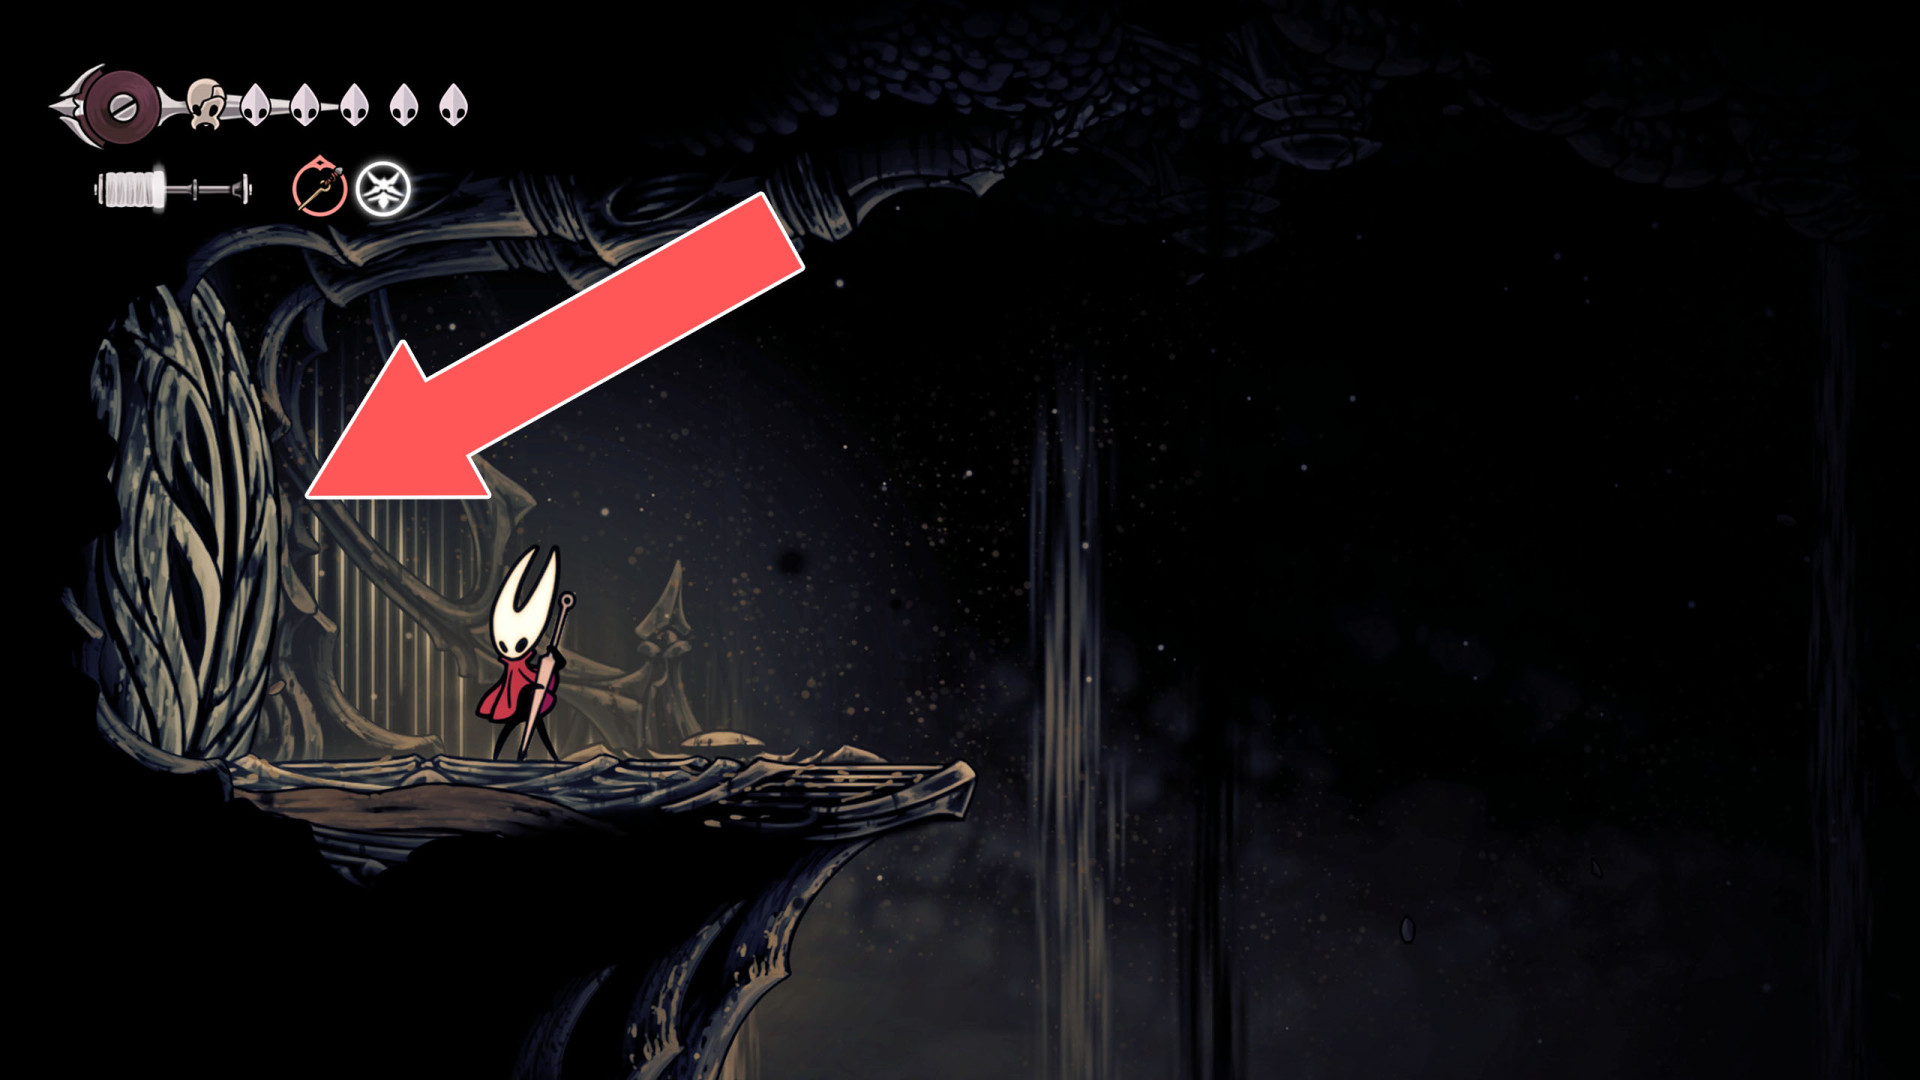
355Needolin Door
To open this door, you must first acquire the Needolin.
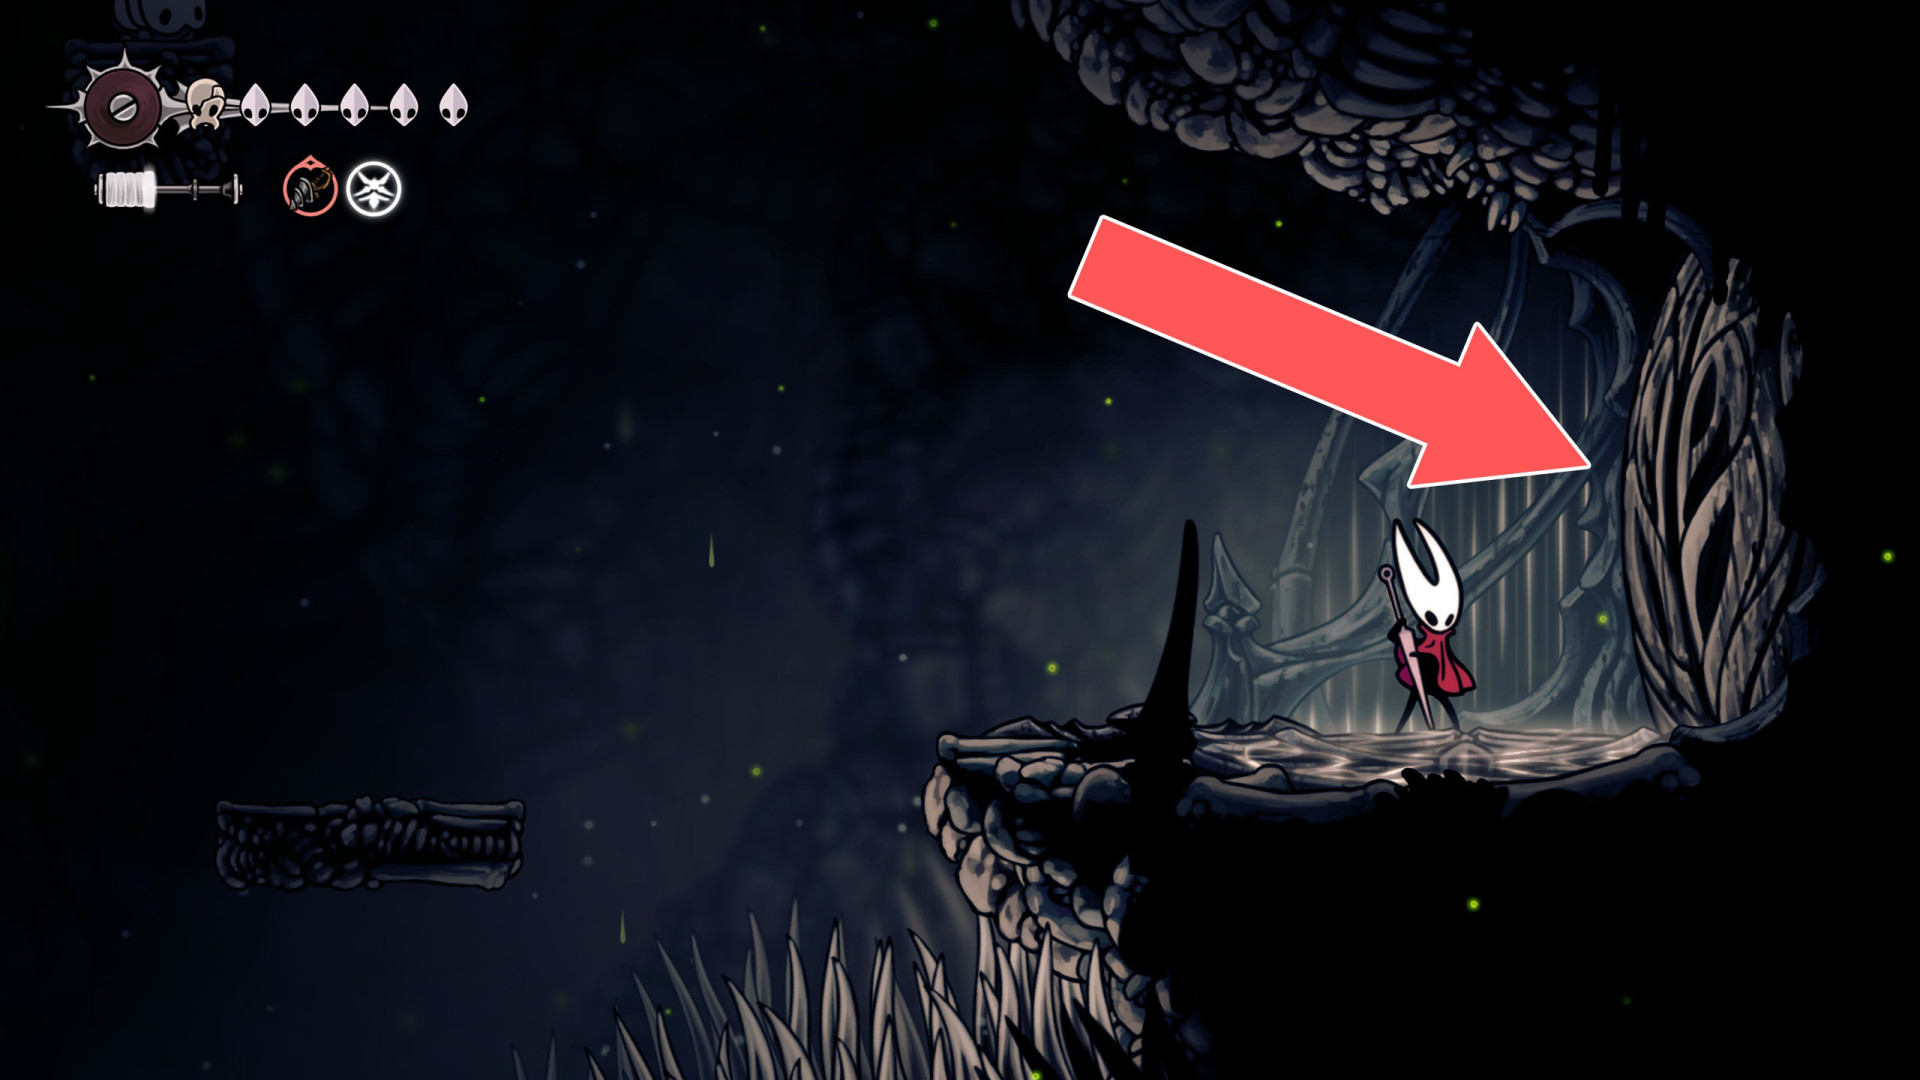
356Needolin Door
You need the Needolin ability to unlock this door.
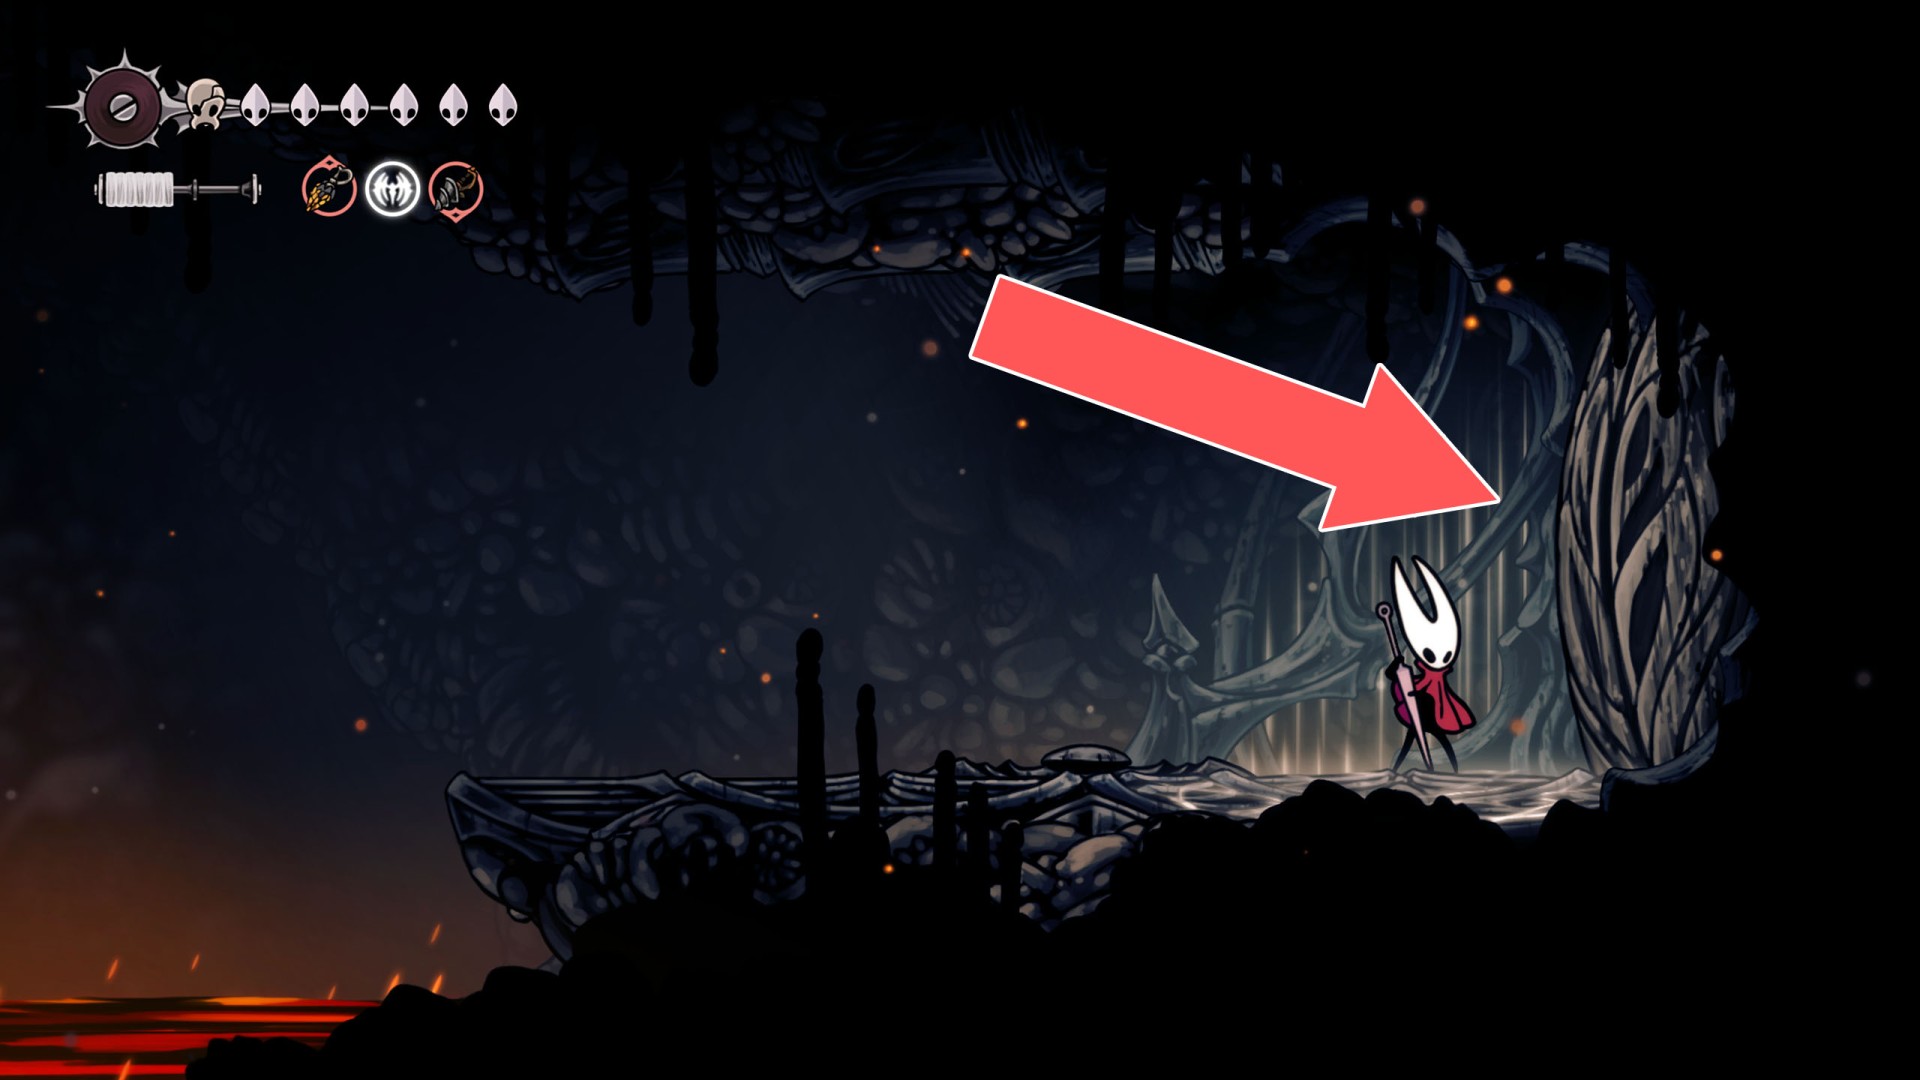
357Needolin Door (Weavenest Absolom)
You need the Needolin ability to unlock this door.
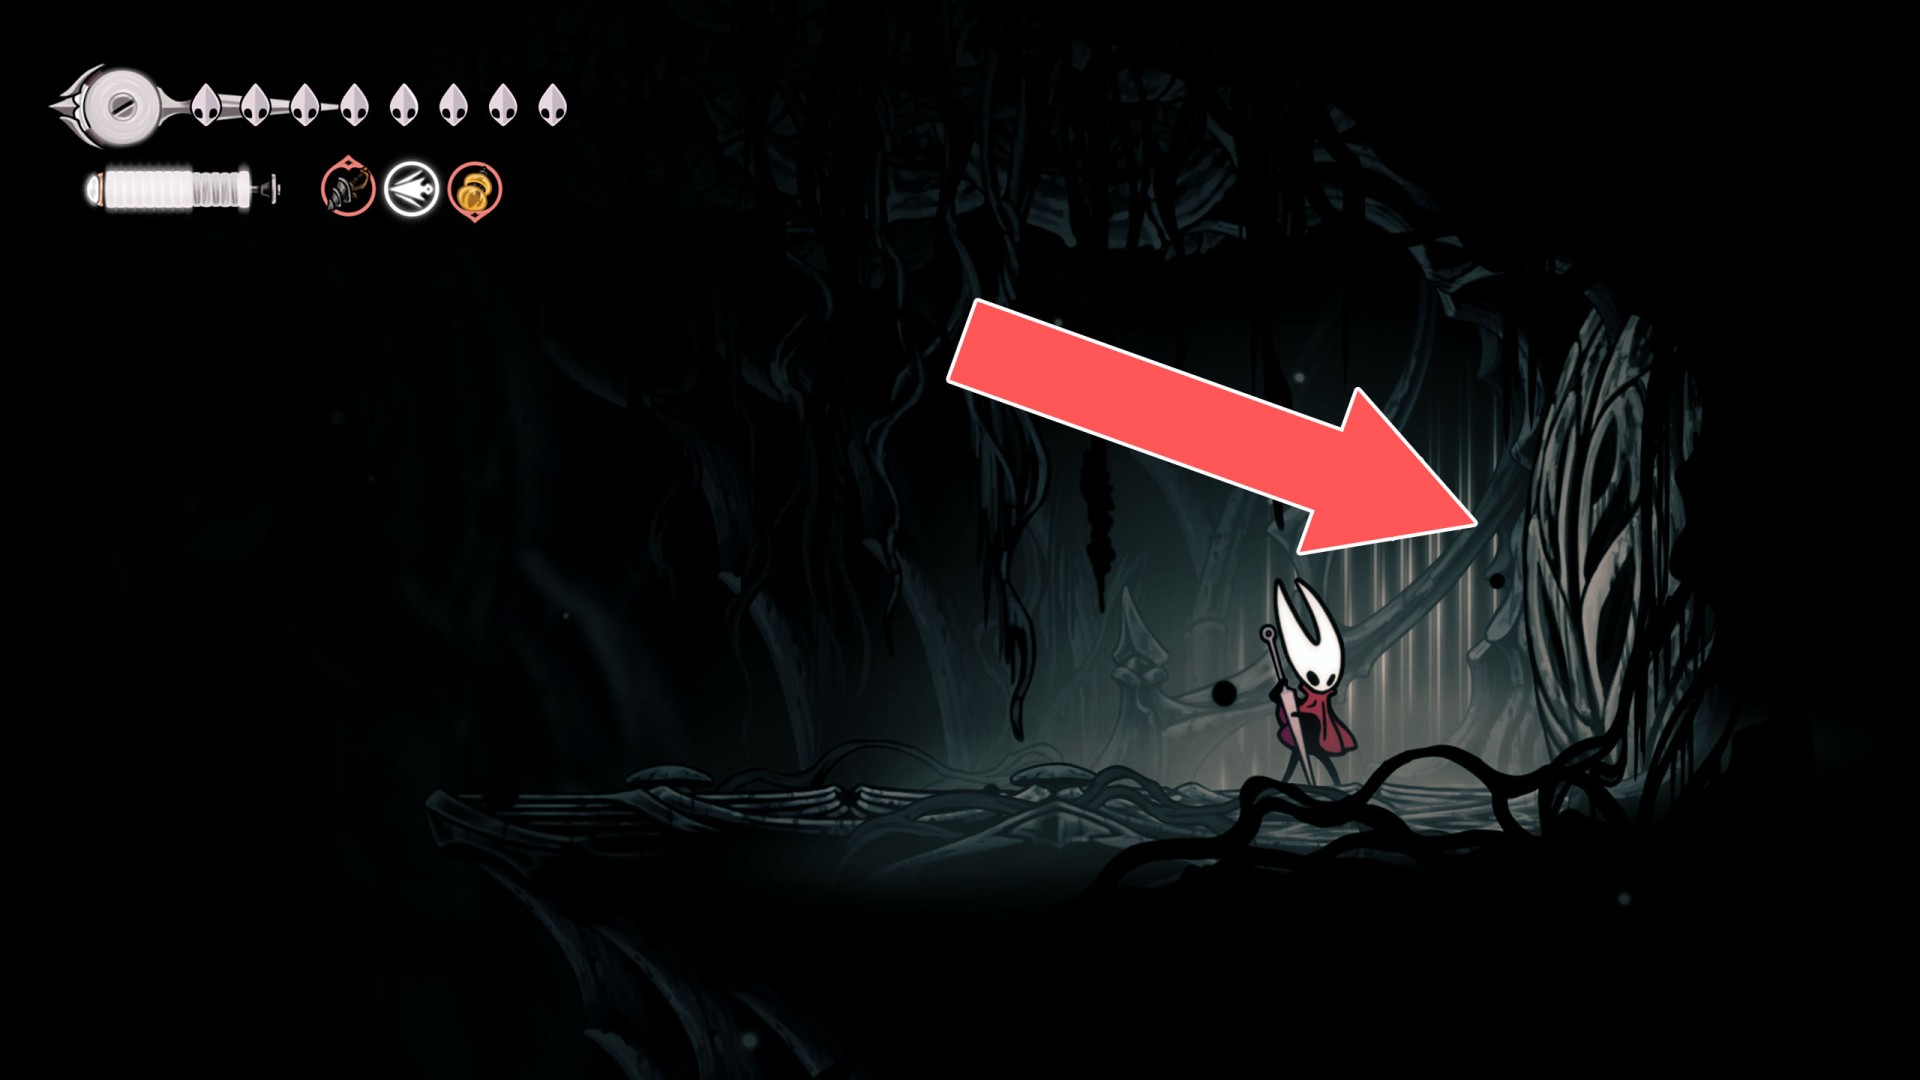
358Secret Passage
Show the map
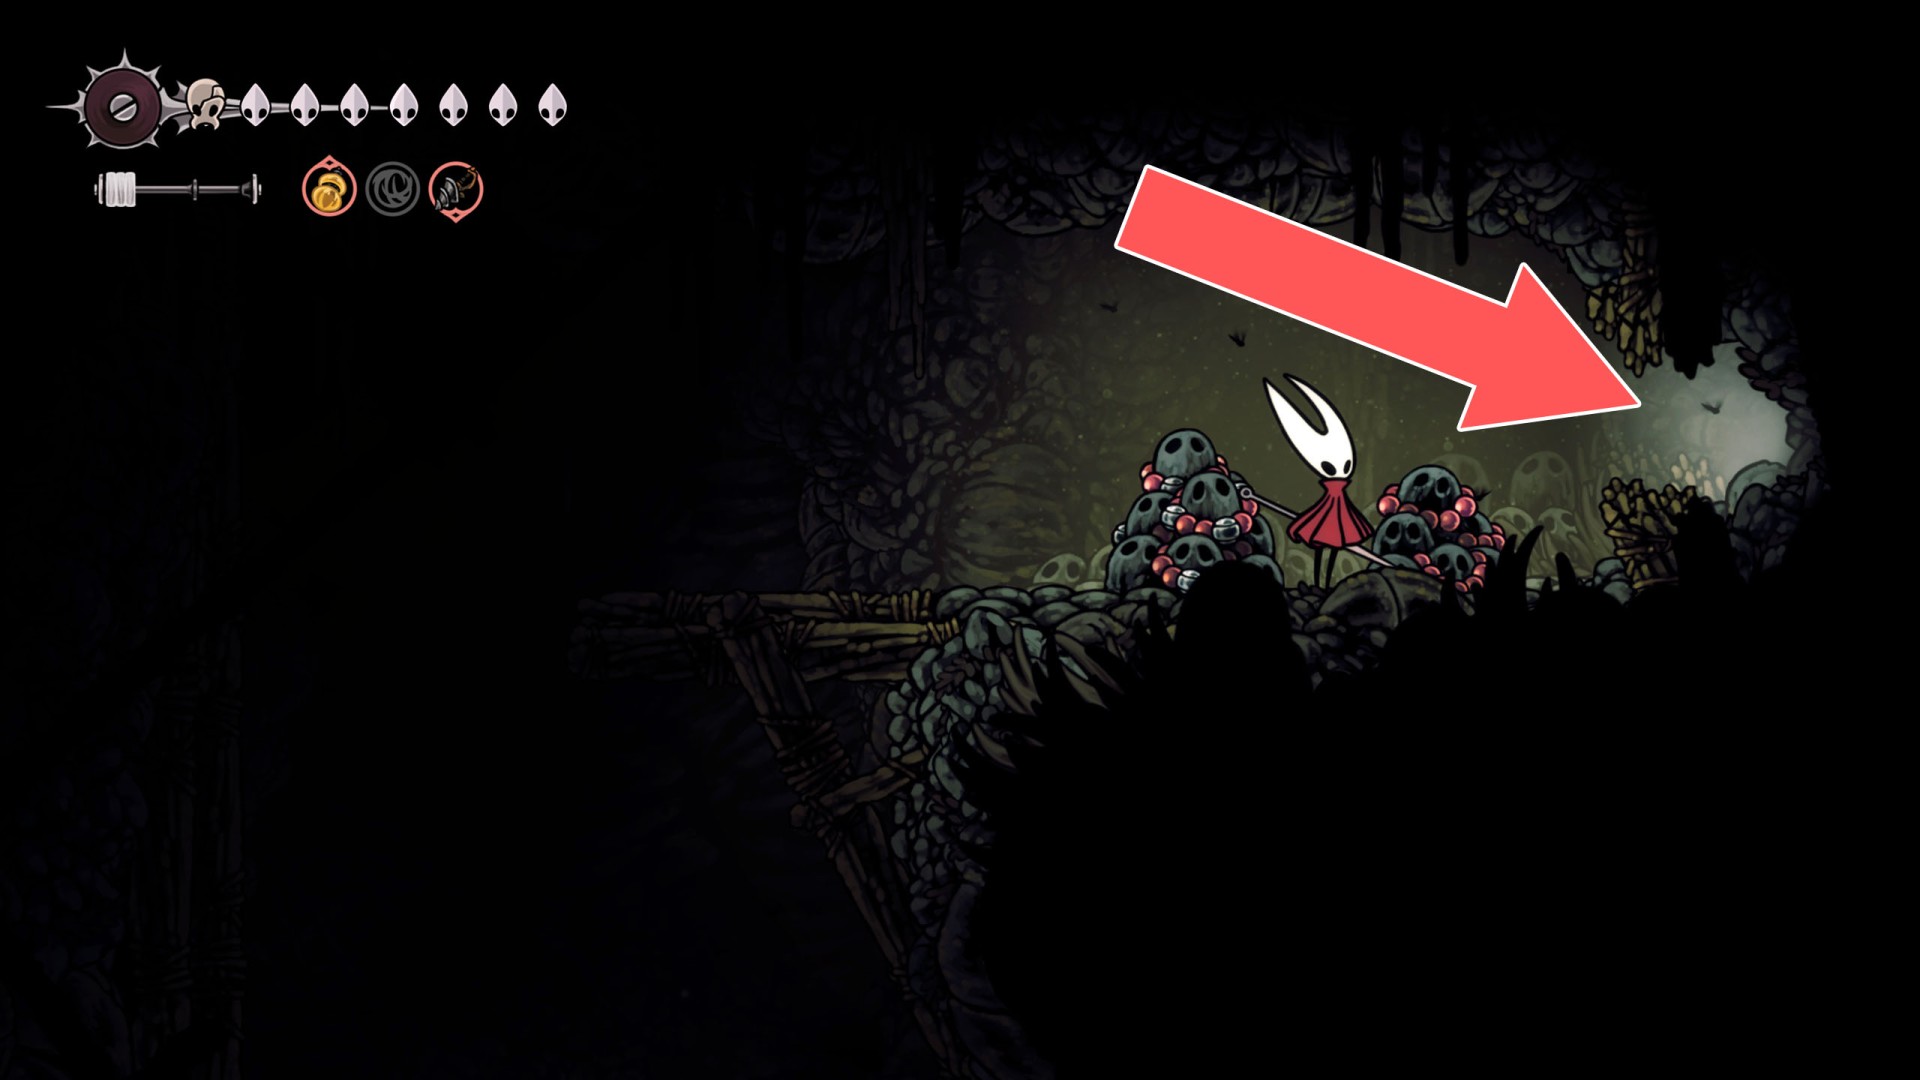
359Silk Barrier
To be able to destroy this barrier, you must first obtain the Silkspear.
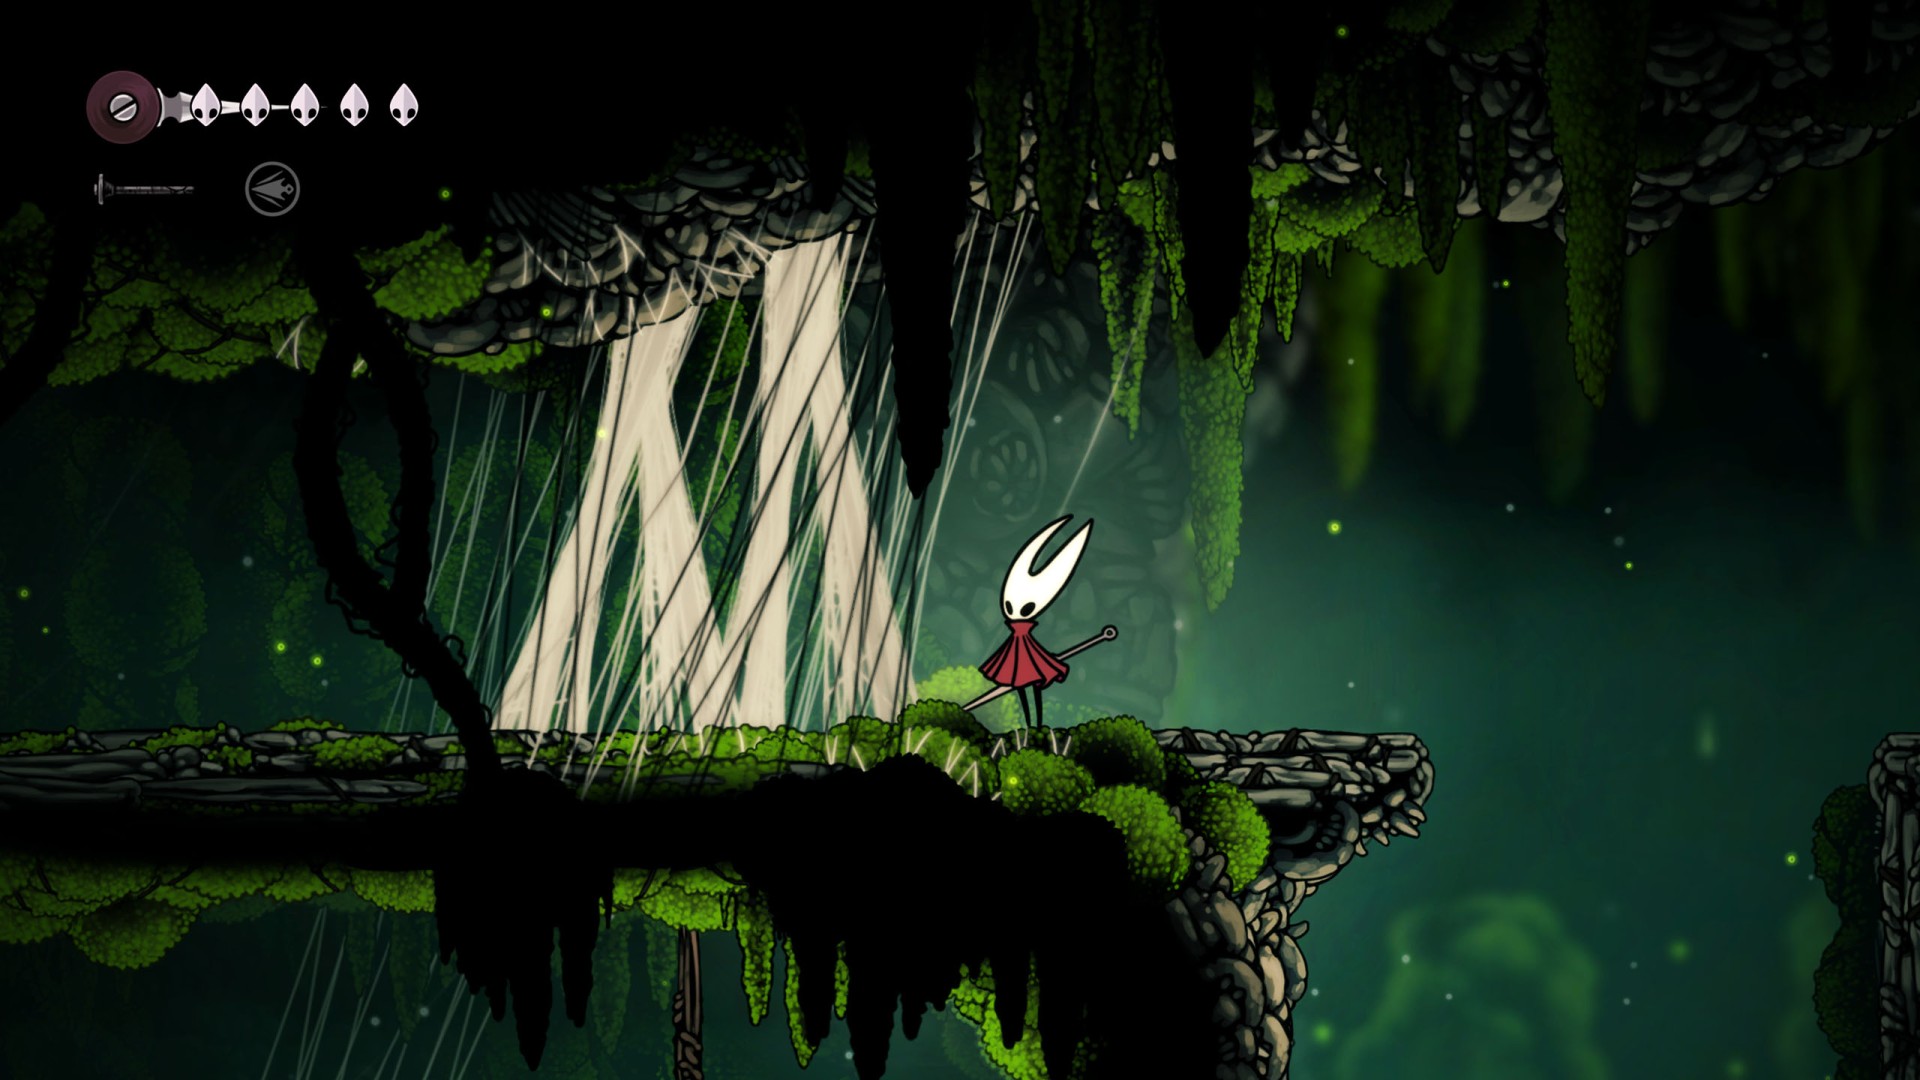
360Silk Barrier
To be able to destroy this barrier, you must first obtain the Silkspear.
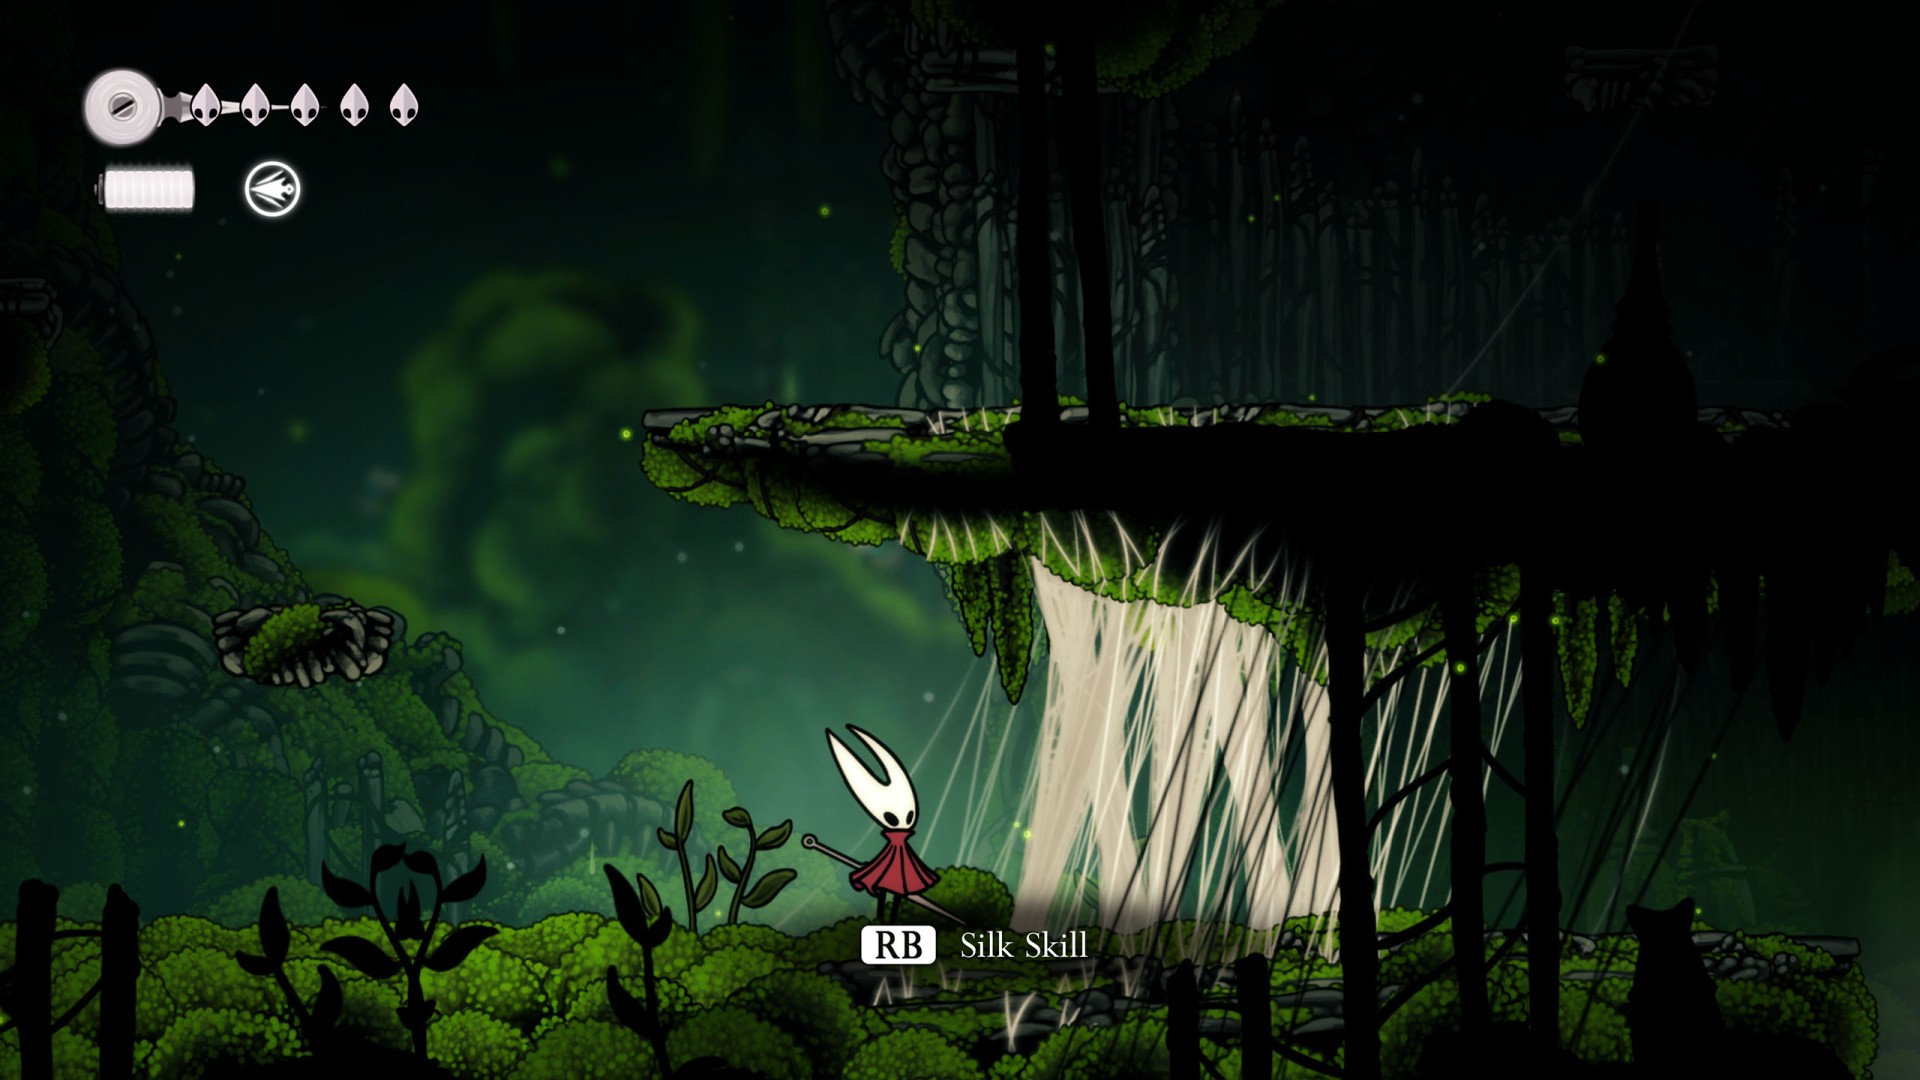
361Silk Barrier
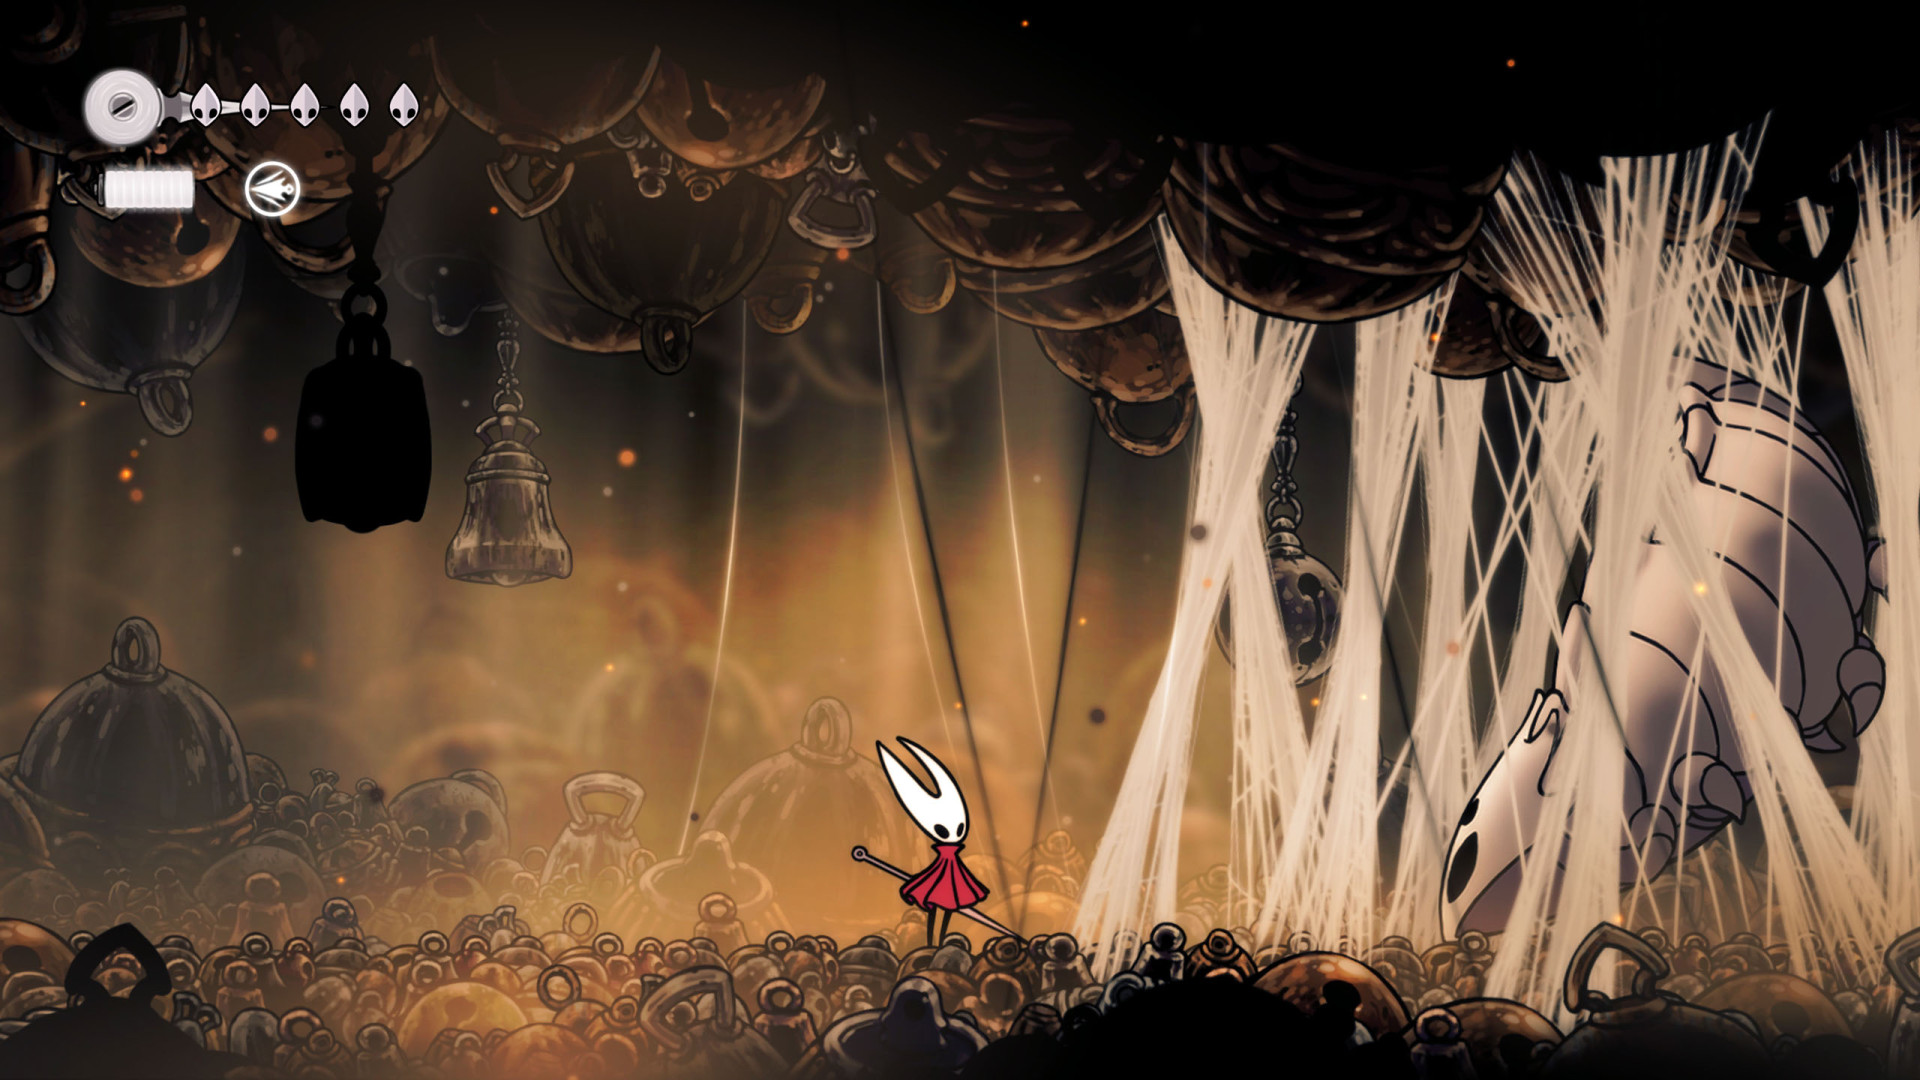
To be able to destroy this barrier, you must first obtain the Silkspear. Immediately after its destruction, the boss battle will begin.
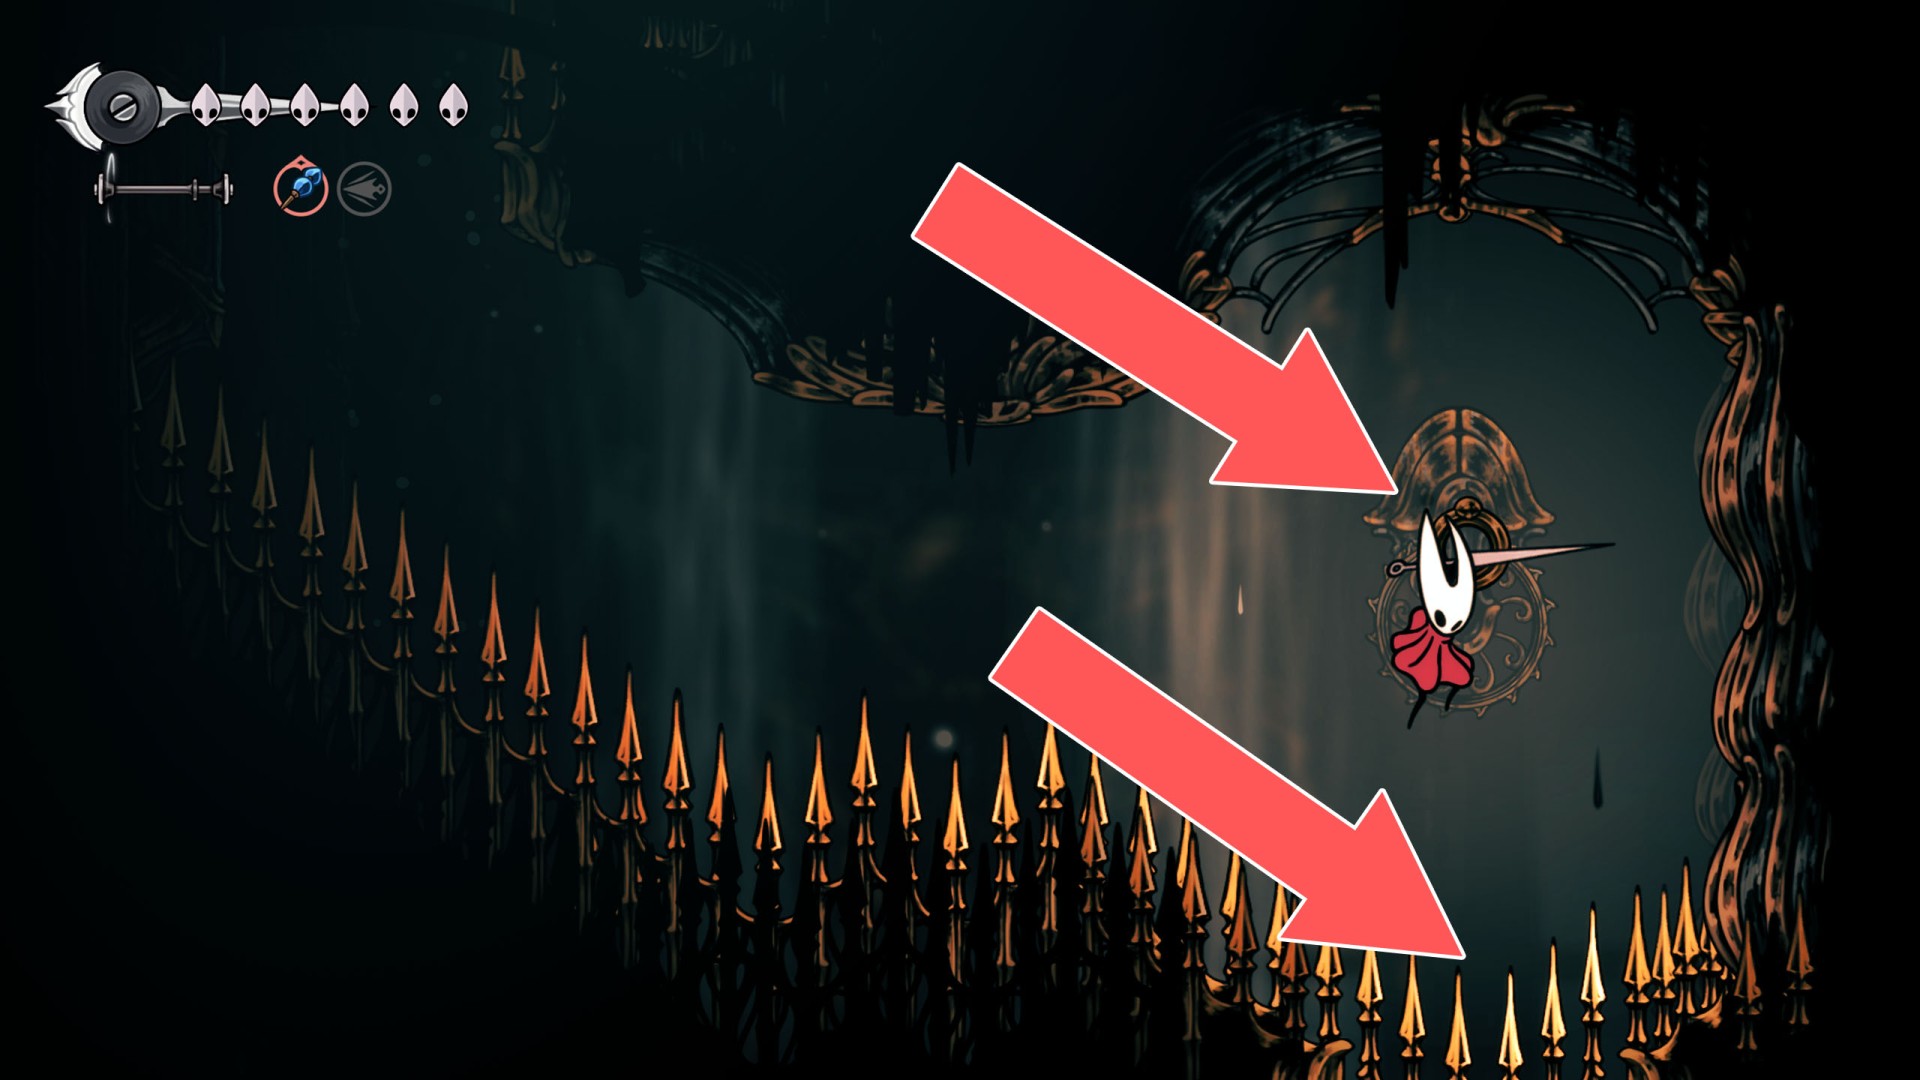
362Spiked Floor
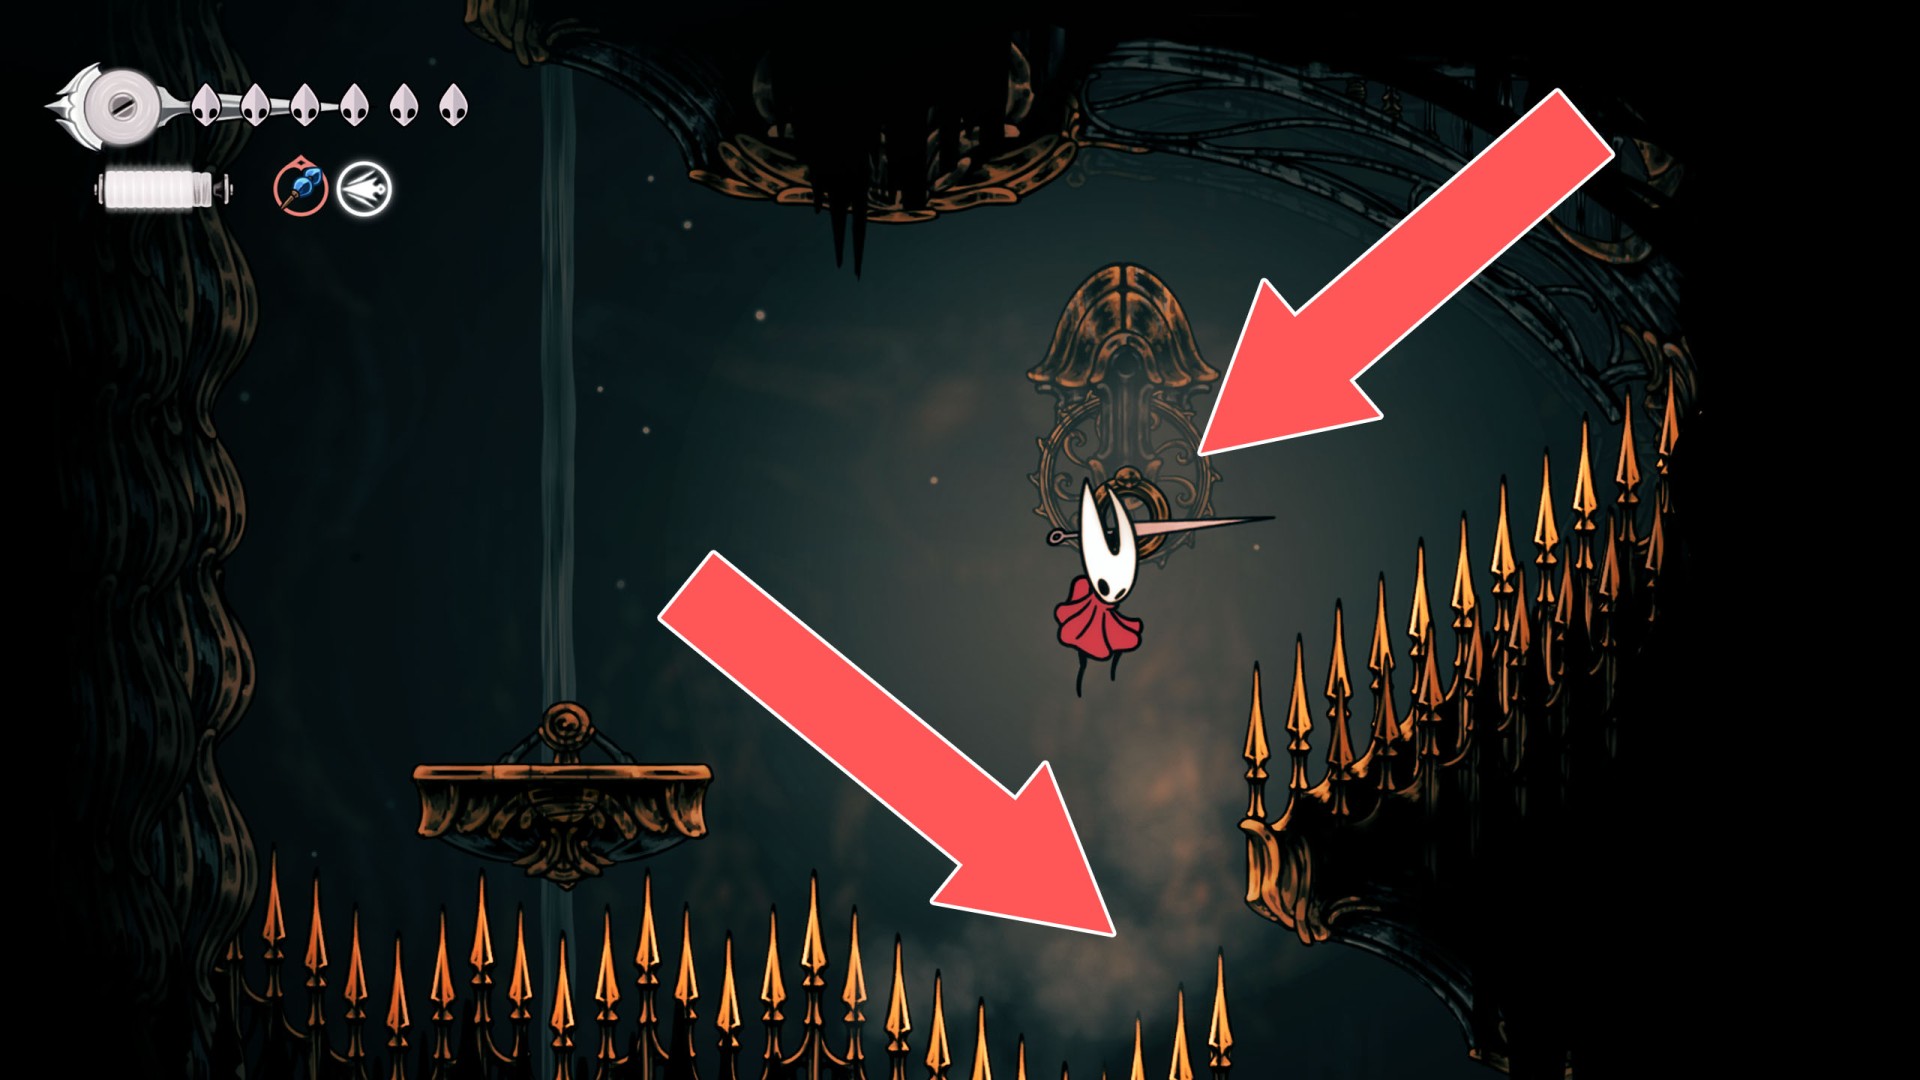
363Spiked Floor
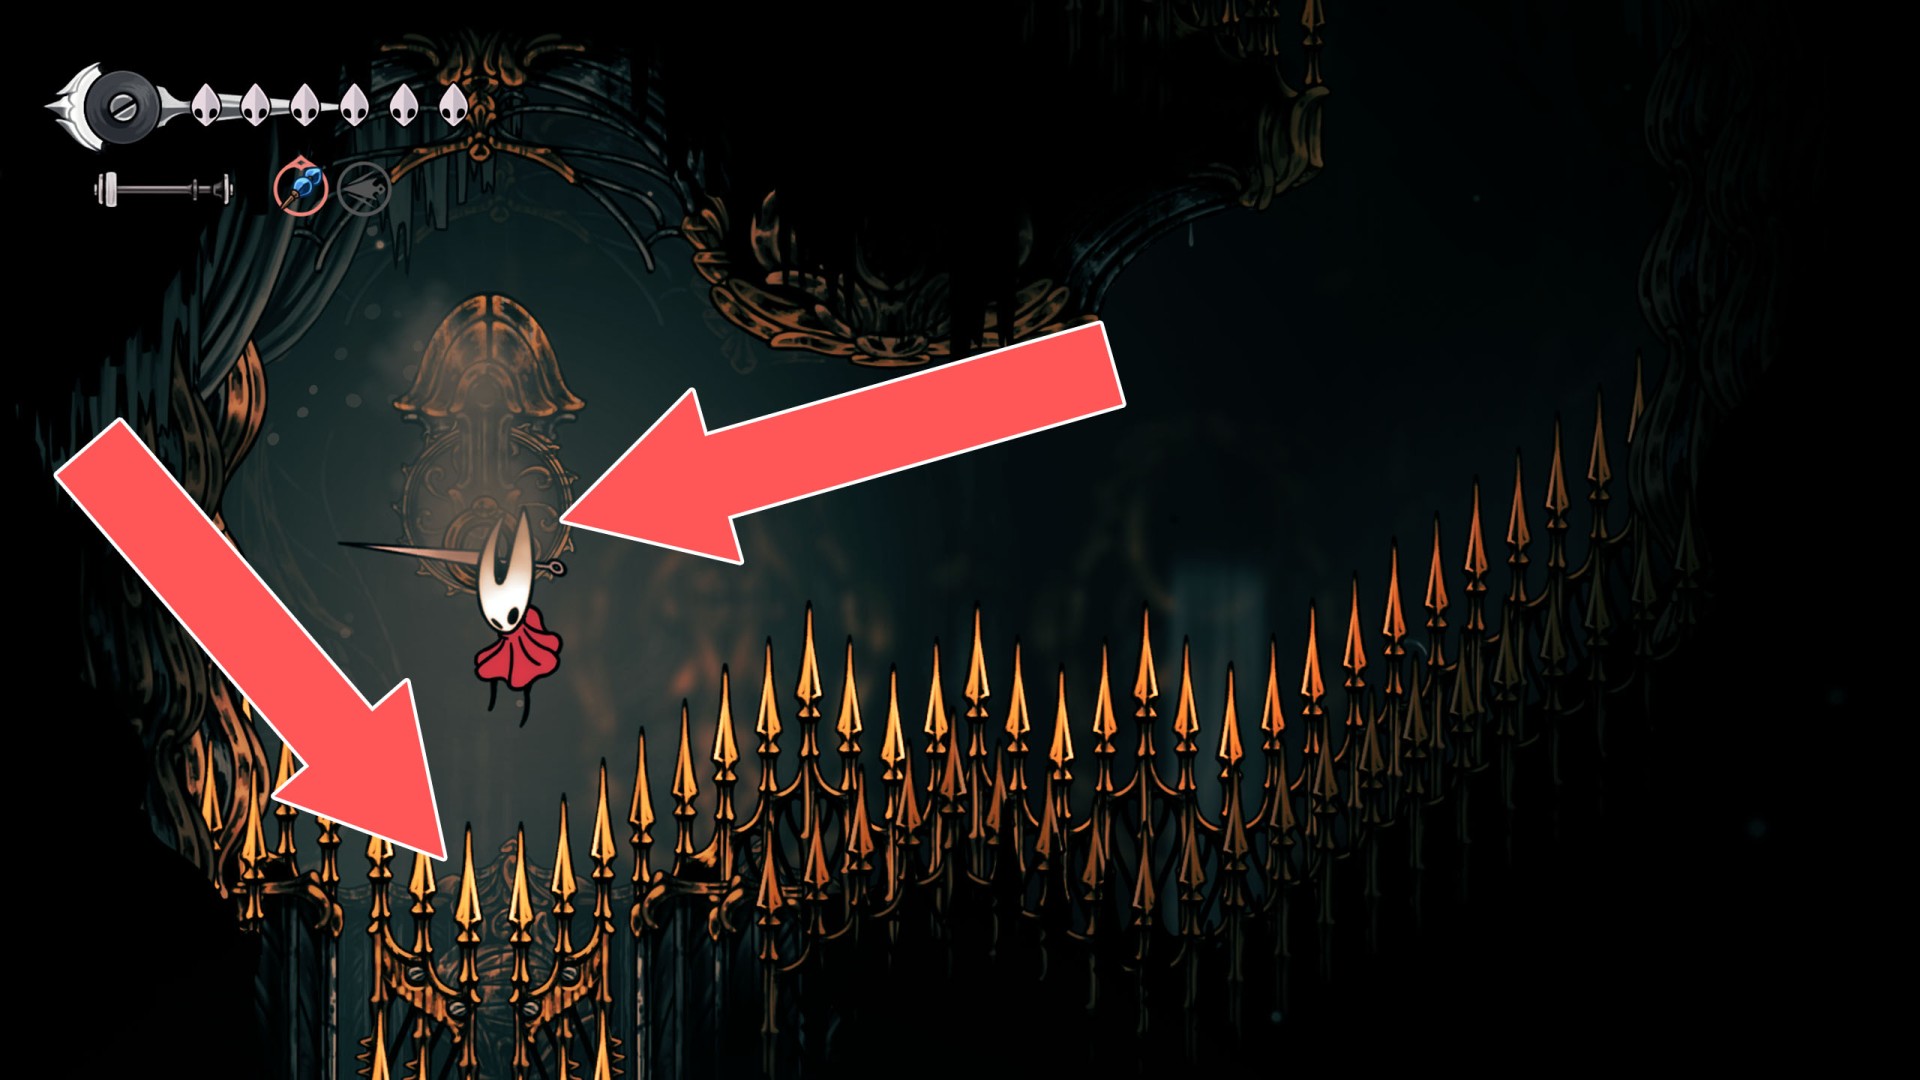
364Spiked Floor
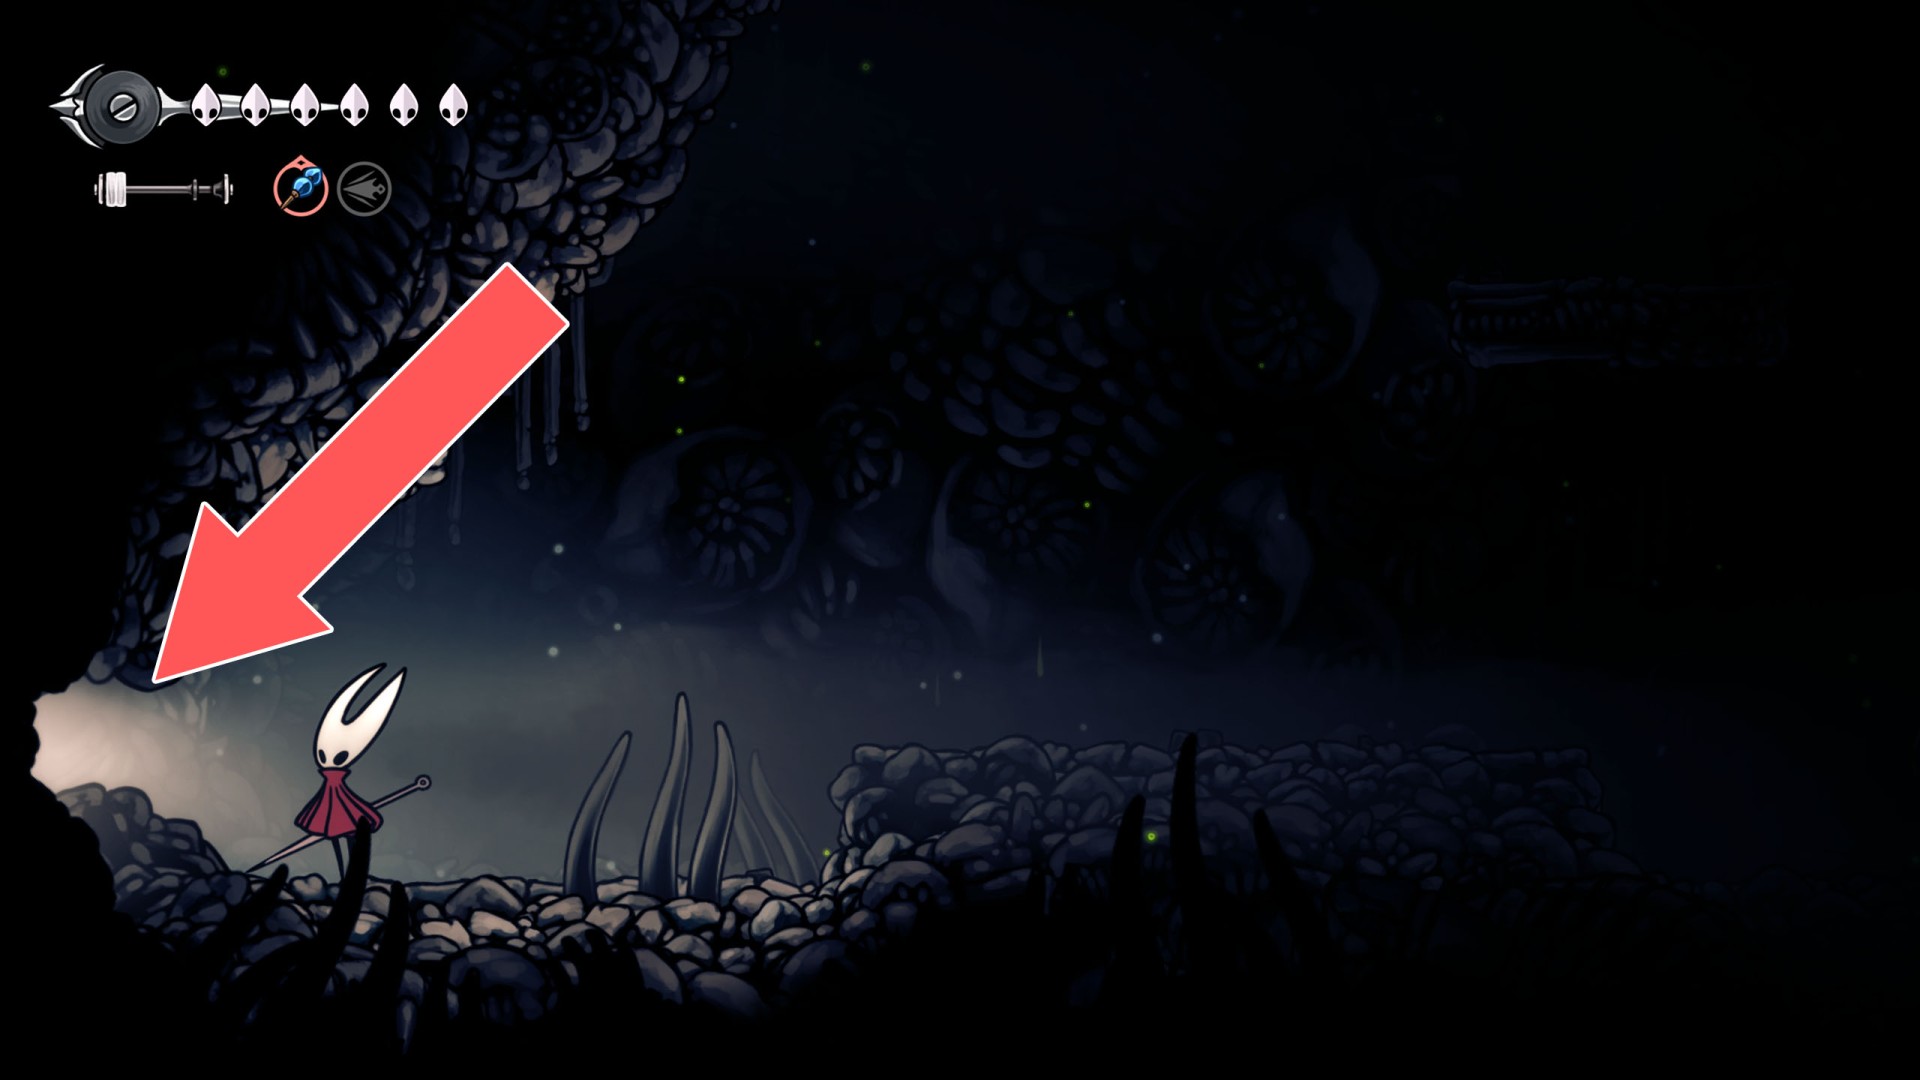
365Story Locked Passage
Opens during the wish A Vassal Lost.
366Teleporter
To activate it, hit the two Power Cylinders located under the ceiling at the end of the corridor on the right.
367Trapdoor
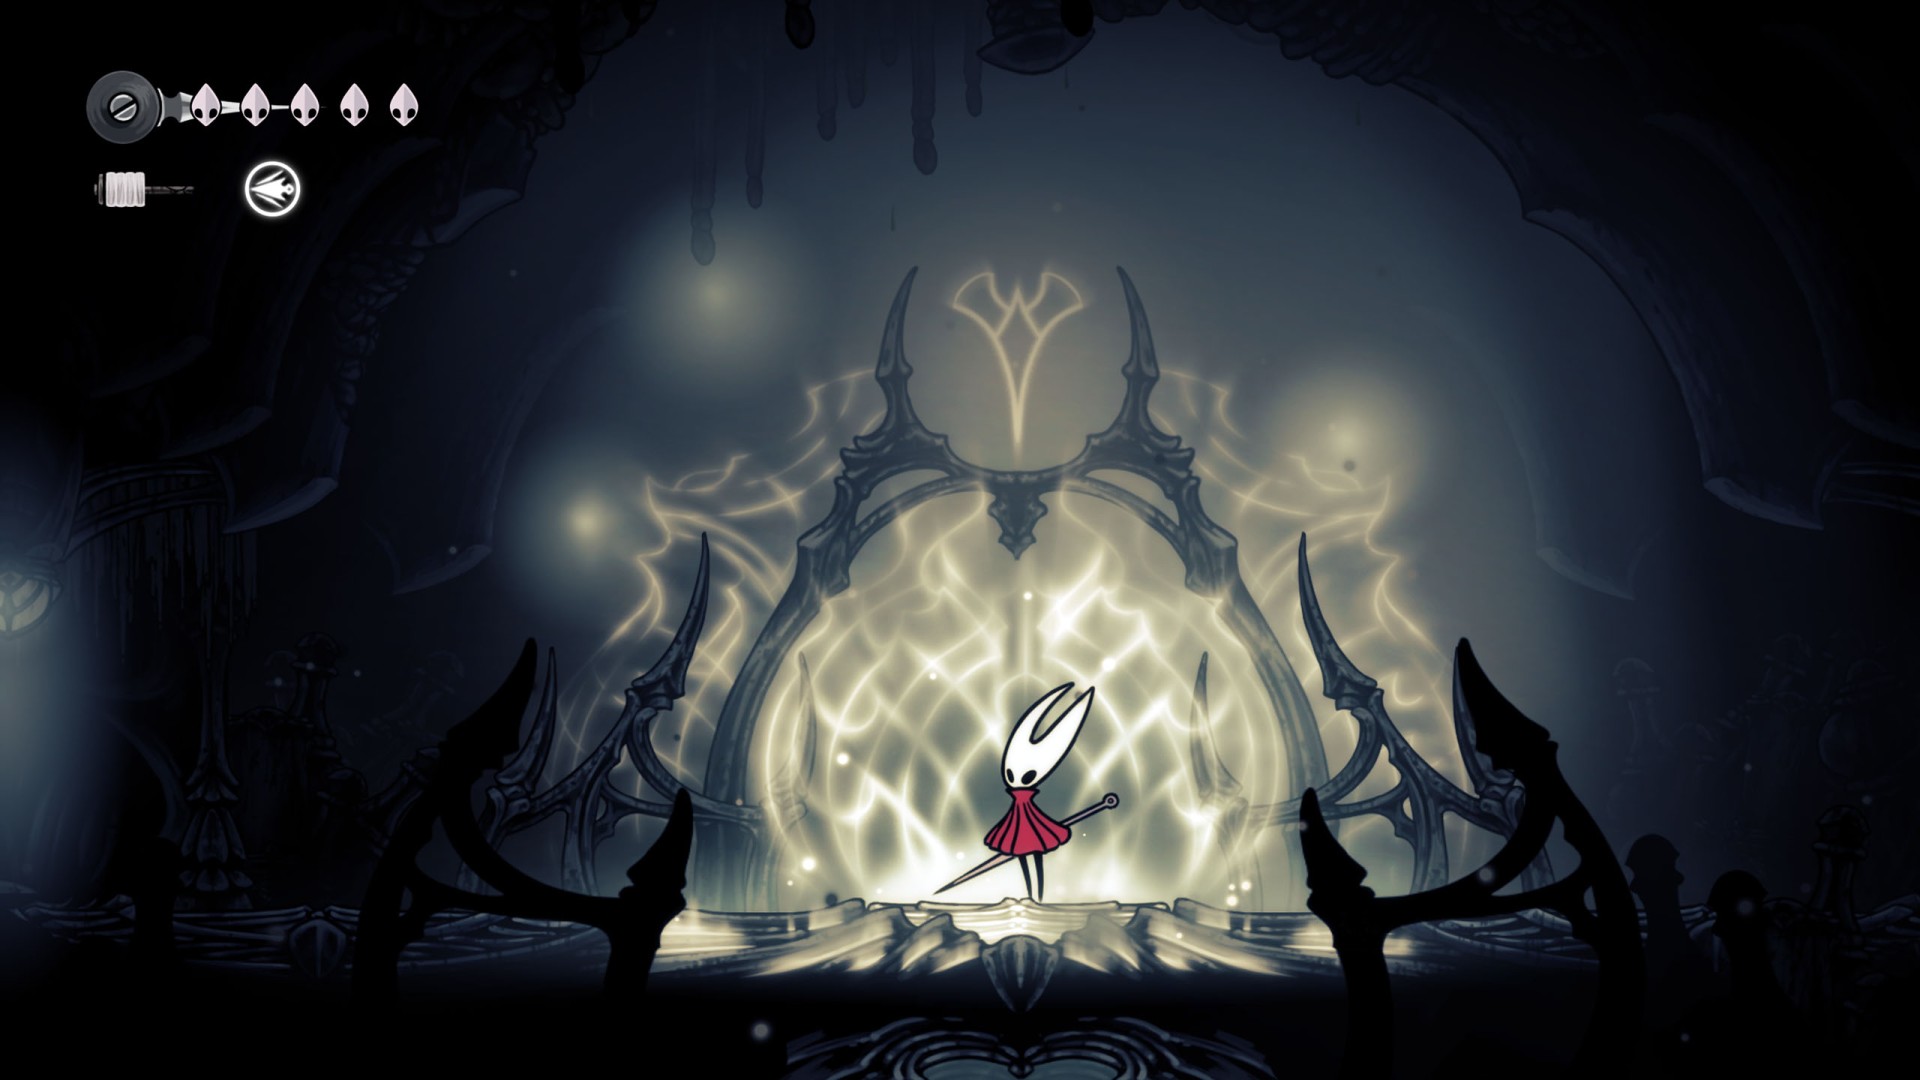
You can get here after defeating Widow. A lever to open it is below it.
368Verdania Entrance
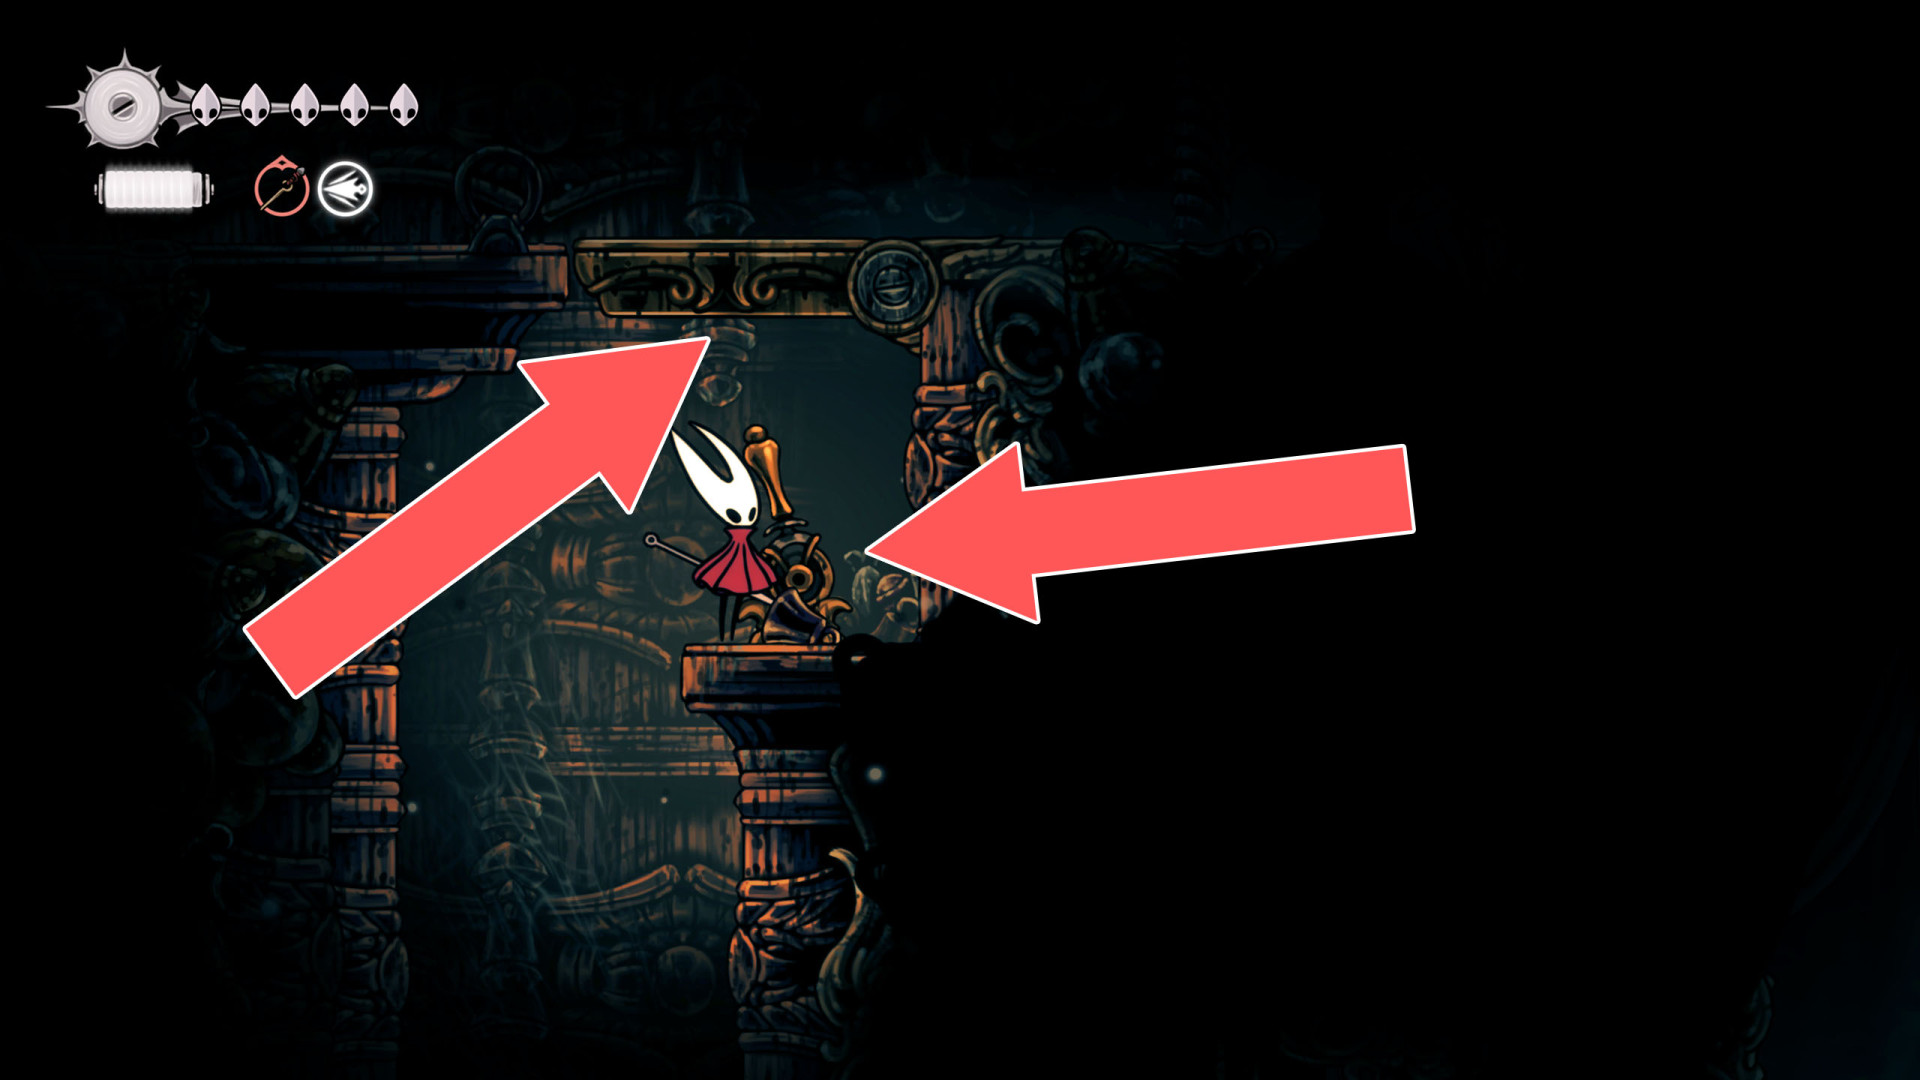
It will open in Act 3. To make this happen, free the Green Prince (Sinner's Road), then ...