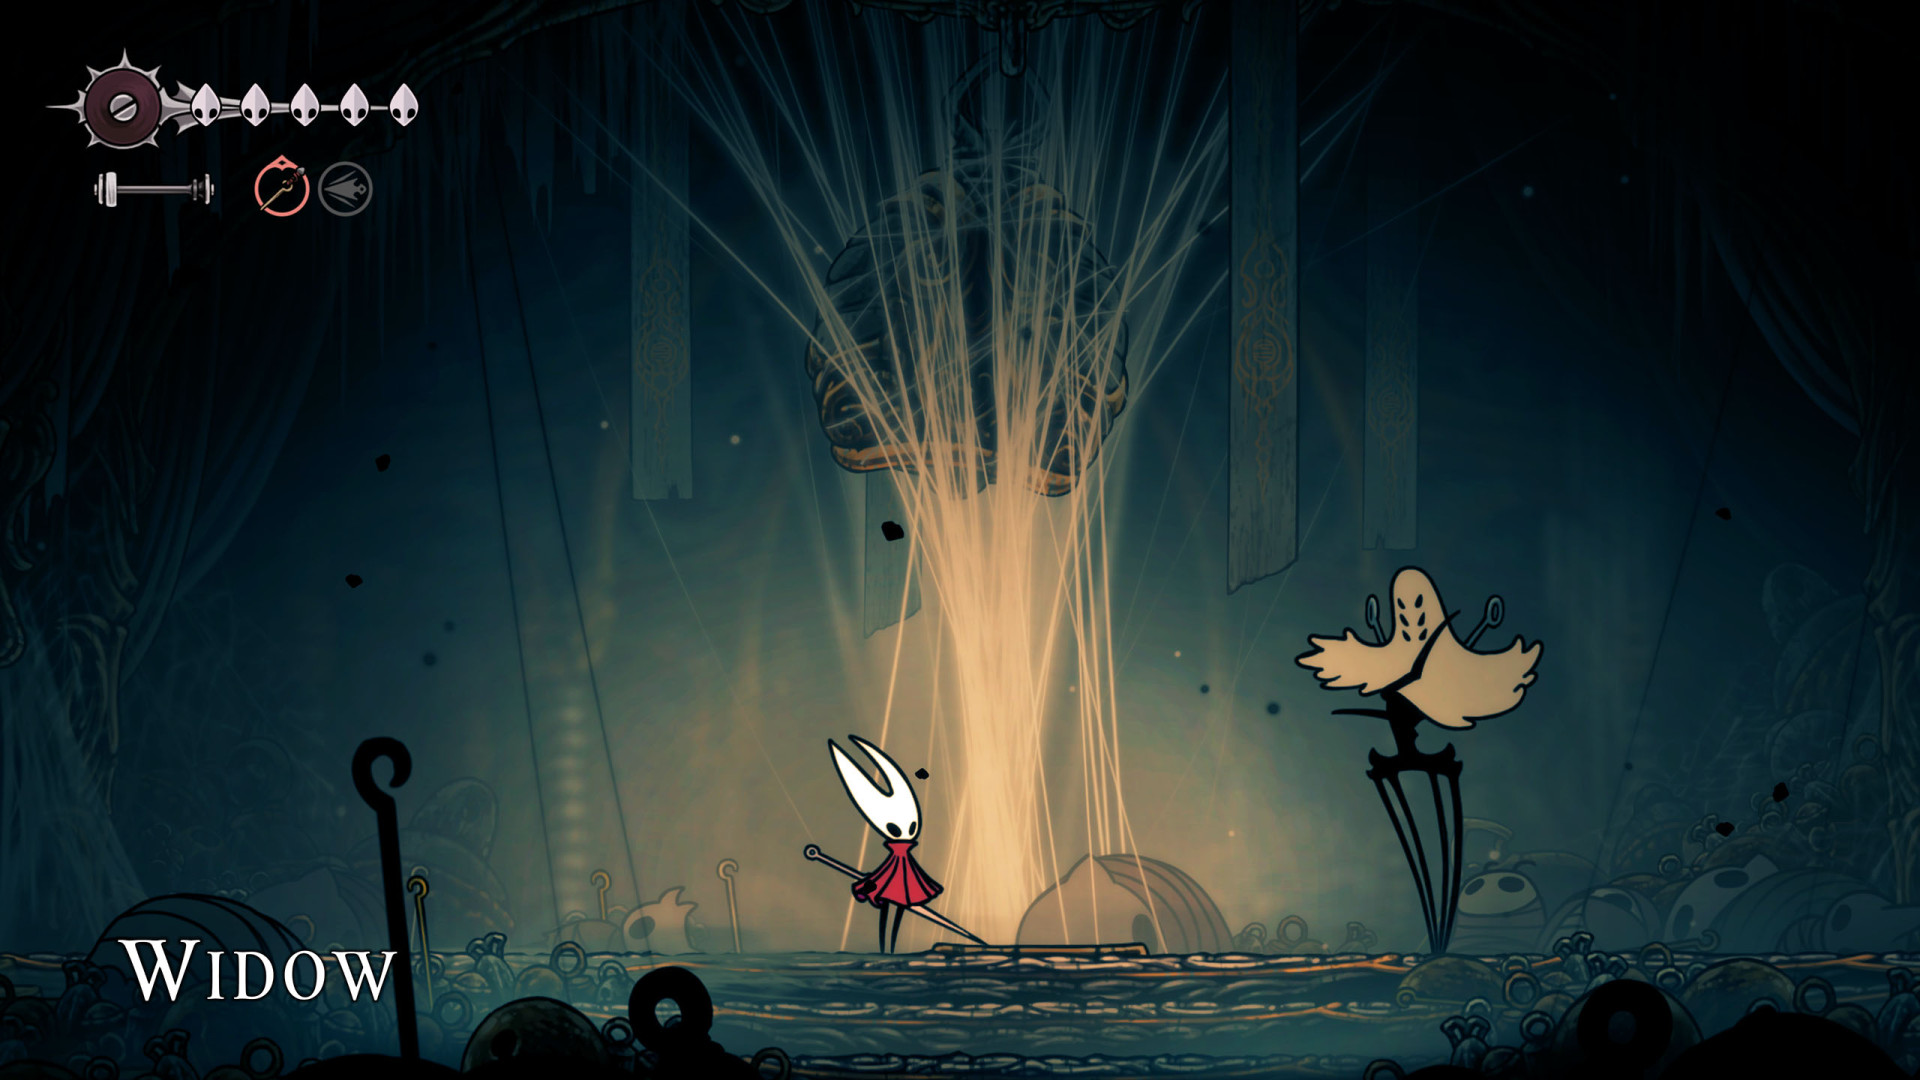
Boss Fights in Hollow Knight: Silksong are intense, multi-phase confrontations that test your agile combat prowess against massive, thematic foes in expansive arenas blending precise platforming, pattern memorization, and opportunistic aggression. These encounters evolve from introductory skirmishes teaching core mechanics to grueling endgame trials incorporating environmental hazards, summoned allies, and arena transformations.
All Boss Fight Locations in Hollow Knight: Silksong
Locations on Pharloom
1 Bell Beast
Show the map
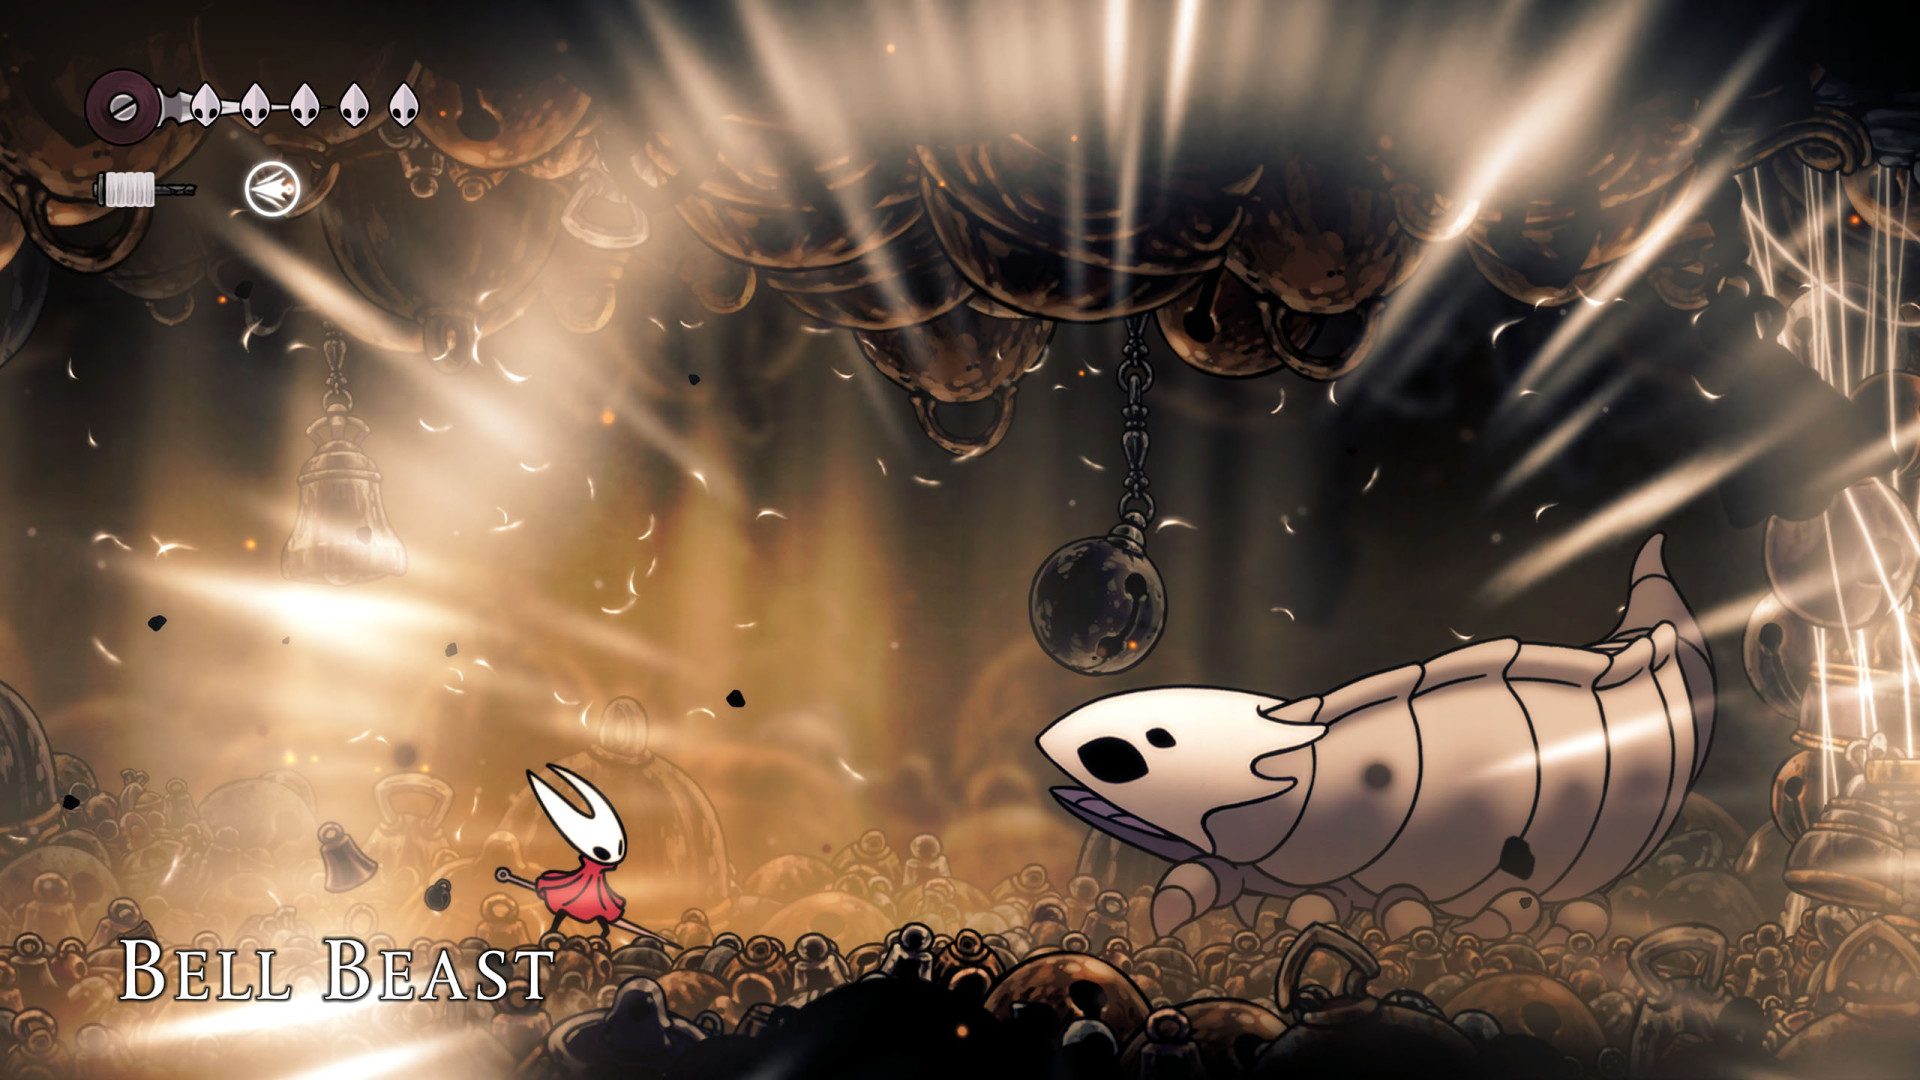
2Bell Eater
Act 3. You have to kill it to complete the Beast in the Bells wish.
Reward: Beastling Call (Needolin Upgrade) (Ability).
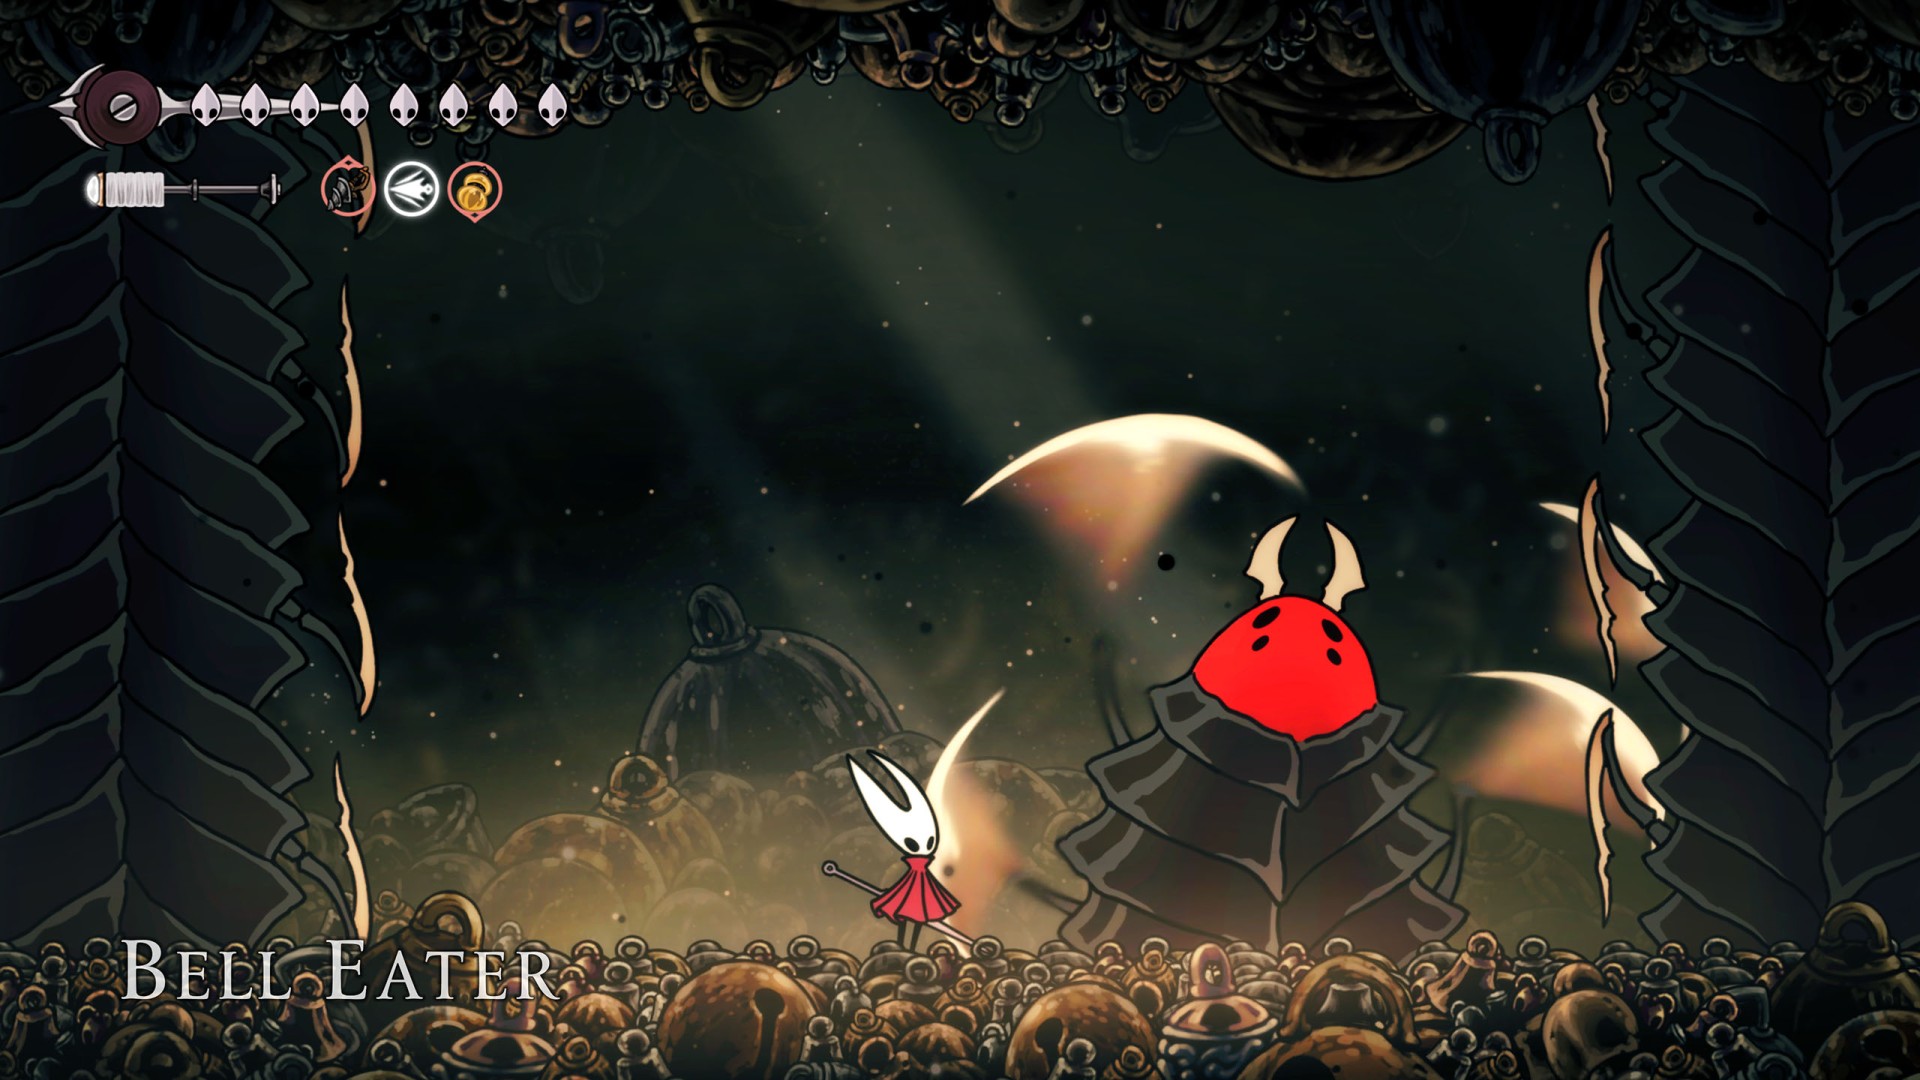
3Broodmother
You will encounter her here and will have to defeat her to complete The Wailing Mother wish.
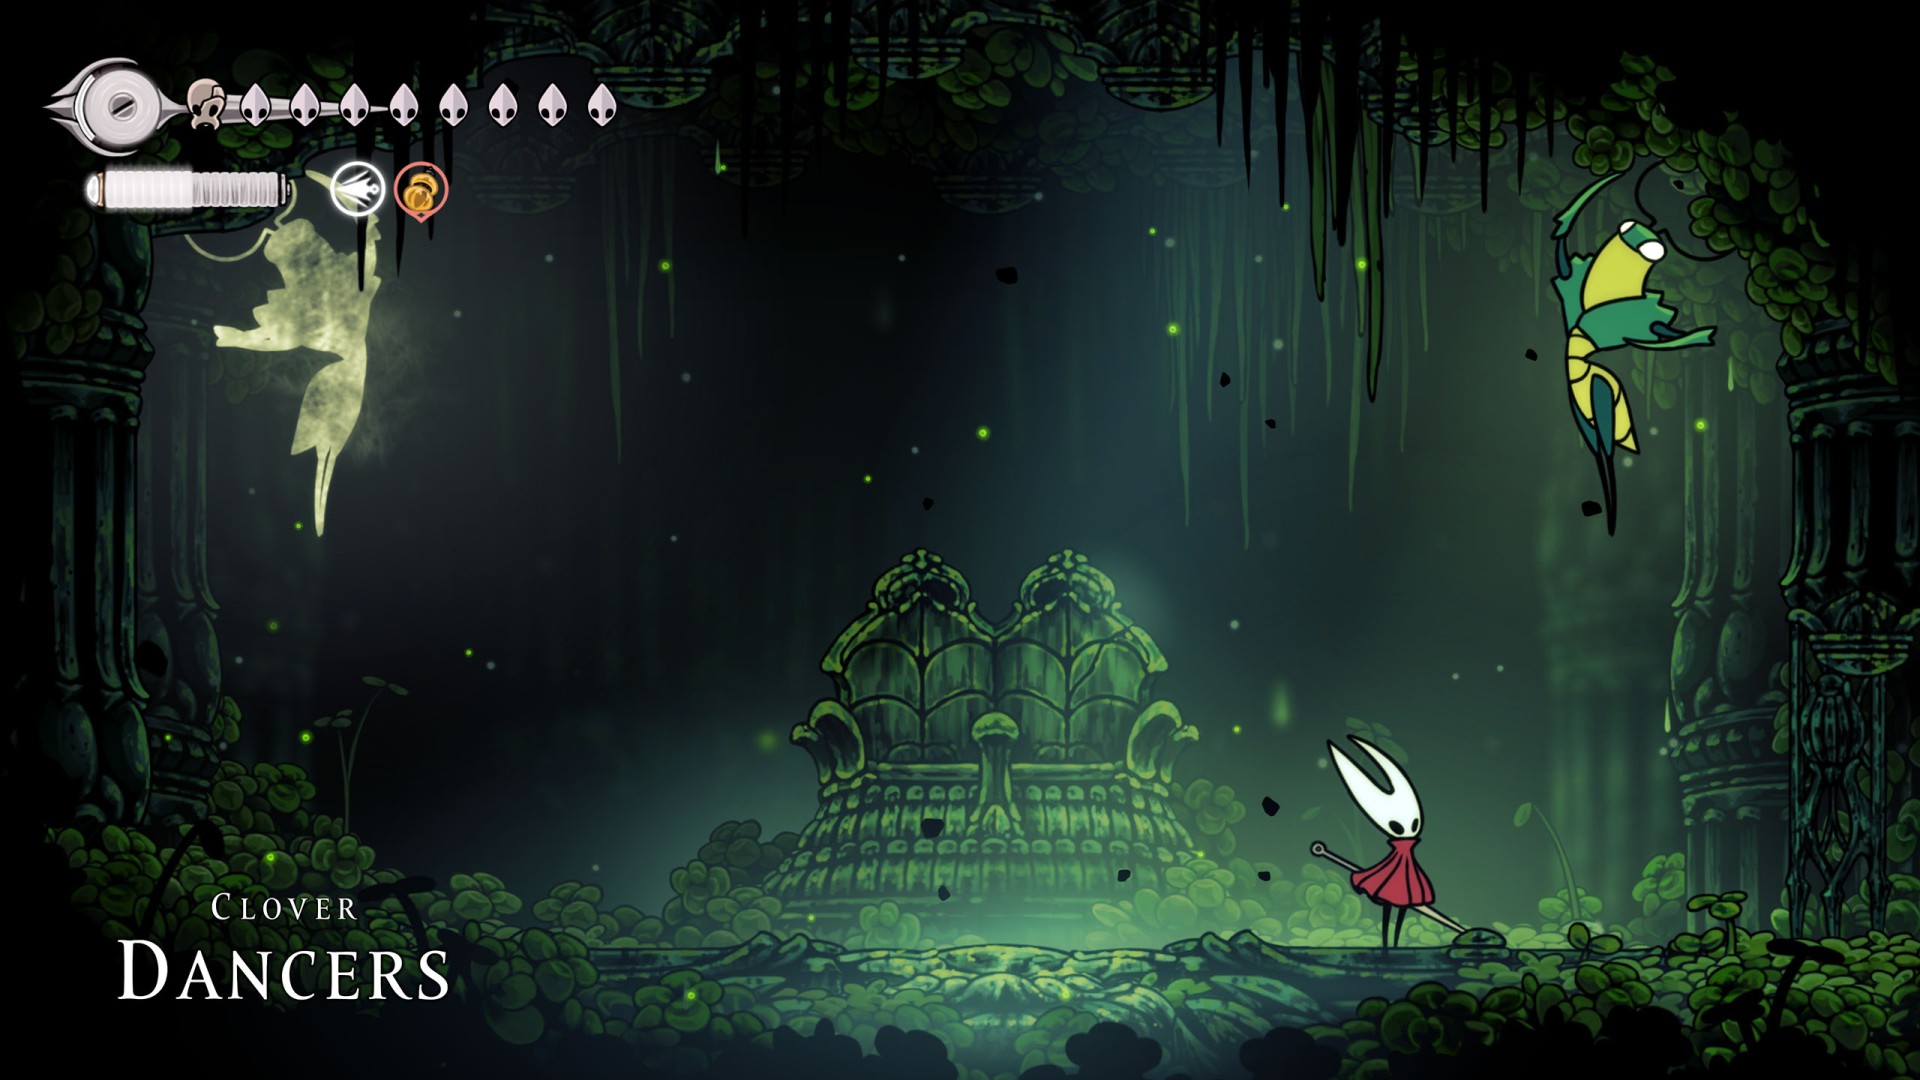
4Clover Dancers
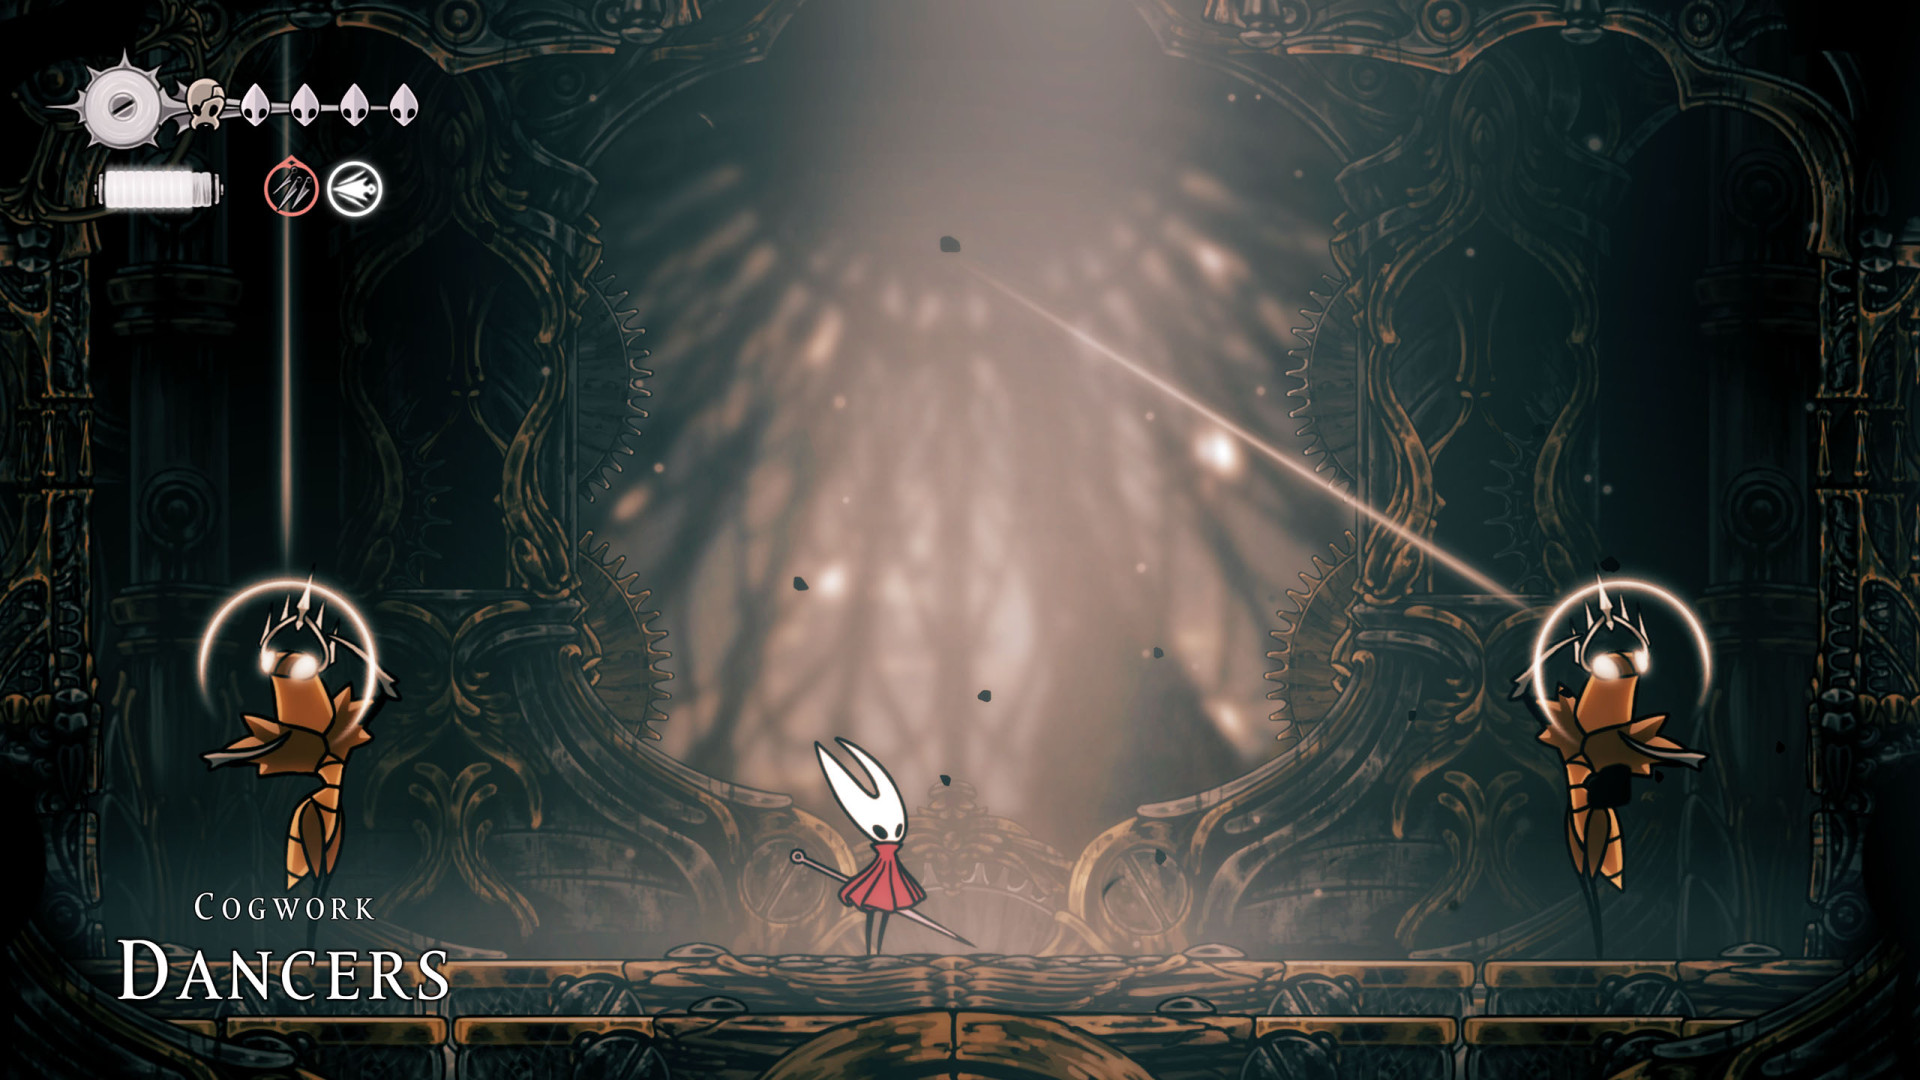
5Cogwork Dancers
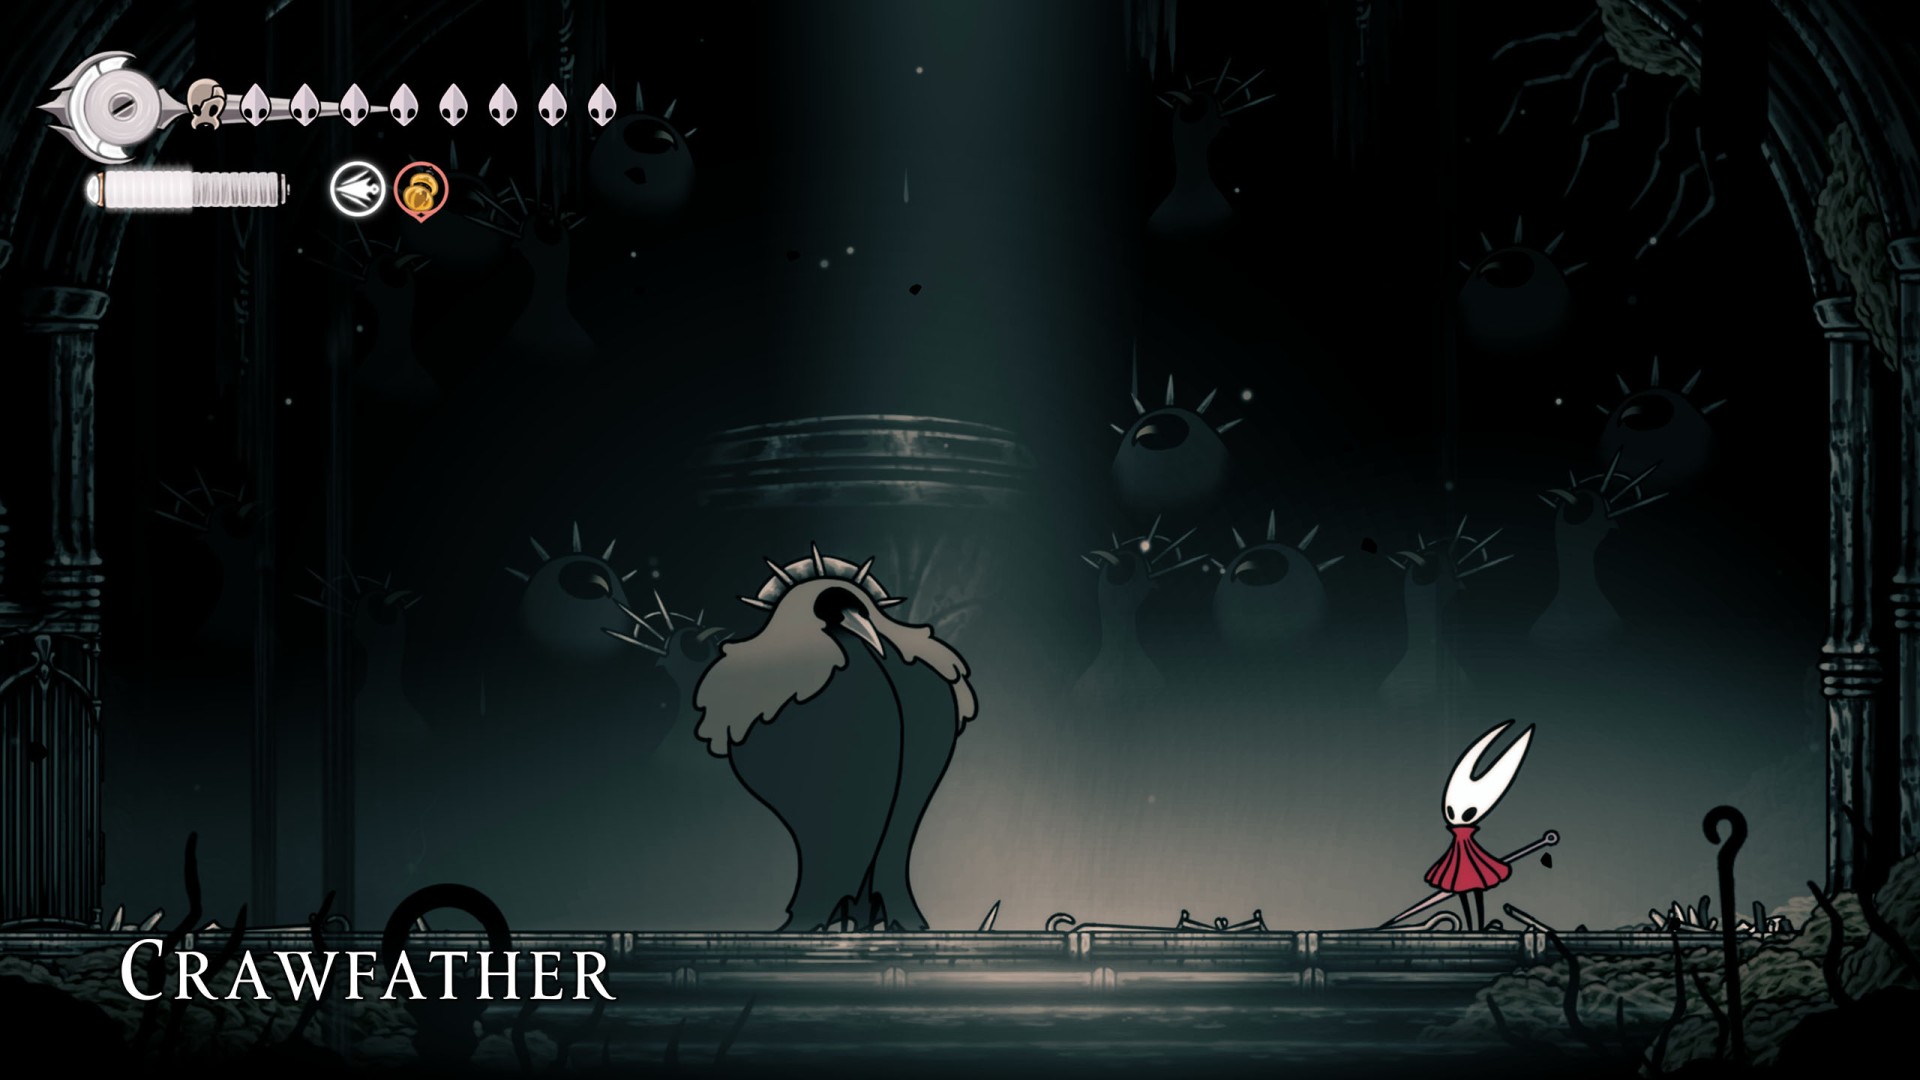
6Crawfather
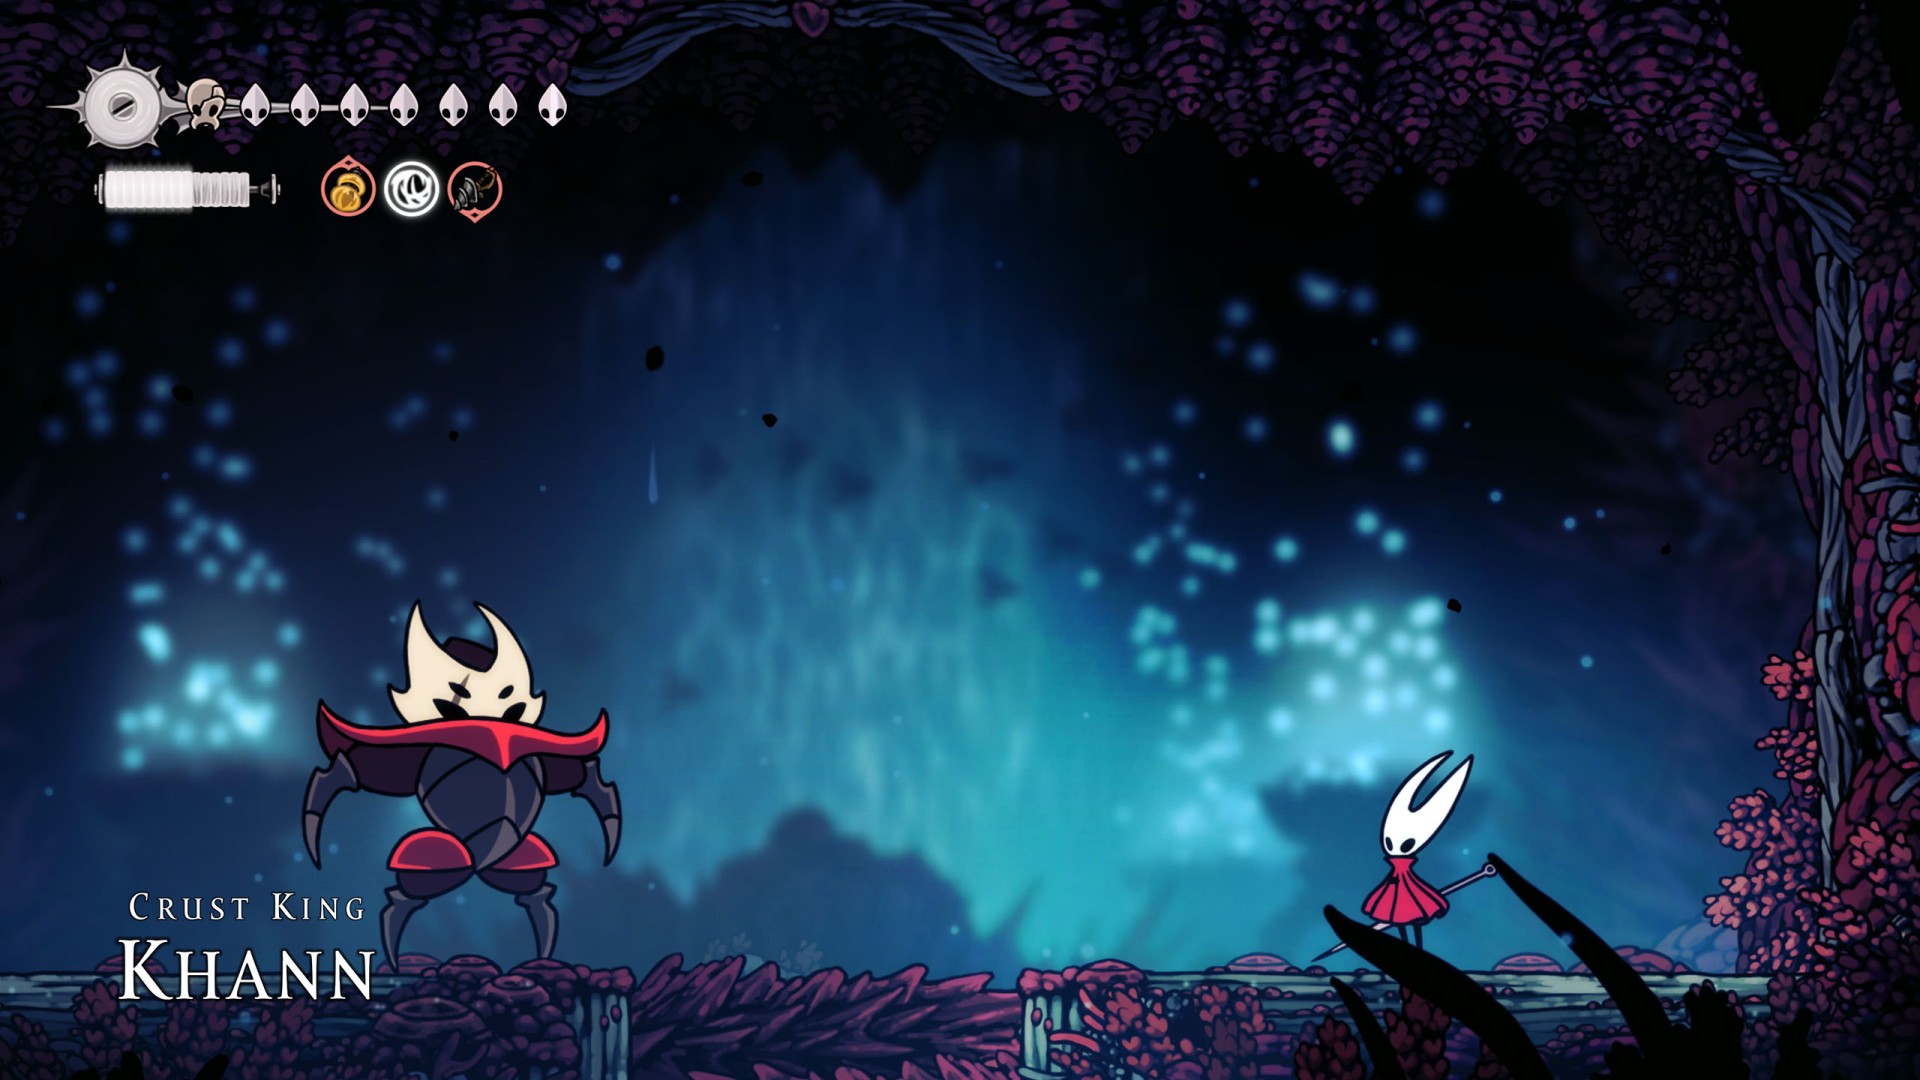
7Crust King Khann
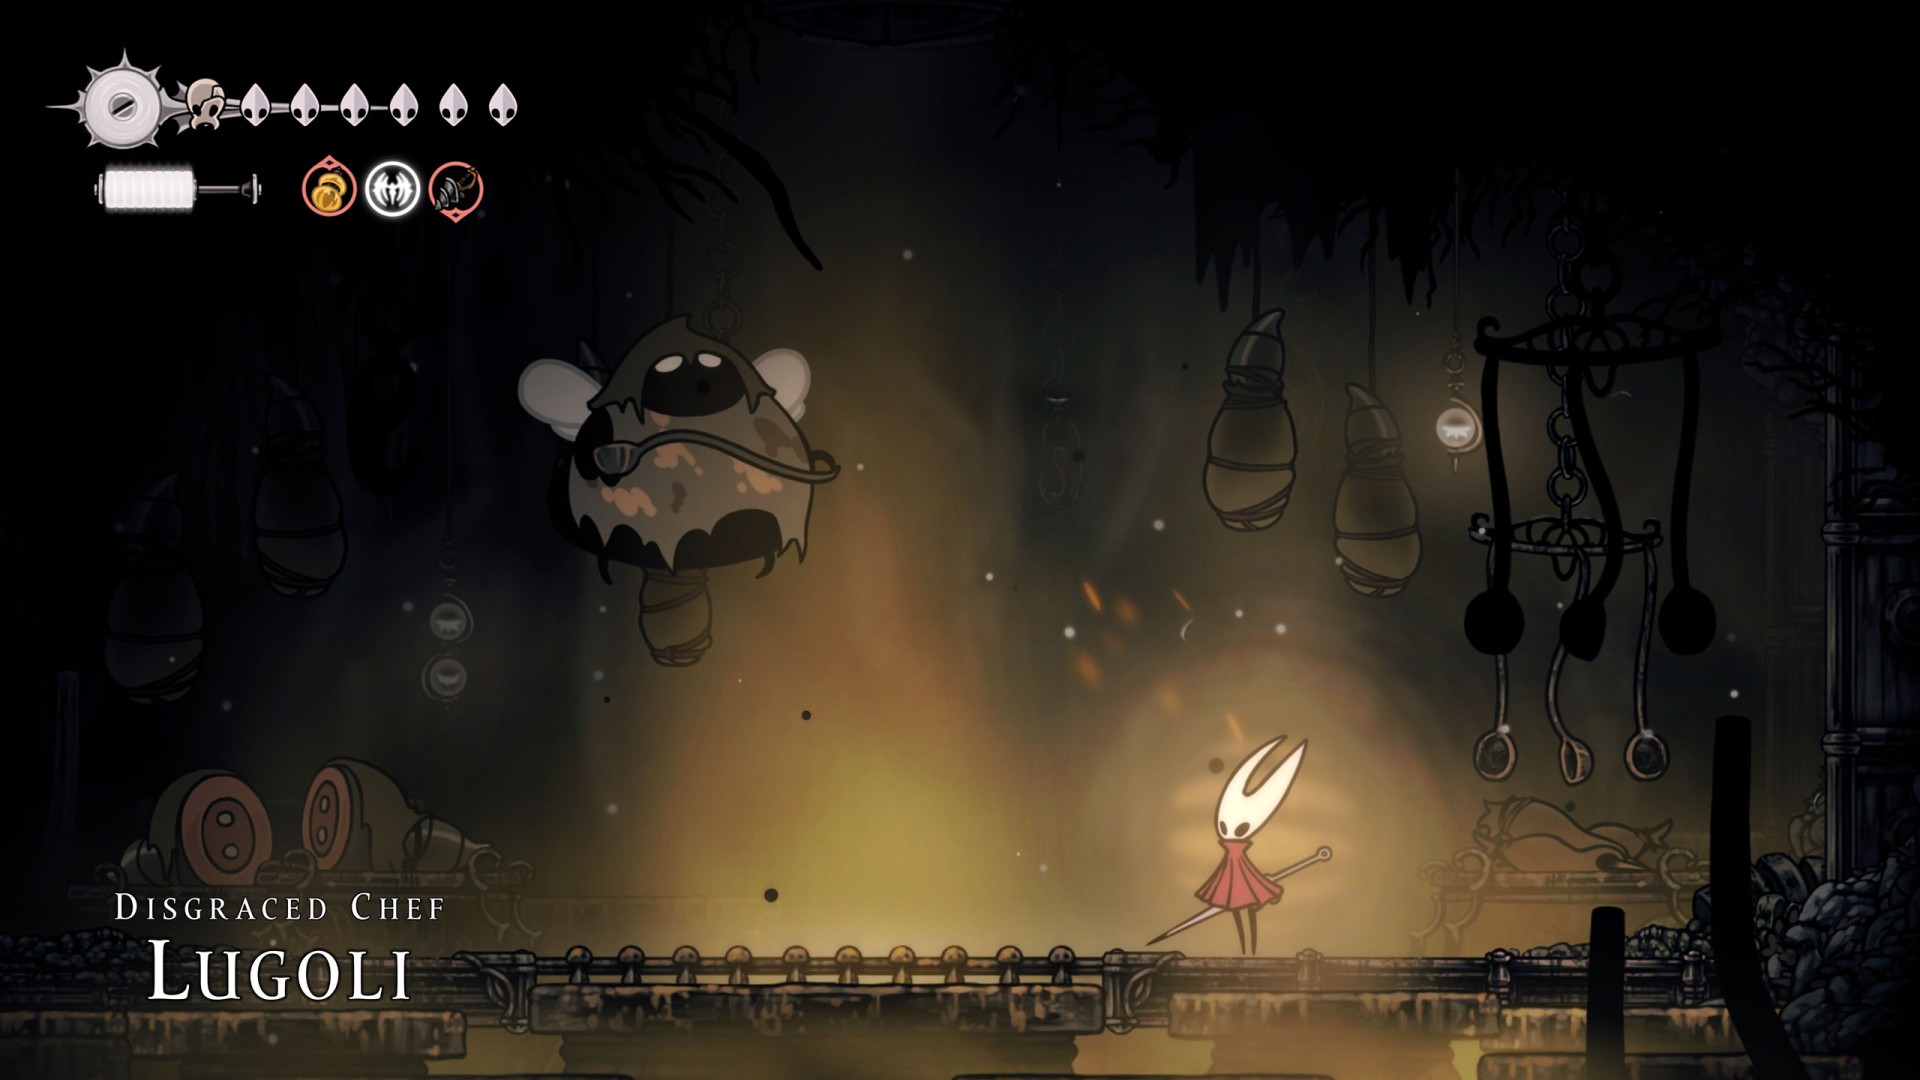
8Disgraced Chef Lugoli
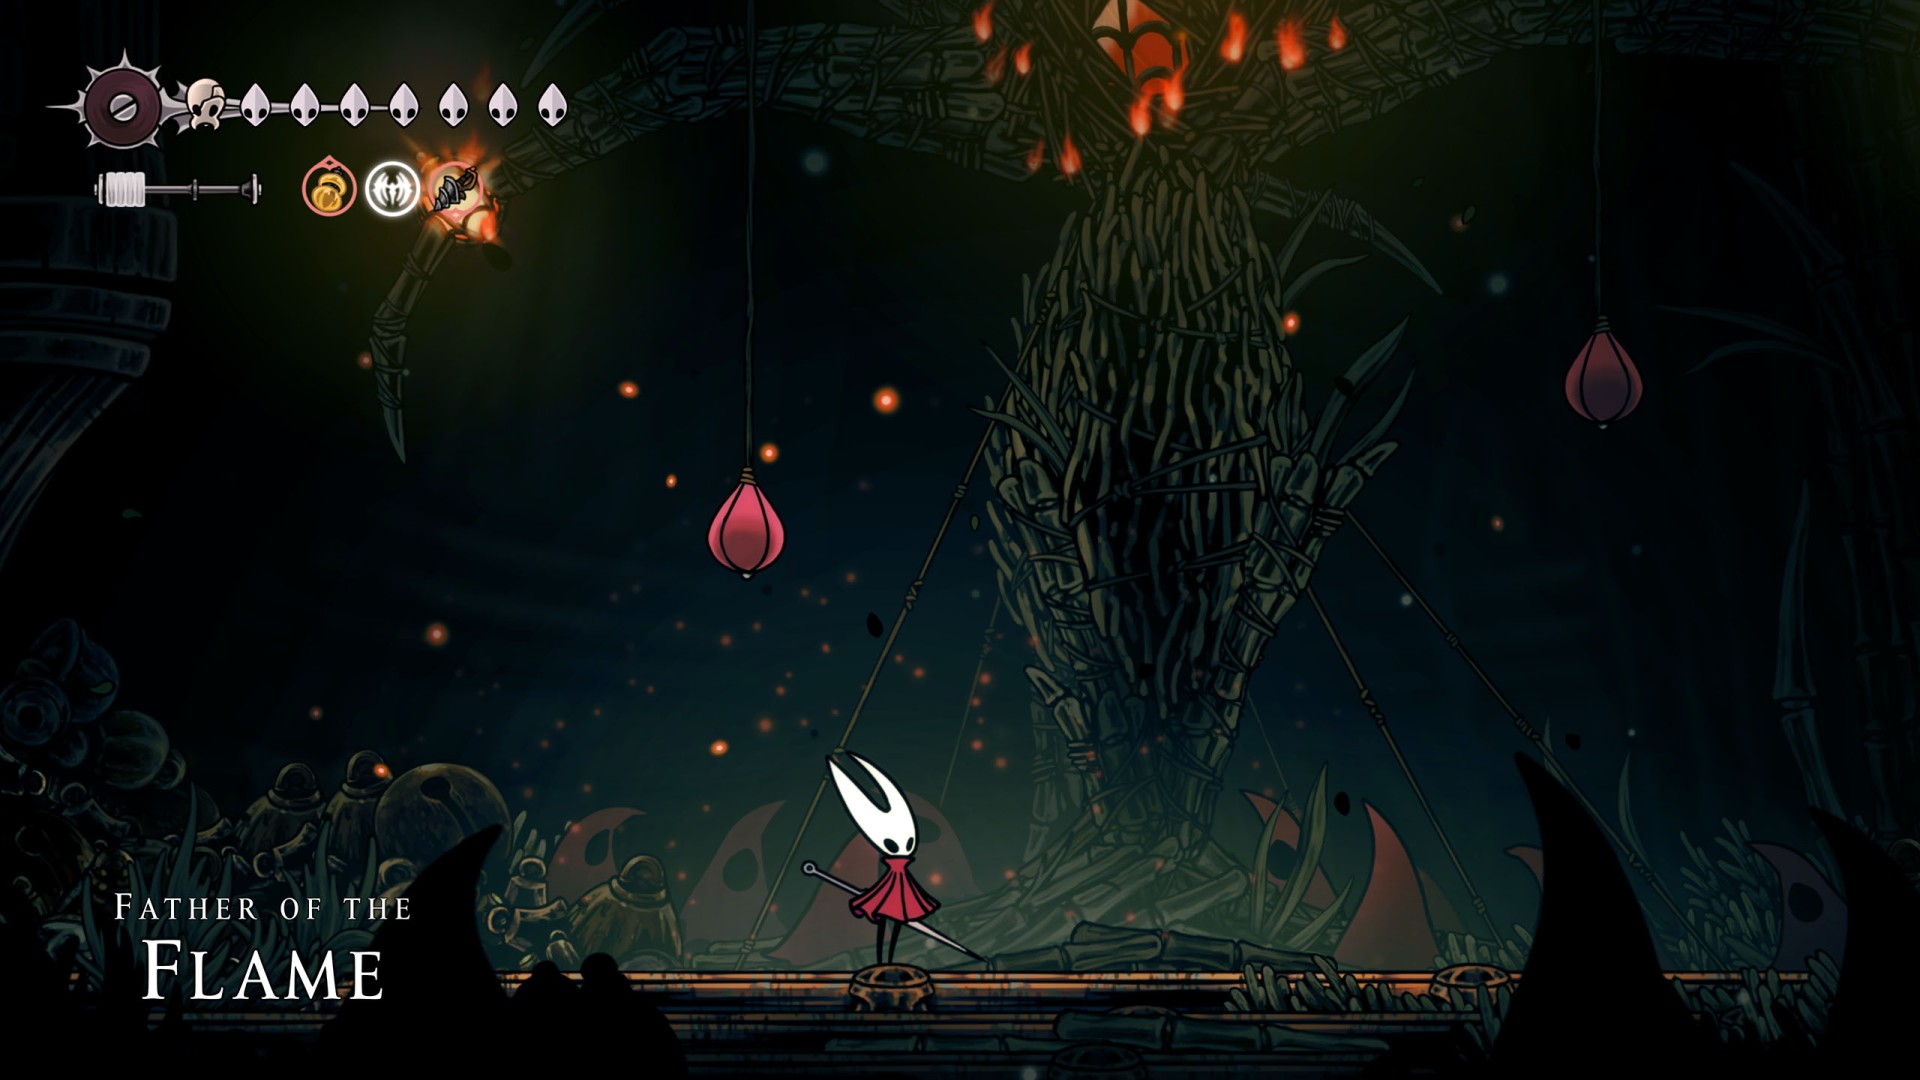
9Father of the Flame
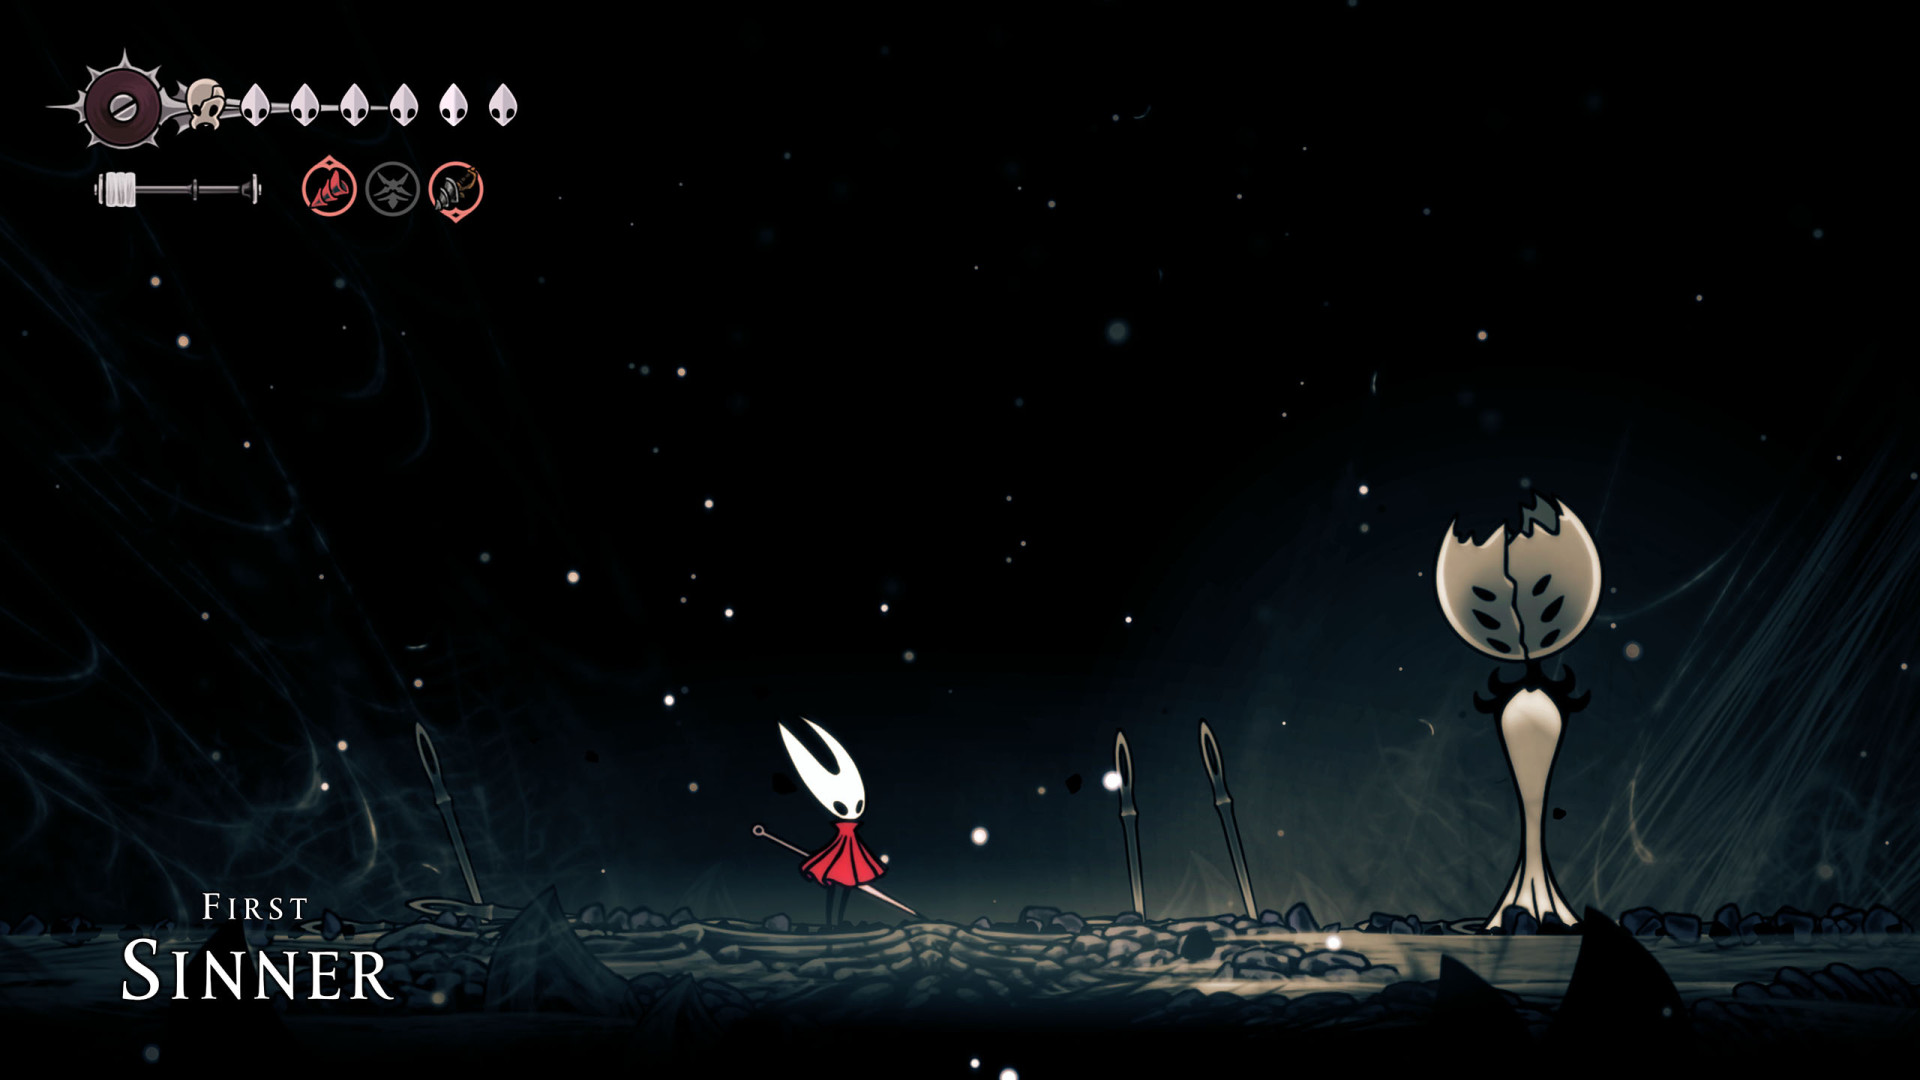
10First Sinner
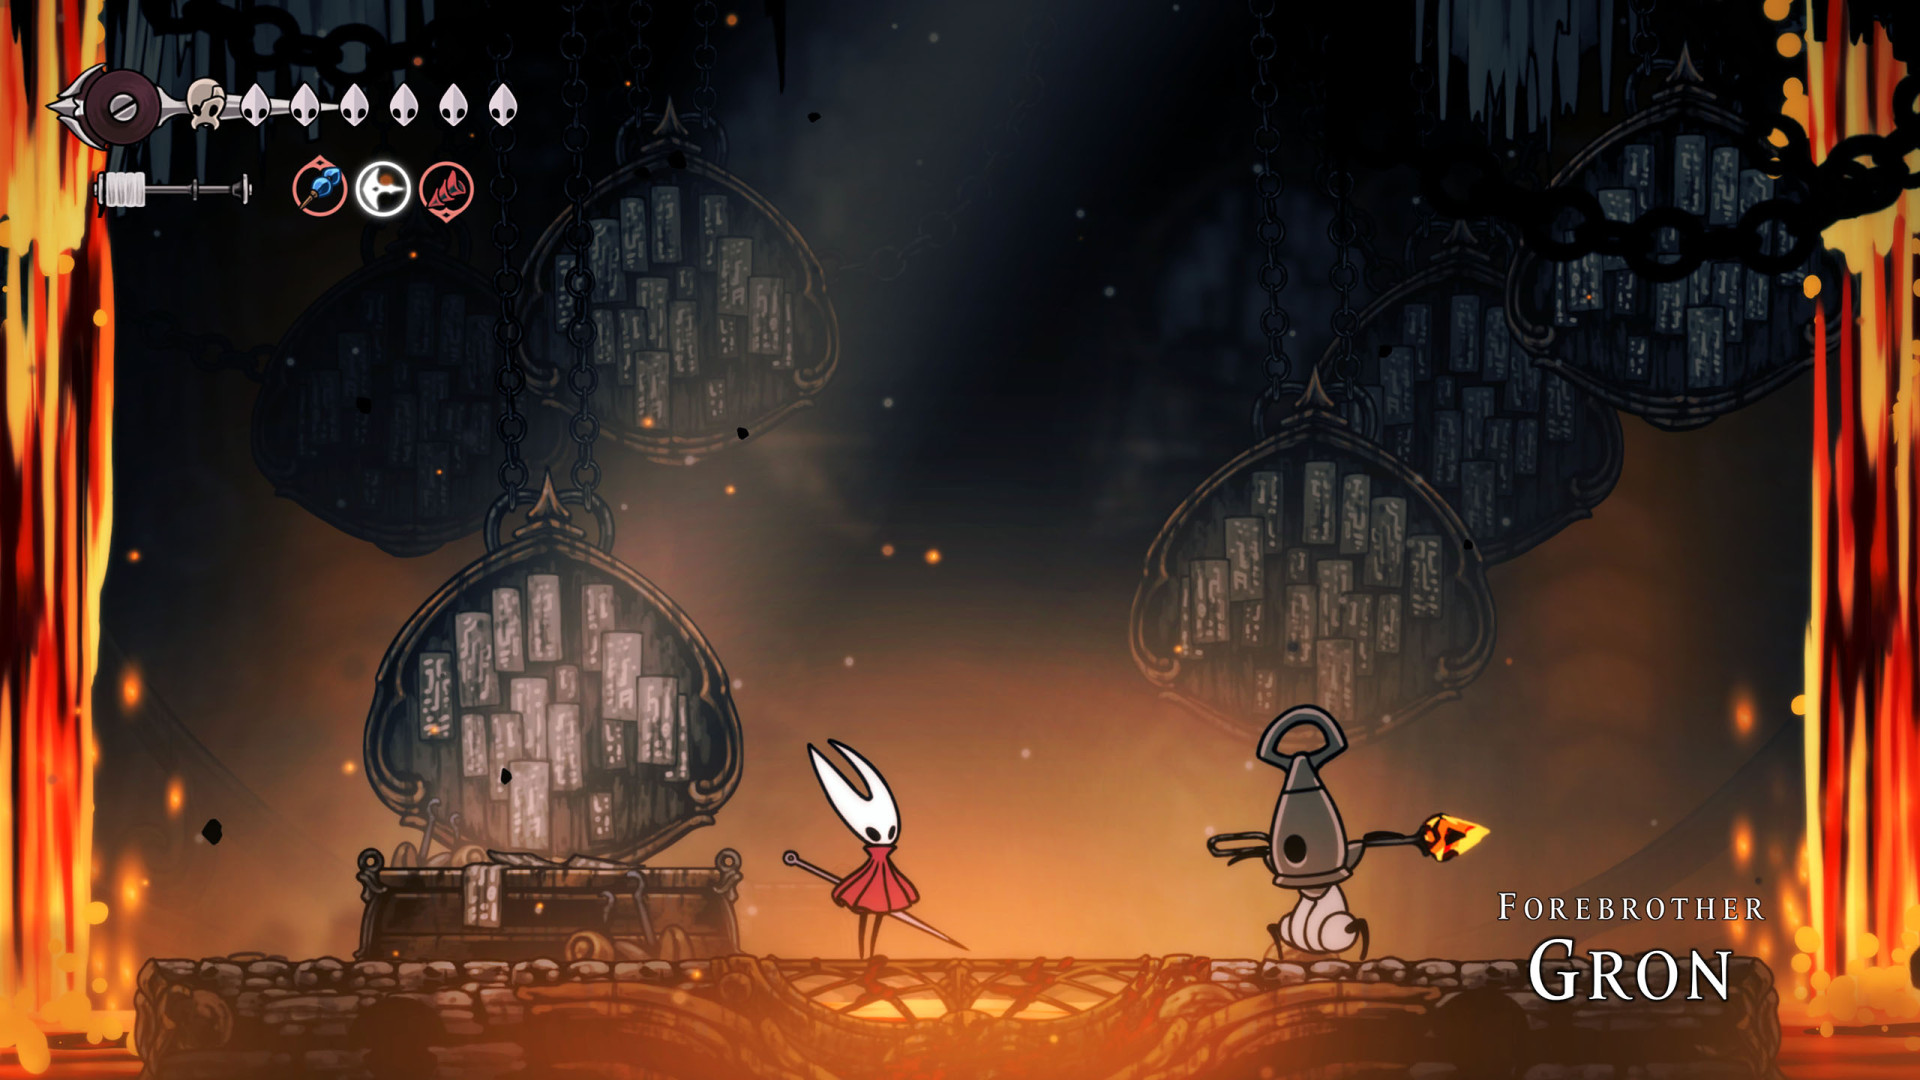
11Forebrothers Signis & Gron
12Fourth Chorus
The battle will commence after getting the Drifter's Cloak (Glide).

13Grand Mother Silk
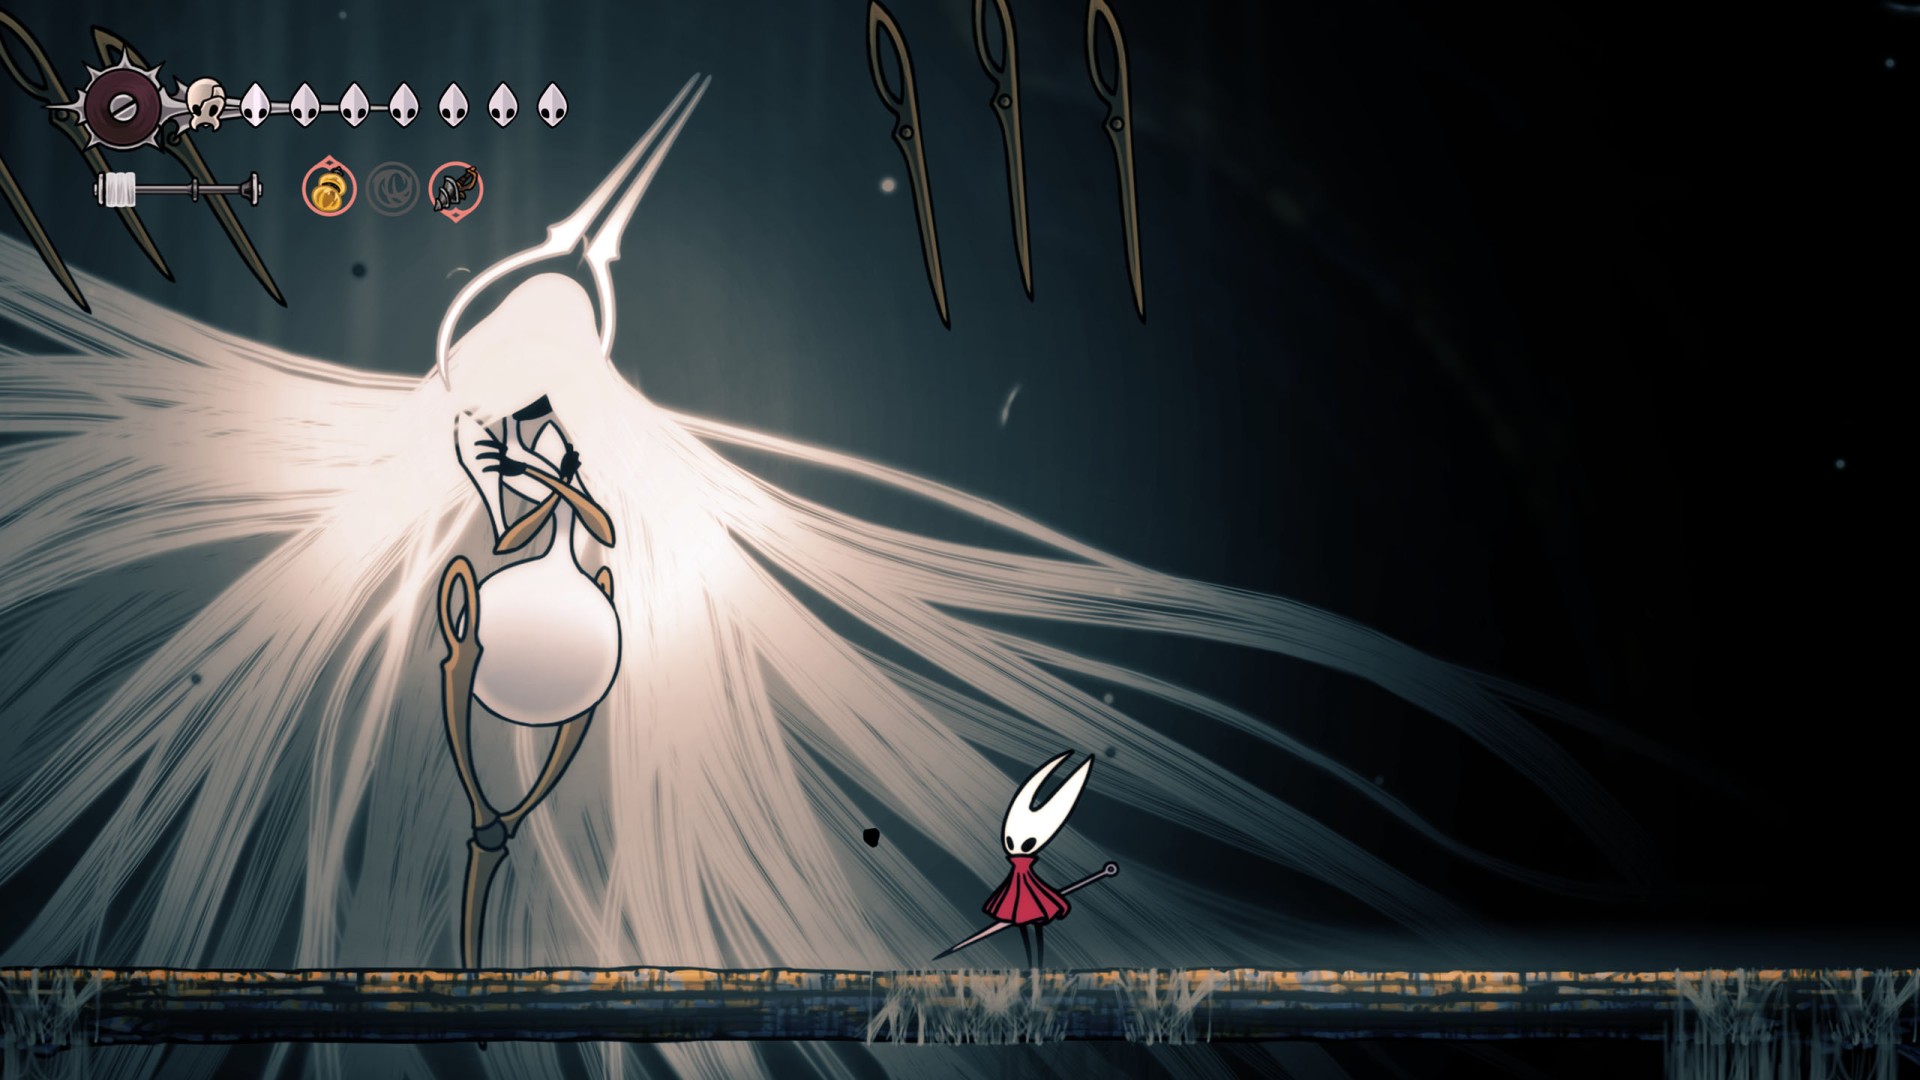
14Great Conchflies
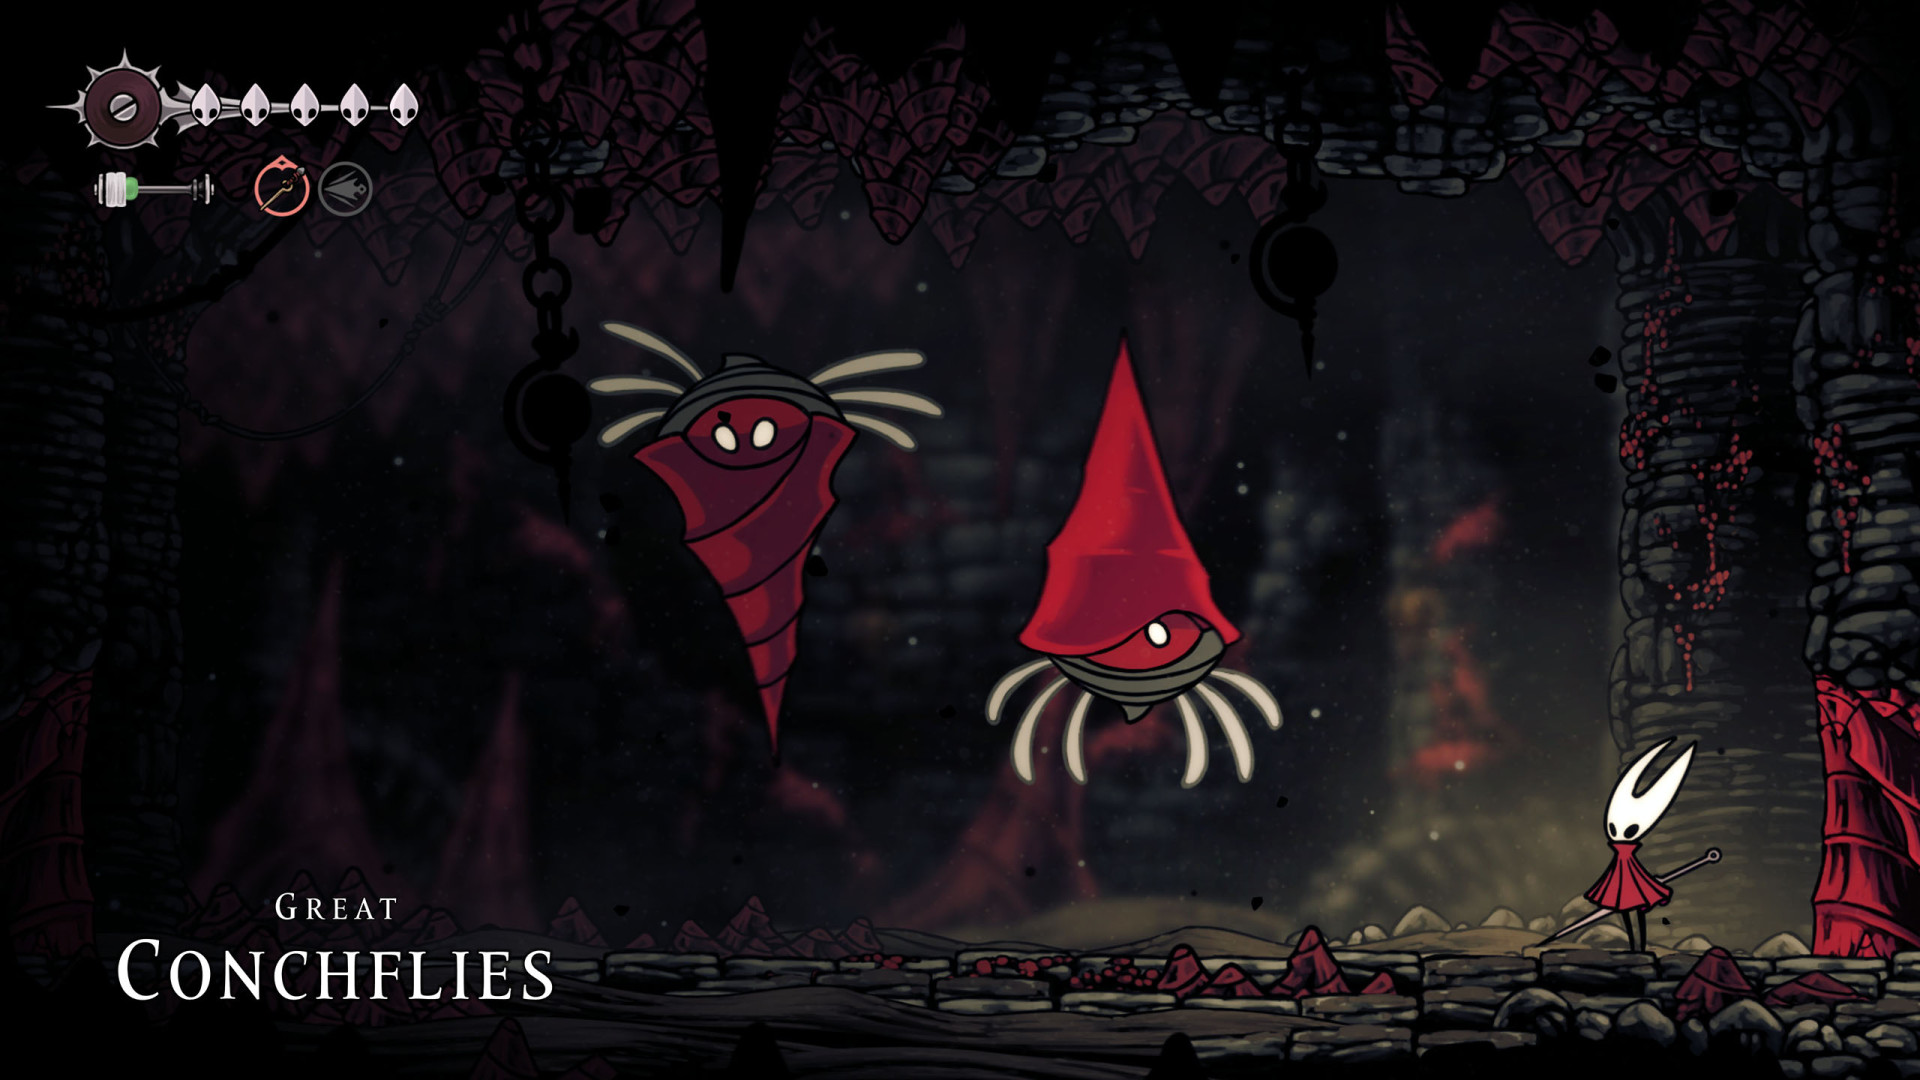
15Groal the Great
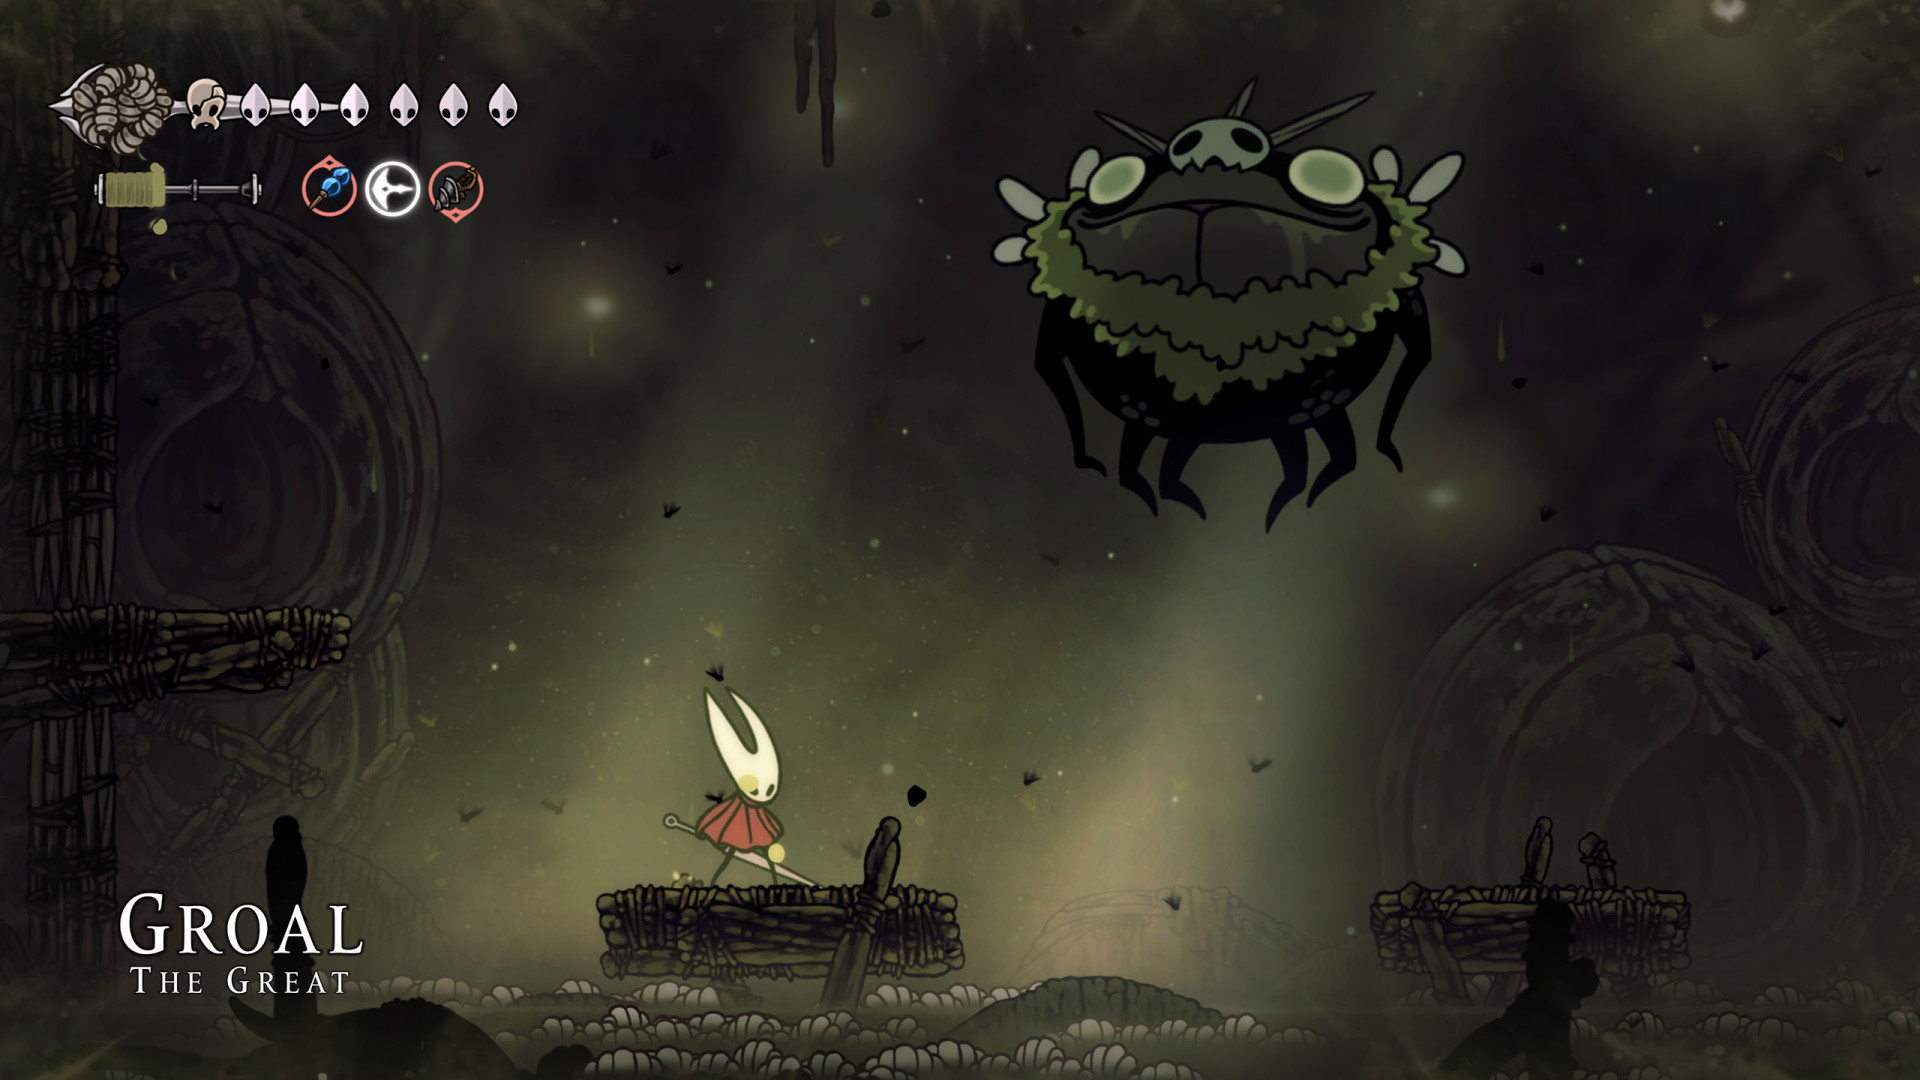
16Gurr the Outcast
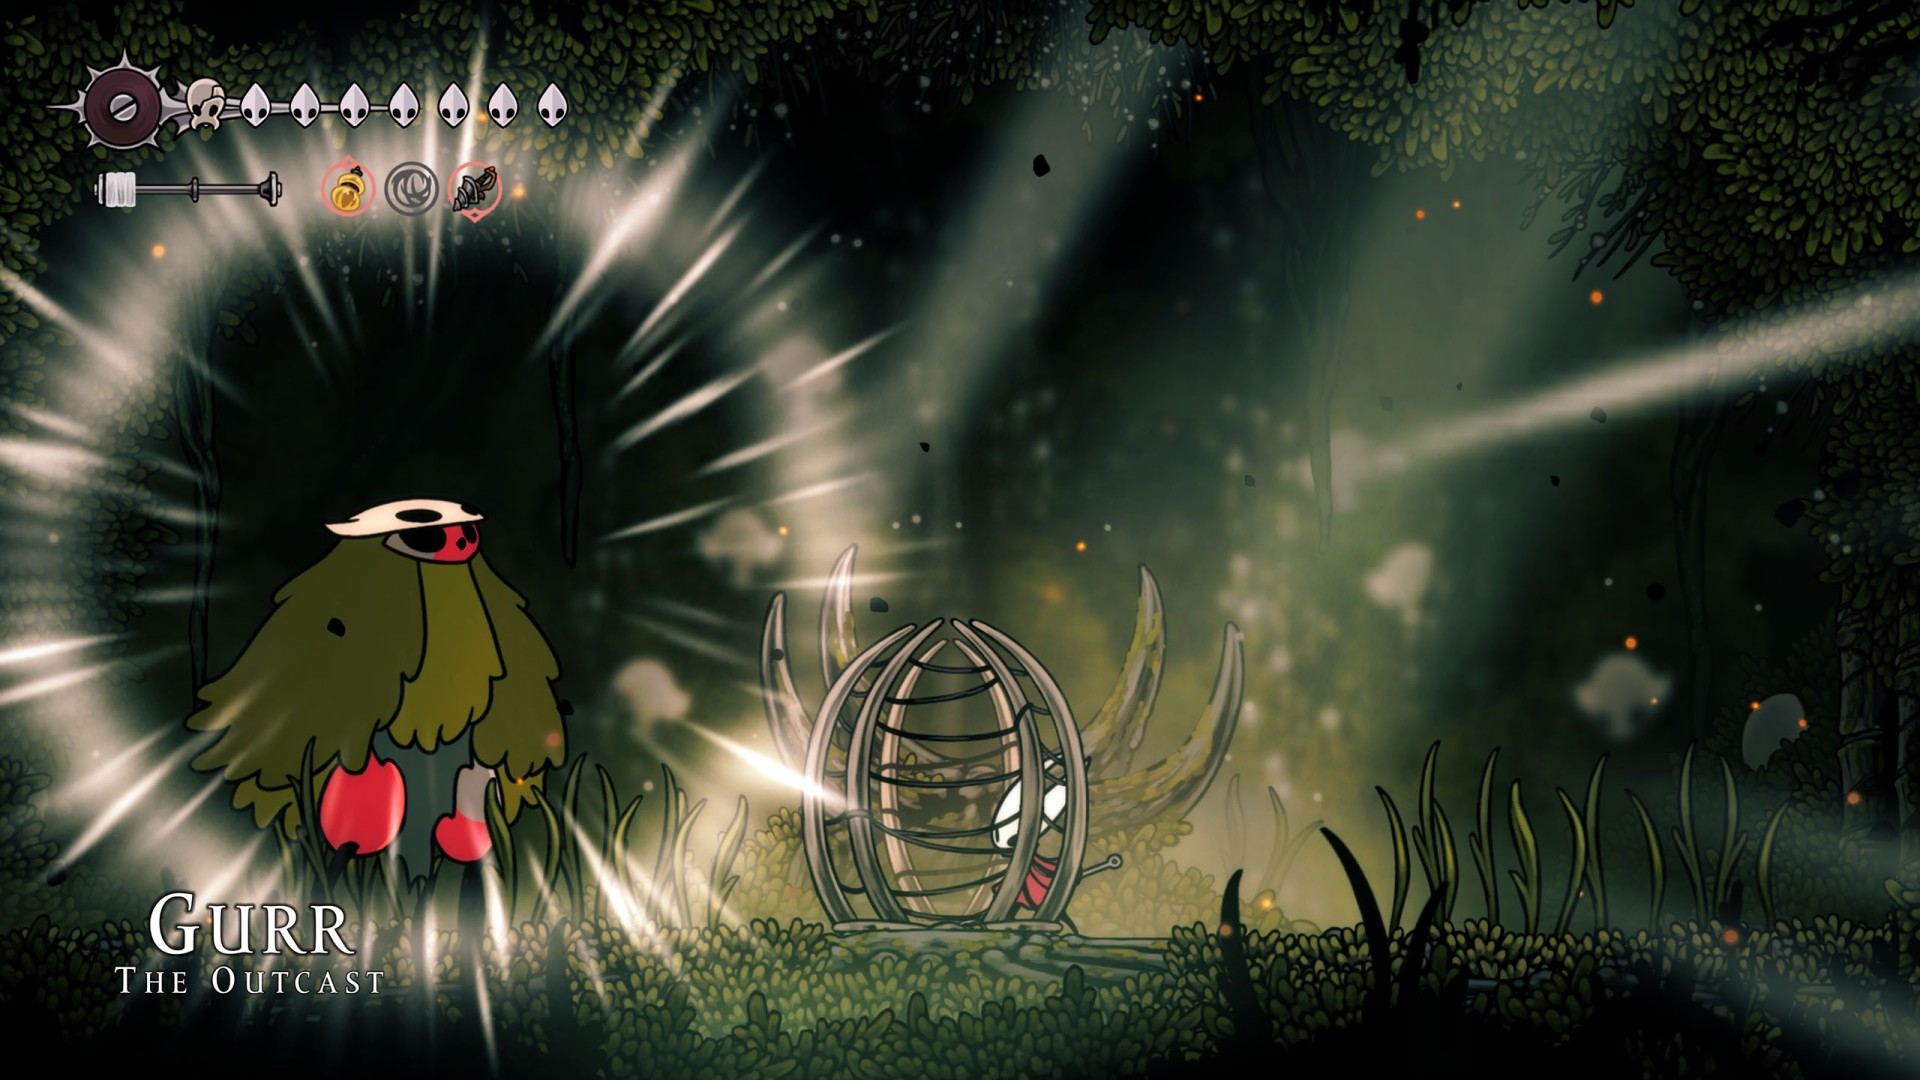
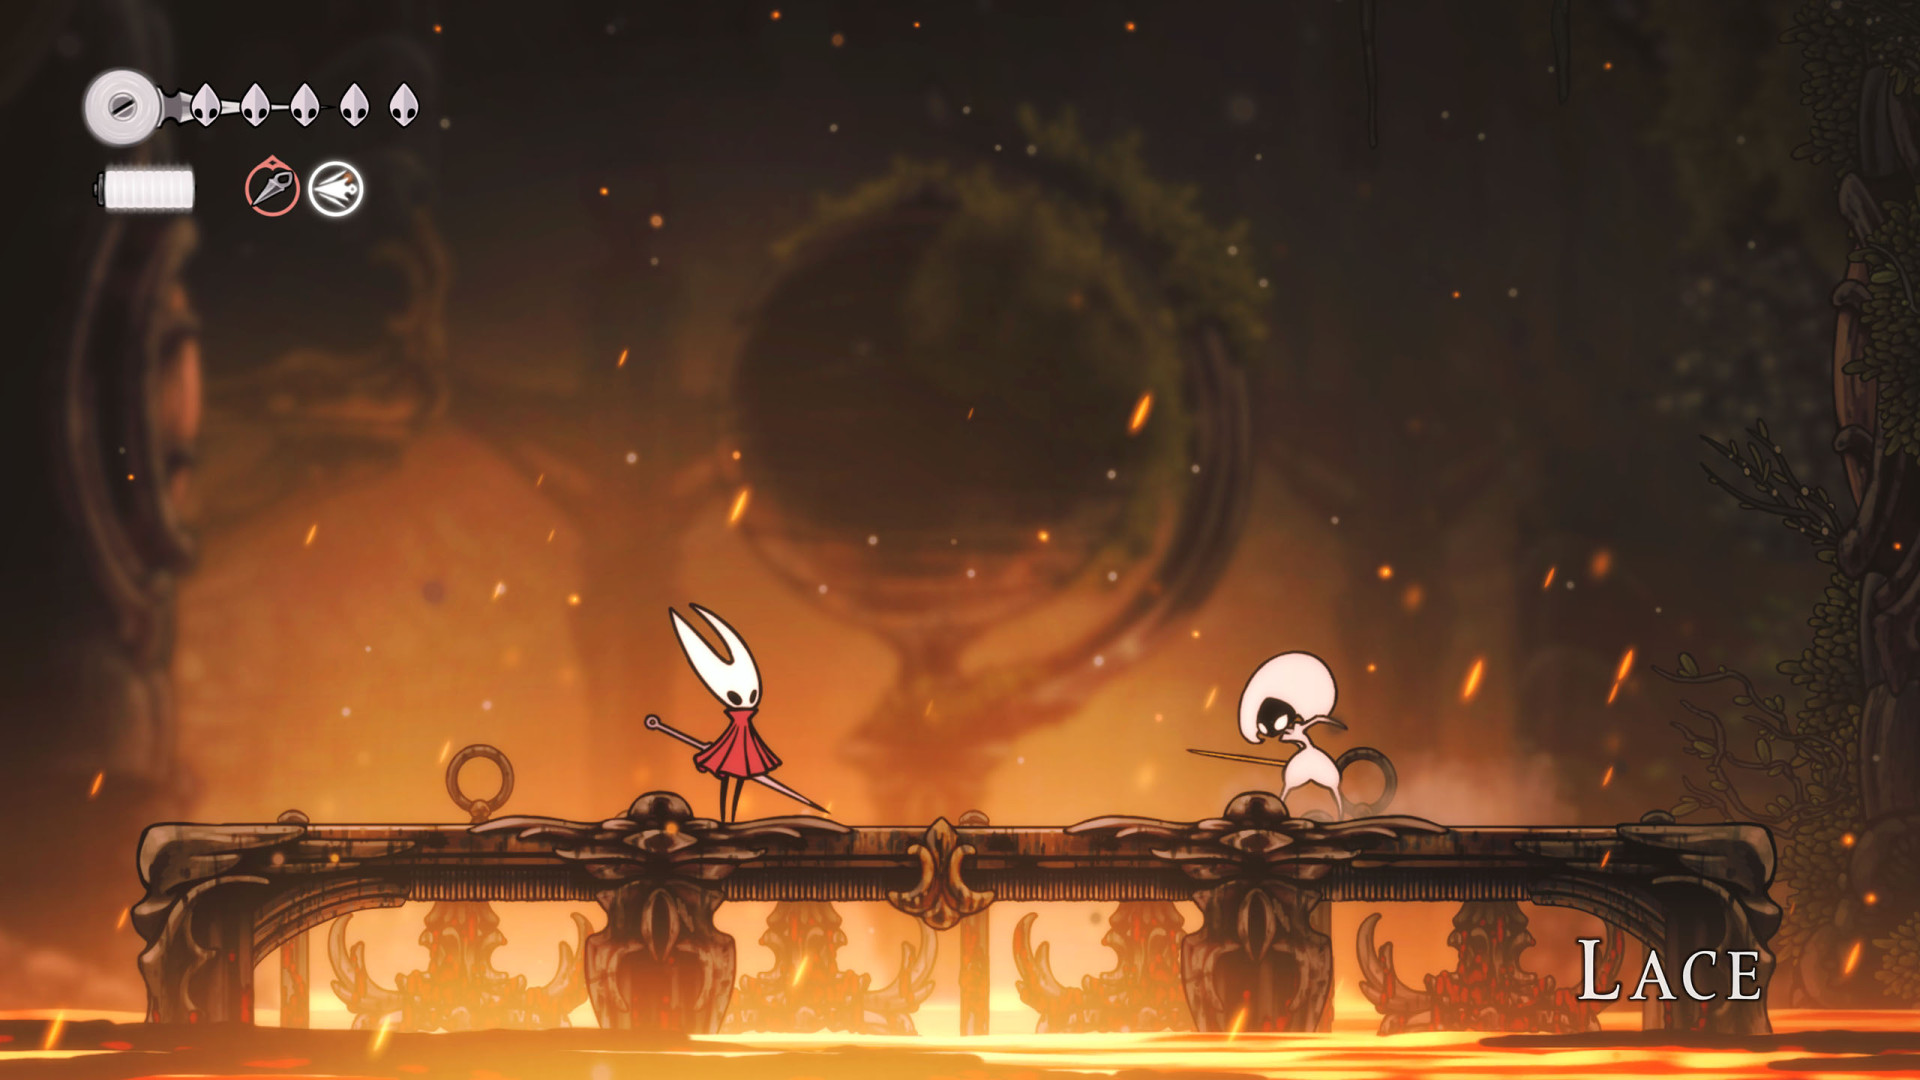
17Lace (Deep Docks)
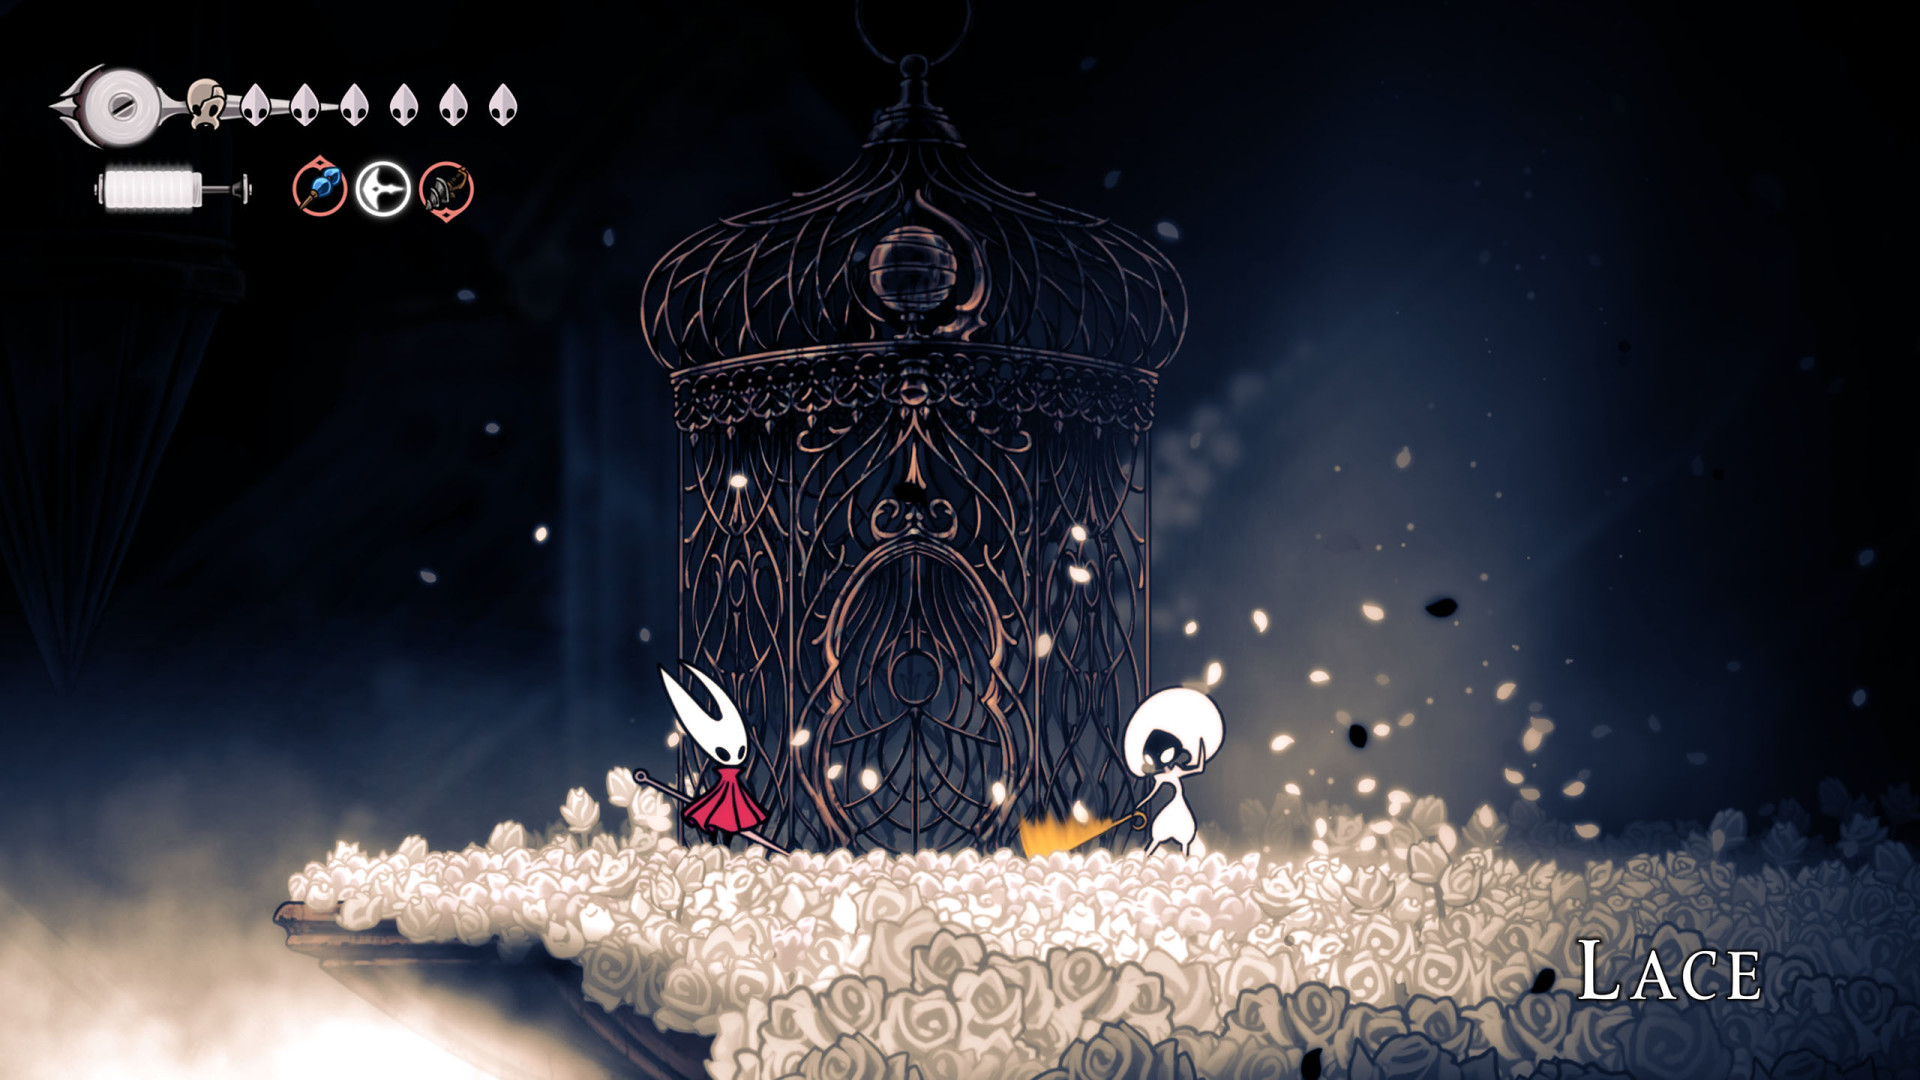
18Lace (The Cradle)
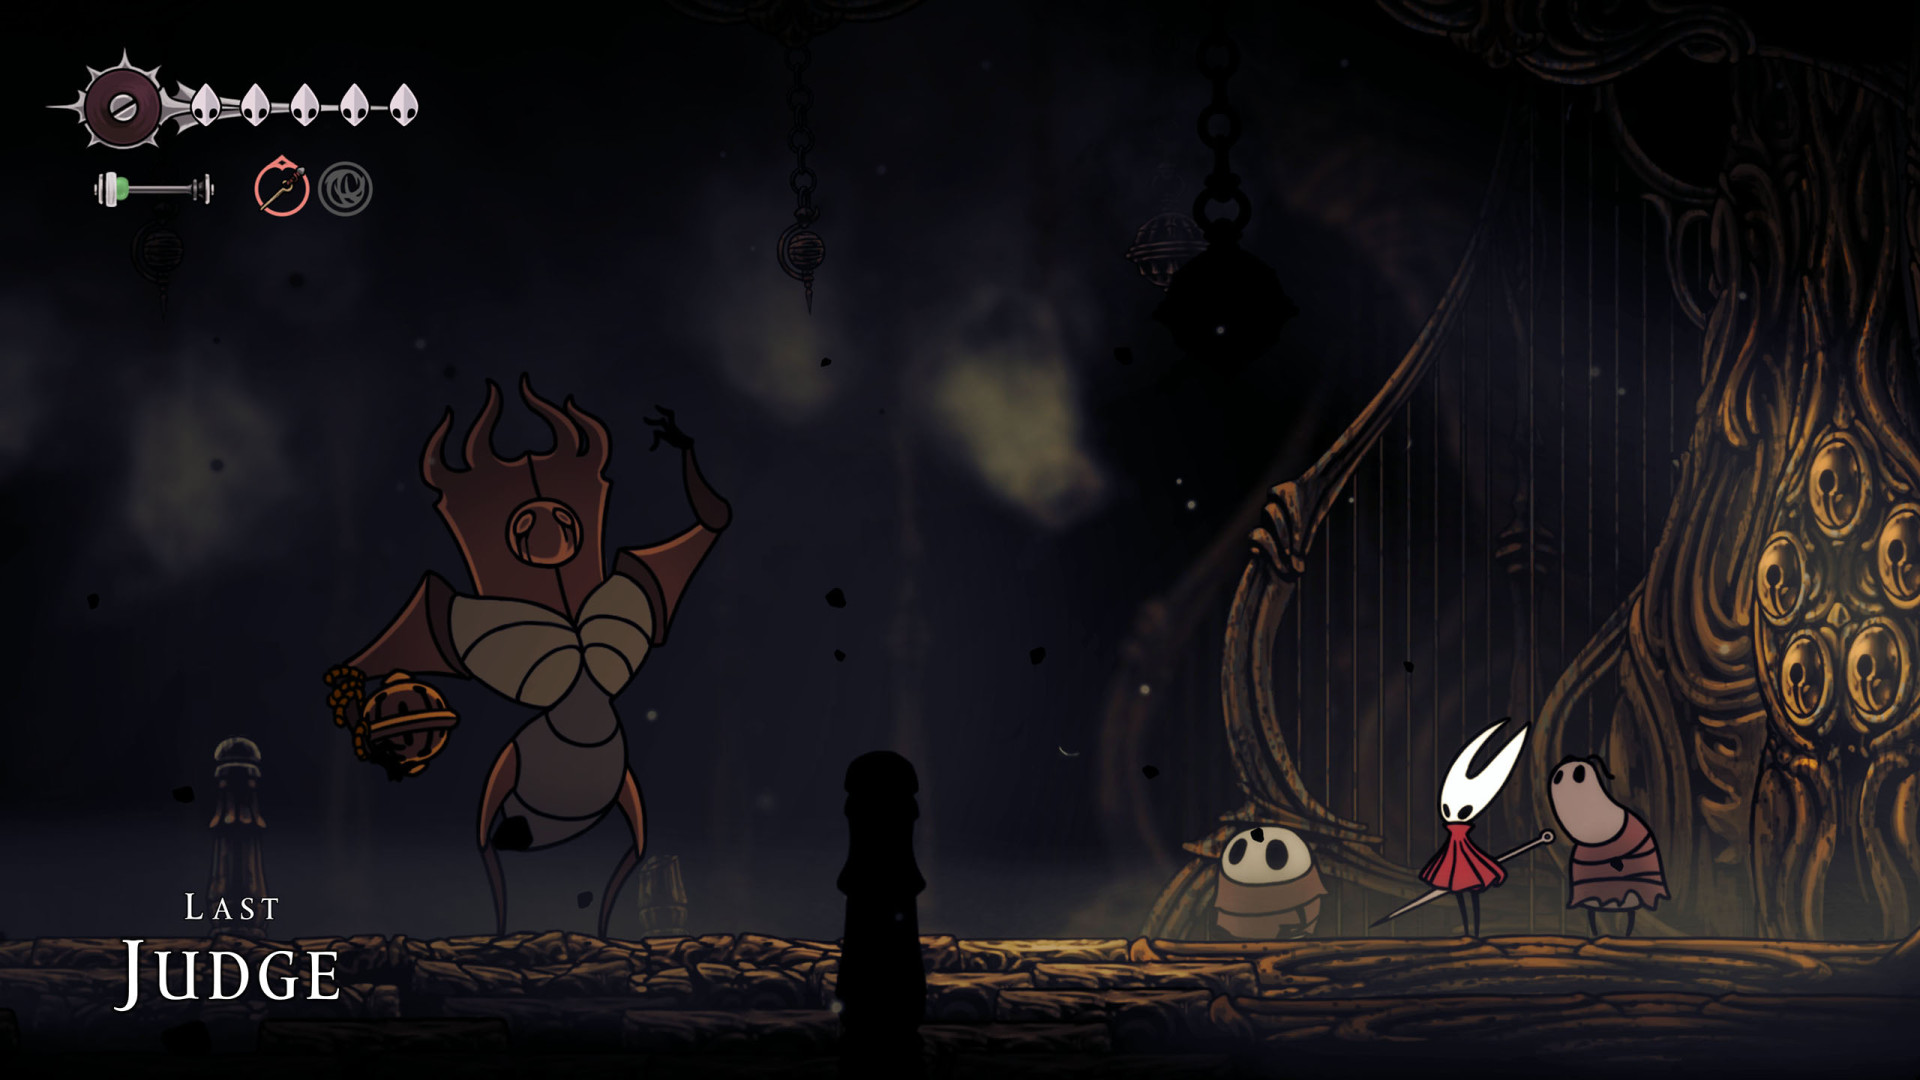
19Last Judge
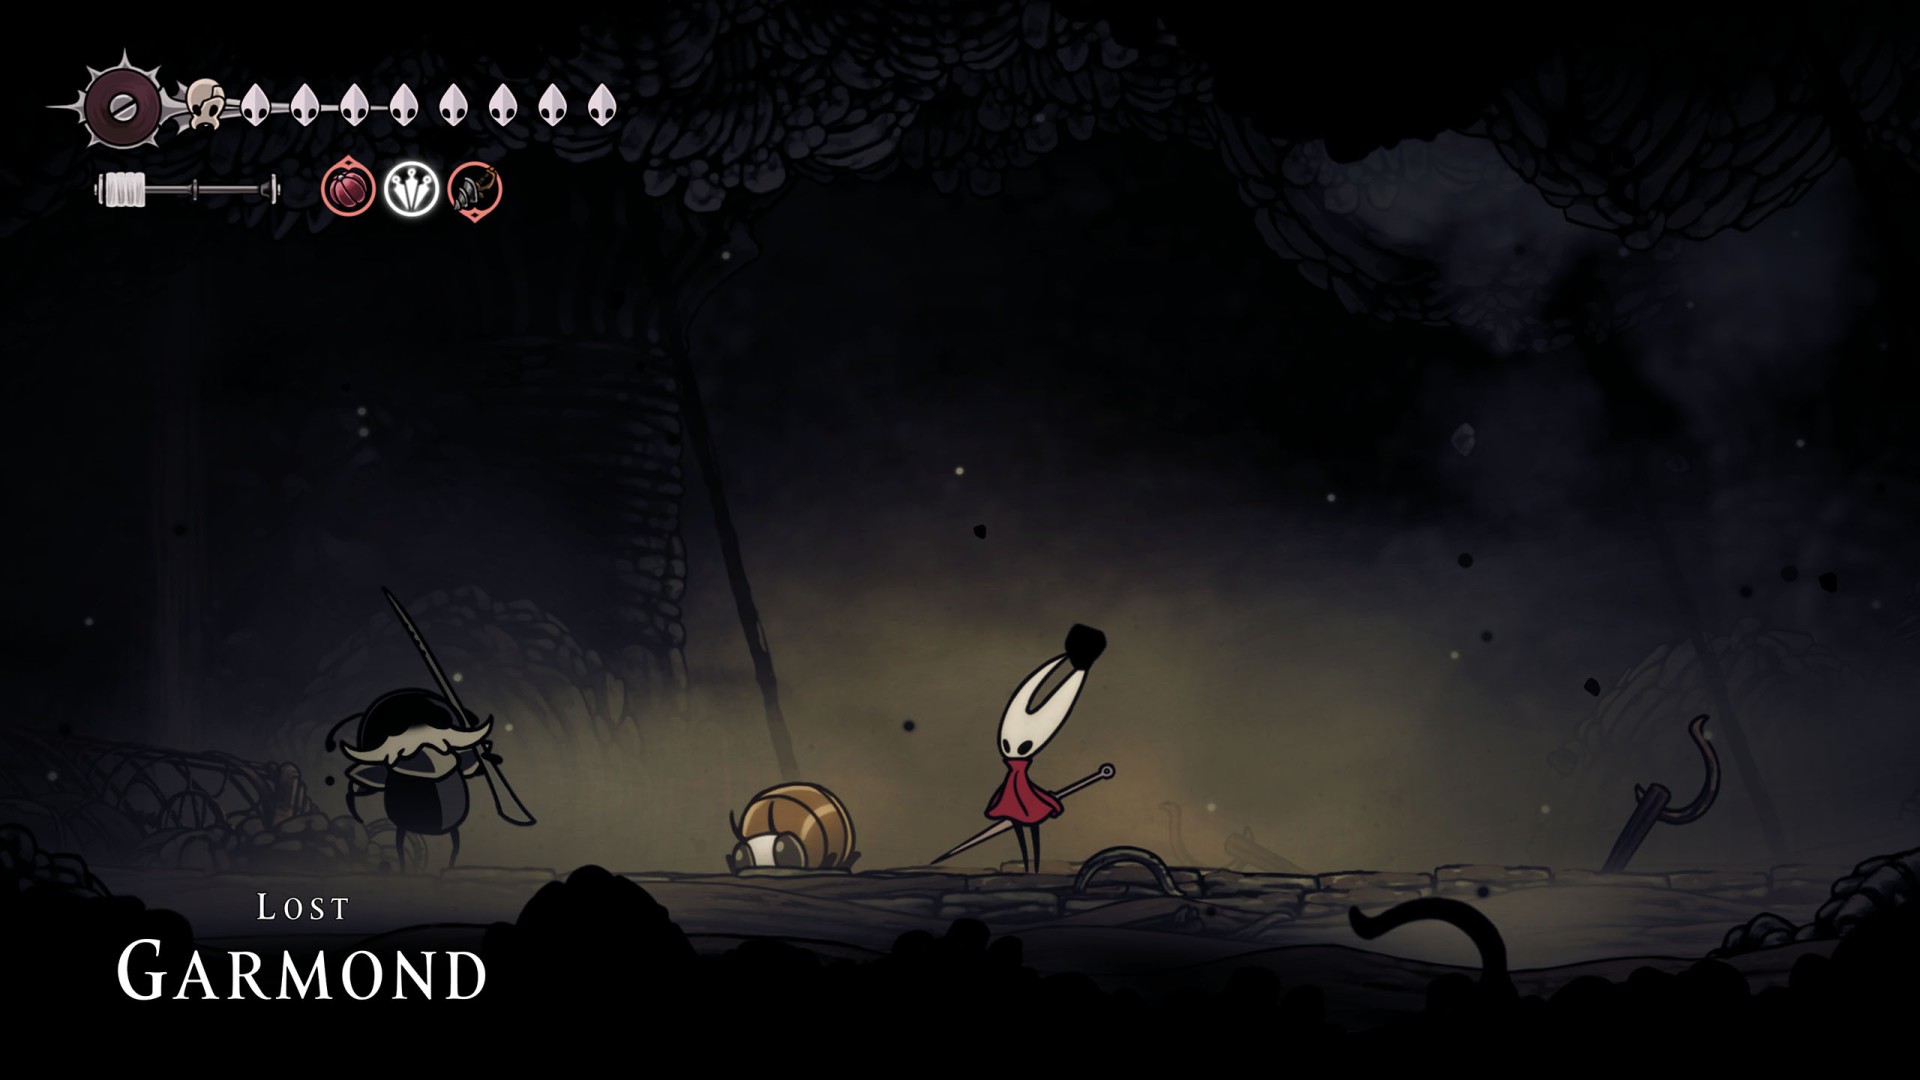
20Lost Garmond
You will encounter him here and will have to defeat him to complete the Hero's Call wish.
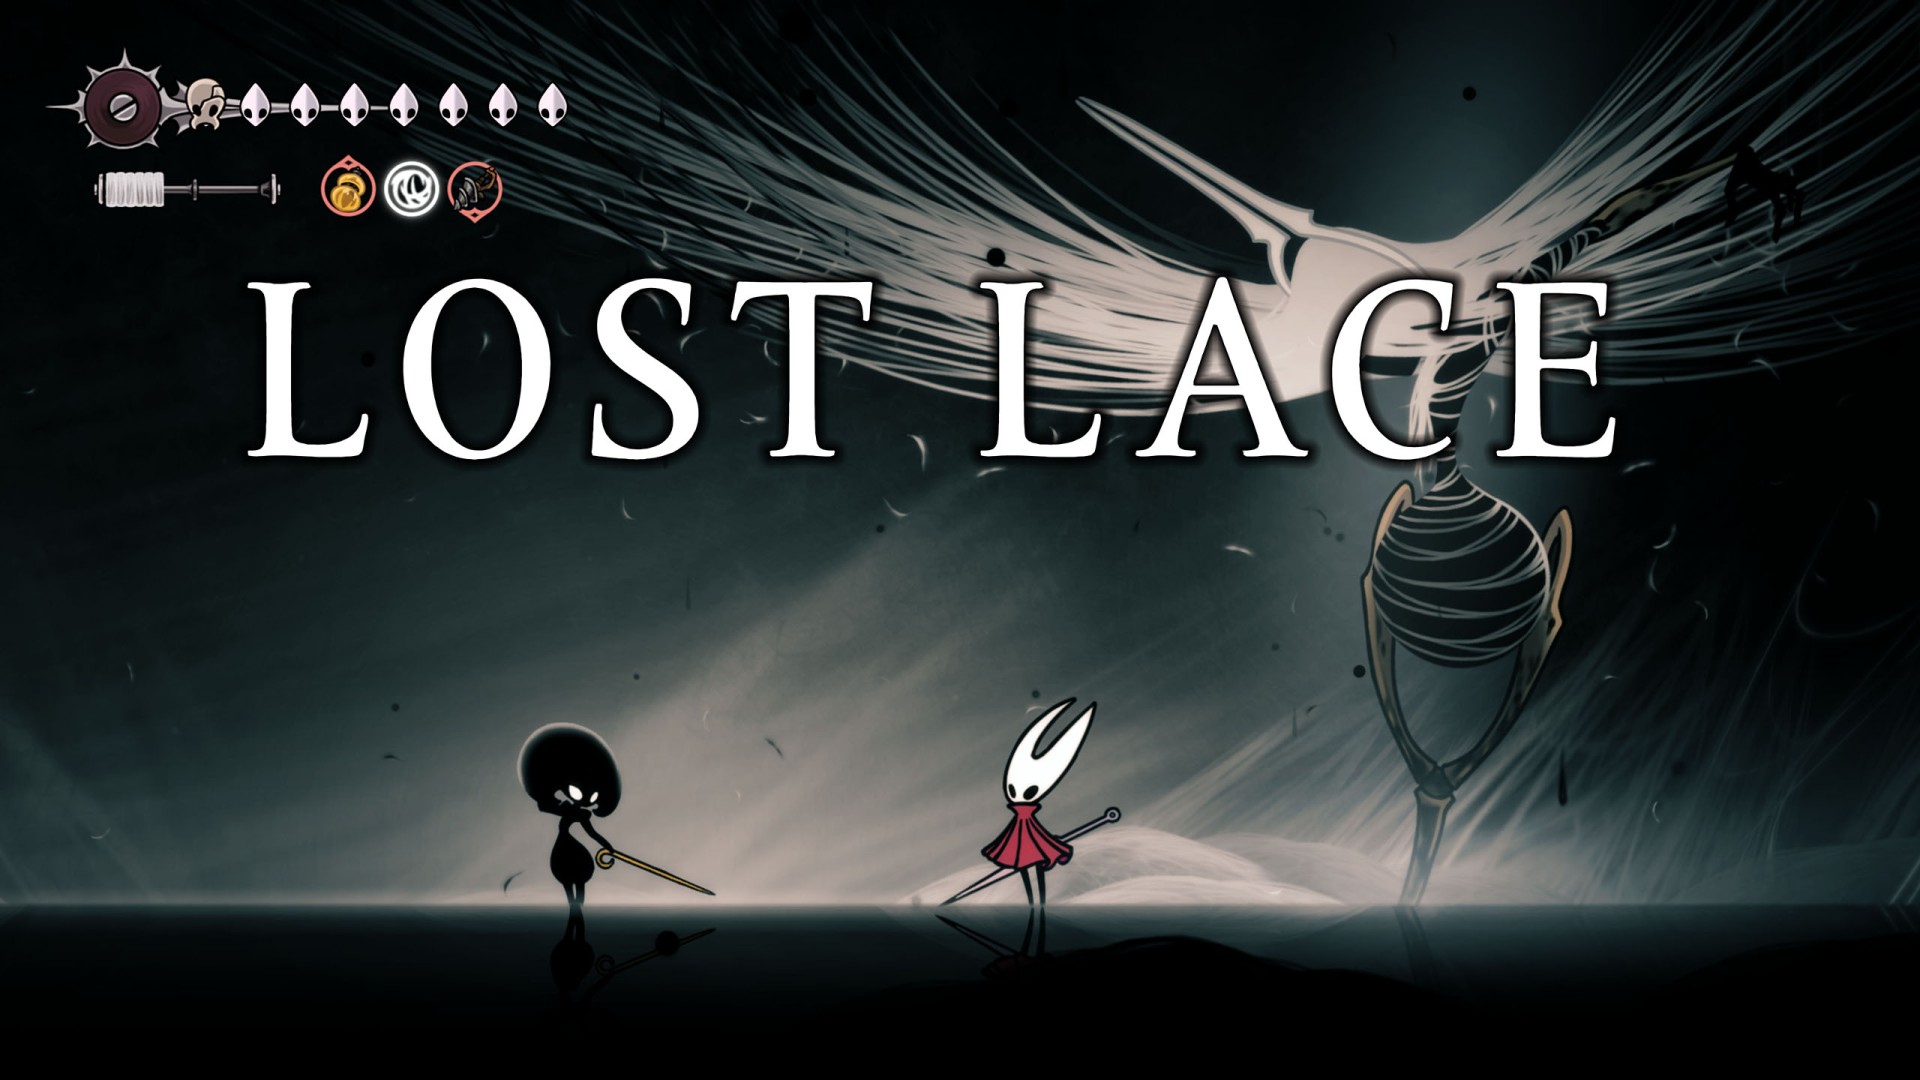
21Lost Lace
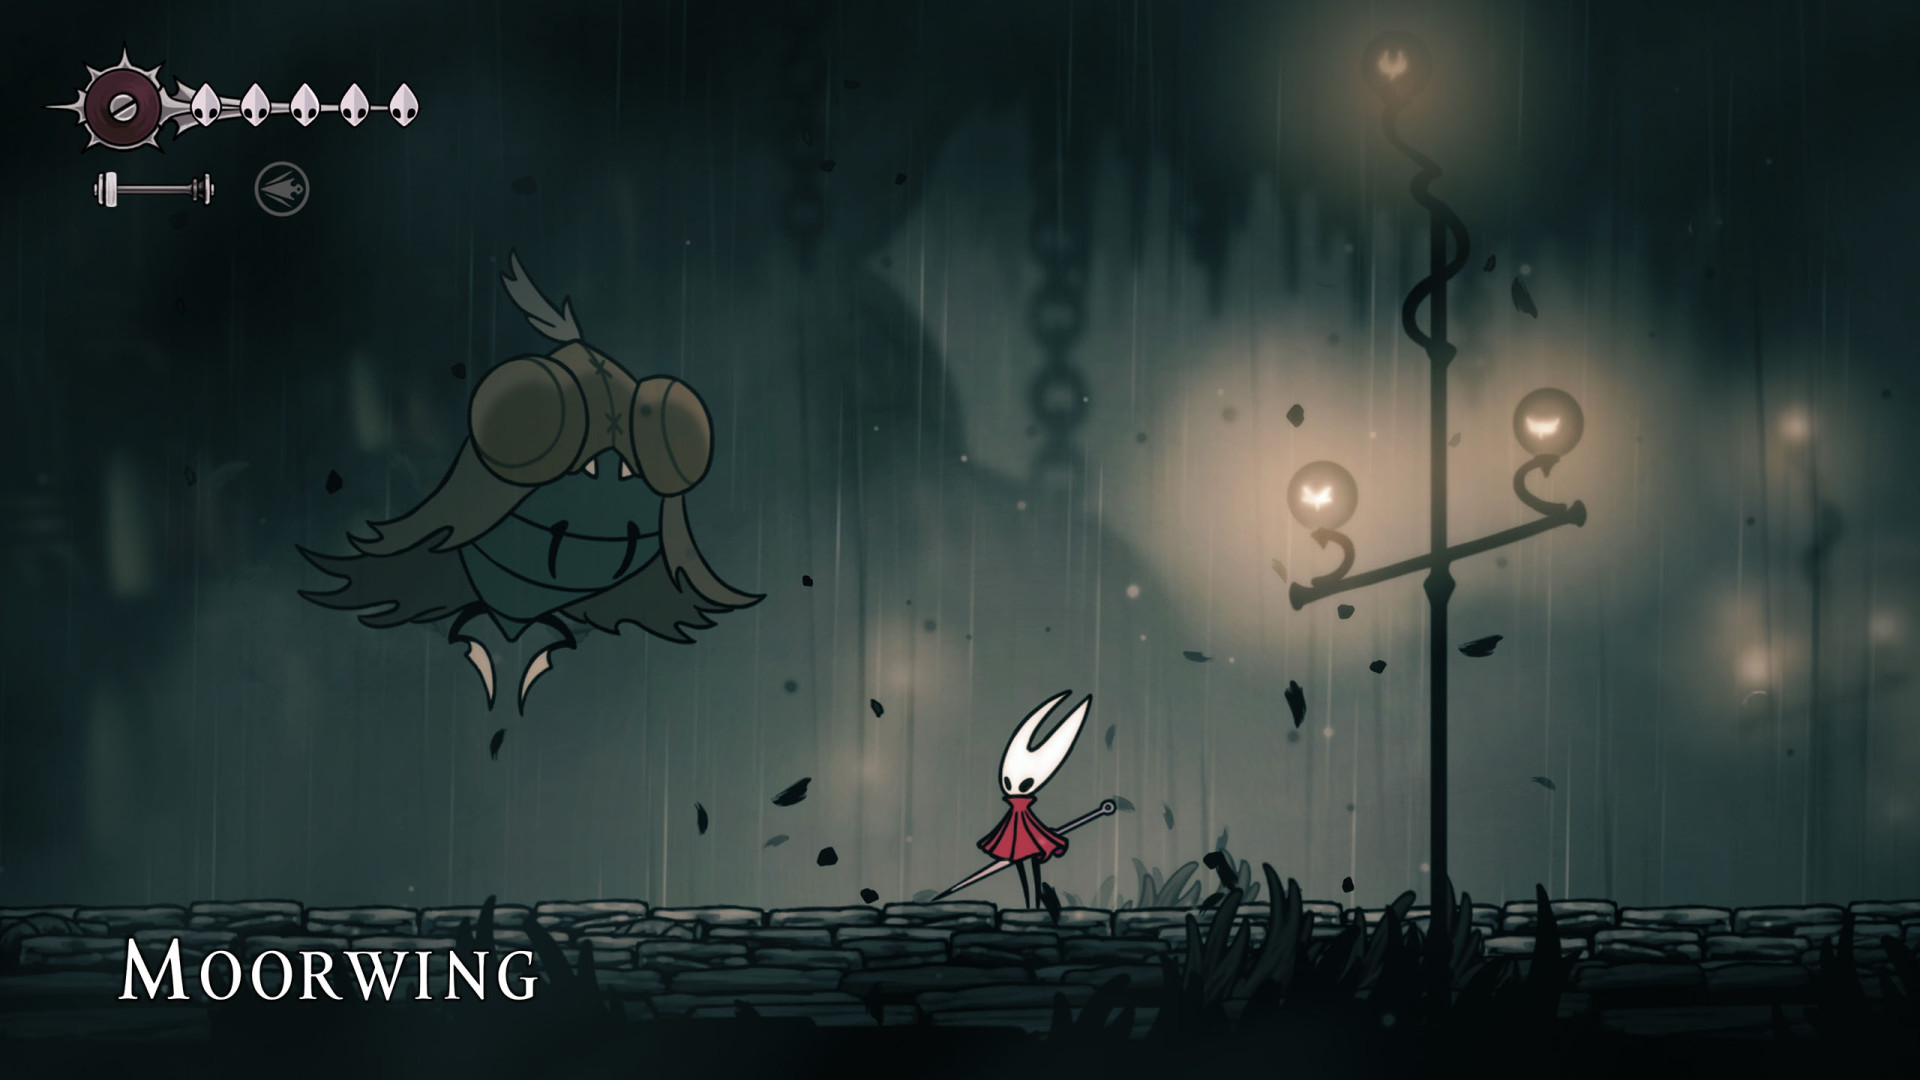
22Moorwing (1)
He won't be here if you're traveling here with the caravan of fleas. In that case, you'll find him here. Drops: Beast Shard.
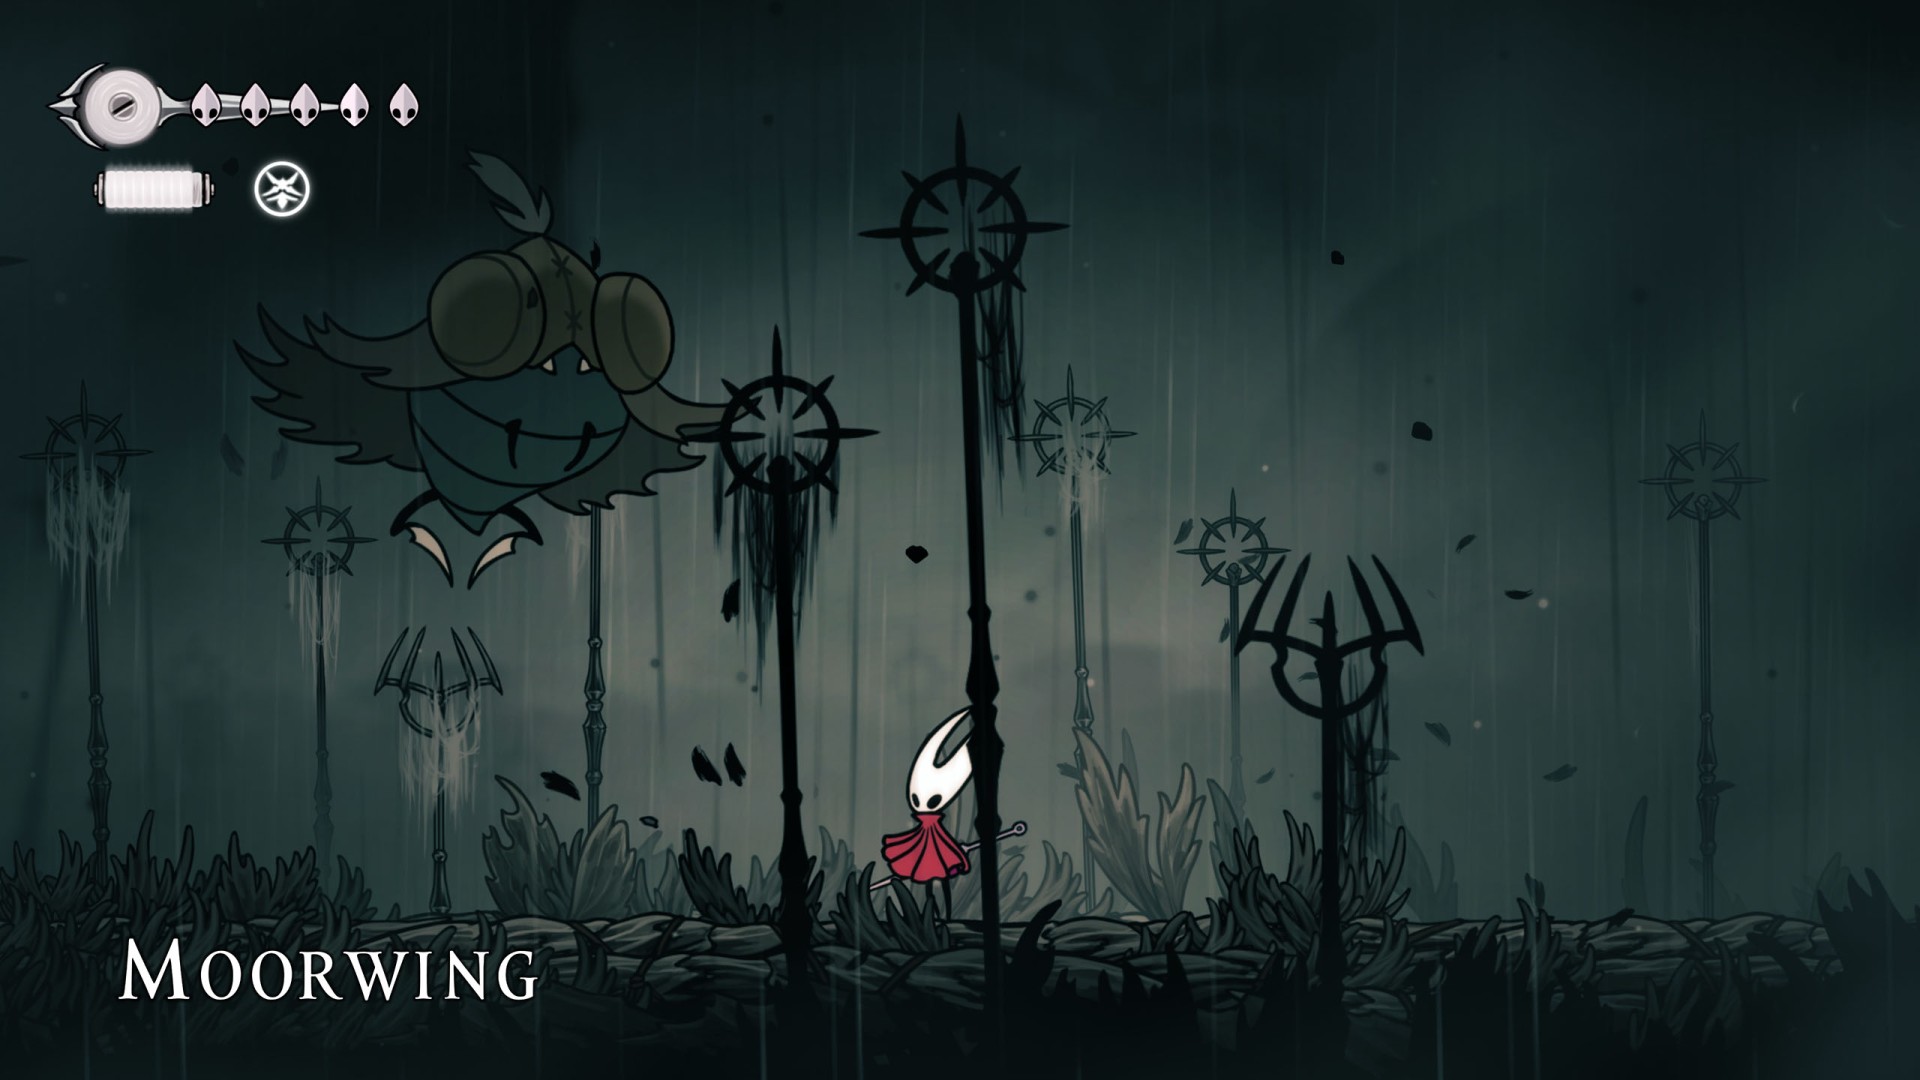
23Moorwing (2)
Alternative location if you didn't fight it here. Drops: Beast Shard.
24Moss Mother (1)
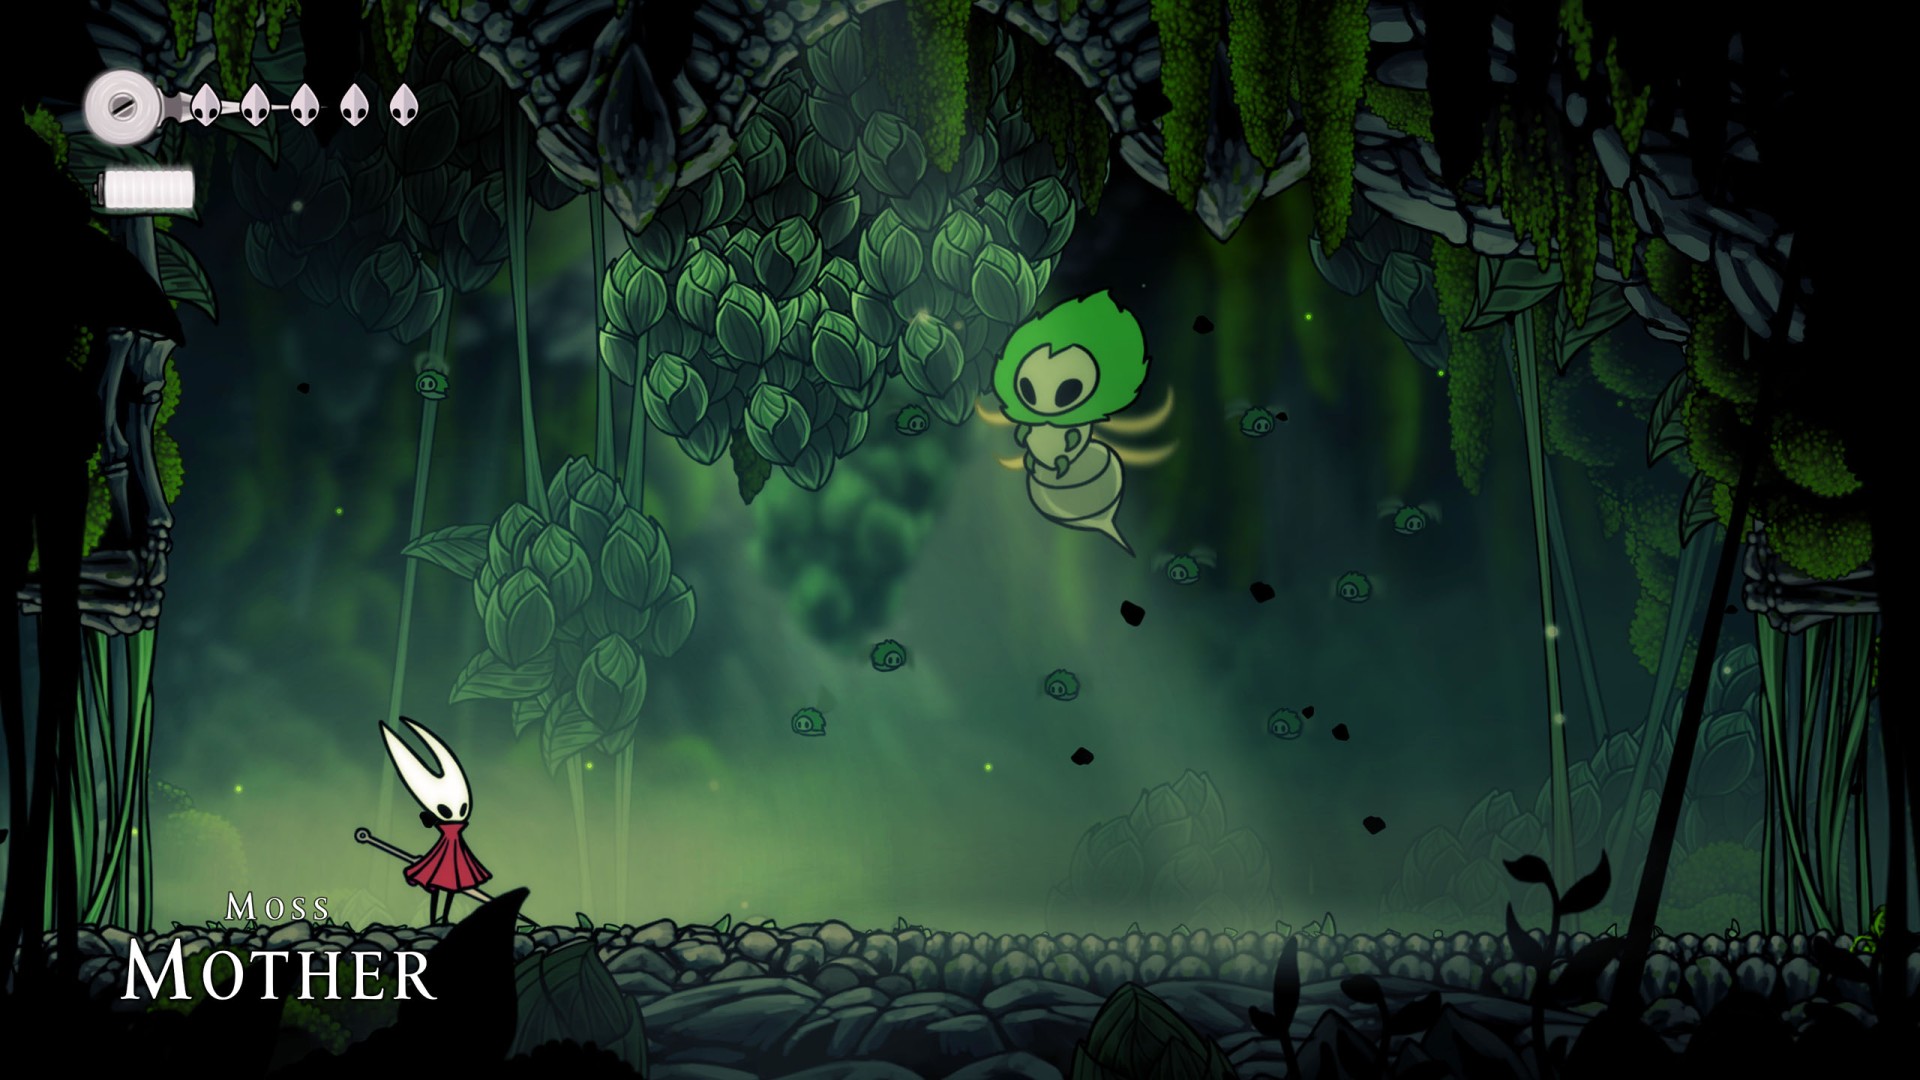
25Moss Mother (2)
Here you can meet her again in Act 3.
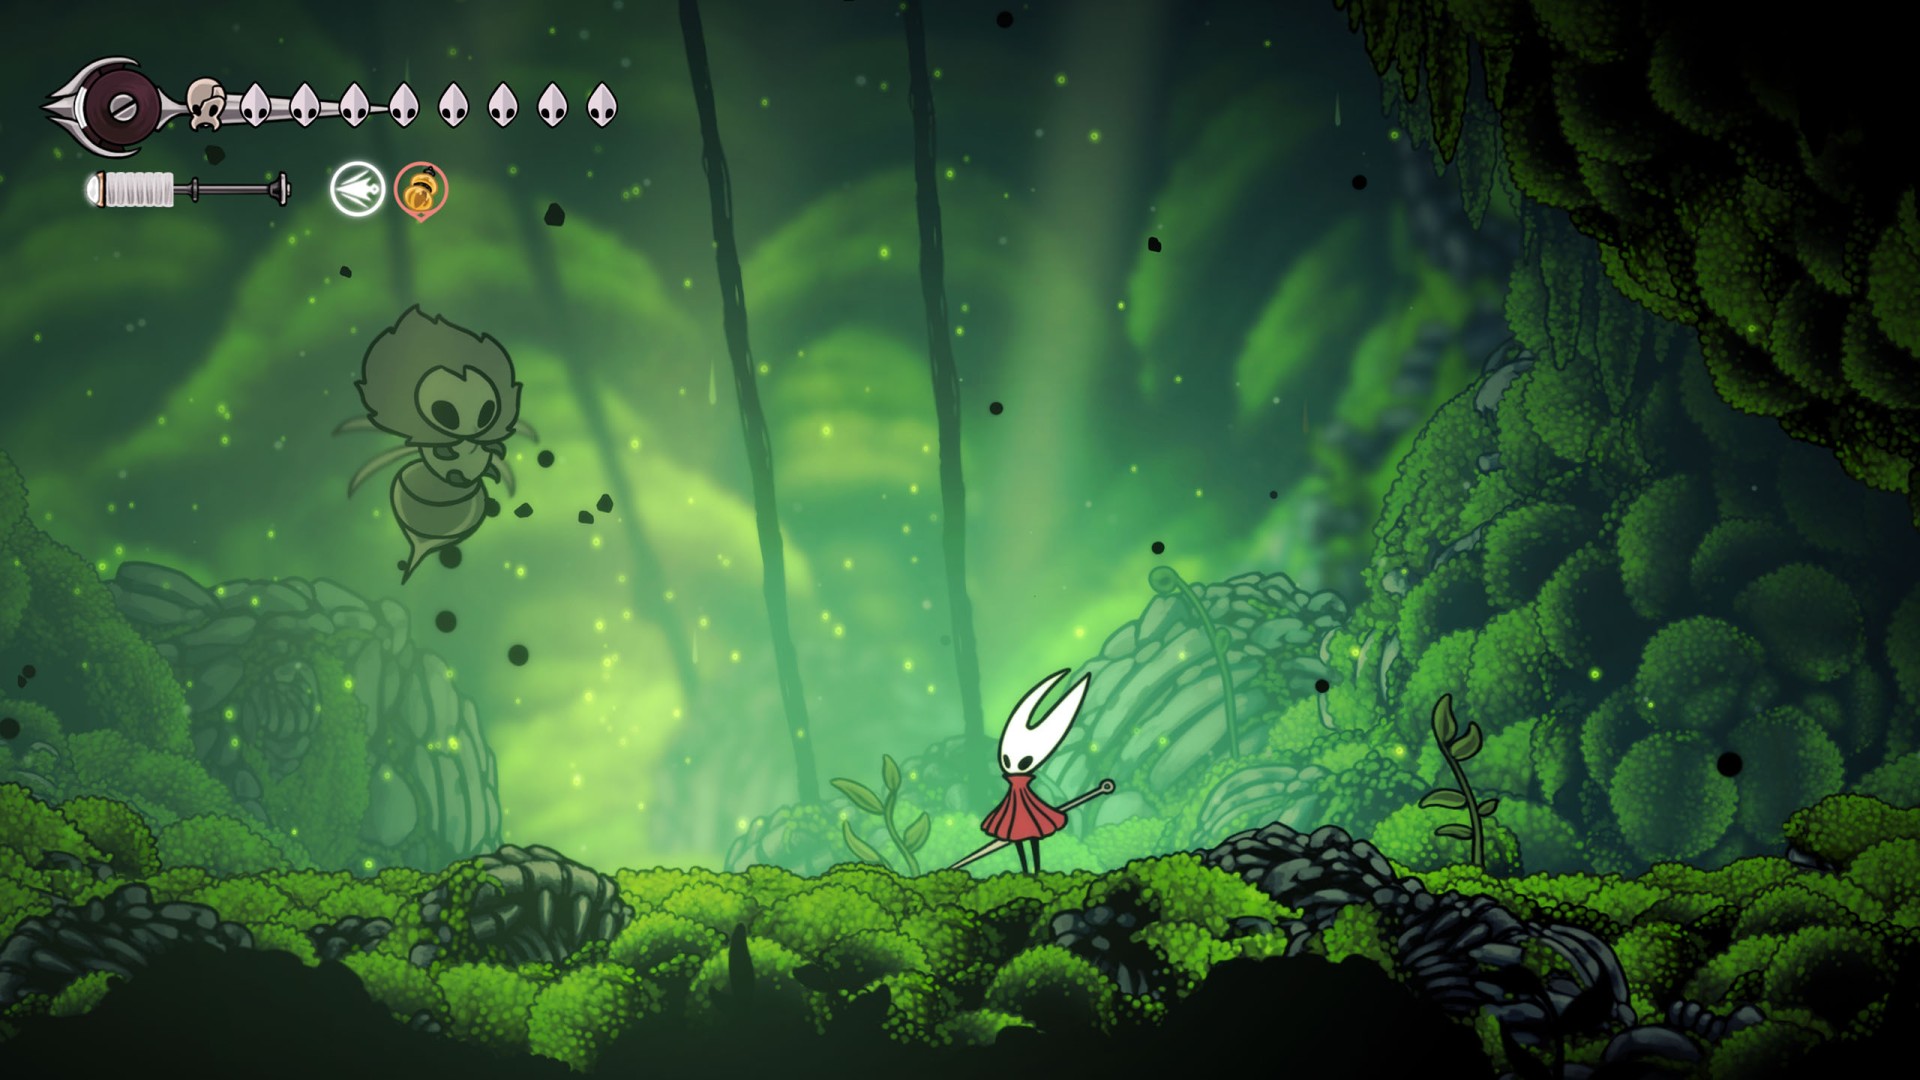
26Moss Mother x2
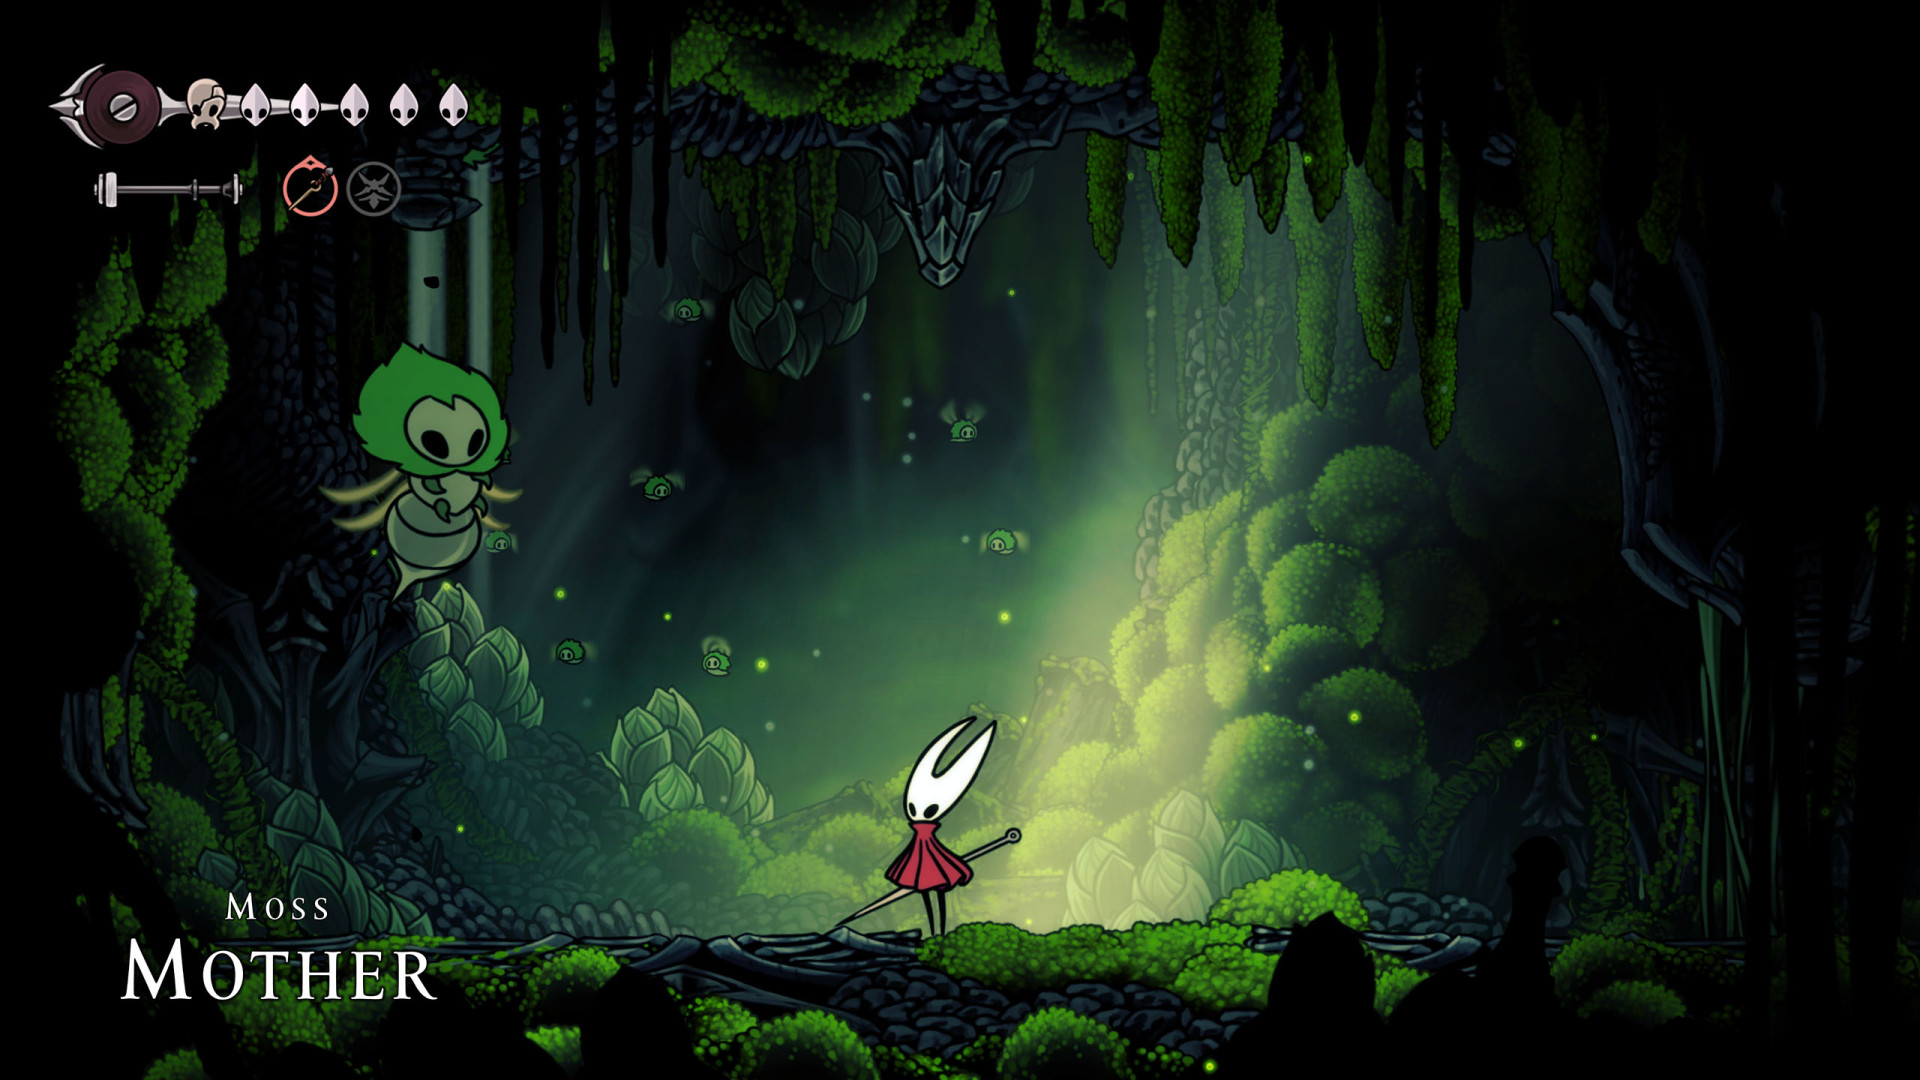
27Nyleth
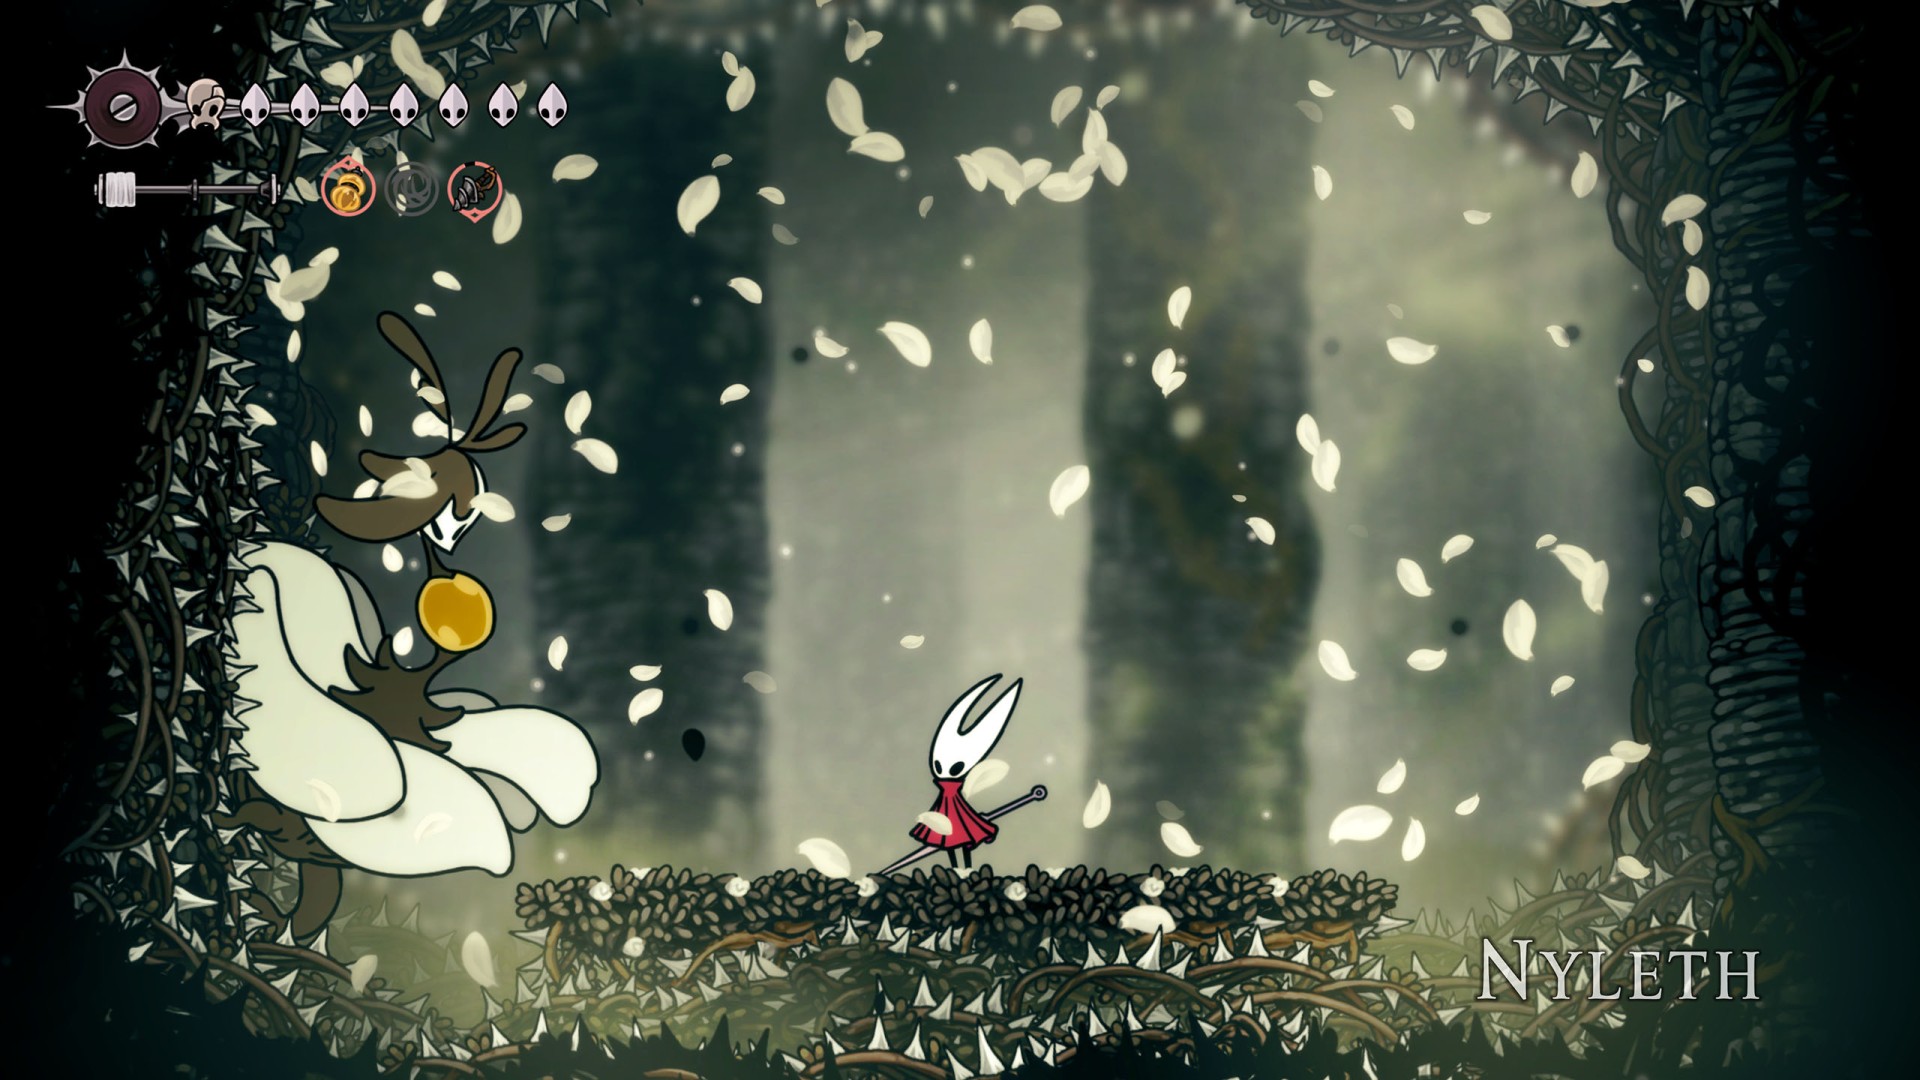
28Palestag
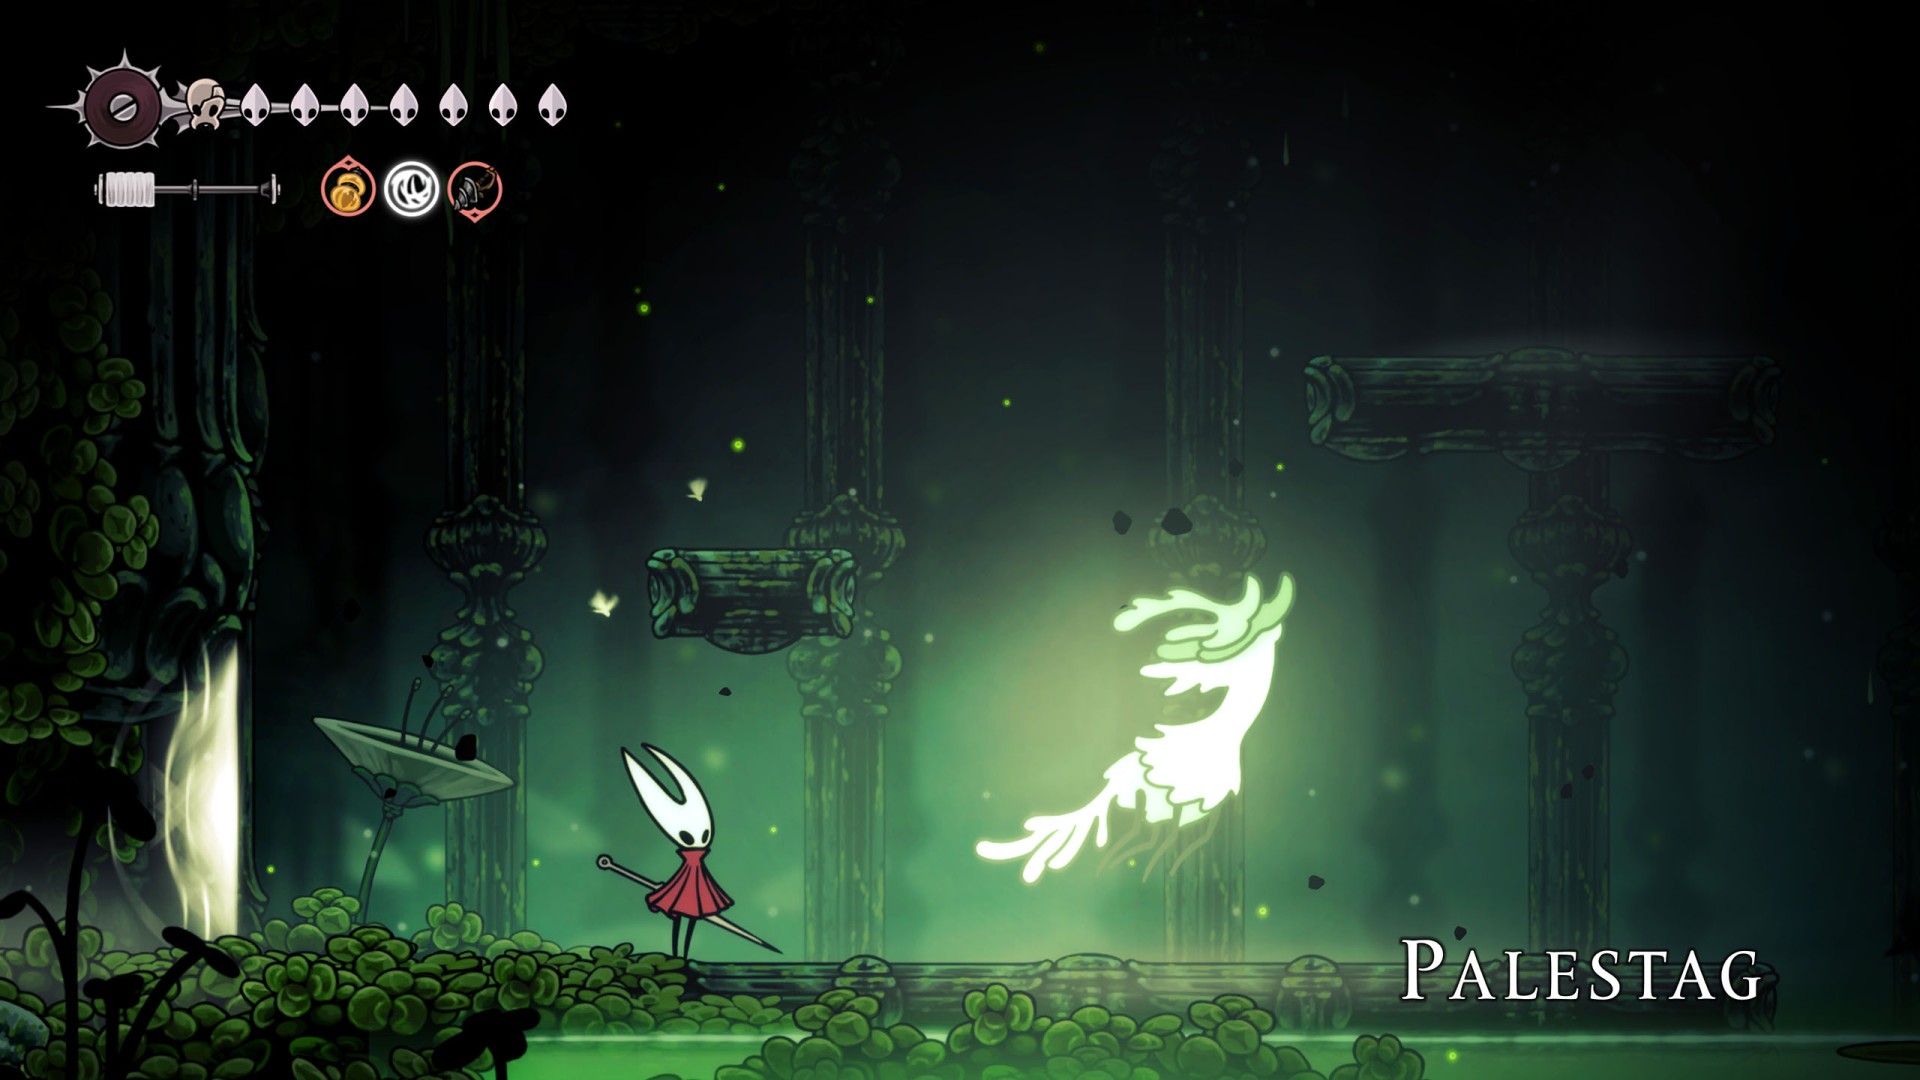
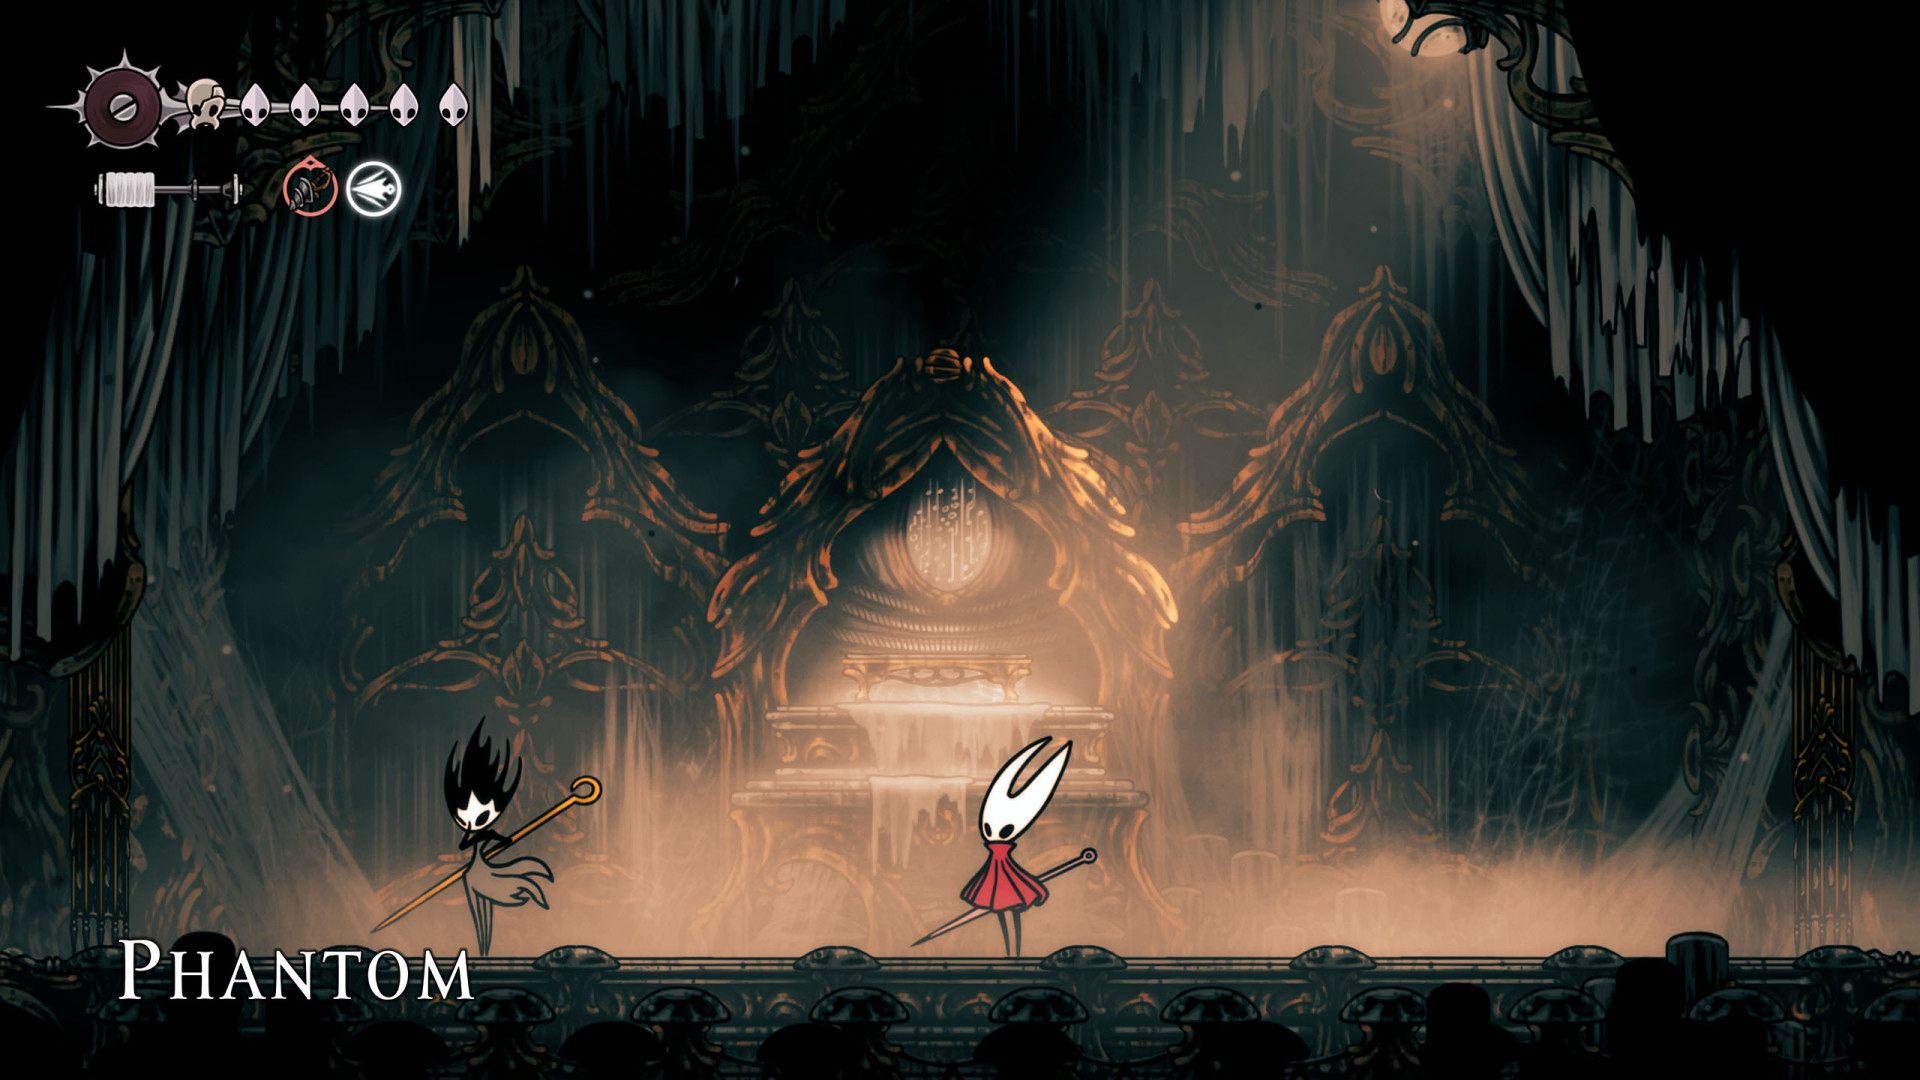
29Phantom
30Pinstress
You will encounter him here and will have to defeat him to complete the Fatal Resolve wish. Hit her several times to wake her up, then talk to her to start the fight.
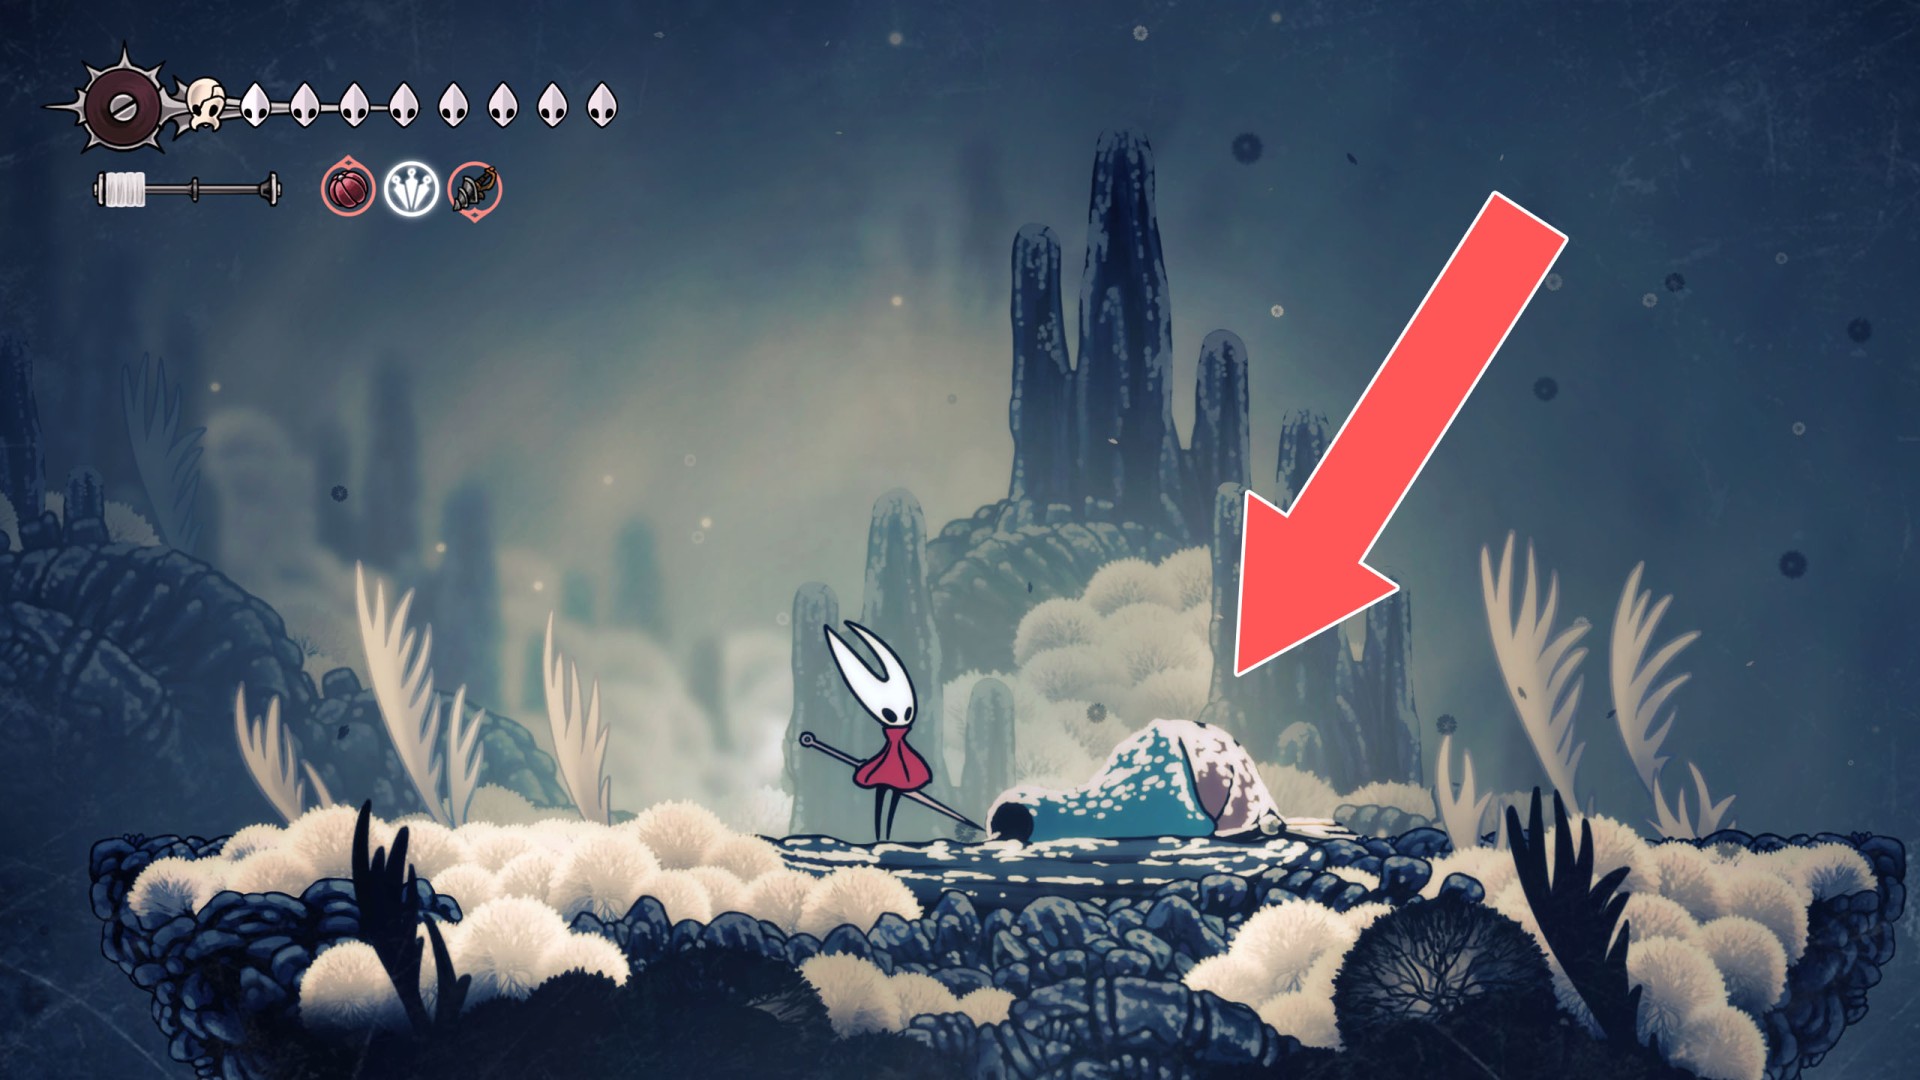
31Plasmified Zango
Act 3.
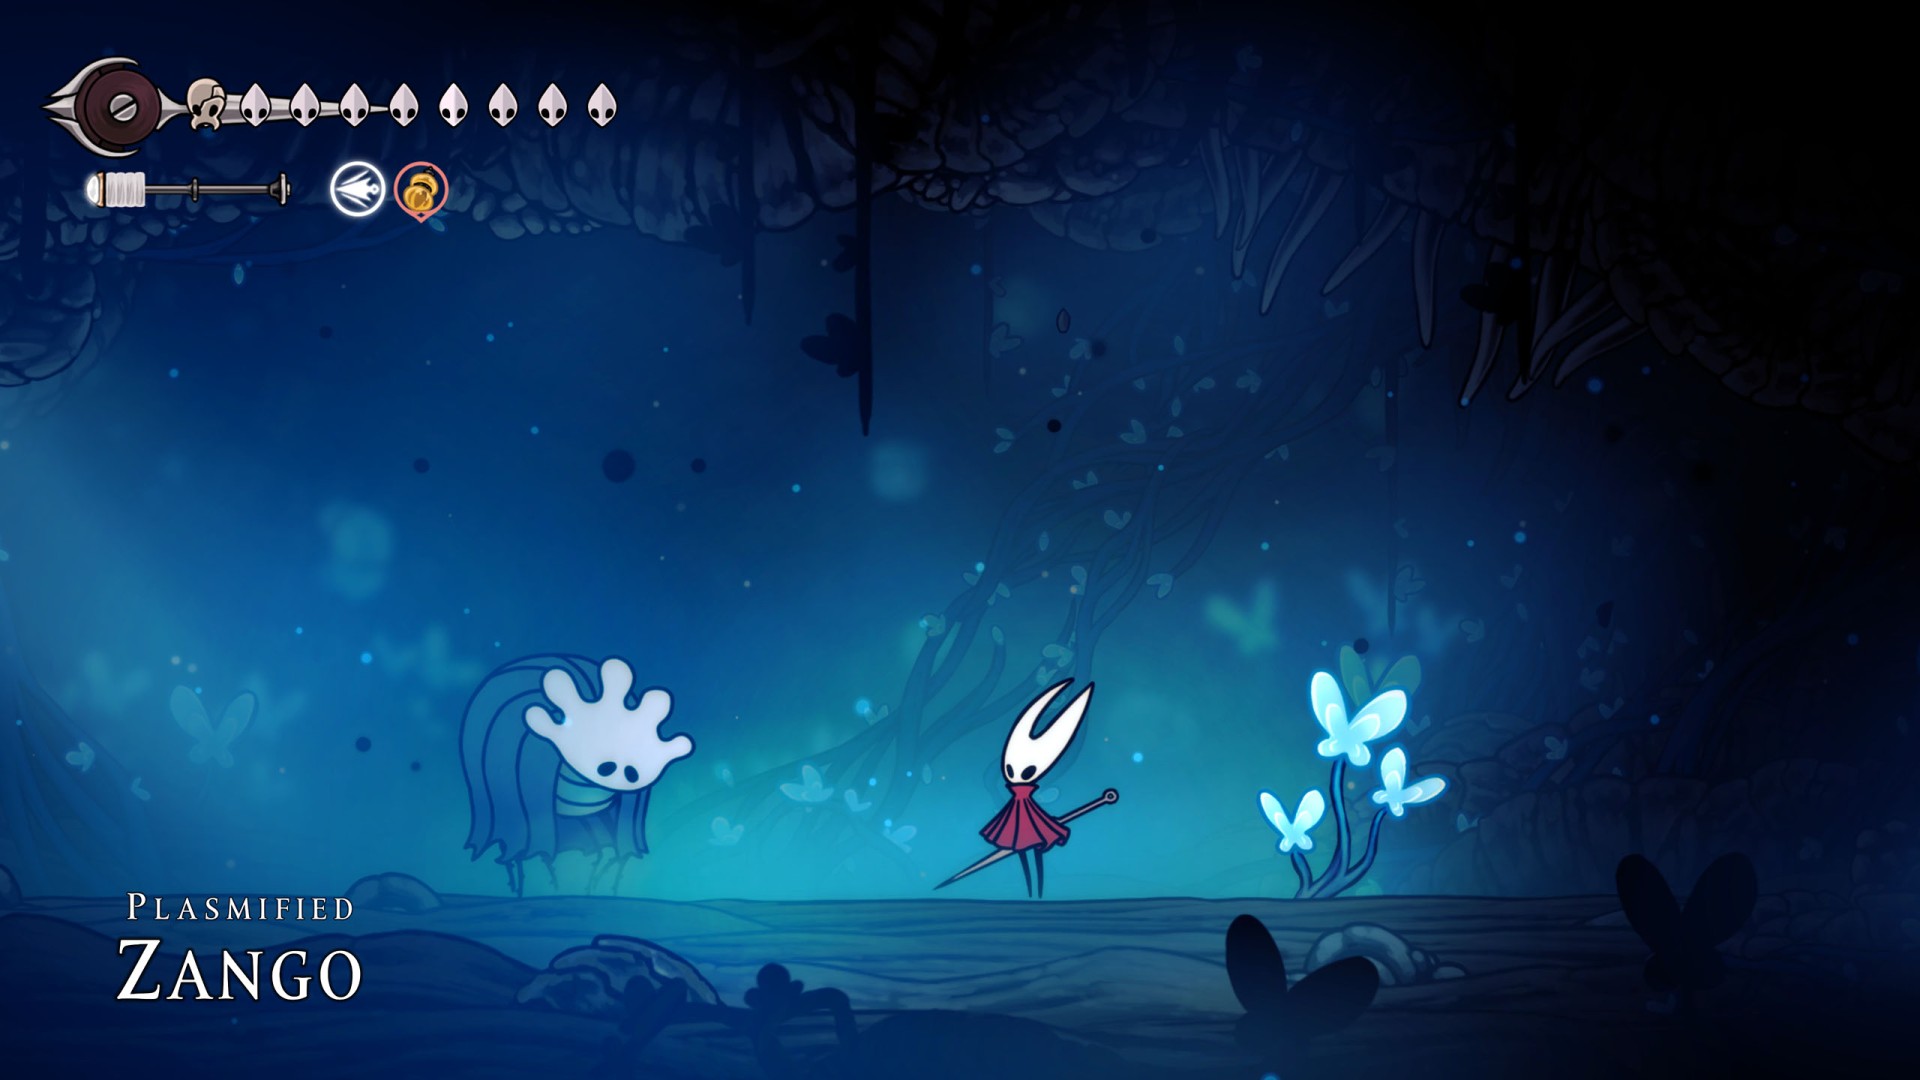
32Raging Conchfly
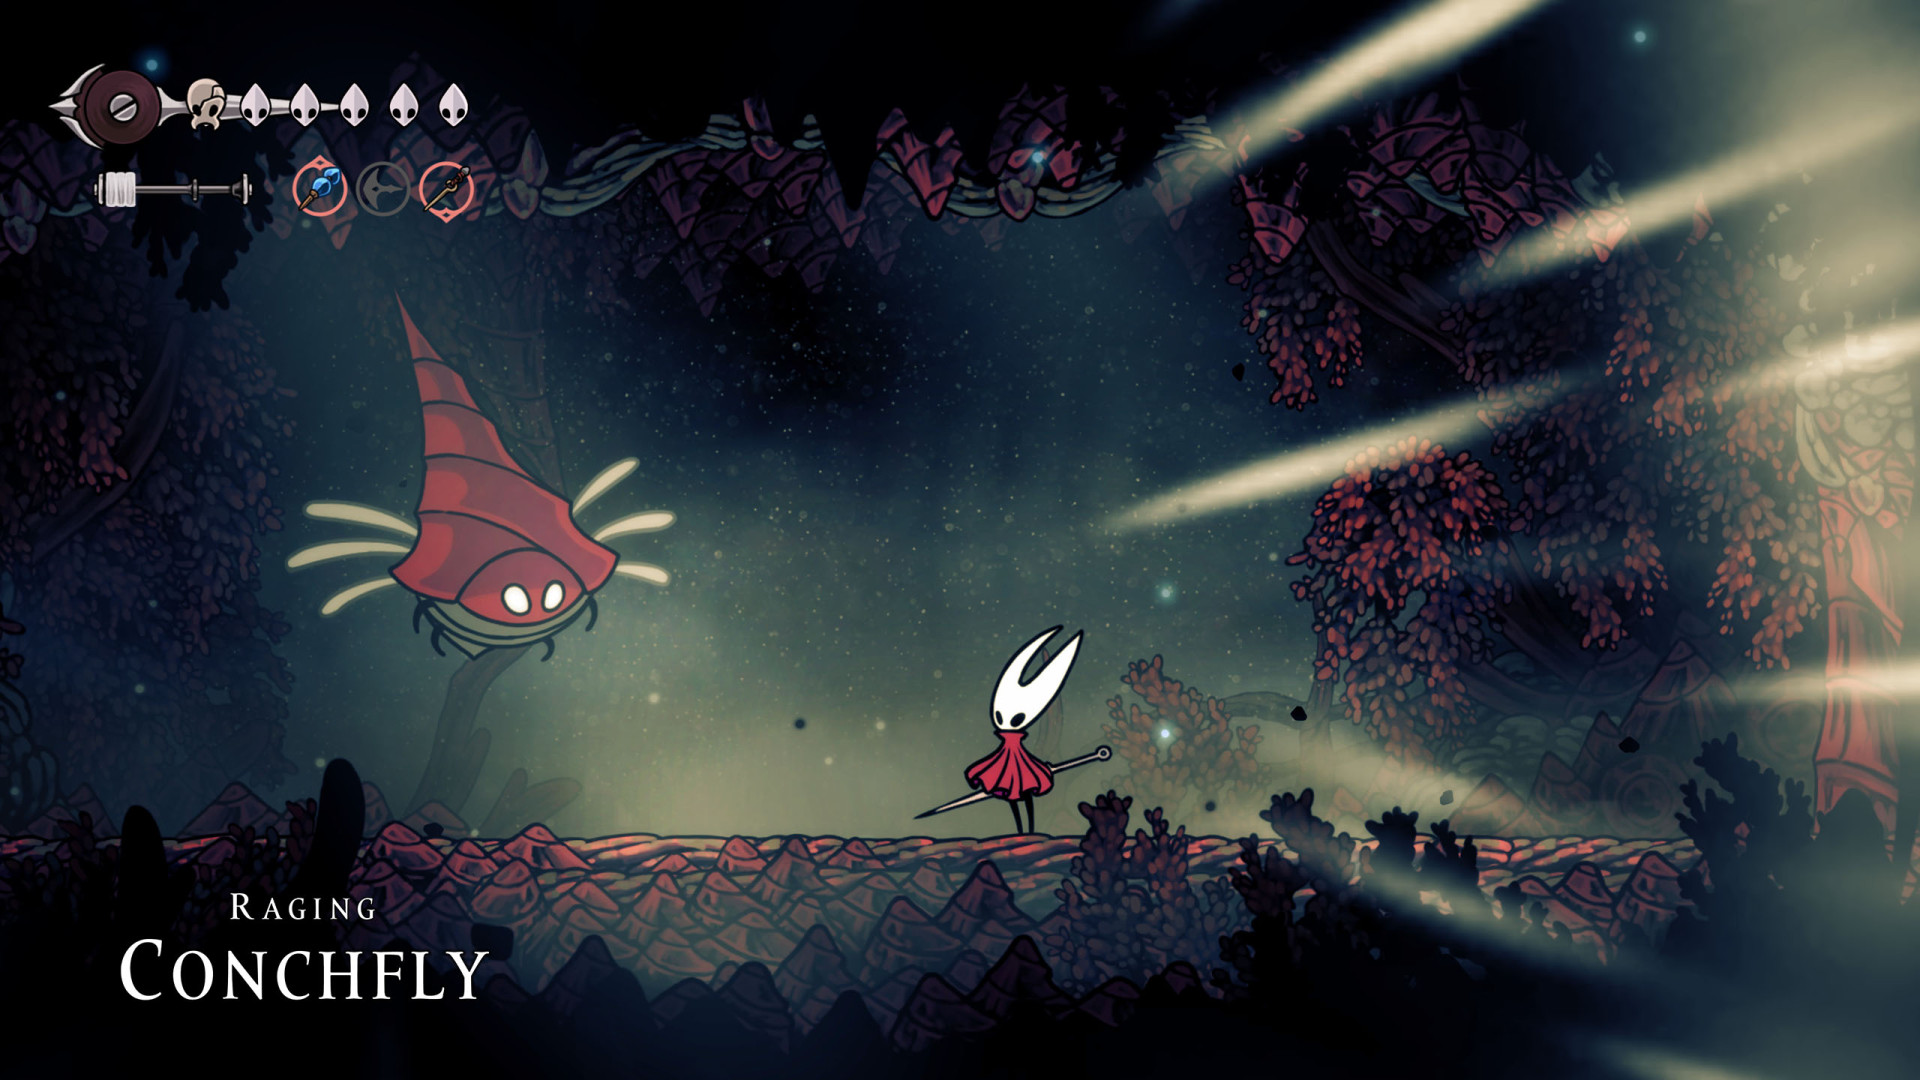
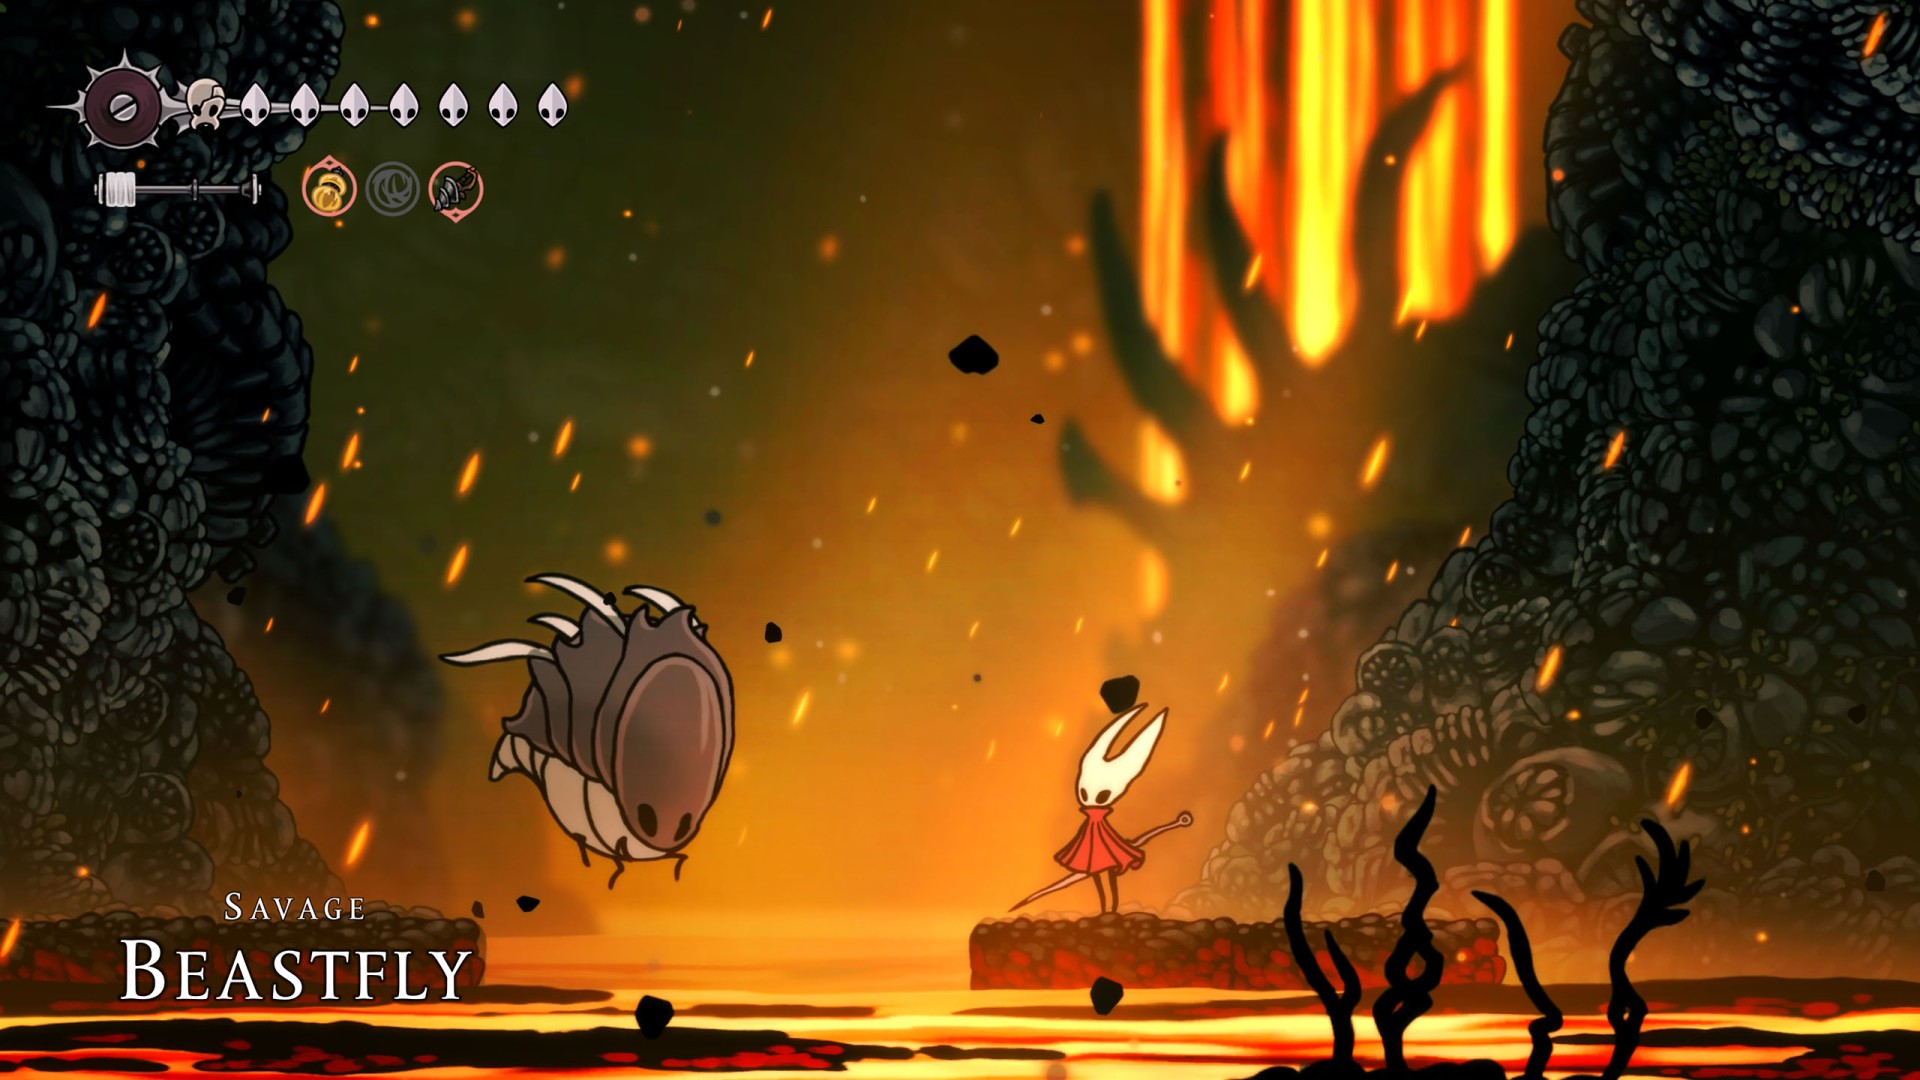
33Savage Beastfly
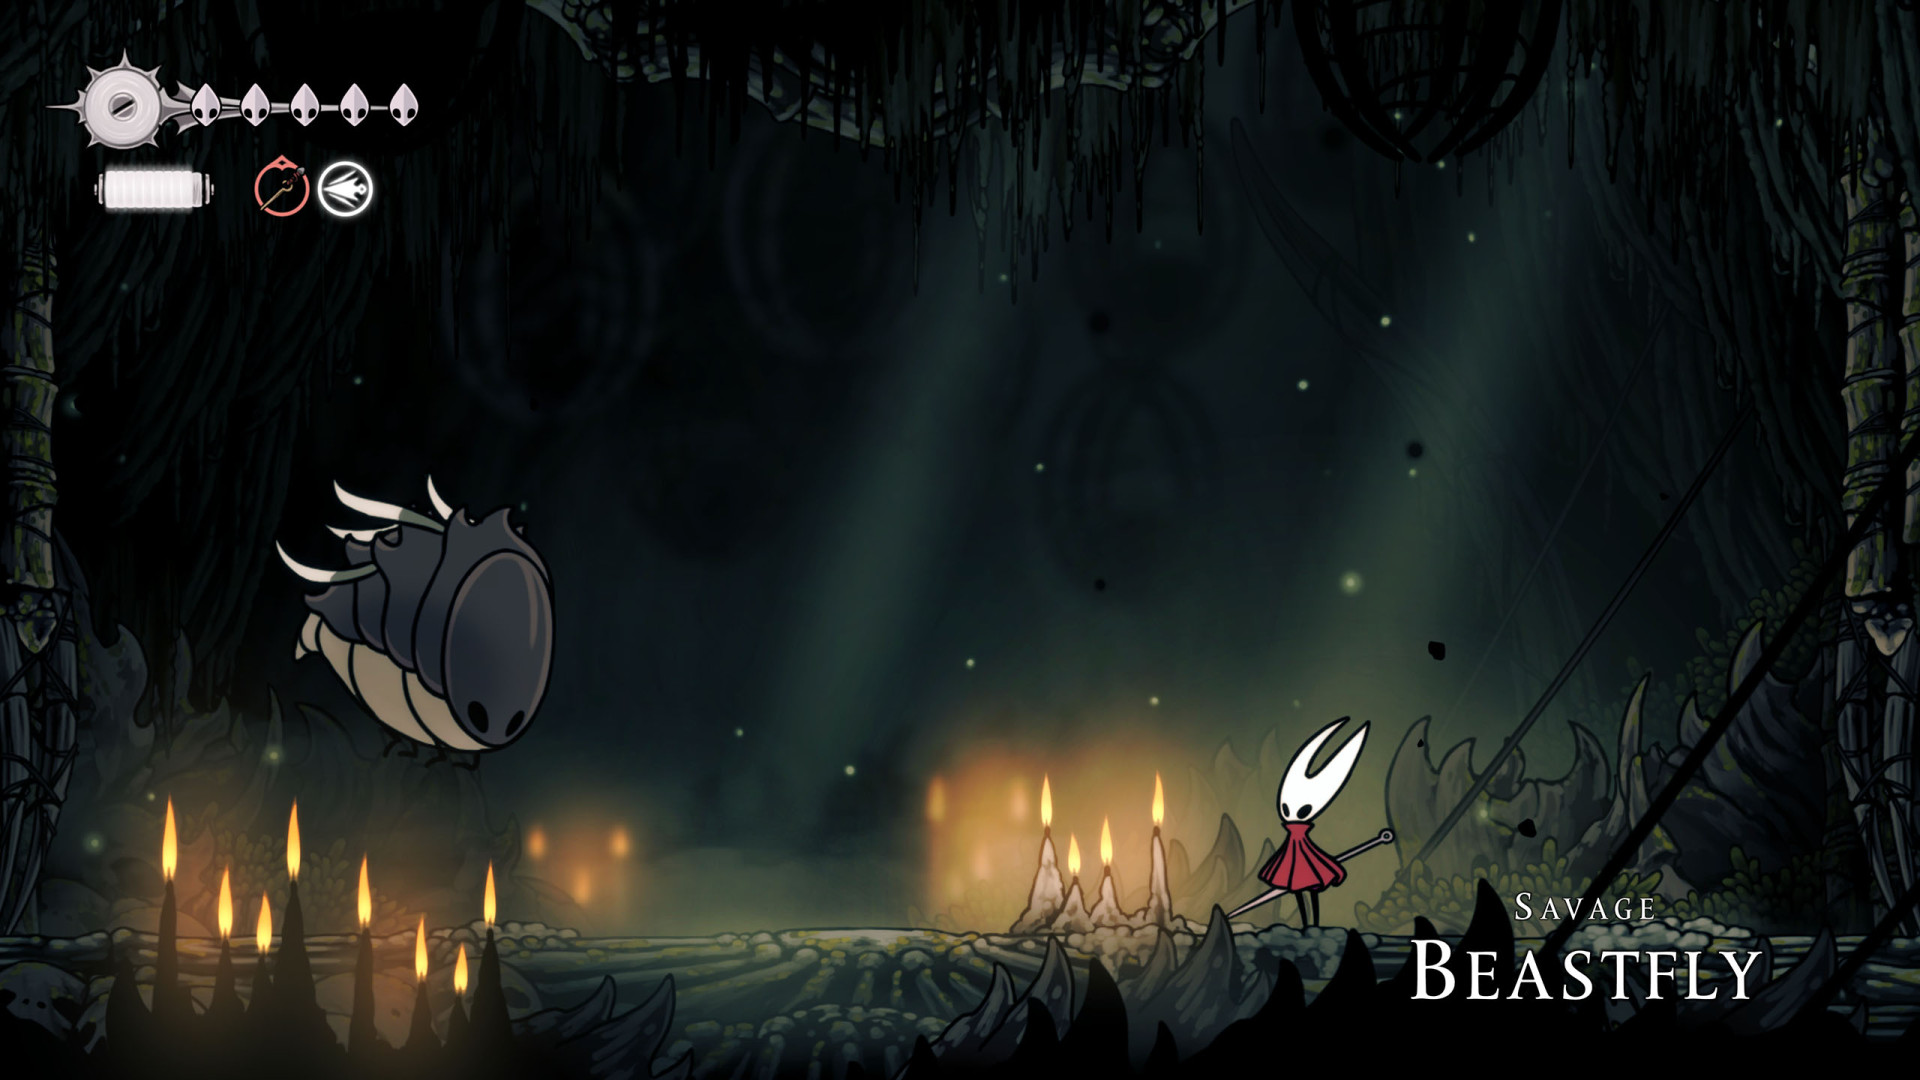
34Savage Beastfly
Objective of the Savage Beastfly wish.
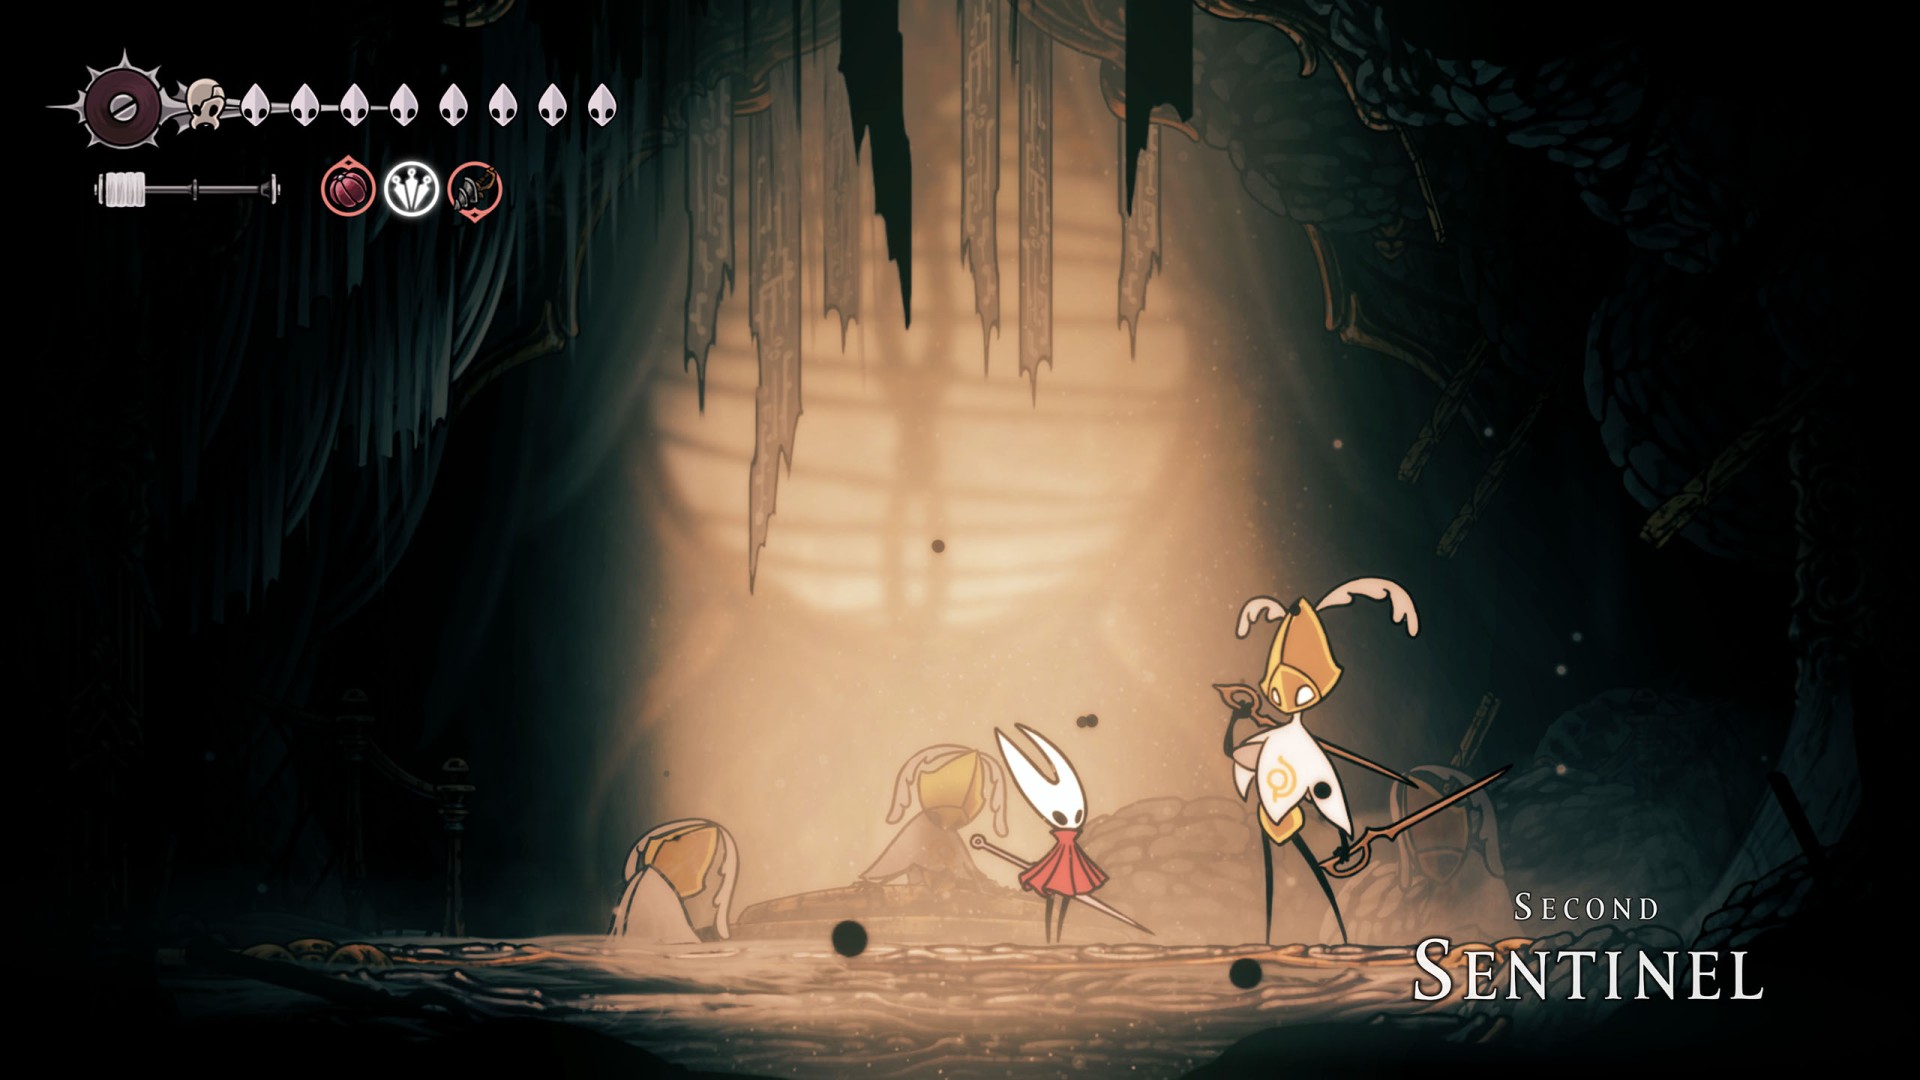
35Second Sentinel
You will encounter him here and will have to defeat him to complete the Final Audience wish.
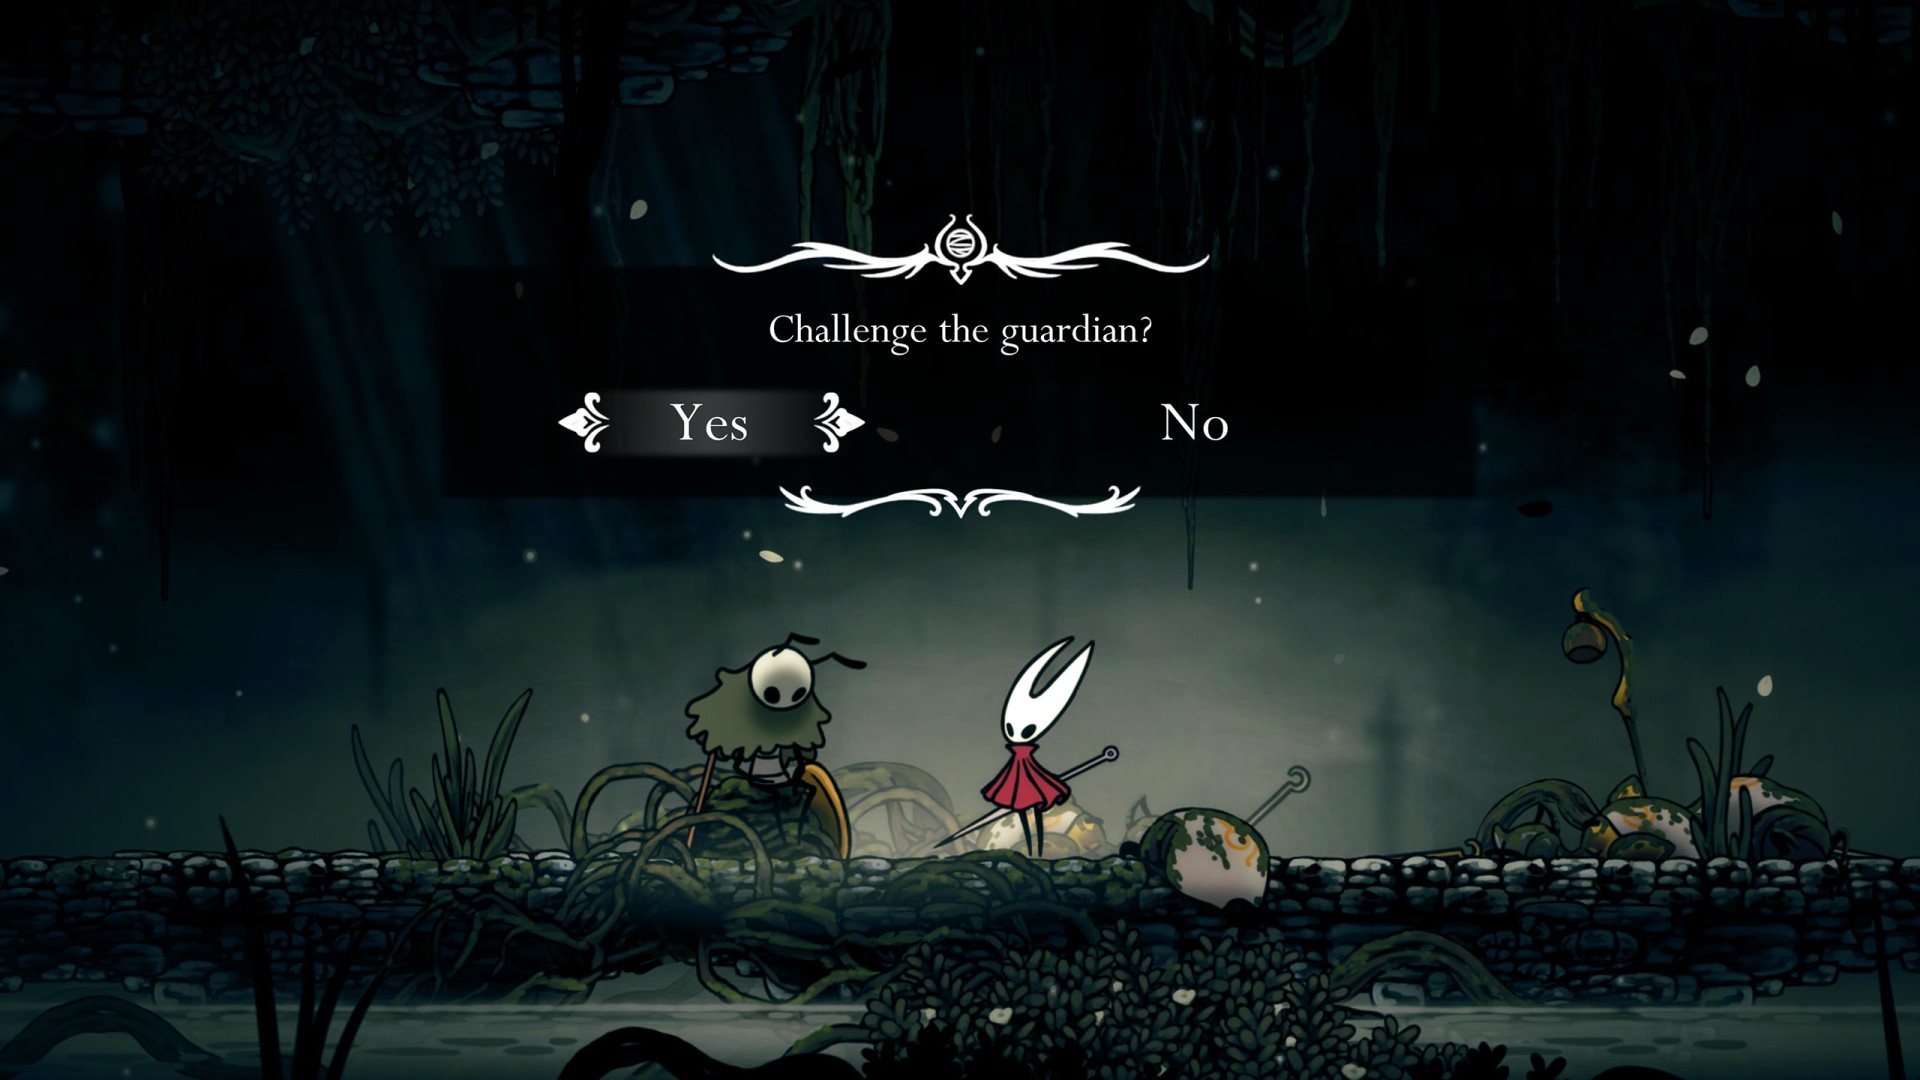
36Shrine Guardian Seth
37Sister Splinter
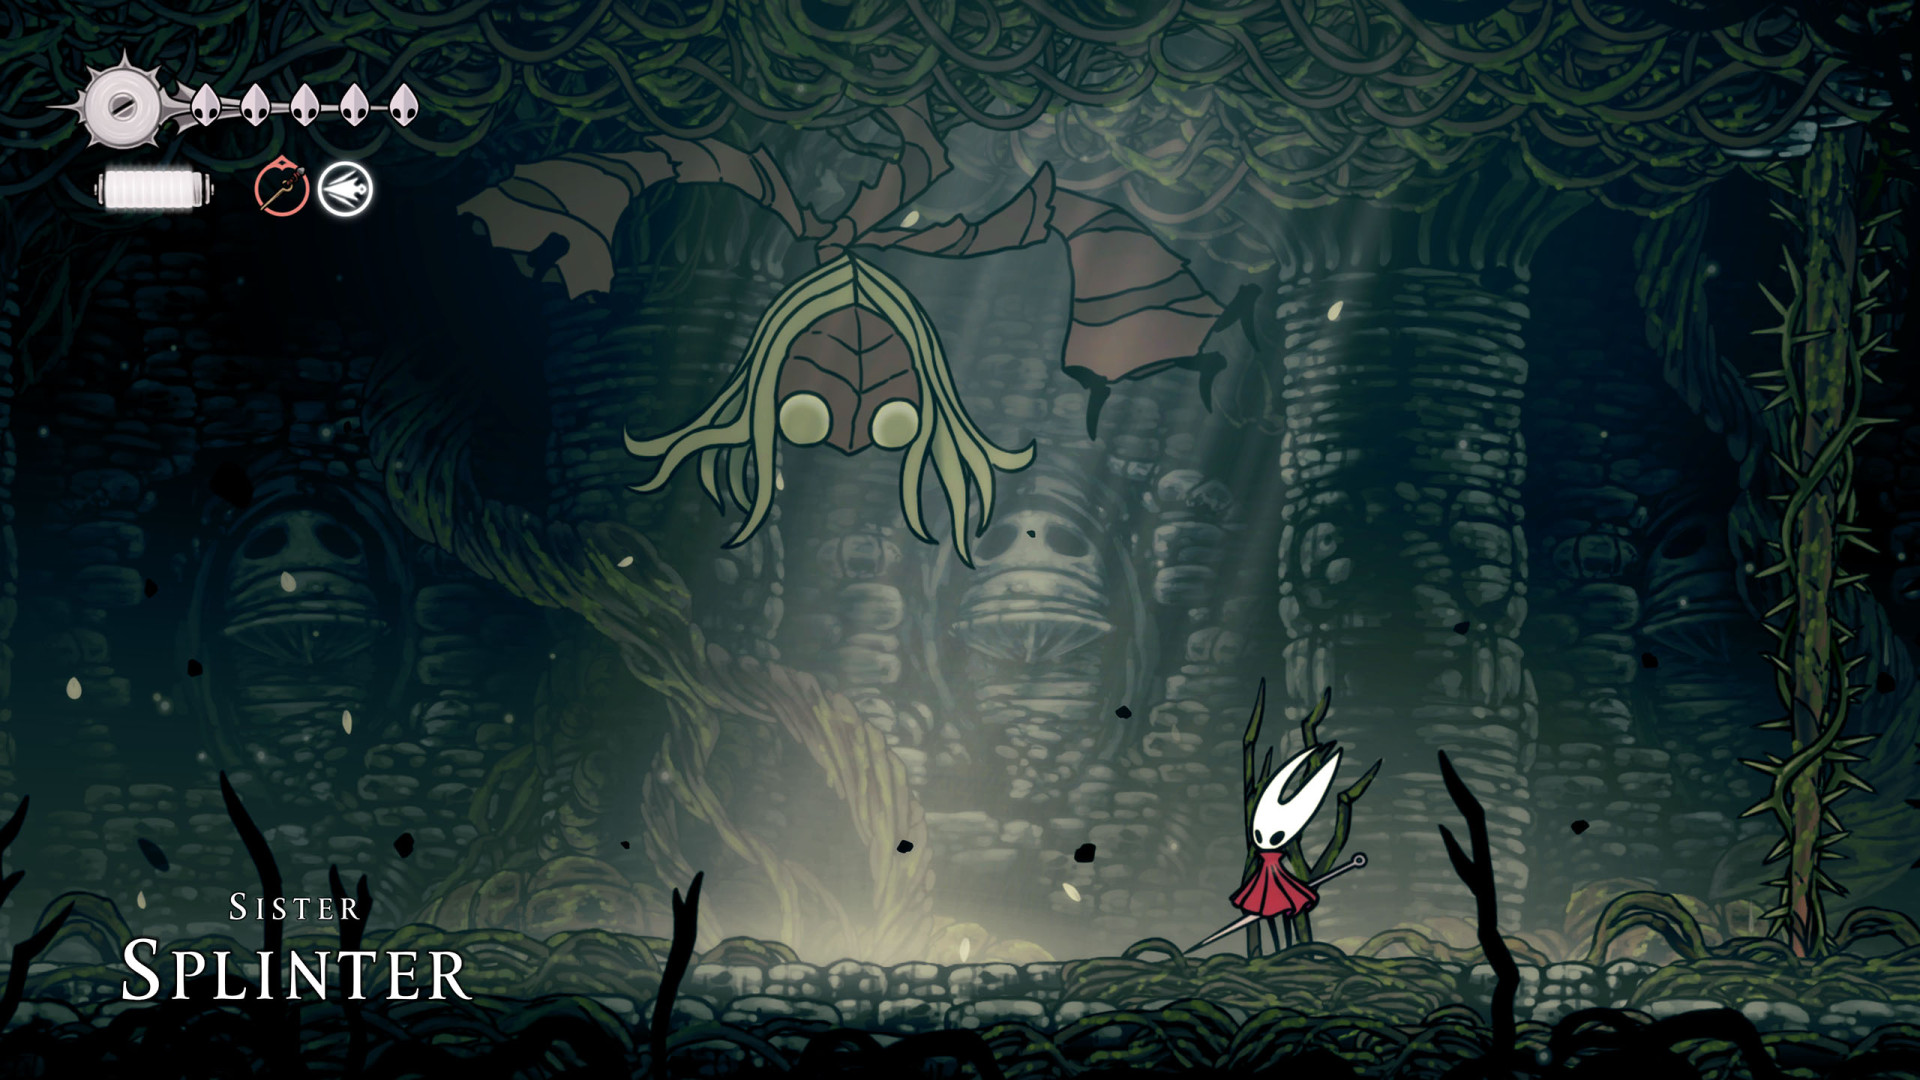
38Skarrsinger Karmelita
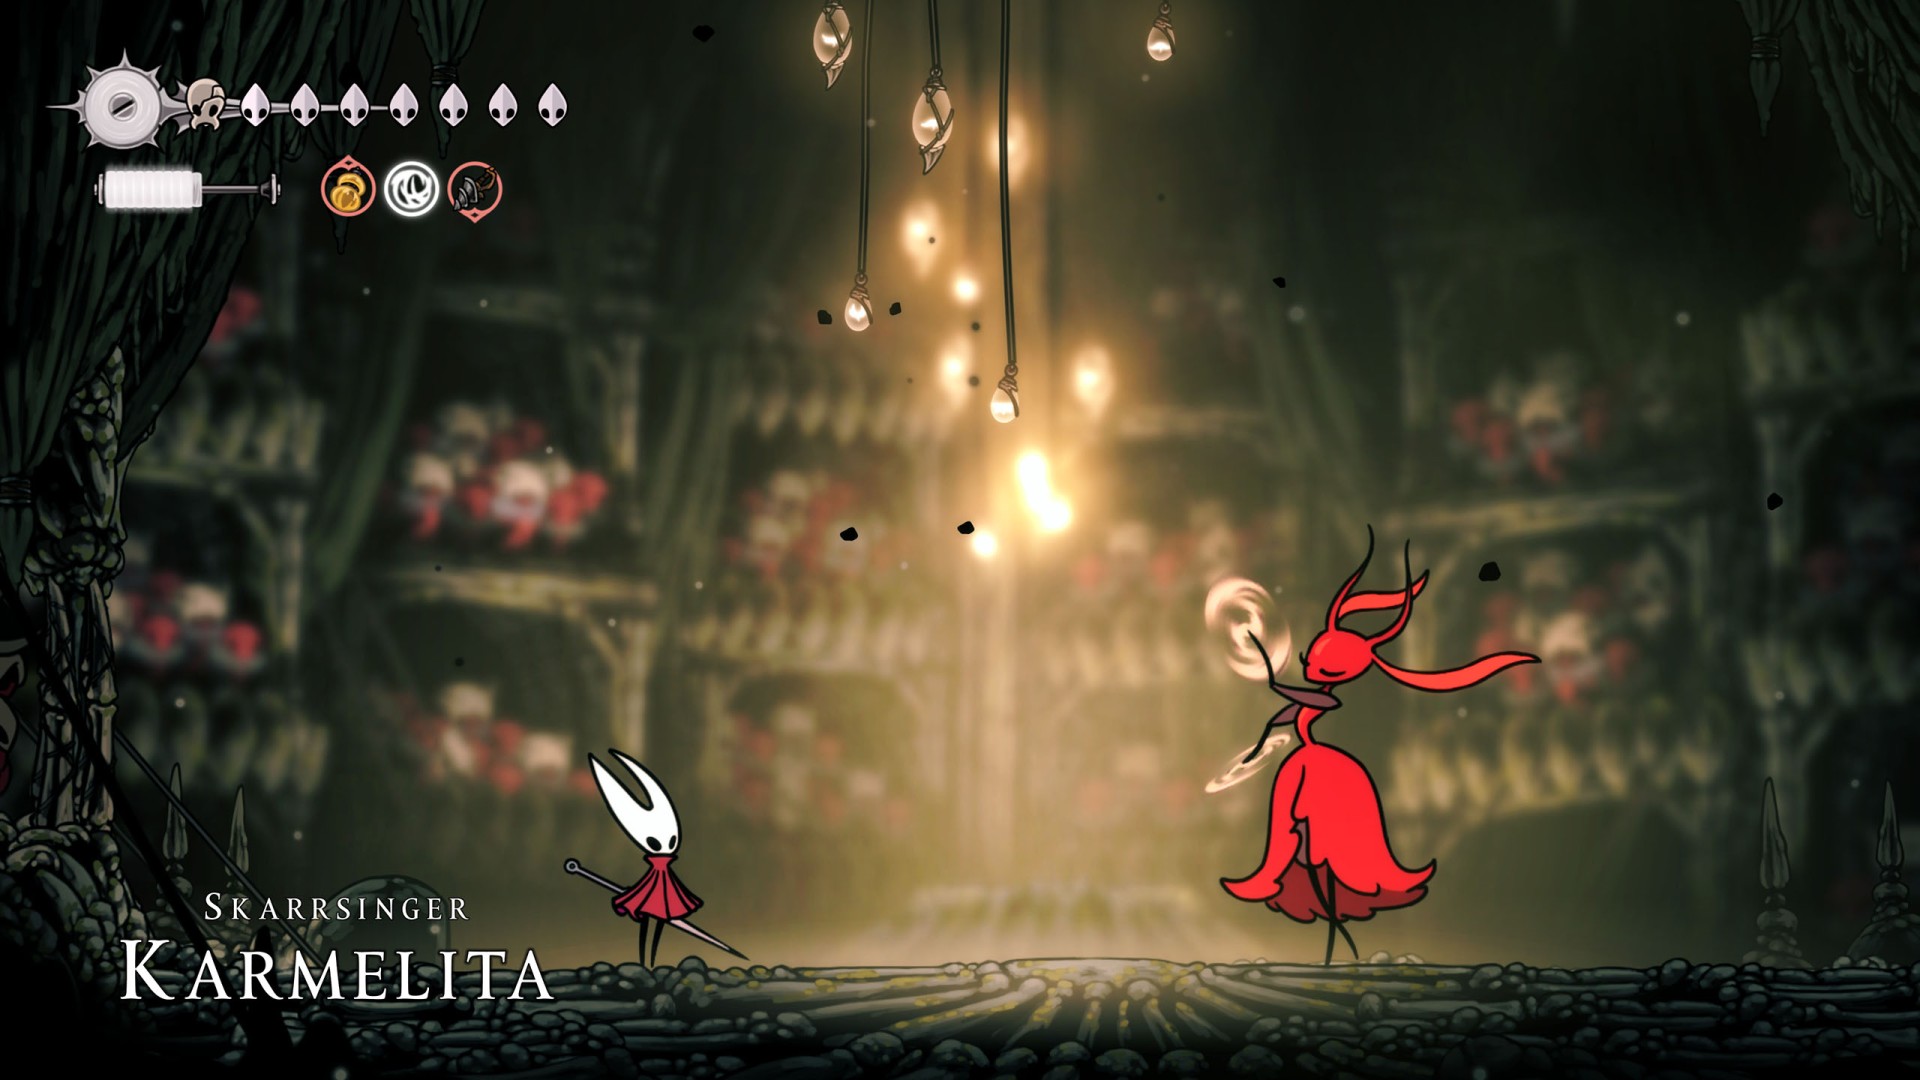
39Skull Tyrant (1)
Hit the skull to start the fight. Objective of theThe Terrible Tyrant wish.
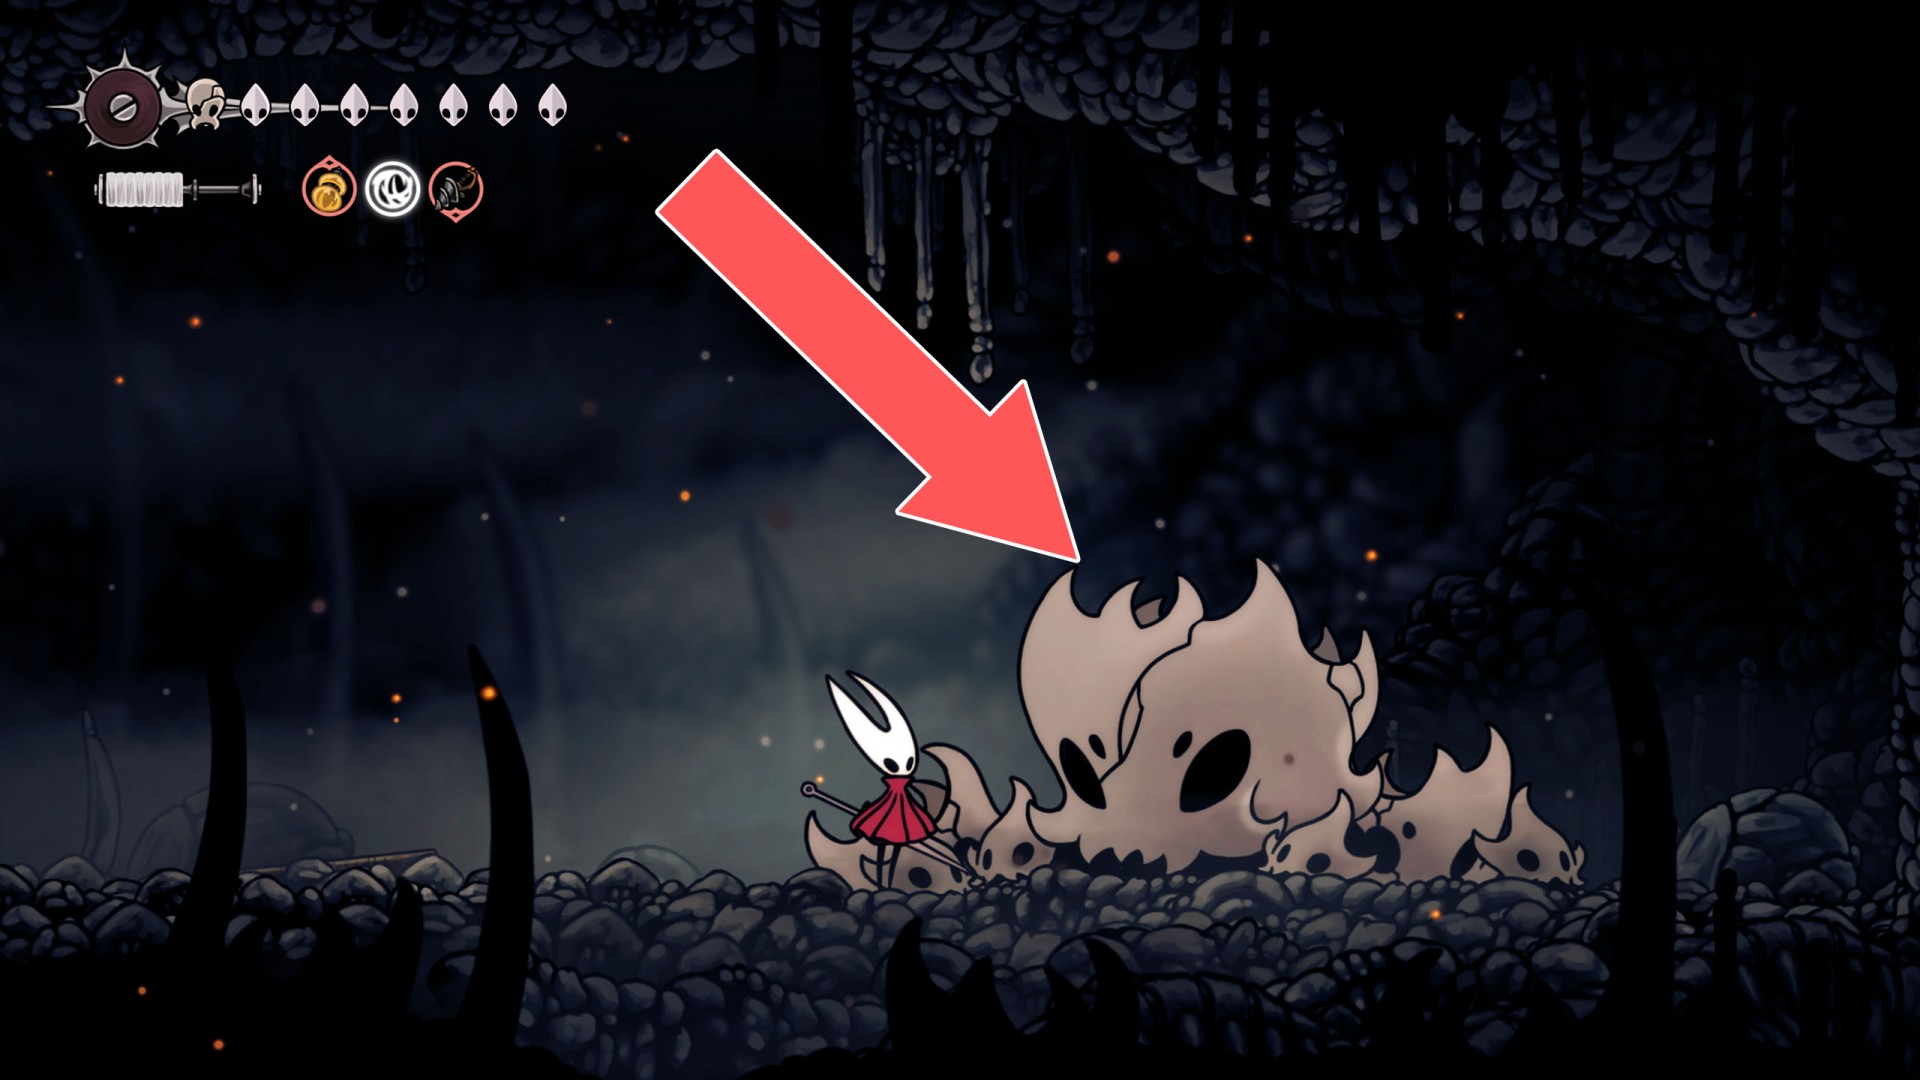
40Skull Tyrant (2)
There is a chance that after defeating the first Skull Tyrant another one will spawn here some time later, after resting at the bench located here.
41Summoned Saviour
Show the map

42The Unravelled
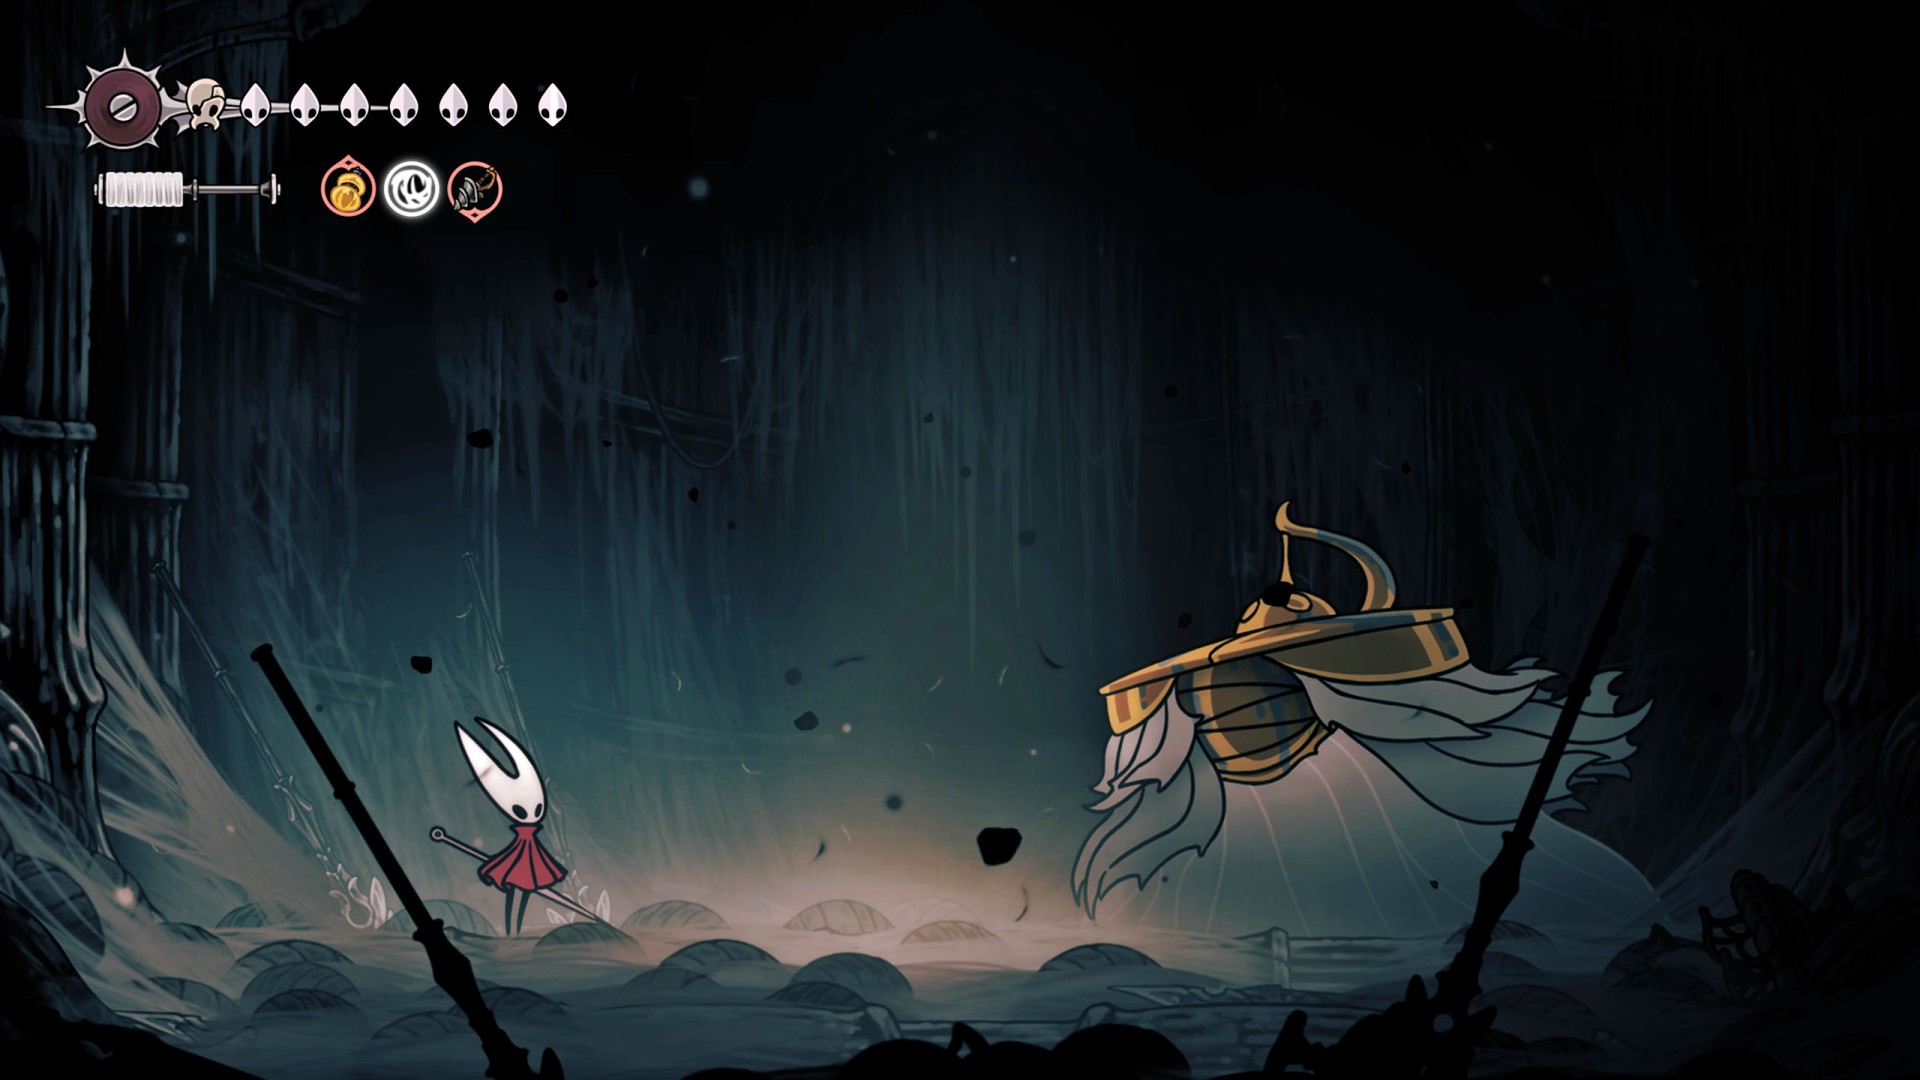
43Tormented Trobbio
You will encounter him here and will have to defeat him to complete the Pain, Anguish and Misery wish.
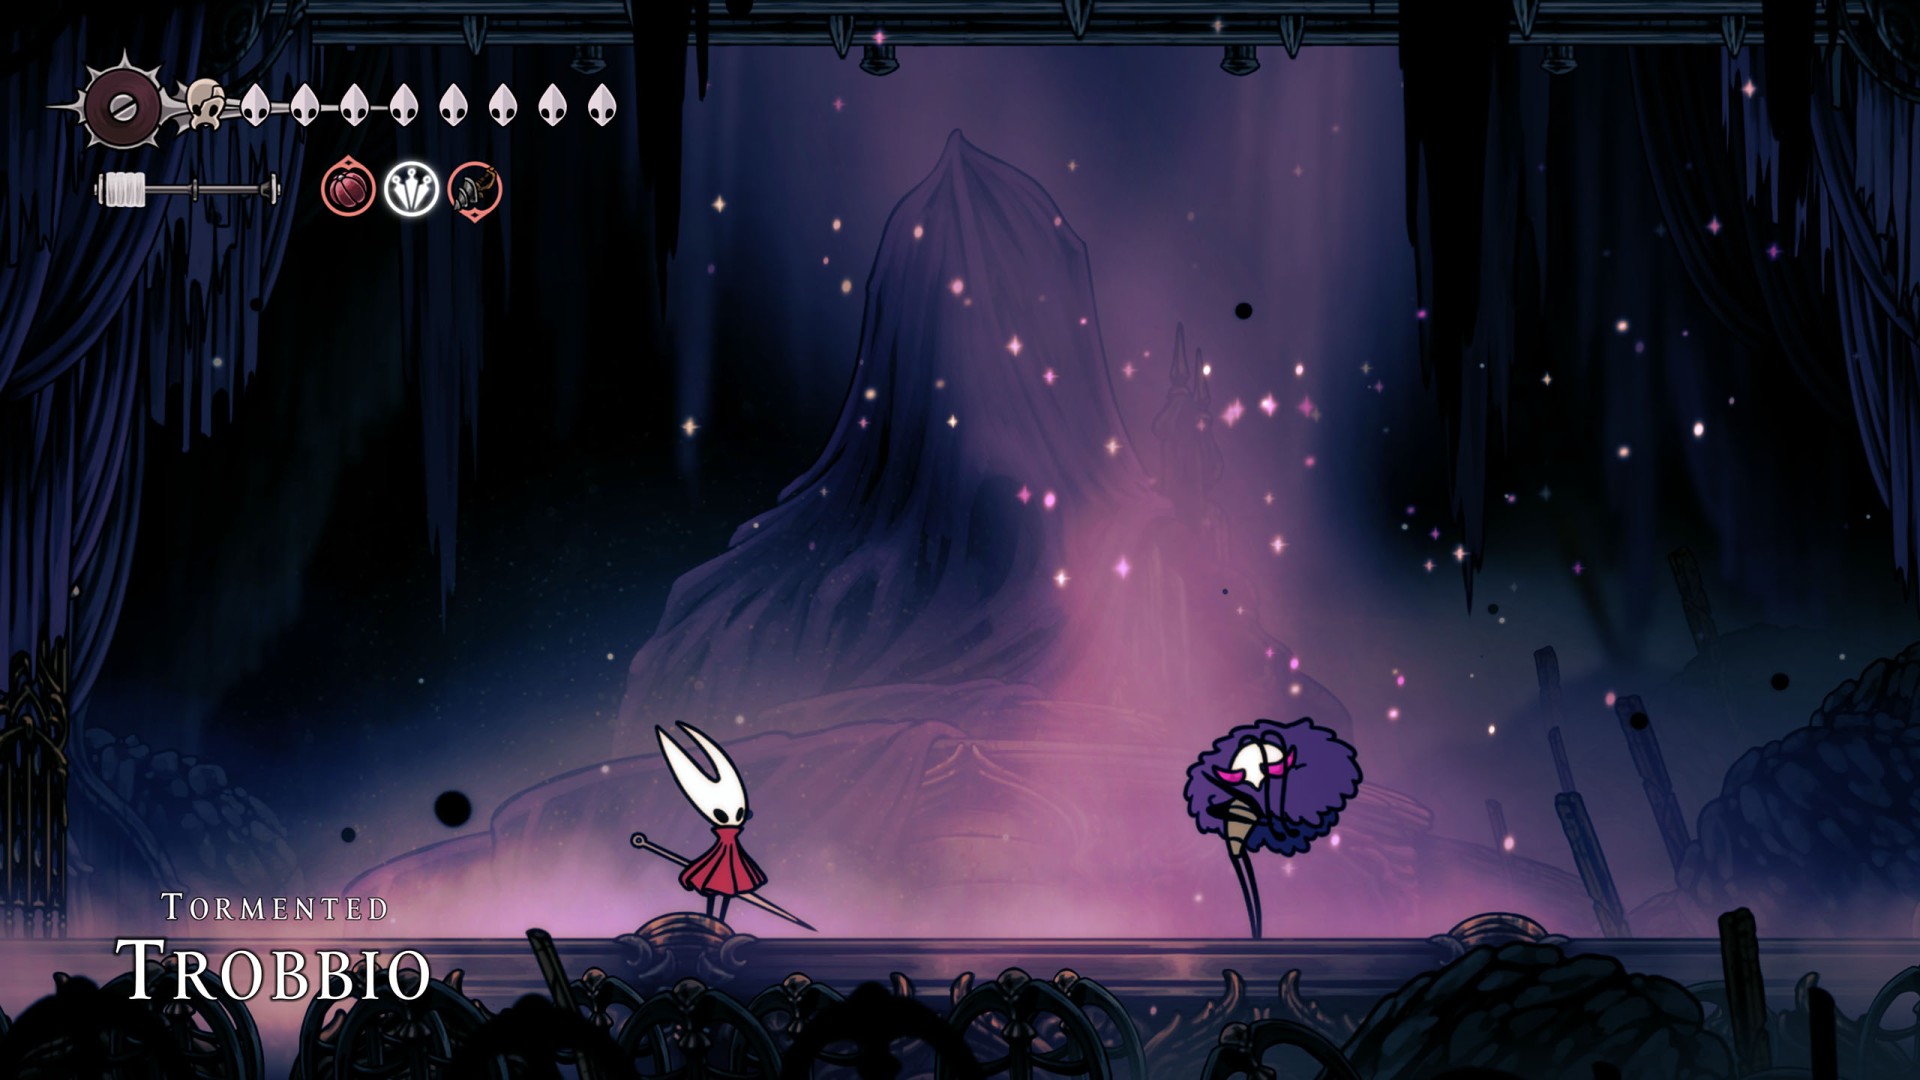
44Trobbio

45Voltvyrm
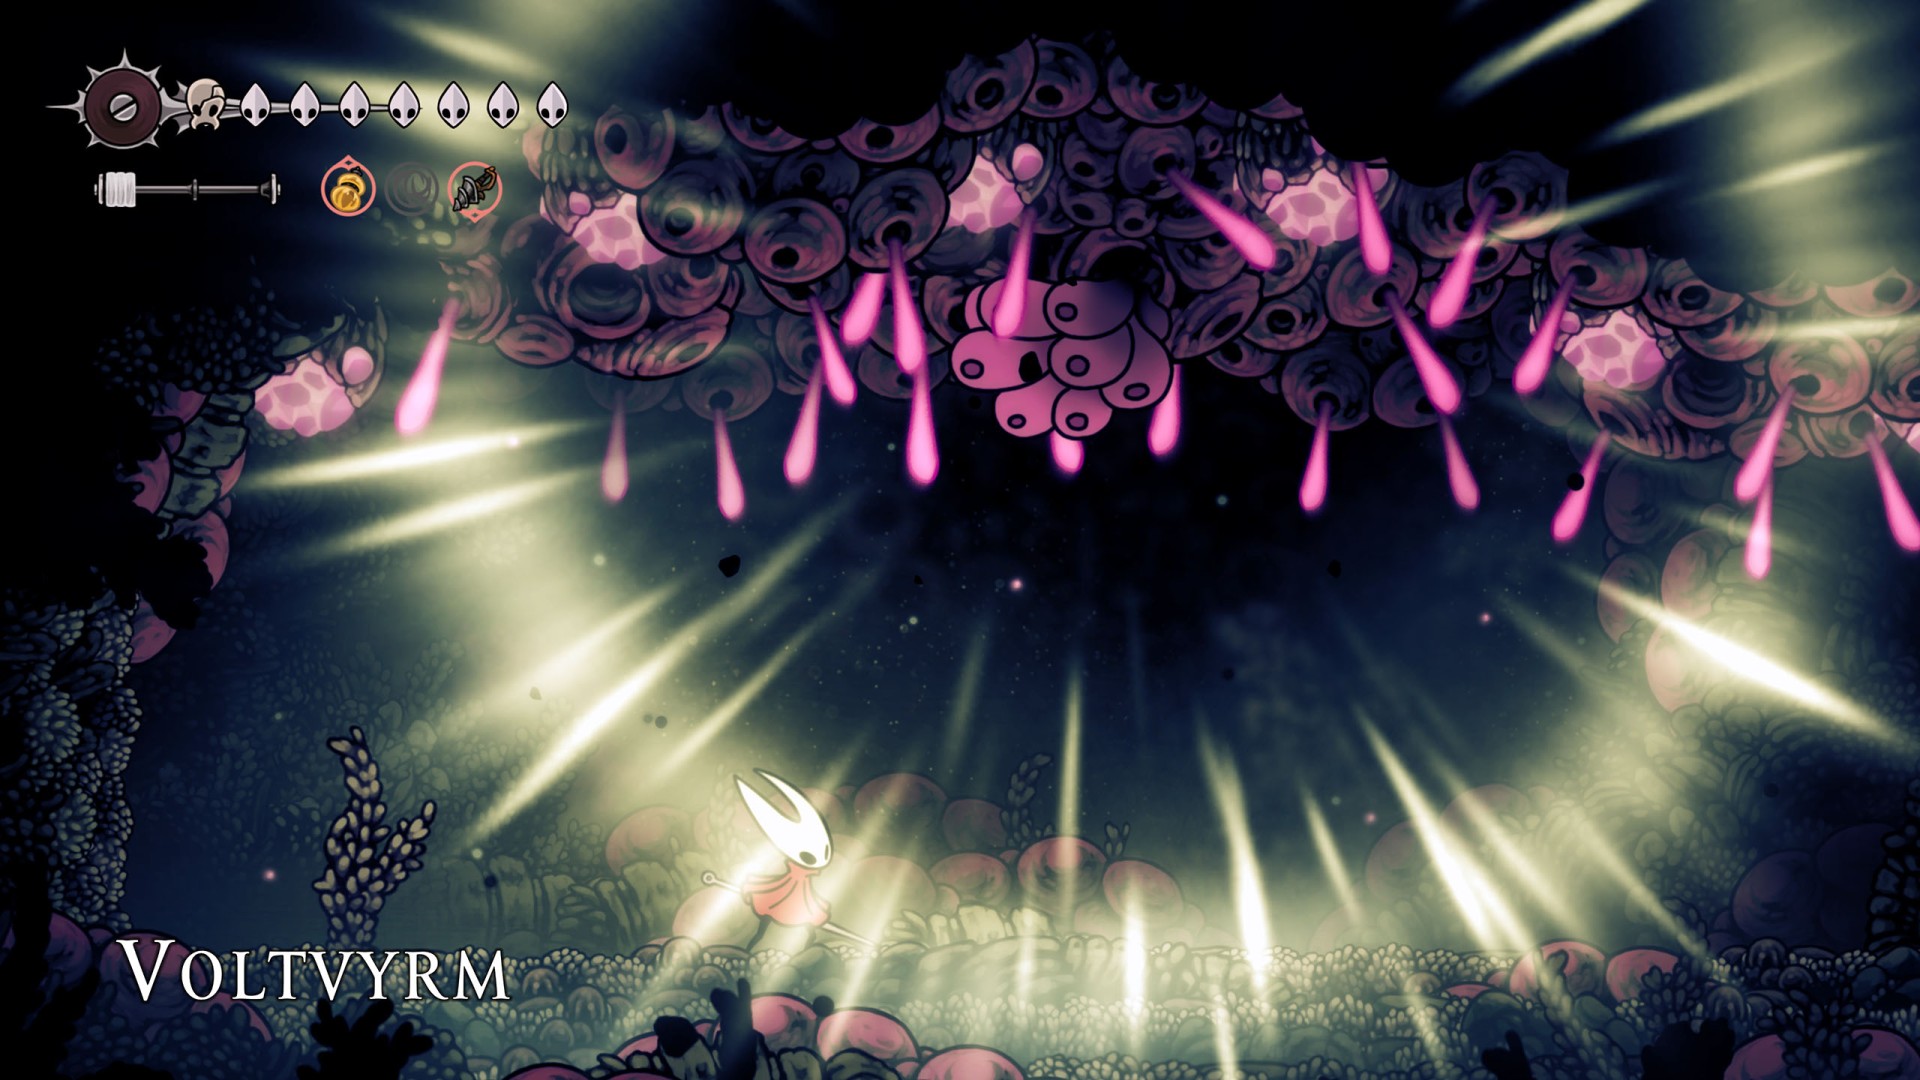
46Watcher at the Edge
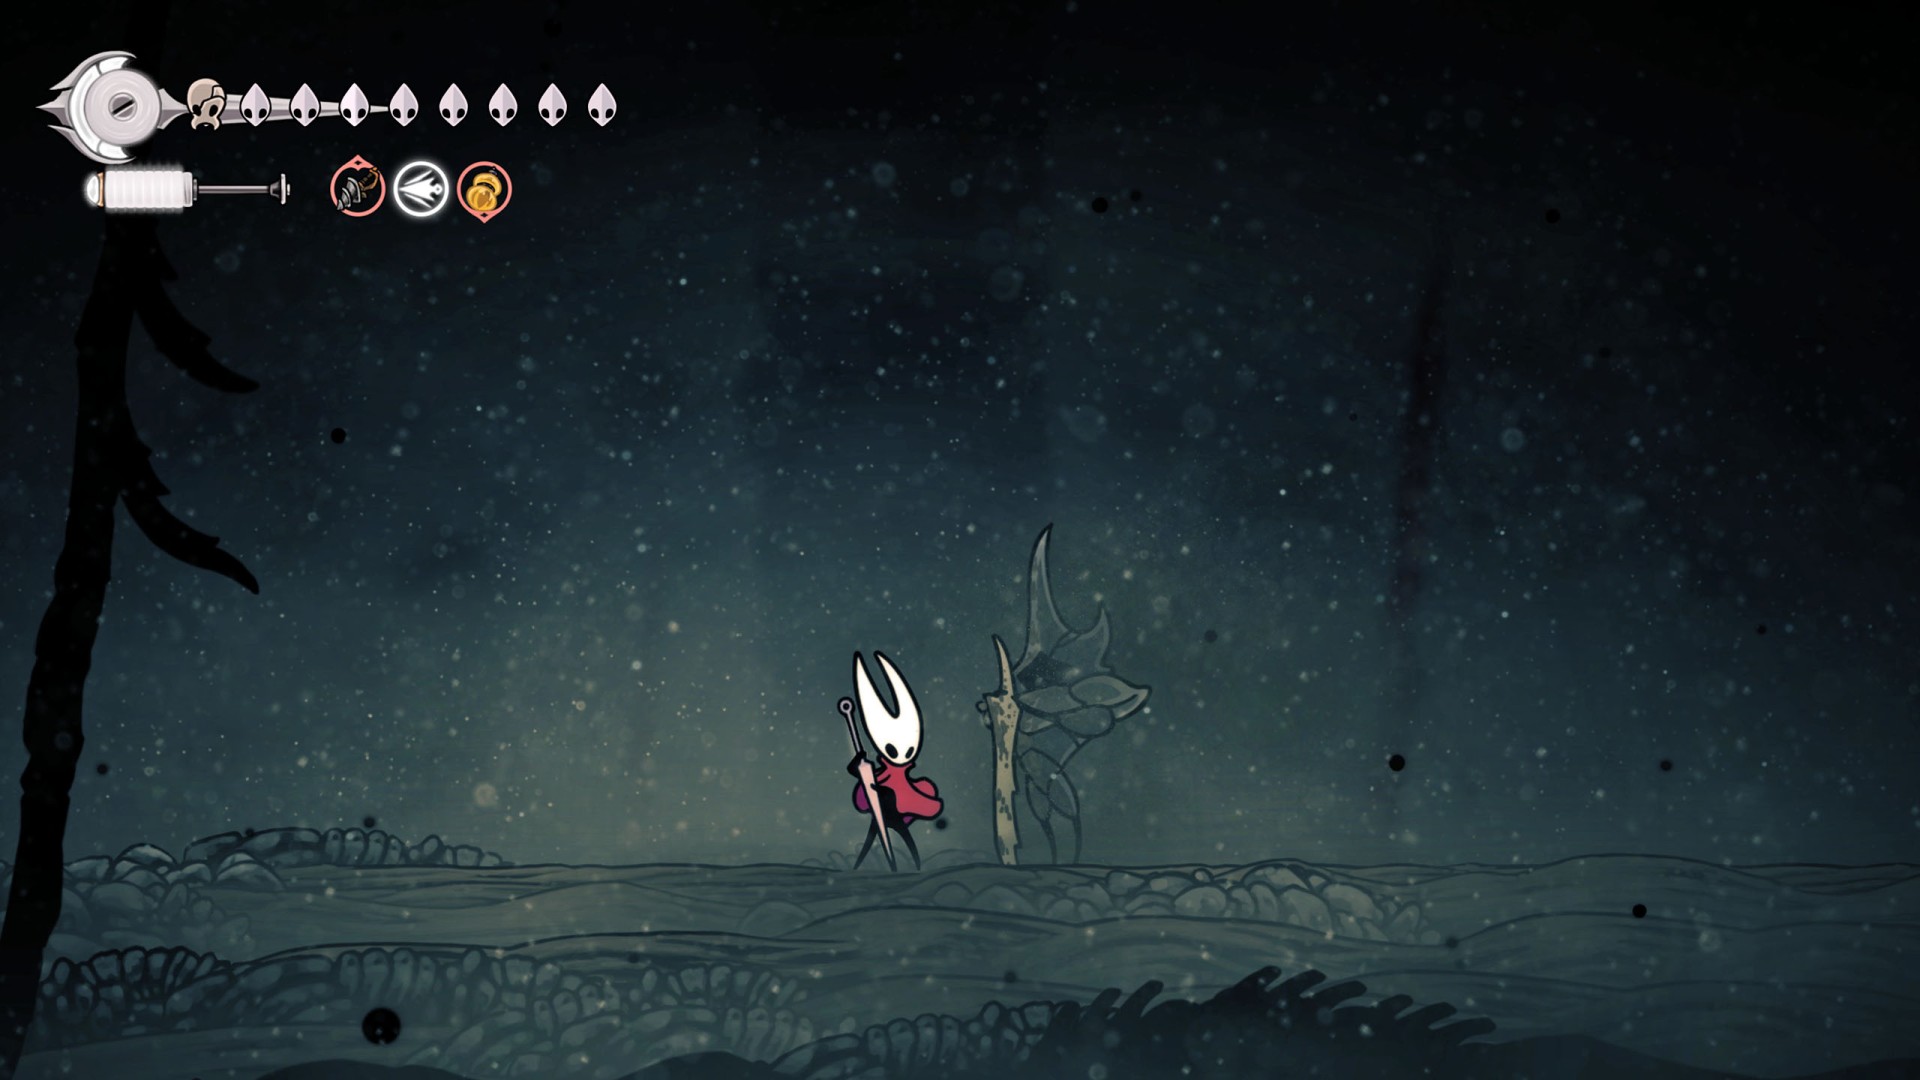
47Widow