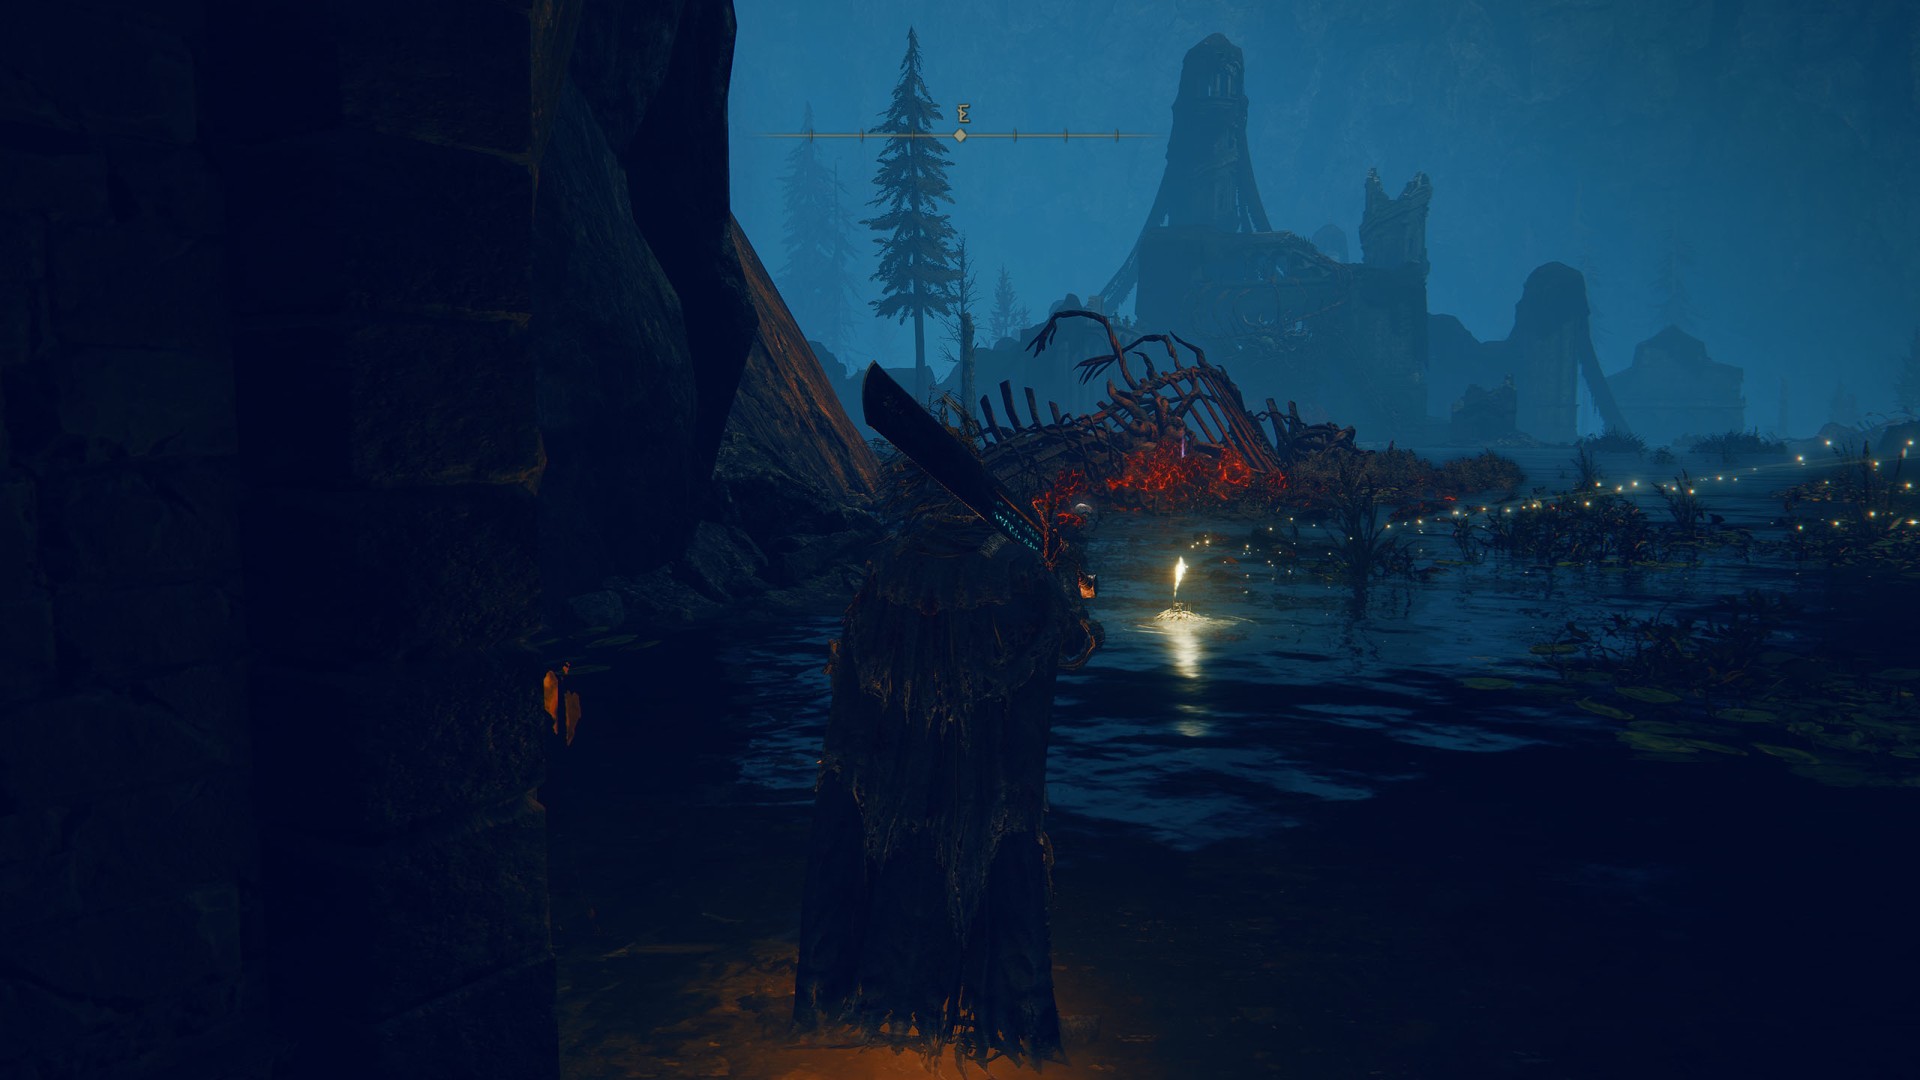
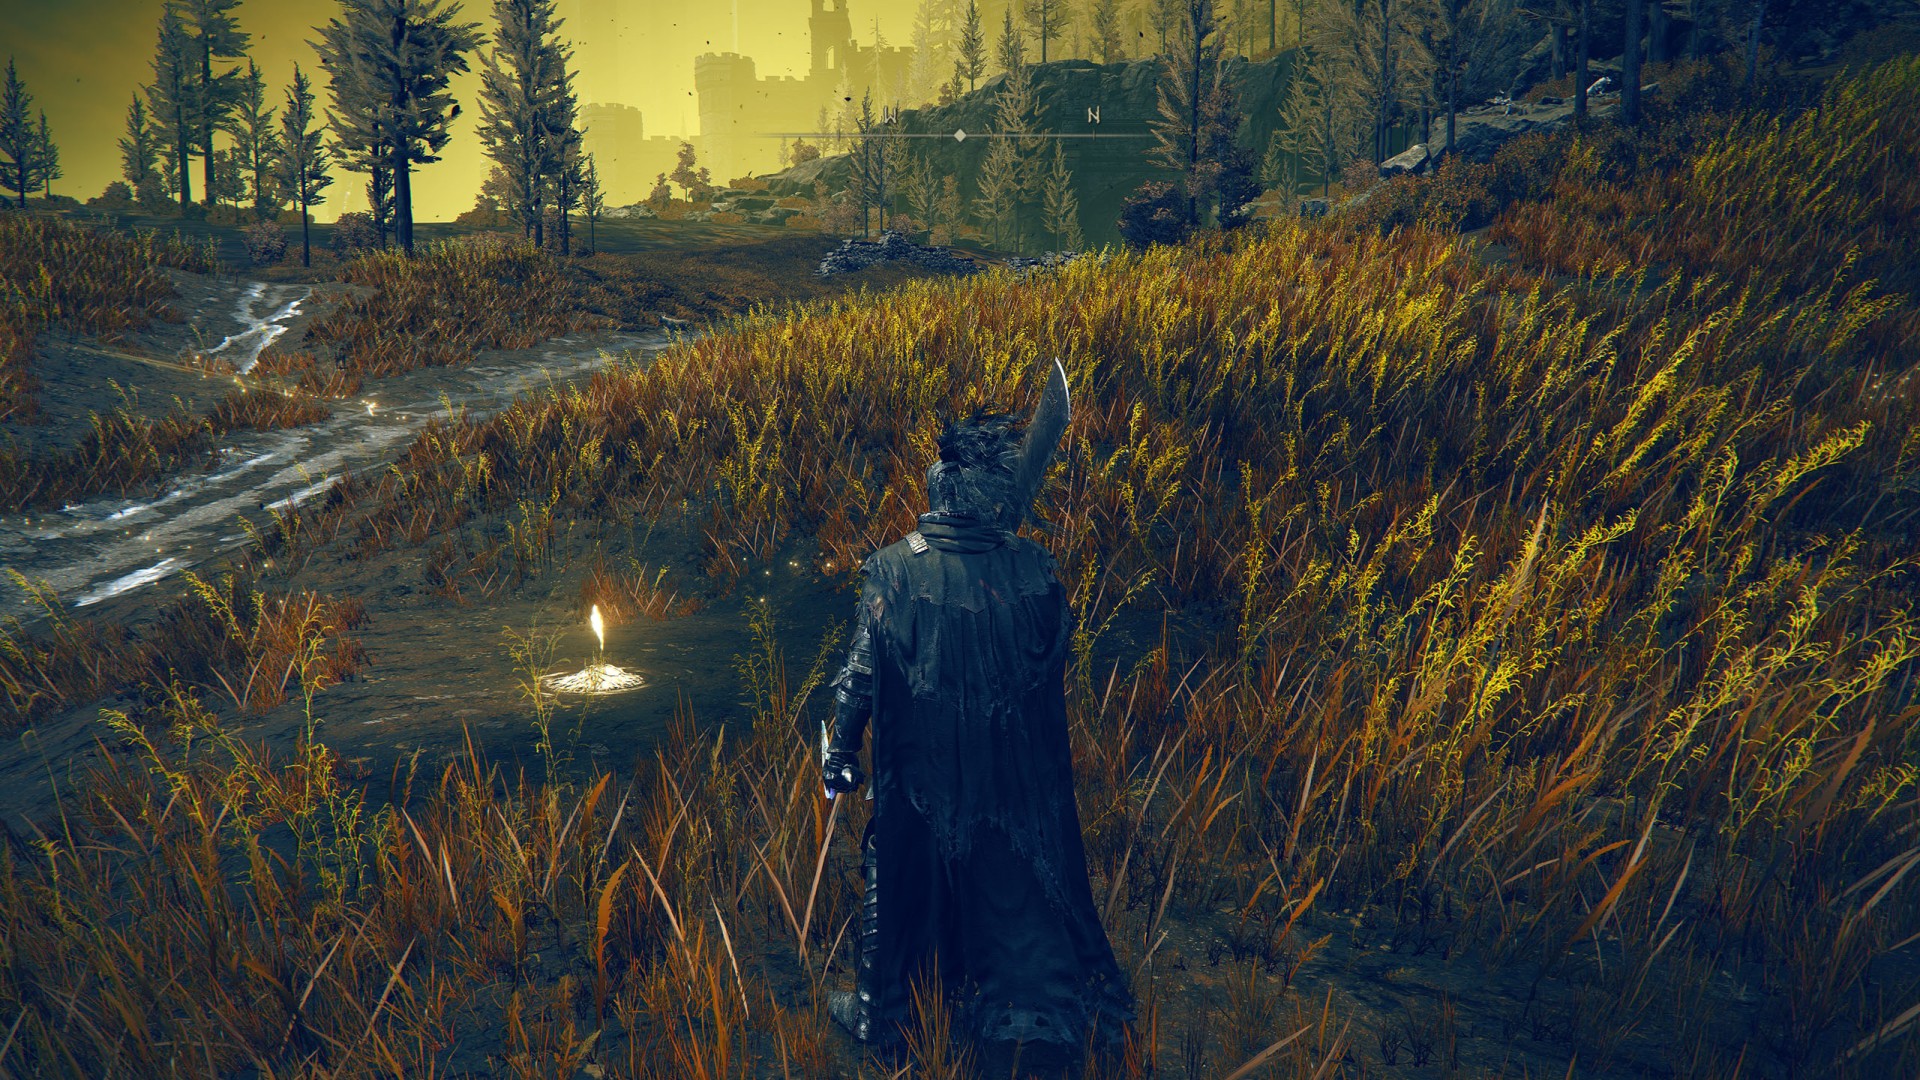
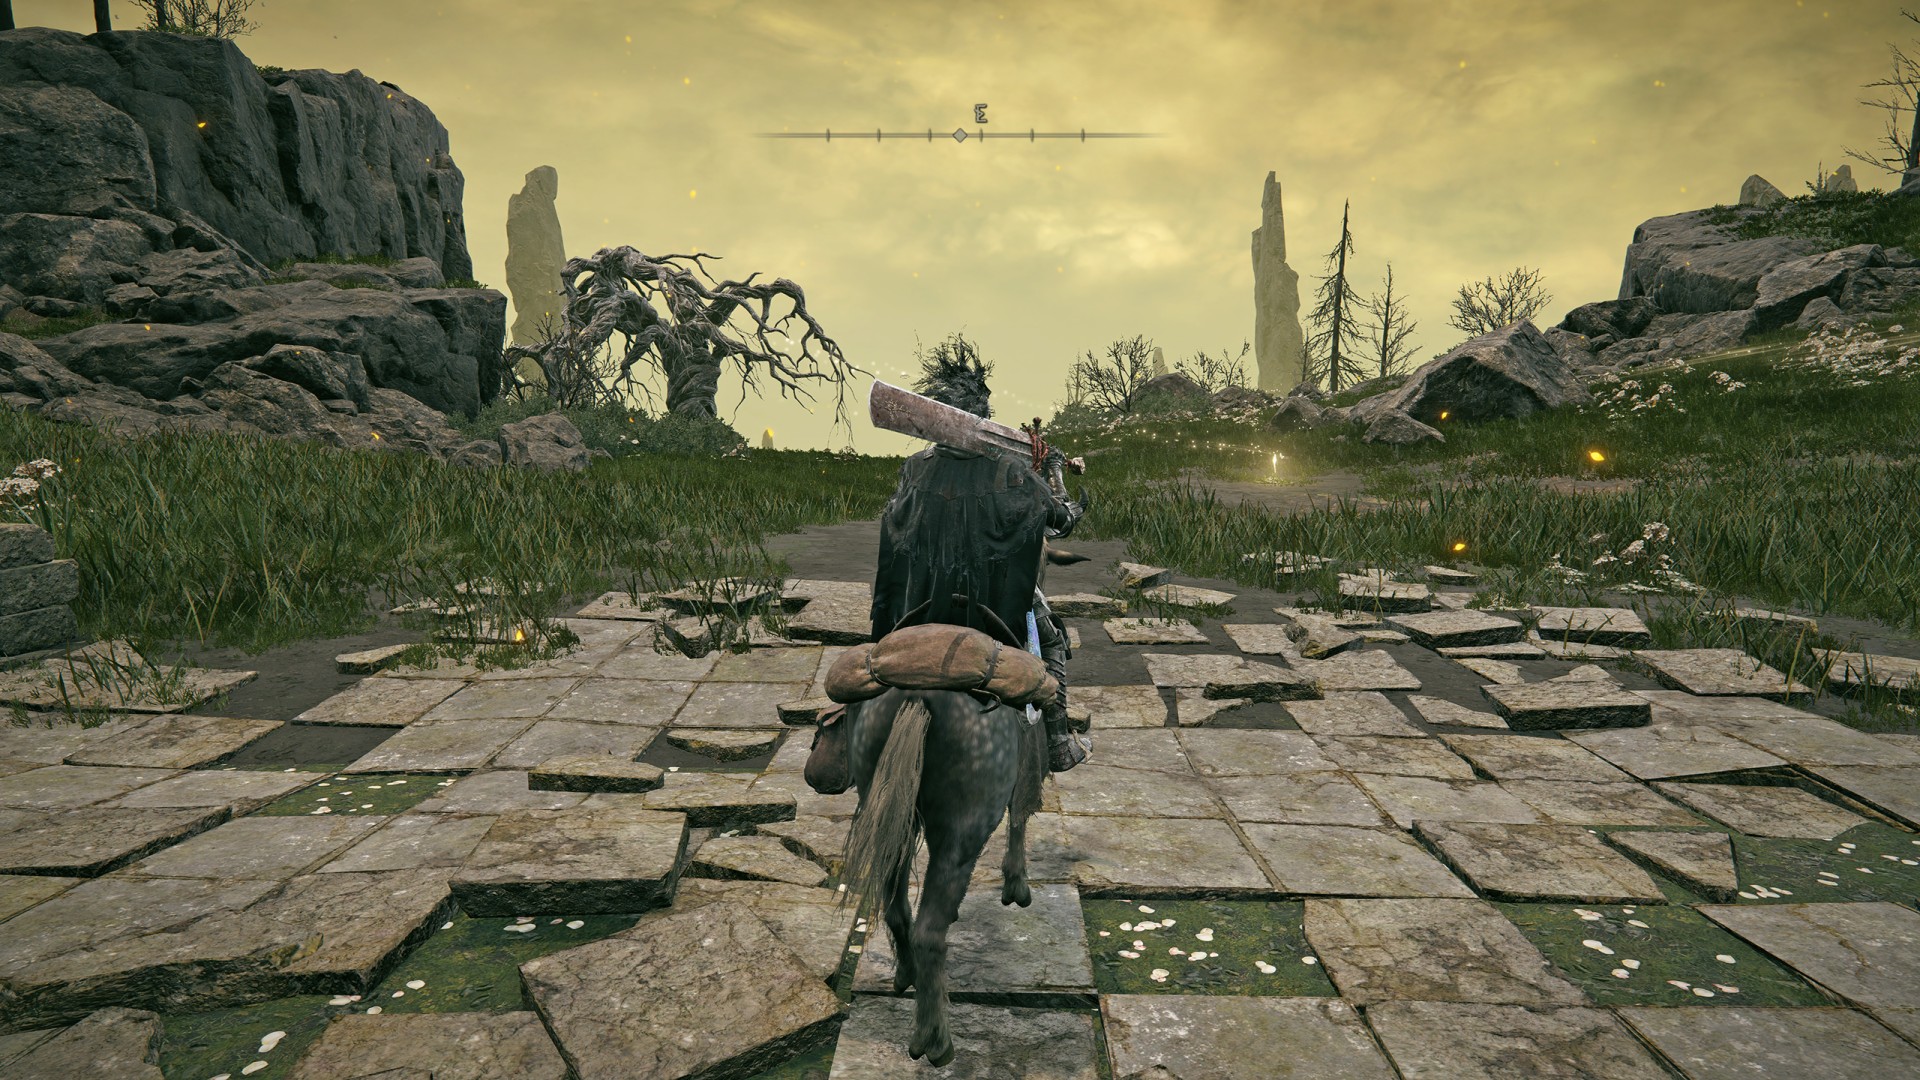
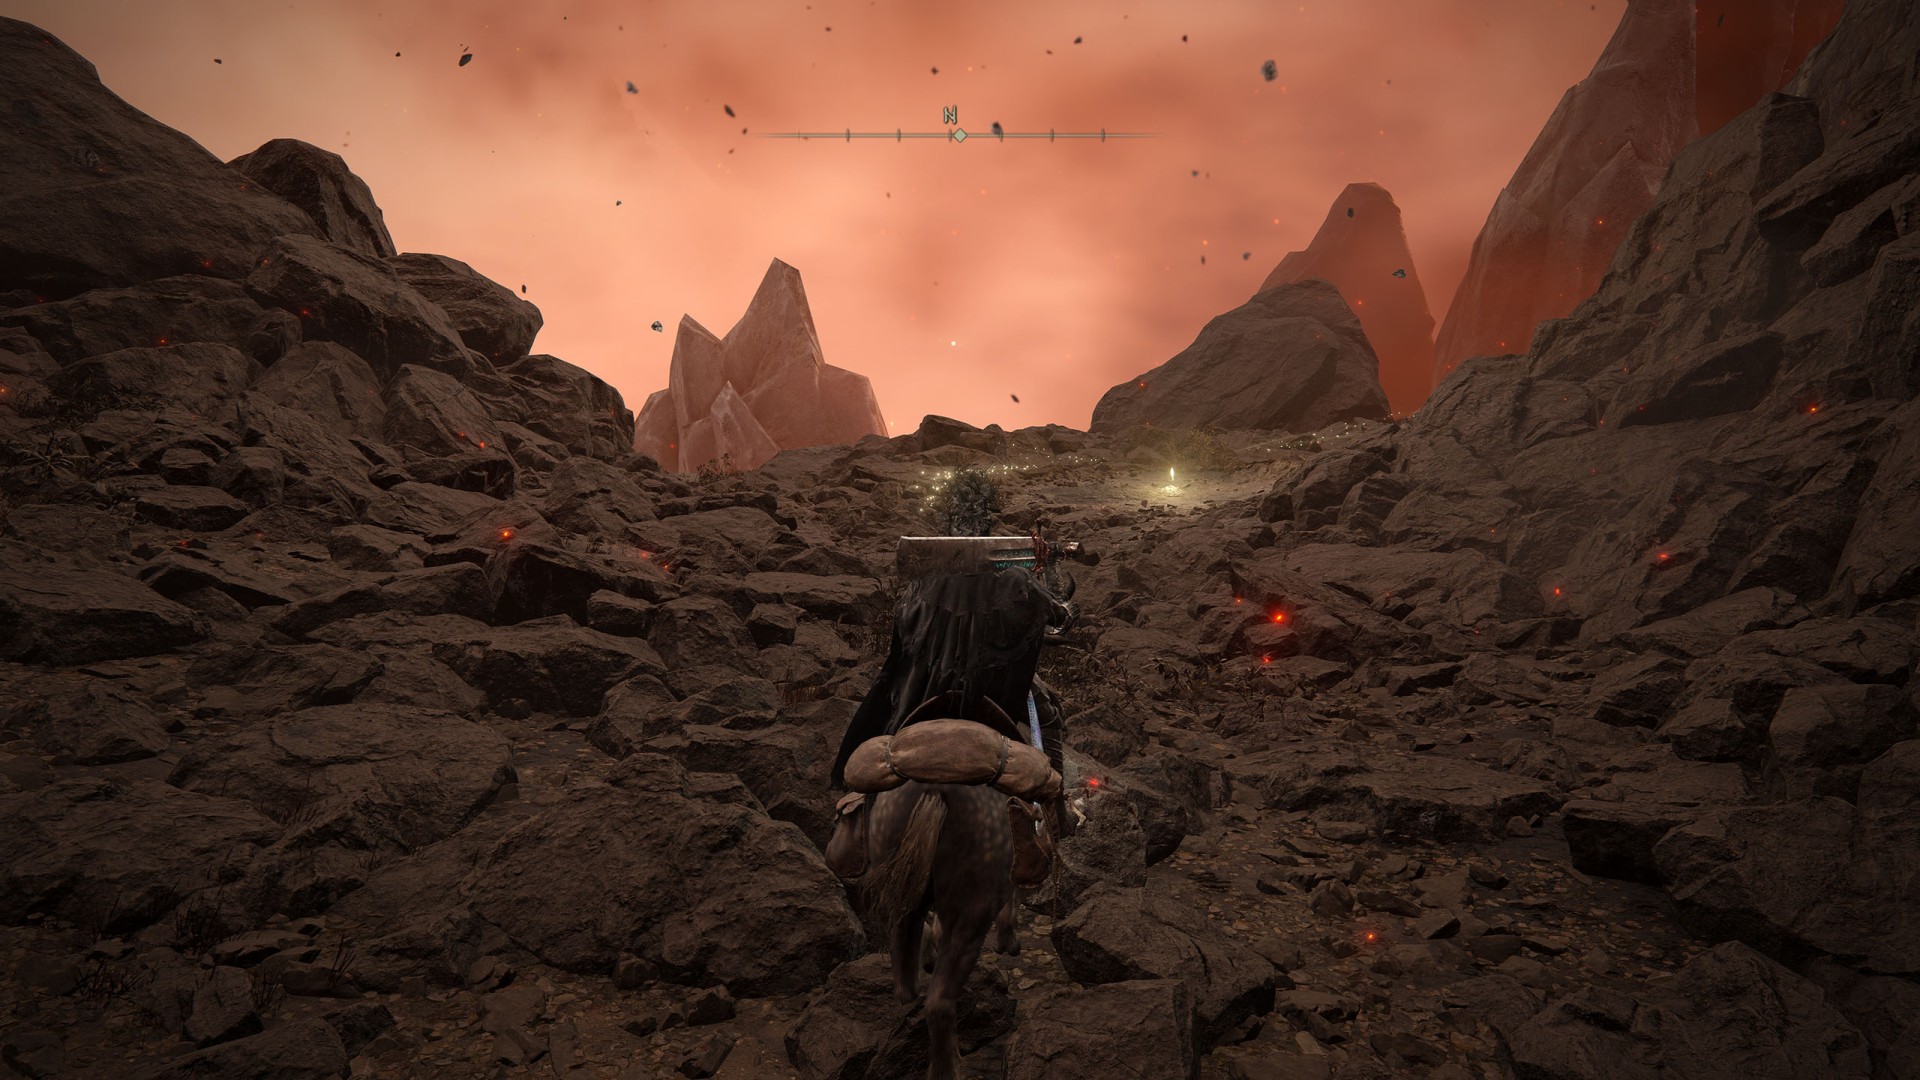
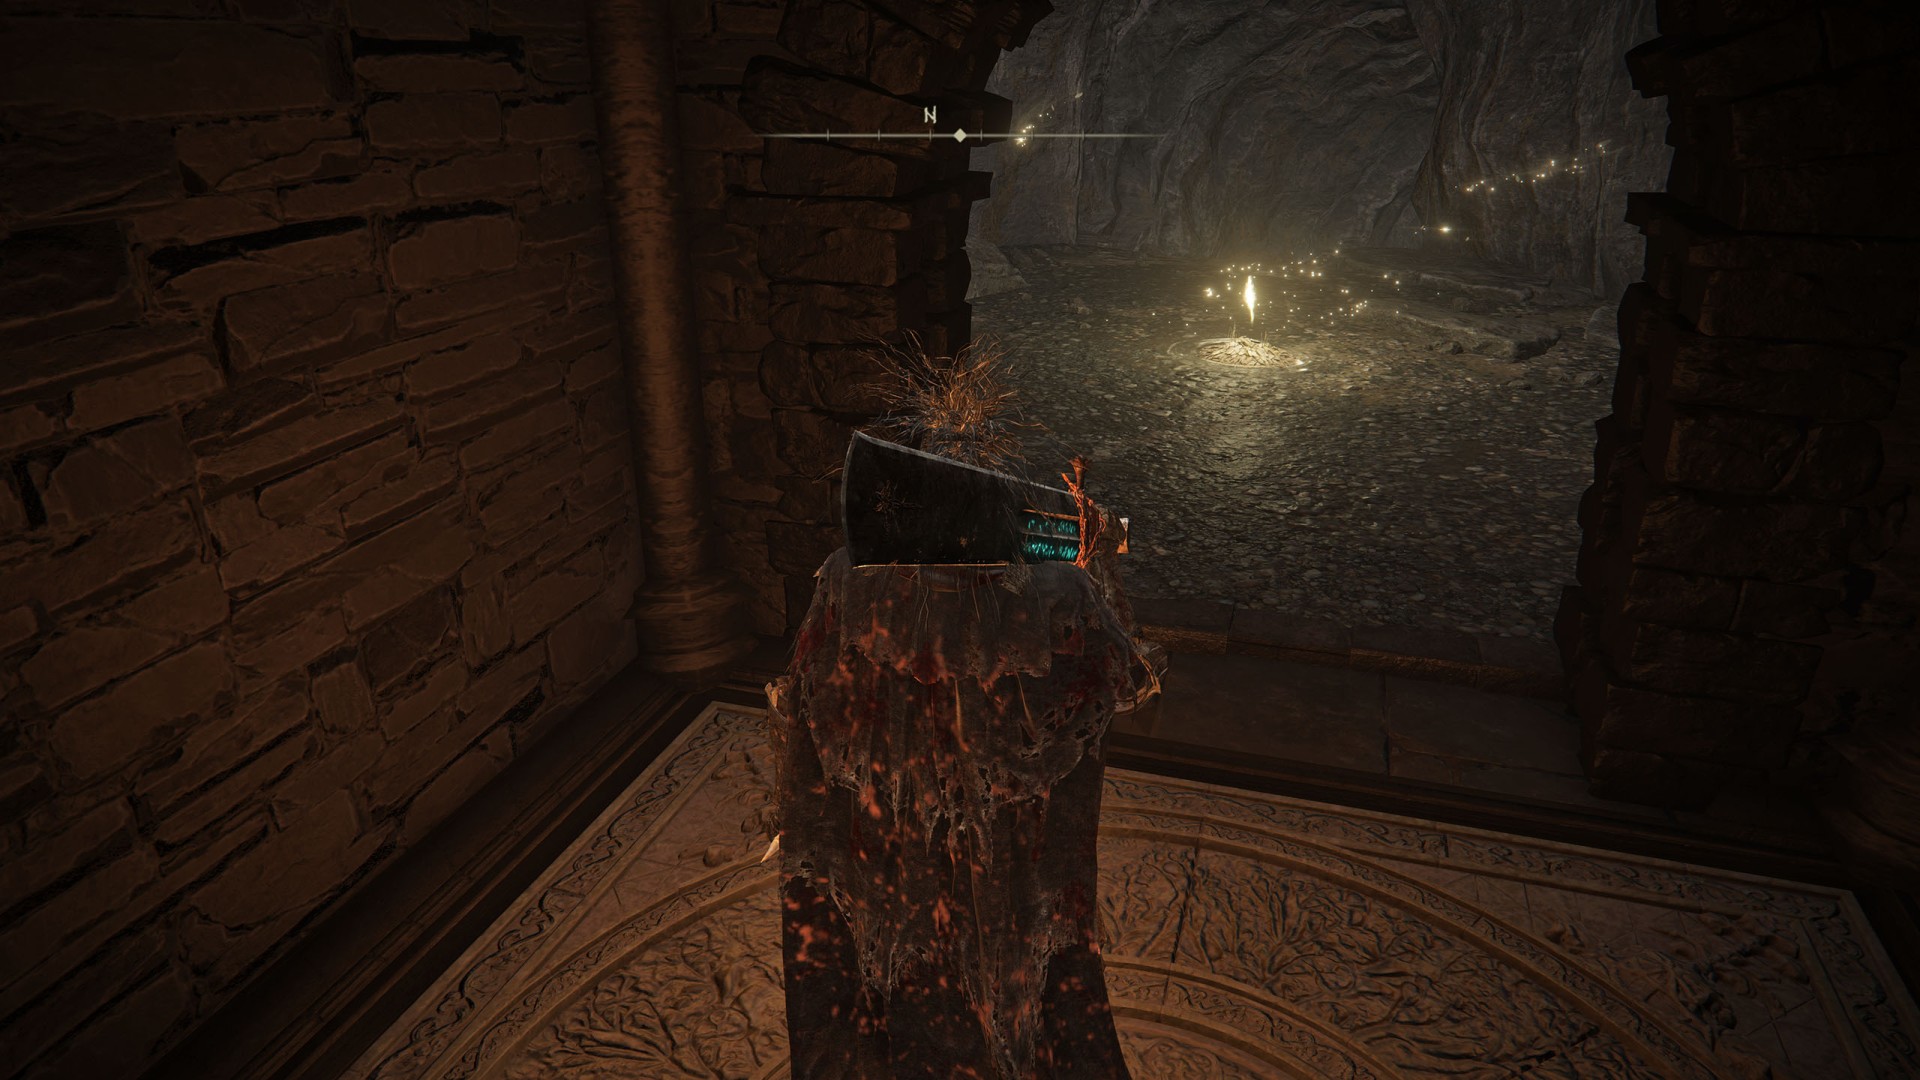
Sites of Grace are save / respawn points in Elden Ring. They also serve as fast travel points. In order to use a site of grace, you must first reach it and activate it.

You can instantly travel to any sites of grace that you've discovered through your map. However, there are some dungeons and other areas where this cannot be done.

Resting at a site of grace will restore your HP, FP, and cleanse any status ailments. It Will also refill your sacred flasks. However, most of the enemies you've defeated will be revived.

Locations on Realm of Shadow

1Abyssal Woods

Abyssal Woods

Show the map

2Ancient Ruins Base

You can get here by going through the Cave Passage.

Ancient Ruins Base

Show the map

3Ancient Ruins, Grand Stairway

Ancient Ruins, Grand Stairway

Show the map

4Behind the Fort of Reprimand

Behind the Fort of Reprimand

Show the map

5Belurat Gaol

It's underground, in the cave. You can get here through the Belurat Gaol.

Belurat Gaol

Show the map

6Belurat, Tower Settlement

Belurat, Tower Settlement

Show the map

7Bonny Gaol

Bonny Gaol

Show the map

8Bonny Village

Bonny Village

Show the map

9Bridge Leading to the Village

Bridge Leading to the Village

Show the map

10Castle Ensis Checkpoint

Castle Ensis Checkpoint

Show the map

11Castle Front

Castle Front

Show the map

12Castle Watering Hole

To get here you should use the Shadow Keep Ladder #1 and Shadow Keep Ladder #2, go through the Shadow Keep Illusionary Wall passage and use the Coffin.

Castle Watering Hole

Show the map

13Castle-Lord's Chamber

Castle-Lord's Chamber

Show the map

14Cathedral of Manus Metyr

Cathedral of Manus Metyr

Show the map

15Cerulean Coast

Cerulean Coast

Show the map

16Cerulean Coast Cross

Cerulean Coast Cross

Show the map

17Cerulean Coast West

Cerulean Coast West

Show the map

18Charo's Hidden Grave

Charo's Hidden Grave

Show the map

19Church District Entrance

Church District Entrance

Show the map

20Church District Highroad

Church District Highroad

Show the map

21Church of the Bud

Church of the Bud

Show the map

22Church of the Bud, Main Entrance

Church of the Bud, Main Entrance

Show the map

23Church Ruins

Church Ruins

Show the map

24Cleansing Chamber Anteroom

Cleansing Chamber Anteroom

Show the map

25Cliffroad Terminus

To get here, start in the north near the Main Gate Cross site of grace and travel along the cliff to the south.

Cliffroad Terminus

Show the map

26Dark Chamber Entrance

Dark Chamber Entrance

Show the map

27Darklight Catacombs

Darklight Catacombs

Show the map

28Discussion Chamber

Discussion Chamber

Show the map

29Divided Falls

Divided Falls

Show the map

30Divine Gate Front Staircase

Divine Gate Front Staircase

Show the map

31Dragon's Pit

This site is located inside the Dragon's Pit.

Dragon's Pit

Show the map

32Dragon's Pit Terminus

You will reach this site of grace when you go through the Dragon's Pit and defeat the Ancient Dragon-Man.

Dragon's Pit Terminus

Show the map

33Ellac River Cave

Ellac River Cave

Show the map

34Ellac River Downstream

This site is at a much lower level, one could say underground.

Ellac River Downstream

Show the map

35Enir-Ilim: Outer Wall

Enir-Ilim: Outer Wall

Show the map

36Ensis Moongazing Grounds

Ensis Moongazing Grounds

Show the map

37Finger Birthing Grounds

It's underground,

Finger Birthing Grounds

Show the map

38Finger Ruins of Rhia

Finger Ruins of Rhia

Show the map

39Fingerstone Hill

Fingerstone Hill

Show the map

40First Rise

First Rise

Show the map

41Fissure Cross

Fissure Cross

Show the map

42Fissure Depths

Fissure Depths

Show the map

43Fissure Waypoint

Fissure Waypoint

Show the map

44Fog Rift Catacombs

Fog Rift Catacombs

Show the map

45Foot of the Jagged Peak

Foot of the Jagged Peak

Show the map

46Forsaken Graveyard

You can get here after crossing the Darklight Catacombs.

Forsaken Graveyard

Show the map

47Fort of Reprimand

Fort of Reprimand

Show the map

48Garden of Deep Purple

It unlocks after the fight with Putrescent Knight.

Garden of Deep Purple

Show the map

49Gate of Divinity

Gate of Divinity

Show the map

50Grand Altar of Dragon Communion

Grand Altar of Dragon Communion

Show the map

51Gravesite Plain

Gravesite Plain

Show the map

52Greatbridge, North

Greatbridge, North

Show the map

53Highroad Cross

Highroad Cross

Show the map

54Hinterland

To get here you must go through a passage hidden behind the Headless Statue.

Hinterland

Show the map

55Hinterland Bridge

Hinterland Bridge

Show the map

56Jagged Peak Mountainside

Jagged Peak Mountainside

Show the map

57Jagged Peak Summit

Jagged Peak Summit

Show the map

58Lamenter's Gaol

Lamenter's Gaol

Show the map

59Main Gate Cross

Main Gate Cross

Show the map

60Main Gate Plaza

Main Gate Plaza

Show the map

61Manse Hall

Manse Hall

Show the map

62Messmer's Dark Chamber

Messmer's Dark Chamber

Show the map

63Midra's Library

Midra's Library

Show the map

64Moorth Highway, South

Moorth Highway, South

Show the map

65Moorth Ruins

Moorth Ruins

Show the map

66Pillar Path Cross

Pillar Path Cross

Show the map

67Pillar Path Waypoint

Pillar Path Waypoint

Show the map

68Rauh Ancient Ruins, East

Rauh Ancient Ruins, East

Show the map

69Rauh Ancient Ruins, West

Rauh Ancient Ruins, West

Show the map

70Ravine North

Ravine North

Show the map

71Recluses' River Downstream

Recluses' River Downstream

Show the map

72Recluses' River Upstream

Recluses' River Upstream

Show the map

73Rest of the Dread Dragon

Rest of the Dread Dragon

Show the map

74Rivermouth Cave

Rivermouth Cave

Show the map

75Ruined Forge Lava Intake

Ruined Forge Lava Intake

Show the map

76Ruined Forge of Starfall Past

Ruined Forge of Starfall Past

Show the map

77Scadu Altus, West

Scadu Altus, West

Show the map

78Scadutree Base

Scadutree Base

Show the map

79Scaduview

Scaduview

Show the map

80Scaduview Cross

Scaduview Cross

Show the map

81Scorched Ruins

Scorched Ruins

Show the map

82Scorpion River Catacombs

Scorpion River Catacombs

Show the map

83Second Floor Chamber

Second Floor Chamber

Show the map

84Shadow Keep Main Gate

Shadow Keep Main Gate

Show the map

85Shadow Keep, Back Gate

Shadow Keep, Back Gate

Show the map

86Small Private Altar

Small Private Altar

Show the map

87Spiral Rise

Spiral Rise

Show the map

88Stagefront

Stagefront

Show the map

89Stone Coffin Fissure

Stone Coffin Fissure

Show the map

90Storehouse, Back Section

Storehouse, Back Section

Show the map

91Storehouse, First Floor

Storehouse, First Floor

Show the map

92Storehouse, Fourth Floor

Storehouse, Fourth Floor

Show the map

93Storehouse, Loft

Storehouse, Loft

Show the map

94Storehouse, Seventh Floor

Storehouse, Seventh Floor

Show the map

95Sunken Chapel

You will be able to get here after you pull the Water Level Lever and the water level drops.

Sunken Chapel

Show the map

96Taylew's Ruined Forge

Taylew's Ruined Forge

Show the map

97Temple Town Ruins

Temple Town Ruins

Show the map

98The Fissure

At the bottom of the fissure.

The Fissure

Show the map

99Theatre of the Divine Beast

Theatre of the Divine Beast

Show the map

100Three-Path Cross

Three-Path Cross

Show the map

101Tree-Worship Passage

Tree-Worship Passage

Show the map

102Tree-Worship Sanctum

Tree-Worship Sanctum

Show the map

103Viaduct Minor Tower

Viaduct Minor Tower

Show the map

104West Rampart

West Rampart

Show the map

105Woodland Trail

Woodland Trail

Show the map

Locations on The Lands Between

106Abandoned Cave

Show the map

107Abandoned Coffin

Show the map

108Abductor Virgin

In the underground cave of Volcano Manor. Accessible after defeating the Abductor Virgin Wheel and Swinging Sickle.

Show the map

109Academy Crystal Cave

Show the map

110Academy Gate Town

Show the map

111Aeonia Swamp Shore

Show the map

112Agheel Lake North

Show the map

113Agheel Lake South

Show the map

114Ailing Village Outskirts

Show the map

115Altar South

Show the map

116Altus Highway Junction

Show the map

117Altus Plateau

Show the map

118Altus Tunnel

Show the map

119Ancient Snow Valley Ruins

Show the map

120Apostate Derelict

Show the map

121Artist's Shack

Show the map

122Artist's Shack

Show the map

123Astray from Caelid Highway North

Show the map

124Audience Pathway

Show the map

125Auriza Hero's Grave

Show the map

126Auriza Side Tomb

Show the map

127Avenue Balcony

Show the map

128Behind Caria Manor

Show the map

129Behind the Castle

Show the map

130Bellum Church

Show the map

131Beside the Crater-Pocked Glade

Show the map

132Beside the Great Bridge

Show the map

133Beside the Rampart Gaol

Show the map

134Bestial Sanctum

Show the map

135Black Knife Catacombs

Show the map

136Boilprawn Shack

Show the map

137Bower of Bounty

Show the map

138Bridge of Iniquity

Show the map

139Bridge of Sacrifice

Show the map

140Caelem Ruins

Show the map

141Caelid Catacombs

Show the map

142Caelid Highway South

Show the map

143Capital Rampart

Show the map

144Castellan's Hall

Show the map

145Castle Morne Lift

Show the map

146Castle Morne Rampart

Show the map

147Castle Sol Main Gate

Show the map

148Castle Sol Rooftop

Show the map

149Castleward Tunnel

Show the map

150Cathedral of Dragon Communion

Show the map

151Cathedral of Manus Celes

Show the map

152Cathedral of the Forsaken

Show the map

153Cave of Knowledge

Show the map

154Cave of the Forlon

Show the map

155Chair-Crypt of Selia

Show the map

156Chamber Outside the Plaza

Show the map

157Church of Dragon Communion

Show the map

158Church of Elleh

Show the map

159Church of Inhibition

Show the map

160Church of Pilgrimage

Show the map

161Church of Repose

Show the map

162Church of the Cuckoo

Show the map

163Church of the Eclipse

Show the map

164Church of the Plague

Show the map

165Church of Vows

Show the map

166Cliffbottom Catacombs

Show the map

167Coastal Cave

By going through this cave you can get to the island located in the south.

Show the map

168Consecrated Snowfield

Show the map

169Consecrated Snowfield Catacombs

Show the map

170Converted Tower

Show the map

171Craftsman's Shack

Show the map

172Crumbling Beast Grave

Show the map

173Crumbling Beast Grave Depths

Show the map

174Crystalline Woods

Show the map

175Deathtouched Catacombs

Show the map

176Debate Parlor

Show the map

177Deep Siofra Well

Show the map

178Divine Bridge

Show the map

179Divine Tower of Caelid: Basement

Show the map

180Divine Tower of Caelid: Center

Show the map

181Divine Tower of East Altus

Show the map

182Divine Tower of East Altus: Gate

Show the map

183Divine Tower of Limgrave

Show the map

184Divine Tower of Liurnia

Show the map

185Divine Tower of West Altus

Show the map

186Divine Tower of West Altus: Gate

You can get here by going through the Sealed Tunnel.

Show the map

187Dragon Temple

Show the map

188Dragon Temple Altar

Show the map

189Dragon Temple Lift

To be able to get to this place you must use two Stonesword Keys to remove the barrier blocking access to the elevator below.

Dragon Temple Lift

Show the map

190Dragon Temple Rooftop

Show the map

191Dragon Temple Transept

Show the map

192Dragonbarrow Cave

Show the map

193Dragonbarrow Fork

Show the map

194Dragonbarrow West

Show the map

195Dragonlord Placidusax

Show the map

196Drainage Channel

Show the map

197Earthbore Cave

Show the map

198East Capital Rampart

Show the map

199East Gate Bridge Trestle

Show the map

200East Raya Lucaria Gate

Show the map

201Eastern Liurnia Lake Shore

Show the map

202Eastern Tableland

Show the map

203Elden Throne

Show the map

204Elphael Inner Wall

Show the map

205Erdtree Sanctuary

Show the map

206Erdtree-Gazing Hill

Show the map

207Fallen Ruins of the Lake

Show the map

208Farum Greatbridge

Show the map

209Fire Giant

Show the map

210First Church of Marika

Show the map

211First Mt. Gelmir Campsite

Show the map

212Folly on the Lake

Show the map

213Foot of the Forge

Show the map

214Foot of the Four Belfries

Show the map

215Forbidden Lands

Show the map

216Forest-Spanning Greatbridge

Show the map

217Forge of the Giants

Show the map

218Forsaken Depths

Show the map

219Fort Faroth

Show the map

220Fort Gael North

Show the map

221Fort Haight West

Show the map

222Fortified Manor, First Floor

Show the map

223Fourth Church of Marika

Show the map

224Freezing Lake

Show the map

225Frenzied Flame Proscription

To get here you must descend to the very bottom of the room to which leads a passage hidden behind the altar in the room where you fought Mohg, the Omen.

Show the map

226Frenzied Flame Village Outskirts

Show the map

227Gael Tunnel

Show the map

228Gaol Cave

Show the map

229Gate Town Bridge

Show the map

230Gate Town North

Show the map

231Gatefront

Show the map

232Gateside Chamber

Show the map

233Gelmir Hero's Grave

Show the map

234Giant-Conquering Hero's Grave

Show the map

235Giants' Gravepost

Show the map

236Giants' Mountaintop Catacombs

Show the map

237Godrick the Grafted

Show the map

238Grand Lift of Dectus

Show the map

239Grand Lift of Rold

Show the map

240Groveside Cave

Show the map

241Guest Hall

Show the map

242Haligtree Canopy

Show the map

243Haligtree Promenade

Show the map

244Haligtree Roots

Show the map

245Haligtree Town

Show the map

246Haligtree Town Plaza

Show the map

247Heart of Aeonia

Show the map

248Hermit Merchant's Shack

Show the map

249Hidden Path to the Haligtree

Show the map

250Highroad Cave

Show the map

251Impaler's Catacombs

Show the map

252Impassable Greatbridge

Show the map

253Inner Aeonia

Show the map

254Inner Consecrated Snowfield

Show the map

255Isolated Divine Tower

Show the map

256Isolated Merchant's Shack

Show the map

257Isolated Merchant's Shack

Show the map

258Jarburg

Show the map

259Lake-Facing Cliffs

Show the map

260Lakeside Crystal Cave

Show the map

261Laskyar Ruins

Show the map

262Lenne's Rise

Show the map

263Leyndell Catacombs

Show the map

264Leyndell, Capital of Ash

Available near endgame or post-game.

Show the map

265Liftside Chamber

Show the map

266Limgrave Tower Bridge

Show the map

267Limgrave Tunnels

Show the map

268Liurnia Highway North

Show the map

269Liurnia Highway South

Show the map

270Liurnia Lake Shore

Show the map

271Liurnia Tower Bridge

Show the map

272Lower Capital Church

Show the map

273Magma Wyrm

Show the map

274Main Academy Gate

Show the map

275Main Caria Manor Gate

Show the map

276Malenia, Goddess of Rot

Show the map

277Maliketh, the Black Blade

Show the map

278Manor Lower Level

Show the map

279Manor Upper Level

Show the map

280Margit, the Fell Omen

Show the map

281Mausoleum Compound

Show the map

282Minor Erdtree Catacombs

Show the map

283Minor Erdtree Church

Show the map

284Mistwood Outskirts

Show the map

285Moonlight Altar

Show the map

286Morne Moangrave

Show the map

287Morne Tunnel

Show the map

288Murkwater Catacombs

Show the map

289Murkwater Cave

Show the map

290Murkwater Coast

Show the map

291Ninth Mt. Gelmir Campsite

Show the map

292Northern Liurnia Lake Shore

Show the map

293Old Altus Tunnel

Show the map

294Ordina, Liturgical Town

Show the map

295Outer Wall Battleground

Show the map

296Outer Wall Phantom Tree

Show the map

297Perfumer's Grotto

Show the map

298Prayer Room

Show the map

299Primeval Sorcerer Azur

Show the map

300Prison Town Church

Show the map

301Queen's Bedchamber

Show the map

302Rampart Tower

Show the map

303Rampartside Path

Show the map

304Ranni's Chamber

Show the map

305Ranni's Rise

Show the map

306Ravine-Veiled Village

Show the map

307Raya Lucaria Crystal Tunnel

Show the map

308Raya Lucaria Grand Library

Show the map

309Rear Gael Tunnel Entrance

Show the map

310Redmane Castle Plaza

Show the map

311Revenger's Shack

Show the map

312Road of Iniquity

Show the map

313Road of Iniquity Side Path

Show the map

314Road to the Manor

Show the map

315Road's End Catacombs

Show the map

316Rotview Balcony

Show the map

317Royal Moongazing Ground

Show the map

318Ruin-Strewn Precipice

Show the map

319Ruin-Strewn Precipice Overlook

Show the map

320Ruined Labyrinth

Show the map

321Rykard, Lord of Blasphemy

Show the map

322Sage's Cave

Show the map

323Sainted Hero's Grave

Show the map

324Saintsbridge

Show the map

325Scenic Isle

Show the map

326Schoolhouse Classroom

Show the map

327Sealed Tunnel

Show the map

328Seaside Ruins

Show the map

329Secluded Cell

Show the map

330Seethewater Cave

Show the map

331Seethewater River

Show the map

332Seethewater Terminus

Show the map

333Sellia Backstreets

Show the map

334Sellia Crystal Tunnel

Show the map

335Sellia Hideaway

Show the map

336Sellia Under-Stair

Show the map

337Shaded Castle Inner Gate

Show the map

338Shaded Castle Ramparts

Show the map

339Slumbering Wolf's Shack

Show the map

340Smoldering Church

Show the map

341Smoldering Wall

Show the map

342Snow Valley Ruins Overlook

Show the map

343Sorcerer's Isle

Show the map

344South of the Lookout Tower

Show the map

345South Raya Lucaria Gate

Show the map

346Southern Aeonia Swamp Bank

Show the map

347Spiritcaller's Cave

Show the map

348Starscourge Radahn

Show the map

349Stillwater Cave

Show the map

350Stormfoot Catacombs

Show the map

351Stormhill Shack

Show the map

352Stormveil Cliffside

Show the map

353Stormveil Main Gate

Show the map

354Stranded Graveyard

Show the map

355Study Hall Entrance

Show the map

356Subterranean Inquisition Chamber

You can get here if you use the Volcano Manor Secret Arrival Point.

Subterranean Inquisition Chamber

Show the map

357Summonwater Village Outskirts

Show the map

358Table of Lost Grace

Show the map

359Tempest-Facing Balcony

Show the map

360Temple of Eiglay

Show the map

361Temple Quarter

Show the map

362The First Step

Show the map

363The Four Belfries

Show the map

364The Ravine

Show the map

365Third Church of Marika

Show the map

366Tombsward

Show the map

367Tombsward Catacombs

Show the map

368Tombsward Cave

Show the map

369Underground Roadside

Show the map

370Unsightly Catacombs

Show the map

371Village of the Albinaurics

Show the map

372Volcano Cave

Show the map

373Volcano Manor

Show the map

374War-Dead Catacombs

Show the map

375Warmaster's Shack

Show the map

376Waypoint Ruins Cellar

Show the map

377West Capital Rampart

Show the map

378Whiteridge Road

Show the map

379Windmill Heights

Show the map

380Windmill Village

Show the map

381Wyndham Catacombs

Show the map

382Yelough Anix Tunnel

Show the map

383Zamor Ruins

Show the map

Locations on Undergrounds

384Across the Roots

Show the map

385Ainsel River Downstream

Show the map

386Ainsel River Main

Show the map

387Ainsel River Sluice Gate

Show the map

388Ainsel River Well Depths

Show the map

389Ancestral Woods

Show the map

390Aqueduct-Facing Cliffs

Show the map

391Astel, Naturalborn of the Void

Show the map

392Below the Well

Show the map

393Cocoon of the Empyrean

Show the map

394Deeproot Depths

Show the map

395Dragonkin Soldier of Nokstella

Show the map

396Dynasty Mausoleum Entrance

Show the map

397Dynasty Mausoleum Midpoint

Show the map

398Grand Cloister

Show the map

399Great Waterfall Basin

Show the map

400Great Waterfall Crest

Show the map

401Lake of Rot Shoreside

Show the map

402Mimic Tear

Show the map

403Night's Sacred Ground

Show the map

404Nokron, Eternal City

Show the map

405Nokstella Waterfall Basin

Show the map

406Nokstella, Eternal City

Show the map

407Palace Approach Ledge-Road

Show the map

408Prince of Death's Throne

Show the map

409Root-Facing Cliffs

You can get here by passing through a corridor hidden behind two illusionary walls after getting to the Frenzied Flame Proscription. After removing the first wall you should see a chest. The second wall is the one right behind this chest.

Root-Facing Cliffs

Show the map

410Siofra River Bank

Show the map

411Siofra River Well Depths

Show the map

412The Nameless Eternal City

Show the map

413Worshippers' Woods

Show the map