Places on the map of Fort Joy where you will surely have to fight against the opponents.
Fights, Fort Joy
Locations on Fort Joy
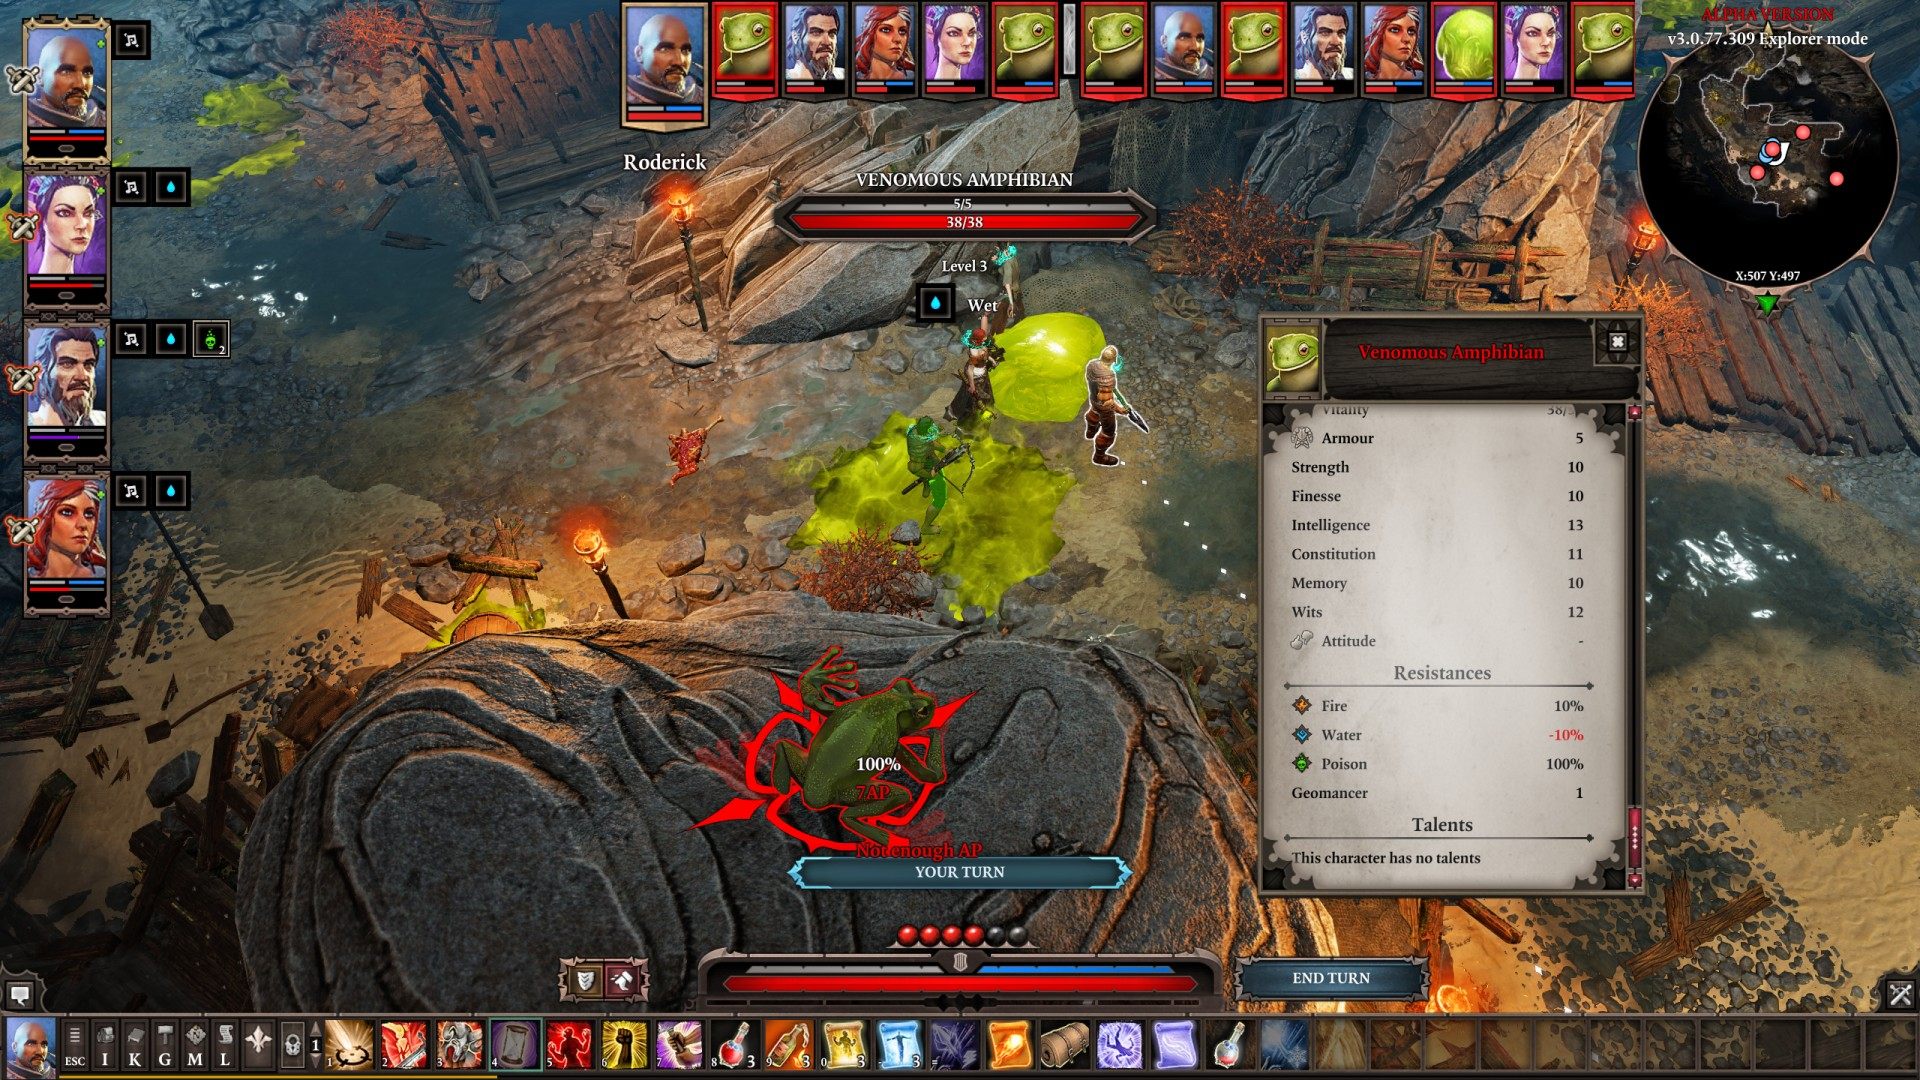
1 Amphibians (lvl 3)
Charged Amphibian + 2 x Venomous Amphibian + Poison Slug.
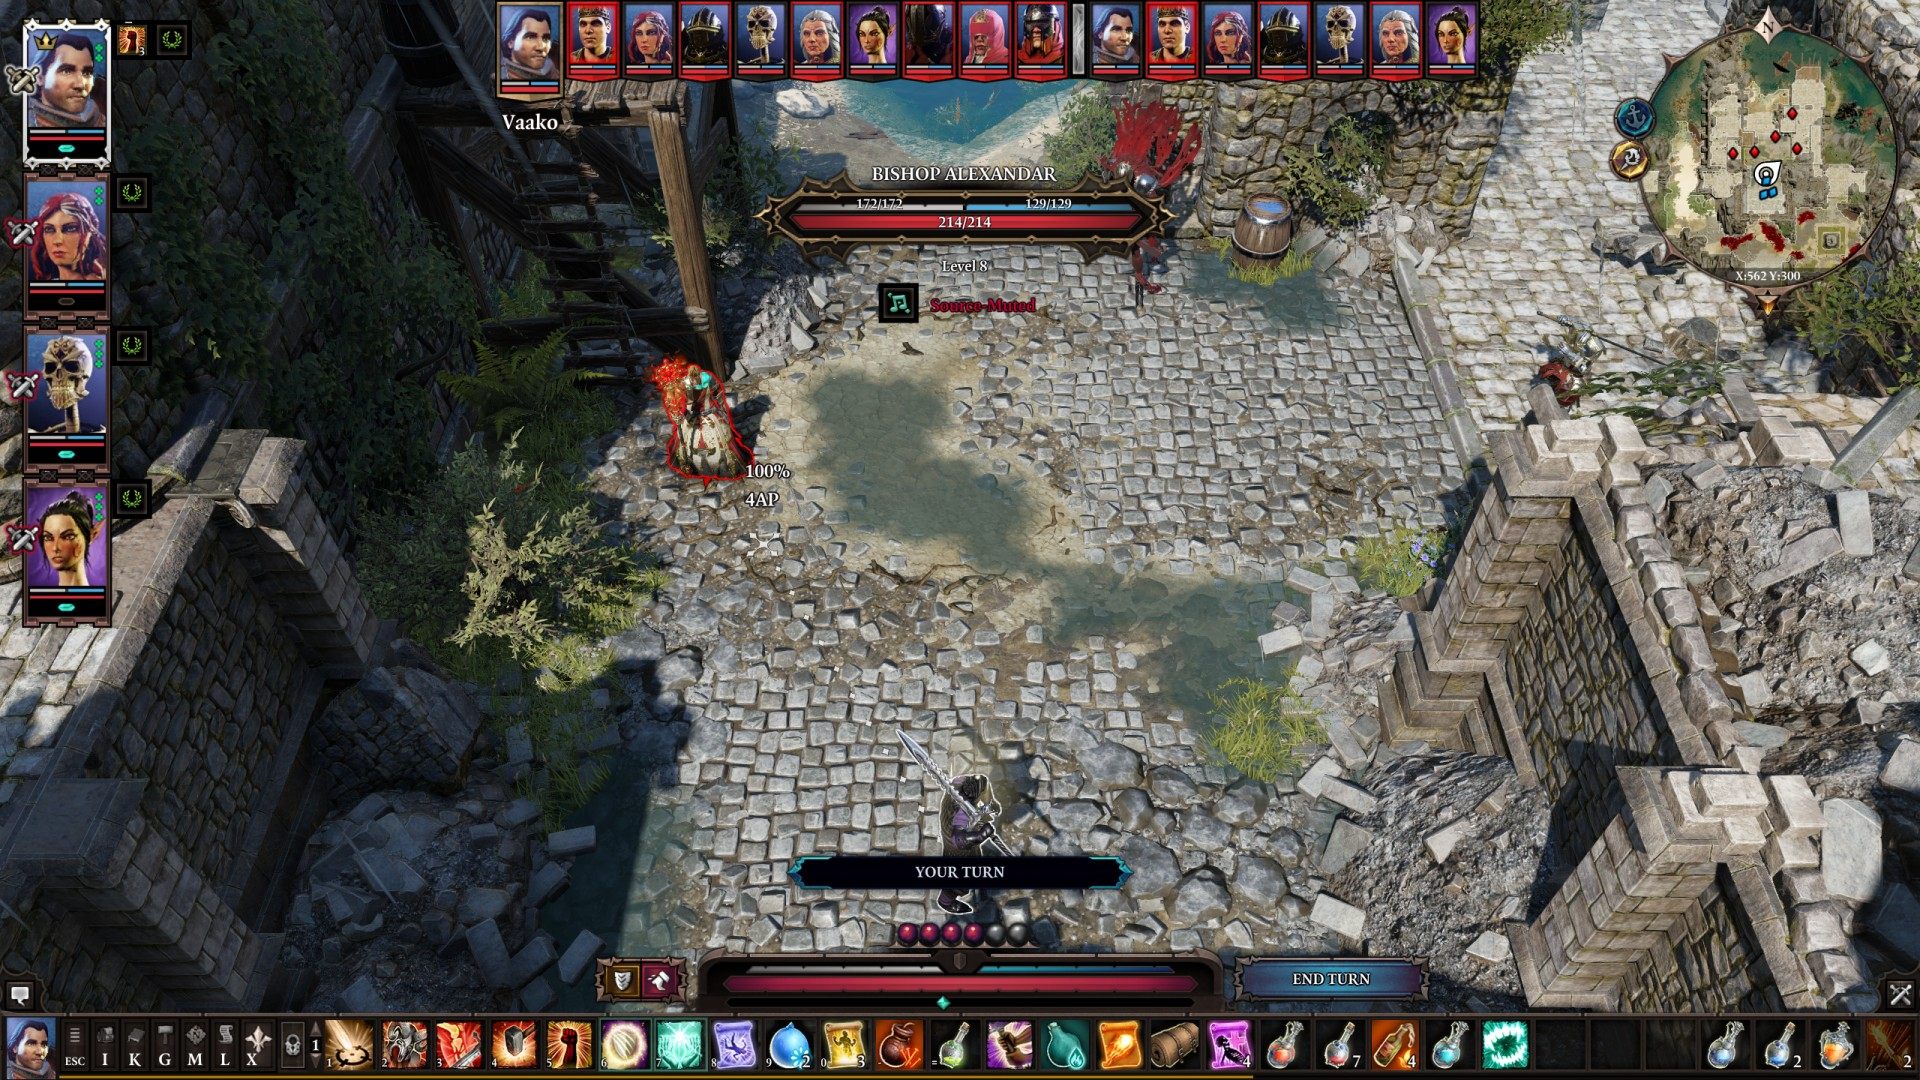
2Bishop Alexandar (lvl 8)
Related quests: The Escape, Ifan ben-Mezd, A Rare Prey
Bishop Alexandar + Gheist + Magister Metamorph + Magister Markswoman + Magister Knight + Magister Assassin
Voidwoken Drillworm (lvl 9) will spawn in the middle of the fight.
In the corpse of Bishop Alexandar you will find Alexandar's Cloak and Alexandar's Journal.
3Crocodiles (lvl 3)
Related quests: The Teleporter
3 x Saltwater Crocodile
In the corpse of one of the crocodiles you will find Gloves of Teleportation.

4Fire Slugs (lvl 4)
Royal Fire Slug + Courteous Slug (lvl 3) + Fire Slug (lvl 3).
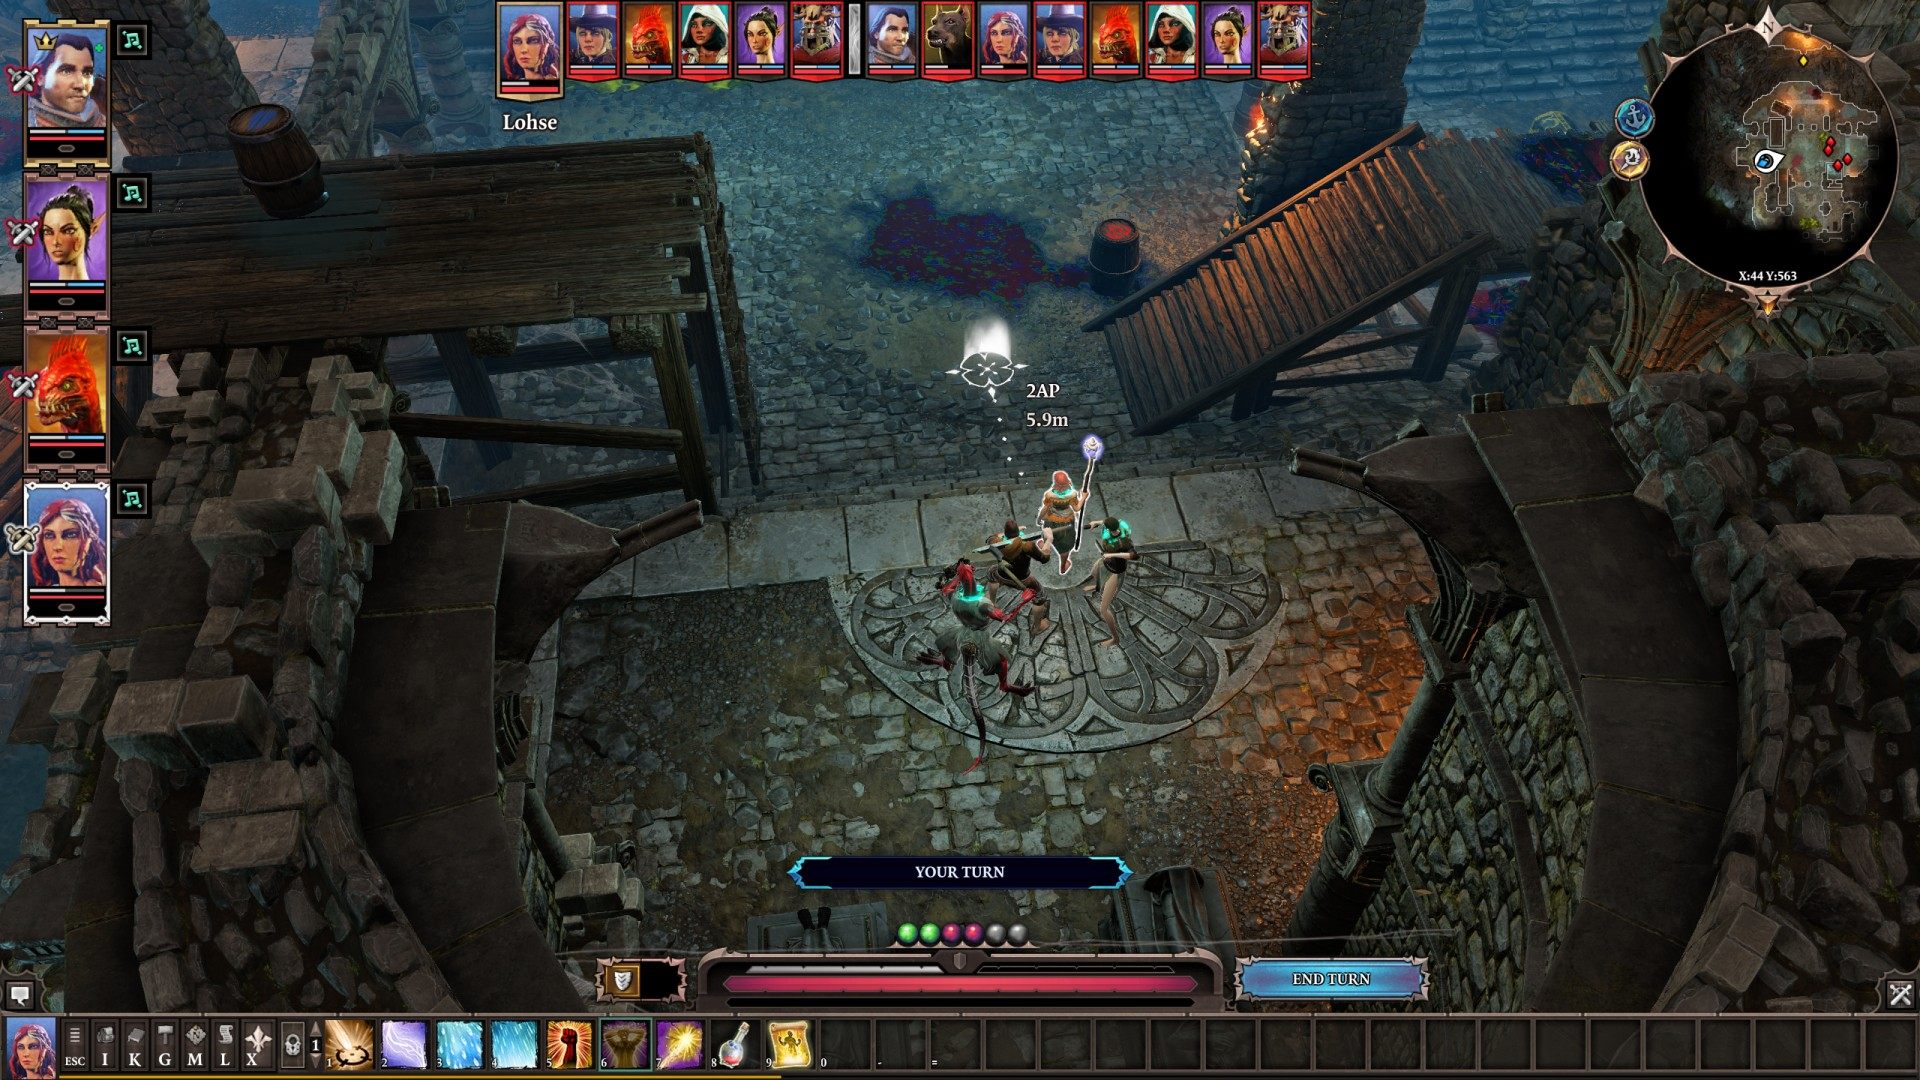
5Fort Joy Arena Duel
Related quests: The Collar, The Arena of Fort Joy
You will be teleported here after talking to Thola, The Thorny One and the fight will start.
Four level 3 enemies (Caster, Ranger, Melee and dog).
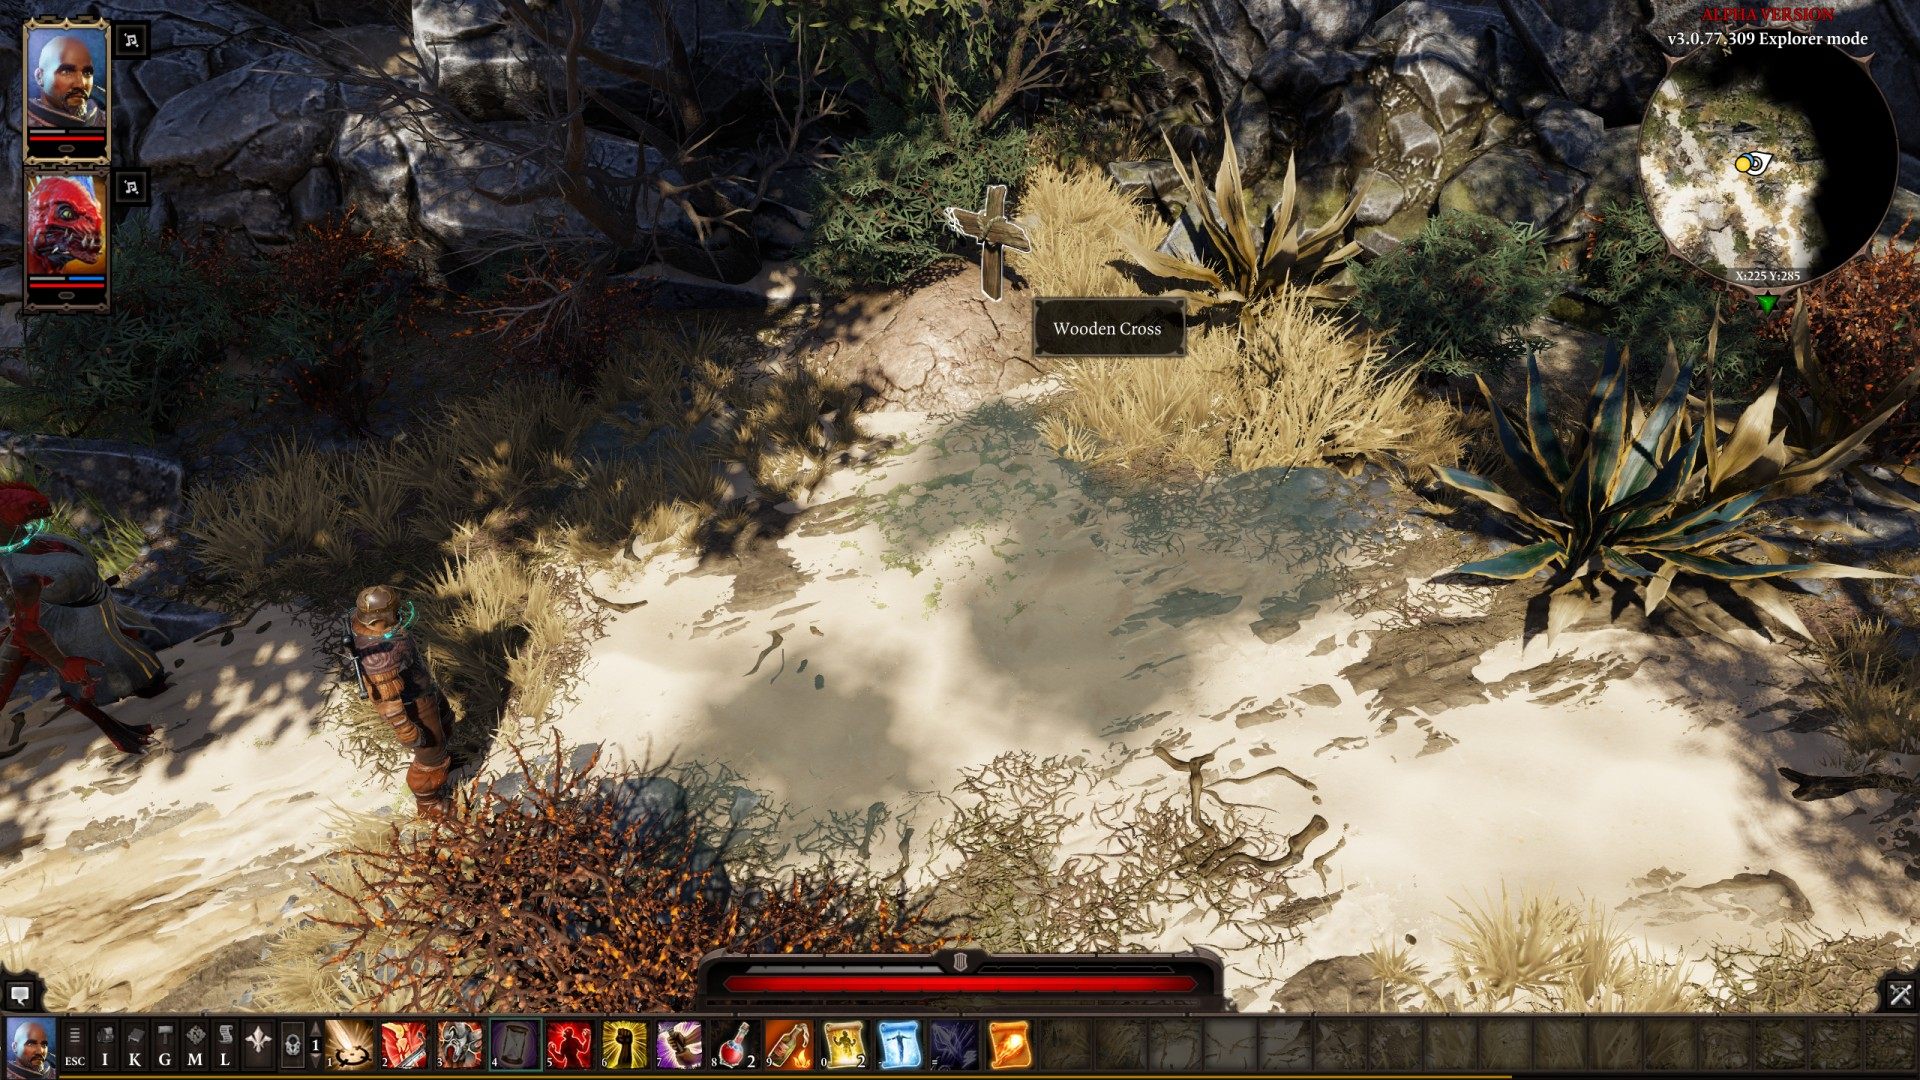
6Freshly Burried Corpse (lvl 1)
Wooden Cross, a grave. Dig here and get ready for the fight.
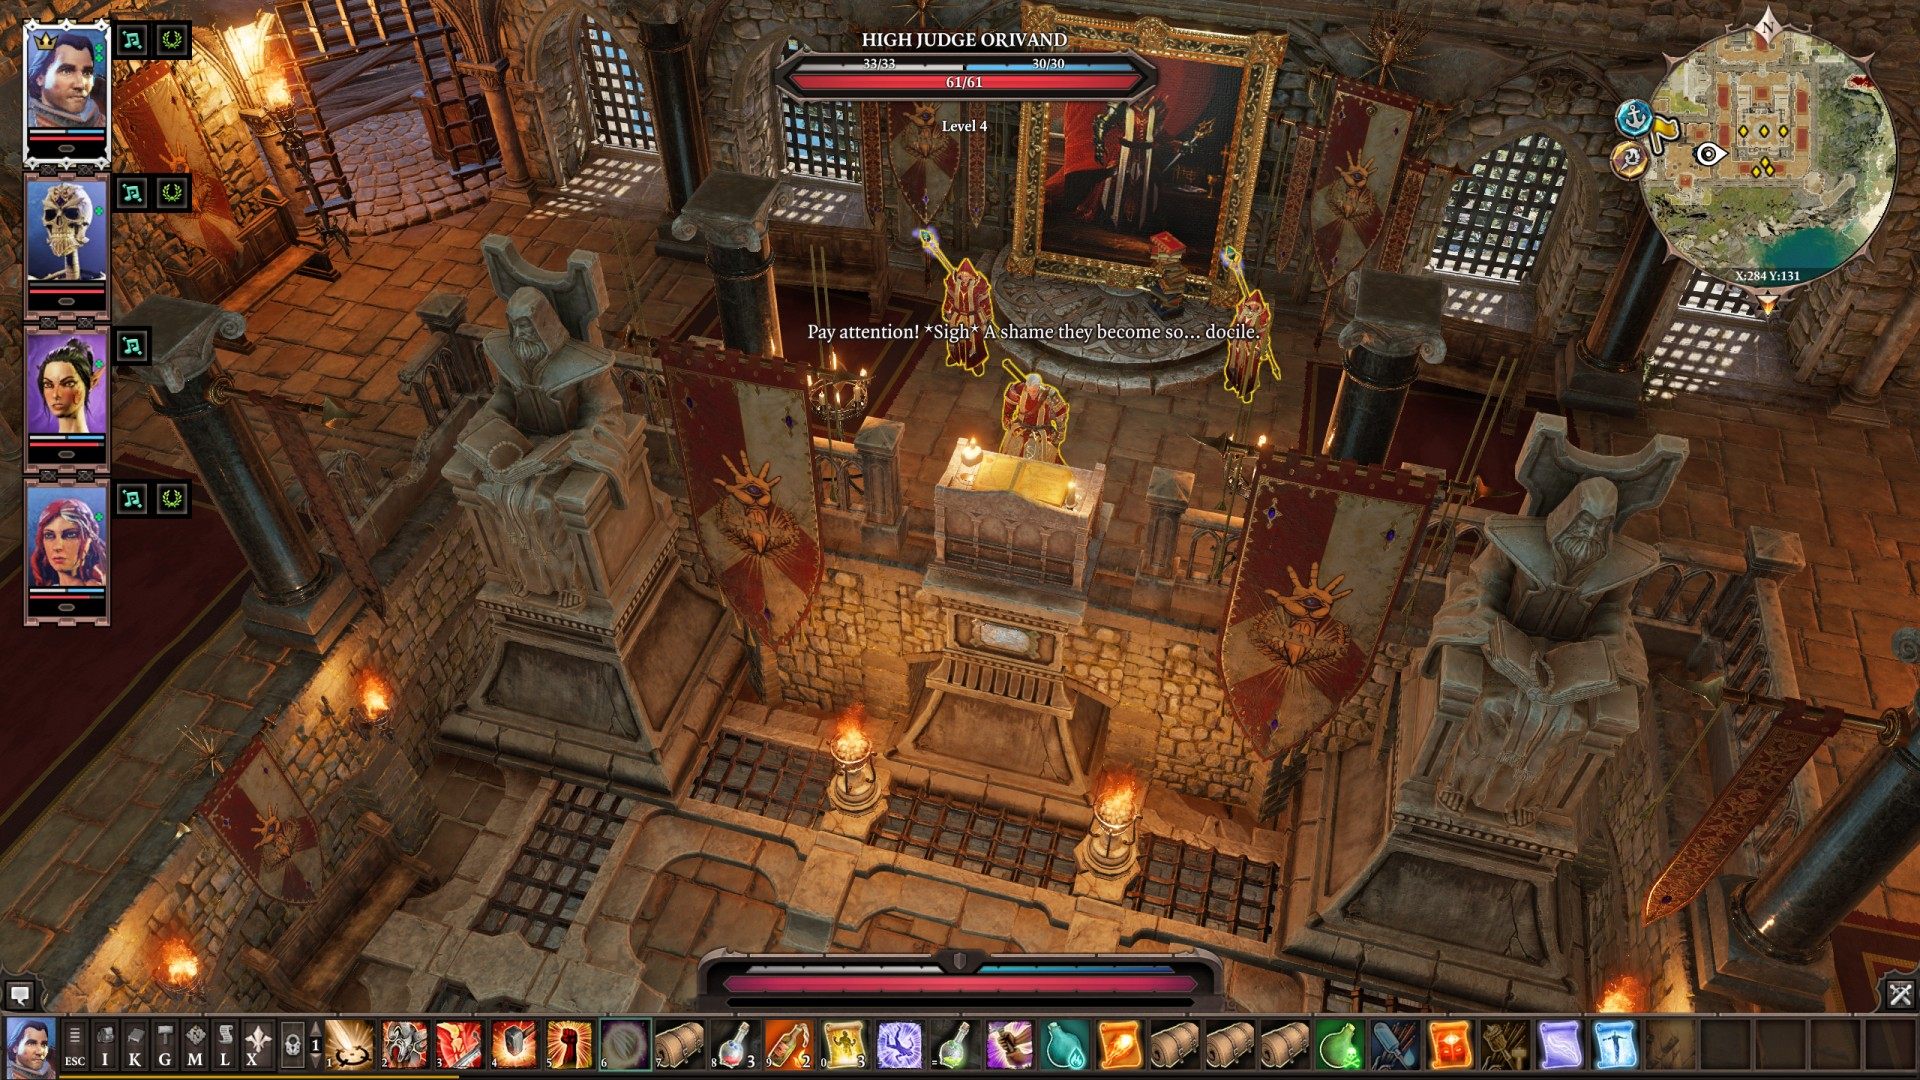
7High Judge Orivand (lvl 4)
High Judge Orivand + Magister Cryomancer + Magister Pyromancer + 2 x Magister Swordsman.
In the corpse of High Judge Orivand you will find Magister Orivand's Mace (Two-Handed Mace).
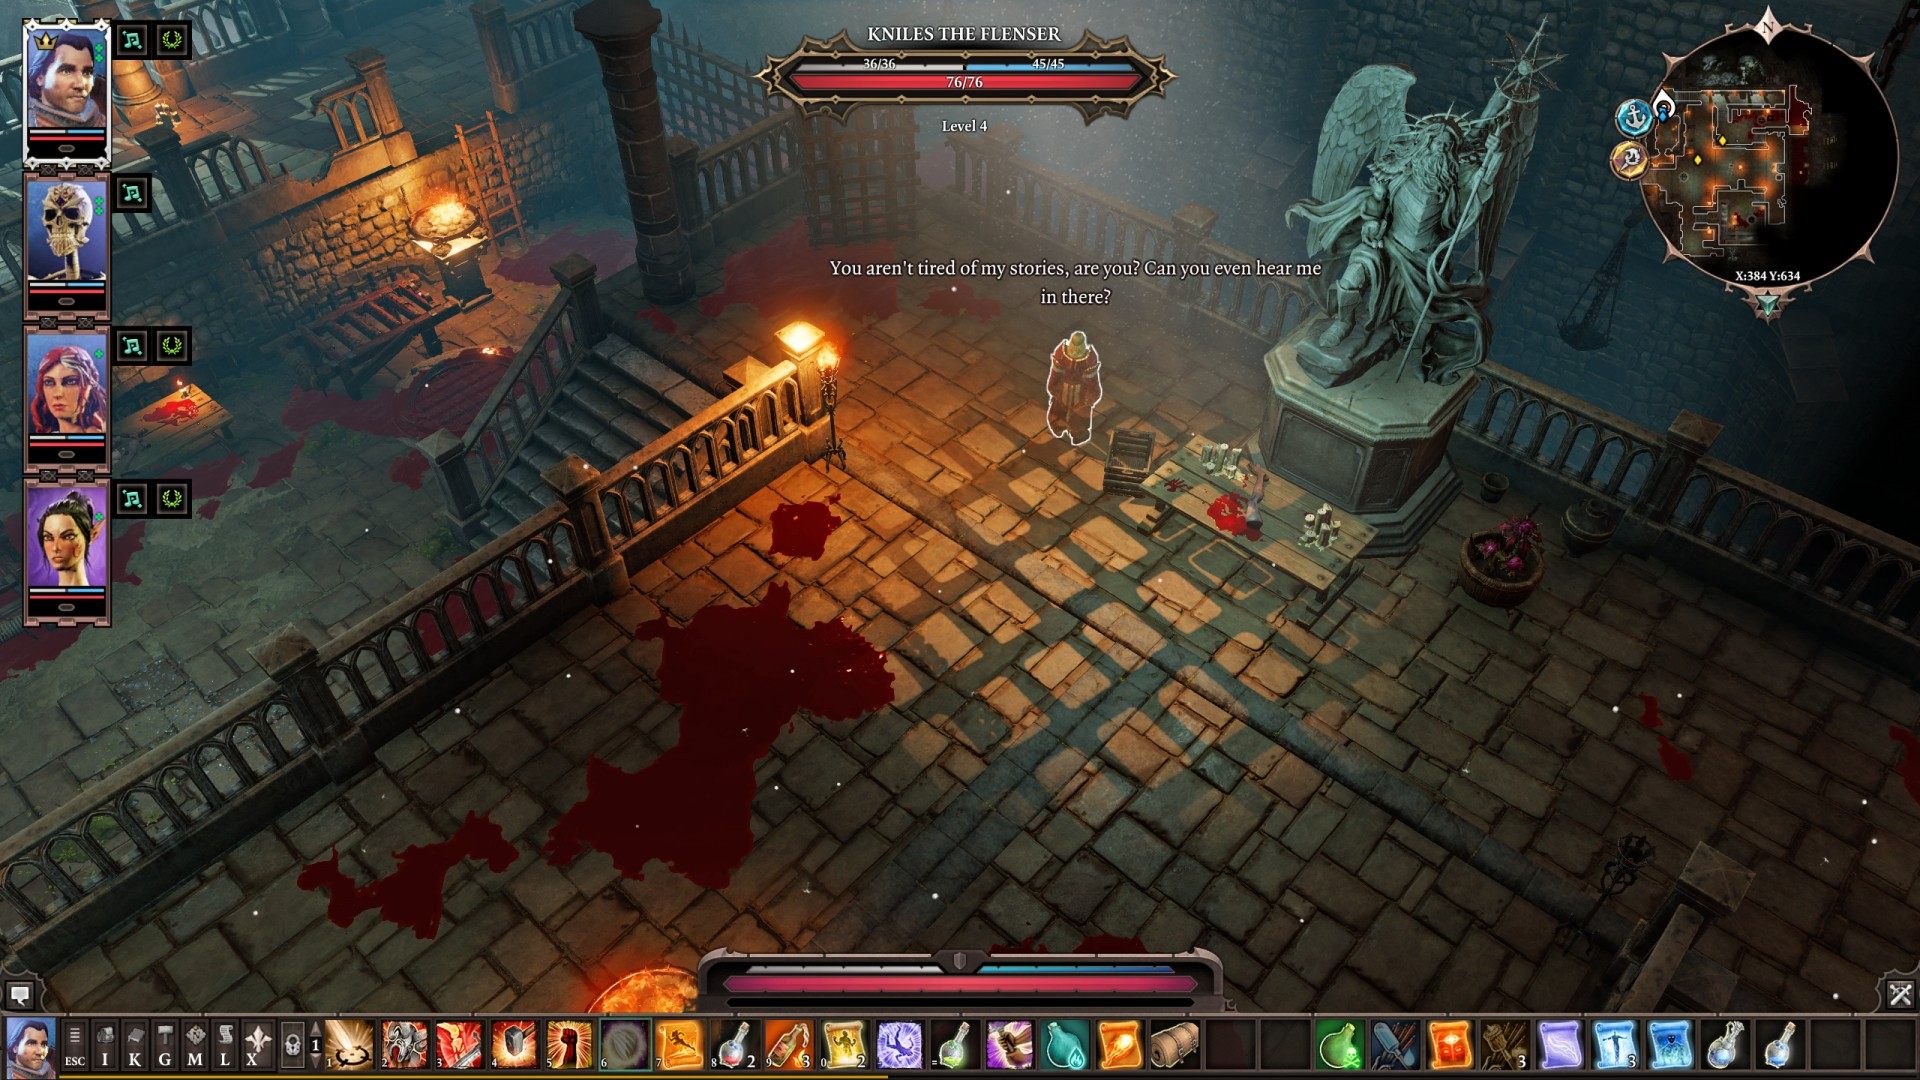
8Kniles the Flenser (lvl 4)
Related quests: Fane
Kniles the Flenser + 3 x Agitated Silent Monk + 3 x Meat Golem (in cages).
He drops Face Ripper, Chastity (Dagger), Abstinence (Dagger).
9Magister Captain Trippel (lvl 4)
Magister Captain Trippel + Magister Swordsman + 3 x Magister Ranger.
In his corpse you will find Captain Trippel's Key and Magister Trippel's Twohander.
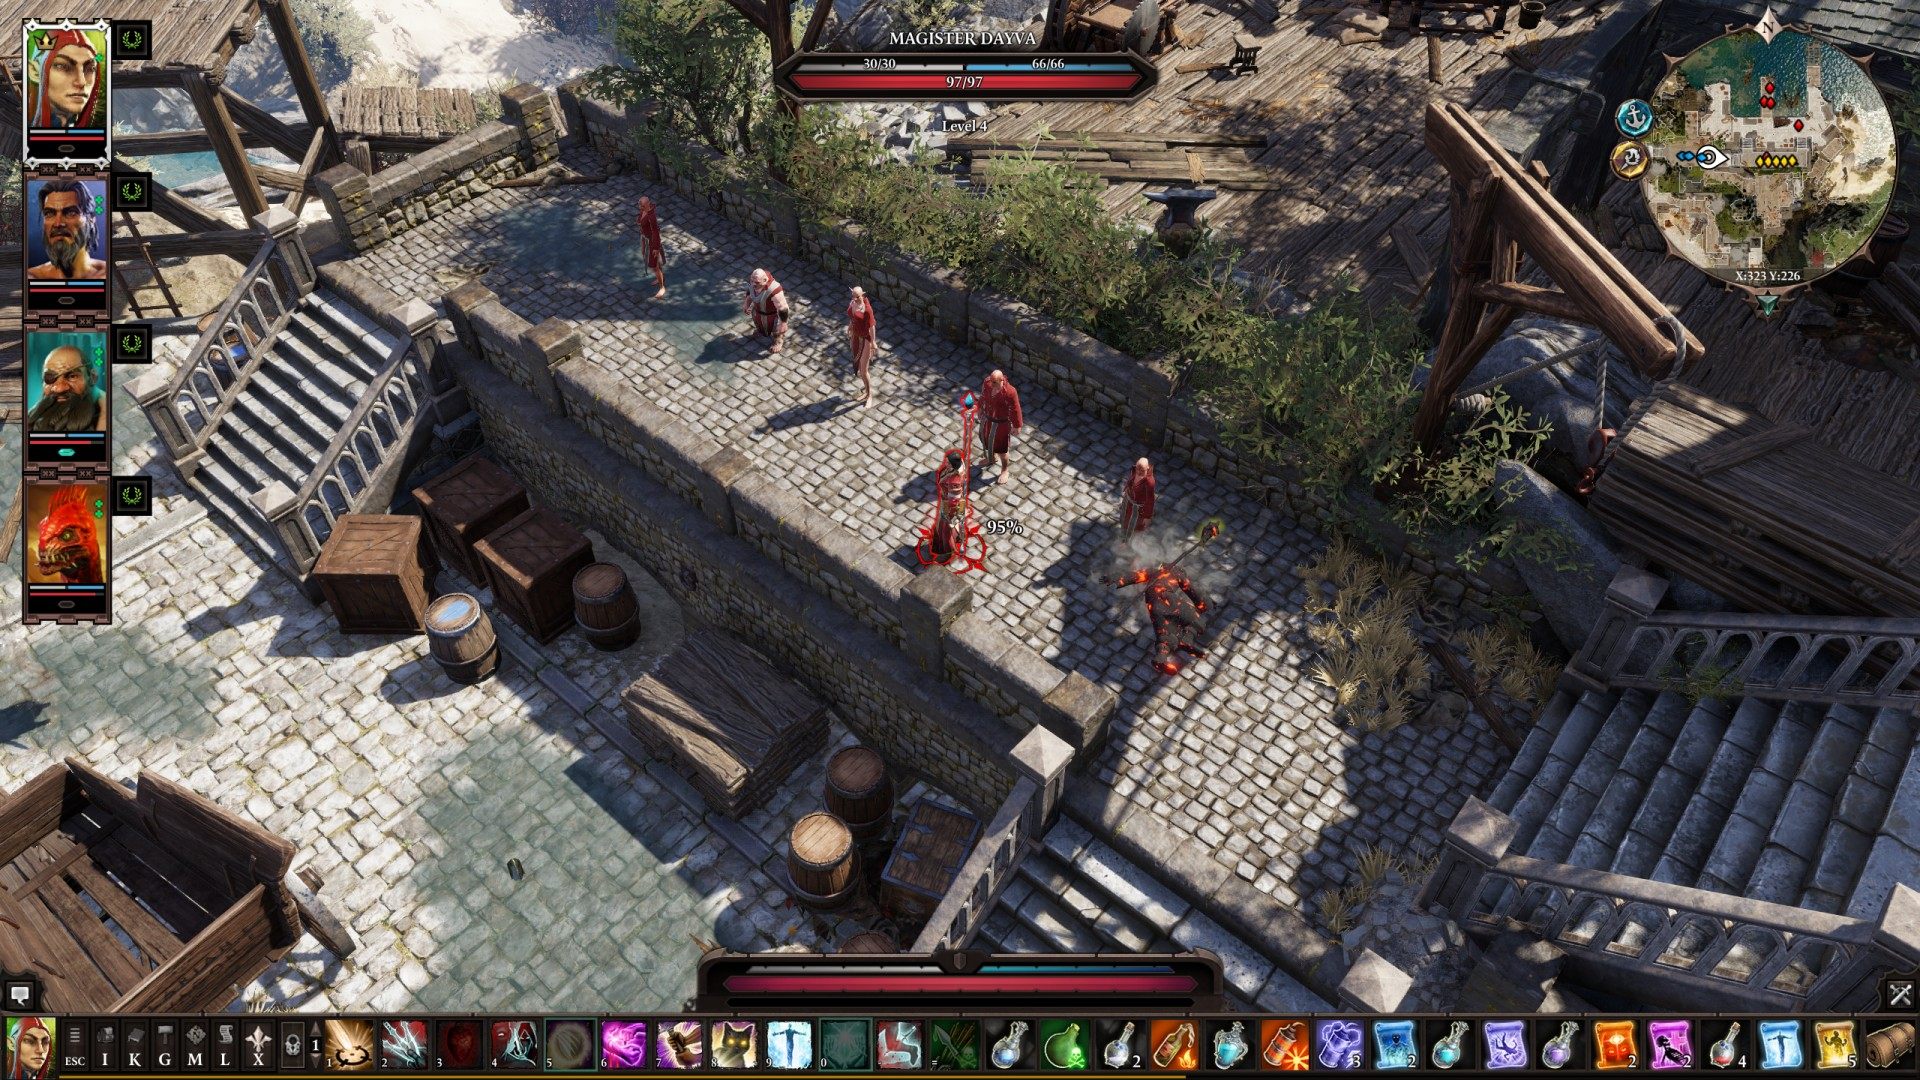
10Magister Dayva (lvl 4)
+ Inquisitor + Ranger + Knight. She drops Magister's Mantle. Magister Knight drops Harbour Key, it unlocks nearby chest.
If you helped Gawin then you will find his corpse here - Gawin's Robe.
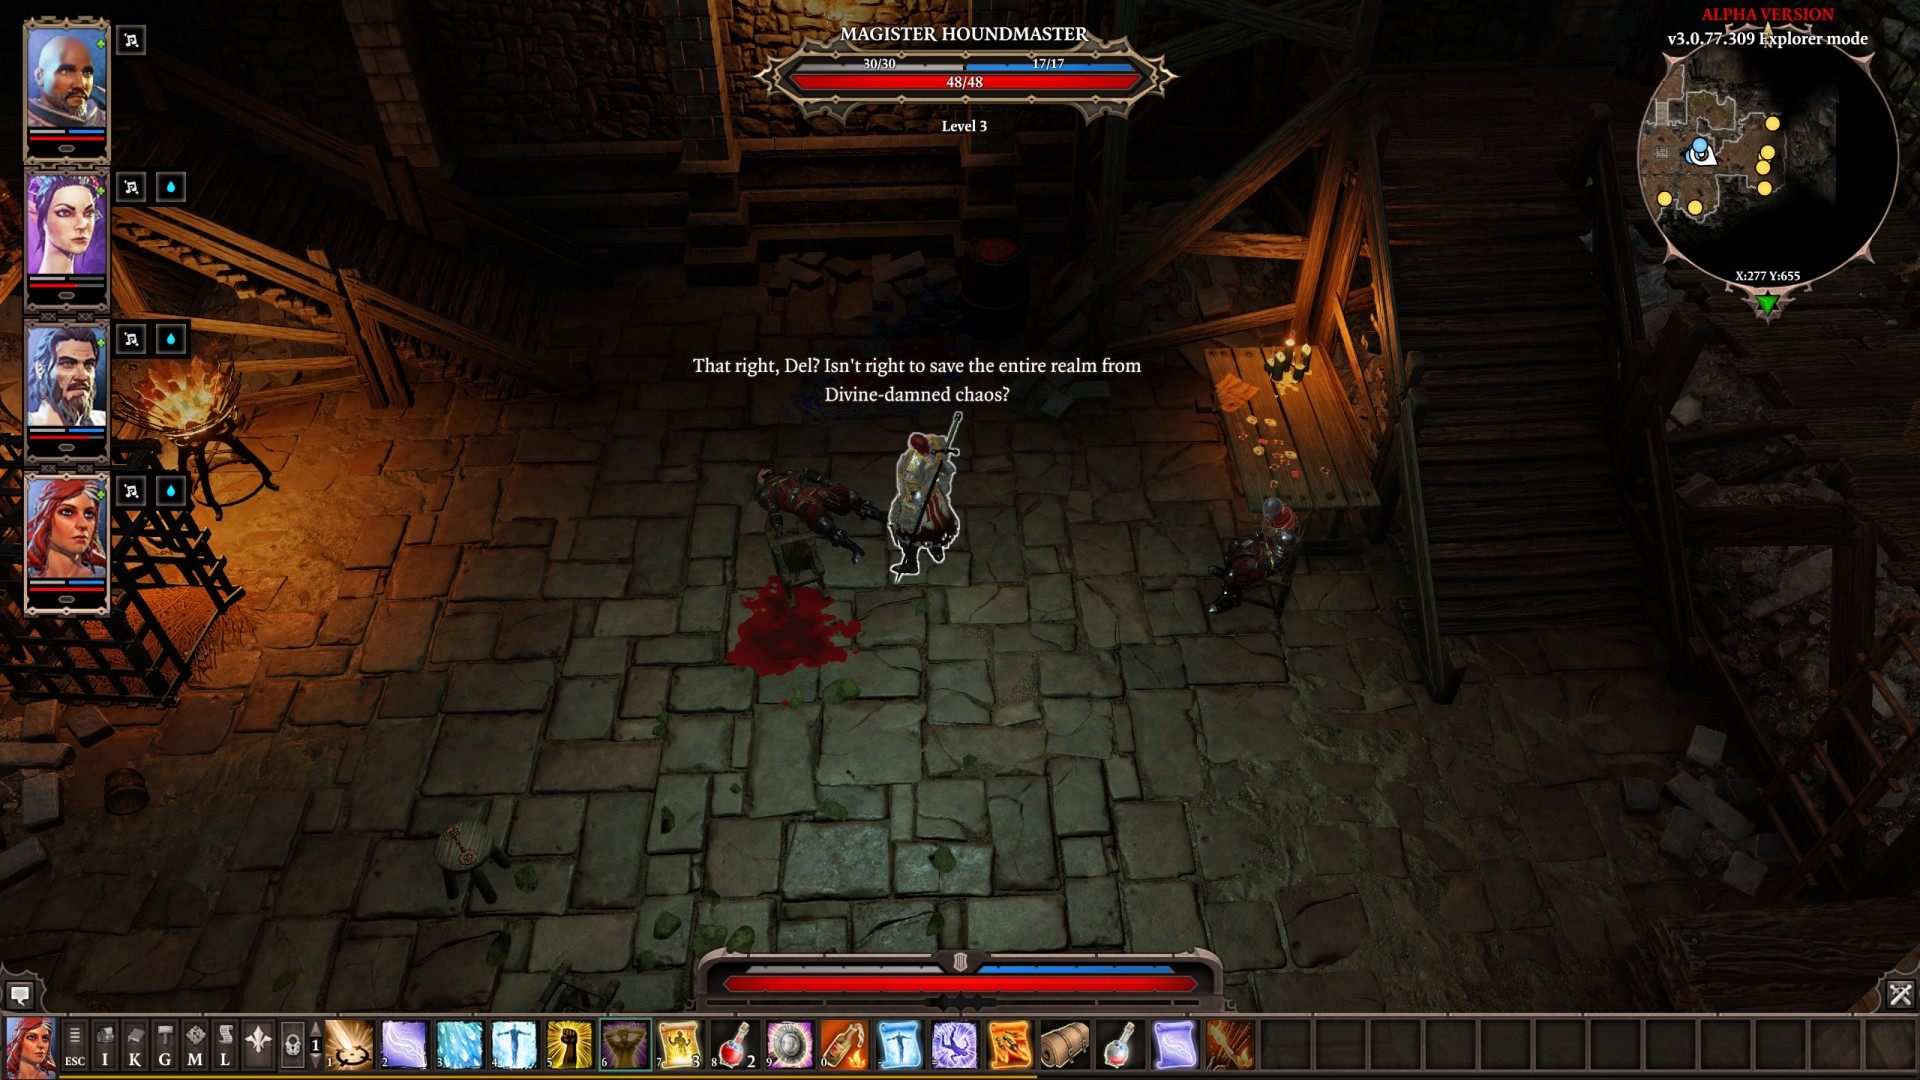
11Magister Houndmaster (lvl 3) and Delorus
Magister Houndmaster + Magister Swordsman + 2 x Magister Ranger + Source Hound.
Try to make Delorus, who is lying on the ground, not killed in battle.
12Magister Swordsman
In his corpse you will find Large Divine Order Key.
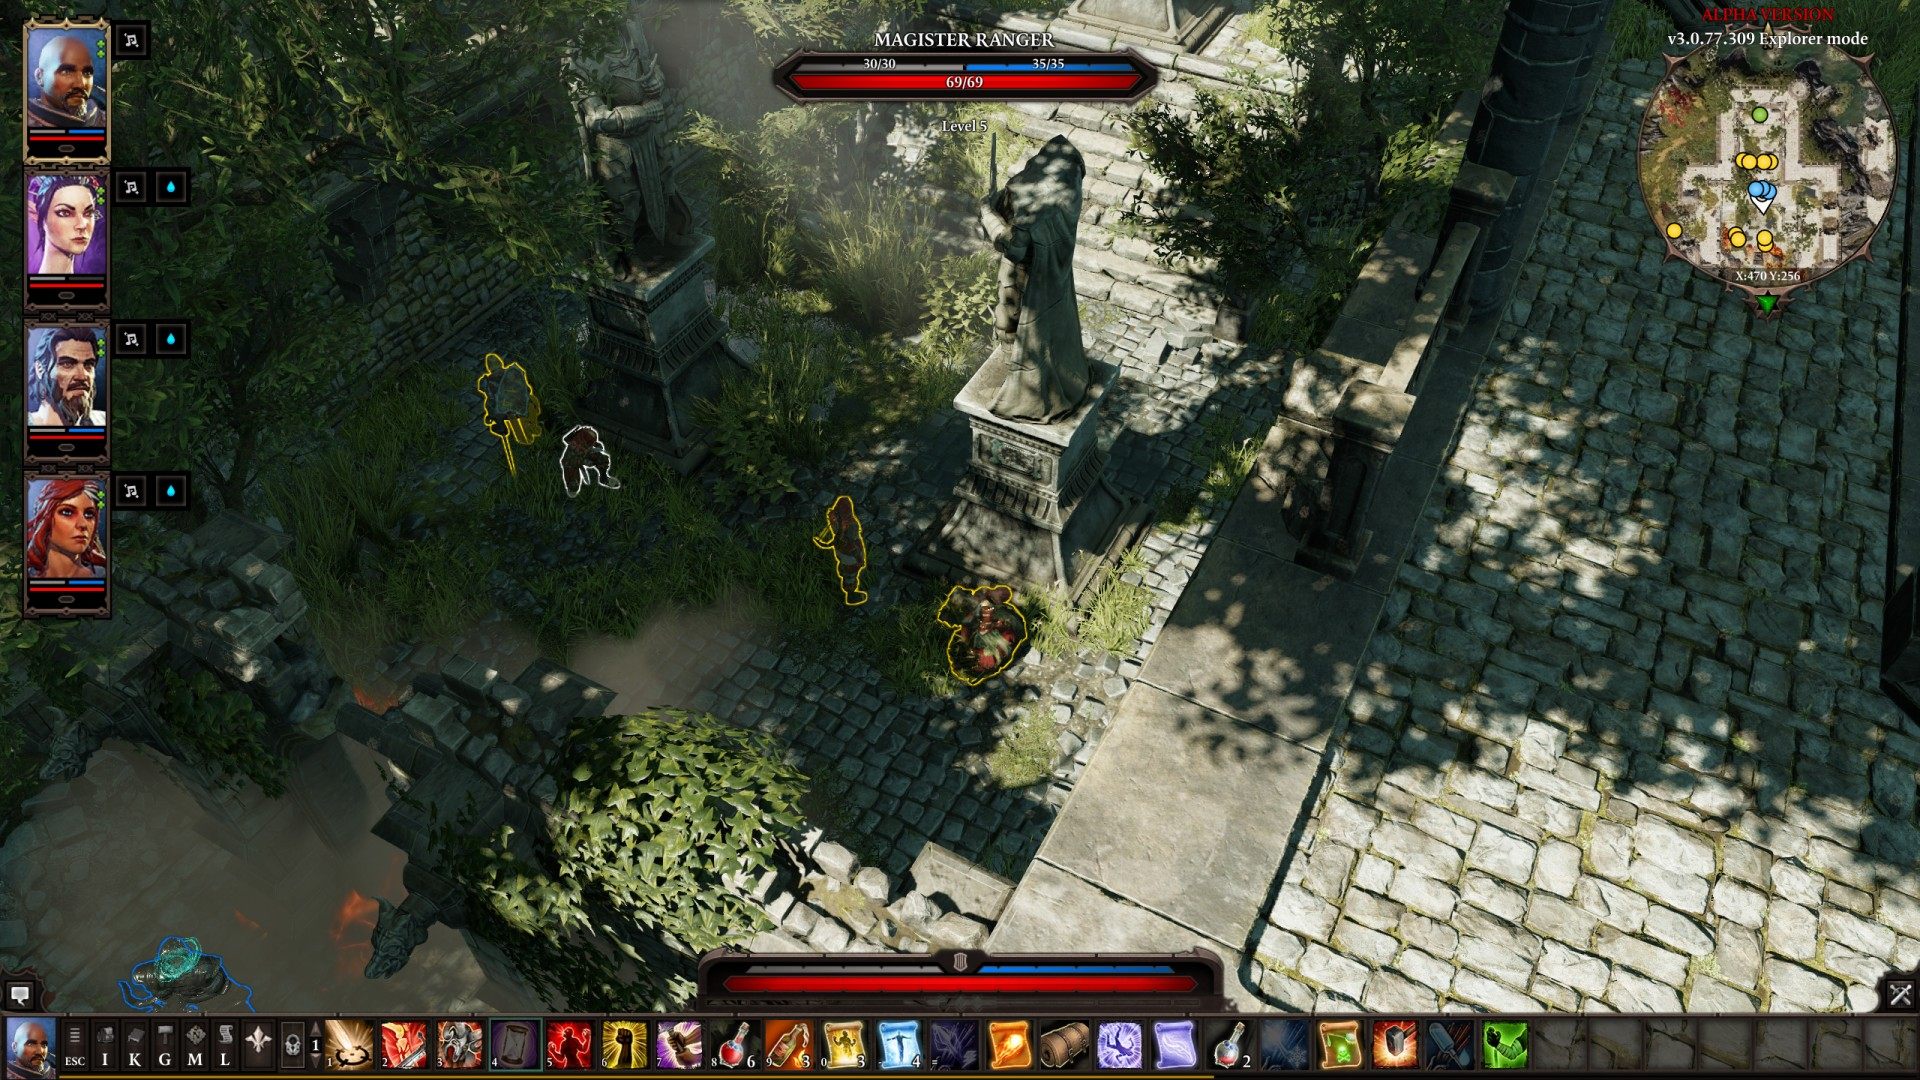
13Magisters (lvl 5)
Magister Inquisitor + Magister Swordsman + 2 x Magister Ranger. Magister Swordsman drops Magister's Sword (One-Handed Sword).
14Narin (lvl 3)
If you have The Red Prince / Lizard in your team then he will attack you, otherwise he will not even want to talk to you.

15Real Trompdoy (lvl 5)
Related quests: The Vault of Braccus Rex, The Cursed Ring
Trompdoy and his illusions. You will find Band of Braccus and Trompdoy's Hatchet in his corpse.

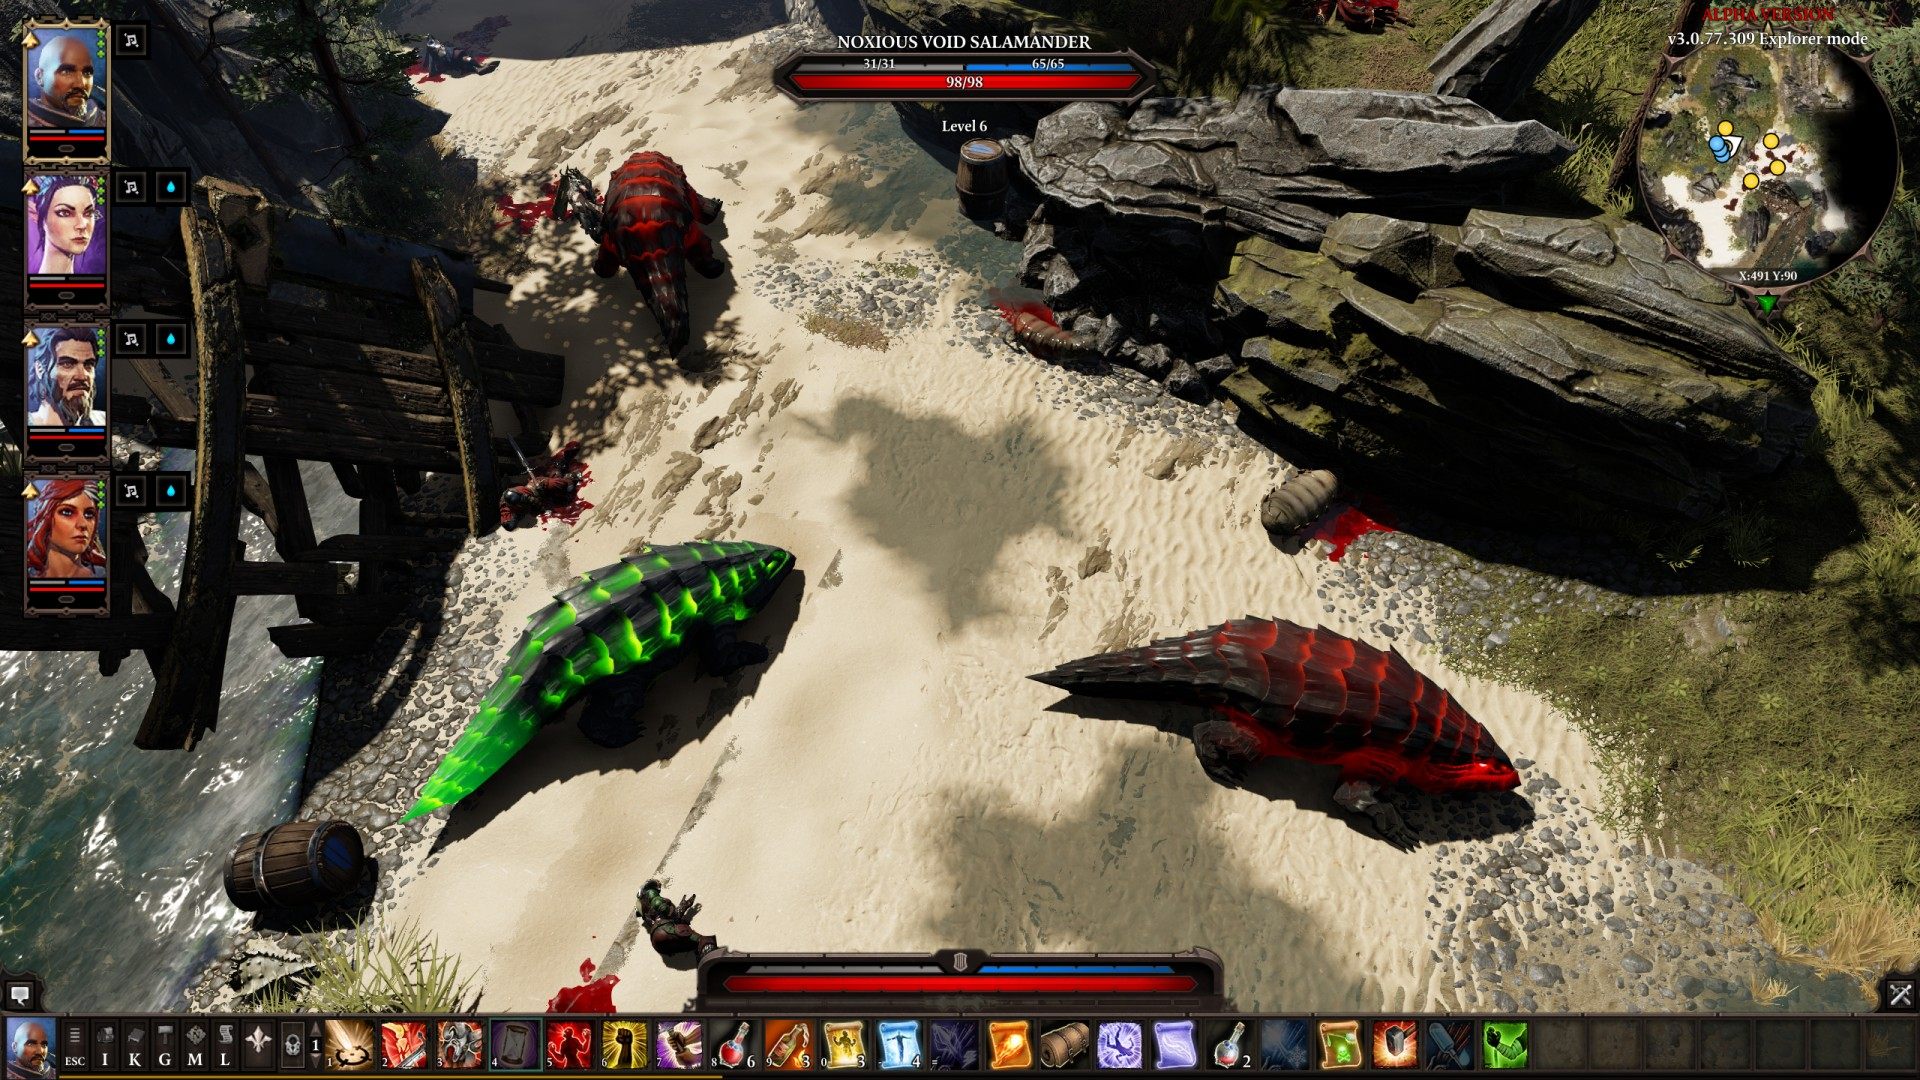
16Salamanders (lvl 6)
Noxious Salamander + 2 x Void Salamander. In the corpse of Void Salamander you will find Amulet of the Void.
17Shrieker
Related quests: The Shriekers
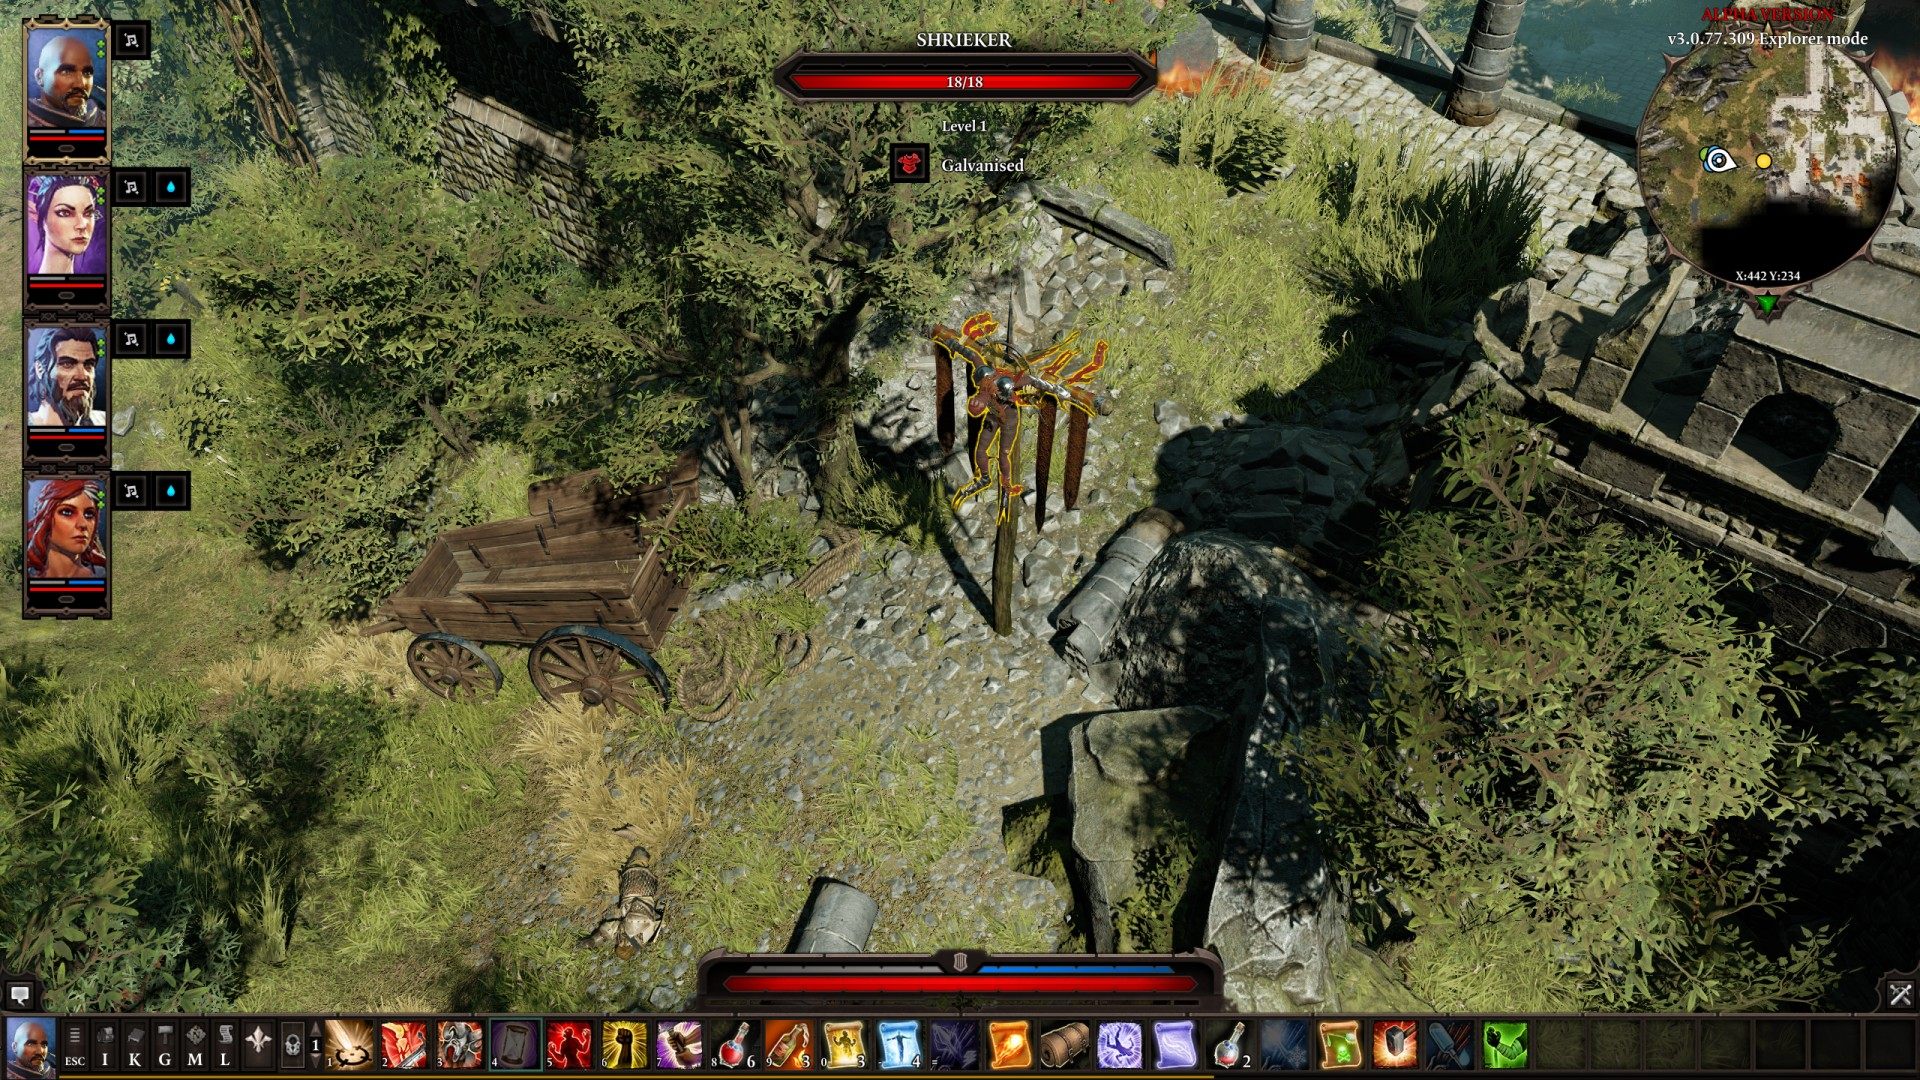
18Shriekers
Related quests: The Shriekers, The Purged Dragon
You can destroy them with Purging Wand.

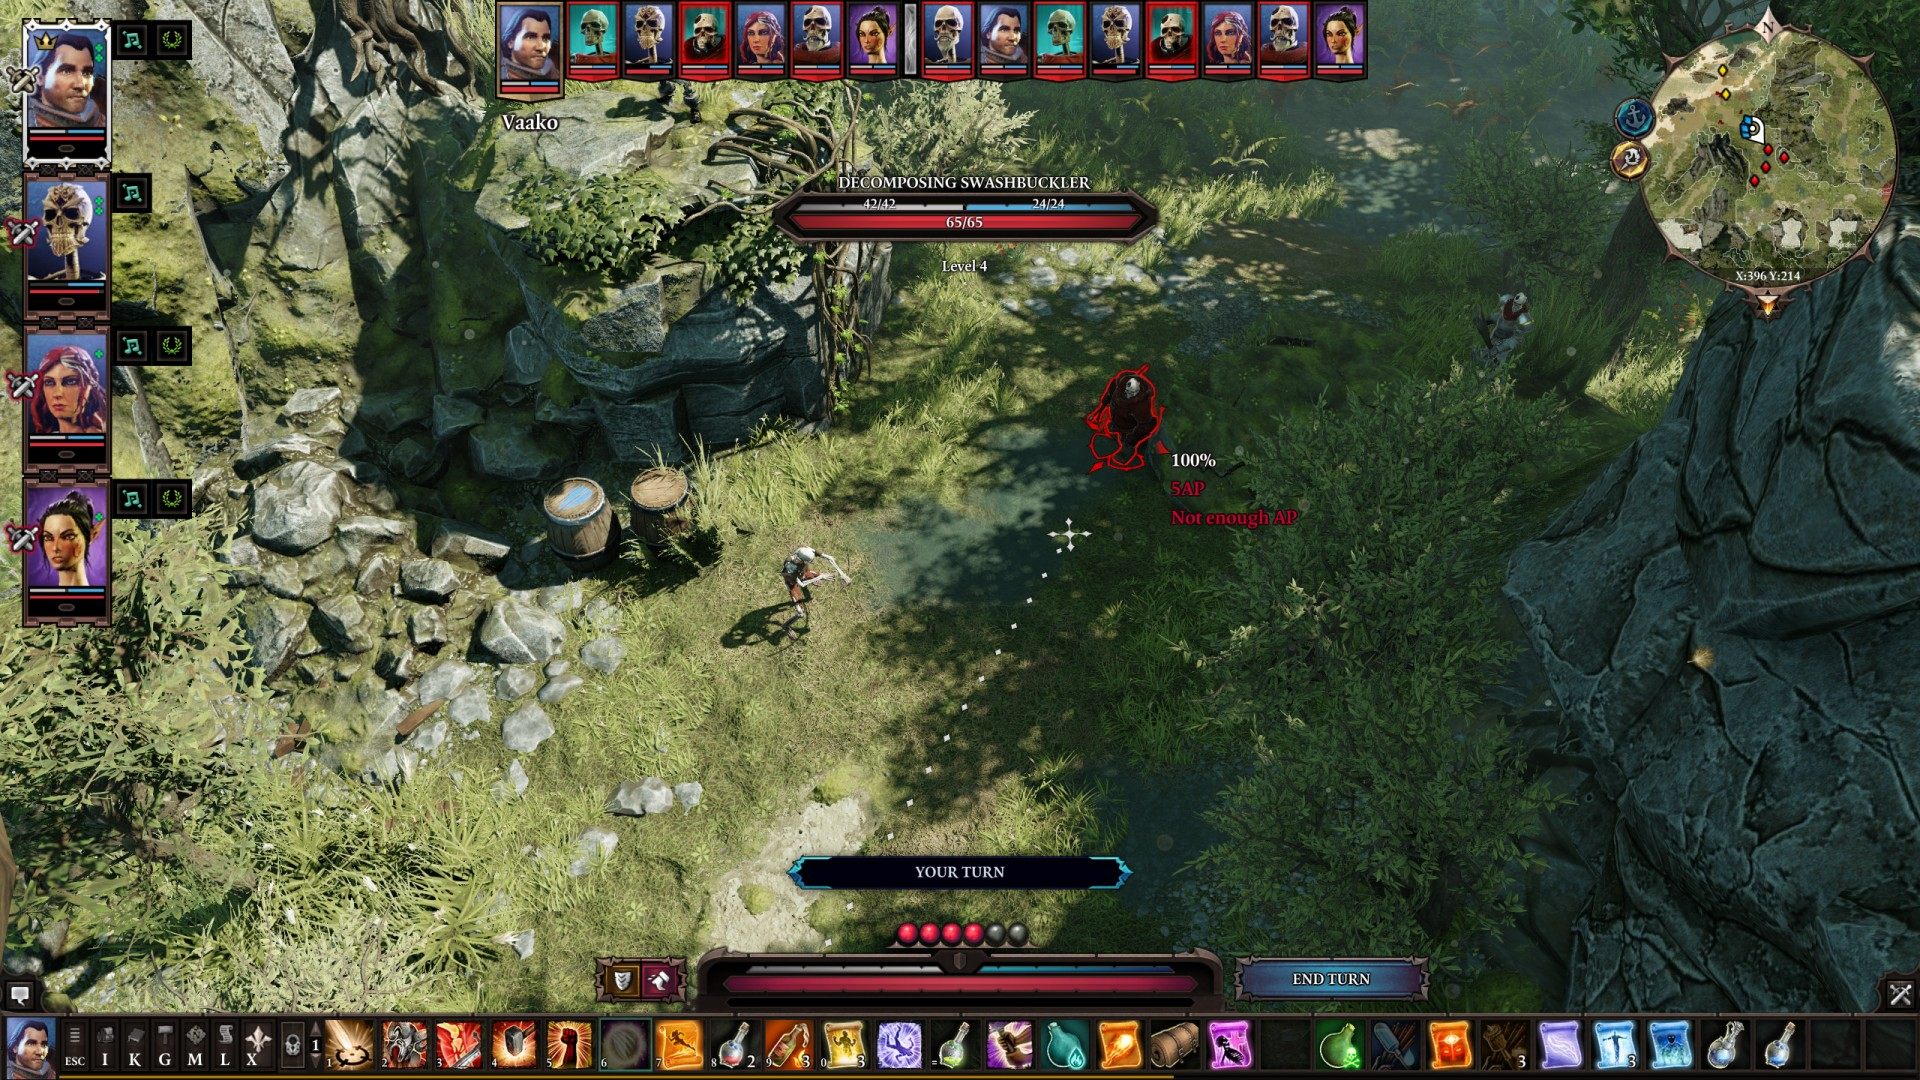
19Skeletal Undeads (lvl 4)
2 x Decomposing Swashbuckler + Decomposing Marksman + Decomposing Markswoman.
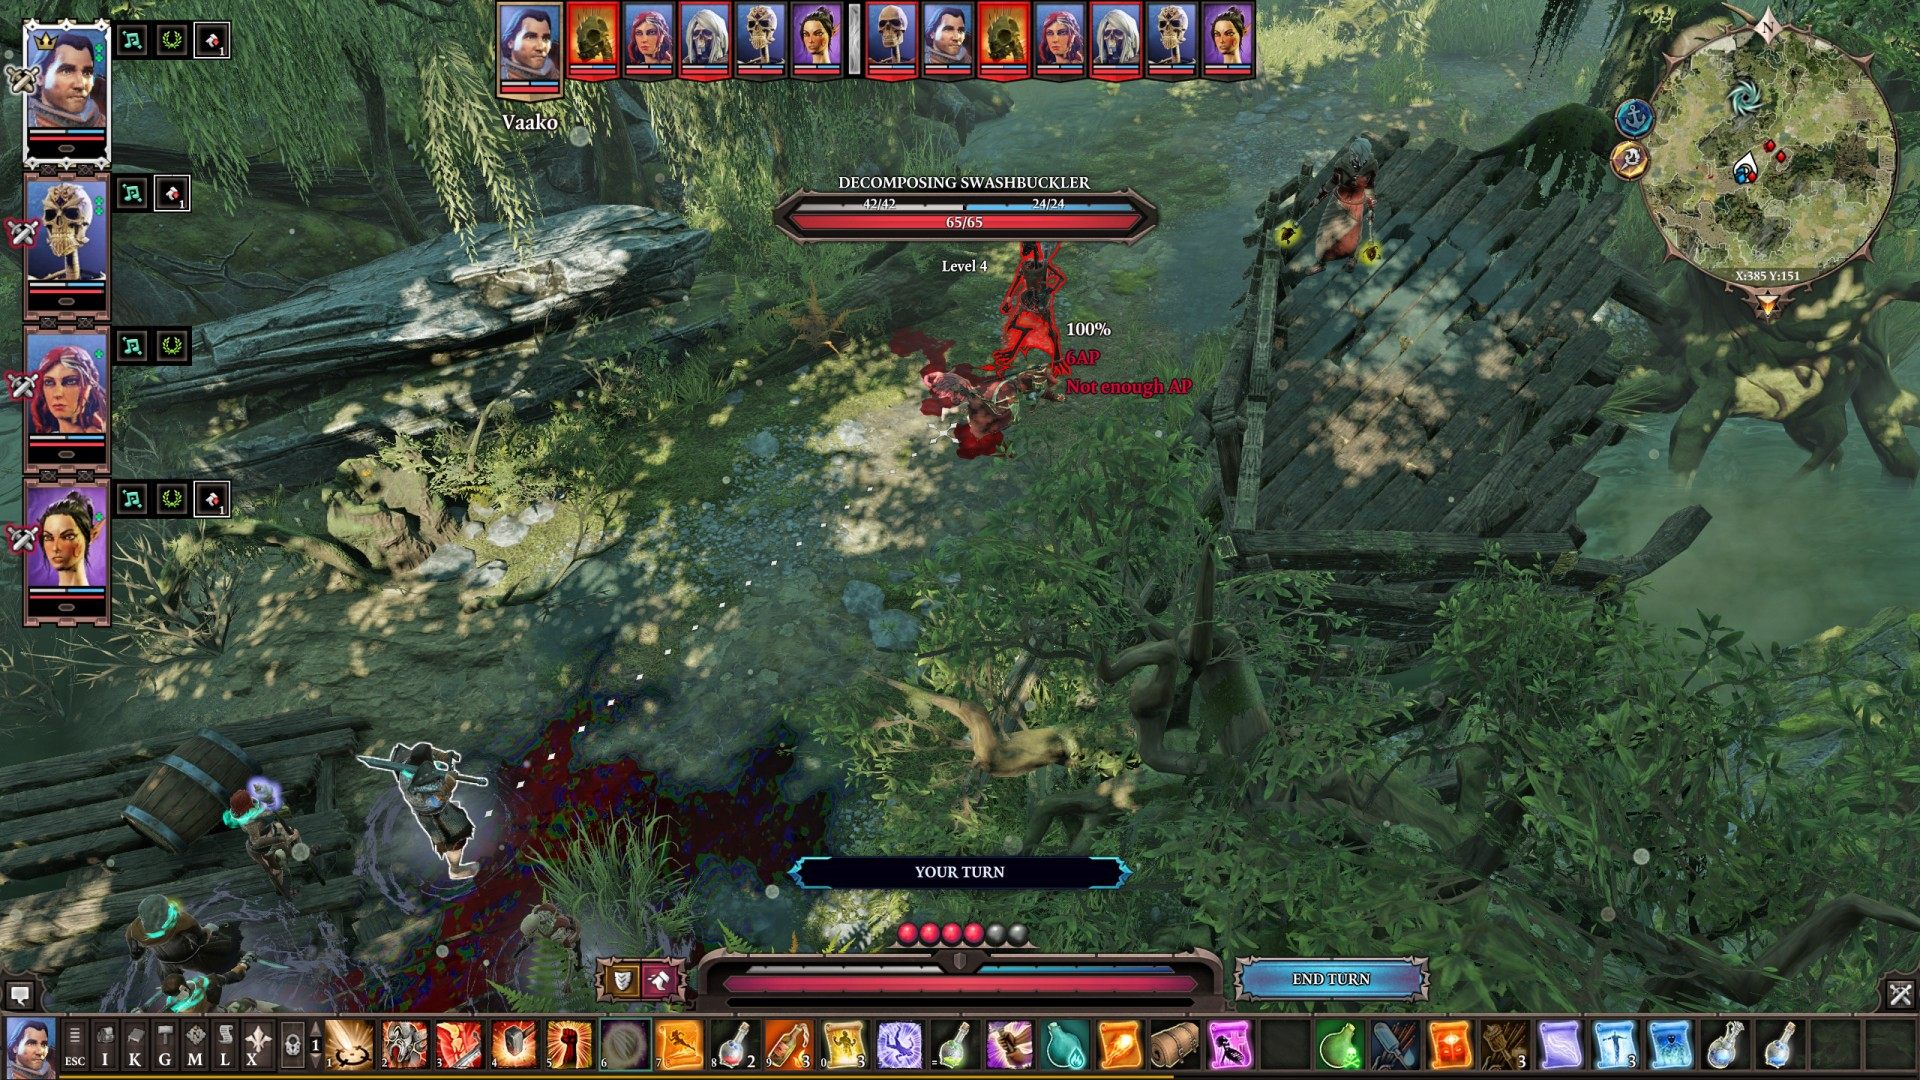
20Skeletal Undeads (lvl 4)
Related quests: The Covenant
Decomposing Terramancer + Decomposing Swashbuckler + Decomposing Assassin.
Decomposing Terramancer should drop Decomposing Terramancer's Belt.
21The Historian (lvl 6)
The Historian himself is neutral but when you approach him, you will be attacked by: Incandescent Scorcher + Incandescent Marksman + Incandescent Decapitator.
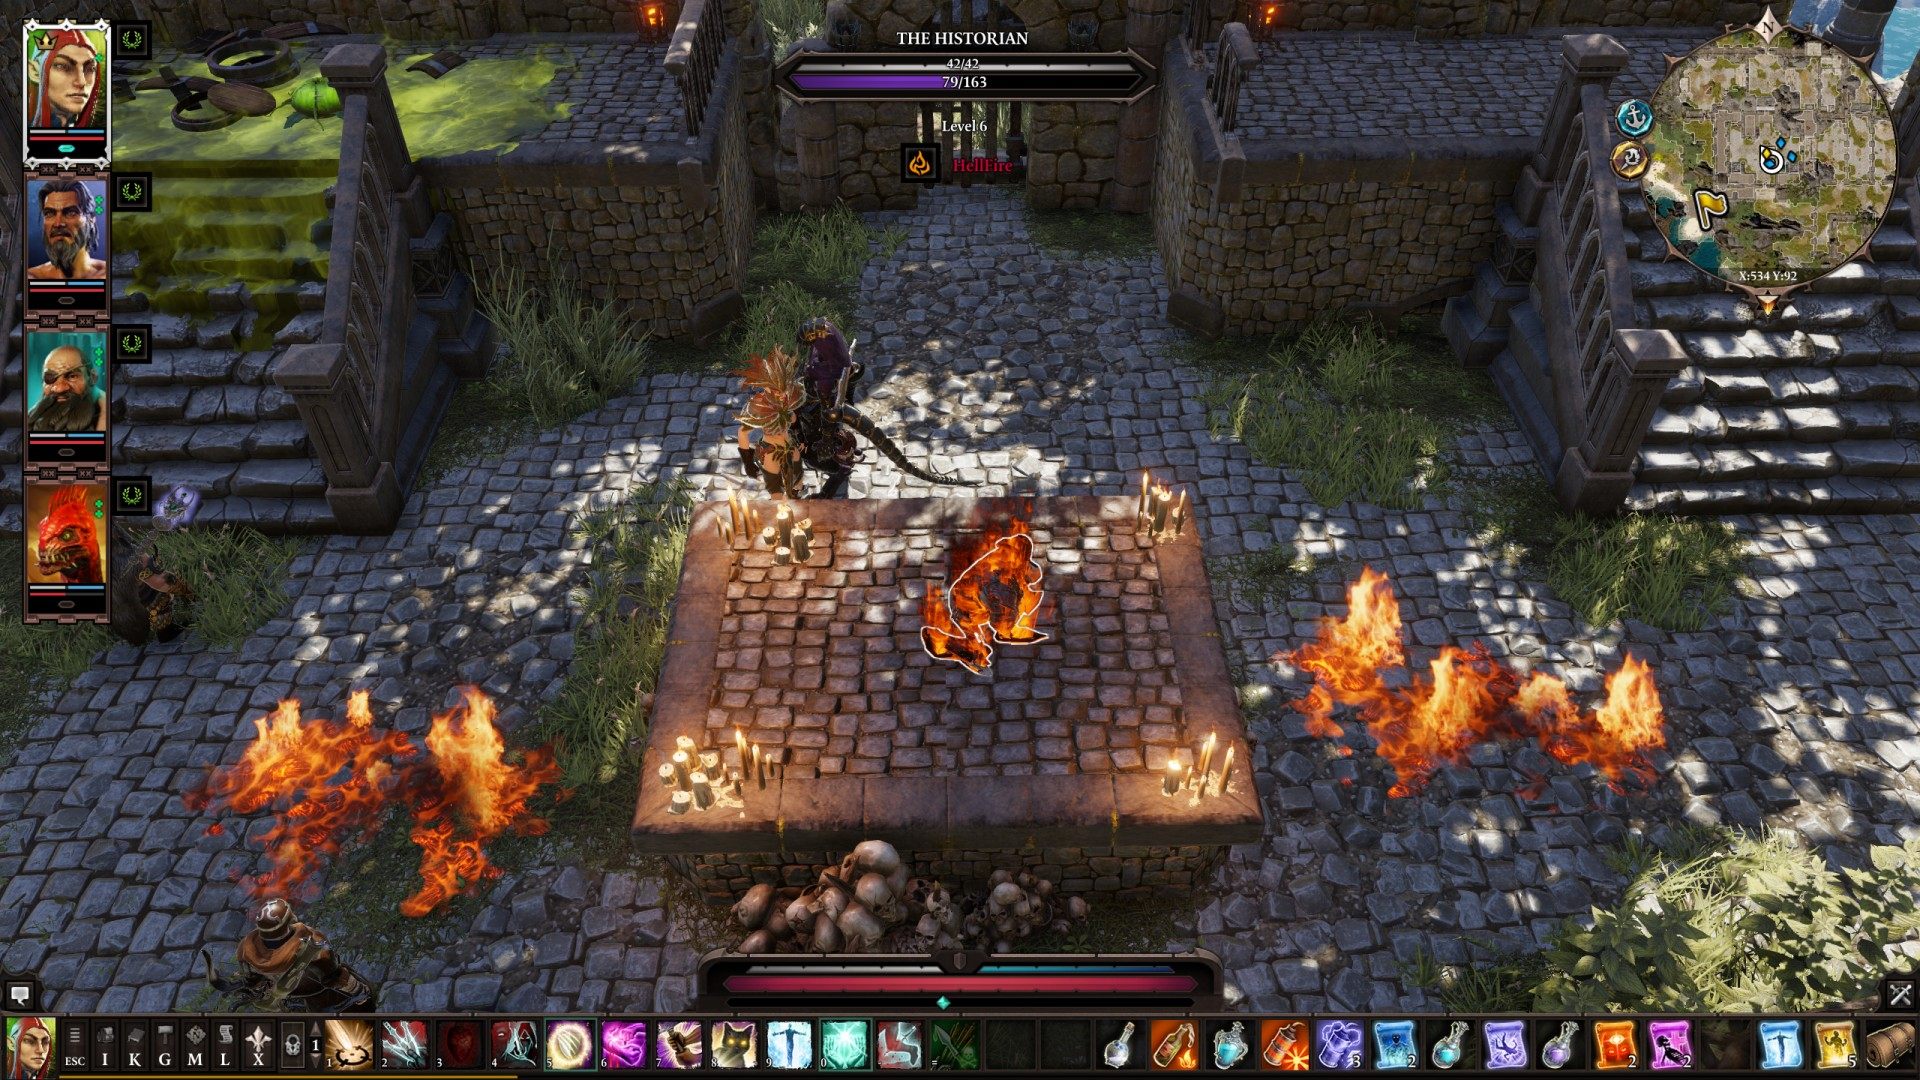
To douse the fire and help him you need a pool of blood (you can cast necromancy spell Rain of Blood, or even hit one of your companions few times to make a small one), use teleportation skill (if required) to move The Historian to the pool, then cast Bless spell (to get this skill you have to visit Hall of Echoes) on him.
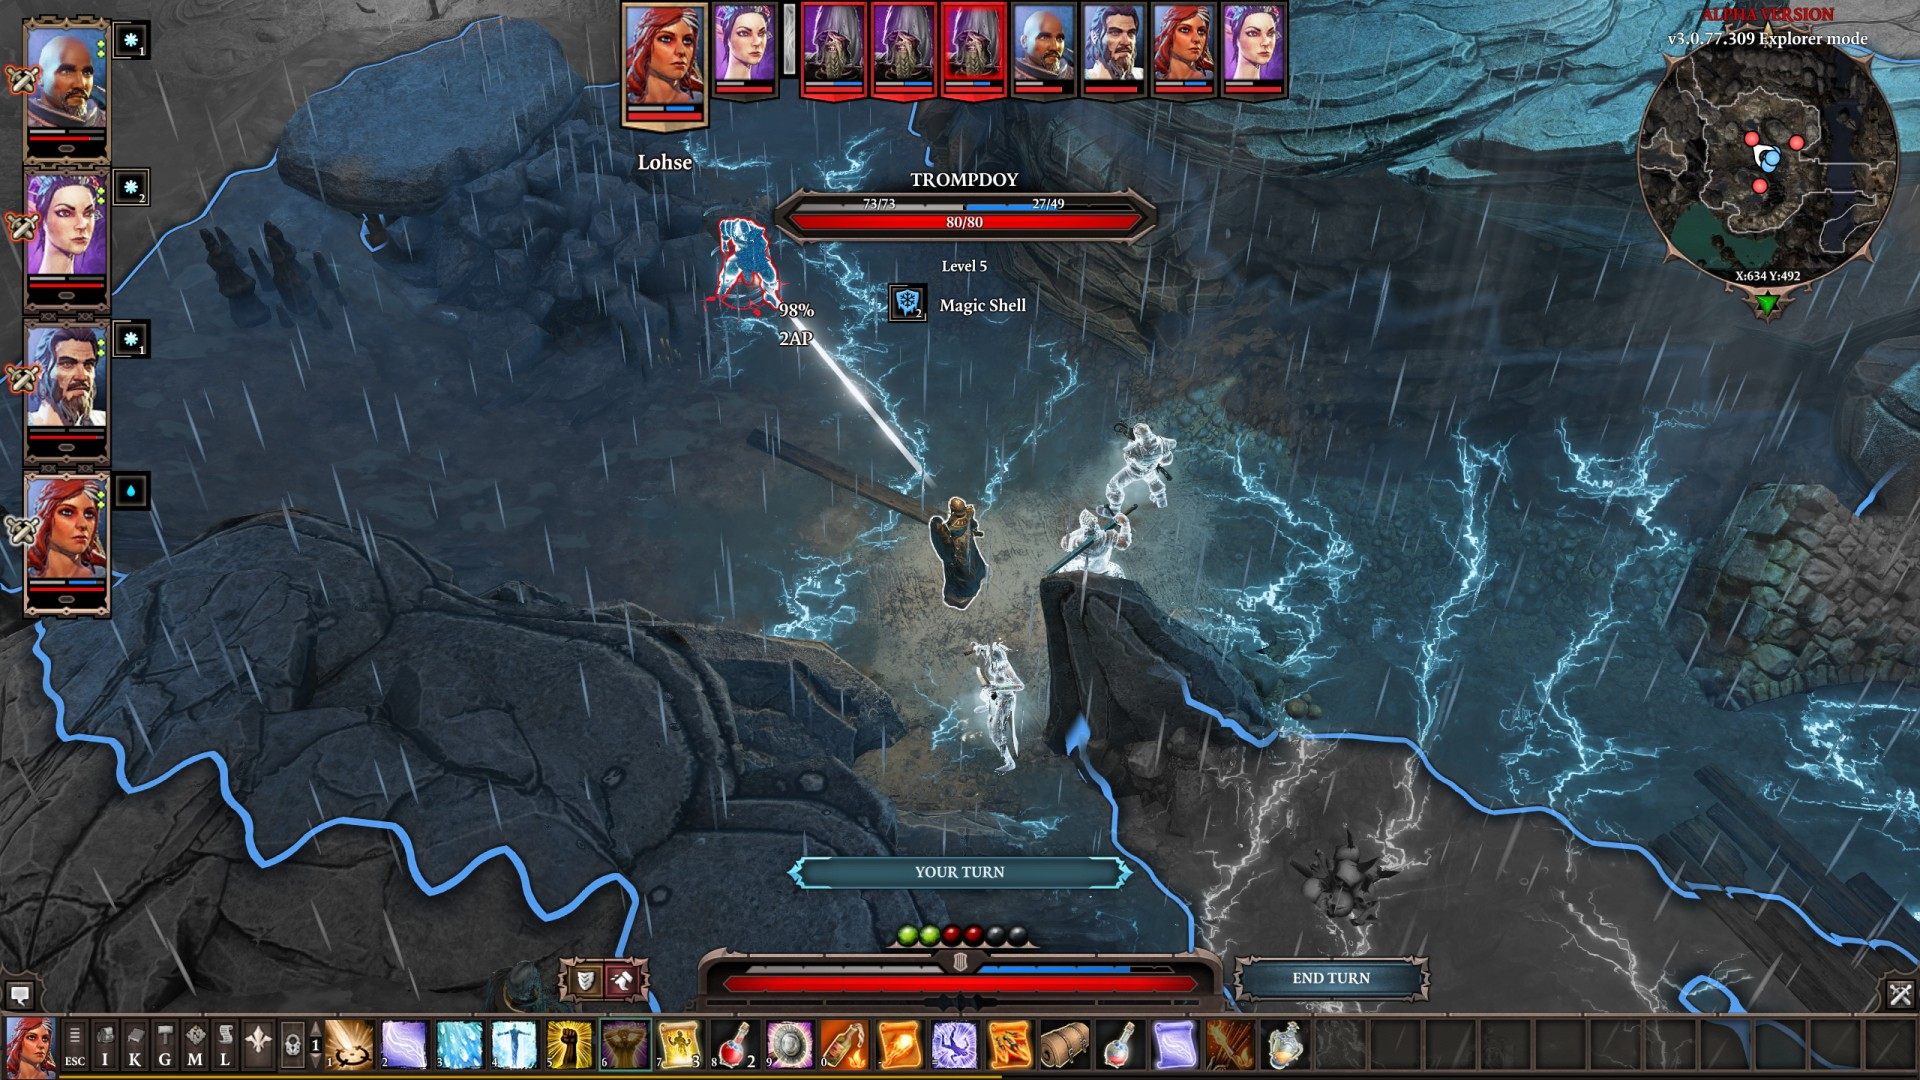
22Trompdoy (lvl 5)
Trompdoy and his 2 illusions. He will attack you here.
After the fight Ornate Chest (level 5) will be spawned (empty, another illusion).
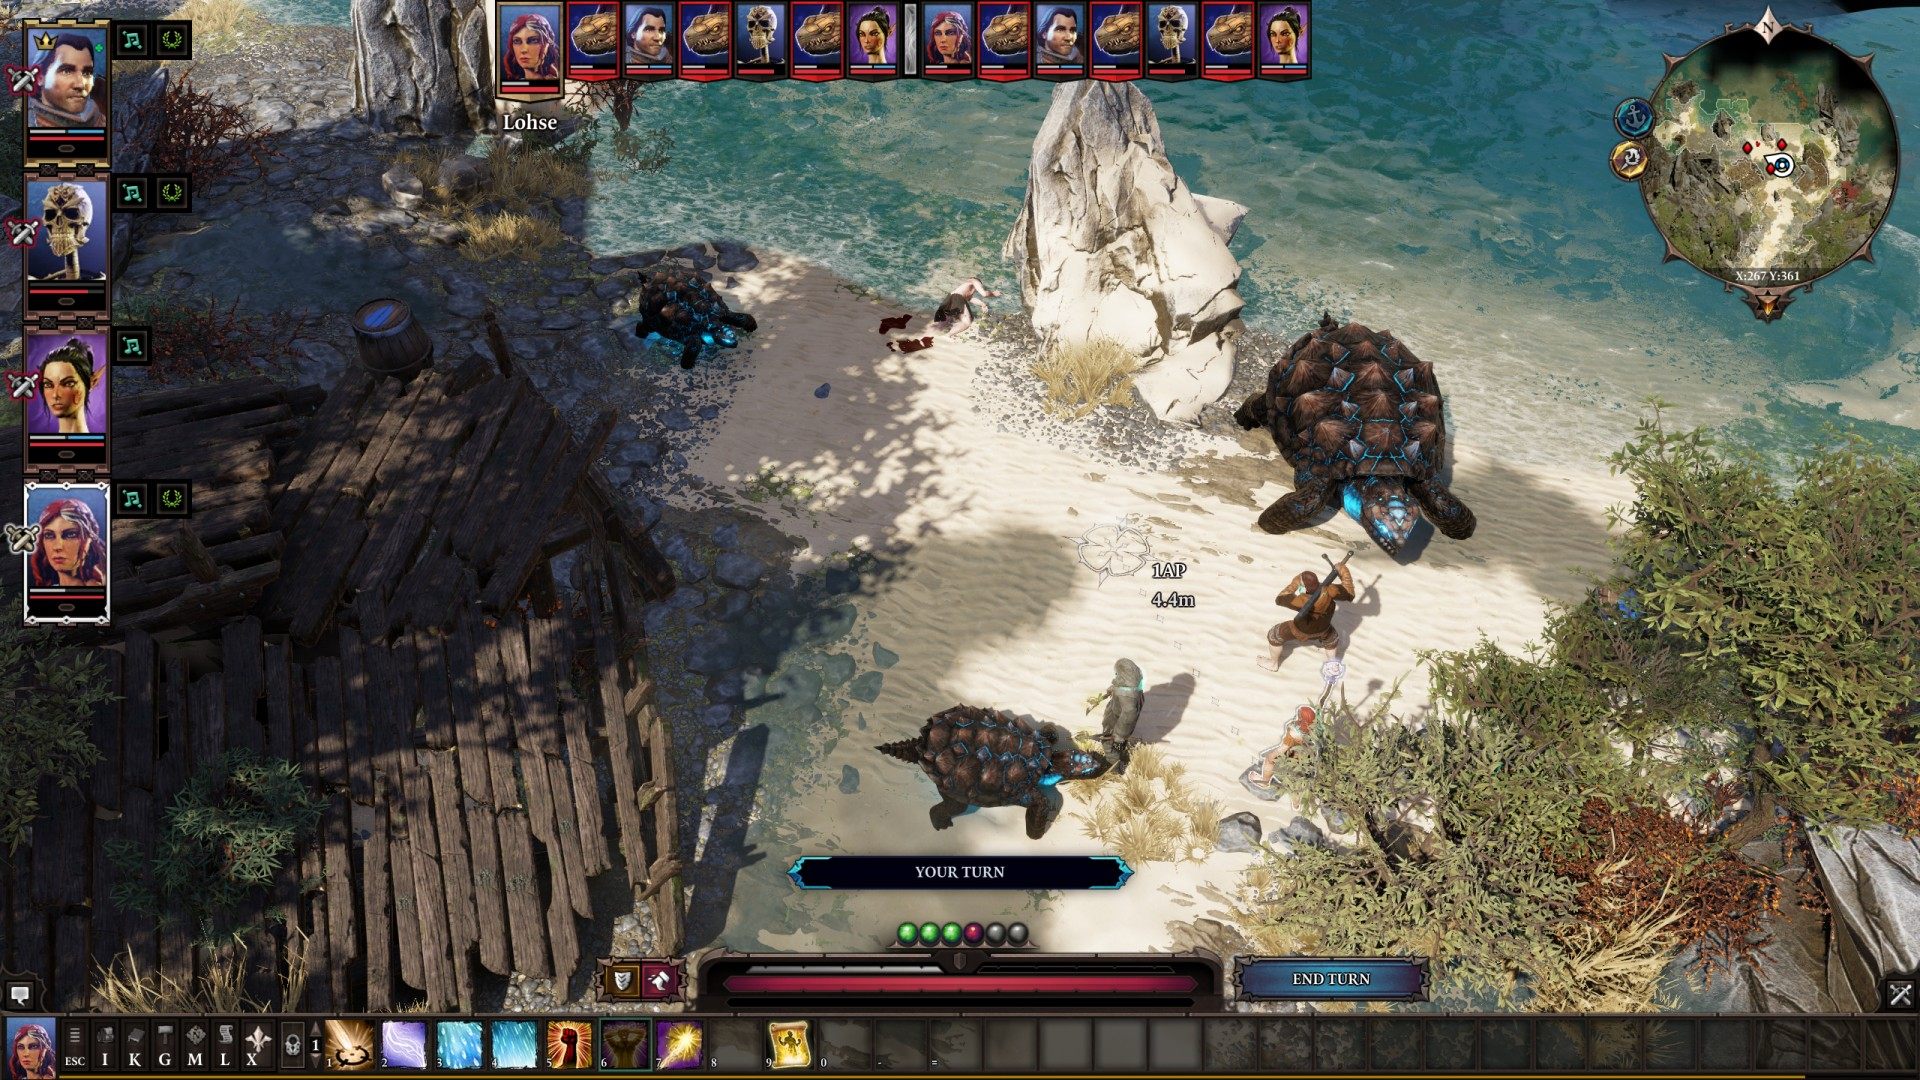
23Turtles (lvl 2)
Ancient Tainted Turtle + 2 x Void-touched Turtles. Ancient Tainted Turtle drops Turtle's Claw (Wand).
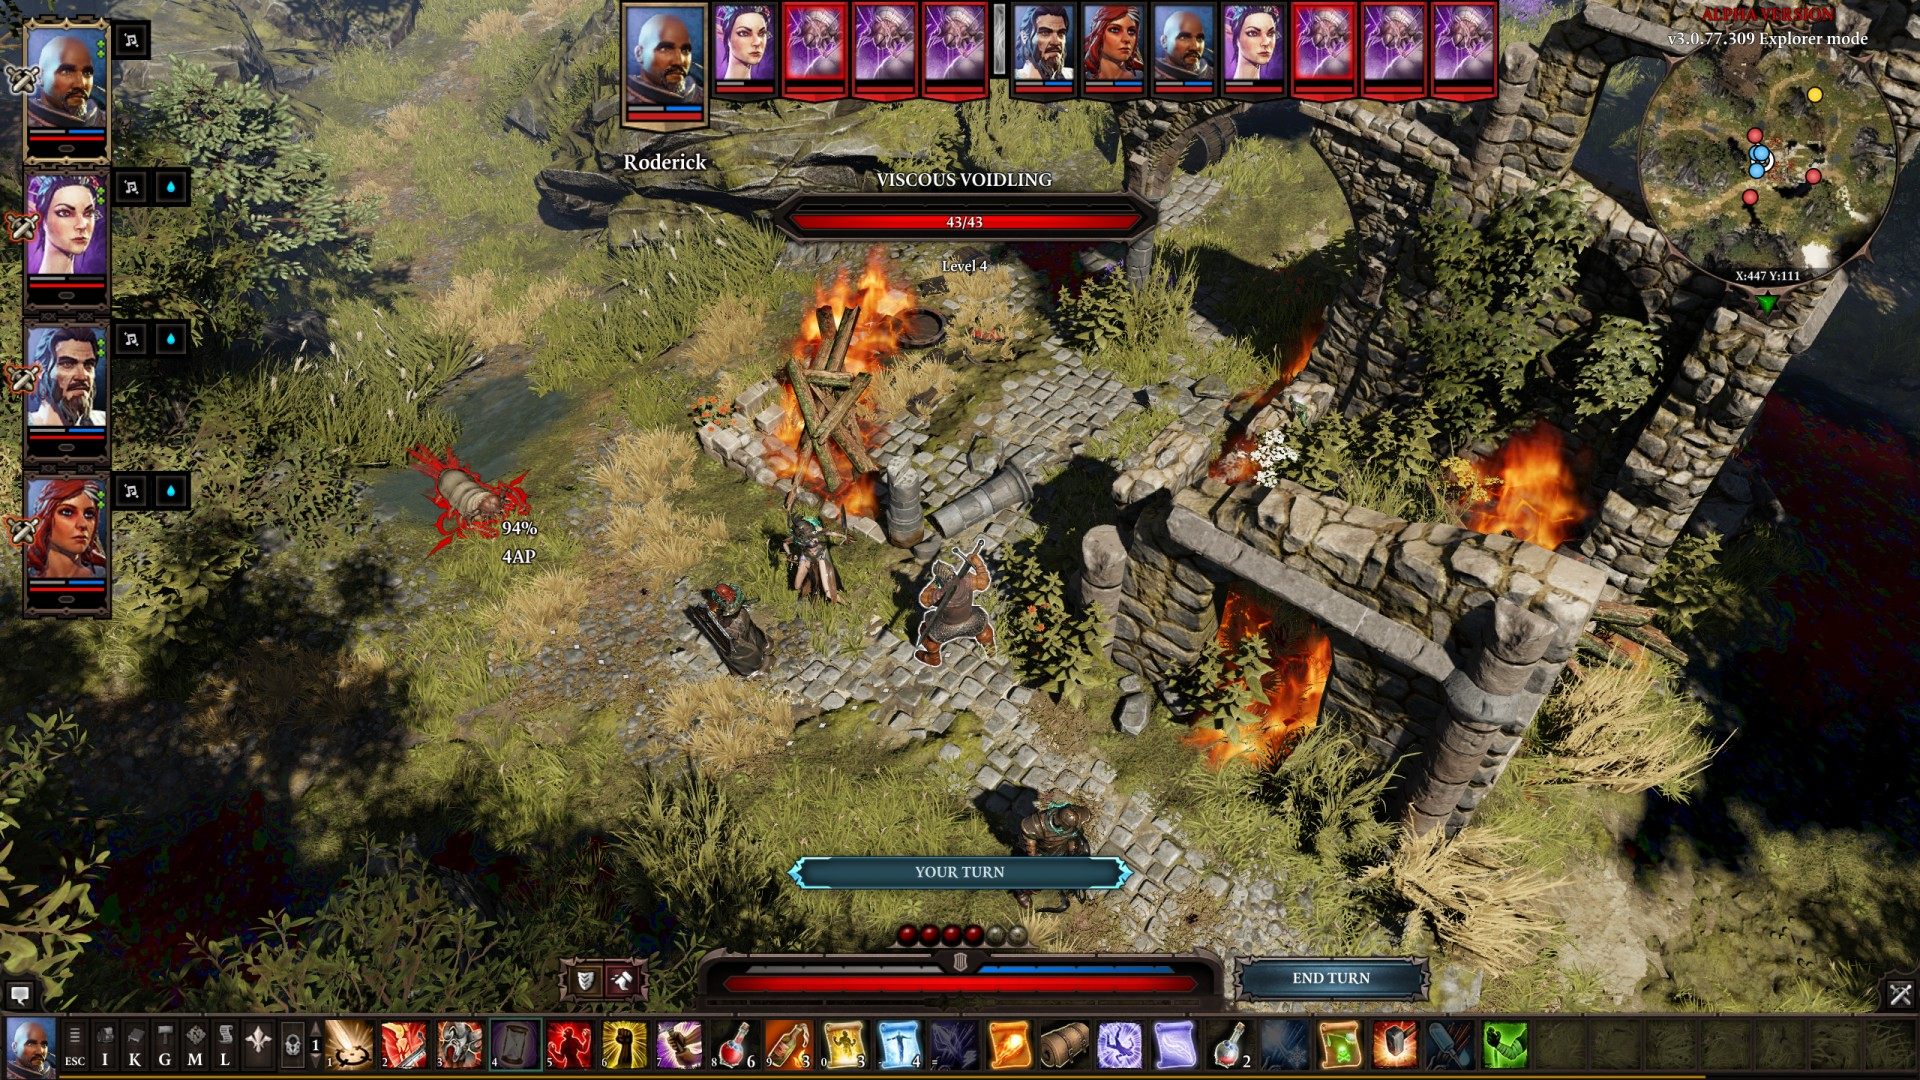
24Voidlings (lvl 1)
Related quests: The Escape
2 x Viscous Voidling
The corpse of Magister Jalen is also here.

25Voidlings (lvl 4)
Related quests: The Voices
Viscous Voidling x 12. They come in "waves". Kill a few to get another one.
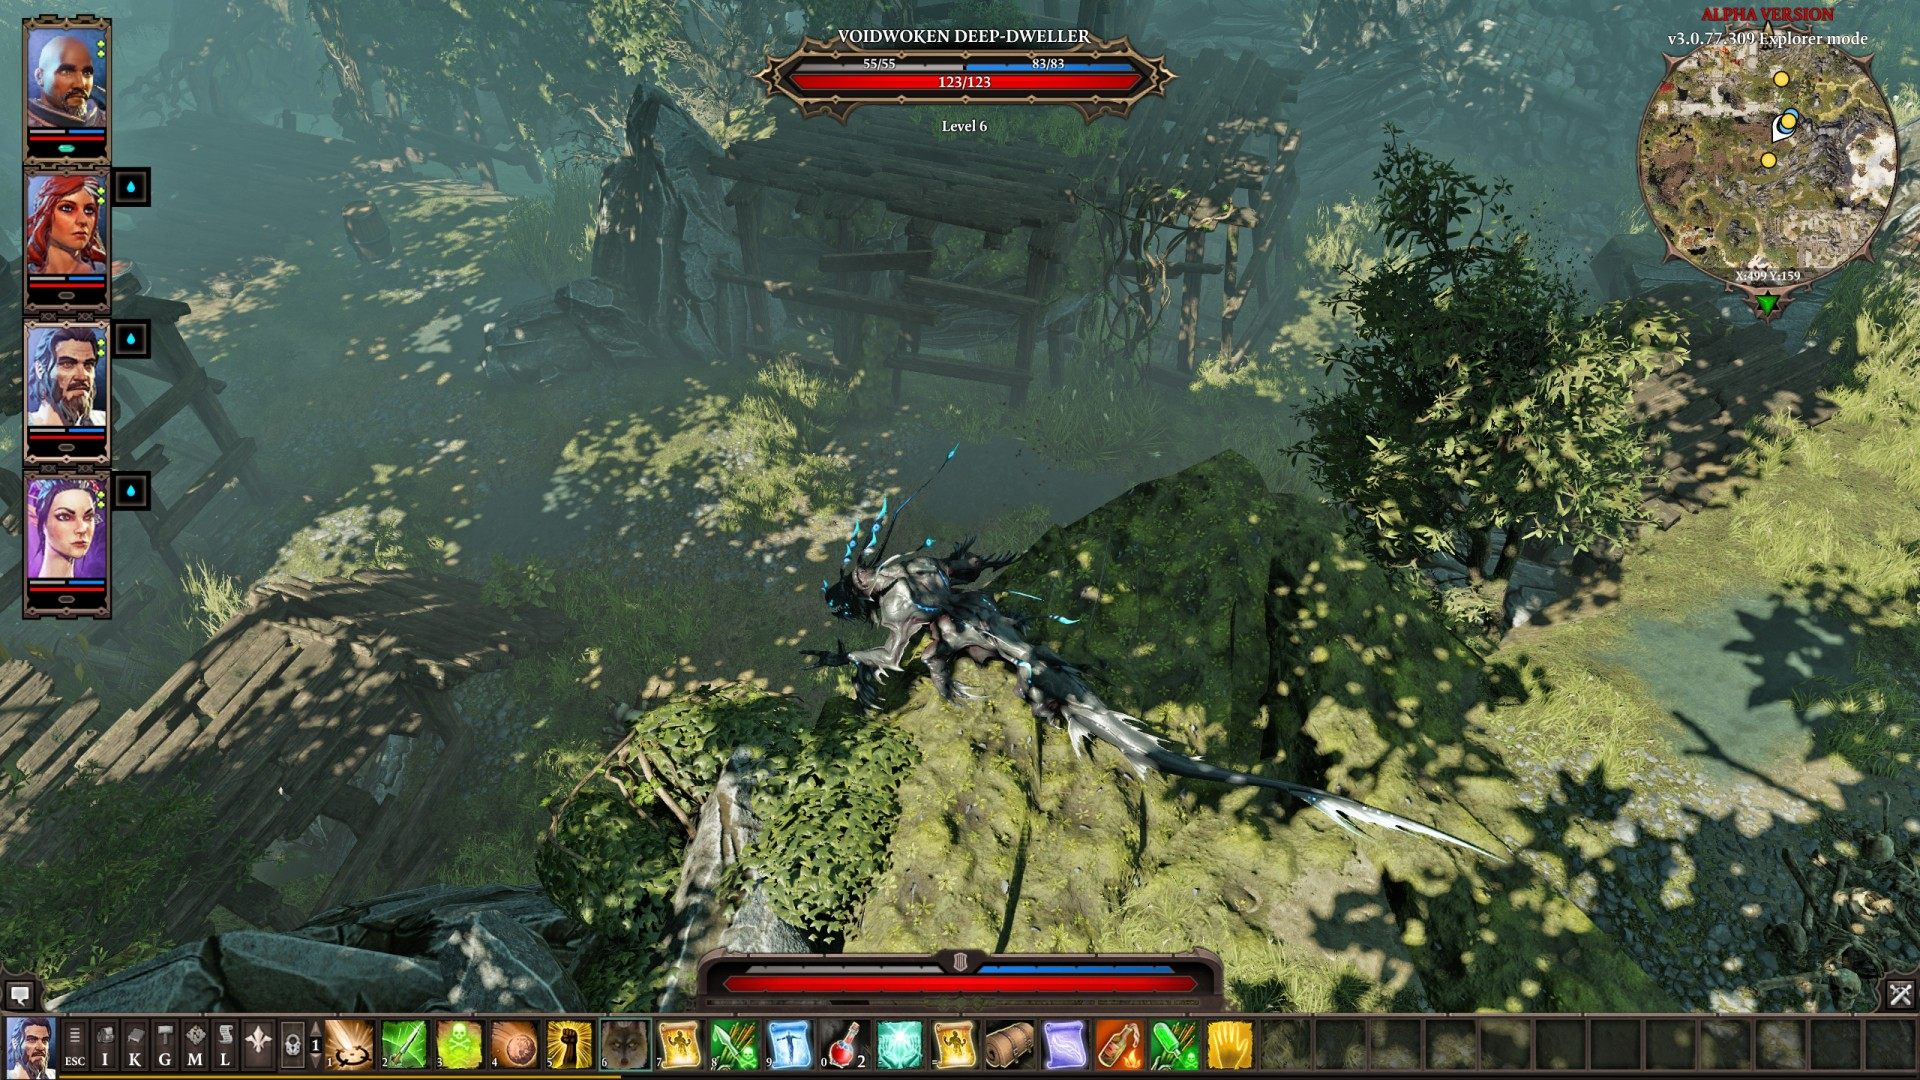
26Voidwoken Deep-Dweller (lvl 6)
Related quests: Champion of the Gods
Voidwoken Deep-Dweller + Decomposing Marksman + Decomposing Aeromancer + Decomposing Cryomancer + 2x Decomposing Swashbuckler.
He drops Amulet of the Deep.