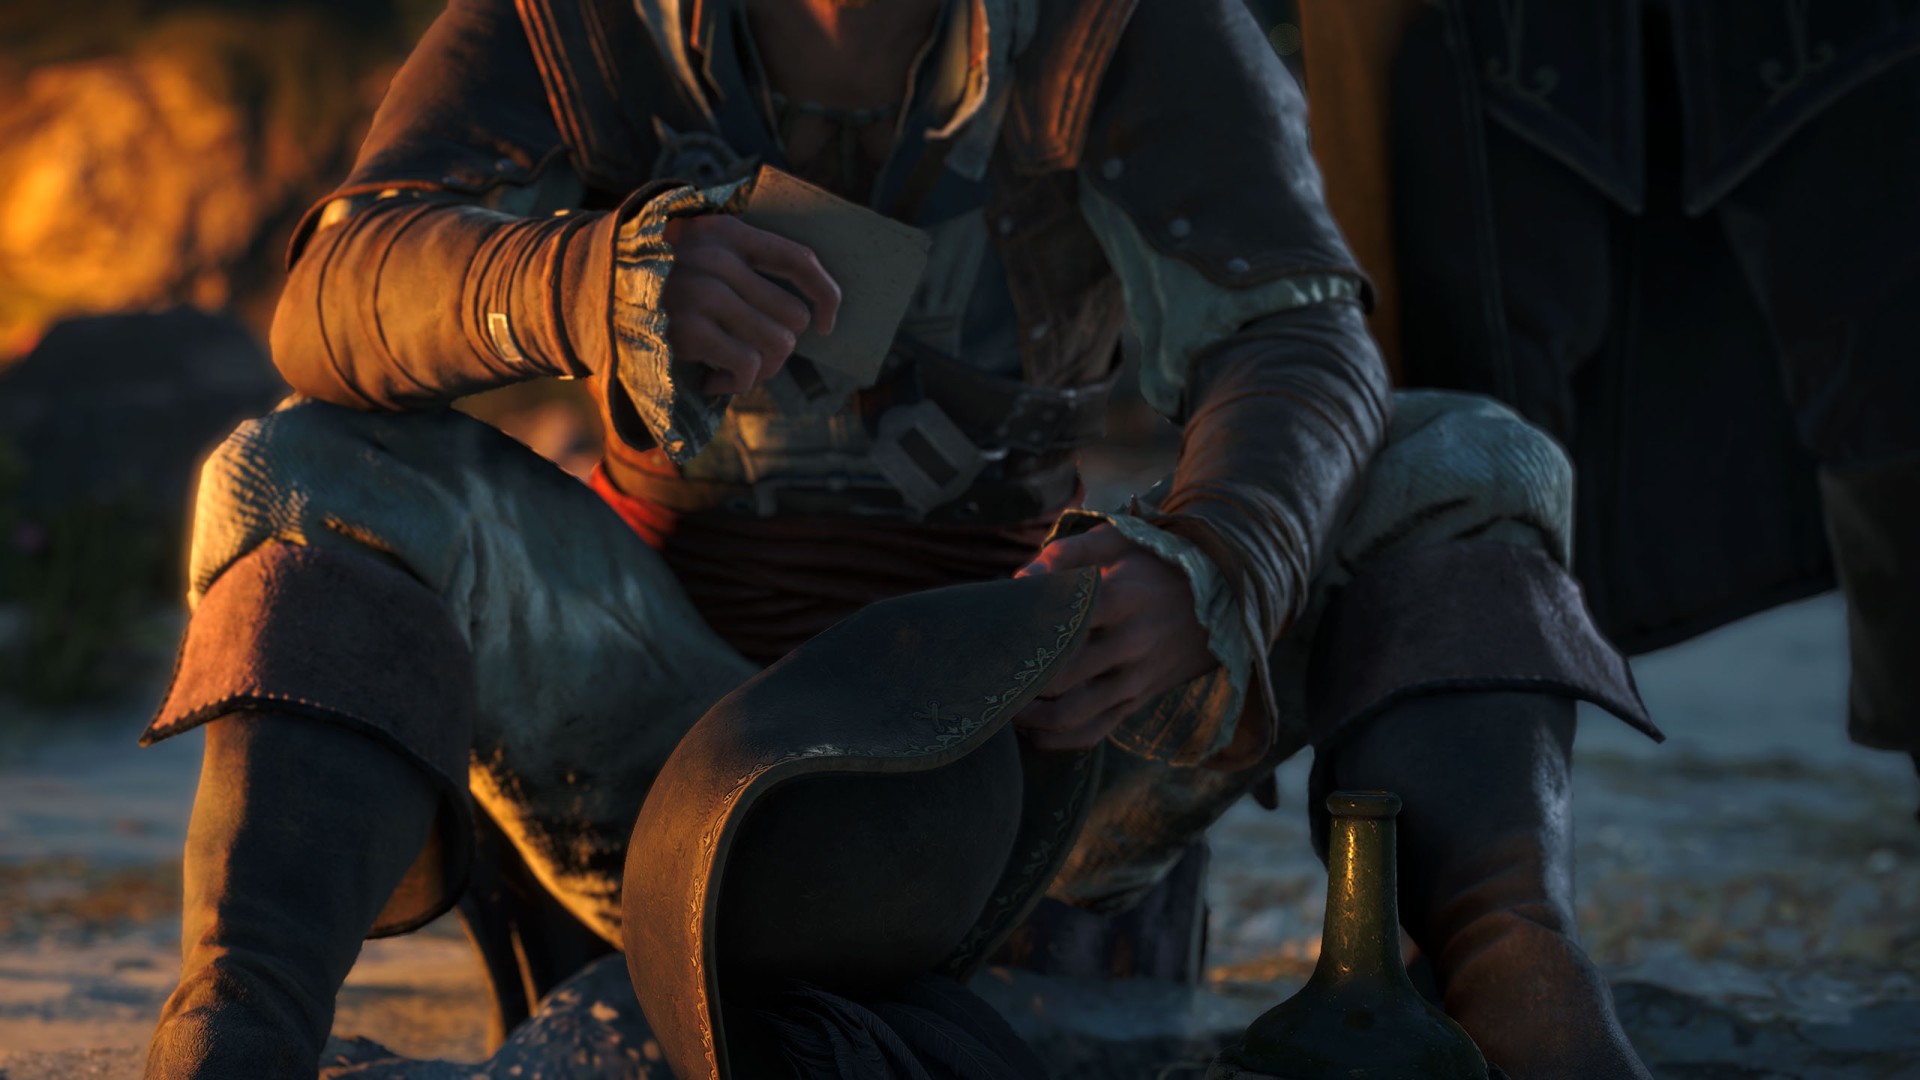
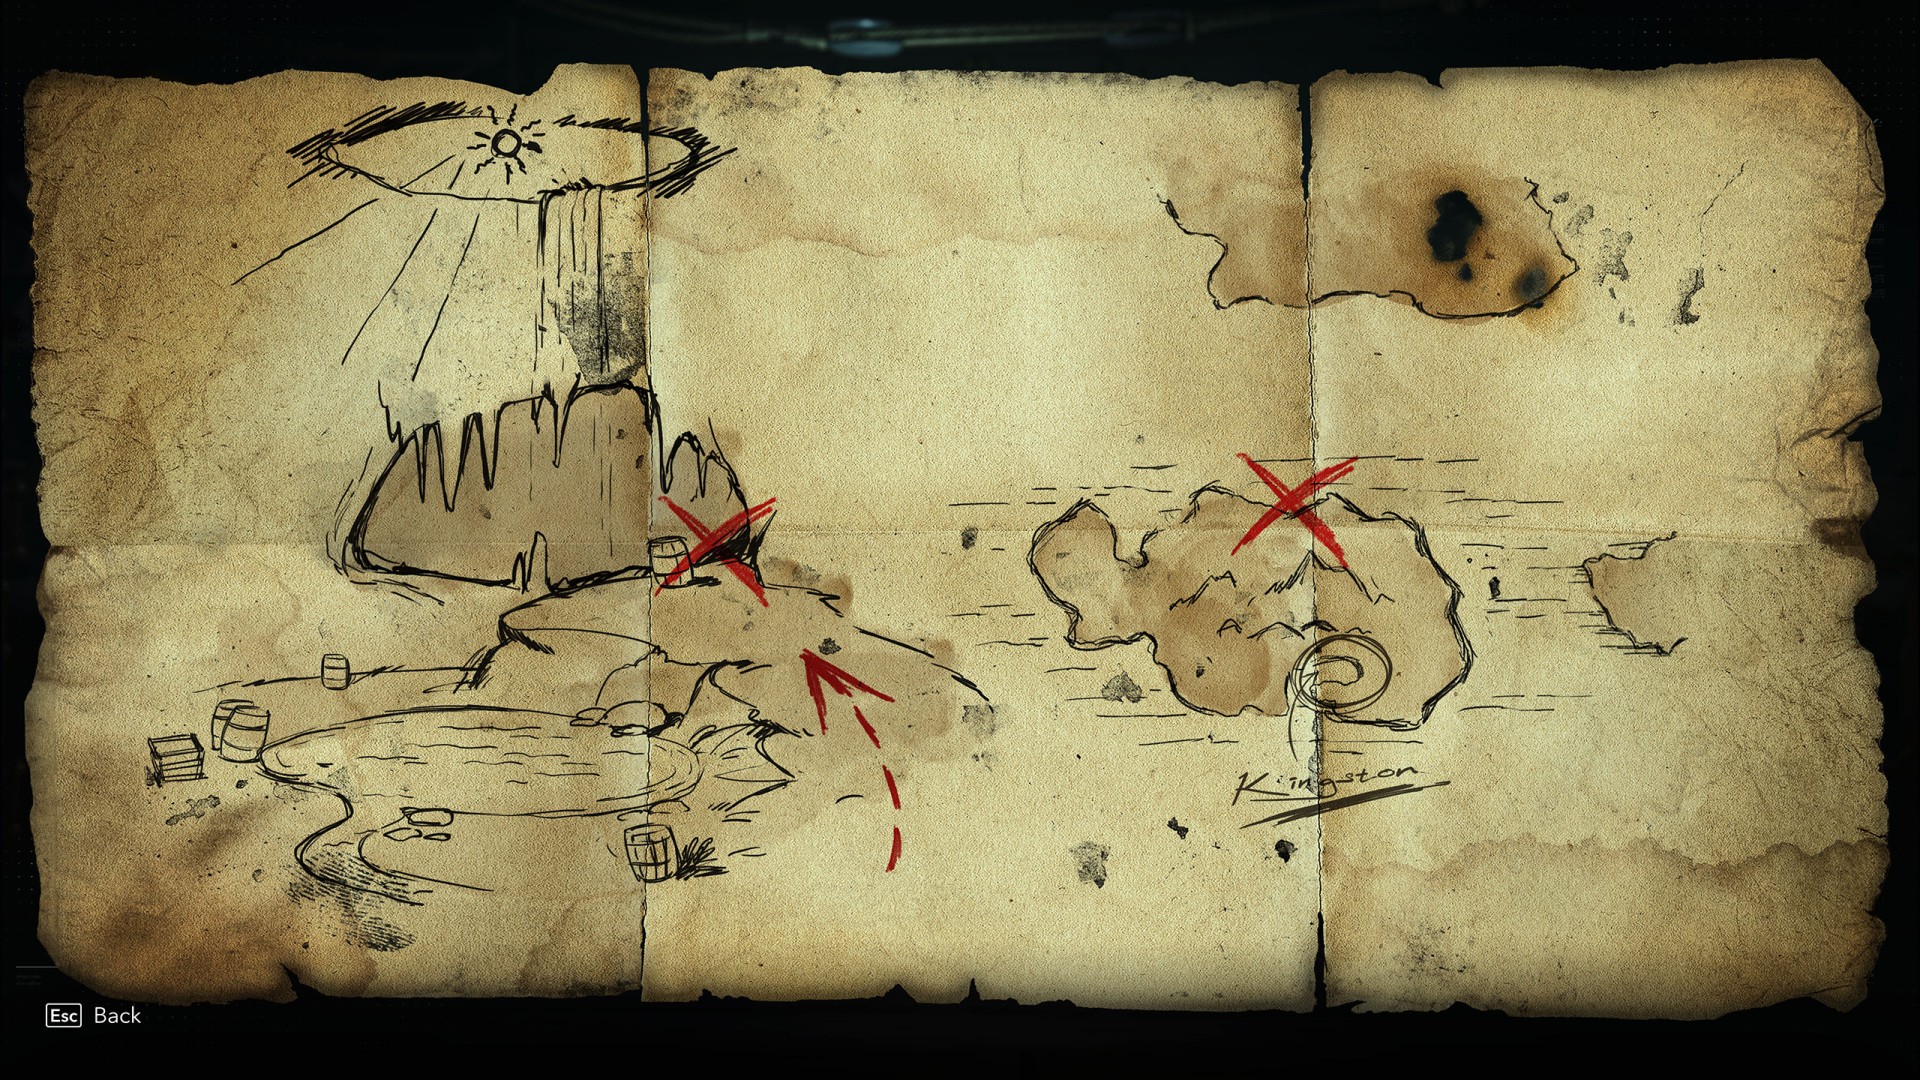
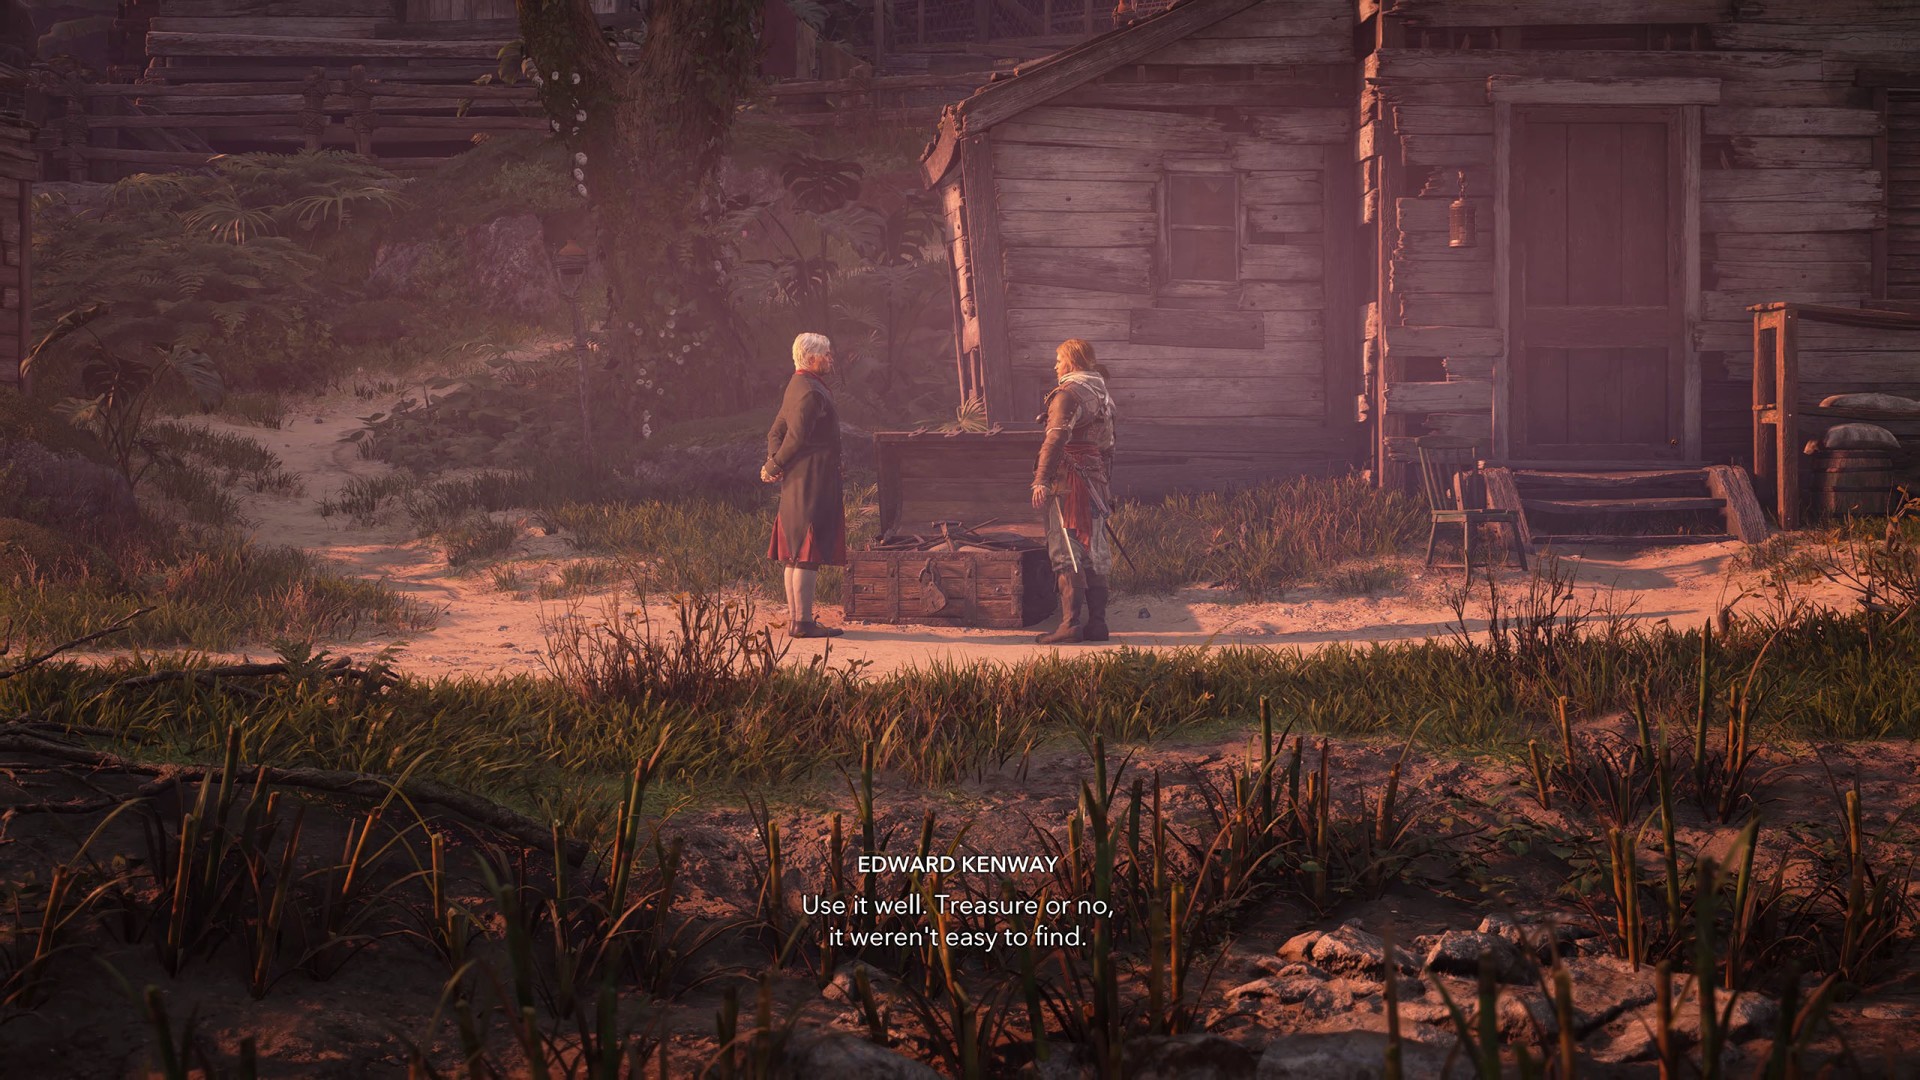
This side quest appears in your quest log after completing the main story quest "Do Not Go Gently...". You will find a mysterious treasure map in your friend's hat.
Still reeling from Blackbeard's death, Edward finds a map hidden in the dead pirate's hat and sets out to find the buried treasure.
1. Find Blackbeard's treasure
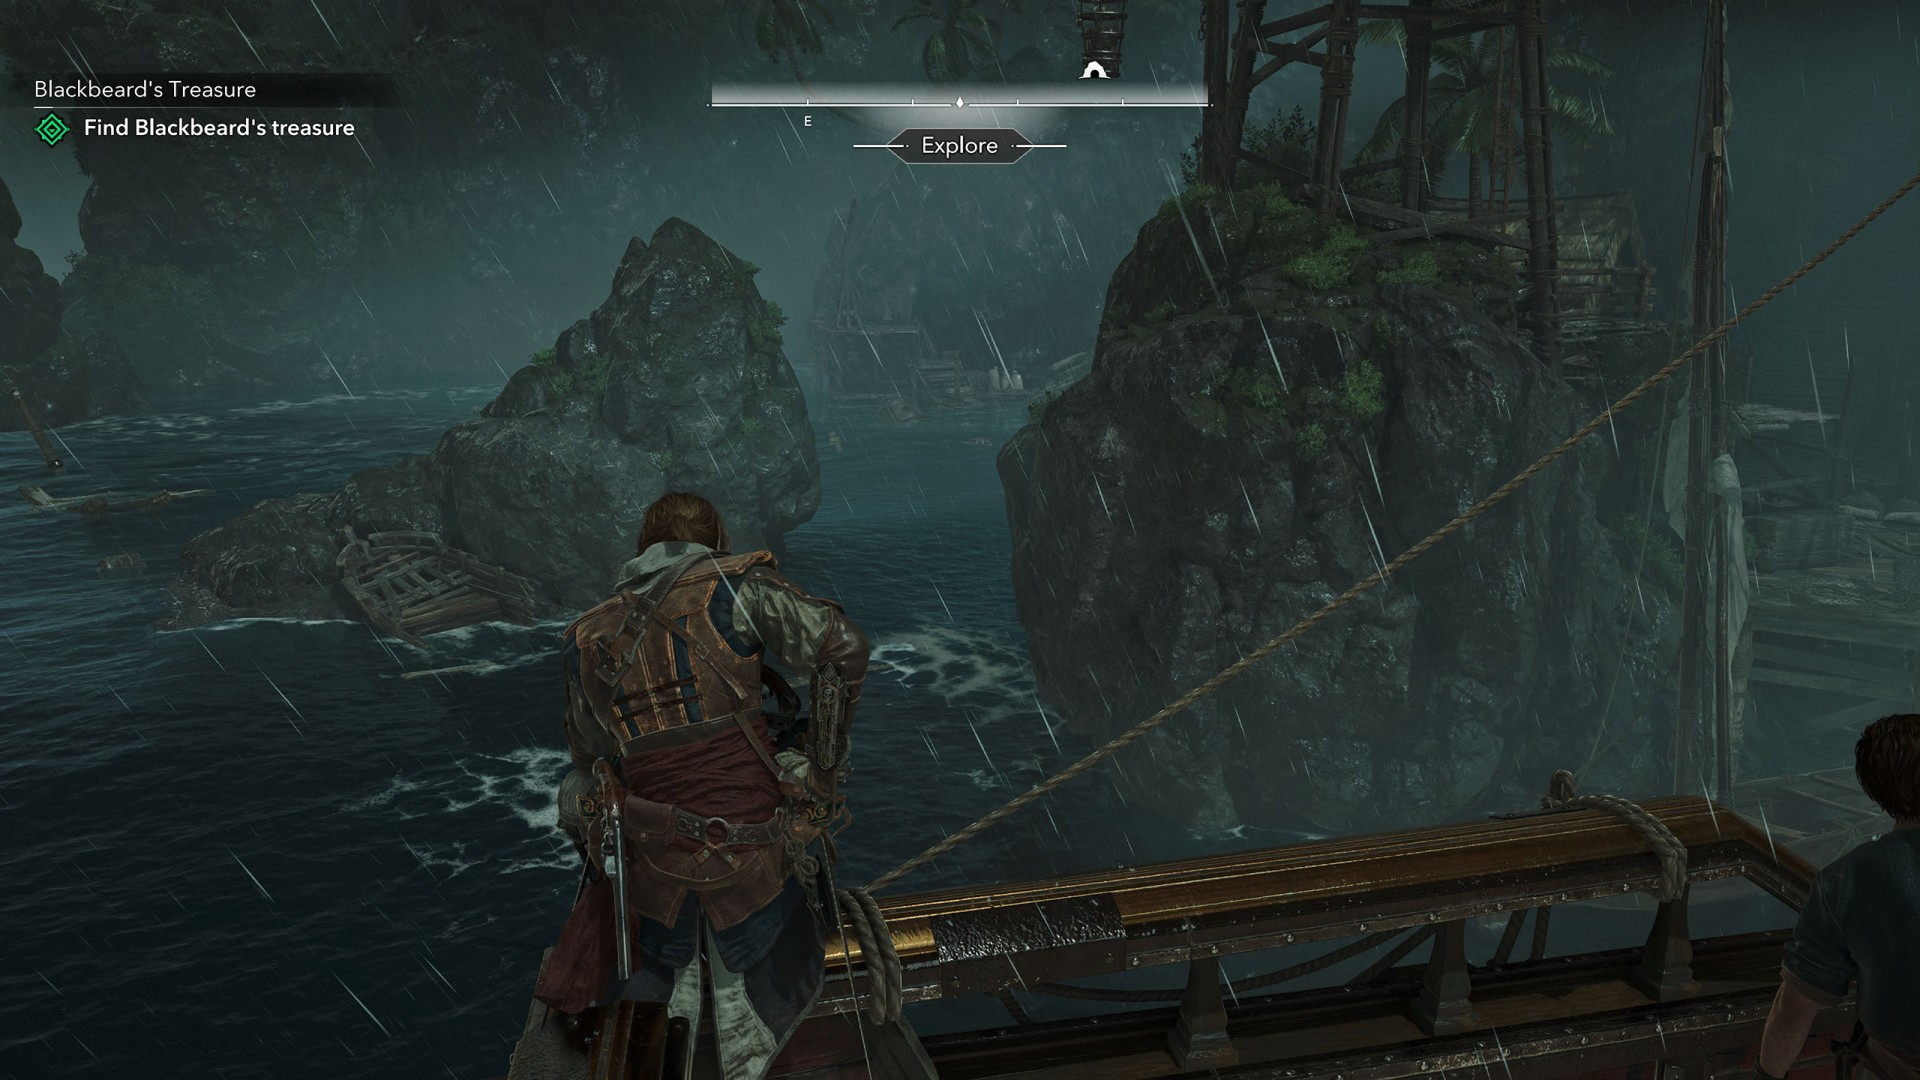
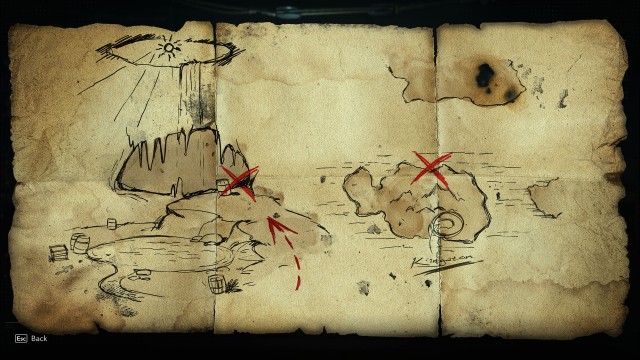
From the map found in your hat, you can deduce that your destination lies on the northern coast of Jamaica - in Anotto Bay.
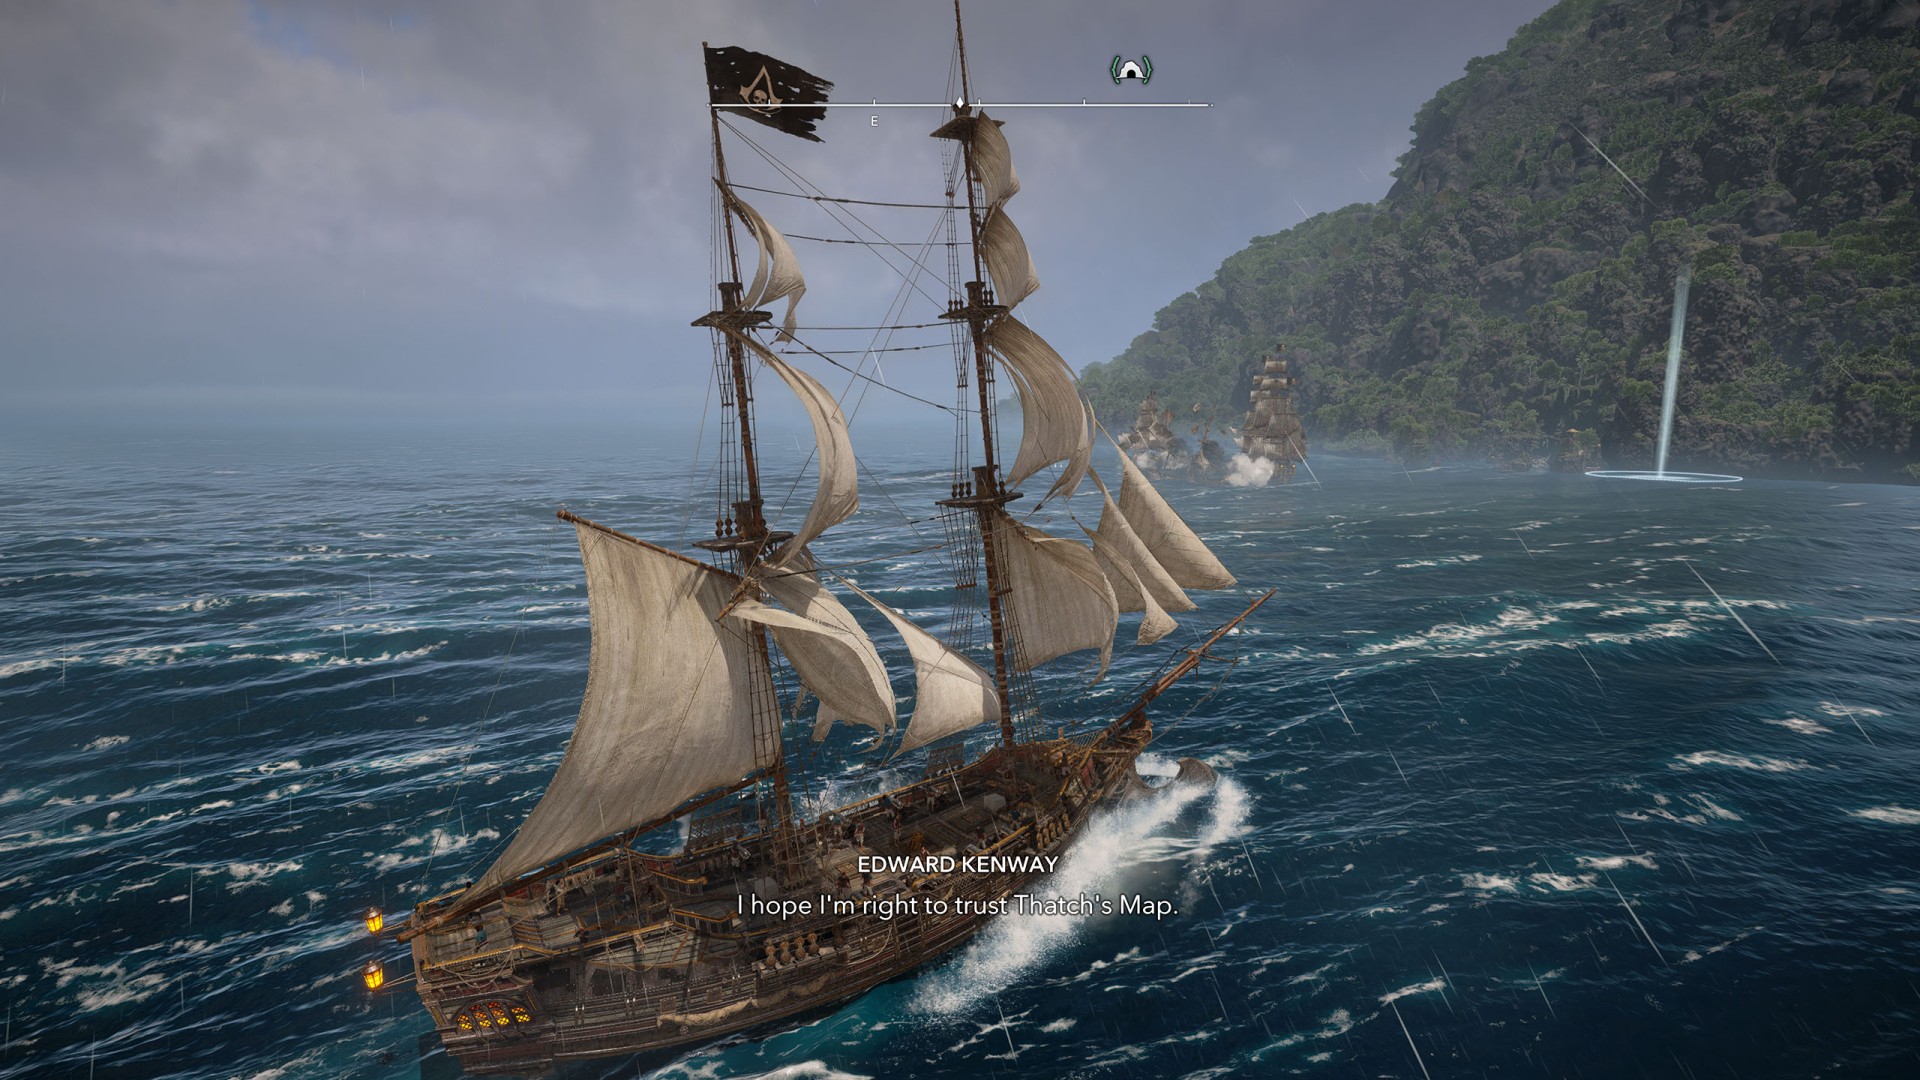
Board the Jackdaw and sail there. Once you arrive, you will find that you are not the only one searching for the treasure, so you will have to deal with three enemy ships - one frigate and two brigs.
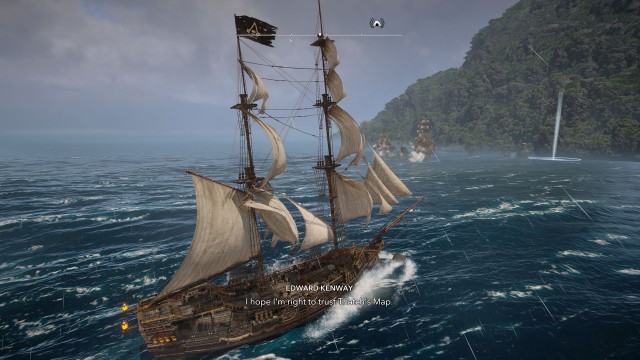
Dock your ship in the designated area. You can ignore the enemies patrolling the cliffside camp. Jump into the water and swim to the cove on the left.
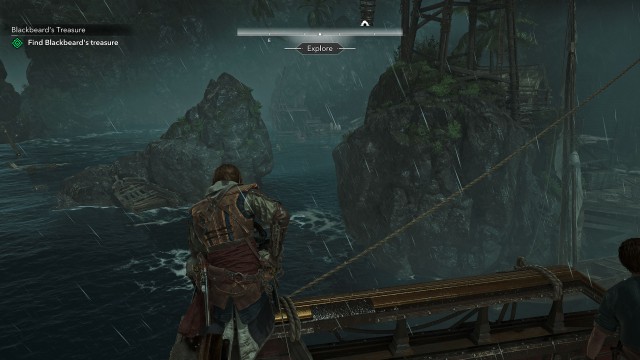
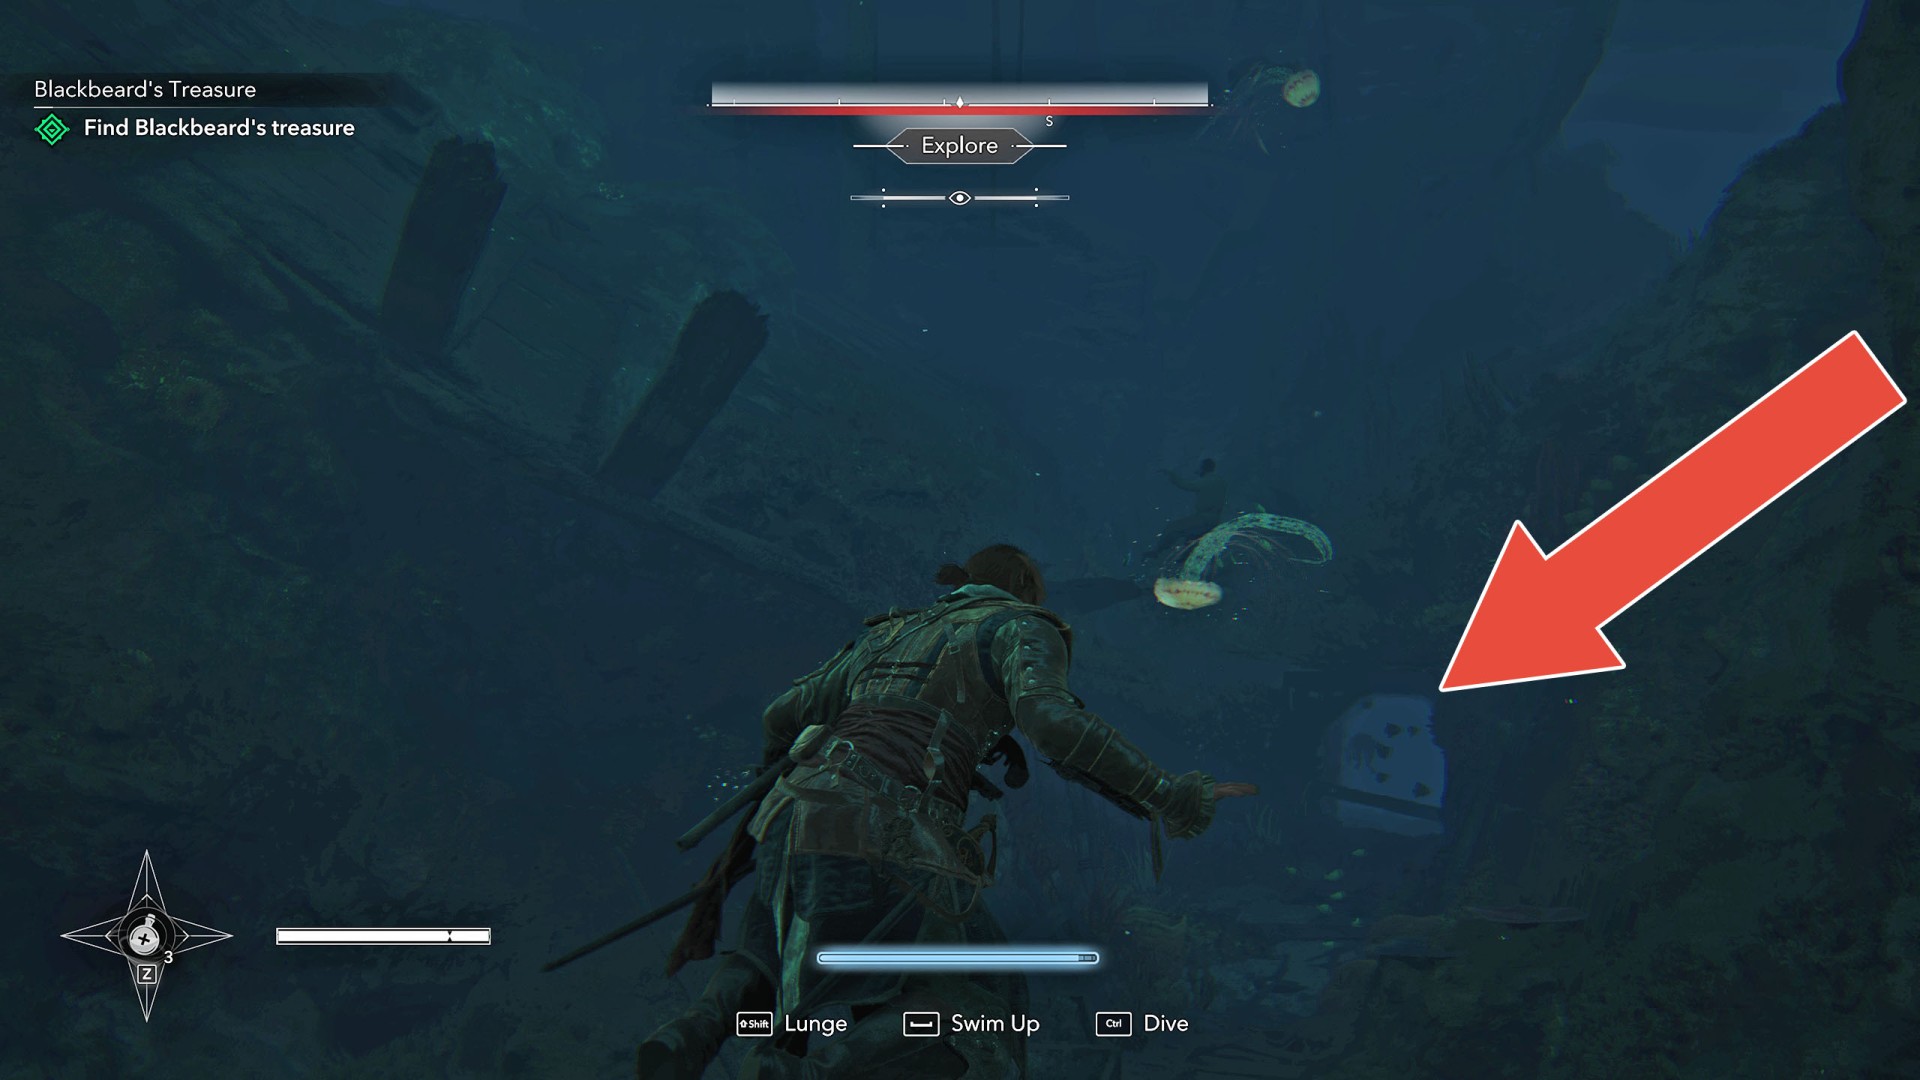
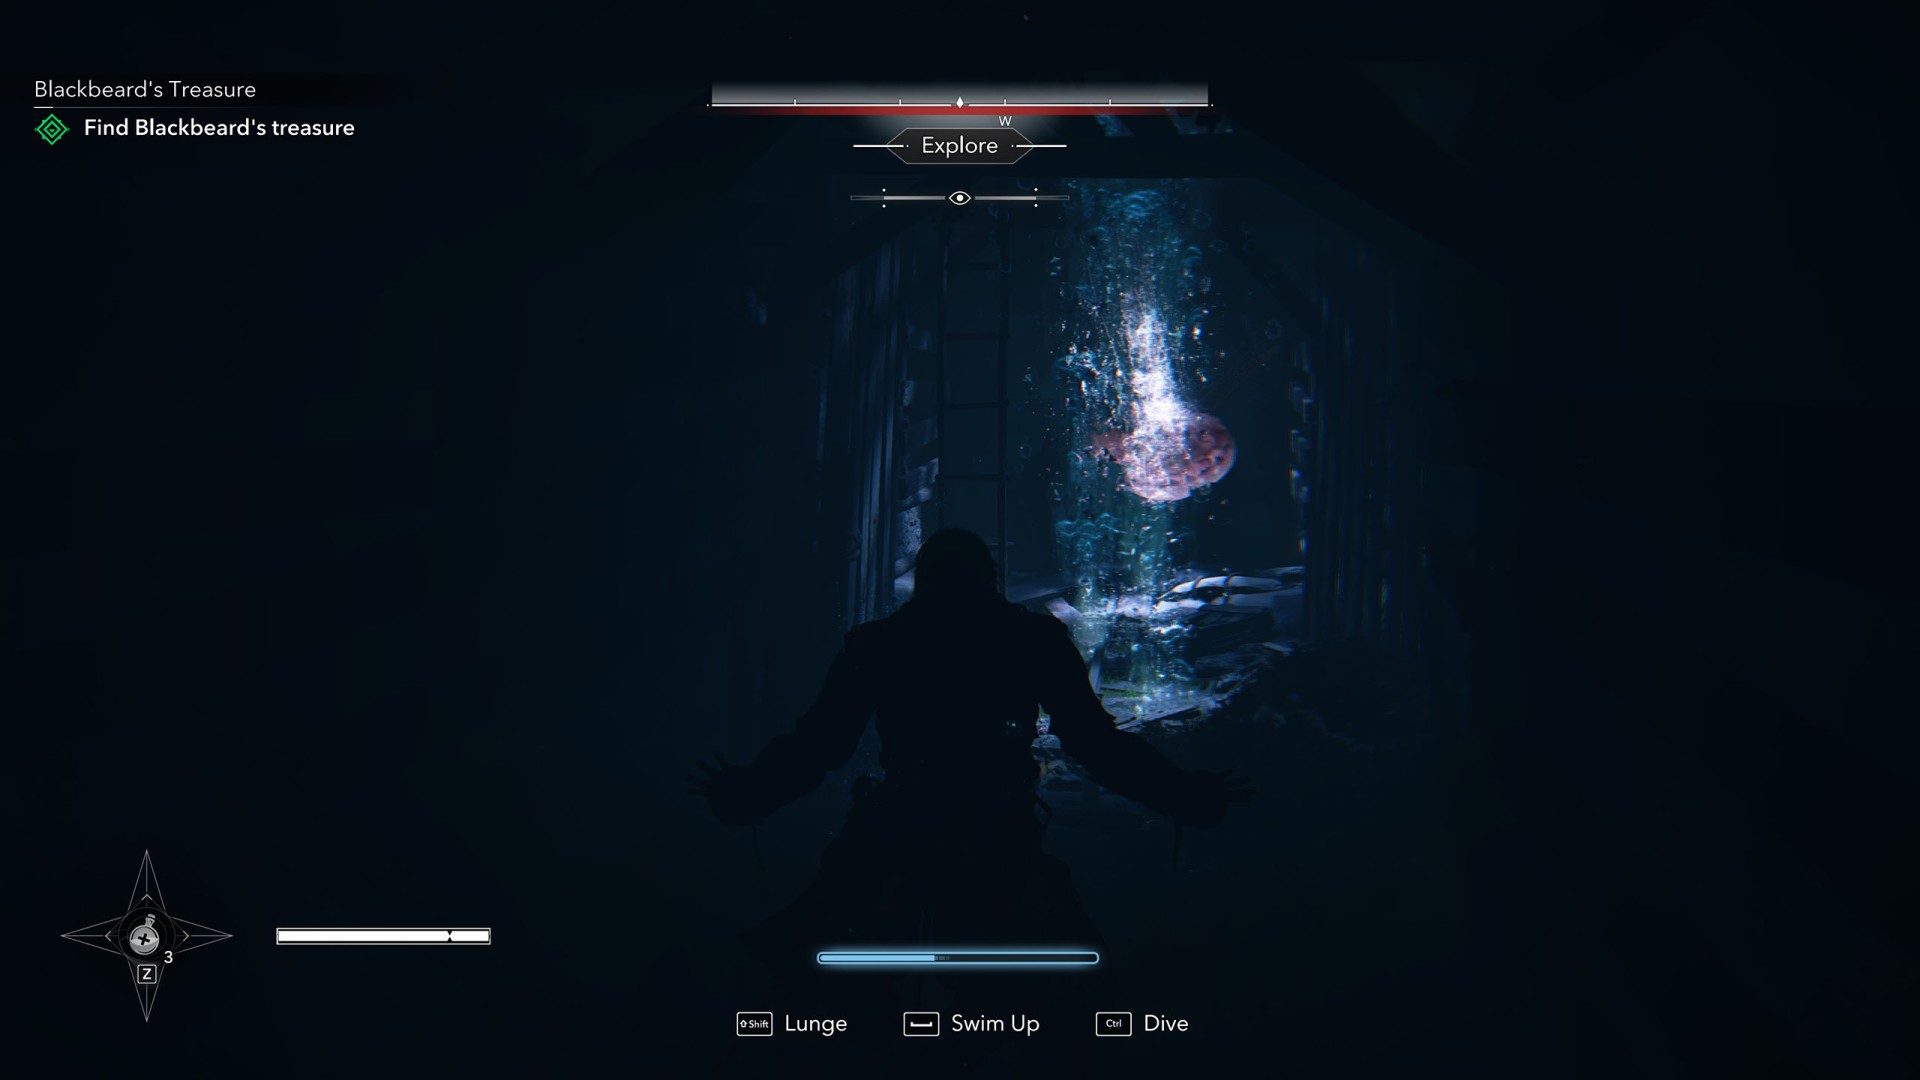
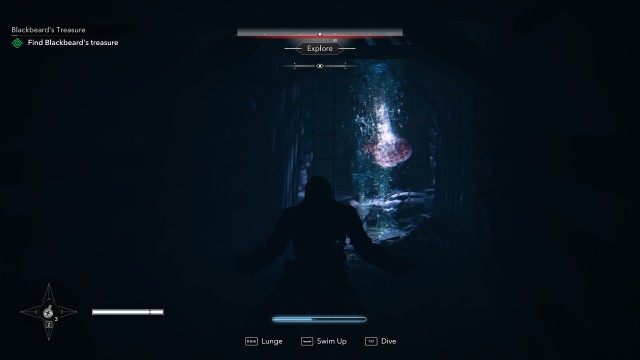
Dive underwater and locate the entrance to the submerged tunnel. Due to the weather, it is dark, but several jellyfish swimming nearby should help you spot it.
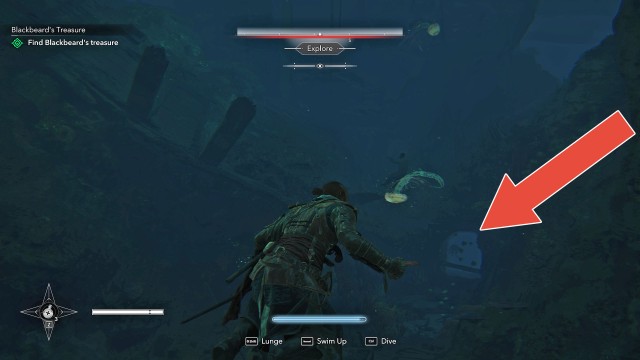
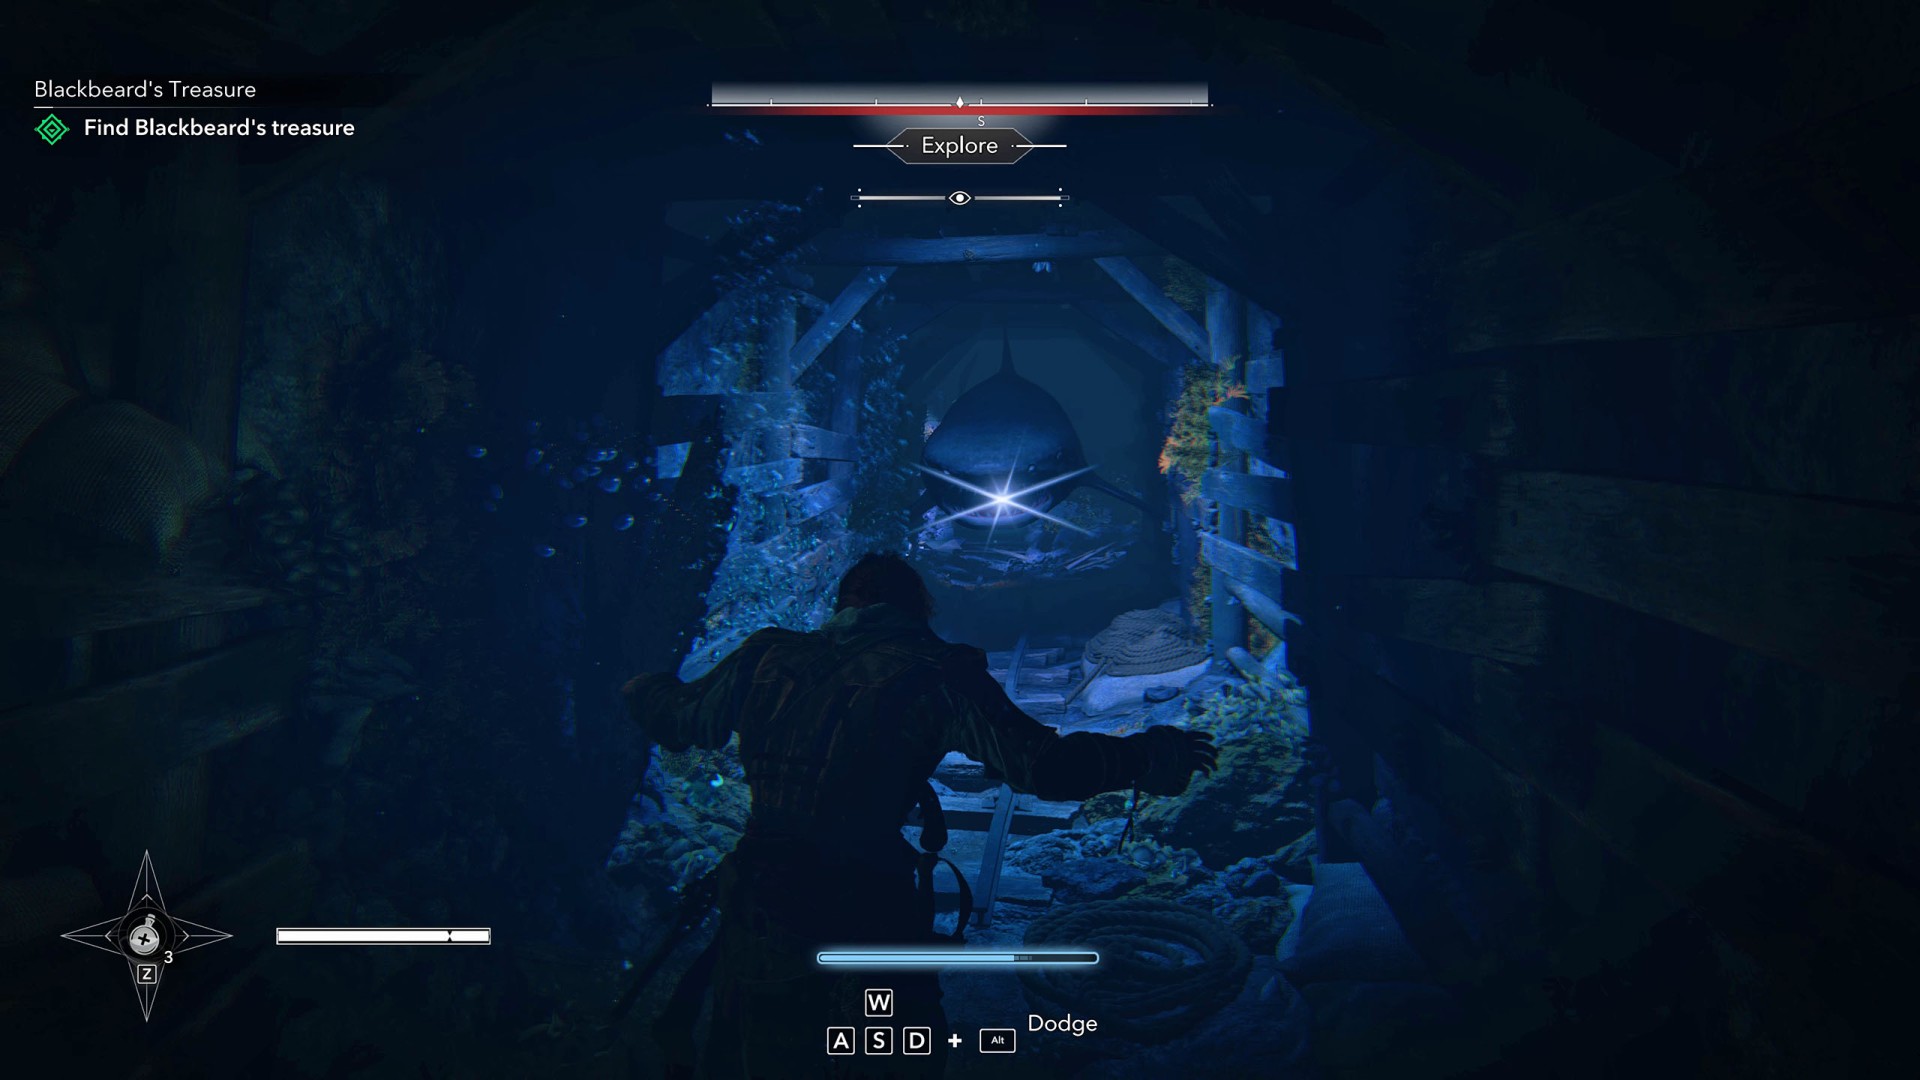
Enter the tunnel and keep swimming forward. At a certain point, a shark will appear and attack you. Perform a dodge to avoid taking damage.
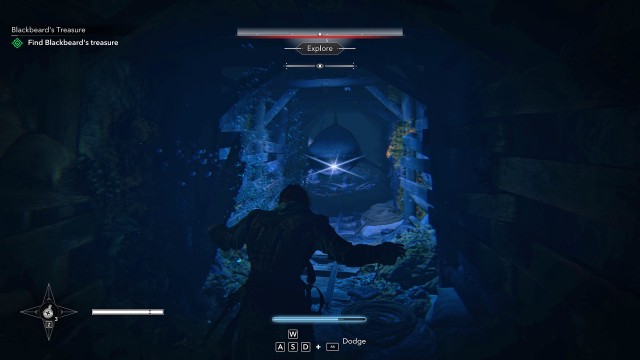
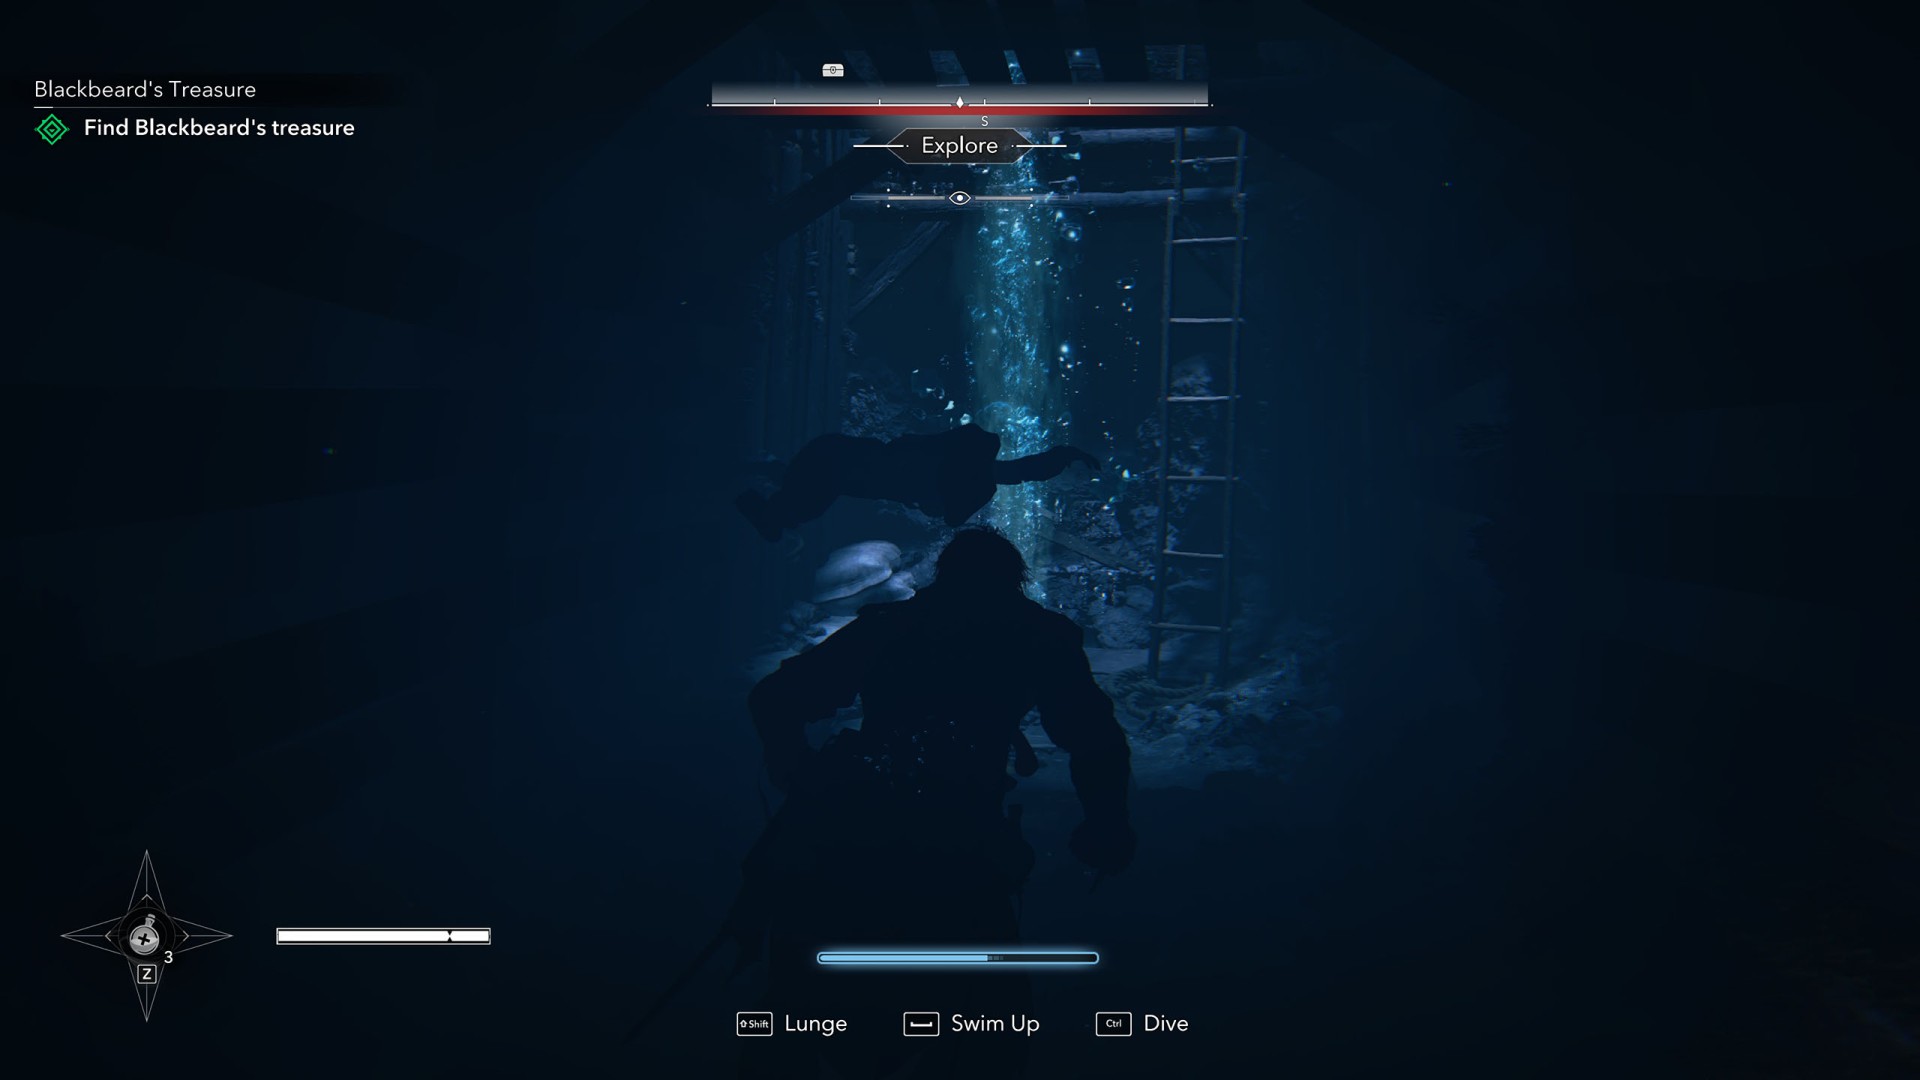
Swim further down the tunnel until you spot a ladder alongside numerous air bubbles. Head straight up here into another tunnel situated above.
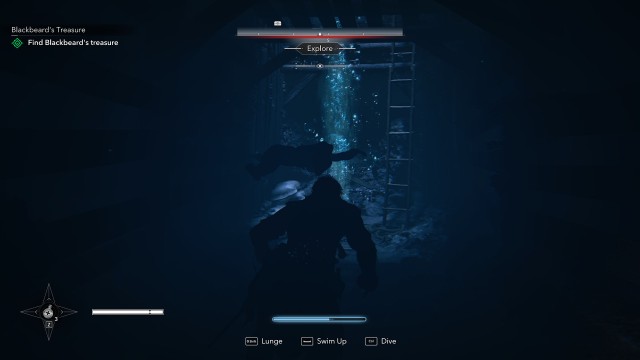
Proceeding further along the passage, taking the first turn brings you to an air pocket where you can replenish your supply if you start running out of breath. Past the second turn, you will hit another ladder, air bubbles, and jellyfish. Swim up toward the surface just like the bubbles, then climb the ladder to exit the water.
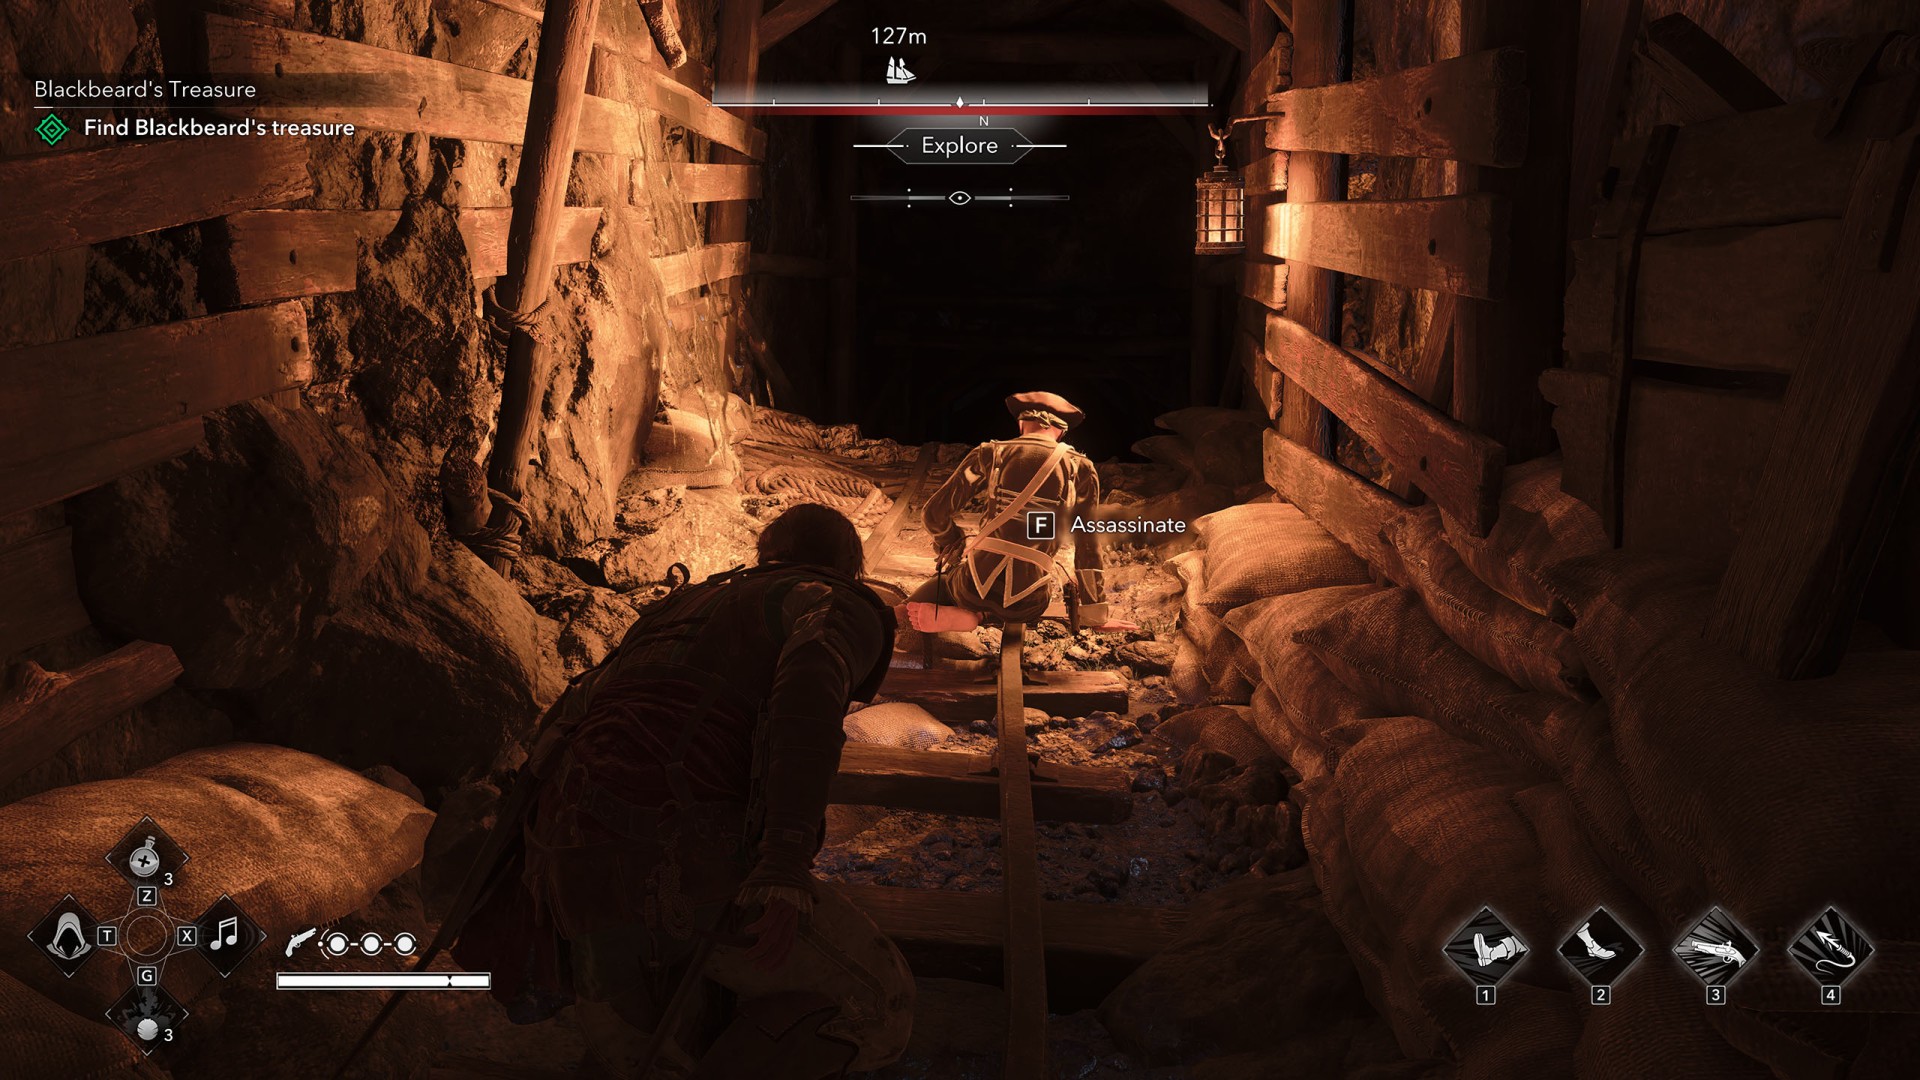
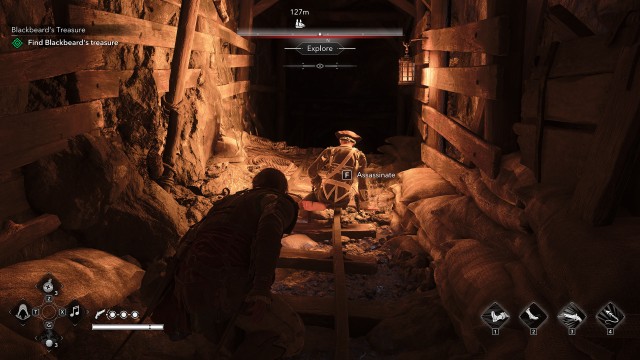
Around the corner, you will spot a pirate facing away from you. Assassinate him.
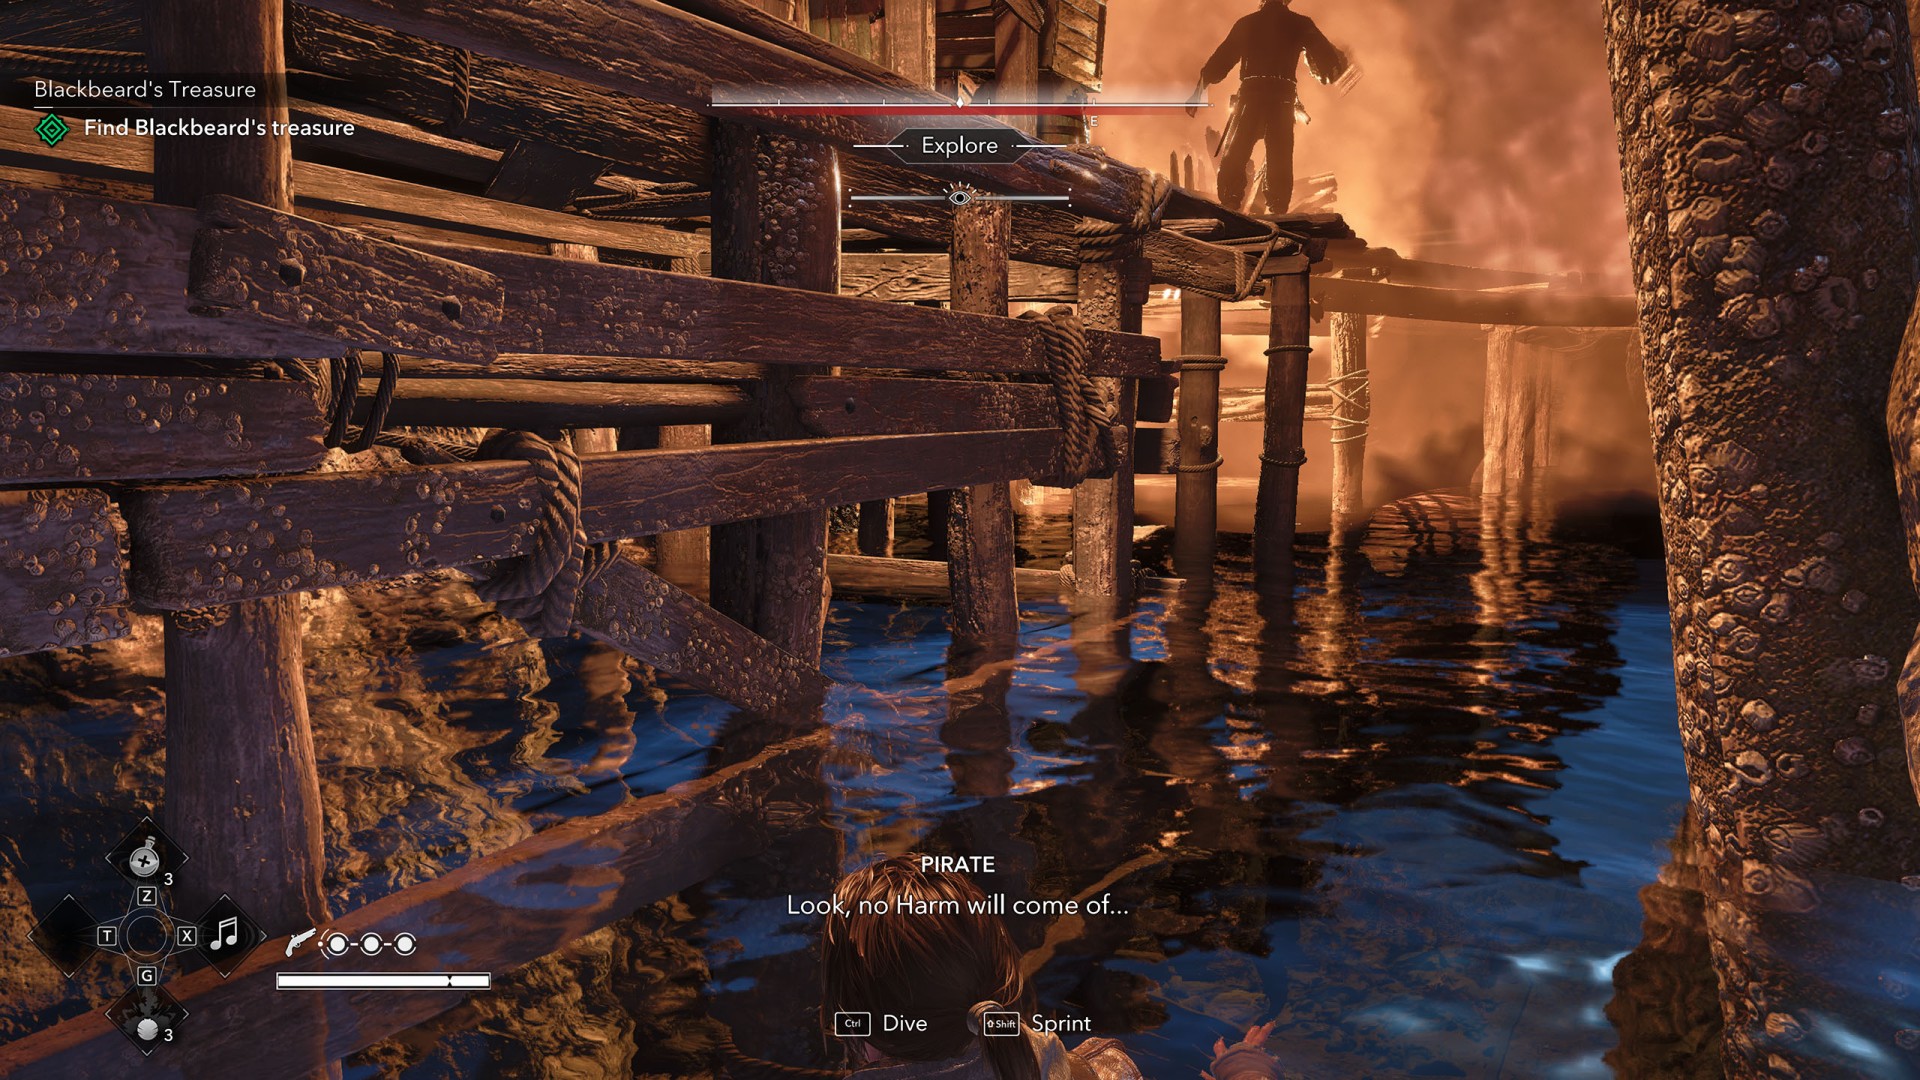
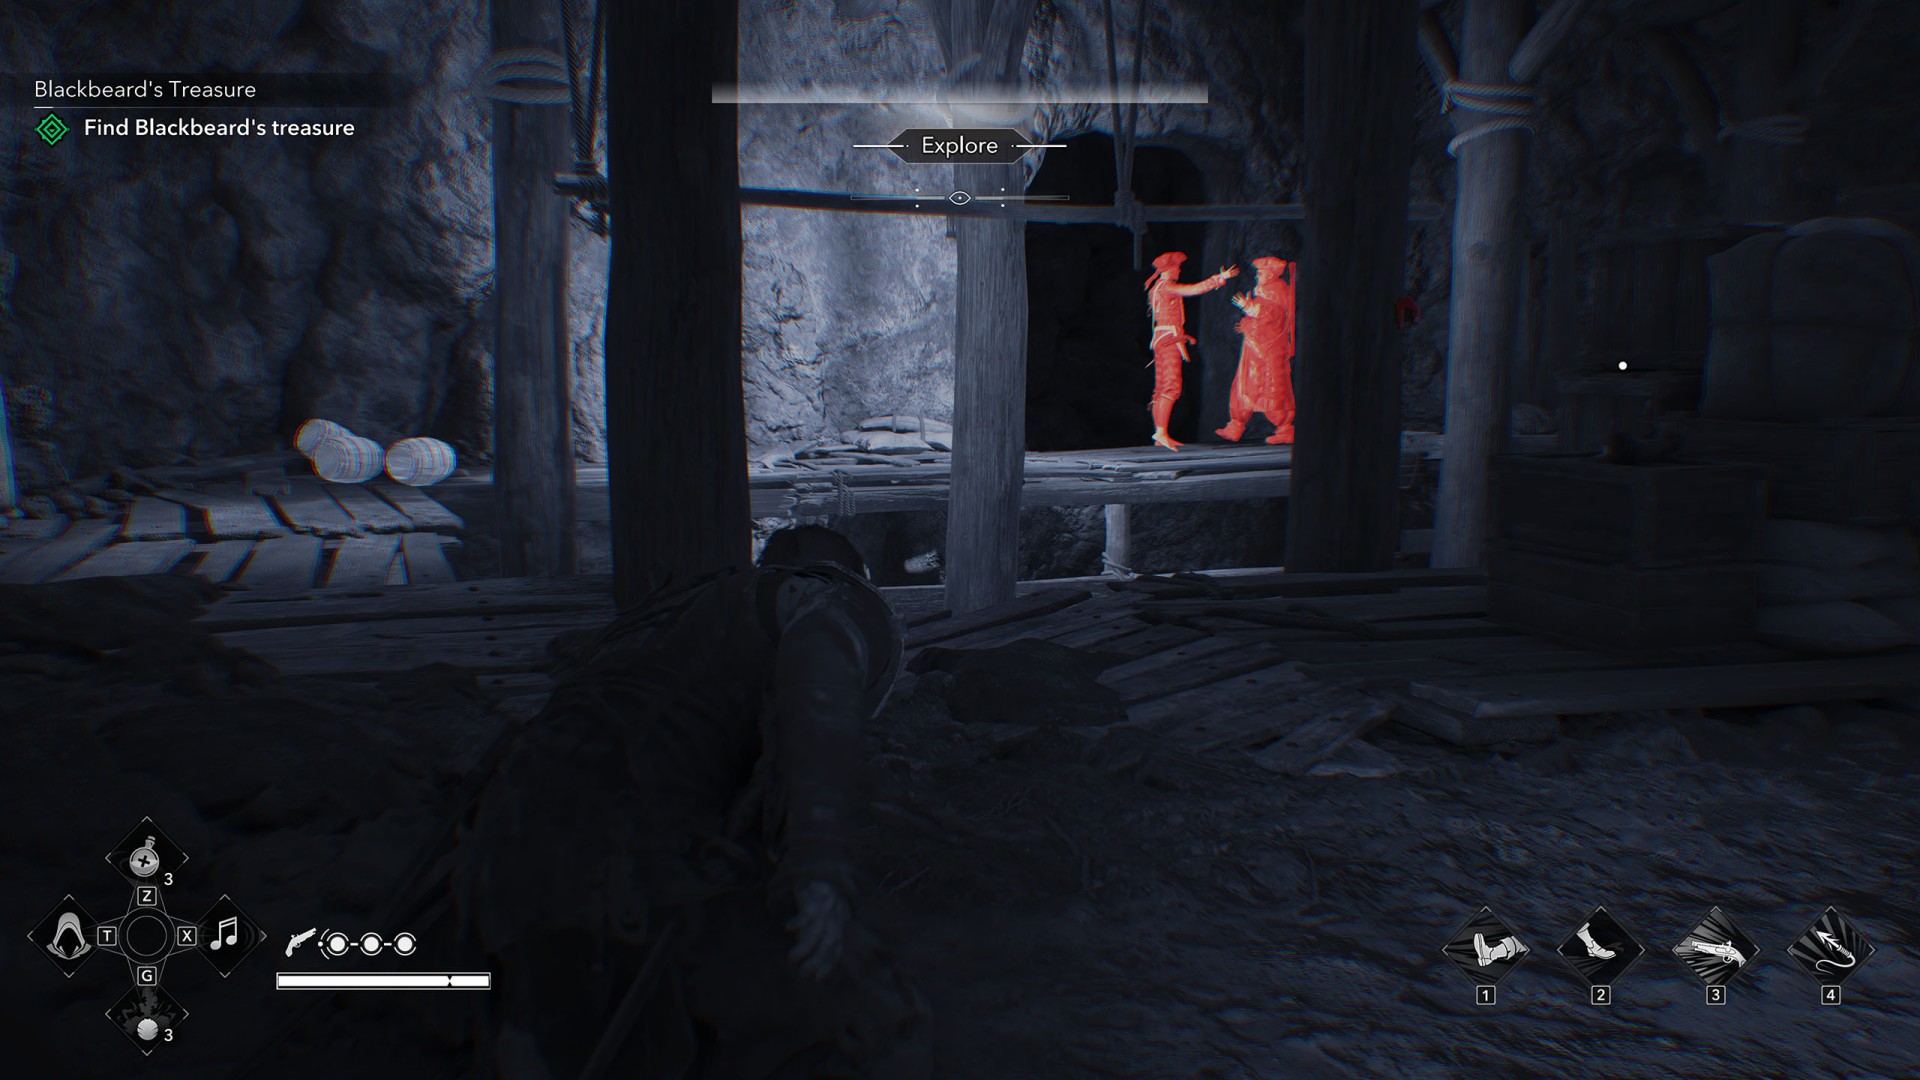
Enter the next flooded tunnel and swim forward. After a few turns, you will be able to surface again. You will reach a larger cave with four pirates. Wait in the water for a moment until an explosion takes out a nearby pirate, then climb onto the wooden platform.
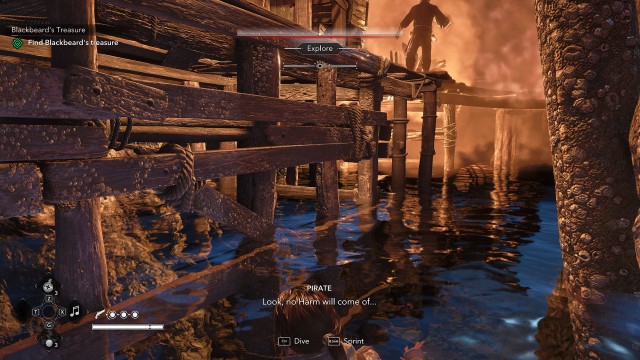
First, deal with the lone pirate who has his back turned toward you.
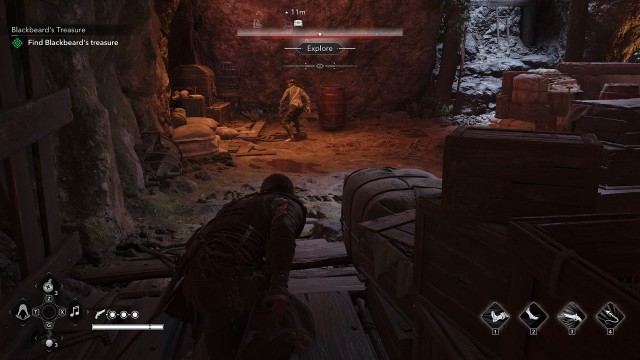
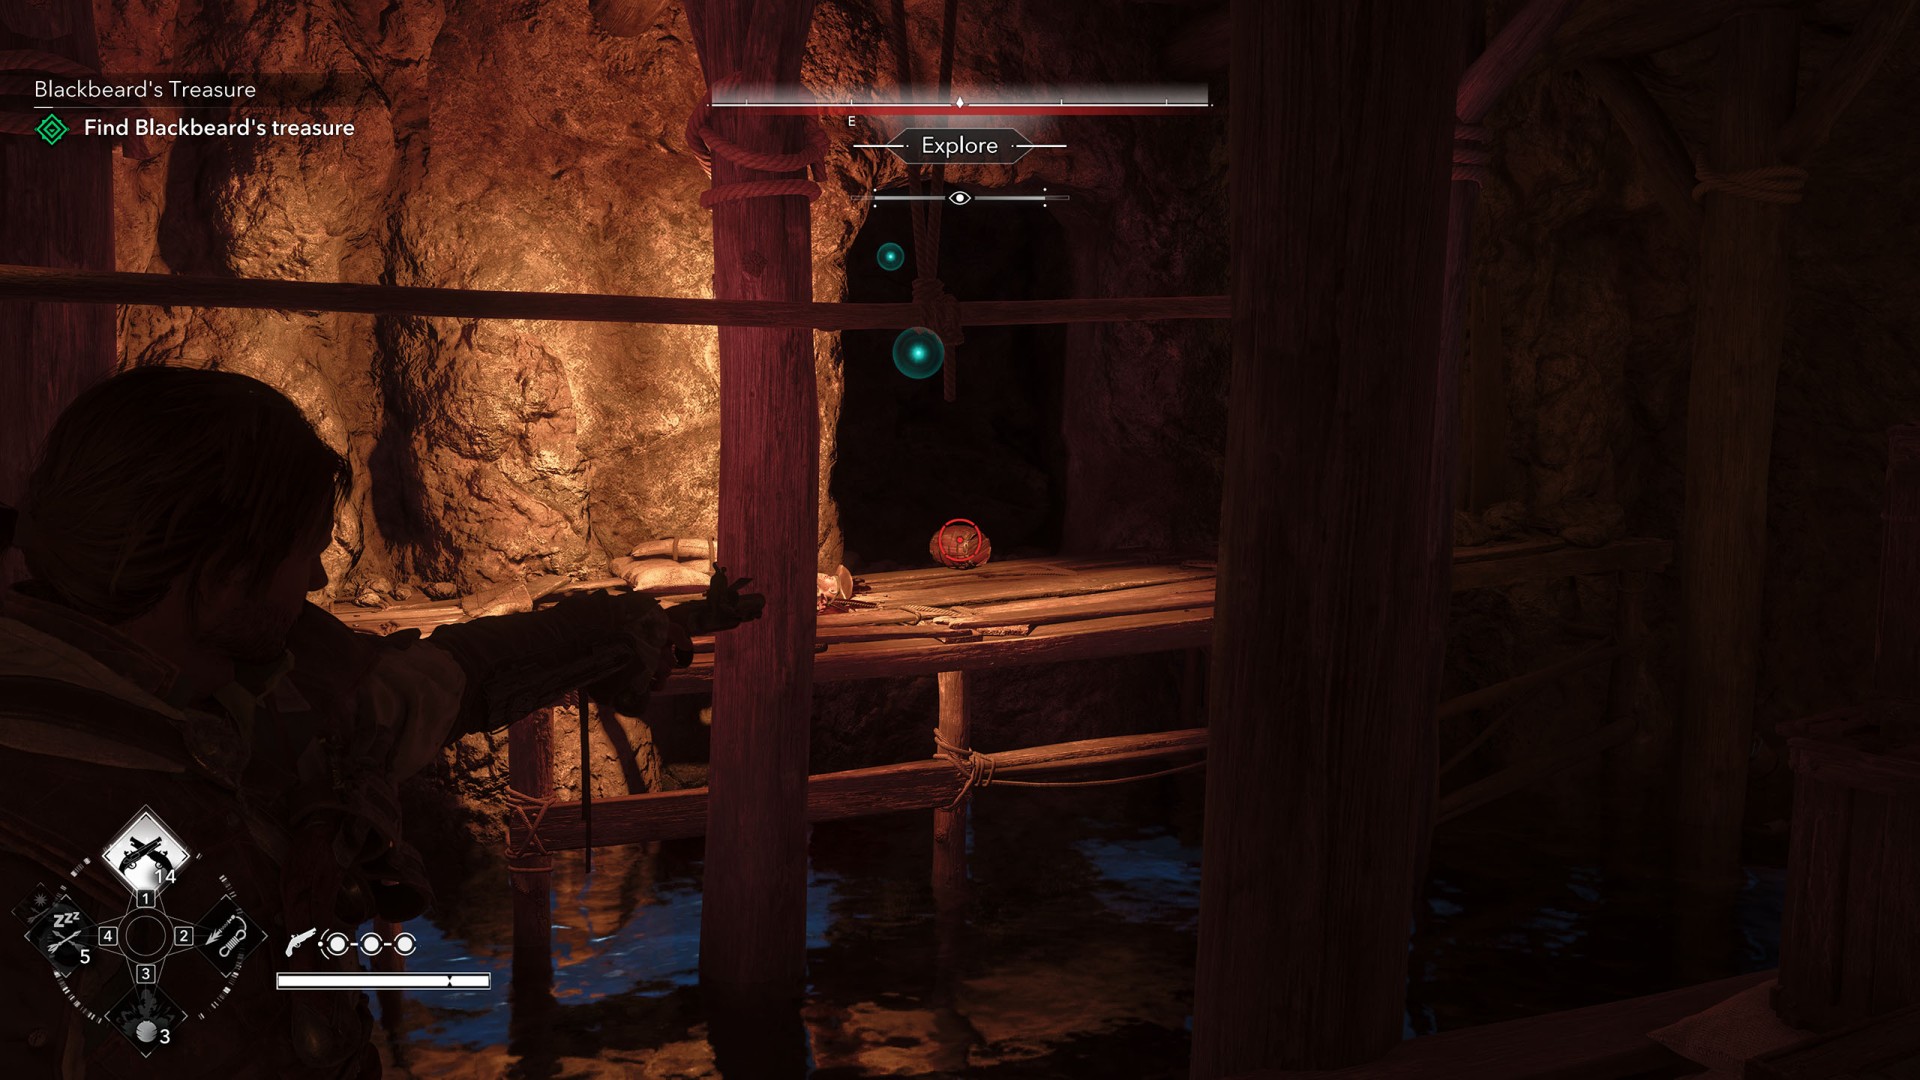
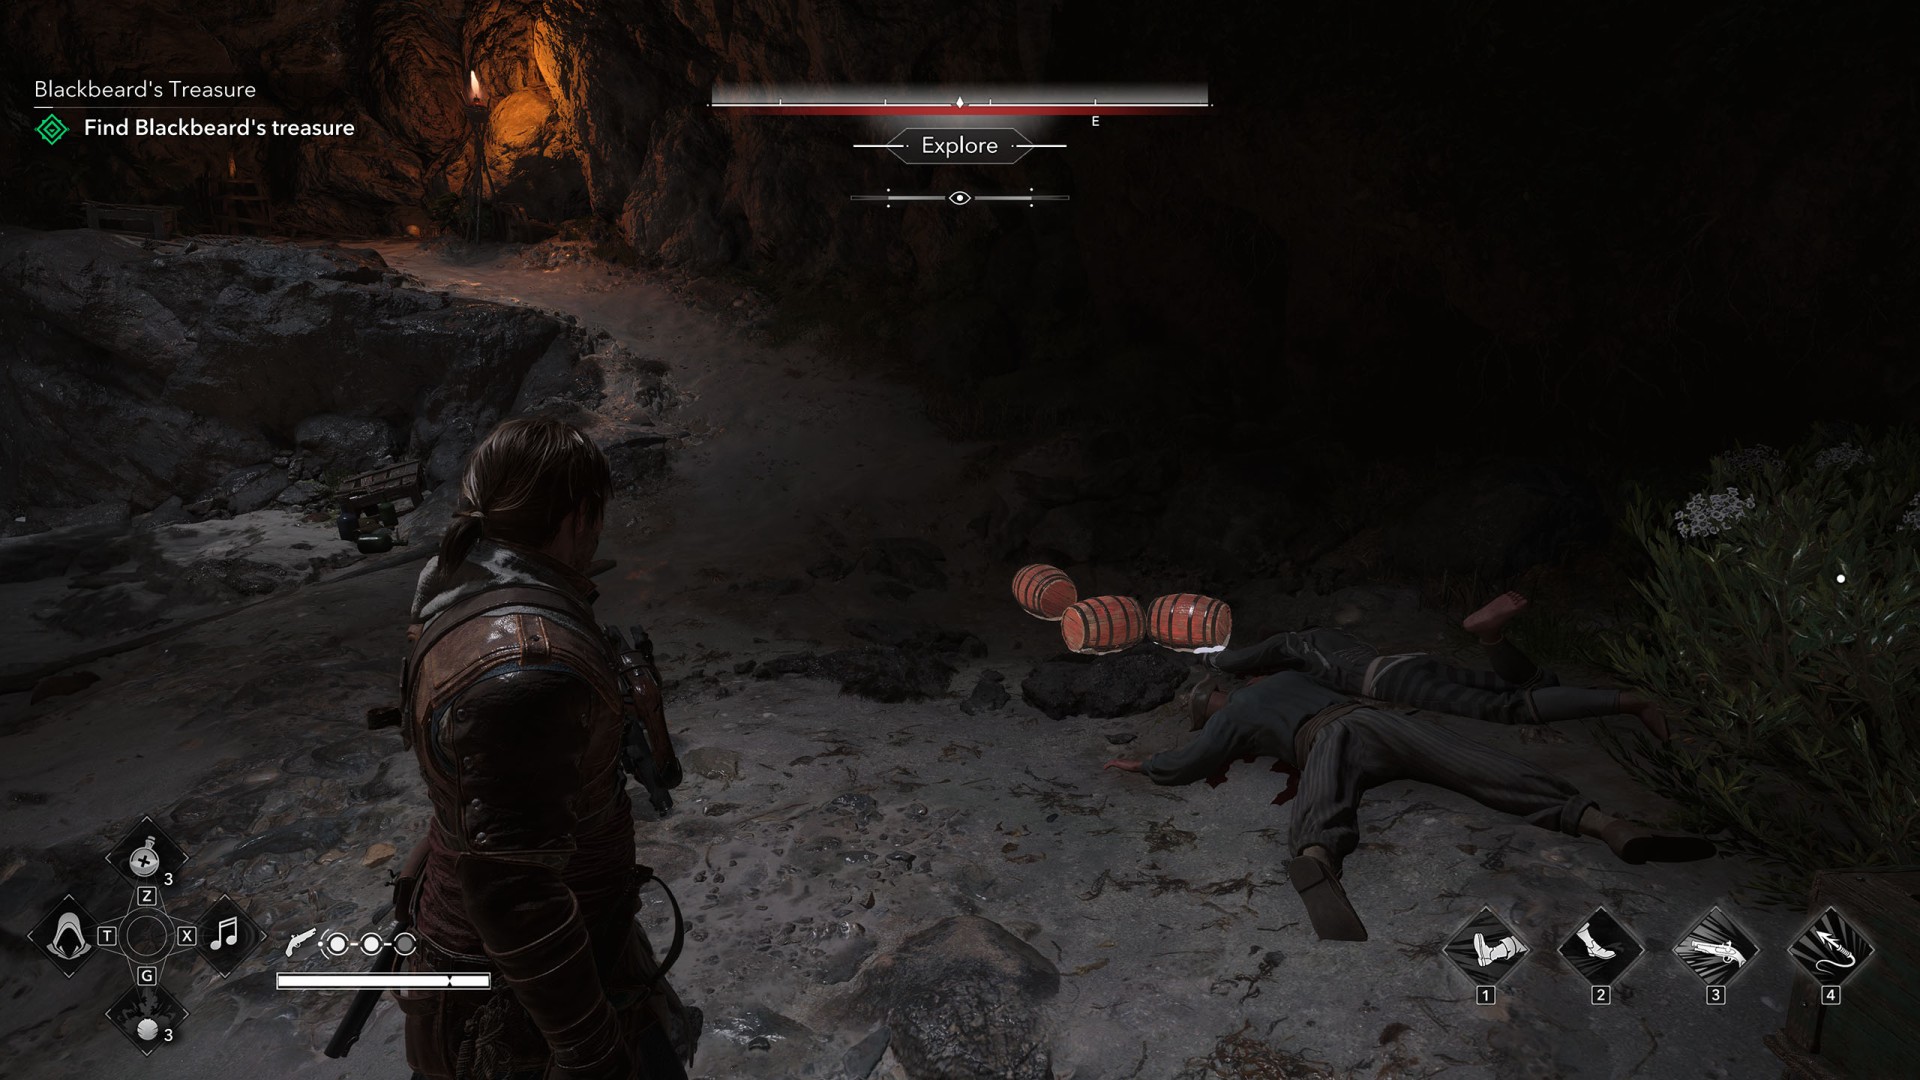
Next, get rid of the guards arguing deeper in the cave by whatever means you choose. Shooting them directly is easiest, but you can also whistle to lure them over and blow up the small powder kegs on the floor as they pass.
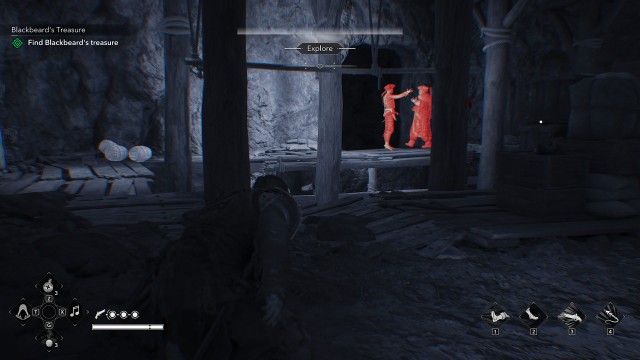
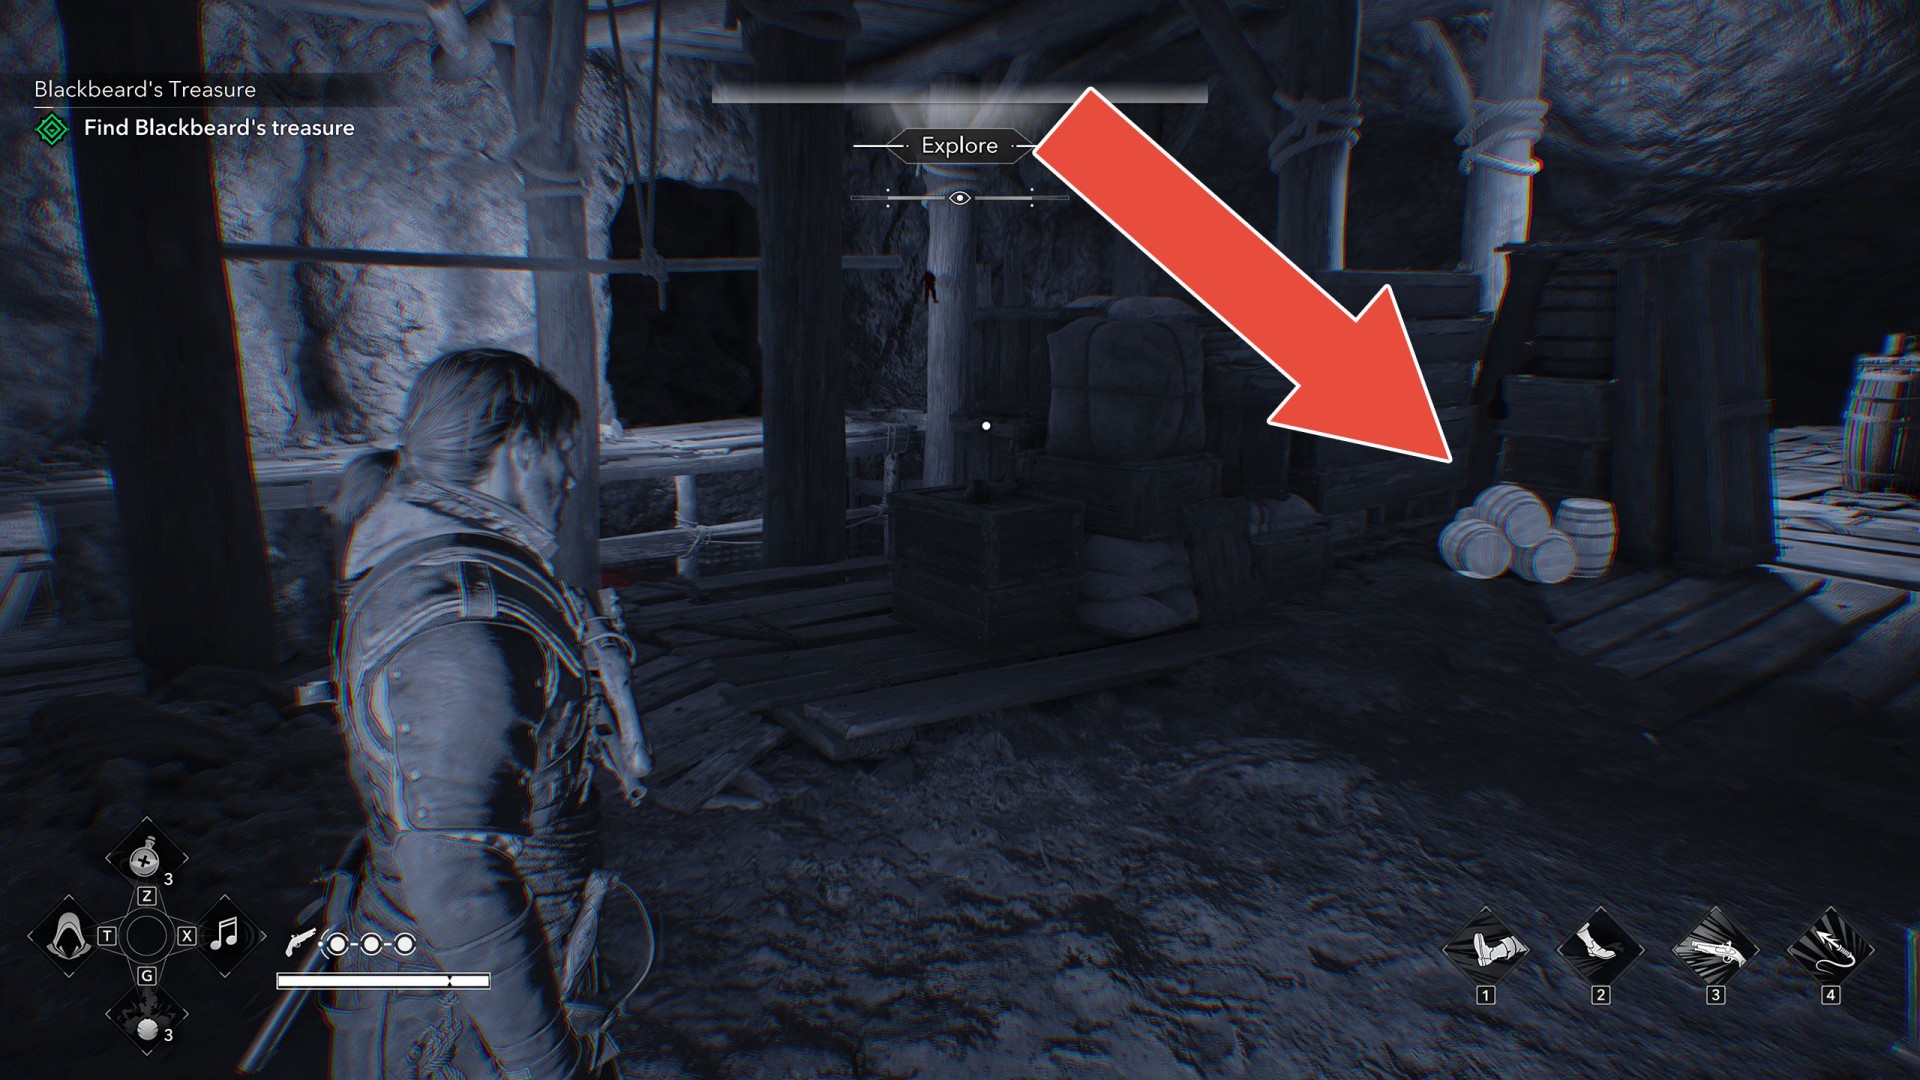
In order to move forward, you need to blast away the rocks blocking the way. Pick up one of the small powder kegs (if destroyed, they respawn as soon as you look in another direction) and set it down by the wall.
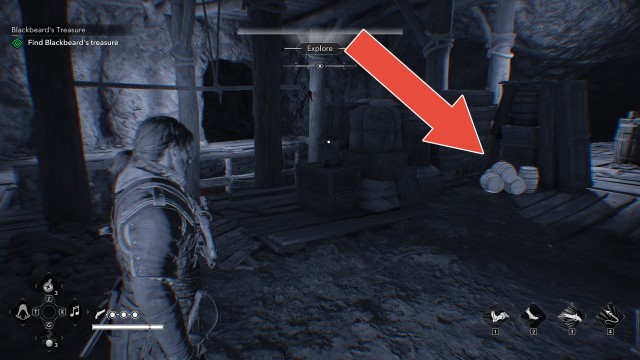
Next, shoot the keg to cause an explosion and open up a passage.
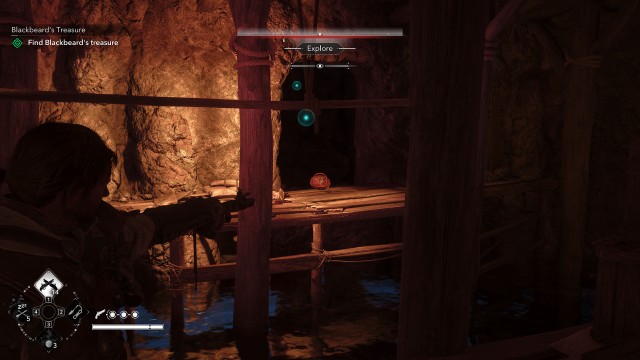
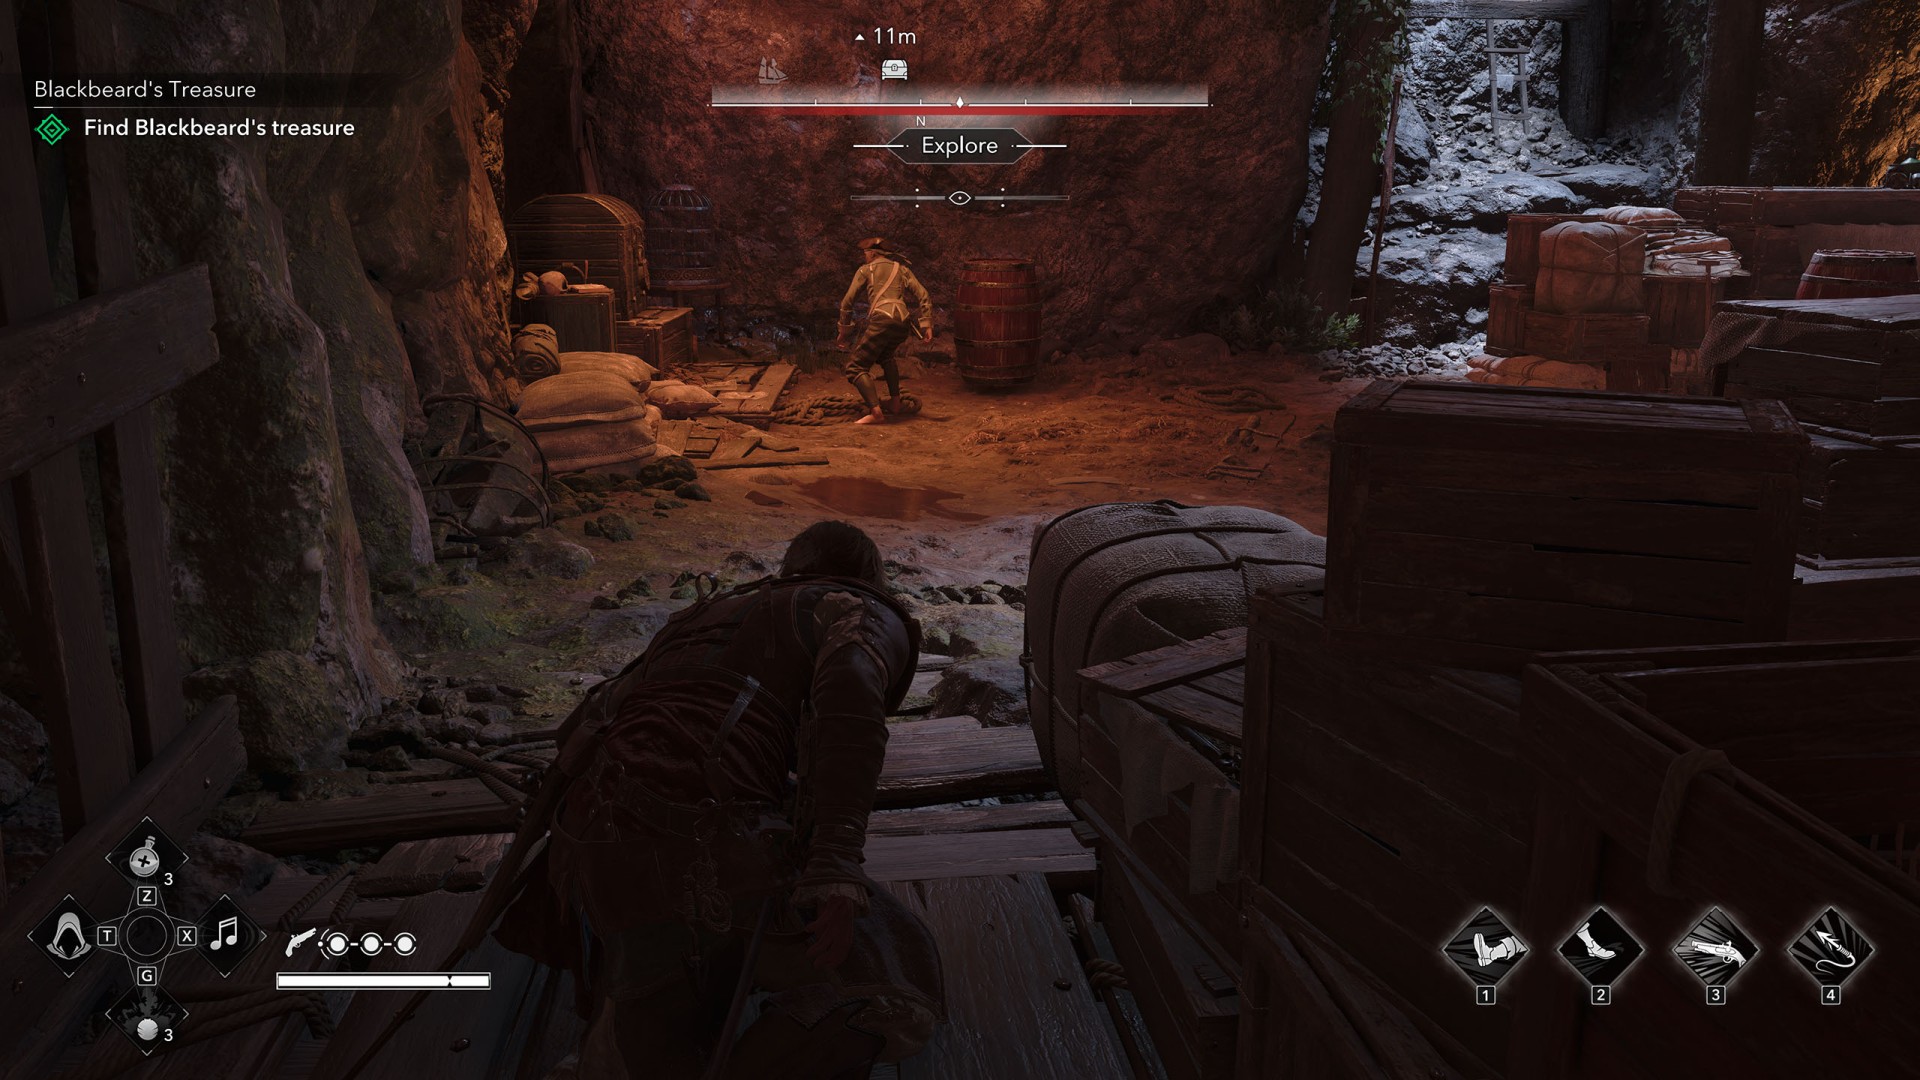
Enter the tunnel and progress until you reach a large cave. Start by taking out the pirate standing below the rock ledge you are on.
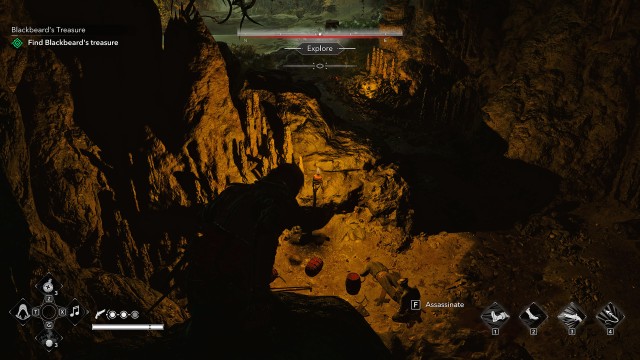
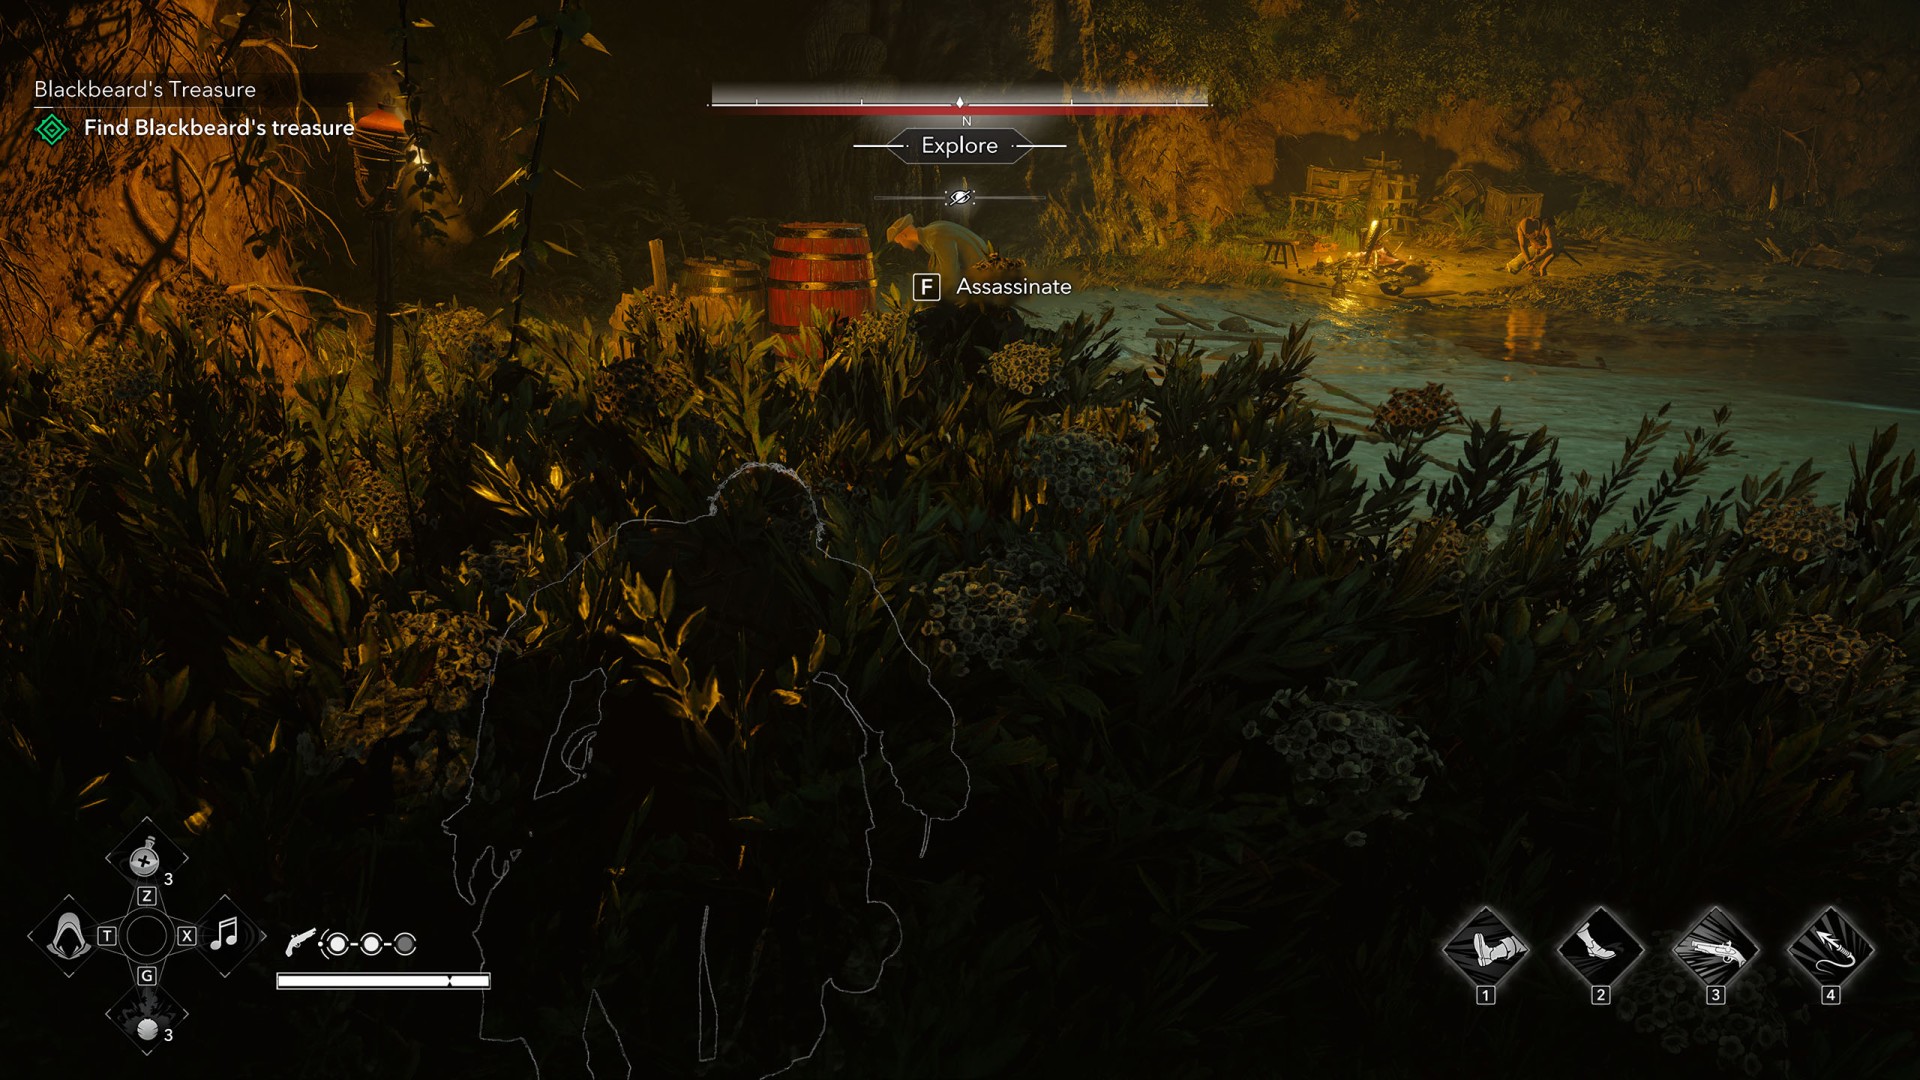
The main area of the cave is occupied by six pirates. You can eliminate them using any method you see fit, but if you want to handle it relatively quietly, start by taking out the pirate standing on the left side near the tall grass.
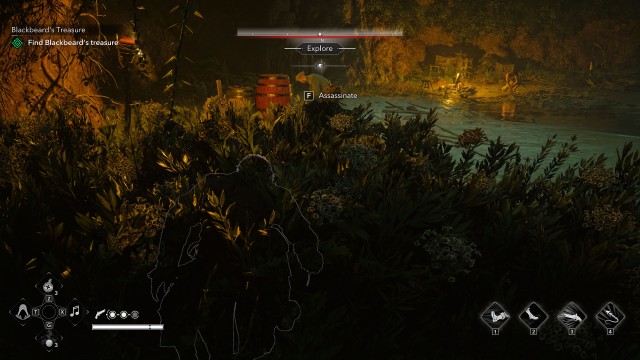
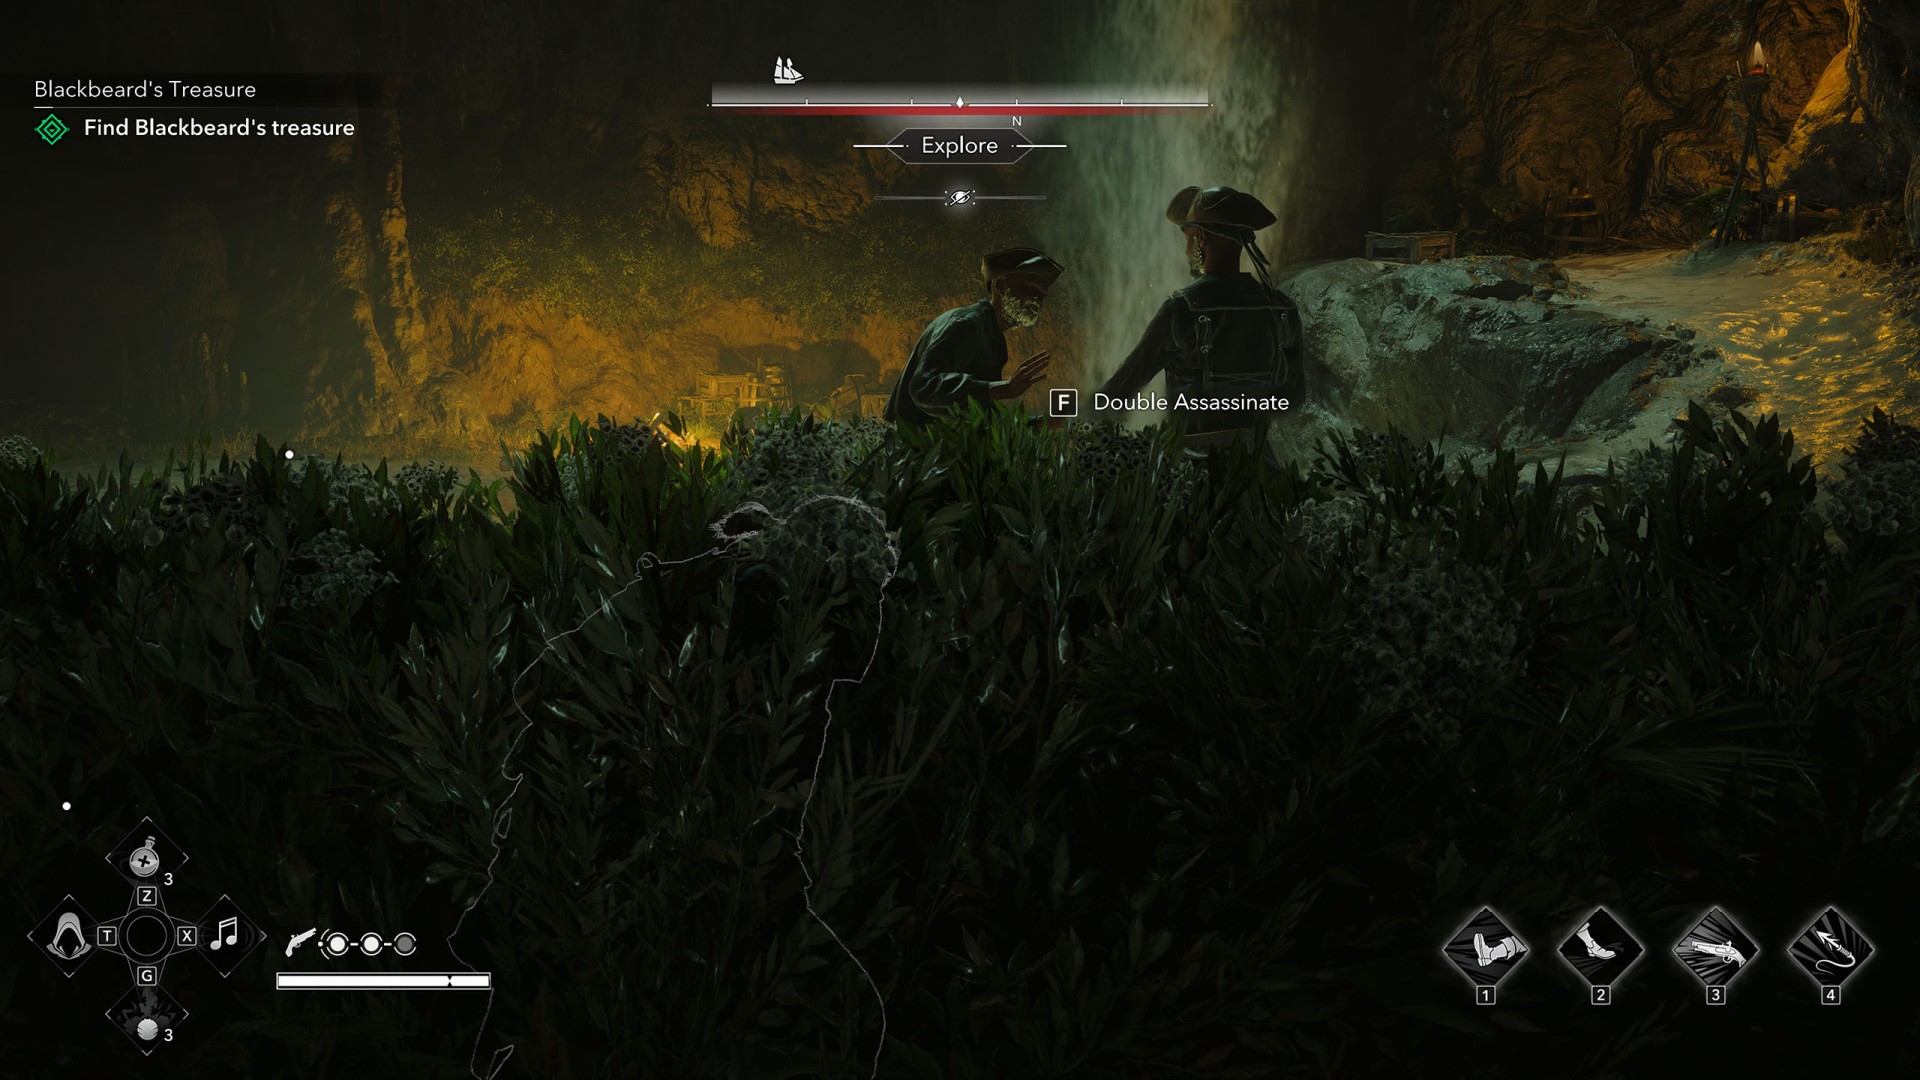
Move to the right and double assassinate the two pirates standing there.
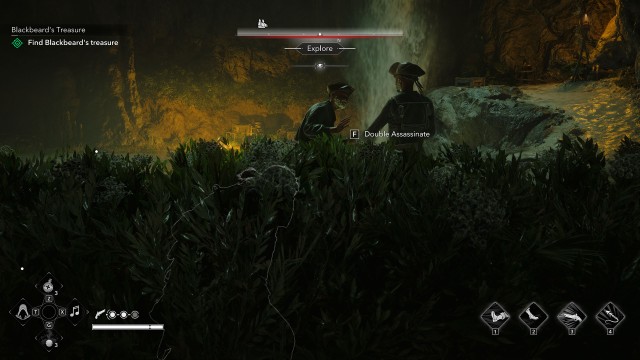
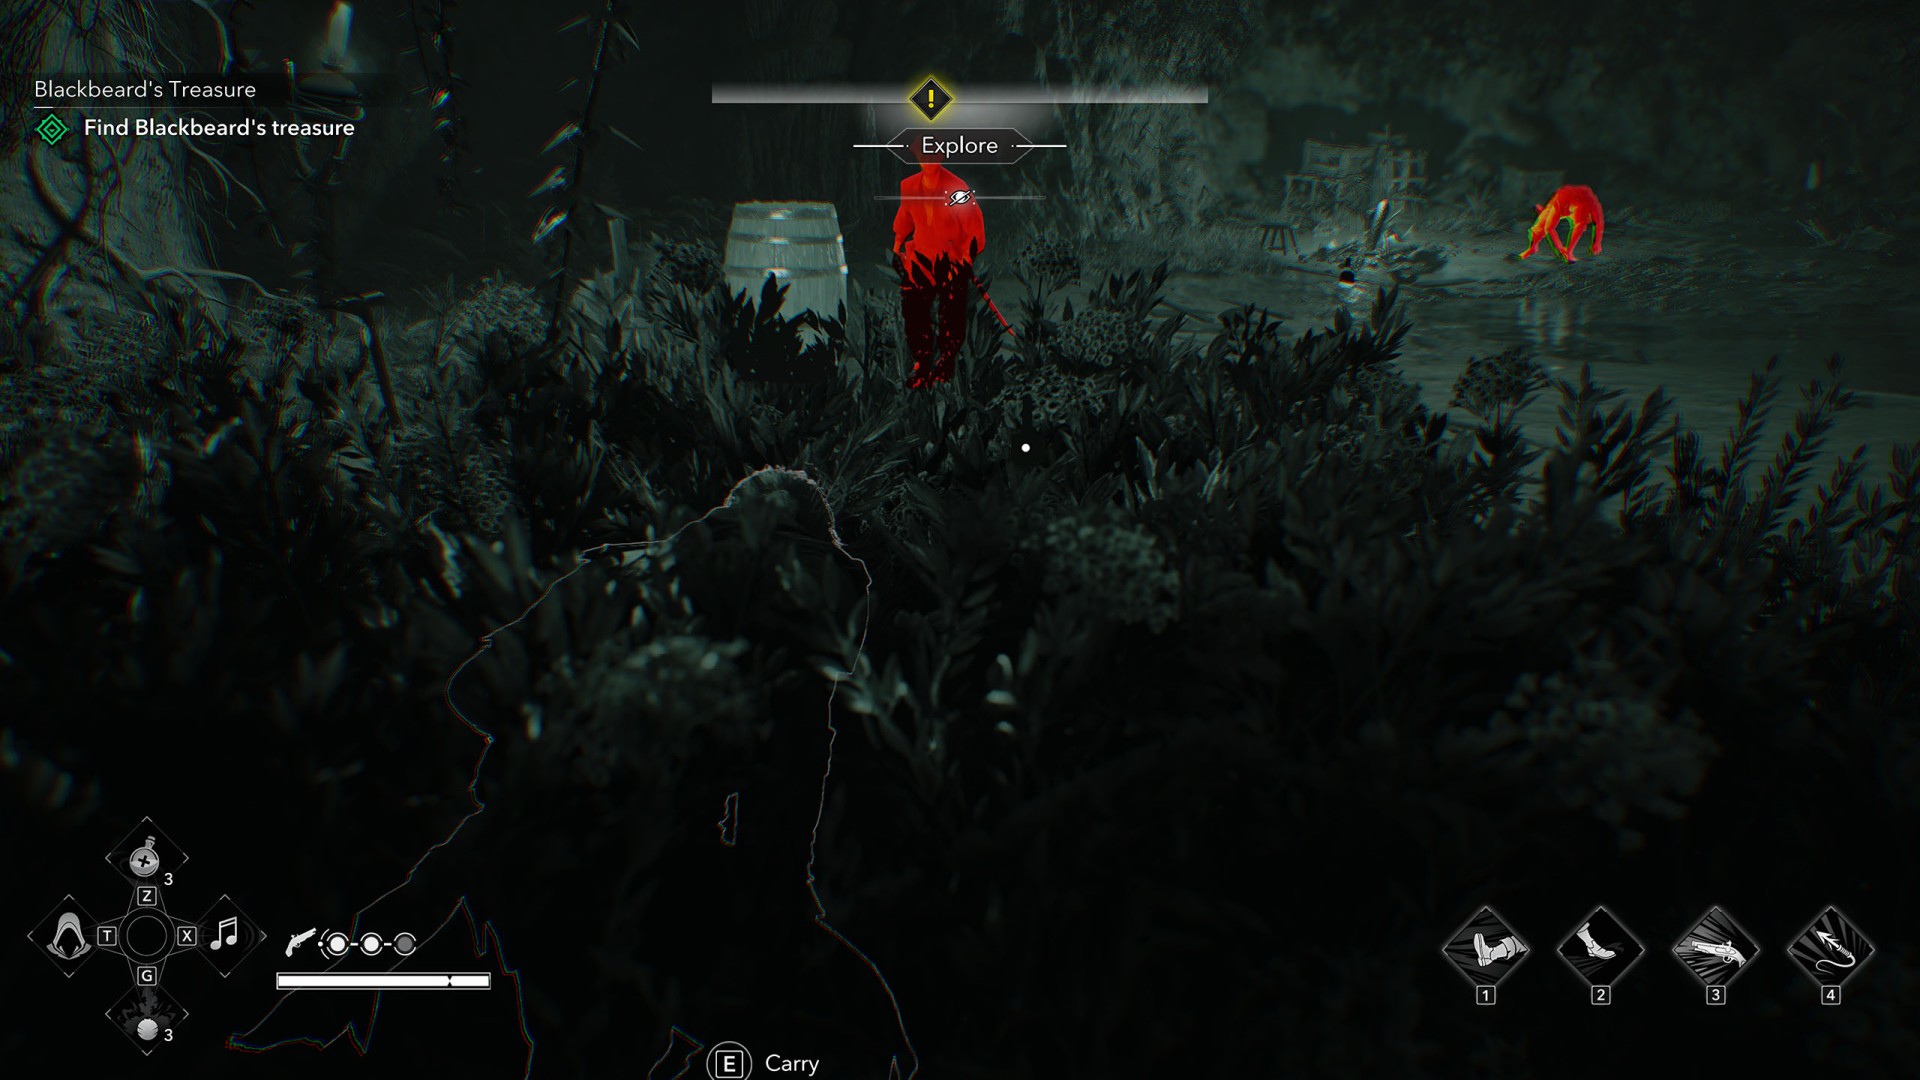
Return to the tall grass on the left side and whistle to lure the next pirate into it.
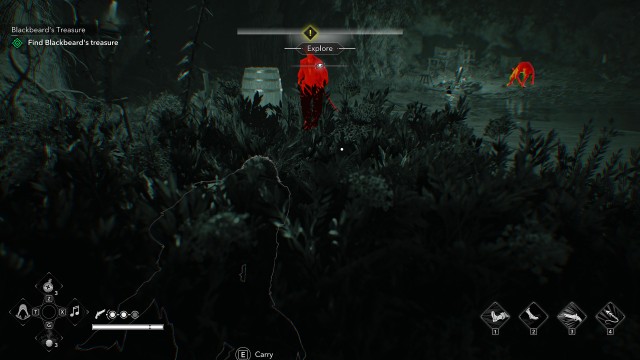
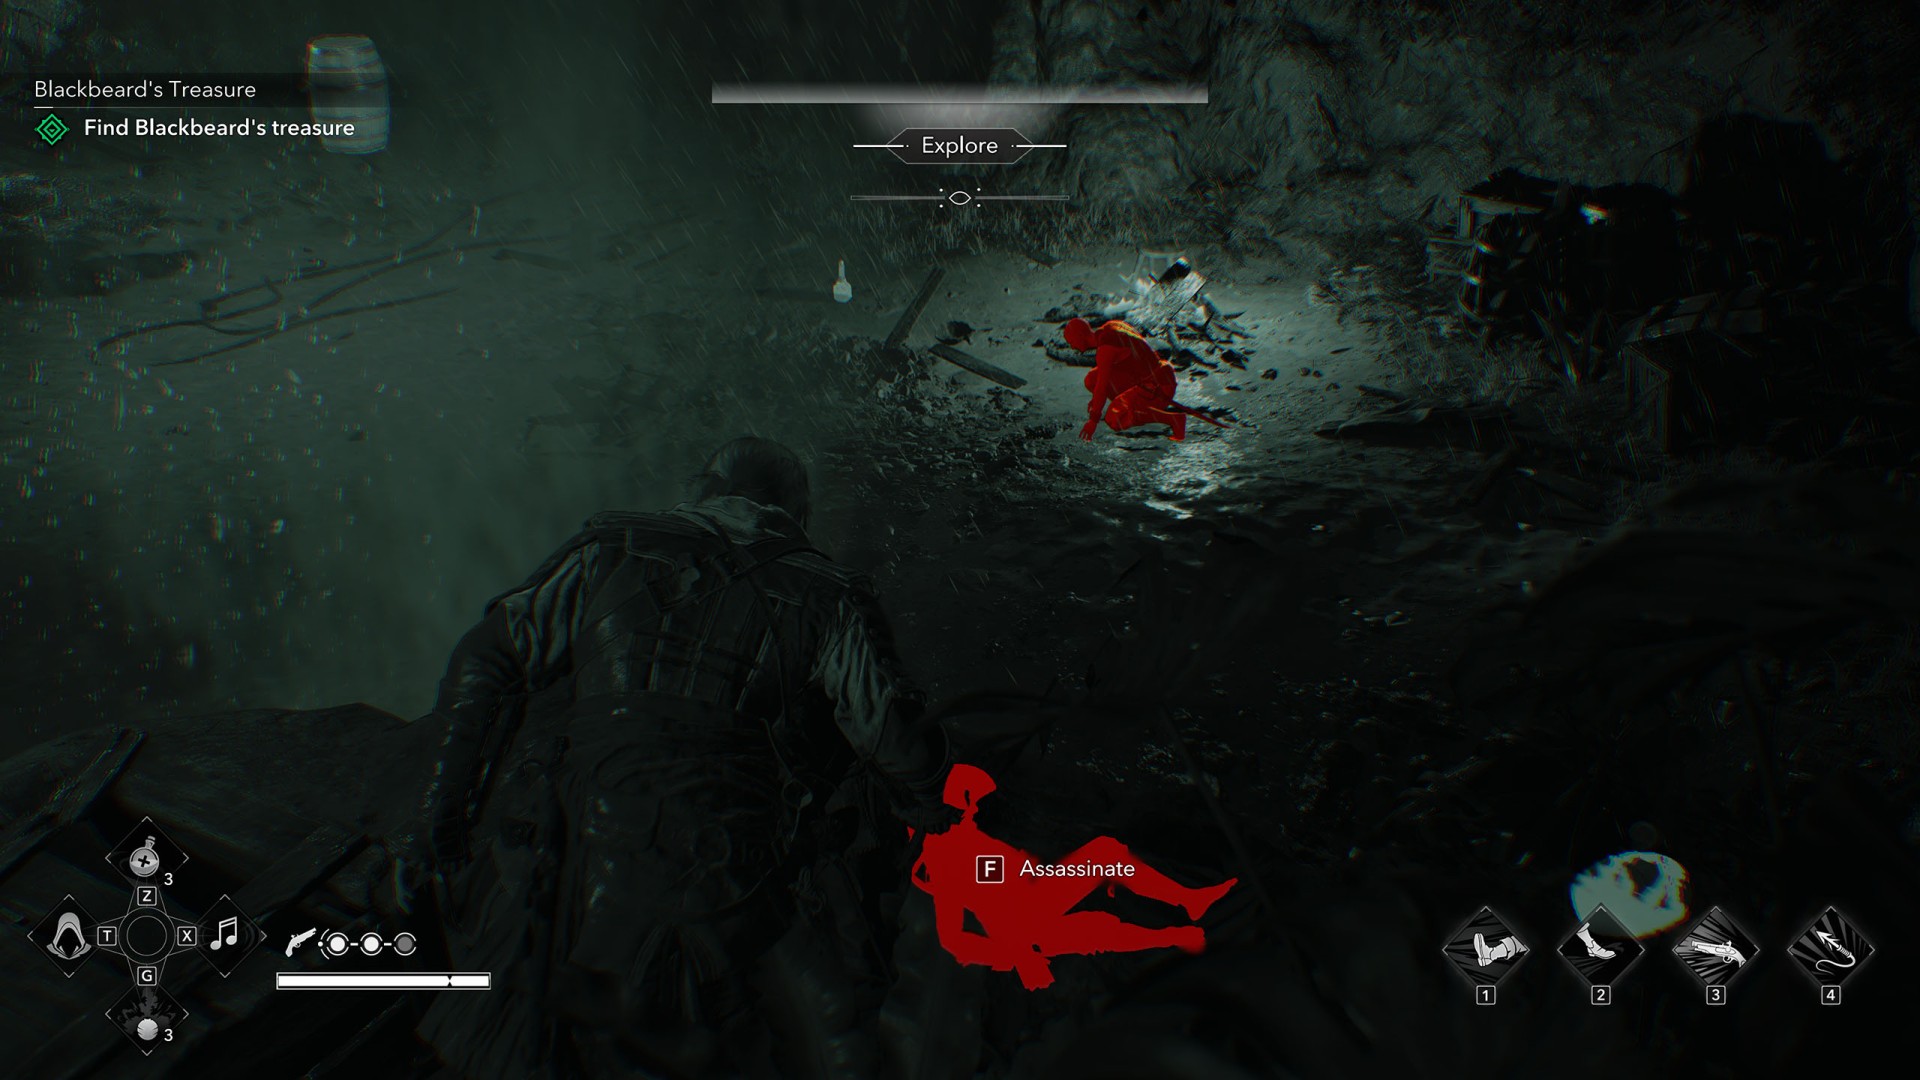
Finally, take care of the two pirates standing on the other side of the cavern.
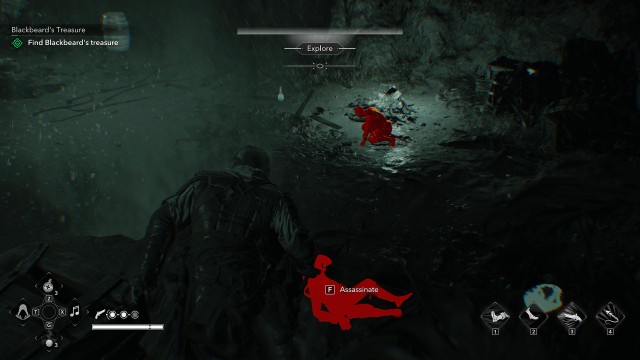
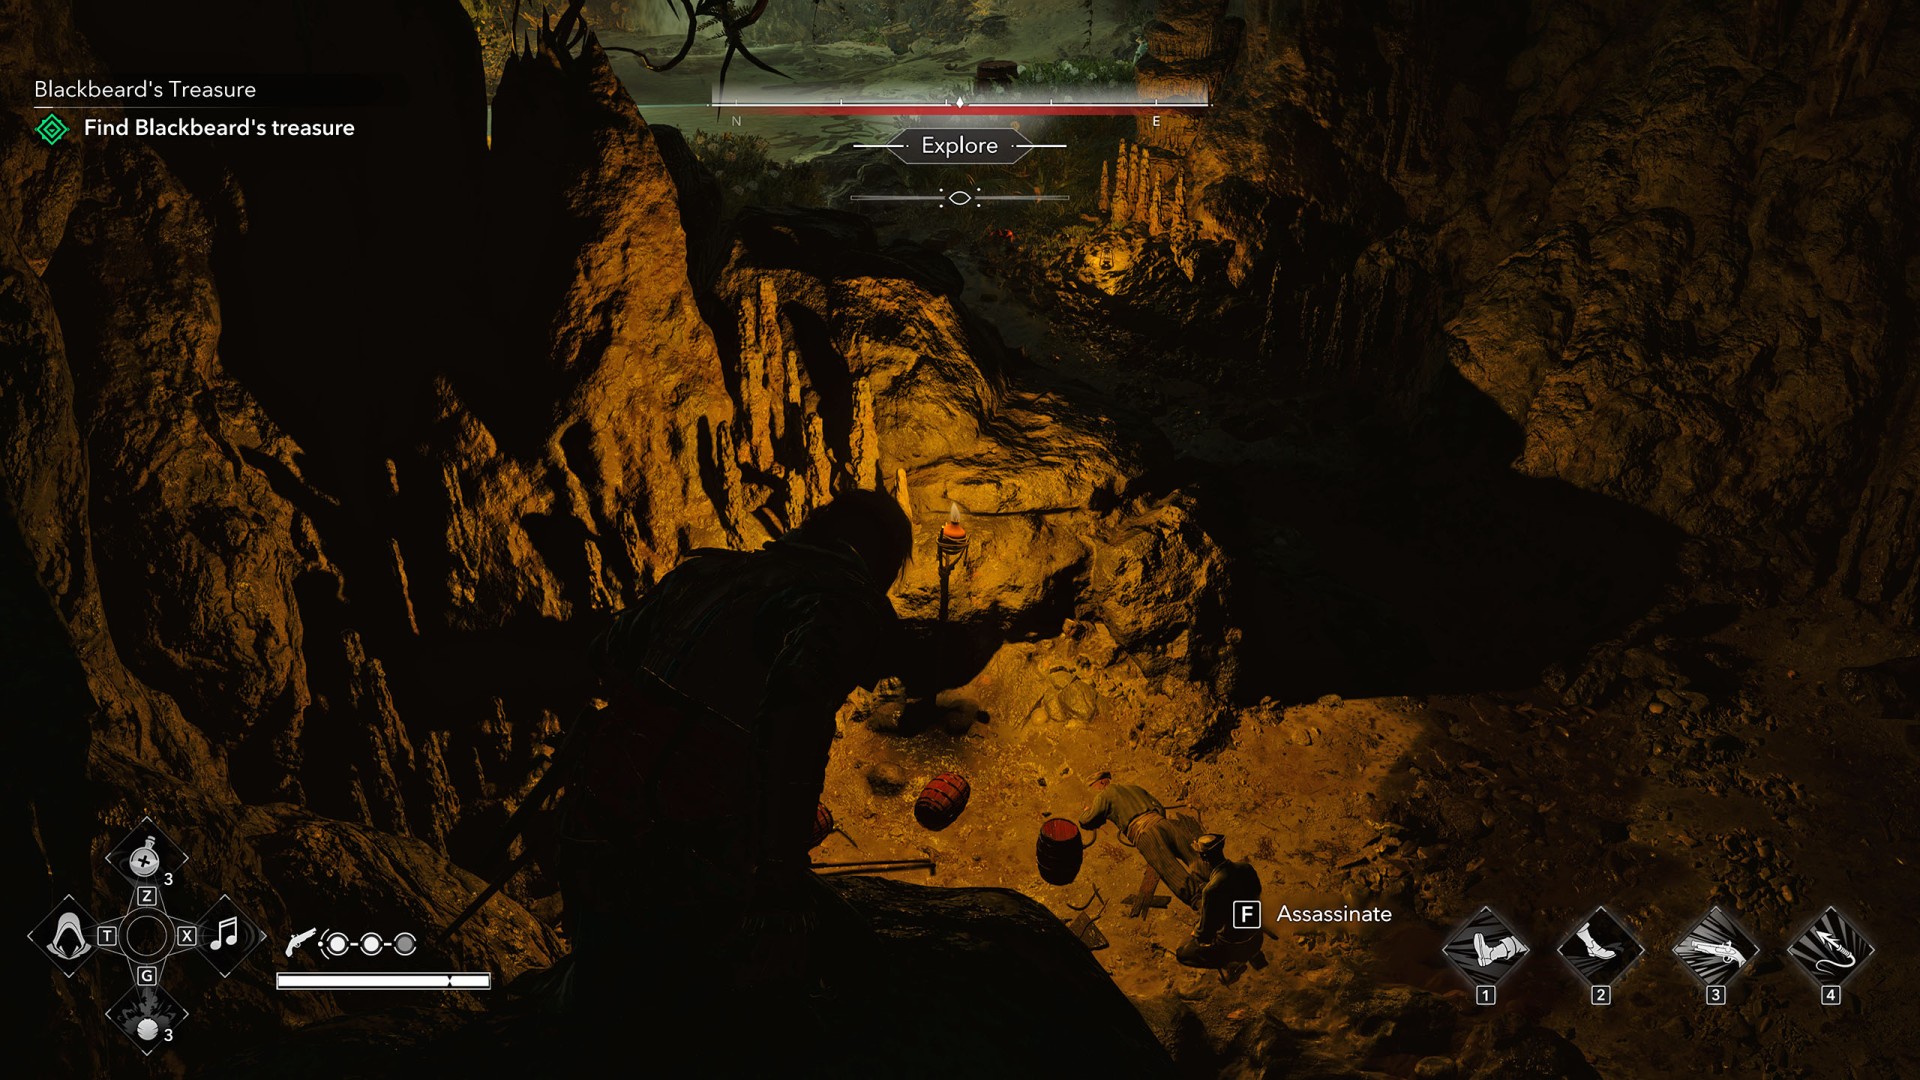
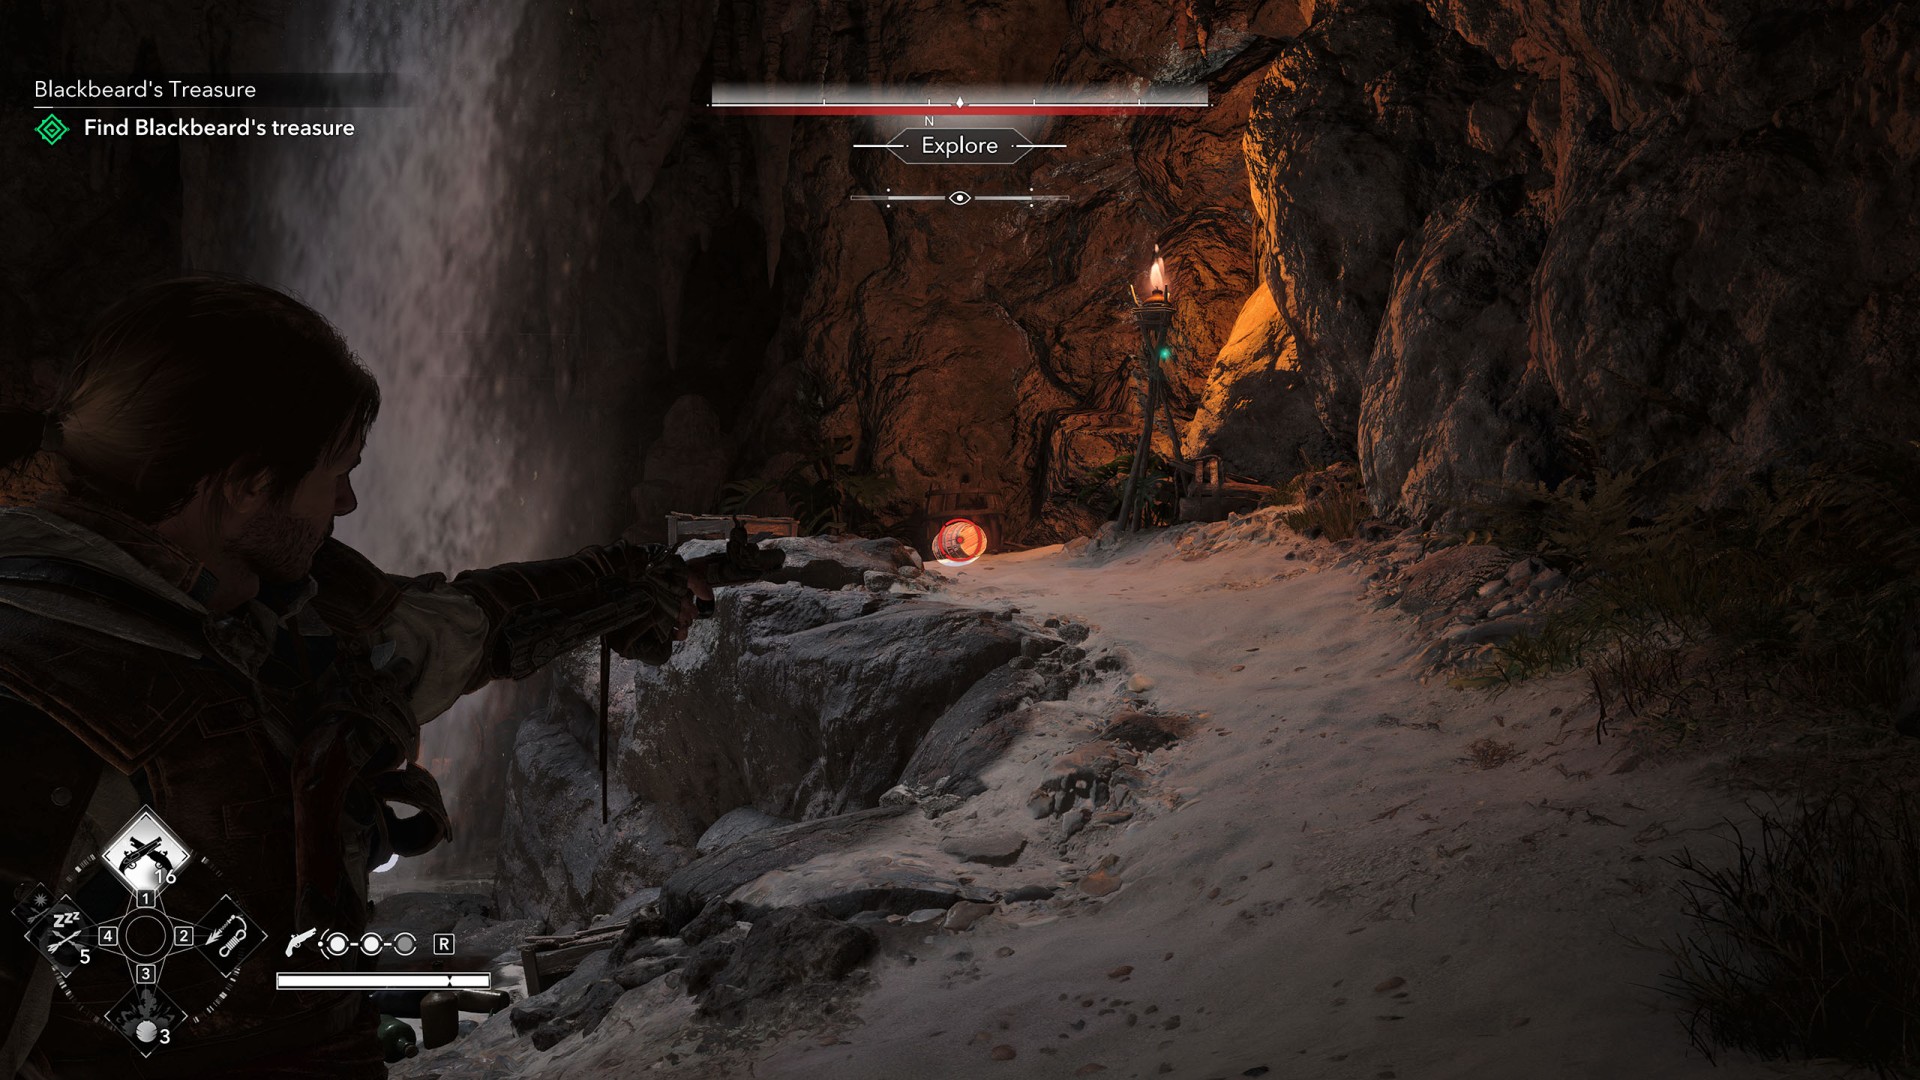
To get to the treasure chest, you must blow up another wall. Grab one of the small explosive kegs located in the cave and place it on the ramp near the waterfall, right next to the skeleton partially trapped under the rocks.
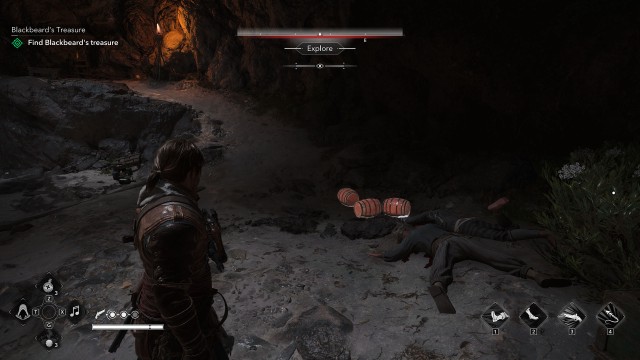
Back off to a safe distance and shoot the keg - doing so will unseal the entrance to the cavern holding the treasure chest.
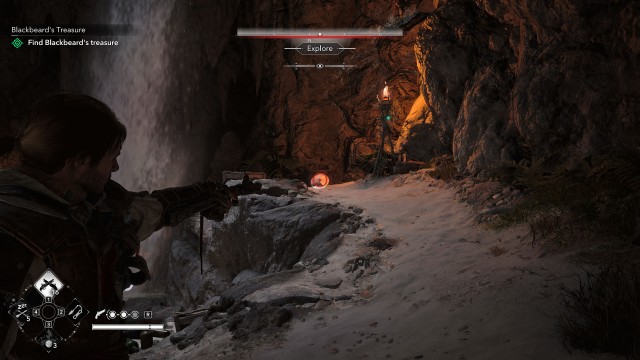
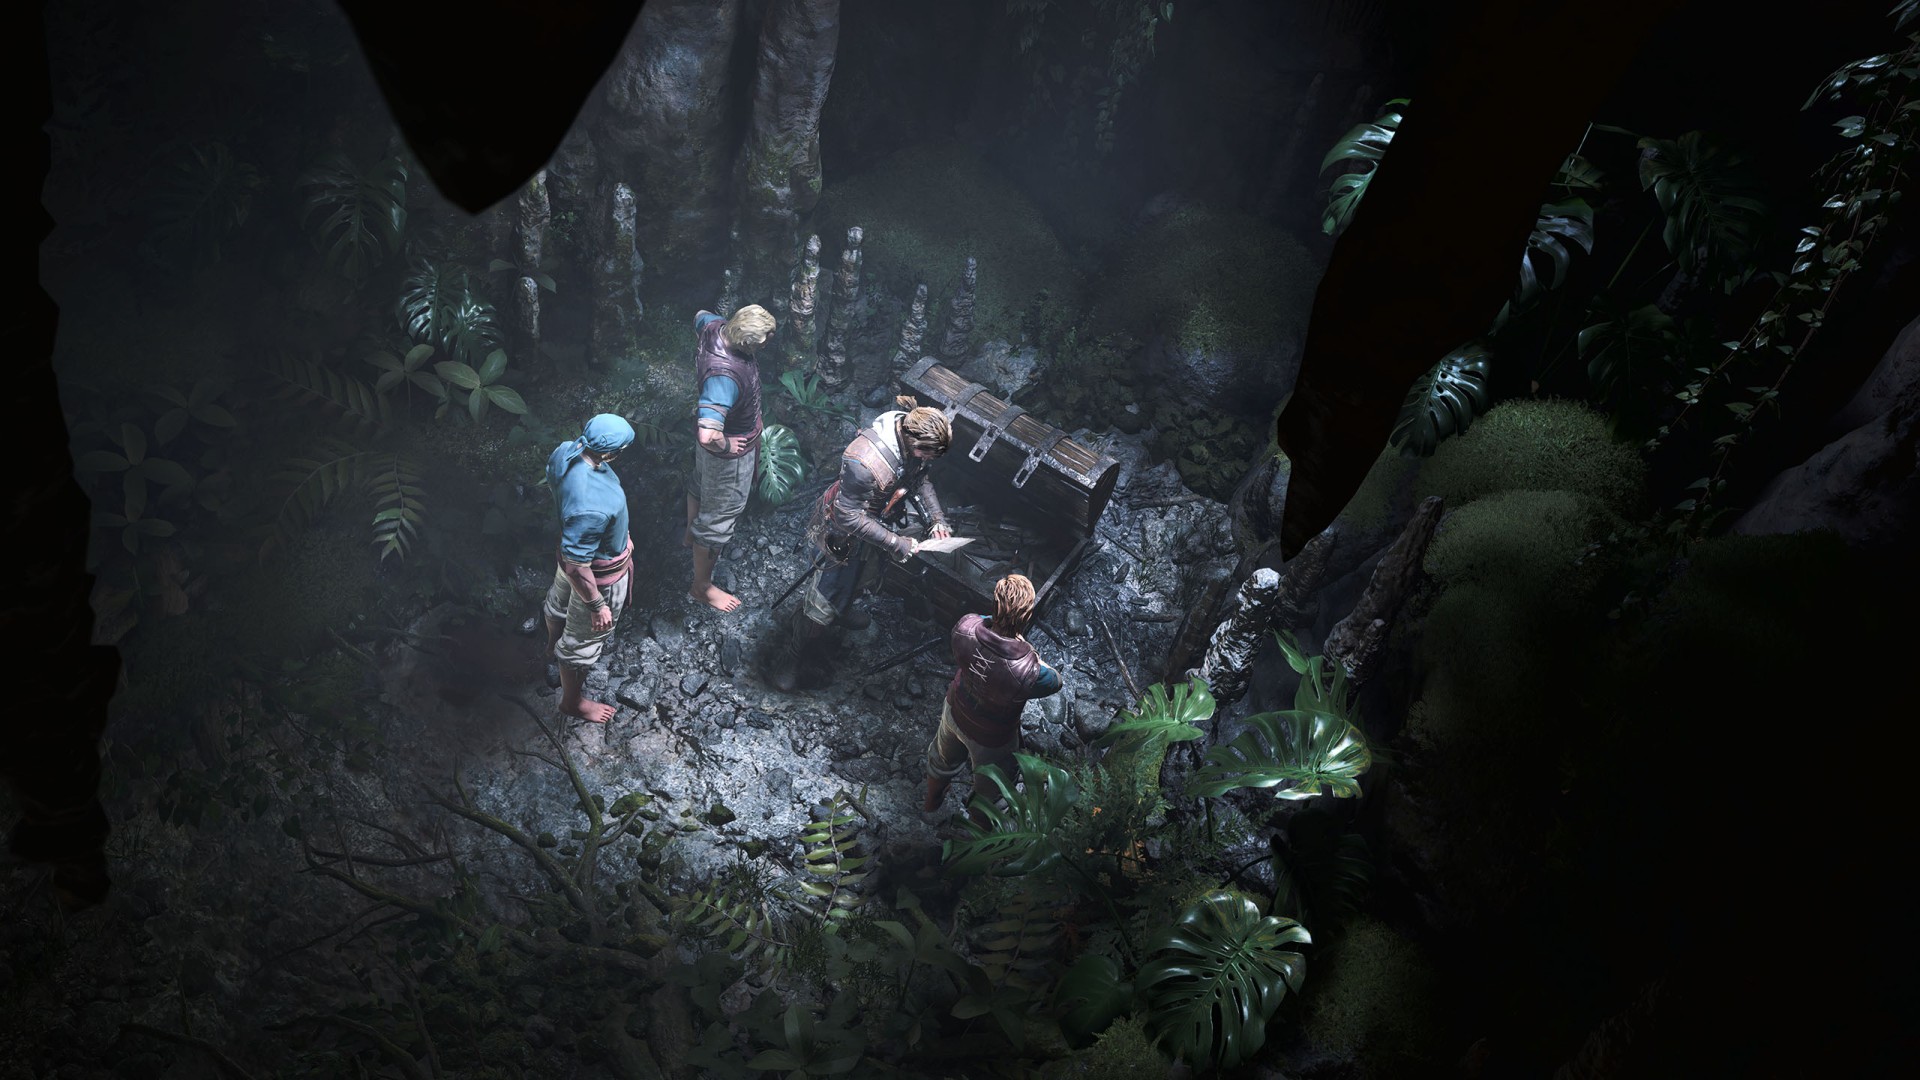
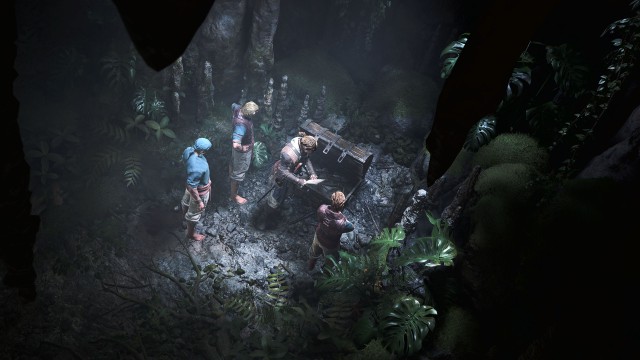
As you approach the chest, a cutscene will trigger. Inside the chest, Edward will find a lot of tools and a letter from his friend.
2. Return th Great Inagua
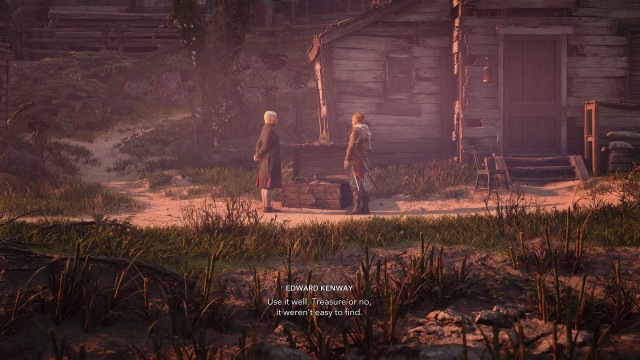
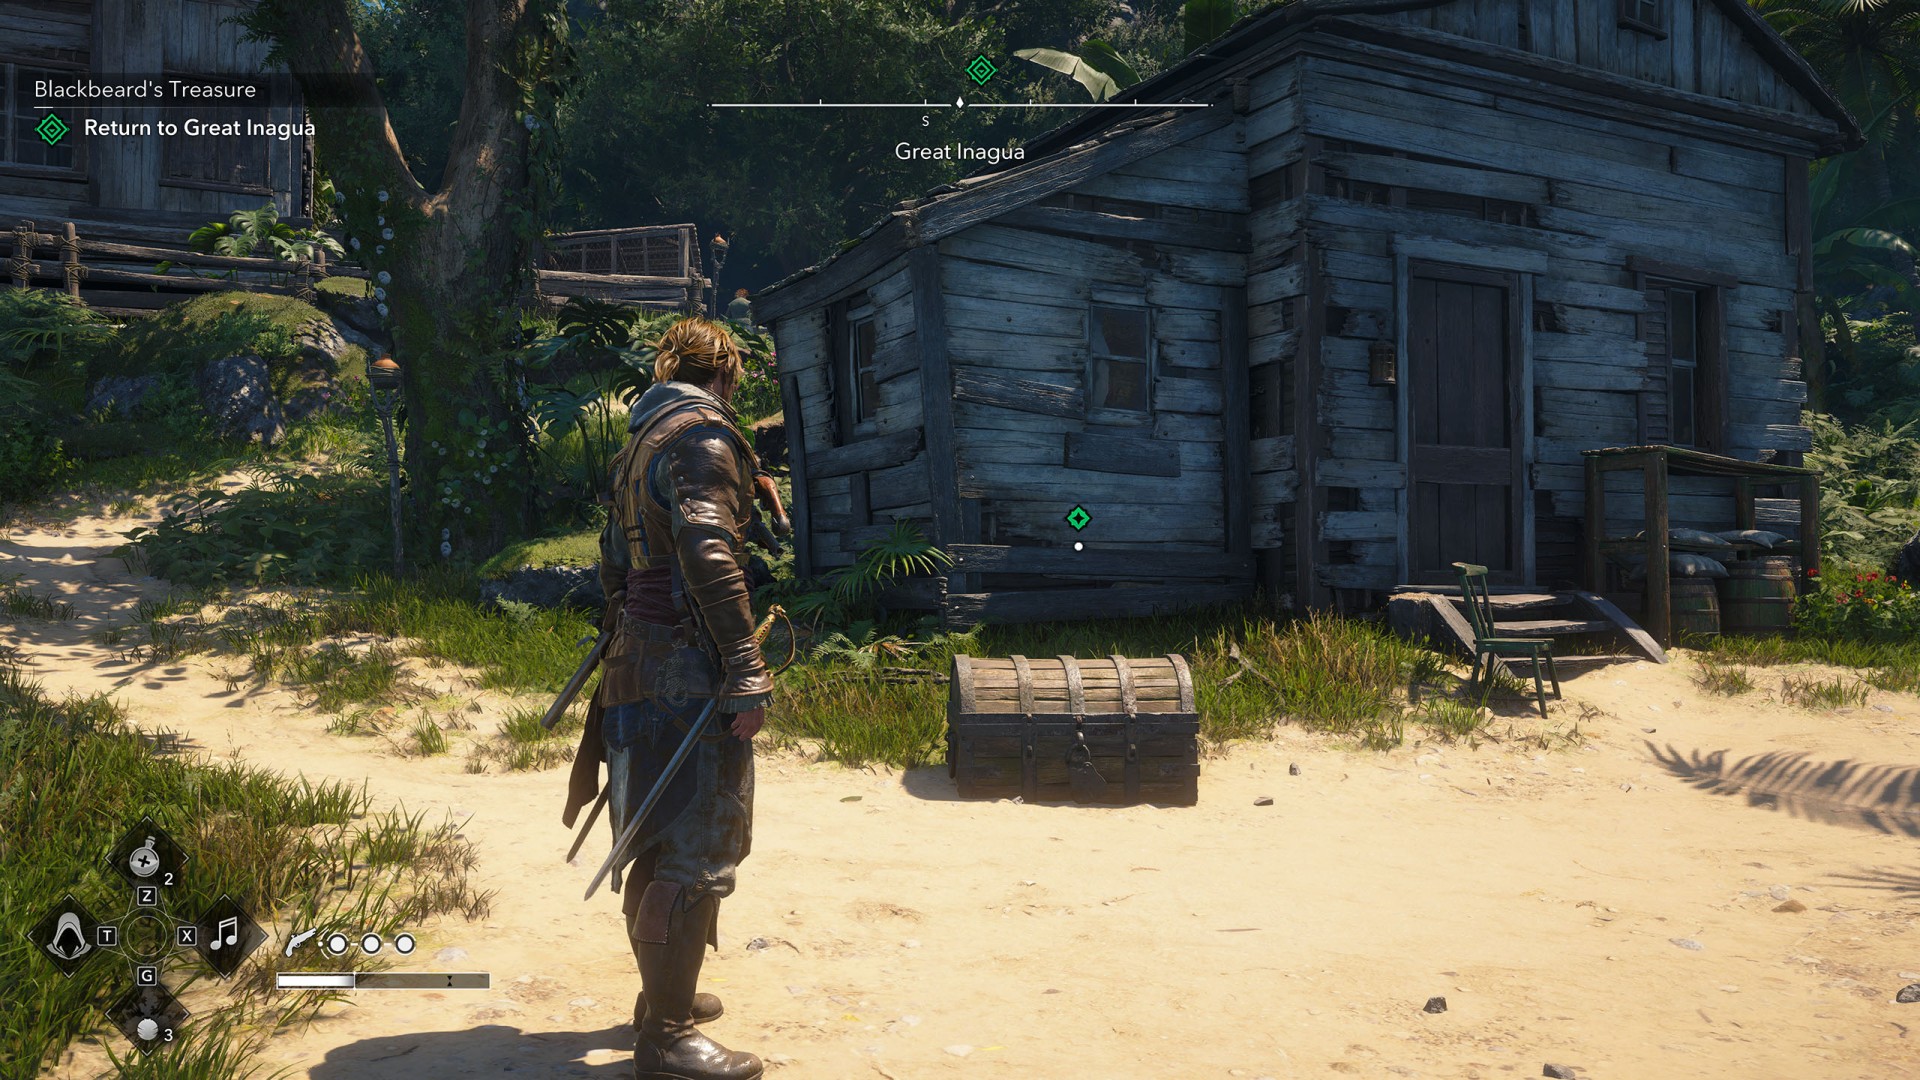
Head back to Great Inagua and interact with the chest by the house near the general store.
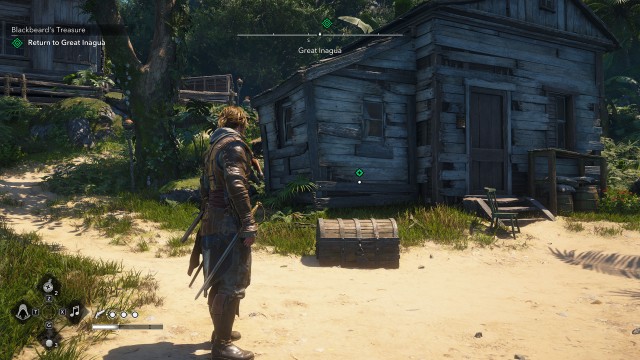
Doing so starts another cutscene - after which the quest ends, and you get Blackbeard's Portrait as a reward for completing it.