1. Face Maynard at Port Royal
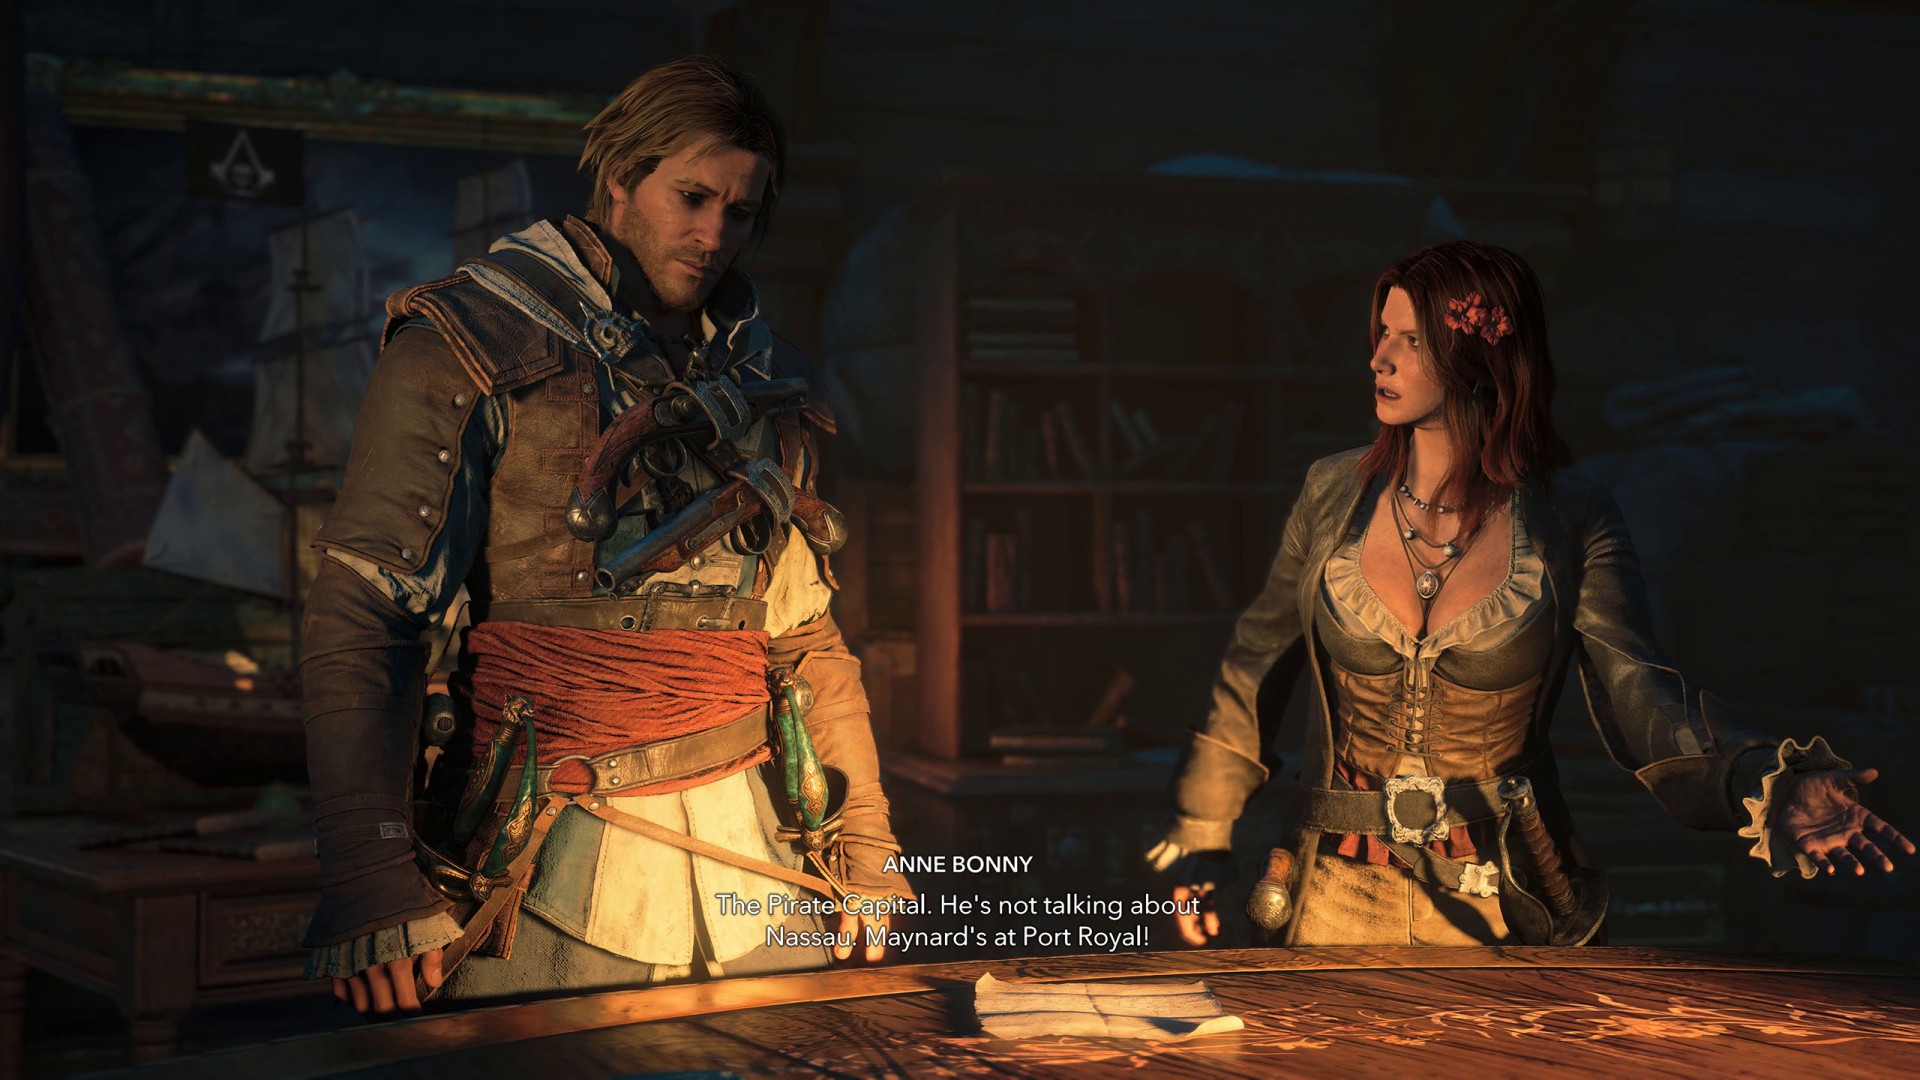
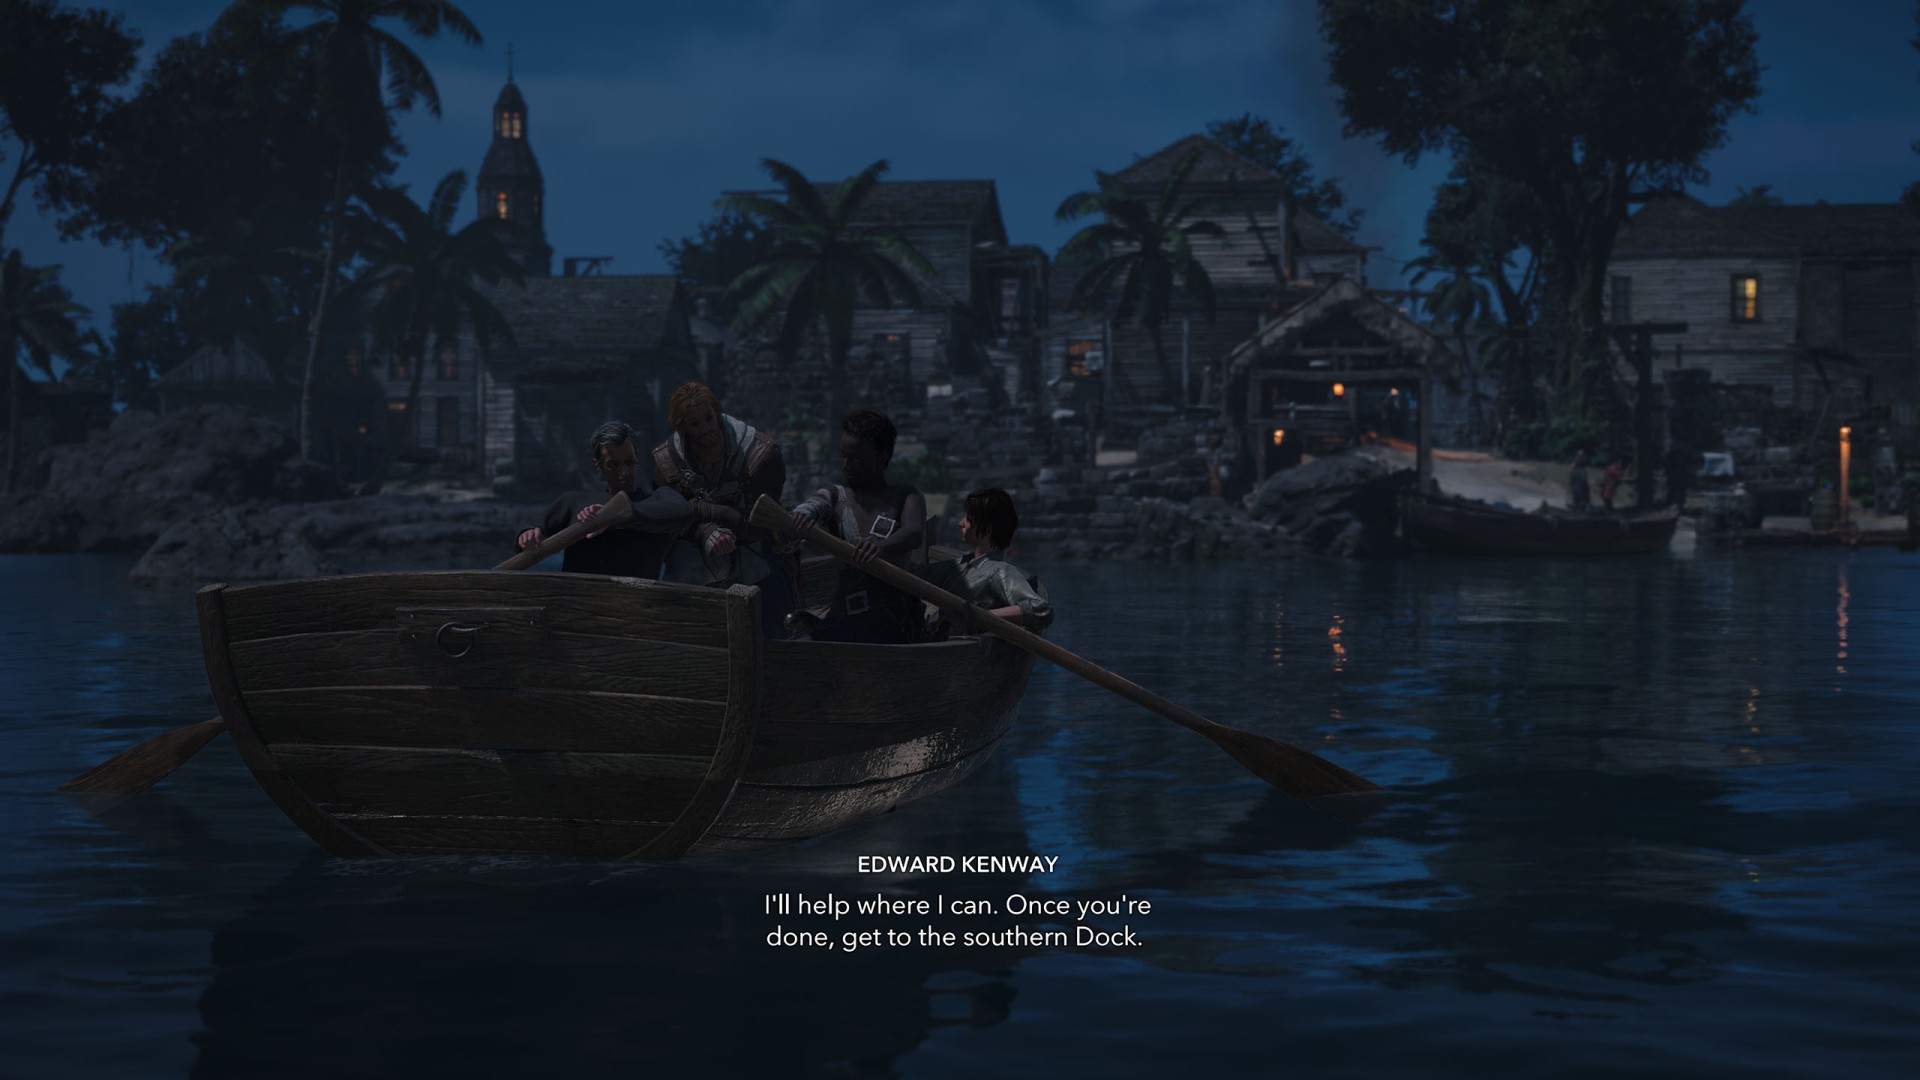
Drop anchor near Port Royal to trigger a cutscene in which Edward and his officers head ashore under the cover of darkness. Each of the officers will receive their own task, and you will have to help them complete their tasks.
2. Sabotage Maynard's armada
Hints:
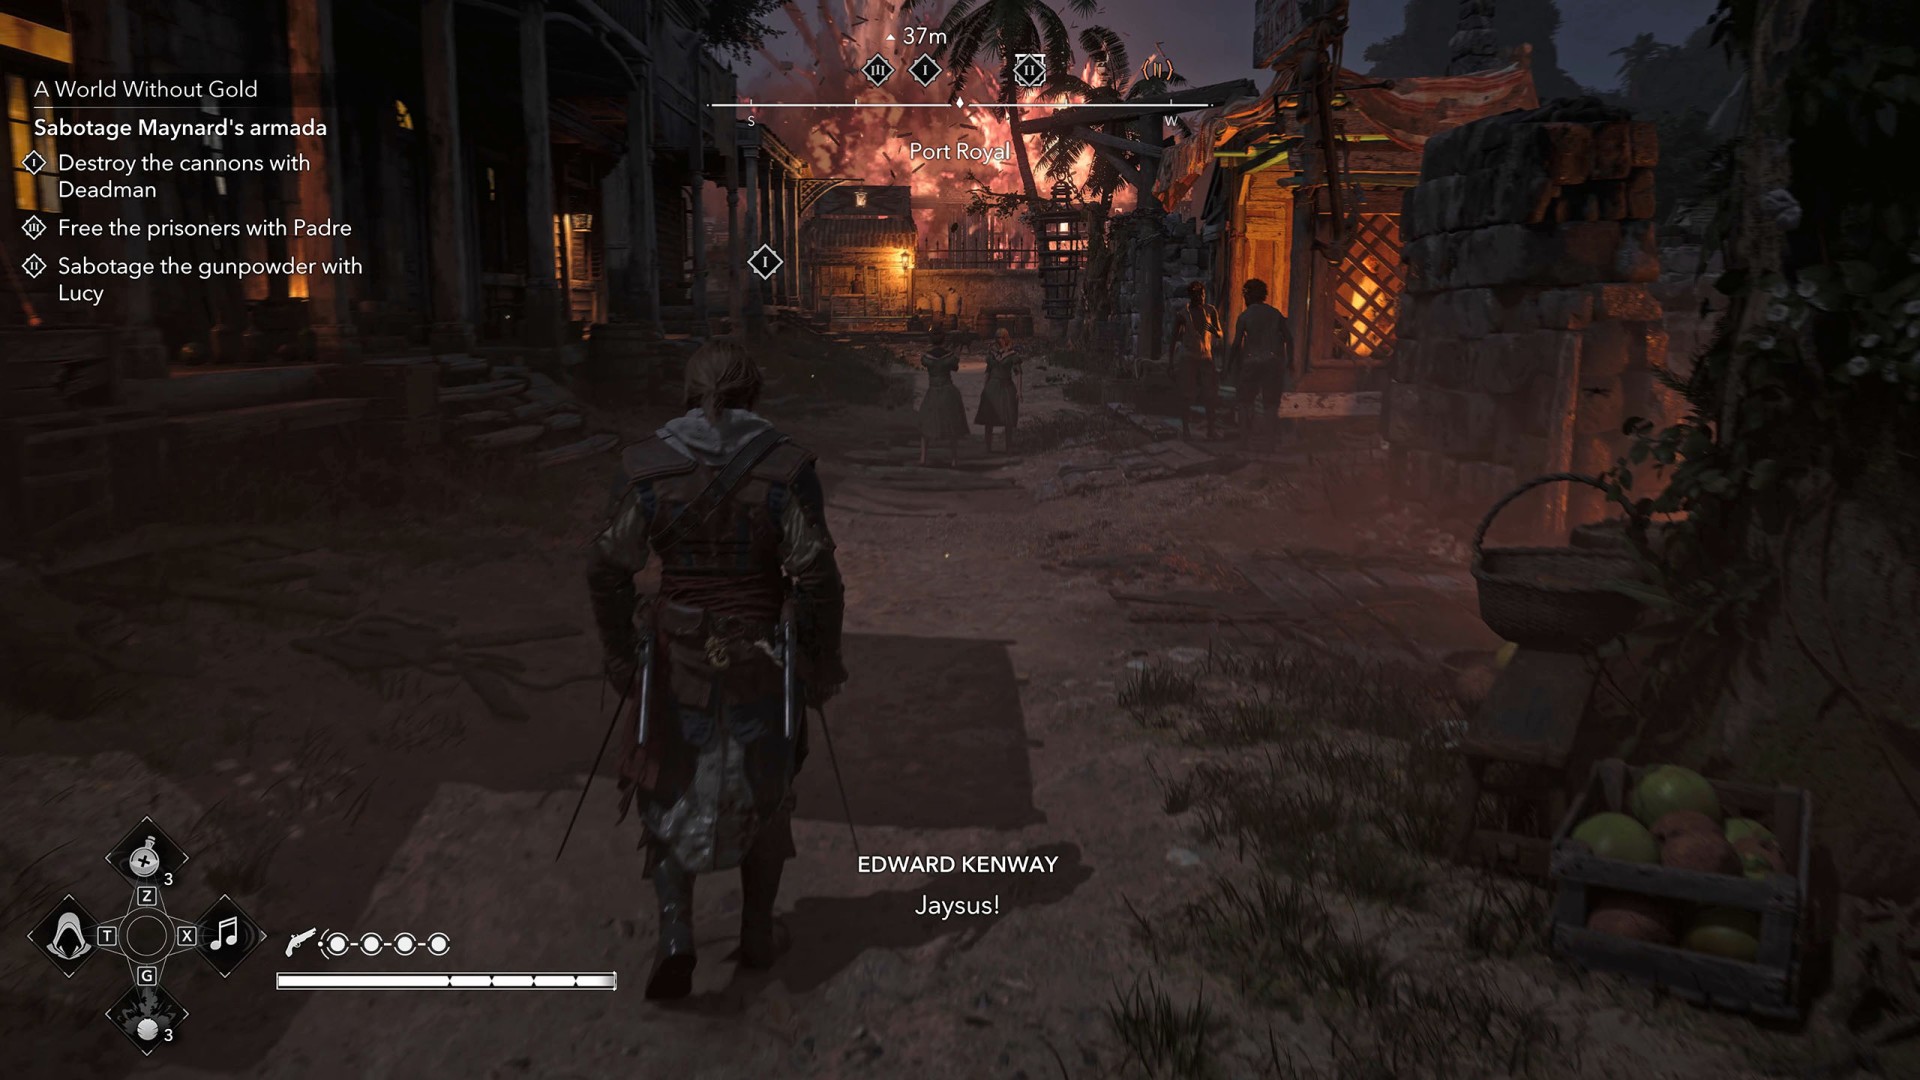
- Destroy the cannons with Deadman
- Free the prisoners with Padre
- Sabotage the gunpowder with Lucy
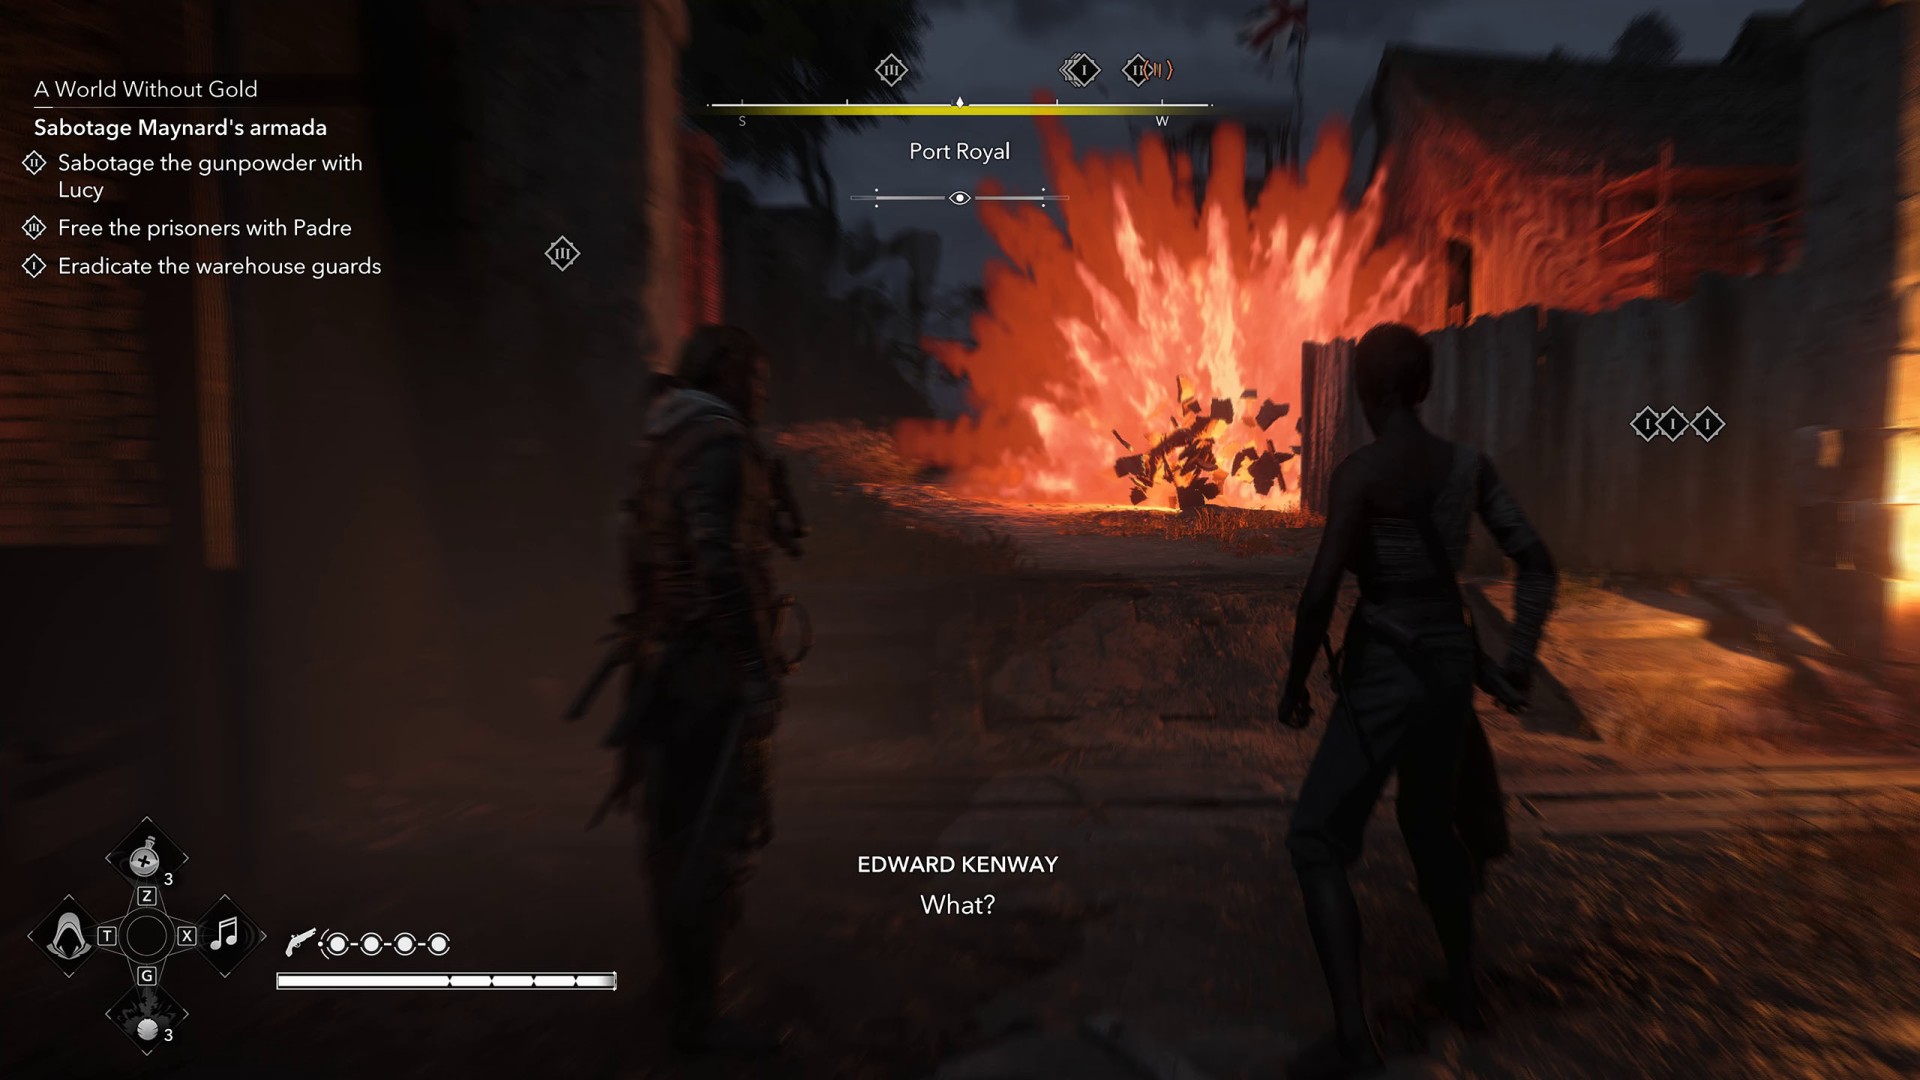
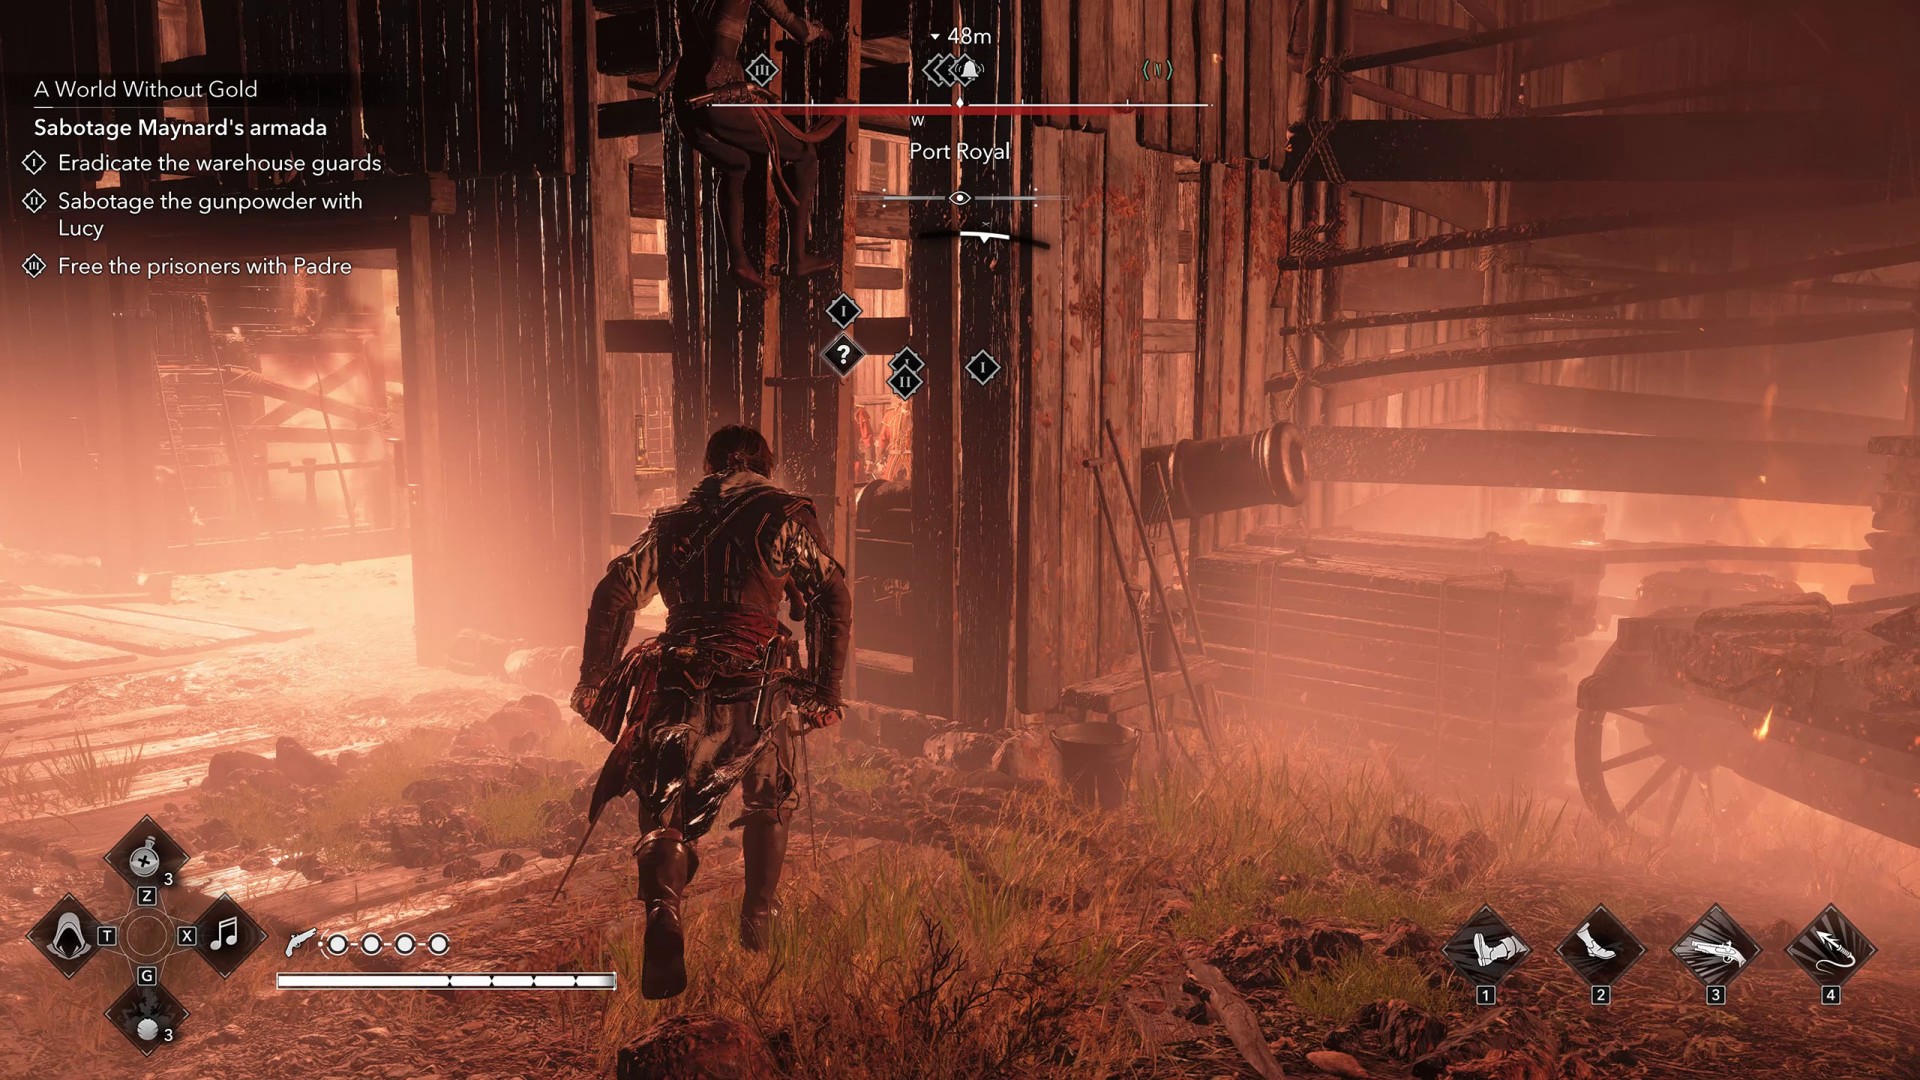
Each officer's position will be marked on the map with an icon bearing the corresponding number - I, II, or III. Deadman (I) is closest to you, so head in his direction. When you get near him, a massive explosion will occur.
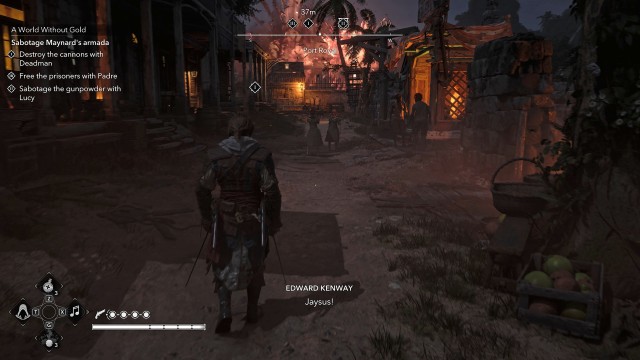
Approach Deadman, who is waiting for you on the porch of one of the houses, and then follow him toward the entrance to the restricted area. When he stops, do the same, and shortly after, another explosion will take out the soldiers guarding the entrance.
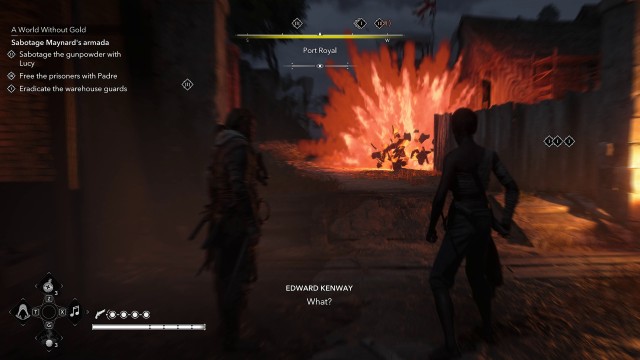
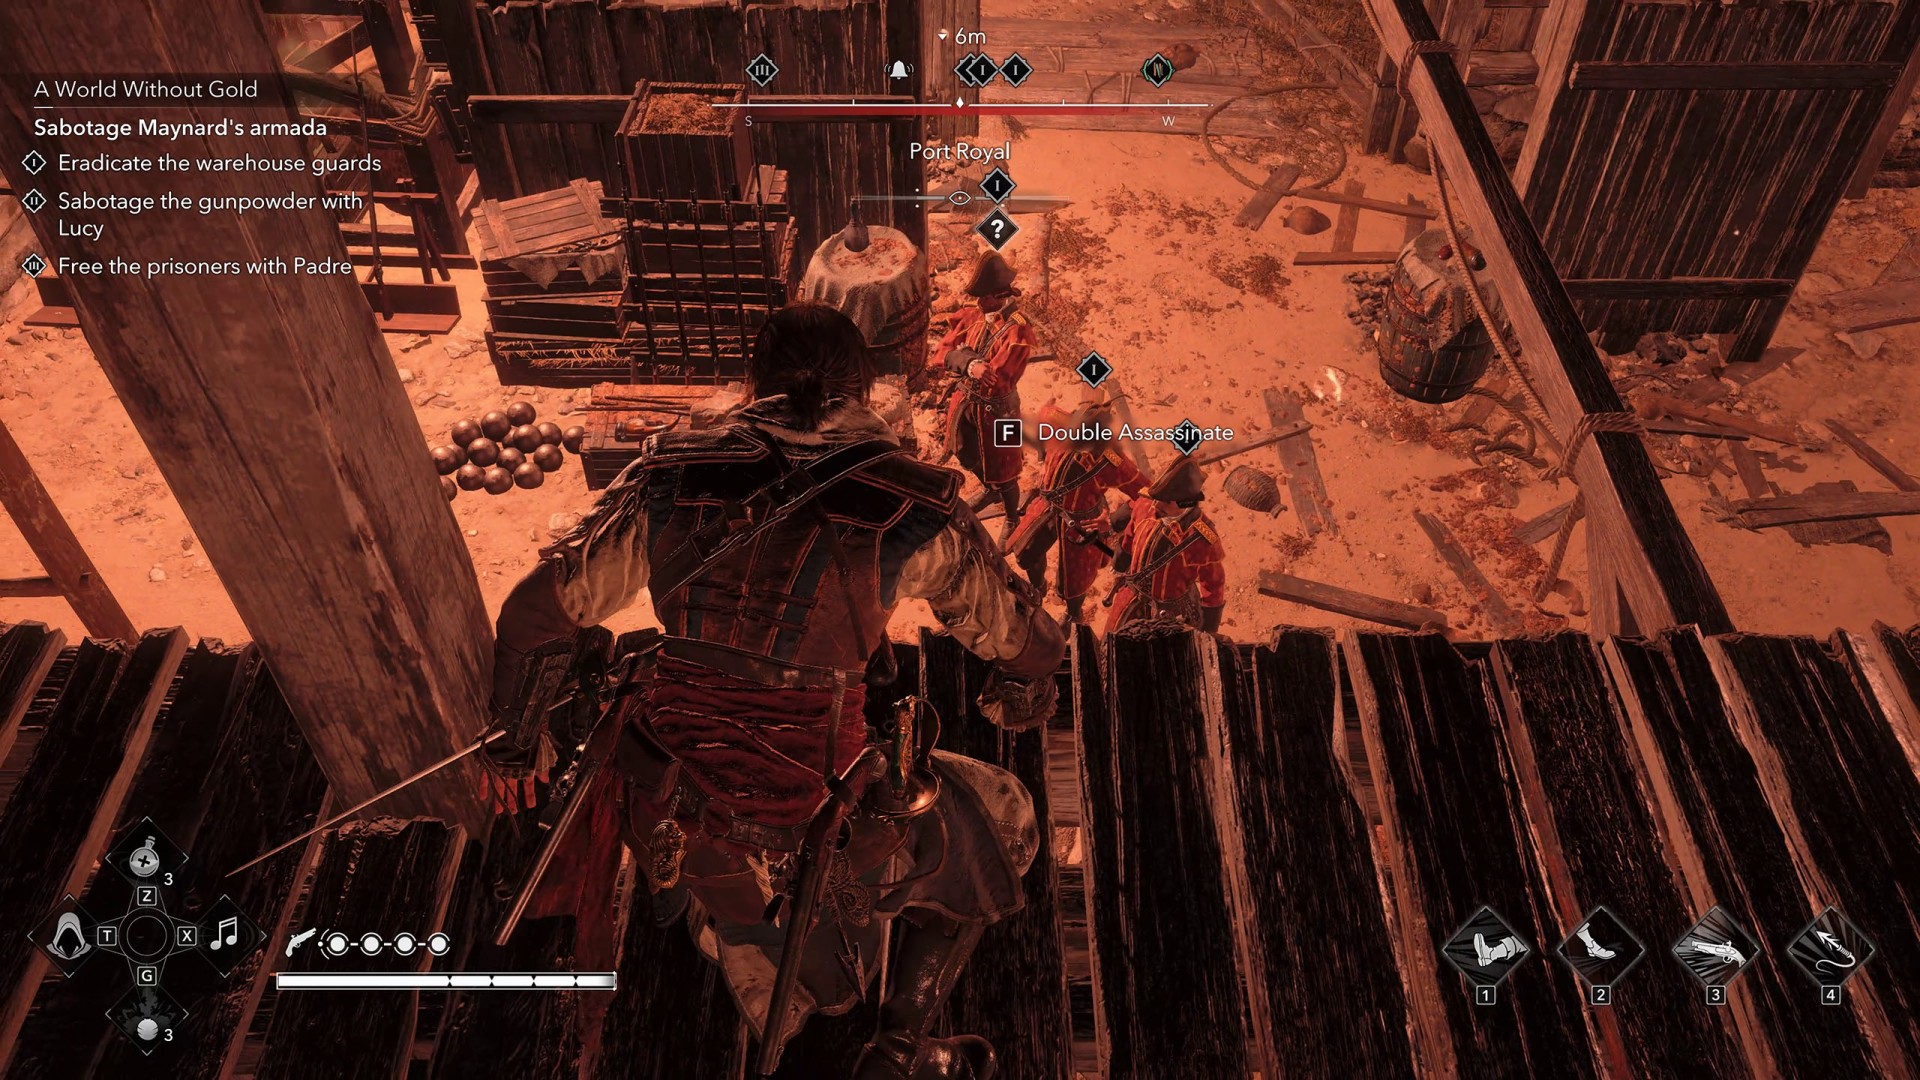
After the explosion, Deadman will run into the restricted area. Without delay, do the same and ideally climb the ladder to the upper level of the barn.
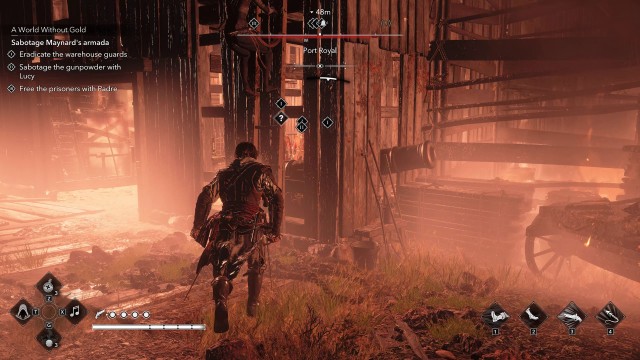
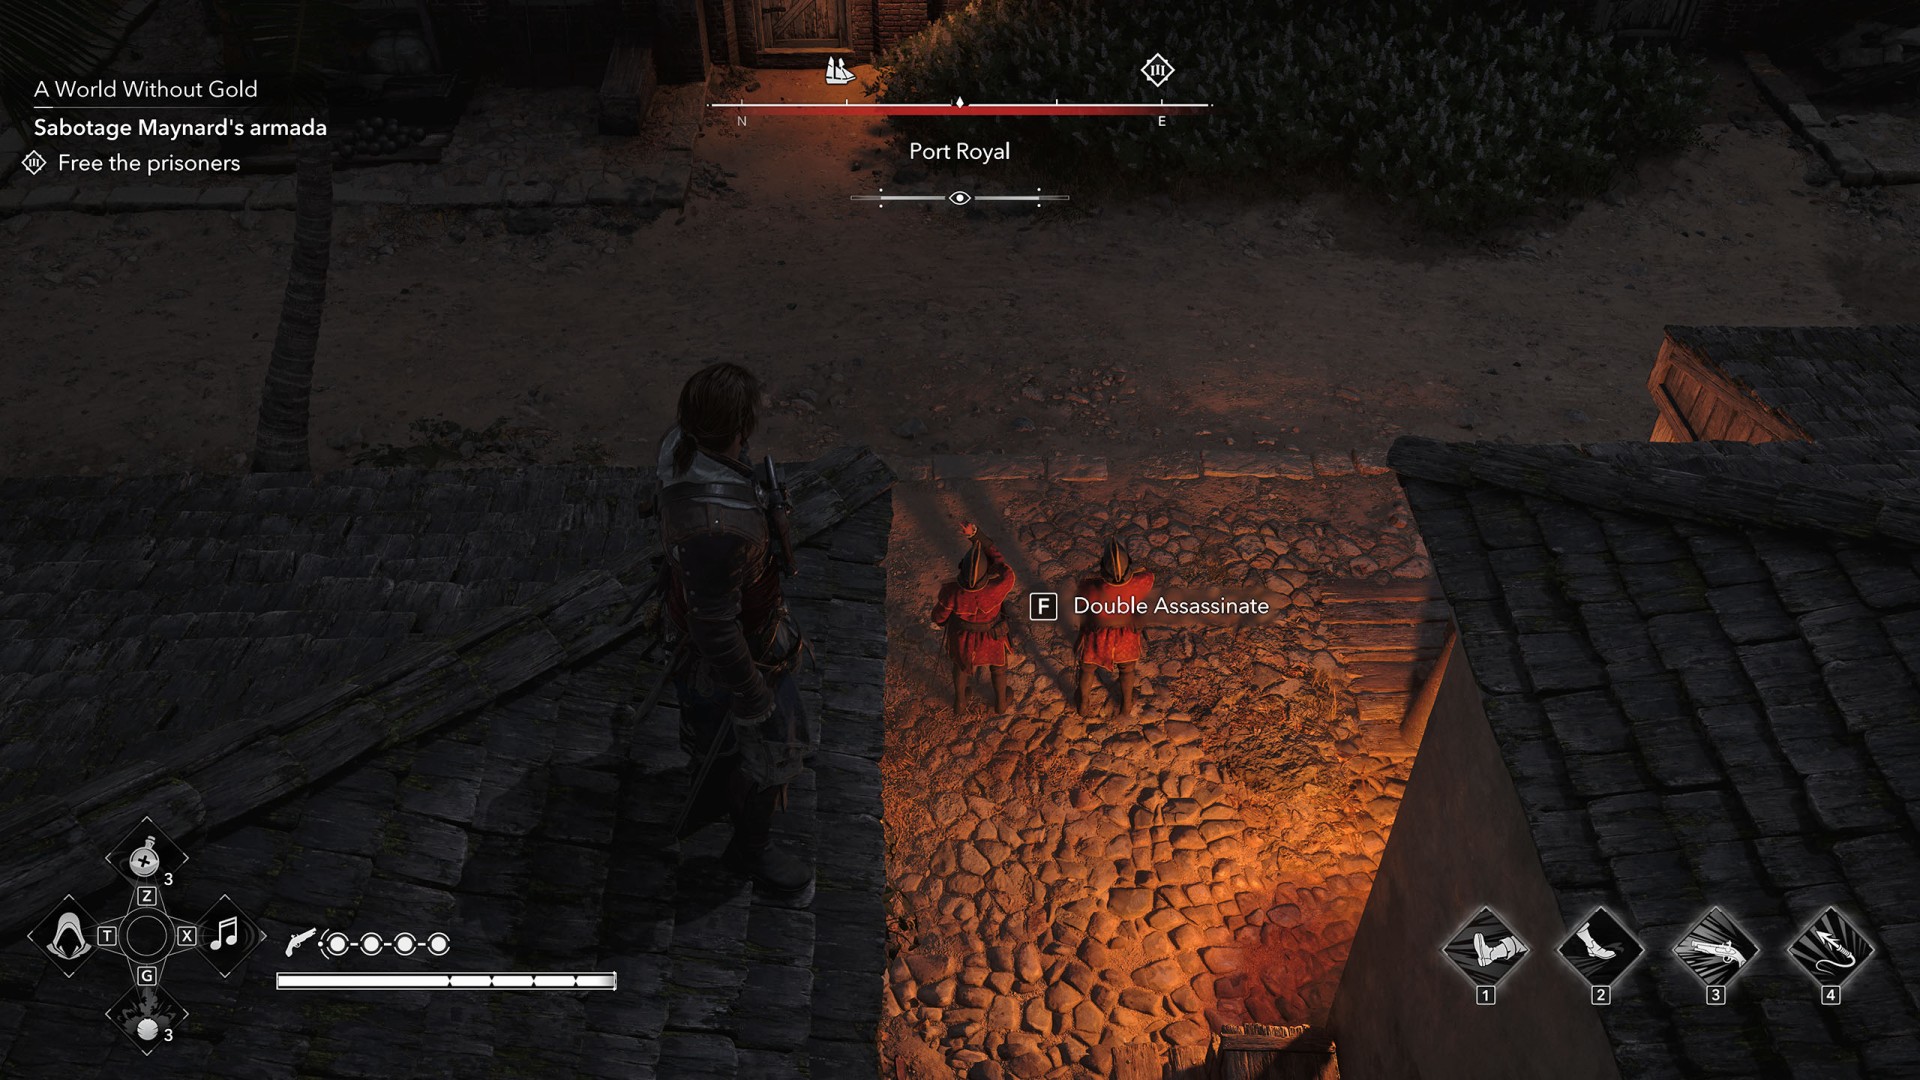
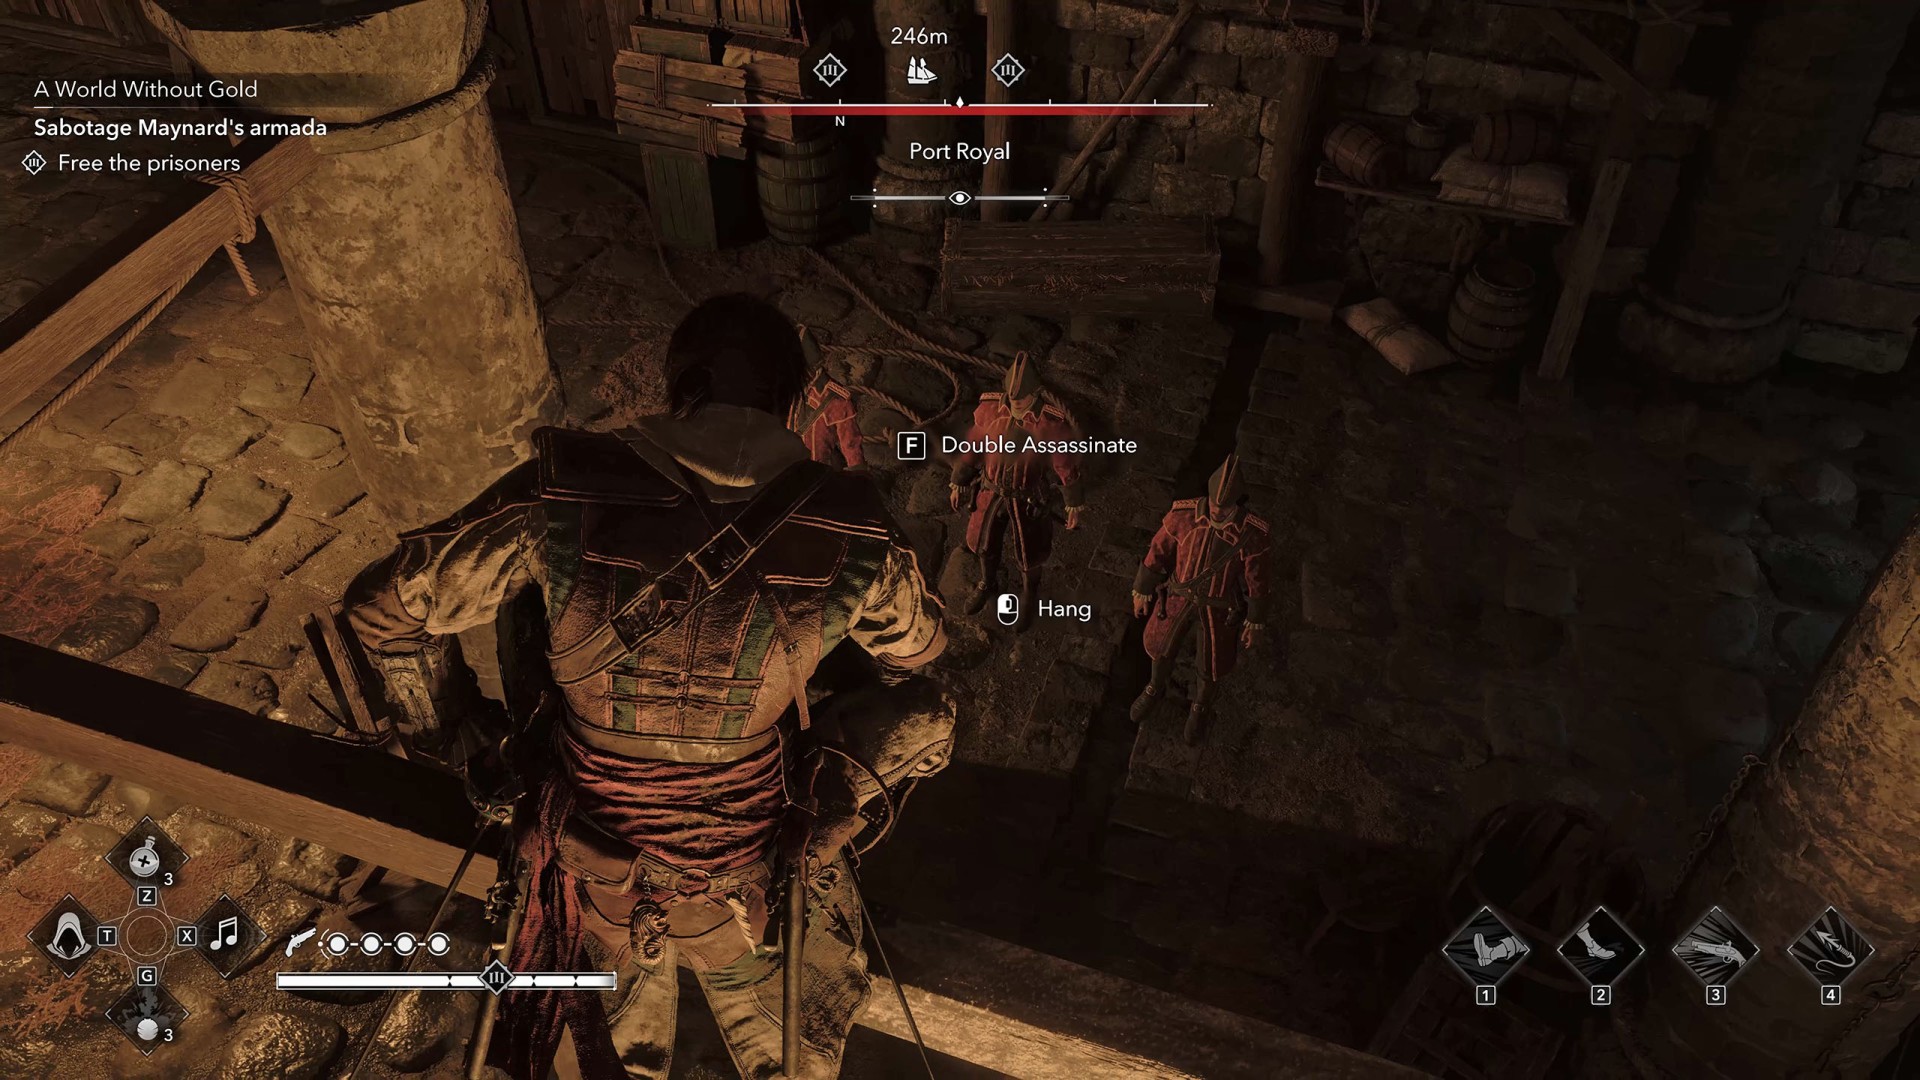
This will allow you to quickly take out two of the three soldiers inside the barn using a double assassination.
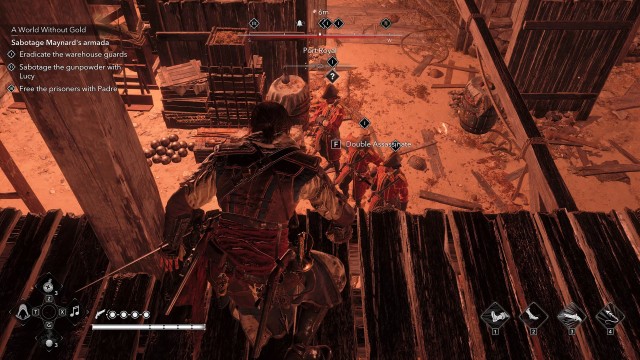
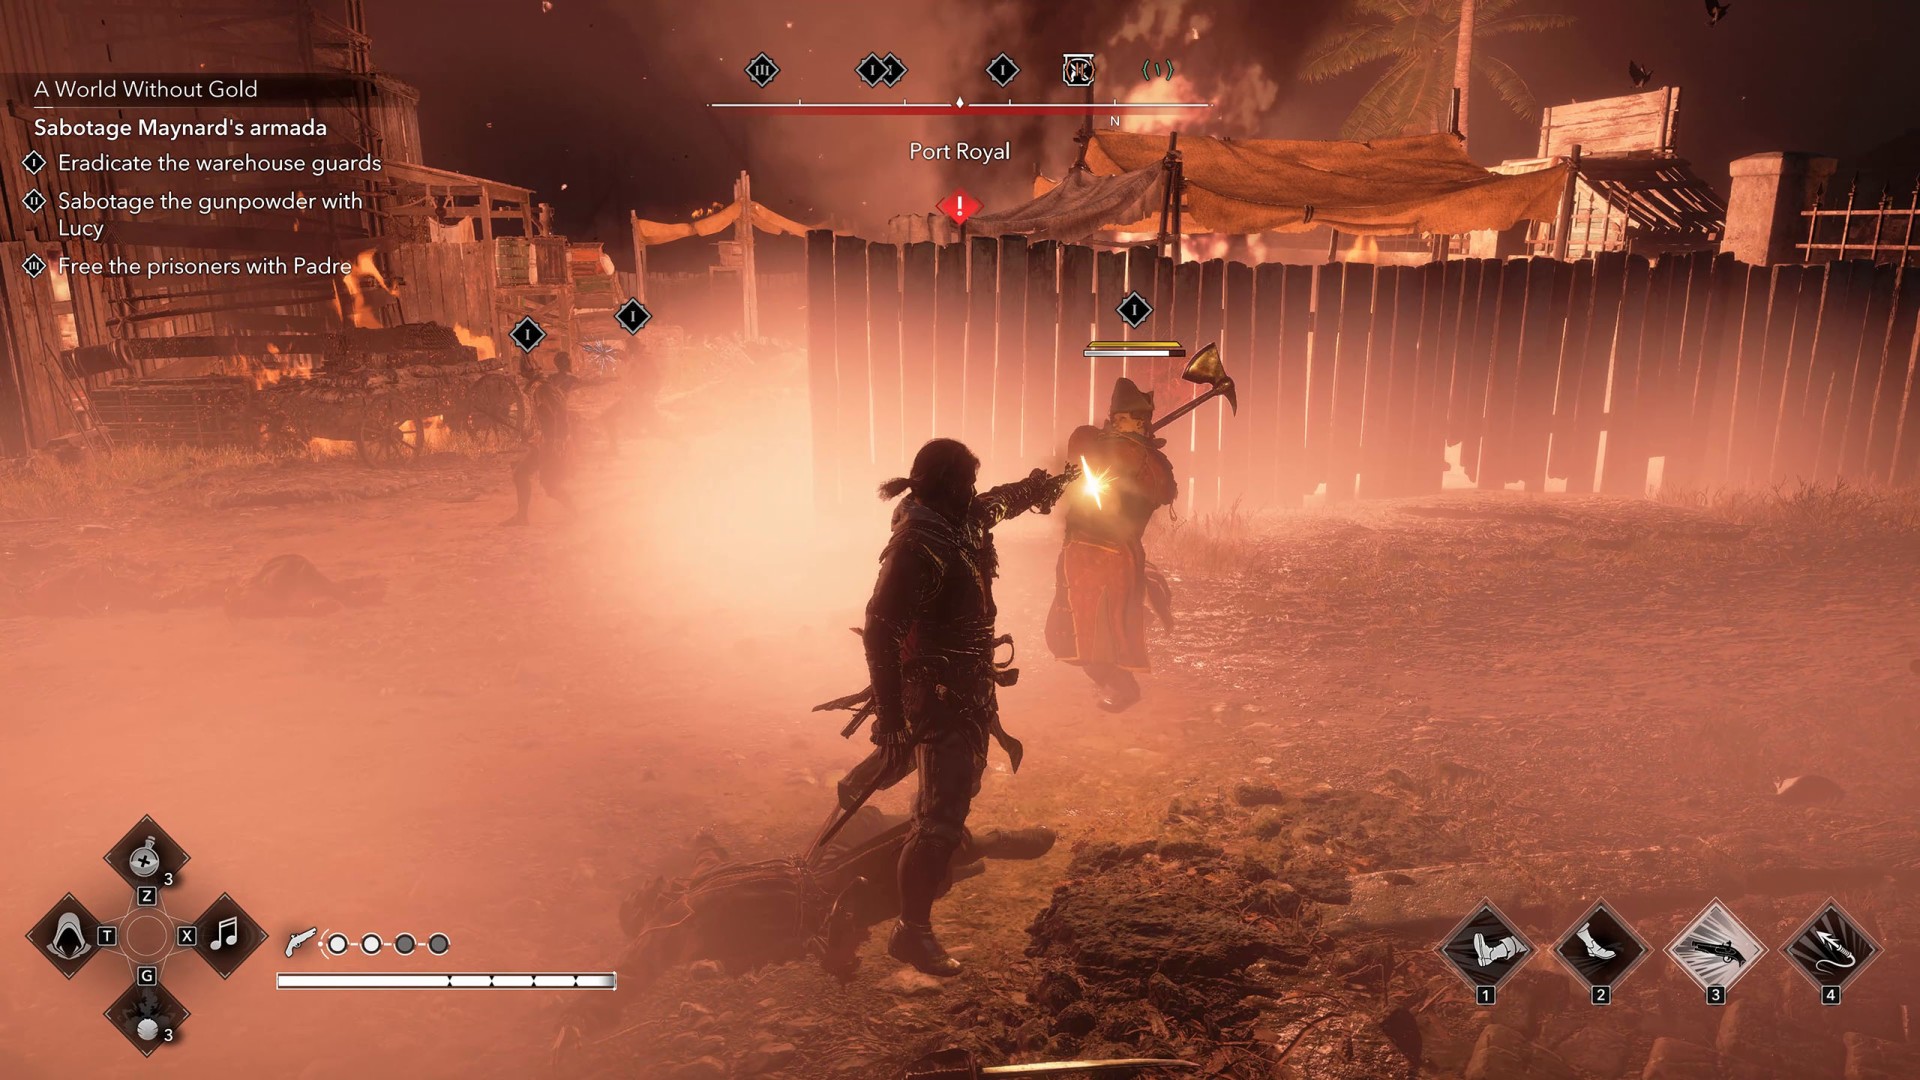
Once you kill the soldiers in the barn, five enemy soldiers will charge from the direction you came from, whom you must also get rid of. After doing so, this part of the quest will be completed.
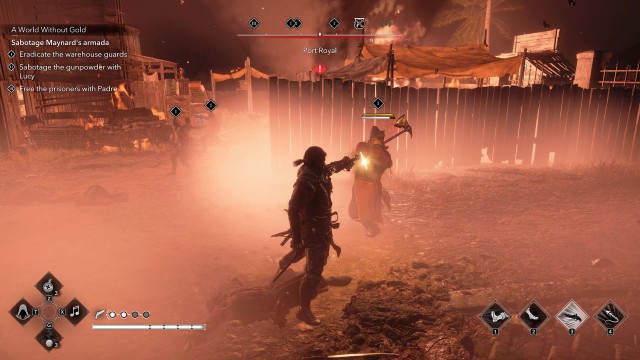
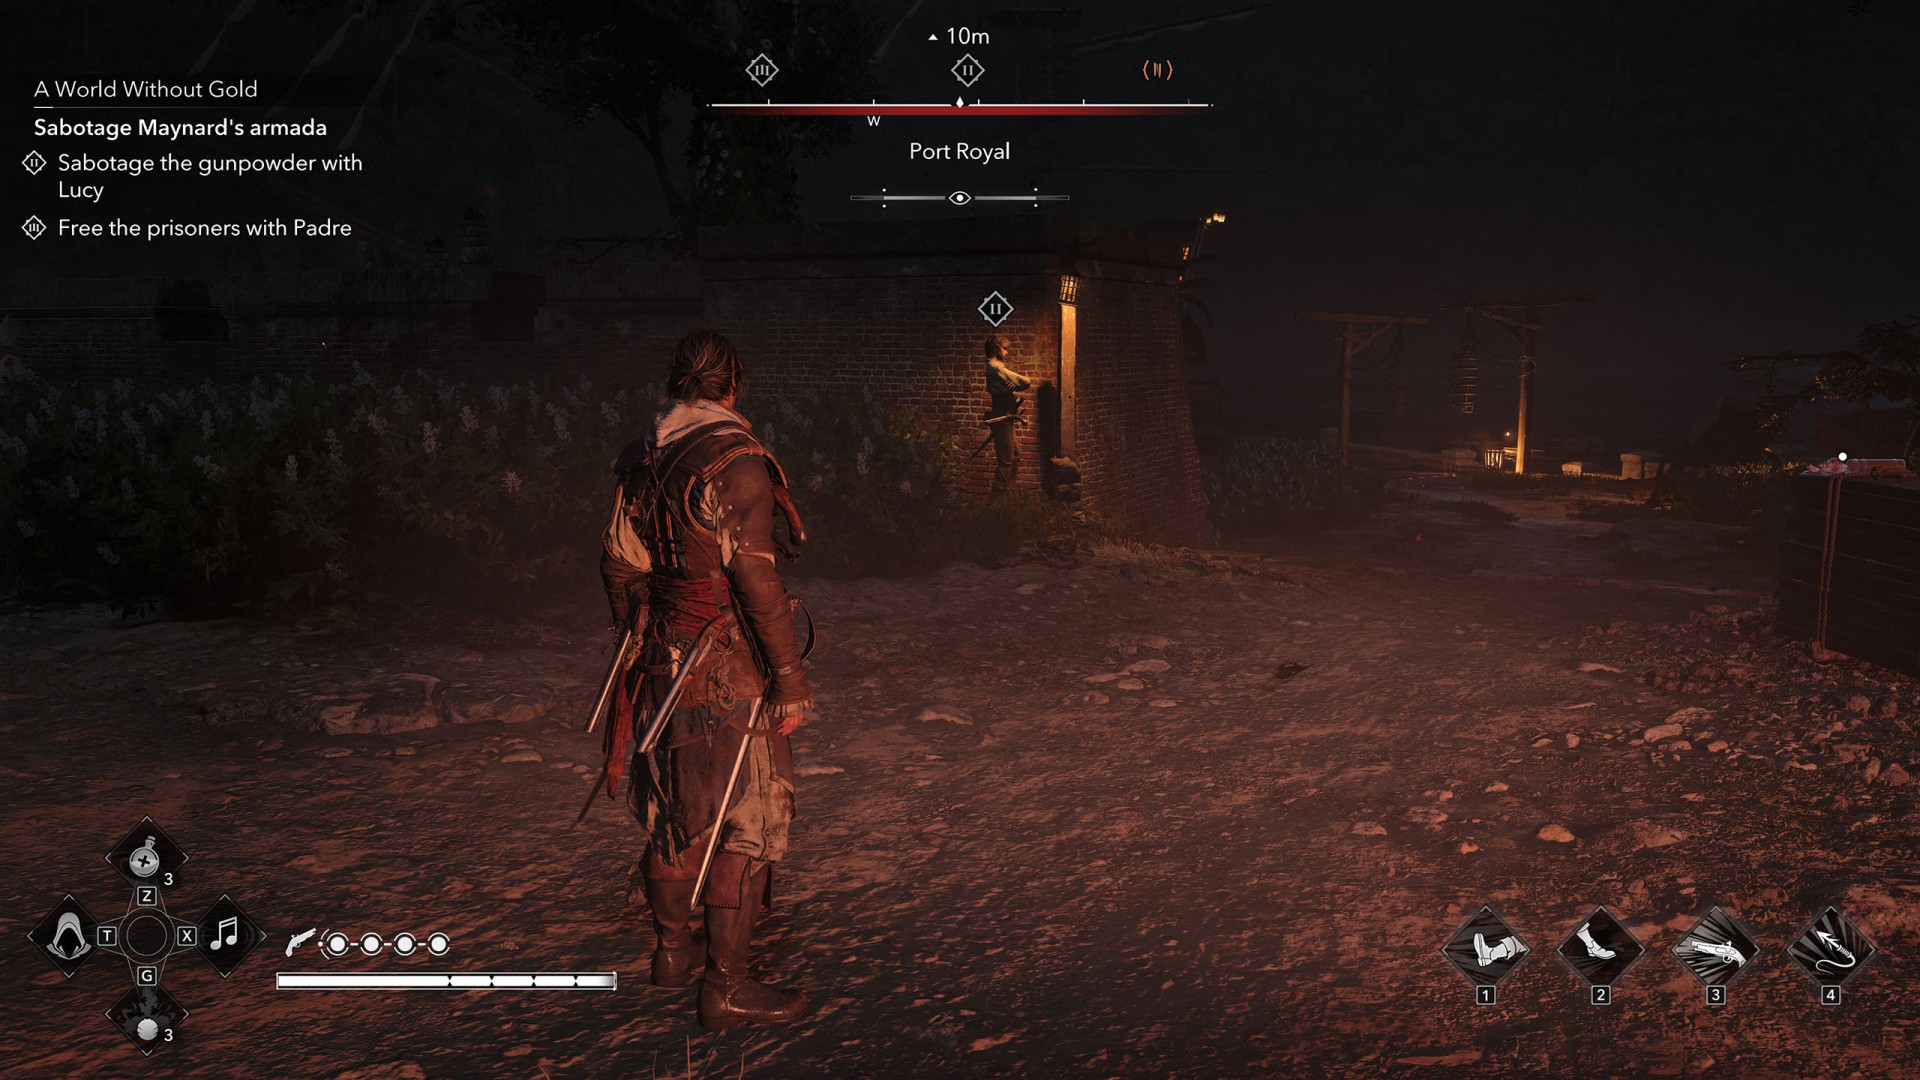
If you want to help Lucy (II) now, head to the location where she is waiting for you.
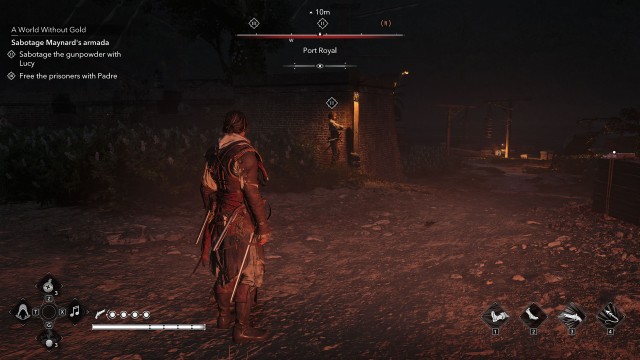
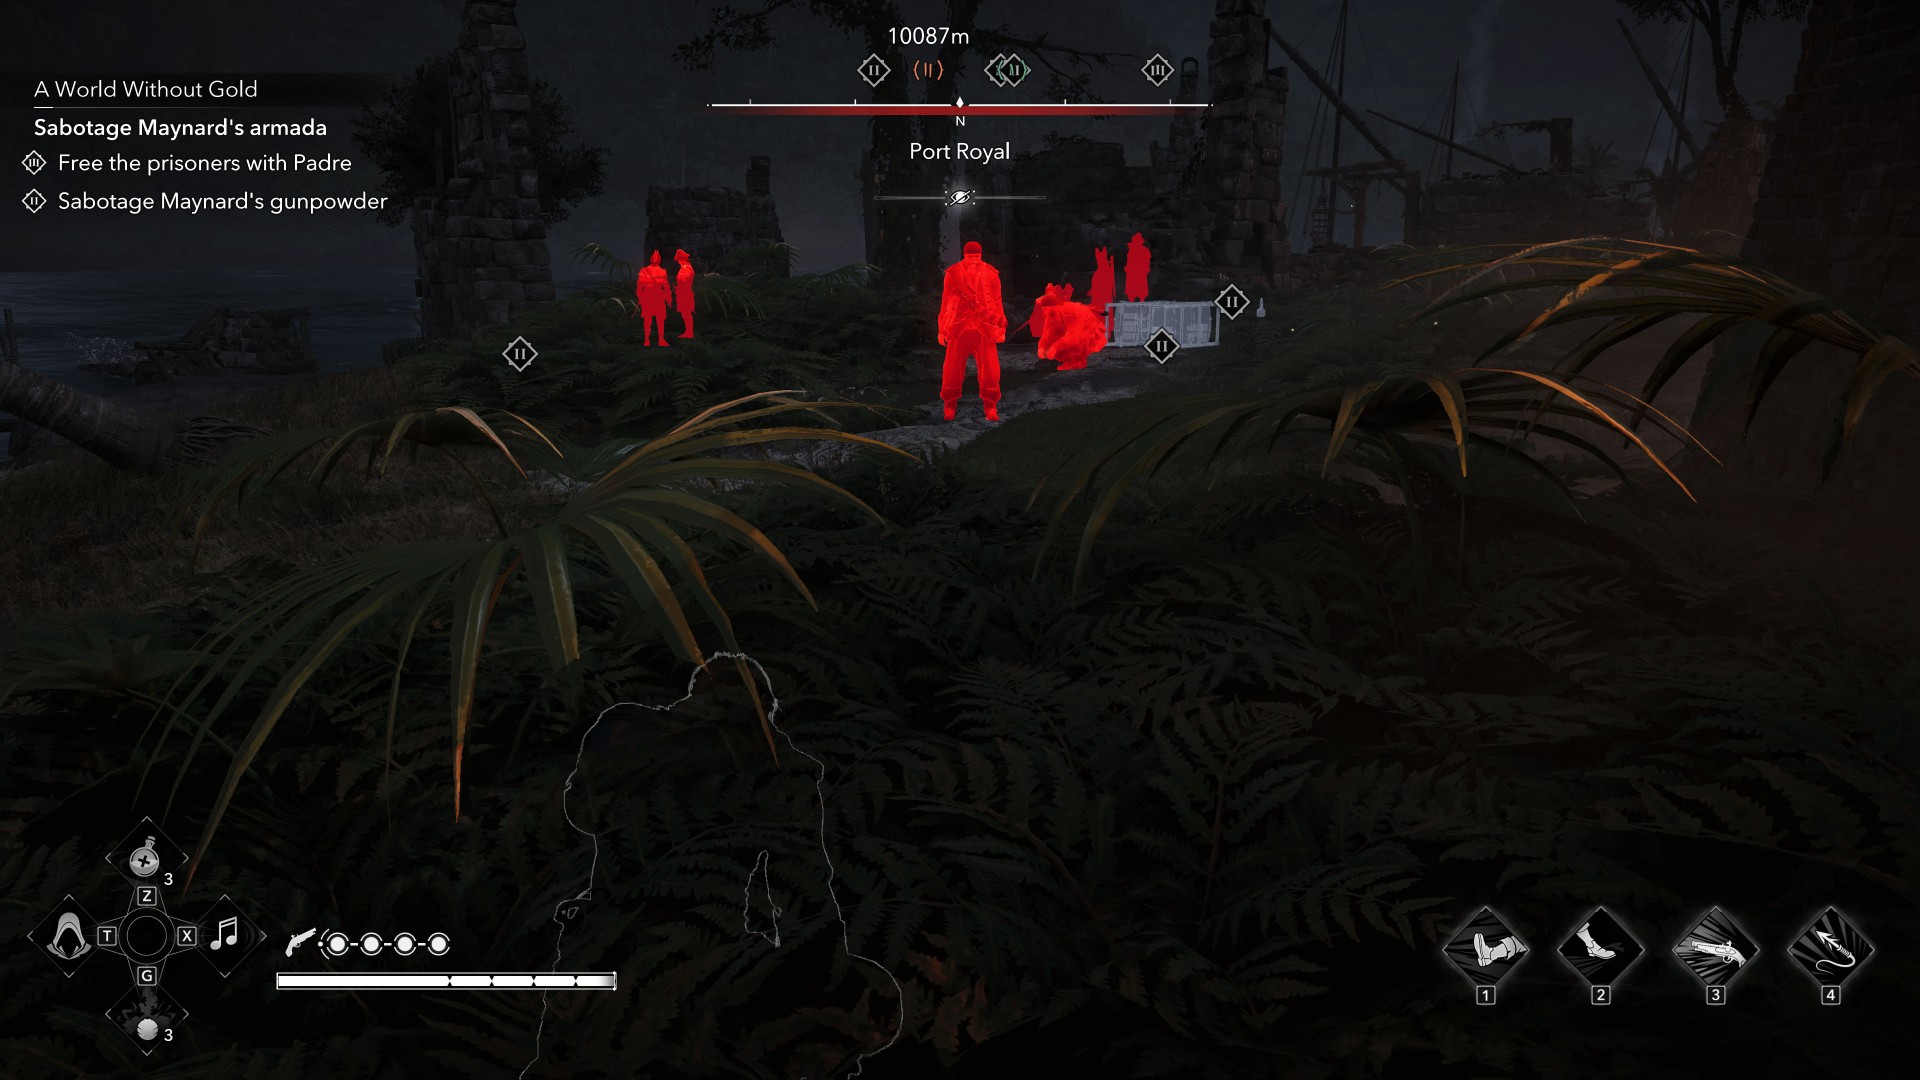
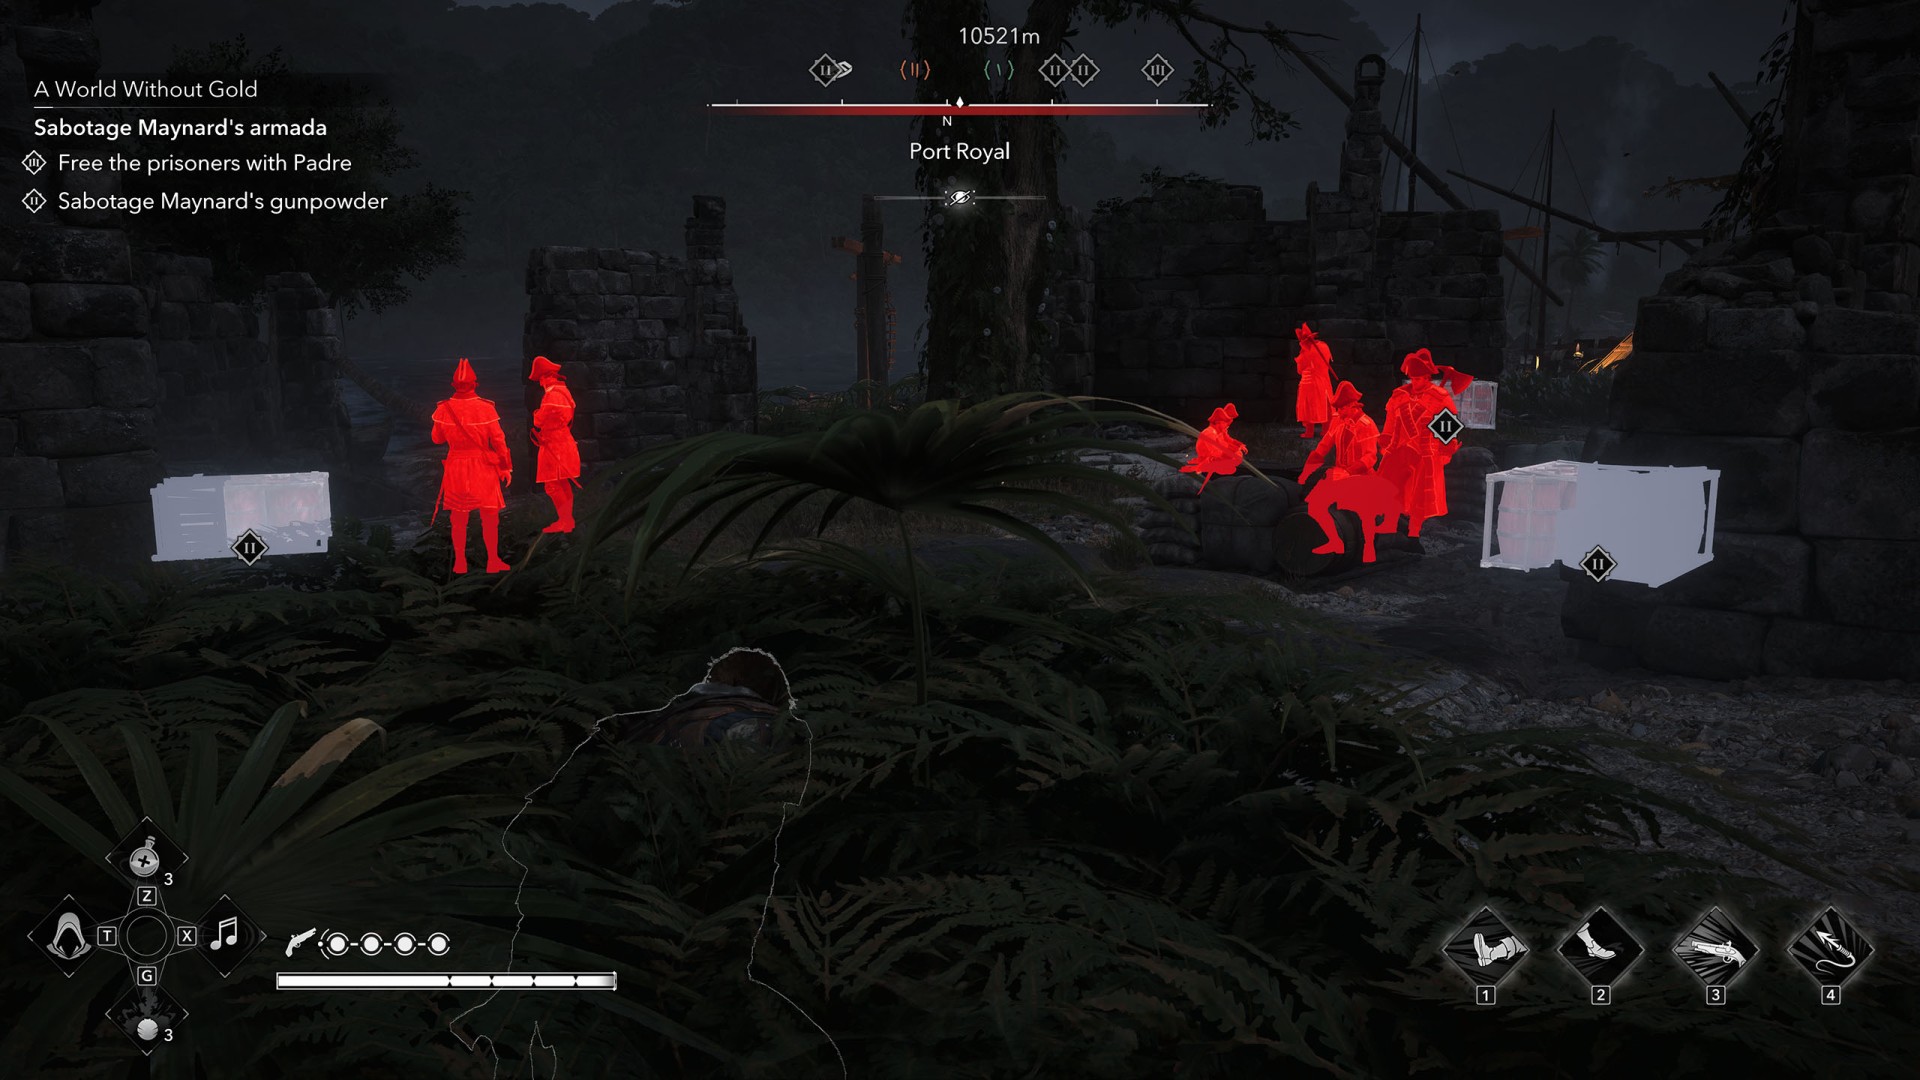
As soon as you approach her, she will start sneaking toward the gunpowder storage. Follow her. The area is heavily guarded by as many as nine soldiers, including some brutes - so you do not want to fight them all at once.
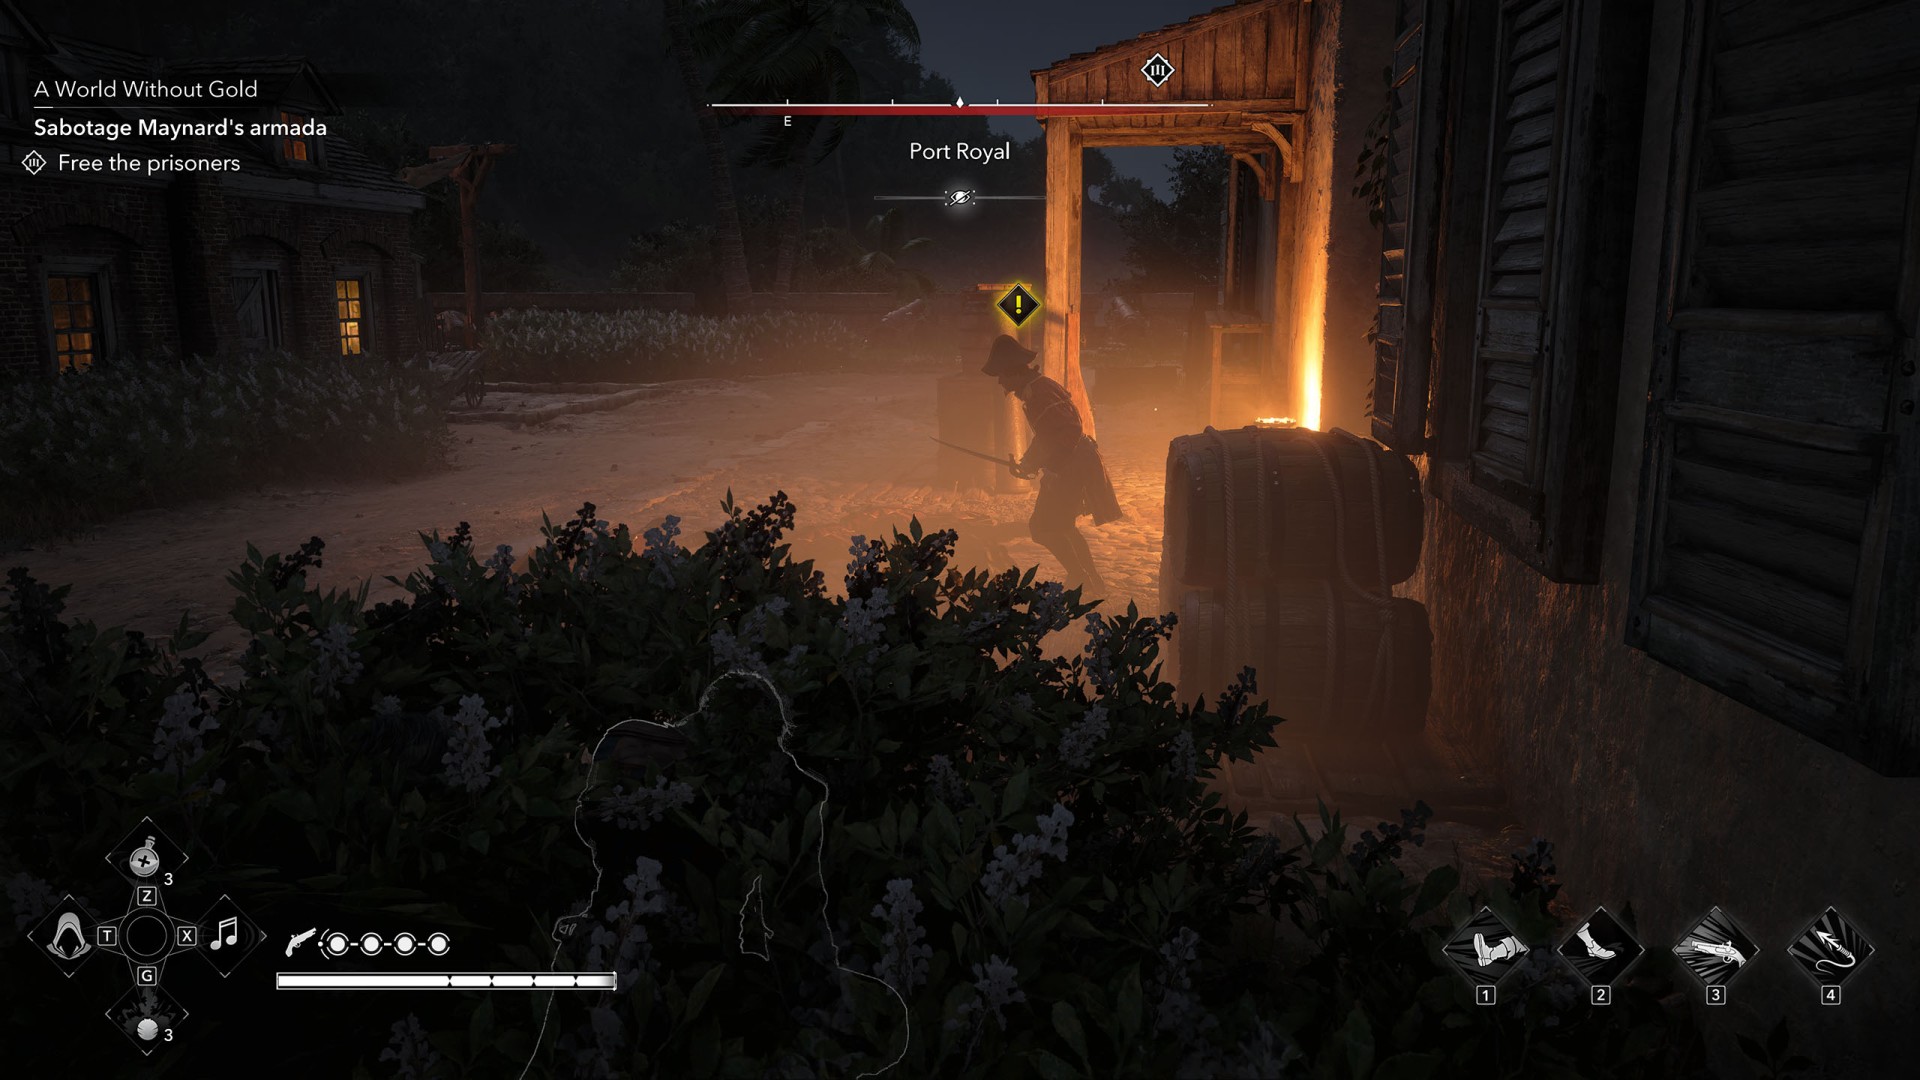
Start by getting rid of the two fat guys standing near the beach. You can jump over the wall and move into the grass directly in front of them. Lure them to you one by one by whistling, and assassinate them. You can also lure them into the grass right next to them, but it is slightly more risky. If any of the other soldiers come near you, drag them into the grass as well.
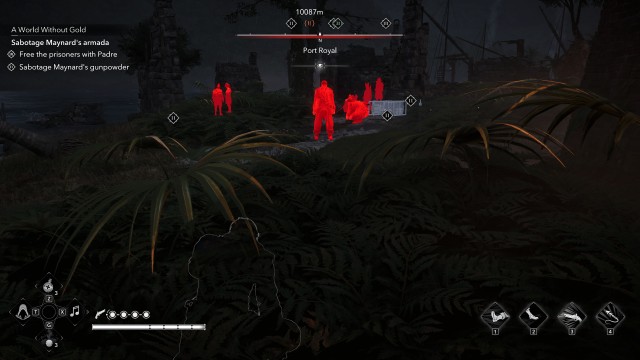
Then move to the grass closer to the center of the camp and fire two quick shots at the powder caches located in the center of the camp and next to the soldiers on the left side. The explosions should eliminate the soldiers standing or sitting nearby, leaving only a single brute alive - who will also be disoriented. Finish him off however you like, and then ignite or shoot the remaining barrels. This will complete this part of the quest.
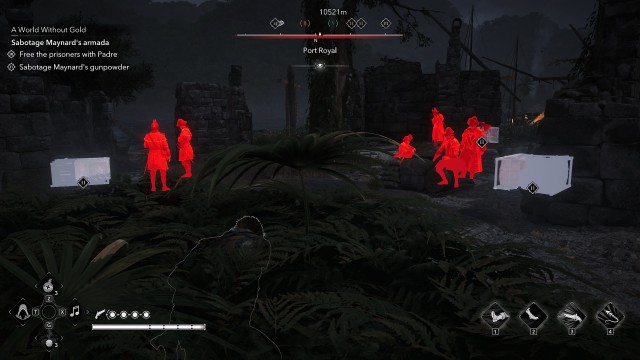
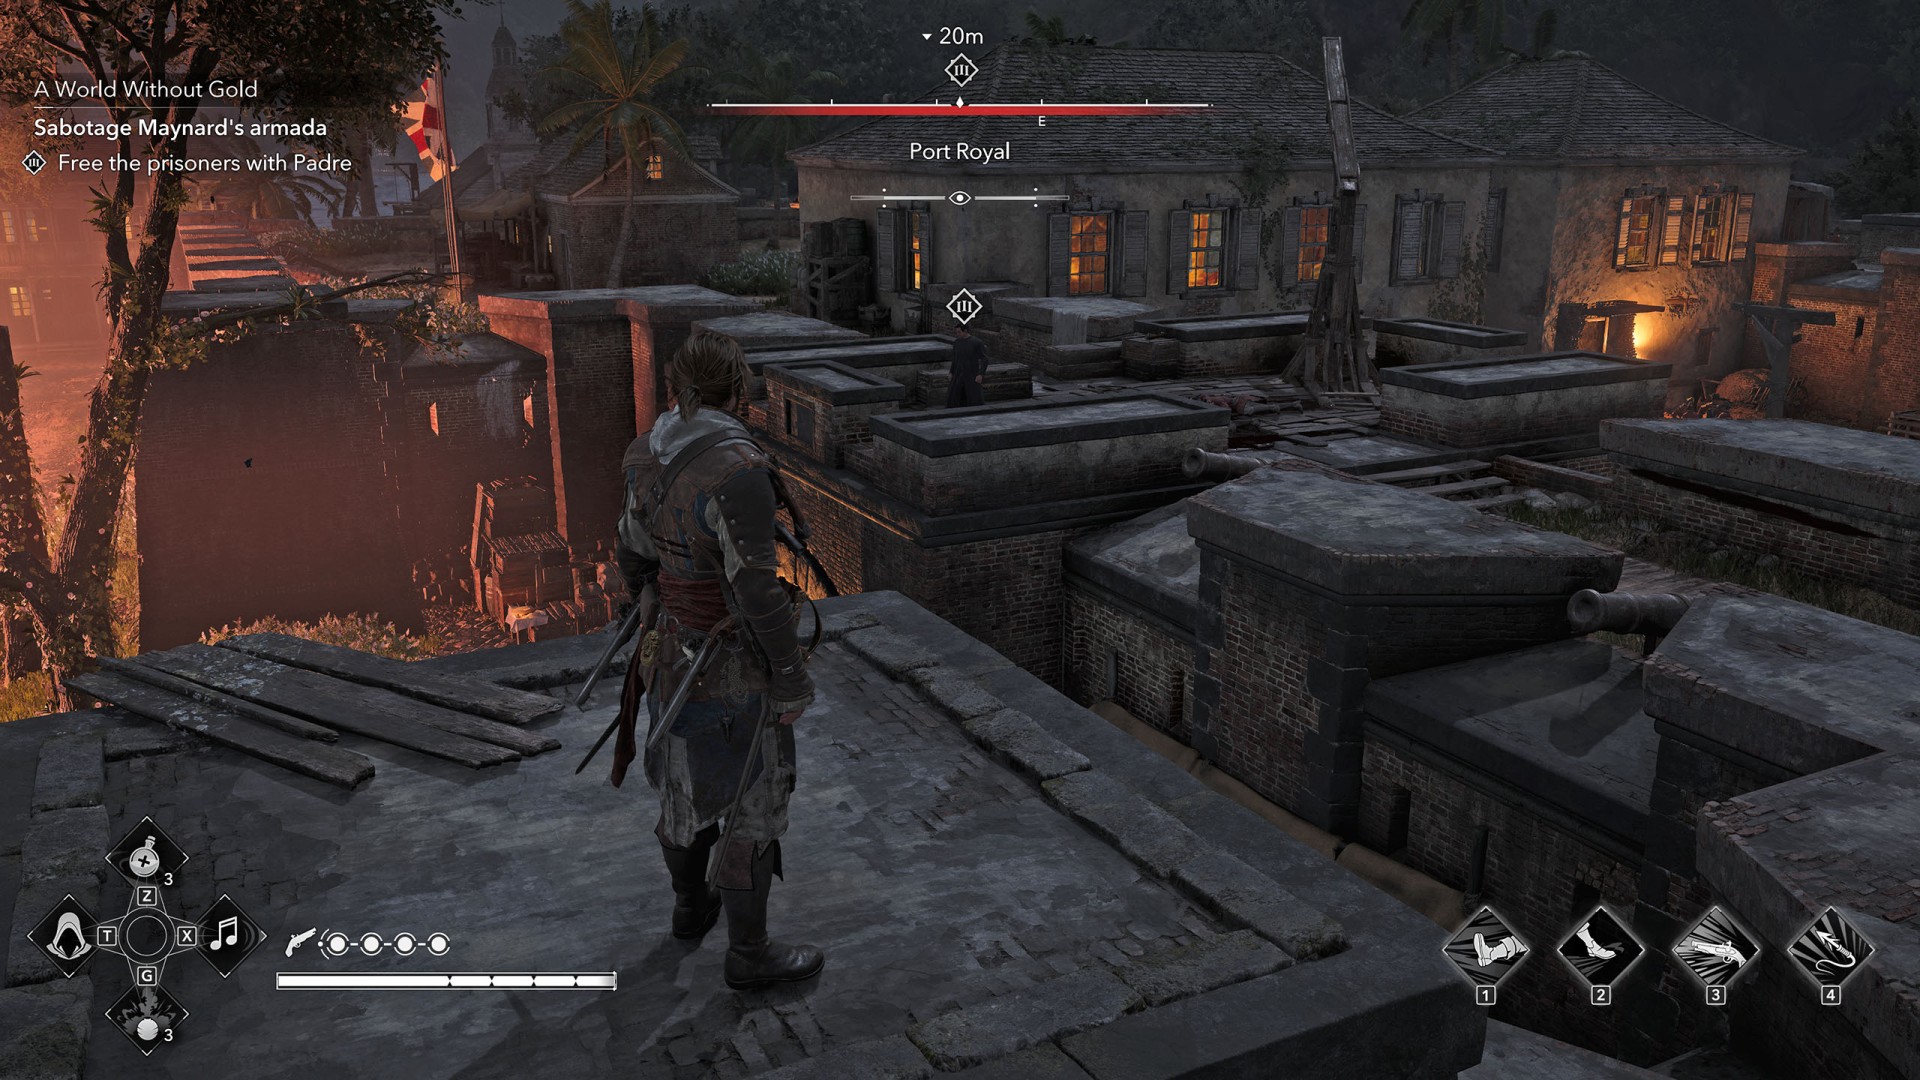
Padre is waiting for you on the prison walls, above the main gate. Climb up there and approach him. He will inform you that the sailors are being held in the prison - the same location you visited during the "To Suffer Without Dying" main quest.
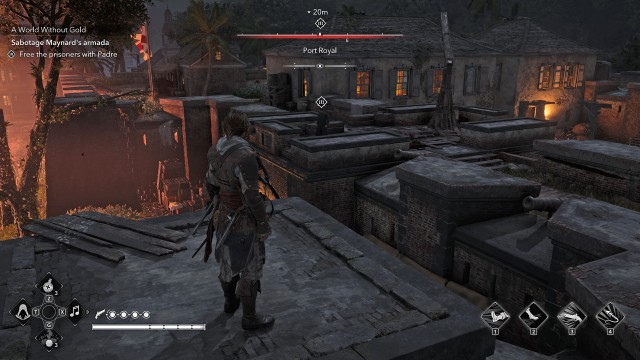
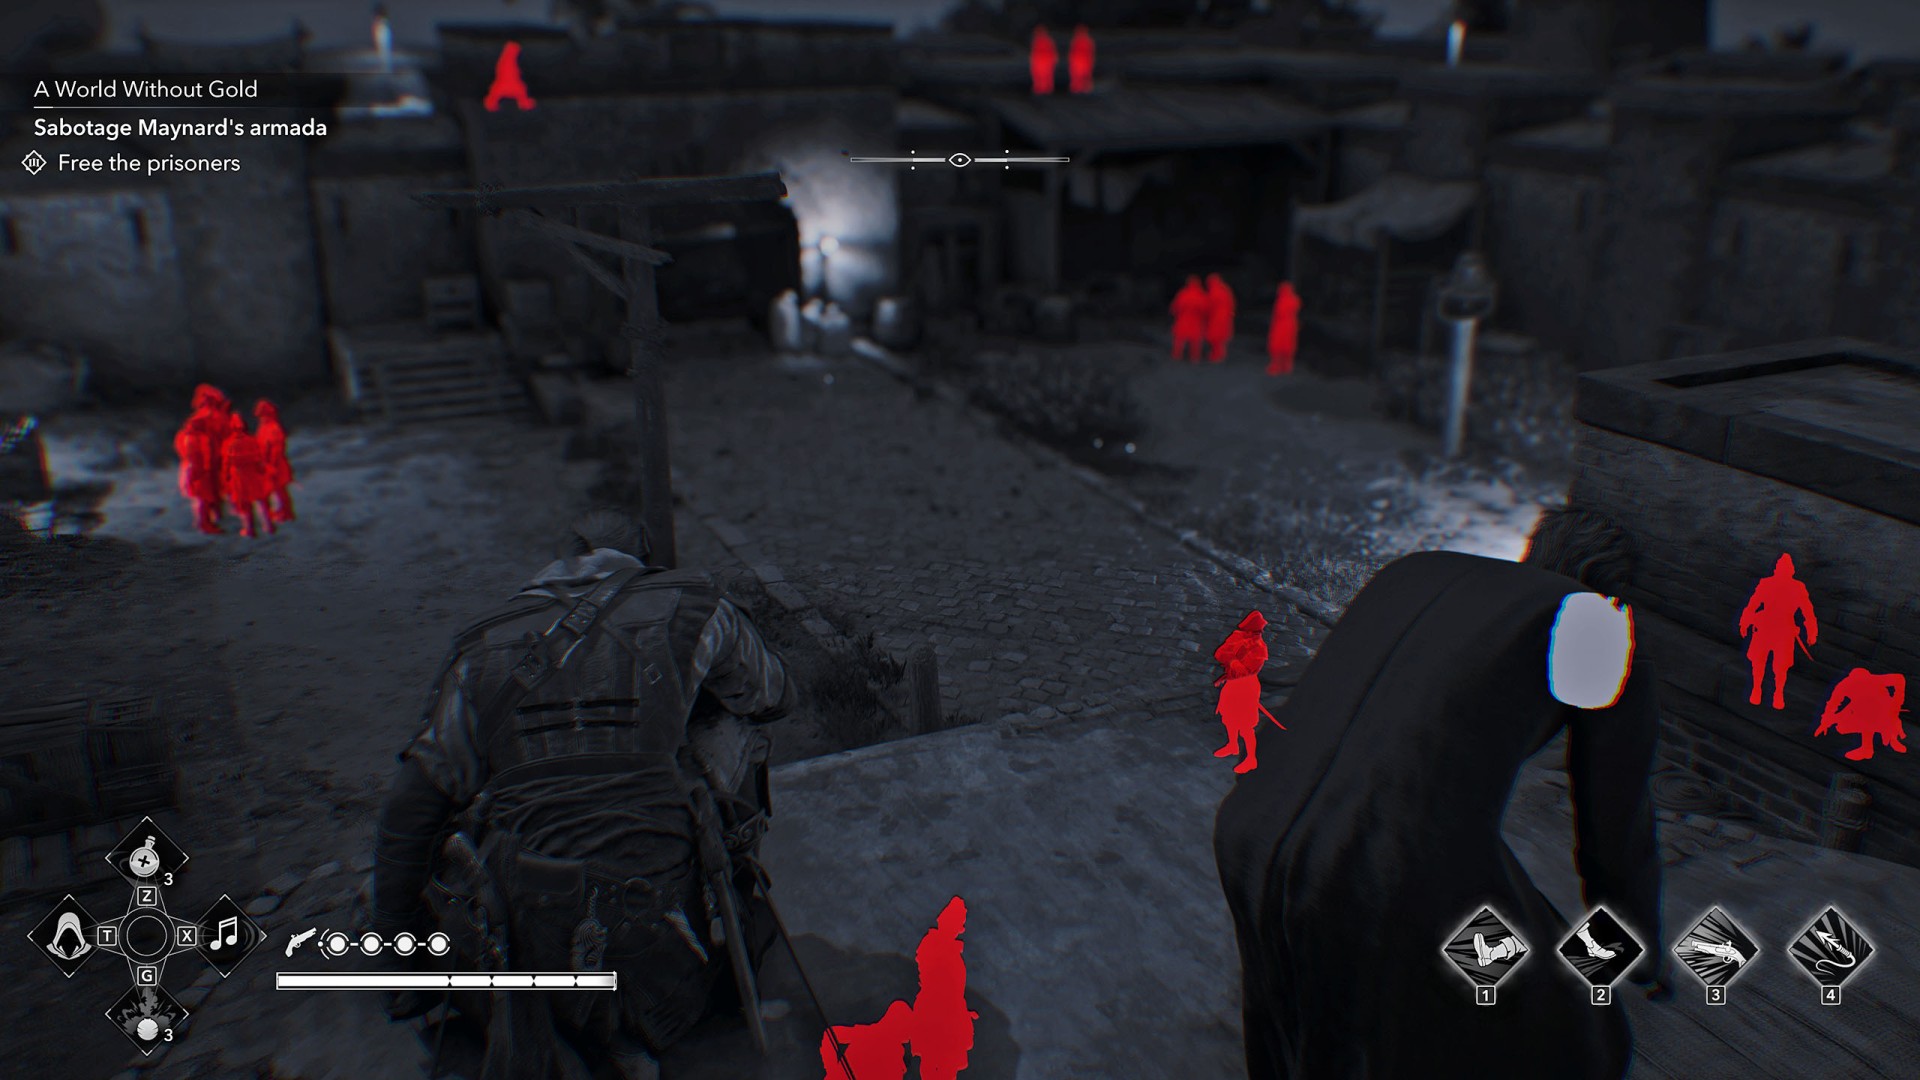
The prison courtyard is packed with soldiers, and there is also an alarm bell. The entrance to the prison cells is guardeb by four soldiers. You can fight them all, of course, but there is an easier way to get inside.
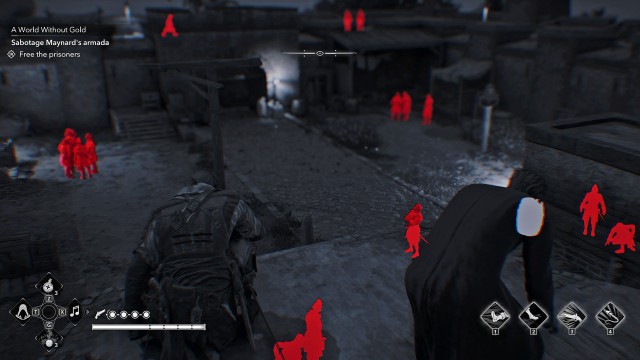
Start by climbing onto the roofs and moving to the northeastern section. Double assassinate the two soldiers standing guard.
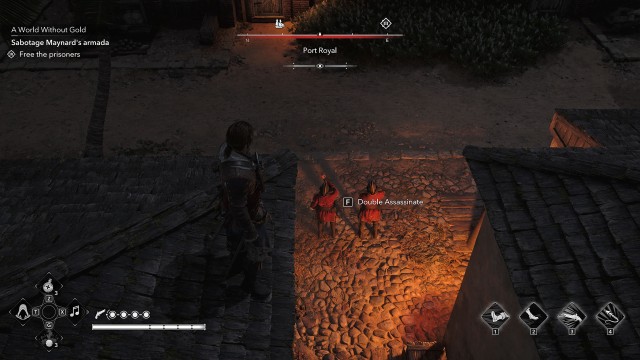
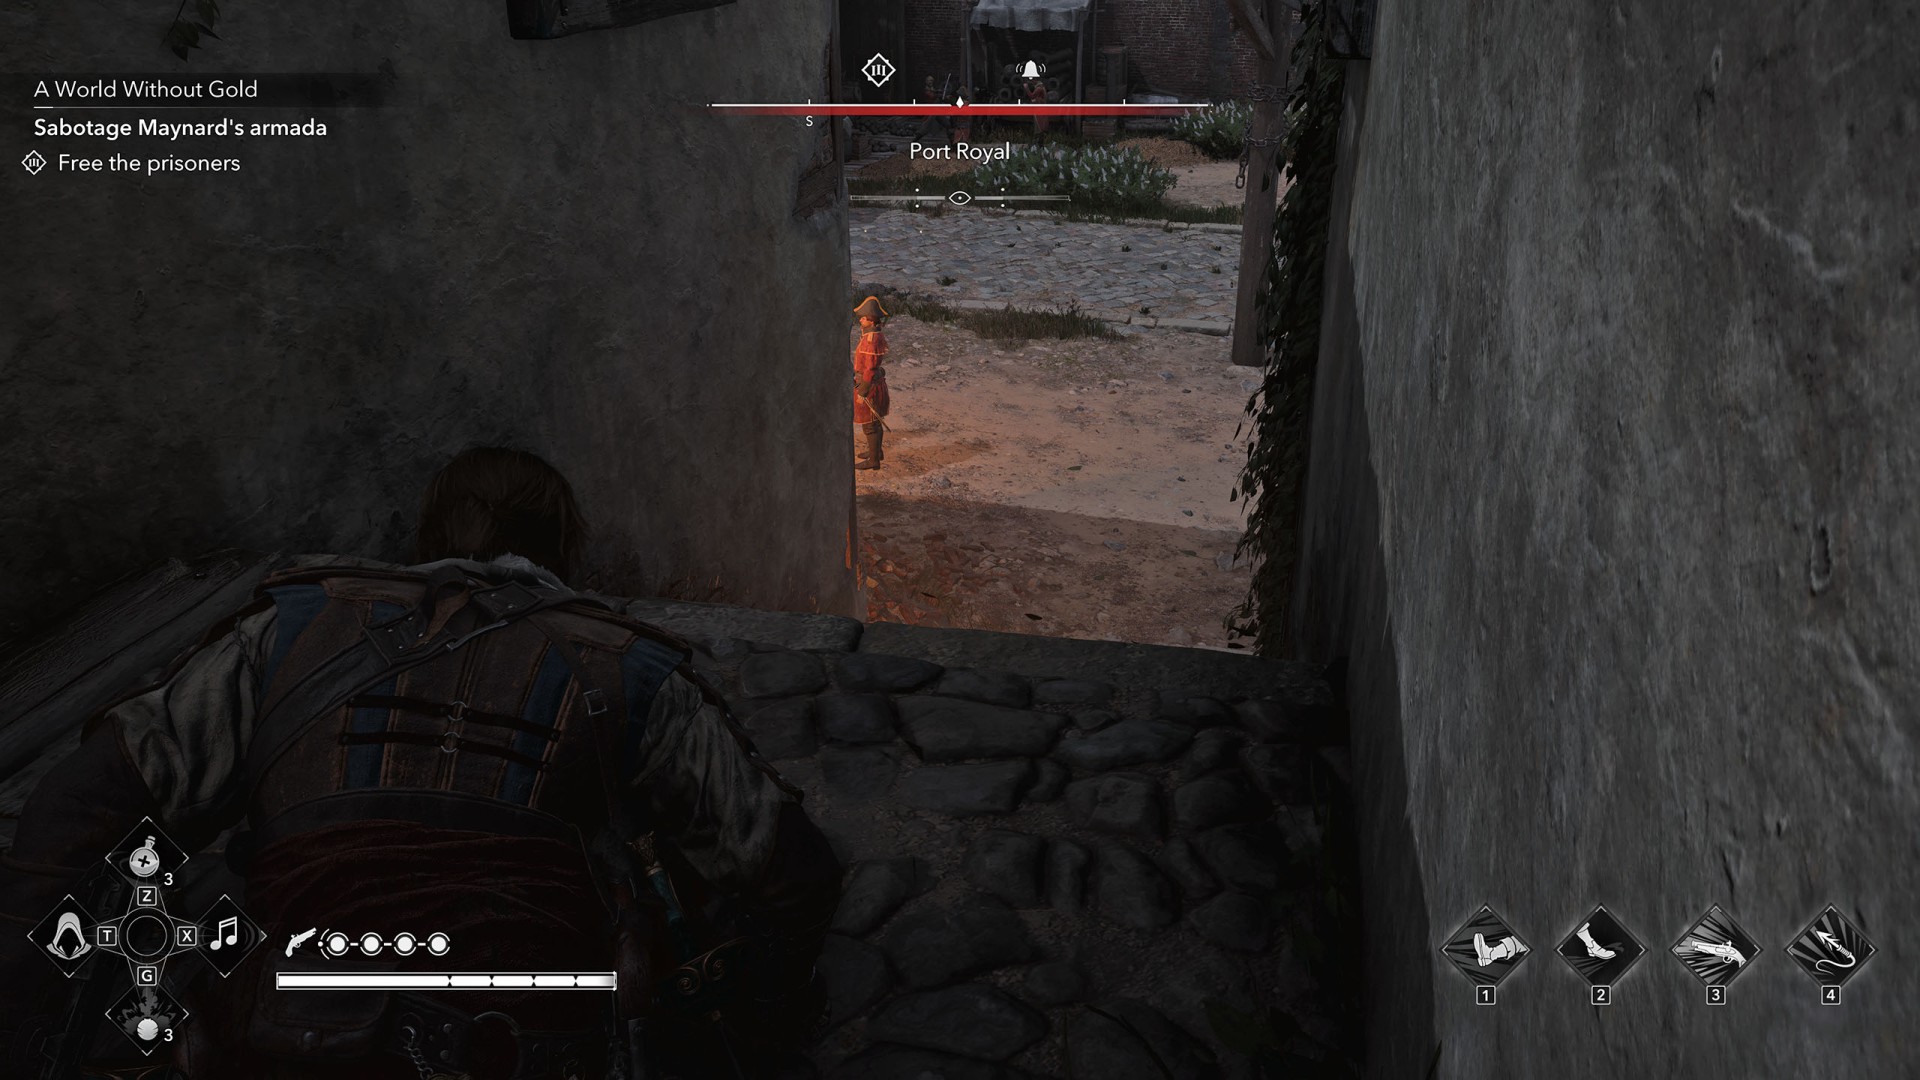
Move a bit closer to the courtyard, but stay out of sight of the soldiers guarding the cell entrance. Whistle and quickly retreat back up and into the tall grass.
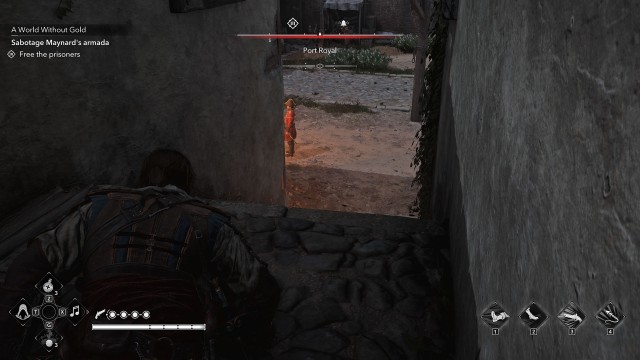
Wait for one of the soldiers to walk upstairs, then assassinate him. Repeat this process four times to lure out all the guards. Alternatively, take out the last two with a double assassination by leaping on them from the roof, then quickly sneak inside before the other soldiers spot you.
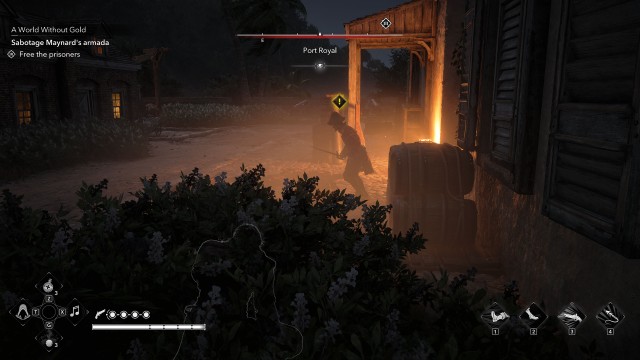
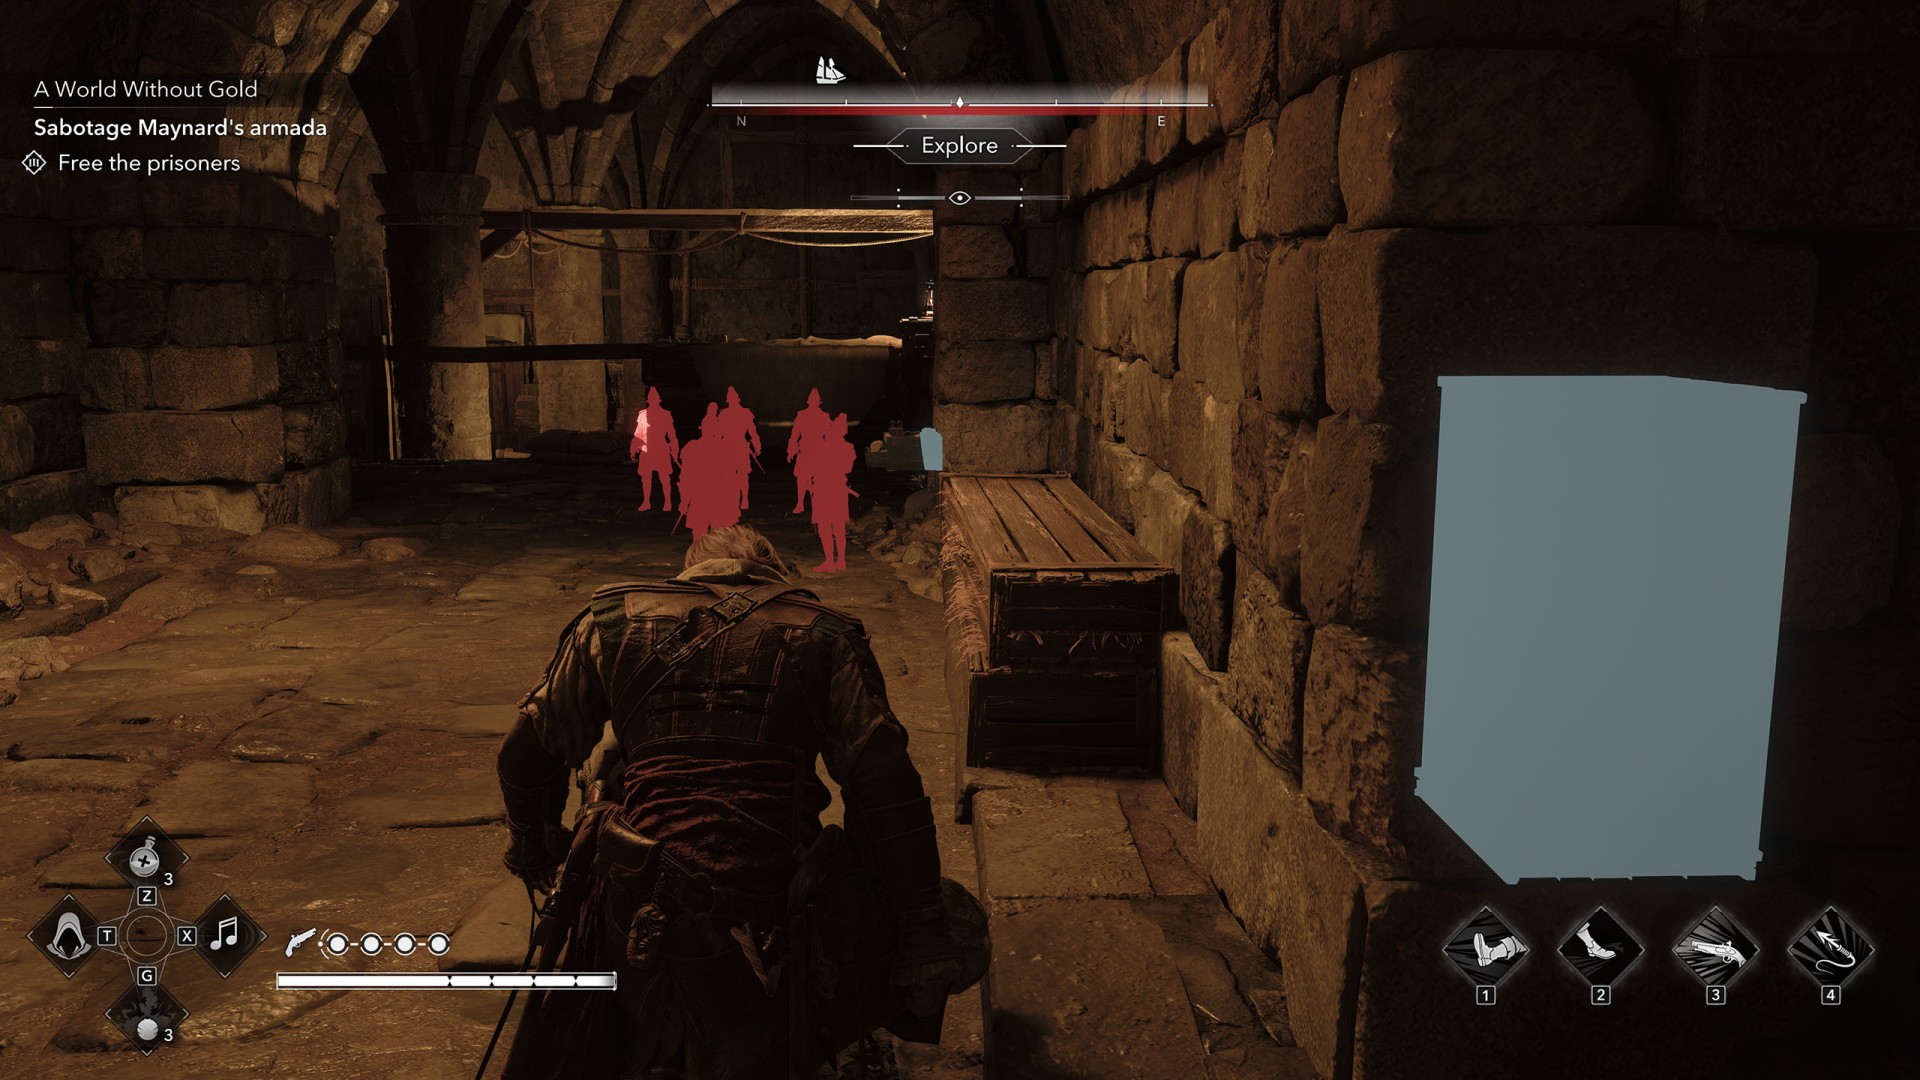
The imprisoned sailors are guarded by five soldiers. Stealth will not be possible - you must engage them in open combat.
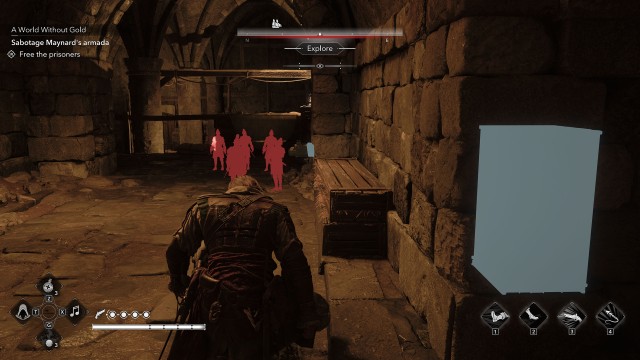
But if you quickly jump up the crates onto the beams above them, you can take out two of them using a double assassination. The rest you must kill in normal combat.
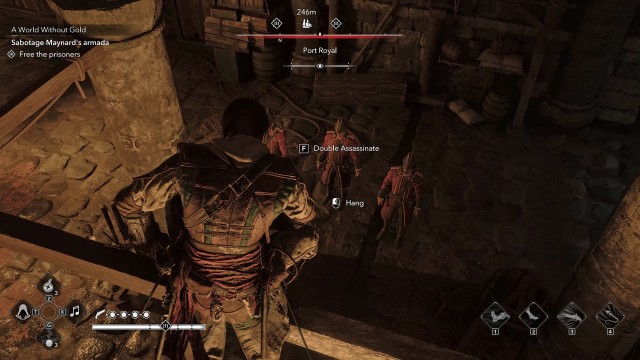
Once you do that, free the two tied-up sailors to complete this part of the quest.
3. Reach Maynard's warship
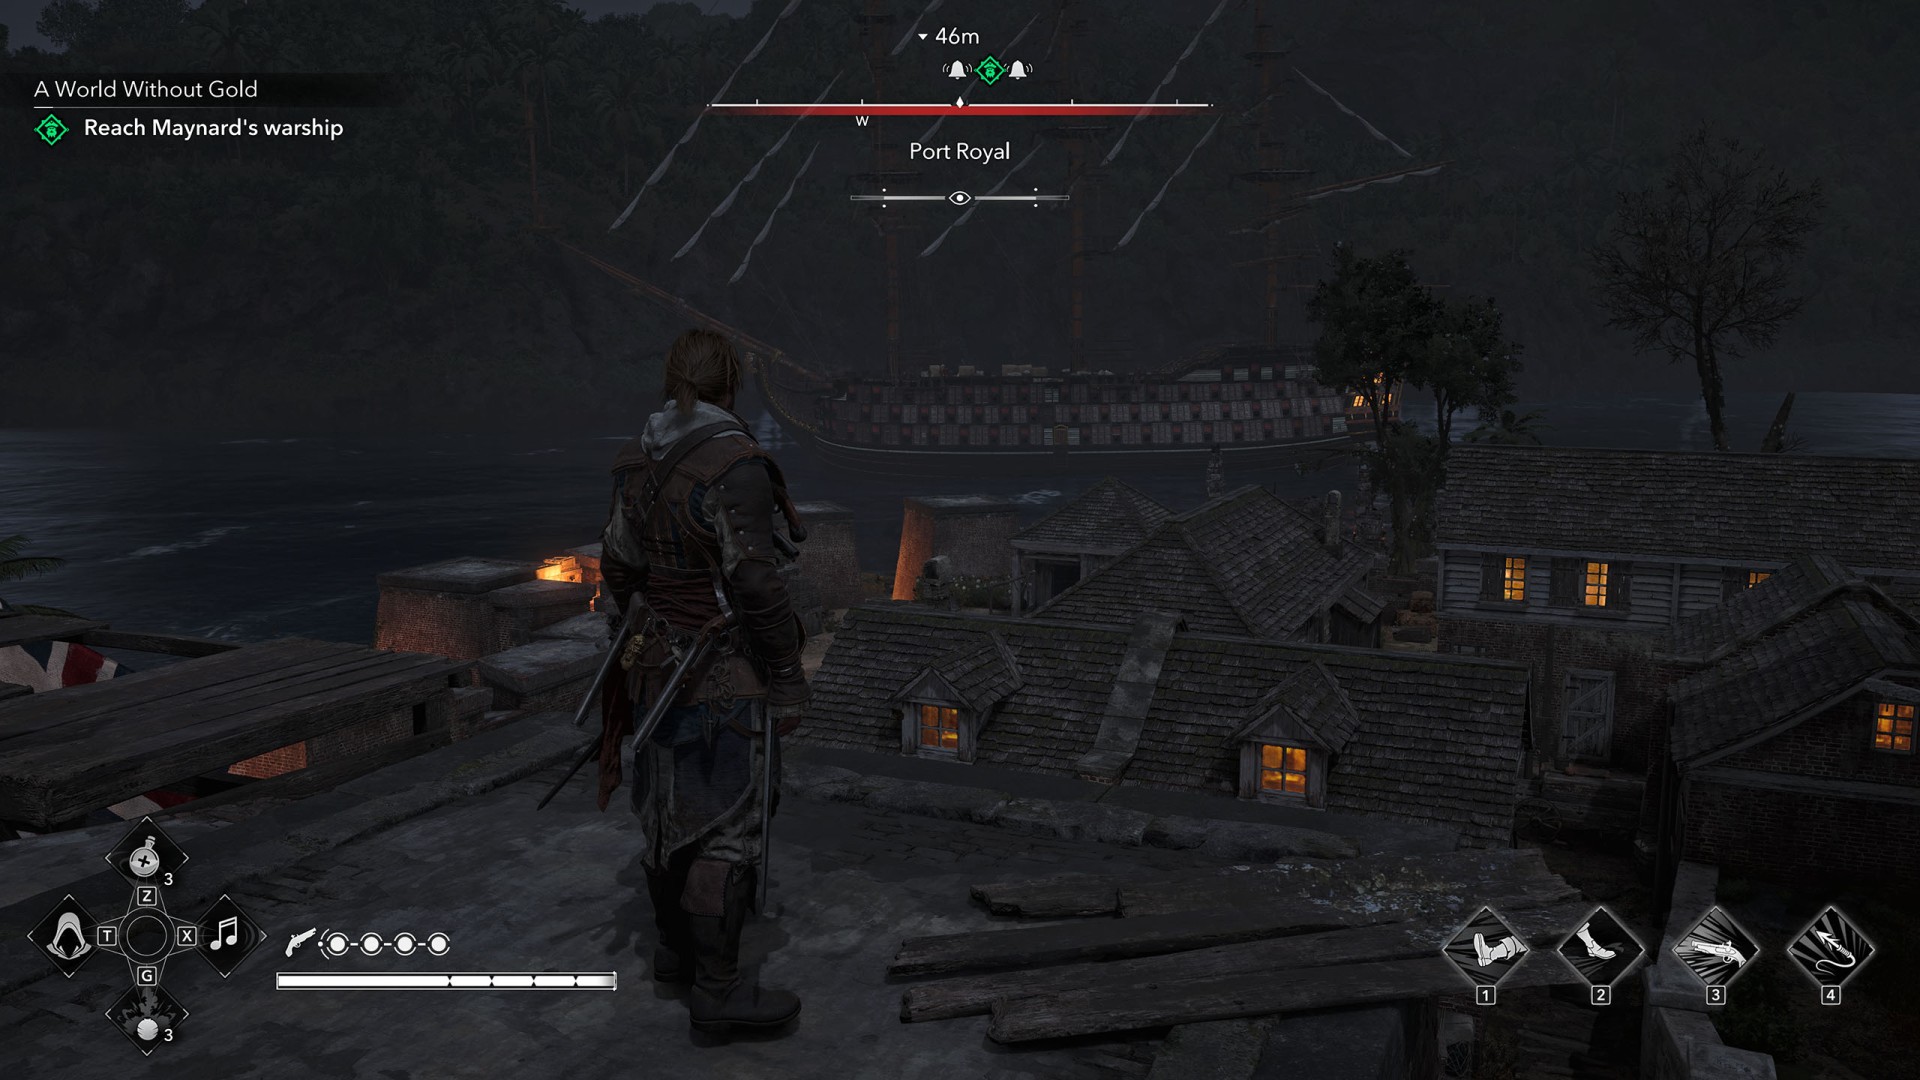
Leave the prison the same way you entered and head toward the ship anchored near the location where you helped Lucy.
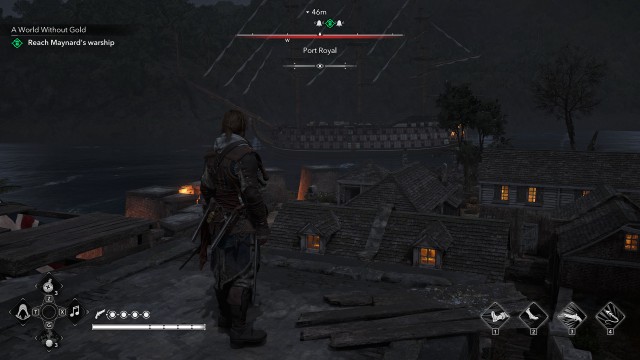
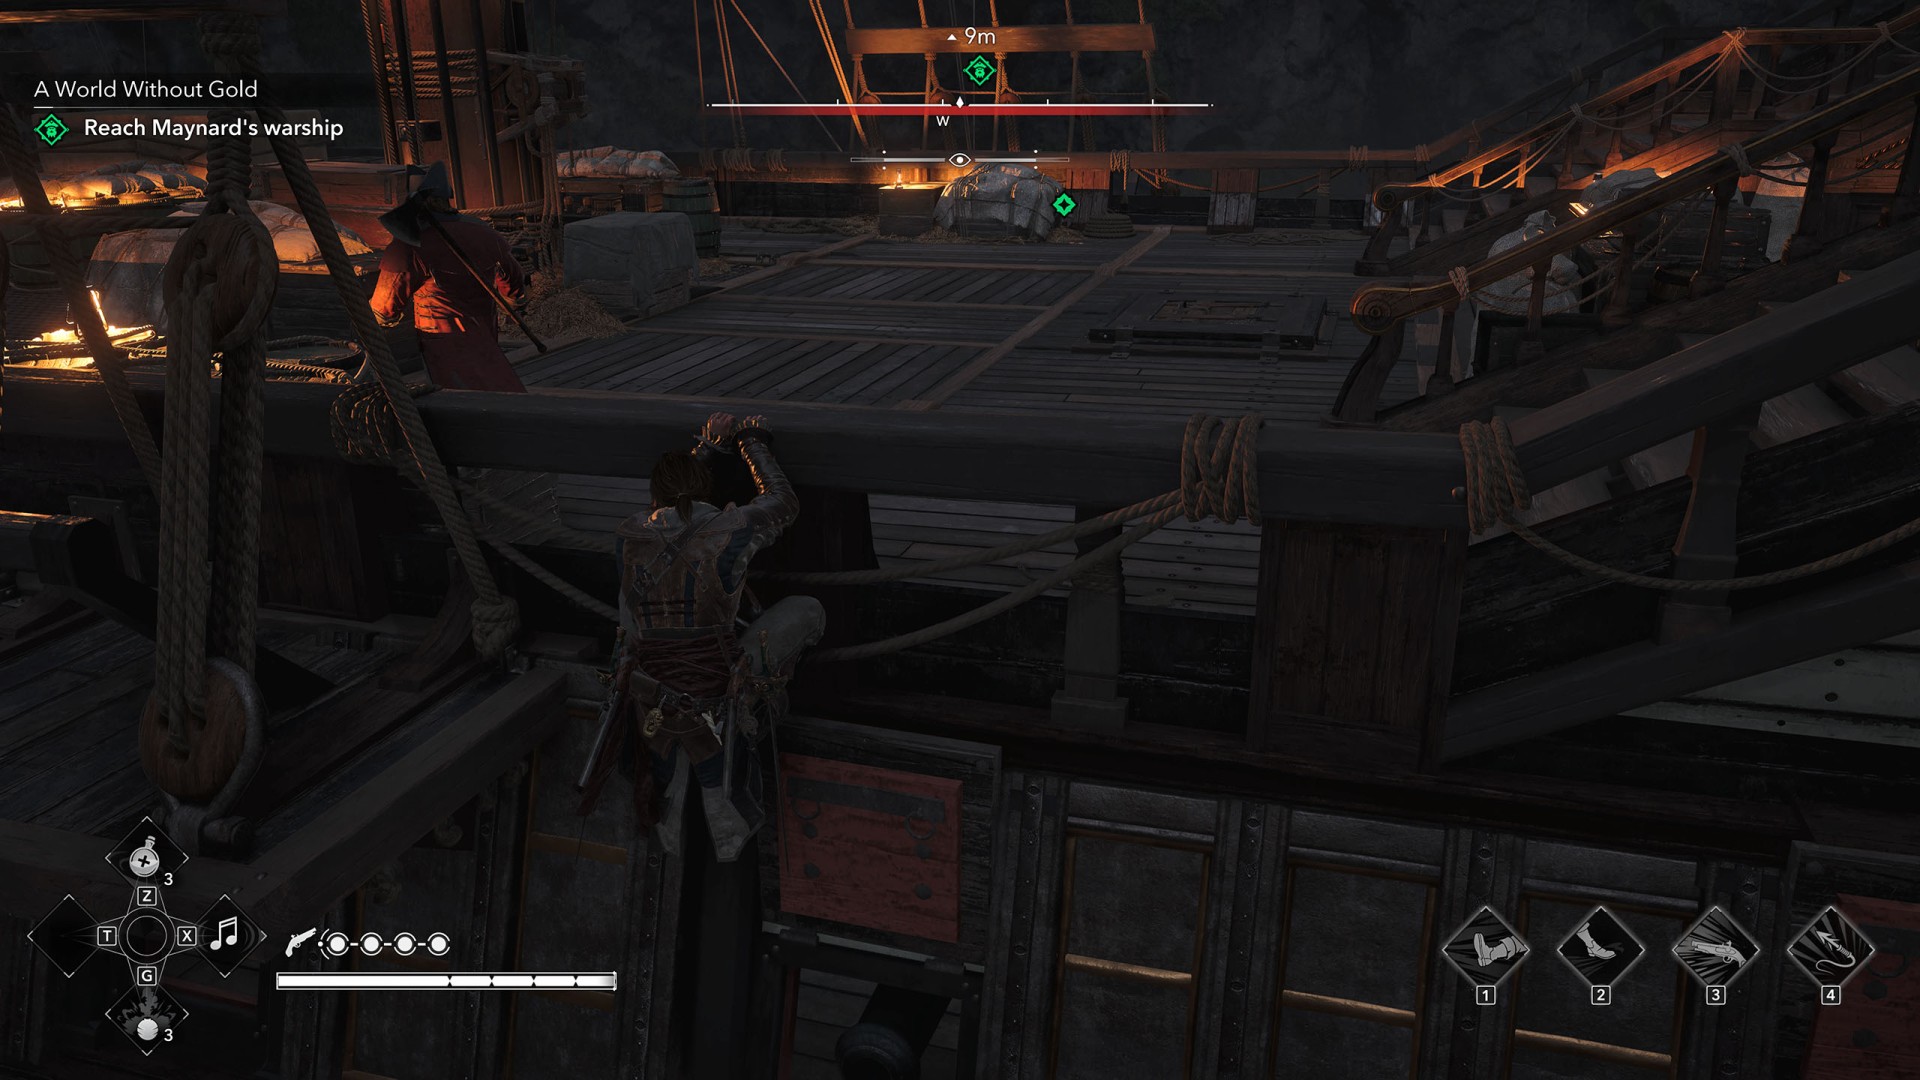
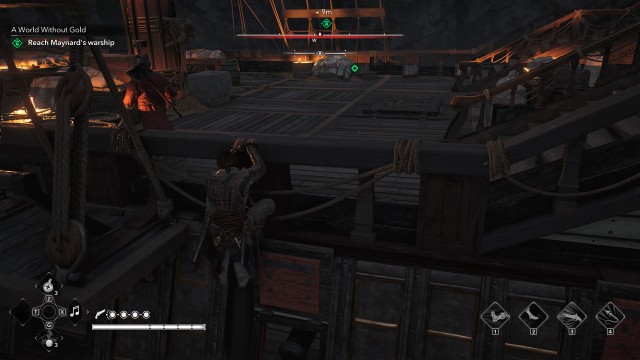
Climb aboard, wait for the patrolling soldier to walk away, and go below deck through the hatch on the main deck.
4. Plant charges in Maynard's ship
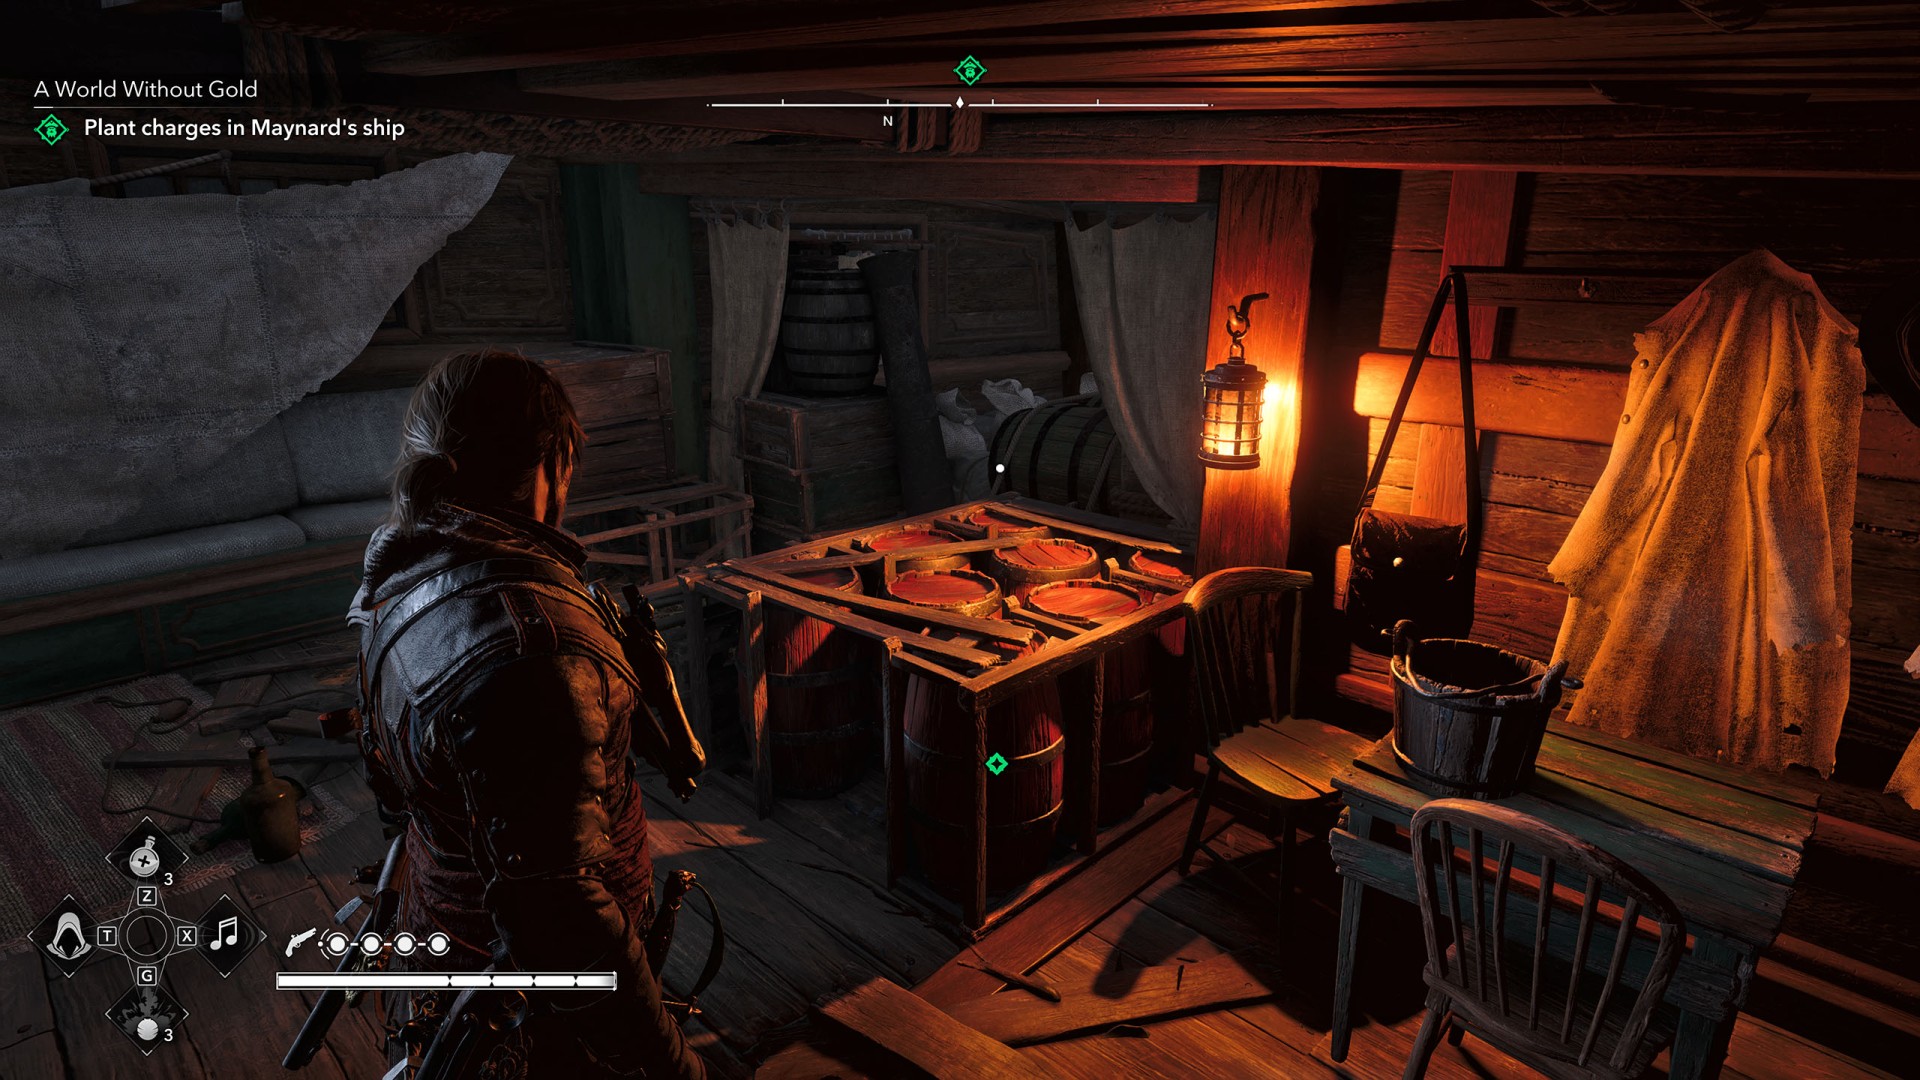
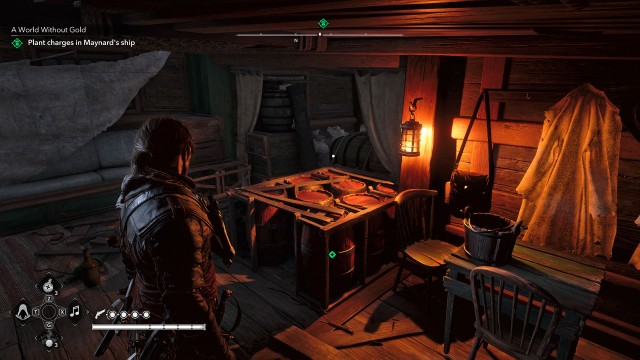
There are no enemy soldiers below deck and there is no need to rush. Find and ignite three gunpowder keg caches. Do not forget to back away to a safe distance when they are about to explode.
5. Search for Maynard's treasure
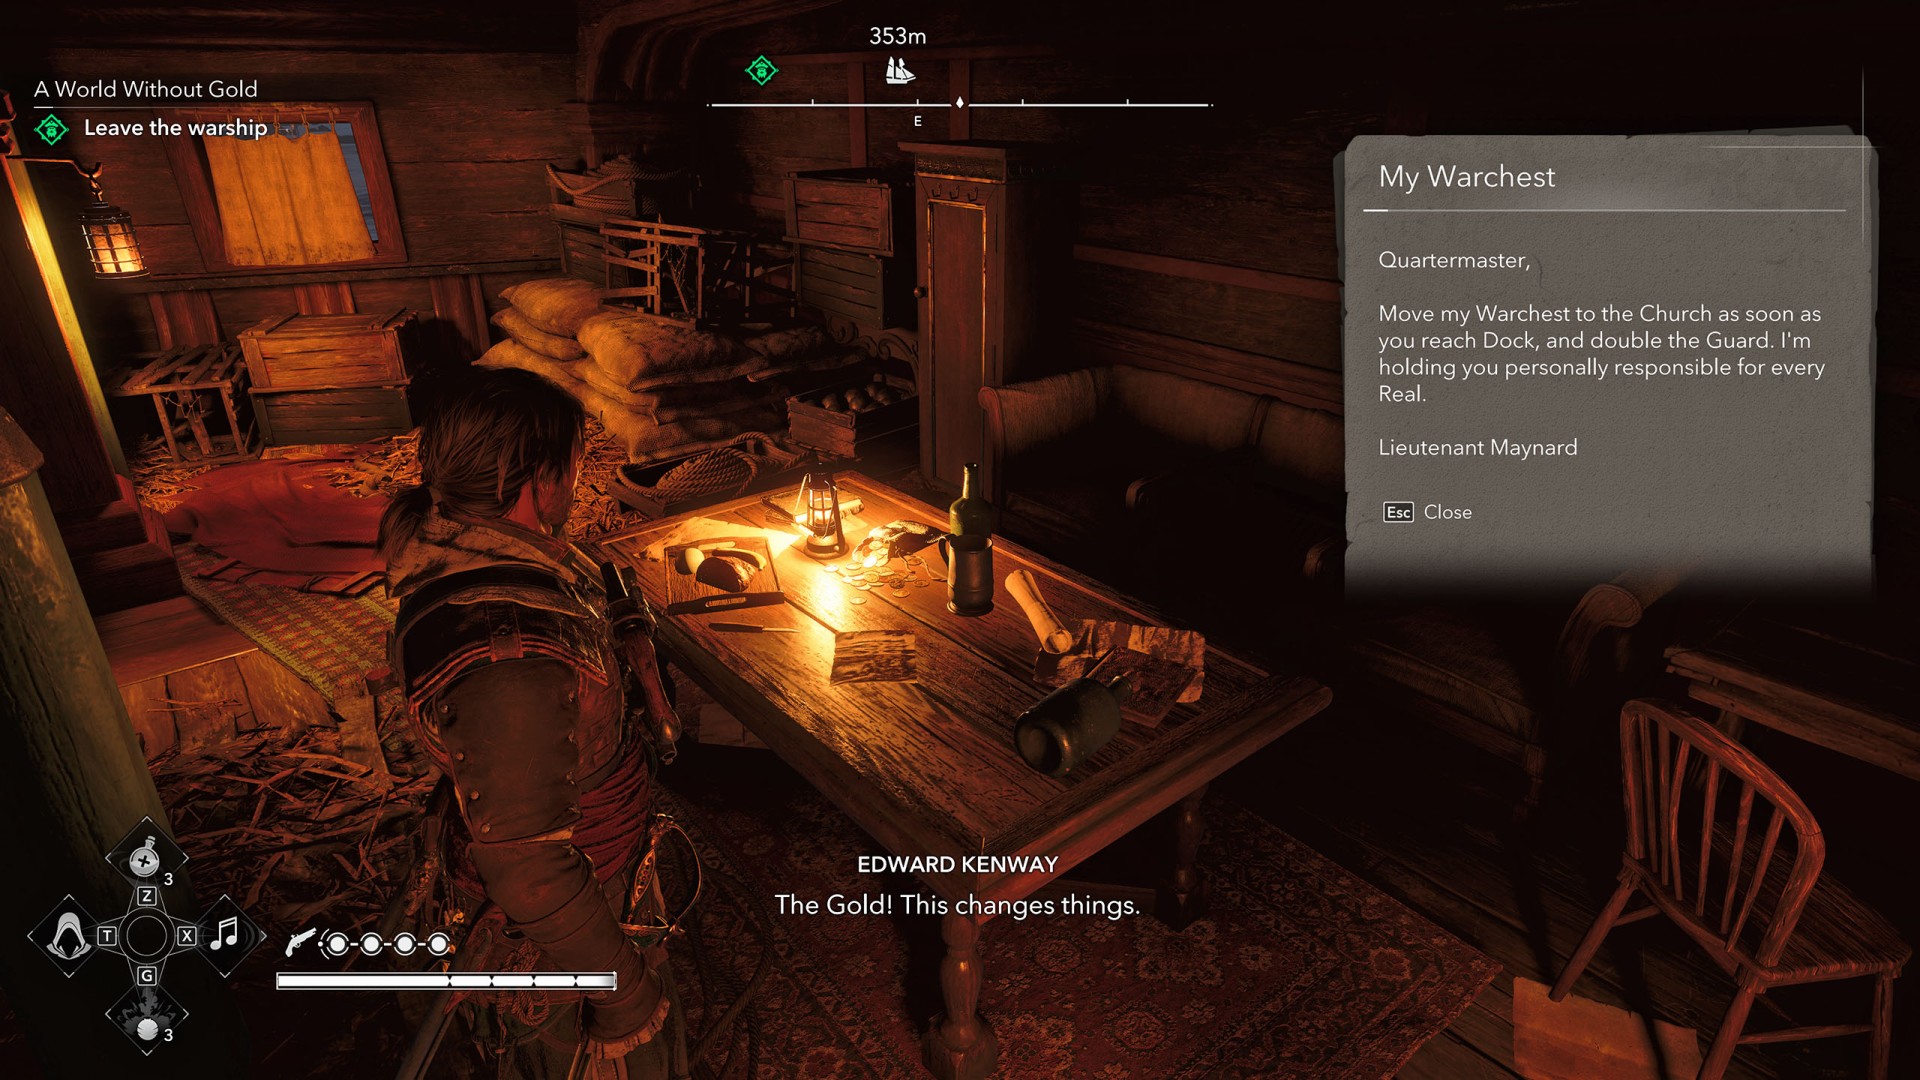
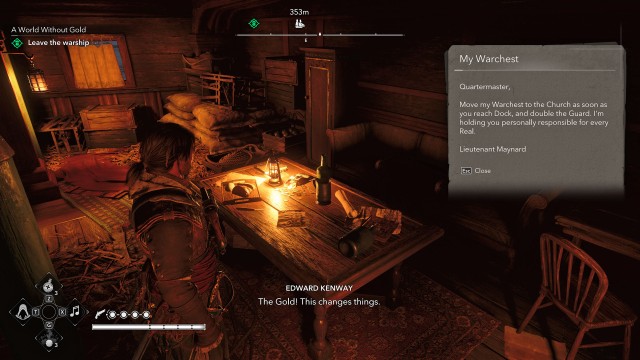
Read the letter lying on the table to learn where the gold has been moved.
6. Leave the warship
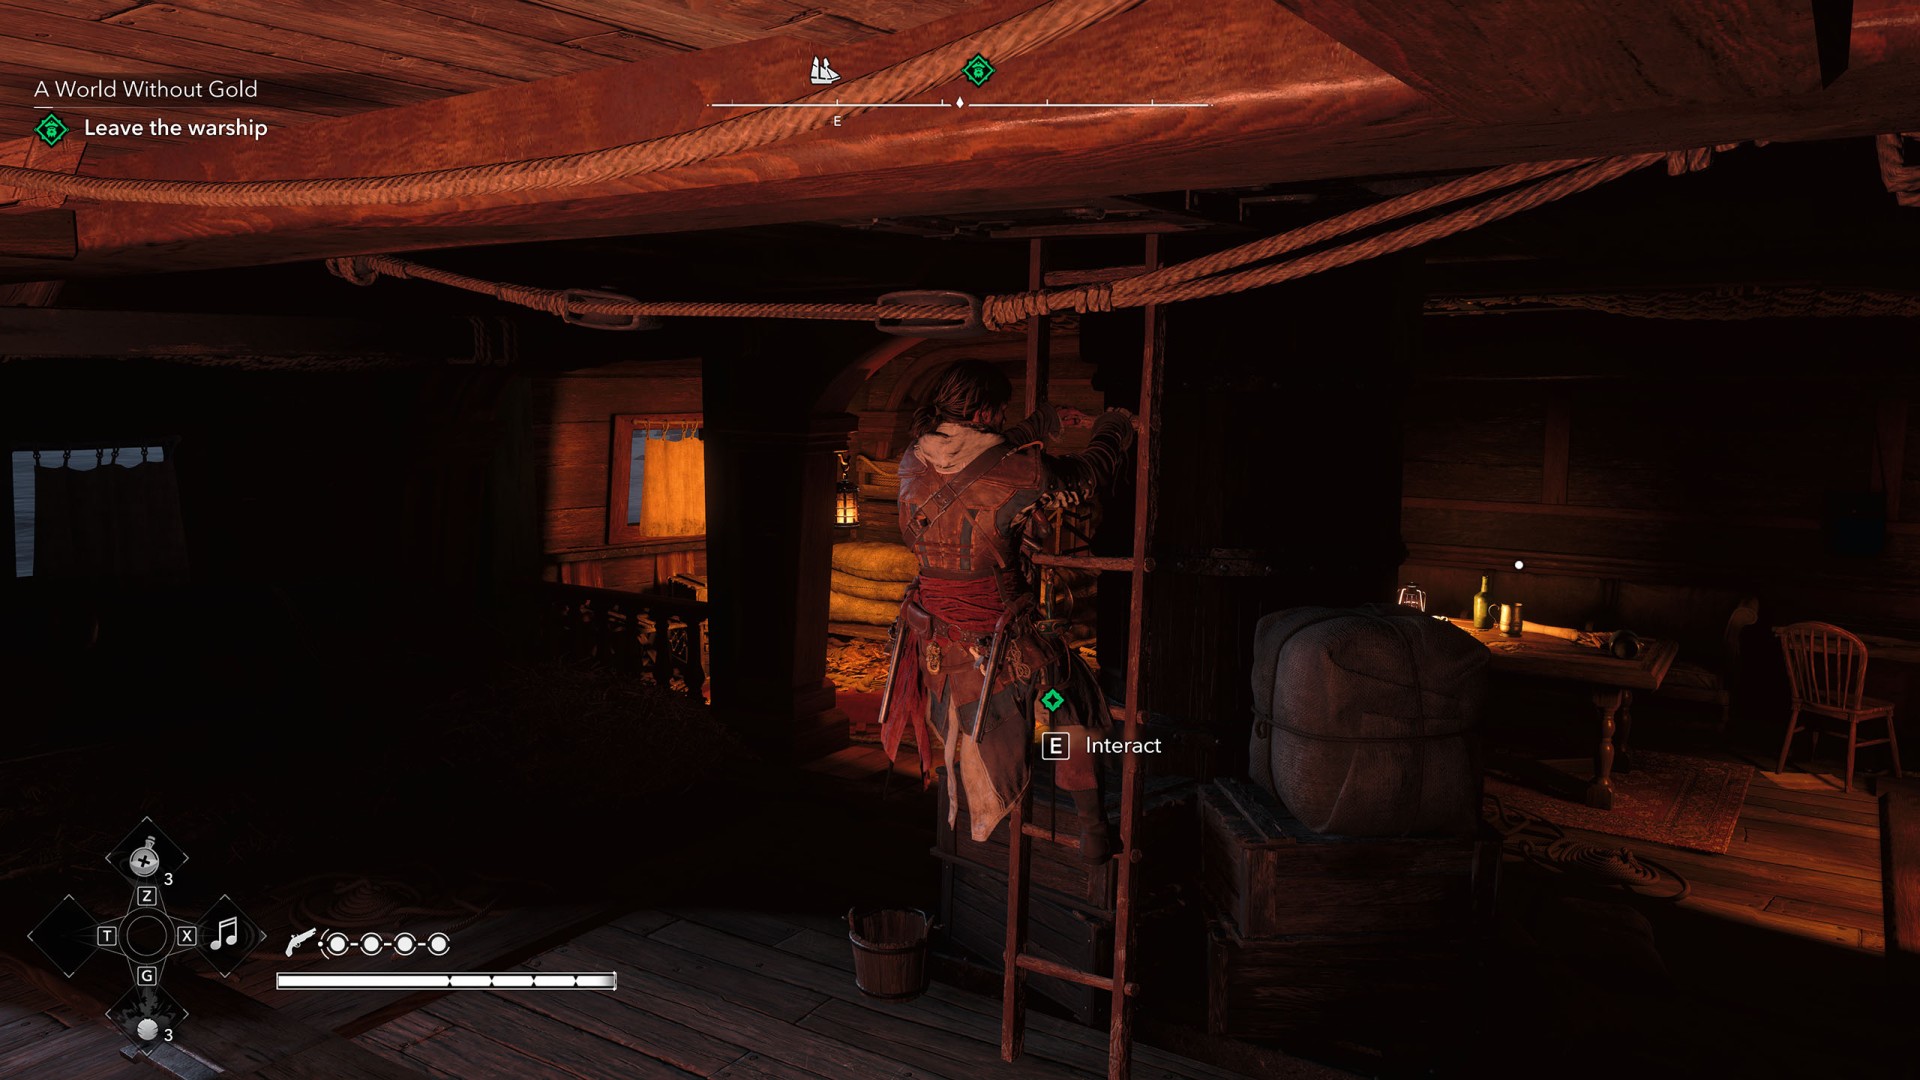
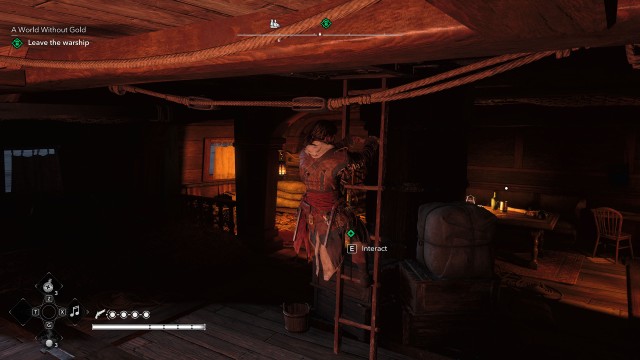
Using the ladder, return to the deck and then jump off the ship into the water.
7. Reach the rendezvous point
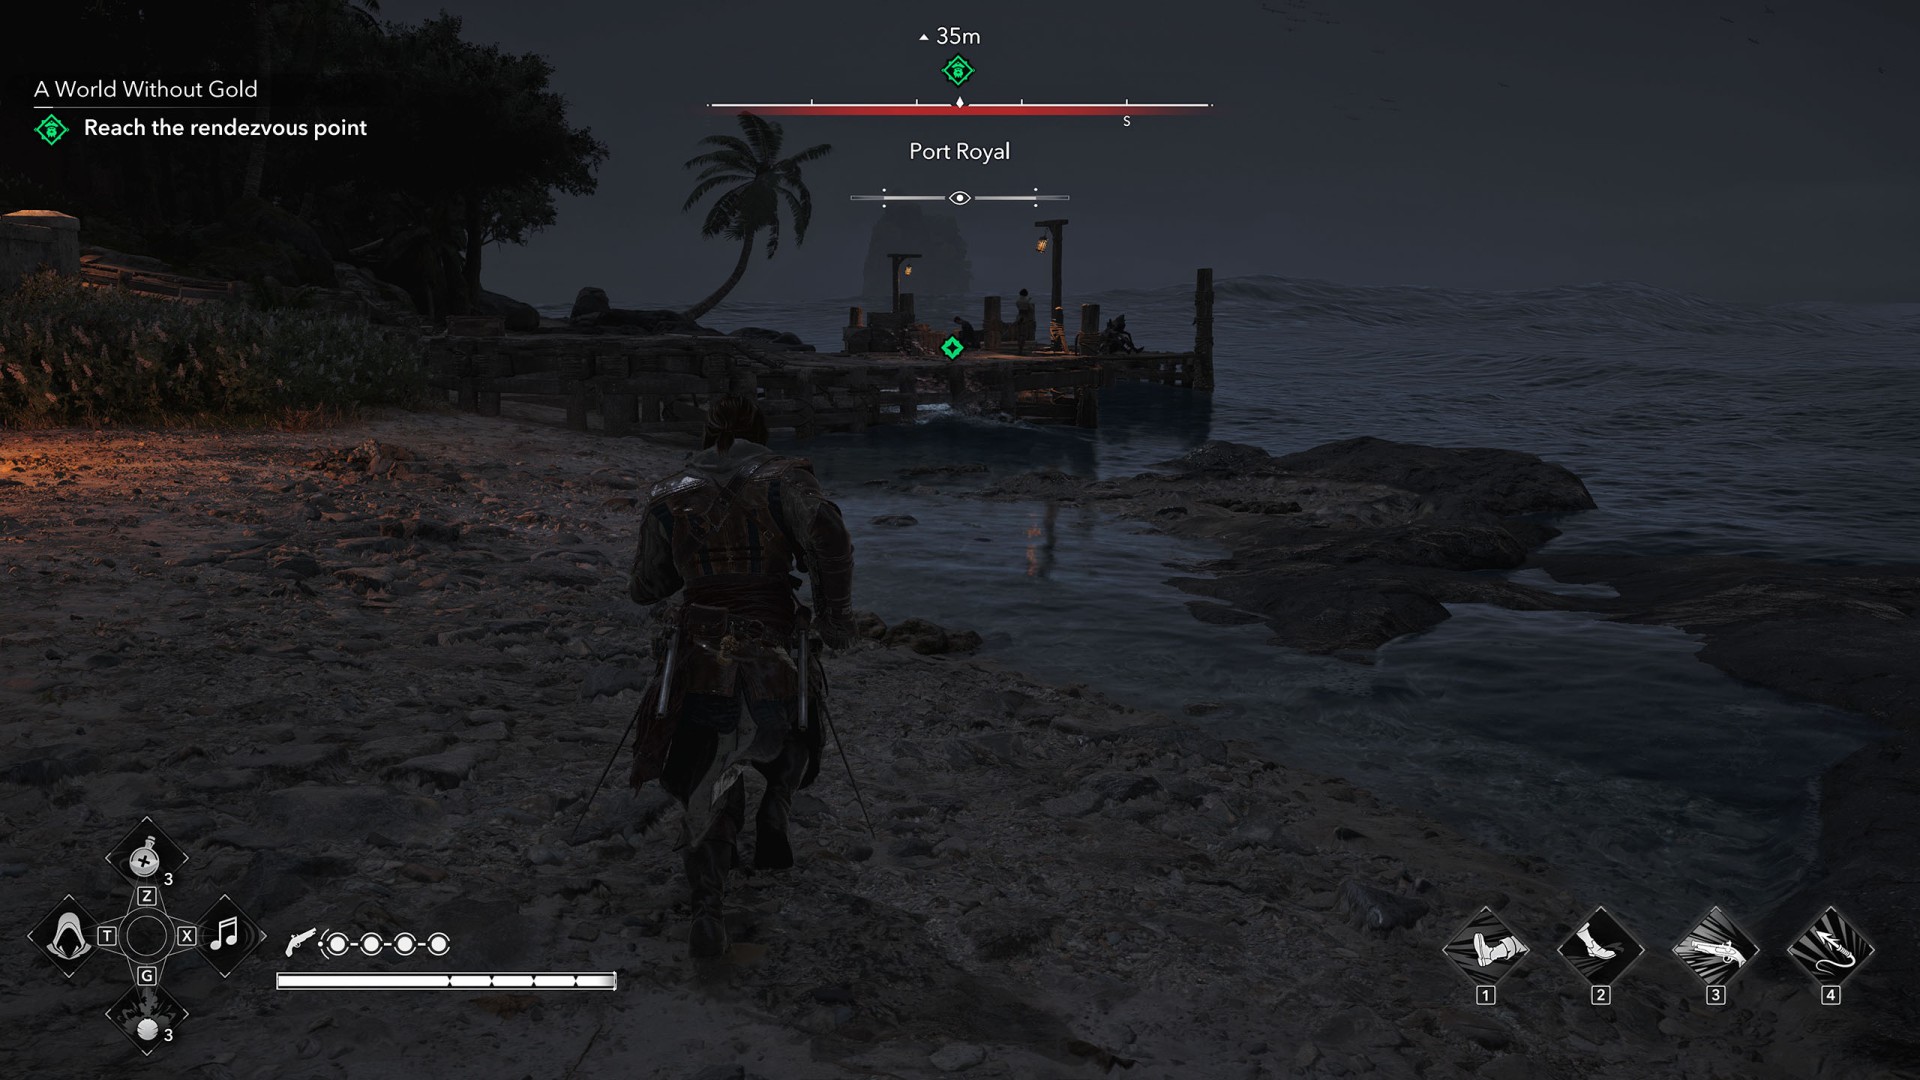
Head to the pier where your officers are waiting for you. Edward will instruct them to call the Jackdaw and inform them that he still has something to take care of.
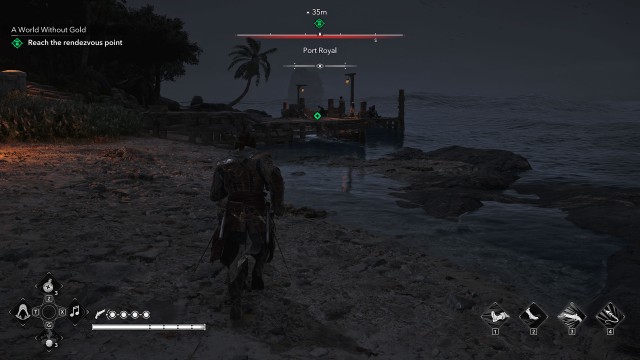
8. Reach Maynard's treasure
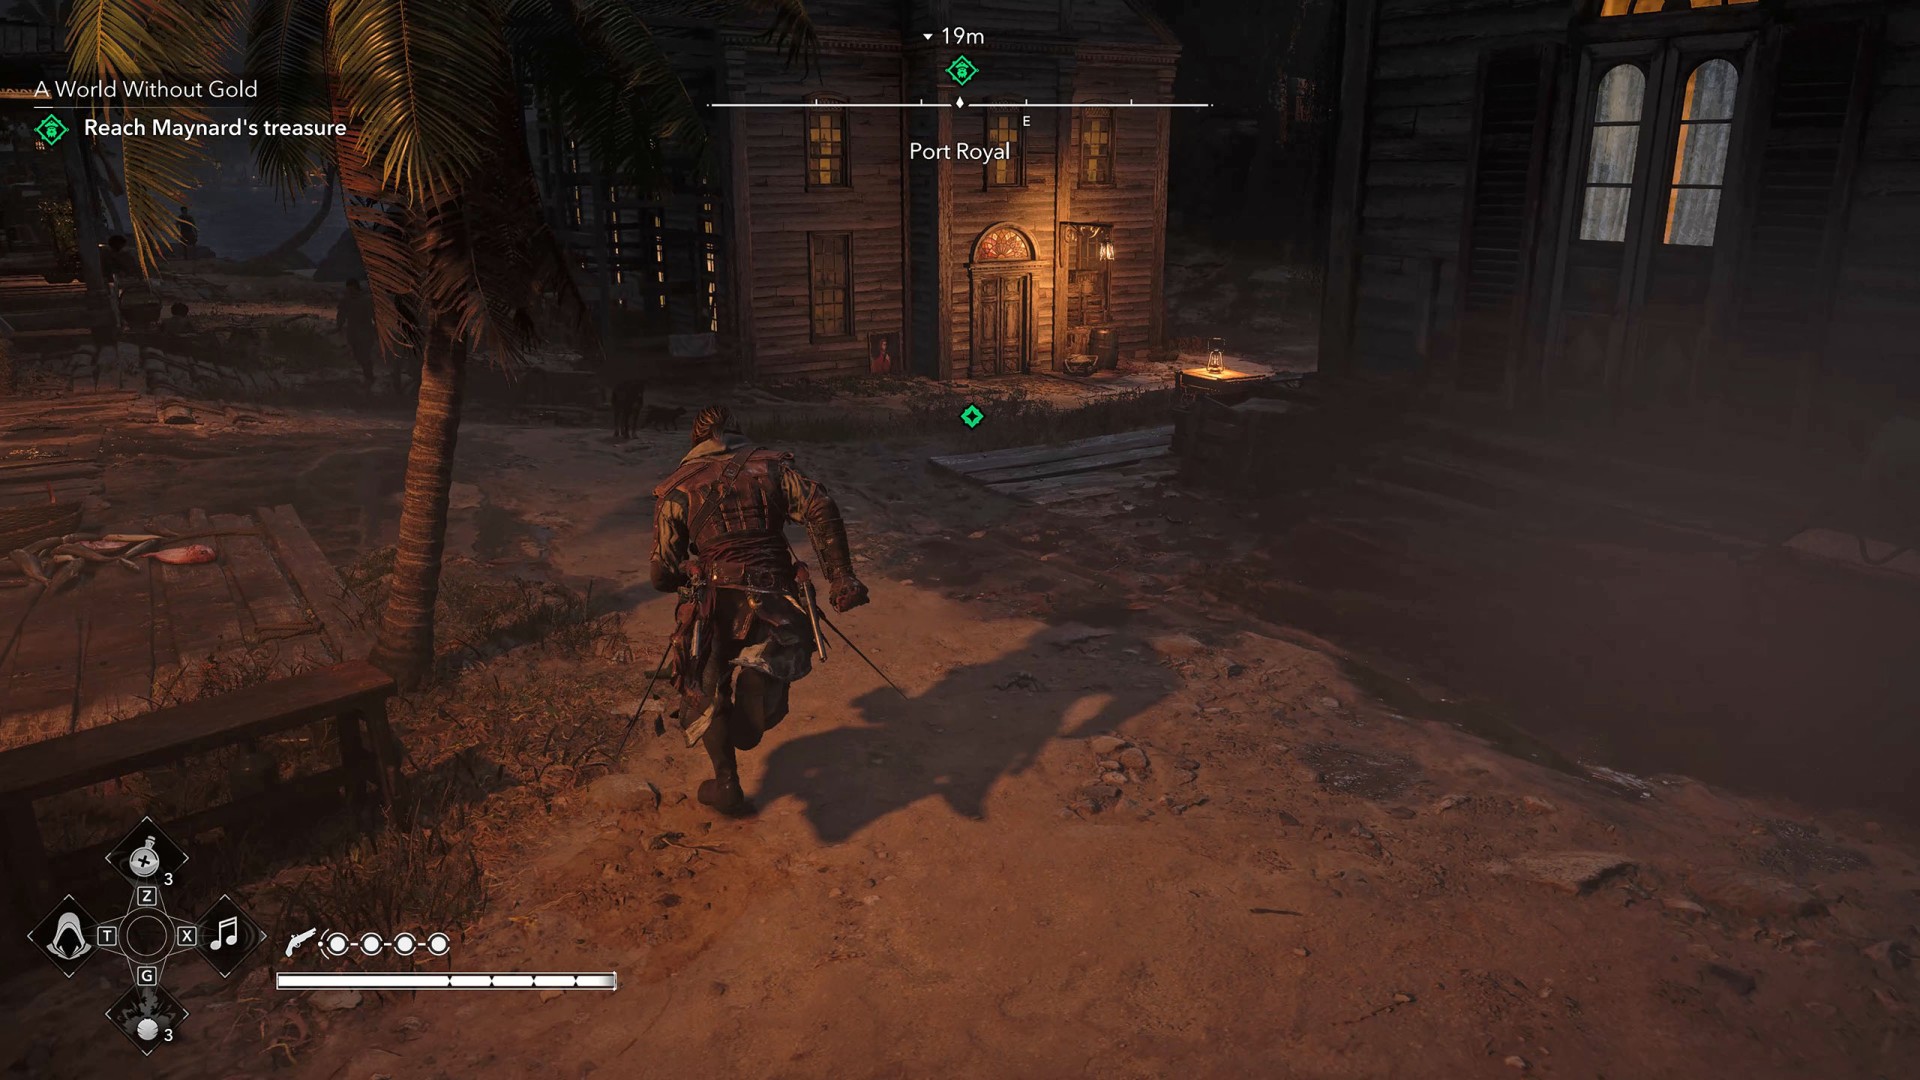
Head to the church where, according to the letter you found on the ship, the gold was transported. Prepare yourself for an intense fight that is about to take place.
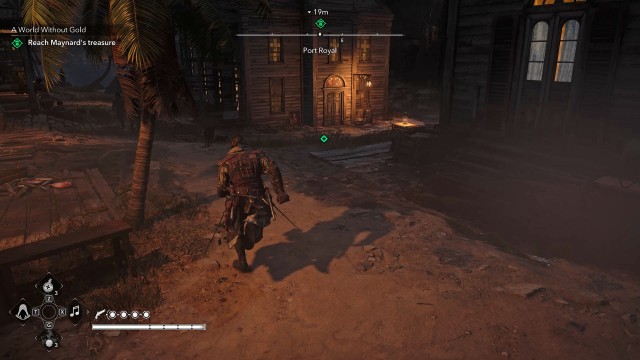
9. Survive Maynard's ambush
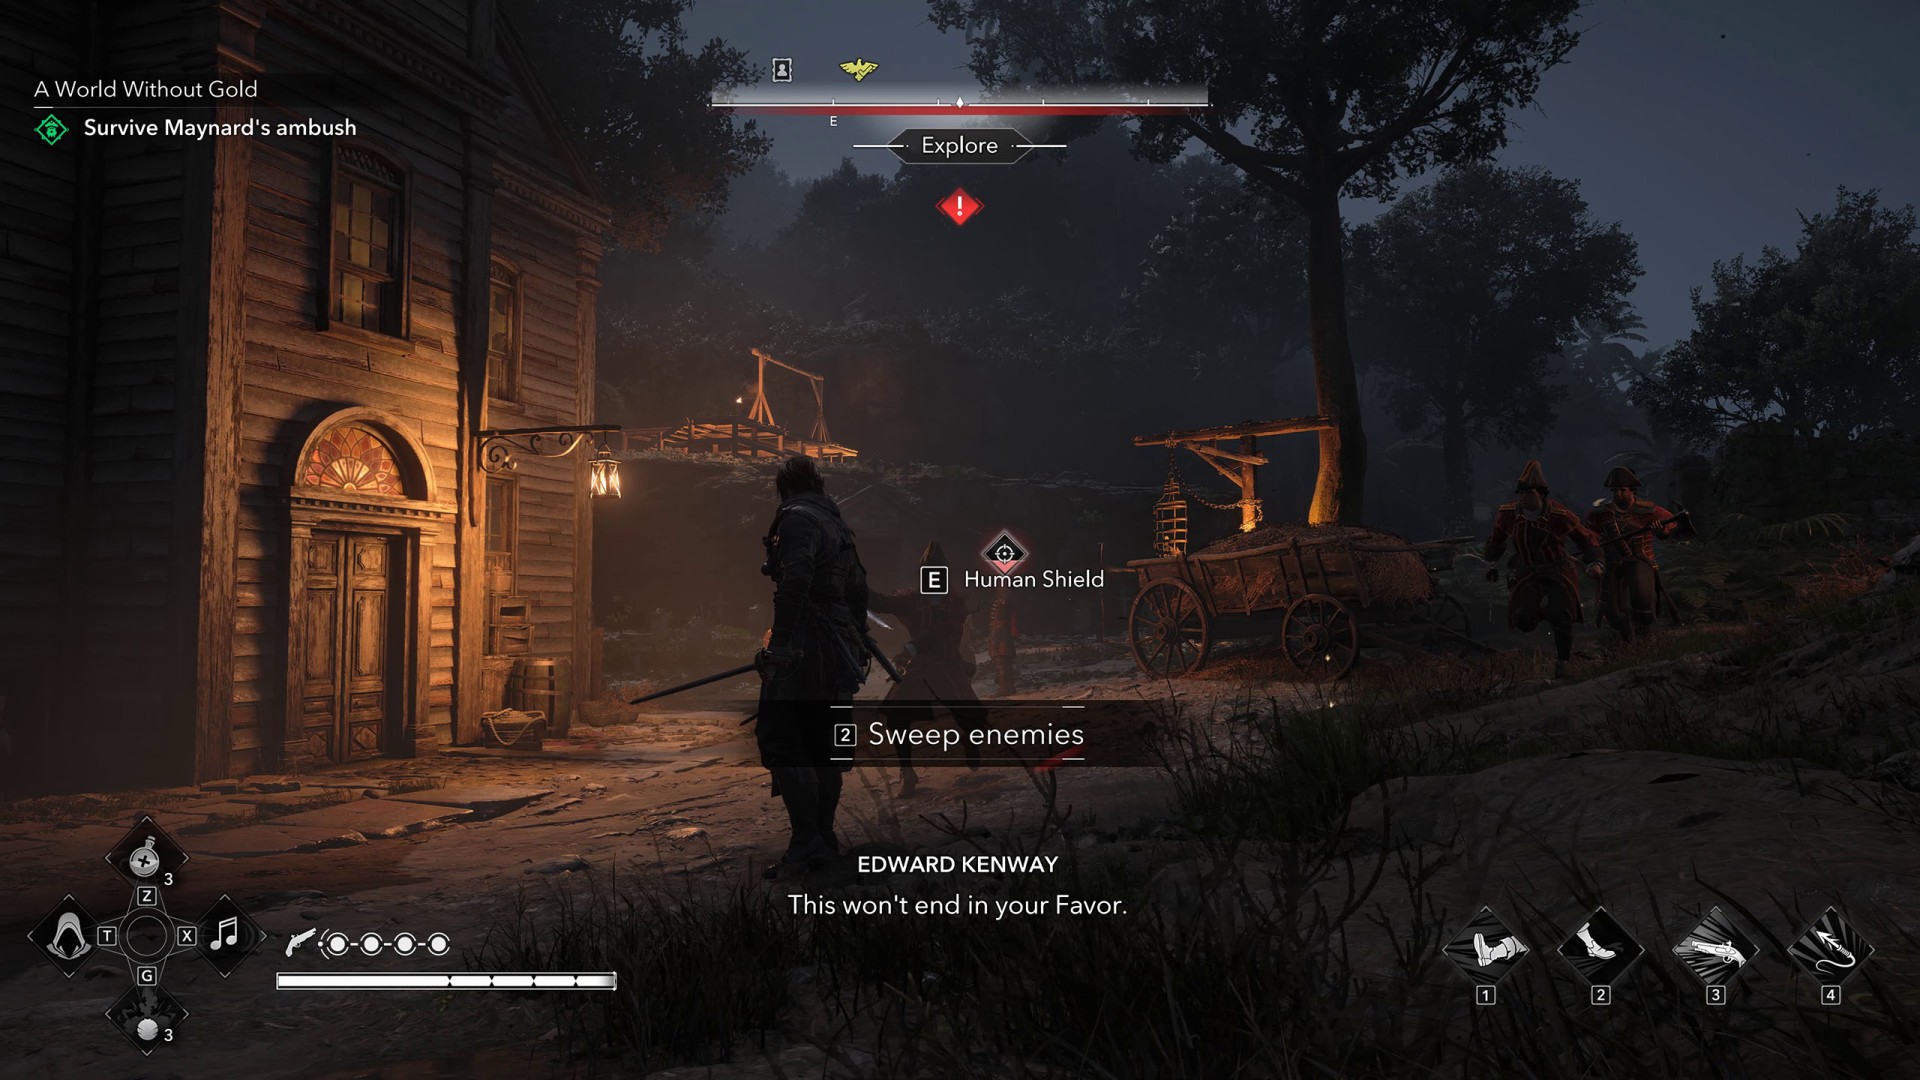
As soon as you get close to the church, a group of eight British soldiers will appear and attack you. You must kill them all. The marksman is especially dangerous, as he will keep shooting at you.
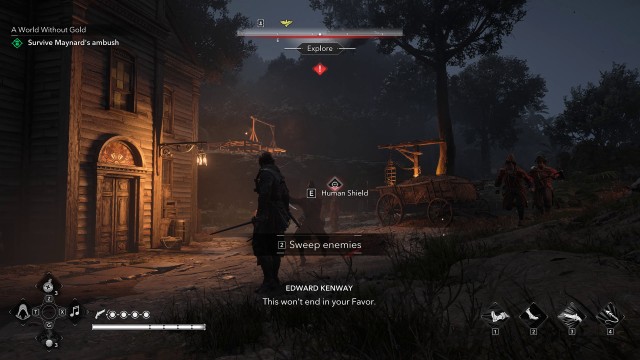
10. Return to your officers
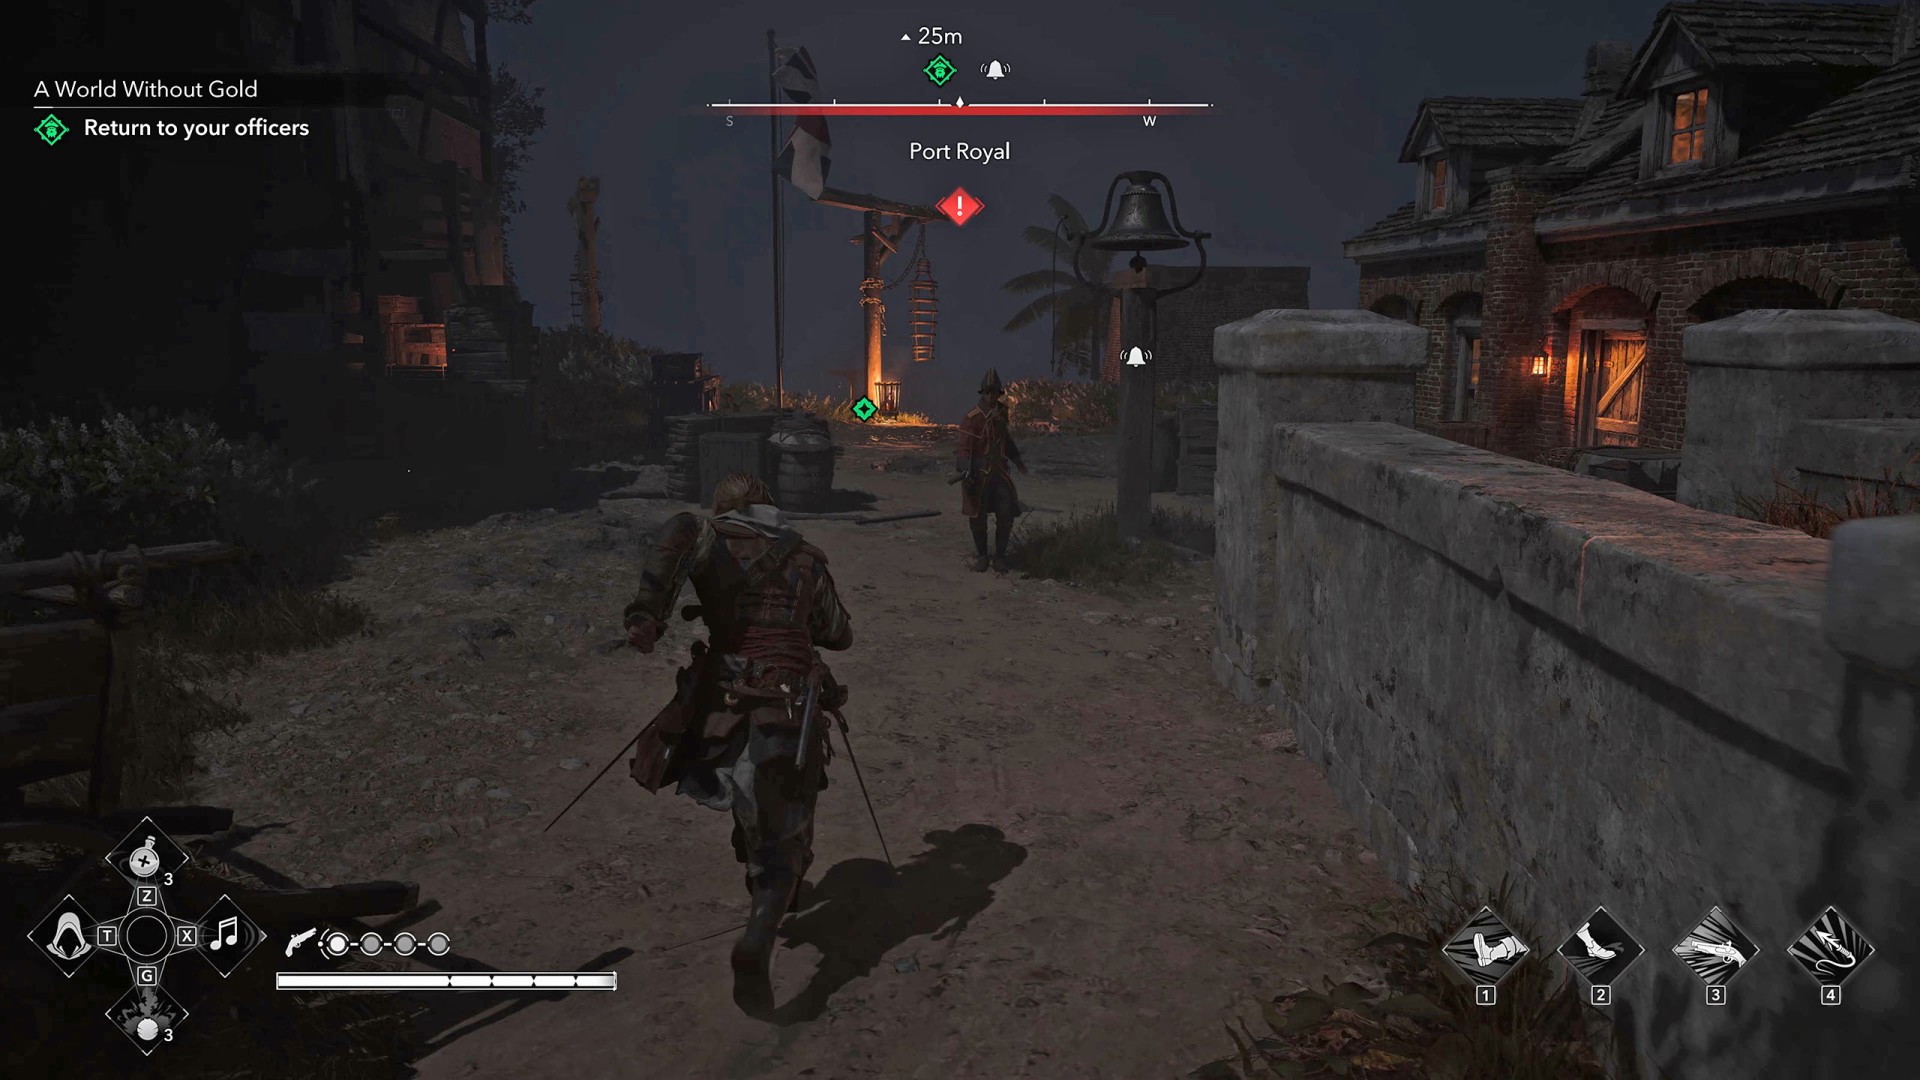
Quickly head toward the pier where you spoke with your officers earlier. Try to avoid or slip past any soldiers who try to attack you.
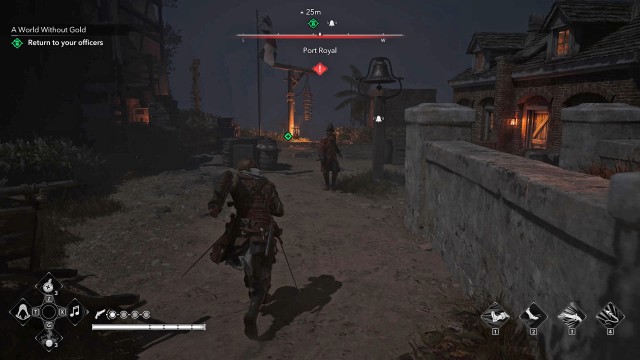
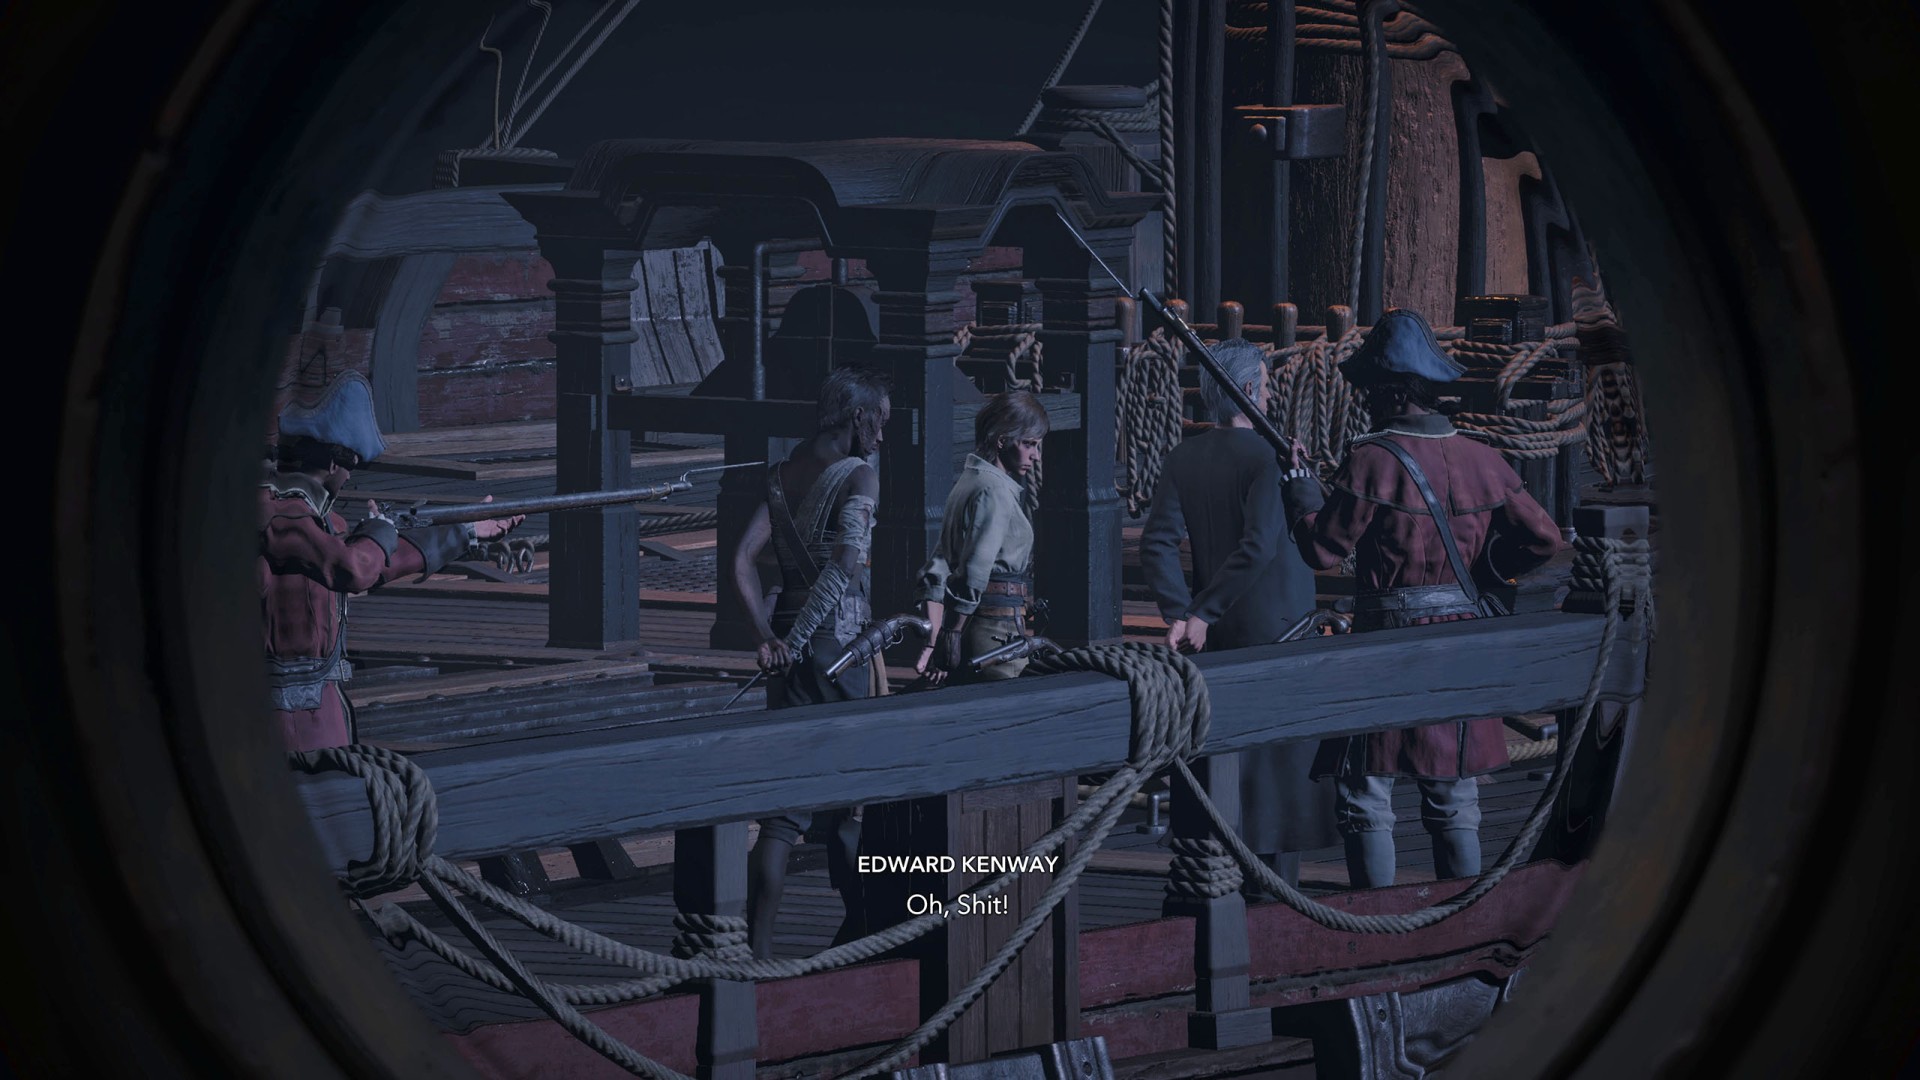
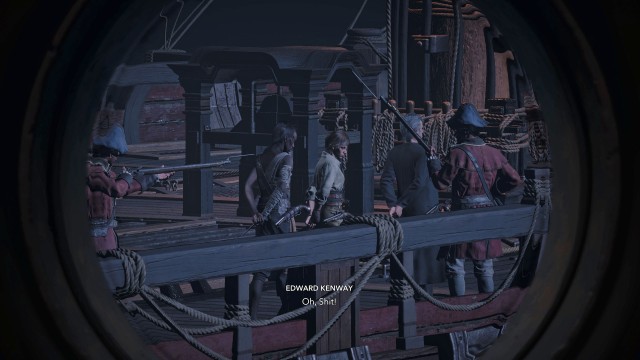
When you arrive, a cutscene will start. You will discover that your officers have been captured by Maynard and taken aboard his ship.
11. Reach the Jackdaw
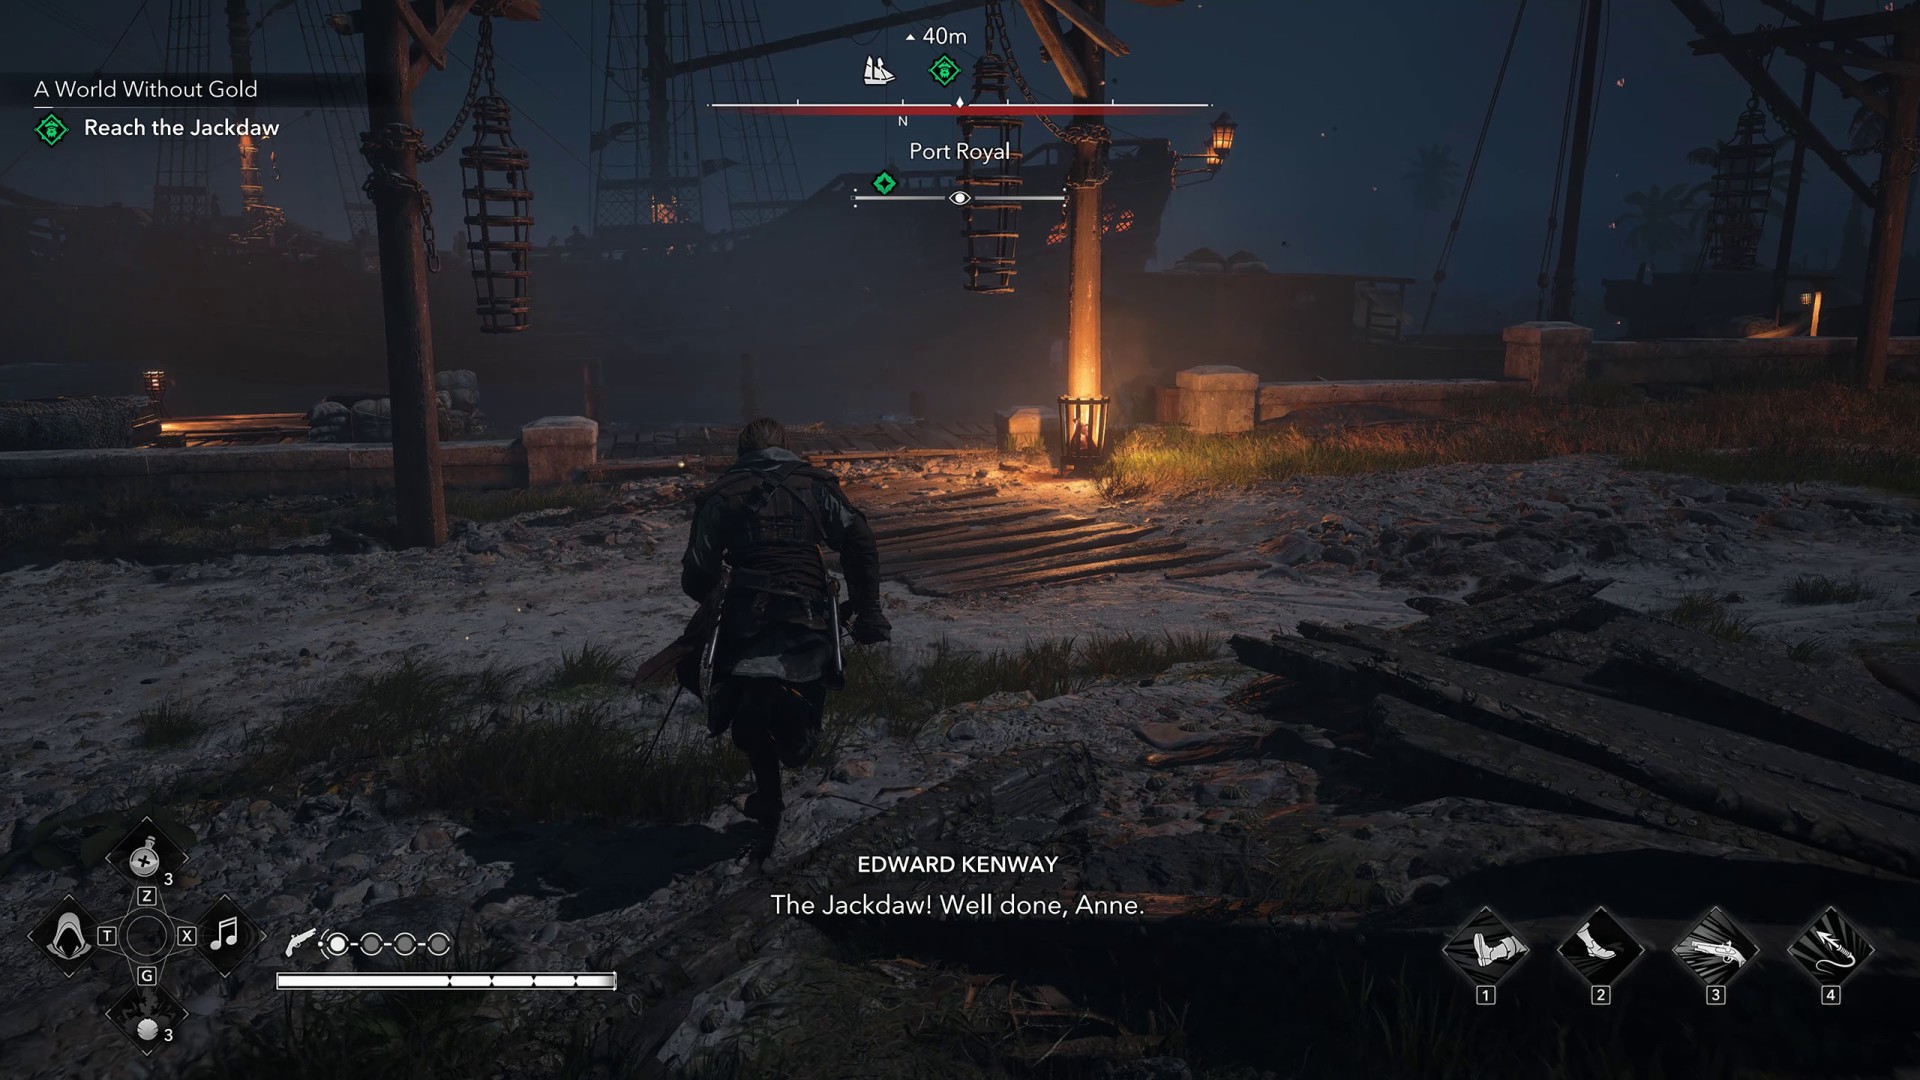
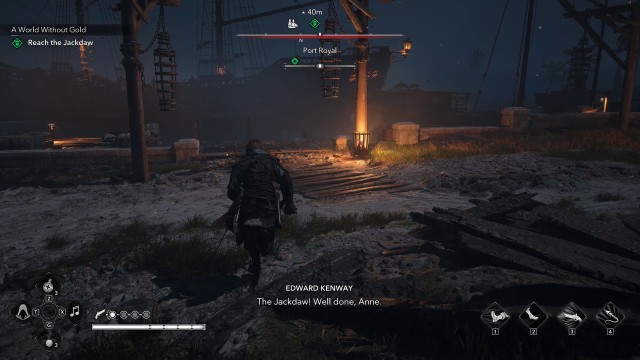
You must reach the Jackdaw, anchored near the northern shore. The game somewhat suggests running through the shelled city where pirates and soldiers are fighting, but you do not have to do that at all. You can easily run along the beach, completely unmolested. Once you reach the ship, climb aboard and take the wheel.
12. Destroy Maynard's armada
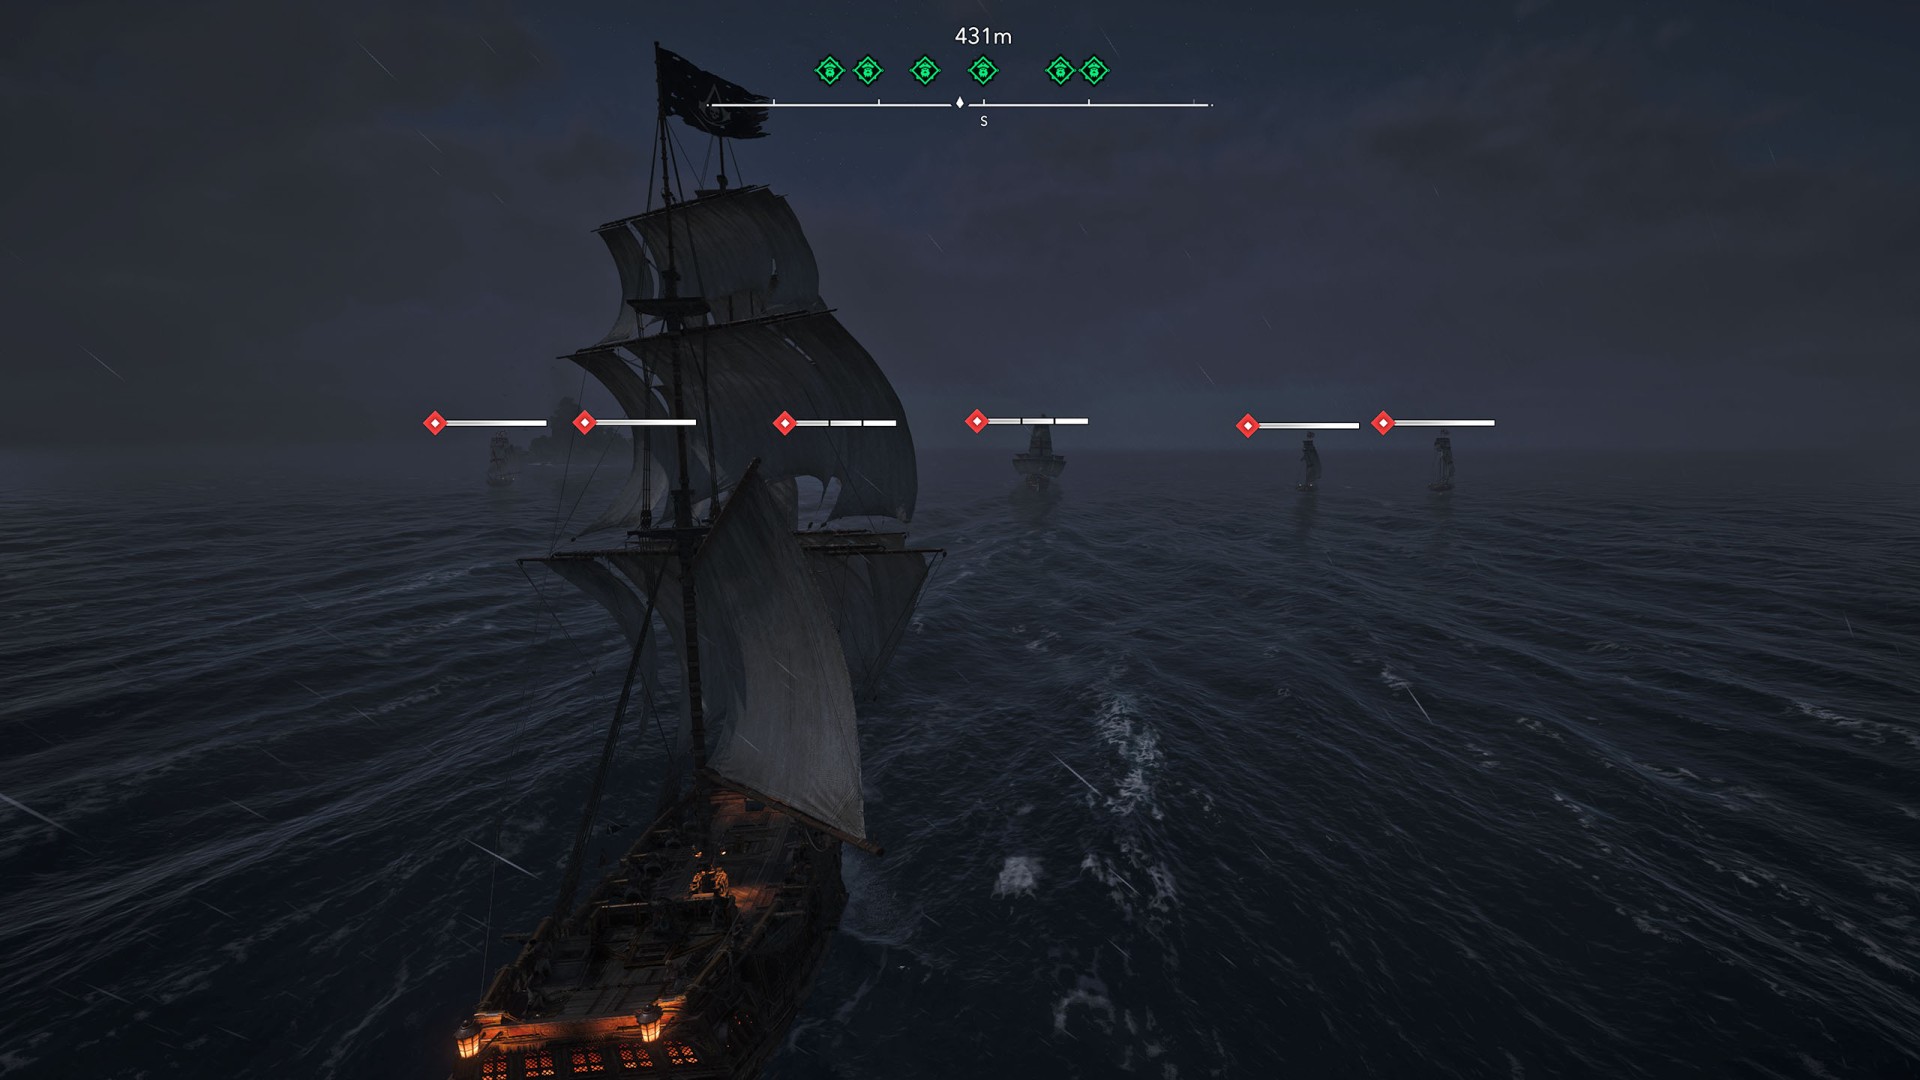
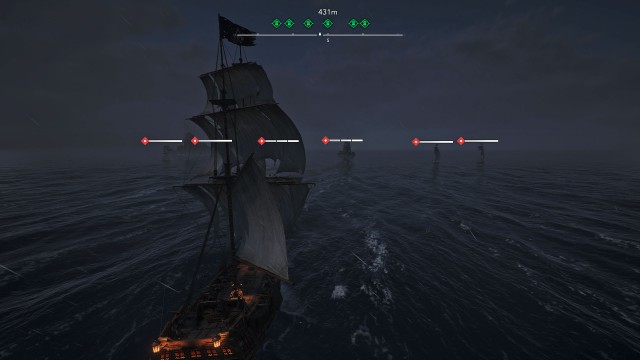
Sail out to open water and head toward the markers. After a while you will reach an armada - consisting of four schooners and two brigs. Take out these ships in whatever way works best for you.
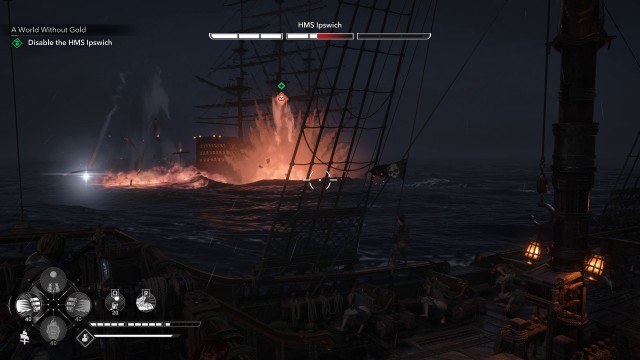
13. Disable the HMS Ipswitch
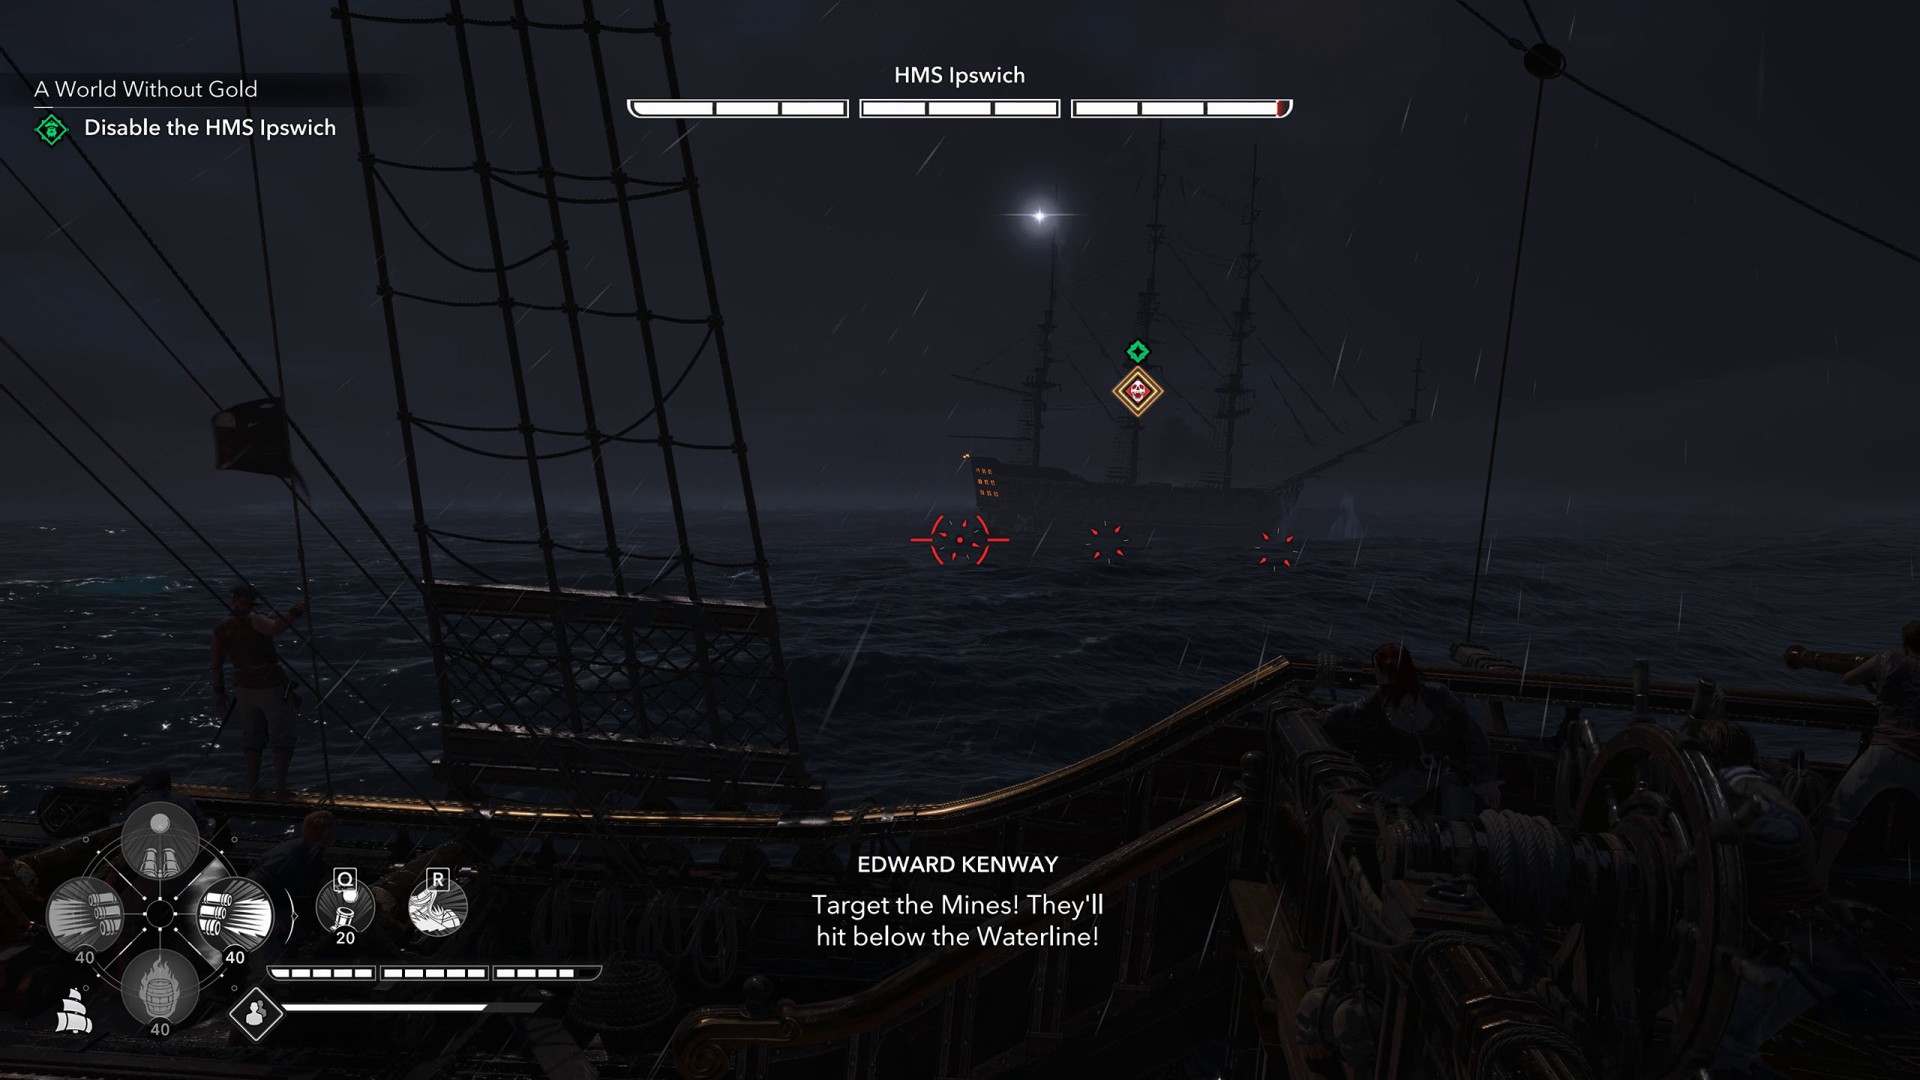
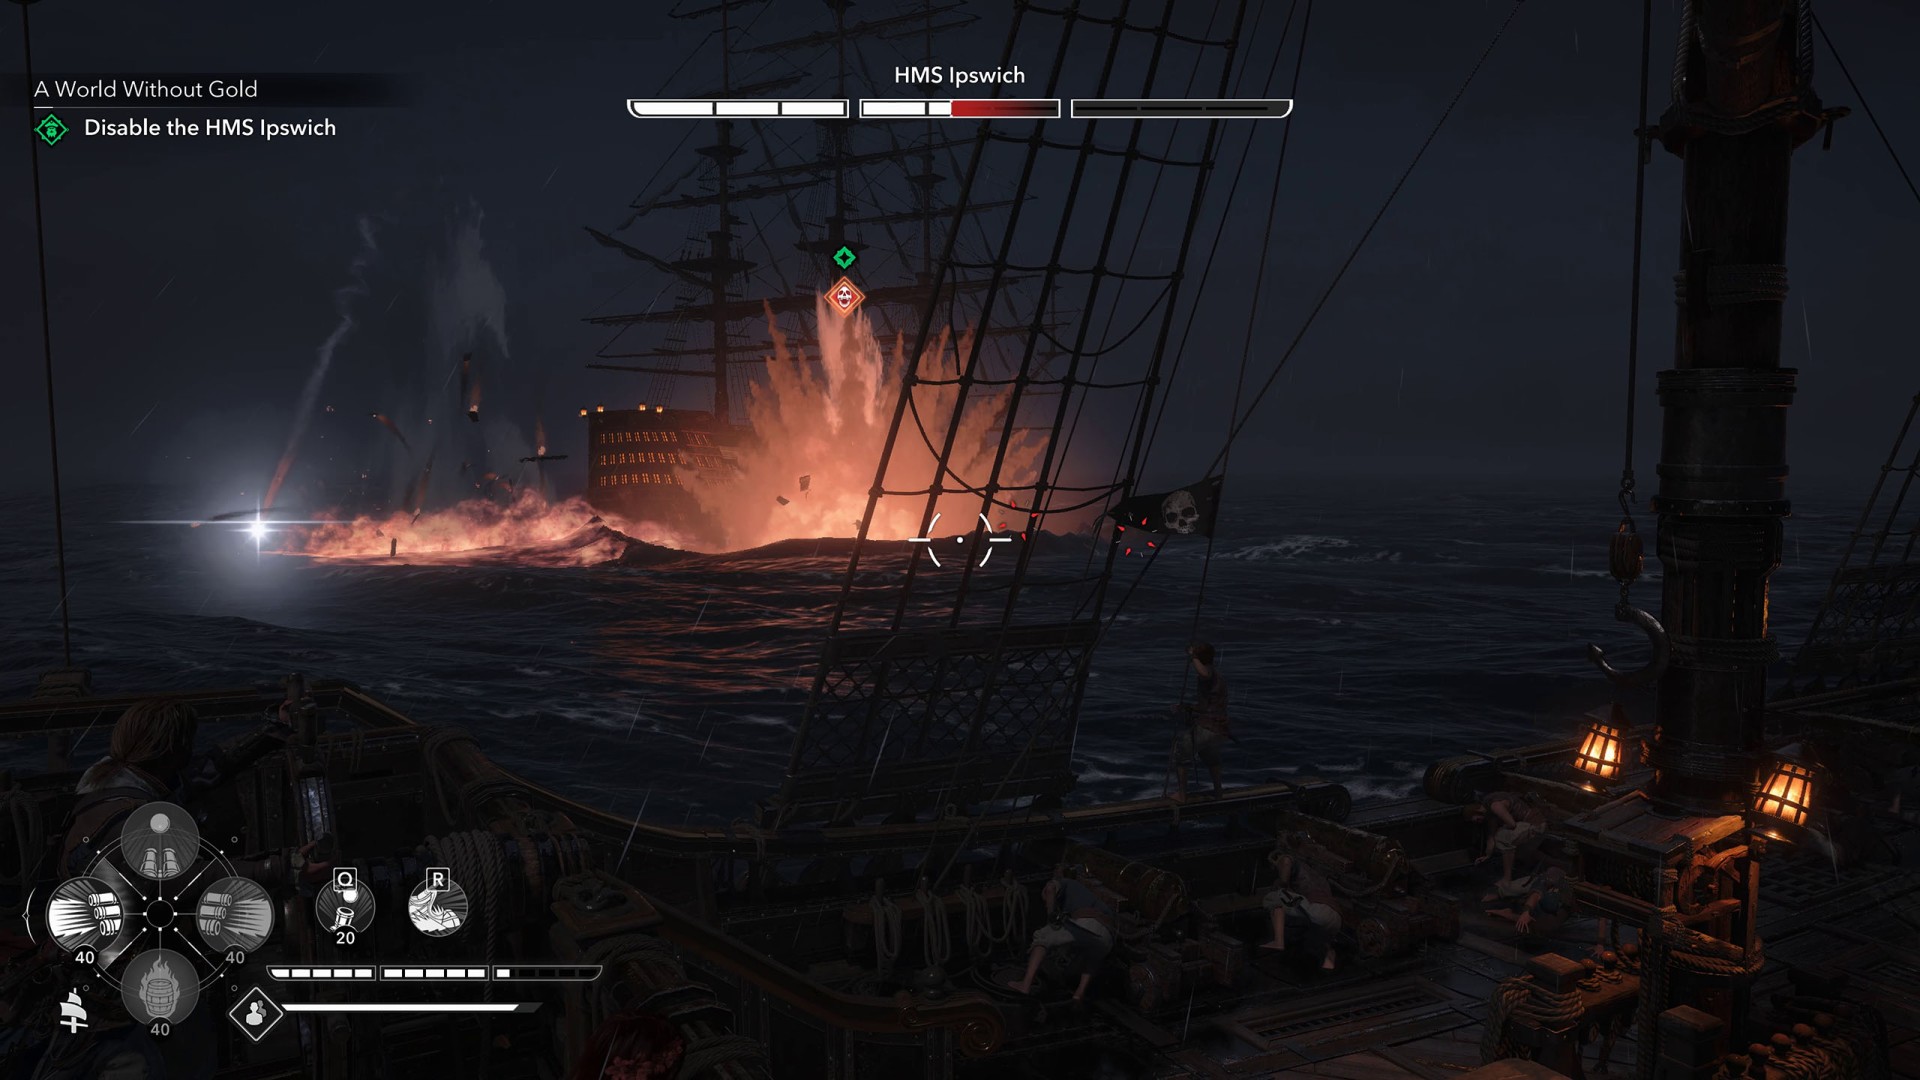
HMS Ipswitch is almost immune to your cannon fire, mortars, etc, so the fight will play out differently than usual. Target the enemy cutters accompanying the ship. When you destroy them, a white flare will be launched from the deck of the HMS Ipswitch, accompanied by a distinct sound. Shortly after, the Ipswitch will drop mines. Quickly shoot these mines - the powerful explosions will deal damage to the enemy ship - about a third of its health bar.
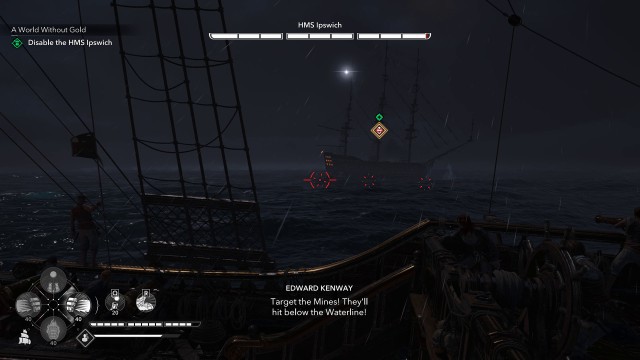
More cutters will arrive. Destroy them, and another white flare will be launched from the deck of the HMS Ipswitch - accompanied by a sound - and barrels will appear in the water shortly after. Shoot them all to deal more damage to Maynard's ship. You will need to repeat this process one more time to disable the enemy vessel.
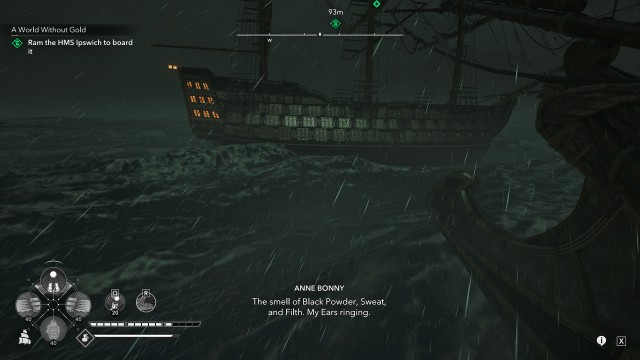
14. Ram the HMS Ipswitch to board it
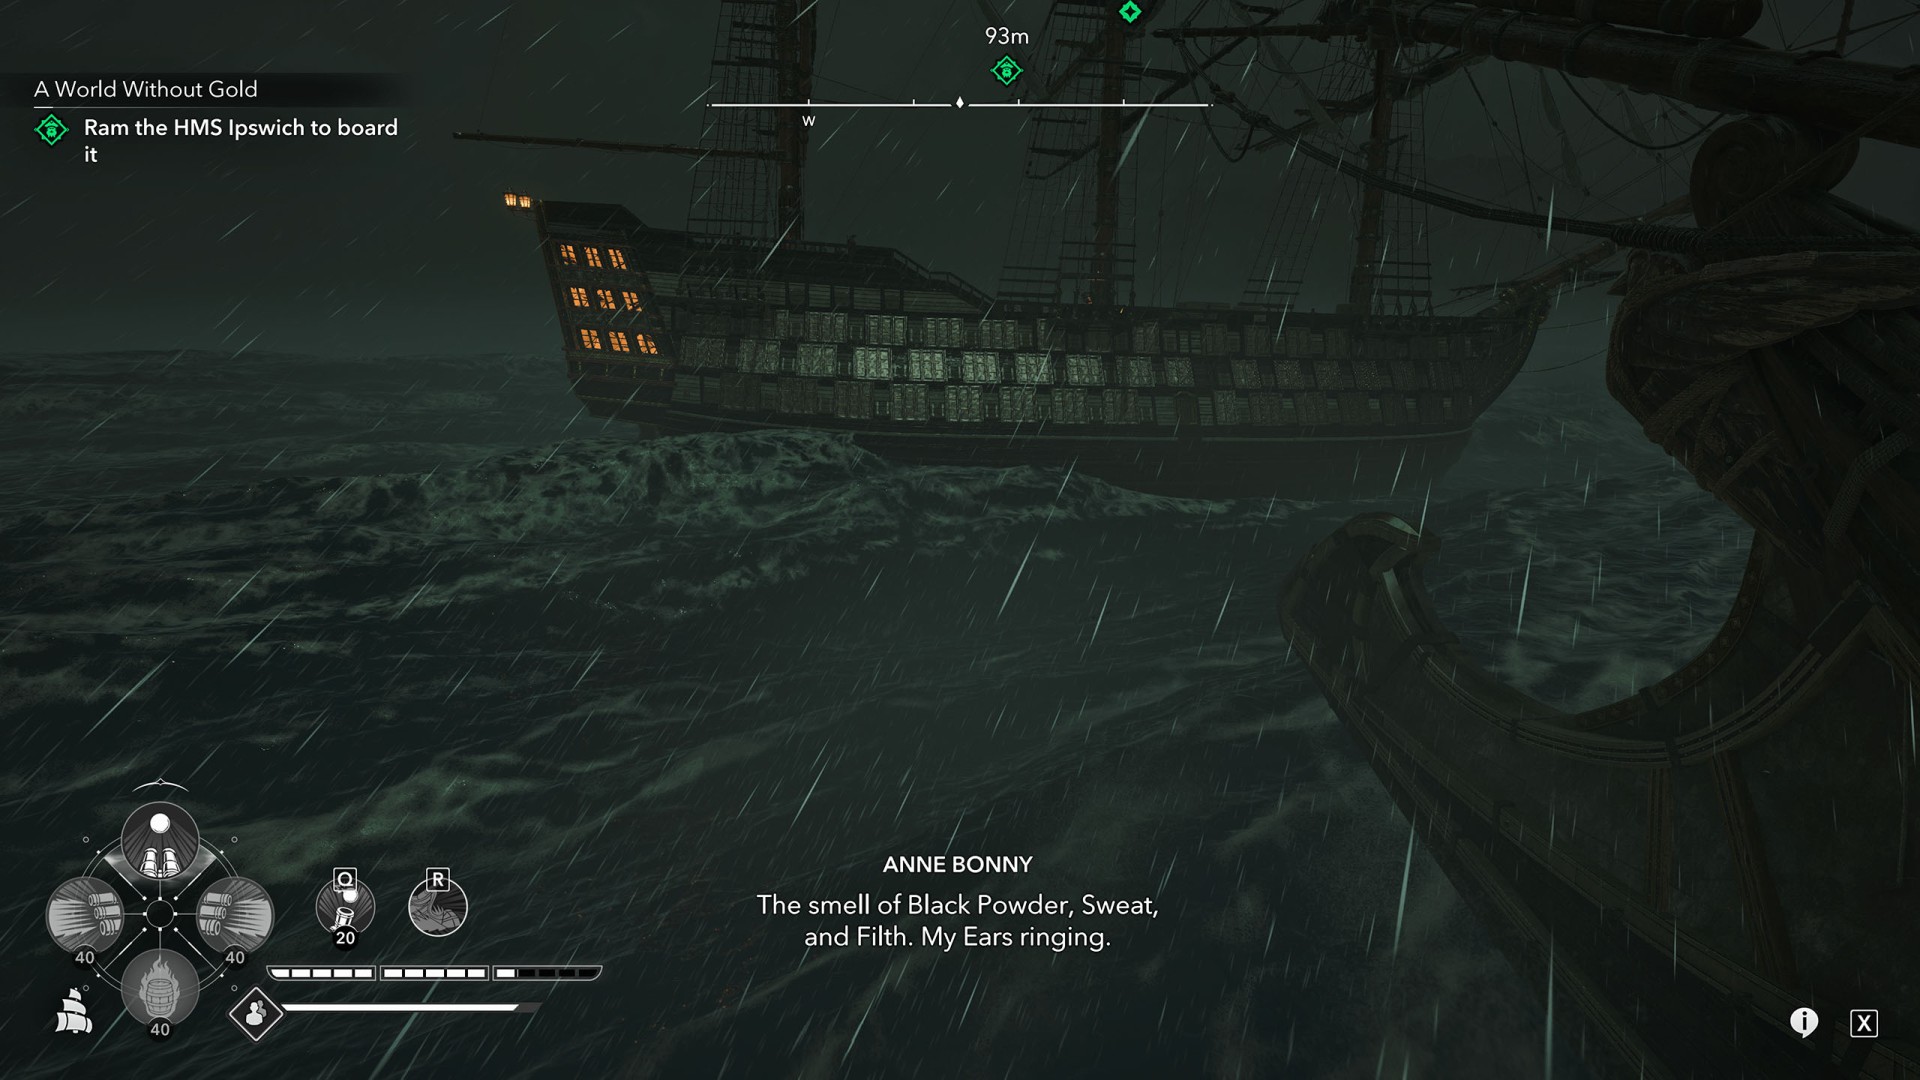
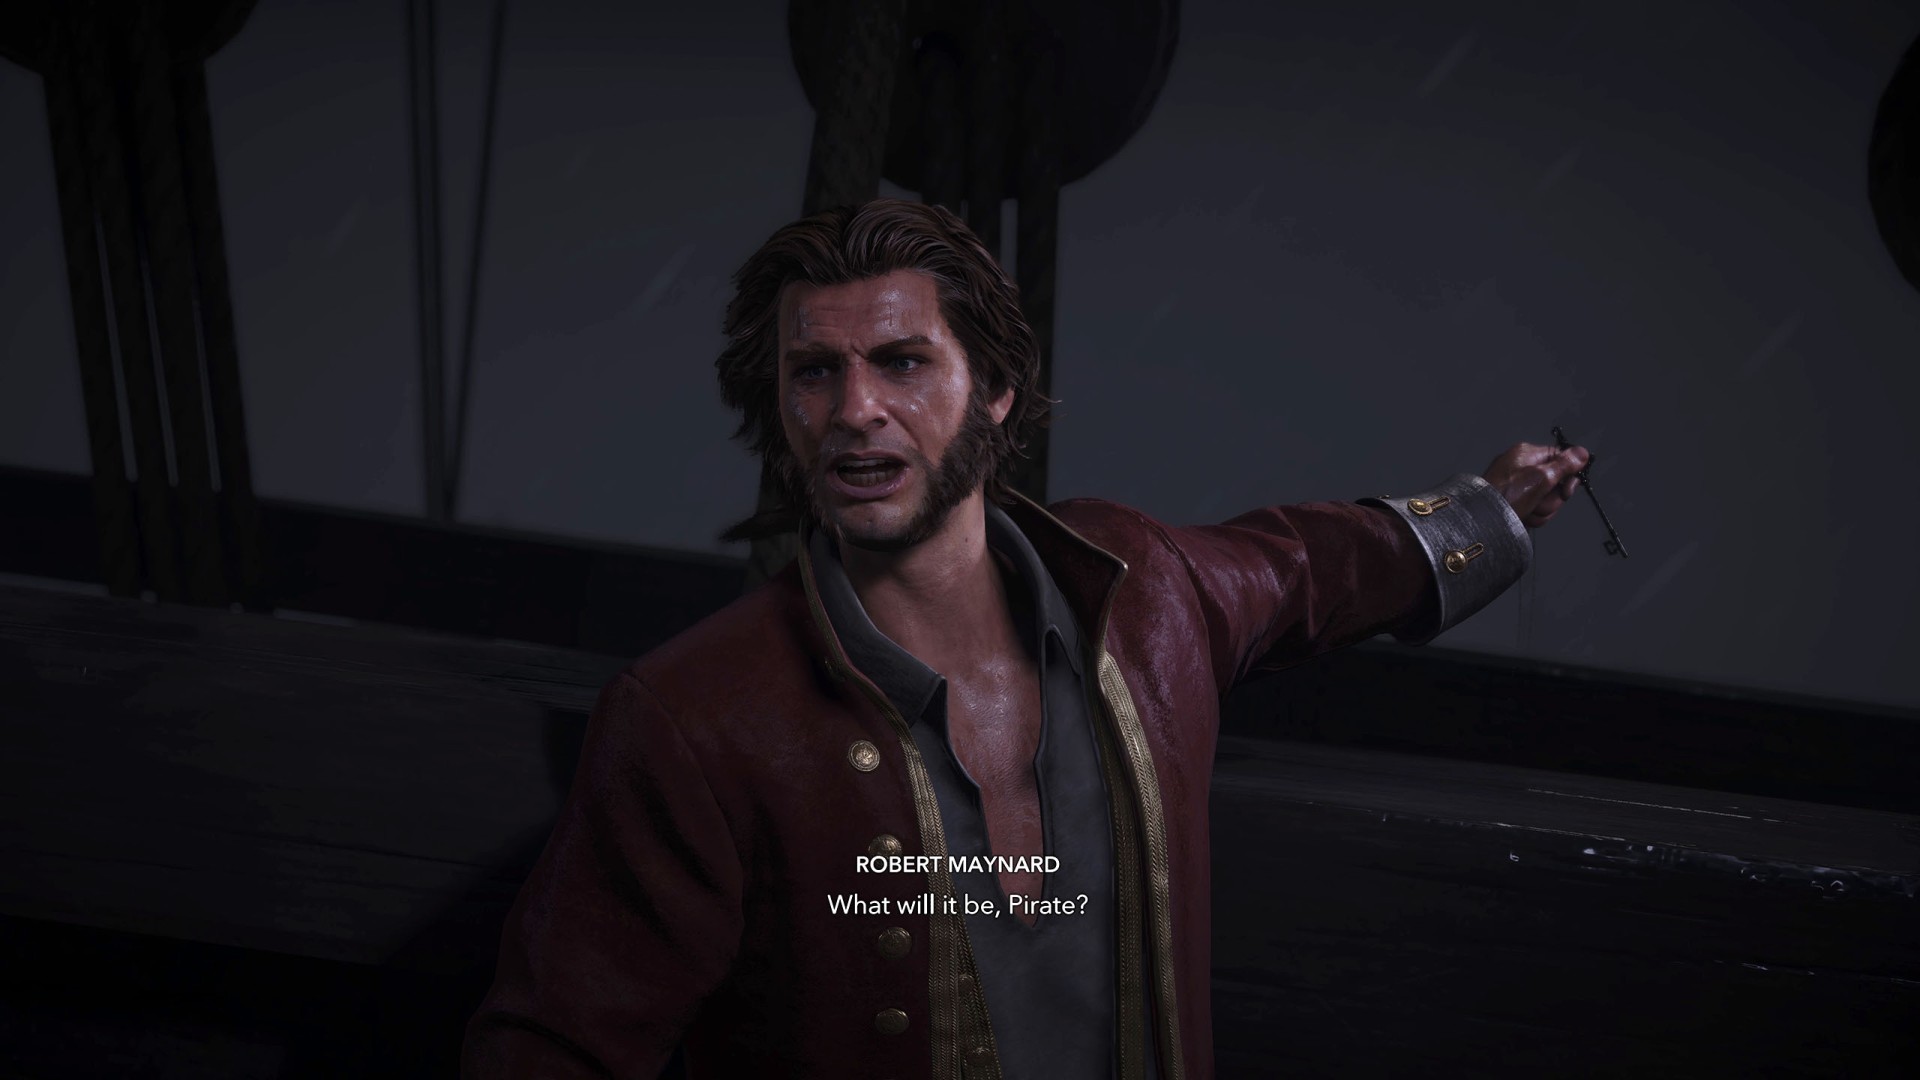
You can use the Ram Dash or simply ram the side of the HMS Ipswitch with your bow to trigger a cutscene where Edward boards Maynard's ship and is promptly attacked by him.
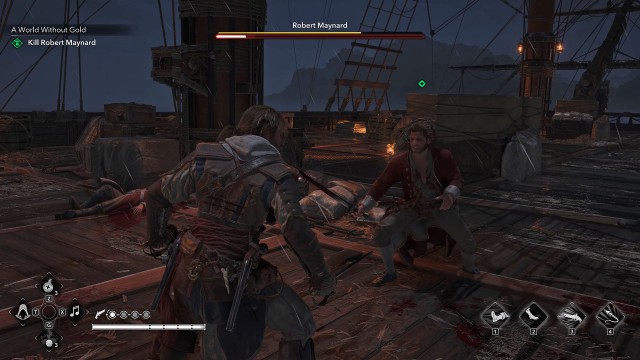
15. Kill Robert Maynard
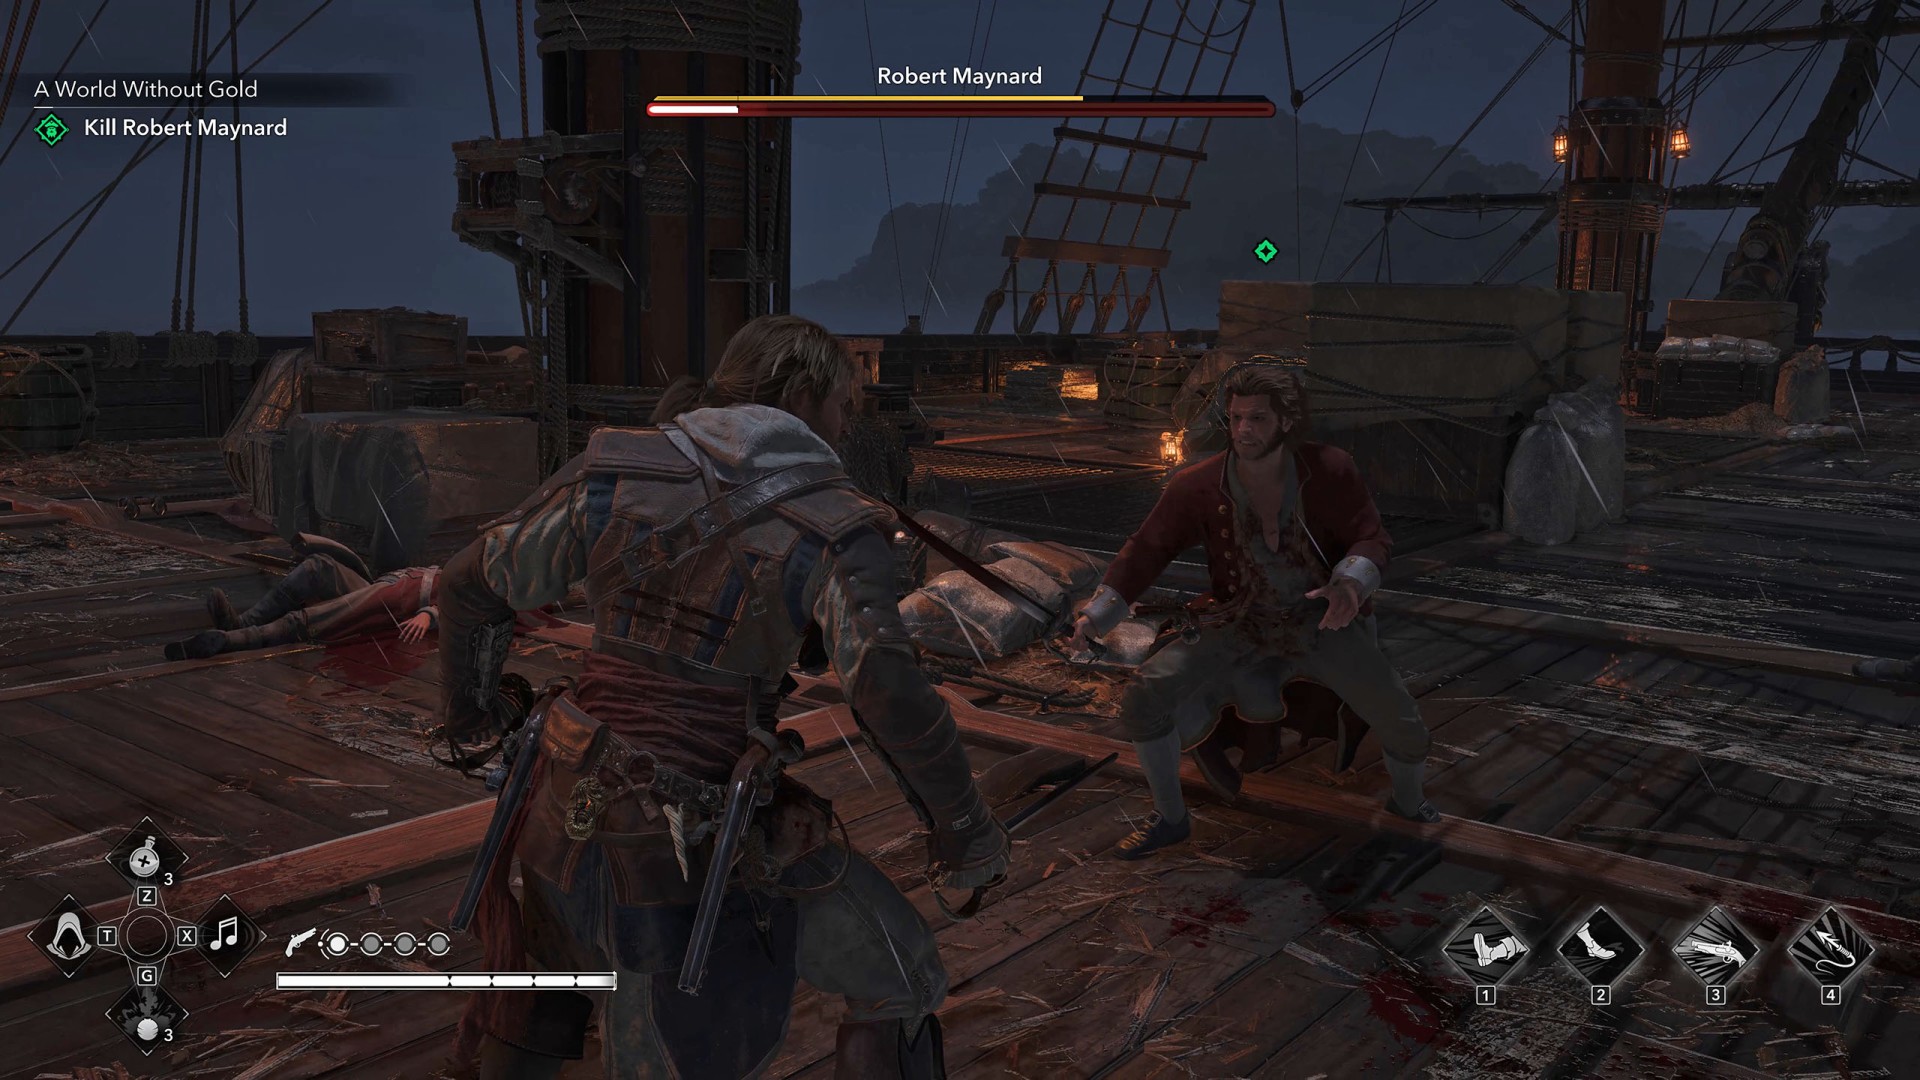
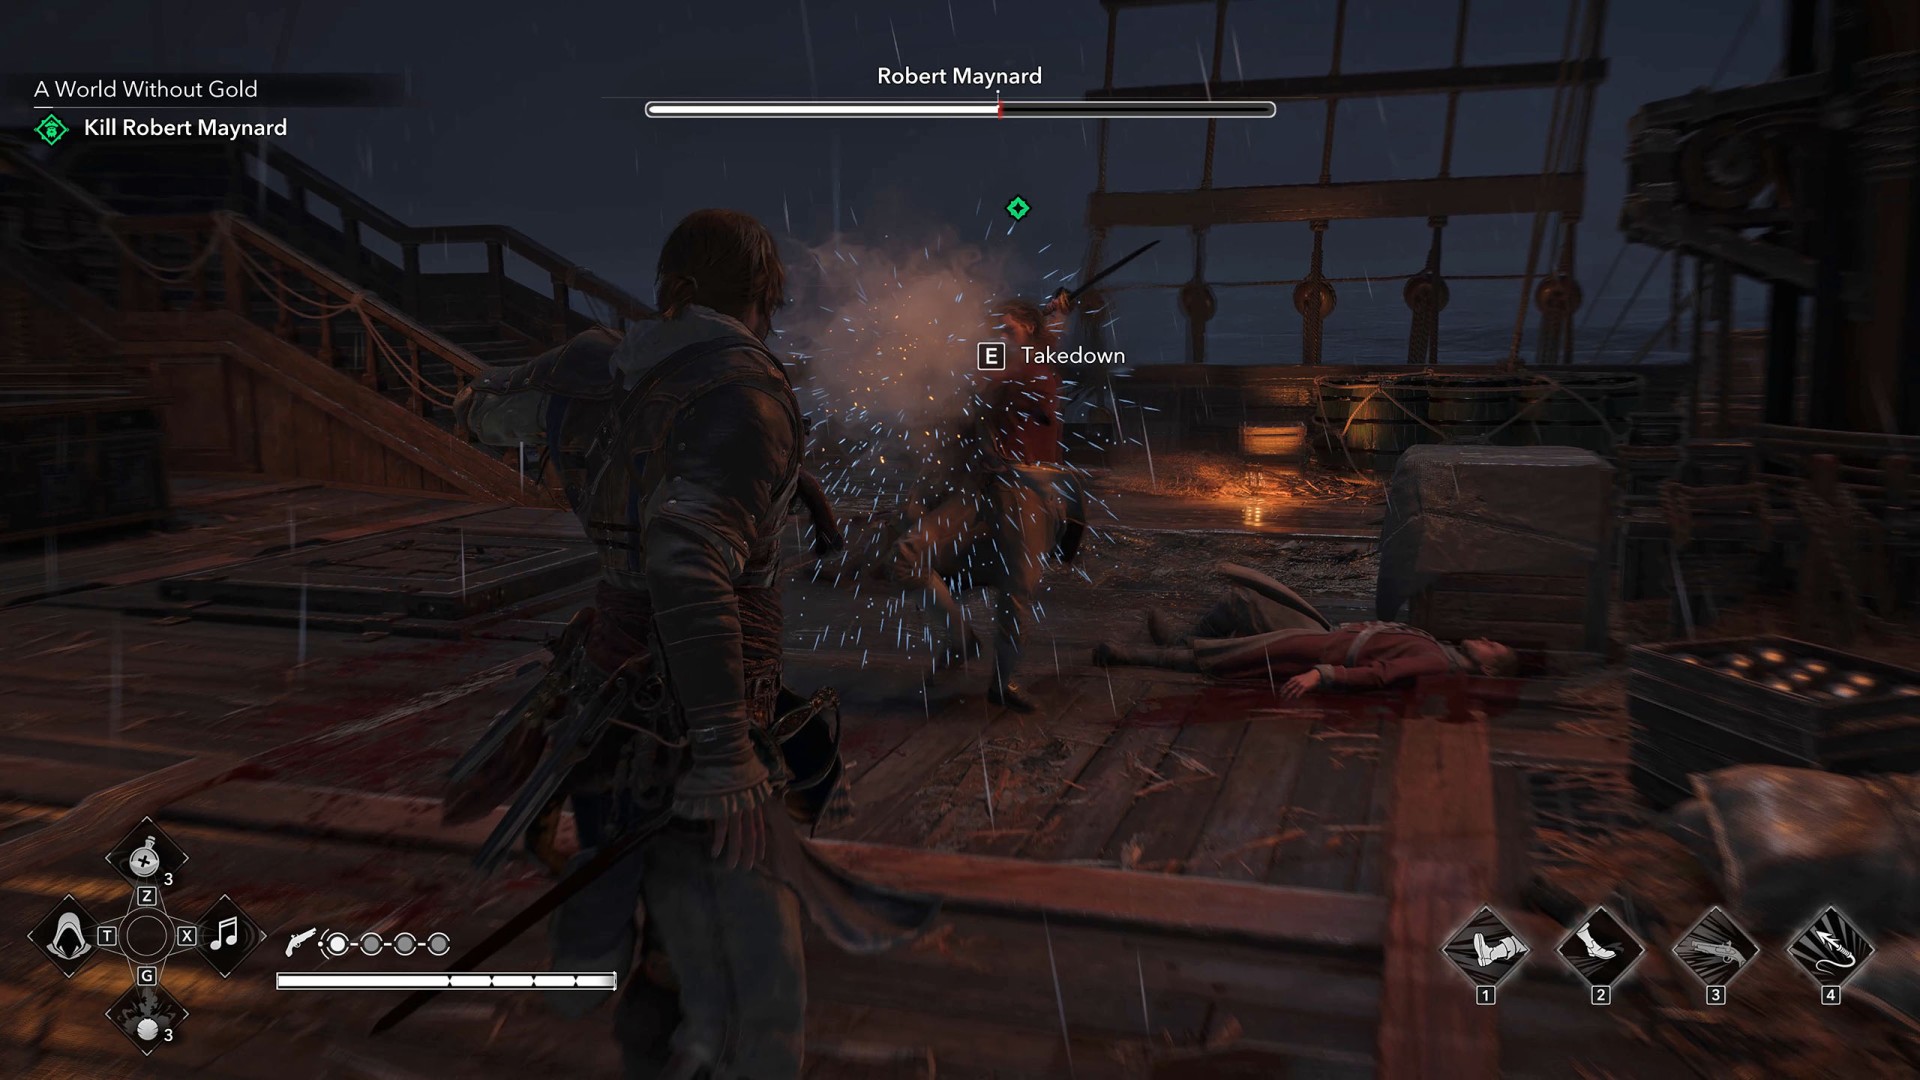
At the beginning of the fight, three extra soldiers will join the battle, so take them out first so they do not bother you. Maynard is a skilled fighter. Focus on parrying his blue attacks and counterattacking to gradually wear down his defenses.
After weakening him enough, you'll see the Takedown prompt. Do it to deal a large amount of damage to Maynard.
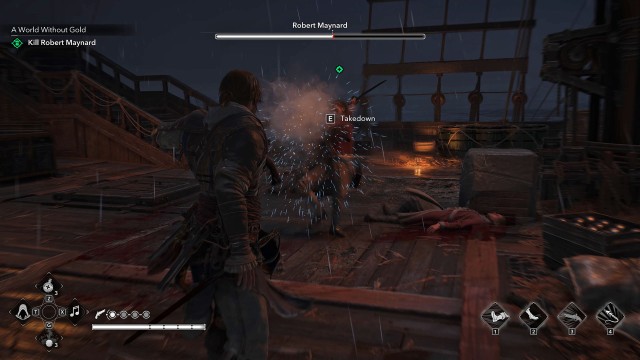
Repeat this process, and eventually Maynard will be defeated - which will trigger the final series of cutscenes. Once they end, you will automatically return to Great Inagua, bringing this questline to a close. You will receive: Jackdaw Totem (Trinket), Queen Anne's Revenge Sails, and Ipswitch ship model.