This mission starts automatically after you leave the safe house at the end of mission "DedSec Party". Your task will be to find Zero-Day's hideout.
!!! Warning: Big spoilers ahead !!!
DedSec is under attack. If they can pinpoint the source of Zero-Day's signal, they may be able to locate the hacker and stop him before it's too late.
Rewards:
1. LOCATE Zero-Day's signal / TRACE Zero-Day's Signal / GET to Safety
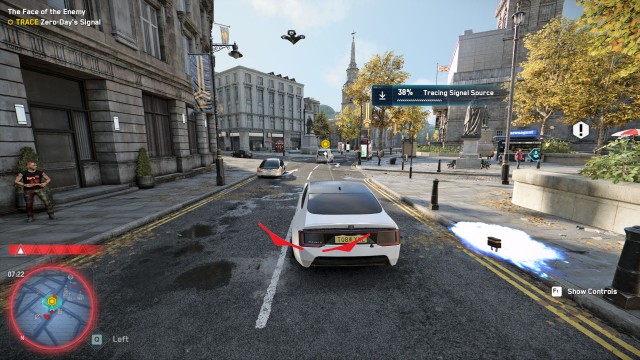
A signal is controlling the autonomous van. Keep the vehicle within range to trace the signal to its point of origin.
Go to the location marked on the map. There you will find a van that will start moving away from you. Follow it and stay close enough to be able to track the source of the signal. Your car will be attacked by drones protecting the van. They should not pose much of a threat to you. When the progress bar reaches 100% try to lose the chase and get to safety.
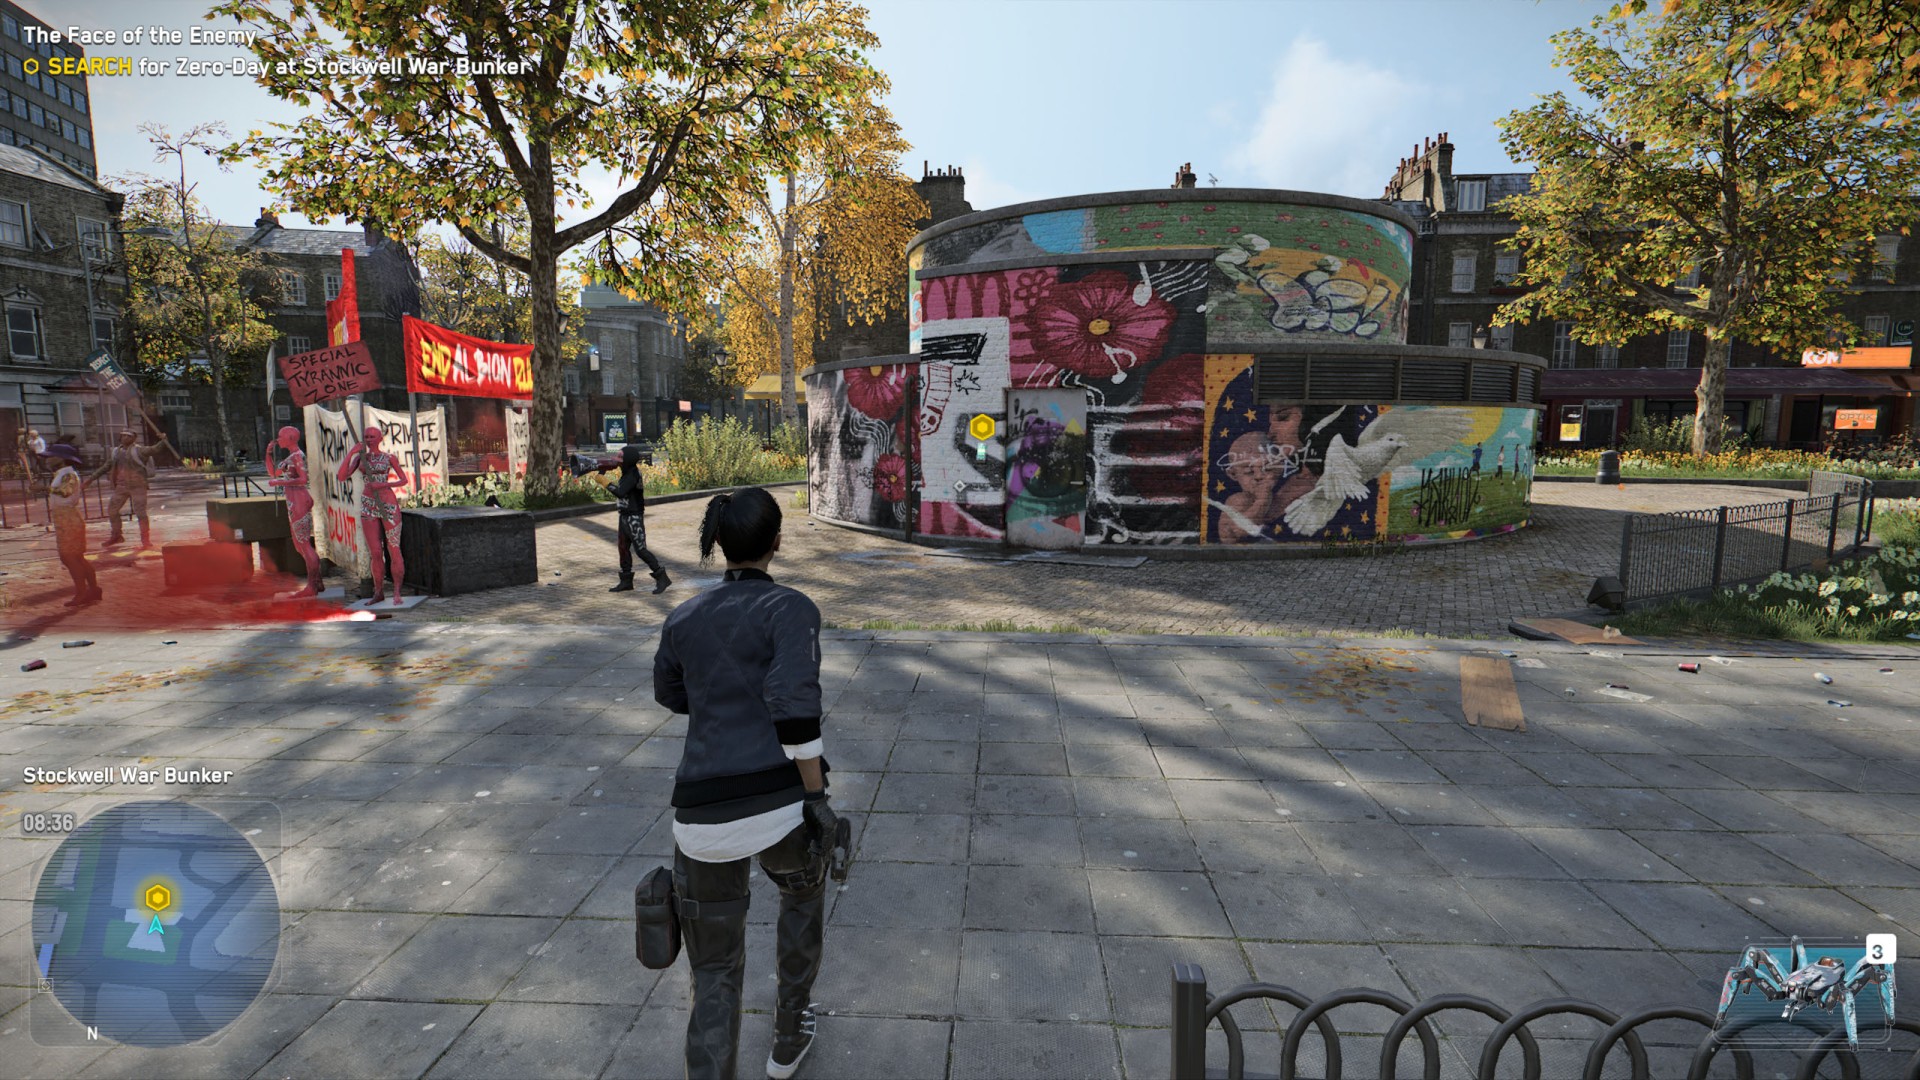
2. SEARCH for Zero-Day at Stockwell War Bunker
The signal that controlled the autonomous van and drones is coming from the Stockwell War Bunker. Could this be where Zero-Day has been operating from?
Head to the Stockwell War Bunker, open the door and go inside.

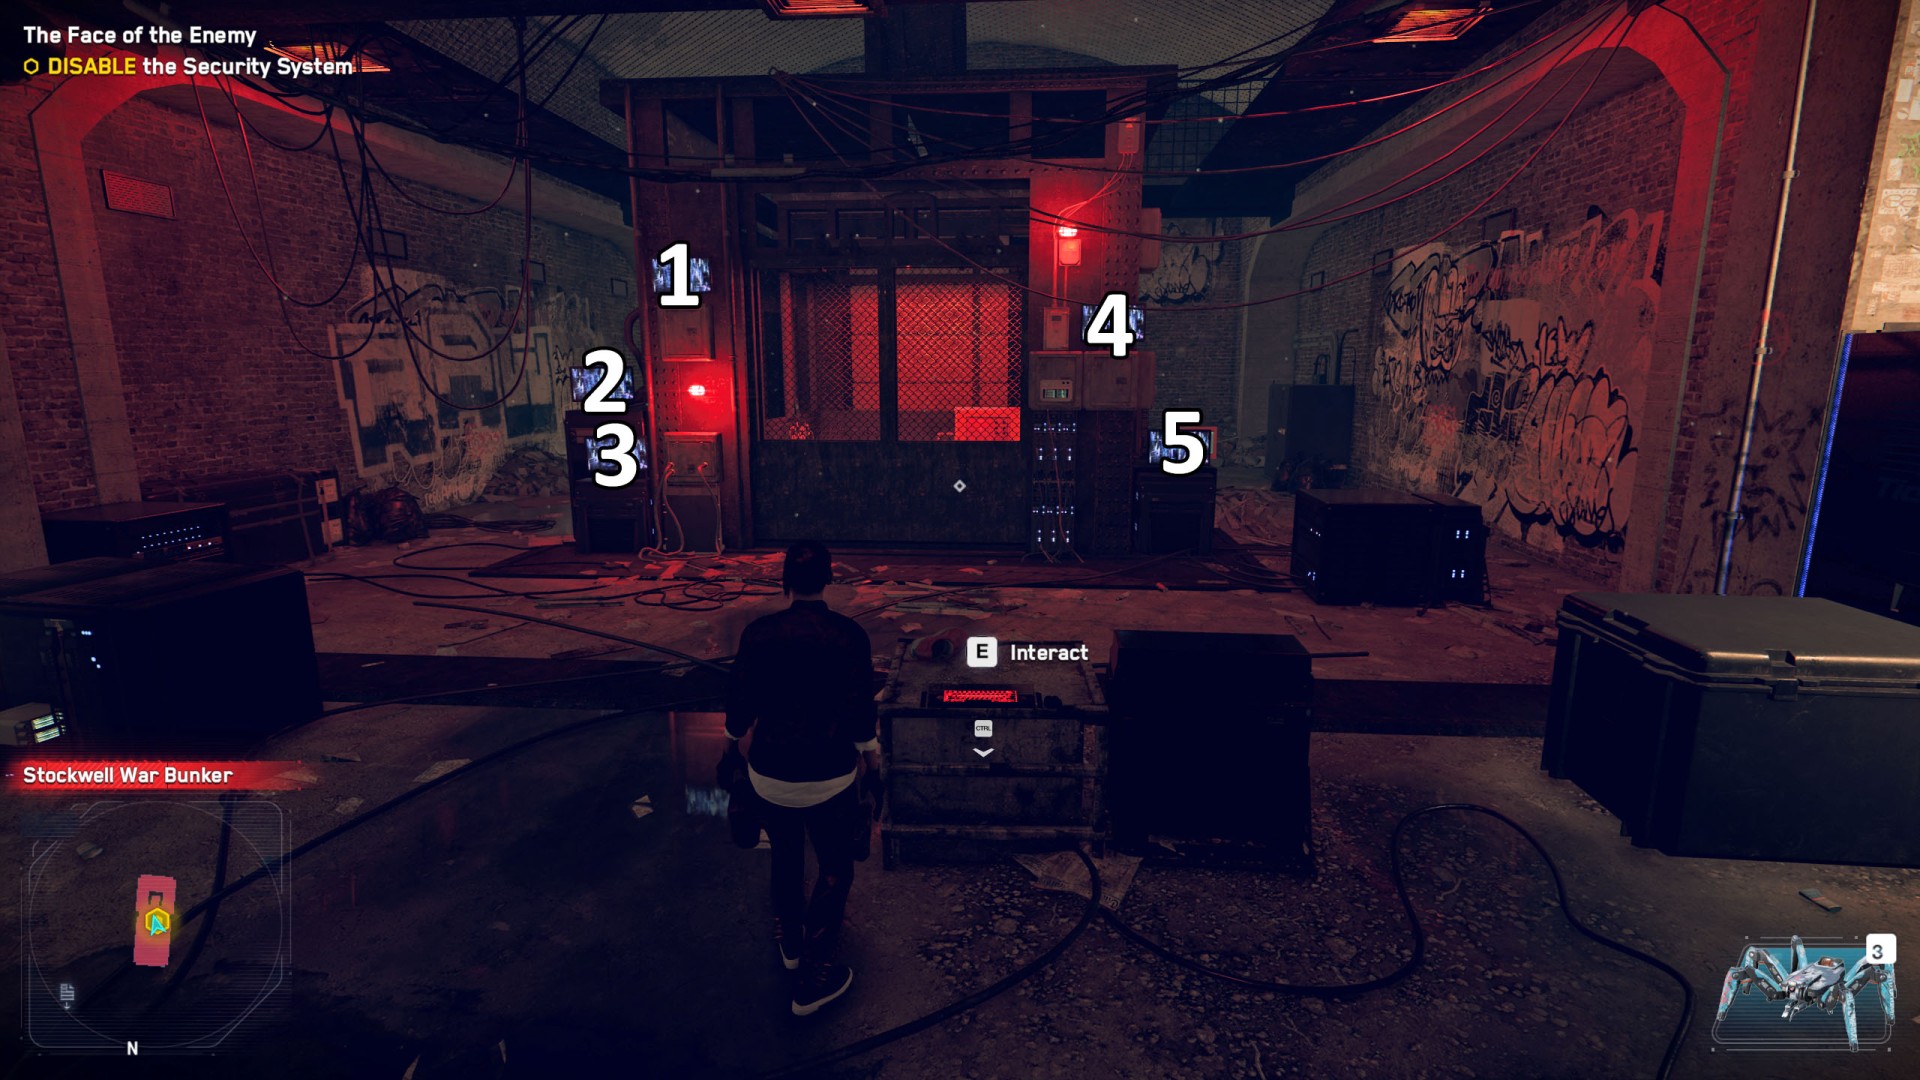
3. DISABLE the Security System / HACK the Screens to Input the Code
The bunker is heavily protected by defence systems. Infiltrate the bunker and locate Zero-Day.
To get to the elevator you must solve a simple puzzle. When you use the console, the monitors around the elevator will start blinking. Your task will be to hack the monitors and repeat the sequence. You have to do it three times, each time the sequence will become a bit longer.
The correct sequences are:
- 1st: 1, 4, 3
- 2nd: 1, 4, 3, 4, 2, 5
- 3rd: 1, 4, 3, 4, 2, 5, 1, 3

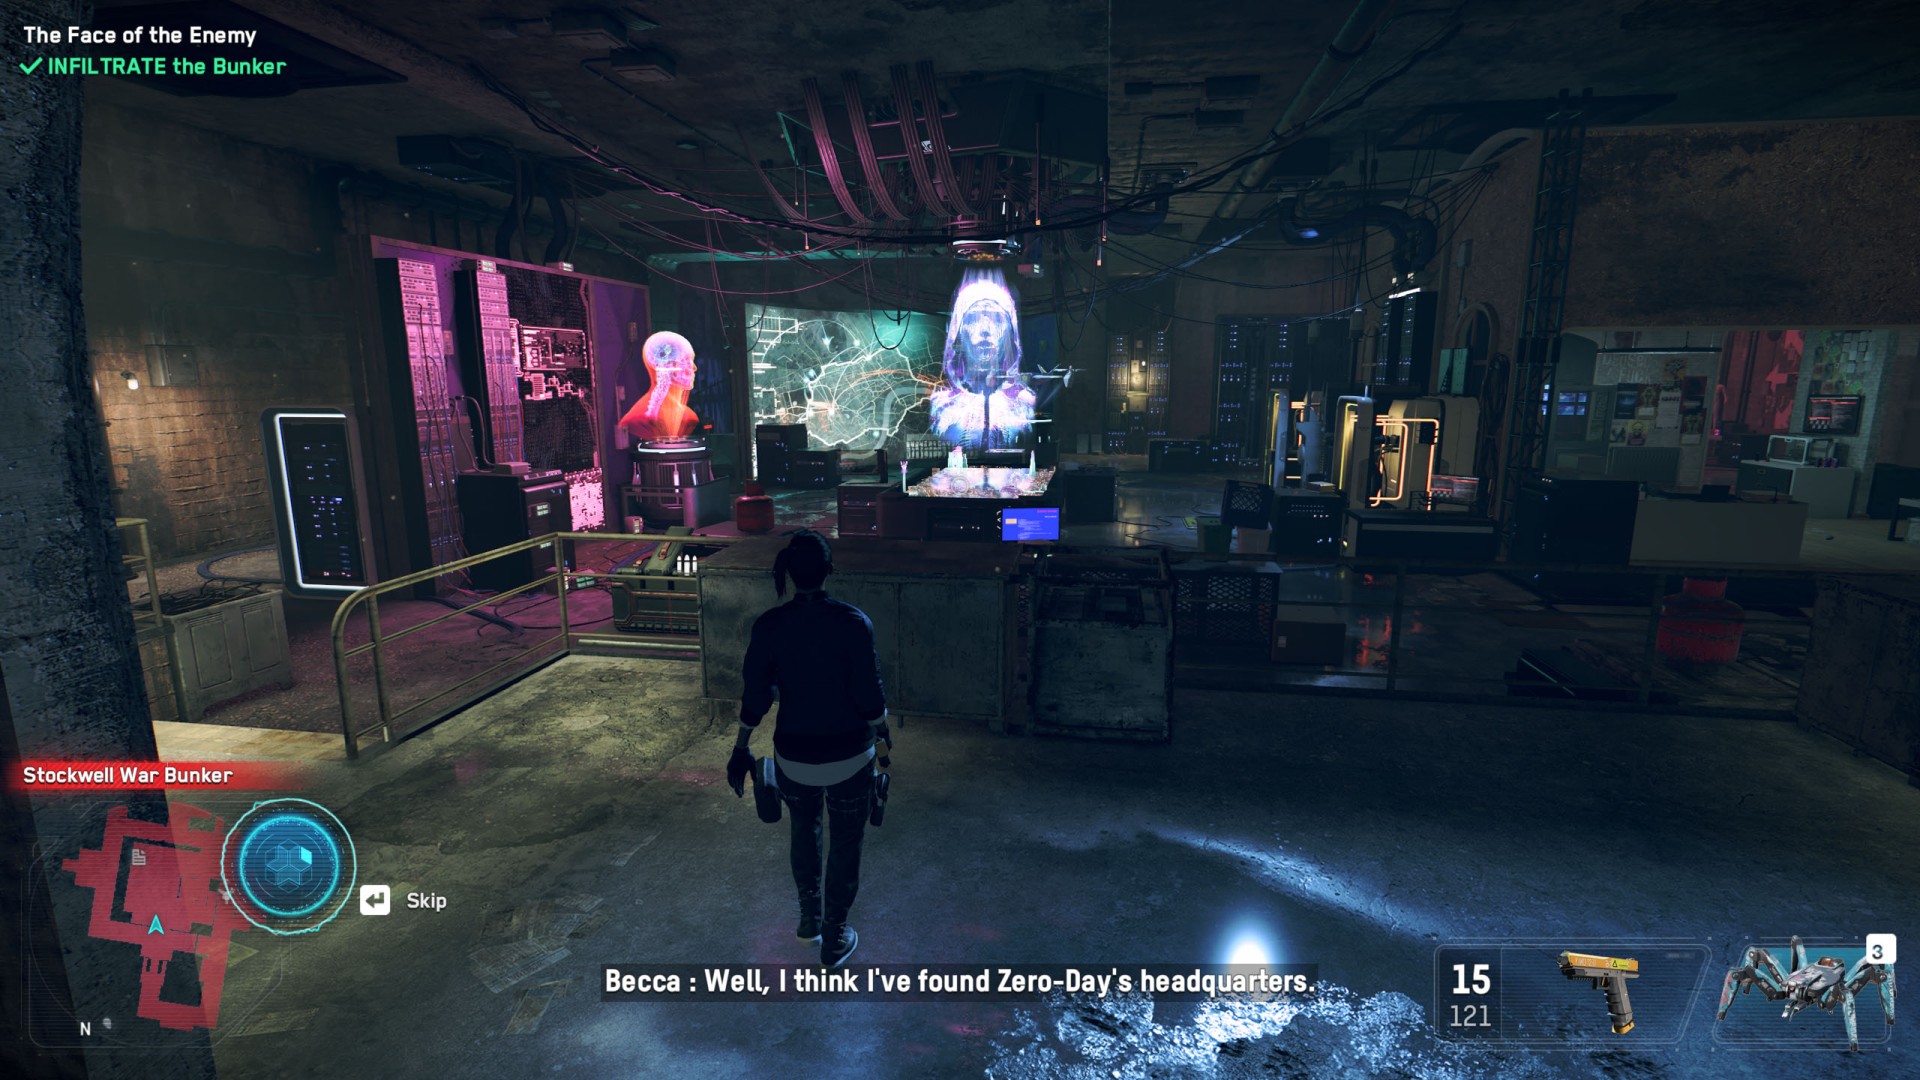
4. ACCESS the Lift / INFILTRATE the Bunker
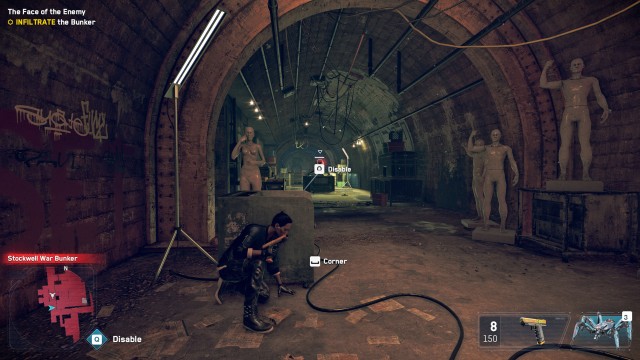
The lower bunker is heavily armed and laid with booby-traps. Bypass the security to reach the rest of the complex.
Take the elevator down and make your way through the corridors. Along the way you will encounter all sorts of traps: mines, guard turrets, suicide drones, etc. Destroy them, deactivate them, use covers, etc. and eventually you will reach Zero-Day's hideout.

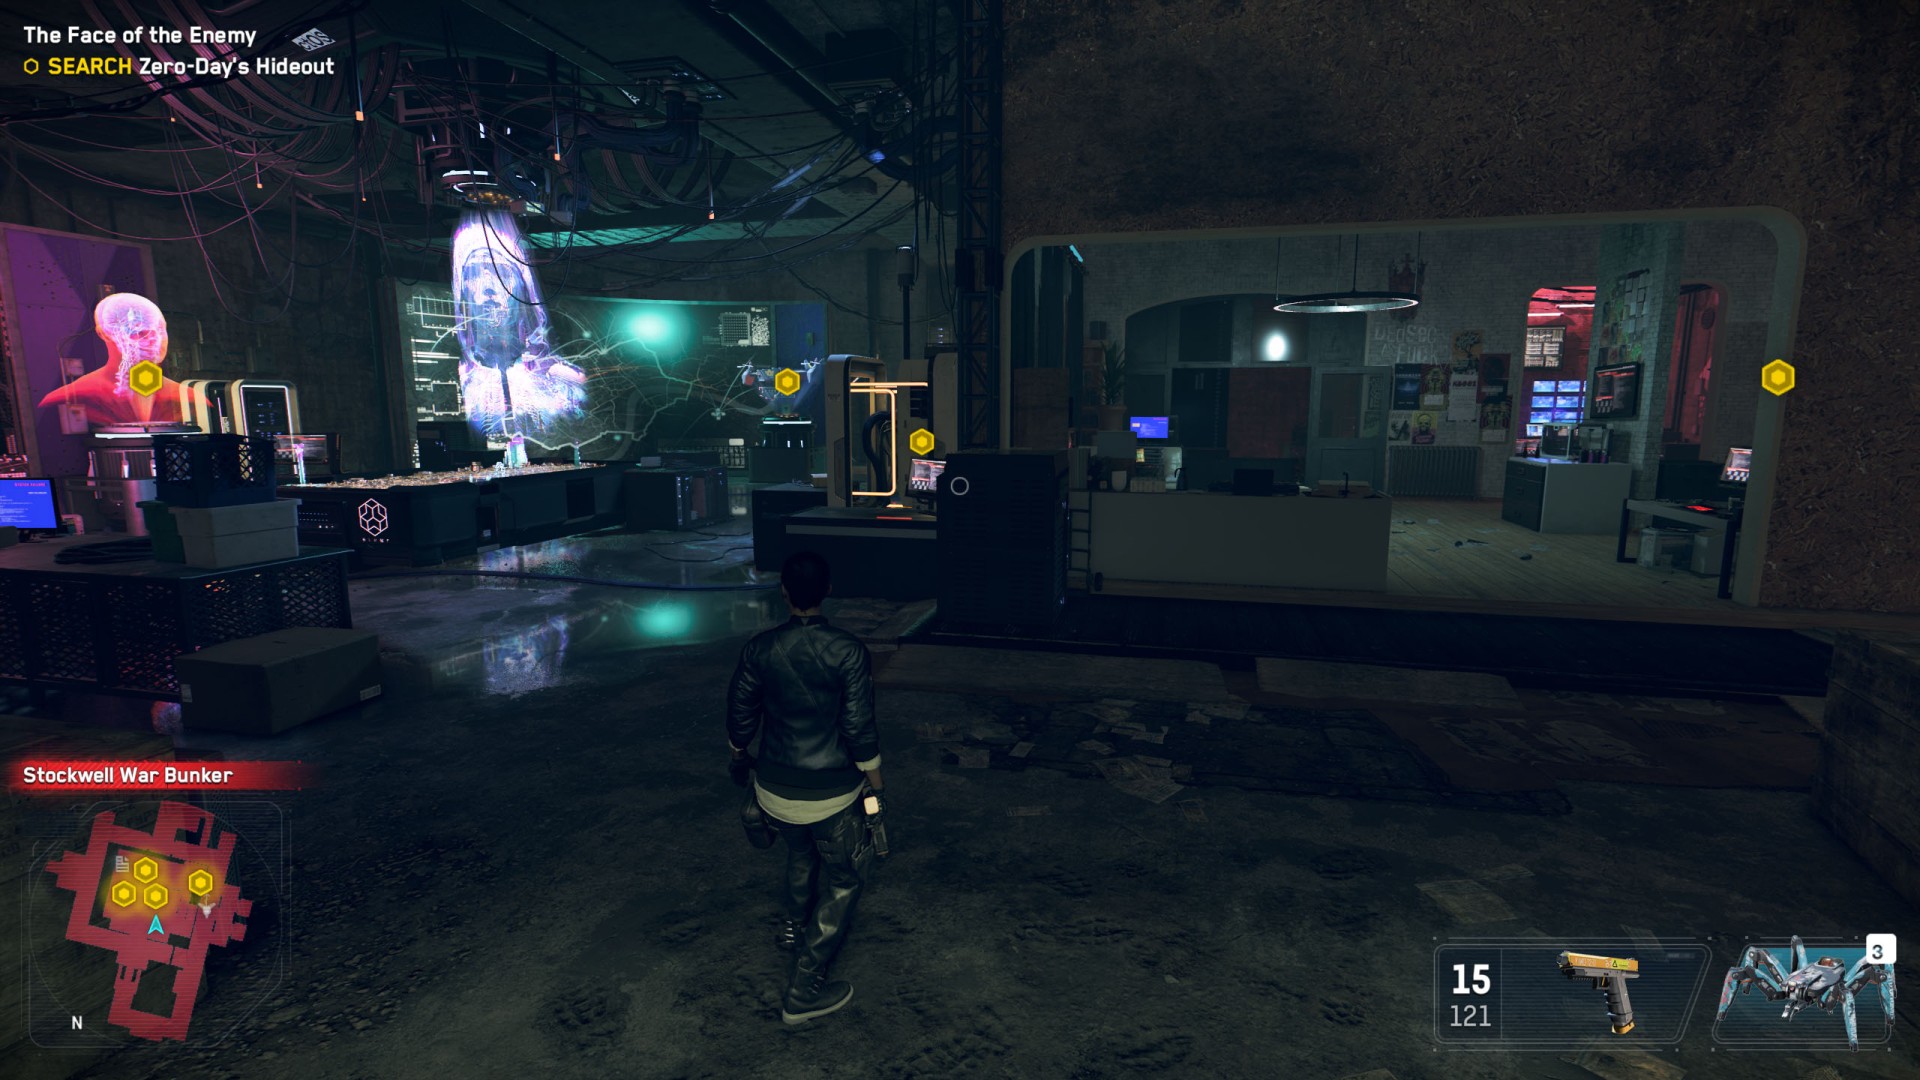
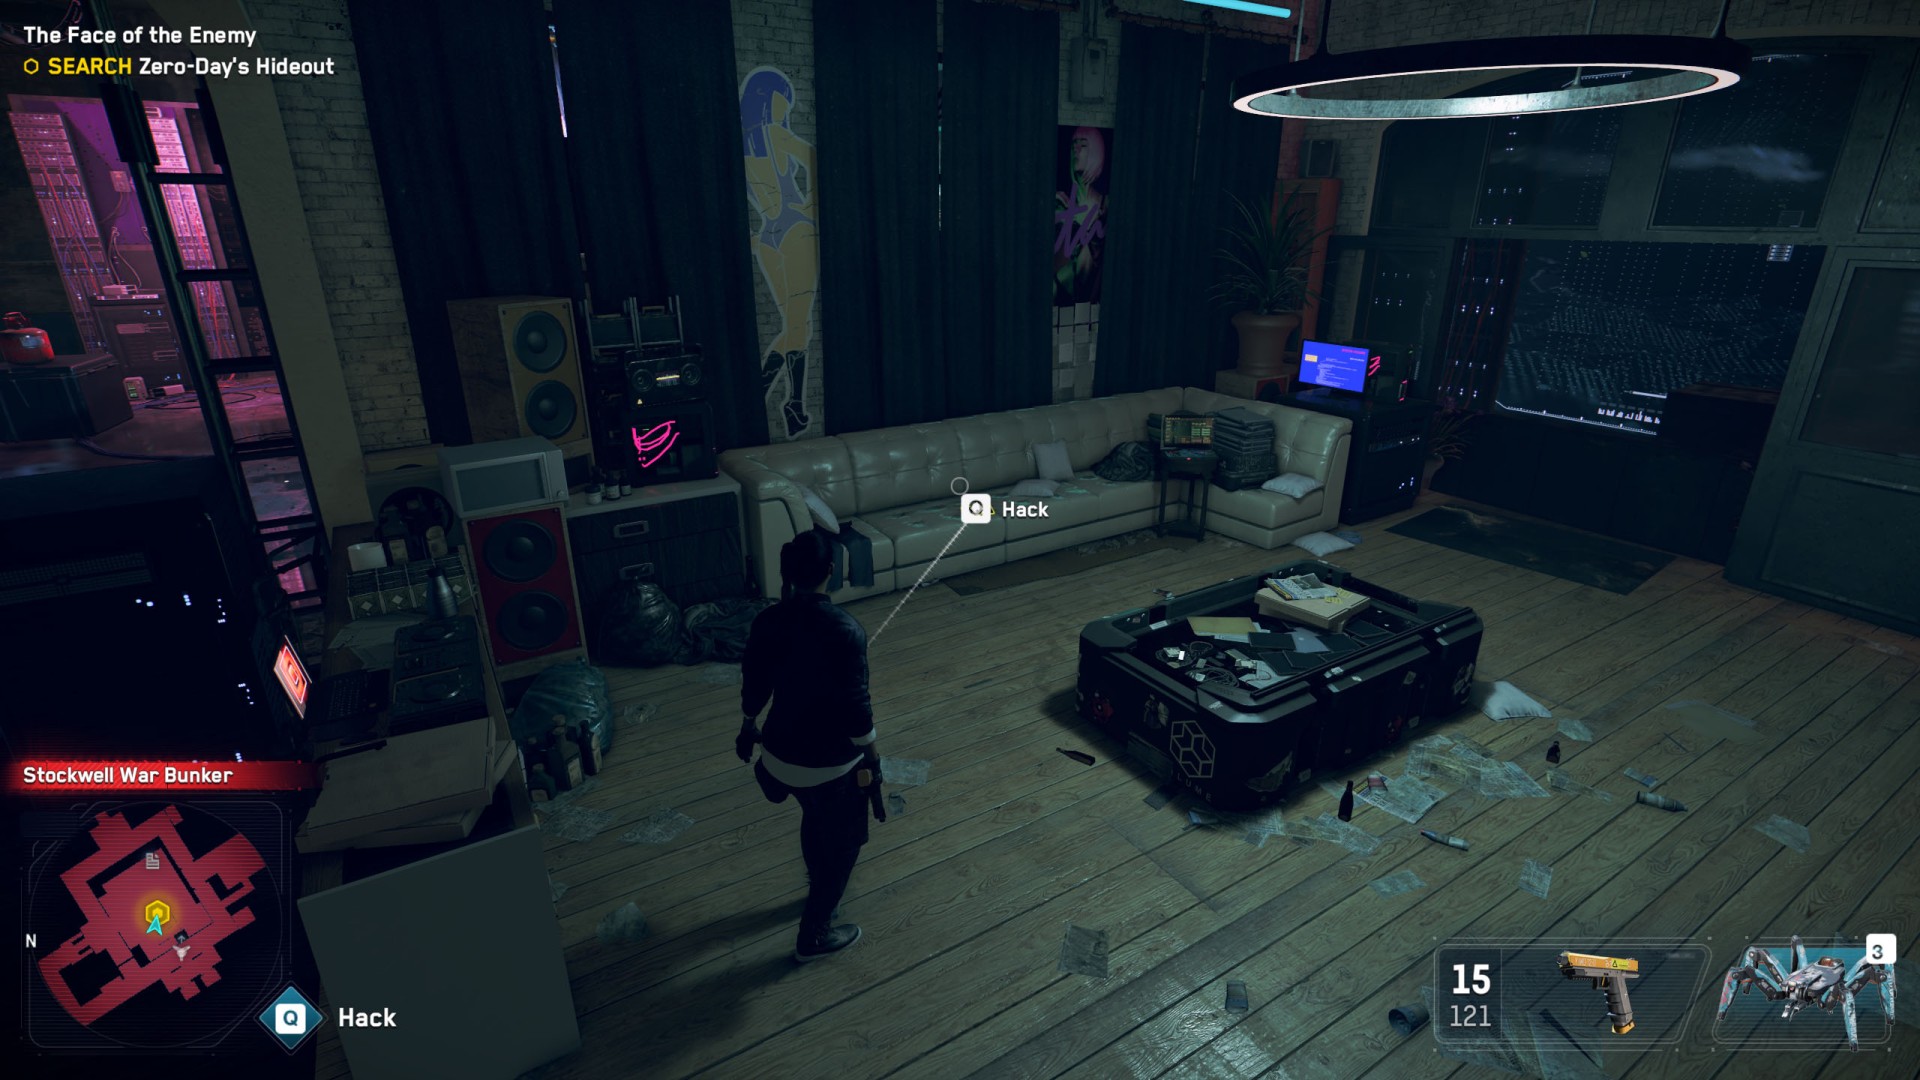
5. SEARCH Zero-Day's Hideout
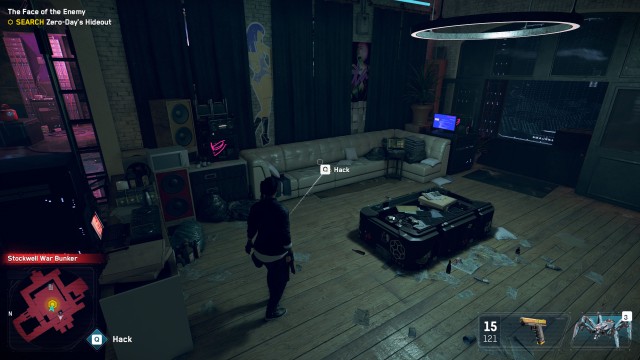
After making it through the bunker, DedSec find themselves in what looks the operations base and braintrust of Zero-Day. Investigate the surroundings.
Examine all four marked clues,...

...download the video log from the tablet lying on the couch...
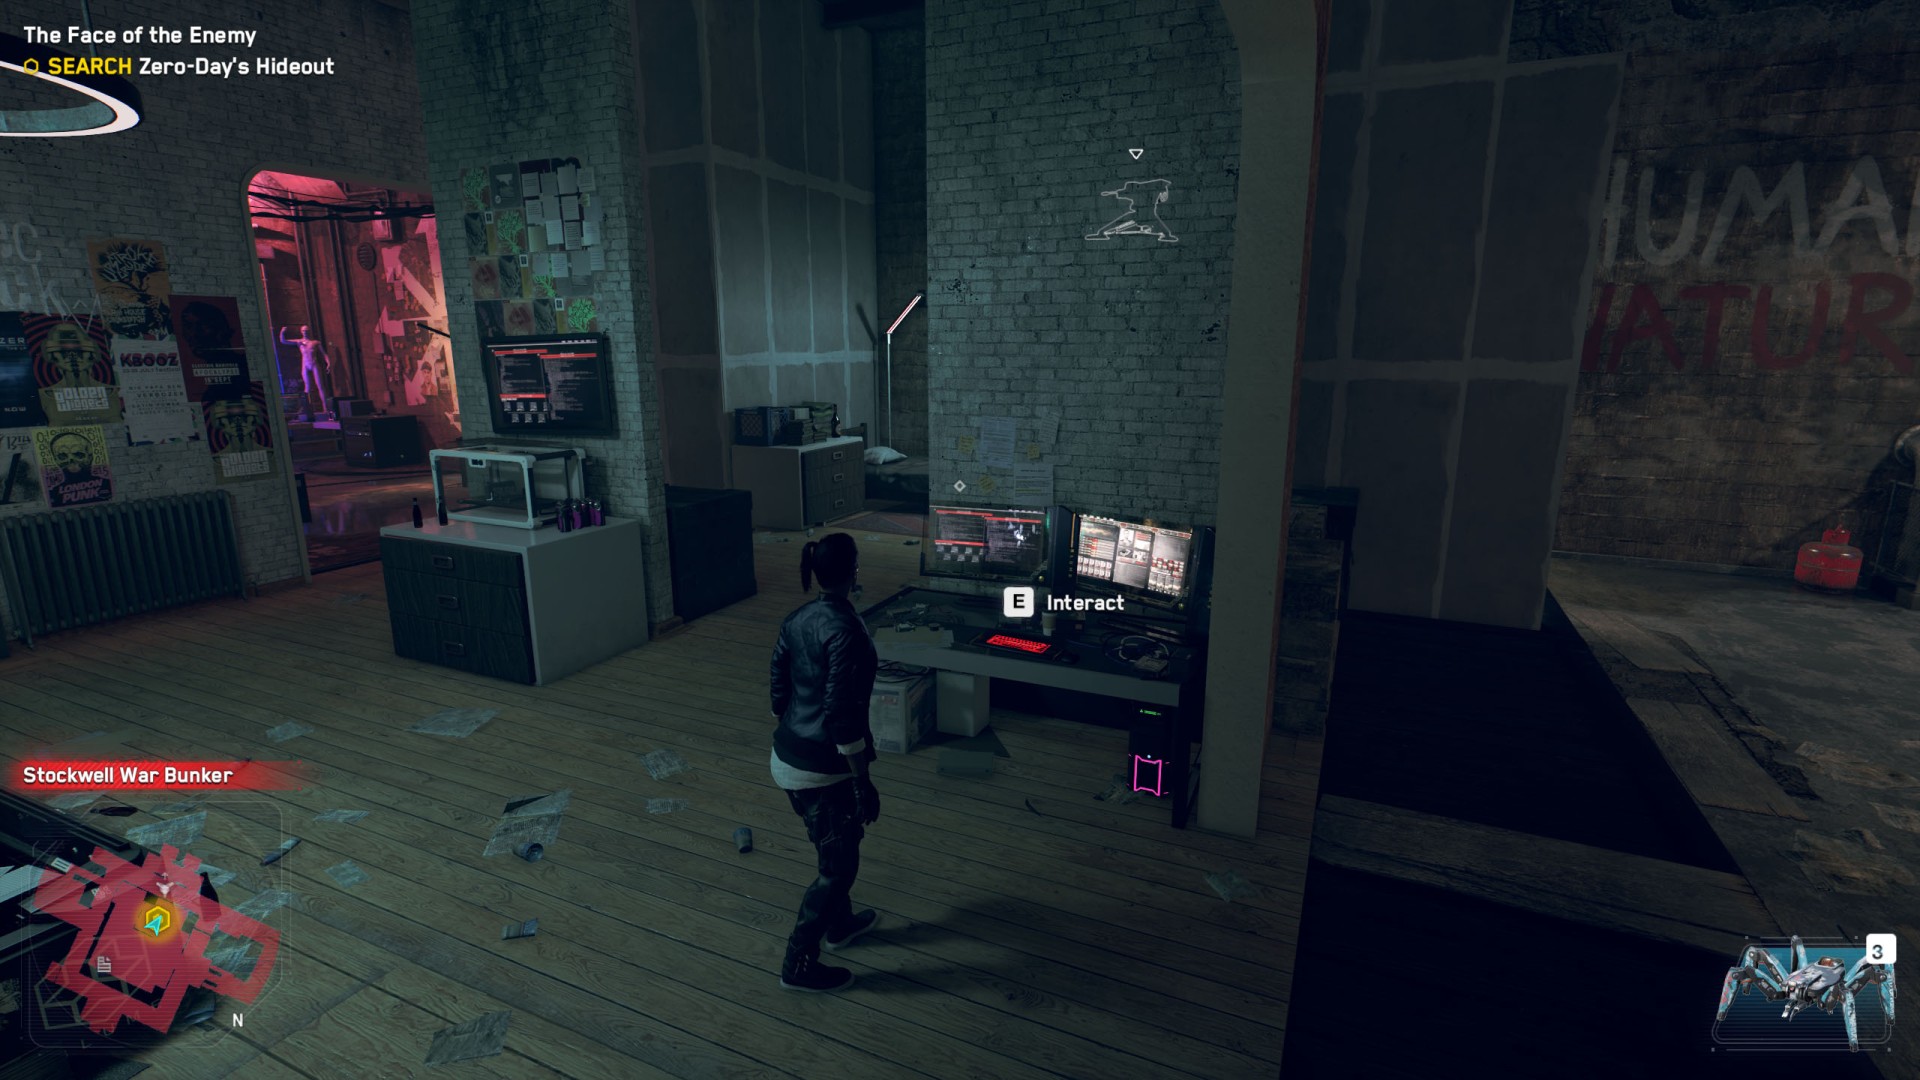
...and finally check one of the computers.
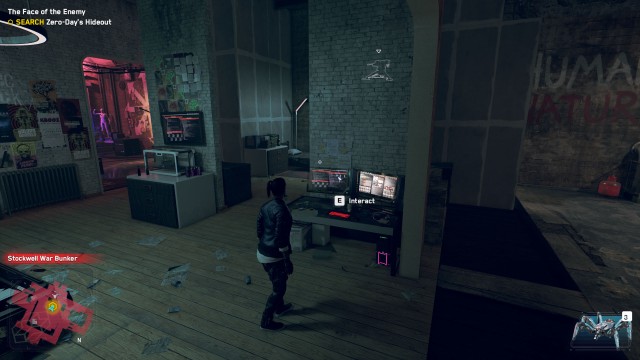
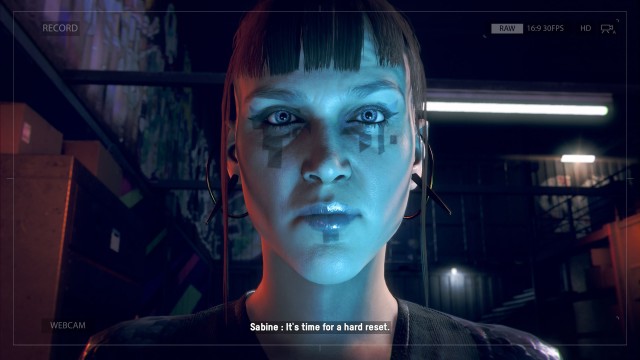
Then you will find out who Zero-Day really is.
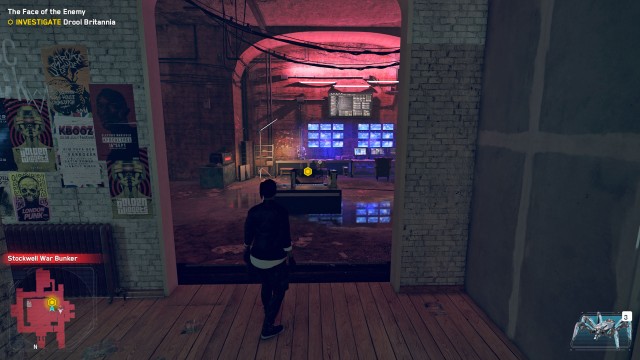
6. INVESTIGATE Drool Britannia
Access the next console and you will find out what Drool Britannia really is.
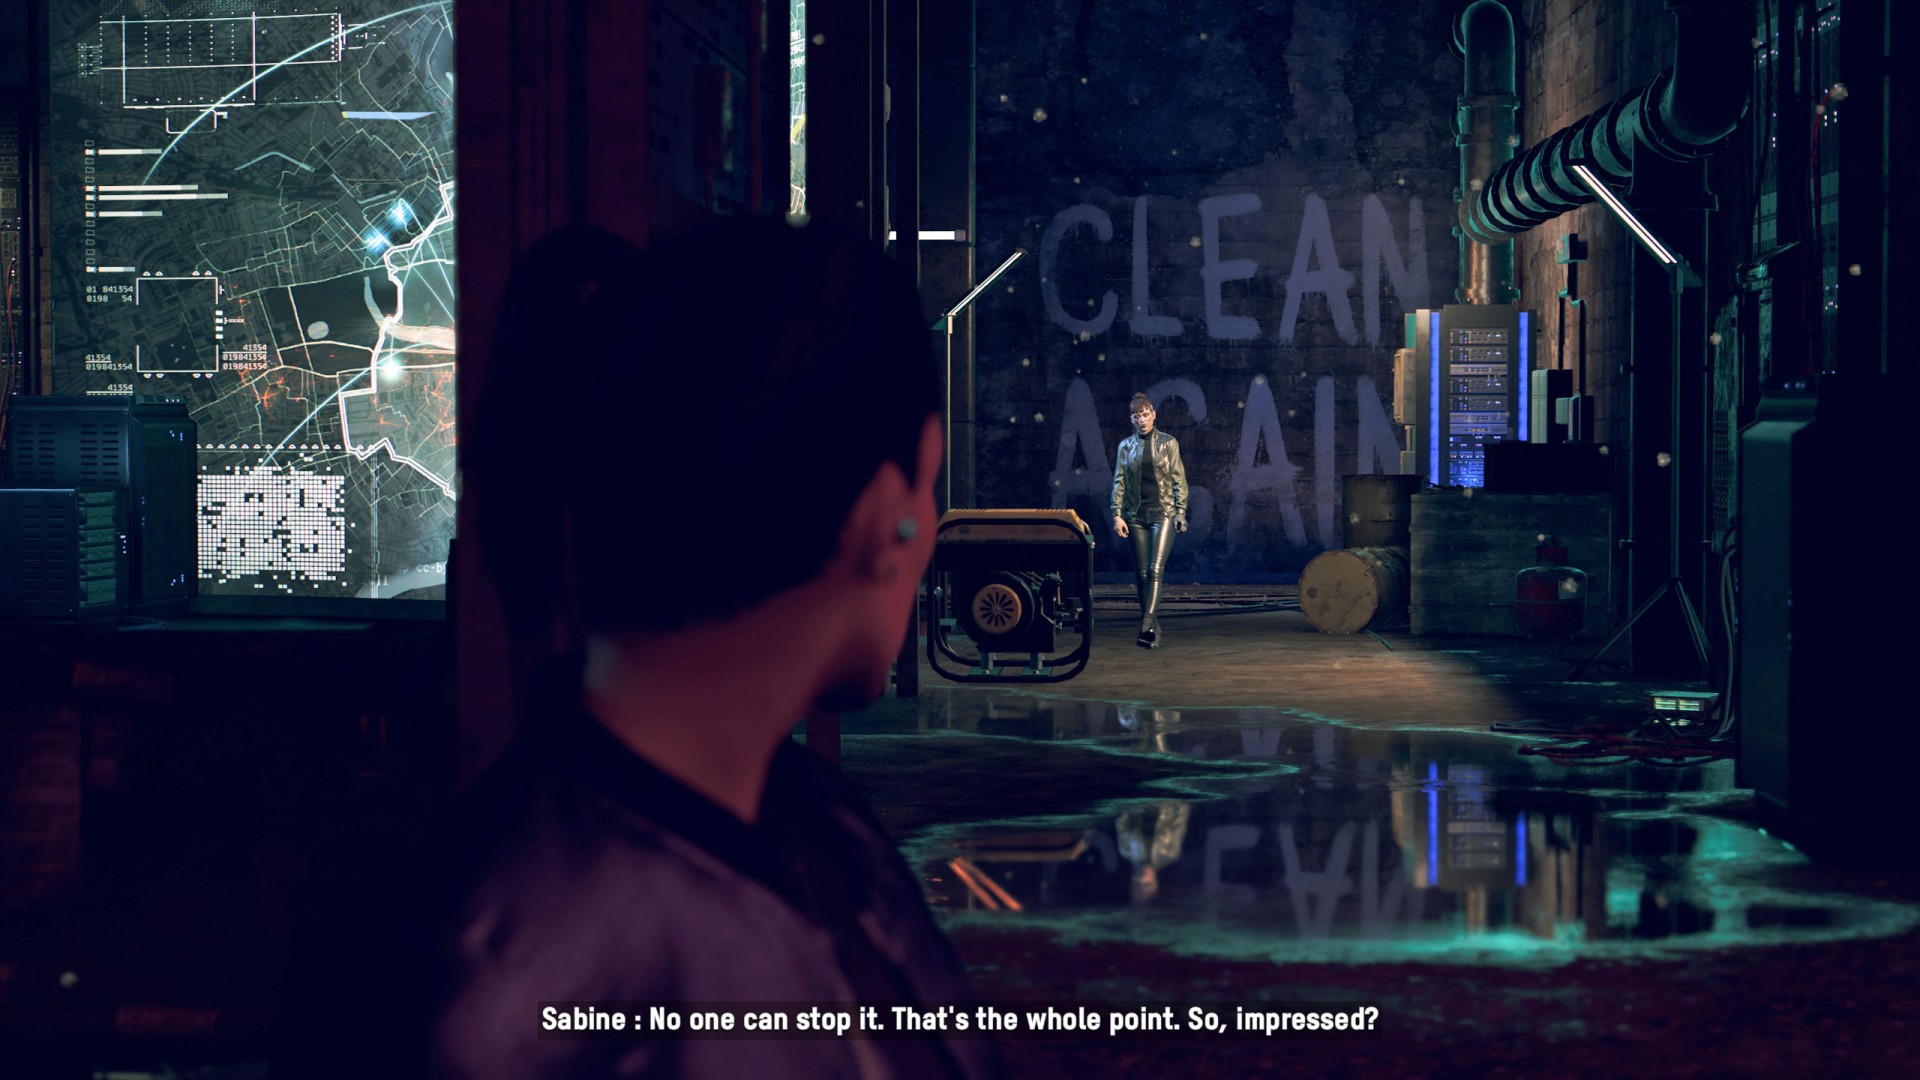
Then Sabine will show up and you will start talking. After a while she will flee, the room will be sealed and Albion soldiers will arrive and attack you.

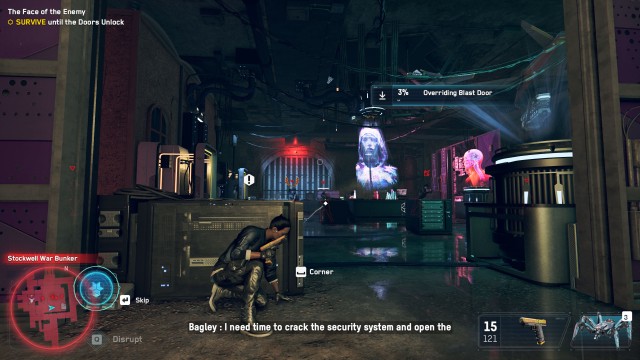
7. SURVIVE until the Doors Unlock
It will take some time for Bagley to unlock the door. Meanwhile, Albion security continues to close in. Stay alive long enough to escape.
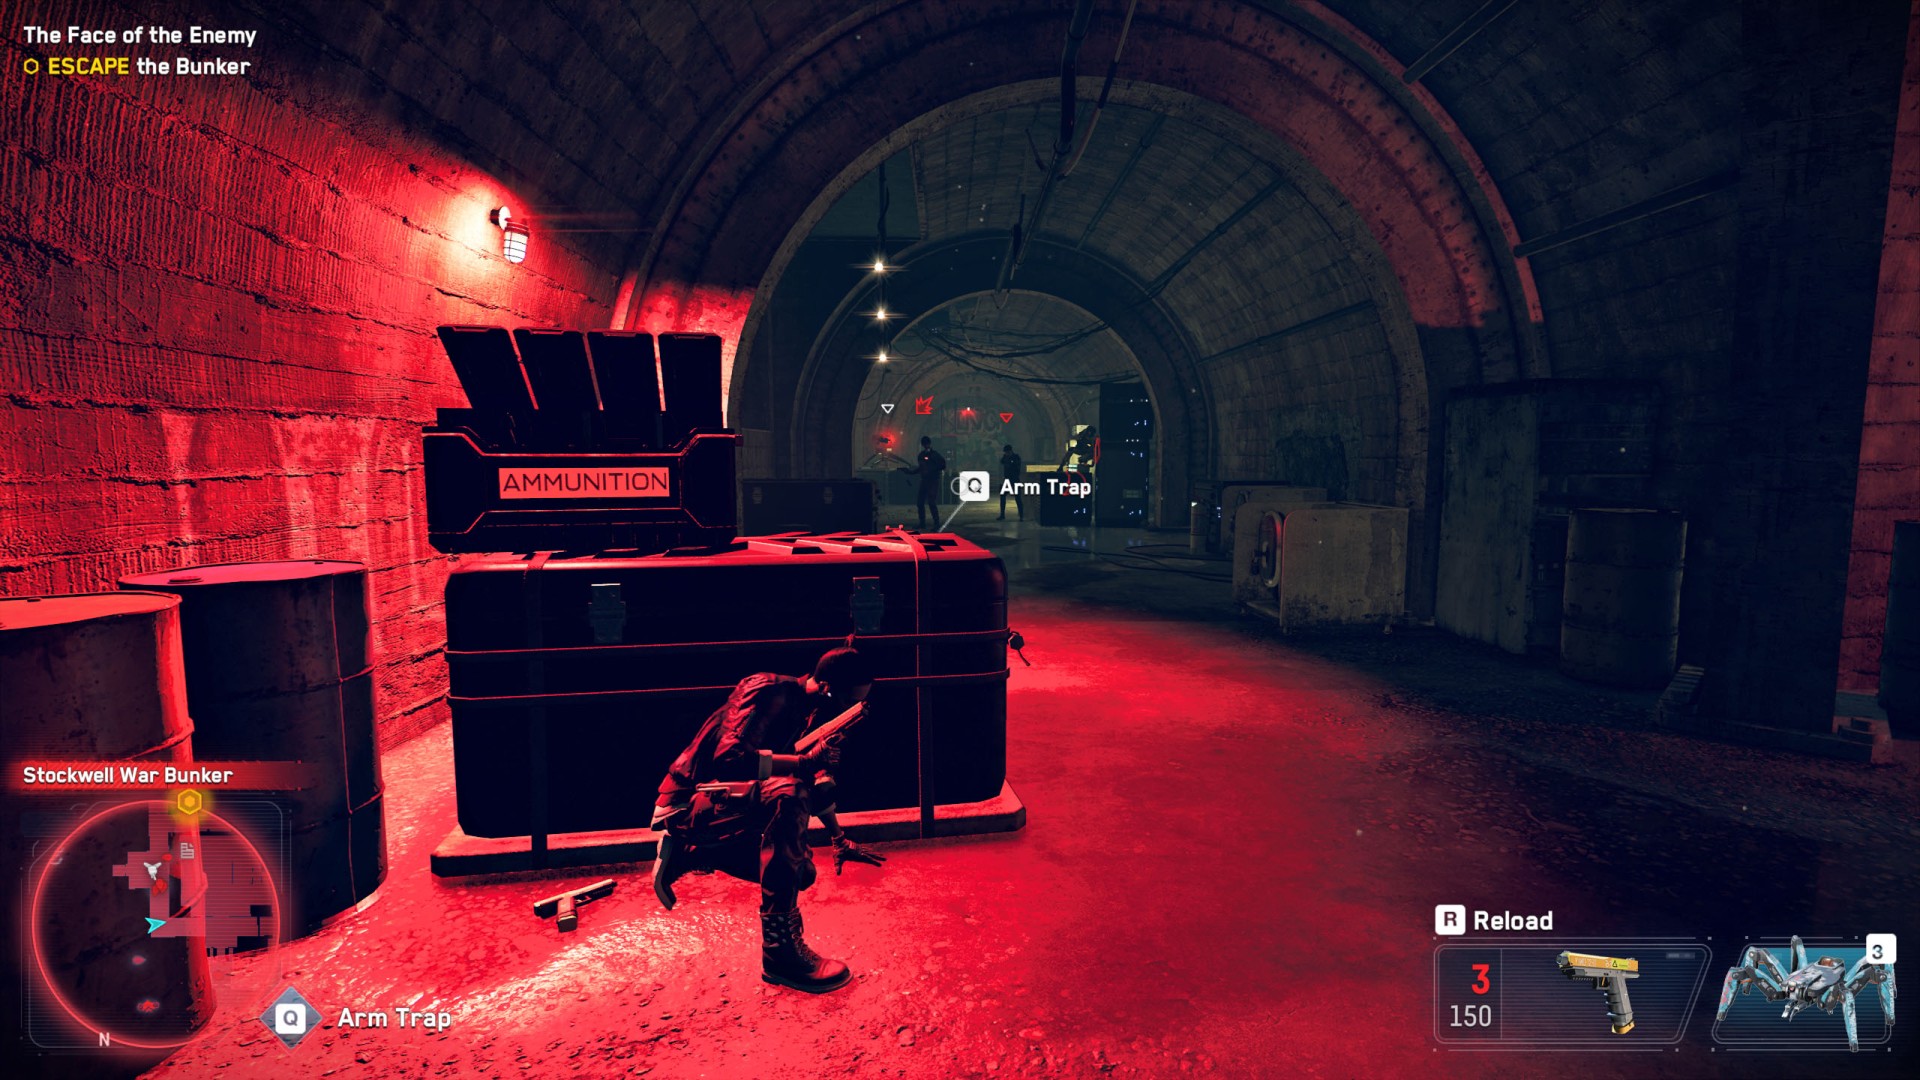
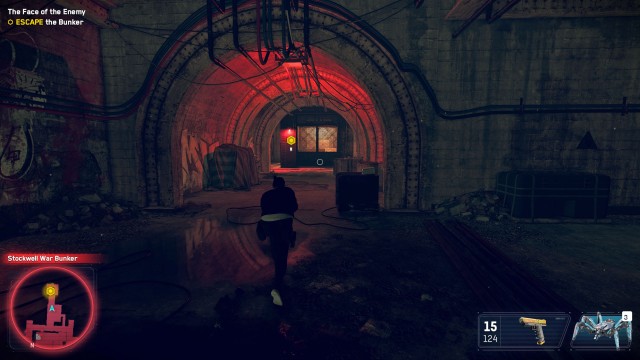
8. ESCAPE the Bunker
Sabine, now revealed as the hacker "Zero-Day" has left DedSec to be slaughtered by Albion. Escape the bunker.
This will be one of the more intense fights. You have to keep moving forward, eliminating the Albion cops because otherwise more will keep coming.

After a while you should reach an elevator which will take you to a upper floor.
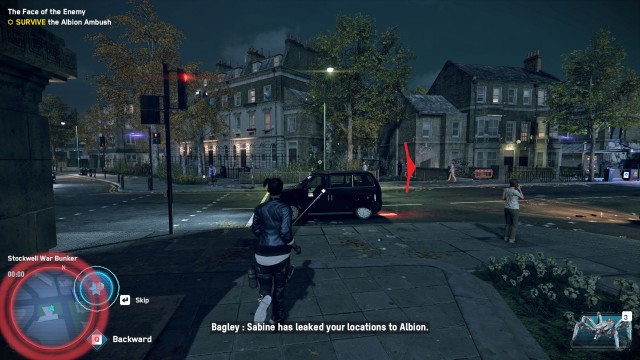
9. SURVIVE the Albion Ambush
Albion is conducting a mass raid to chase down and eliminate every DedSec member. Survive the ambush until DedSec finds a place to meet.
Once out of the bunker, get into any nearby car as quickly as possible and get away from the Albion soldiers and drones chasing you. I was able to do it very quickly when I drove to the bridge, got out of the vehicle there, jumped into the water and hid under the bridge ;-)
When you manage to escape then this mission will end and you will get the last main story mission - "Hard Reset".