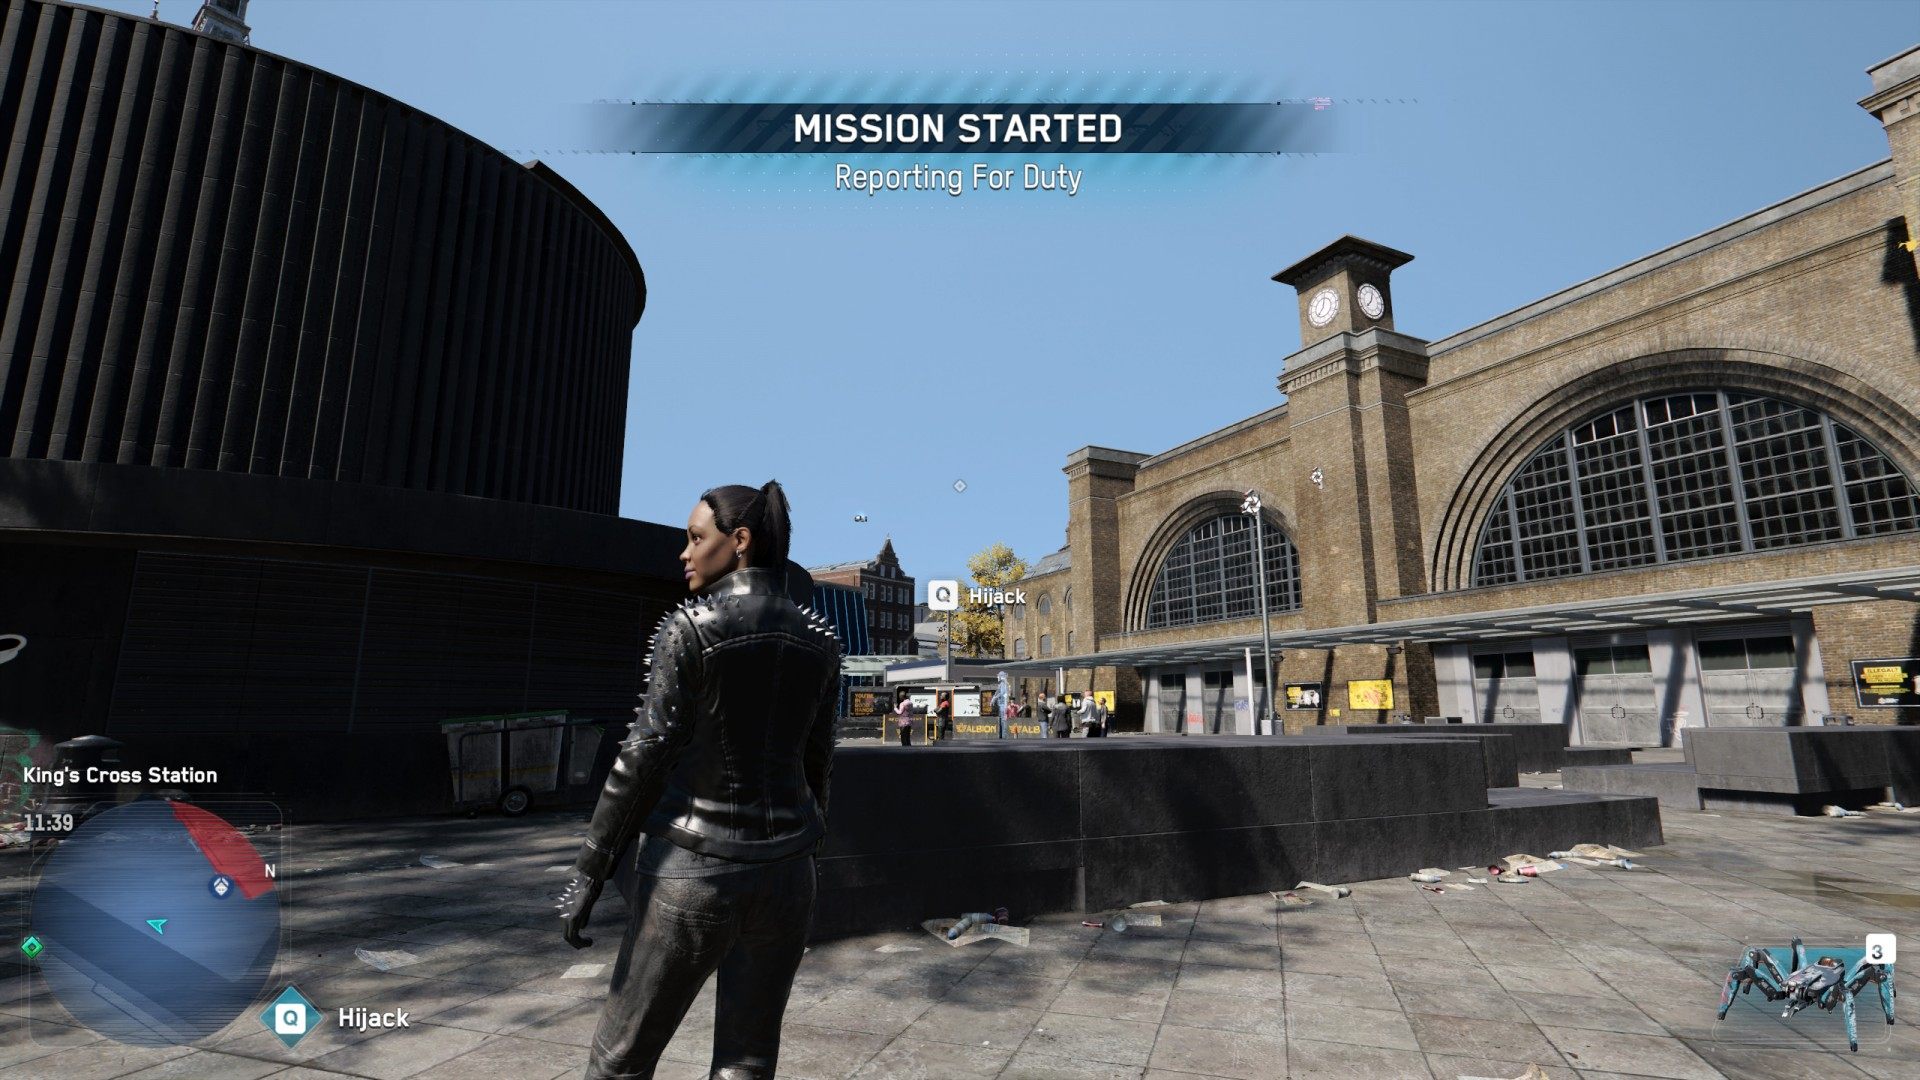
This mission will start automatically after you sabotage King's Cross Station which will complete mission "Clarion Call".
Bagley has a lead on a SIRS surveillance tool, that he thinks will be vital to tracking down Zero-Day and completing future DedSec operations.
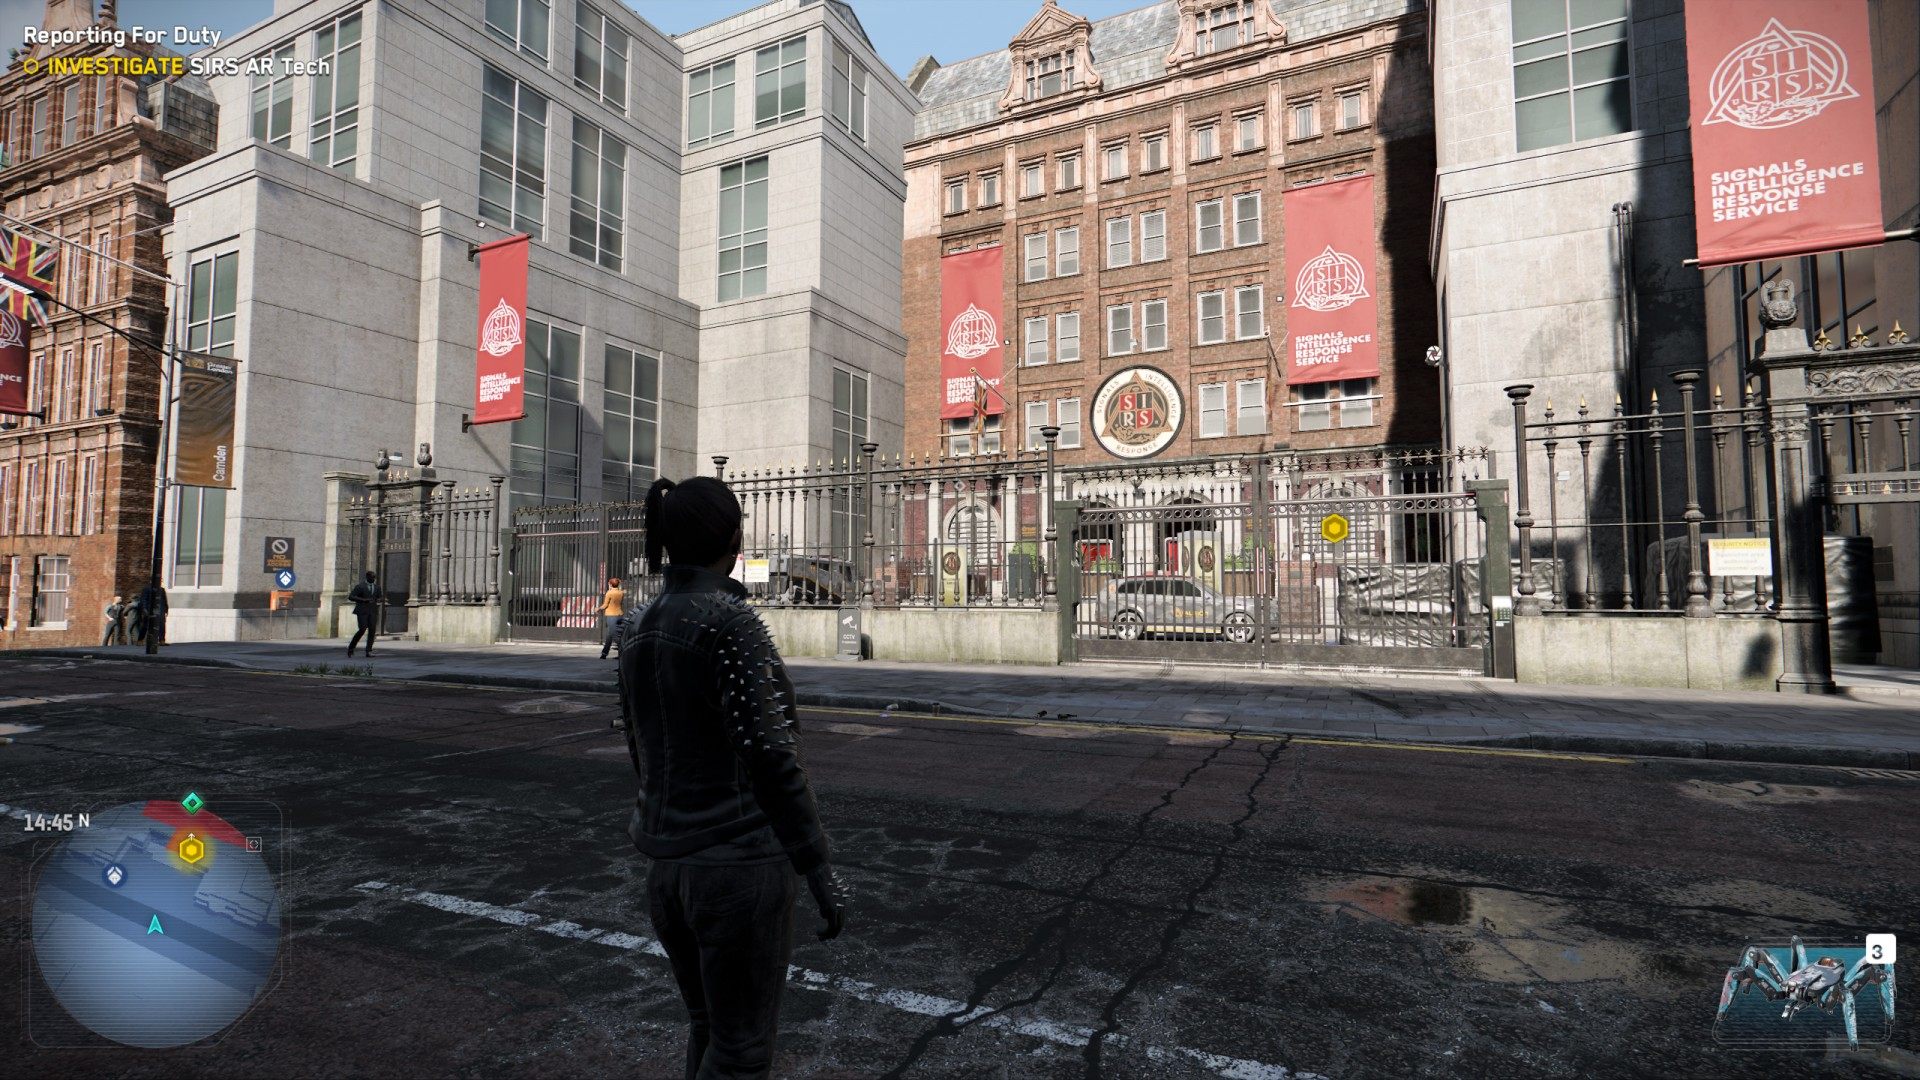
Investigate the AR reconstruction technology at the Ministry of Civic Management.

Rewards:
1. INVESTIGATE SIRS AR Tech
There are several ways to get into the Ministry of Civic Management building. To make it easy you should use the entrance on the west side.

2. ACCESS SIRS Data Relay
Hack the power supply box to disable the security lasers and go inside.
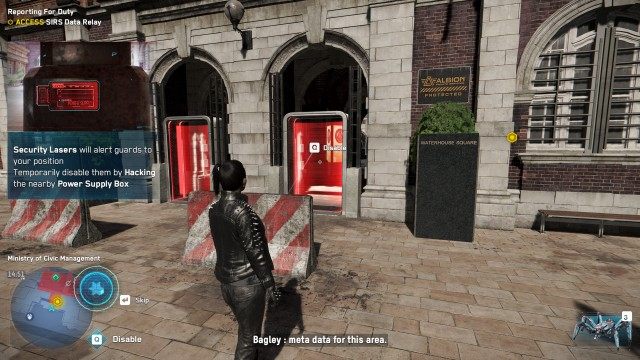
Use the control panel located on the wall to the right.

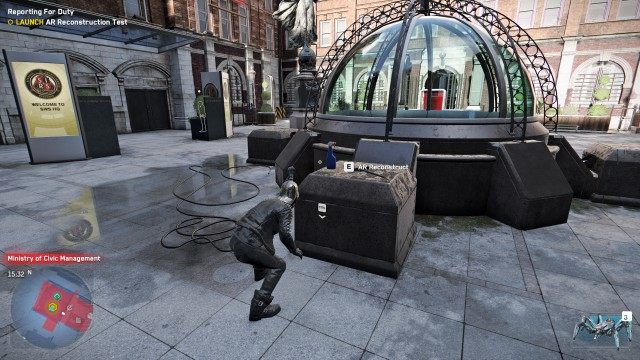
3. LAUNCH AR Reconstruction Test
Get rid of the guards patrolling the inner courtyard. You can do this in any way you like, for example by activating the two traps that are there.
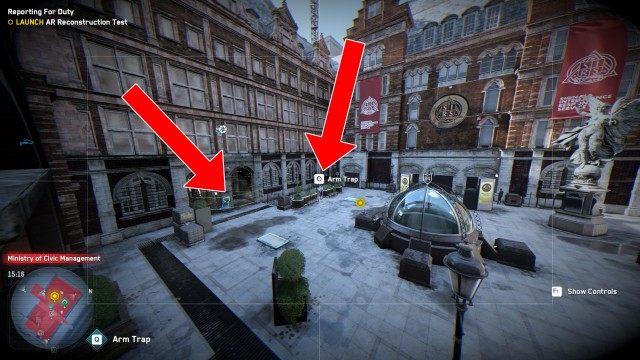
Then approach the pedestal in the central part of the courtyard and interact with it.
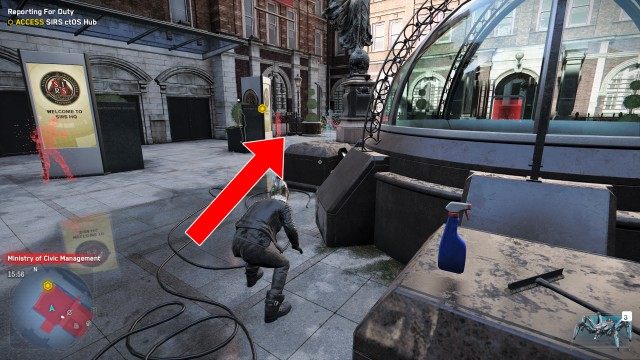
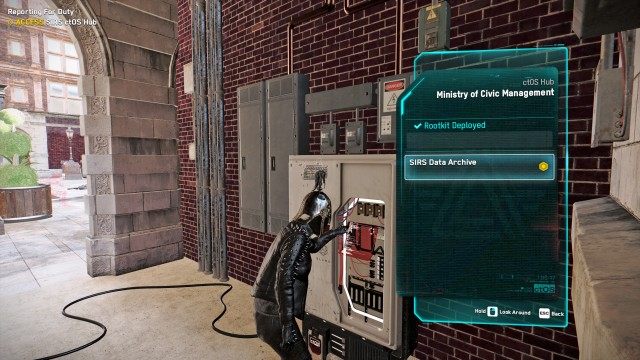
4. ACCESS SIRS ctOS Hub
You will find the server on the northeast side of the building.
Download the required data from it.
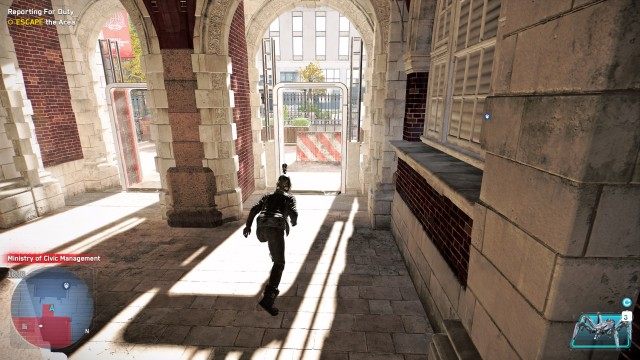
5. ESCAPE the Area
Leave the ministry area. The easiest way is the same way you came here.
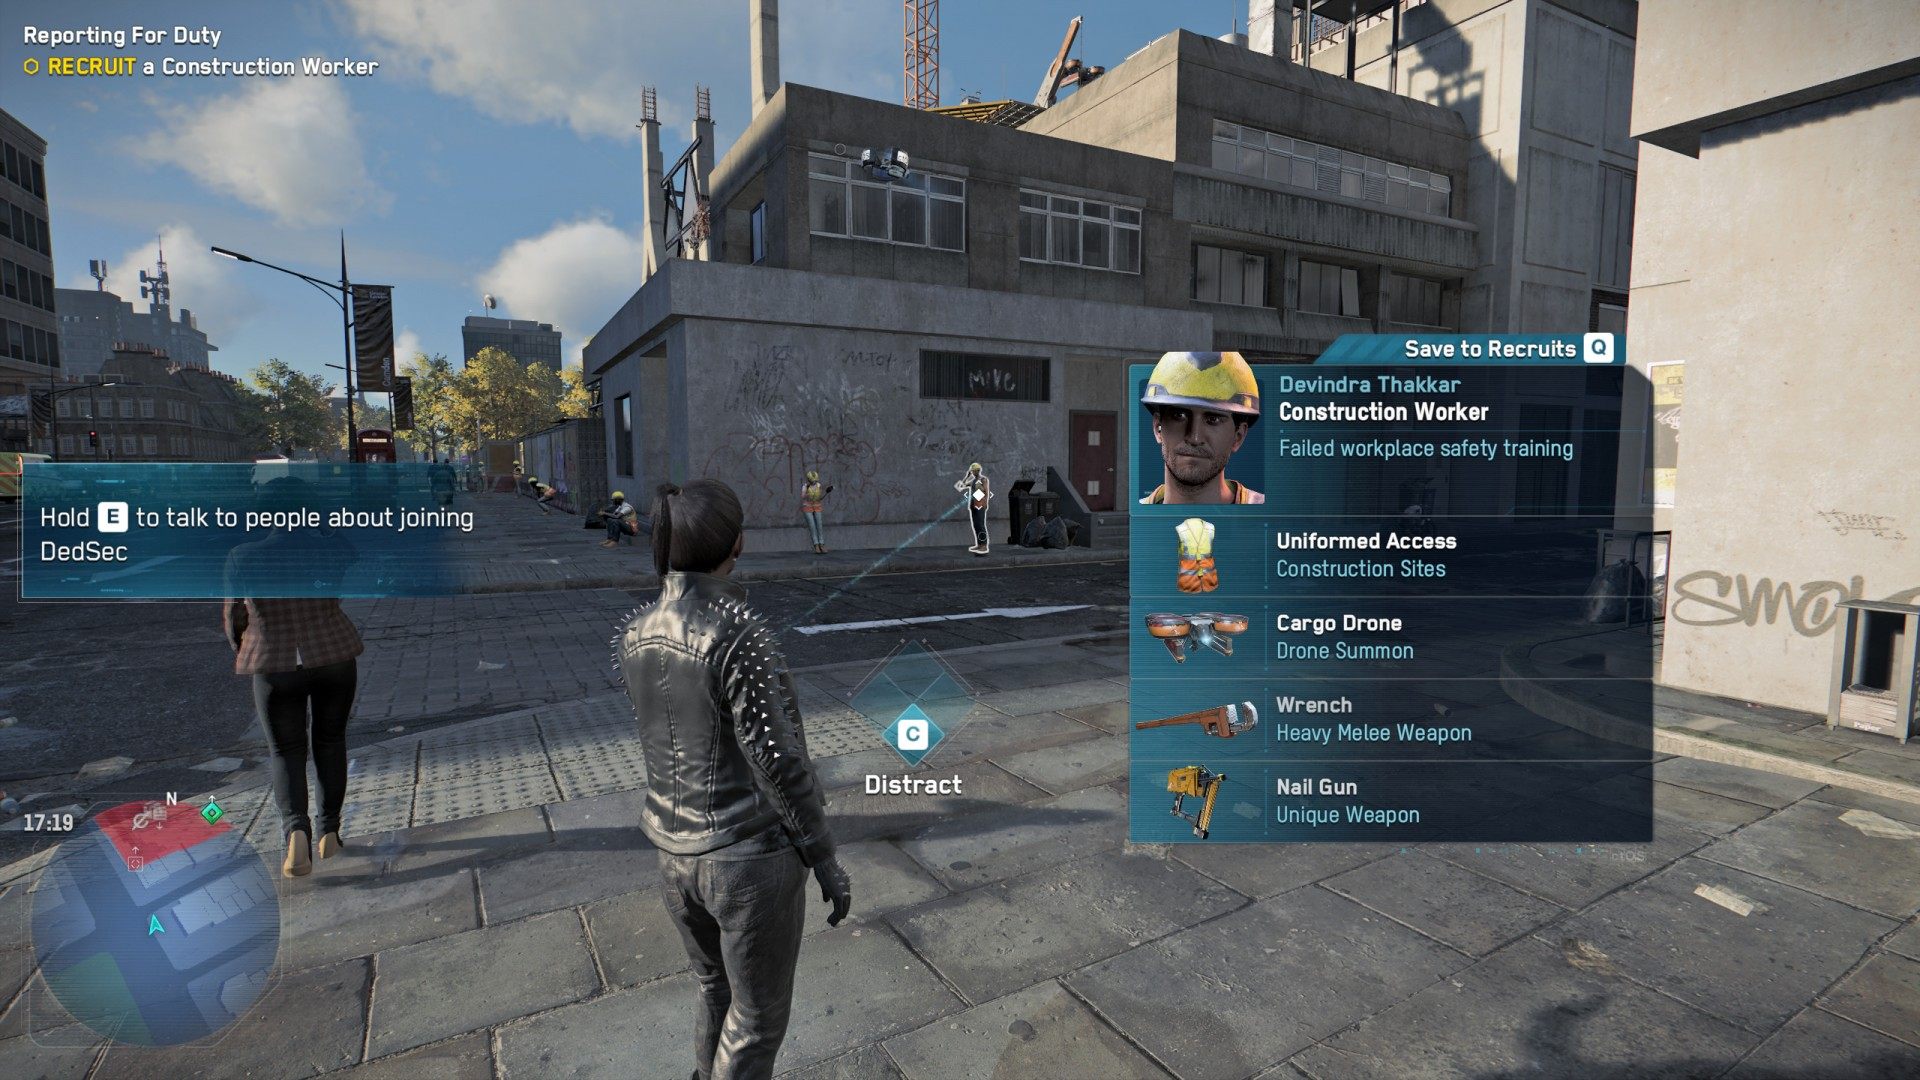
6. RECRUIT a Construction Worker
Bagley and Sabine believe a construction worker could steal the AR Reconstruction server using a cargo drone. Find and recruit a construction worker.
The position where you can recruit a construction worker will be marked on your map. It is located near the ETO Bank Construction Site. You will find some construction workers there.

Talk to the one you want to recruit and he will tell you about his problems and you will get a new recruitment mission.
6.1. Recruit [Construction Worker's Name]
Bagley thinks recruiting someone with access to a heavy cargo drone is vital to the resistance's next steps. The potential new recruit is in trouble with Clan Kelley and needs help erasing their debt to the criminal gang.
![Recruit [Construction Worker's Name]](https://guides4gamers.com/sites/23/screenshots/2021/04/640/recruit-a-construction-worker-2.jpg)
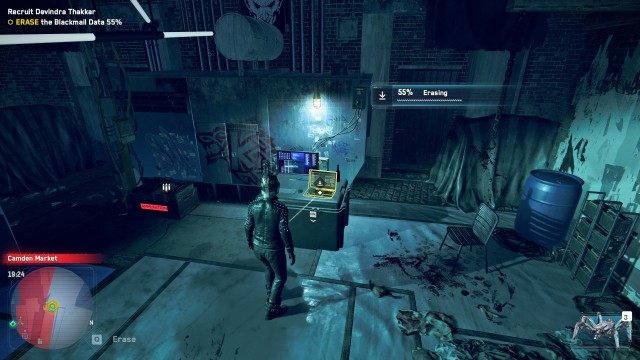
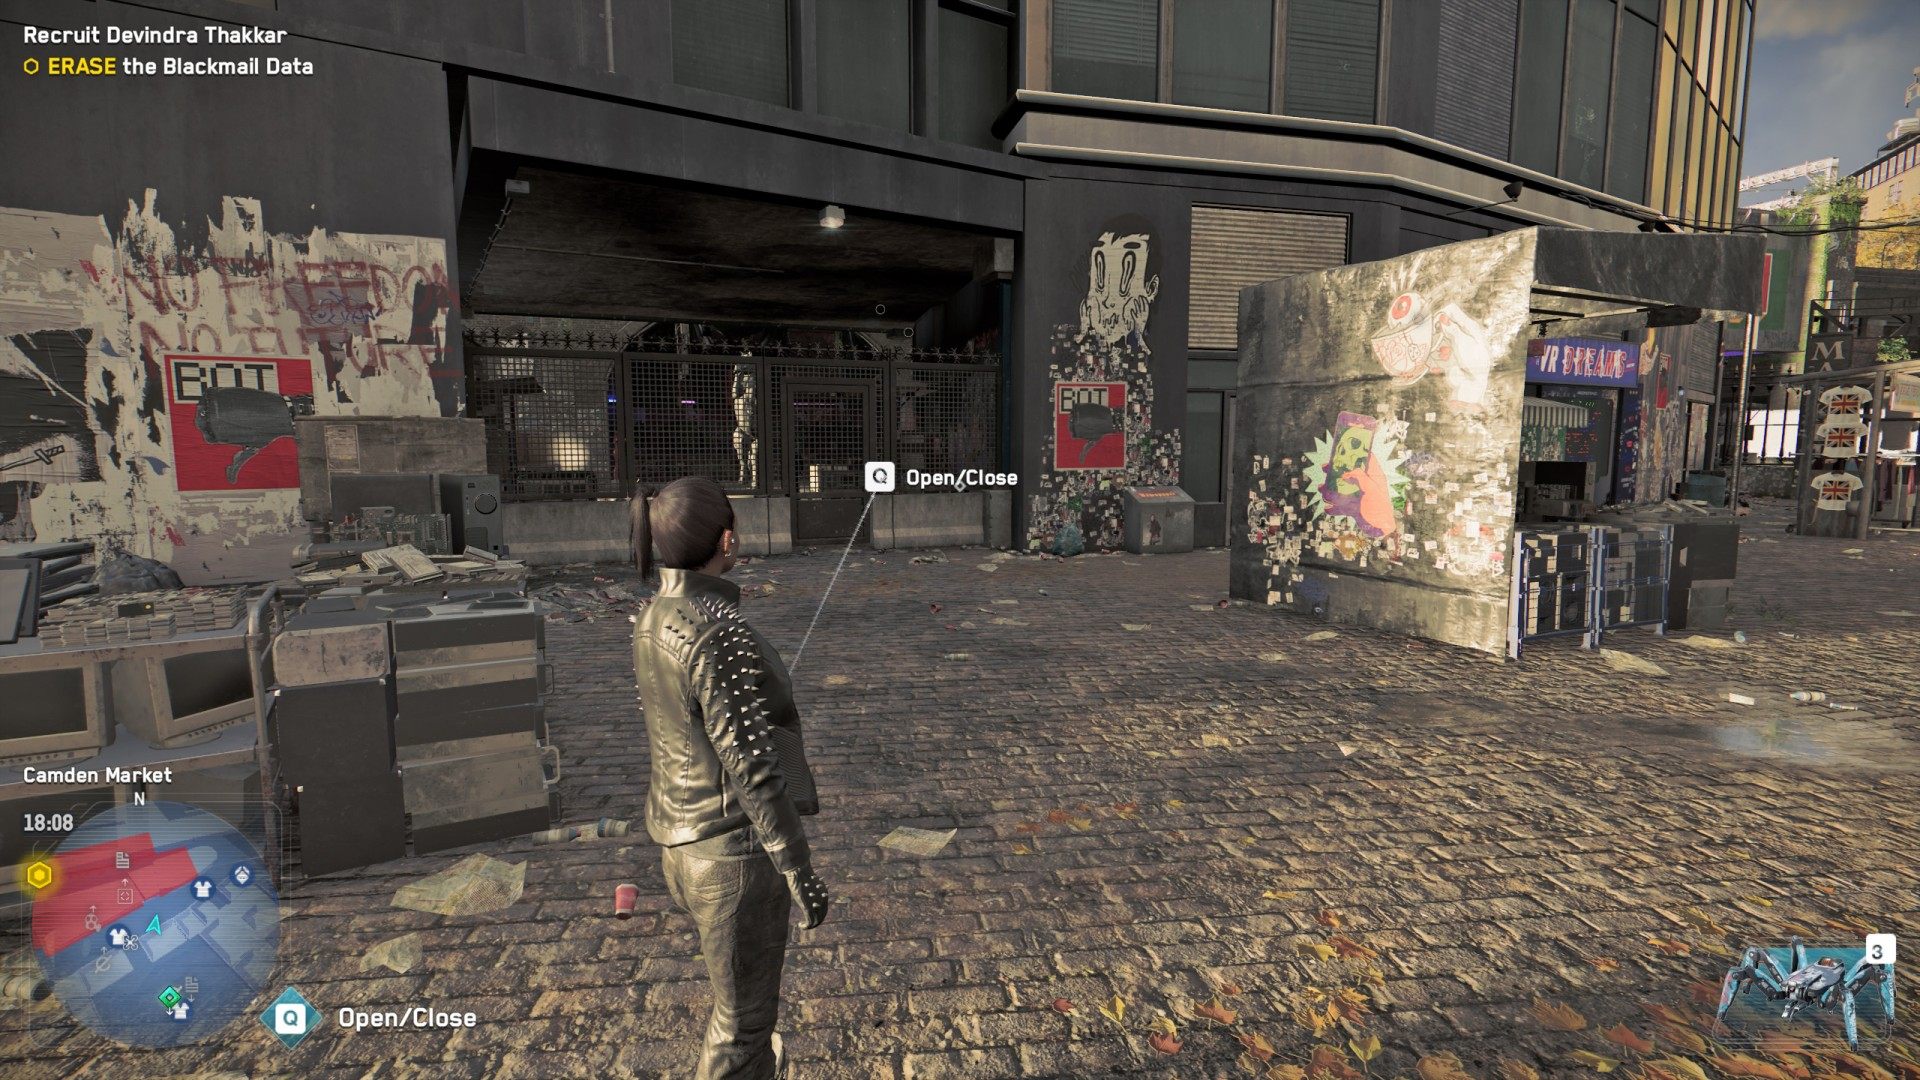
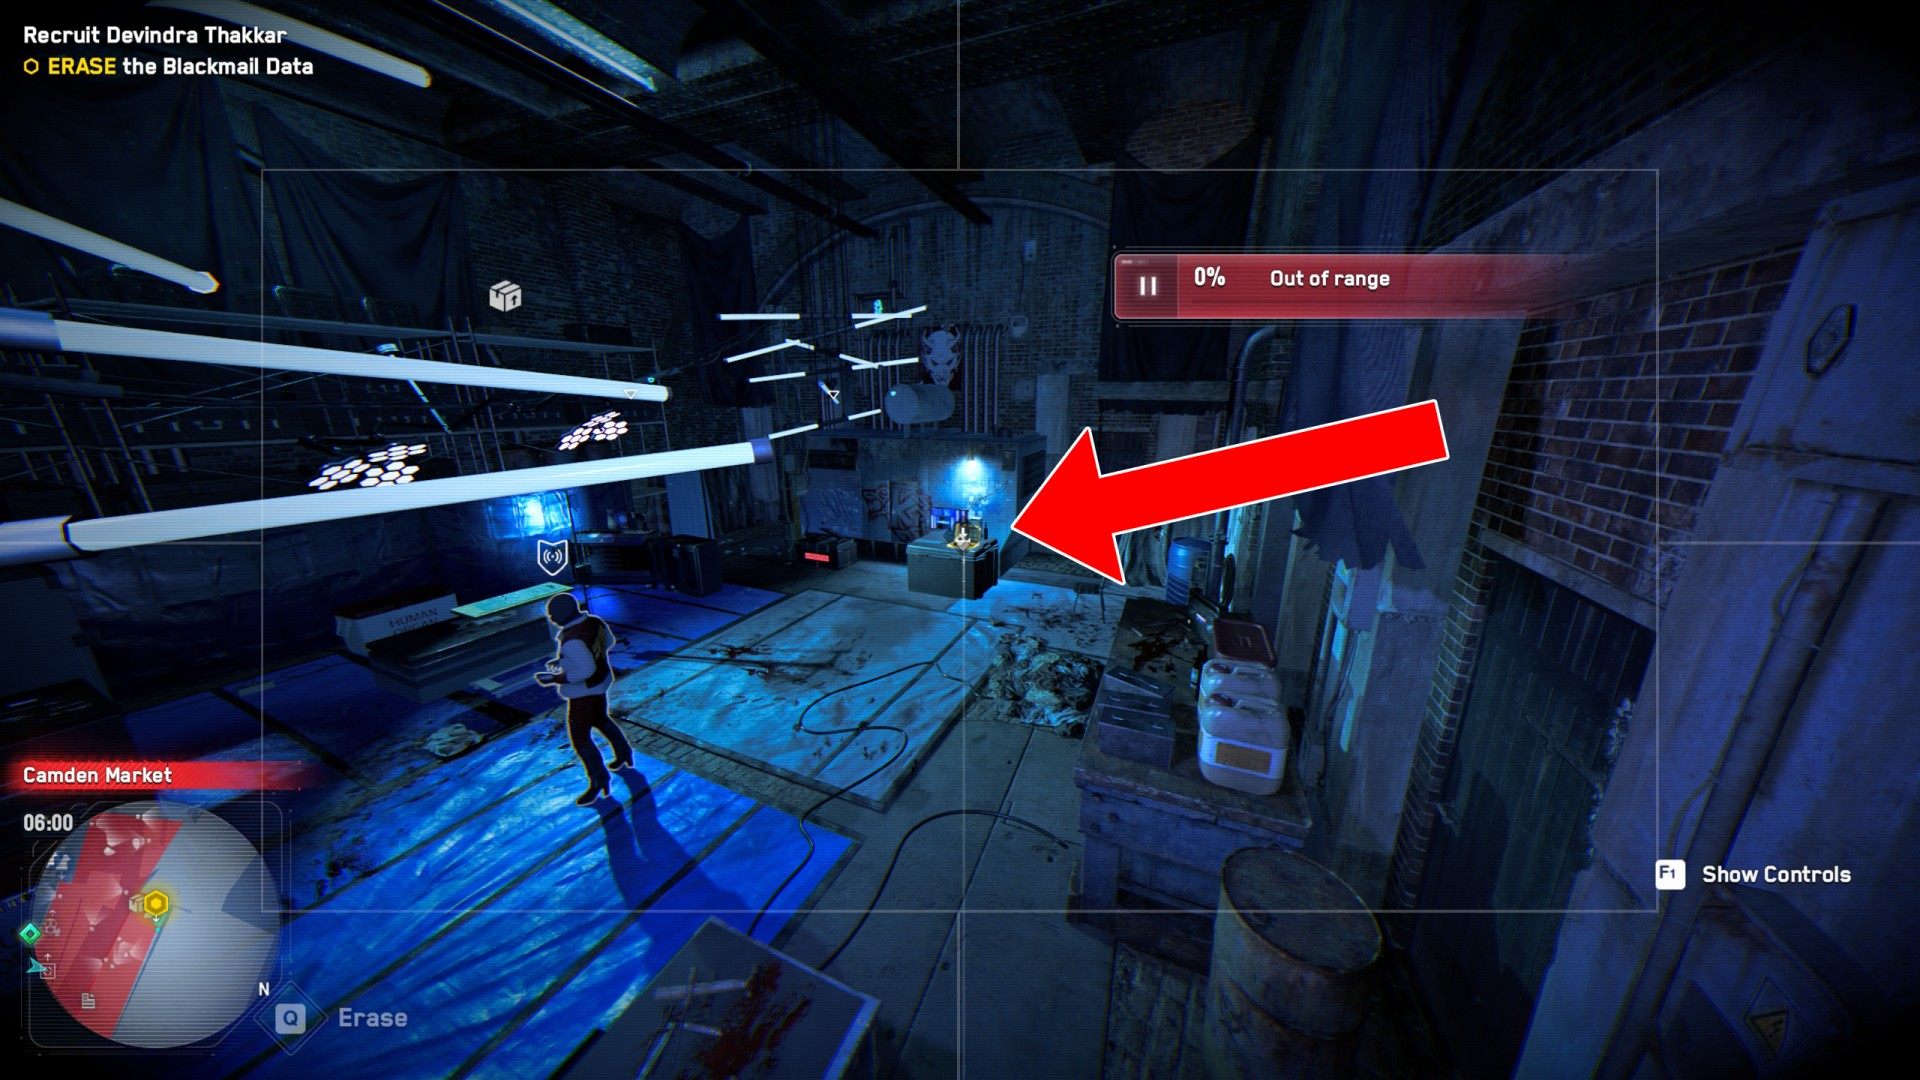
6.1.1. FIND the Laptop at Camden Market / ERASE the Blackmail Data / ESCAPE the Area
Head to Camden Market. It is a restricted area, controlled by the Clan Kelley. One of the easiest ways to get in is to use the gate on the south side.
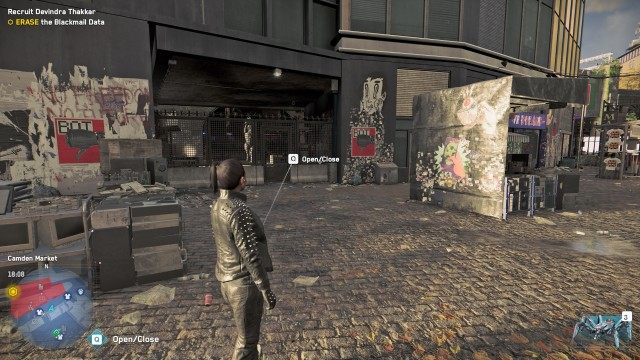
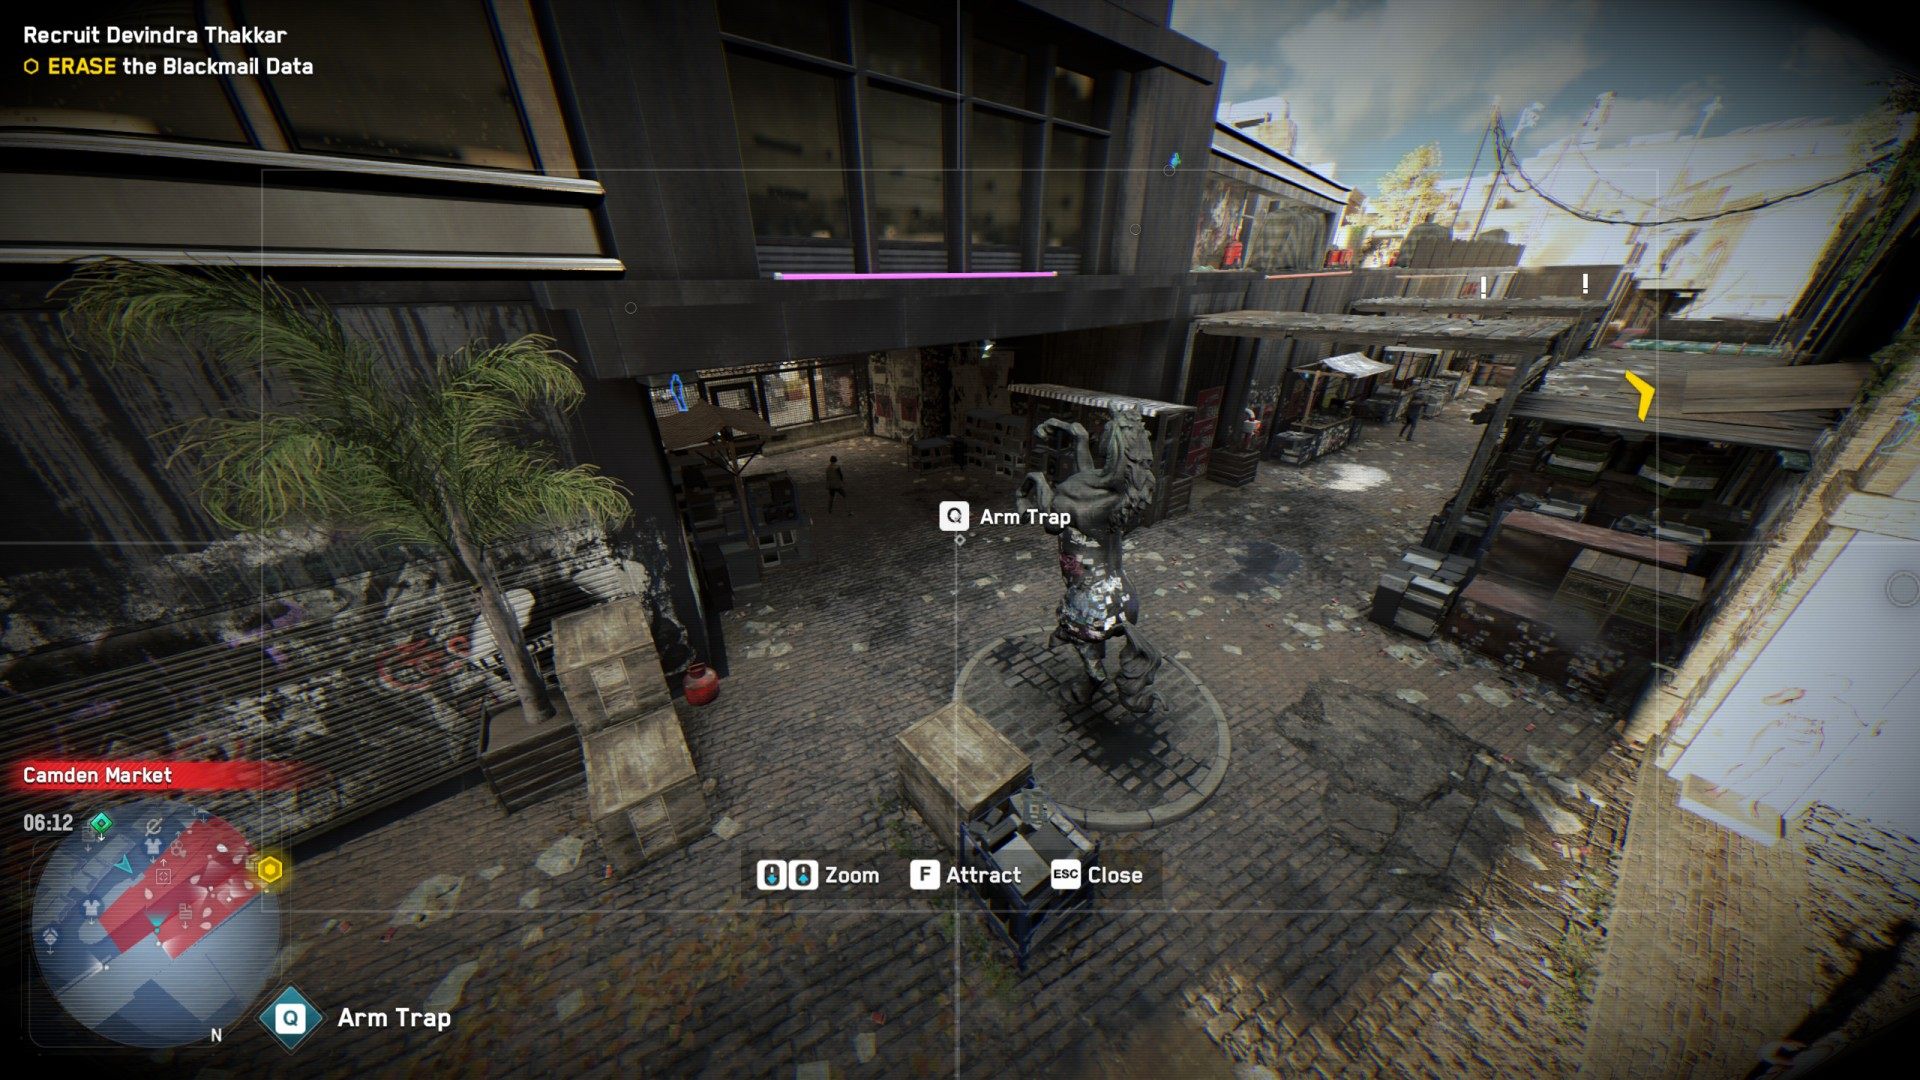
The laptop is located in the last room of the warehouse. Unfortunately you will not be able to hack it with the camera that is in the room because it is too far away. So you need to get physical access to it (It can be a spiderbot).

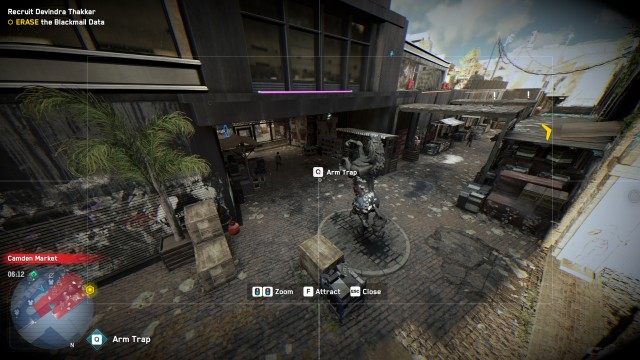
You can use the security cameras to activate the traps in the area from a safe distance and get rid of some enemies this way.
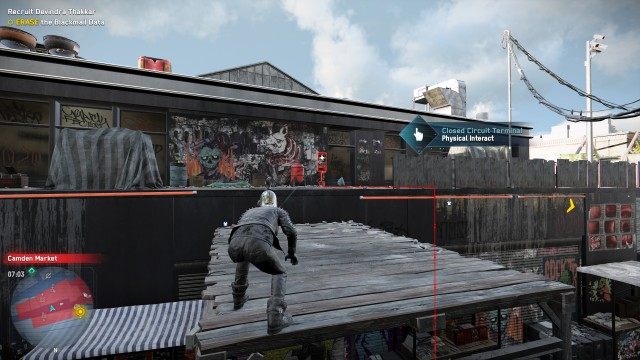
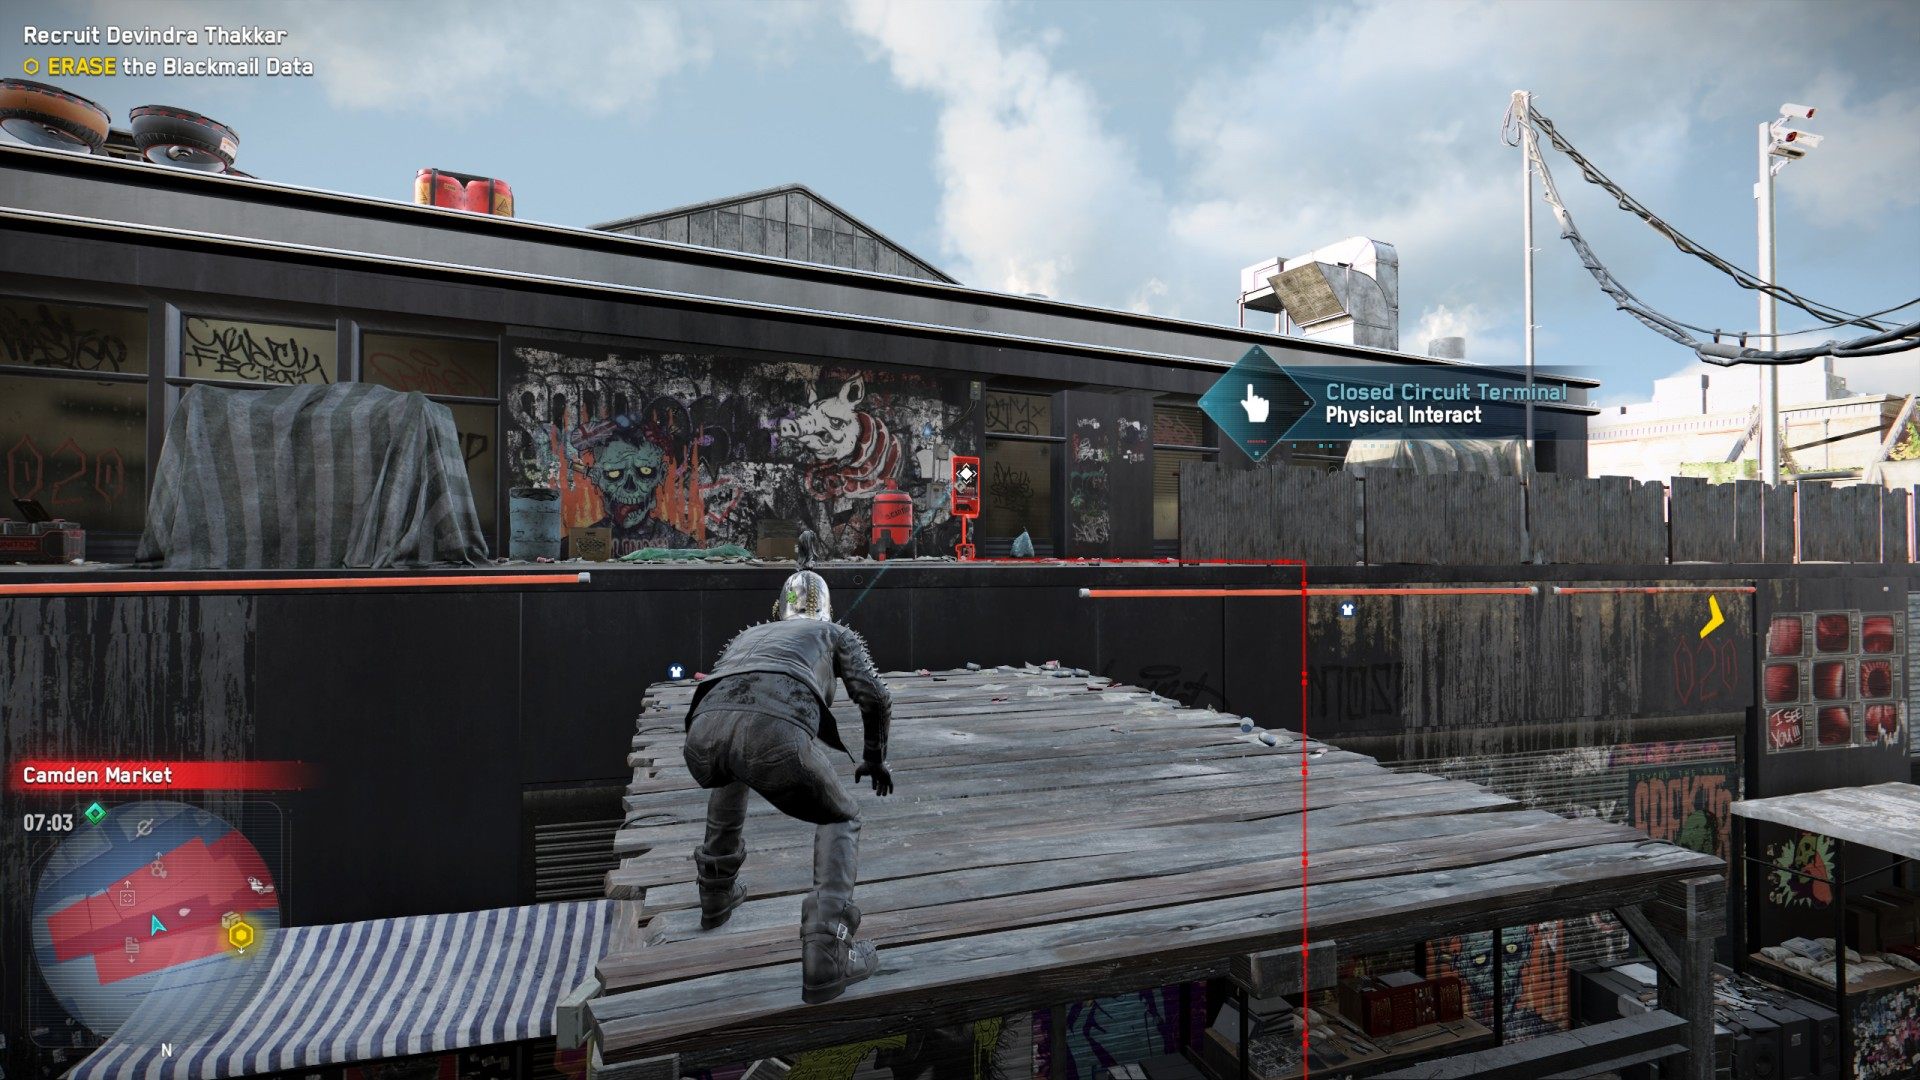
To open the door to the room where the laptop is located you will need to find and interact with the closed circuit terminal.

You will find it at the top of another building.
After deleting the data from the laptop, you will be able to complete the recruitment mission by leaving the restricted area.
7. MEET [Recruit's Name] at Connie's Pub
DedSec is growing. By helping Londoners, the resistance is gaining new members who are key to mission success. Welcom the new recruit and begin the heist to obtain the AR reconstruction tech.
Return to the pub where the entrance to the DedSec safehouse is located. You will meet a new member of your team there and automatically take control of him to complete the rest of this mission with his help.
![MEET [Recruit's Name] at Connie's Pub](https://guides4gamers.com/sites/23/screenshots/2021/04/640/meet-recruits-name-at-connies-pub.jpg)
8. REACH the Heist Location / SUMMON a Cargo Drone
Having found the perfect person for the job, DedSec can steal the AR Reconstruction server. Go to SIRS HQ with the construction worker, use a cargo drone to steal server from the roof, and deliver it to your teammate's truck.
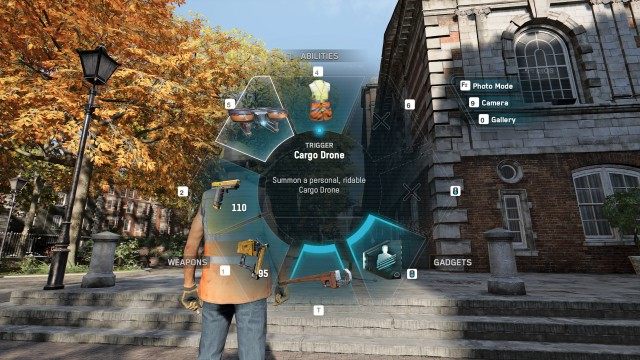
Head to the Heist Location and once you get there, open the character wheel and summon a cargo drone.
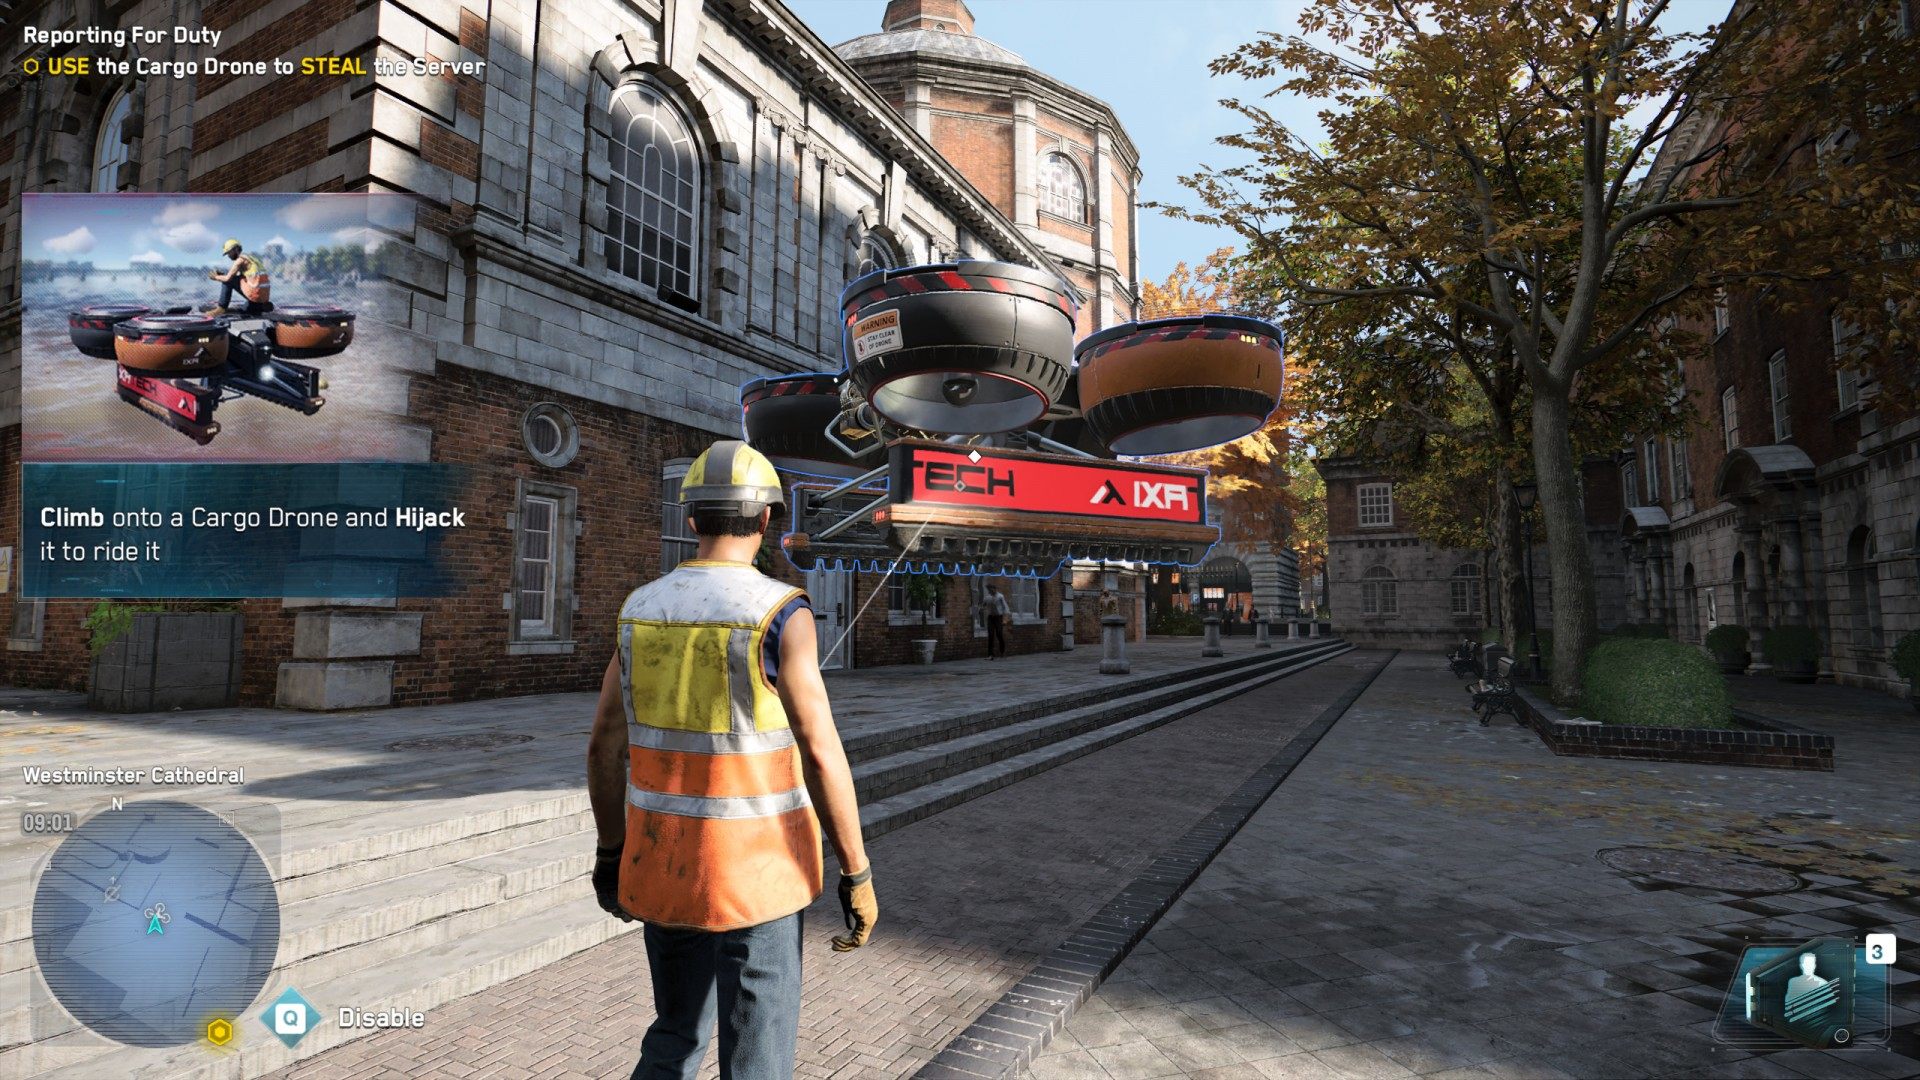
9. USE the Cargo Drone to STEAL the Server
Climb onto a cargo drone and hijack it to ride it.
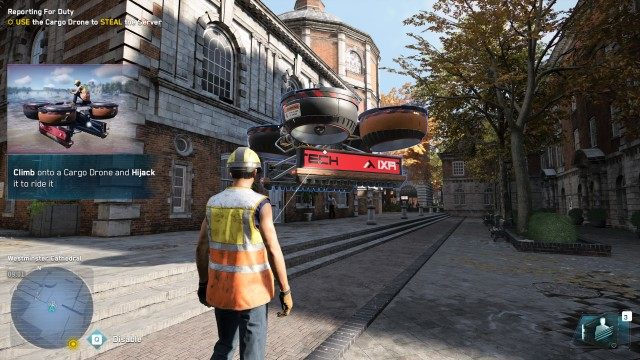
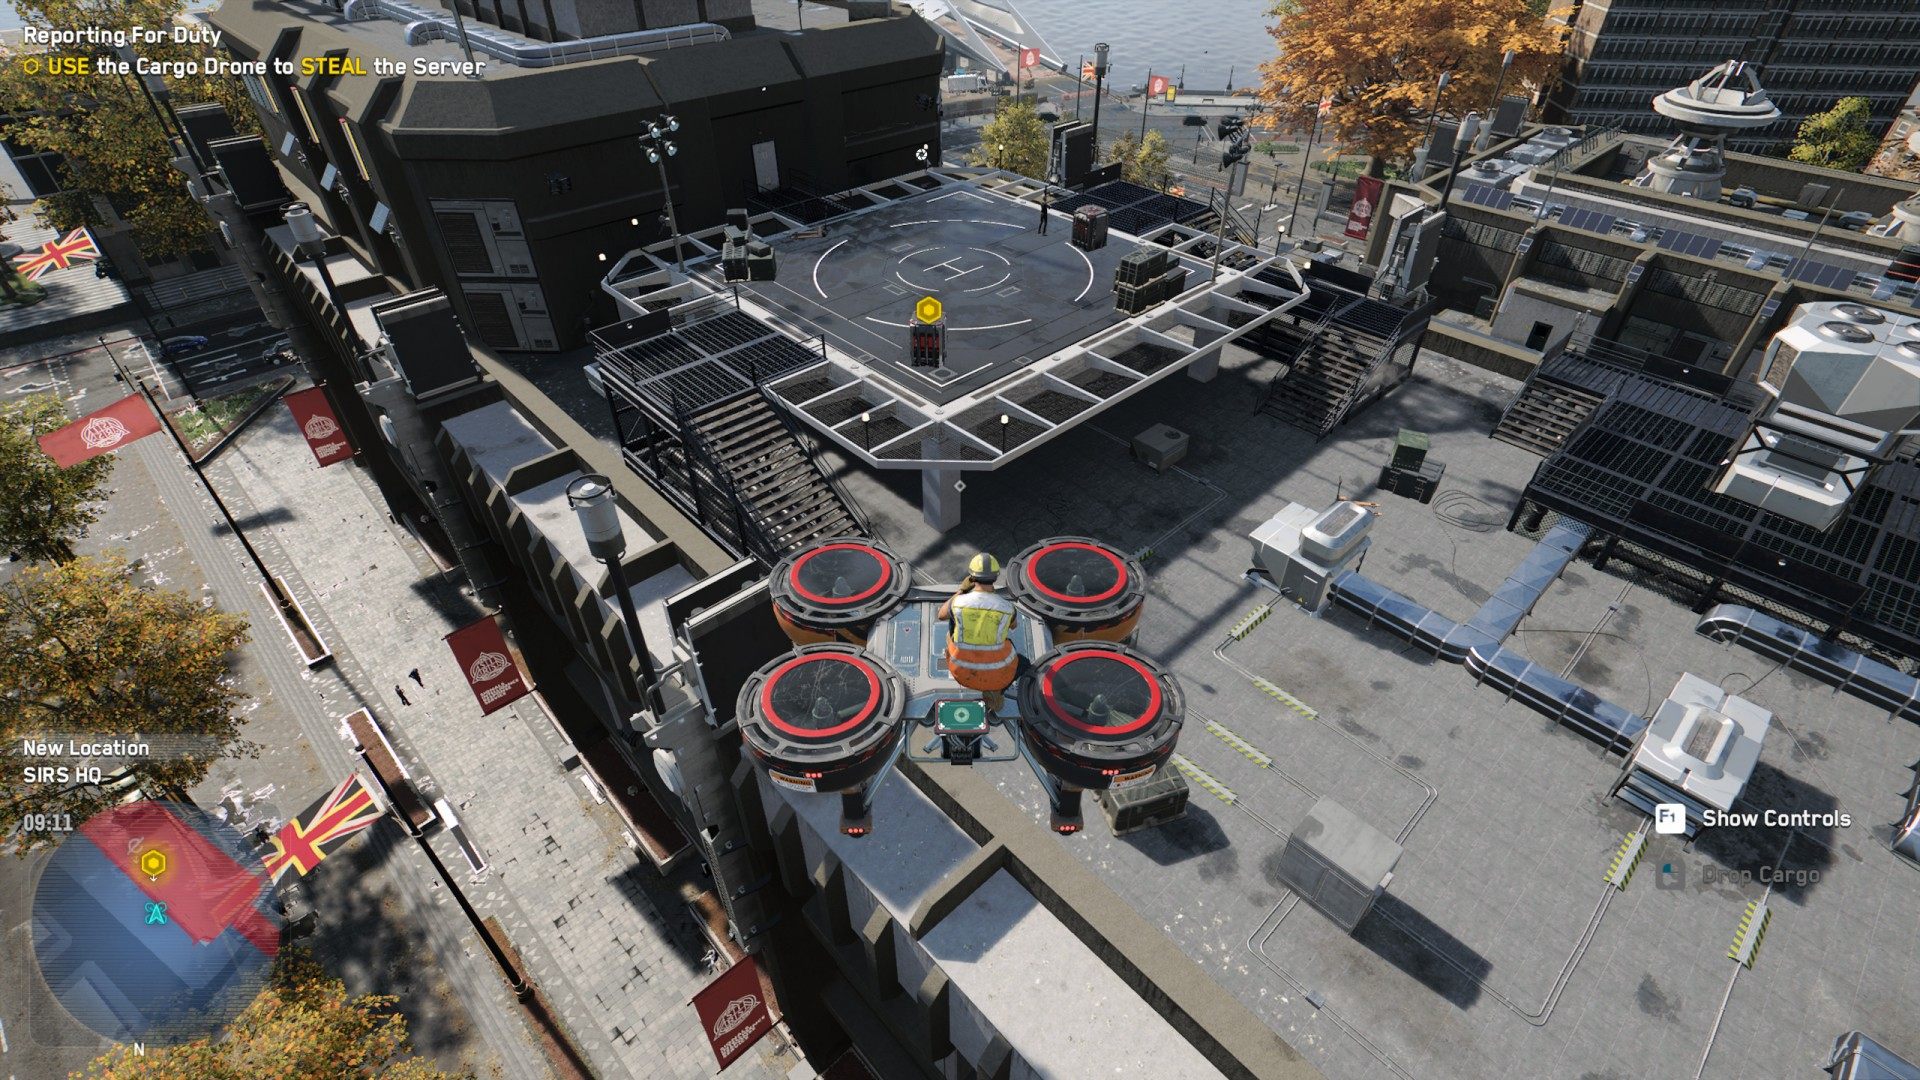
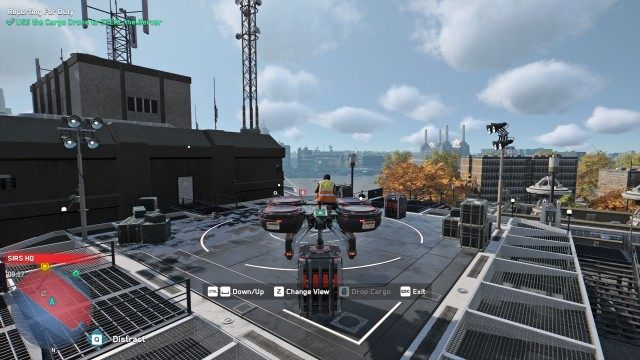
Ride it the SIRS HQ. Server is standing on a helipad.

Attach the cargo drone to the server and lift it.
10. DELIVER the Server to the Truck
Deliver the server to the truck standing near the river. There, another member of your team will take it over from you.

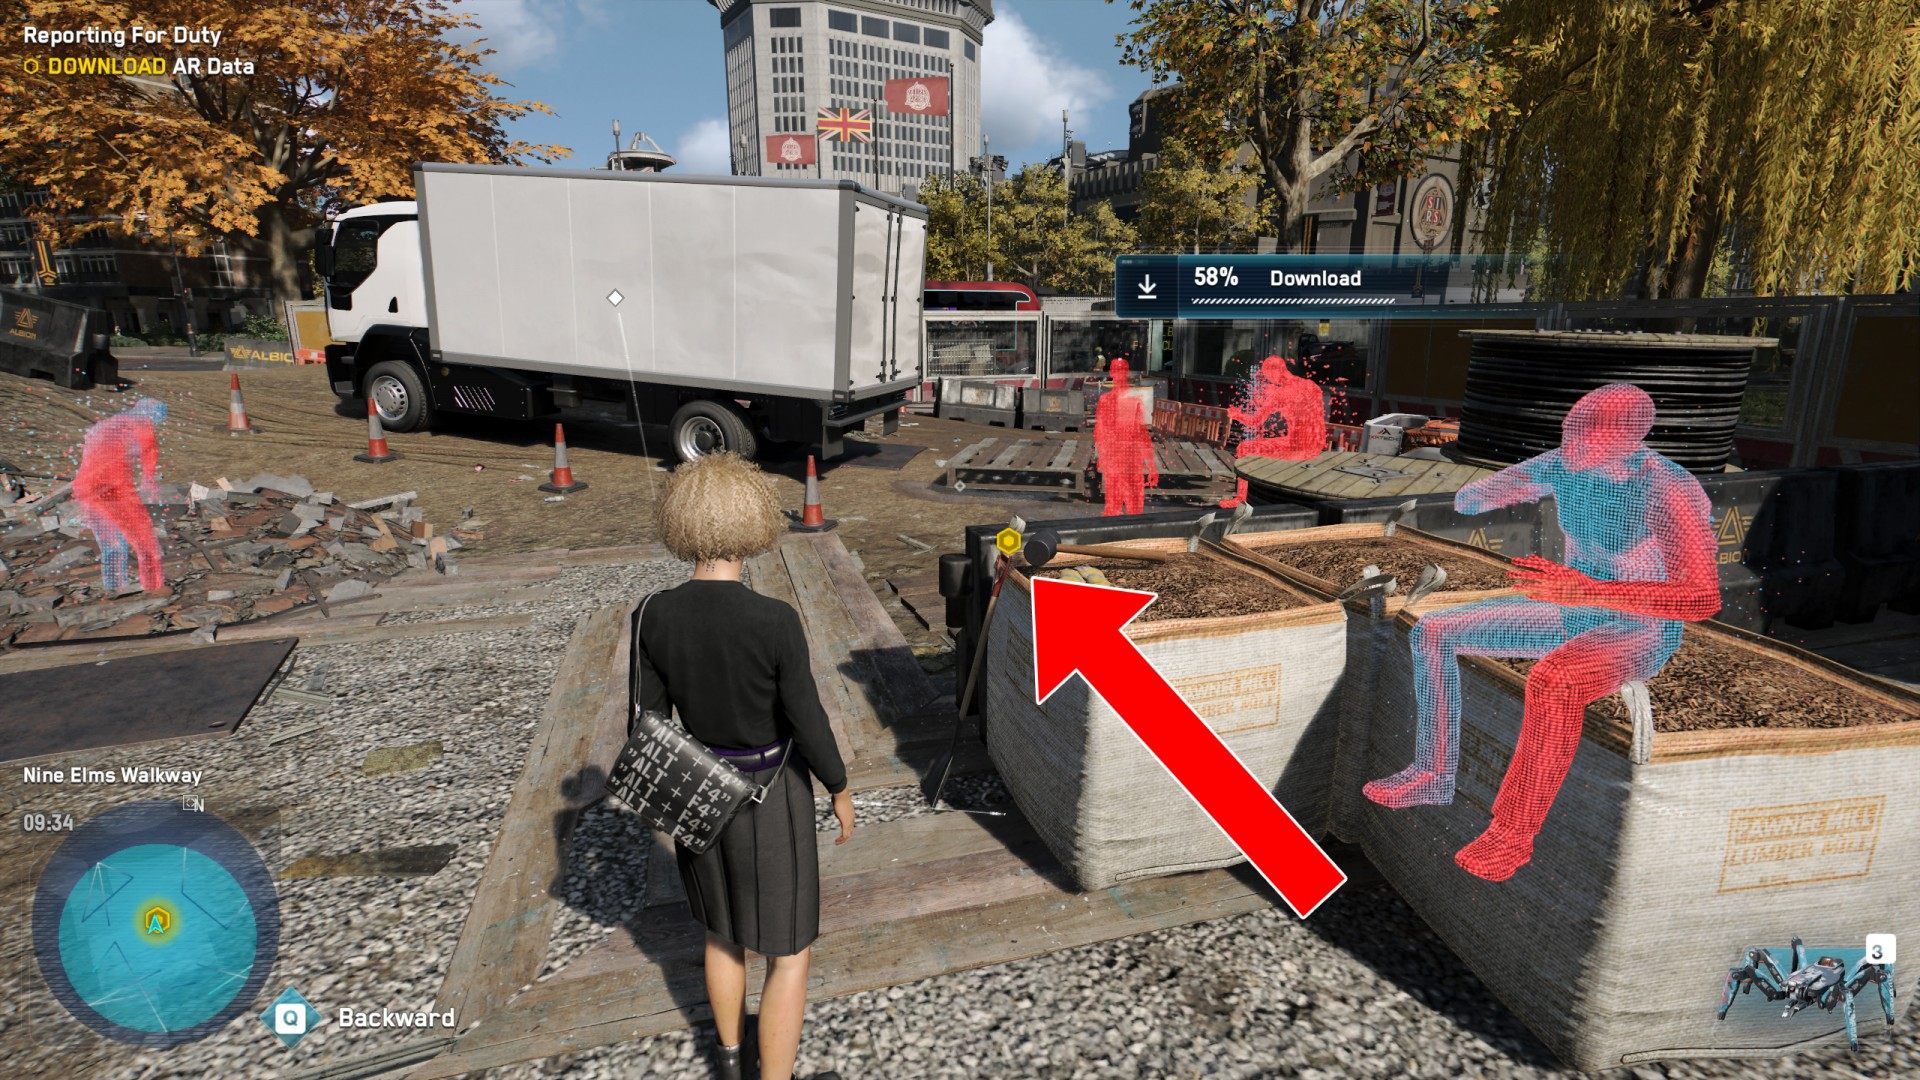
11. LAUNCH AR Reconstruction Test / DOWNLOAD AR Data
Start the reconstruction and wait for all the data to download.

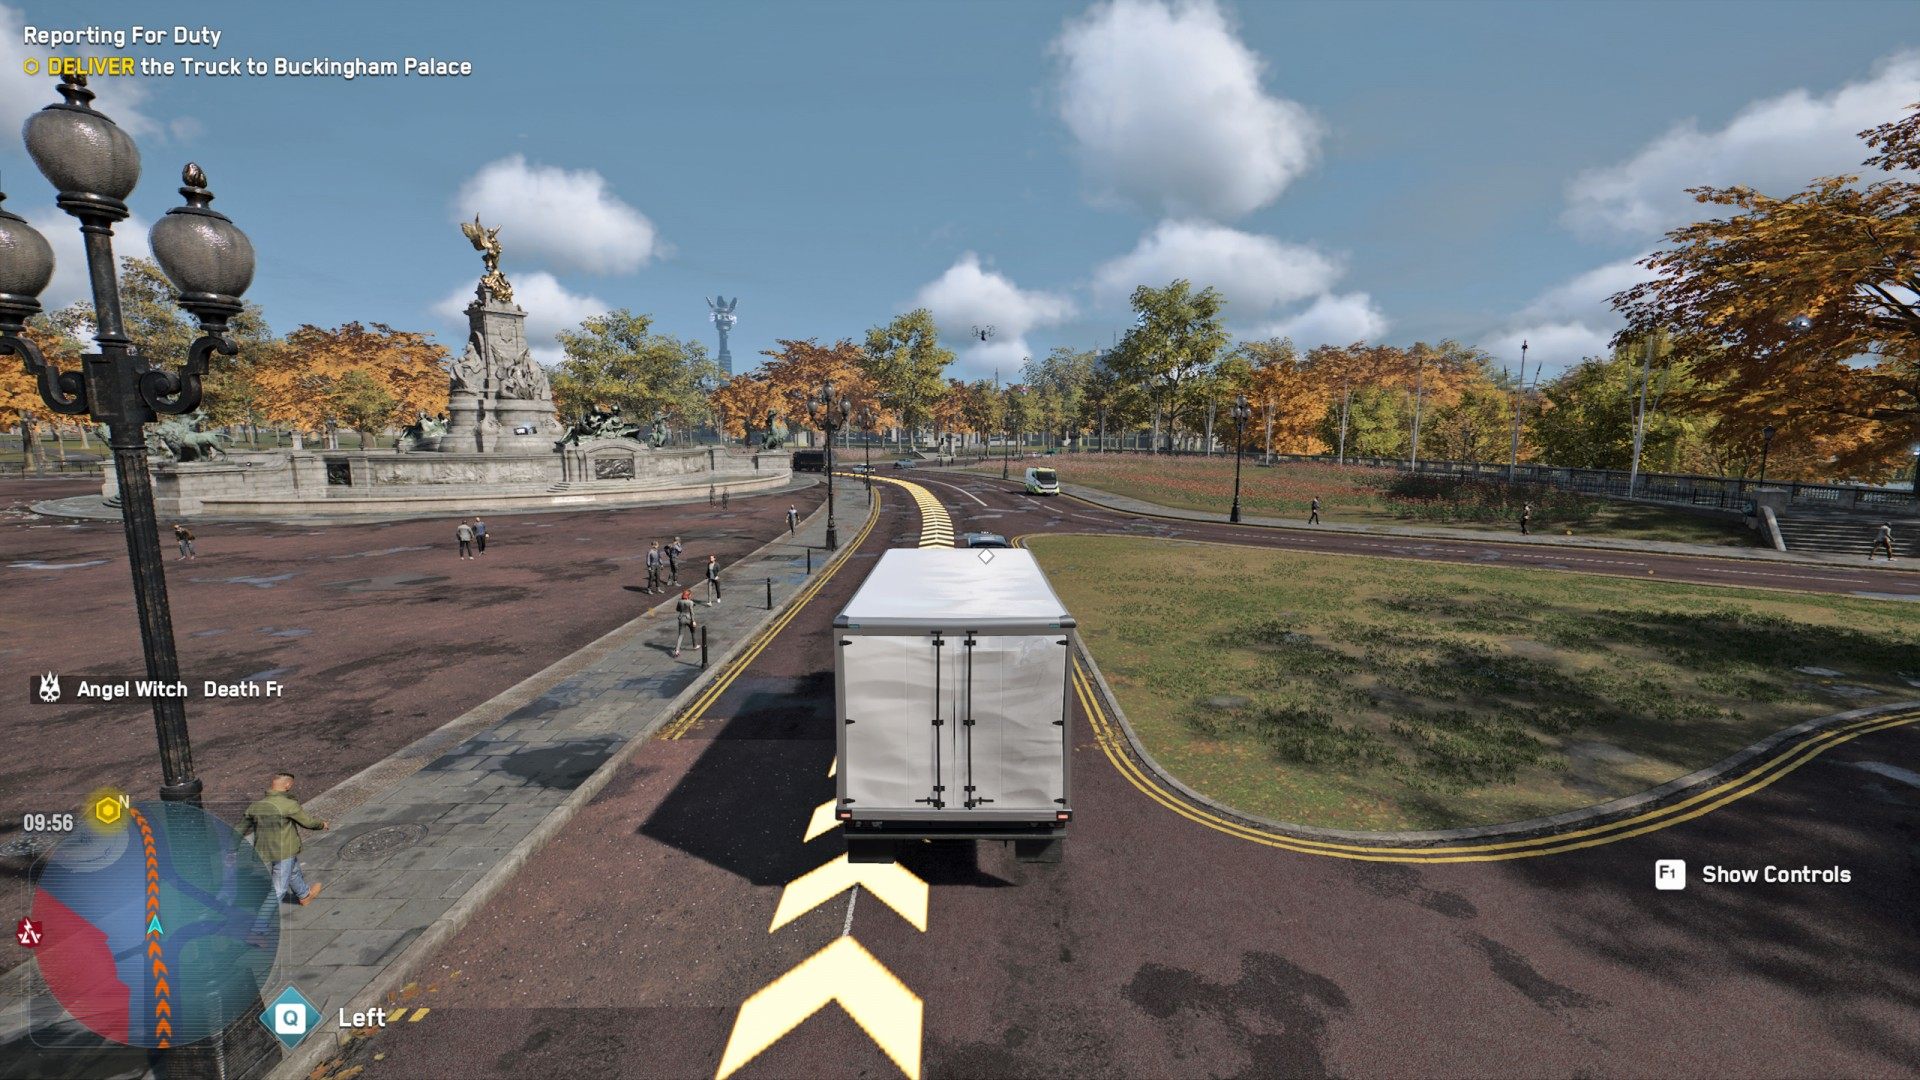
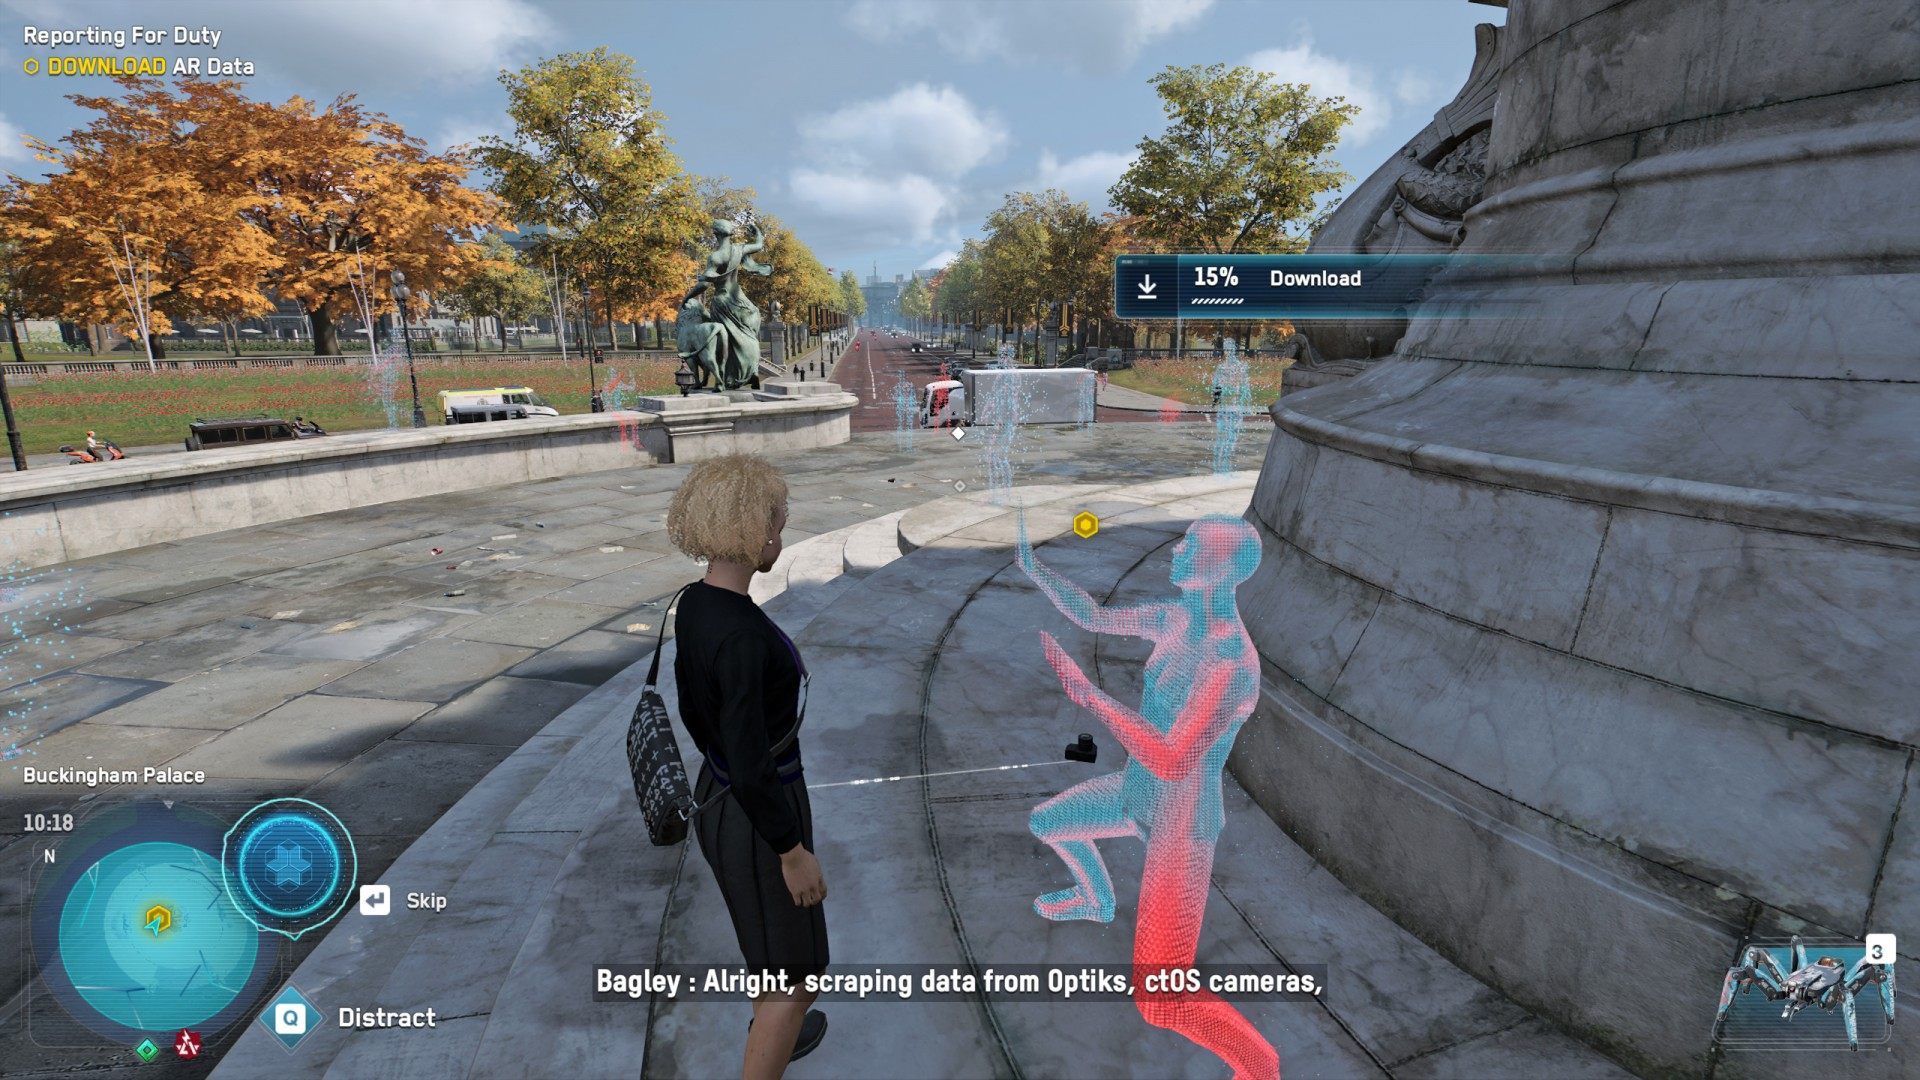
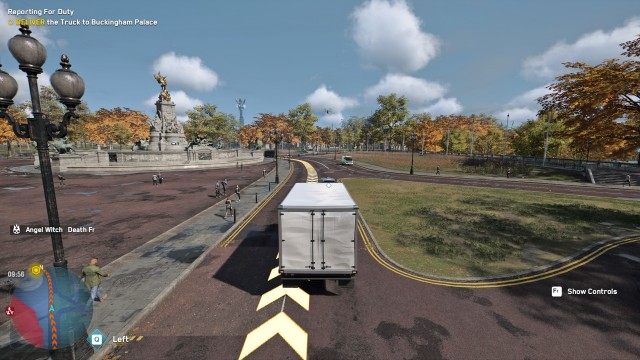
12. DELIVER the Truck to Buckingham Palace
Get in the truck and drive it to the location marked on the map near Buckingham Palace.
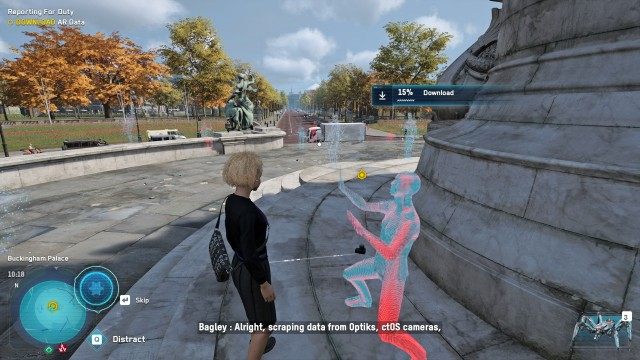
13. LAUNCH AR Reconstruction Test / DOWNLOAD AR Data
When you reach the place then get out of the truck and start another reconstruction.
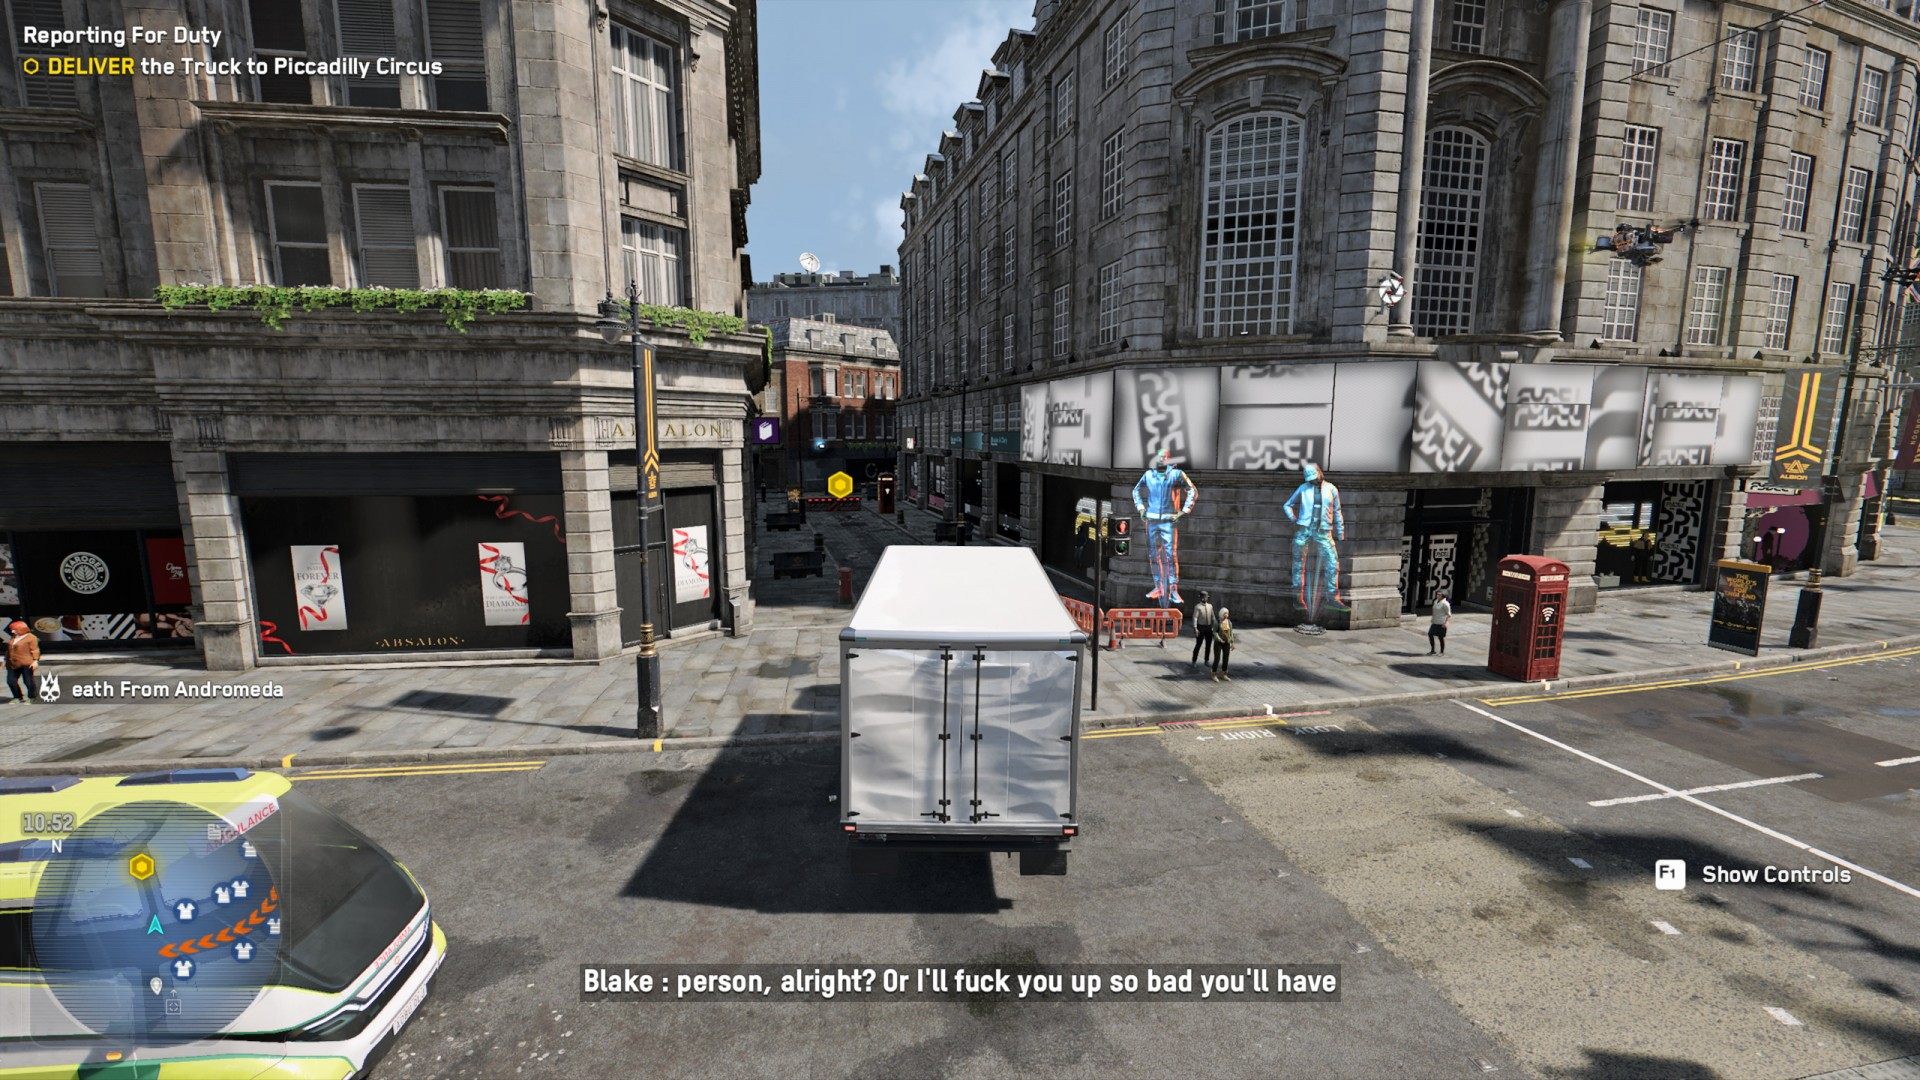
14. DELIVER the Truck to Piccadilly Circus
Return to the truck and drive it to the next location.

15. LAUNCH AR Reconstruction Test / DOWNLOAD AR Data
When you start the last reconstruction then enemies will appear. Find cover and survive until the end of the download process.

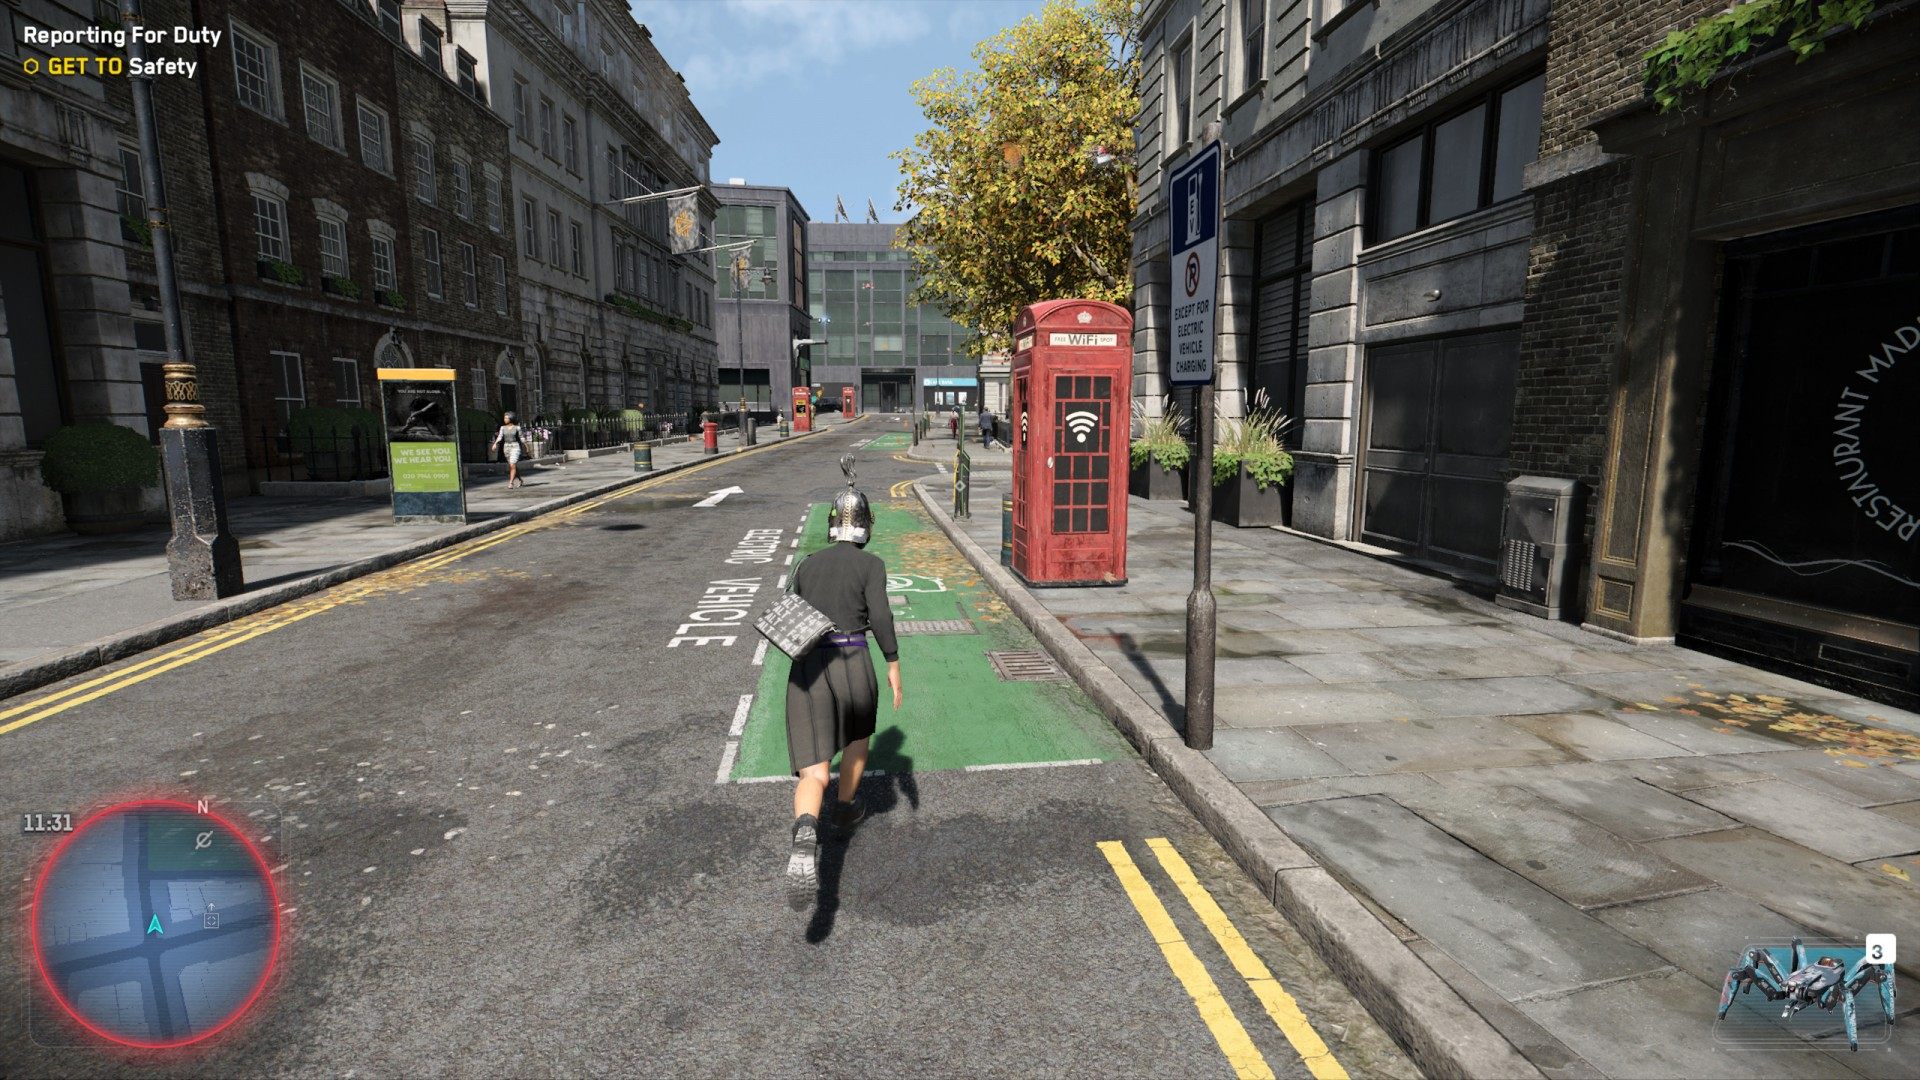
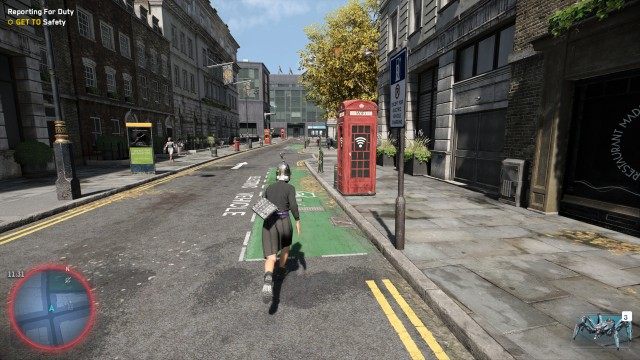
16. GET AWAY from the Truck / GET TO Safety
Once the download is about to complete, get away from the truck, because there's going to be an EMP blast. Then run away to safety.
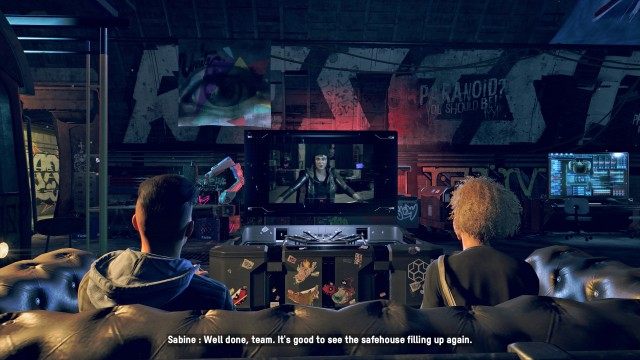
17. ATTEND the Team Briefing / ANSWER the Call
The AR Reconstruction heist was a success. Now, Sabine wants to have a word with the new team. Return to the safehouse for a briefing.
Return to your safehouse. The fastest way to do this is by using the fast travel option. Then use the comms to speak with Sabine. You will determine what to do next and this mission will end. The next mission will be "Digging Up the Past".


![Recruit [Construction Worker's Name]](https://guides4gamers.com/sites/23/screenshots/2021/04/1920/recruit-a-construction-worker-2.jpg)


![MEET [Recruit's Name] at Connie's Pub](https://guides4gamers.com/sites/23/screenshots/2021/04/1920/meet-recruits-name-at-connies-pub.jpg)