This mission is a follow-up of the "Agony" main mission. It begins after you manage to defeat Ko-omote. Your character will automatically leave the cave and pop up near the Kirigaoka Shrine.
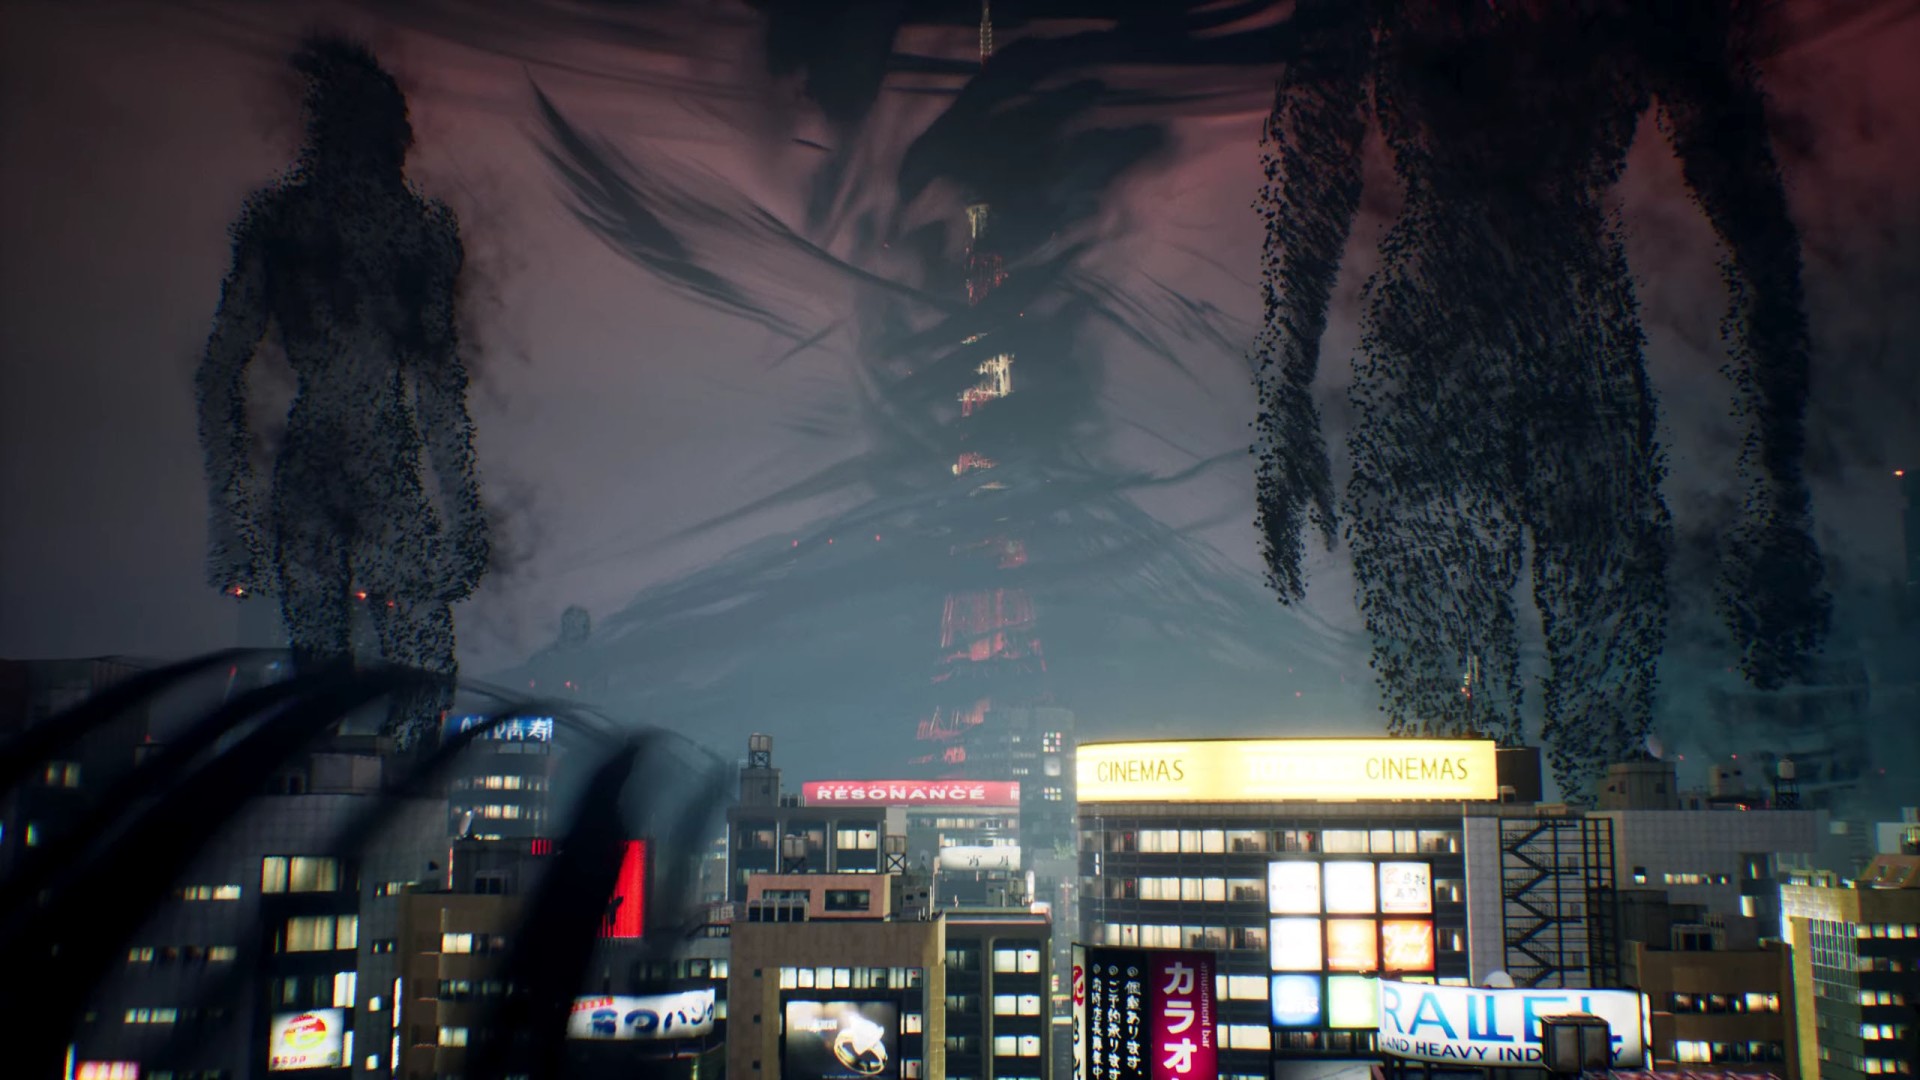
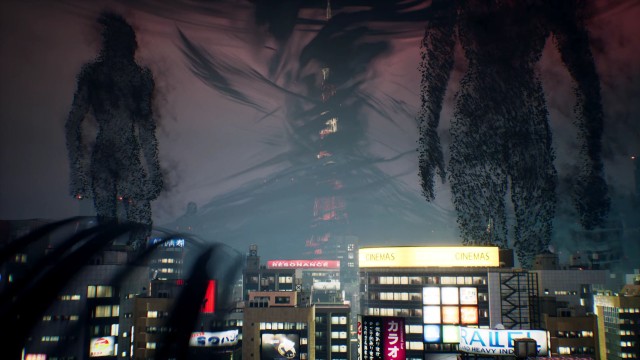
A pillar of light erupts into the night sky as Hannya carries out his ritual to amass the lost human souls of Shibuya and connect the underworld to the mortal realm.
Just as they nearly have the villain in their grasp, Akito and KK are confronted with a shocking truth. Despite the soul-rending pain of this revelation, it nevertheless reaffirms their resolve to stop Hannya at any cost.
Rewards:
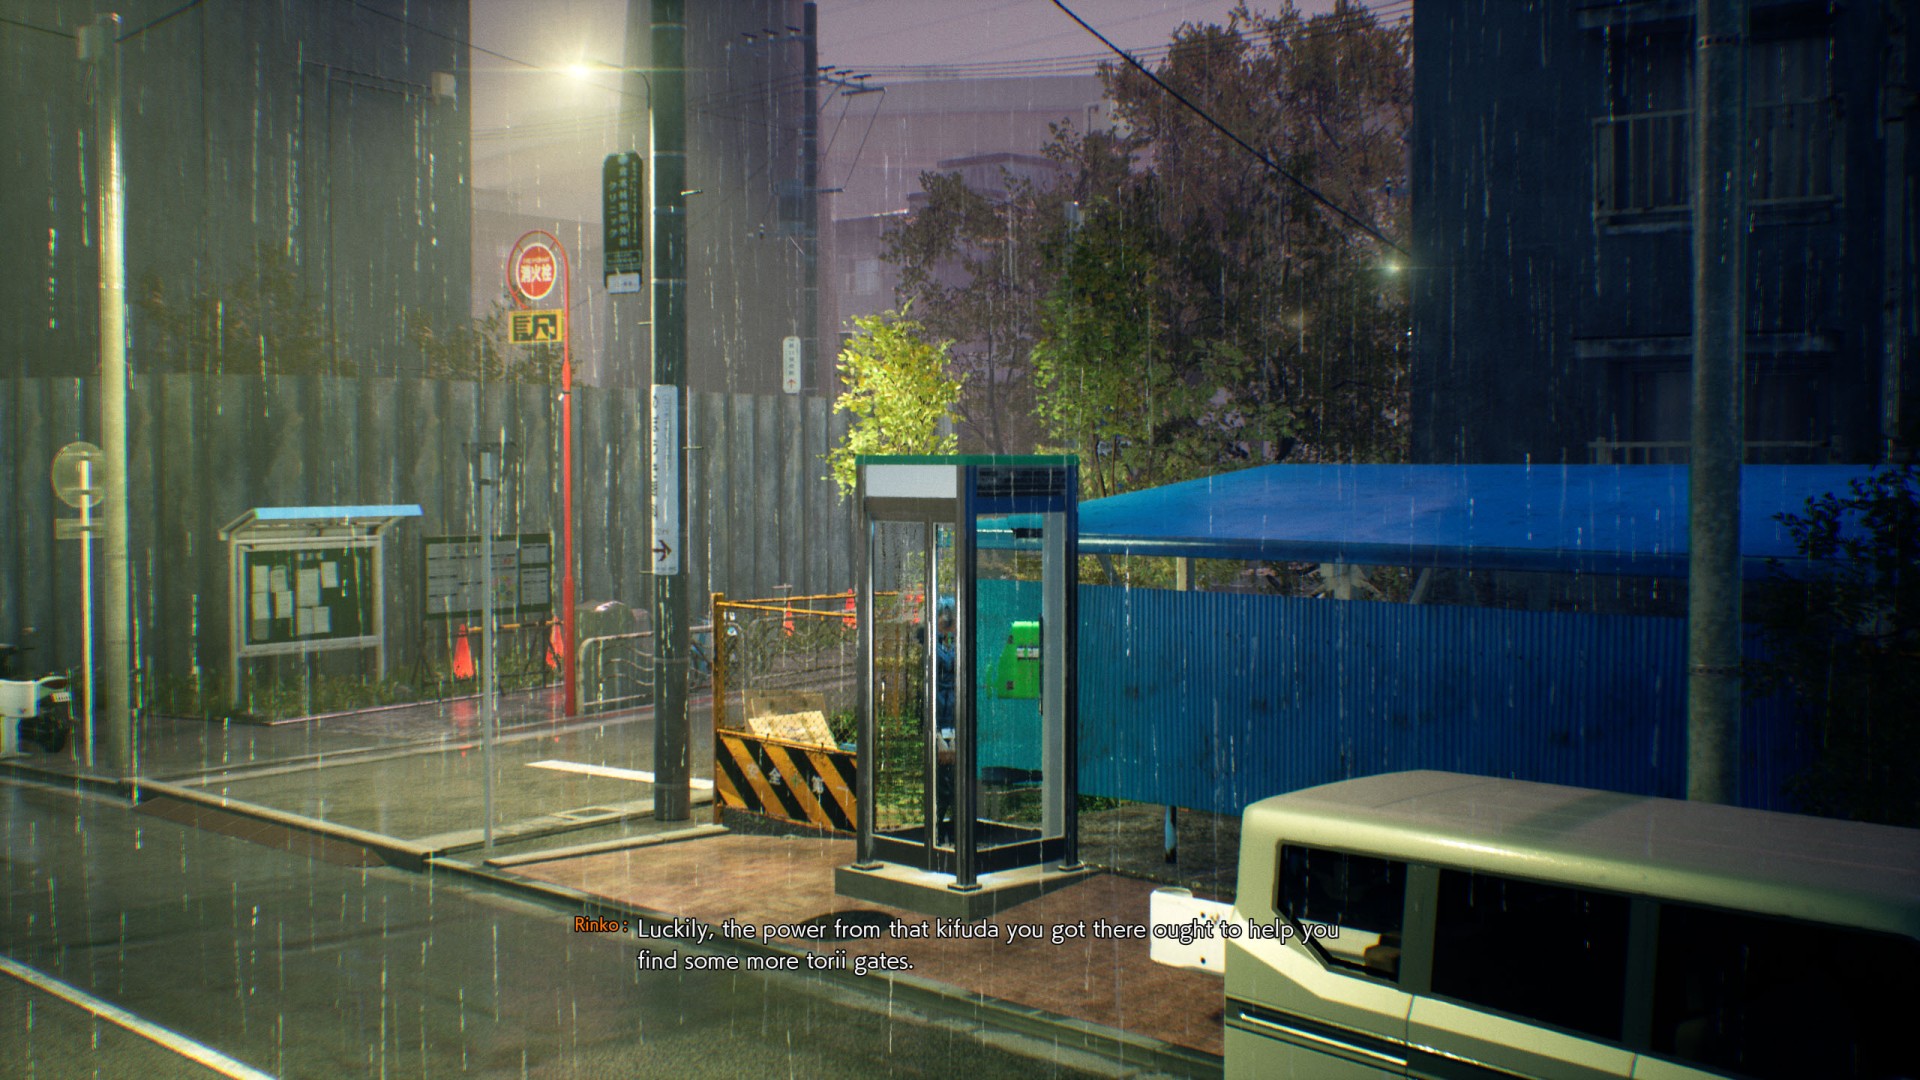
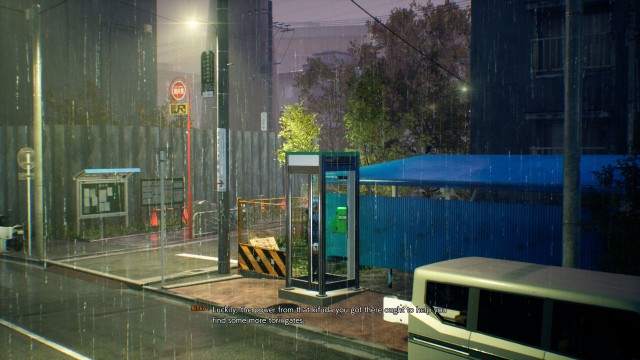
1. Check the payphone
When you regain control of your character then you should hear the sound of a ringing phone coming from a nearby payphone. Walk up to the booth and pick up the receiver. It's Rinko. After talking to her, a bunch of new shrine markers will pop up on your map.
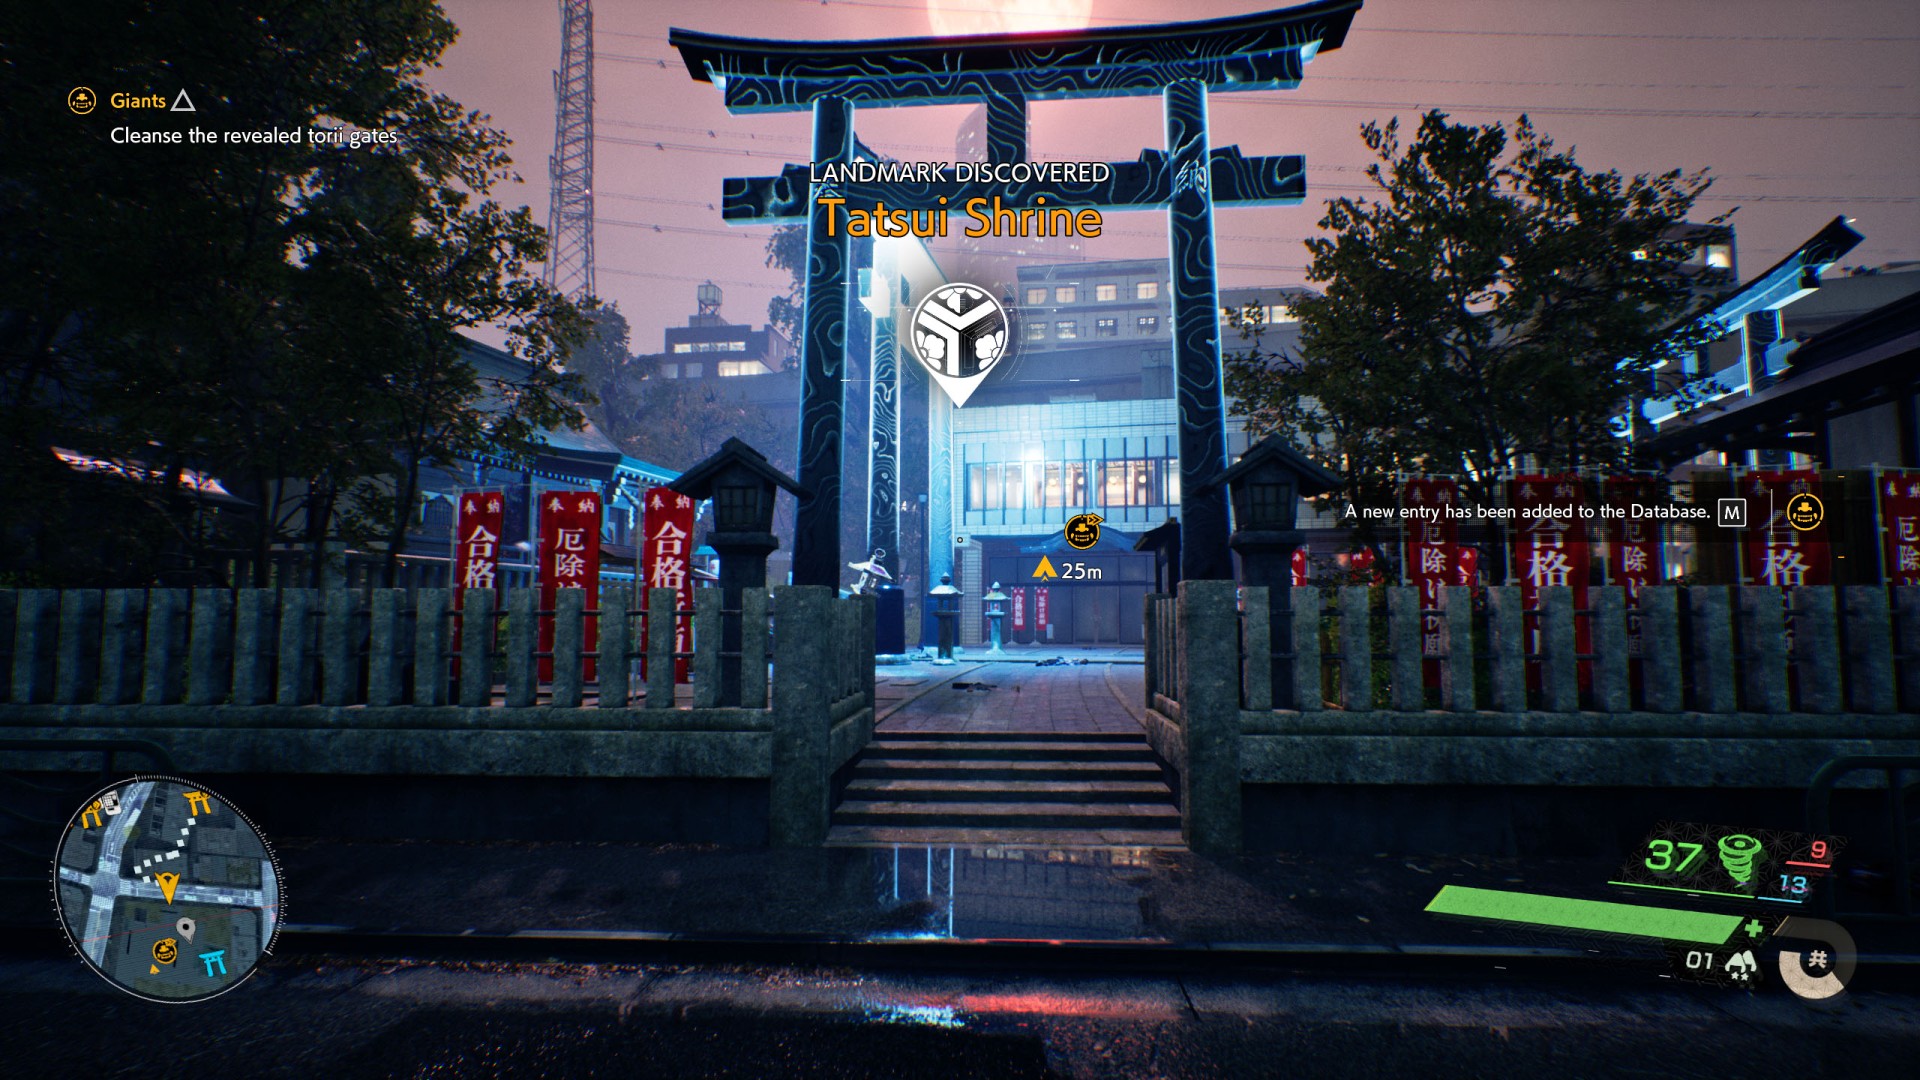
2. Cleanse the revealed torii gates
In order to reach the next milestone of this mission you should clean these shrines: Noto Shrine, Hirajuku Building Rooftop Torii Gate, Saihama Building Rooftop Torii Gate, and Momokane Building Rooftop Torii Gate.
You will then gain access to the area where the next shrine is located - Tatsui Shrine. Head there and be prepared for the fight that will ensue when you enter the grounds of this shrine.

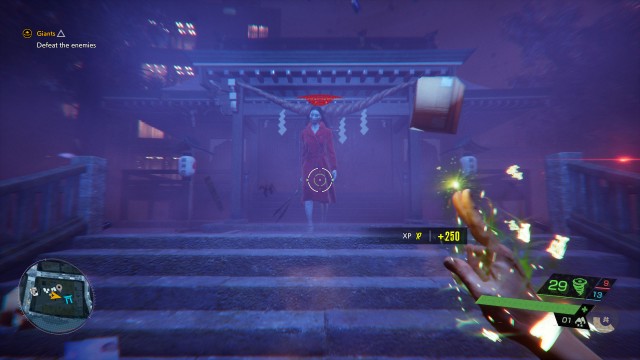
3. Defeat the enemies
The aura will change, which will significantly degrade visibility, and enemies will begin to appear. The last of them will be Crimson Kuchisake.
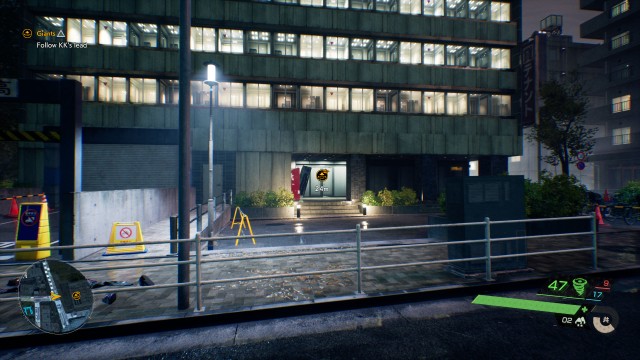
4. Follow KK's lead
After the battle, before you head to the next mission marker, purify the shrine you are in - Tatsui Shrine. The mission marker will take you to the building where The Garage entrance is located. Enter the building.
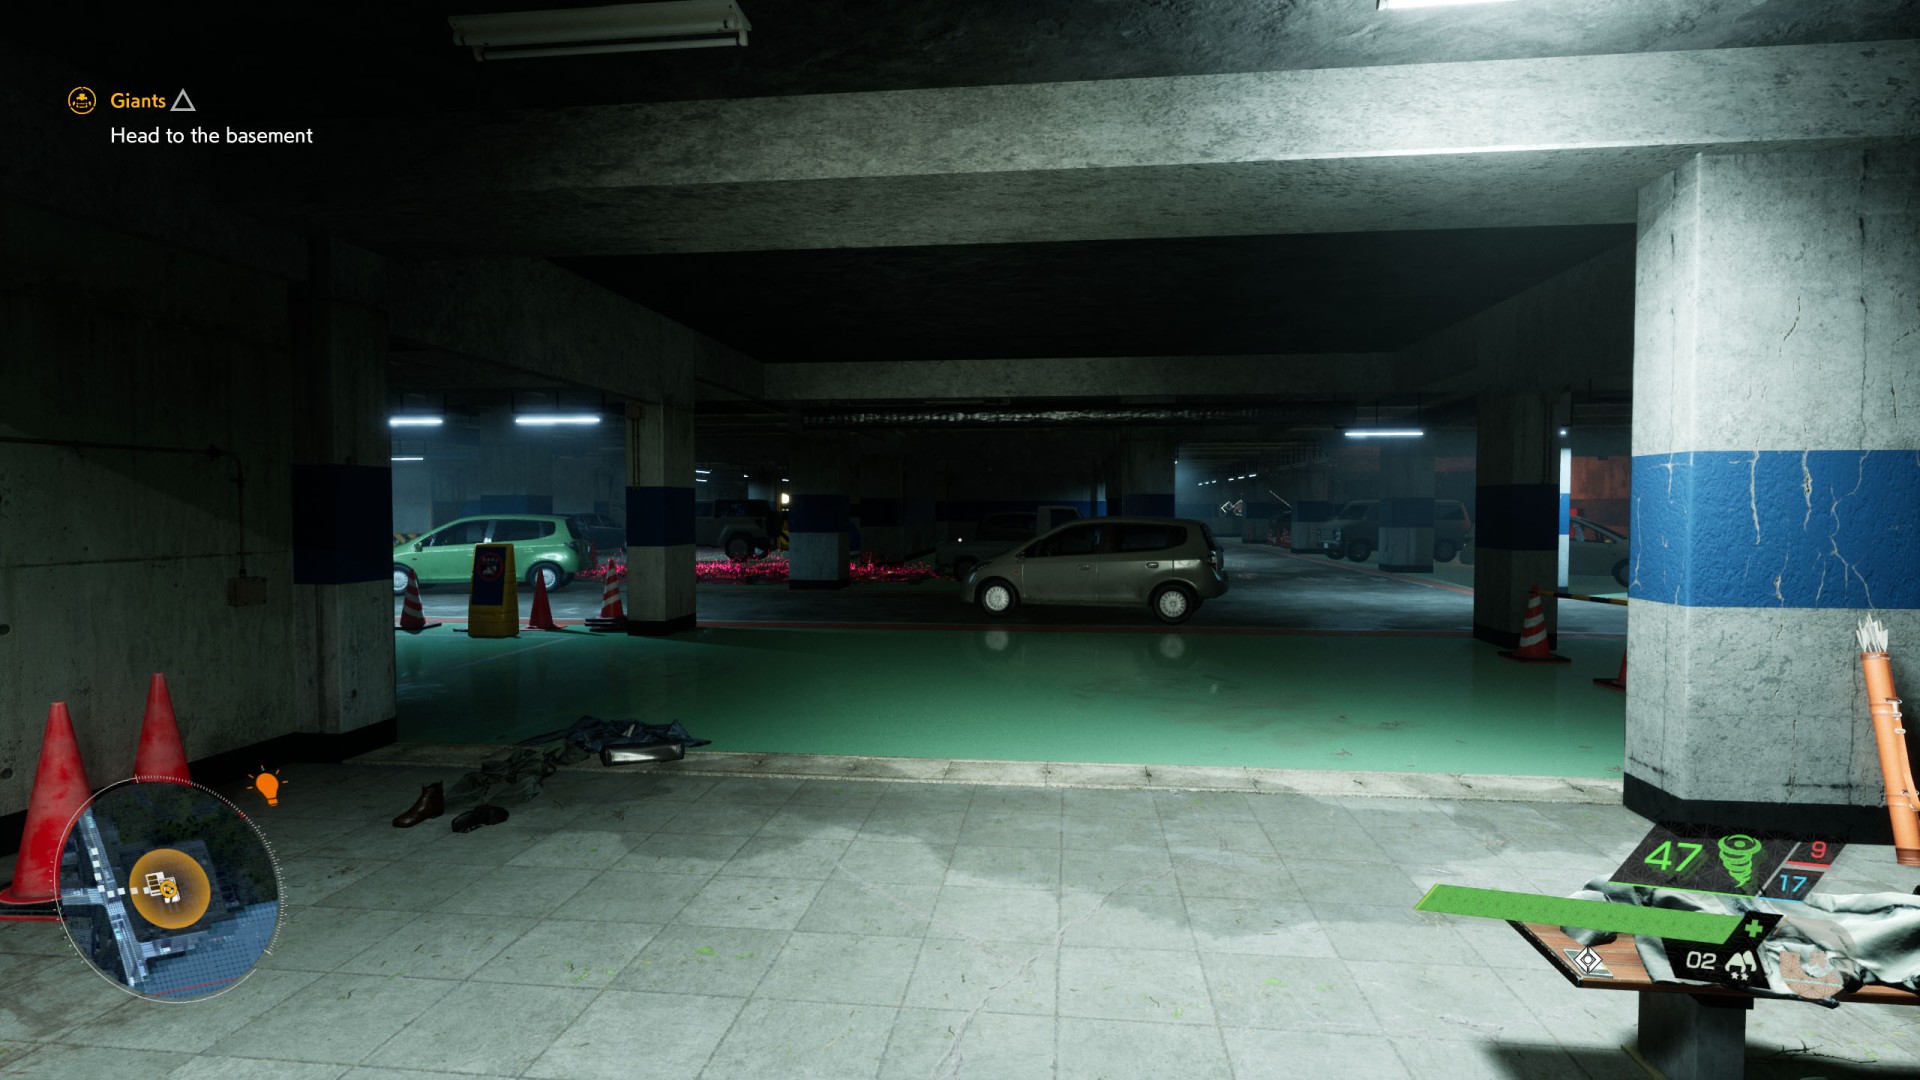
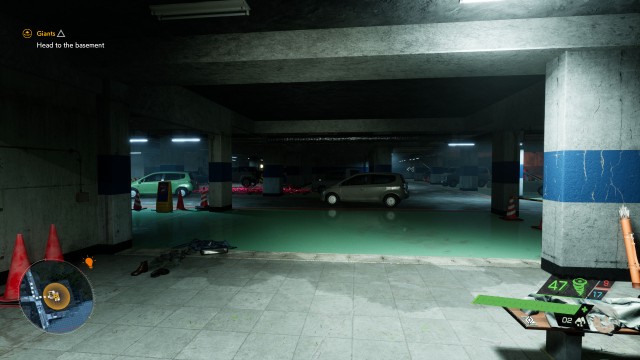
5. Head to the basement
Go down the stairs to the bottom level. There you will find an underground garage. As soon as you enter it the lights will go out and the enemies will pop up.
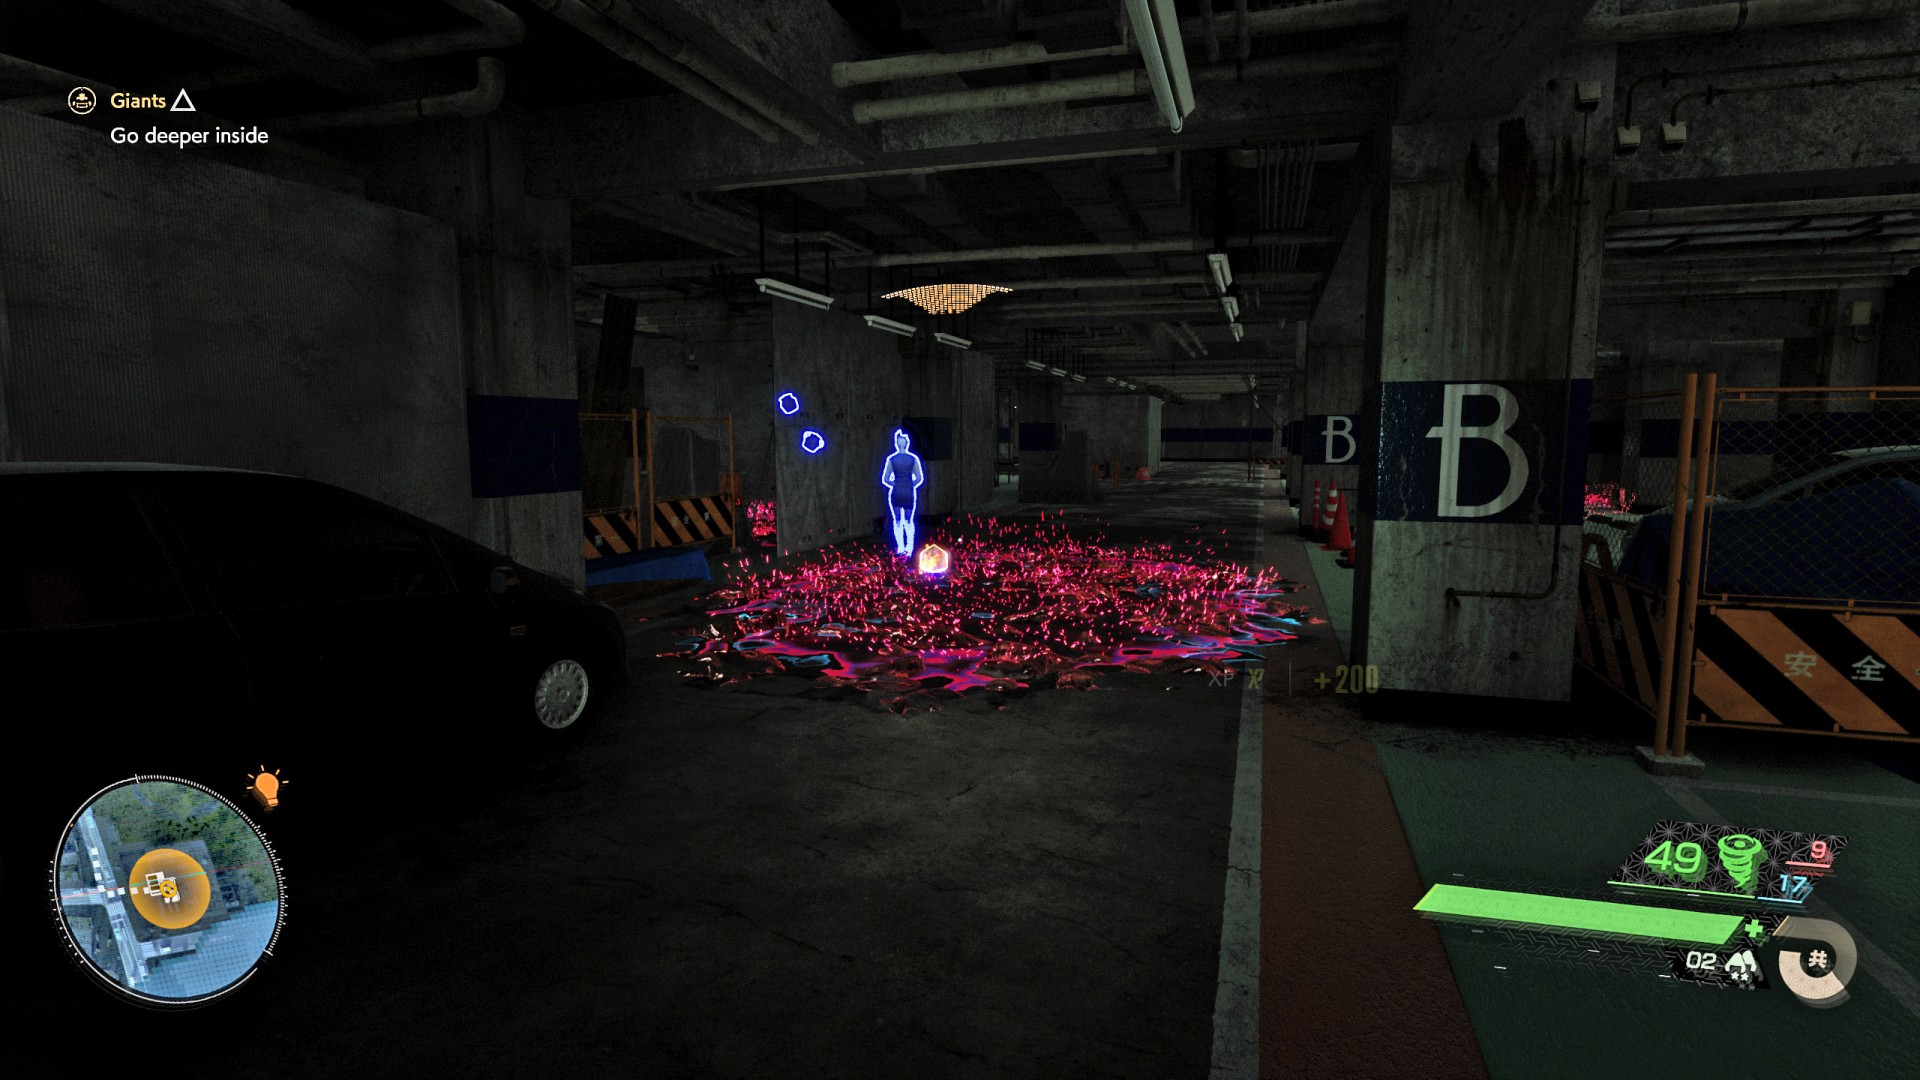
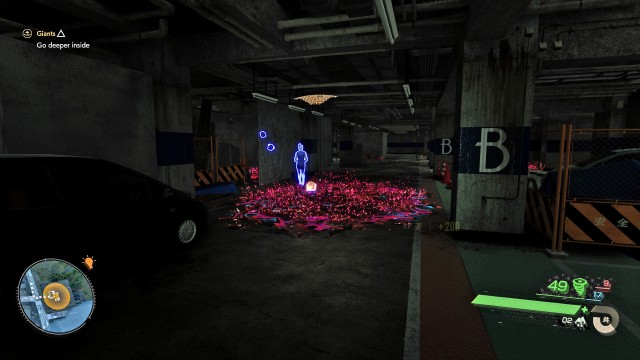
6. Go deeper inside
Move deeper into the garage, eliminate successive adversaries and clean the Corruption when needed.
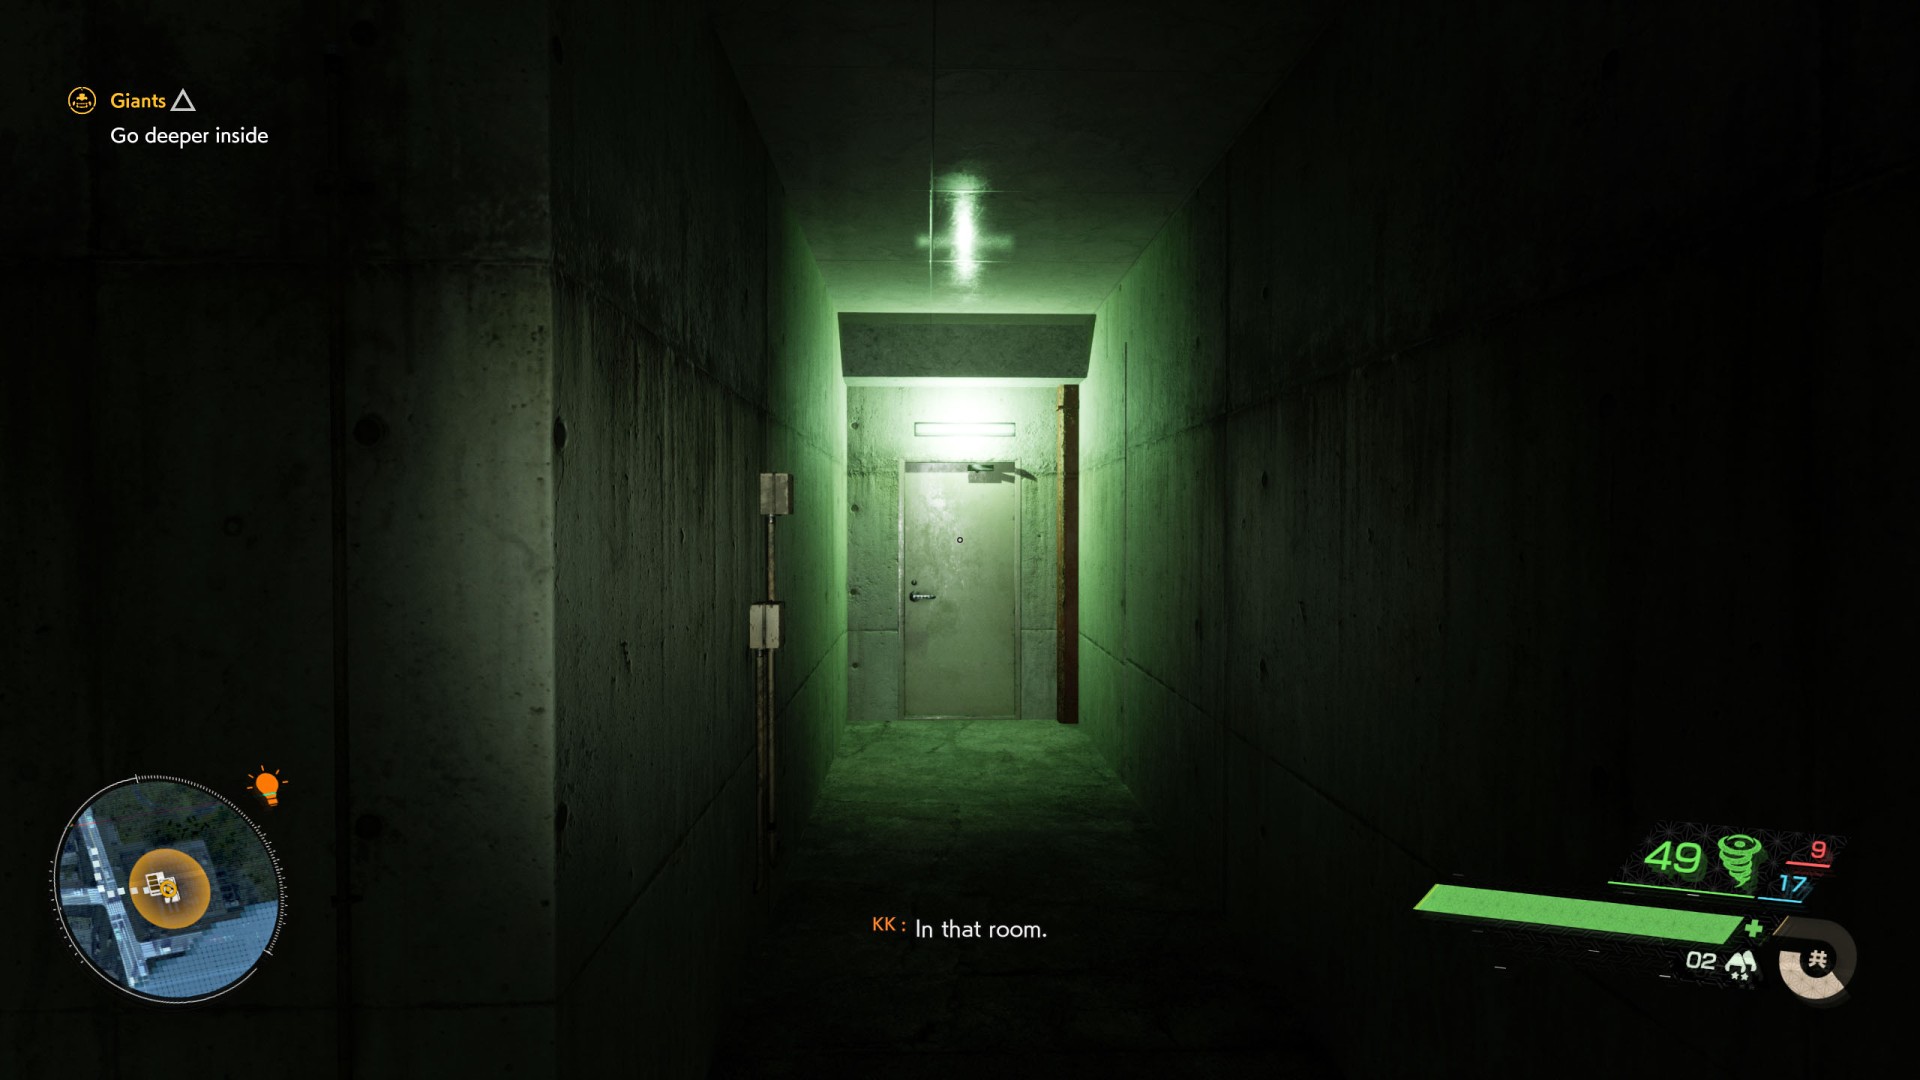
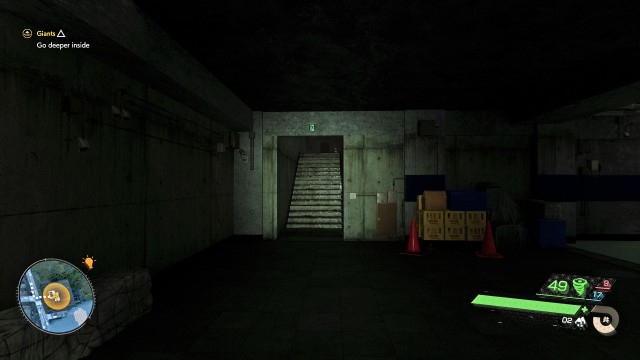
After a while you should notice a stairway...
that will lead you to a door leading to the room you are looking for.
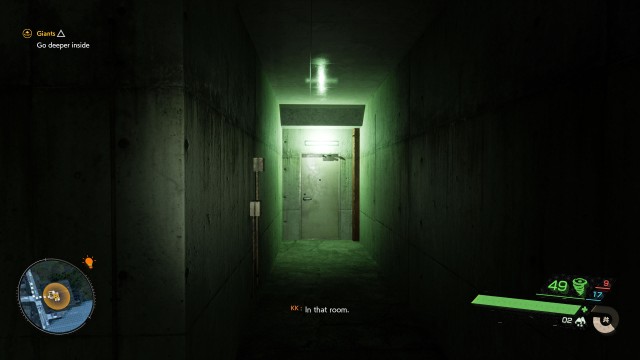
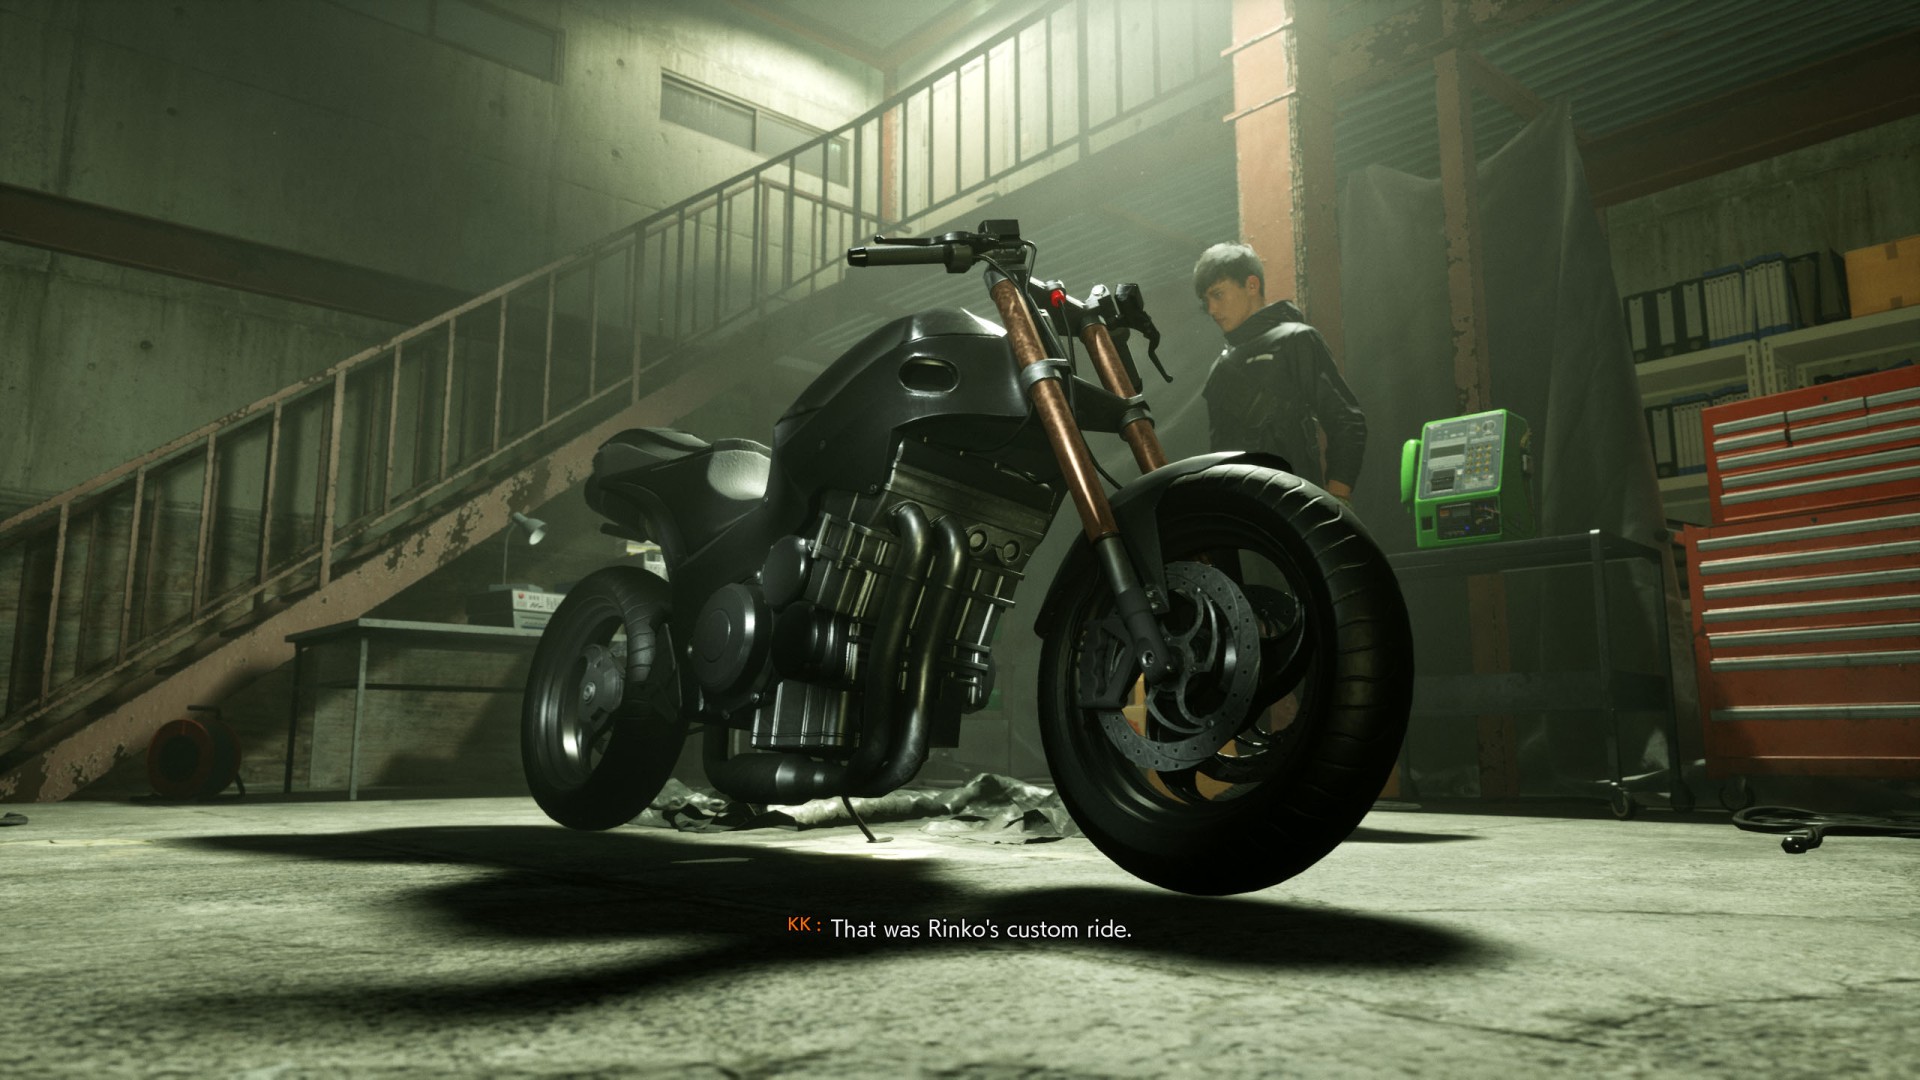
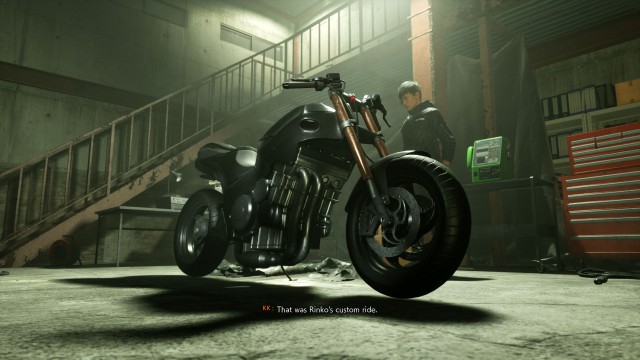
Inside this room you will find Rinko's motorcycle. KK will inspect it and tell you what you can use it for as long as you repair it.
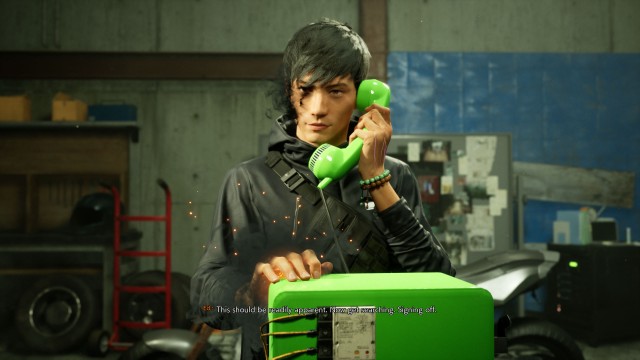
Then you will have to pick up the phone, located in the same room and which will start ringing, and listen to a recording with more instructions left by Ed.
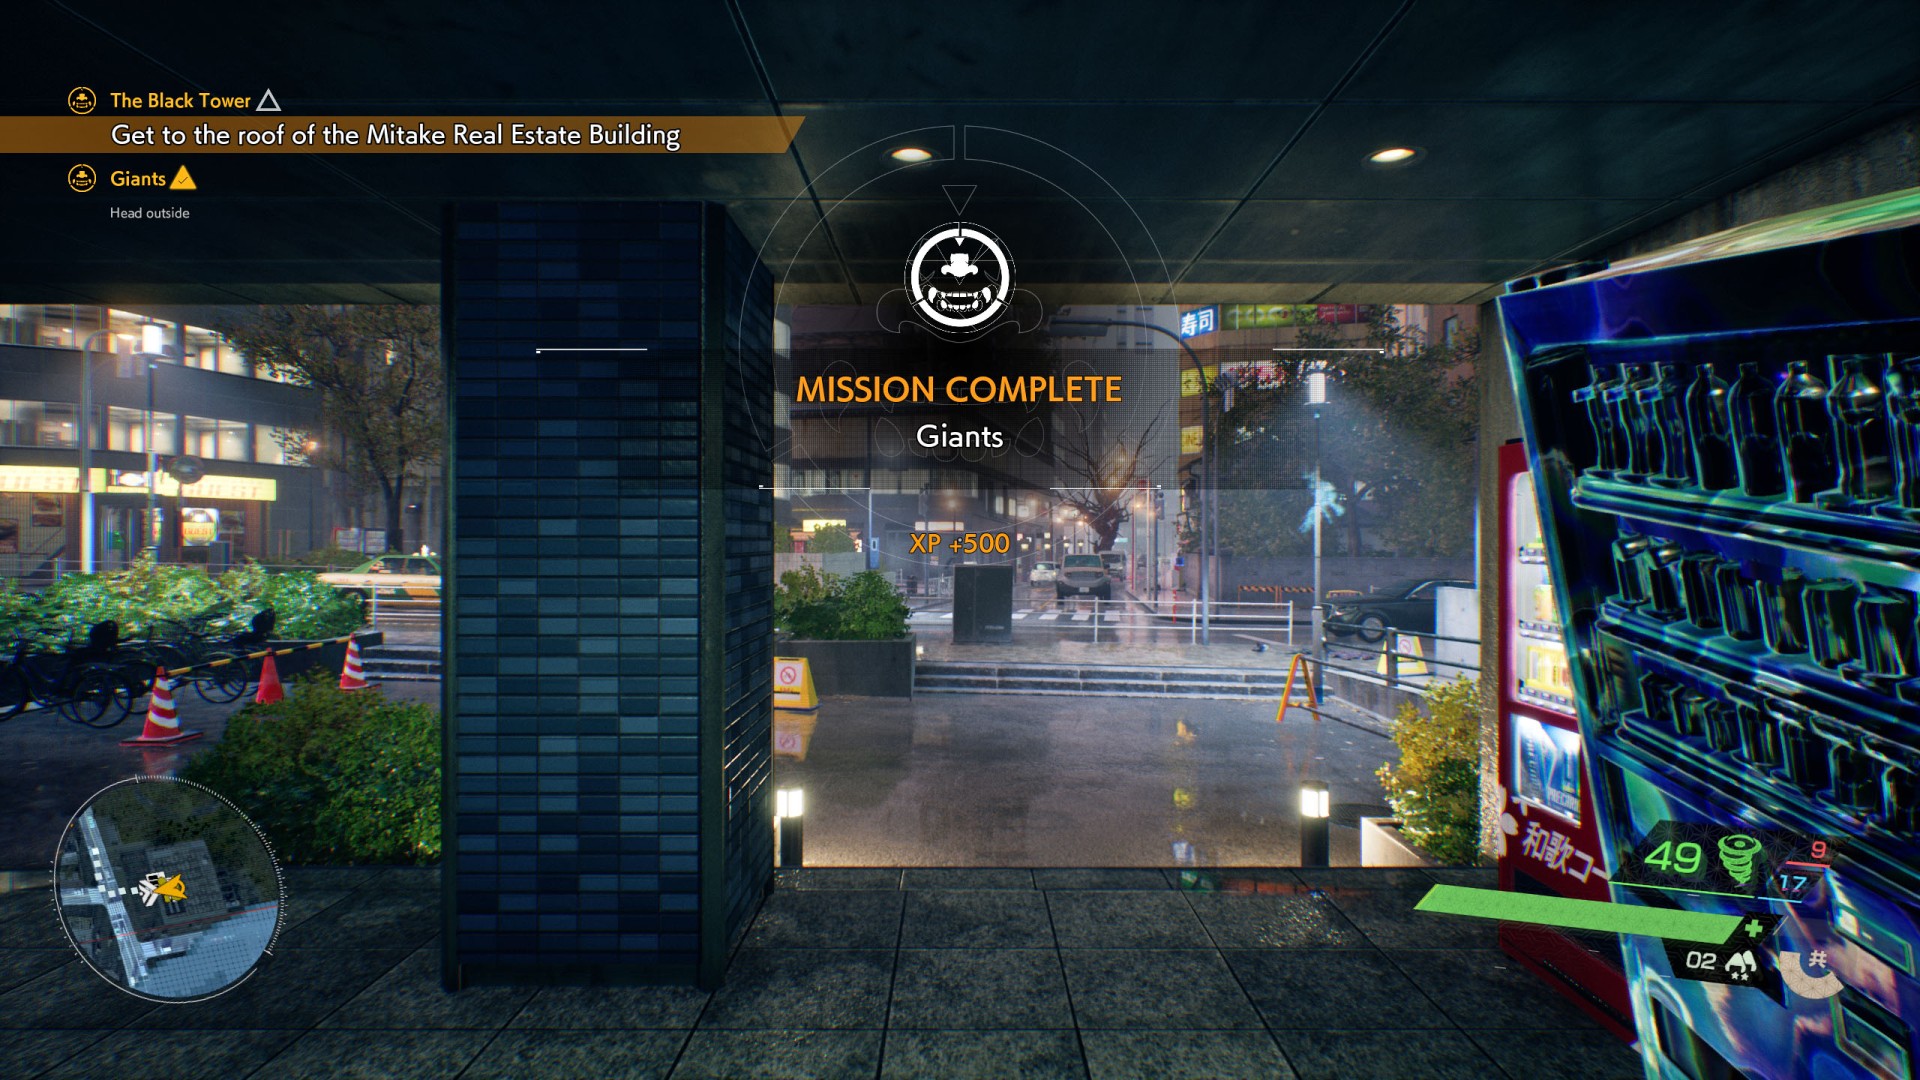
7. Head outside
Just leave the building through the same entrance you entered it with and then this mission will end and another one will begin - "The Black Tower".