This mission is a follow-up to the "KK" mission and will begin when you manage to reach the KK's Safehouse.
Akito and KK realize that the fog has grown thicker since they entered the hospital. Spirits now roam the streets of Shibuya.
Akito makes use of his new powers from KK, discovering how to clear away the fog. He also learns how to make use of some katashiro found at a shrine to send spirits safely out of the city where they can be saved.
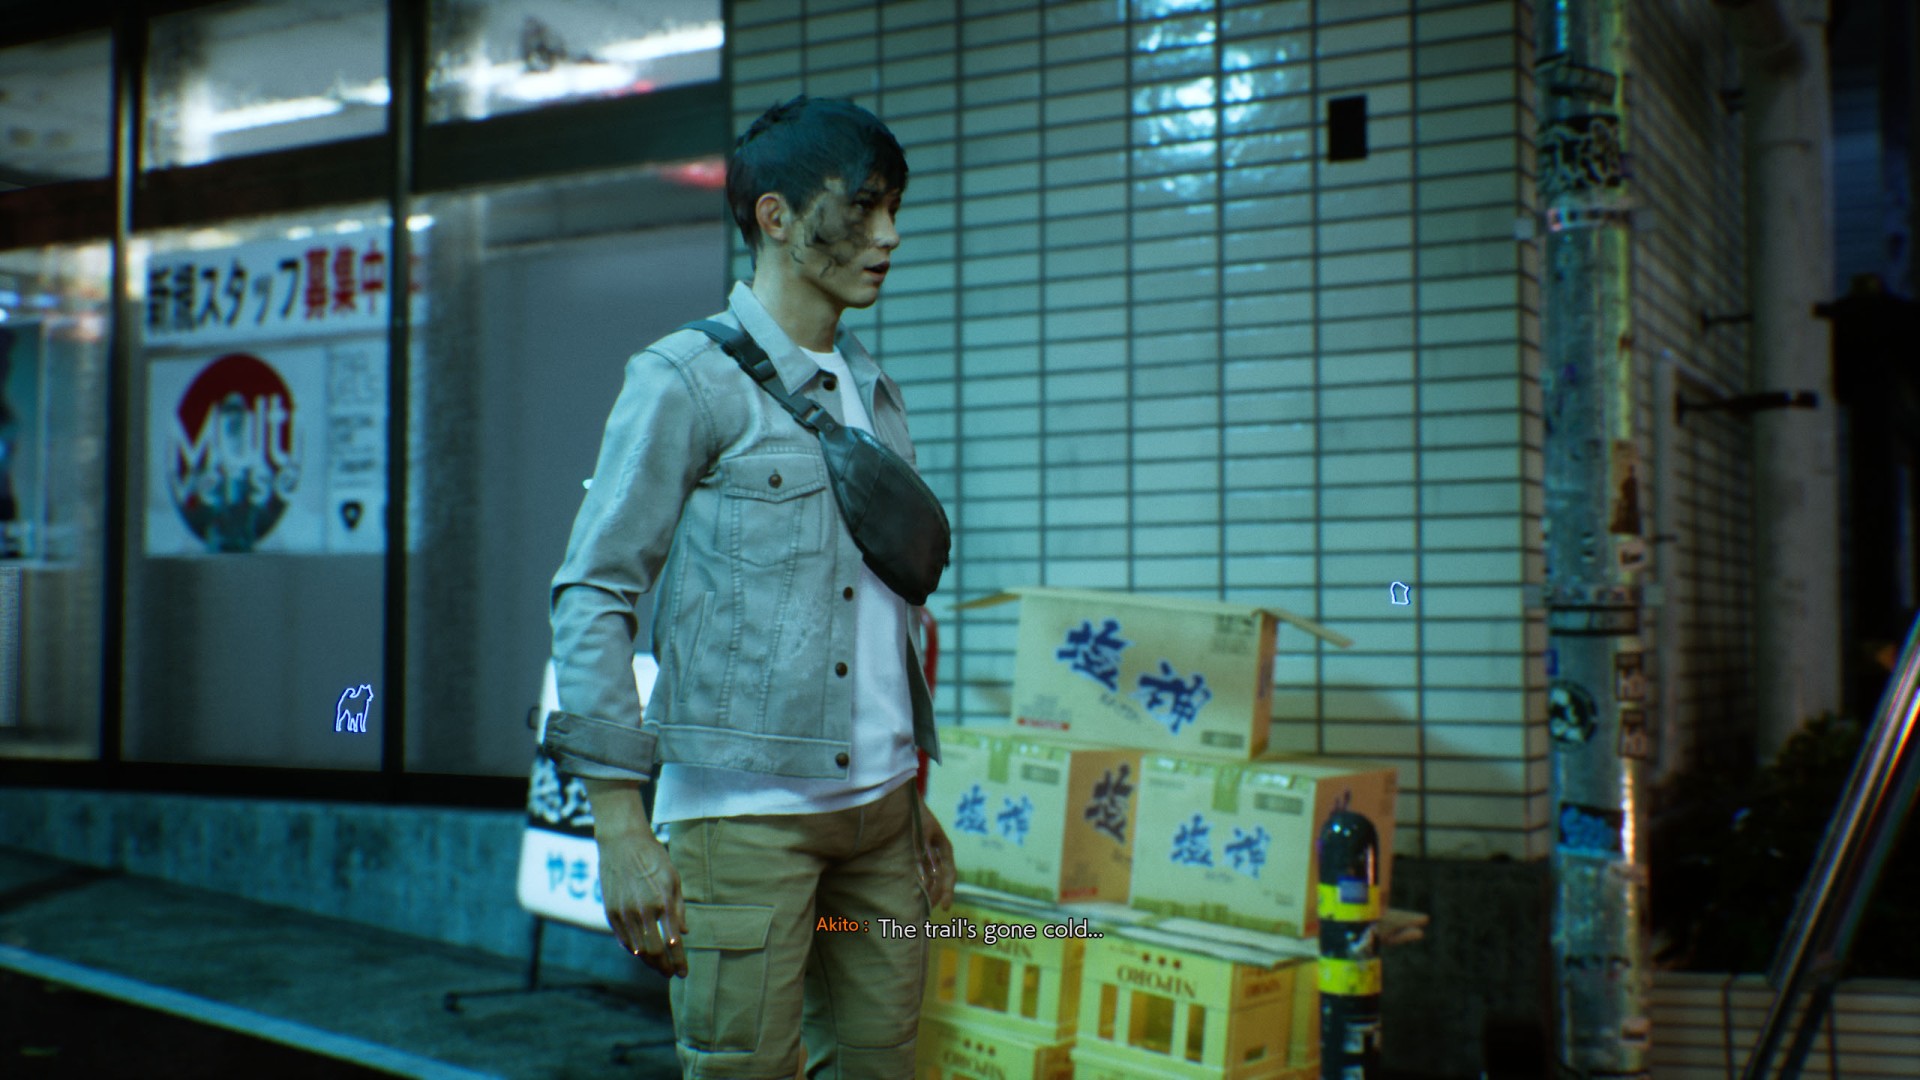
Keen to find further information about the man in the Hannya mask and the whereabouts of his sister, Akito heads off with KK toward KK's safehouse.
Rewards:
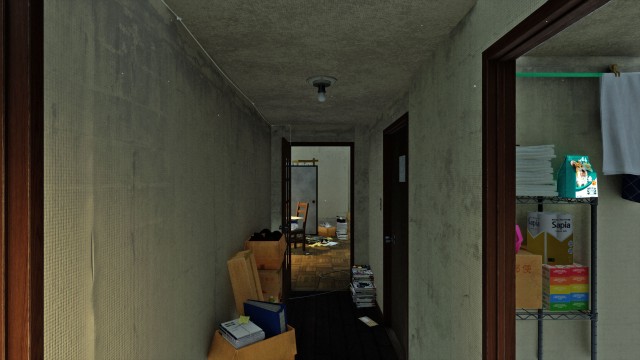
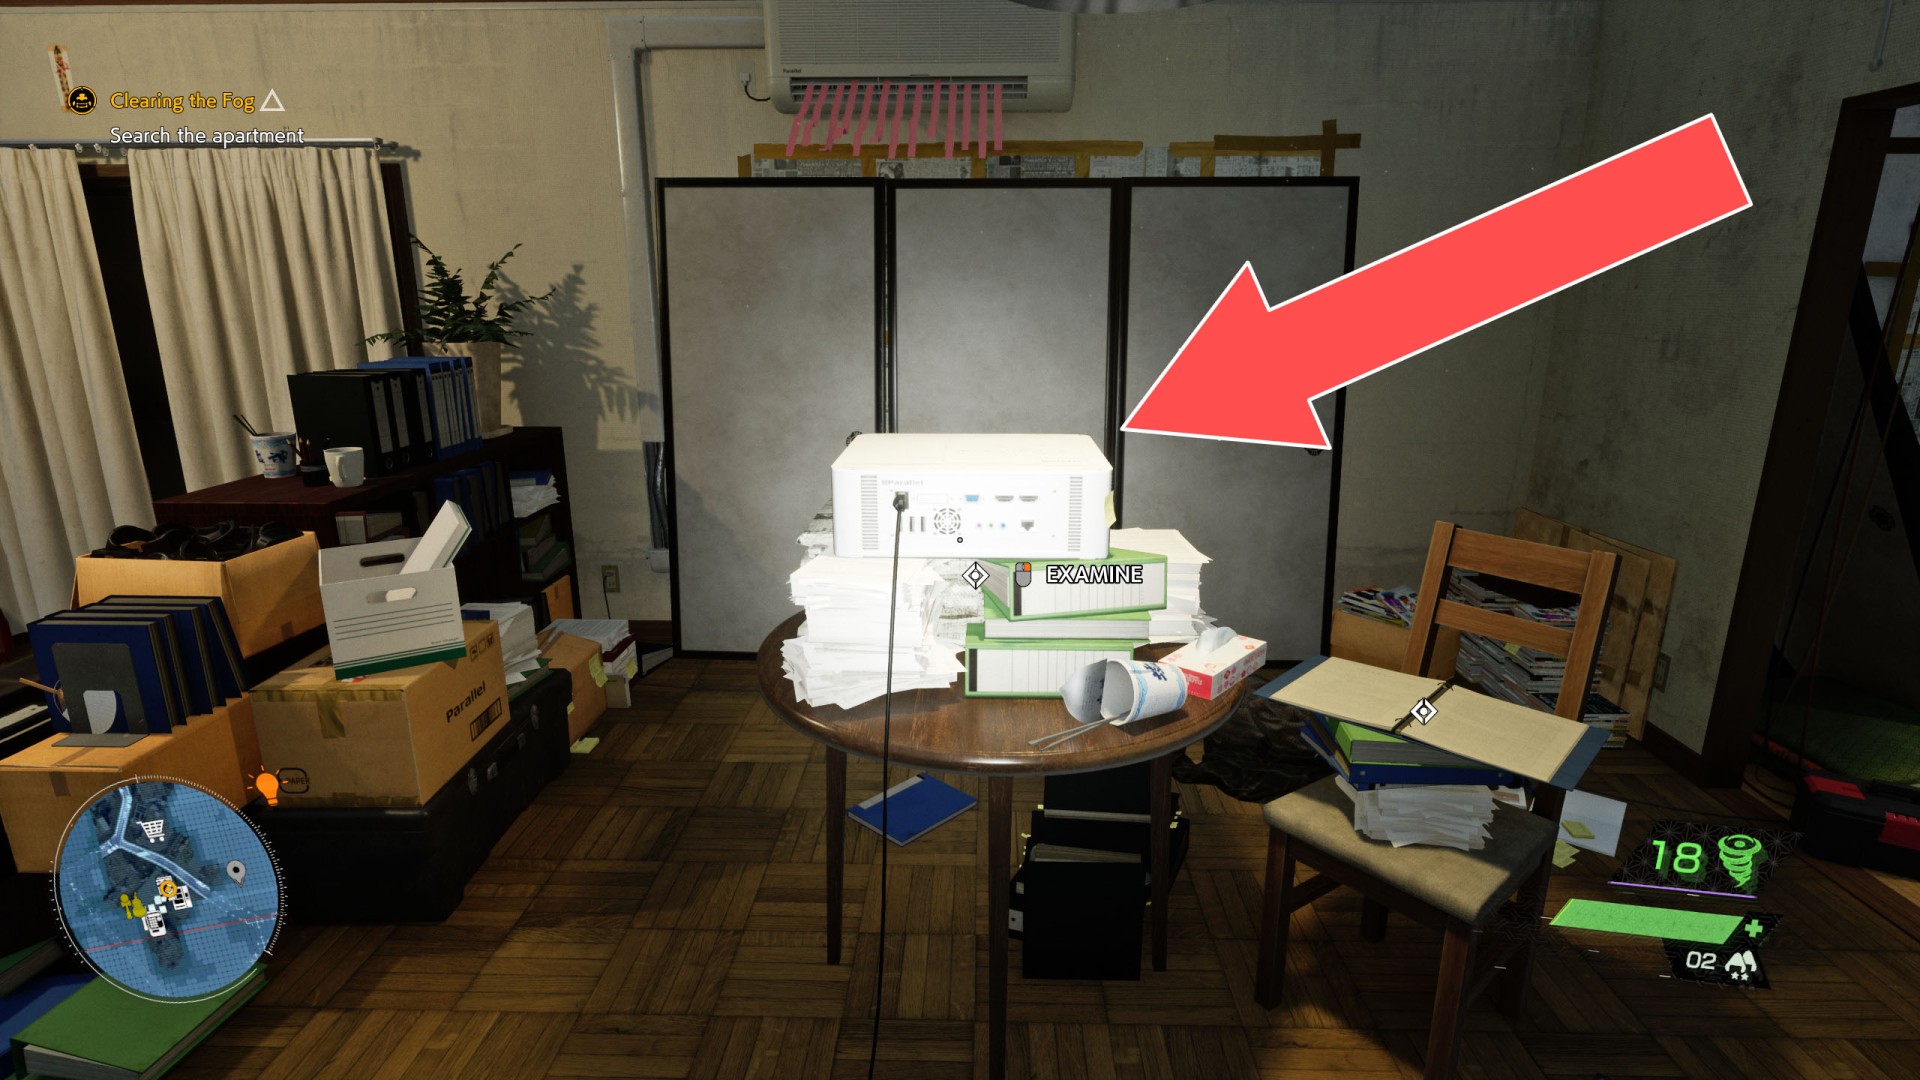
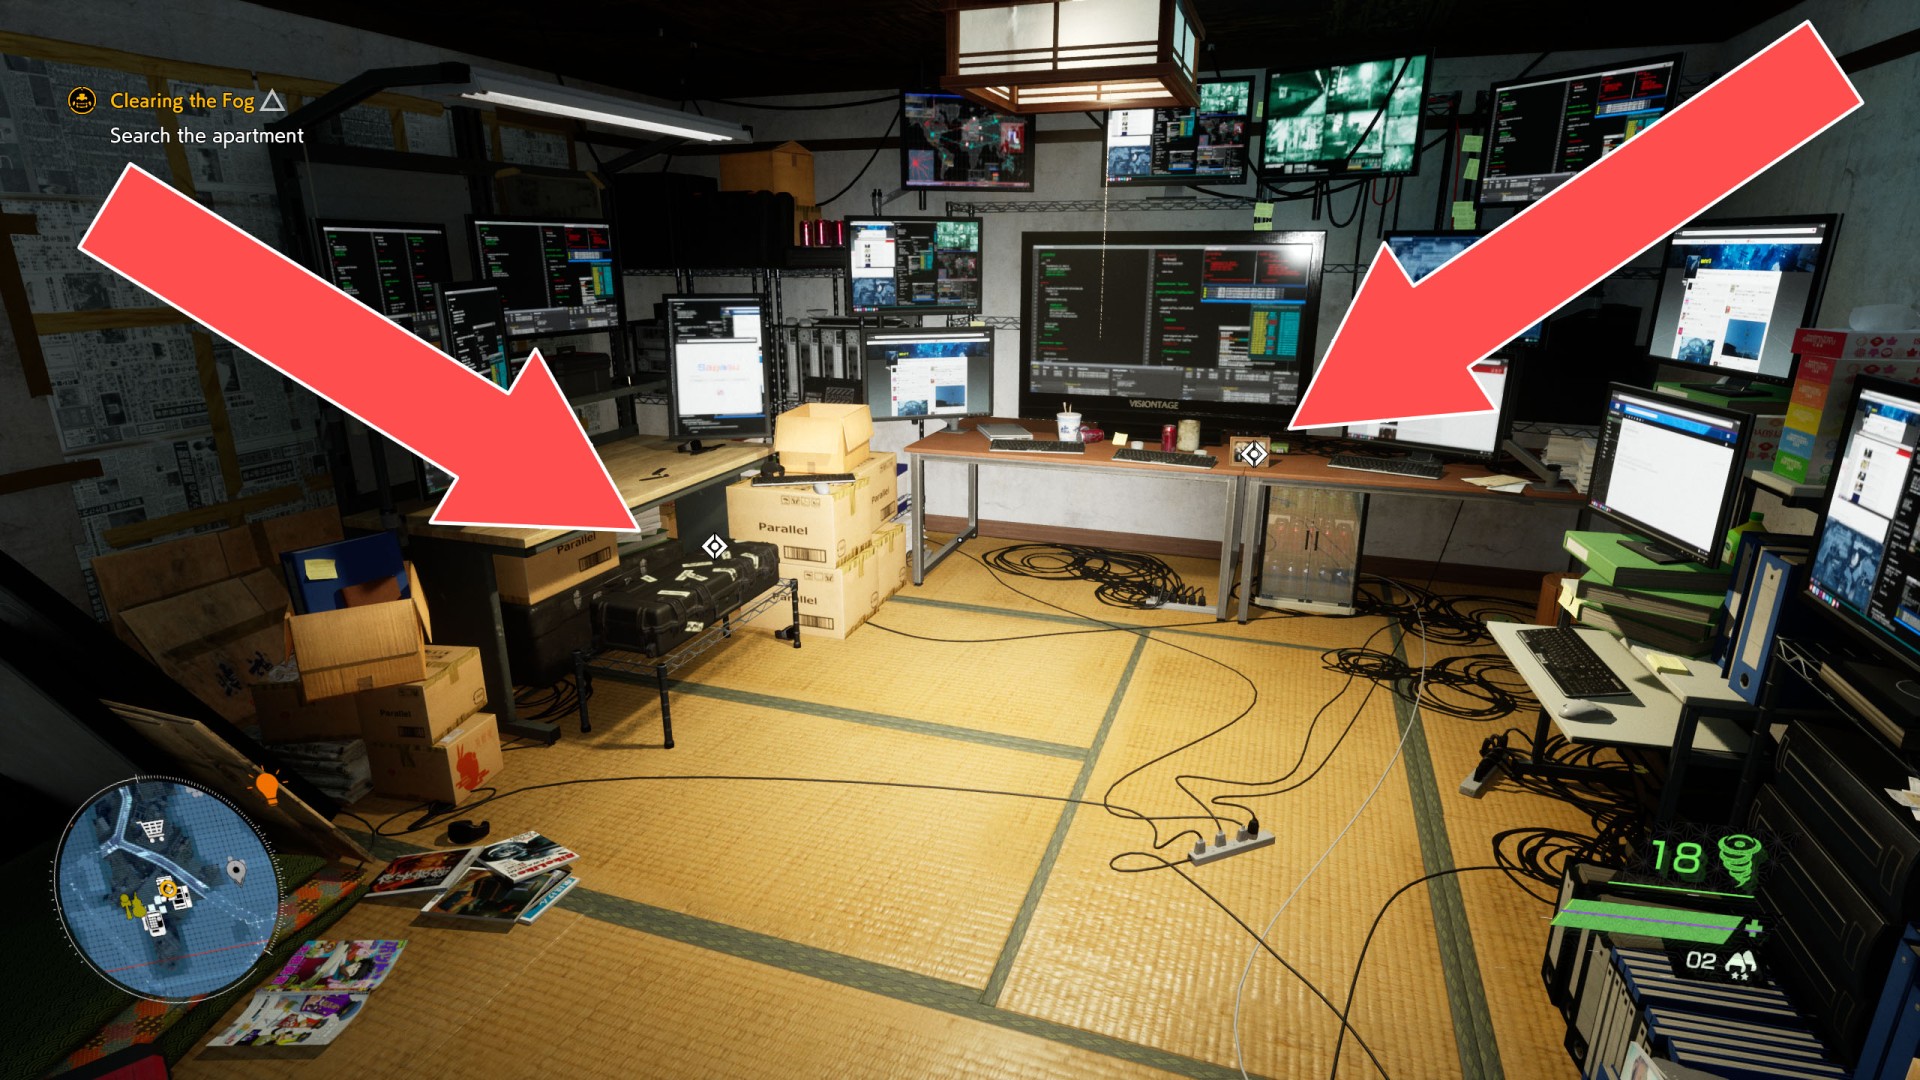
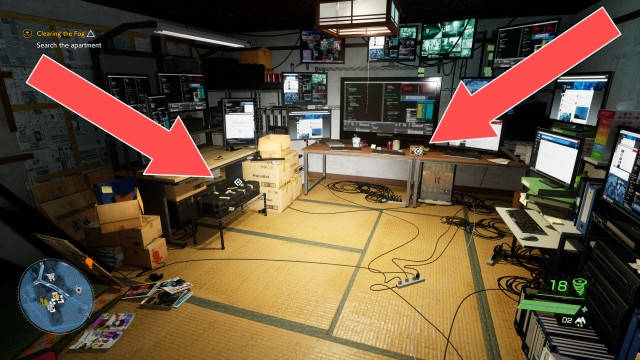
1. Search the apartment
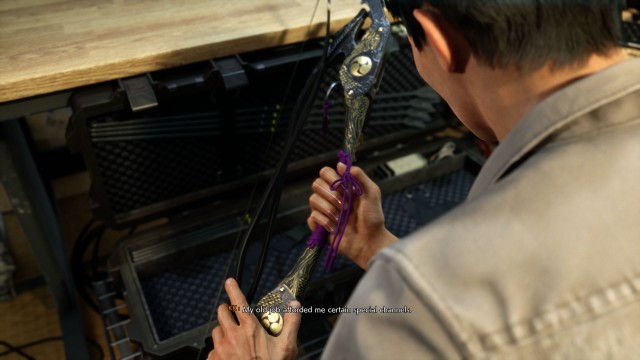
There are quite a few items in the apartment that you can look at, but you only need to examine three of them to push the mission forward. They are a projector standing on the table,...
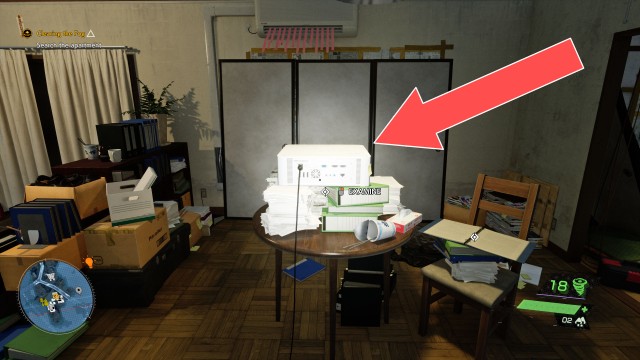
...a black case in which you will find a new weapon - a bow, and a photo frame standing on a desk.
2. Head outside
Go outside and then you will realize that the building has been surrounded by some kind of magical barrier.
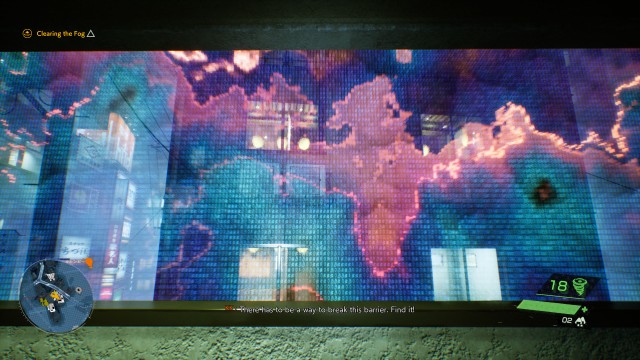
3. Find and destroy the barrier's source
Head to the upper floor, destroy the barrier stone and enter the apartment located above the safehouse. After destroying the stone, a timer will start, counting down the time remaining to get to the last barrier stone and get rid of the barrier.
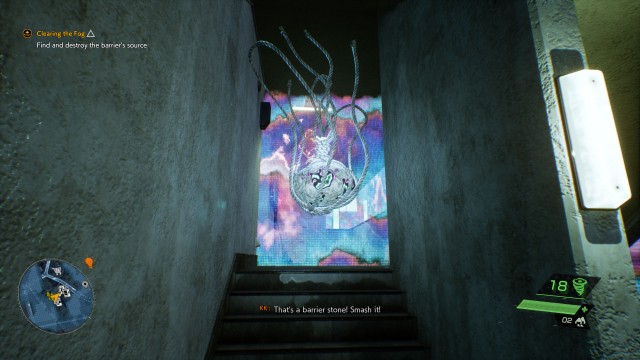
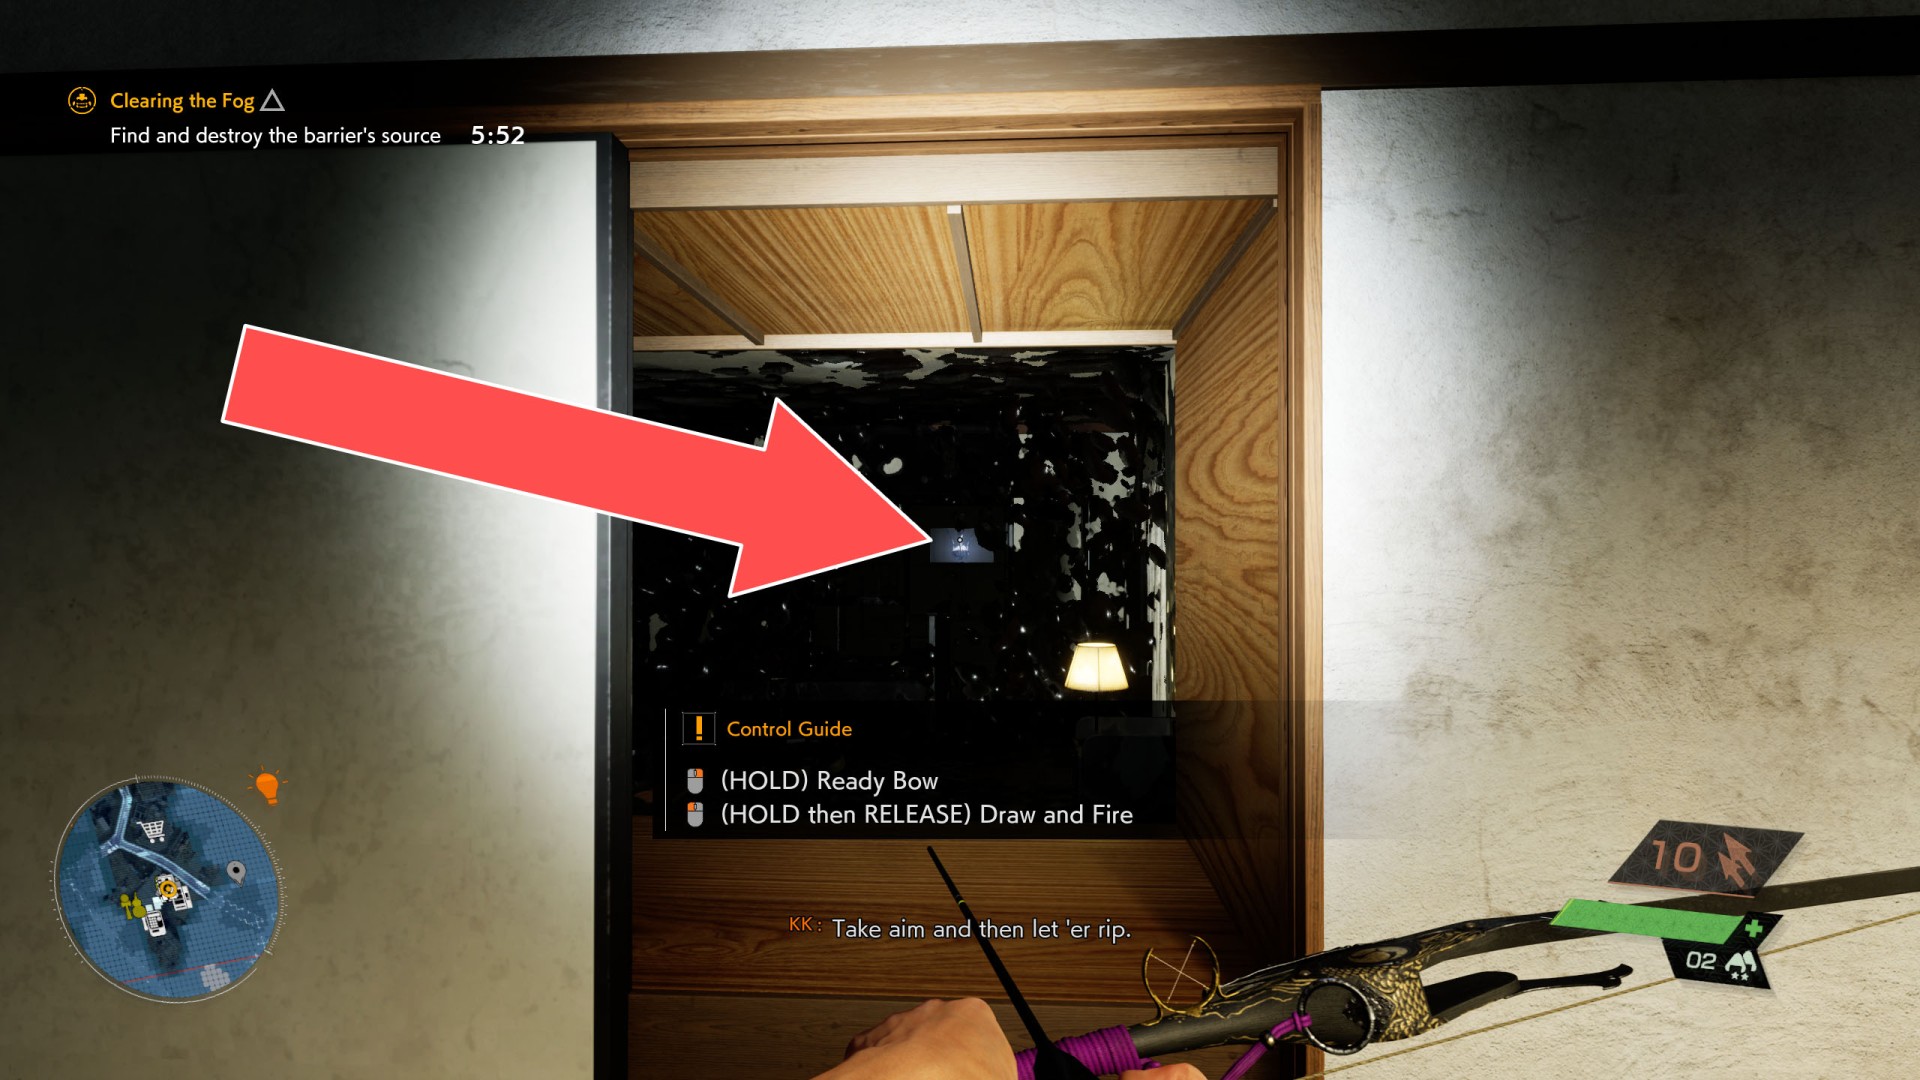
Follow the path through the apartment's rooms until you reach a passageway too small to walk through. To move on, equip your recently acquired bow and shoot at the barrier stone in the distance.

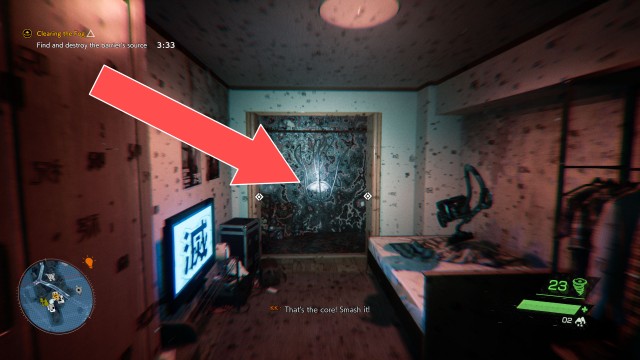
Exit the apartment, go up two floors and enter the next apartment. In this apartment you will have to crouch in several places to walk through a narrow tunnel. At some point you will have to jump higher. Eventually you should reach the closet where the last of the barrier stones is, Destroy it.
4. Head outside / Find the source of the barrier / Use your Spectral Vision to search the area
Step outside, go down to the street level, approach the white-blue spectral sphere and activate the Spectral Vision.
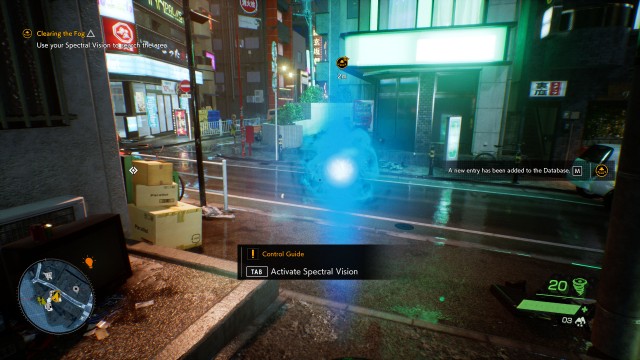
Spectral Vision
Spectral Vision can reveal hidden traces of psychic energy left behind on objects, allowing you to track people and other things of interest. It can also serve many other purposes as outlined below:
- Locate points of interest, Visitors, torii gates, spirits, yokai, etc.
- Uncover weak points on large Visitors, as well as corruption cores and barrier stones
- Track down key items, consumables, relics, and KK's investigation notes
- Talk to animals
When activating Spectral Vision, you'll hear a bell chime if there's something special like a Jizo statue, offering box, or omikuji nearby.
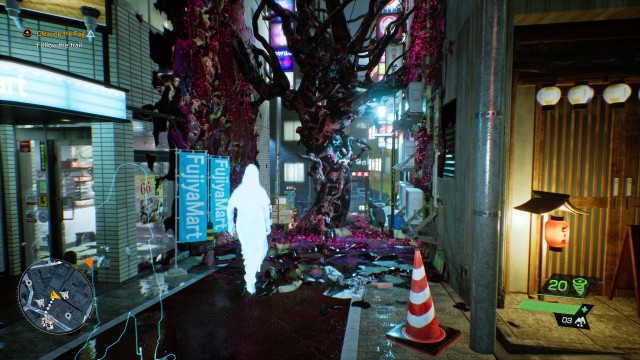
5. Follow the trail
Follow the spirit that appears. It will lead you to an alley where the passage will be blocked by the Corruption.
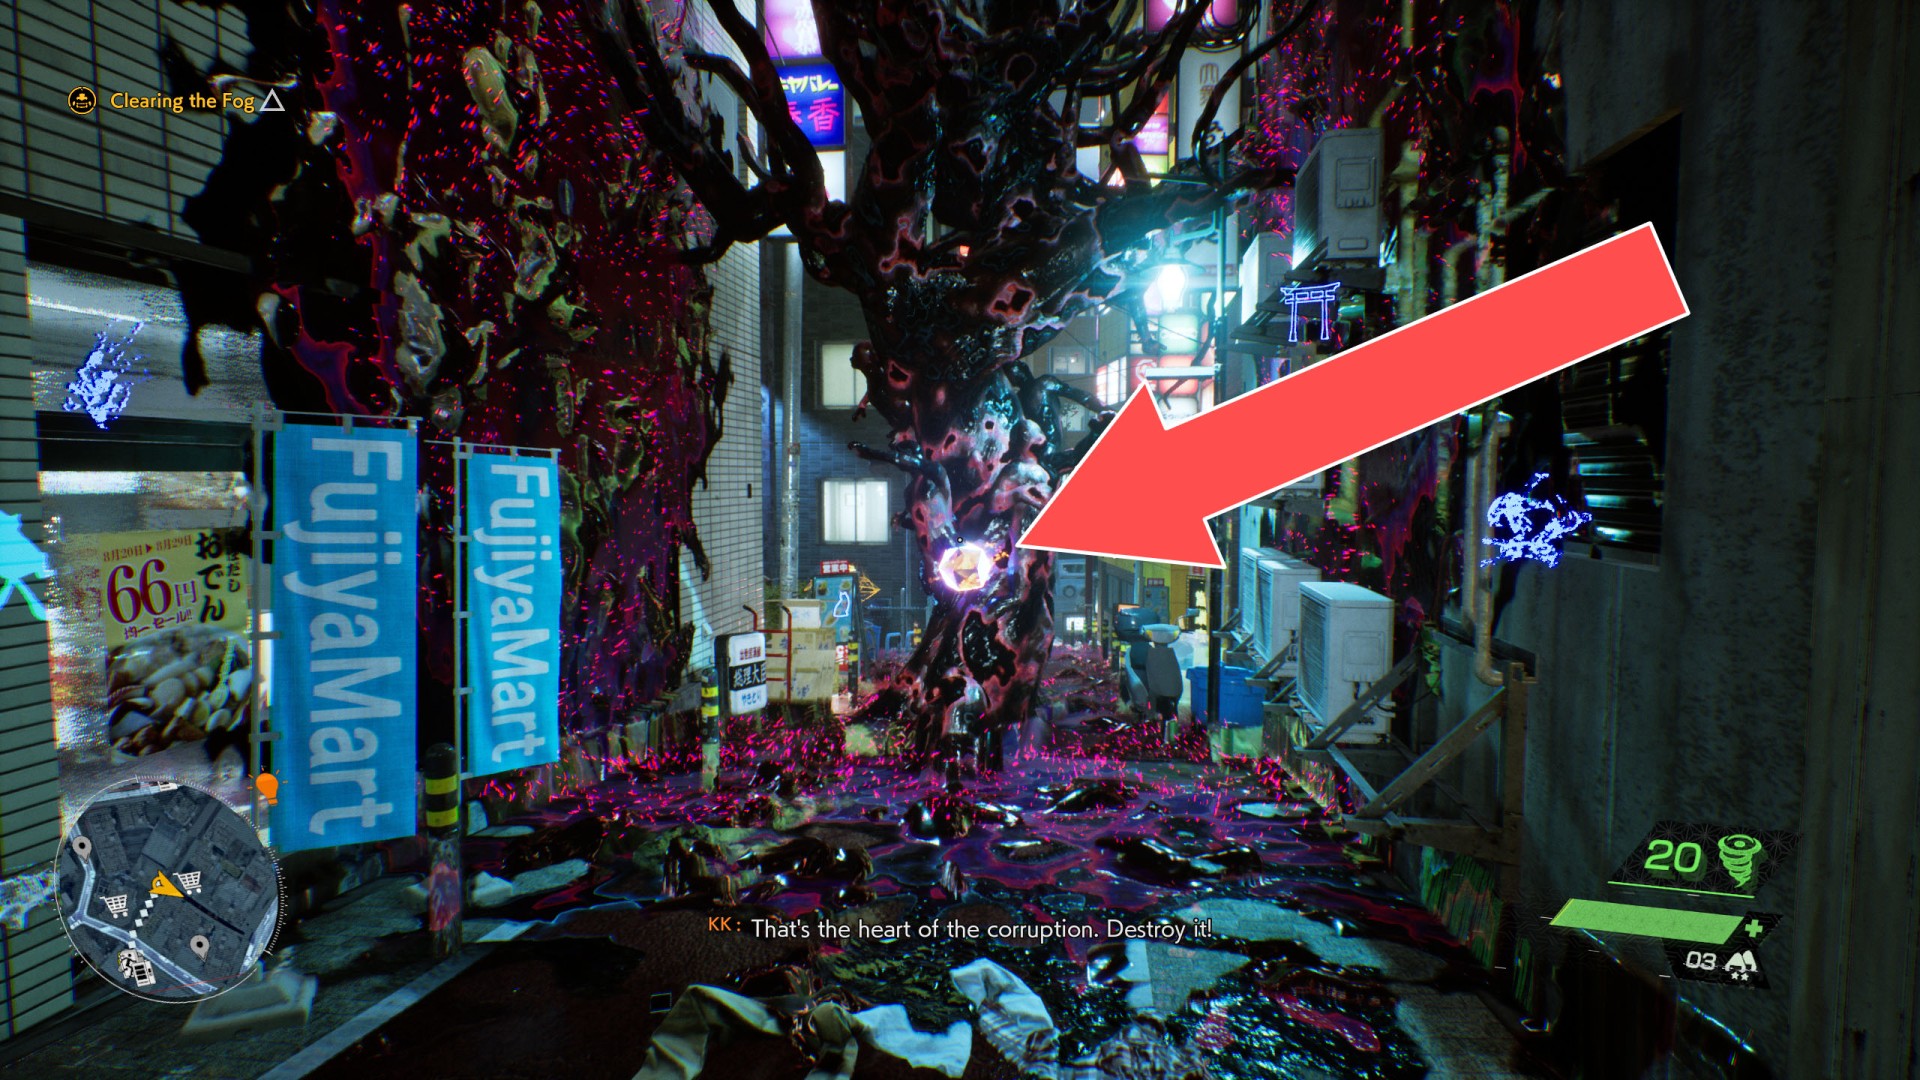
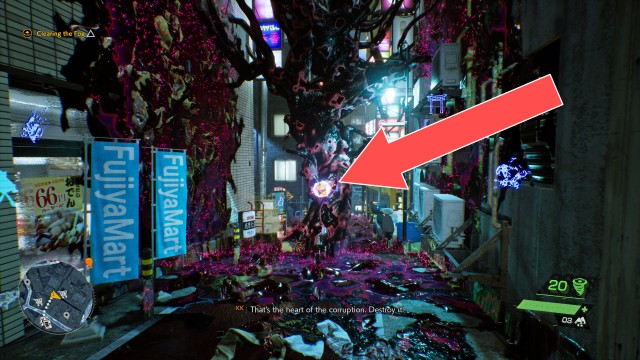
6. Find a way to purge the corruption / Destroy the heart of the corruption
Once again activate the Spectral Vision, you will thus uncover the heart of the corruption. To destroy it simply shoot at it.
7. Search the area
Move forward. Literally after a dozen steps, this mission will end and the next one - "A Maze of Death" - will begin.