One Small Step Starfield Mission
Group: Main Missions
This is the first mission you will receive as soon as you start a new game. The year is 2330 and you start as a recruit for Argos Extractors on Vectera, the moon of the planet Anselon in Narion System.

Objectives of One Small Step
1. Follow Supervisor Lin
It's my second outing with Argos Extractors. I'm following Supervisor Lin around today while she oversees the dig site, doing whatever tasks she has for me.
Just follow Supervisor Lin until she stops by the toolbox.
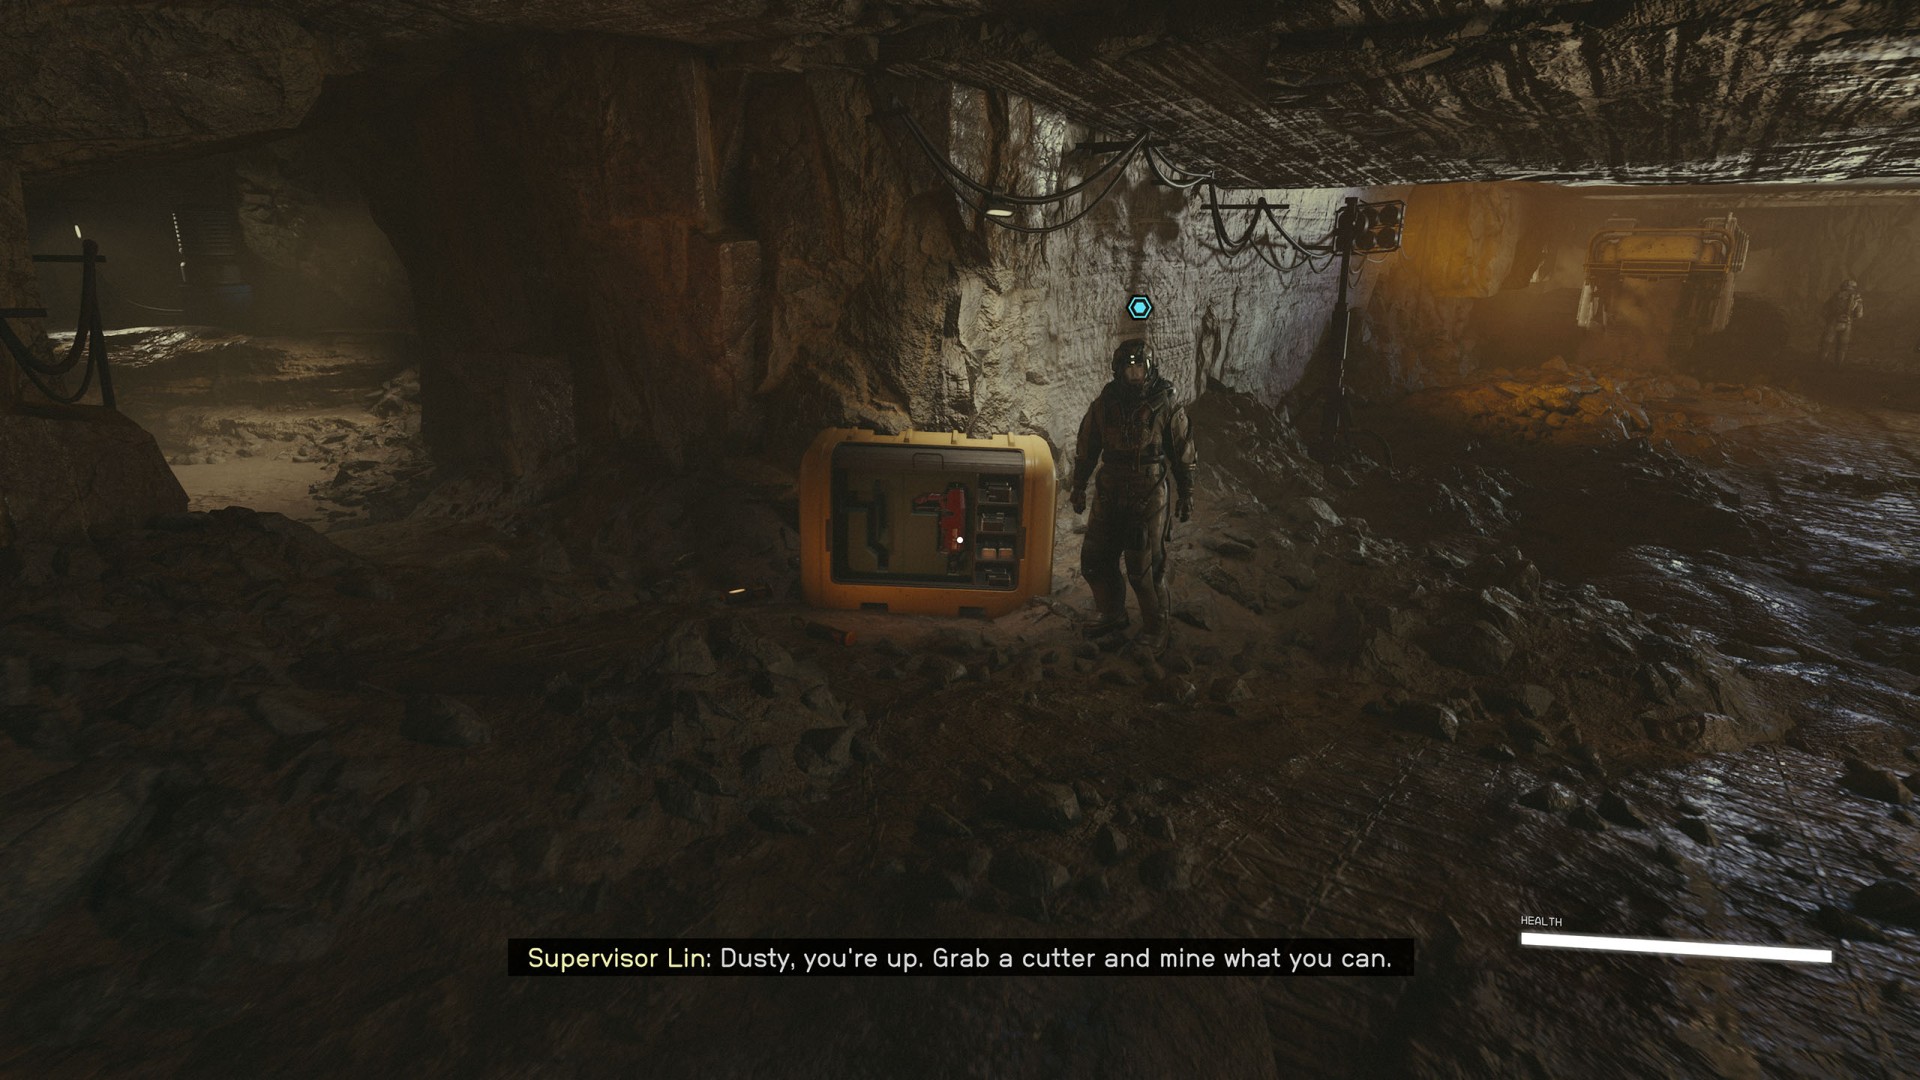
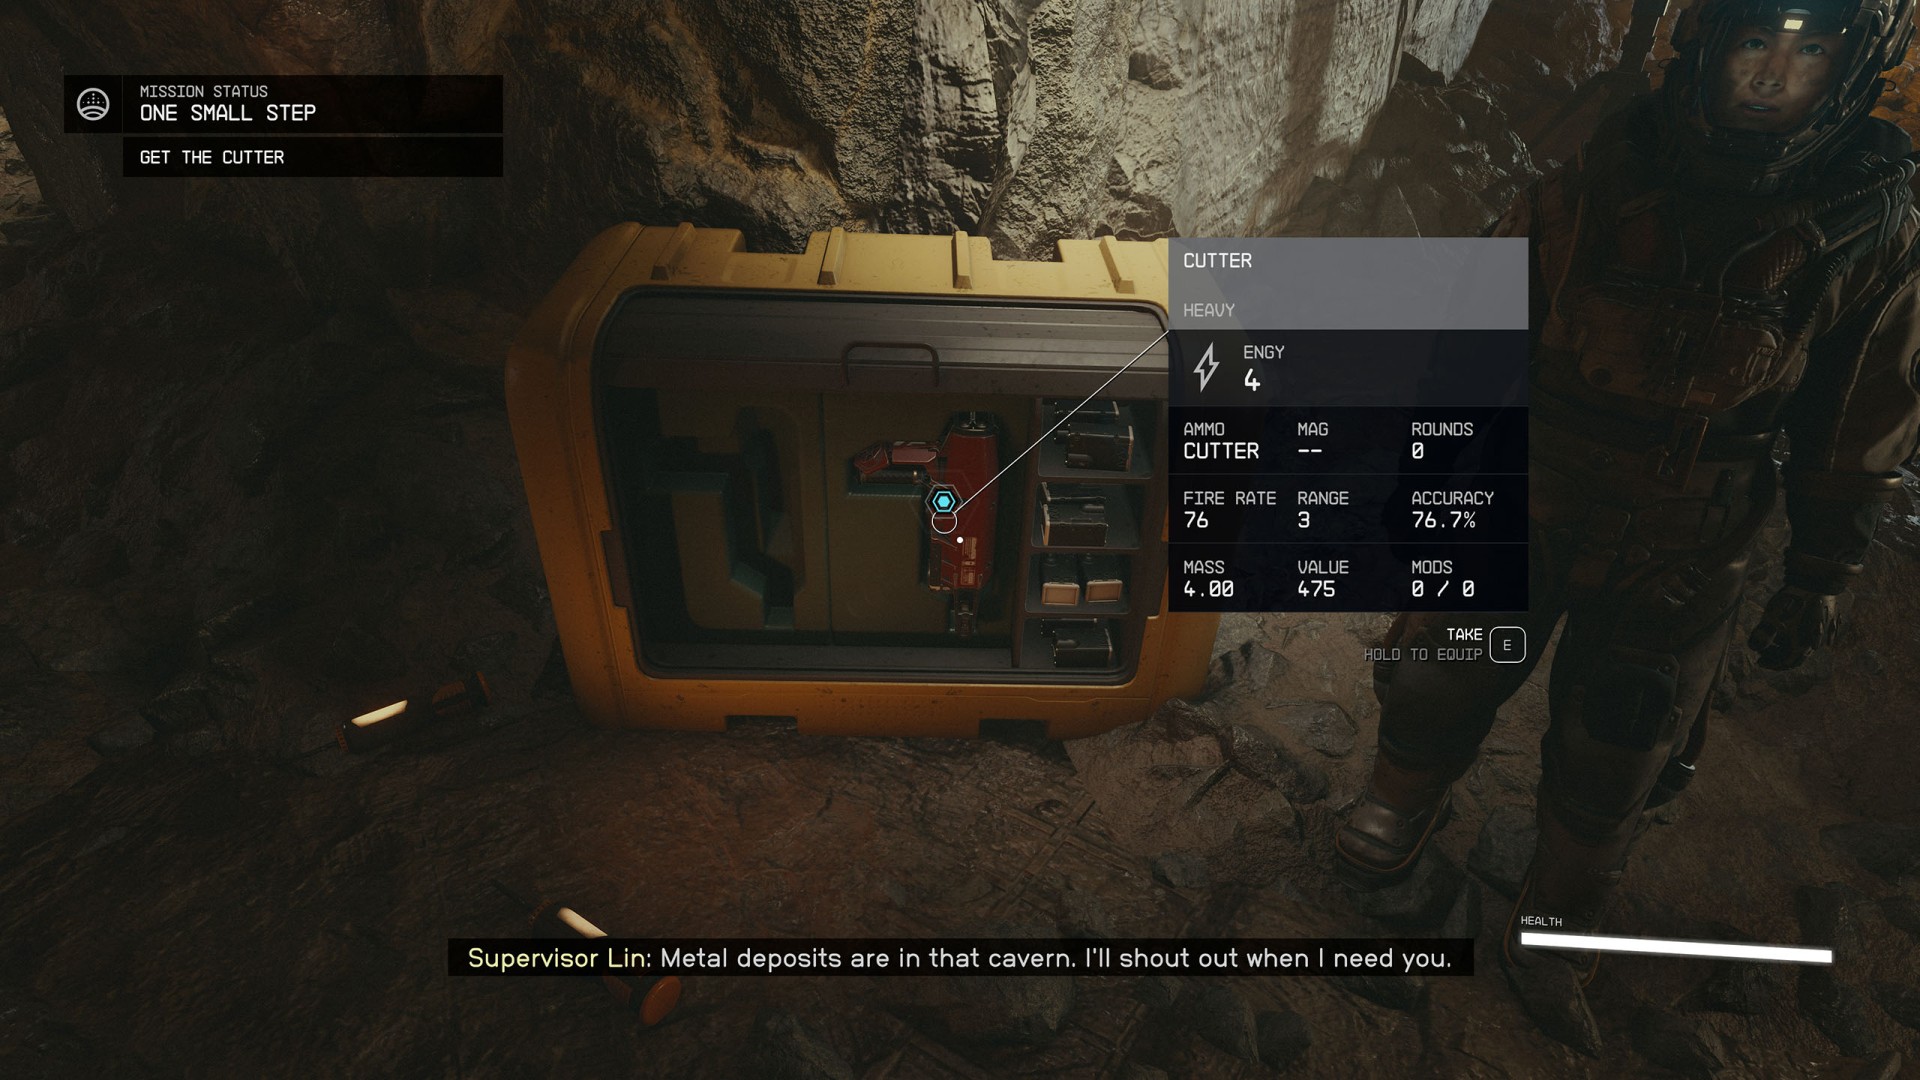
2. Get the Cutter
Approach the toolbox and take a cutter from it.
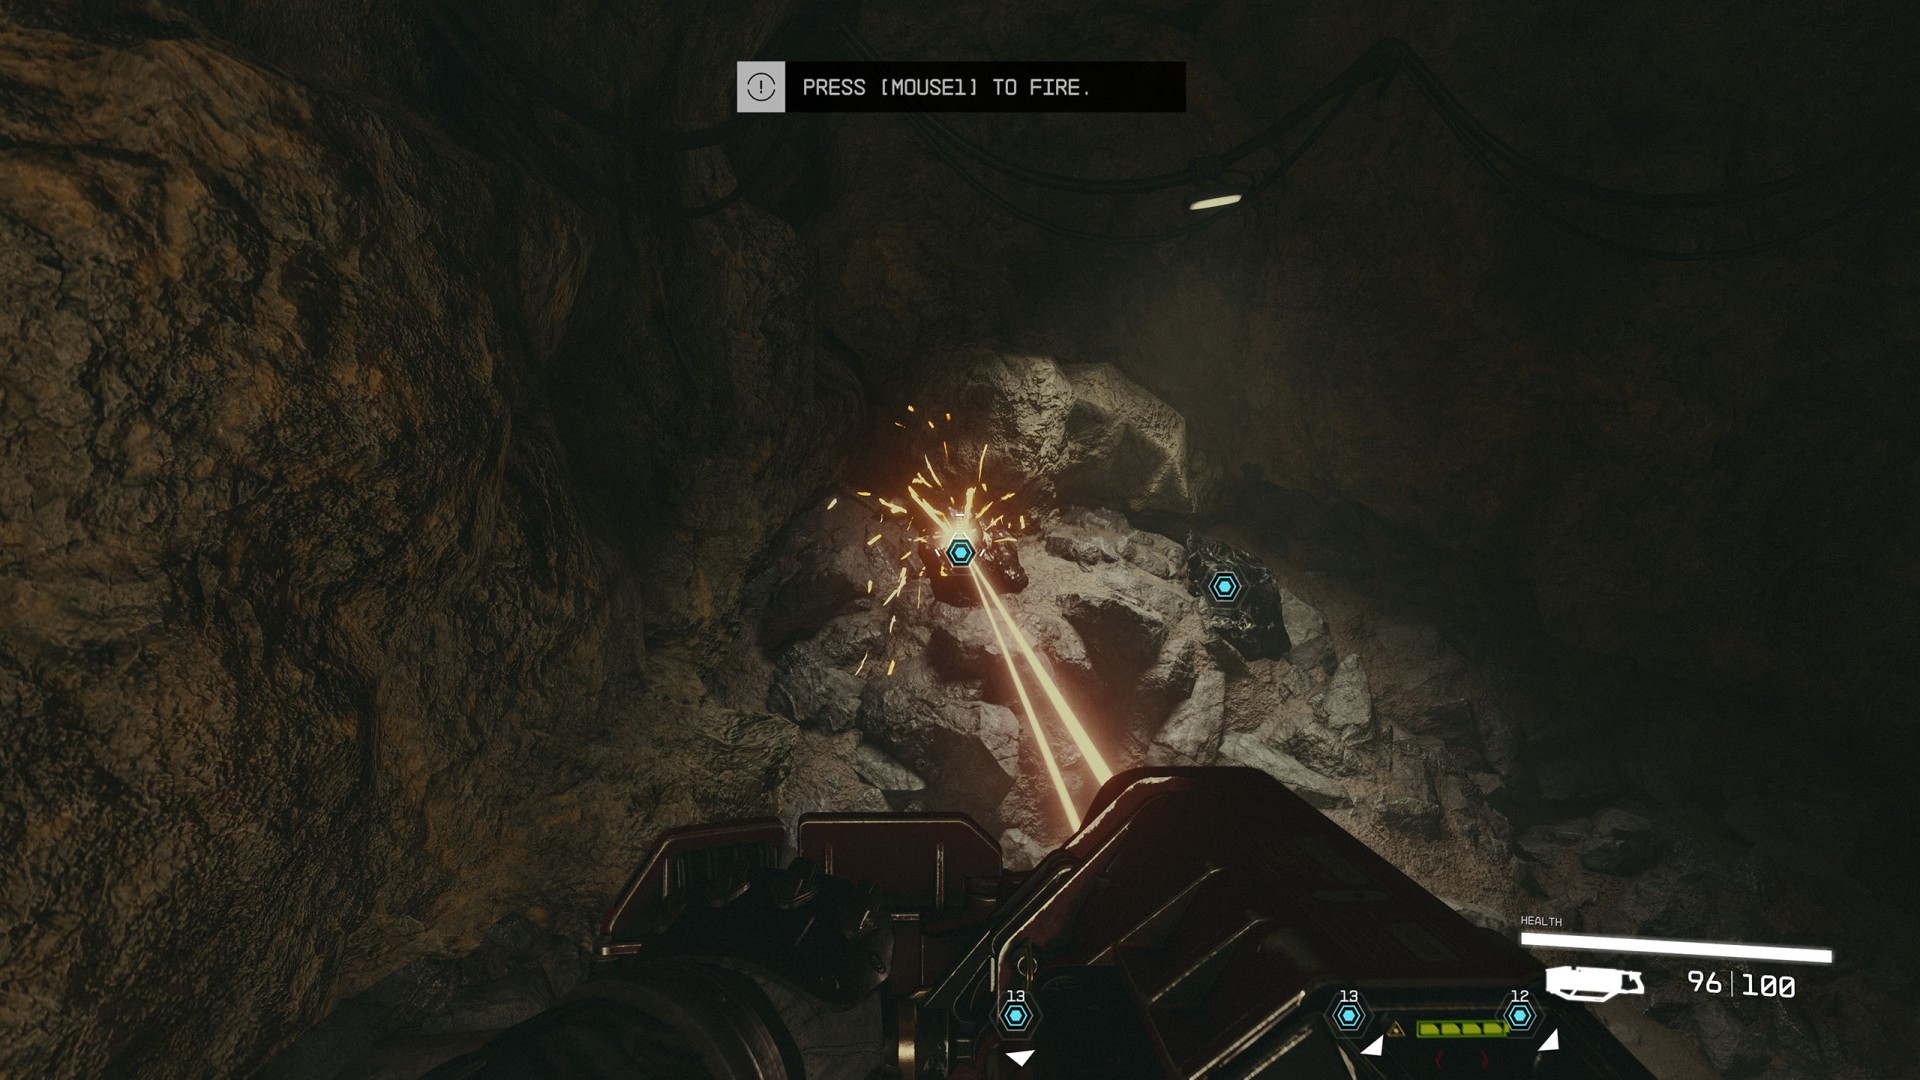
3. Collect Mineral Deposits
The minerals, there are five in total, are located in a side corridor. Approach them and shoot them with a cutter for a while.
4. Return to Supervisor Lin / Follow Supervisor Lin
Return to Lin and follow her and Heller to the cave where they take readings and tell you to explore the nearby cave.
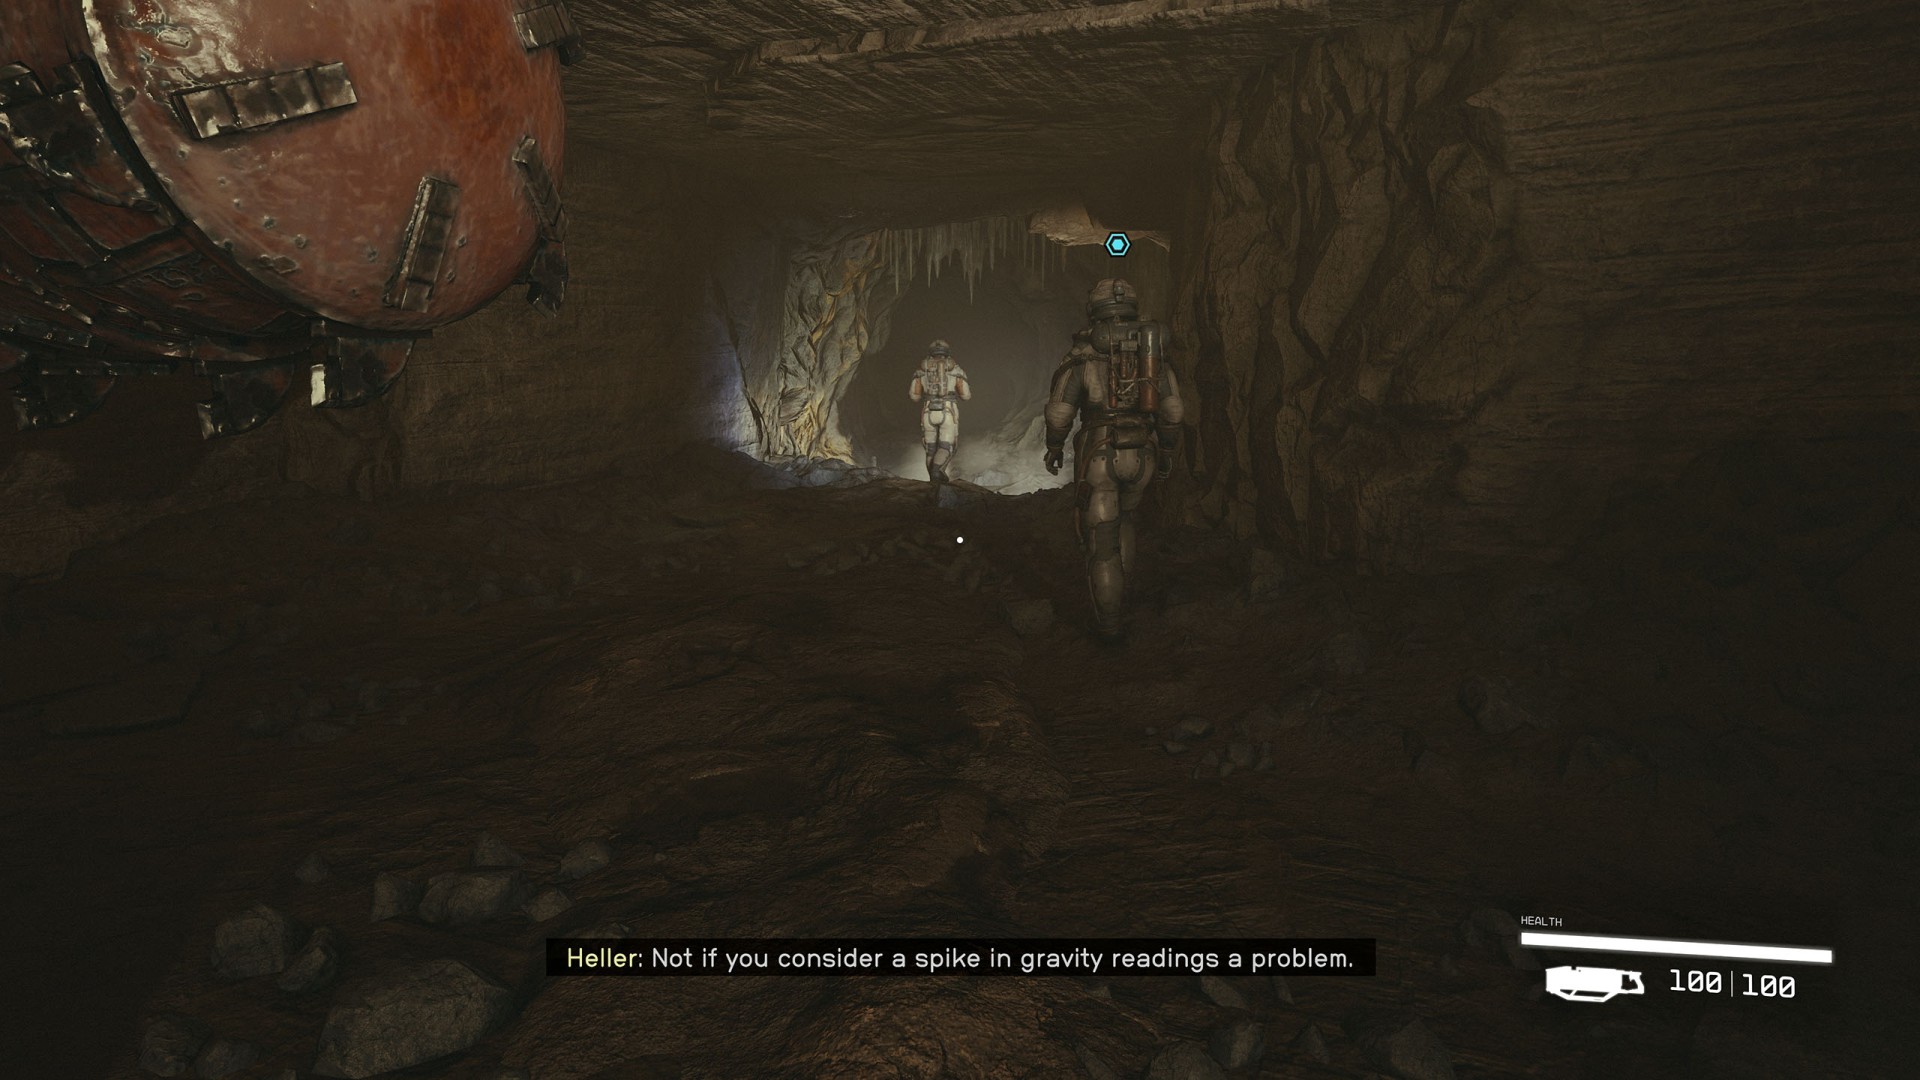
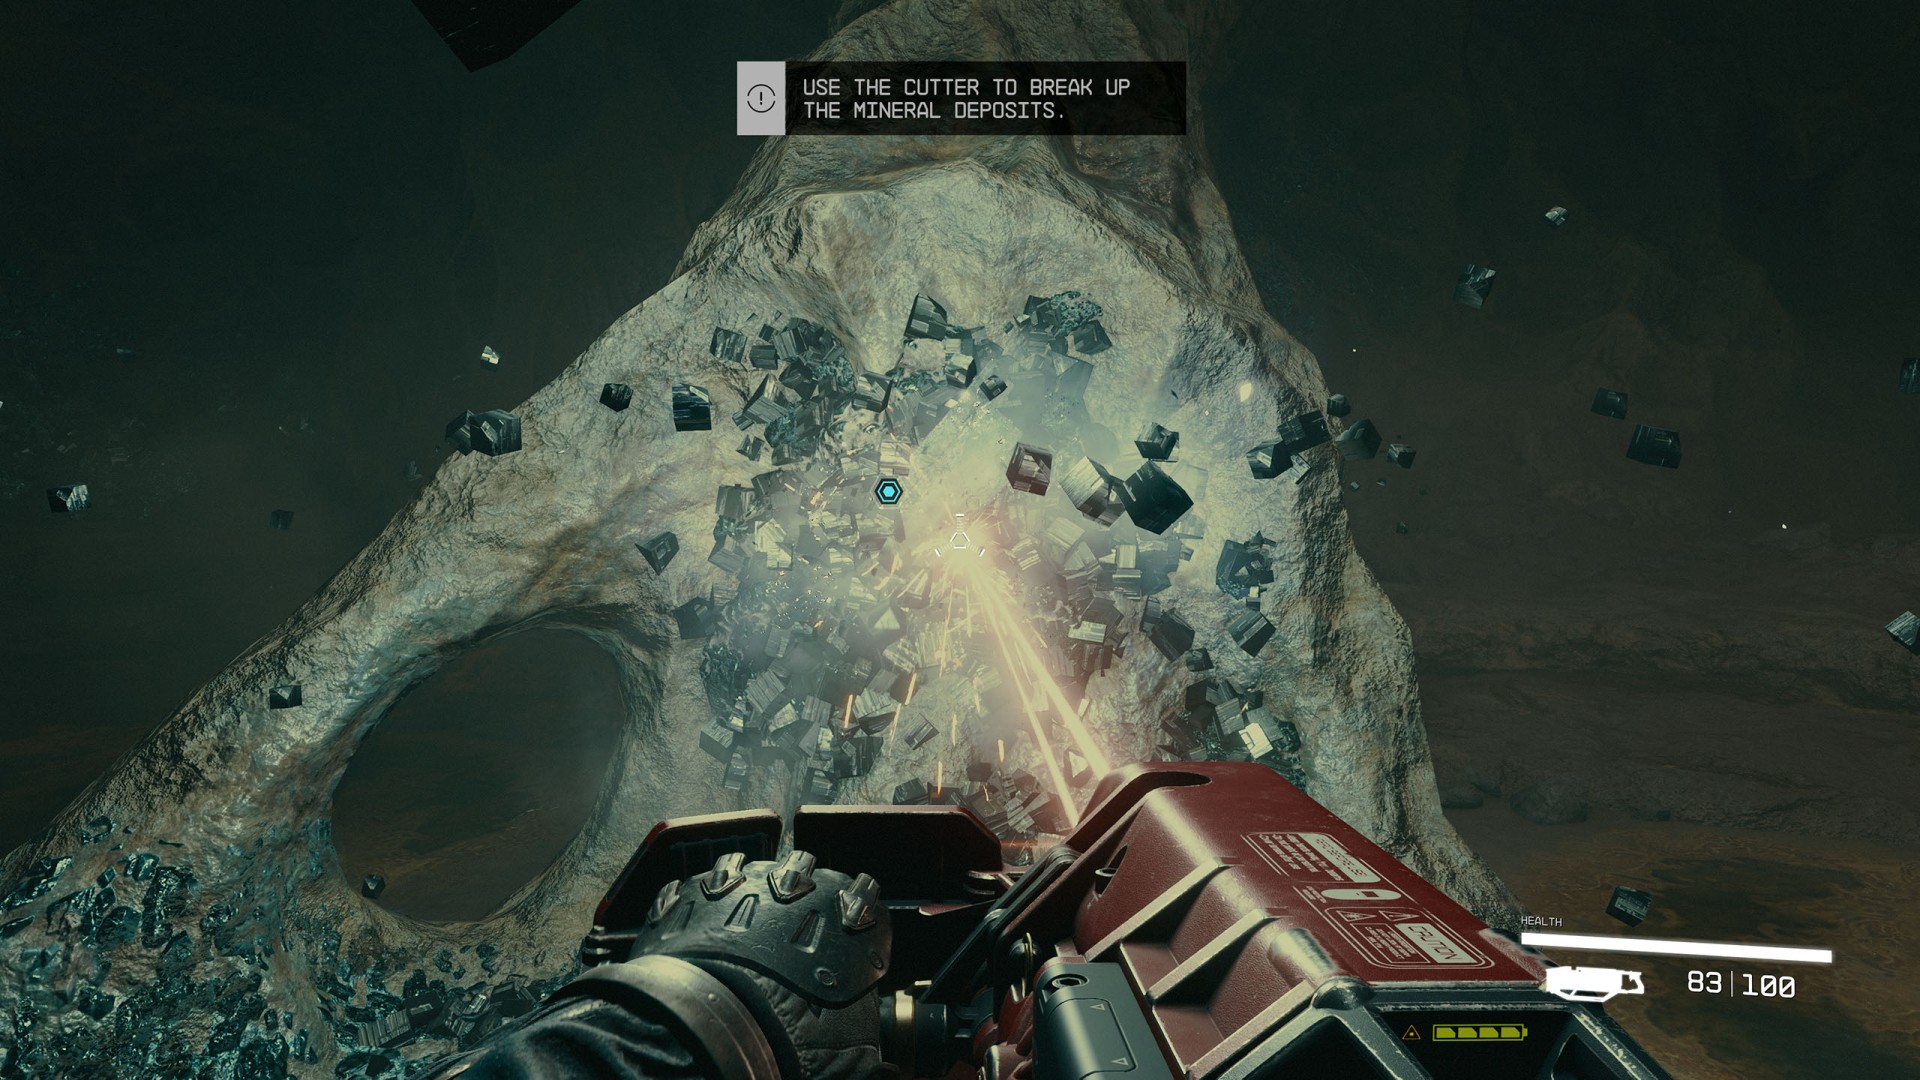
5. Explore the Cavern / Break Up the Deposits / Take the Strange Object
Head to the neighboring cave. On the way, the game will suggest you to turn on the flashlight. When you get there then again use the cutter to break up the minerals and pick up the strange object that will be exposed.
When you do this you will see strange lights and lose consciousness. You will regain it in the miners' base.
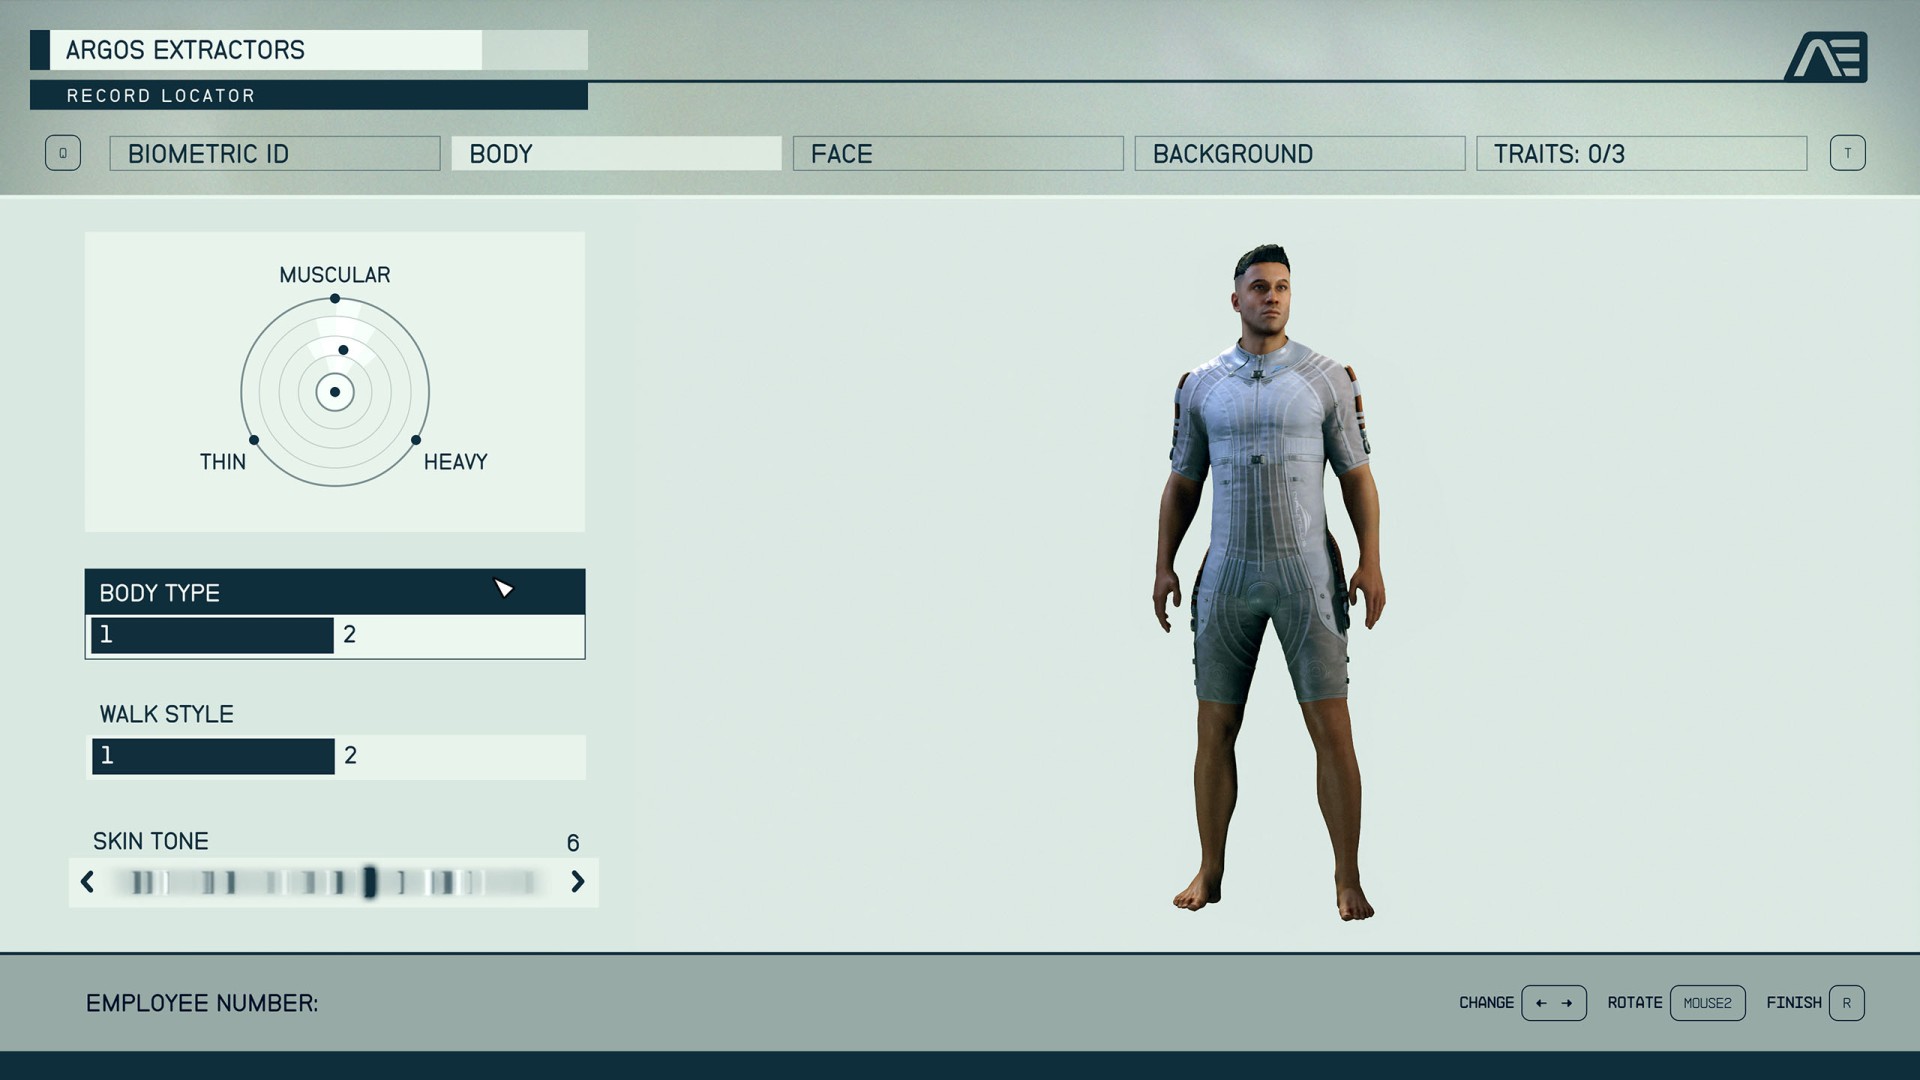
6. Customize your Character
You will now be able to personalize your character, its appearance, background and traits.
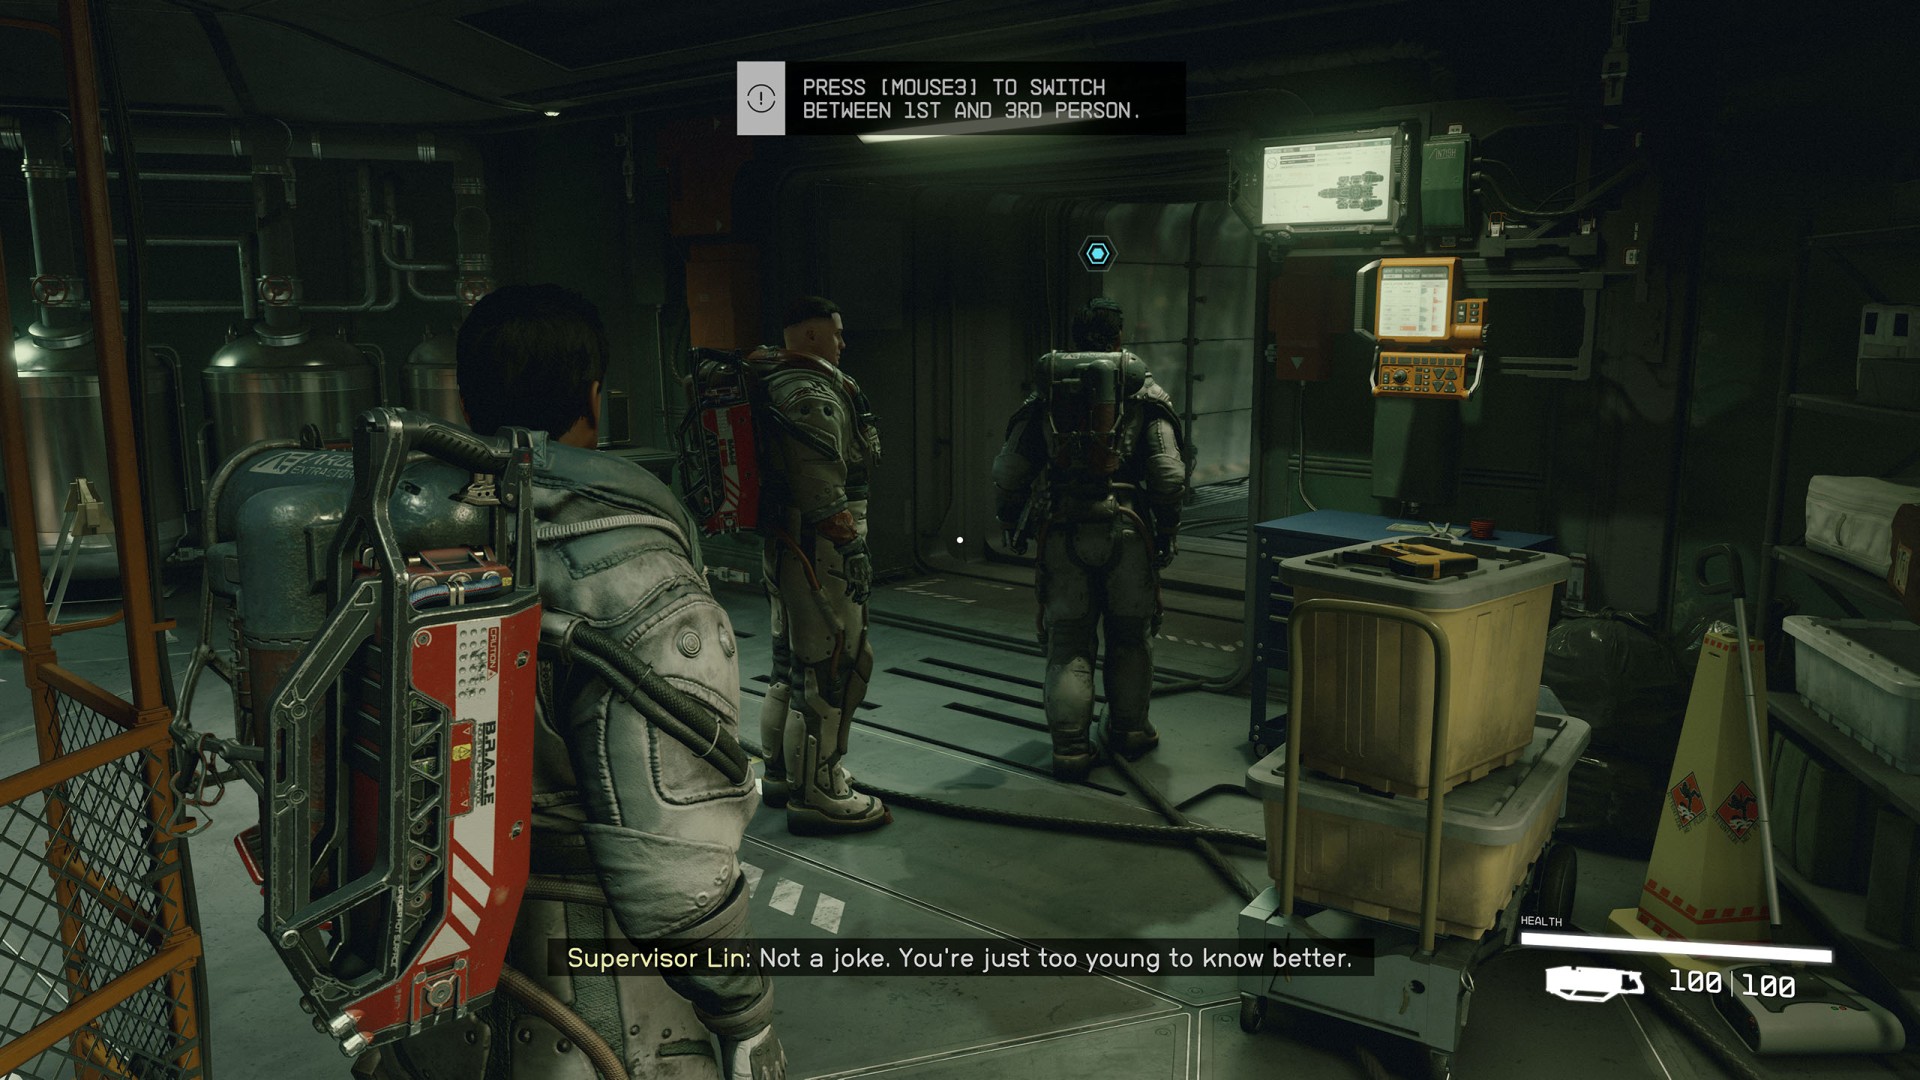
7. Talk to Heller and Lin / Follow Lin
Talk to Lin and Heller and then follow them to meet a guy who wants to buy the strange object you found. You will head to the airlock.
Whatever I found in the mine knocked me out cold. Now whoever paid for this whole operation is making a landing, and we need to meet him.
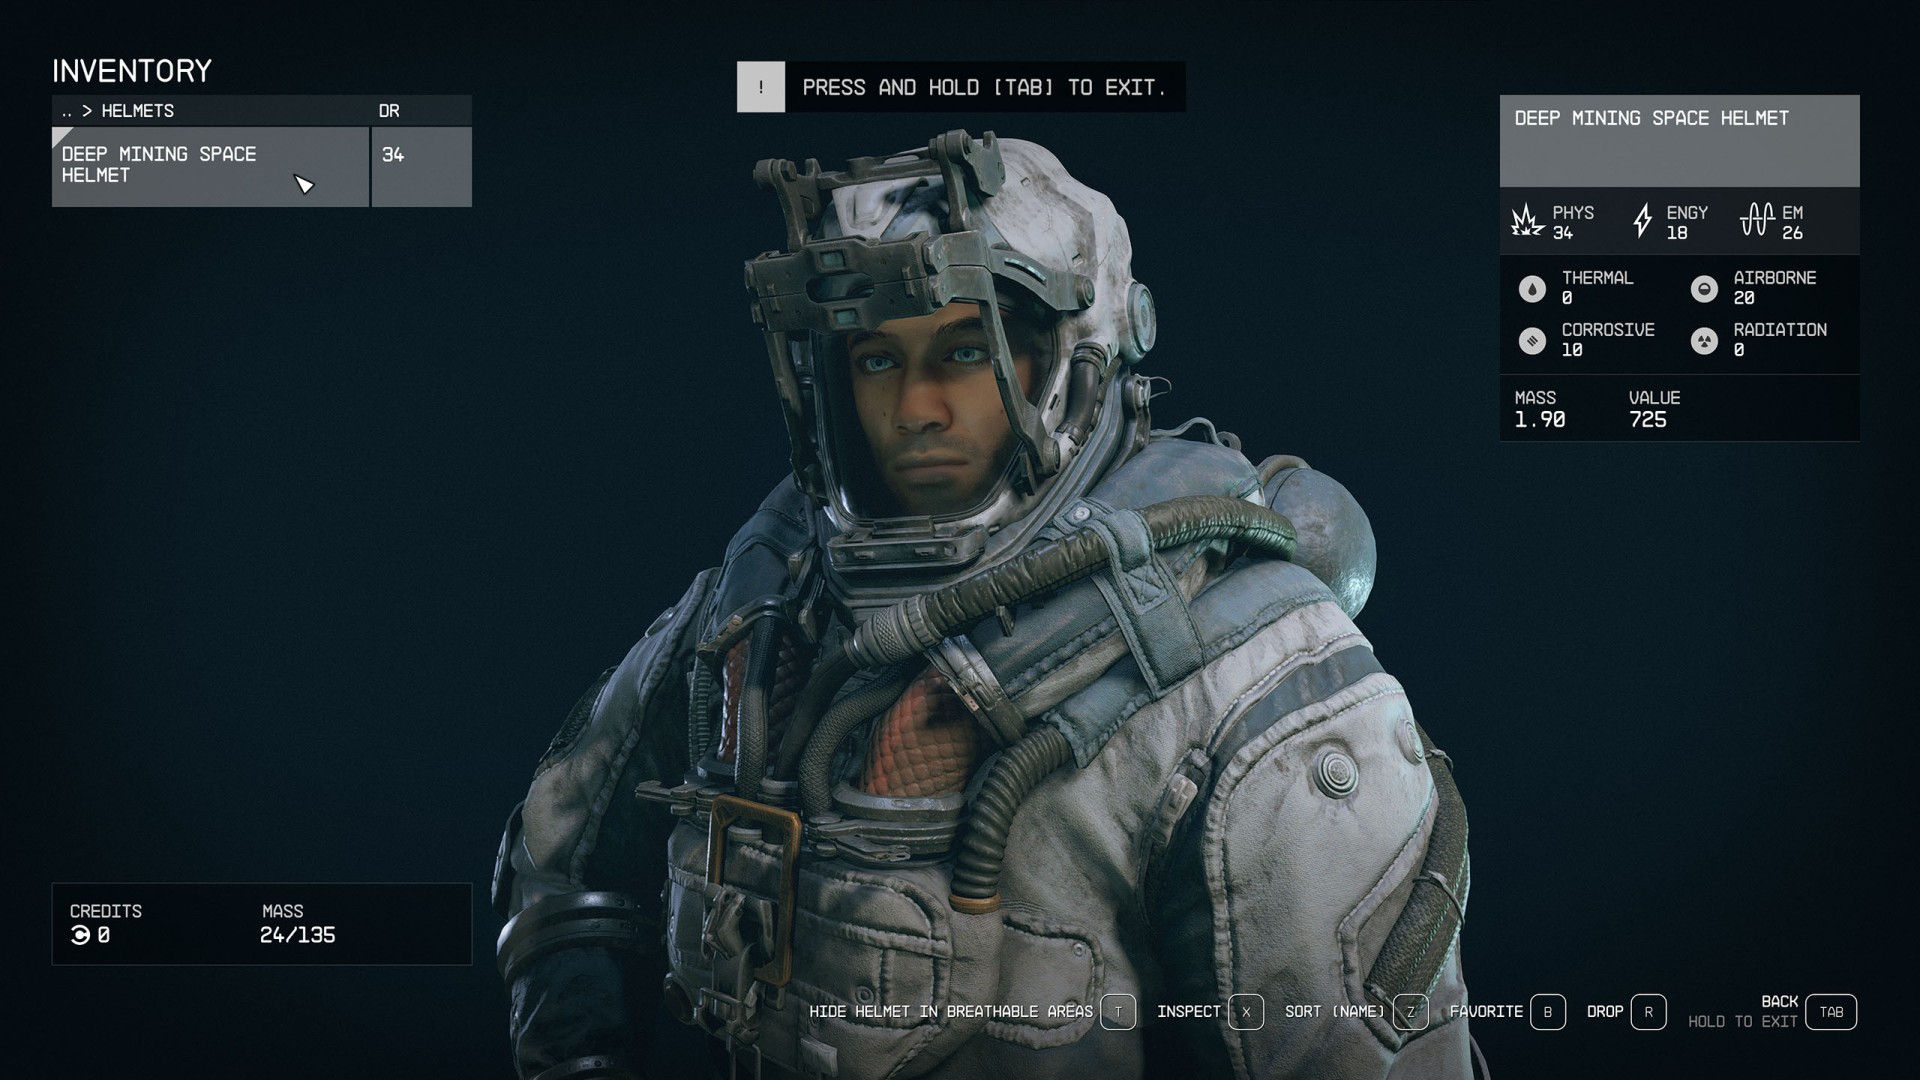
8. Equip a Helmet
Before going outside, you must put on a helmet. Enter your inventory and select the Deep Mining Space Helmet to equip it.
9. Follow Lin / Meet with the Client
You will go outside, and walk to the landing pad where the ship of Barrett, a guy interested in the artifact you found, will land.
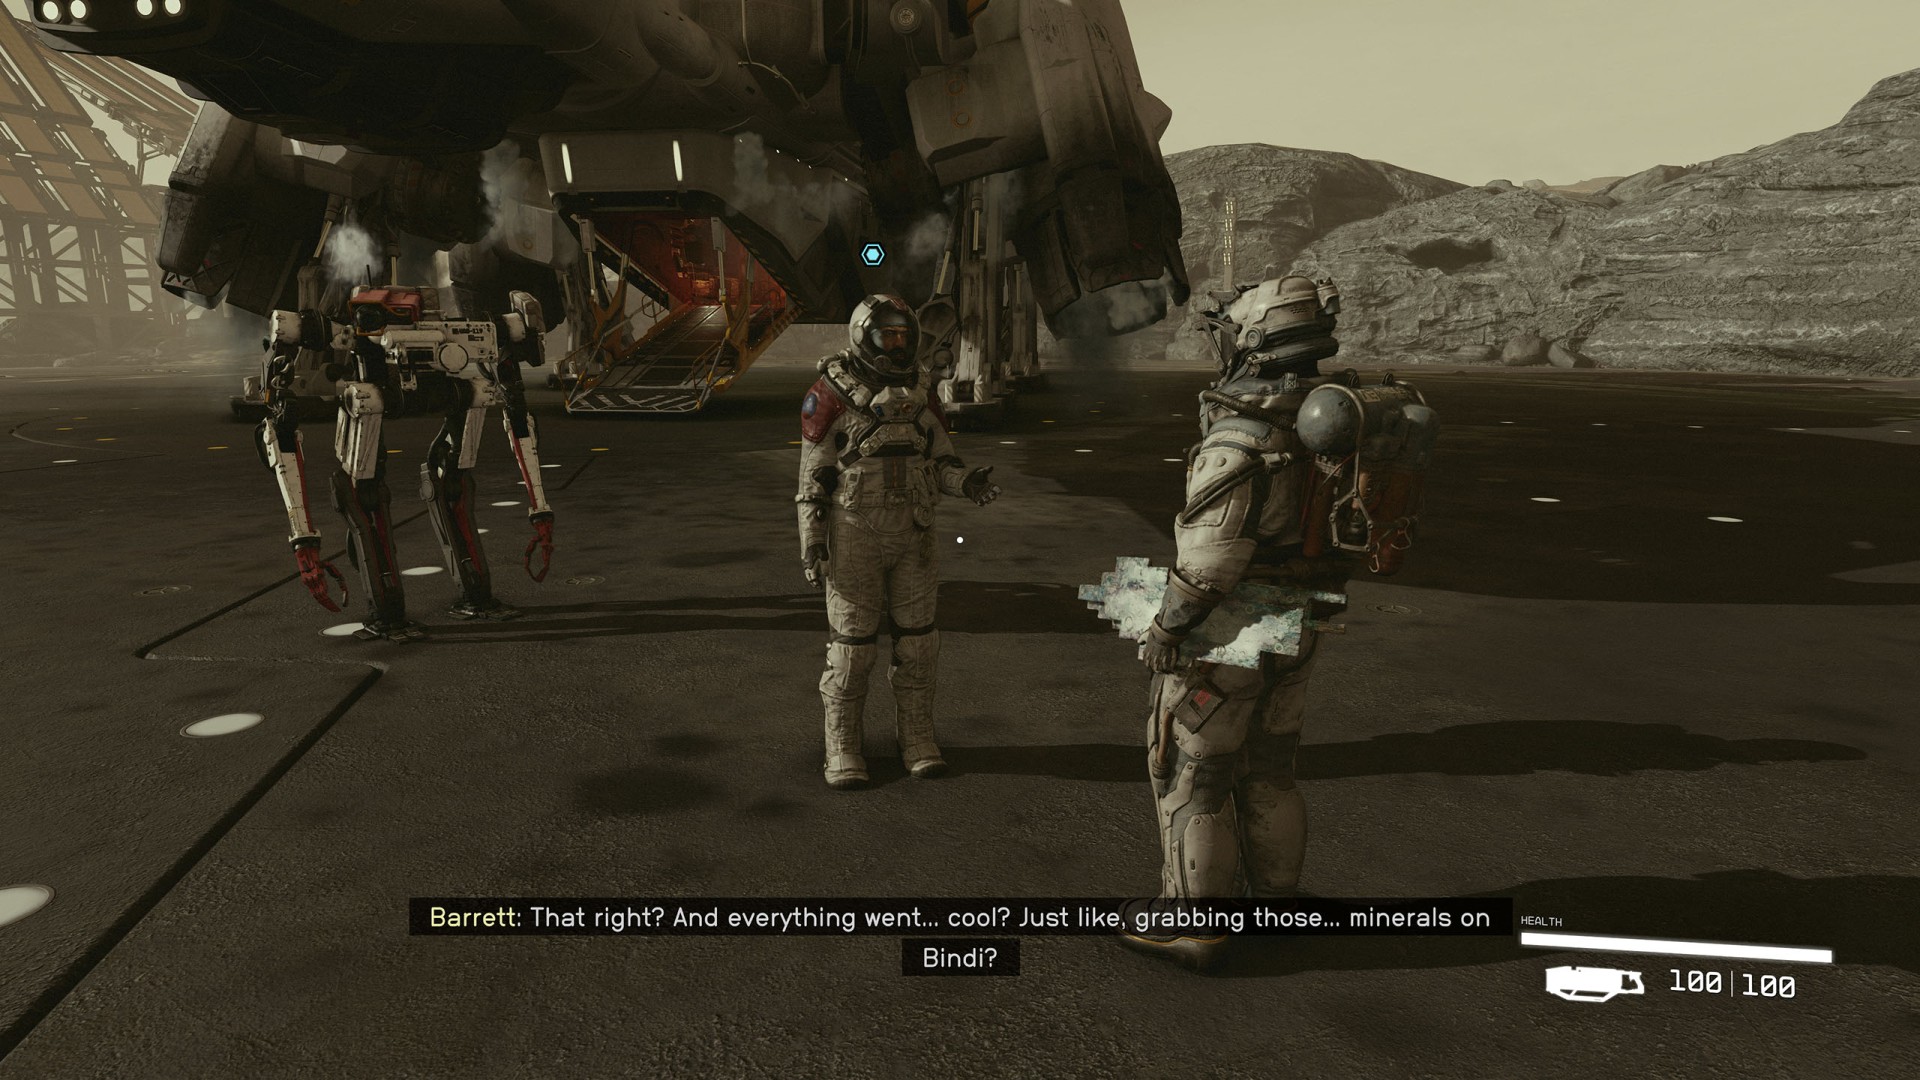
As you talk, a pirate ship will arrive and land nearby.
10. Hold off the Pirates / (Optional) Grab a Weapon
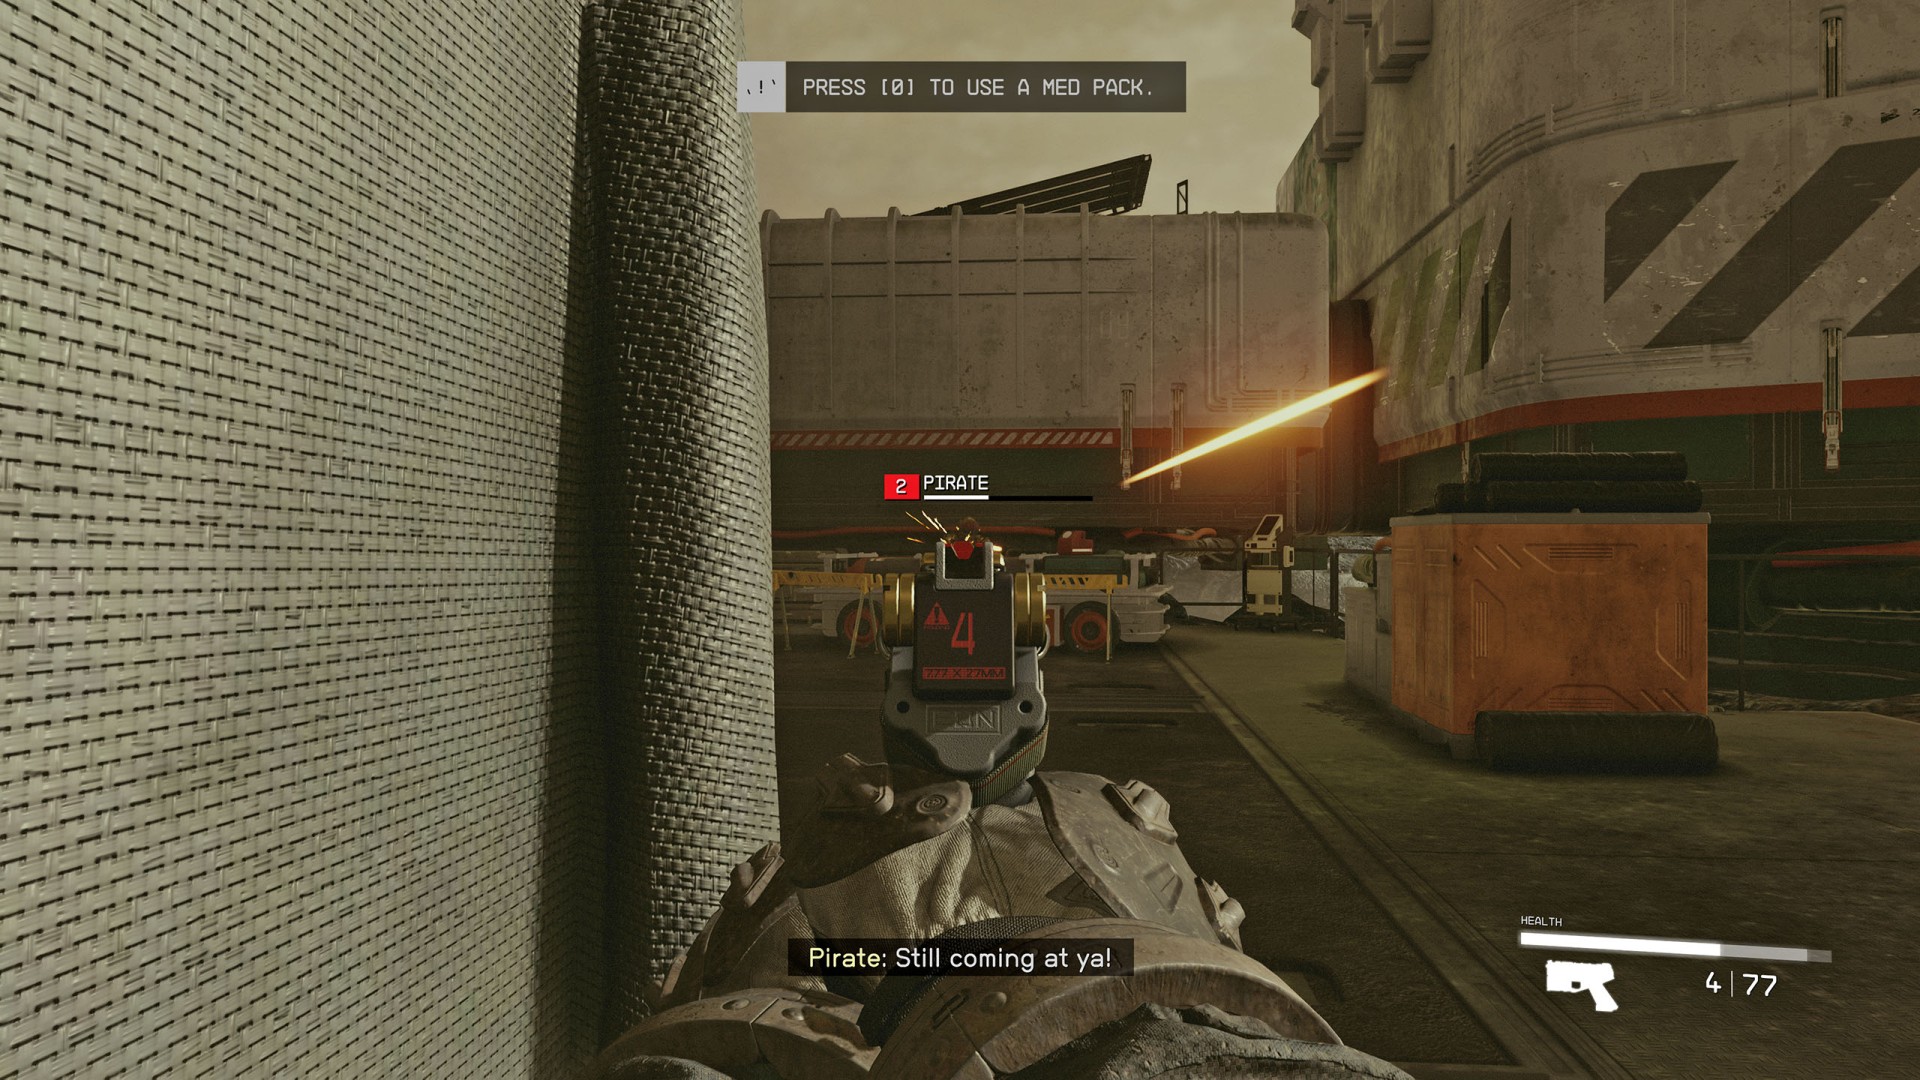
Pirates are attacking us! We need to fend them off.
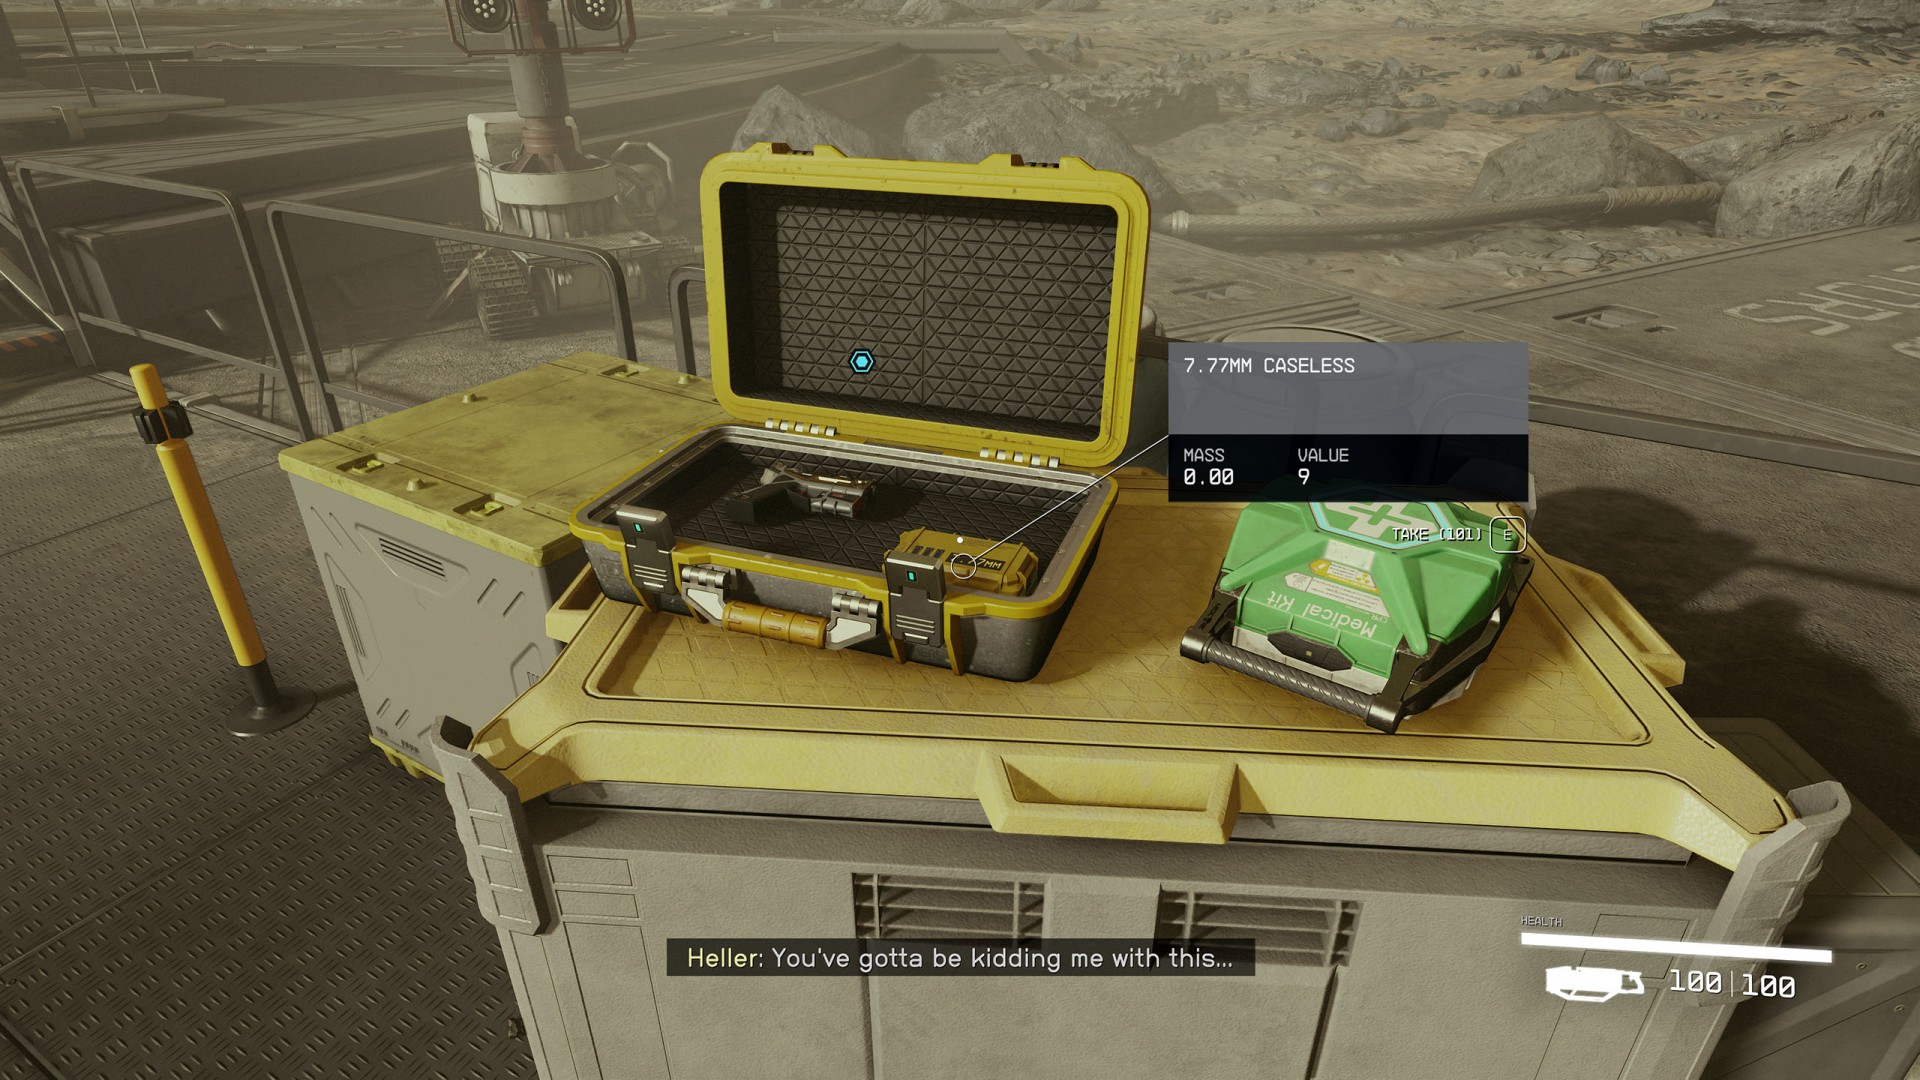
You can shoot the pirates with a cutter, but a much better option would be to pick up the gun AND ammunition that are lying around. A first aid kit also lies alongside.
Access the inventory, change the weapon to a pistol and then eliminate all the pirates that landed nearby.
11. Talk to Barrett / Take the Watch
We survived the pirate attack. I should check with our client, Barrett, and the others to see if they're okay.
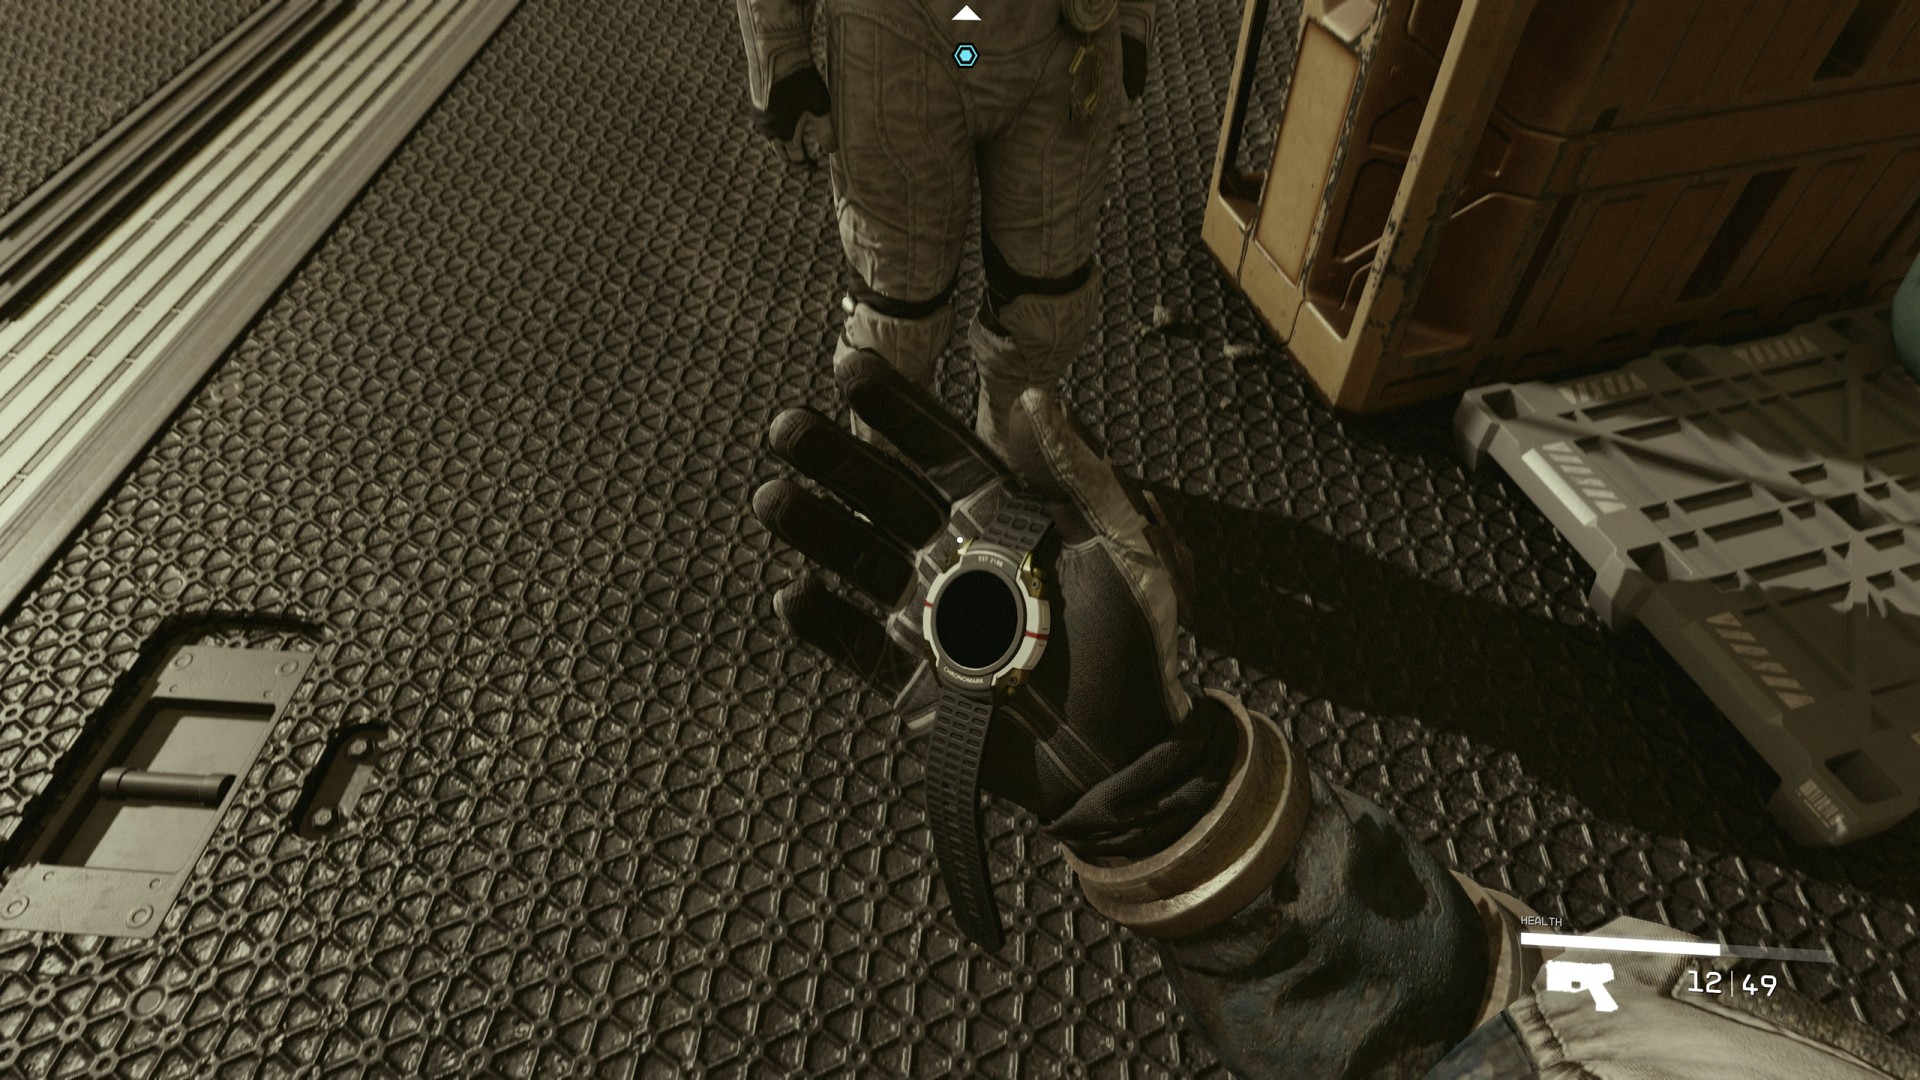
After getting rid of all the opponents, talk to Barrett. He will offer to take you to Constellation. Lin will be against it, but will eventually agree to let Barrett take your place. You will take over Barrett's ship and his companion, the robot Vasco. He will also give you a watch.
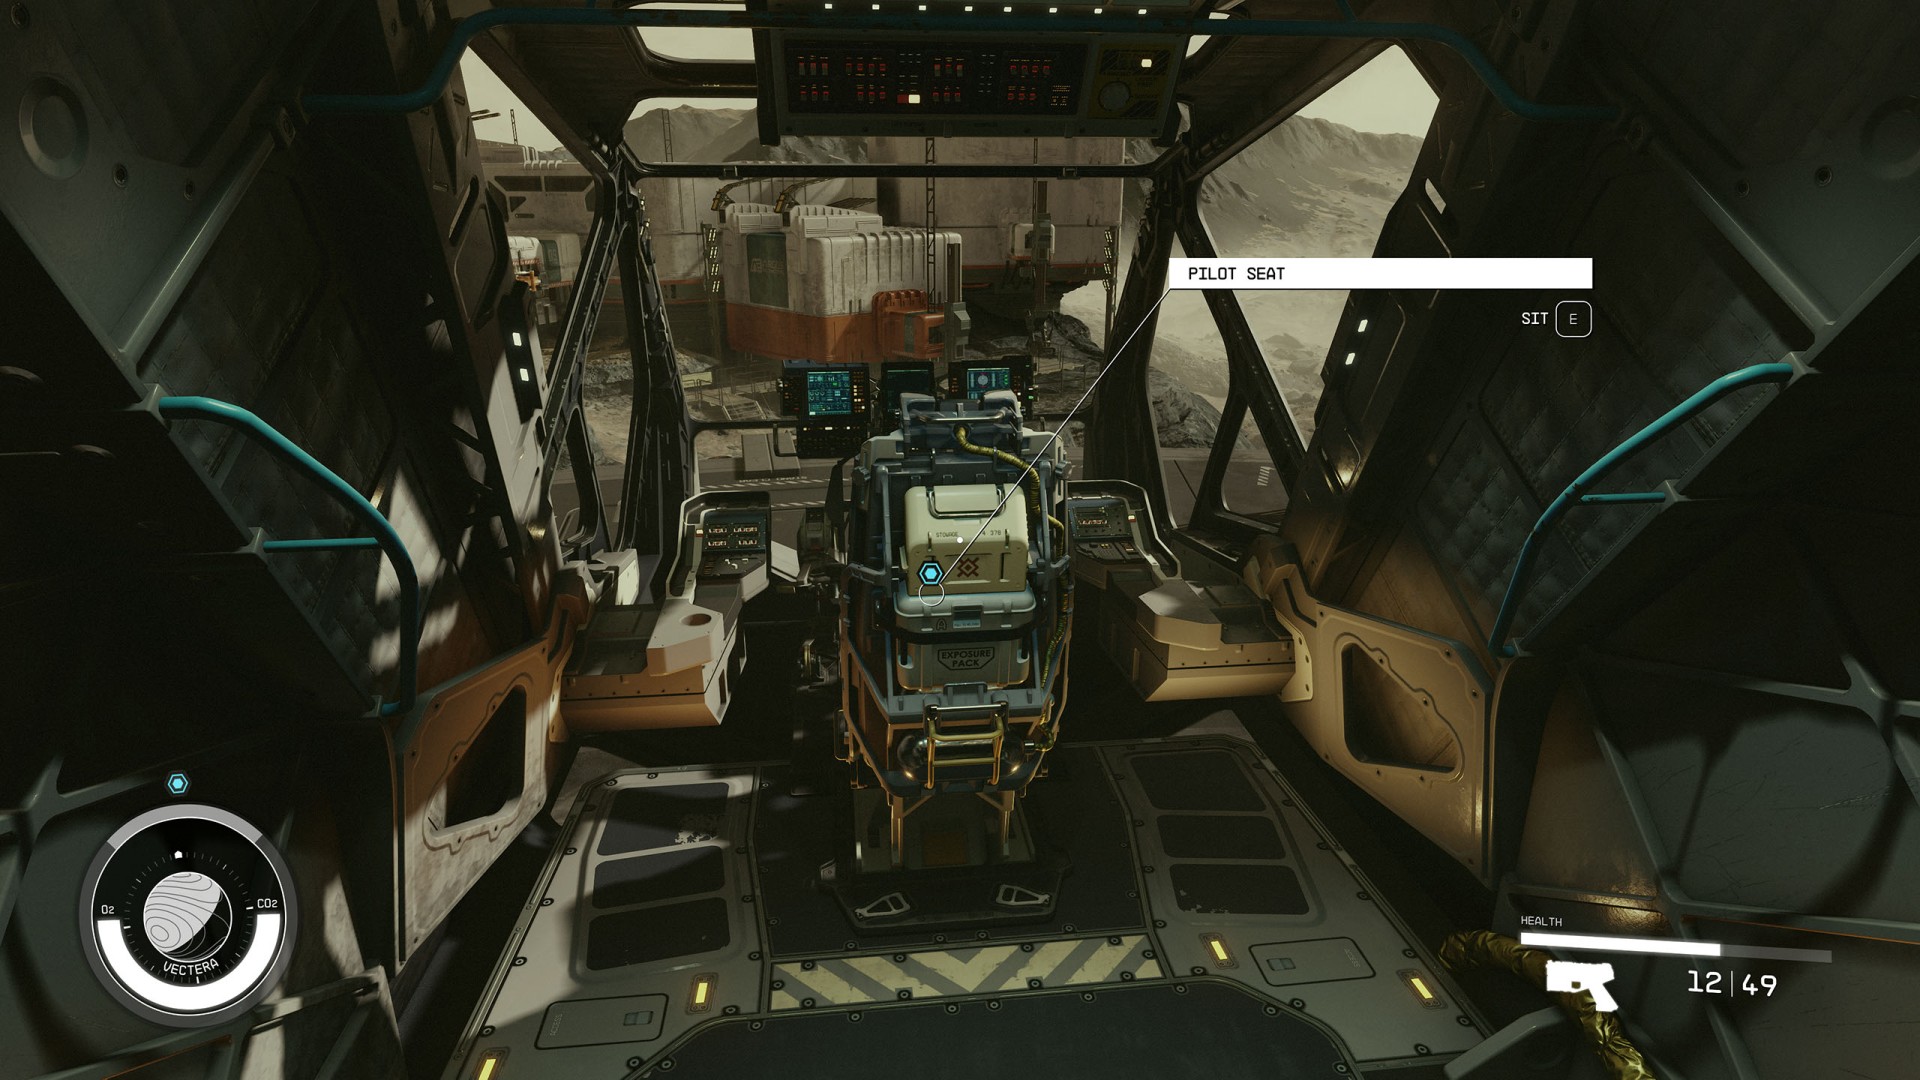
12. Board the Ship / Take off from Vectera
Barrett wants me to take the Artifact to his colleagues in Constellation. I'll have his ship, the Frontier, and his robot Vasco for the journey.
Get into the ship, sit in the pilot's seat and take off.
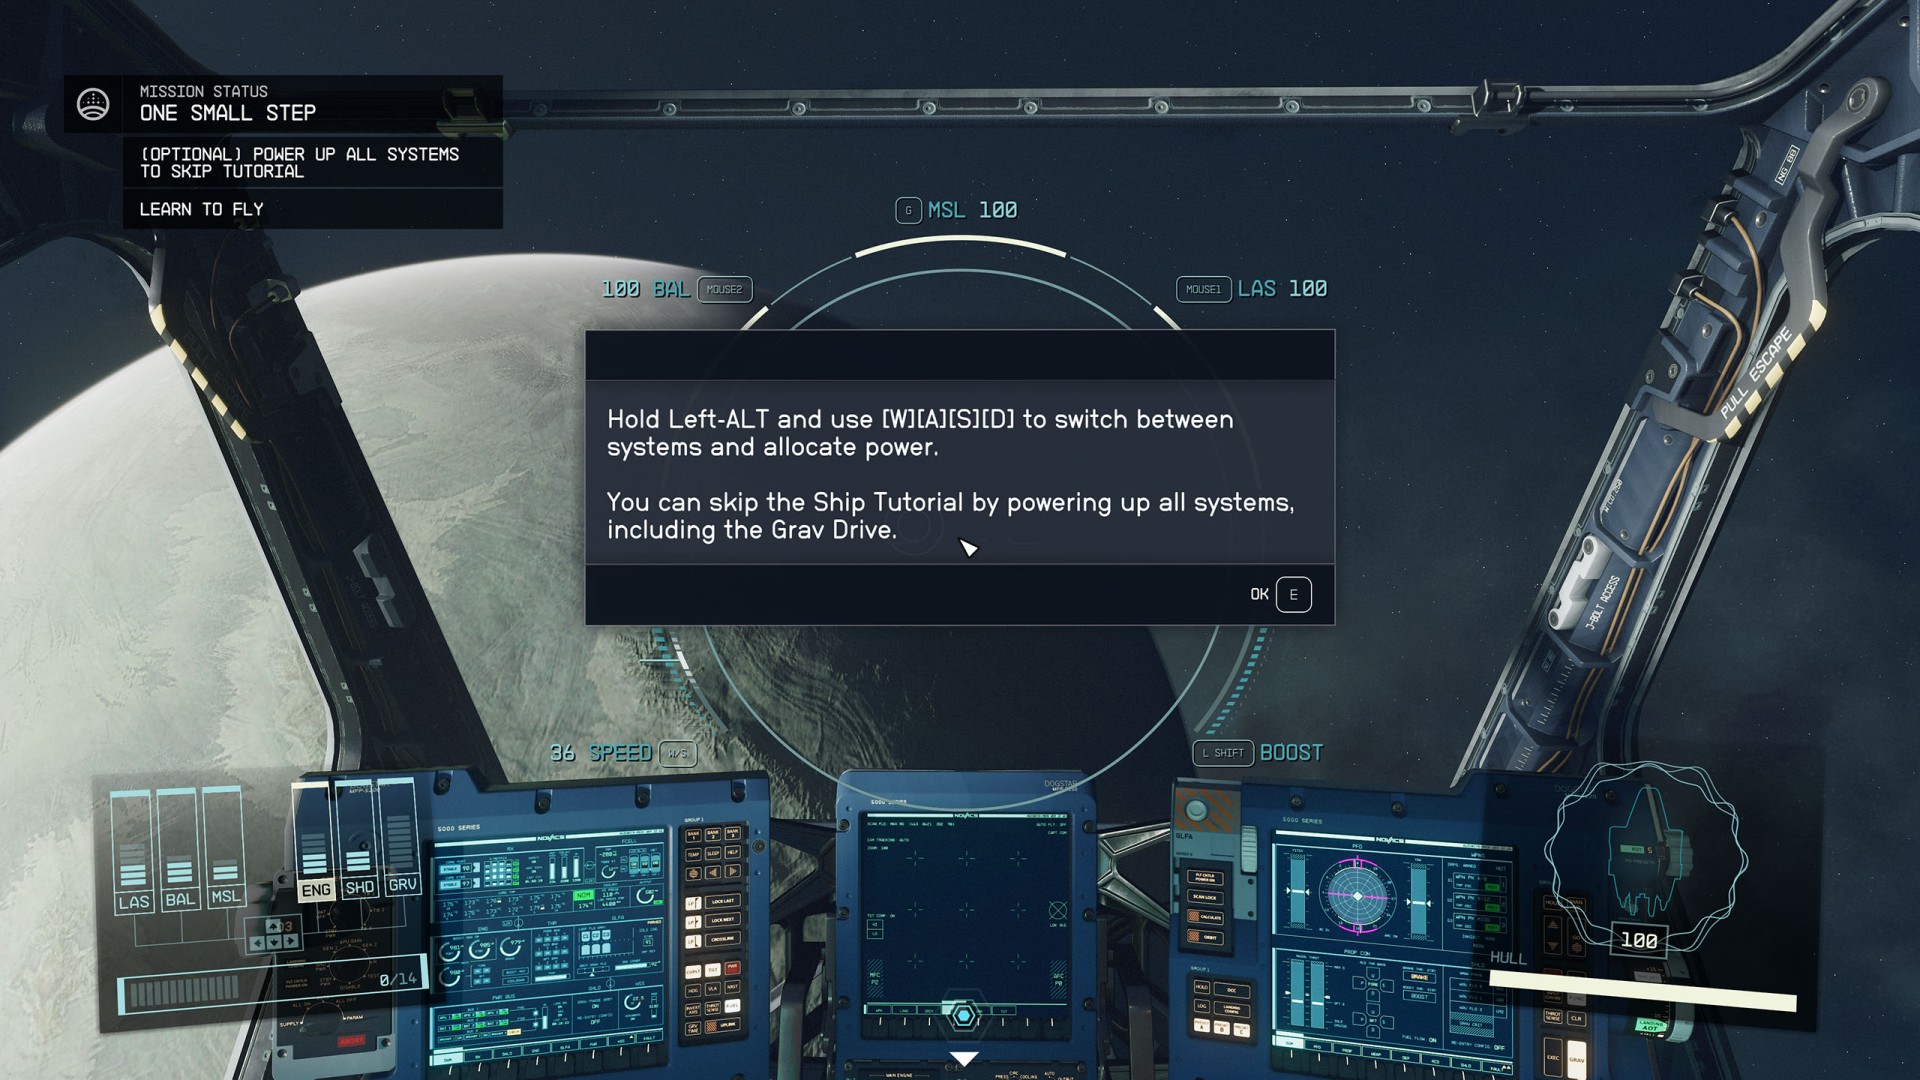
13. Learn to Fly / (Optional) Power Up All Systems to Skip Tutorial
You will fly into orbit. The game will offer you a tutorial on how to fly and power your ship's systems. Follow it to learn the basics. To skip it redirect some of the power to the GRV system.
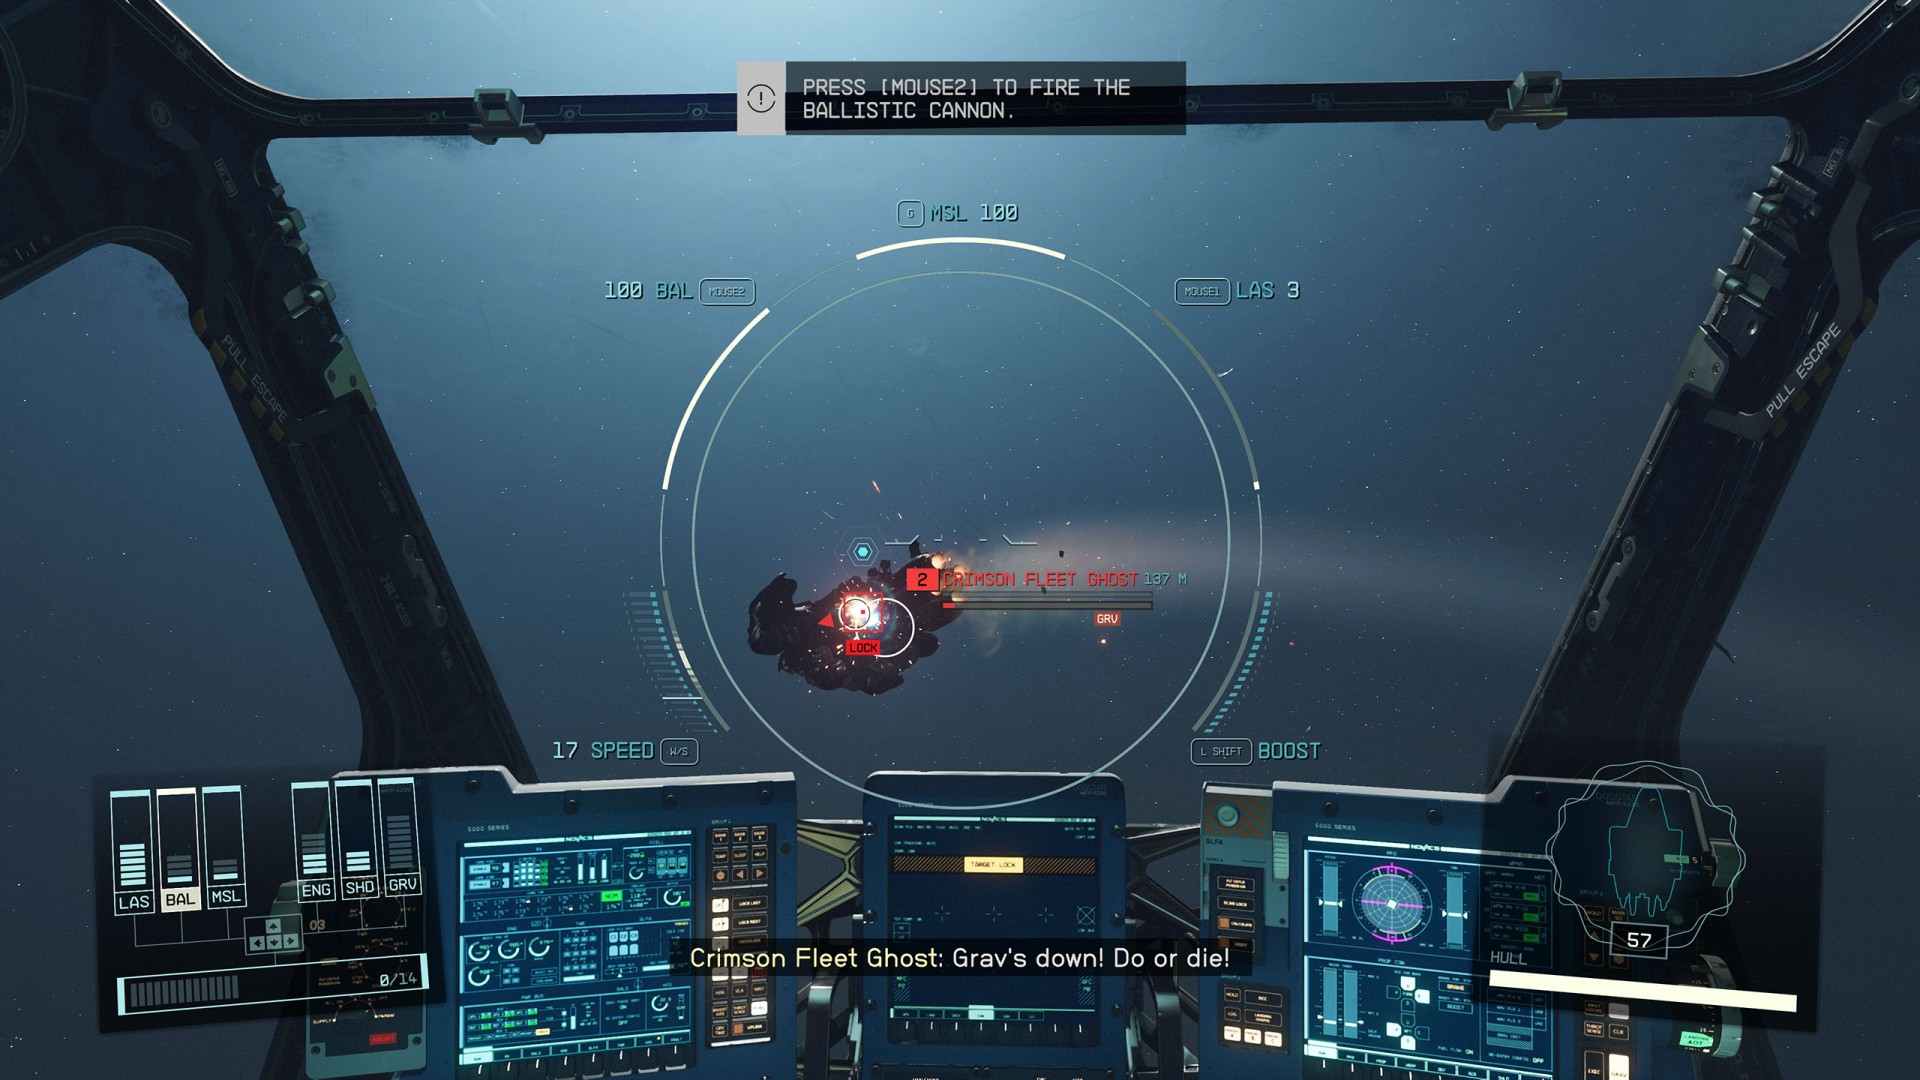
14. Deal with the Crimson Fleet / Loot a Ship
After a while you will be attacked by one pirate ship. Destroy it.
You can loot the destroyed ships. To do this, you must fly up to its remains and press the appropriate key or button.
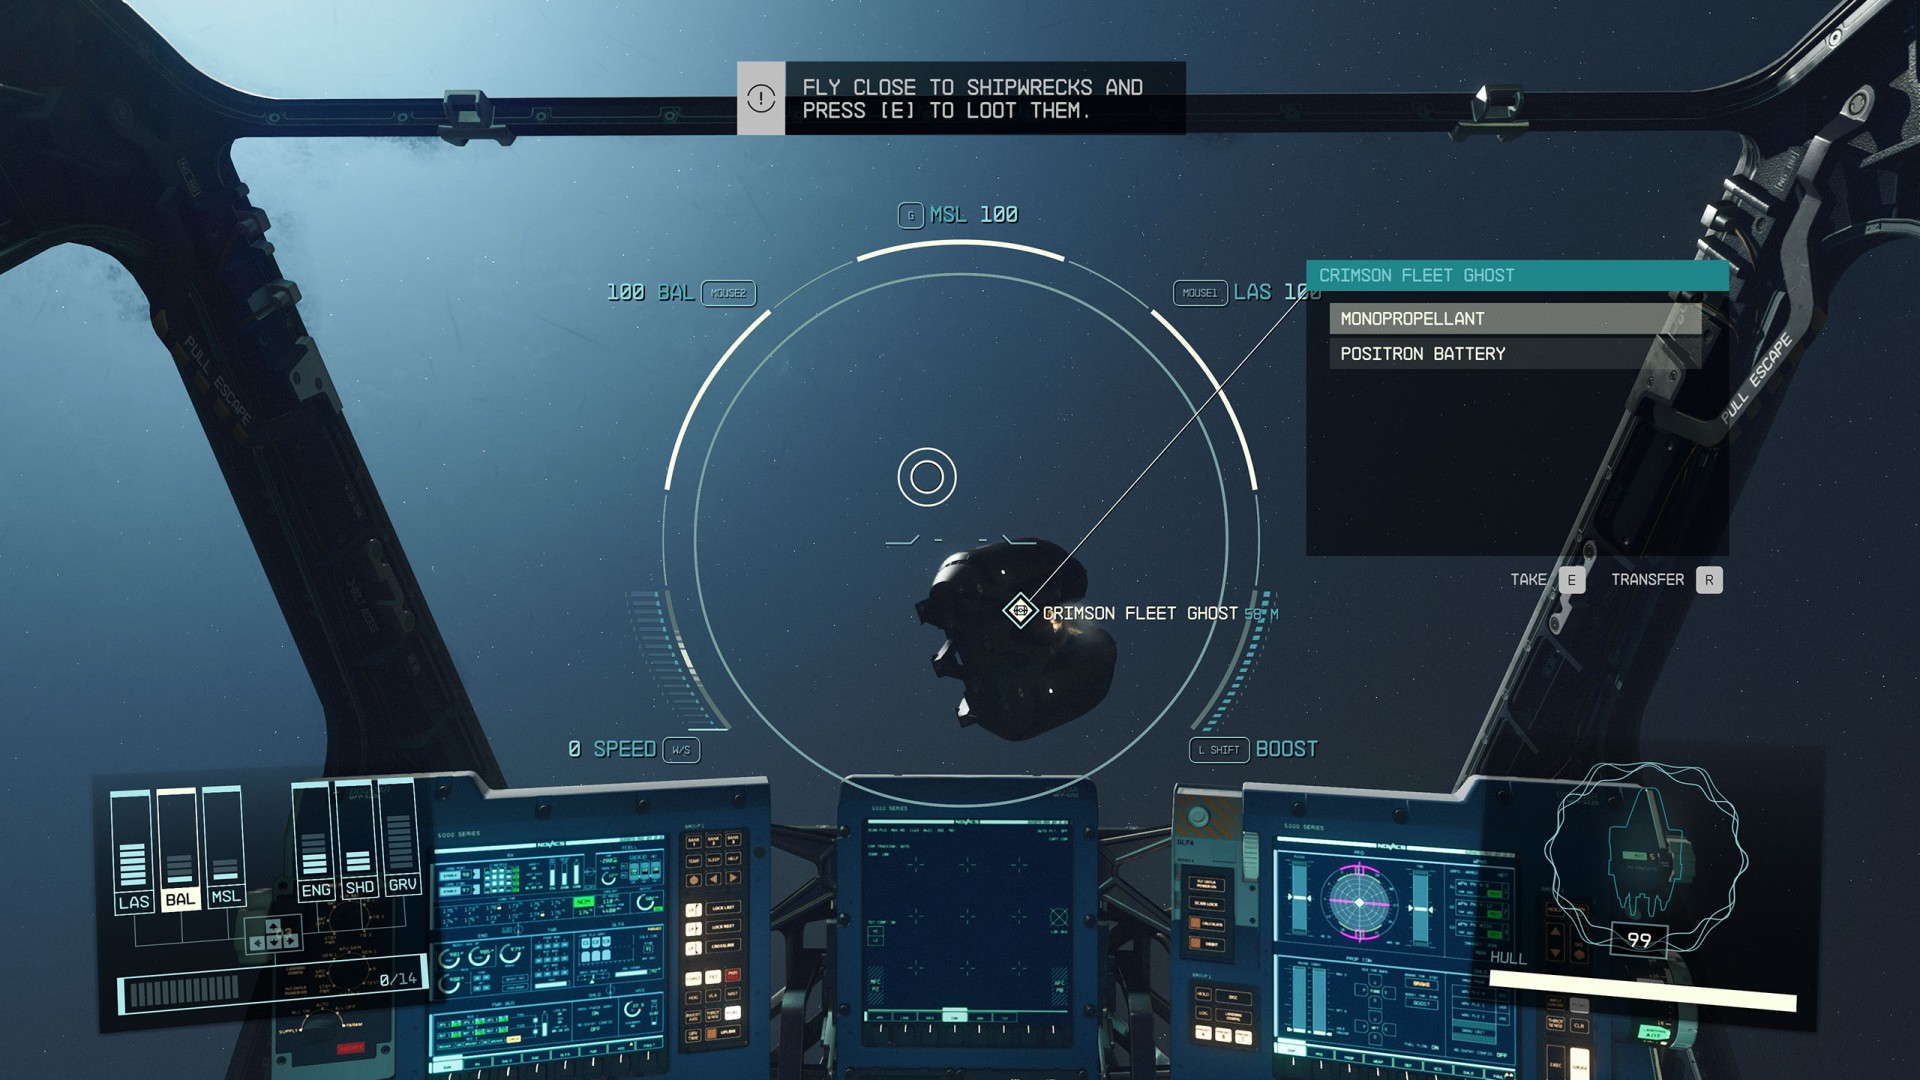
Some time after destroying the first pirate ship, you will be attacked by two more pirate ships. You have to eliminate them, too, of course.
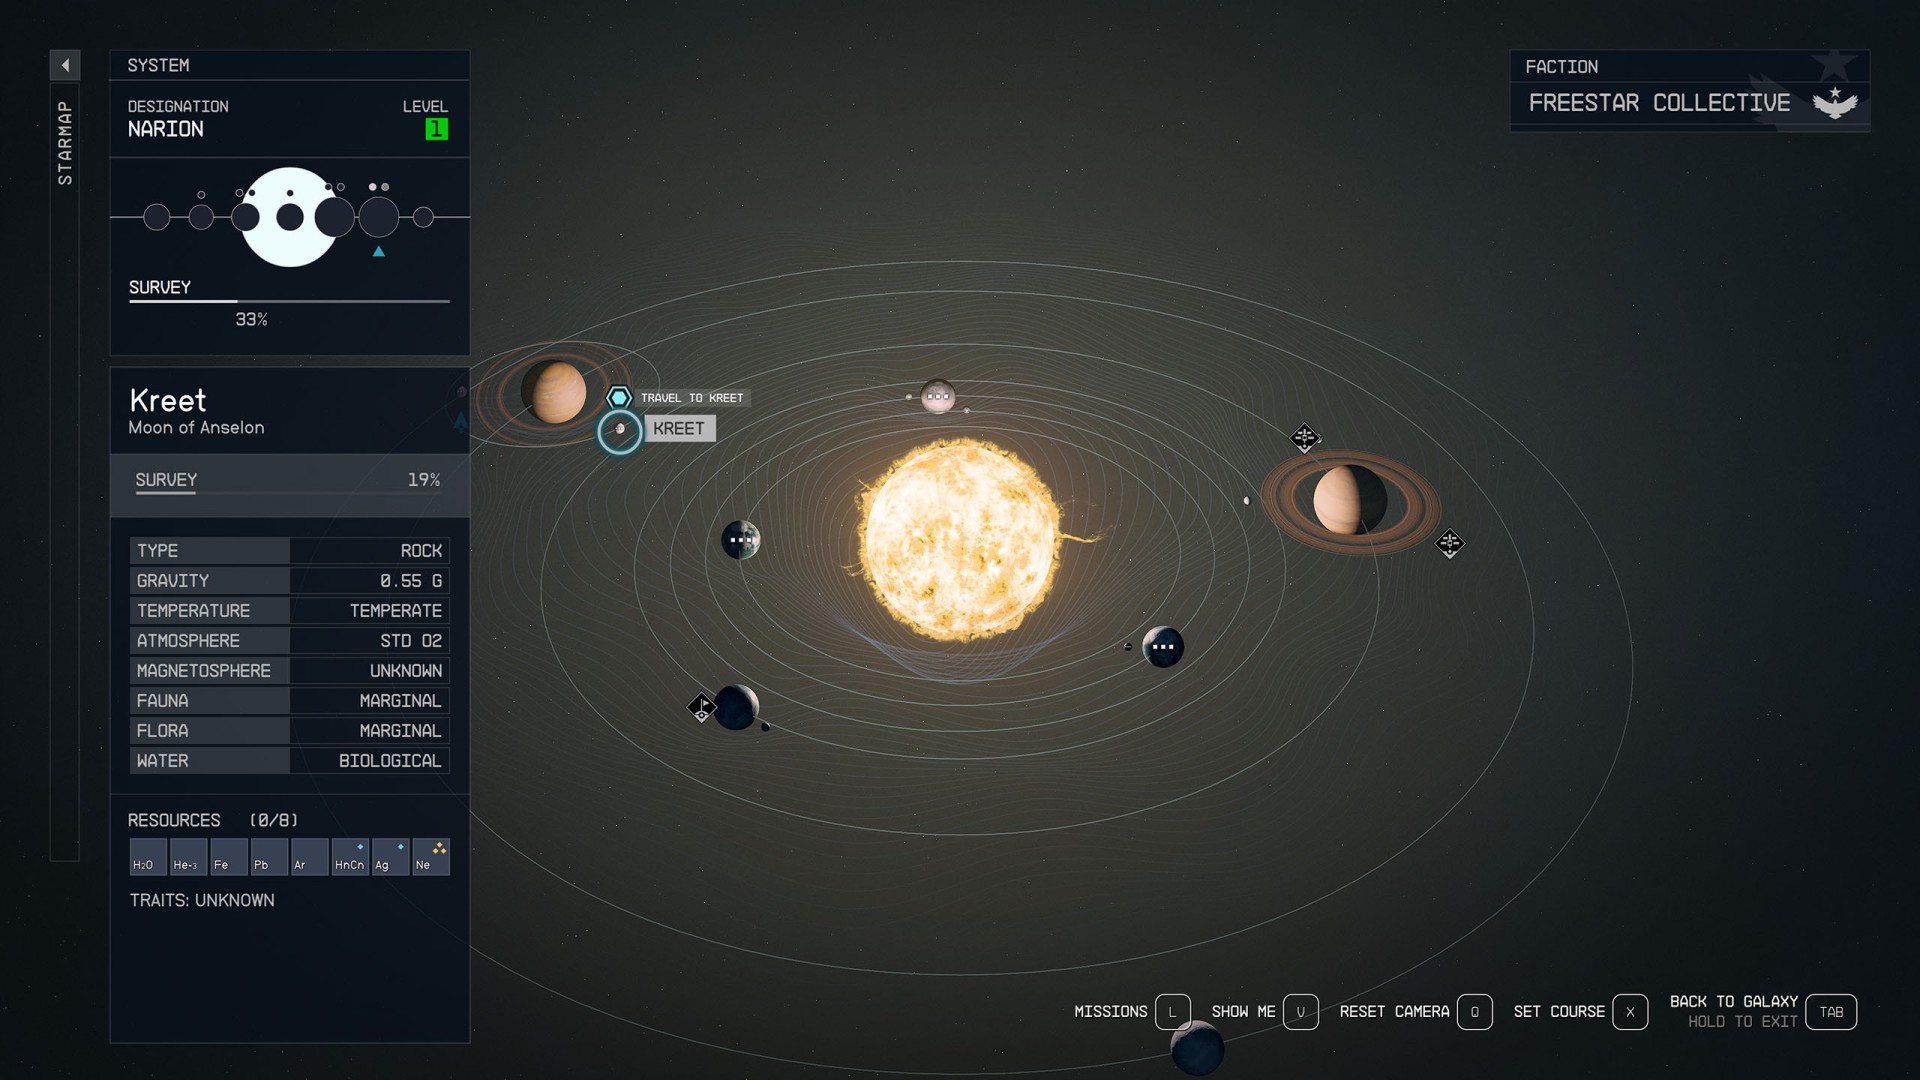
15. Travel to Kreet
Open the Starmap, set course to Kreet and travel there.
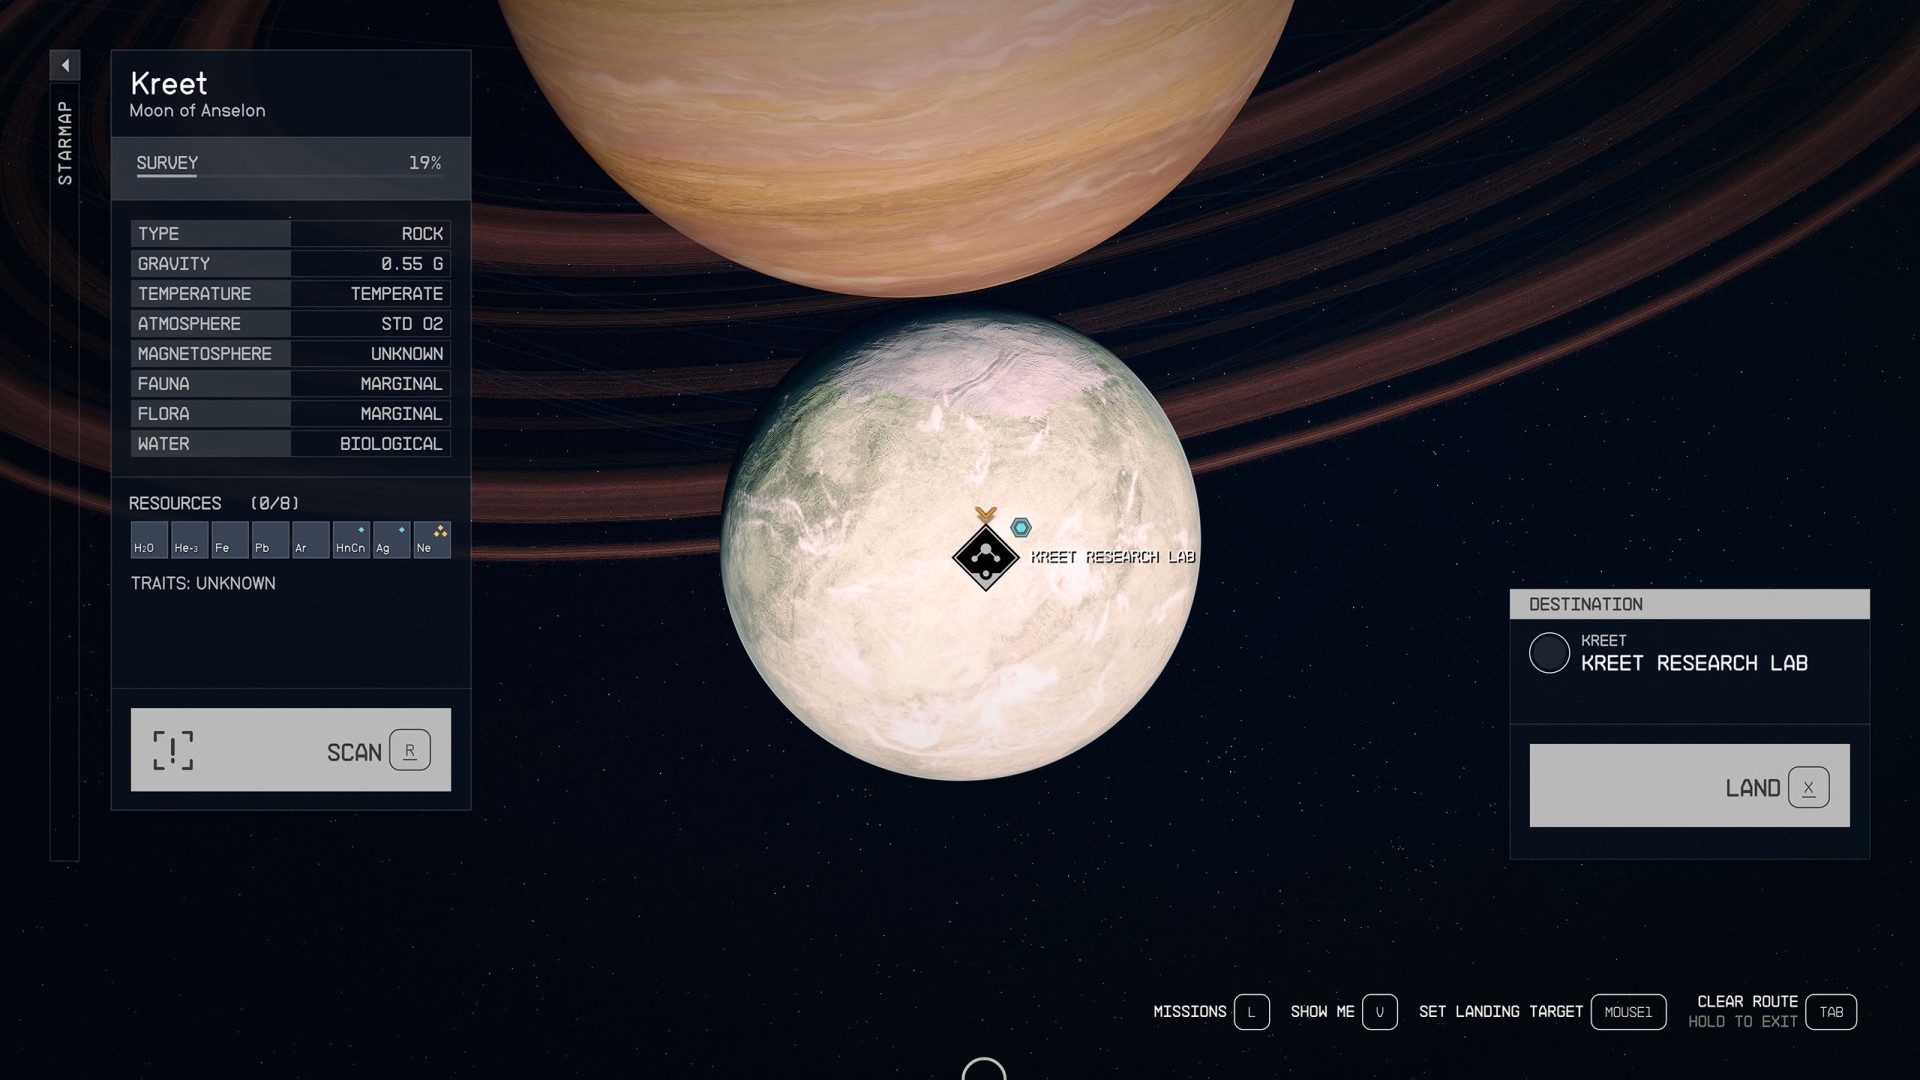
16. Land at the Kreet Research Base
Open the Starmap again, set Kreet Research Lab as the landing target and land.
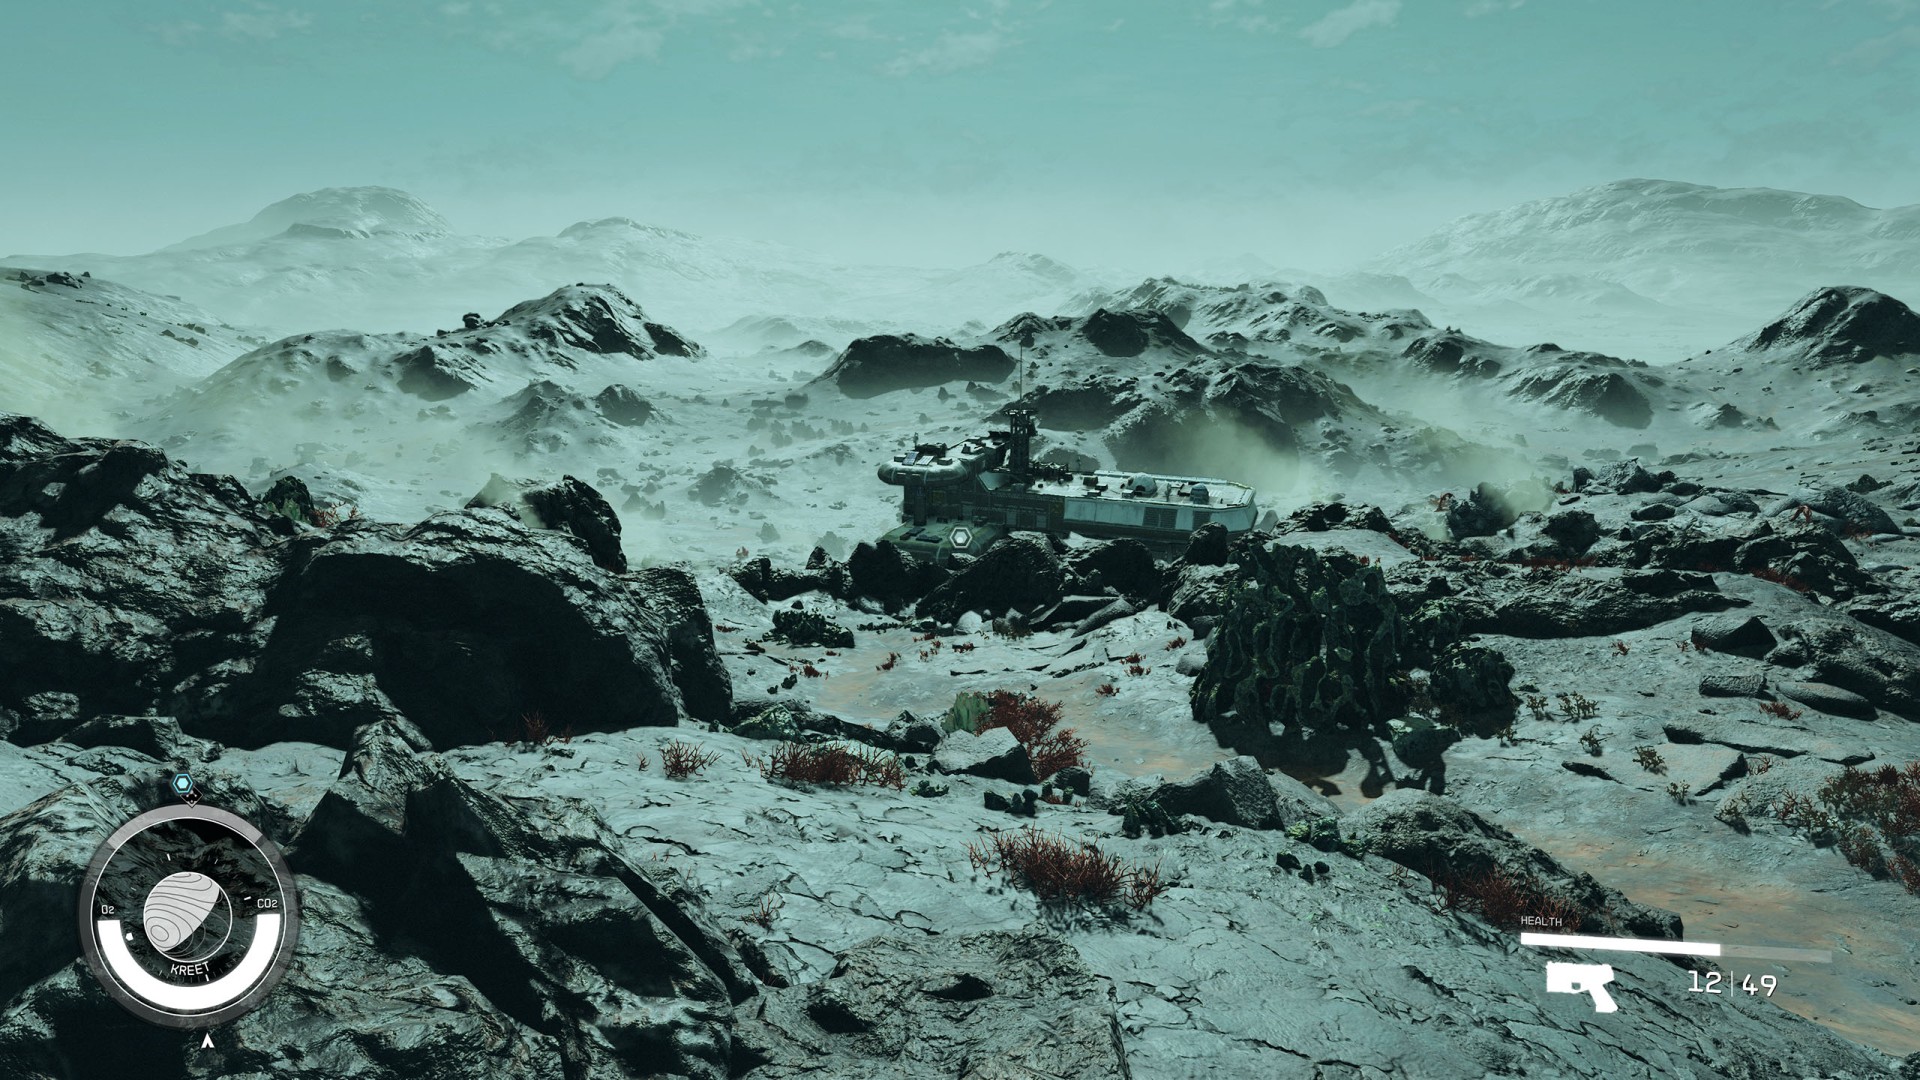
17. Deal with the Crimson Fleet Captain / (Optional) Unlock the Safe
Get off the ship and head down the hill towards the nearby buildings.
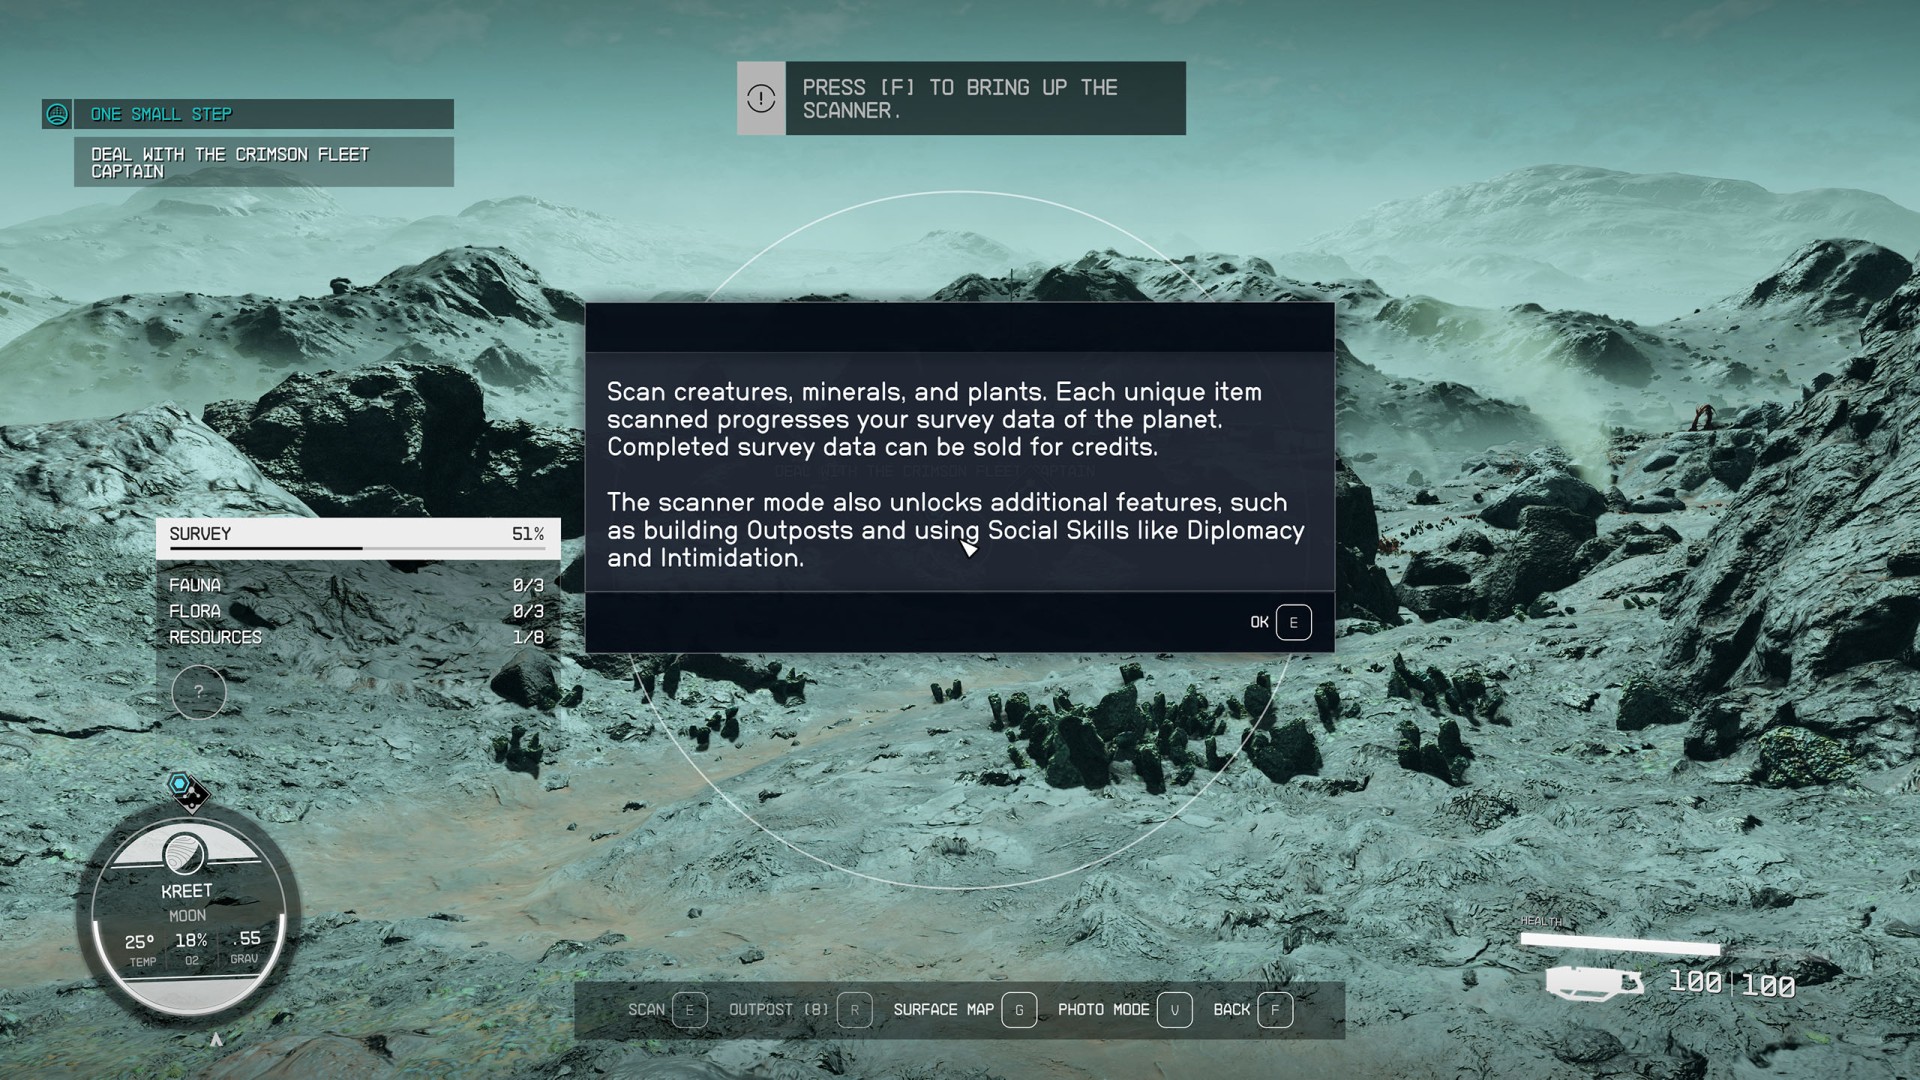
Along the way, the game will promp you to use the scanner, which is used to scan creatures, plants and minerals. The scanner also displays a line of arrows on the ground showing the path to the current objective.
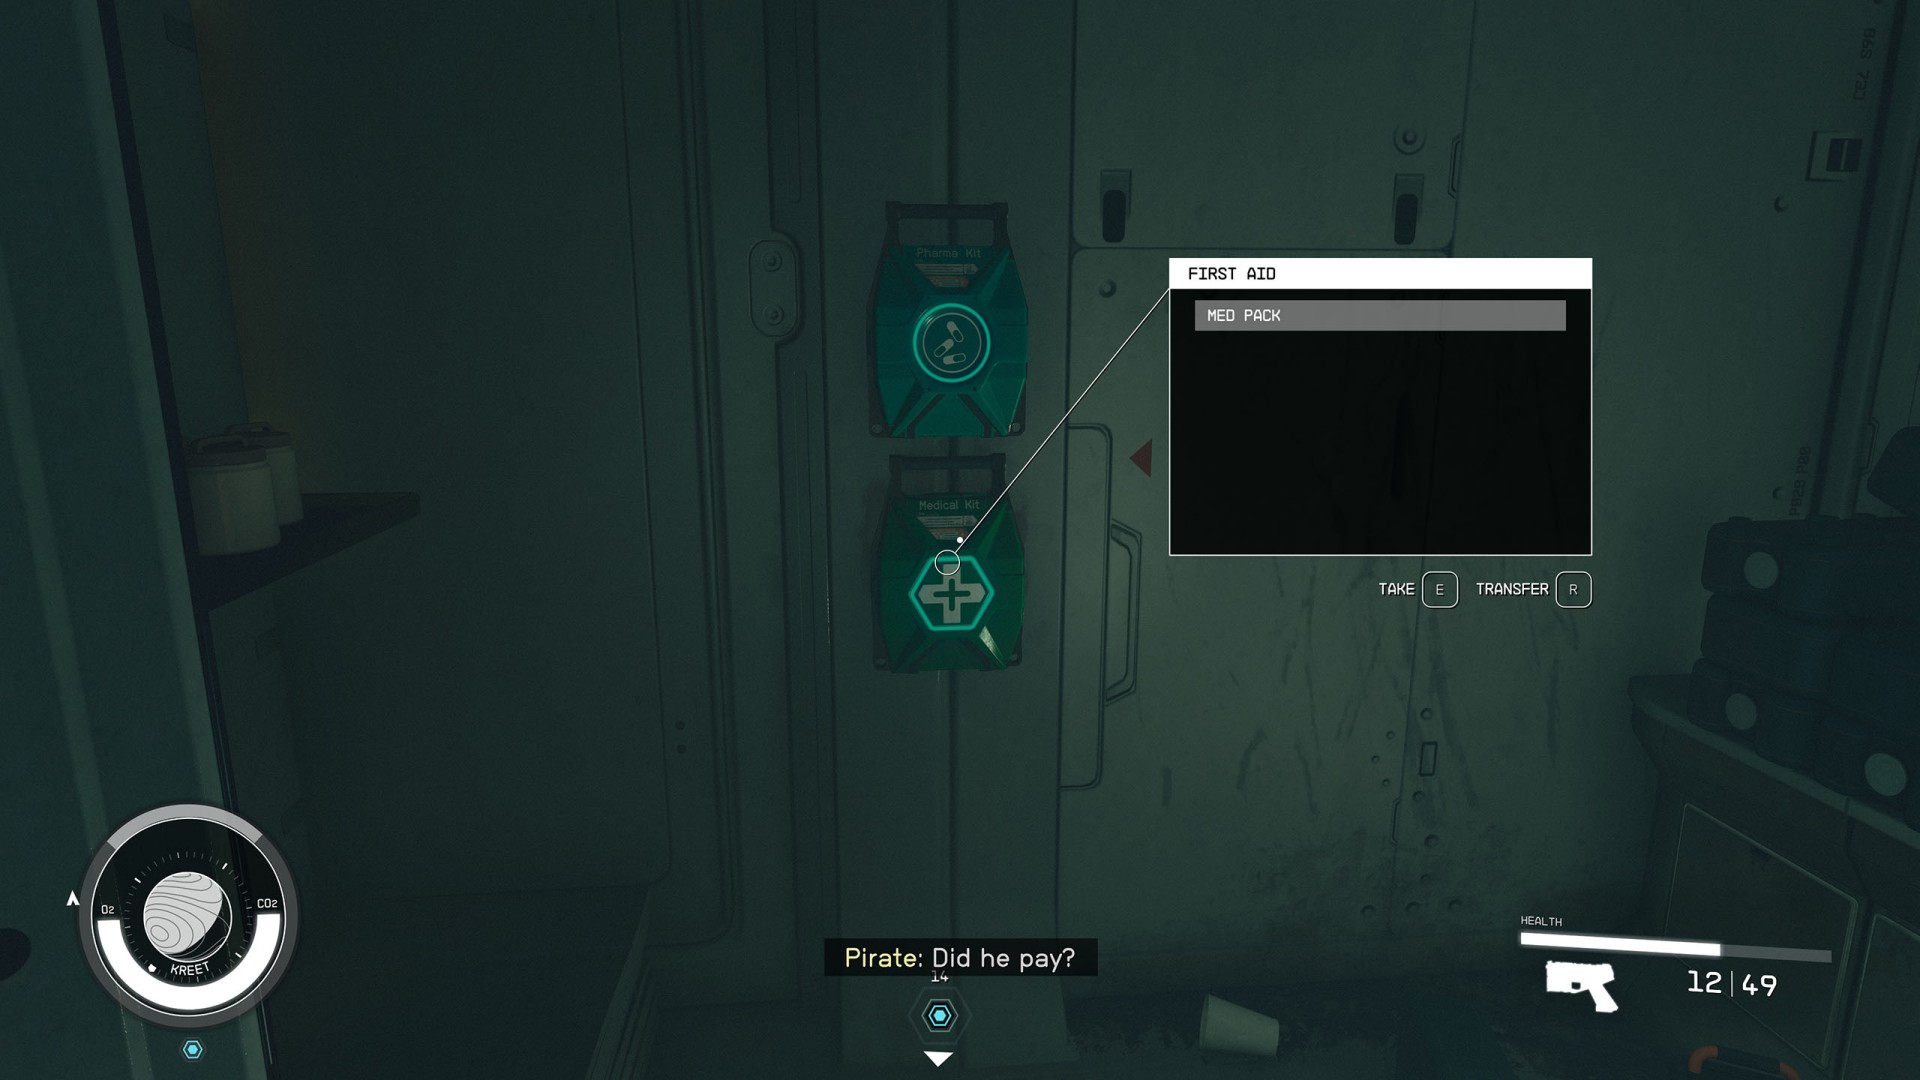
Enter the base and proceed forward according to the mission markers. Along the way you should find several first aid kits with med packs inside.
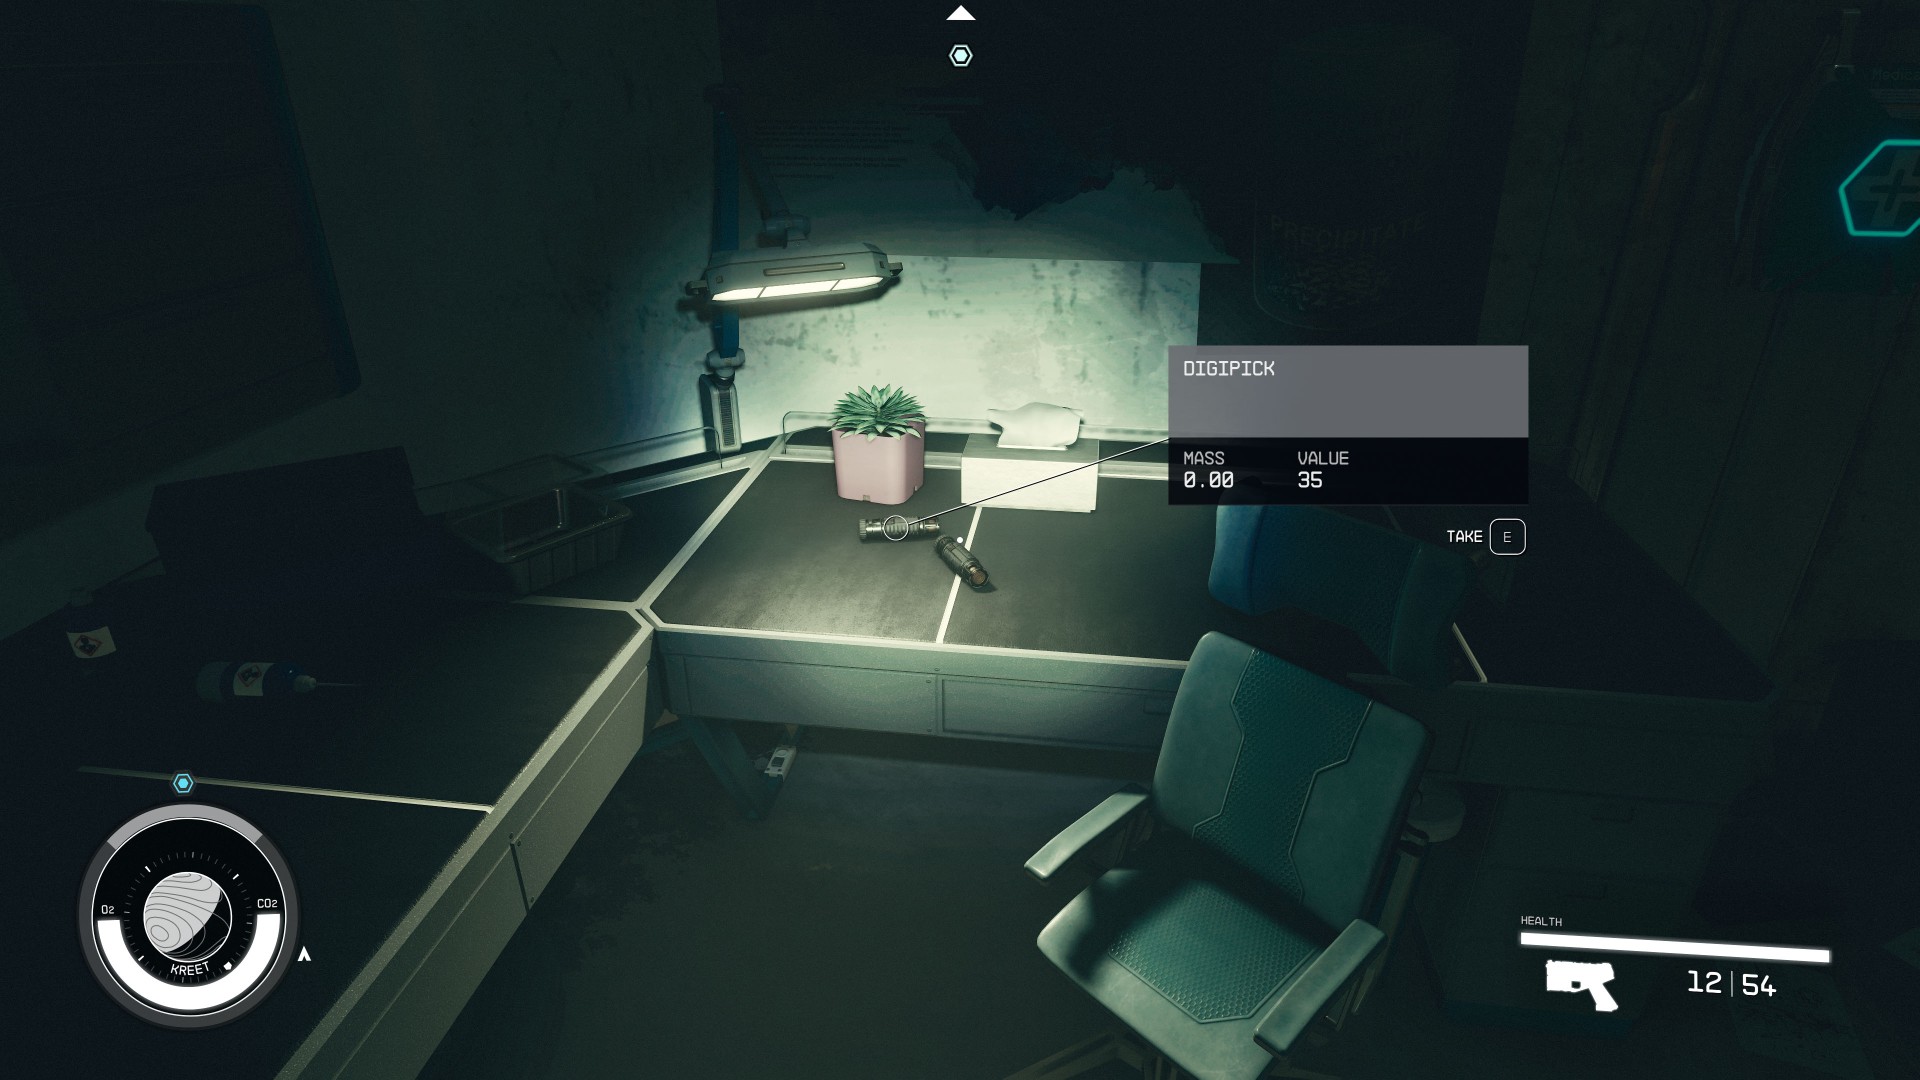
Also collect all Digipicks that you find, as they are needed to open locks. These lie on tables, etc. They can also be found in the corpses of scientists.
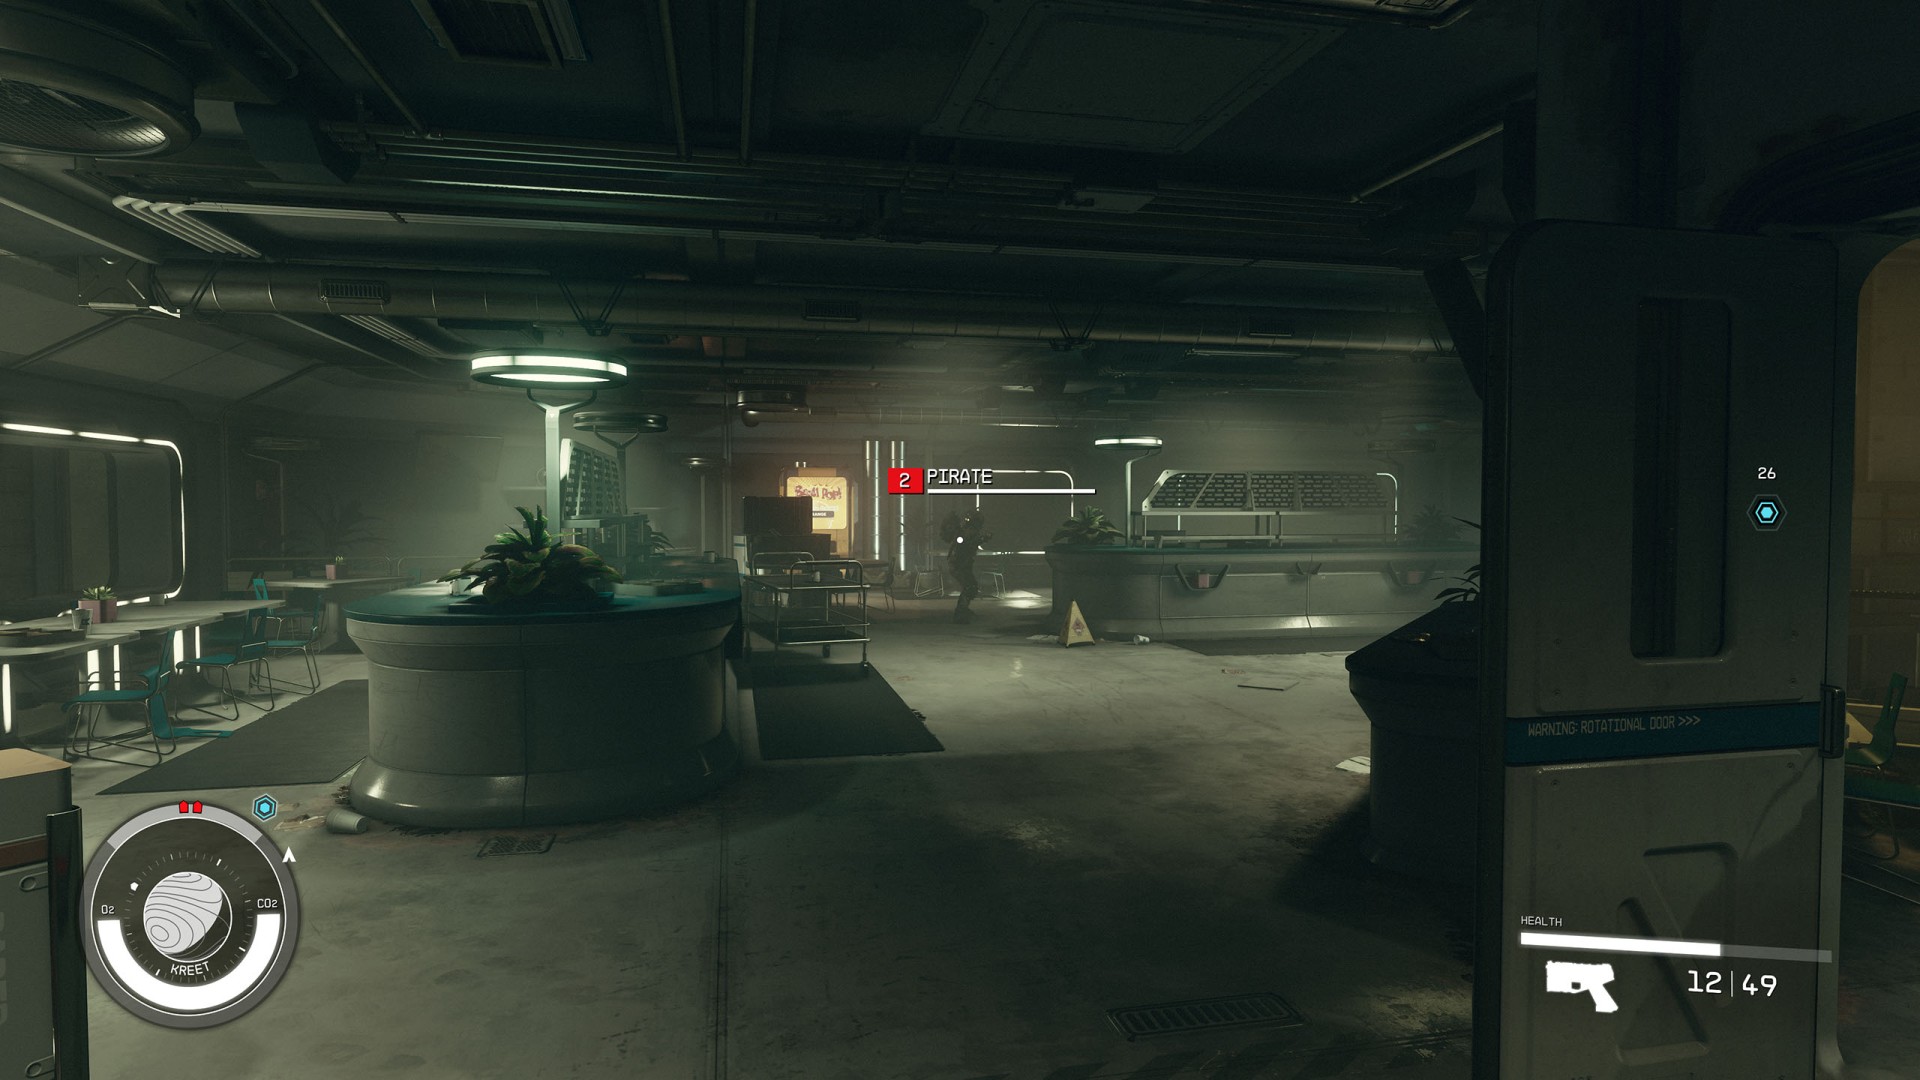
Kill the pirates you will run into in some rooms and loot their corpses. This way you will be able to find some new weapons as well as ammunition.
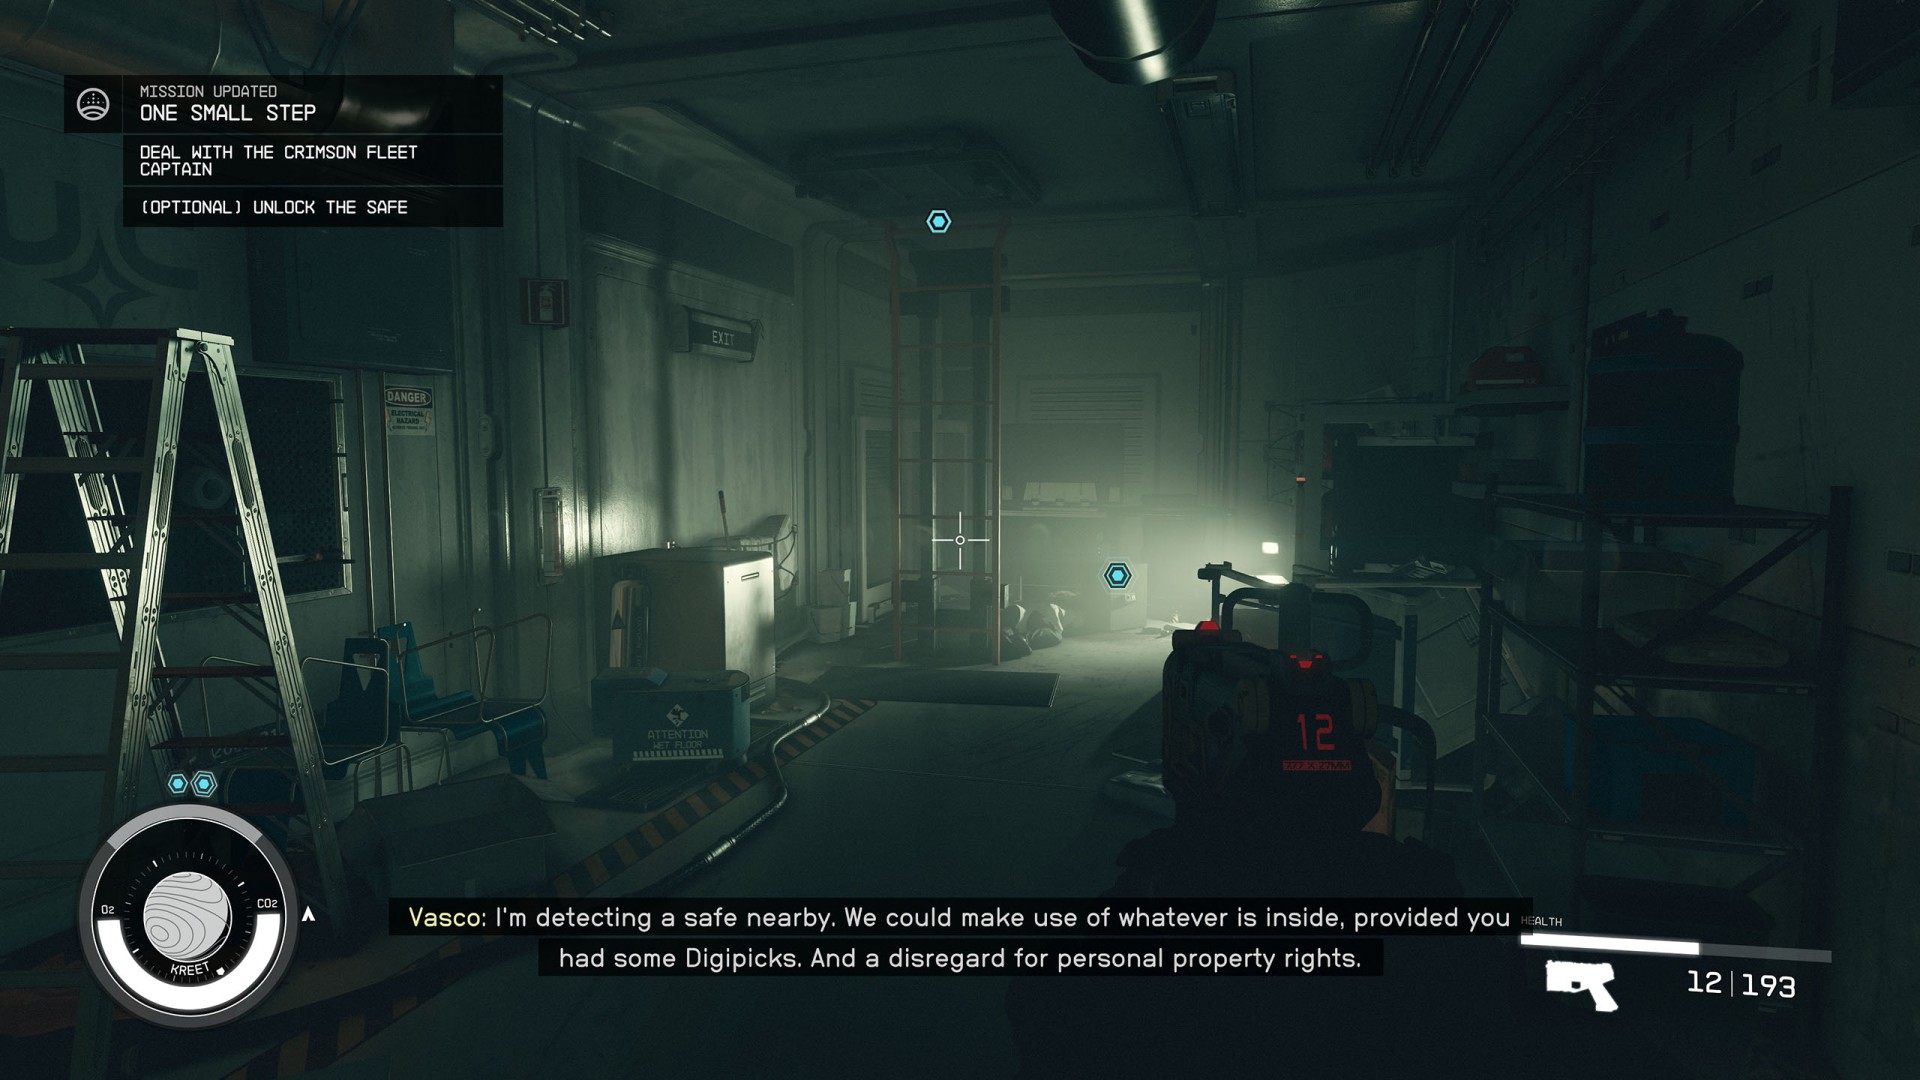
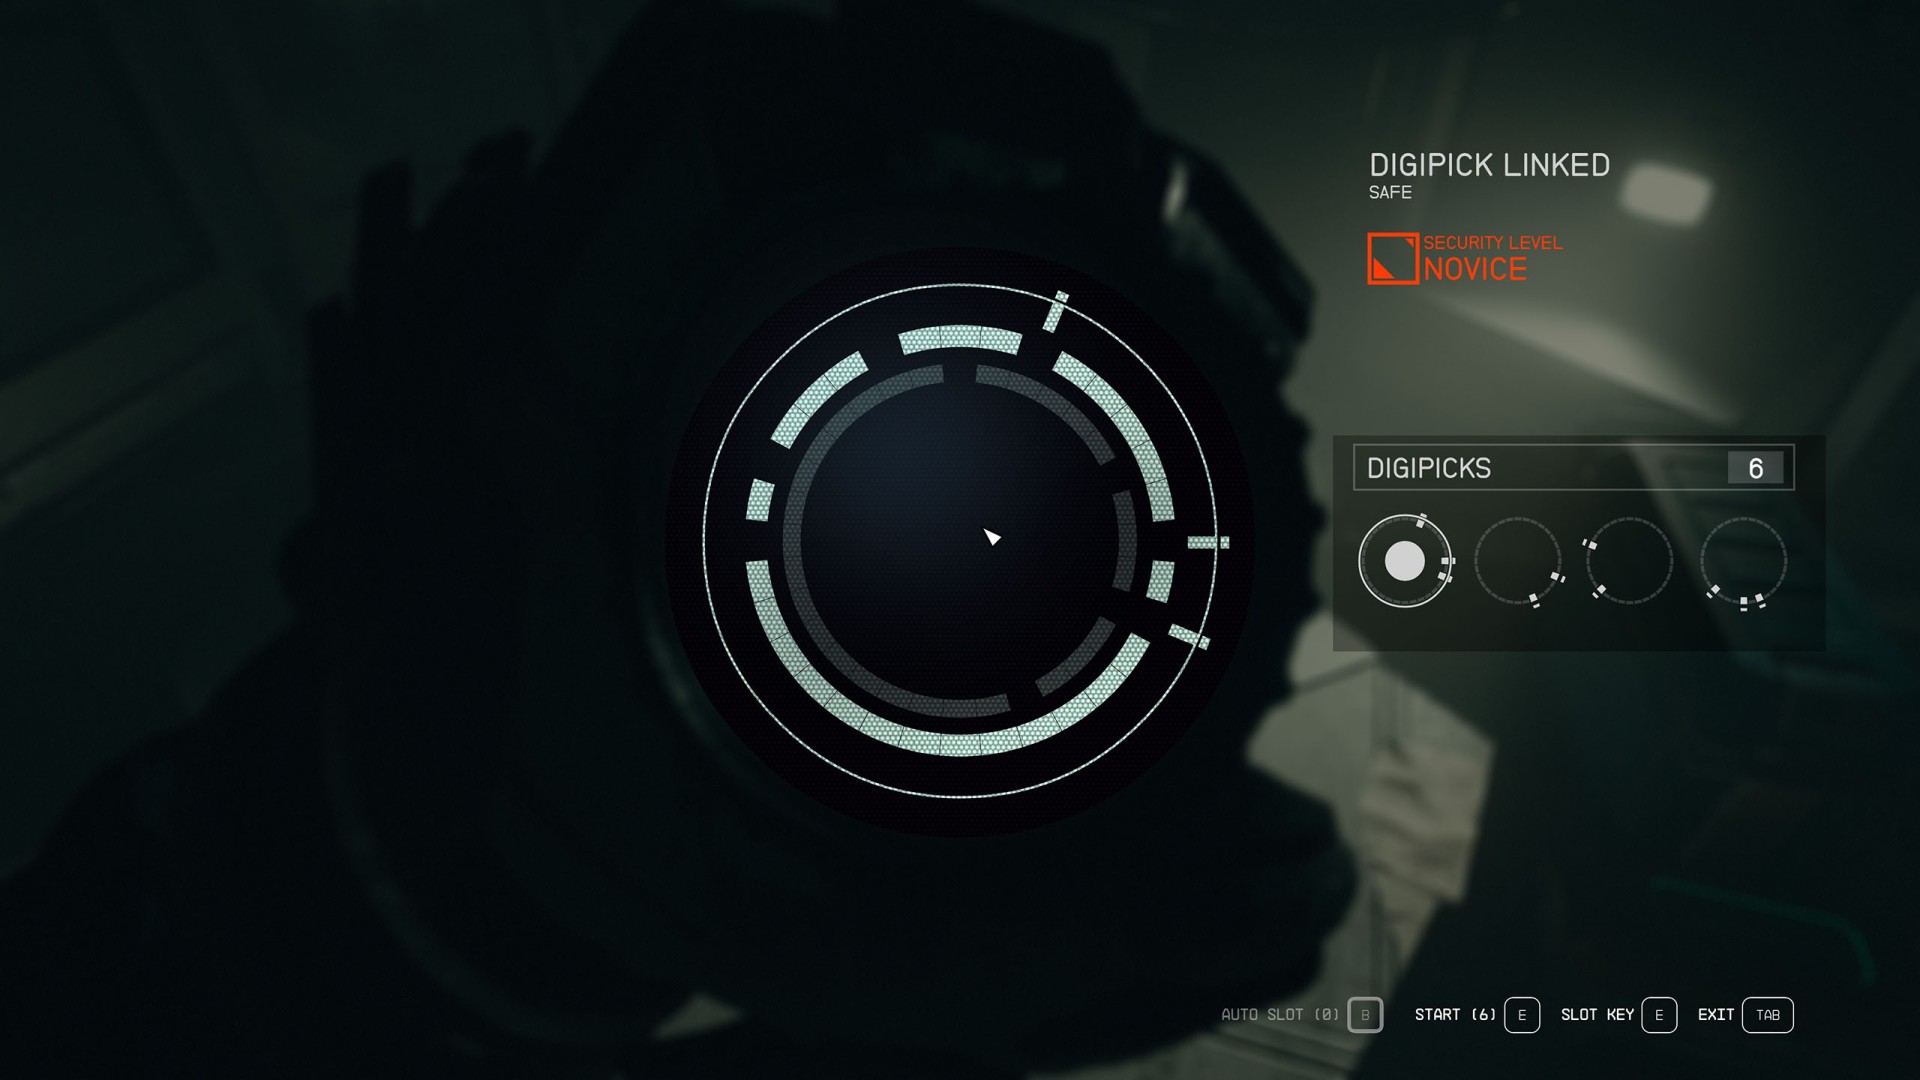
In the last room with a ladder leading to the roof you will find a safe which you can try to open.
Fill in all open slots in every layer to open the lock.
Select a key and rotate it until it lines up with the gaps in the security layer. Slot the key to fill in the gaps.
Each key can only be used once!
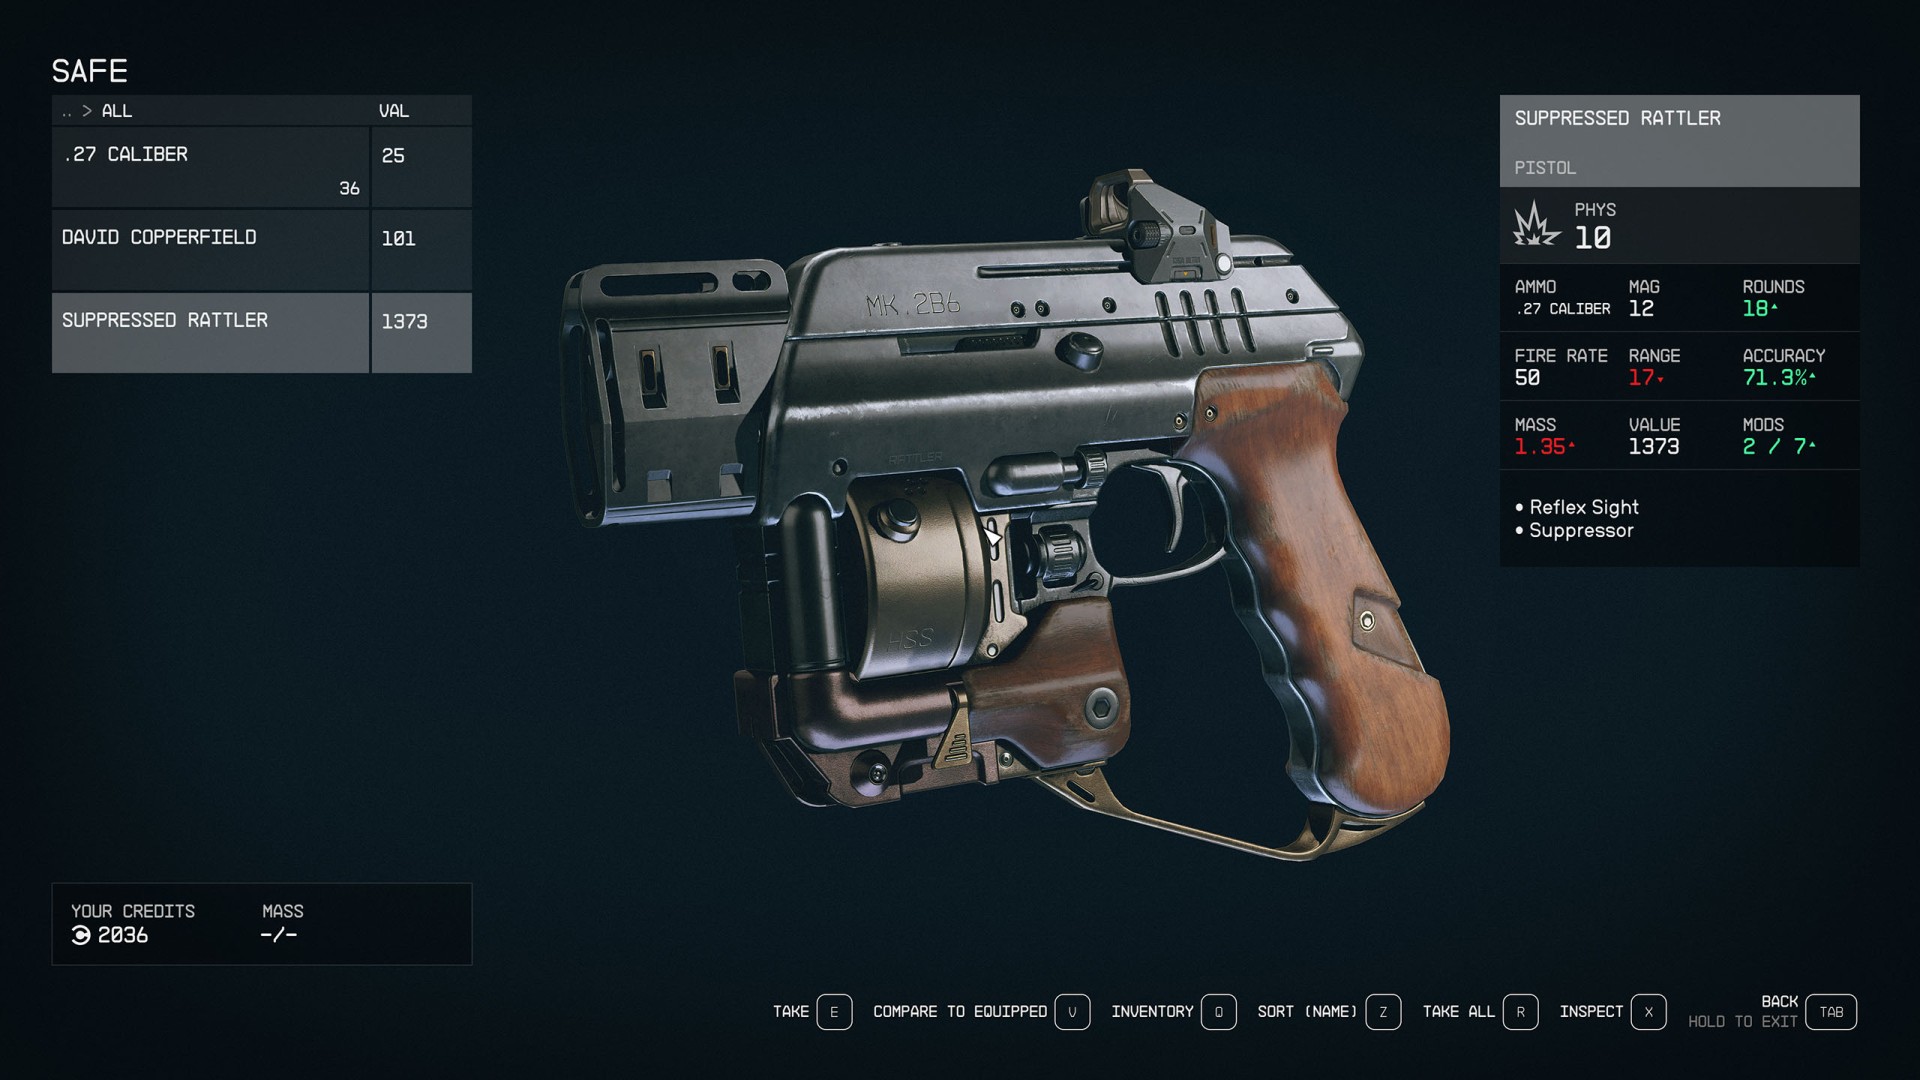
If you manage to open the safe then you will be able to take its contents. In my case, these were the items indicated in the picture below.
When you get to the roof you will meet Captain Brogan there. You will be given the opportunity to test your persuasion skills.
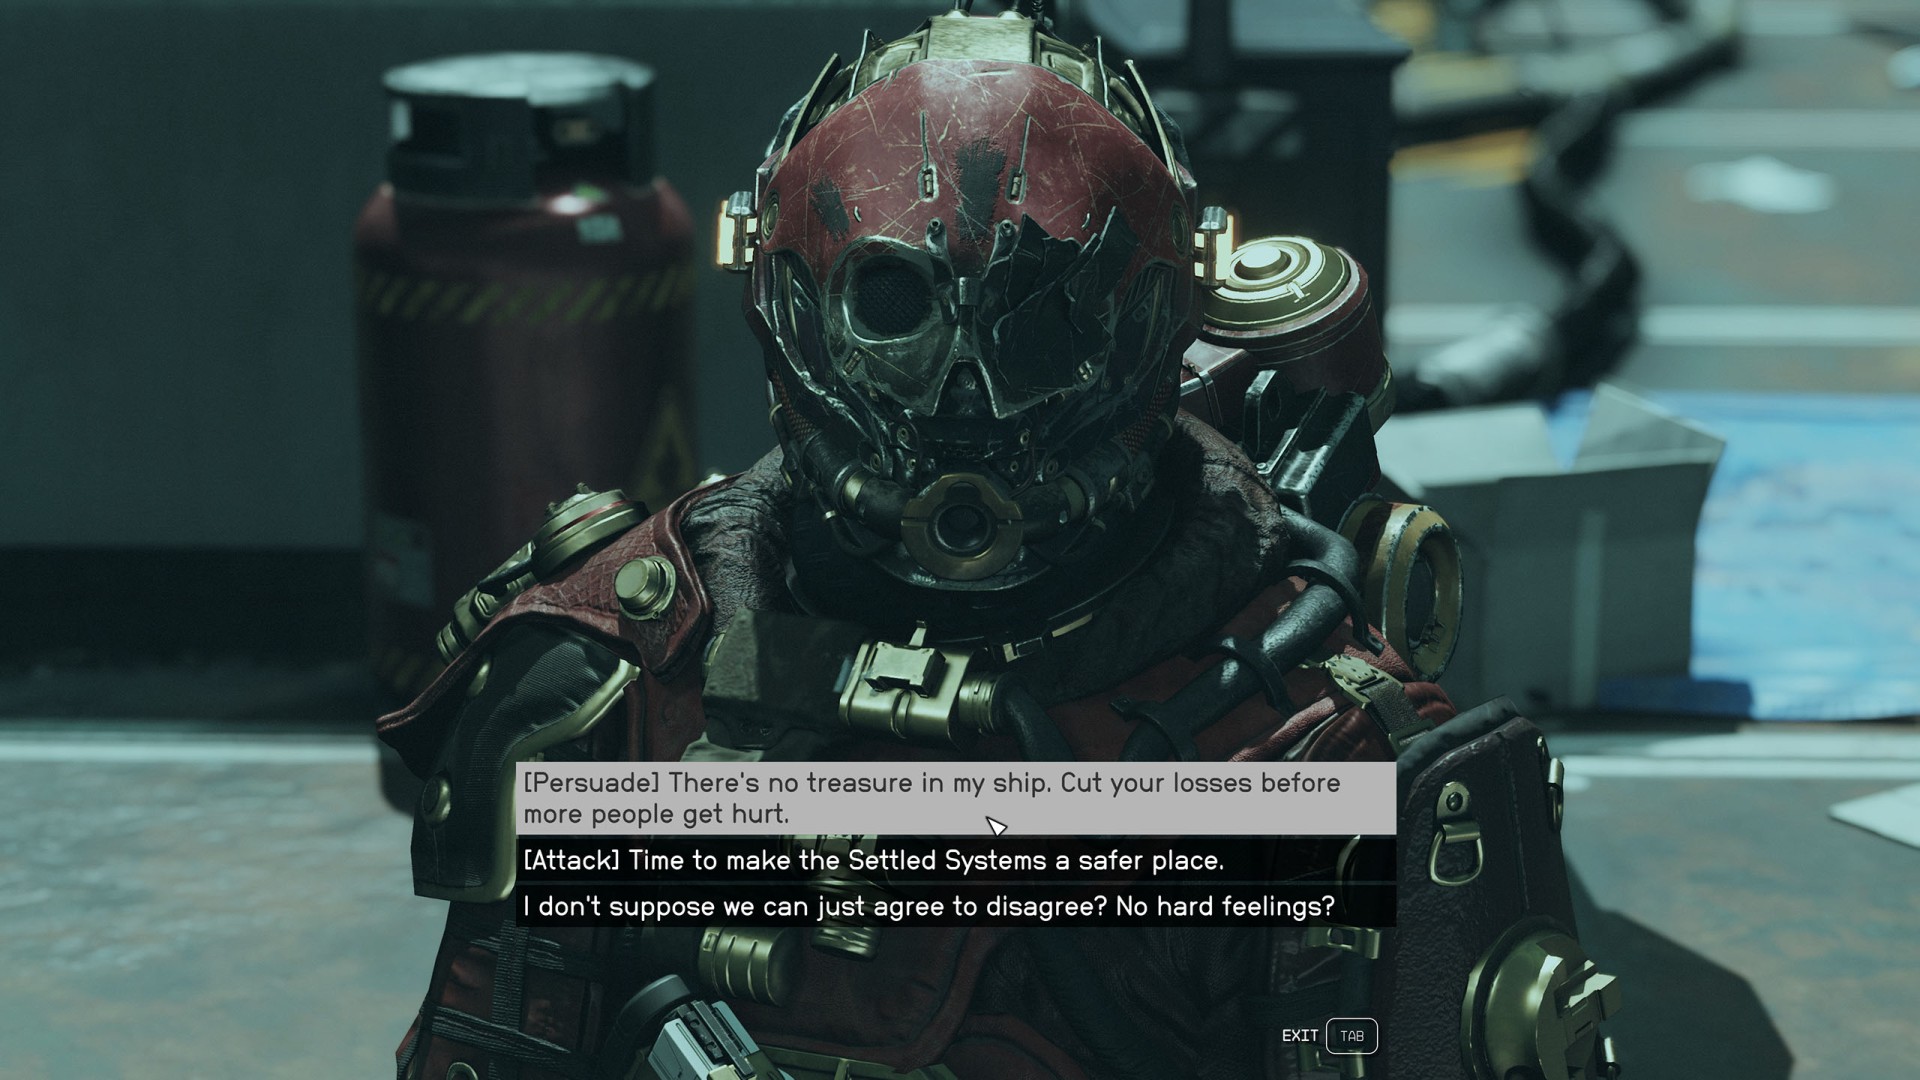
To persuade a person, you need to make successful choices. Choices can range from kind words, to distractions, to threats.
Each choice has a difficulty. The higher the difficulty, the greater the chance the choice fails, but the more points you'll earn when you succeed.
You have a limited number of choices you can make, but you can never fail if your last choice succeeded.
You can also choose a forceful solution, but keep in mind that Brogan is level 6 and is accompanied by two level 2 pirates.
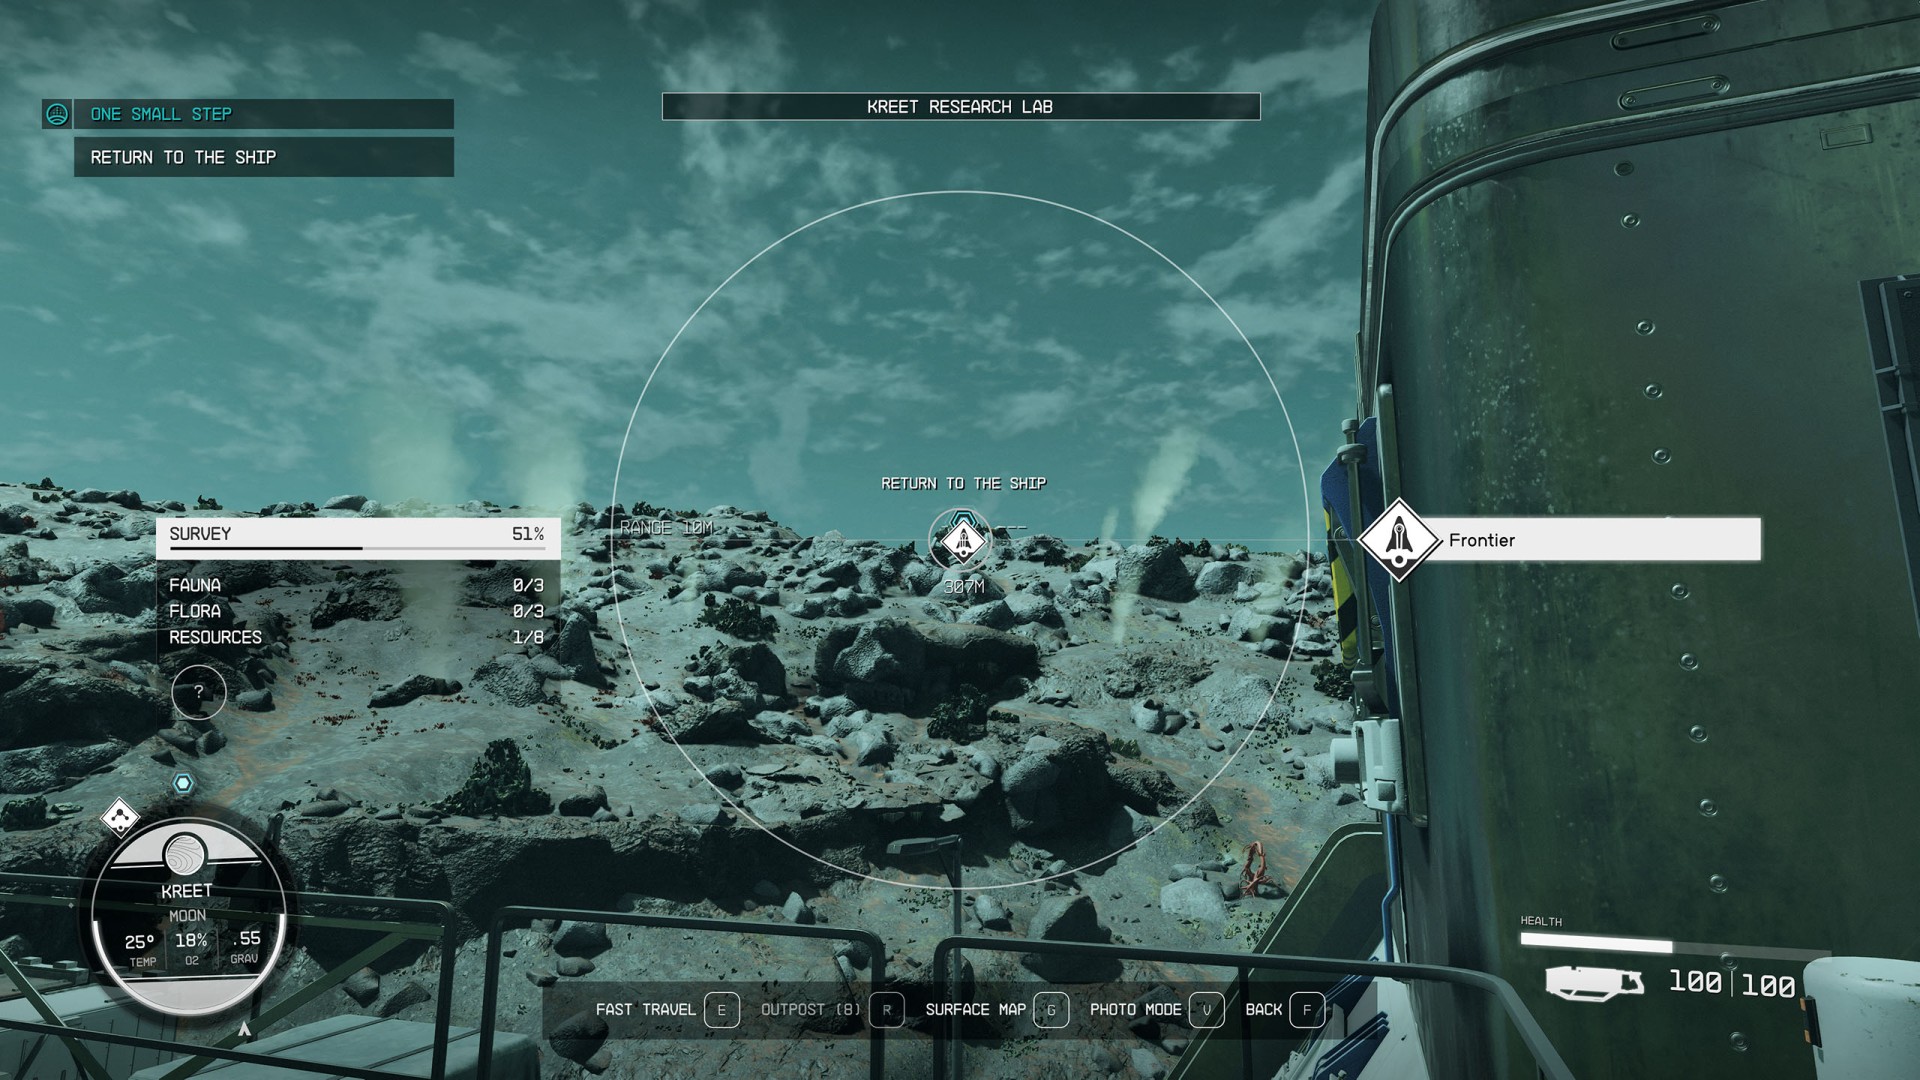
18. Return to the Ship
The fastest solution is to use a scanner and use the fast travel option.
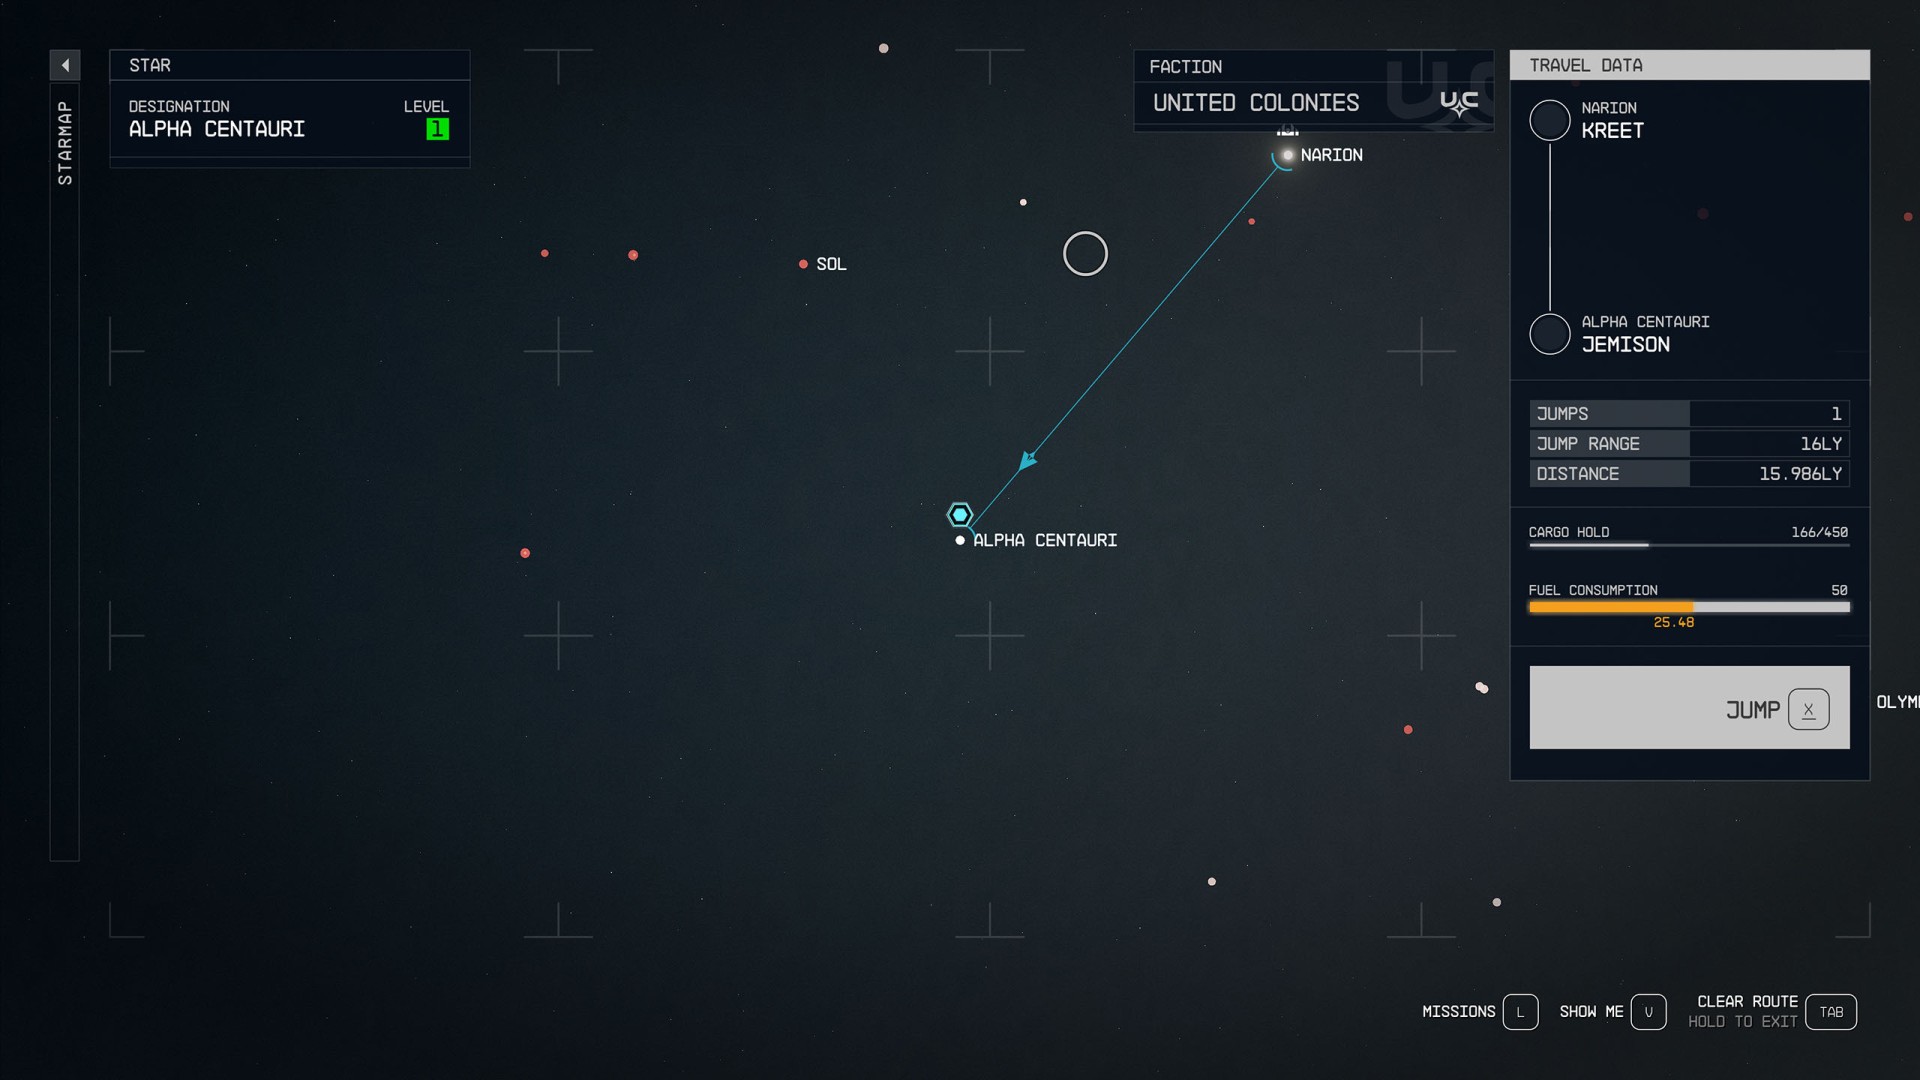
19. Grav Jump to Jemison
Return to the orbit. Then follow the instructions given by the game and make the jump to the Alpha Centauri system.
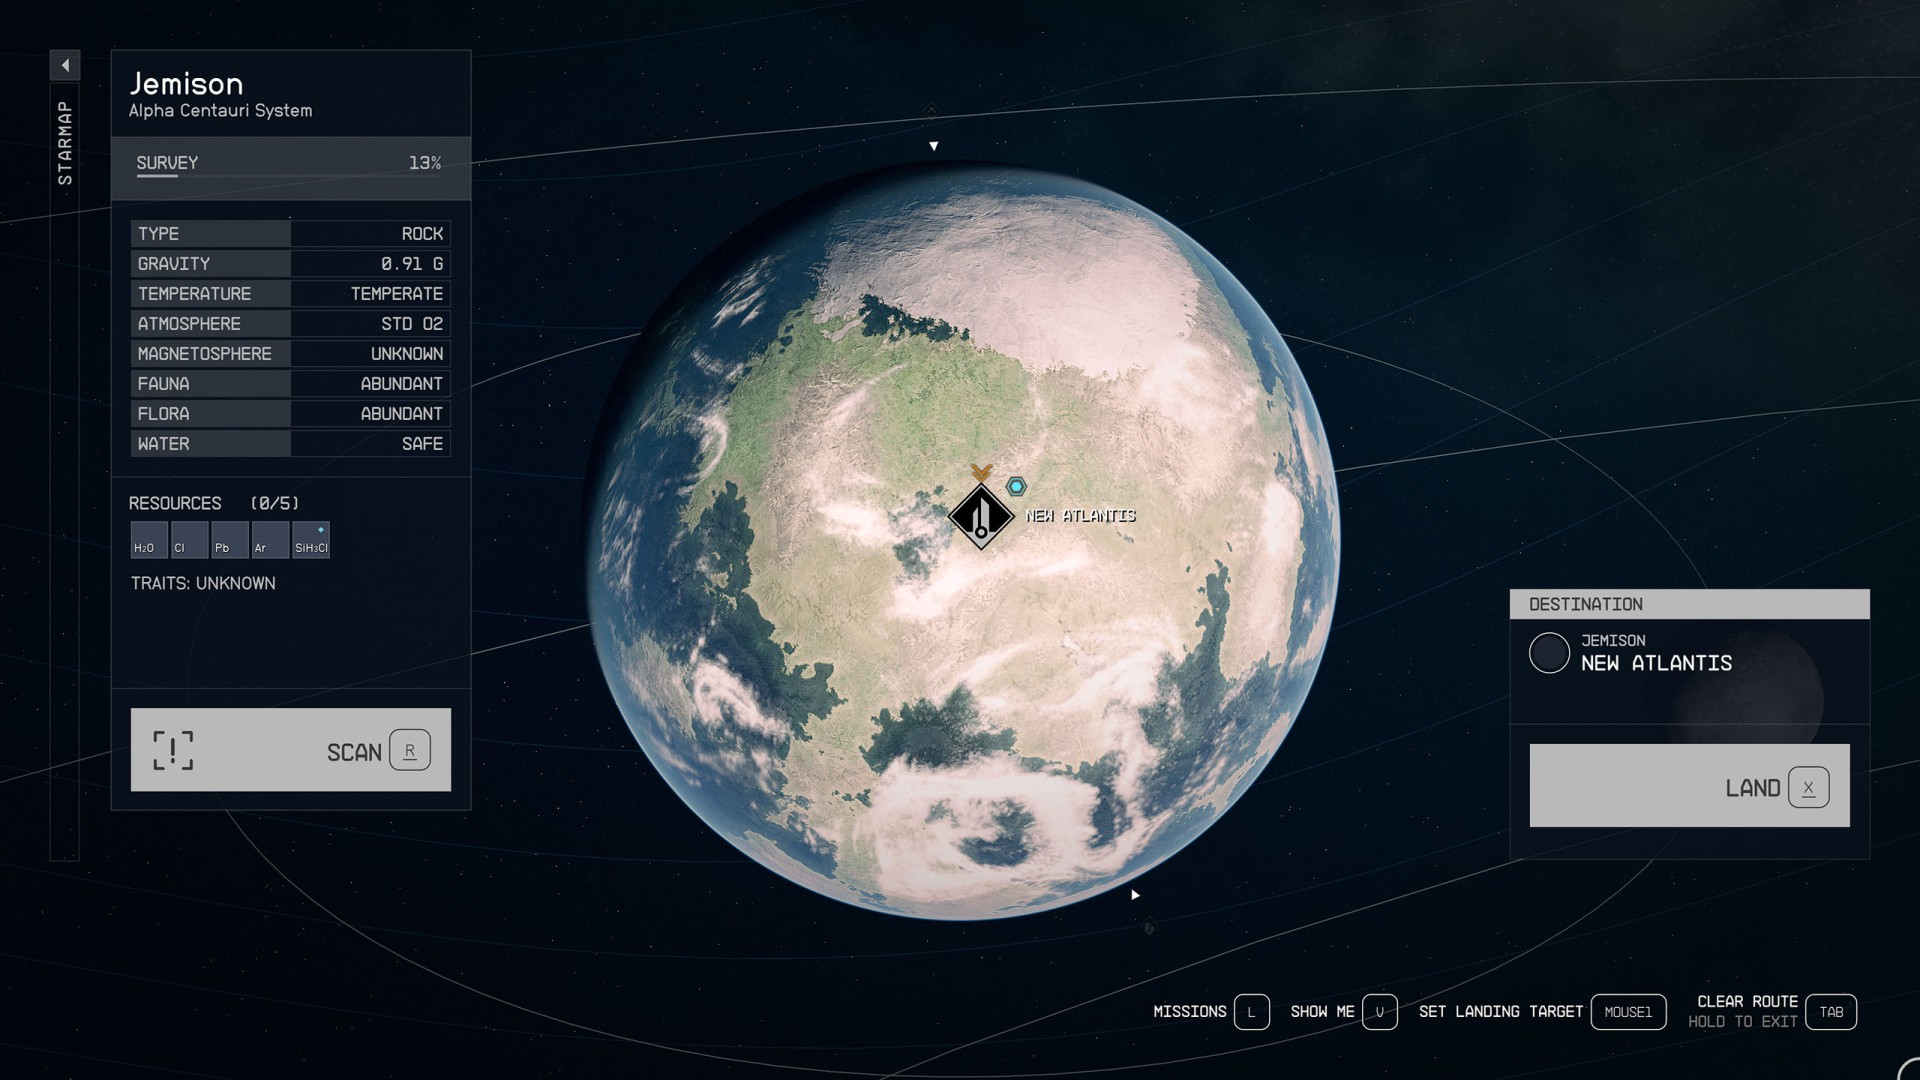
20. Land at New Atlantis
Open the Starmap, set Naw Atlantis as the landing target and land.
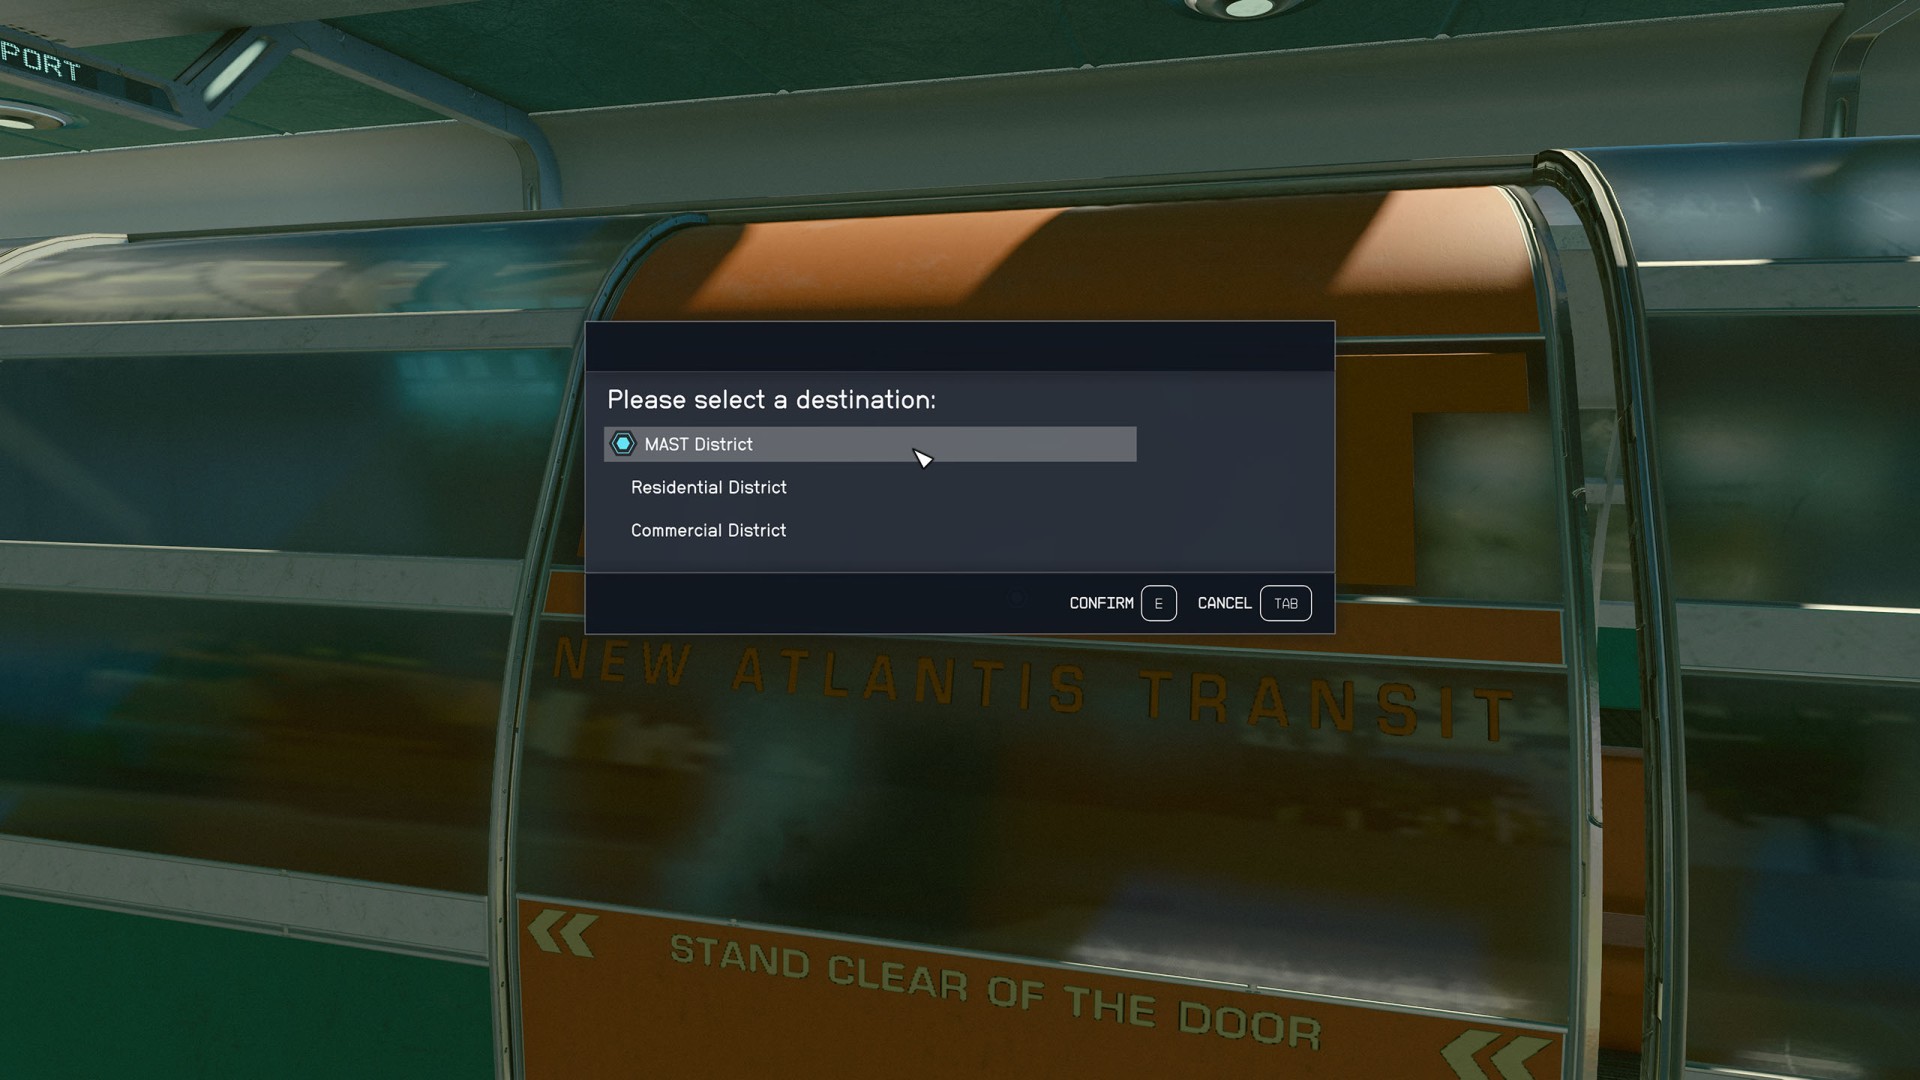
21. Go to the Lodge (MAST District)
Leave the ship. If you want, you can talk to a ship services technician. He will offer you services related to your ship, such as repairing it, etc.

Follow the mission marker and it will lead you to the train, the so-called NAT which will take you to the correct district - MAST District.
Head to the Lodge and go inside.

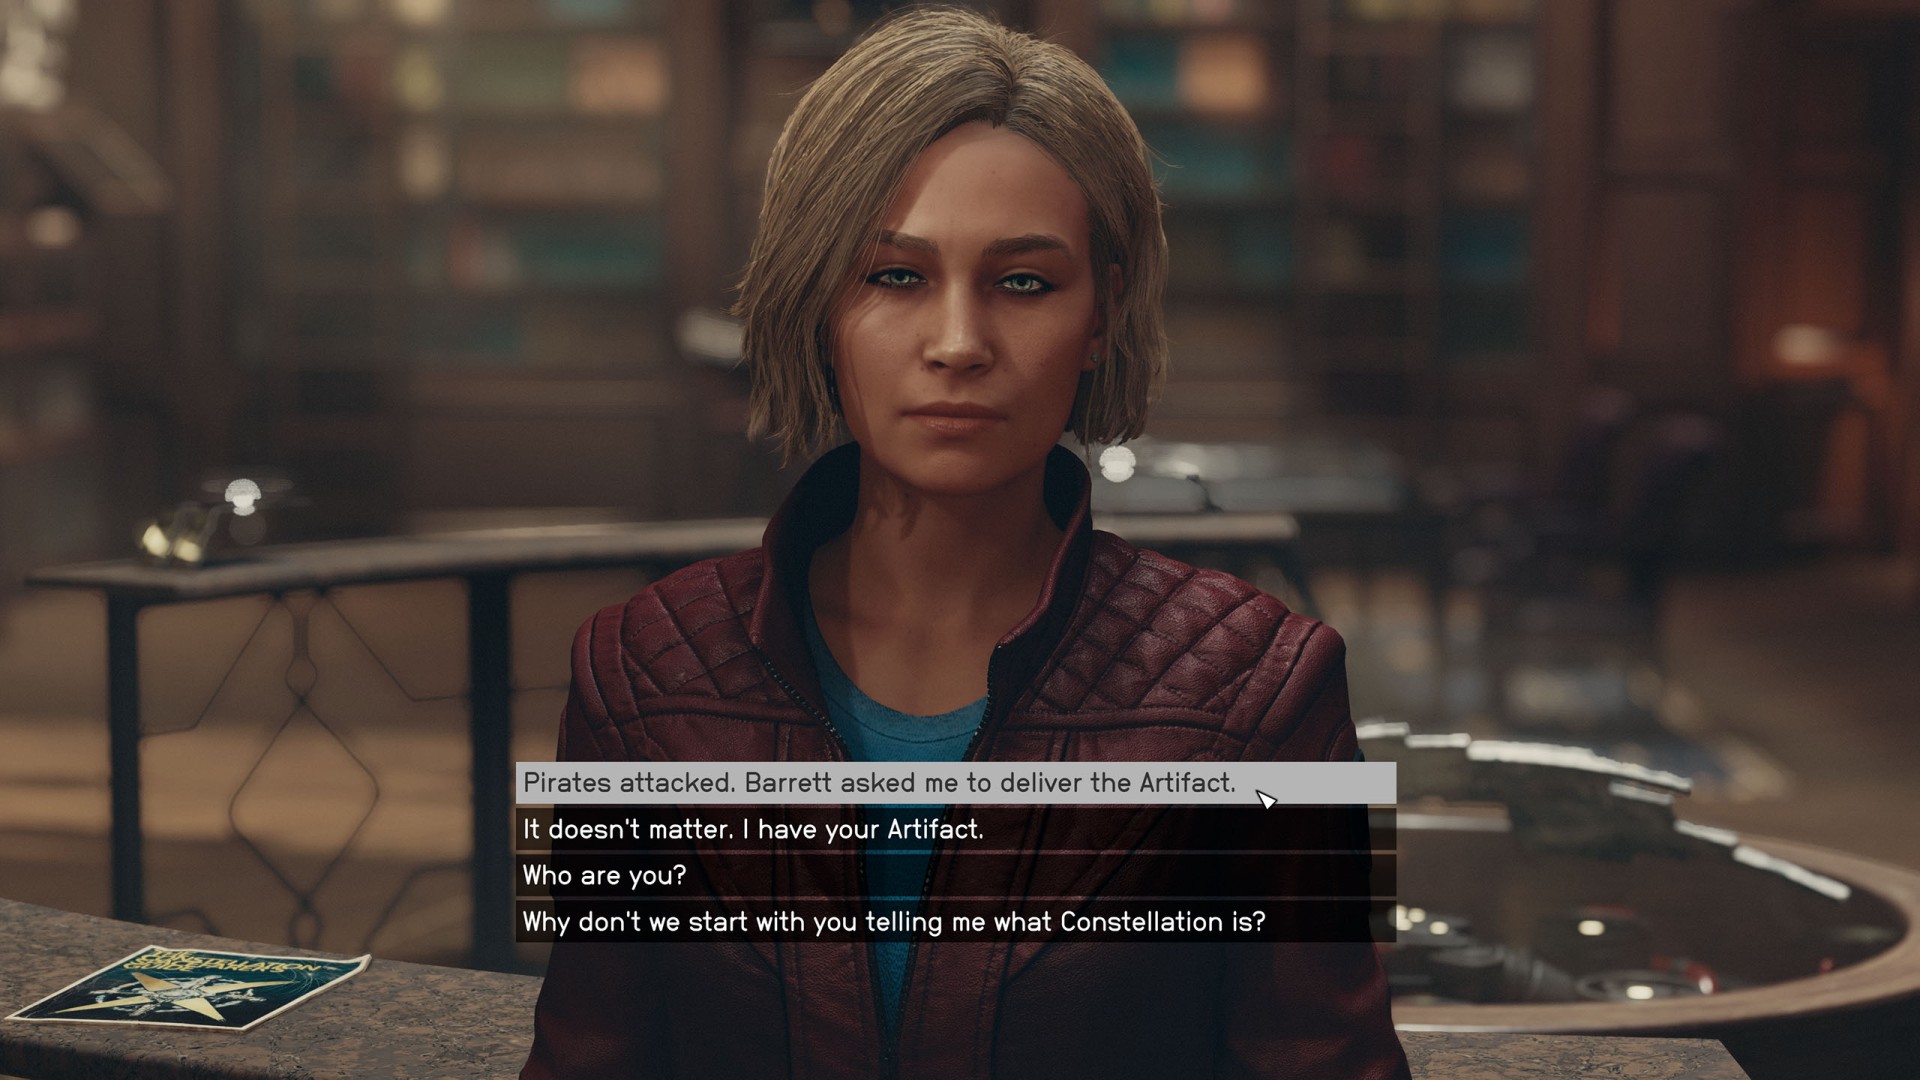
22. Enter the Library / Talk to Sarah
Enter the library and talk to Sarah.
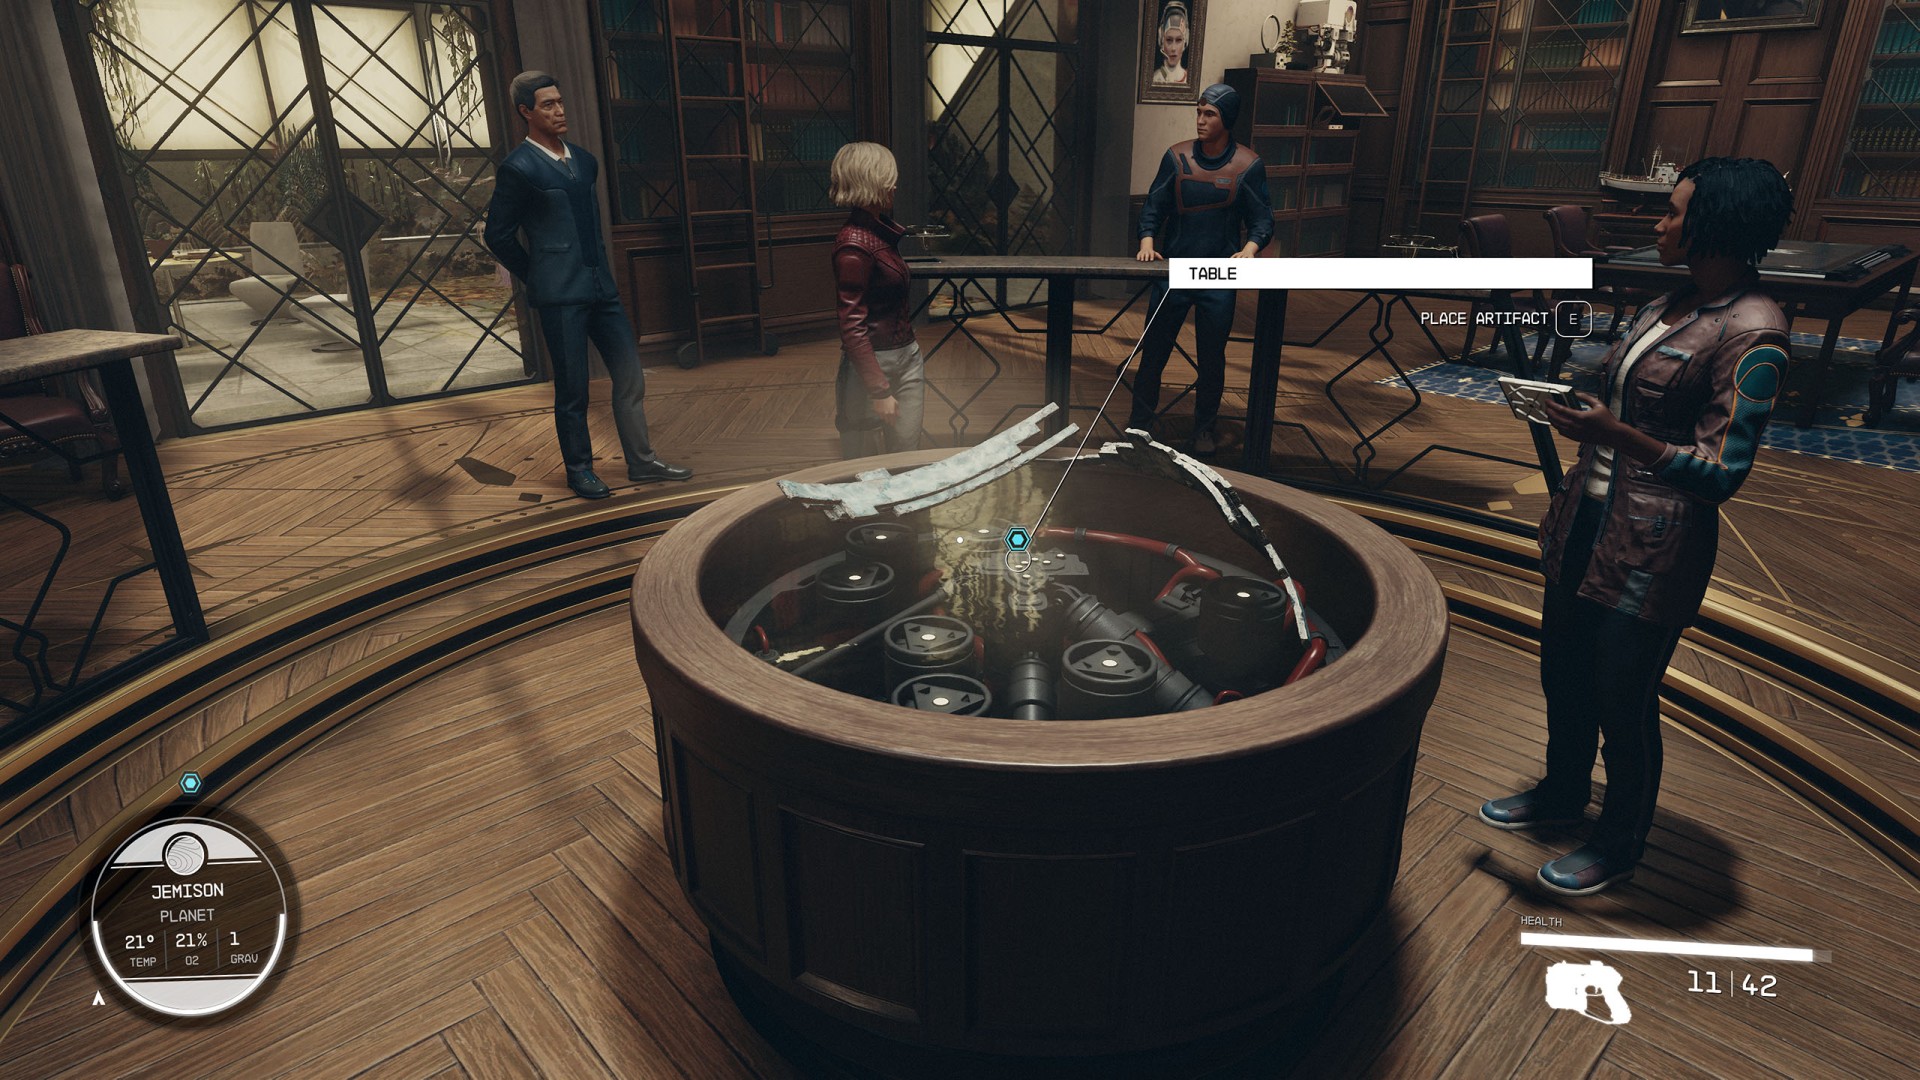
23. Listen to the Meeting / Place the Artifact
Listen for a while to the conversation of those present in the room and then fulfill their request and place your artifact next to the two lying on the round table in the center.
24. Listen to the Meeting / Talk to Sarah
Listen to the next part of the conversation between Constellation members excited about how the artifacts reacted. Then talk to Sarah who will invite you join them.
This will conclude this mission and you will receive rewards for completing it - 400 XP, 8000 Credits, Constellation Pack, Lodge Key. The next main mission will also pop up in your journal - "The Old Neighborhood".
I brought the Artifact to Constellation, and now they want me to join. Sarah Morgan, the Chair of Constellation, is asking me to come with her on a mission.

Notice the Constellation Guide 01 magazine lying on the railing. Take it to get a permanent bonus.

After completing One Small Step you will get or will be able to get The Old Neighborhood.