Various kinds of meaningful items that you have to get to solve puzzles, open passages, etc.
Key Items
Locations on The Village
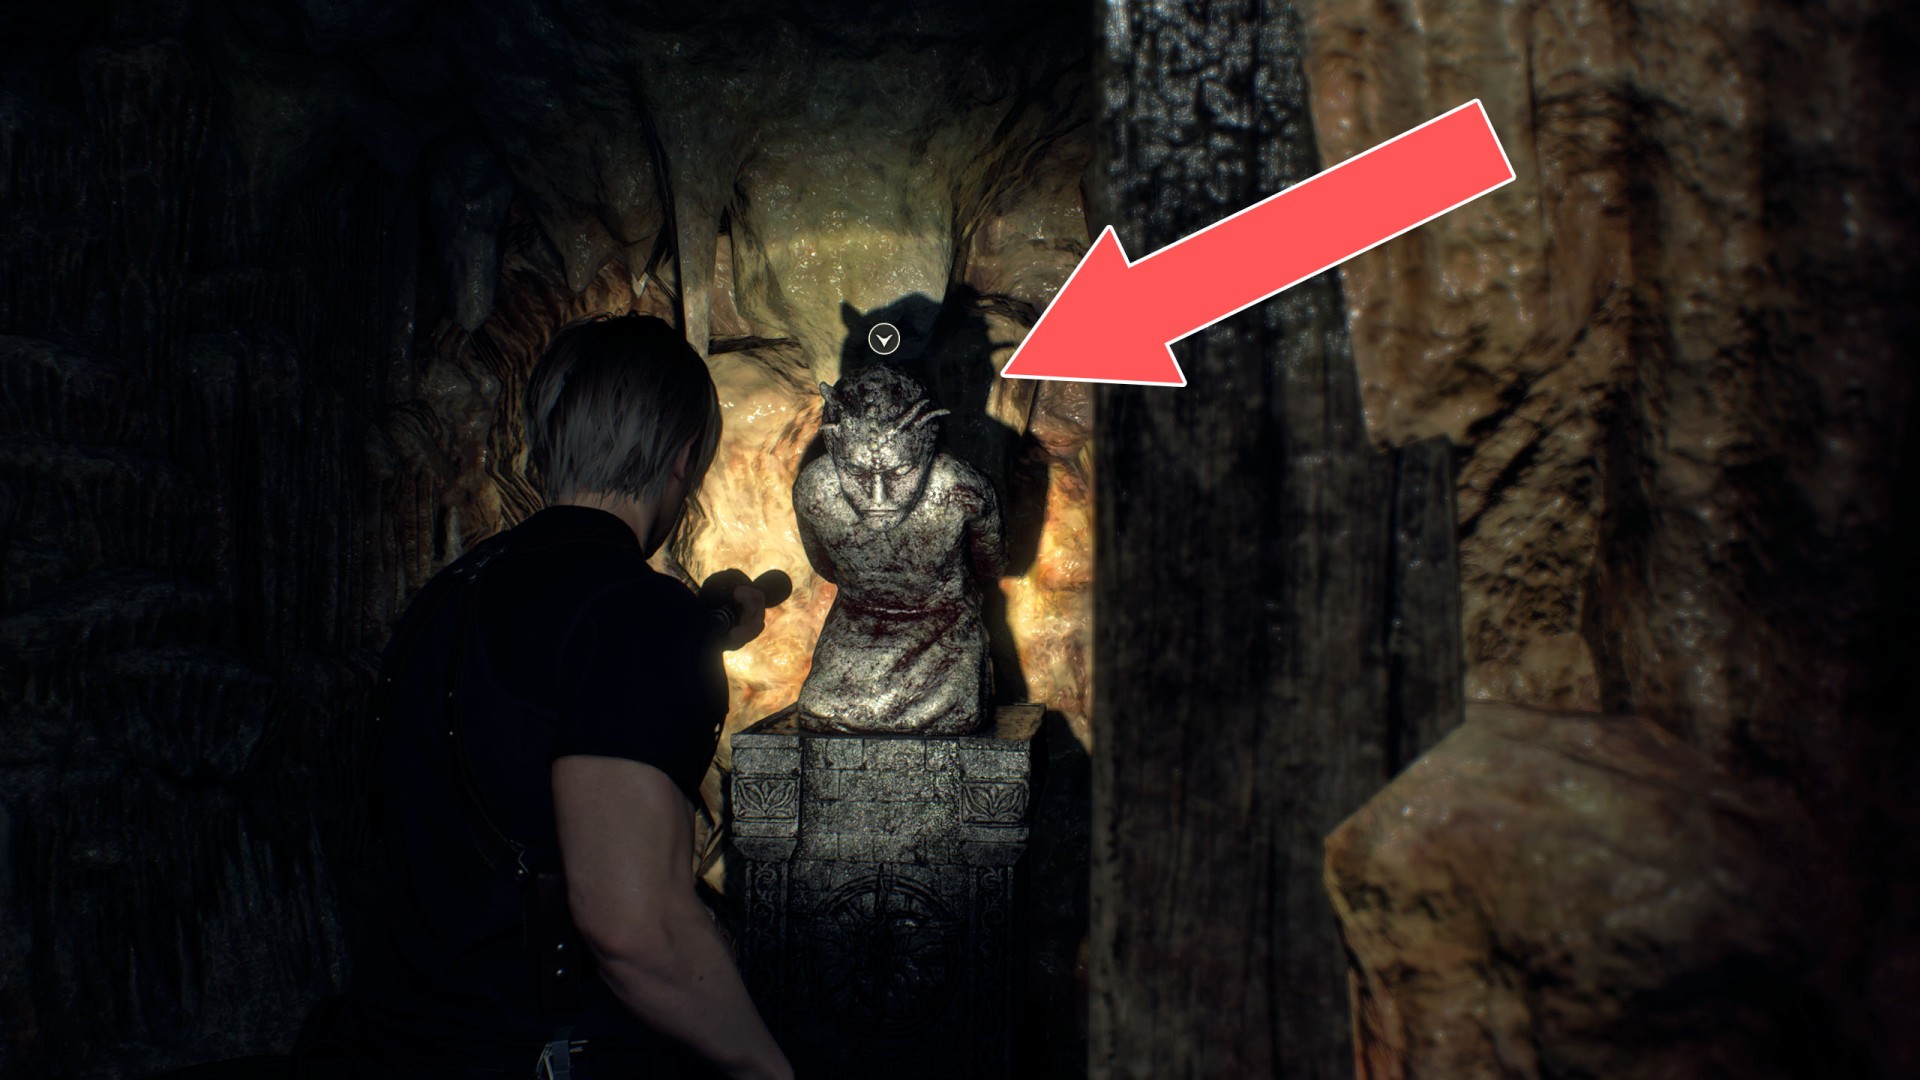
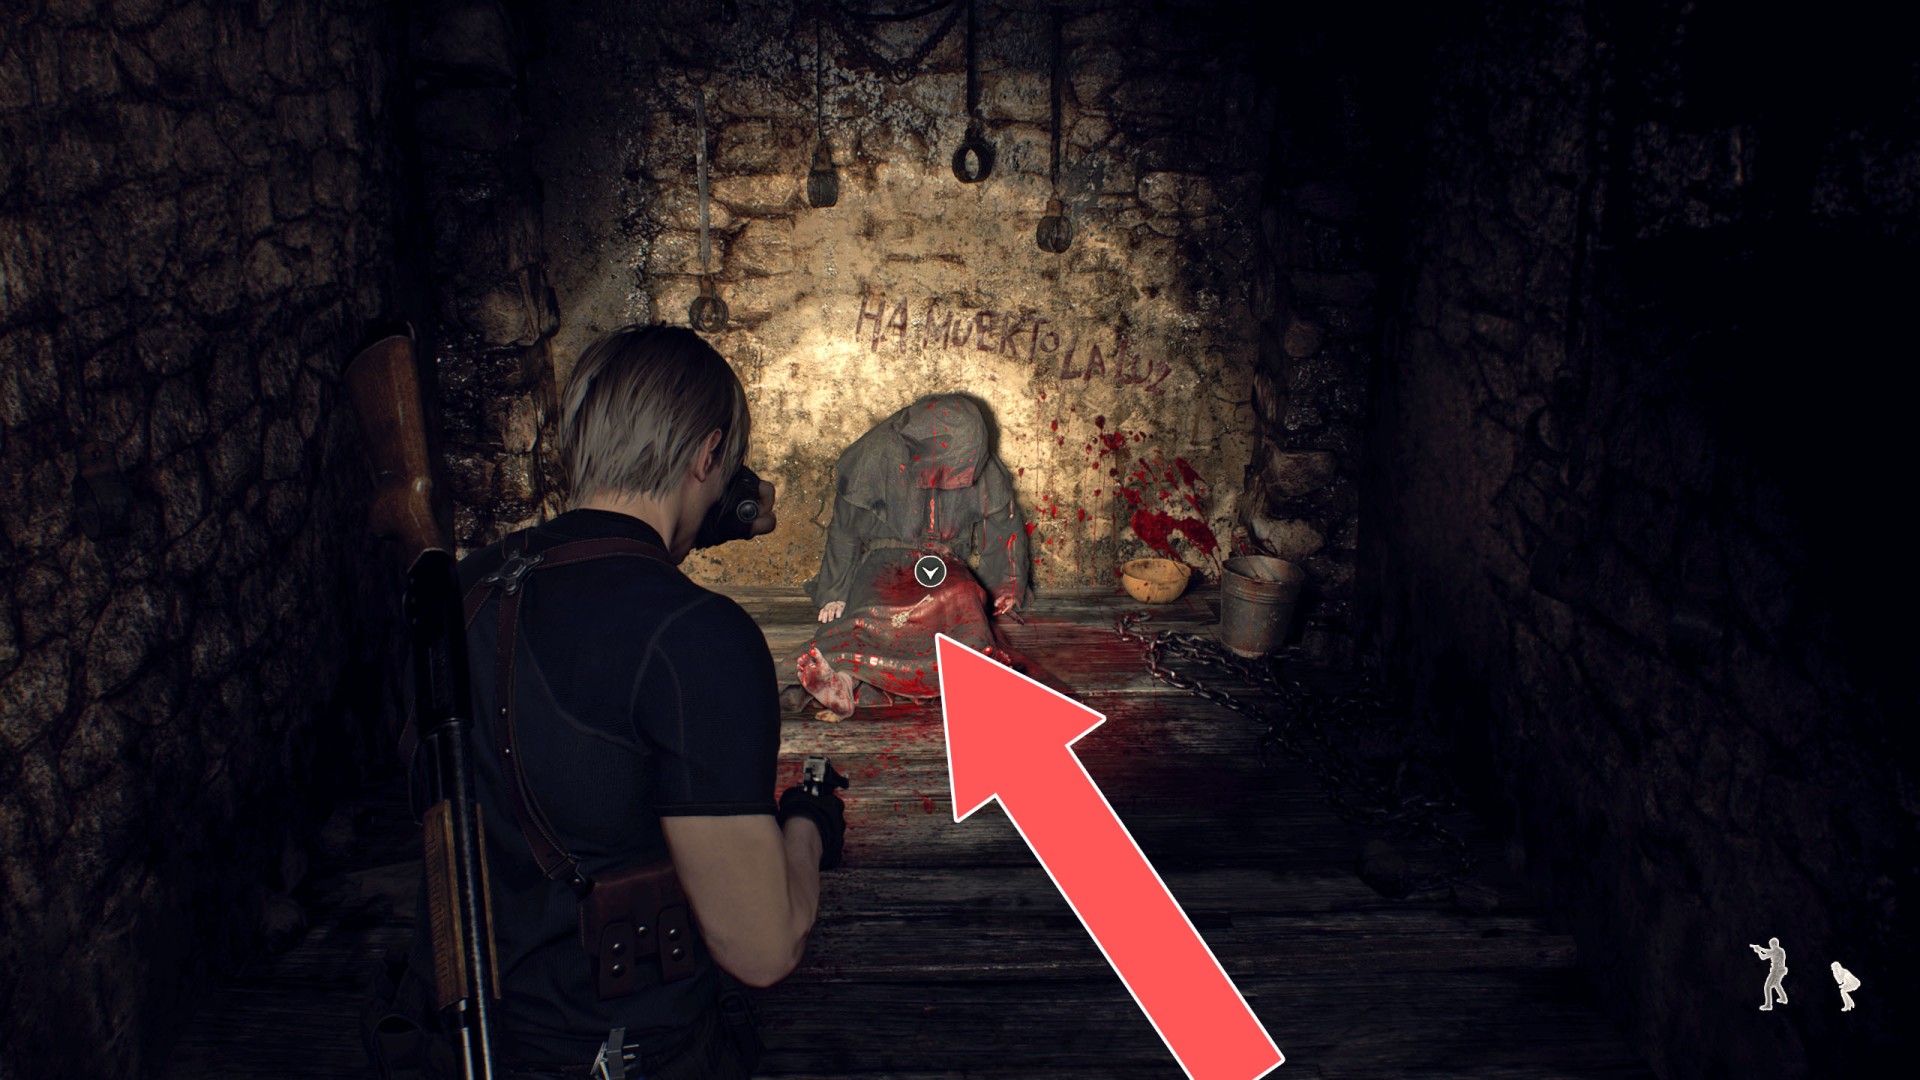
1 Apostate's Head
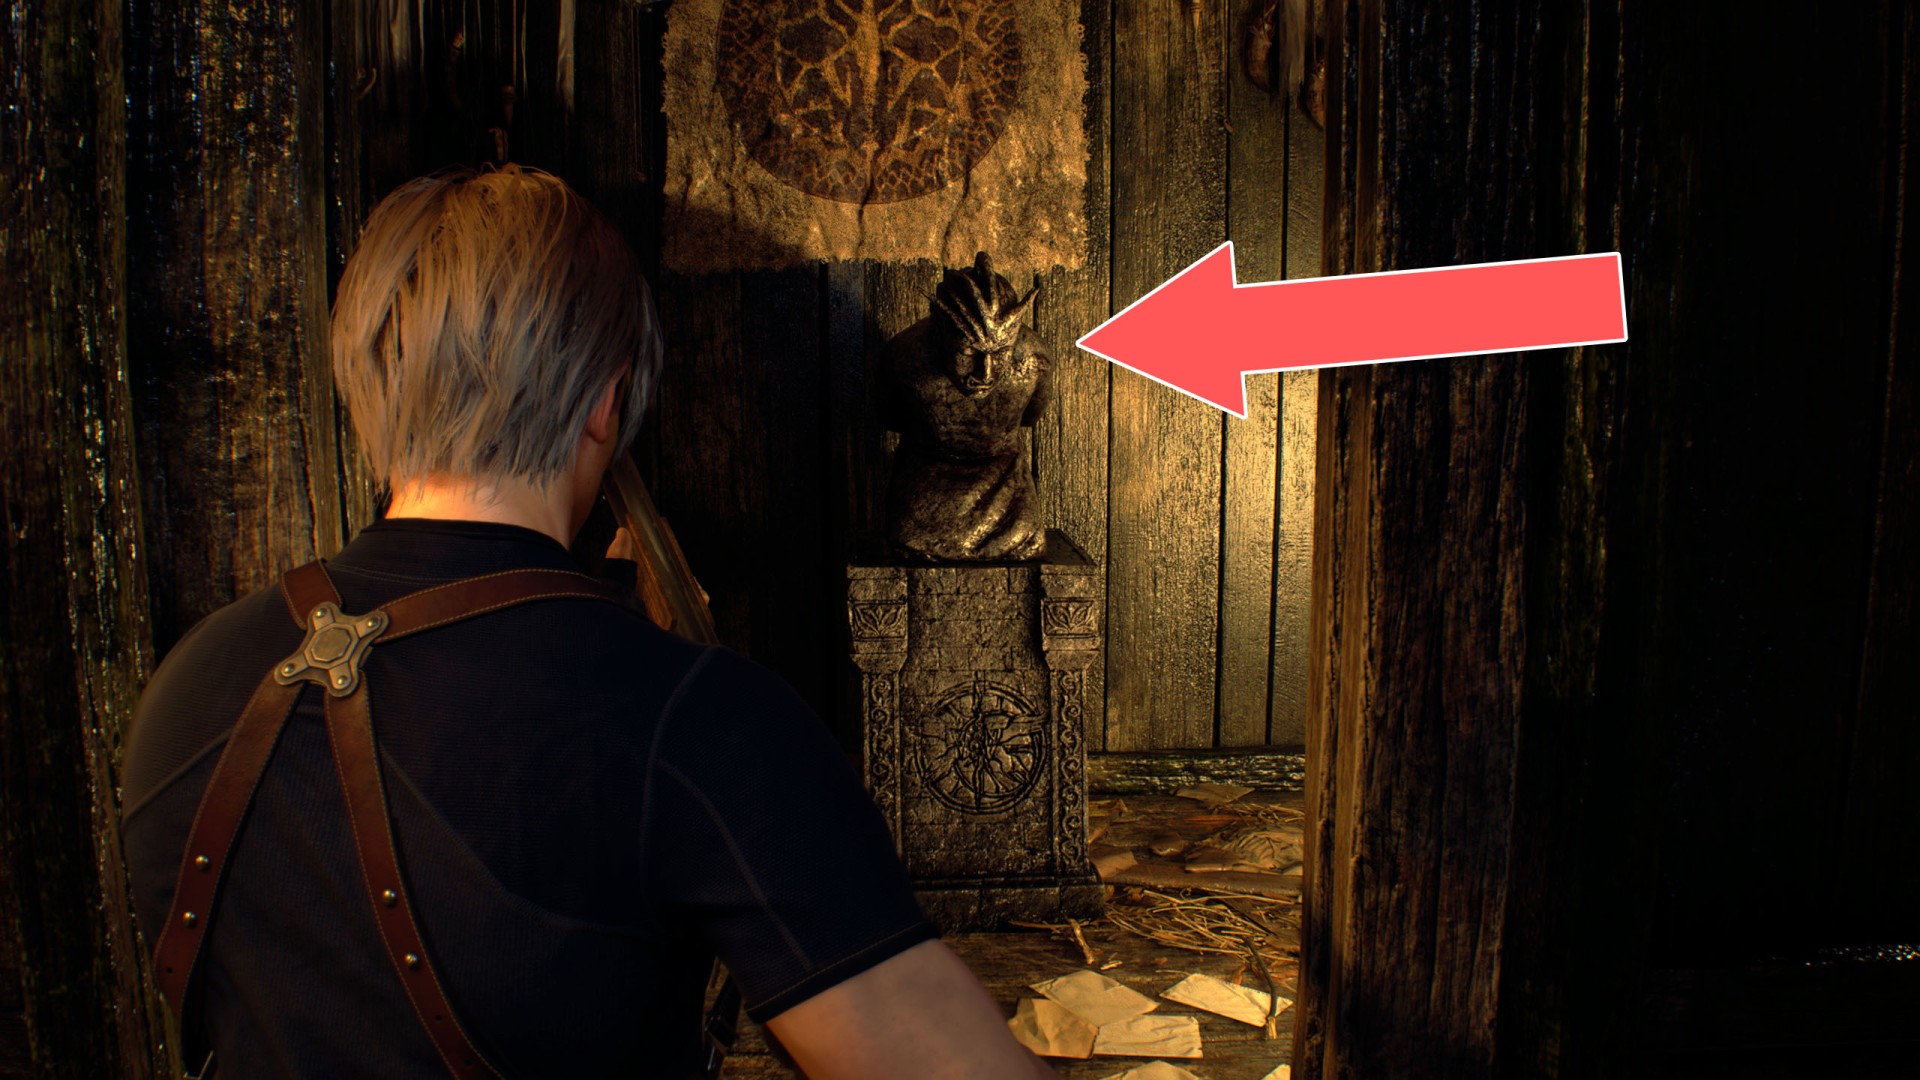
2Blasphemer's Head
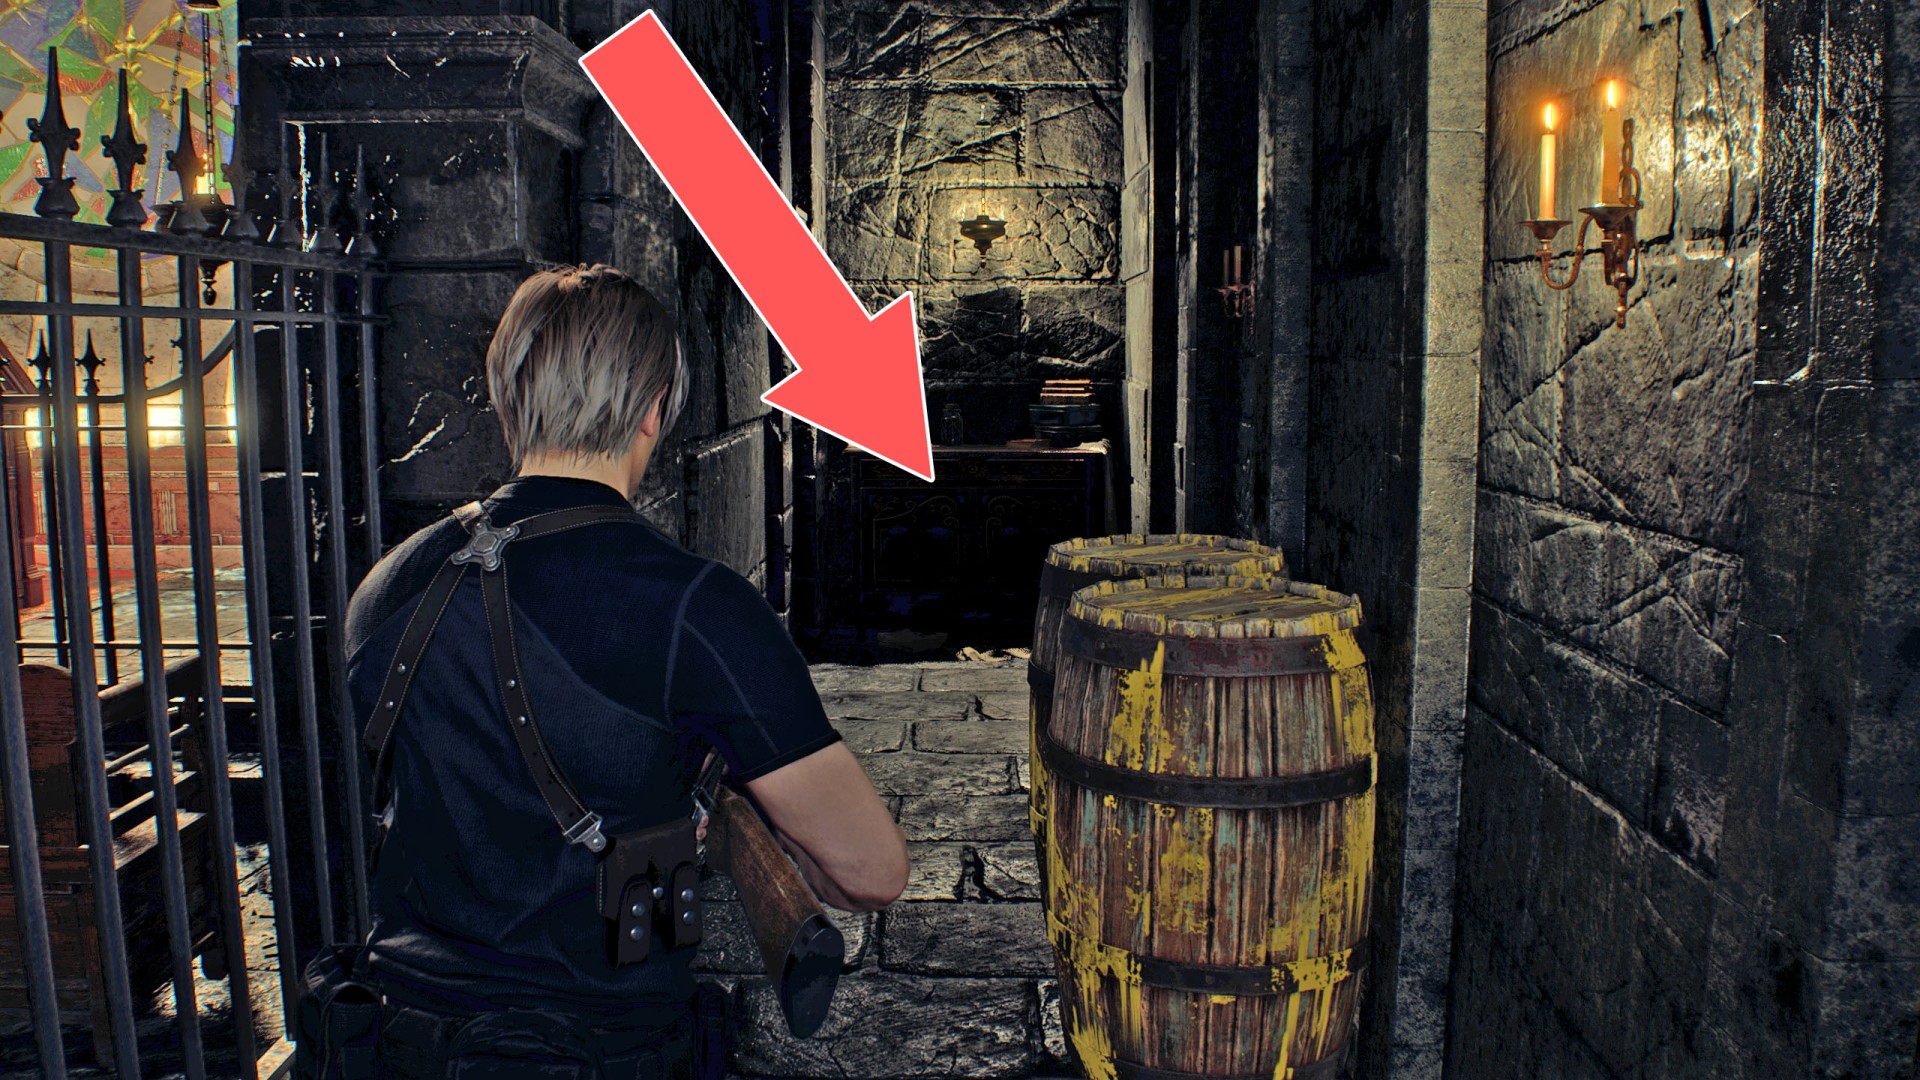
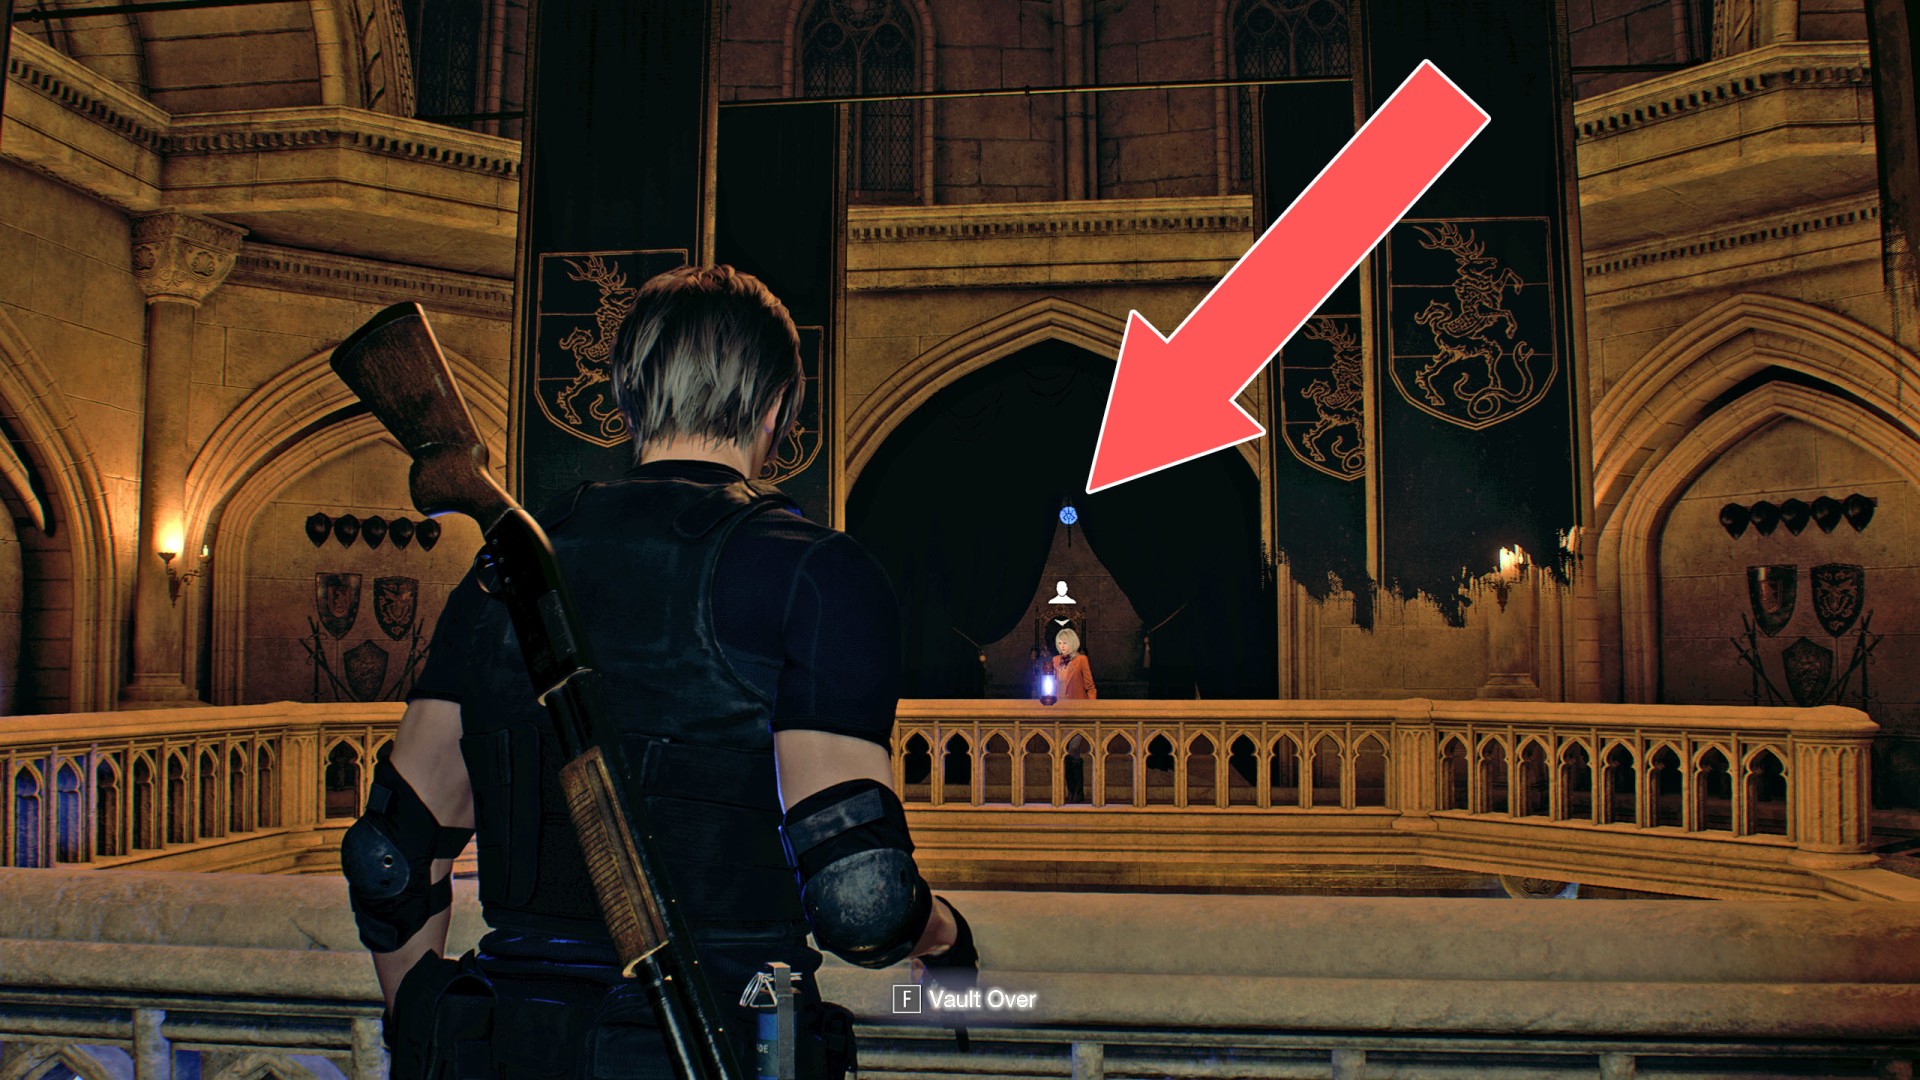
3Blue Dial
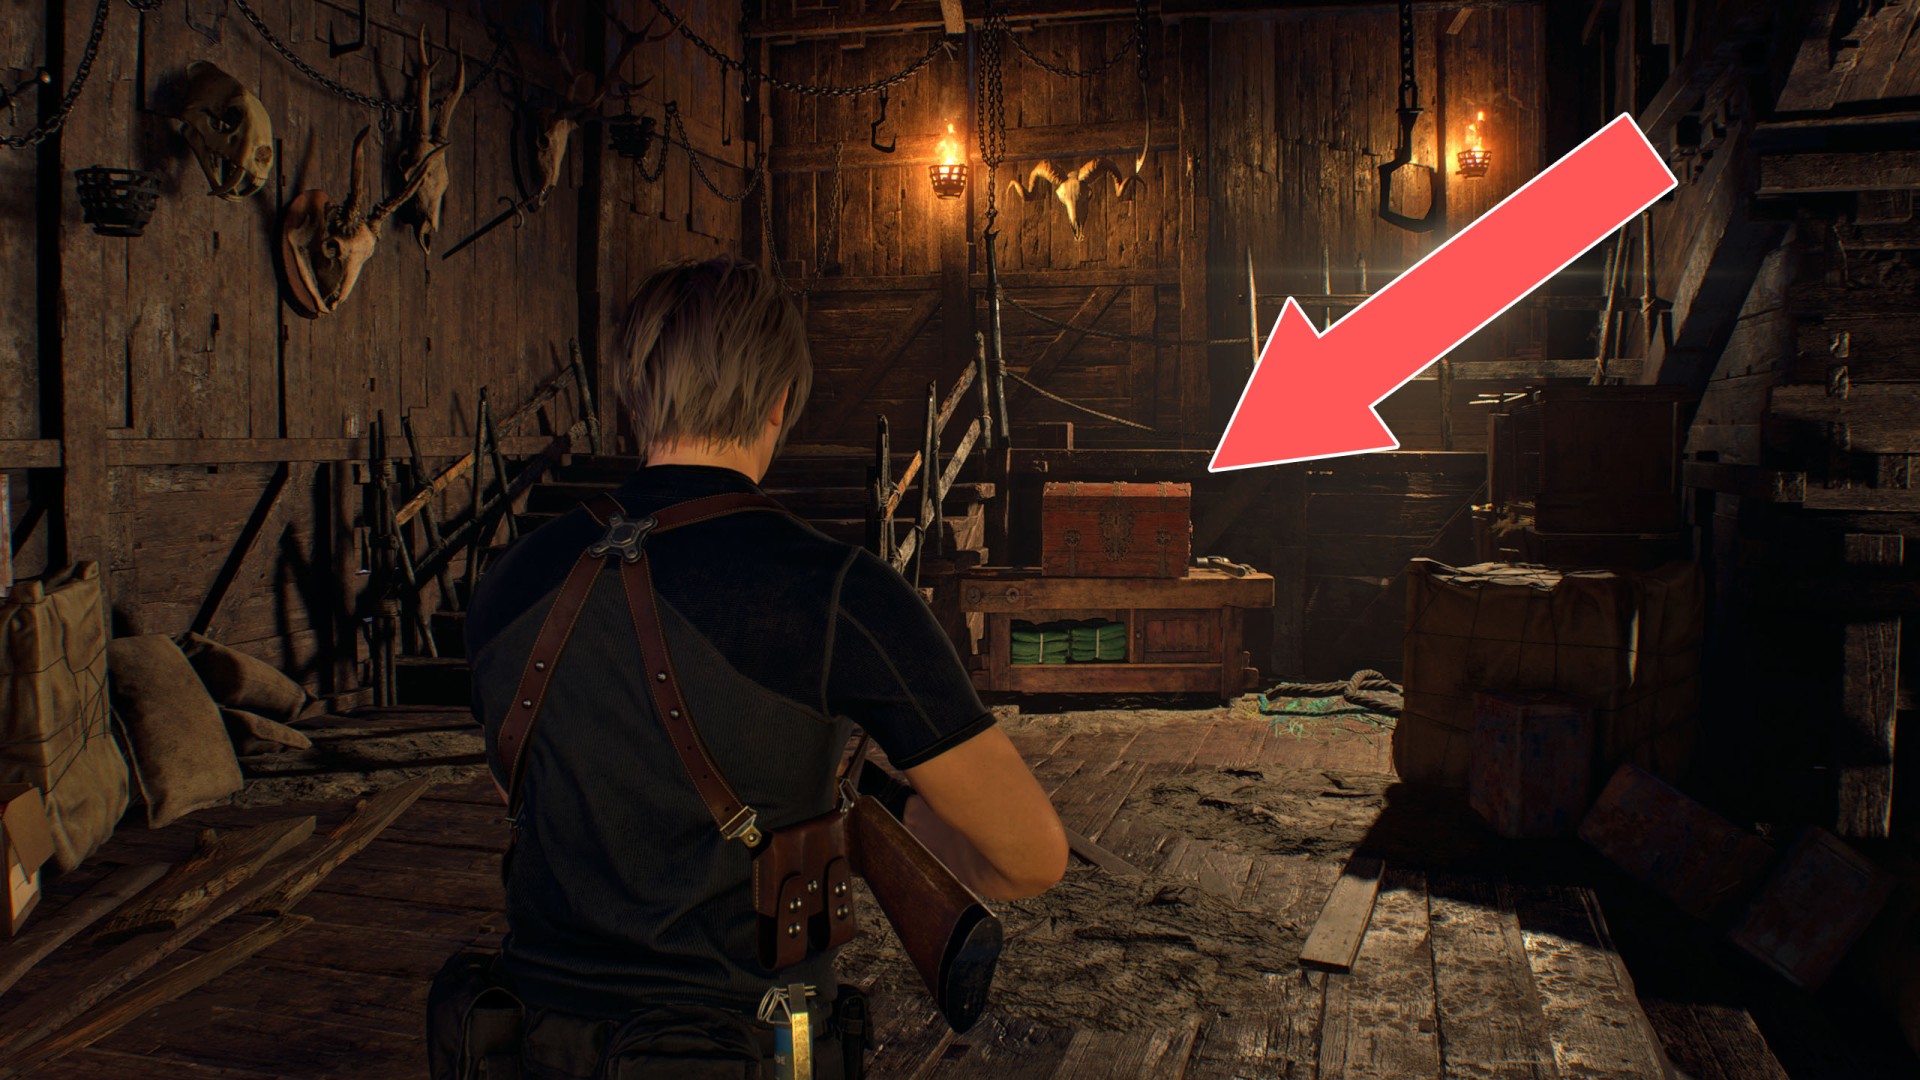
Cabinet
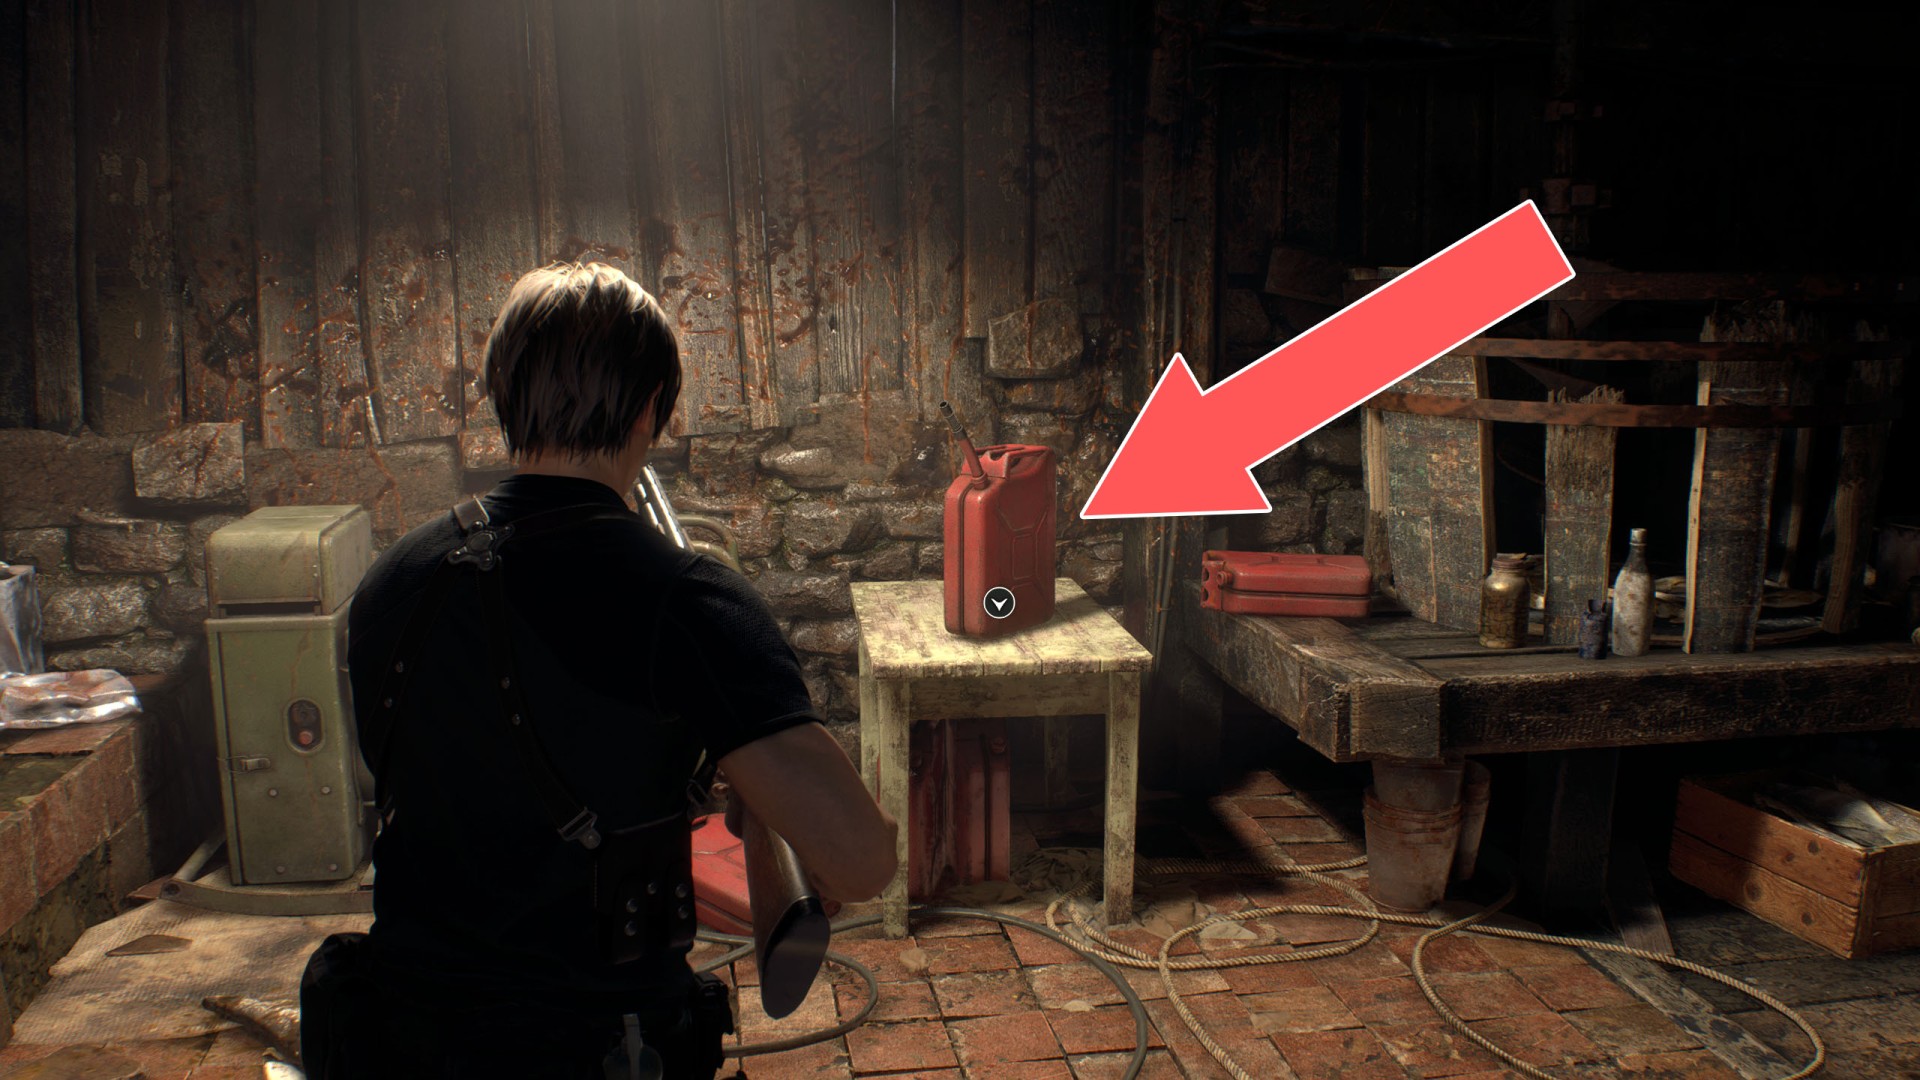
4Boat Fuel
Fuel you need to get in order to start the Boat and be able to take it out on the lake.
5Checkpoint Crank
When you try to take it then the fight with Chainsaw Sisters begins.
6Church Insignia
You need it to open the Church Gate. To be able to get it, you need to find Apostate's Head and Blasphemer's Head.
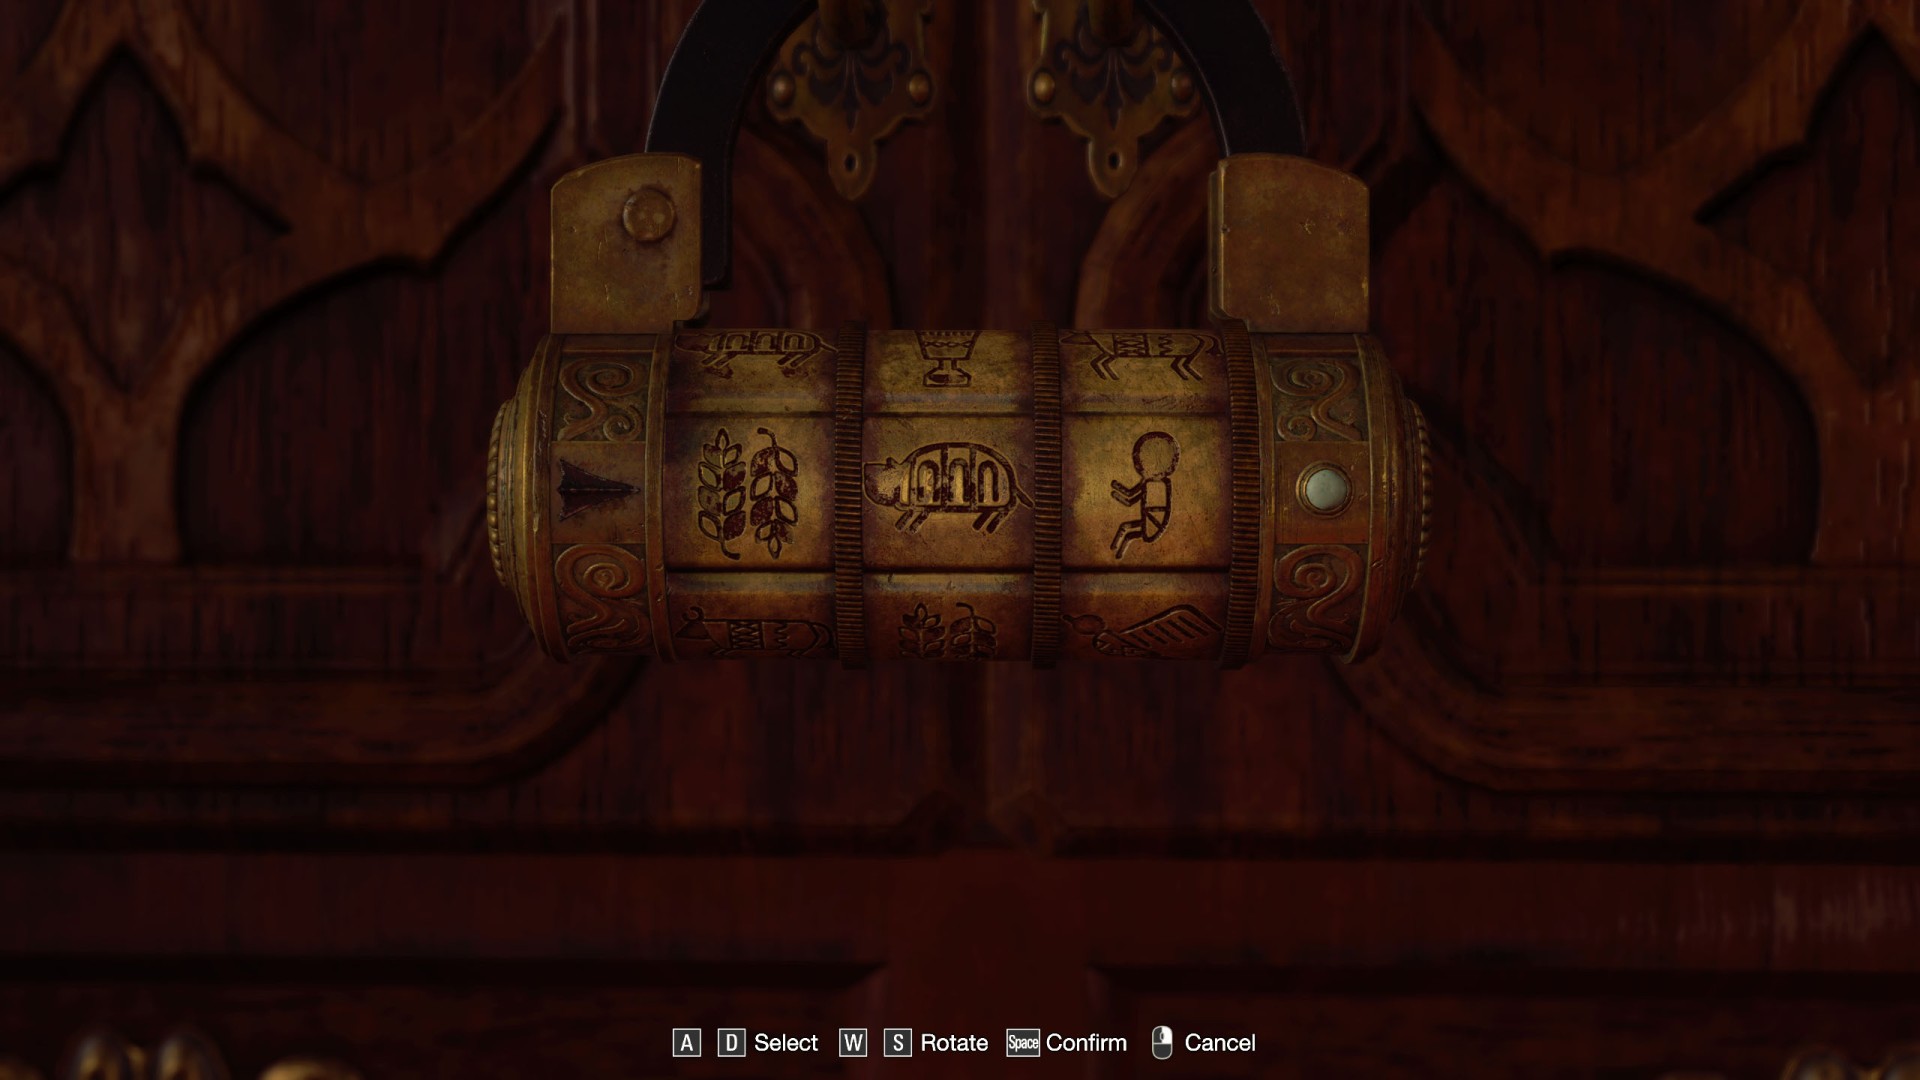
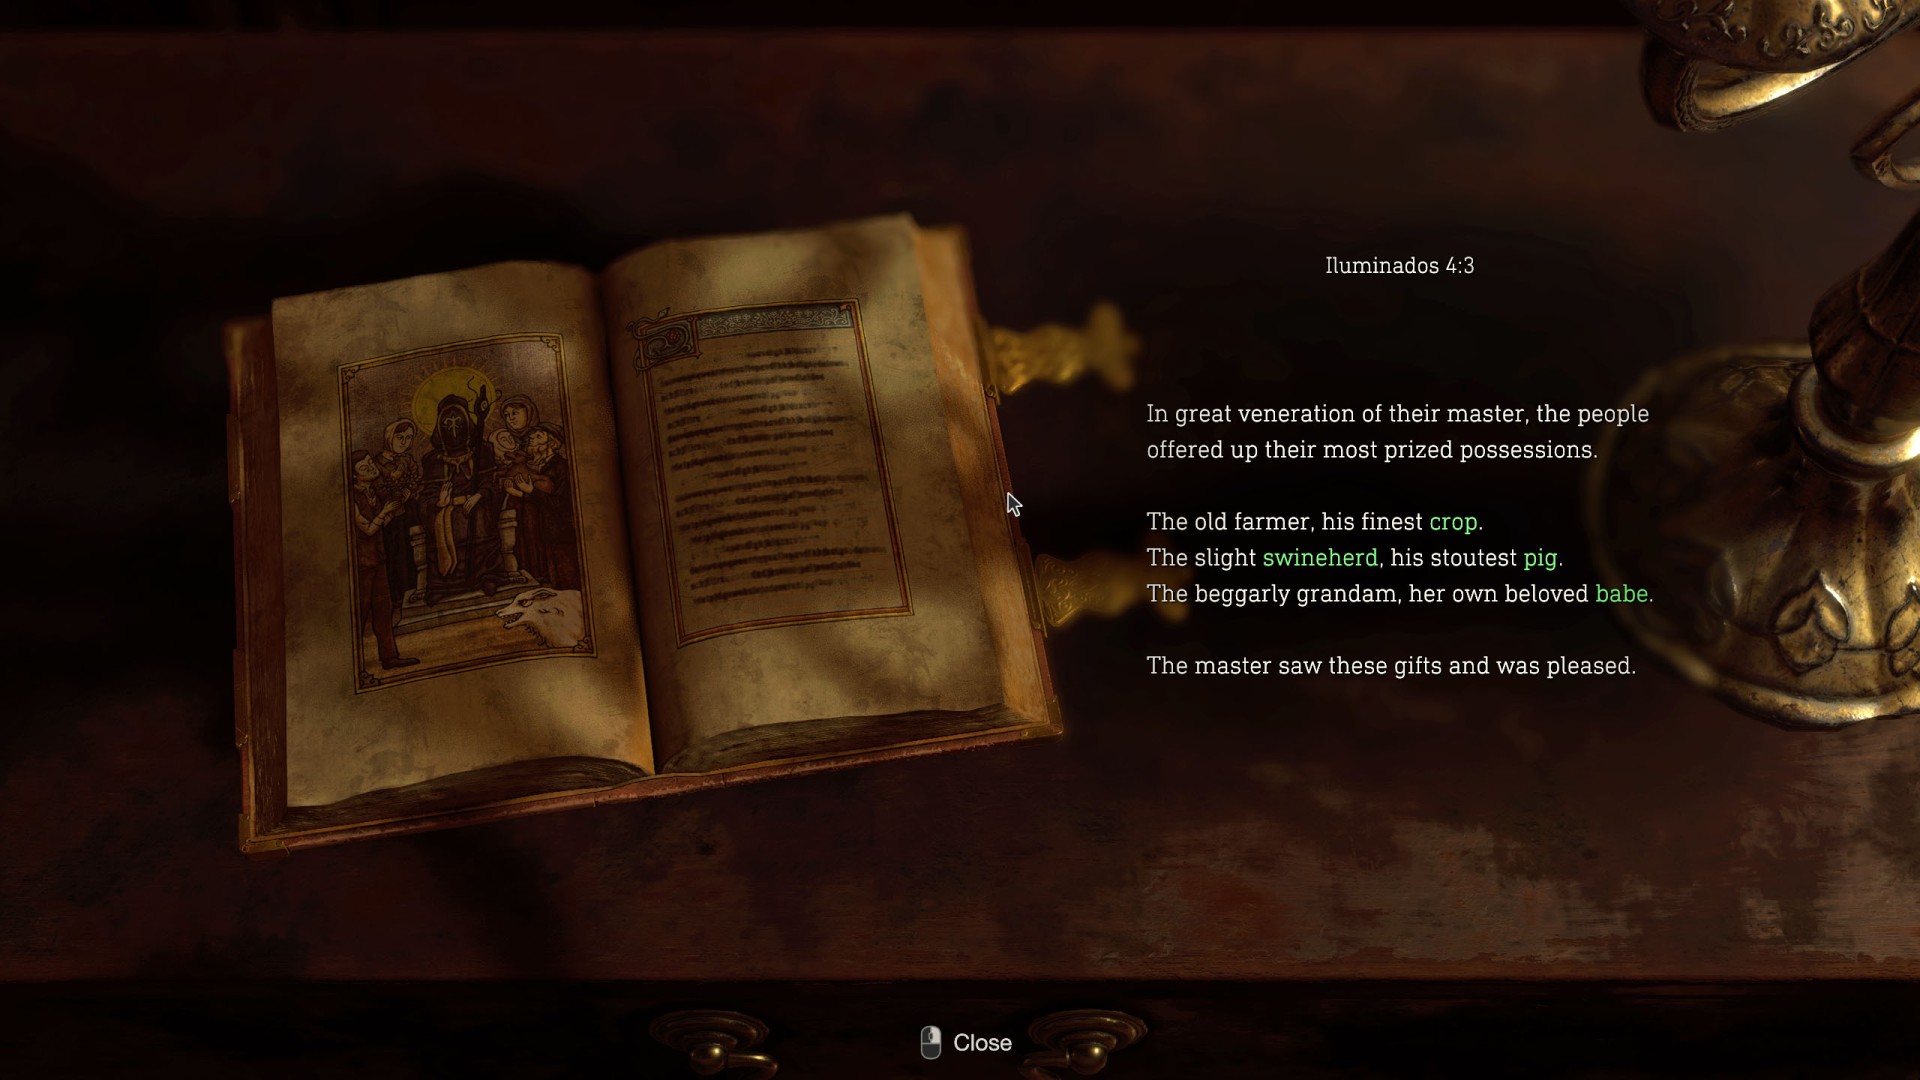
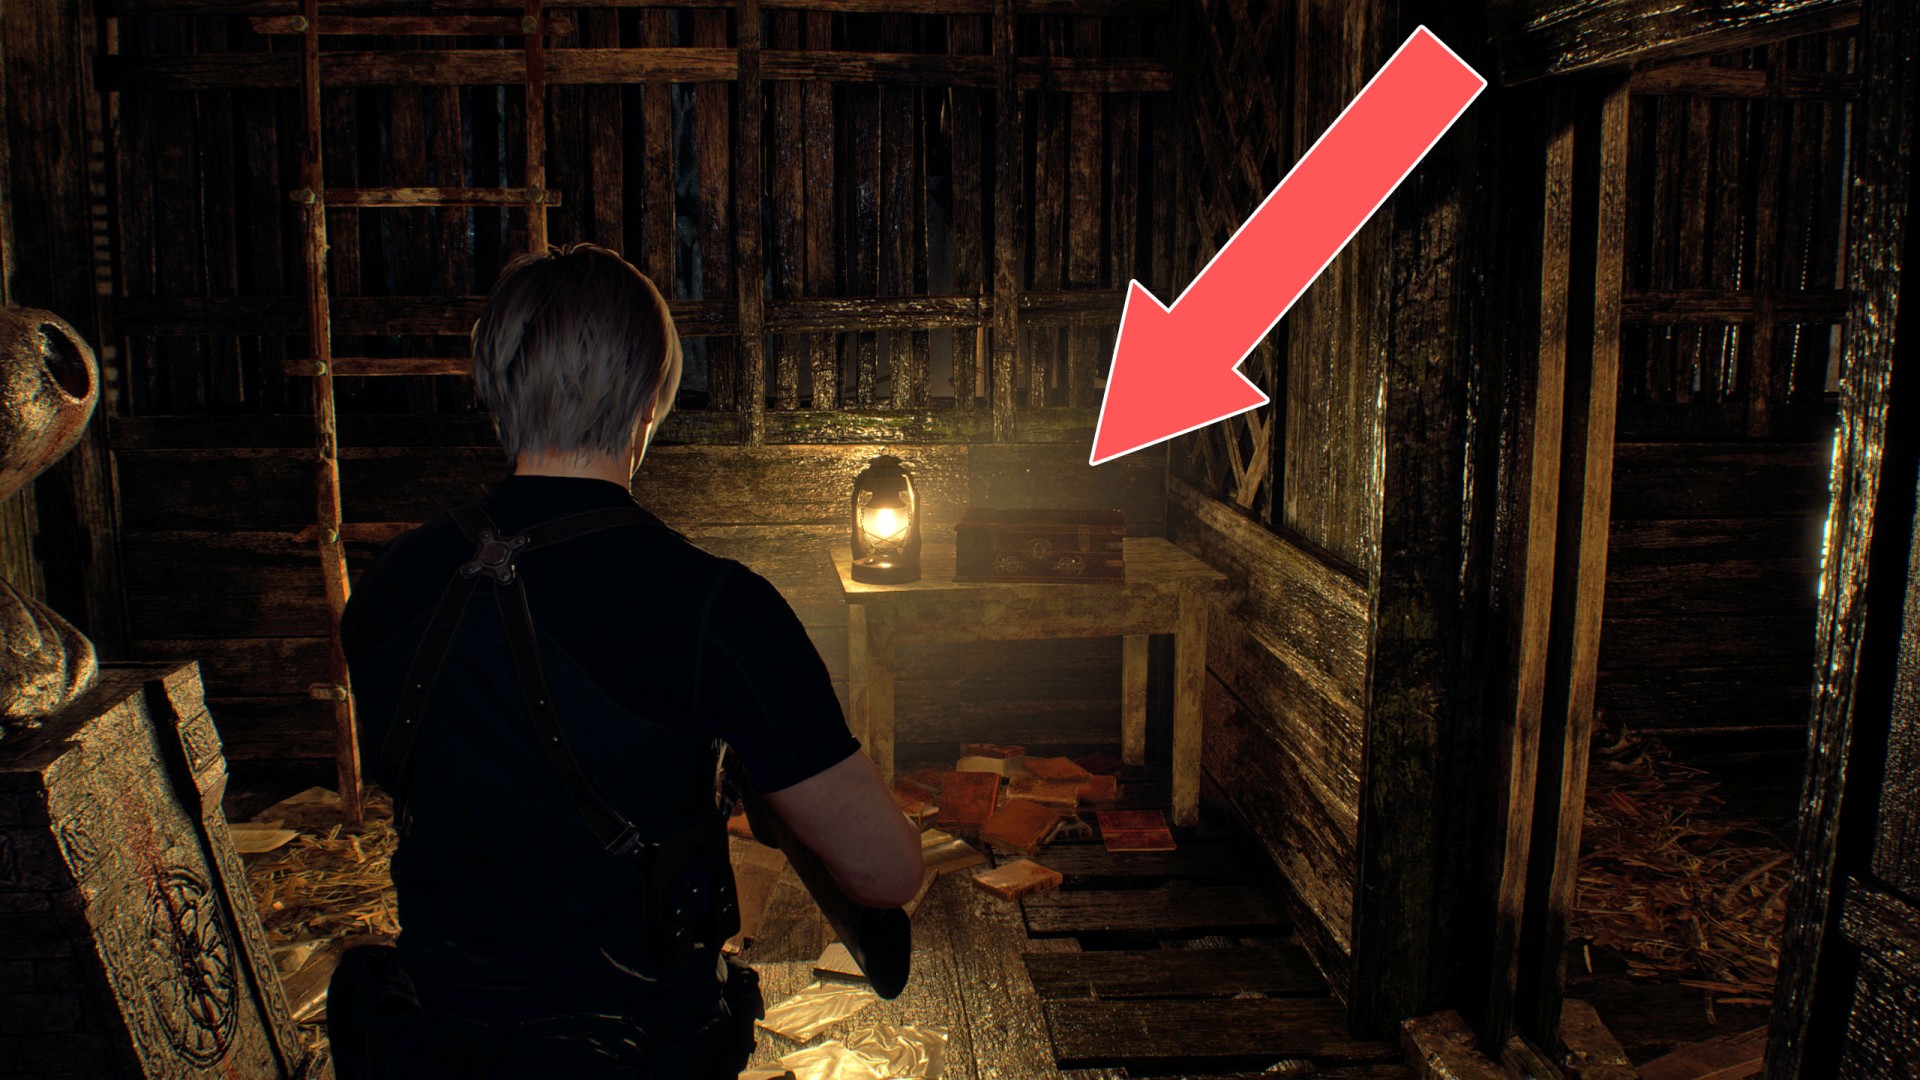
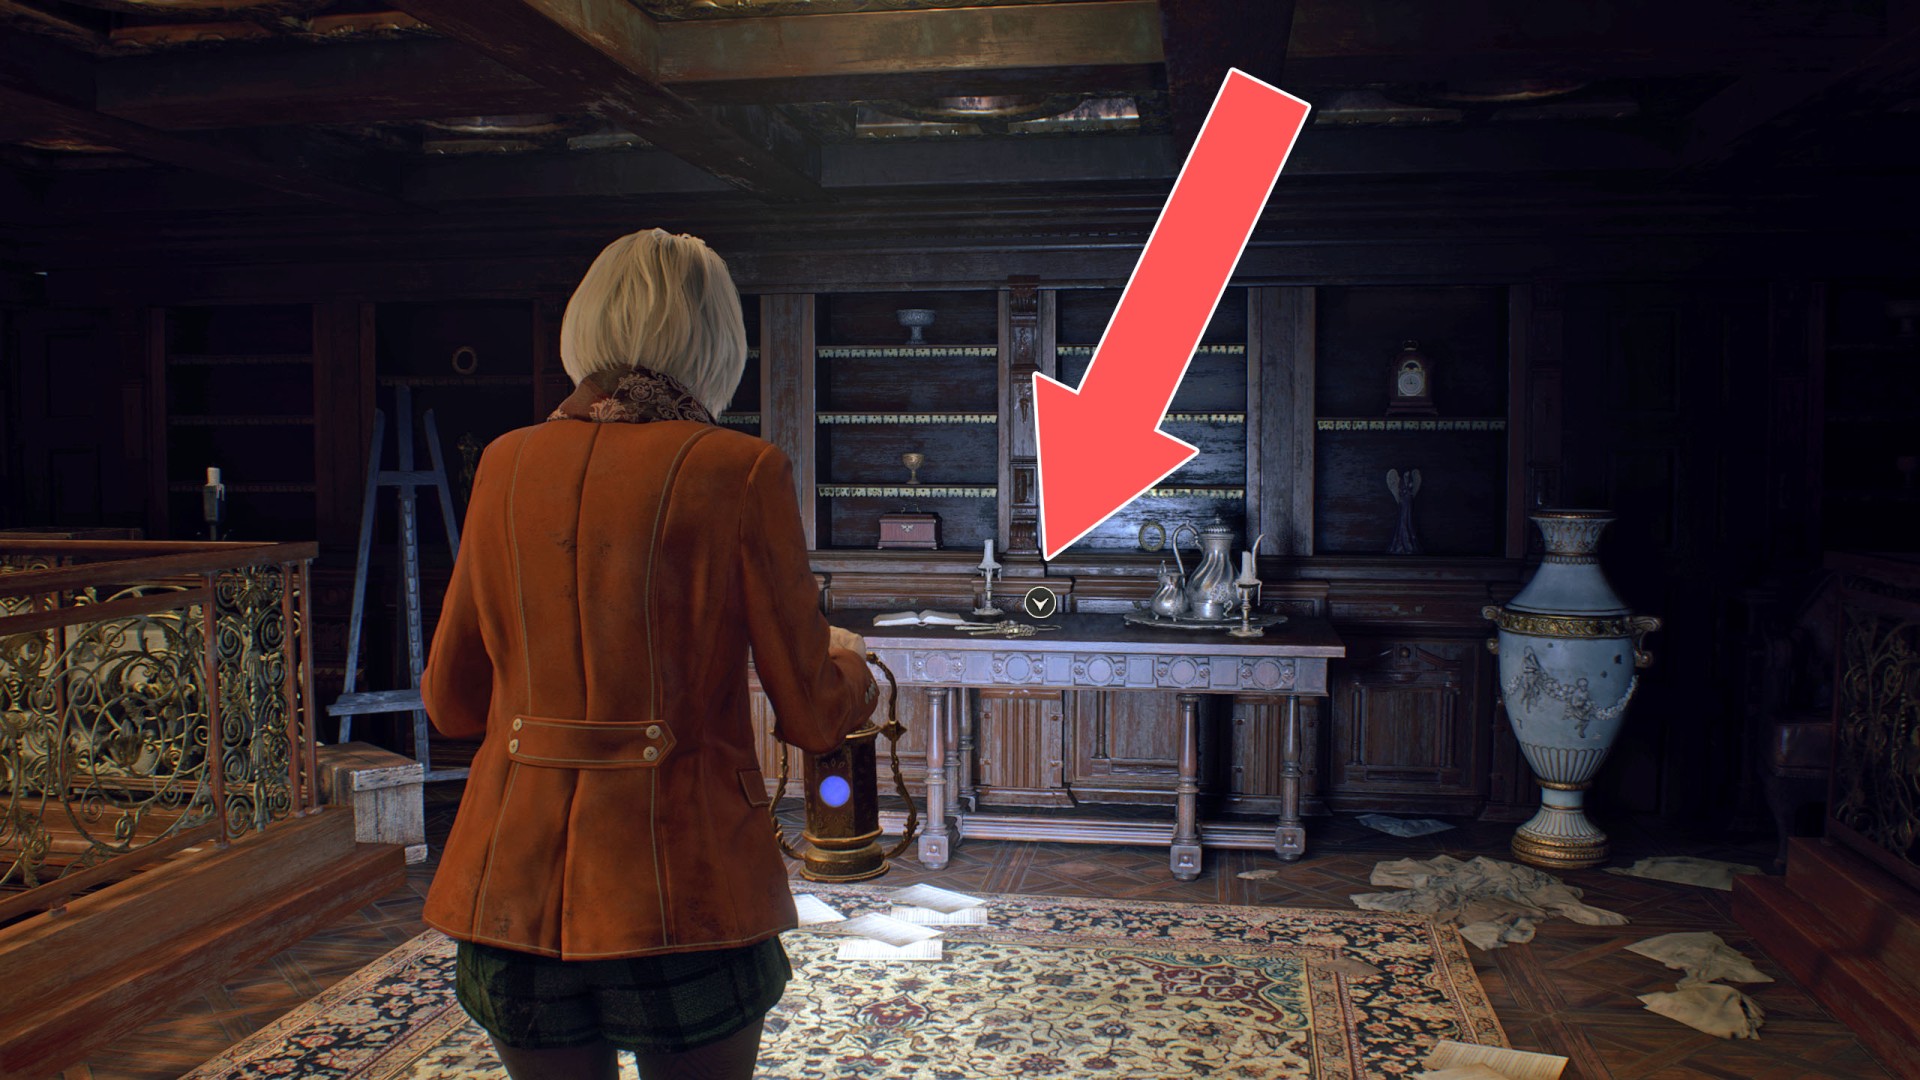
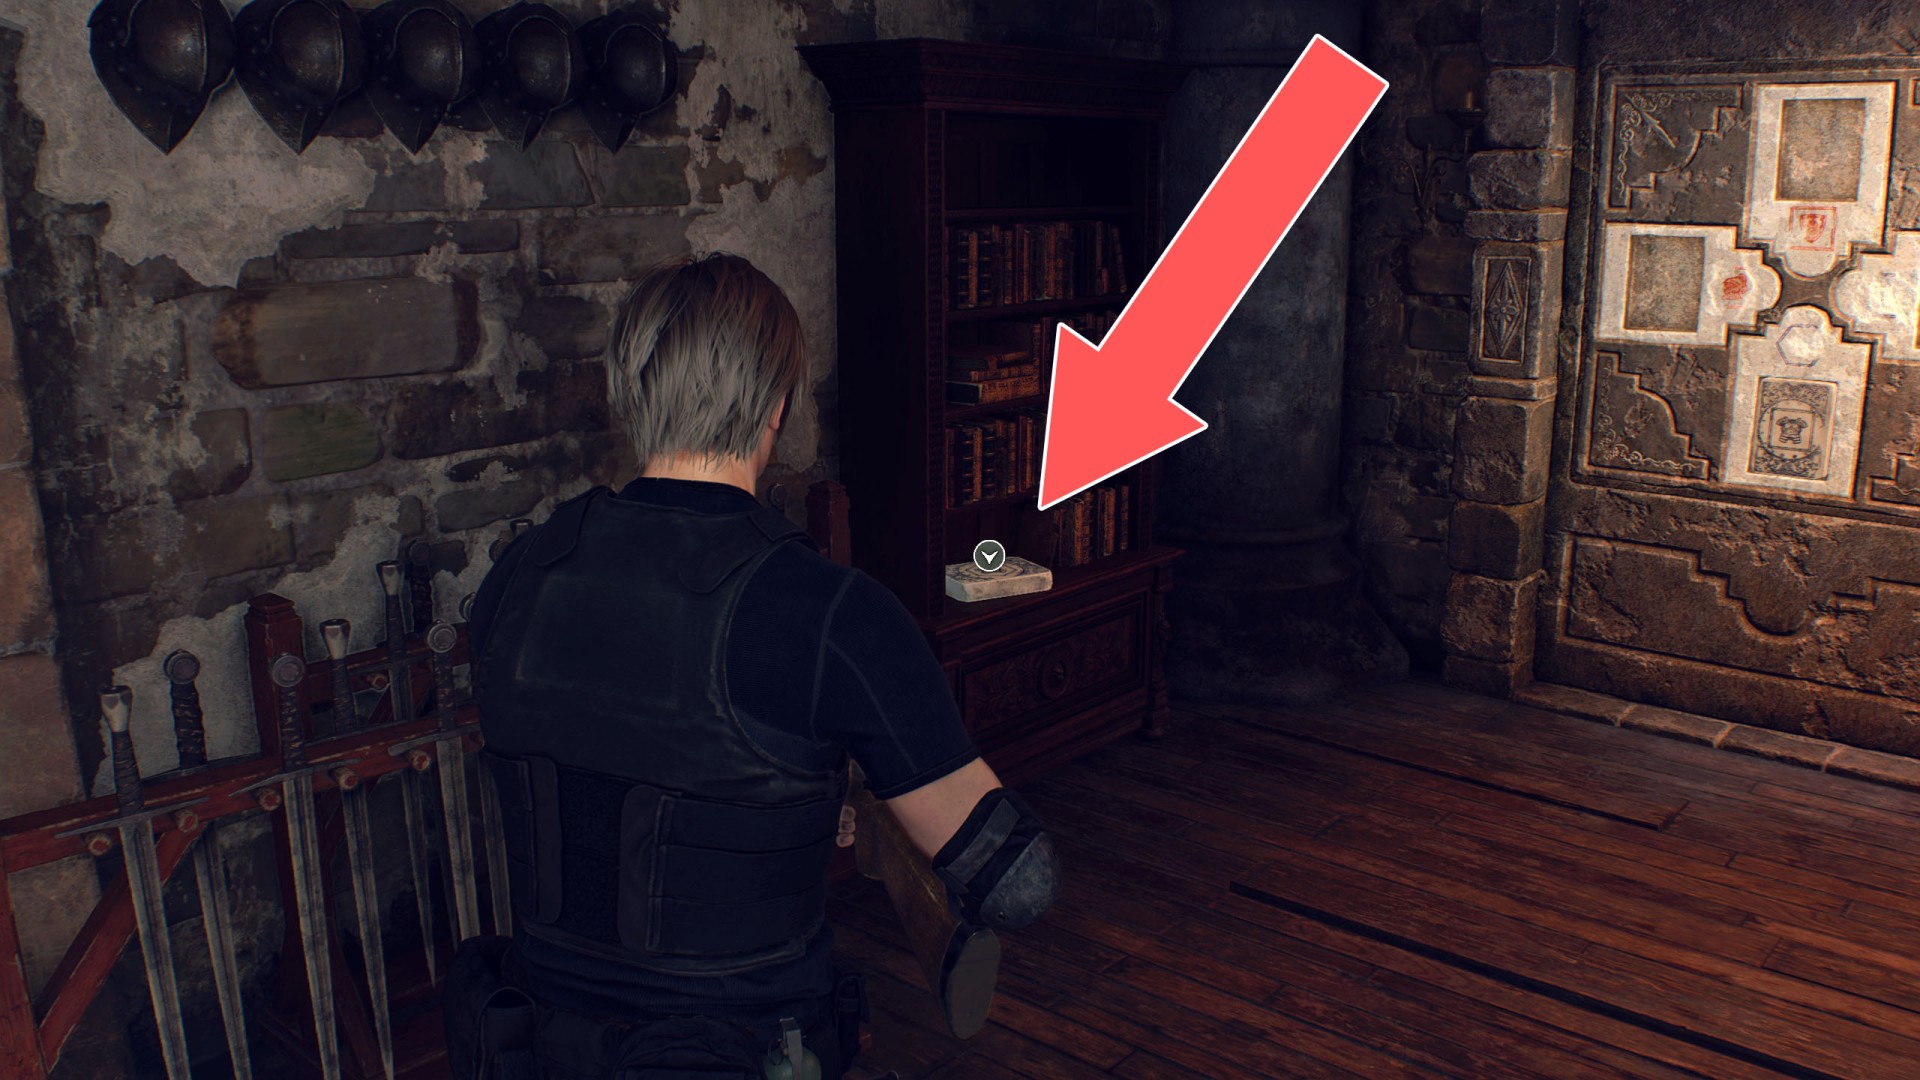
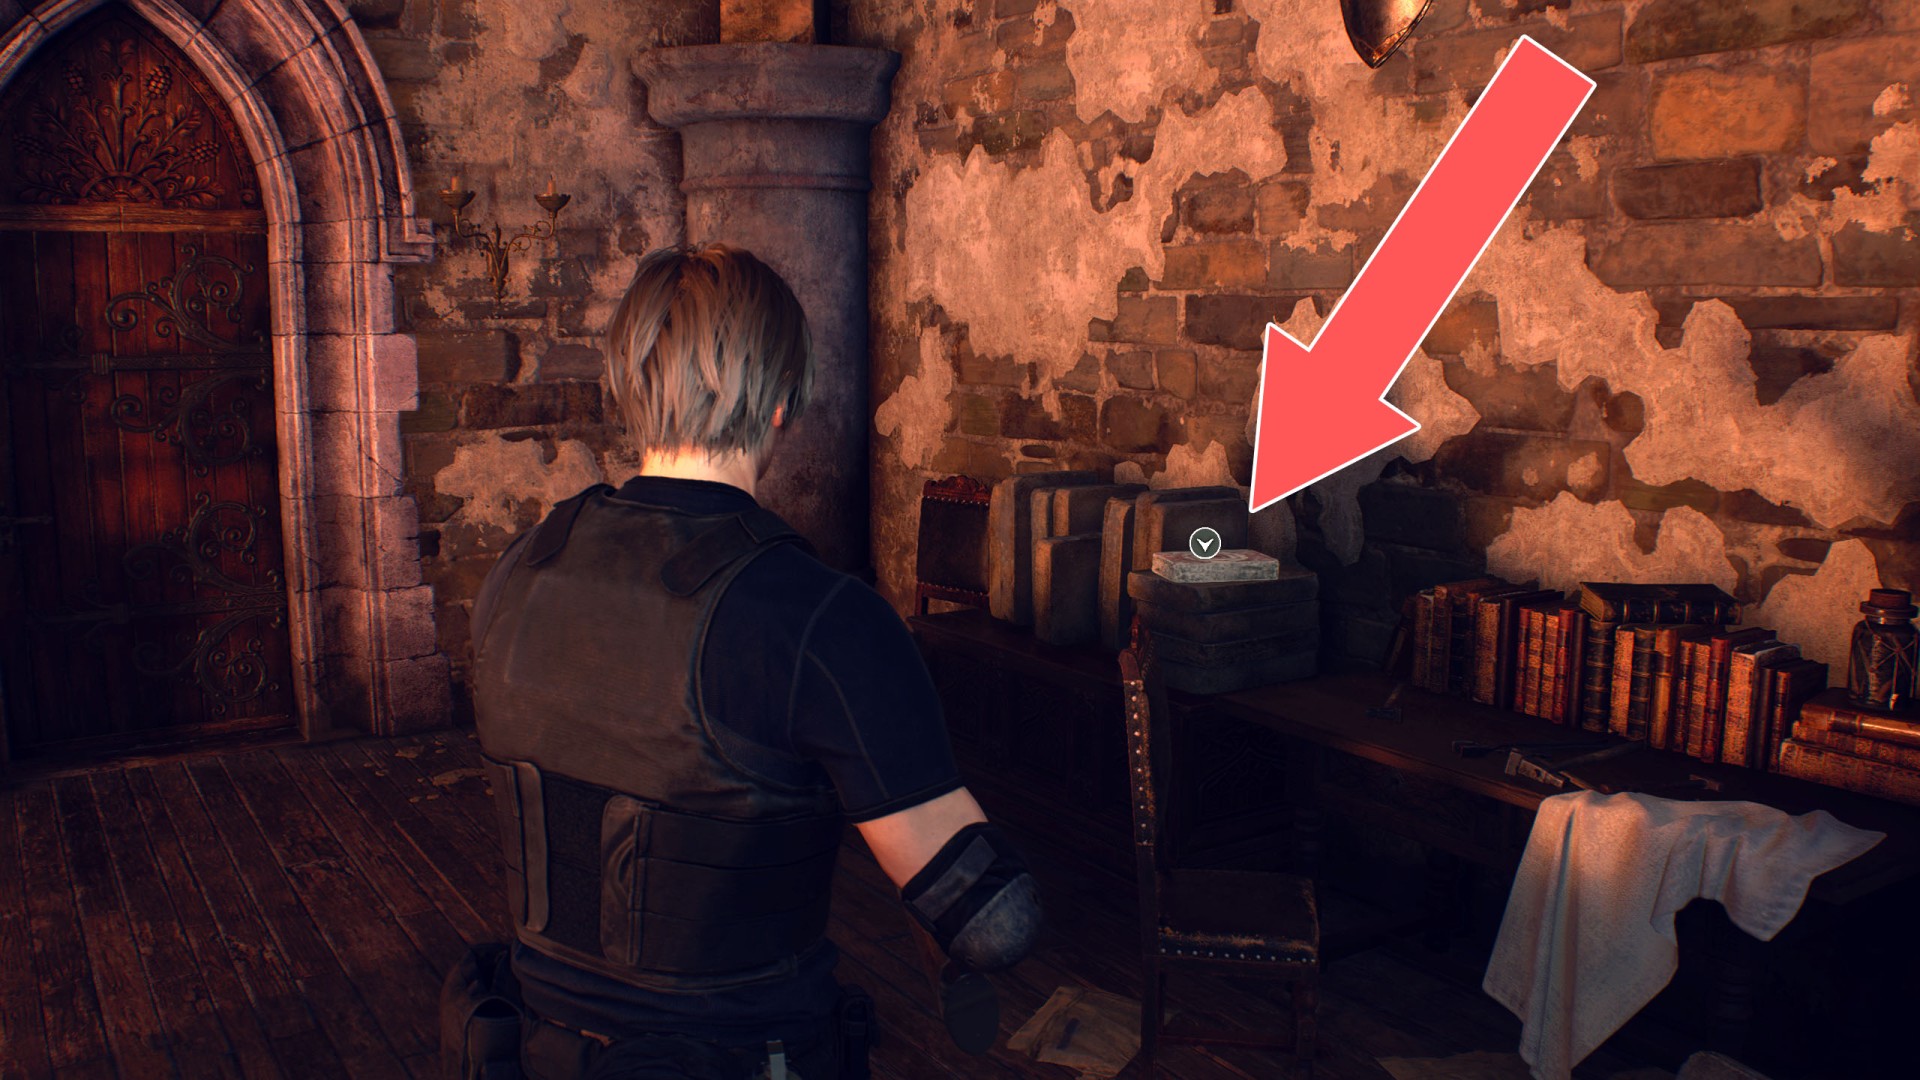
7Crystal Marble
Combination Lock. Correct combination is: crop - pig - babe (This code can be found in the book Iluminados 4:3 (Chapter 2)). The Crystal Marble you find in the cabinet is needed to open the Door with Round Slot located on the second floor of the manor.
8Hexagon Piece A
One of the three pieces you need to find in order to complete the Hexagon-shaped Puzzle.
9Hexagon Piece B
One of the three pieces you need to find in order to complete the Hexagon-shaped Puzzle.
10Hexagon Piece C
One of the three pieces you need to find in order to complete the Hexagon-shaped Puzzle.
11Hexagonal Emblem
You need this item to complete the "Hexagon-shaped Slot" puzzle.

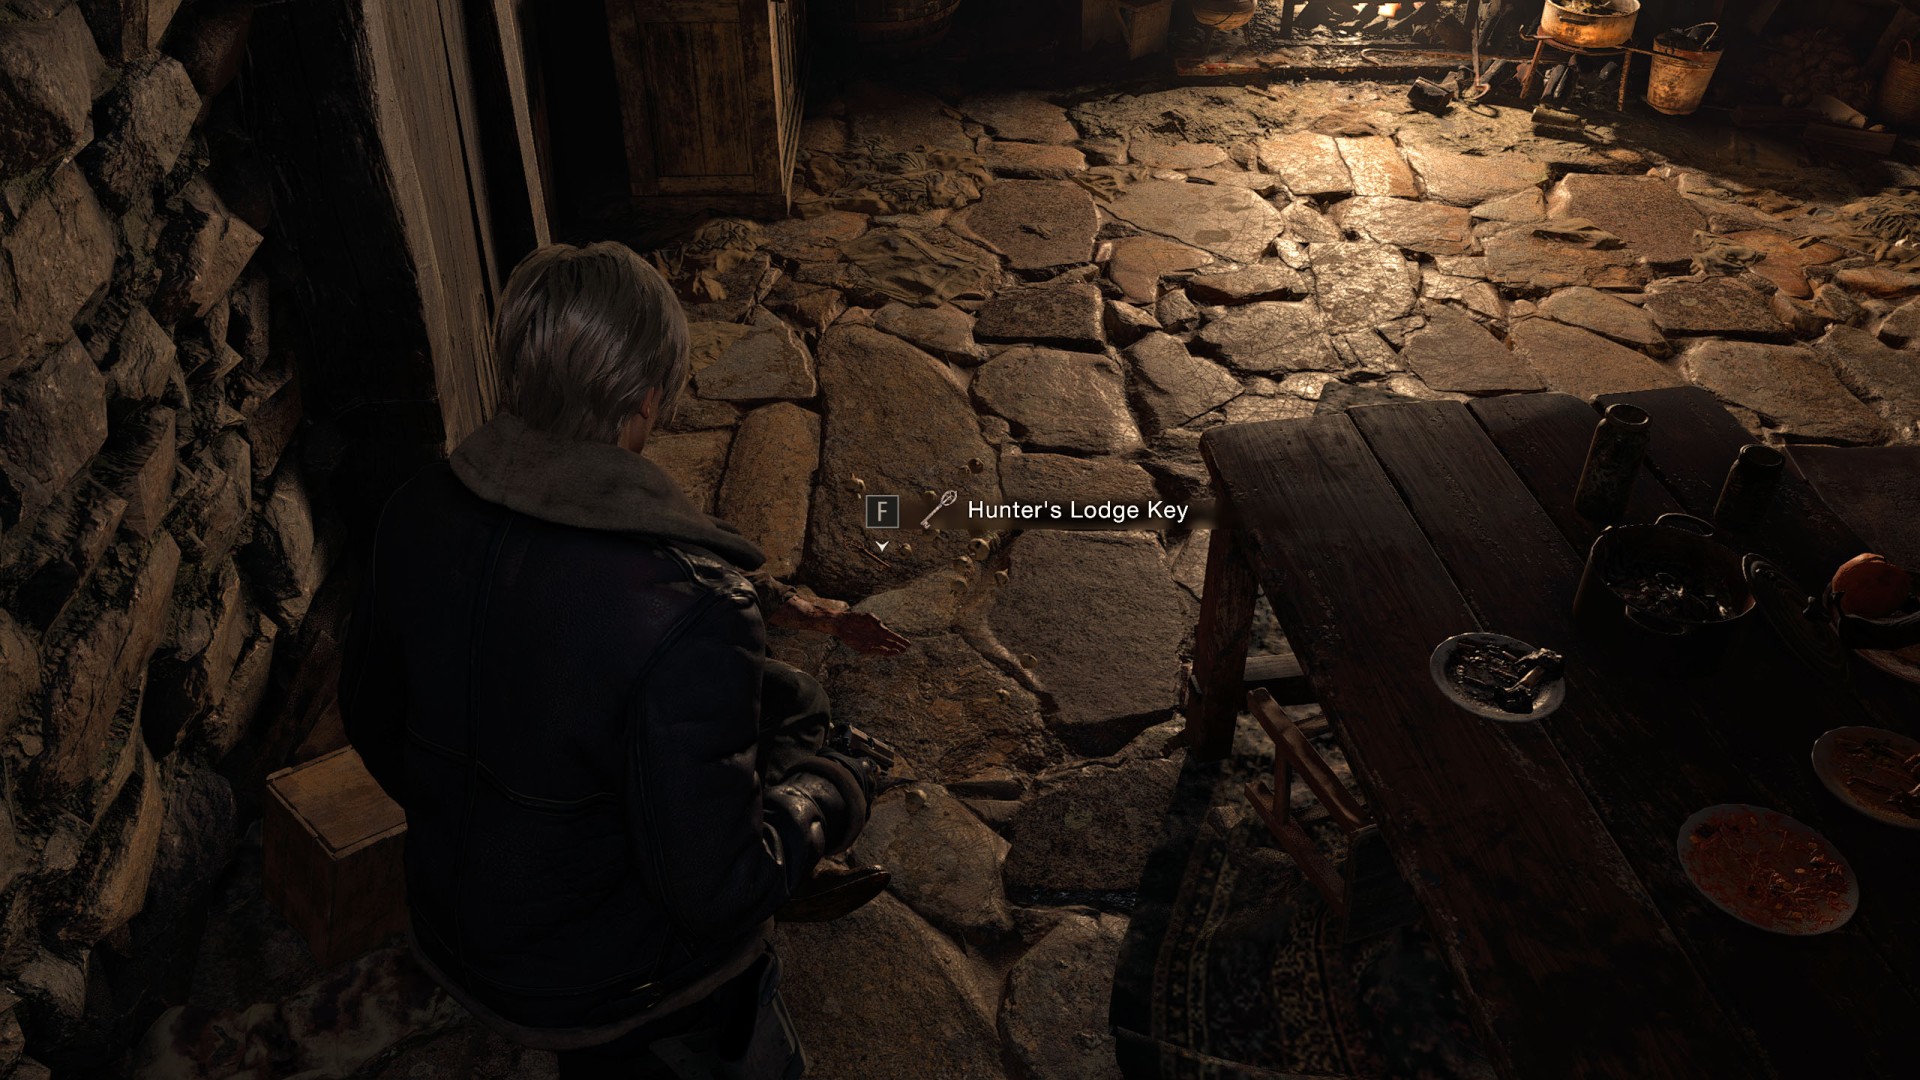
12Hunter's Lodge Key
This key will allow you to open the Locked Door (Hunter's Lodge Basement).
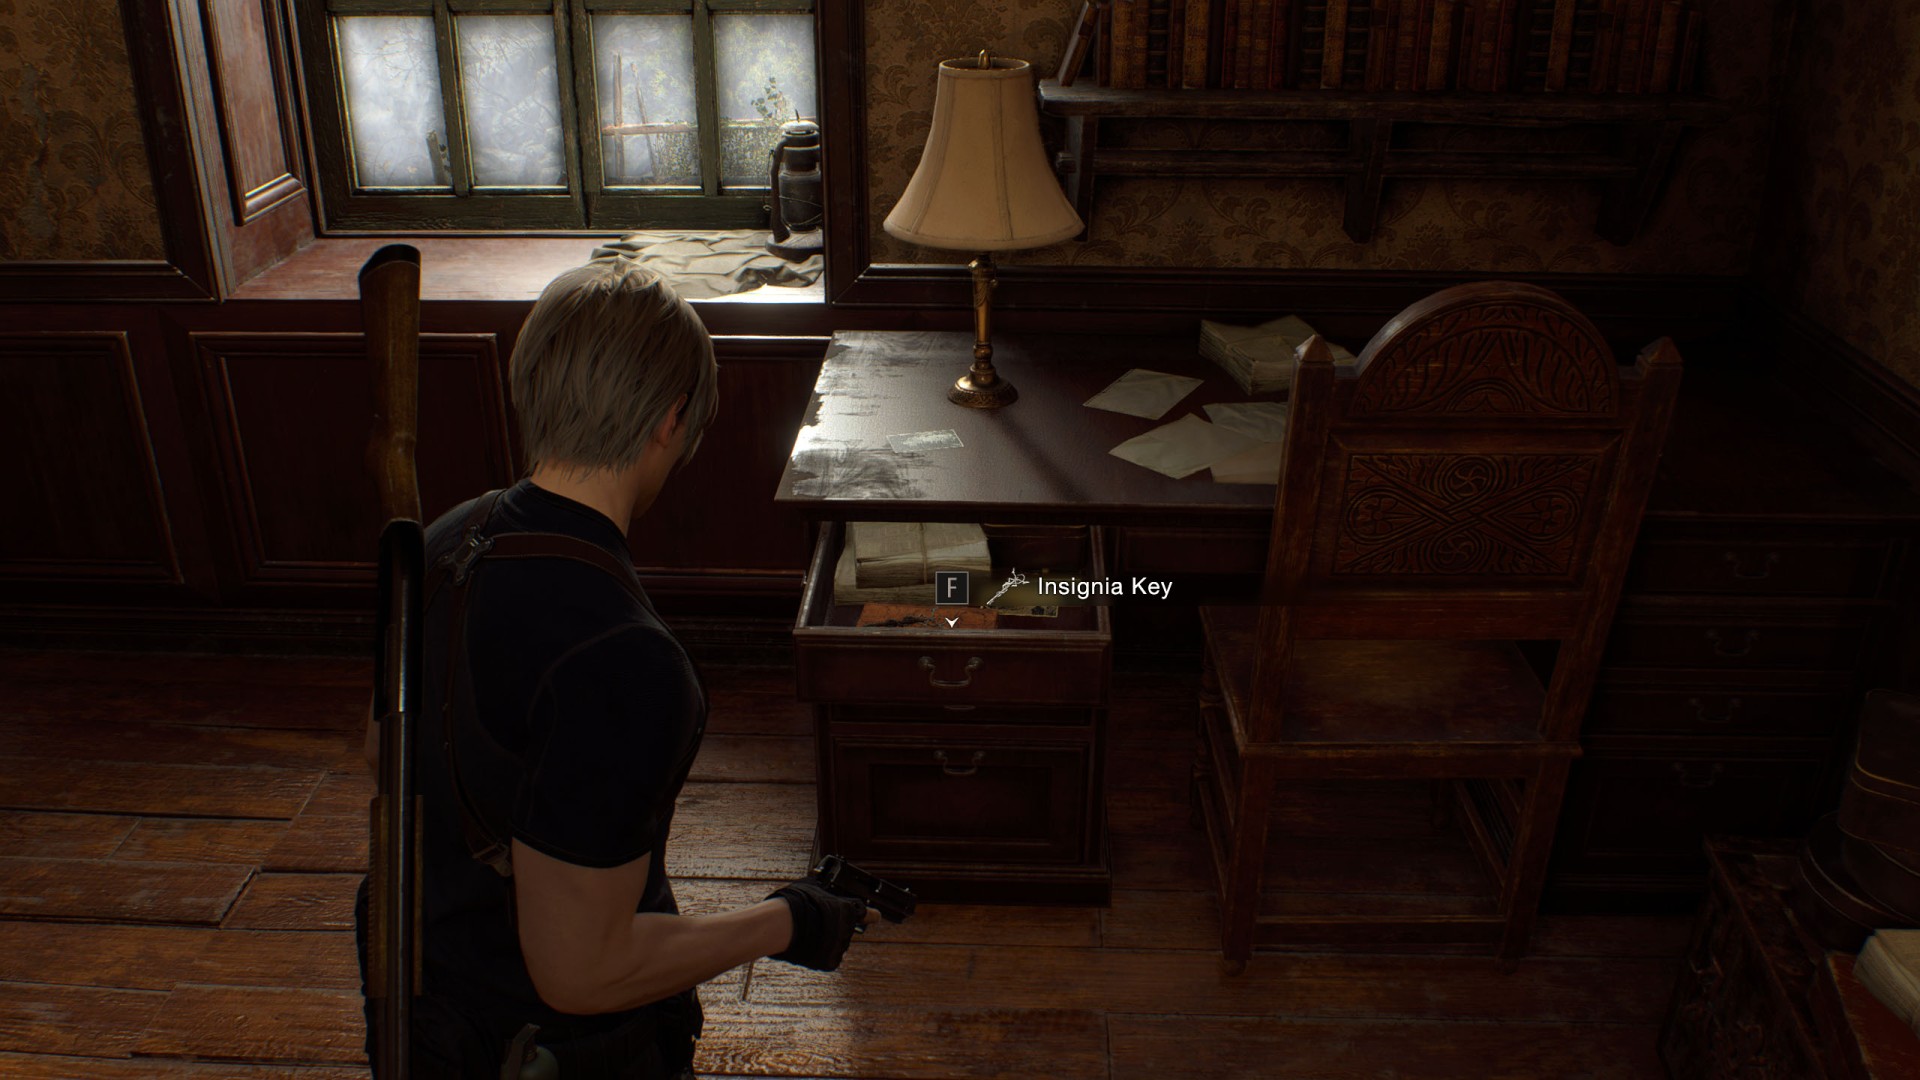
13Insignia Key
This key will allow you to open some doors, such as the Door with Insignia (Town Hall).
14Old Wayshrine Key
With this key, you will be able to open the wayshrines and take the treasures housed inside.

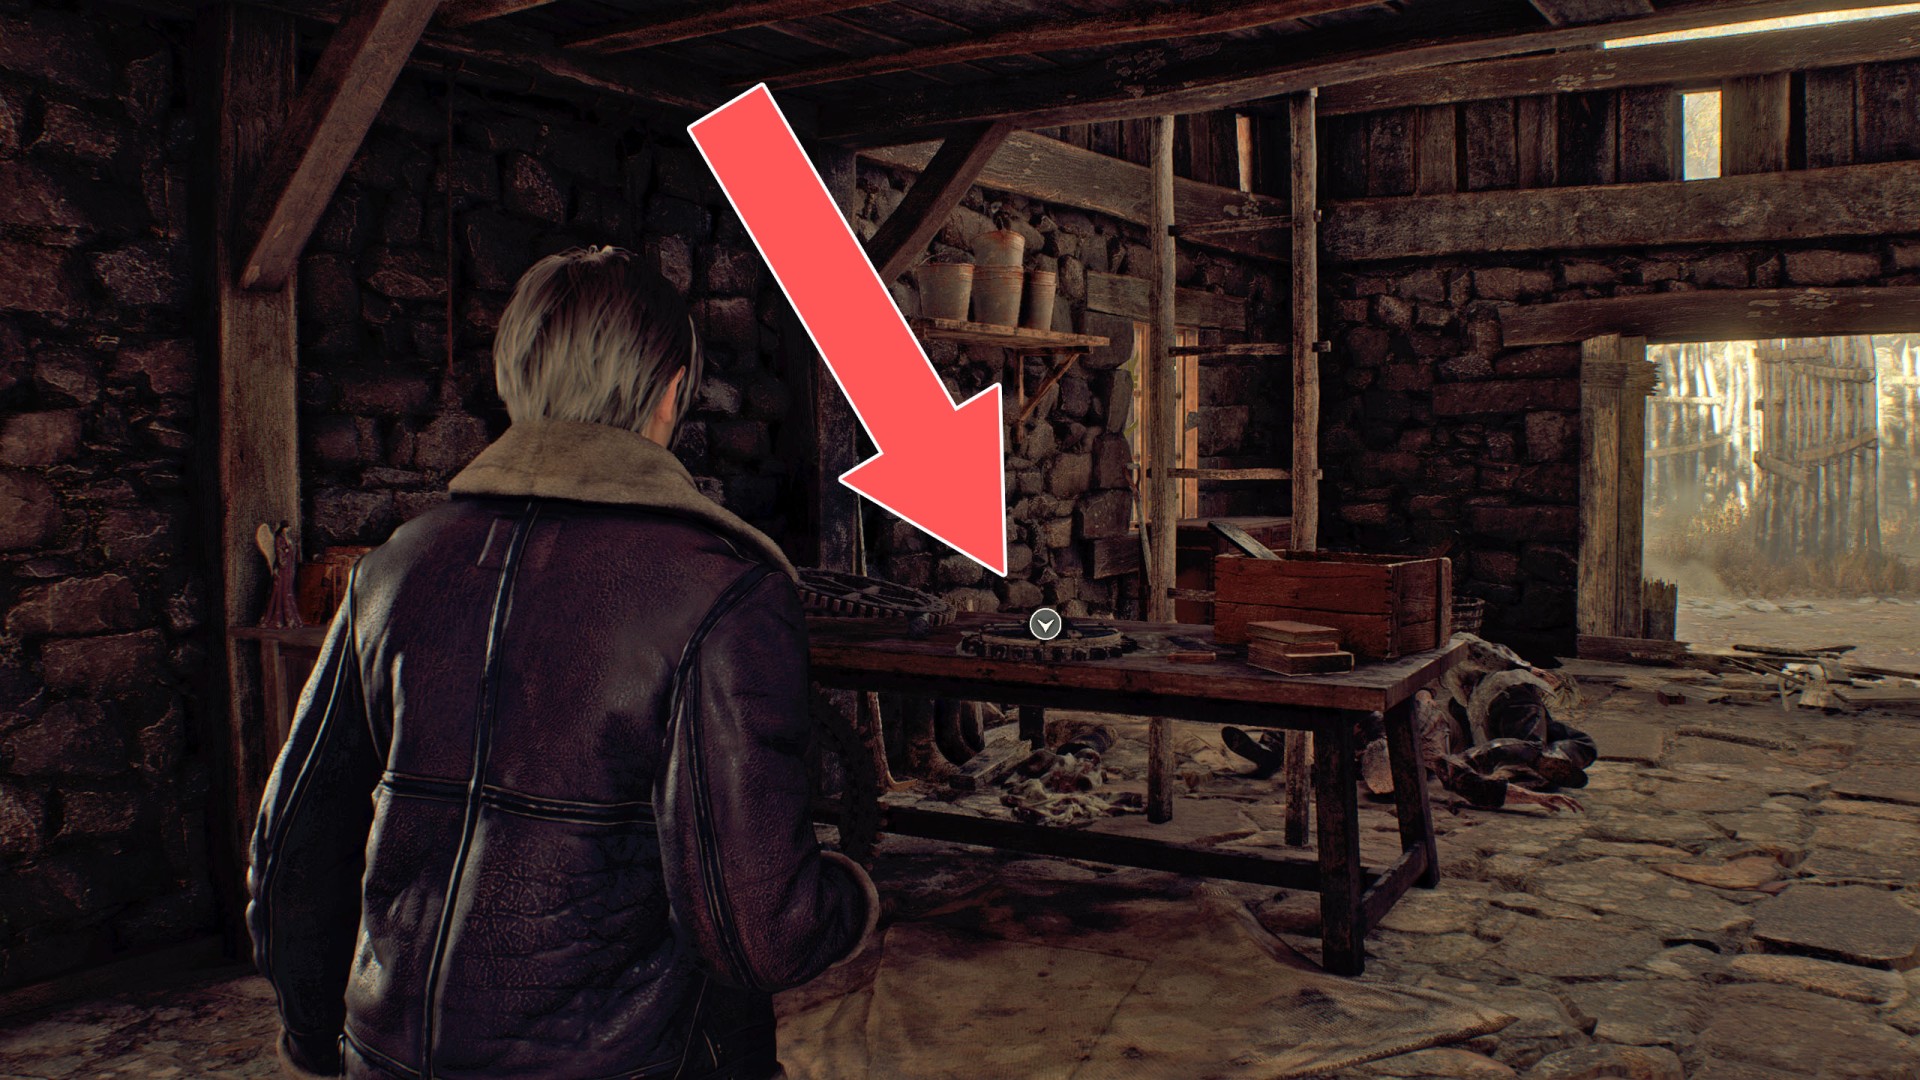
15Wooden Cog
You need this item to repair the "Windmill Workings" mechanism and open the Farm Gate.
Locations on The Castle
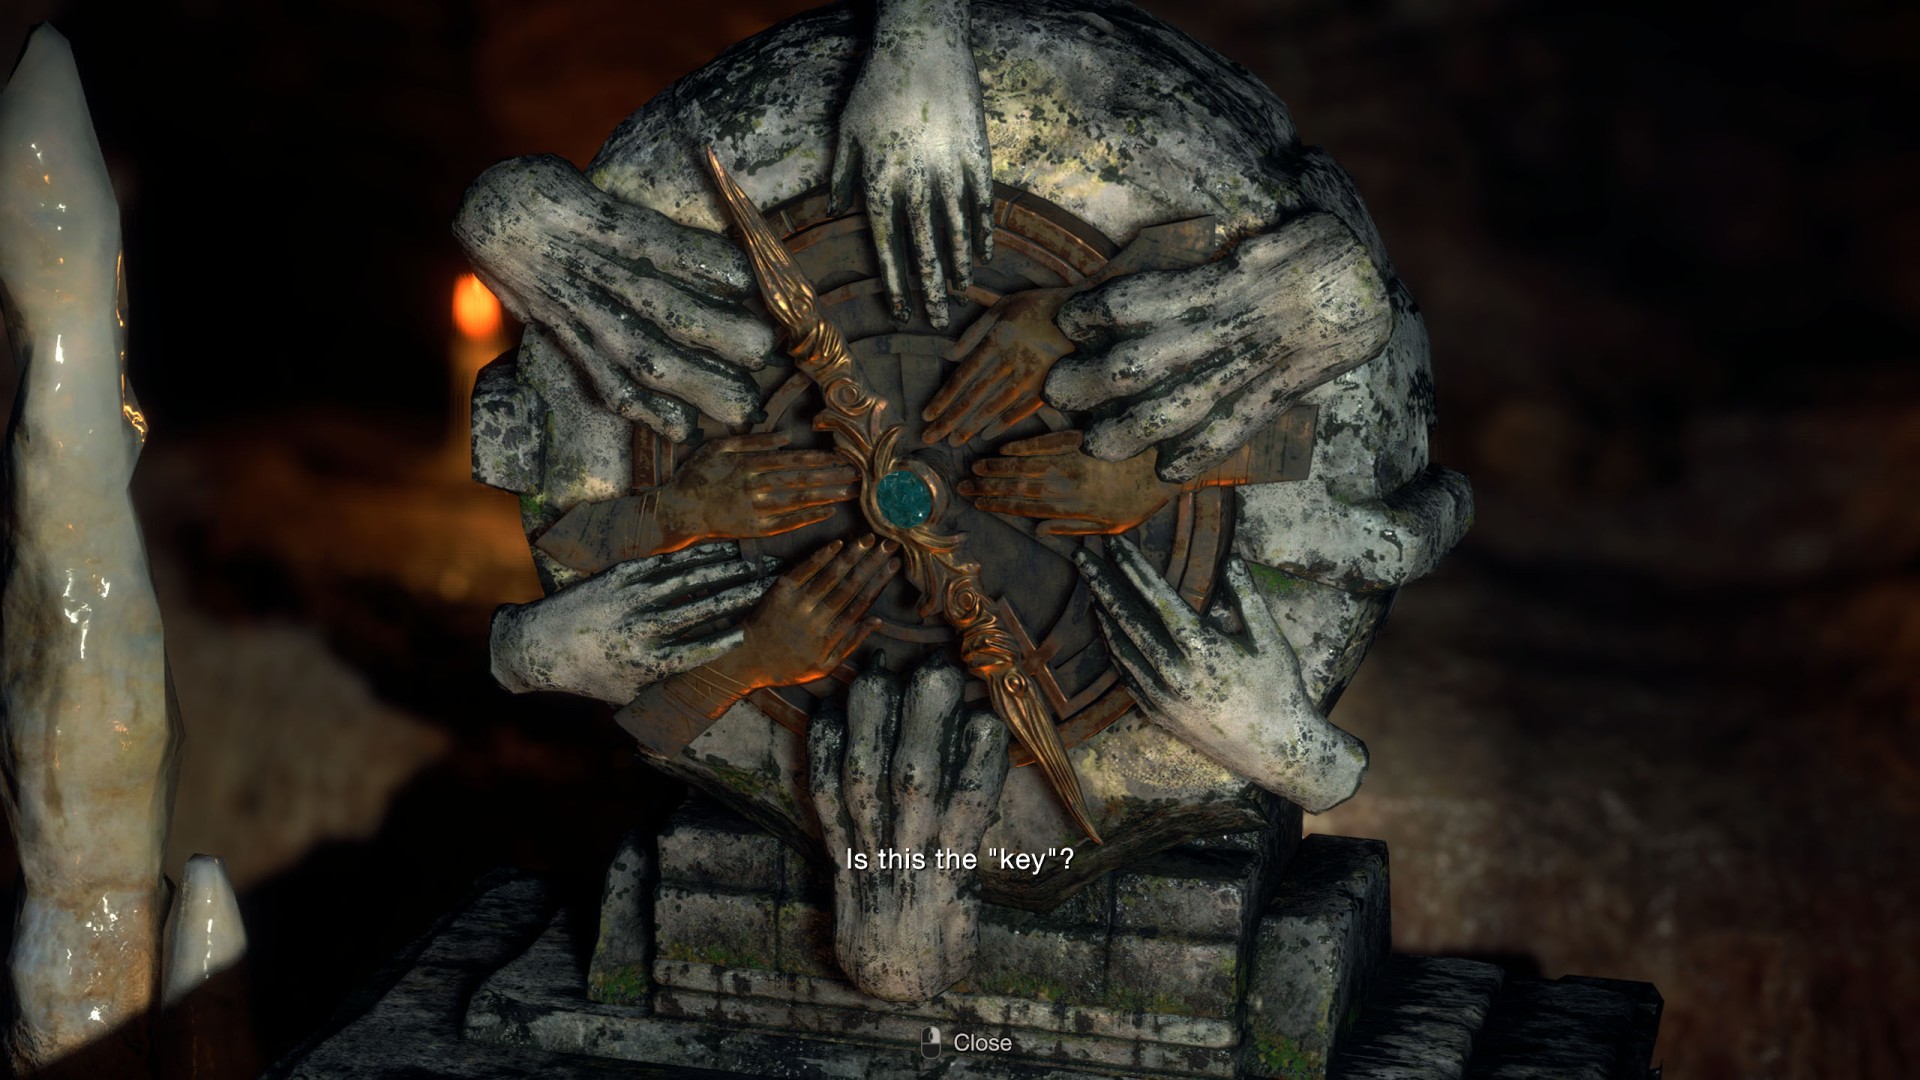
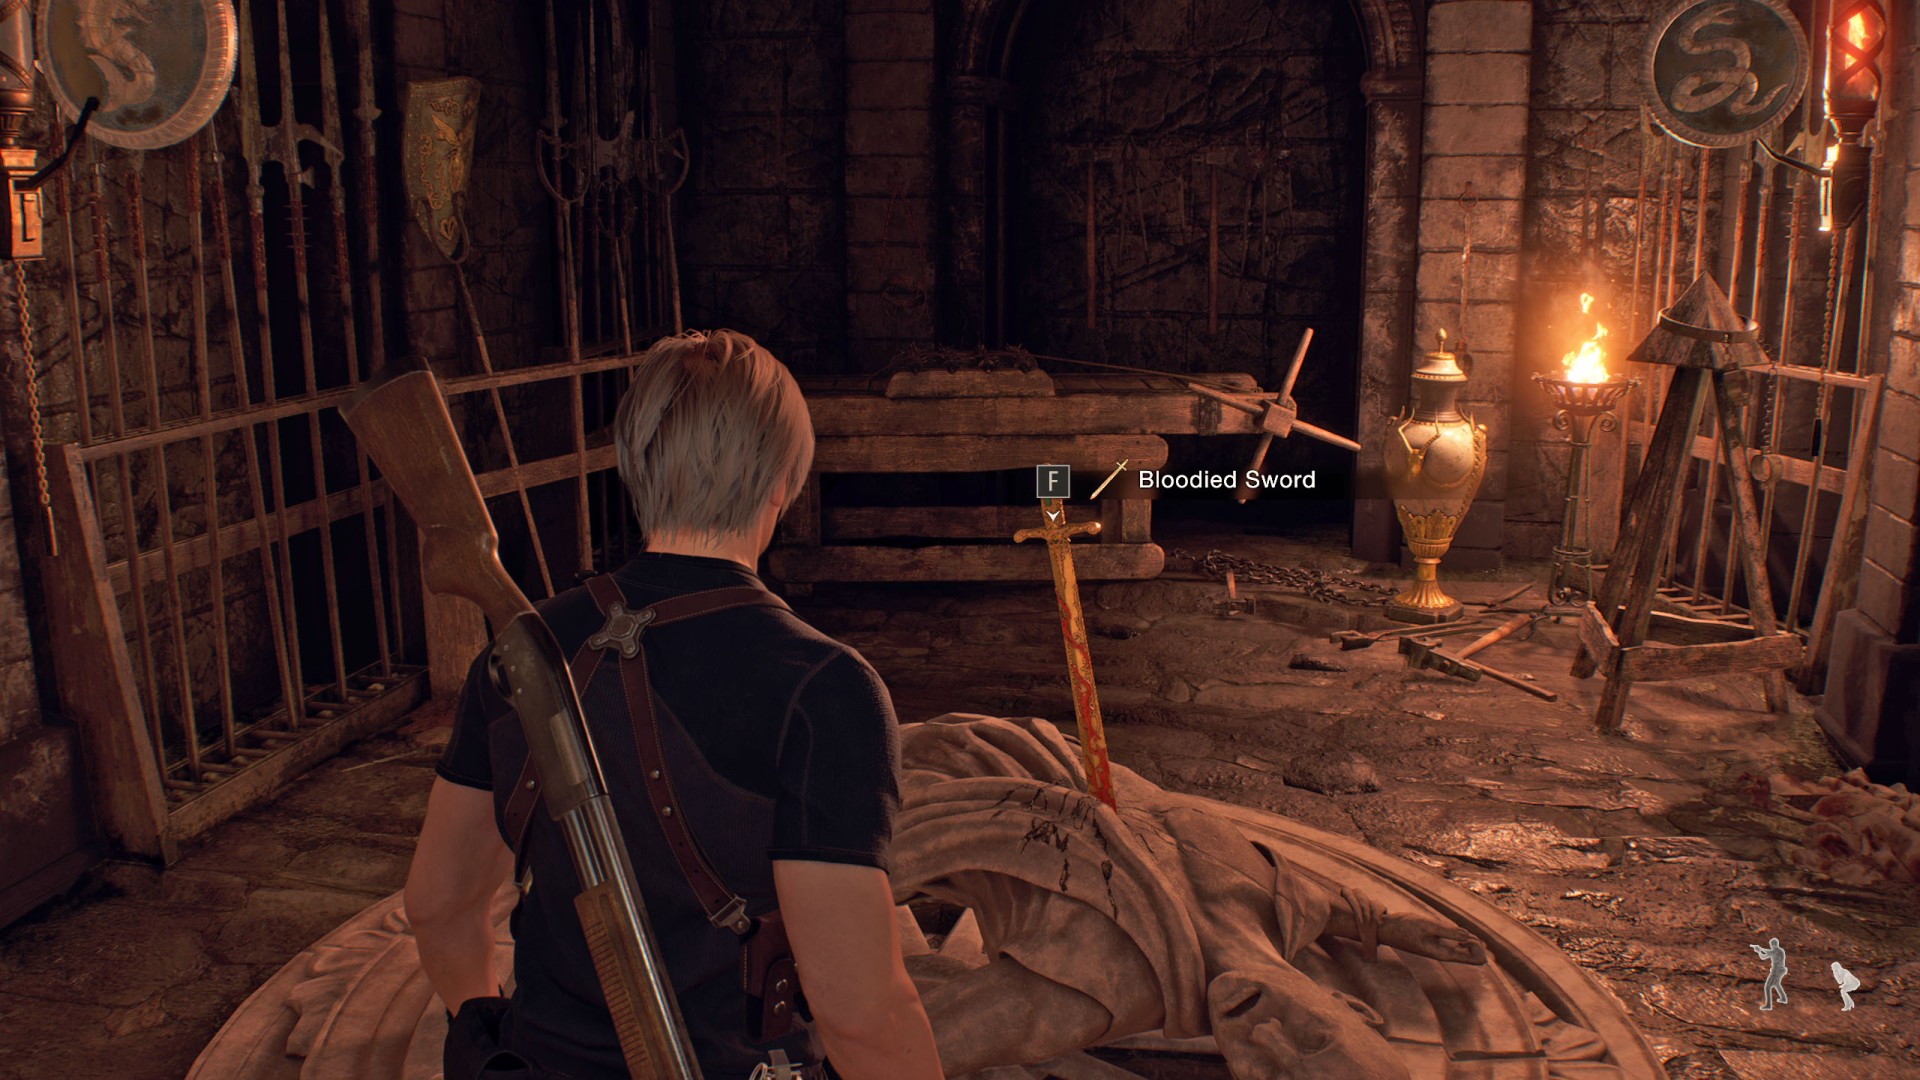
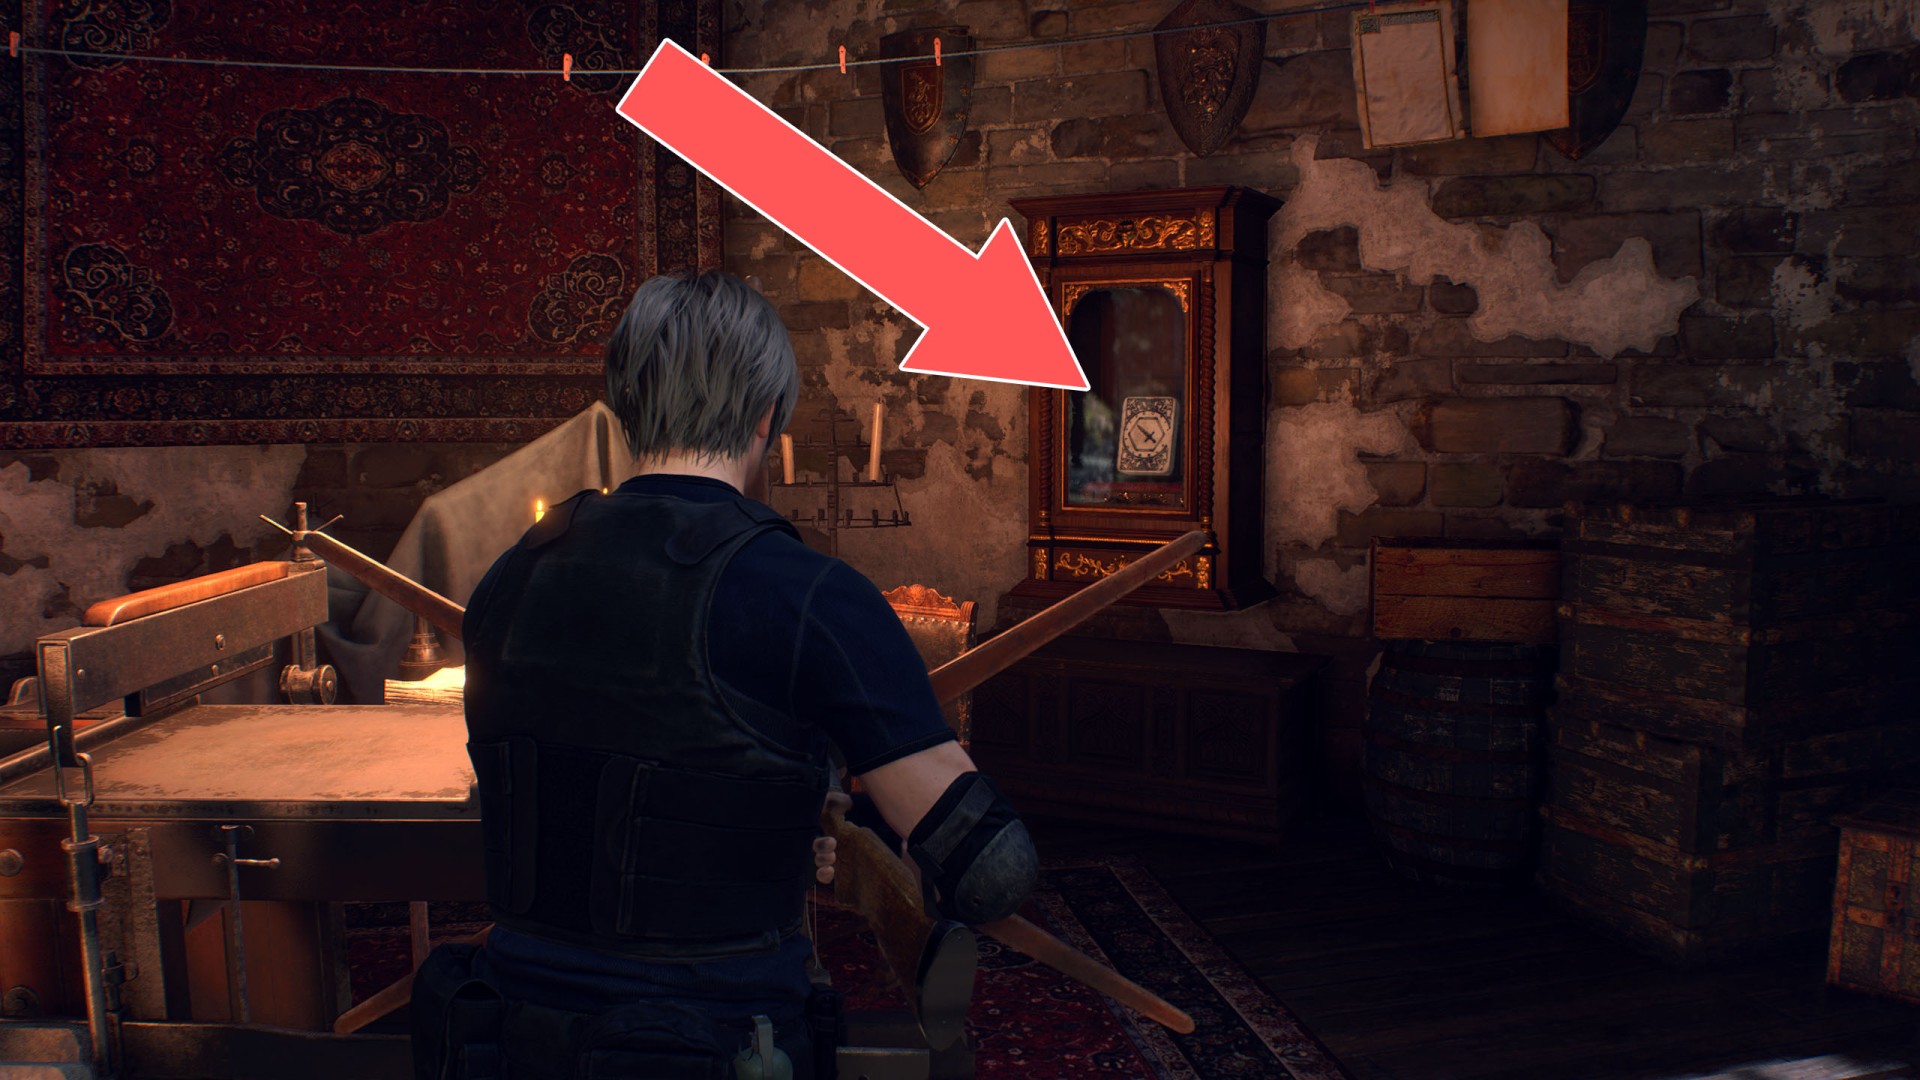
16Bloodied Sword
You need it to solve the Four Images Puzzle.
17Bunch of Keys
Four keys you can use when playing as Ashley. You can use them to open: Elegant Perfume Bottle #2, Elevator Gate, Sapphire #1, and Emerald #2.
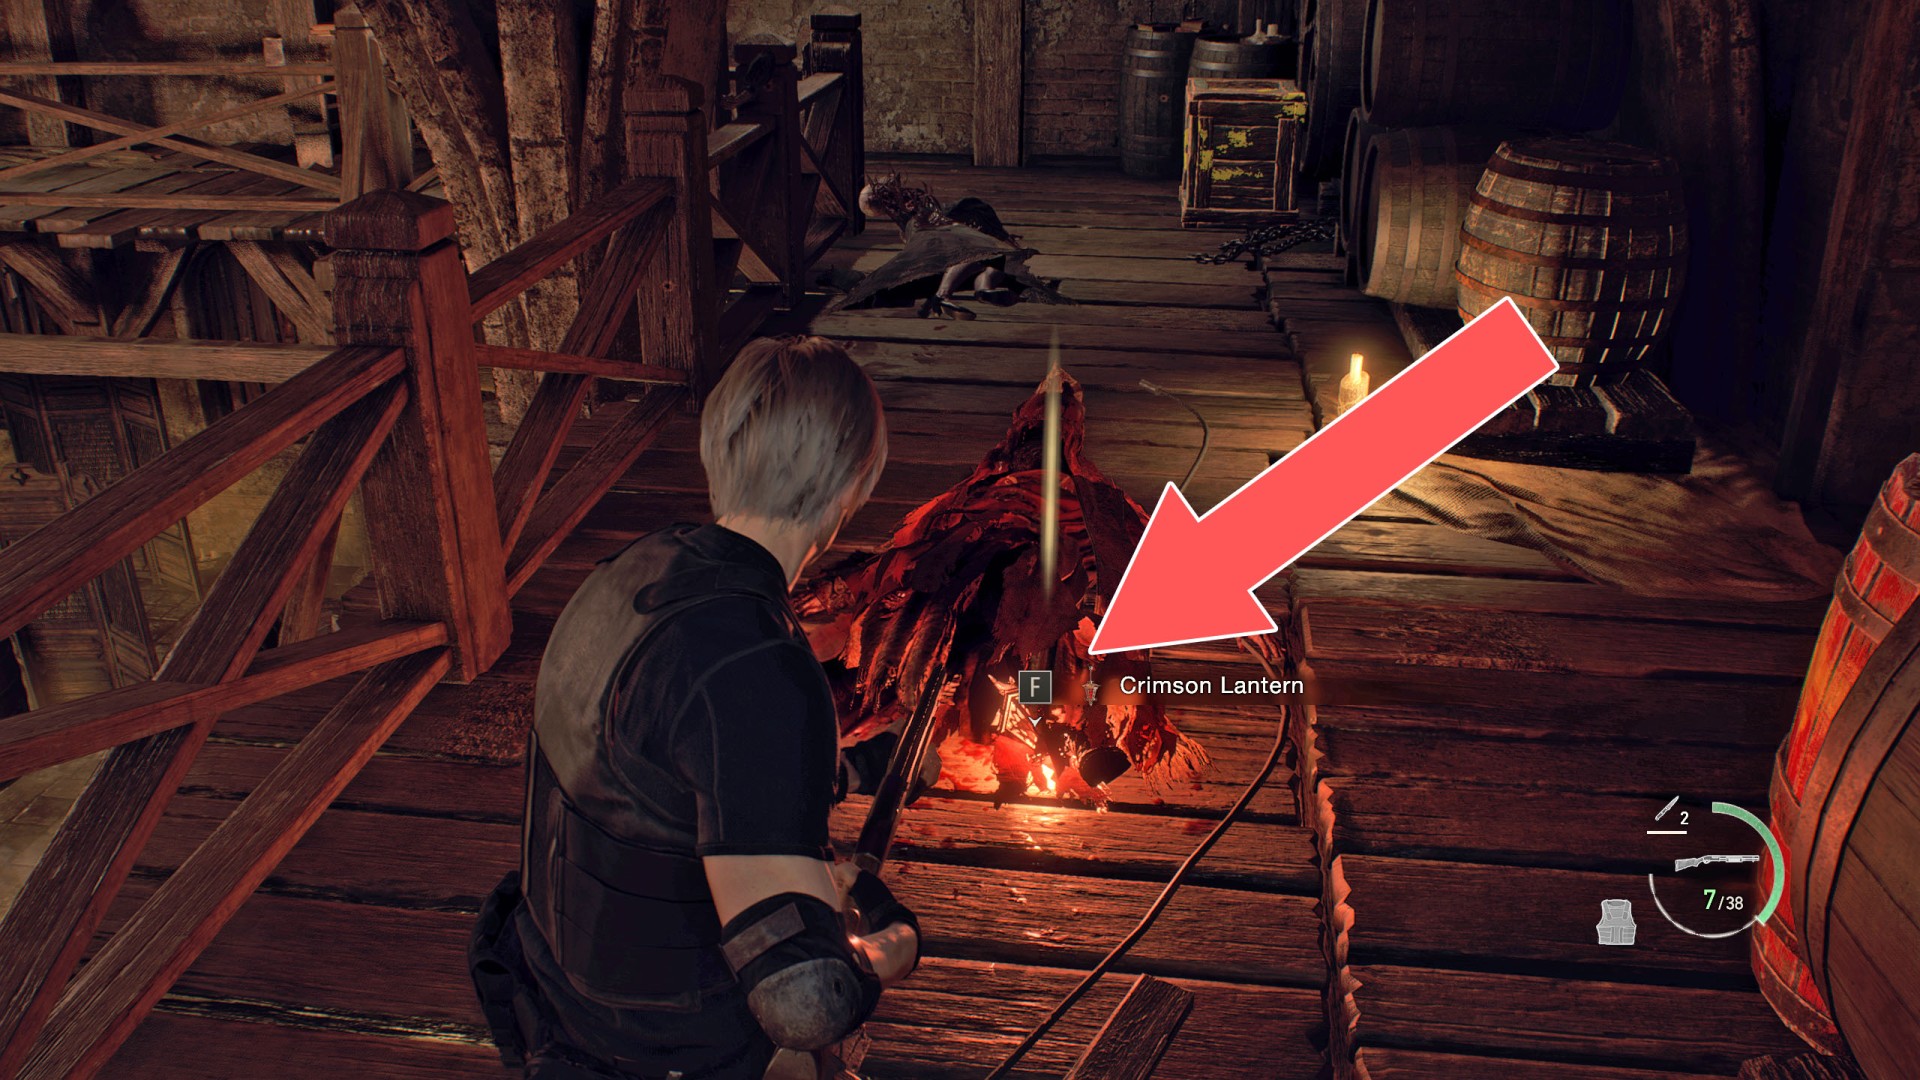
18Crimson Lantern
It drops from the Crimson Zealot.
19Cubic Device
You can get it during Chapter 9 on your way back from the Armory. You need this device to be able to unlock the Square Lock Boxes.
20Dungeon Key
You need this key to open the Locked Gate (Dungeons). When you take it, the floor will collapse under you and you will drop into a room where you will need to fight a blind miniboss.
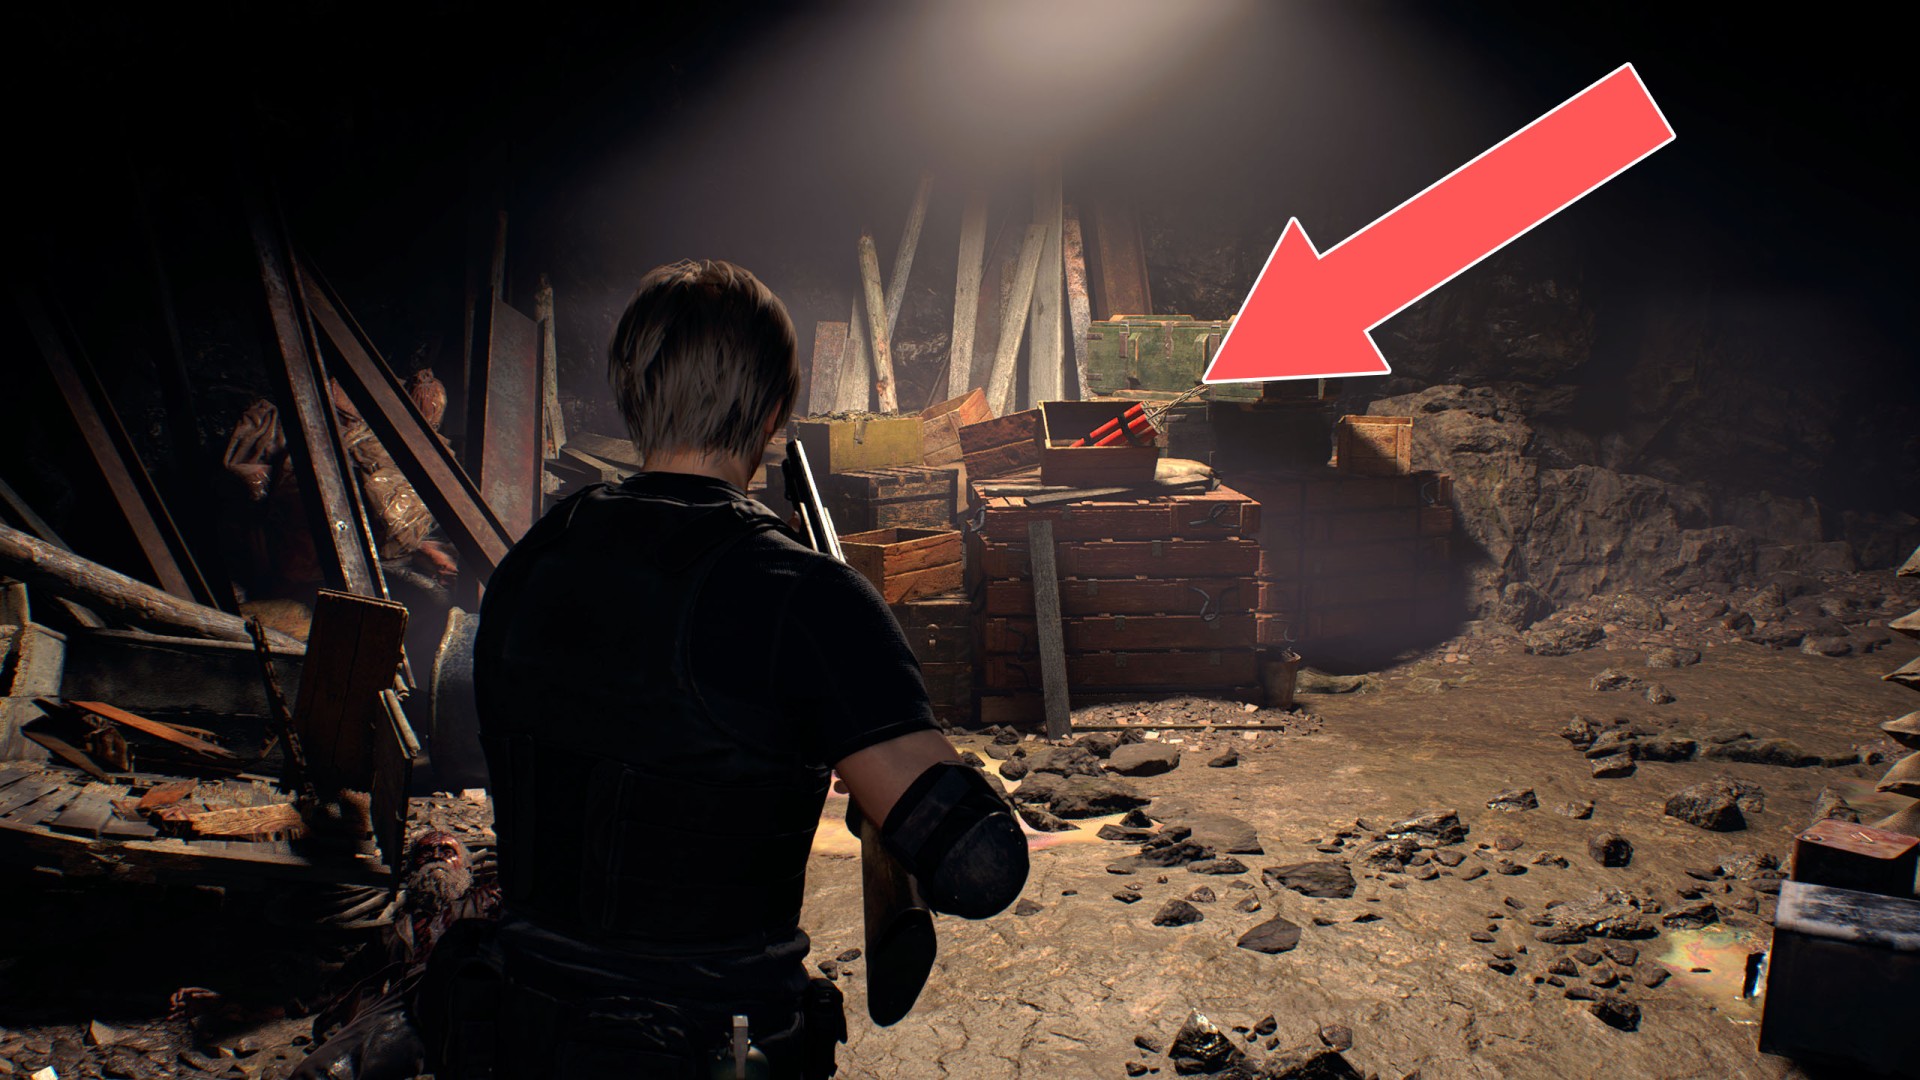
21Dynamite
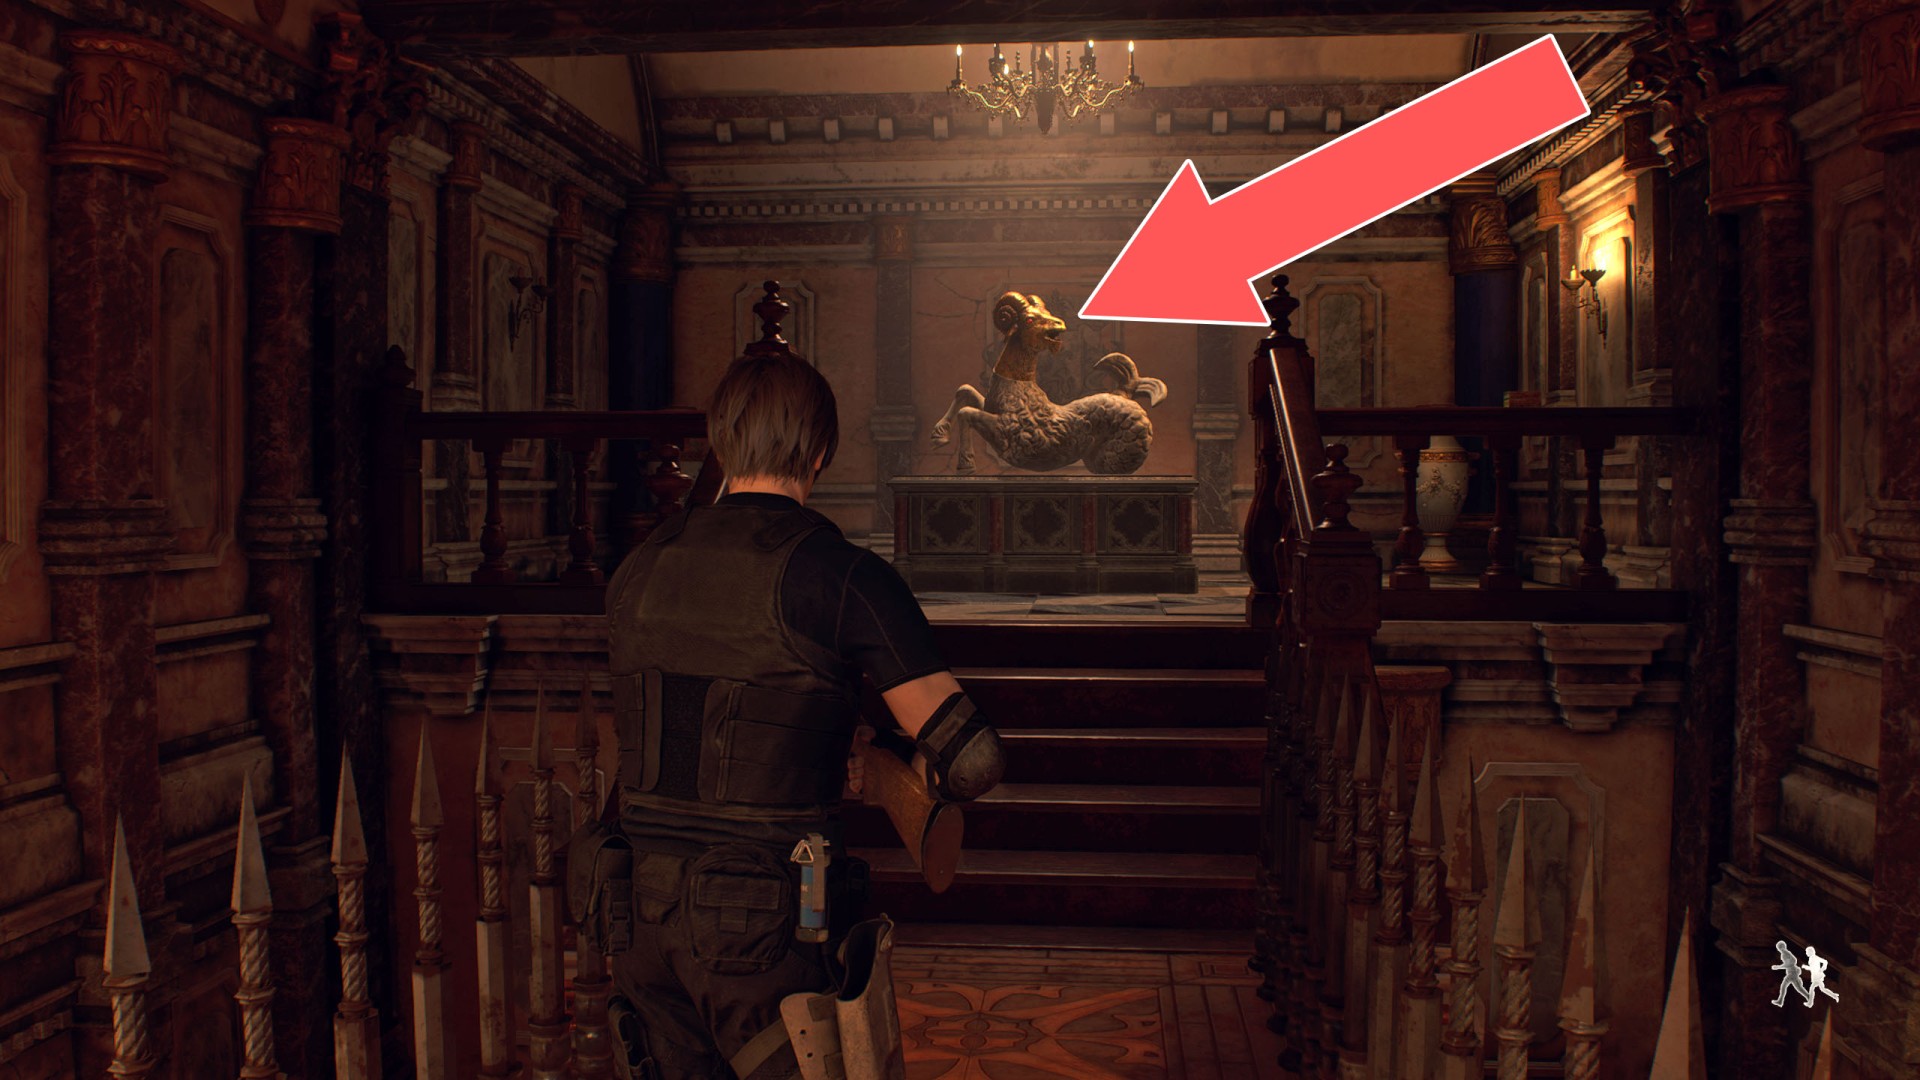
22Goat Head
One of the heads you need to collect to complete the Headless Statue Puzzle.
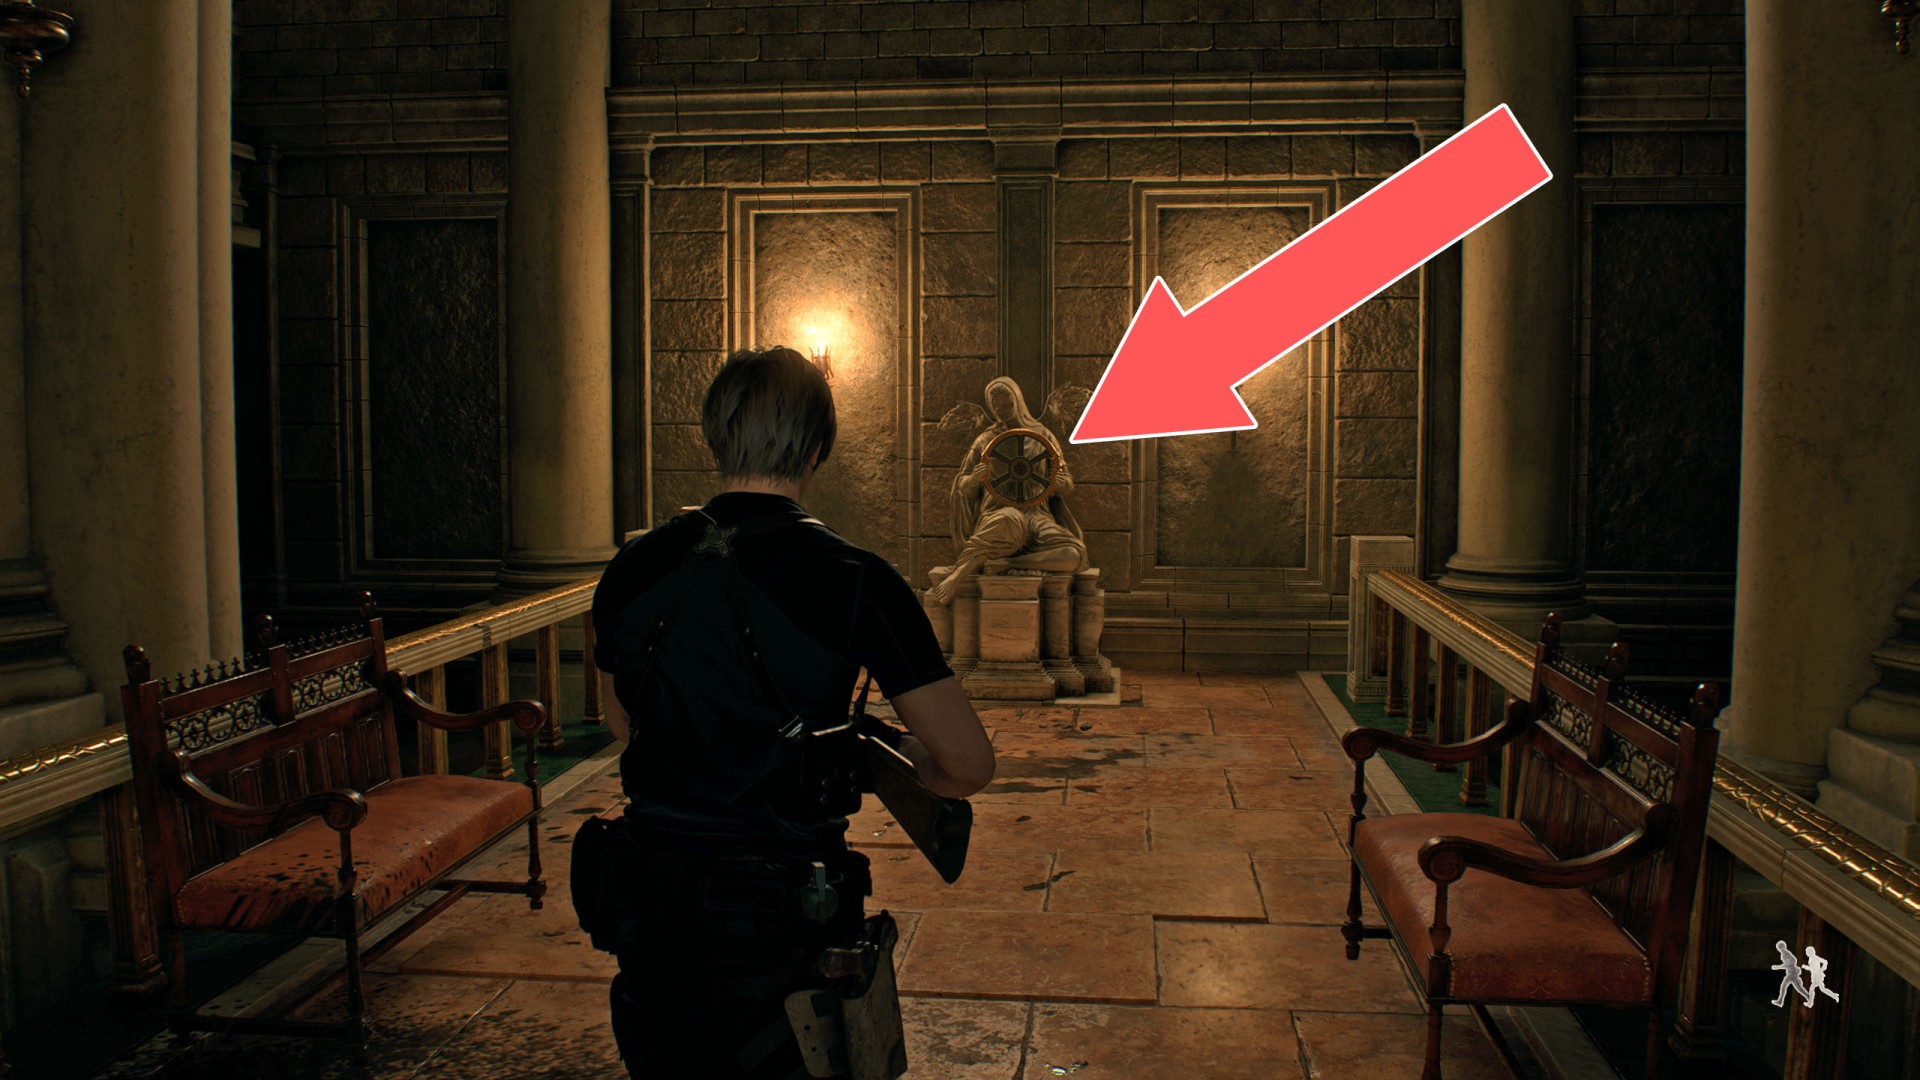
23Halo Wheel
At the lower level.
24Lion Head
One of the heads you need to collect to complete the Headless Statue Puzzle. When you take this head then the fight with the knights begins.
25Litographic Stone B
26Litographic Stone C
27Litographic Stone D
28Salazar Family Insignia
To remove the grate blocking access you need to put the correct lamps on three pedestals. Two lamps are standing on pedestals, but you must move them, the third lamp will be the lamp you came here with.

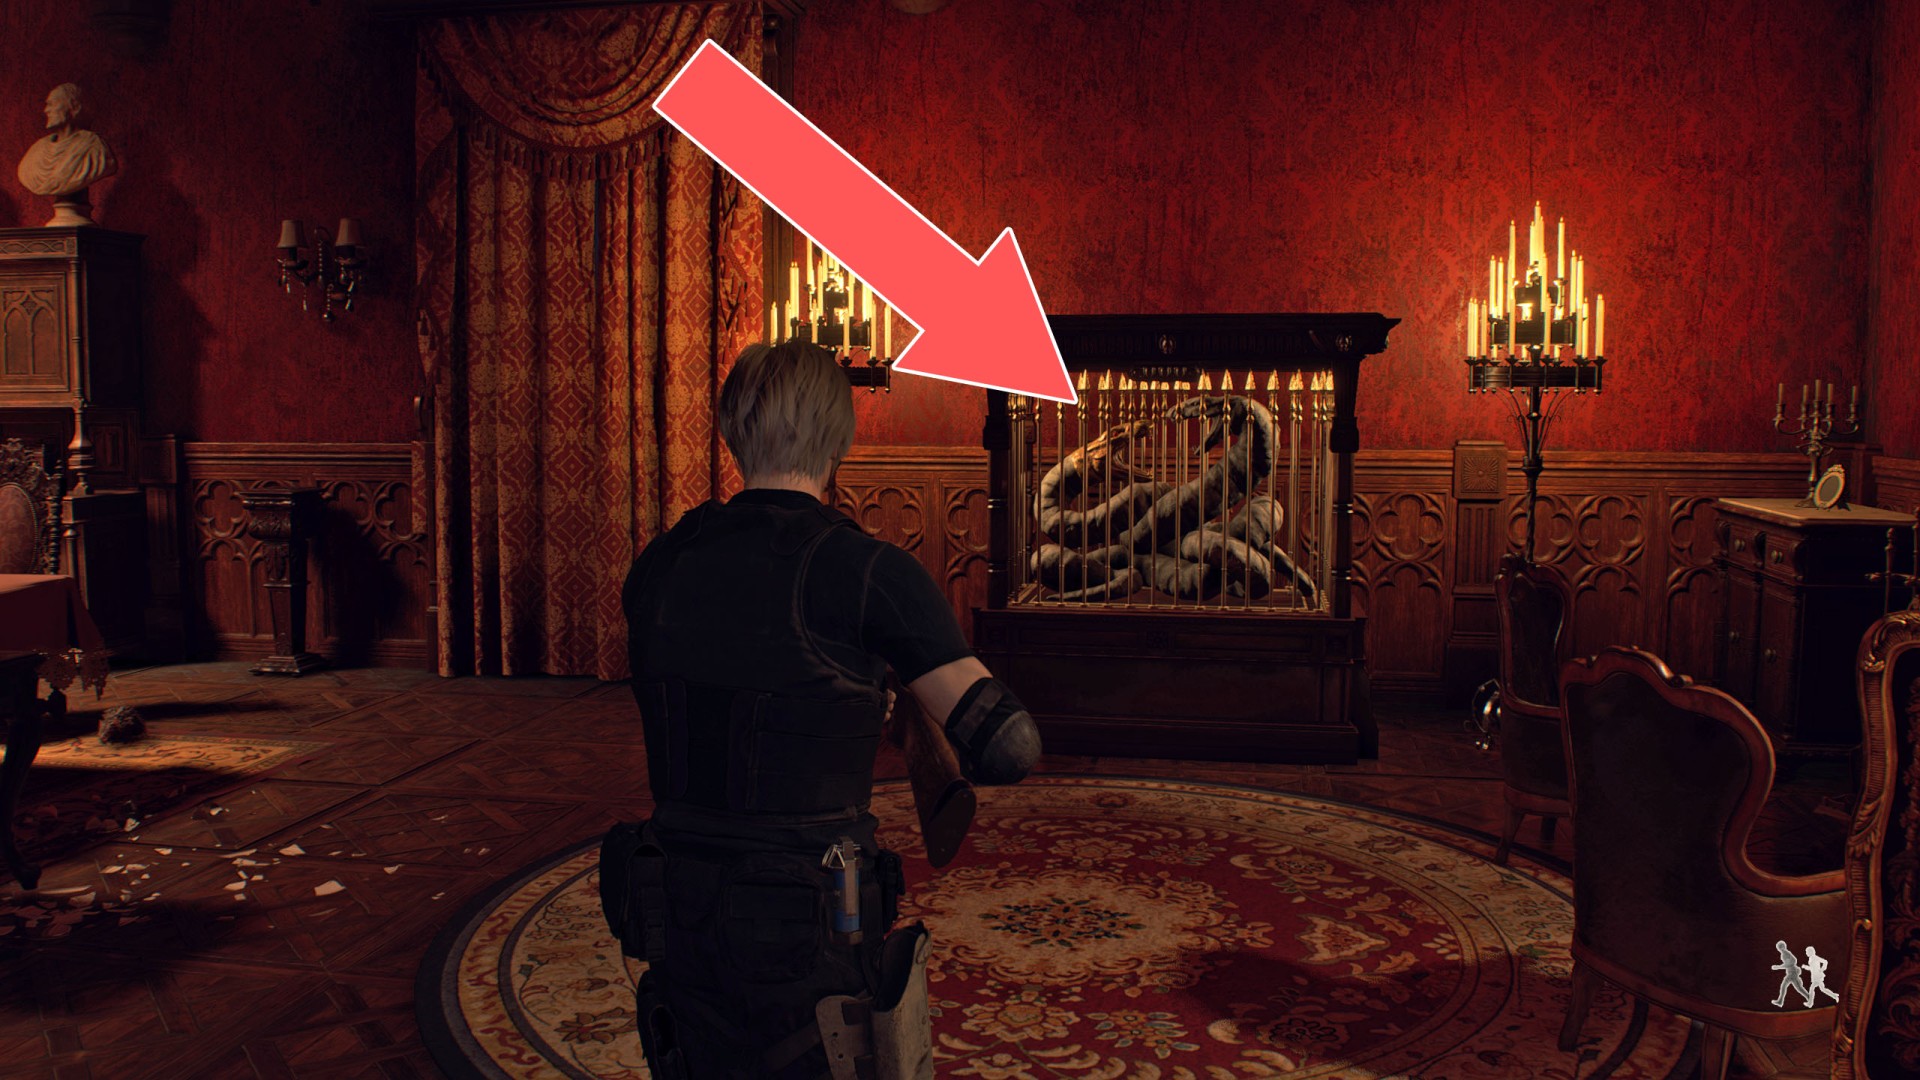
29Serpent Head
One of the heads you need to collect to complete the Headless Statue Puzzle. To open the cage you must order Ashley to sit at the right seat and sit at the right place at the table yourself and then ring the bell. The clues can be found on the pictures hanging on the wall.
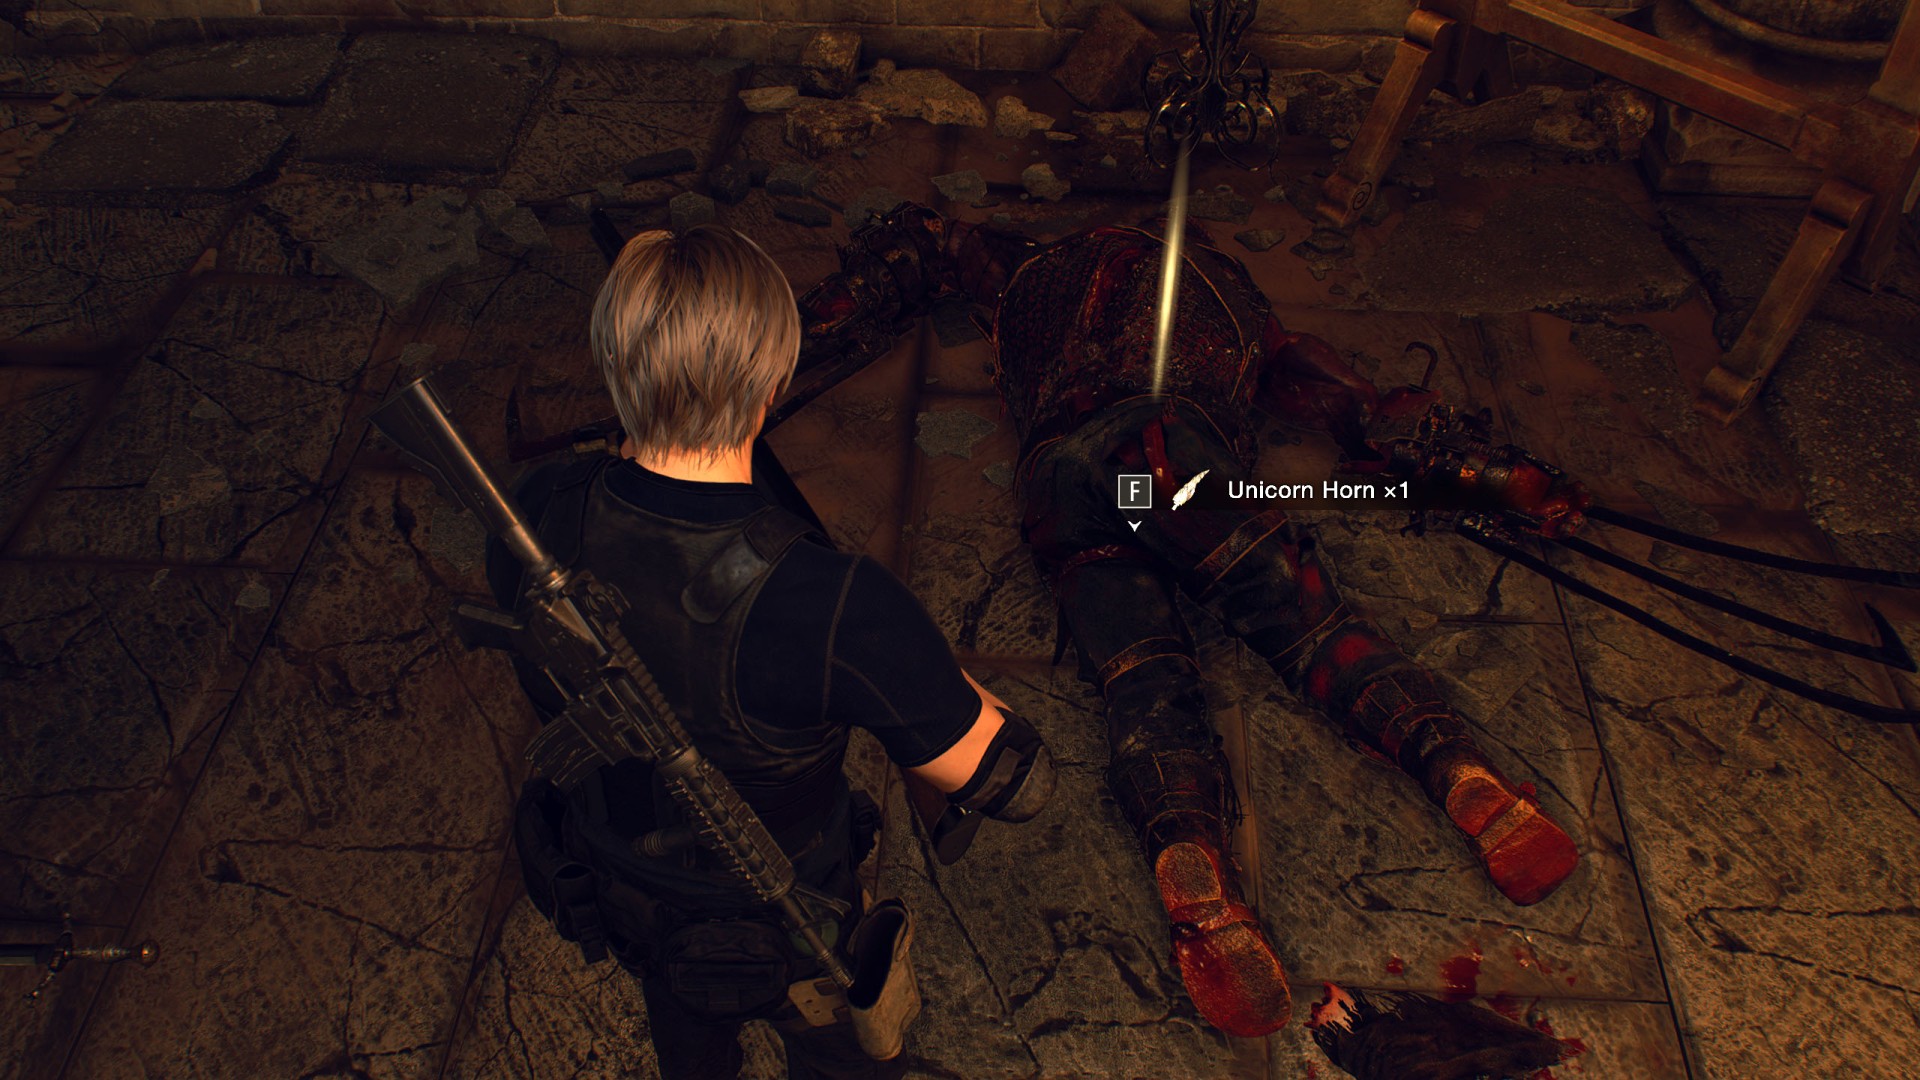
30Unicorn Horn x 2
They drop from both Garrador Twins you are fighting here.
Locations on The Island
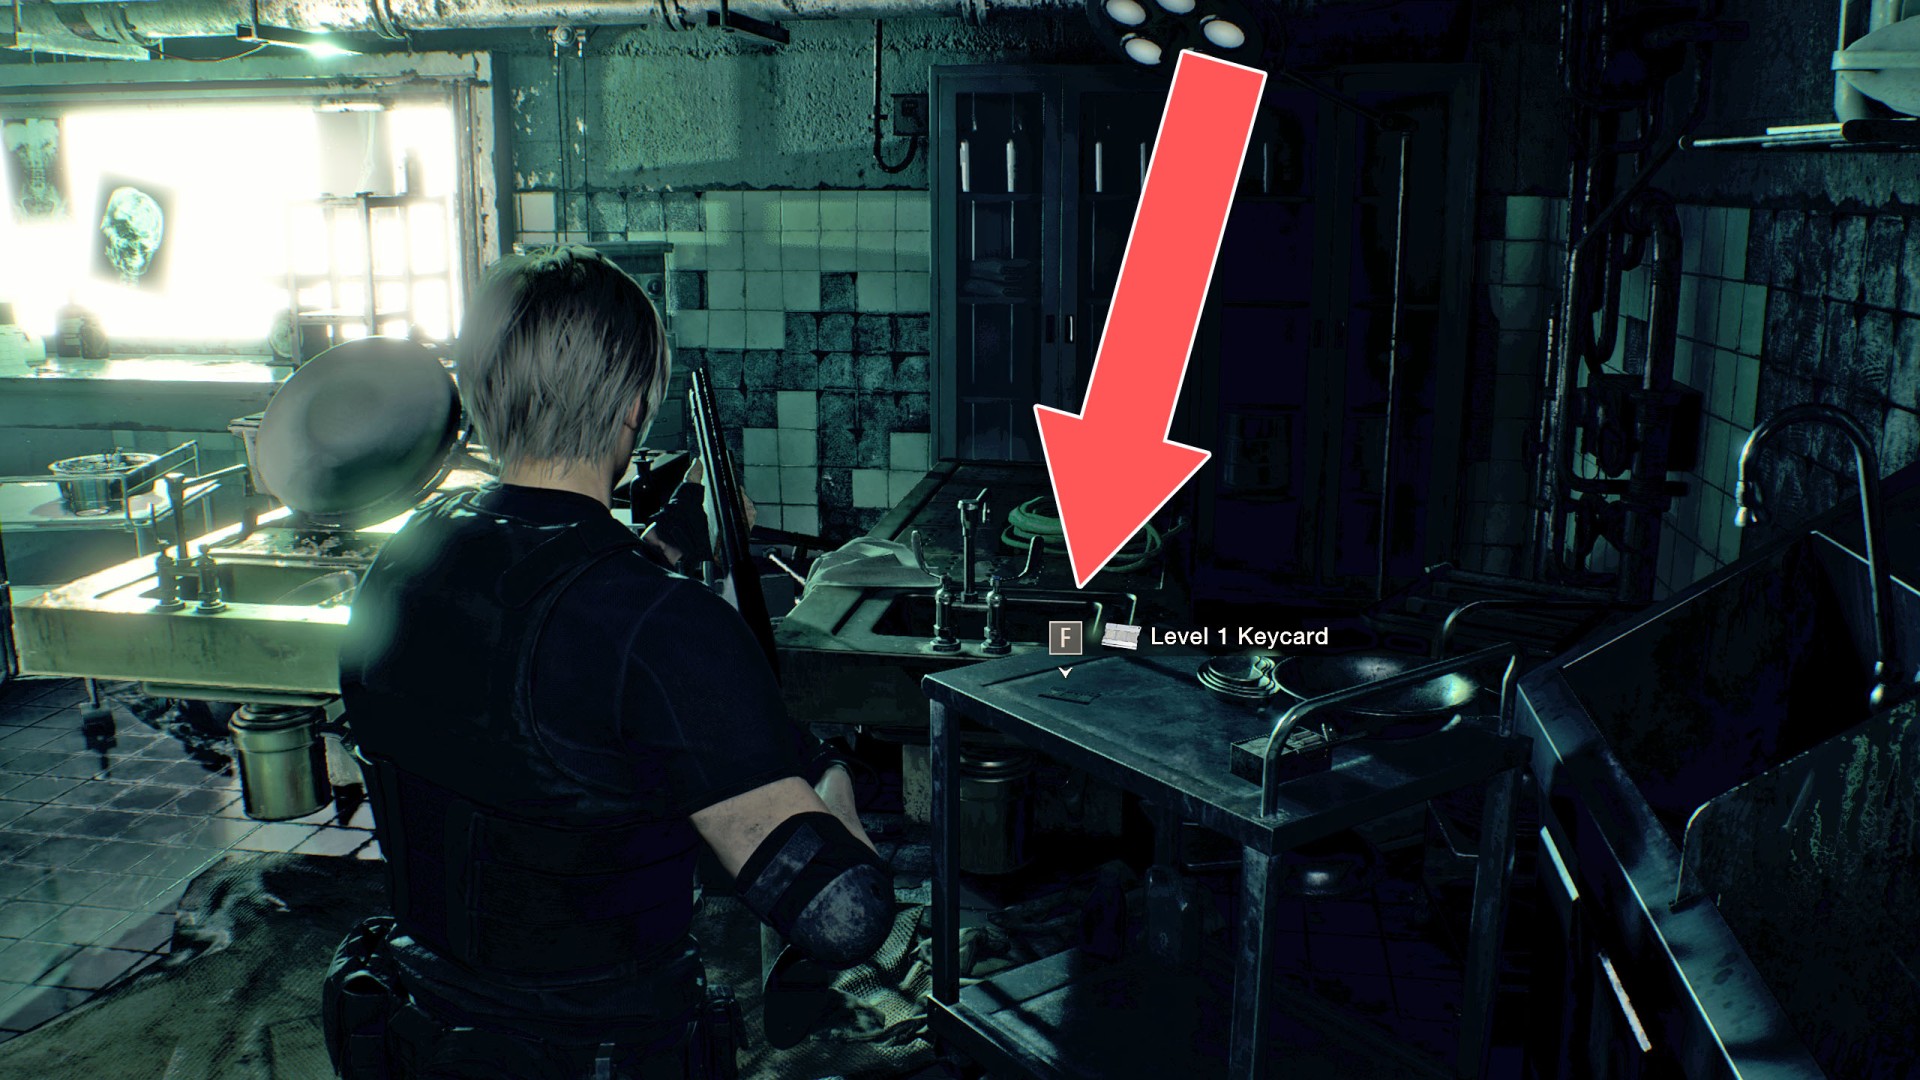
31Level 1 Keycard
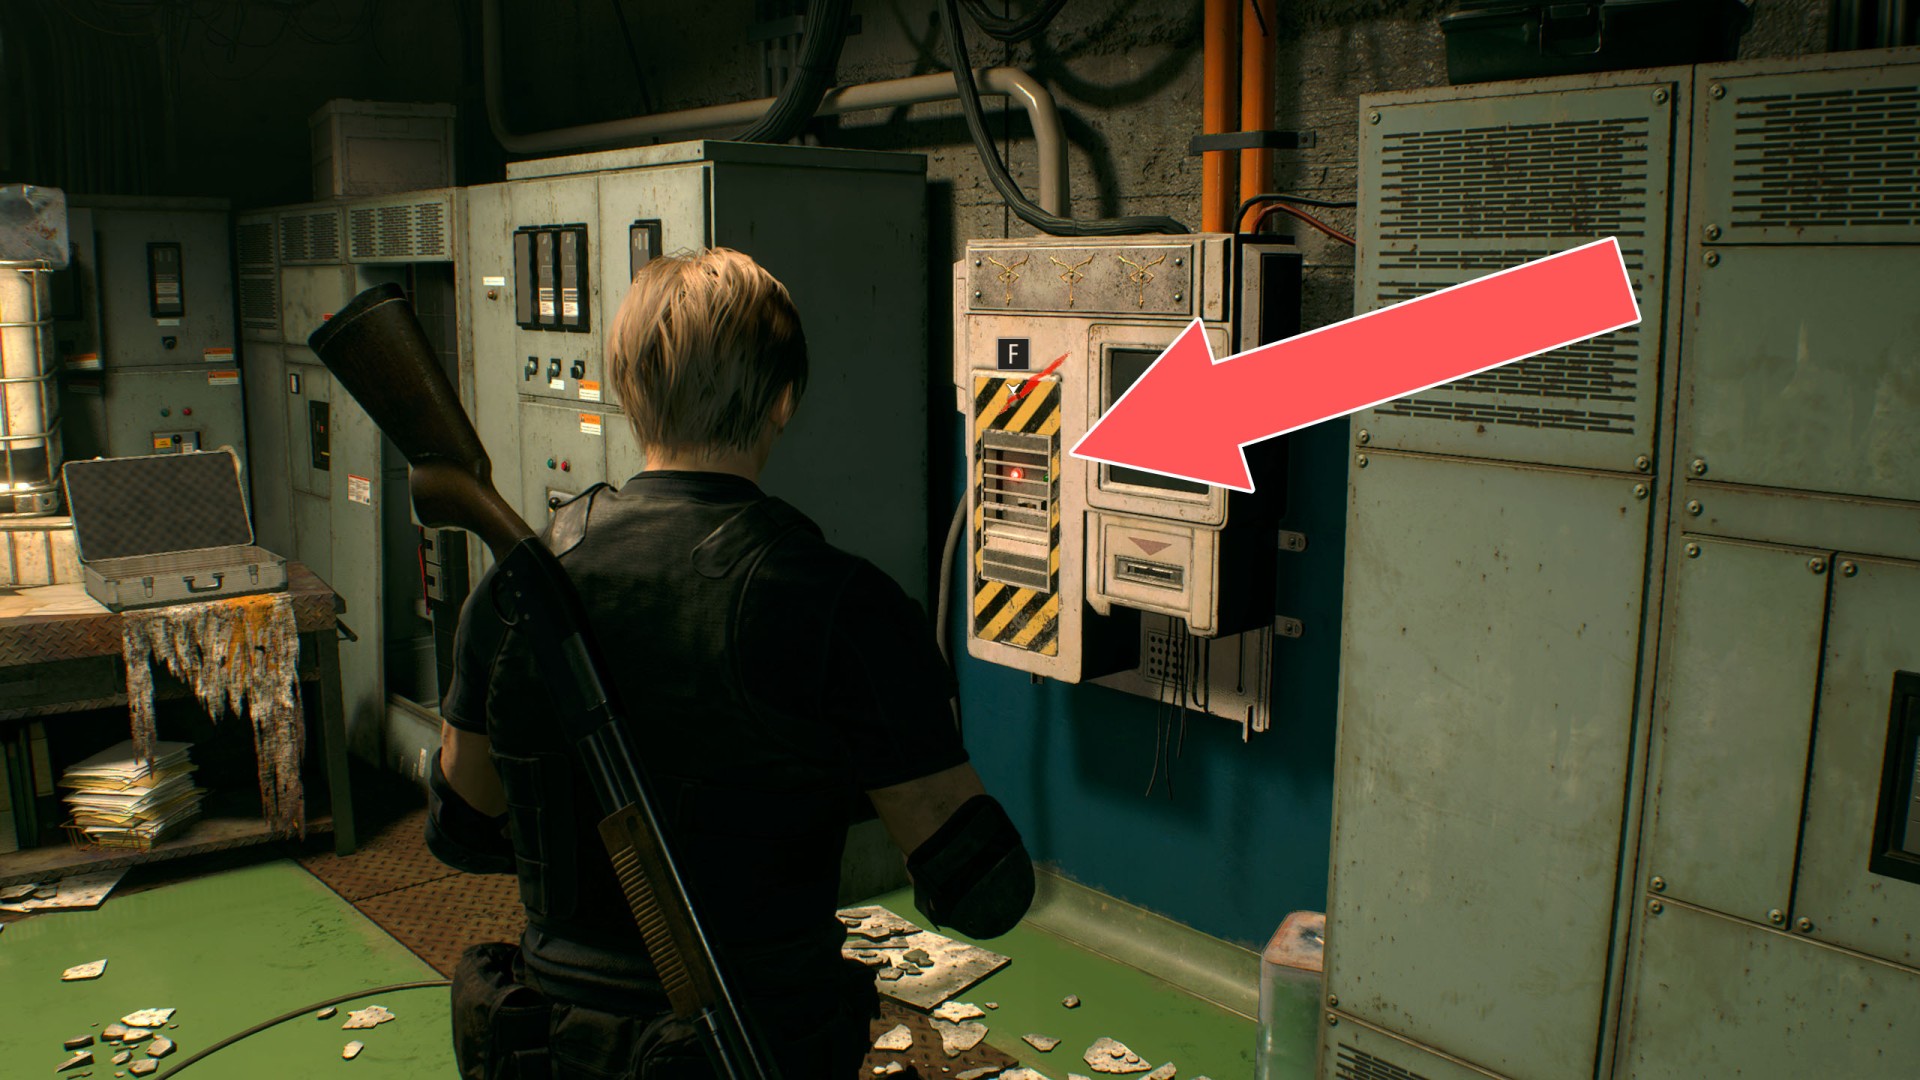
32Level 2 Keycard
Here you can upgrade your keycard to level 2.

33Level 3 Keycard
Here you can upgrade your keycard to level 3. In order to use this machine you must get a Wrench.
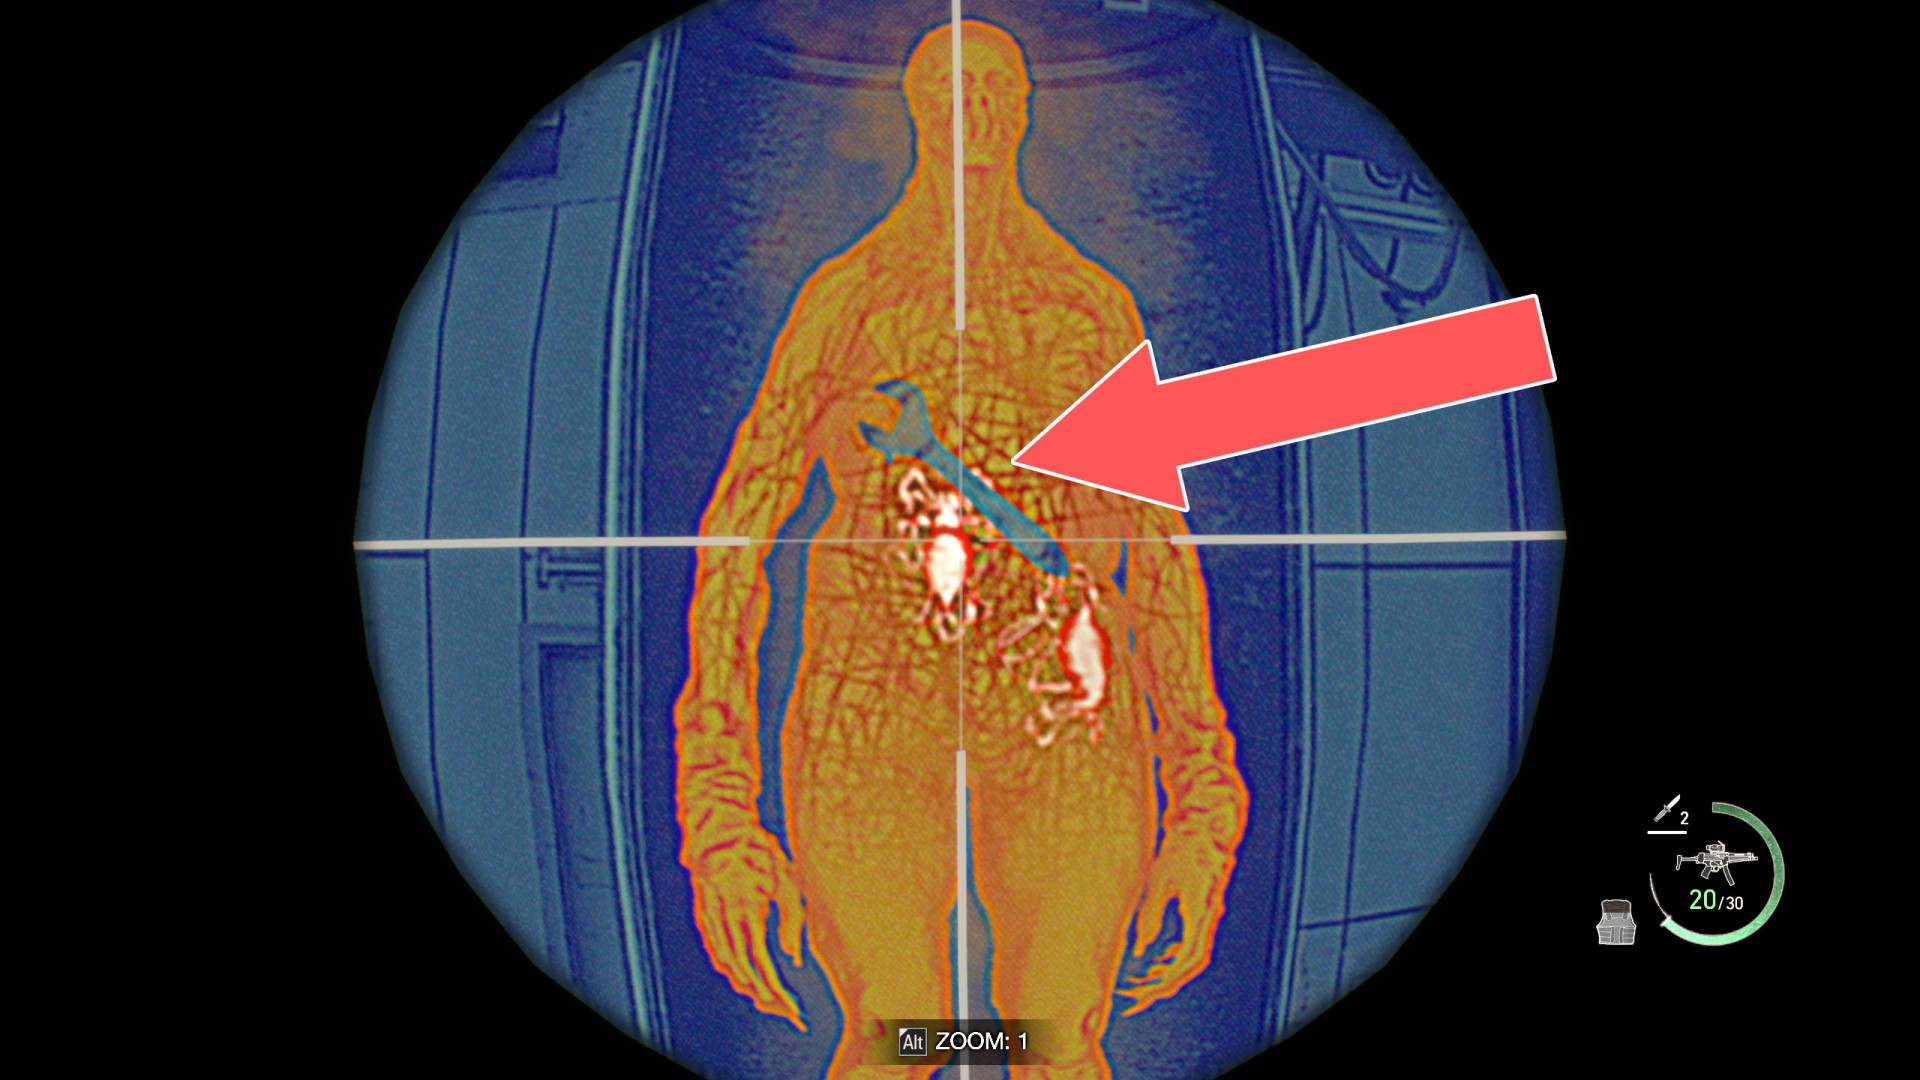
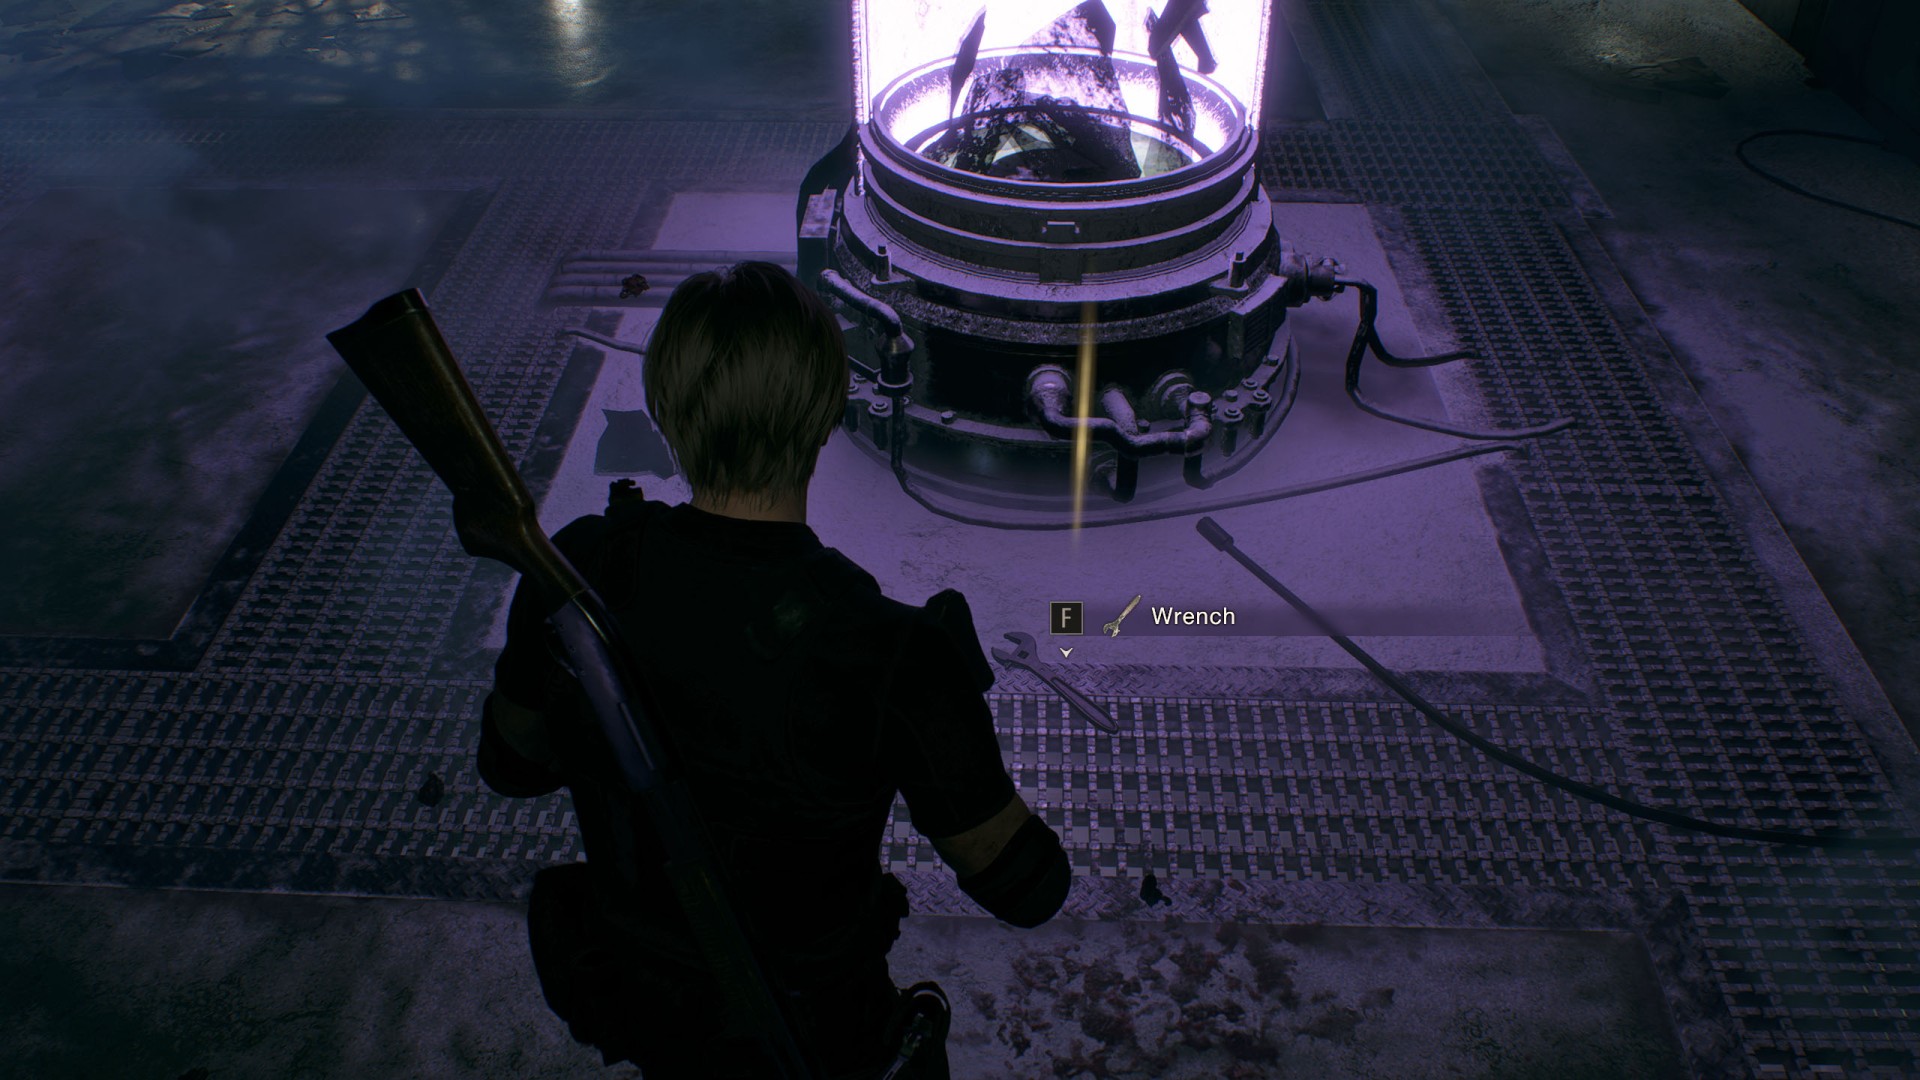
34Wrench
It is in the body of one of the monsters in the tanks. Use the Biosensor Scope to see in which one. The scope will also allow you to identify the sensitive points of the monster and kill it quickly.