Welcome to guides4gamers.com

Shell Shards, Hollow Knight: Silksong Point of interest

This collection includes every marker from the Shell Shards category of points of interest in Hollow Knight: Silksong, all placed on interactive maps created specifically for the game.

Shell Shard Deposits are destructible environmental objects found throughout the kingdom of Pharloom in Hollow Knight: Silksong. These deposits are a key source of Shell Shards, a vital collectible and secondary currency used primarily for repairing Hornet's Tools and completing certain side quests.

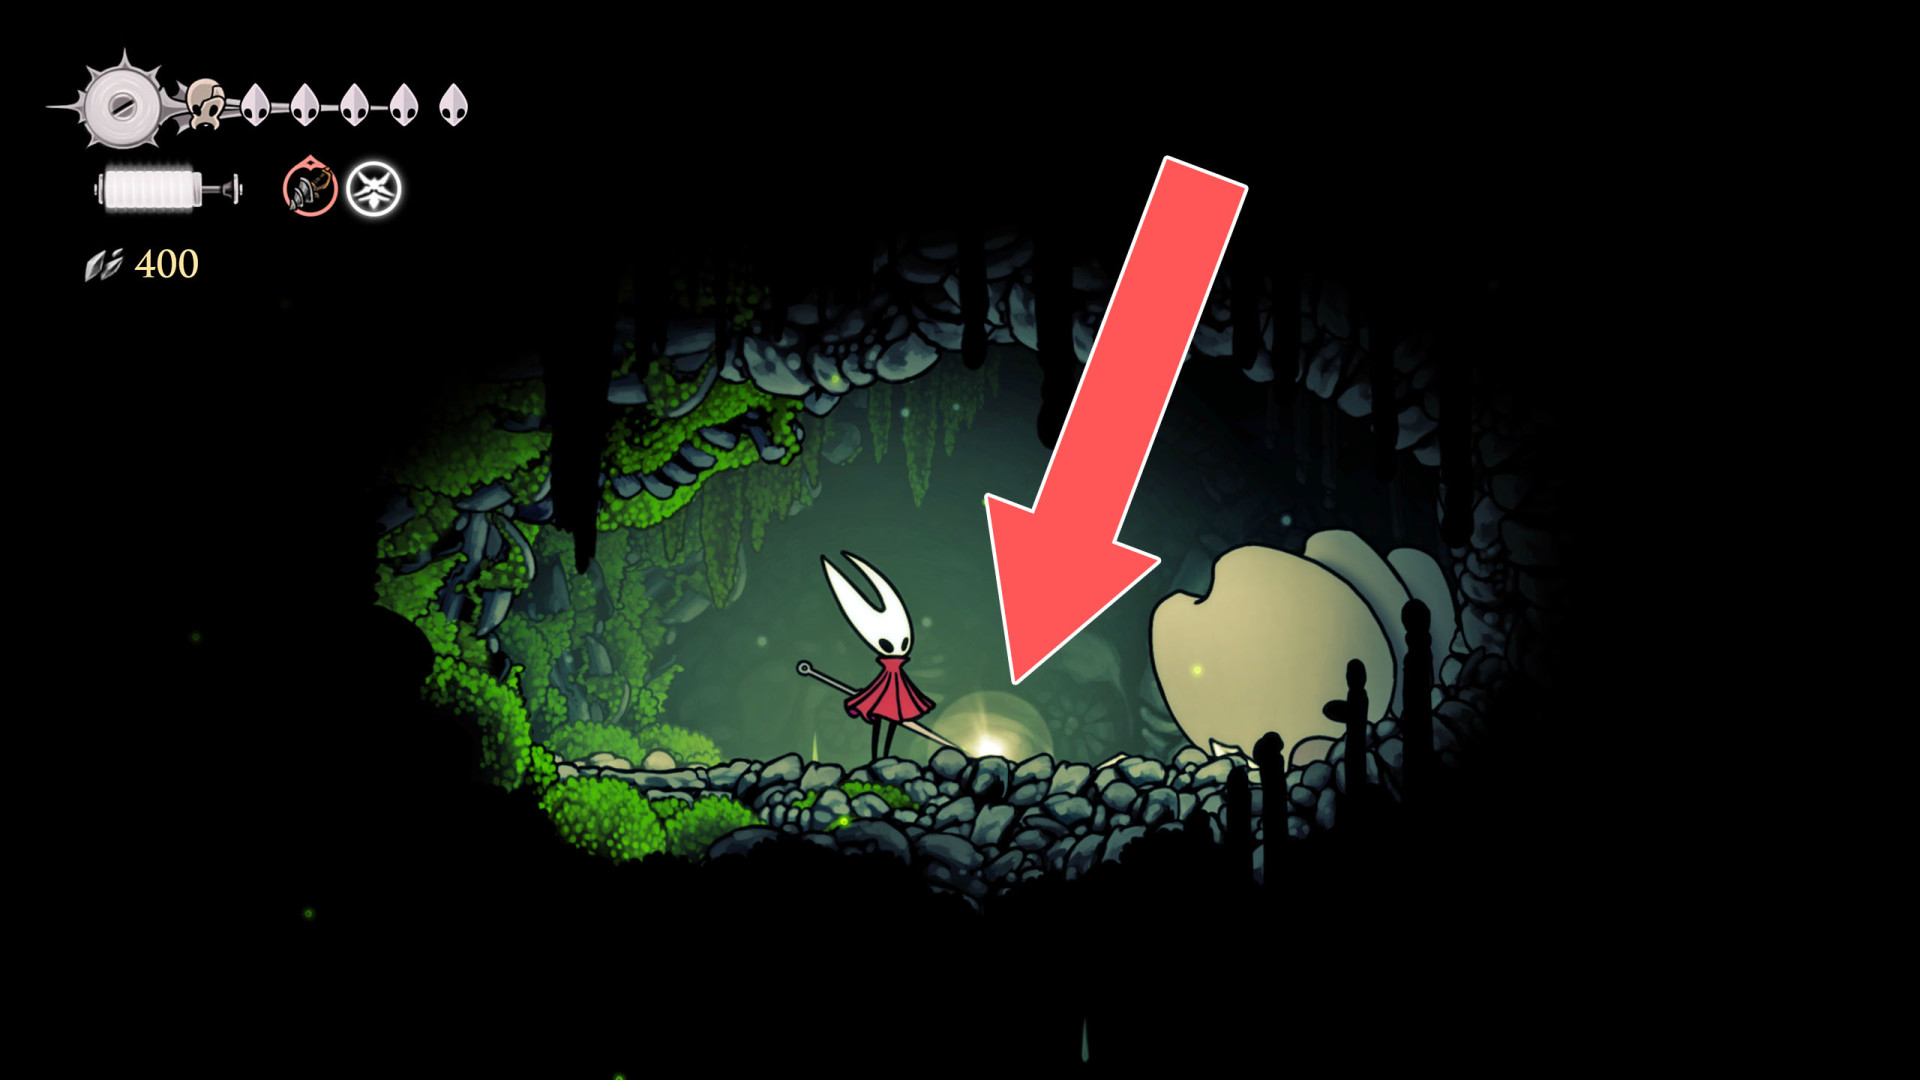
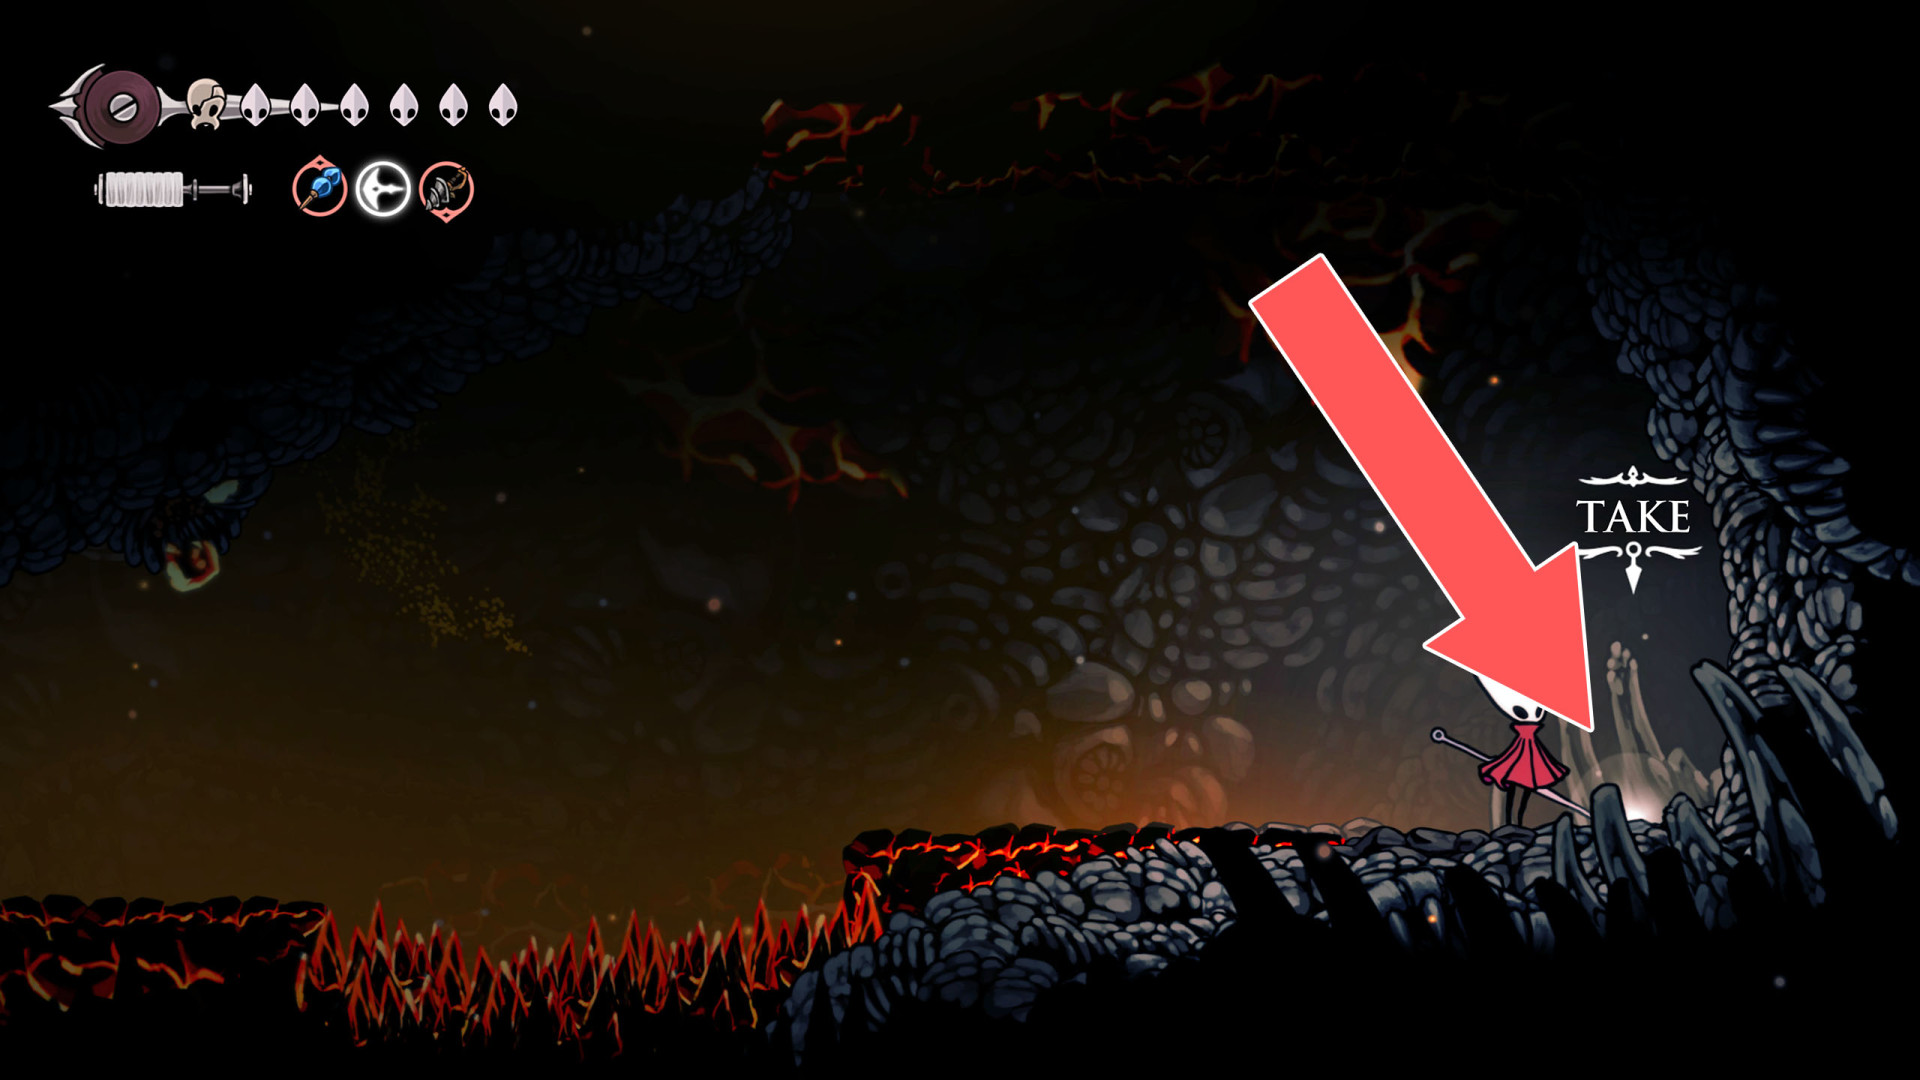
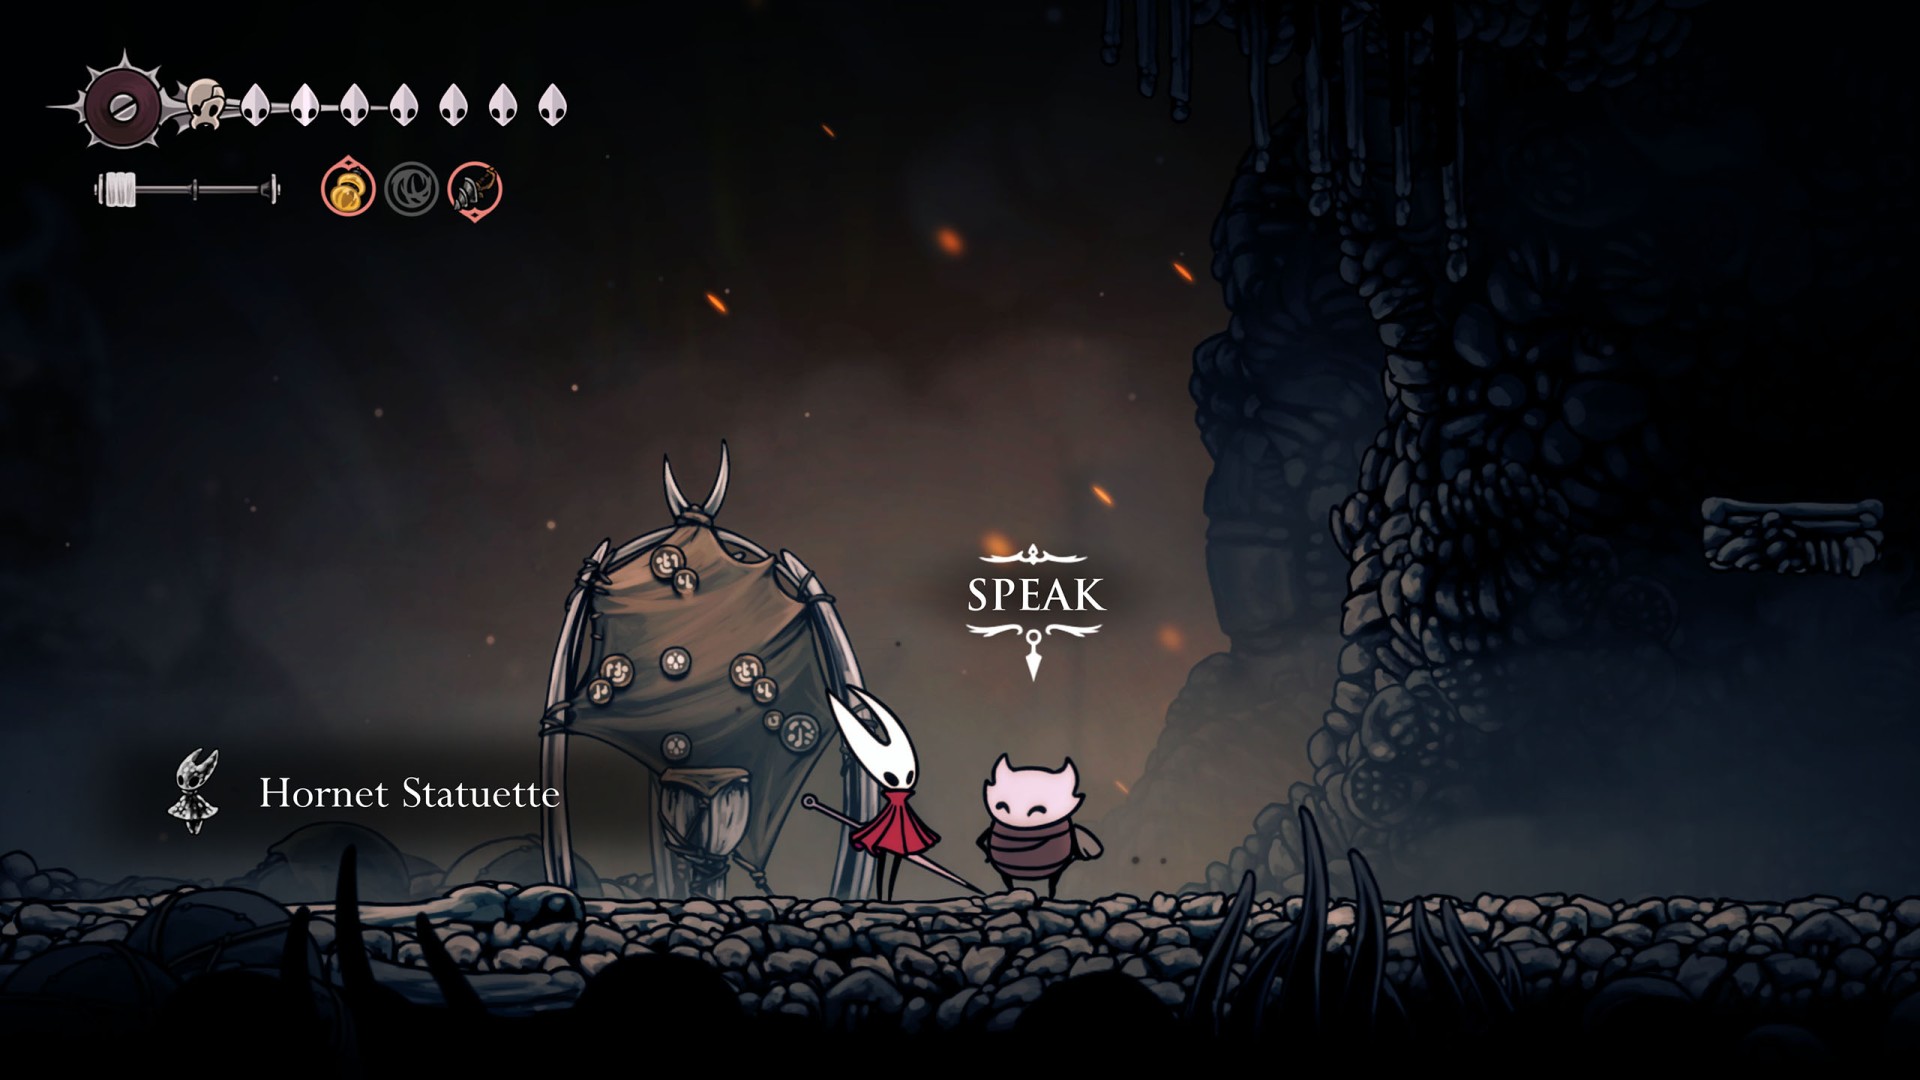
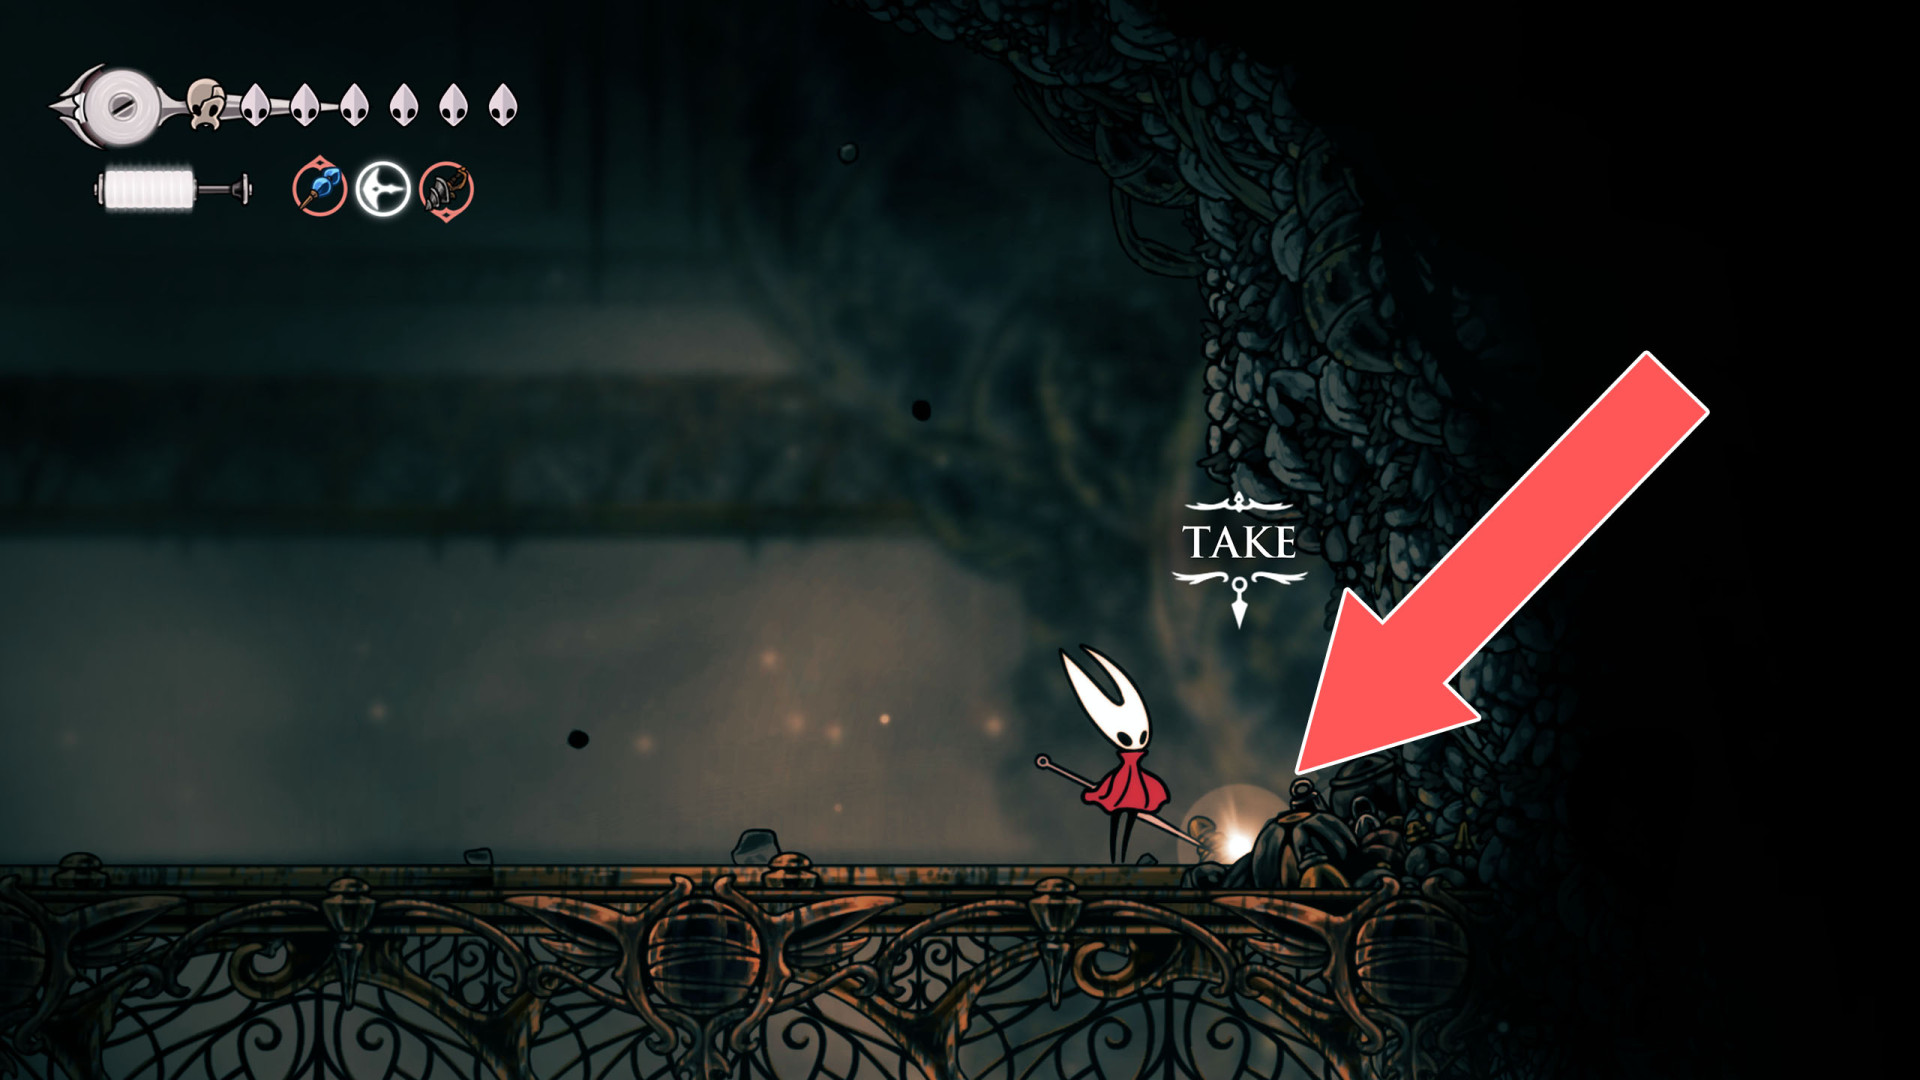
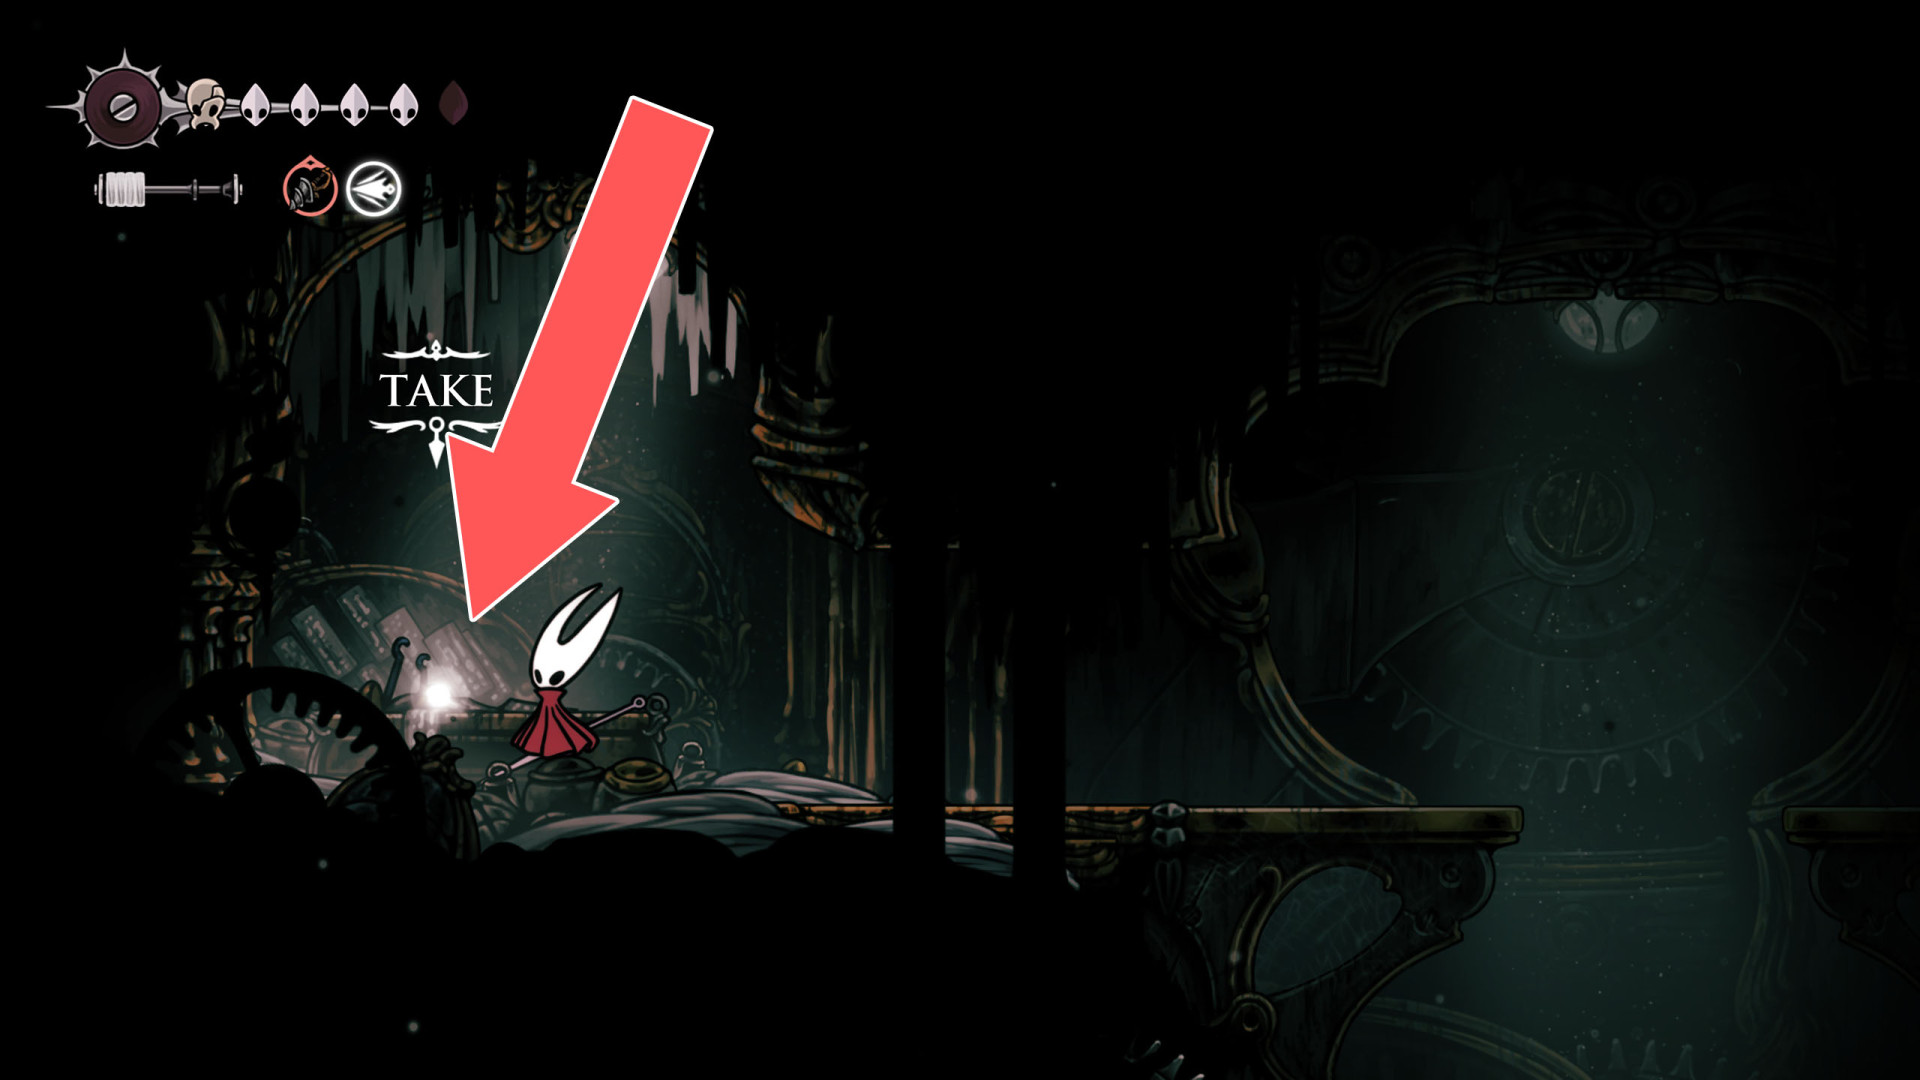
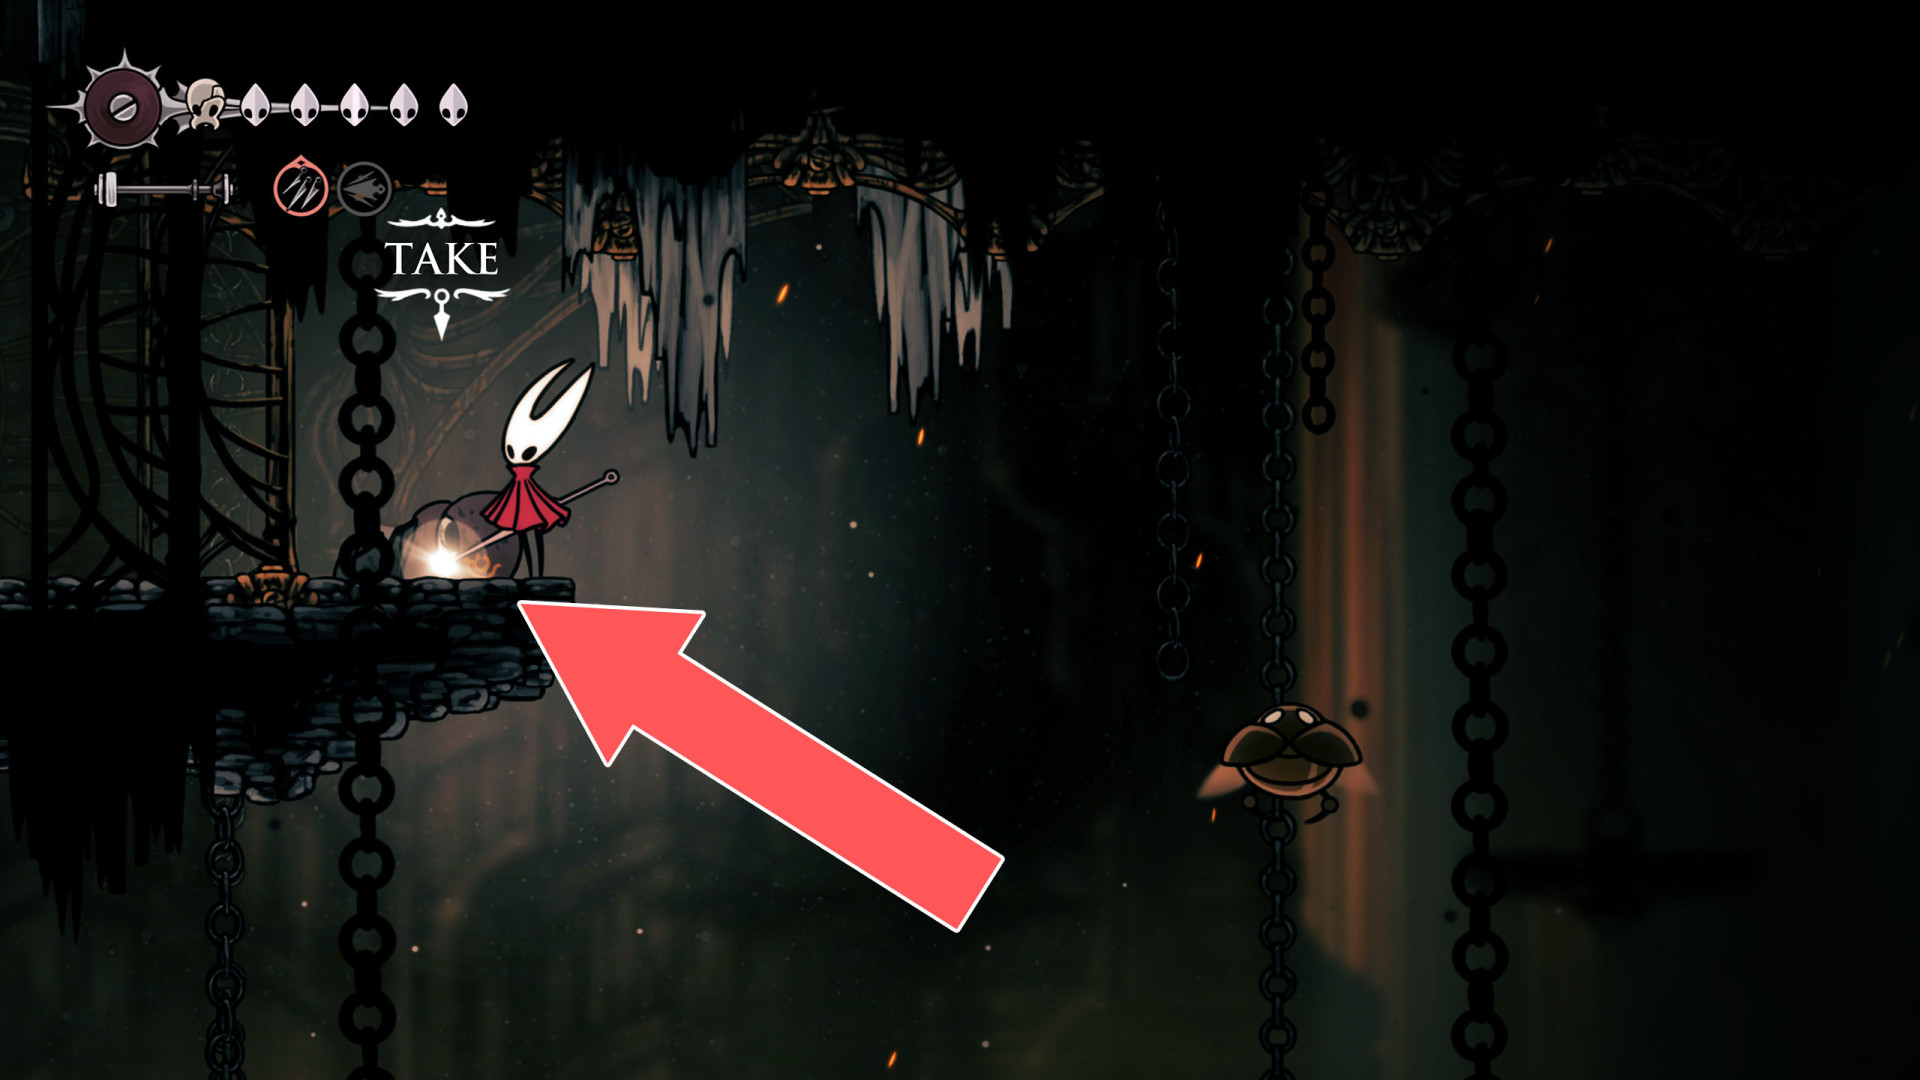
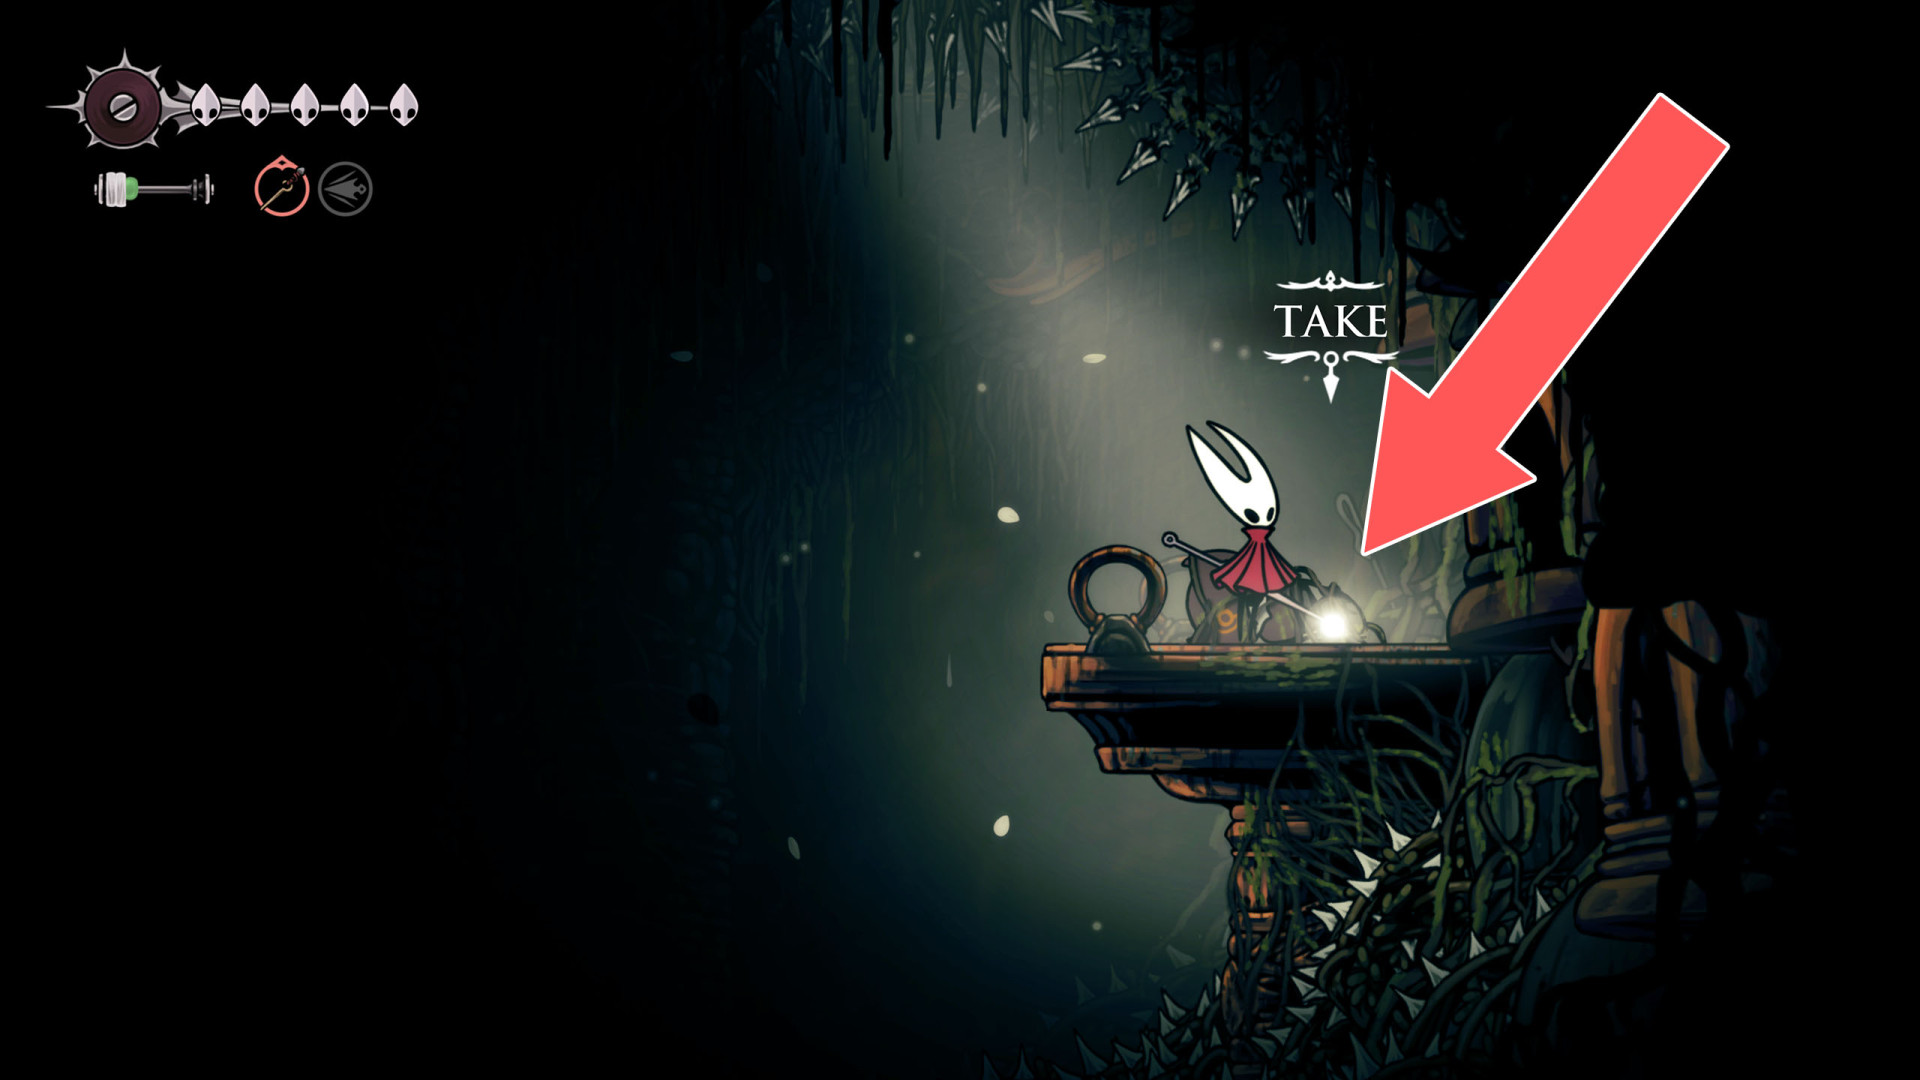
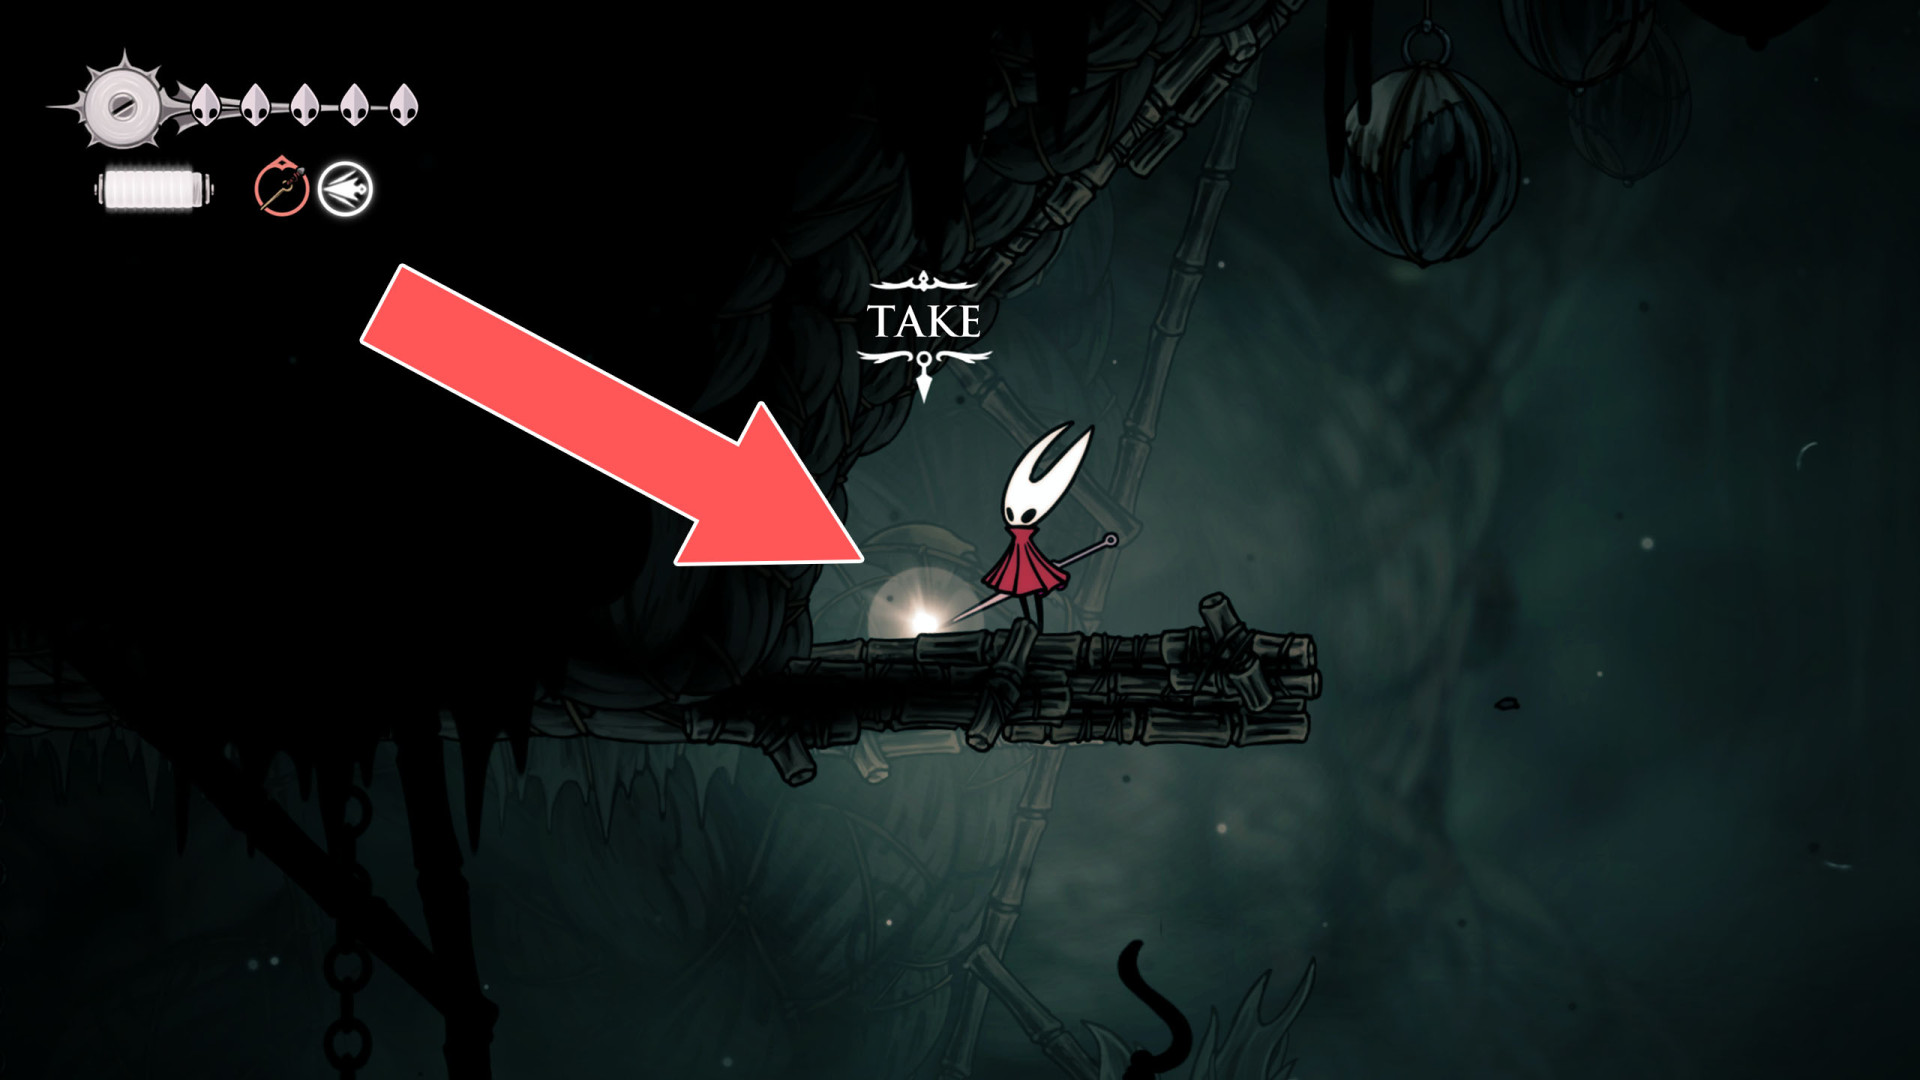
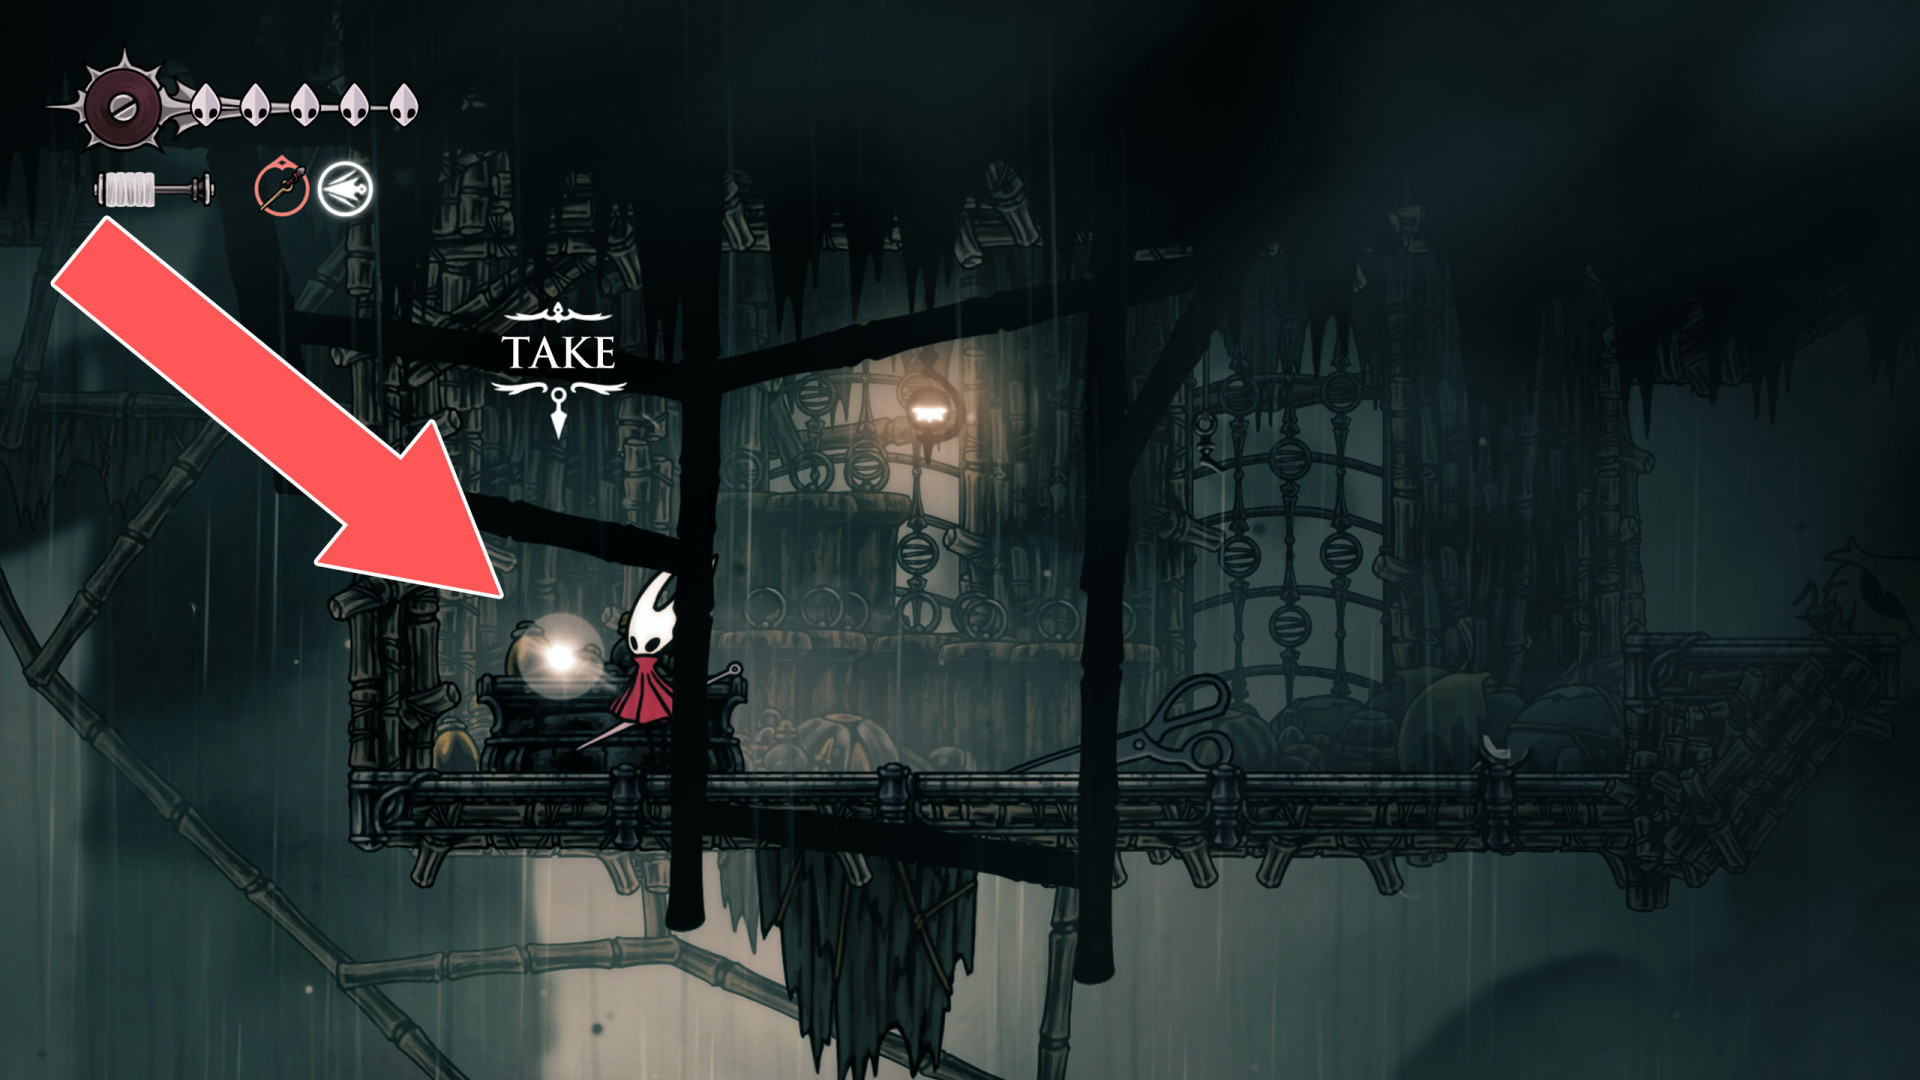
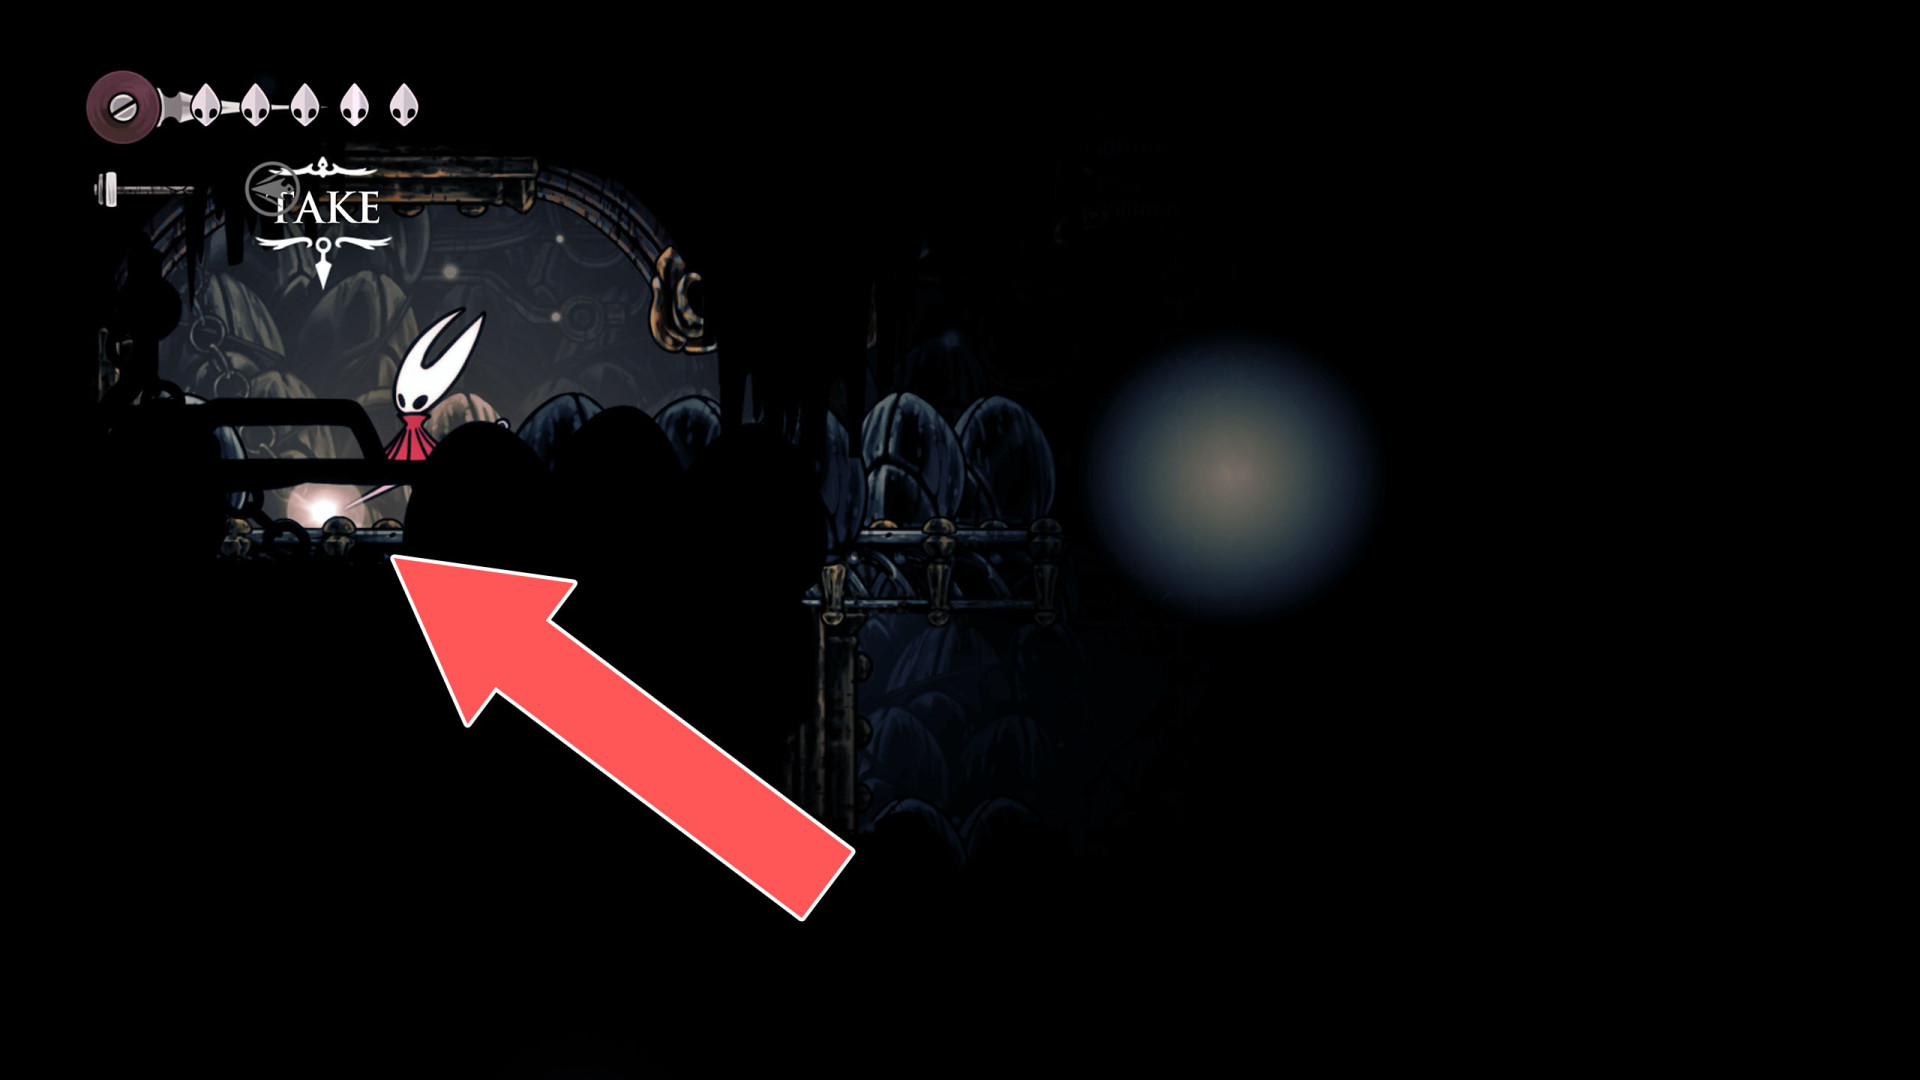
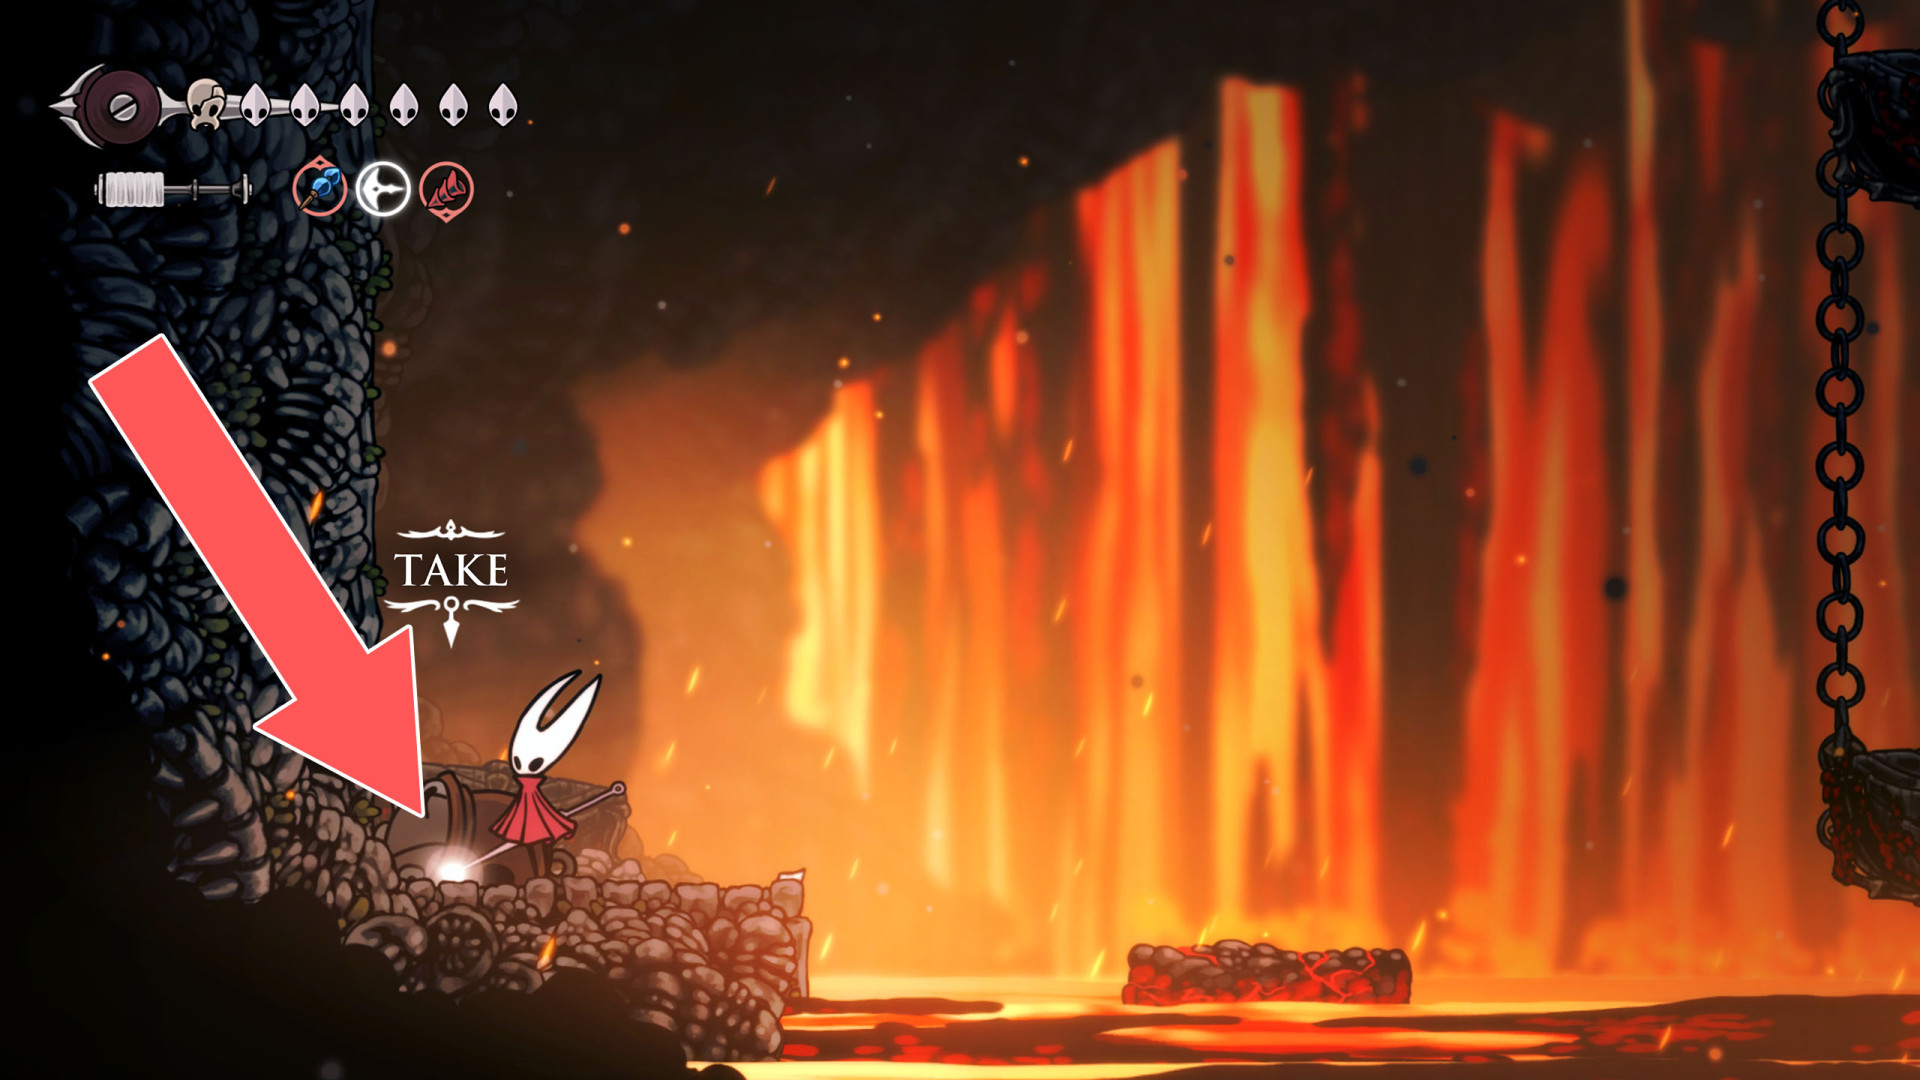
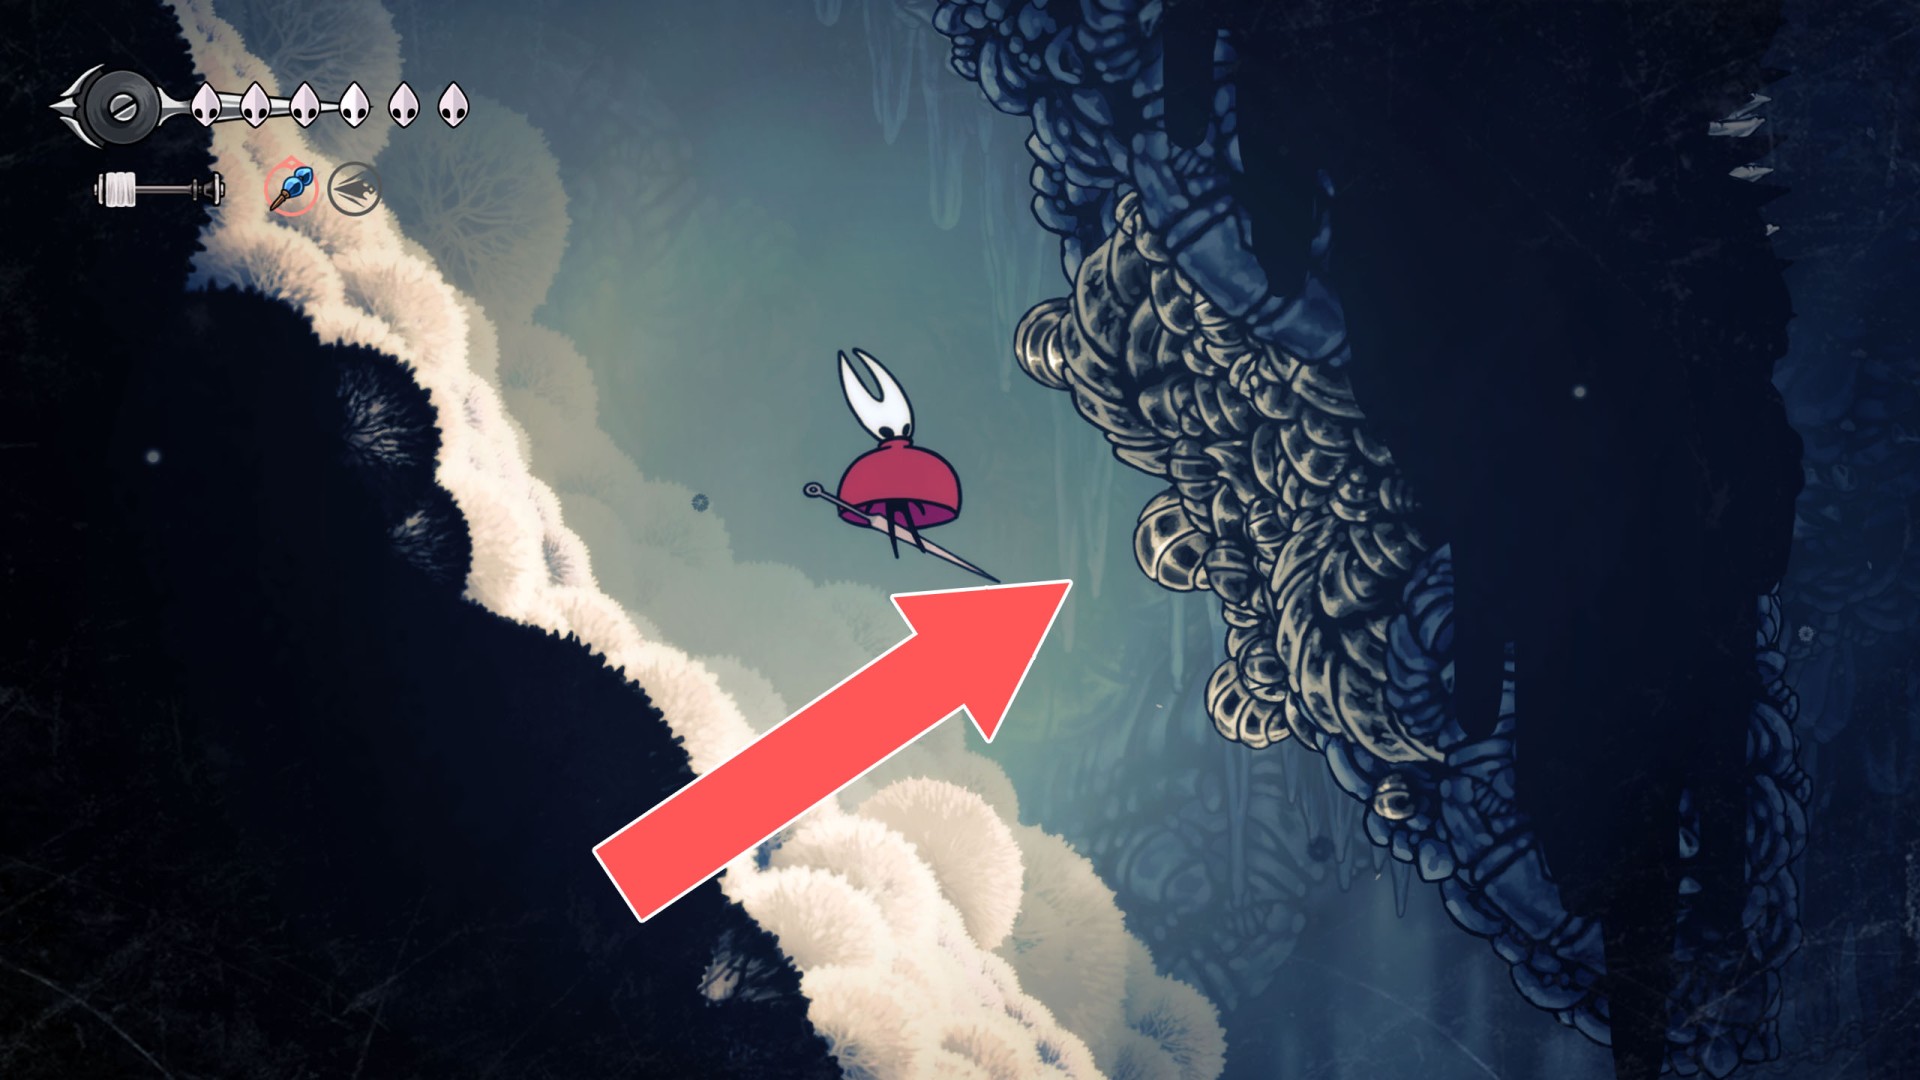
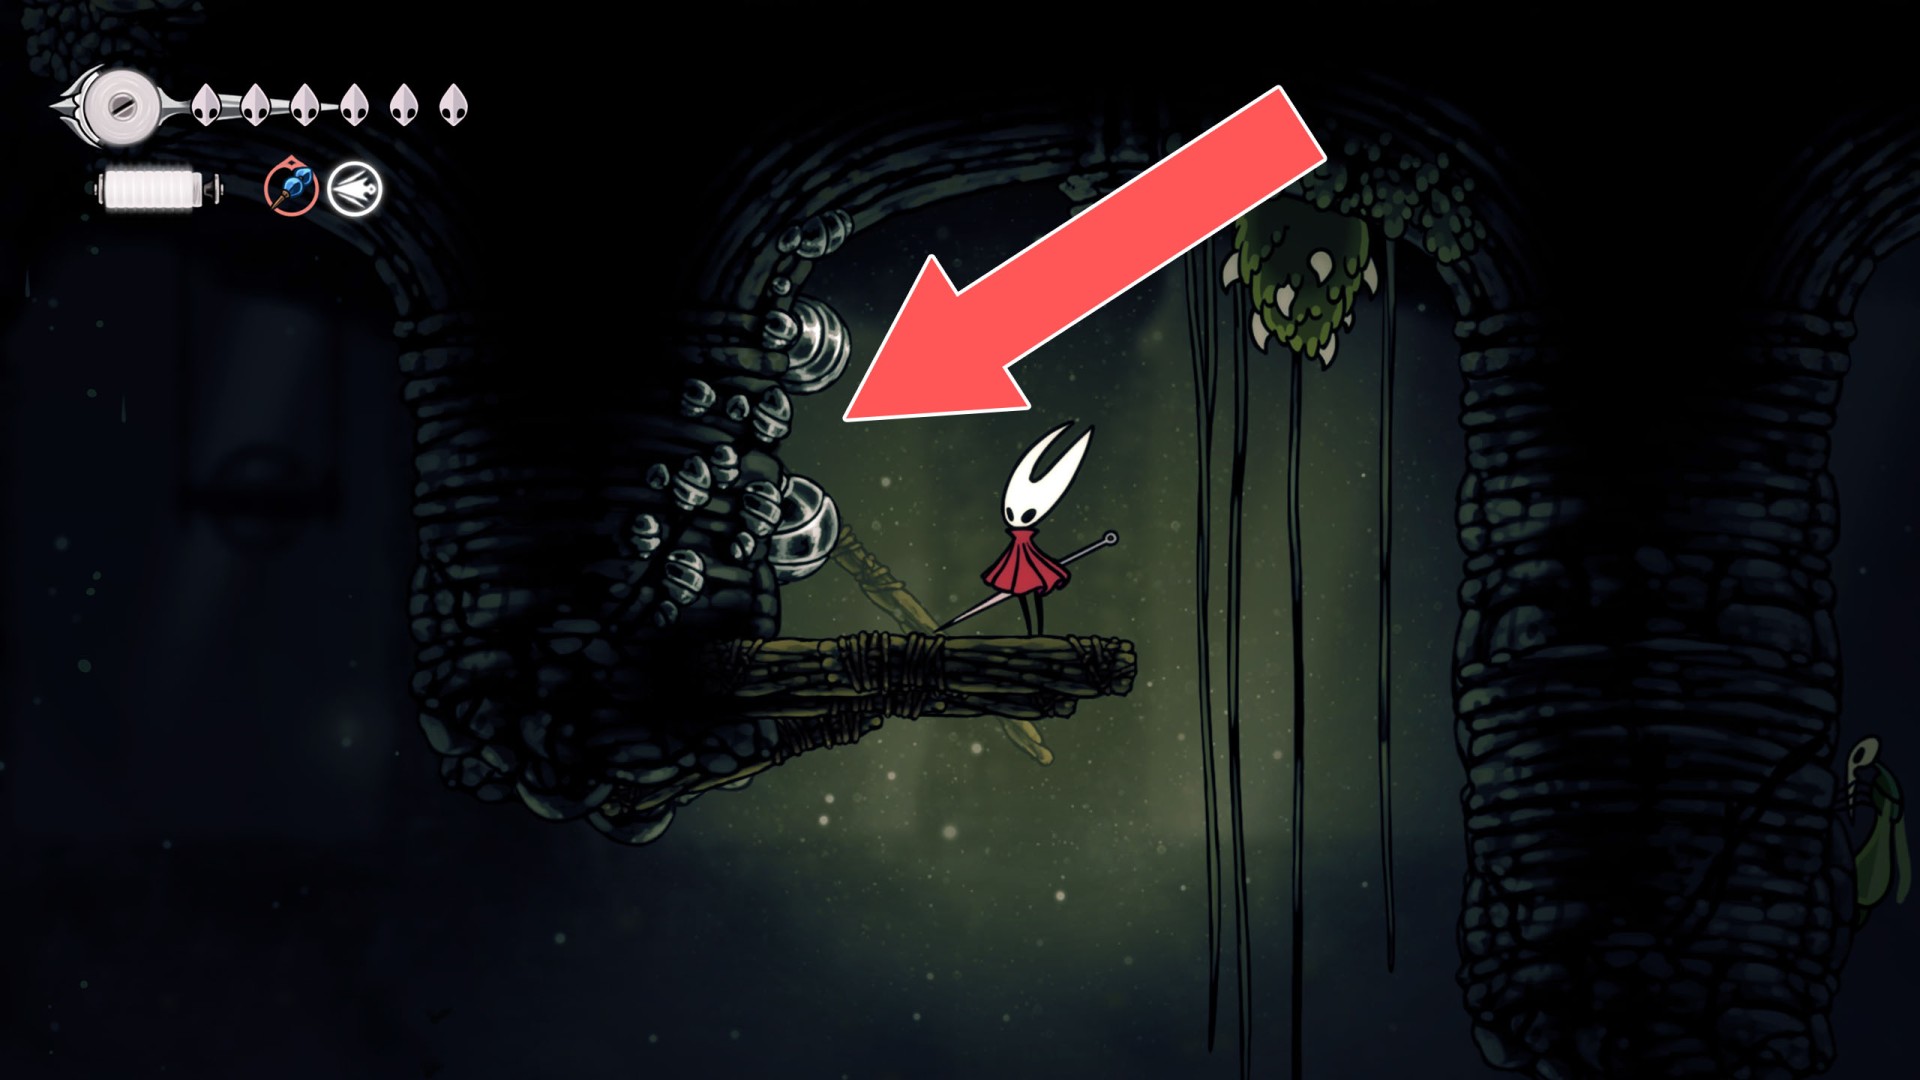
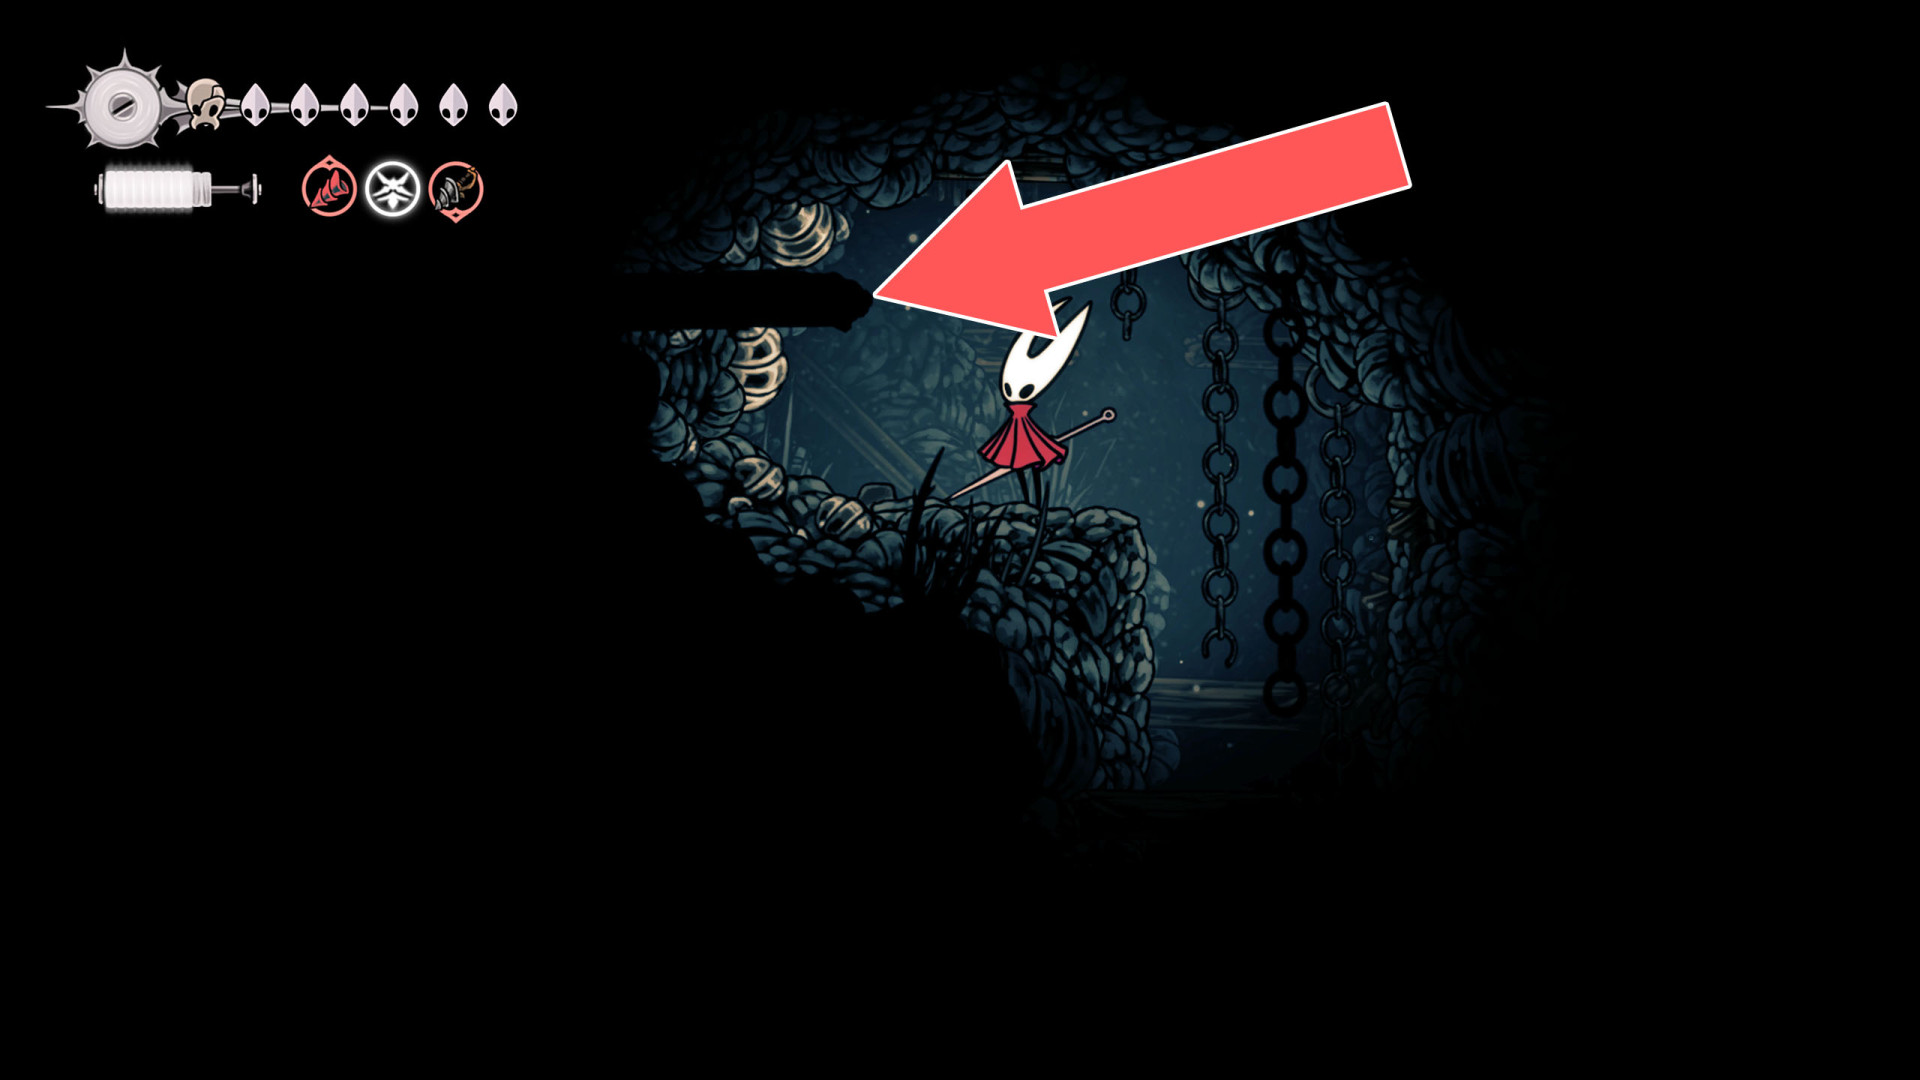
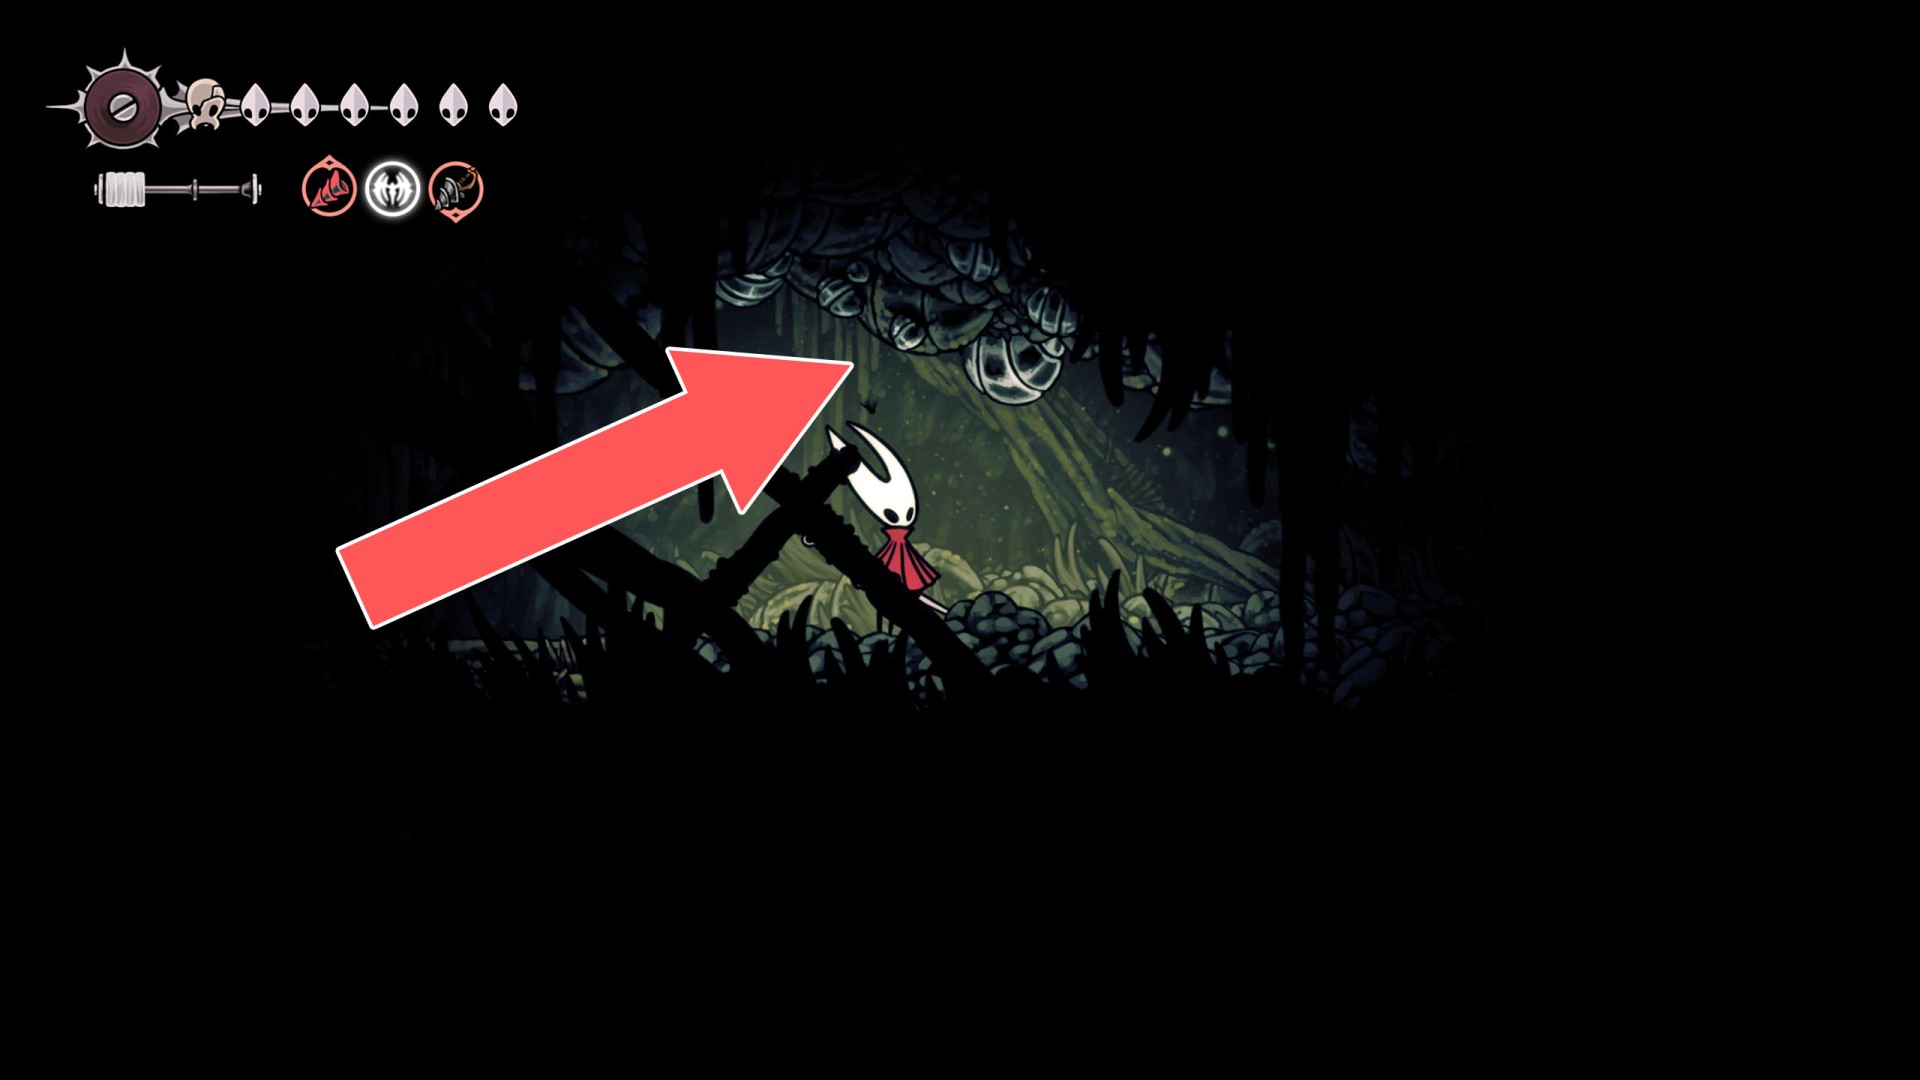
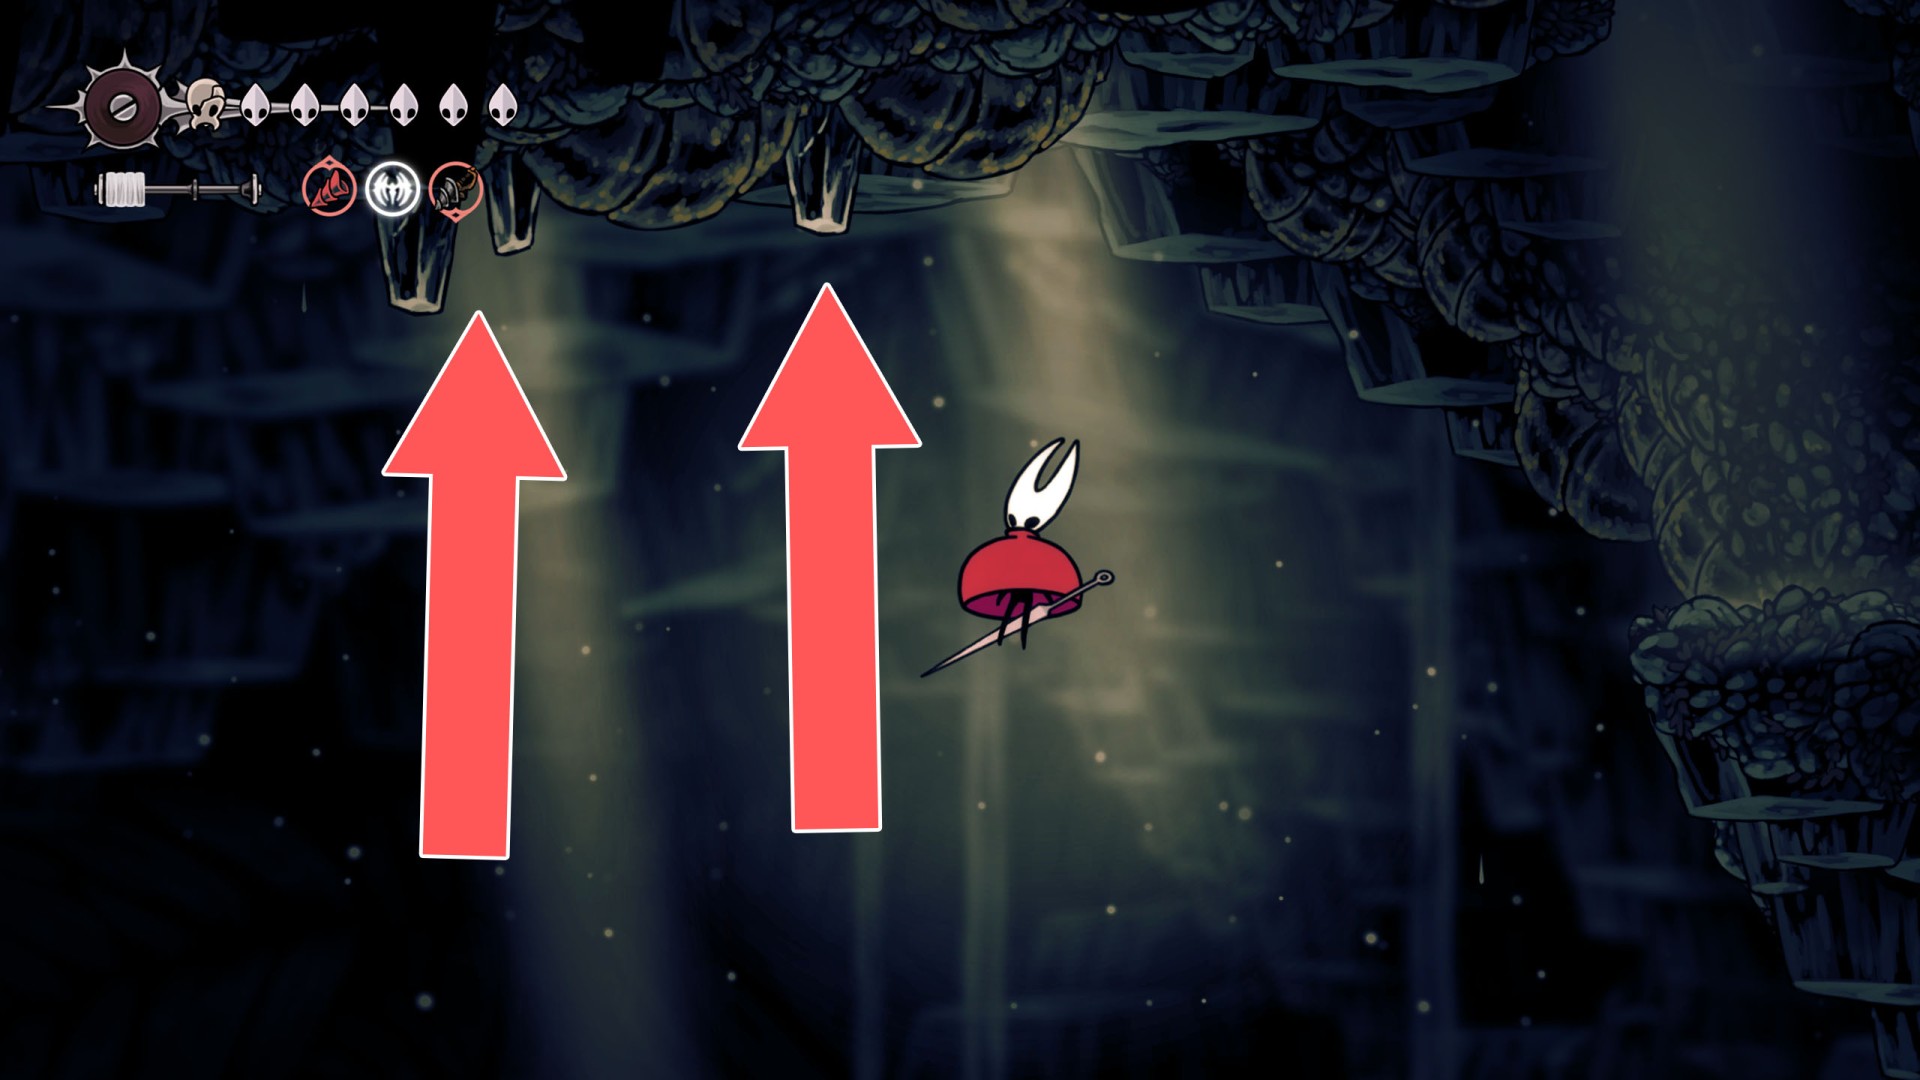
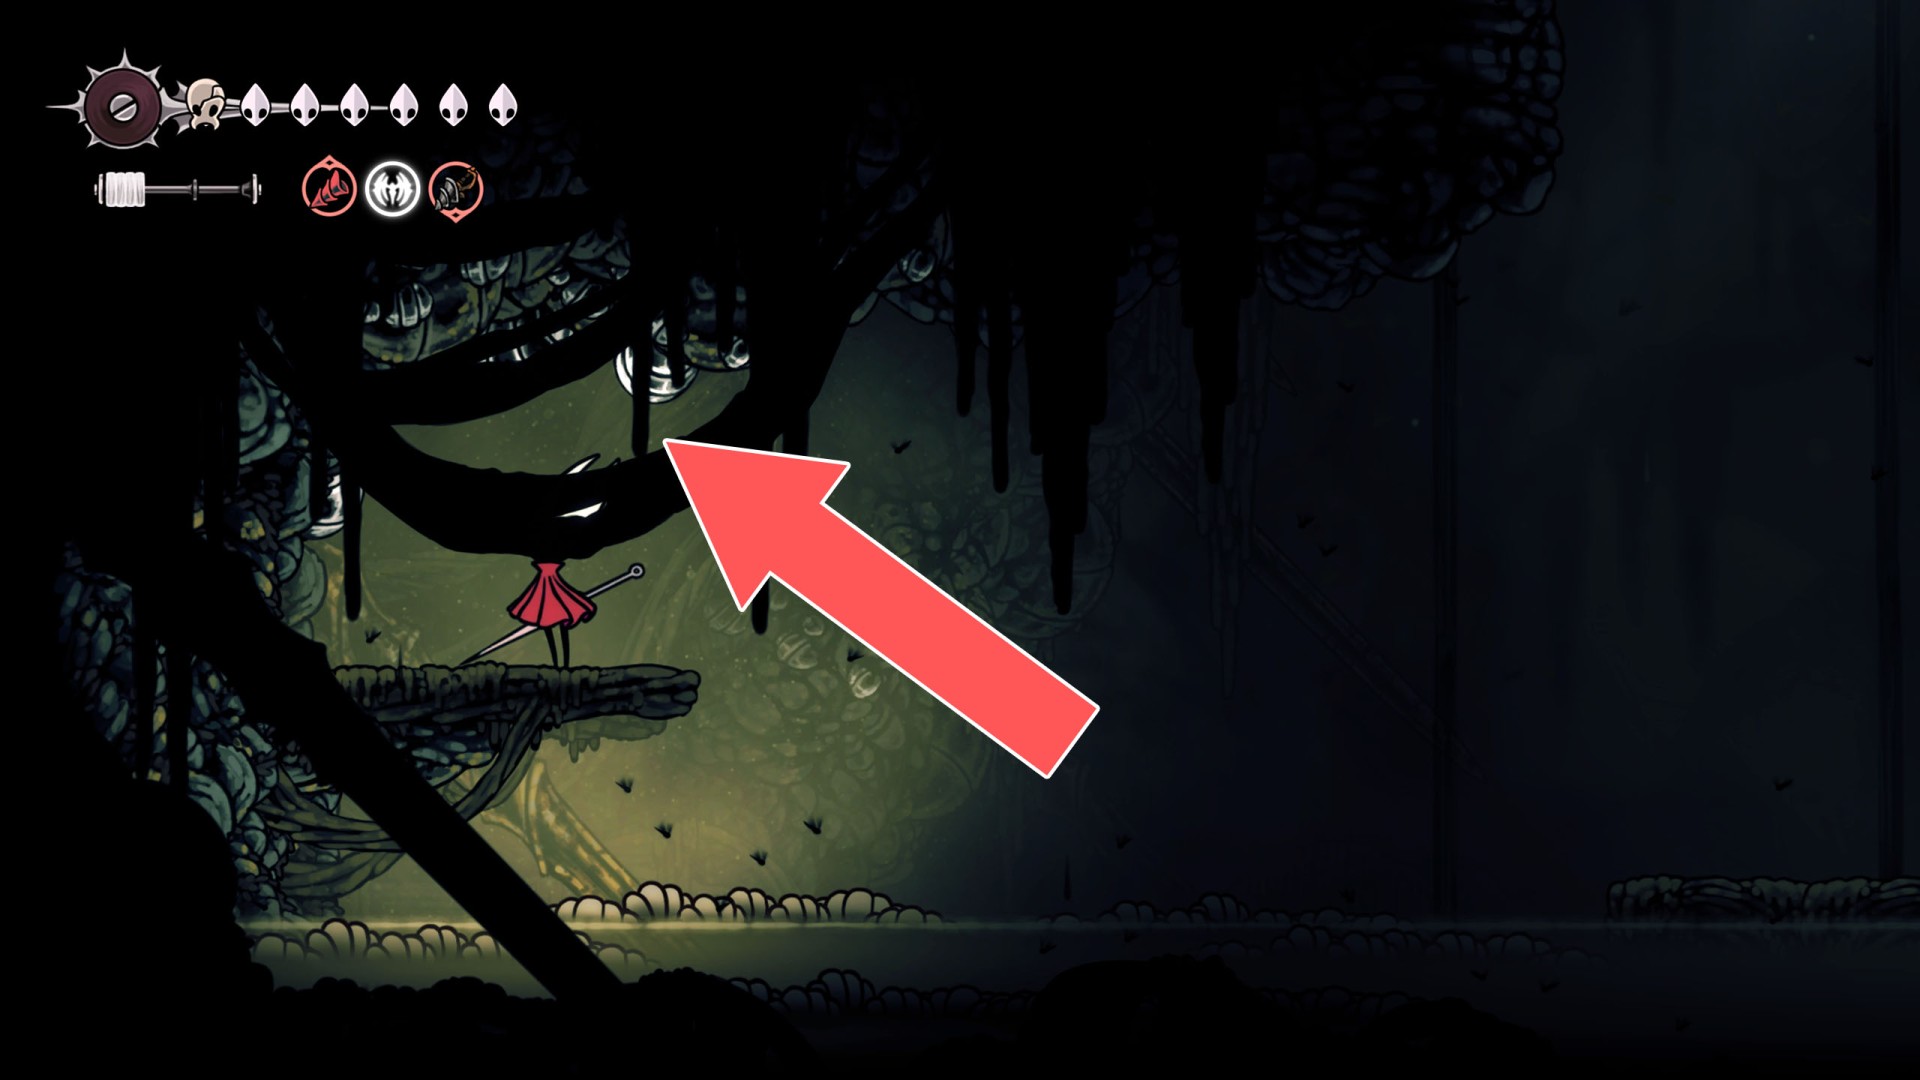
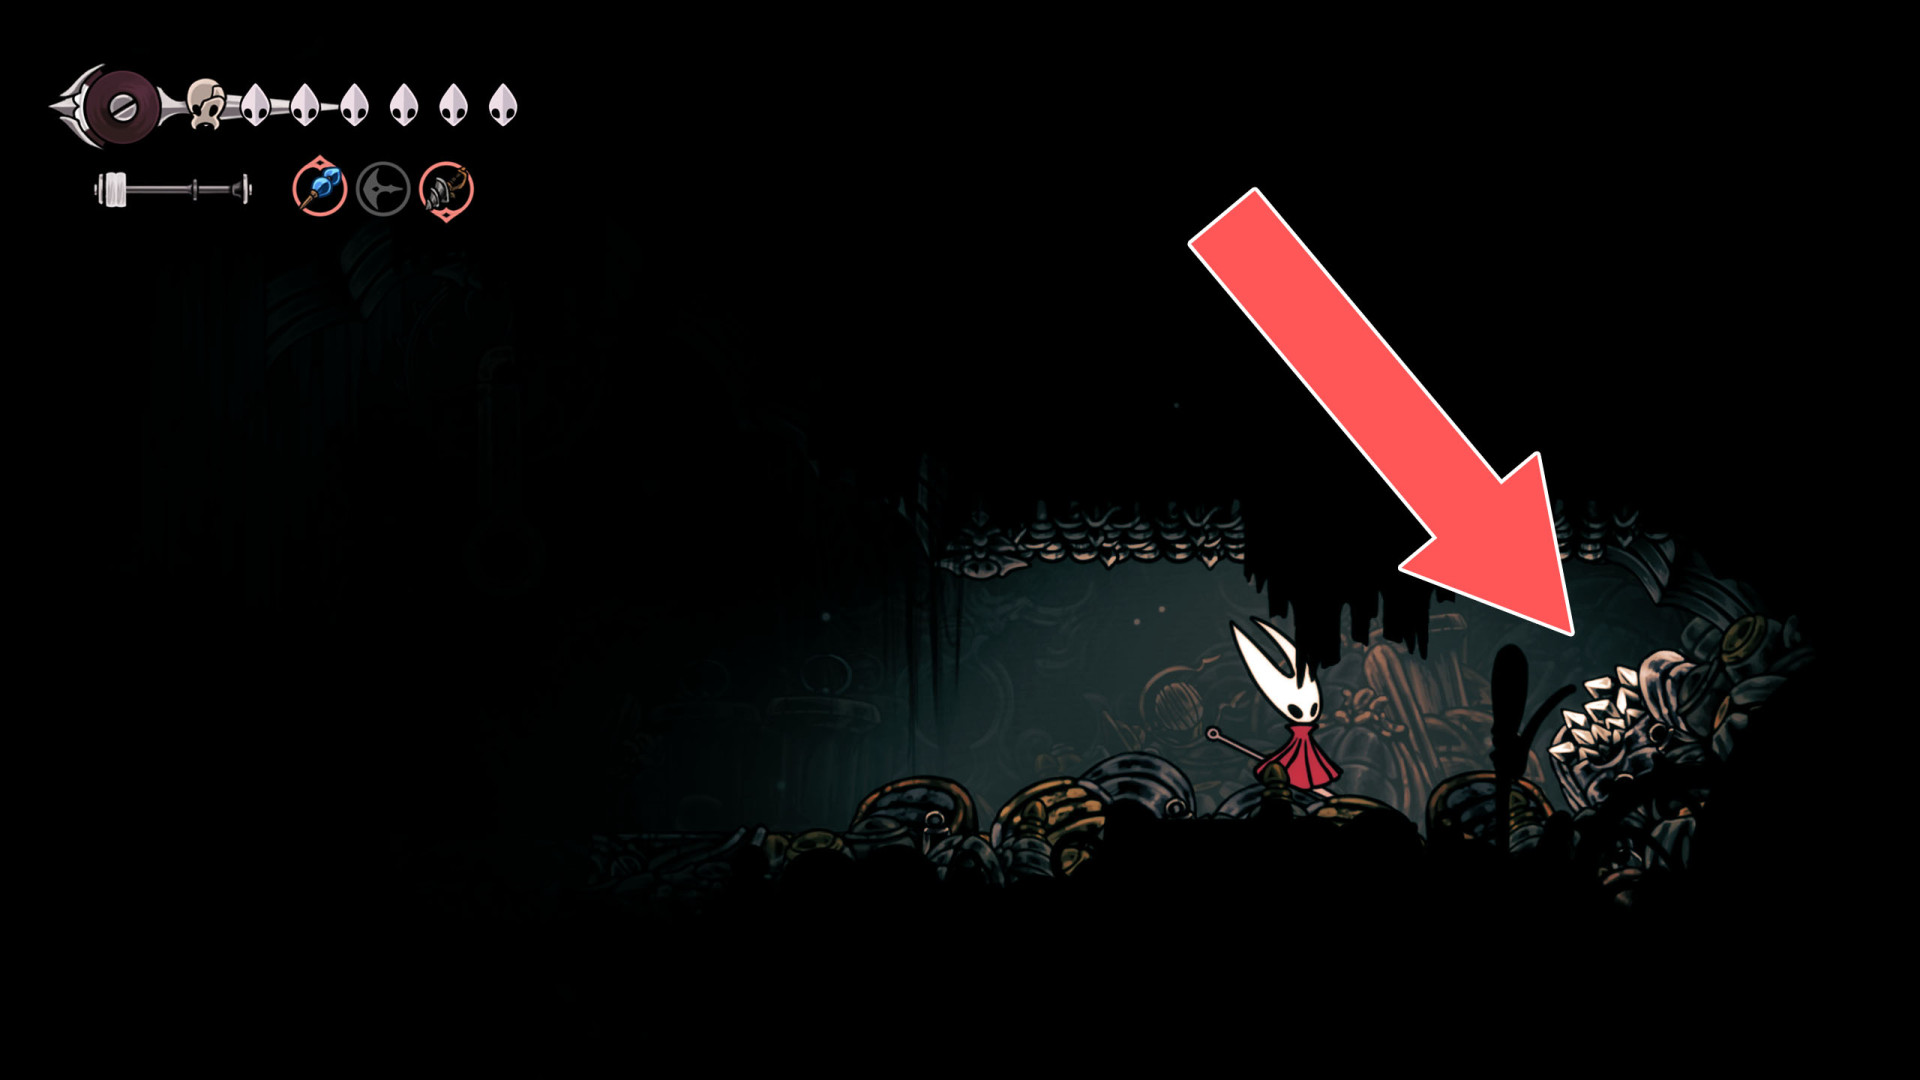
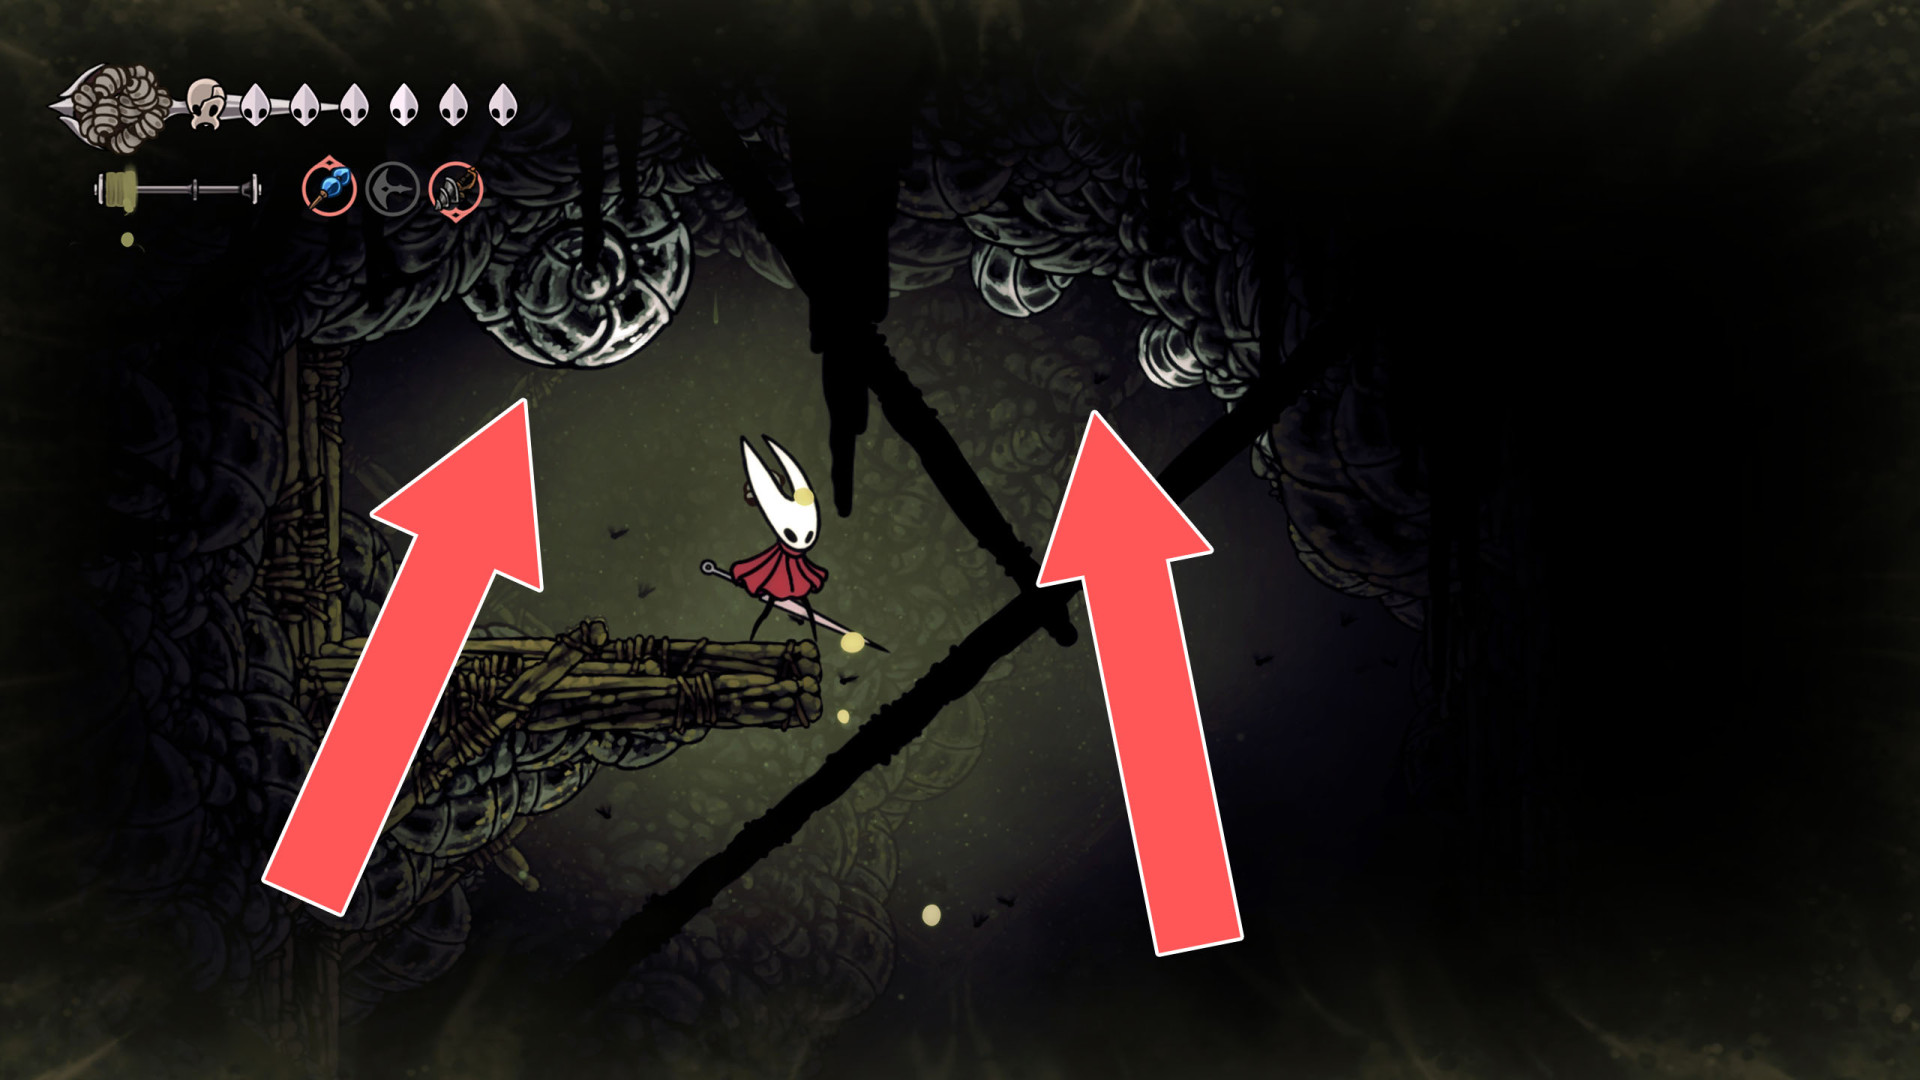
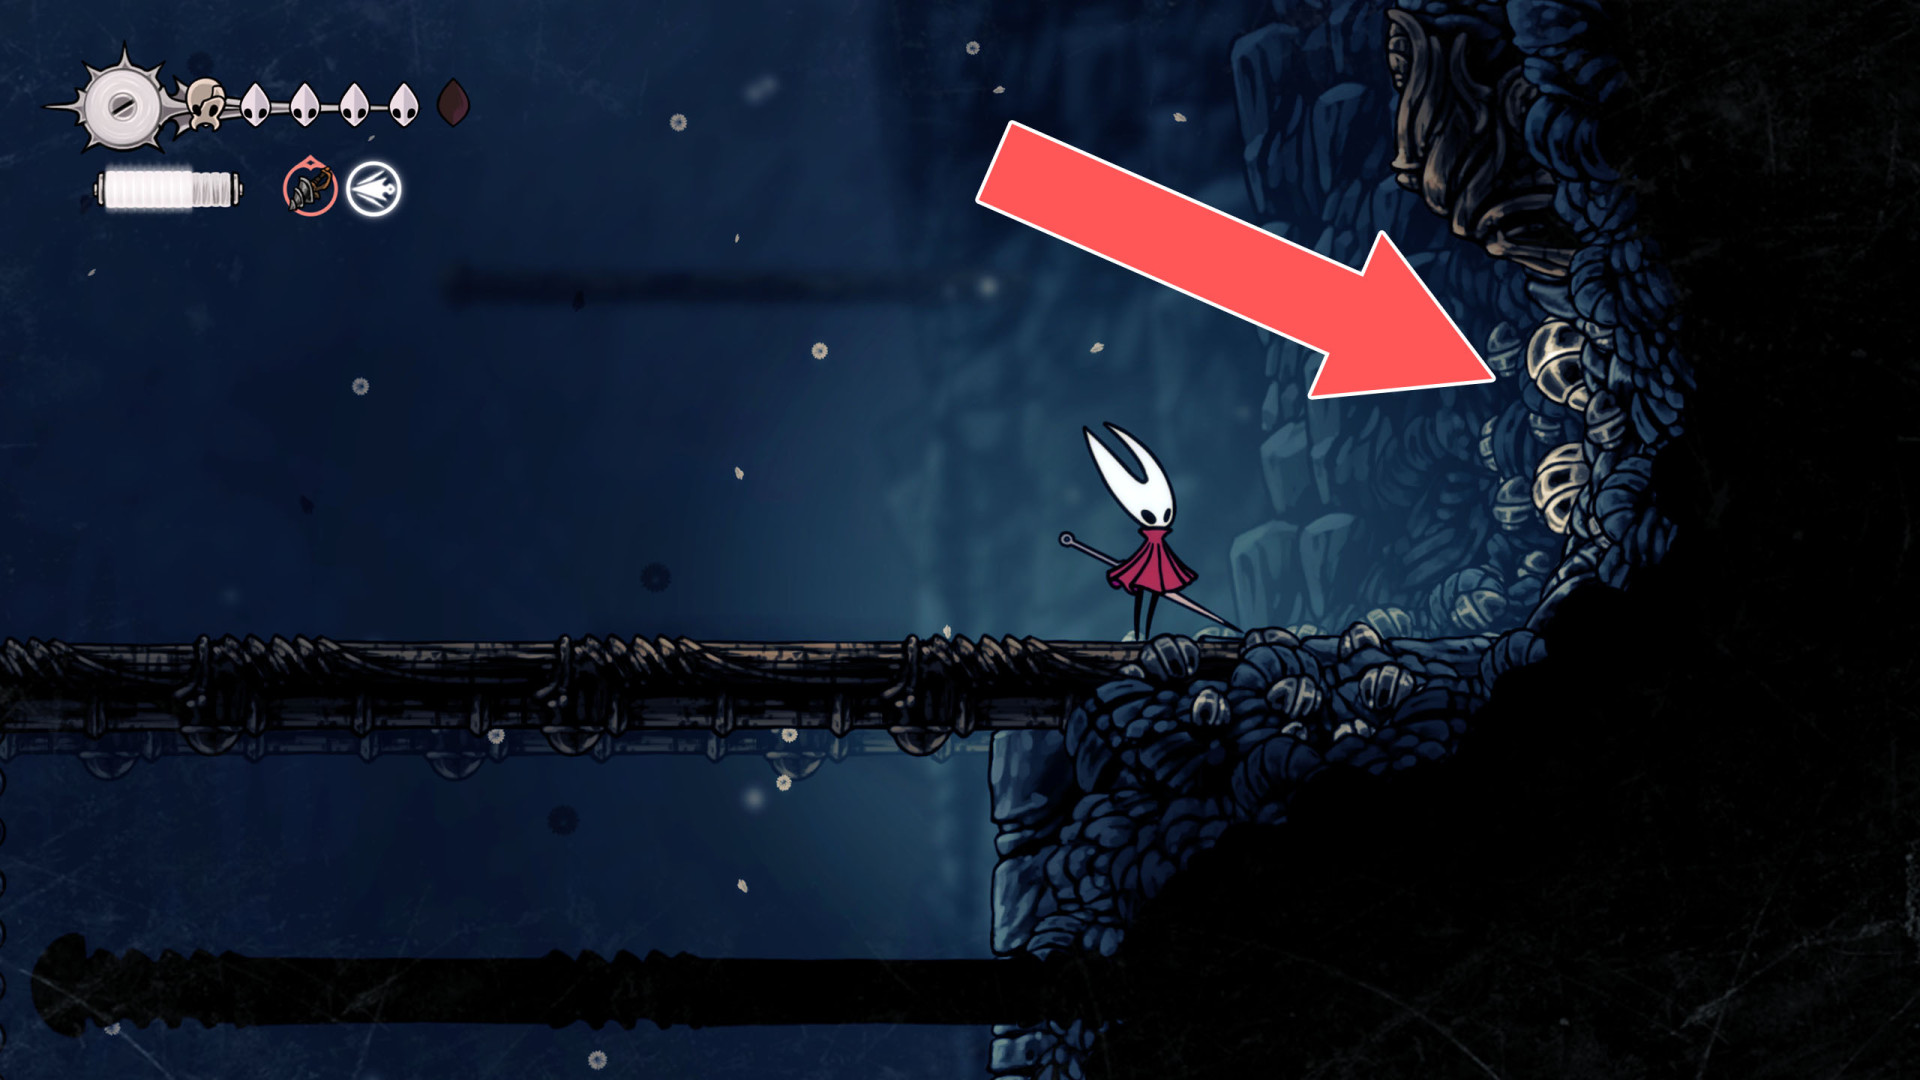
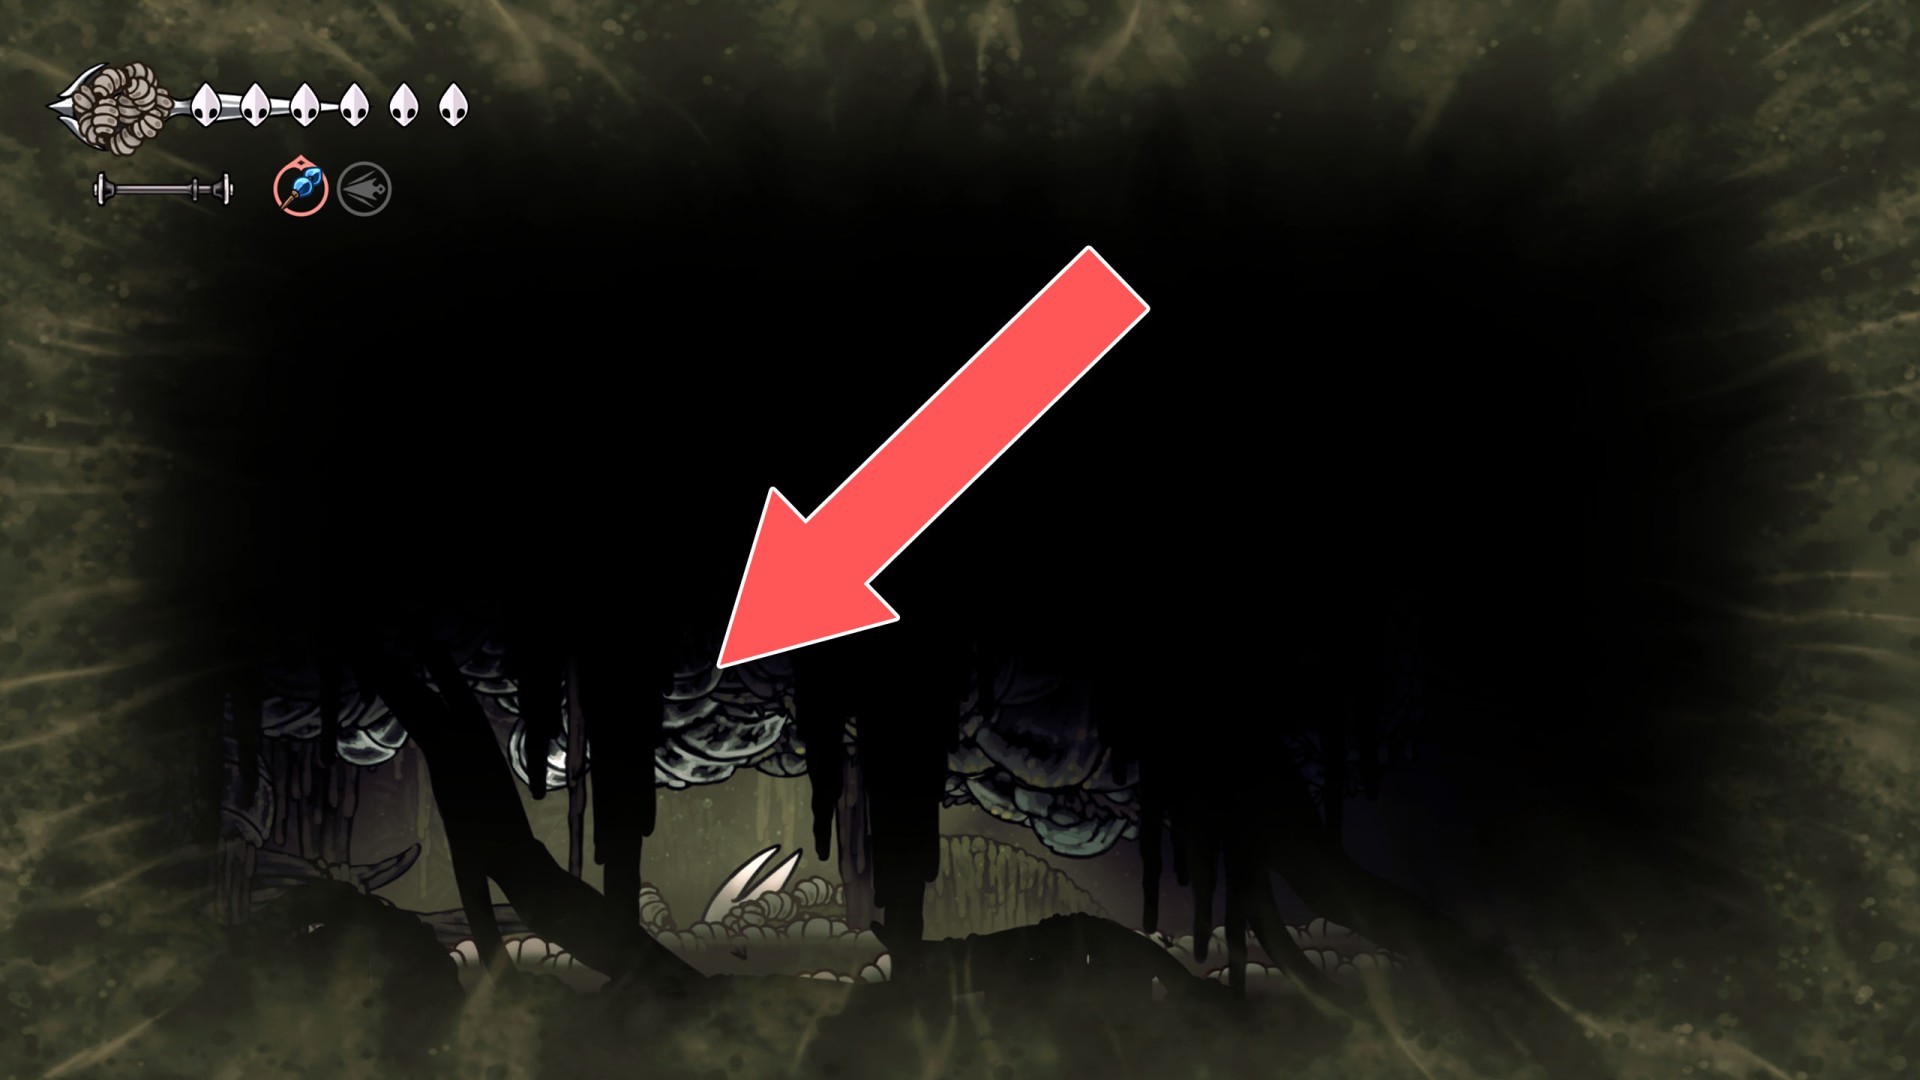
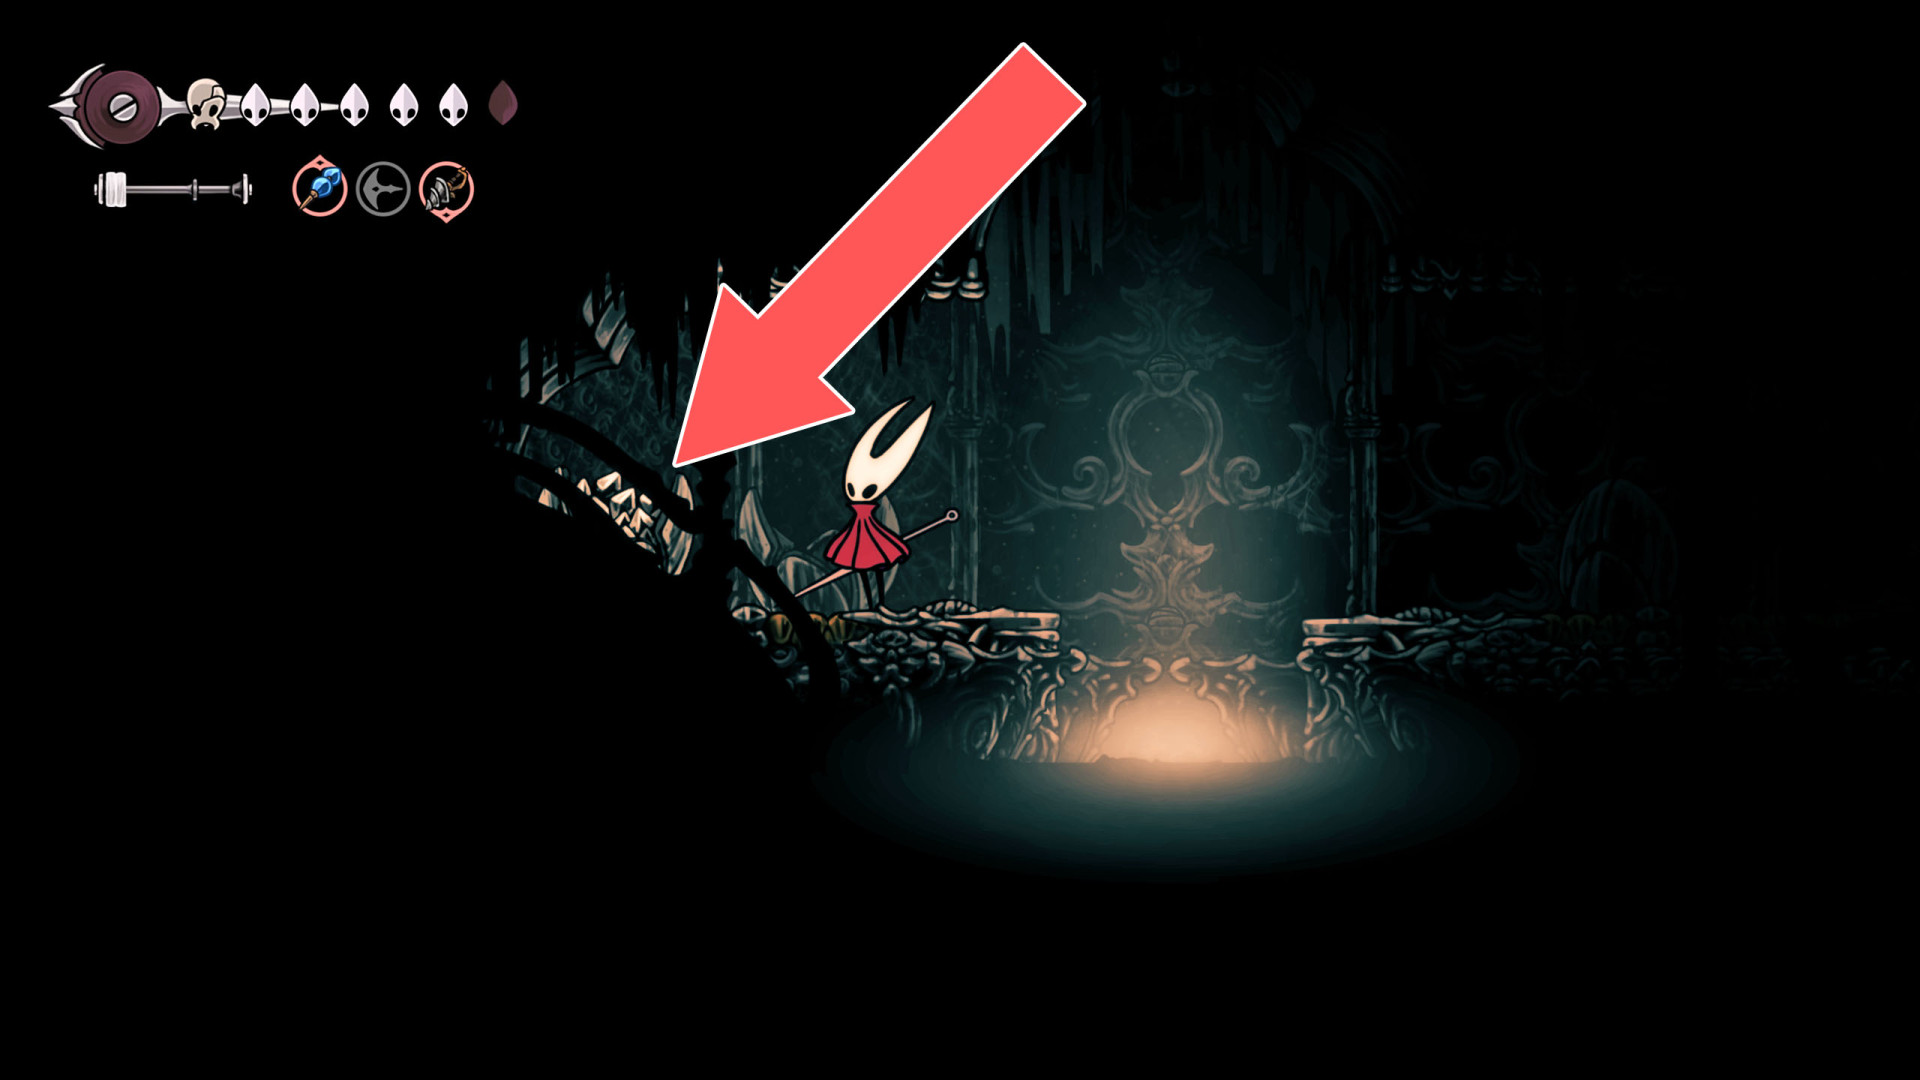
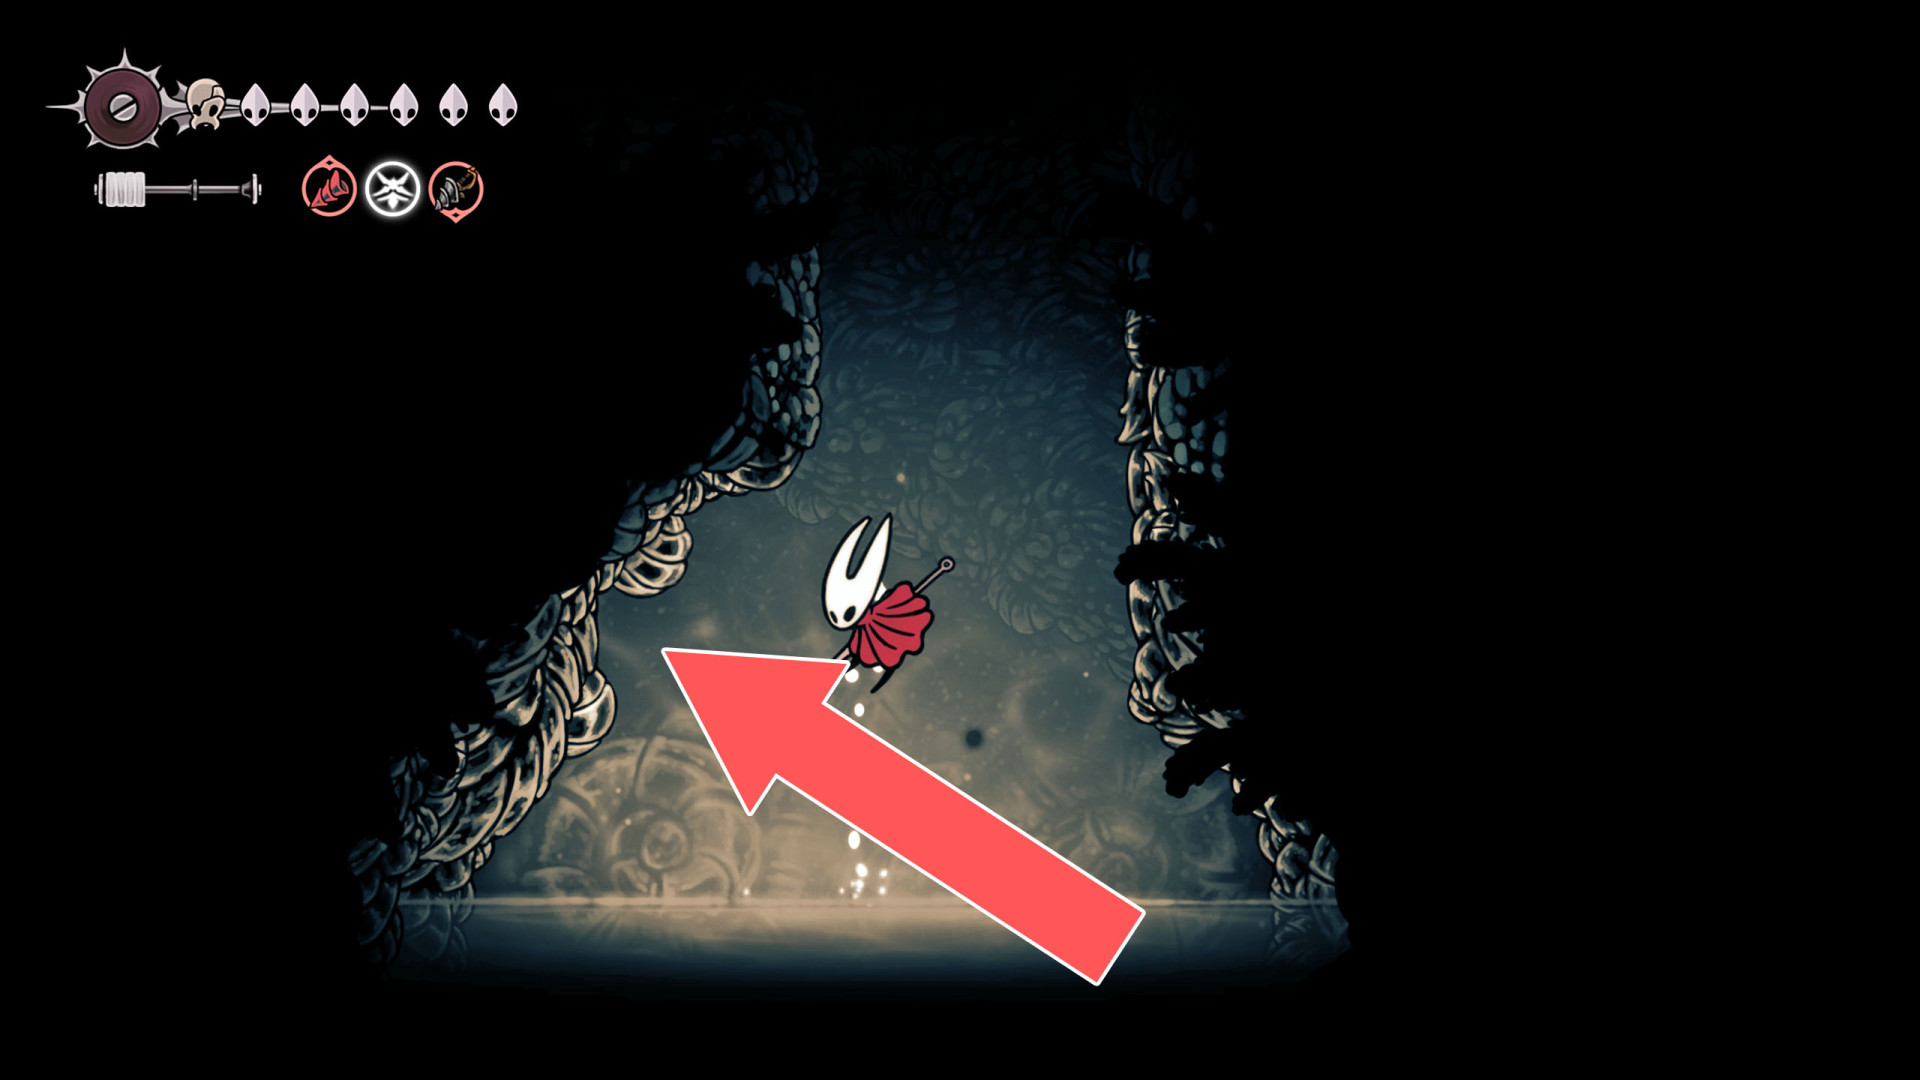
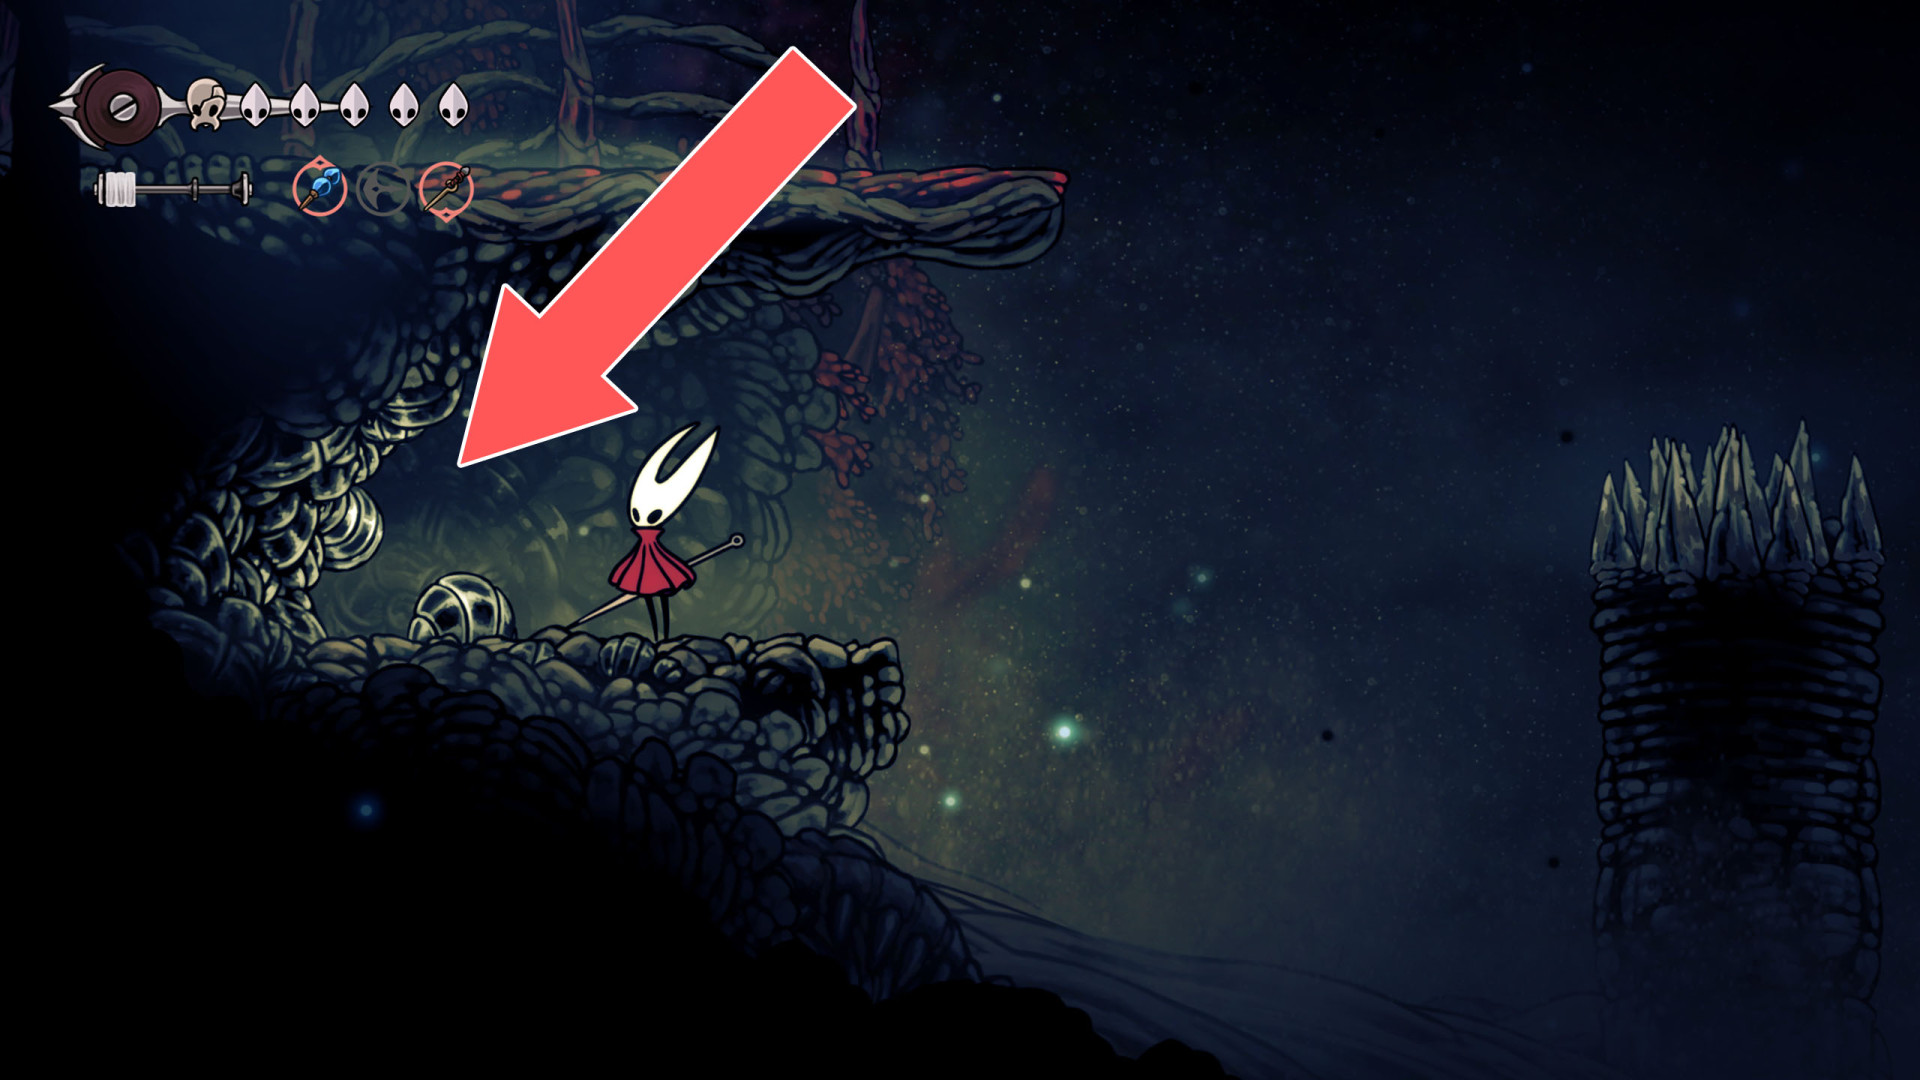
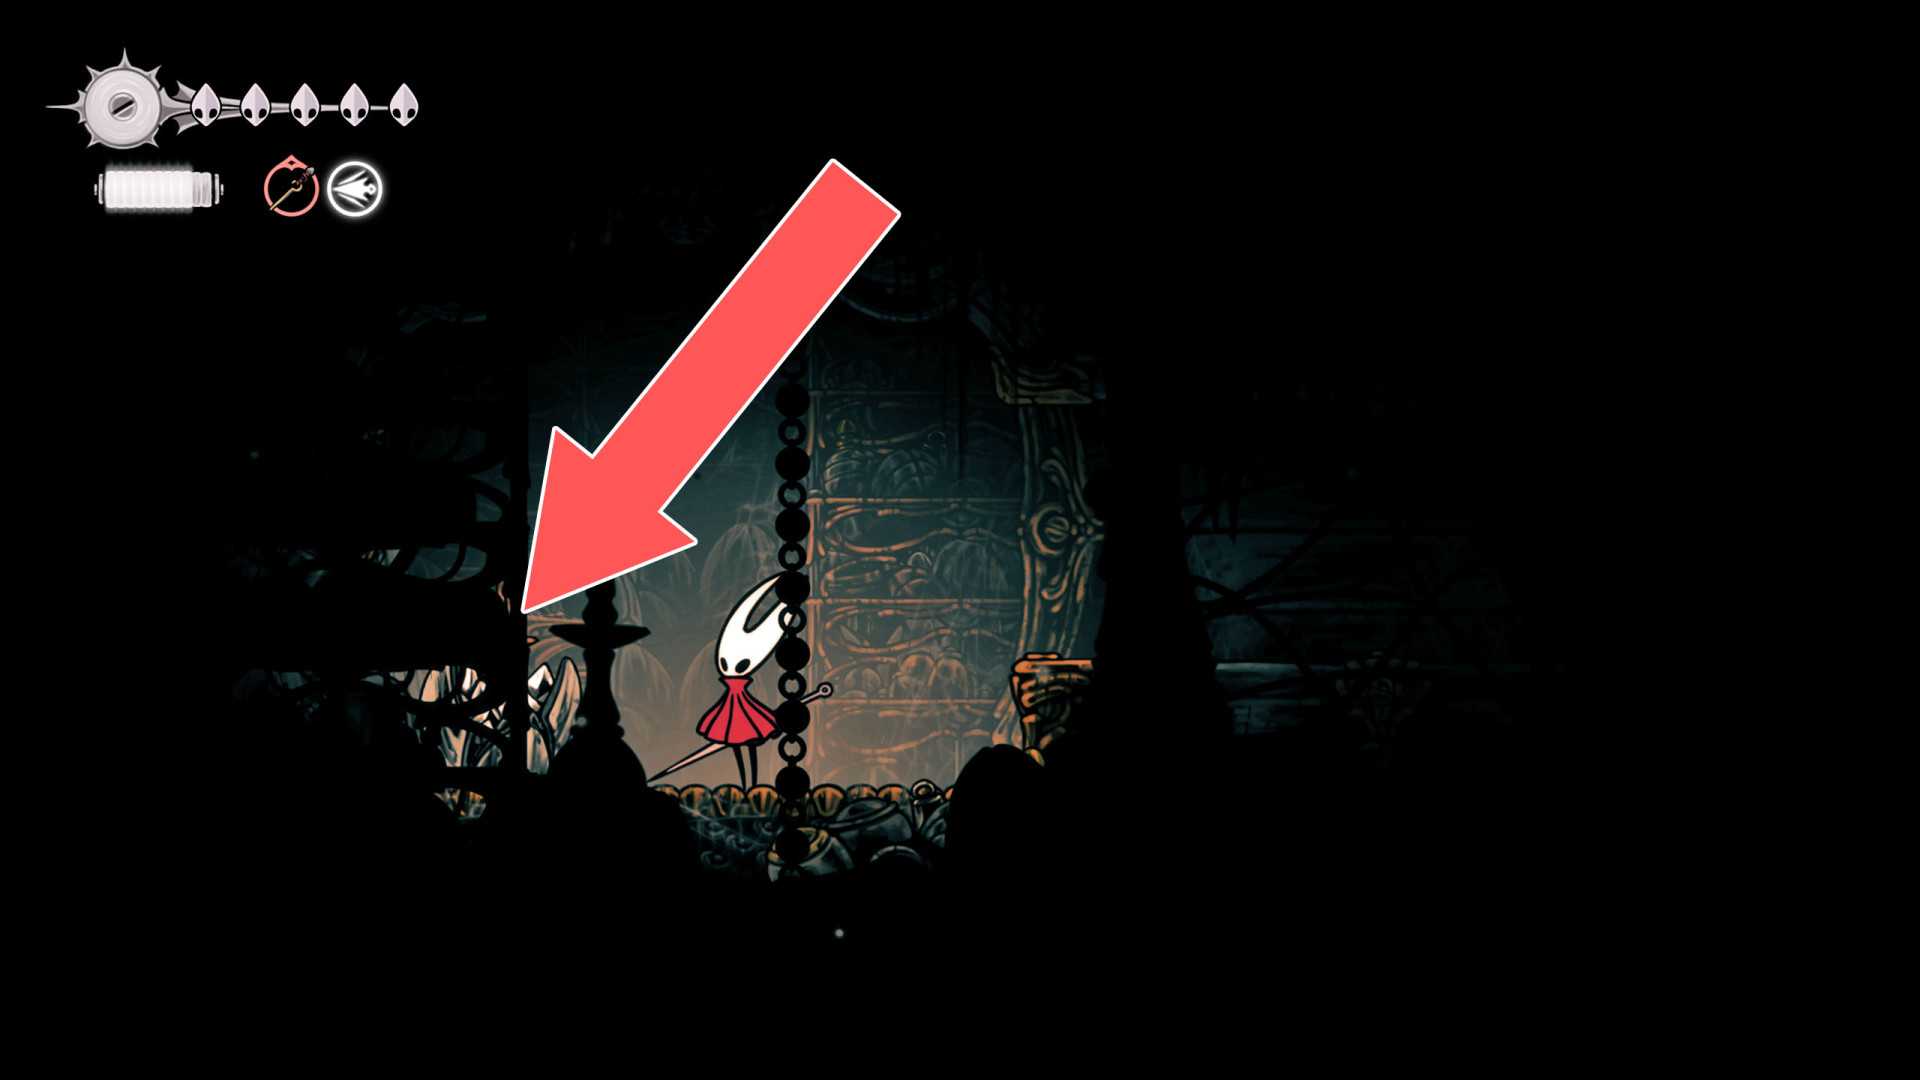
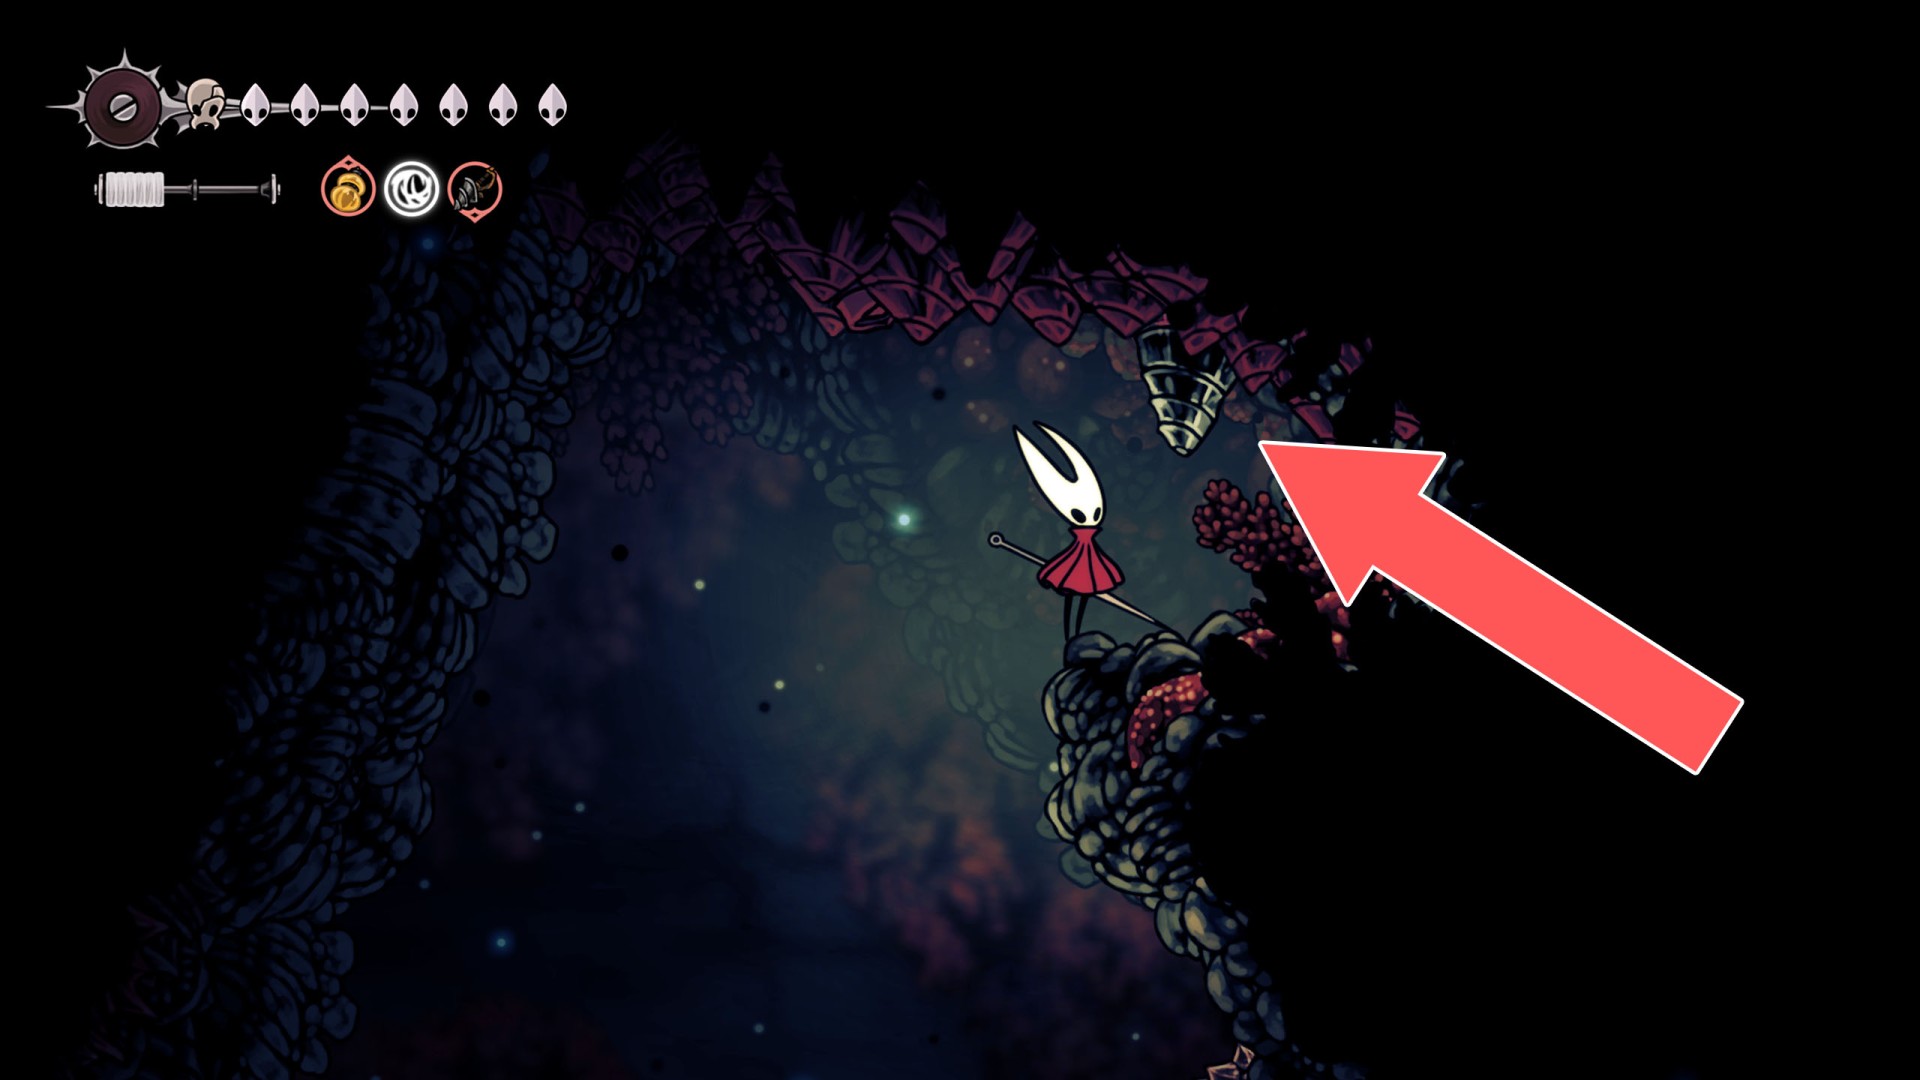
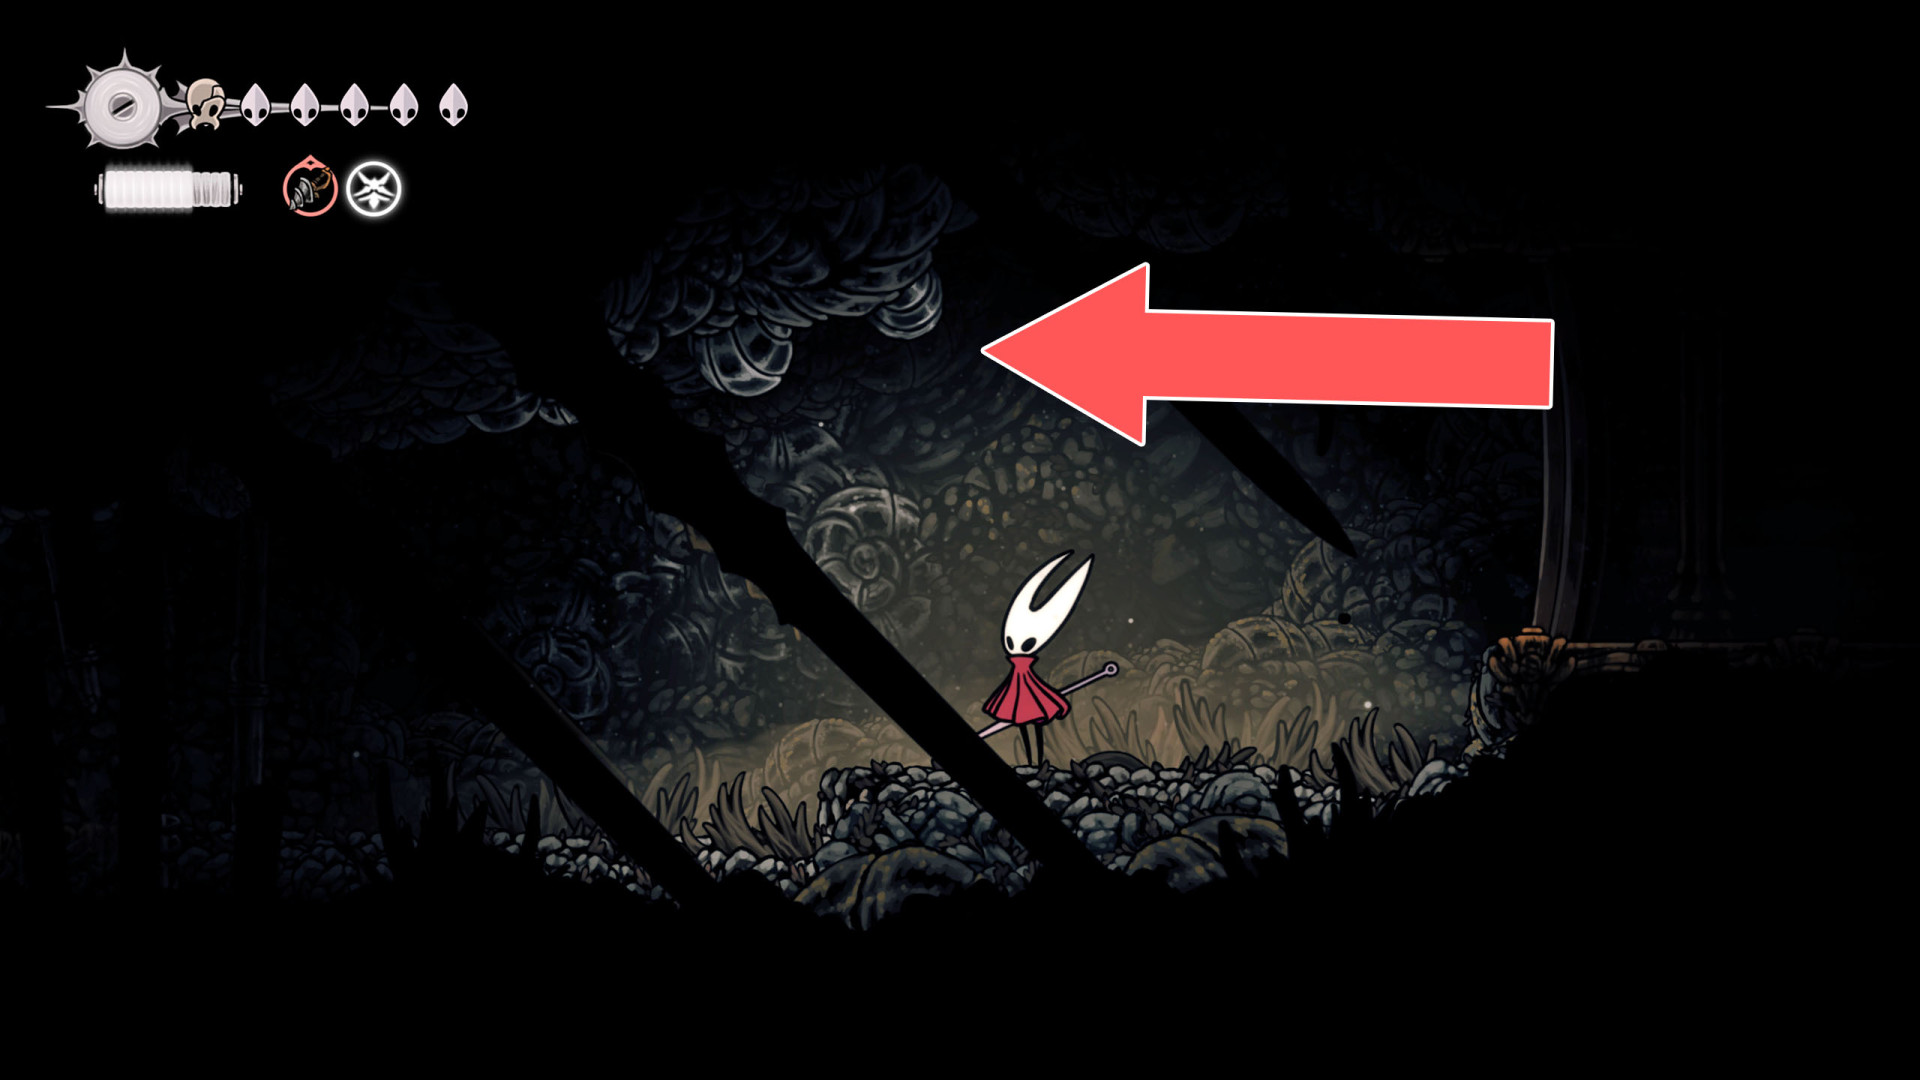
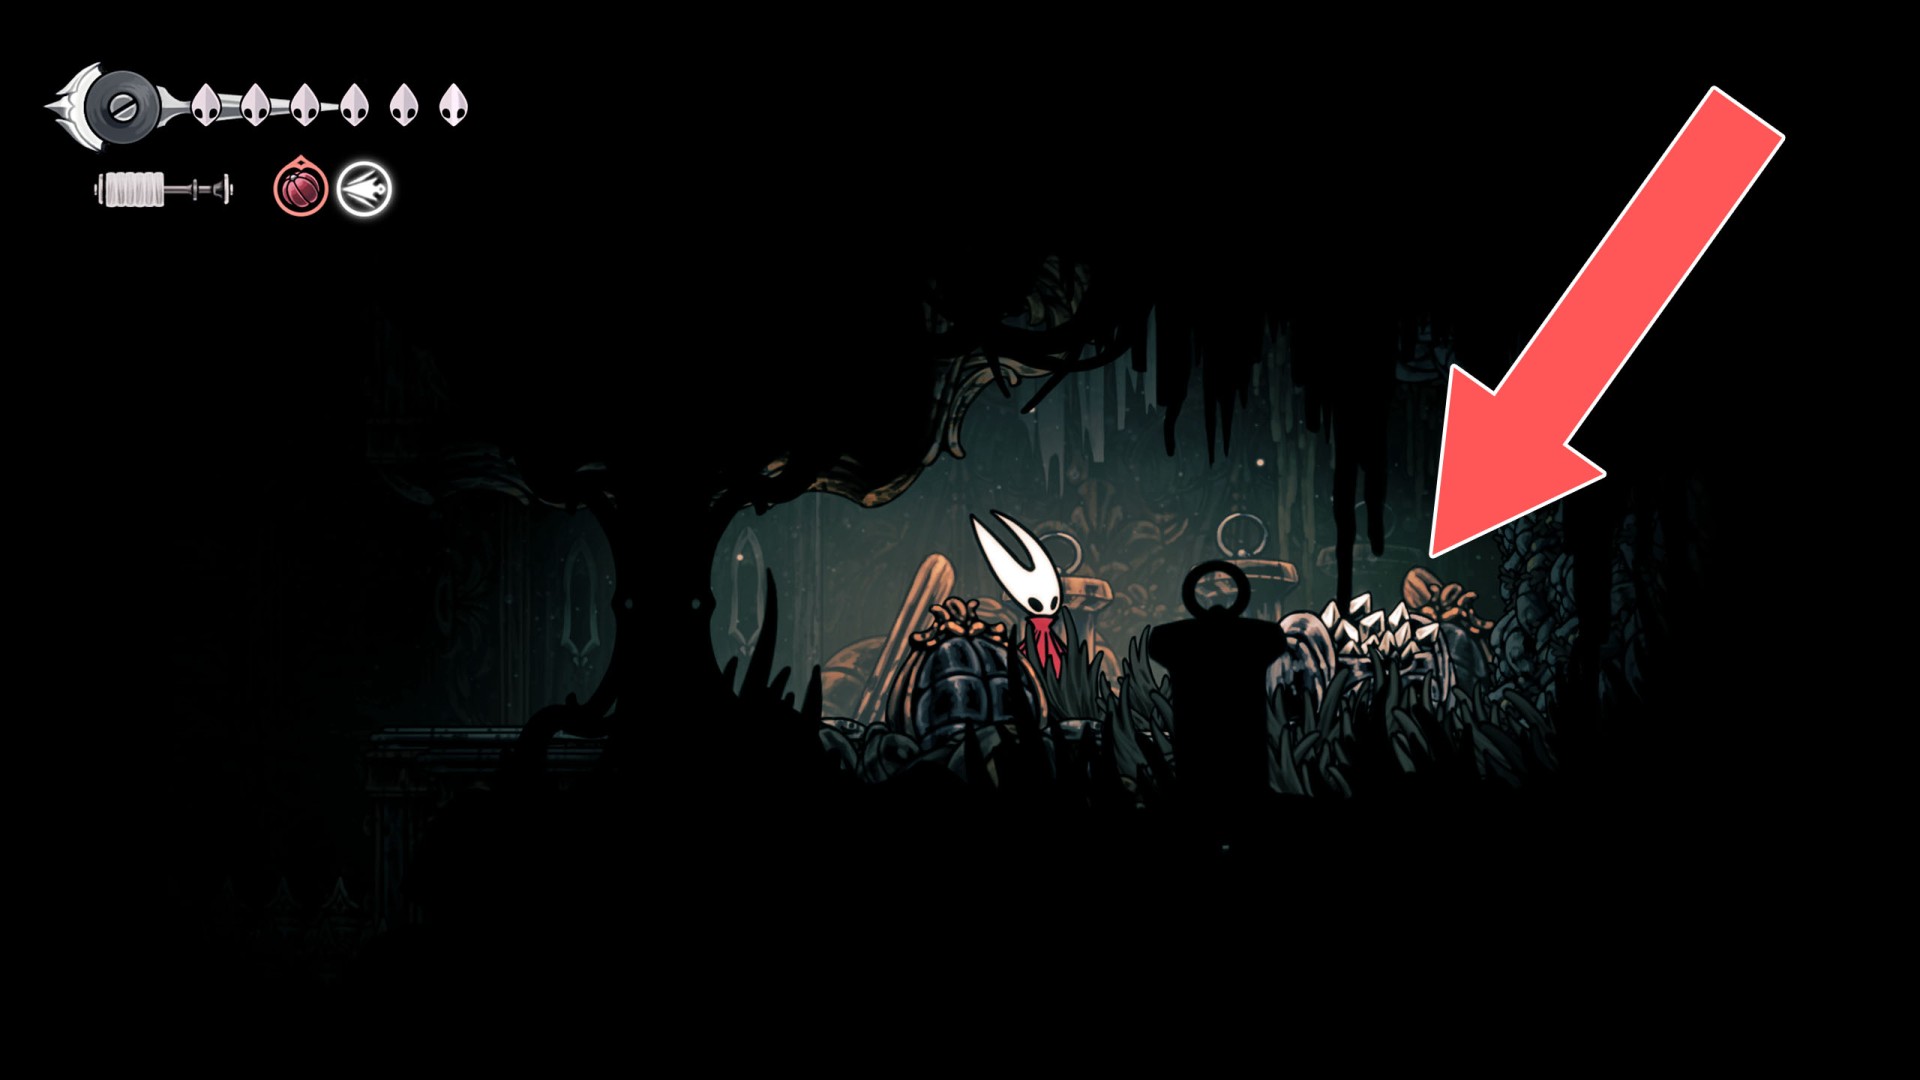
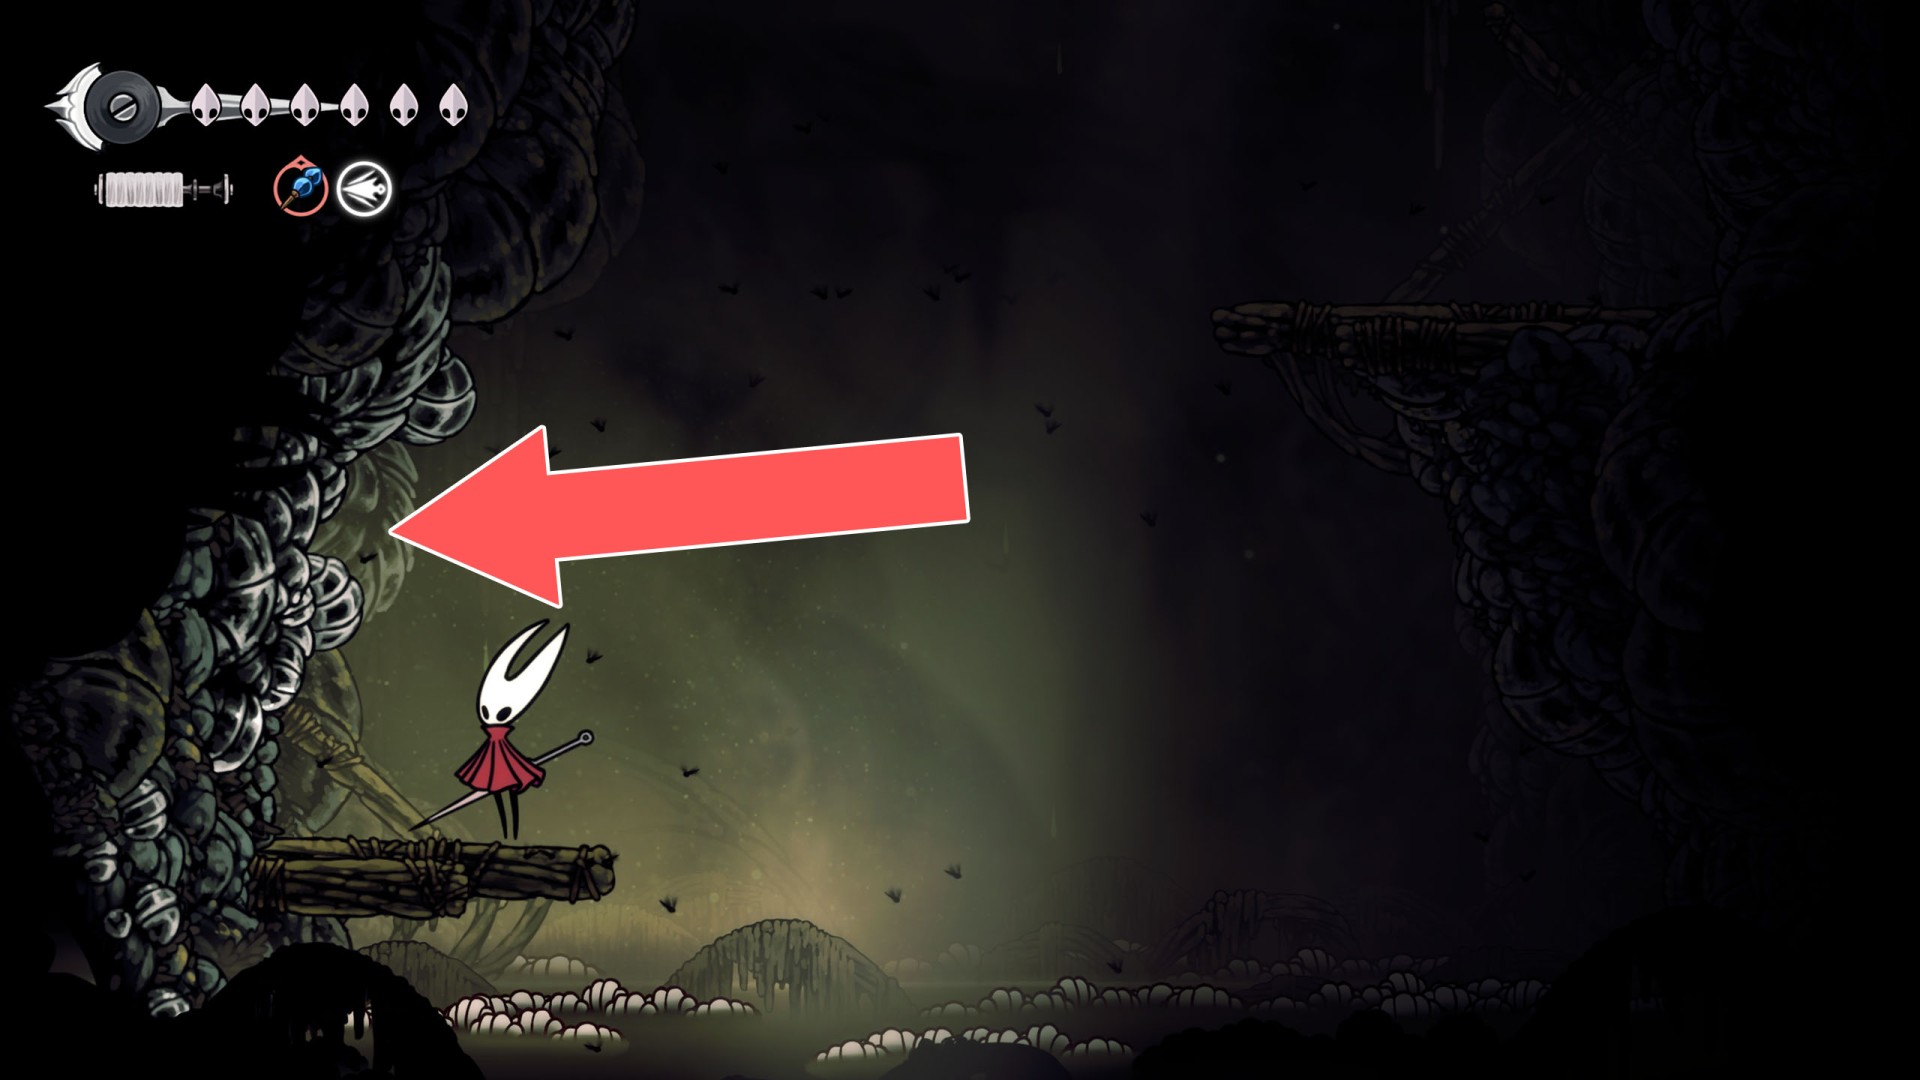
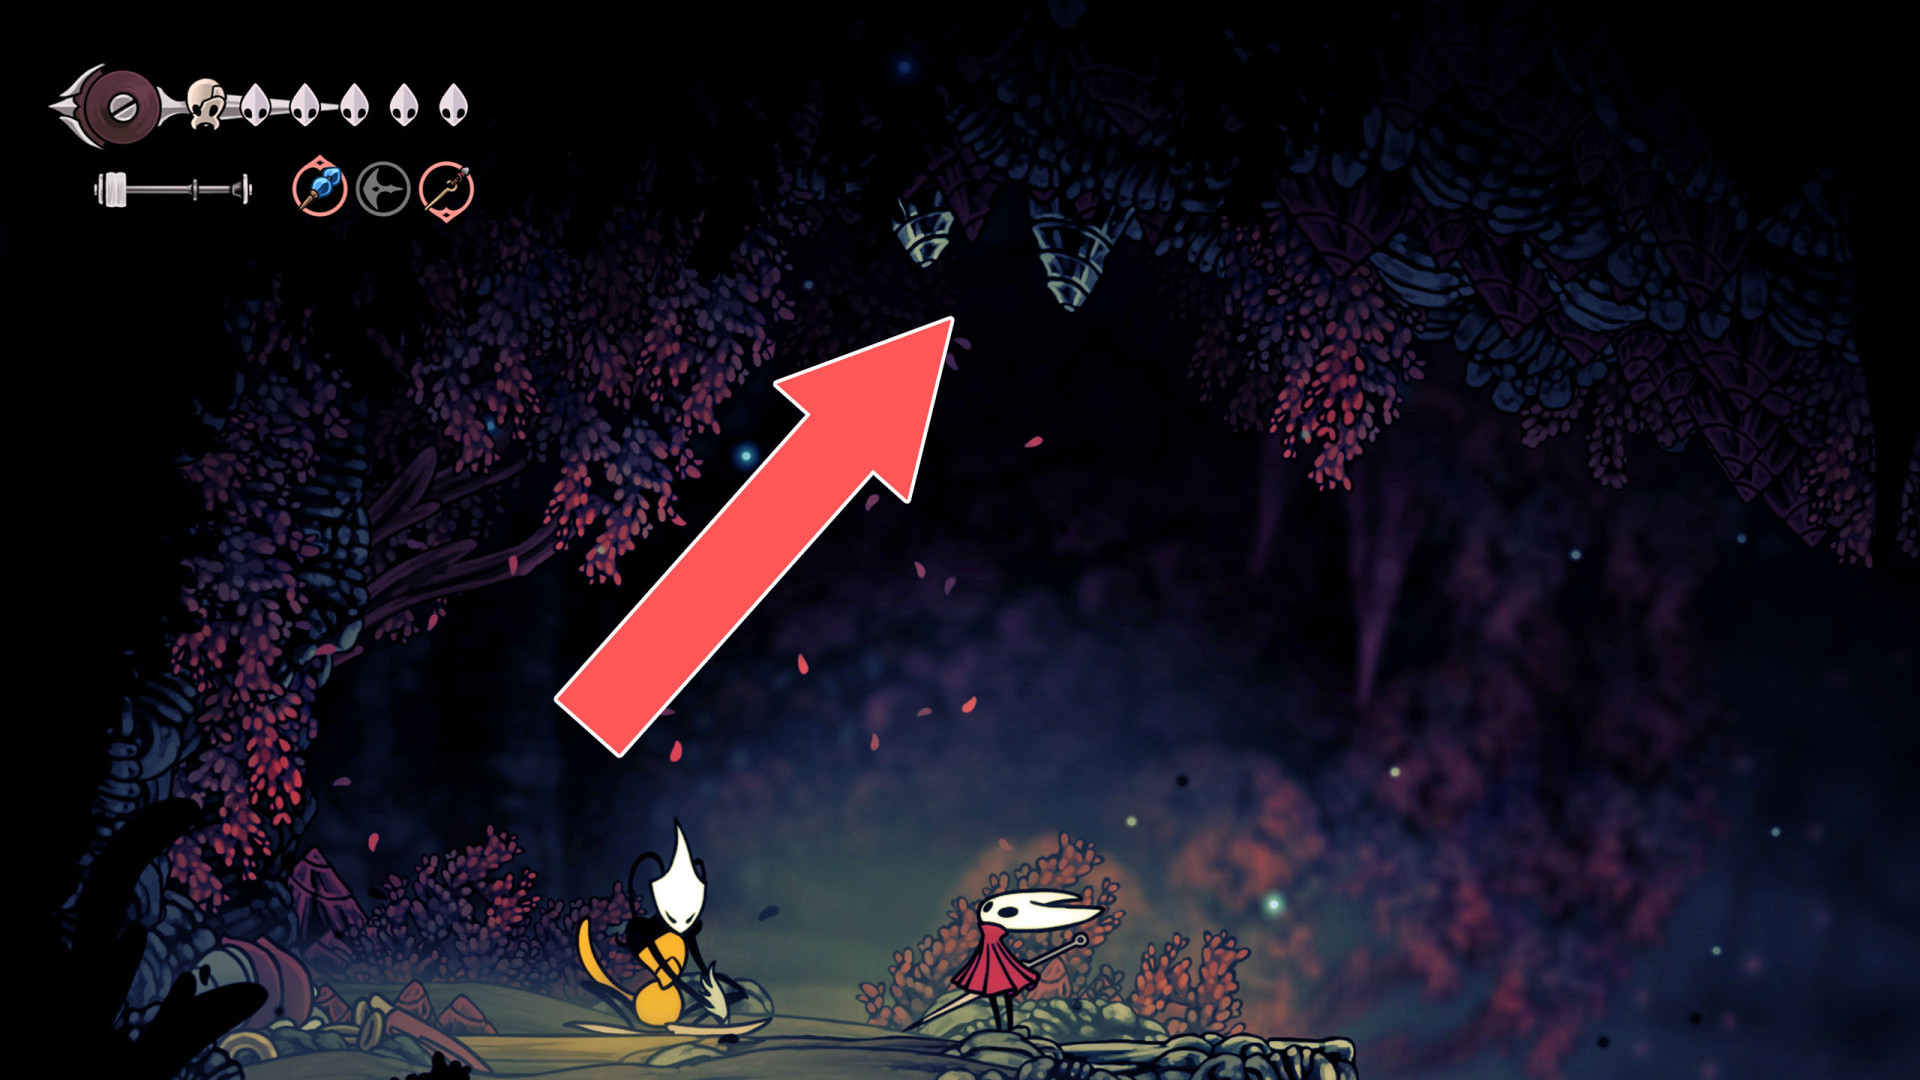
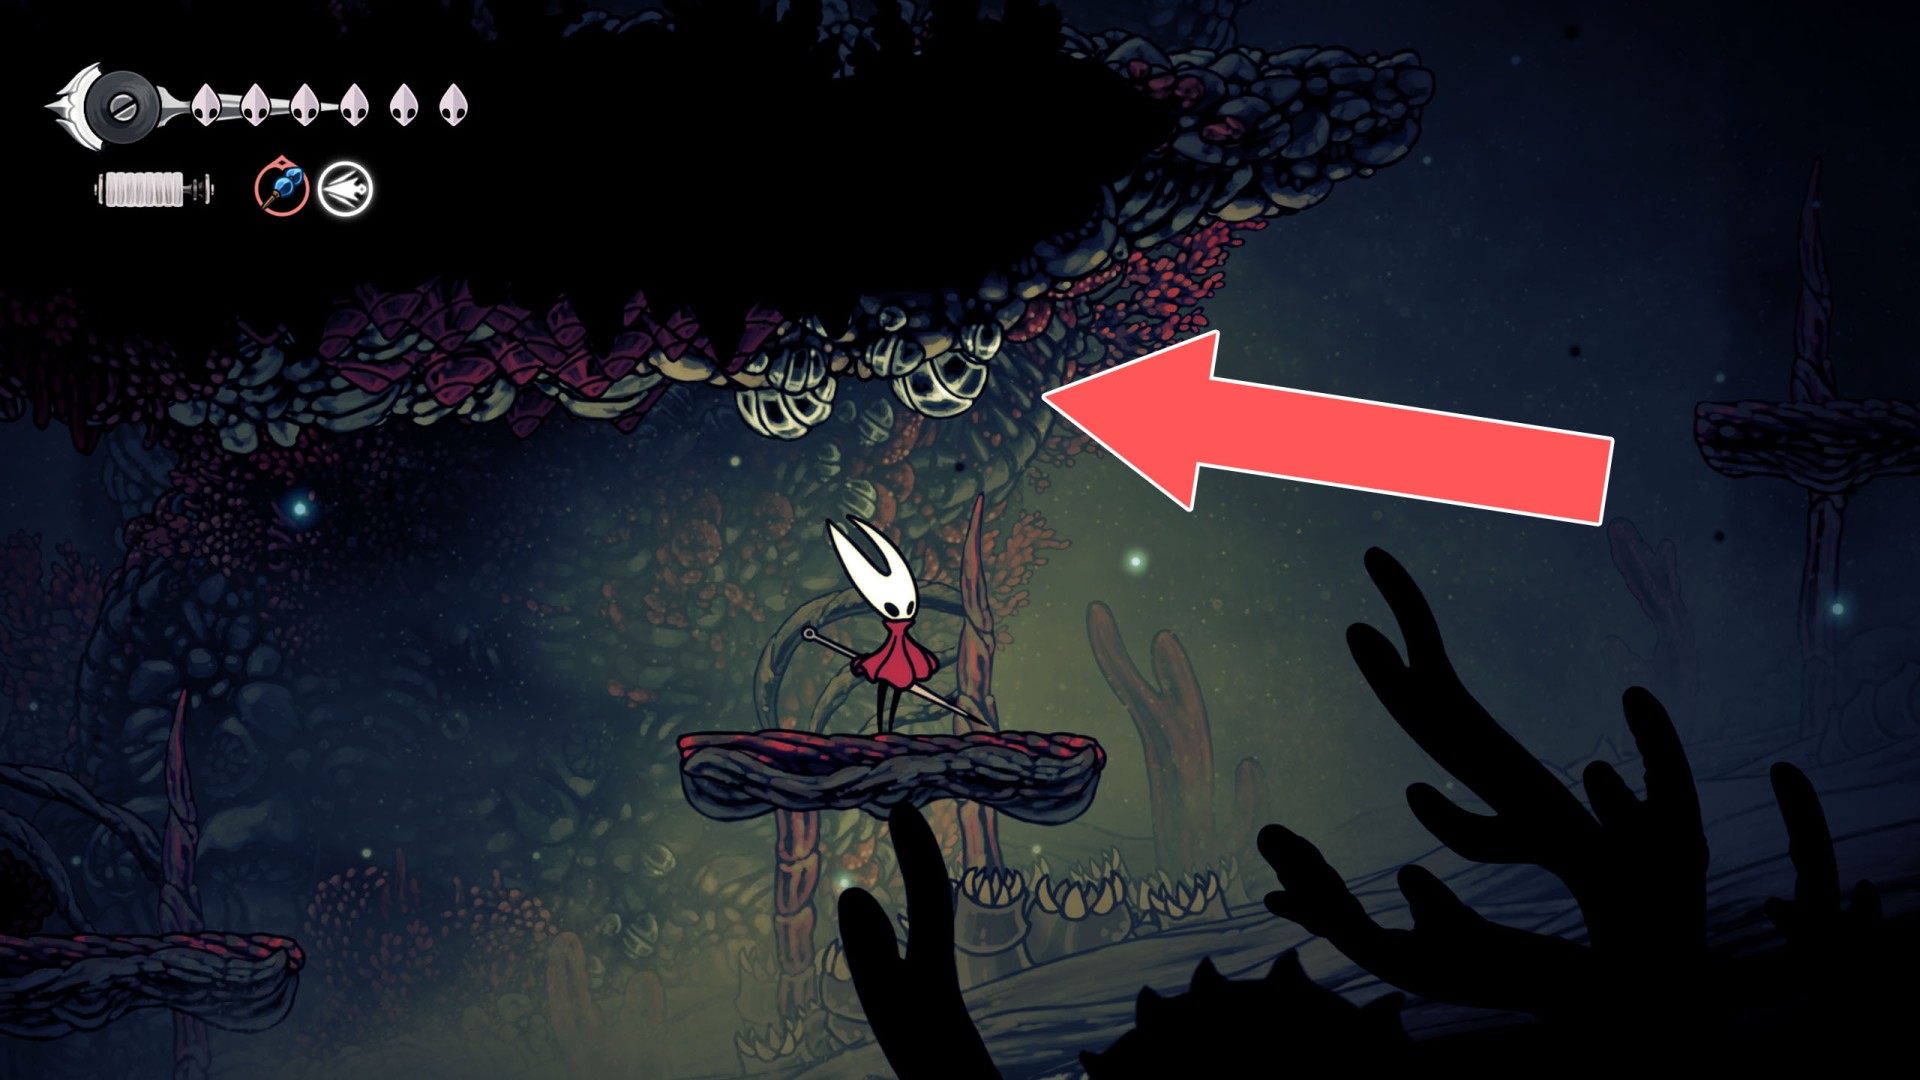
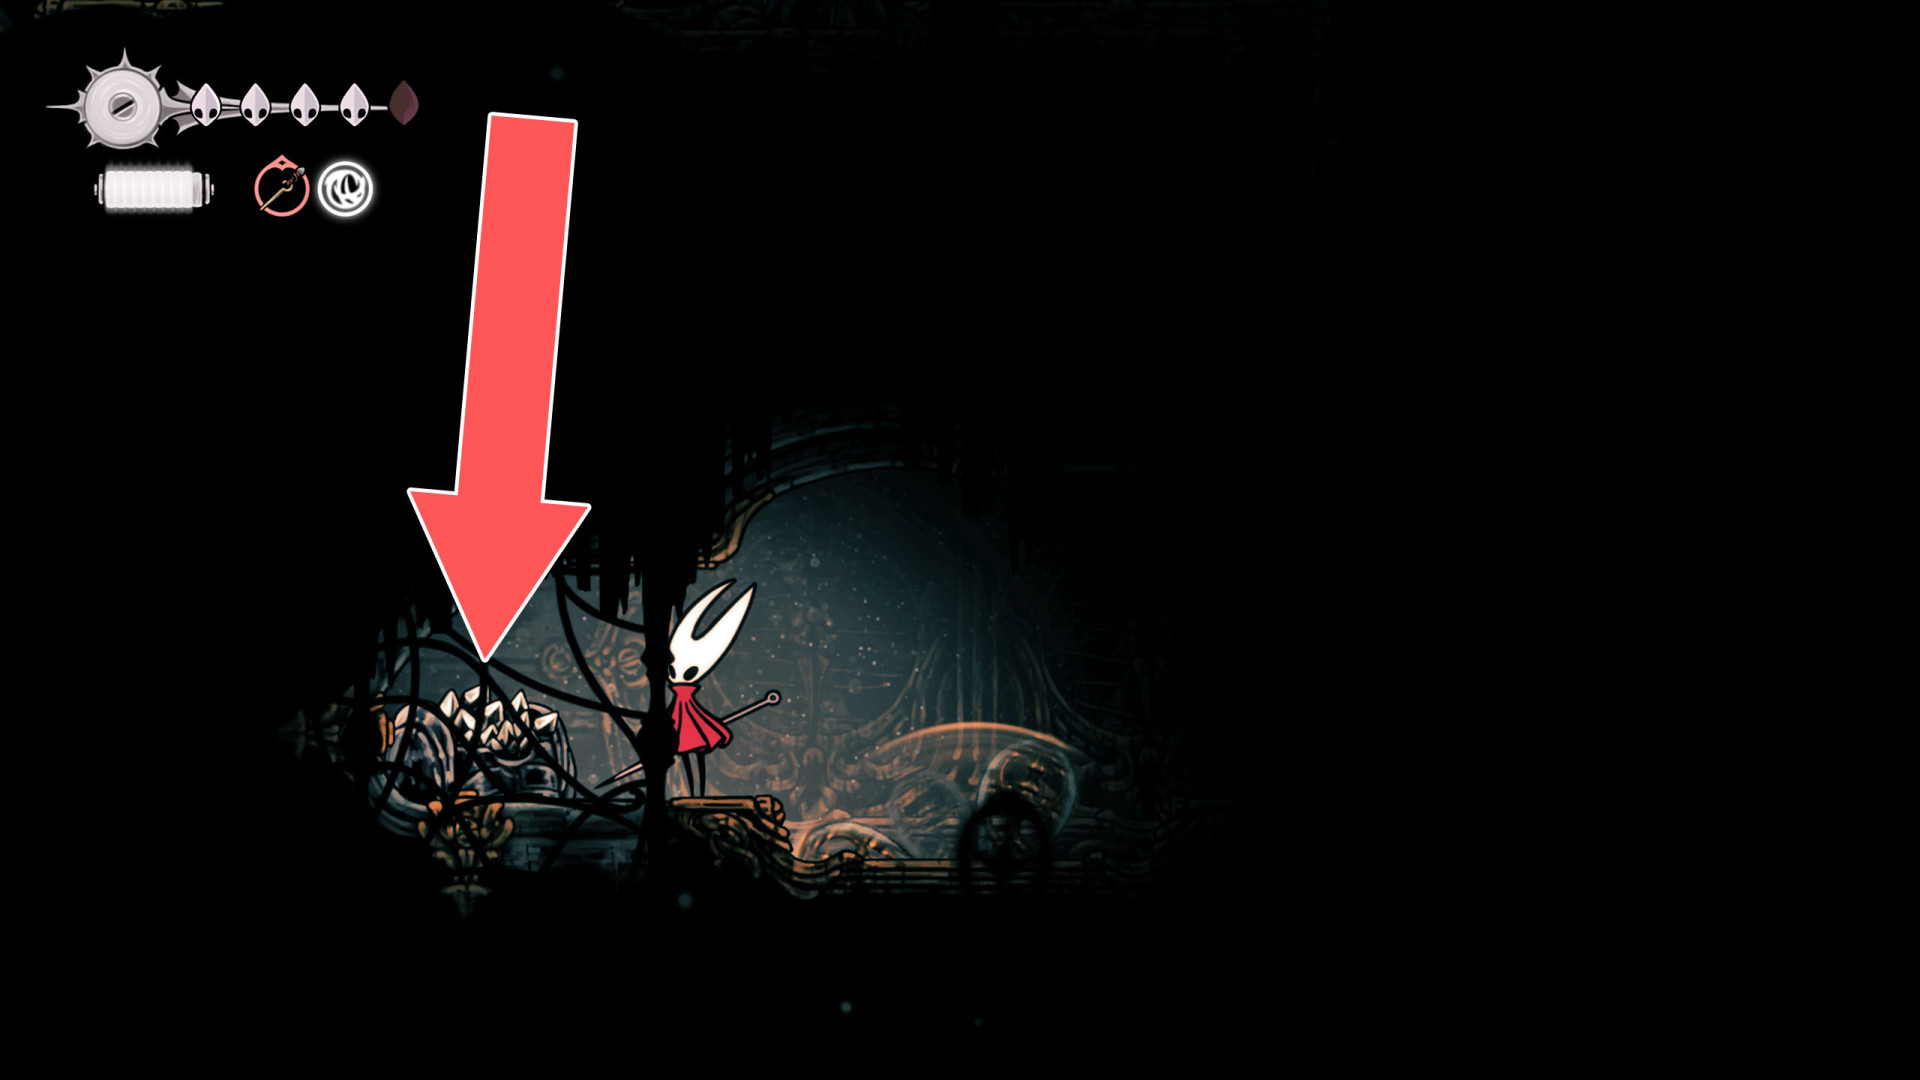
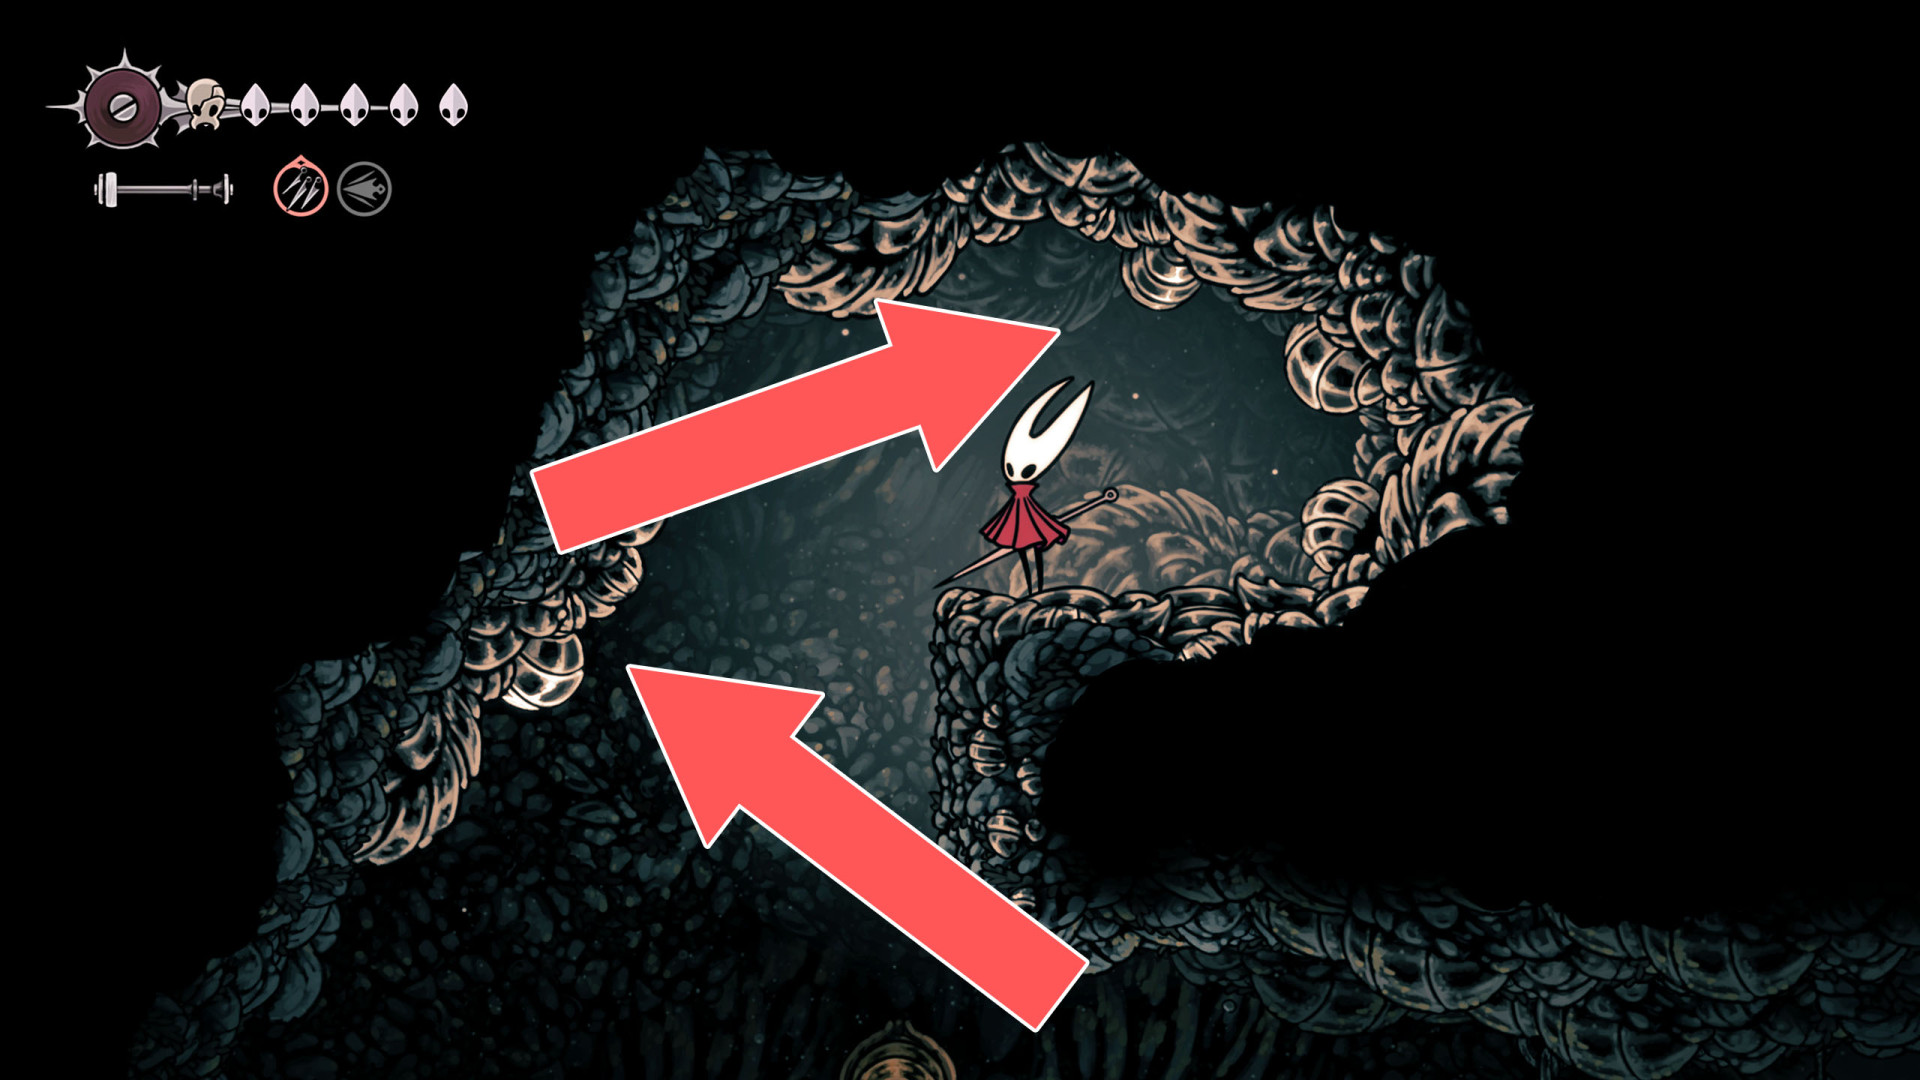
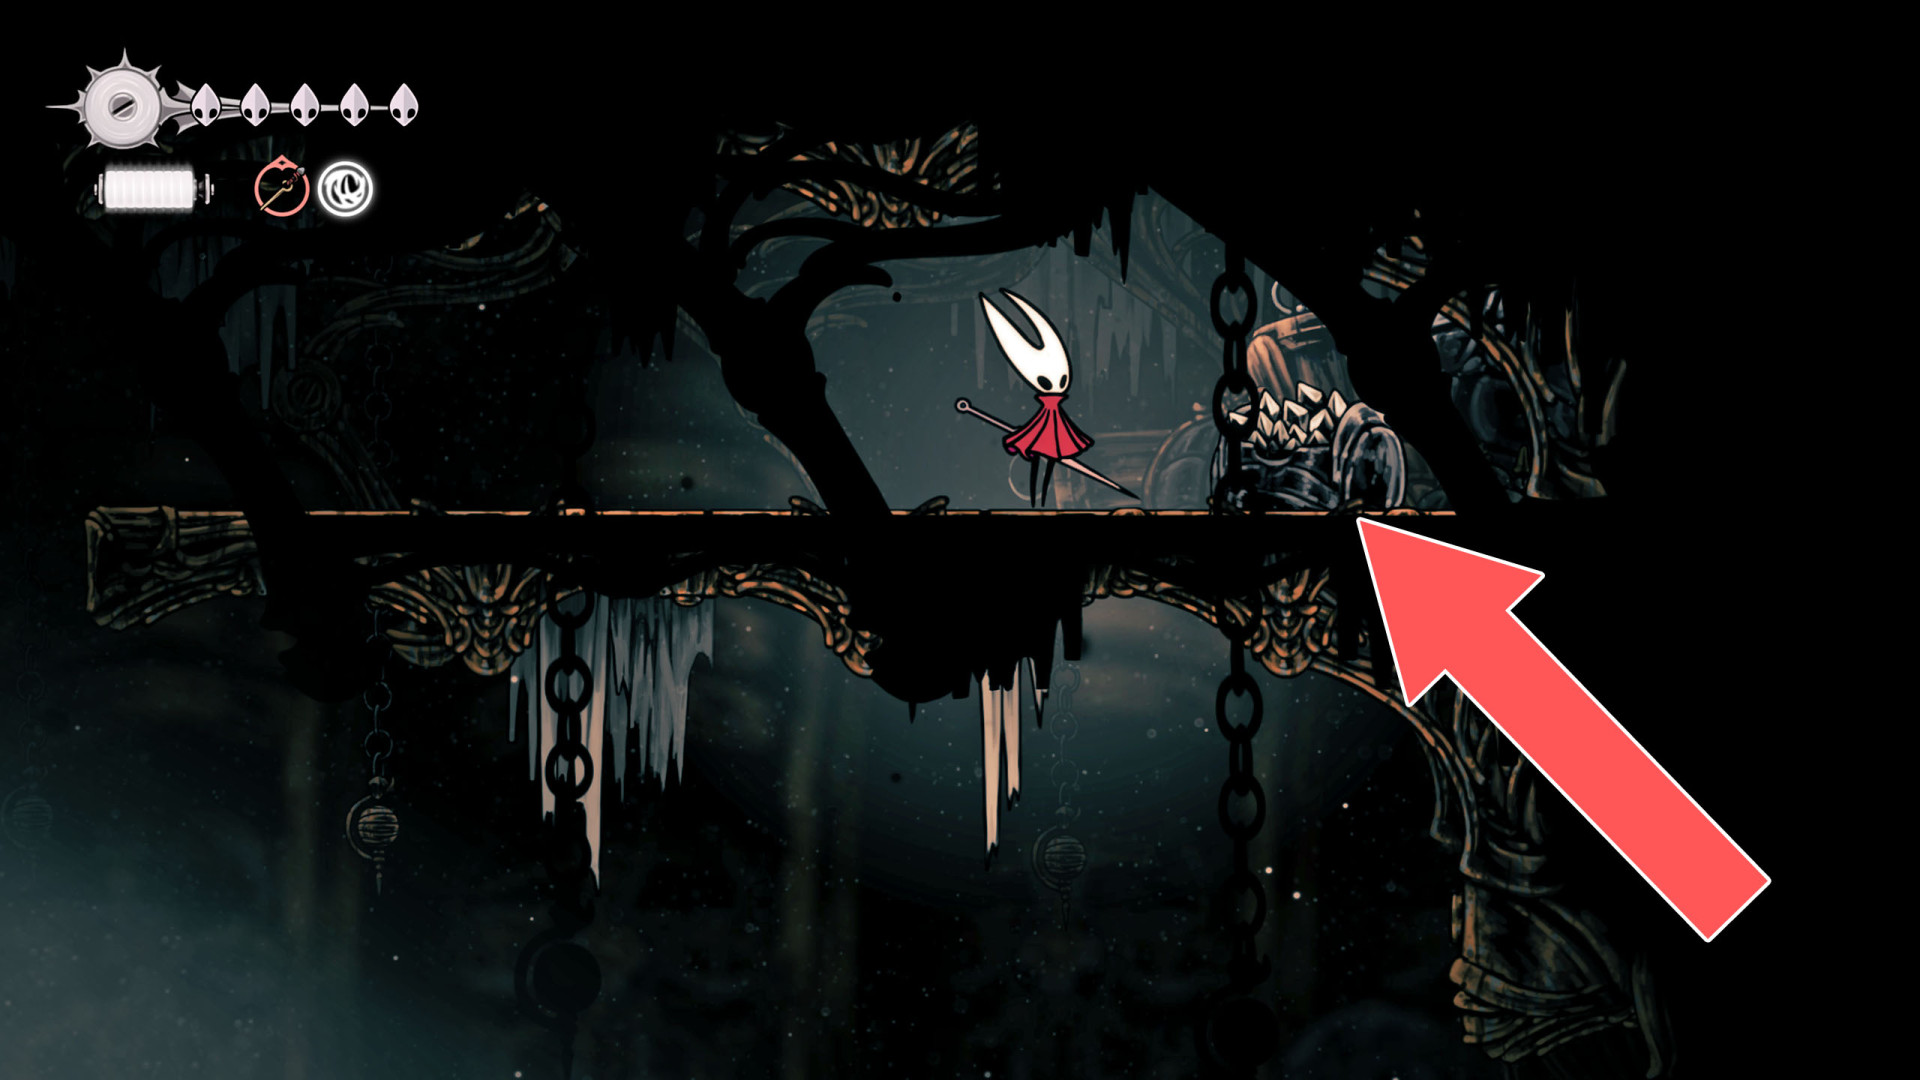
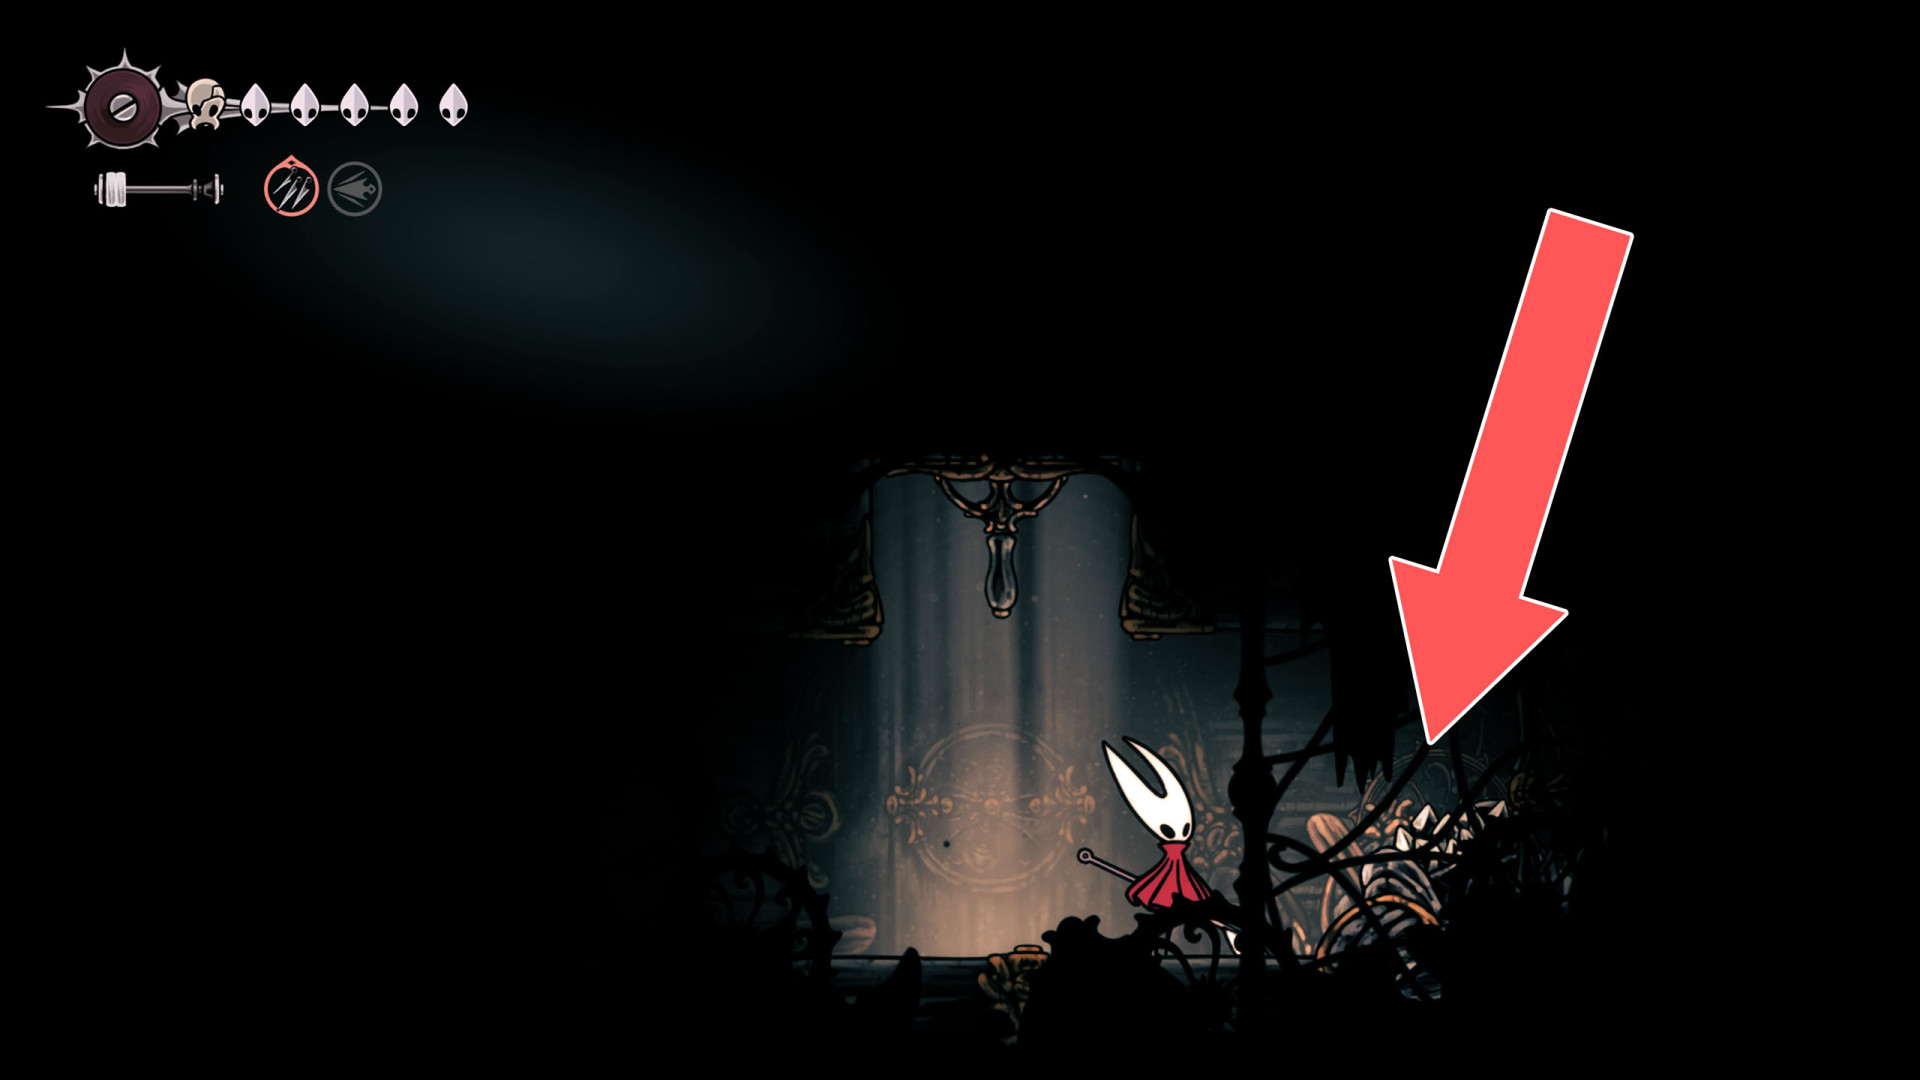
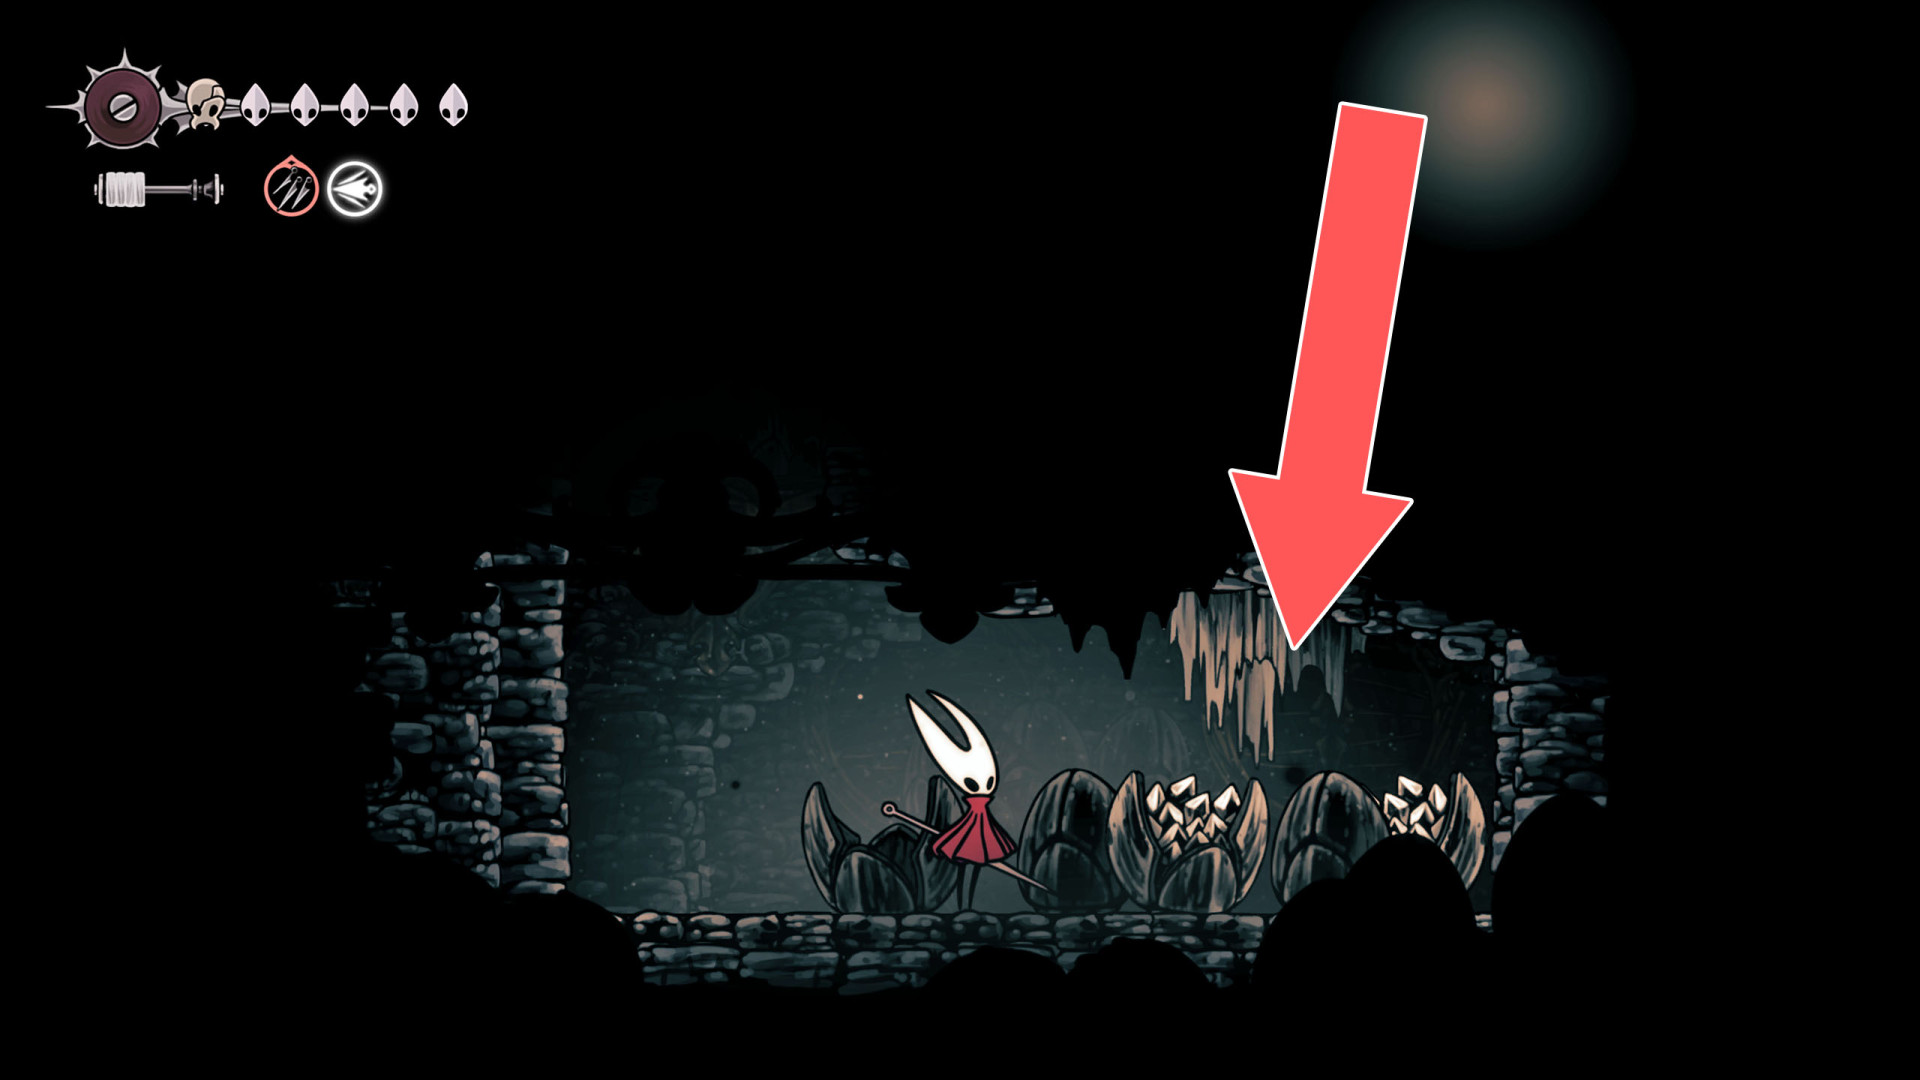
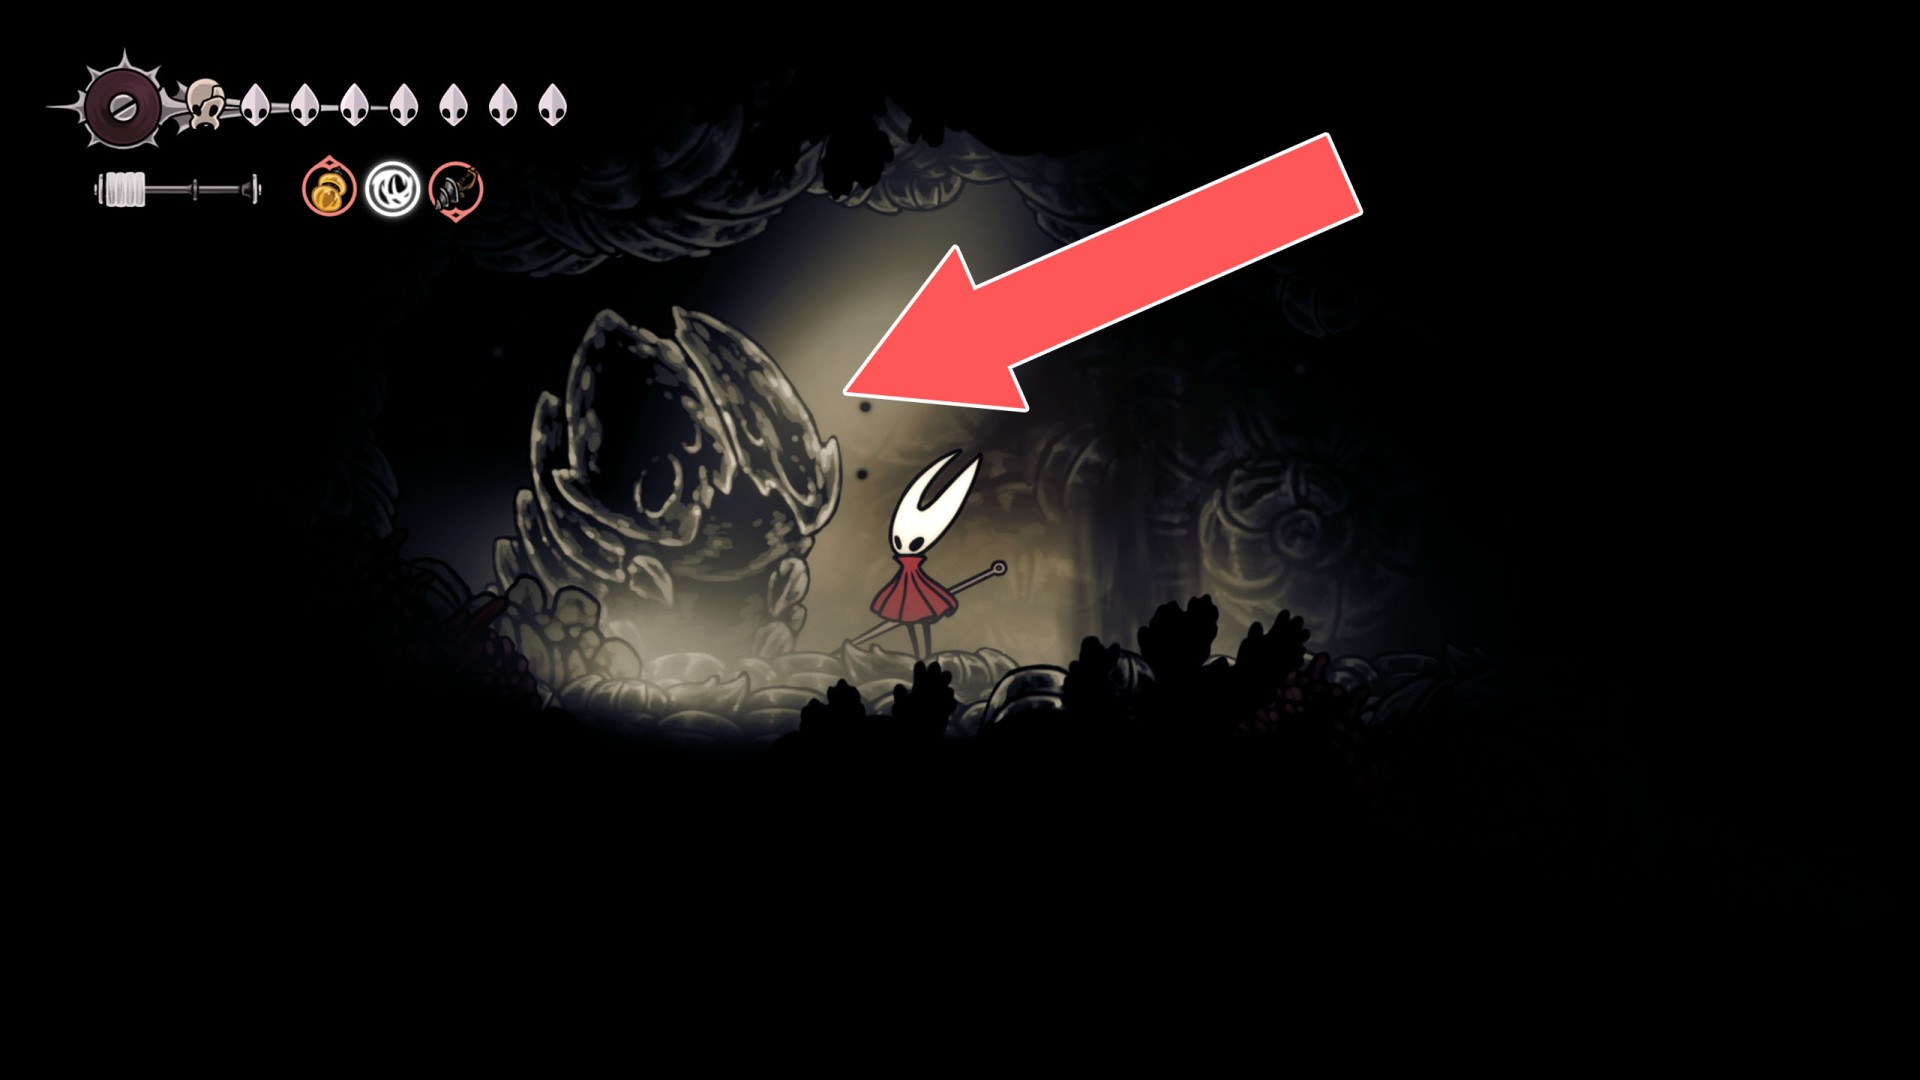
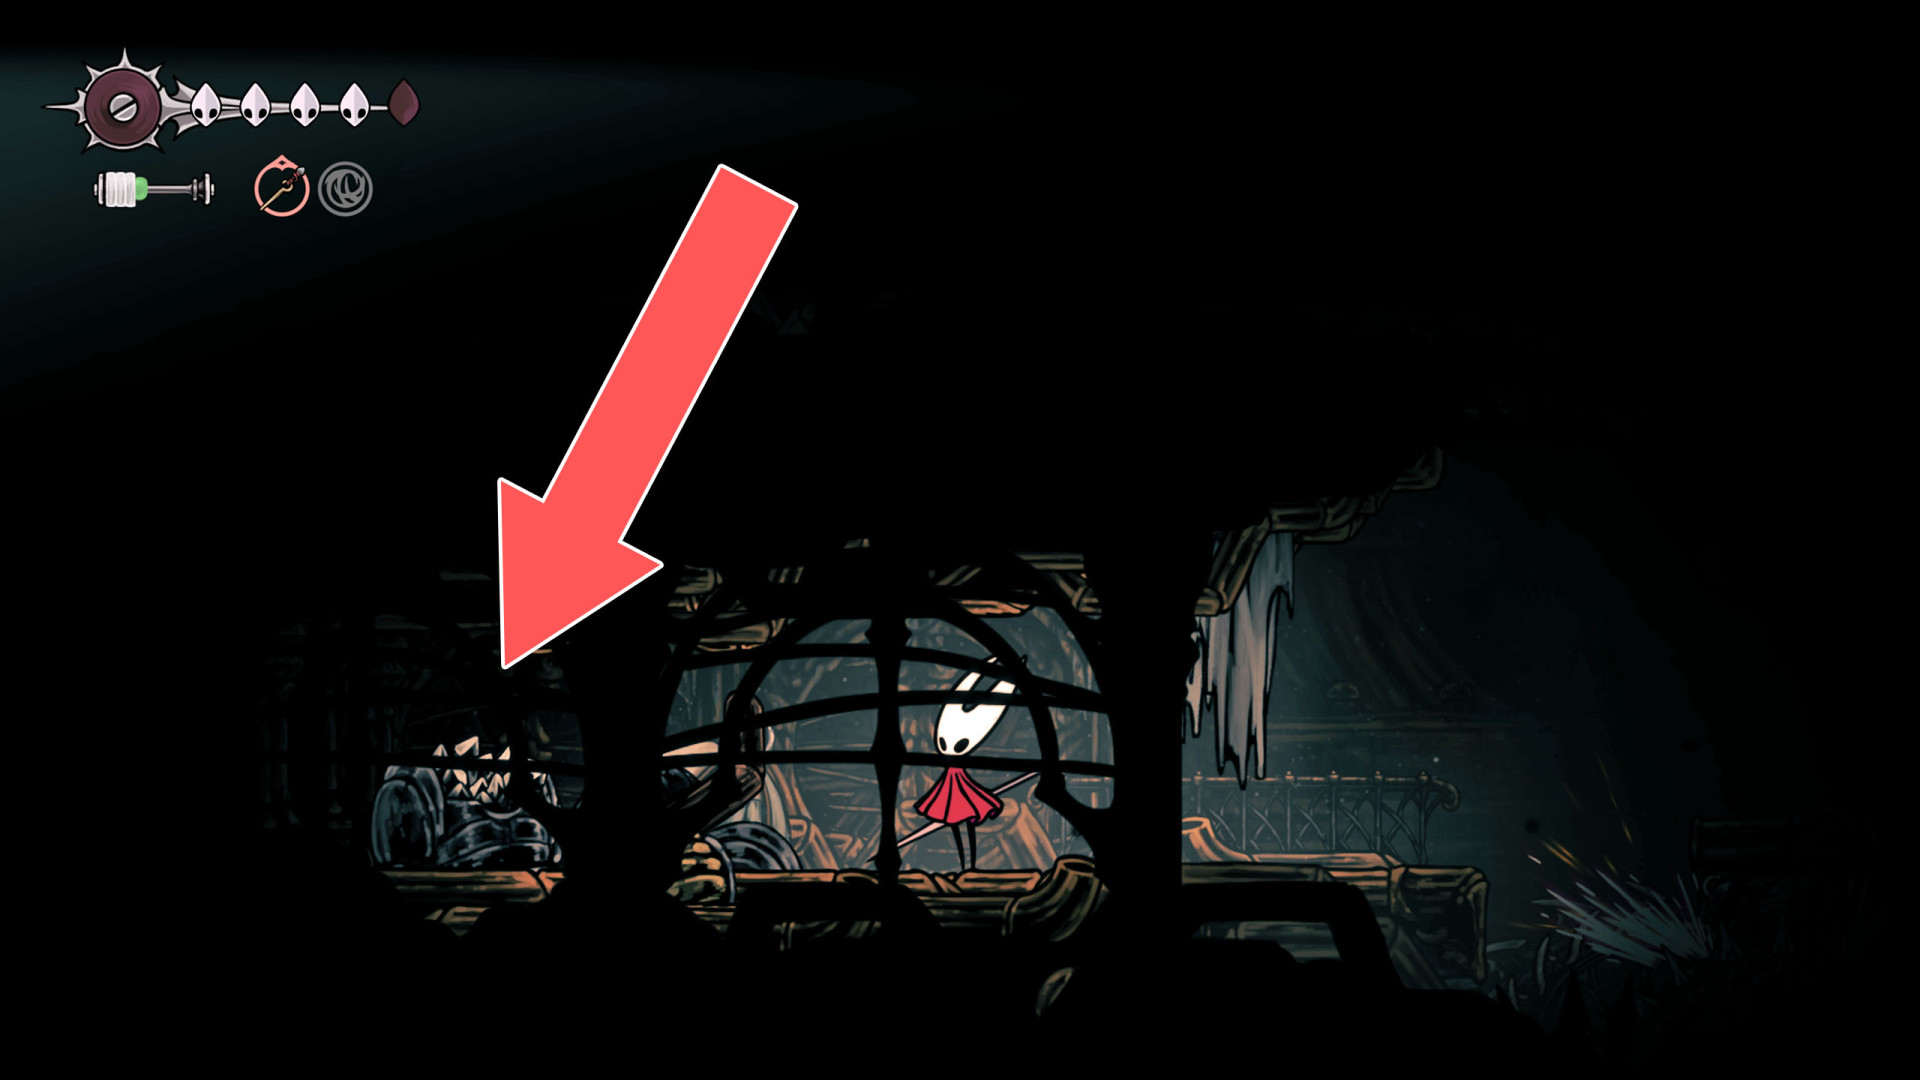
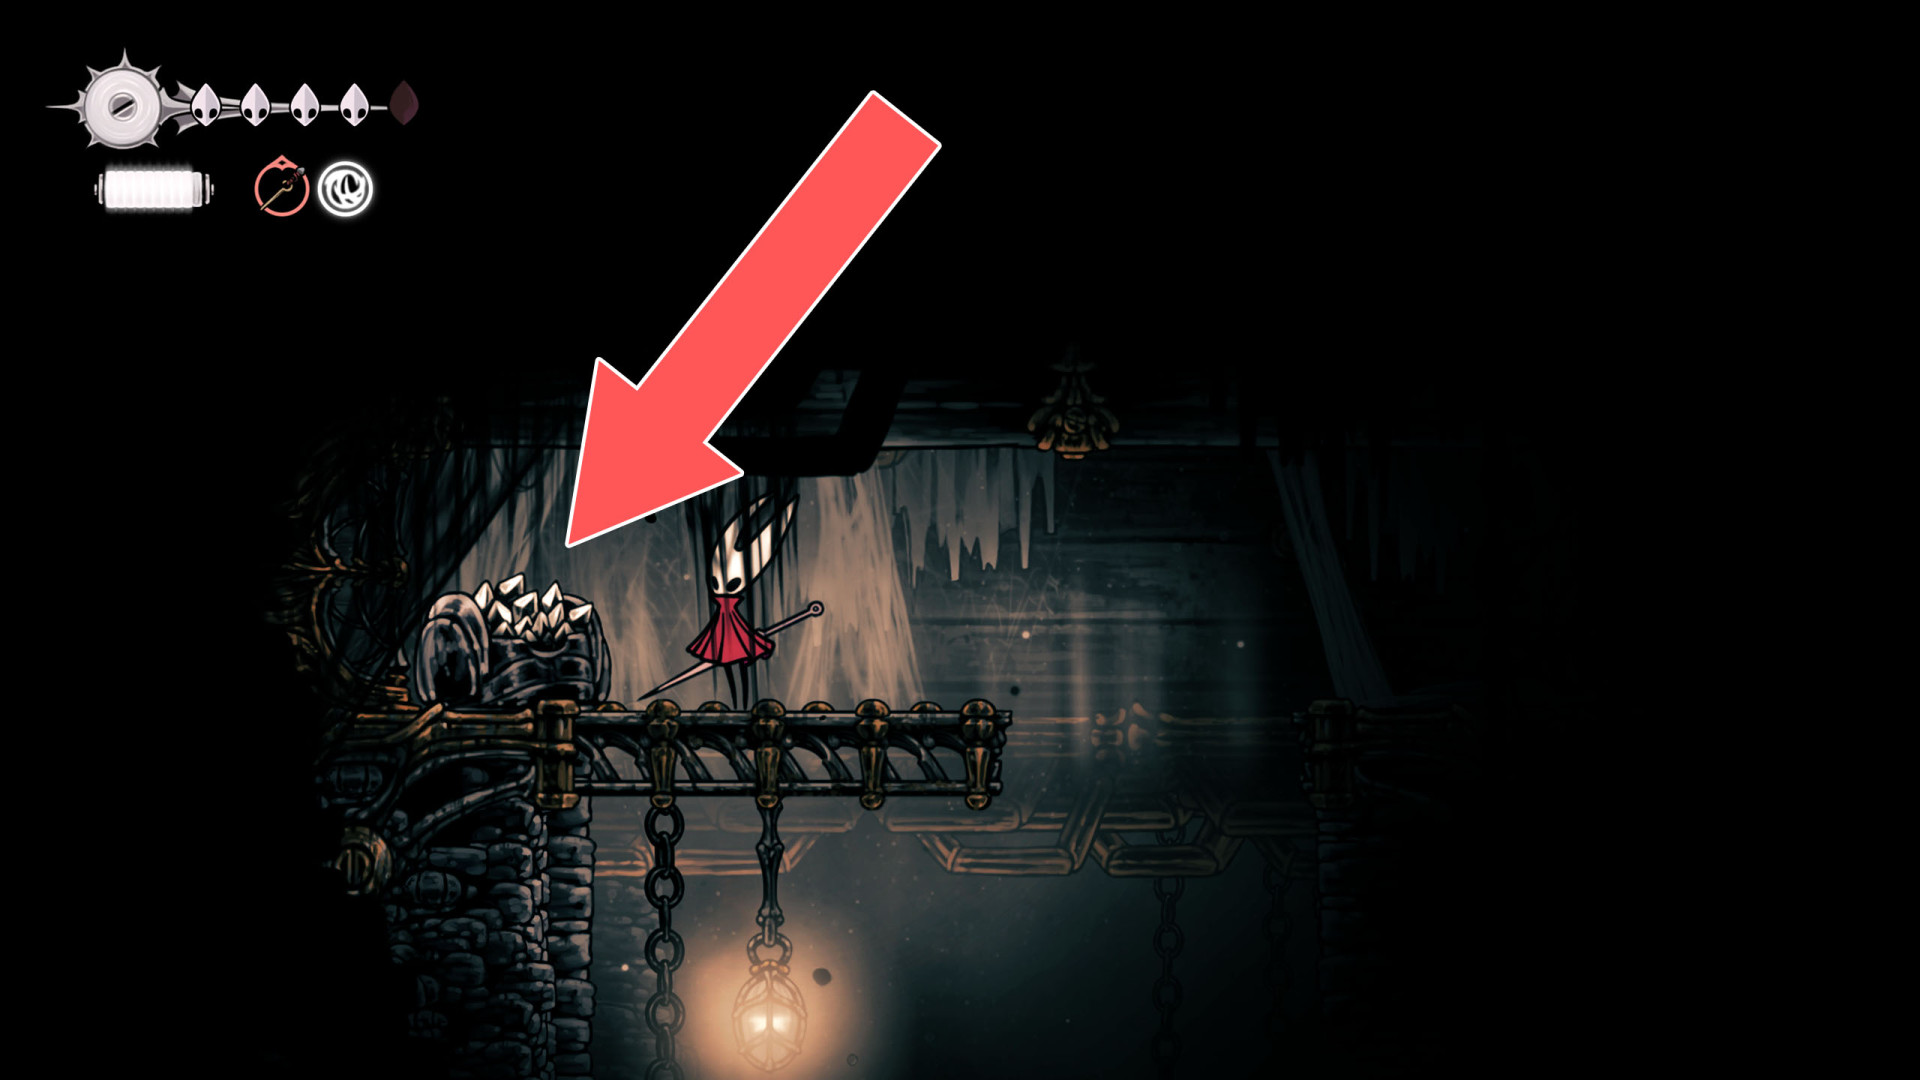
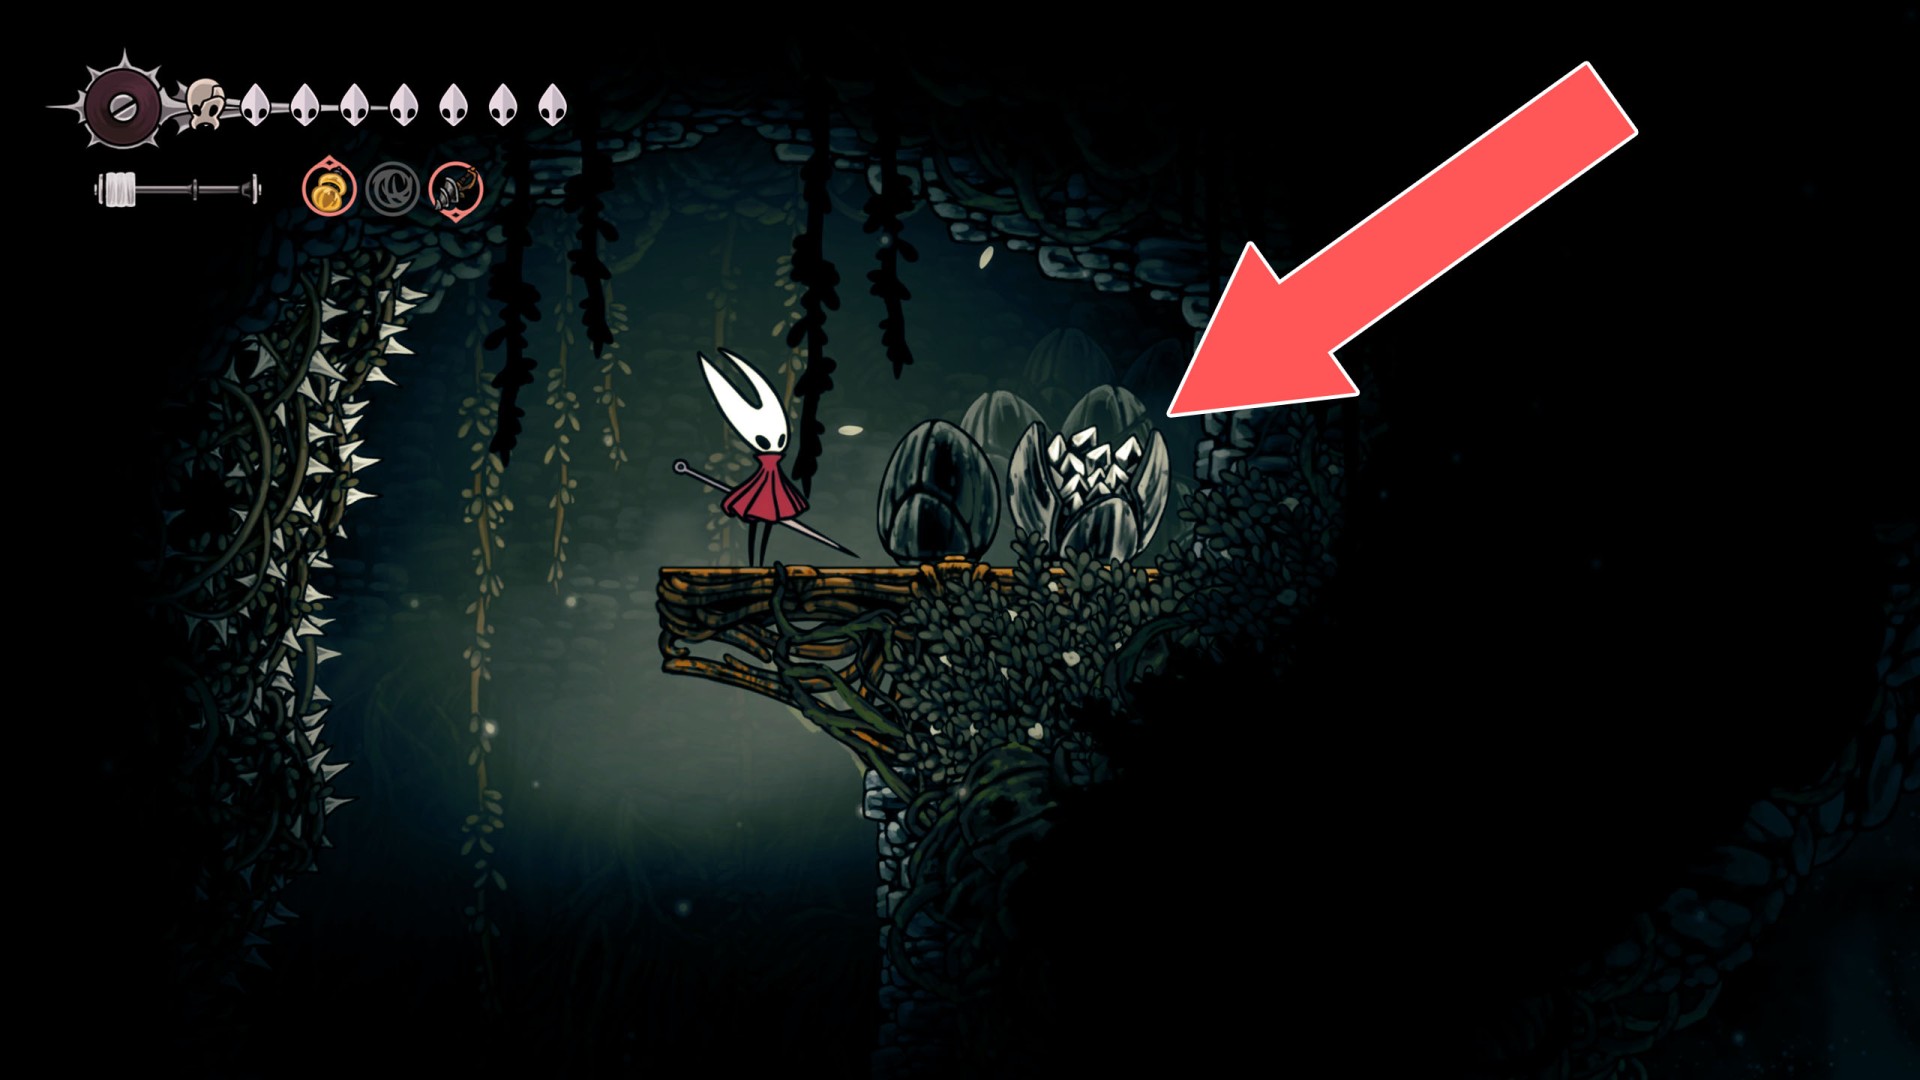
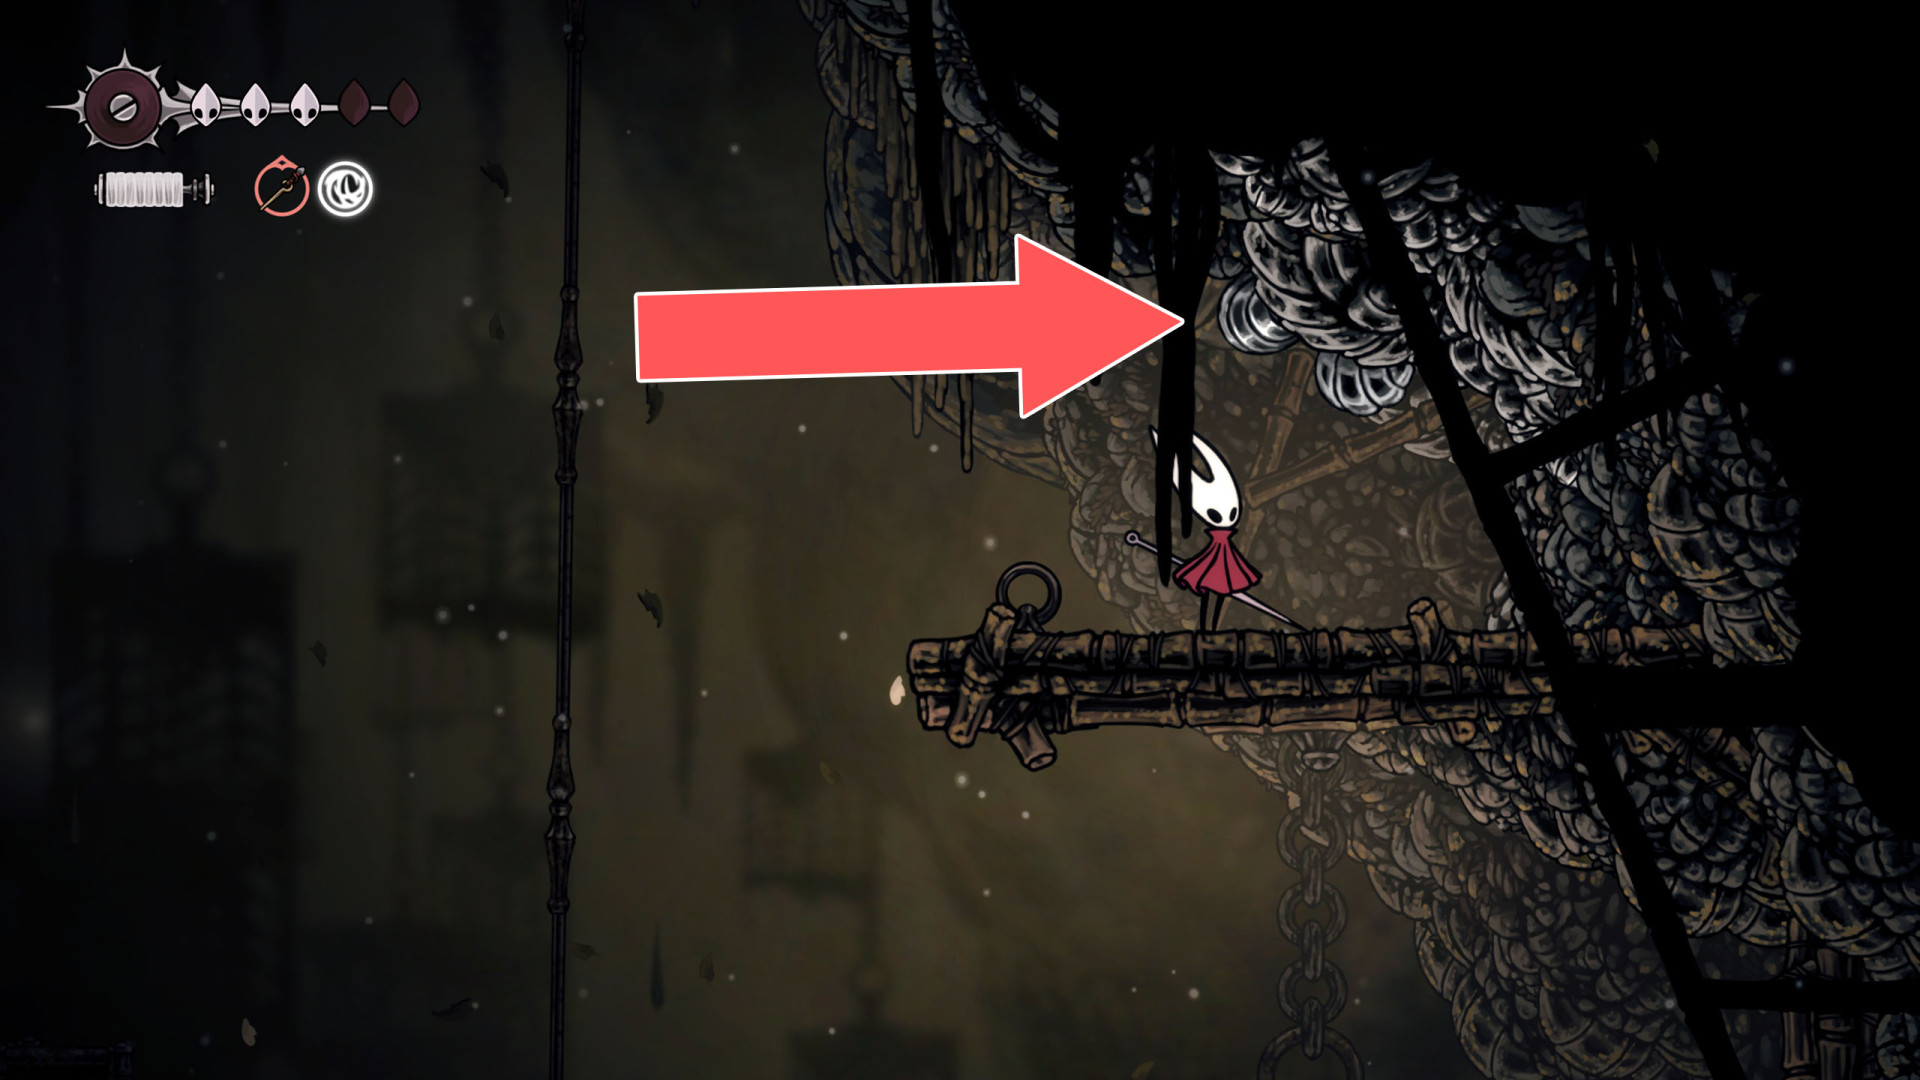
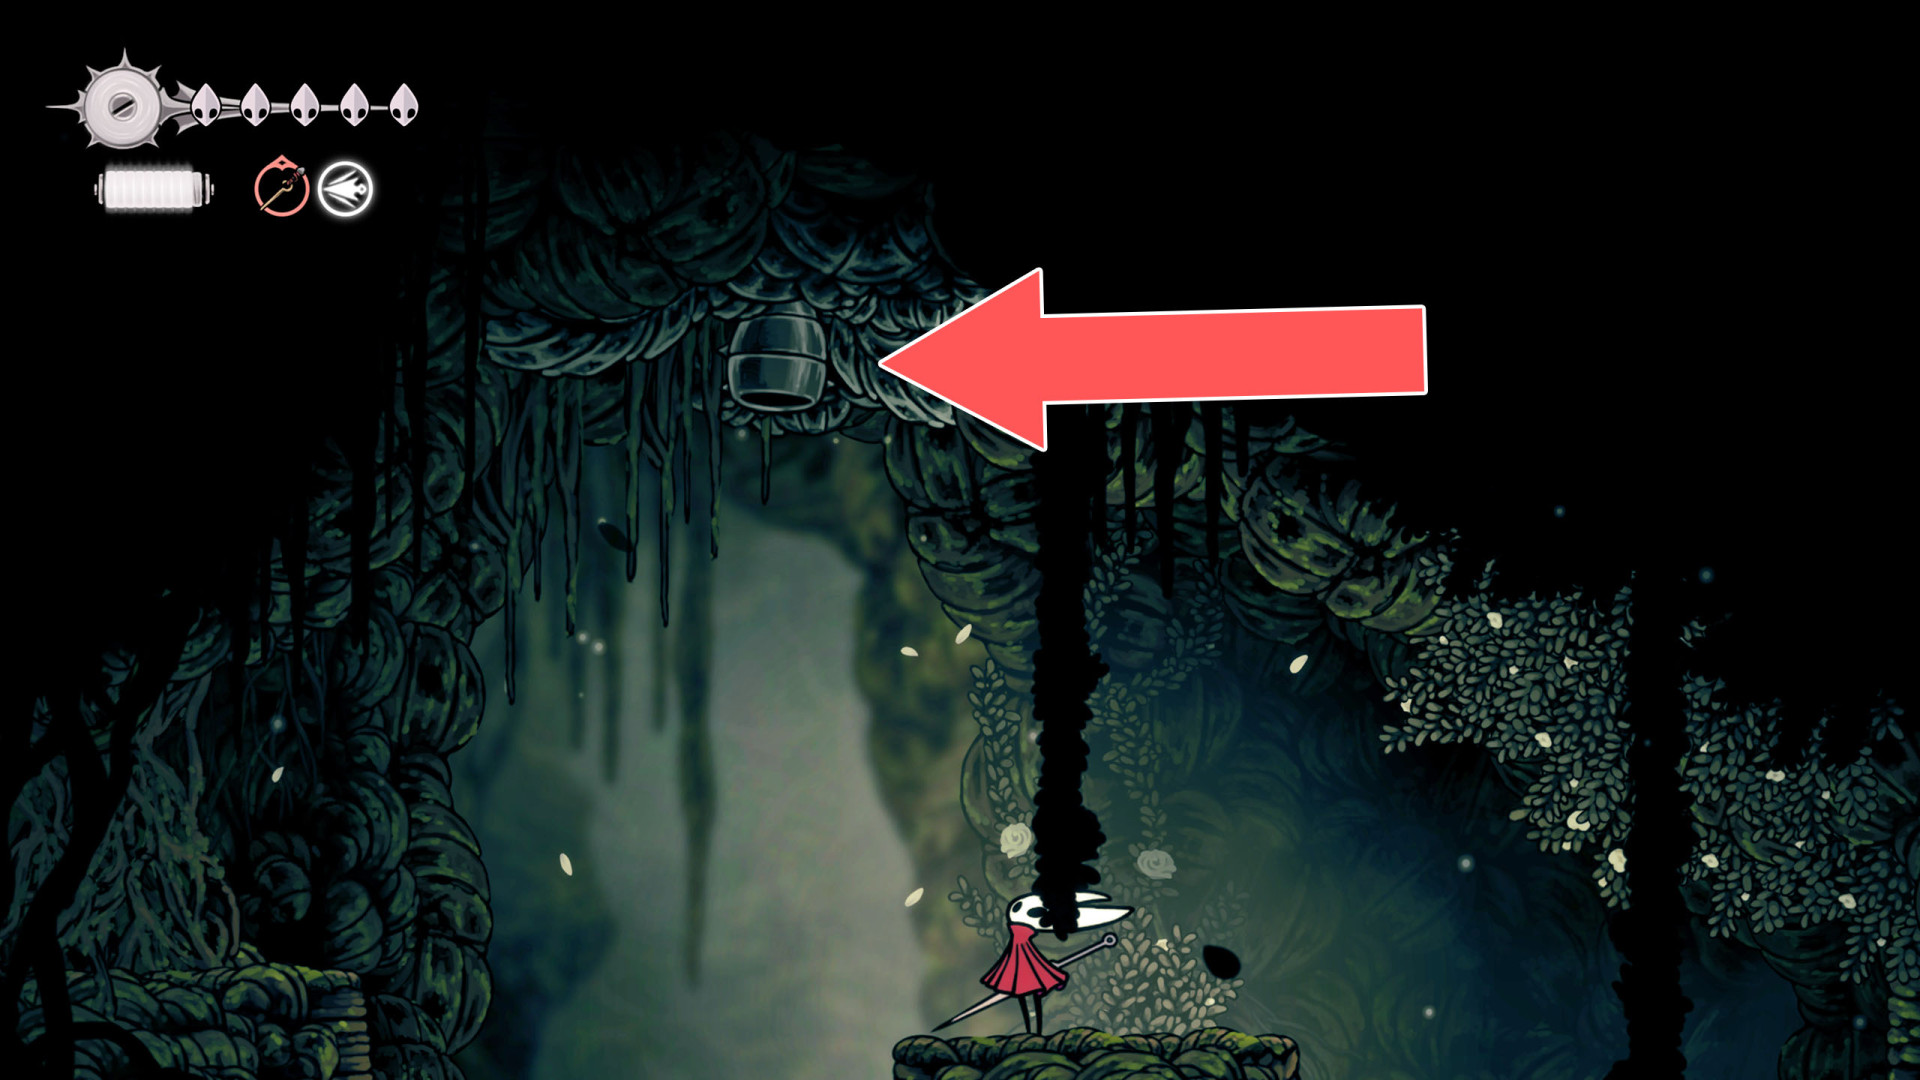
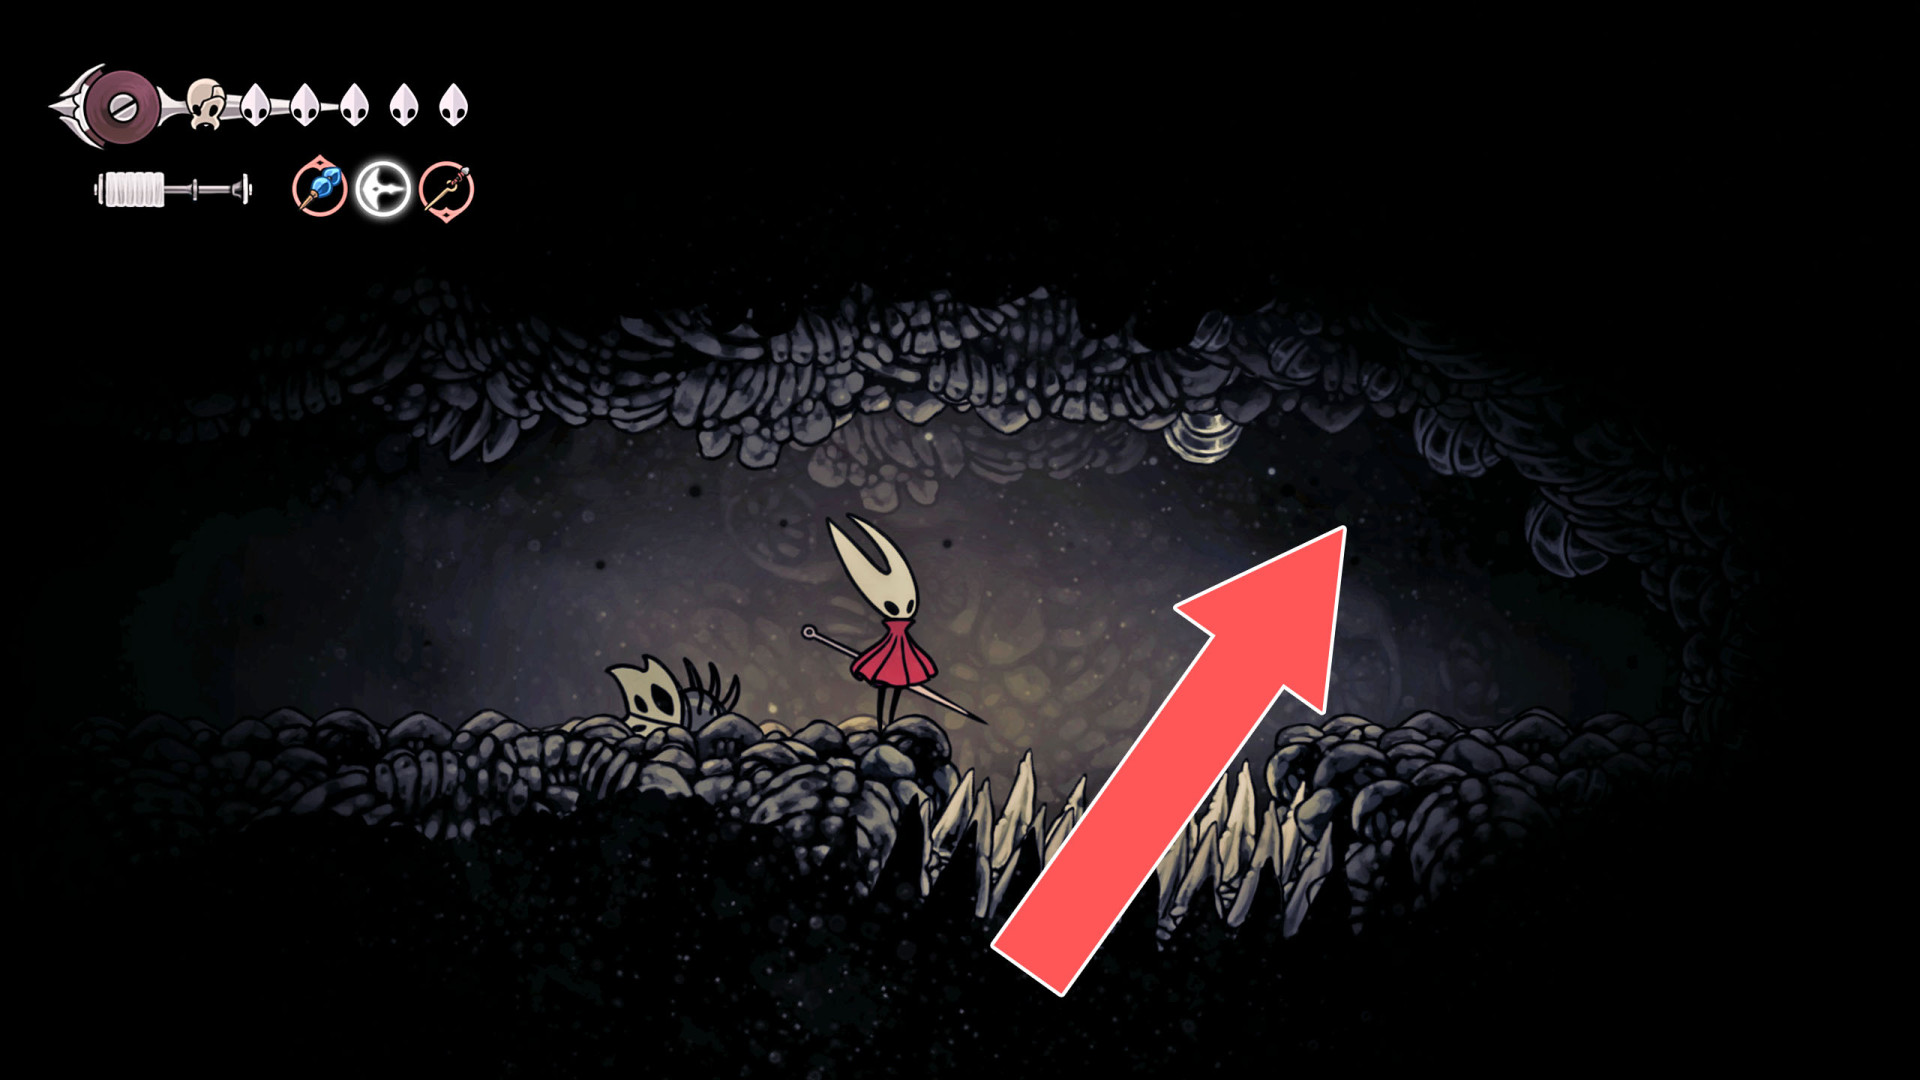
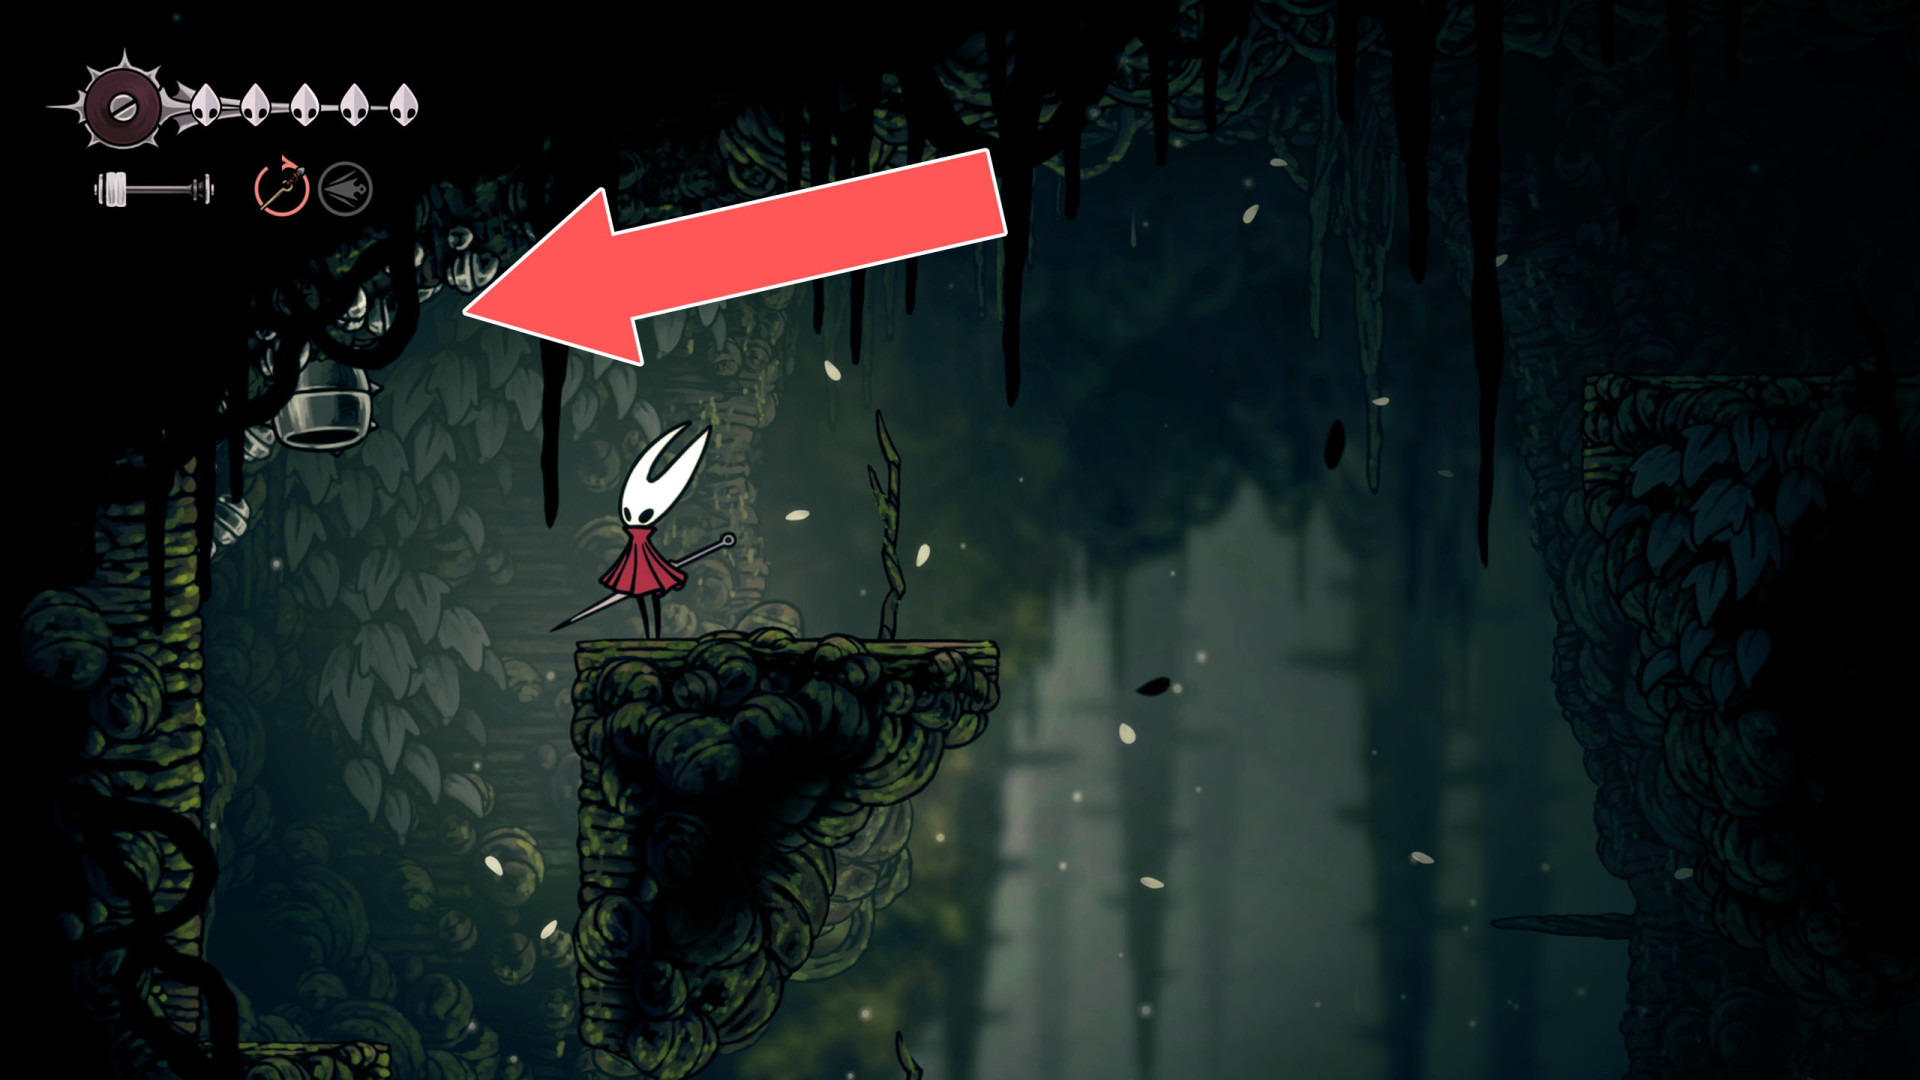
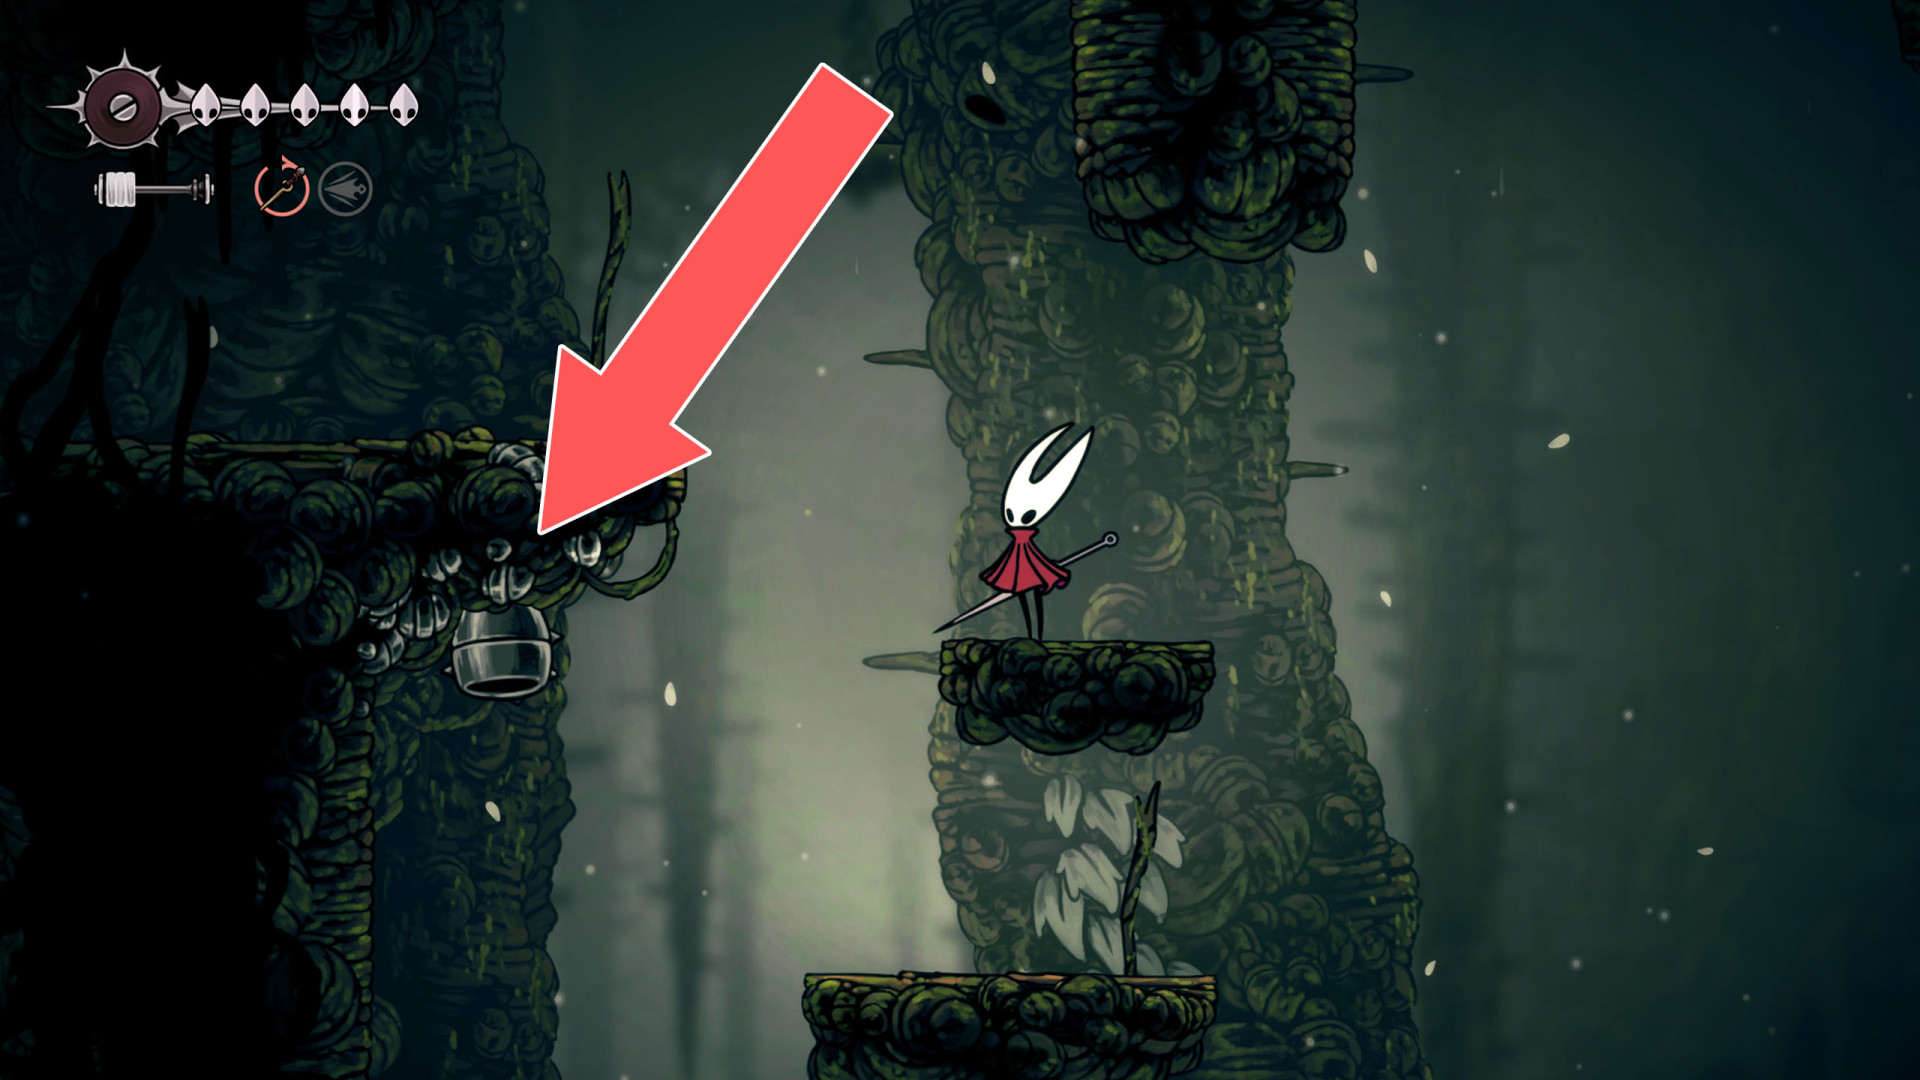
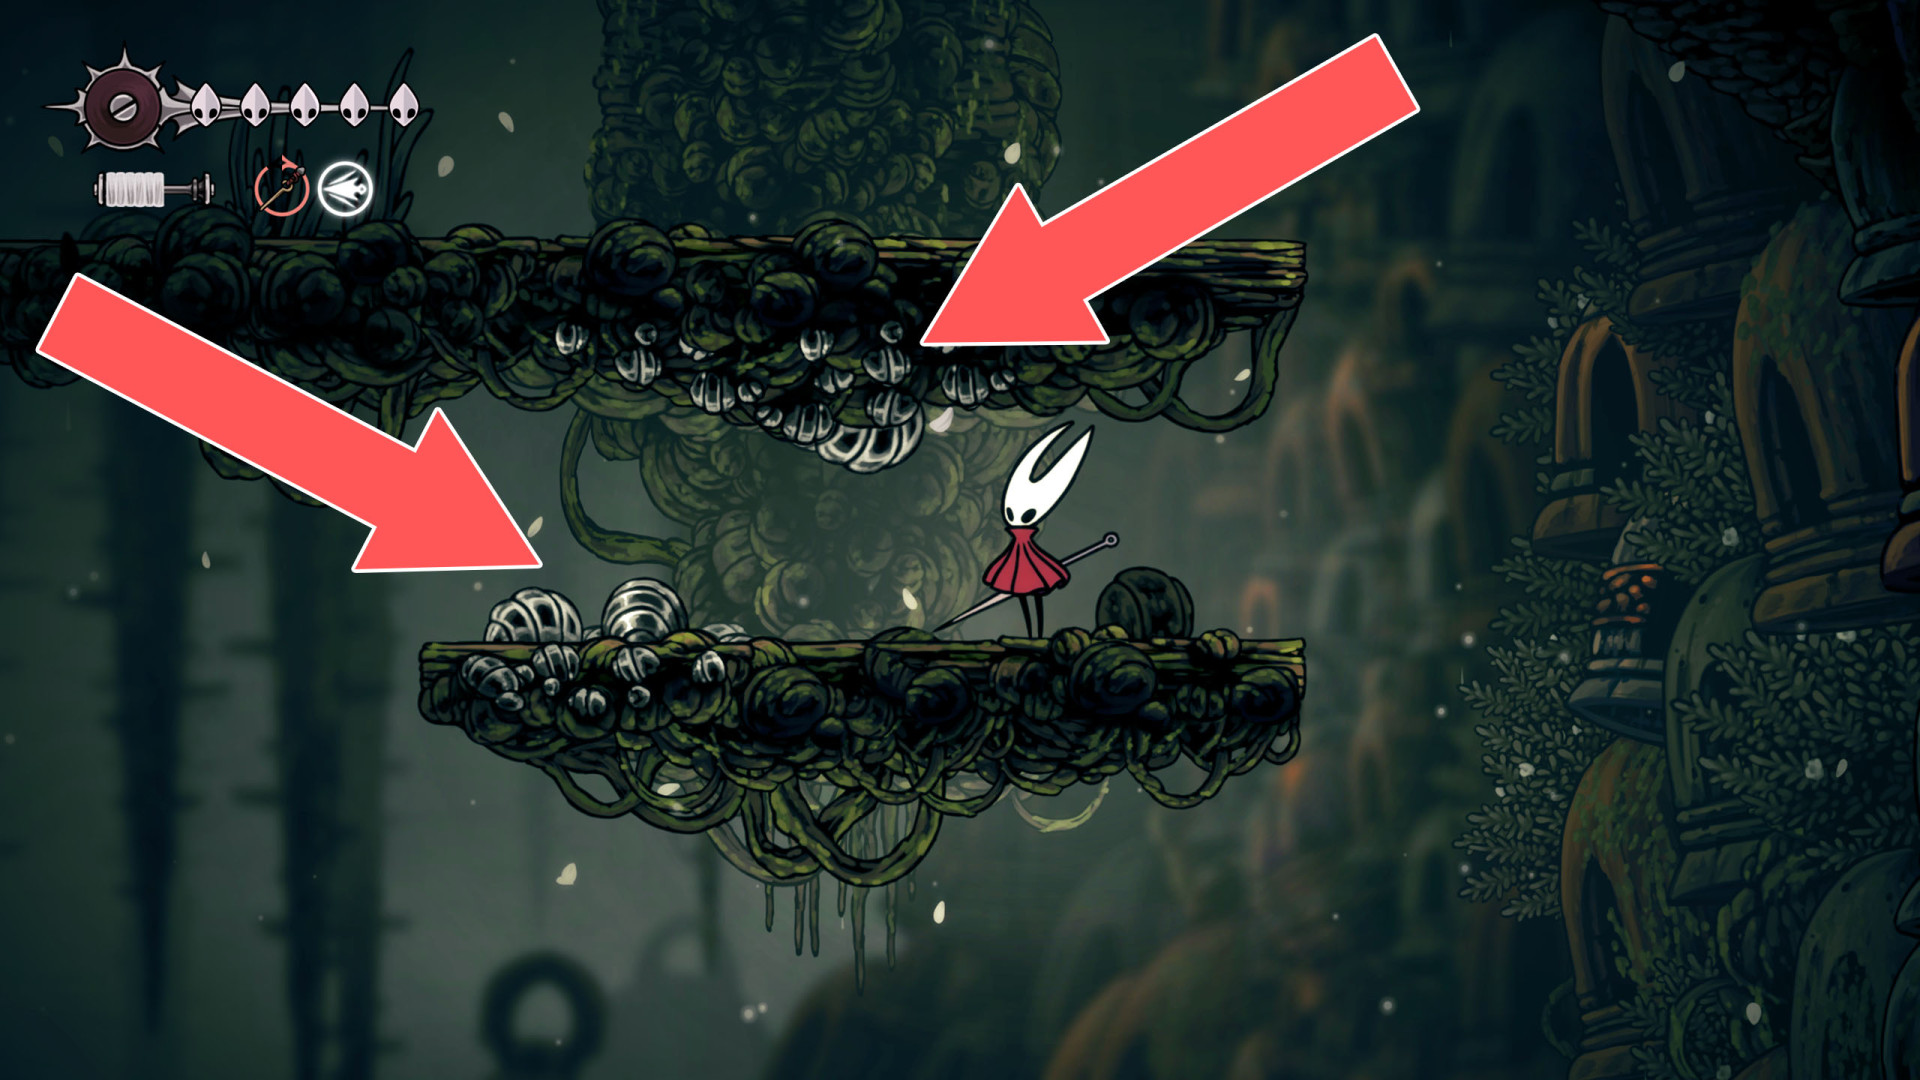
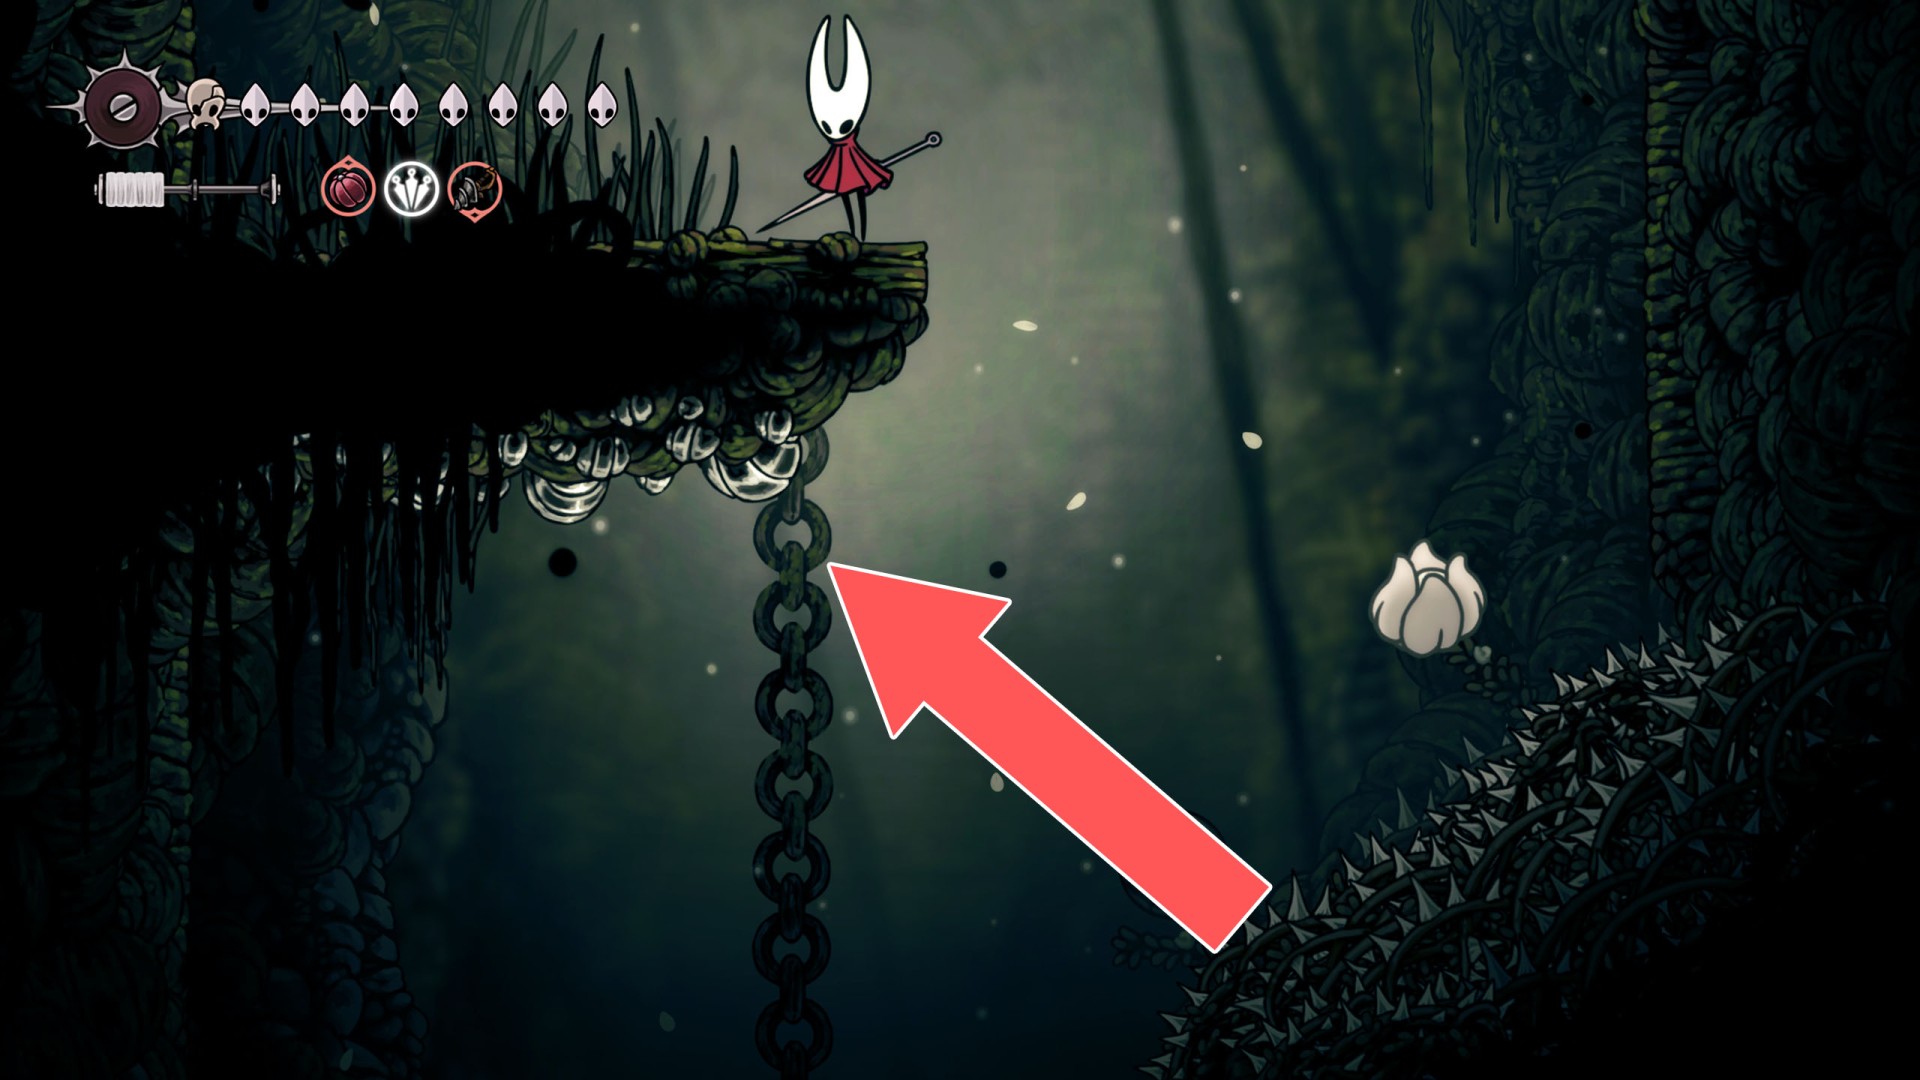
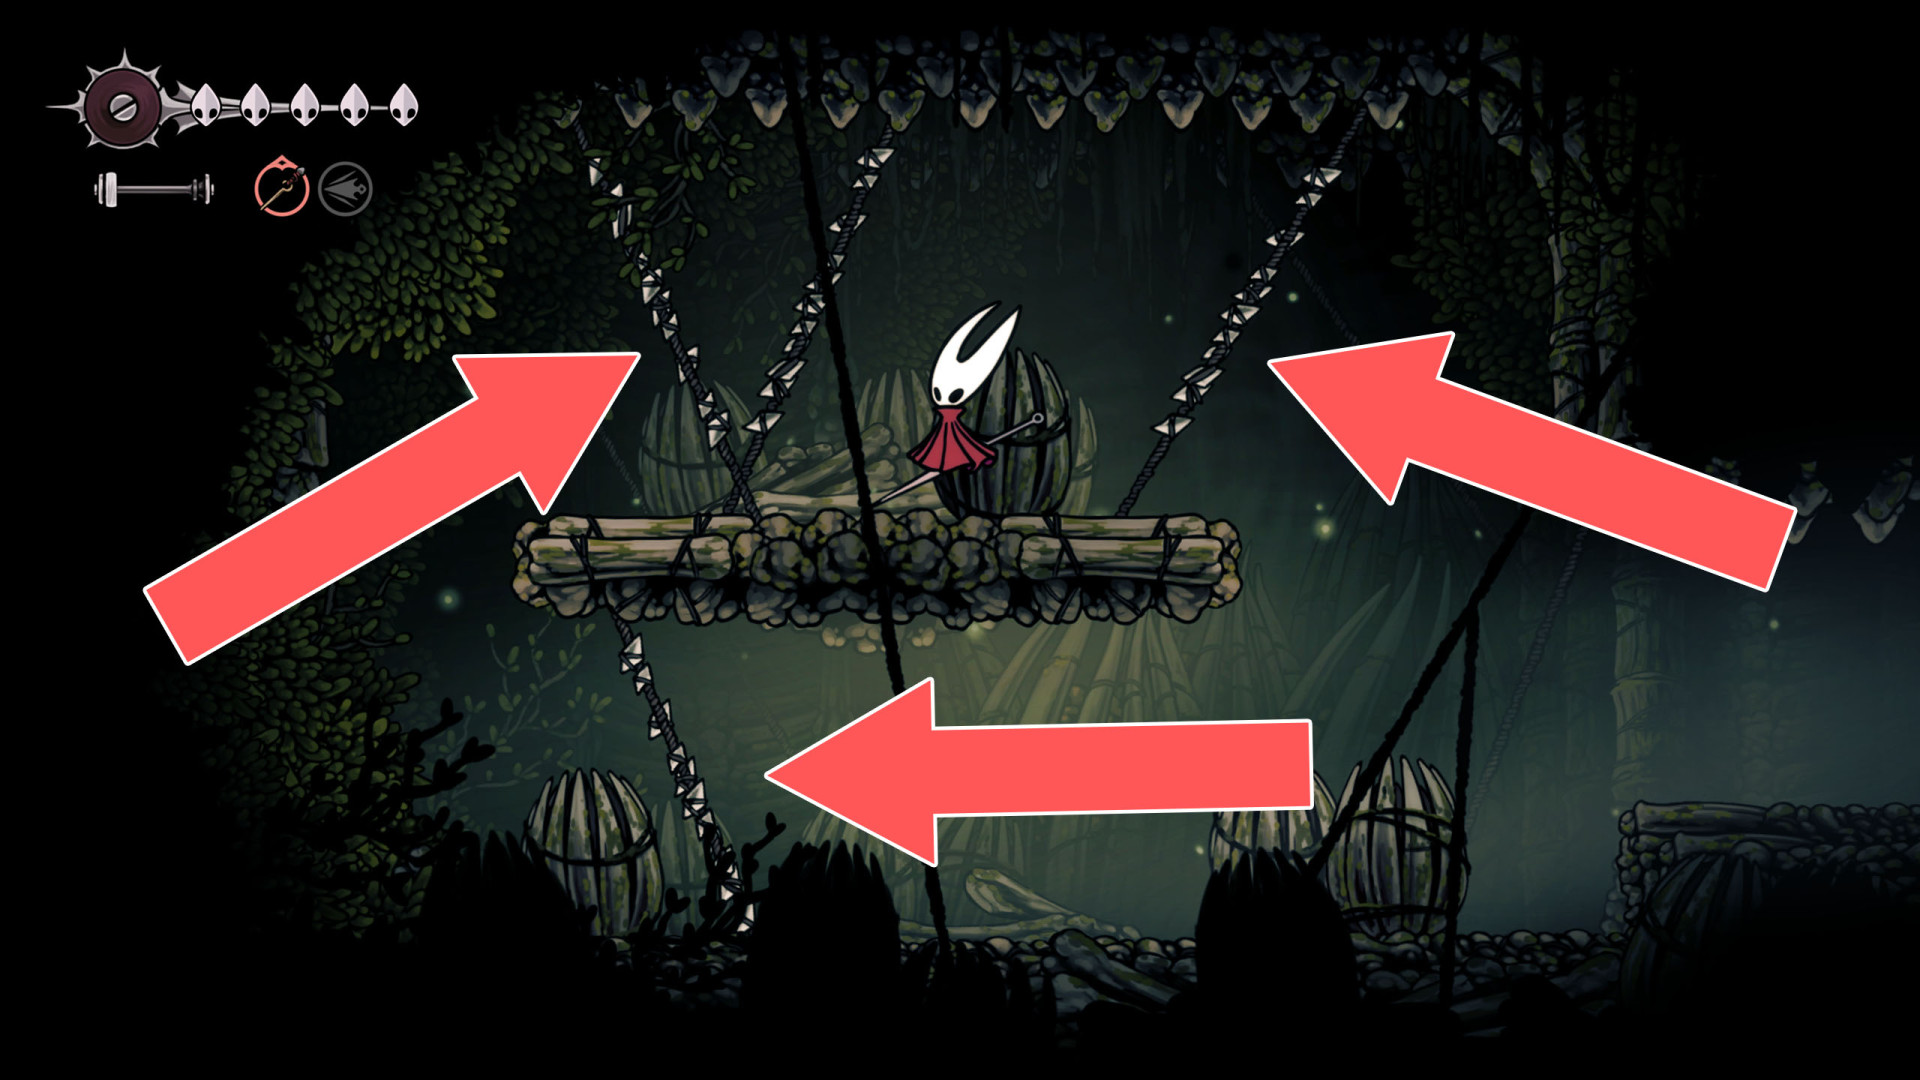
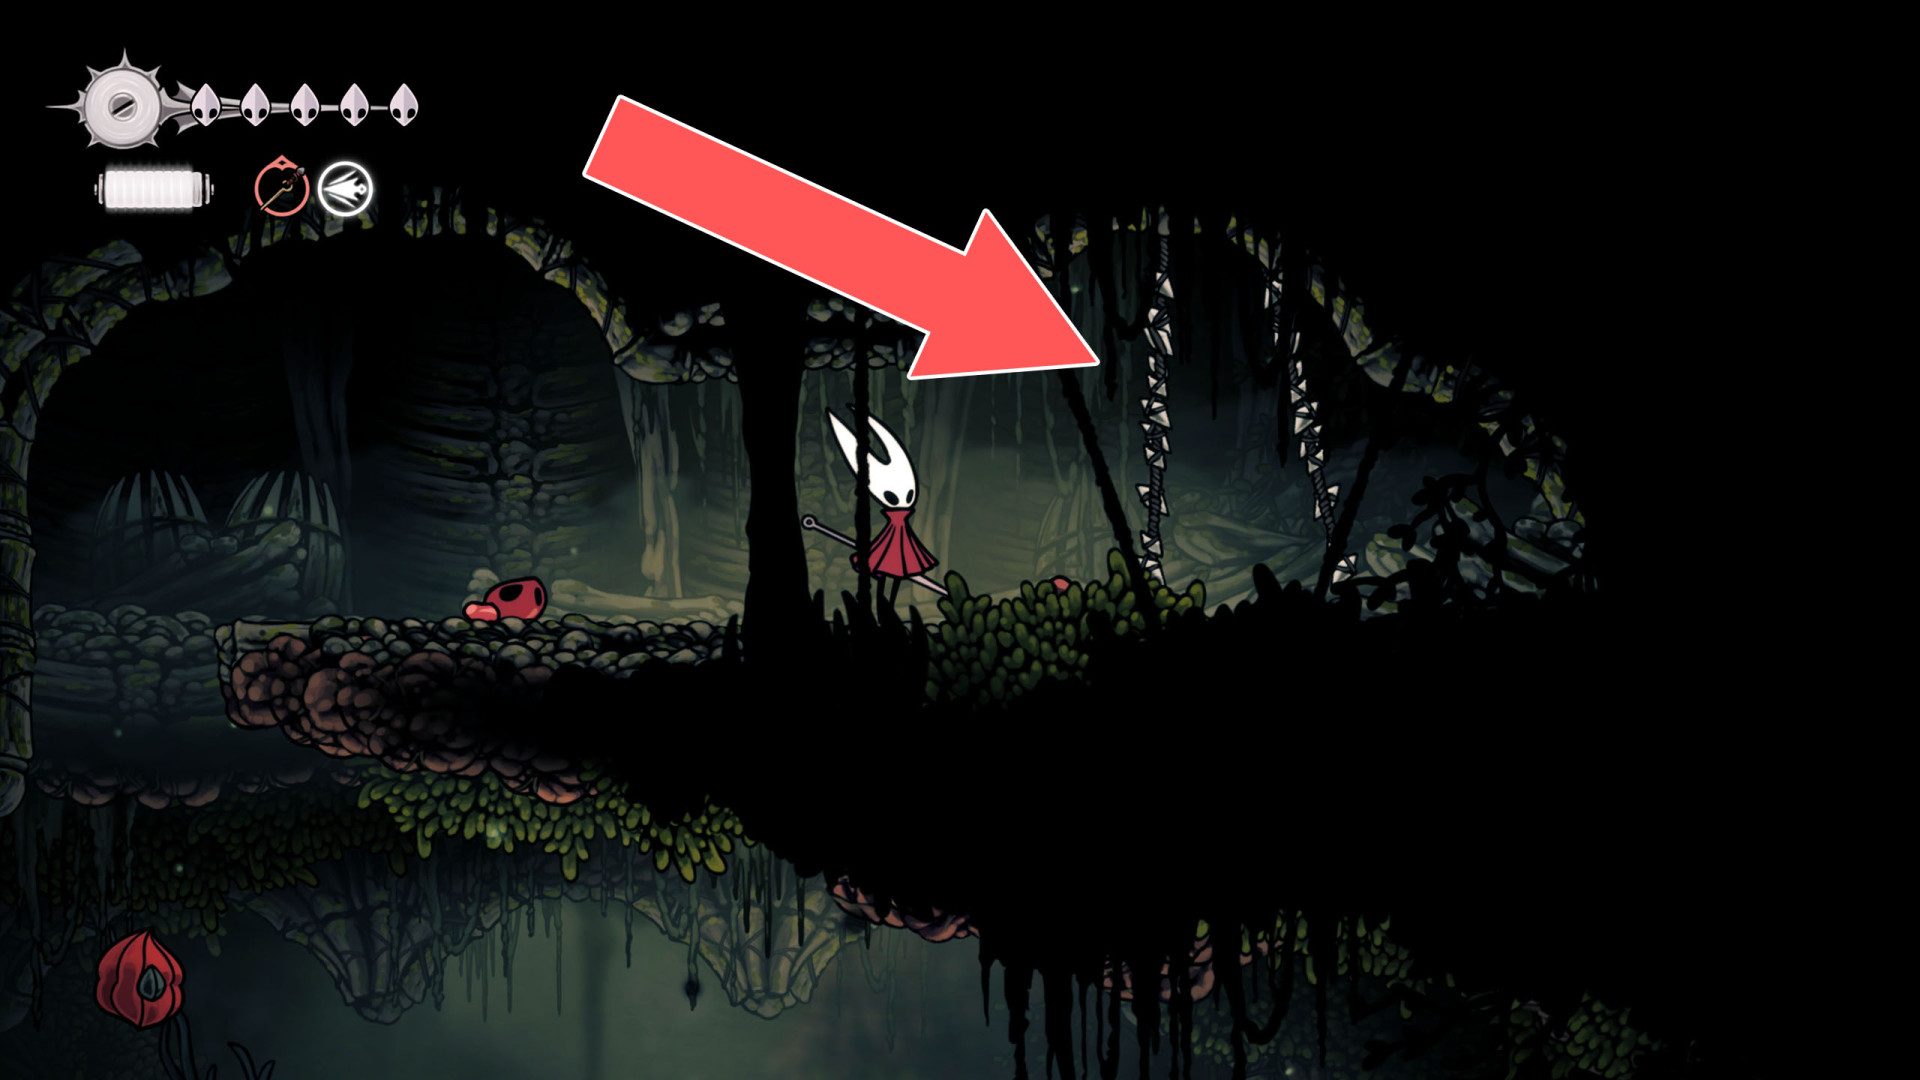
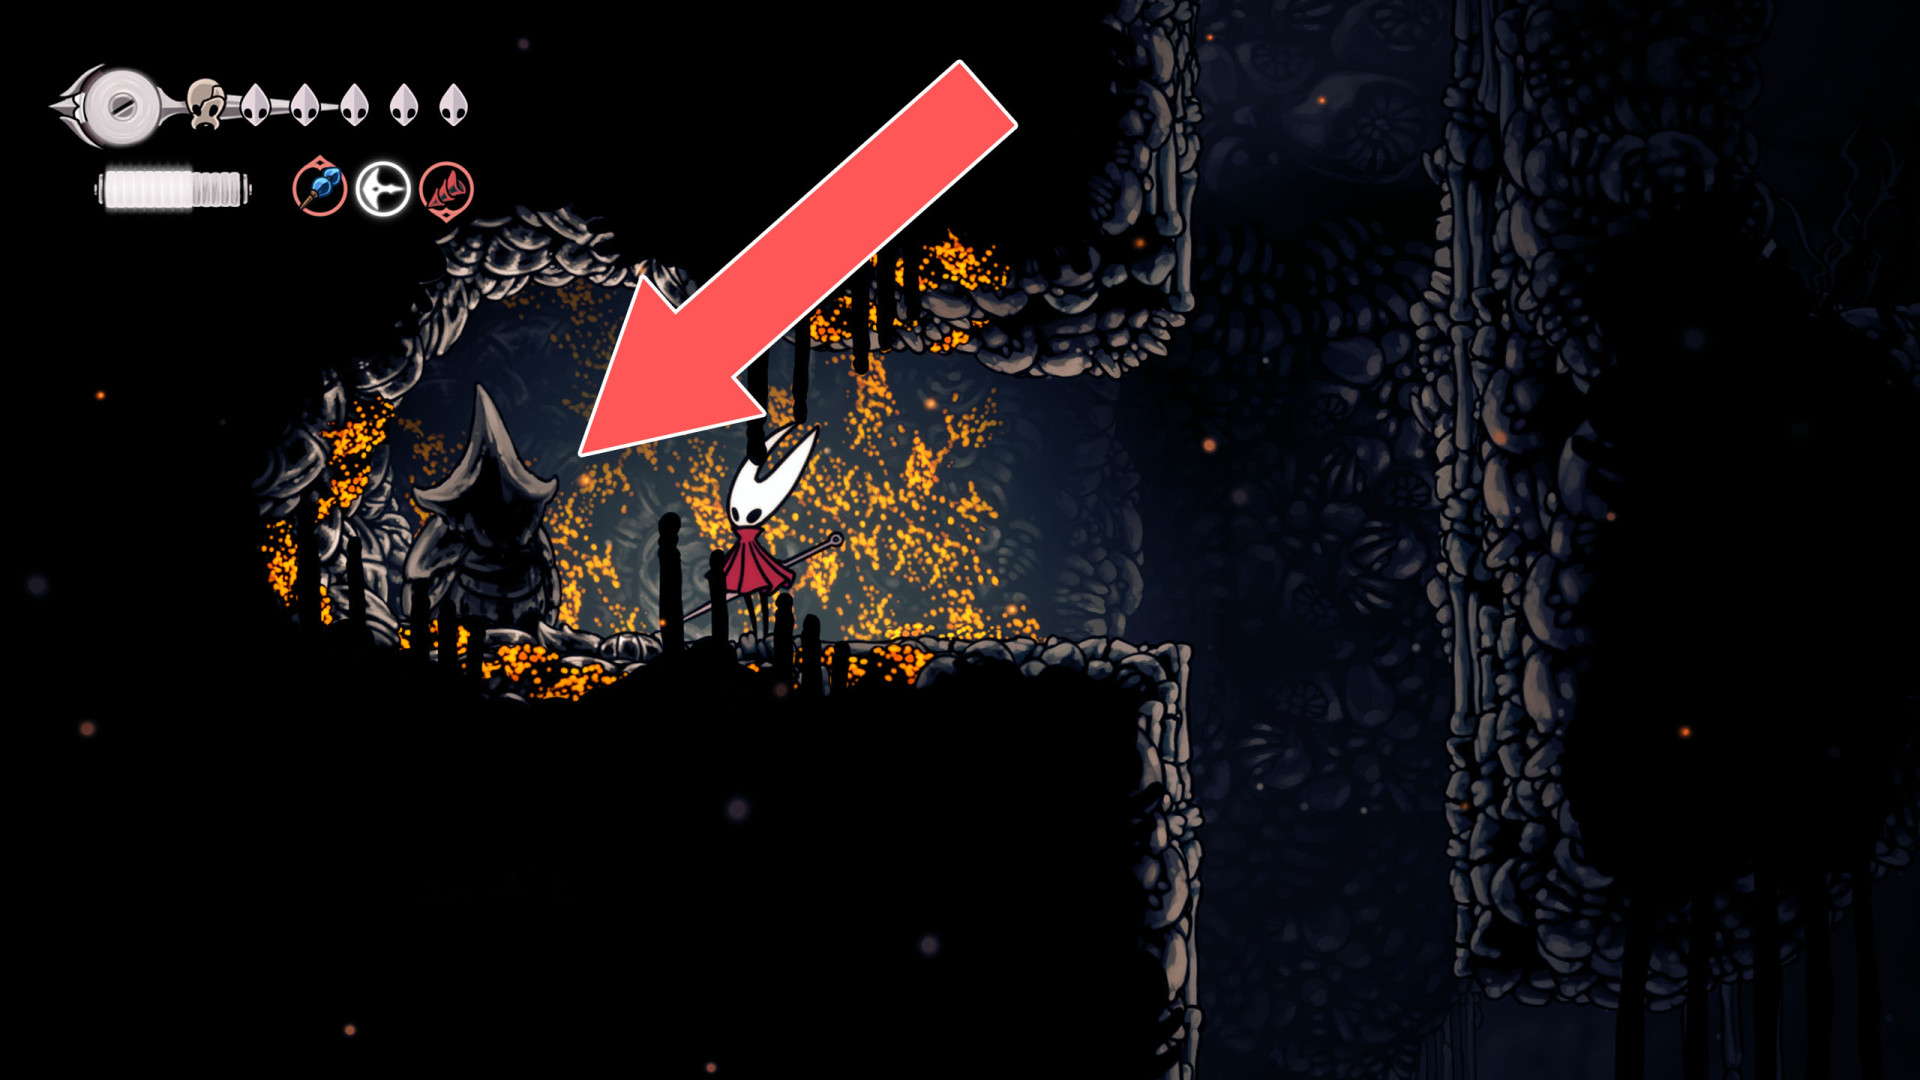
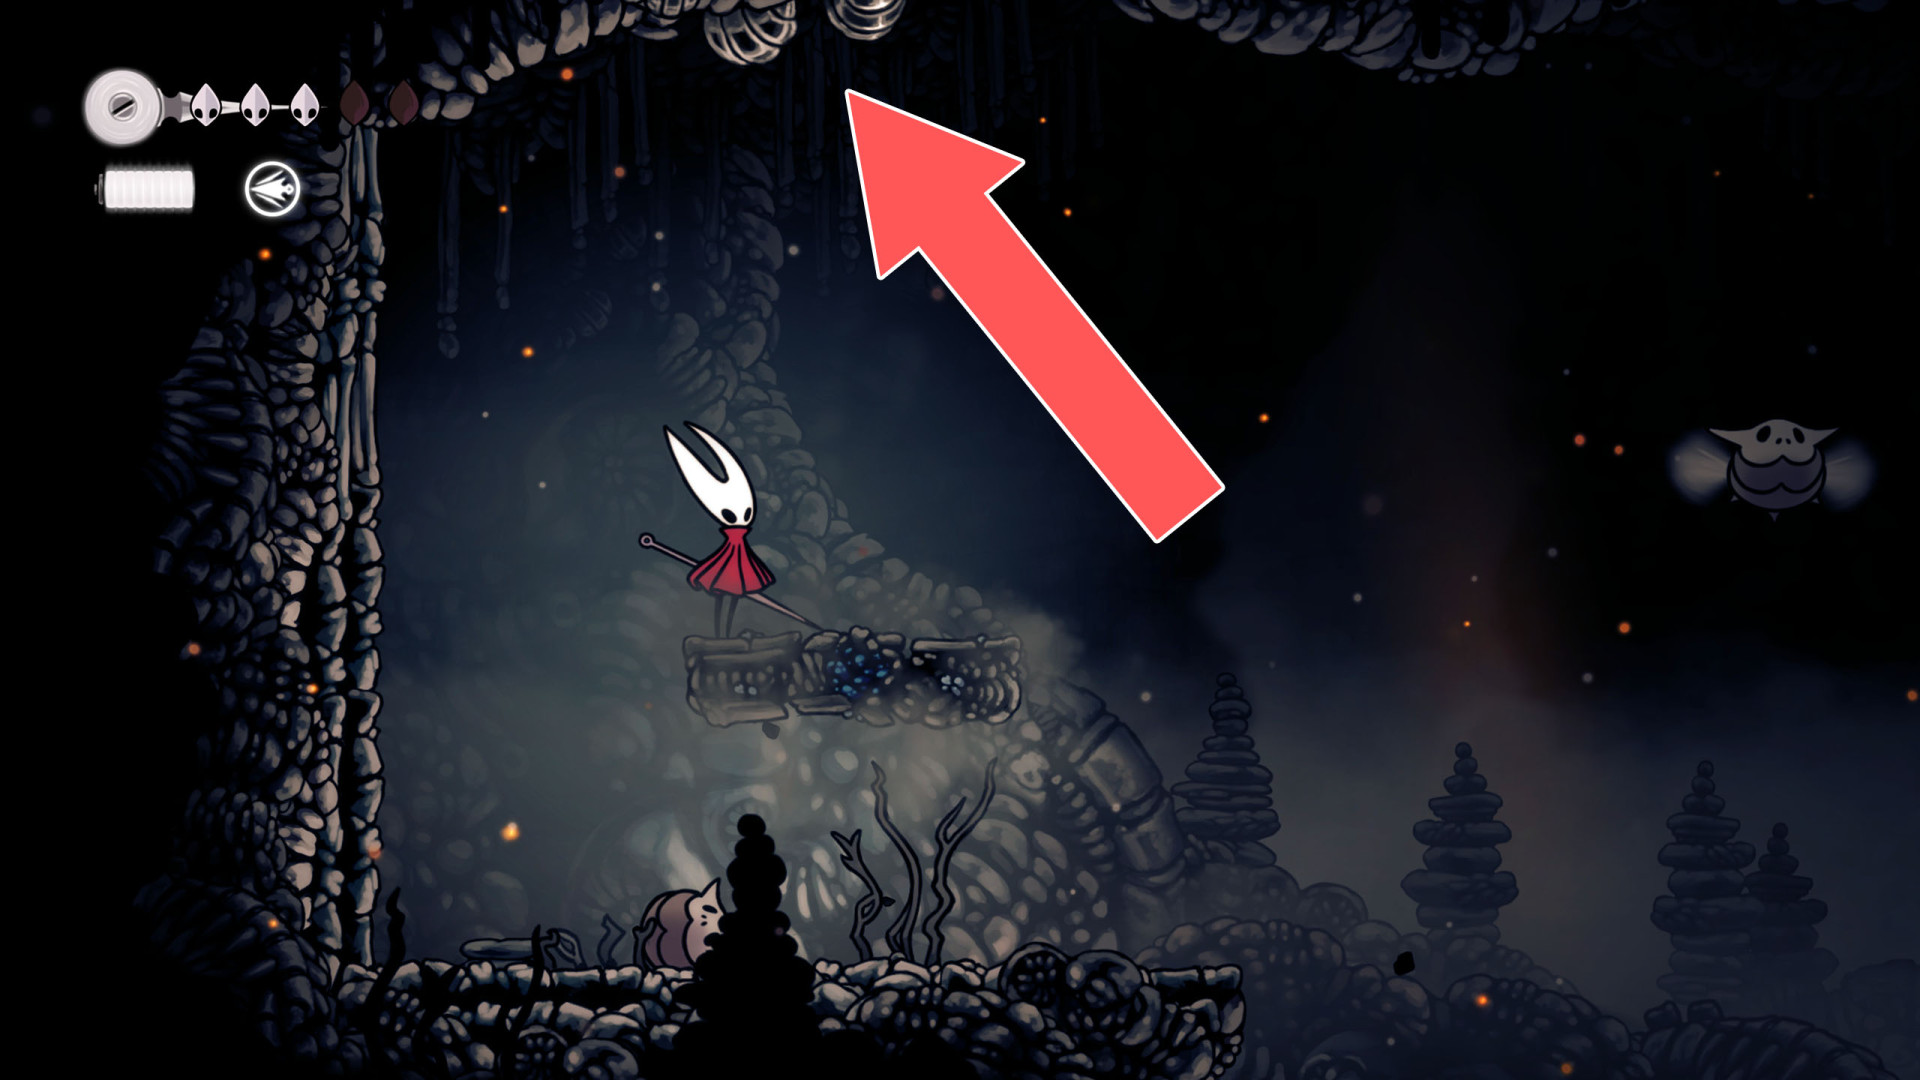
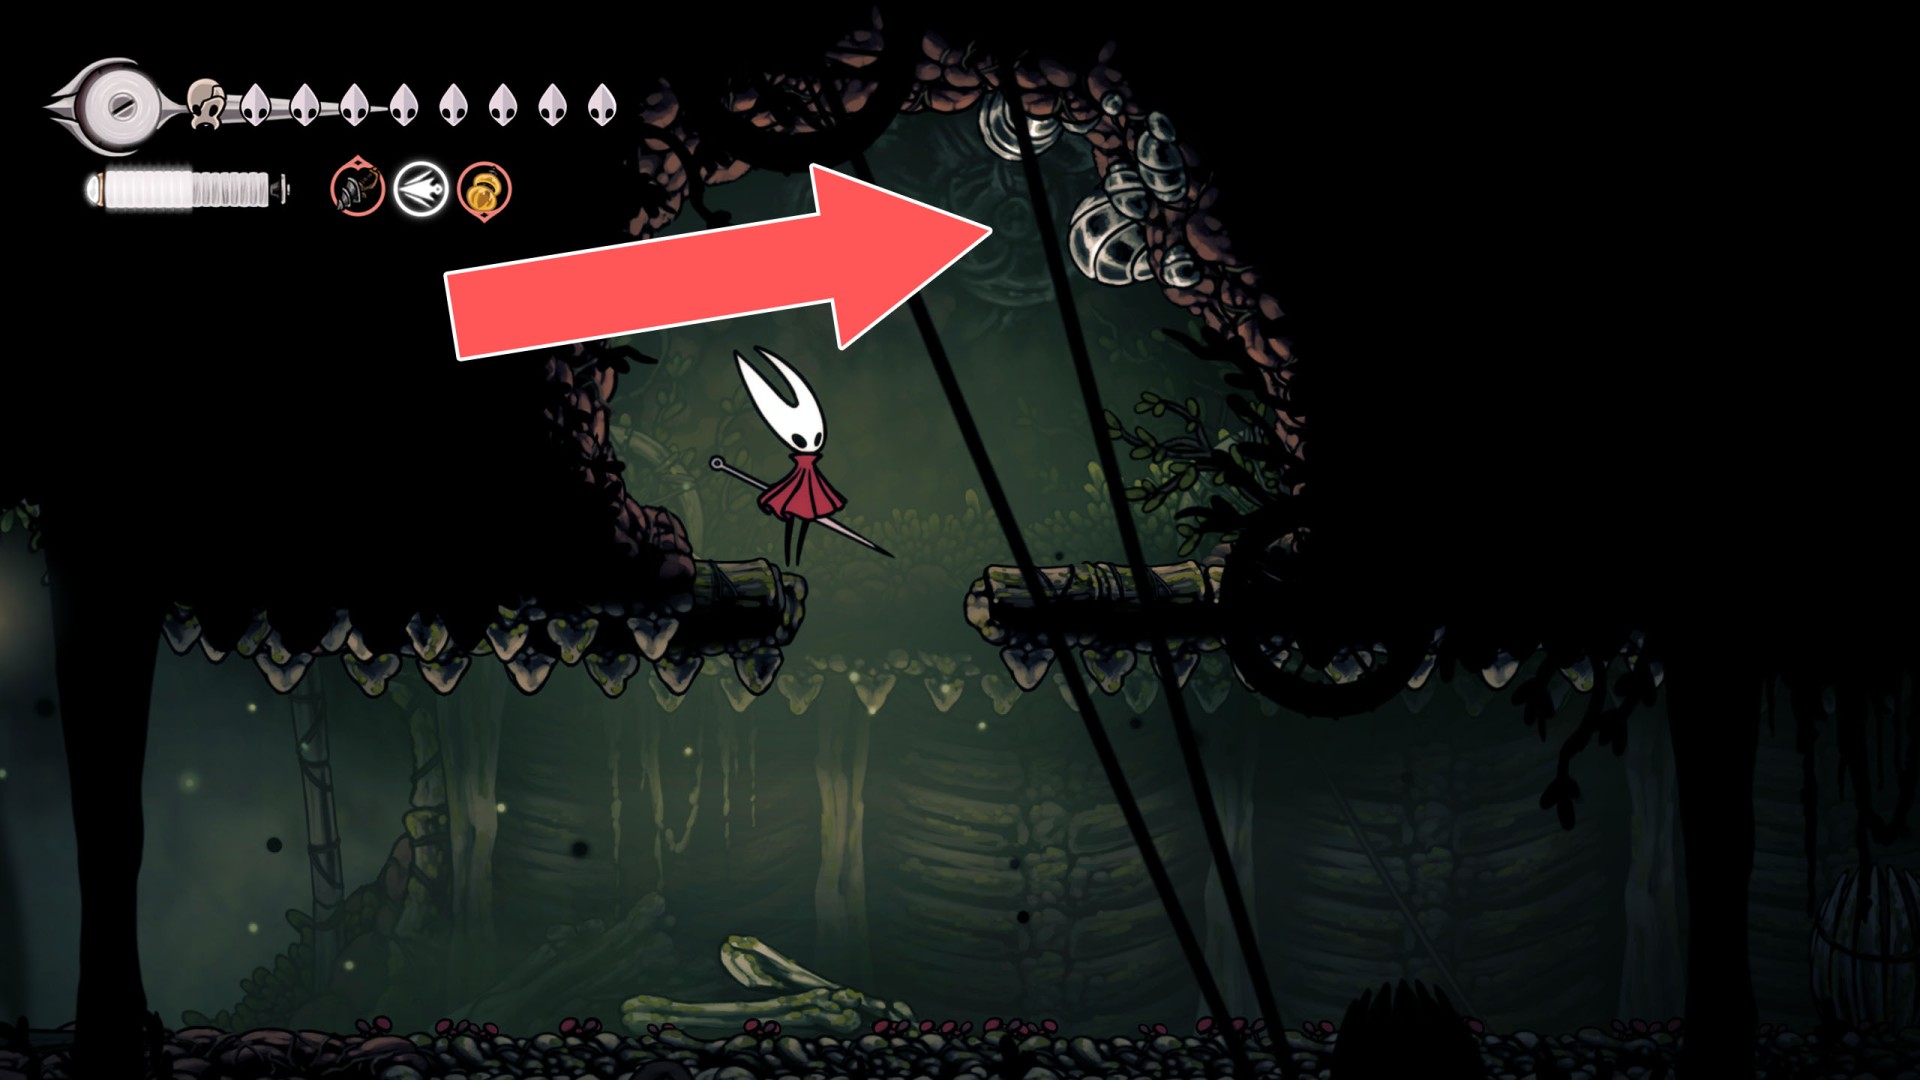
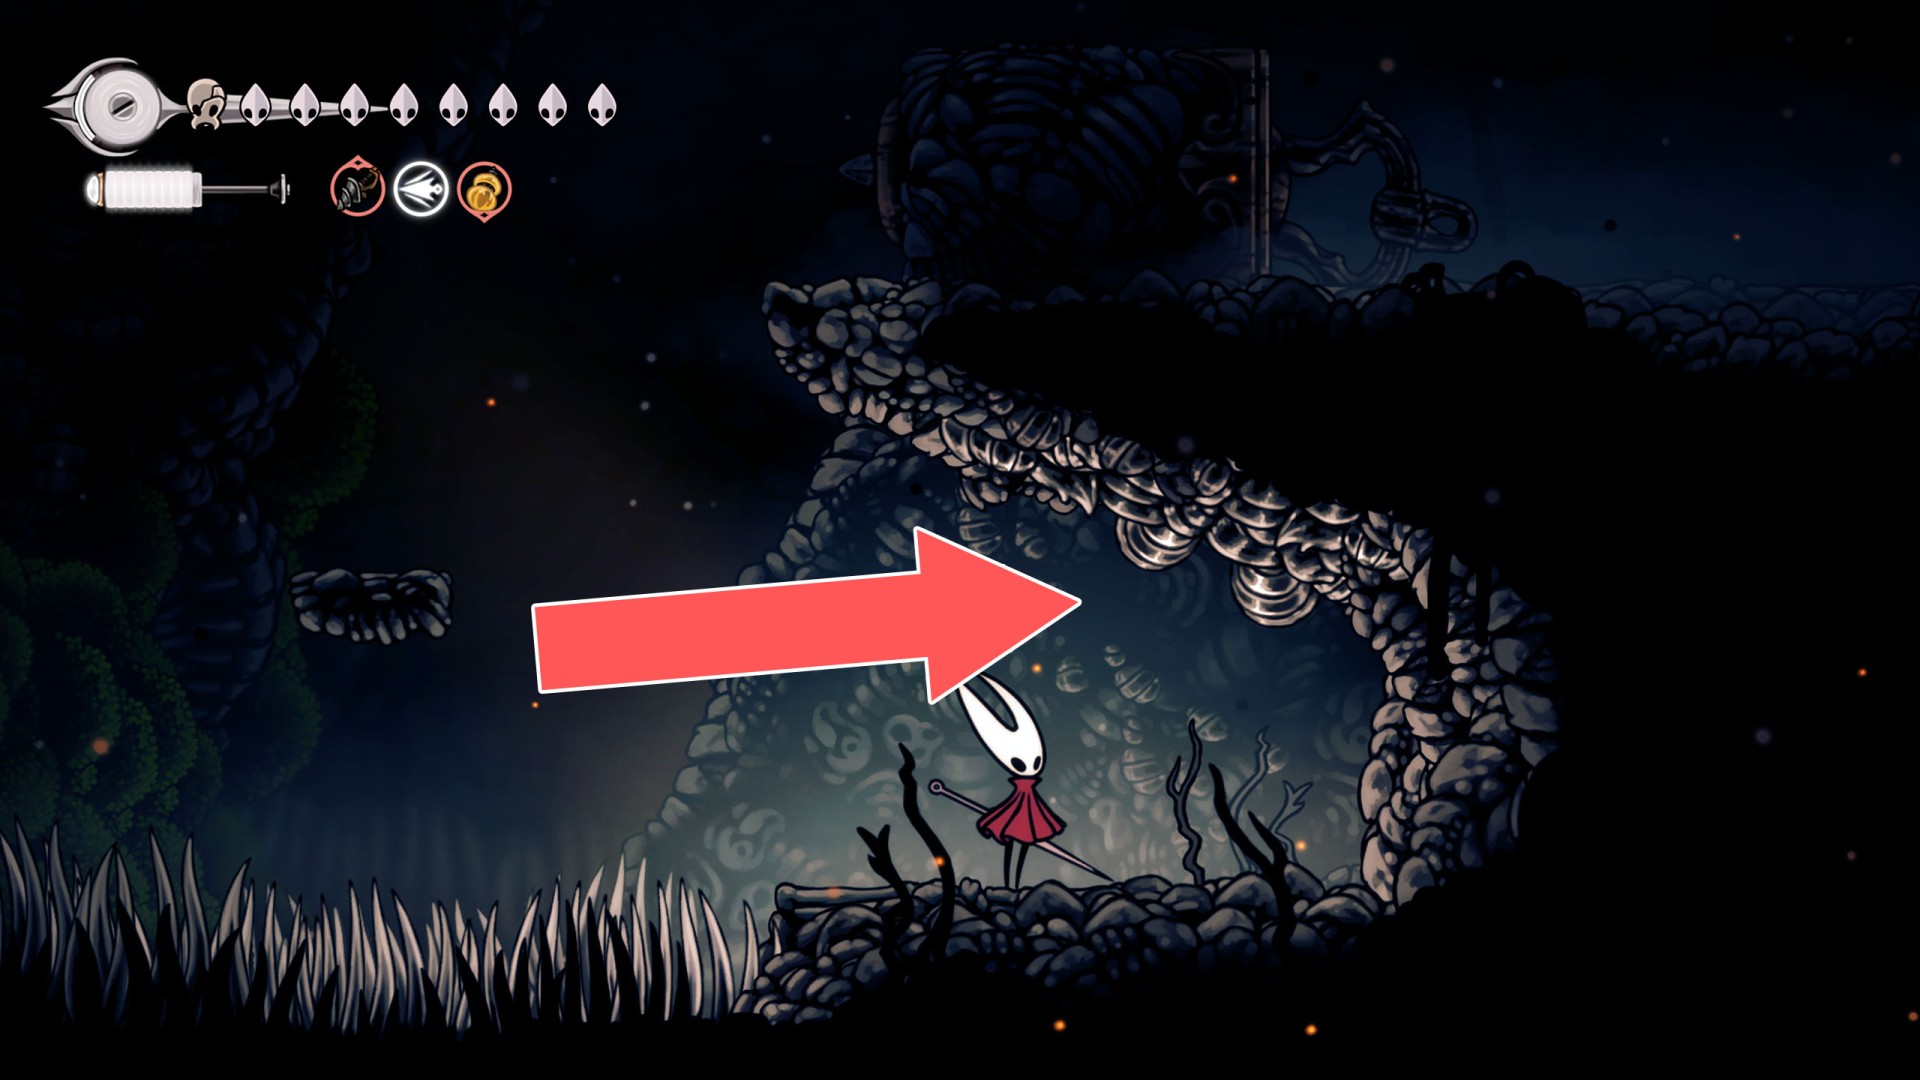
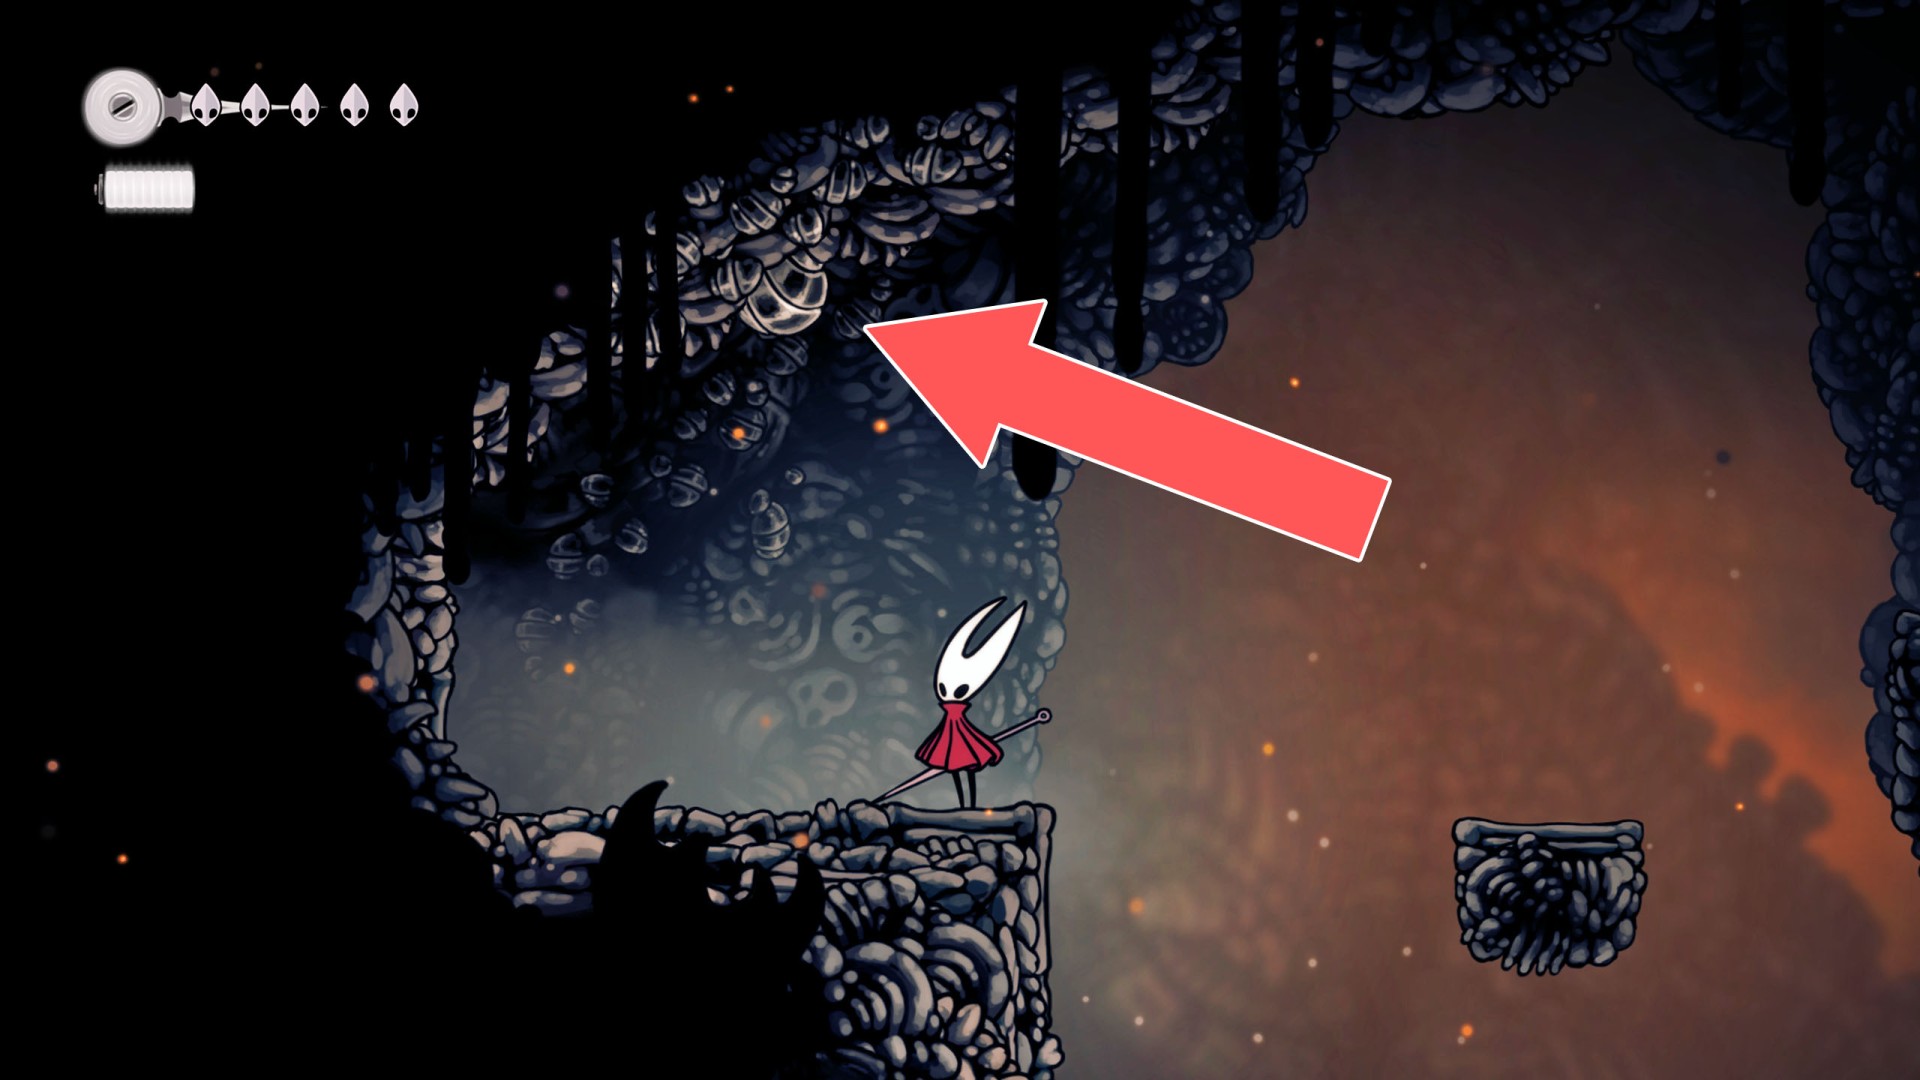
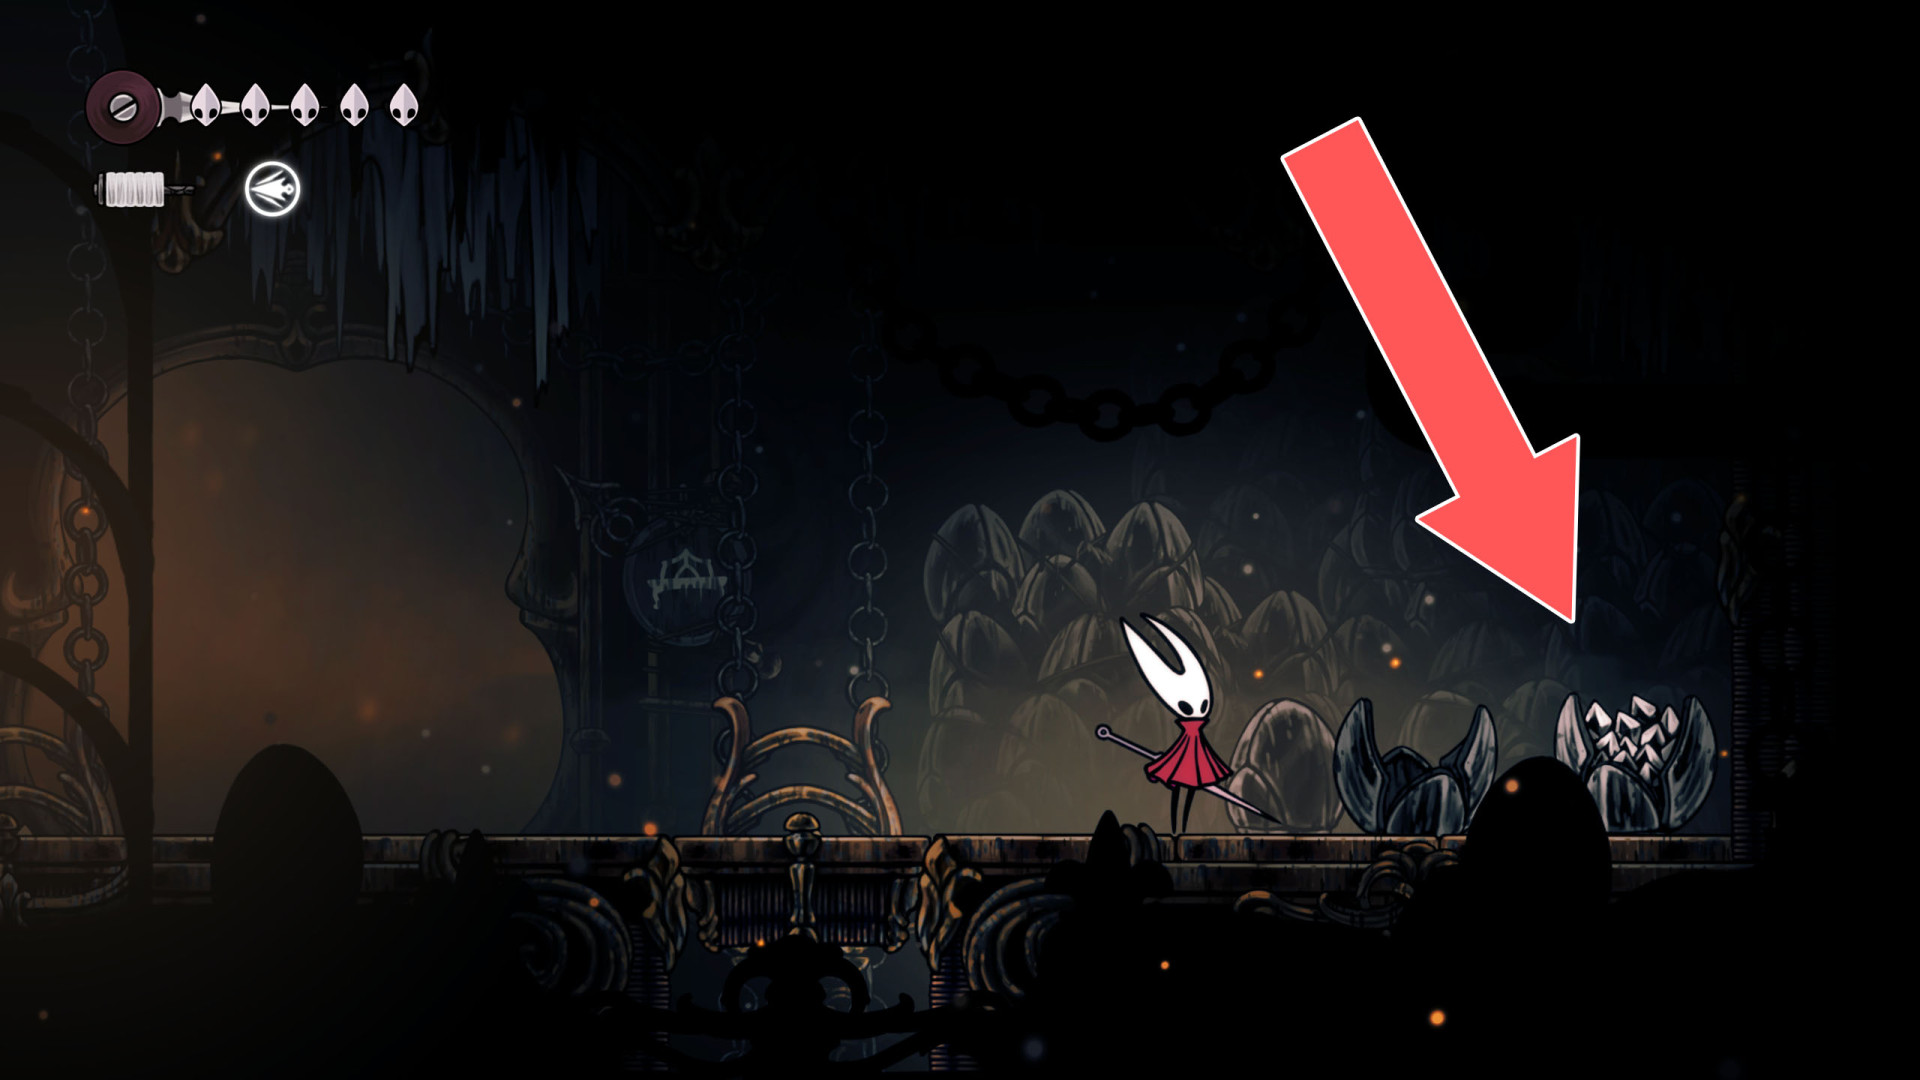
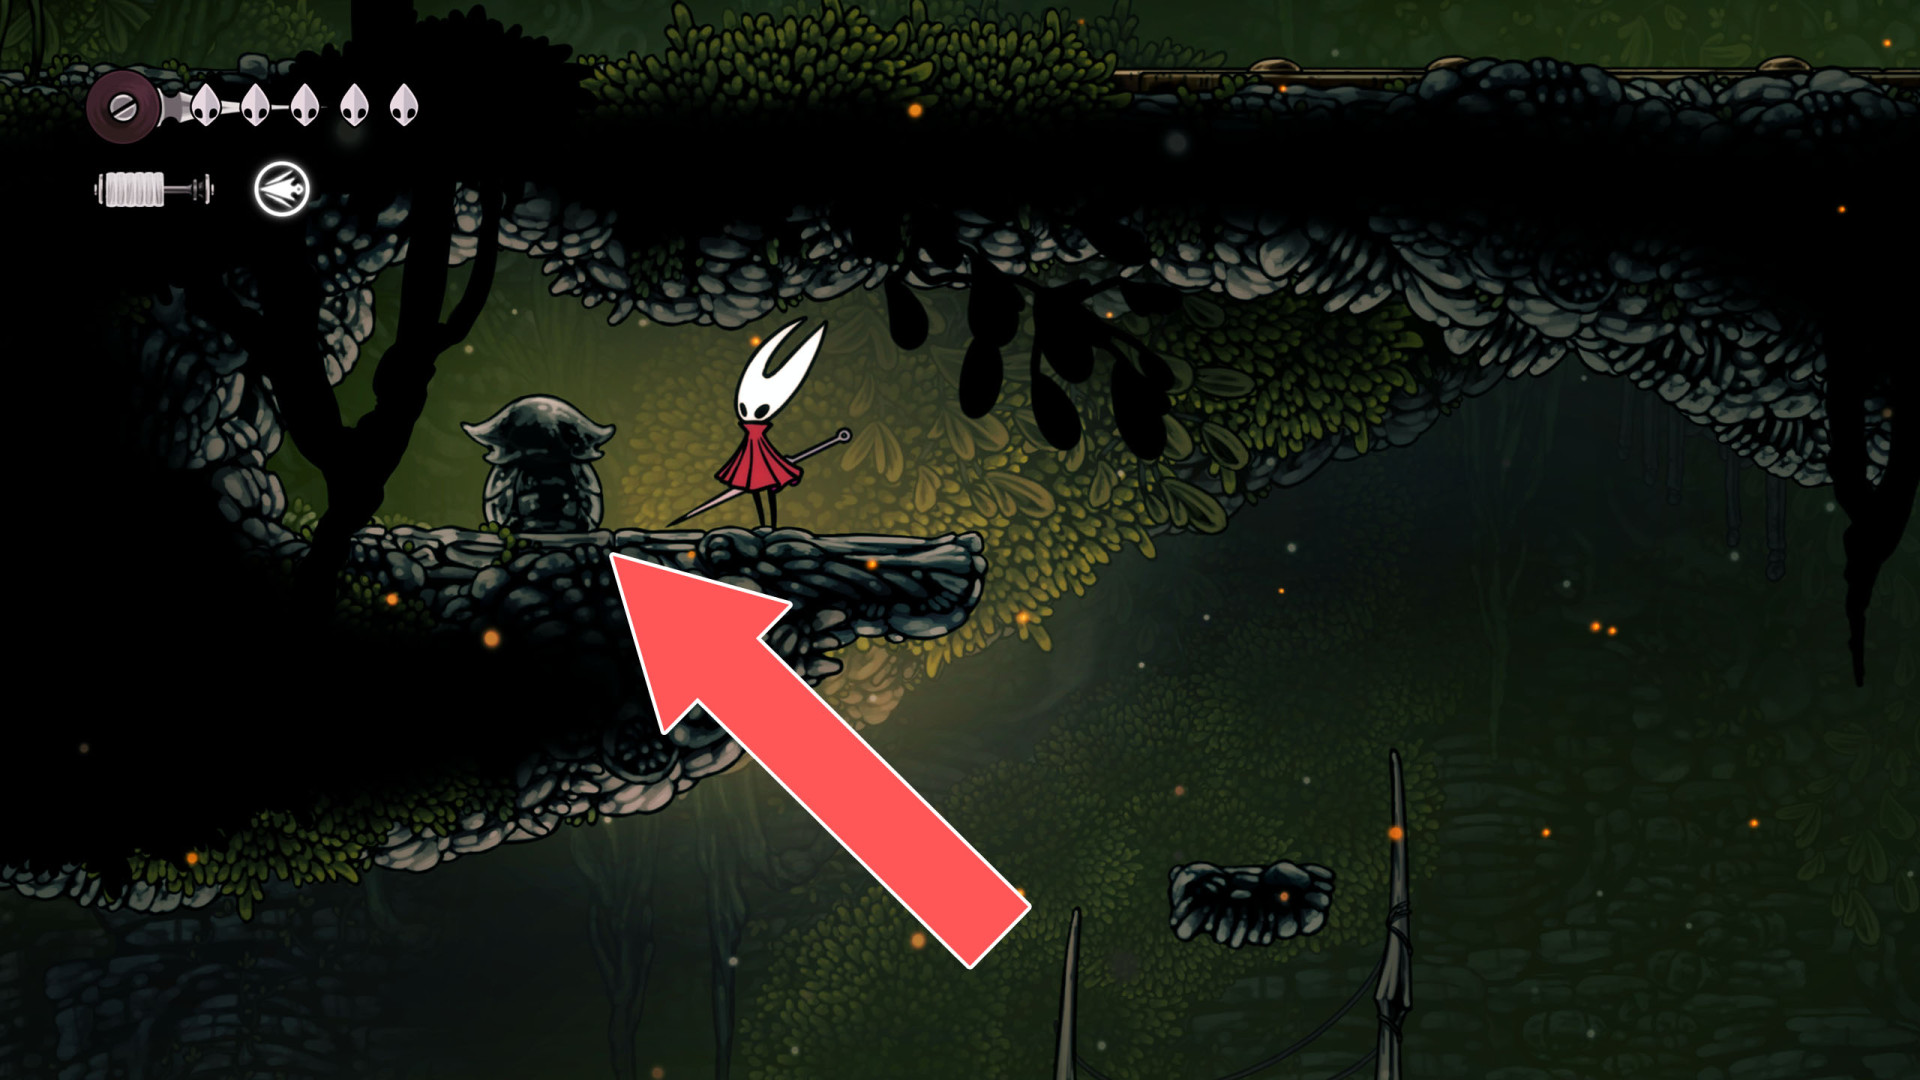
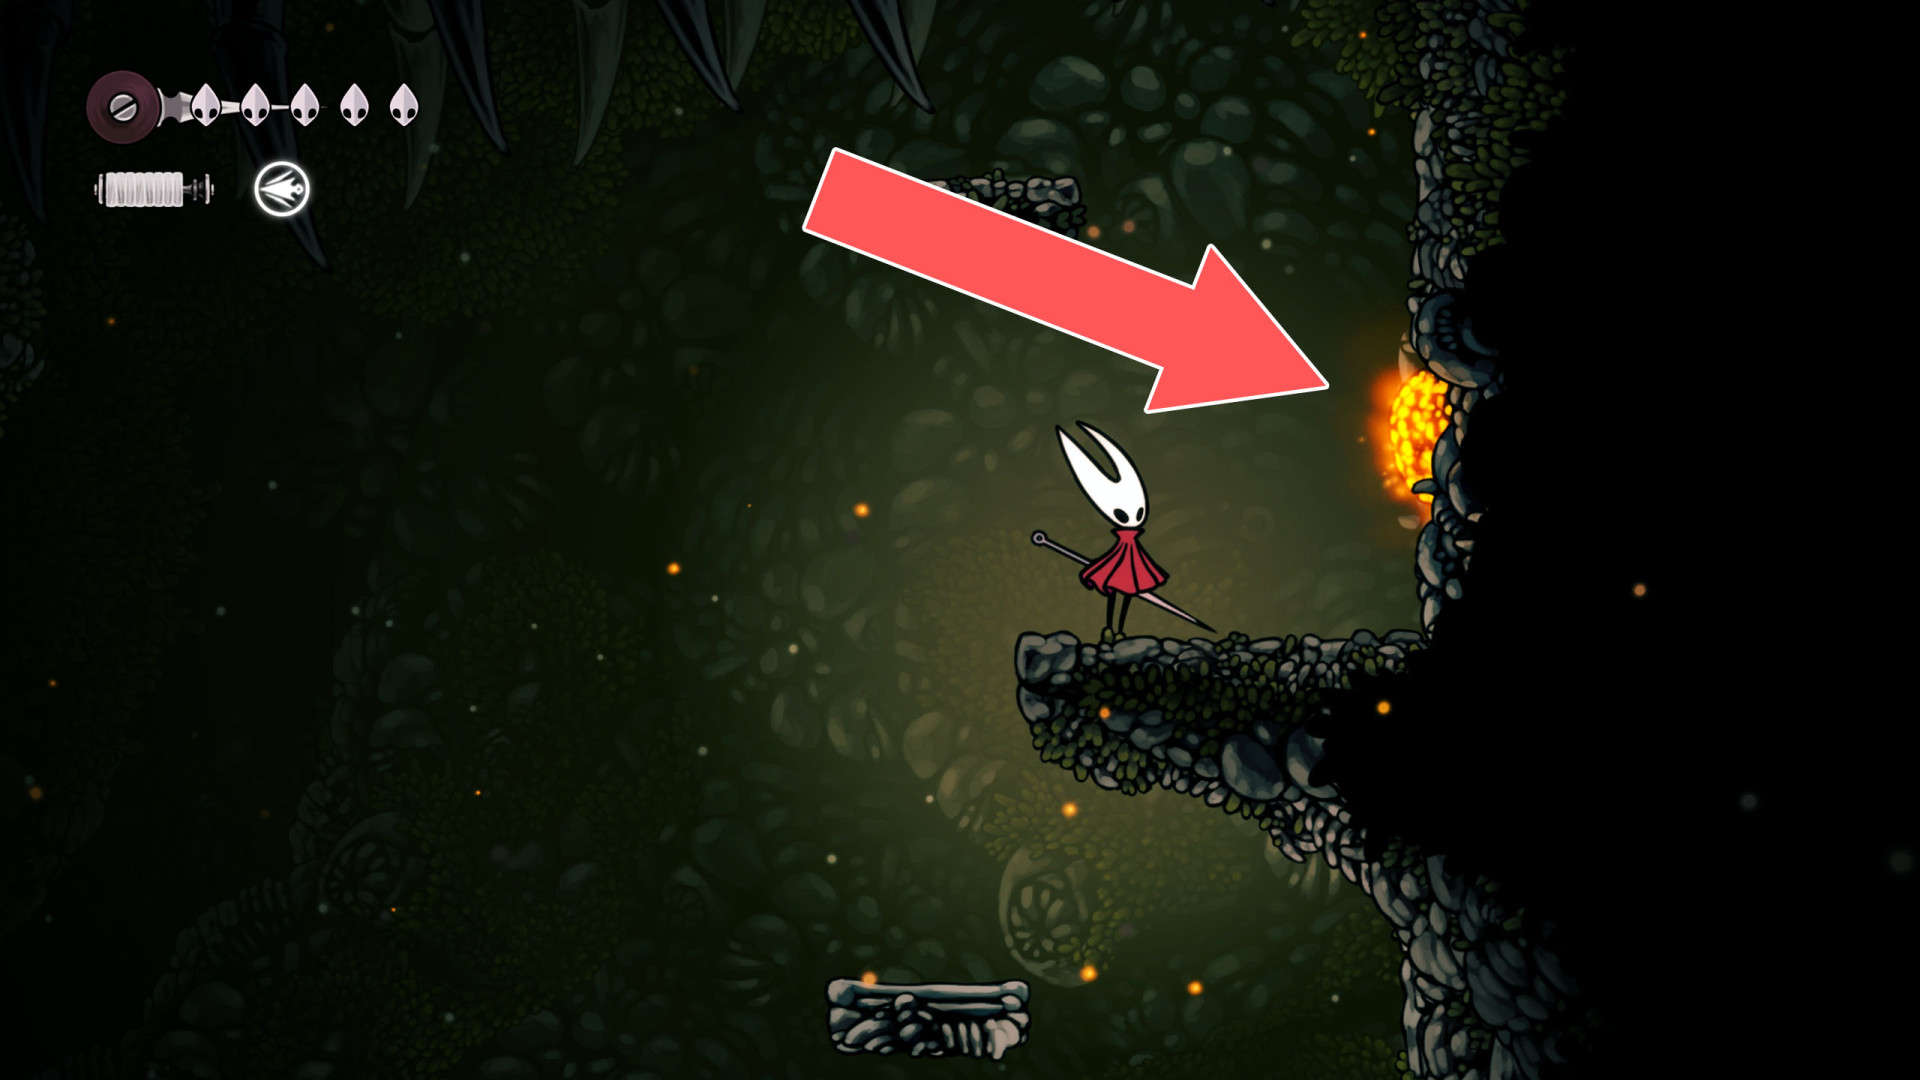
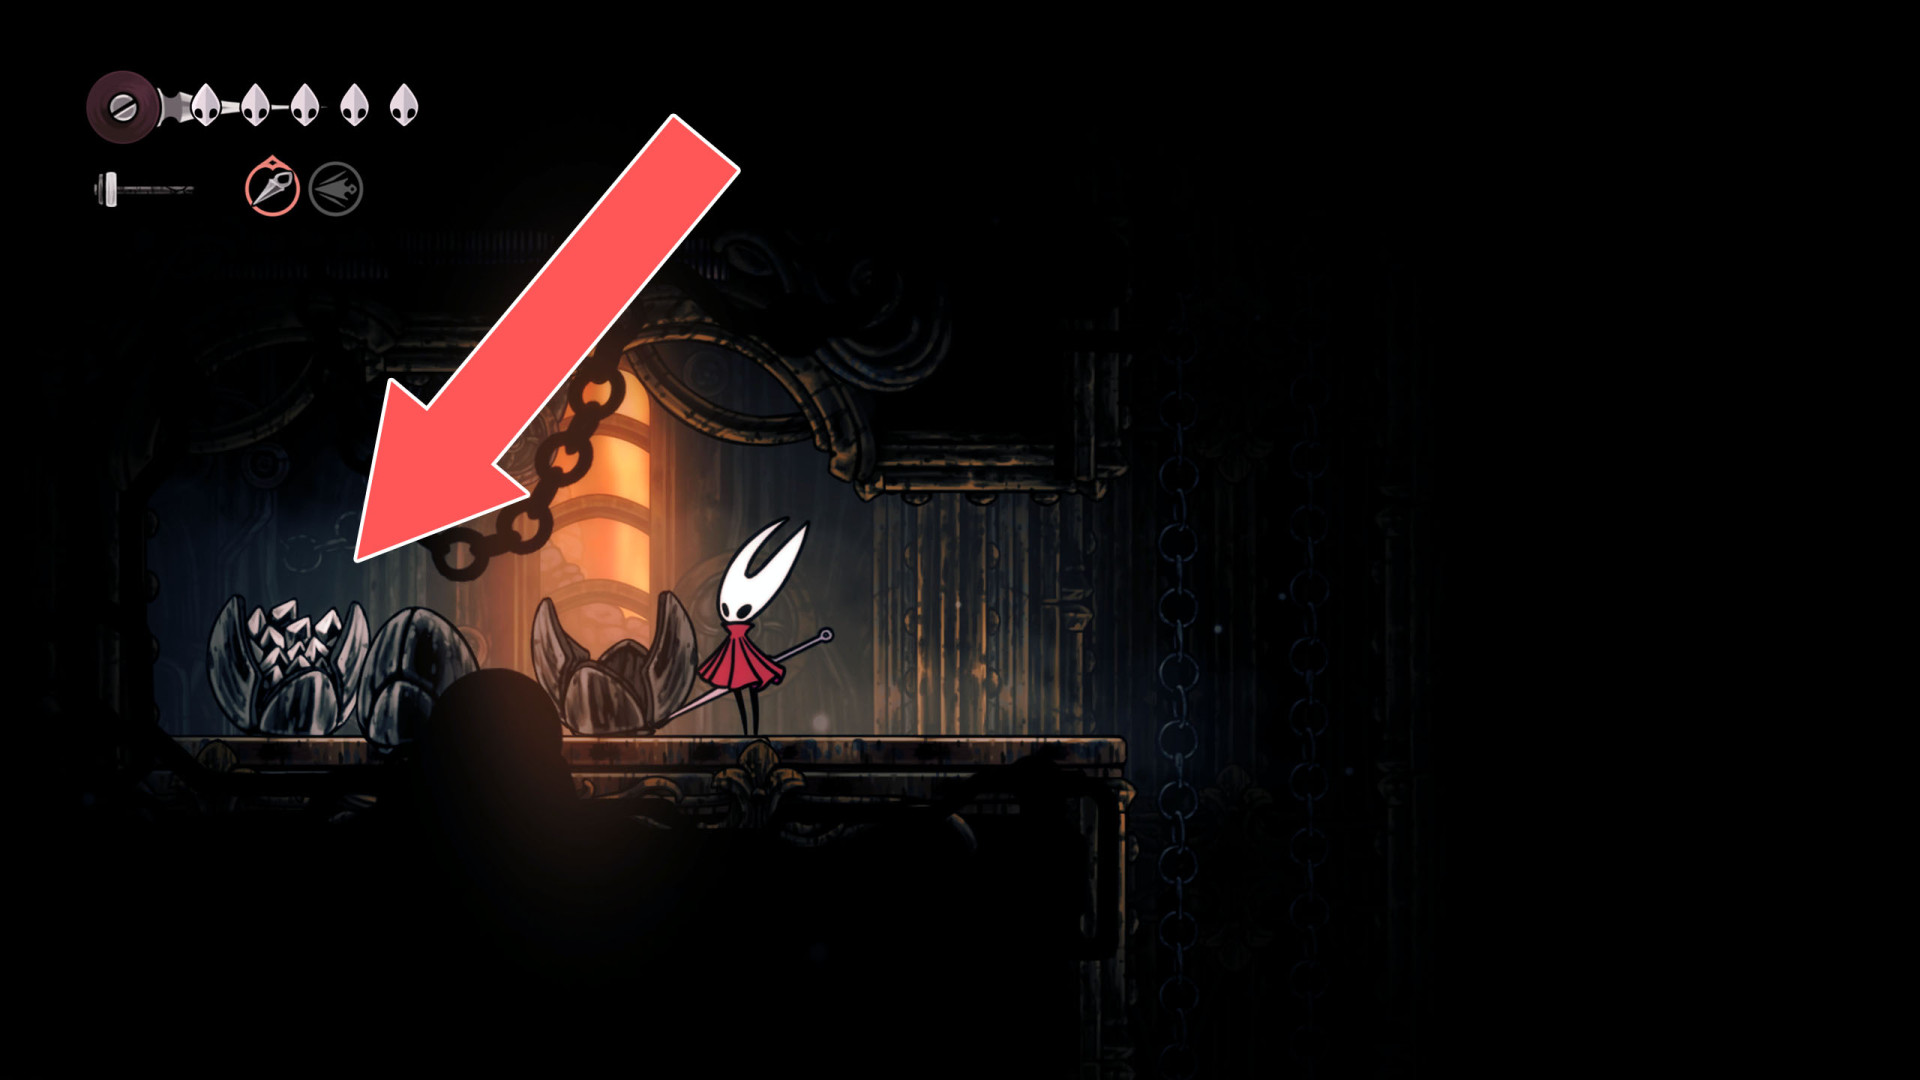
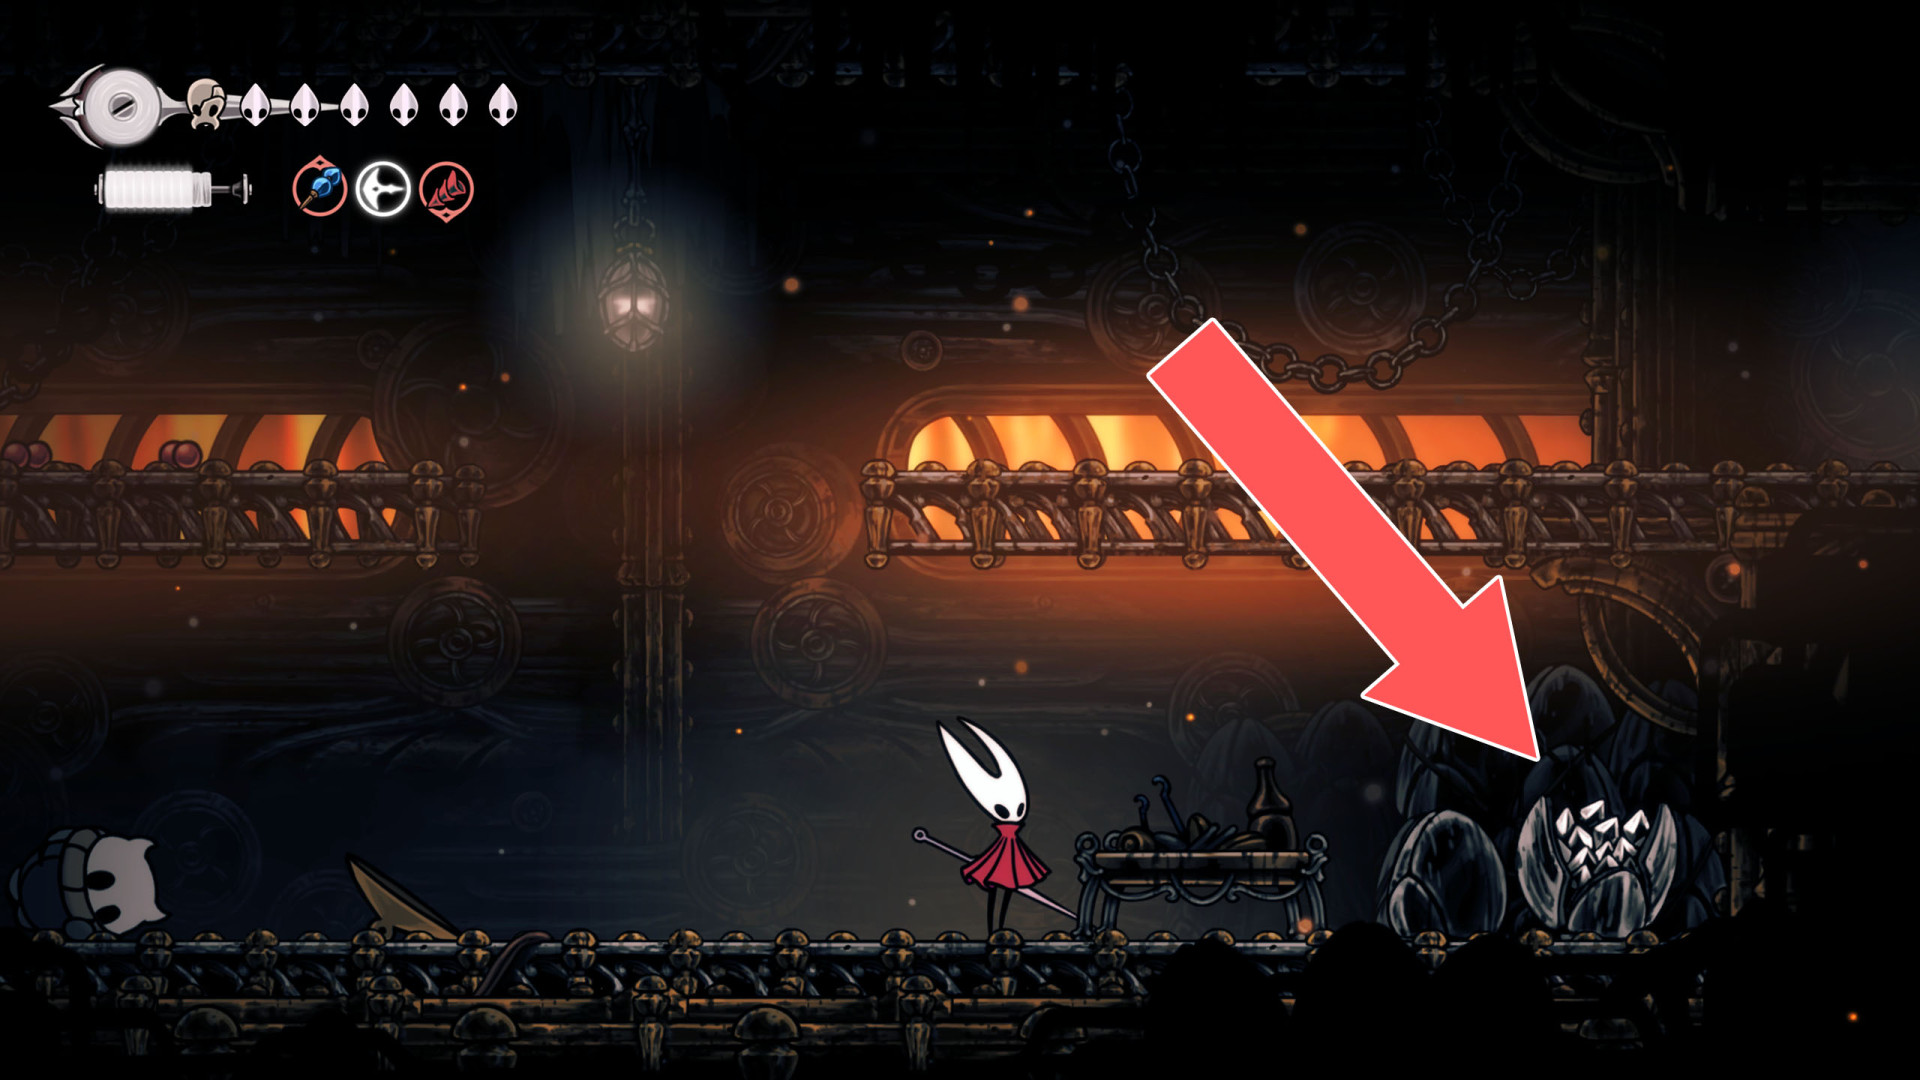
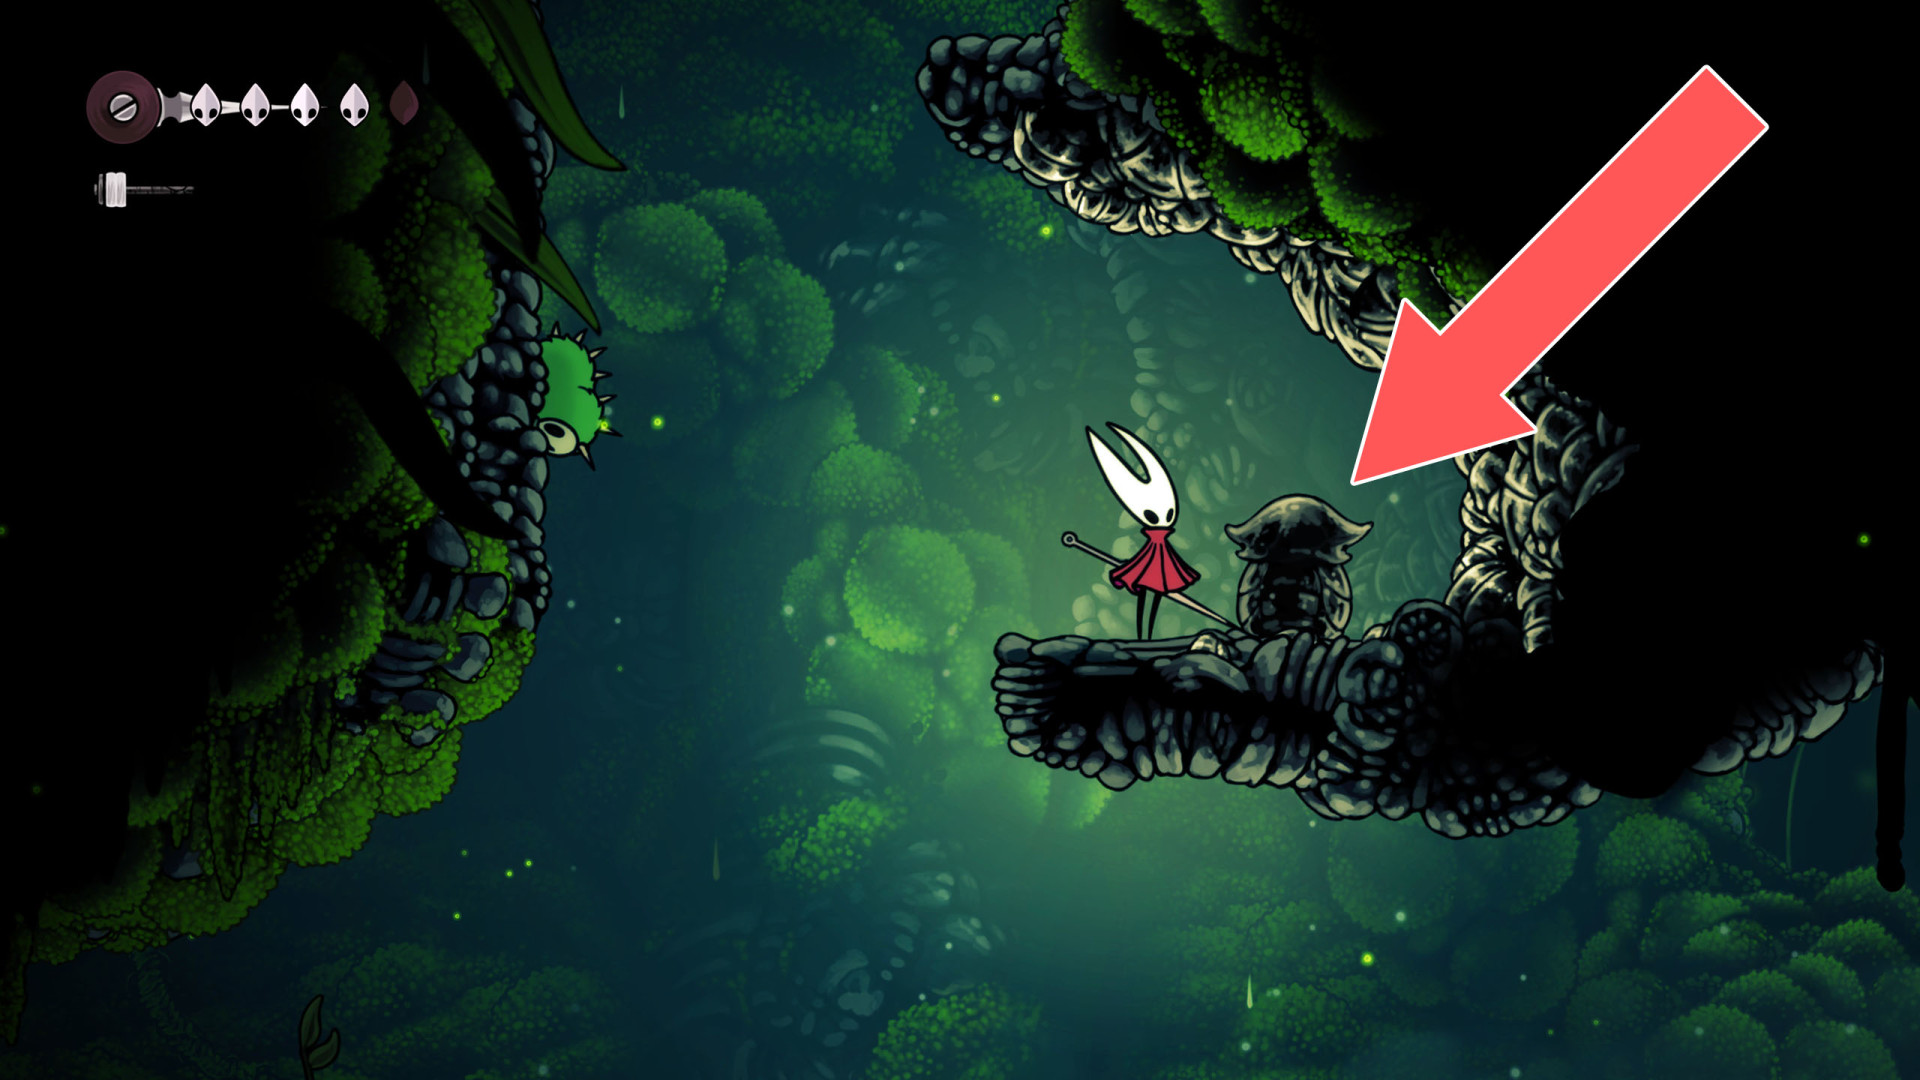
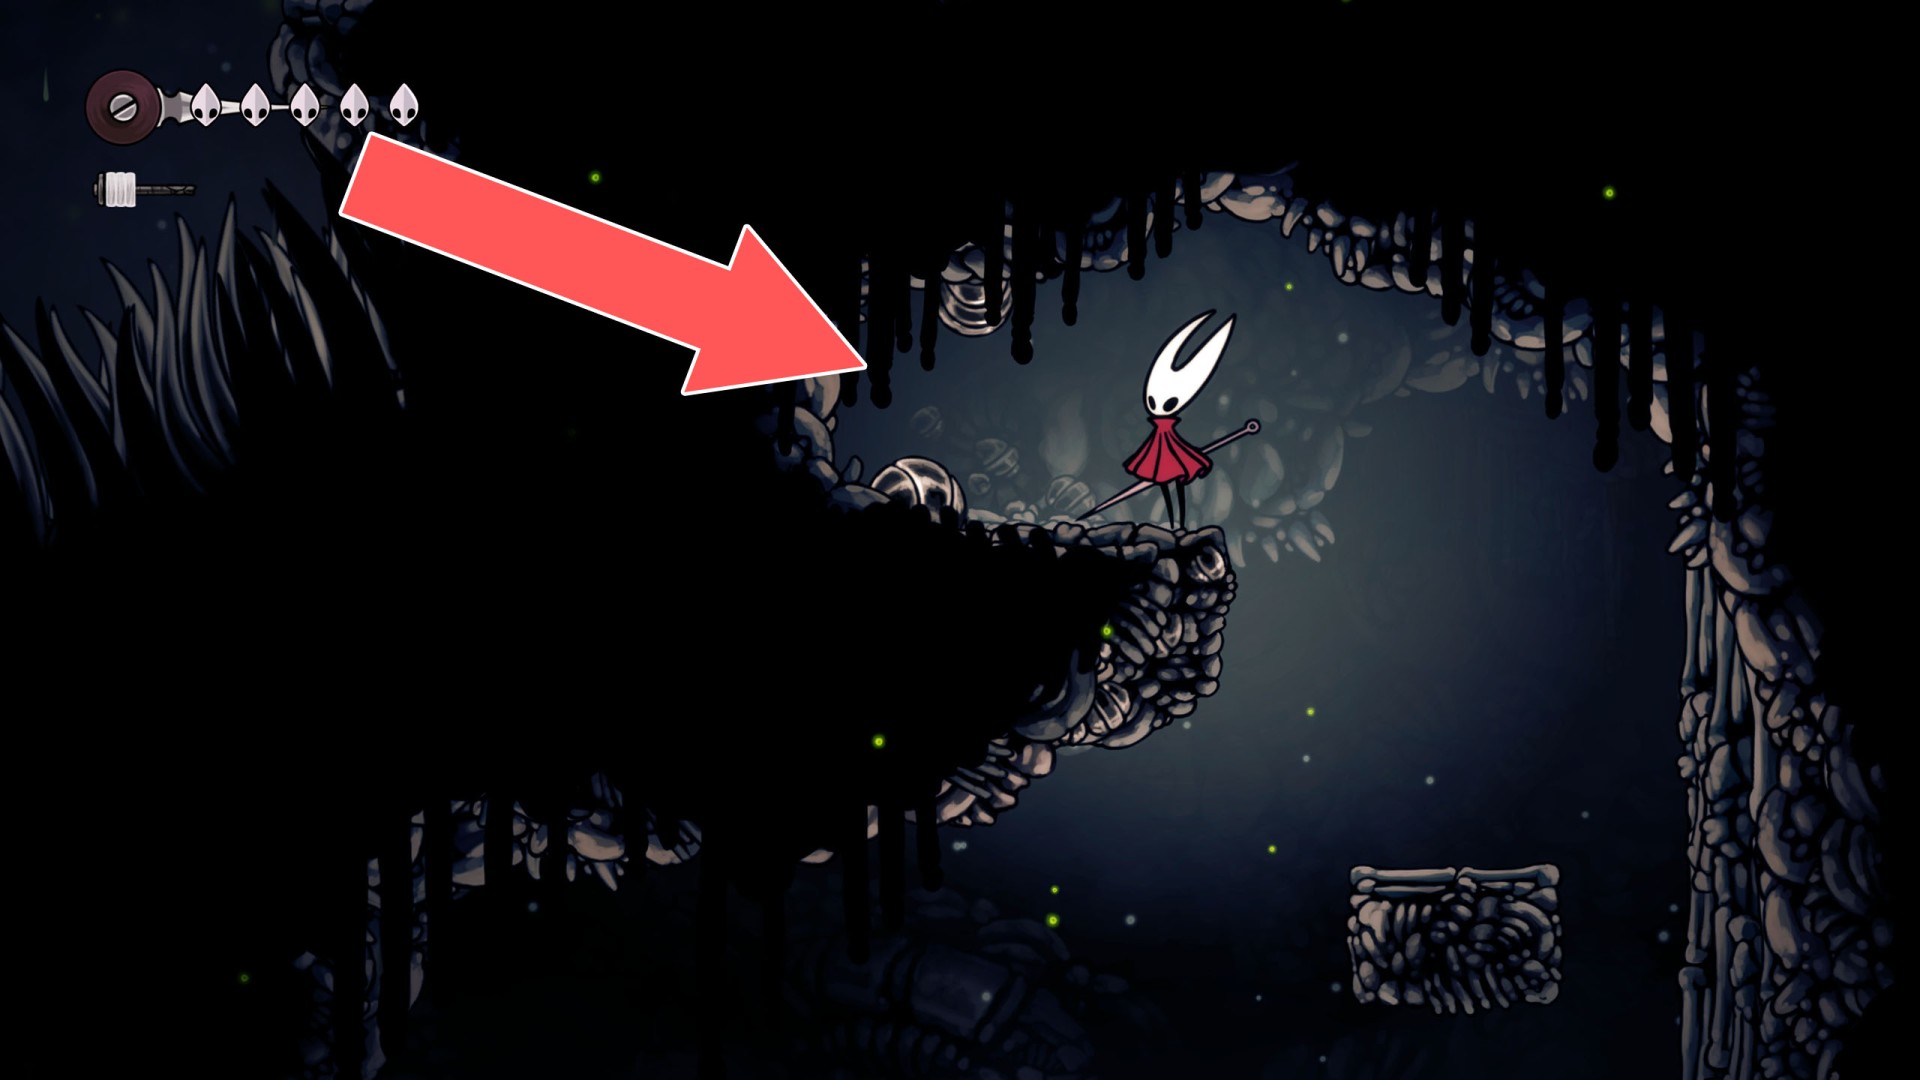
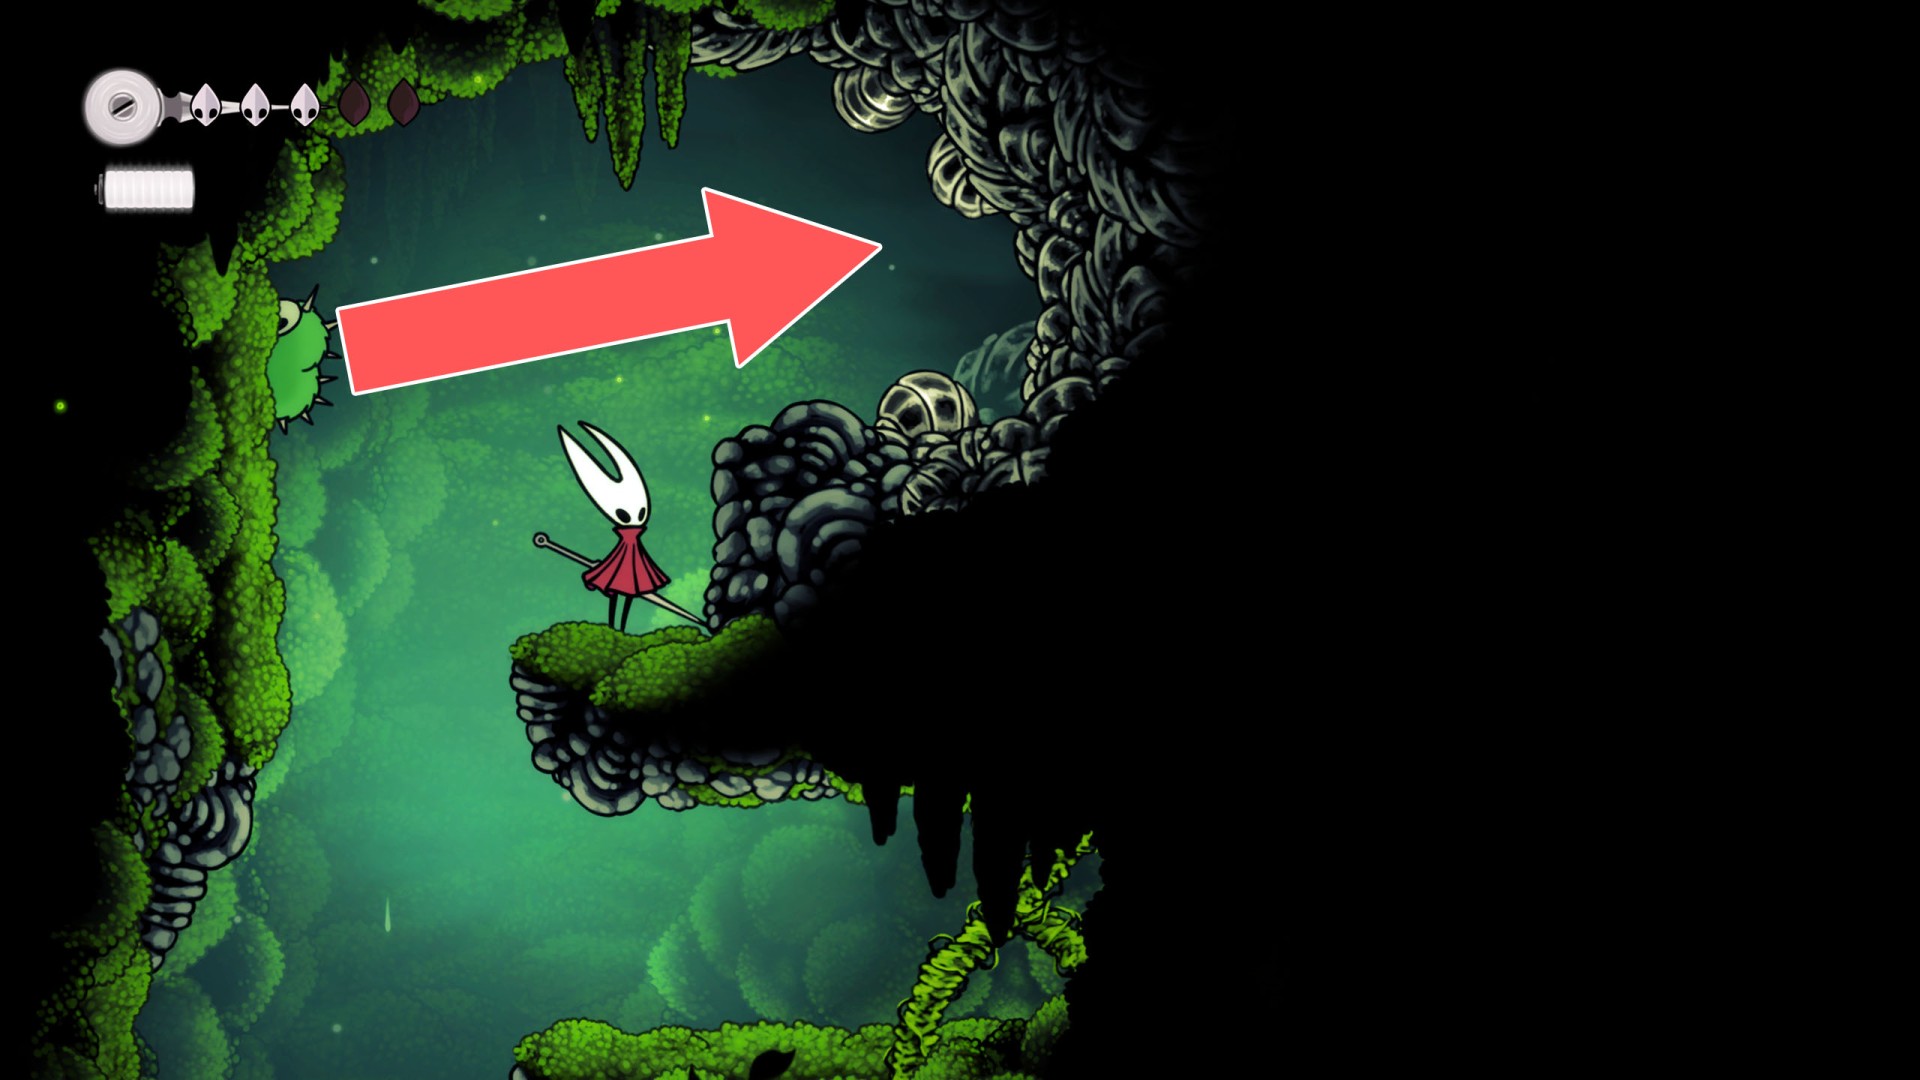
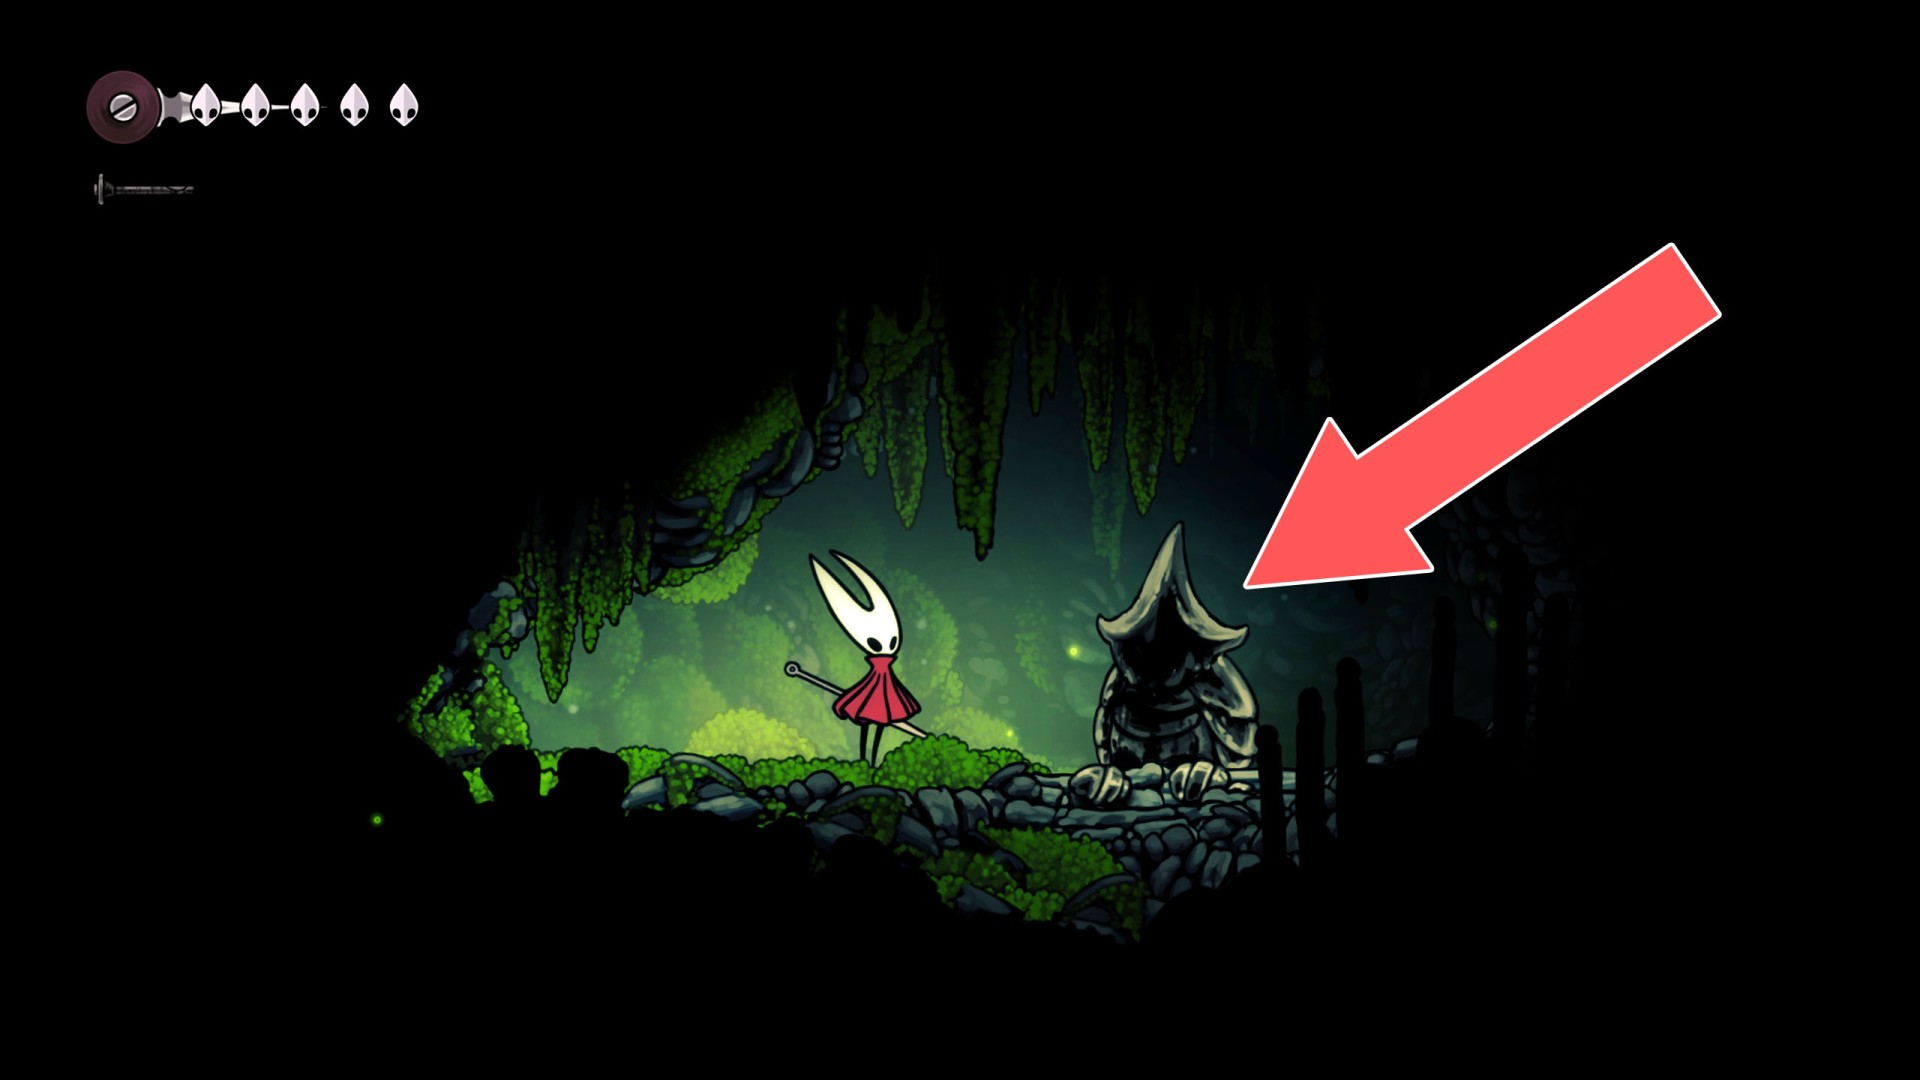
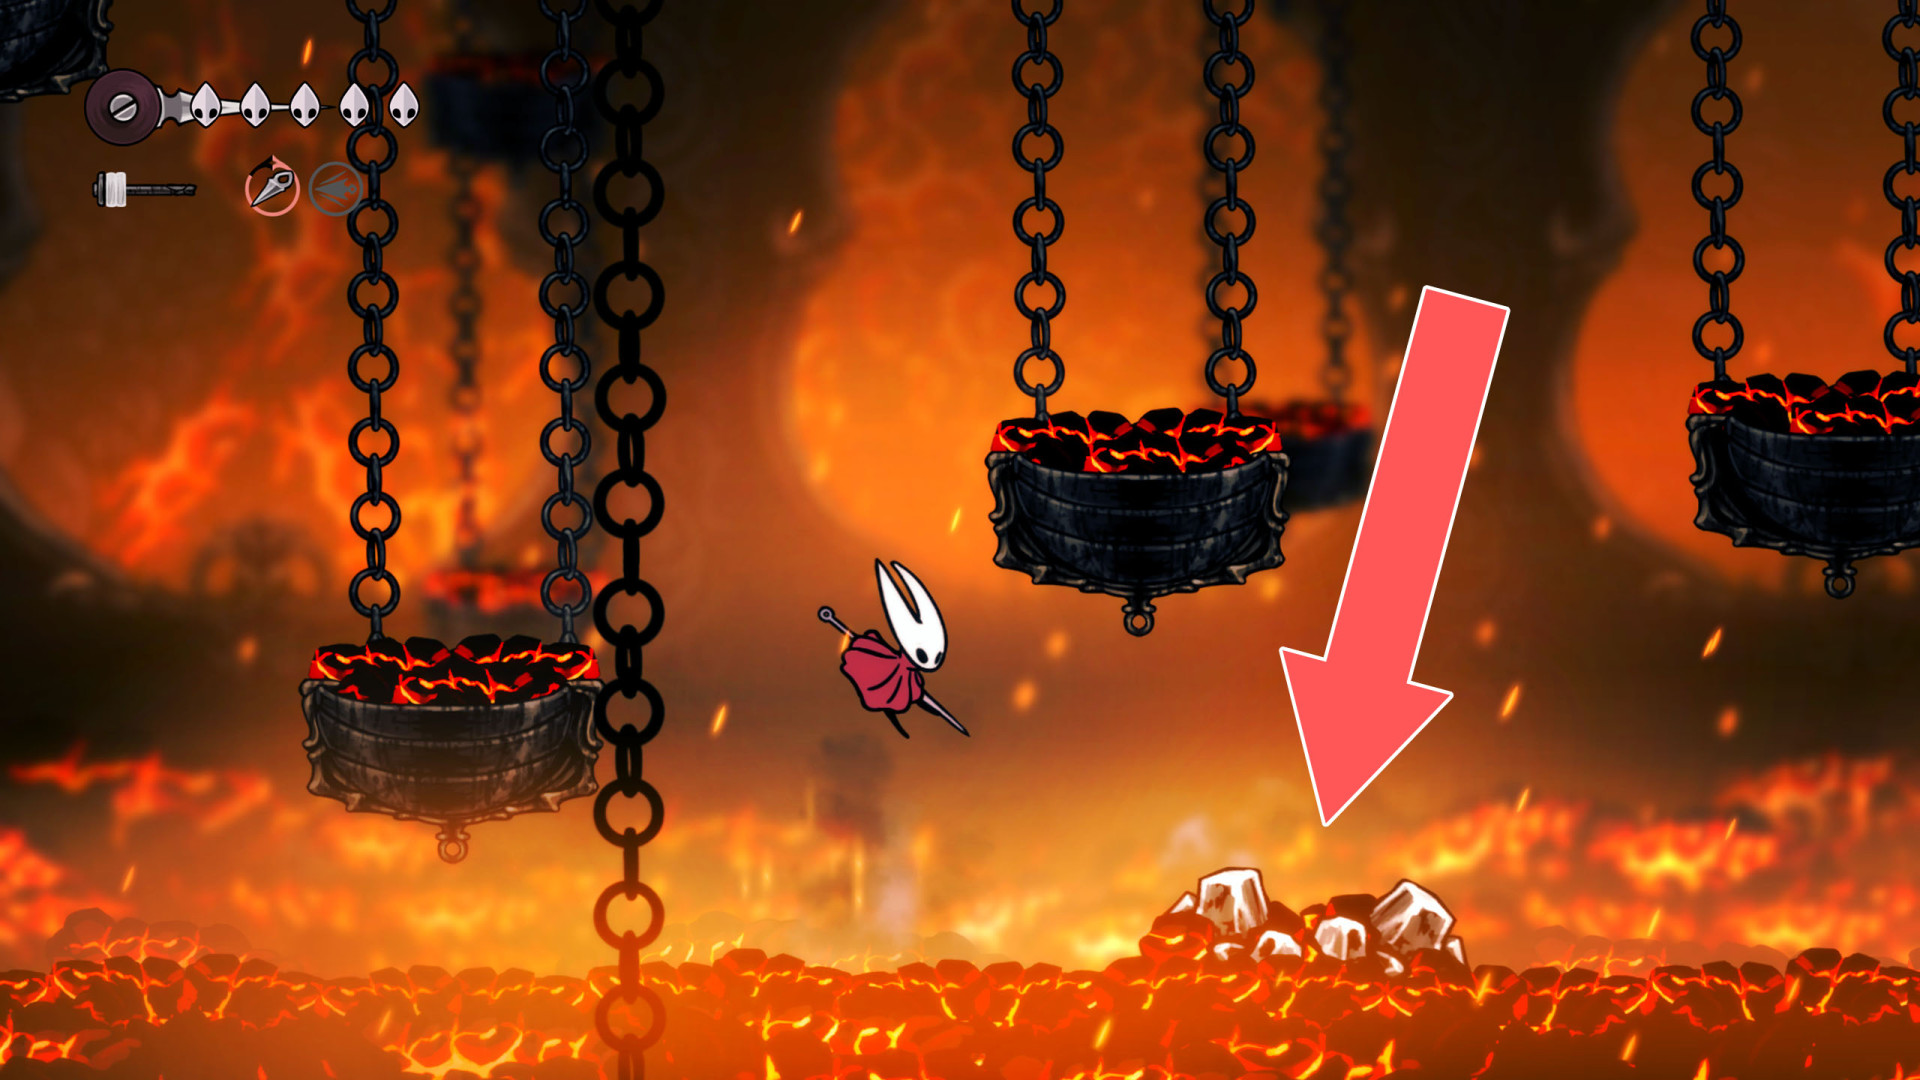
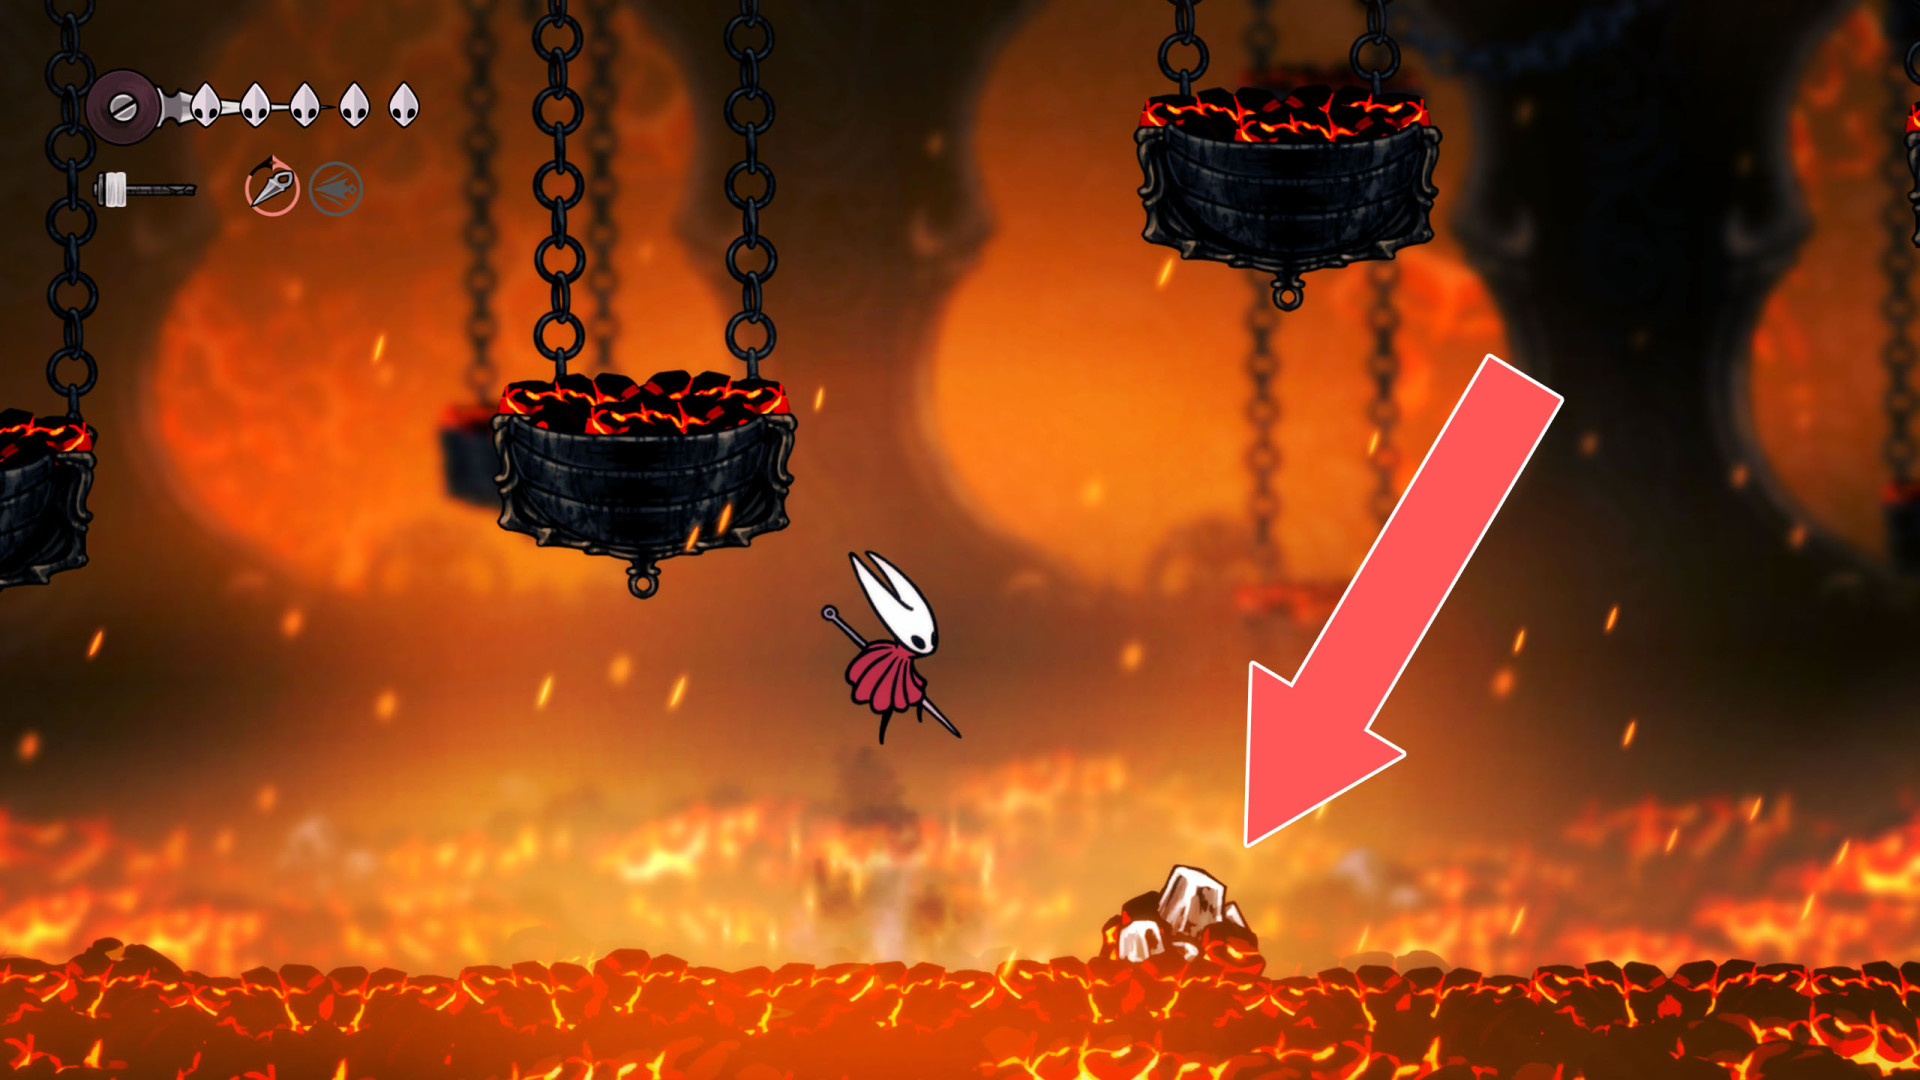
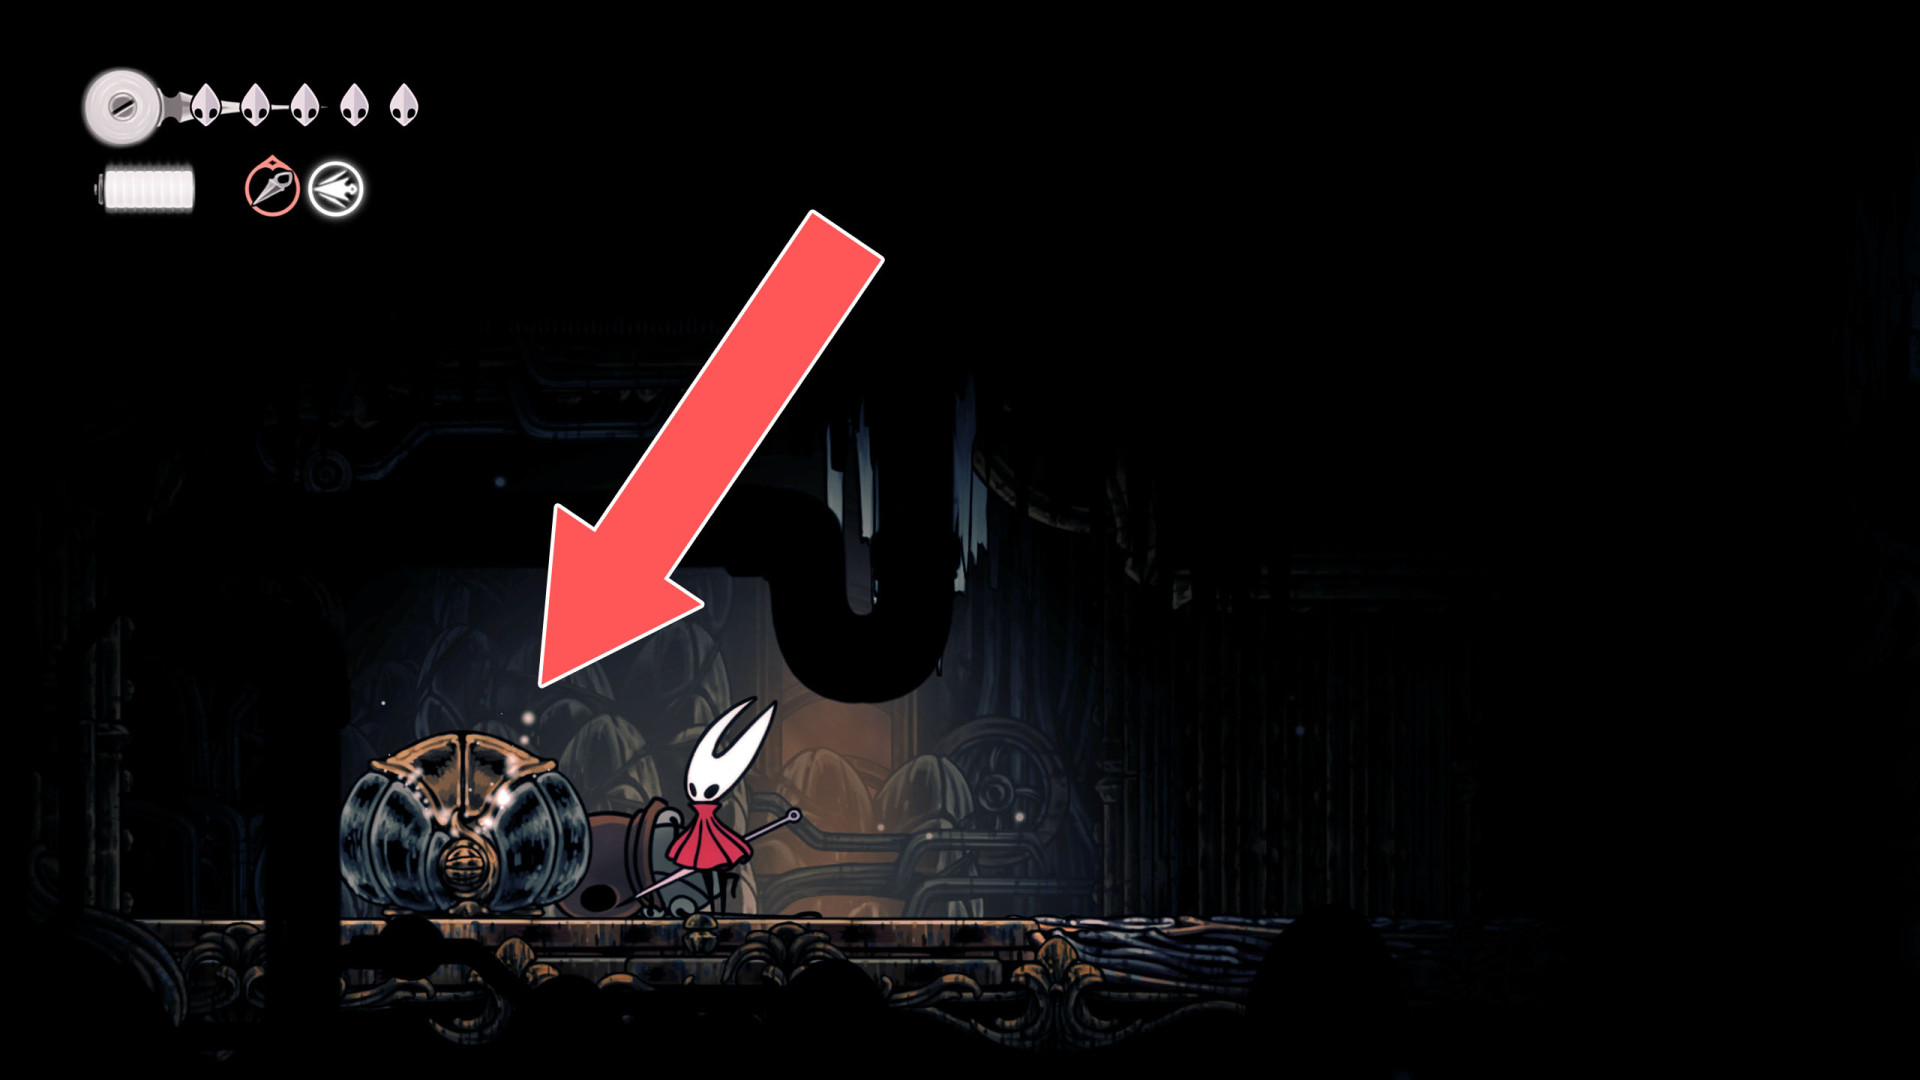
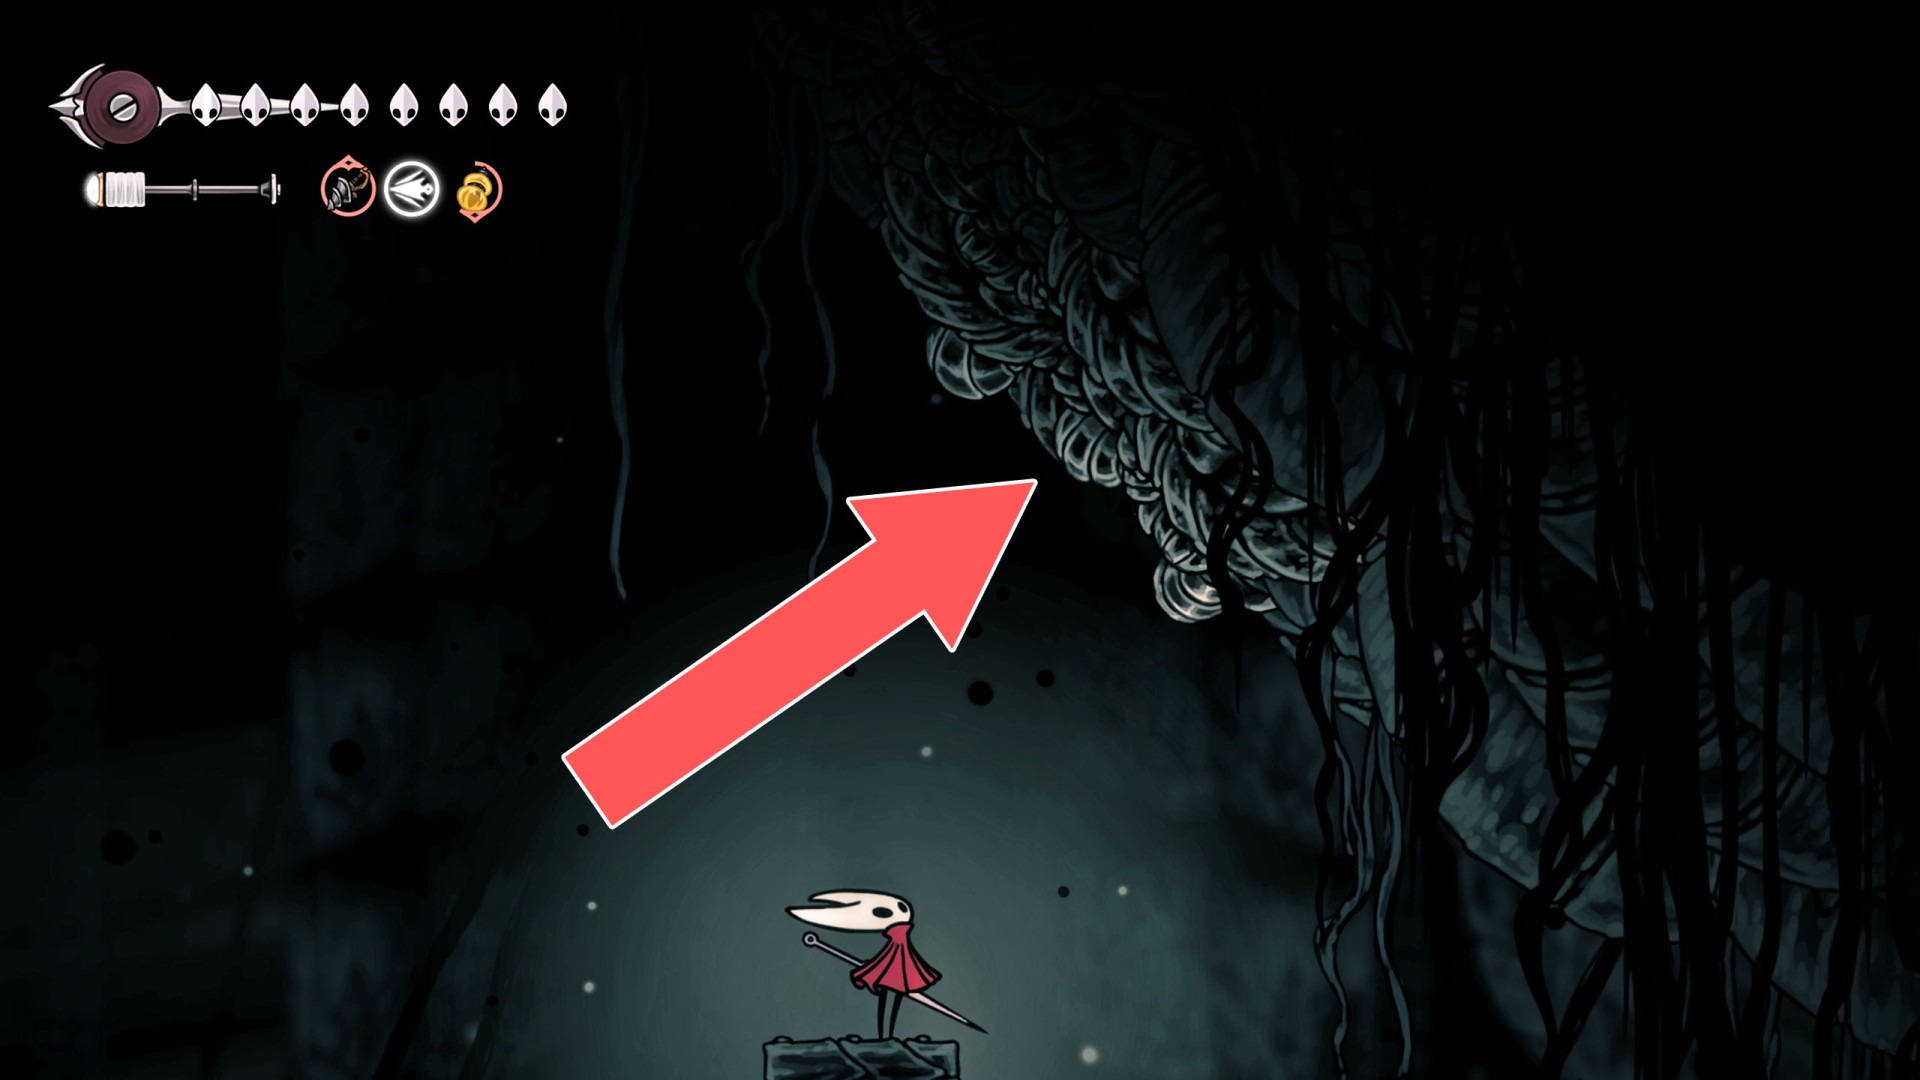
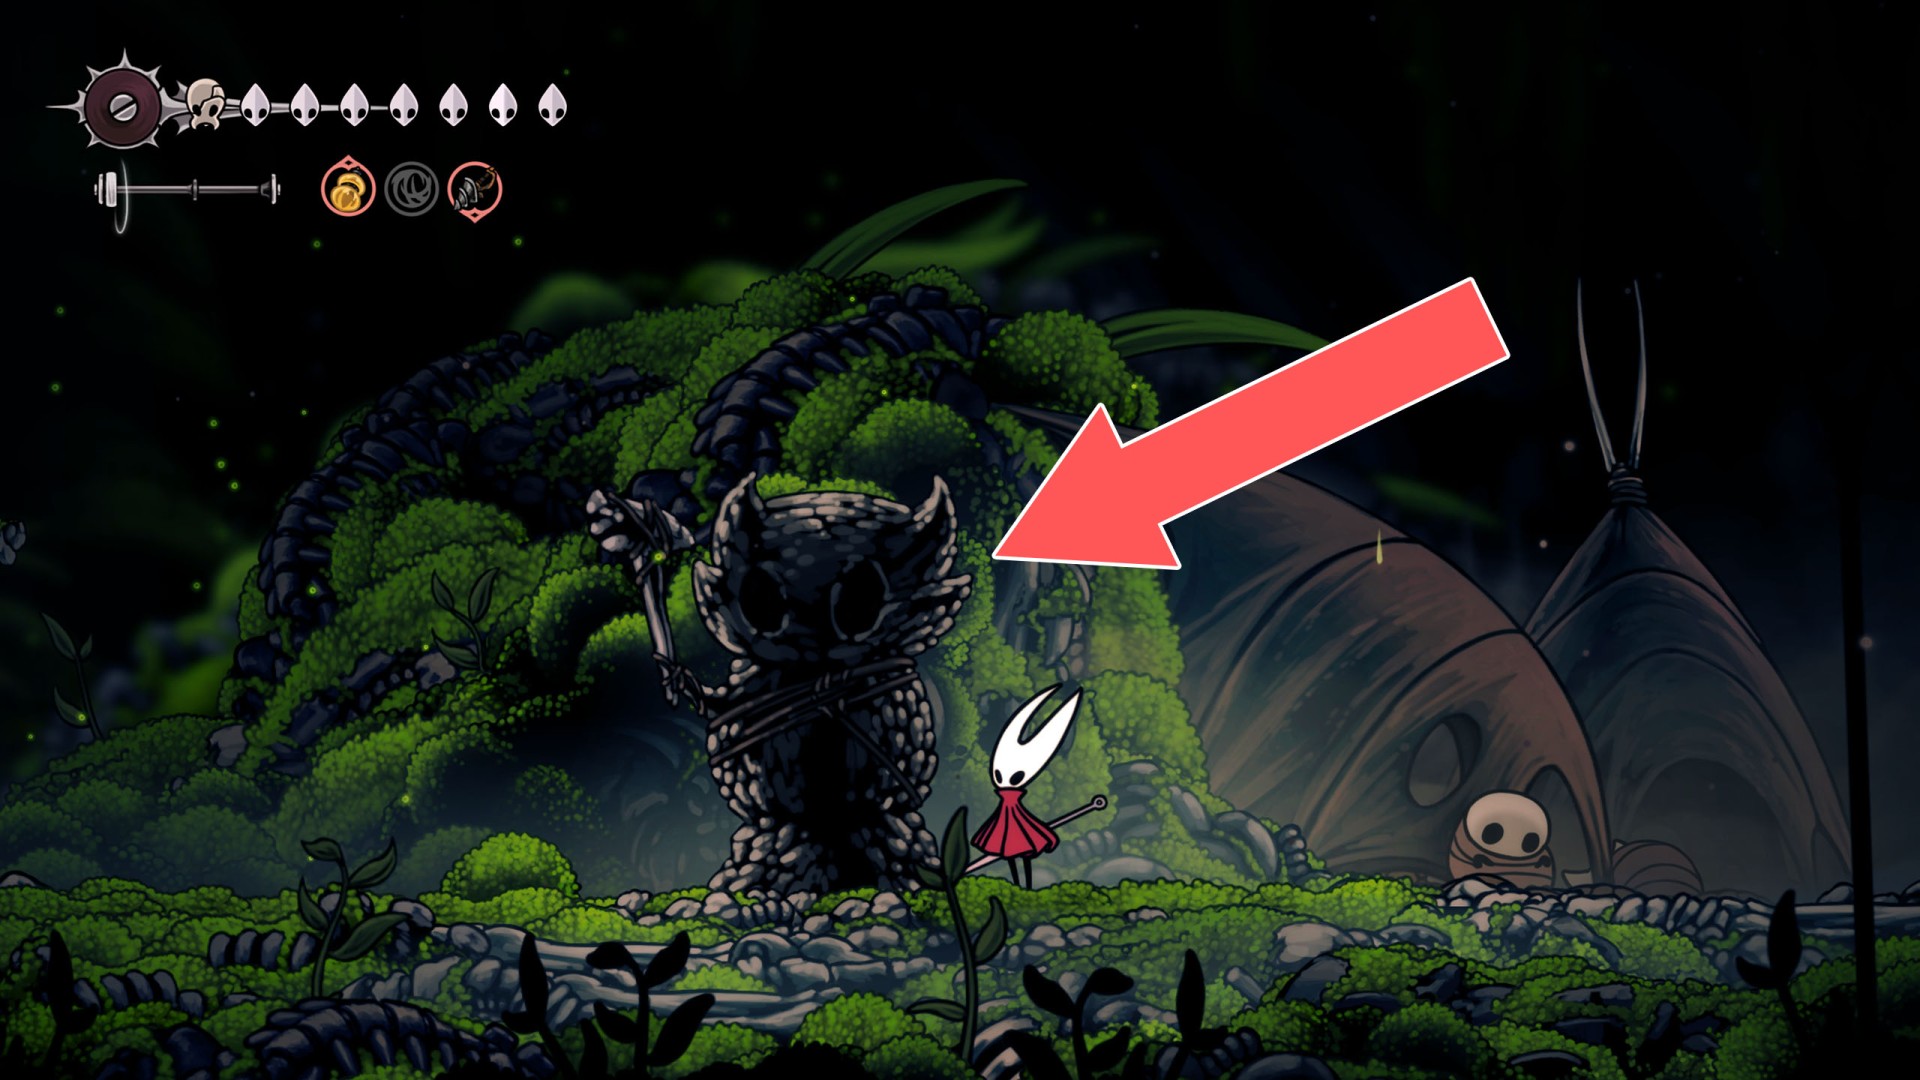
Shell Shard Deposits appear as shiny, interactive objects such as round rocks, grub-like statues, or embedded ropes that flash intermittently to catch the player's attention. Hornet can break these deposits by attacking them with her Needle, releasing 10–50 Shell Shards per deposit.

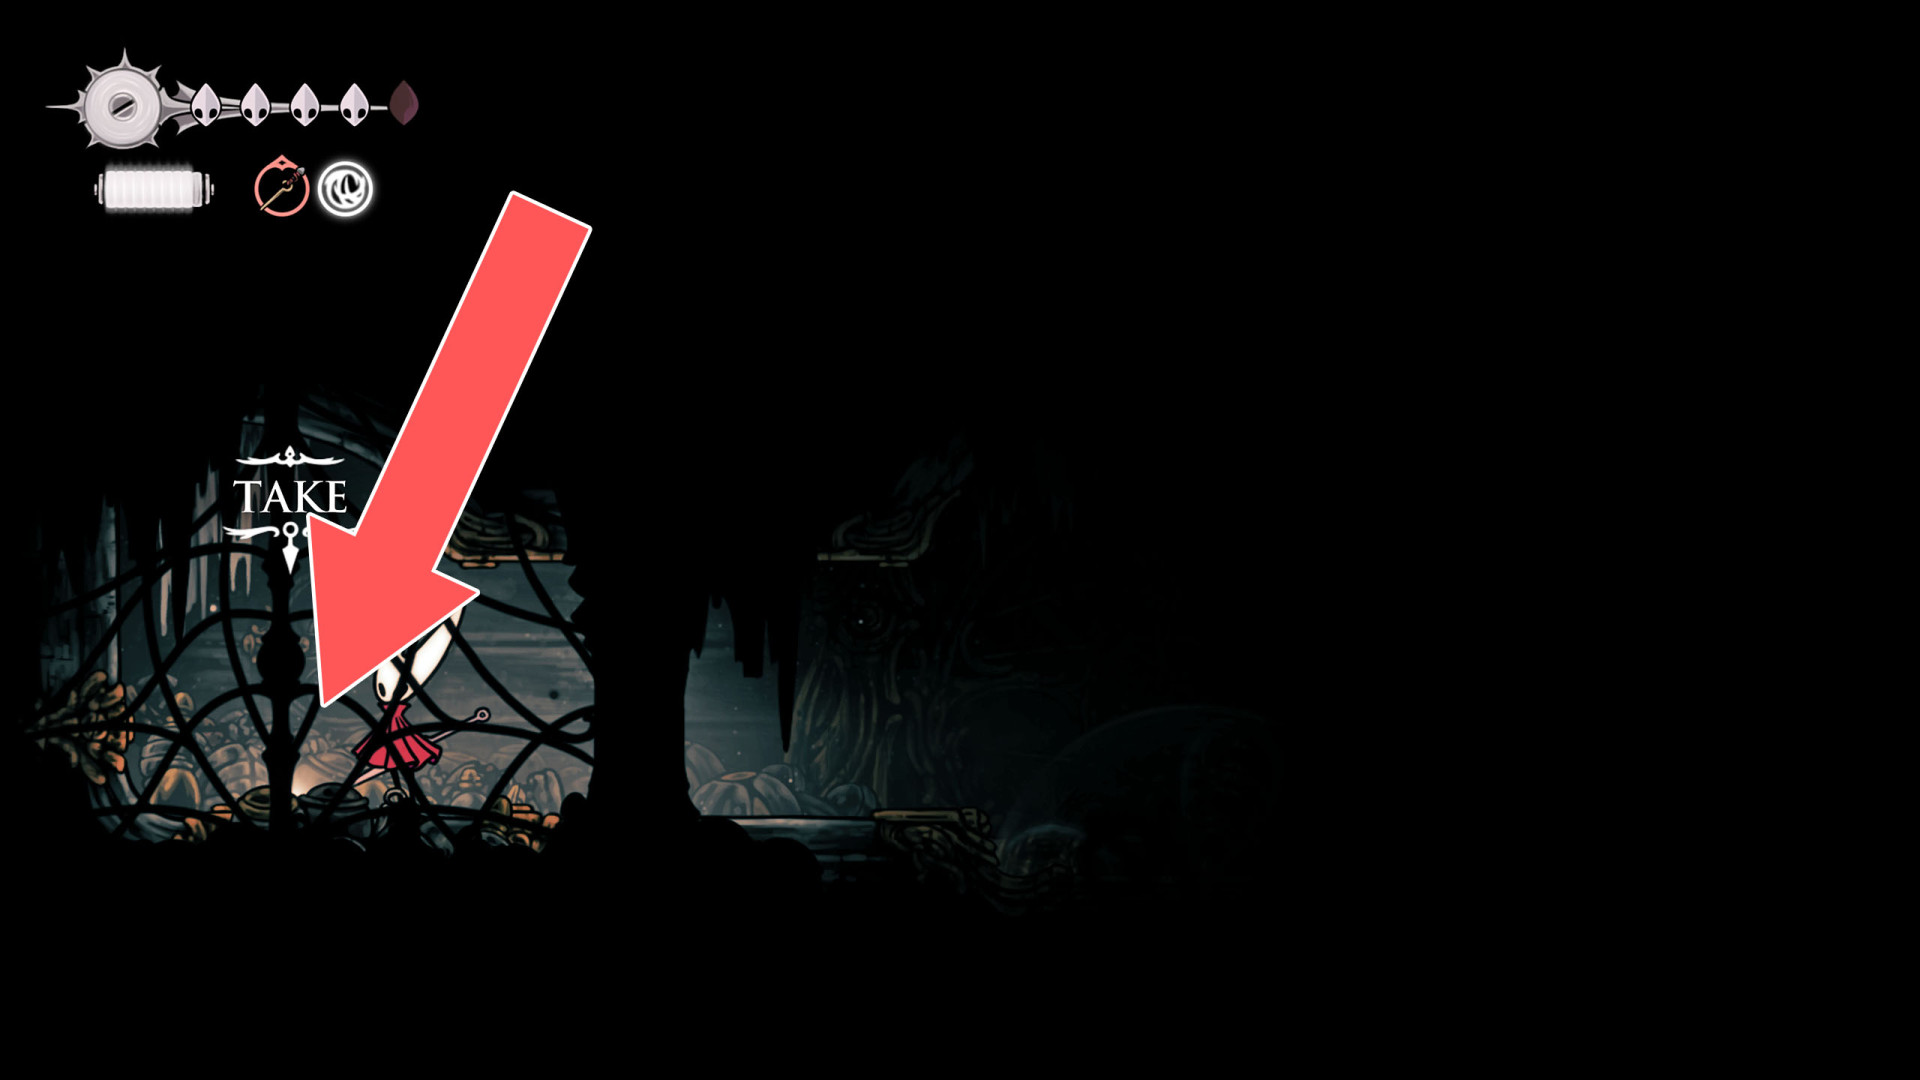
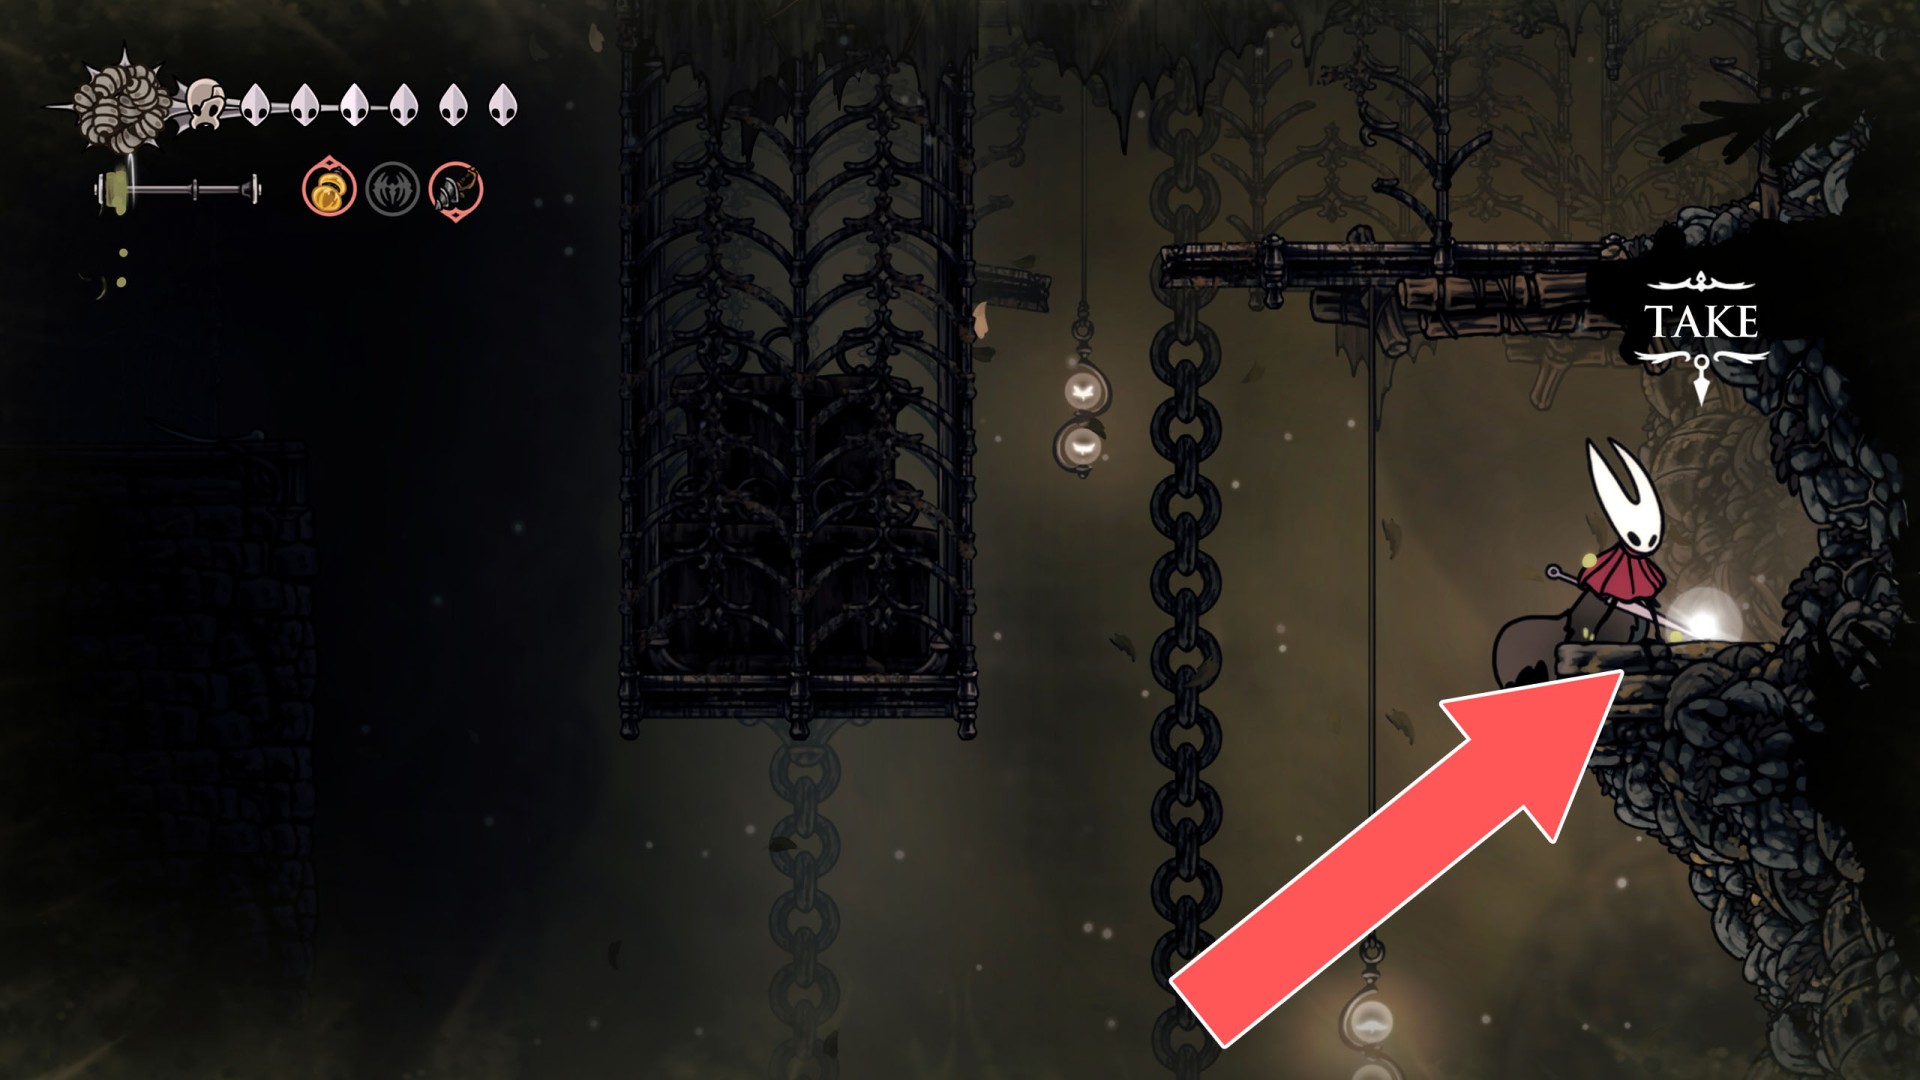
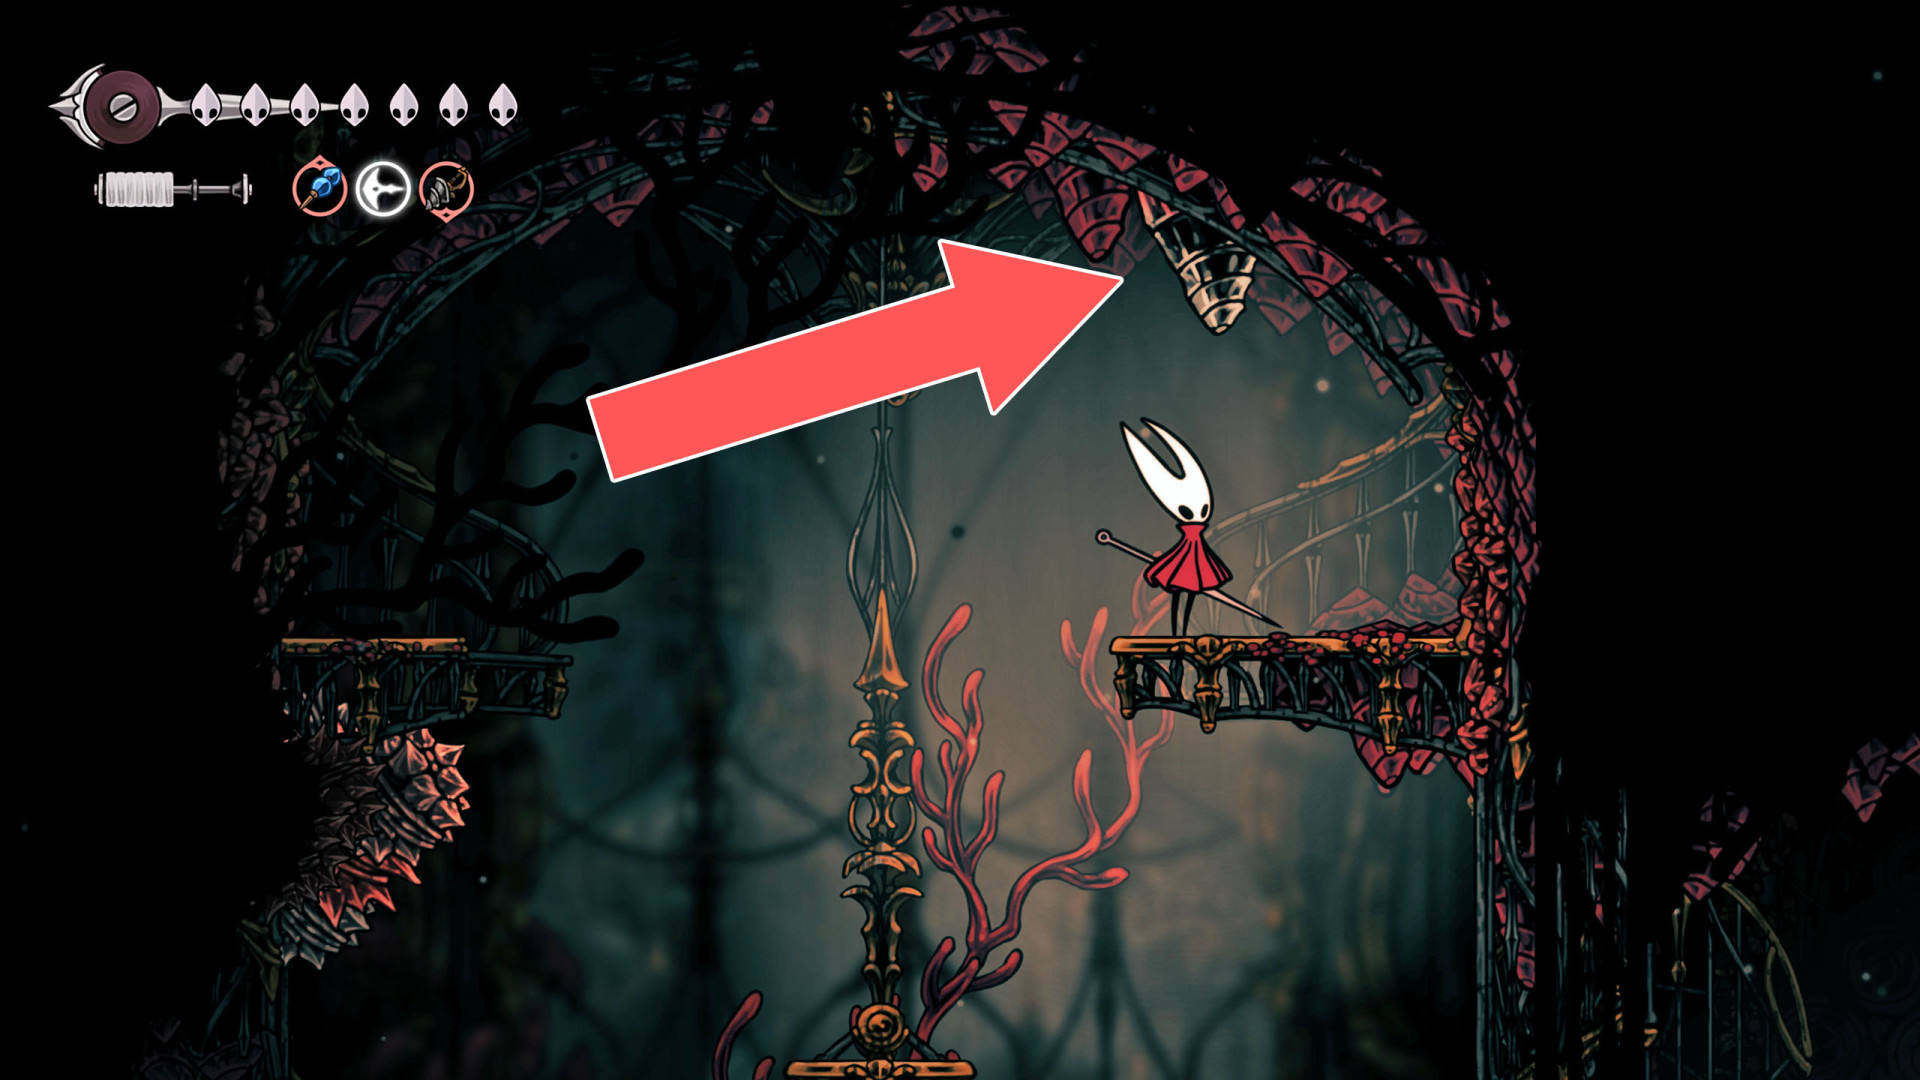
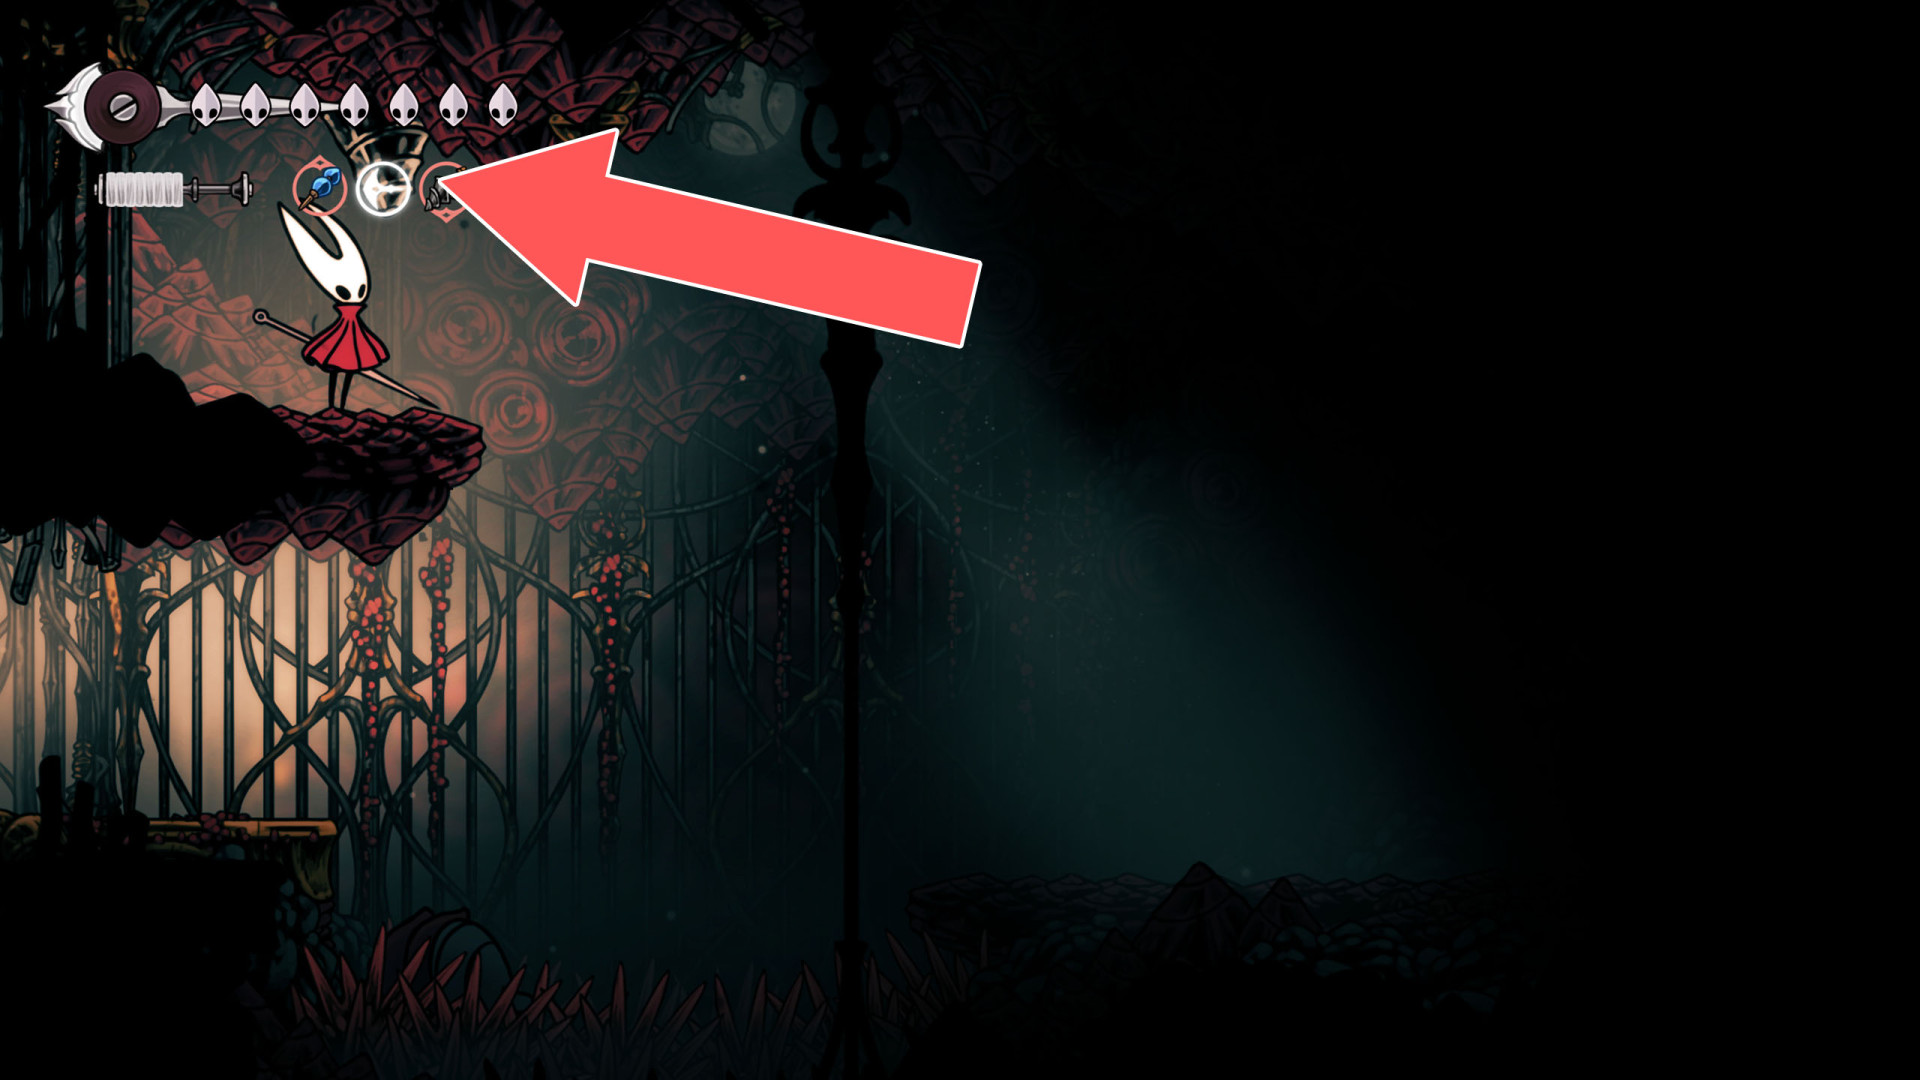
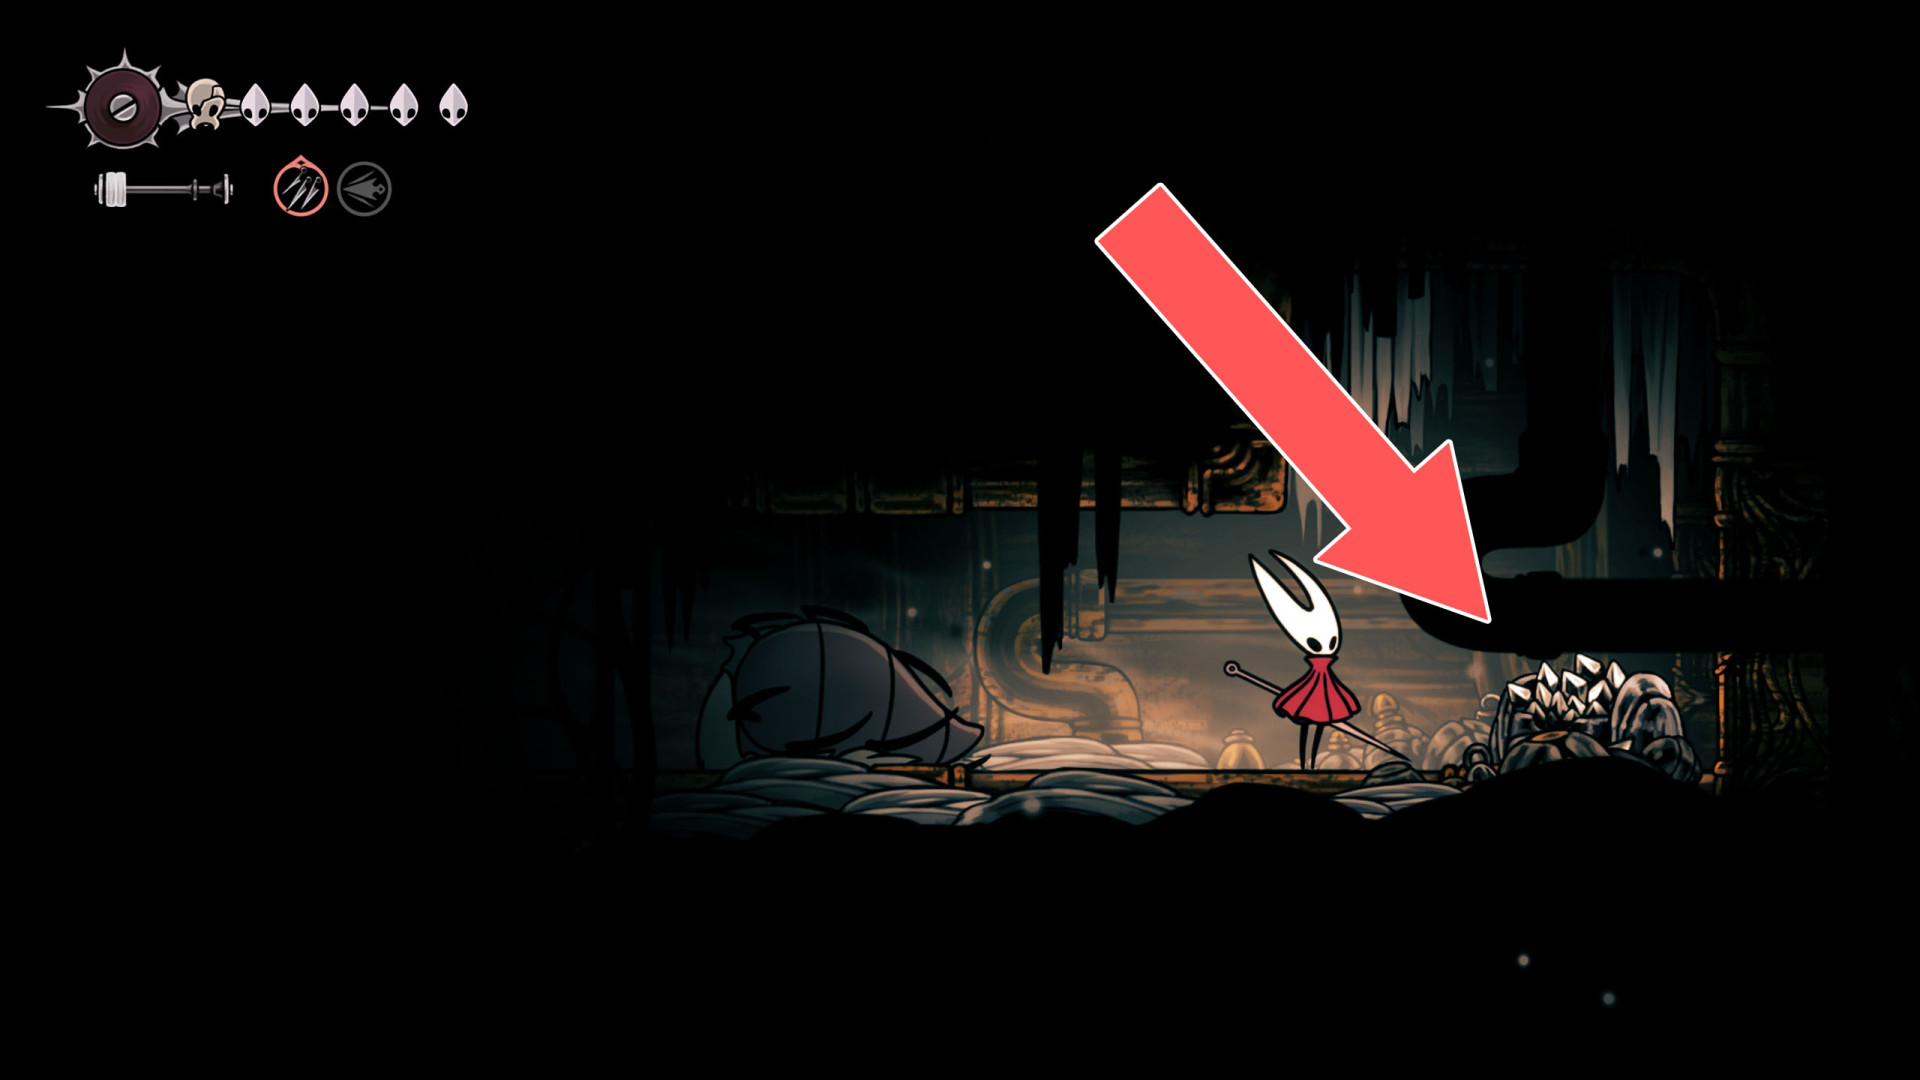
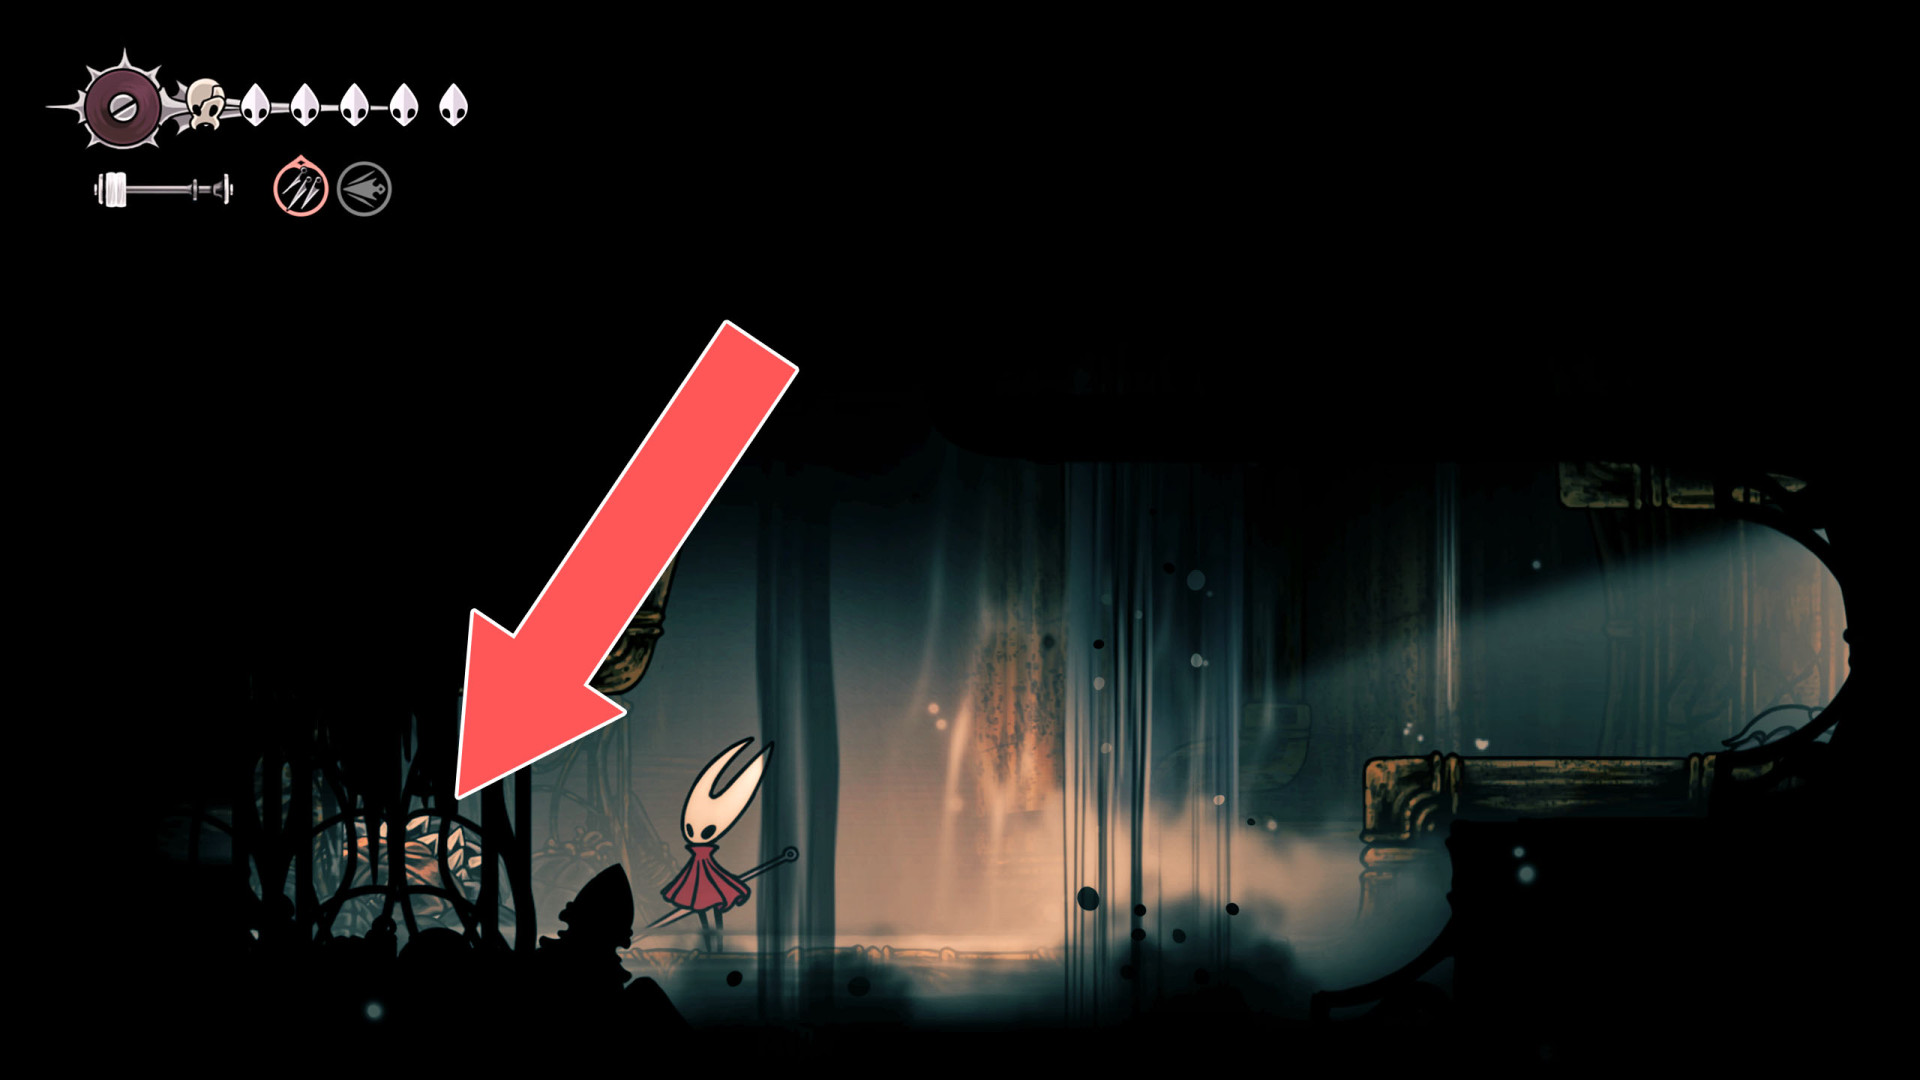
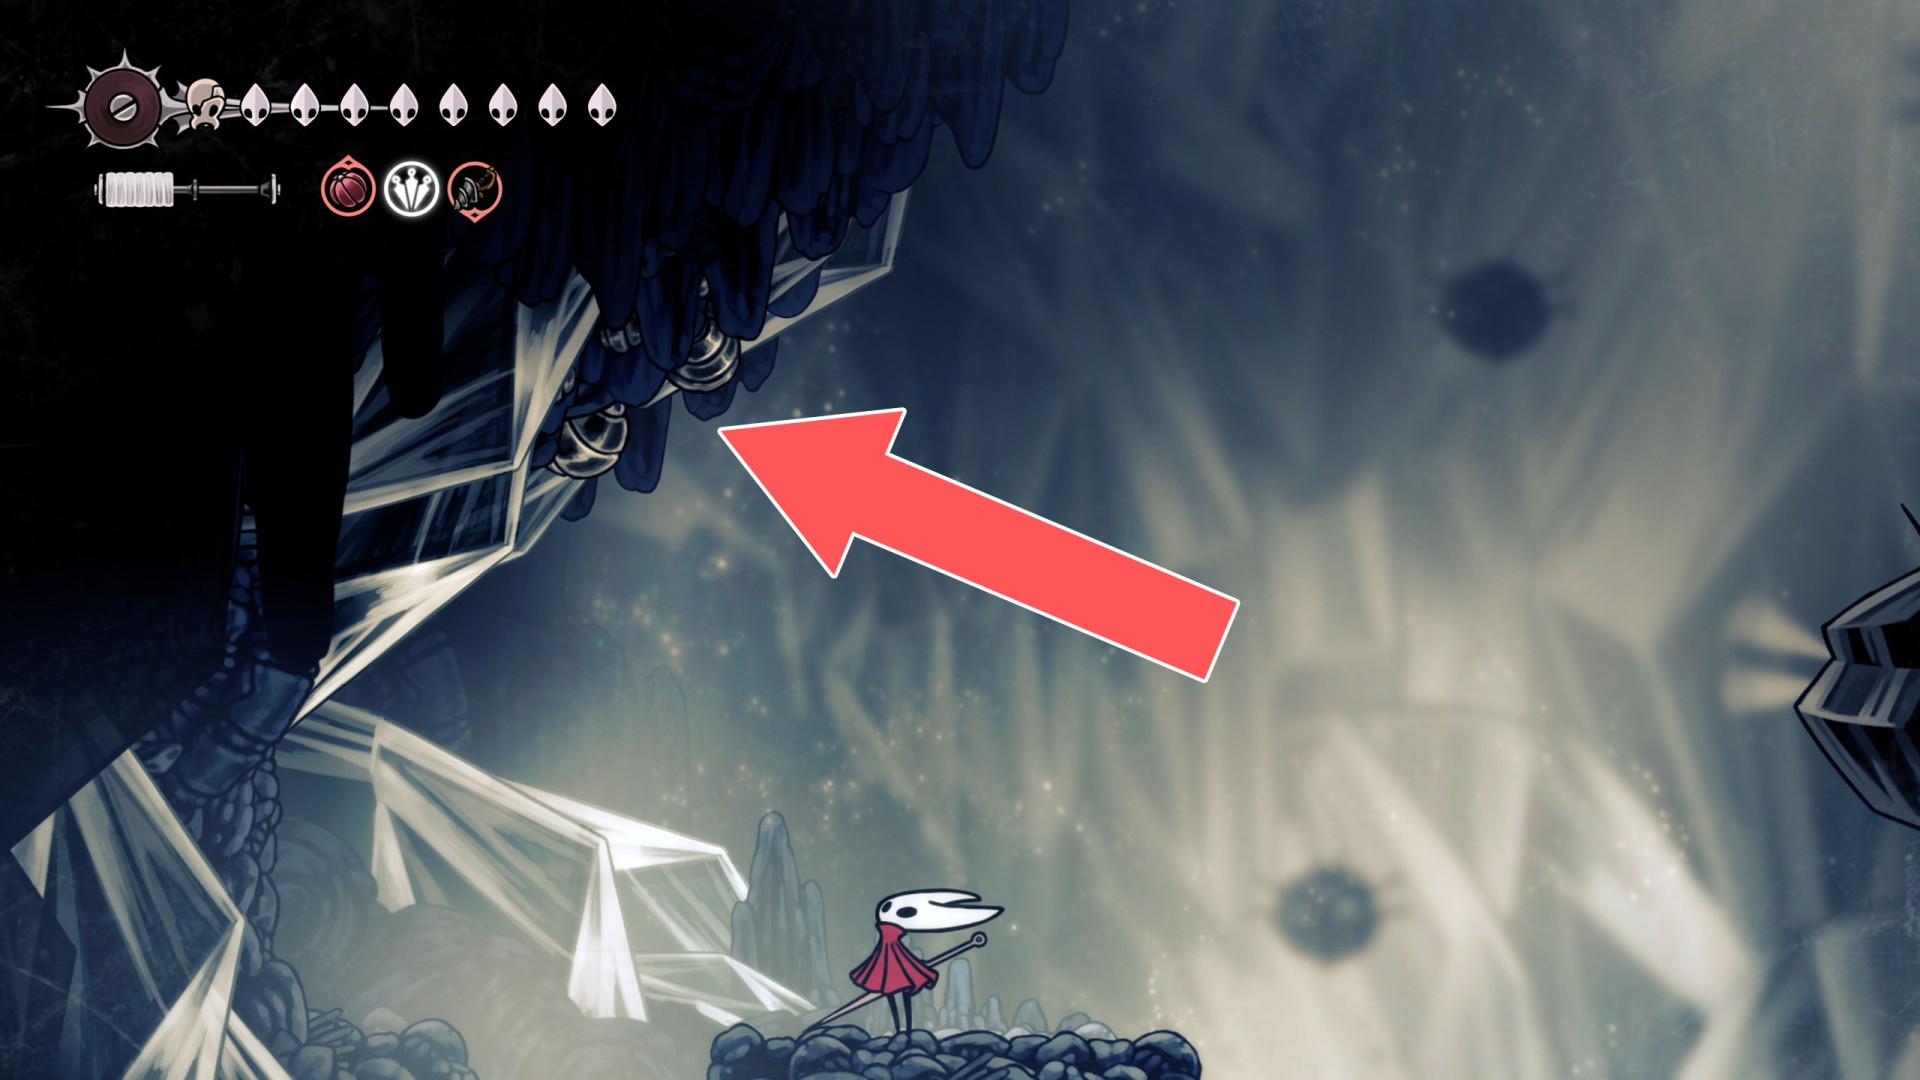
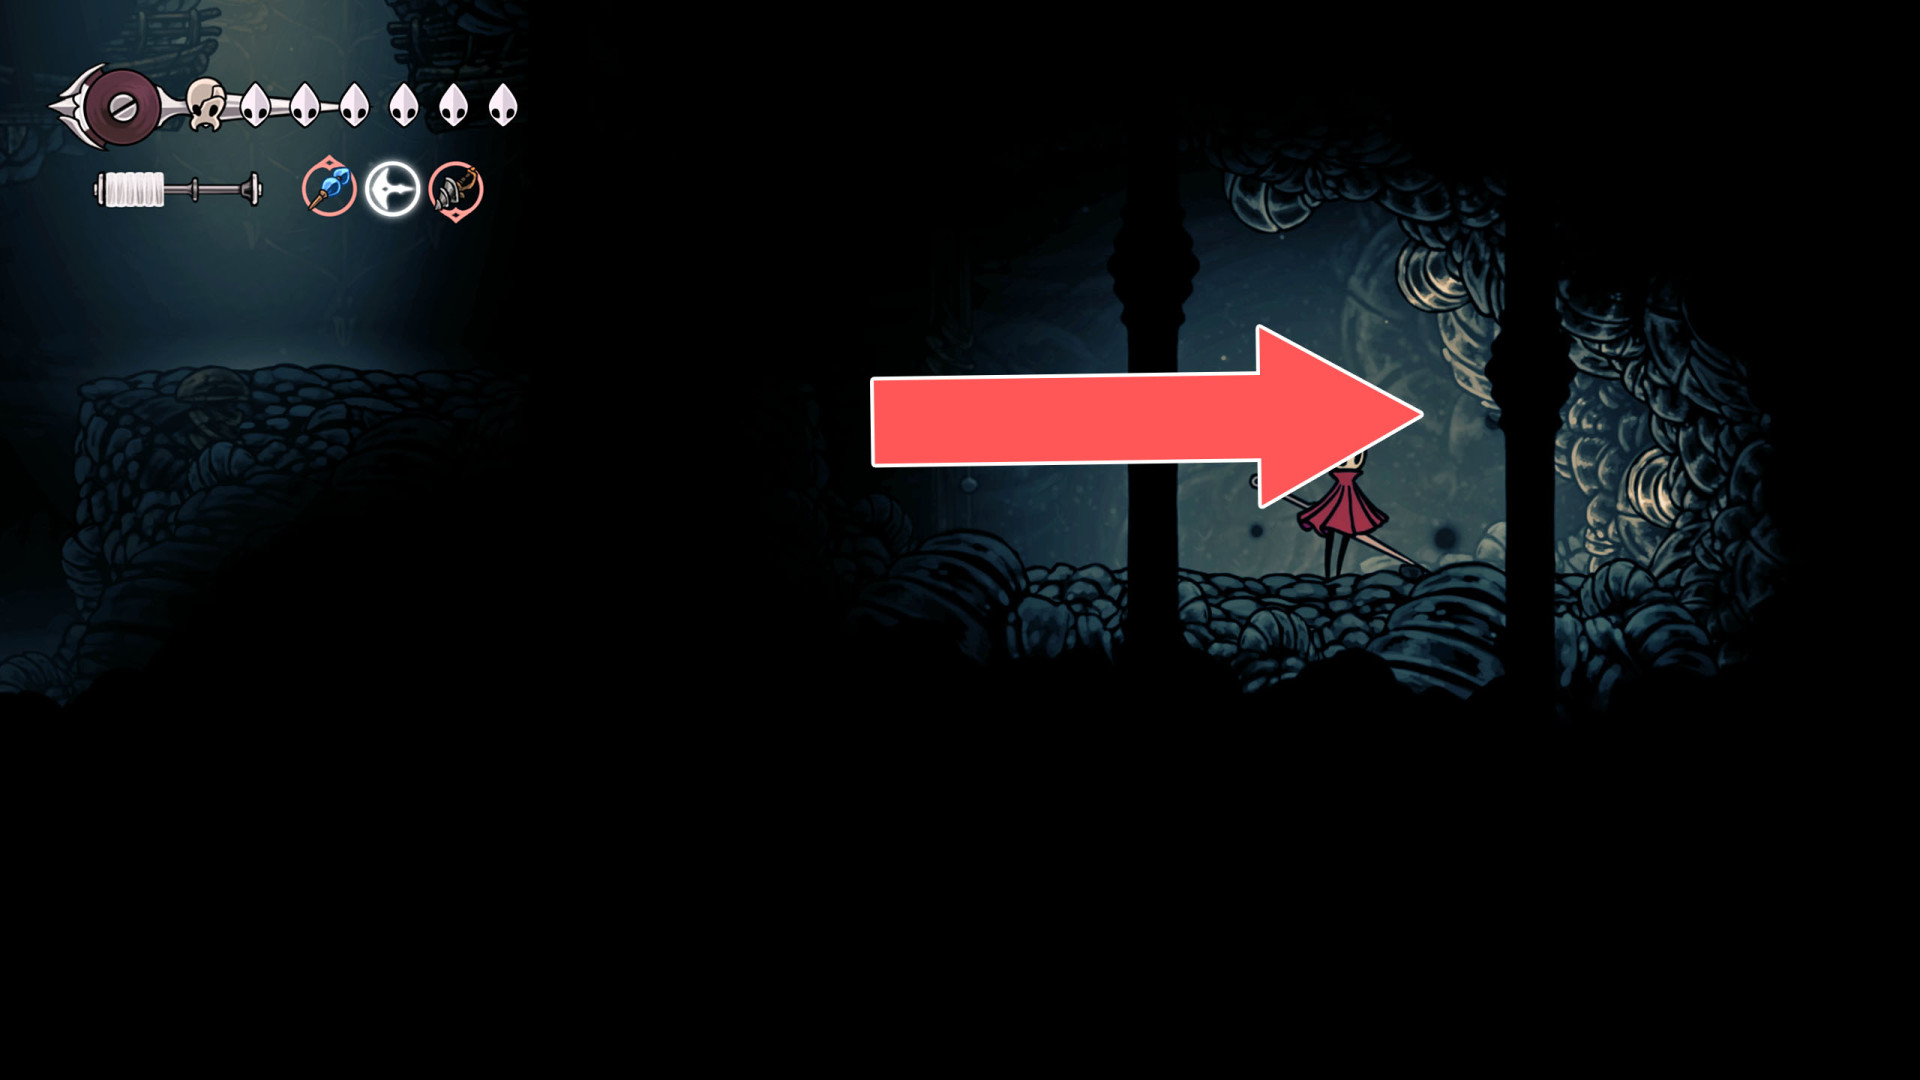
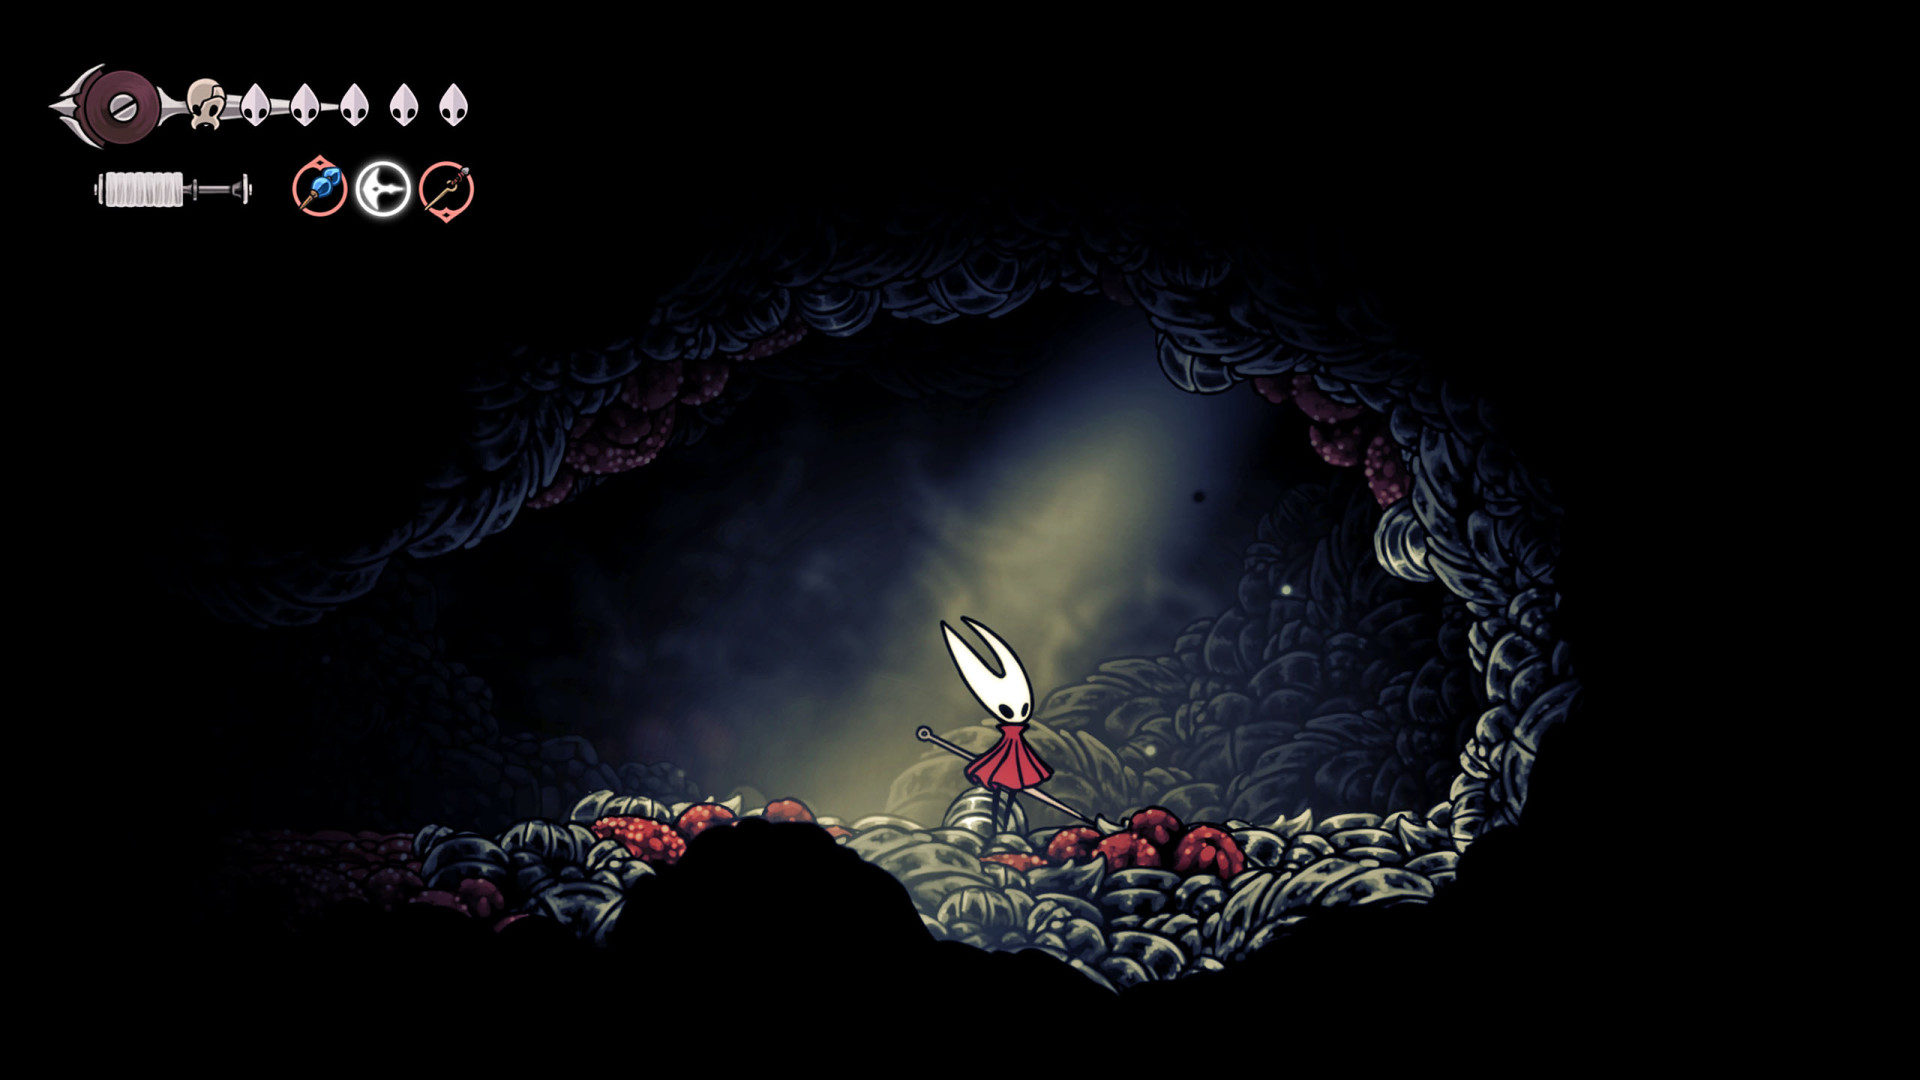
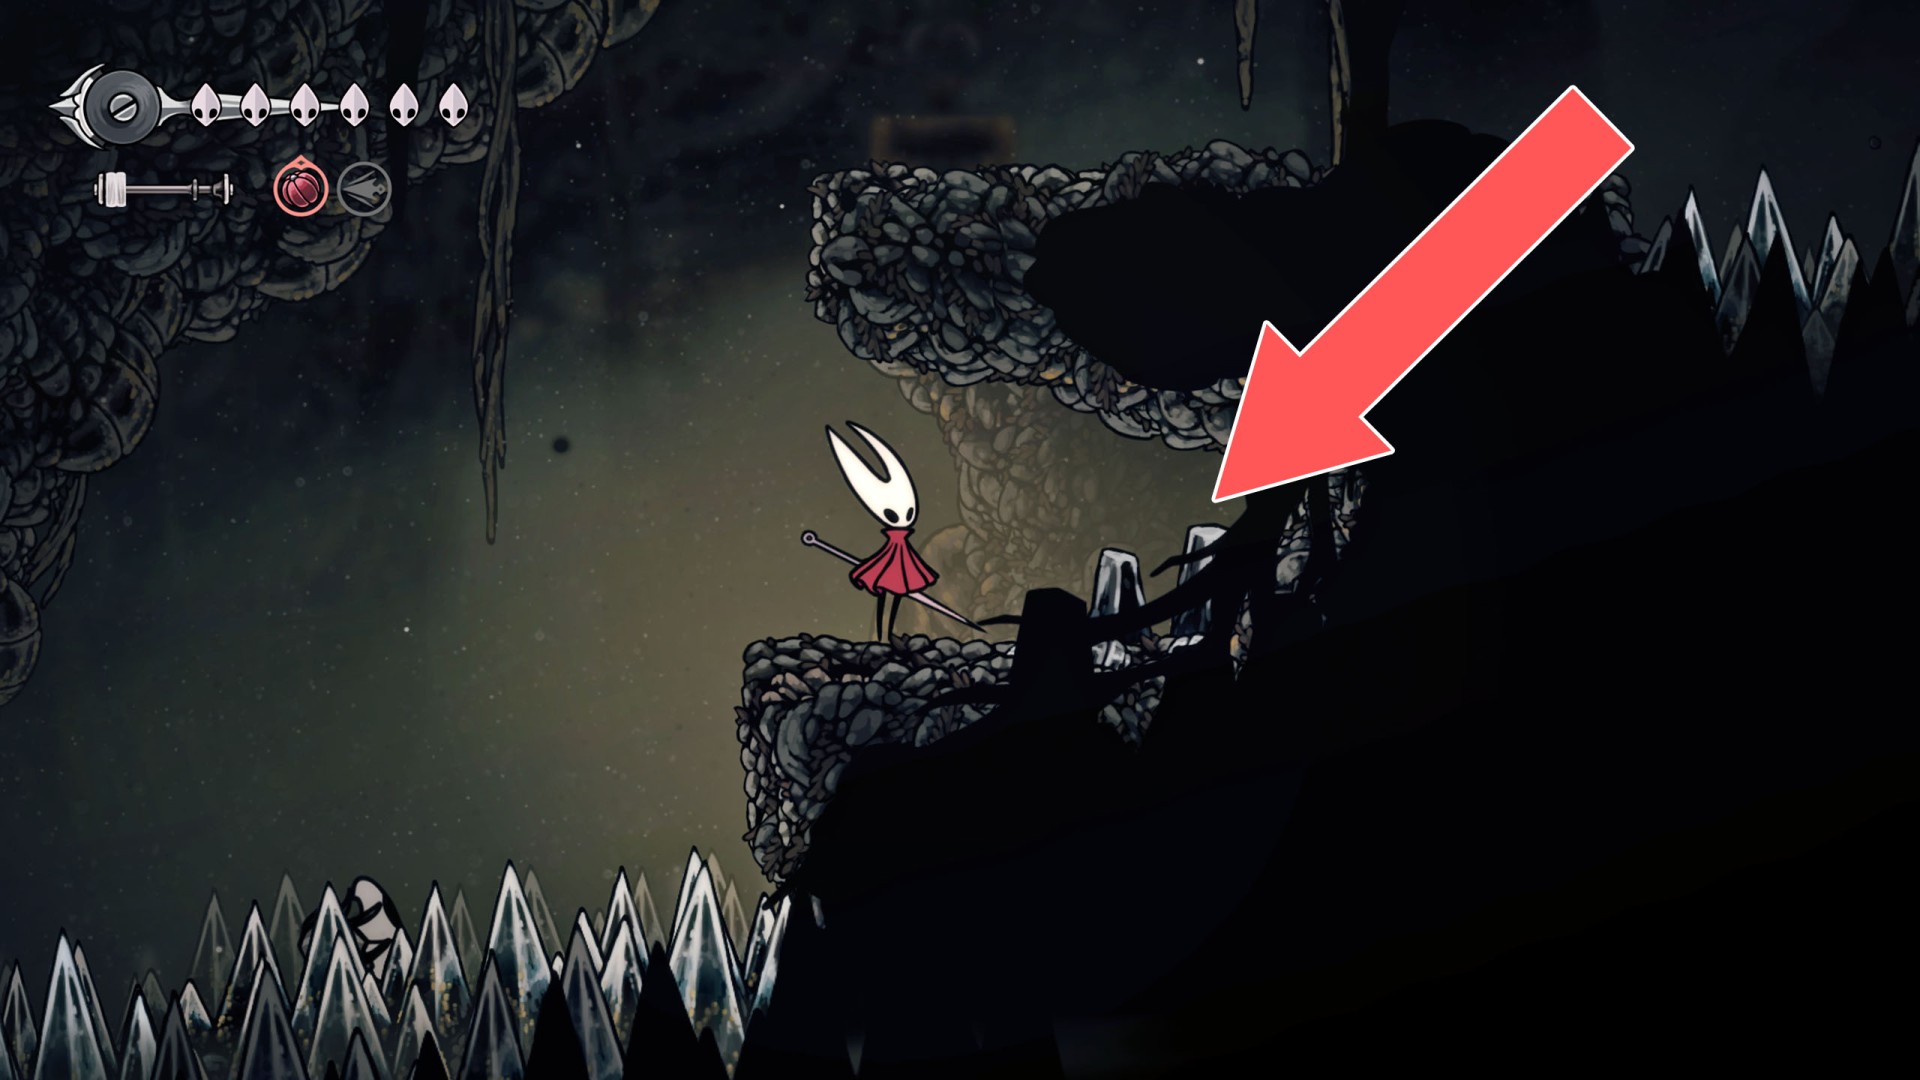
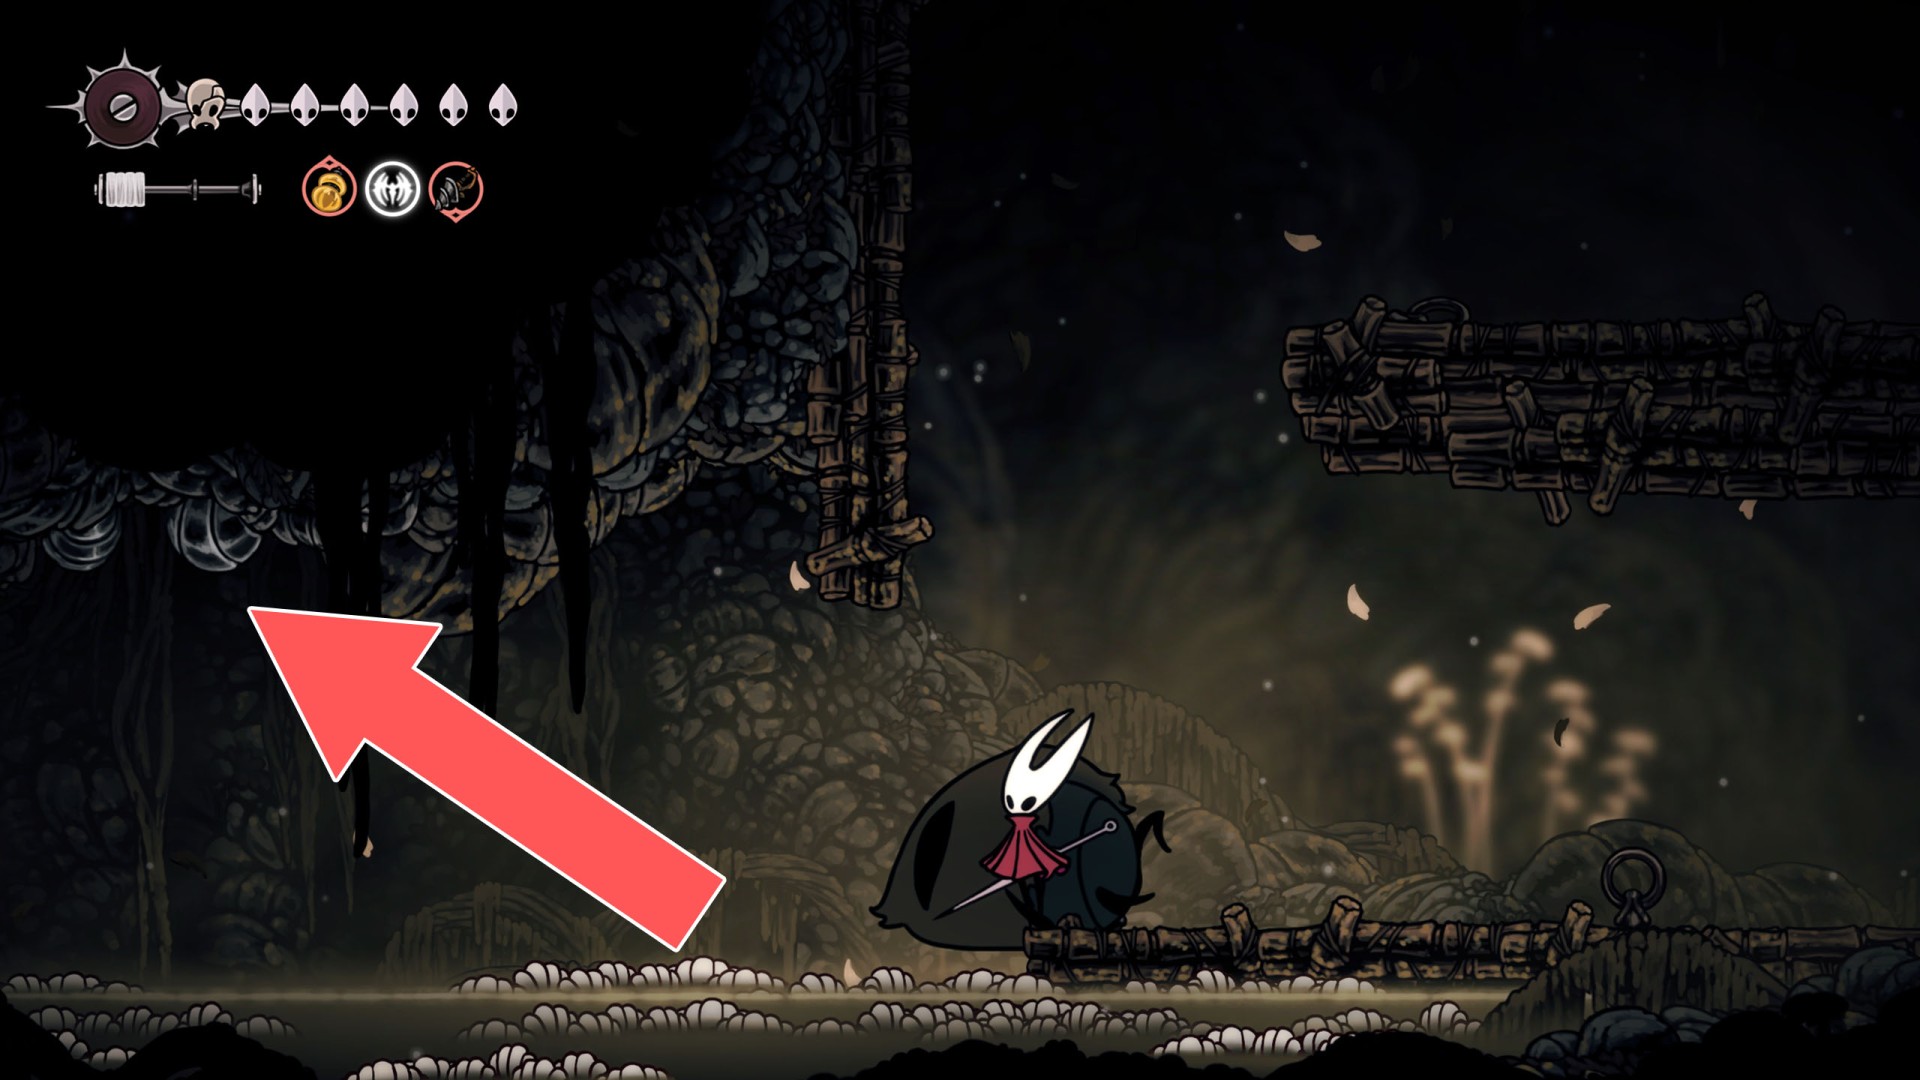
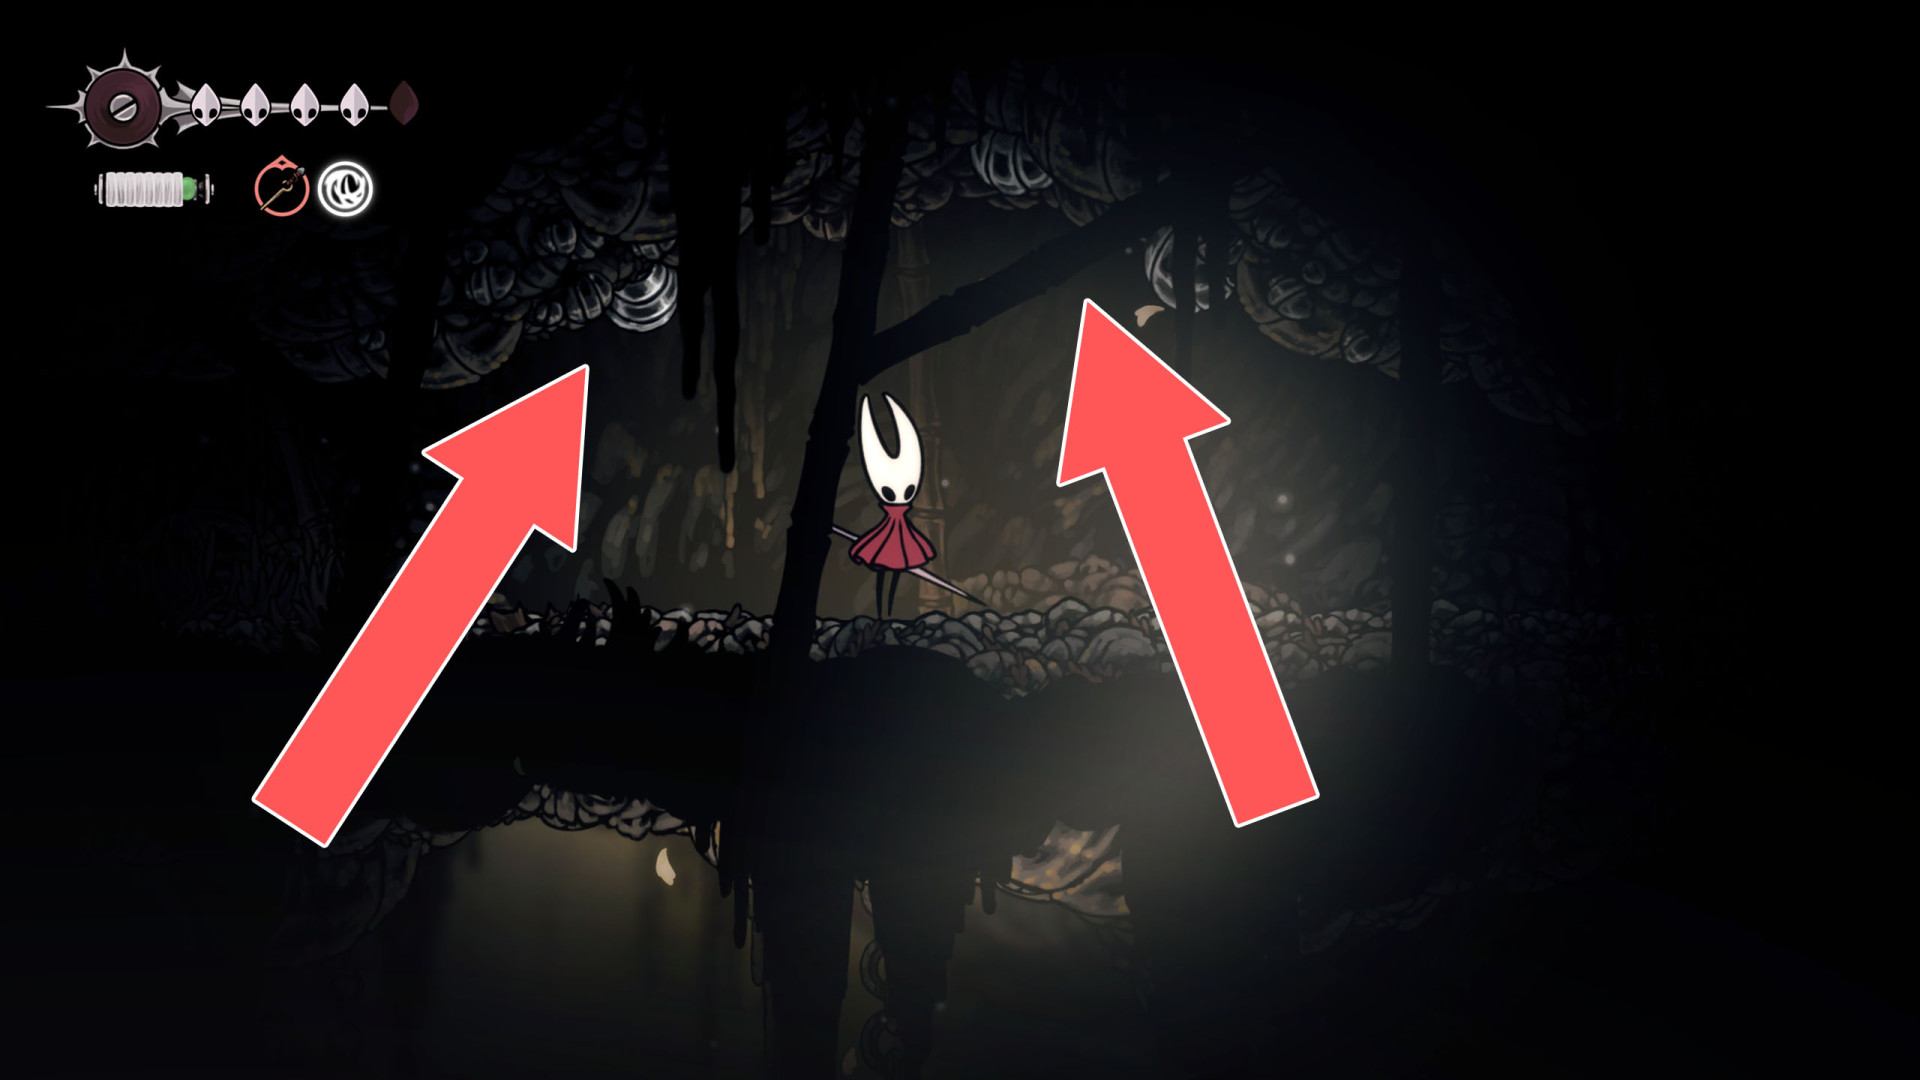
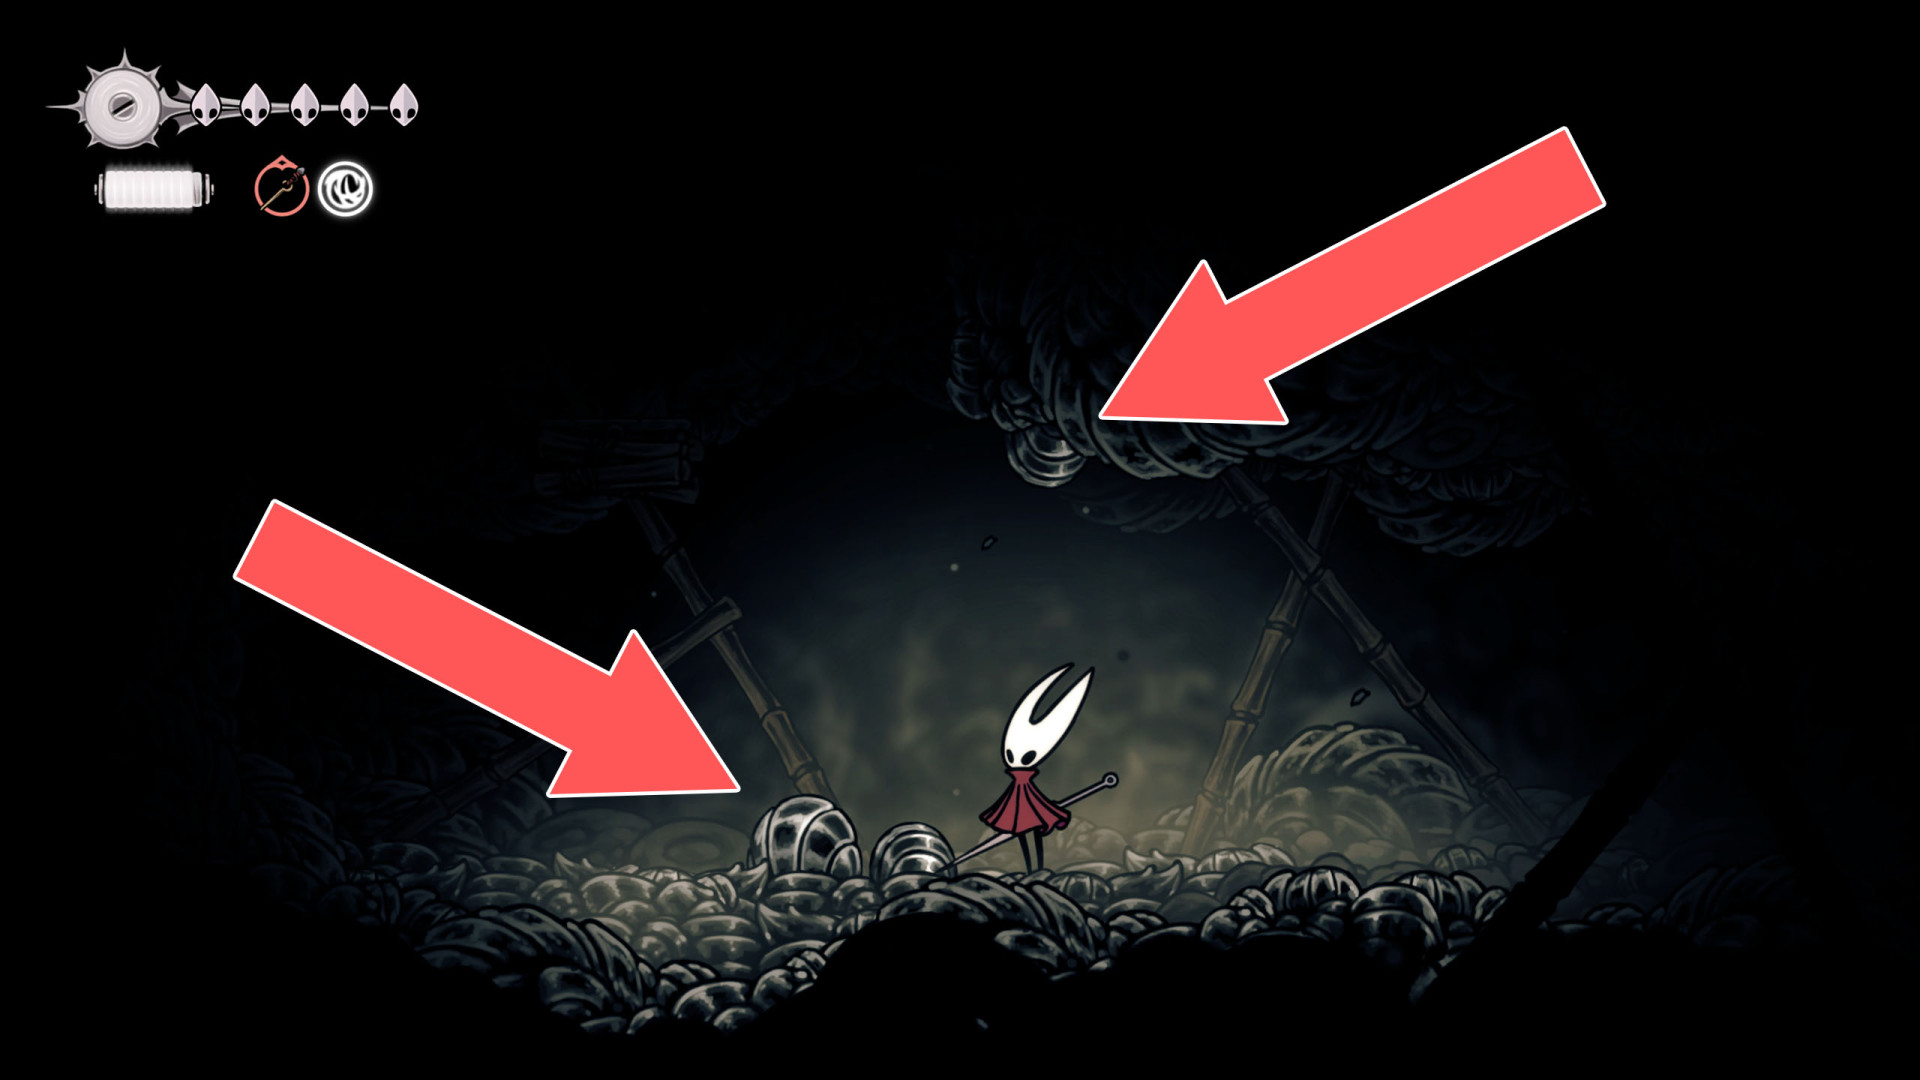
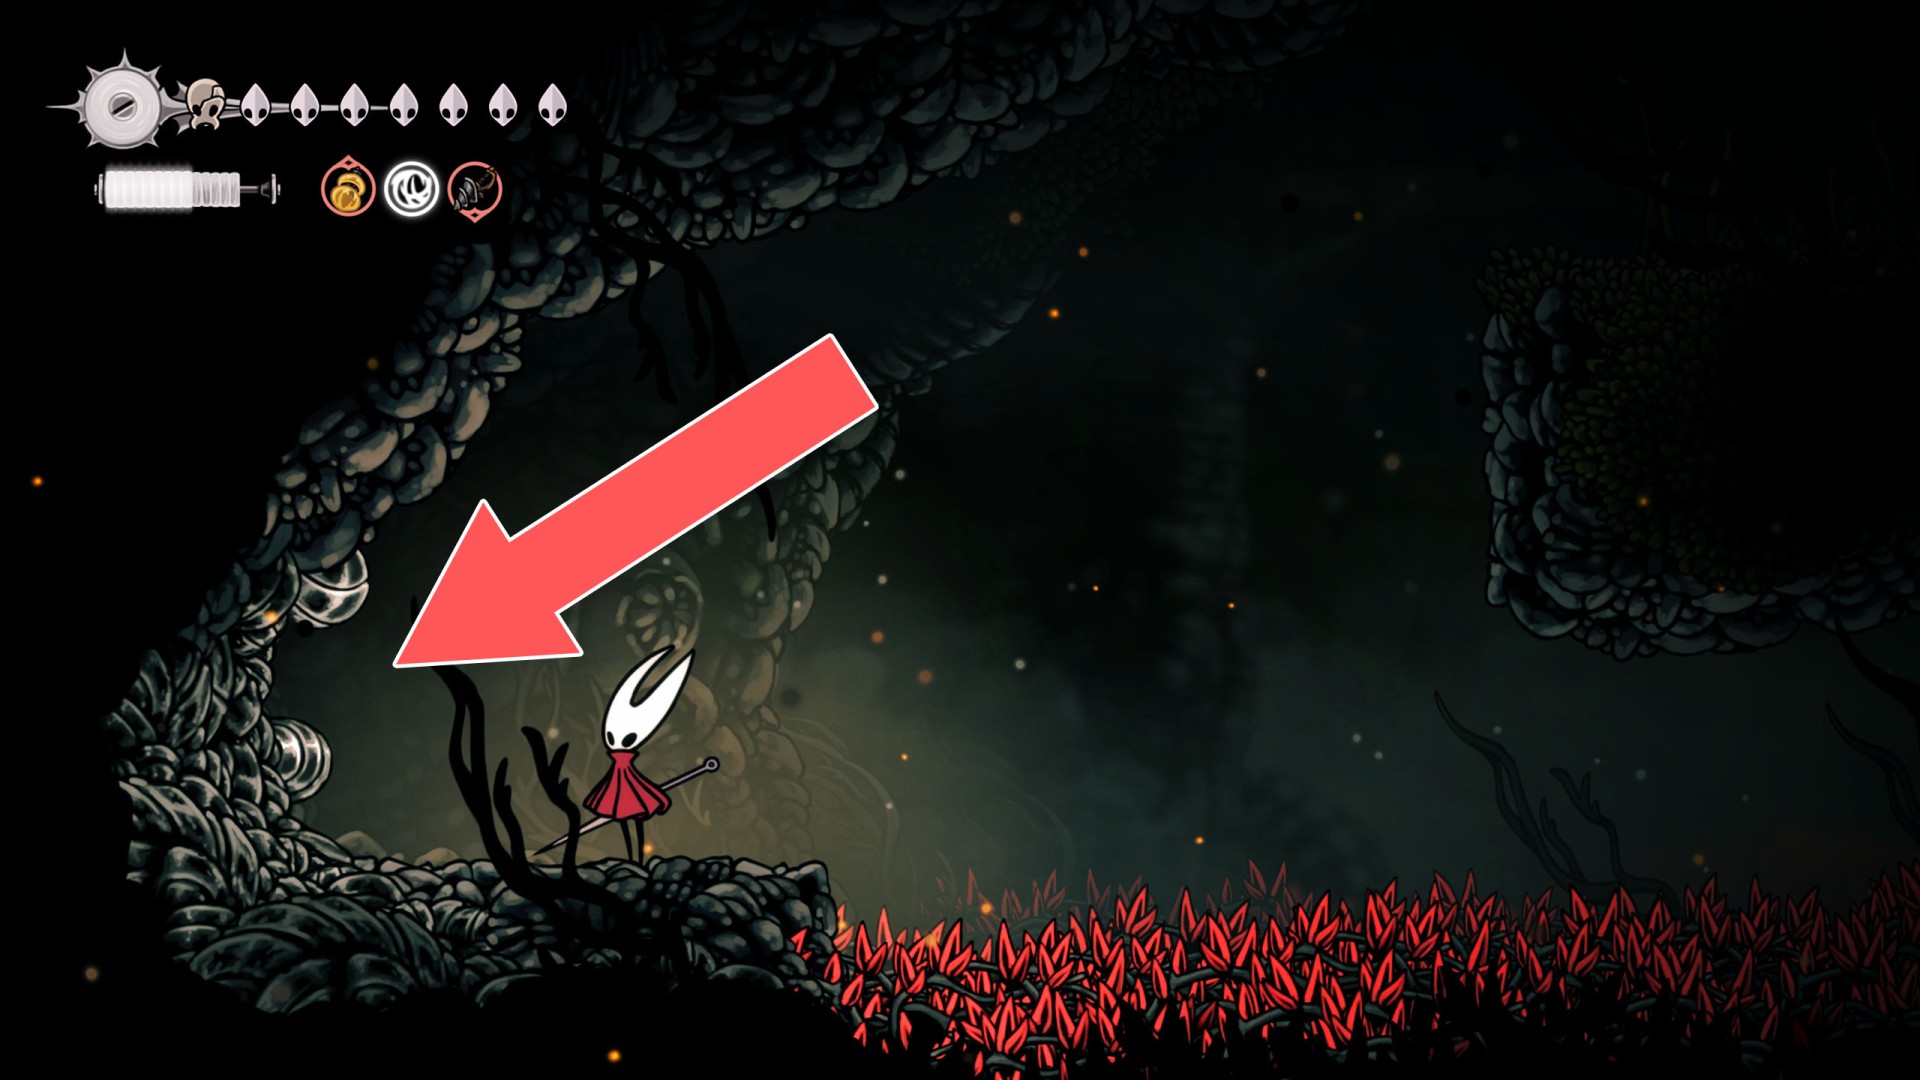
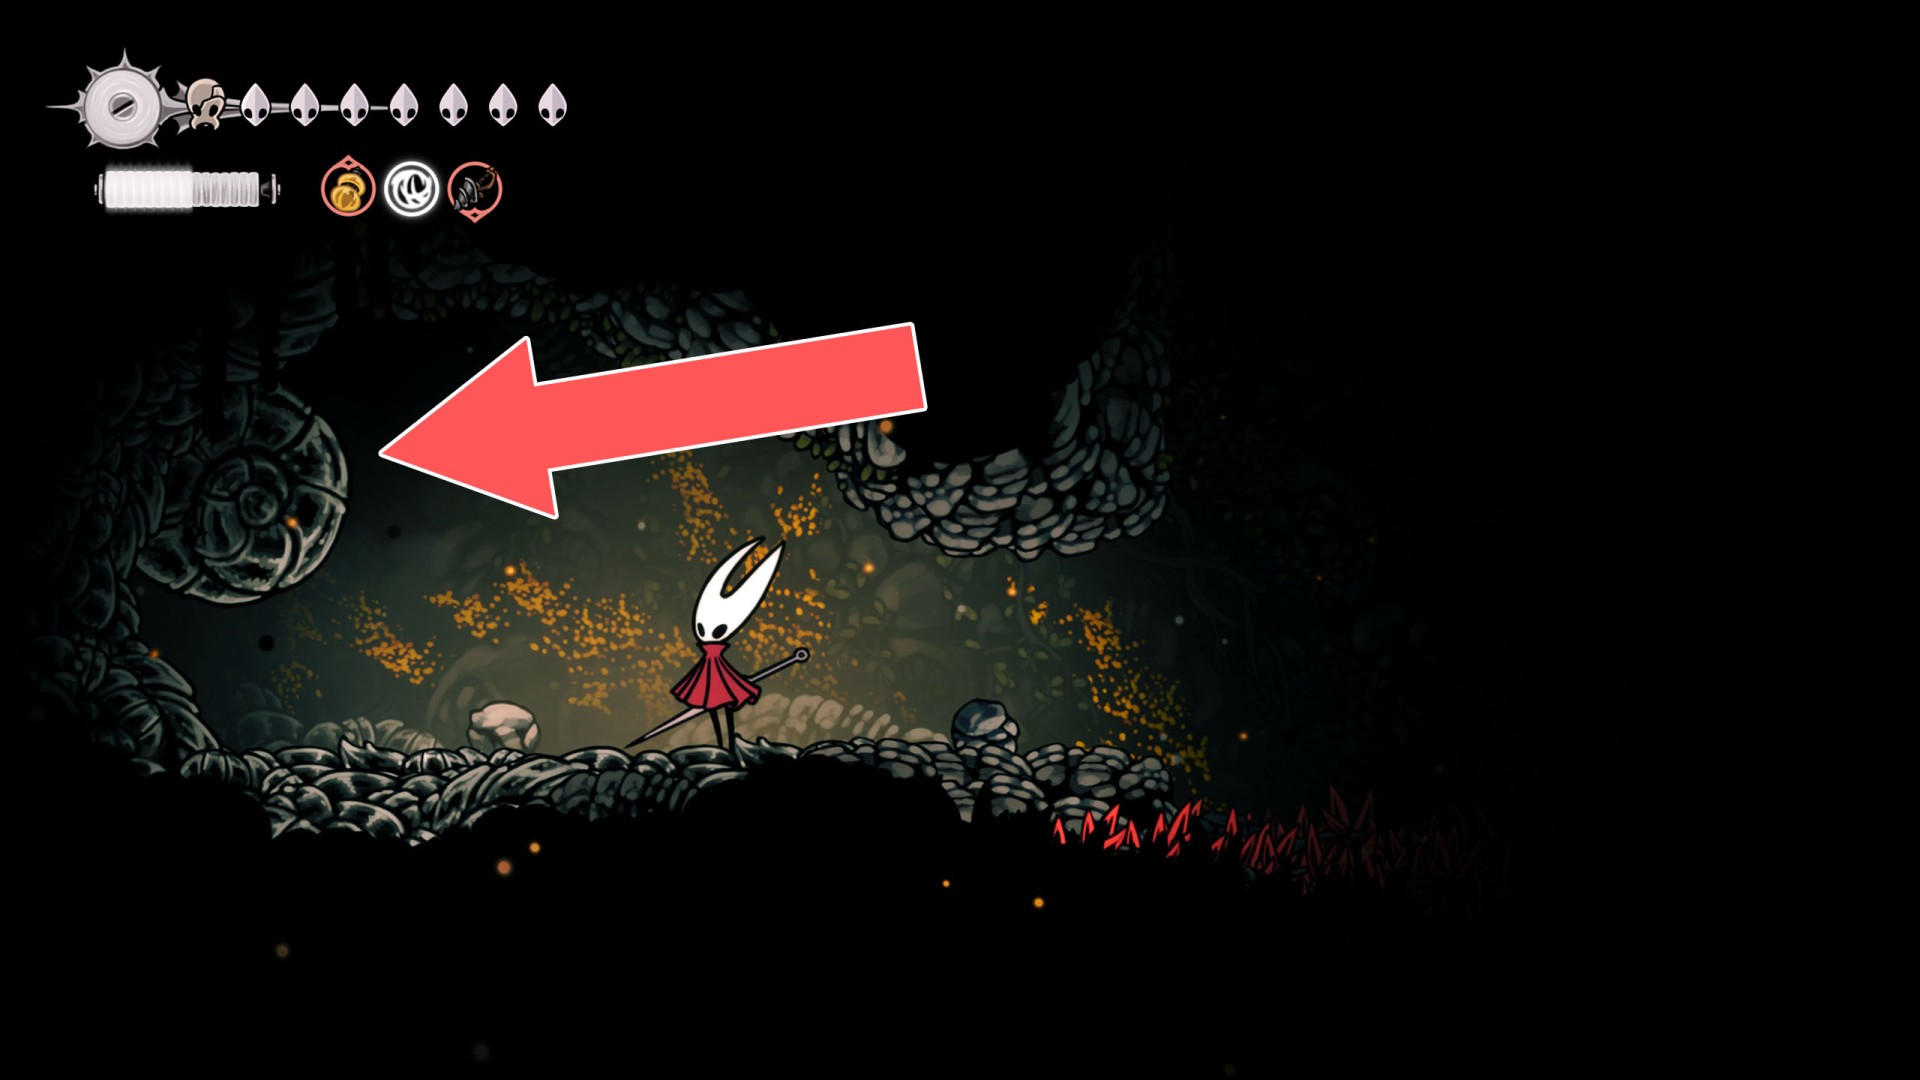
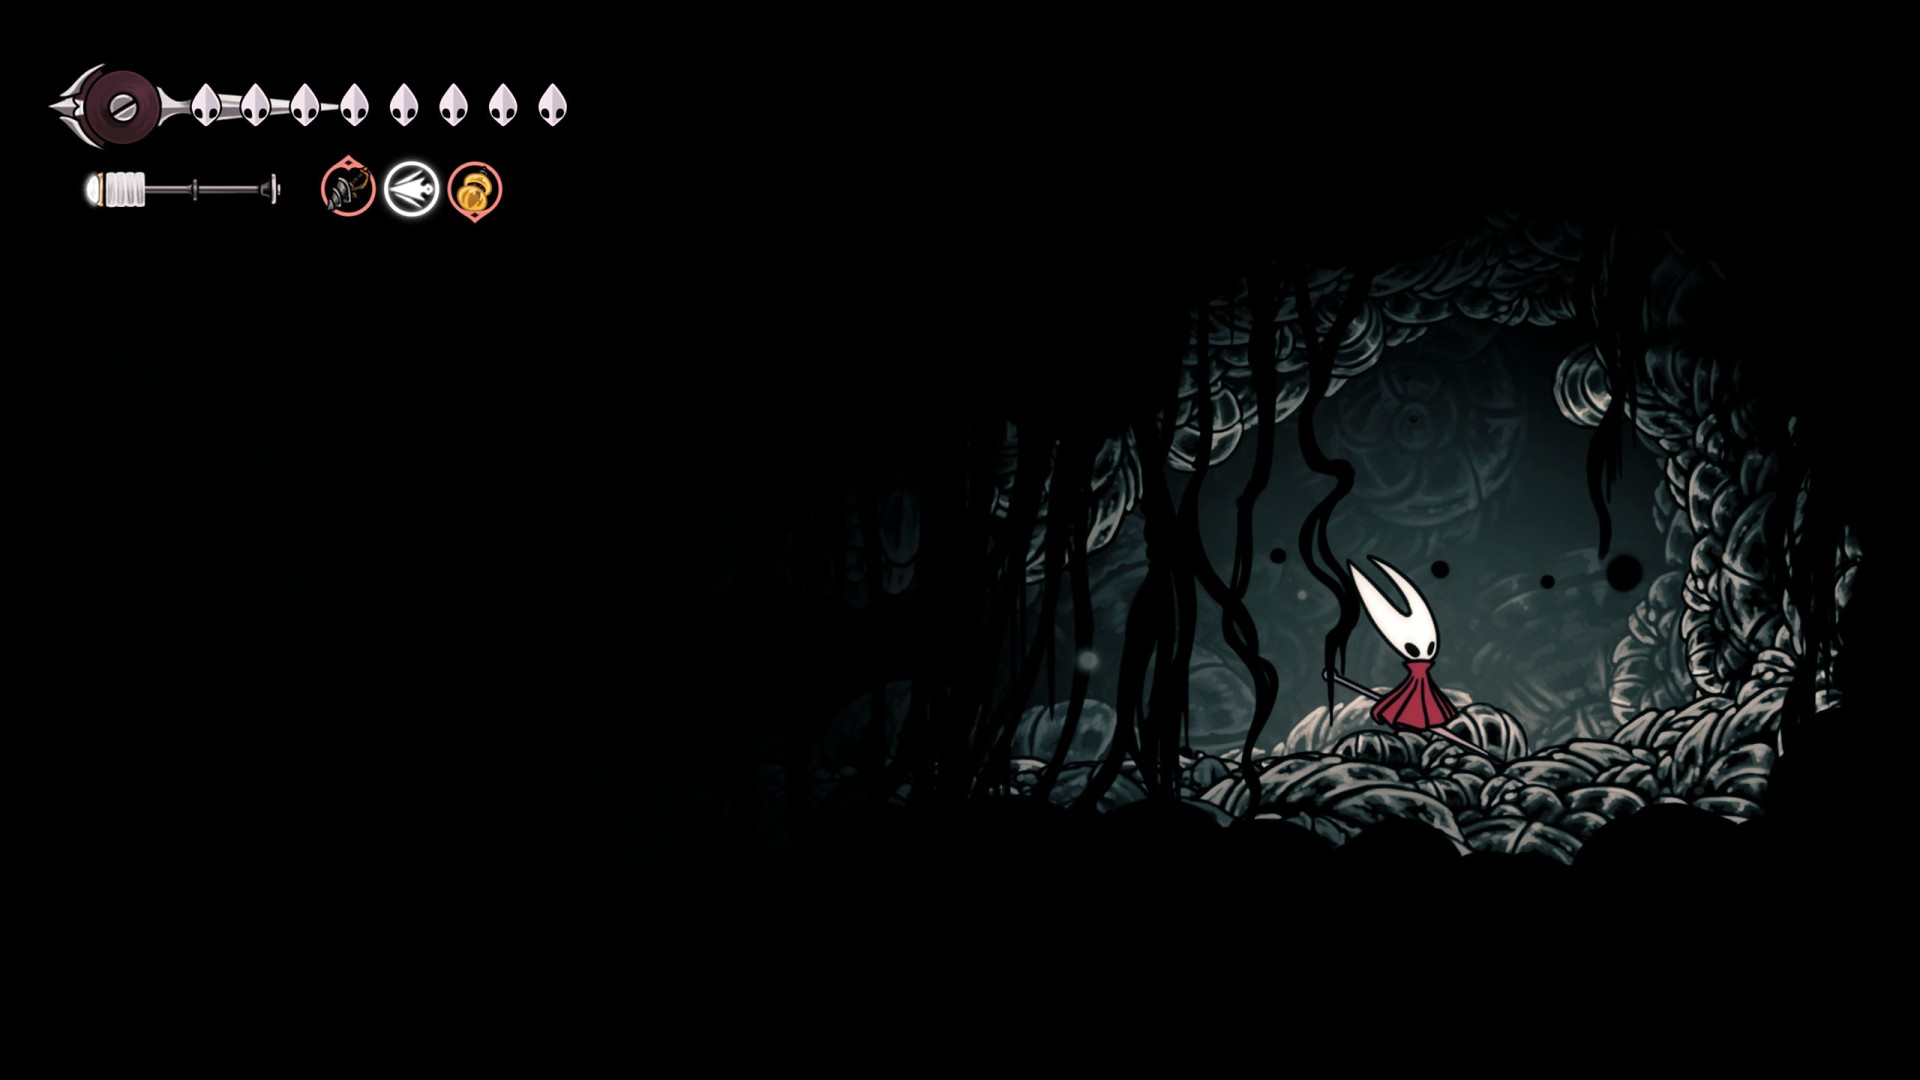
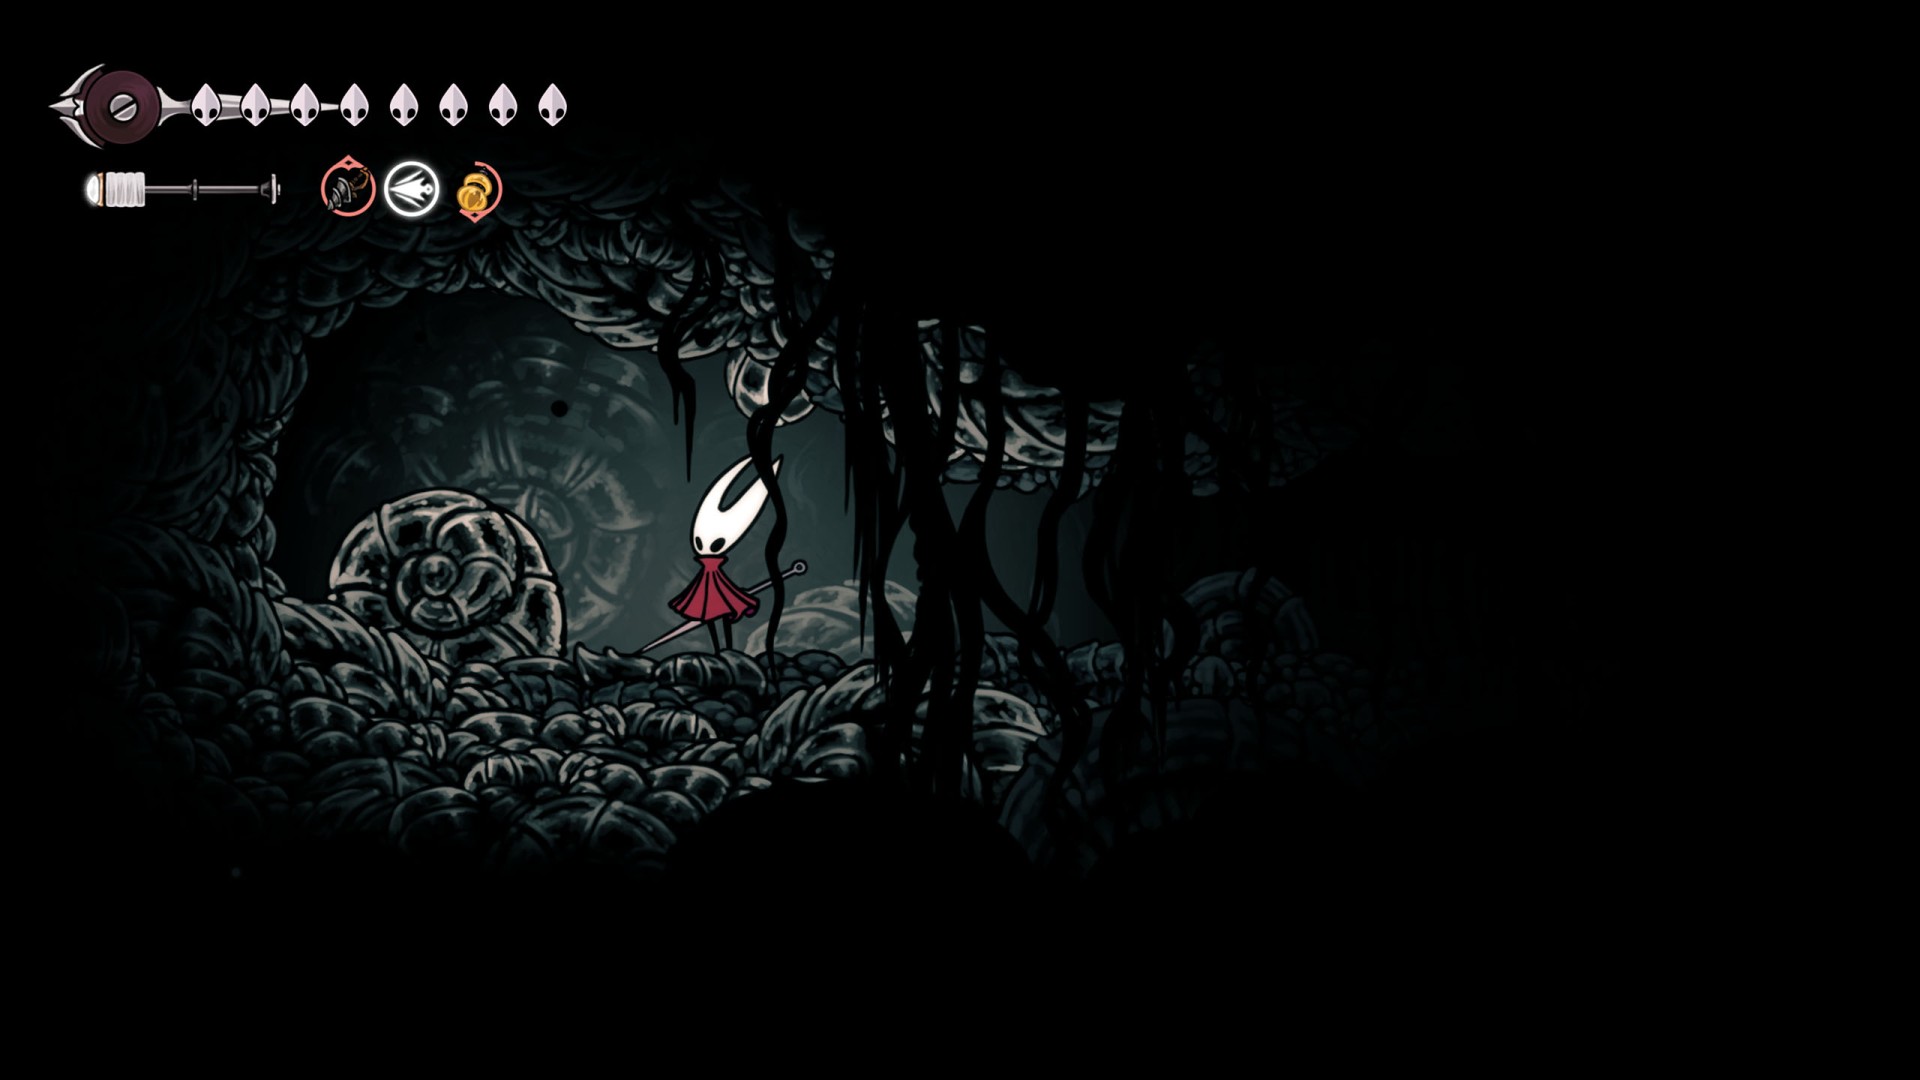
Shell Shard Deposits are scattered across various regions of Pharloom, often tucked away in hidden rooms, near benches, or along main paths, rewarding thorough exploration.

Index

The index below enables quick navigation to the desired marker / point of interest.

All known locations on the map - Pharloom

Shell ShardsBeast Shard

Beast Shard

Show the map

Shell ShardsBeast Shard

Beast Shard

Show the map

Shell ShardsHornet Statuette

Hornet Statuette

Show the map

Shell ShardsShard Bundle

Shard Bundle

Show the map

Shell ShardsShard Bundle

Shard Bundle

Show the map

Shell ShardsShard Bundle

Shard Bundle

Show the map

Shell ShardsShard Bundle

Shard Bundle

Show the map

Shell ShardsShard Bundle

Shard Bundle

Show the map

Shell ShardsShard Bundle

Shard Bundle

Show the map

Shell ShardsShard Bundle

Shard Bundle

Show the map

Shell ShardsShard Bundle

Shard Bundle

Show the map

Shell ShardsShard Bundle

Shard Bundle

Show the map

Shell ShardsShard Bundle

Shard Bundle

Show the map

Shell ShardsShell Shards

Shell Shards

Show the map

Shell ShardsShell Shards

Shell Shards

Show the map

Shell ShardsShell Shards

Shell Shards

Show the map

Shell ShardsShell Shards

Shell Shards

Show the map

Shell ShardsShell Shards

Shell Shards

Show the map

Shell ShardsShell Shards

Shell Shards

Show the map

Shell ShardsShell Shards

Shell Shards

Show the map

Shell ShardsShell Shards

Shell Shards

Show the map

Shell ShardsShell Shards

Shell Shards

Show the map

Shell ShardsShell Shards

Shell Shards

Show the map

Shell ShardsShell Shards

Shell Shards

Show the map

Shell ShardsShell Shards

Shell Shards

Show the map

Shell ShardsShell Shards

Shell Shards

Show the map

Shell ShardsShell Shards

Shell Shards

Show the map

Shell ShardsShell Shards

Shell Shards

Show the map

Shell ShardsShell Shards

Shell Shards

Show the map

Shell ShardsShell Shards

Shell Shards

Show the map

Shell ShardsShell Shards

Shell Shards

Show the map

Shell ShardsShell Shards

Shell Shards

Show the map

Shell ShardsShell Shards

Shell Shards

Show the map

Shell ShardsShell Shards

Shell Shards

Show the map

Shell ShardsShell Shards

Shell Shards

Show the map

Shell ShardsShell Shards

Shell Shards

Show the map

Shell ShardsShell Shards

Shell Shards

Show the map

Shell ShardsShell Shards

Shell Shards

Show the map

Shell ShardsShell Shards

Shell Shards

Show the map

Shell ShardsShell Shards

Shell Shards

Show the map

Shell ShardsShell Shards

Shell Shards

Show the map

Shell ShardsShell Shards

Shell Shards

Show the map

Shell ShardsShell Shards

Shell Shards

Show the map

Shell ShardsShell Shards

Shell Shards

Show the map

Shell ShardsShell Shards

Shell Shards

Show the map

Shell ShardsShell Shards

Shell Shards

Show the map

Shell ShardsShell Shards

Shell Shards

Show the map

Shell ShardsShell Shards

Shell Shards

Show the map

Shell ShardsShell Shards

Shell Shards

Show the map

Shell ShardsShell Shards

Shell Shards

Show the map

Shell ShardsShell Shards

Shell Shards

Show the map

Shell ShardsShell Shards

Shell Shards

Show the map

Shell ShardsShell Shards

Shell Shards

Show the map

Shell ShardsShell Shards

Shell Shards

Show the map

Shell ShardsShell Shards

Shell Shards

Show the map

Shell ShardsShell Shards

Shell Shards

Show the map

Shell ShardsShell Shards

Shell Shards

Show the map

Shell ShardsShell Shards

Shell Shards

Show the map

Shell ShardsShell Shards

Shell Shards

Show the map

Shell ShardsShell Shards

Shell Shards

Show the map

Shell ShardsShell Shards

Shell Shards

Show the map

Shell ShardsShell Shards

Shell Shards

Show the map

Shell ShardsShell Shards

Shell Shards

Show the map

Shell ShardsShell Shards

Shell Shards

Show the map

Shell ShardsShell Shards

Shell Shards

Show the map

Shell ShardsShell Shards

Shell Shards

Show the map

Shell ShardsShell Shards

Shell Shards

Show the map

Shell ShardsShell Shards

Shell Shards

Show the map

Shell ShardsShell Shards

Shell Shards

Show the map

Shell ShardsShell Shards

Shell Shards

Show the map

Shell ShardsShell Shards

Shell Shards

Show the map

Shell ShardsShell Shards

Shell Shards

Show the map

Shell ShardsShell Shards

Shell Shards

Show the map

Shell ShardsShell Shards

Shell Shards

Show the map

Shell ShardsShell Shards

Shell Shards

Show the map

Shell ShardsShell Shards

Shell Shards

Show the map

Shell ShardsShell Shards

Shell Shards

Show the map

Shell ShardsShell Shards

Shell Shards

Show the map

Shell ShardsShell Shards

Shell Shards

Show the map

Shell ShardsShell Shards

Use the Hidden Passage to get here.

Shell Shards

Show the map

Shell ShardsShell Shards

Use the Hidden Passage to get here.

Shell Shards

Show the map

Shell ShardsShell Shards

Shell Shards

Show the map

Shell ShardsShell Shards

Shell Shards

Show the map

Shell ShardsShell Shards

Shell Shards

Show the map

Shell ShardsShell Shards

Shell Shards

Show the map

Shell ShardsShell Shards

Shell Shards

Show the map

Shell ShardsShell Shards

Shell Shards

Show the map

Shell ShardsStatue

Statue

Show the map