
Misc Loot
Locations on Midgard
1 Breastplate of Guiding Light
2Gauntlets of Guiding Light

3Jotunheim's Essence
Amulet Enchantment.

4Orm
Drops: 10x Shattered Rune, 1x Honed Metal, 1x Stonewood, 1x Dwarven Steel.

5Orm
You can kill him by dropping a jar on him that hangs above. Drops: 25x Shattered Rune (Unique Resource), 1x Petrified Bone, 1x Luminous Alloy, 1x Asgardian Ingot.

6Waist Guard of Guiding Light

Locations on Svartalfheim
7Althjof's Rig
Contains: Nidavellir Ore (Unique Resource), 2x Slag Deposits, 500 Hacksilver. This is one of the three places you must visit to complete the "In Service of Asgard" favor.
8Huldra Charge
Draupnir Spear Light Runic Attack. Drops from one of the ogres you have to fight here.

9Modvitnir's Rig
Contains: Nidavellir Ore (Unique Resource), 2x Forged Iron, 500 Hacksilver. This is one of the three places you must visit to complete the "In Service of Asgard" favor.
10Orm
Throw an axe at it from behind. Drops: Shattered Rune +4 (Unique Resource).

11Orm
Throw an axe at it from behind. Drops: Shattered Rune +4 (Unique Resource).

12Orm
Get on the platform and throw an axe at it from behind. Drops: Shattered Rune +4 (Unique Resource).

13Radsvinn's Rig
Contains: Nidavellir Ore (Unique Resource), 2x Rawhide, 500 Hacksilver. This is one of the three places you must visit to complete the "In Service of Asgard" favor.
Locations on Alfheim
14Alfheim's Vigour
Amulet Enchantment.

15Orm
Drops: 20x Shattered Rune.

Locations on Vanaheim
16Crystalline Fragment + Crystalline Shard

17Crystalline Fragment + Crystalline Shard x 2

18Crystalline Fragment + Crystalline Shard x 2
You will be able to get here only after the water in the rivers is restored, so you must first complete the favor "Return of the River".

19Crystalline Fragment + Crystalline Shard x 2

20Crystalline Fragment + Crystalline Shard x 2
You will be able to get here only after the water in the rivers is restored, so you must first complete the favor "Return of the River".
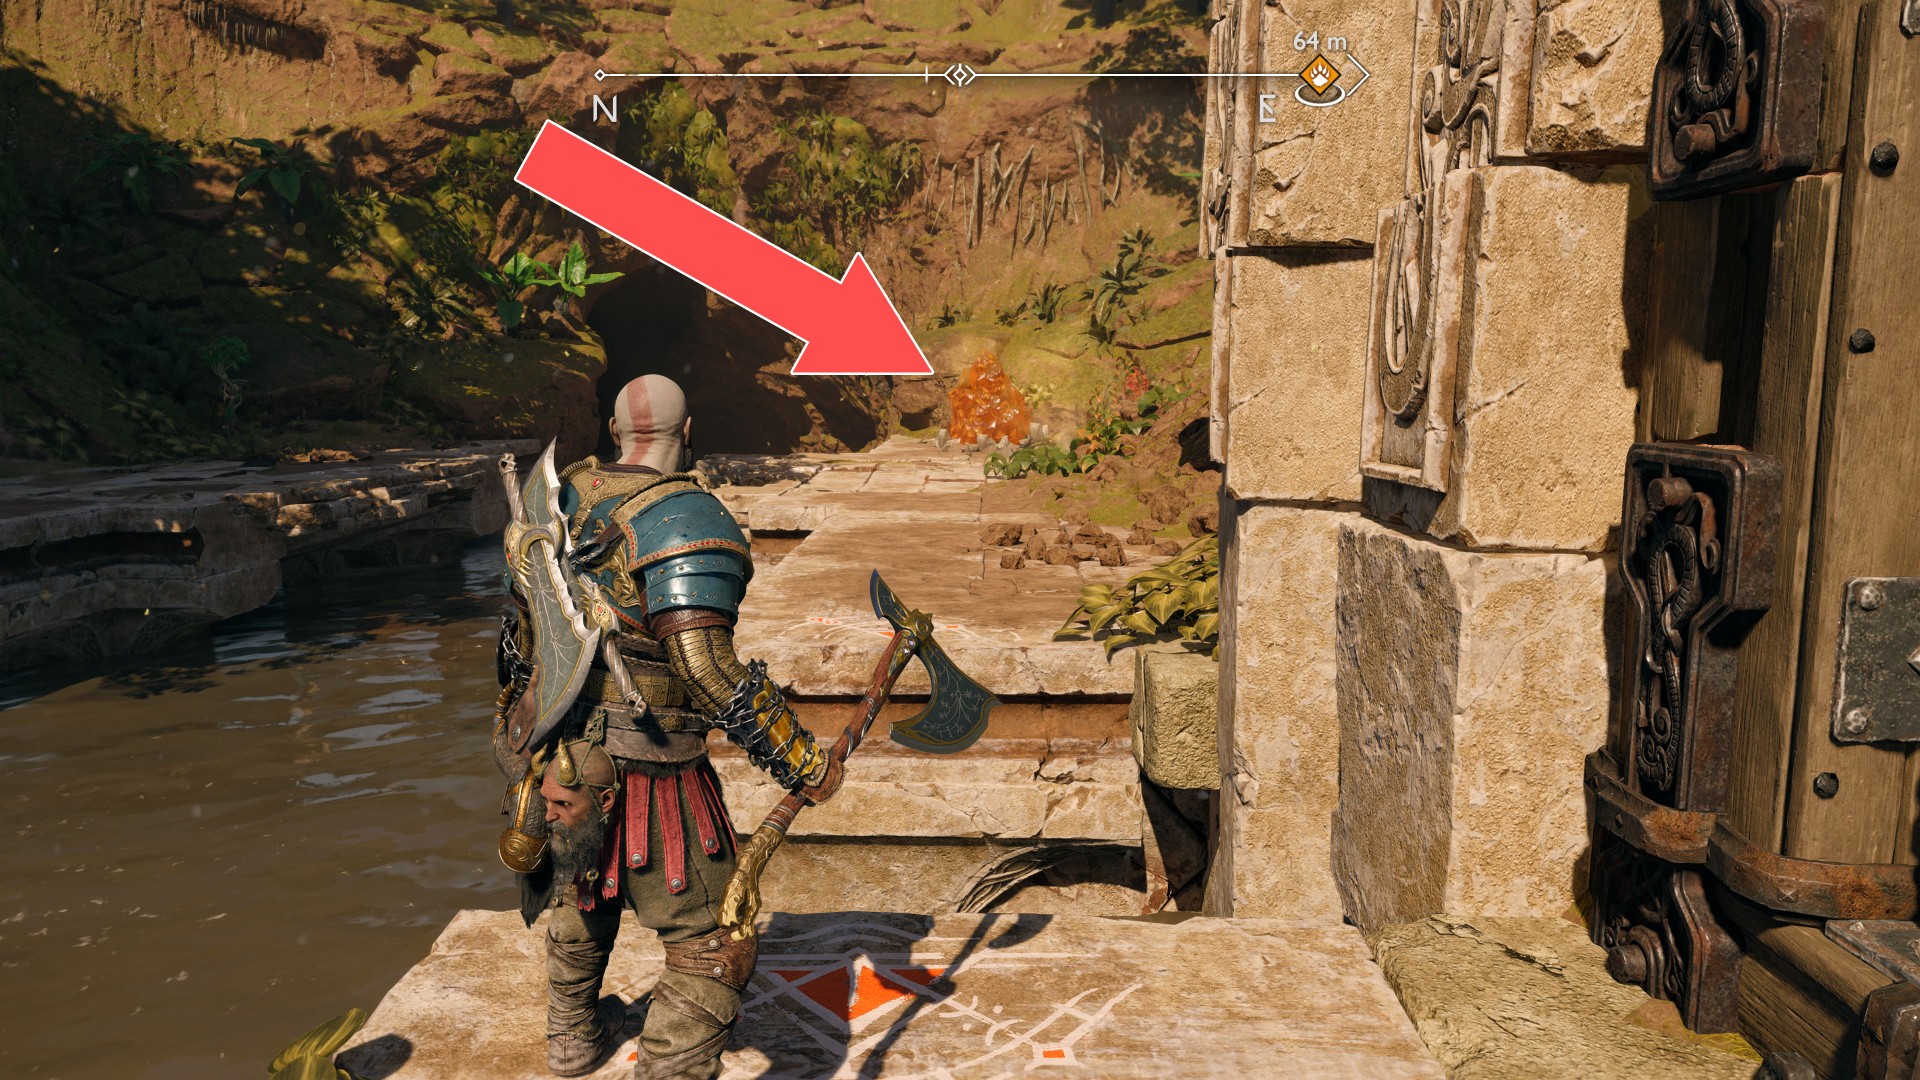
21Crystalline Fragment + Crystalline Shard x2

22Crystalline Fragment + Crystalline Shards x 2

23Crystalline Fragment x 3 + Crystalline Shard x 6
There are three large crystals around the pond that you can shatter and collect fragments and shards.

24Crystalline Shard

25Crystalline Shard

26Crystalline Shard

27Crystalline Shard
You will be able to get here only after the water in the rivers is restored, so you must first complete the favor "Return of the River".

28Crystalline Shard

29Crystalline Shard

30Crystalline Shard

31Crystalline Shard

32Crystalline Shard
You will be able to get here only after the water in the rivers is restored, so you must first complete the favor "Return of the River".

33Crystalline Shard

34Crystalline Shard x 2
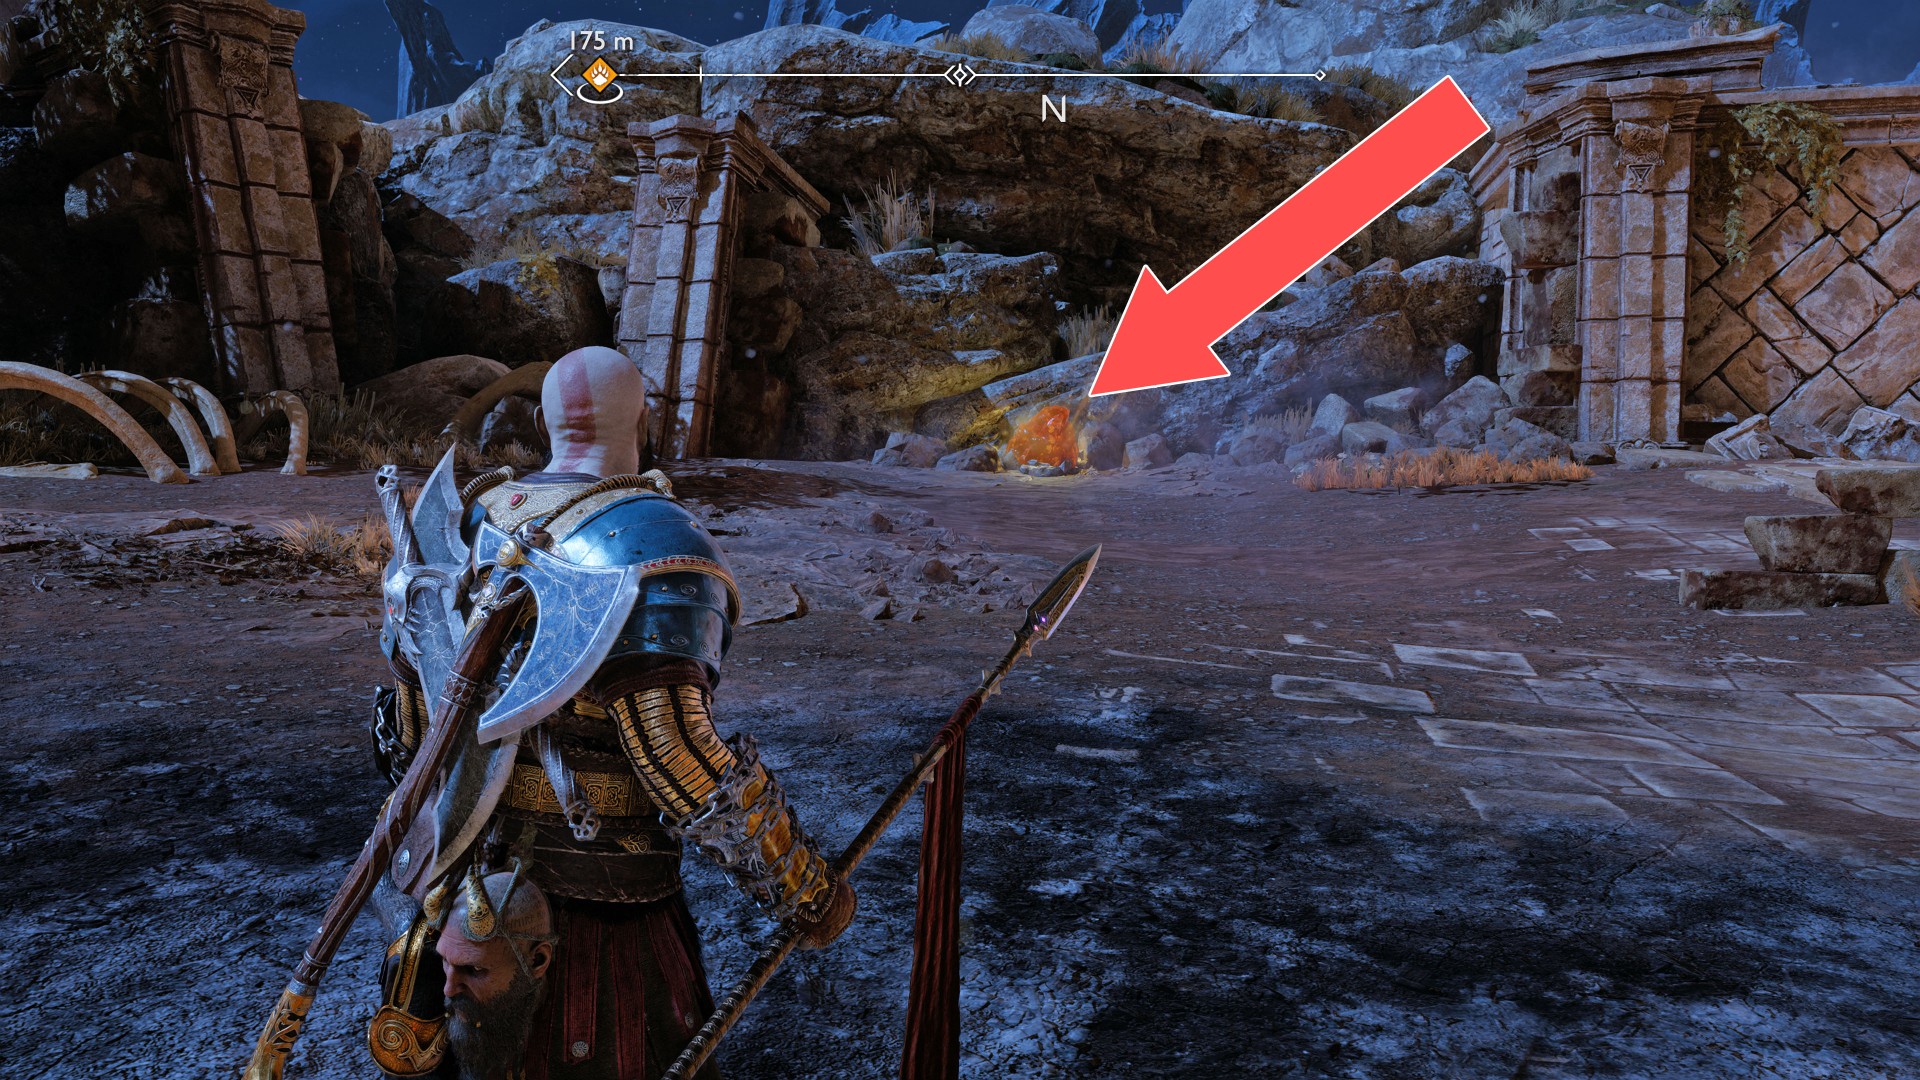
35Crystalline Shard x 2
You will be able to get here only after the water in the rivers is restored, so you must first complete the favor "Return of the River".

36Crystalline Shard x 2

37Crystalline Shard x 2

38Crystalline Shard x 2

39Crystalline Shard x 2
You will be able to get here only after the water in the rivers is restored, so you must first complete the favor "Return of the River".

40Crystalline Shard x 2

41Crystalline Shard x 2

42Crystalline Shard x 2
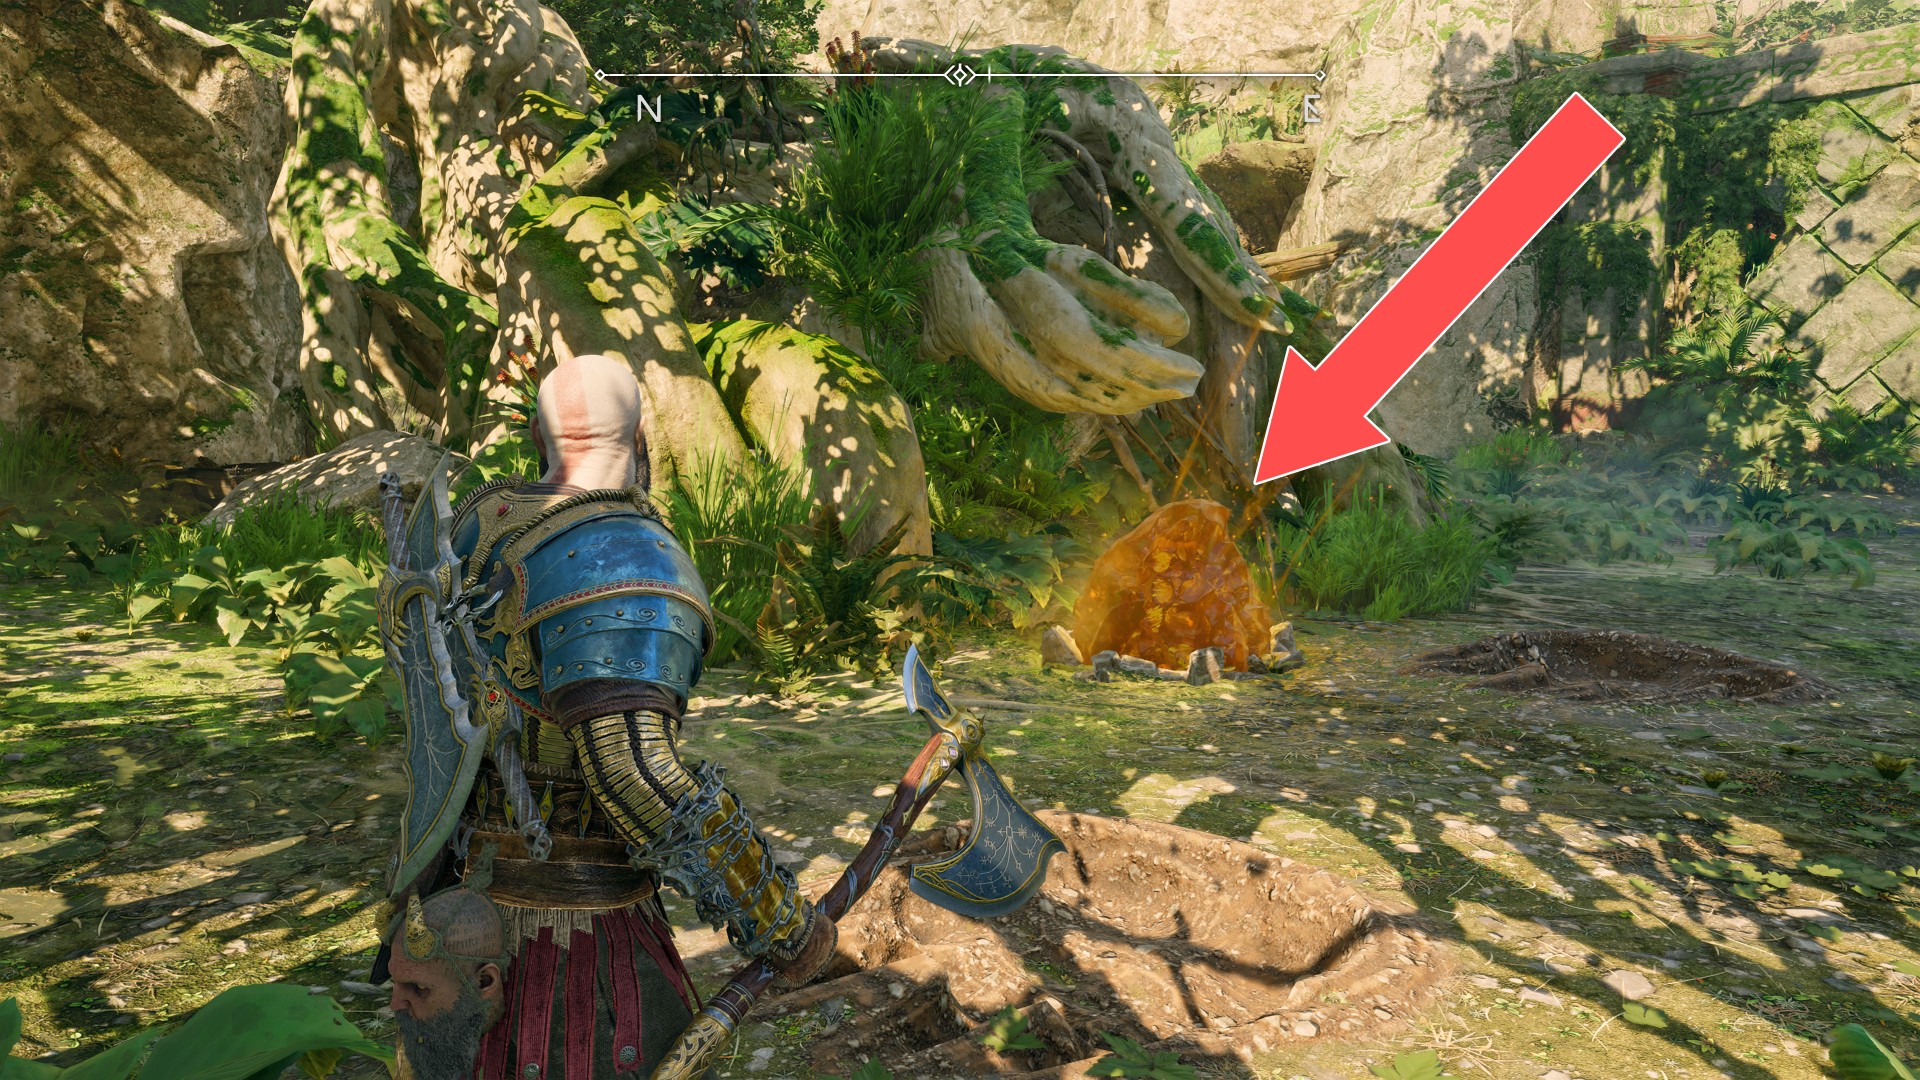
43Crystalline Shard x 2

44Crystalline Shard x 2

45Hind of Volatile Might (Draupnir Spear Handle)
You will receive this item when you throw the crystalline fragments (2?) into the lake.

46Orm
To hit it you must destroy the wooden barrier. You can do it from the northern side. Drops: 25x Shatterd Rune (Unique Resource), 1x Asgardian Ingot, 1x Luminous Alloy, 1xPetrified Bone.

47Plackart of Fallen Stars (Chest Armour)
You will receive this armor when you throw the crystal into the lake.
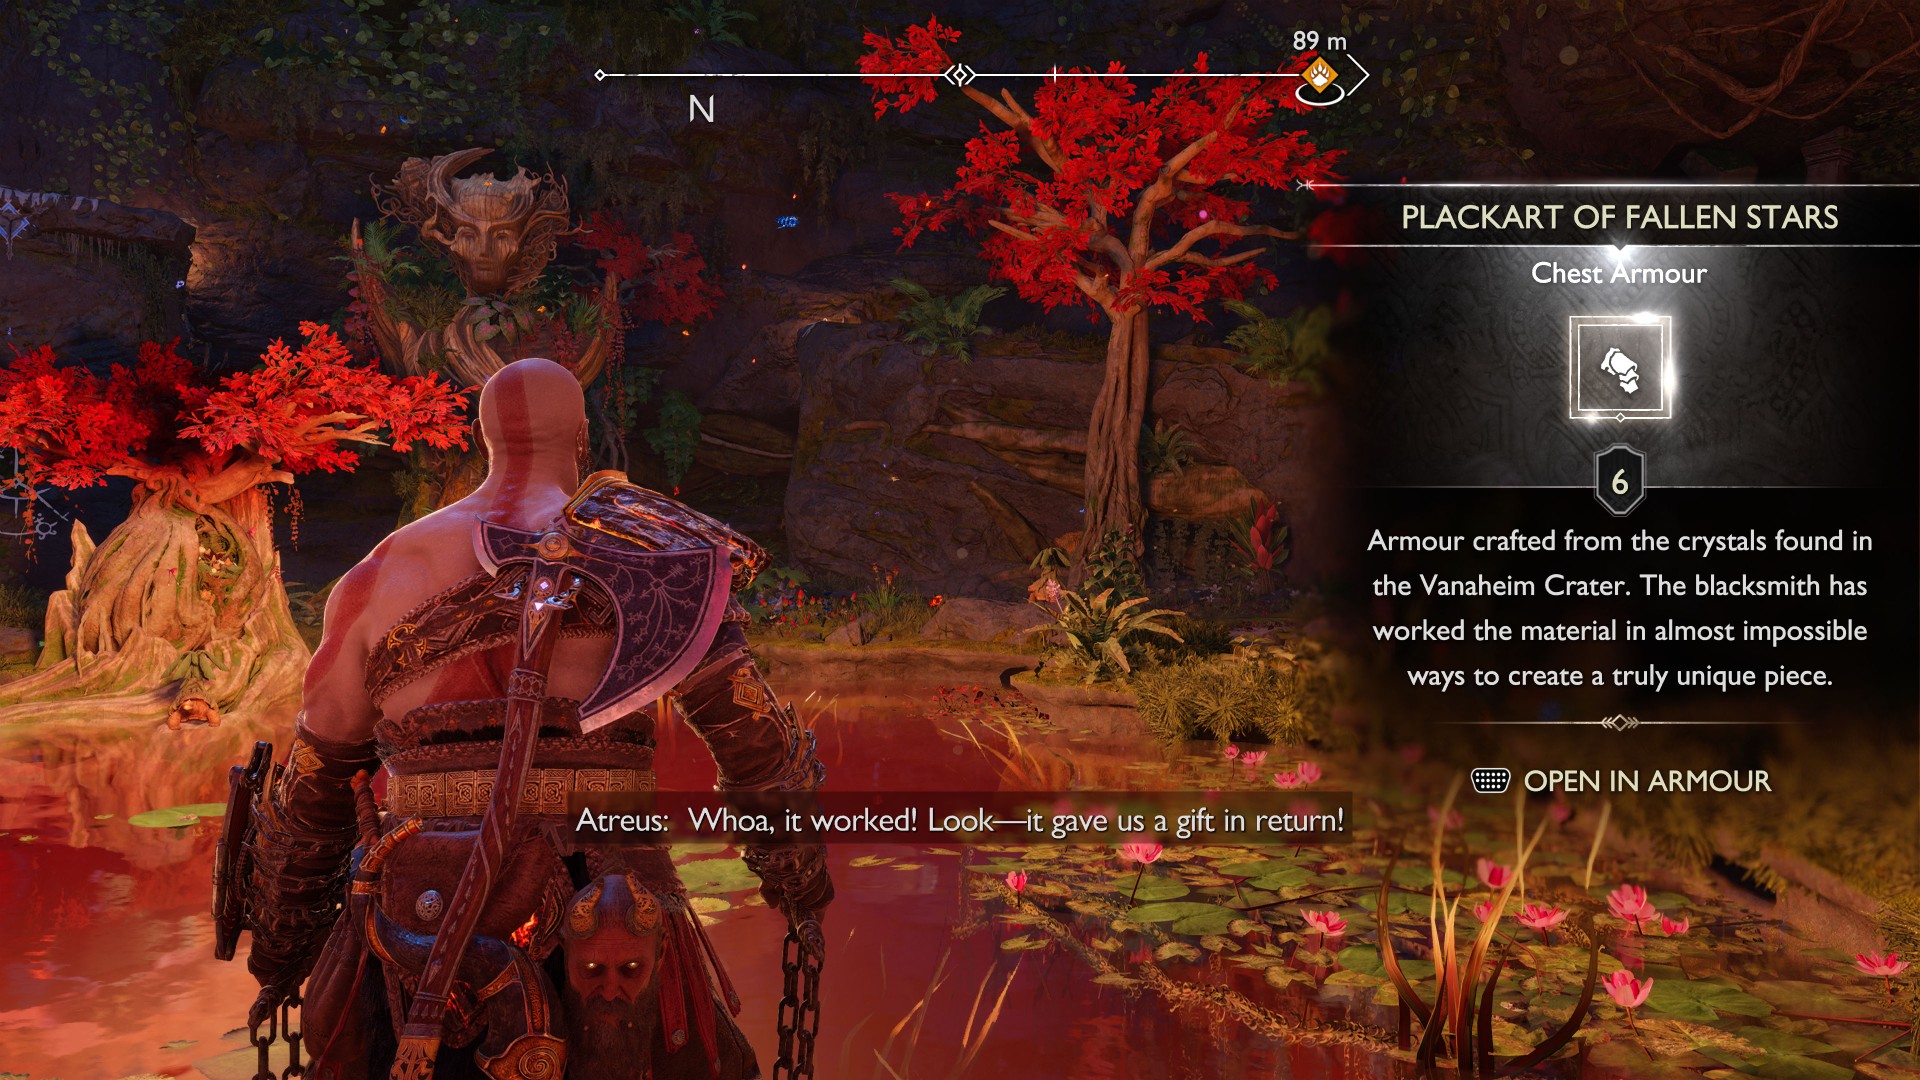
48Rond of Fortification (Shield Attachment)
You will receive this item when you throw the crystalline fragments into the lake.

49Waist Guard of Fallen Stars (Waist Armour)
You will receive this item when you throw the crystalline fragments into the pond.

Locations on Helheim
50Hel-Traveller
Drops: Boon of Wrath (Amulet Enchantment), Frozen Flame.
