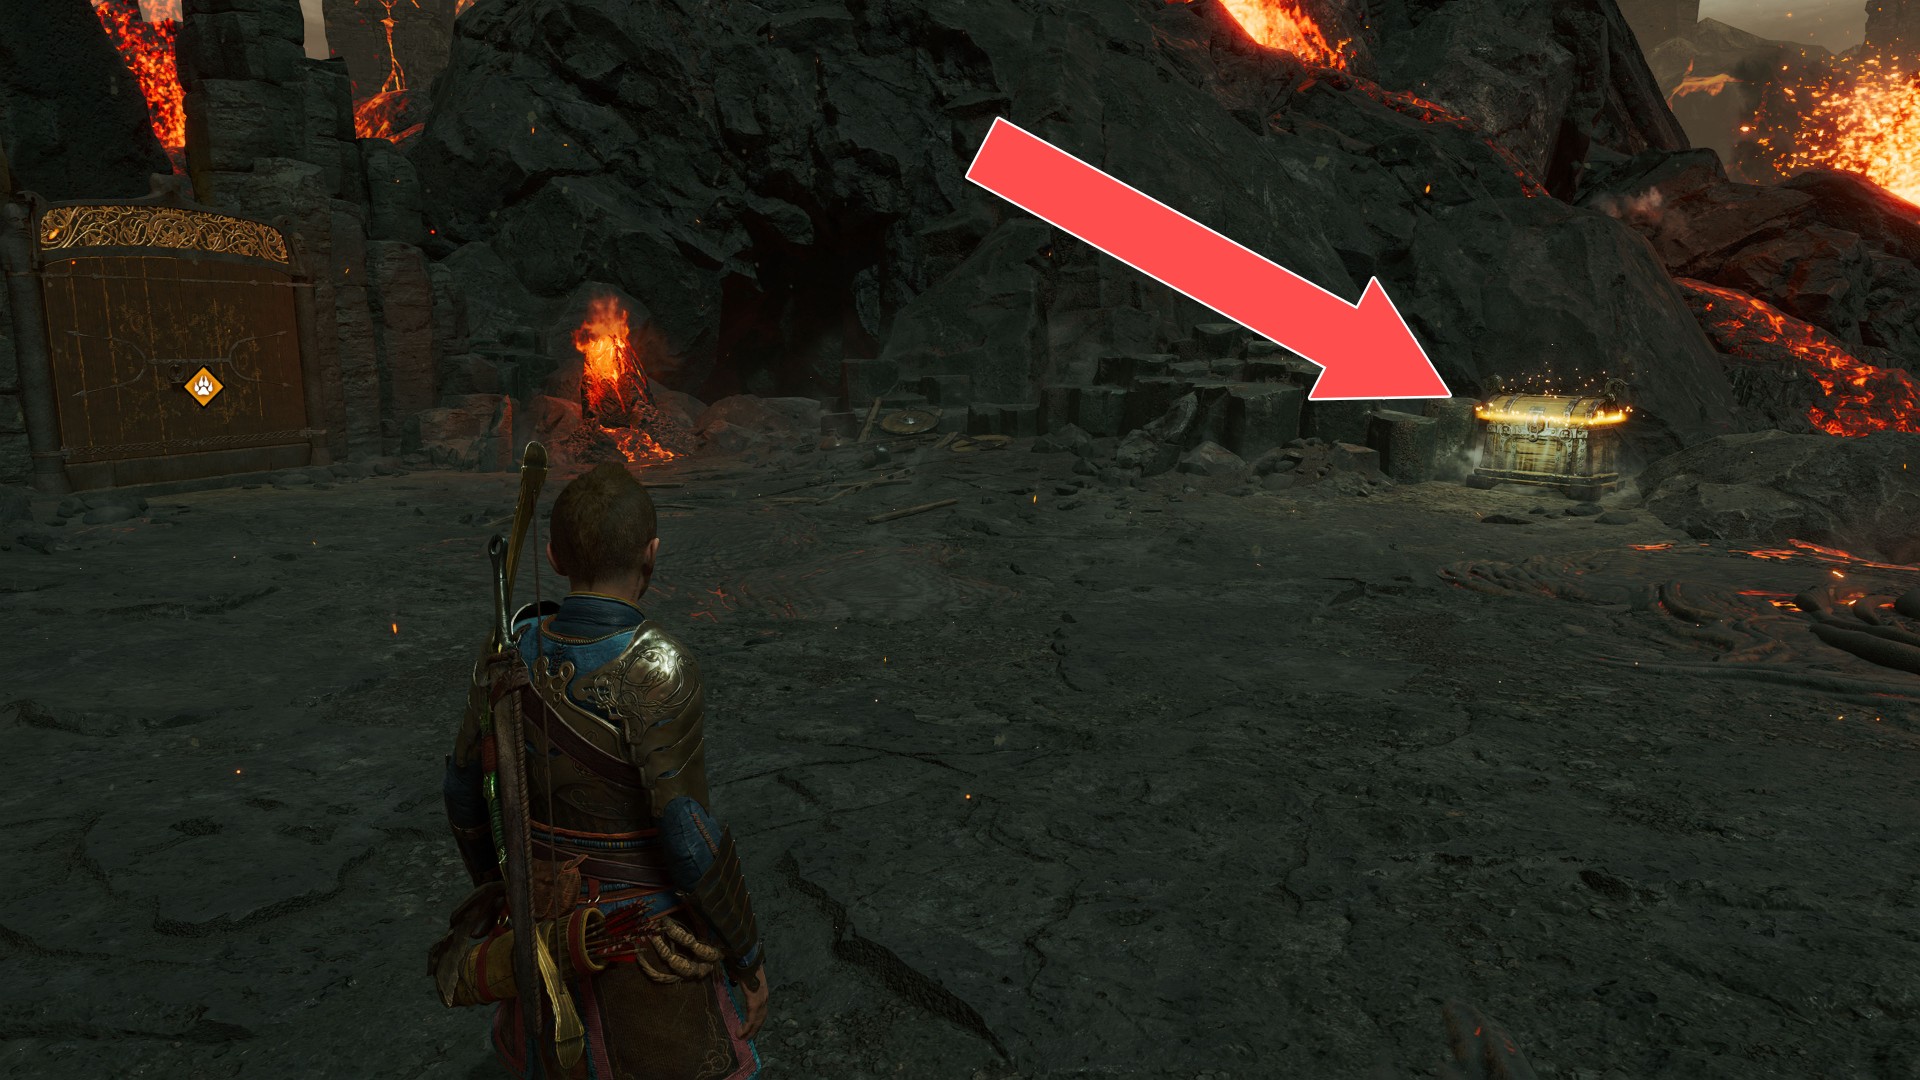
In God of War Ragnarök, yellow and red chests contain different types of loot, each with specific purposes to aid Kratos and Atreus in their journey.
Chests
Locations on Midgard
1 Red Chest
You can collect this chest during the main mission "Old Friends", on the way to Freya.
2Red Chest
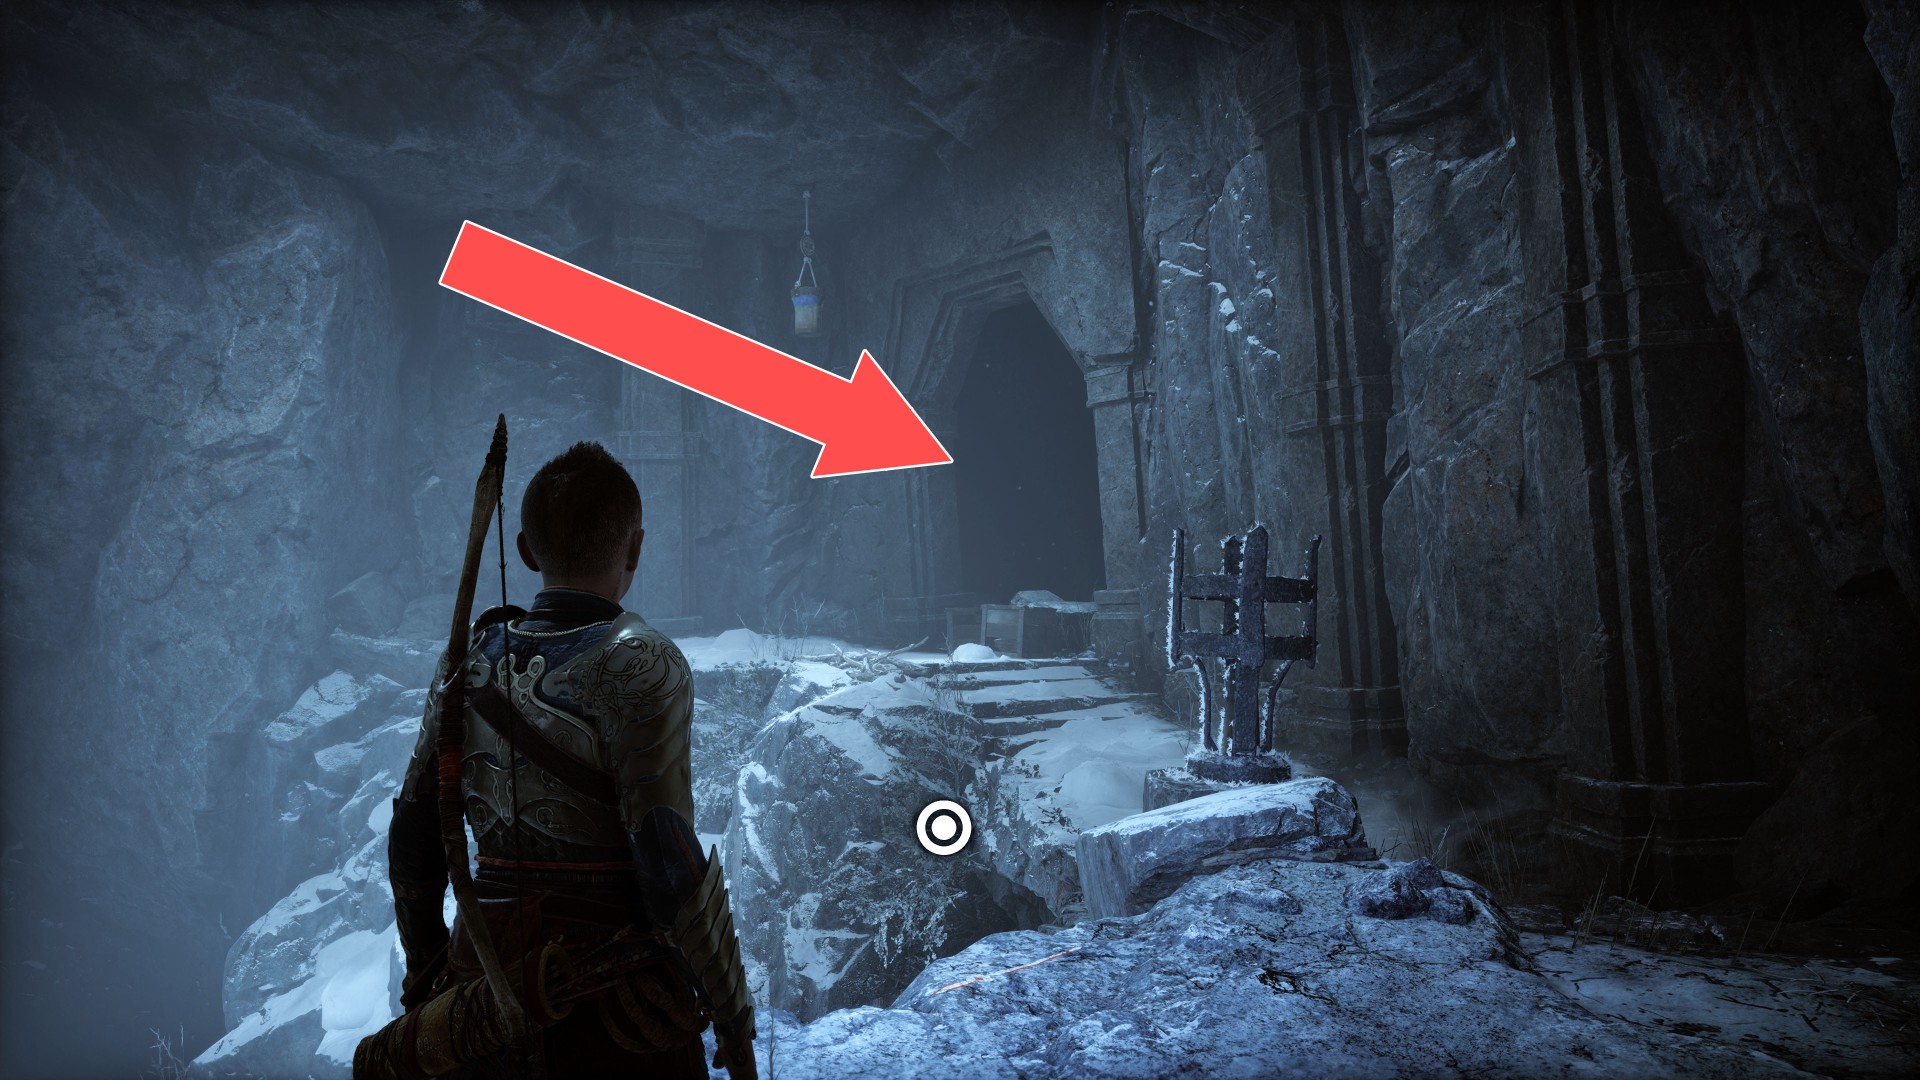
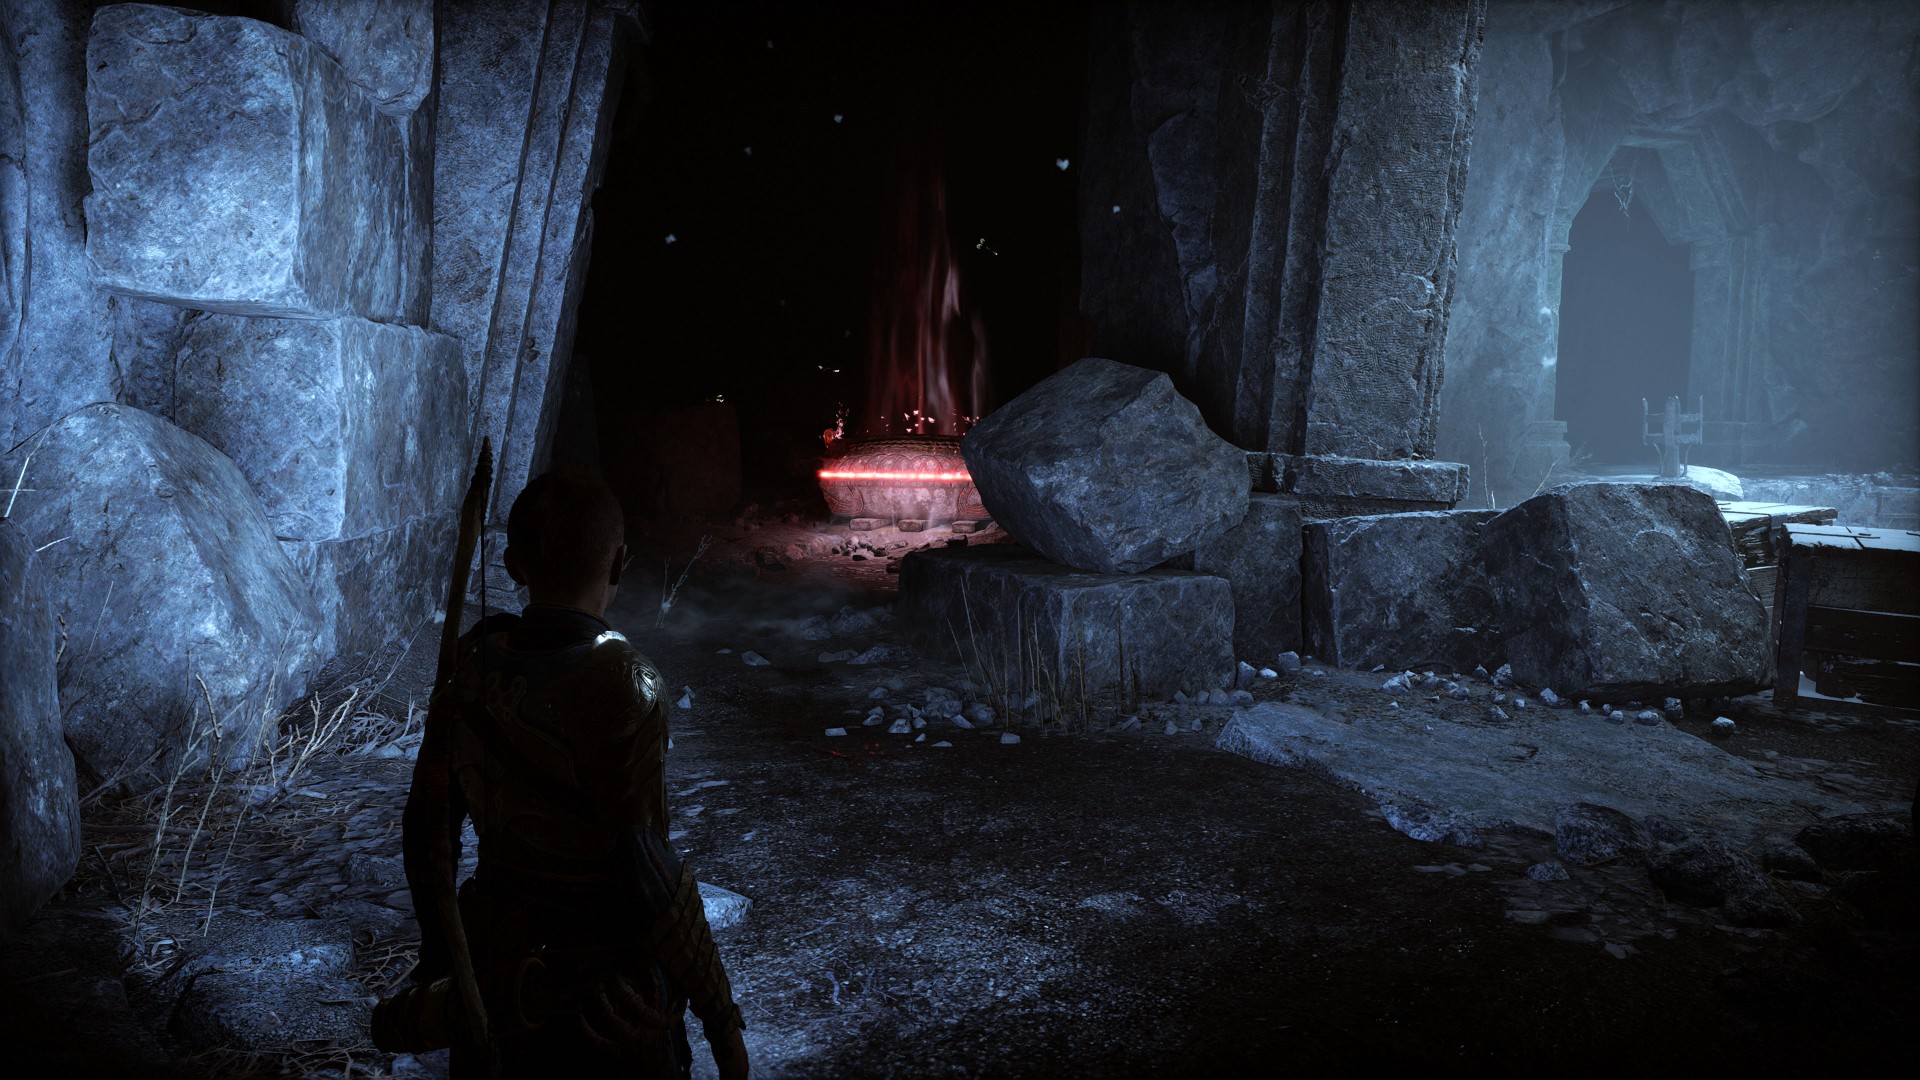
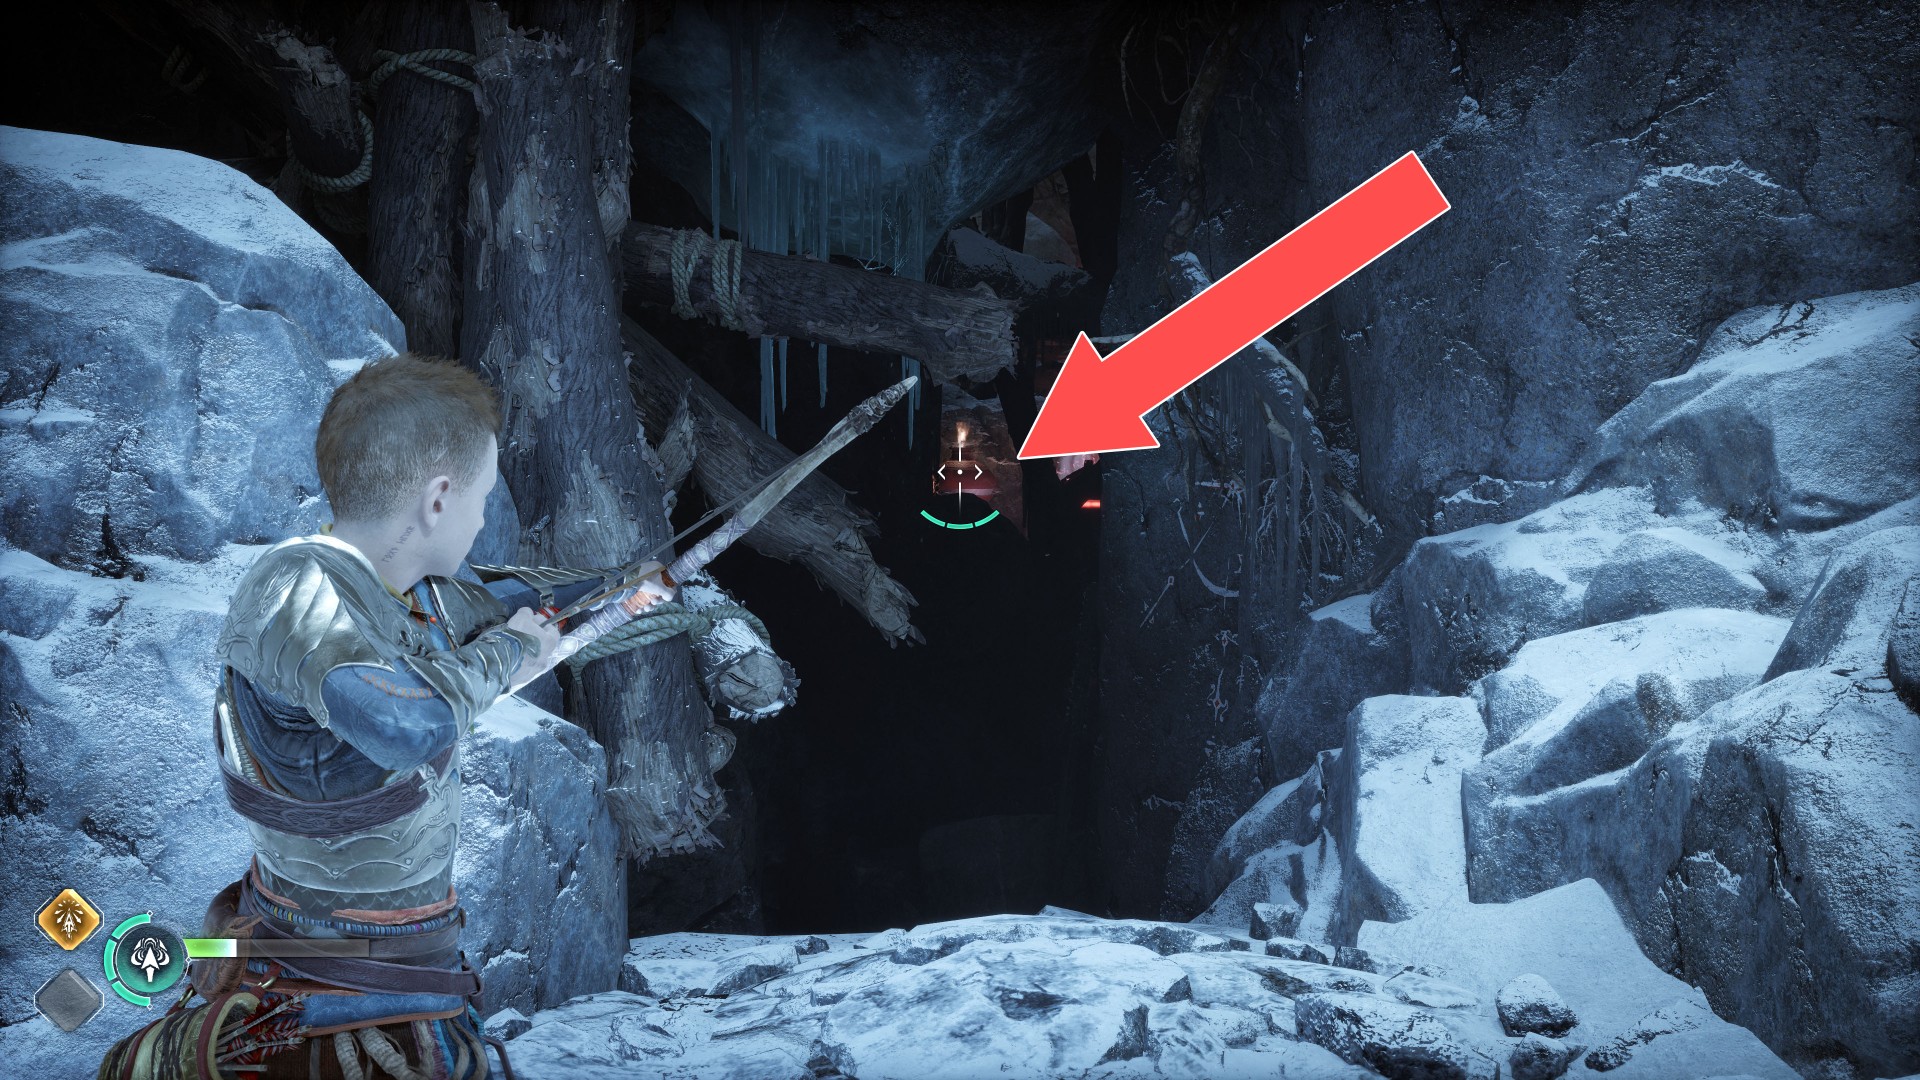
You can collect this chest during the main mission "Old Friends", on the way to Freya. First you need to shoot at the red jar, what will open the passage to the chest for you.
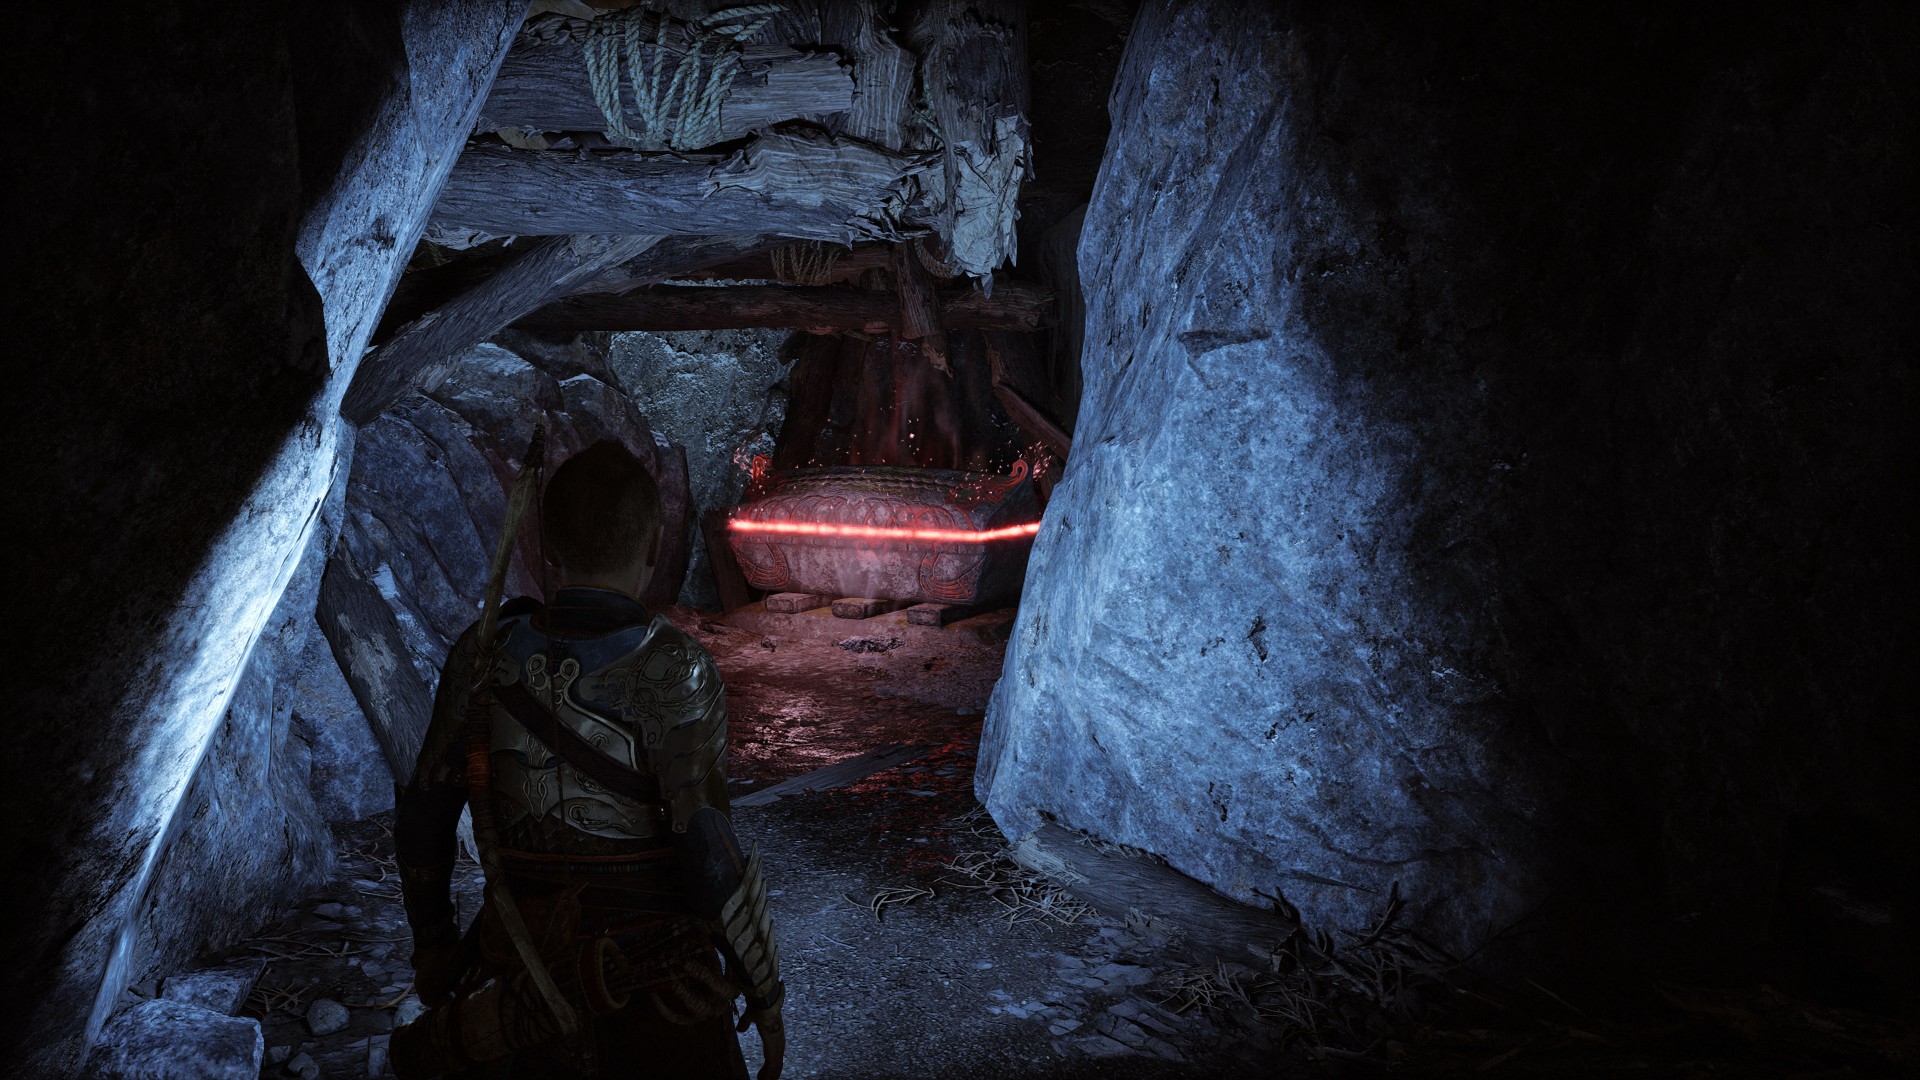
3Red Chest
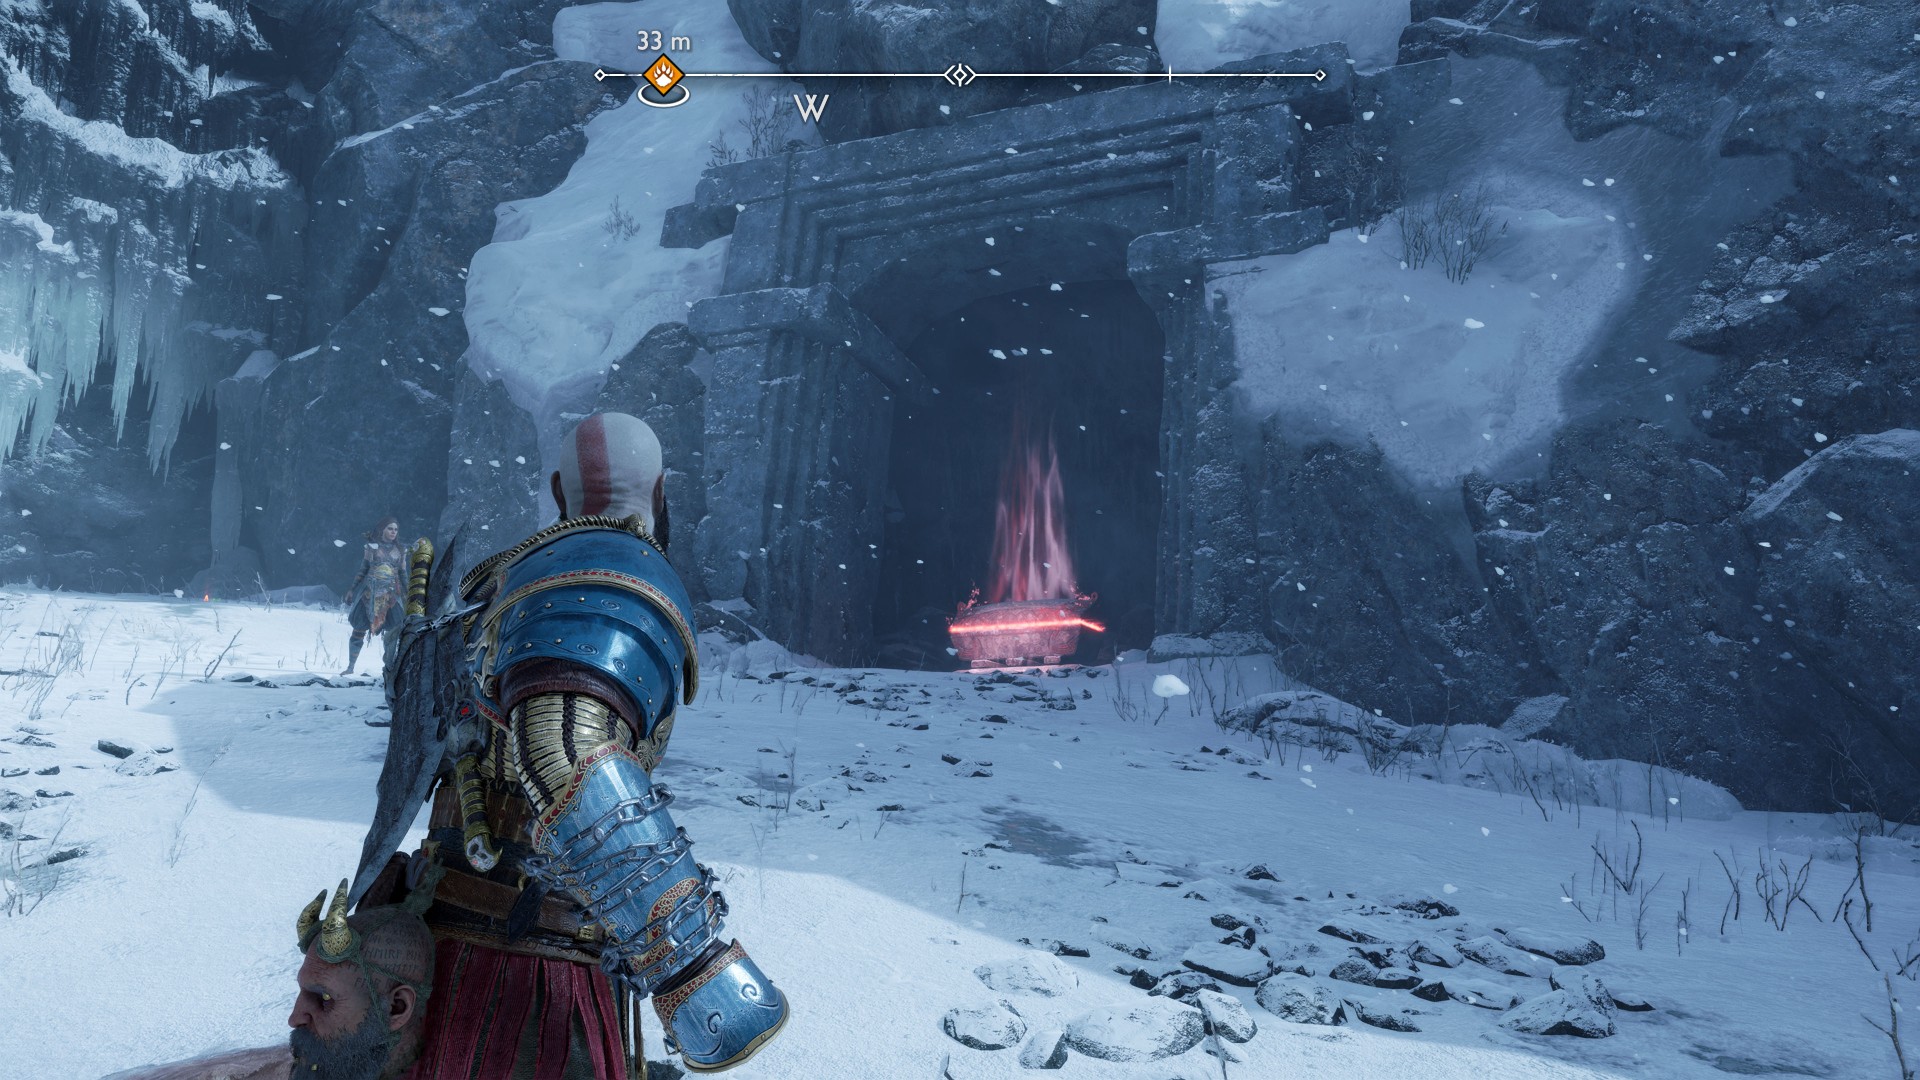
4Red Chest
To unlock this chest you must shoot at the red jar that is accessible from the back.
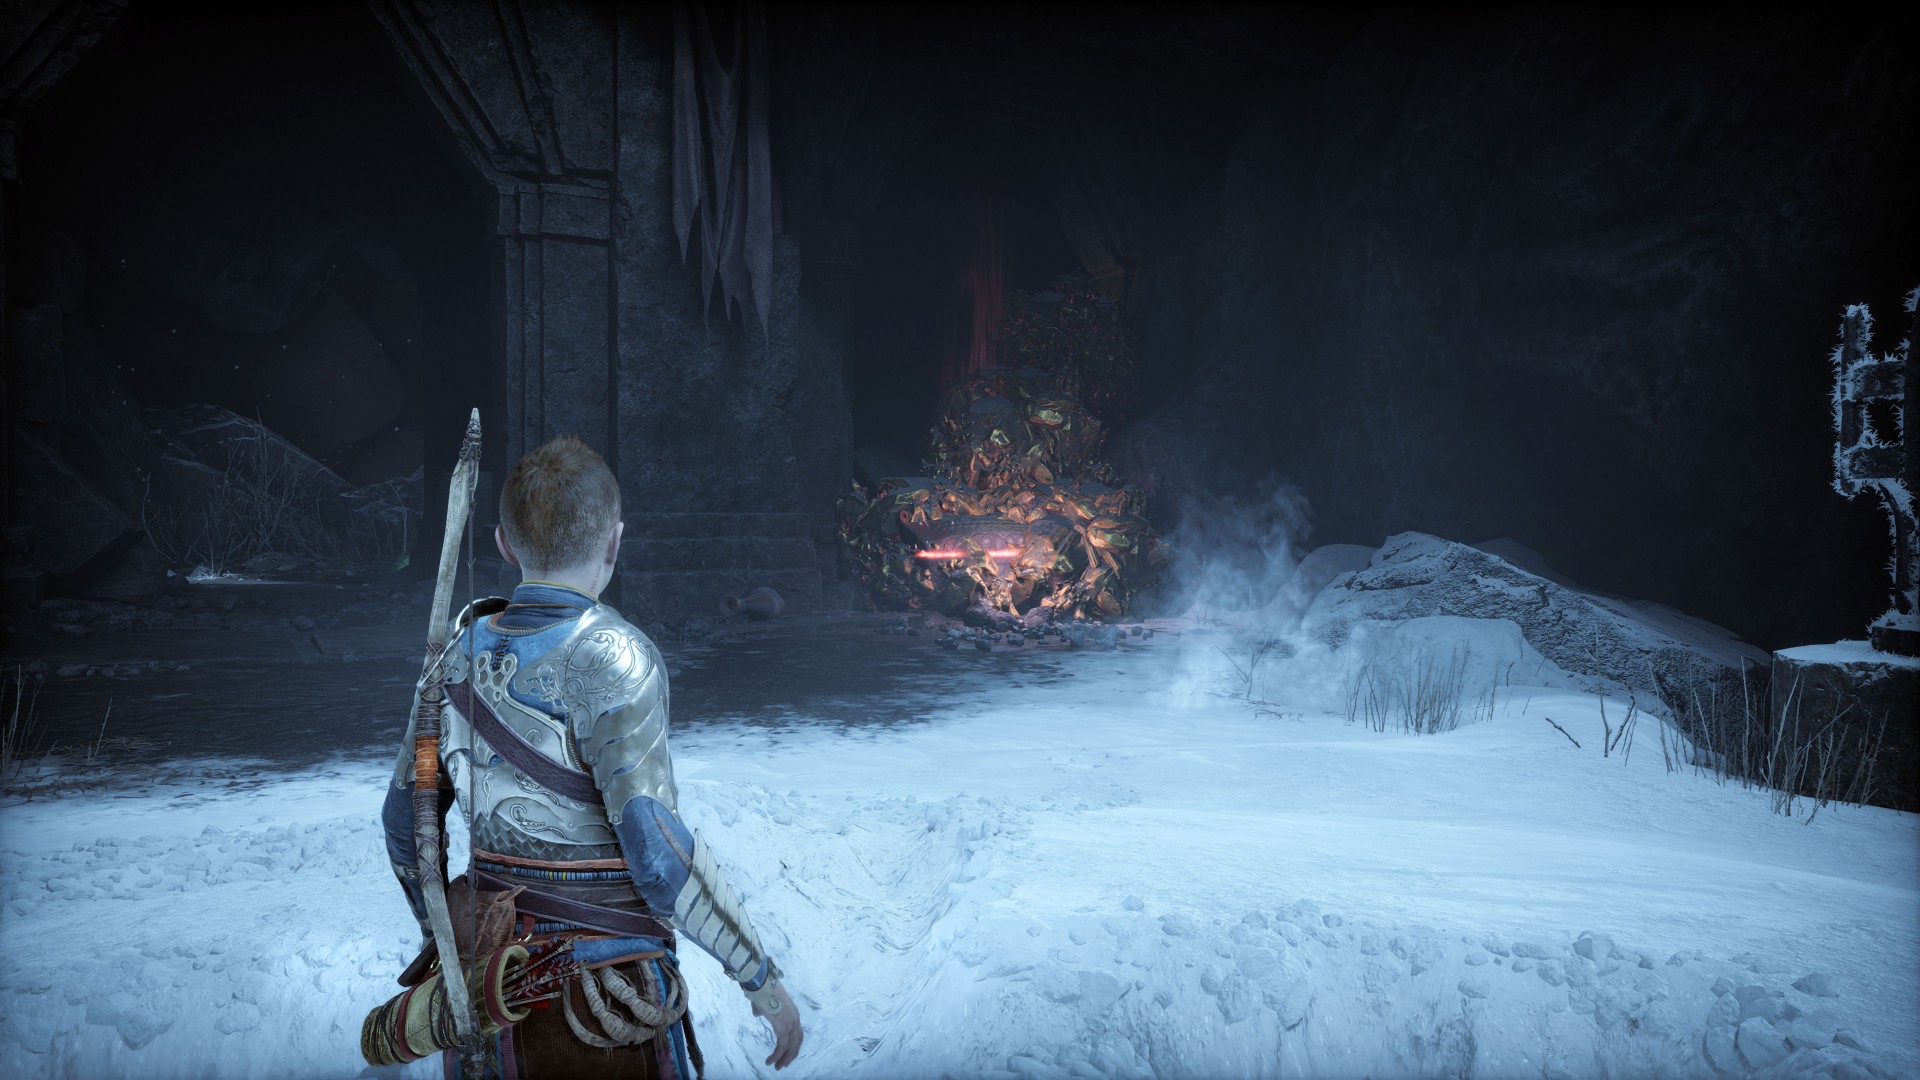
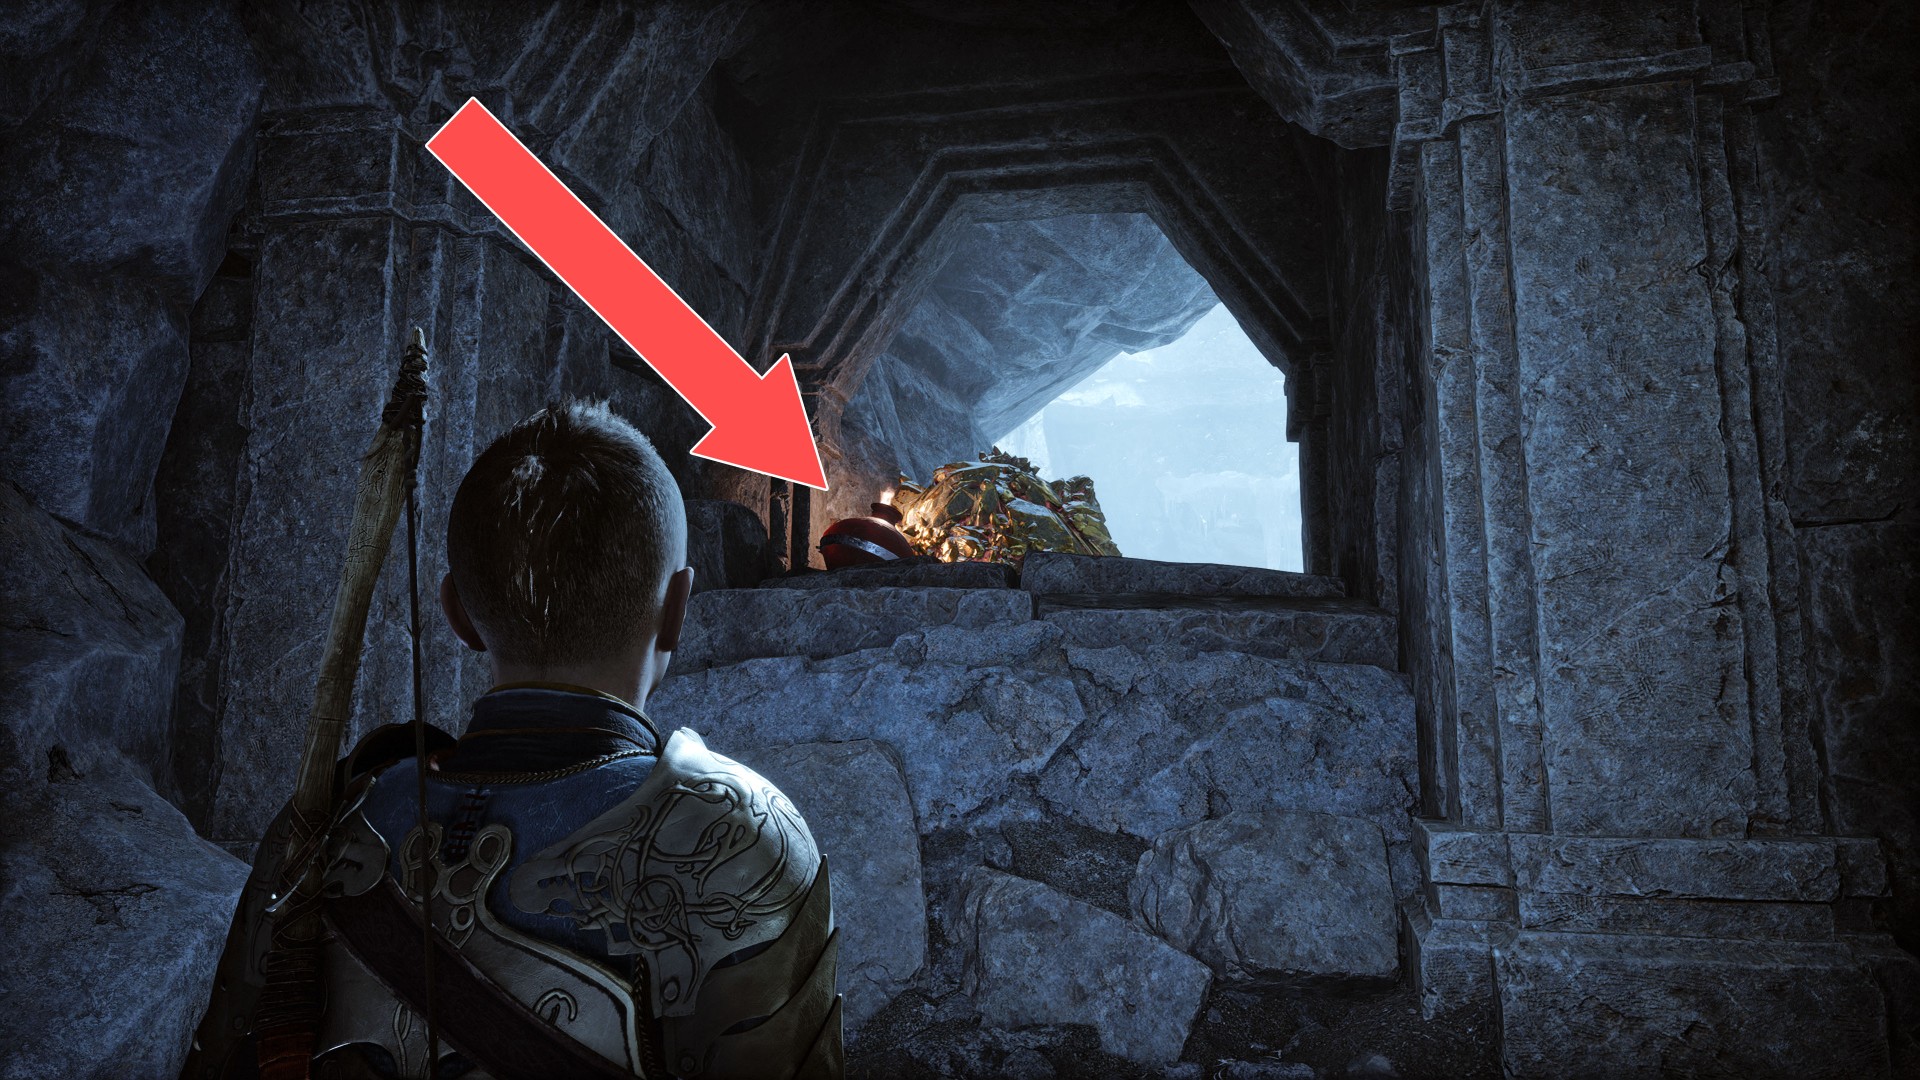
5Red Chest
In the caves, etc. that you will traverse on your way to the Well of Urd.
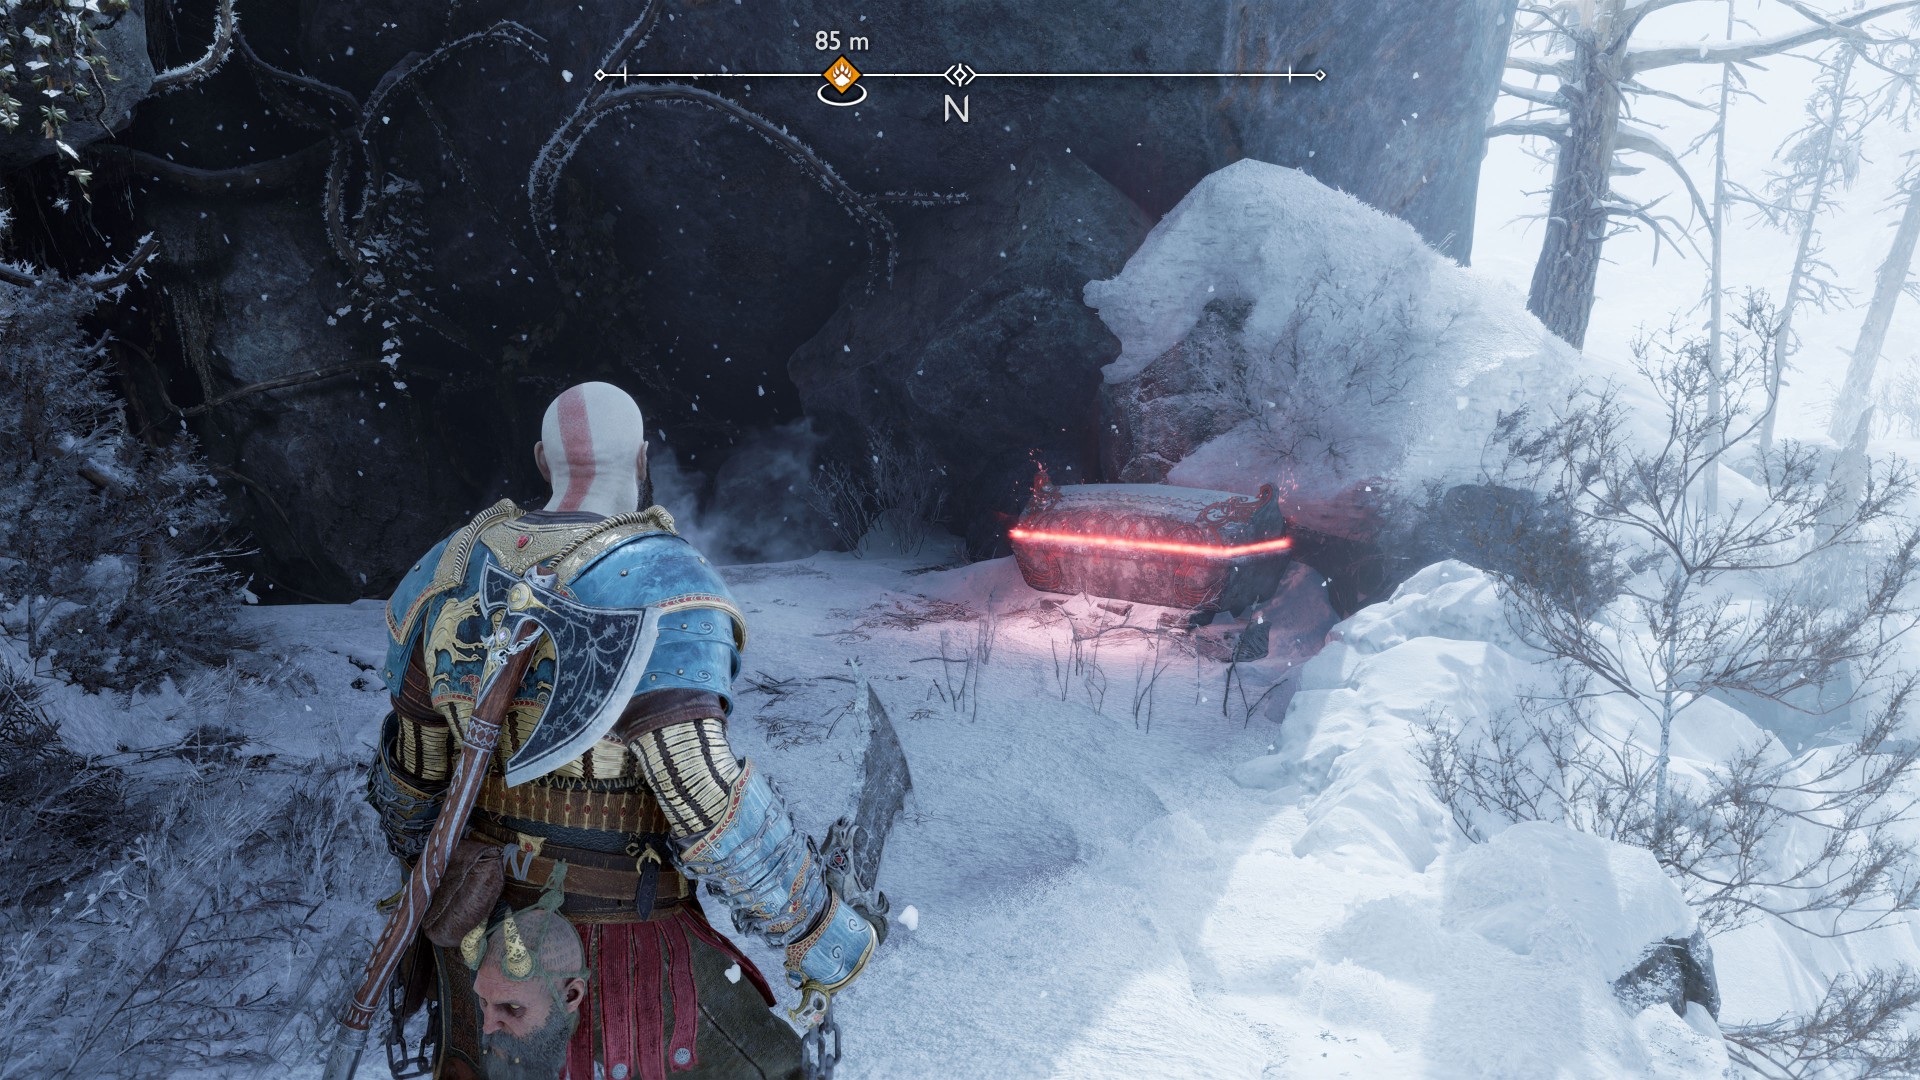
6Red Chest
In the caves, etc. that you will traverse on your way to the Well of Urd.
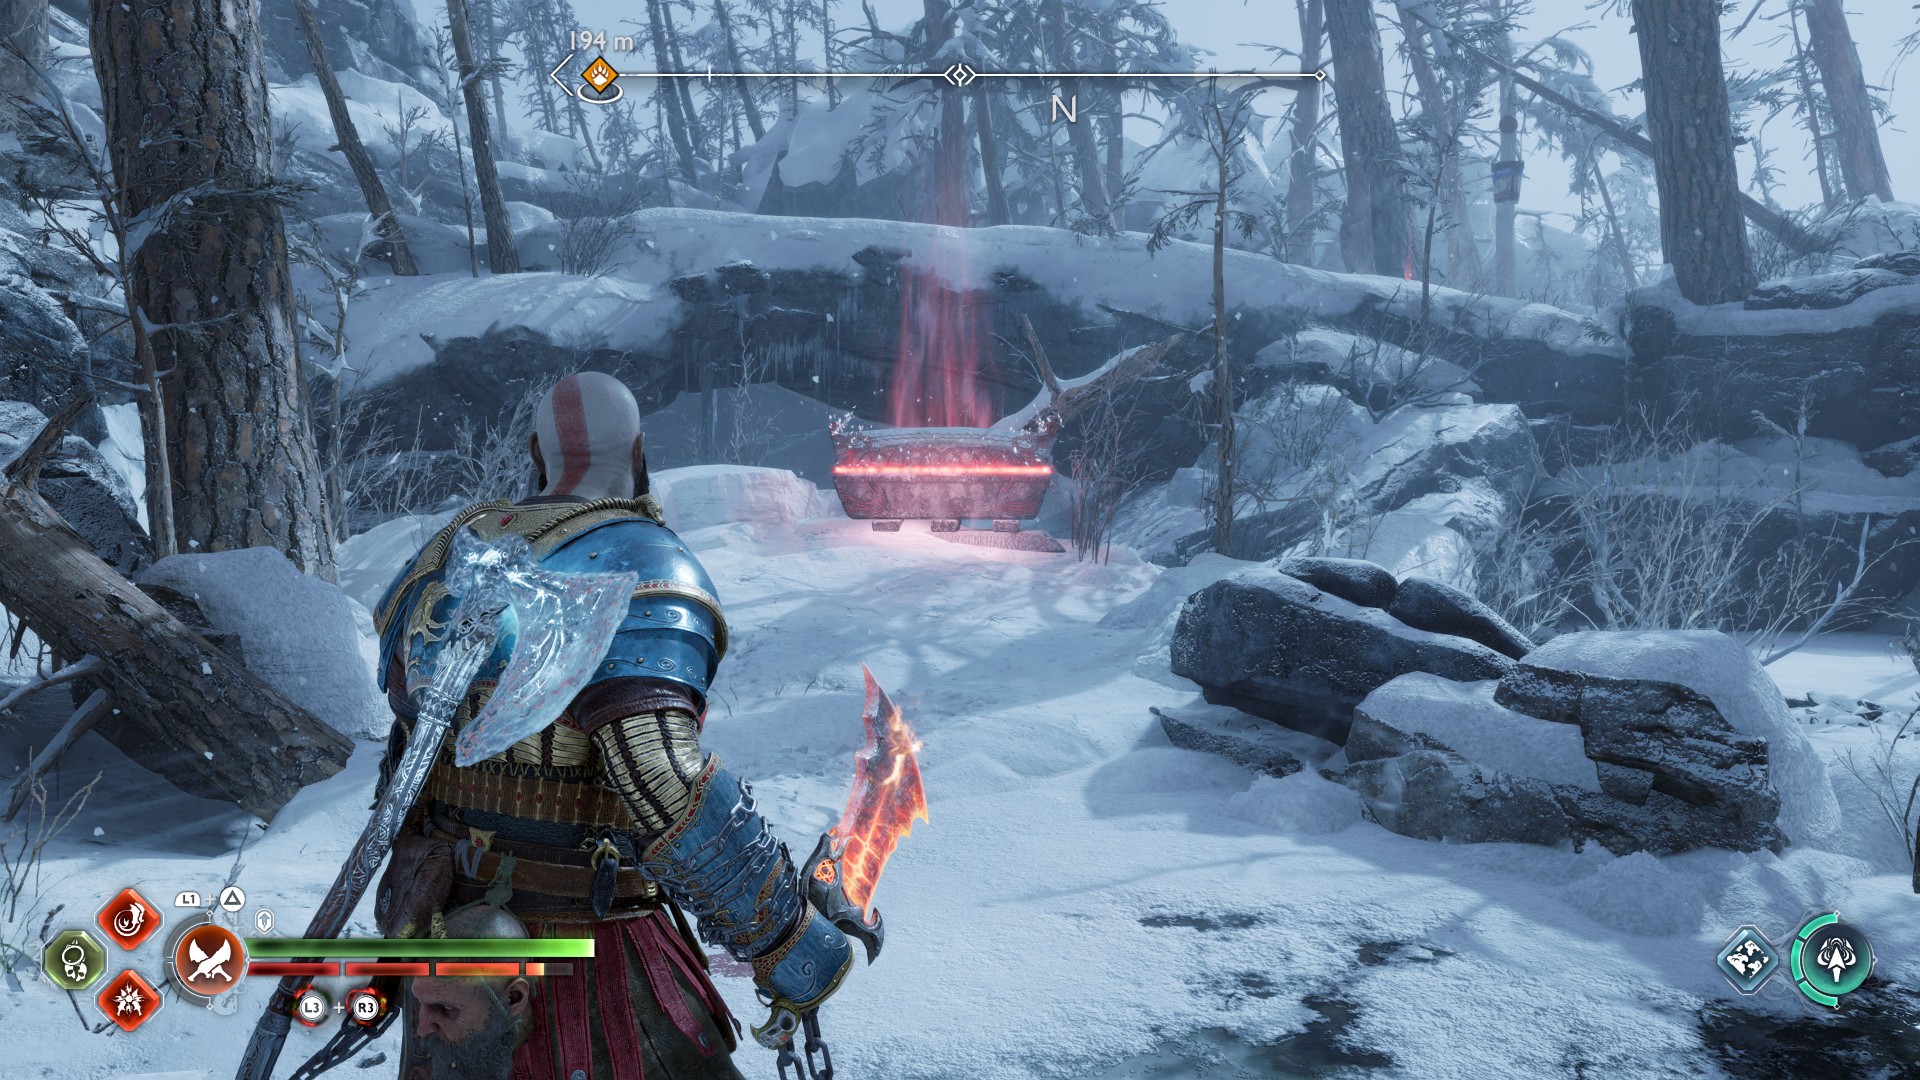
7Red Chest
In the caves, etc. that you will traverse on your way to the Well of Urd.
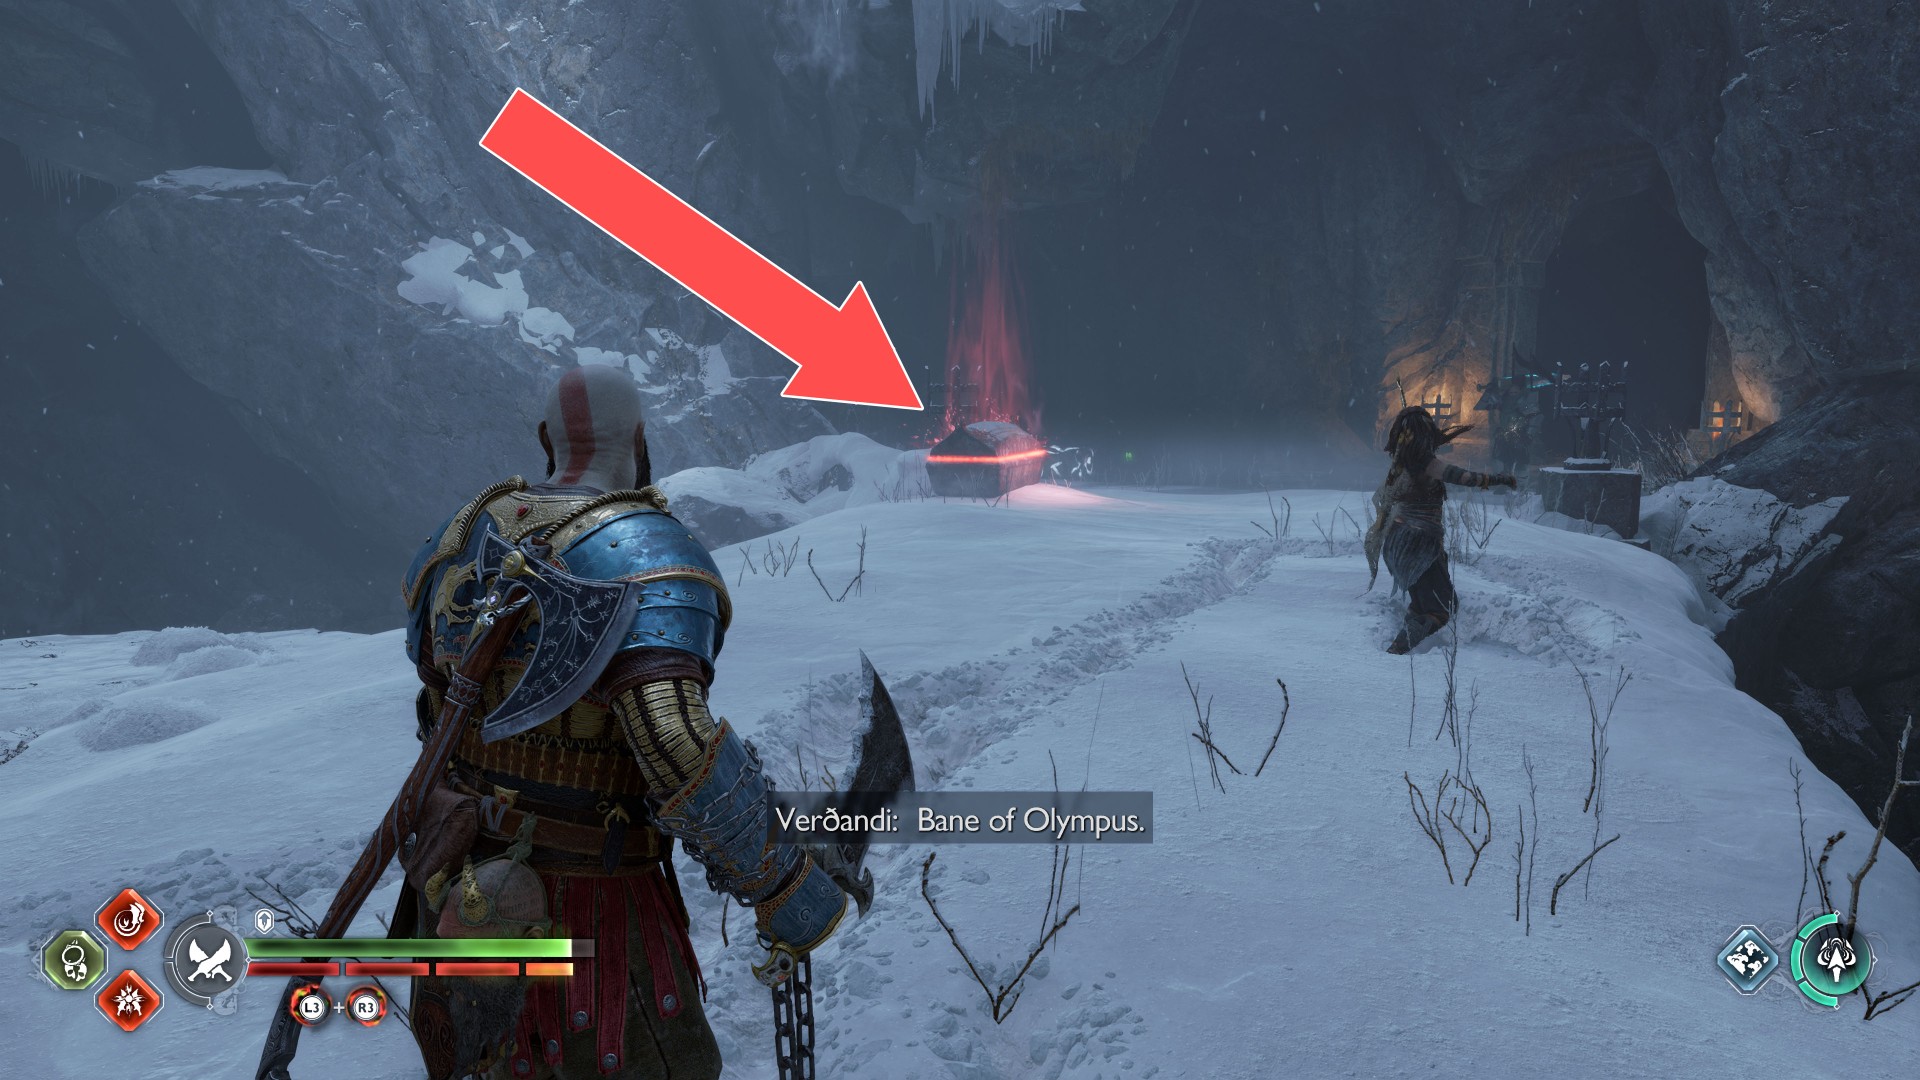
8Red Chest
You will find this chest on the way back from the Well of Urd.
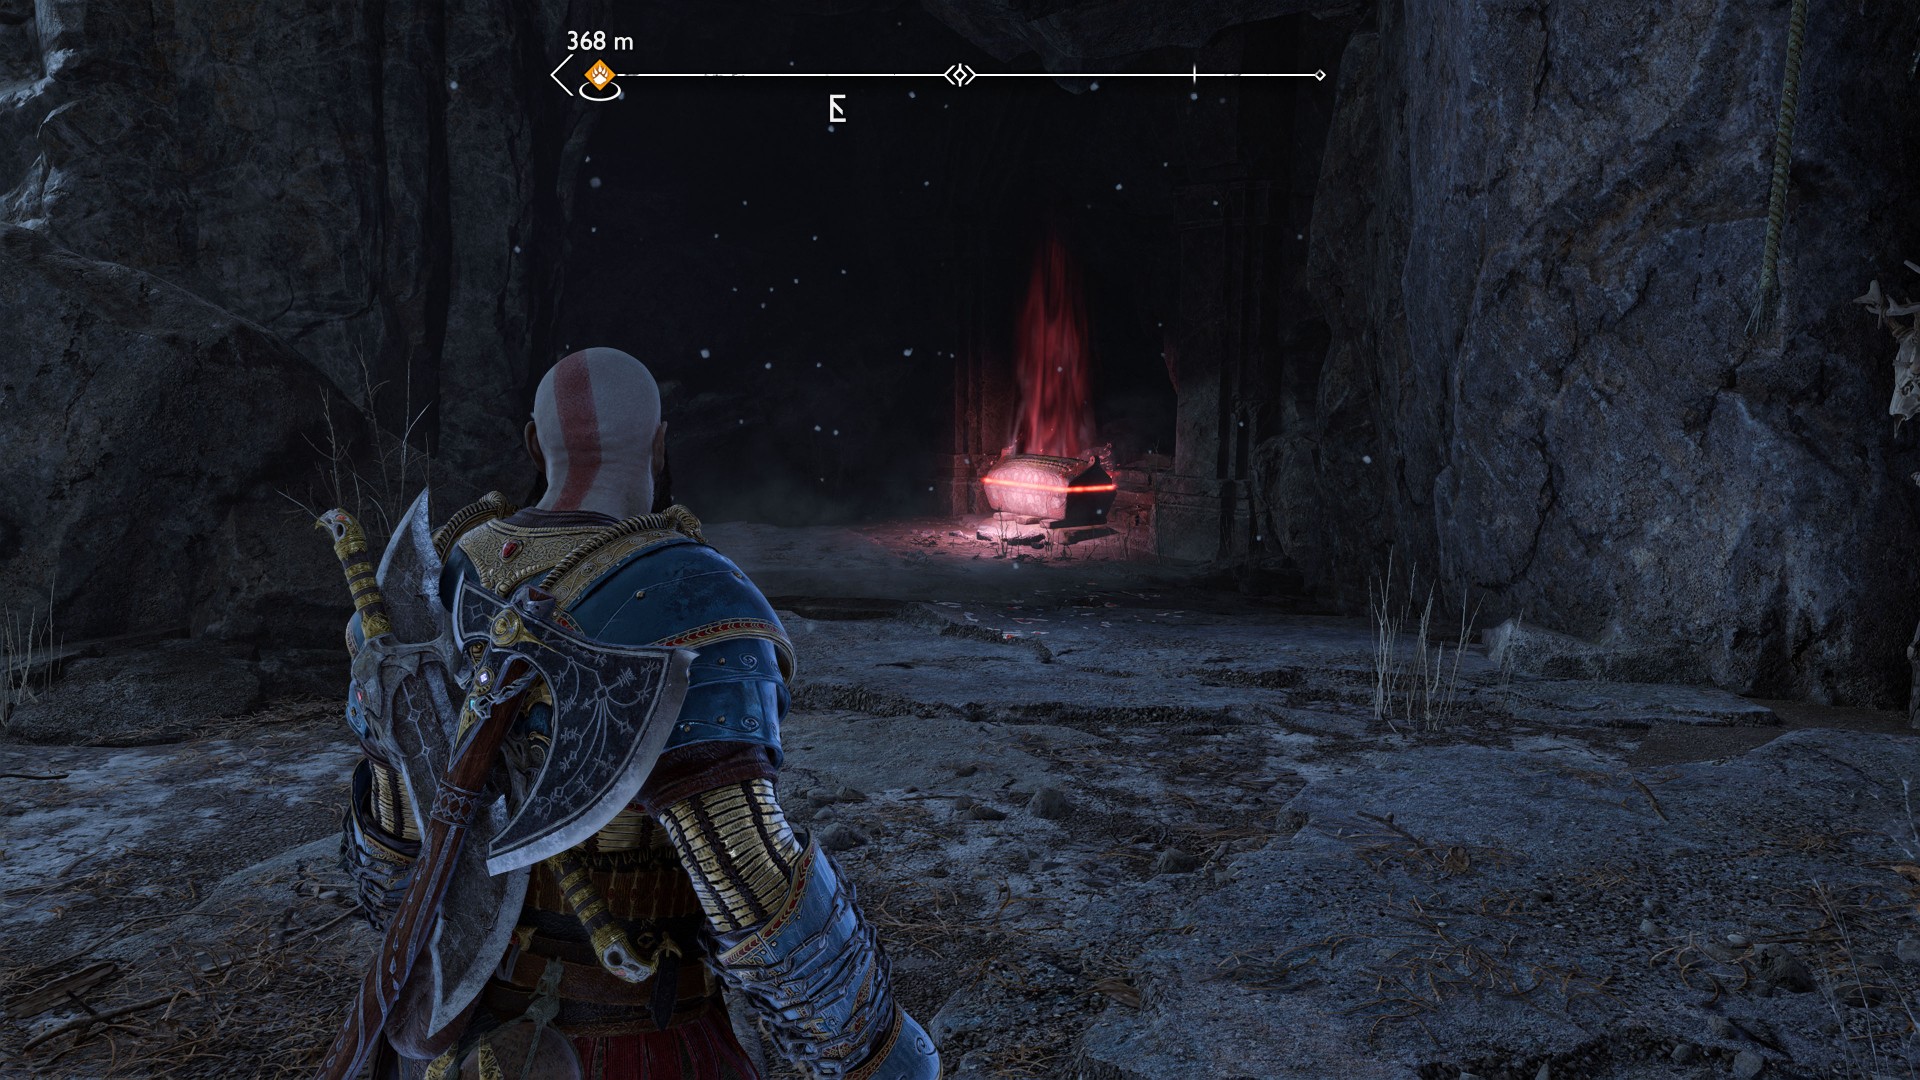
9Red Chest
You will find this chest on the way back from the Well of Urd.
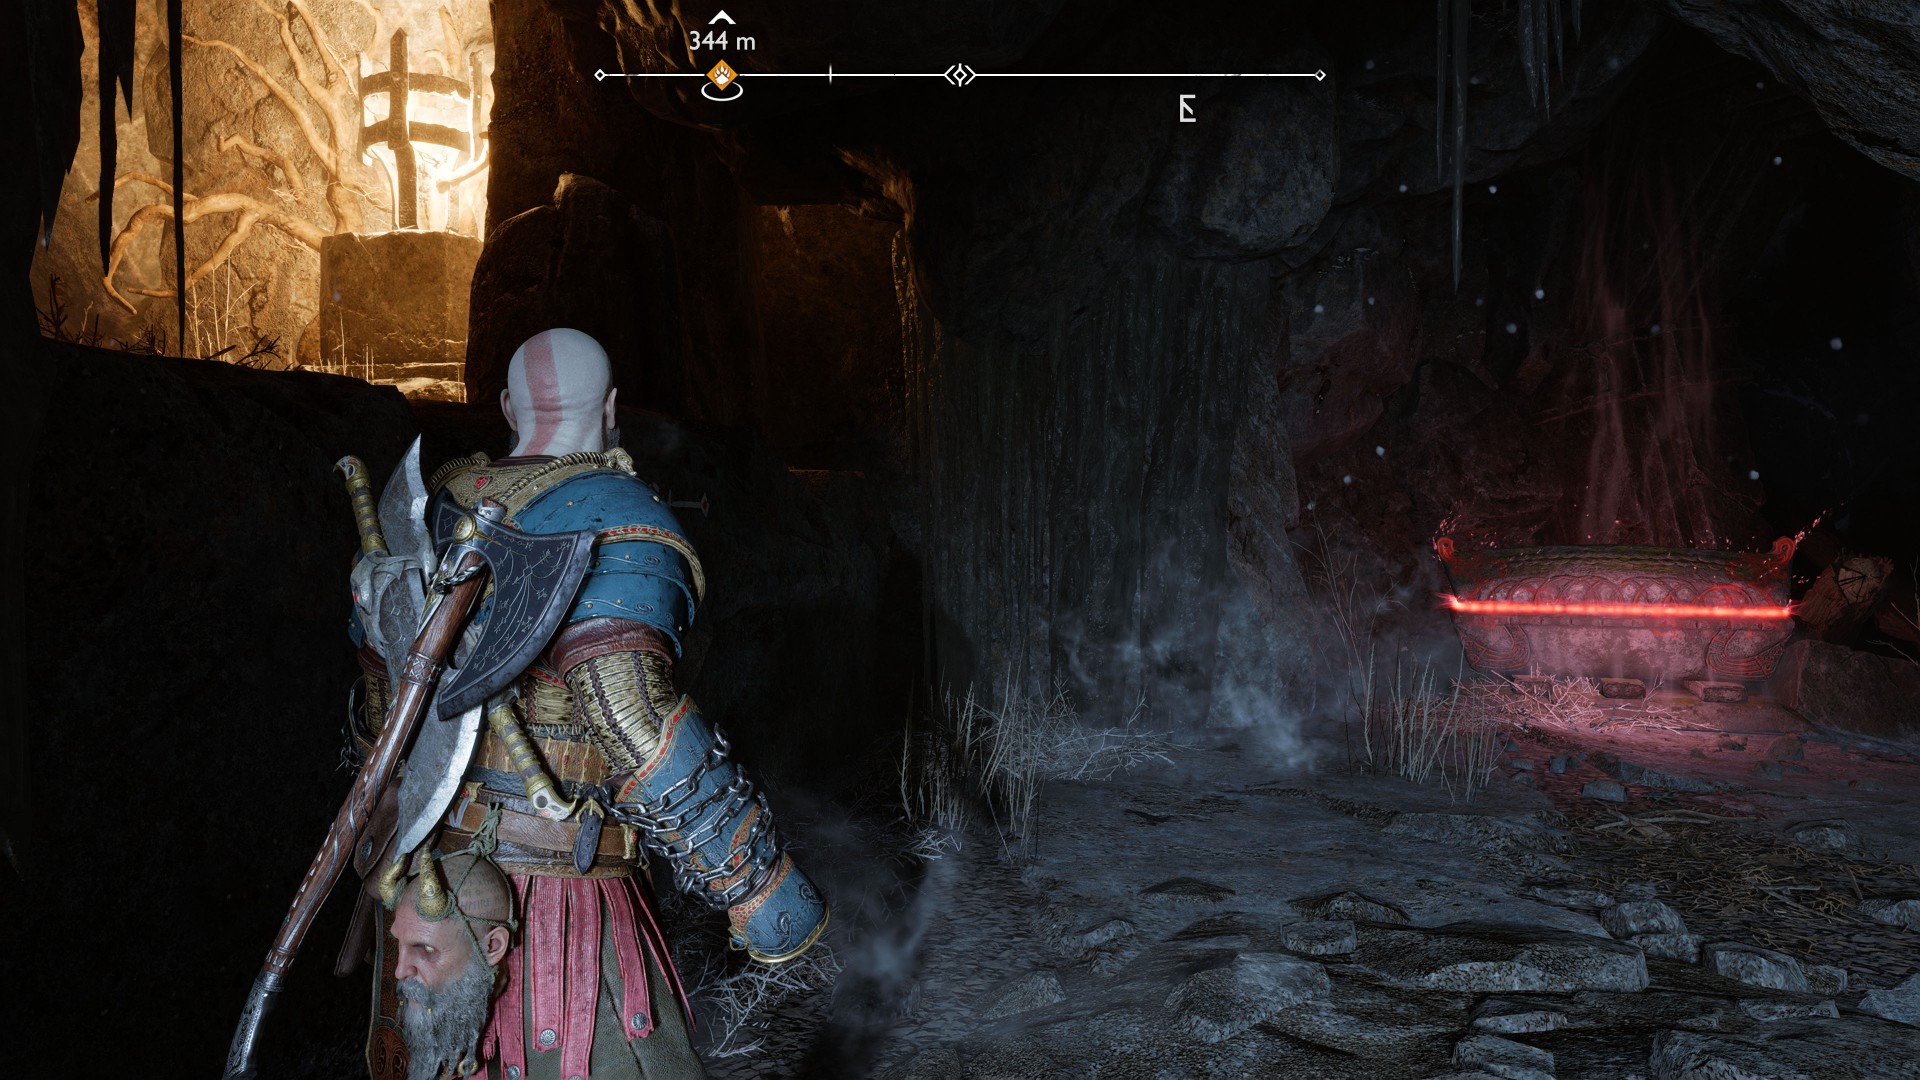
10Red Chest
You can collect this chest during the main mission "Old Friends", on the way to Freya.
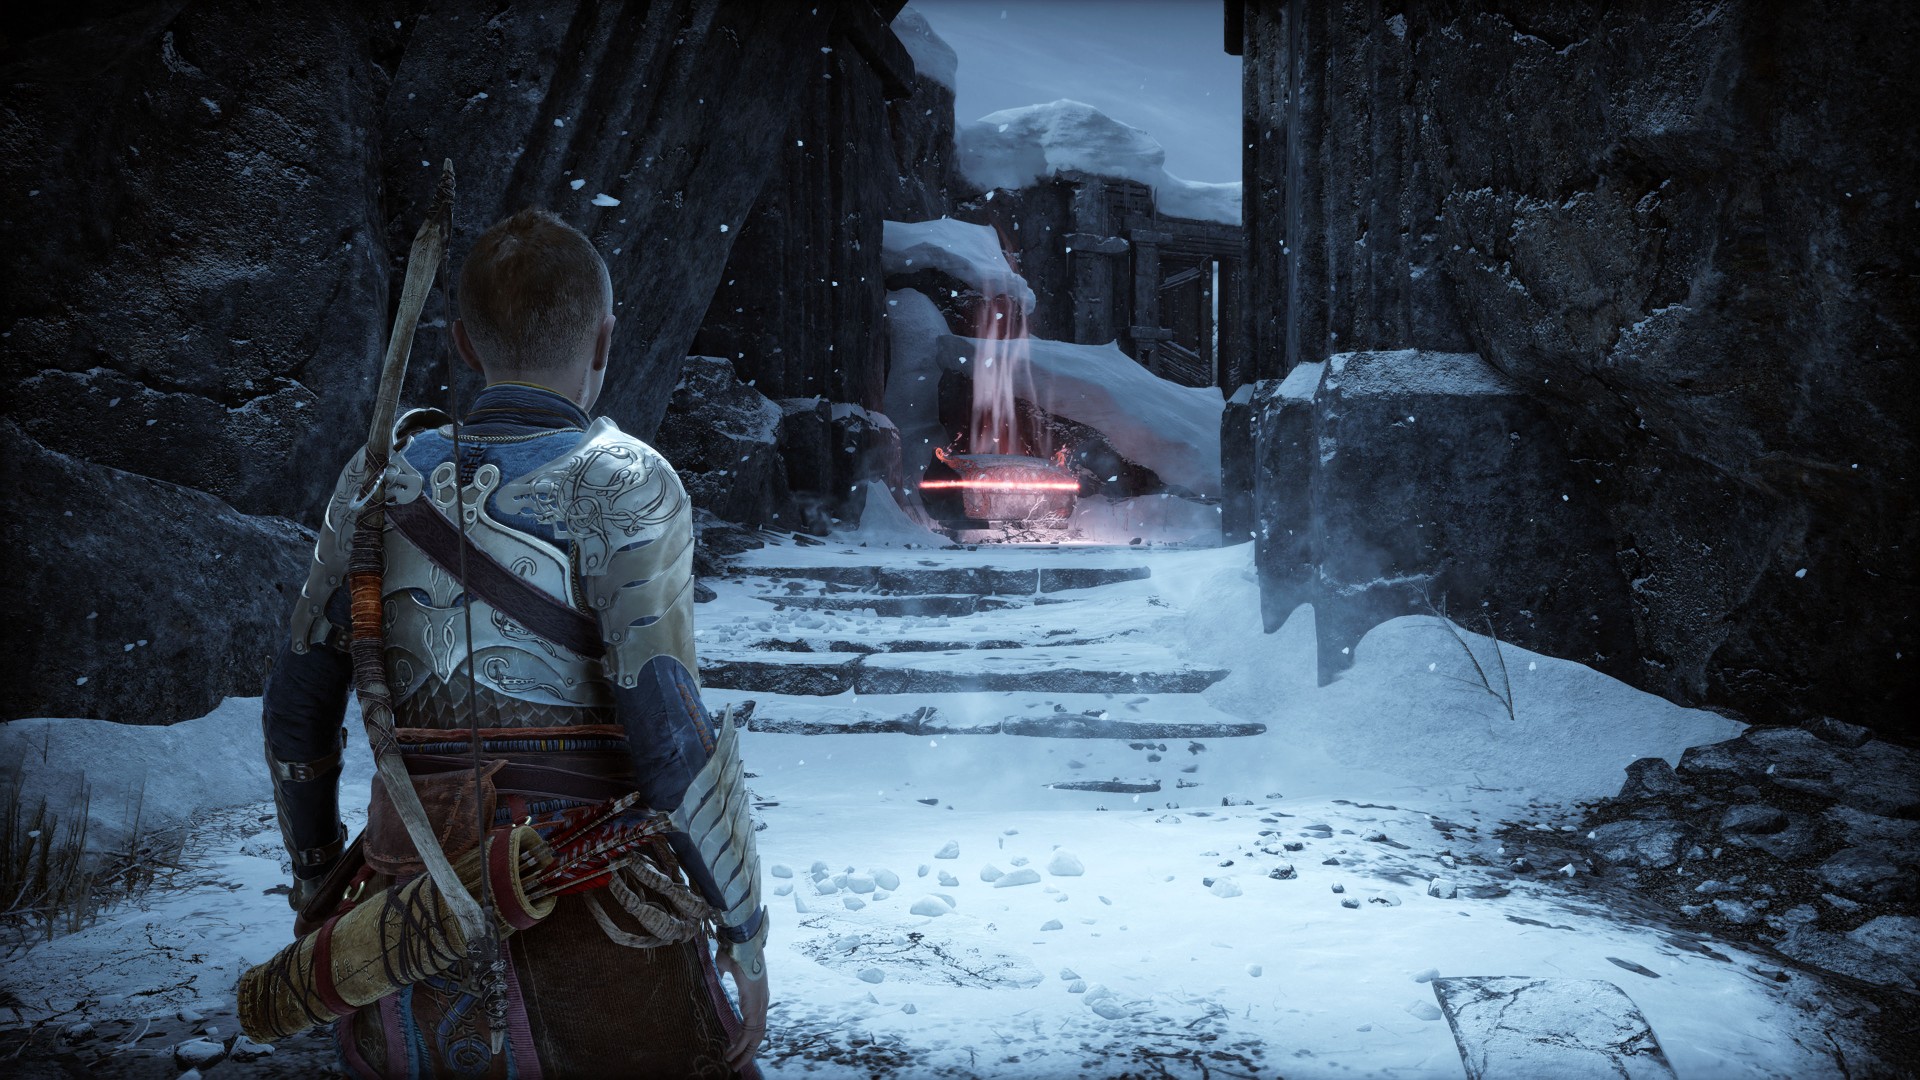
11Red Chest
In the same room as "Kvasir's Poems 14/14 - The Dead Do Not Ride" artifact.
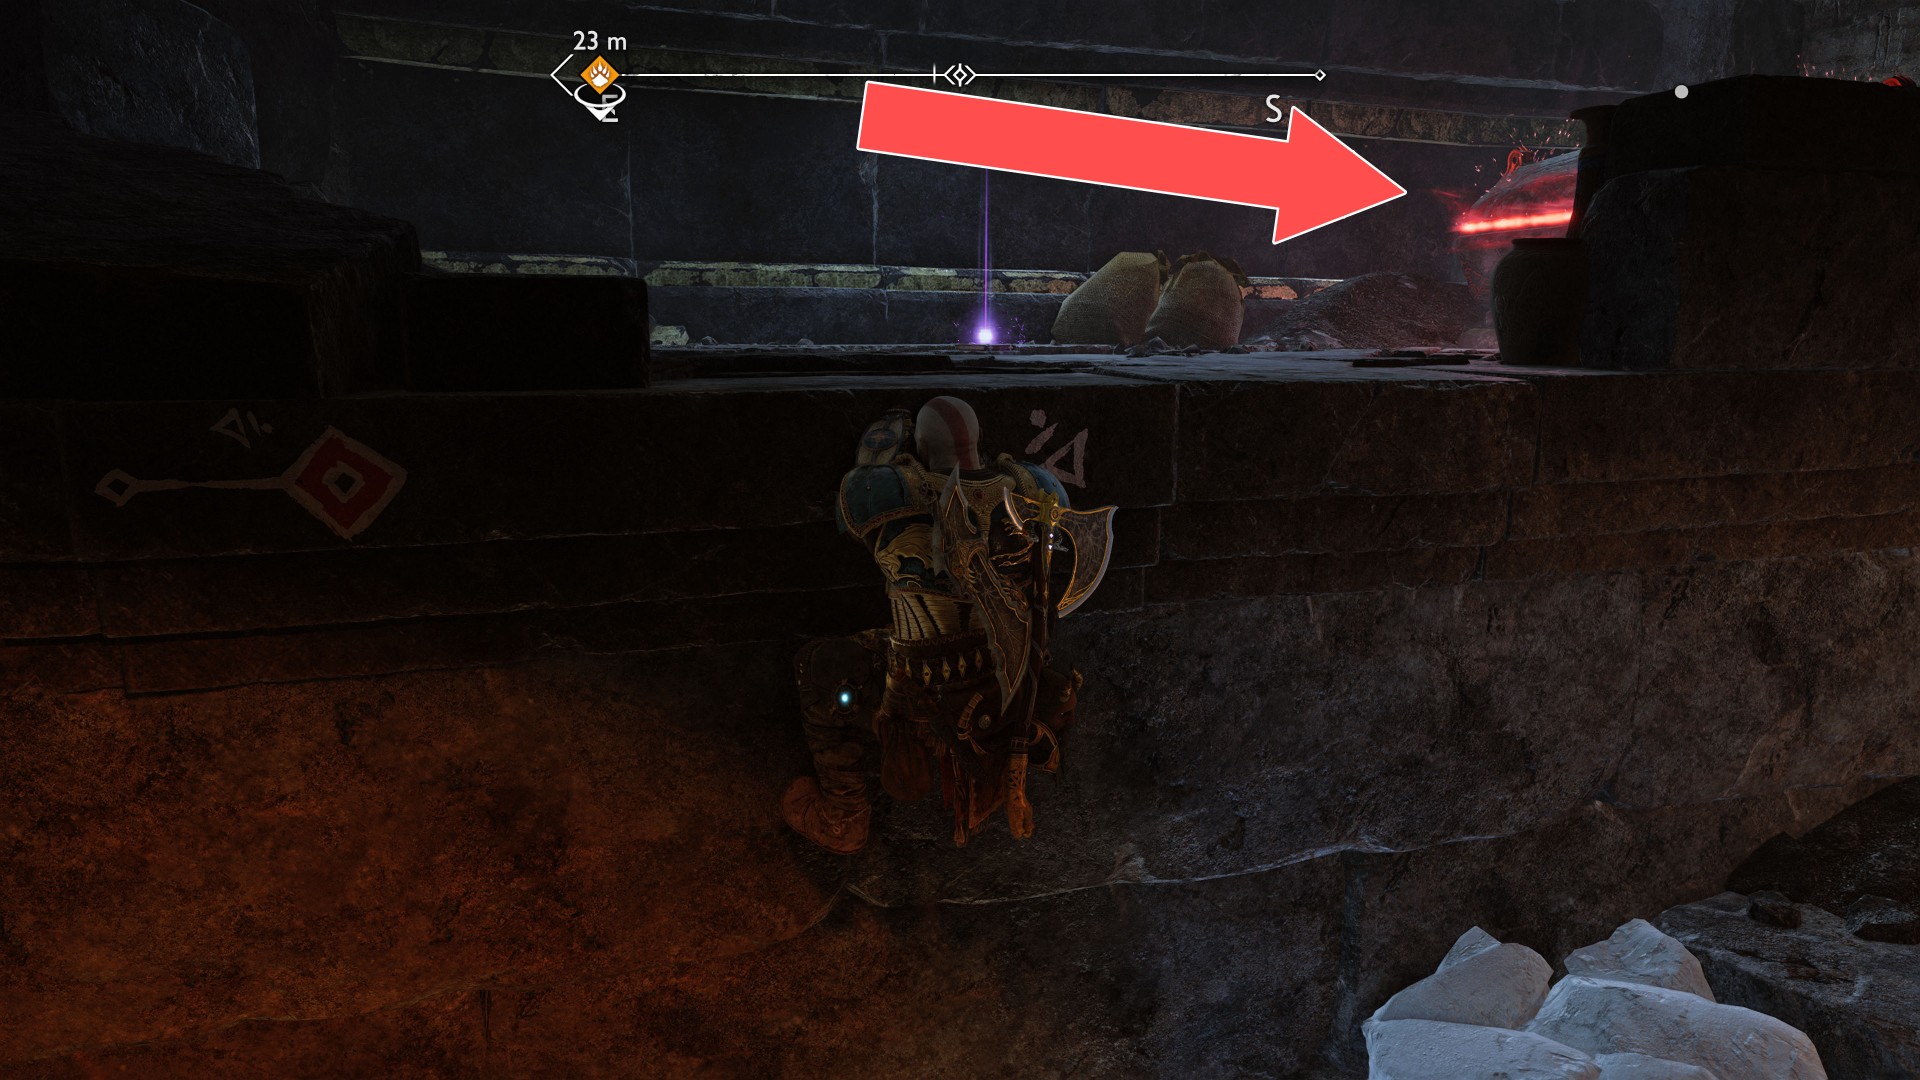
12Red Chest
You can collect this chest during the main mission "Old Friends", on the way to Freya. Shoot the red jar to destroy the ore.
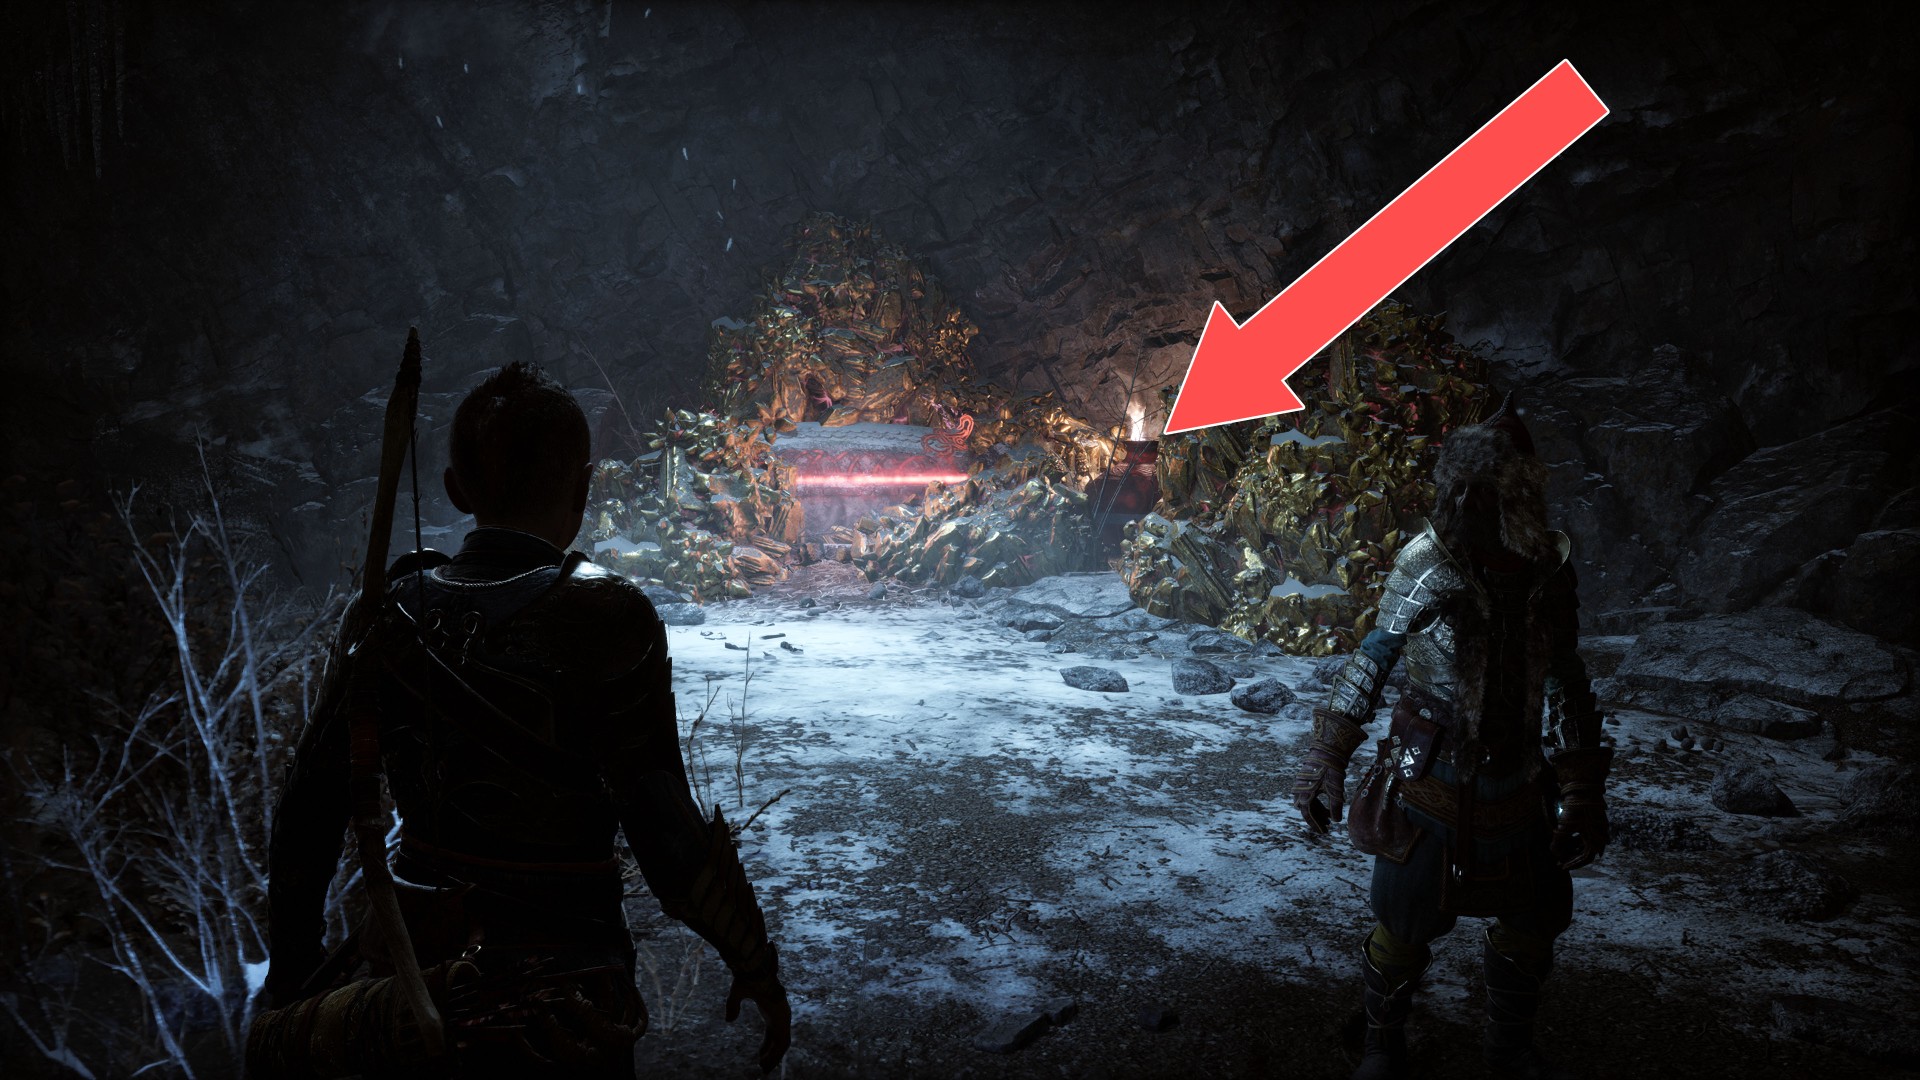
13Red Chest
You can collect this chest during the main mission "Old Friends", on the way to Freya.
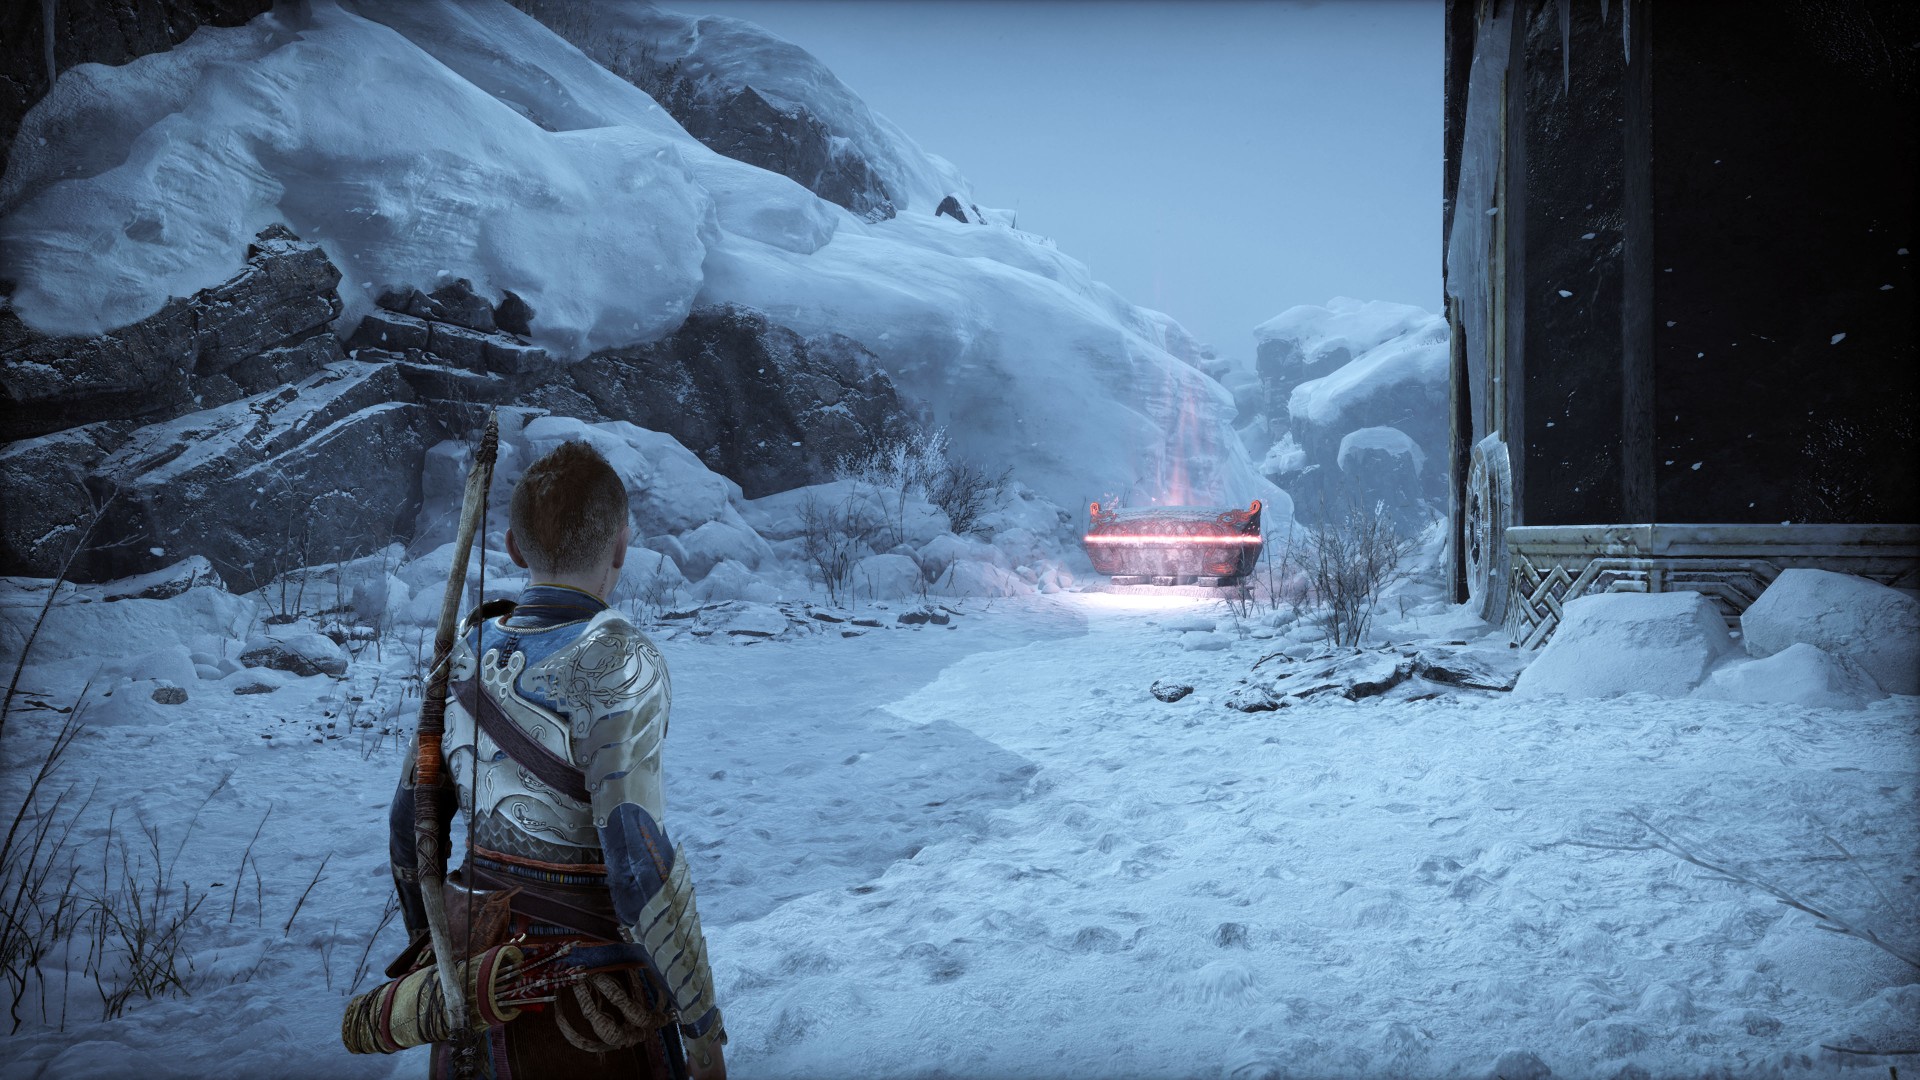
14Red Chest
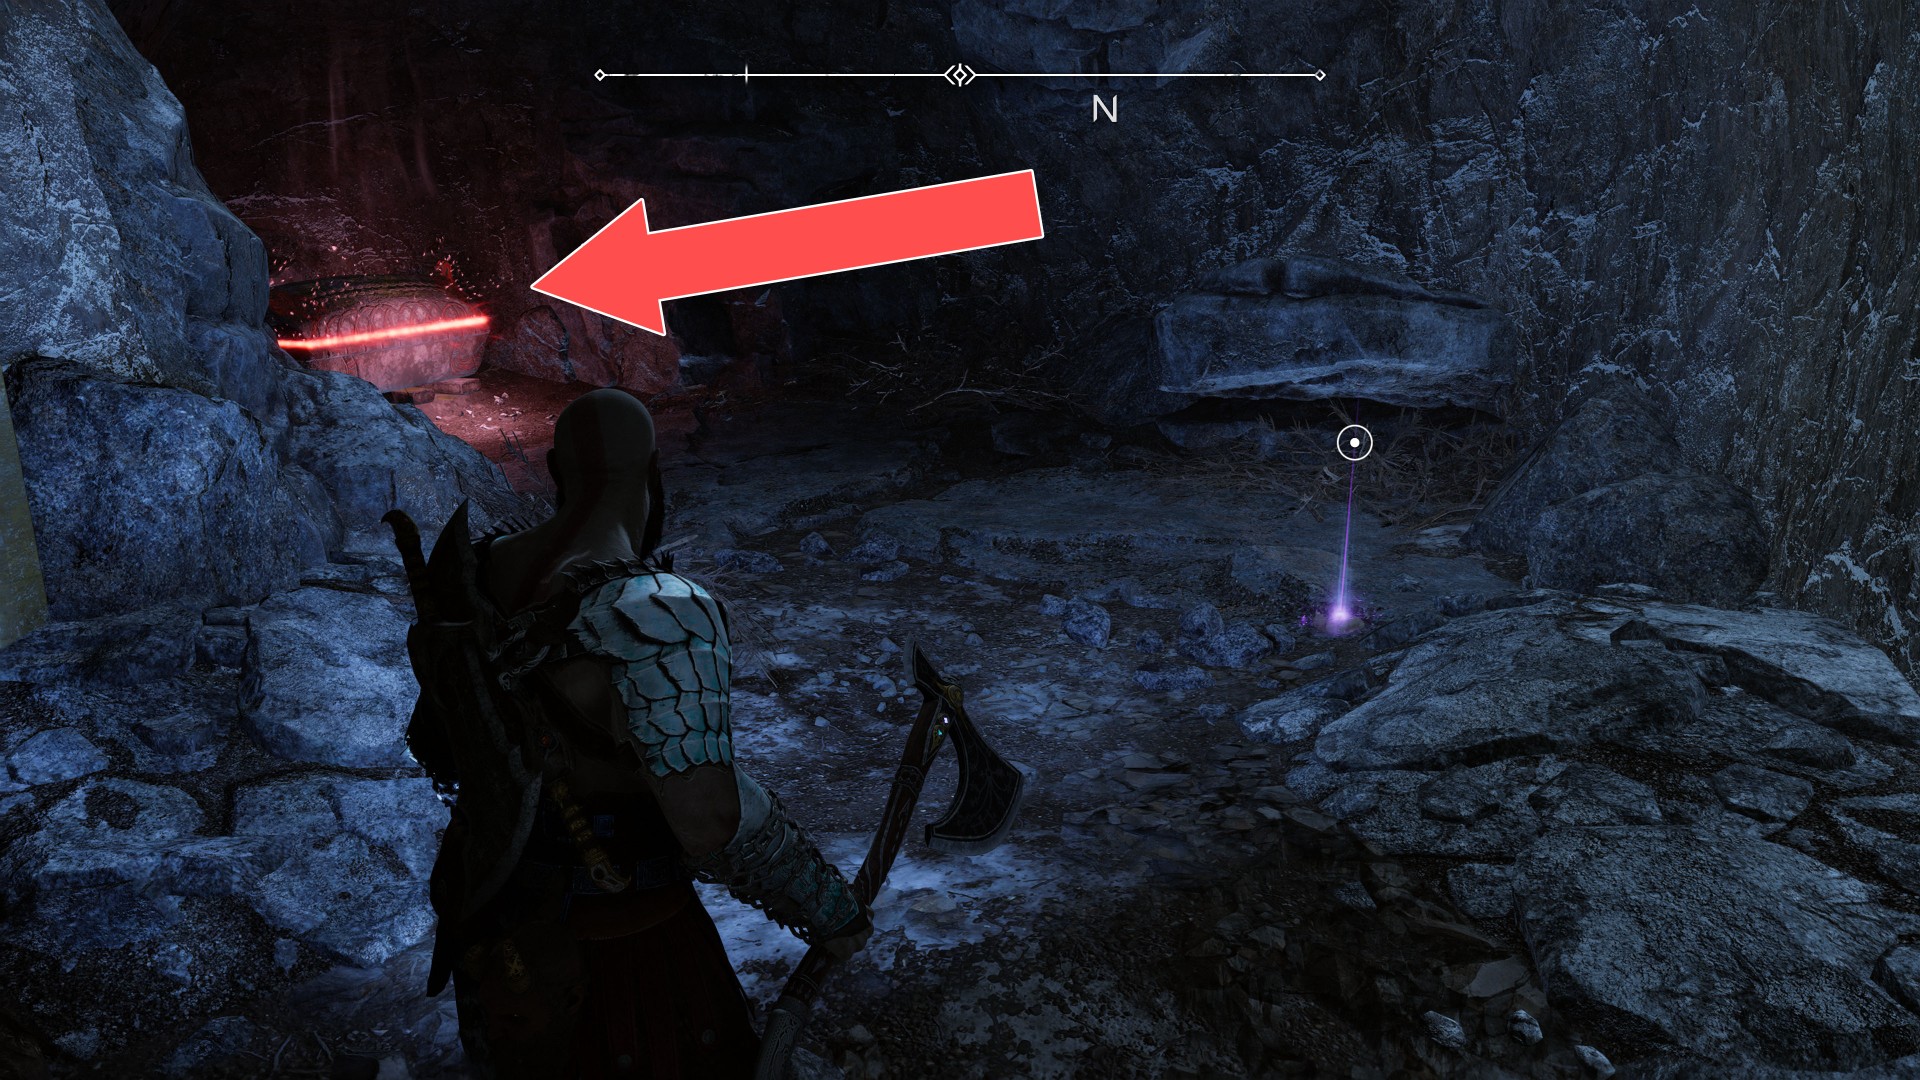
15Red Chest
You can collect this chest during the main mission "Old Friends". First climb up and then shoot at the red jar to destroy the ore that blocks access to the chest.
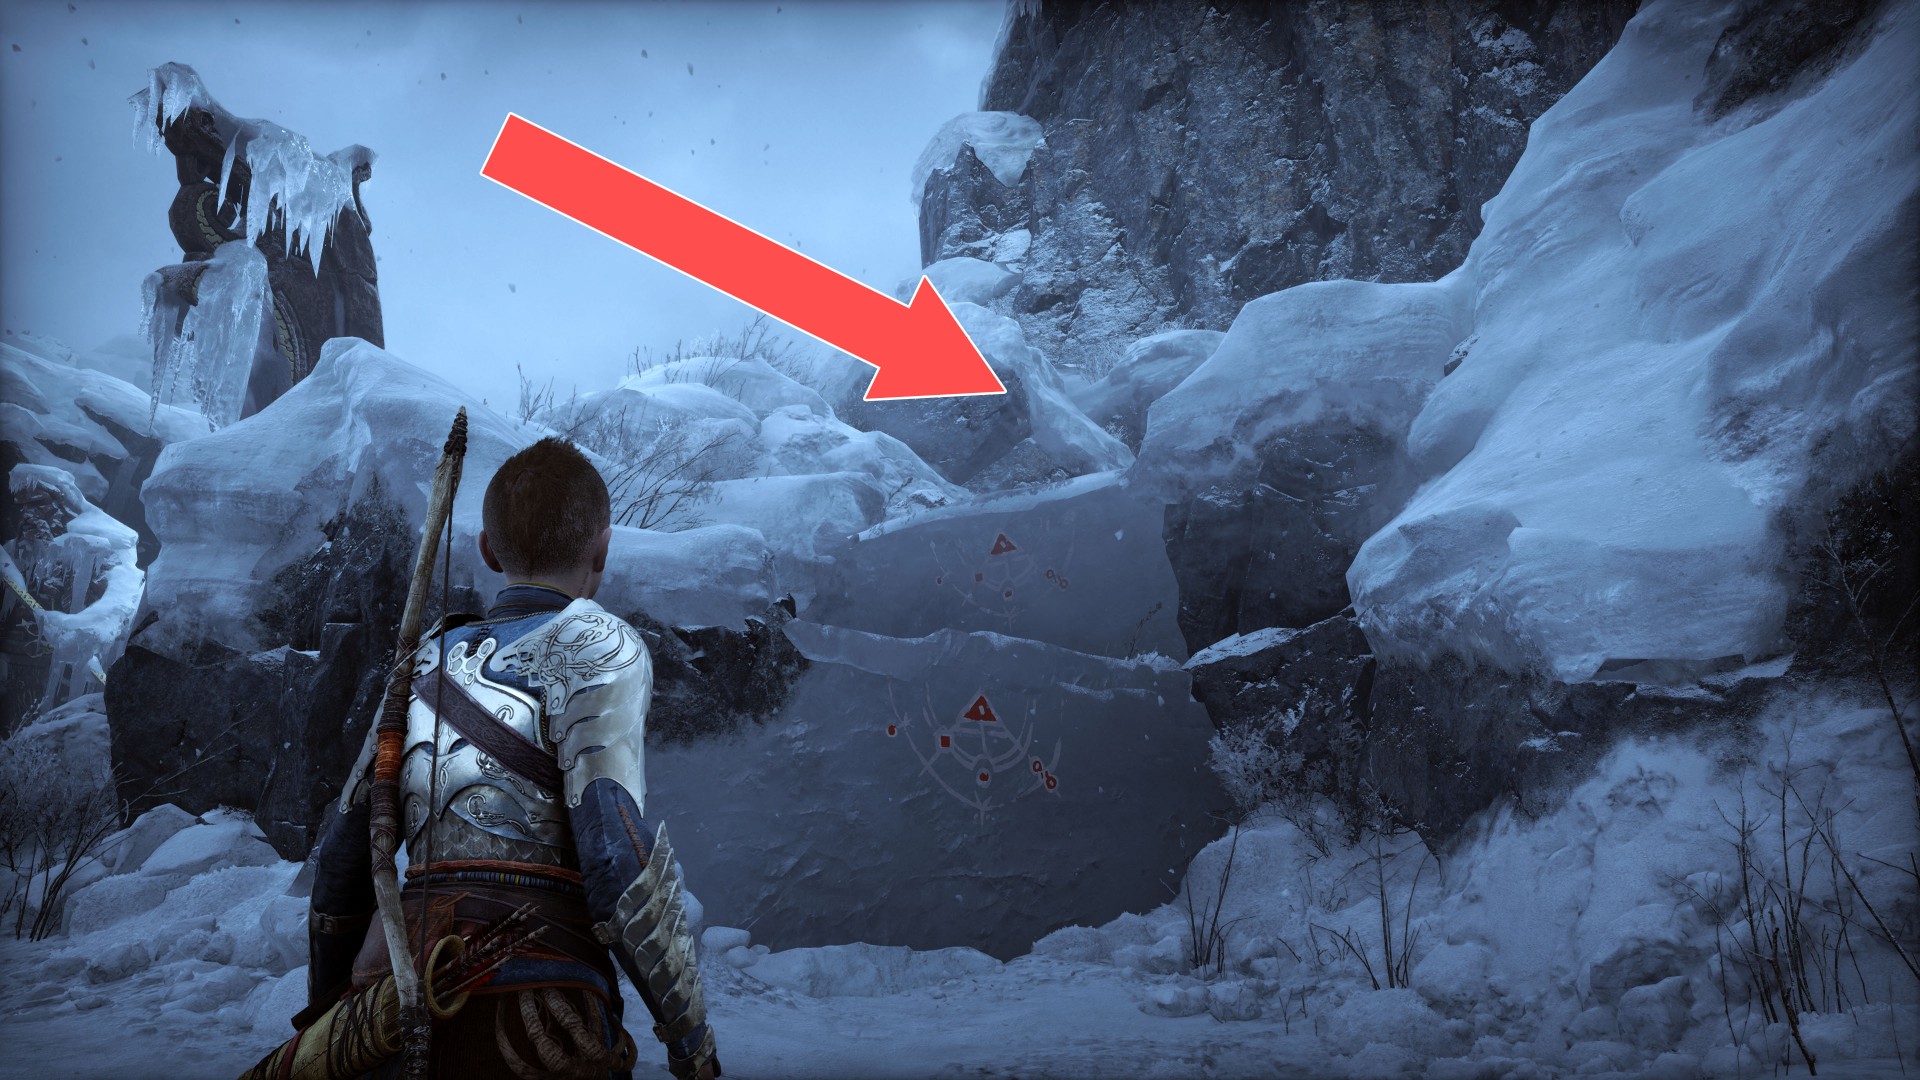
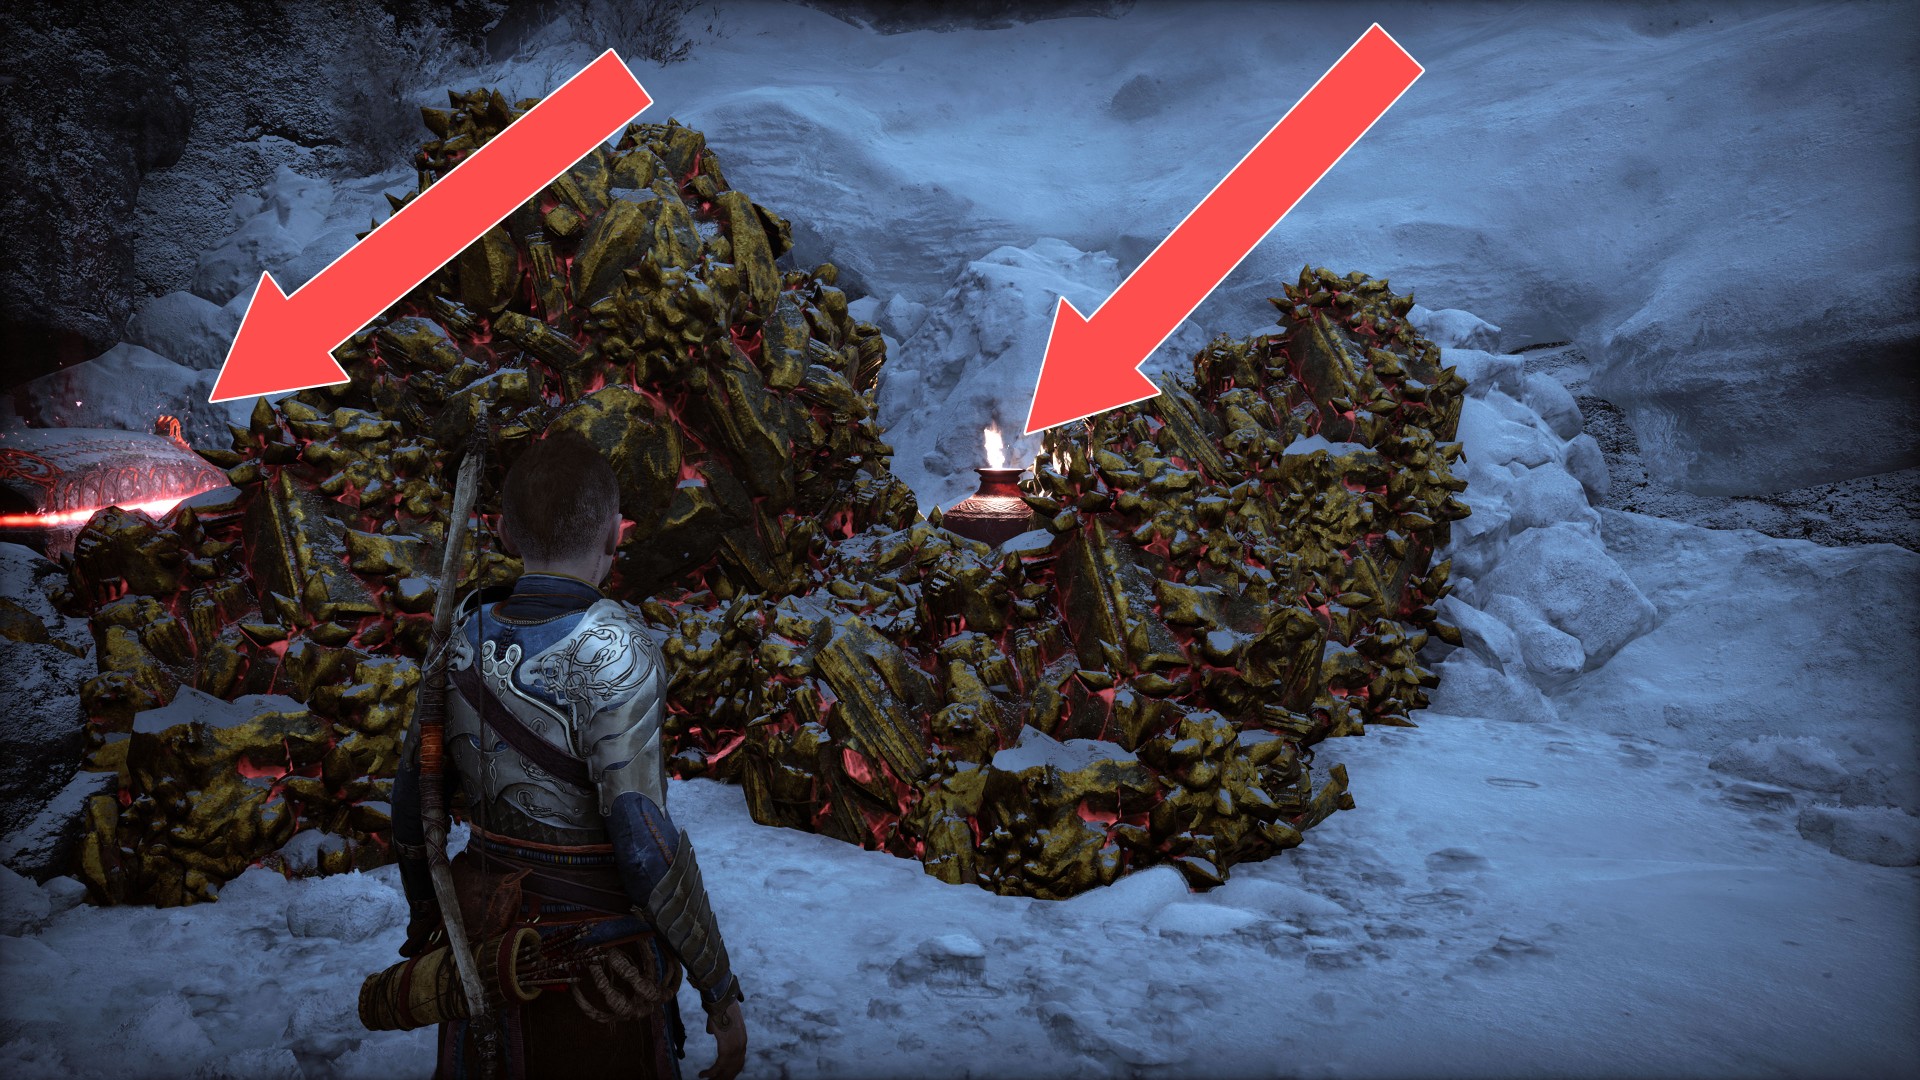
16Red Chest
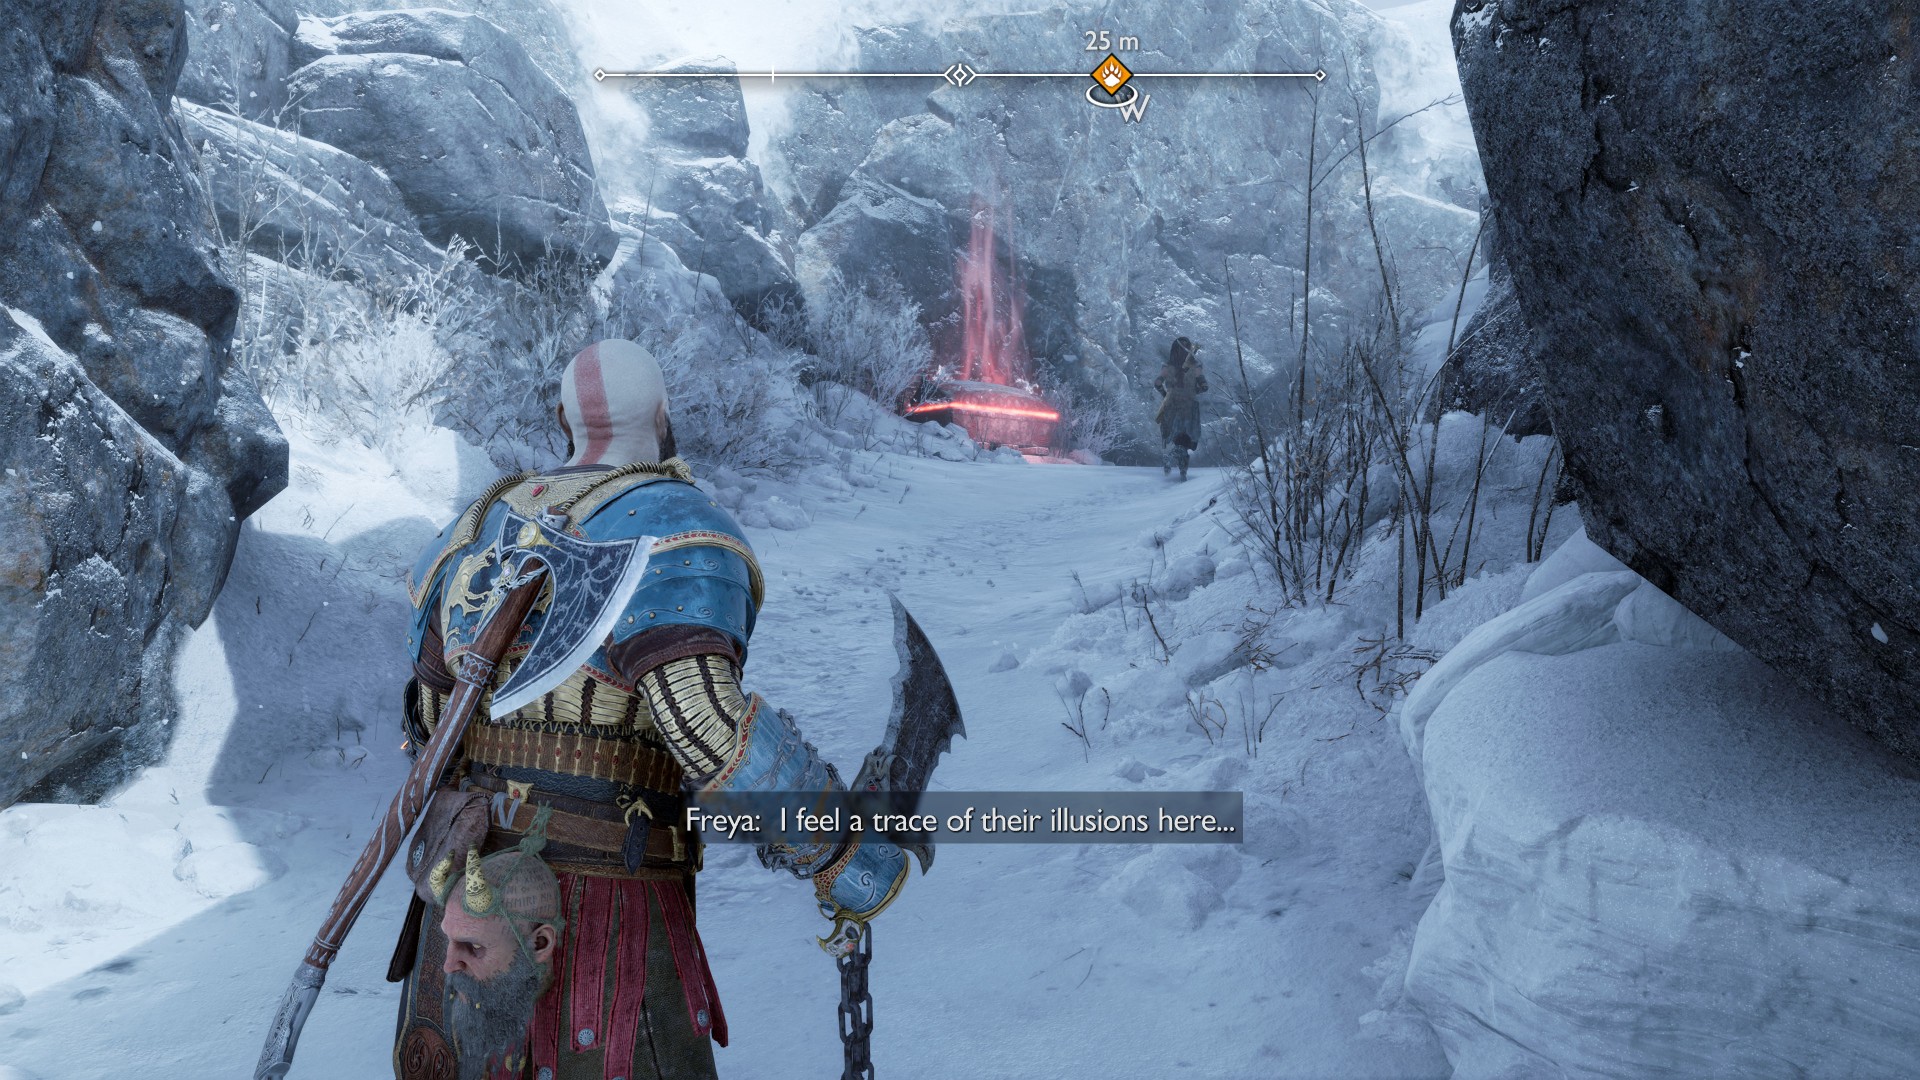
17Red Chest
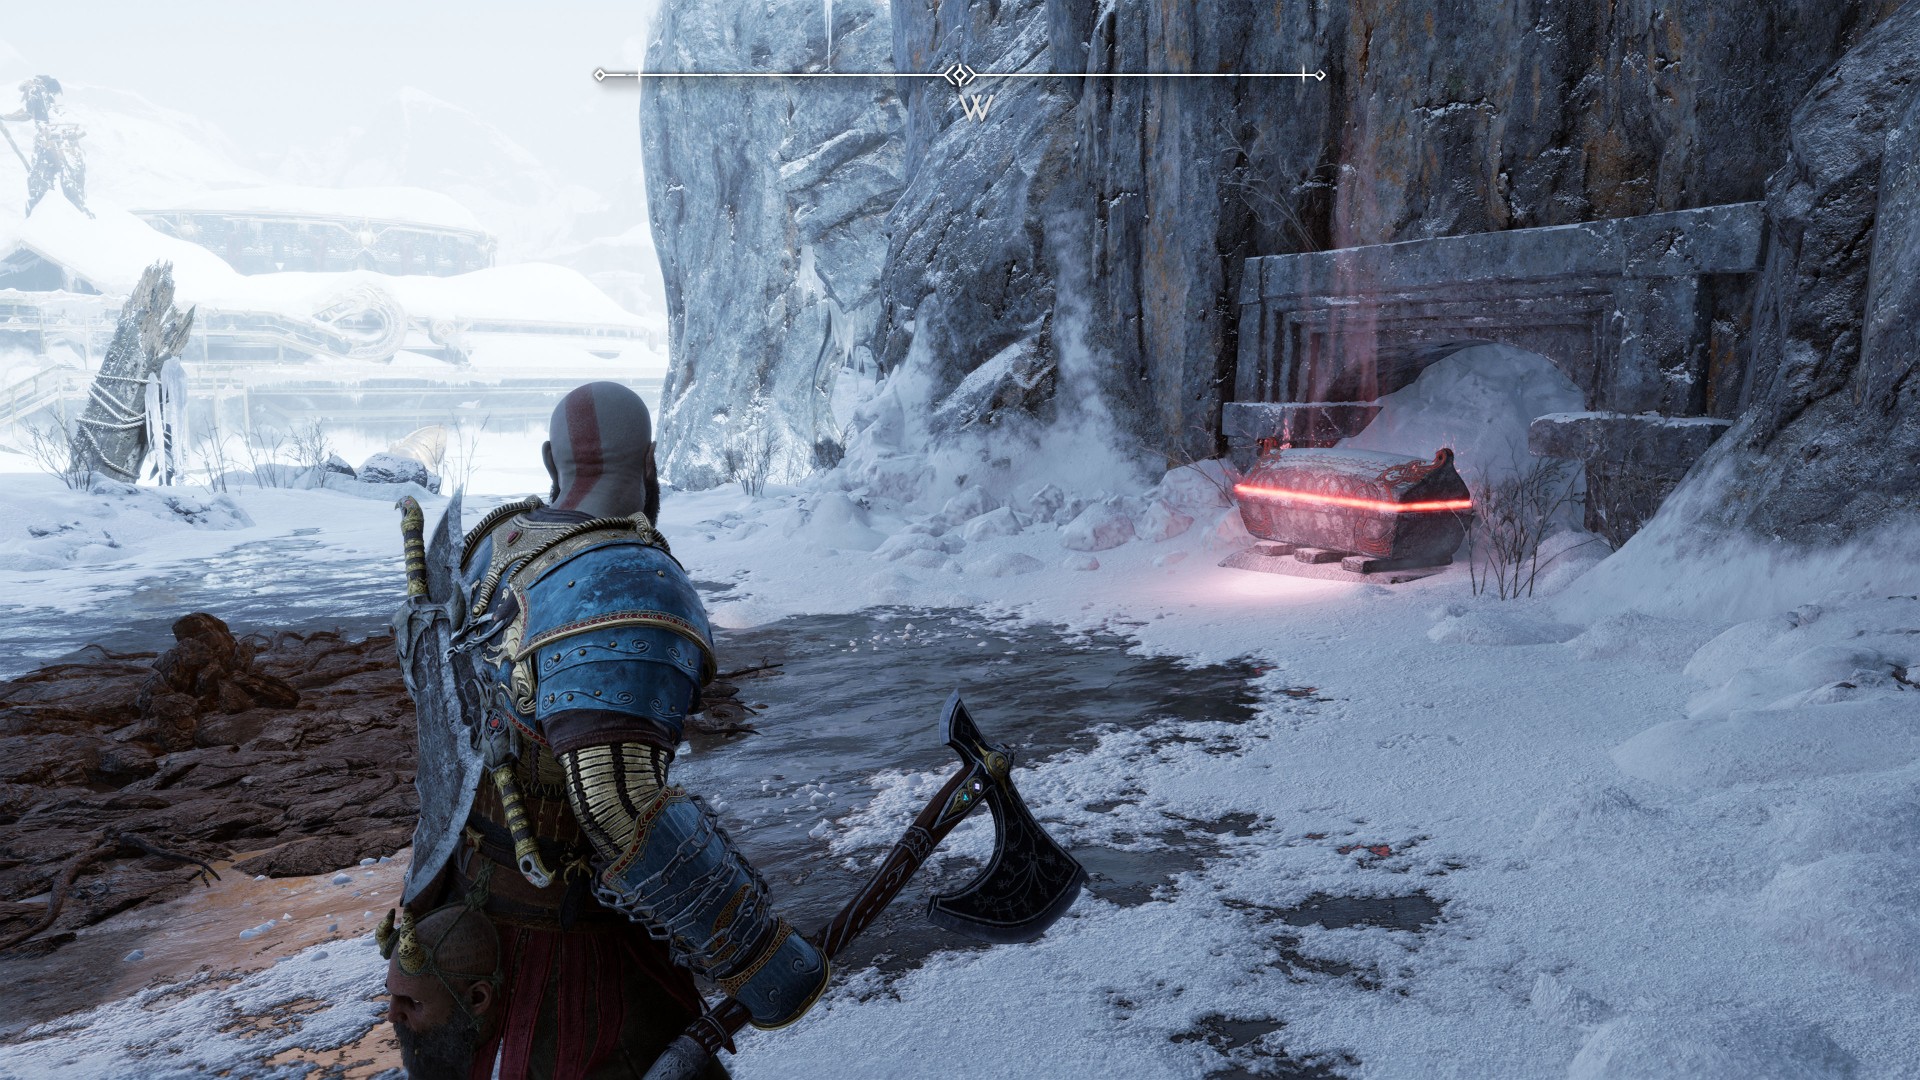
18Red Chest
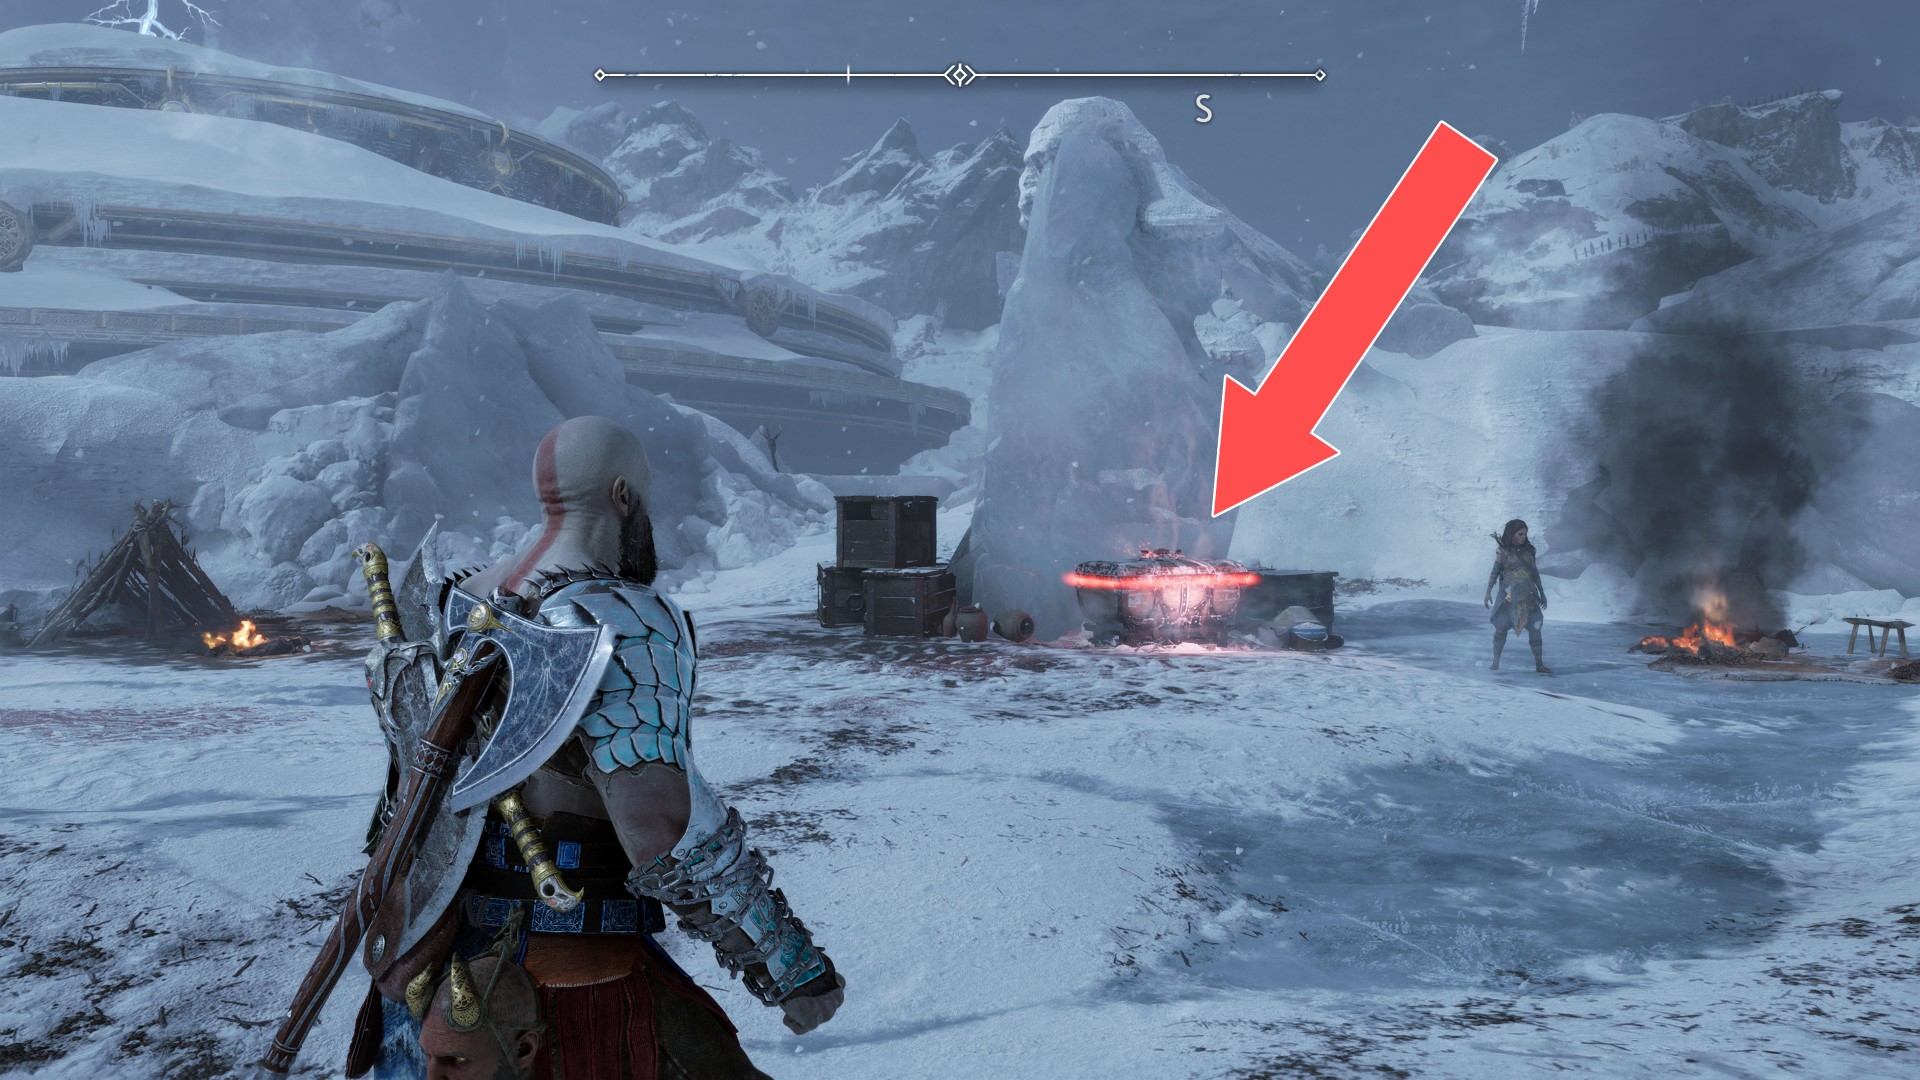
19Red Chest
The poison does a lot of damage but it won't kill you instantly so you can run to the other side.
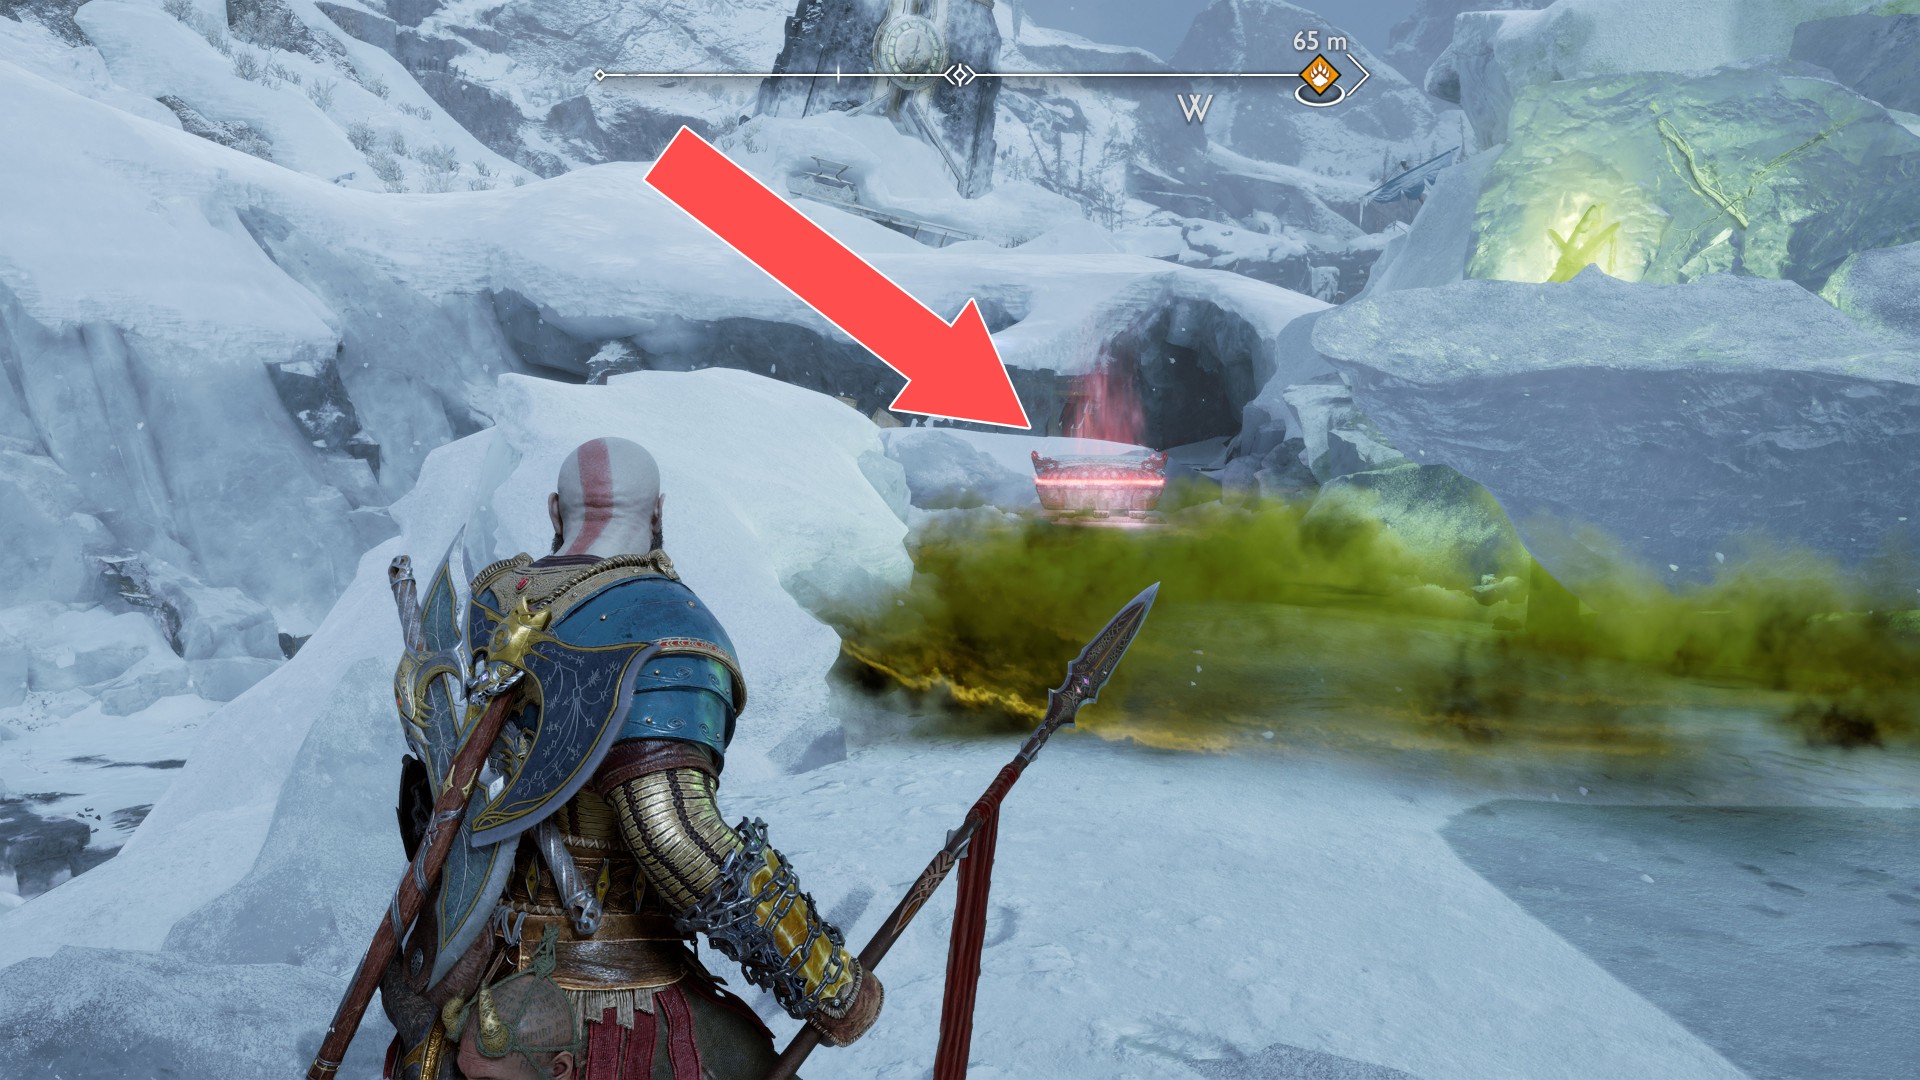
20Red Chest
To get to the room where the chest is, you must squeeze through a narrow passage on the left, in the corner.
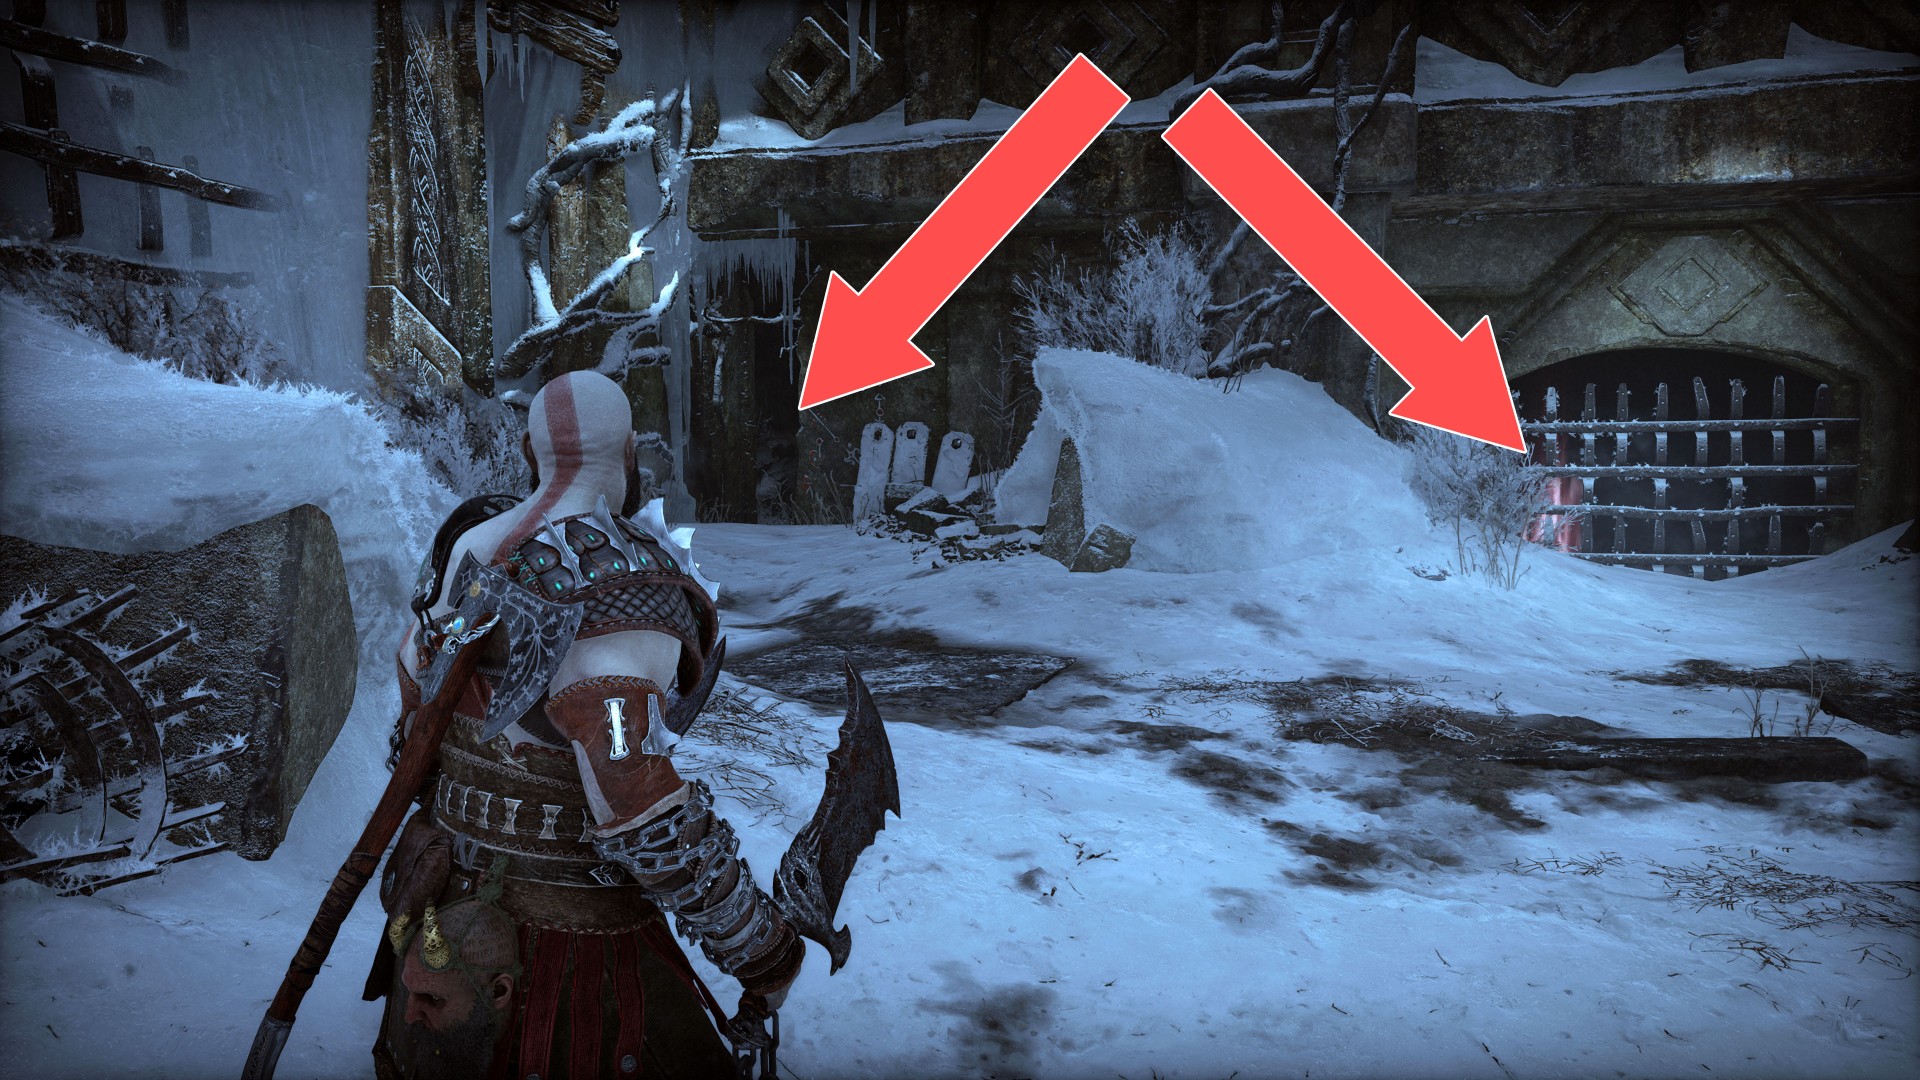
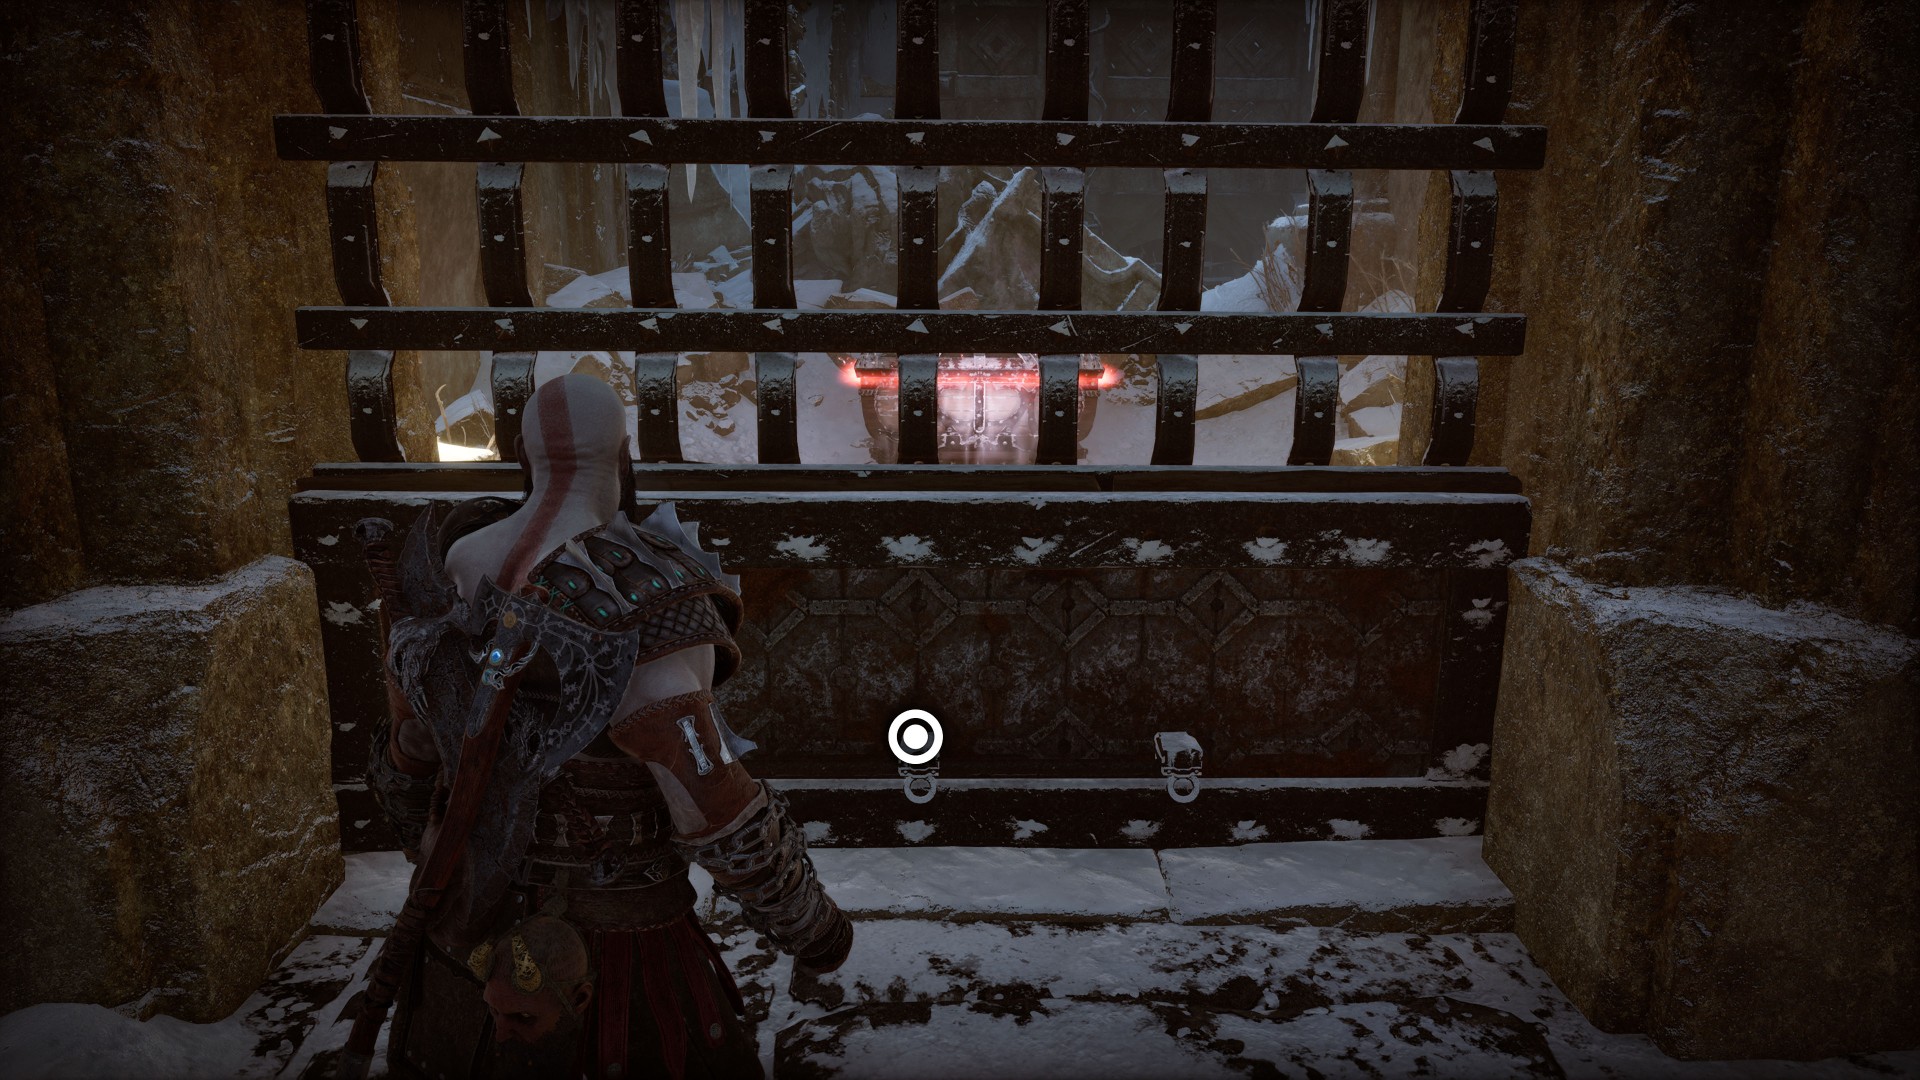
21Red Chest
You may notice this chest a little earlier but you will be able to get to it through the gate from behind when you are leaving the area.
22Red Chest
To get to this chest you must reach the top of the rocks.
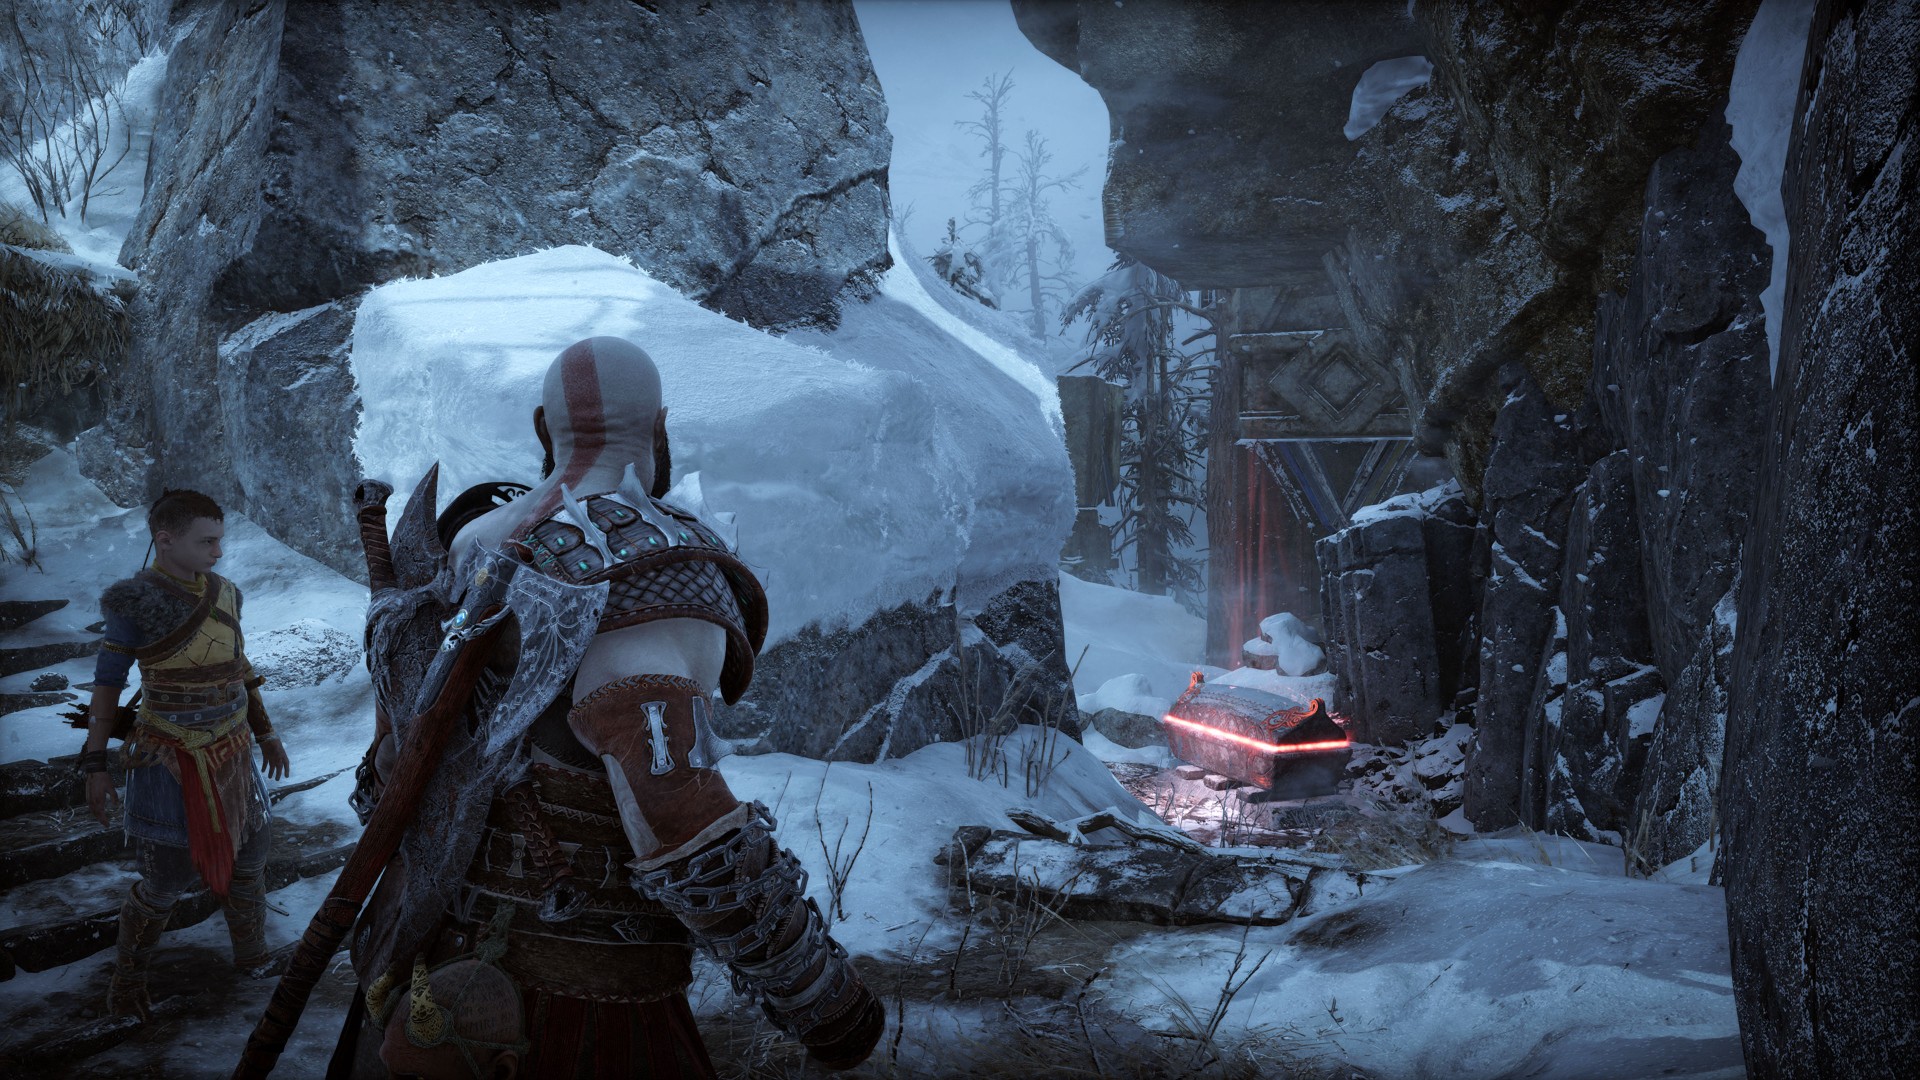
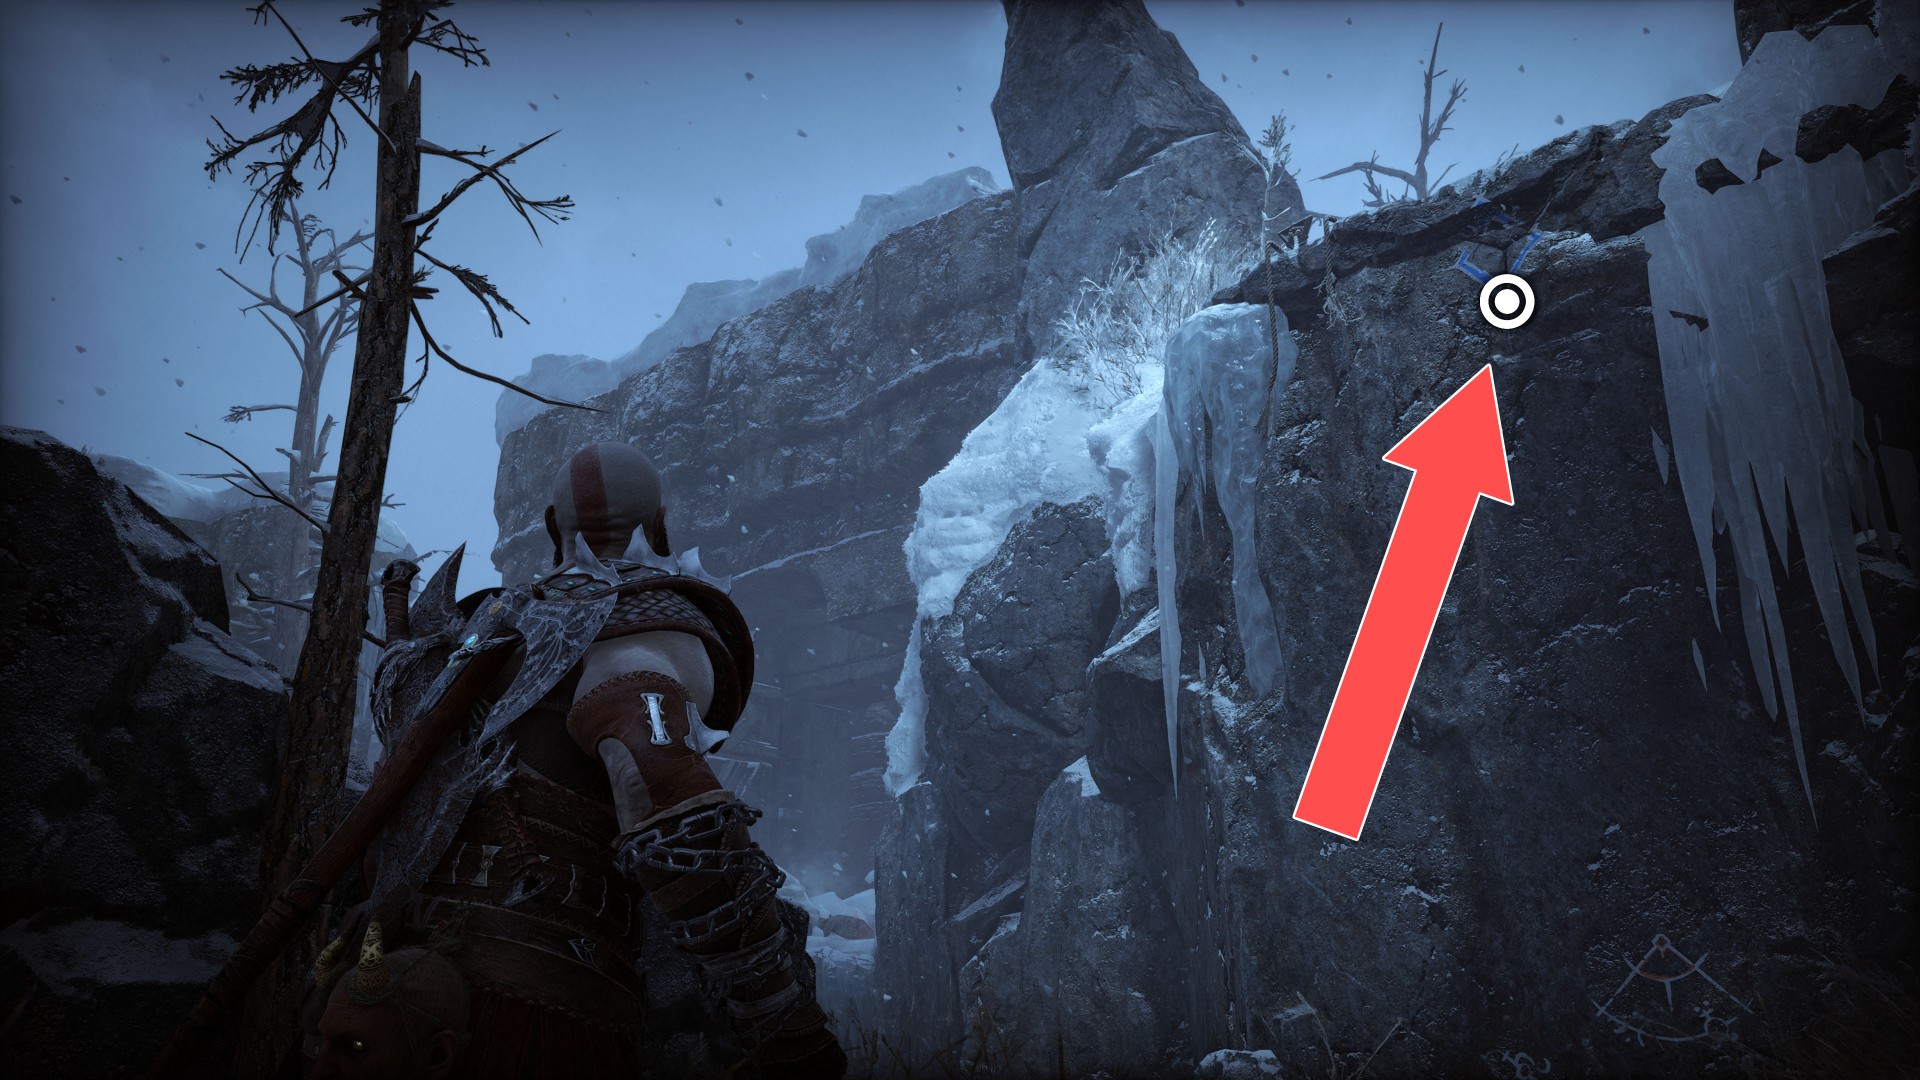
23Red Chest
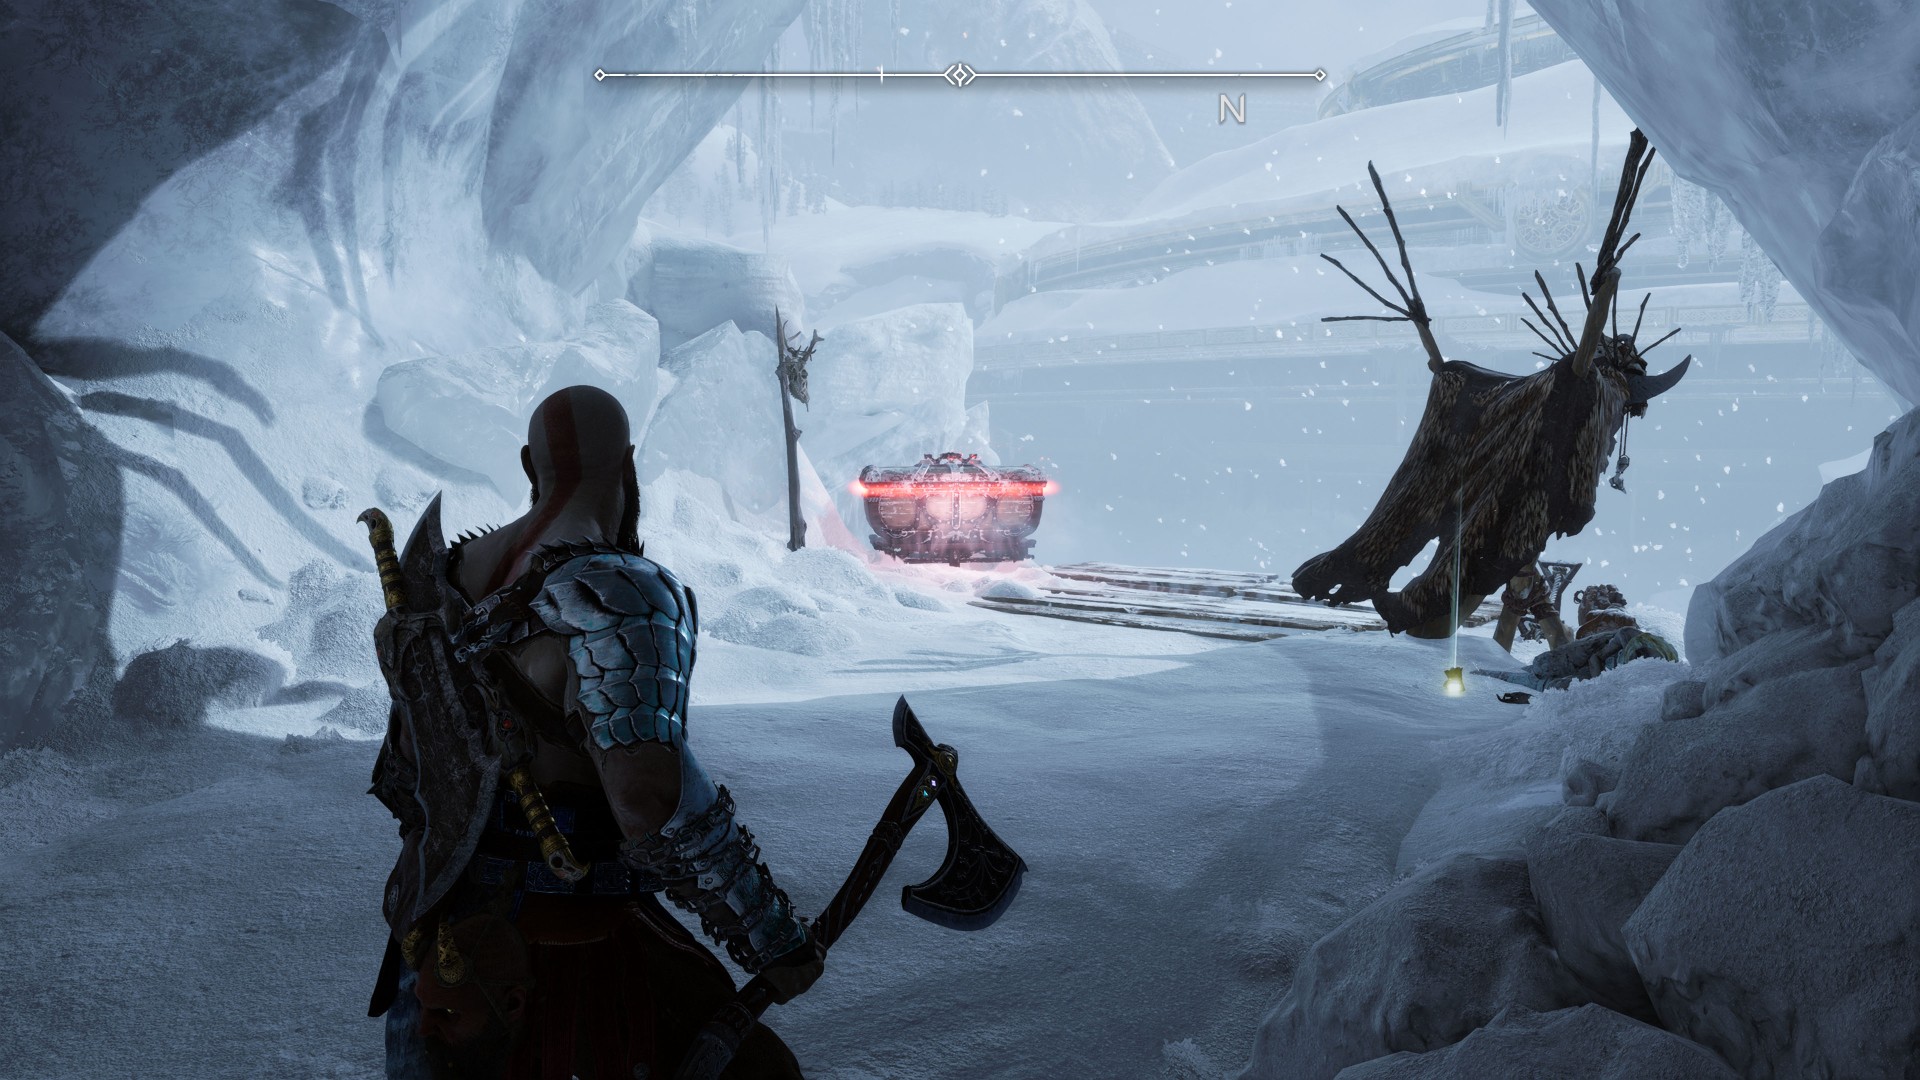
24Red Chest
To get to this chest you must throw an axe at the red jar to thus get rid of the ore blocking the entrance.
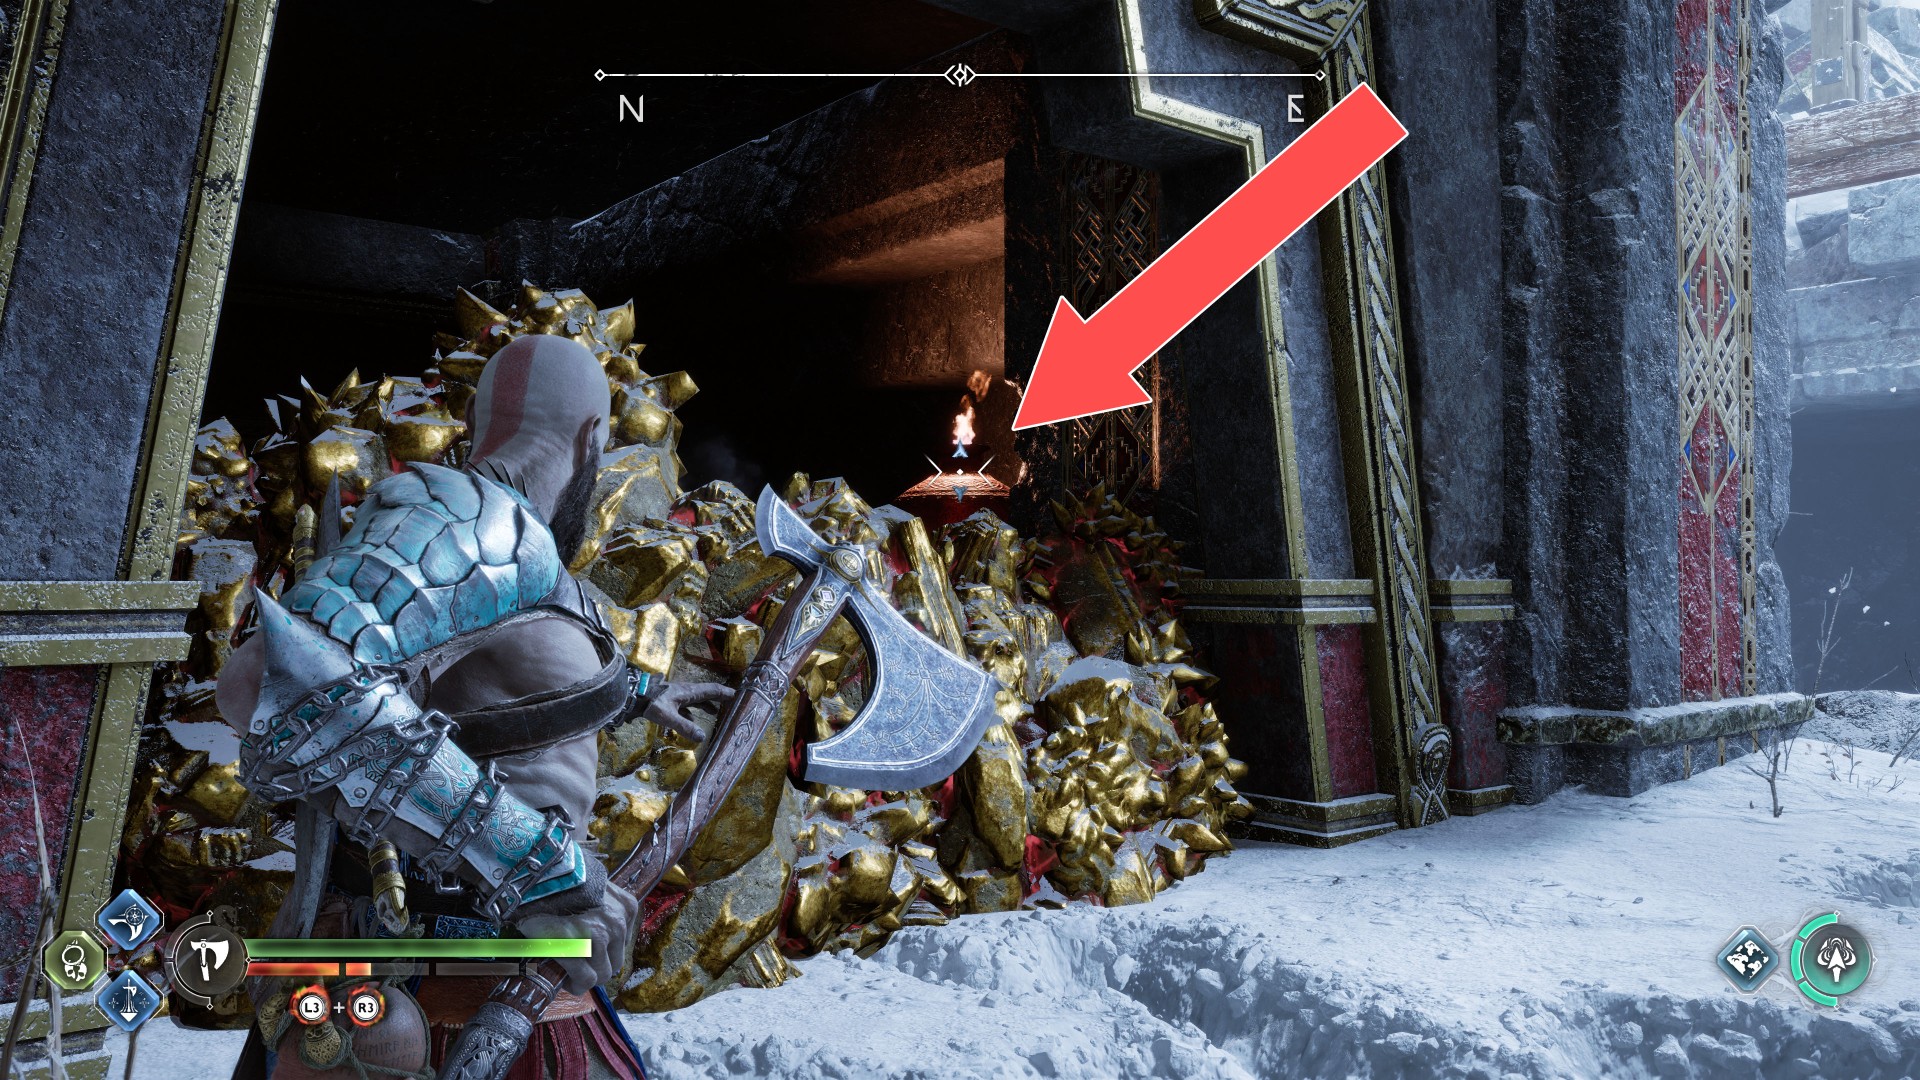
25Red Chest
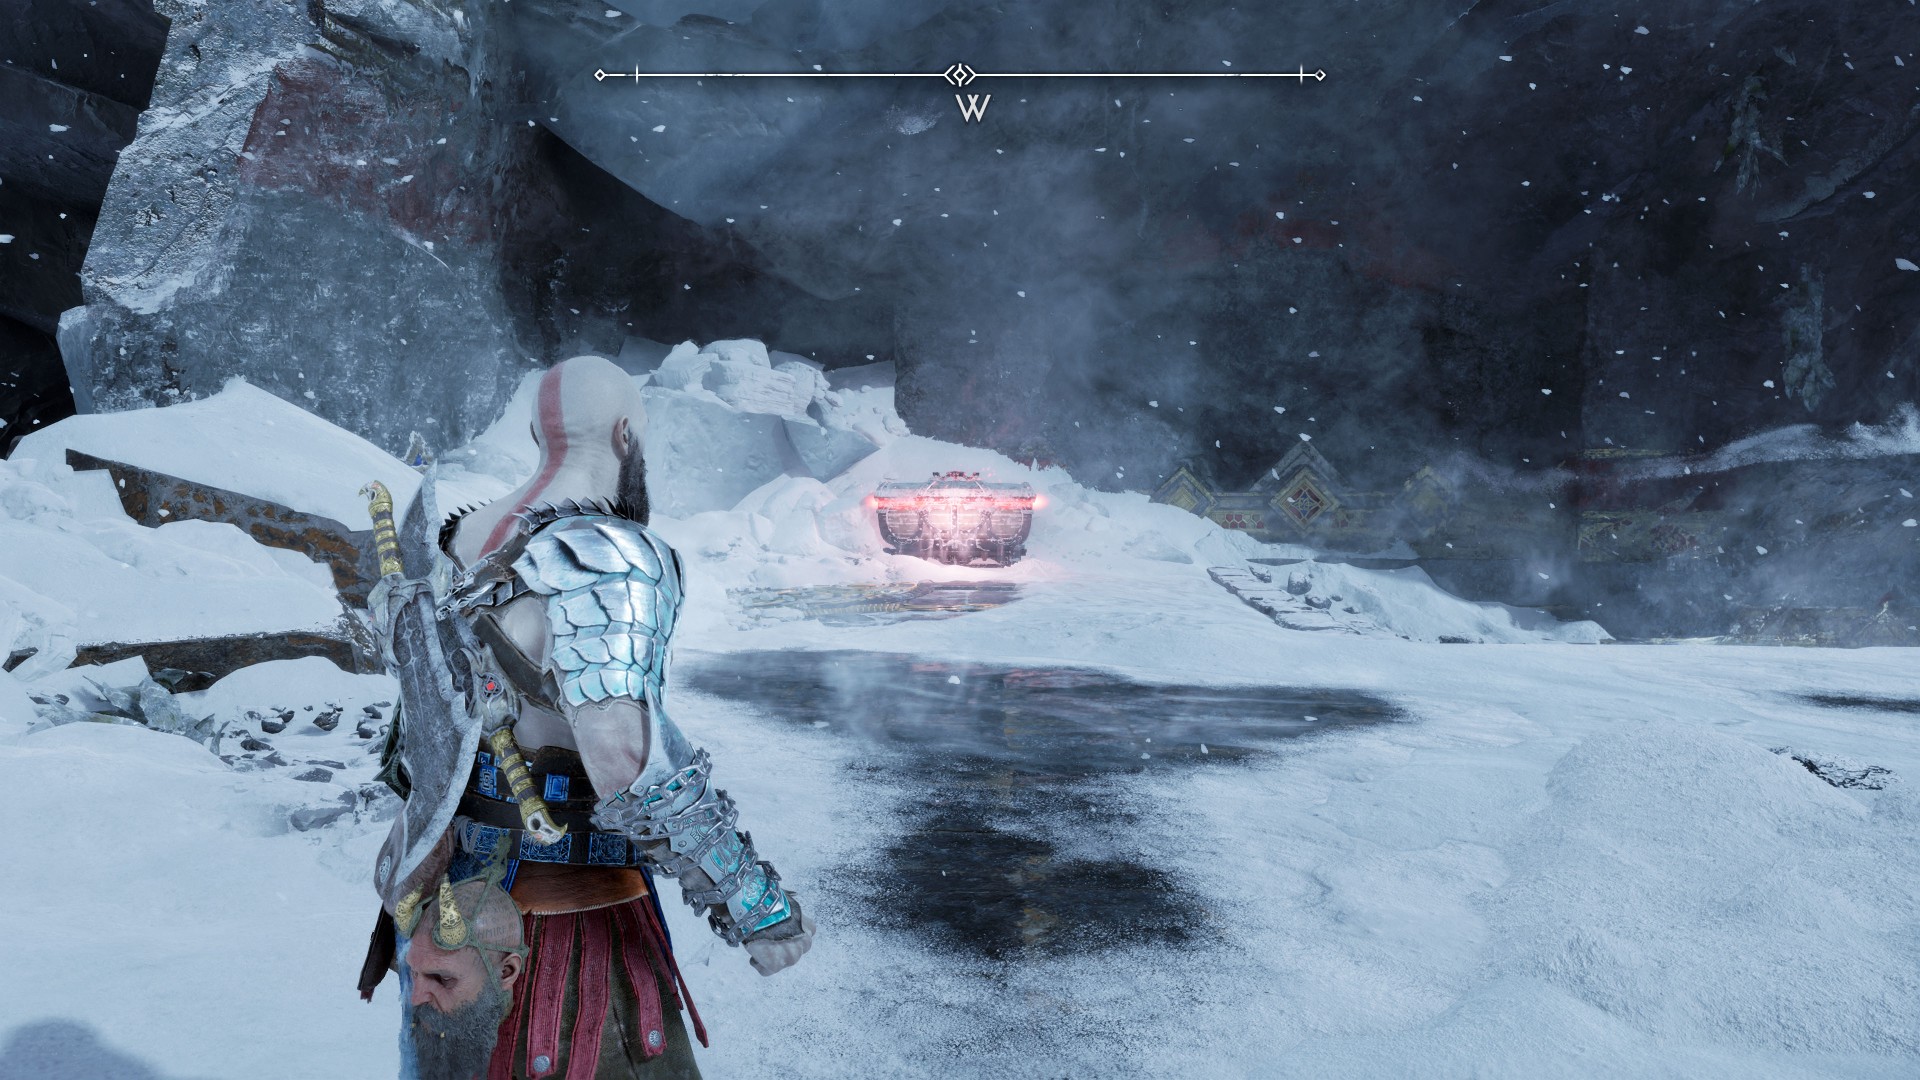
26Red Chest
To get to this chest you must destroy the stone slab to get to the lower level in this way.
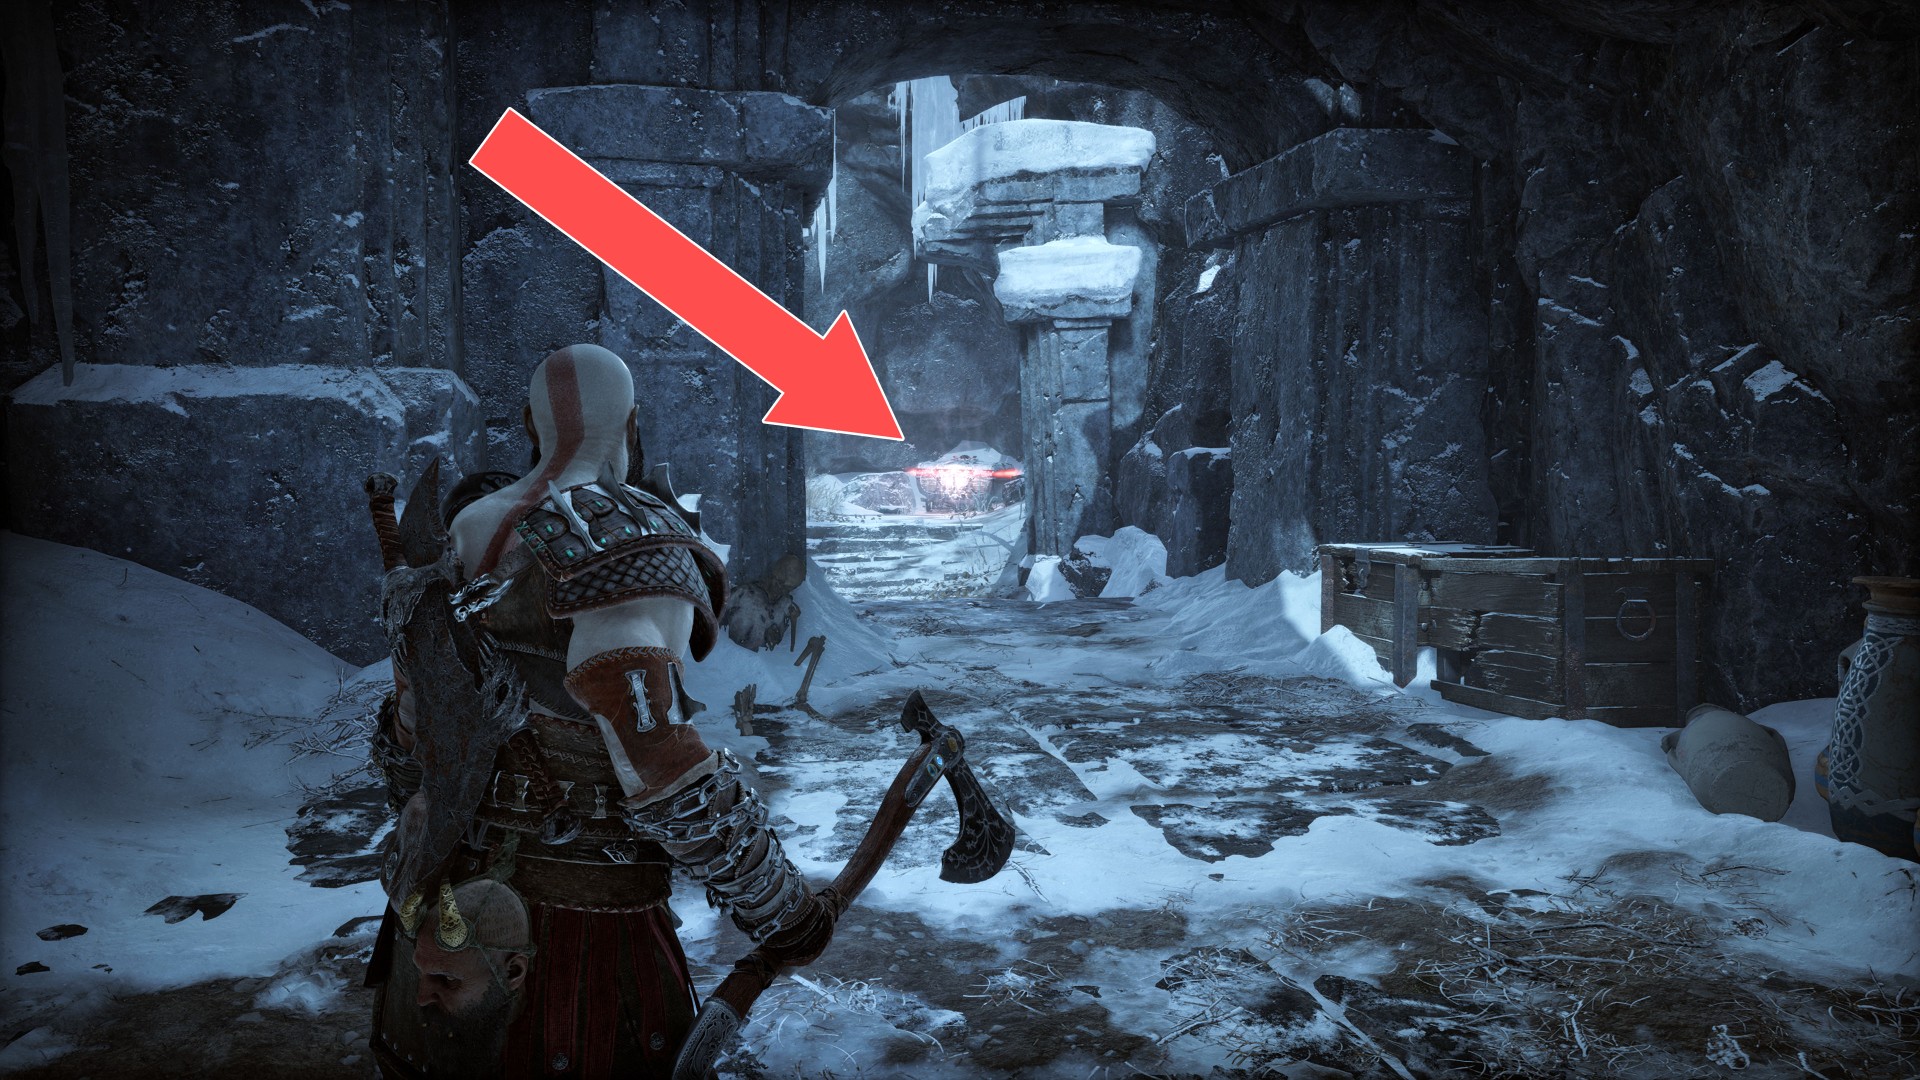
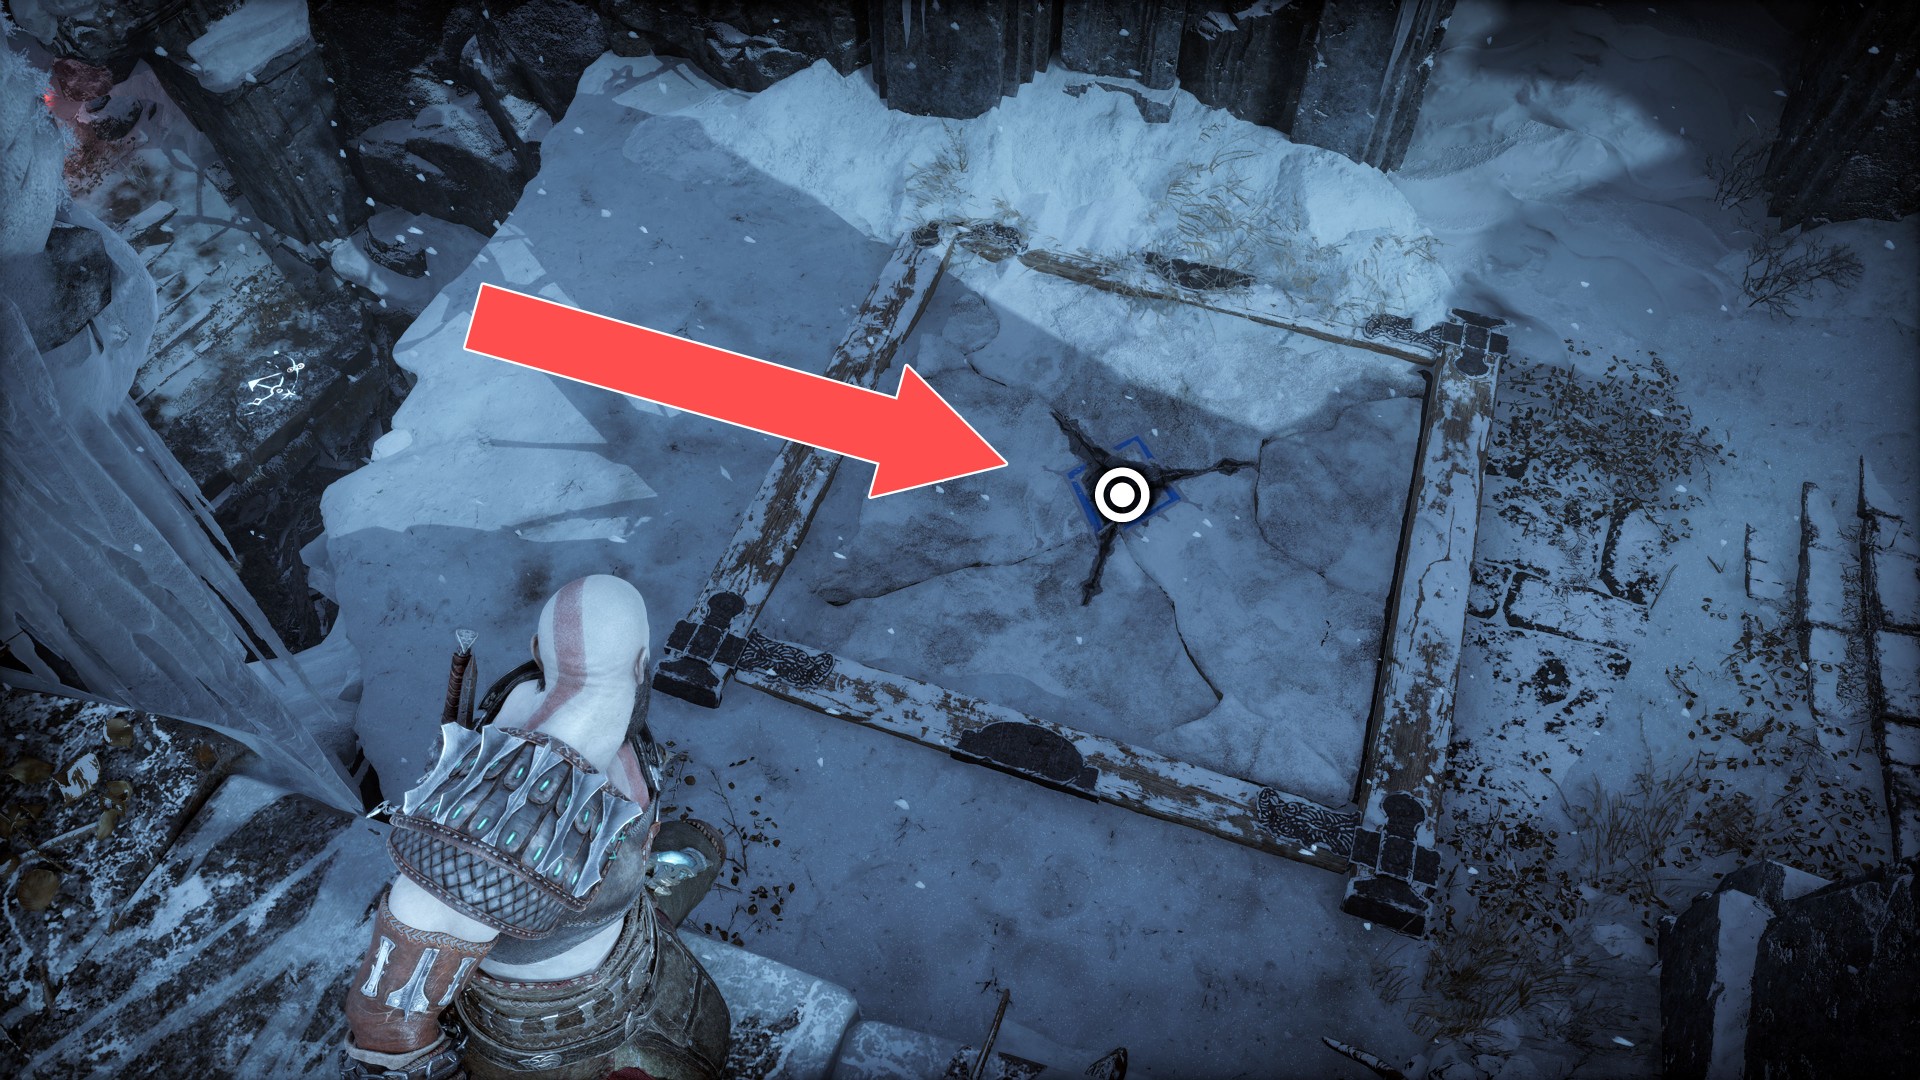
27Red Chest
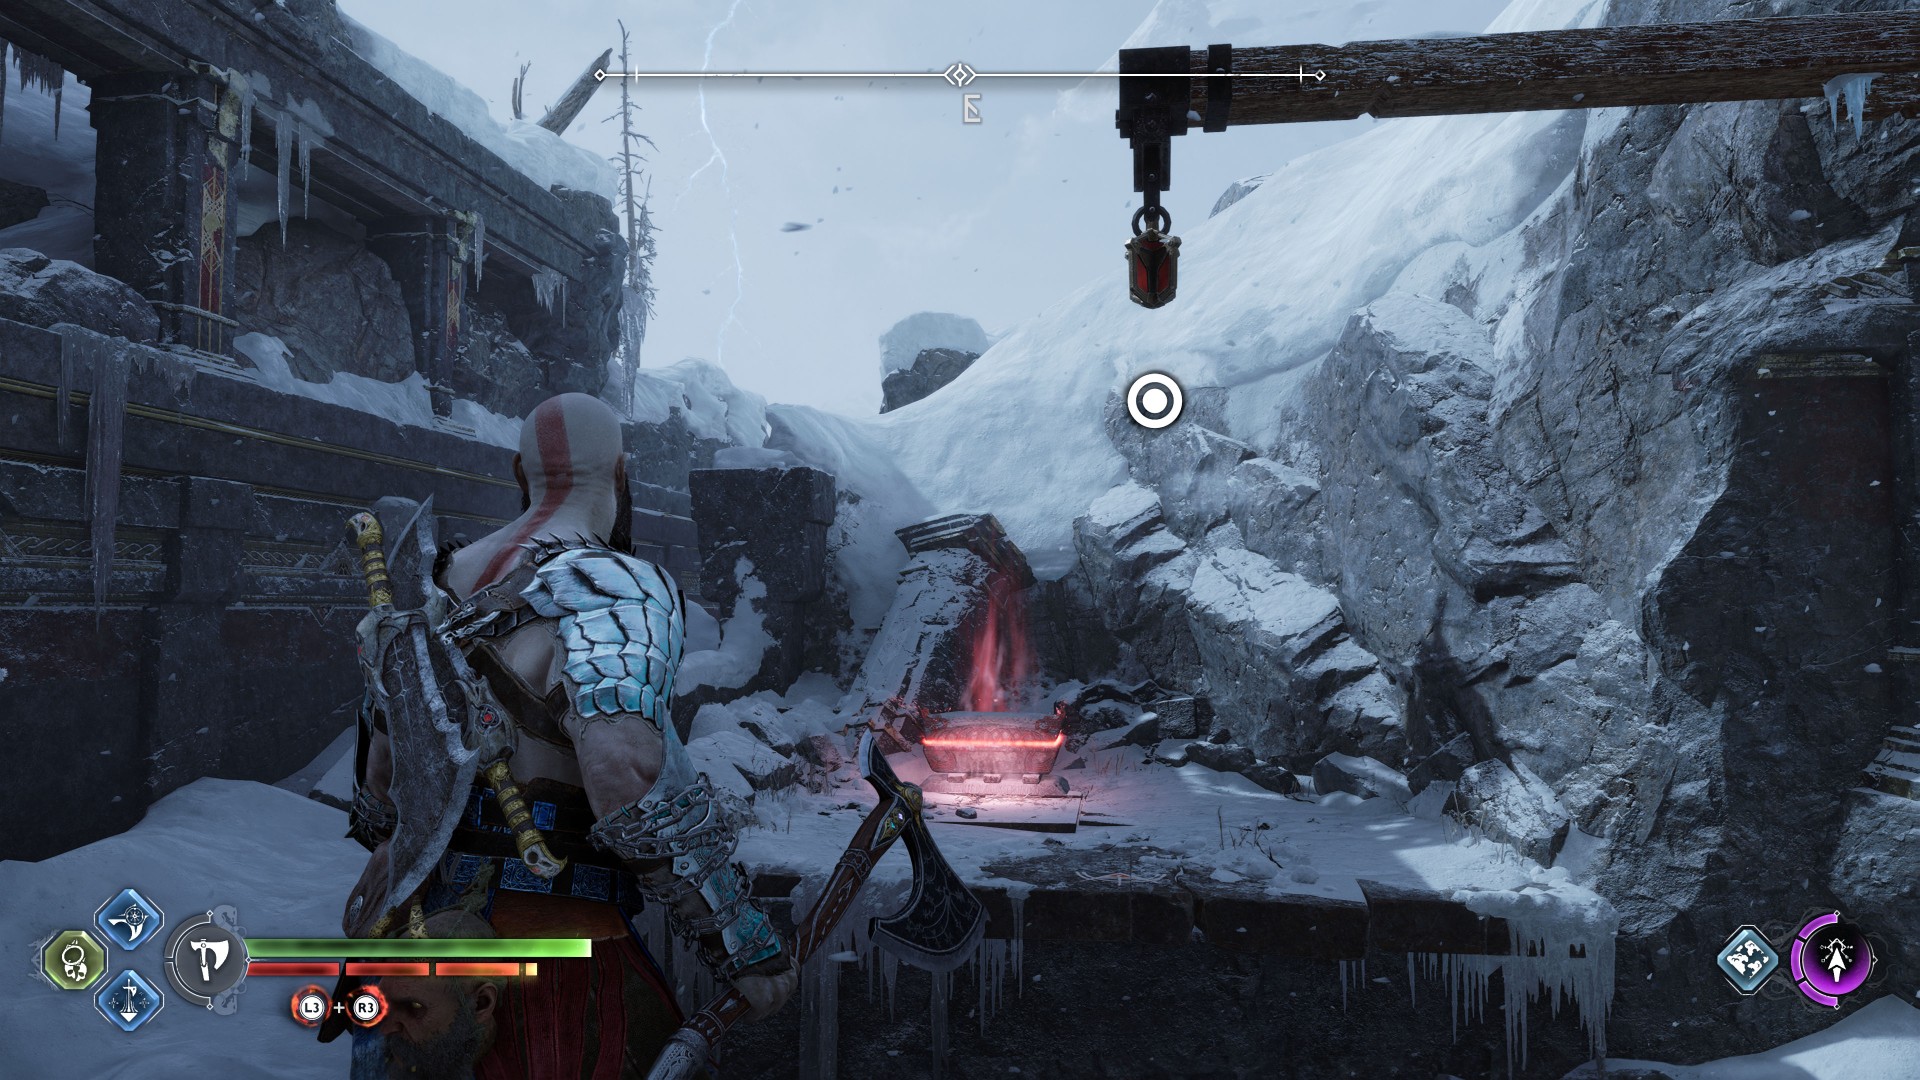
28Red Chest
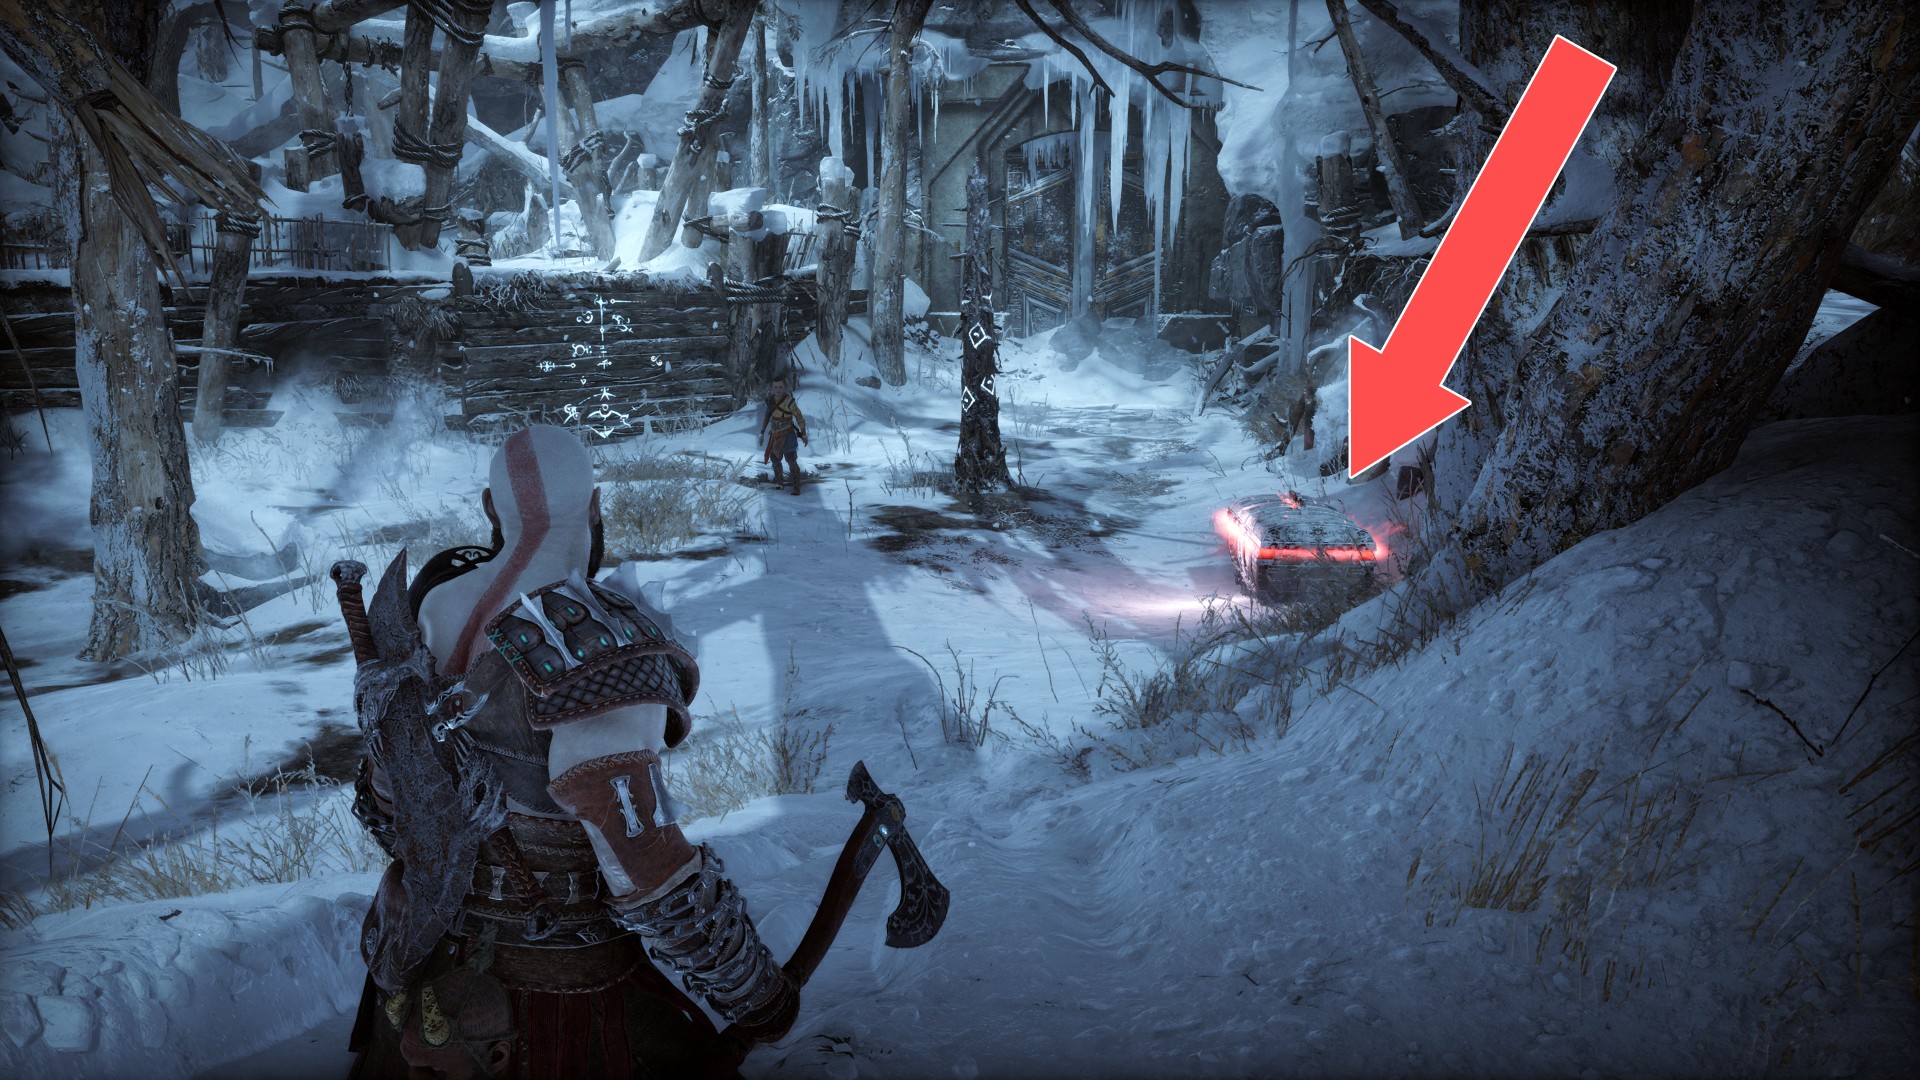
29Red Chest
In the cave. You will pass by it while returning home with Atreus during the mission "Surviving Fimbulwinter".
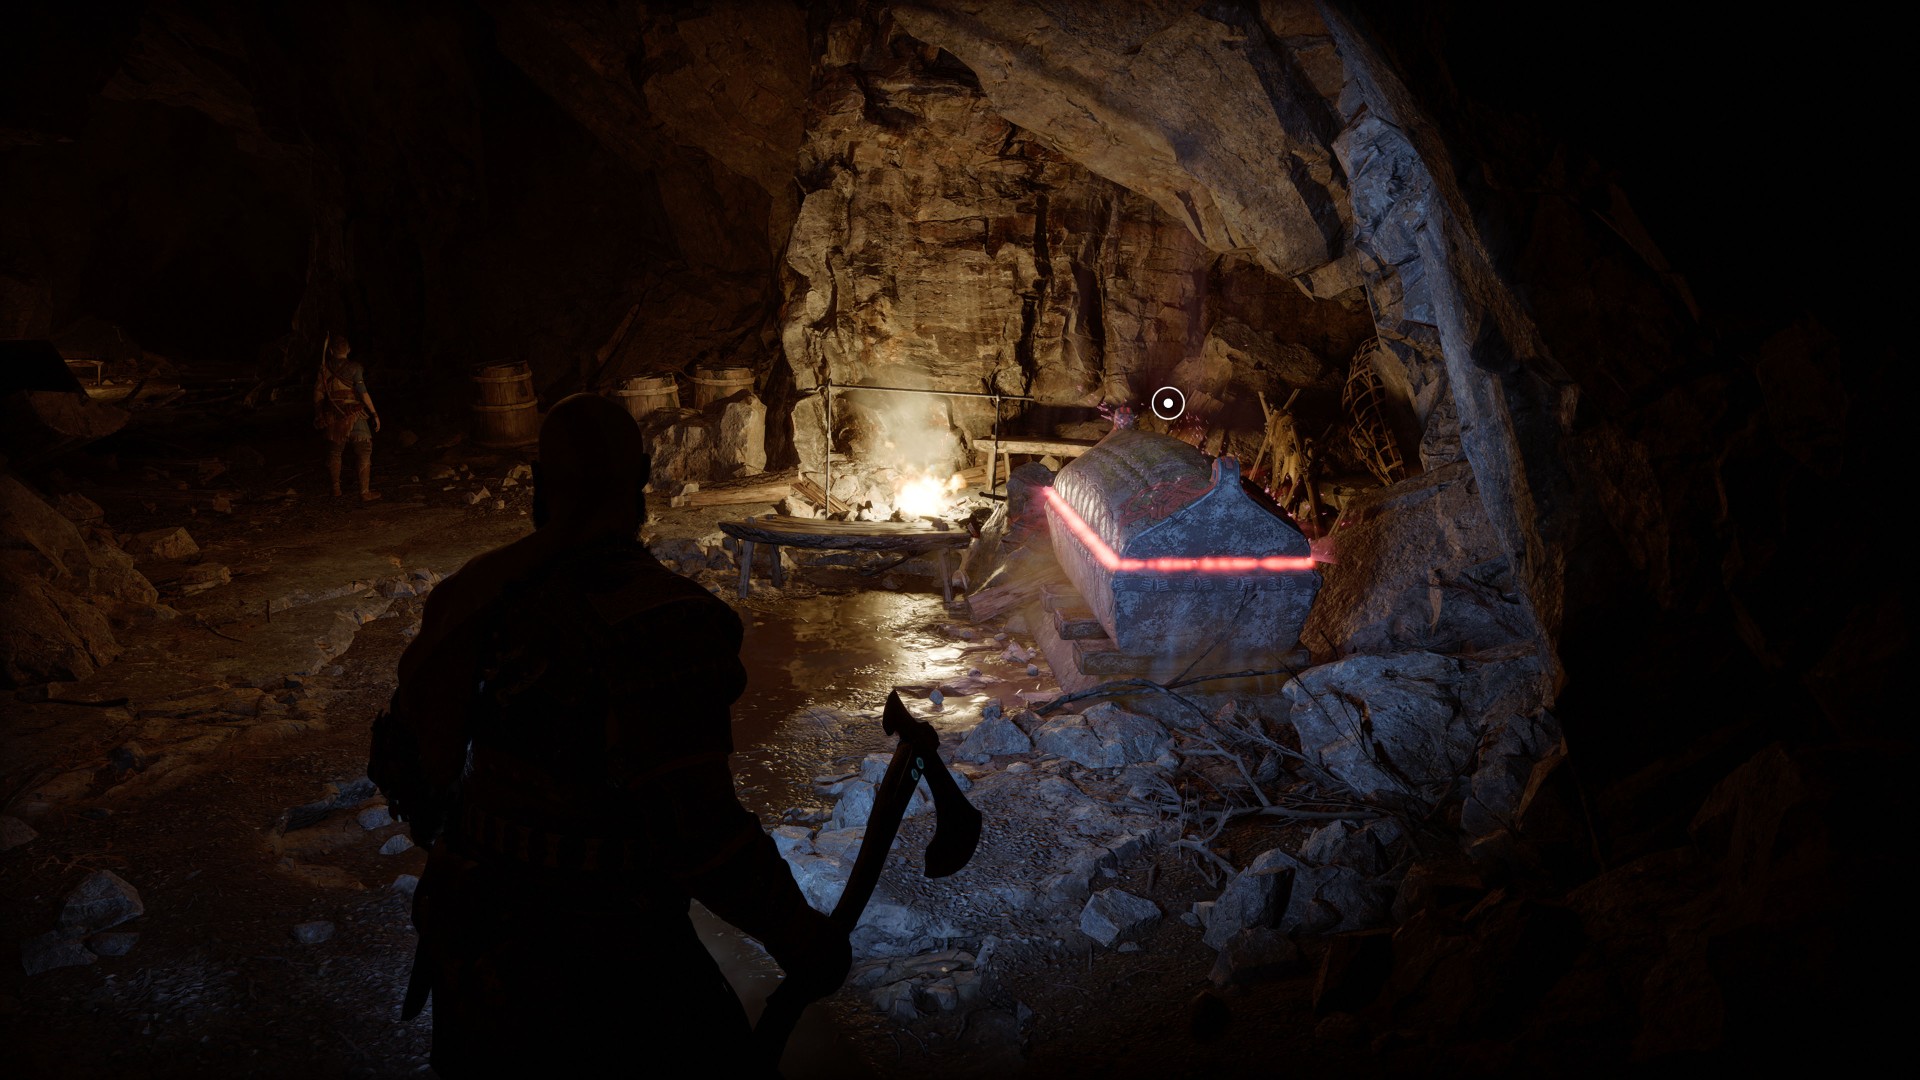
30Red Chest
You will pass by this chest when you are looking for Atreus in the mission "Surviving Fimbulwinter".
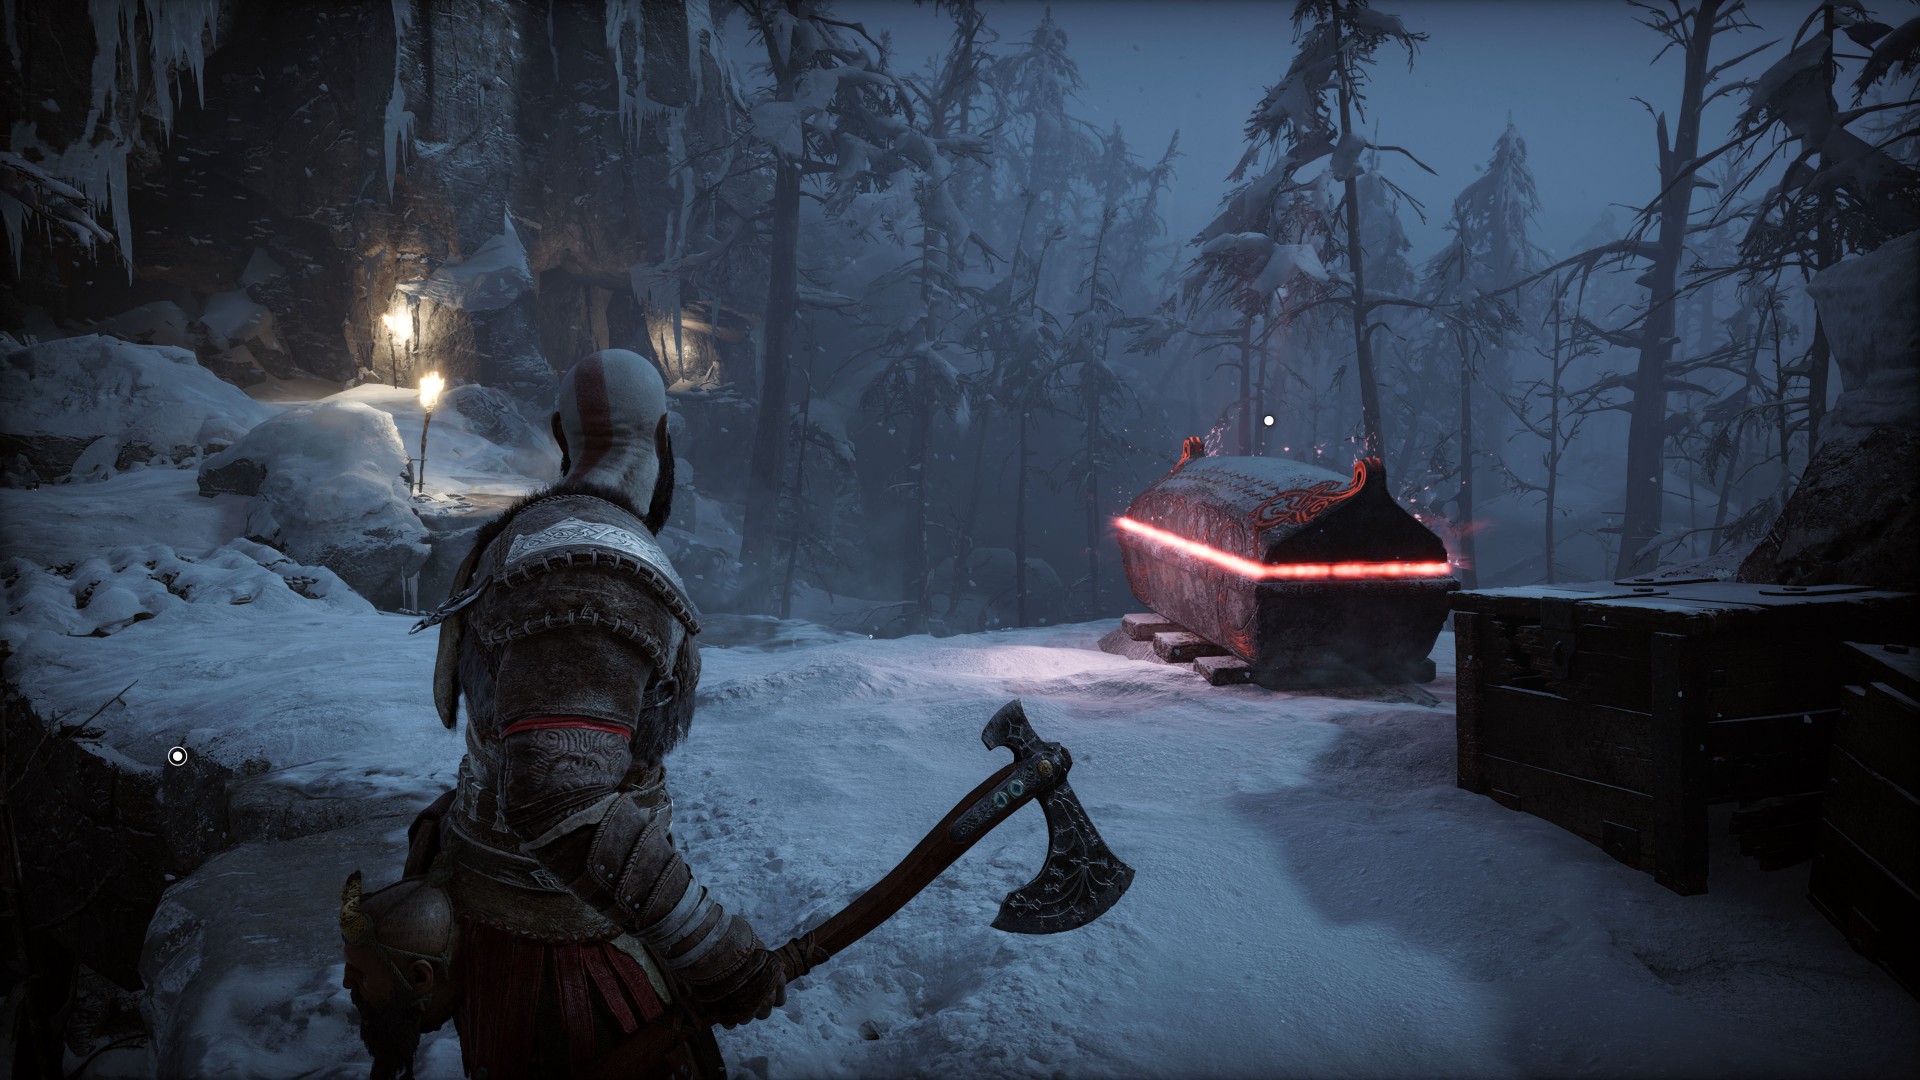
31Red Chest
You can find this chest inside the Raiders' cave.
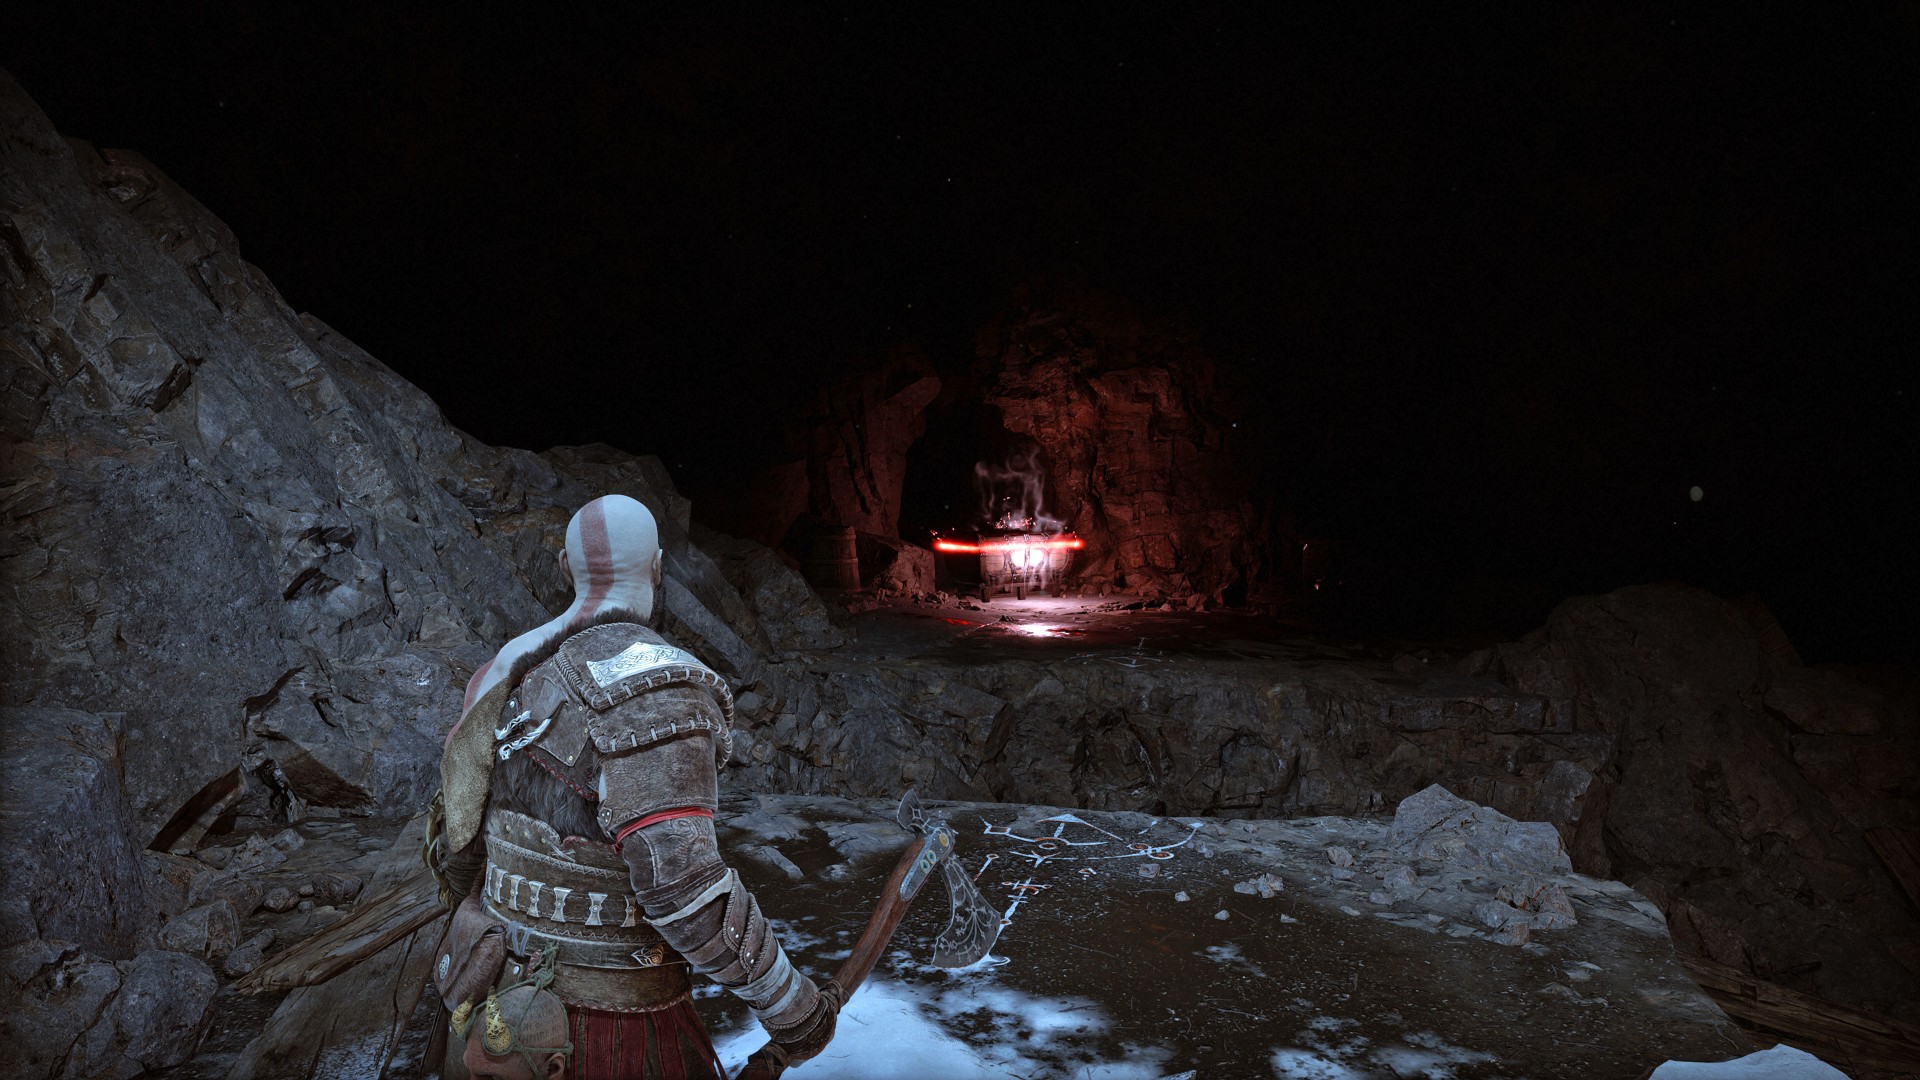
32Yellow Chest
You can collect this chest during the main mission "Old Friends", on the way to Freya.
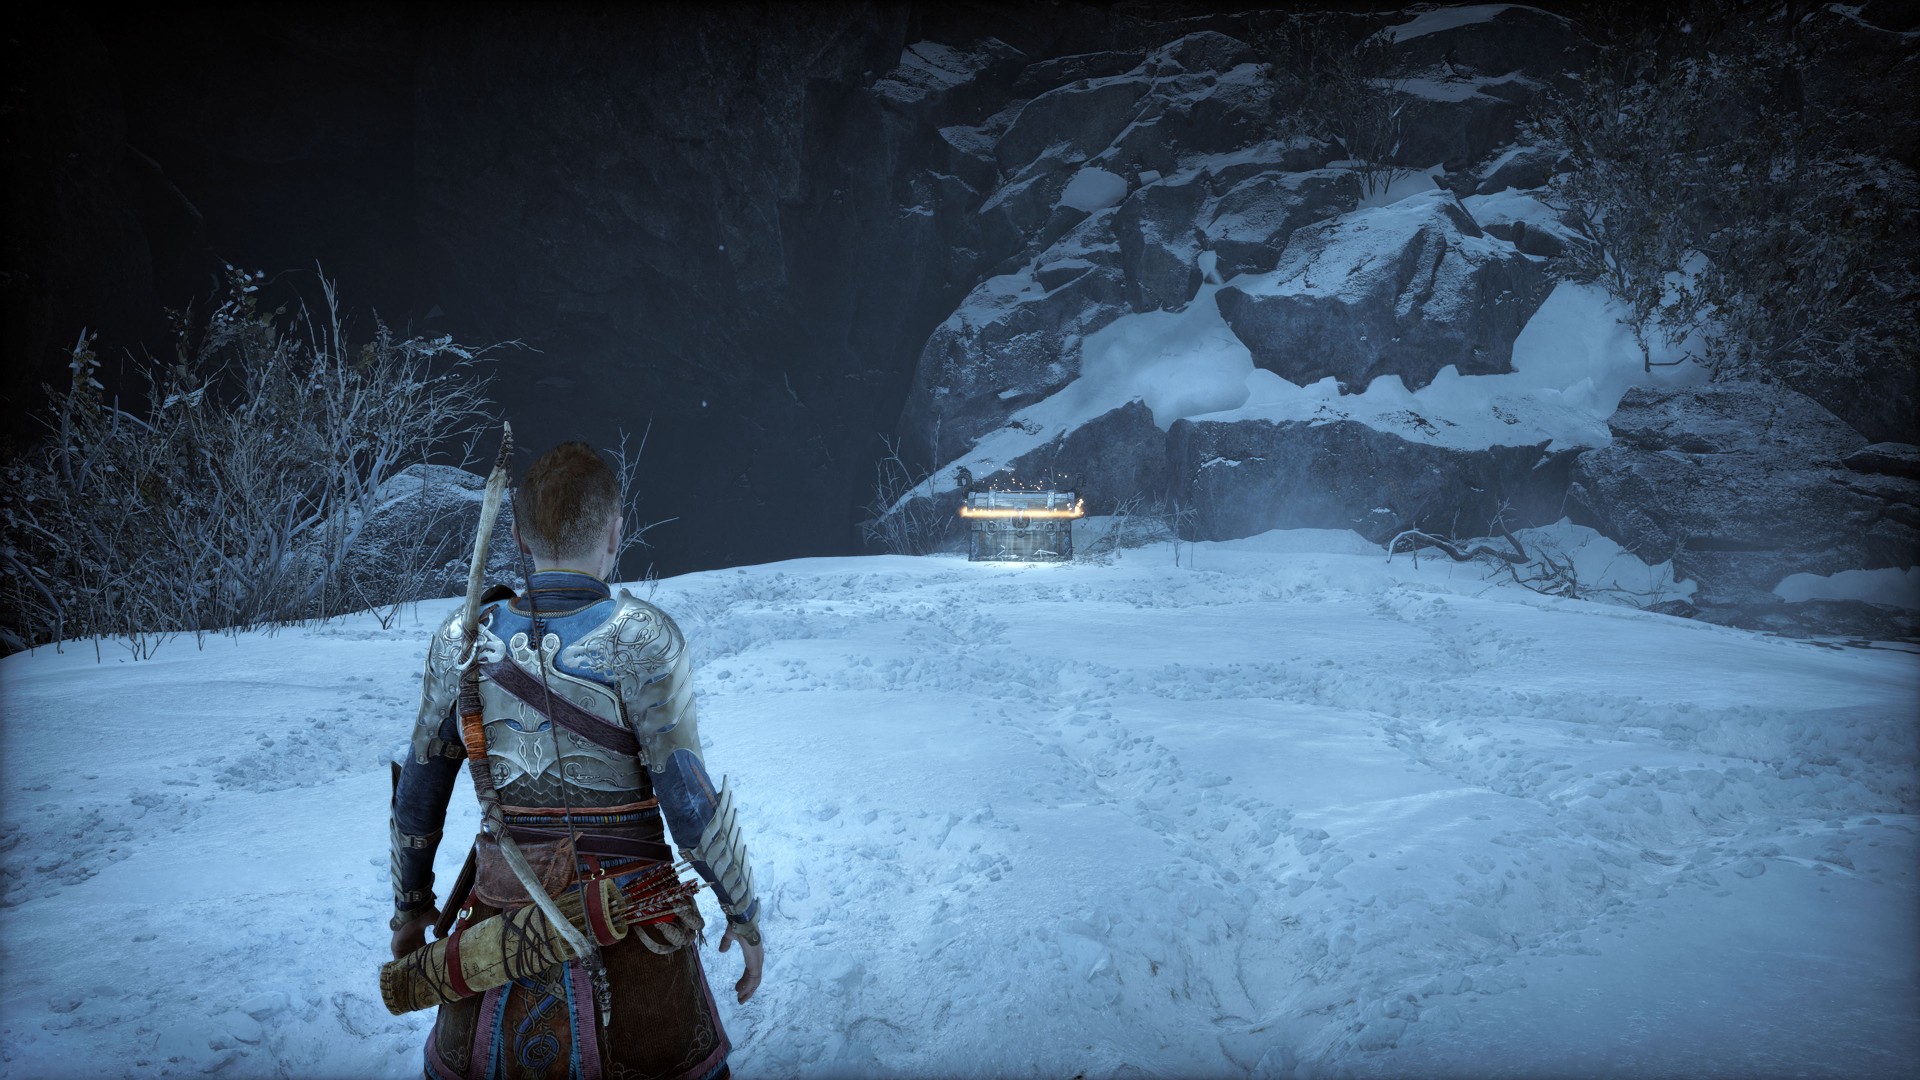
33Yellow Chest
You can collect this chest during the main mission "Old Friends", on the way to Freya.
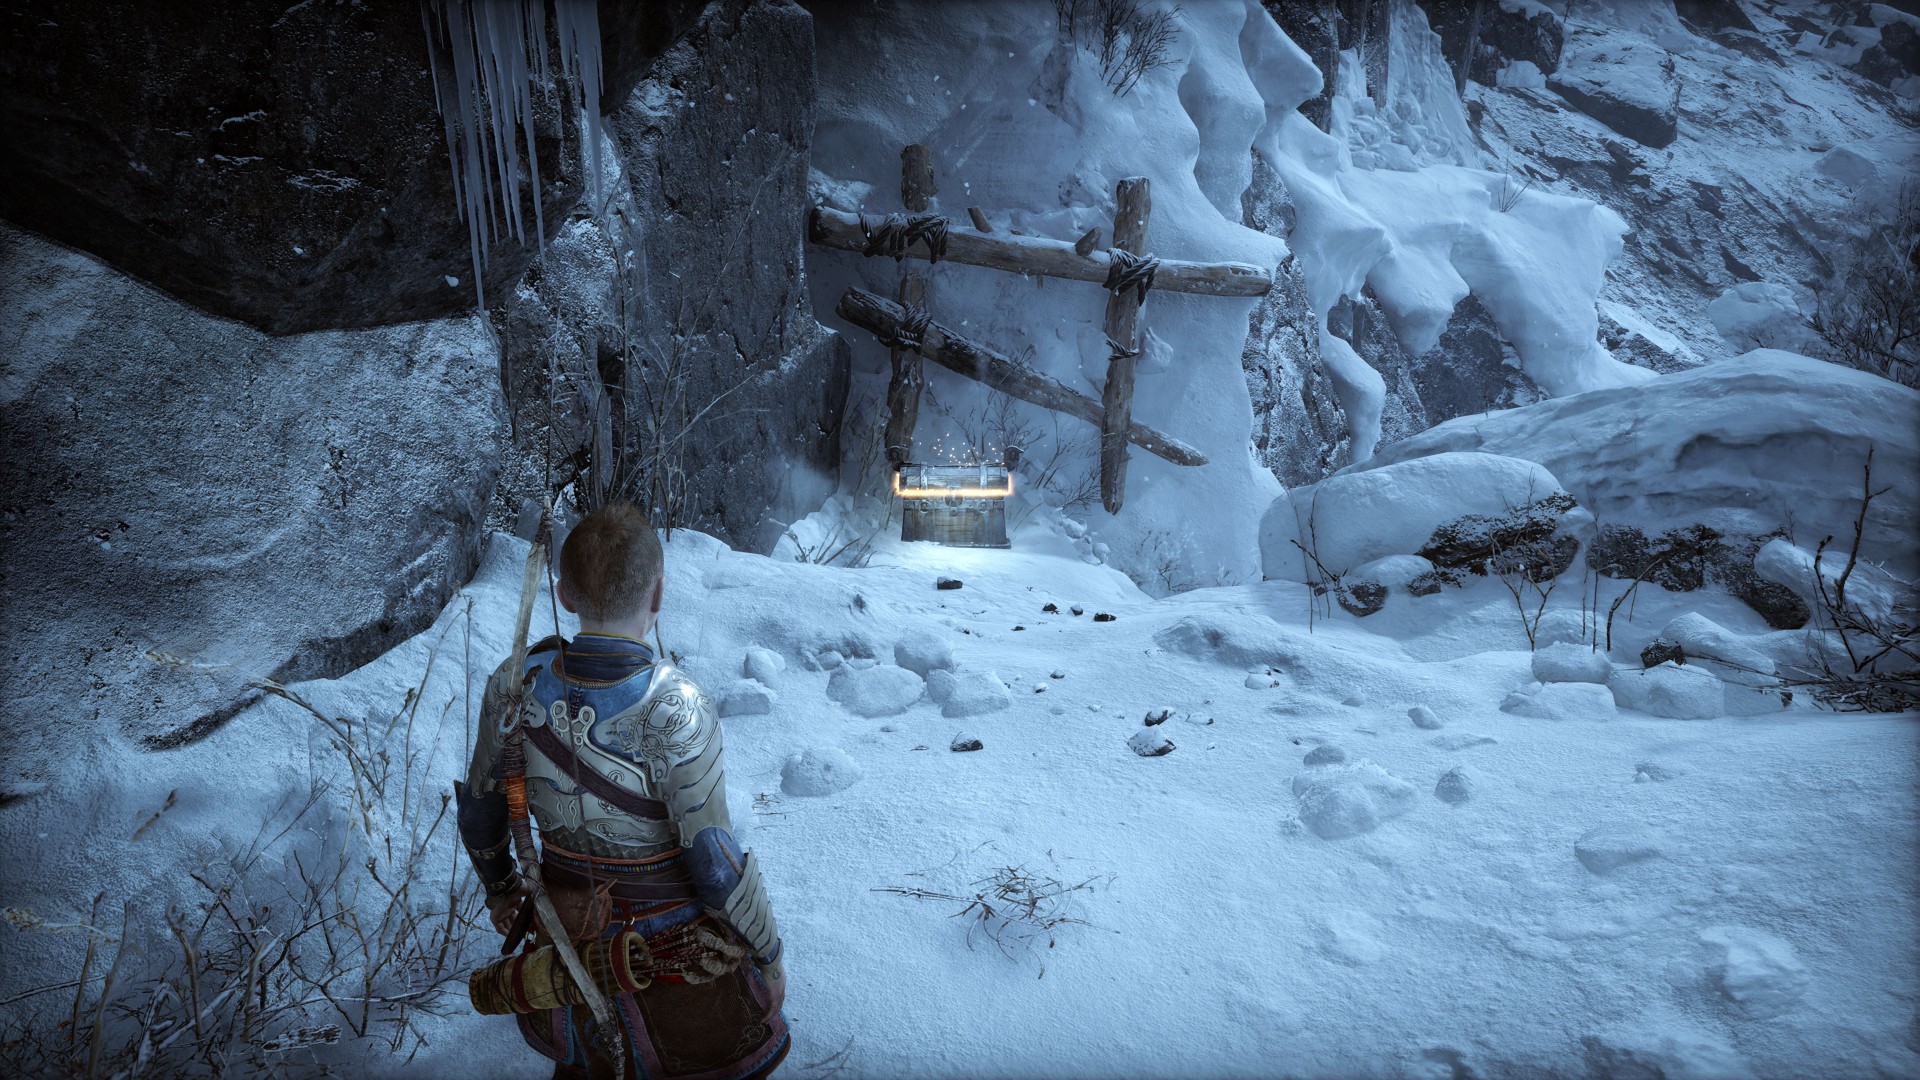
34Yellow Chest
In order to reach this chest you have to slide down the rope here.
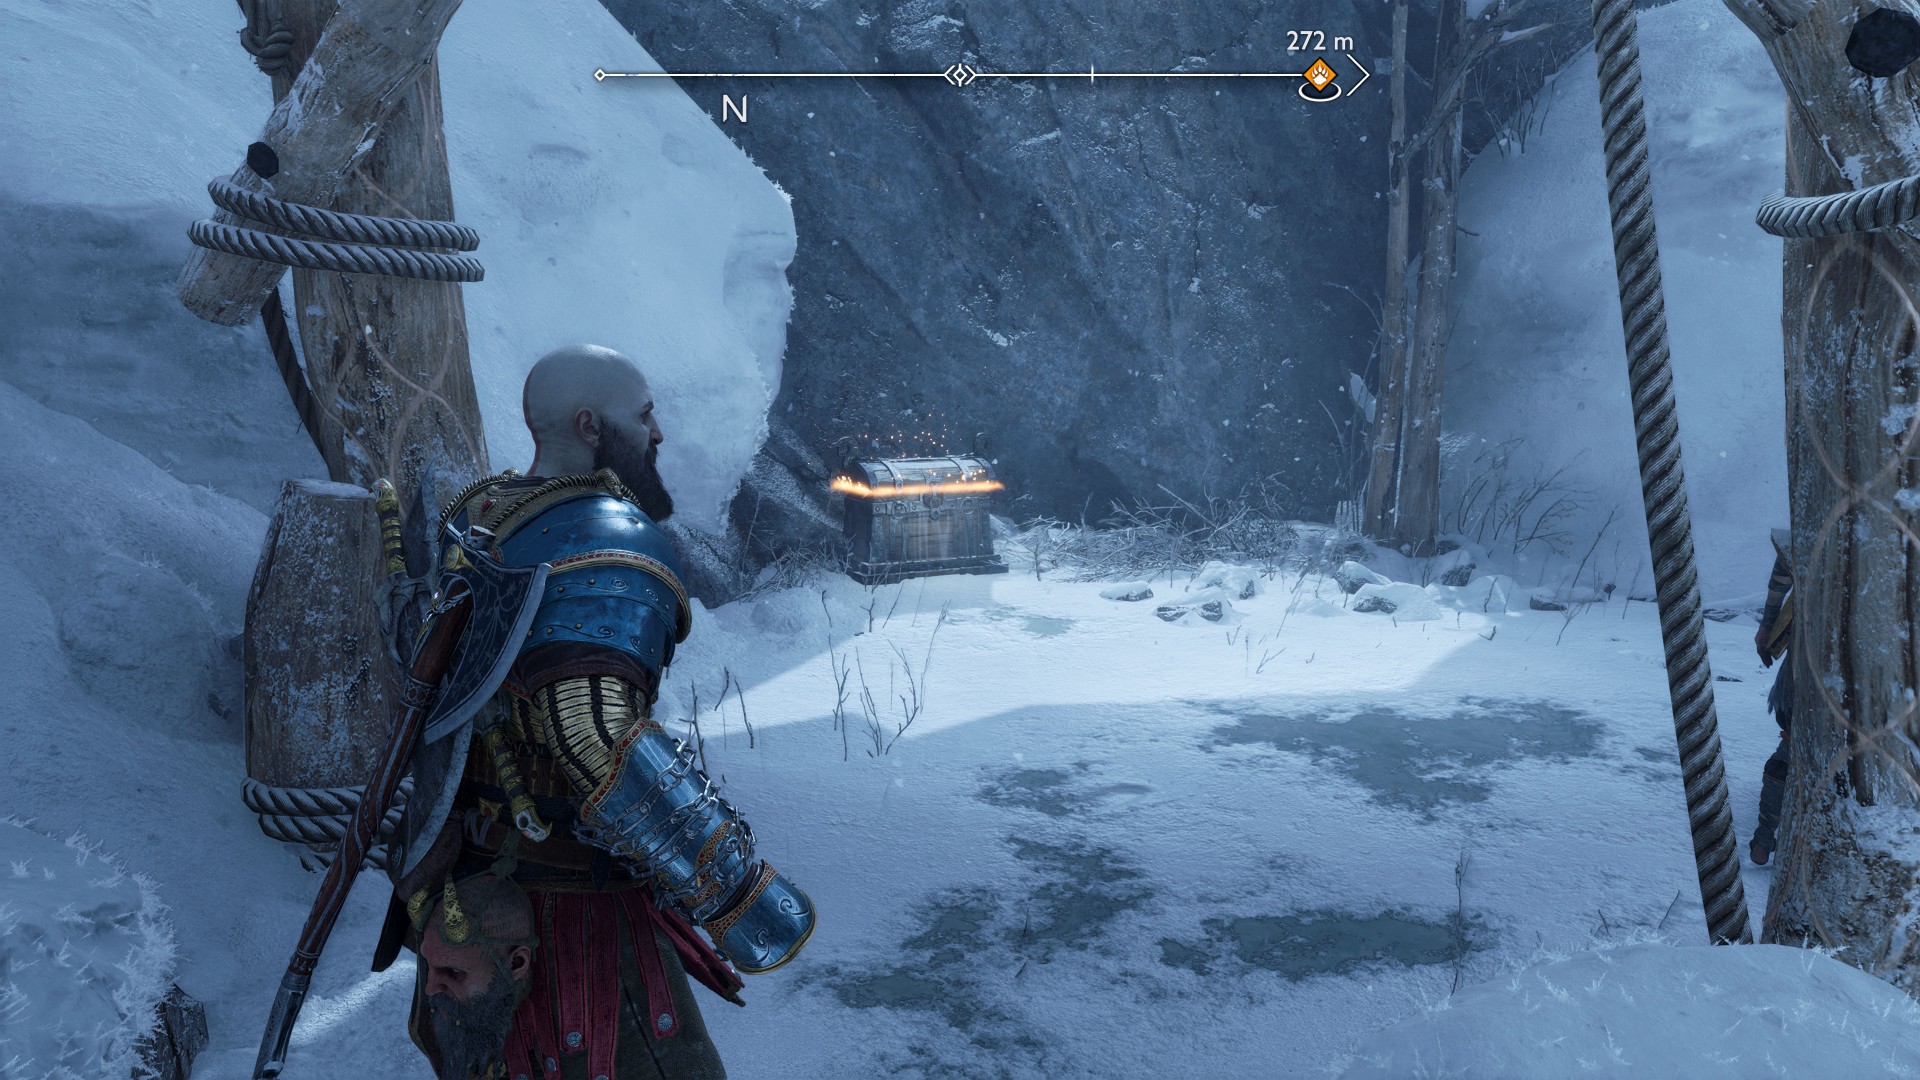
35Yellow Chest
You can collect this chest during the main mission "Old Friends", on the way to Freya.
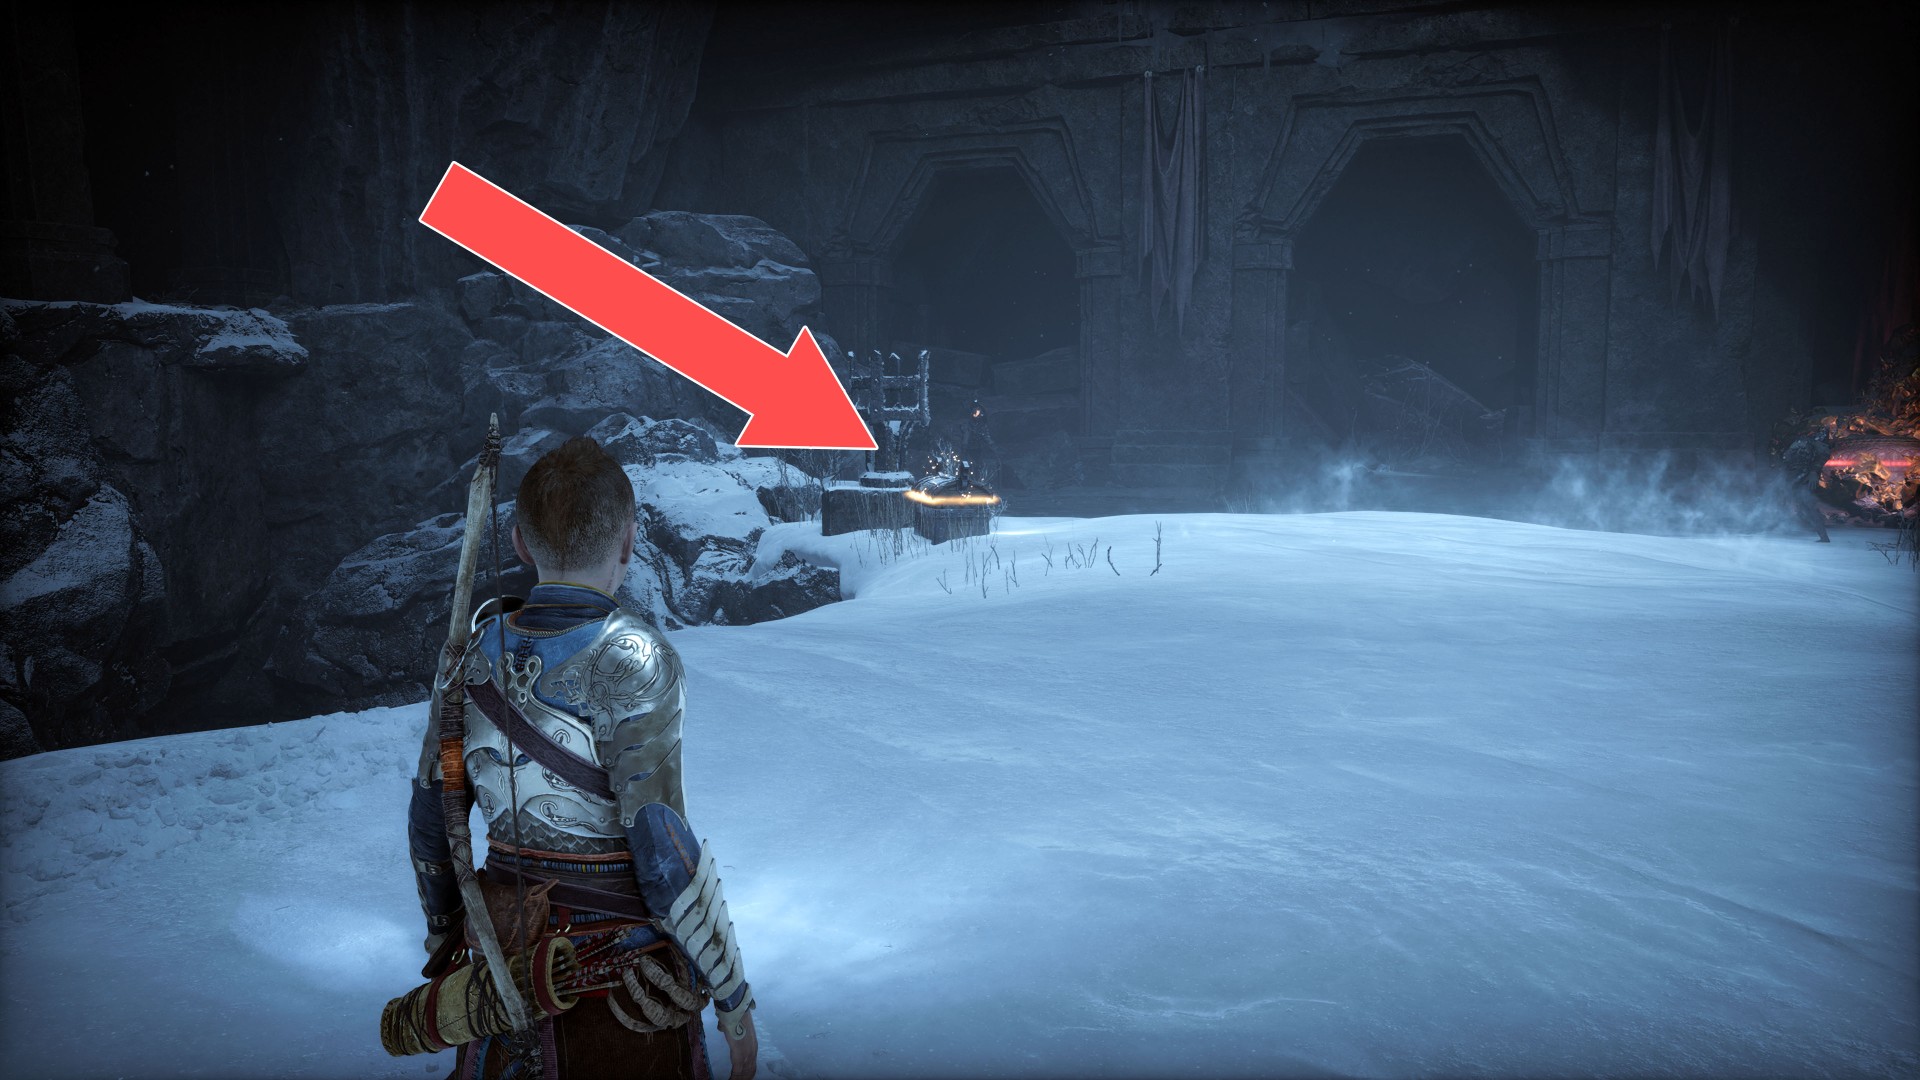
36Yellow Chest
In the caves, etc. that you will traverse on your way to the Well of Urd.
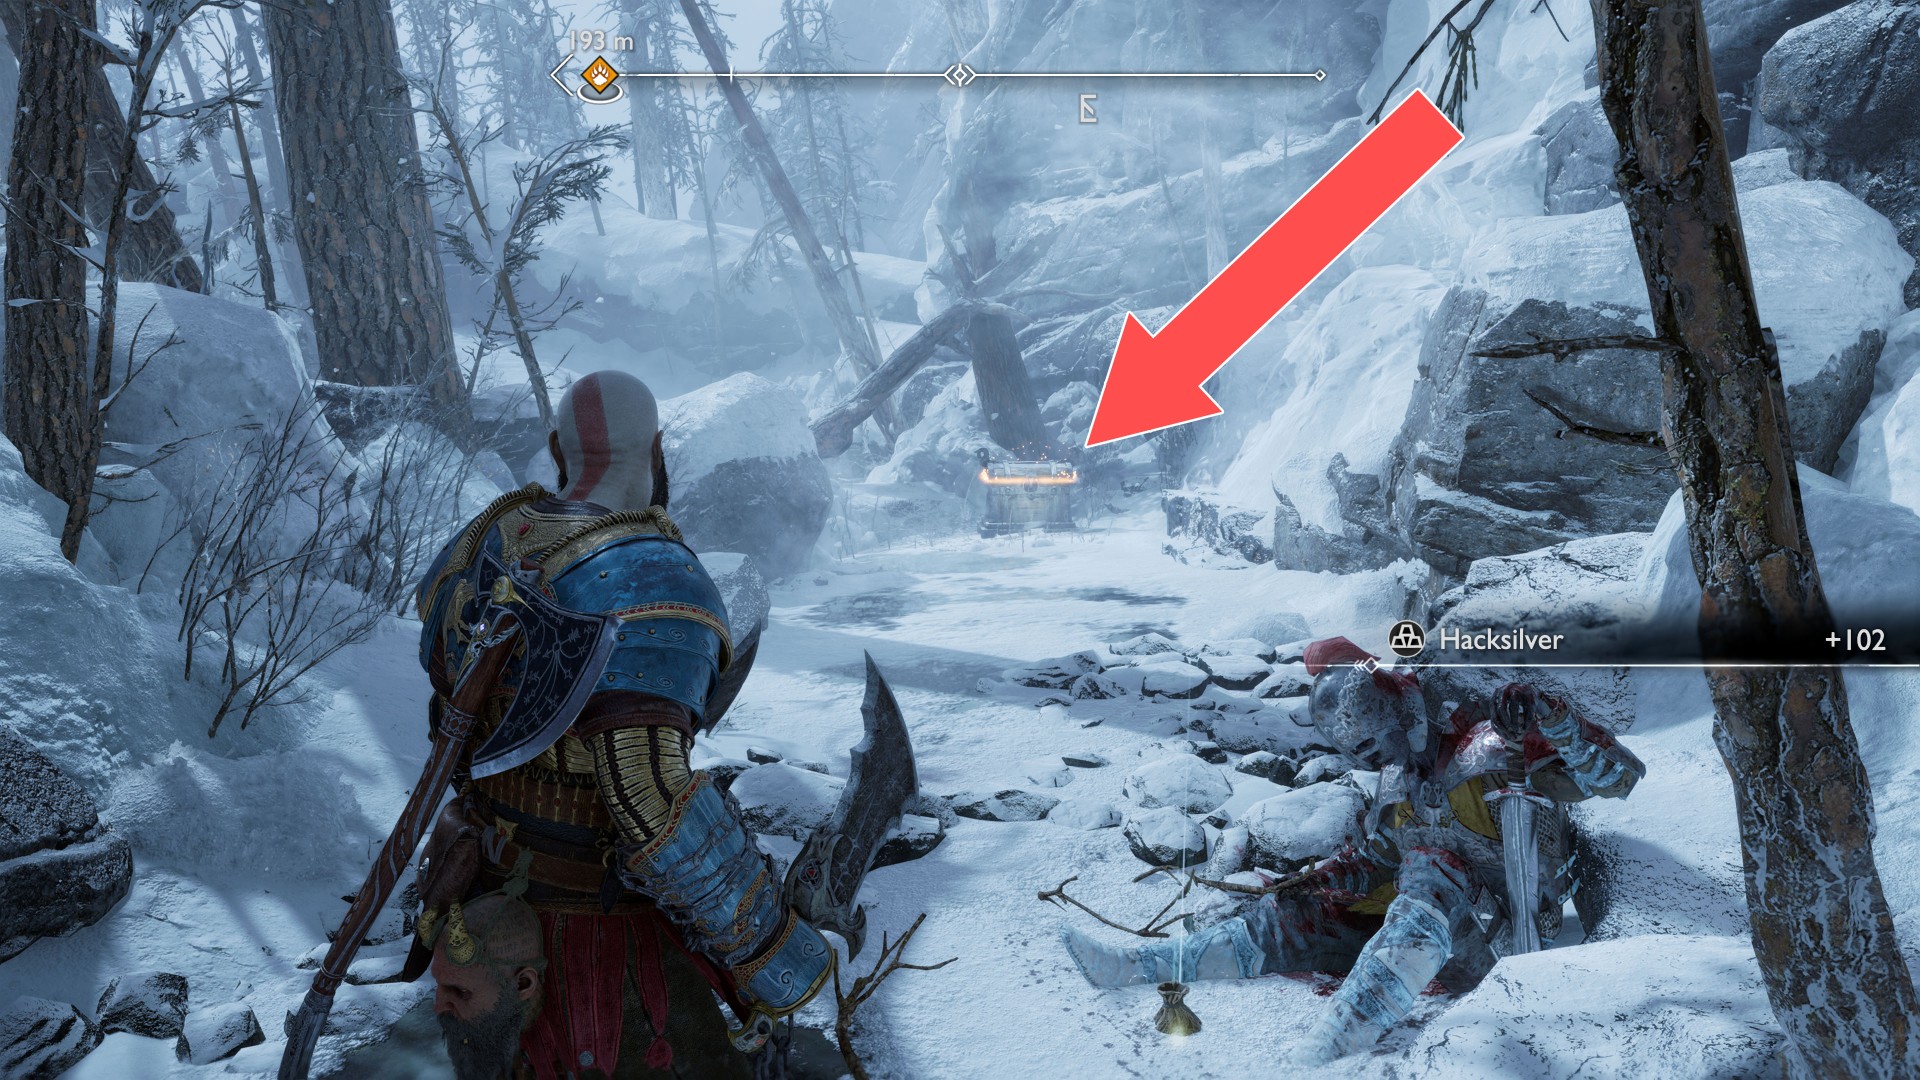
37Yellow Chest
In the caves, etc. that you will traverse on your way to the Well of Urd.
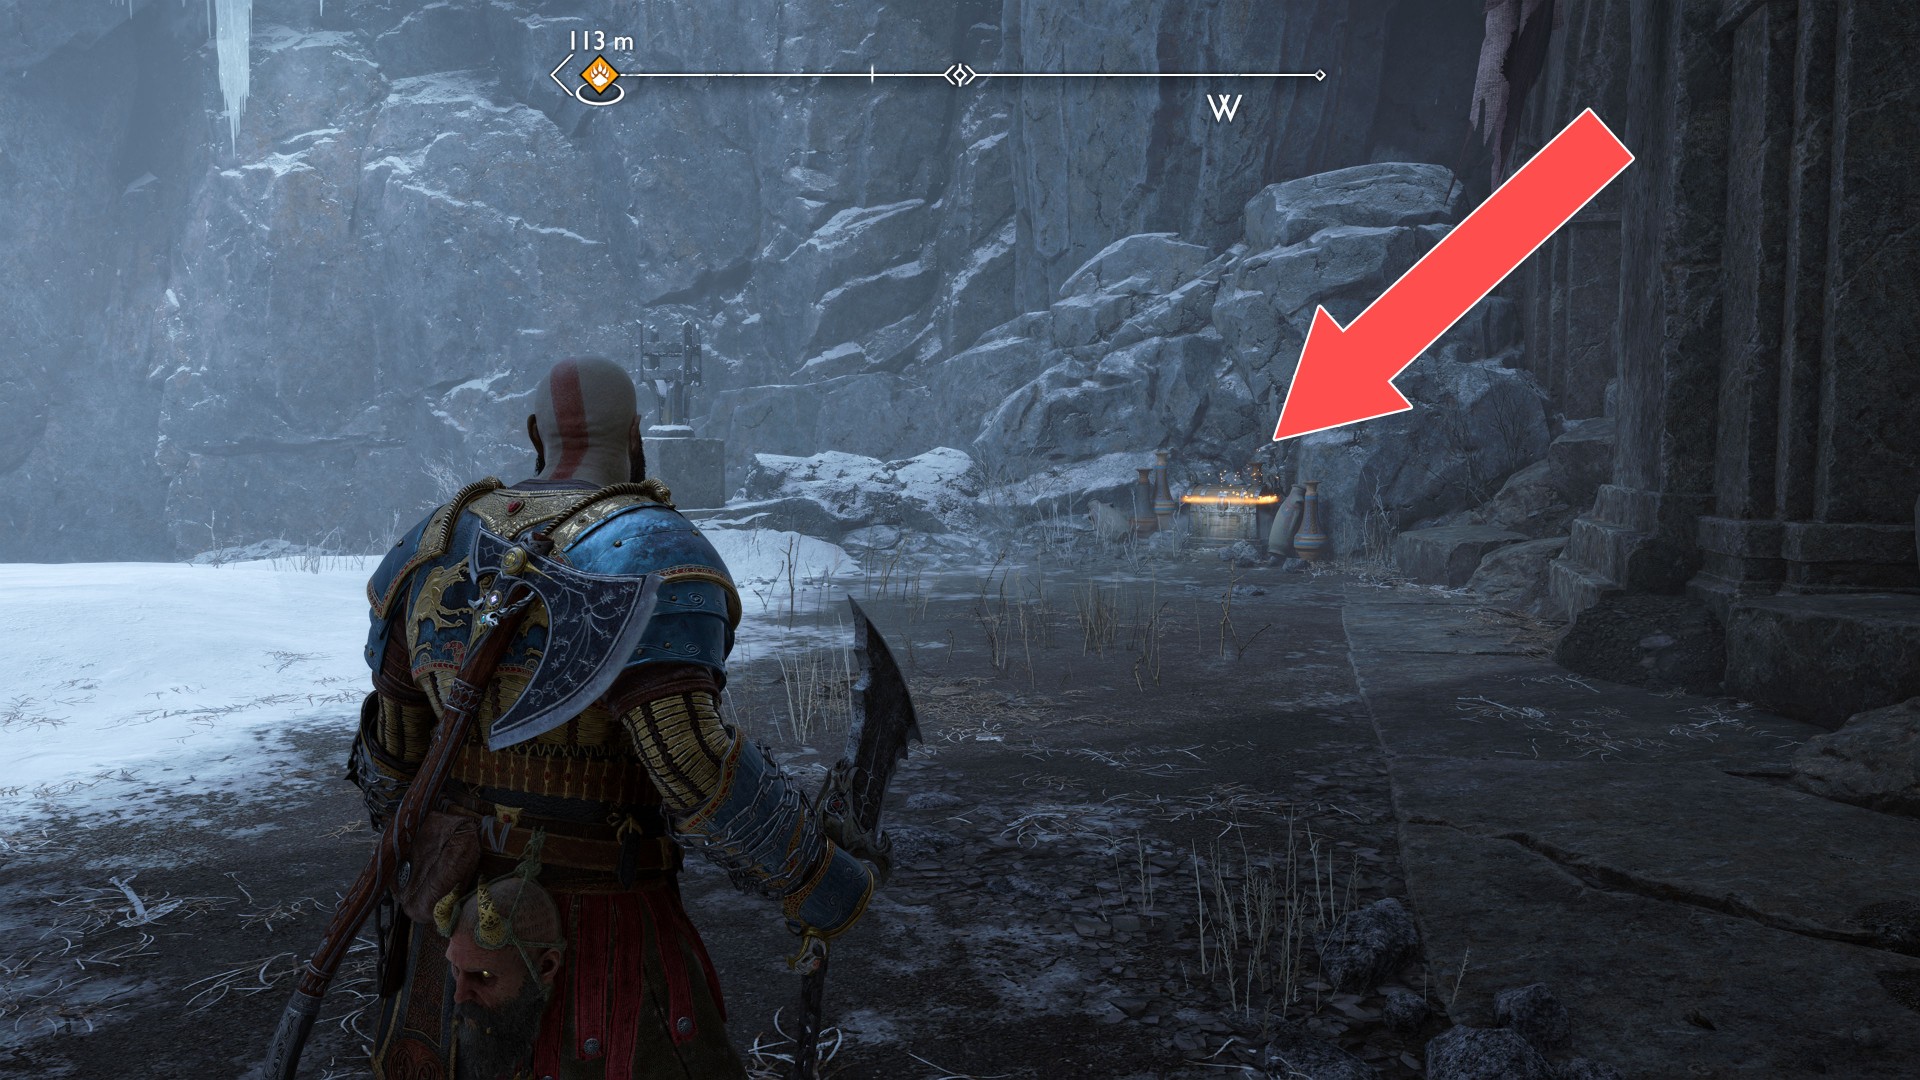
38Yellow Chest
In the caves, etc. that you will traverse on your way to the Well of Urd.
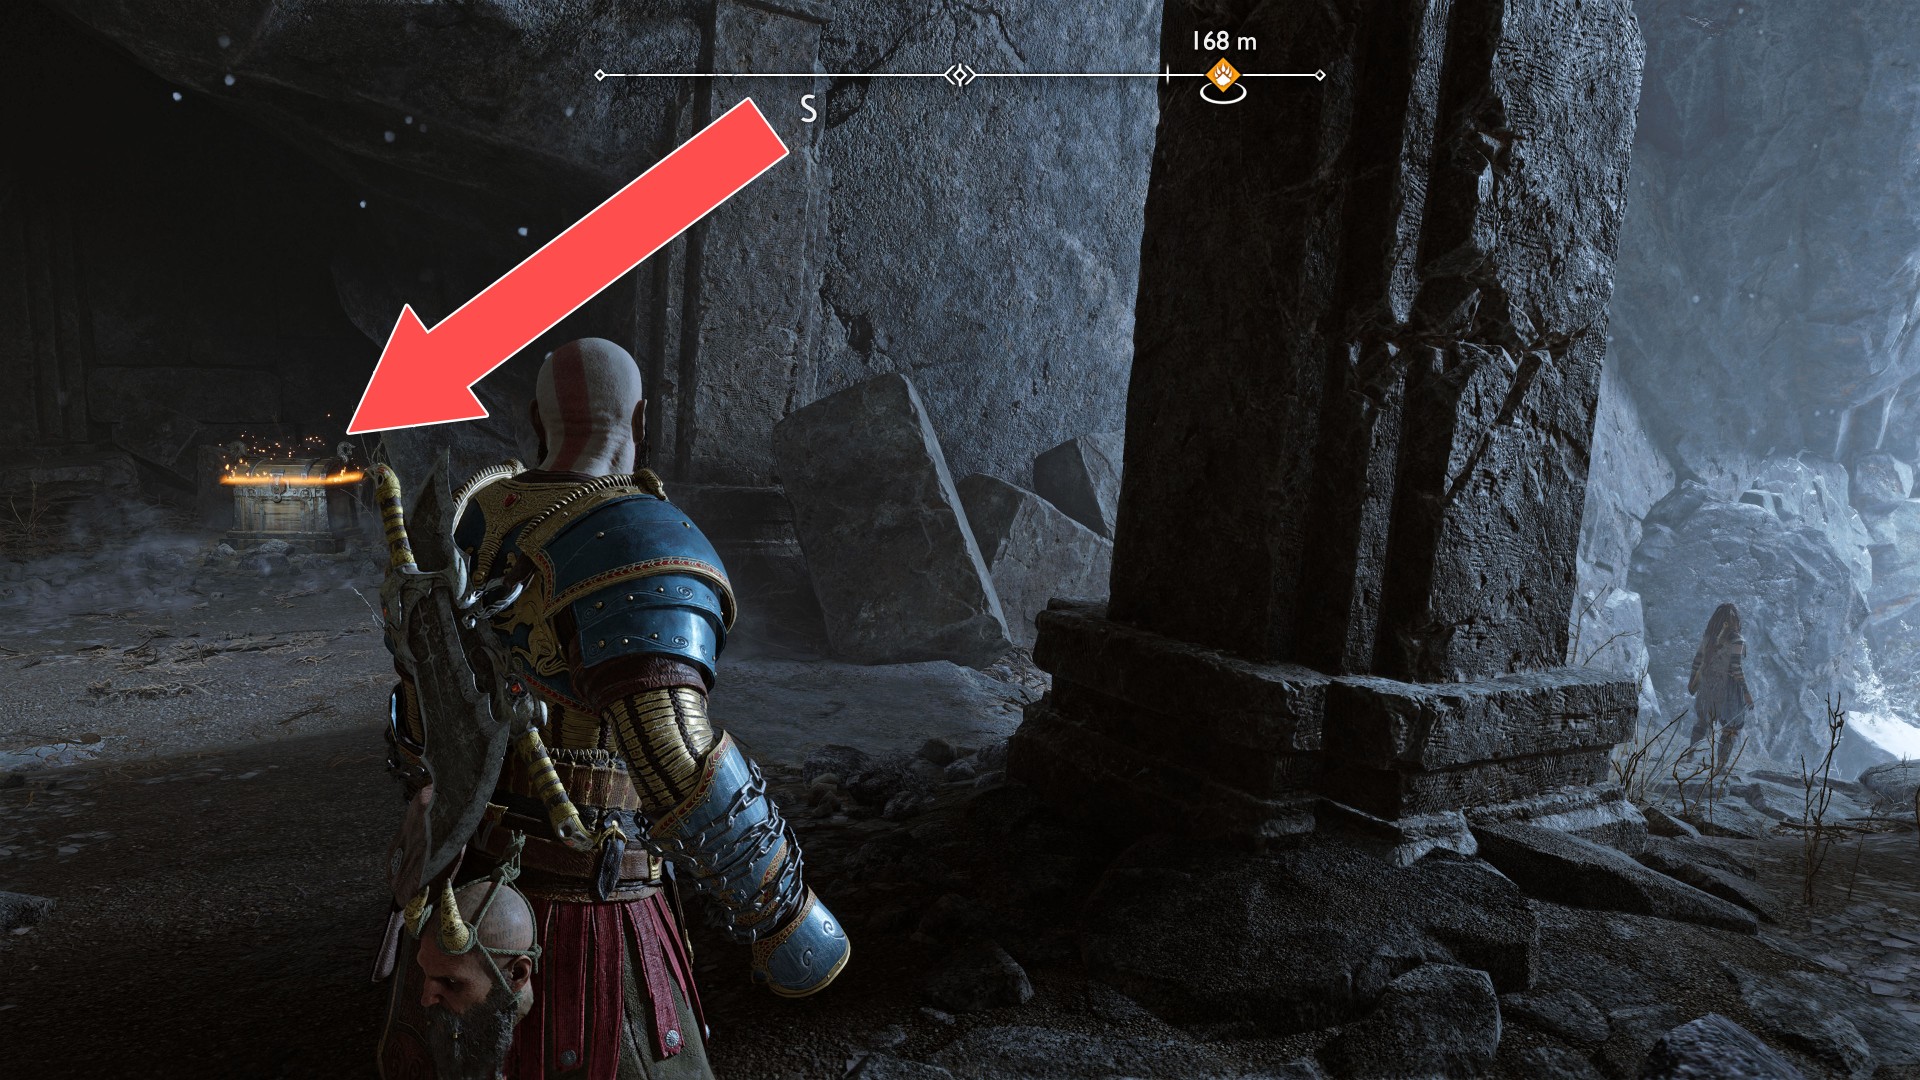
39Yellow Chest
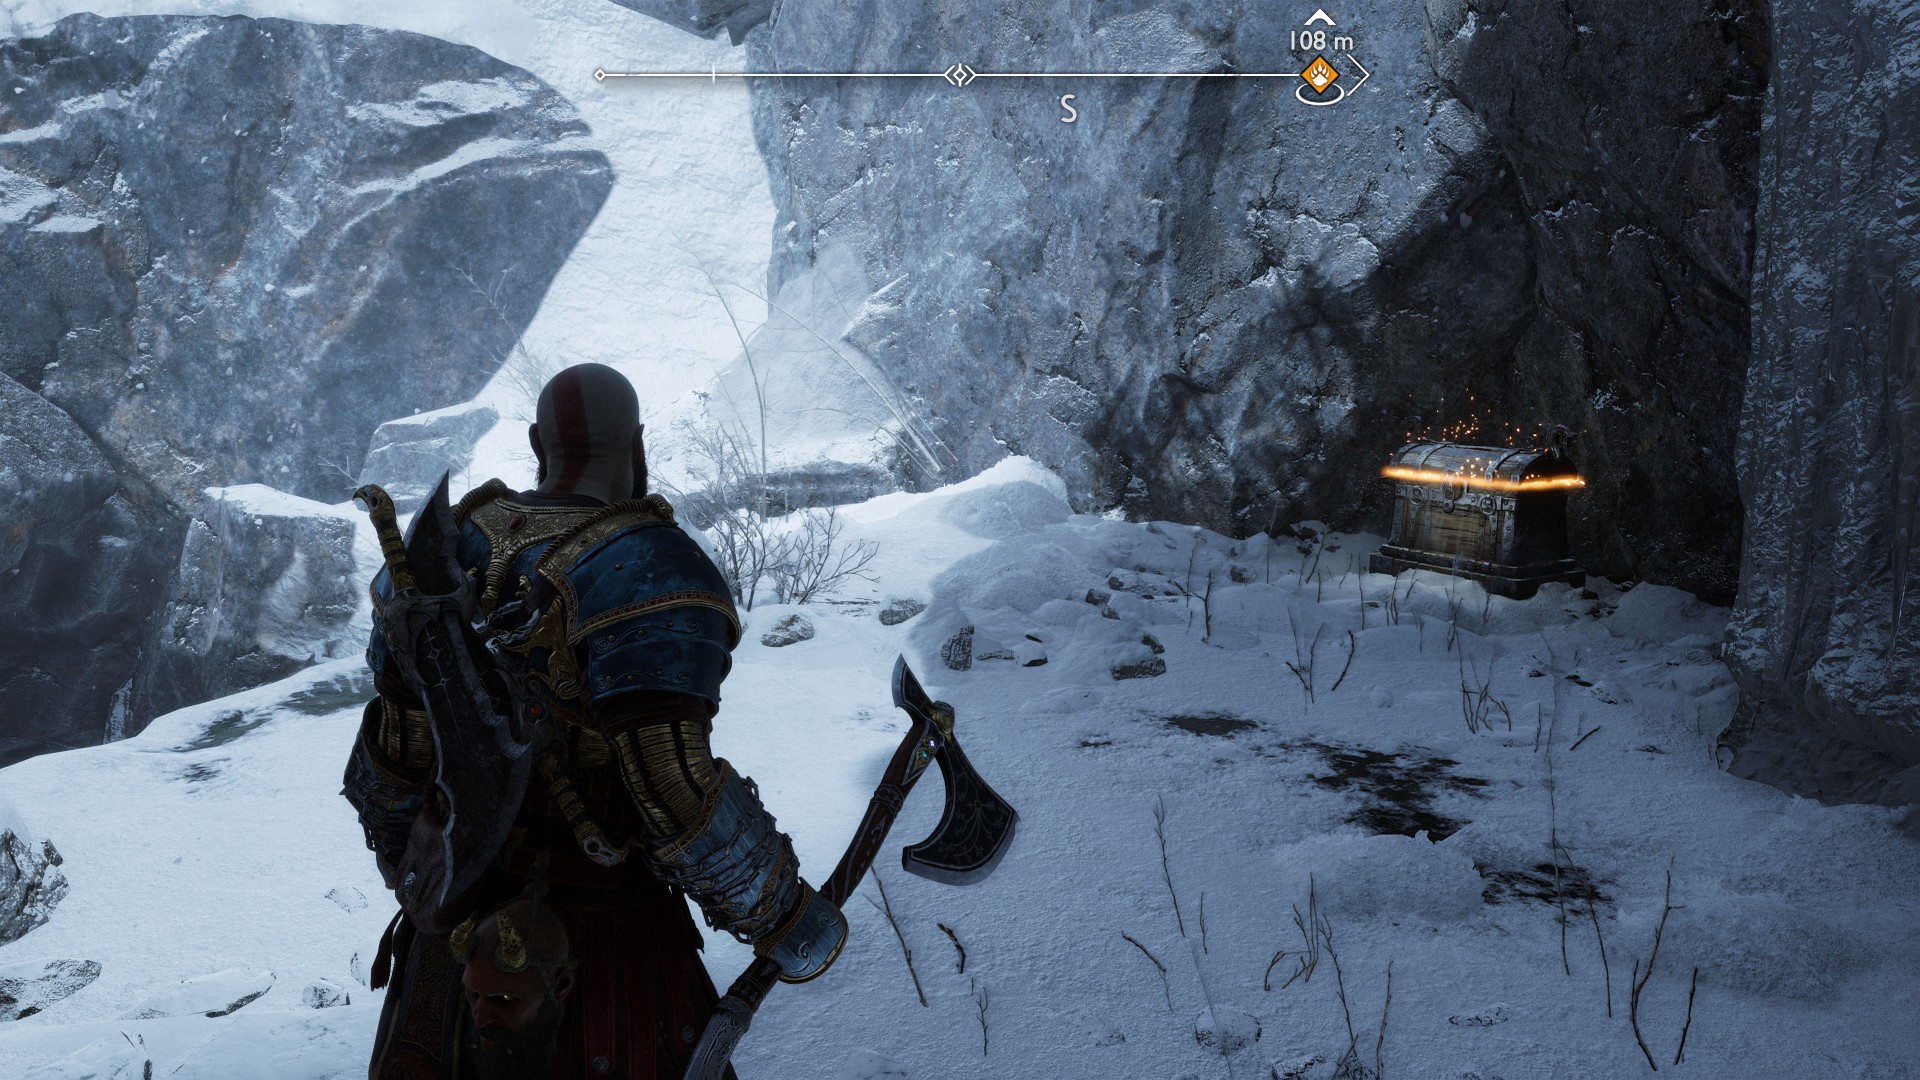
40Yellow Chest
You will find this chest on the way back from the Well of Urd.
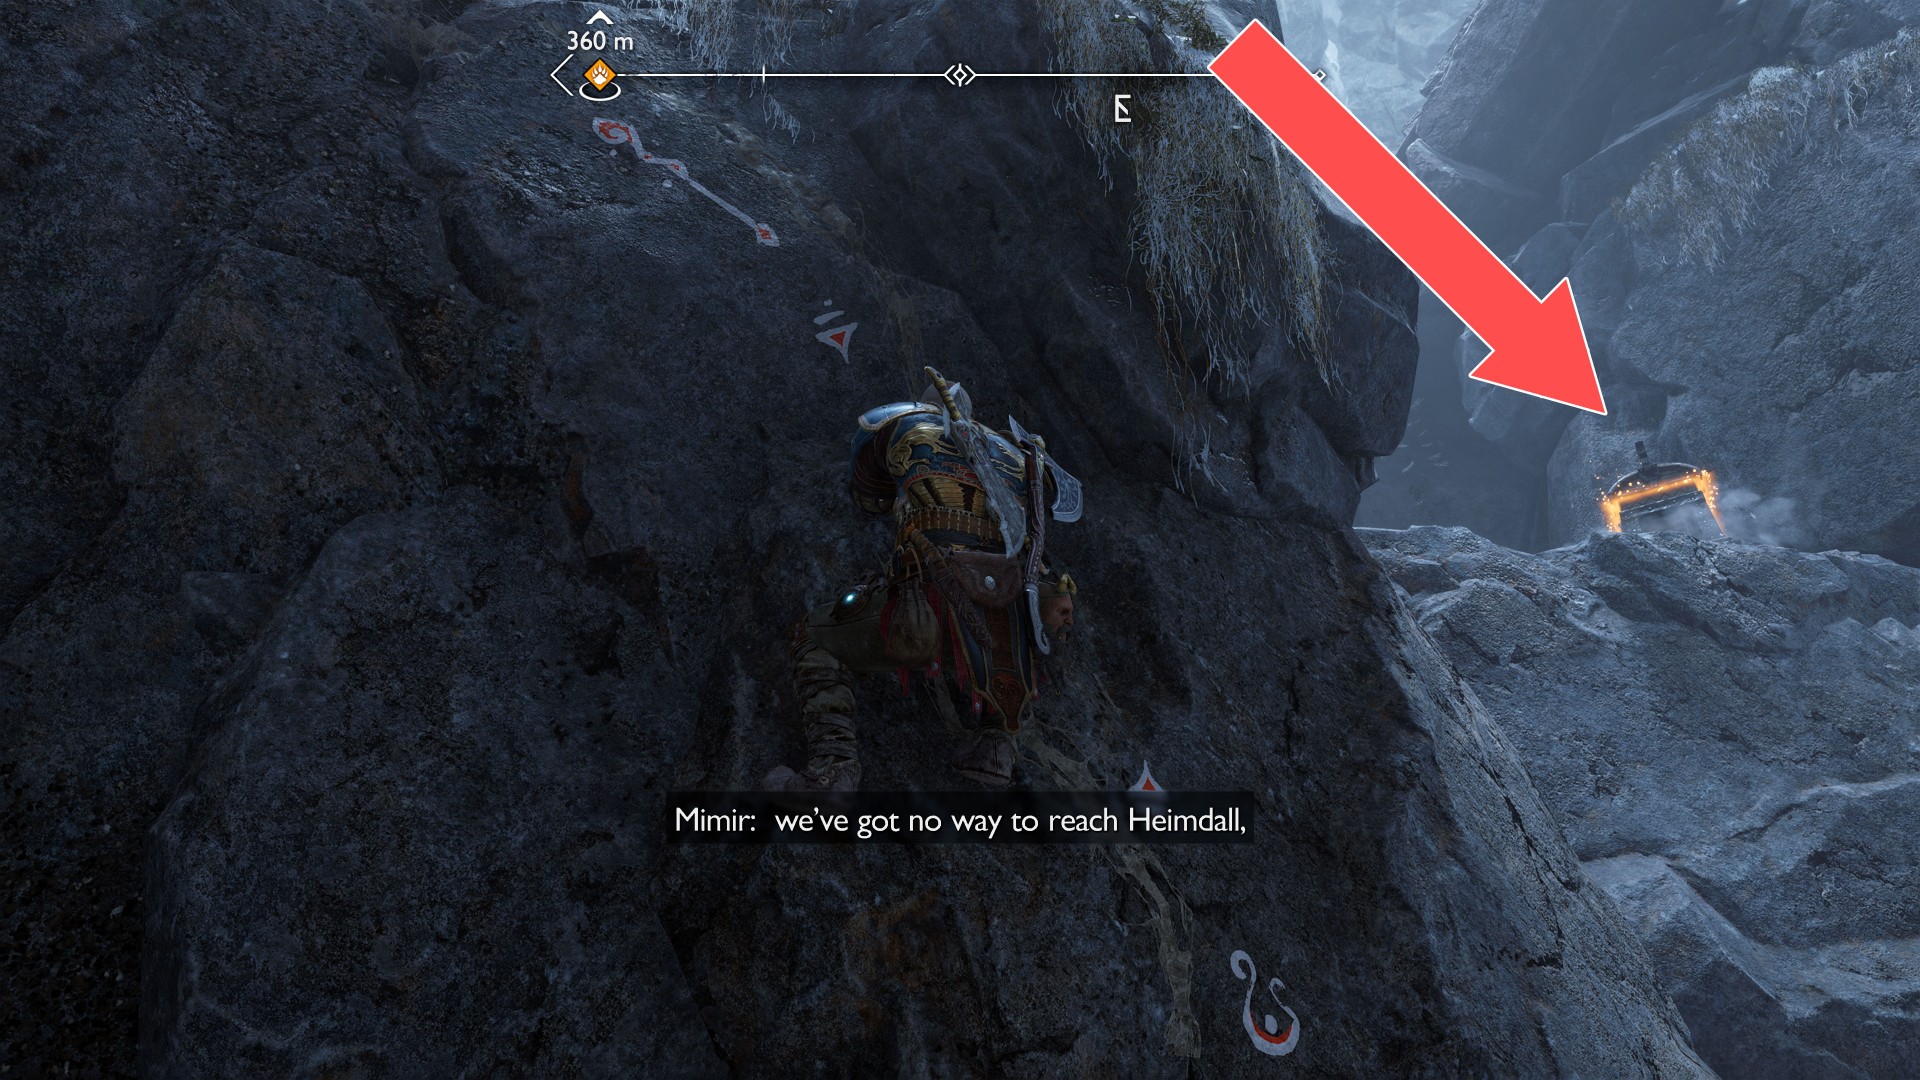
41Yellow Chest
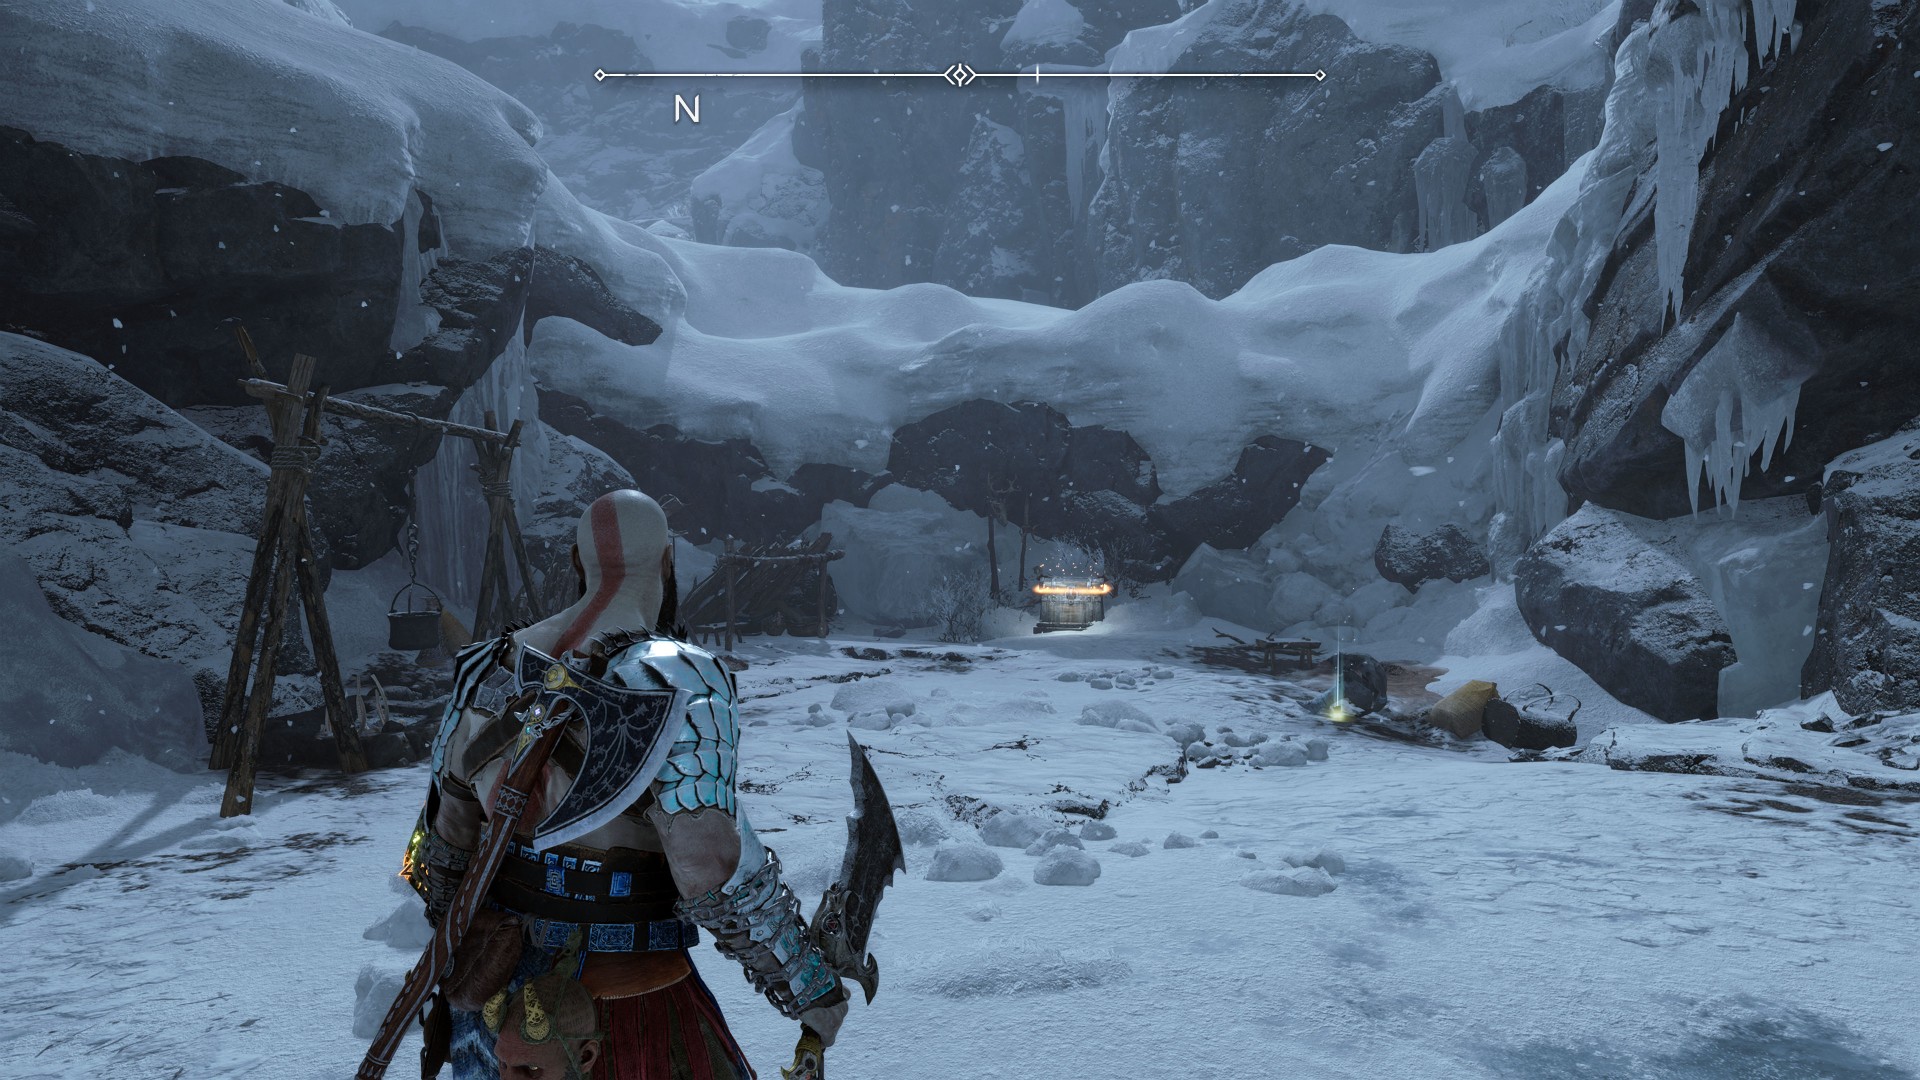
42Yellow Chest
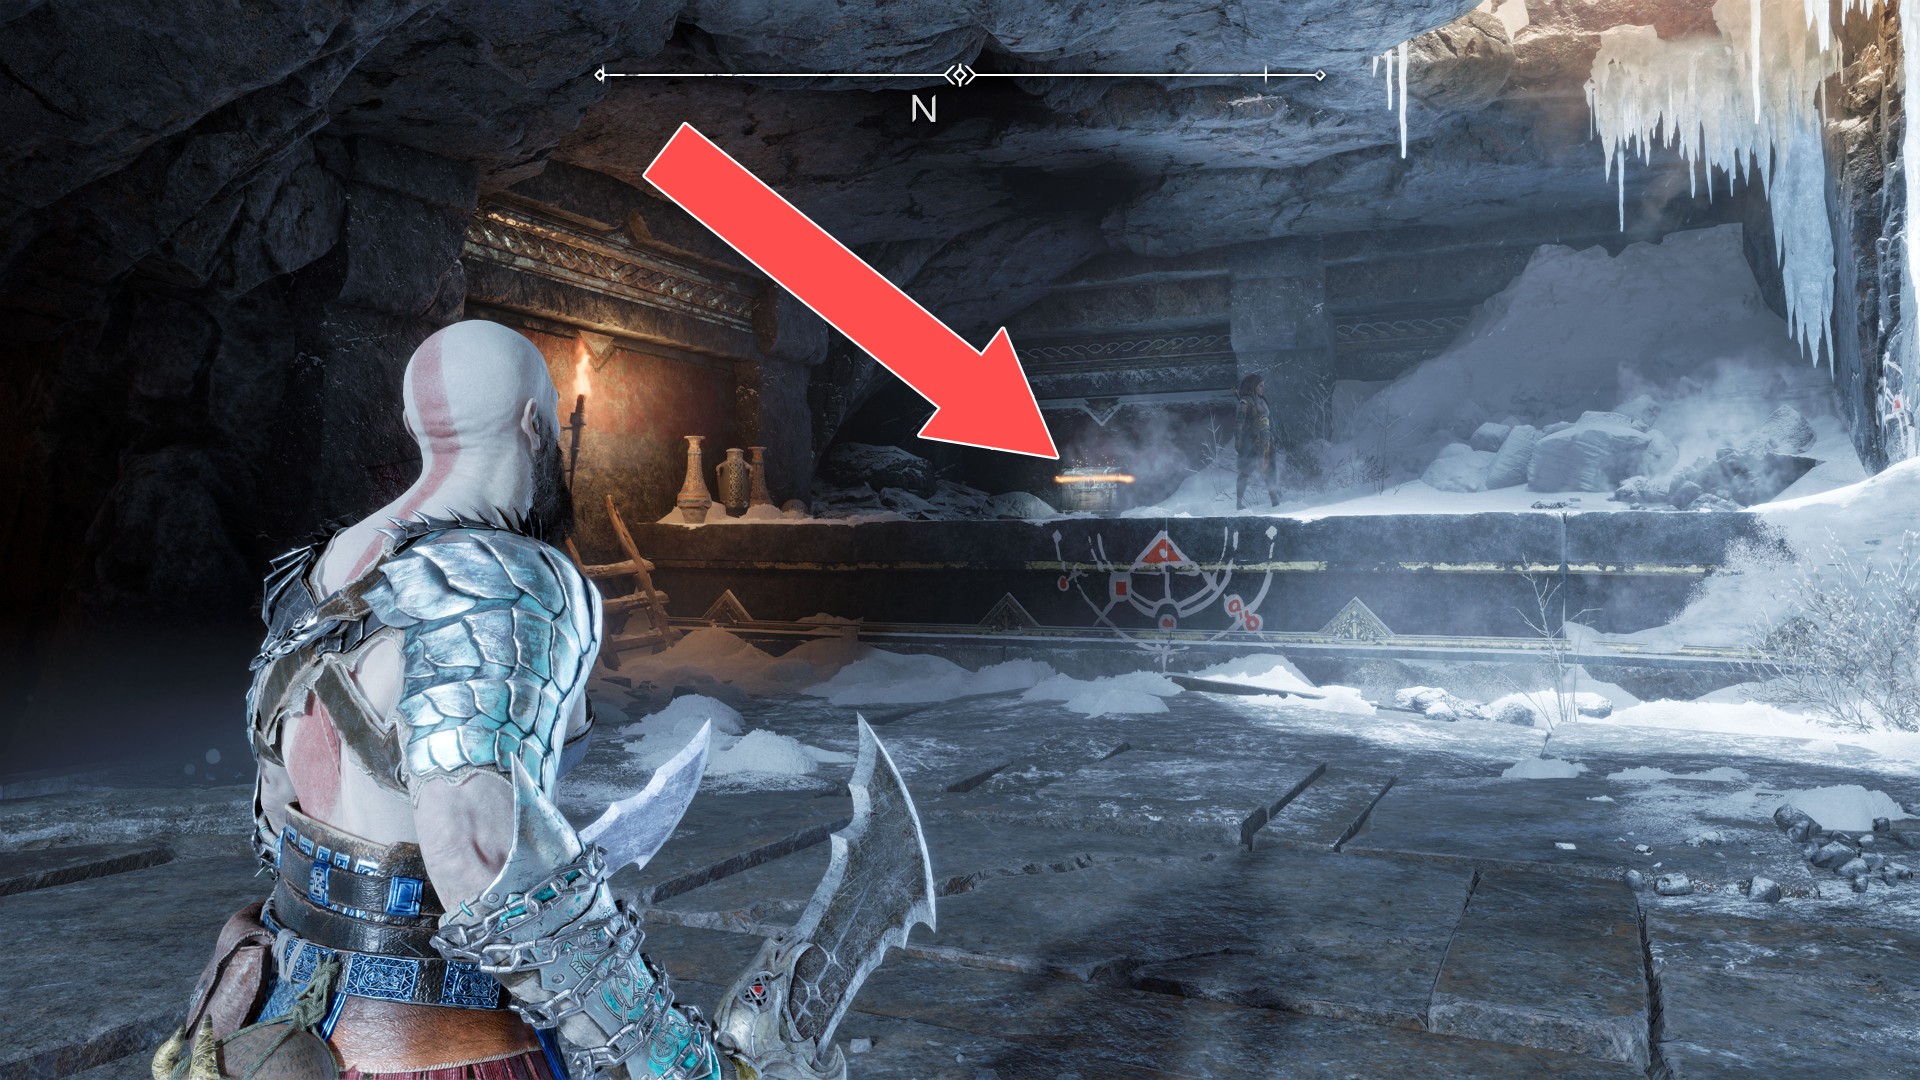
43Yellow Chest
You can open this chest during the main mission "Old Friends", after the meeting with Freya.
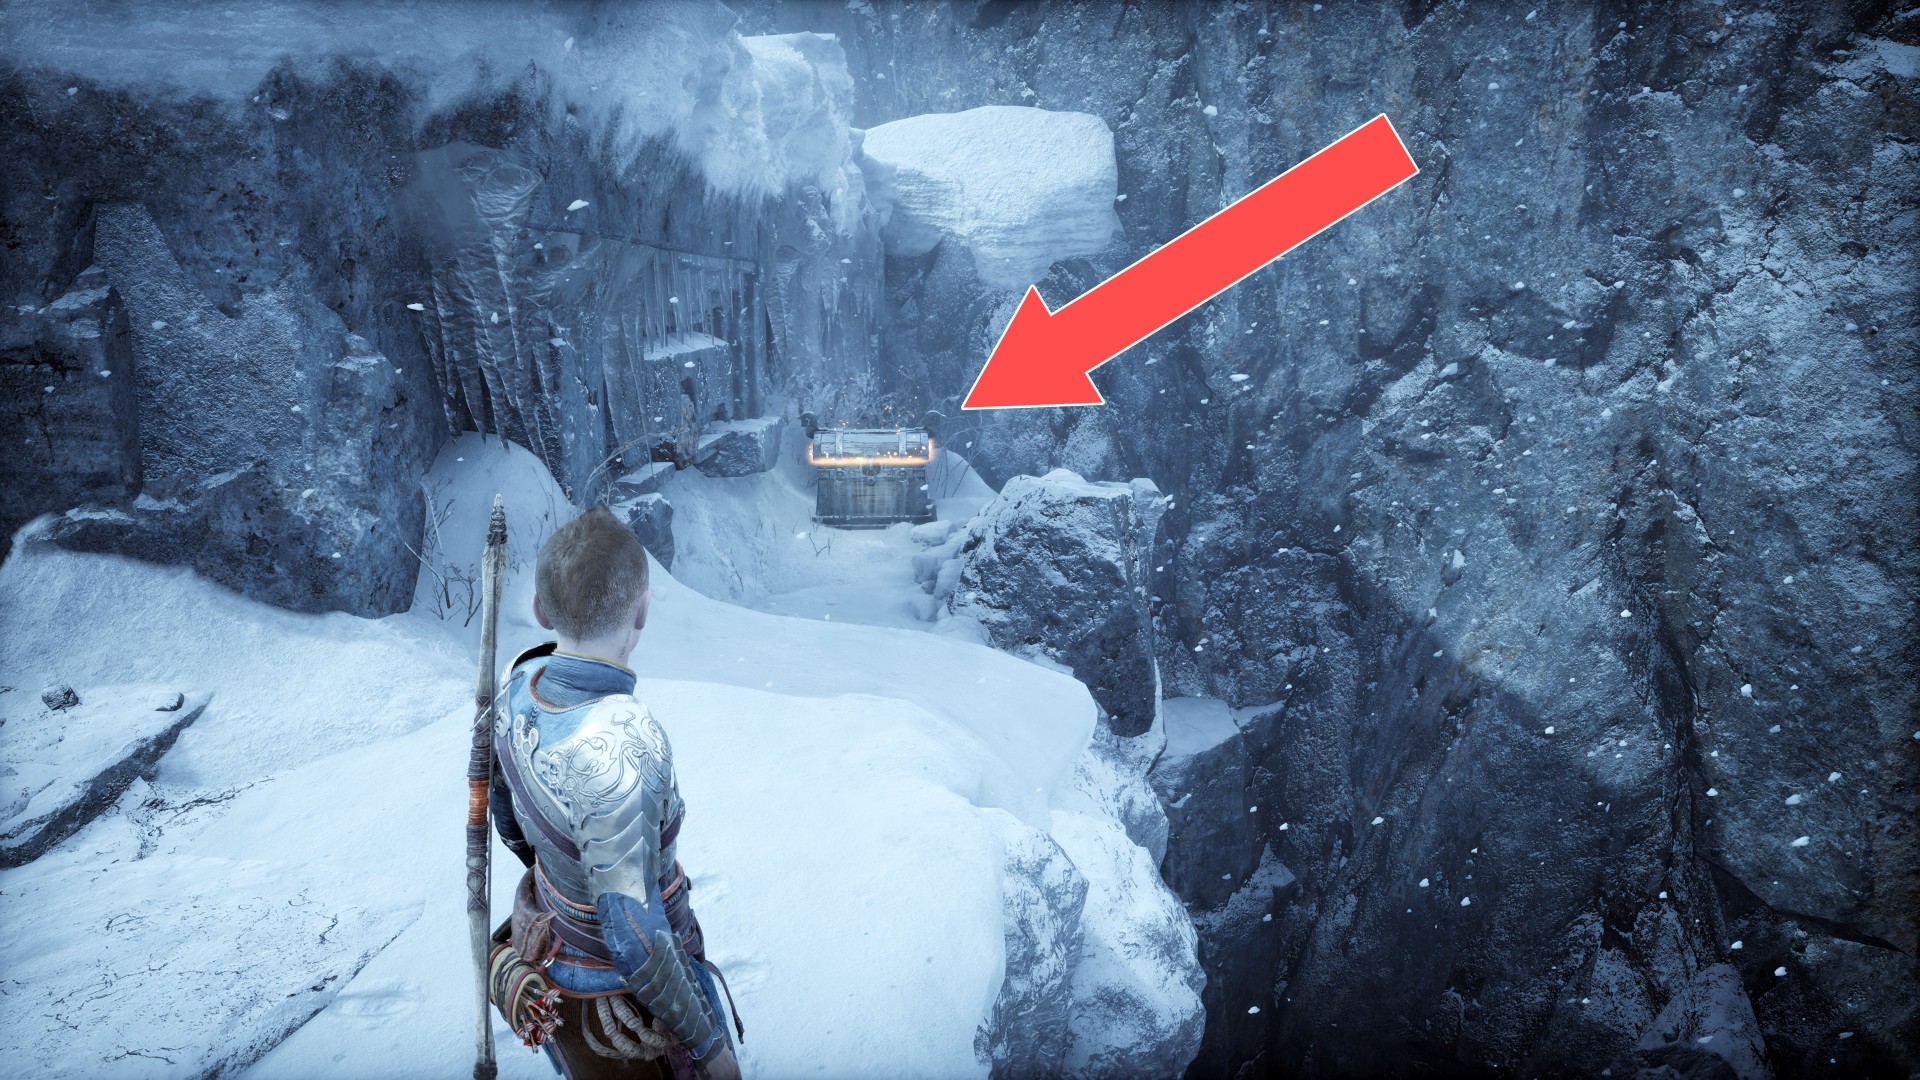
44Yellow Chest
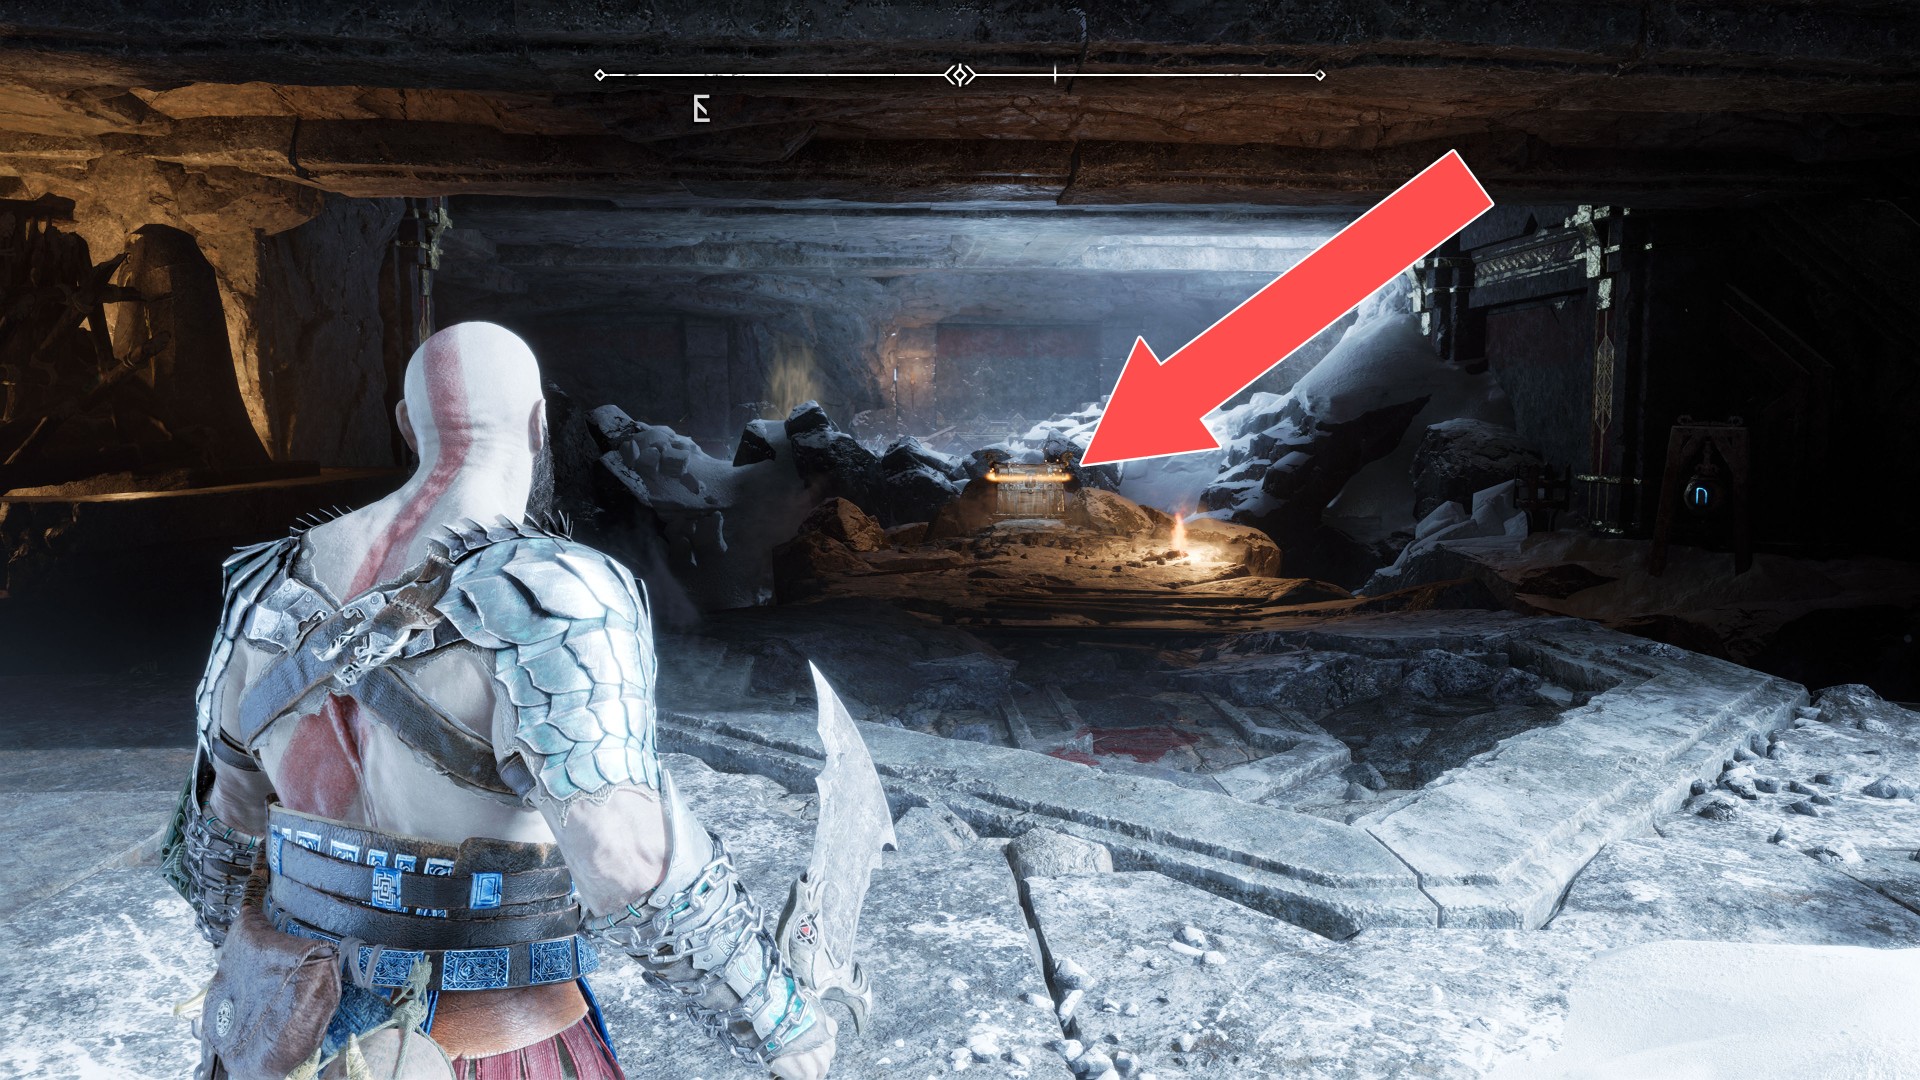
45Yellow Chest
You can collect this chest during the main mission "Old Friends".
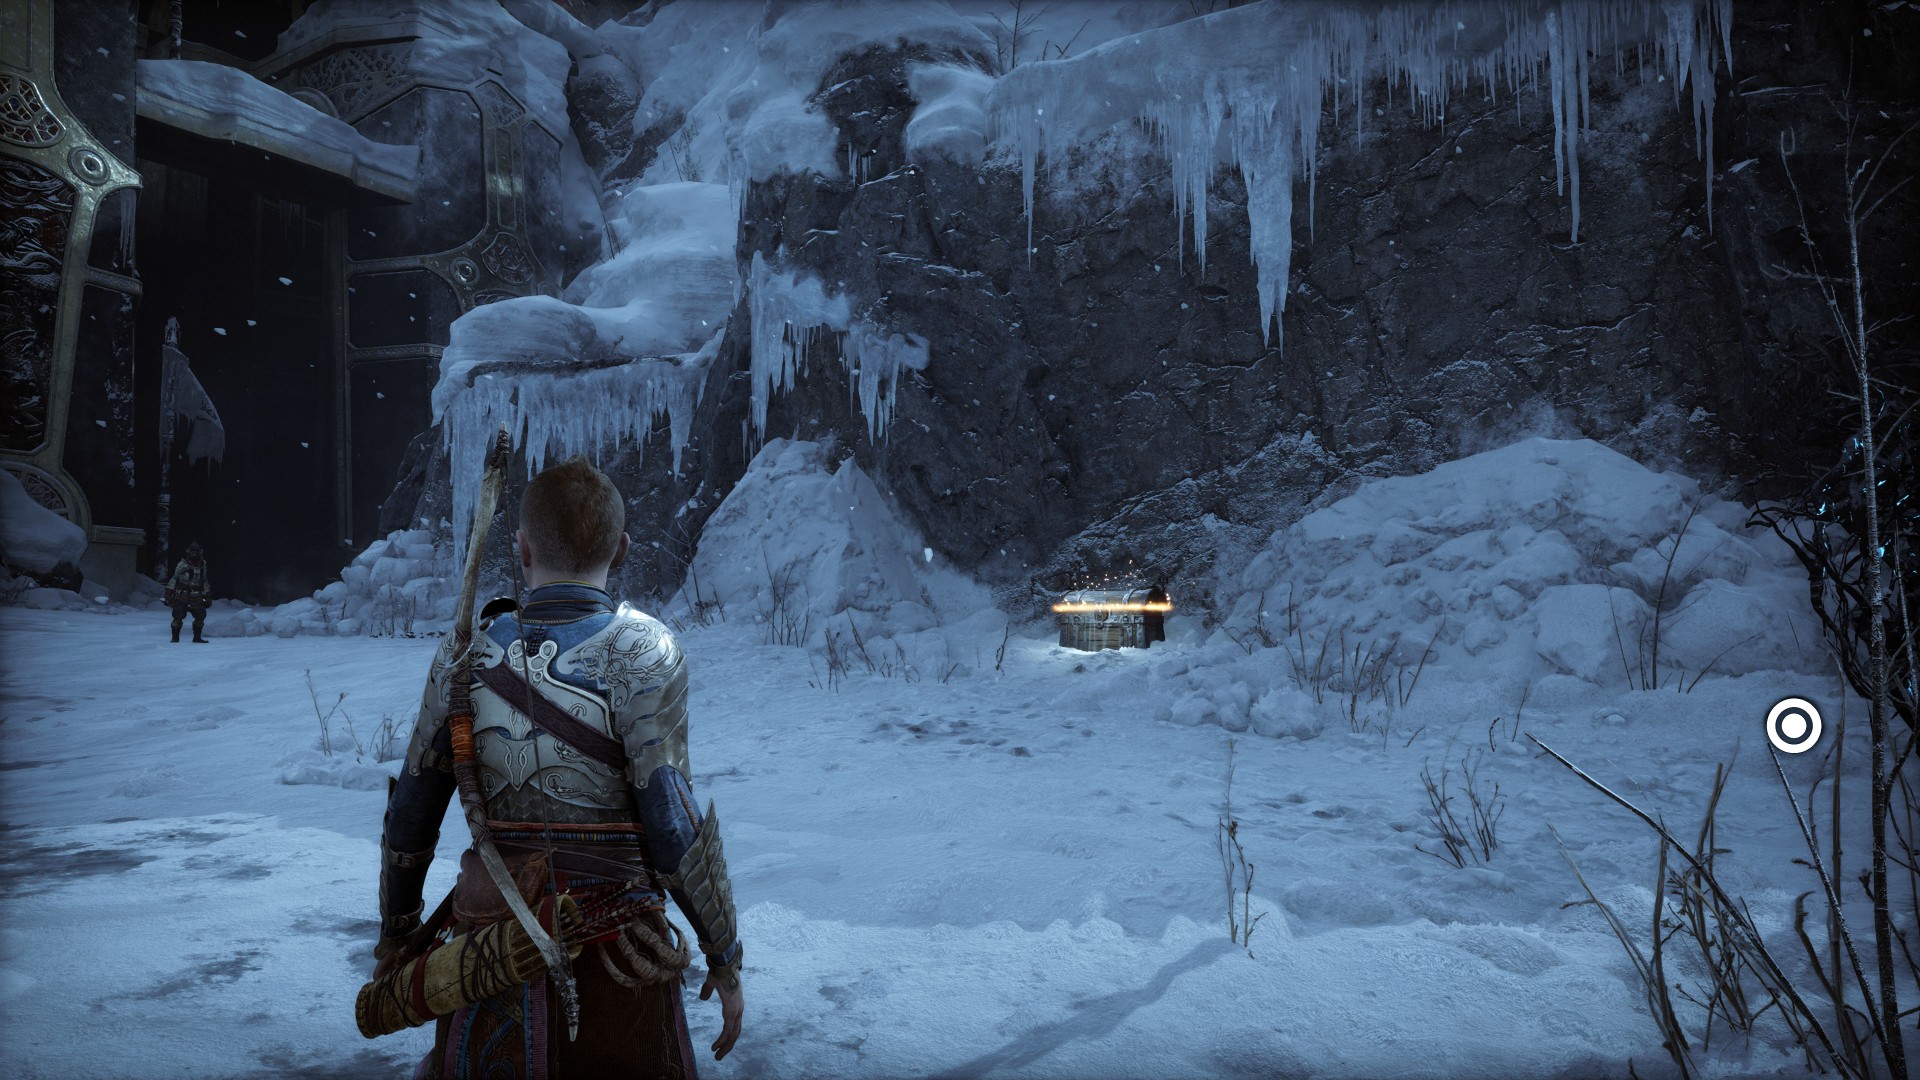
46Yellow Chest
It is under the stairs leading to the legendary chest.
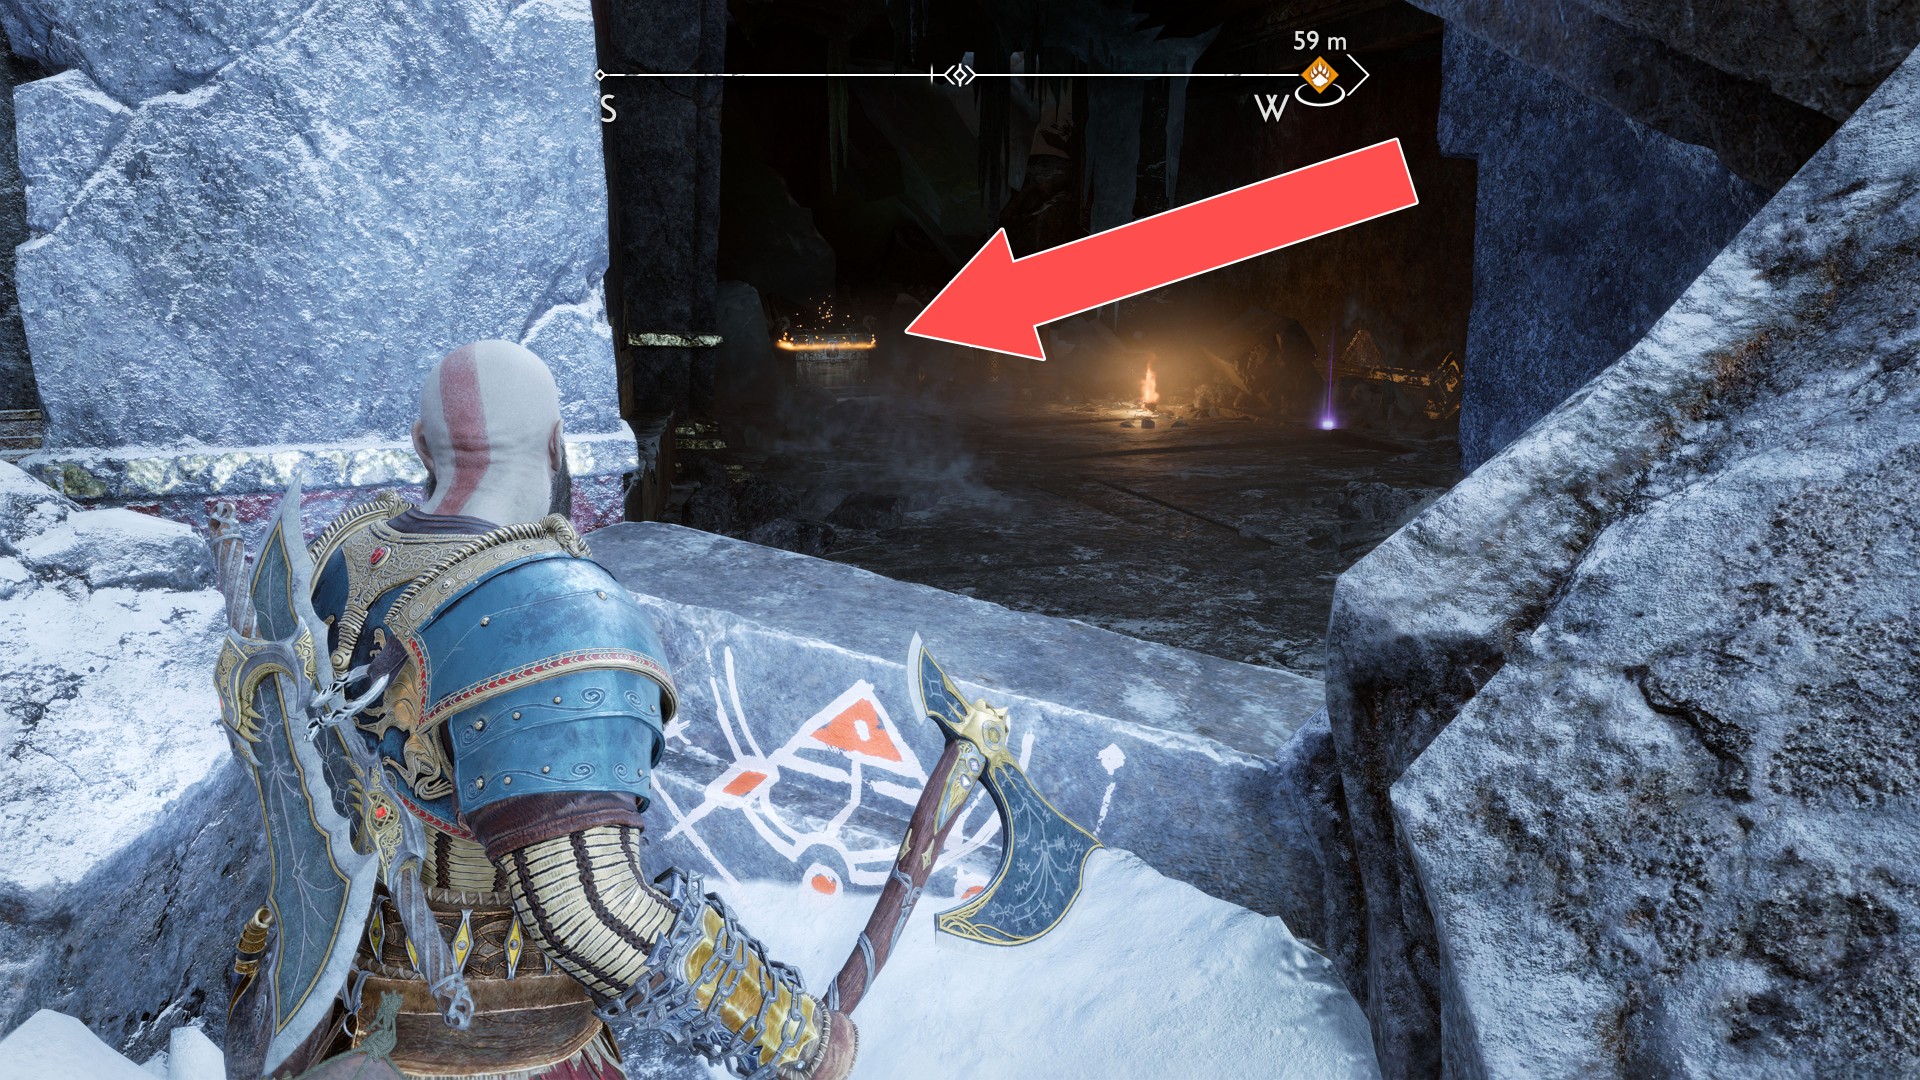
47Yellow Chest
You can collect this chest during the main mission "Old Friends".
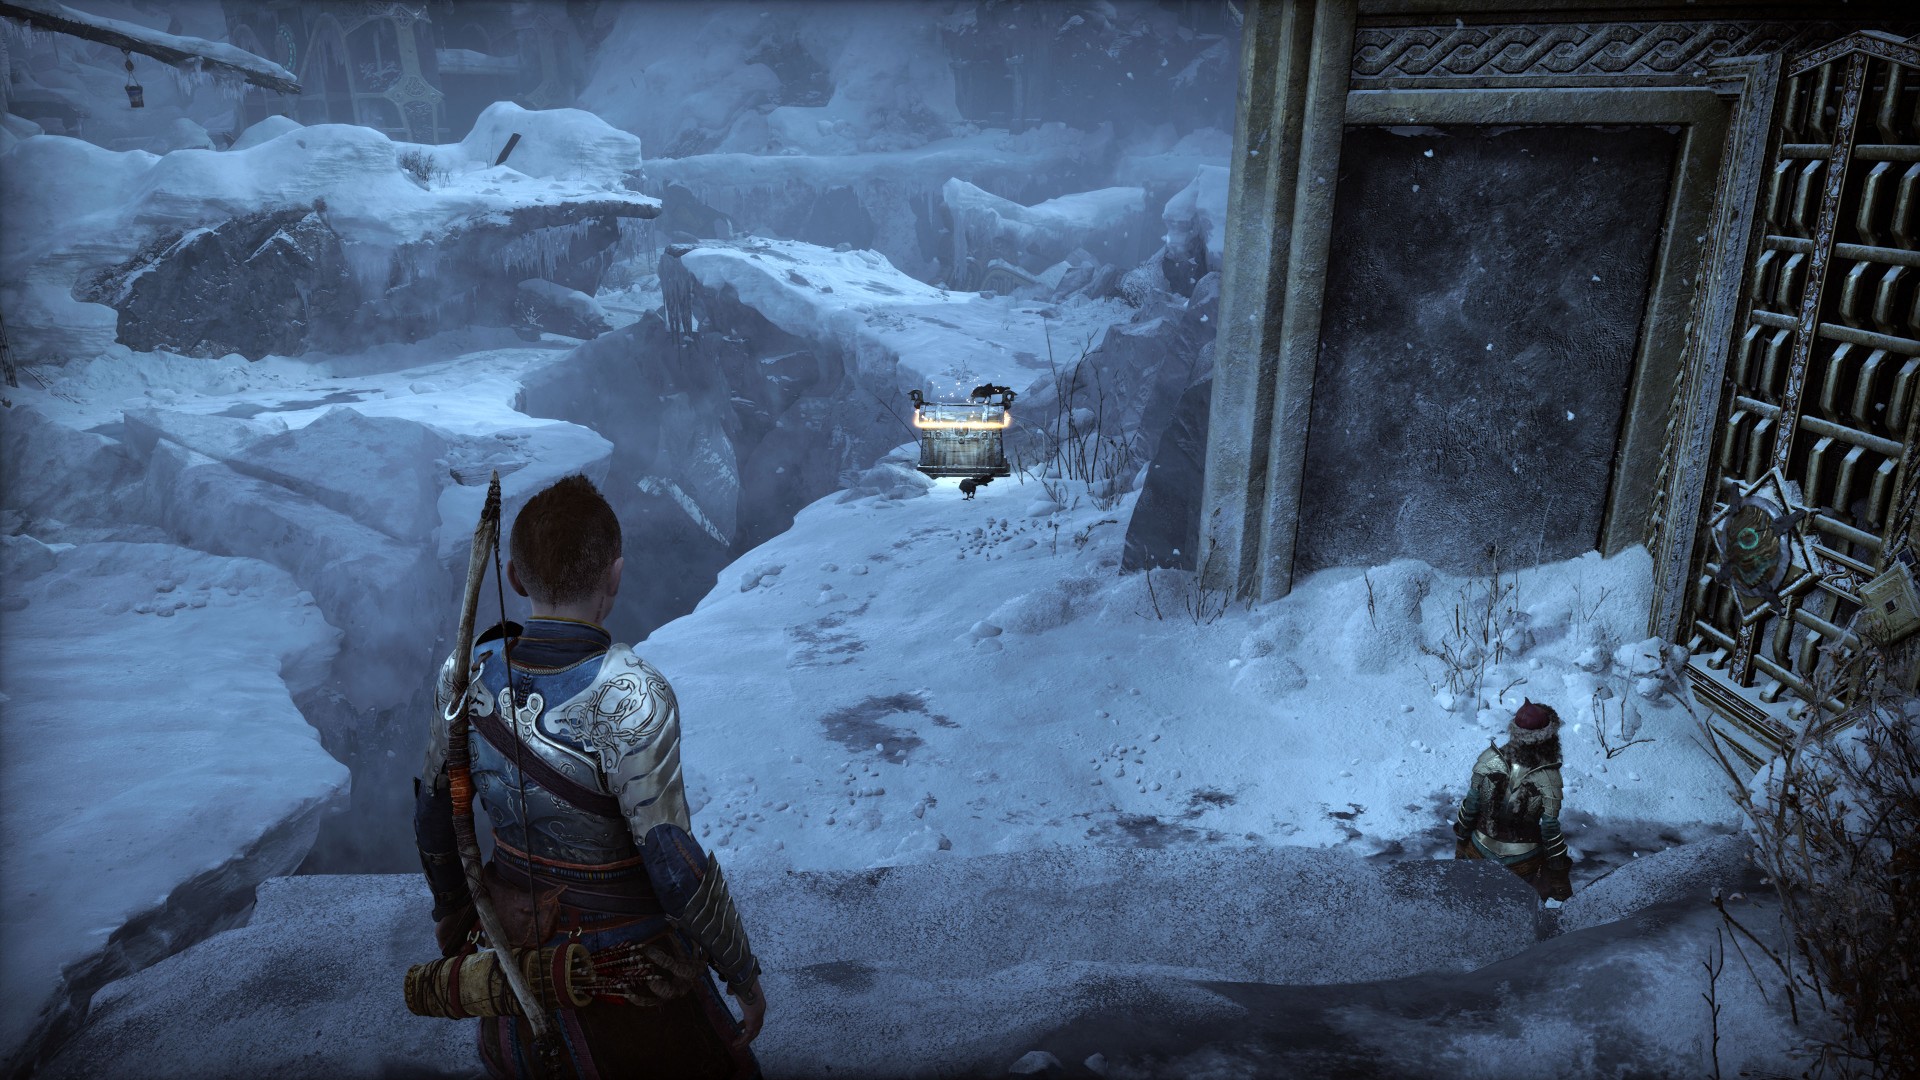
48Yellow Chest
It's in the "Raider Hideout" cave.
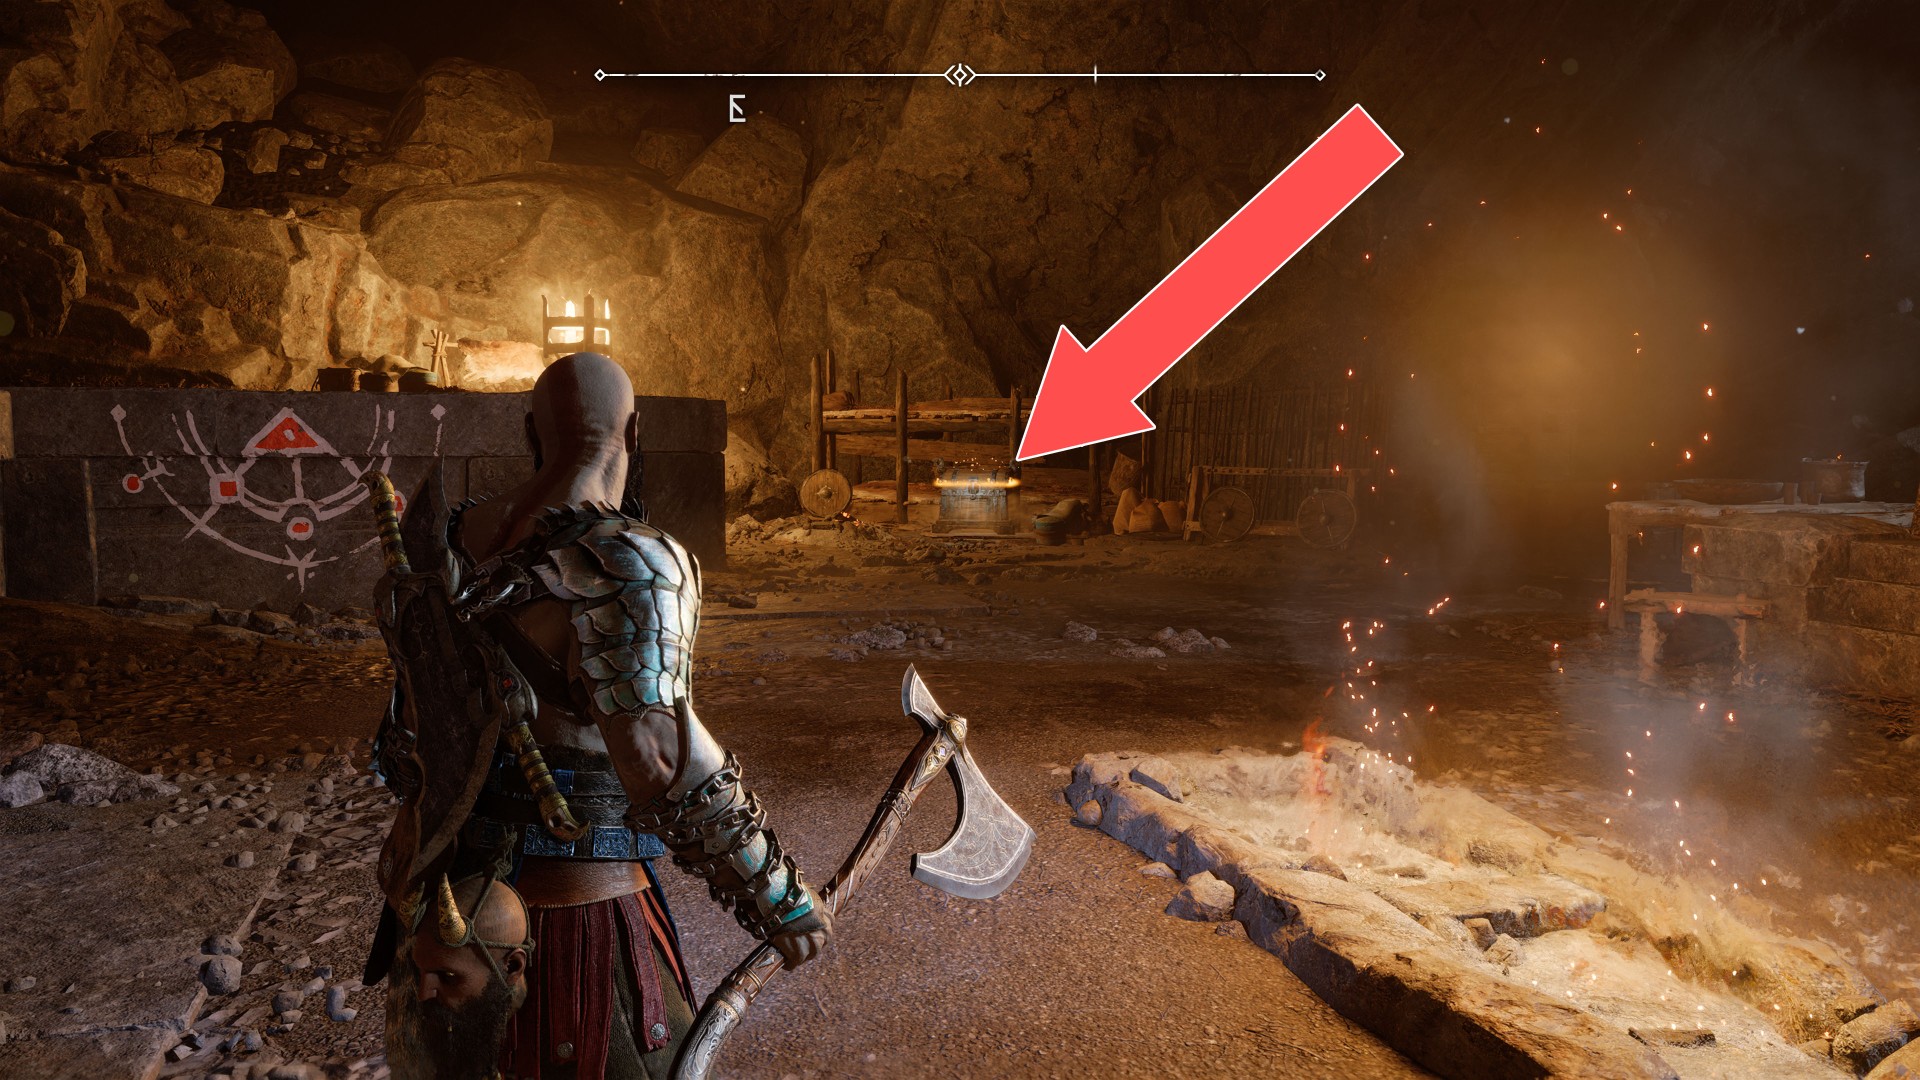
49Yellow Chest
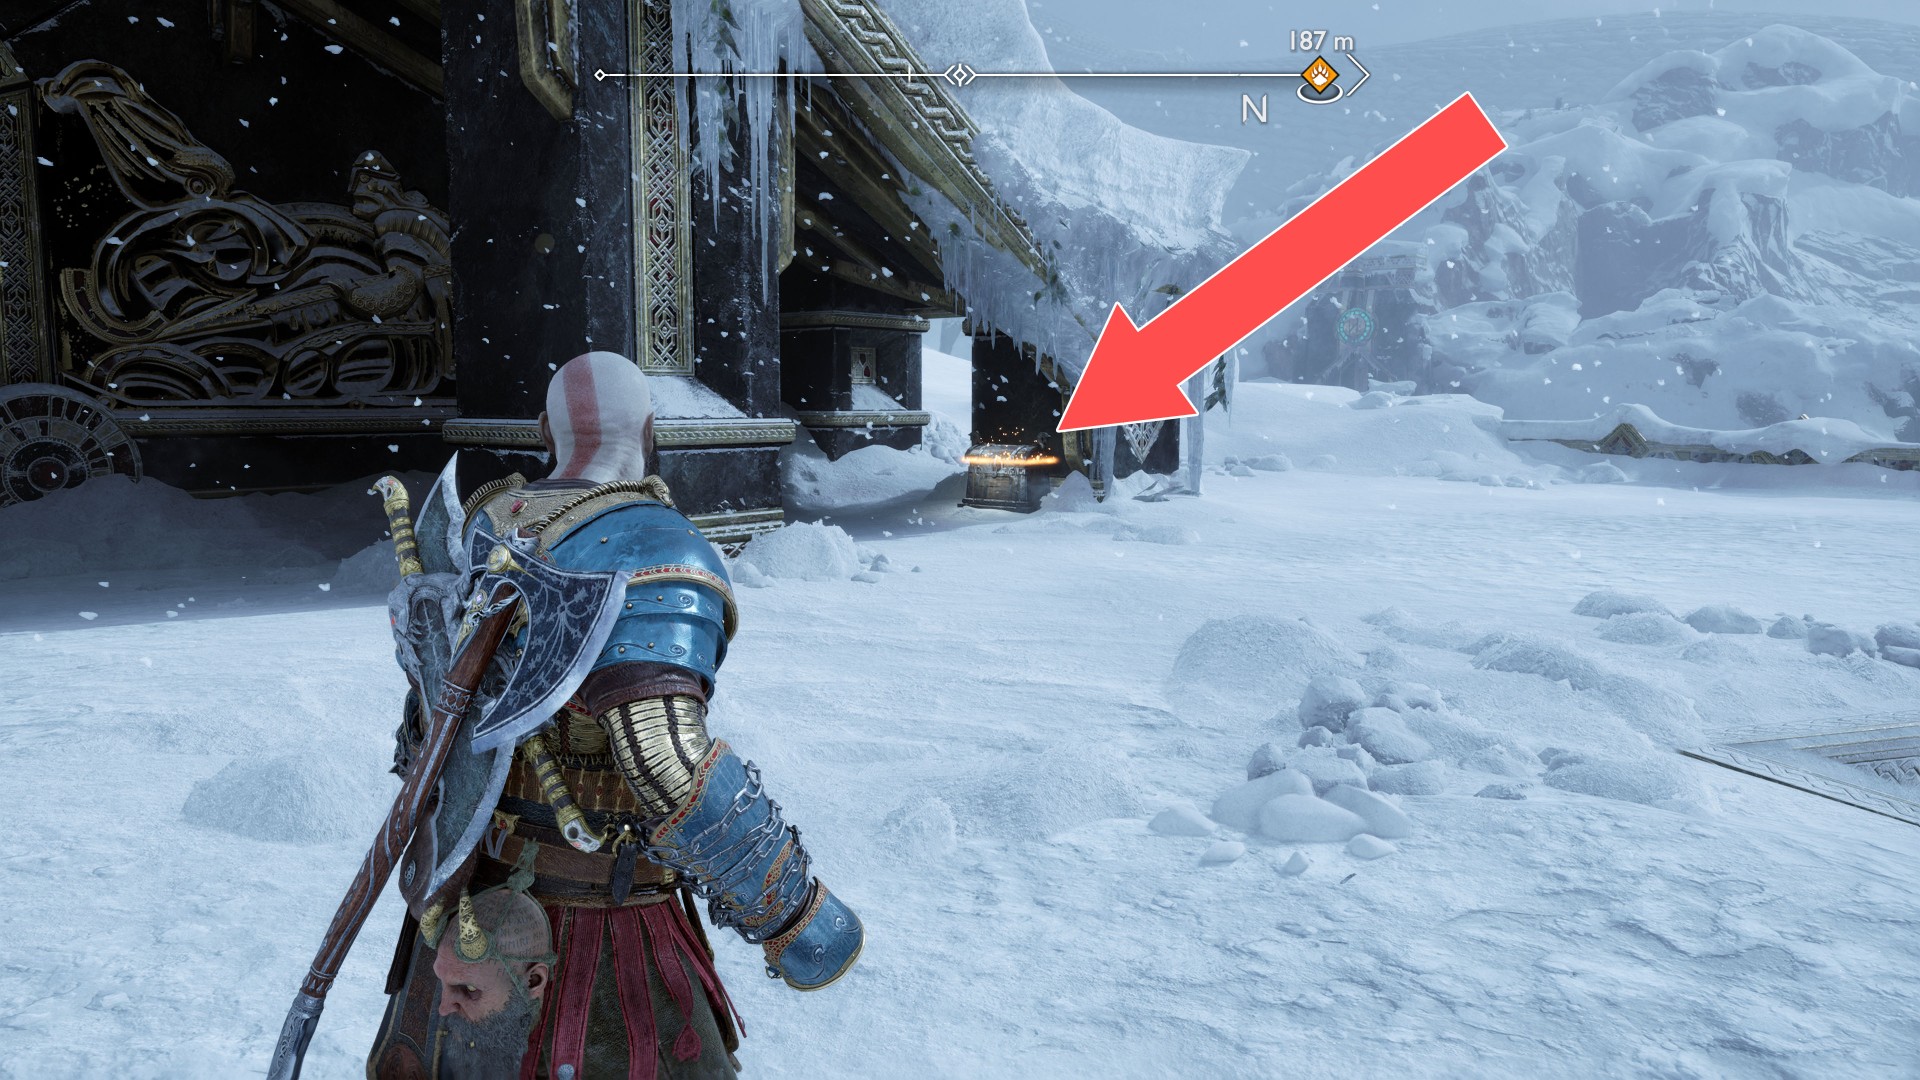
50Yellow Chest
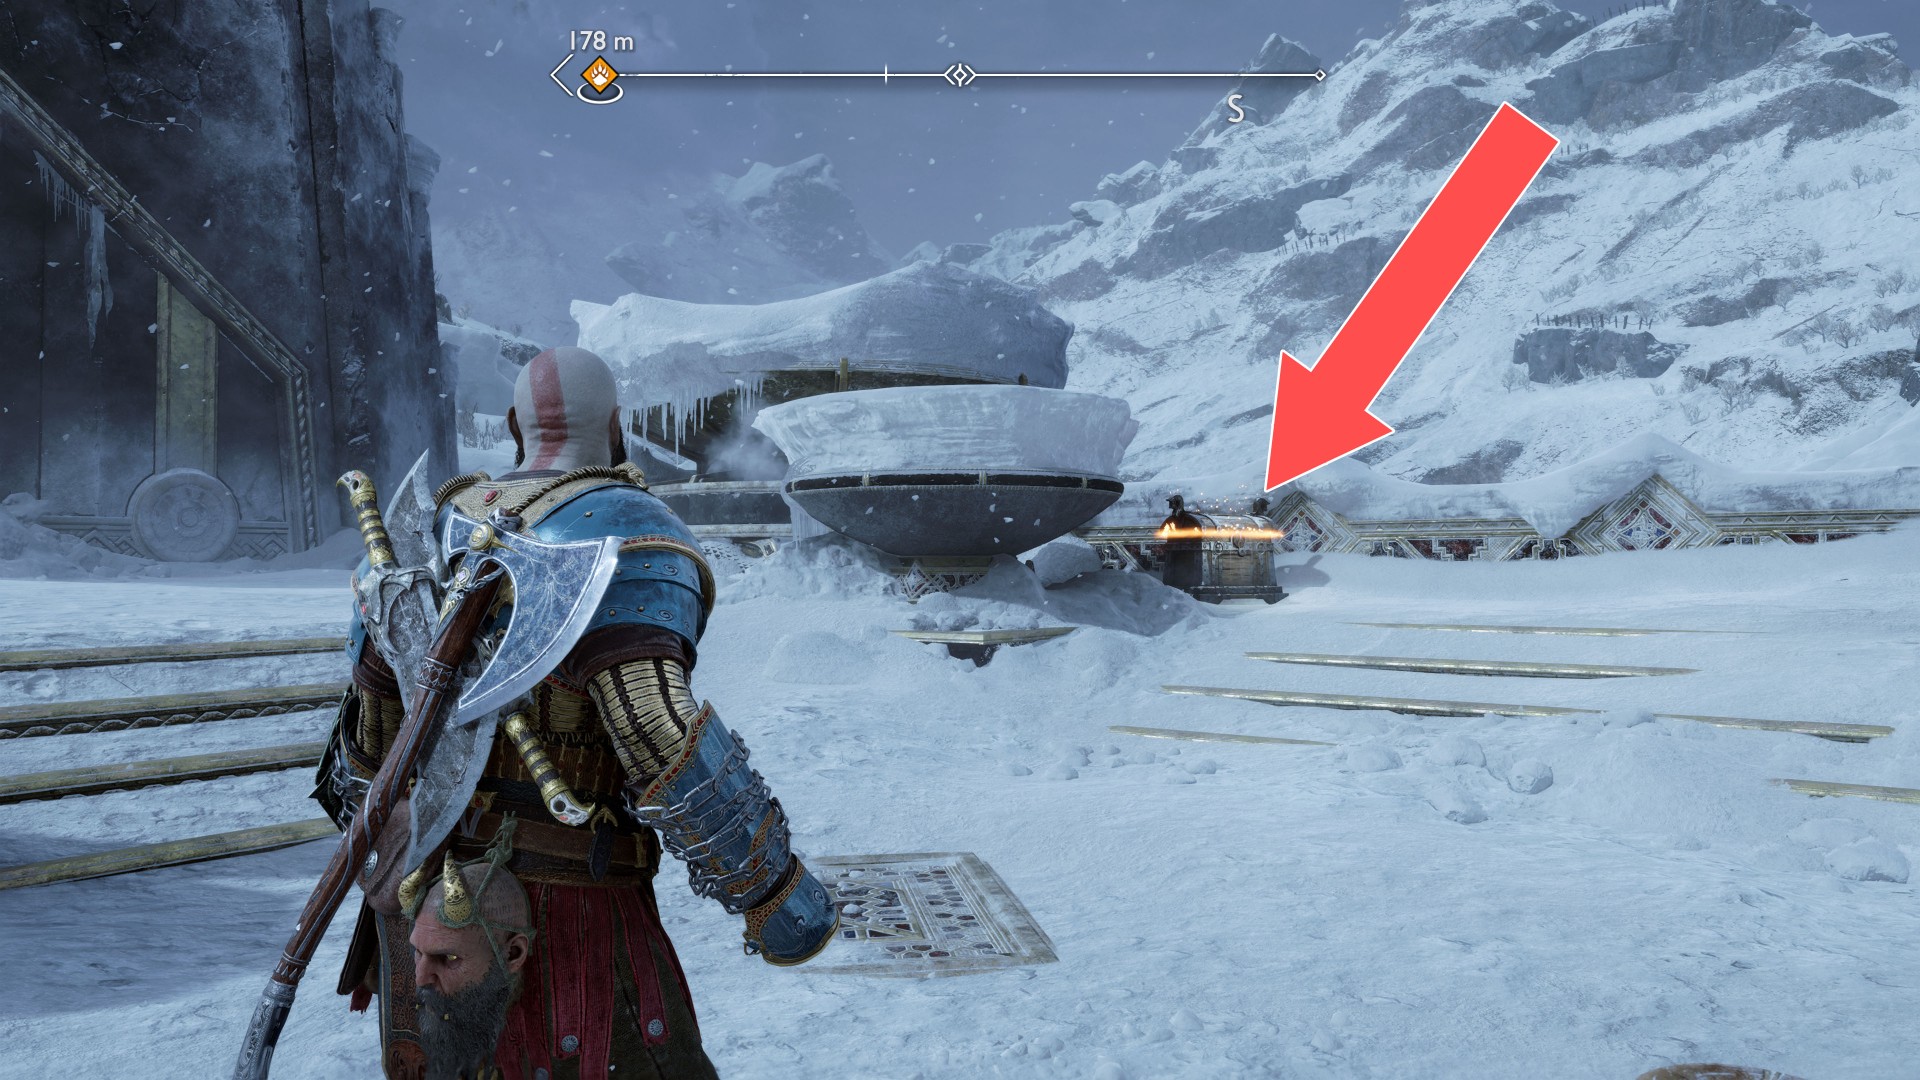
51Yellow Chest
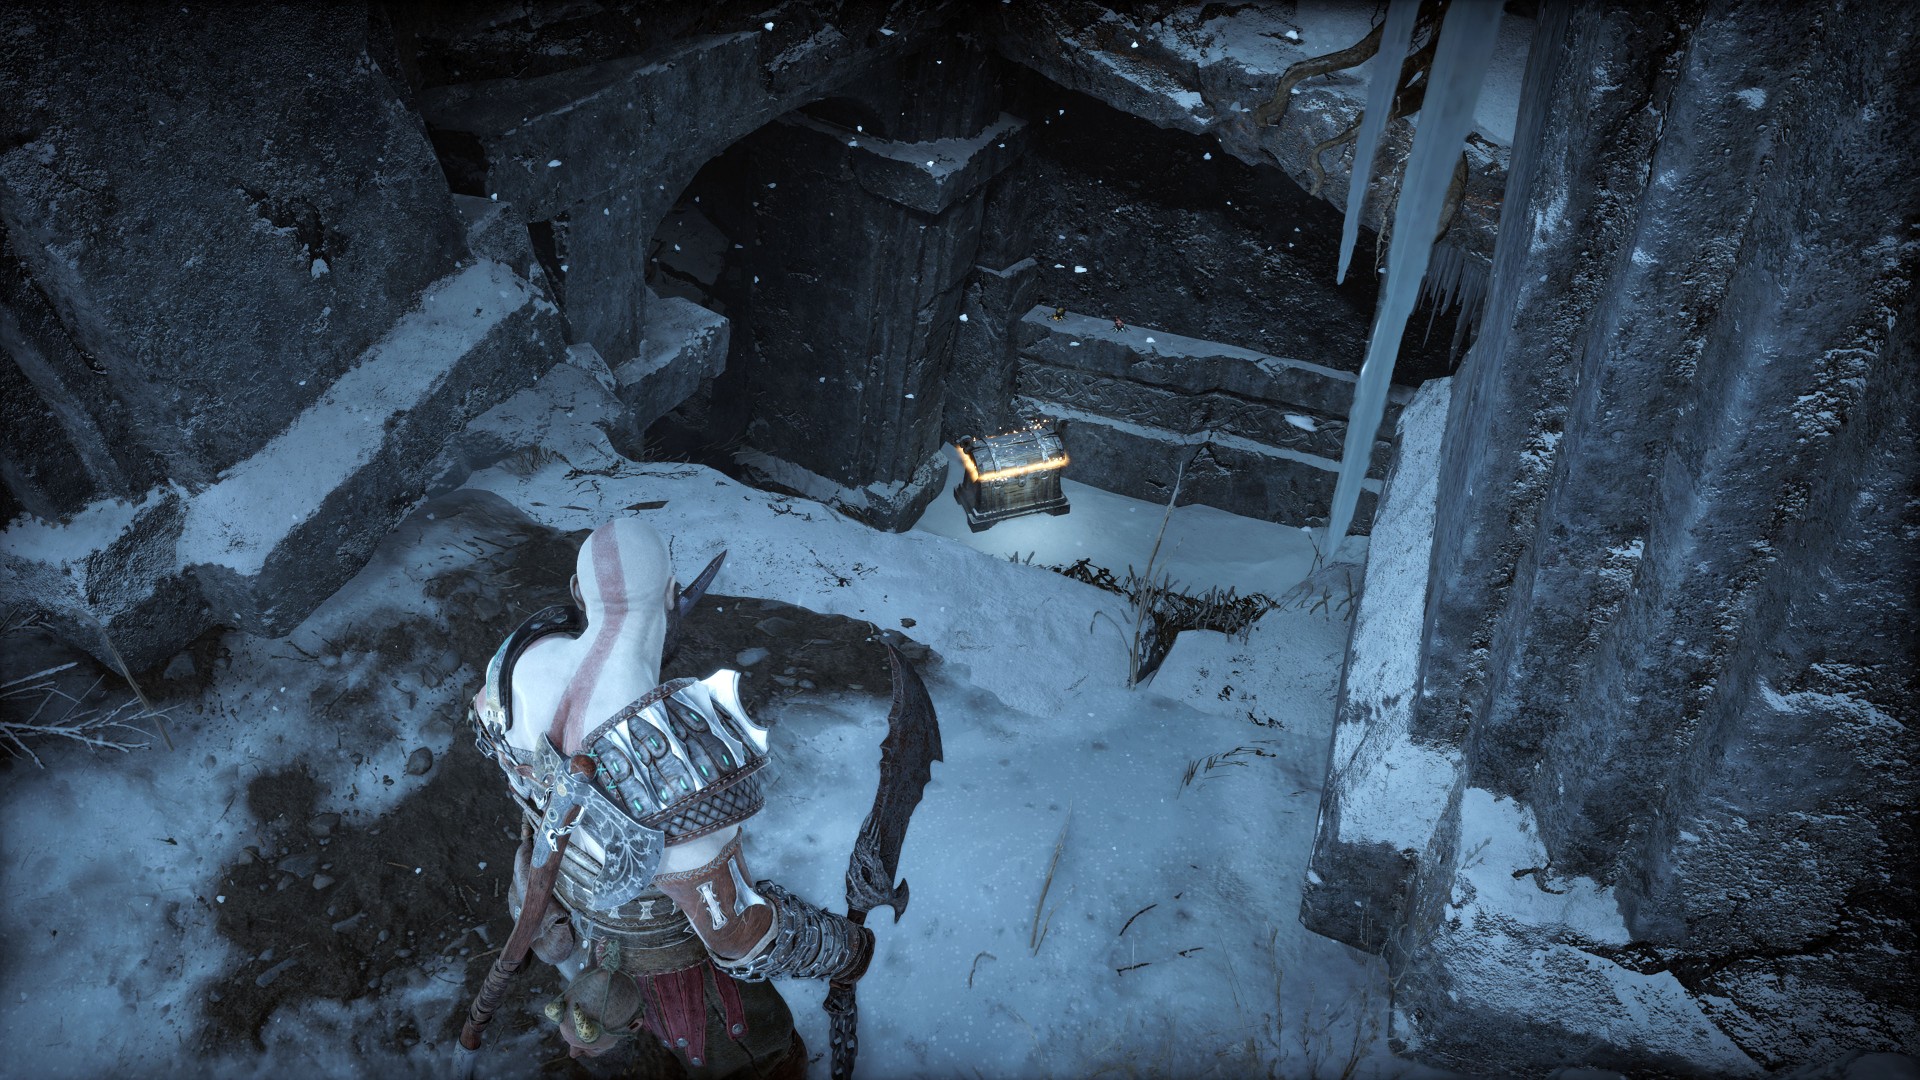
52Yellow Chest
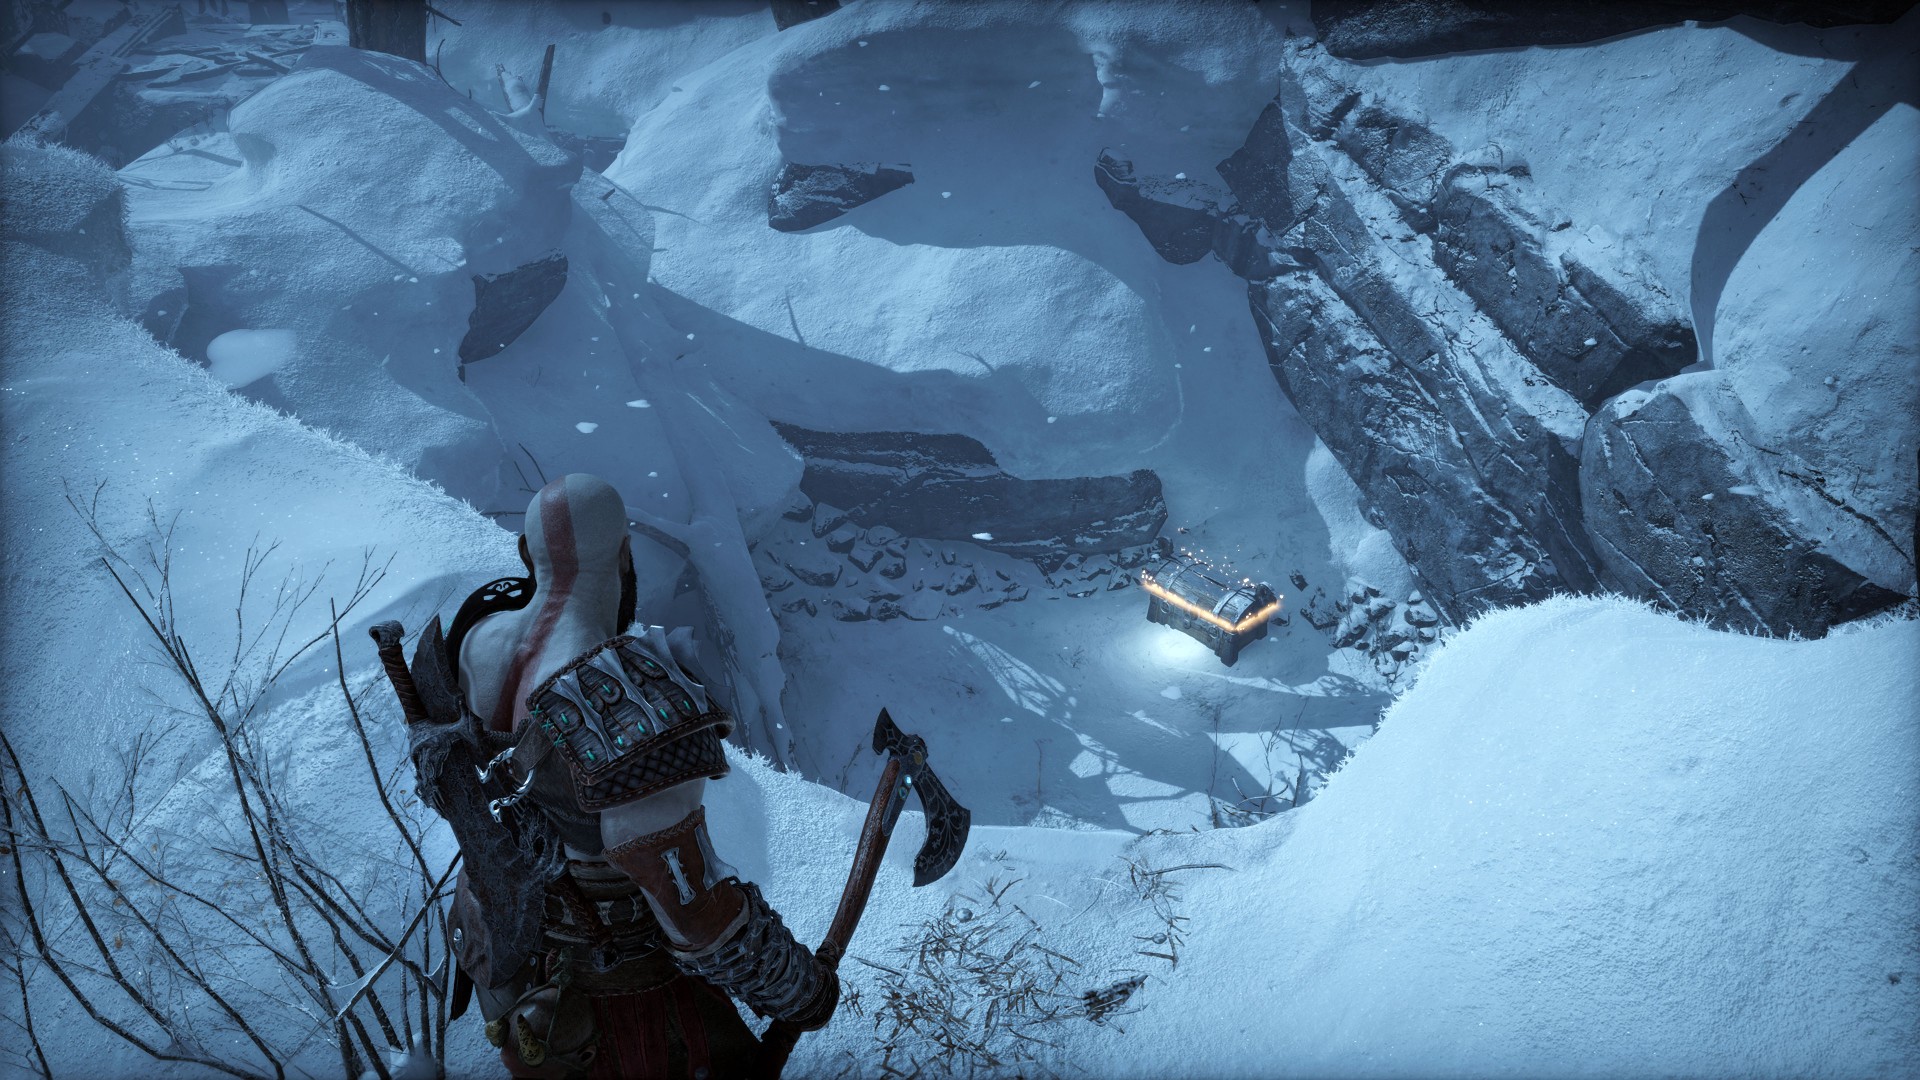
53Yellow Chest
To gain access to this chest you must use the Blades of Chaos and burn the vines.
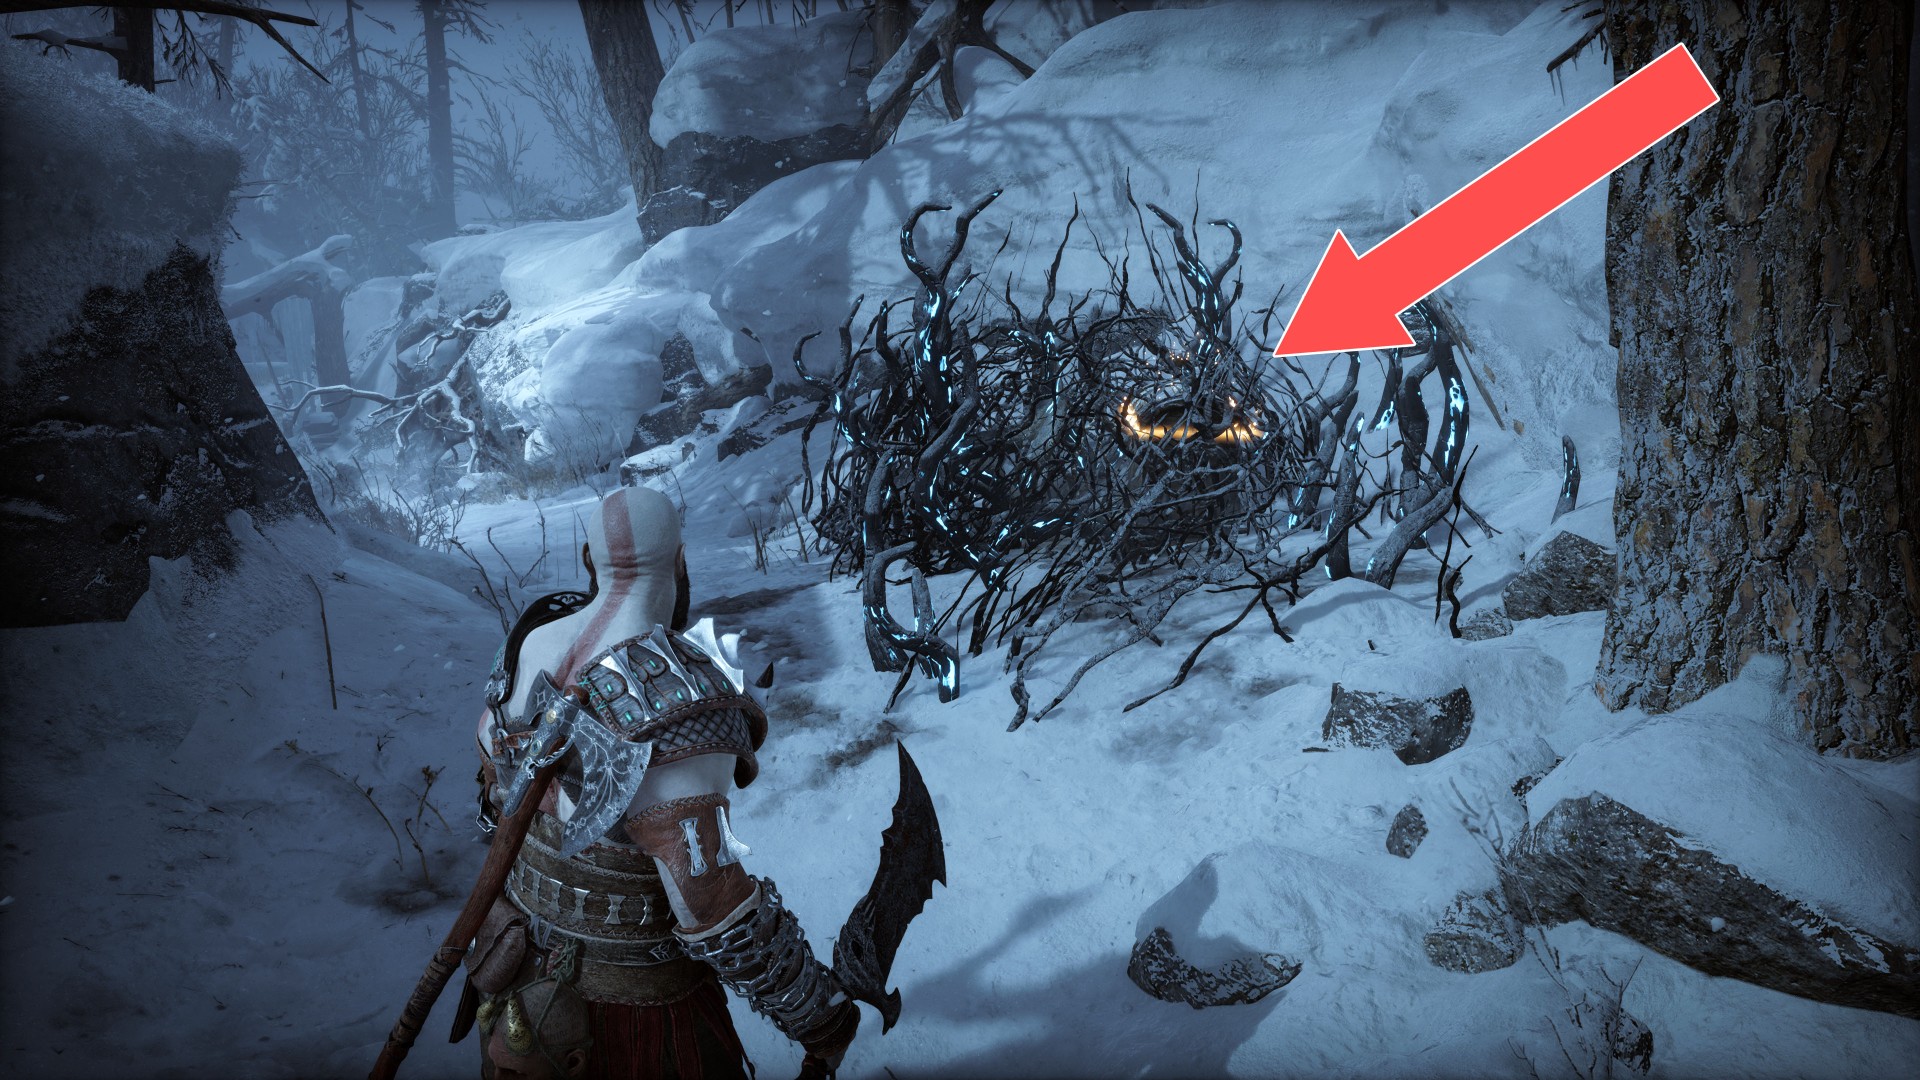
54Yellow Chest
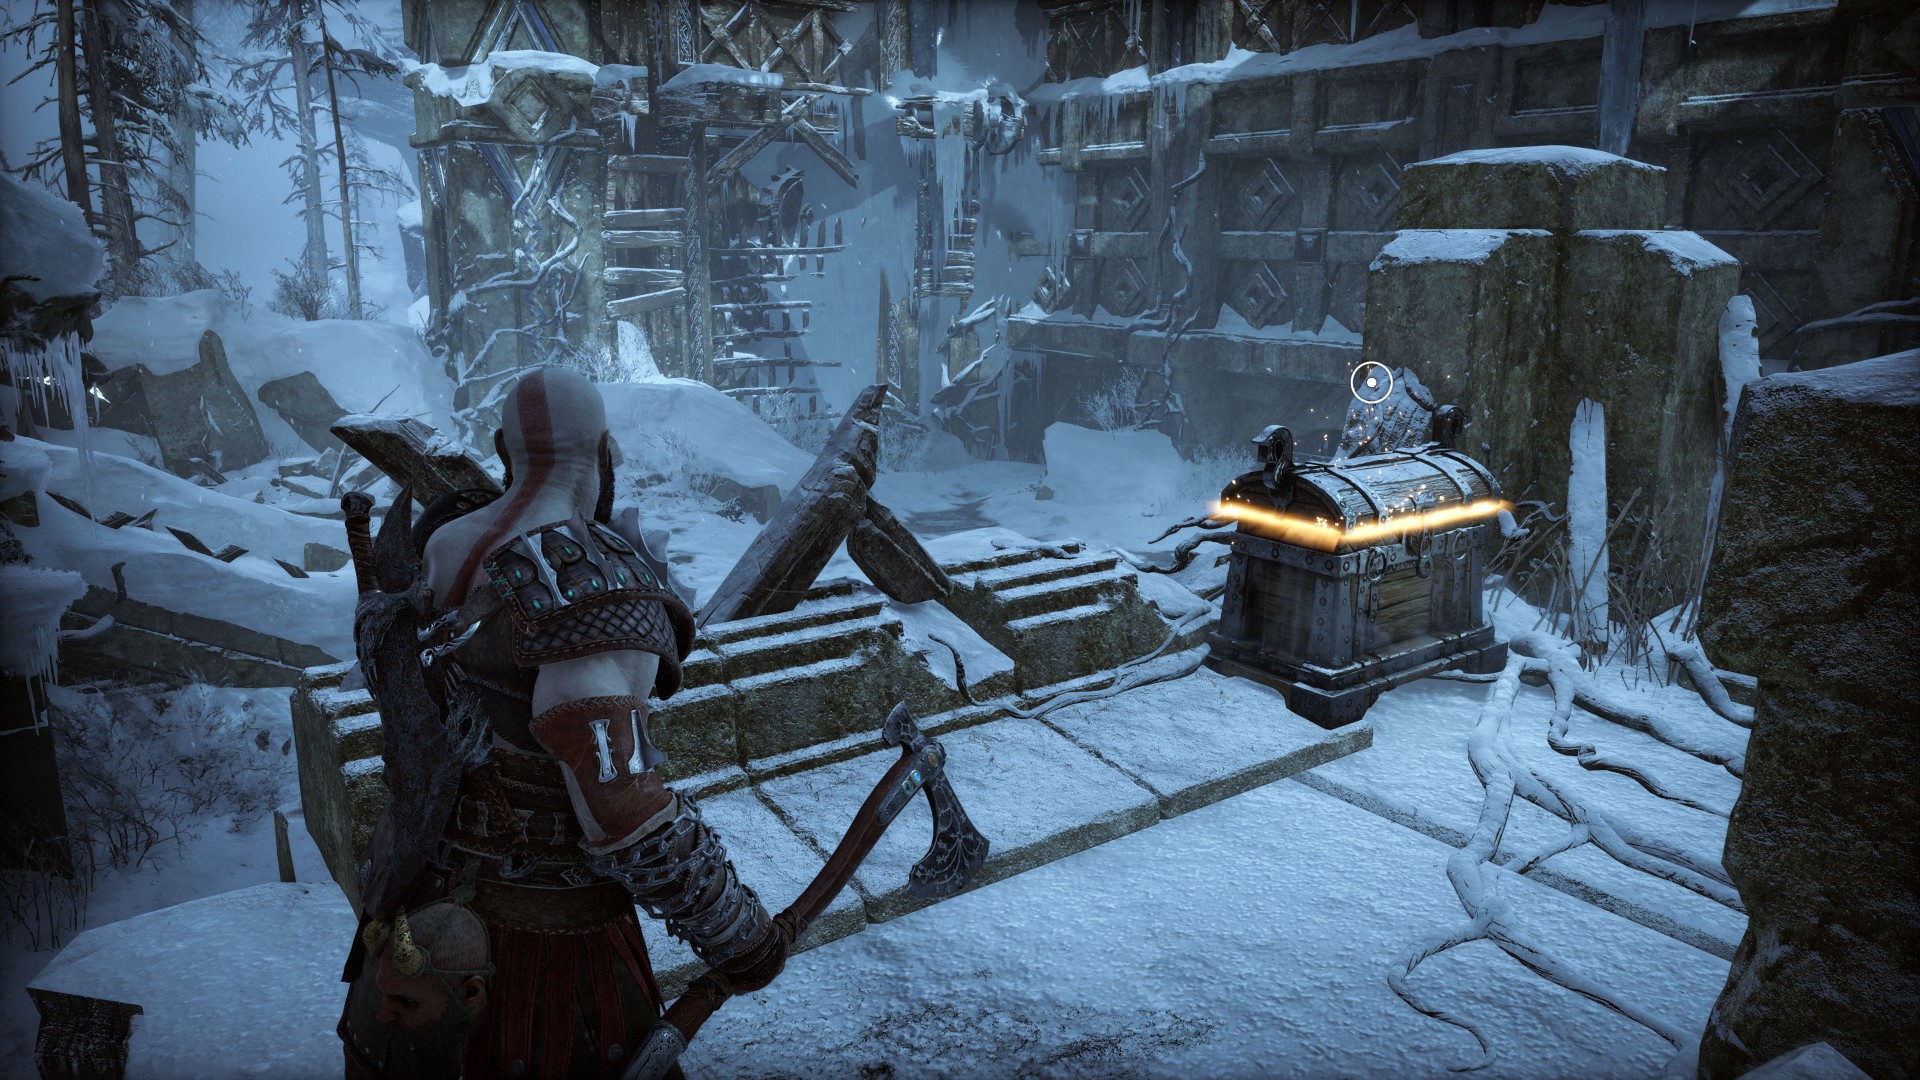
55Yellow Chest
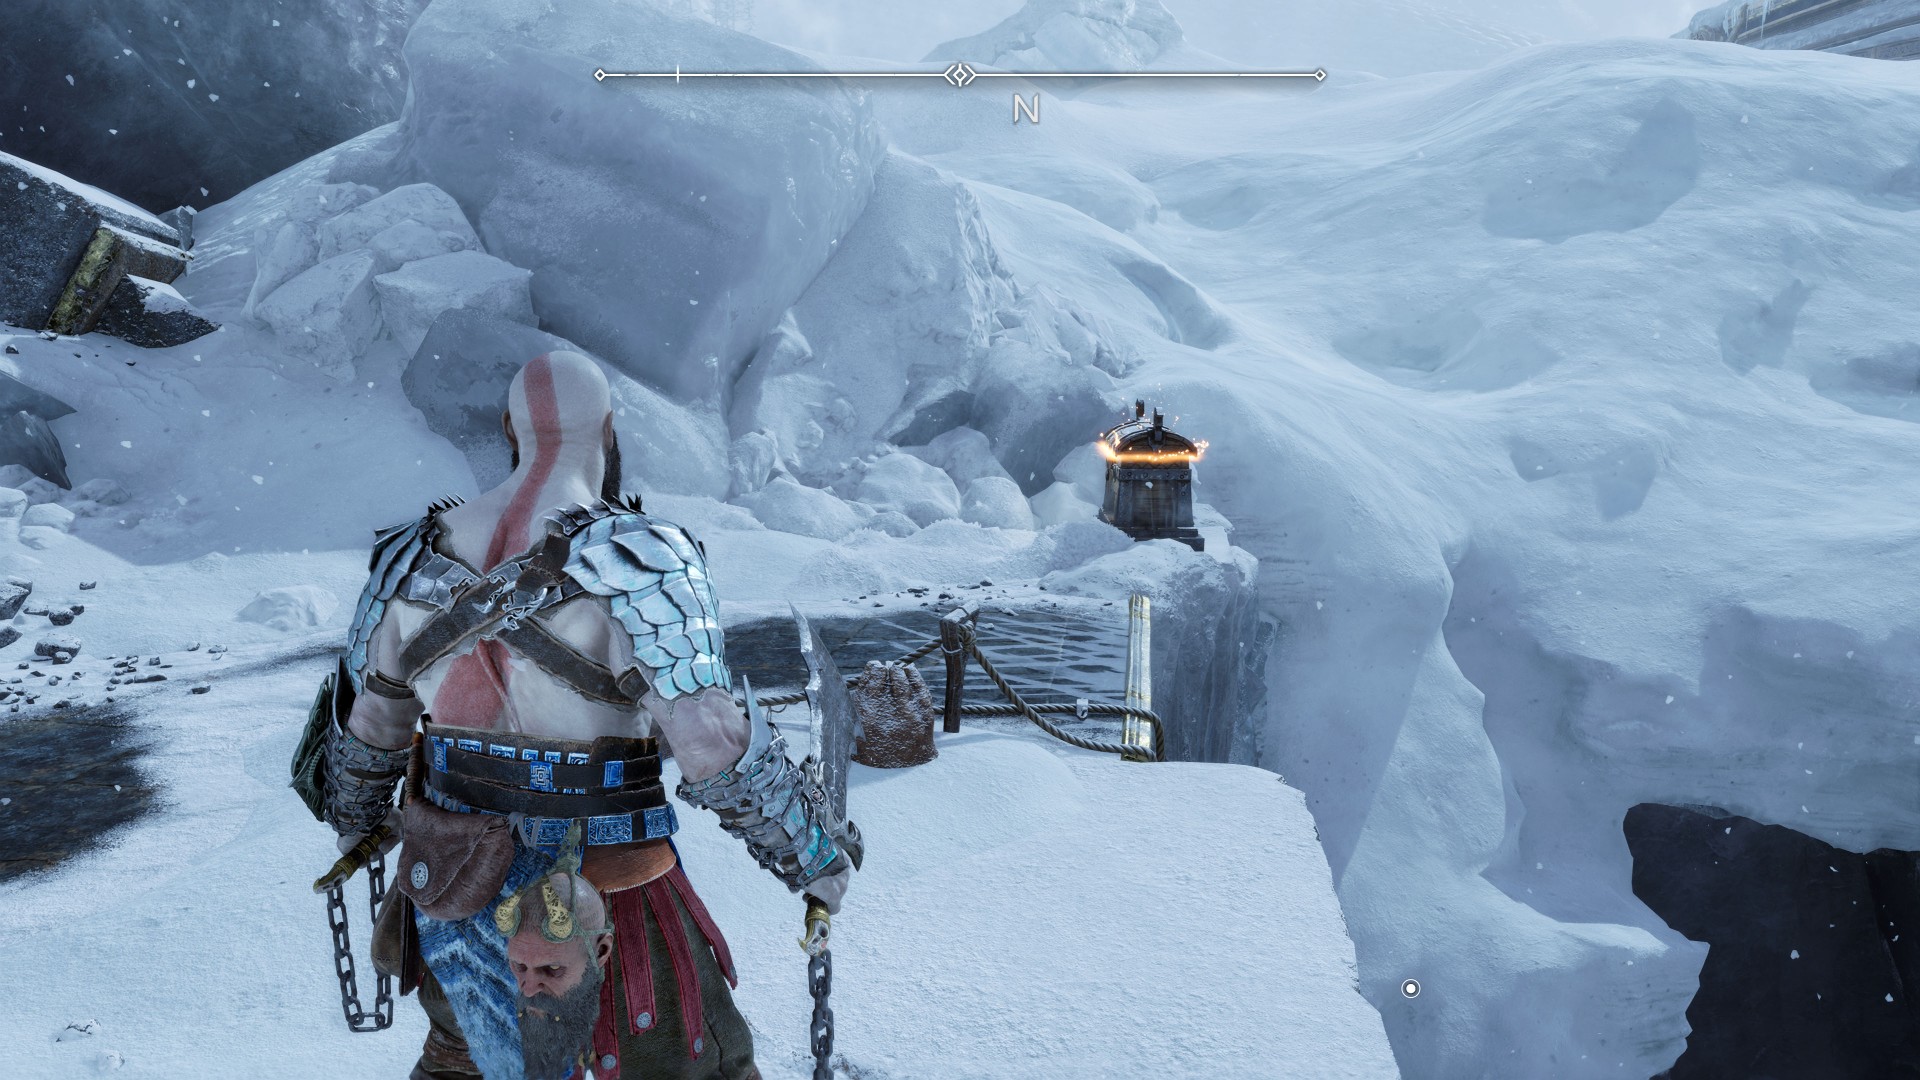
56Yellow Chest
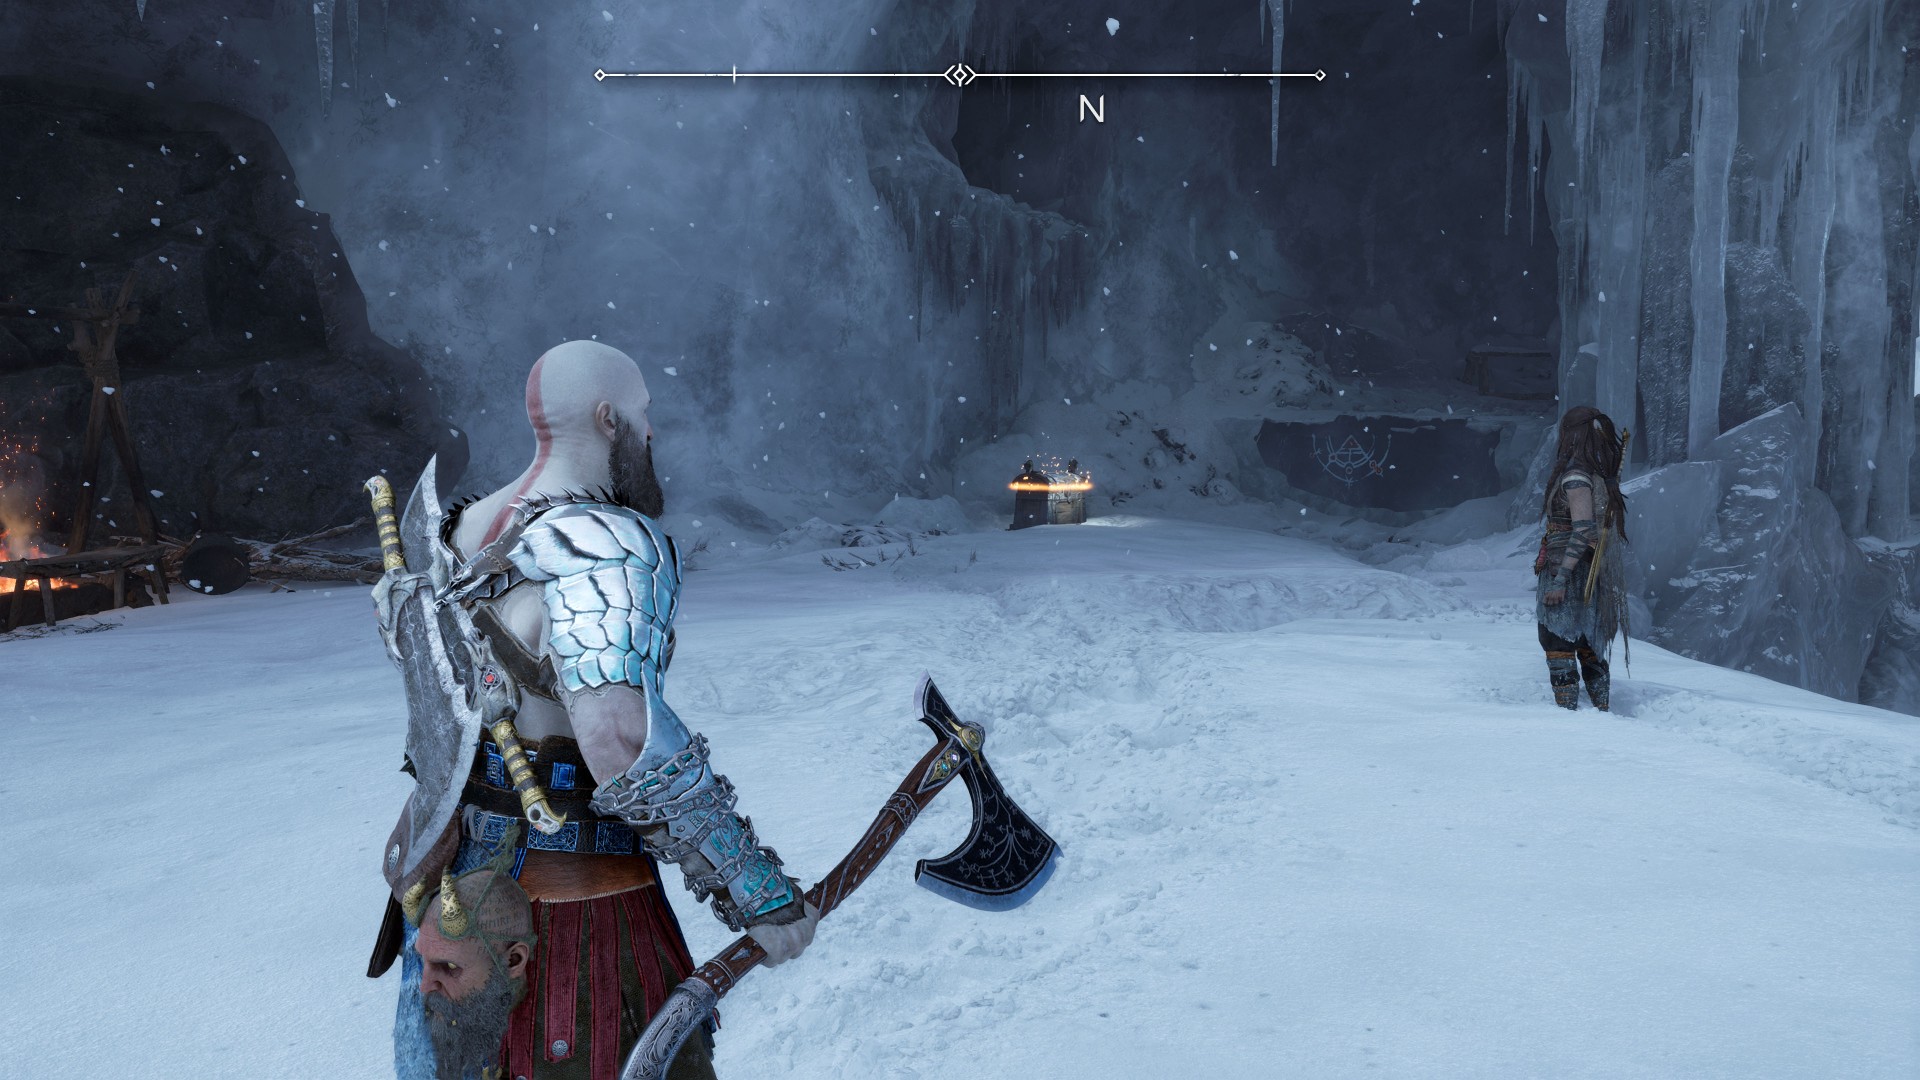
57Yellow Chest
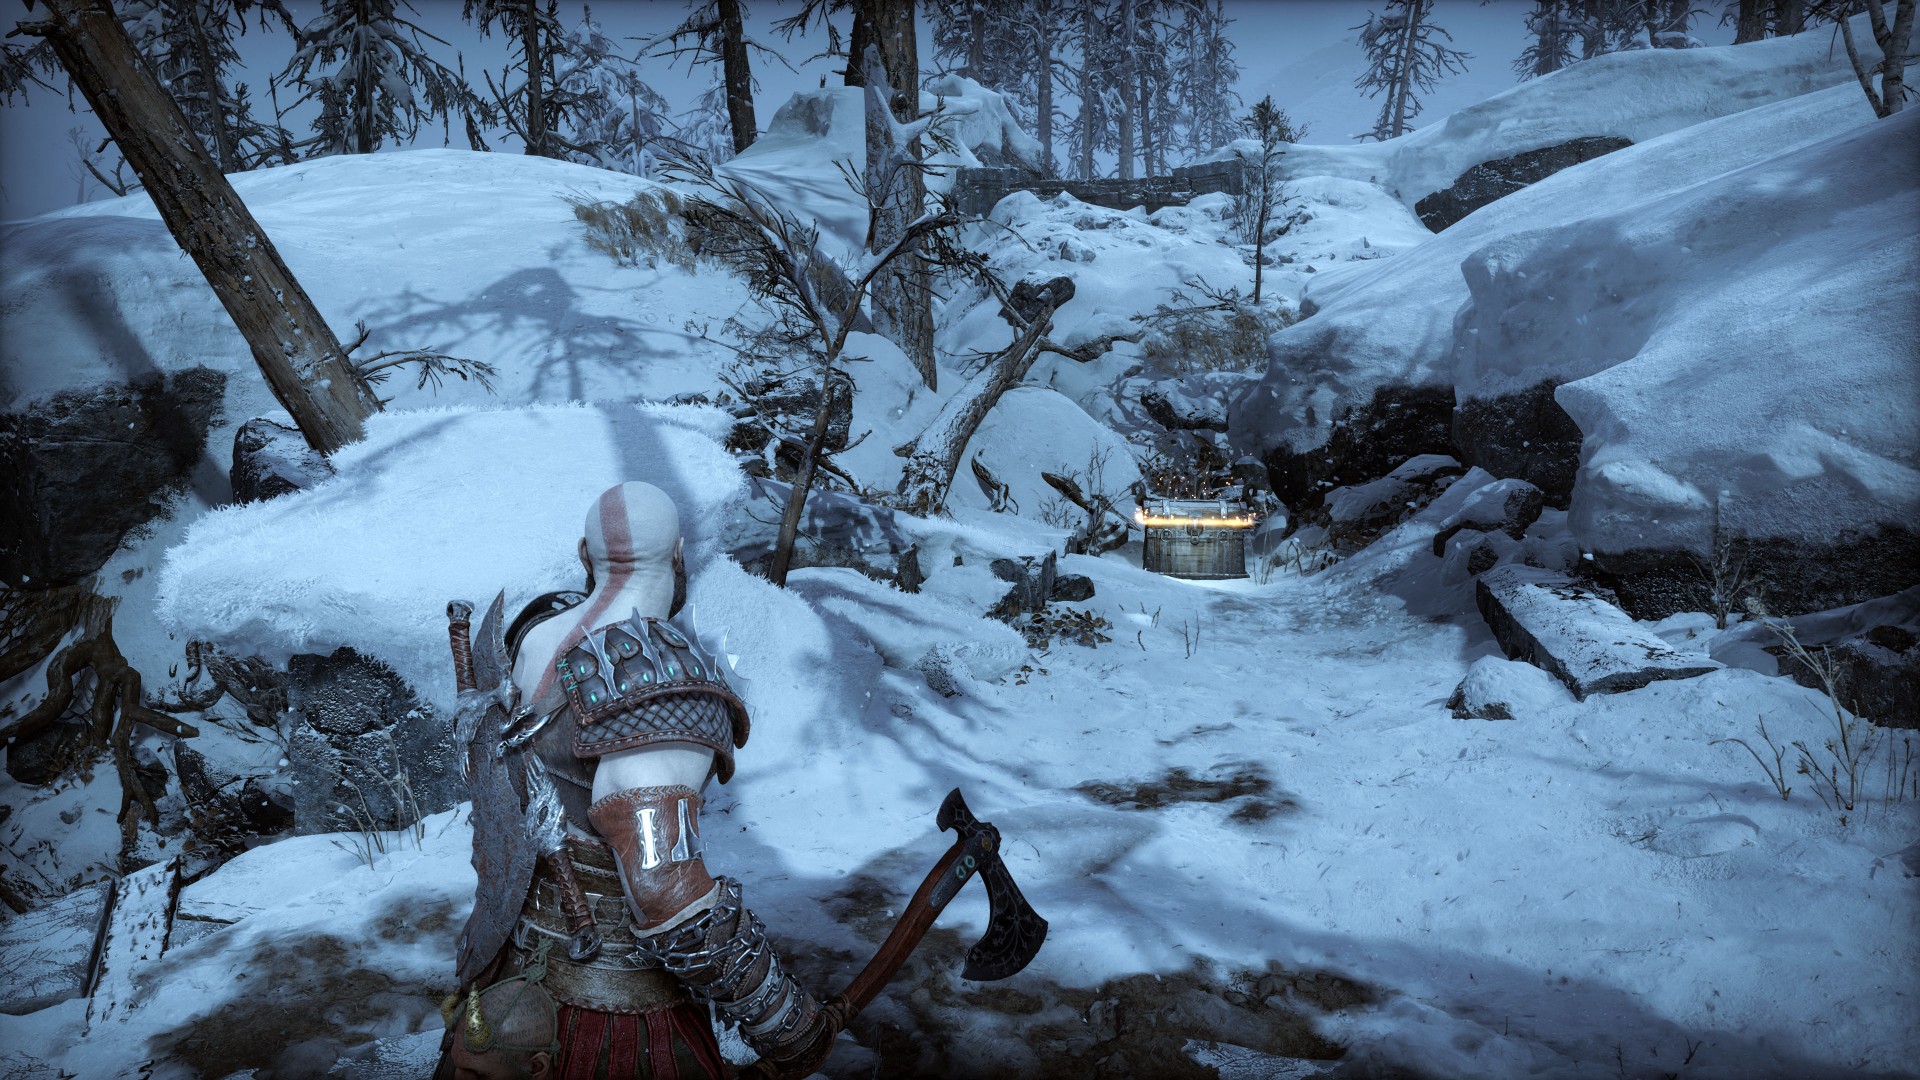
58Yellow Chest
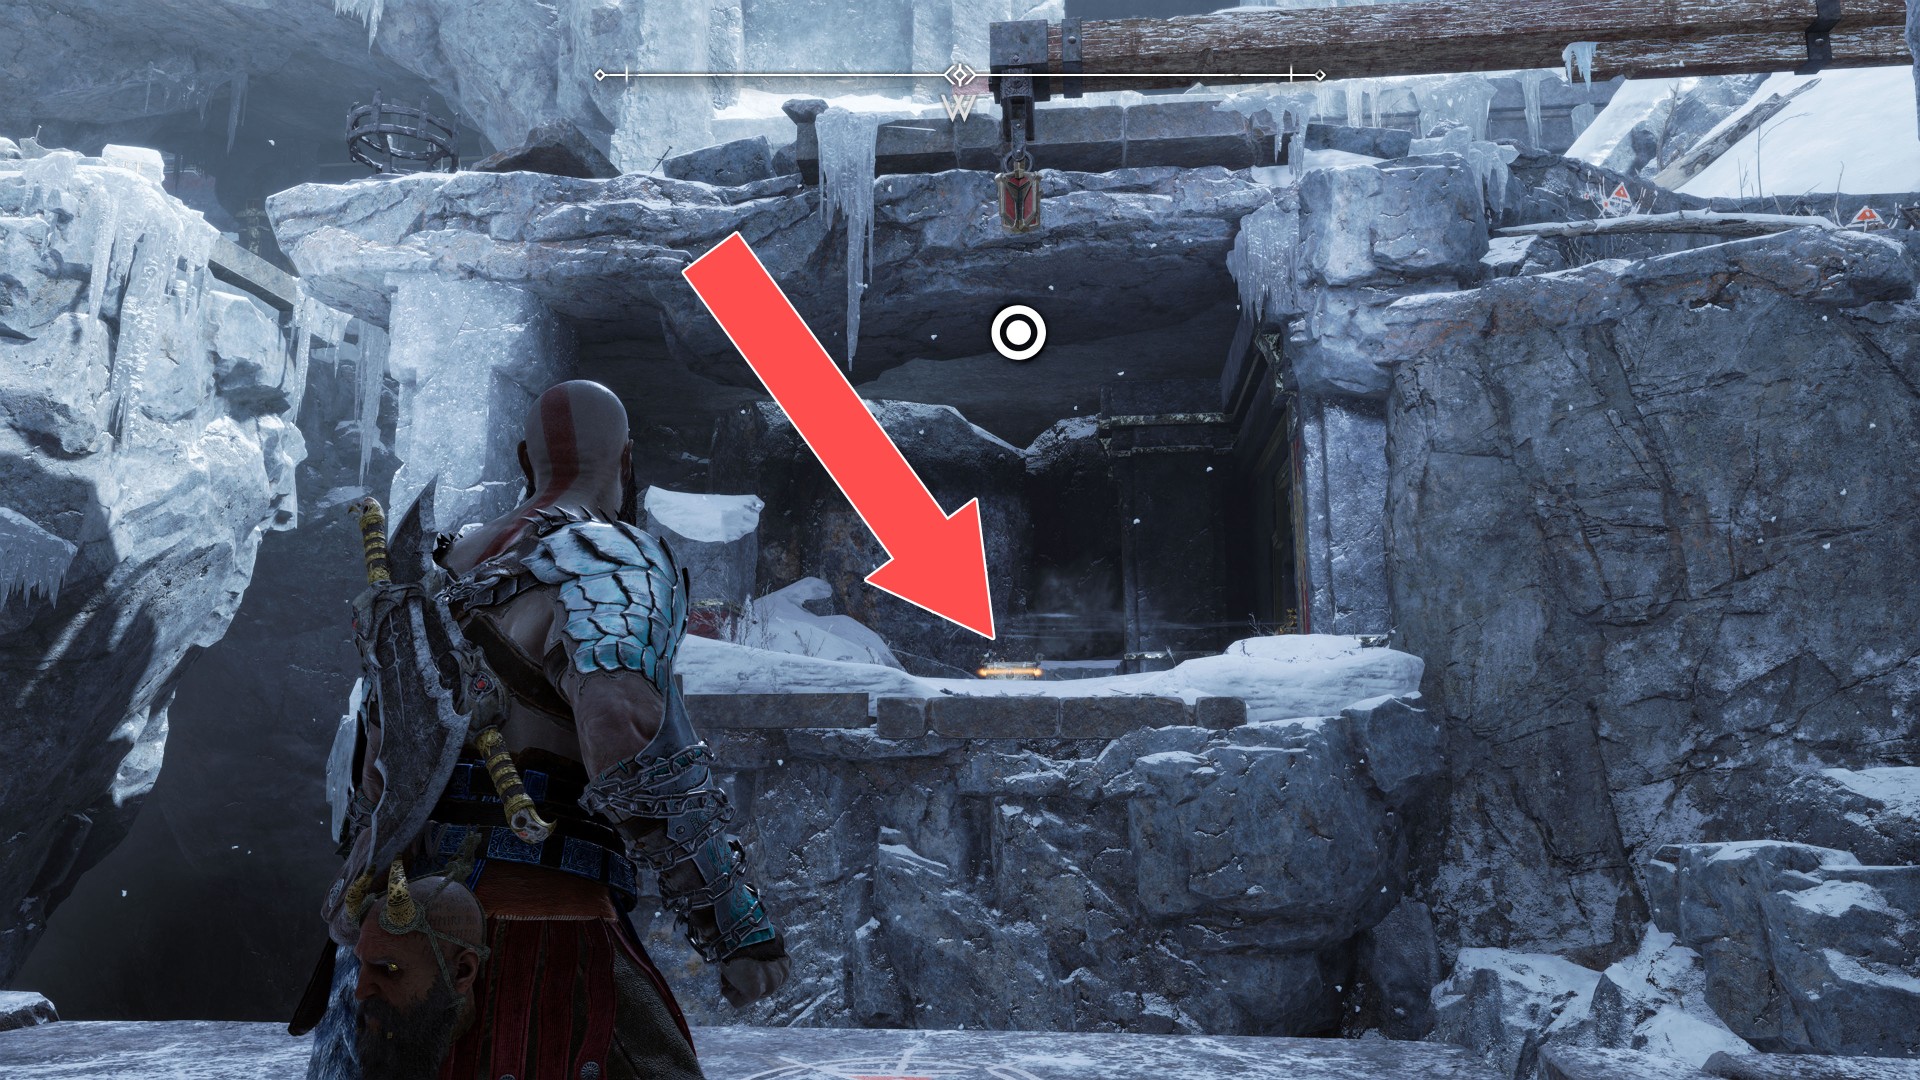
59Yellow Chest
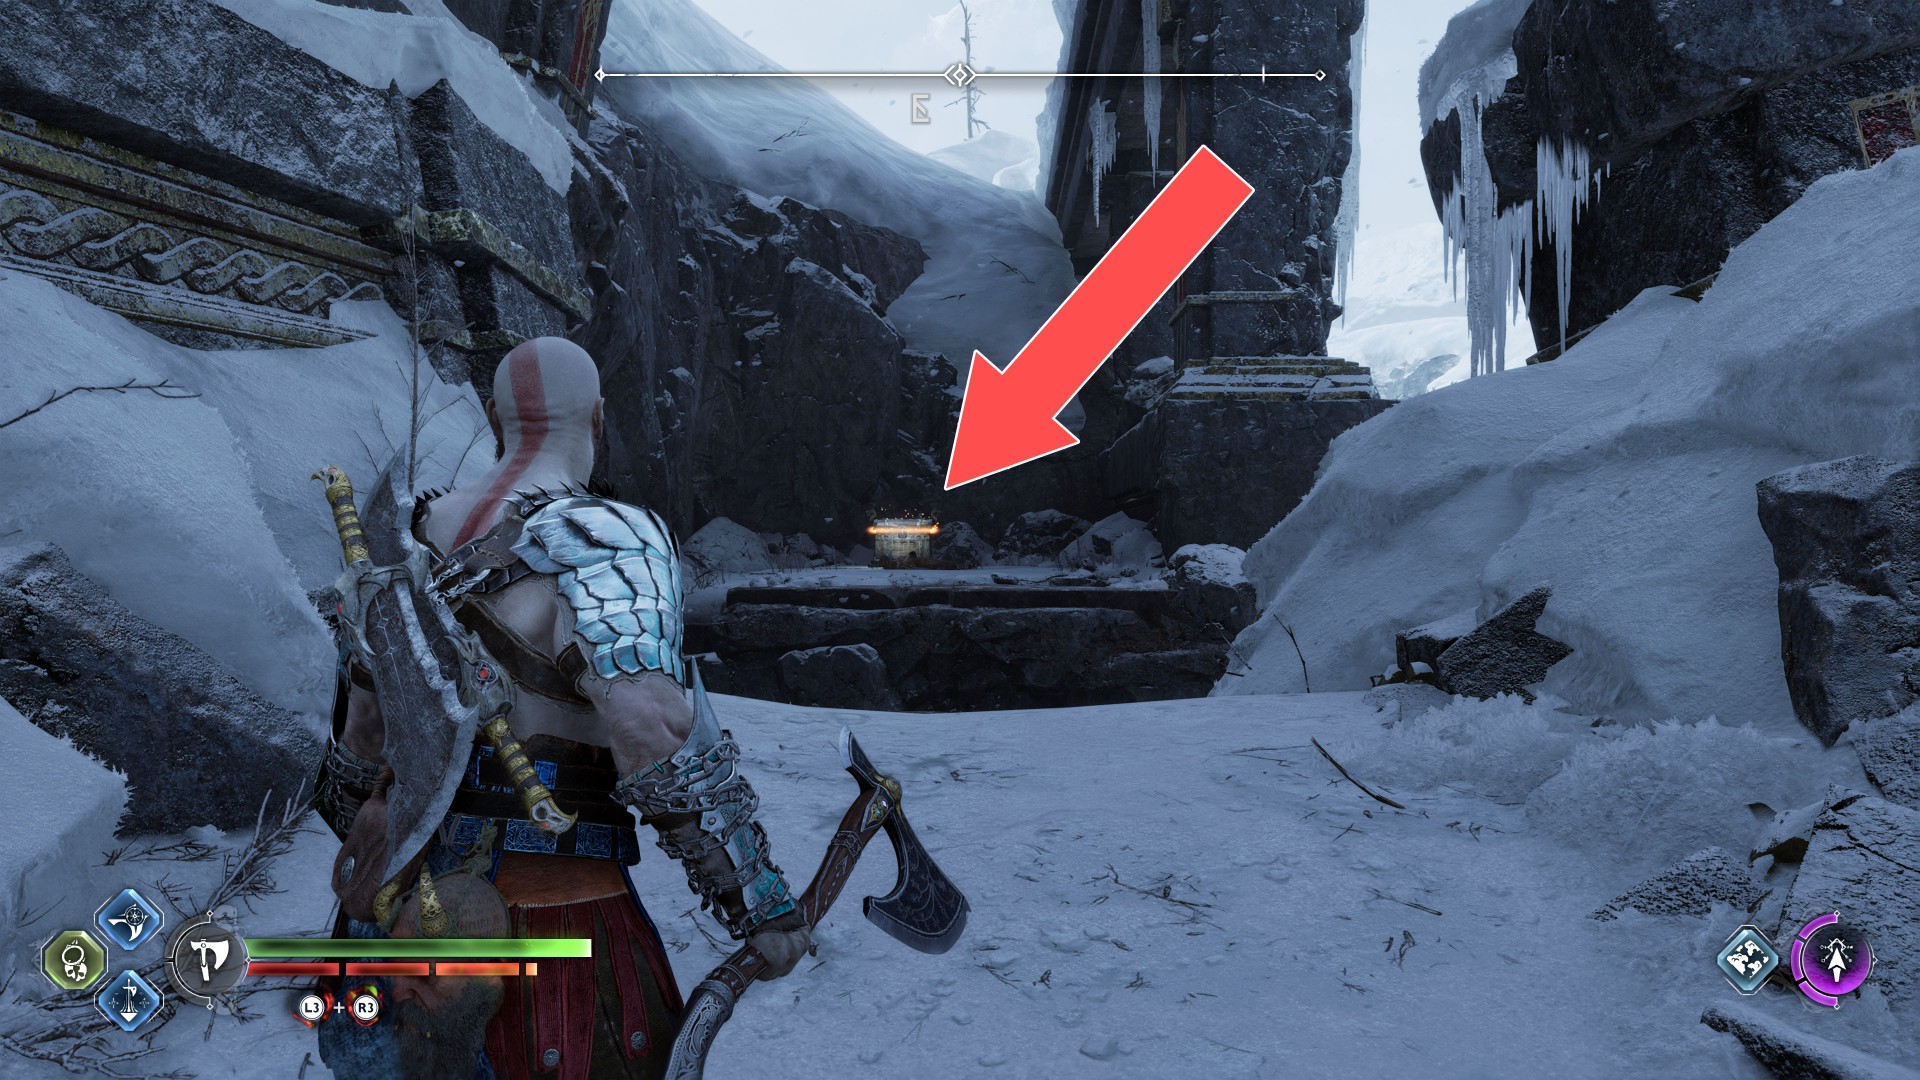
60Yellow Chest
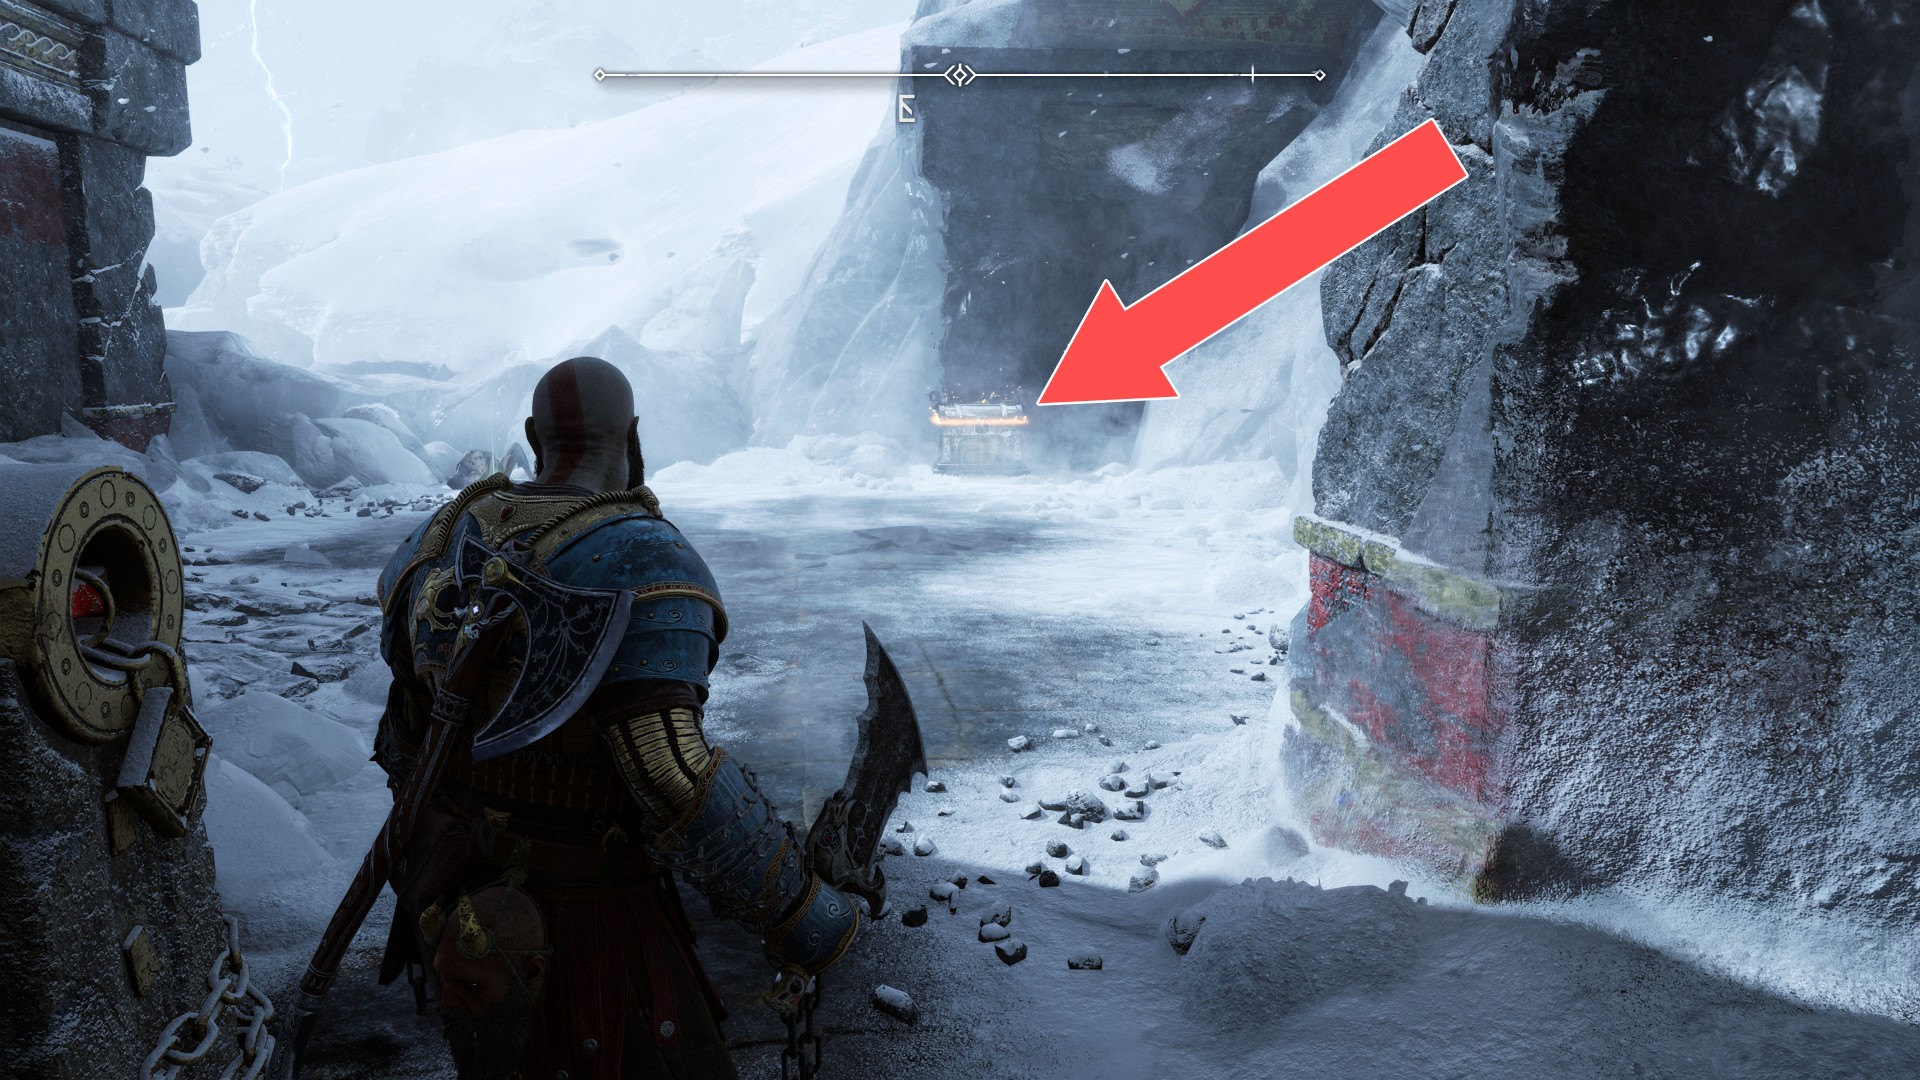
61Yellow Chest
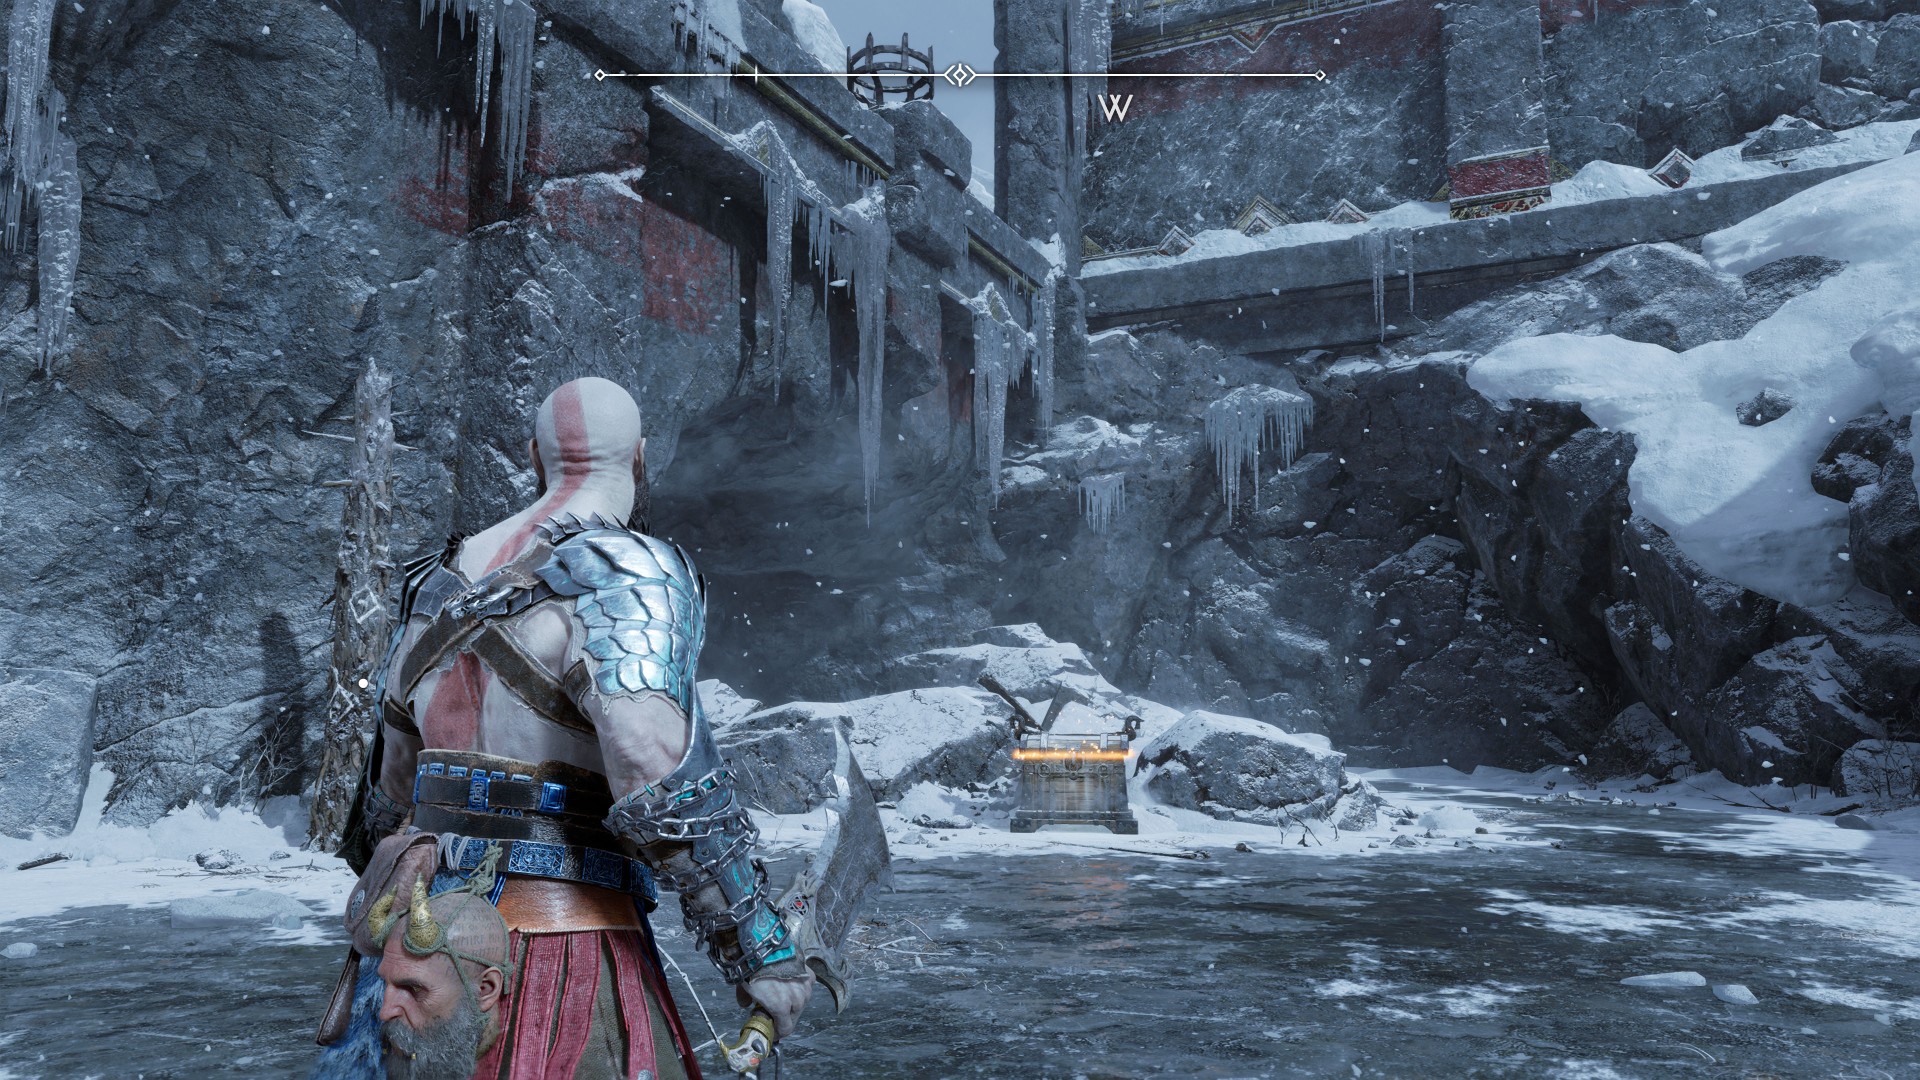
62Yellow Chest
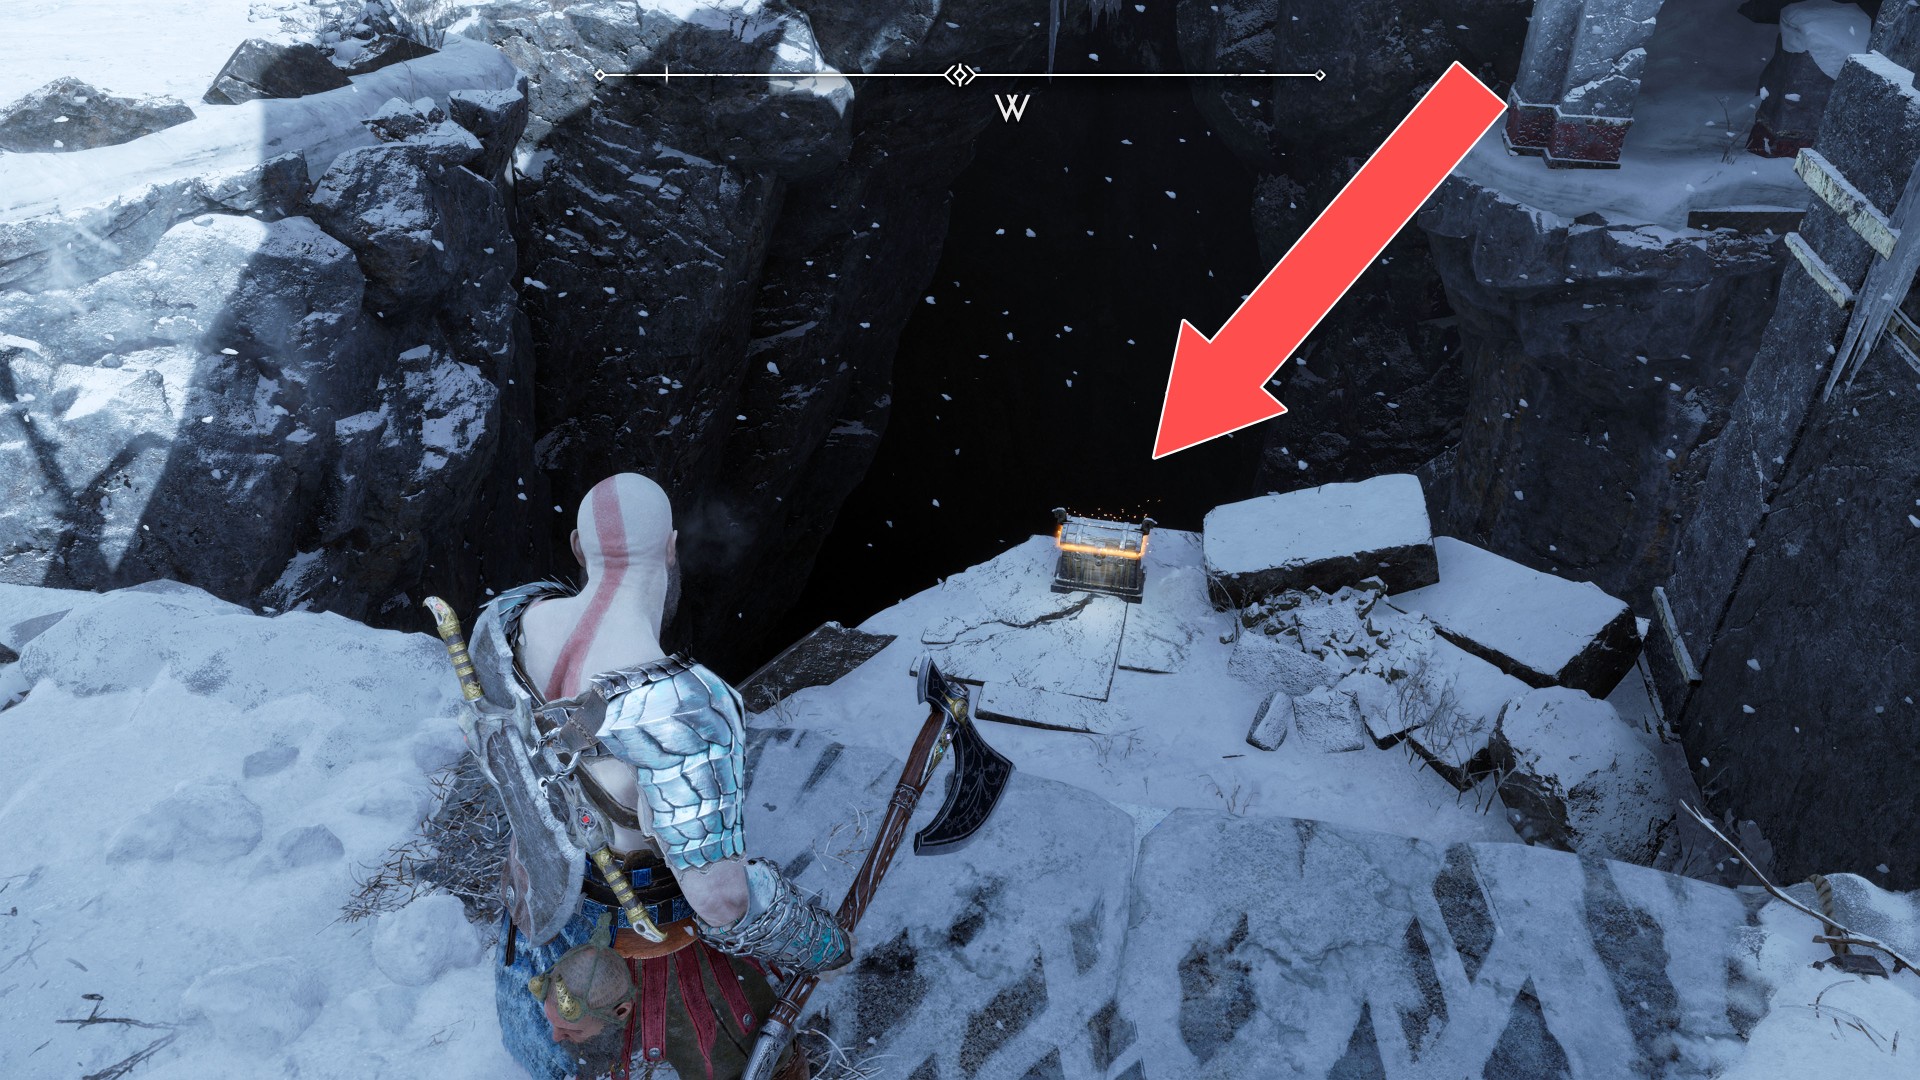
63Yellow Chest
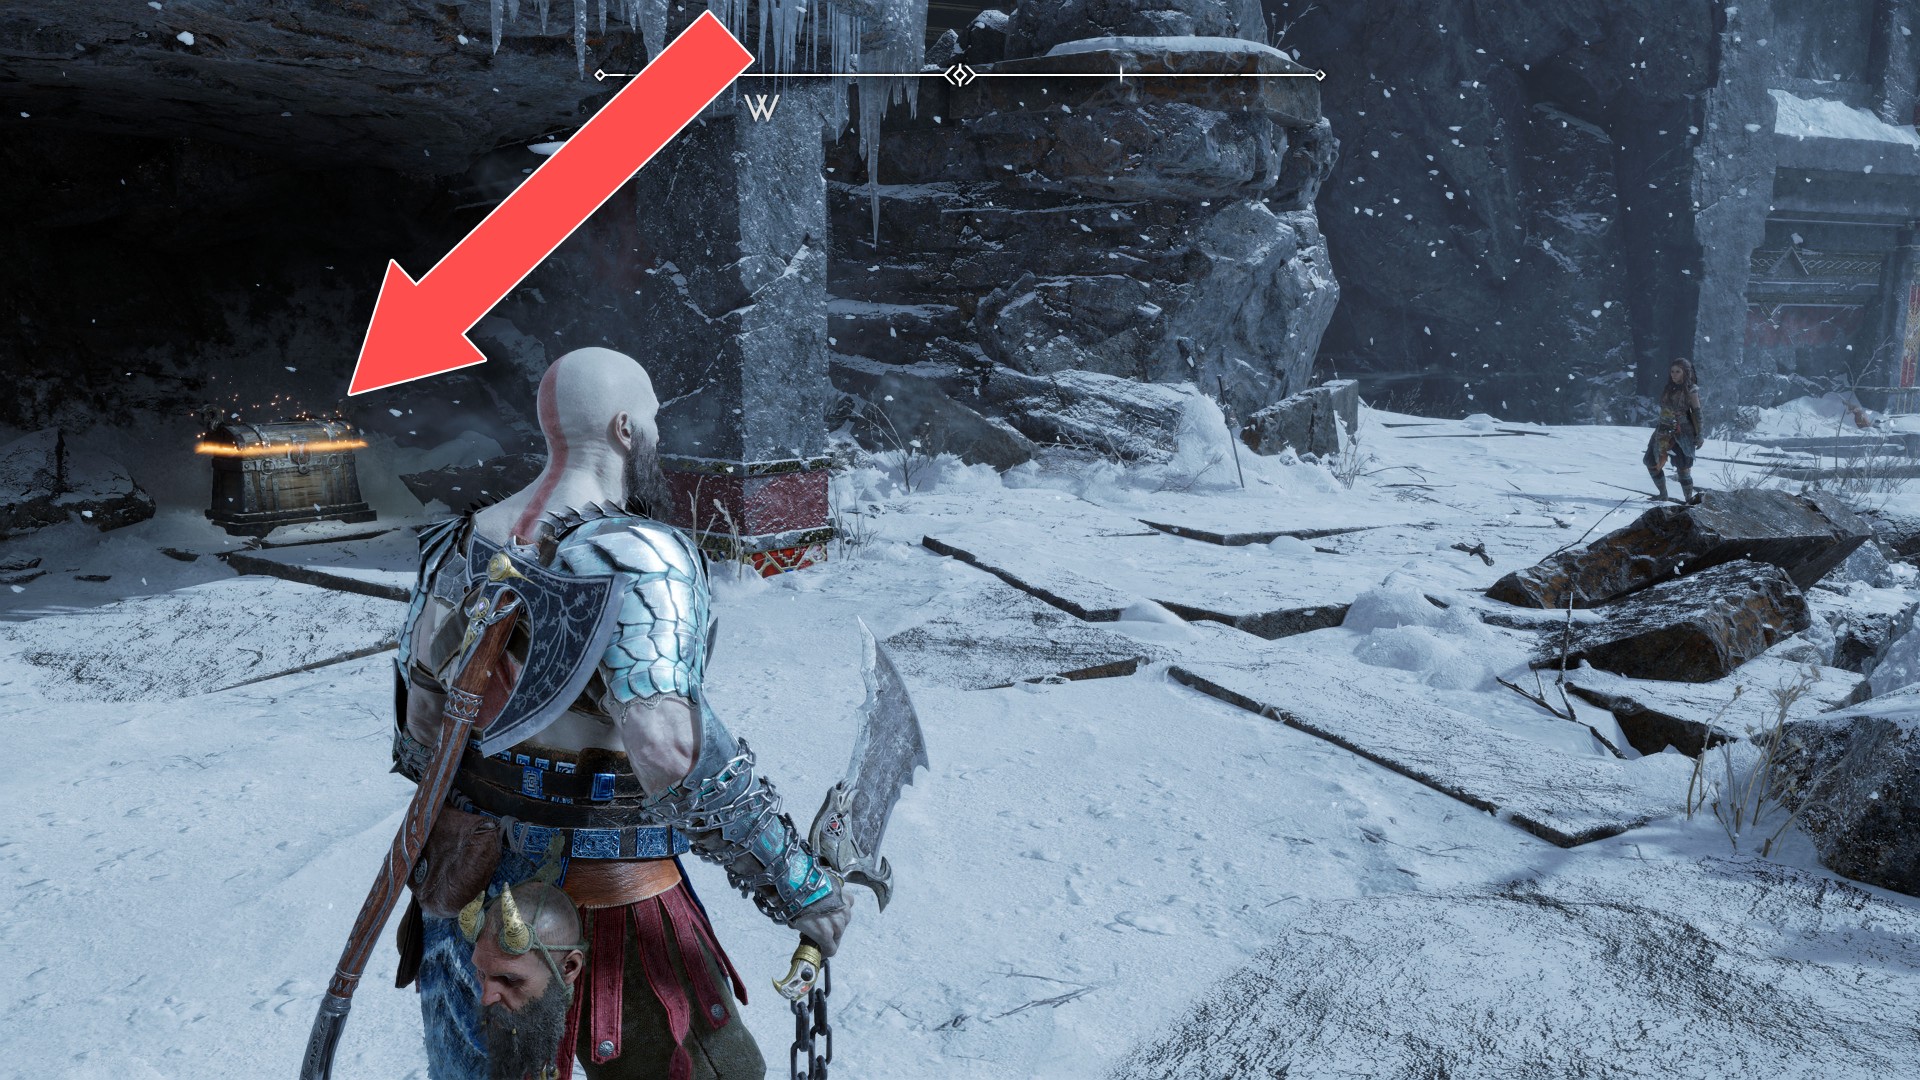
64Yellow Chest
The chest in the cave. You will pass by this cave while looking for Atreus in the mission "Surviving Fimbulwinter". You will also visit this cave on your way back.
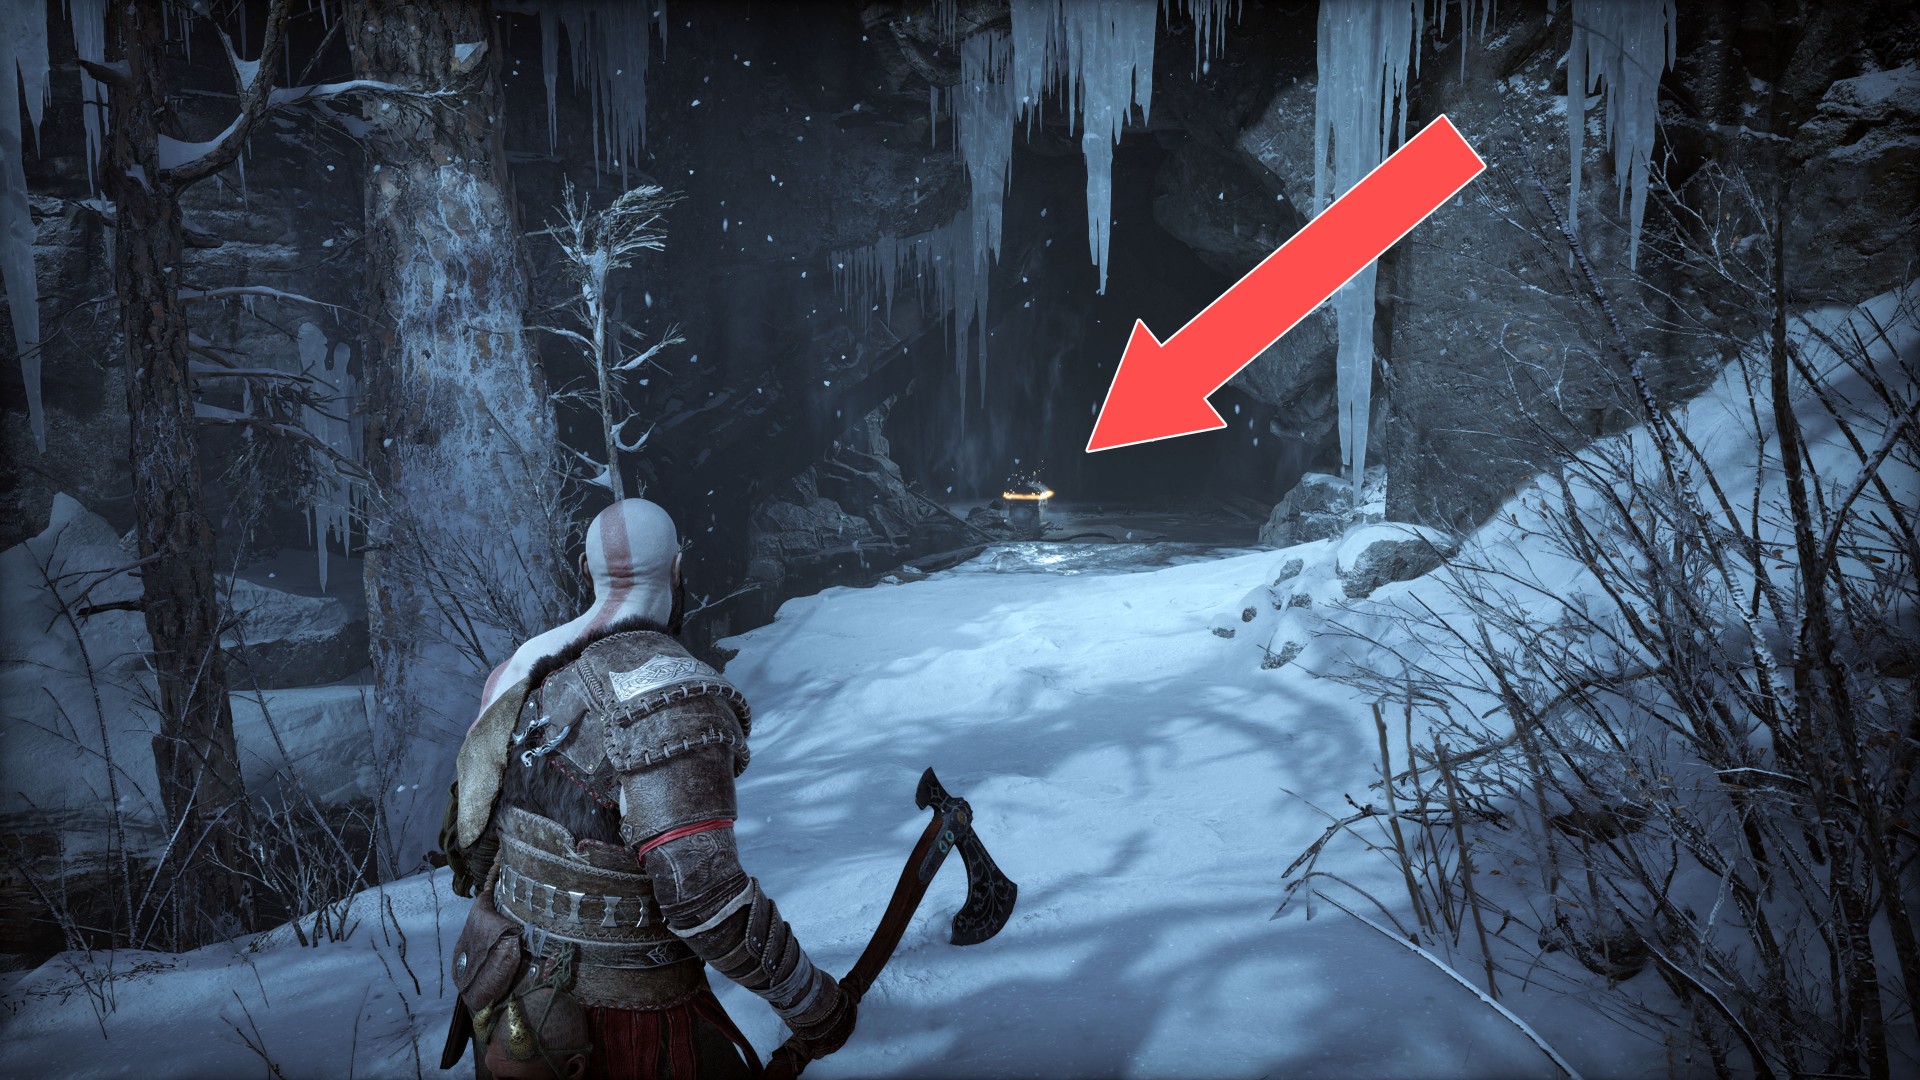
65Yellow Chest
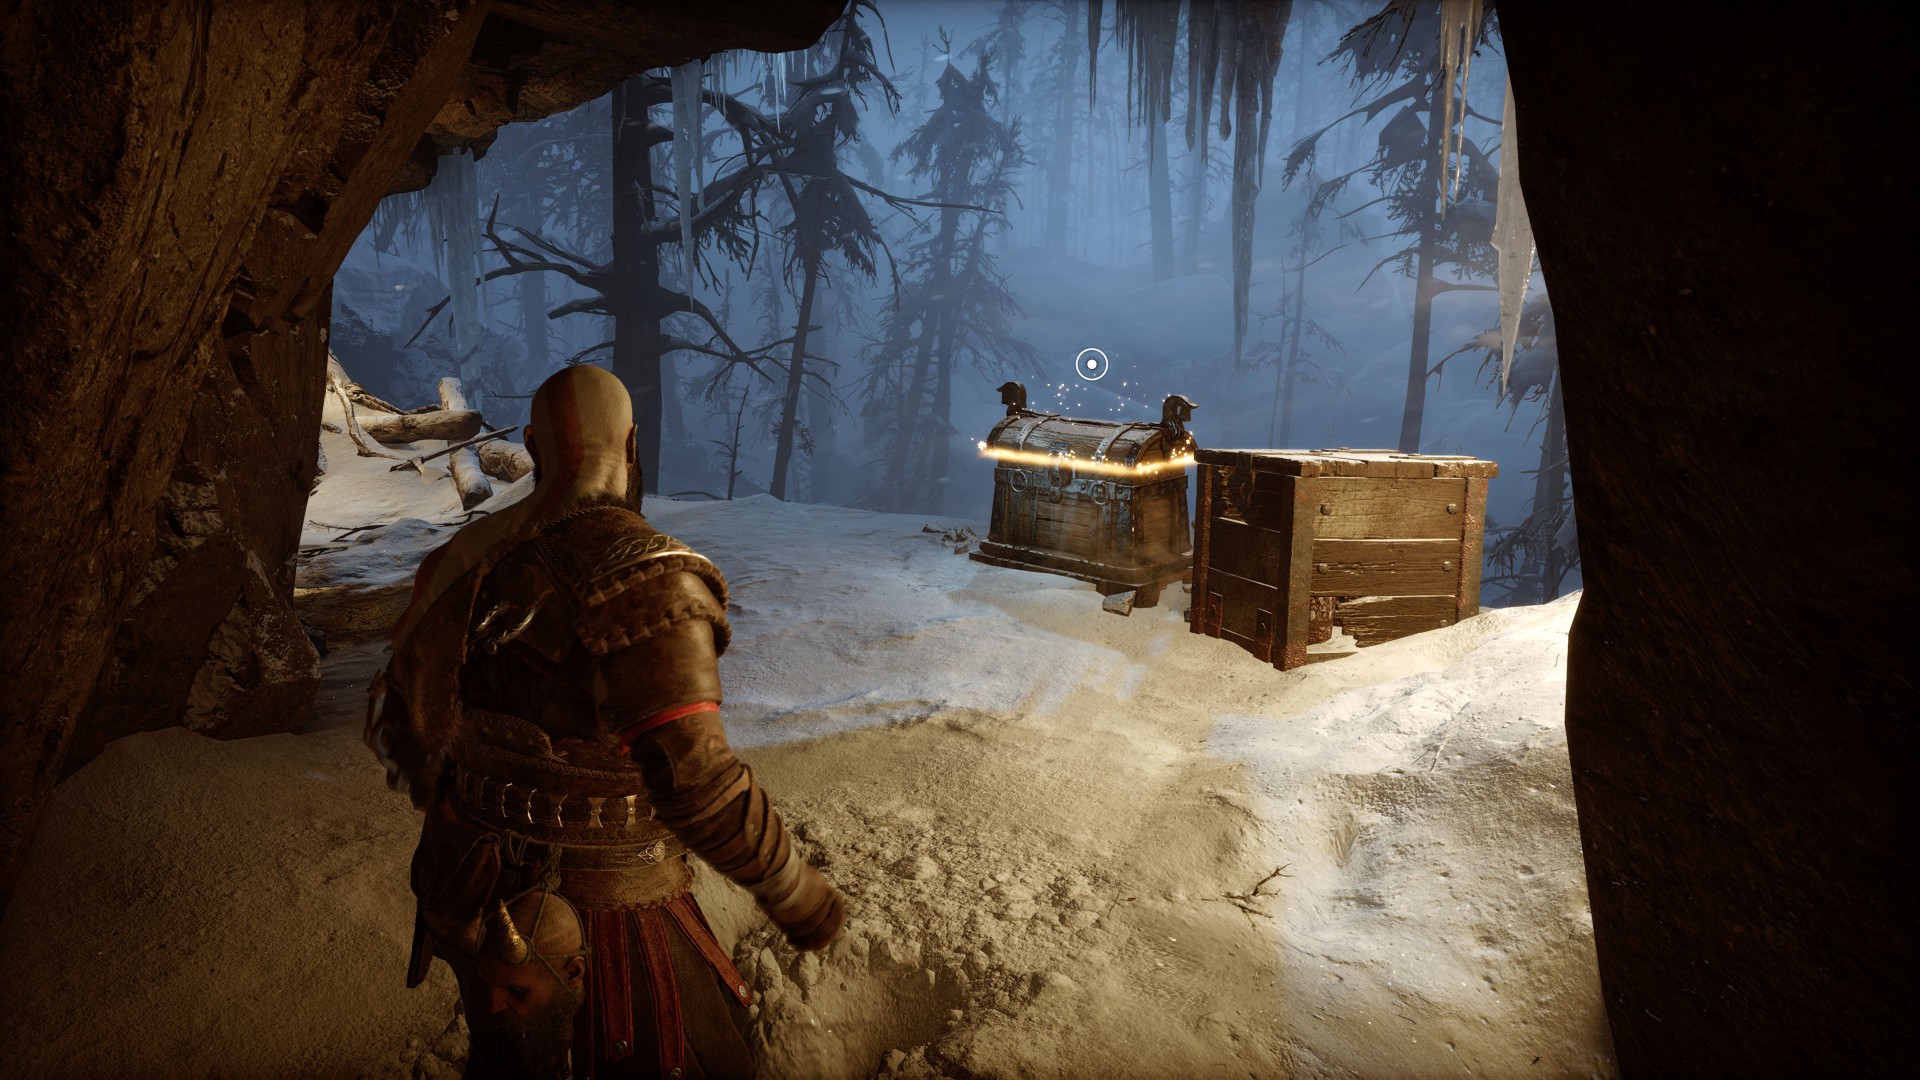
The chest stands next to the rocks in the side of the road you will follow while looking for Atreus in the mission "Surviving Fimbulwinter".
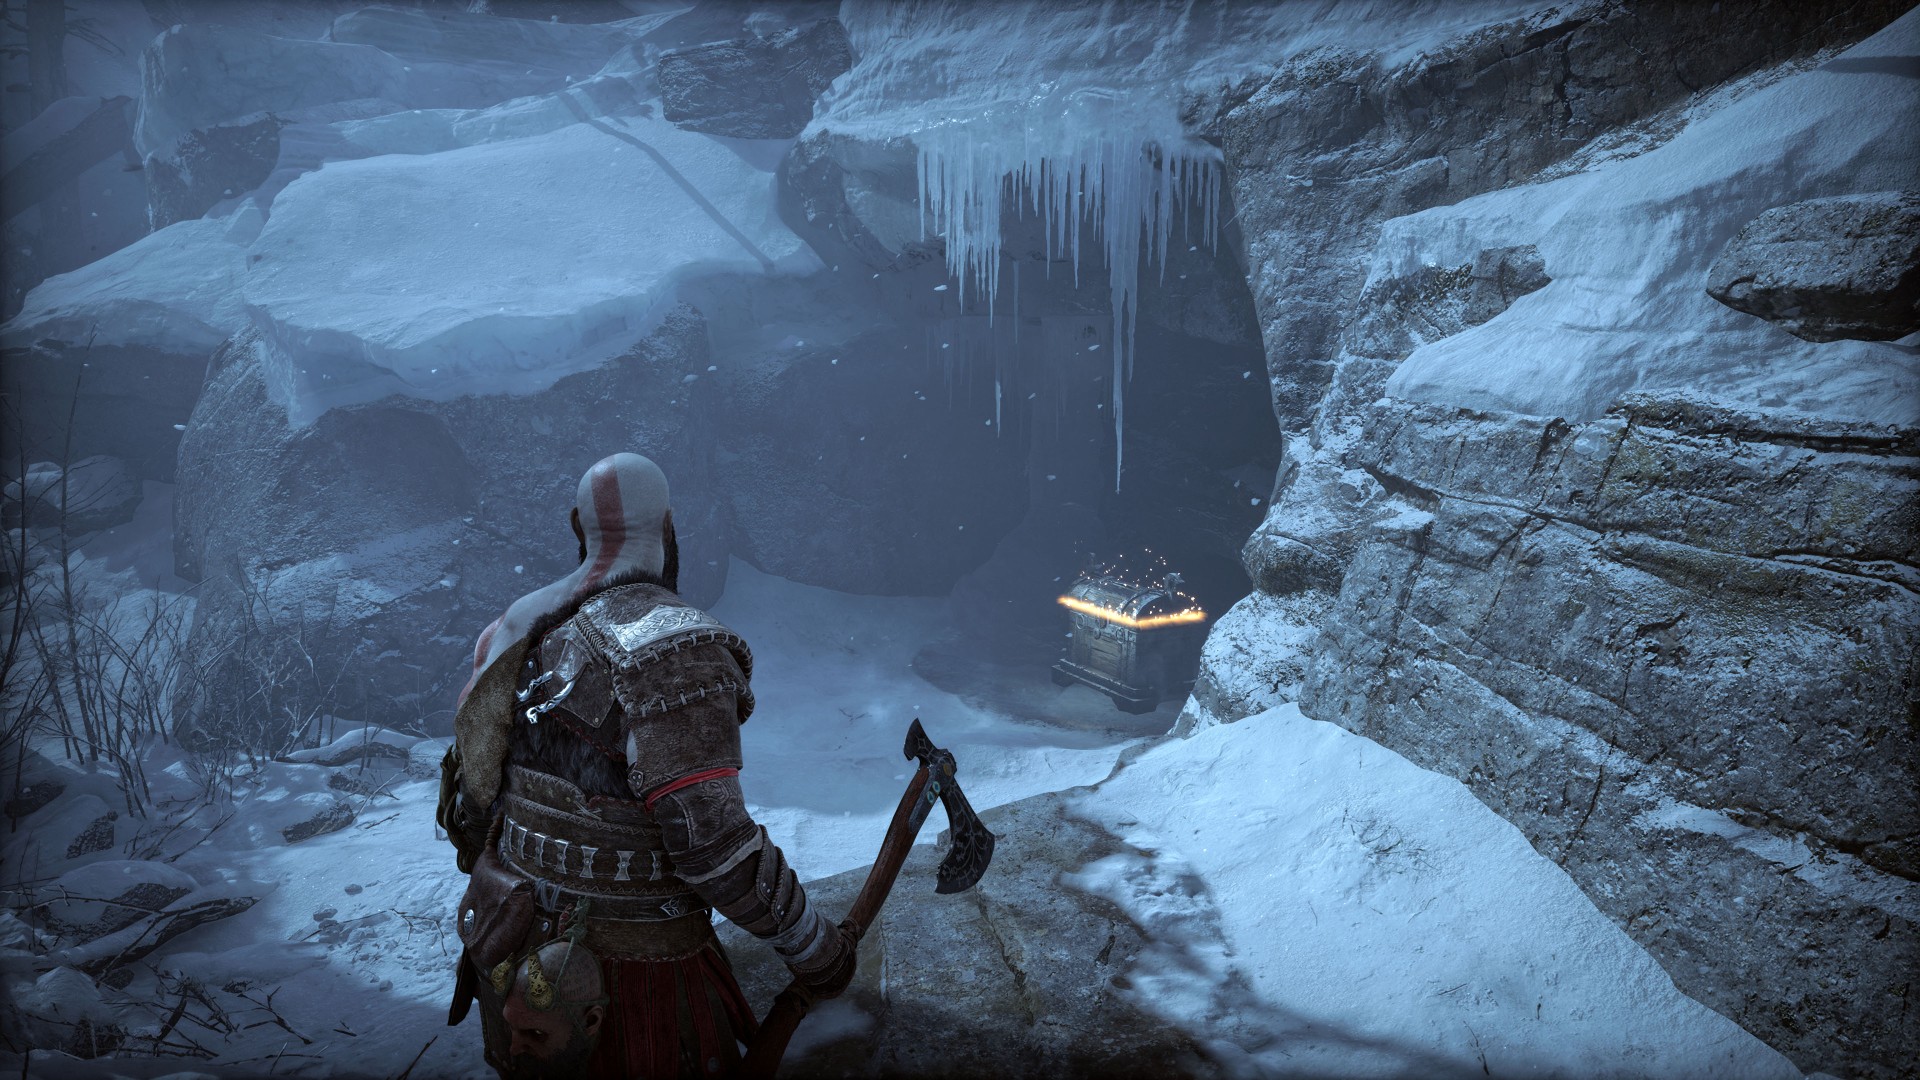
66Yellow Chest
You will pass by this chest when you are looking for Atreus in the mission "Surviving Fimbulwinter".
67Yellow Chest
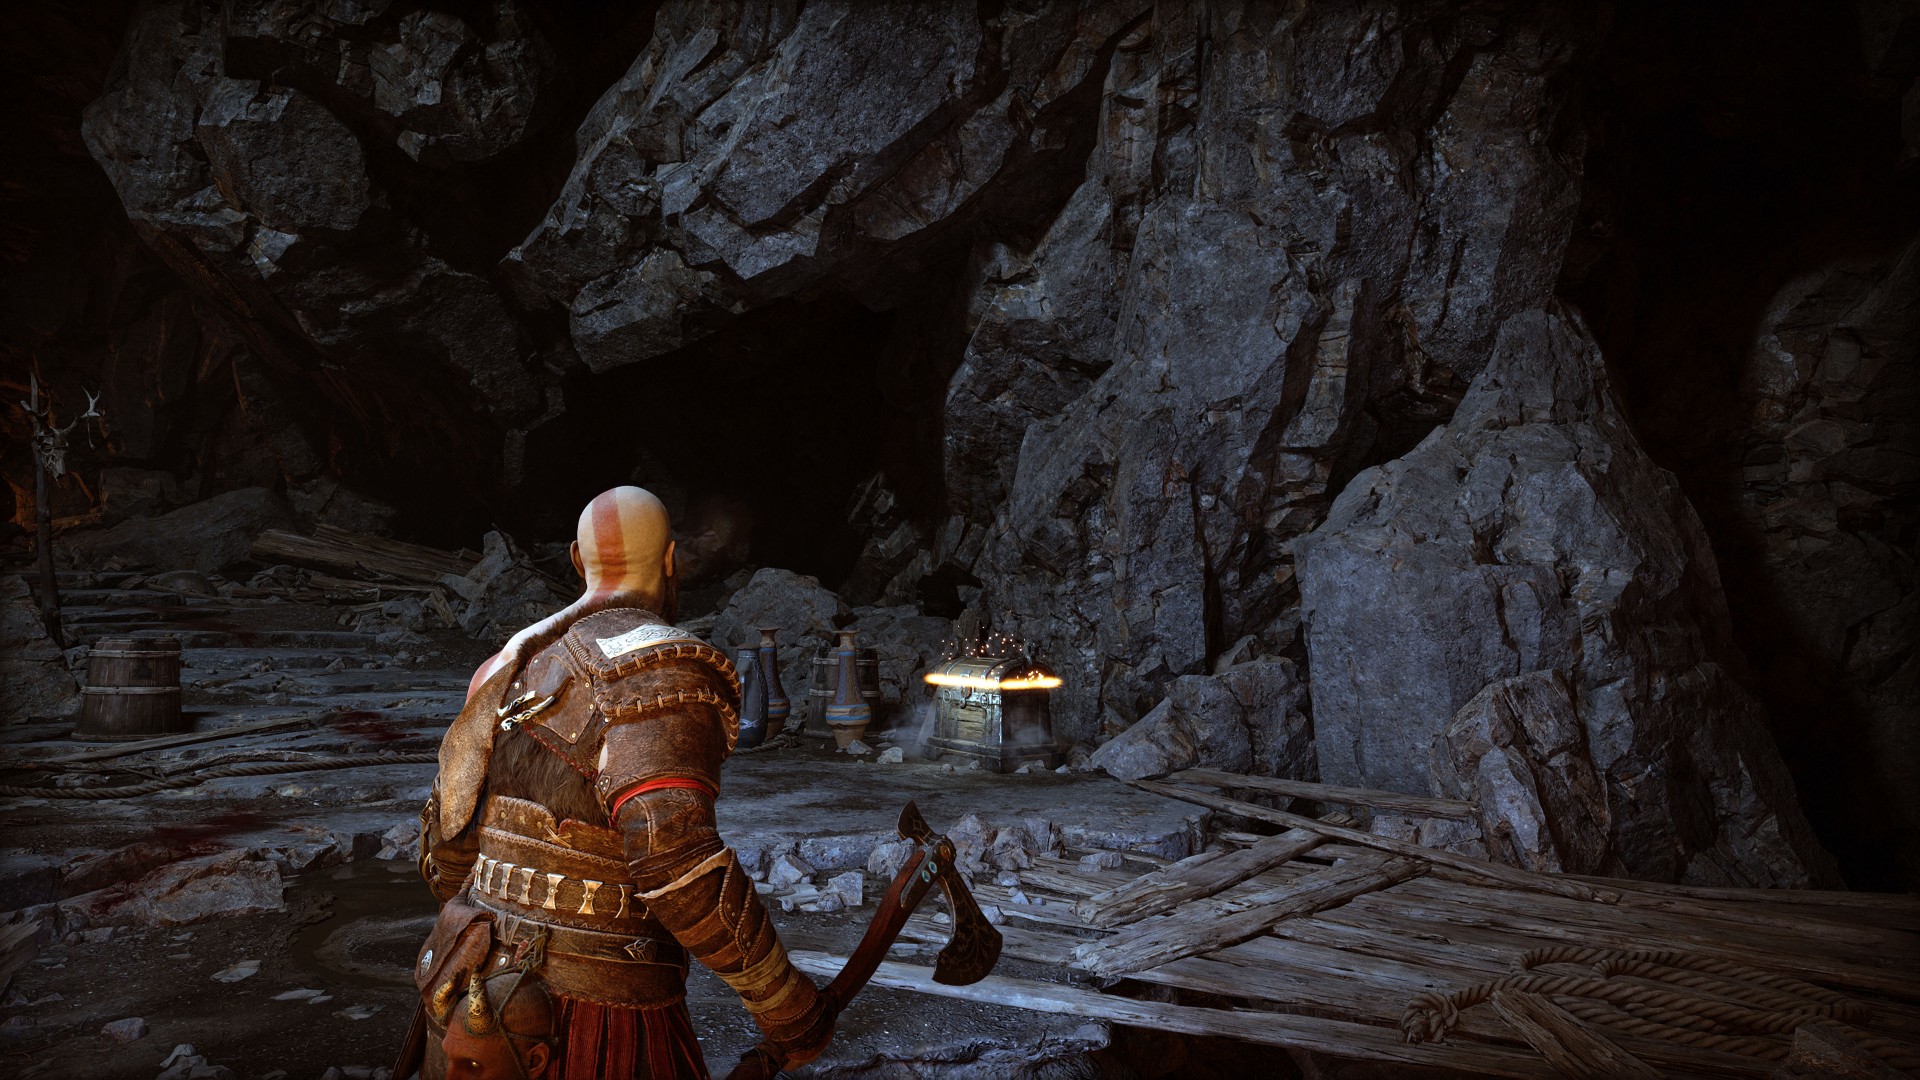
You can find this chest inside the Raiders' cave.
Locations on Svartalfheim
68Red Chest
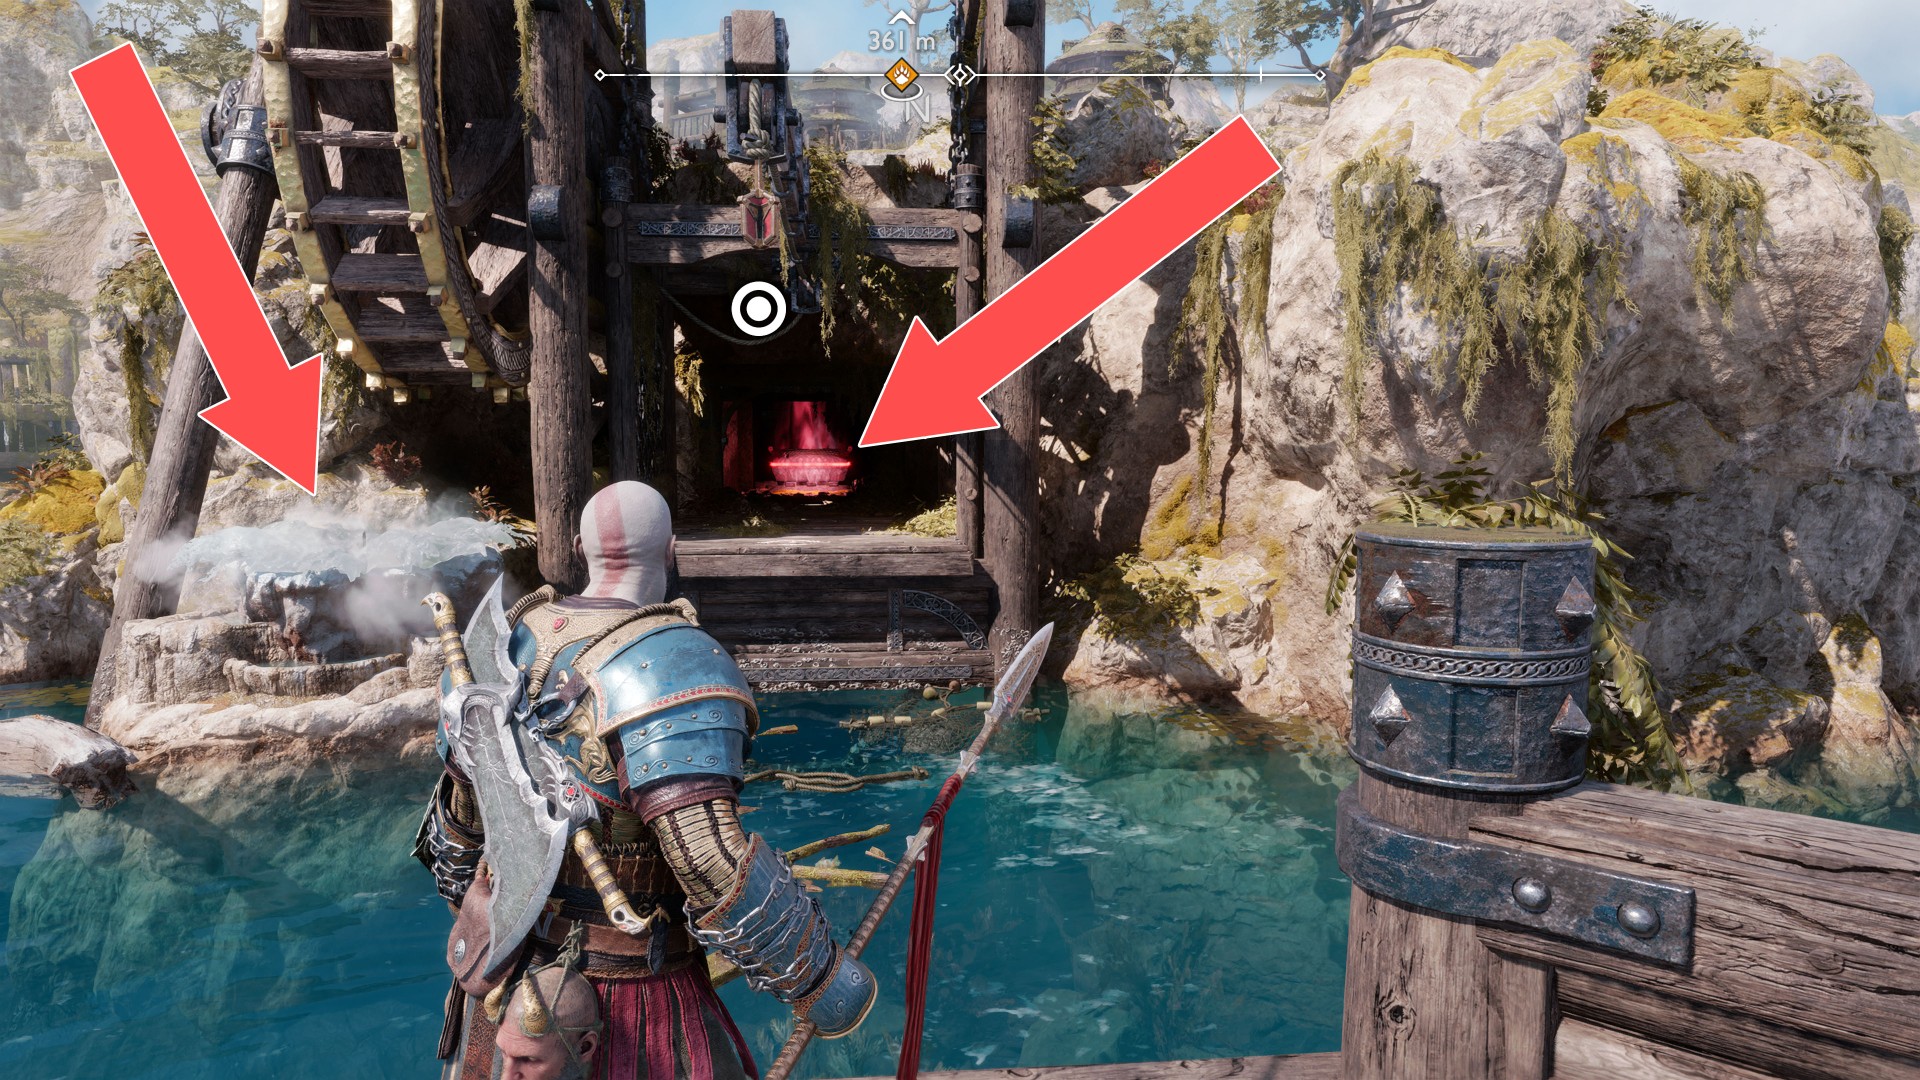
You will be able to get here only after you acquire the Draupnir Spear. To be able to hook over to the other side you must freeze the geyser.
69Red Chest
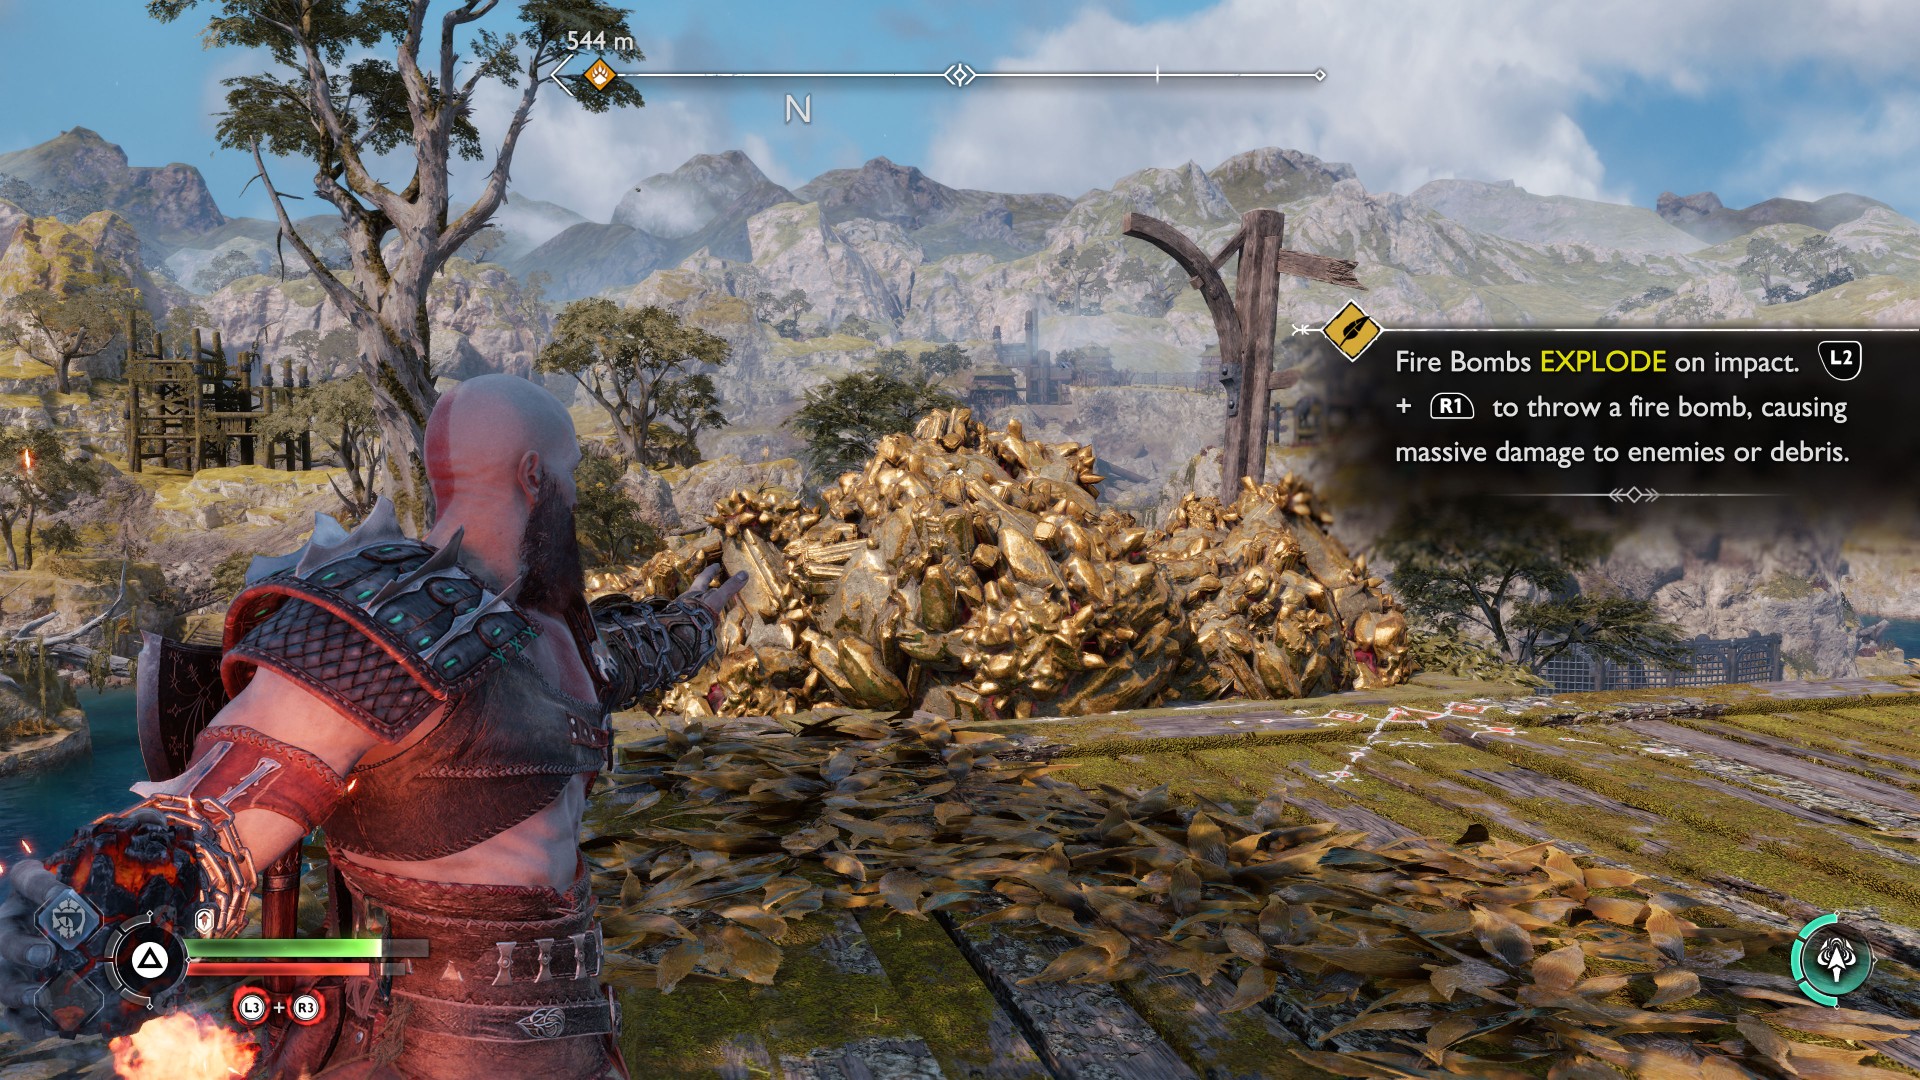
After destroying the second binding chain, destroy the nest and take the bomb hidden inside it. Throw it at the golden rocks blocking access.
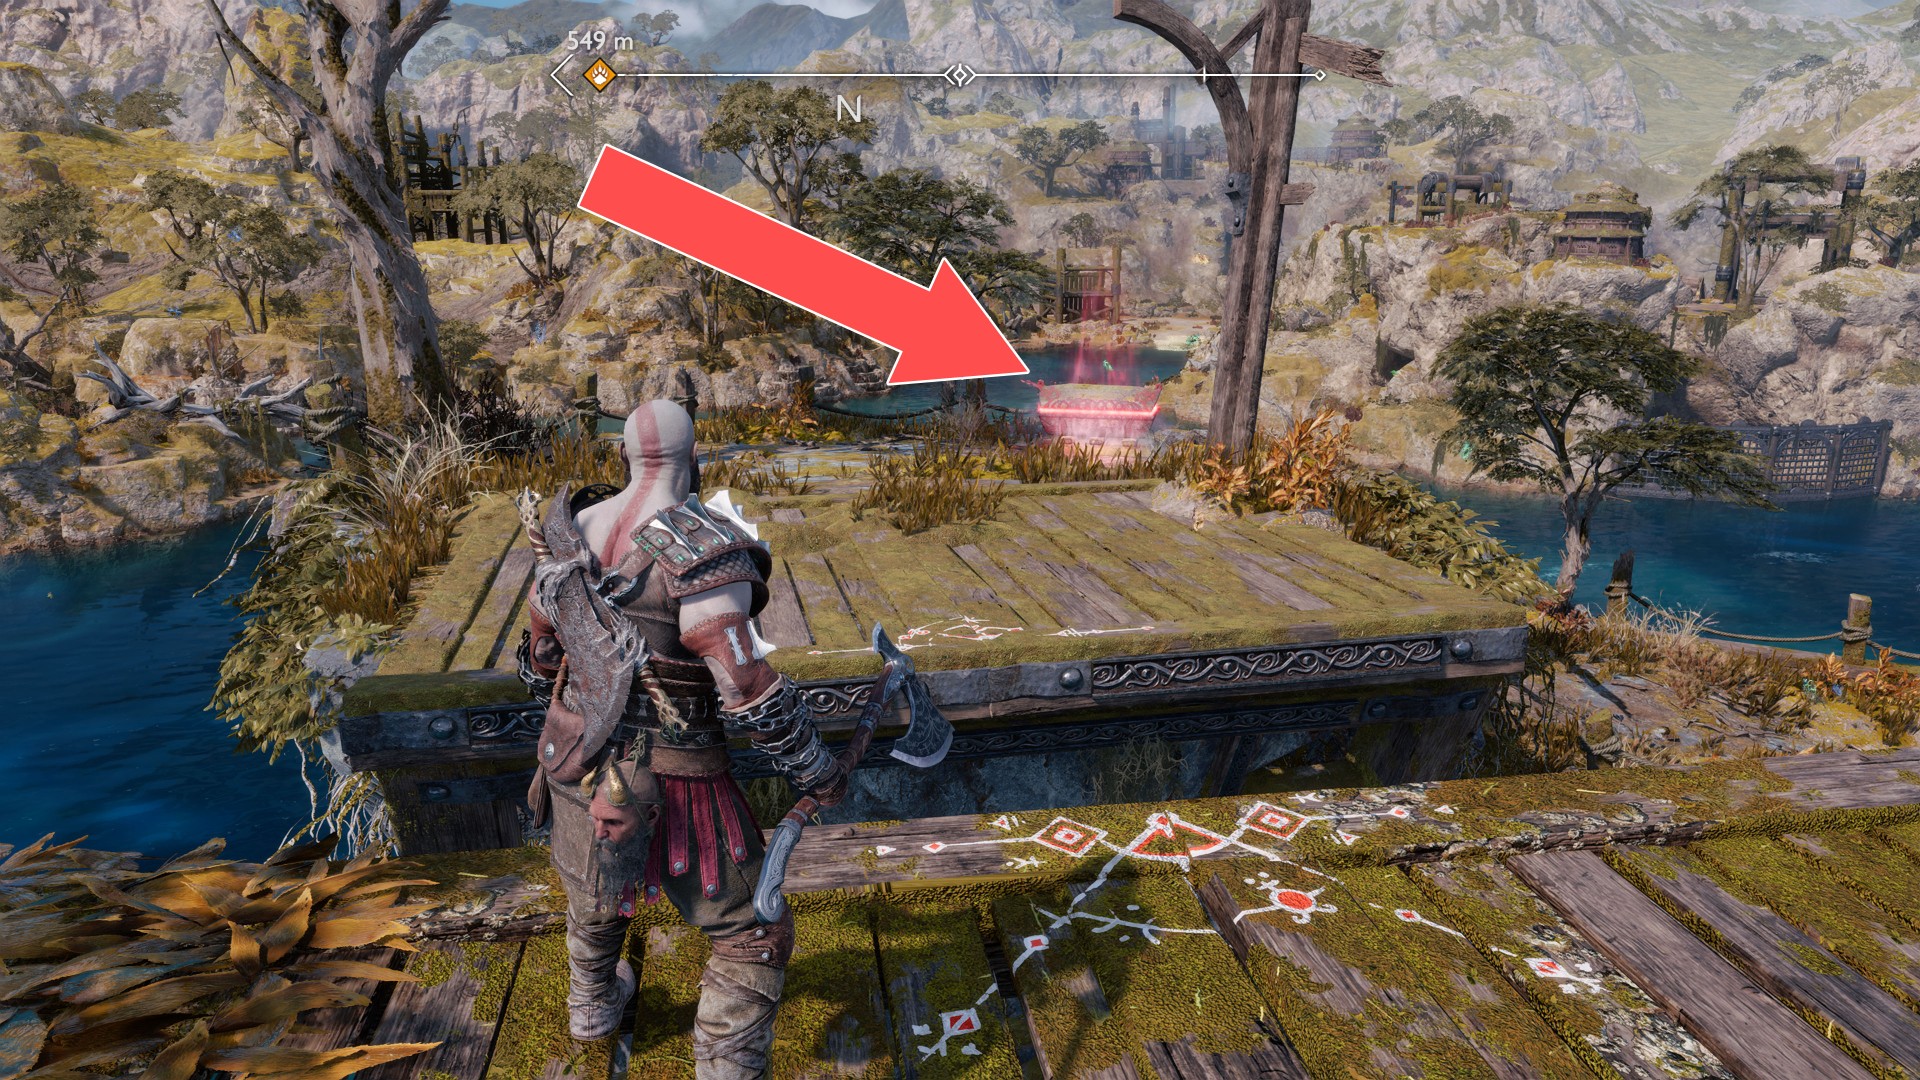
70Red Chest
To reach this chest you must move the hook you can use to jump as low as possible and get to the lowest level.
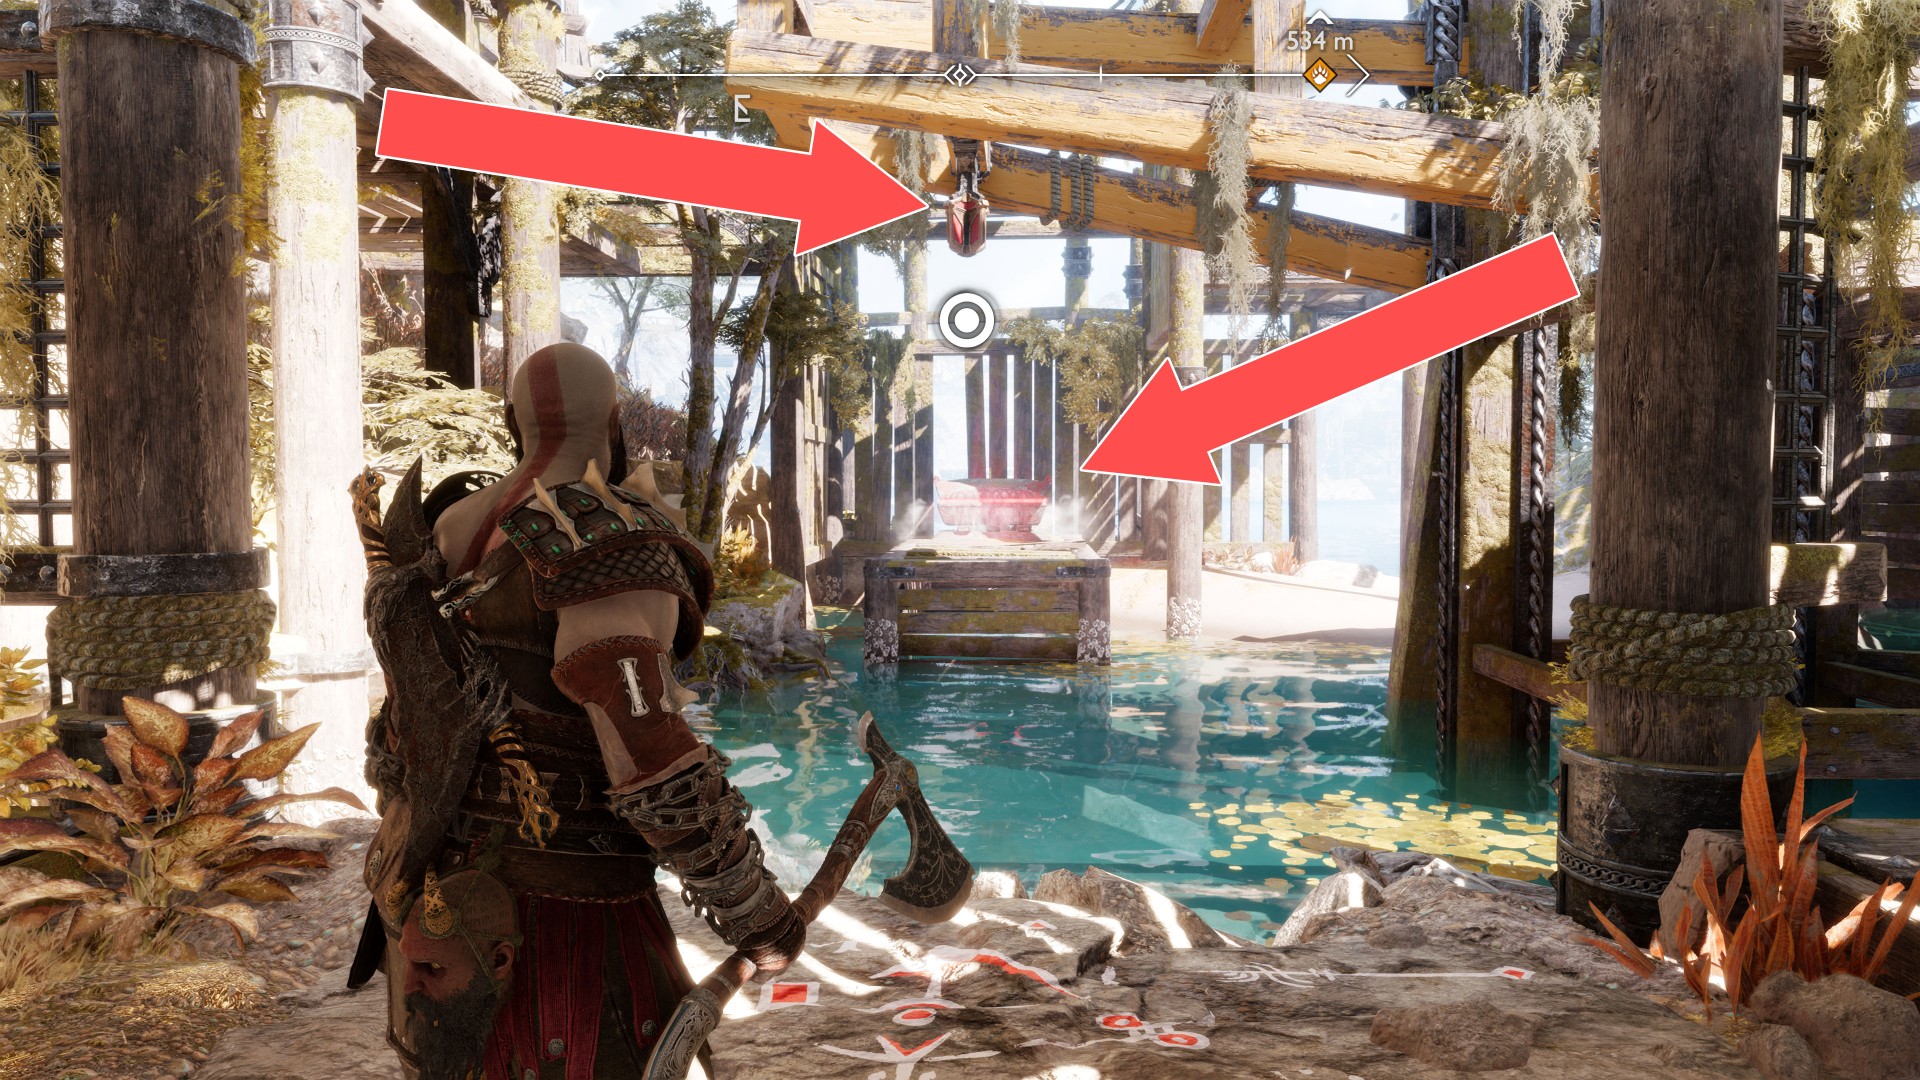
71Red Chest
This chest is located on the top level of the island.
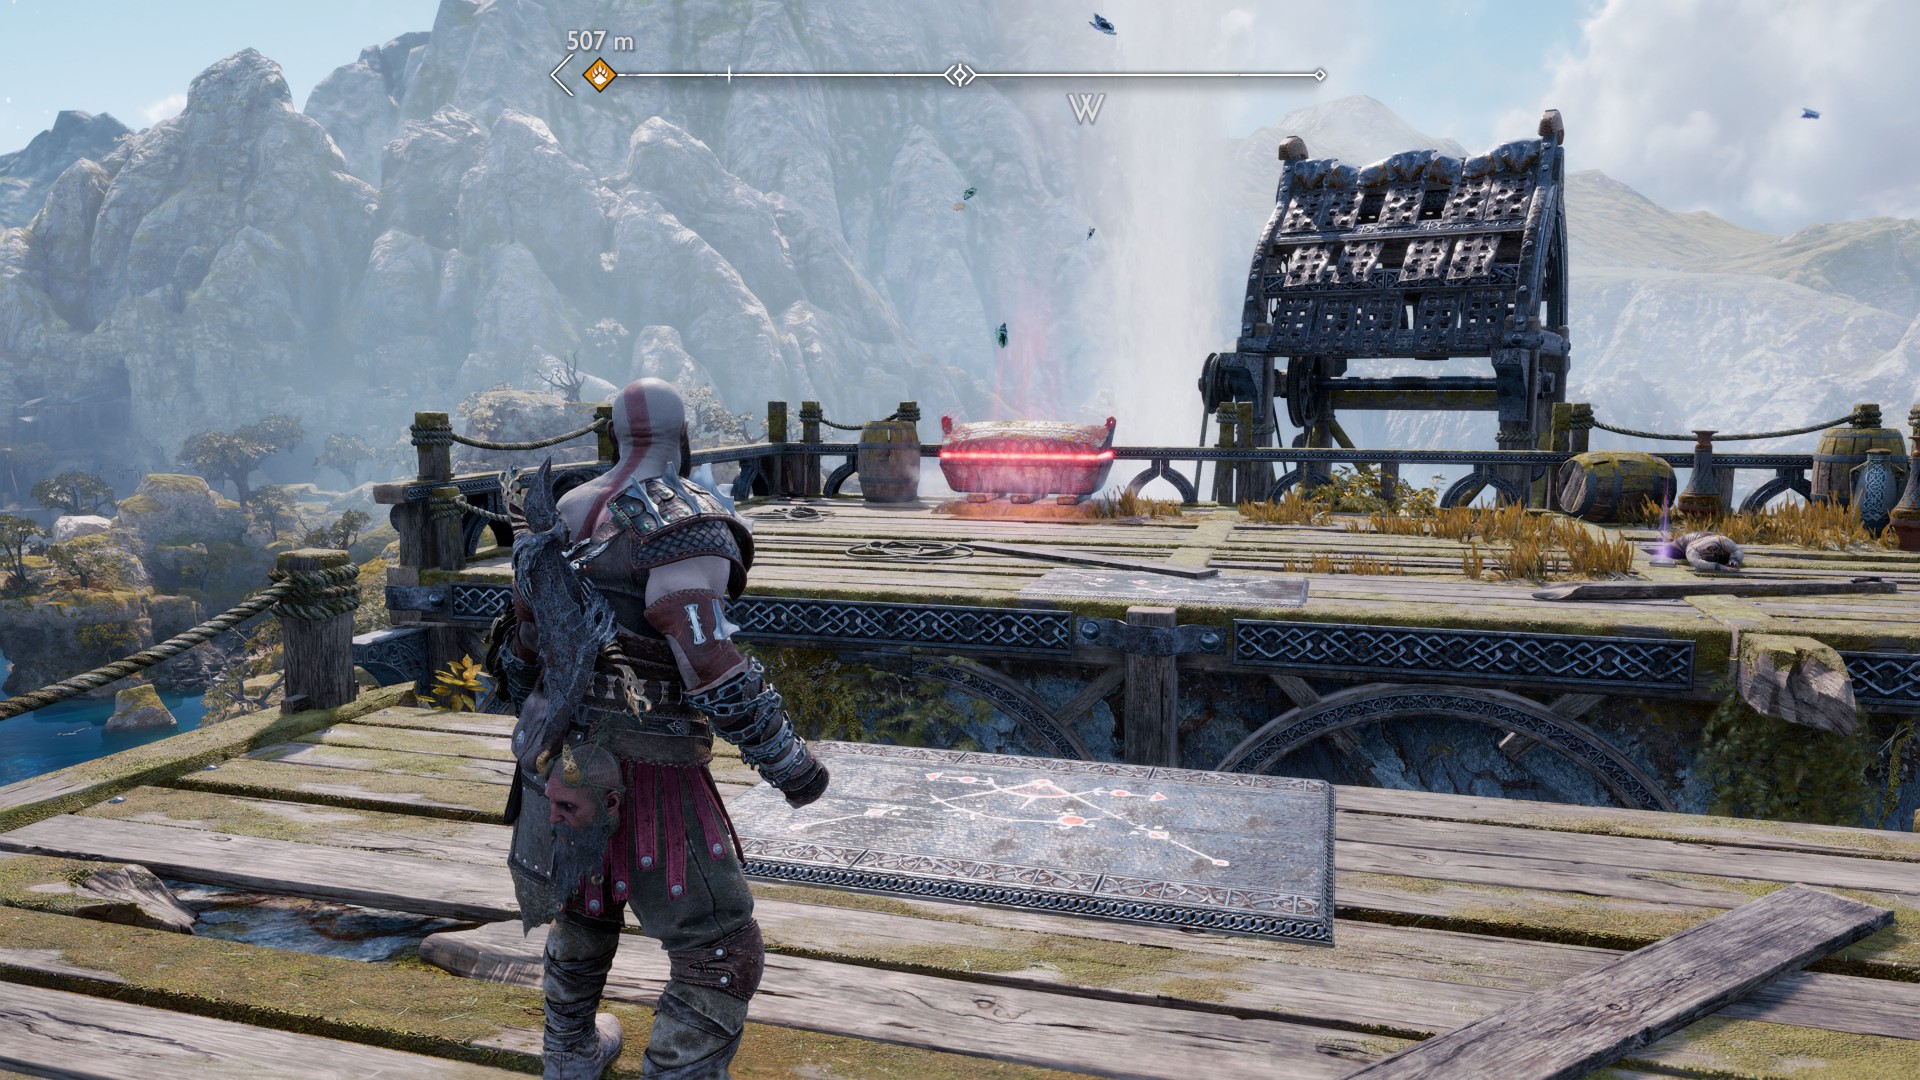
72Red Chest
After cutting off the second chain you will be able to pick up a bomb that will allow you to destroy the golden crystals blocking the passage.
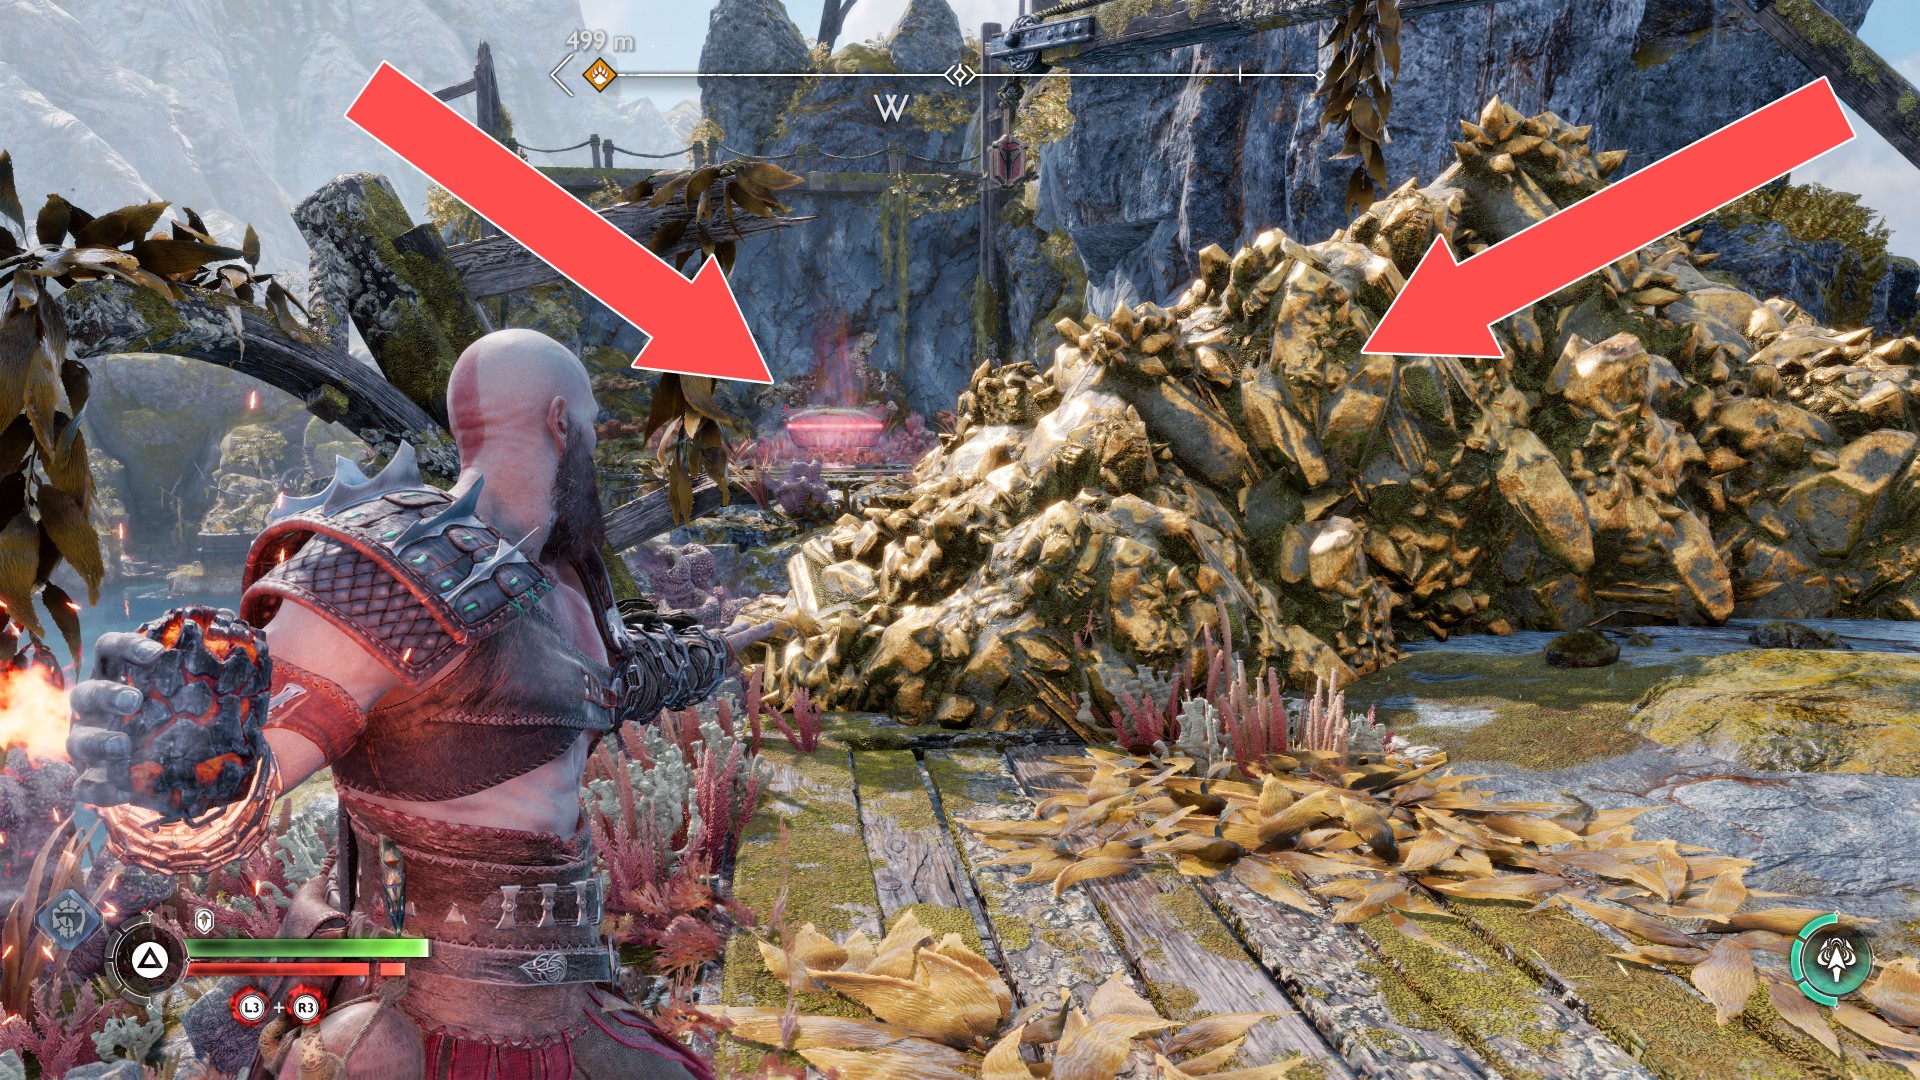
73Red Chest
To destroy the crystals blocking access to this chest, use the same bomb with which you unlocked the boat dock.
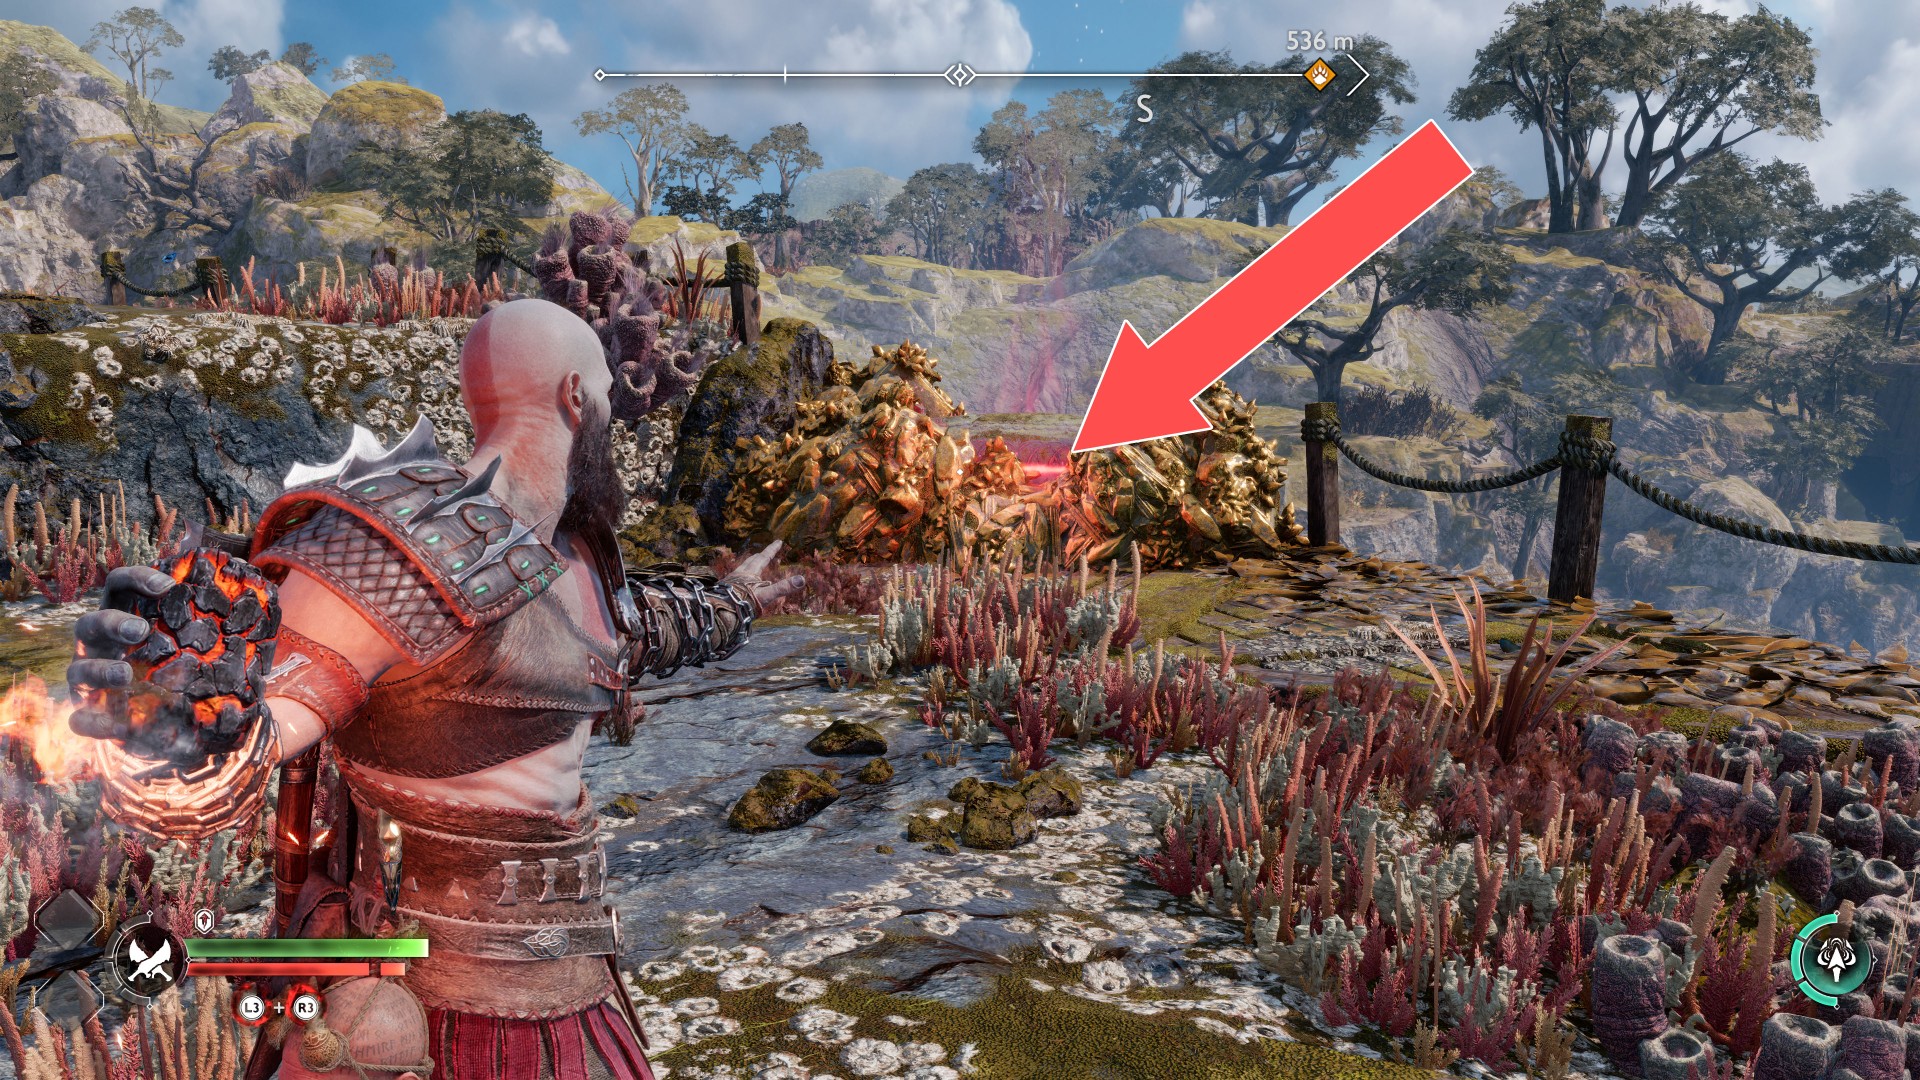
74Red Chest
Use the spear and blast the rock that prevents you from jumping close to this chest.
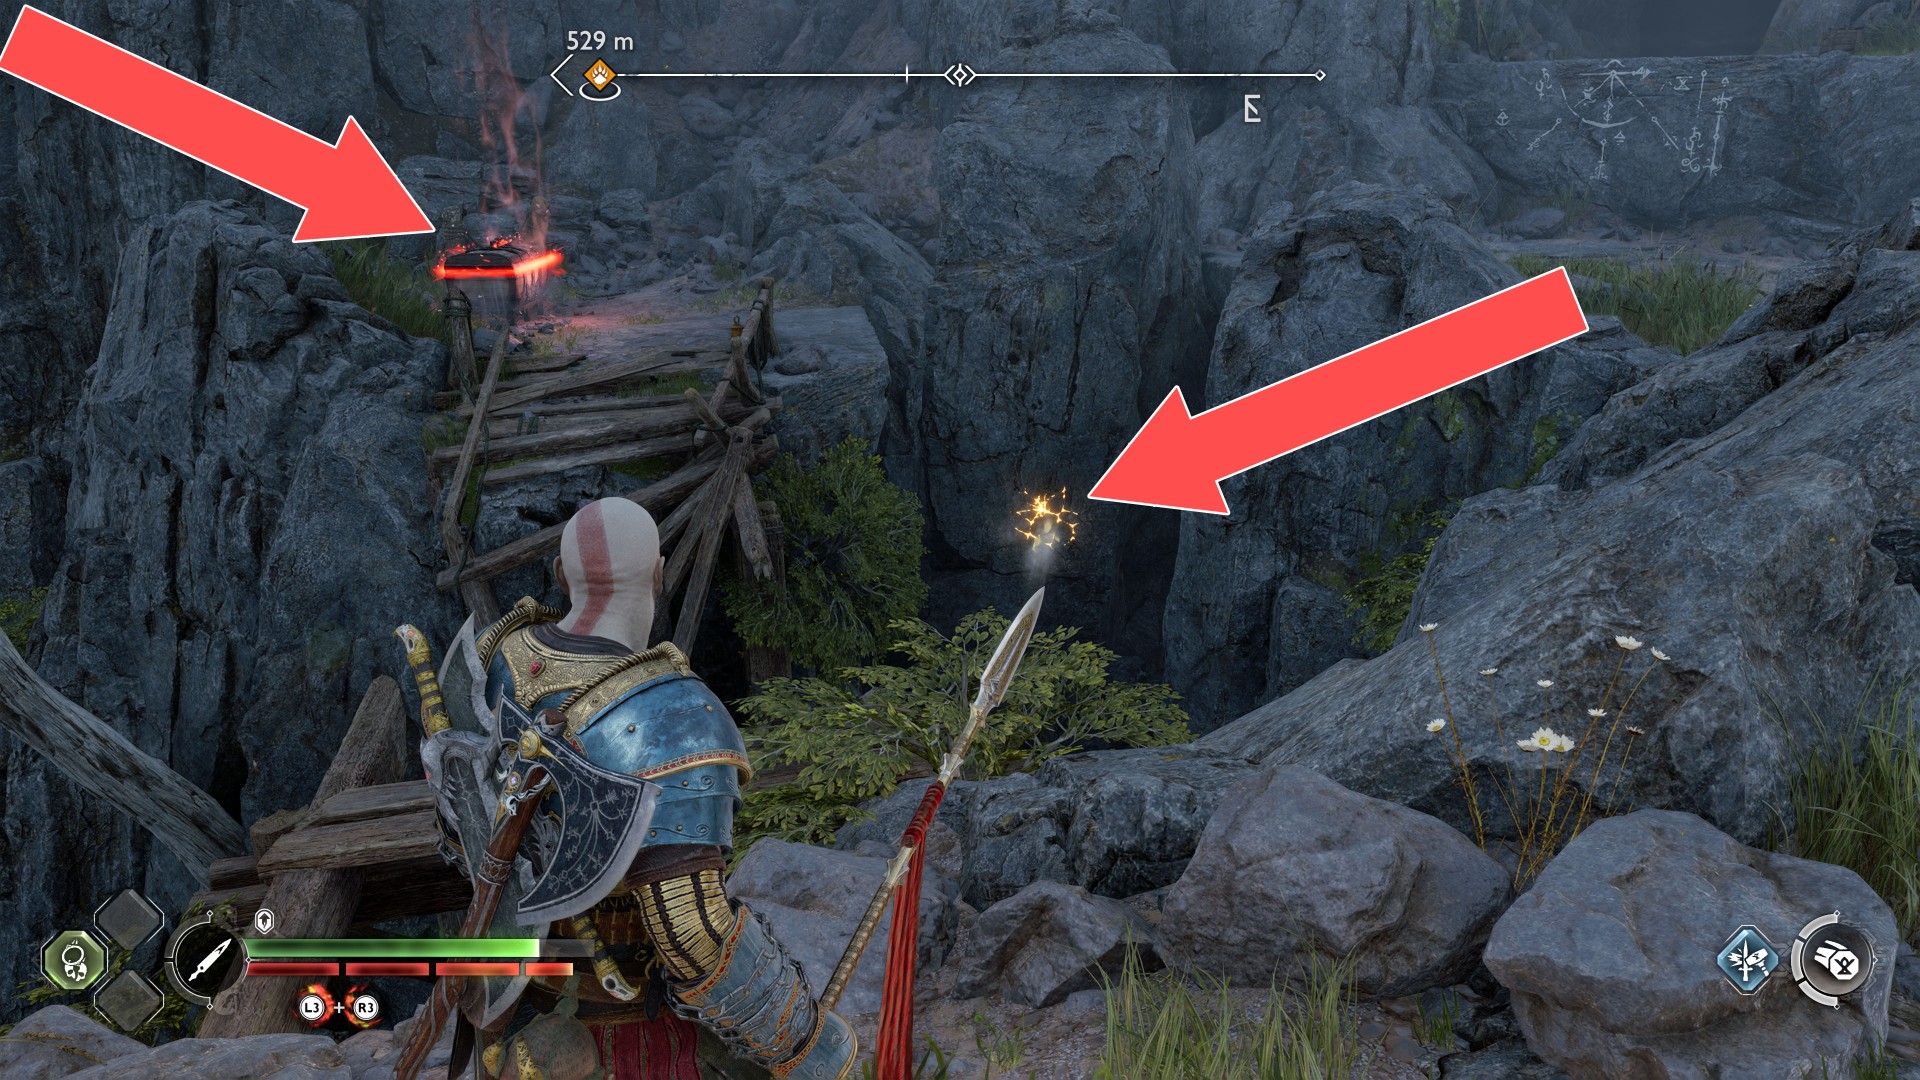
75Red Chest
This chest is located in a small room behind a hidden door.
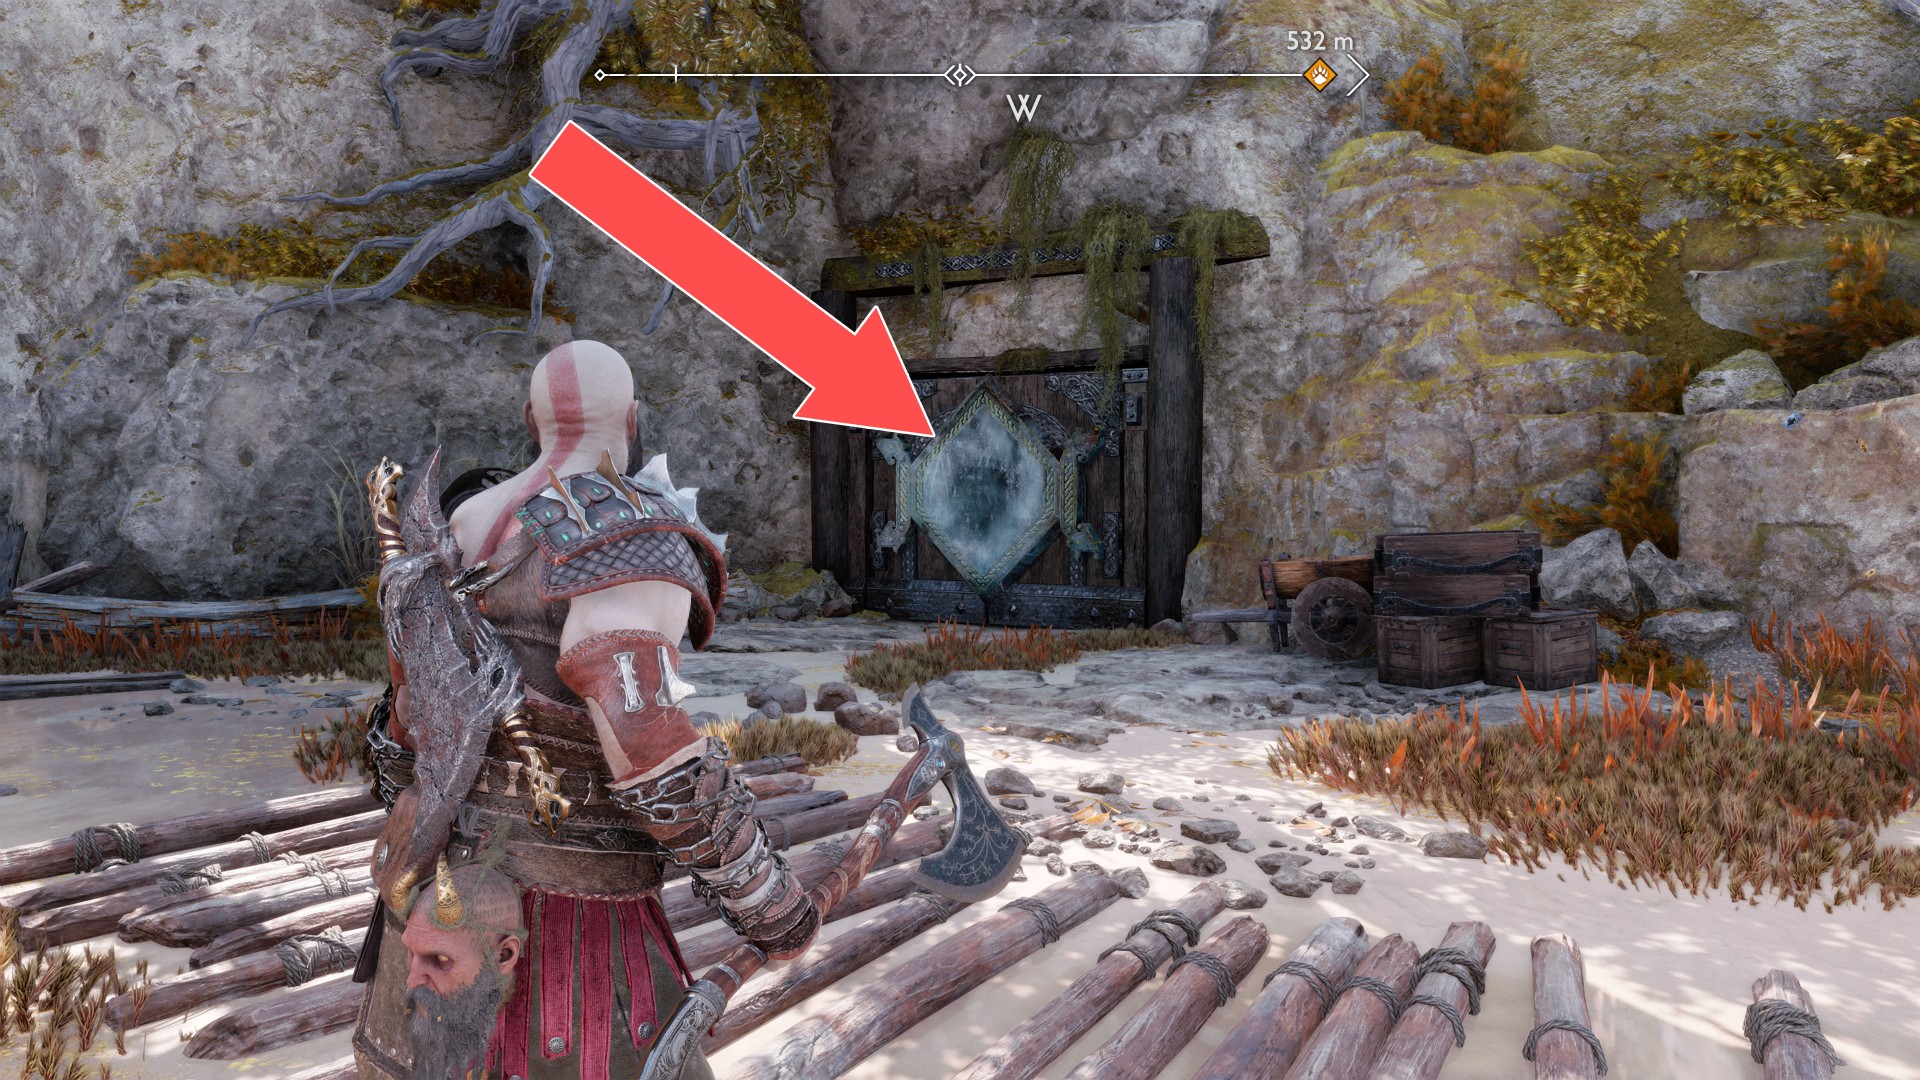
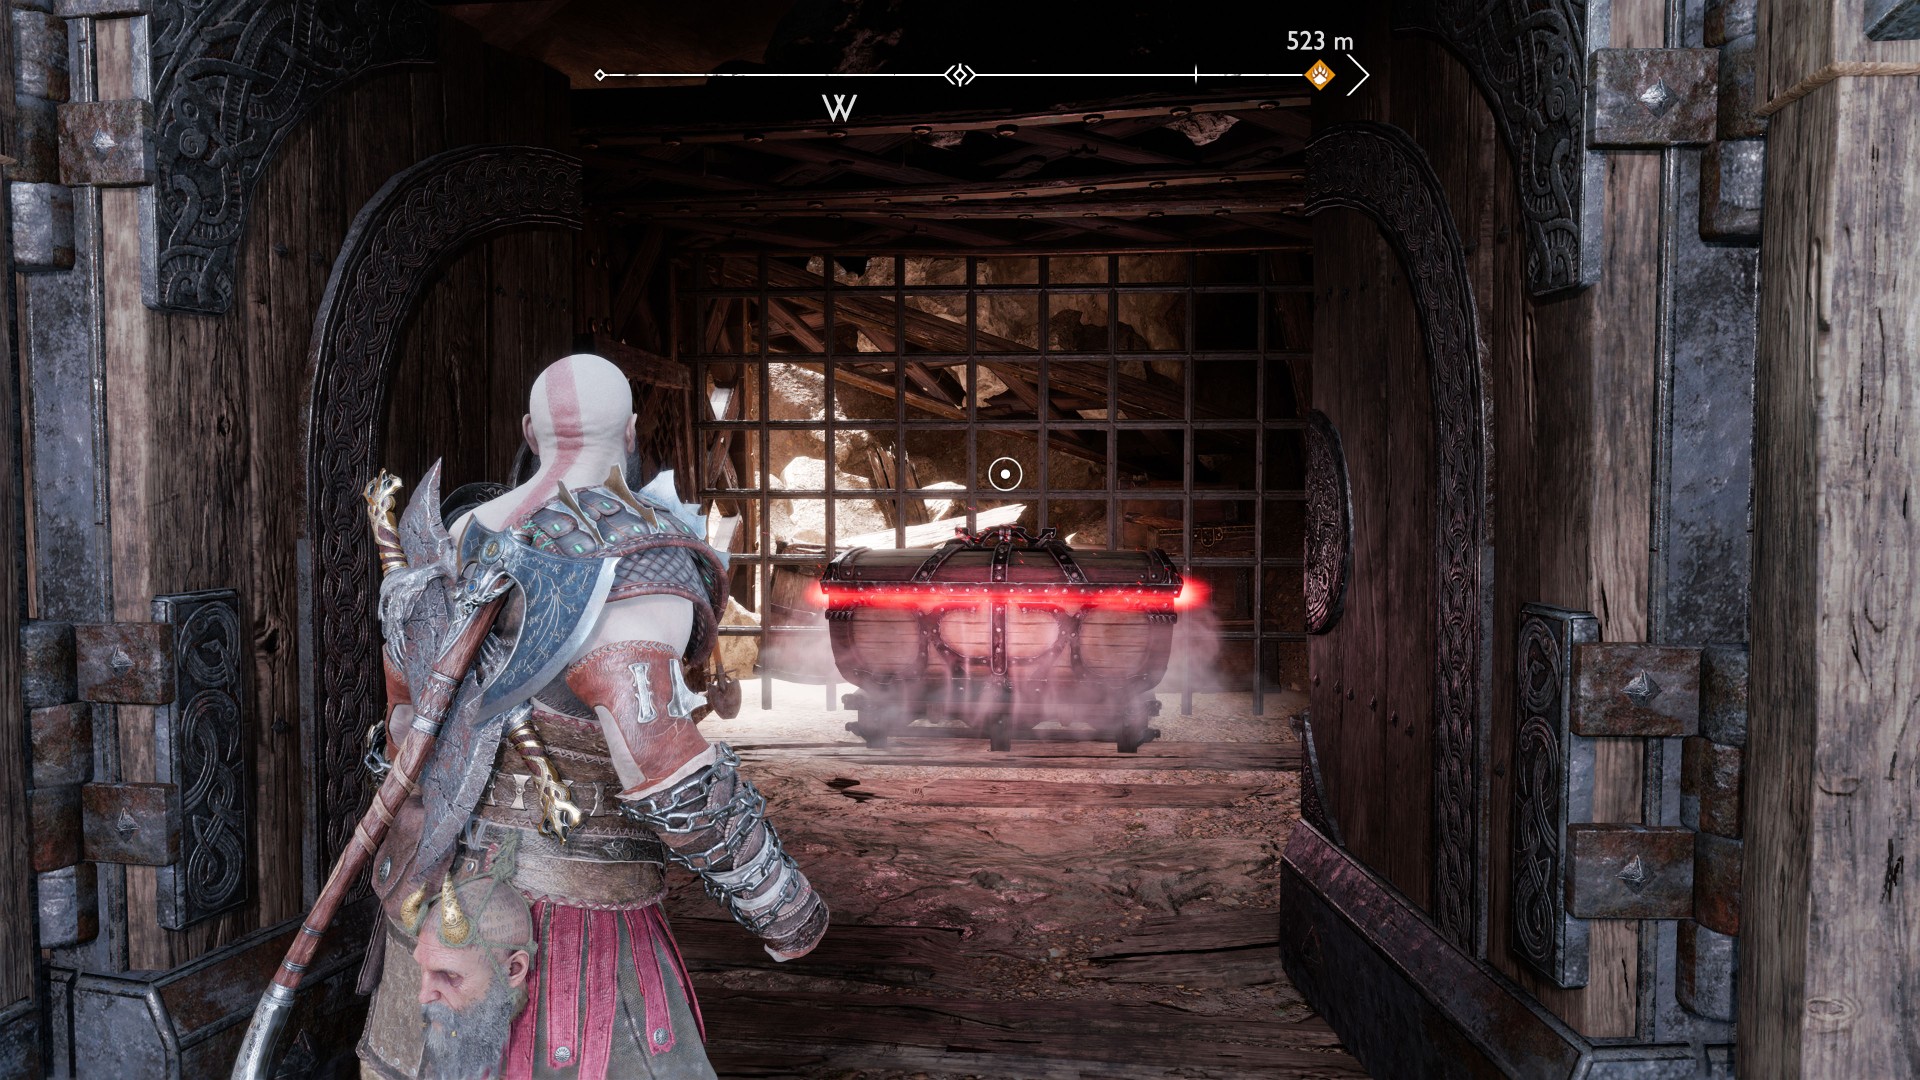
76Red Chest
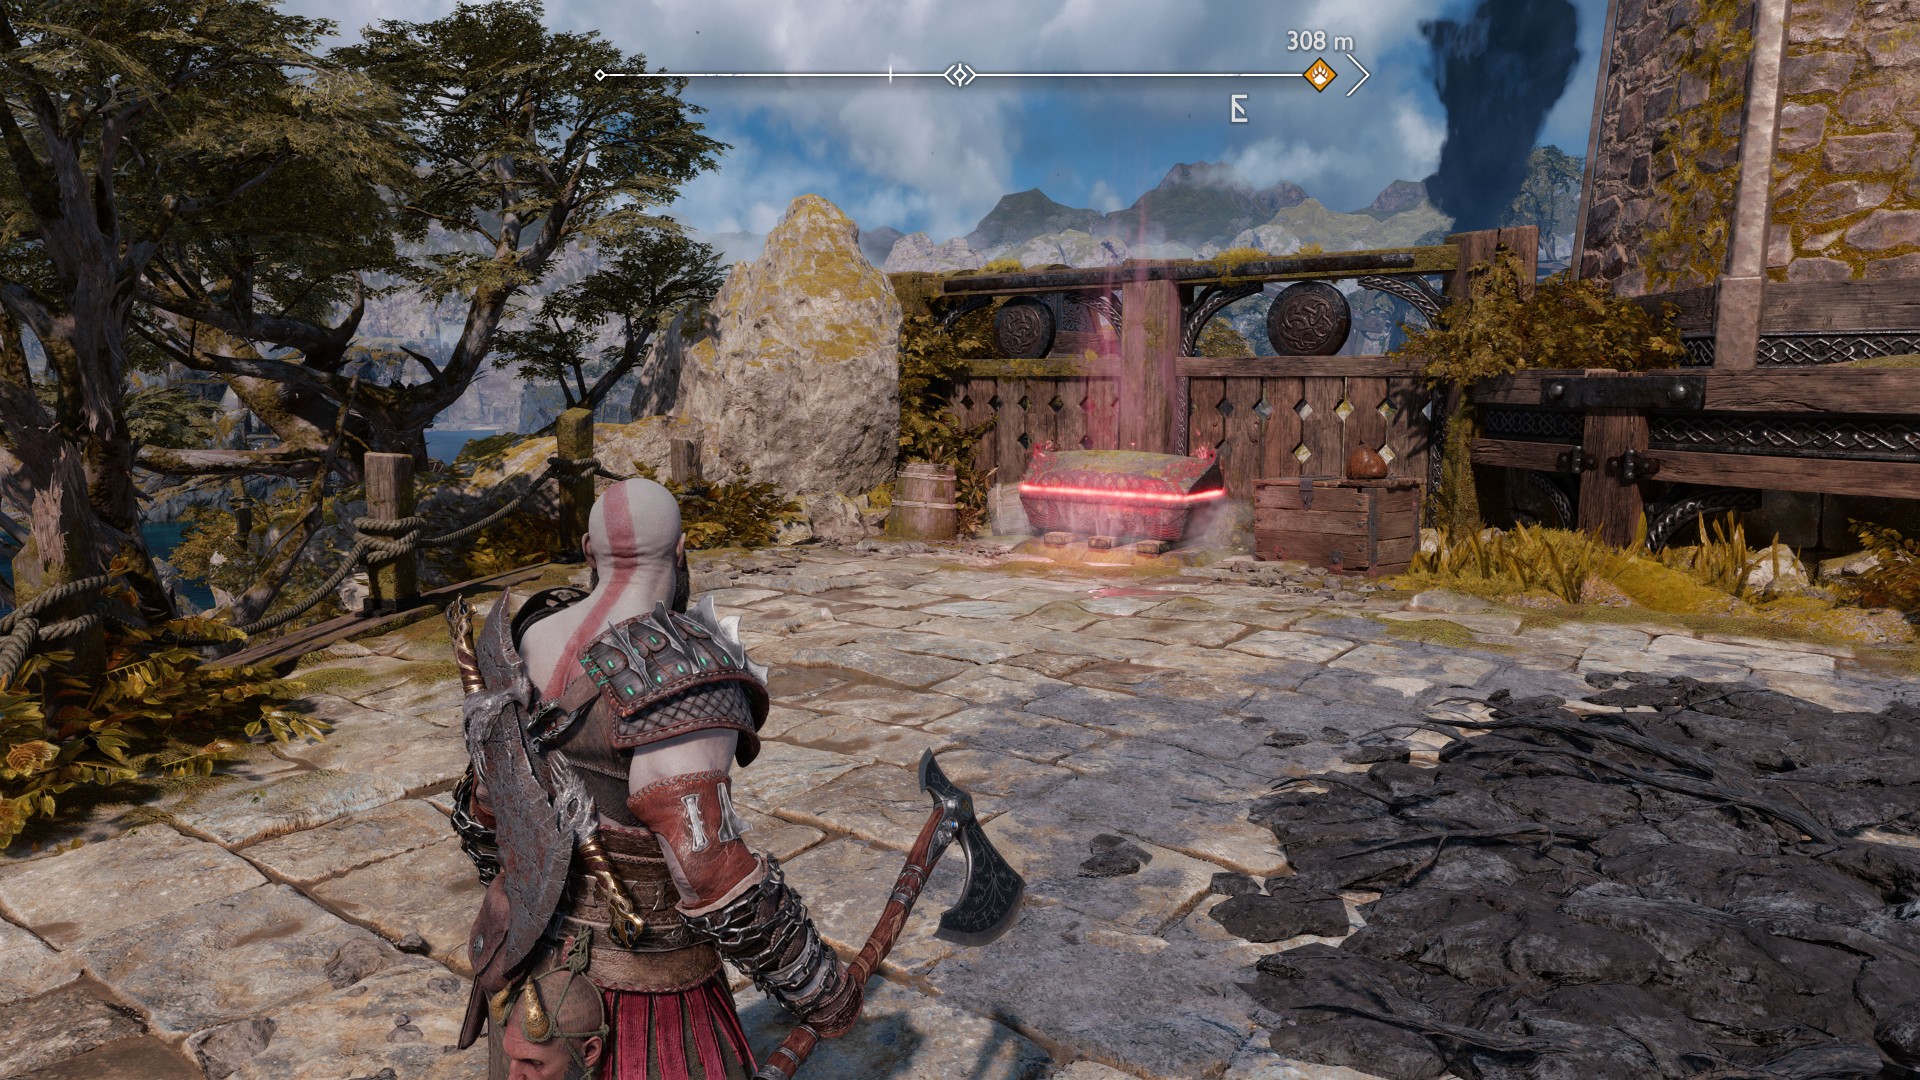
77Red Chest
Position the crane properly and then you will be able to jump to the platform where this chest is located.
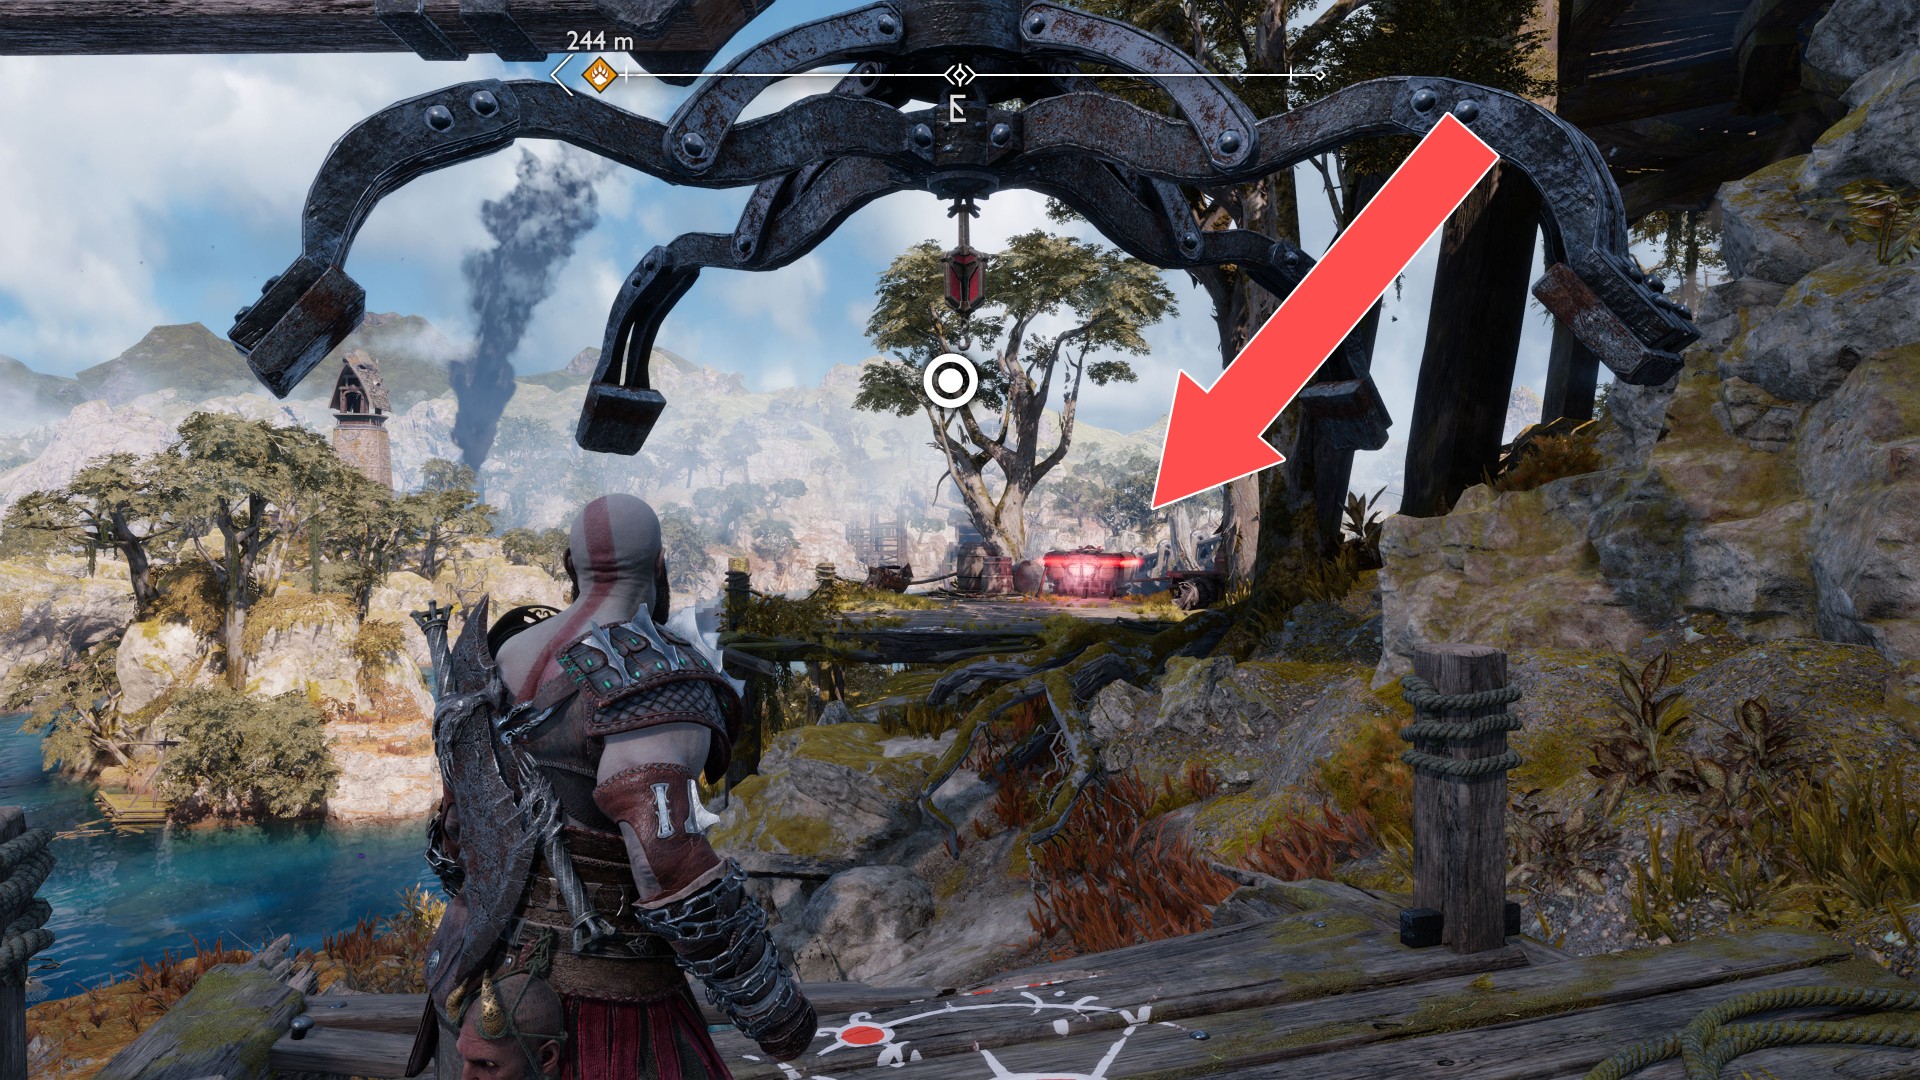
78Red Chest
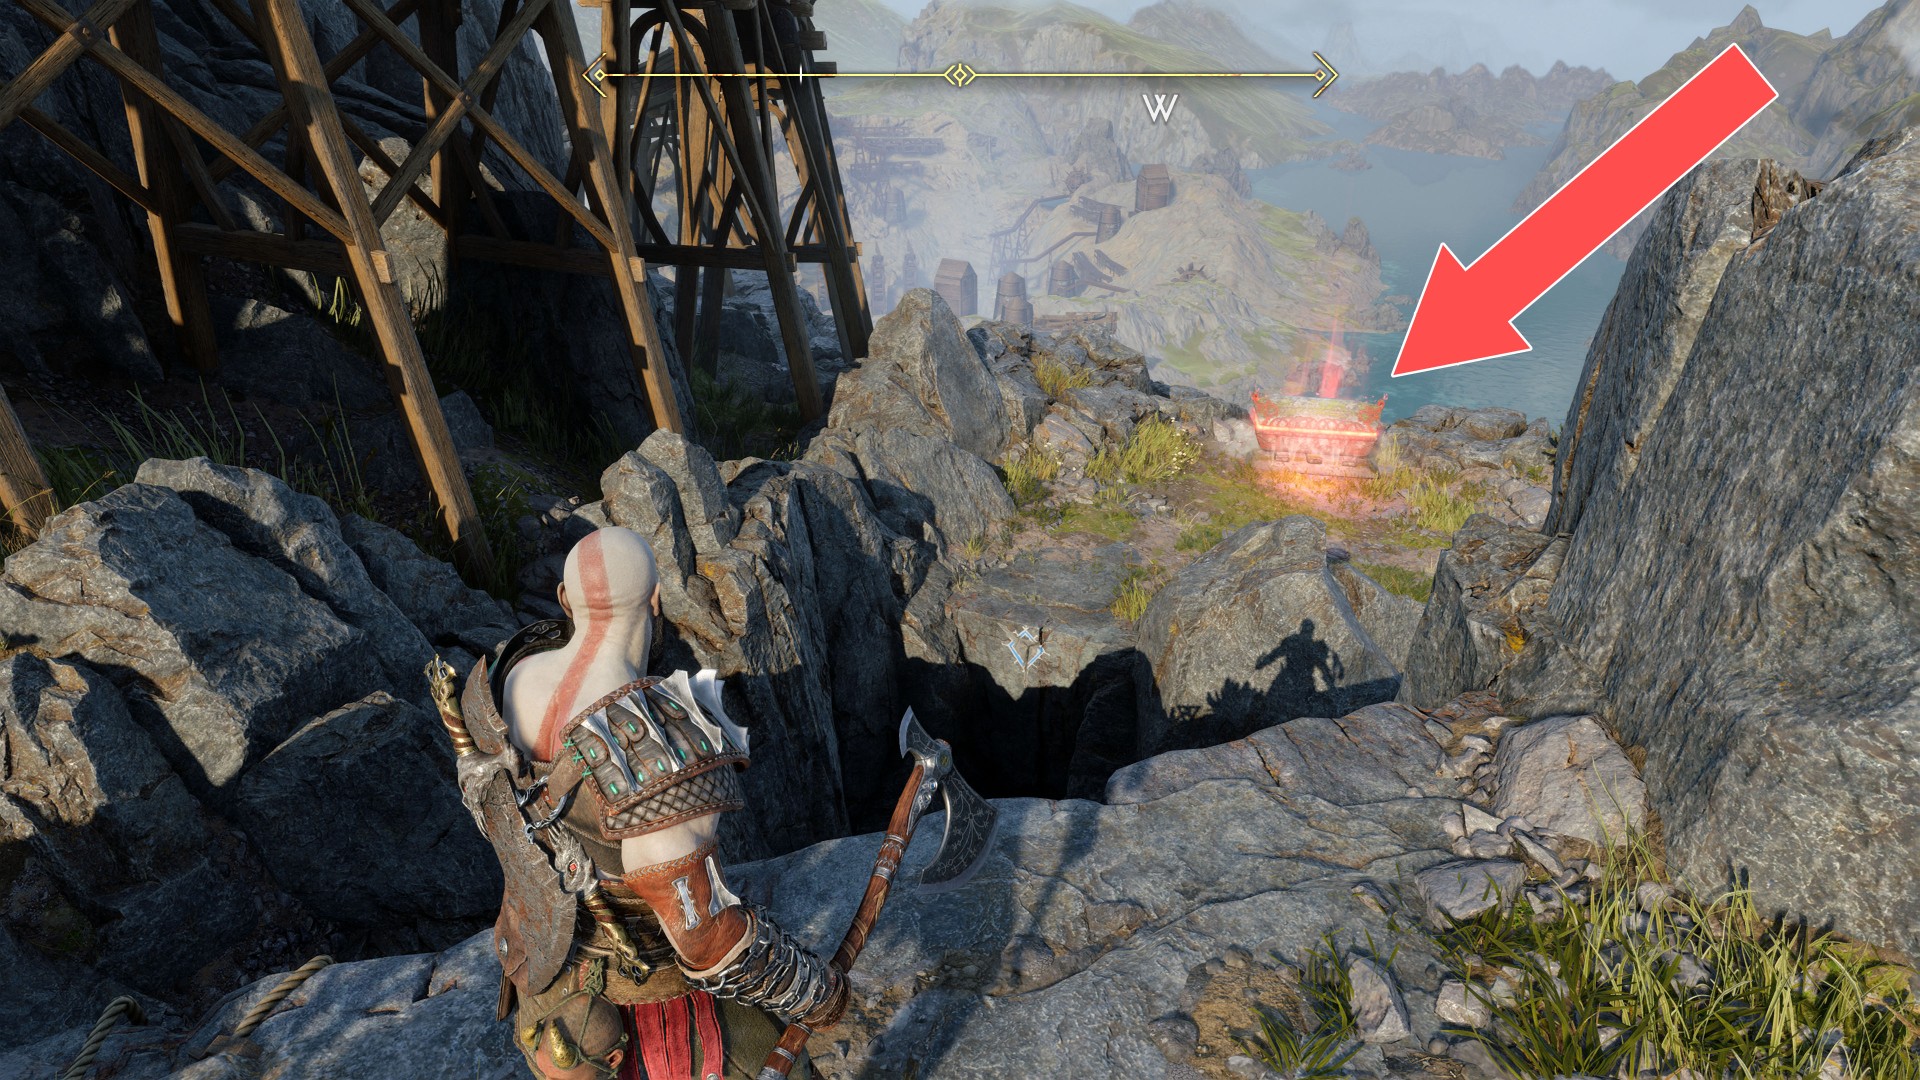
79Red Chest
You visit this place during the main mission "Forging Destiny".
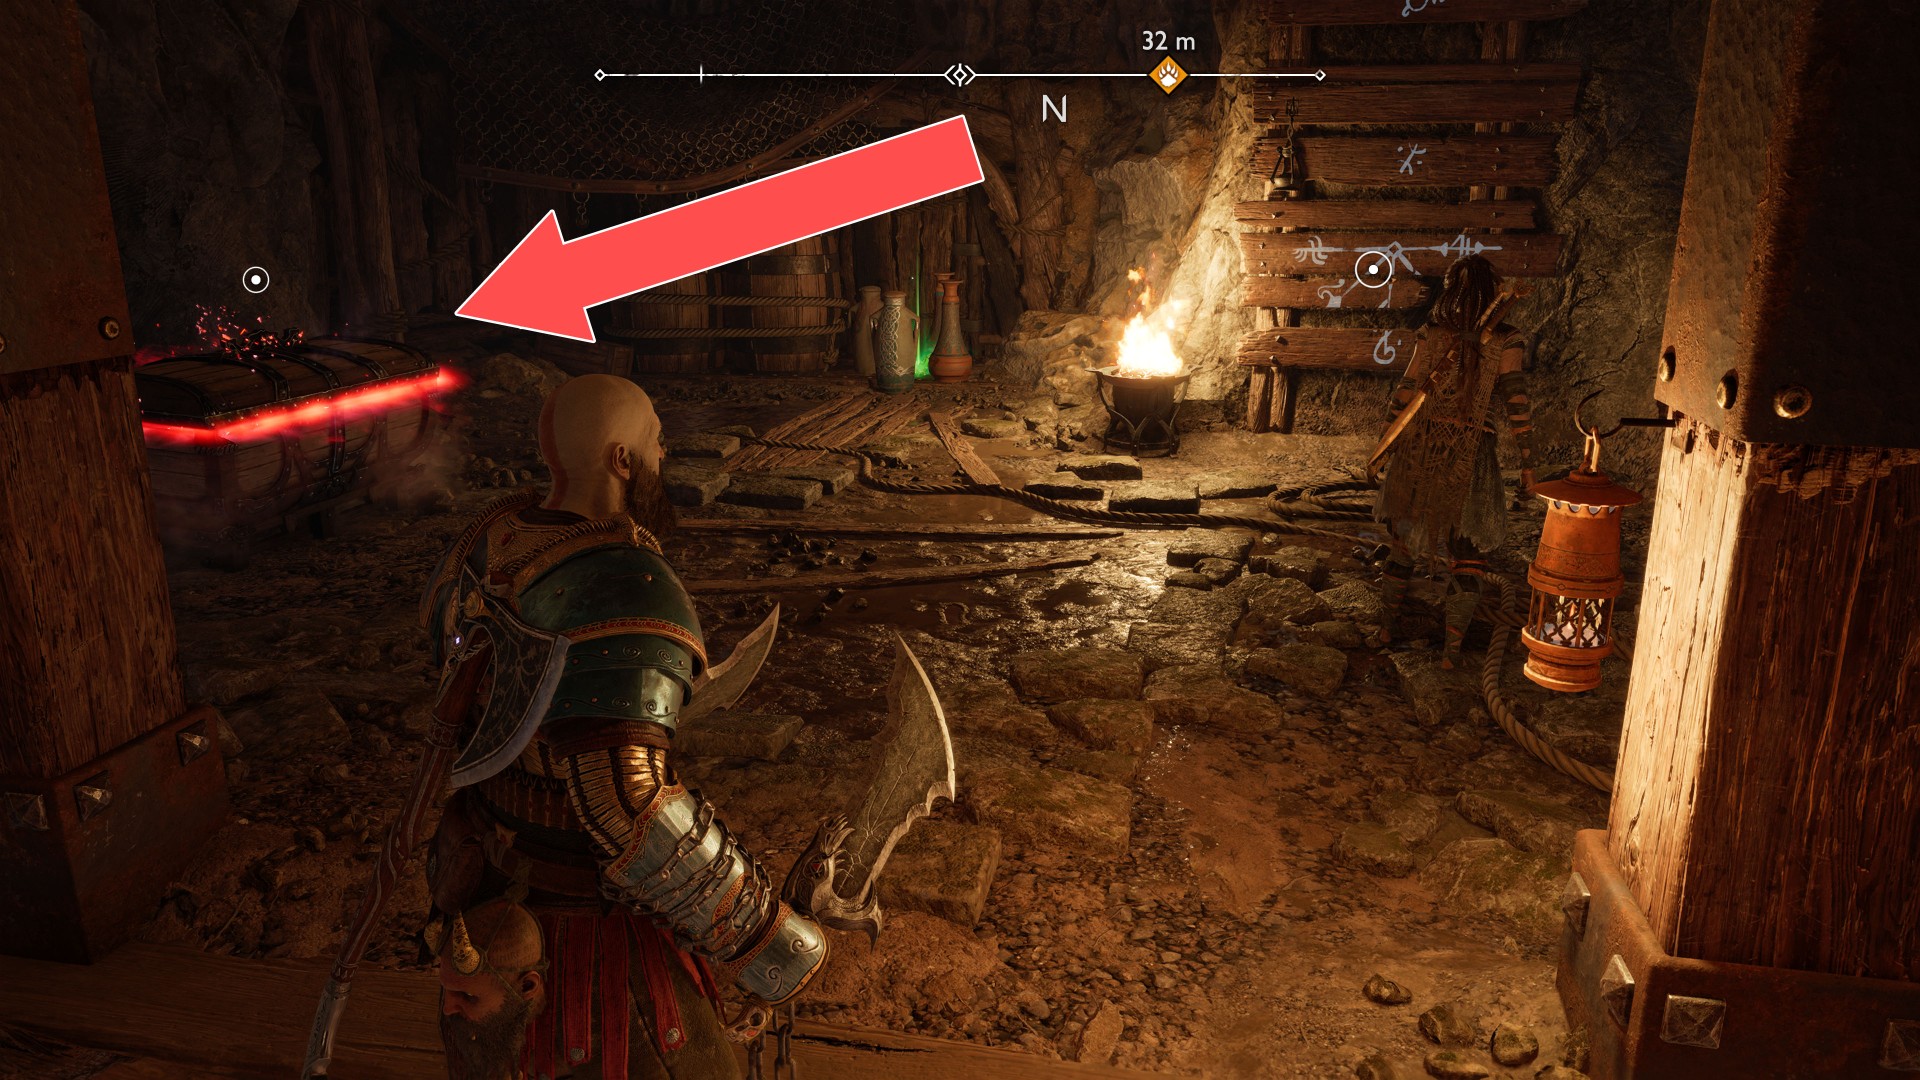
80Red Chest
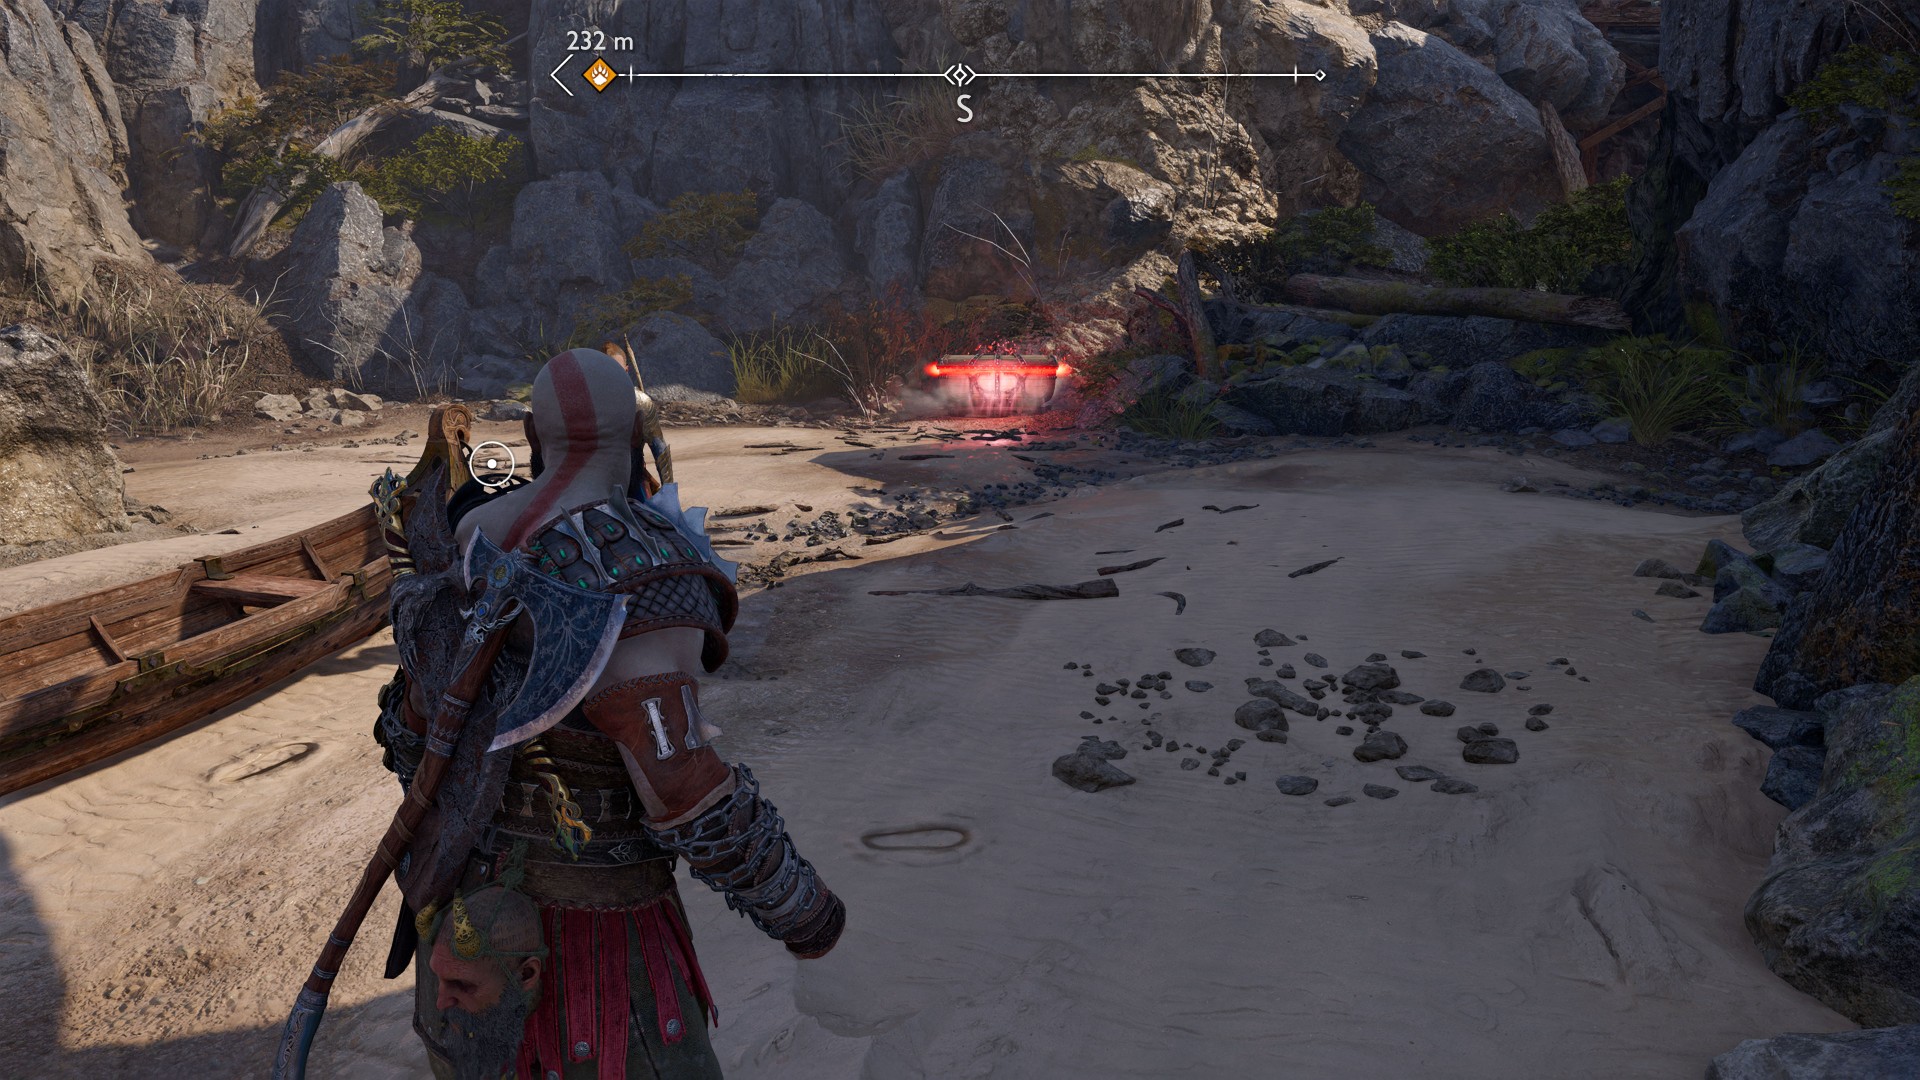
81Red Chest
You visit this place during the main mission "Forging Destiny".
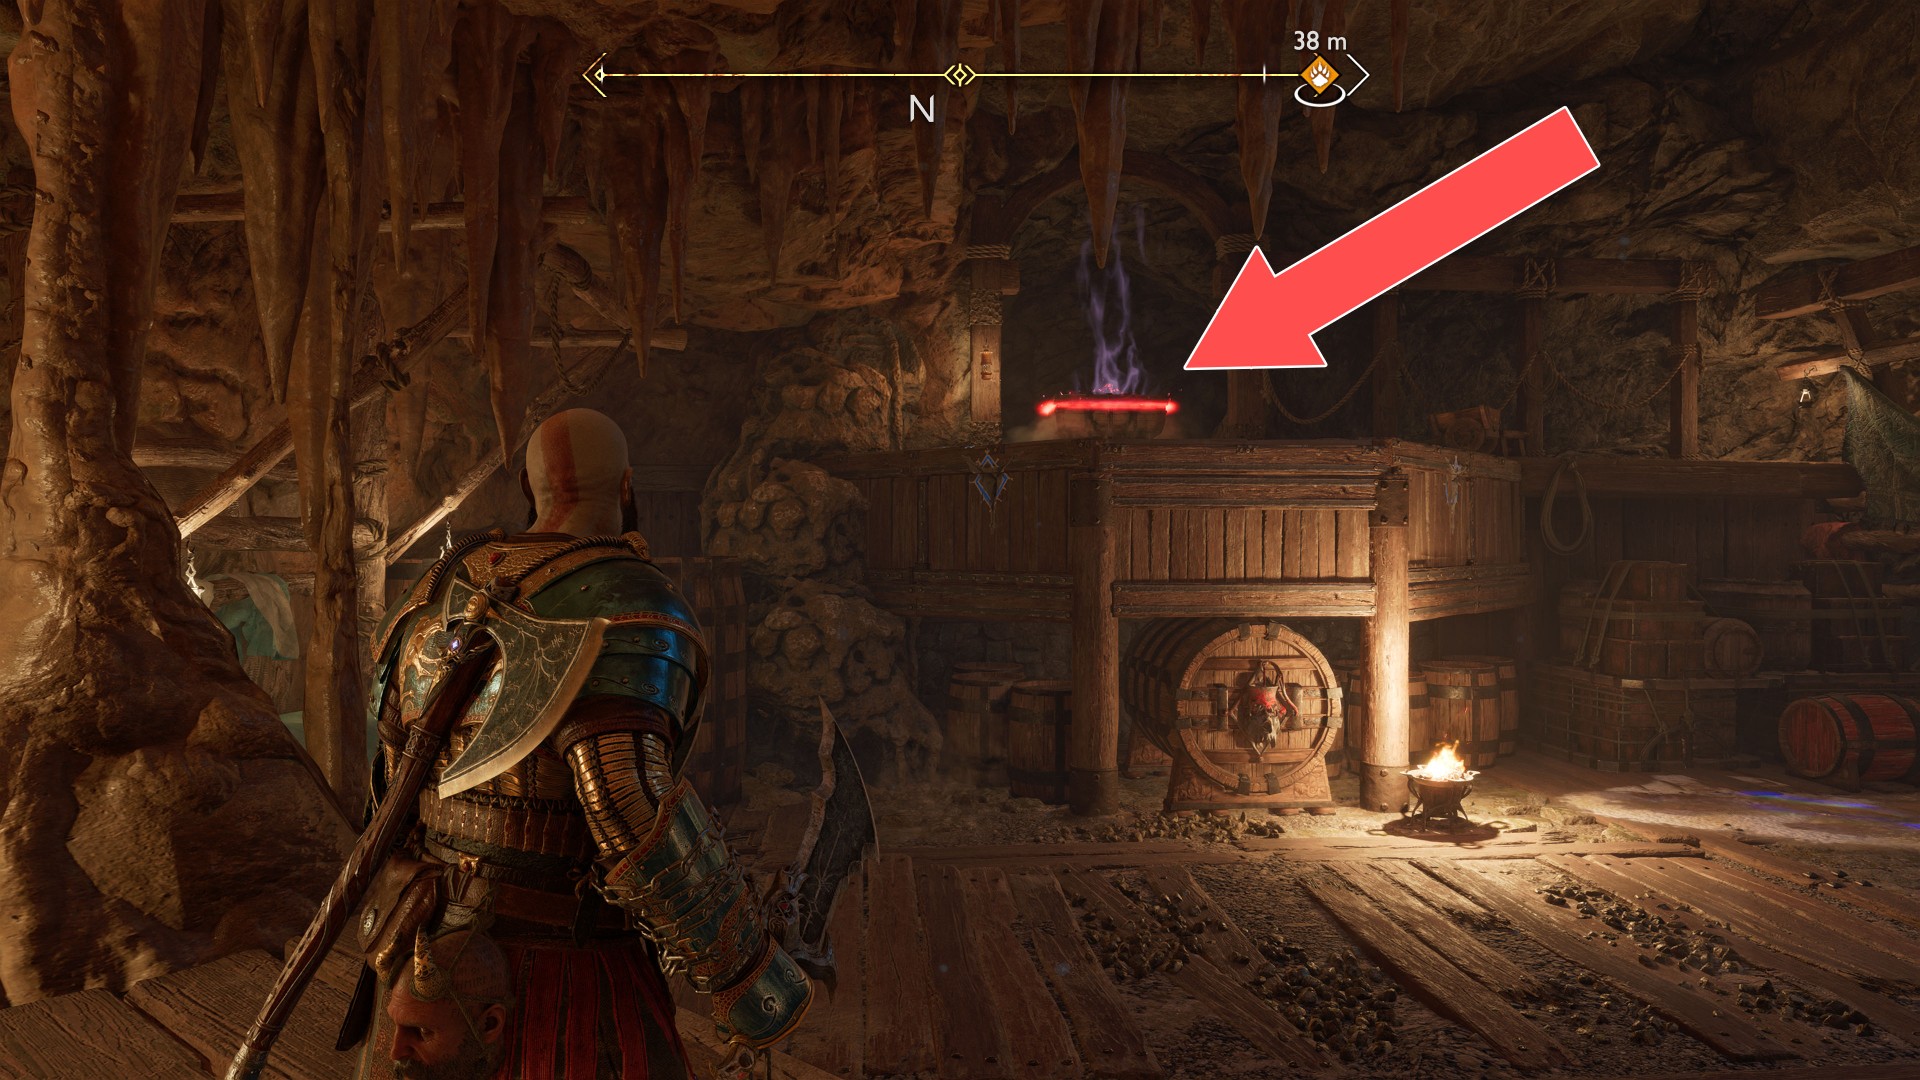
82Red Chest
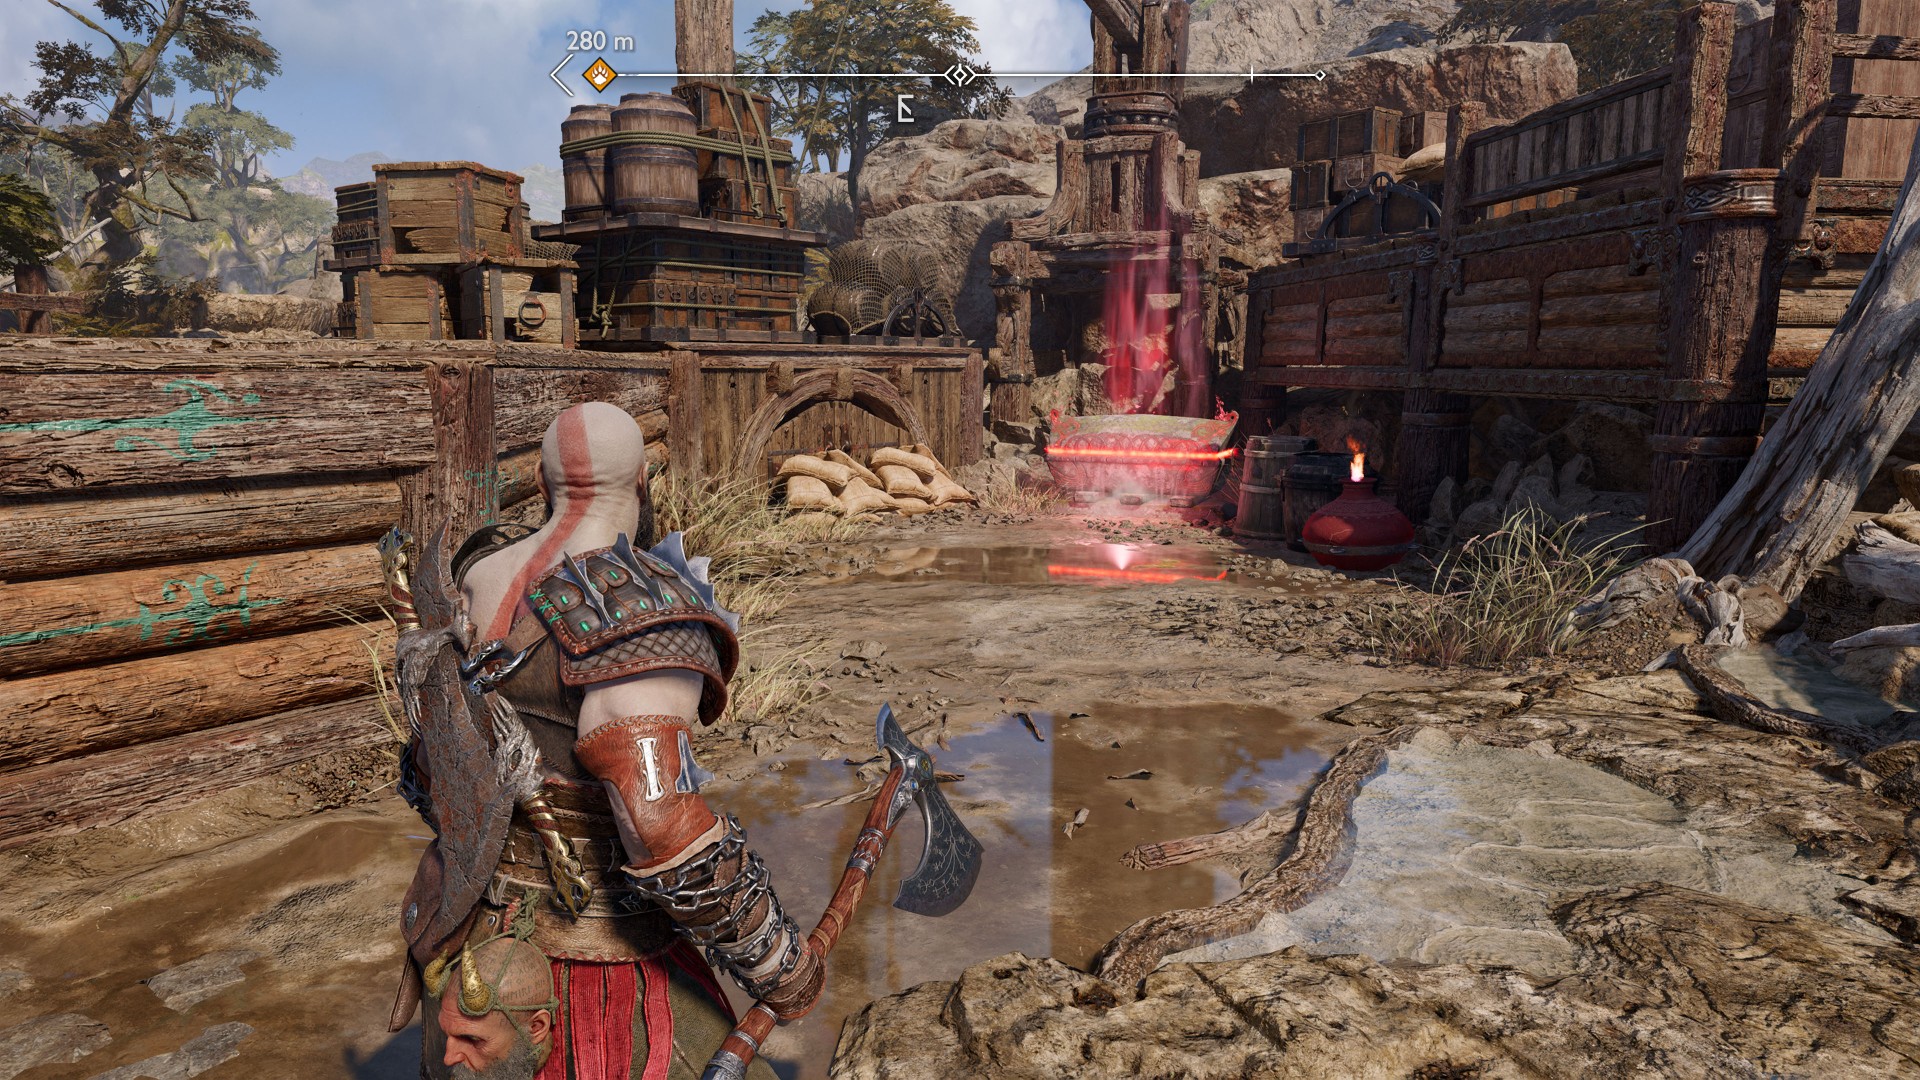
83Red Chest
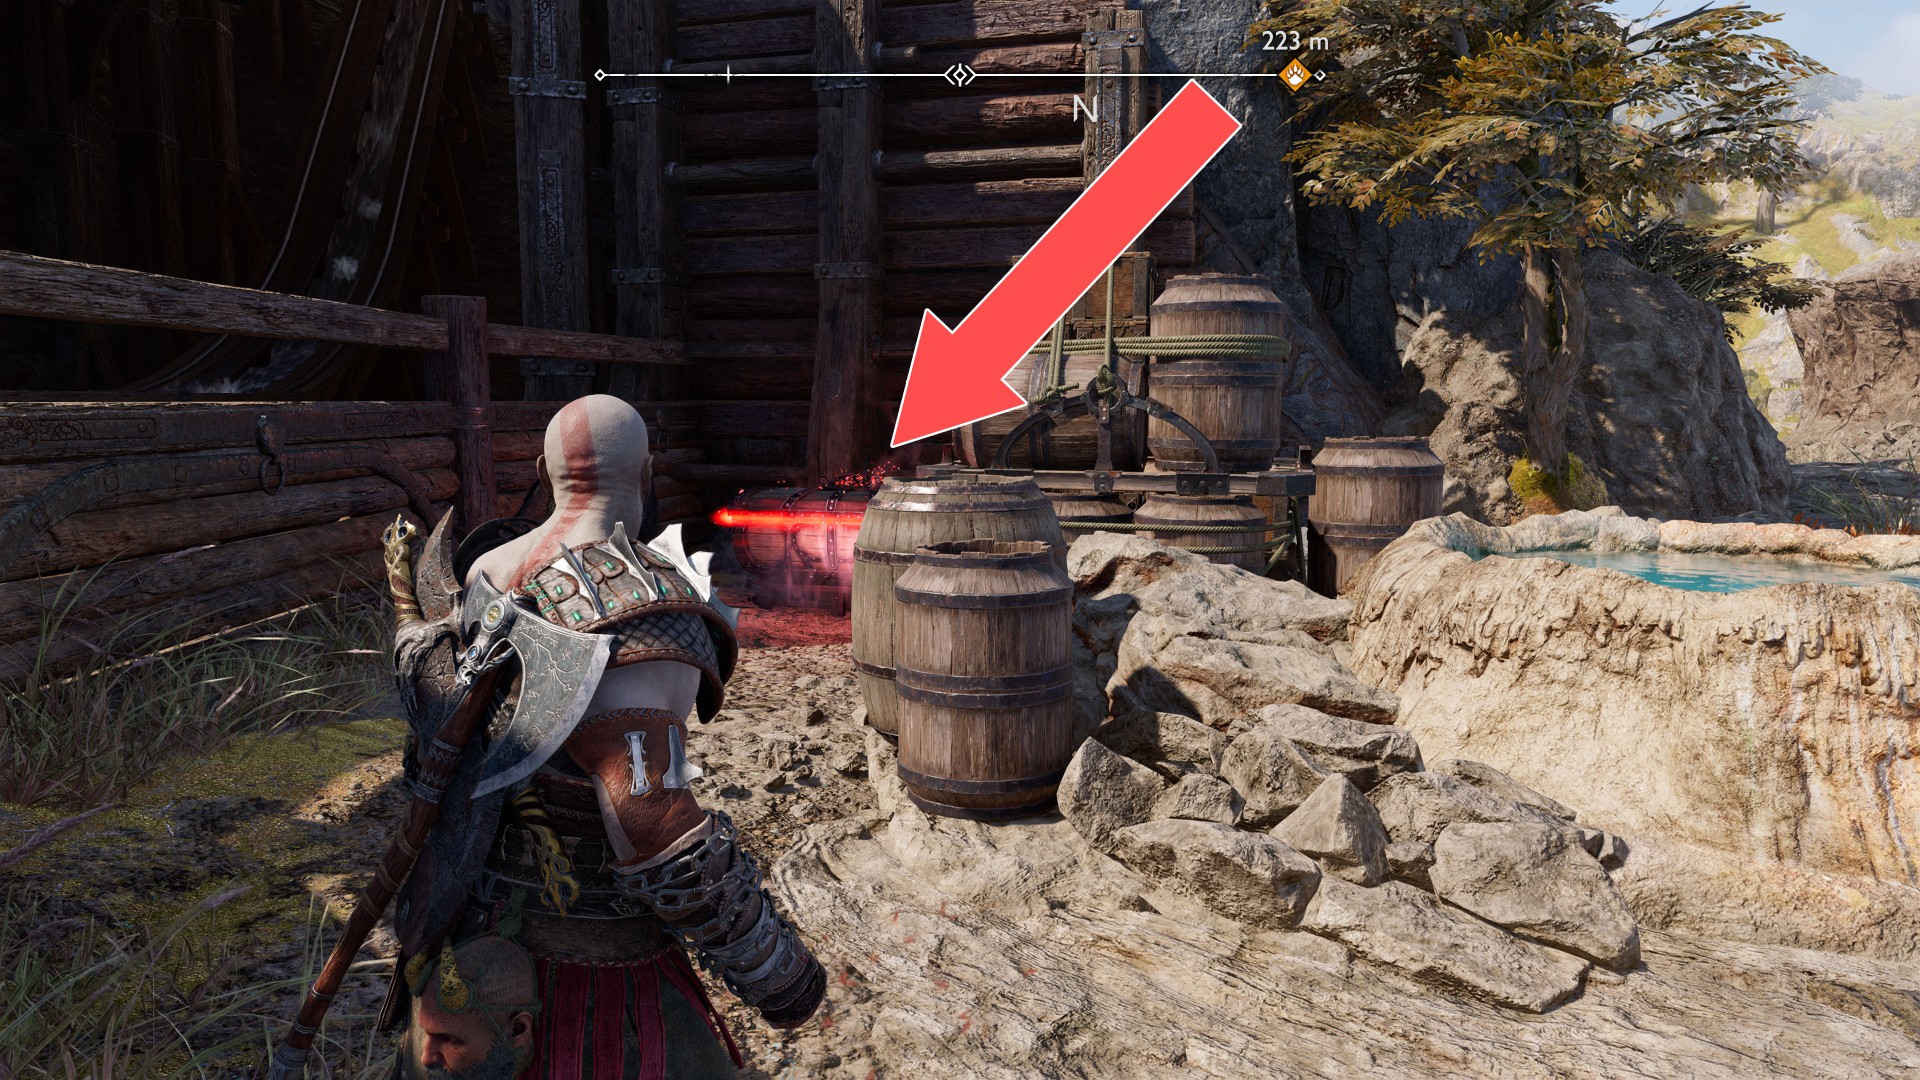
84Red Chest
To access it, first use sonic arrows to destroy the shields blocking the passage. If you don't have the sonic arrows yet then you will receive them soon from Sindri (main story).
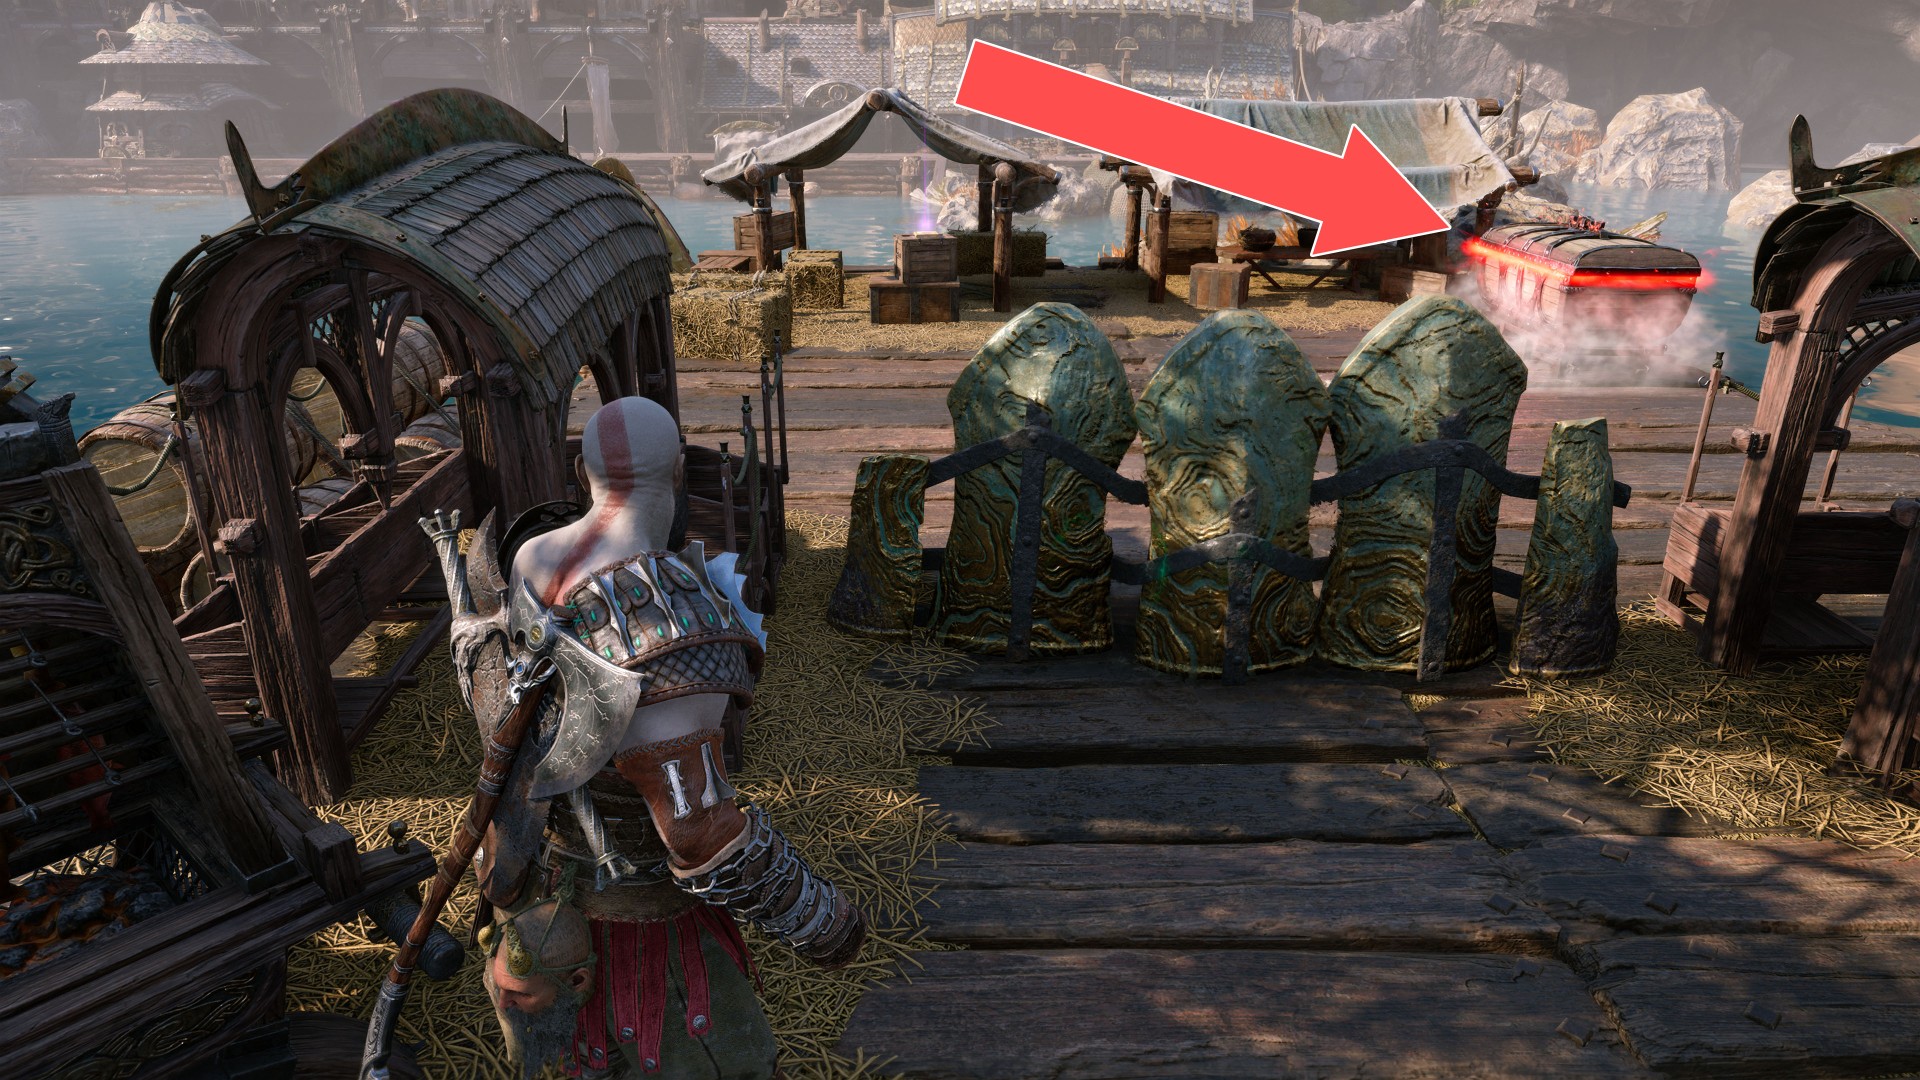
85Red Chest
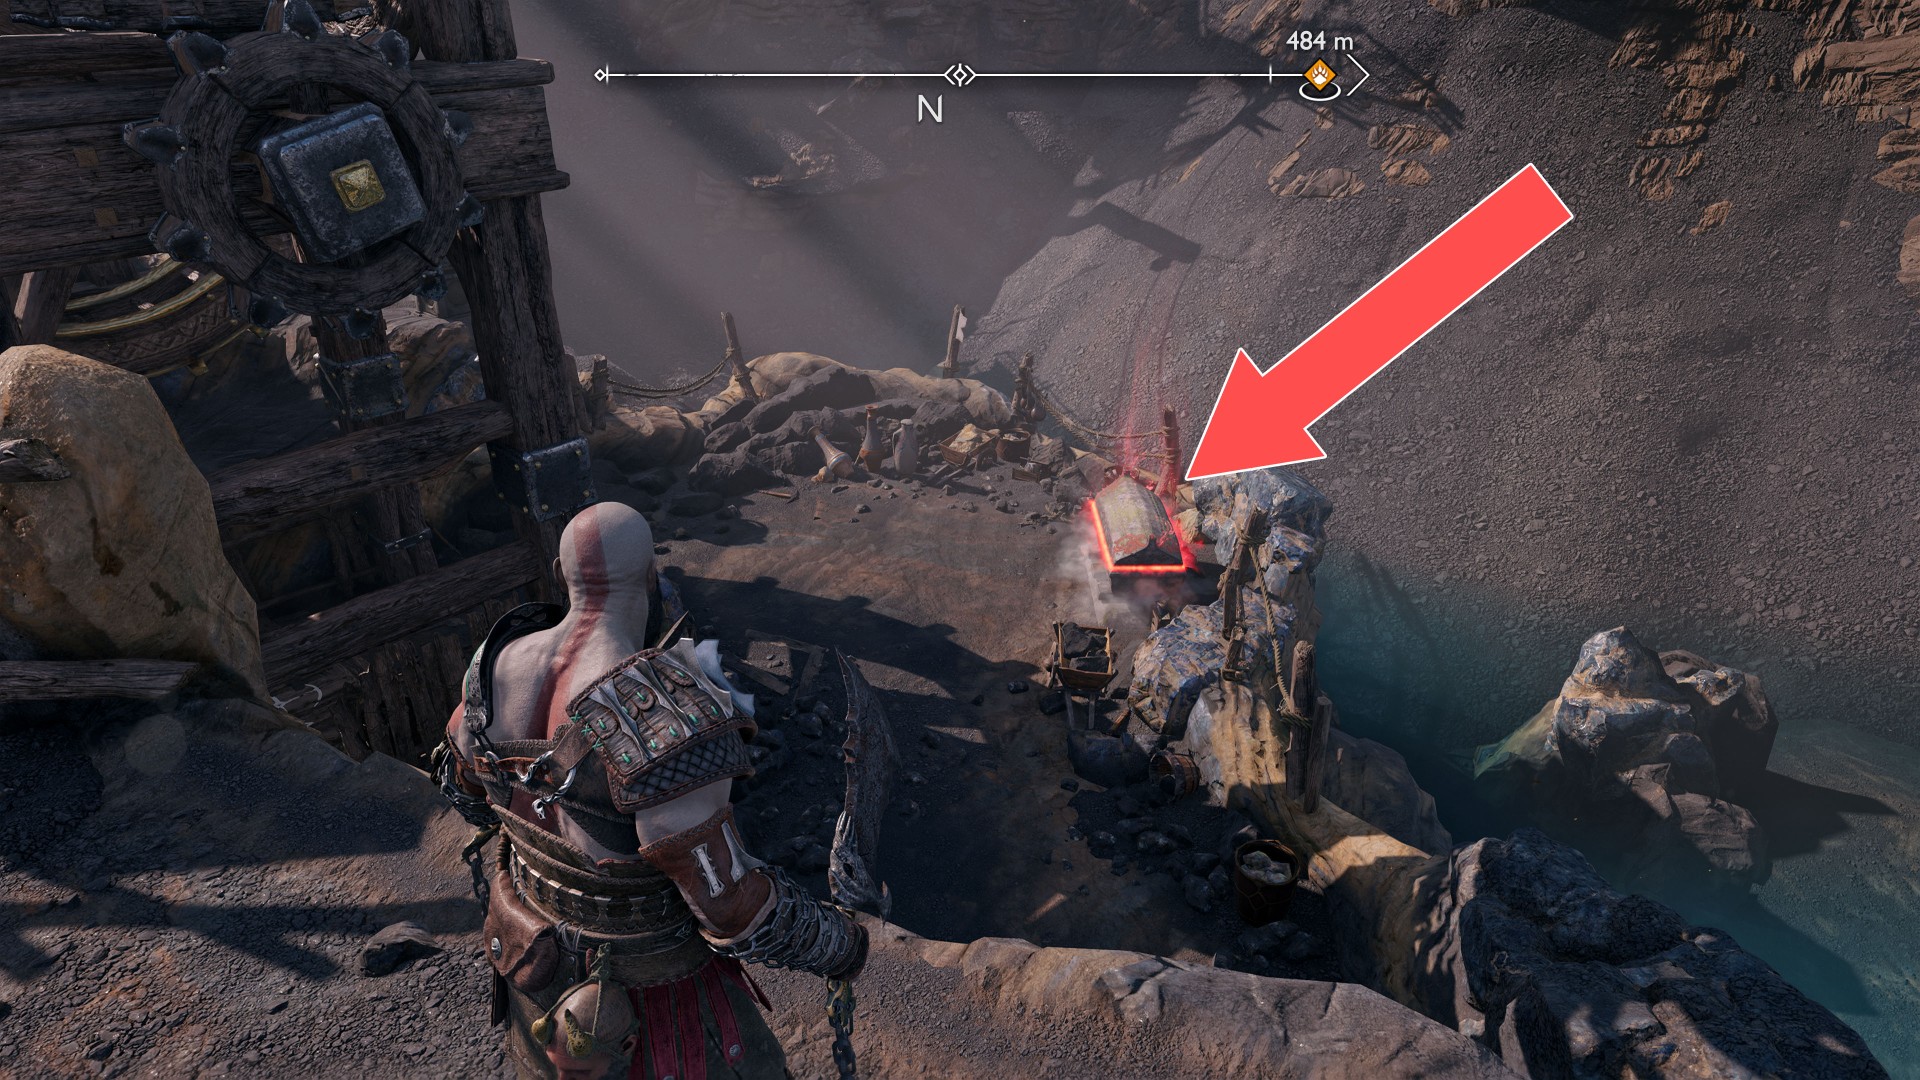
86Red Chest
You will notice this chest earlier, but you can reach it only from the upper level.
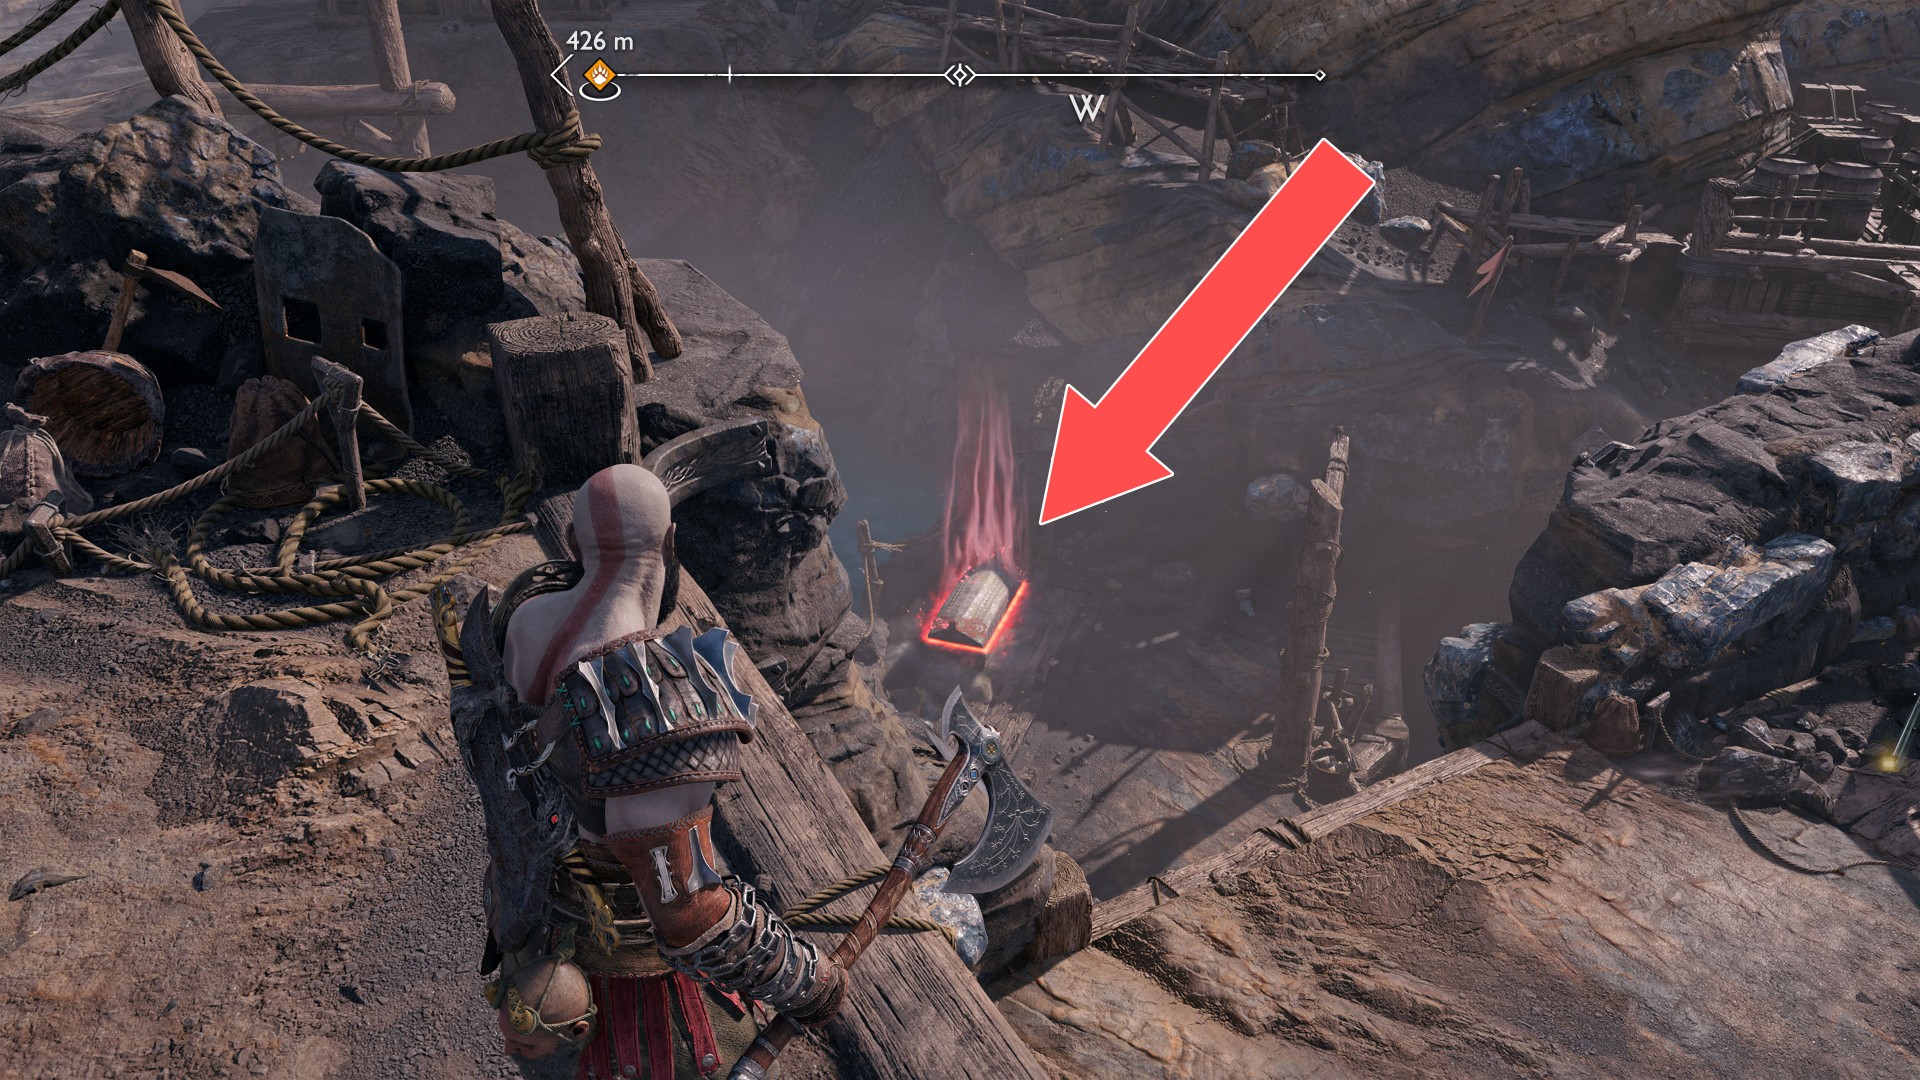
87Red Chest
You will pass by trying to get to the second of the chains that open the gate.
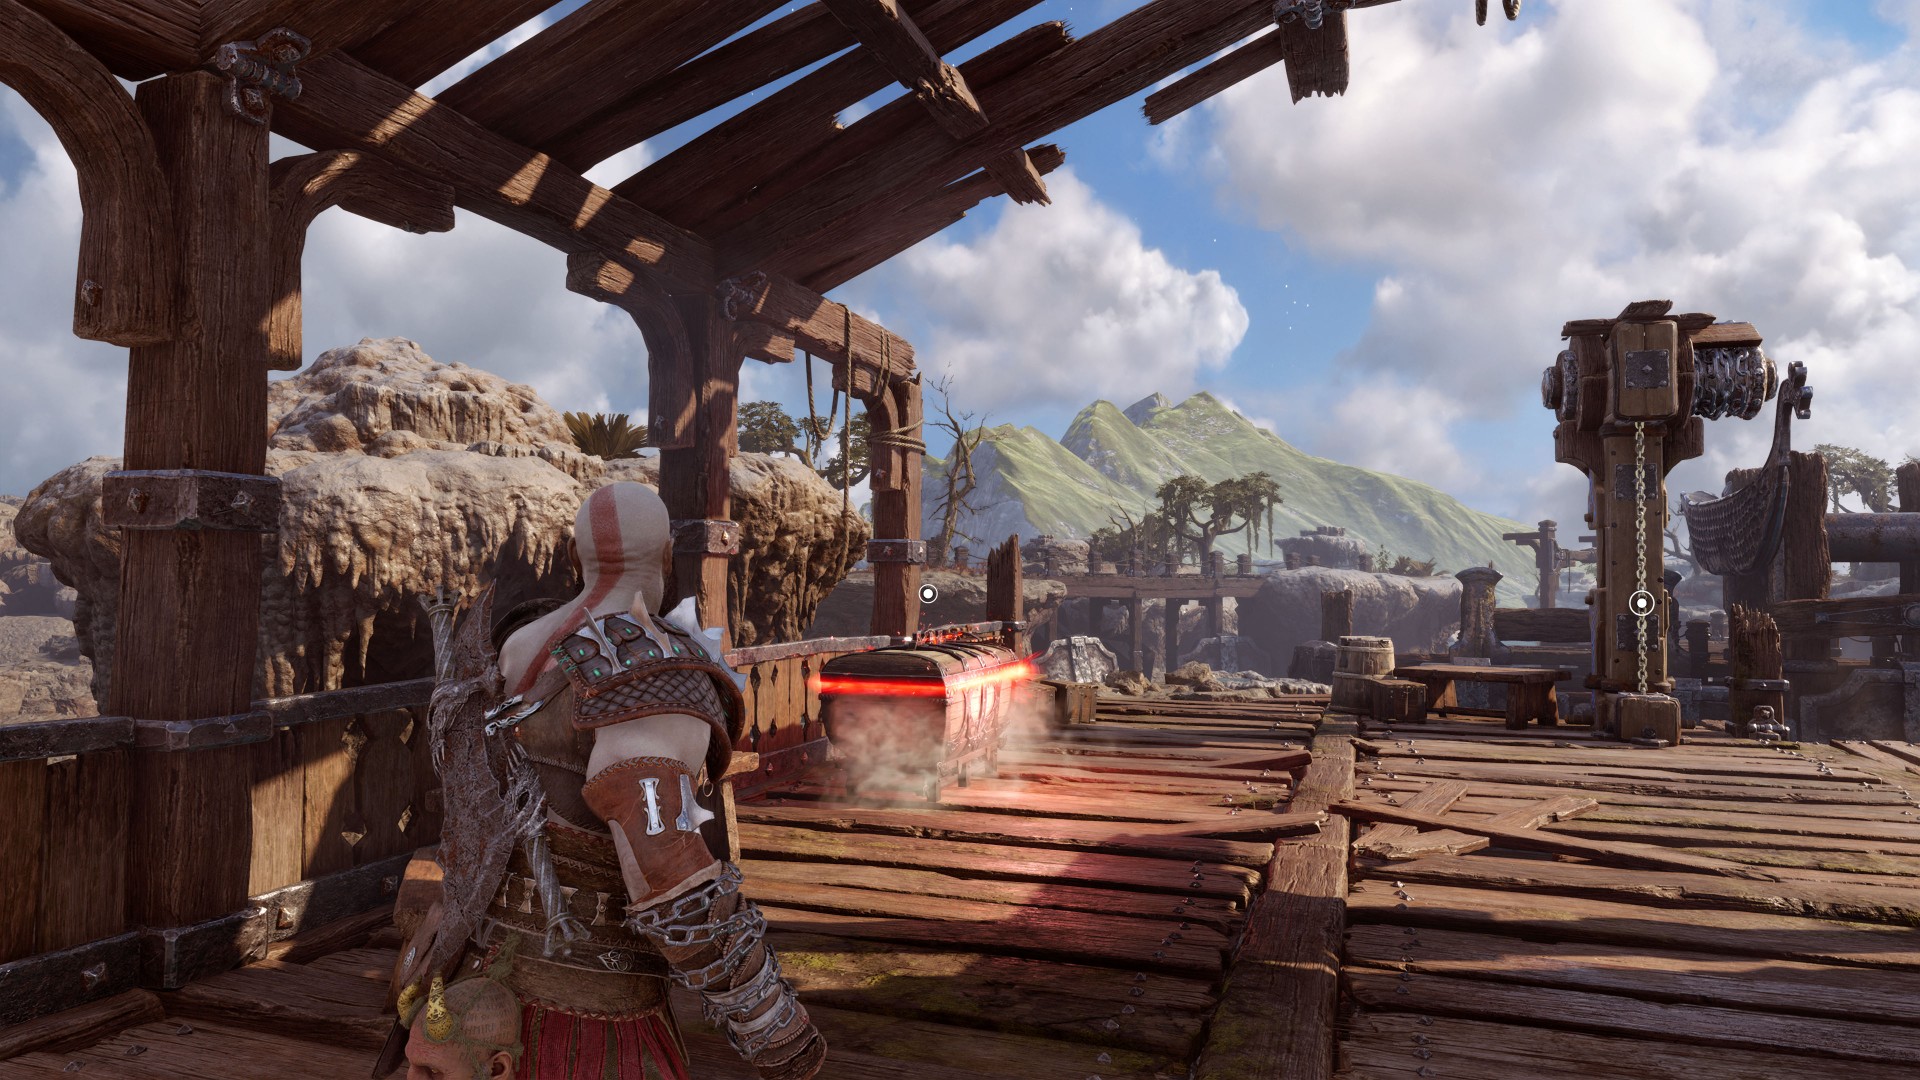
88Red Chest
This chest is located in the room behind a large wooden door. The door is located in the same room as the Yellow Chest.
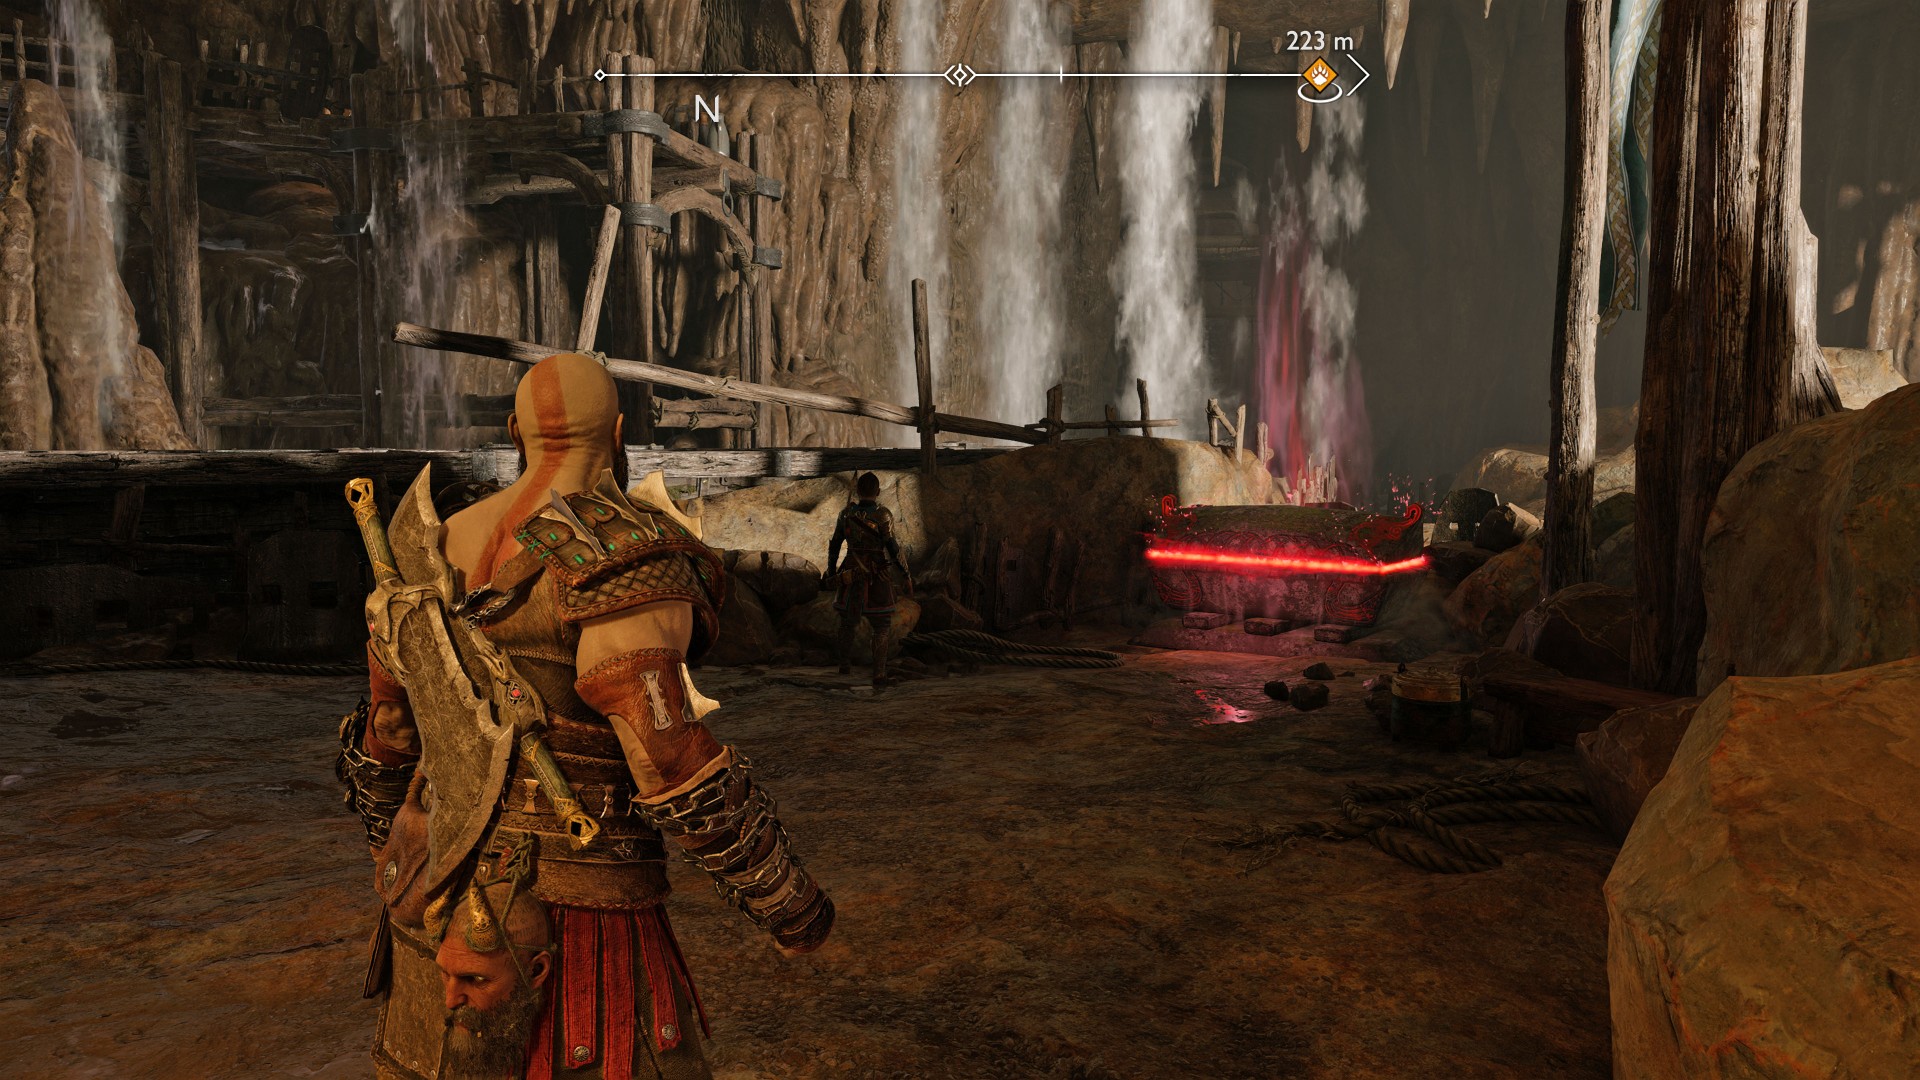
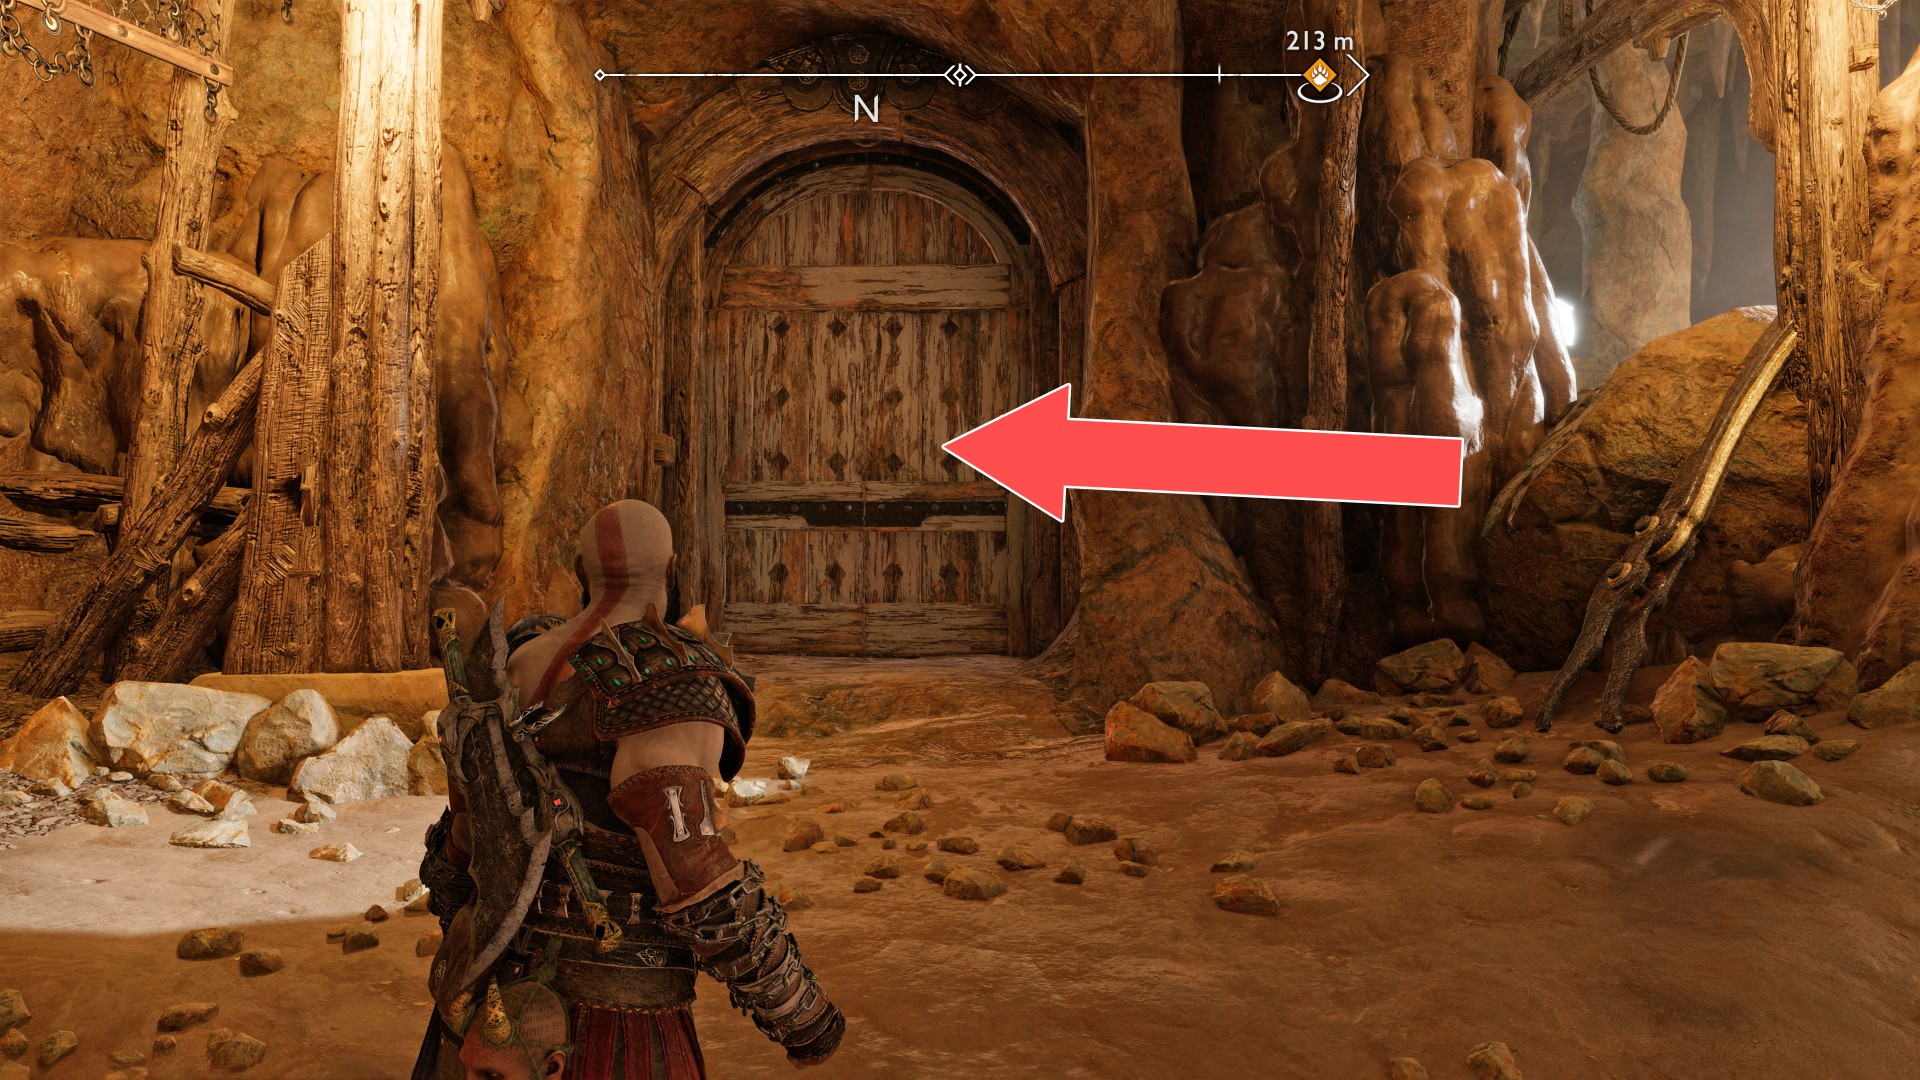
89Red Chest
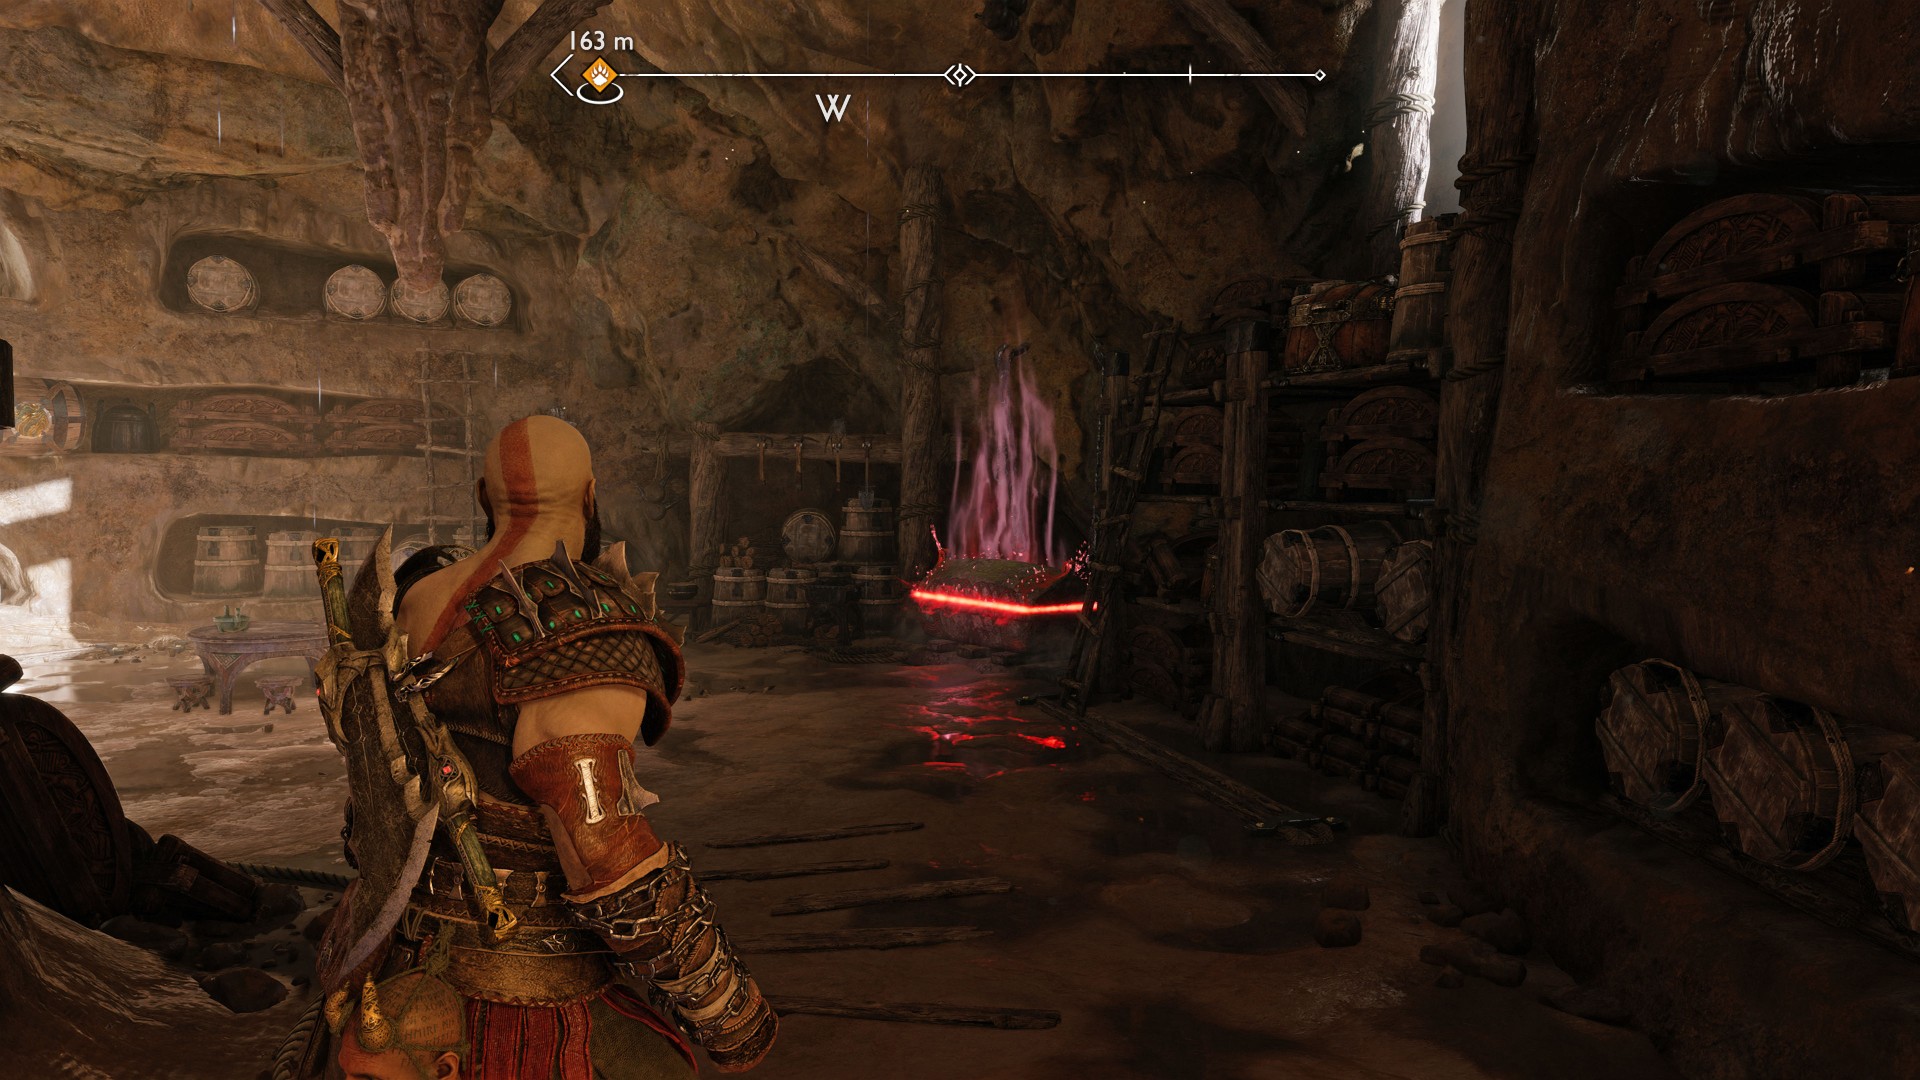
90Red Chest
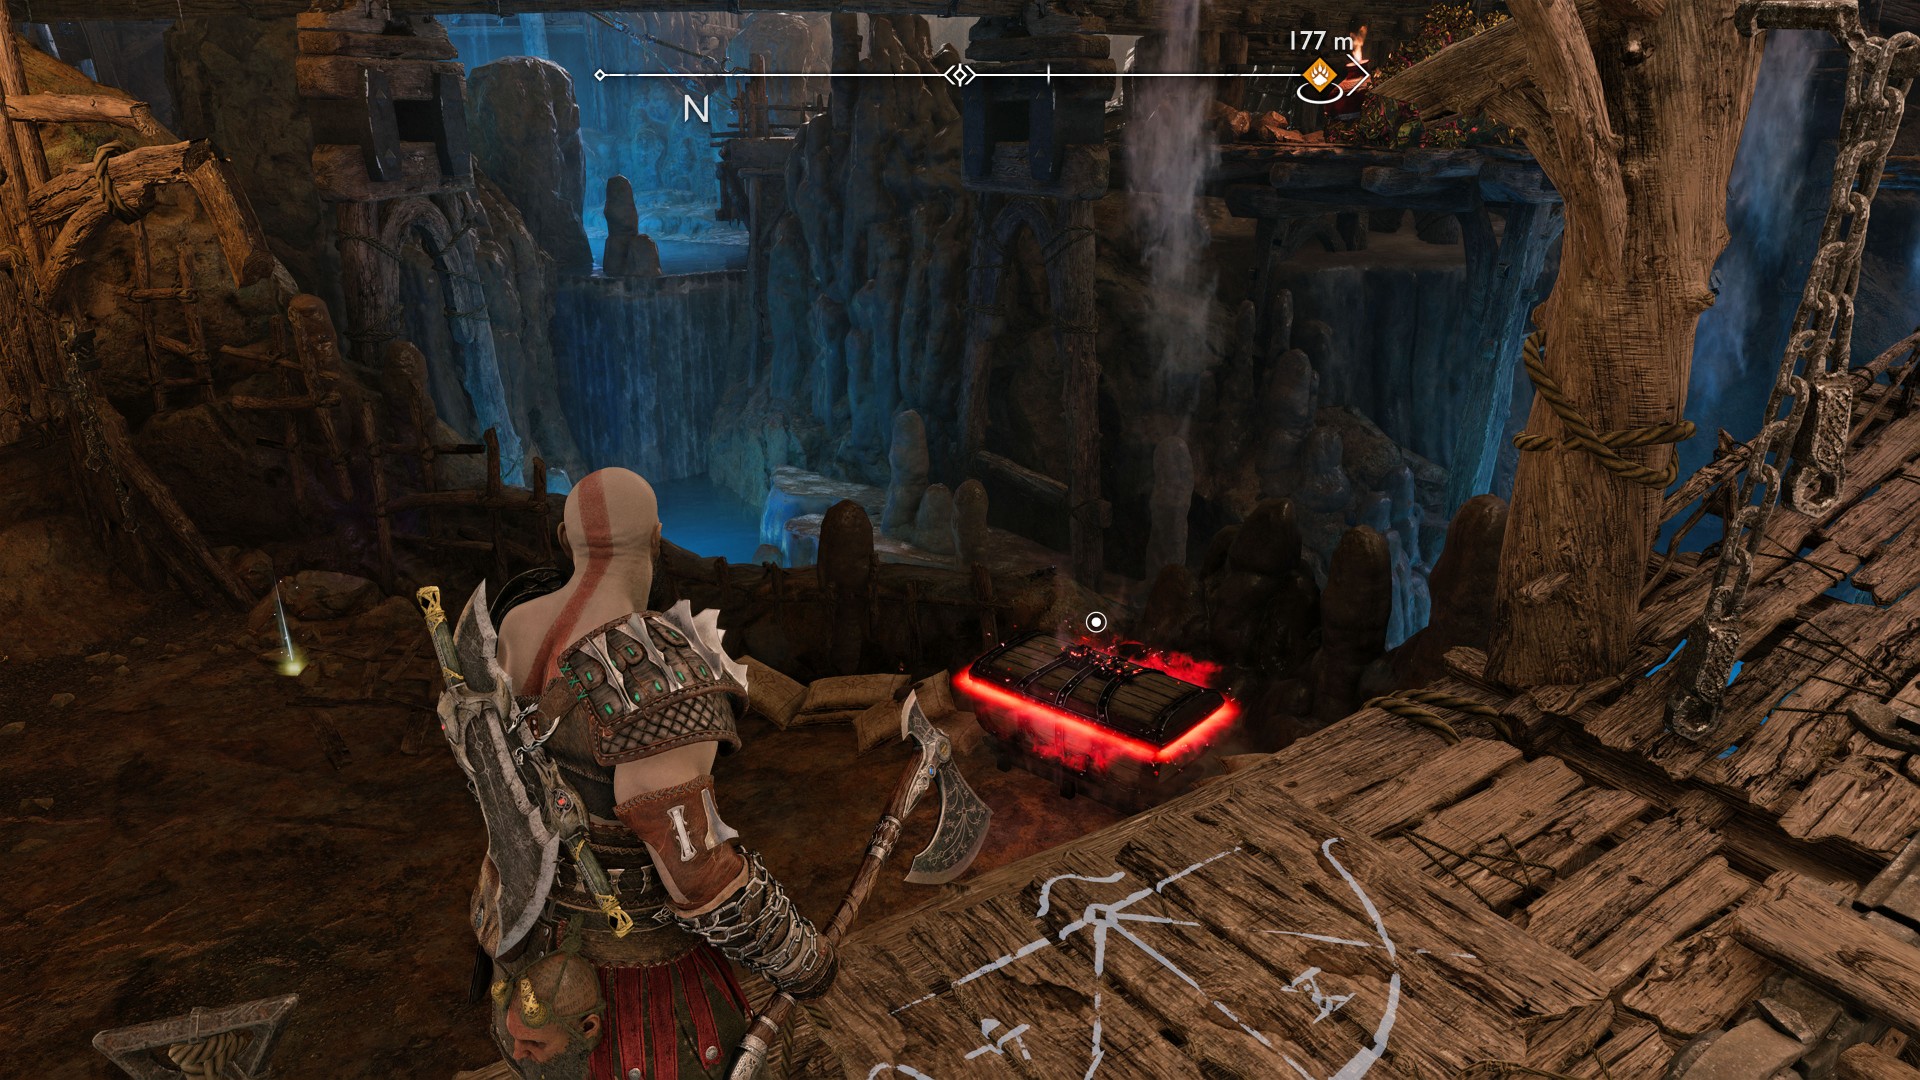
91Red Chest
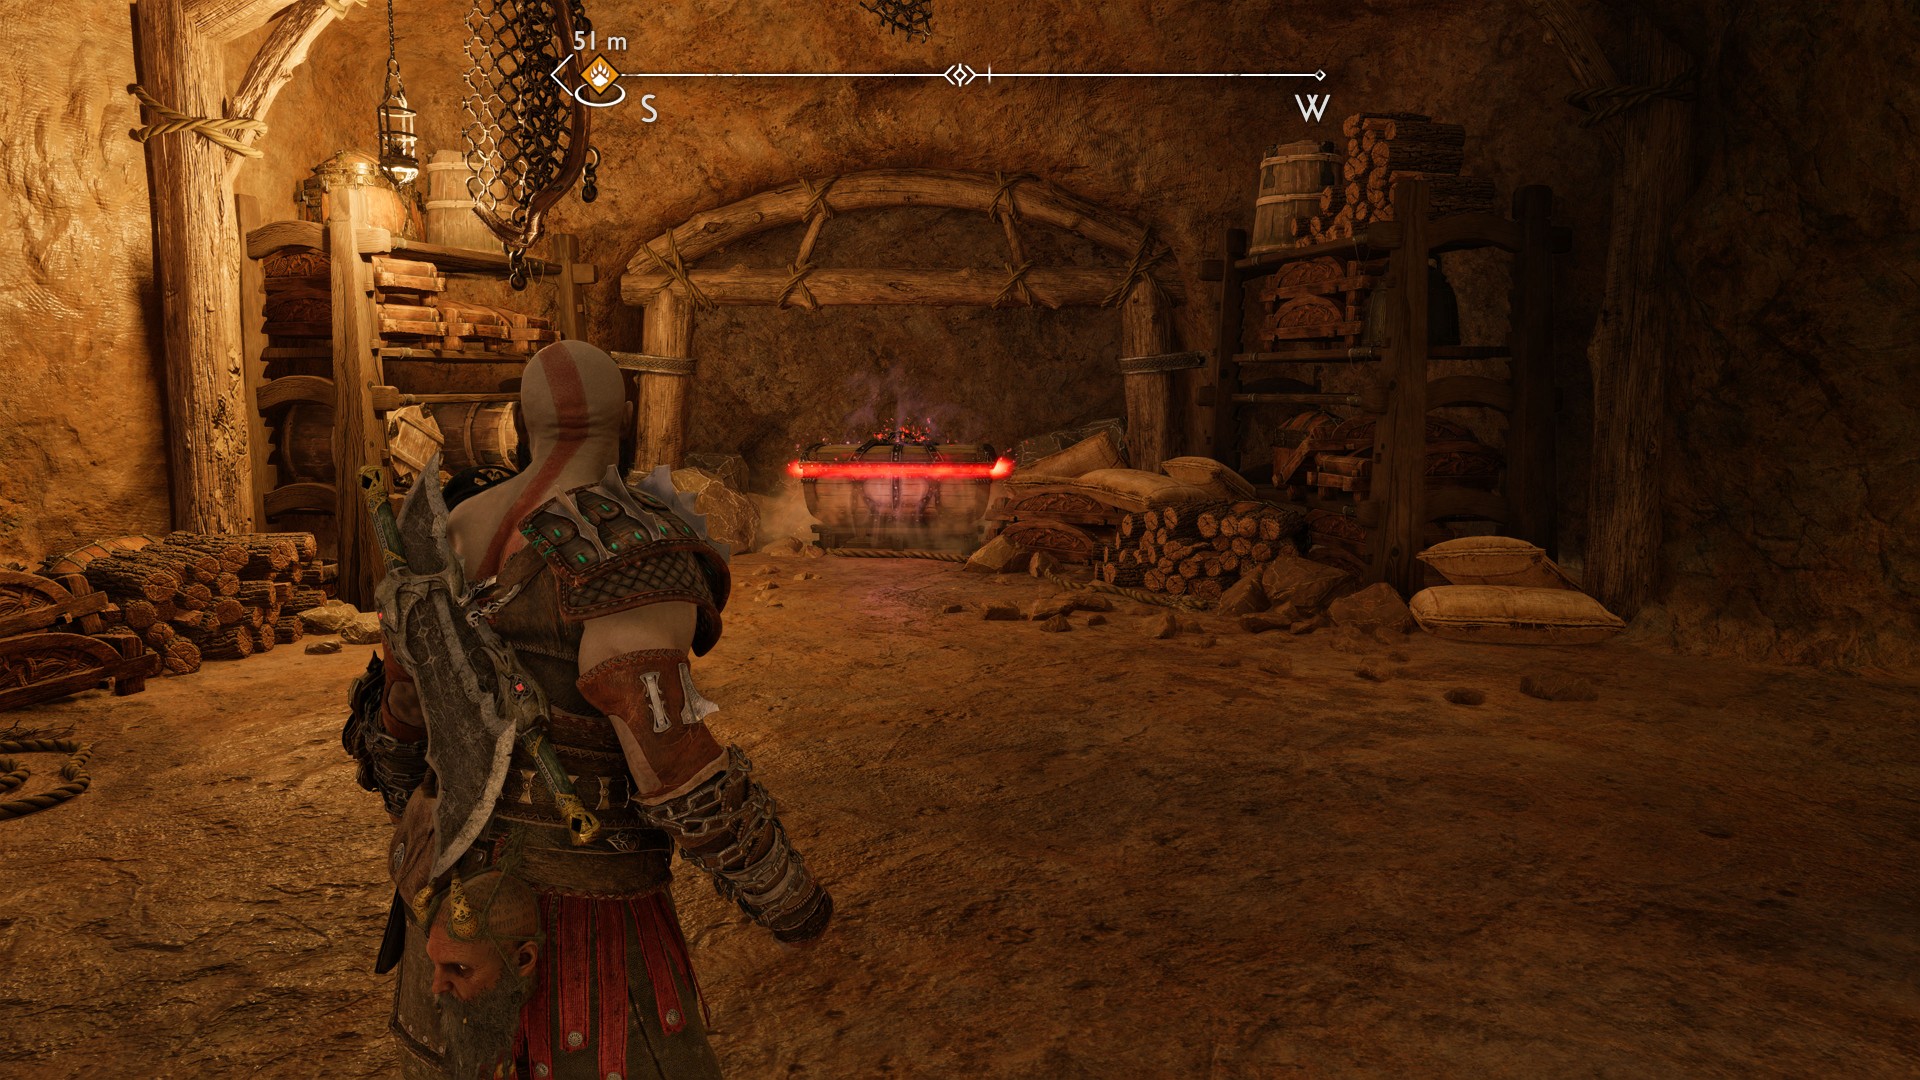
92Red Chest
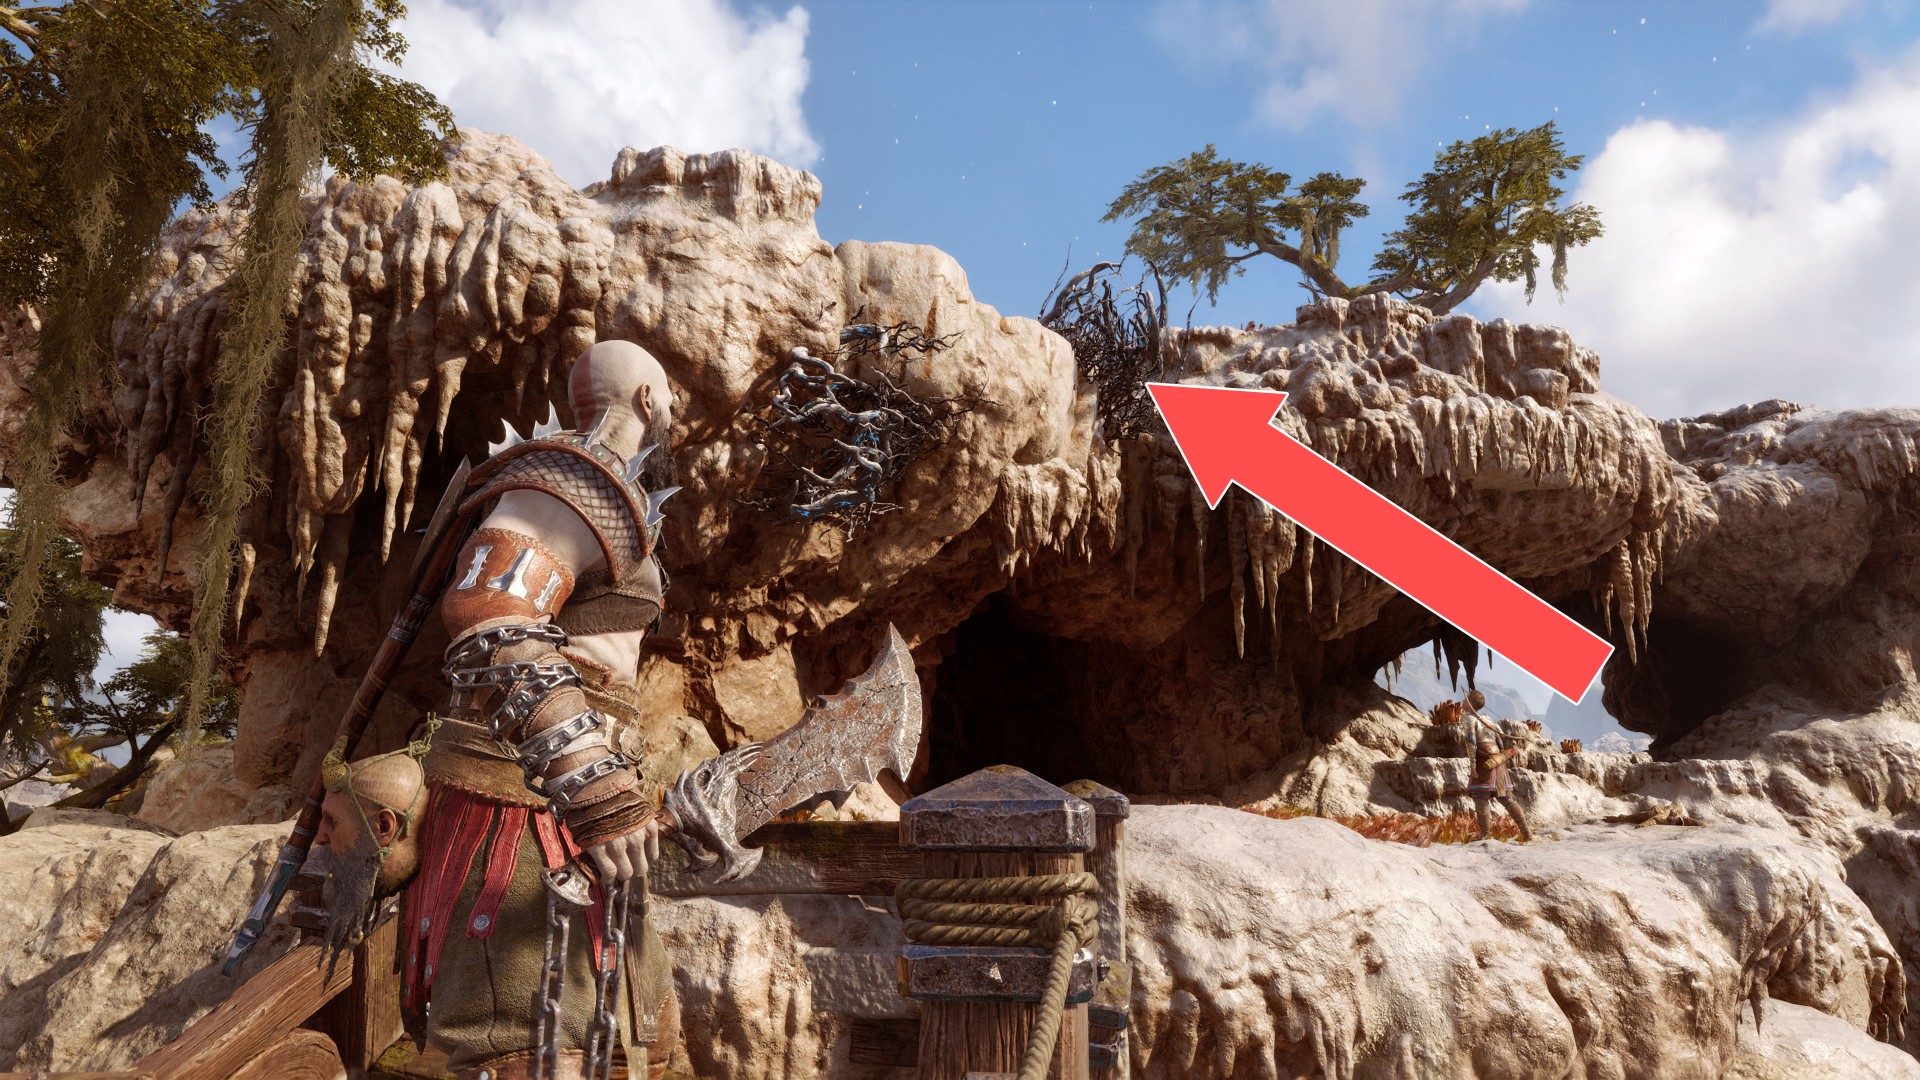
The chest is on top of the rocks. To get here you have to burn the brambles obstructing the point where you can climb.
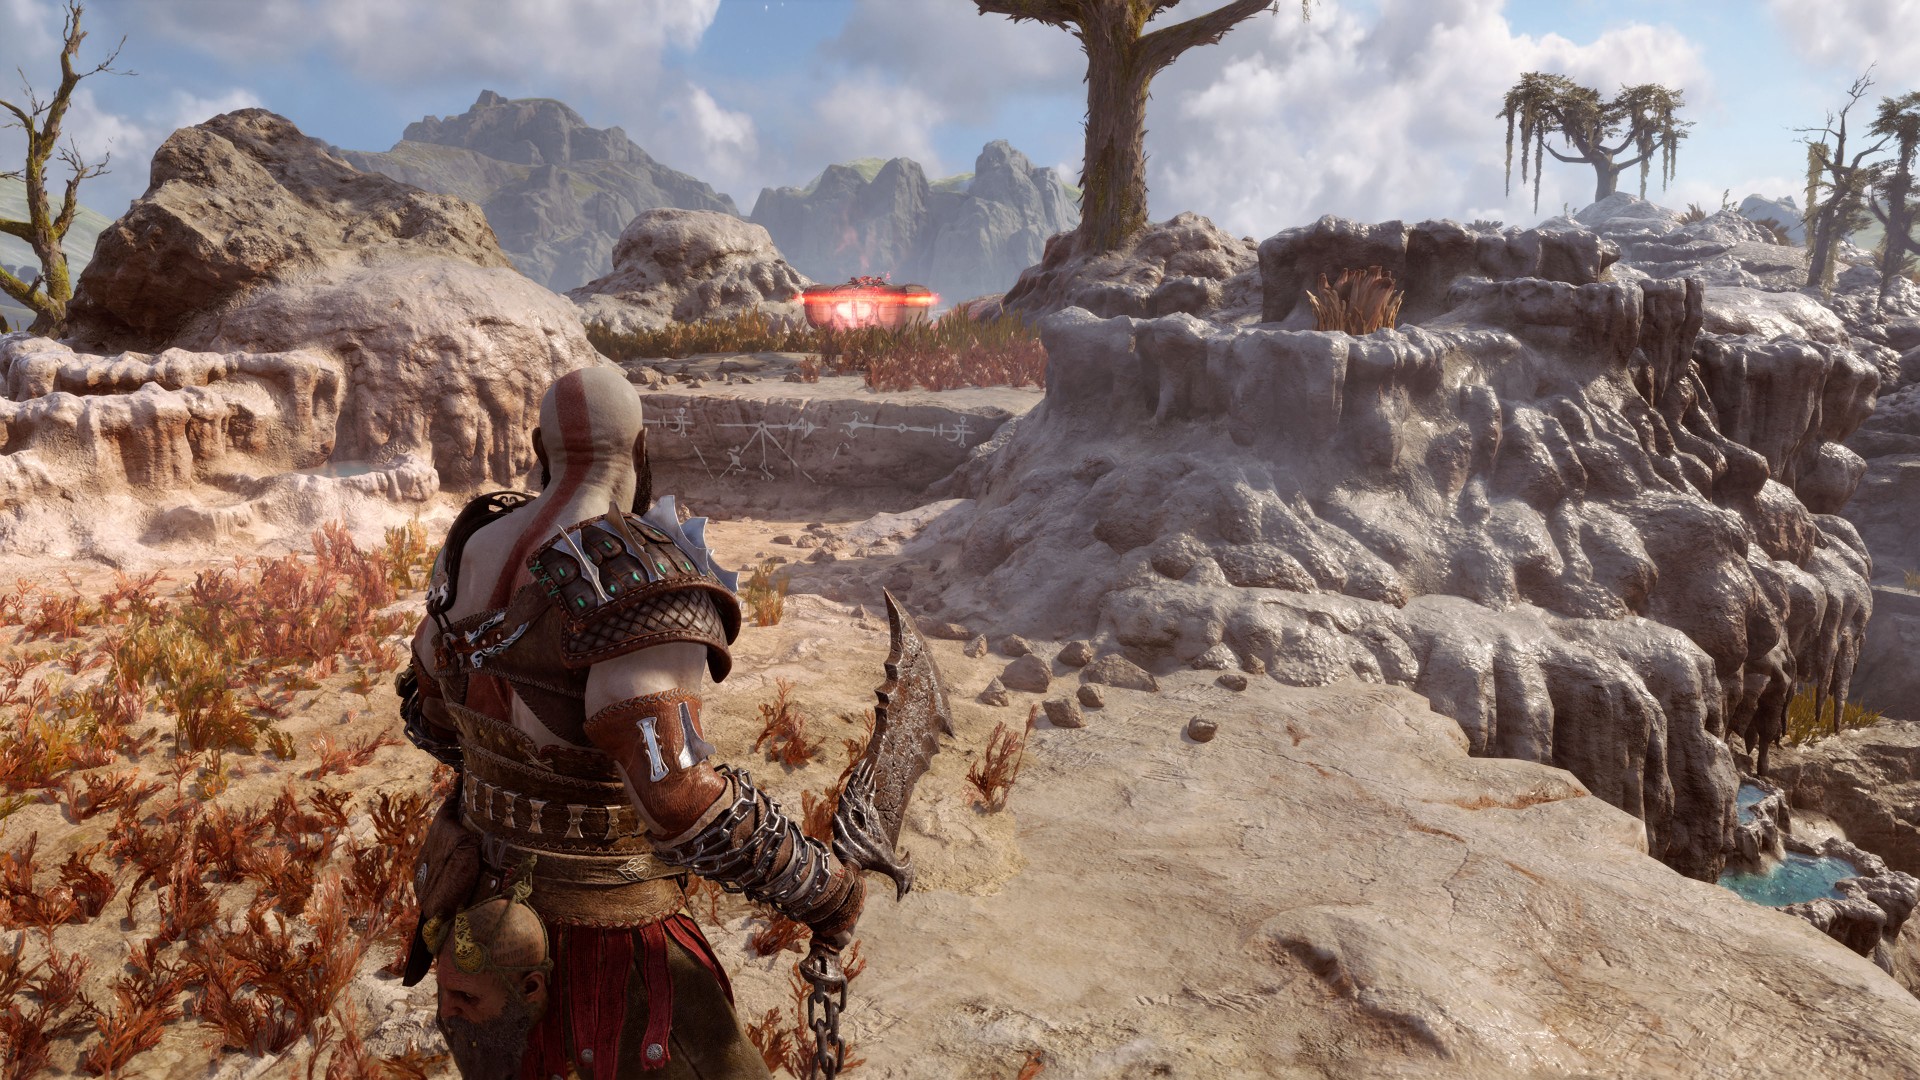
93Red Chest
You will be able to reach this area as long as you have the Draupnir Spear.
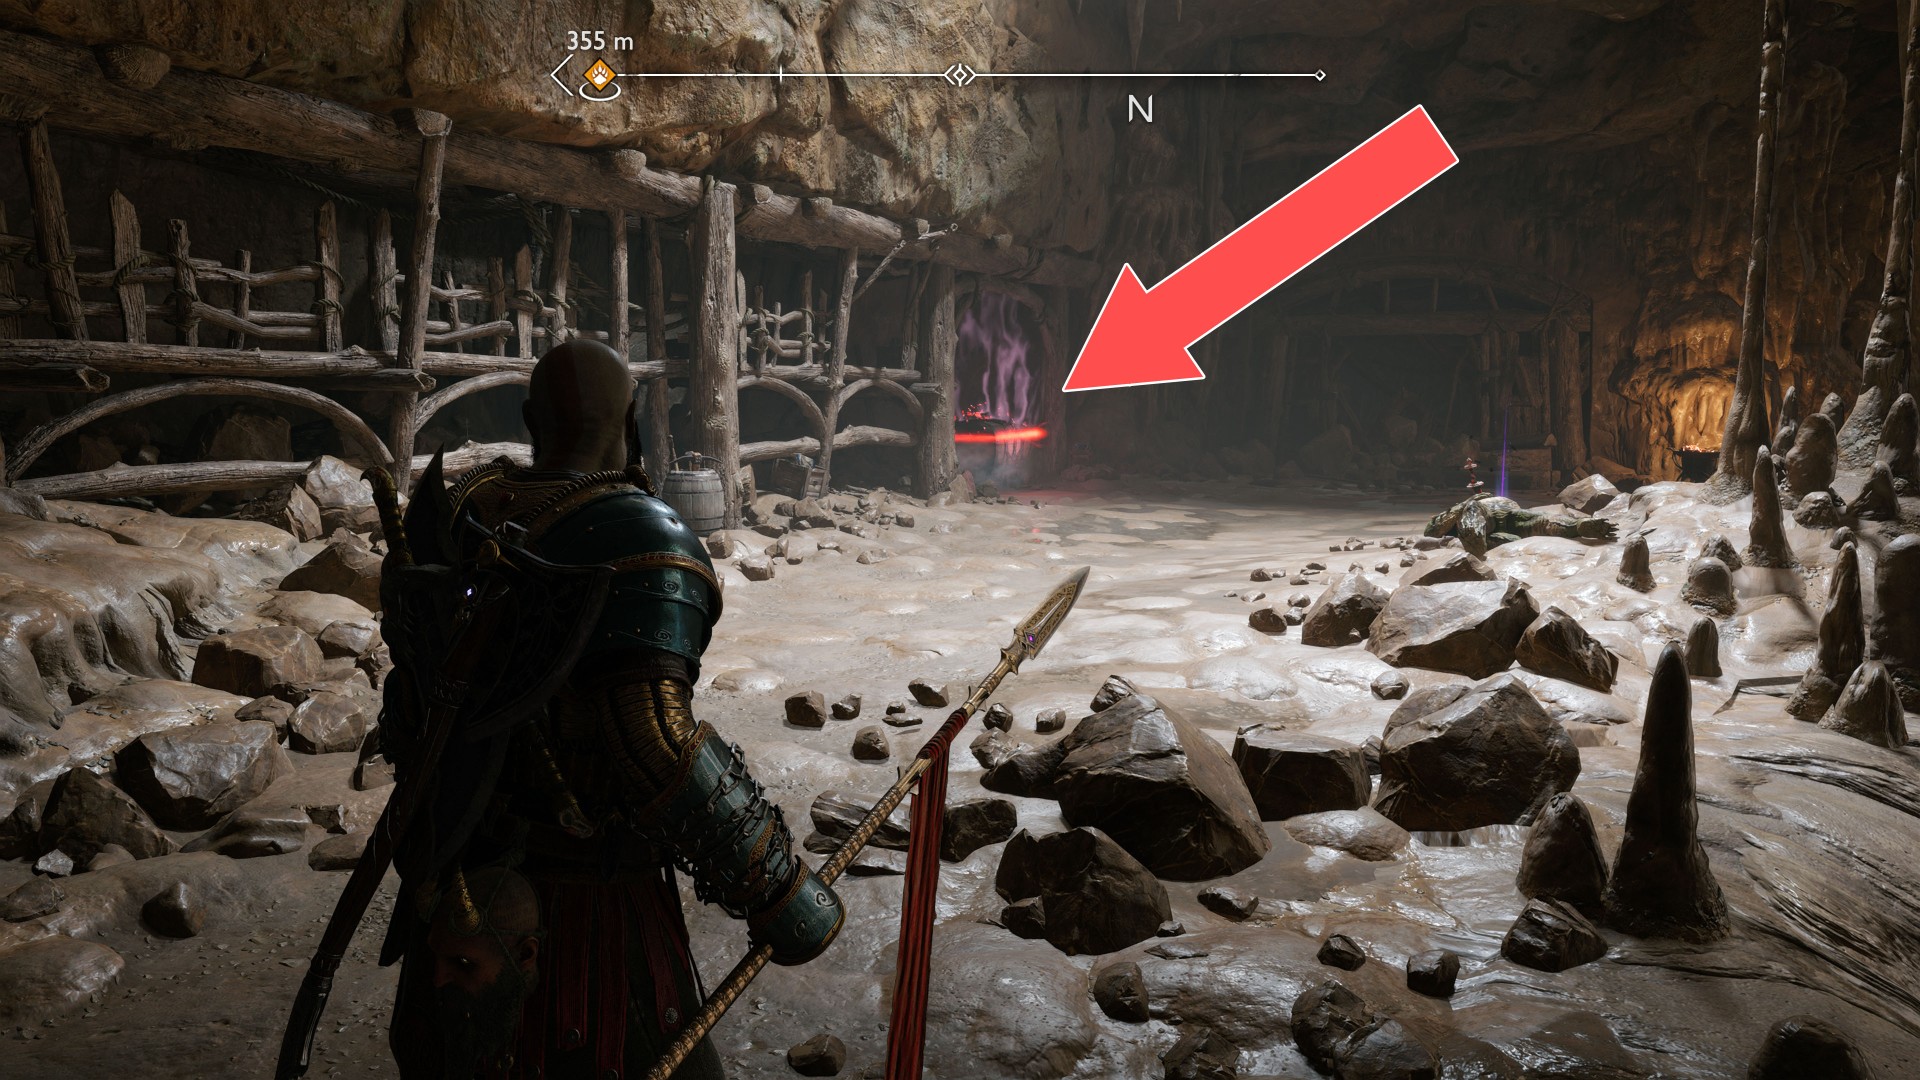
To get here you must use the spear and blow up the rock blocking the passage.

94Red Chest
Destroy the crates blocking access and climb up from the right side to the platform on which the chest stands.
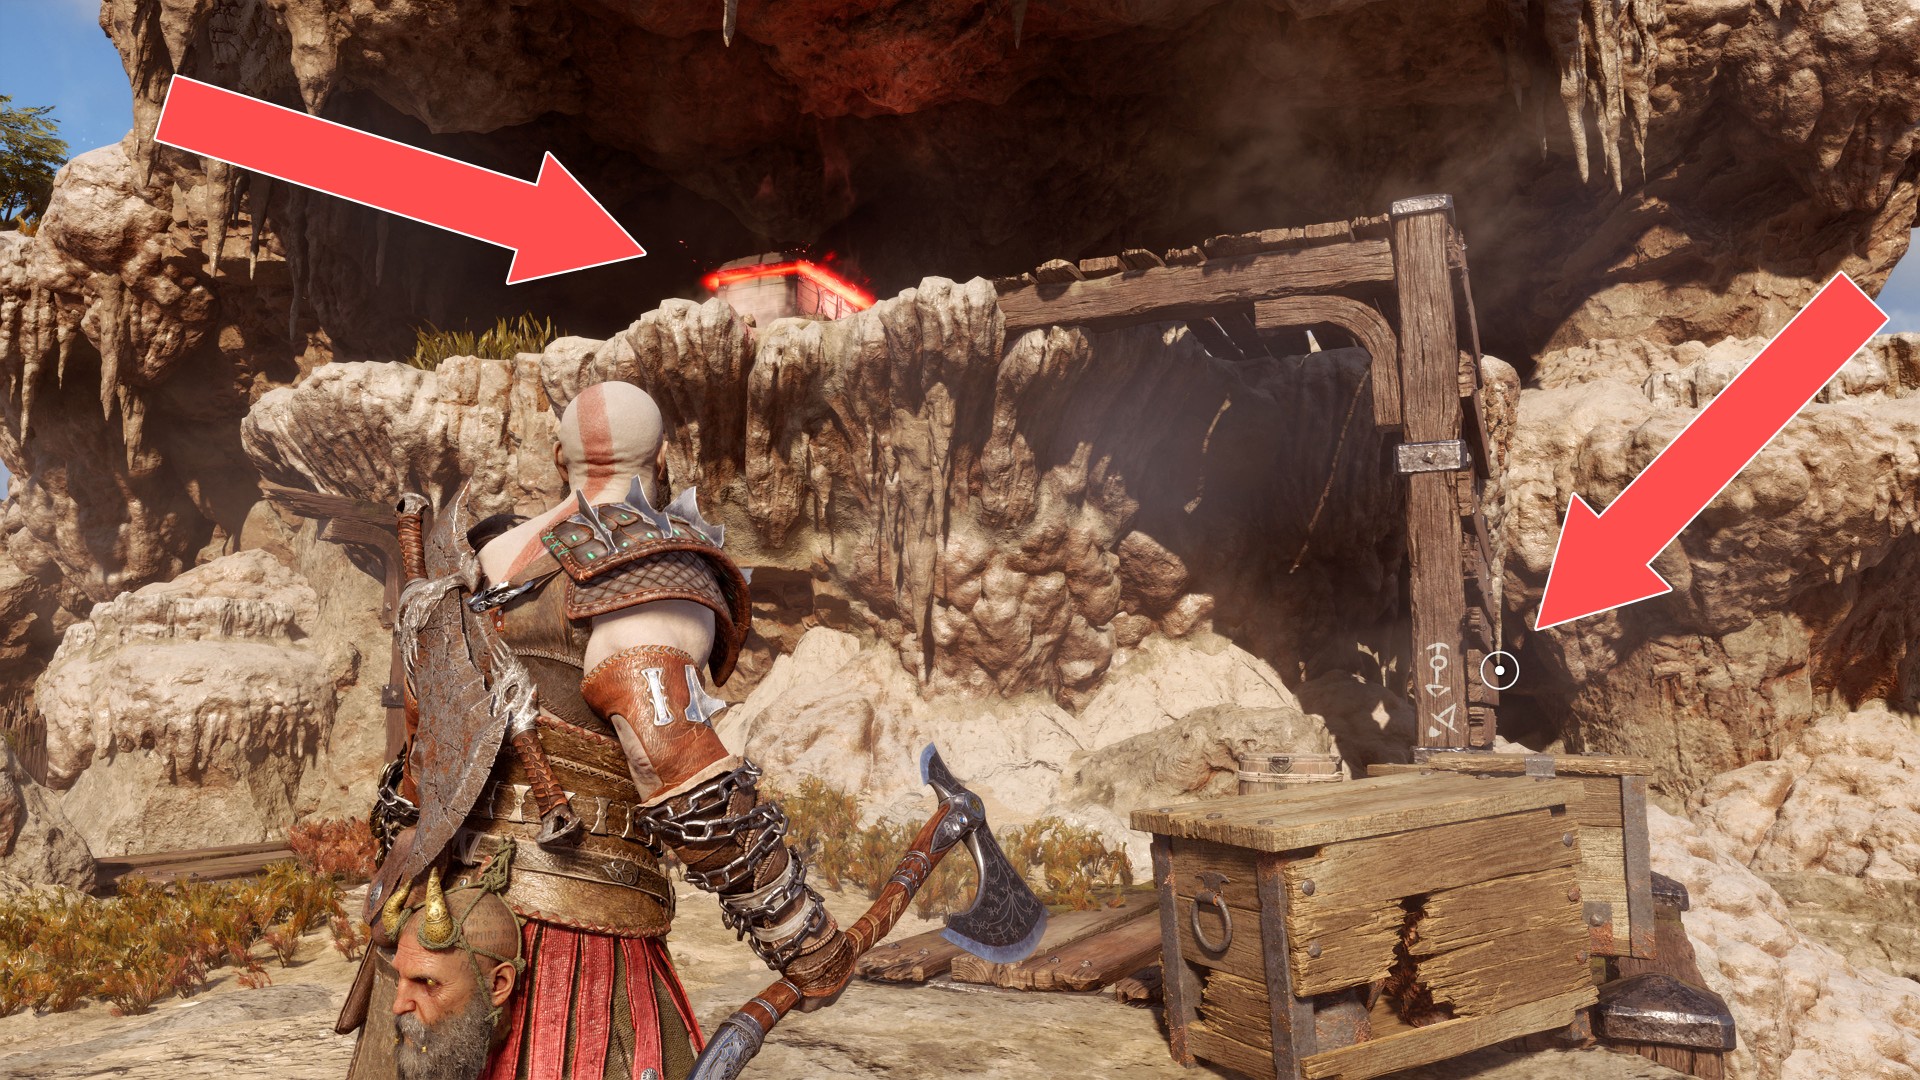
95Yellow Chest
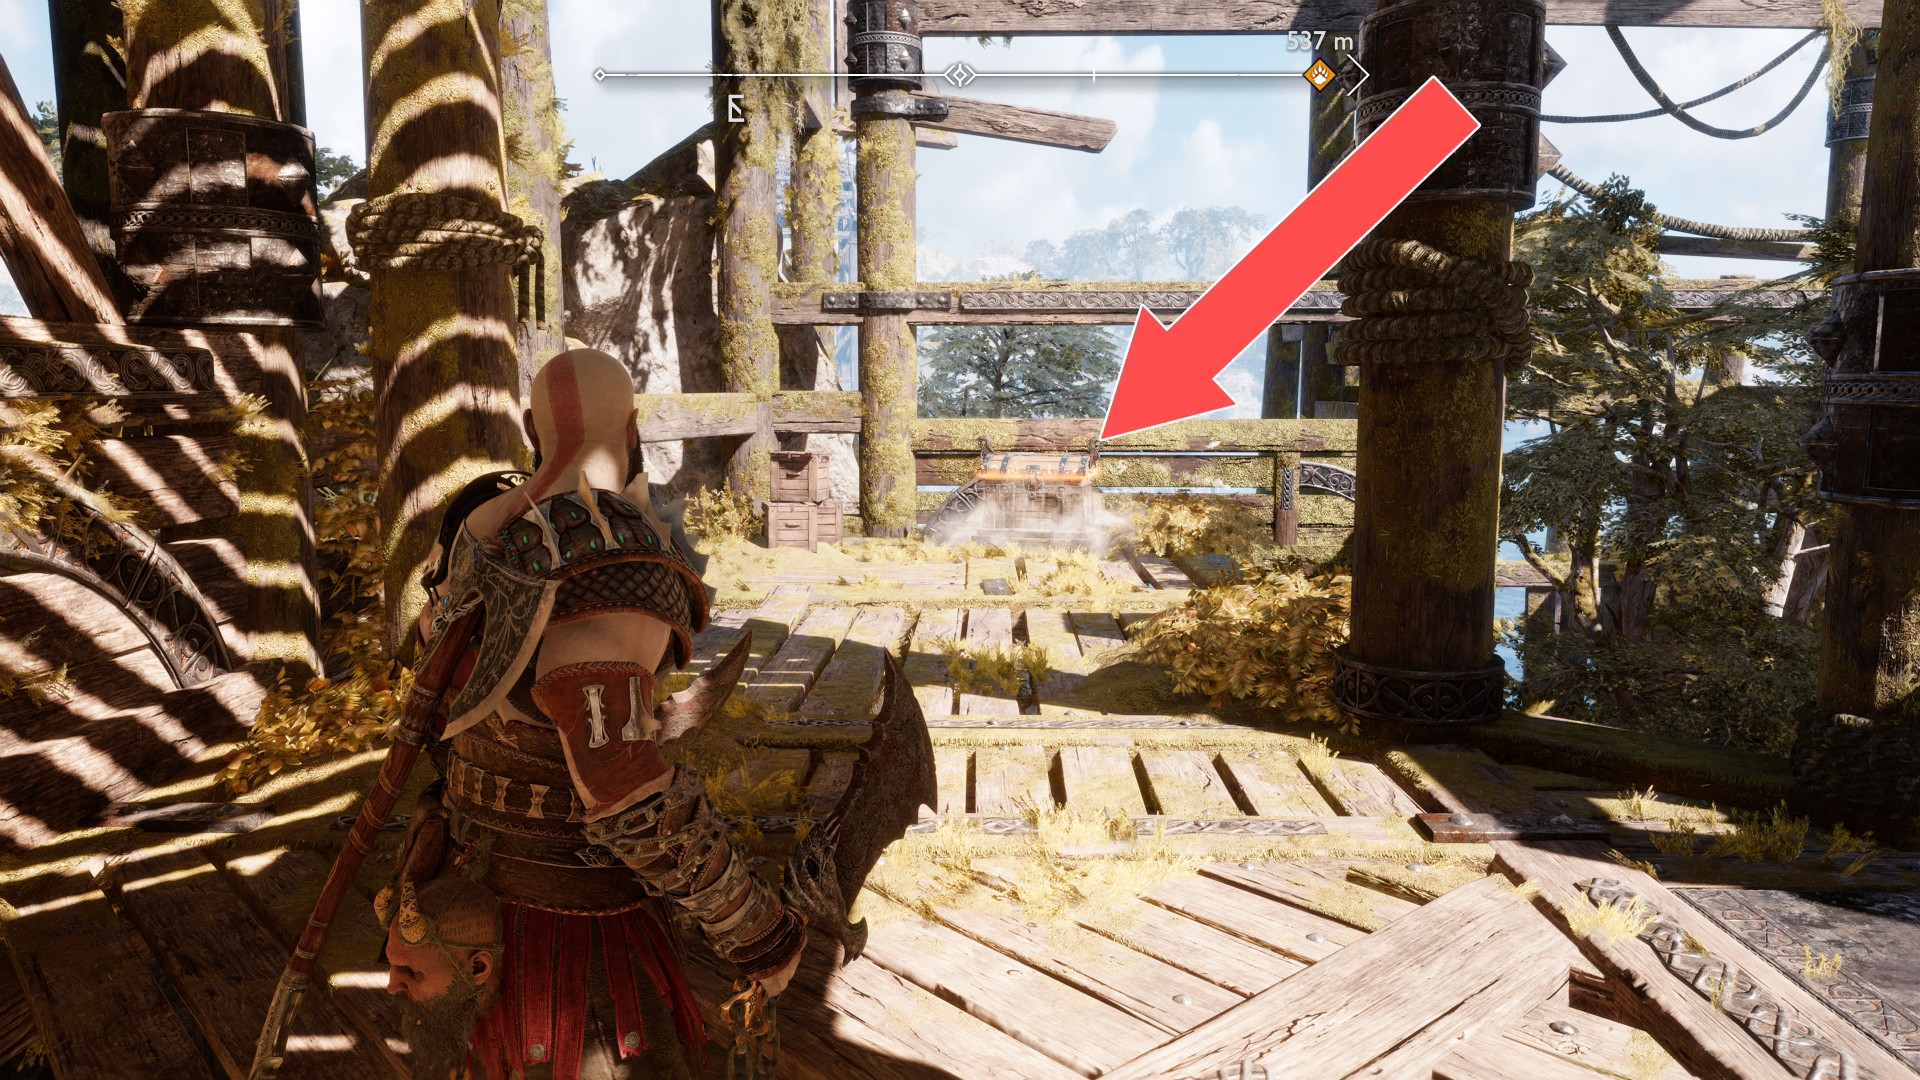
96Yellow Chest
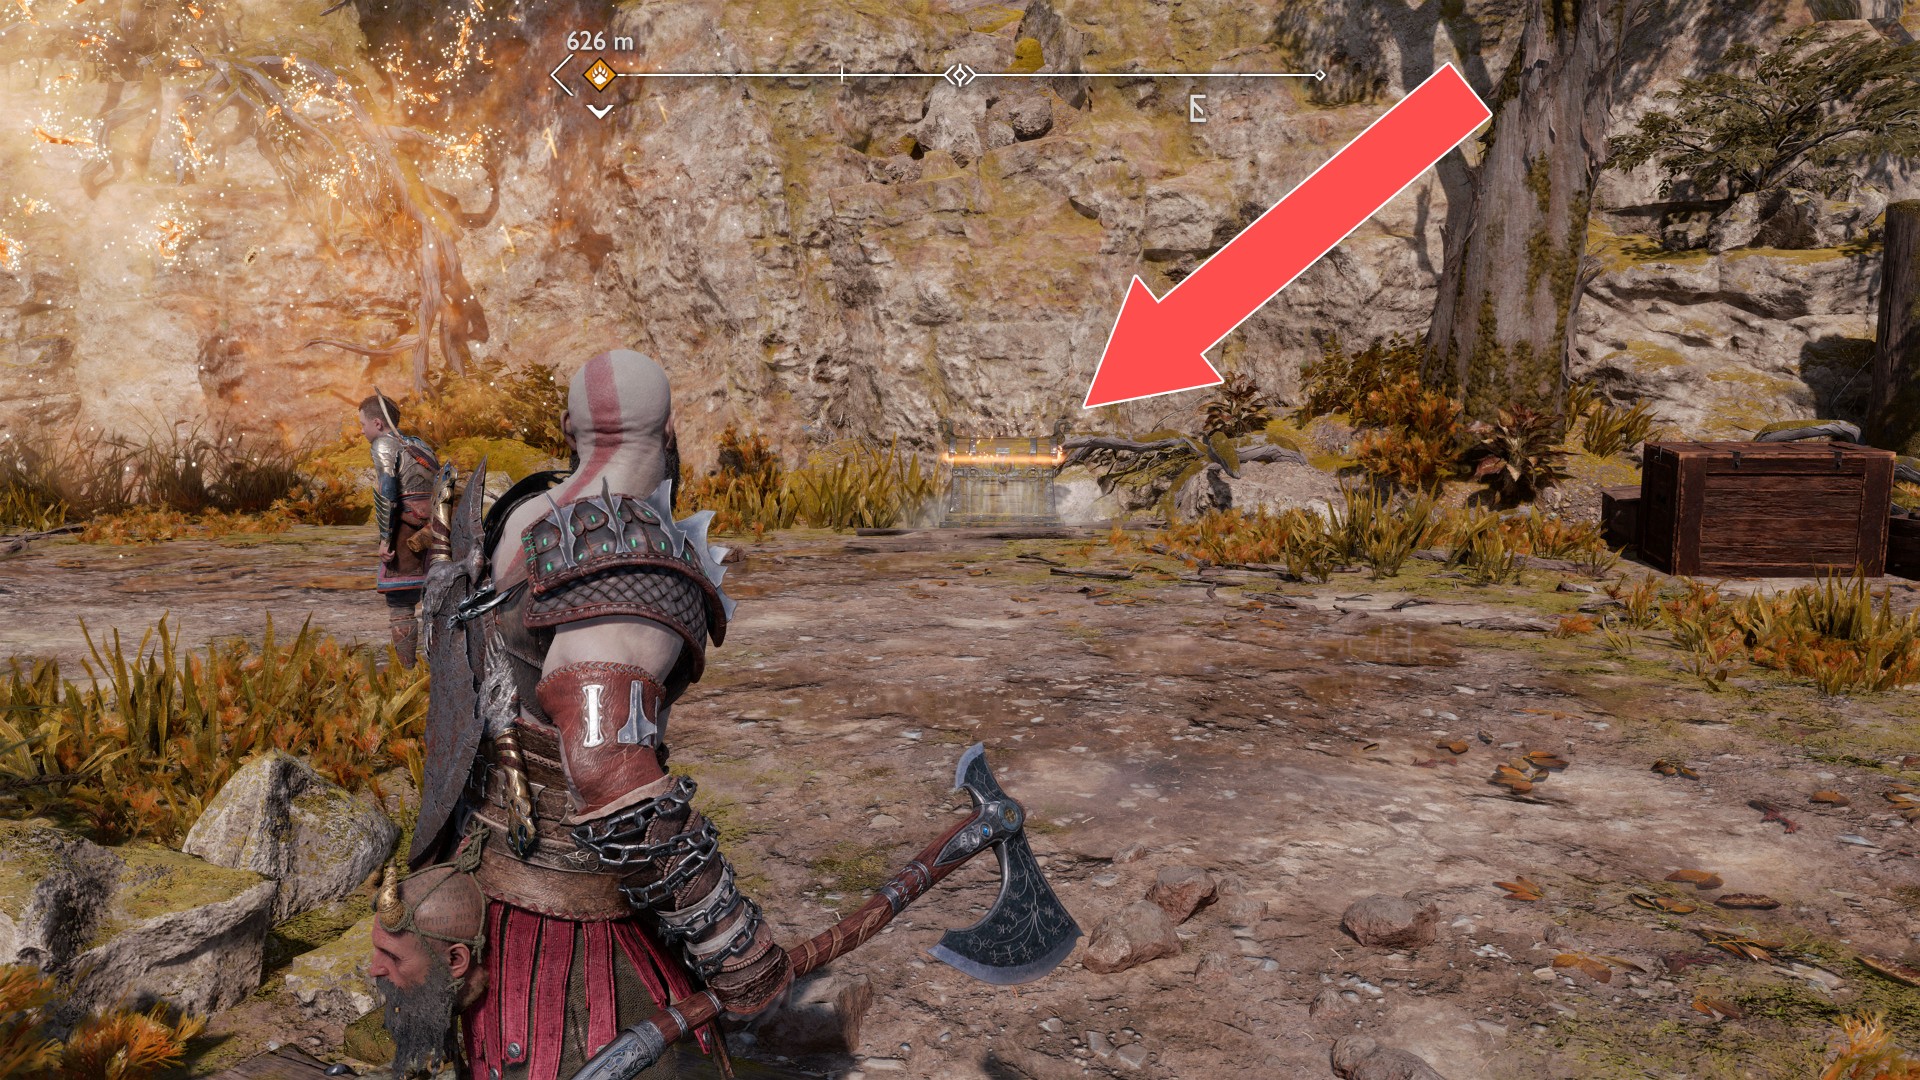
97Yellow Chest
This chest is located on the lowest level.
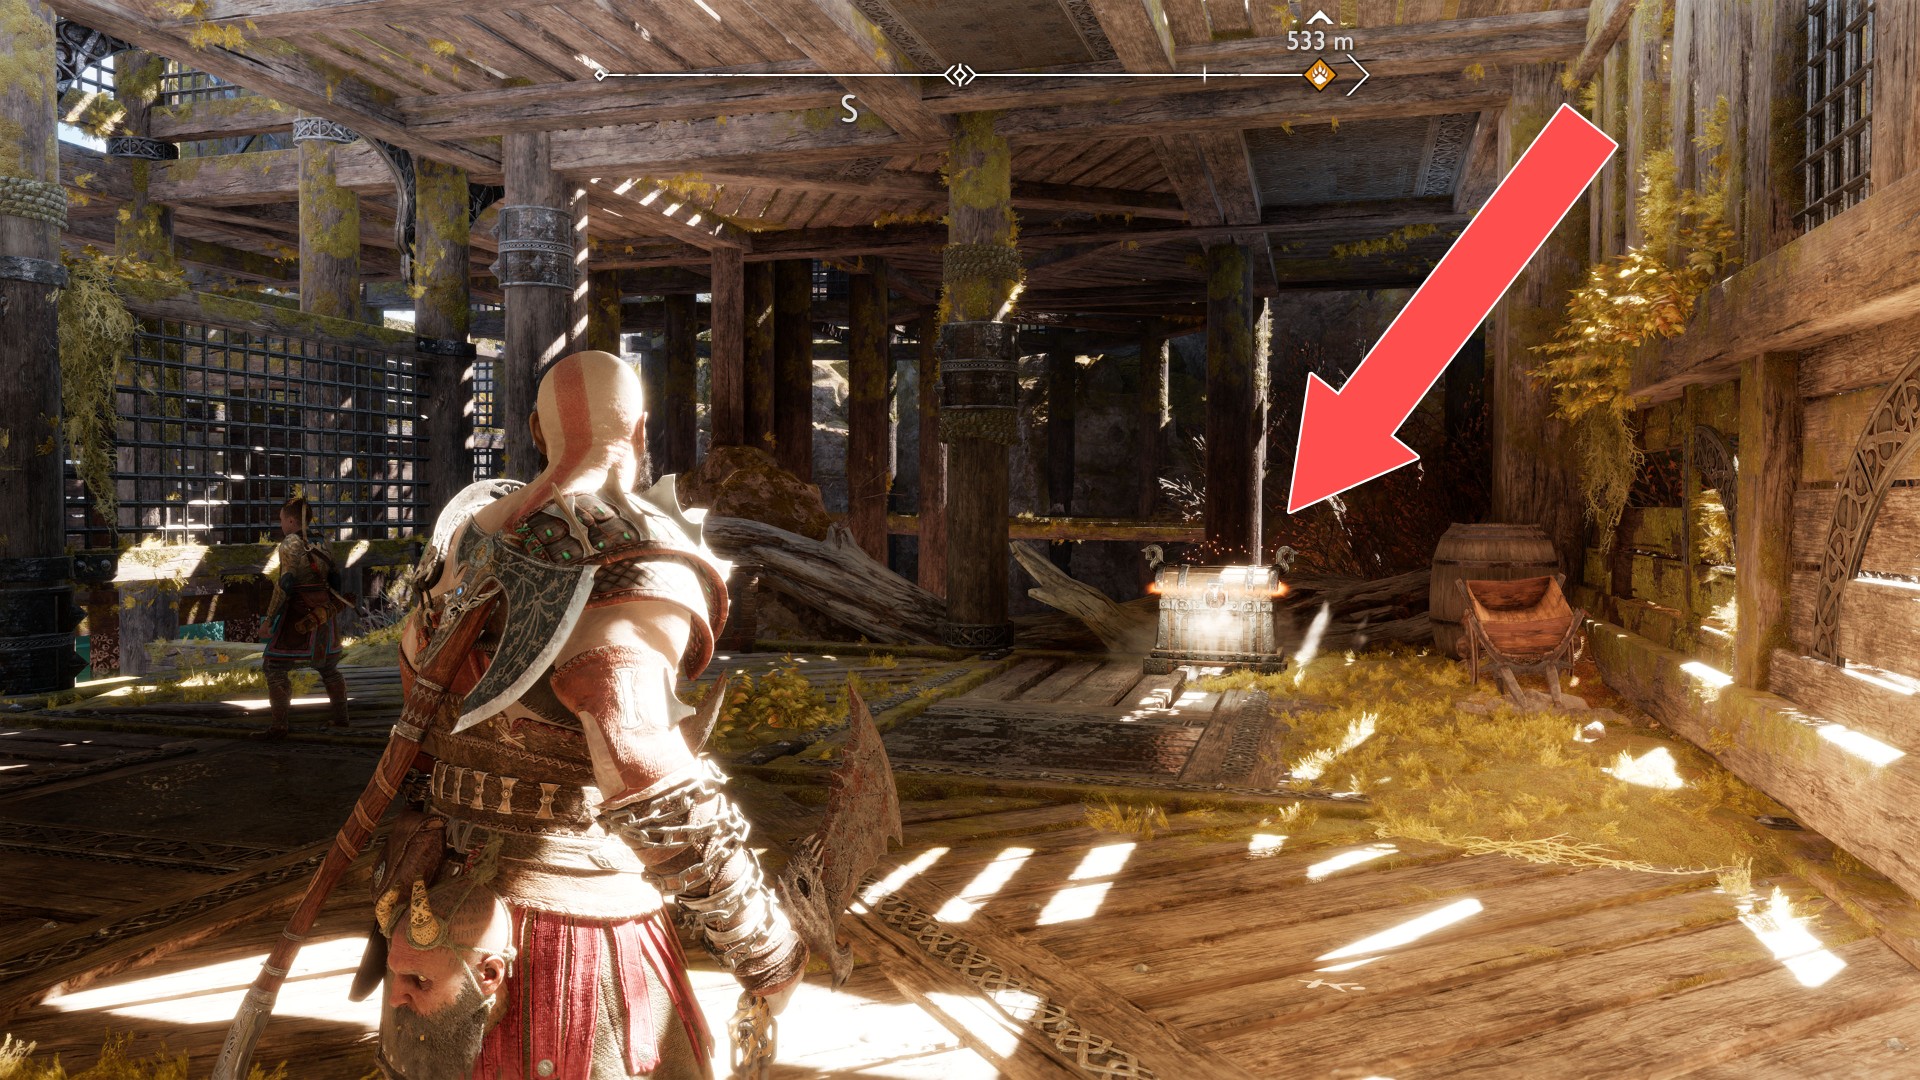
98Yellow Chest
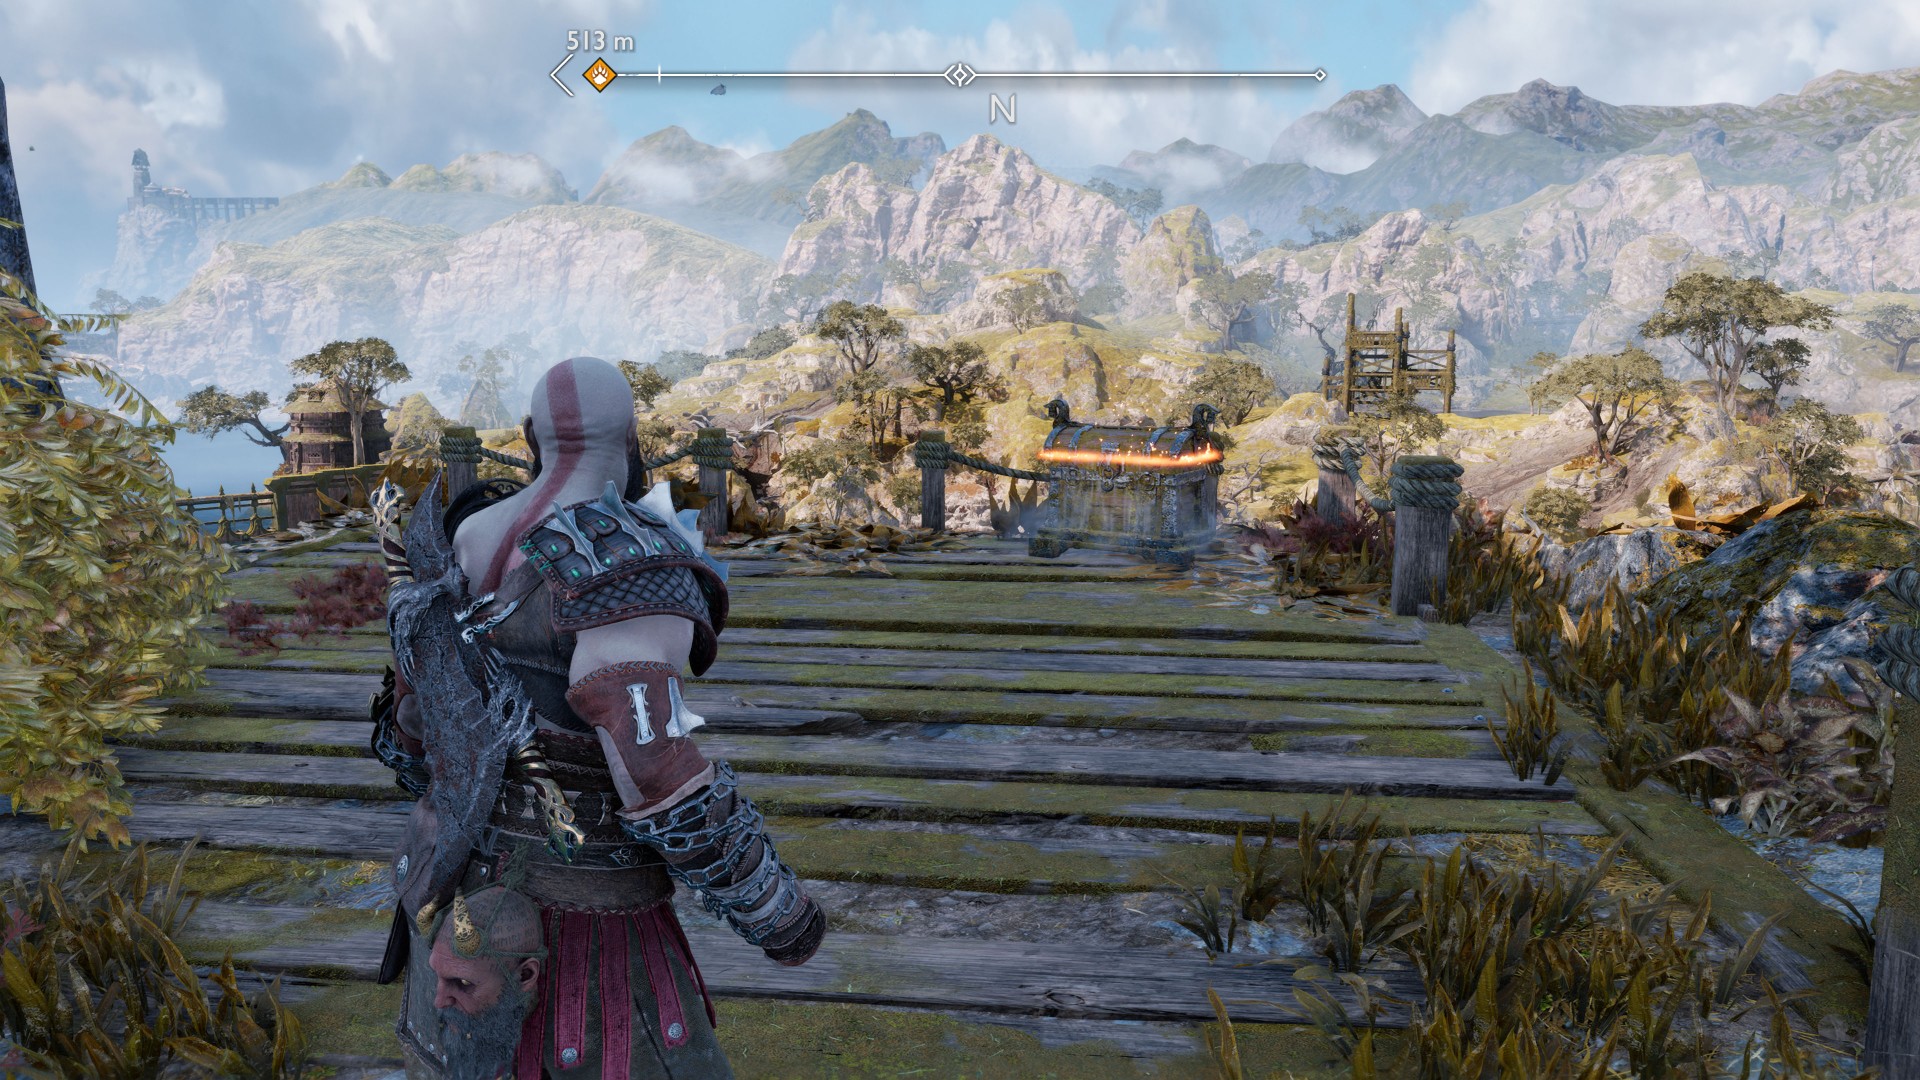
99Yellow Chest
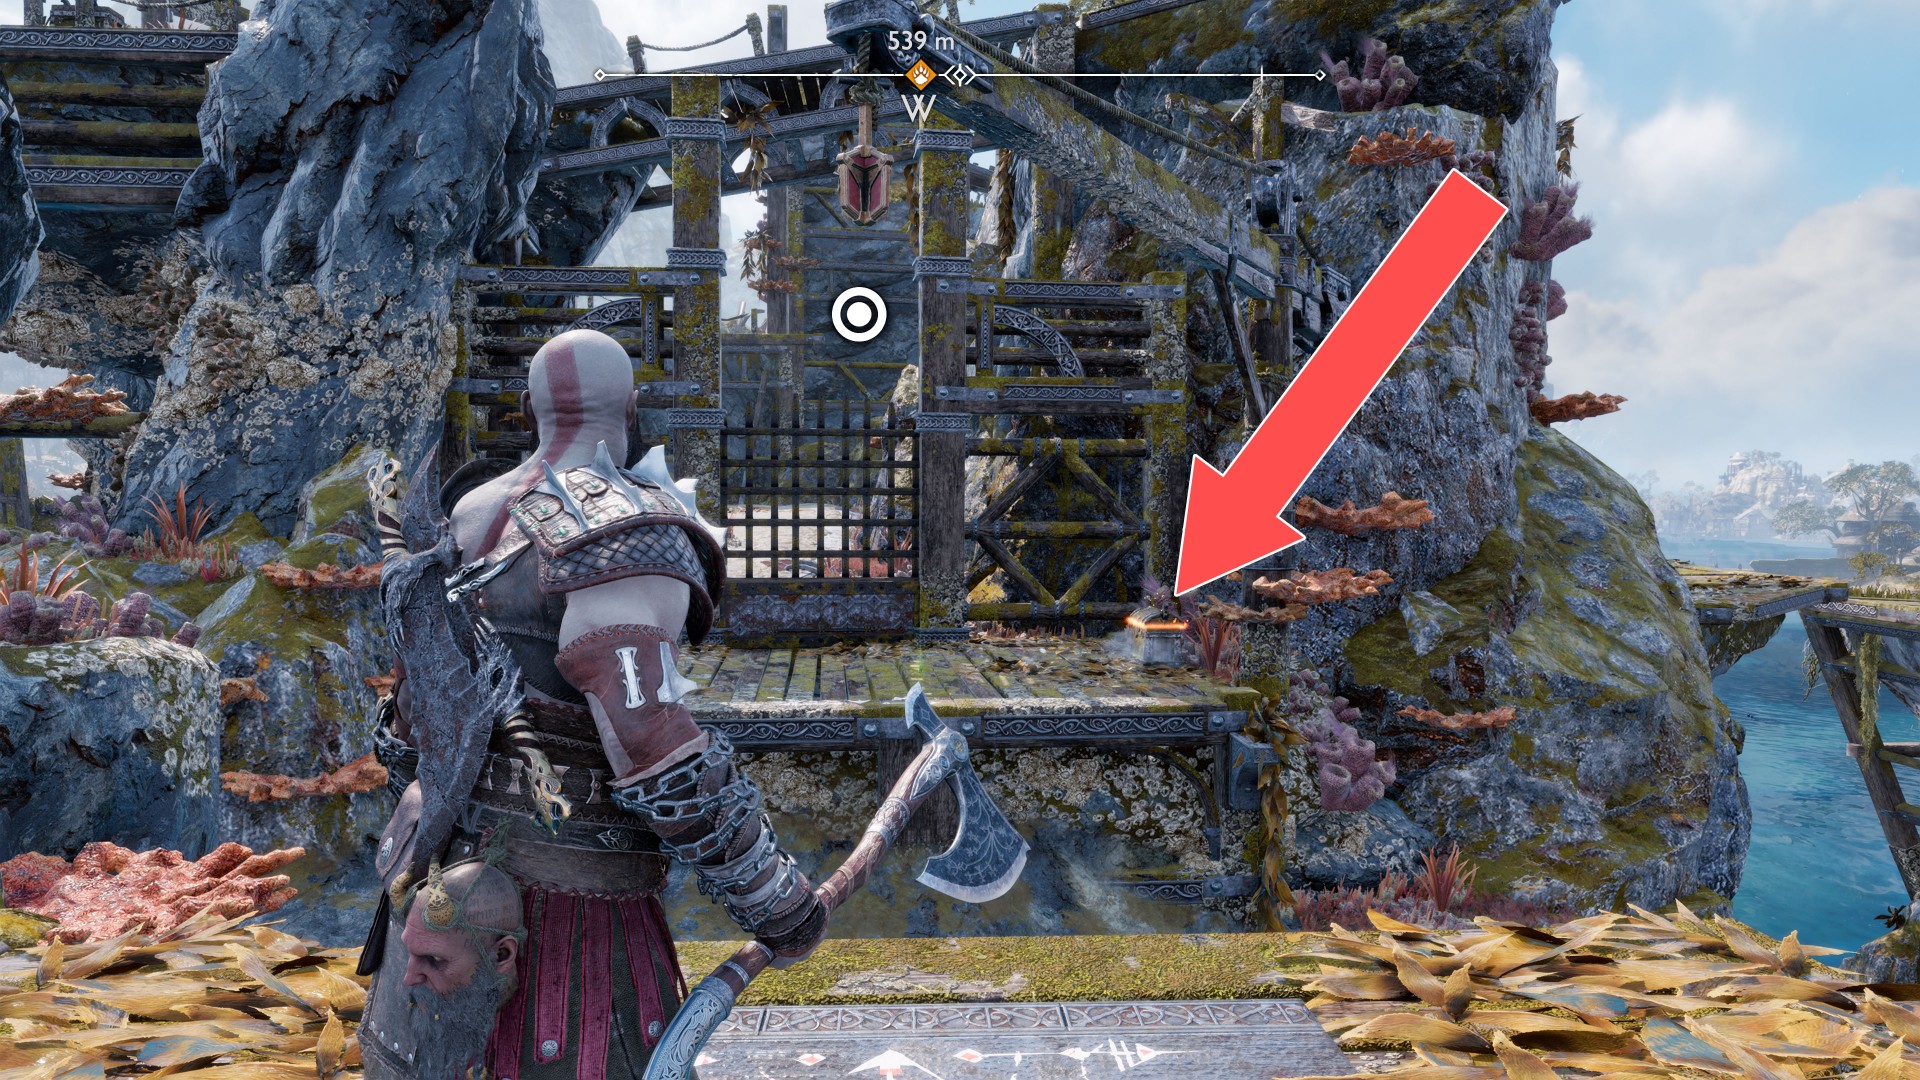
100Yellow Chest
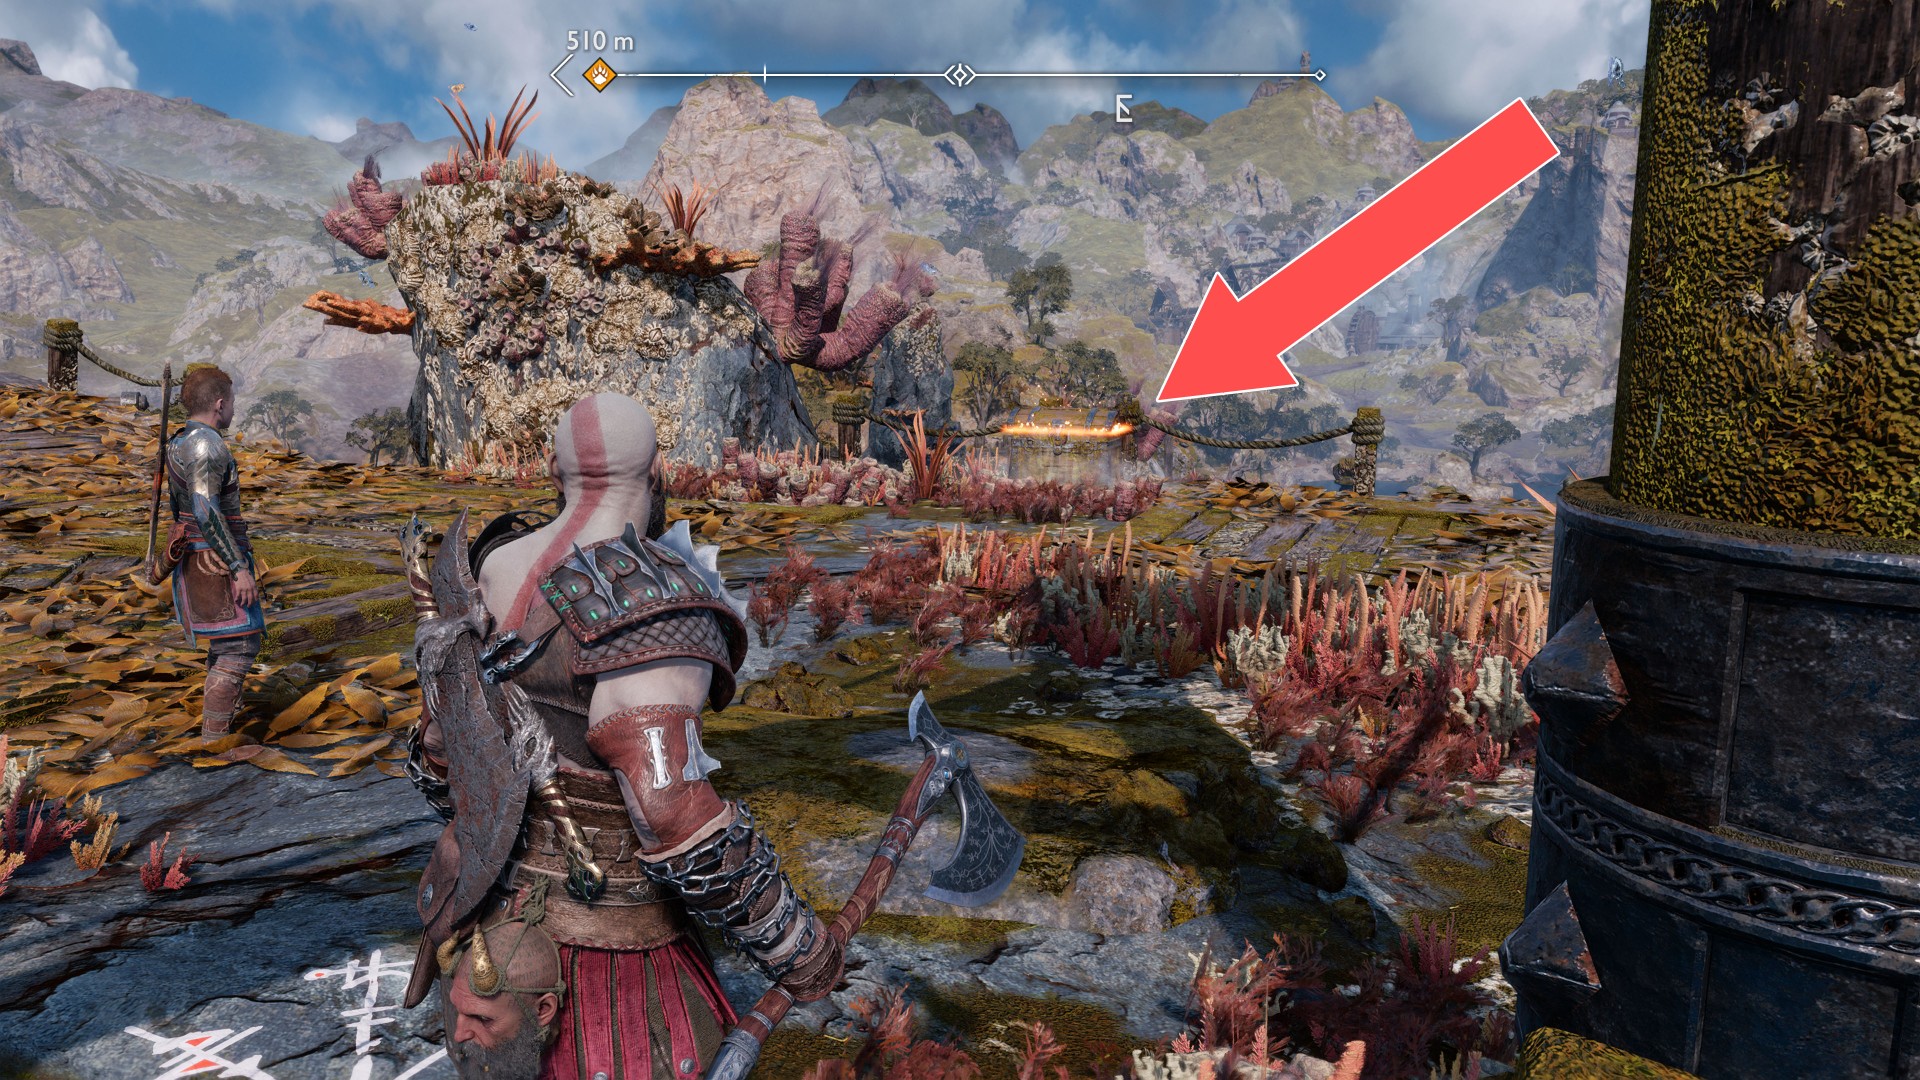
101Yellow Chest
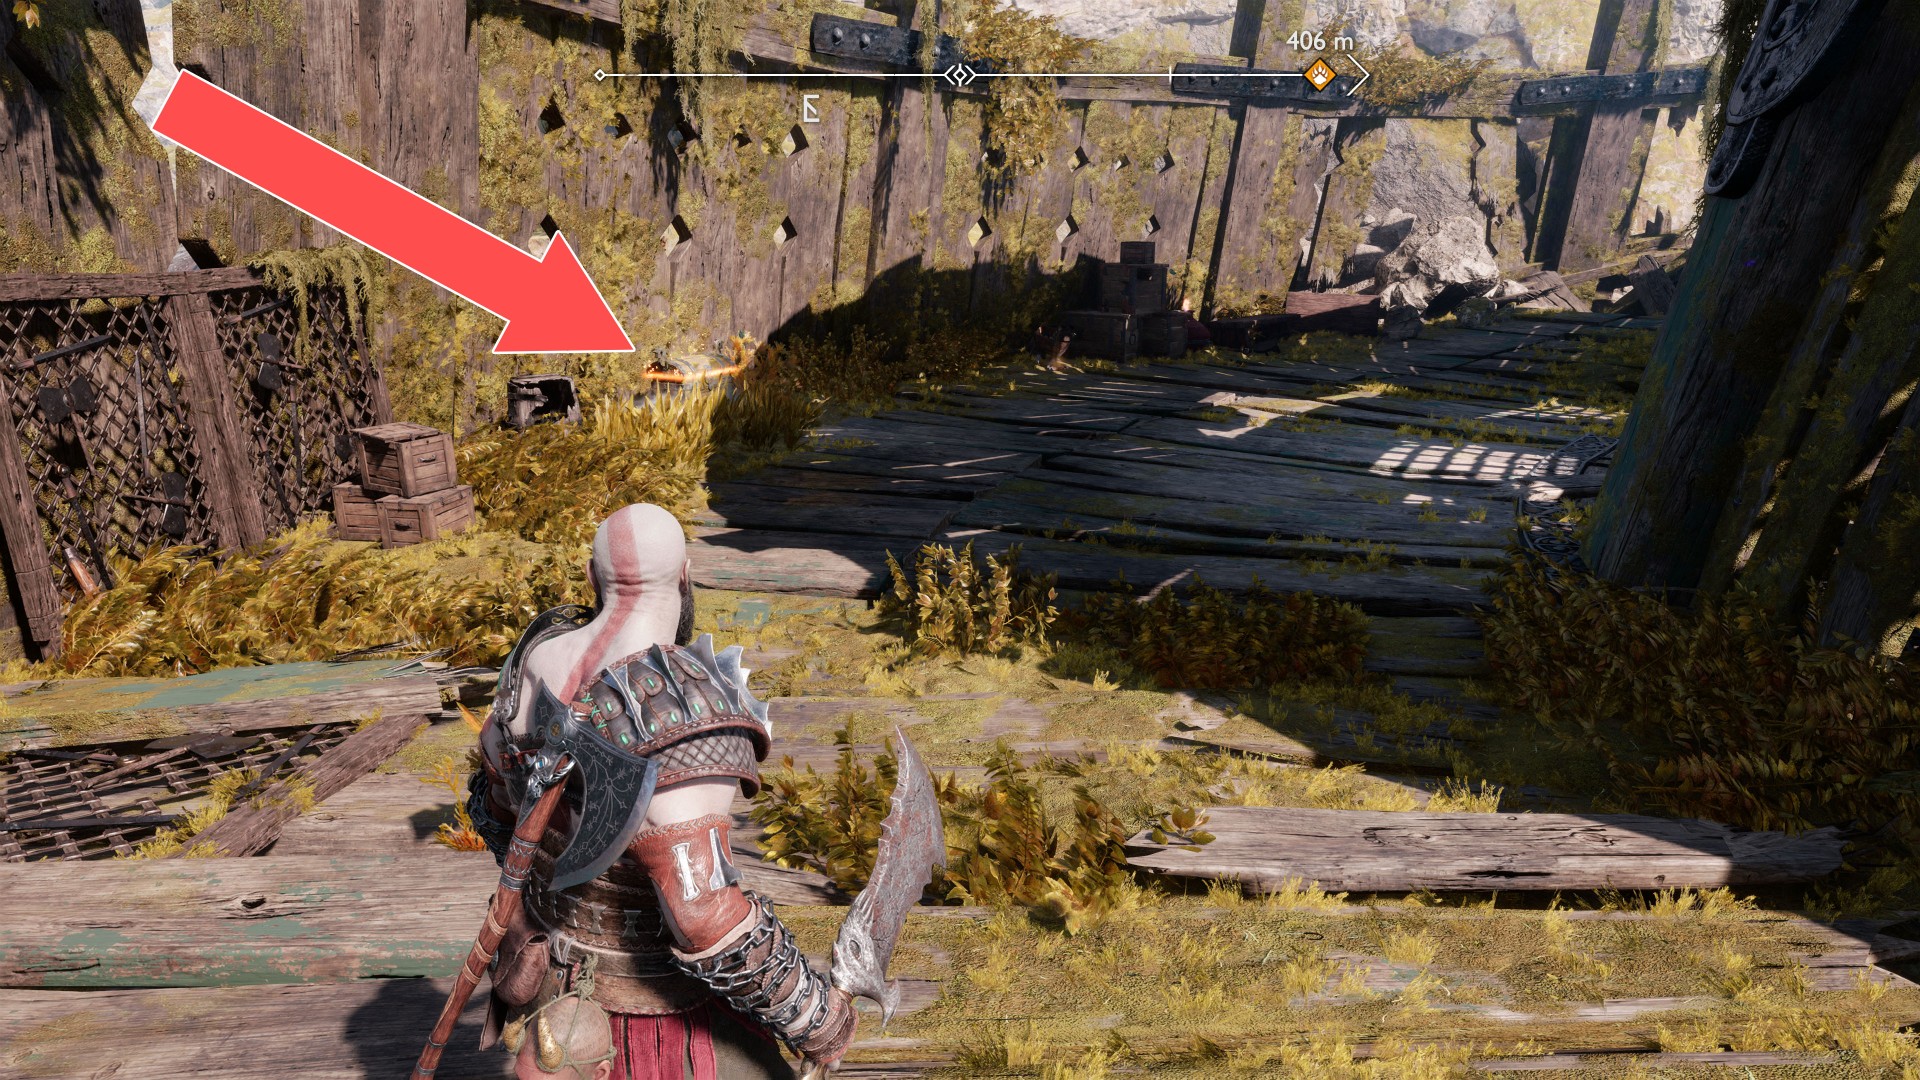
102Yellow Chest
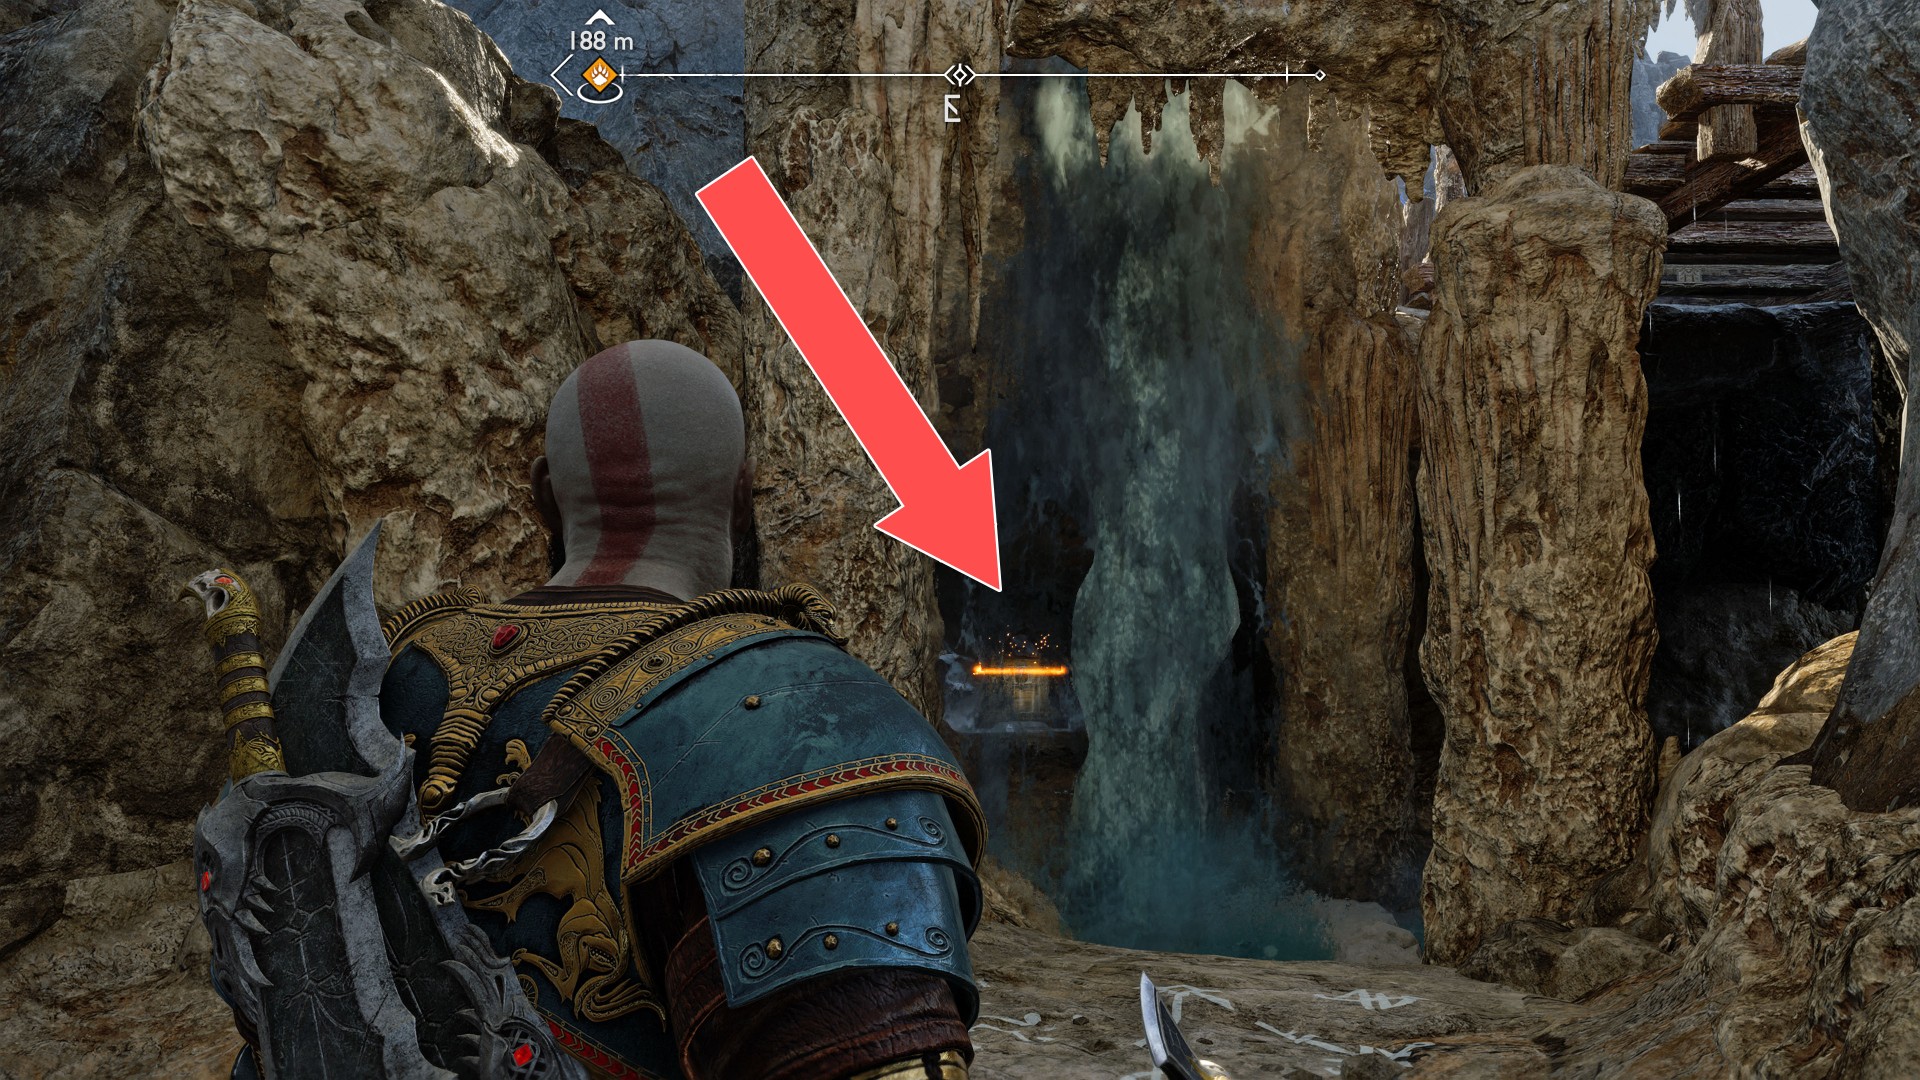
103Yellow Chest
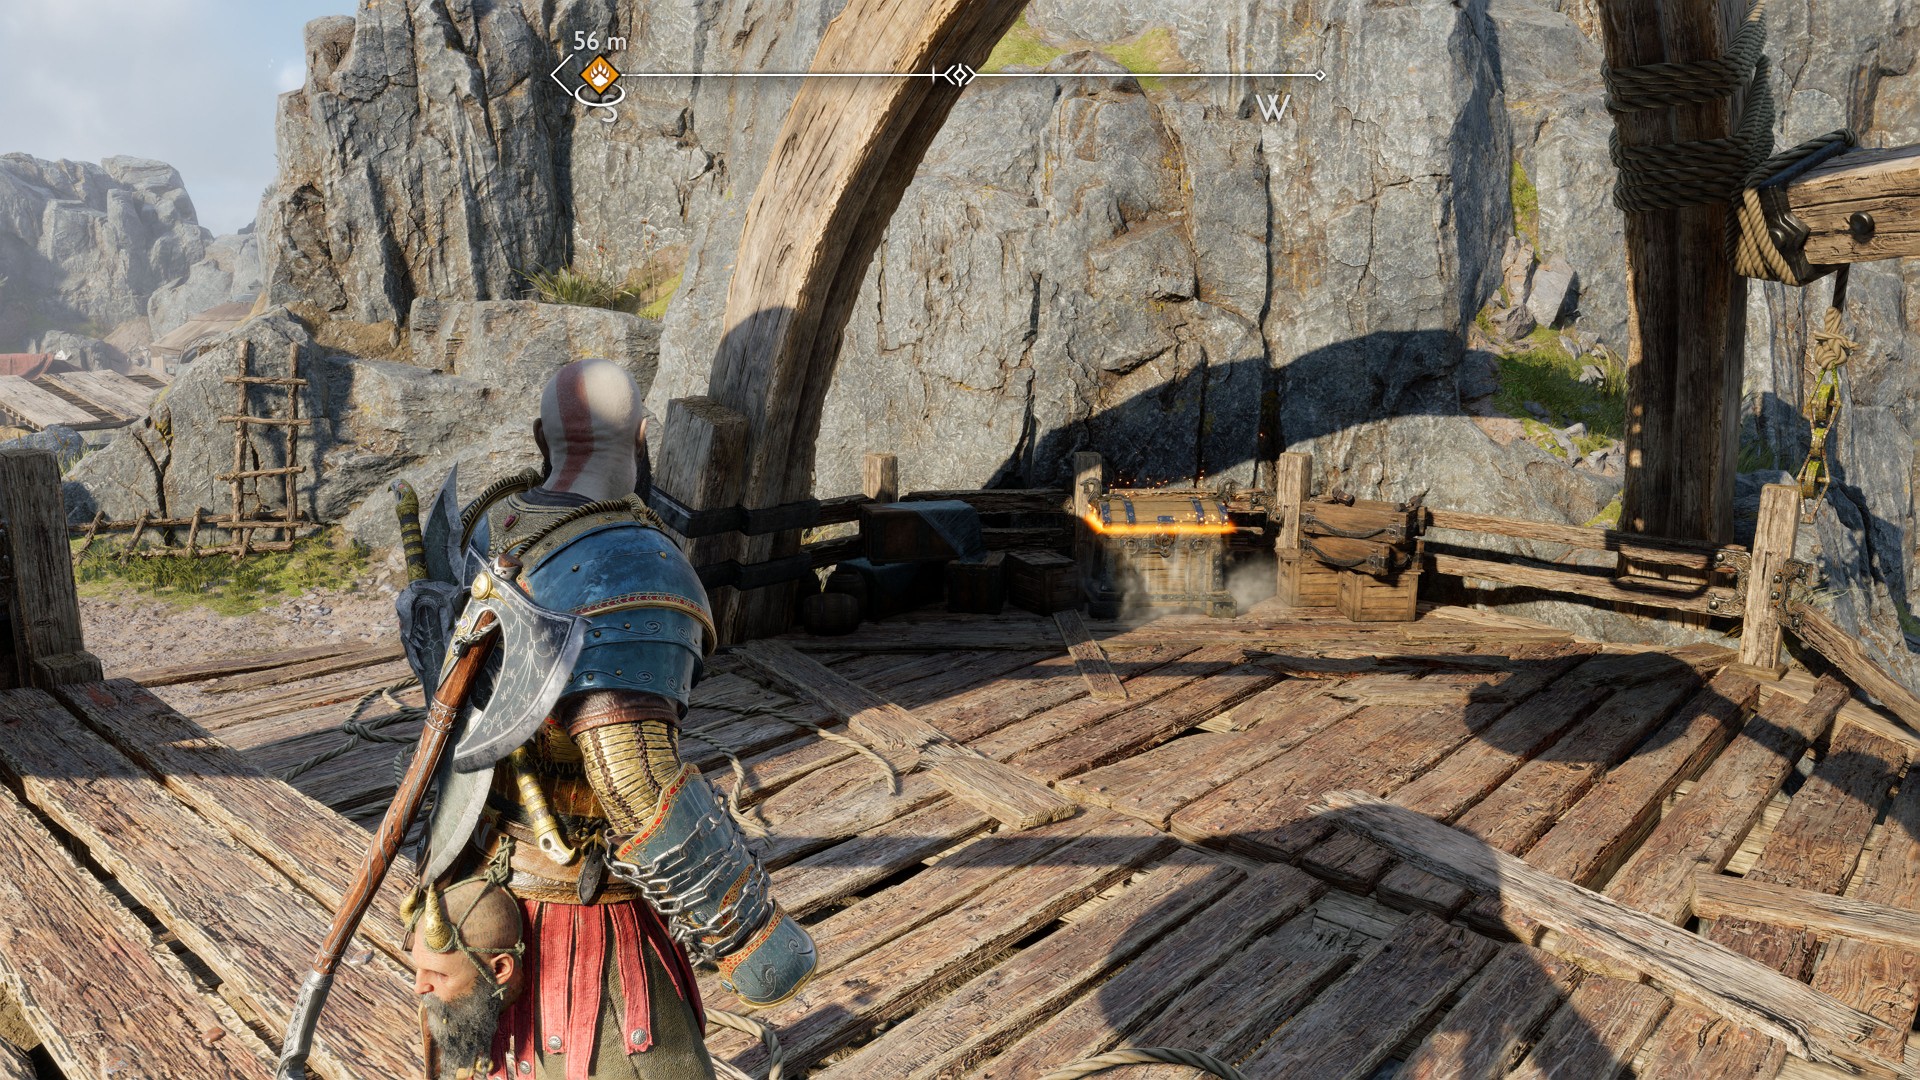
104Yellow Chest
You will be able to get here only after you acquire the Draupnir Spear.
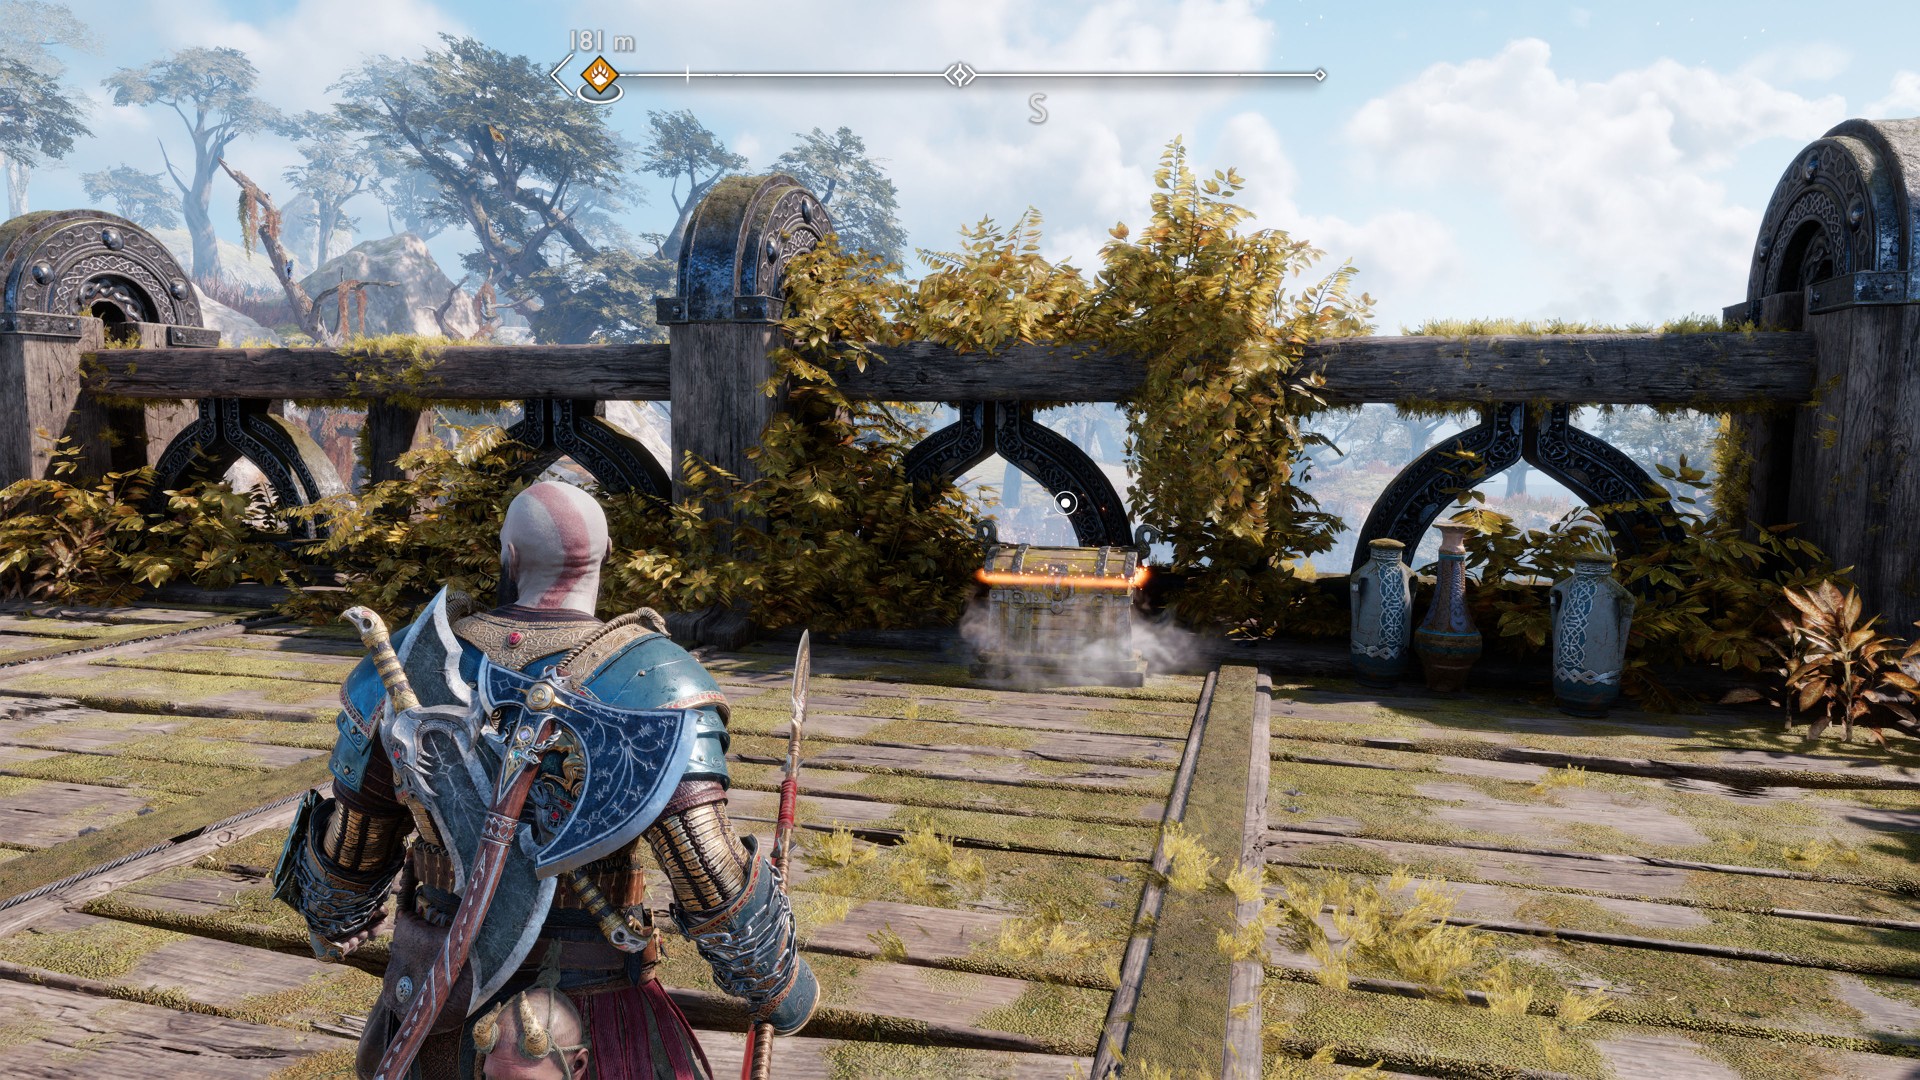
105Yellow Chest
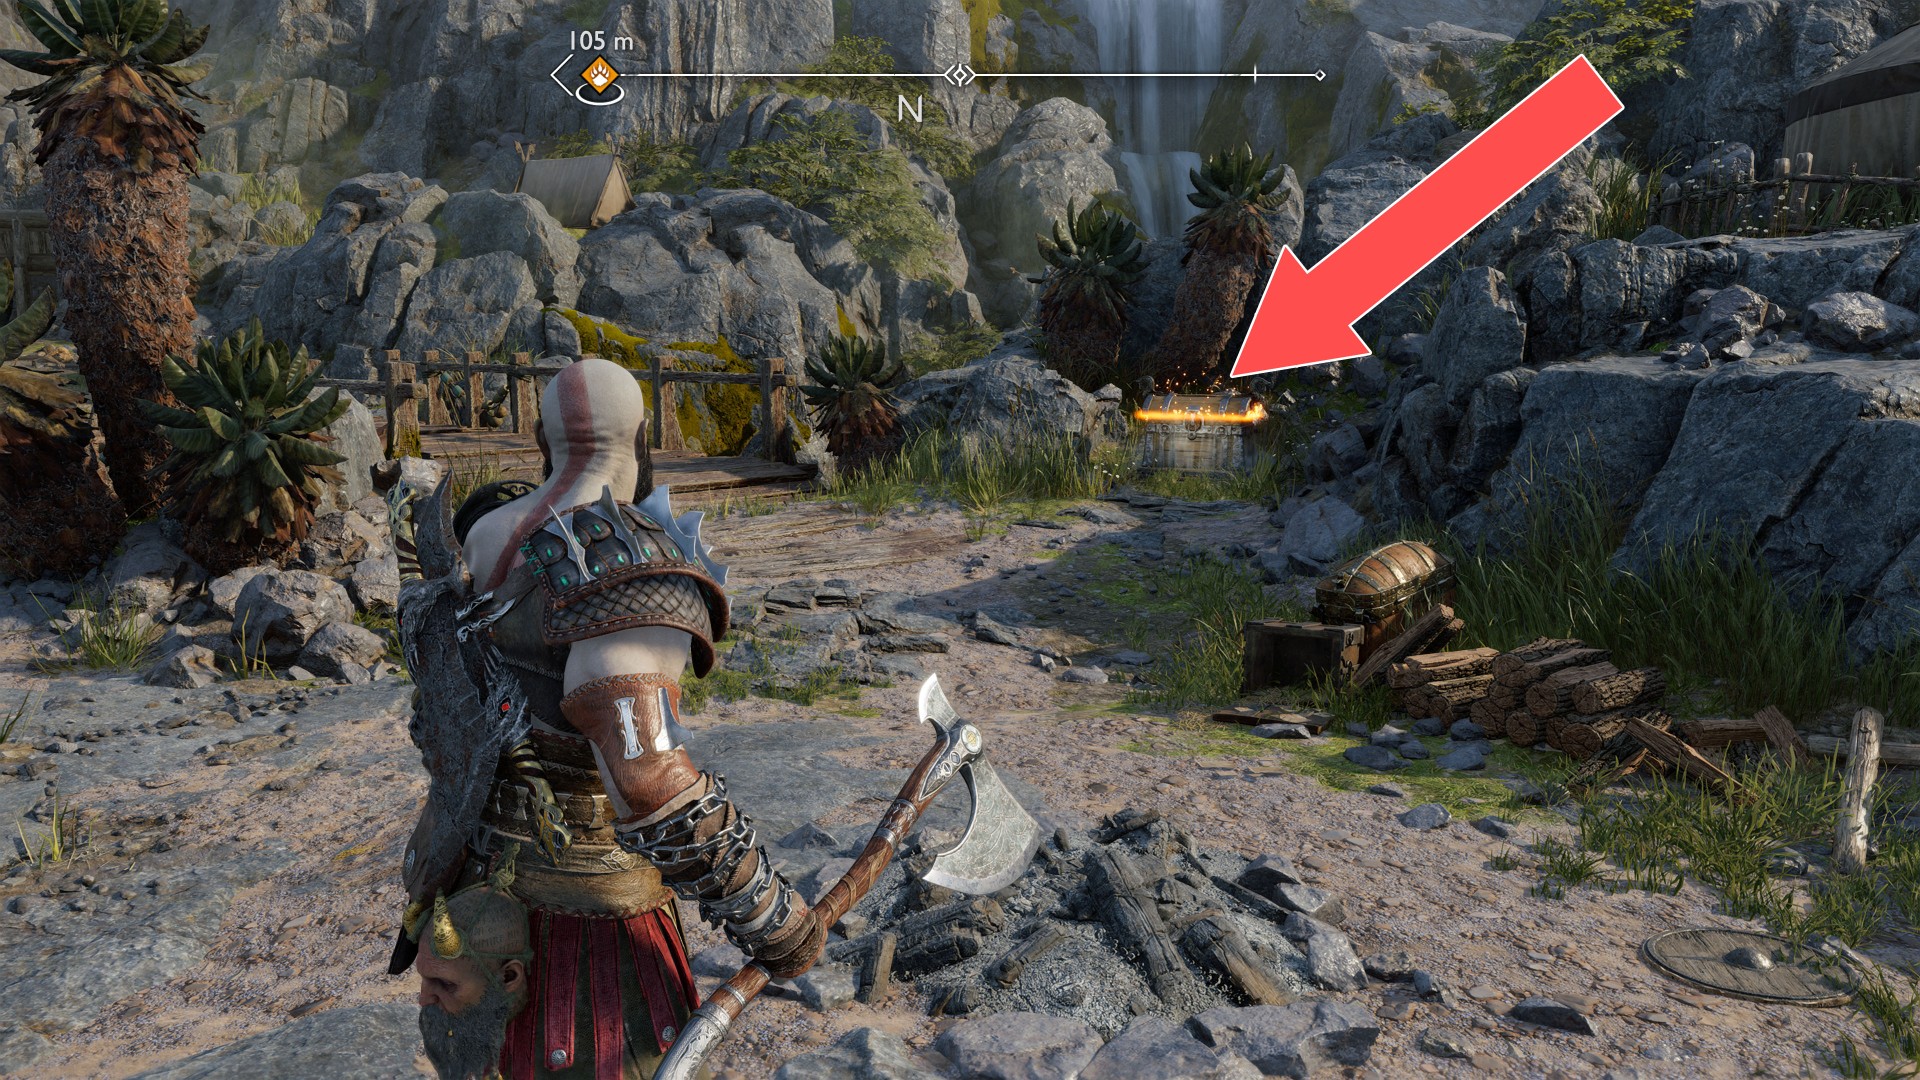
106Yellow Chest
You visit this place during the main mission "Forging Destiny".
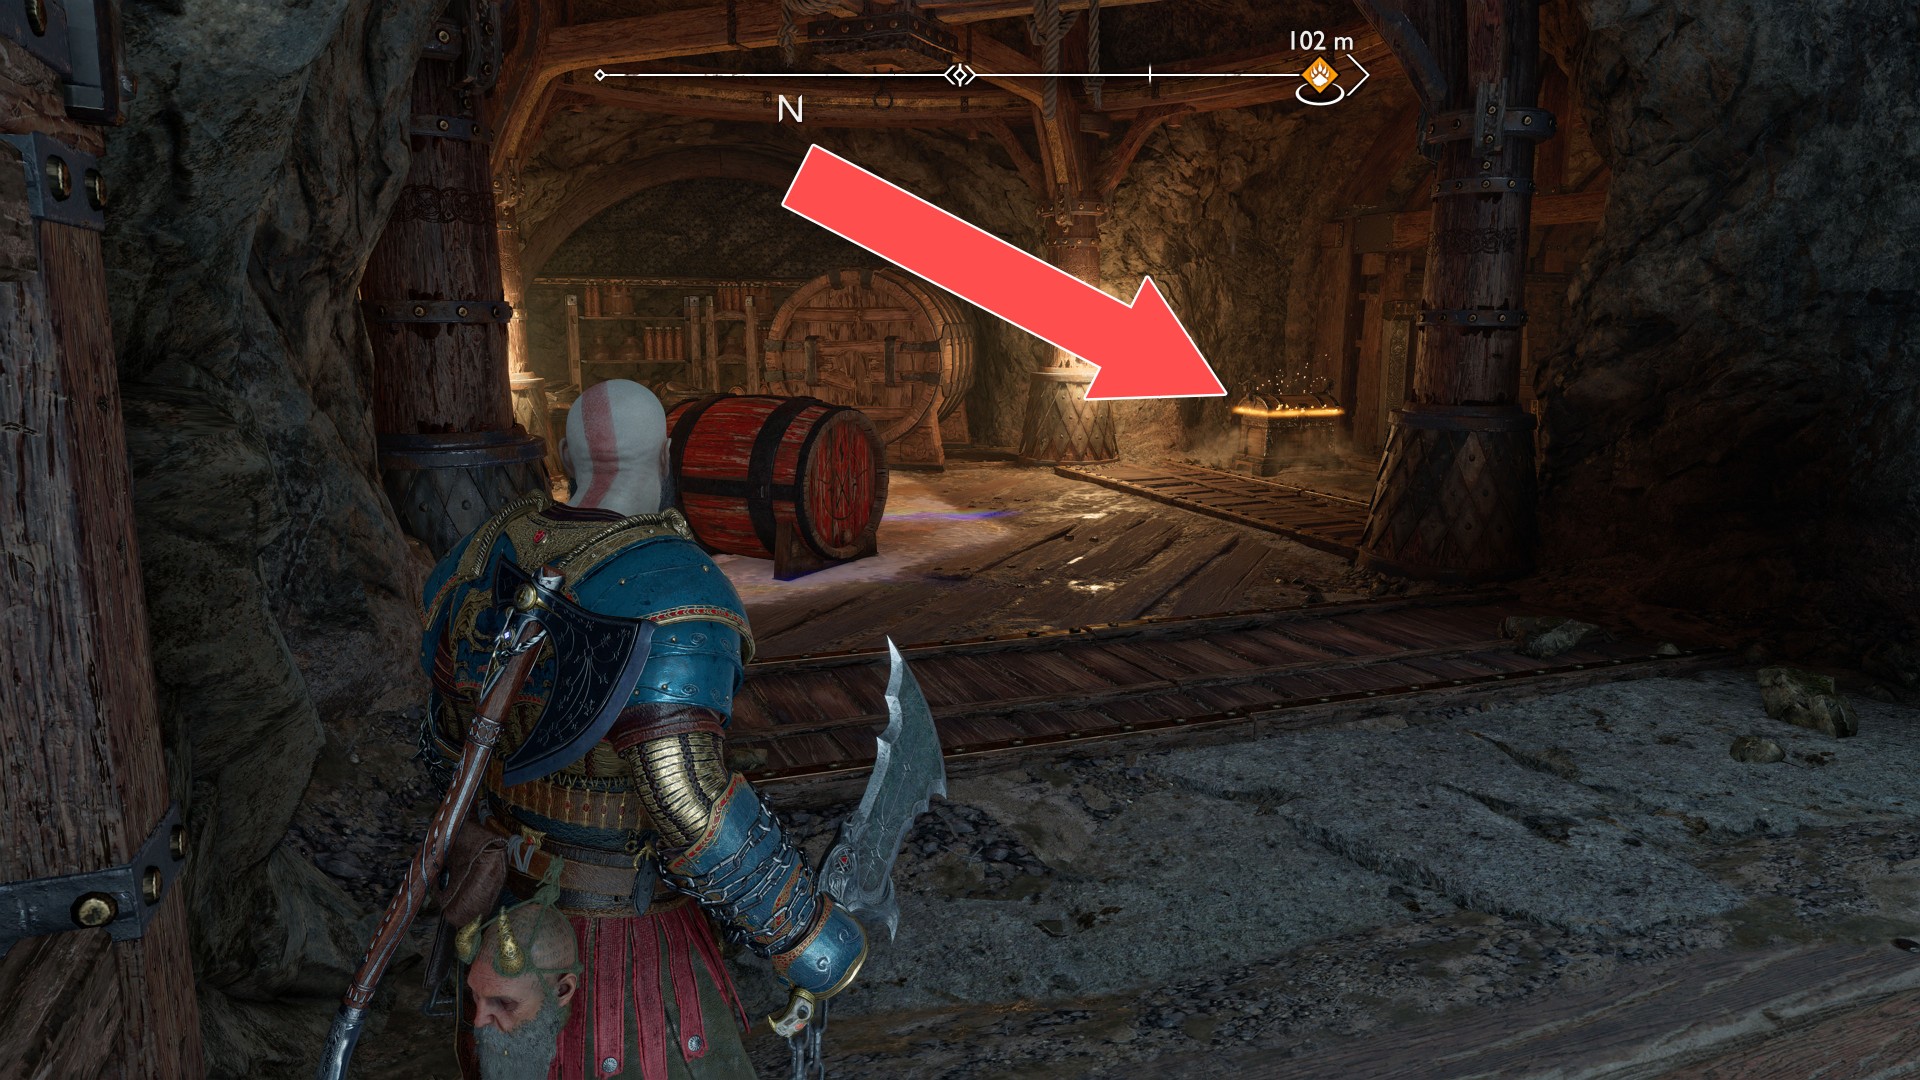
107Yellow Chest
You will visit this place during the main mission "Forging Destiny".
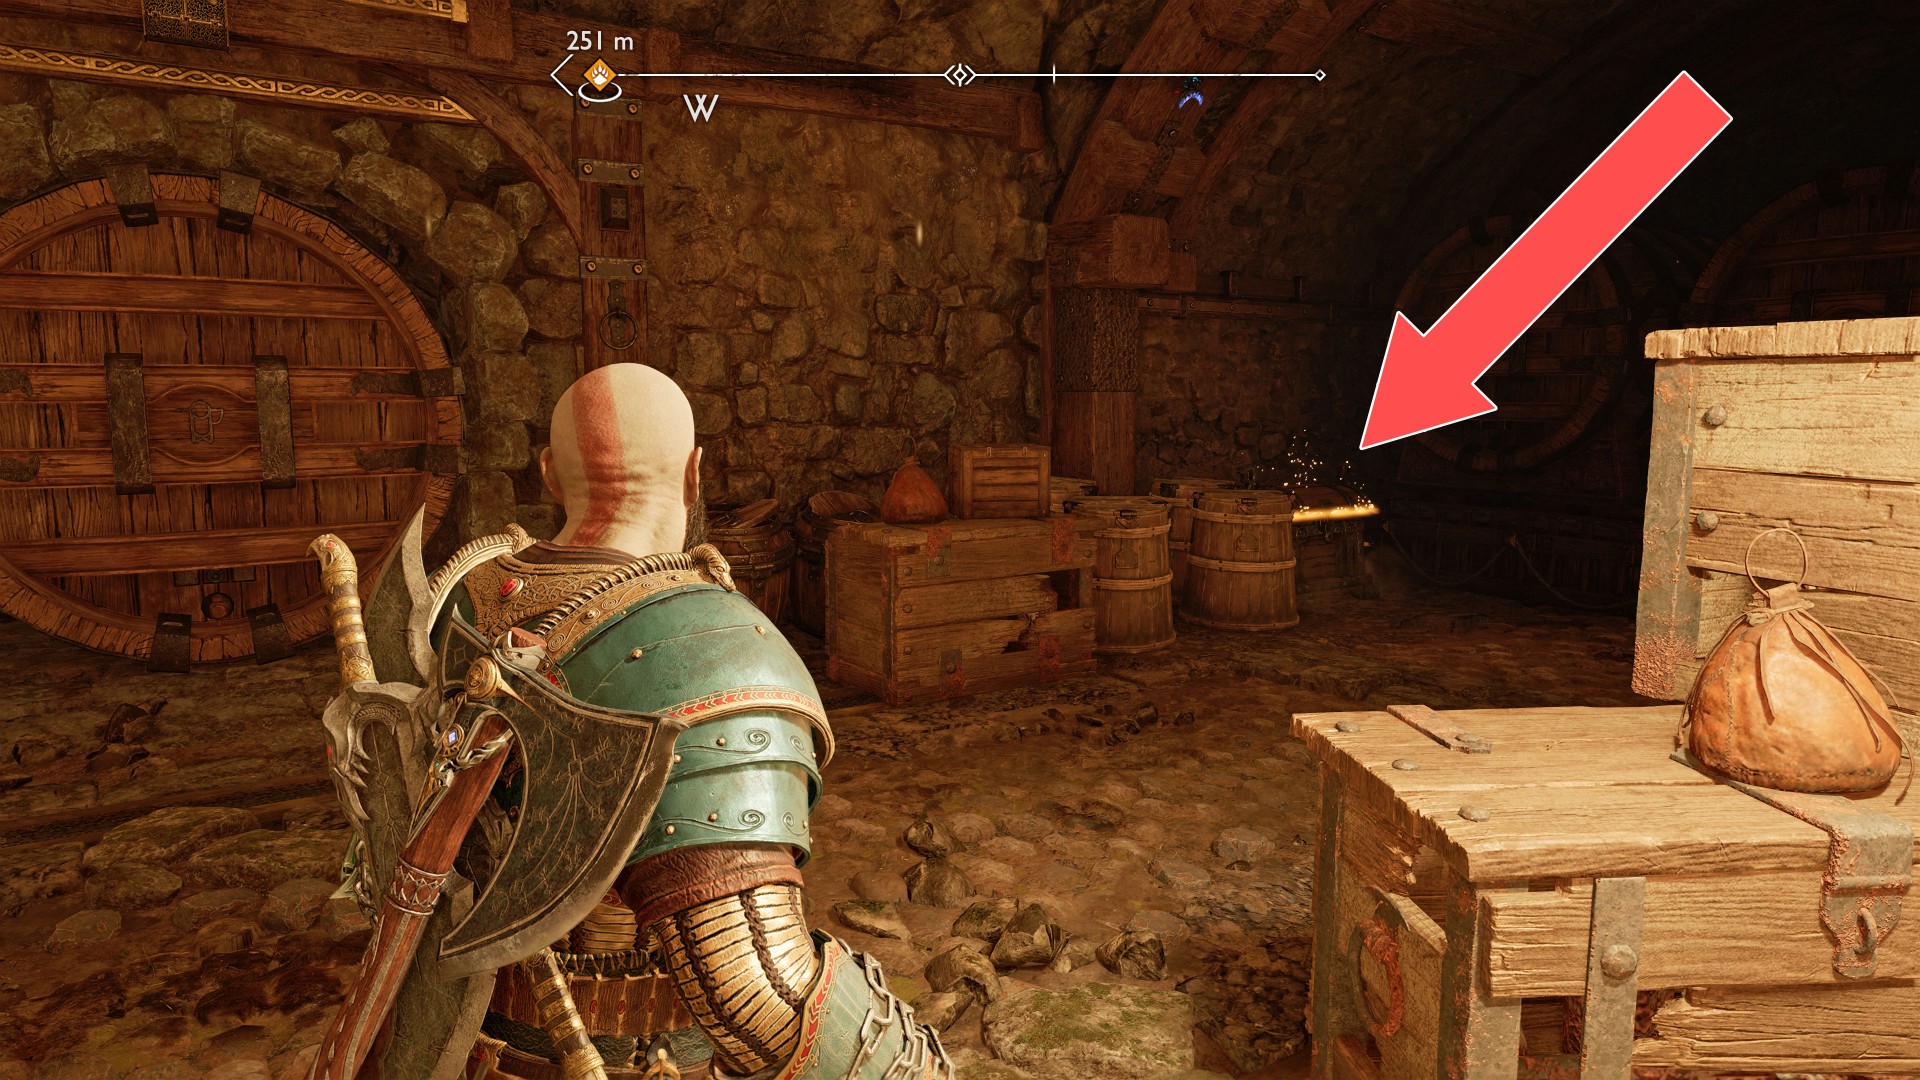
108Yellow Chest
You will visit this place during the main mission "Forging Destiny".
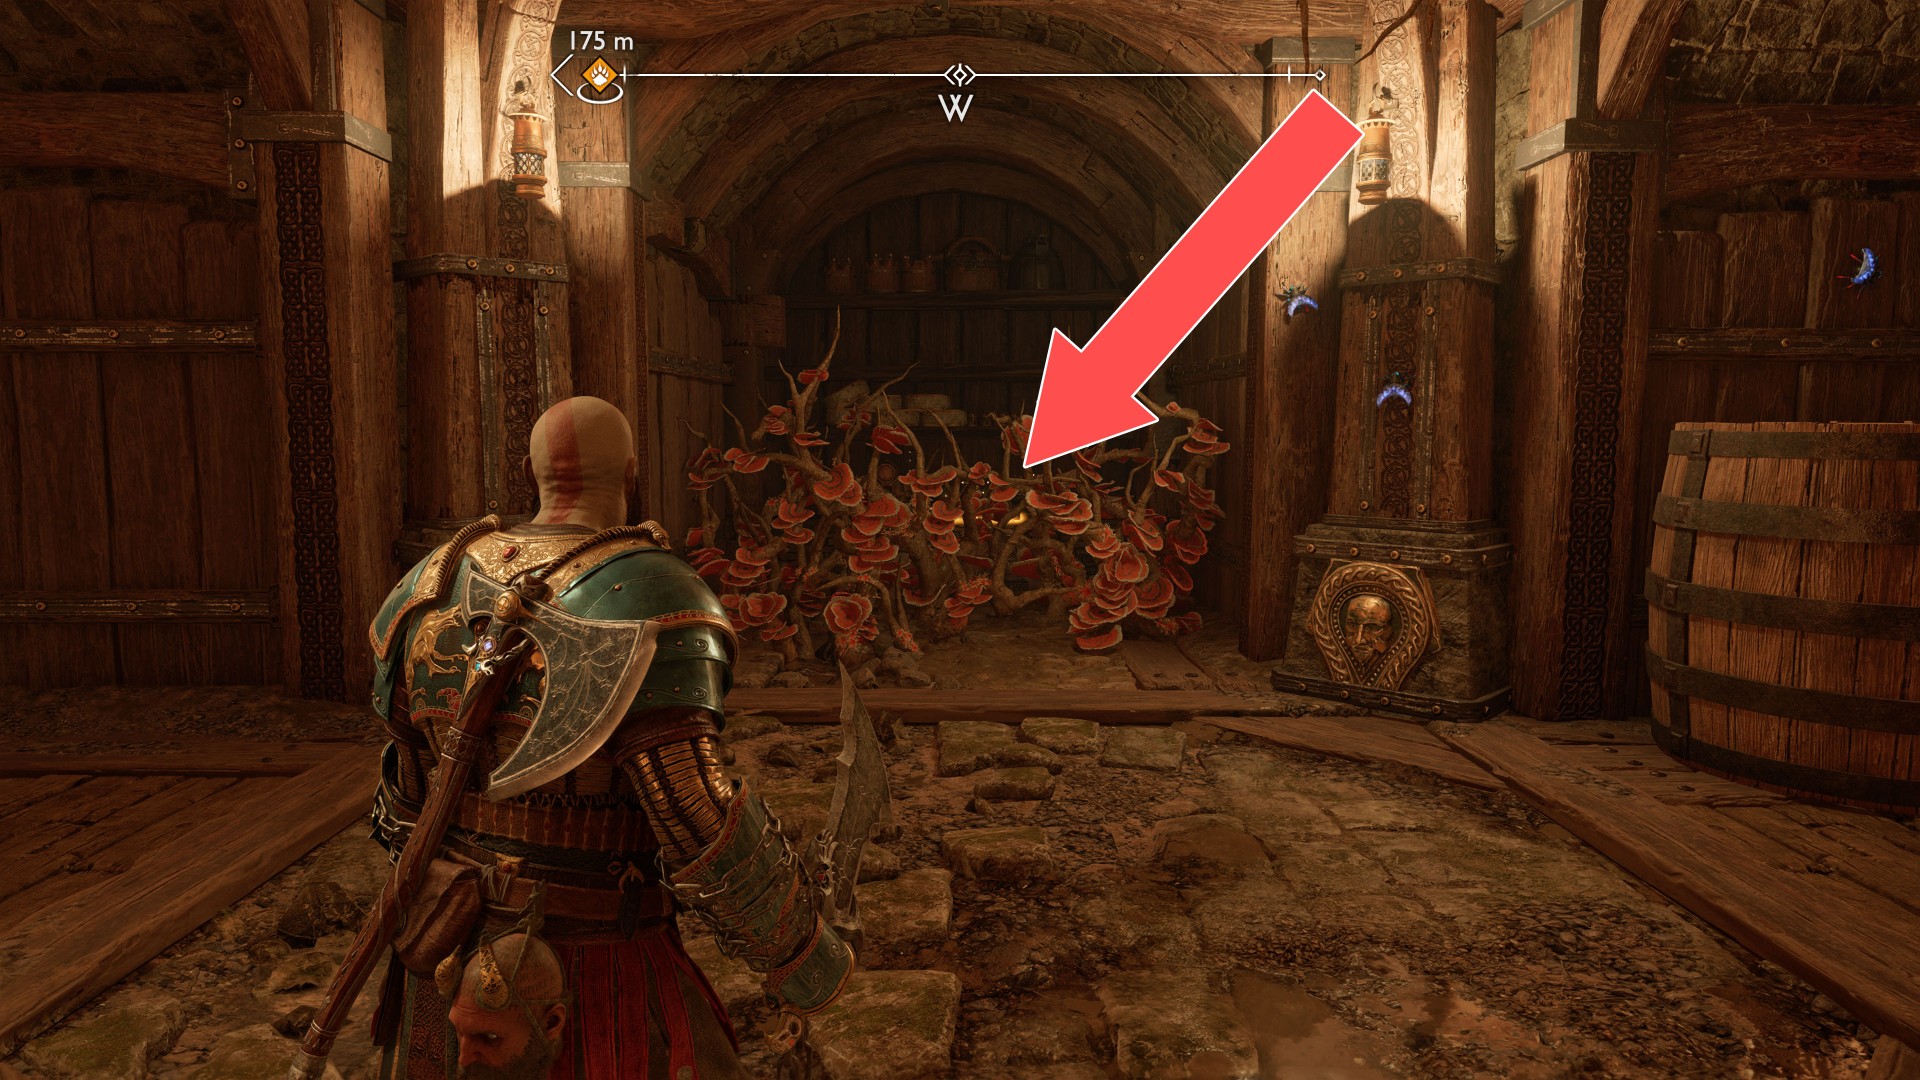
109Yellow Chest
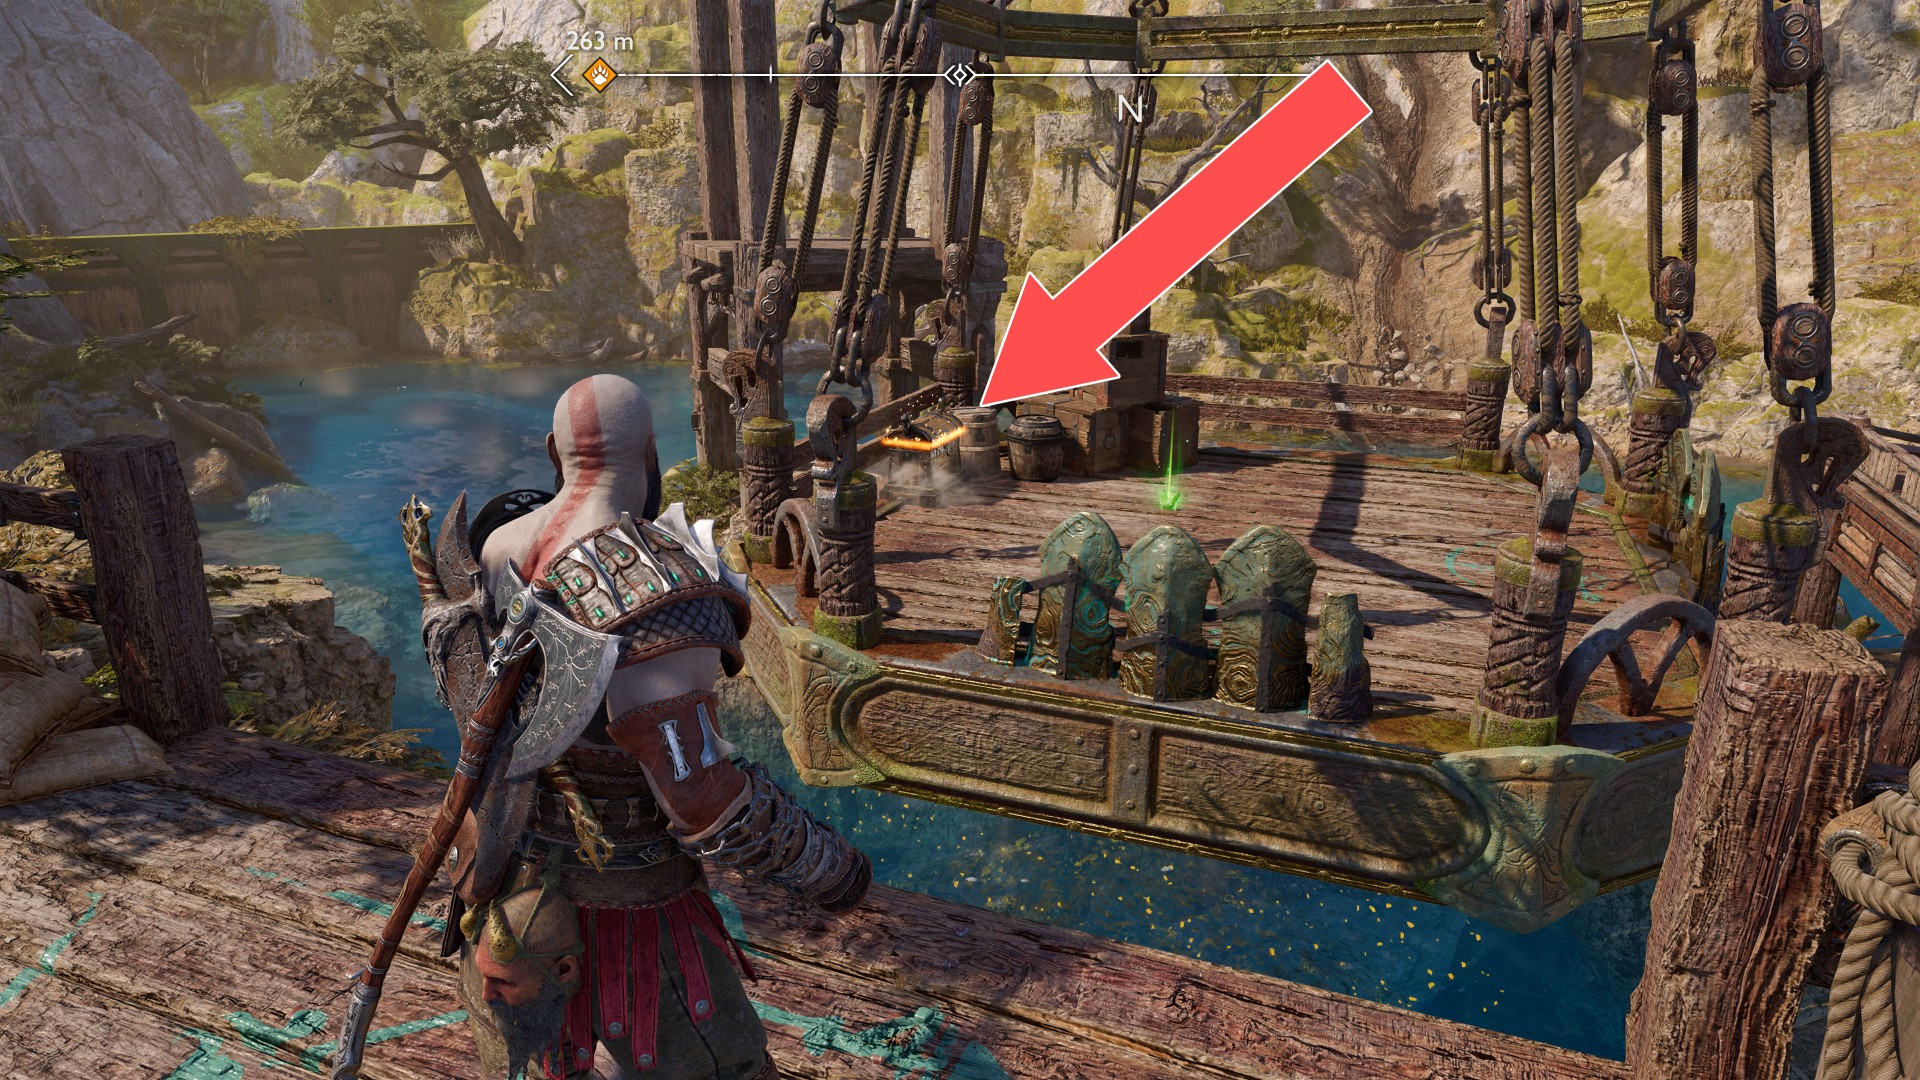
110Yellow Chest
You visit this place during the main mission "Forging Destiny".
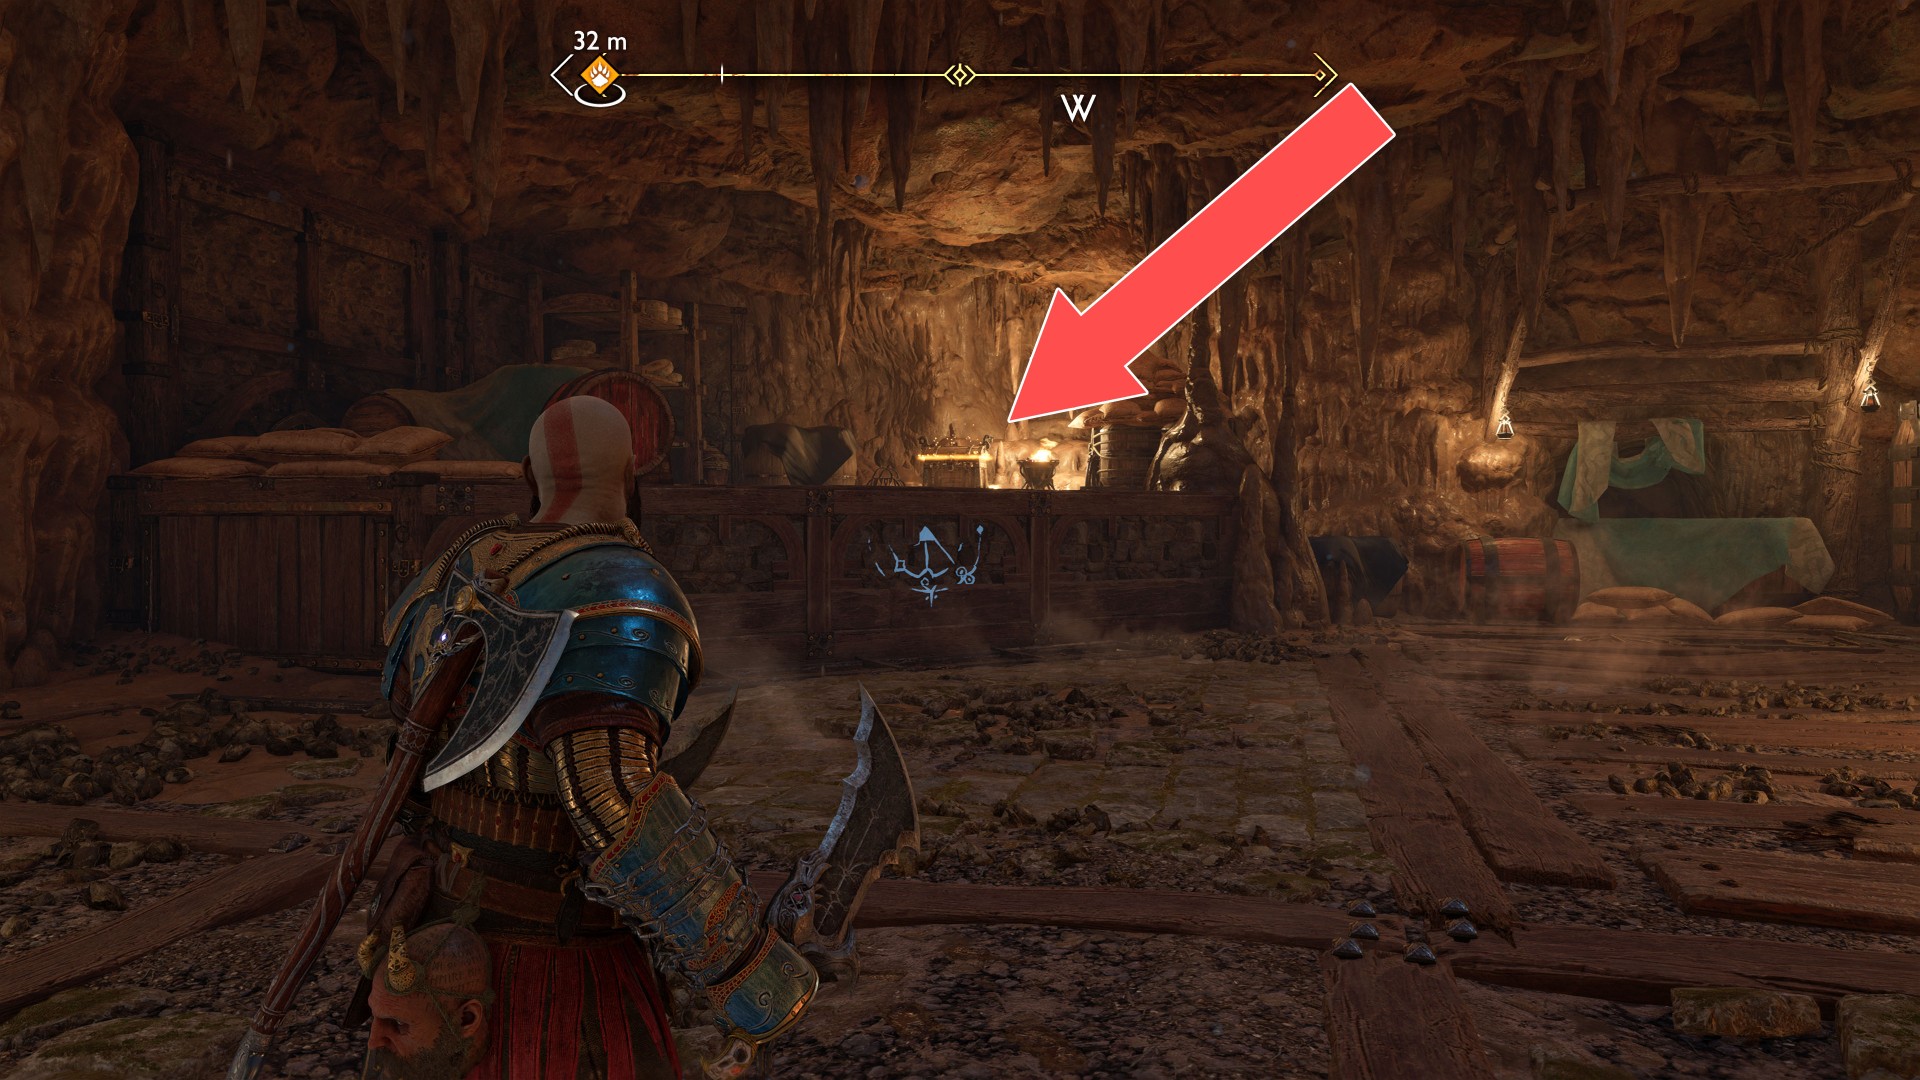
111Yellow Chest
The chest is hidden behind a green shield that you can destroy with a sonic arrow.
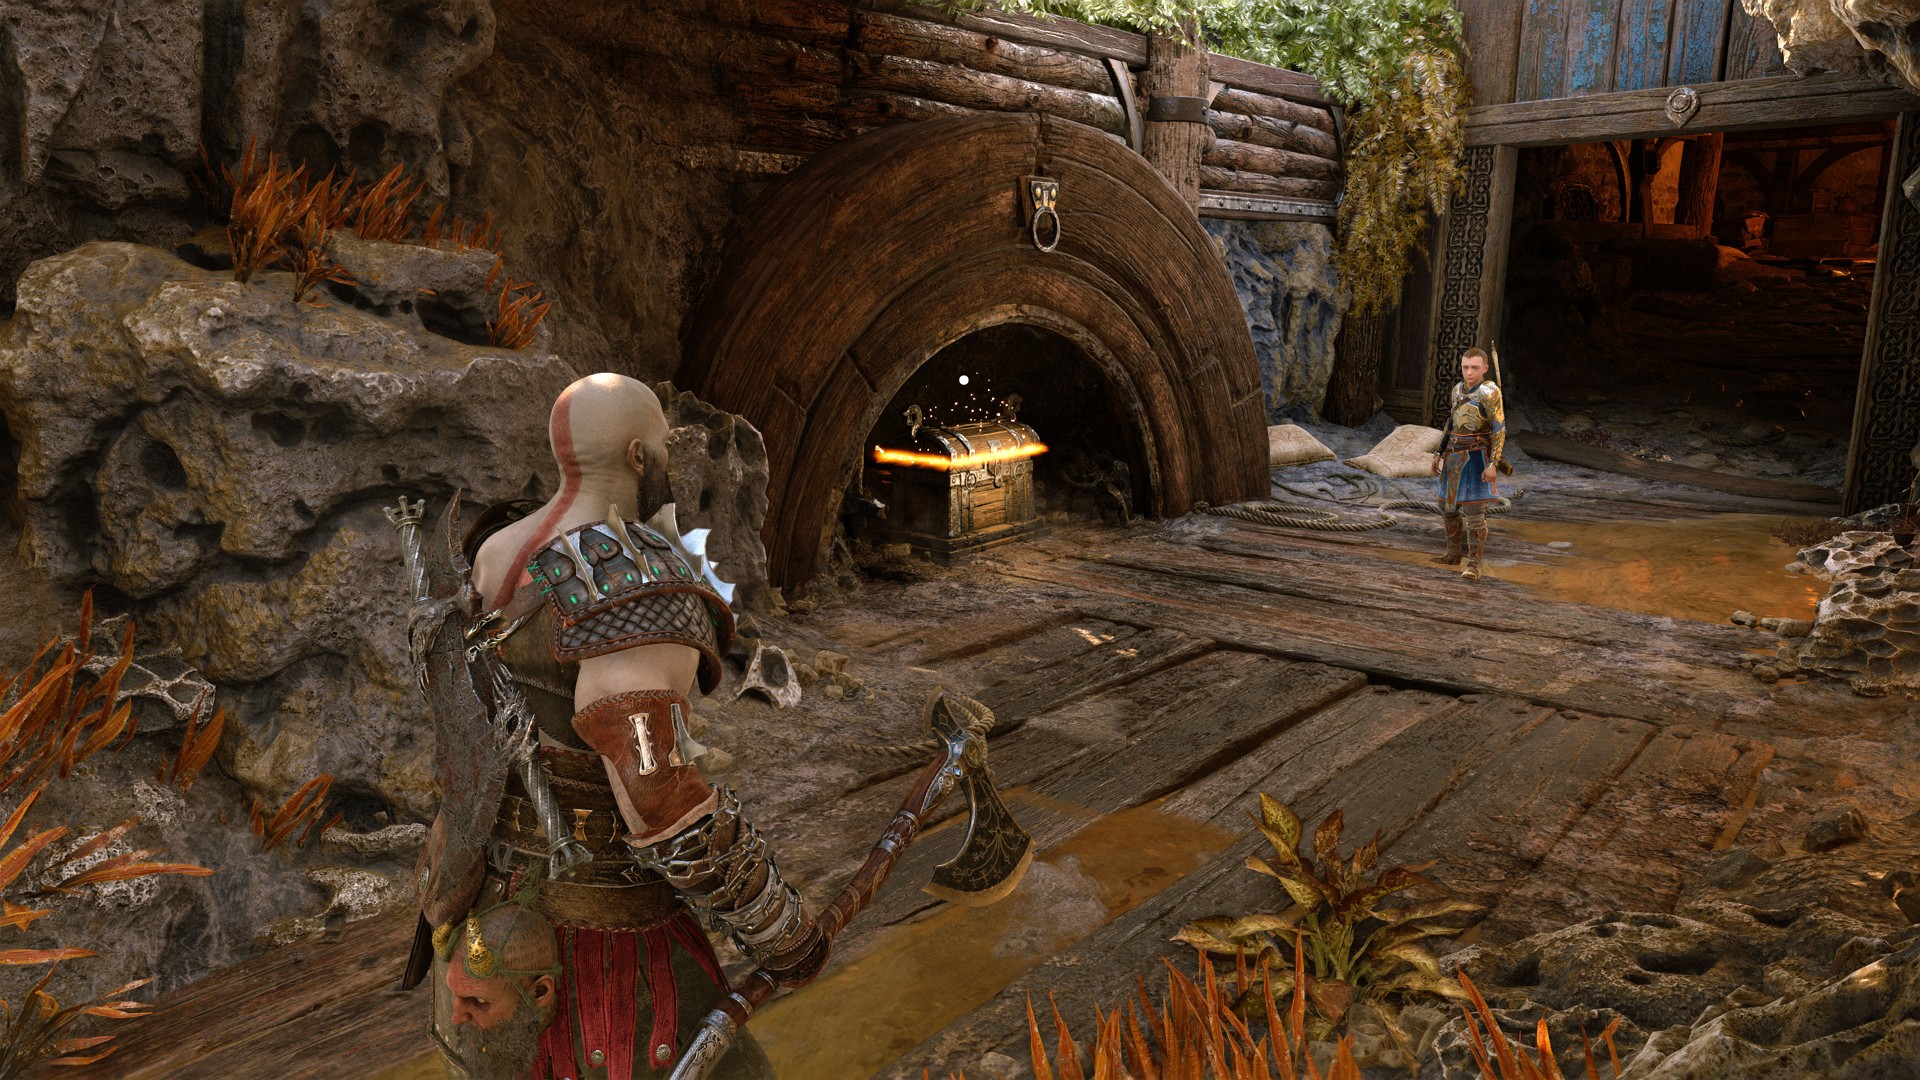
112Yellow Chest
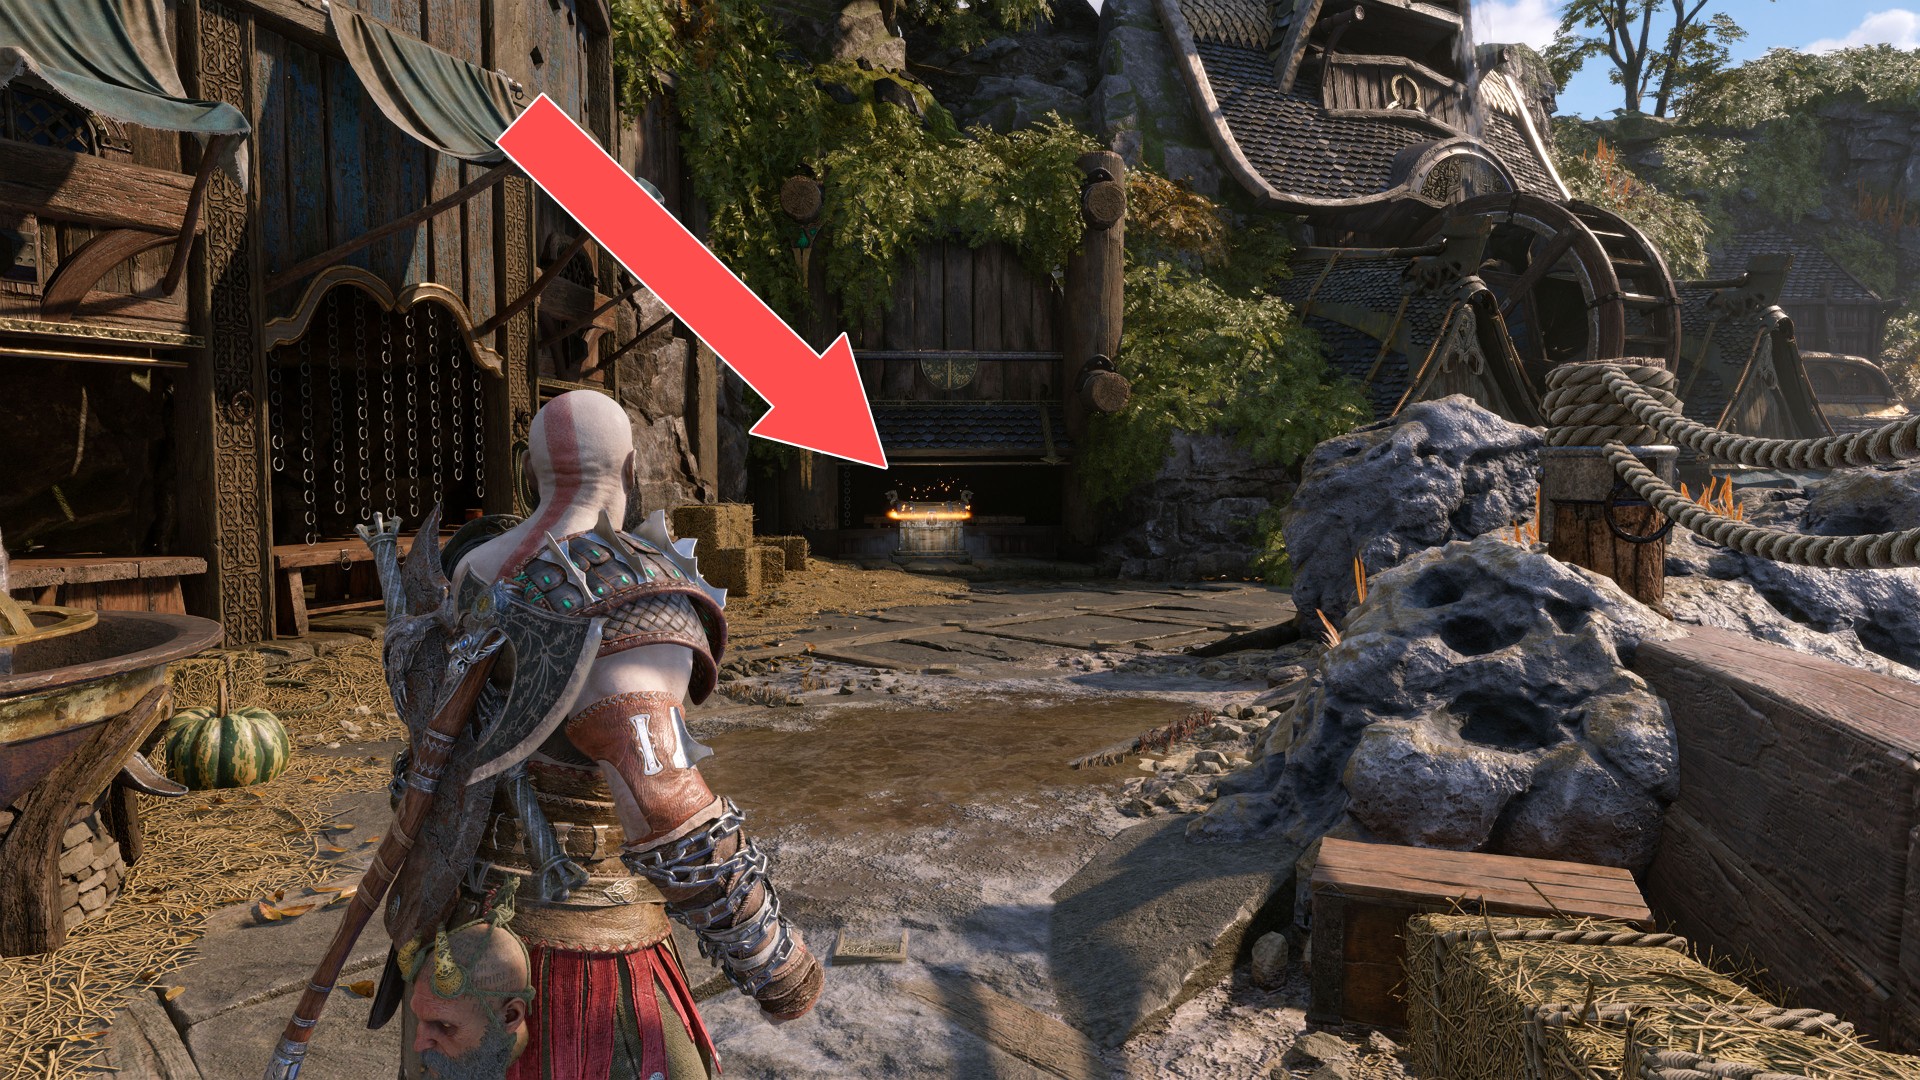
113Yellow Chest
To get to this chest you will need Draupnir Spear, which you will acquire later in the game's main storyline.
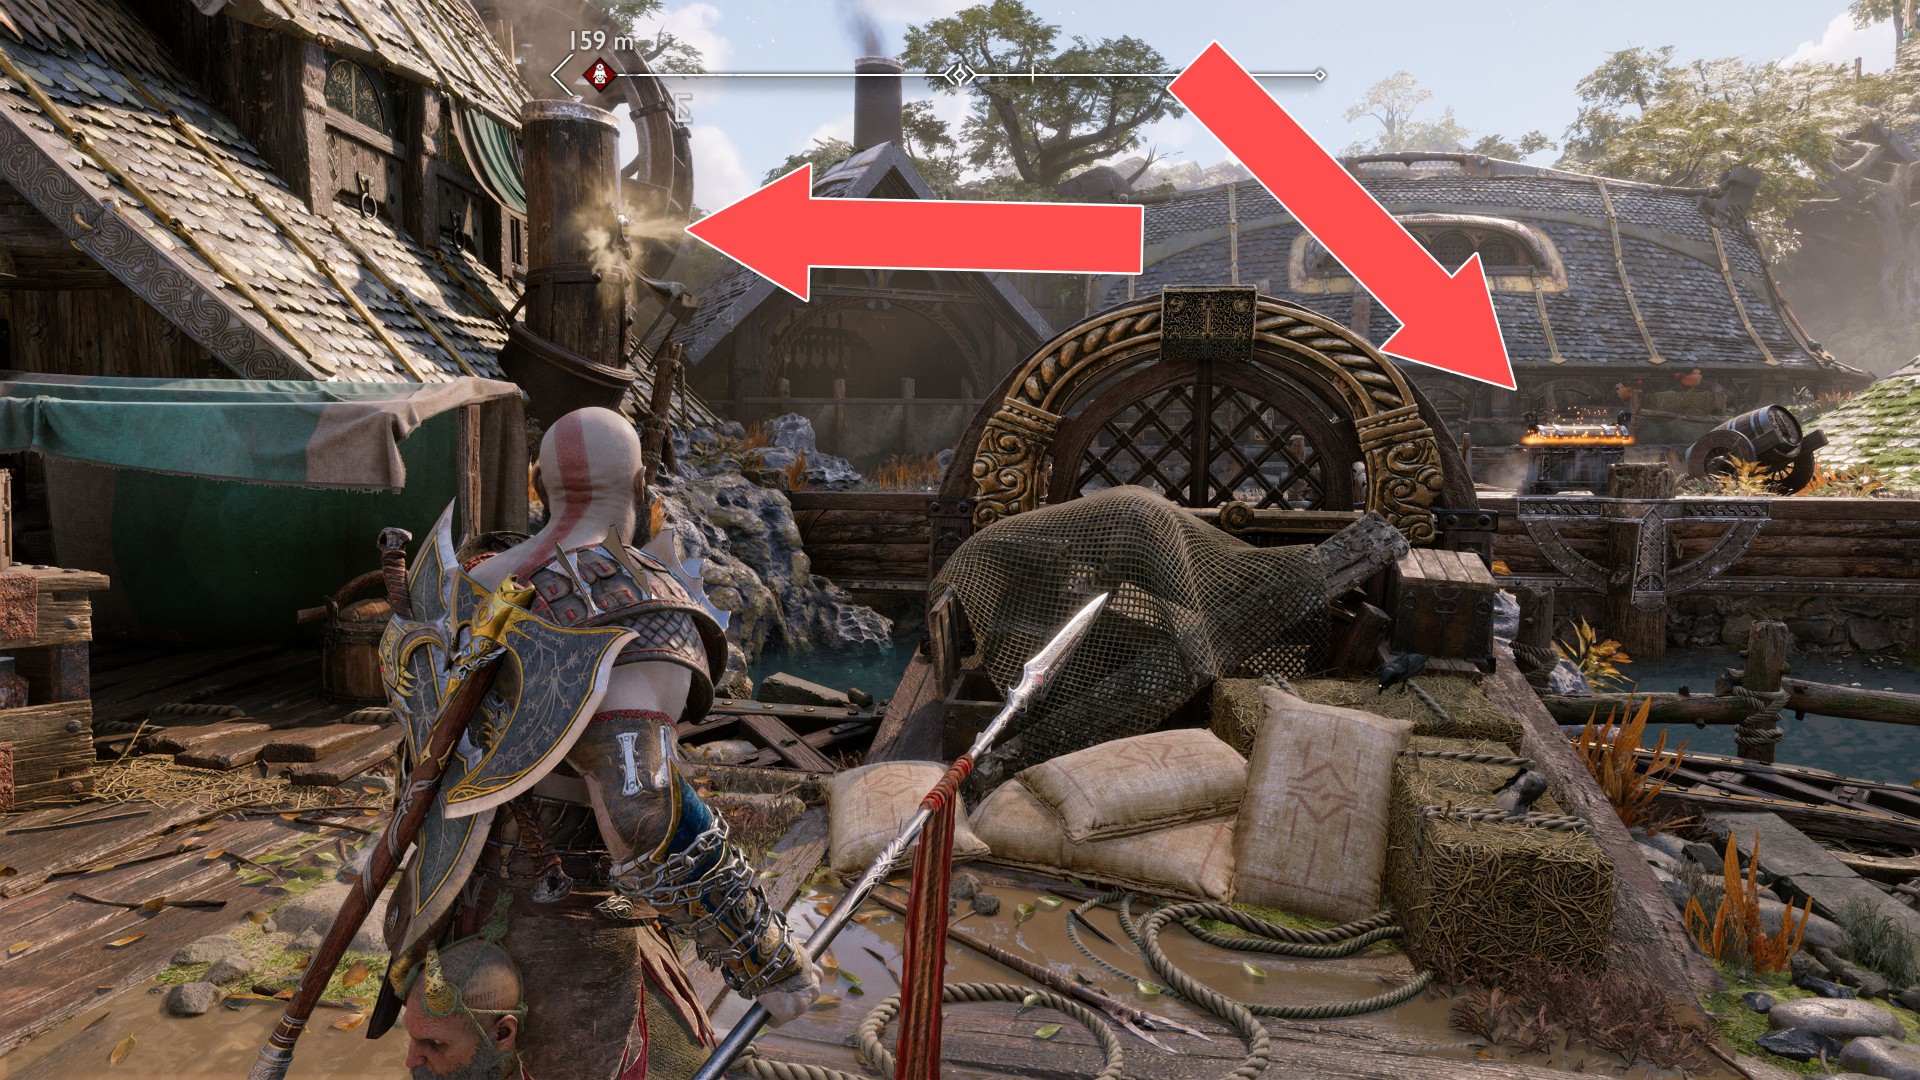
114Yellow Chest
To get access to this chest you must use a sonic arrow and destroy the cart with crystals.
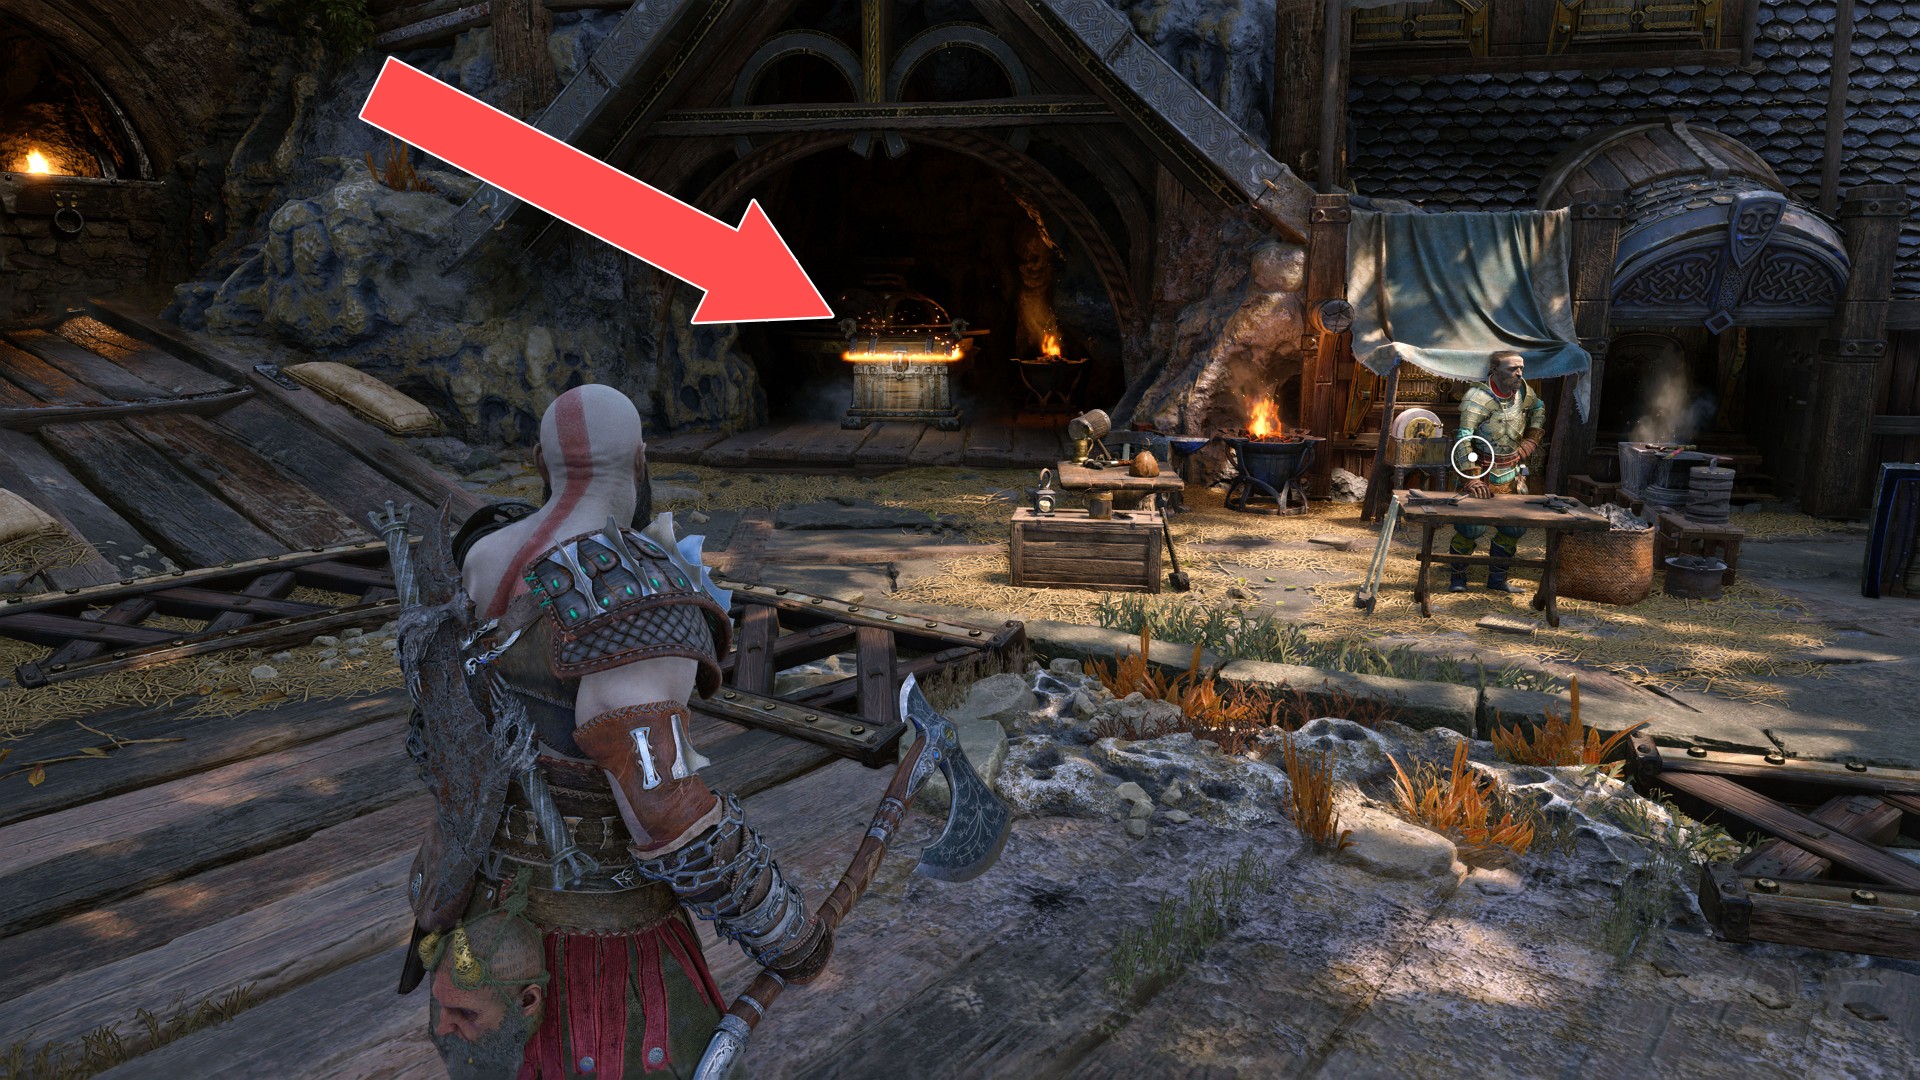
115Yellow Chest
Throw the axe at the red jar. The ore blocking access will be destroyed and you will be able to open the chest.
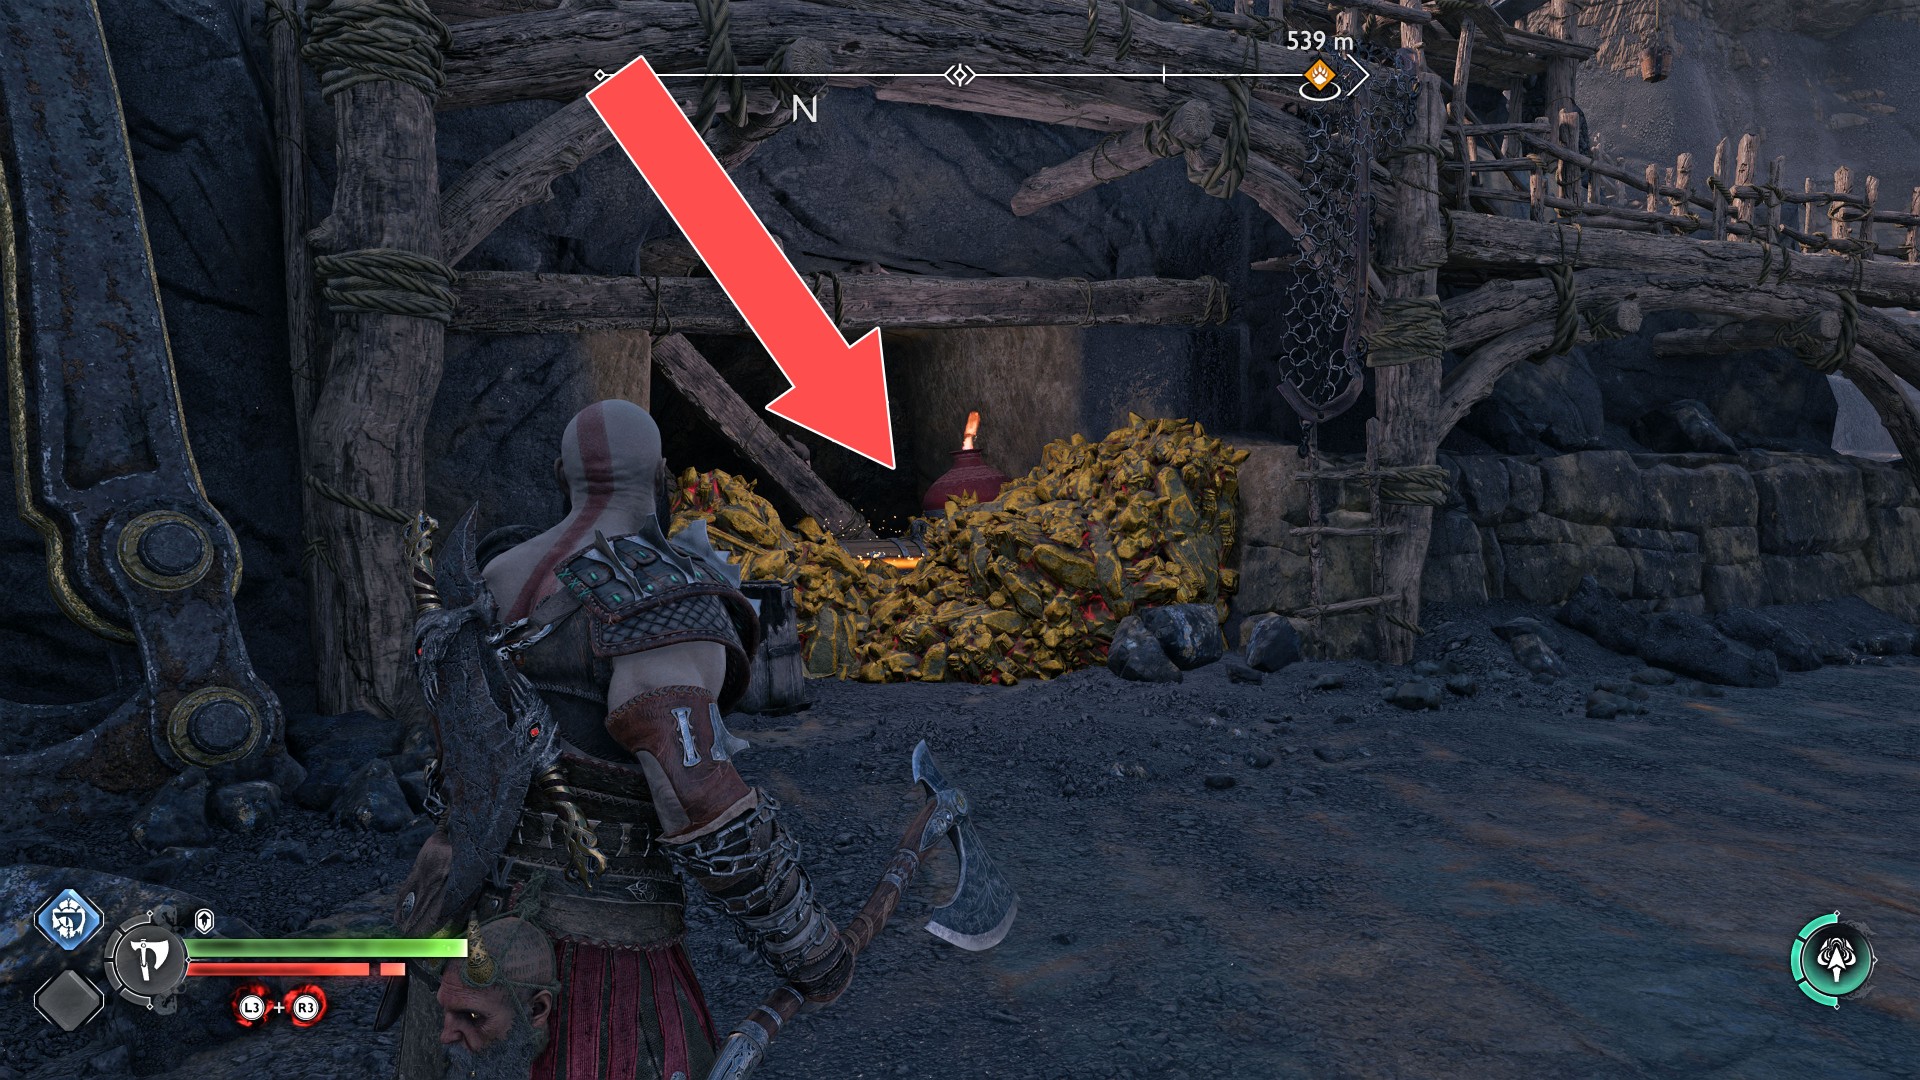
116Yellow Chest
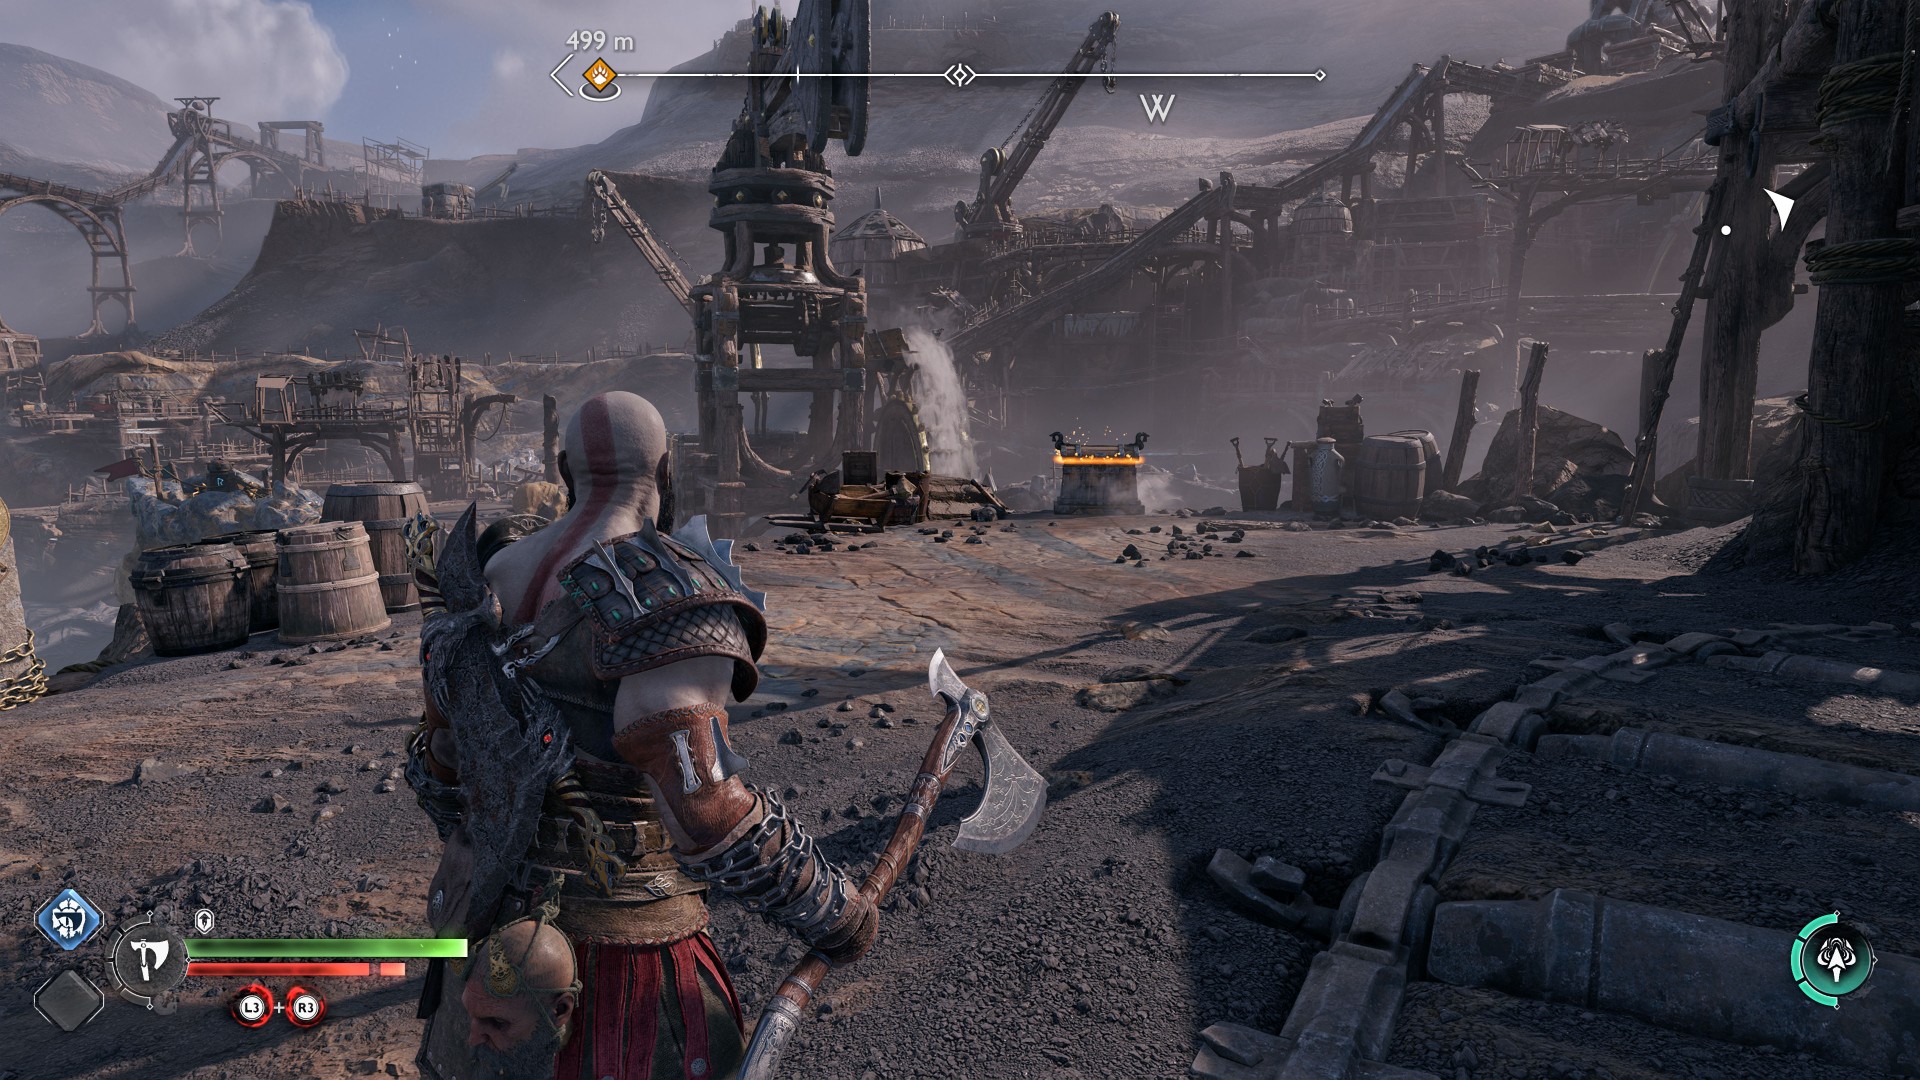
117Yellow Chest
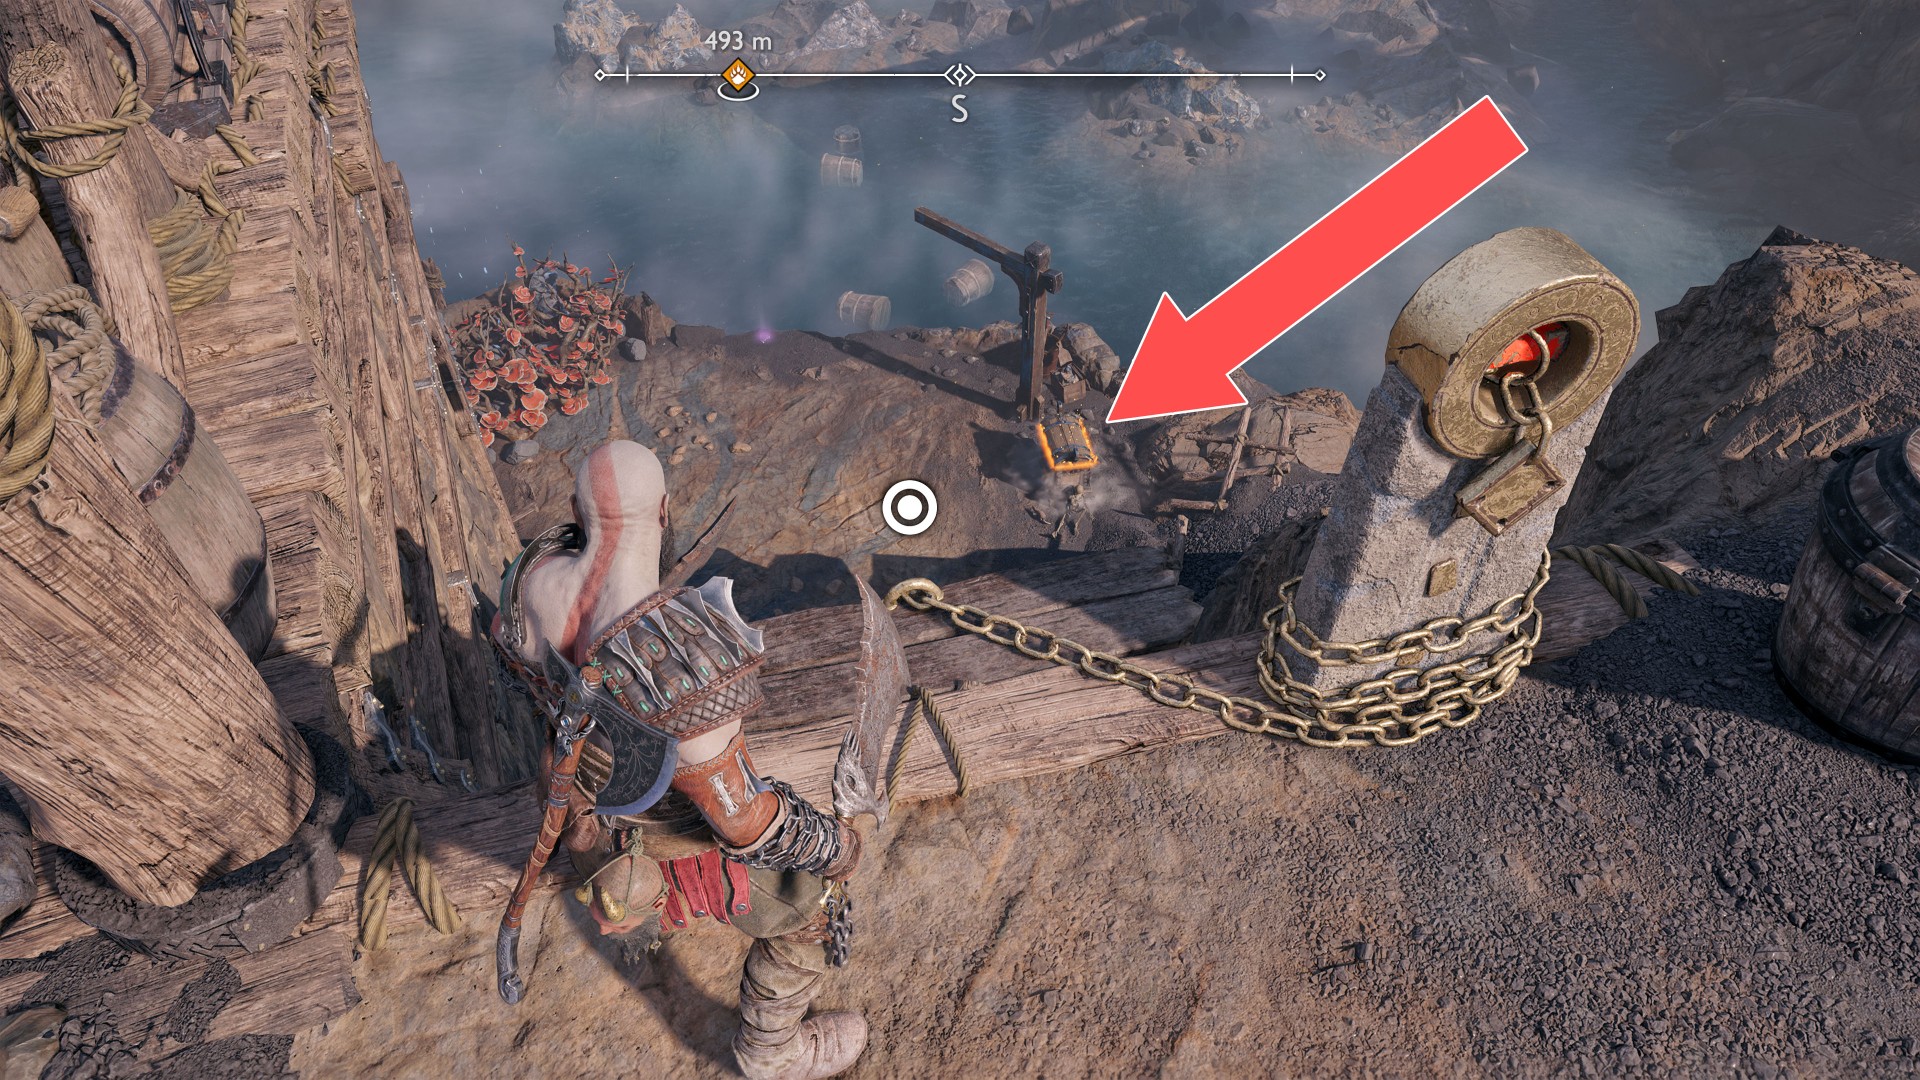
118Yellow Chest
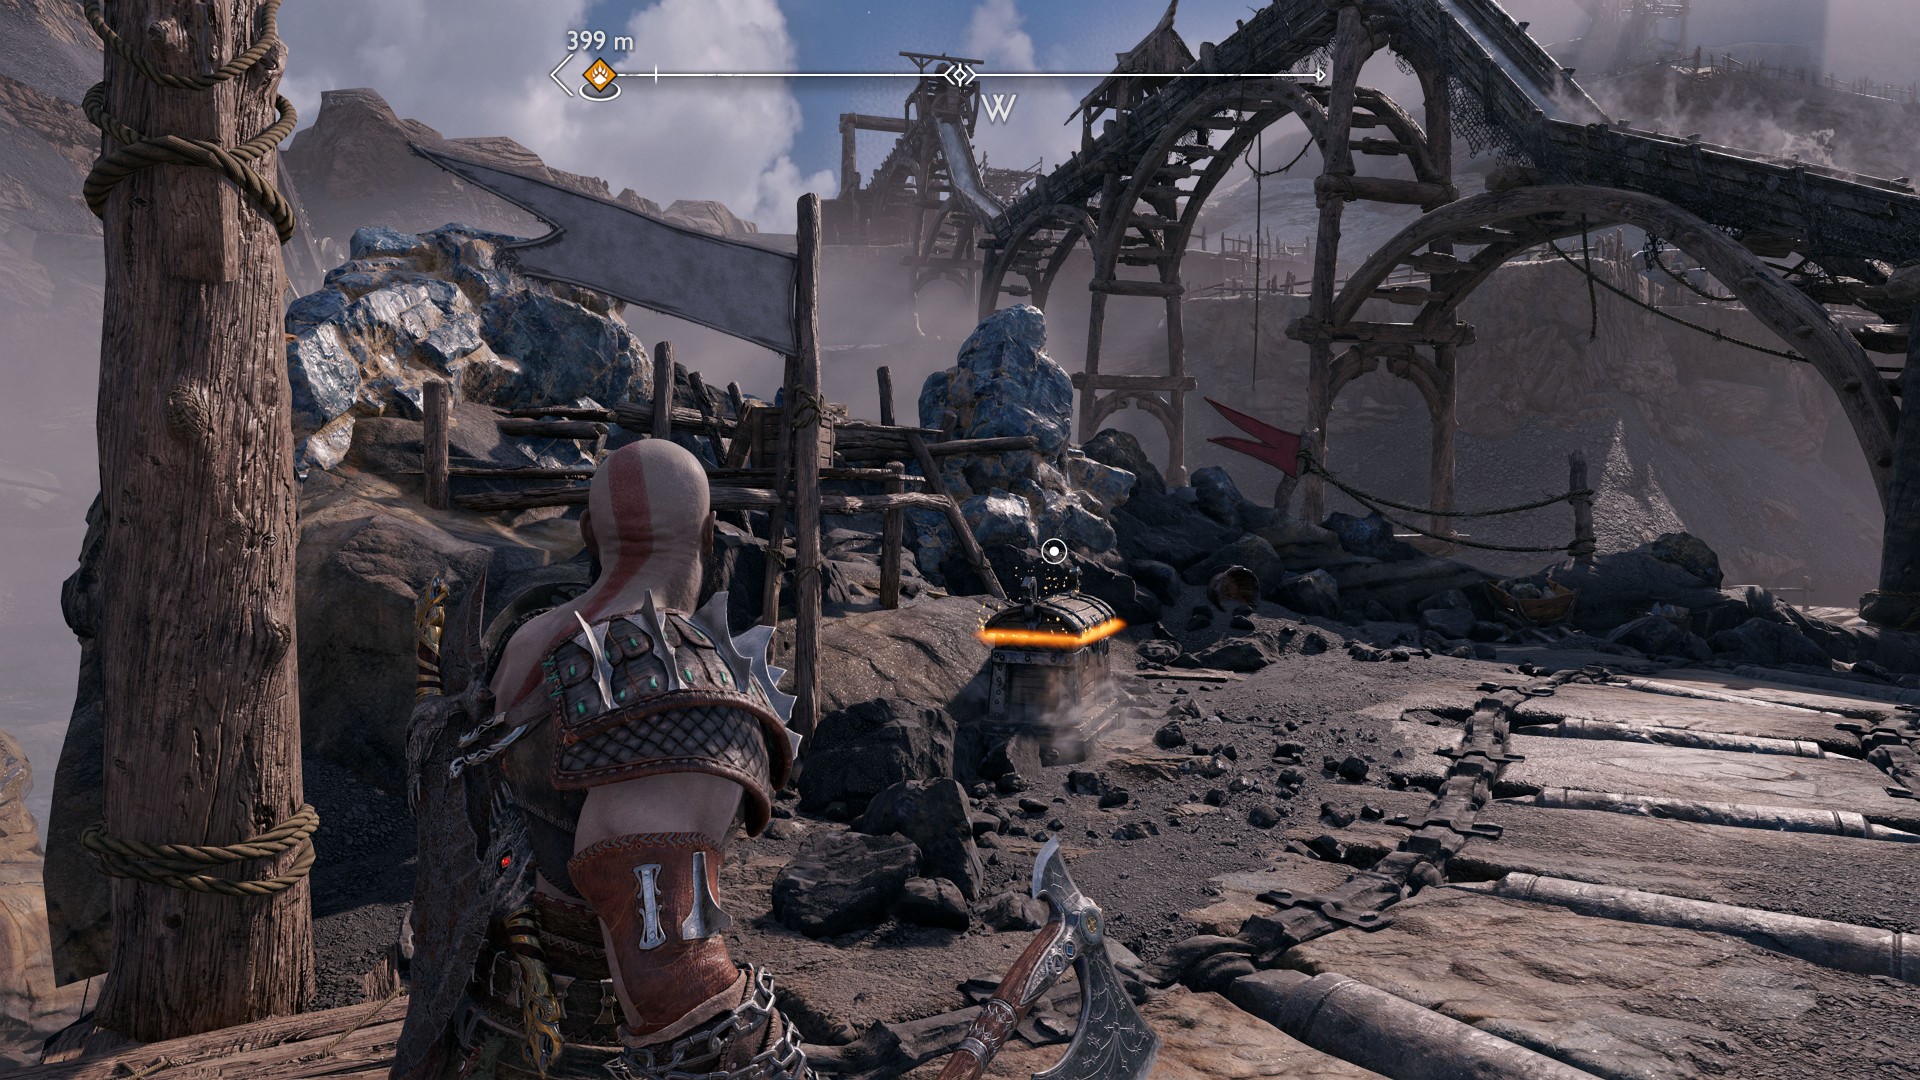
119Yellow Chest
This chest is located in the room you will enter after destroying the gold ore that blocks the passage.
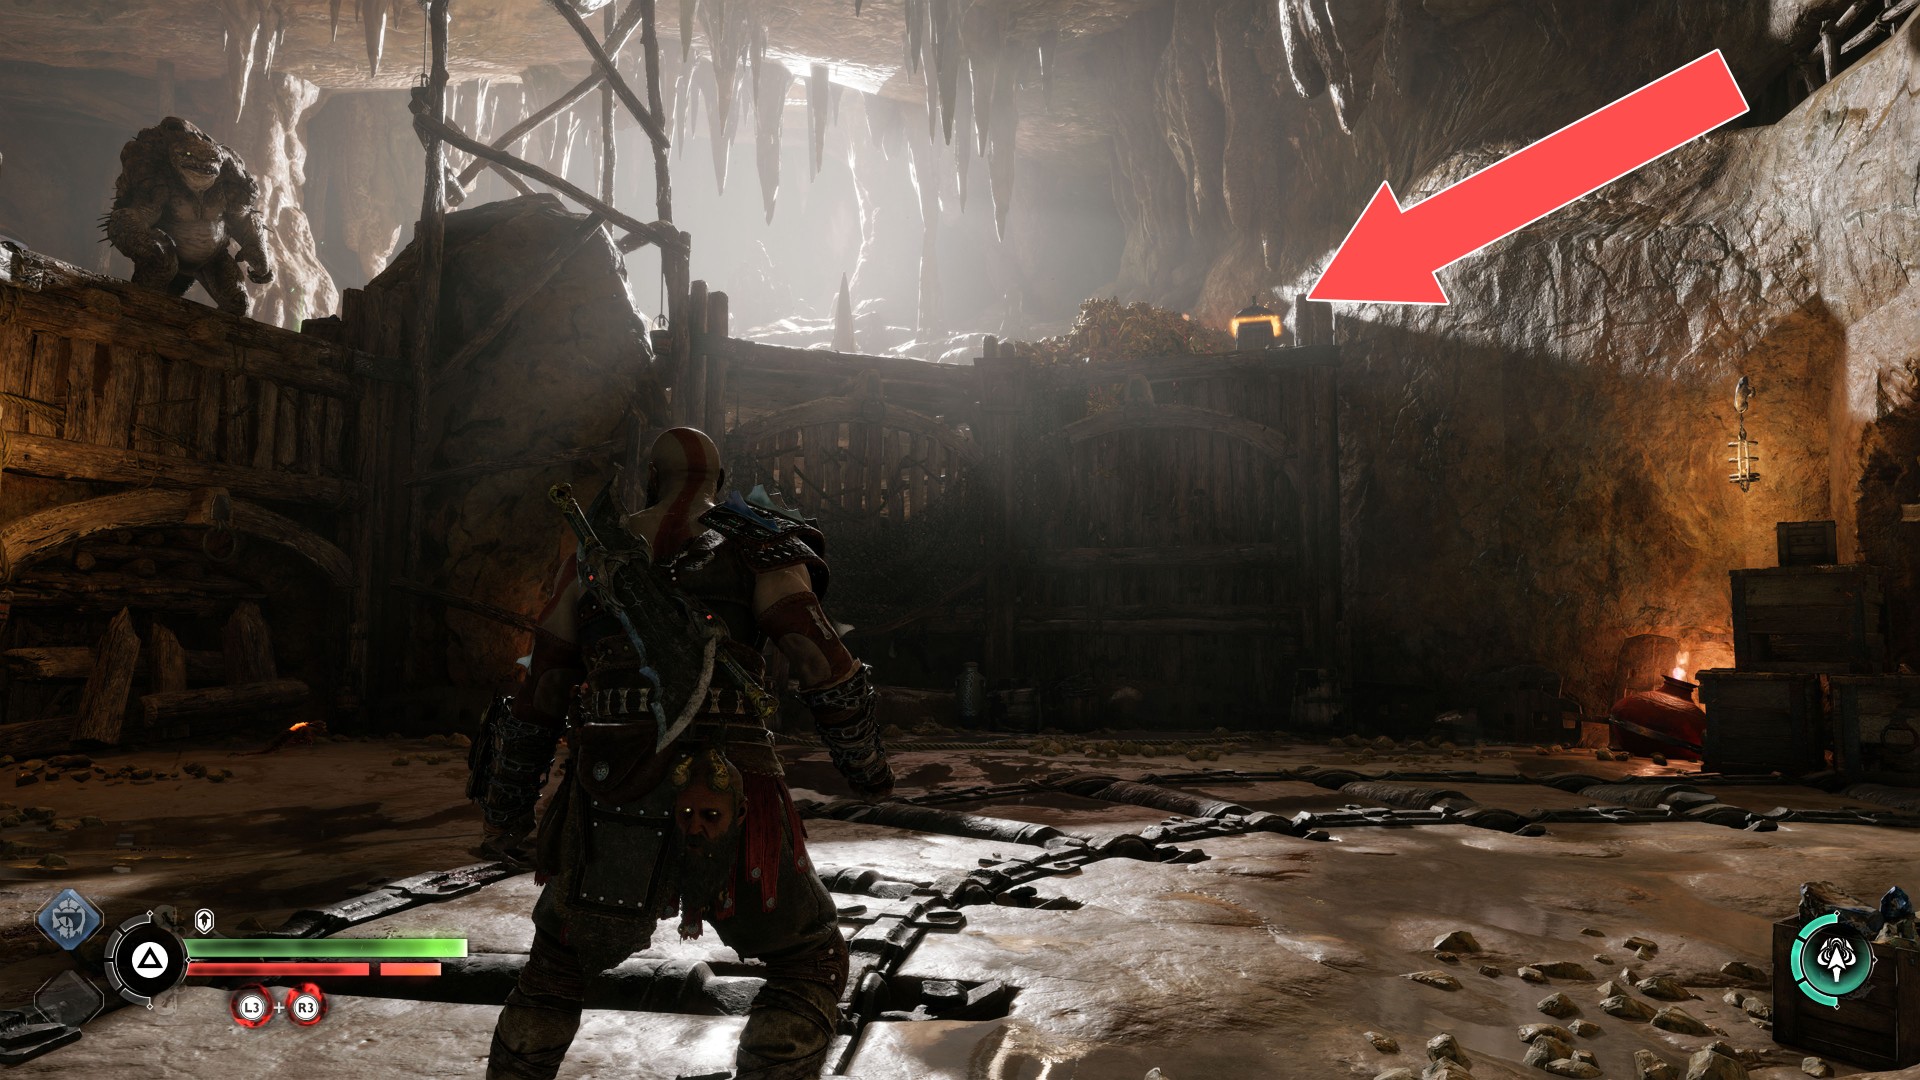
To destroy the ore blocking the passage throw your axe at the red jar. You can do this from the side.
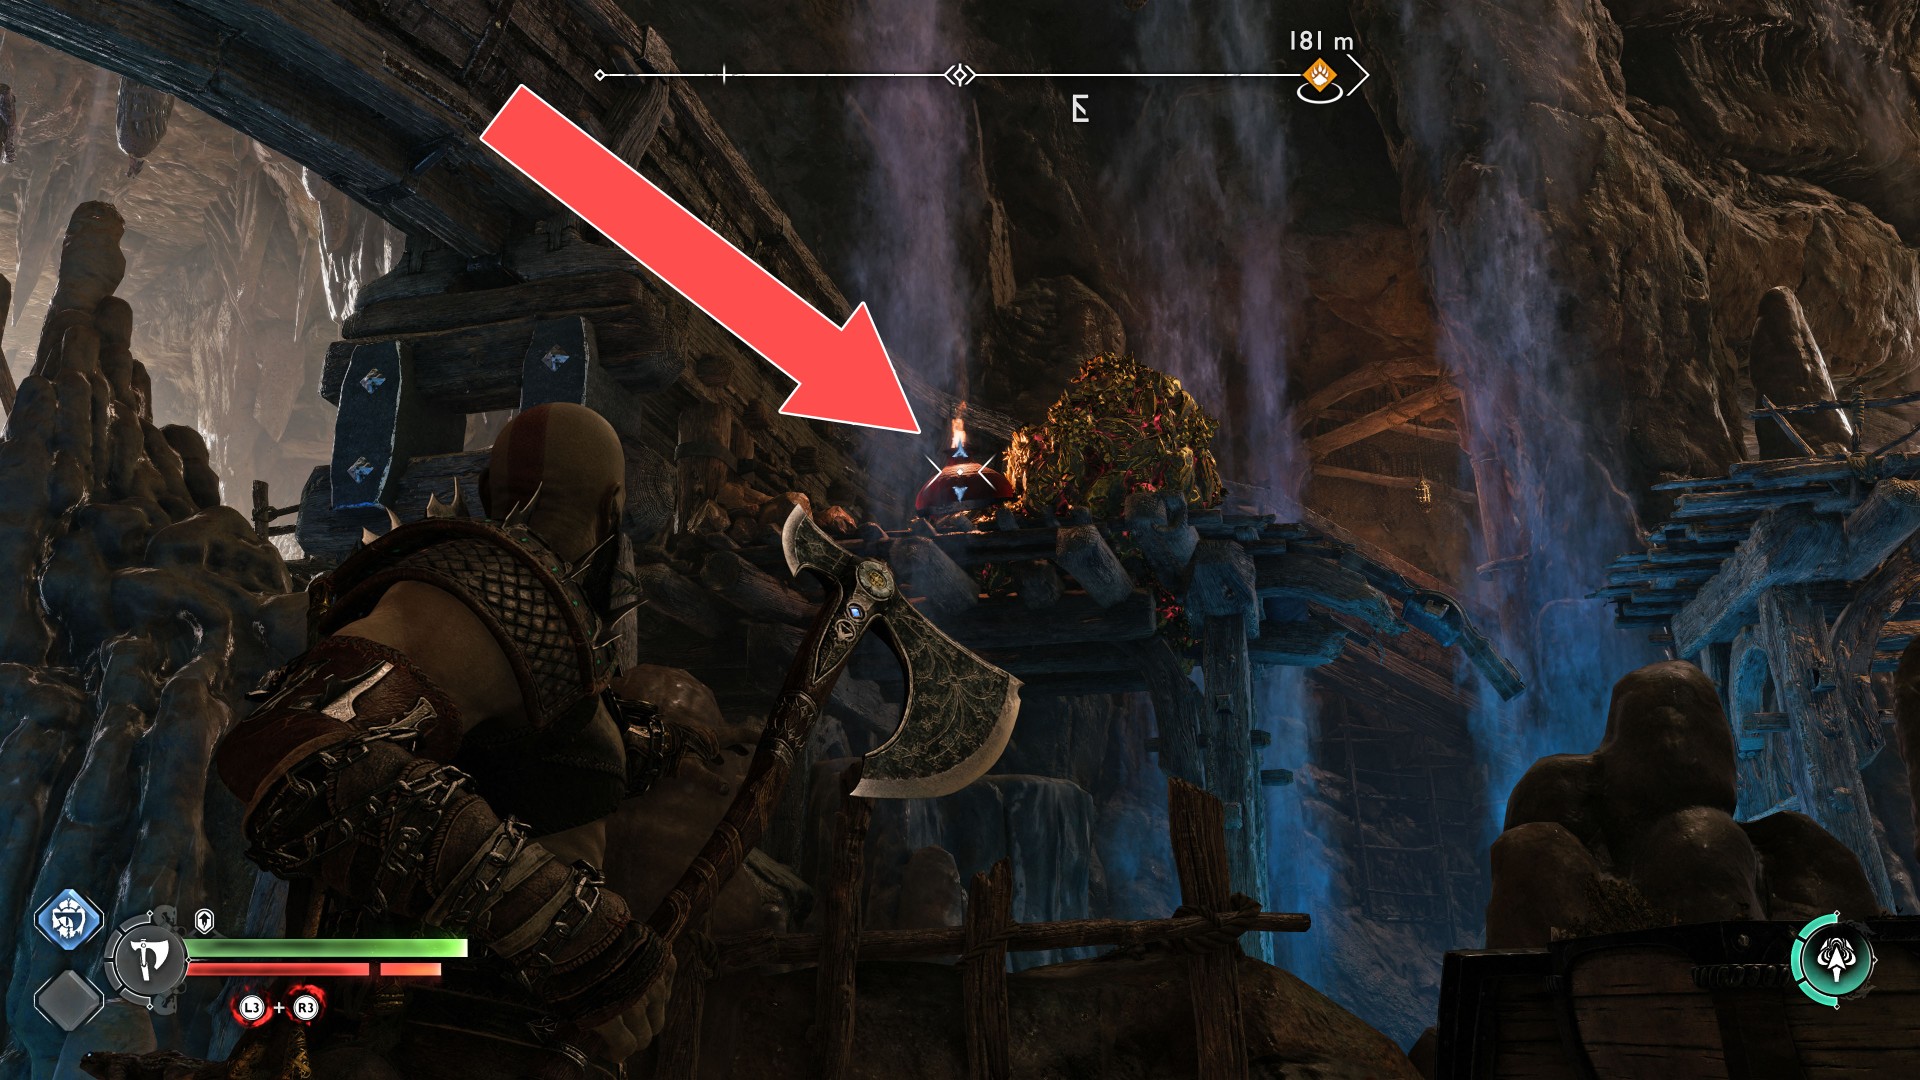
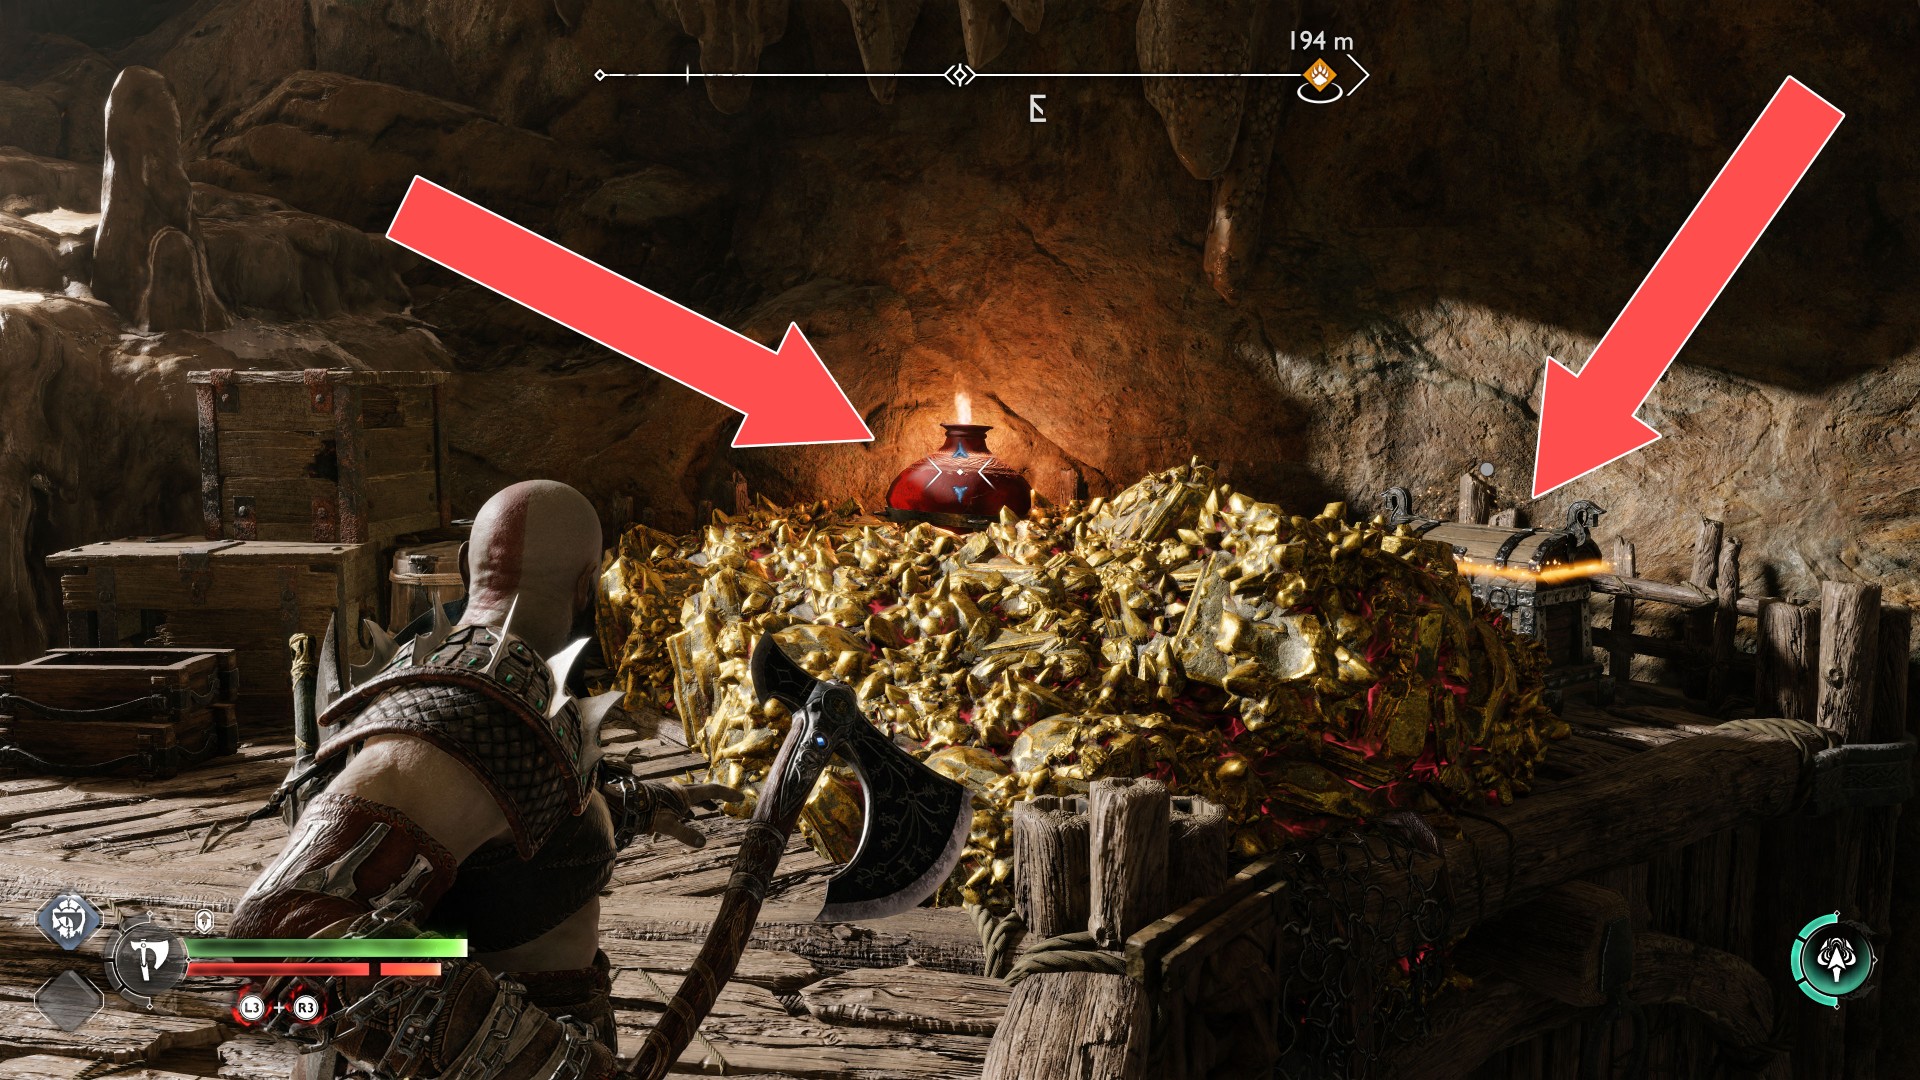
Defeat all opponents and throw your axe at another red jar to destroy the ore blocking access to the chest itself.
120Yellow Chest
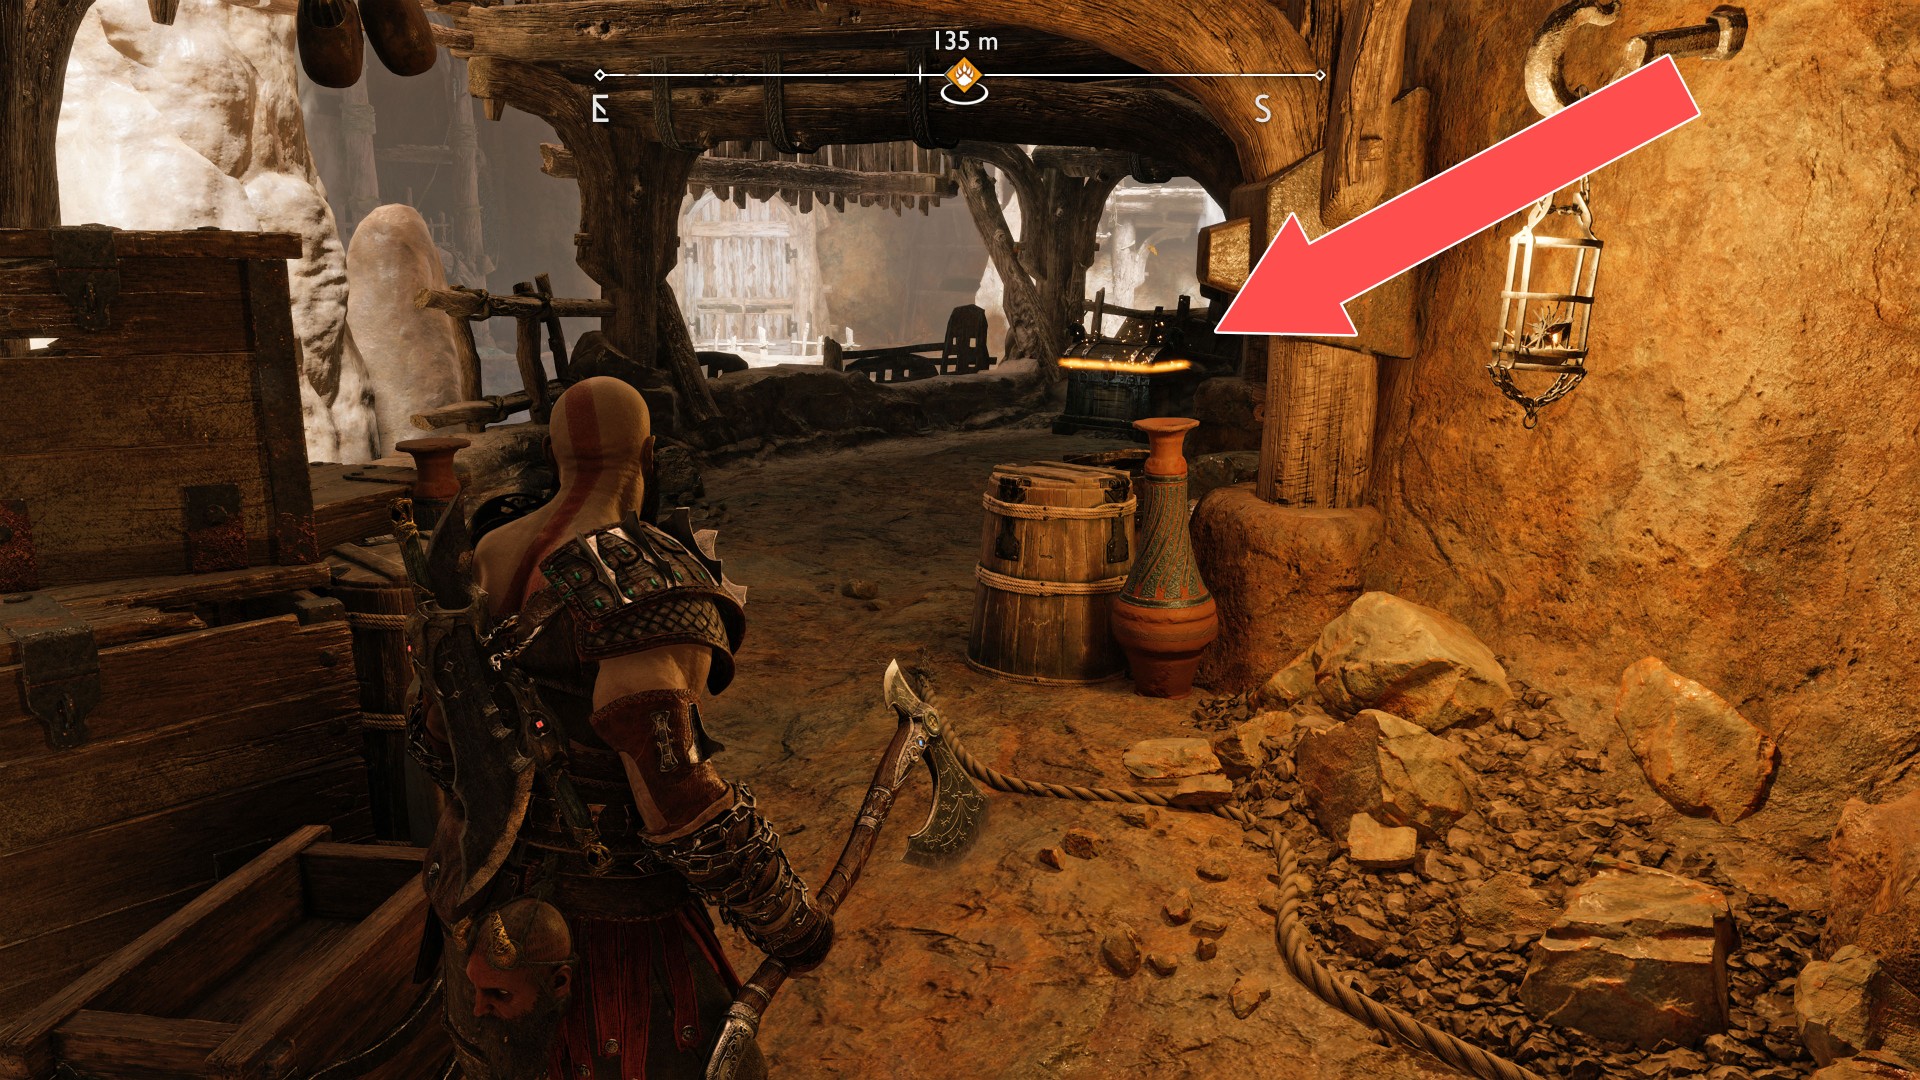
121Yellow Chest
You will walk past this chest after you take the elevator to the upper floor.
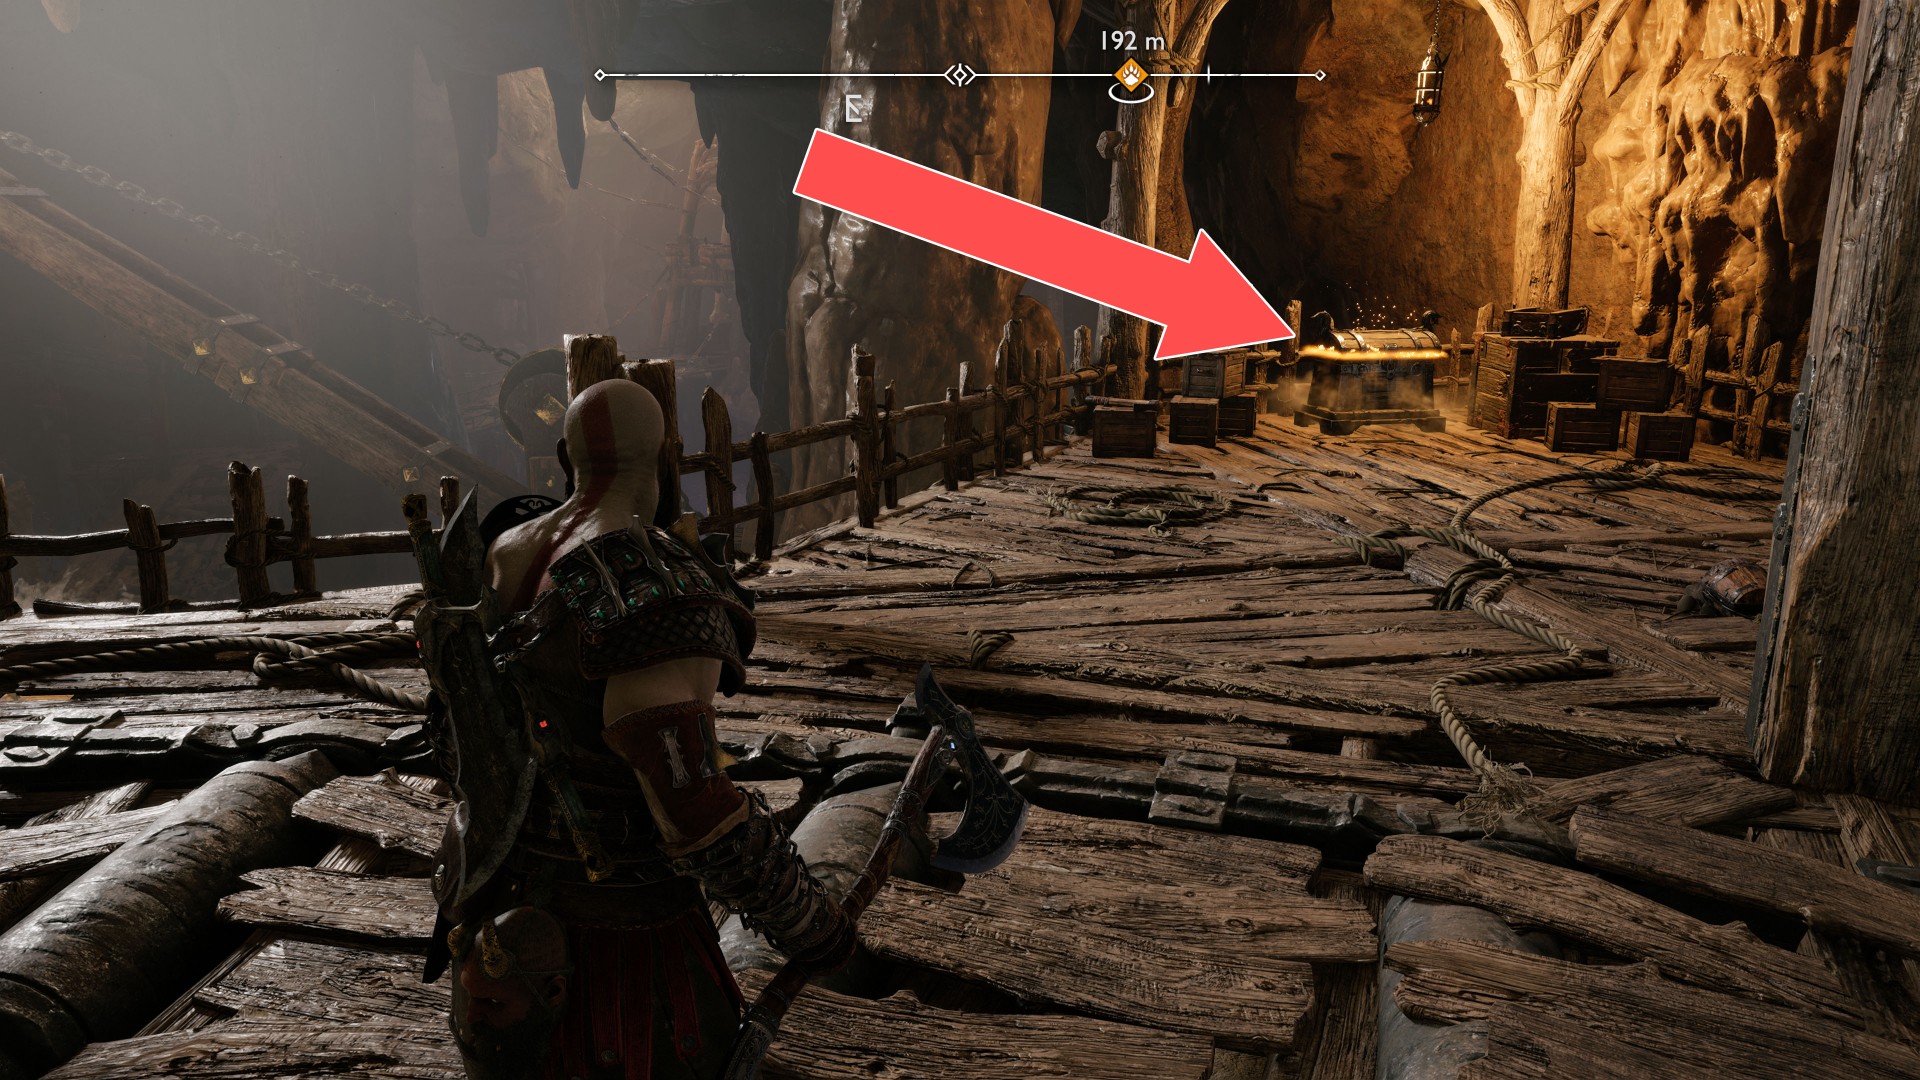
122Yellow Chest
You will reach this chest when you walk along the wall at the place where the Svartalfheim Odin's Raven (The Applecore) is located.
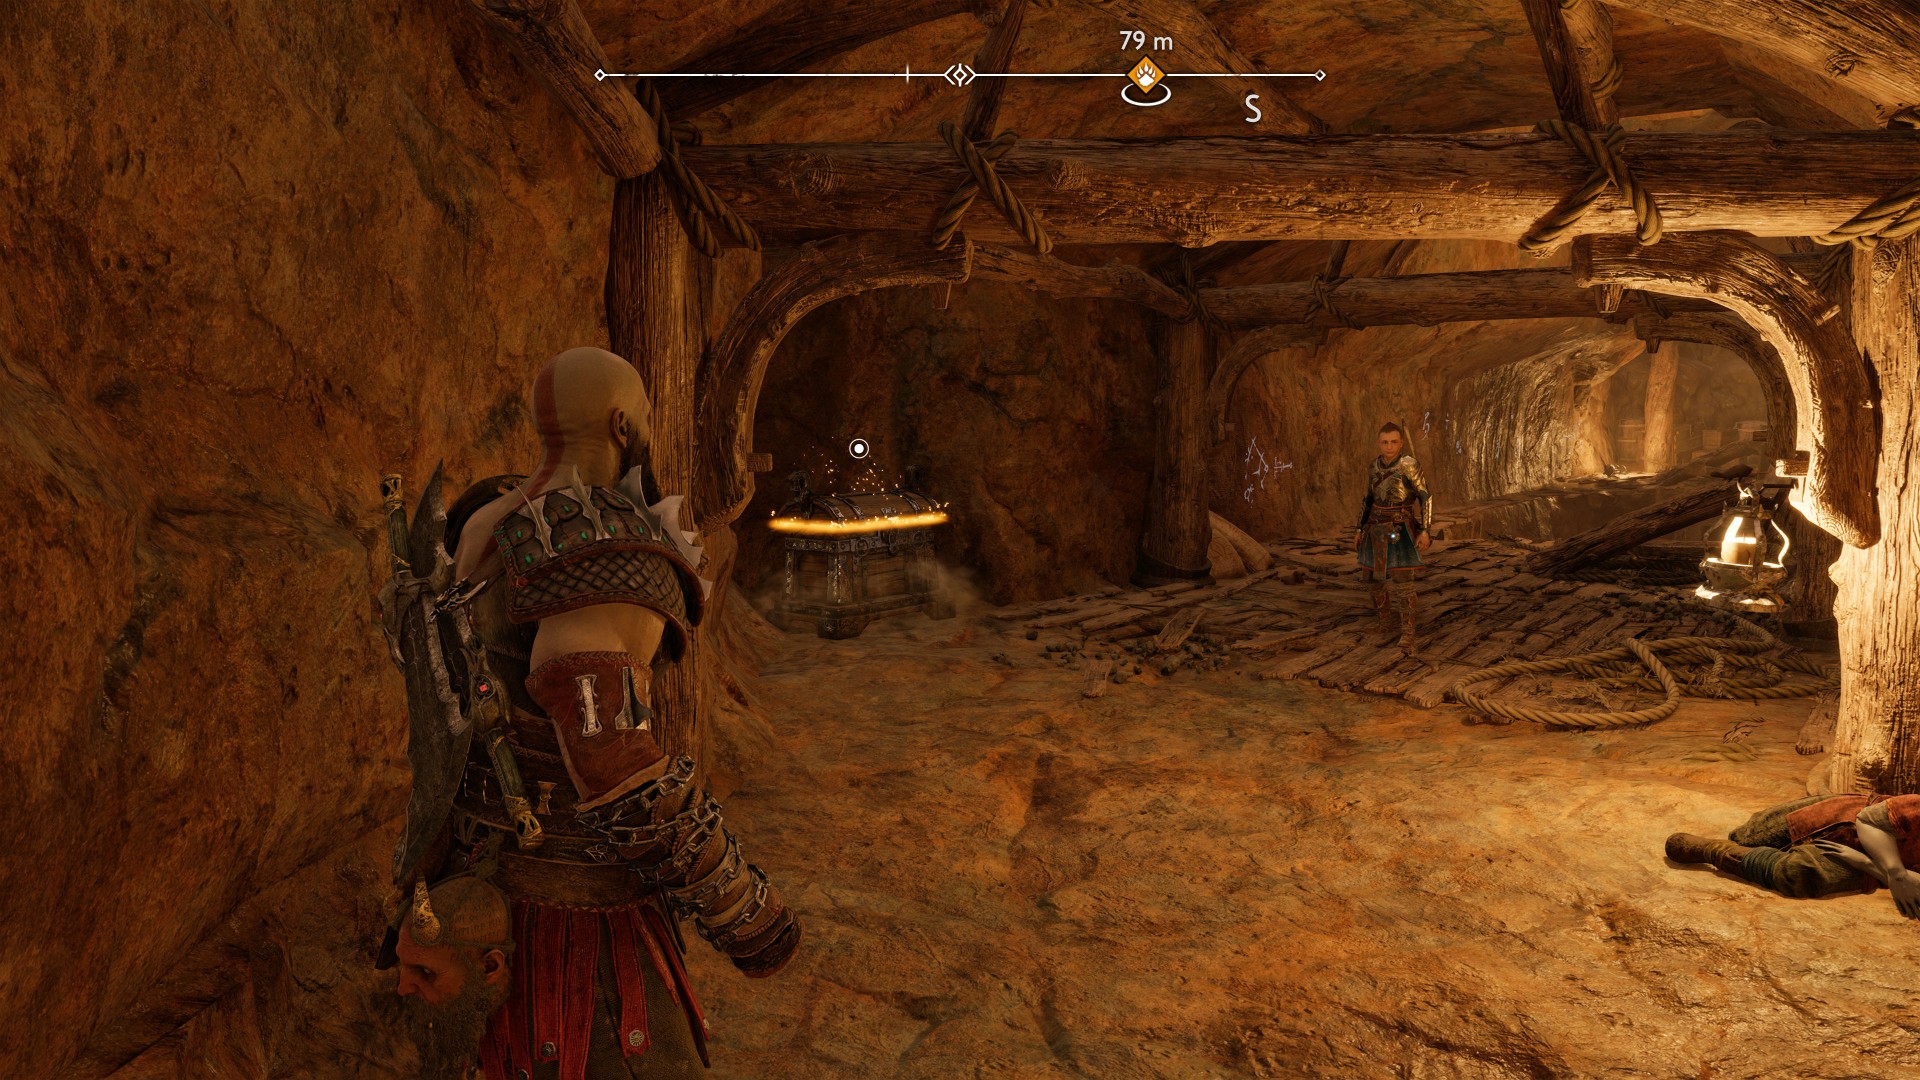
123Yellow Chest
To gain access to this chest you must use the Blades of Chaos and burn the brambles.
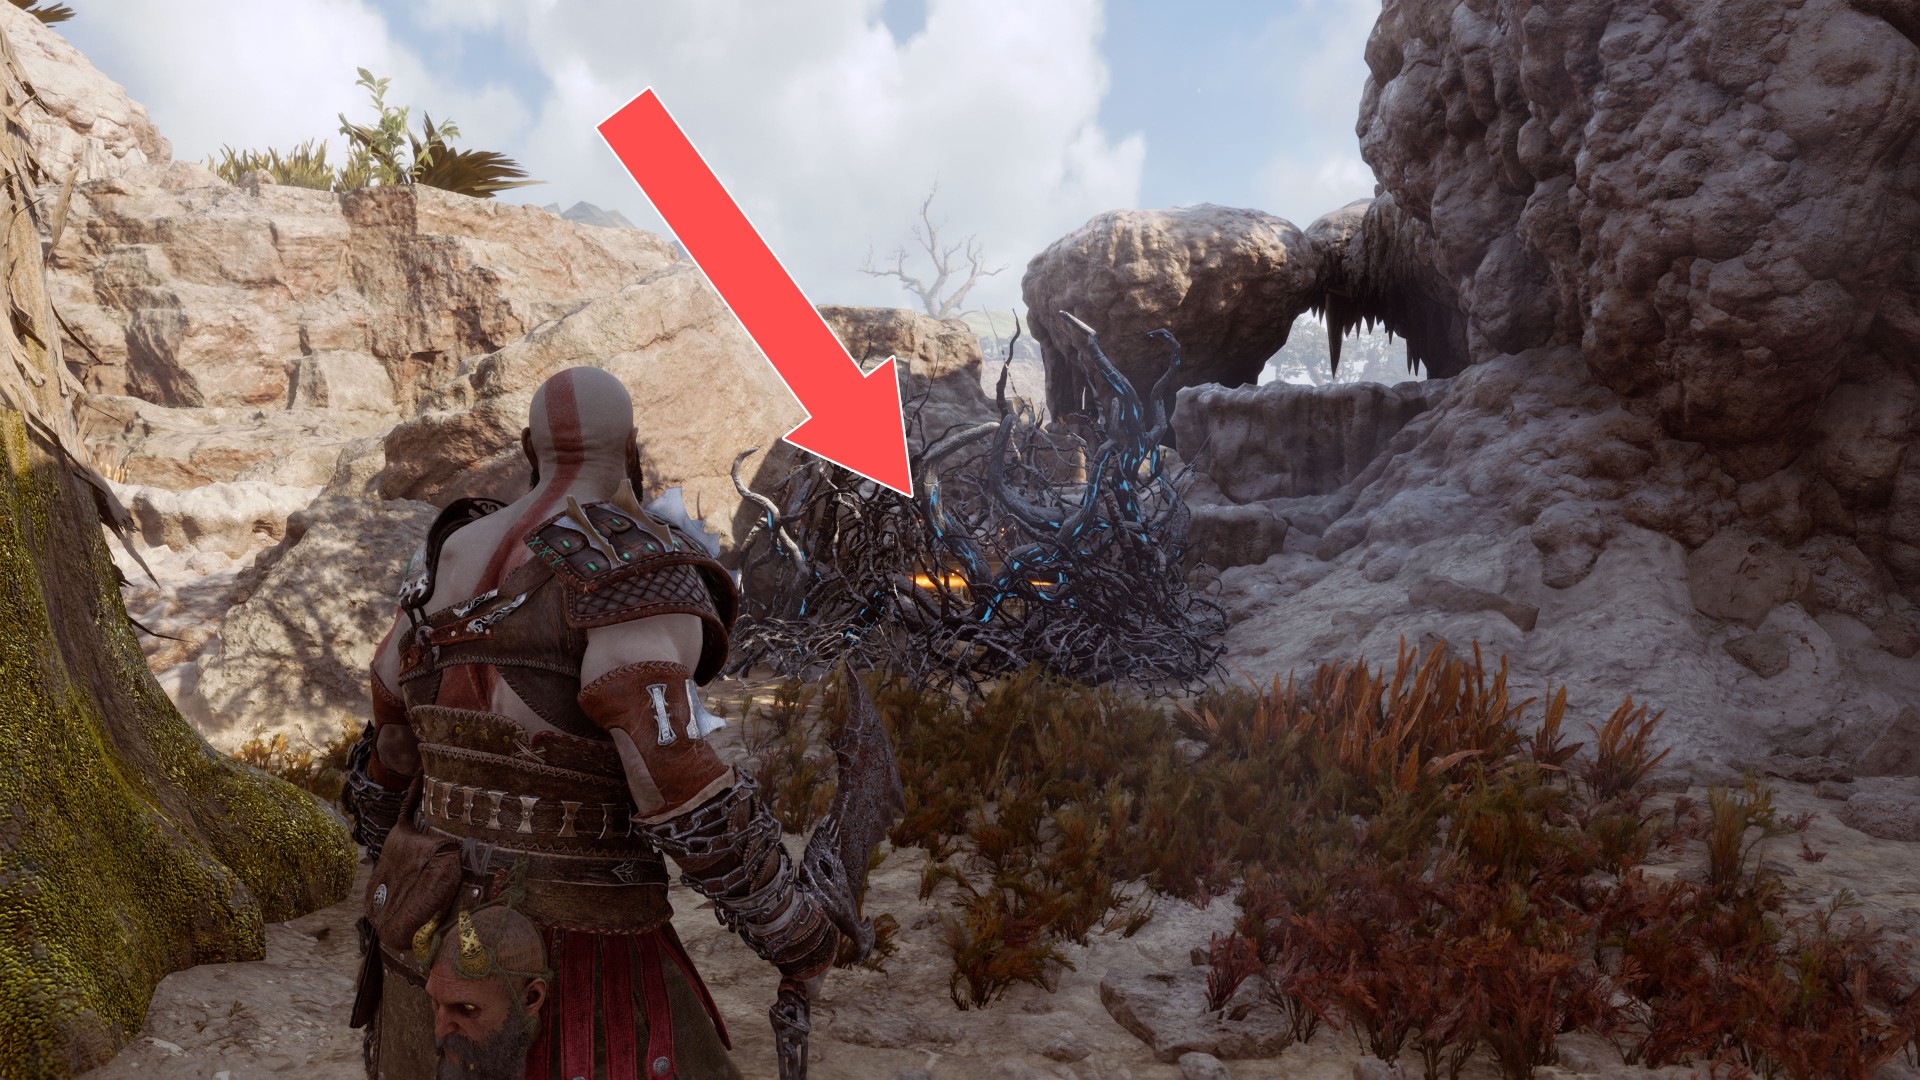
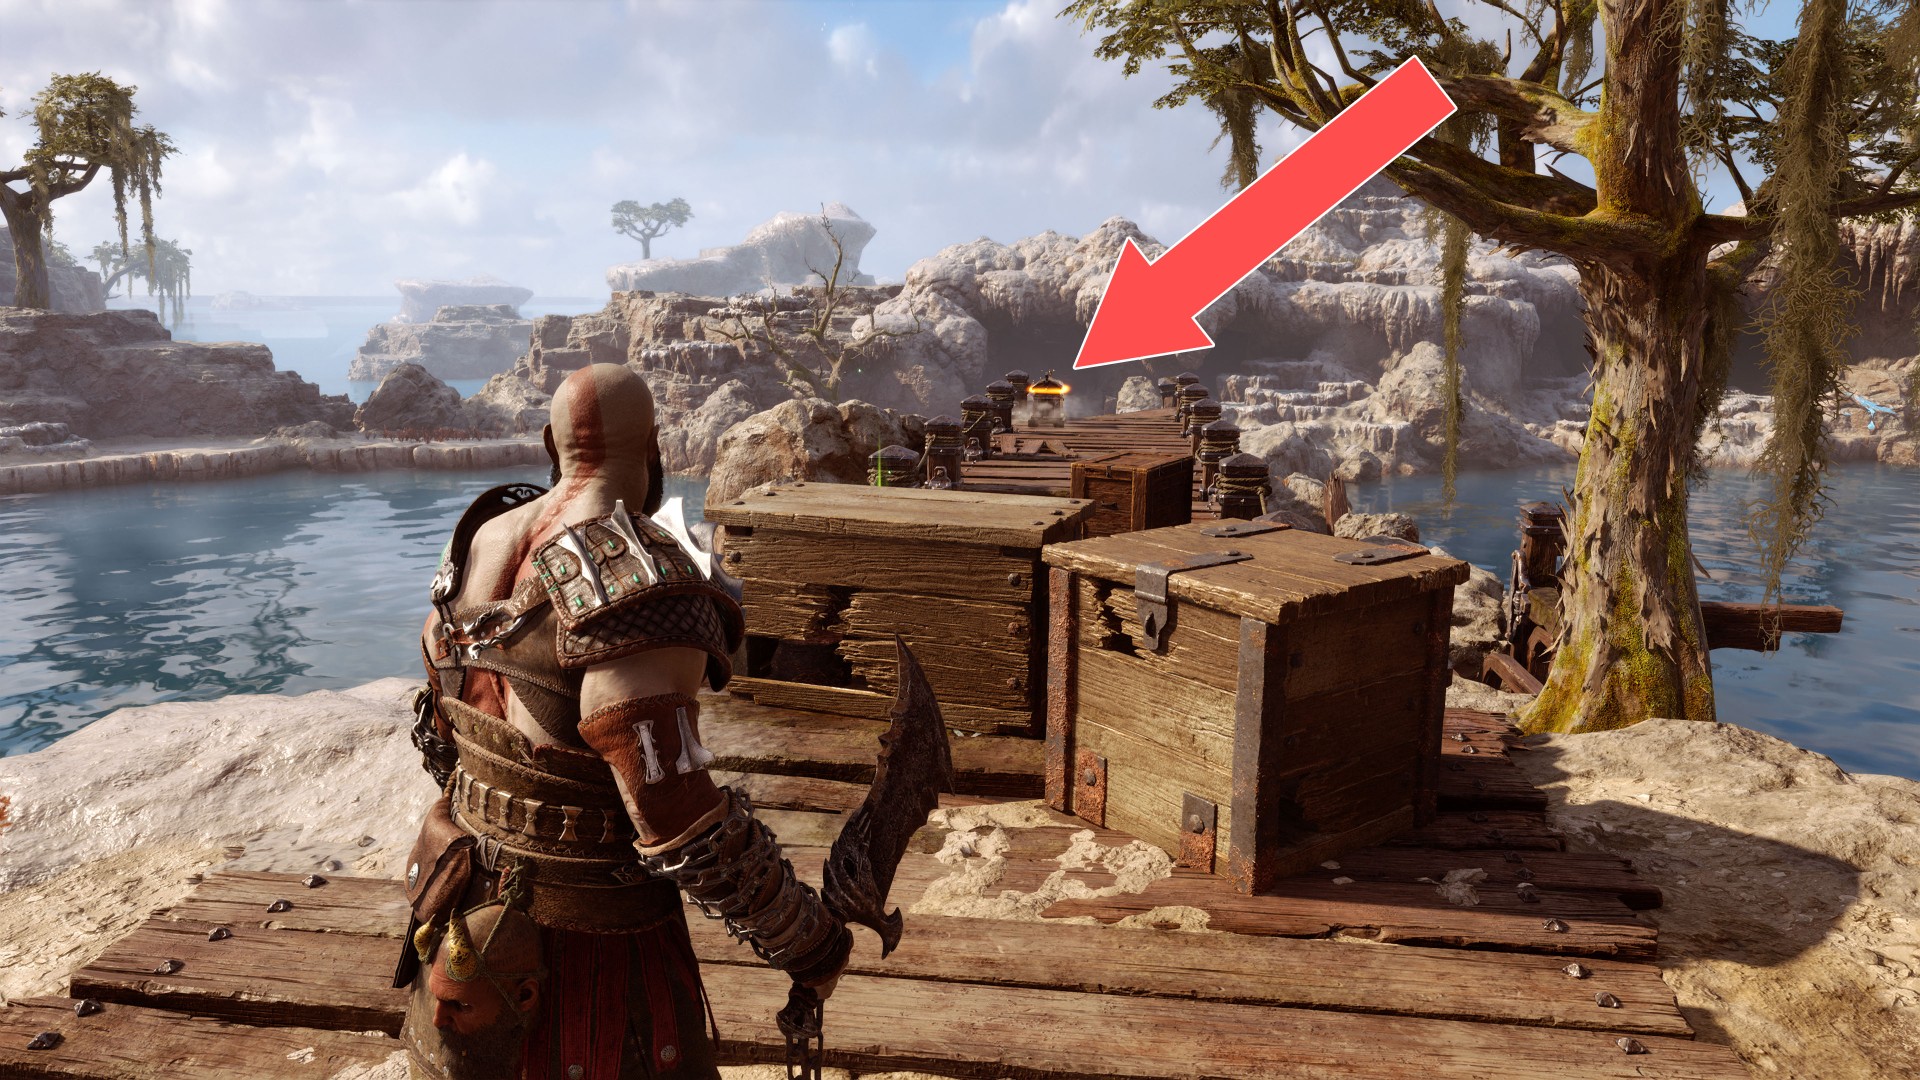
124Yellow Chest
The chest stands on the bridge. You can get here from the east side. First you will have to burn the brambles and destroy the crates.
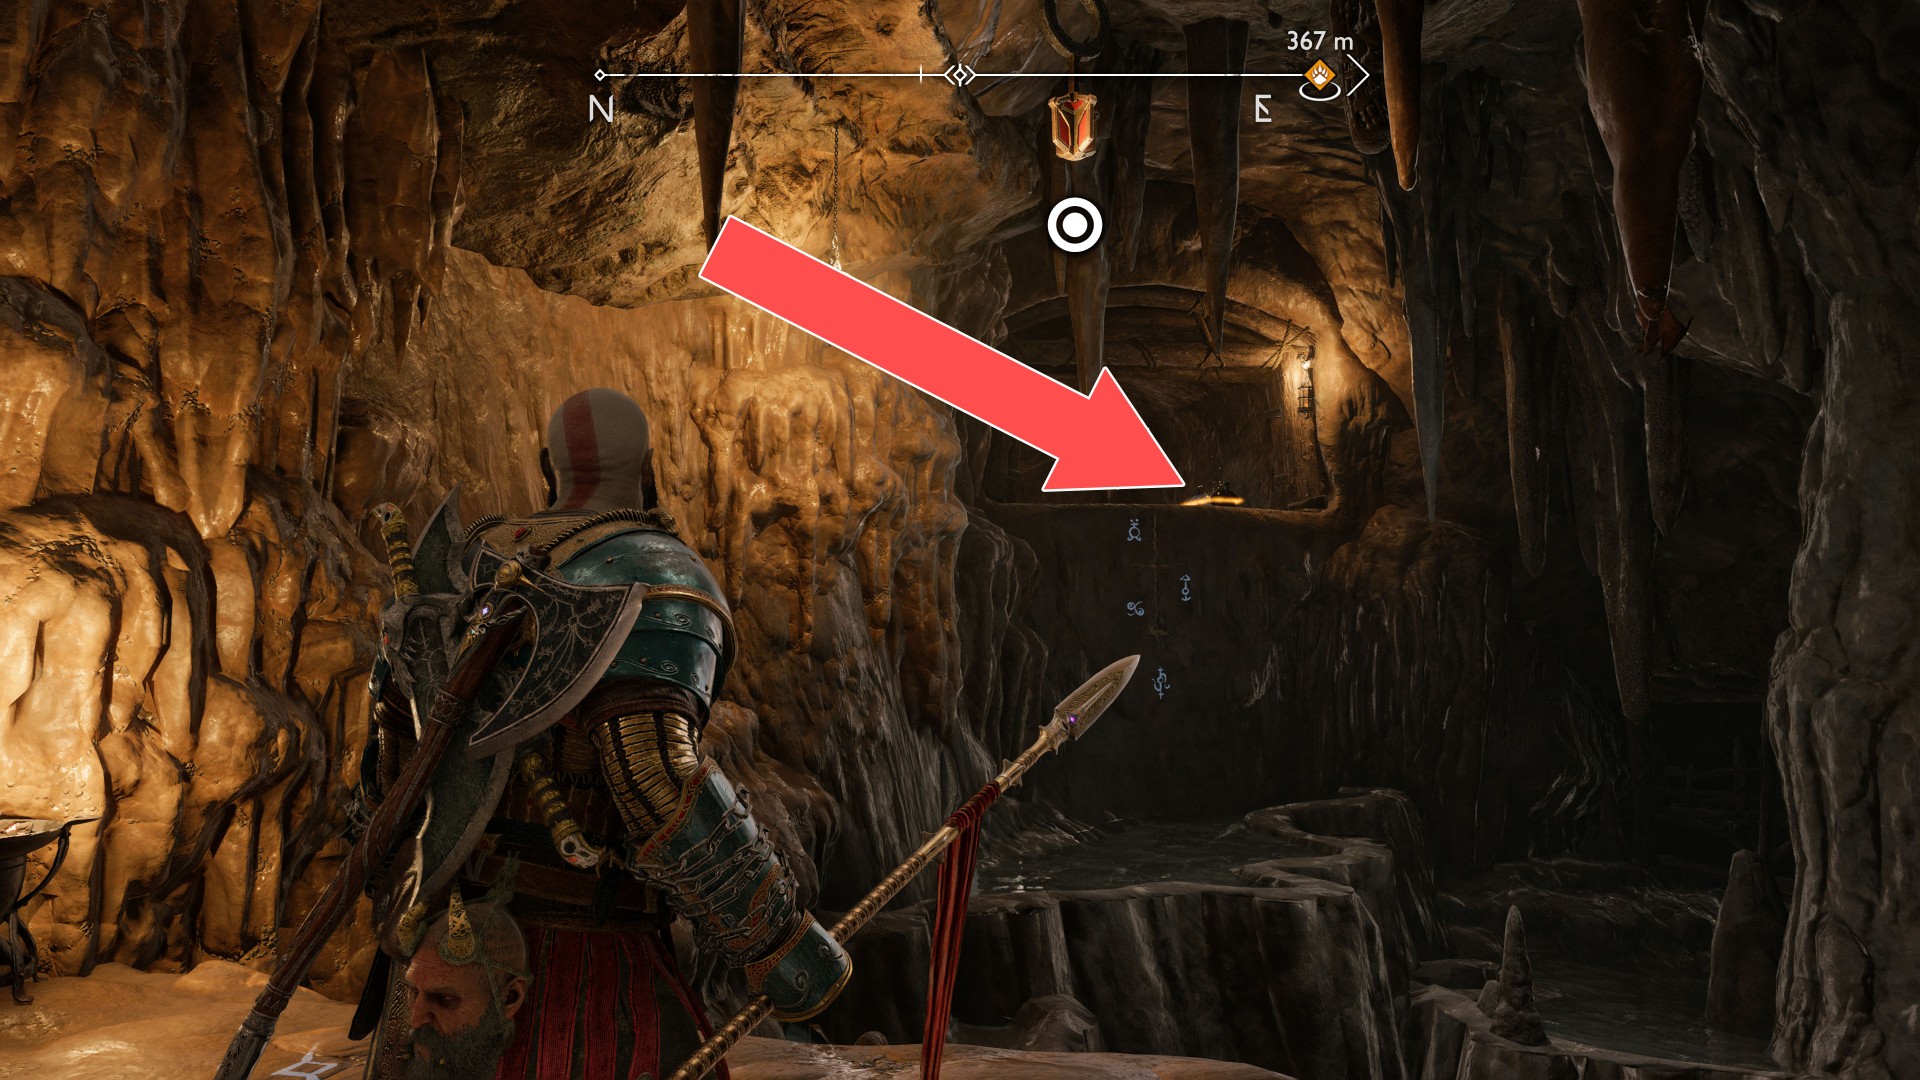
125Yellow Chest
You will be able to reach this area as long as you have the Draupnir Spear.
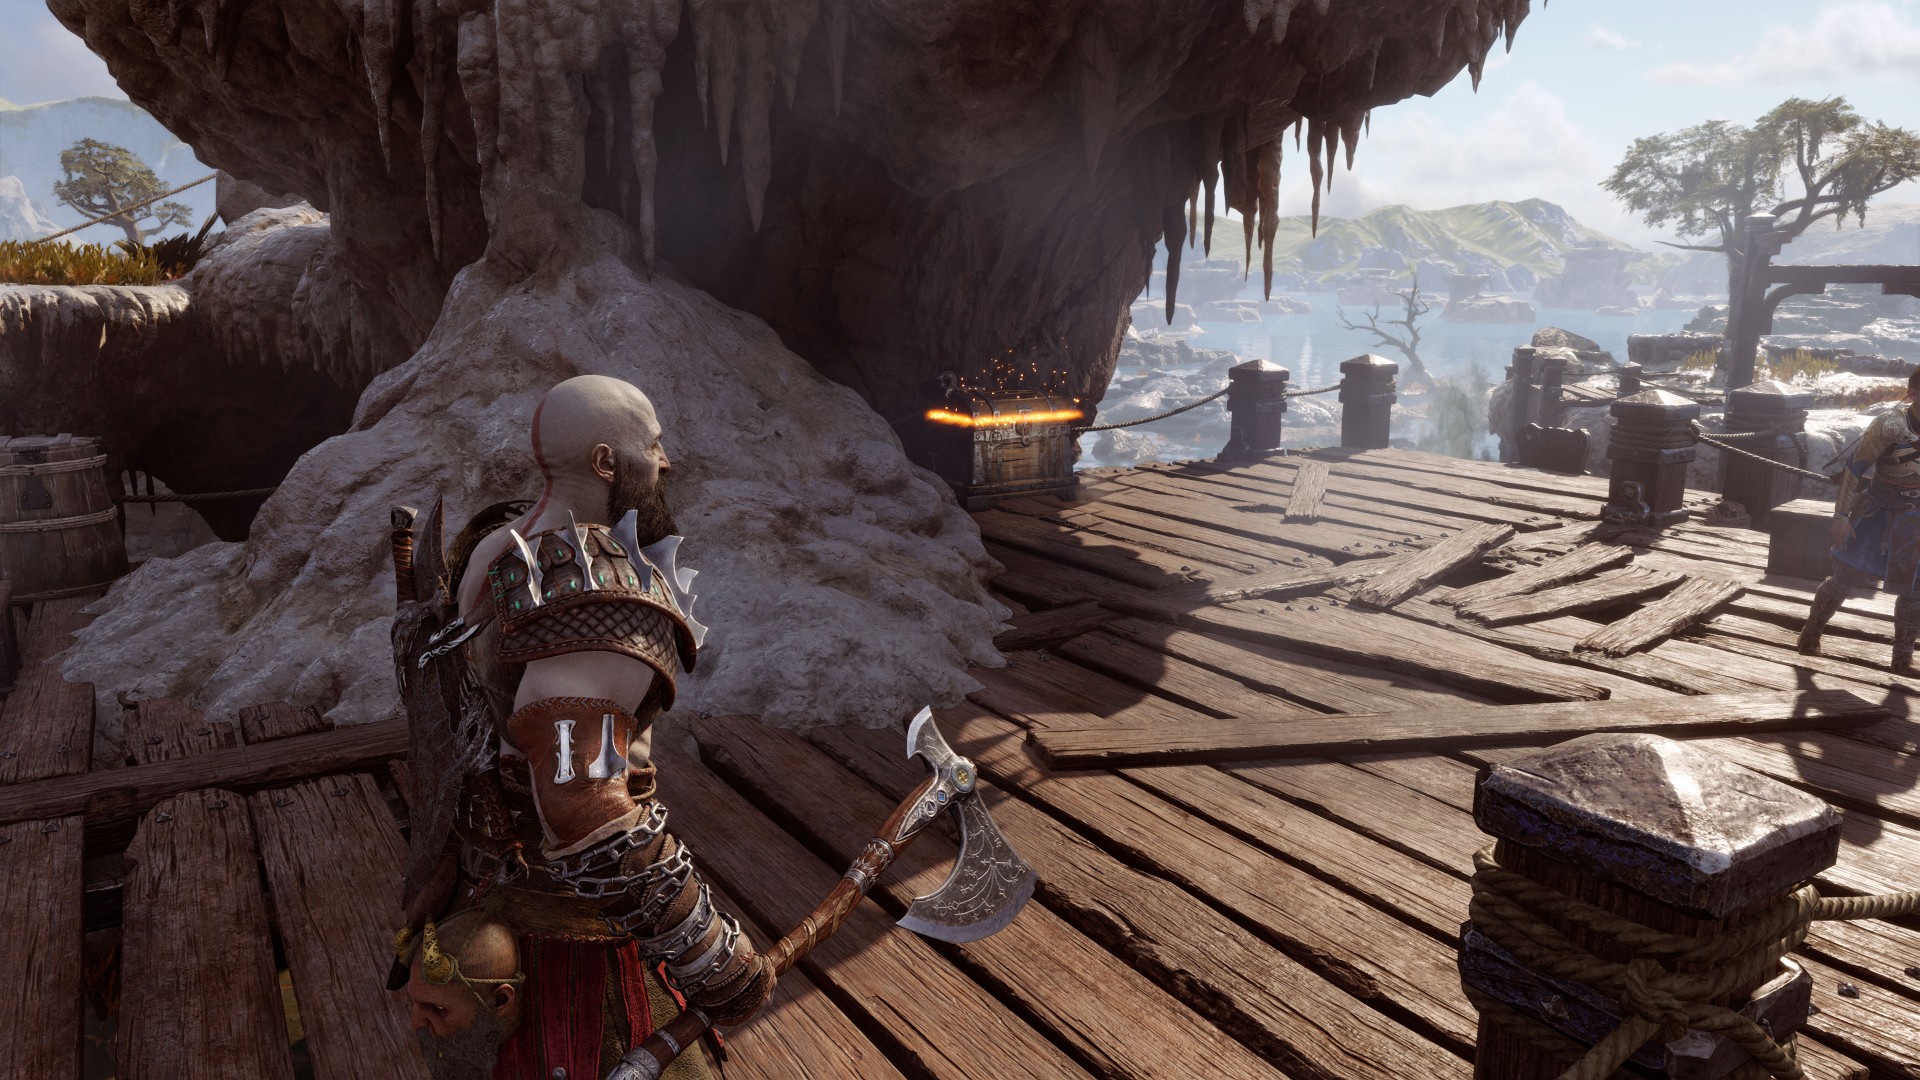
126Yellow Chest
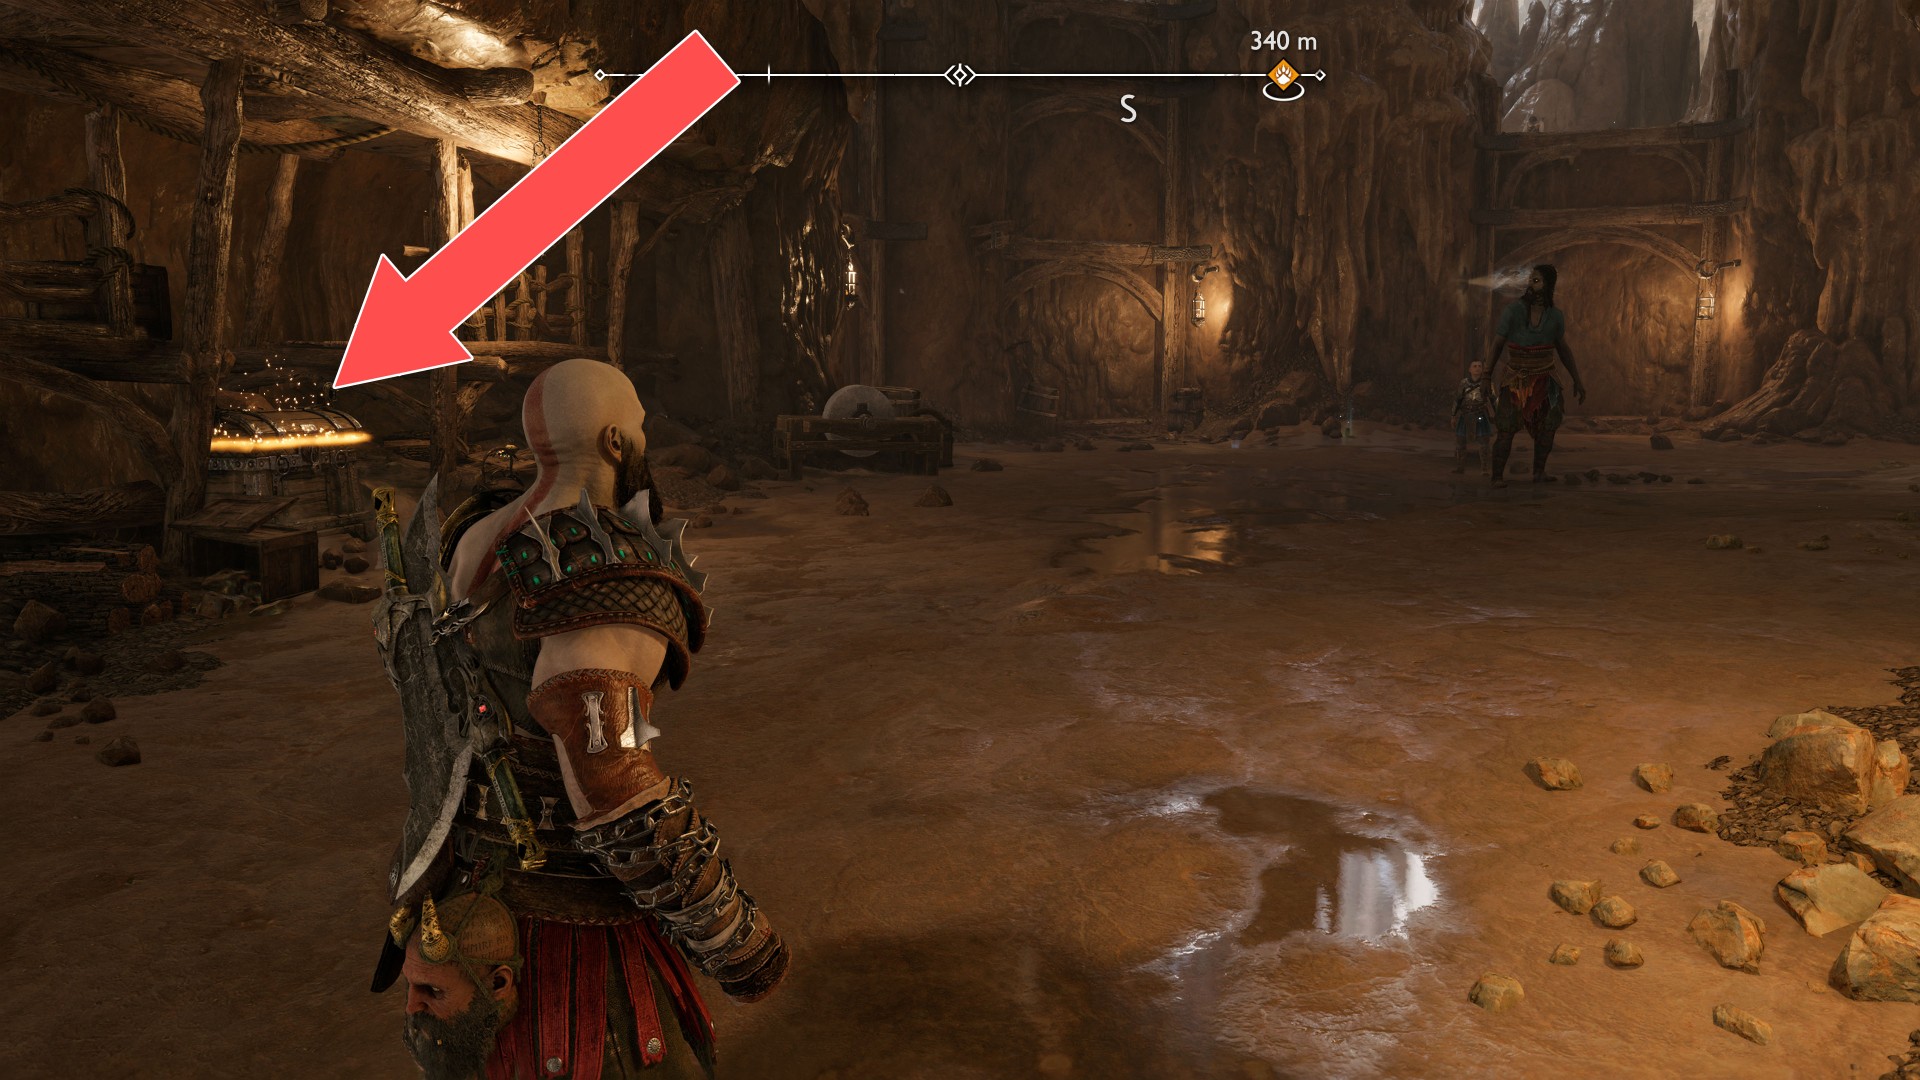
127Yellow Chest
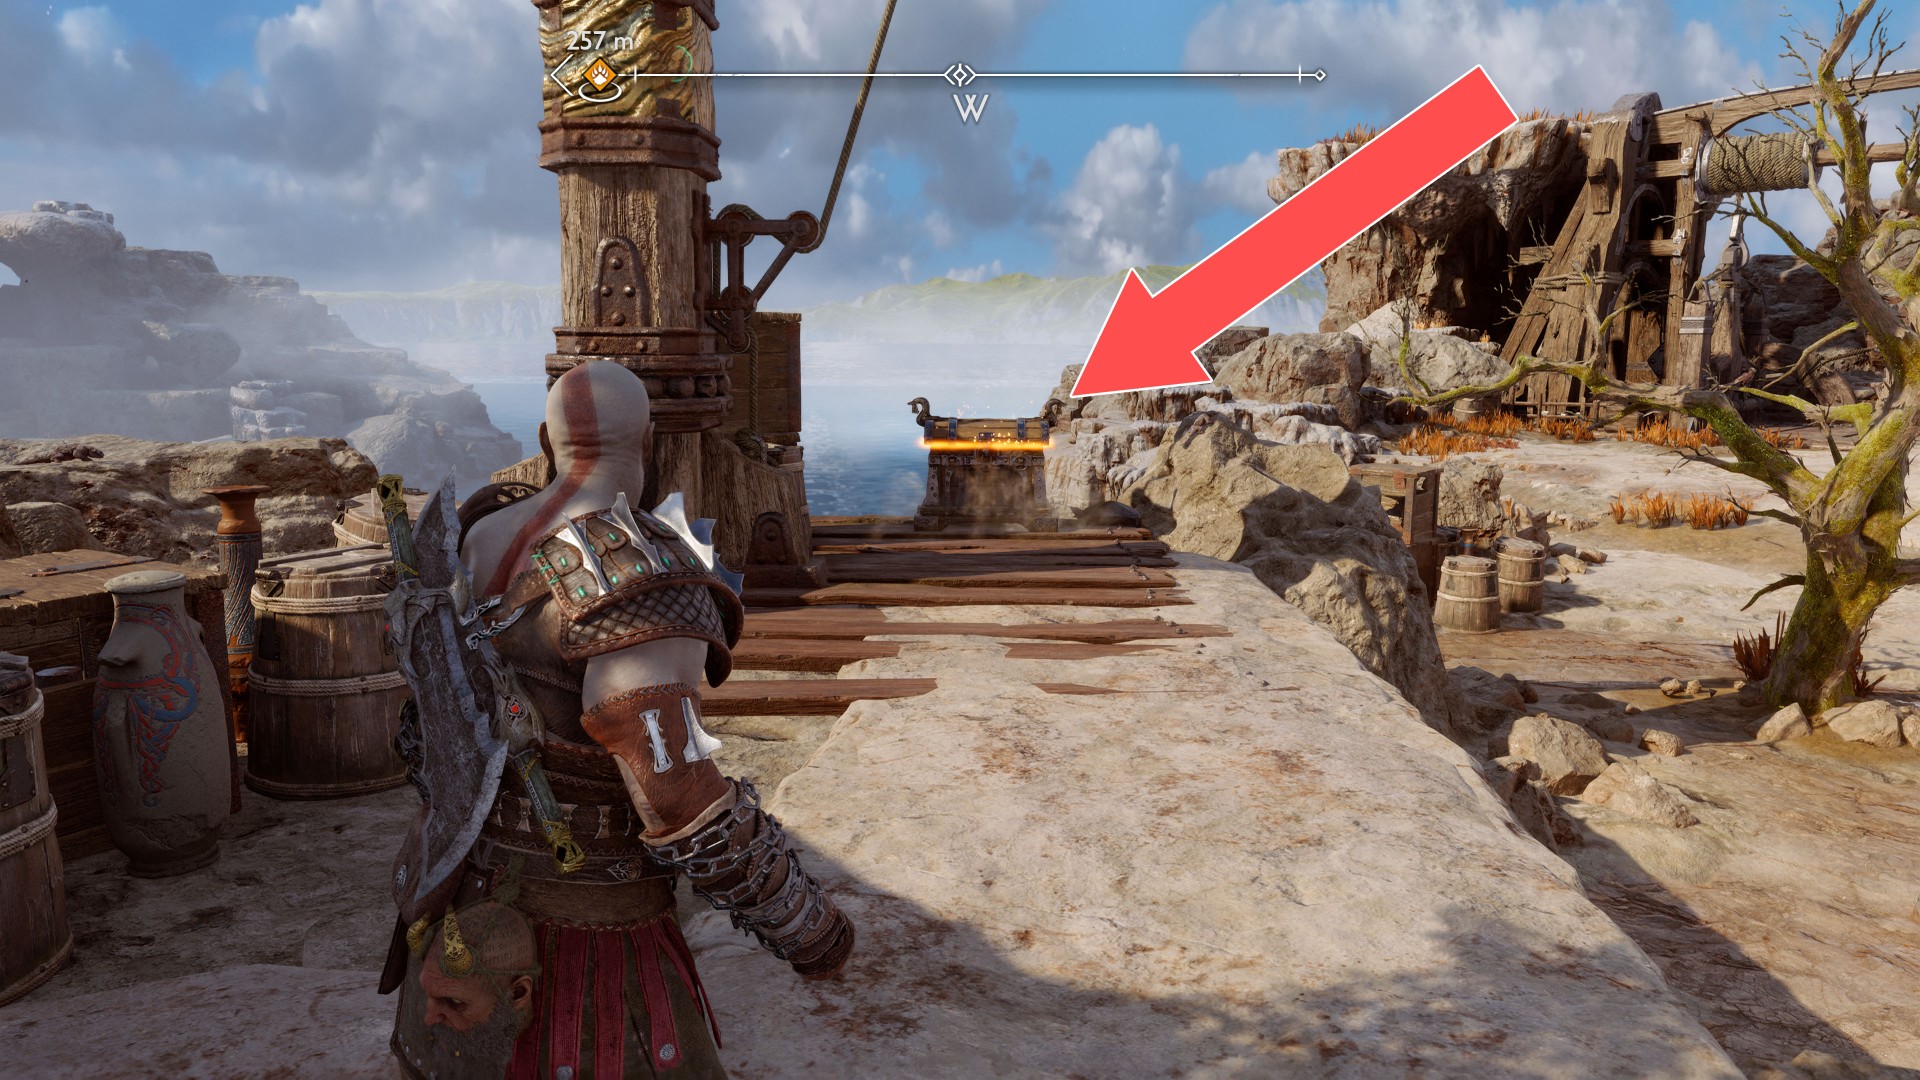
You can open this chest when you are leaving the mines after freeing Tyr.
128Yellow Chest
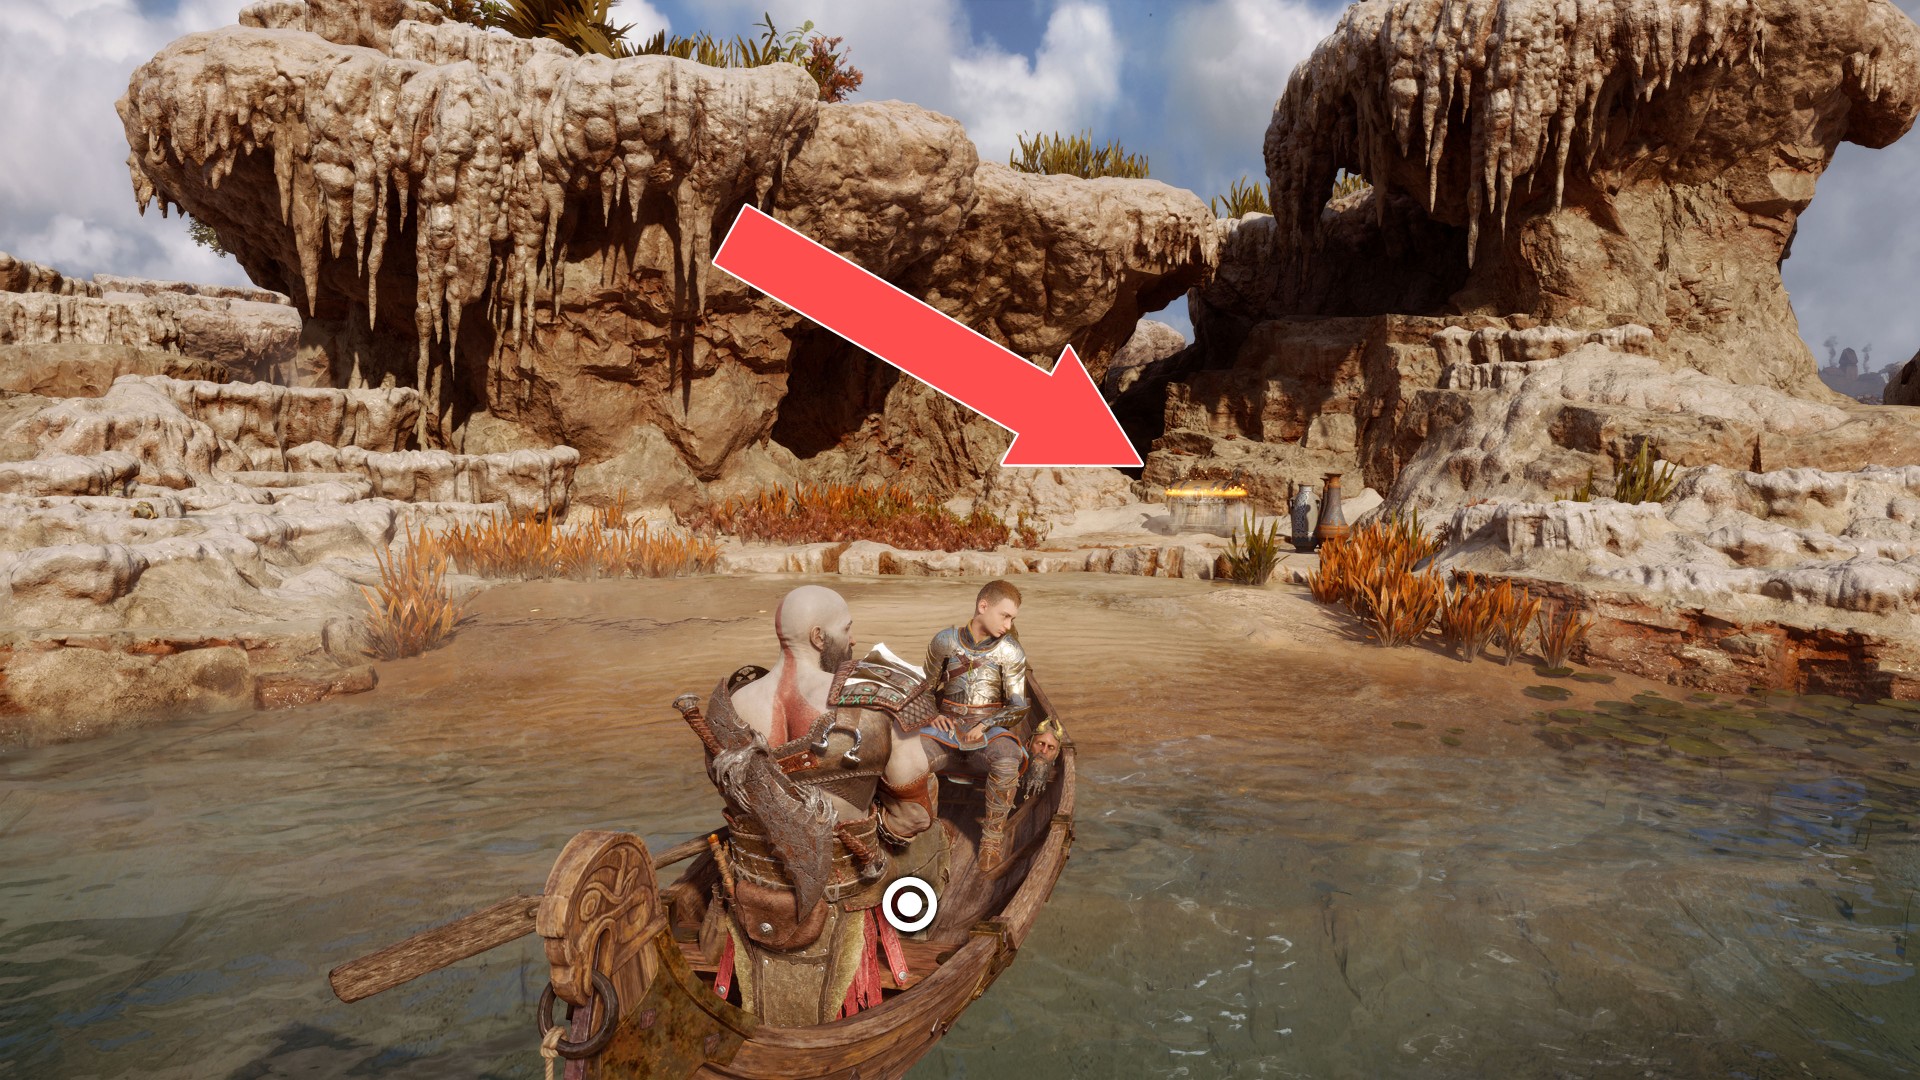
129Yellow Chest
Locations on Alfheim
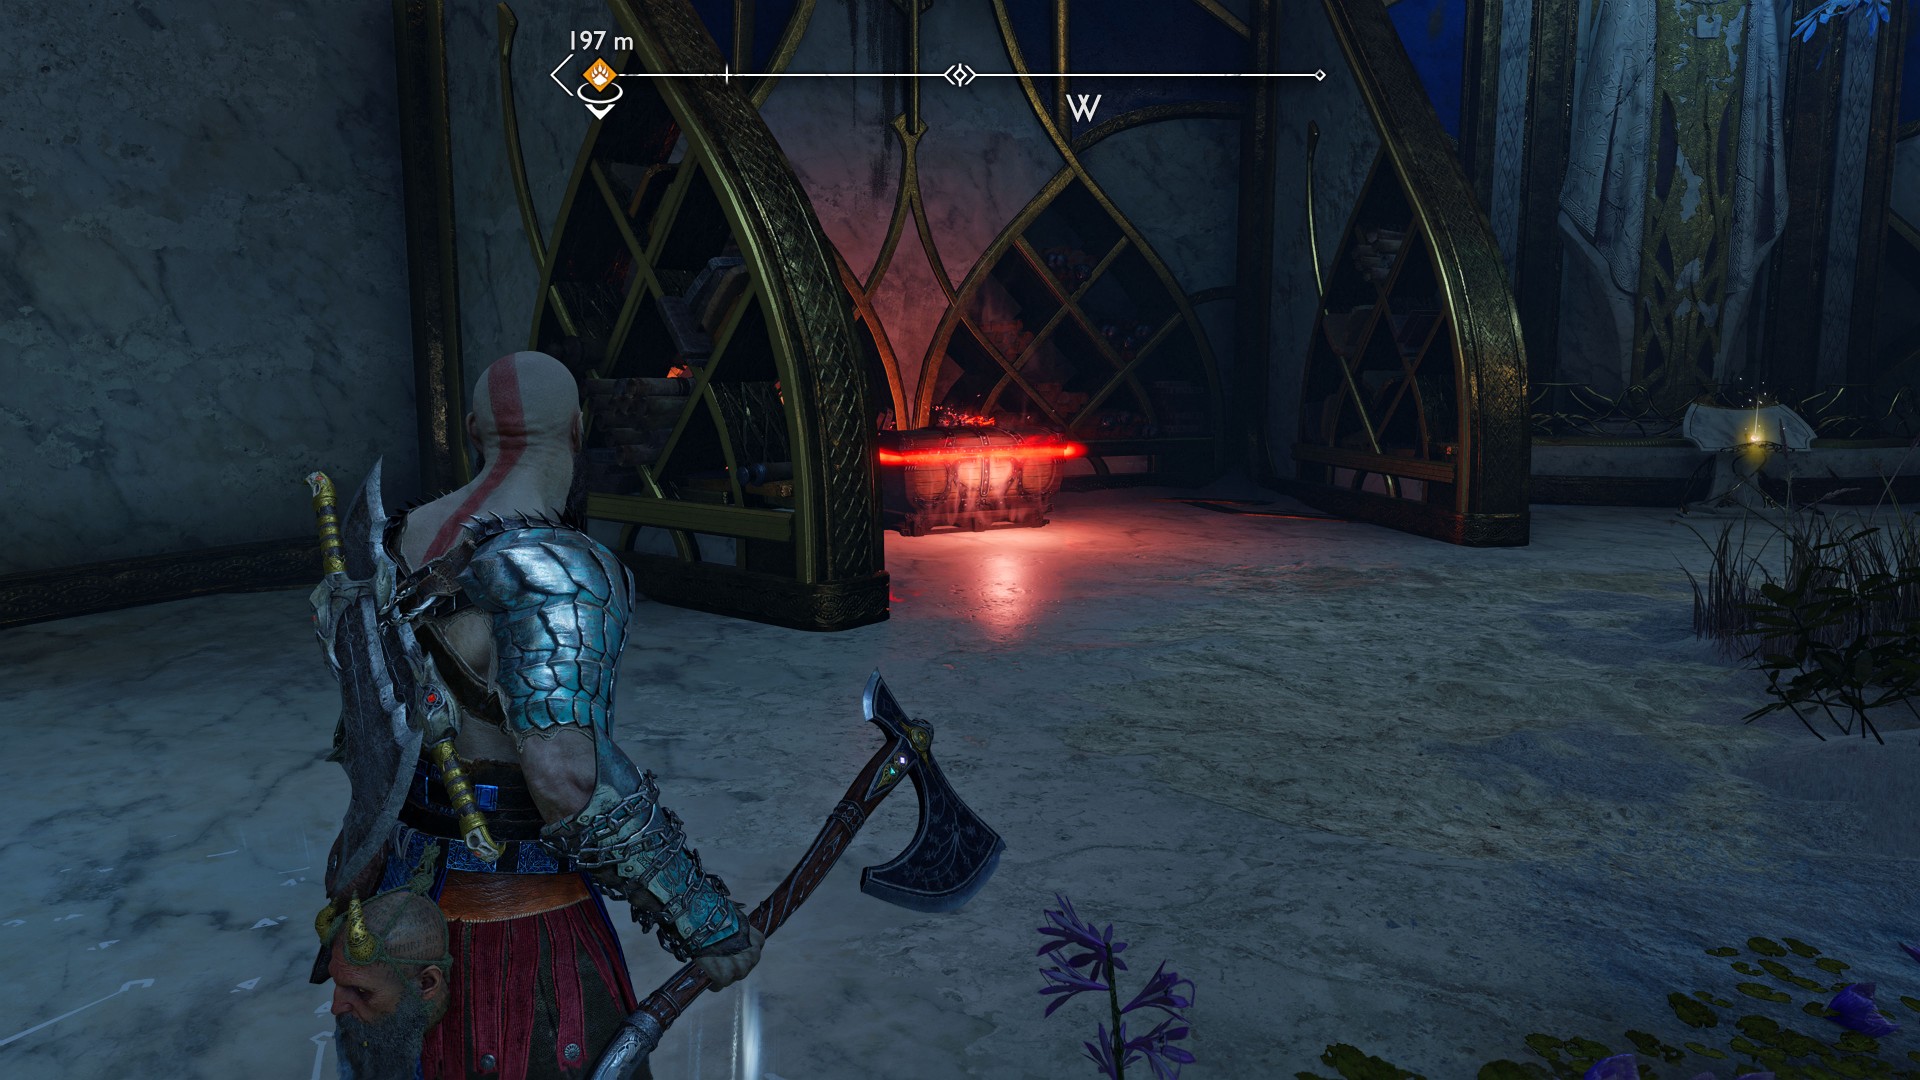
130Red Chest
131Red Chest
Underground, in "The Burrows" area.
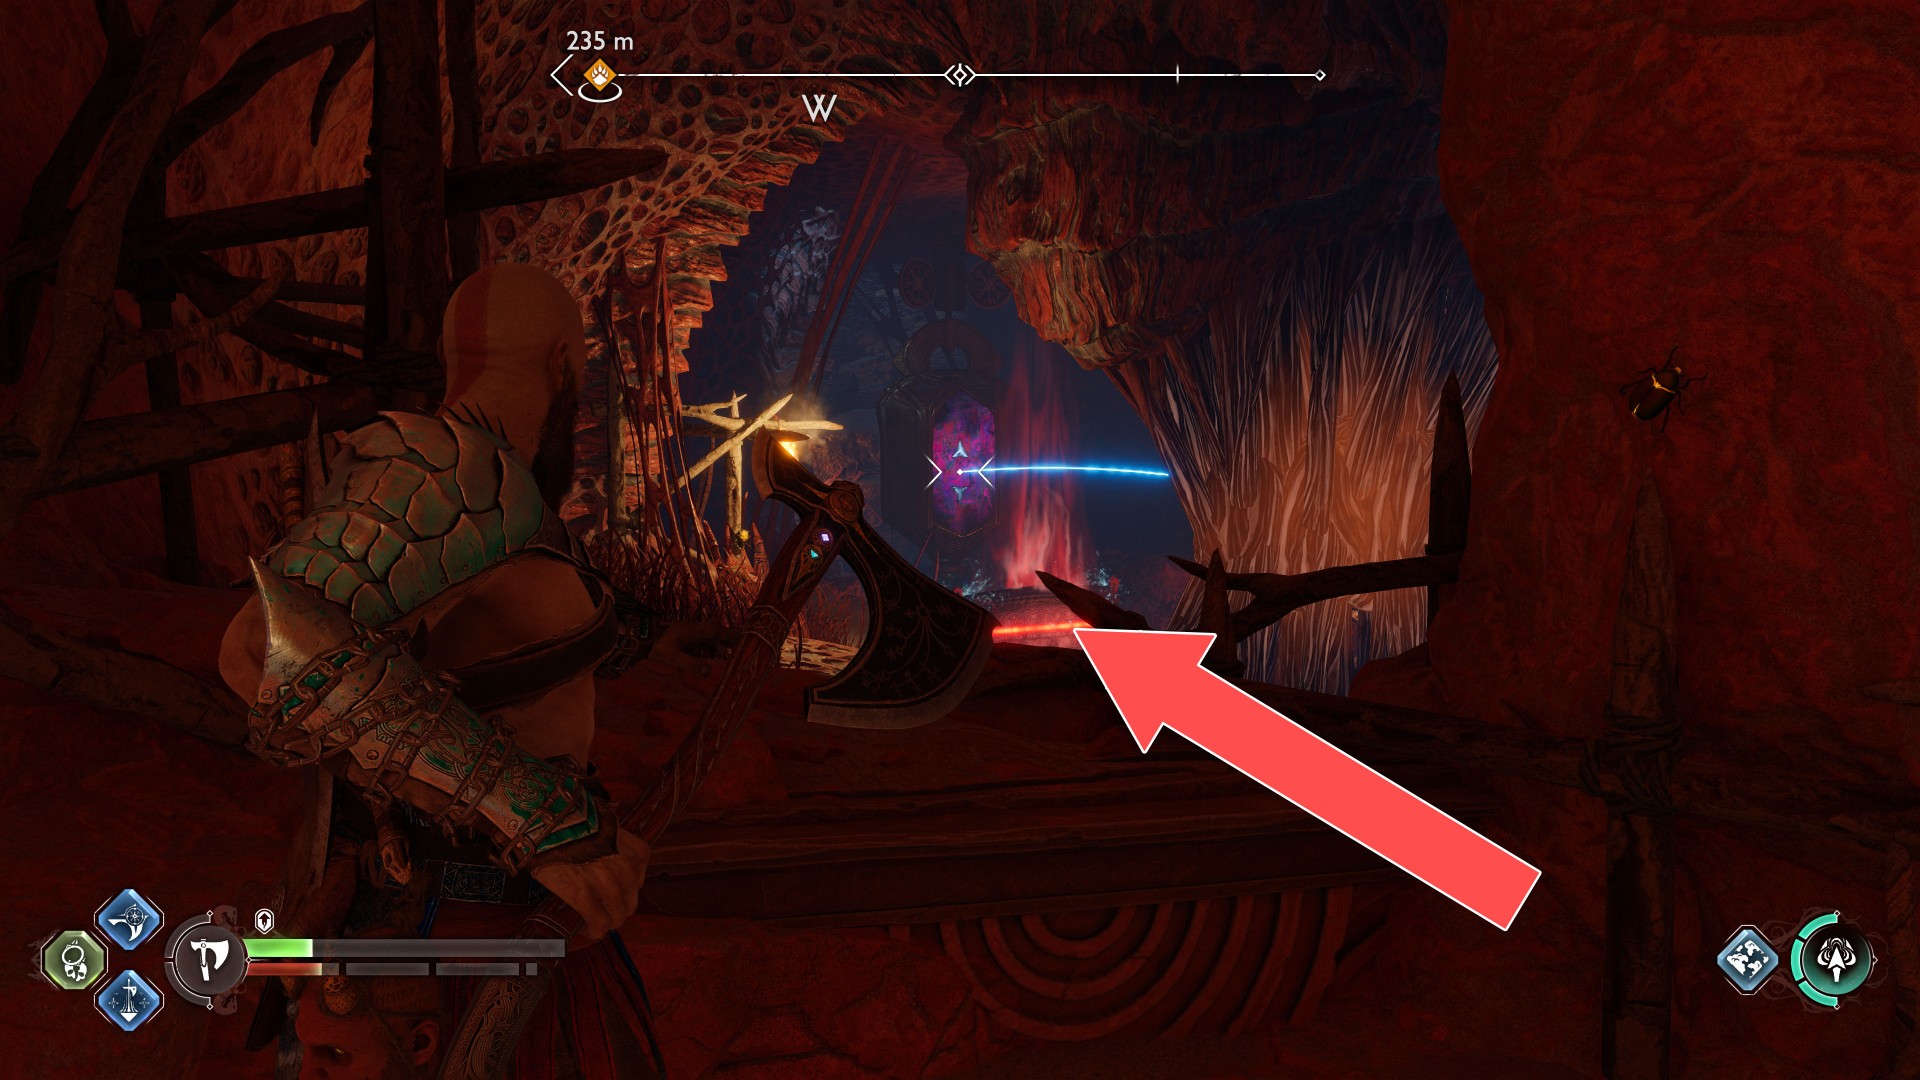
132Red Chest
Underground, in "The Burrows" area. You will reach after destroying the Halgufa's bindings.
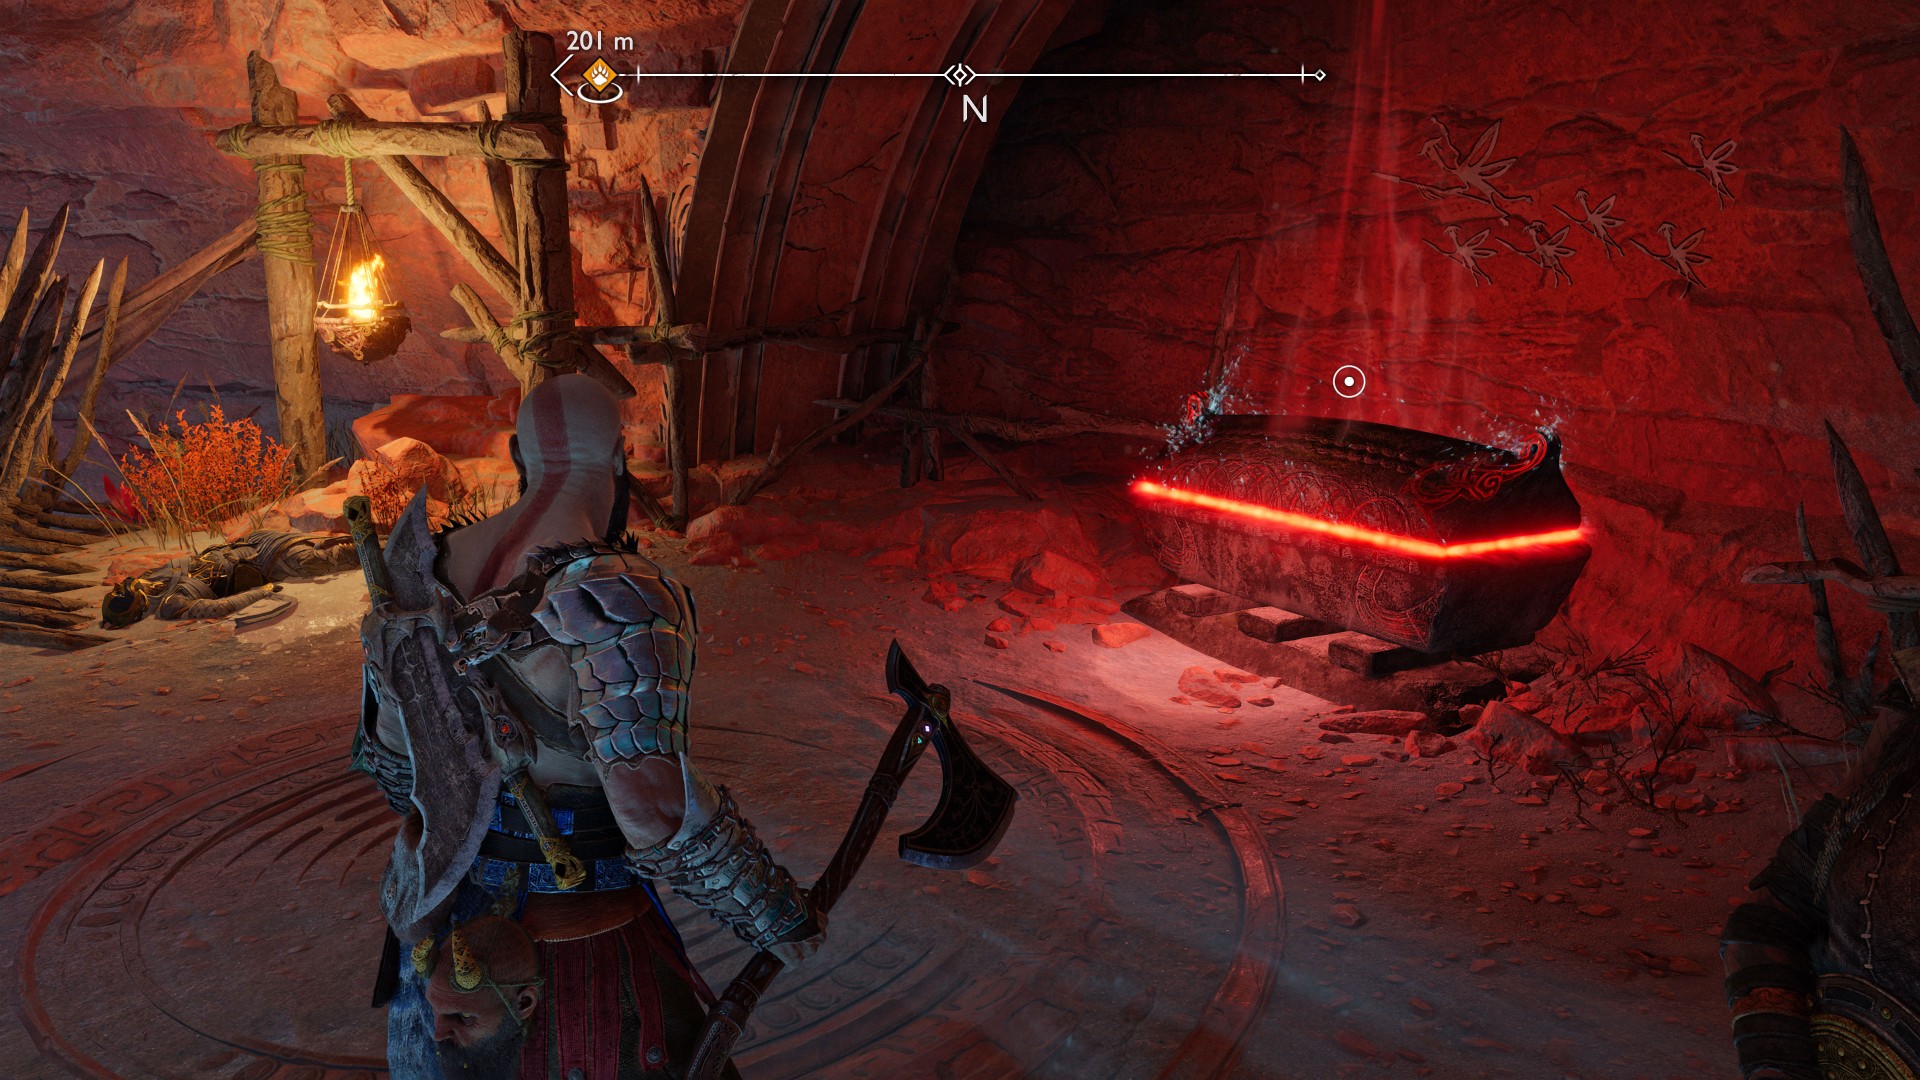
133Red Chest
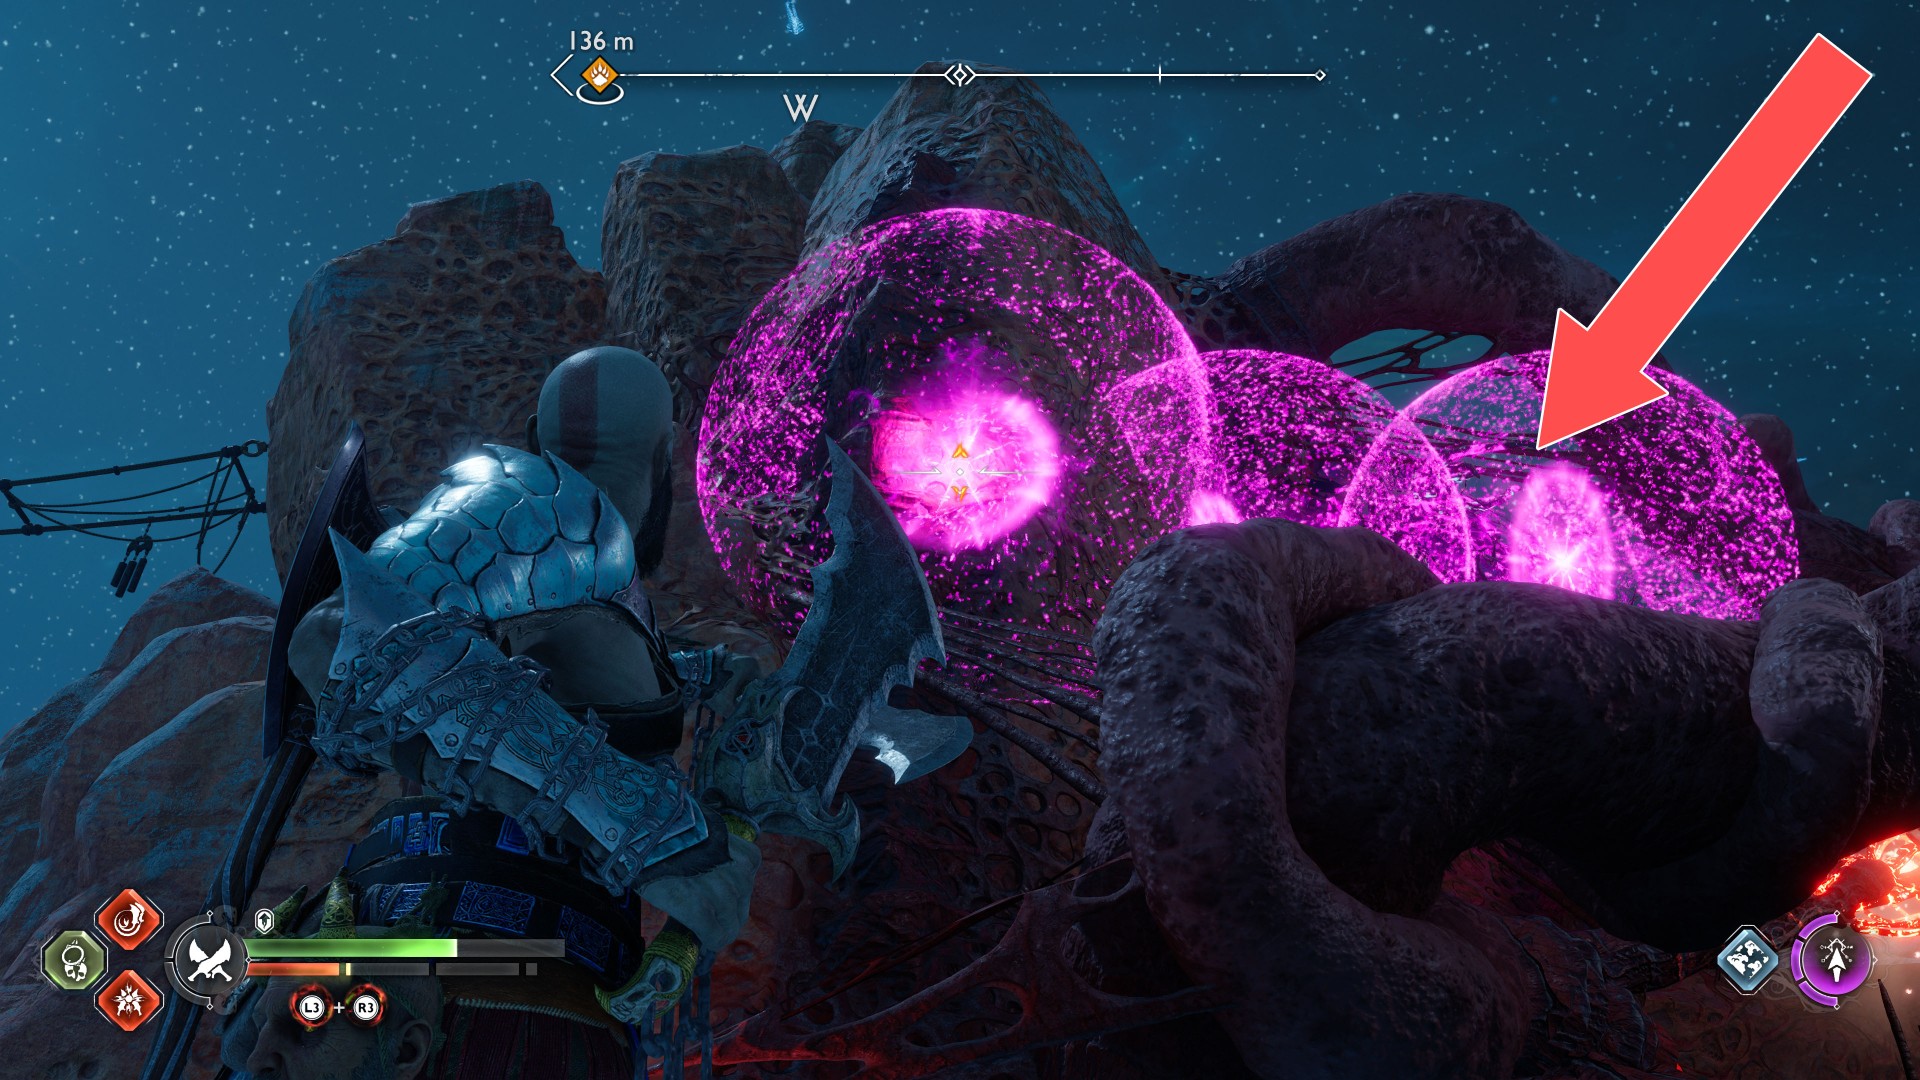
To gain access to this chest you must get rid of the vines covering one of the twilight stones and then climb the tower standing nearby and make an axe throw.
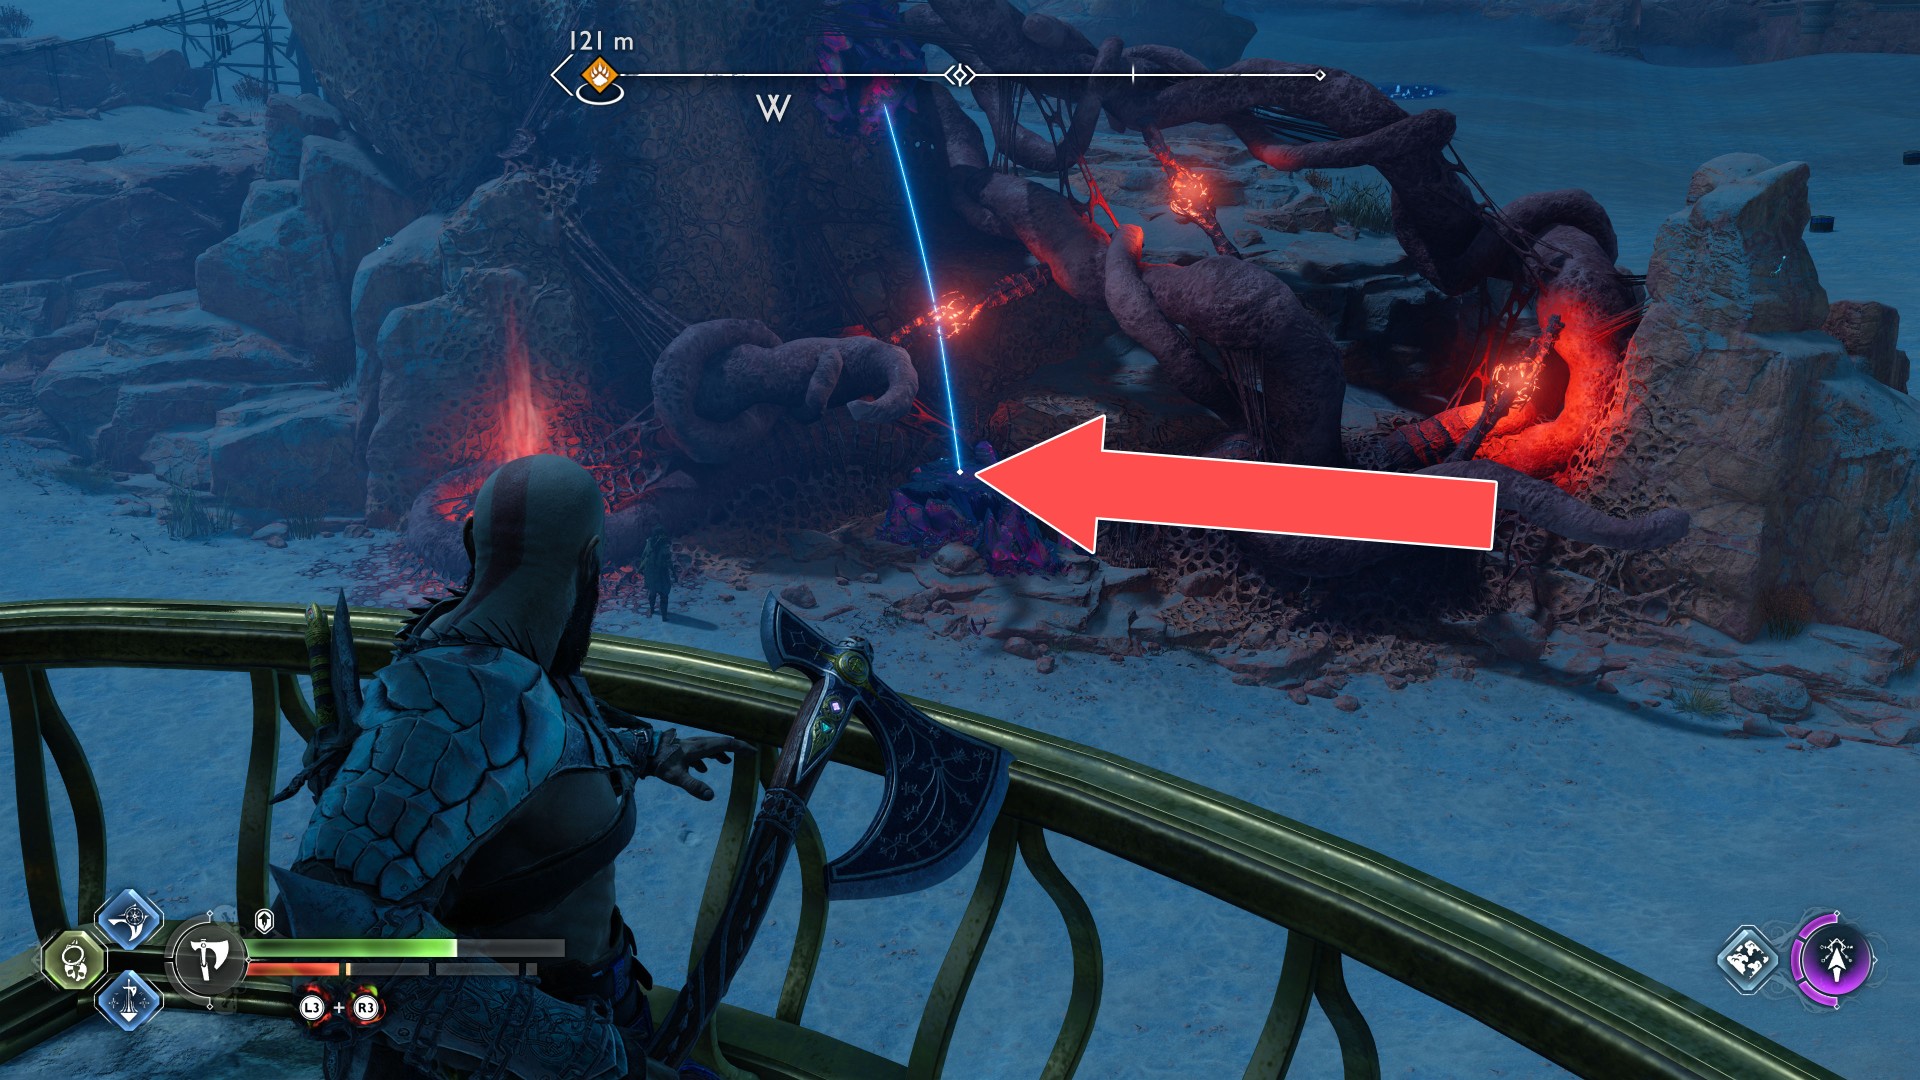
To get rid of the vines you must use sigil arrows and blades of chaos.
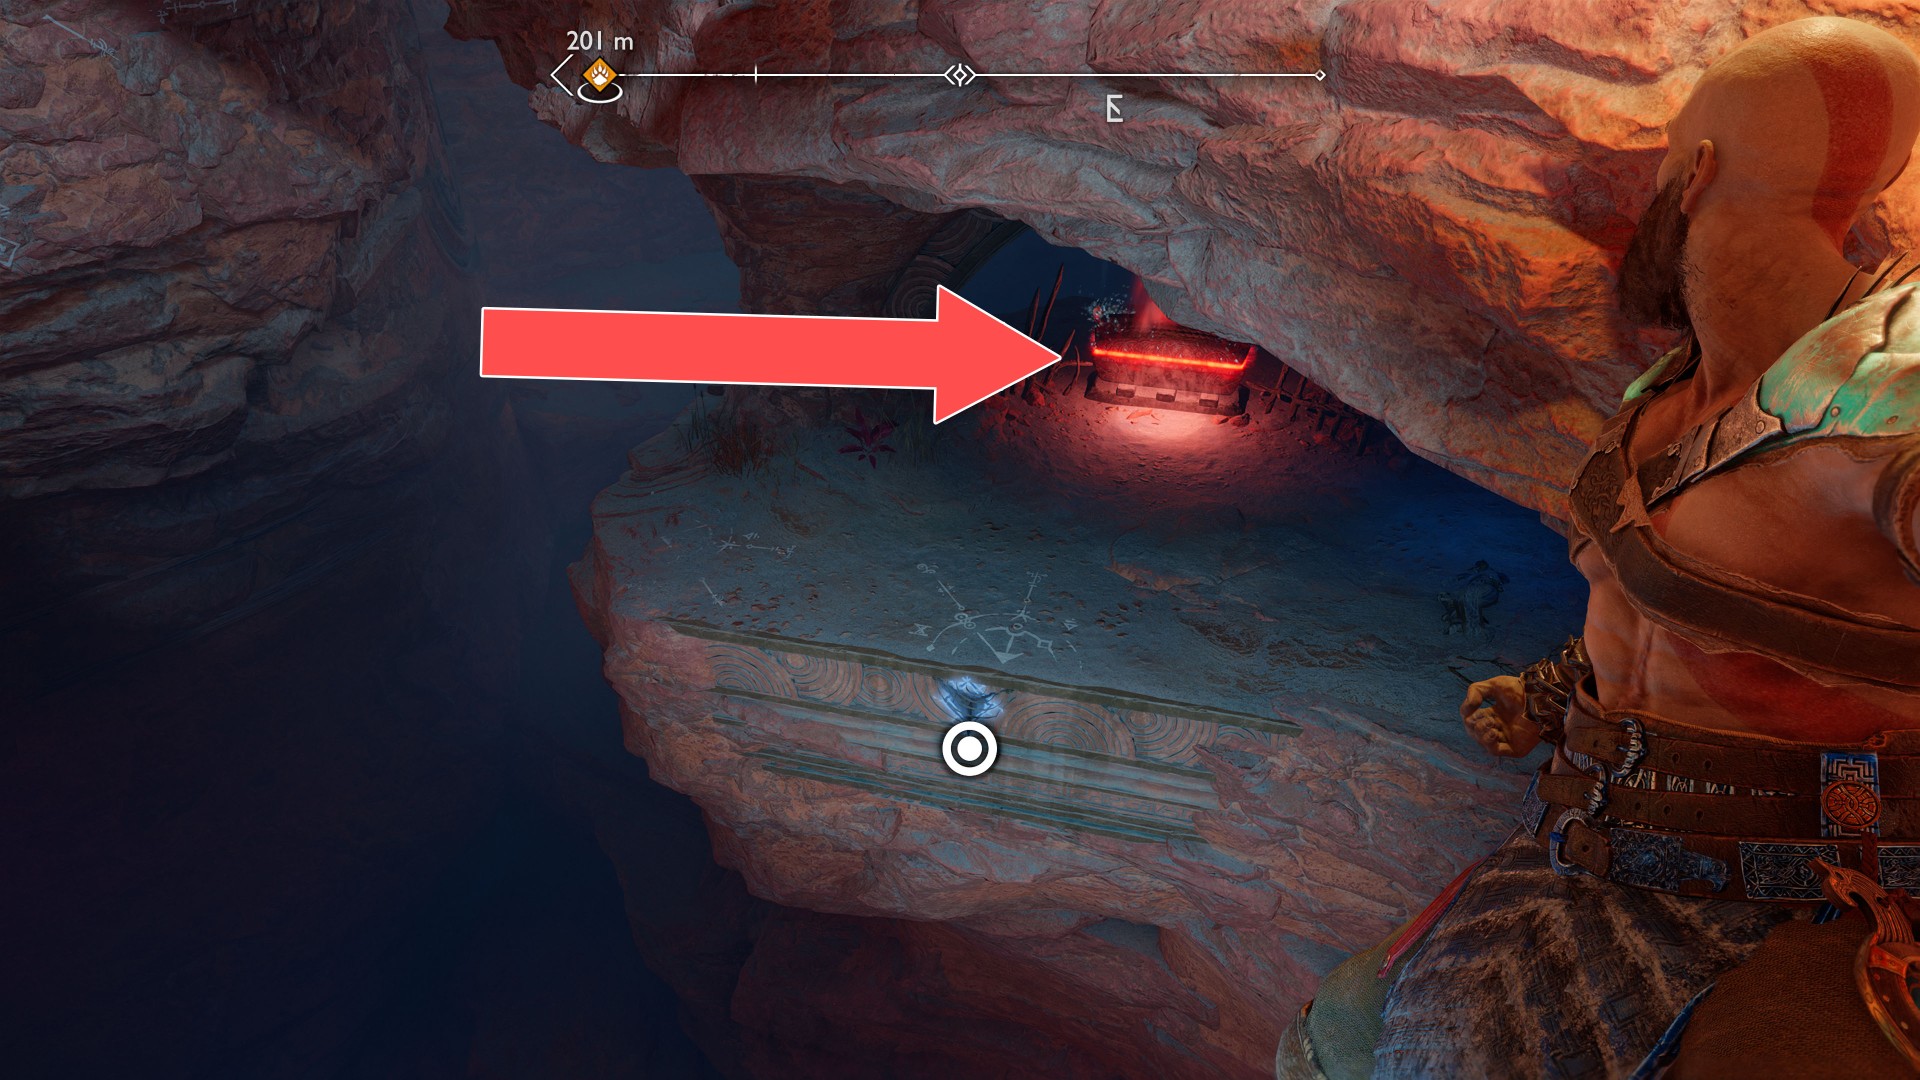
134Red Chest
Underground, in "The Burrows" area.
135Red Chest
In order to remove obstacles and get to this chest, you must execute a proper axe throw.
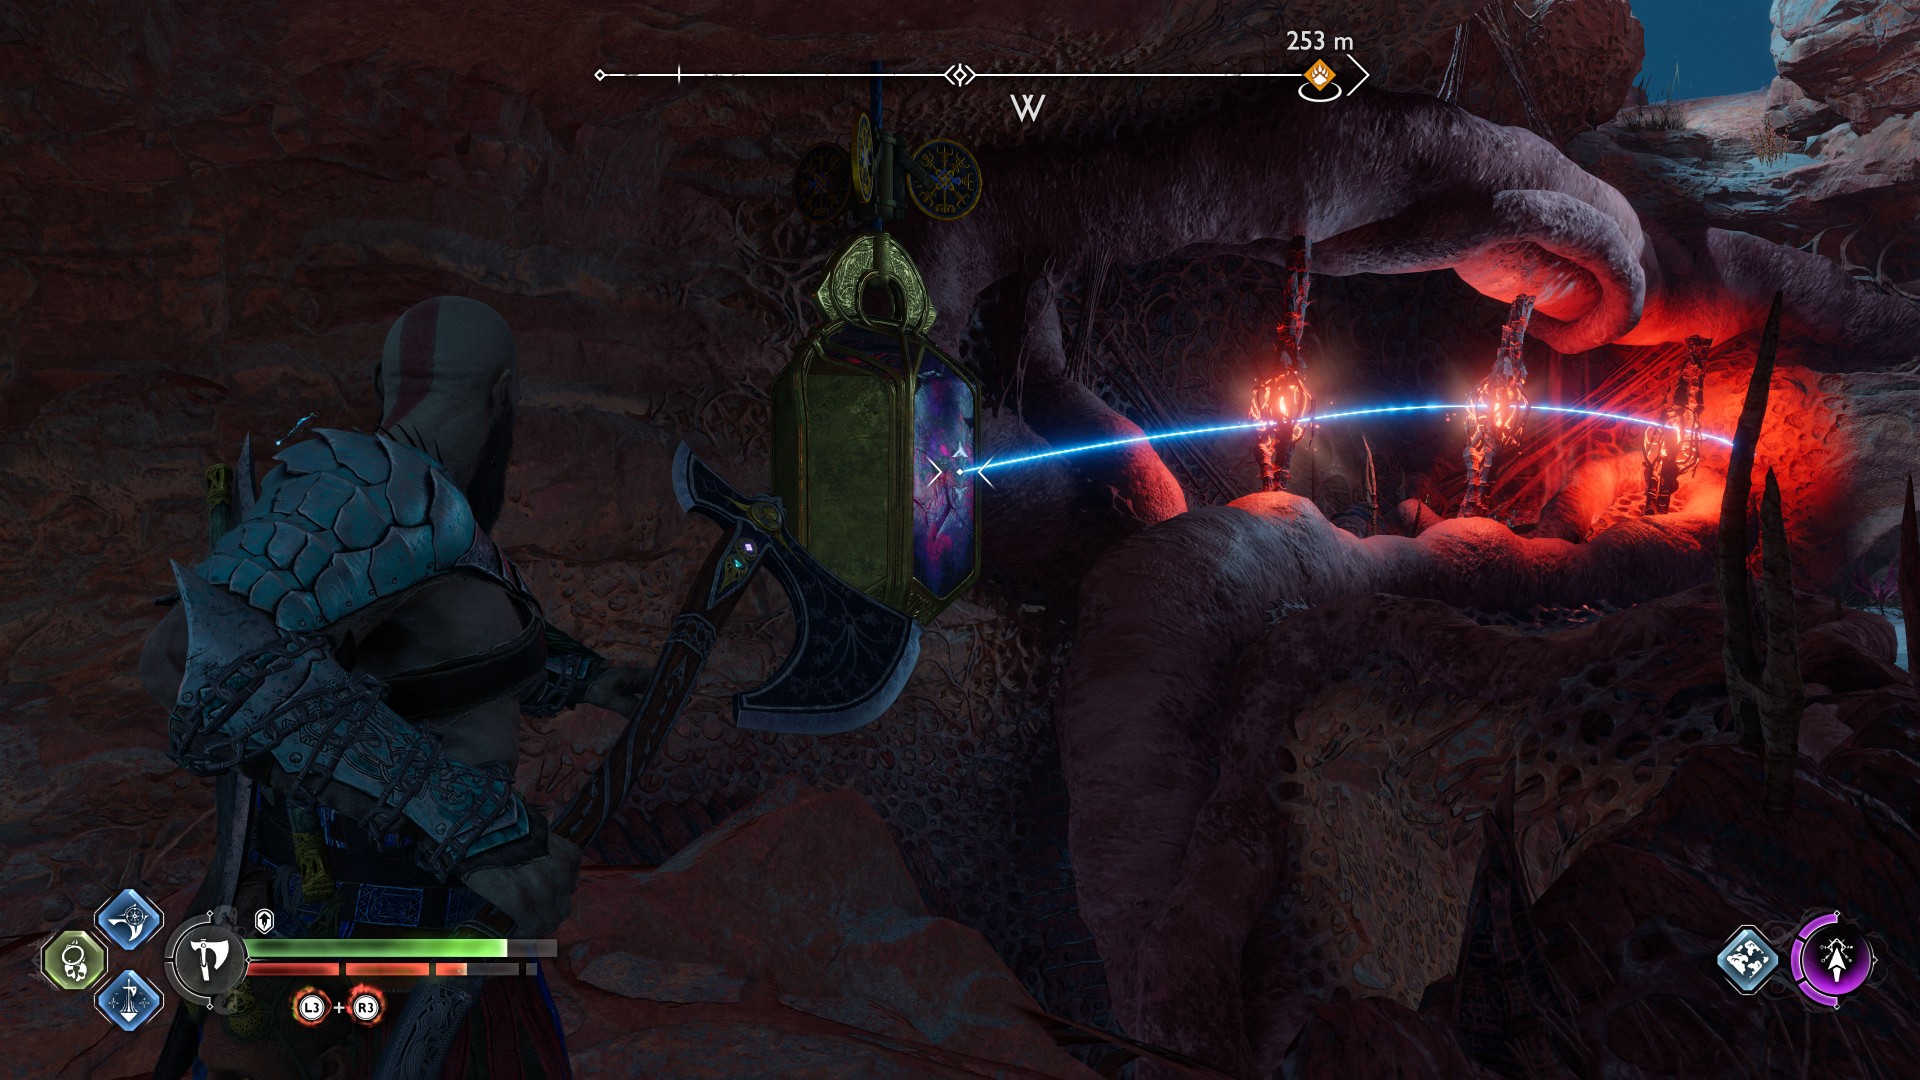
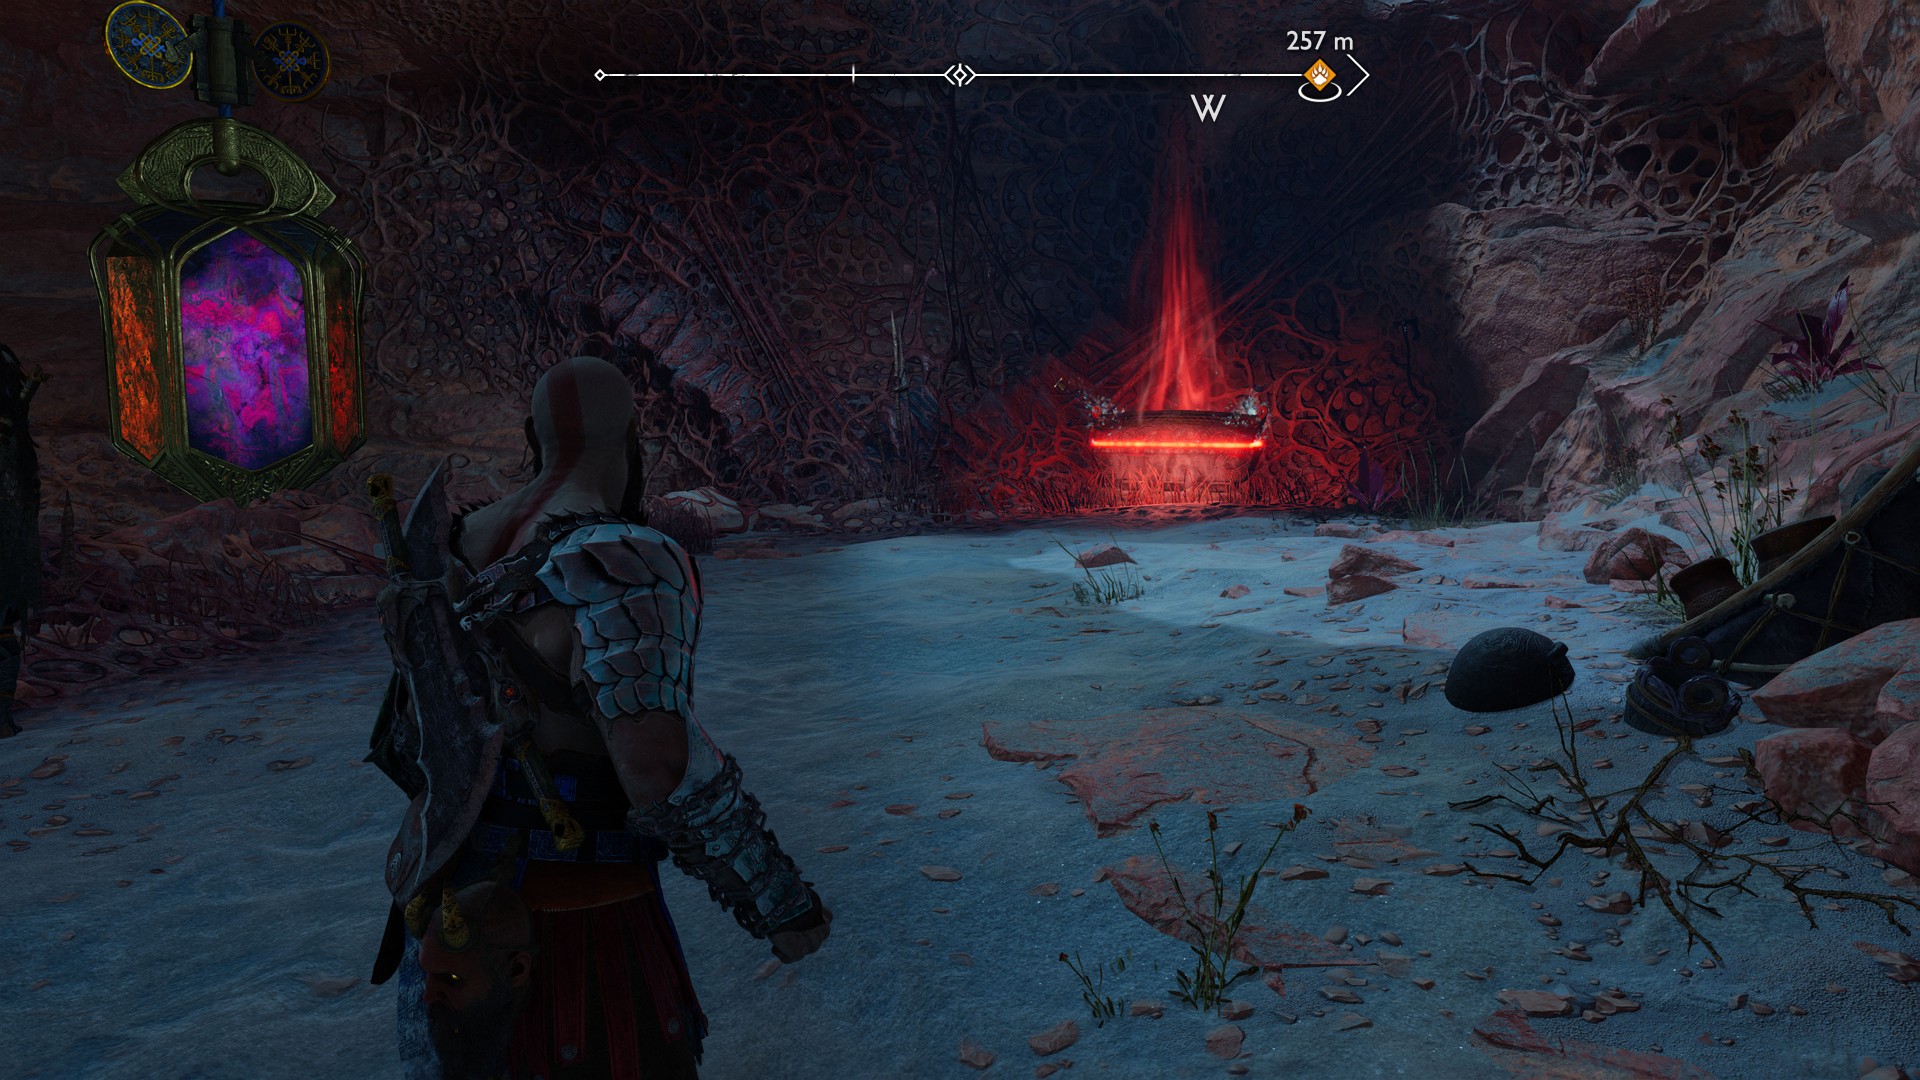
136Red Chest
To get to this chest you must first clear the area. Start by destroying the red jar. When you have done this and all the connections are exposed then approach from another side and cut them with an accurate axe throw.
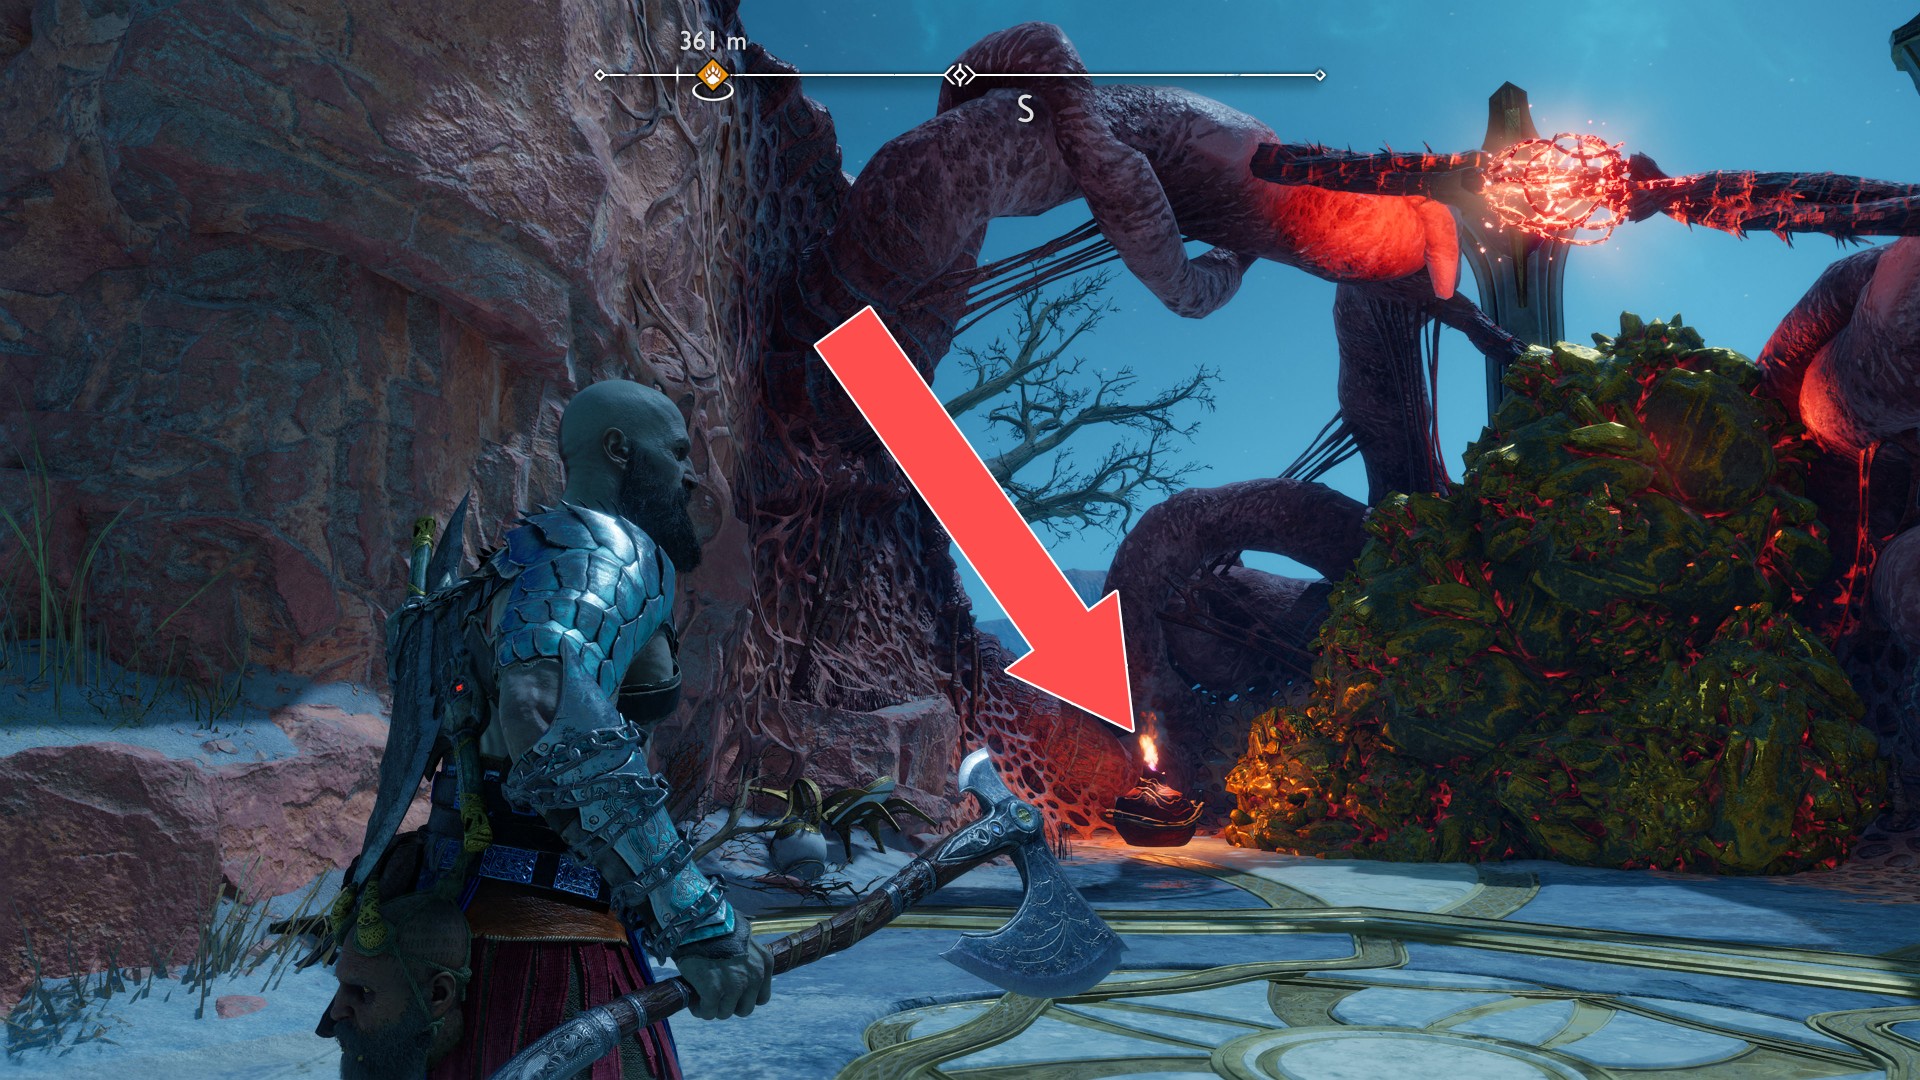
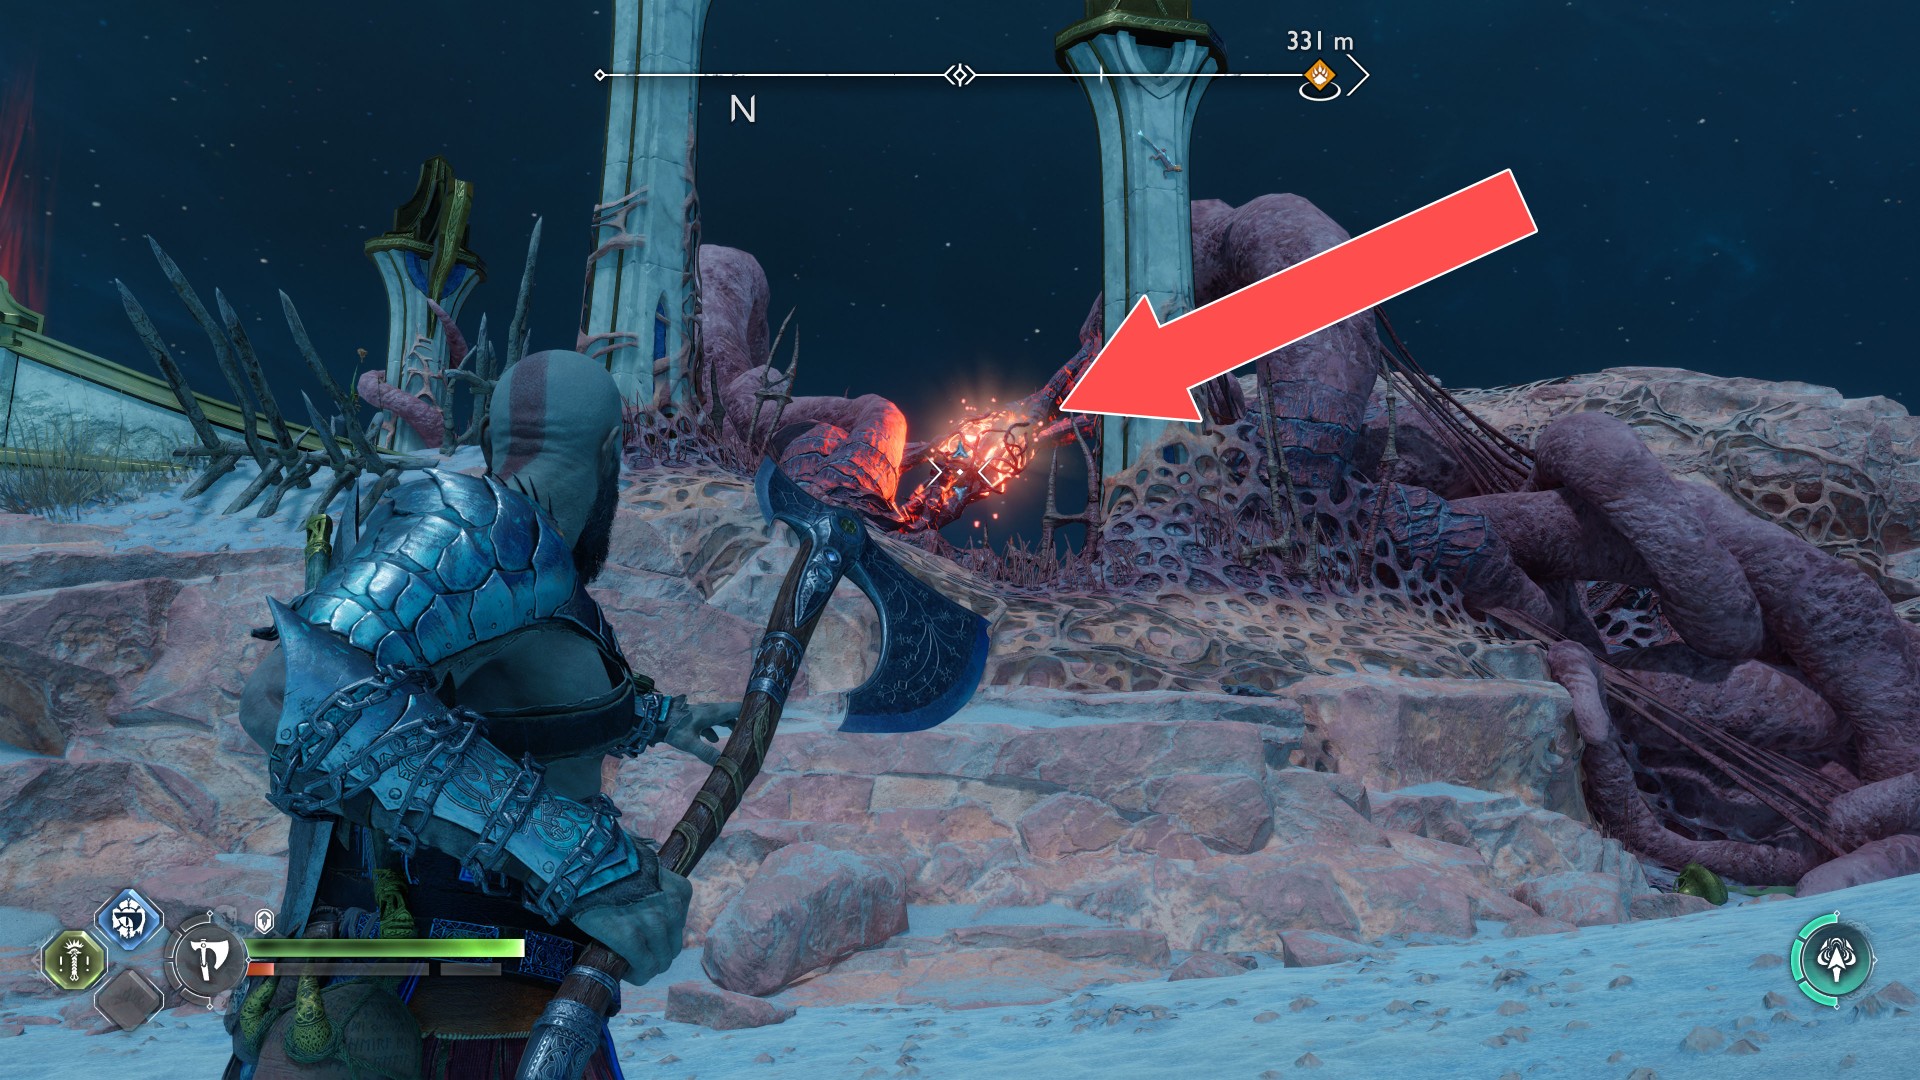
137Red Chest
Underground, in "The Below" area.
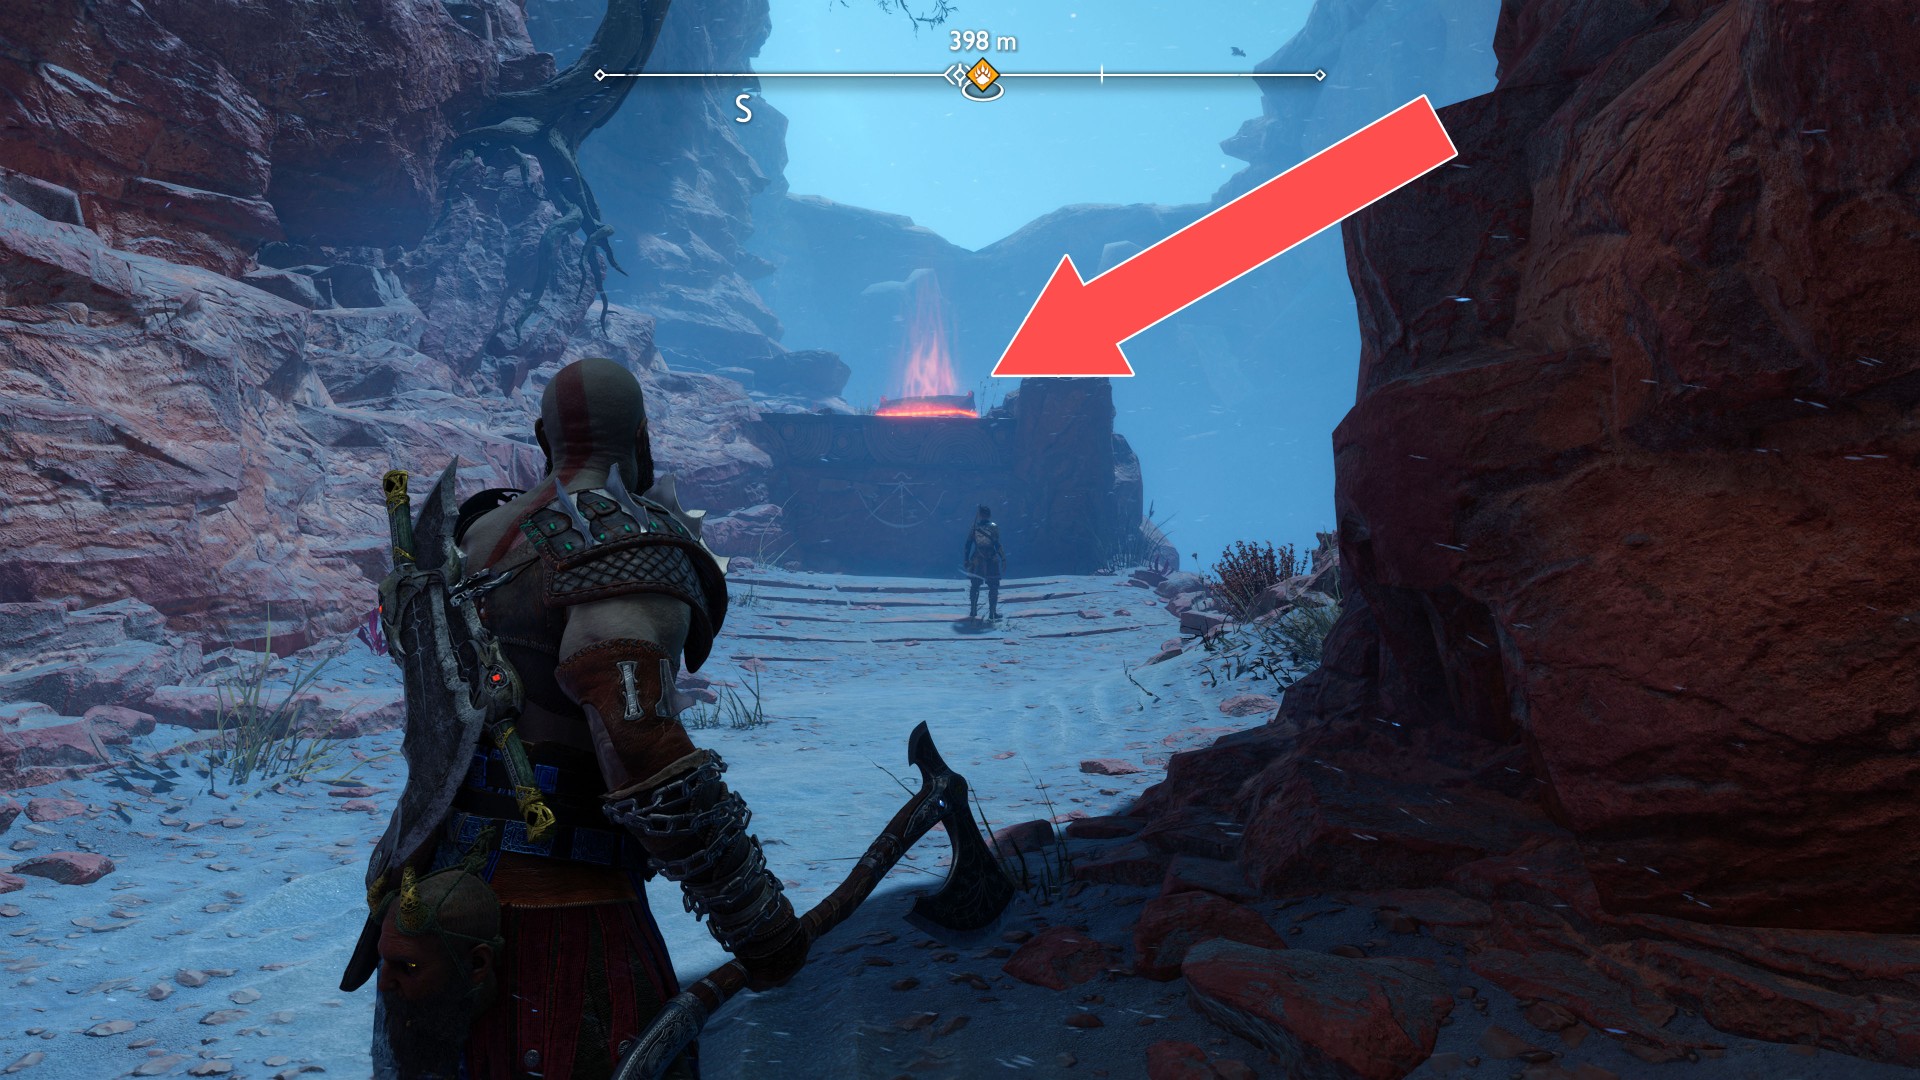
138Red Chest
Underground, in "The Below" area.
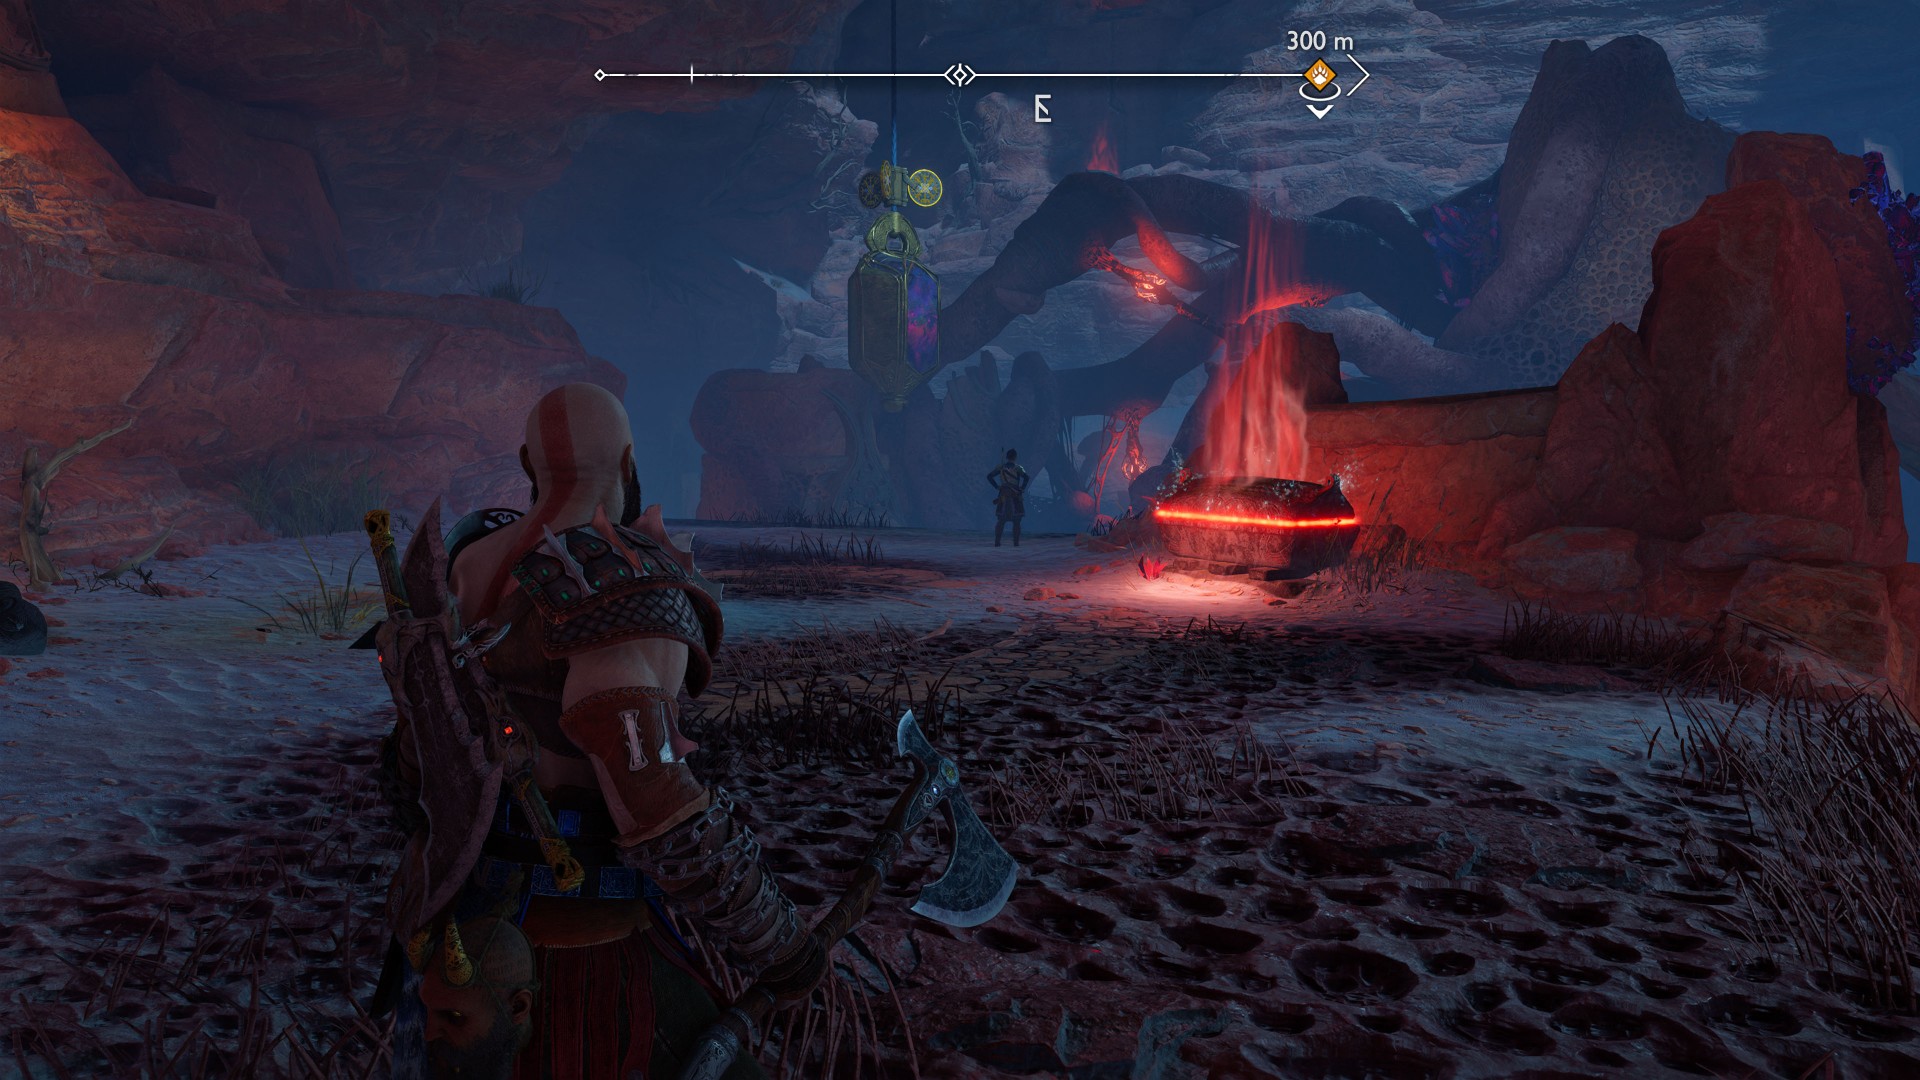
139Red Chest
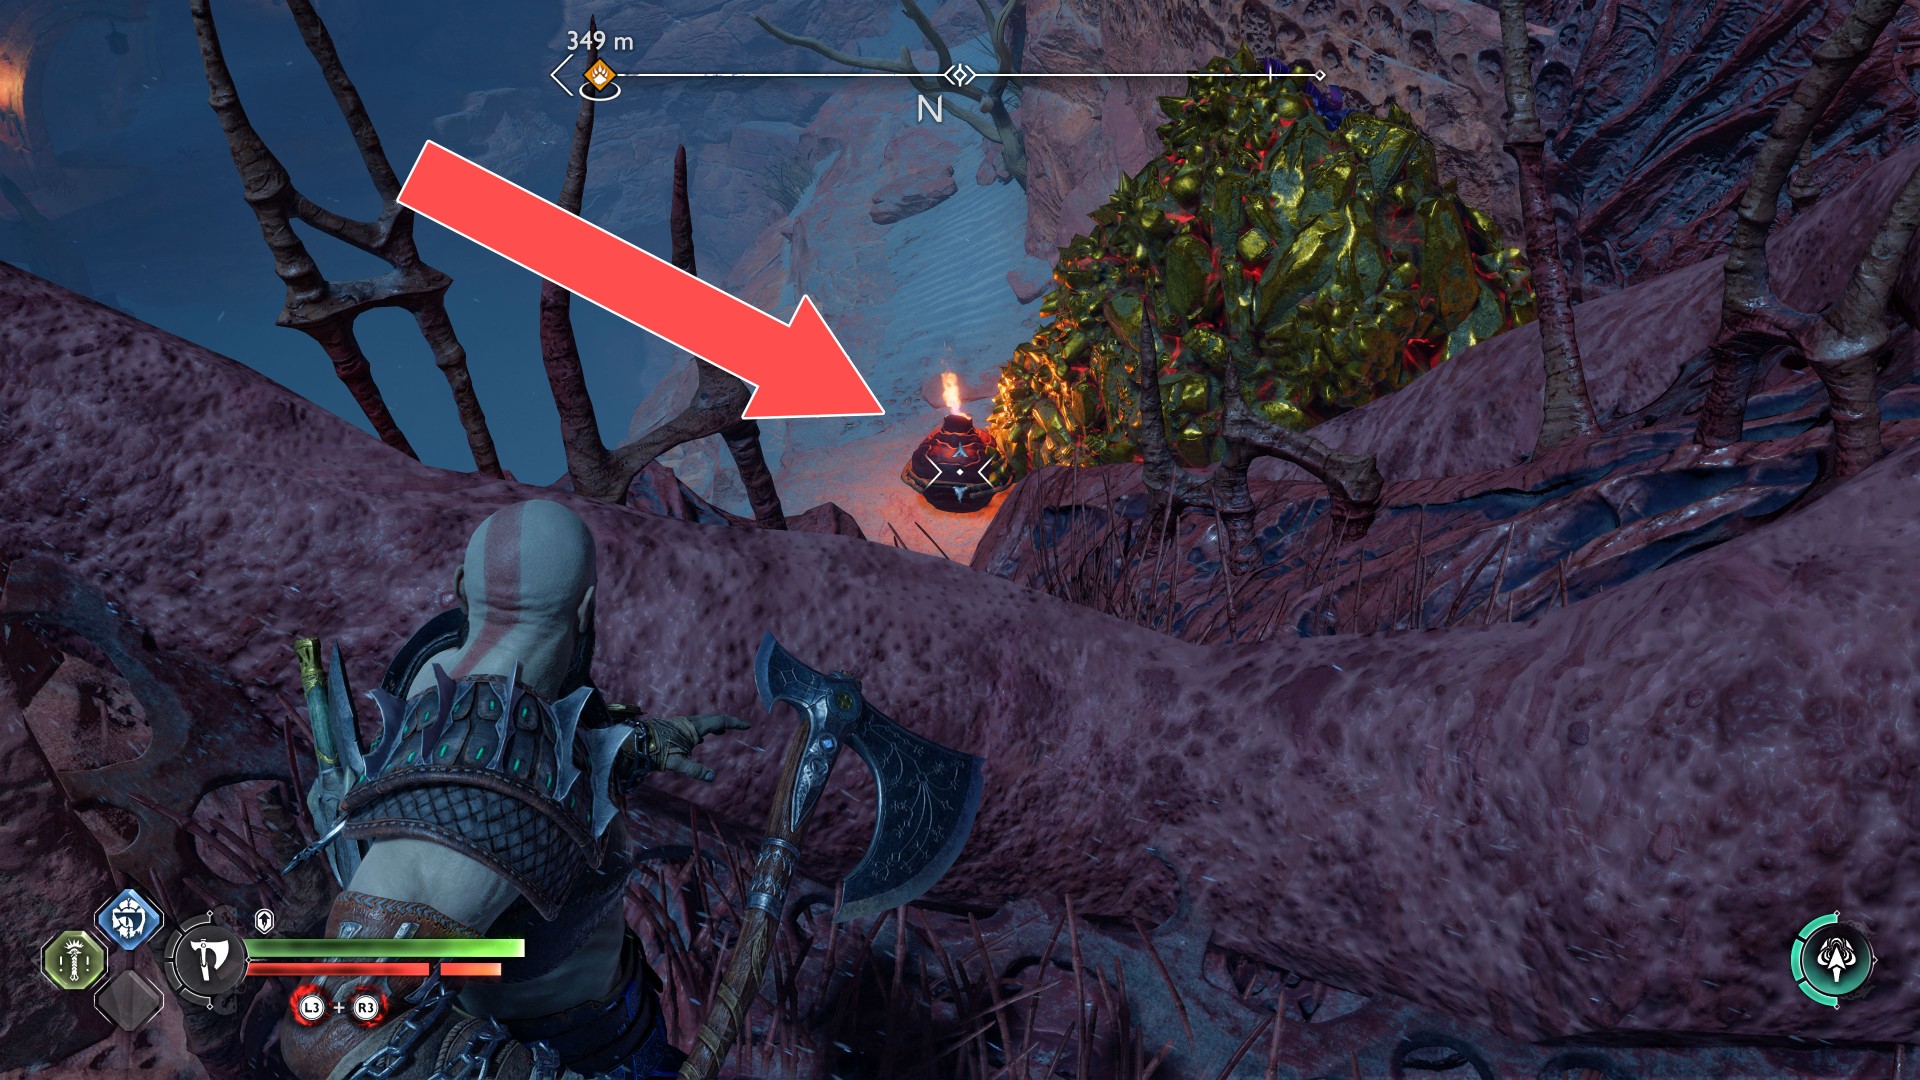
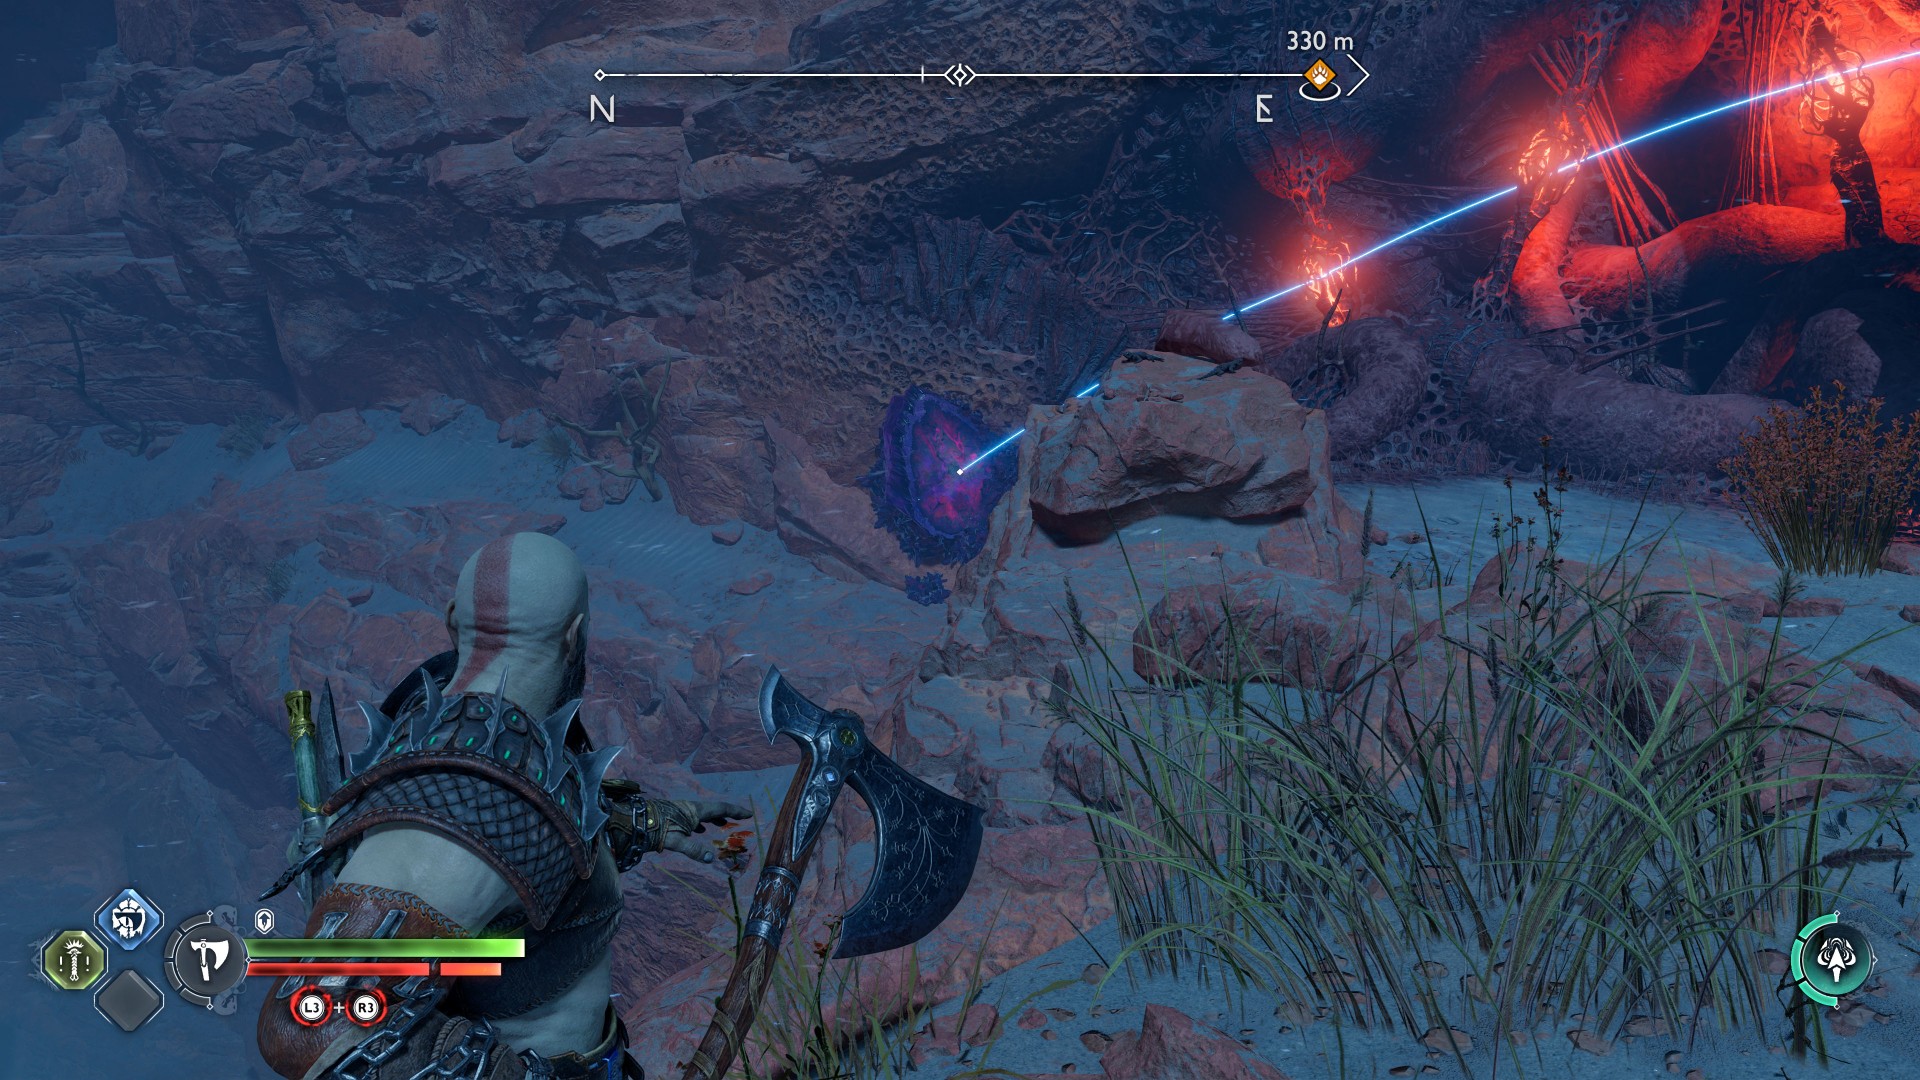
Underground, in "The Below" area. To reach this chest you must first get rid of the creepers blocking access.
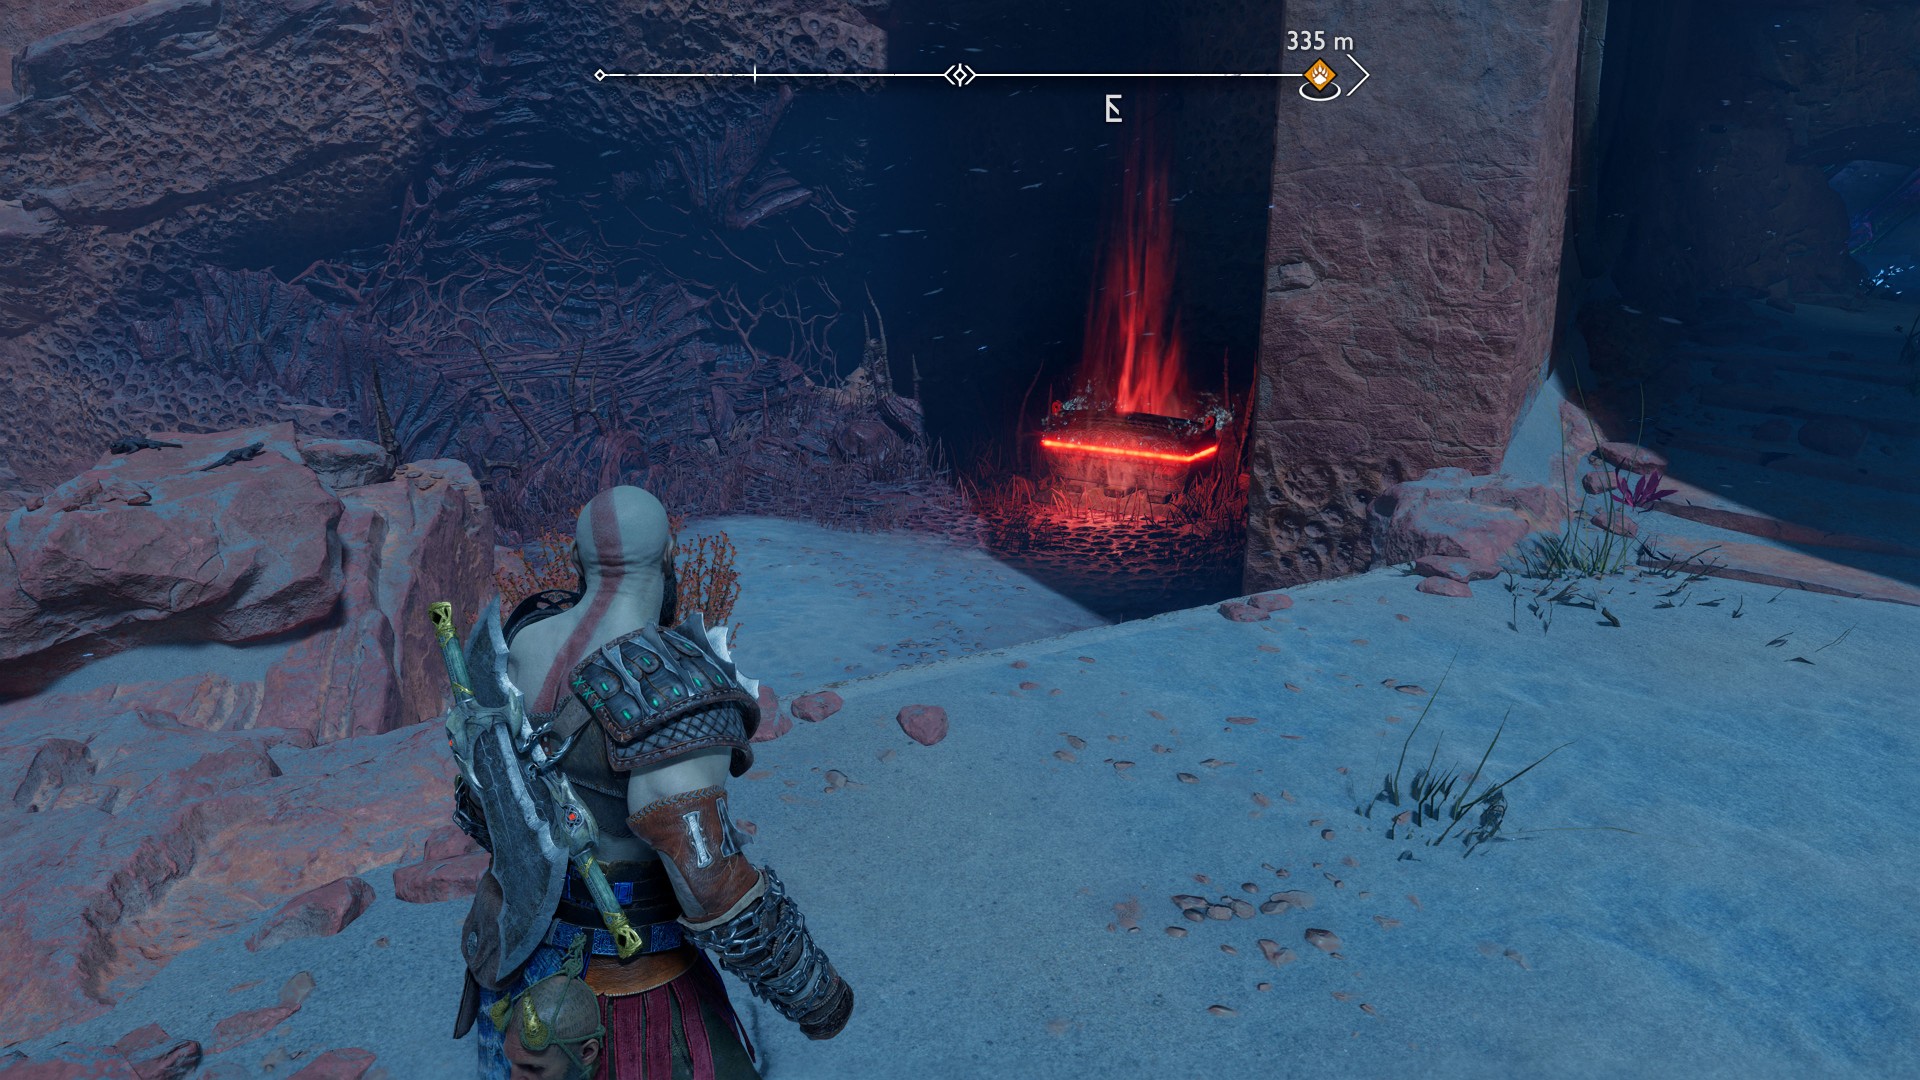
First, throw your axe at the red jar. This will reveal the twilight stone.
Then throw the axe at the twilight stone so that it cuts all three joints.
140Red Chest
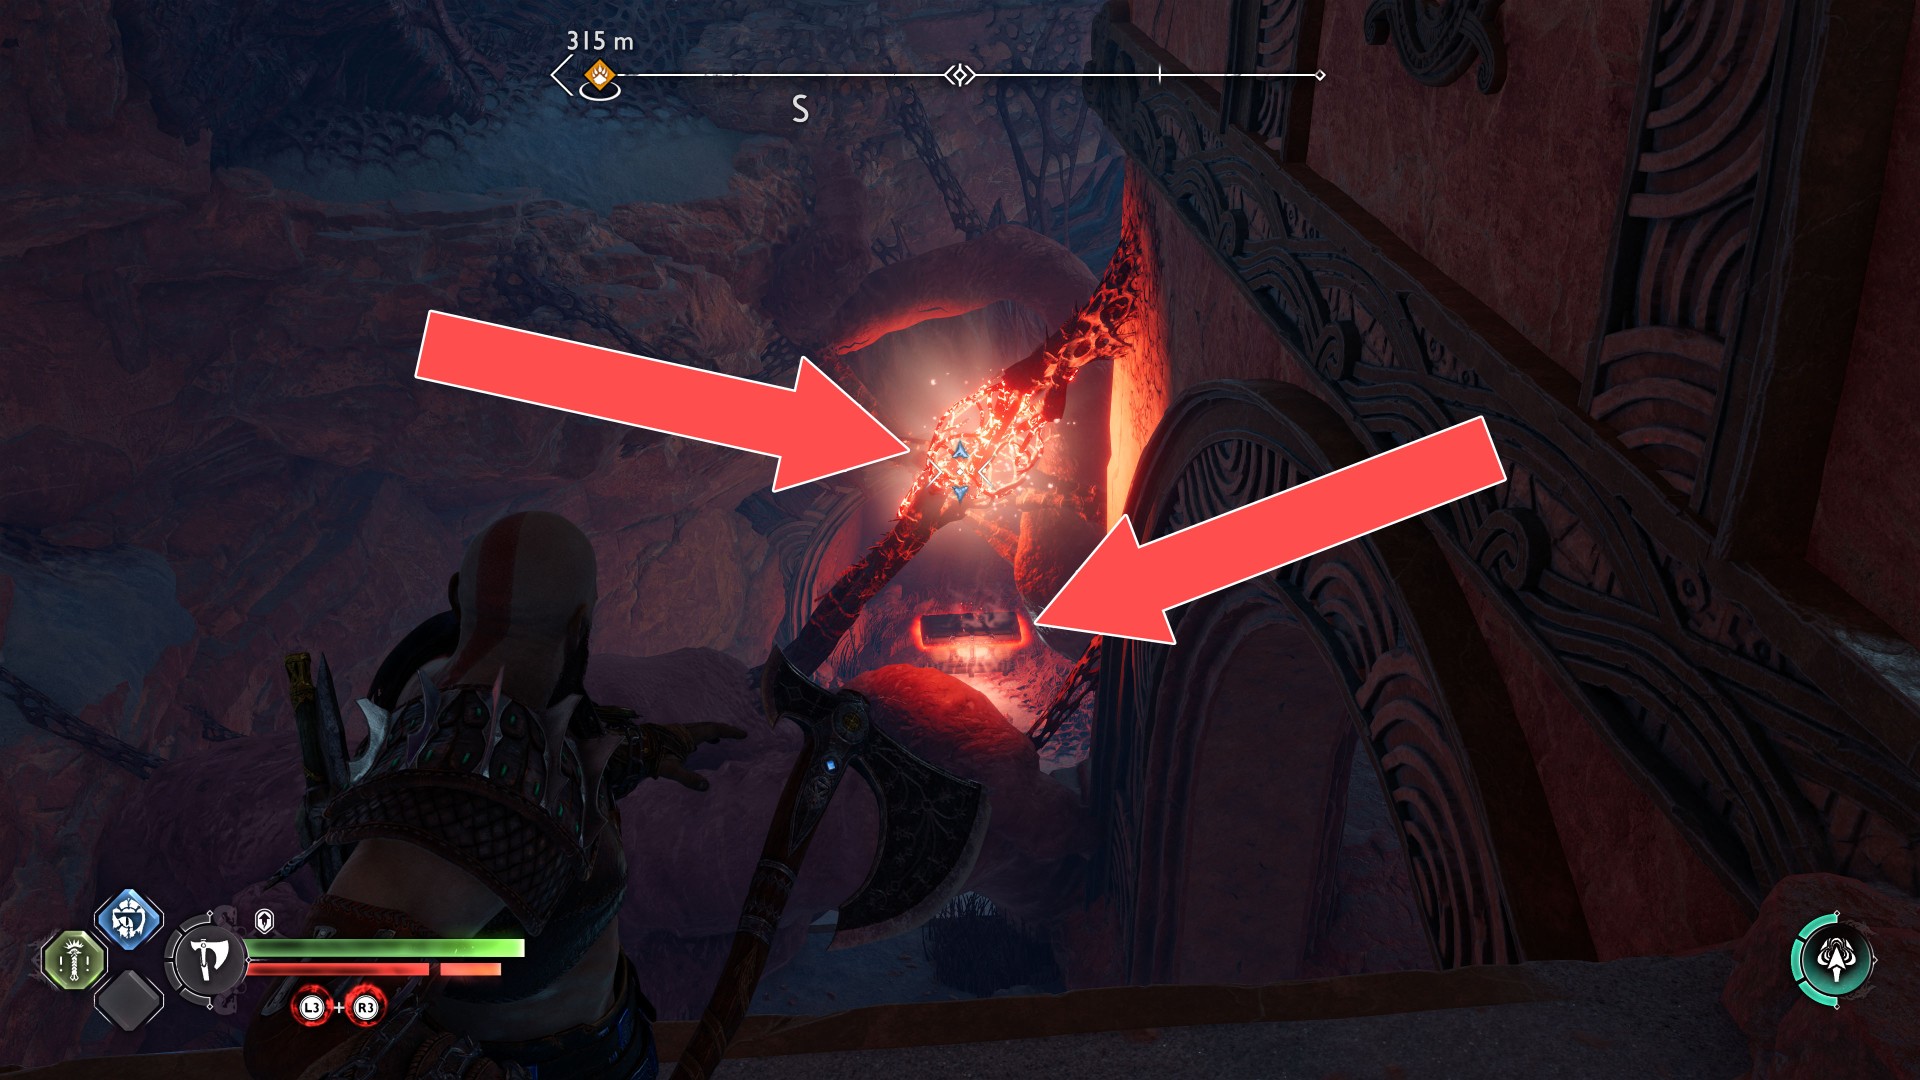
Underground, in "The Below" area. To get to this chest you must cut three red links in one axe throw. To do this, you must climb to the ledge above.
141Red Chest
142Red Chest
143Red Chest
You will find this chest near the elevator that you can take to the very top of the temple. On the platform you can jump to from the platform where the "Limitless" artifact is located.
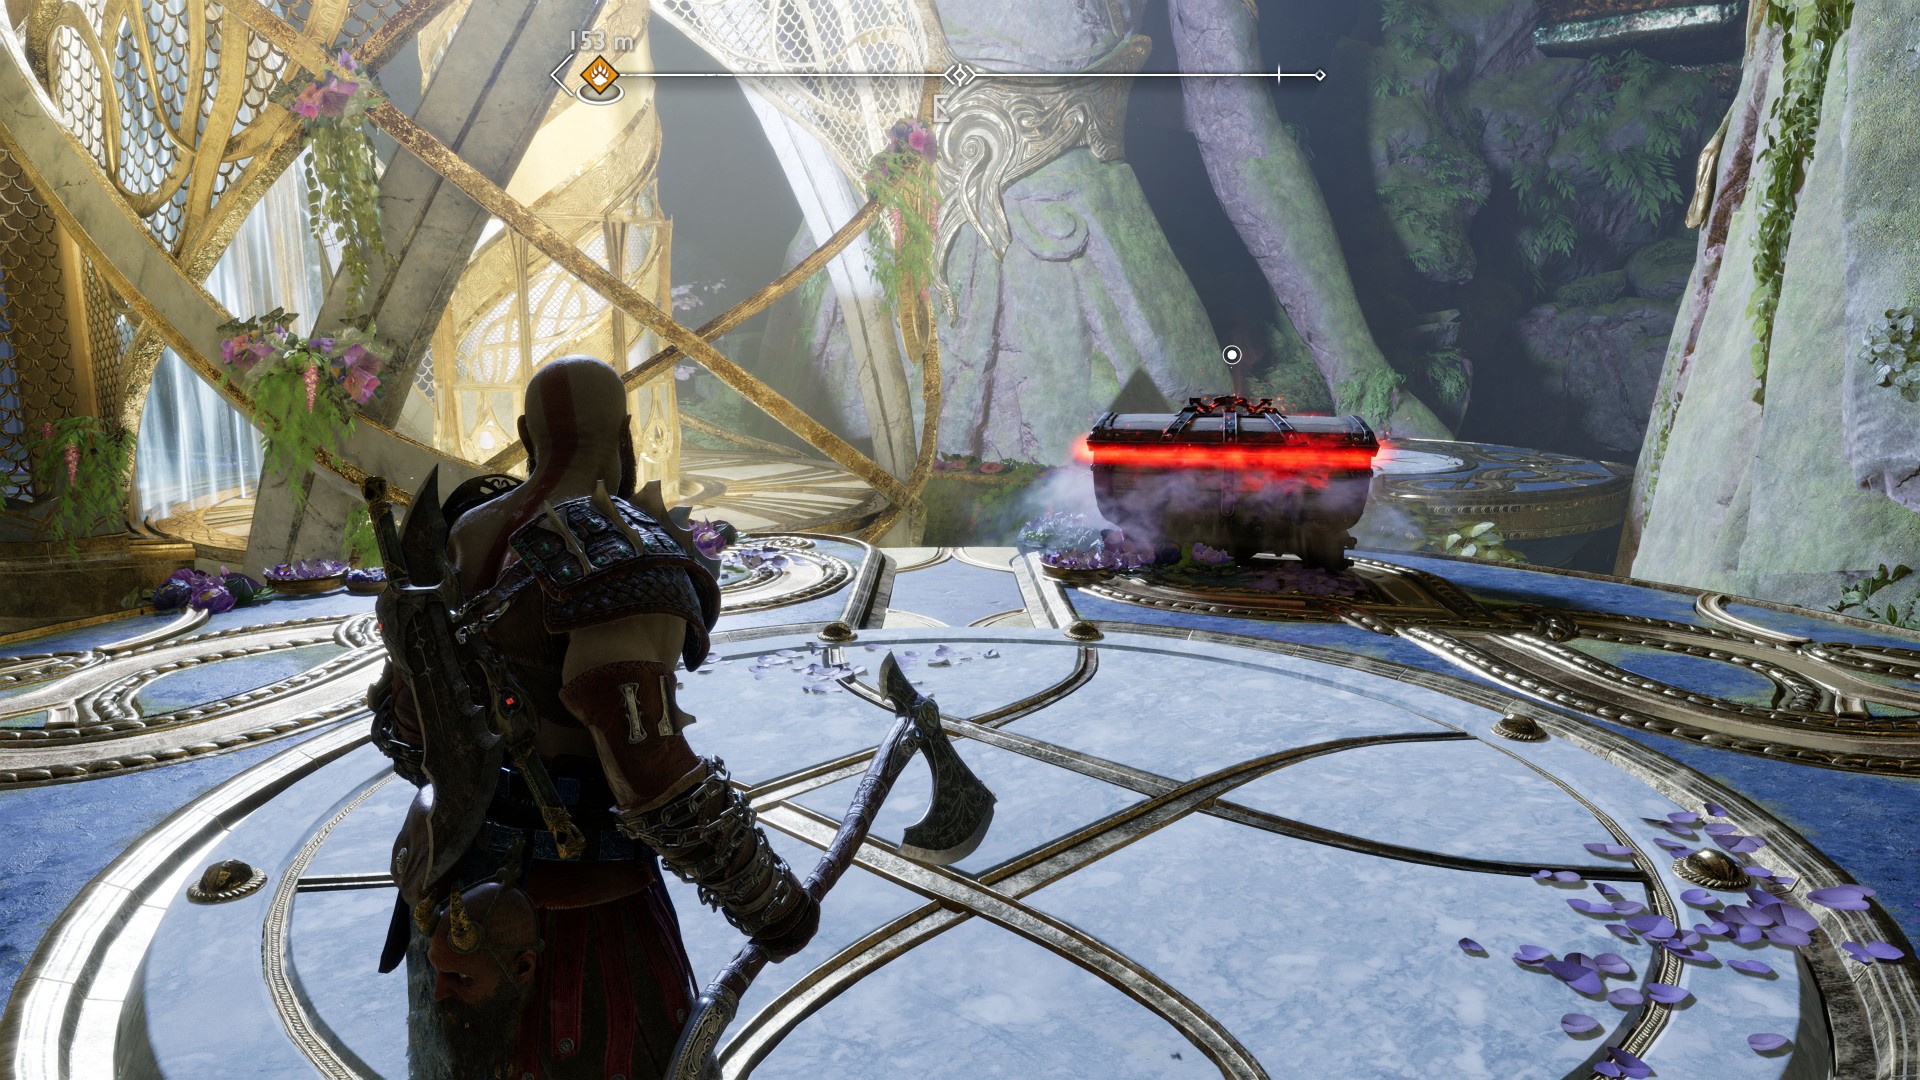
144Red Chest
This chest is already visible from the main room, but you can reach it not until a little later.
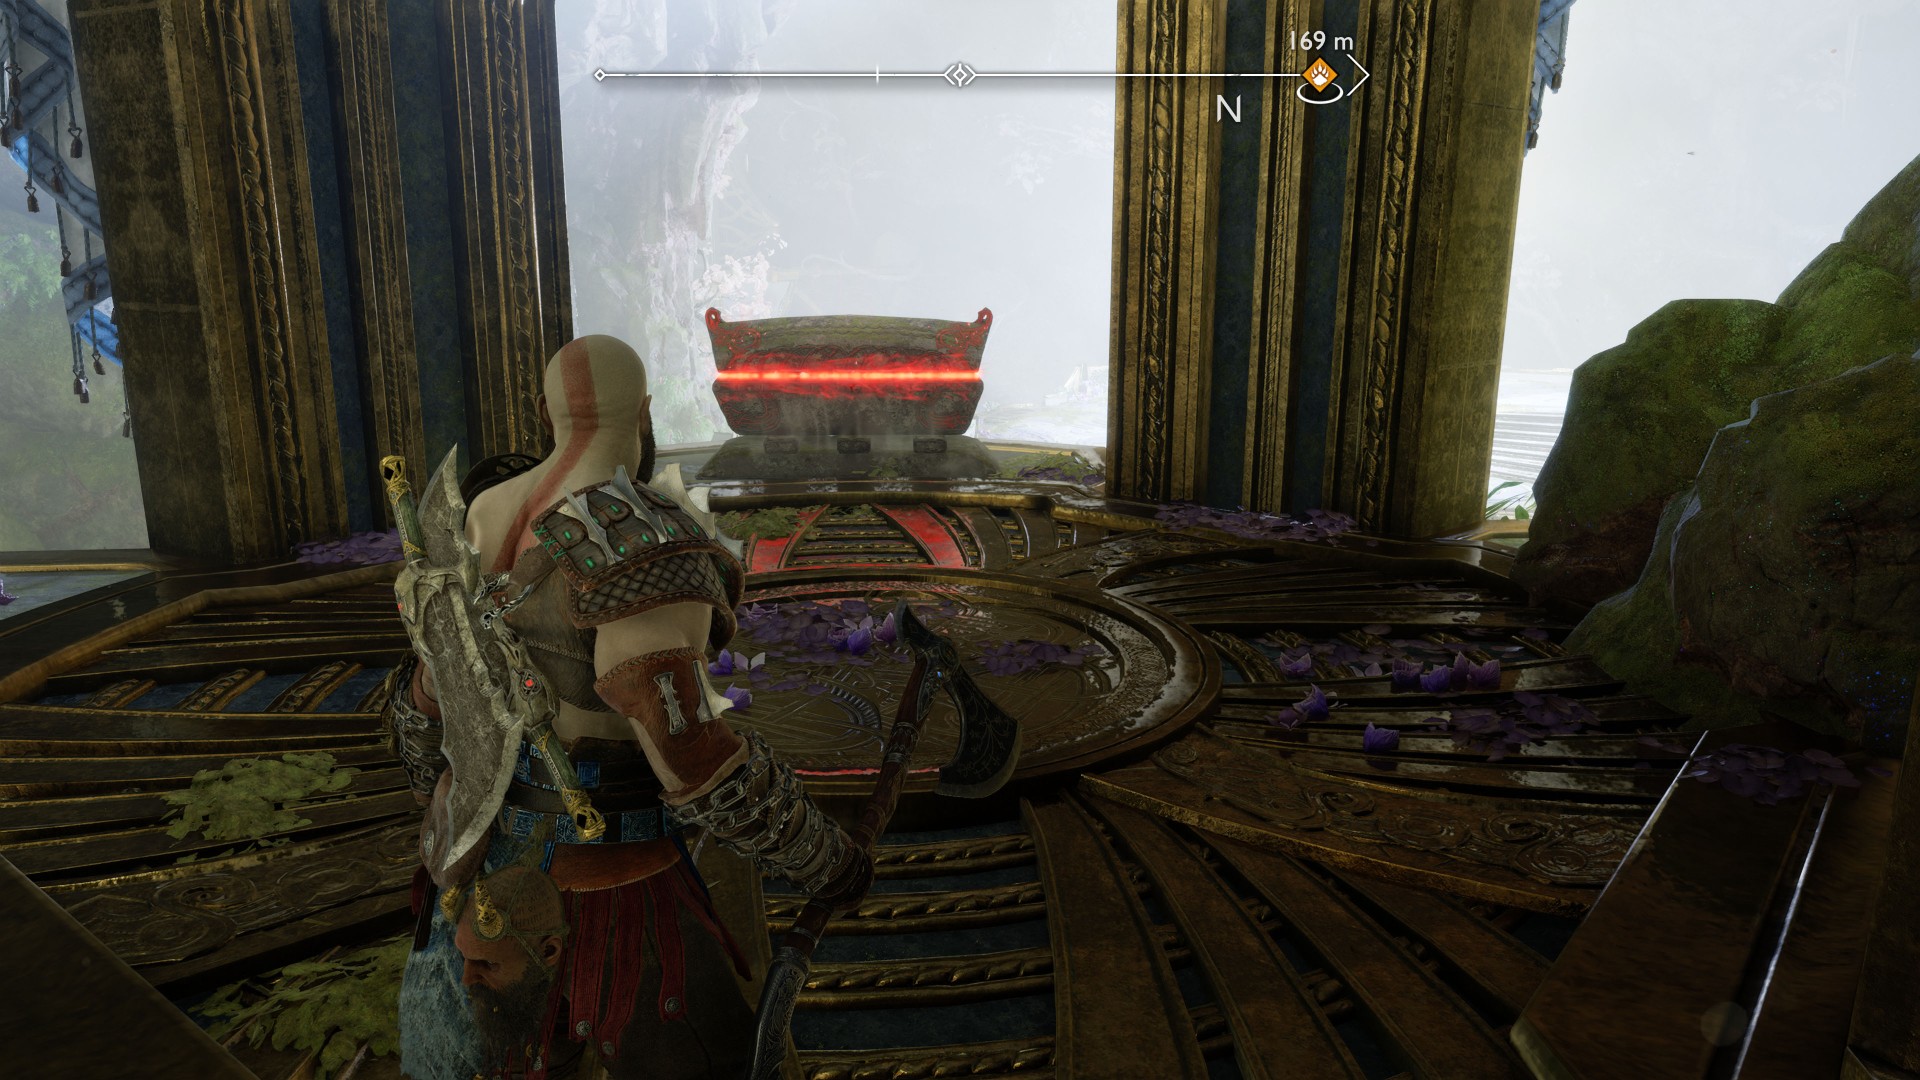
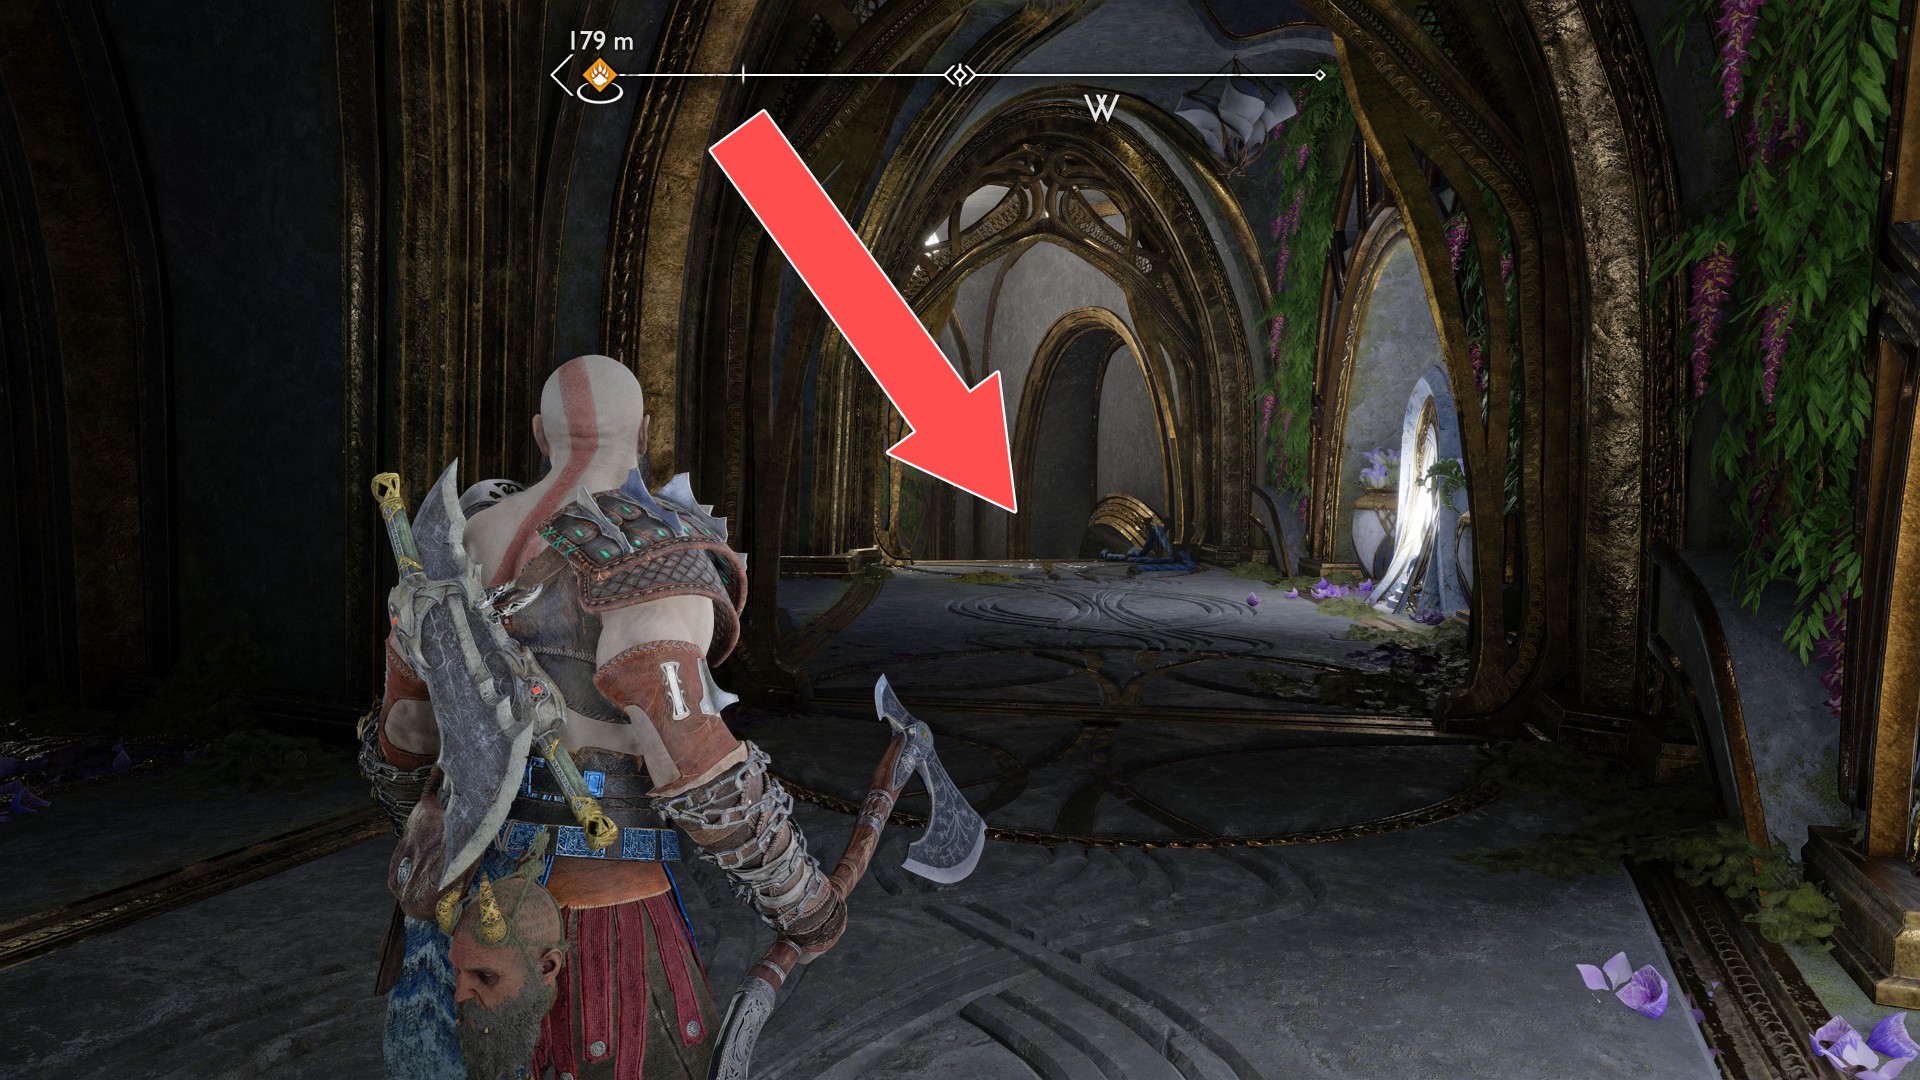
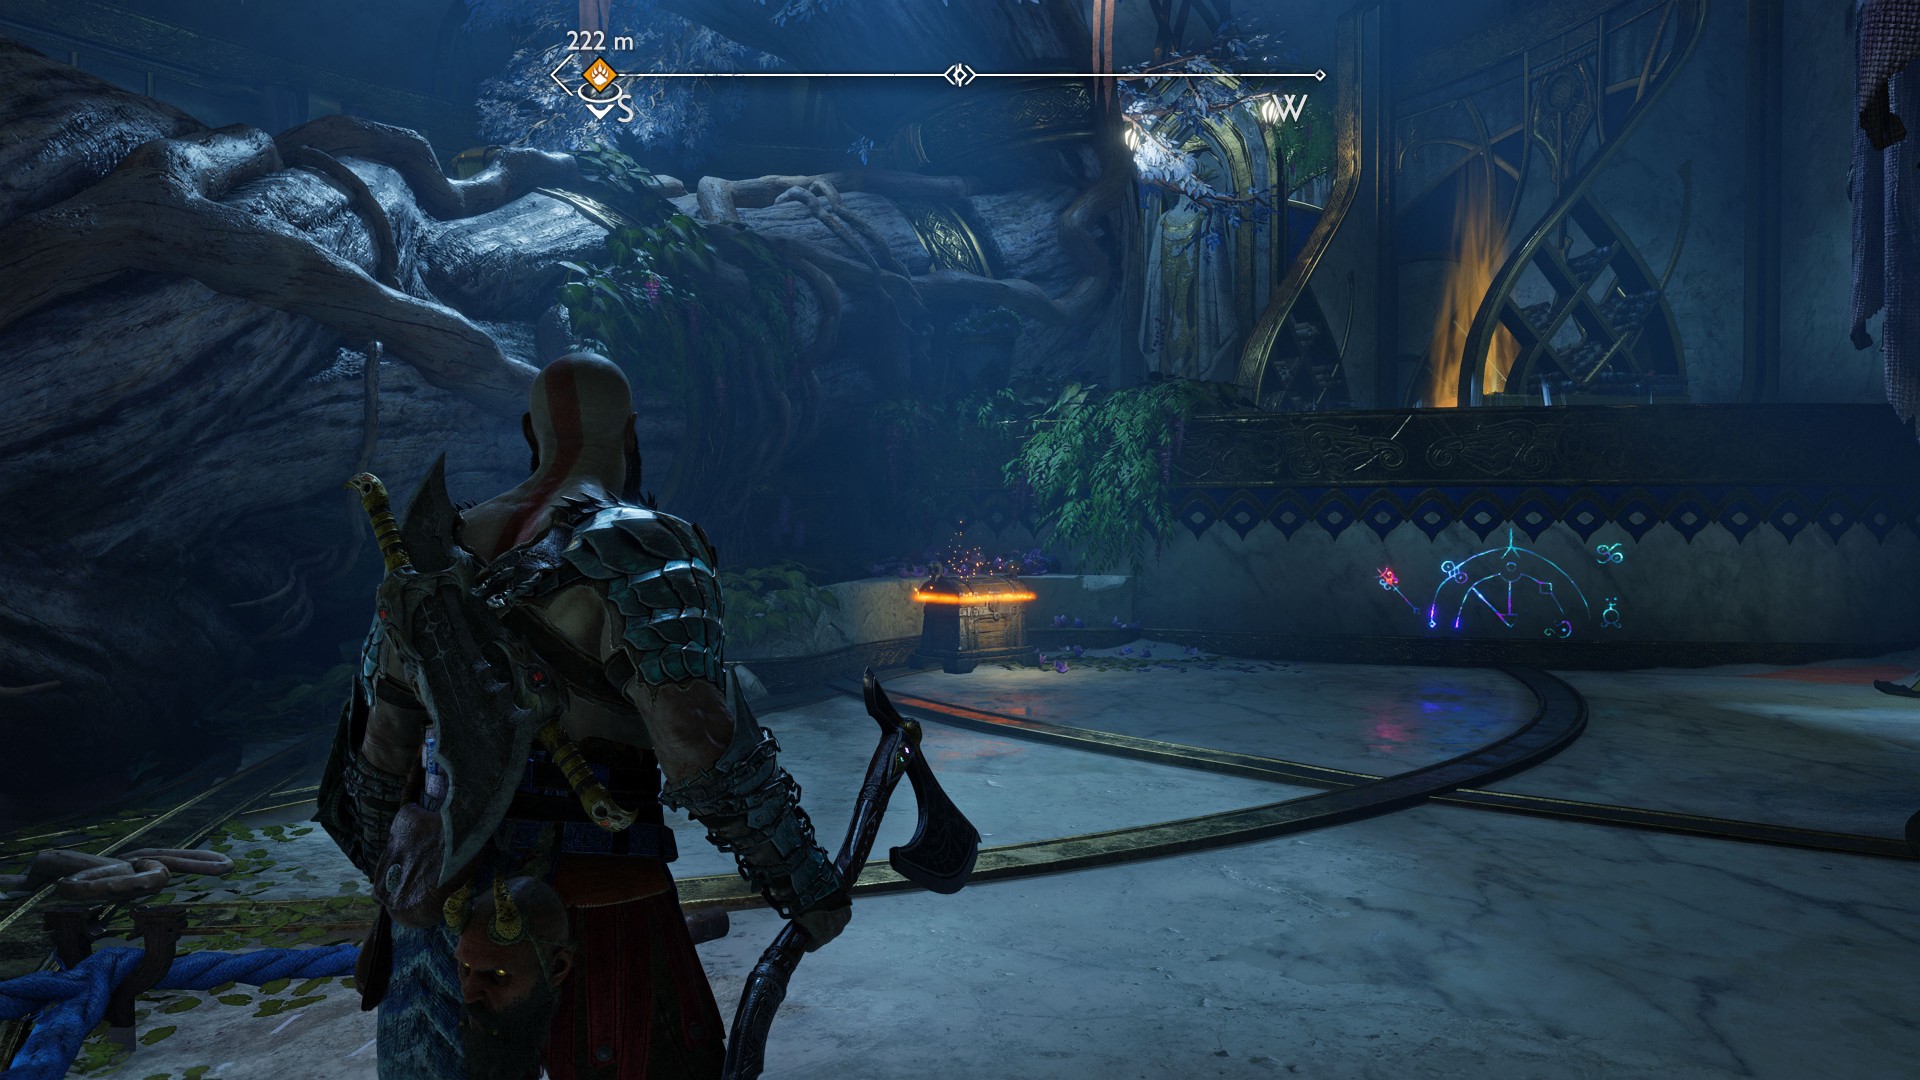
You will reach it from the hallways located behind it. At some point you will have to descend to the level below.
145Yellow Chest
146Yellow Chest
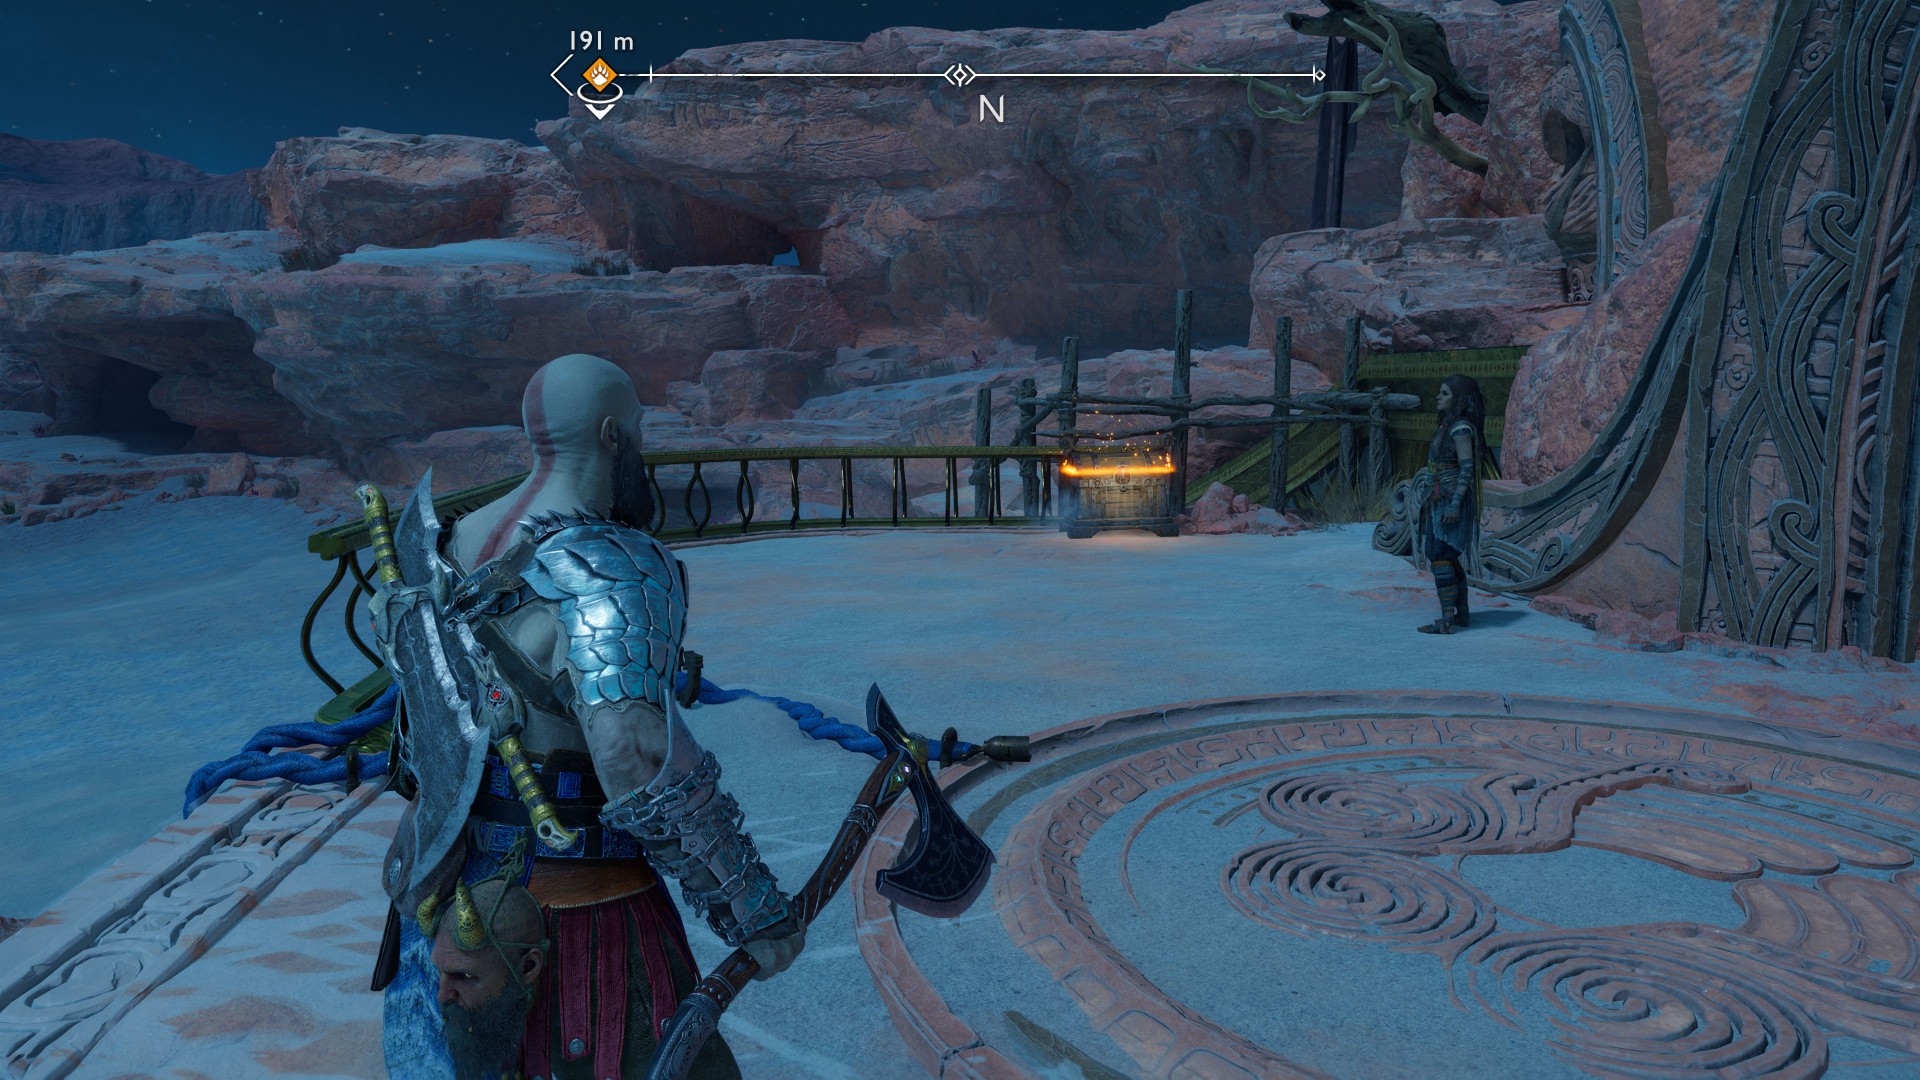
147Yellow Chest
Underground, in "The Burrows" area. You will reach this area after destroying the Halgufa's bindings.
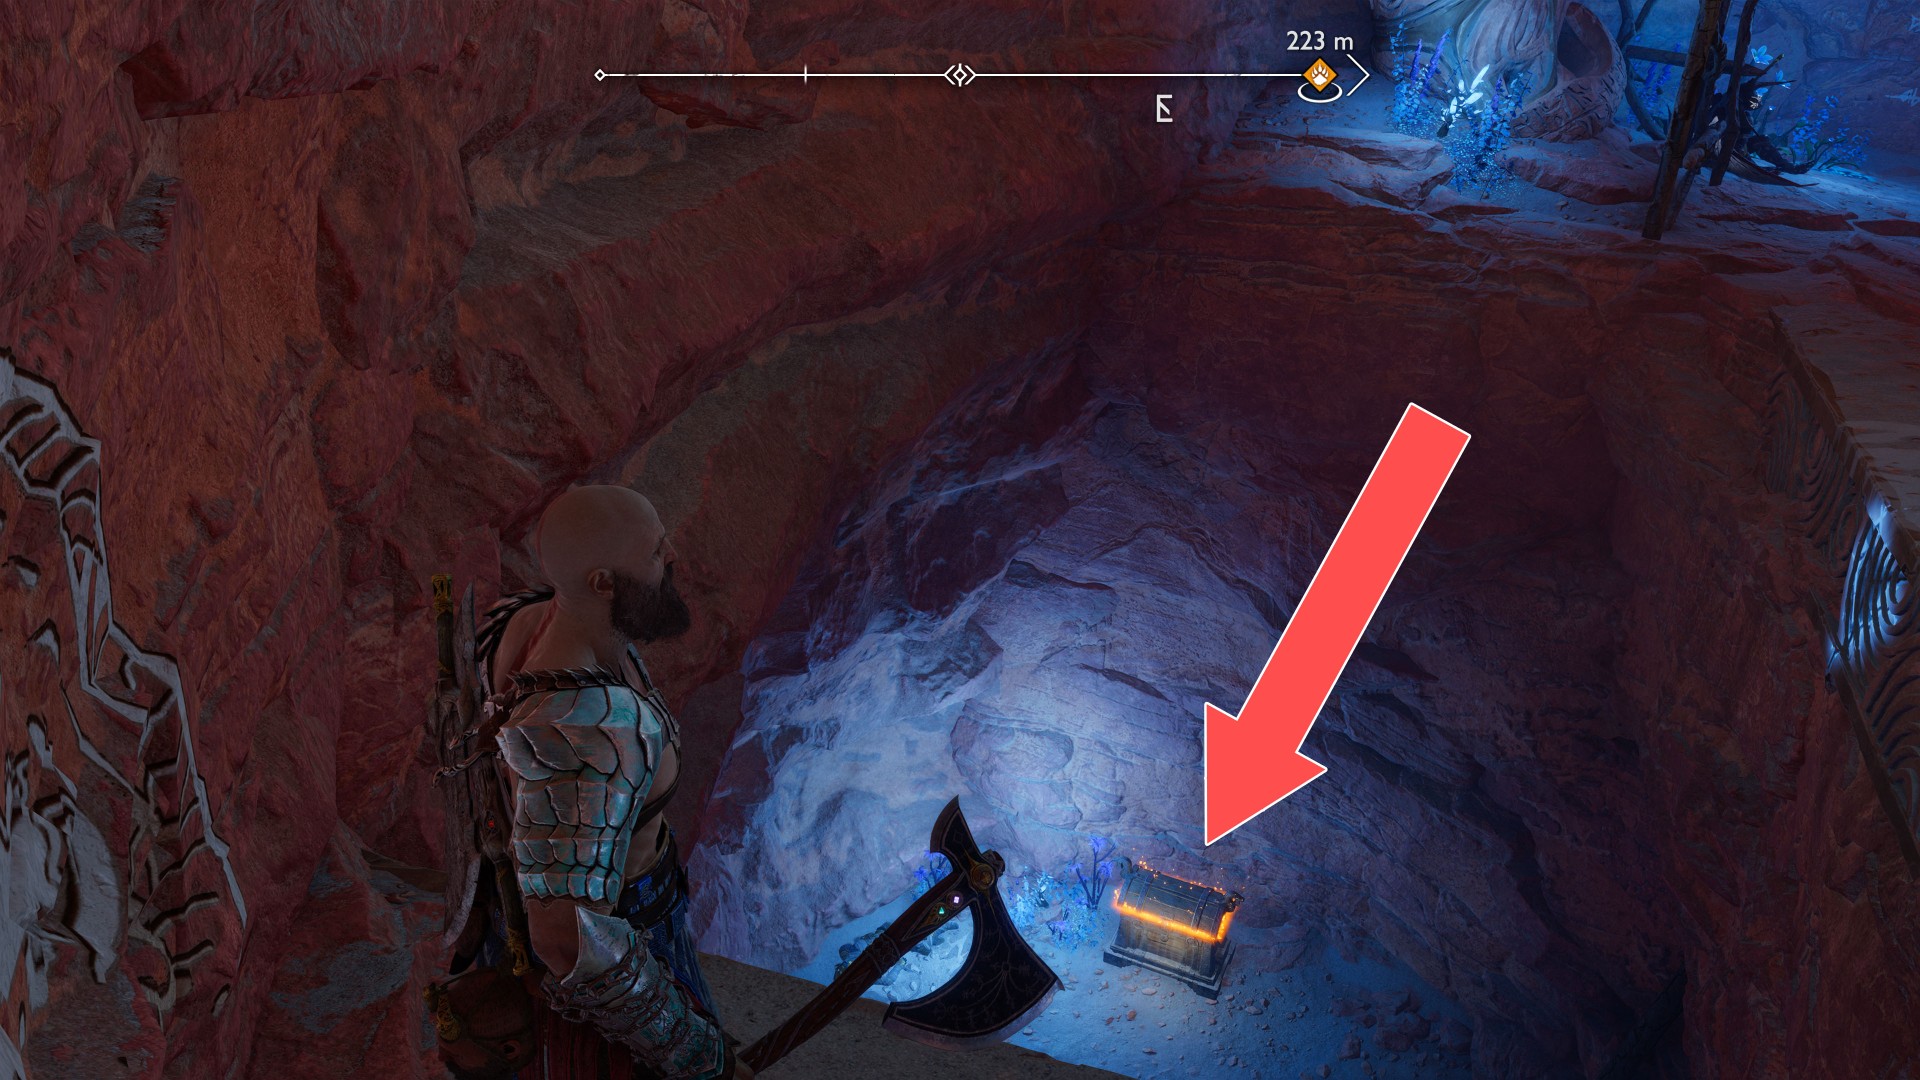
148Yellow Chest
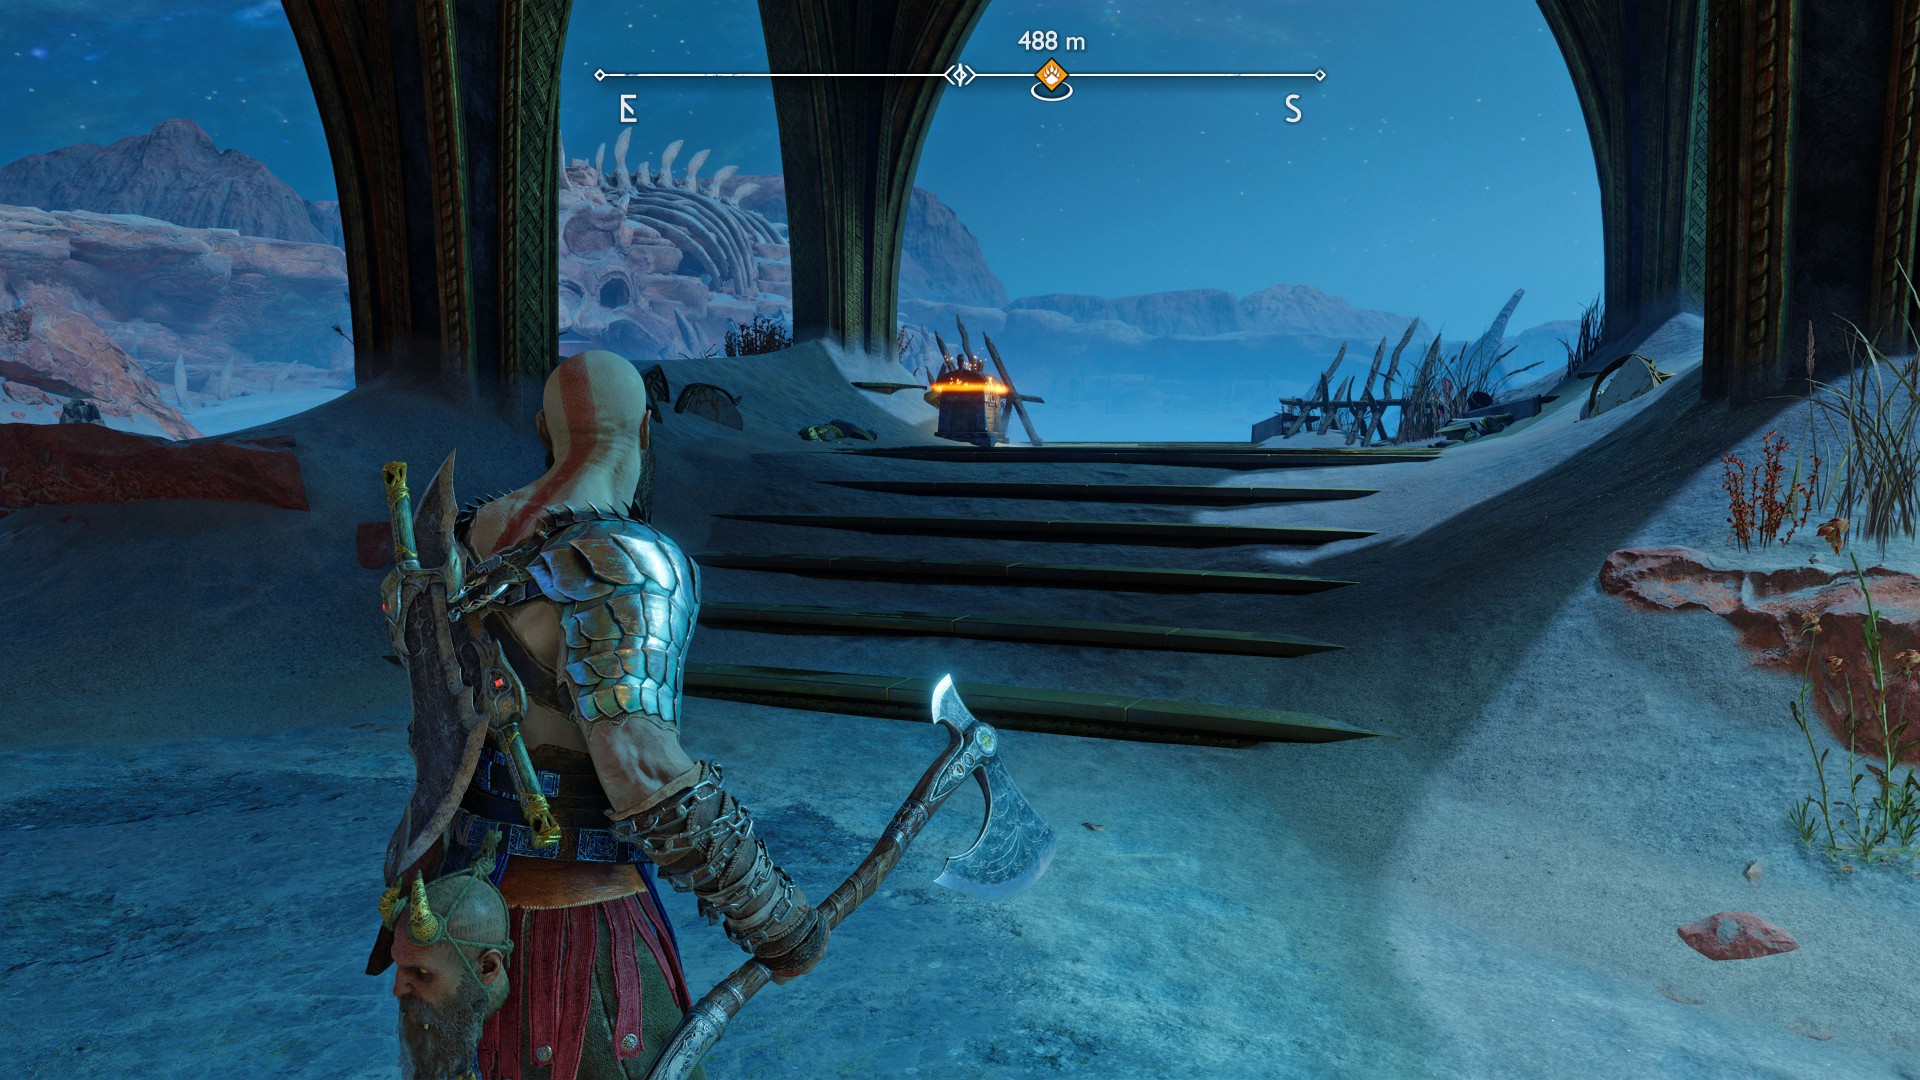
149Yellow Chest
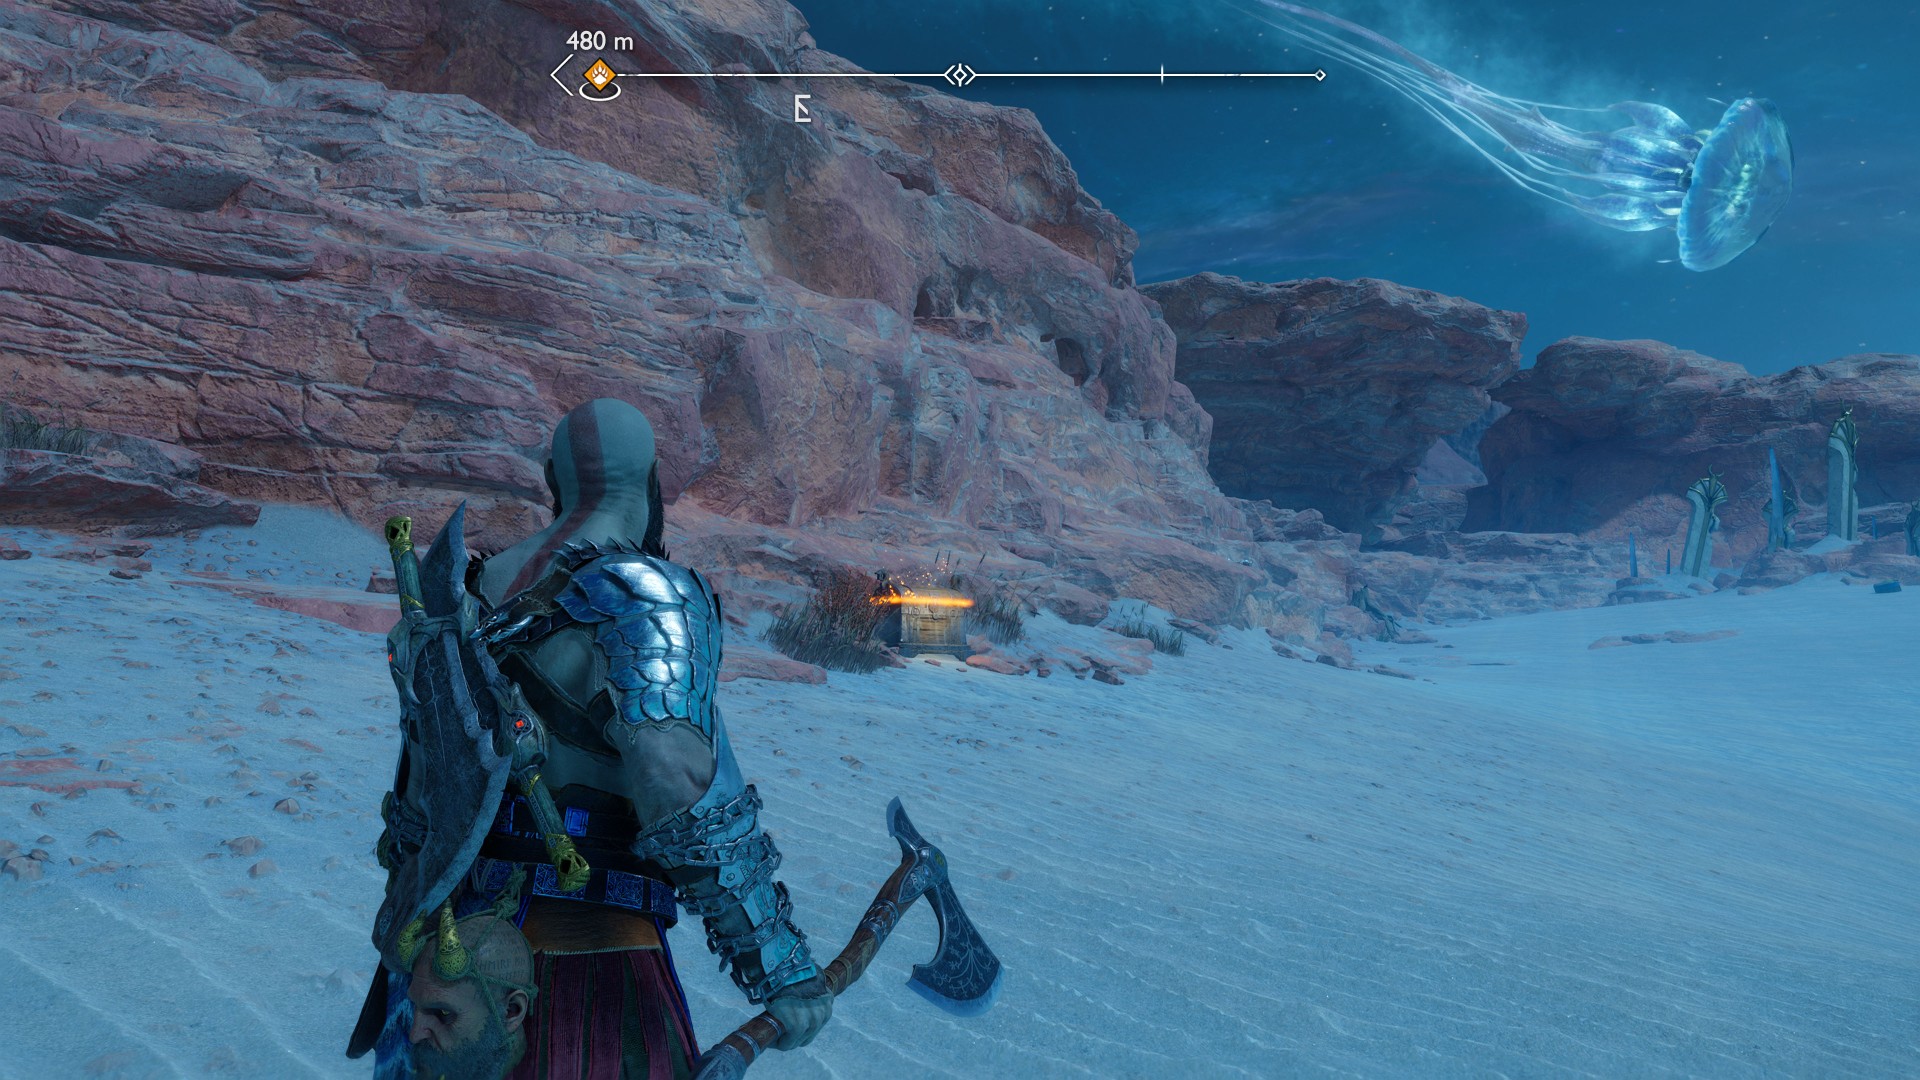
150Yellow Chest
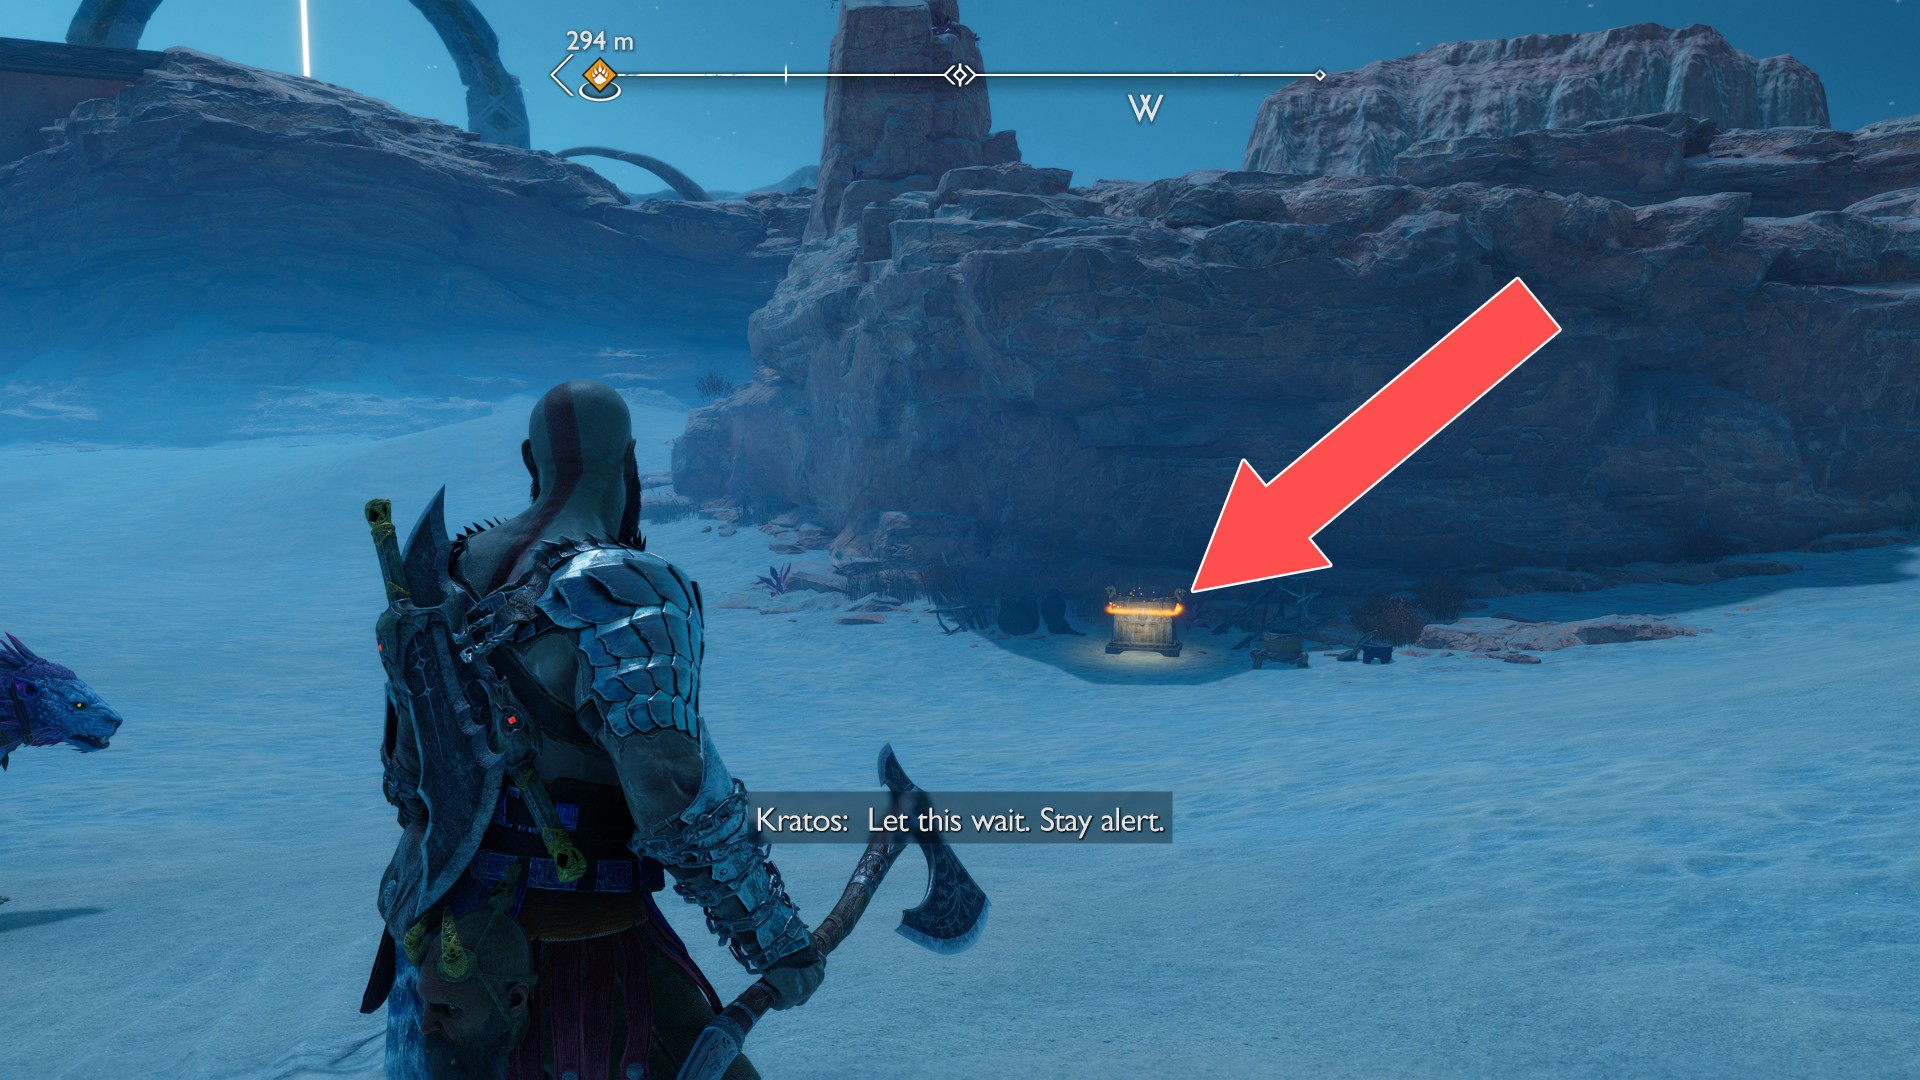
151Yellow Chest
Underground, in "The Below" area.
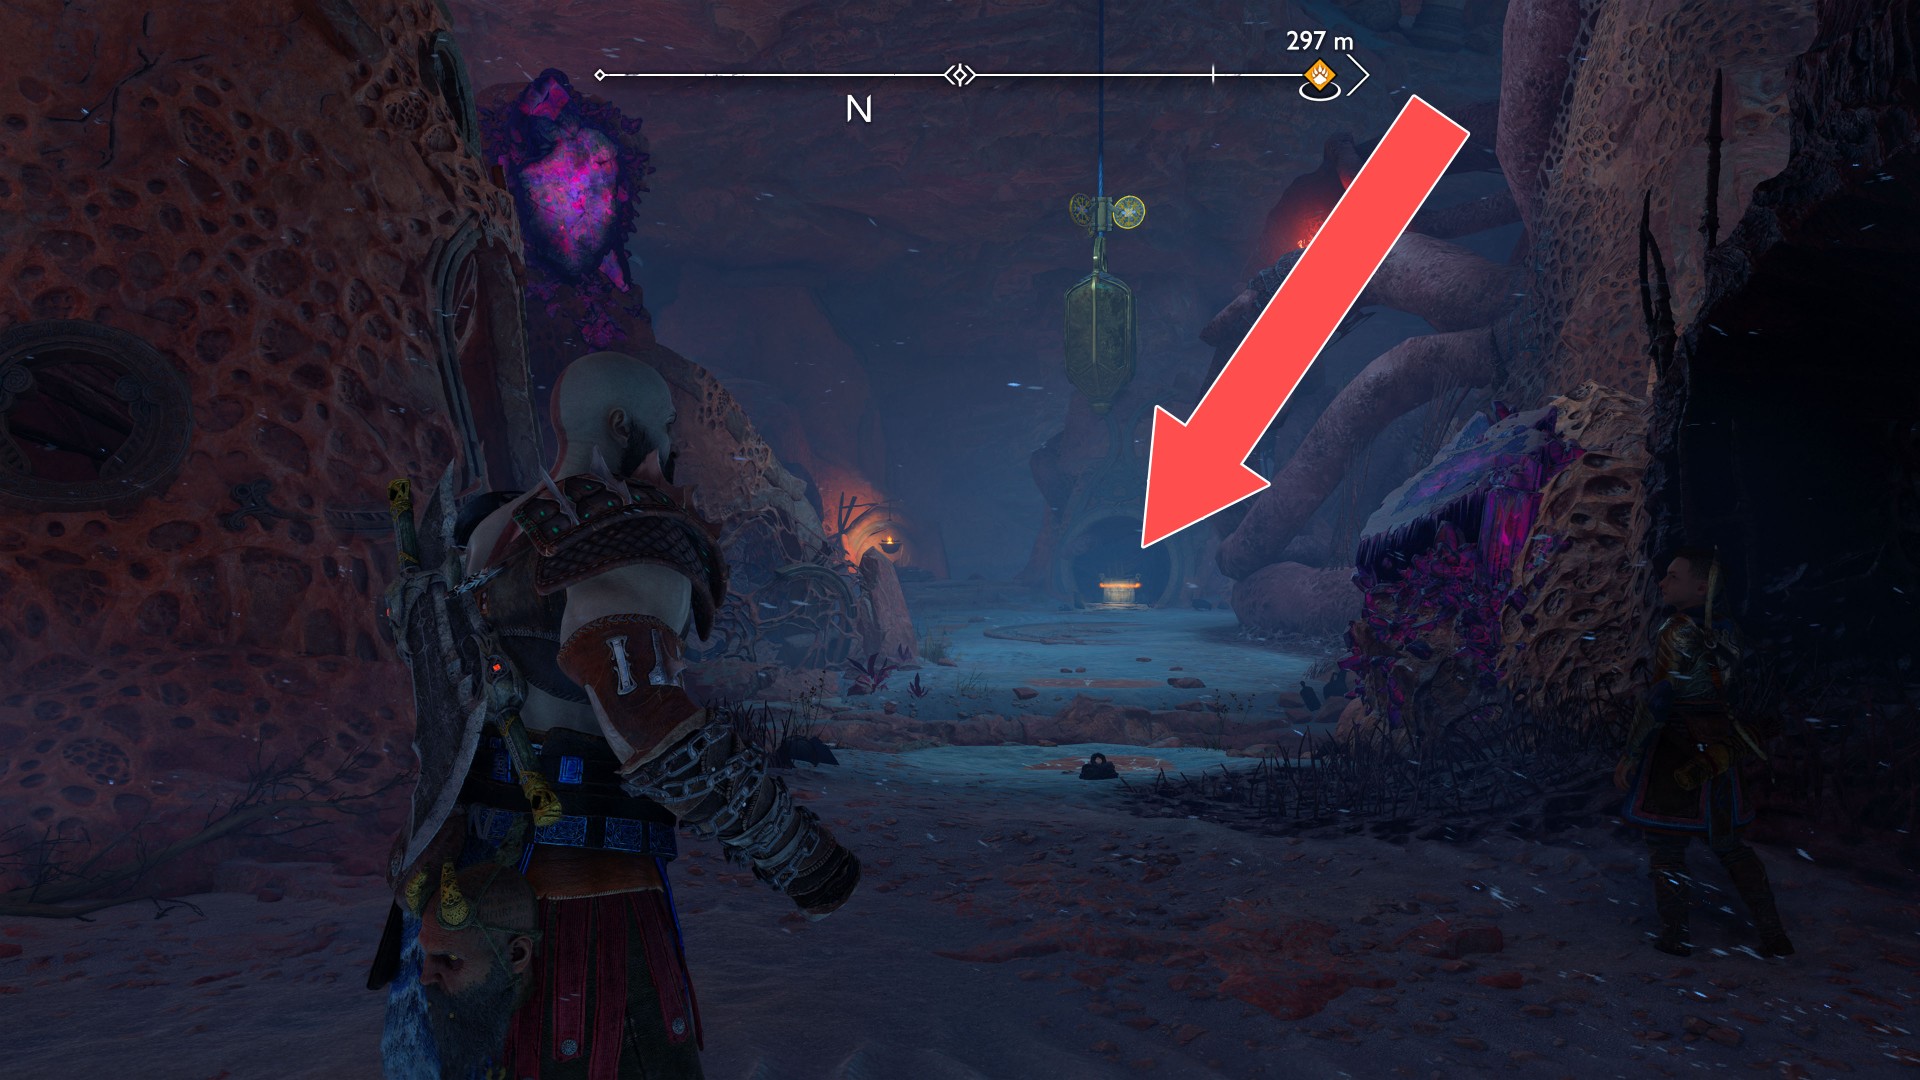
152Yellow Chest
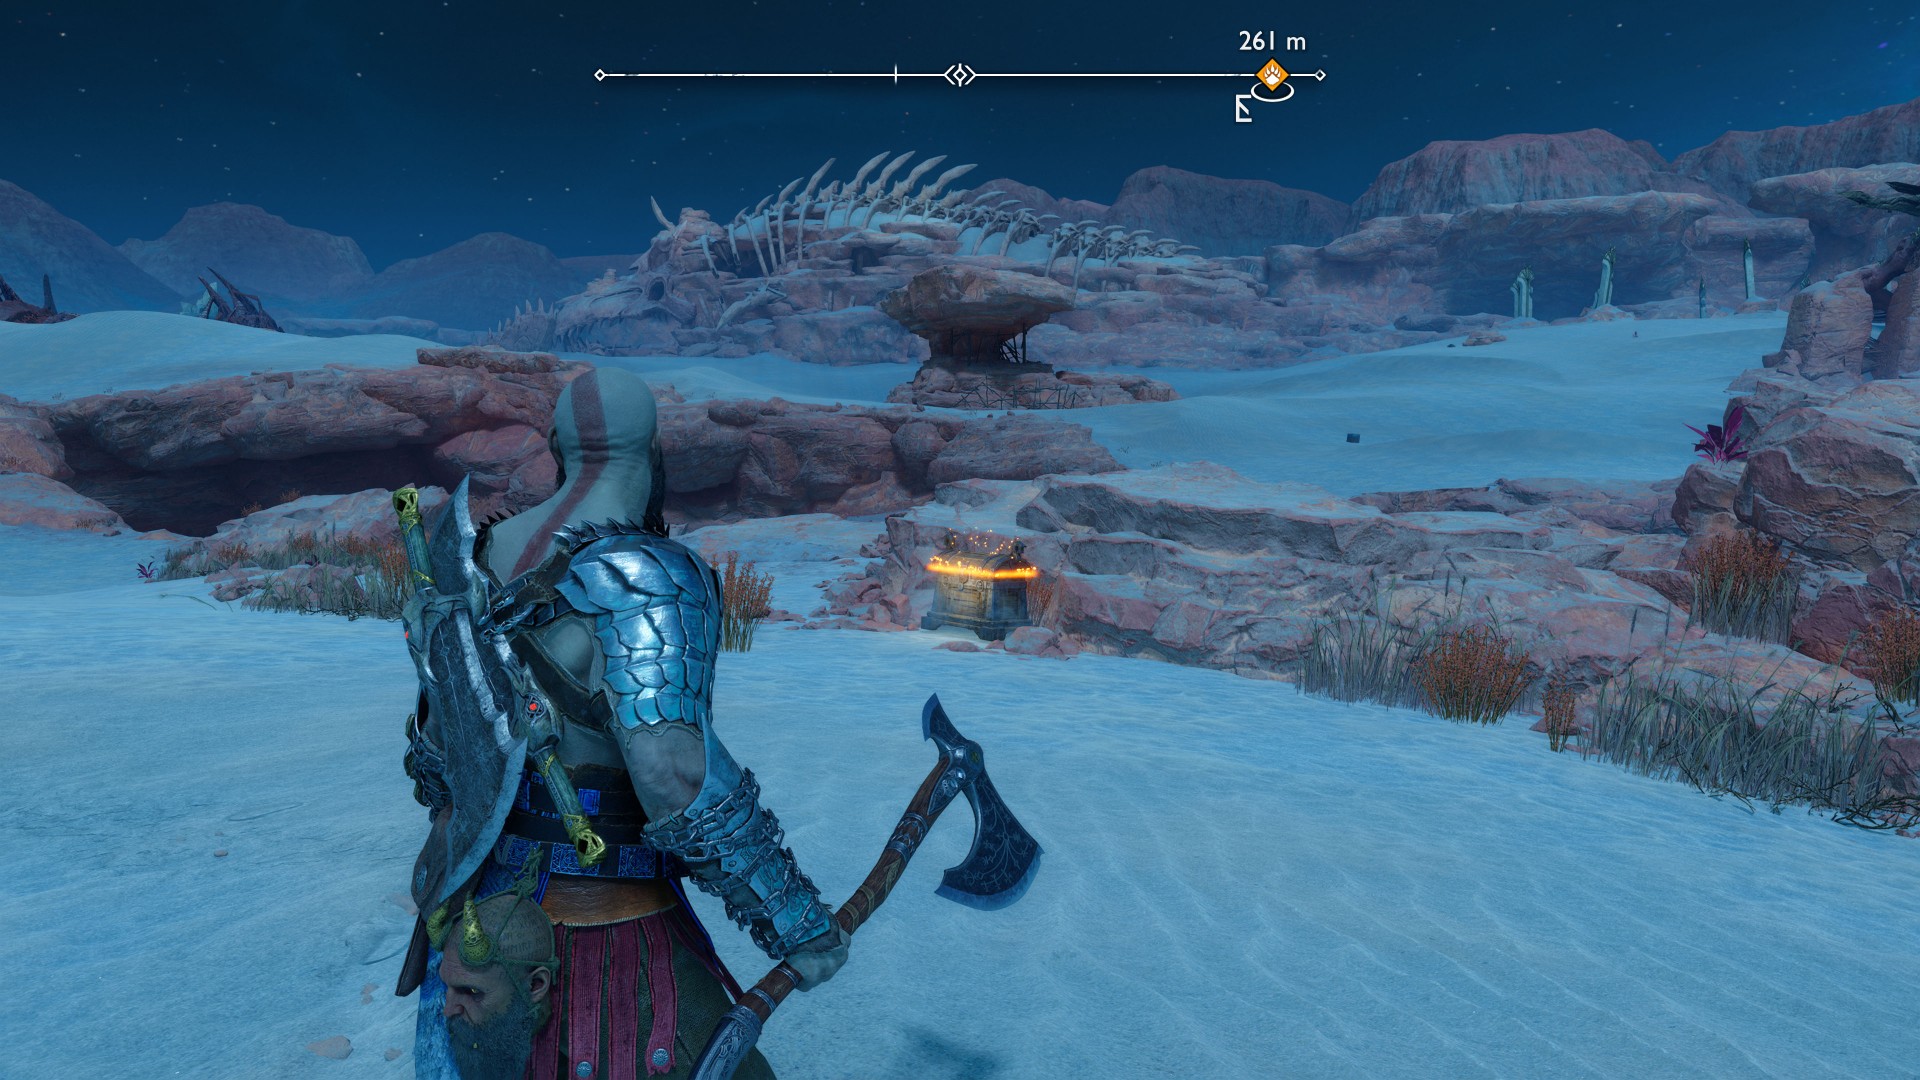
153Yellow Chest
Underground, in "The Below" area.
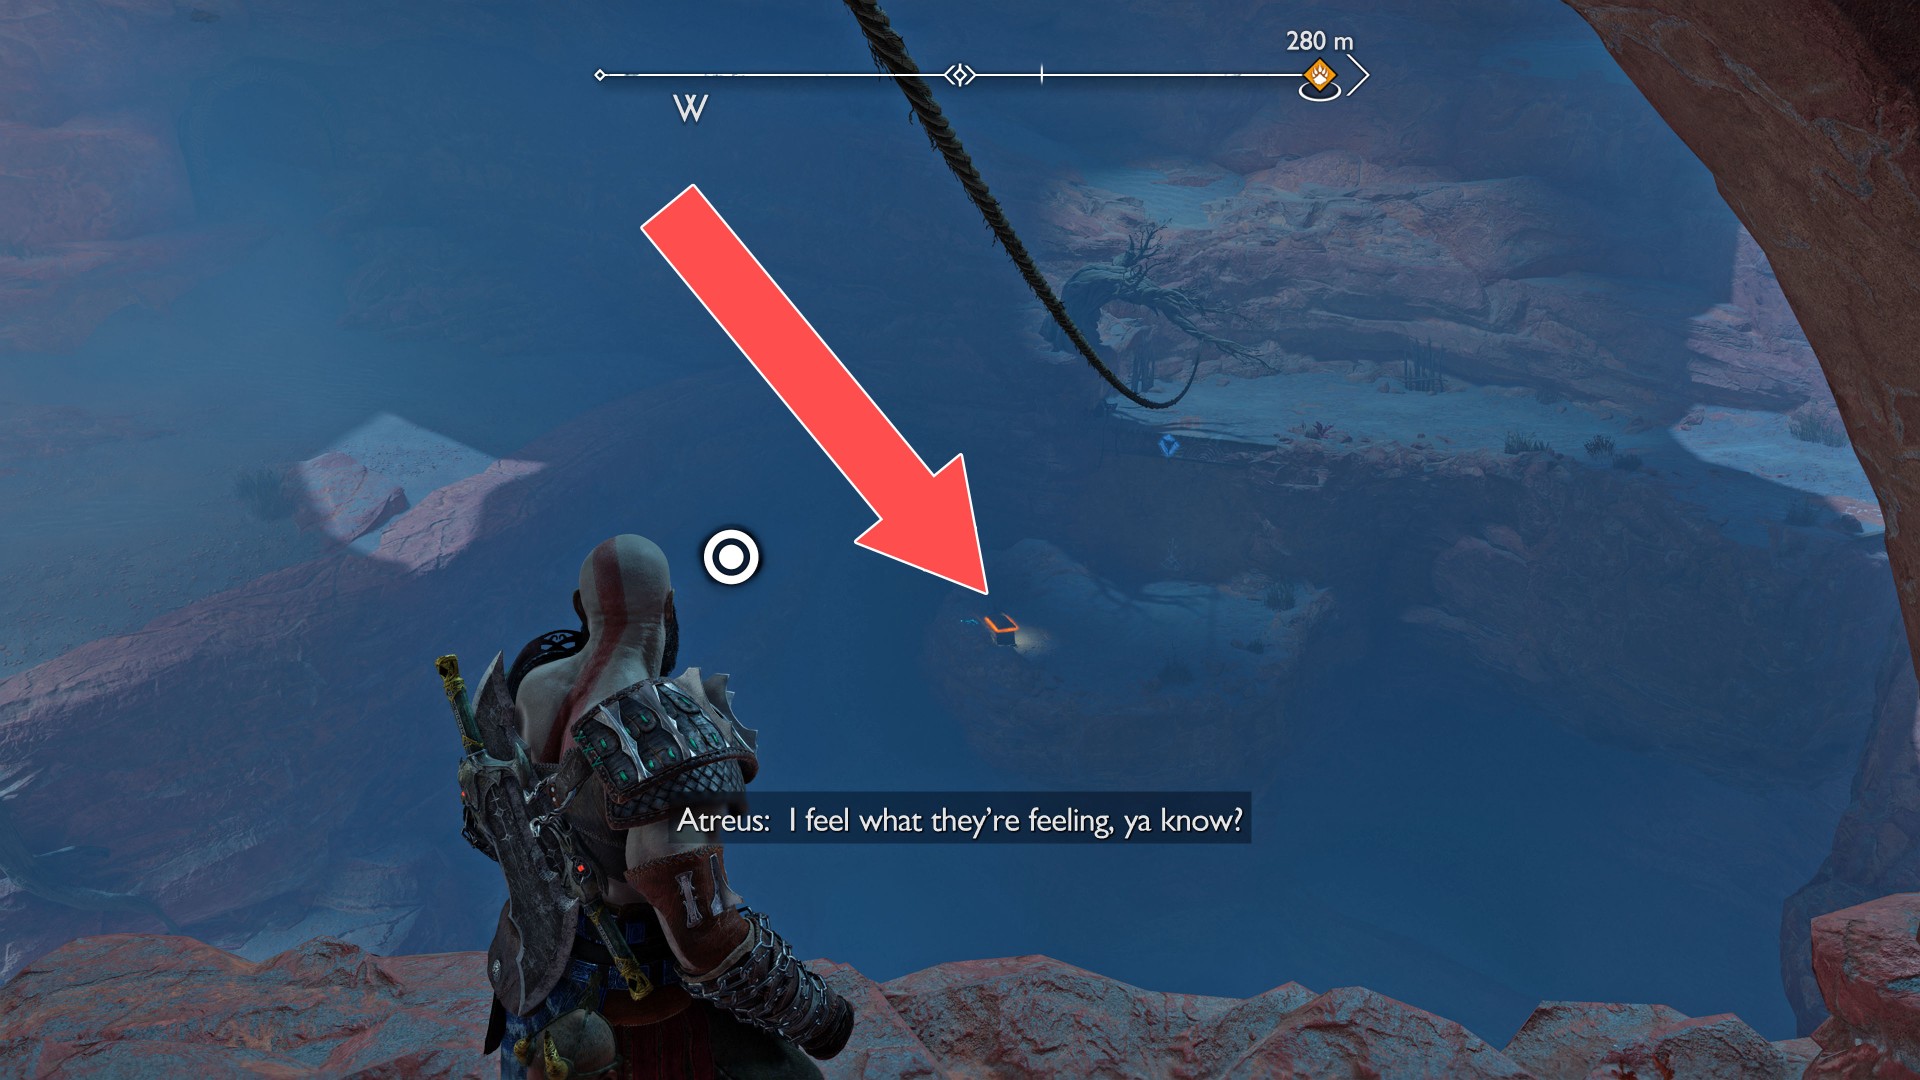
154Yellow Chest
Underground, in "The Below" area.
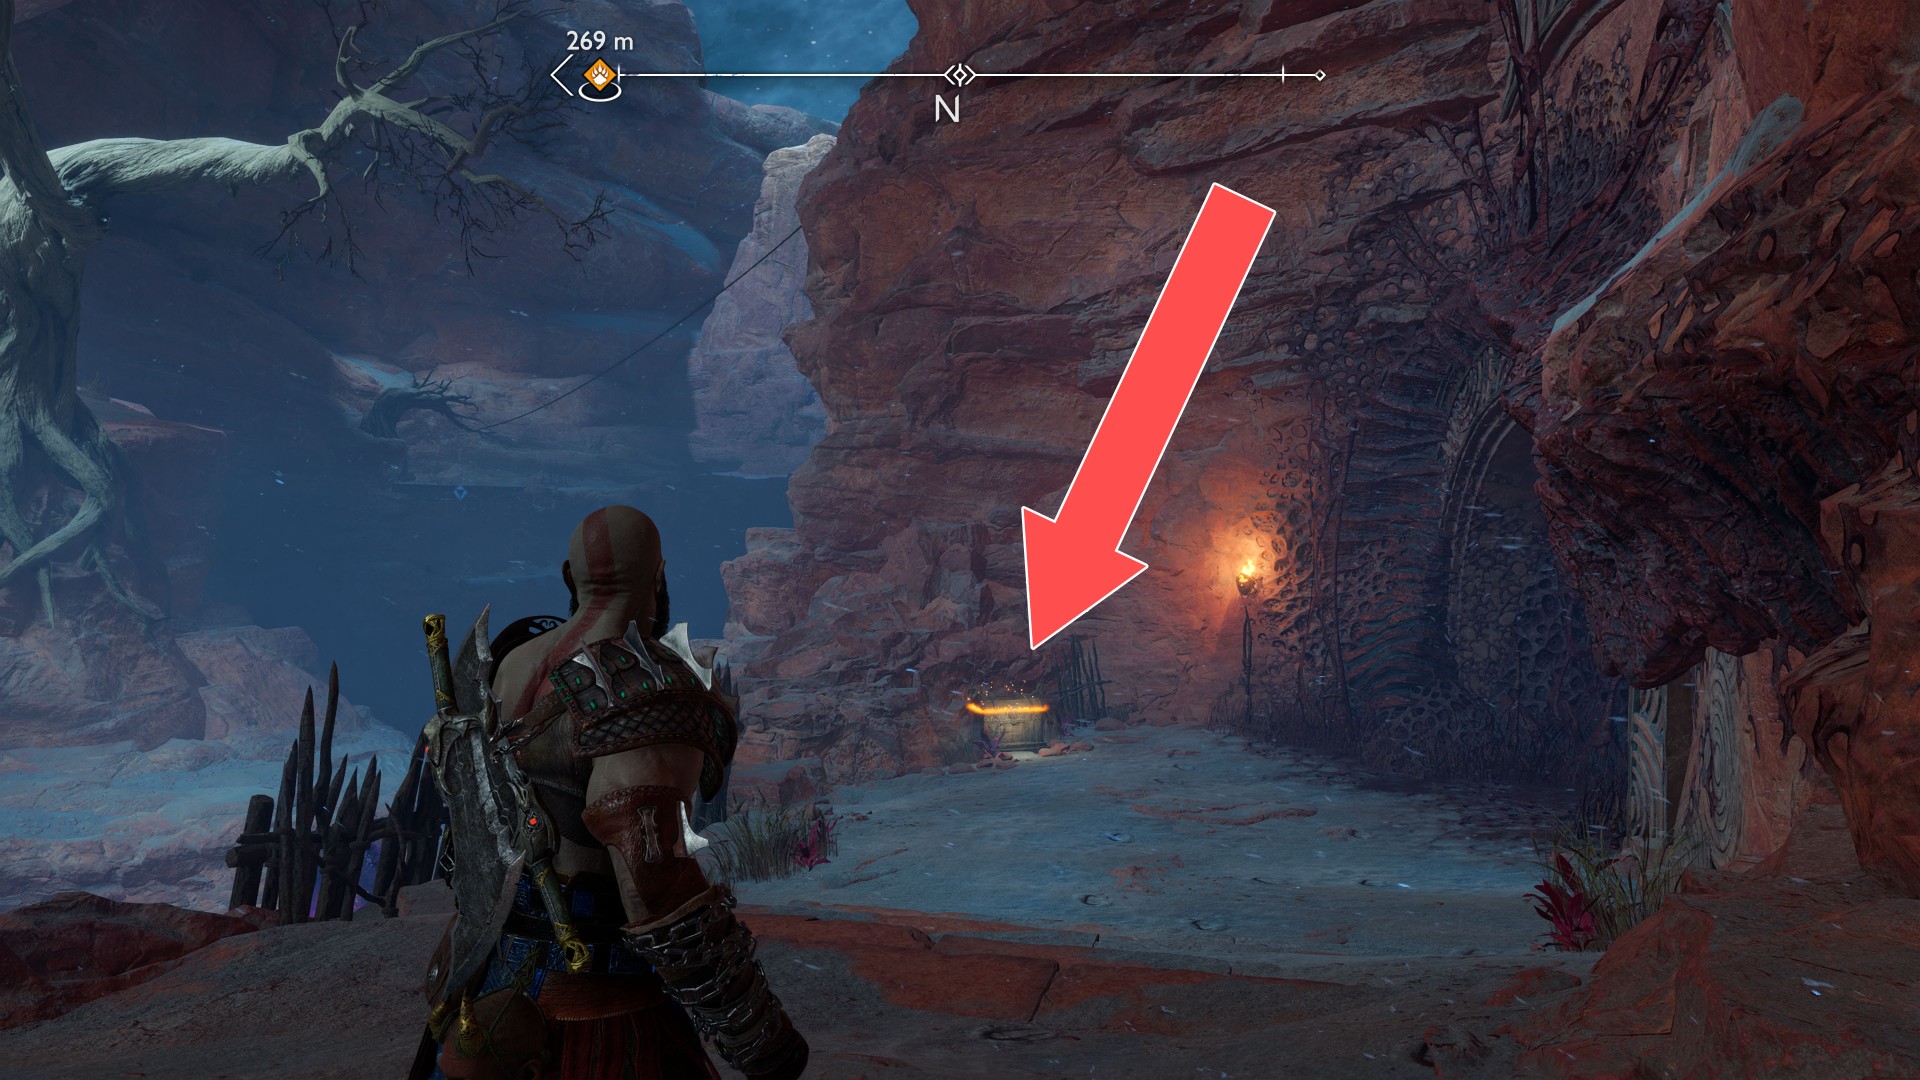
155Yellow Chest
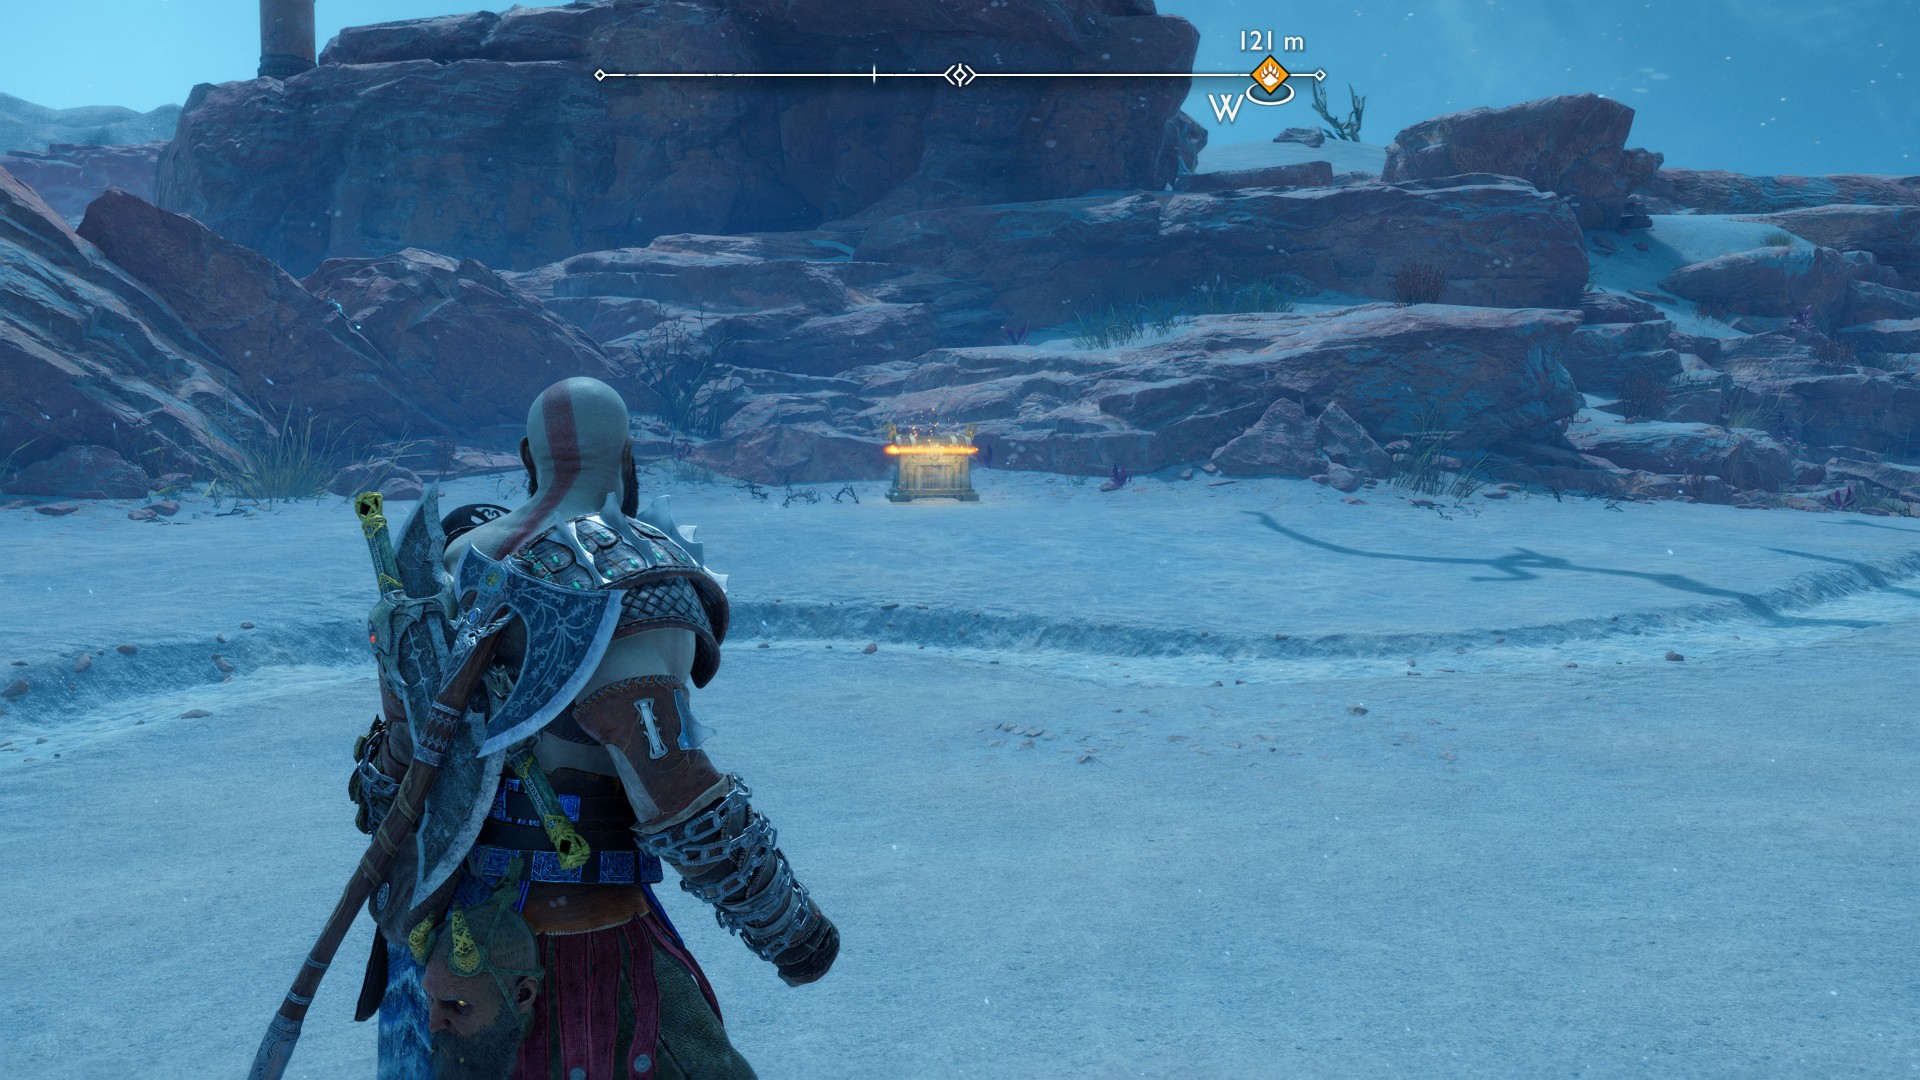
156Yellow Chest
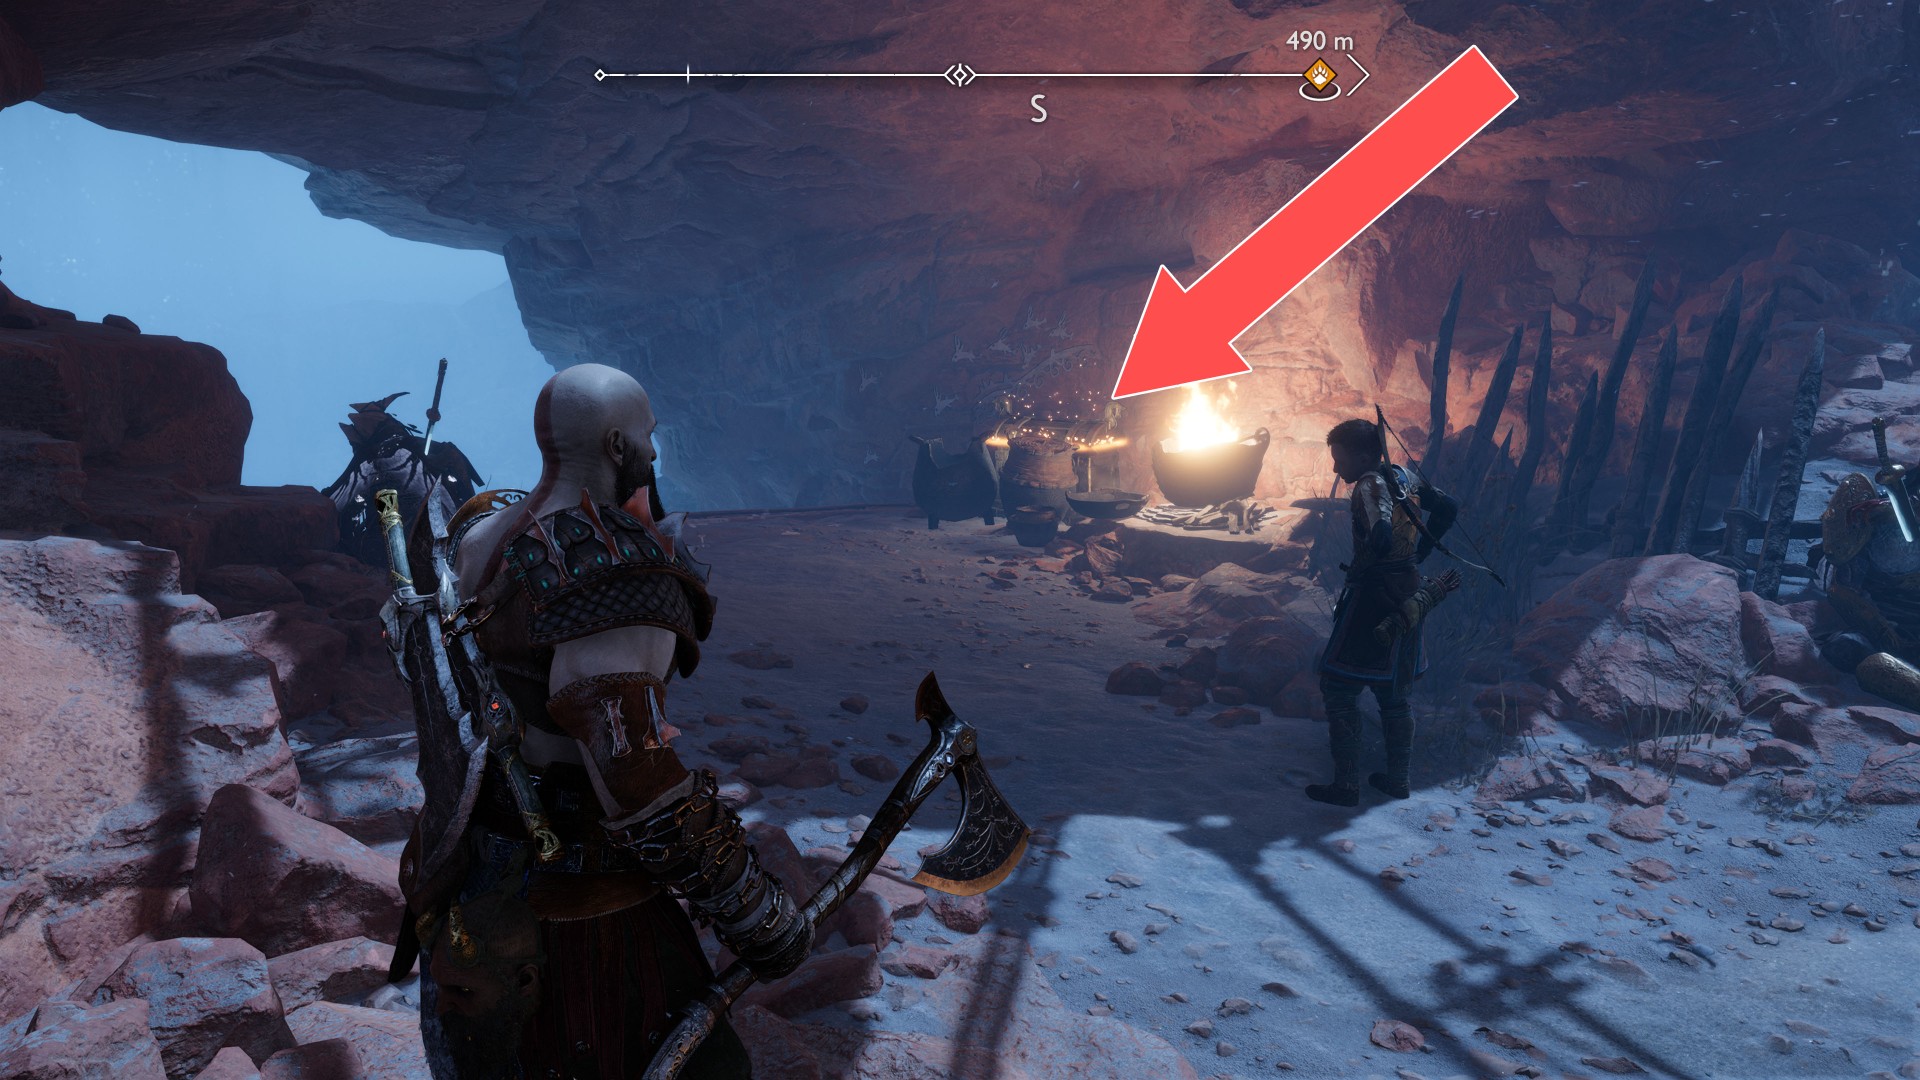
157Yellow Chest
You will find this chest in the upper part of the temple, near the door through which you will get out of the temple.
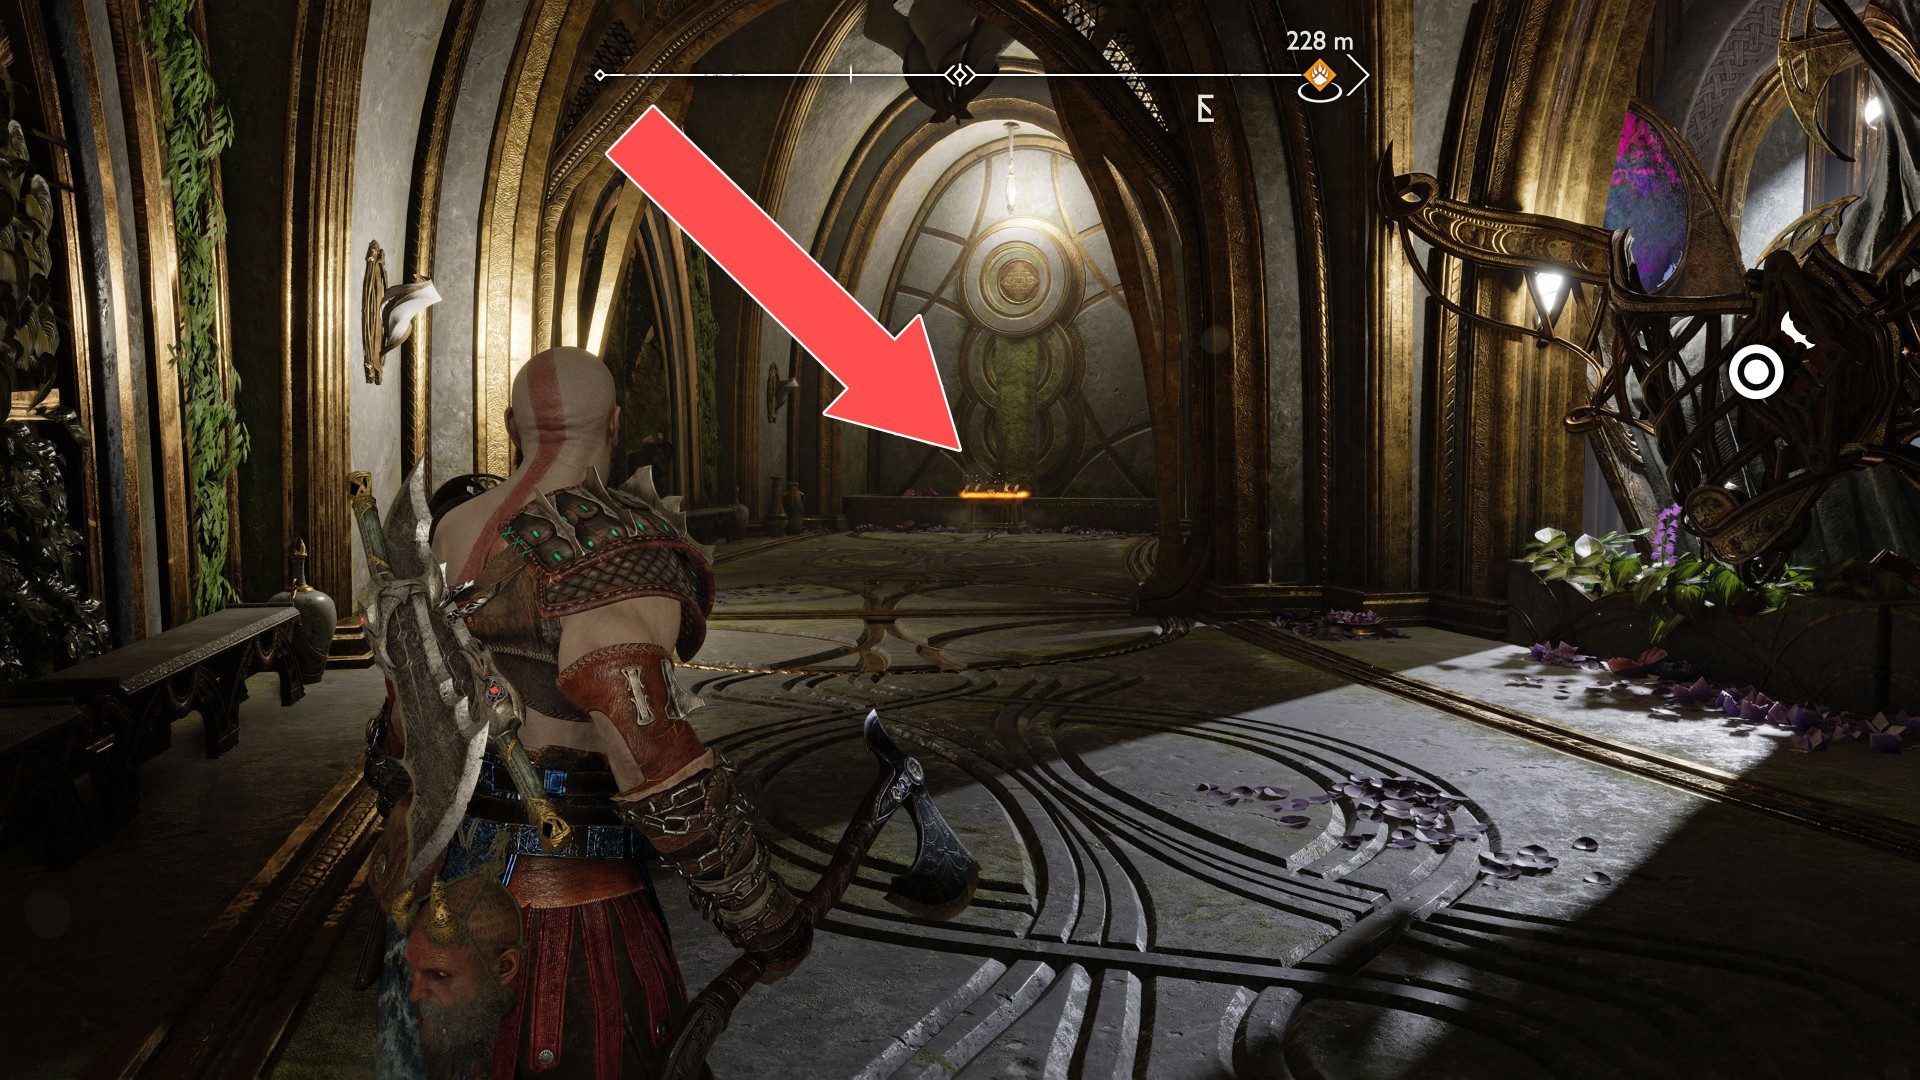
158Yellow Chest
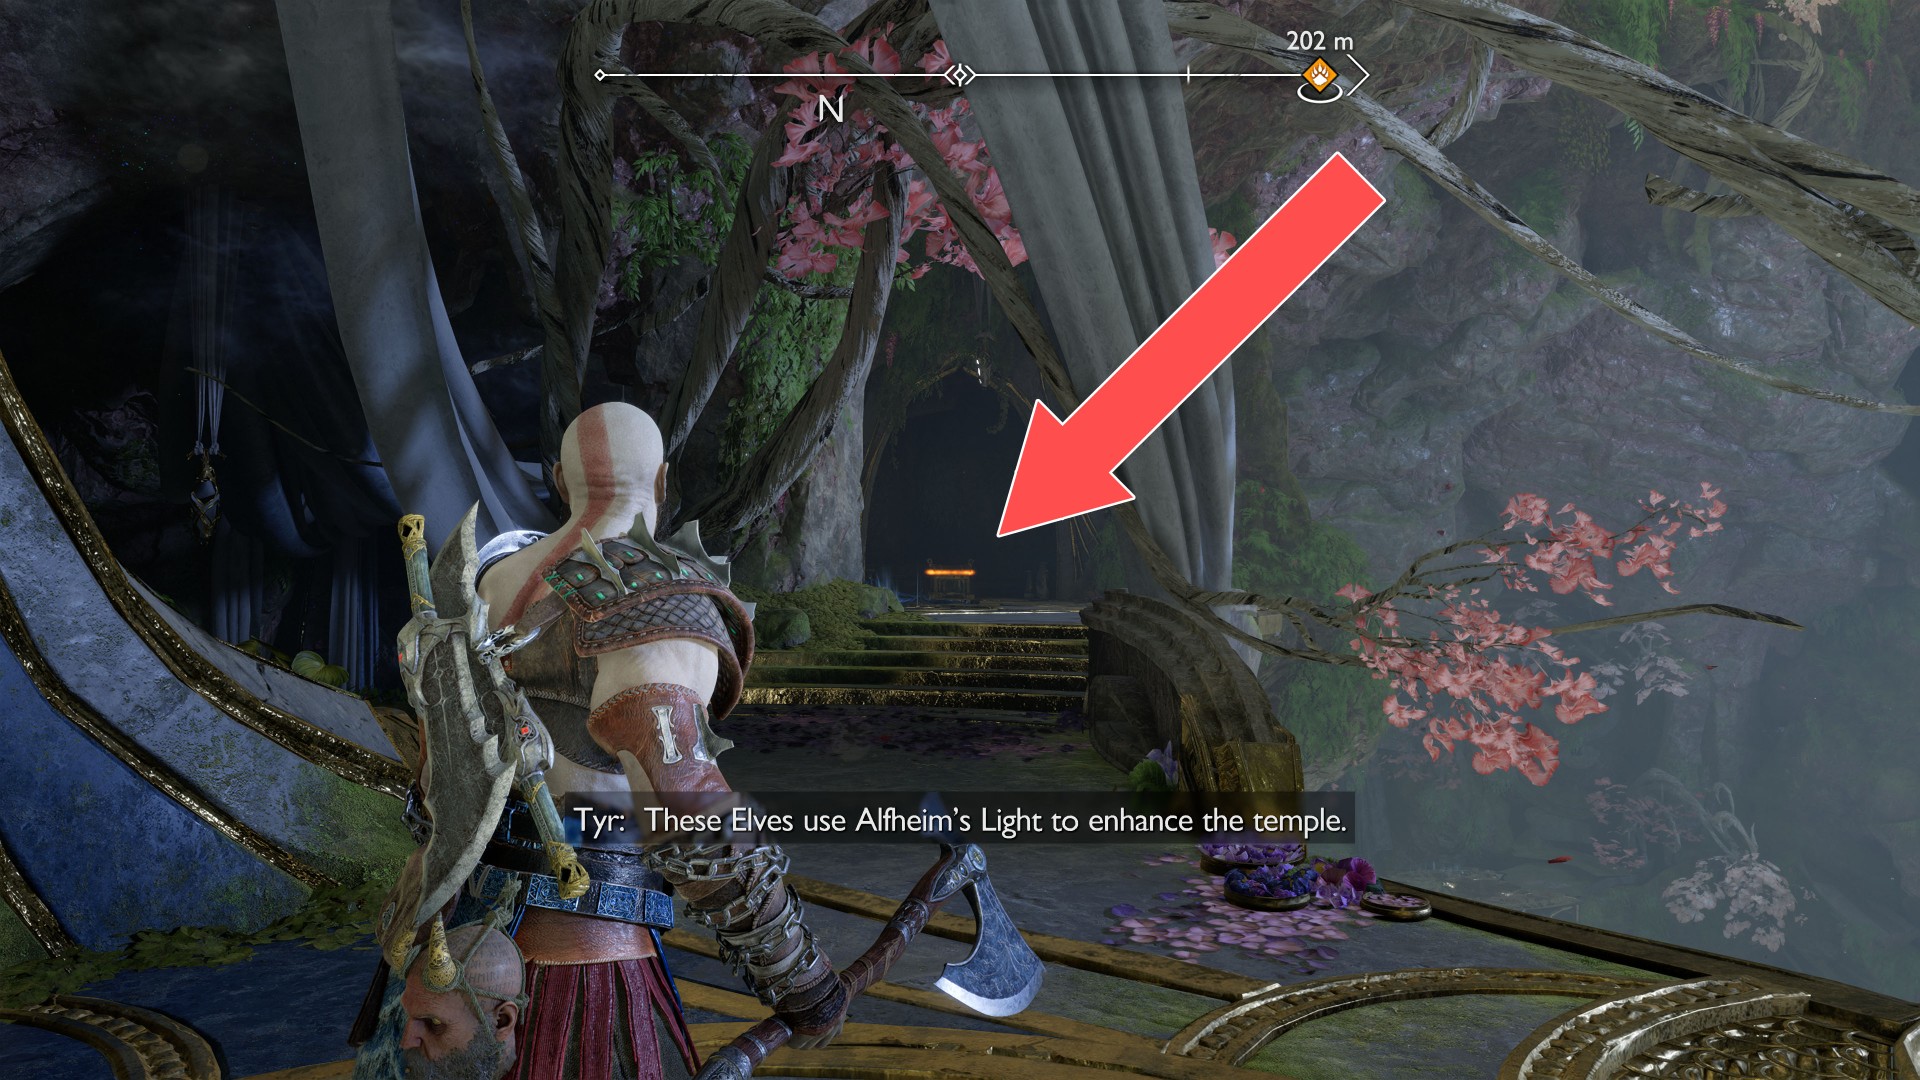
159Yellow Chest
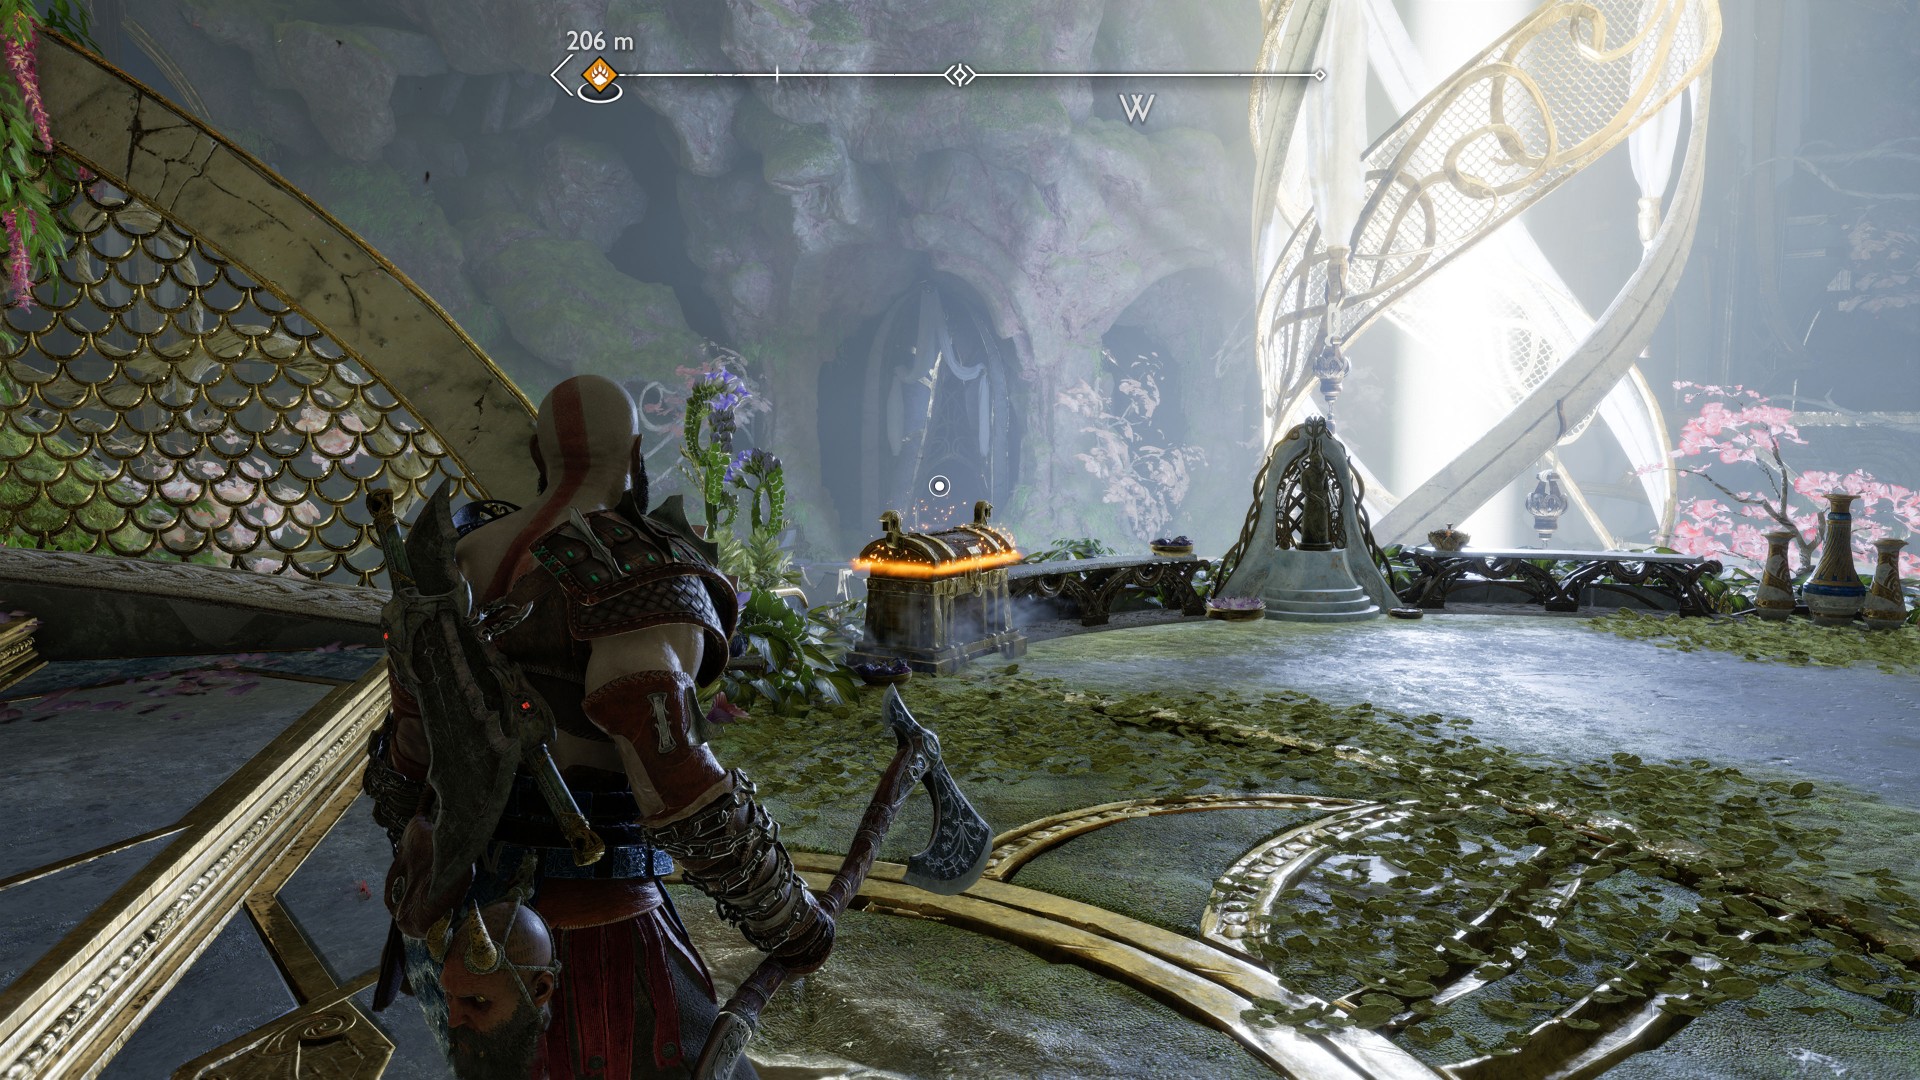
160Yellow Chest
You will find this chest when you are leaving the temple after defeating Alva.
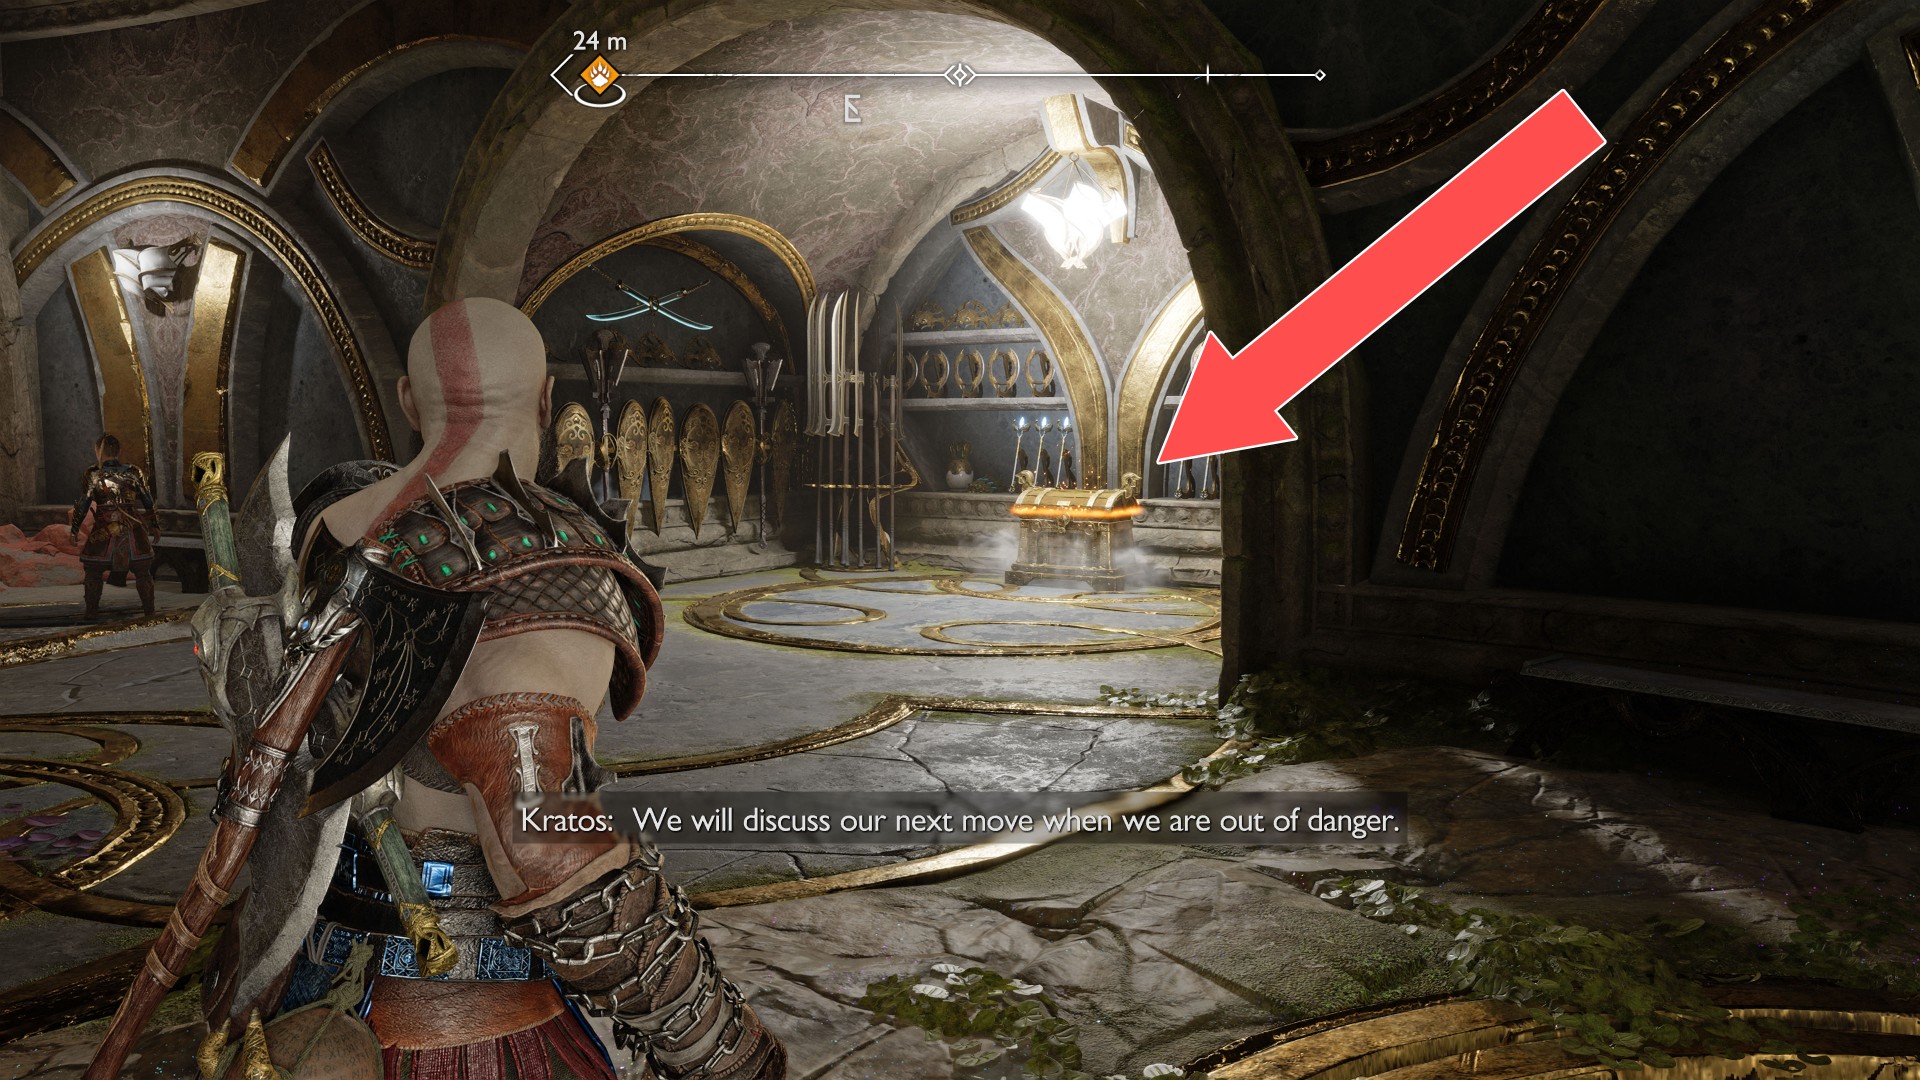
161Yellow Chest
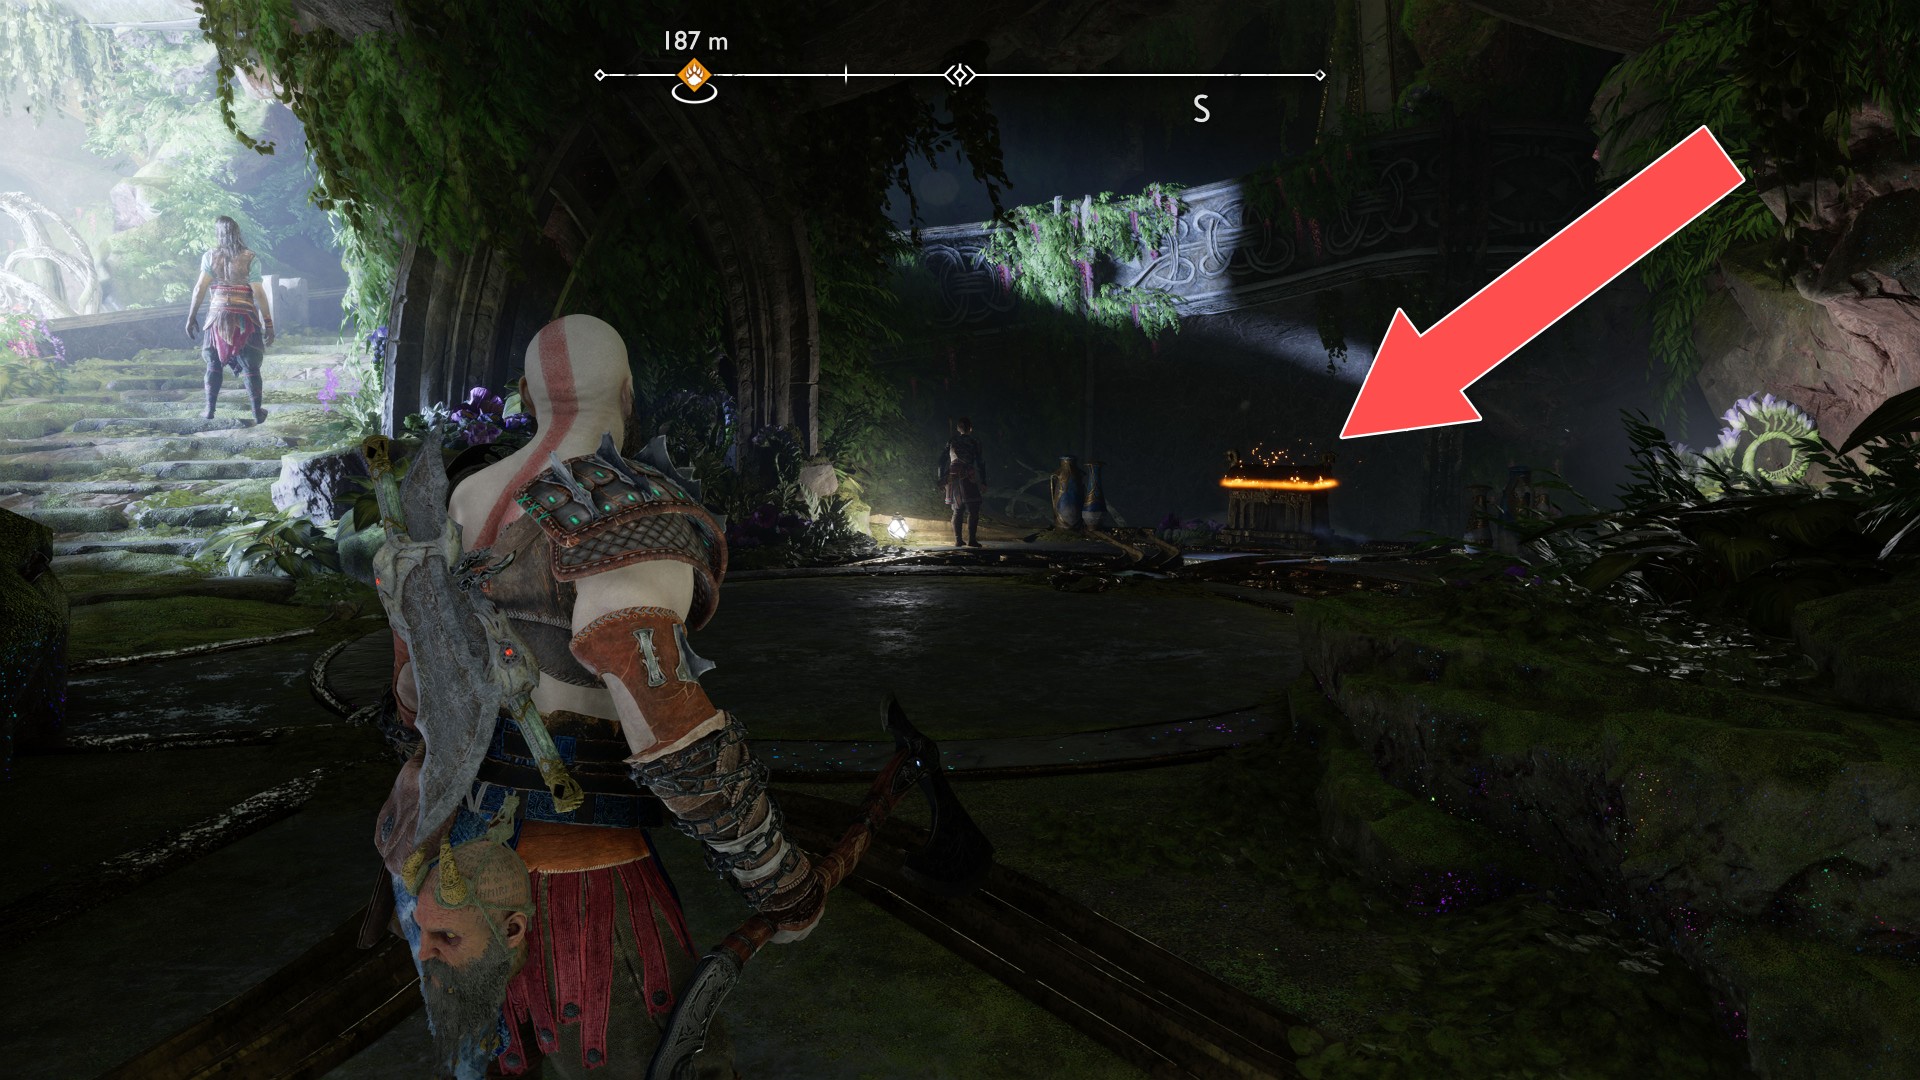
162Yellow Chest
You will find this chest when you take the elevator to the gardens located at the top of the temple.
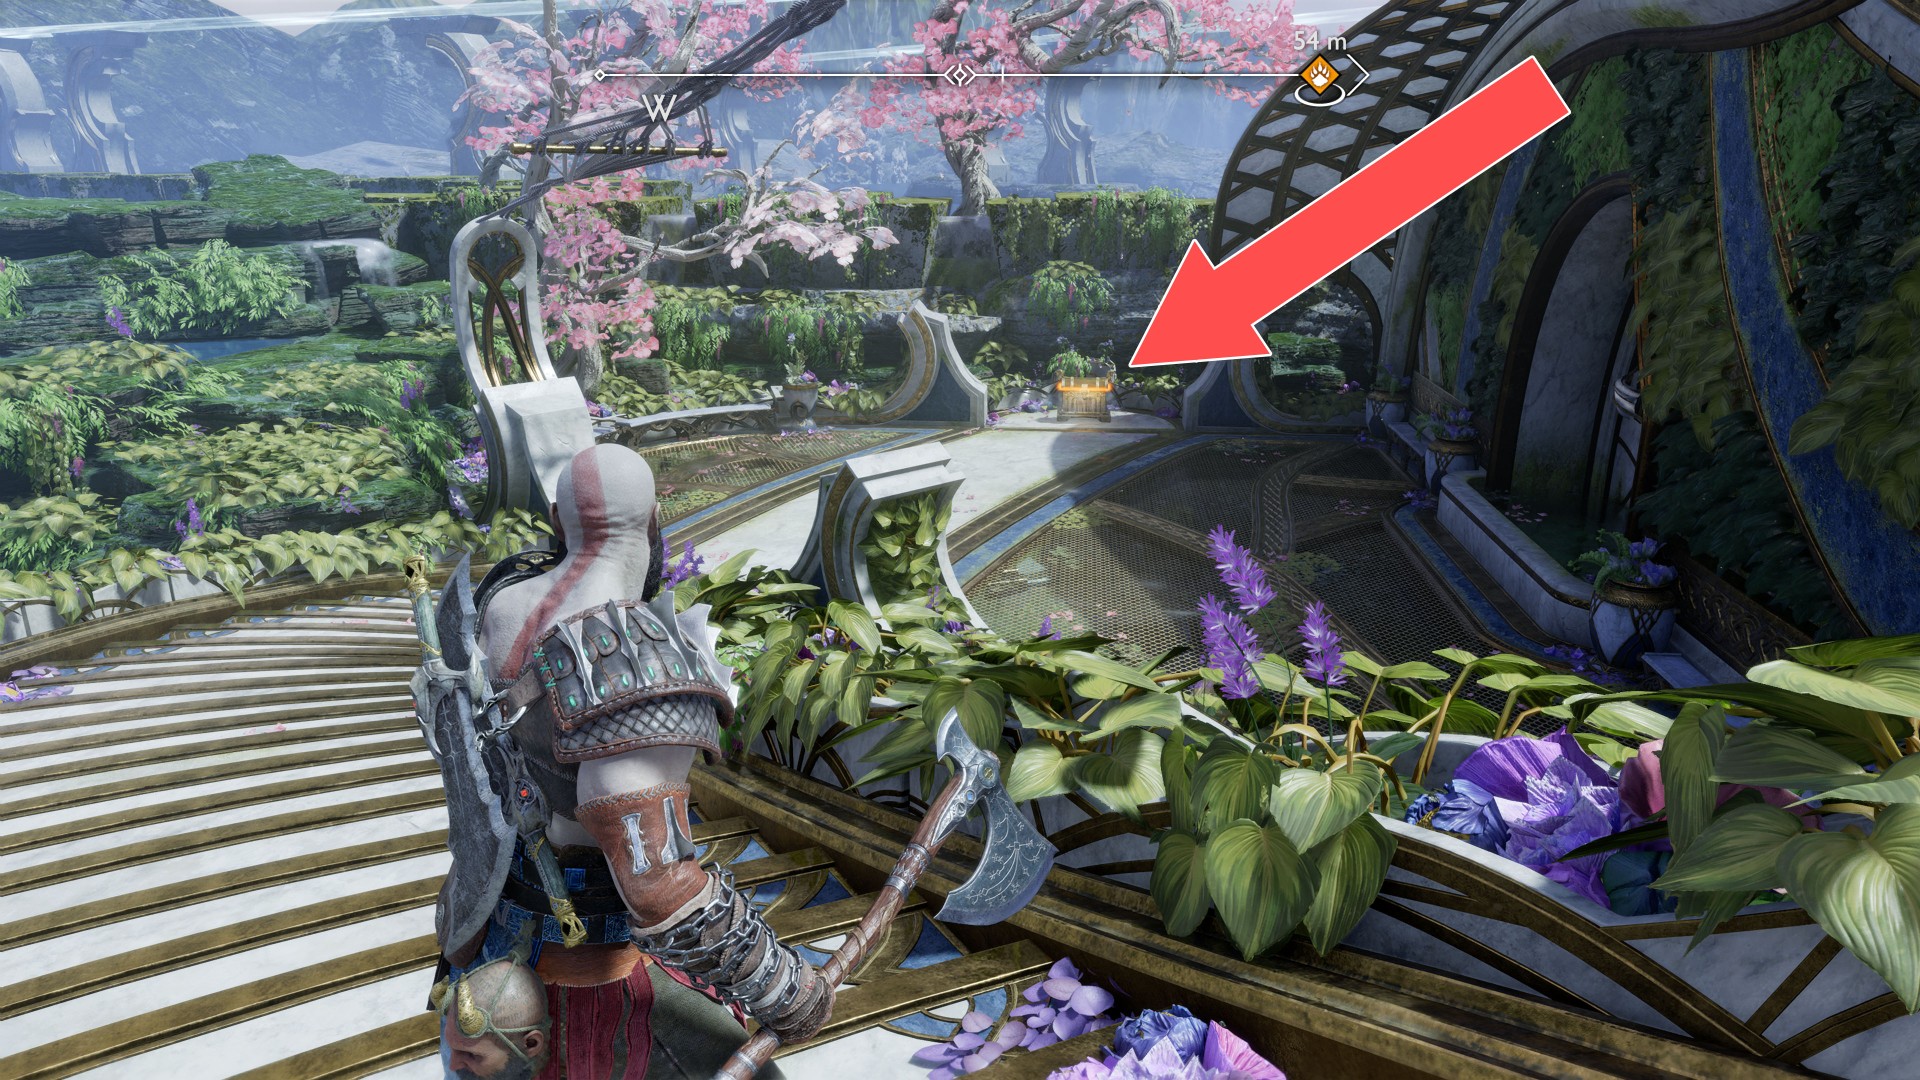
Locations on Jötunheim
163Red Chest
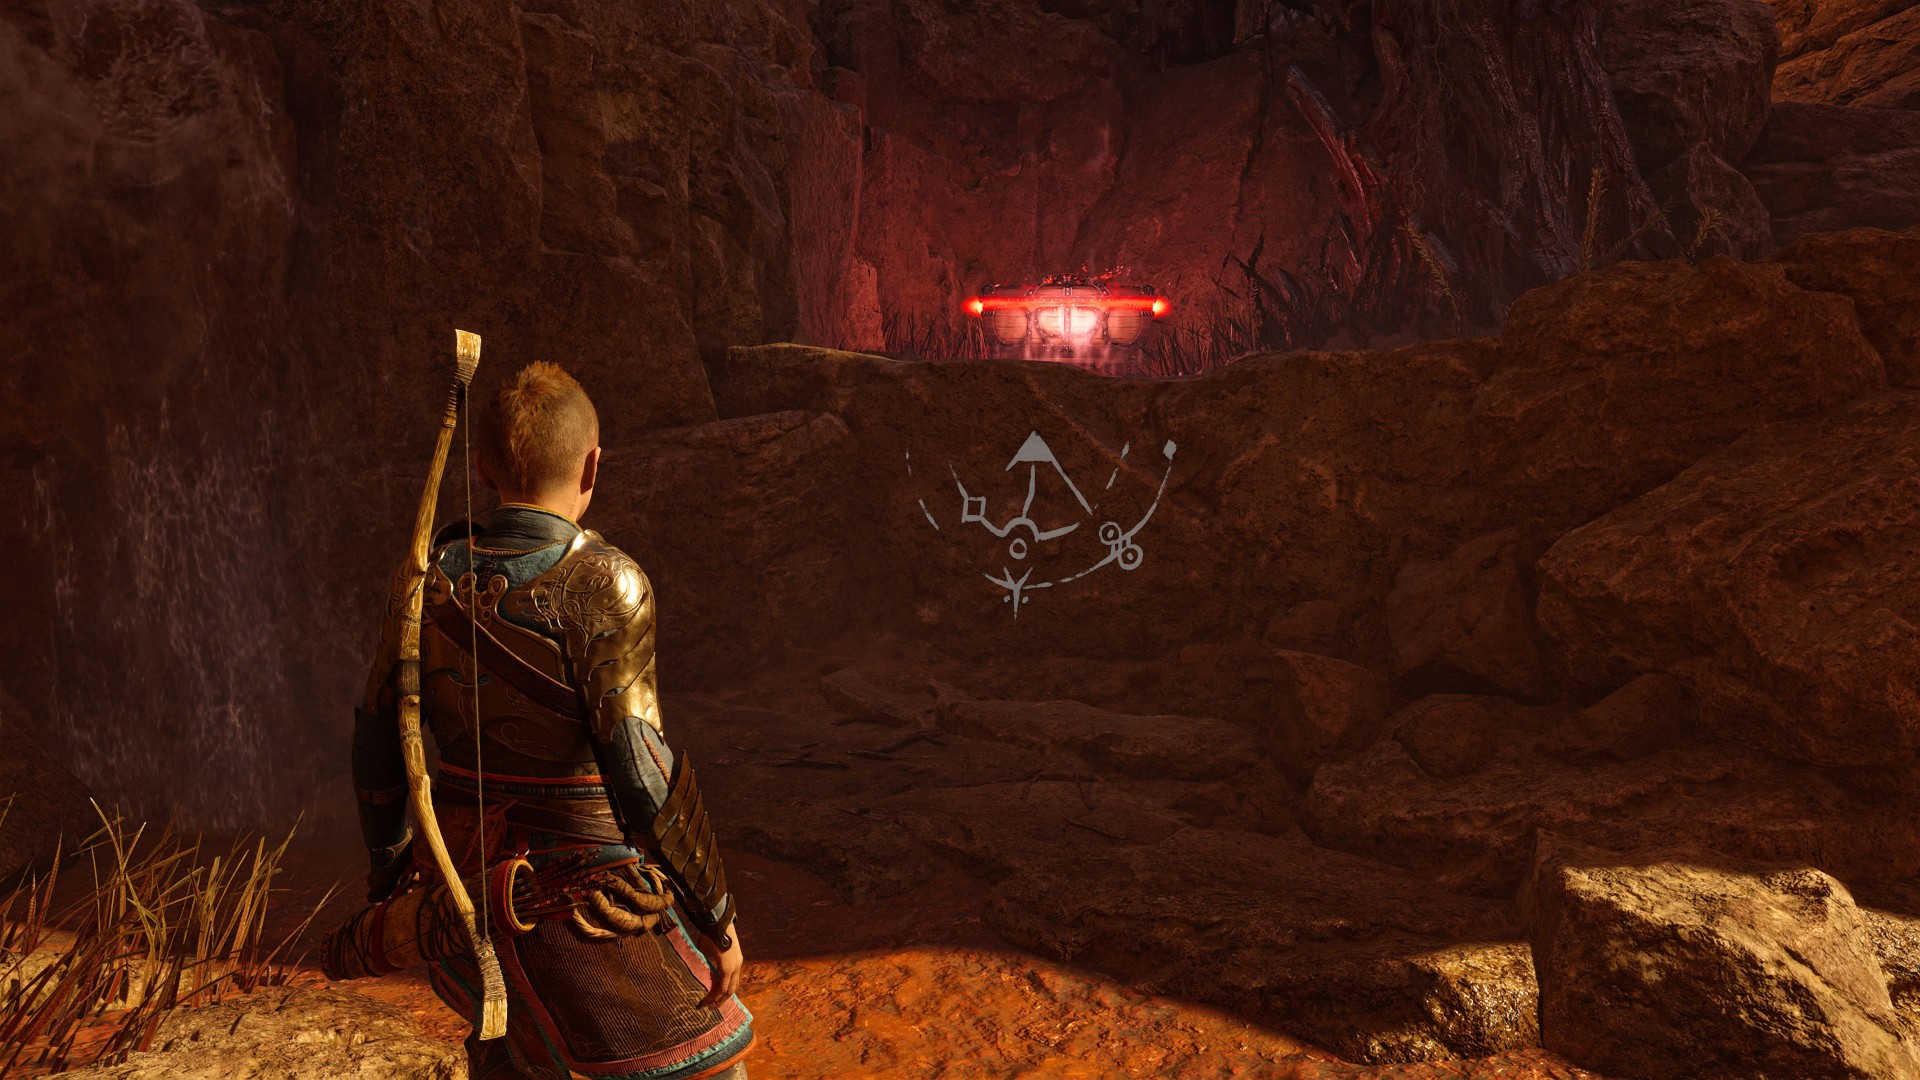
164Red Chest
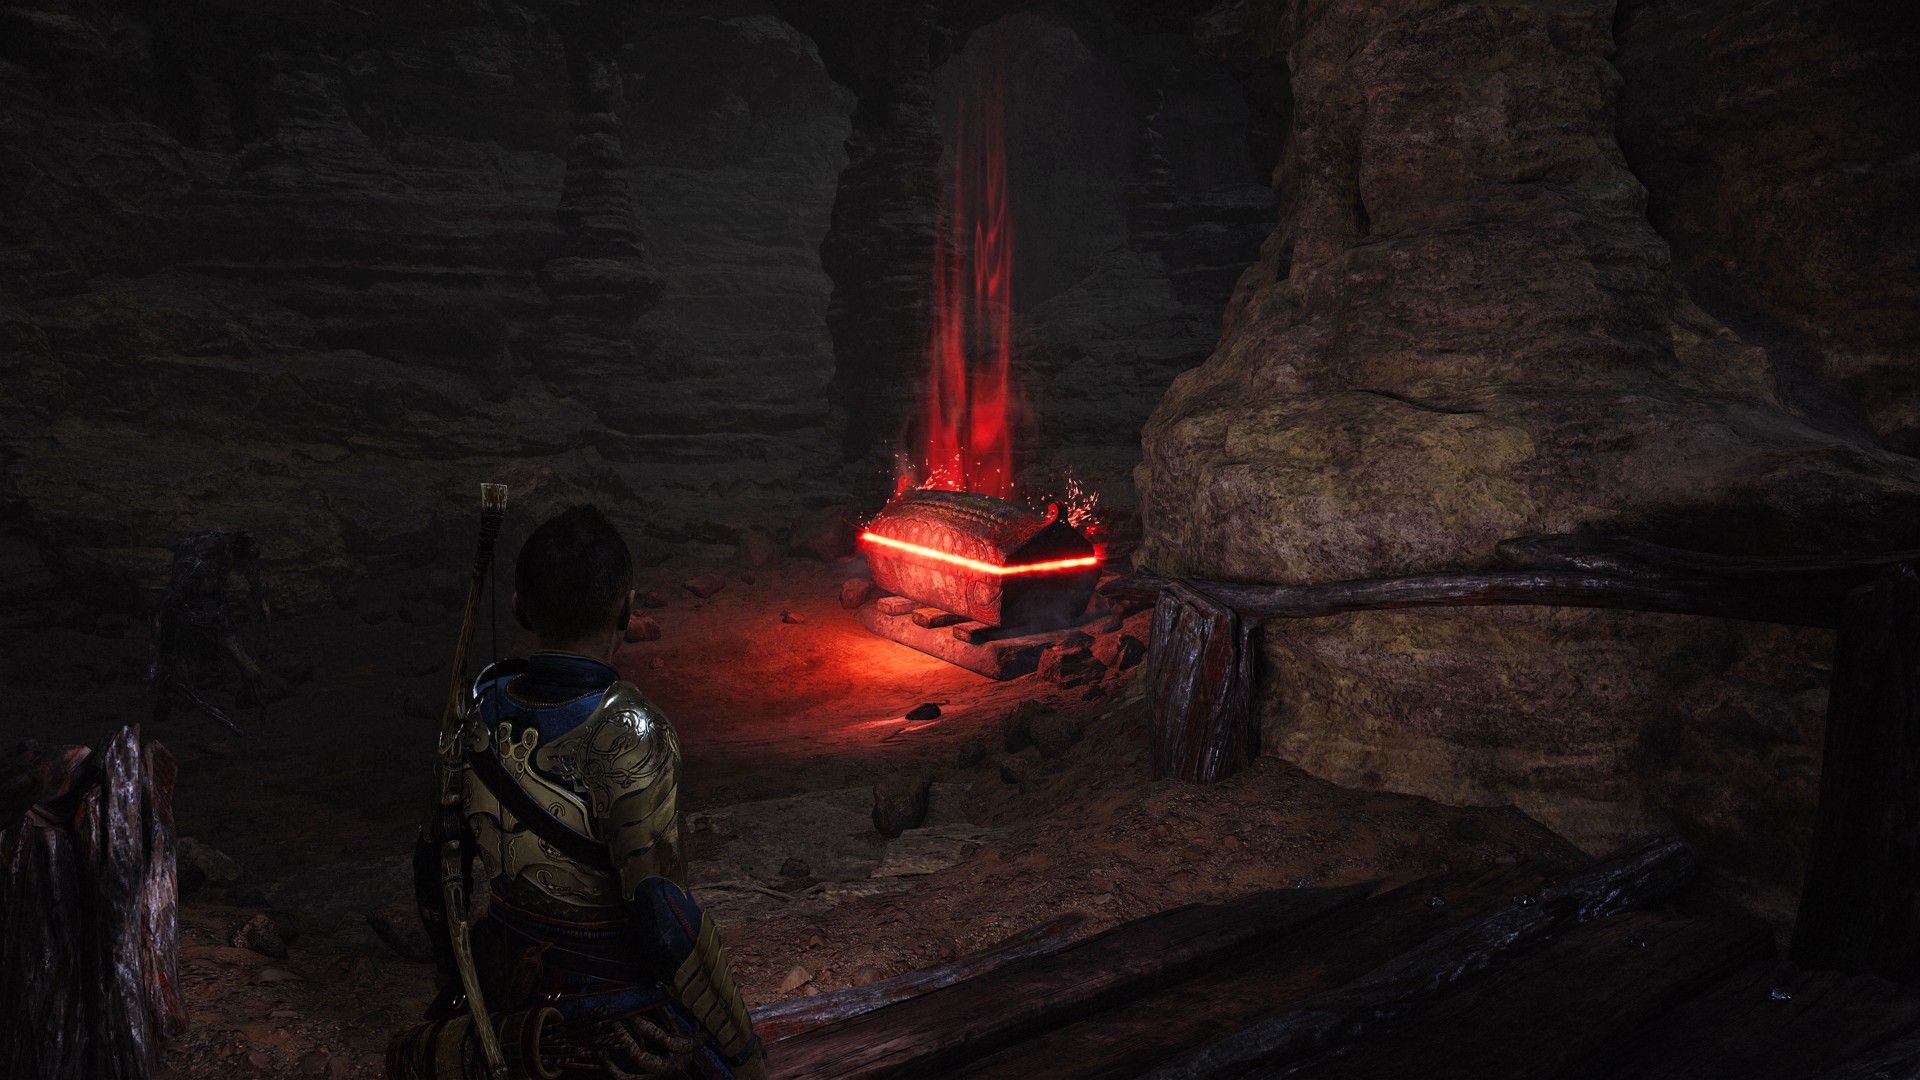
?
165Red Chest
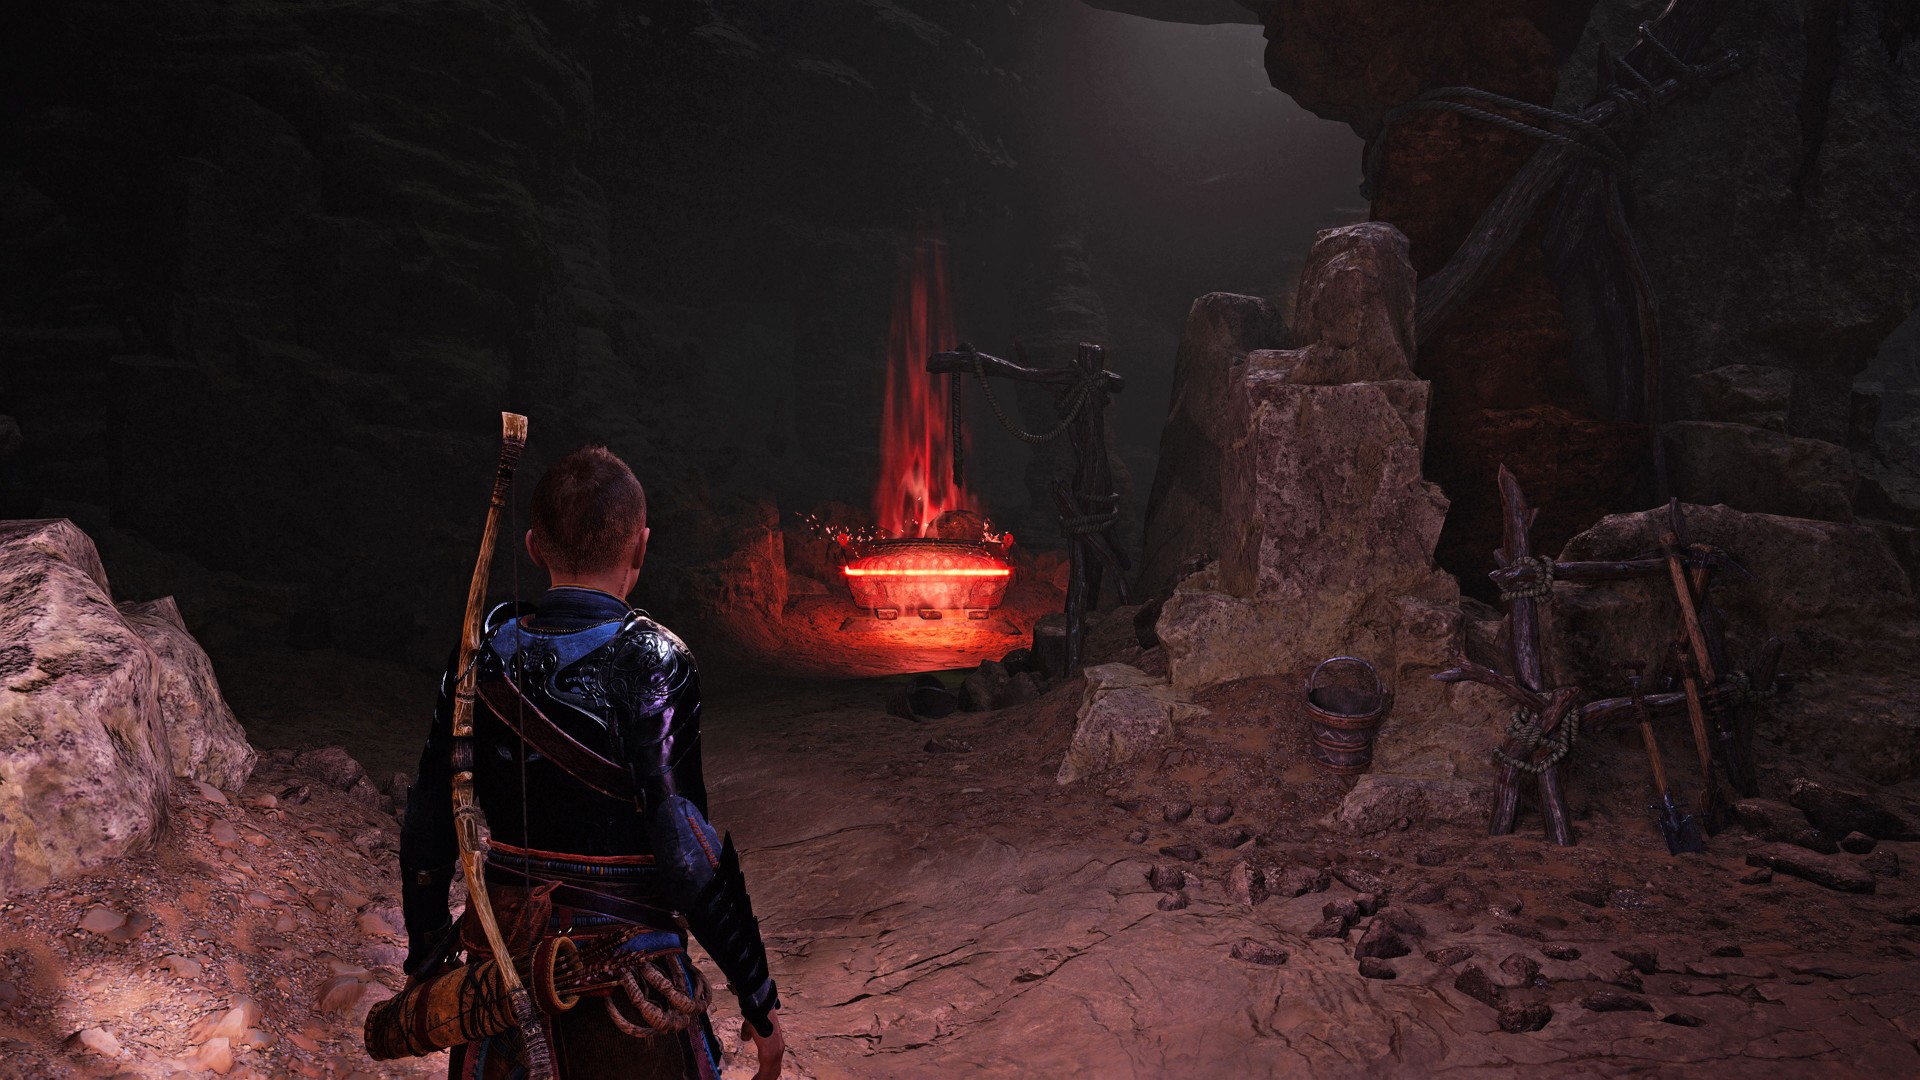
166Red Chest
You will probably notice this chest much earlier but you can reach it a little later, from behind.
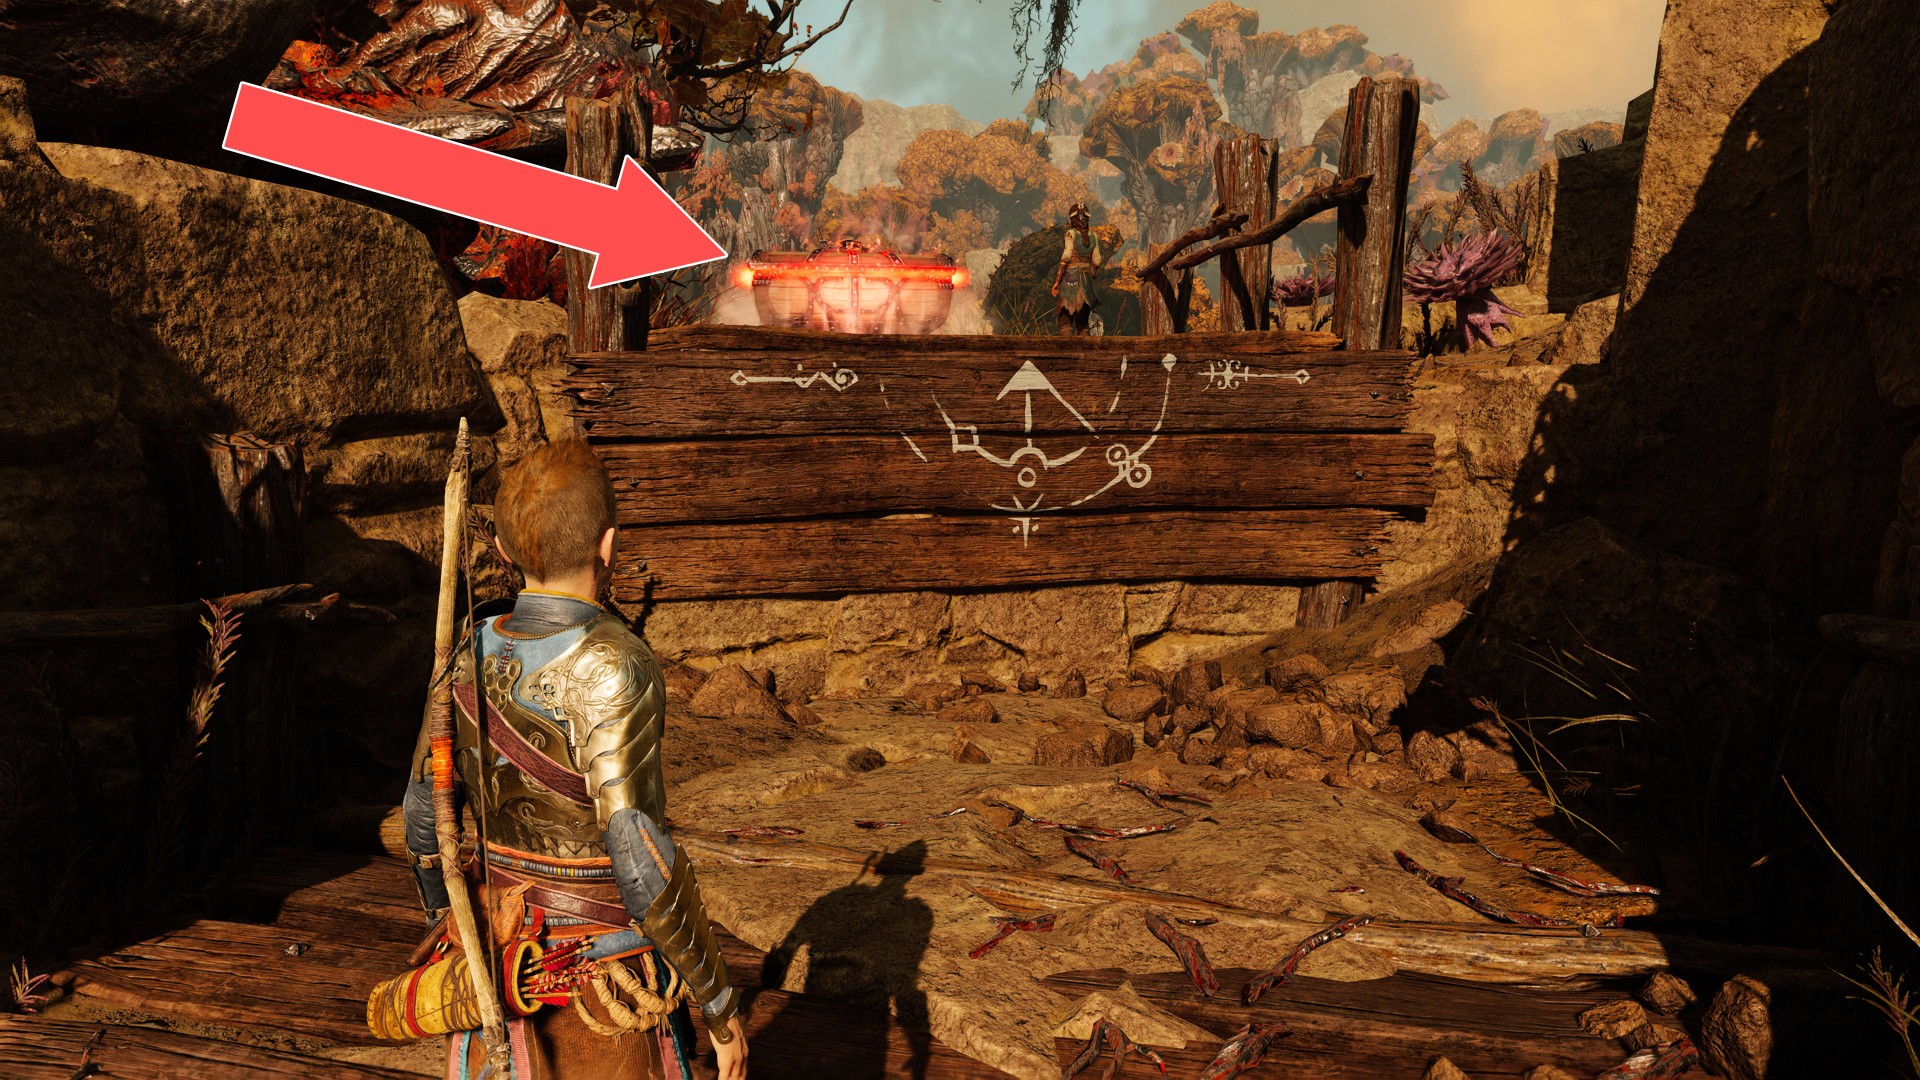
167Red Chest
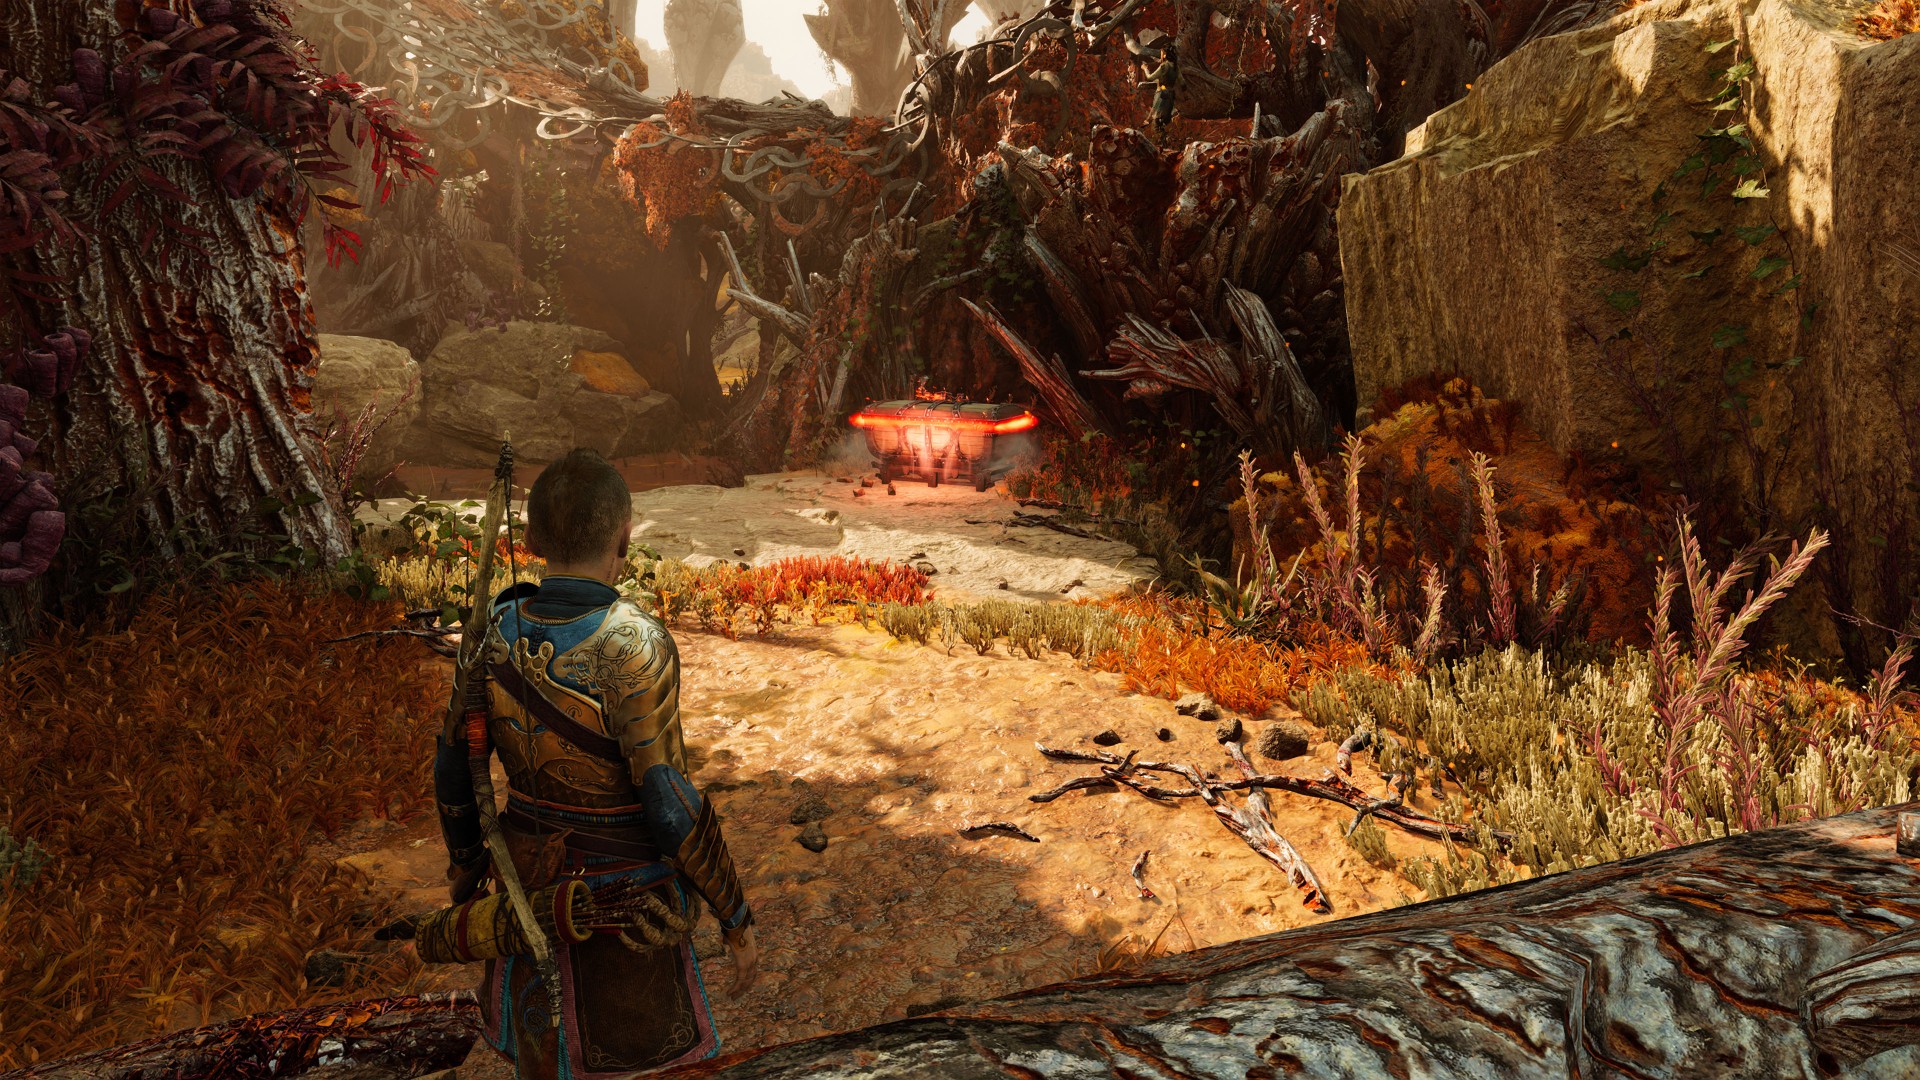
168Yellow Chest
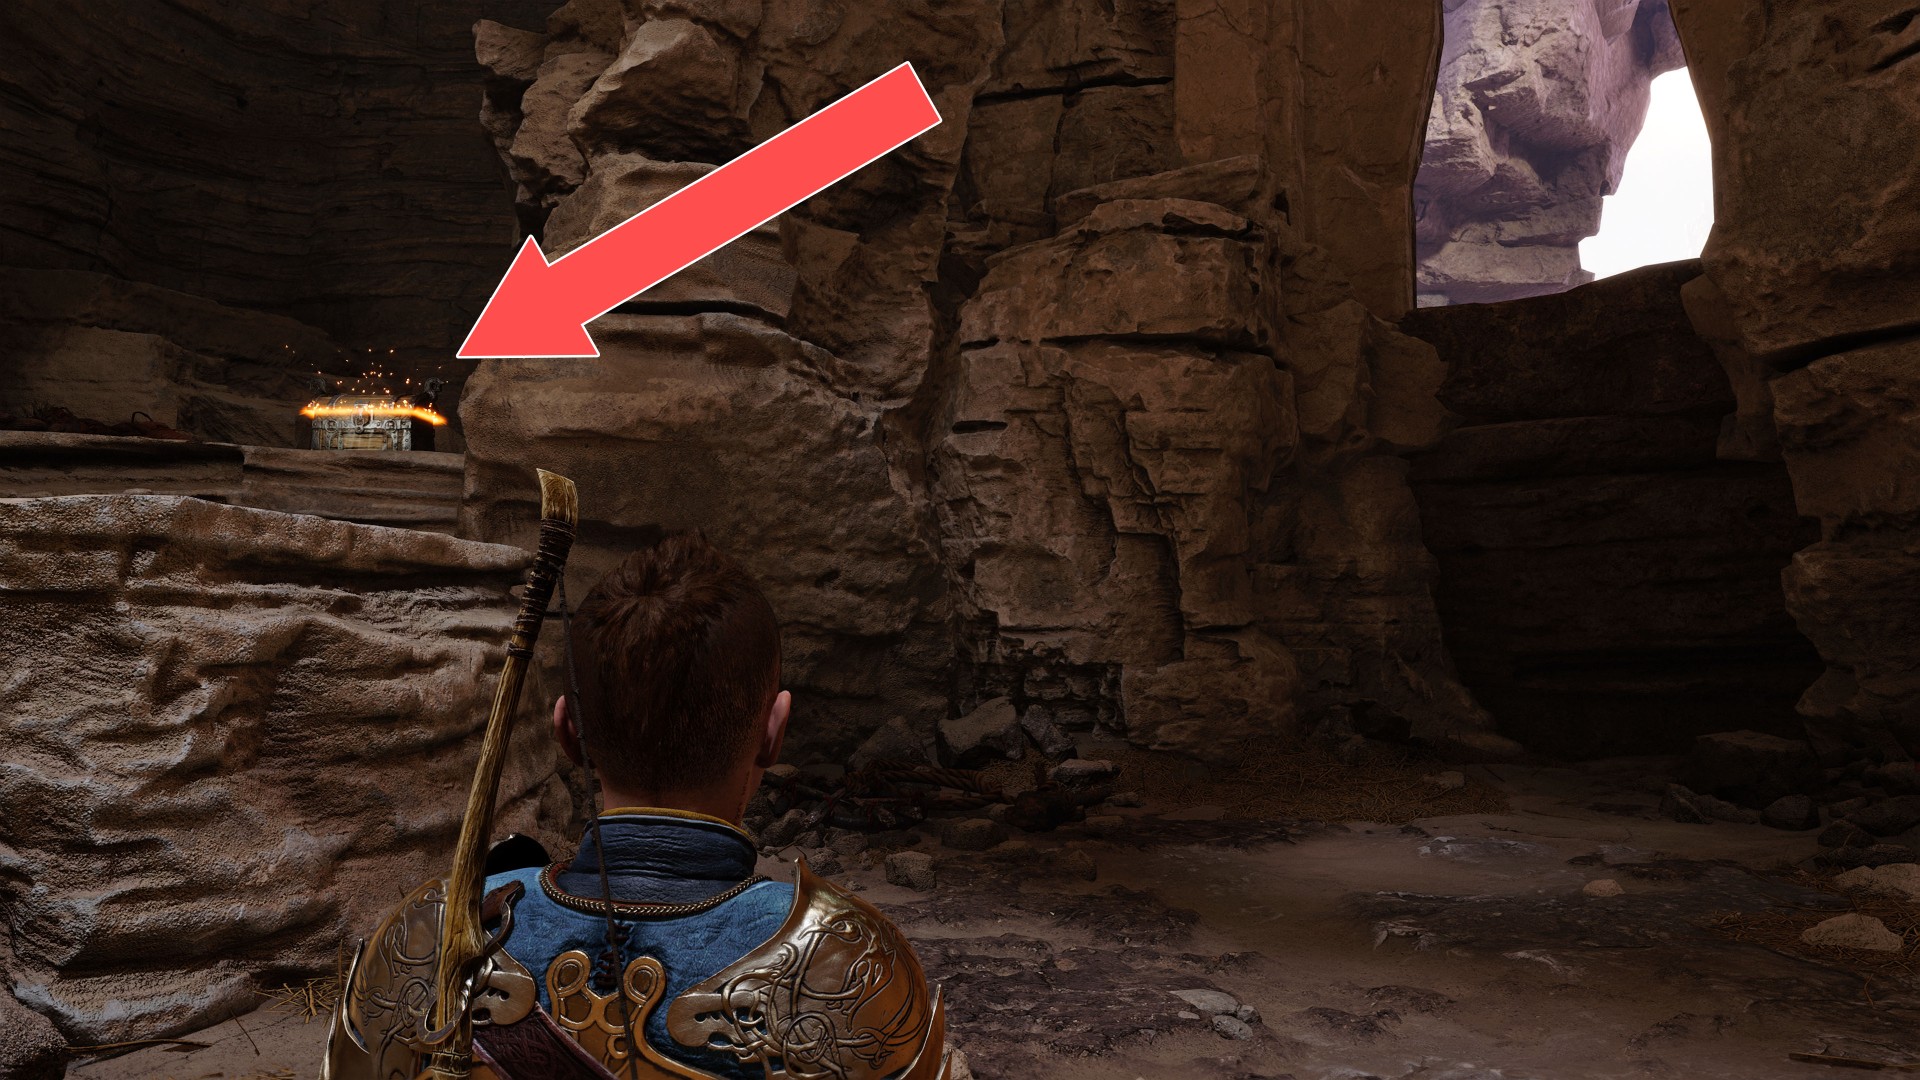
169Yellow Chest
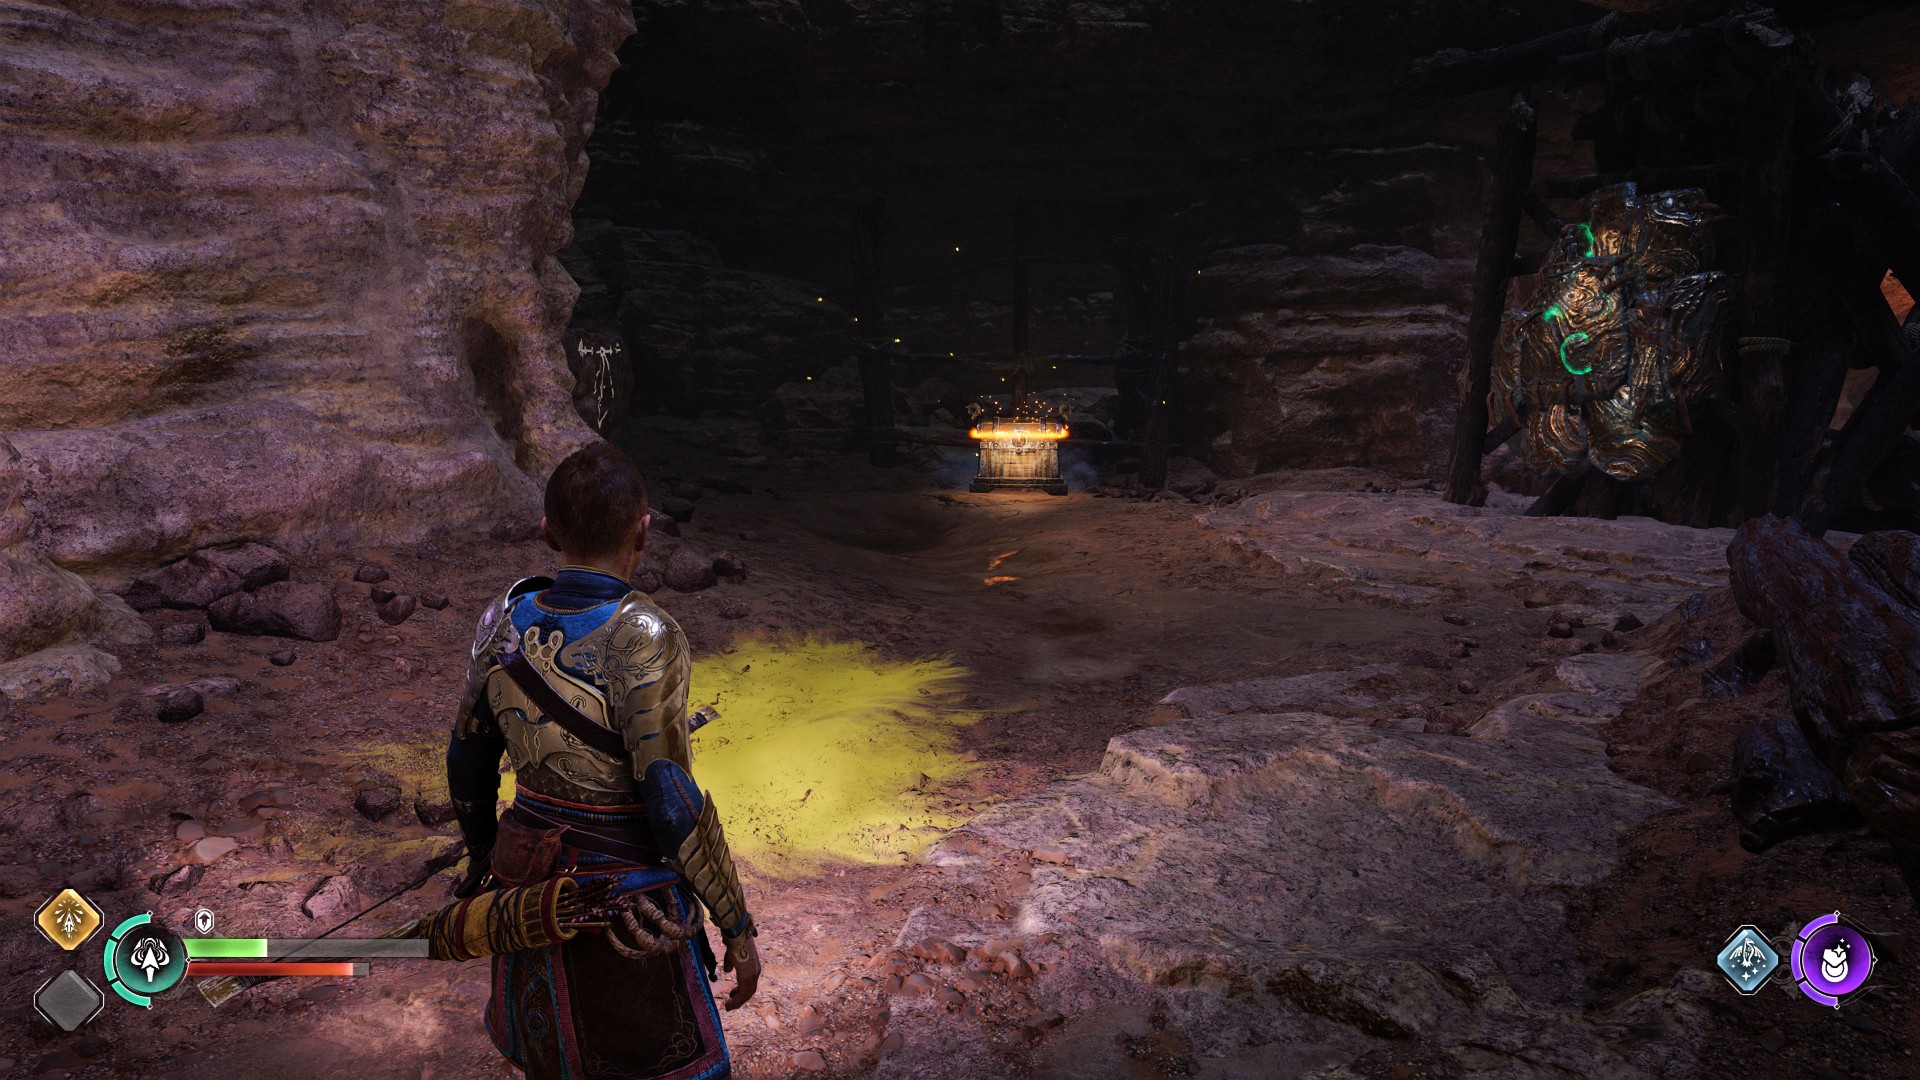
170Yellow Chest
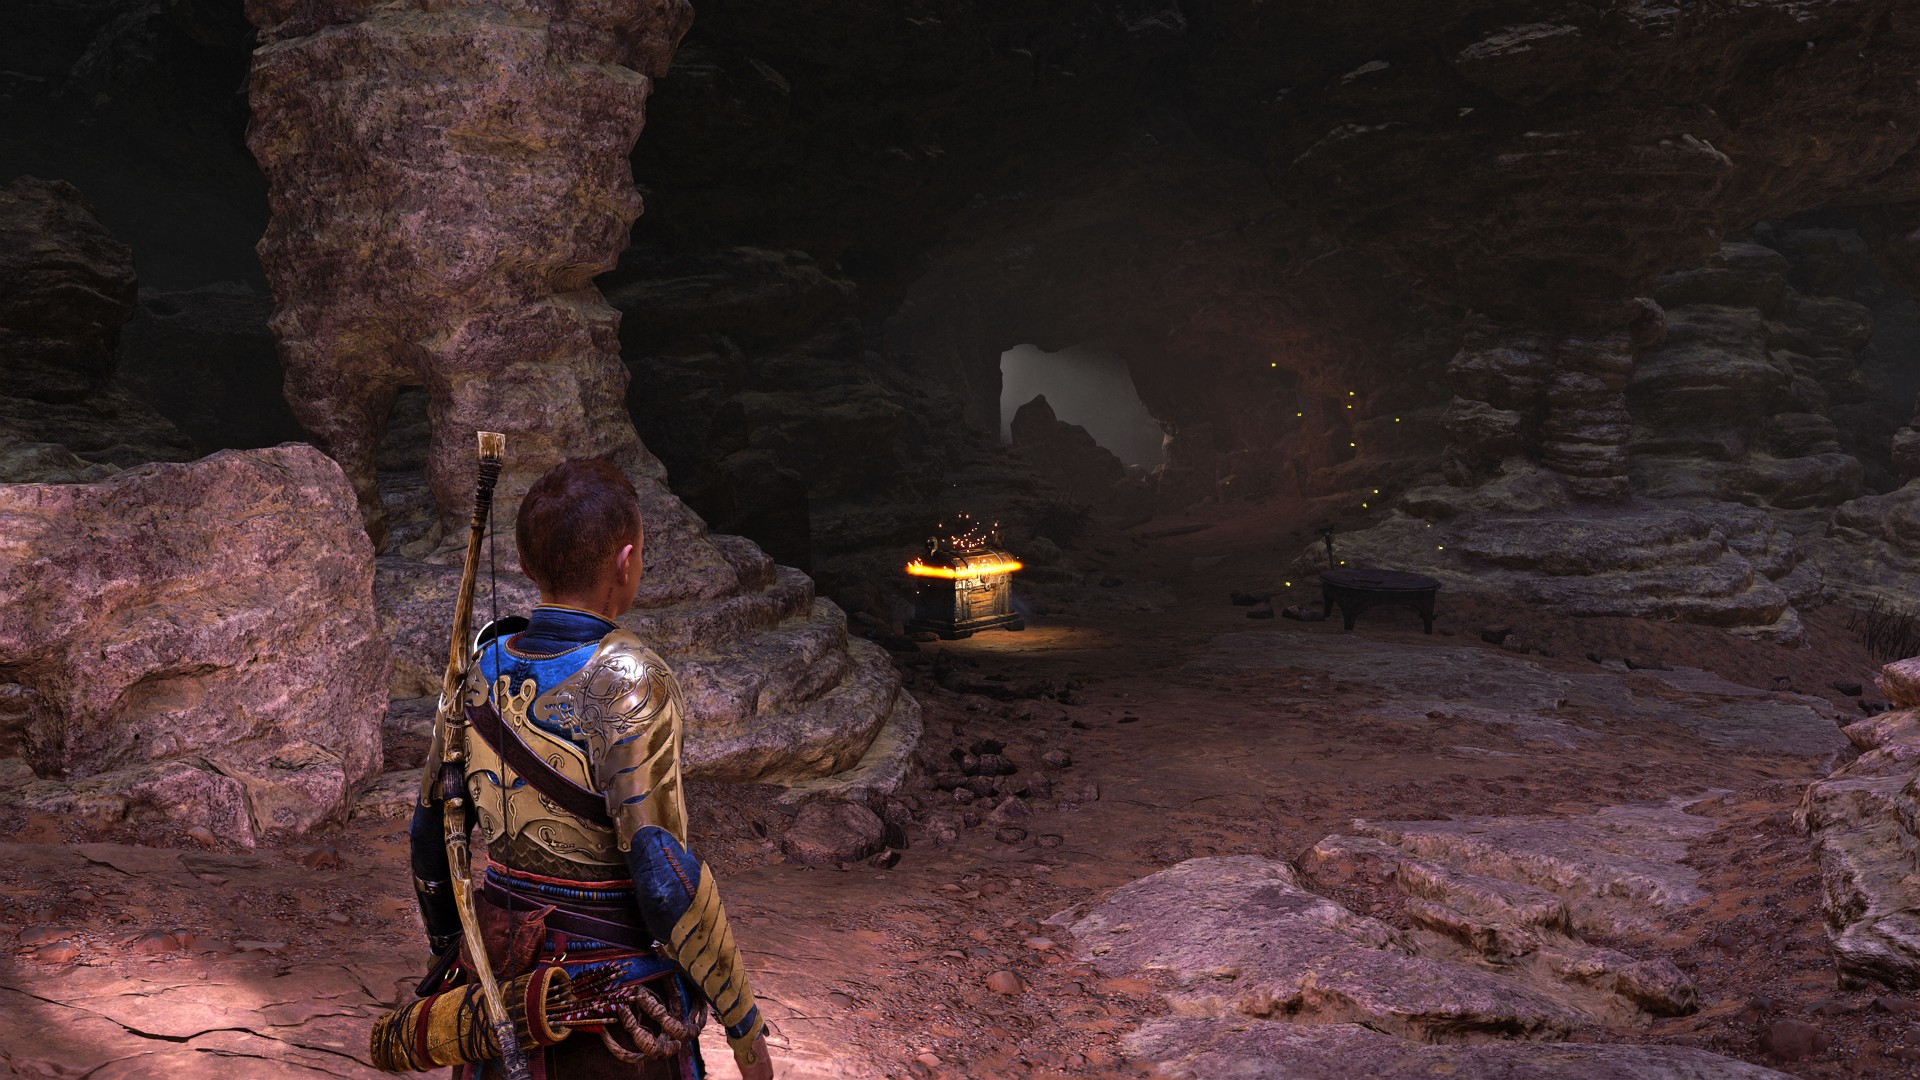
171Yellow Chest
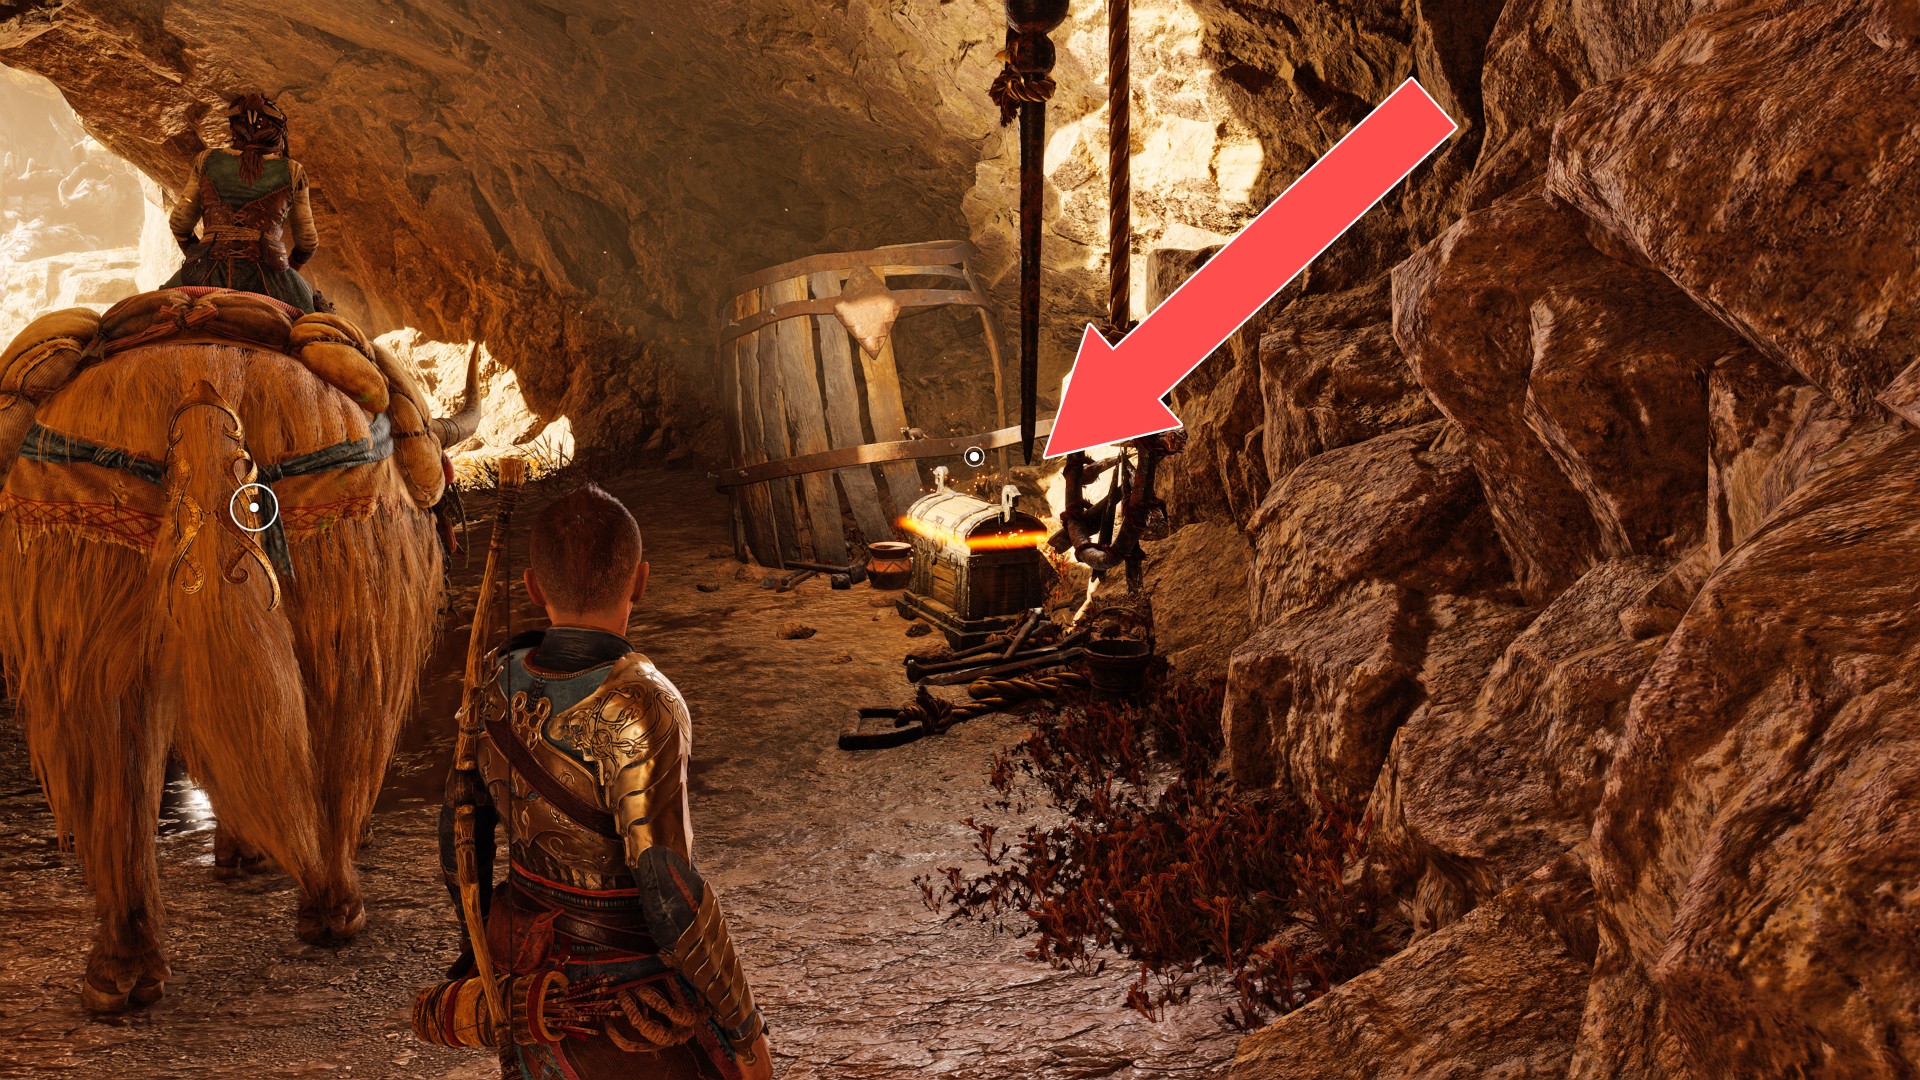
172Yellow Chest
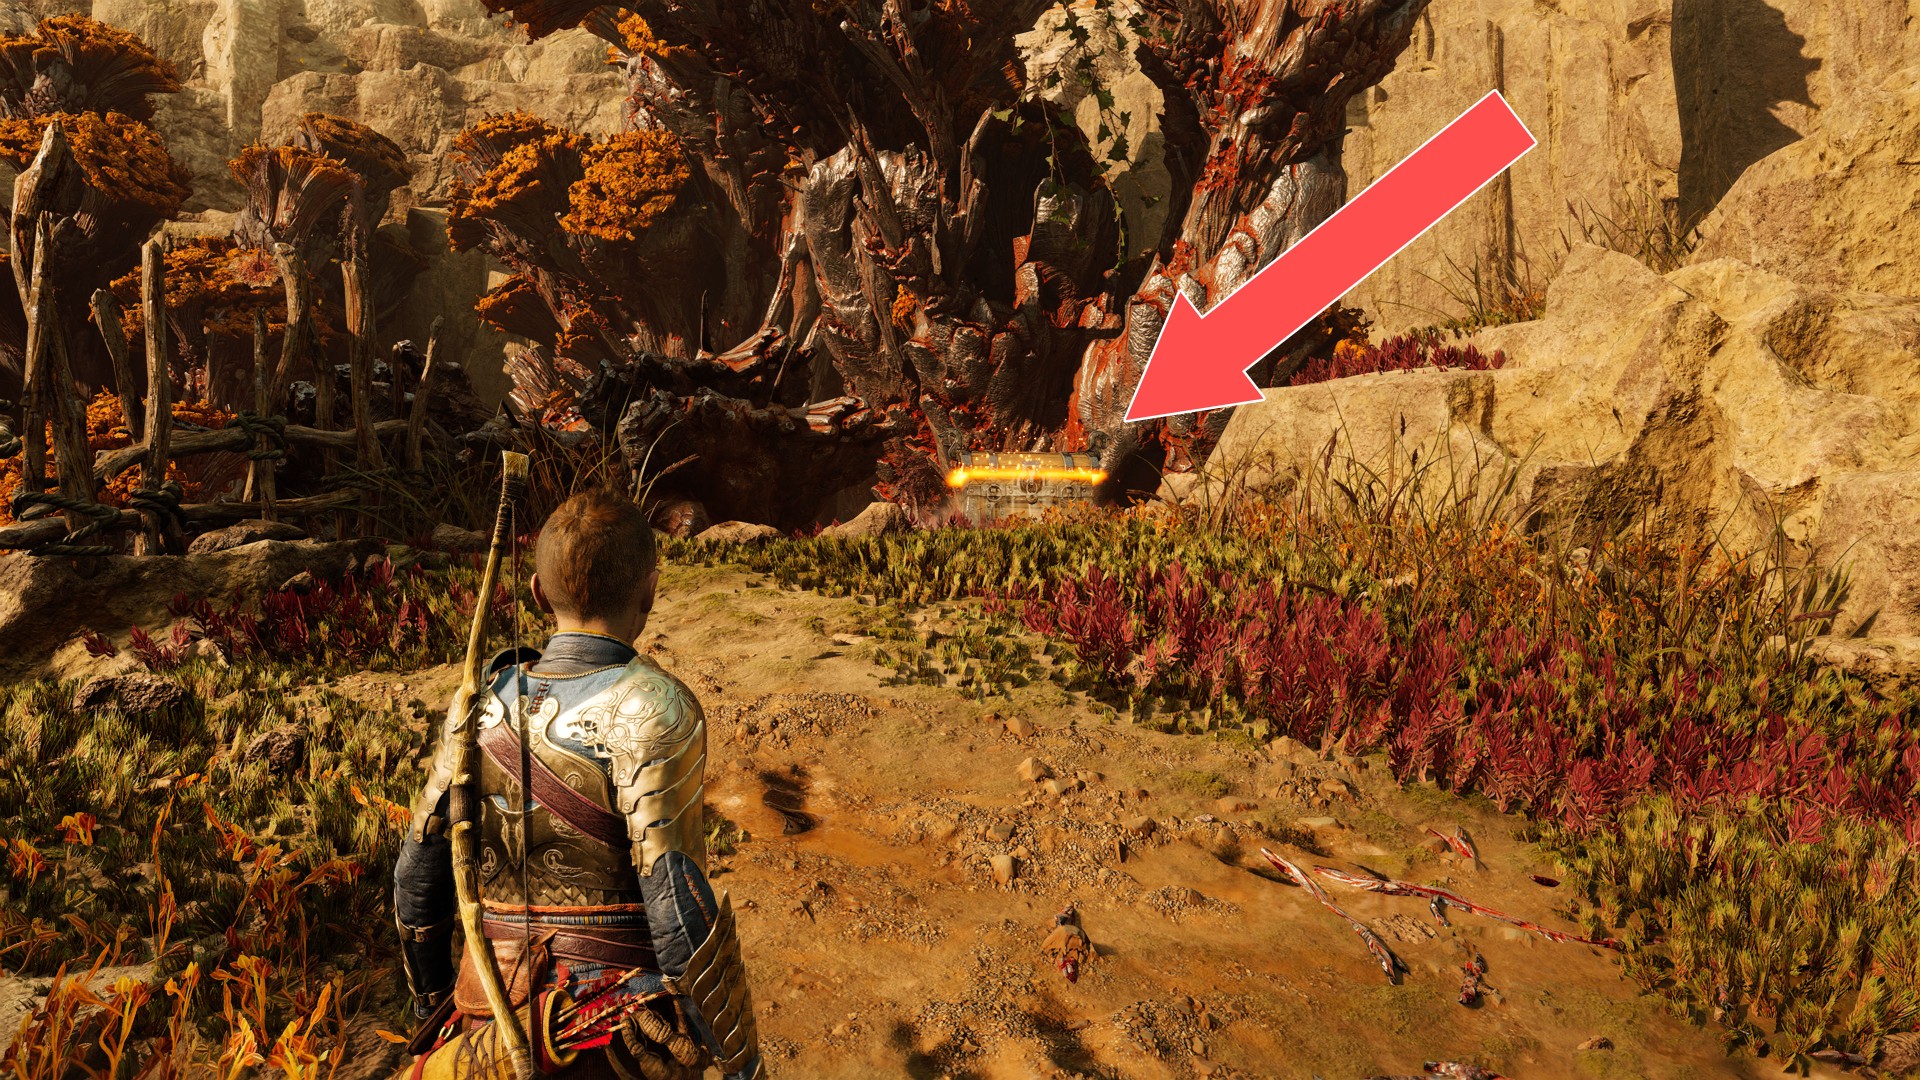
173Yellow Chest
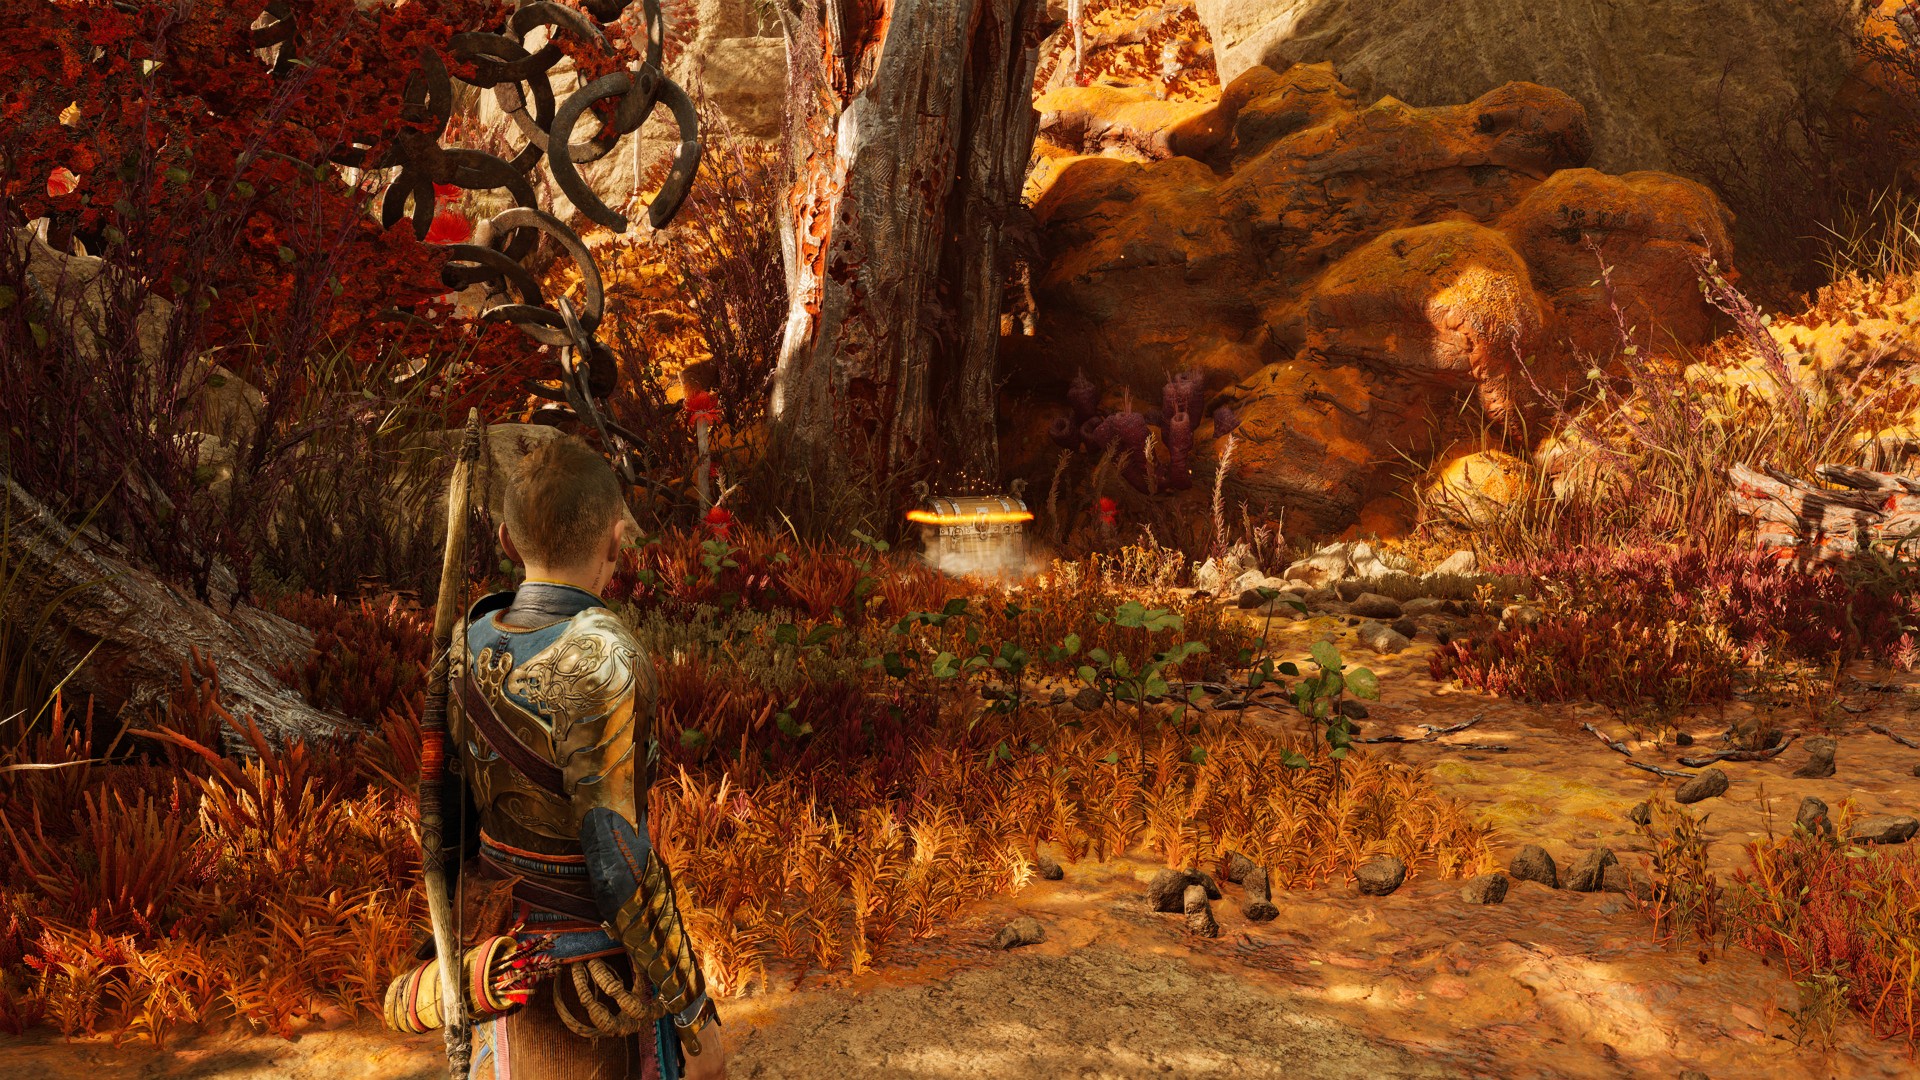
Access to the crate is restricted by a wooden structure so you must destroy it first.
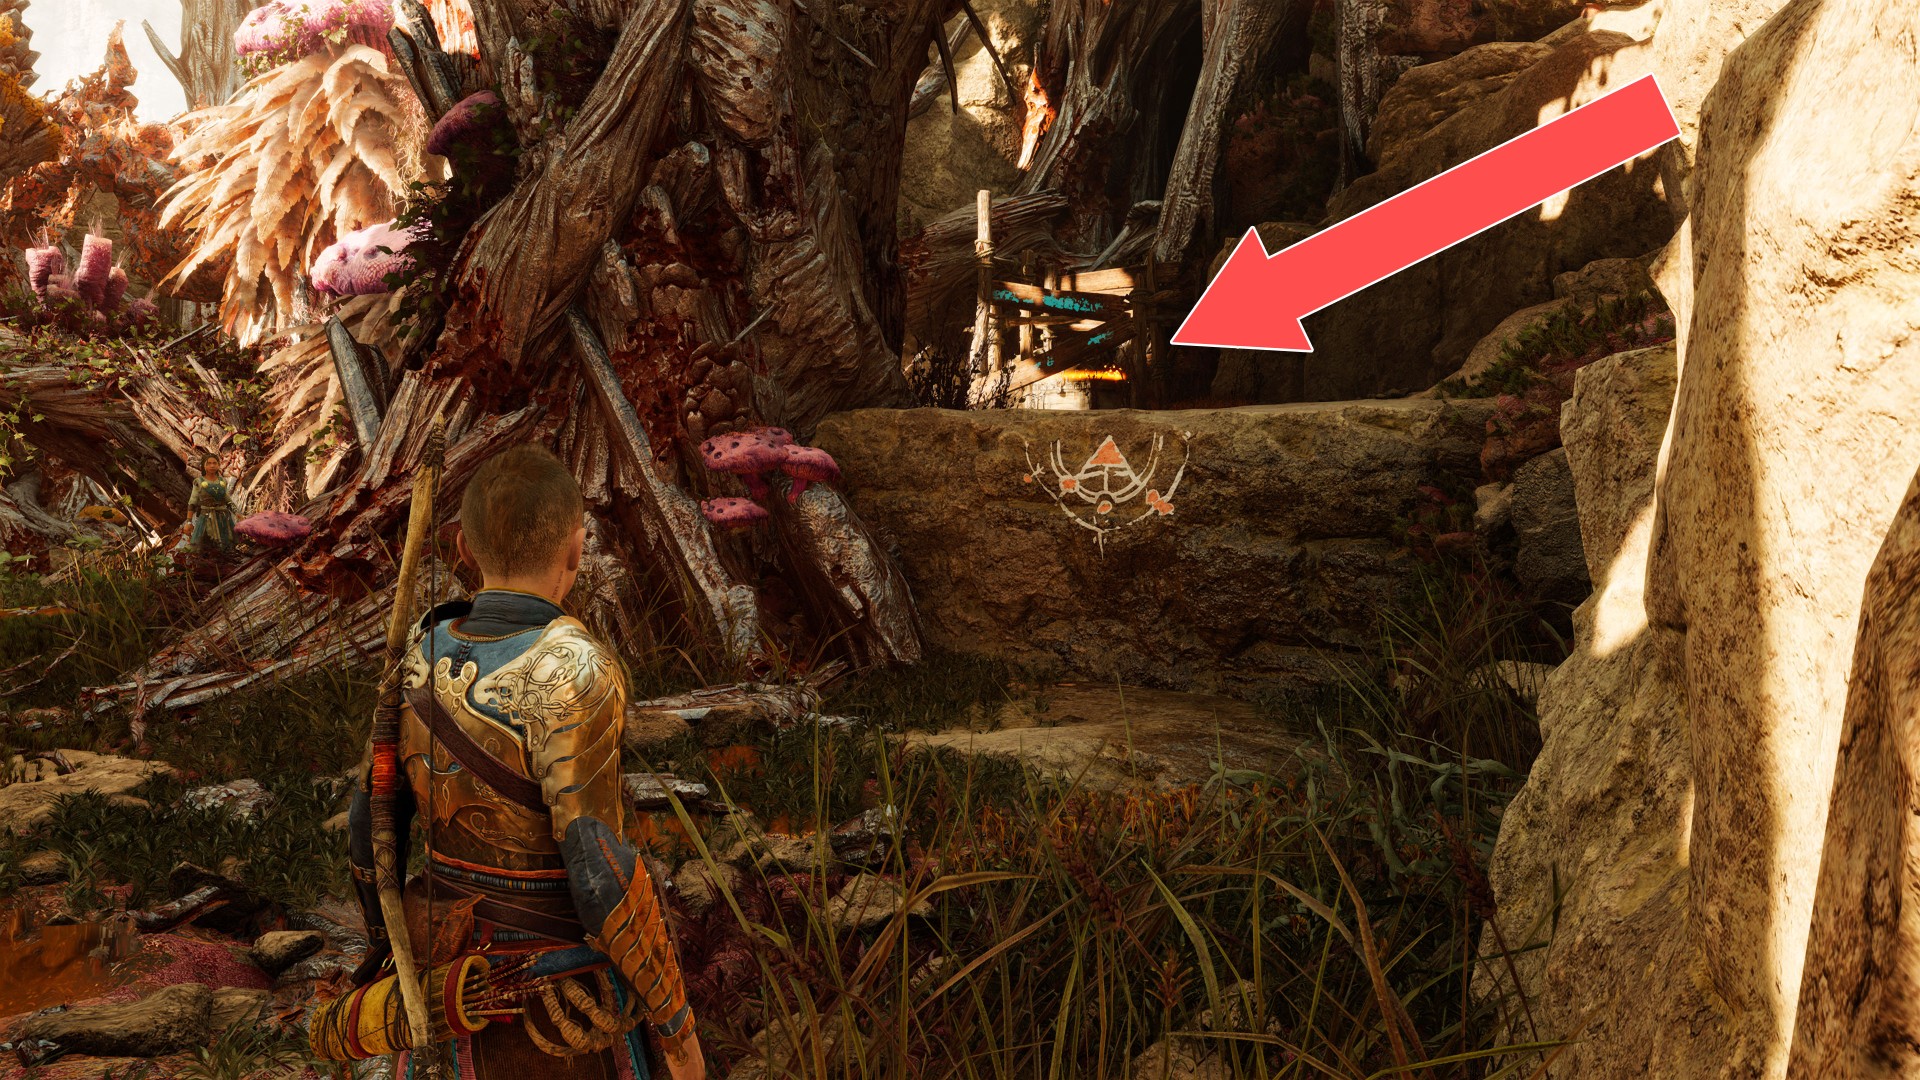
174Yellow Chest
175Yellow Chest
176Yellow Chest
Locations on Vanaheim
177Red Chest
178Red Chest
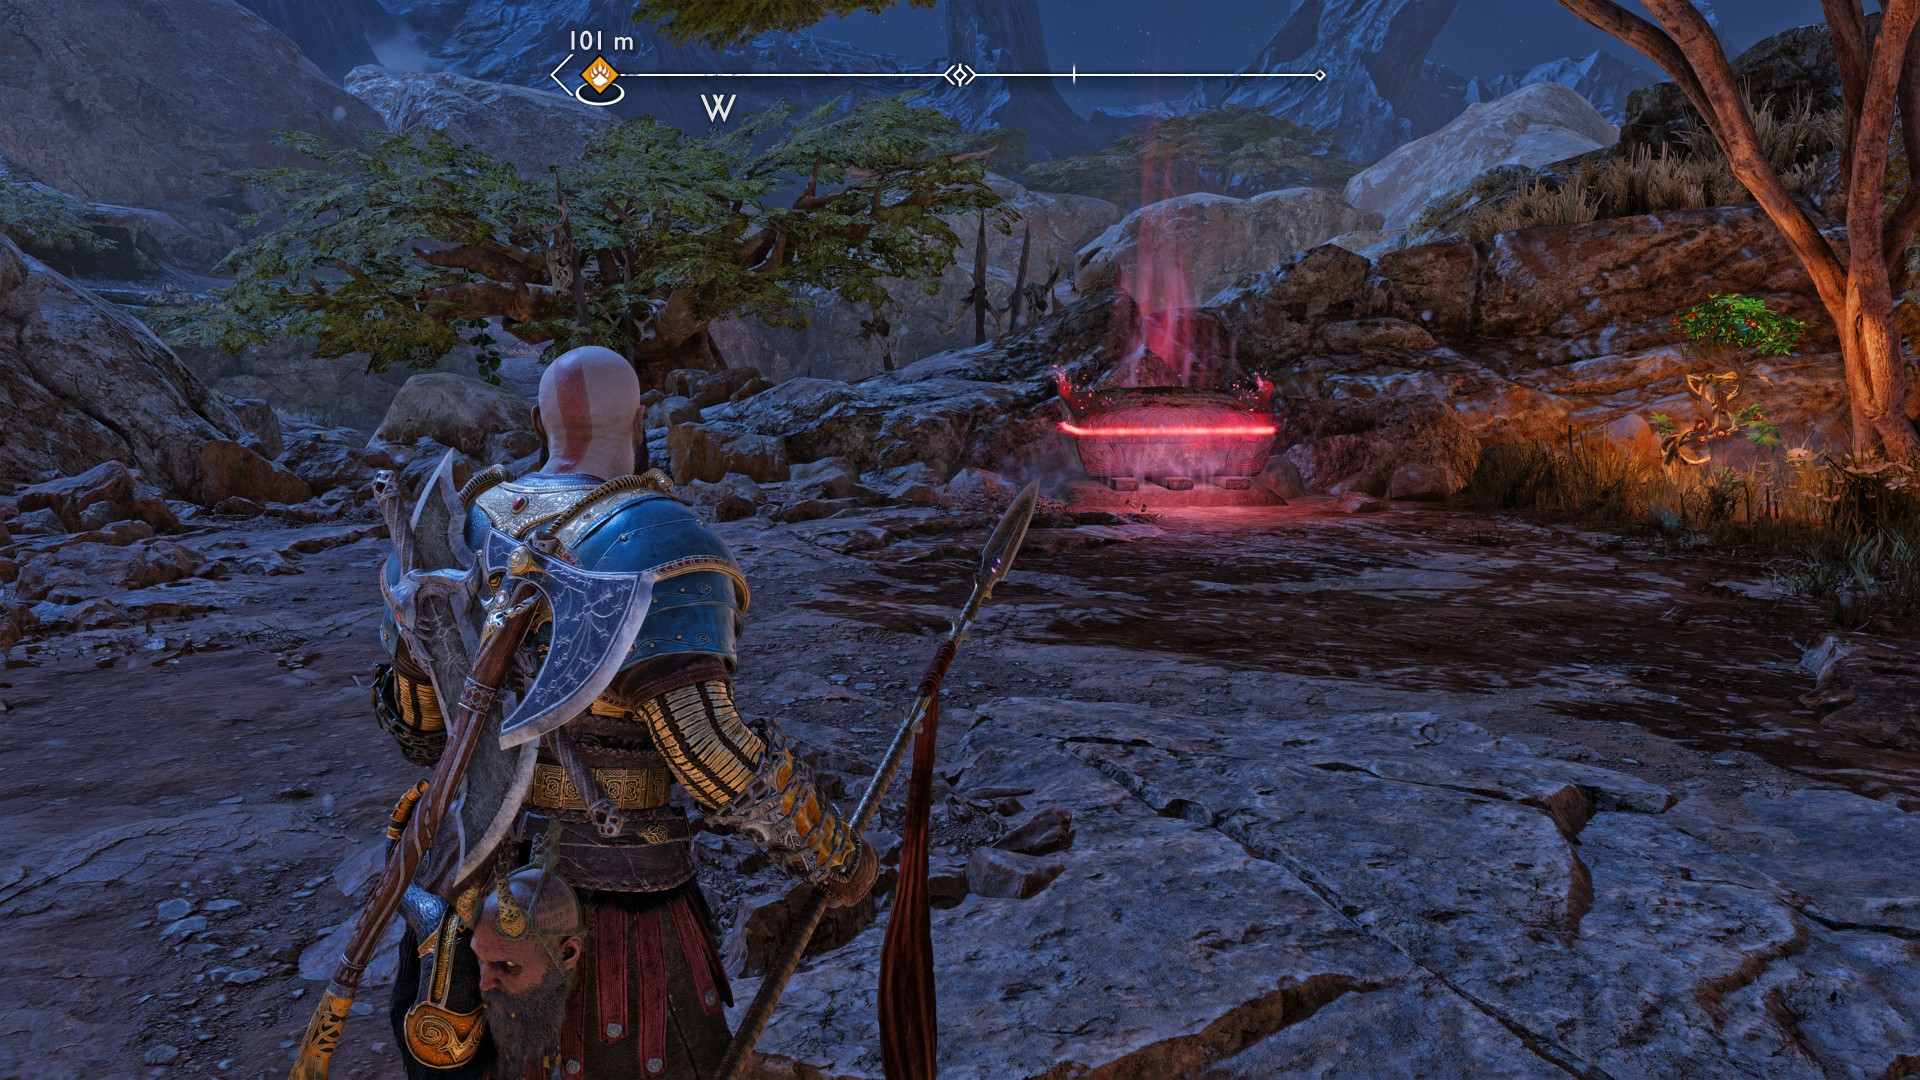
179Red Chest
You will be able to get here only after the water in the rivers is restored, so you must first complete the favor "Return of the River".
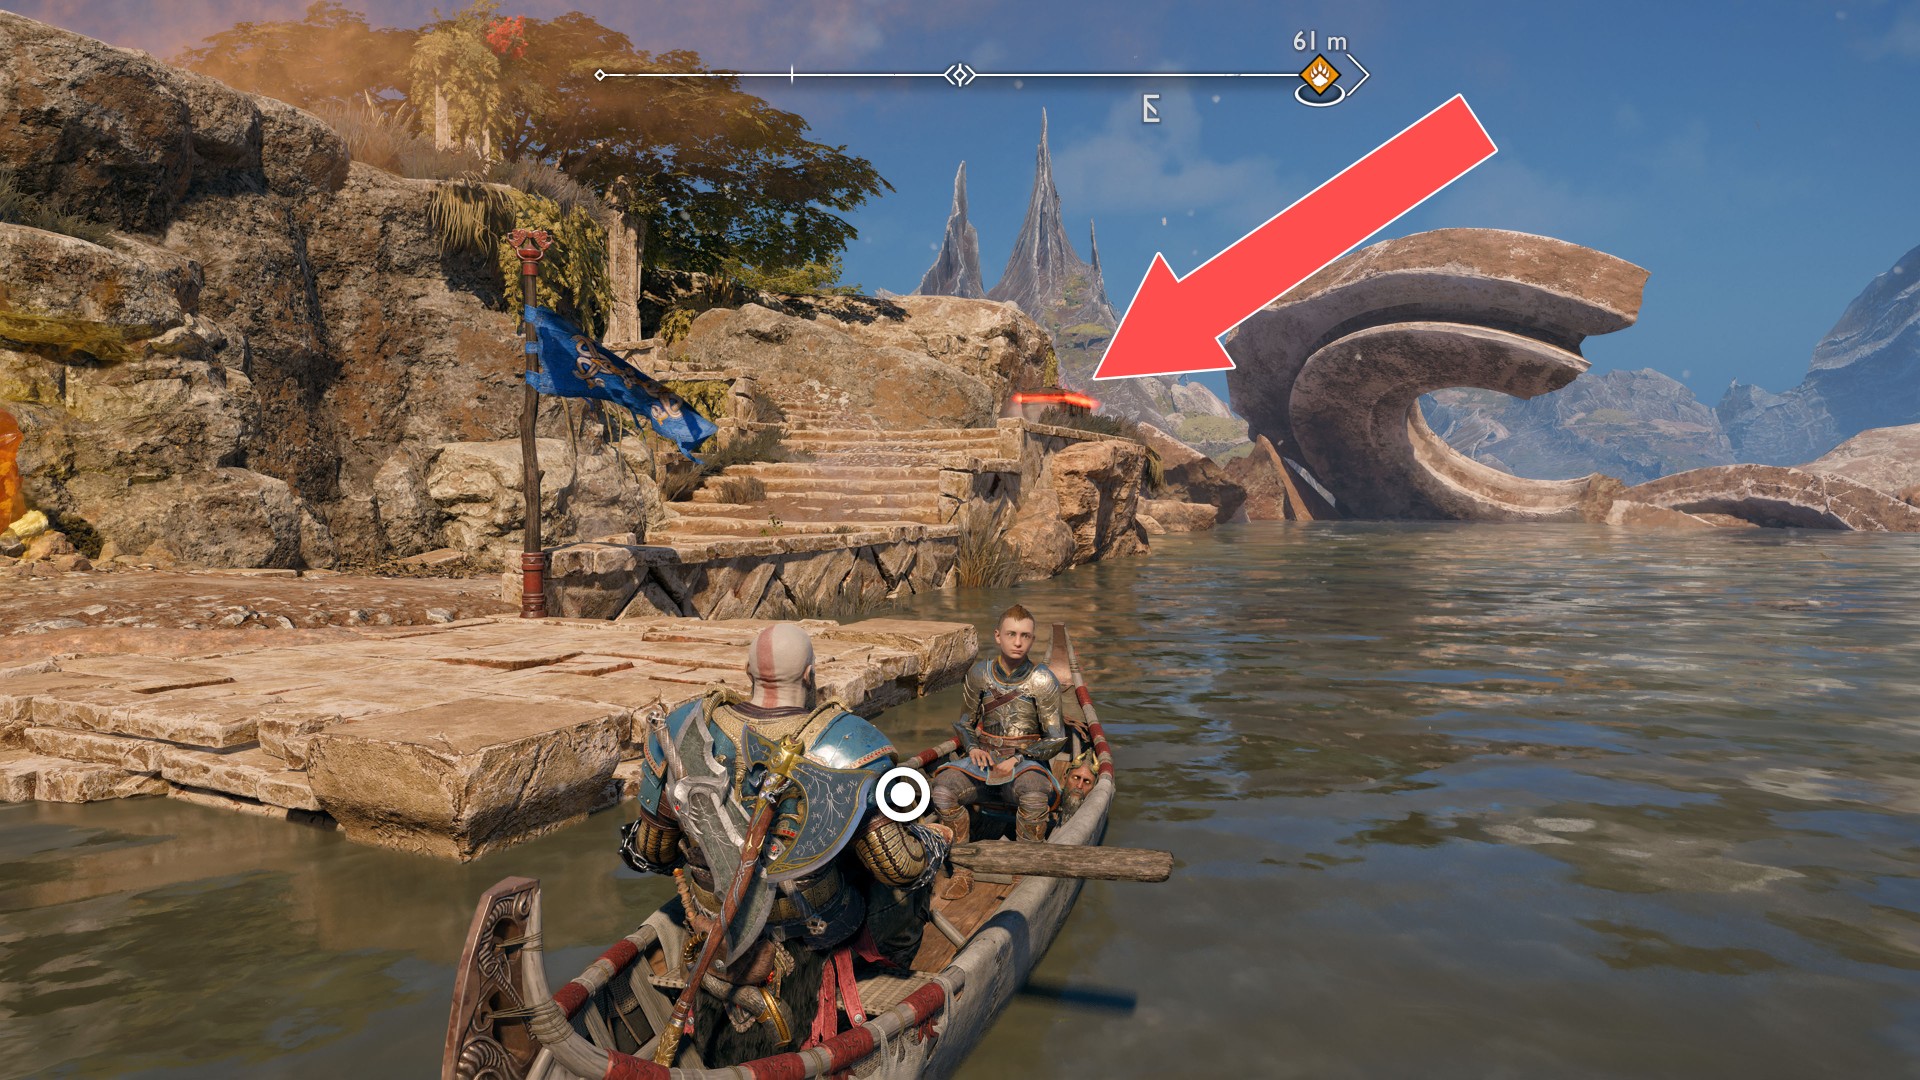
180Red Chest
To open this chest you must burn the large bulb located in the cave.
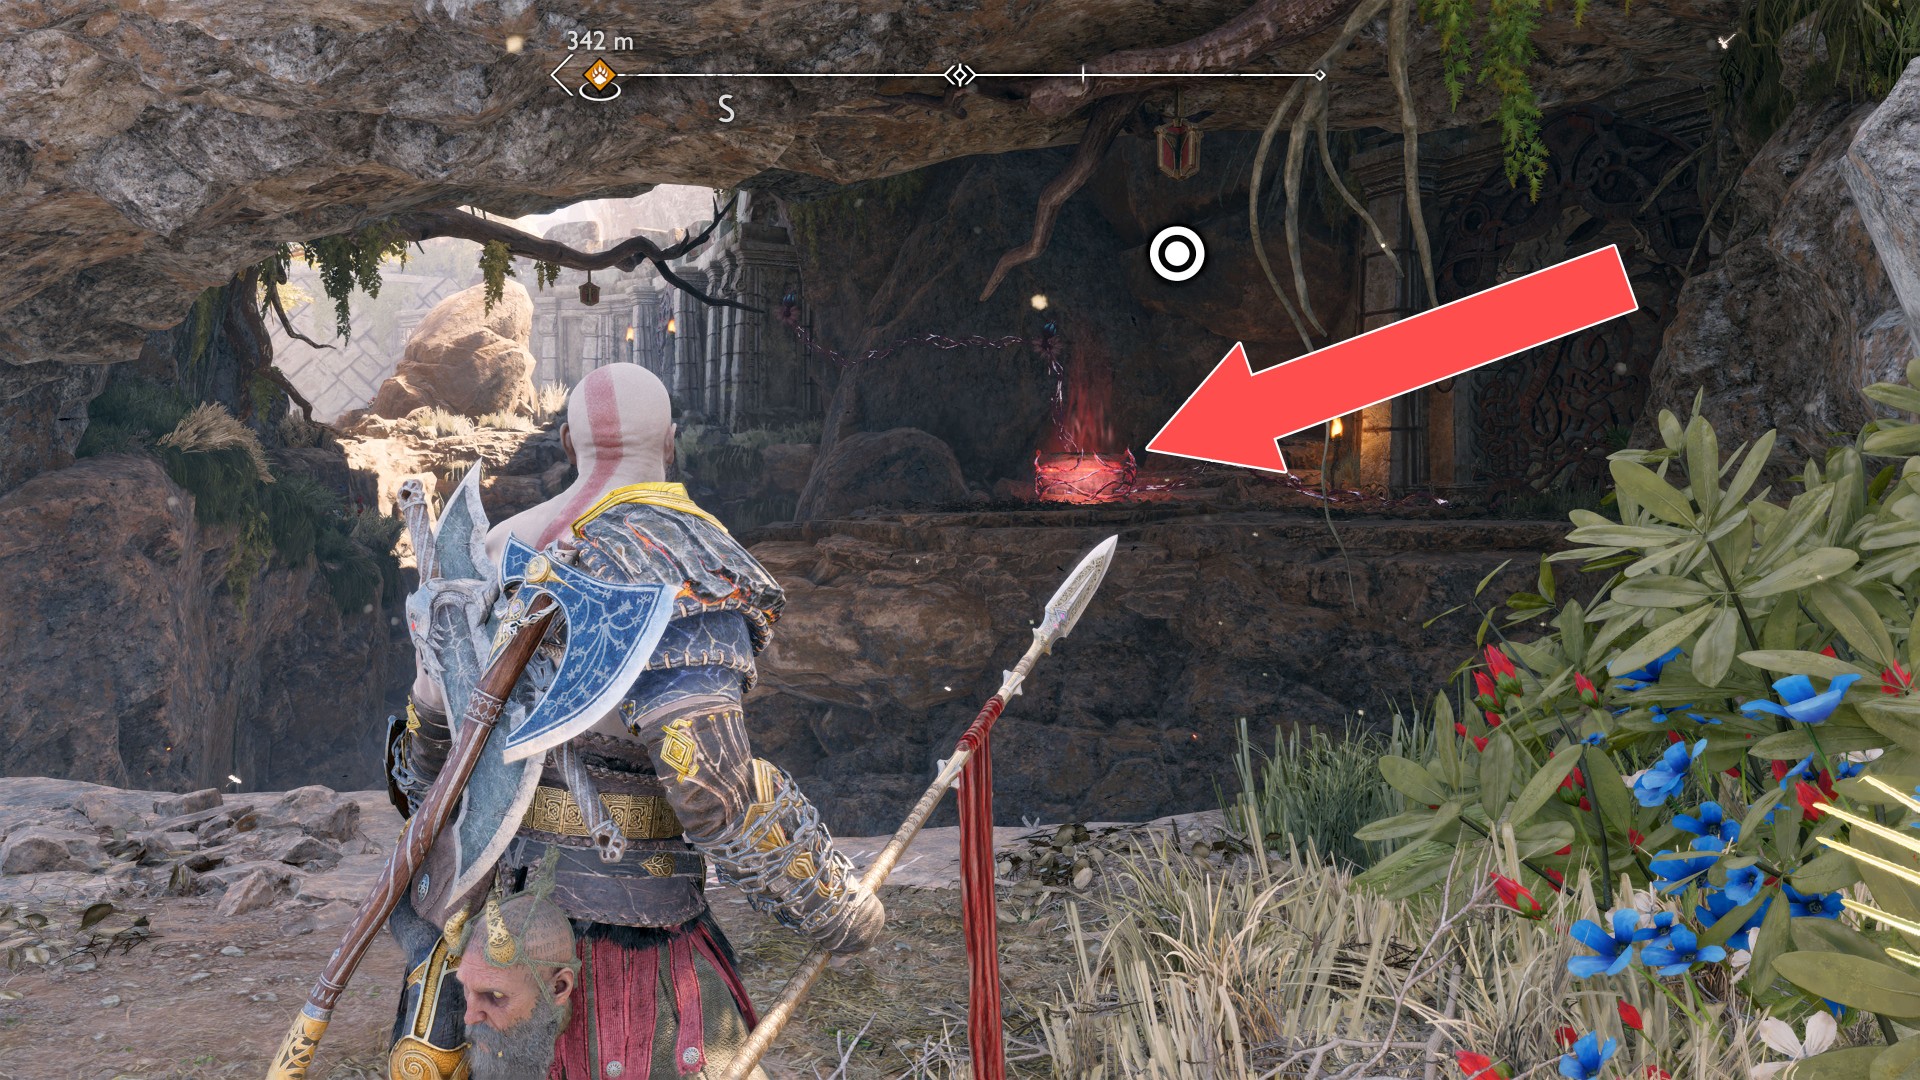
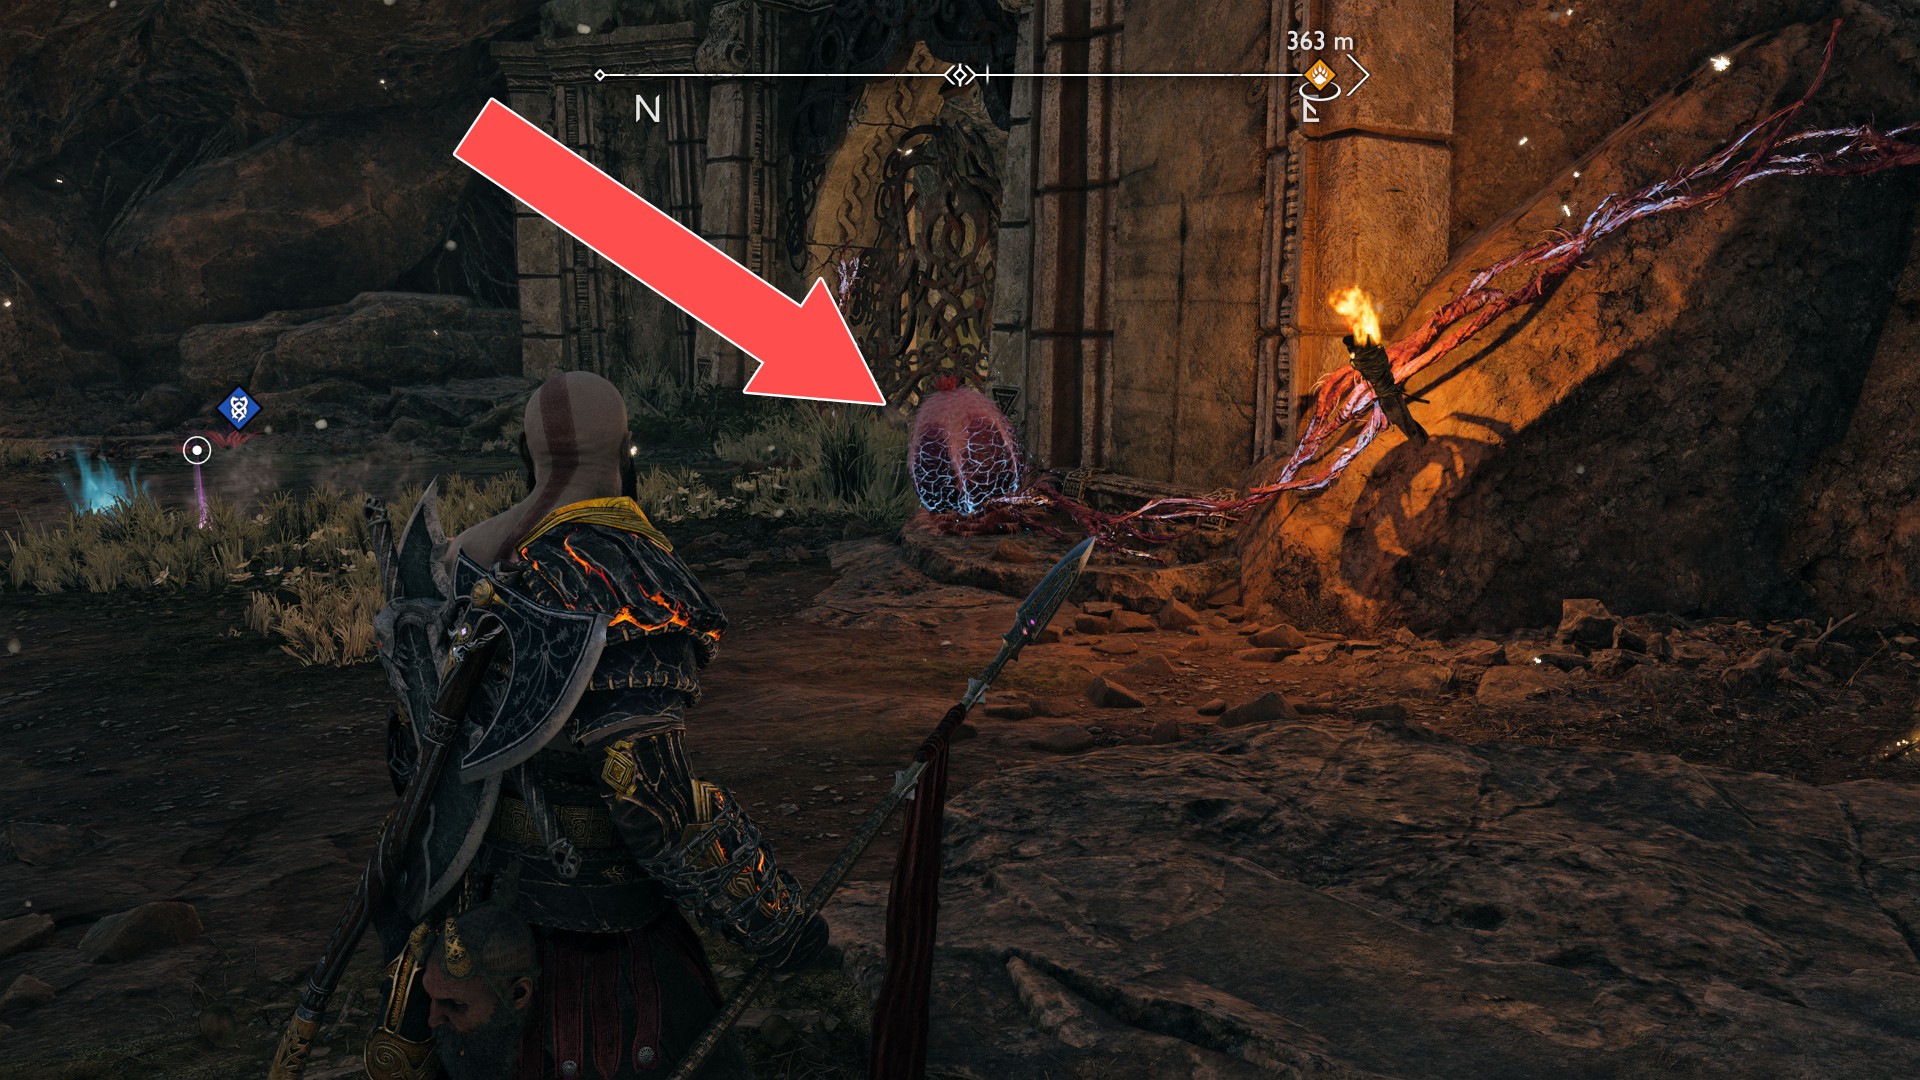
181Red Chest
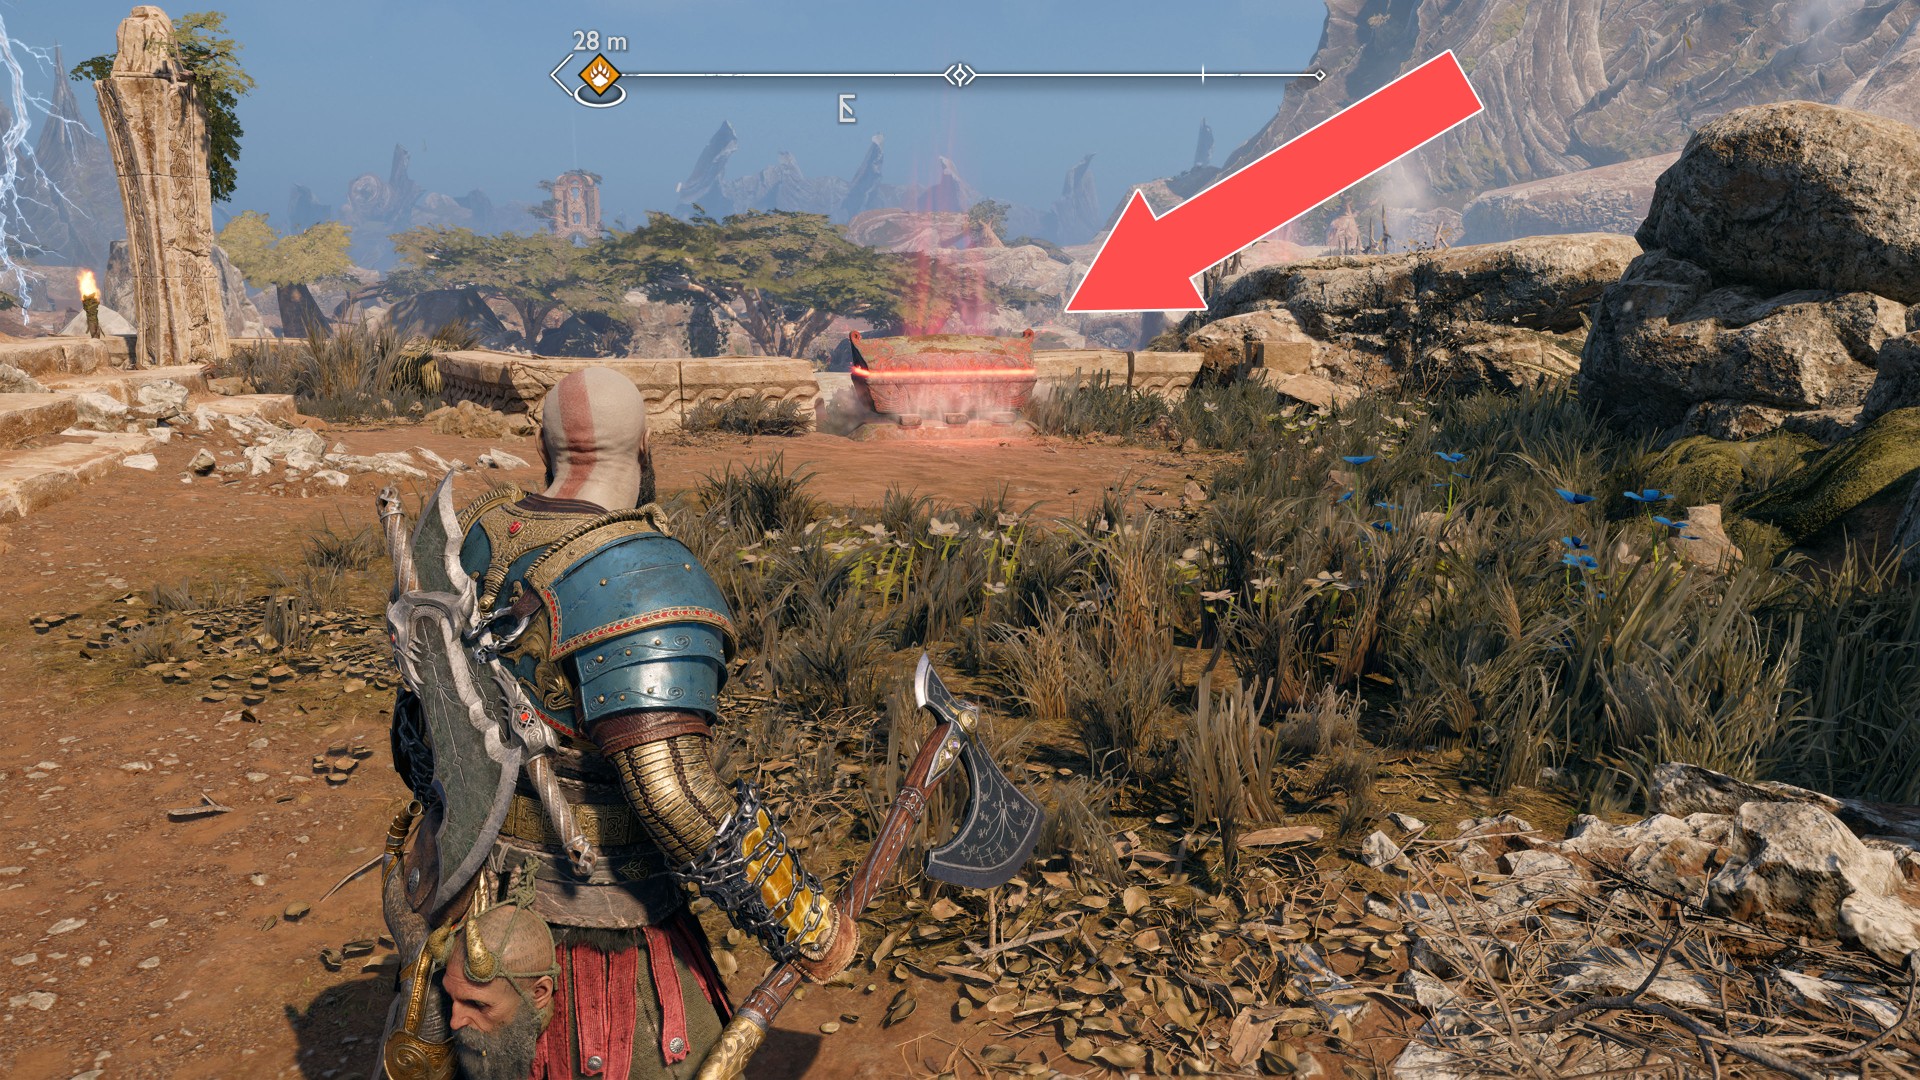
182Red Chest
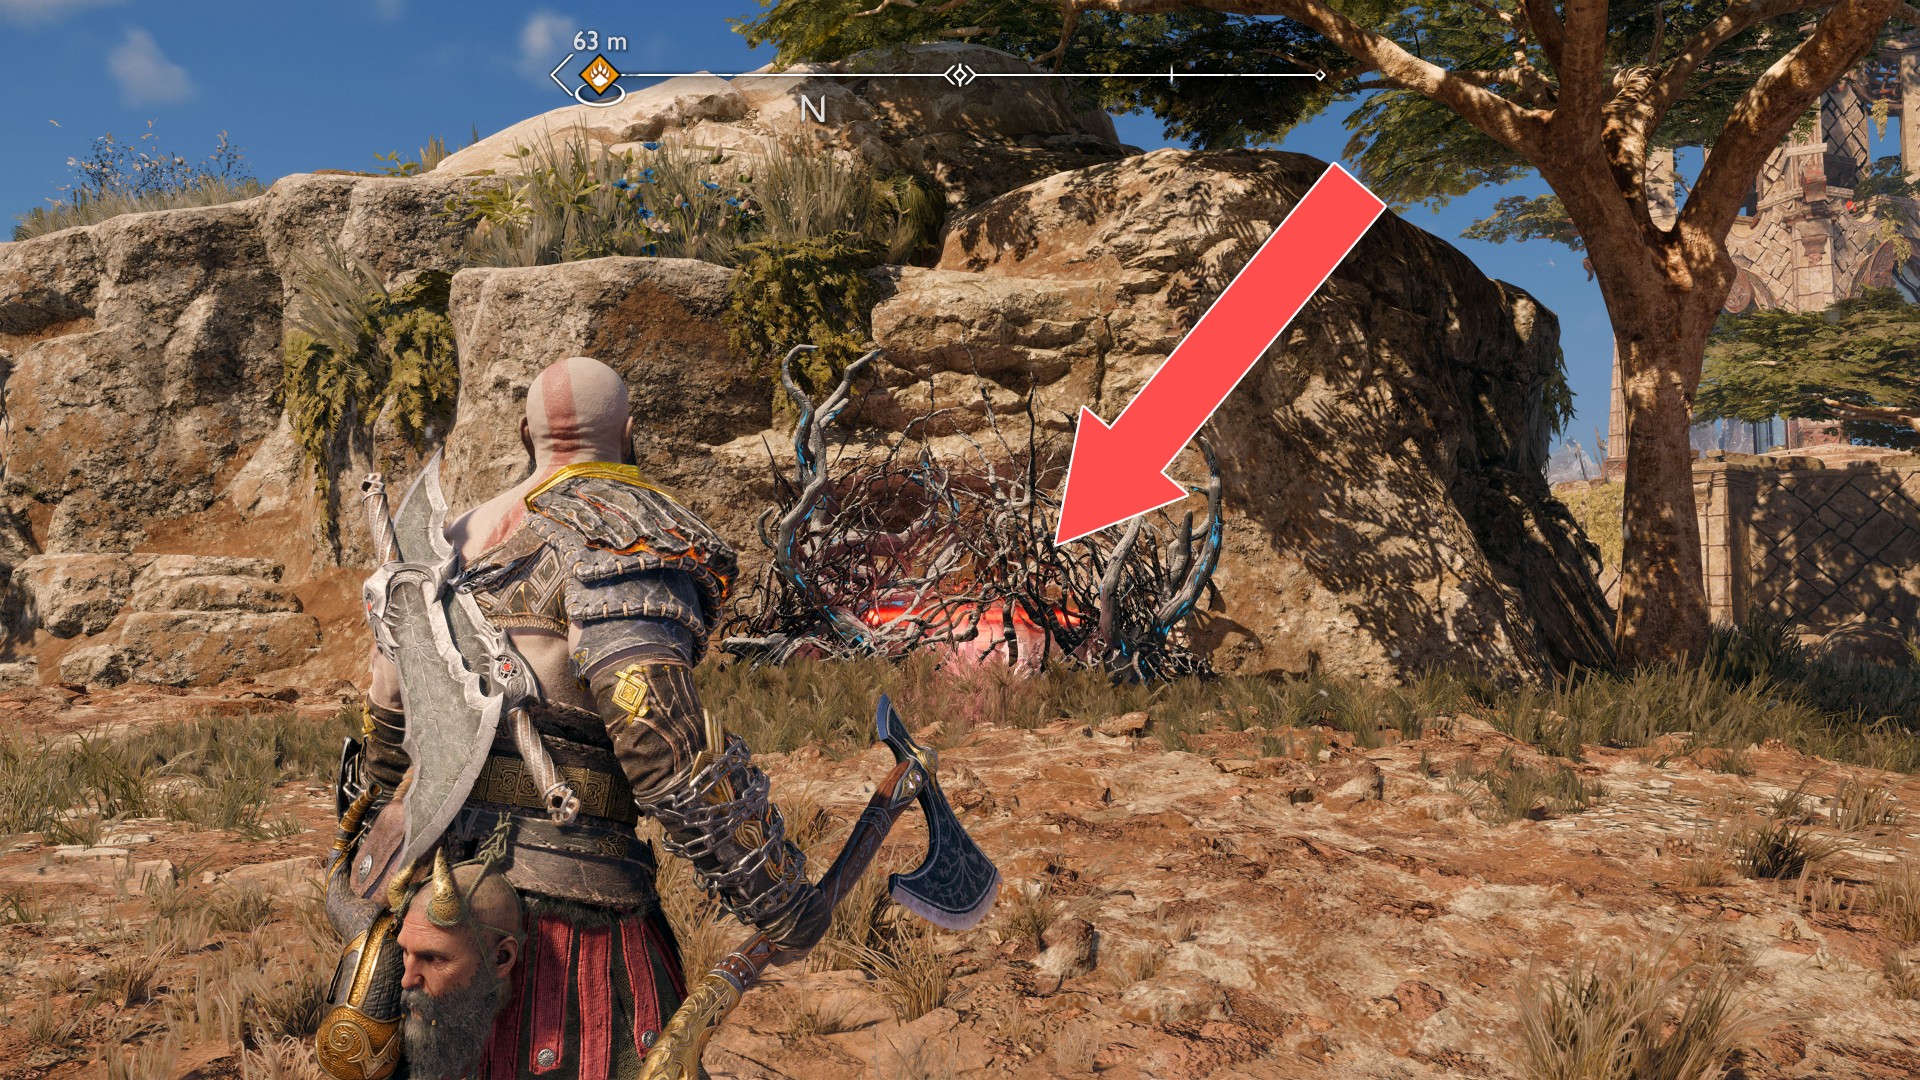
183Red Chest
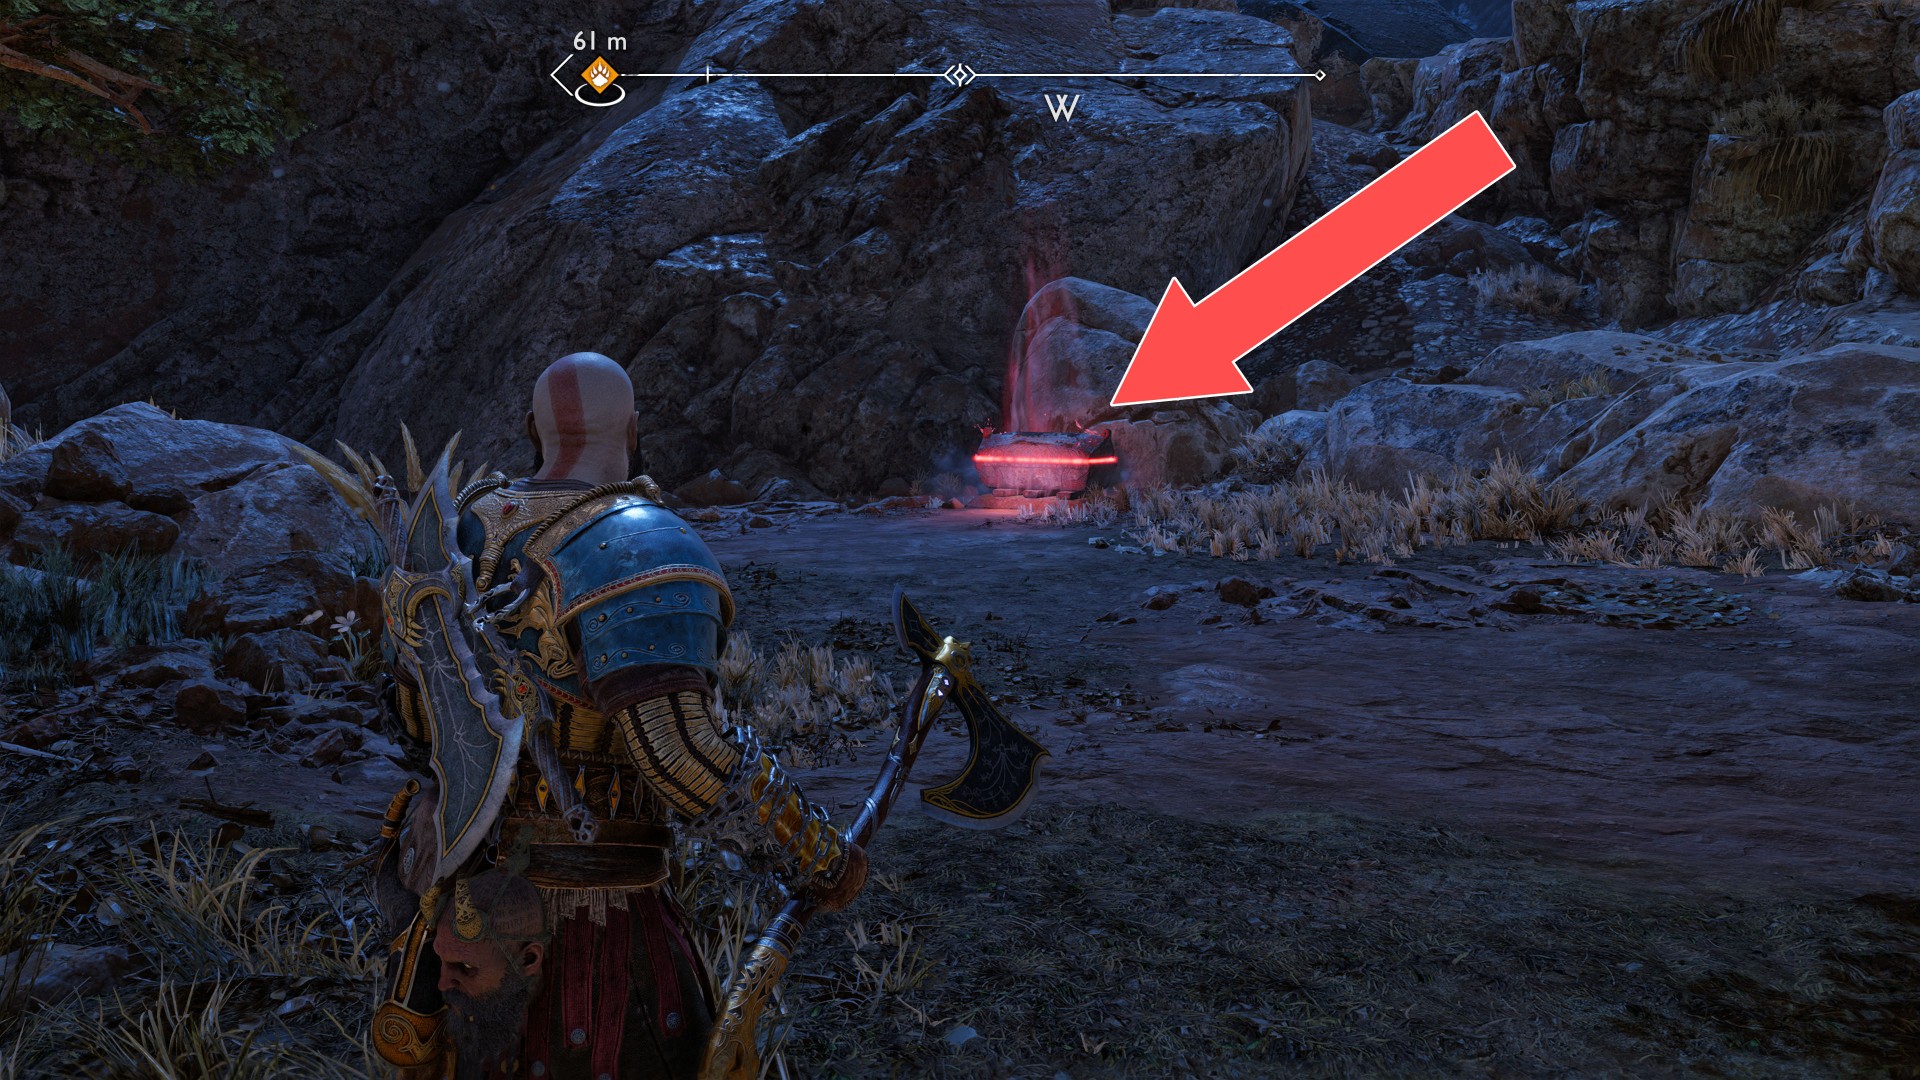
184Red Chest
To get to this plateau you must use the Zipline.
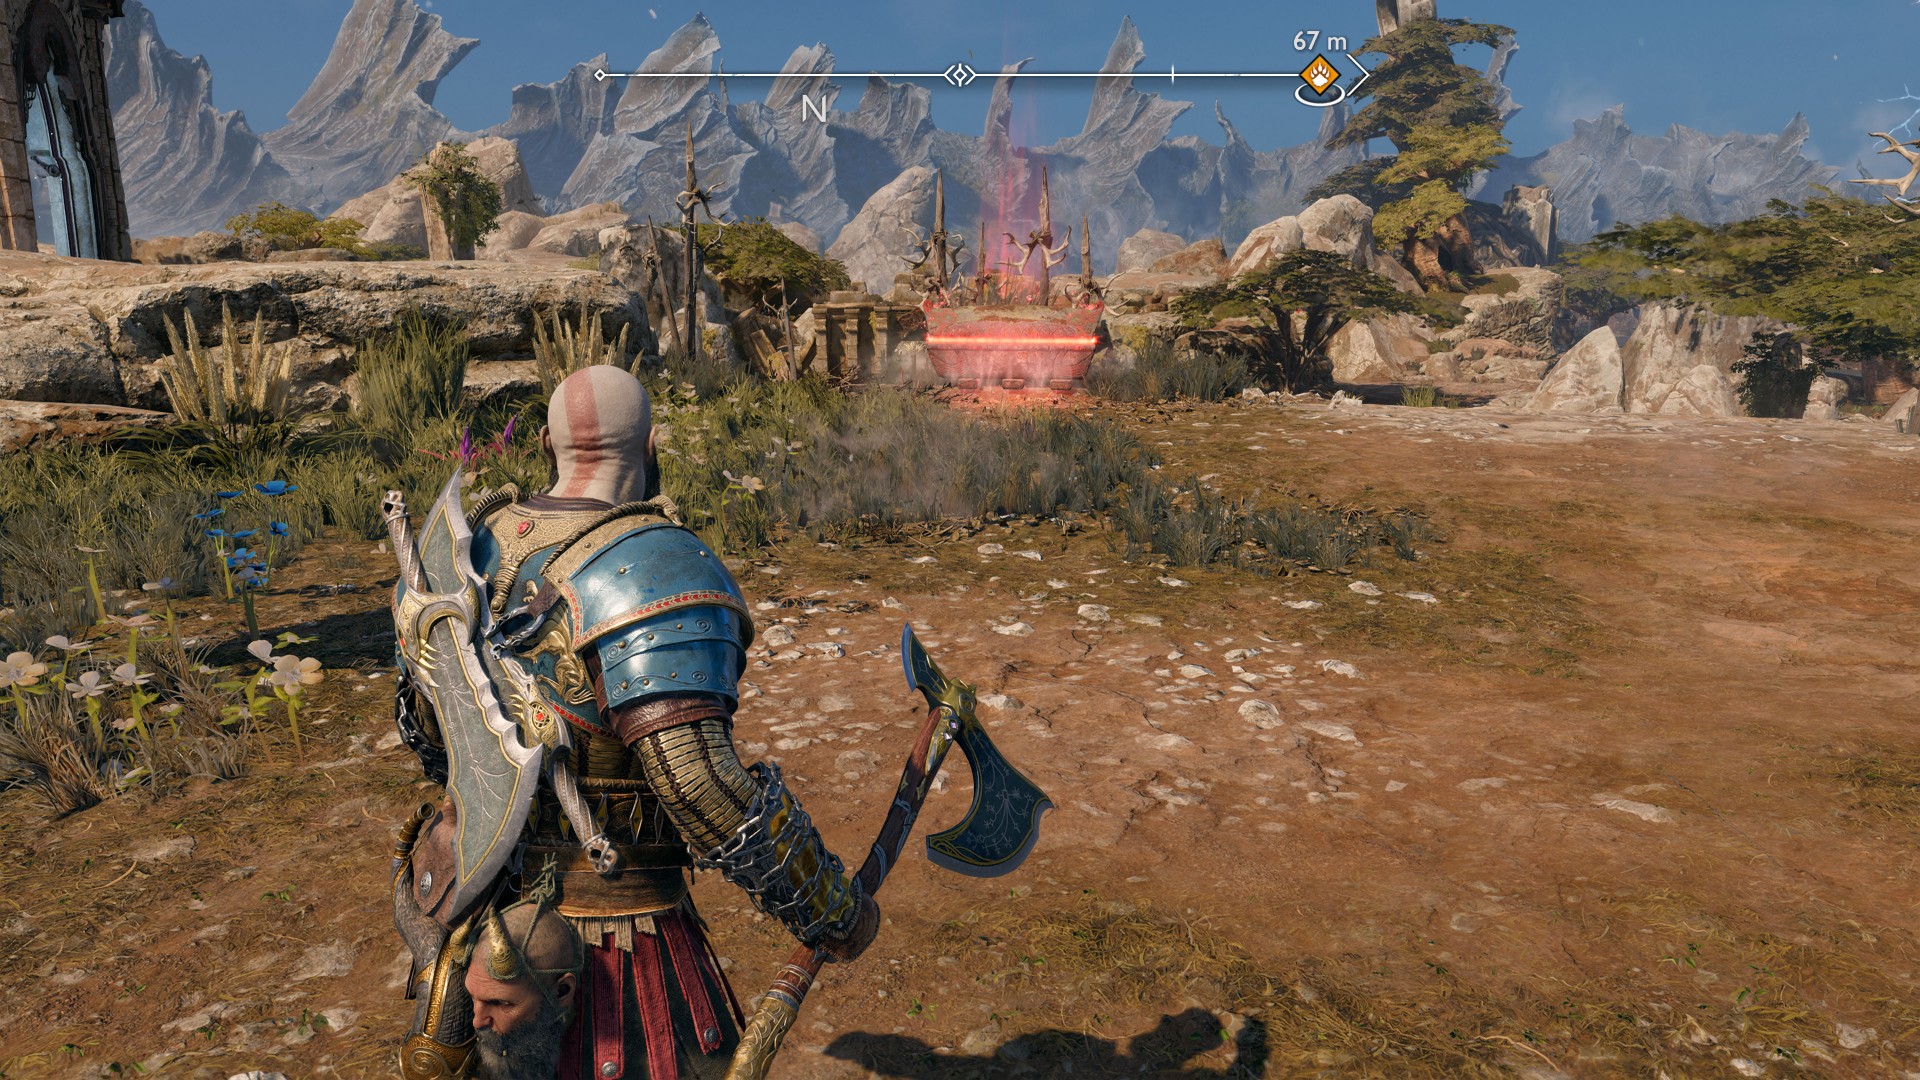
185Red Chest
You will be able to get here only after the water in the rivers is restored, so you must first complete the favor "Return of the River".
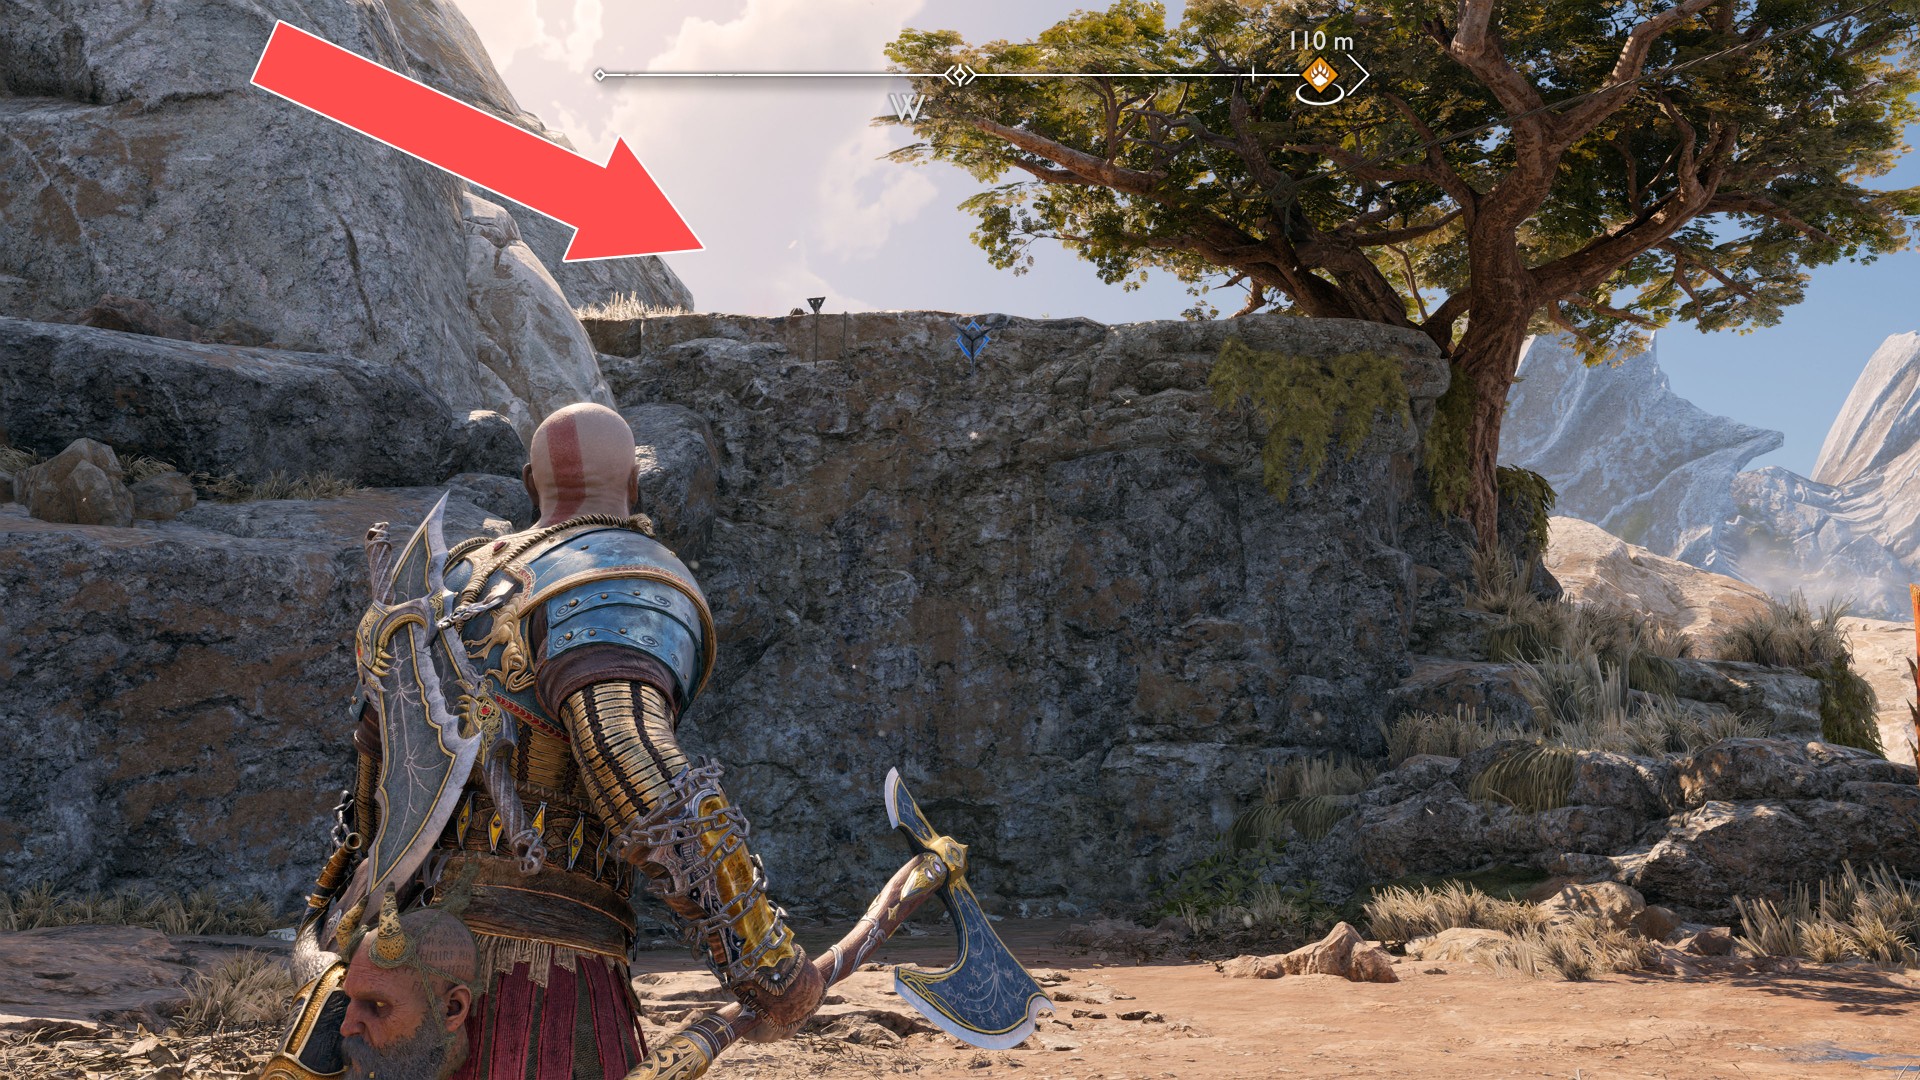
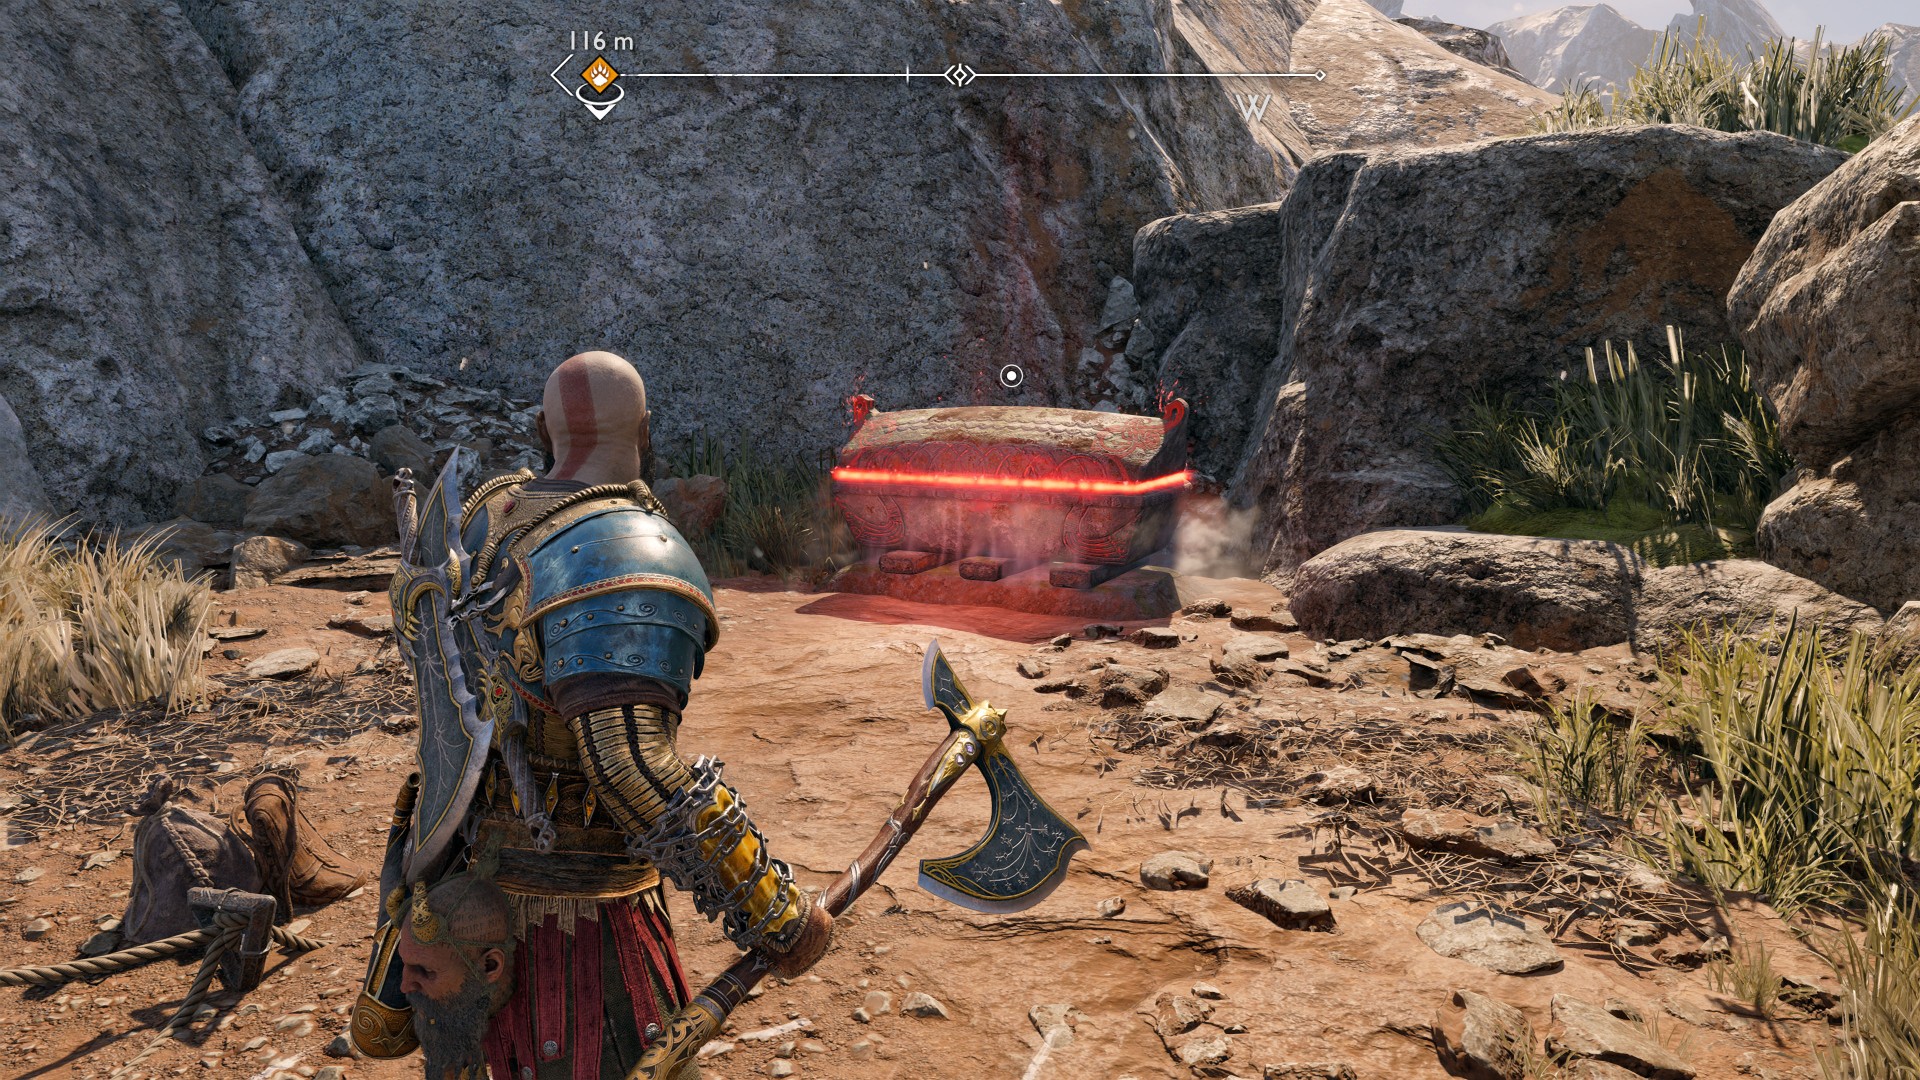
186Red Chest
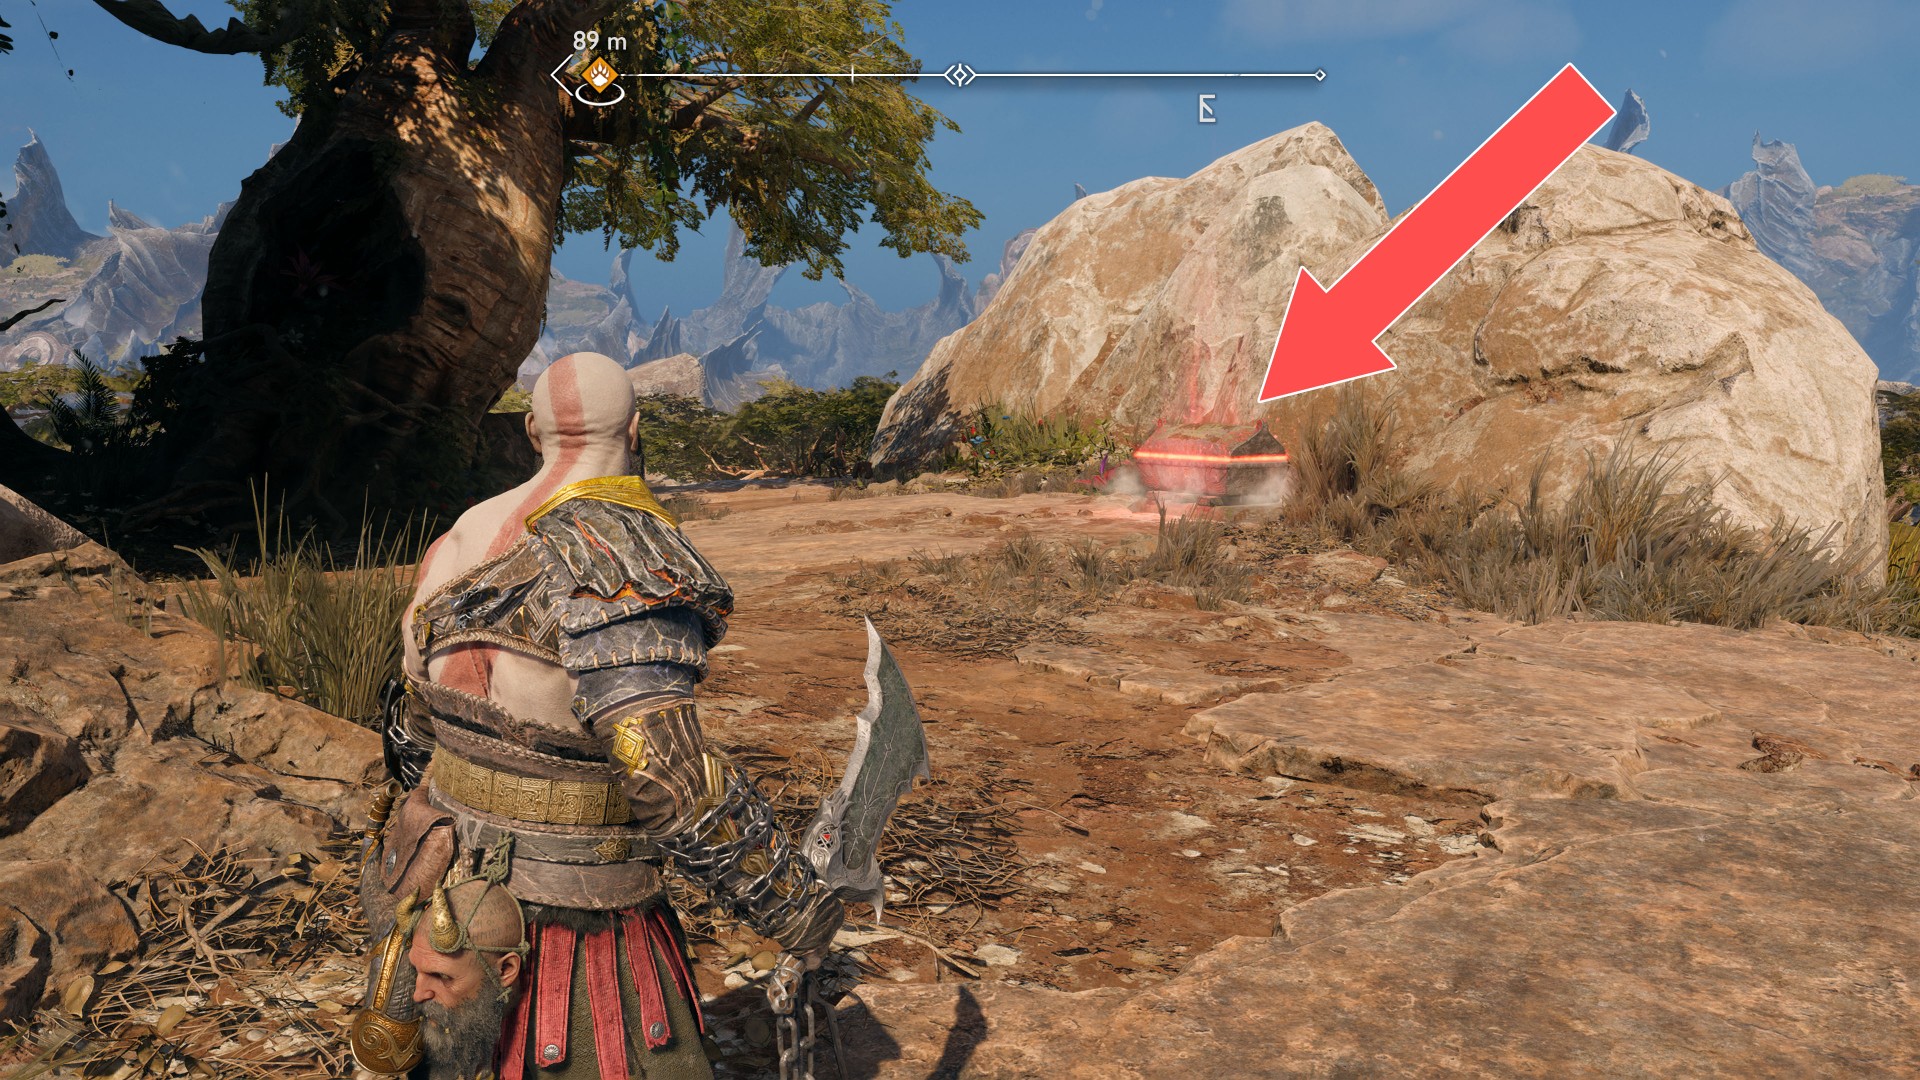
187Red Chest
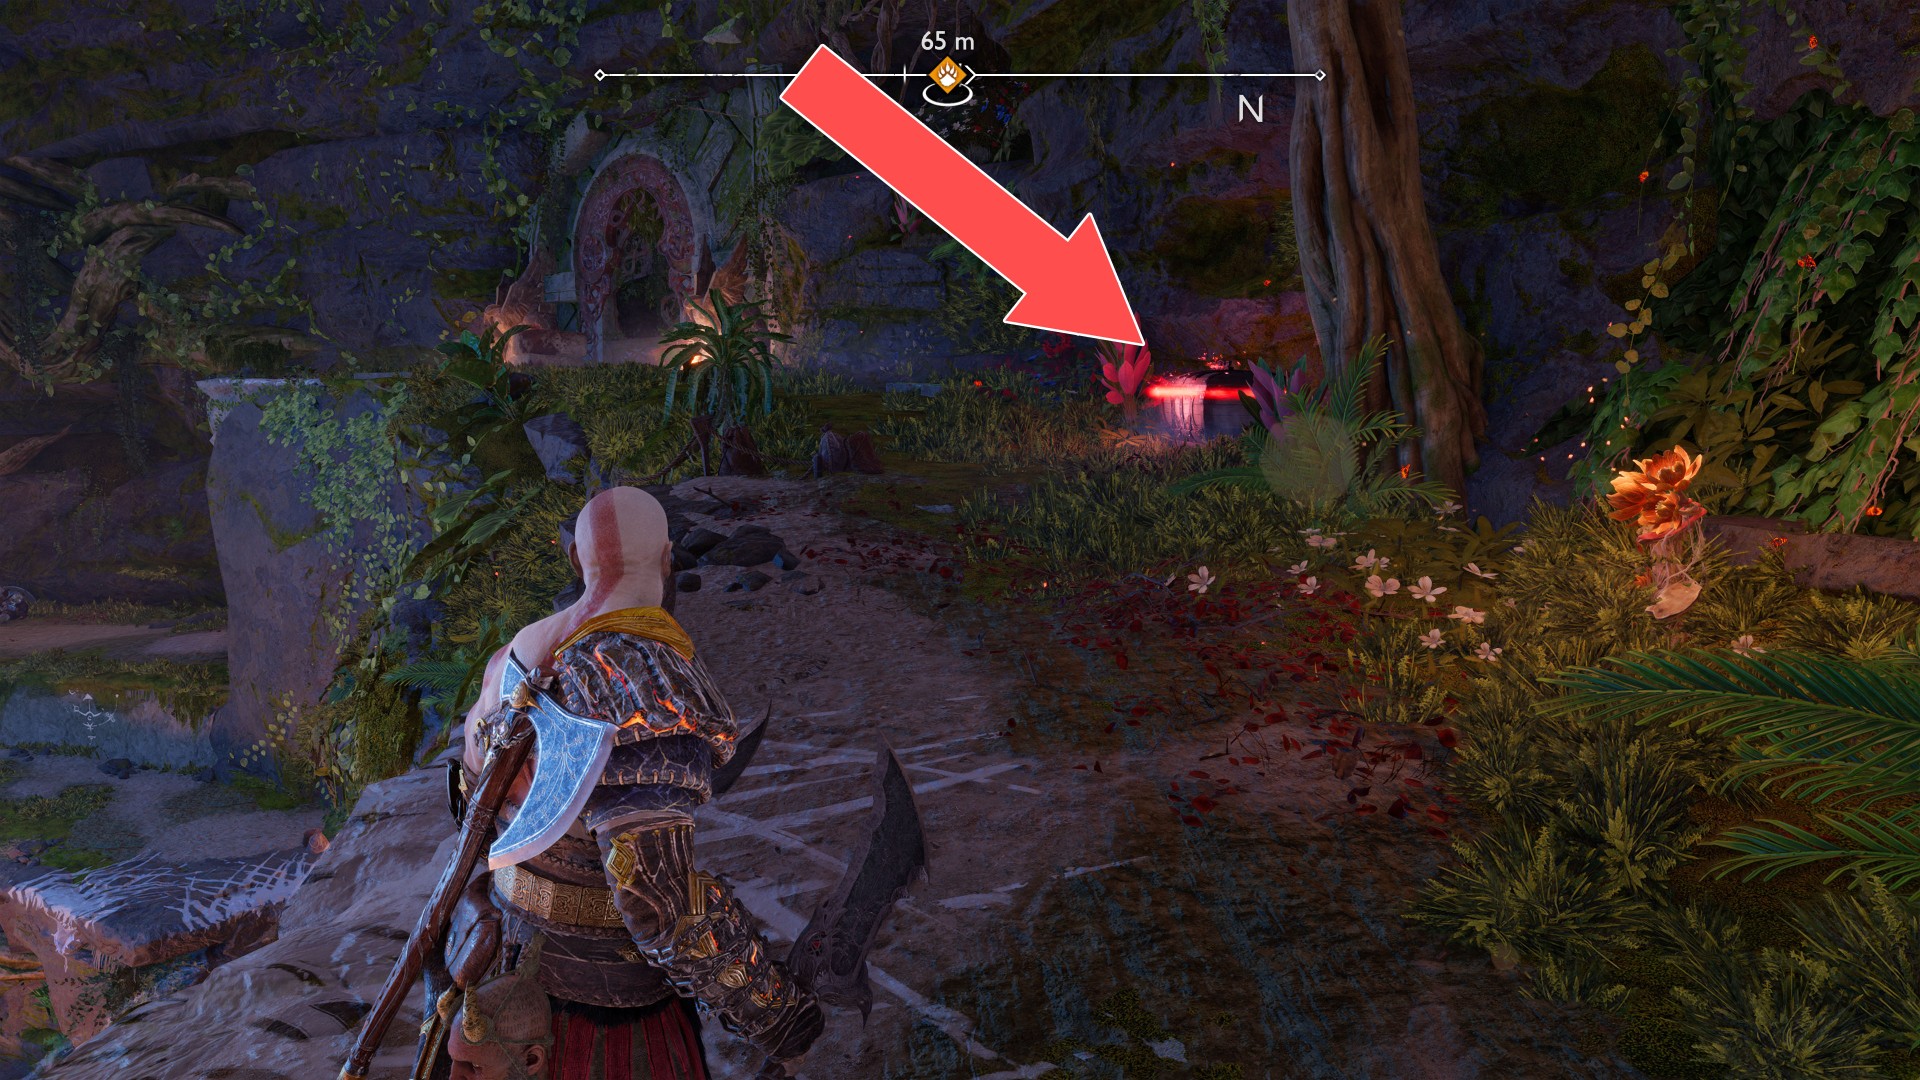
188Red Chest
To open this chest you must burn the large bulb located two levels above.
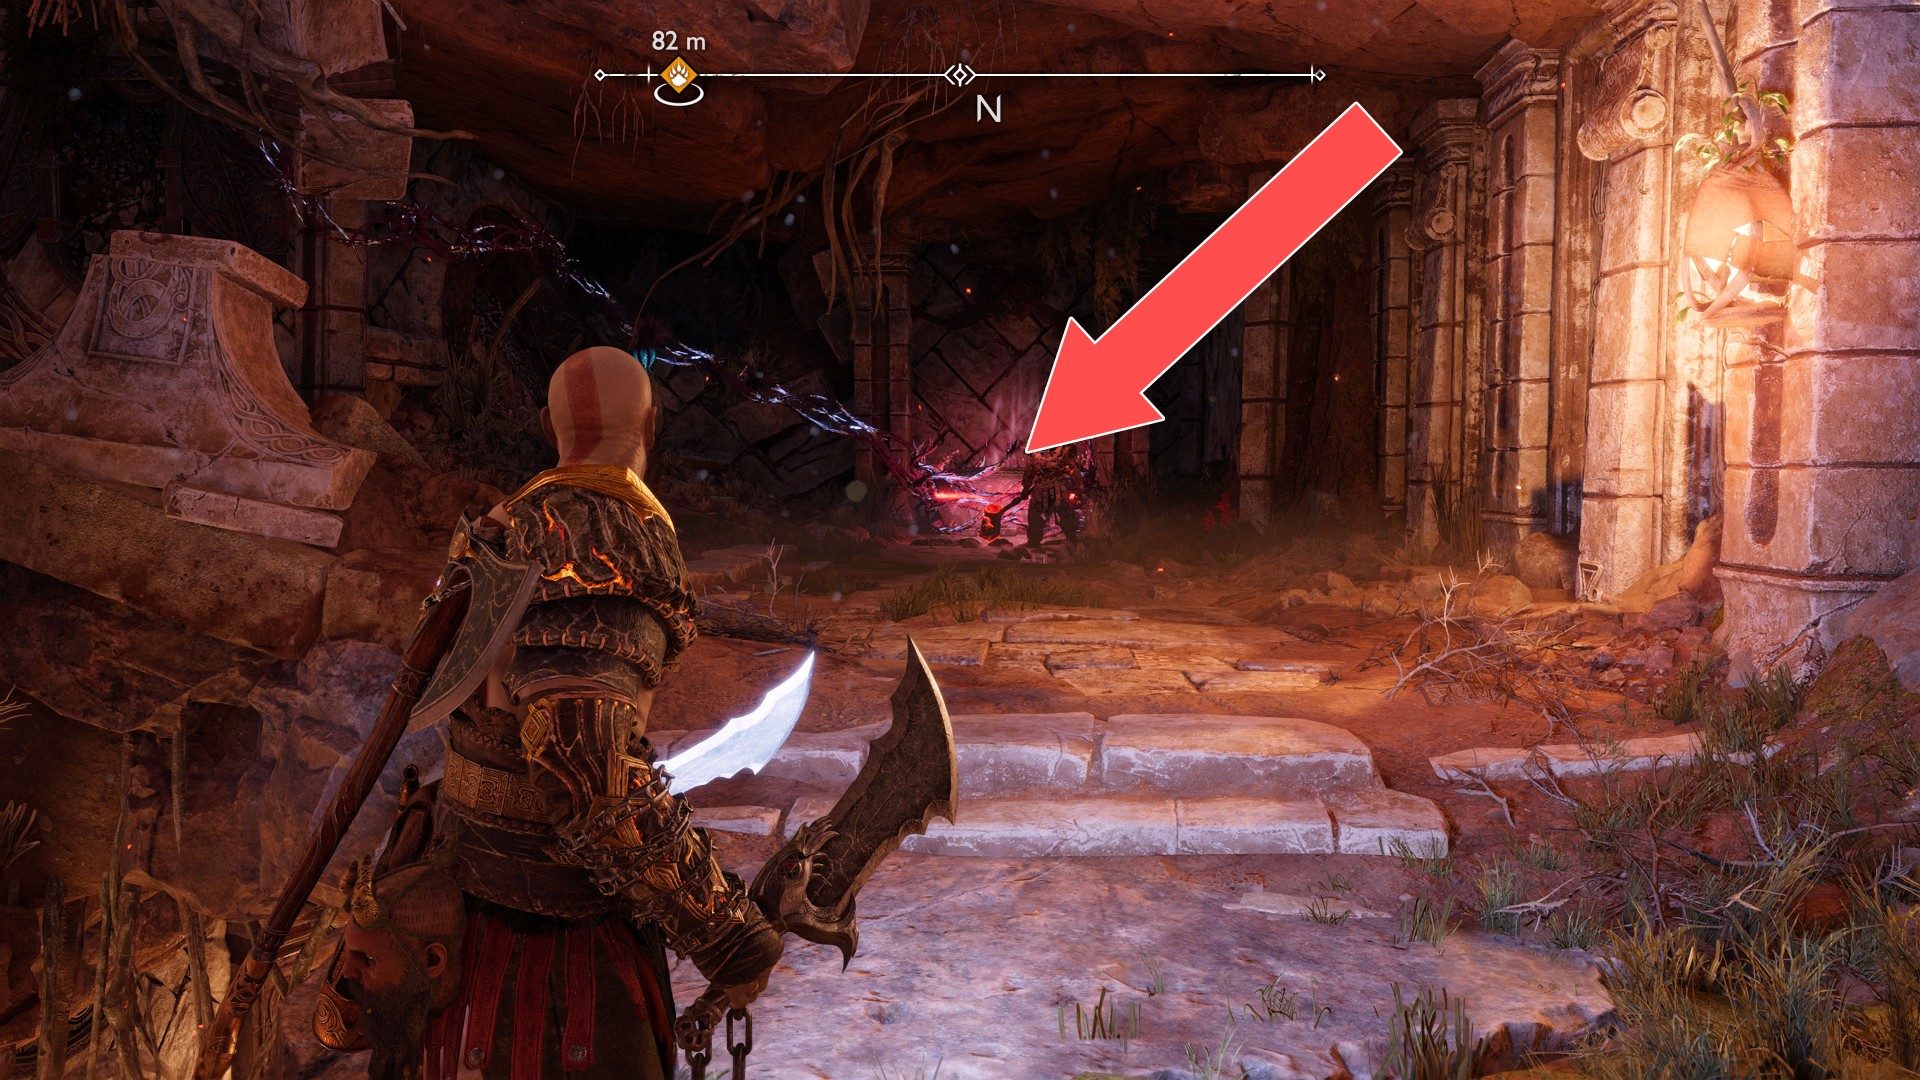
189Red Chest
You will be able to get here only after the water in the rivers is restored, so you must first complete the favor "Return of the River".
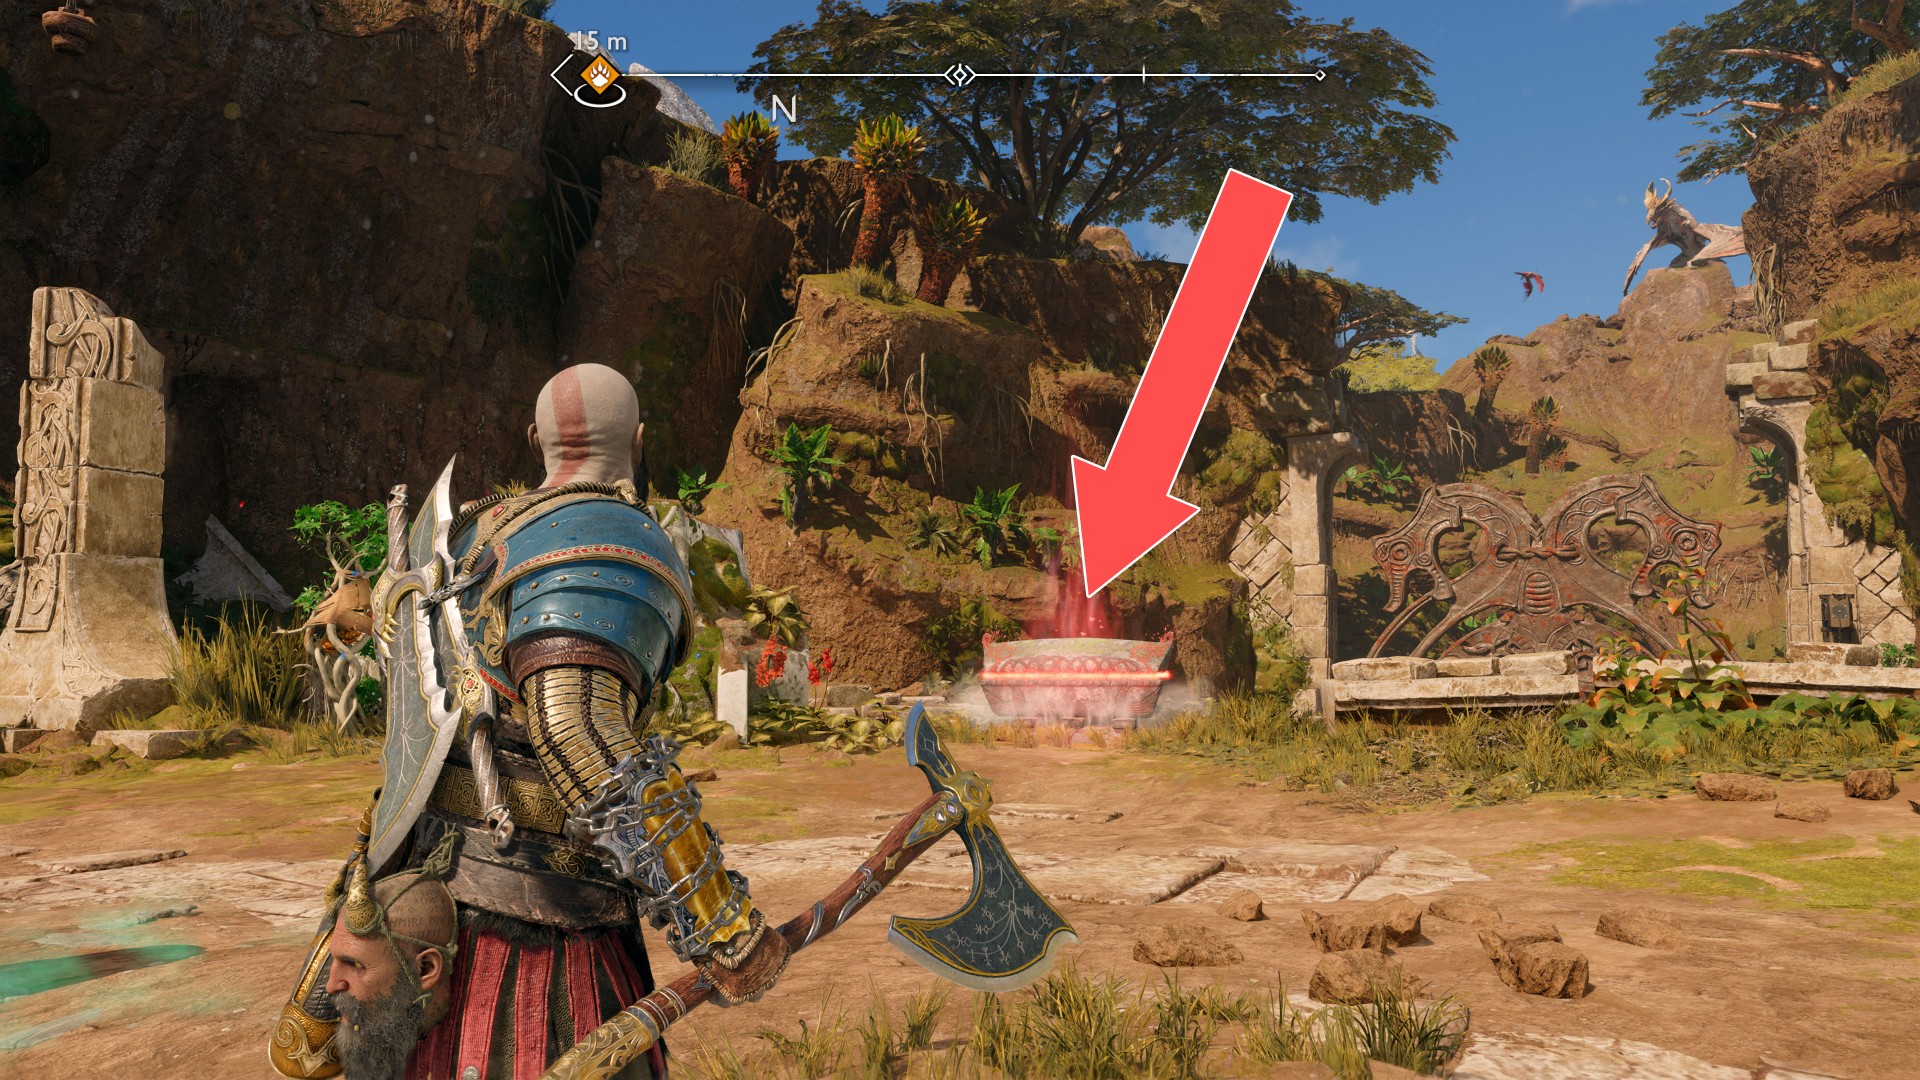
190Red Chest
You will be able to get here only after the water in the rivers is restored, so you must first complete the favor "Return of the River".
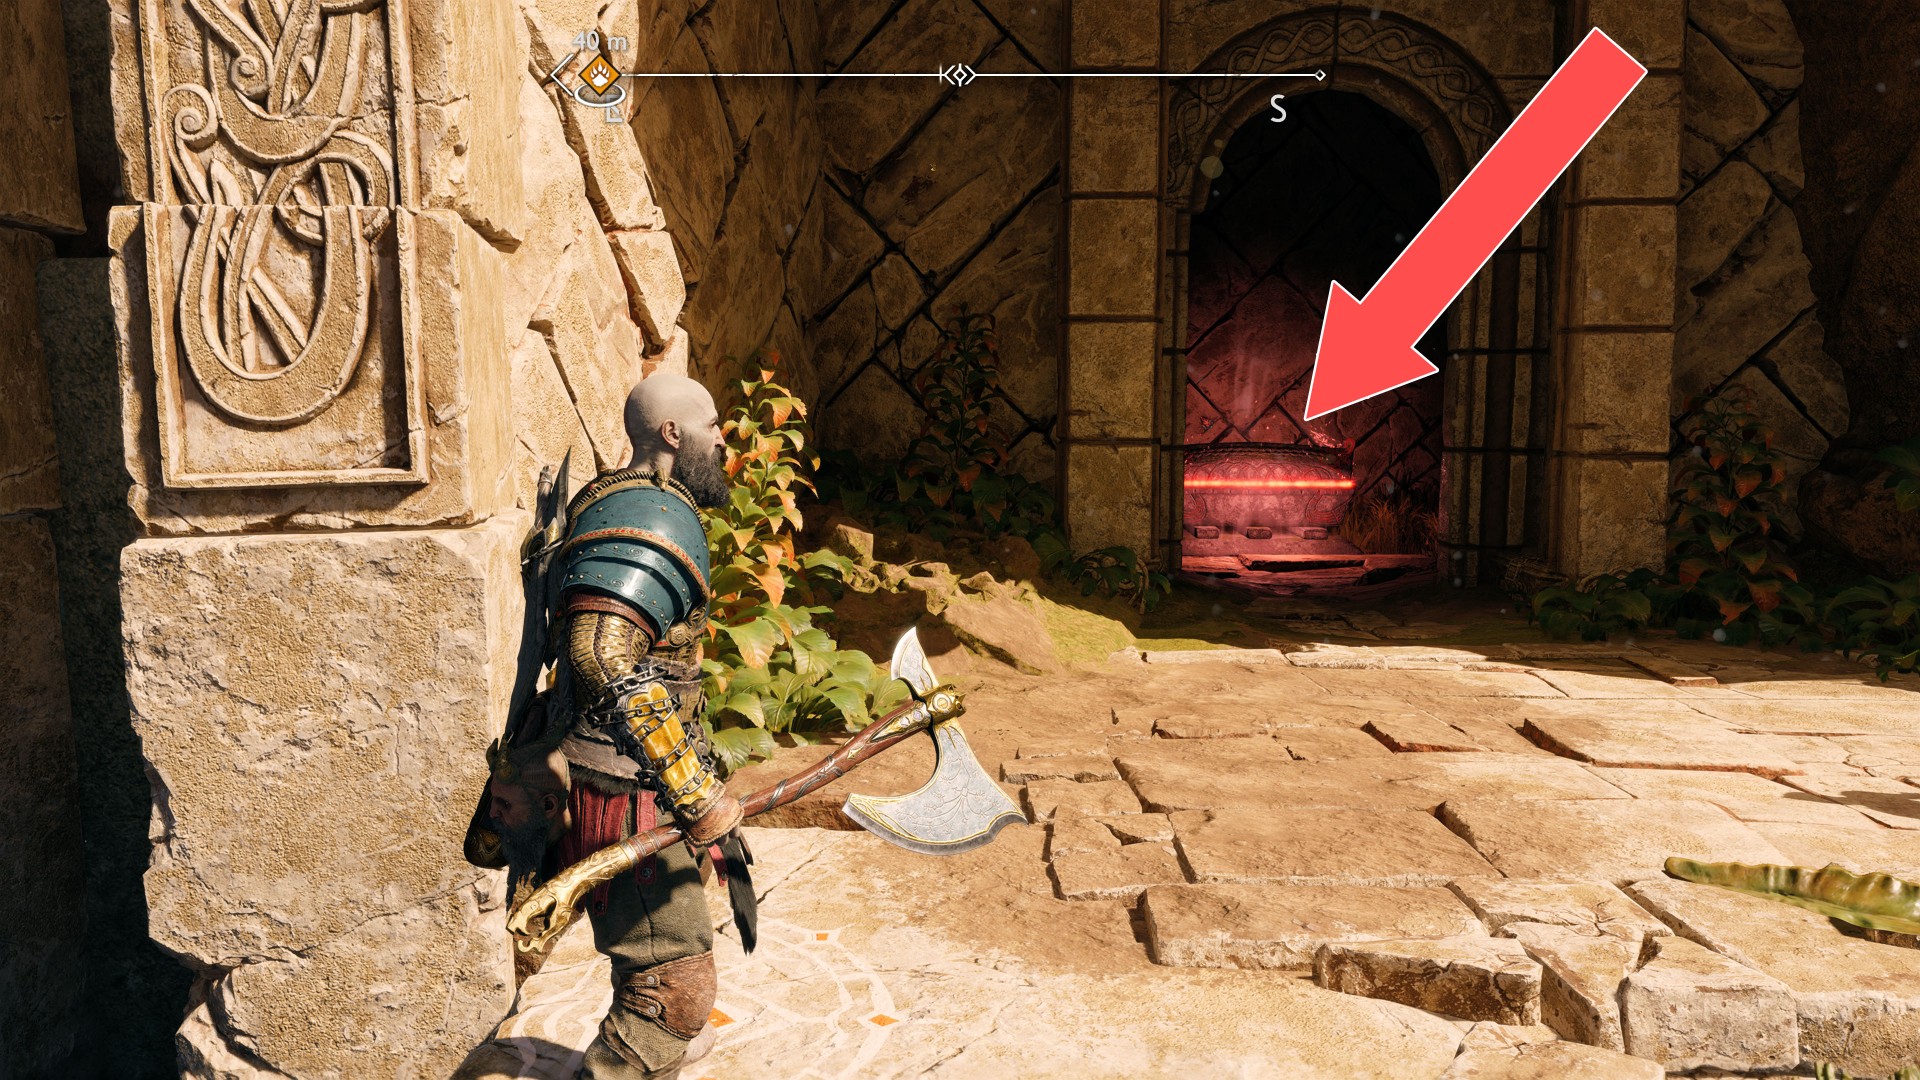
191Red Chest
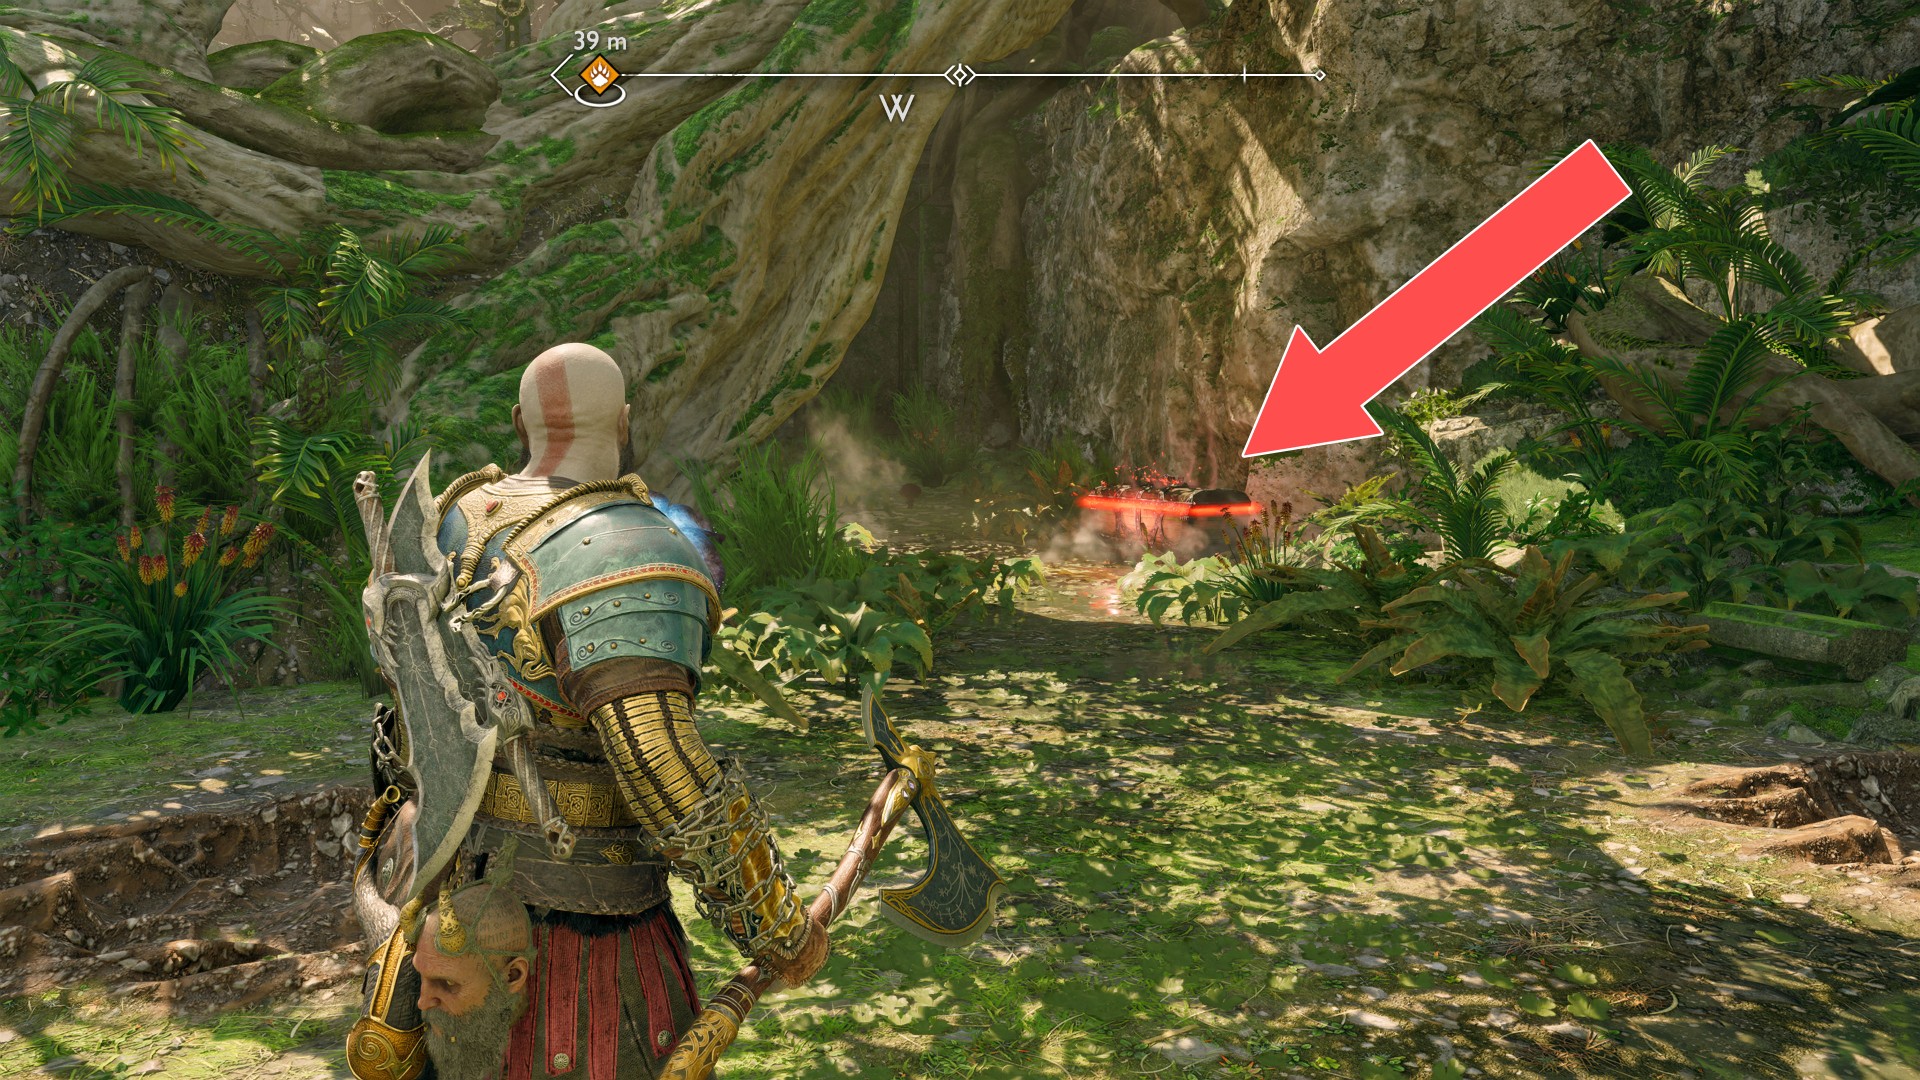
192Red Chest
You will be able to reach this place once you have restored the water in the rivers and walked around a large part of the Jungle.
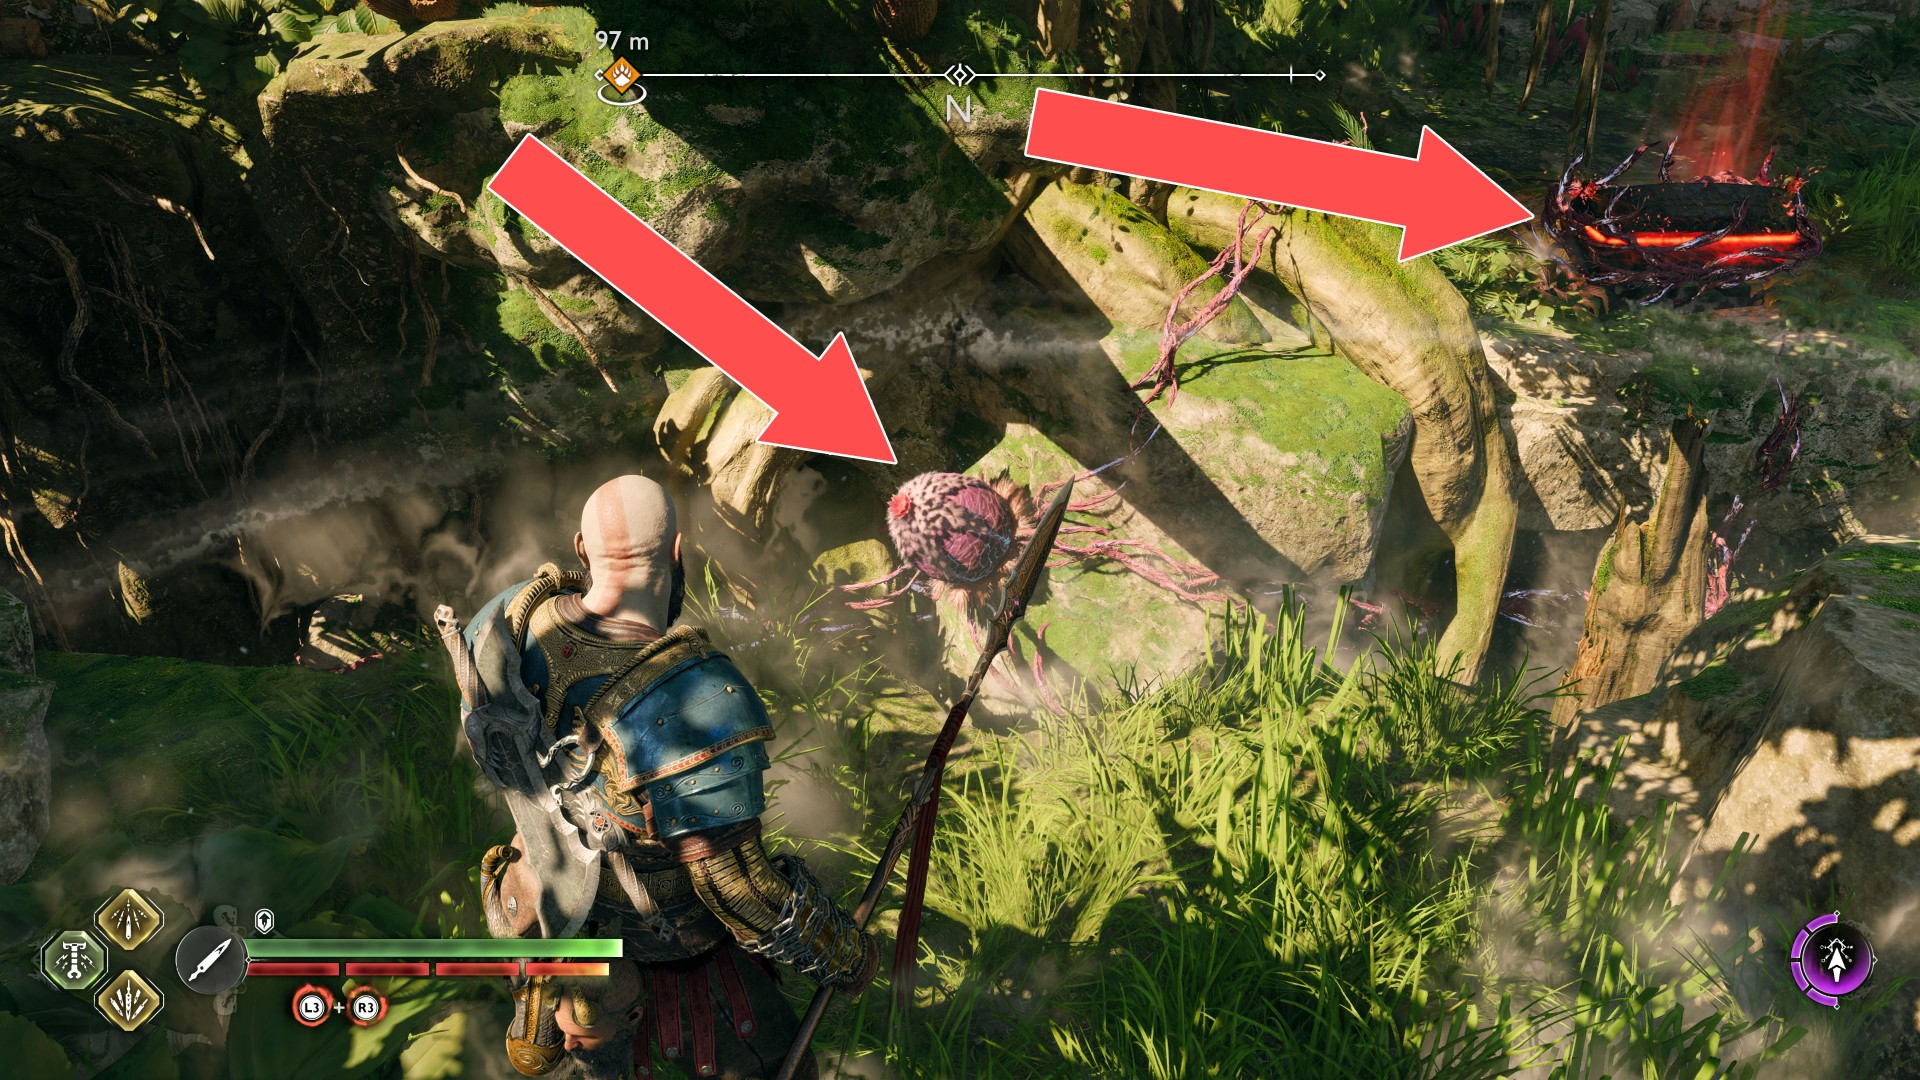
193Red Chest
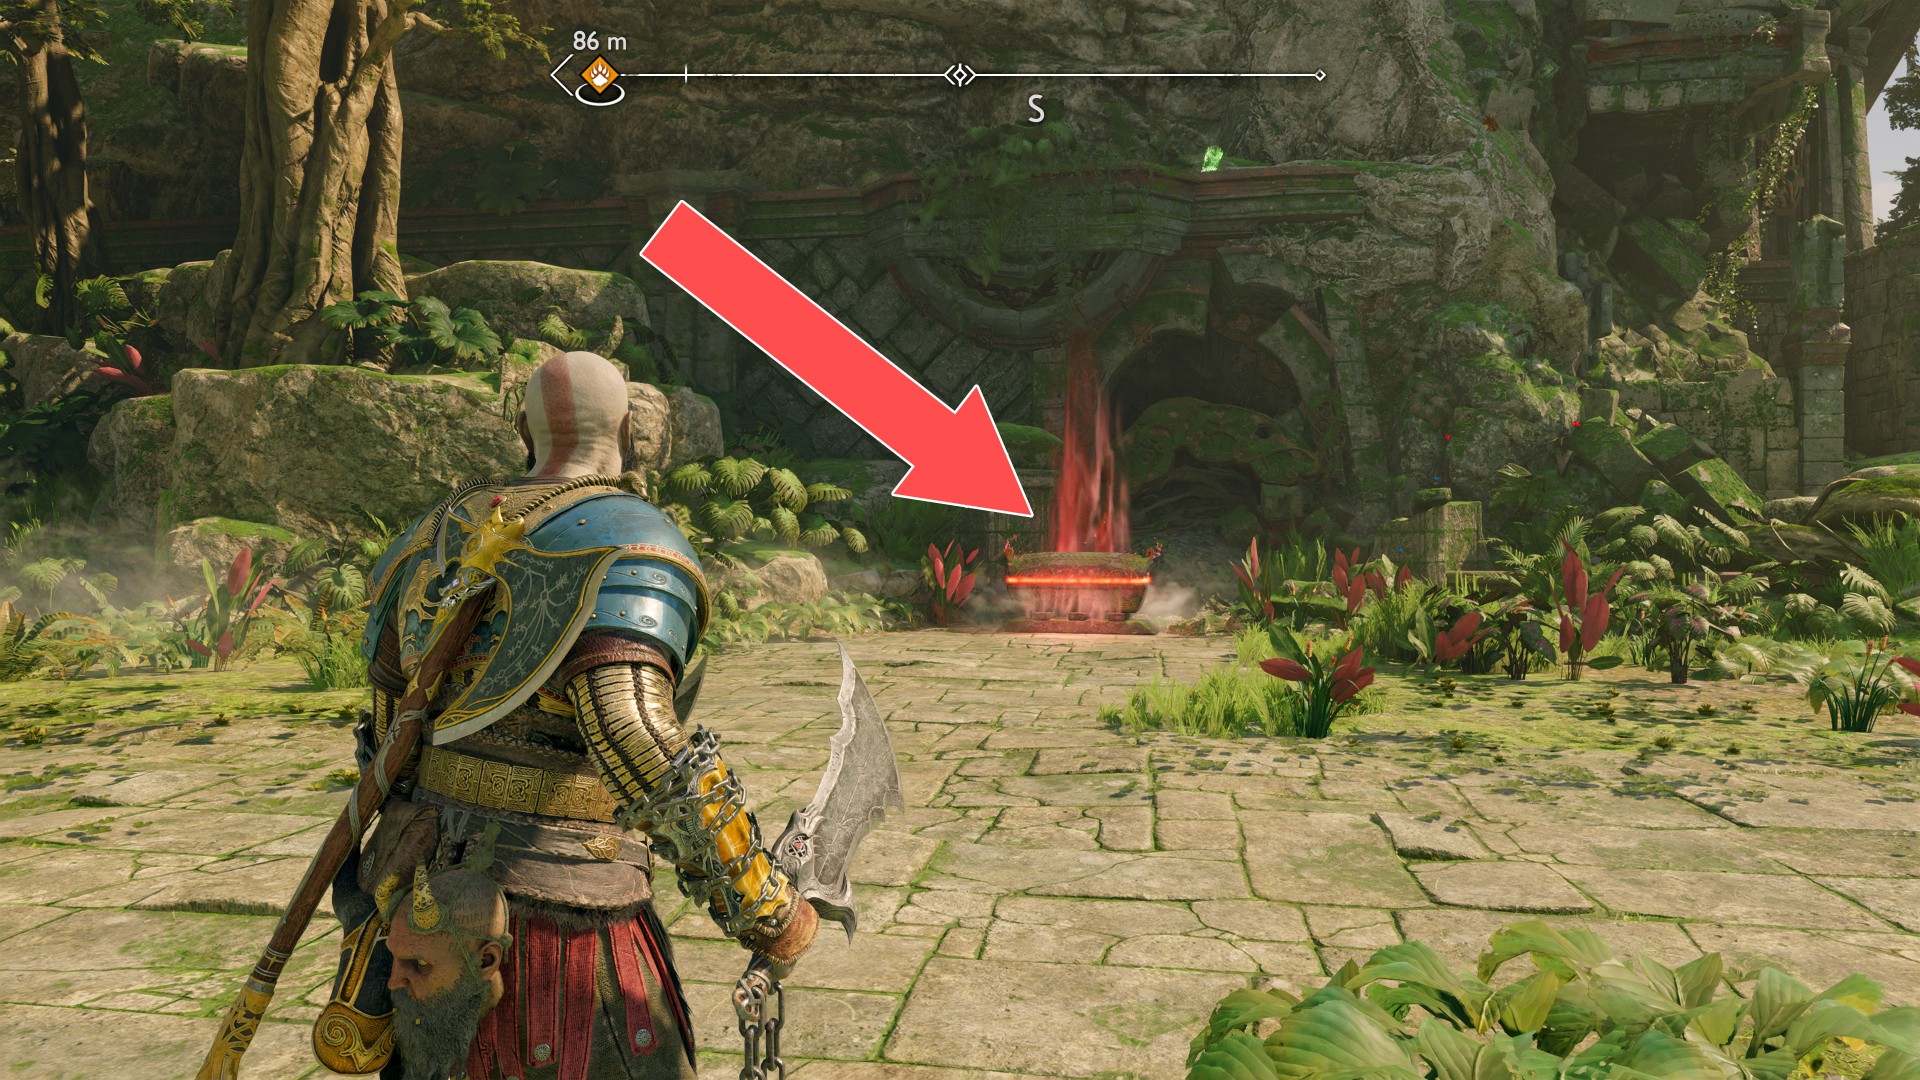
194Red Chest
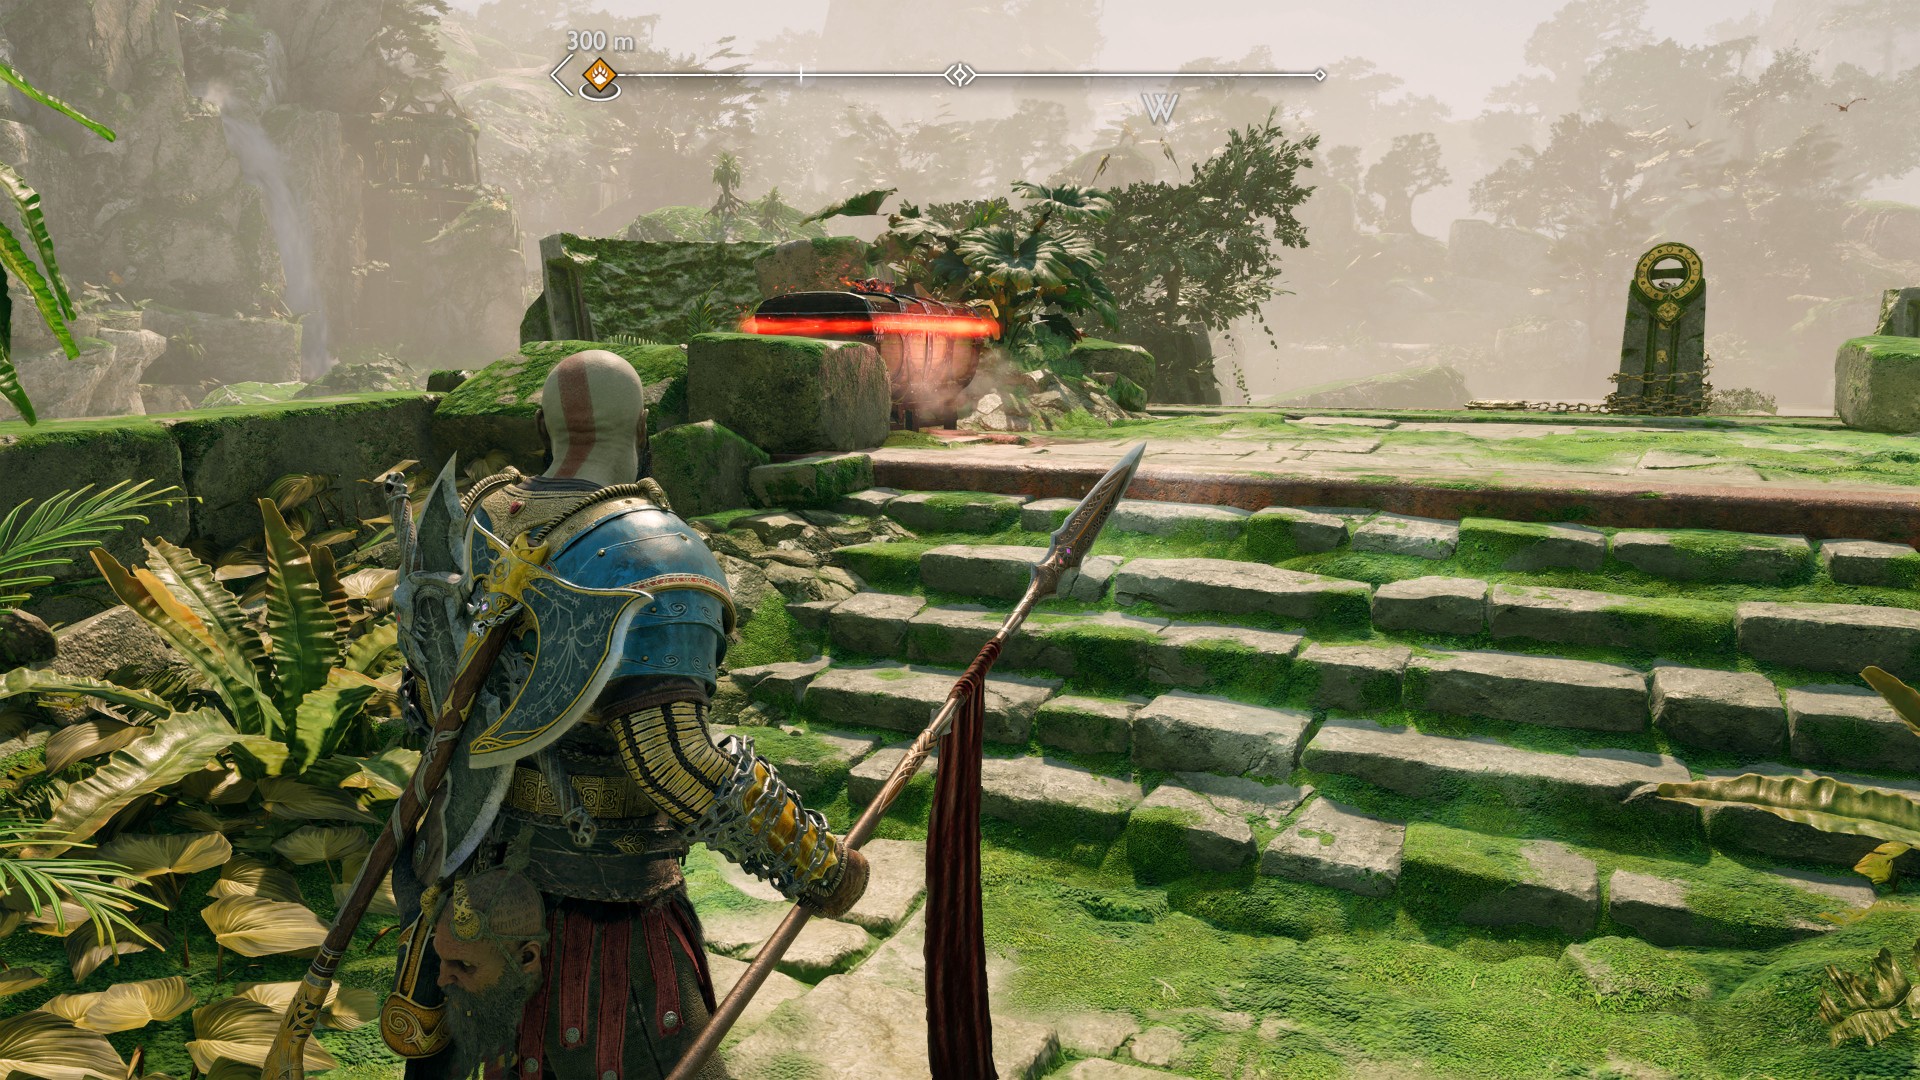
195Red Chest
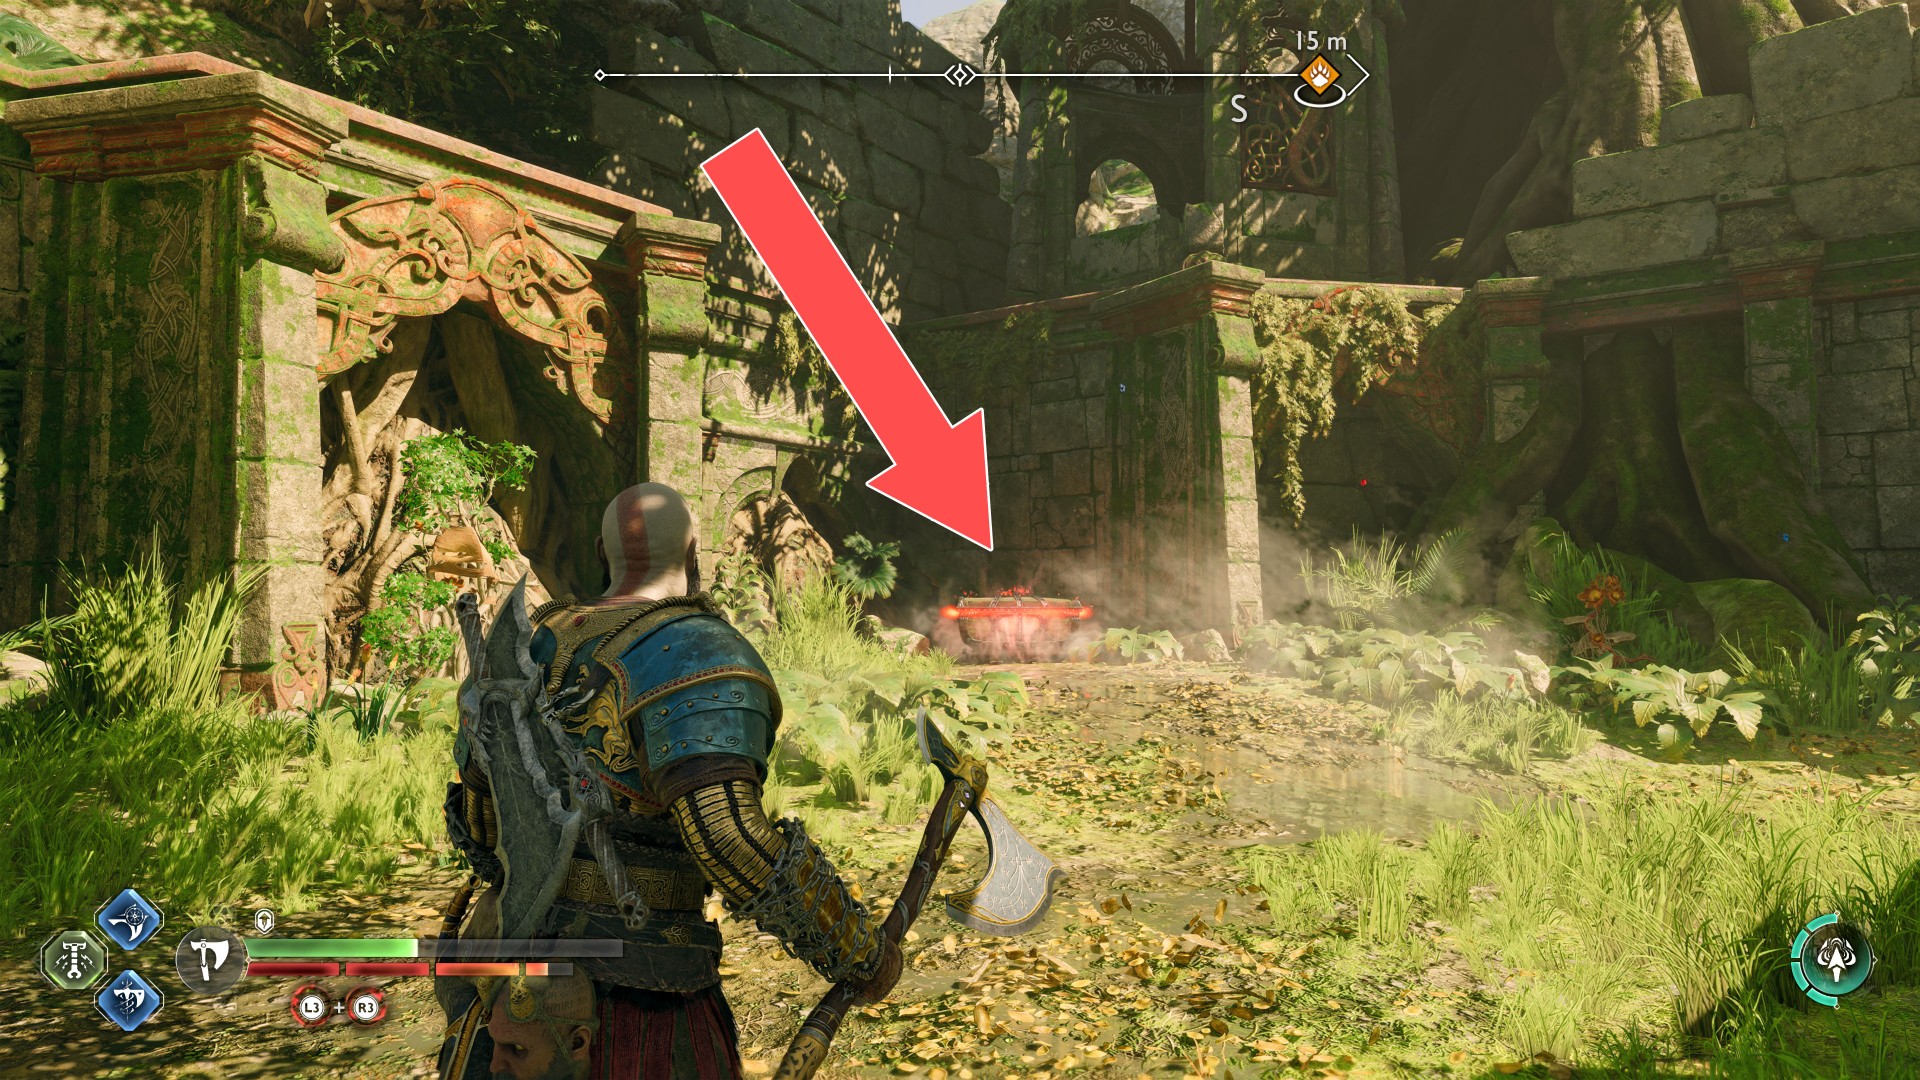
196Red Chest
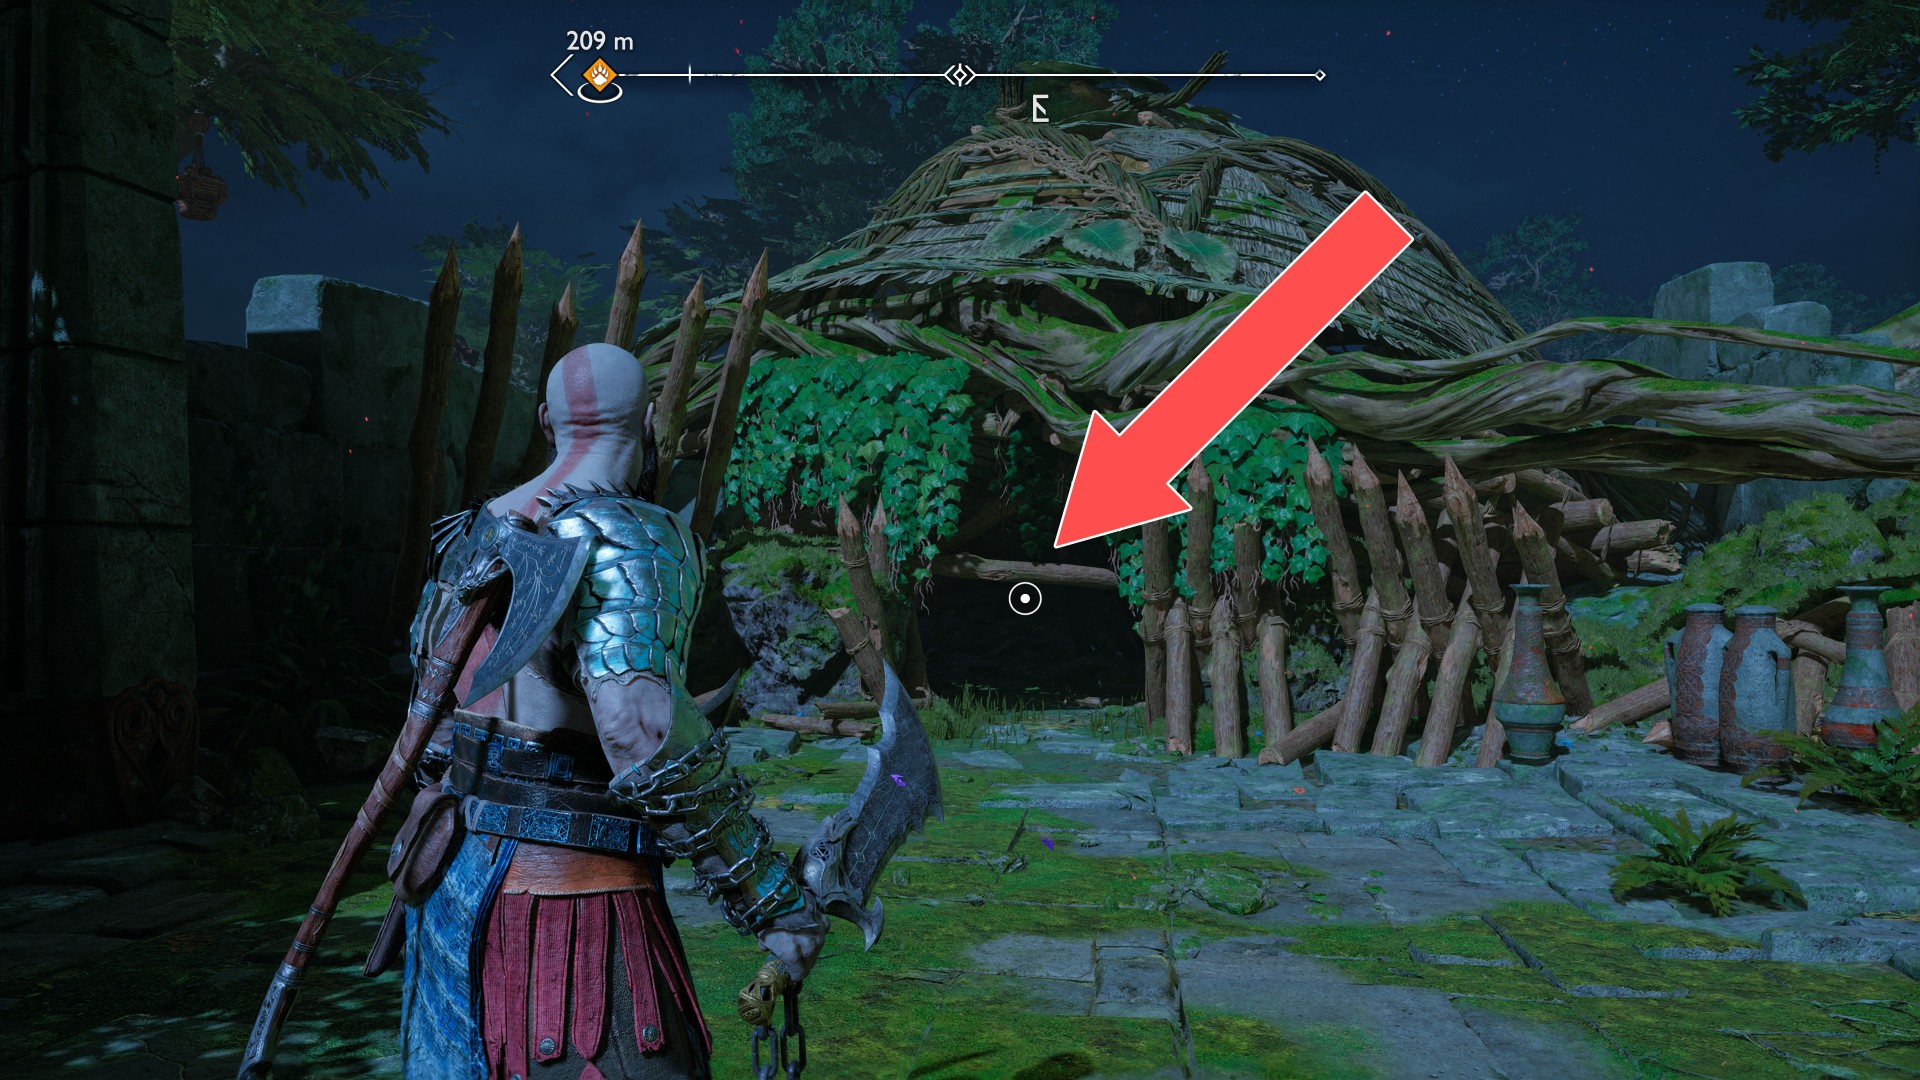
You will get to the hut where this chest stands through another abandoned hut.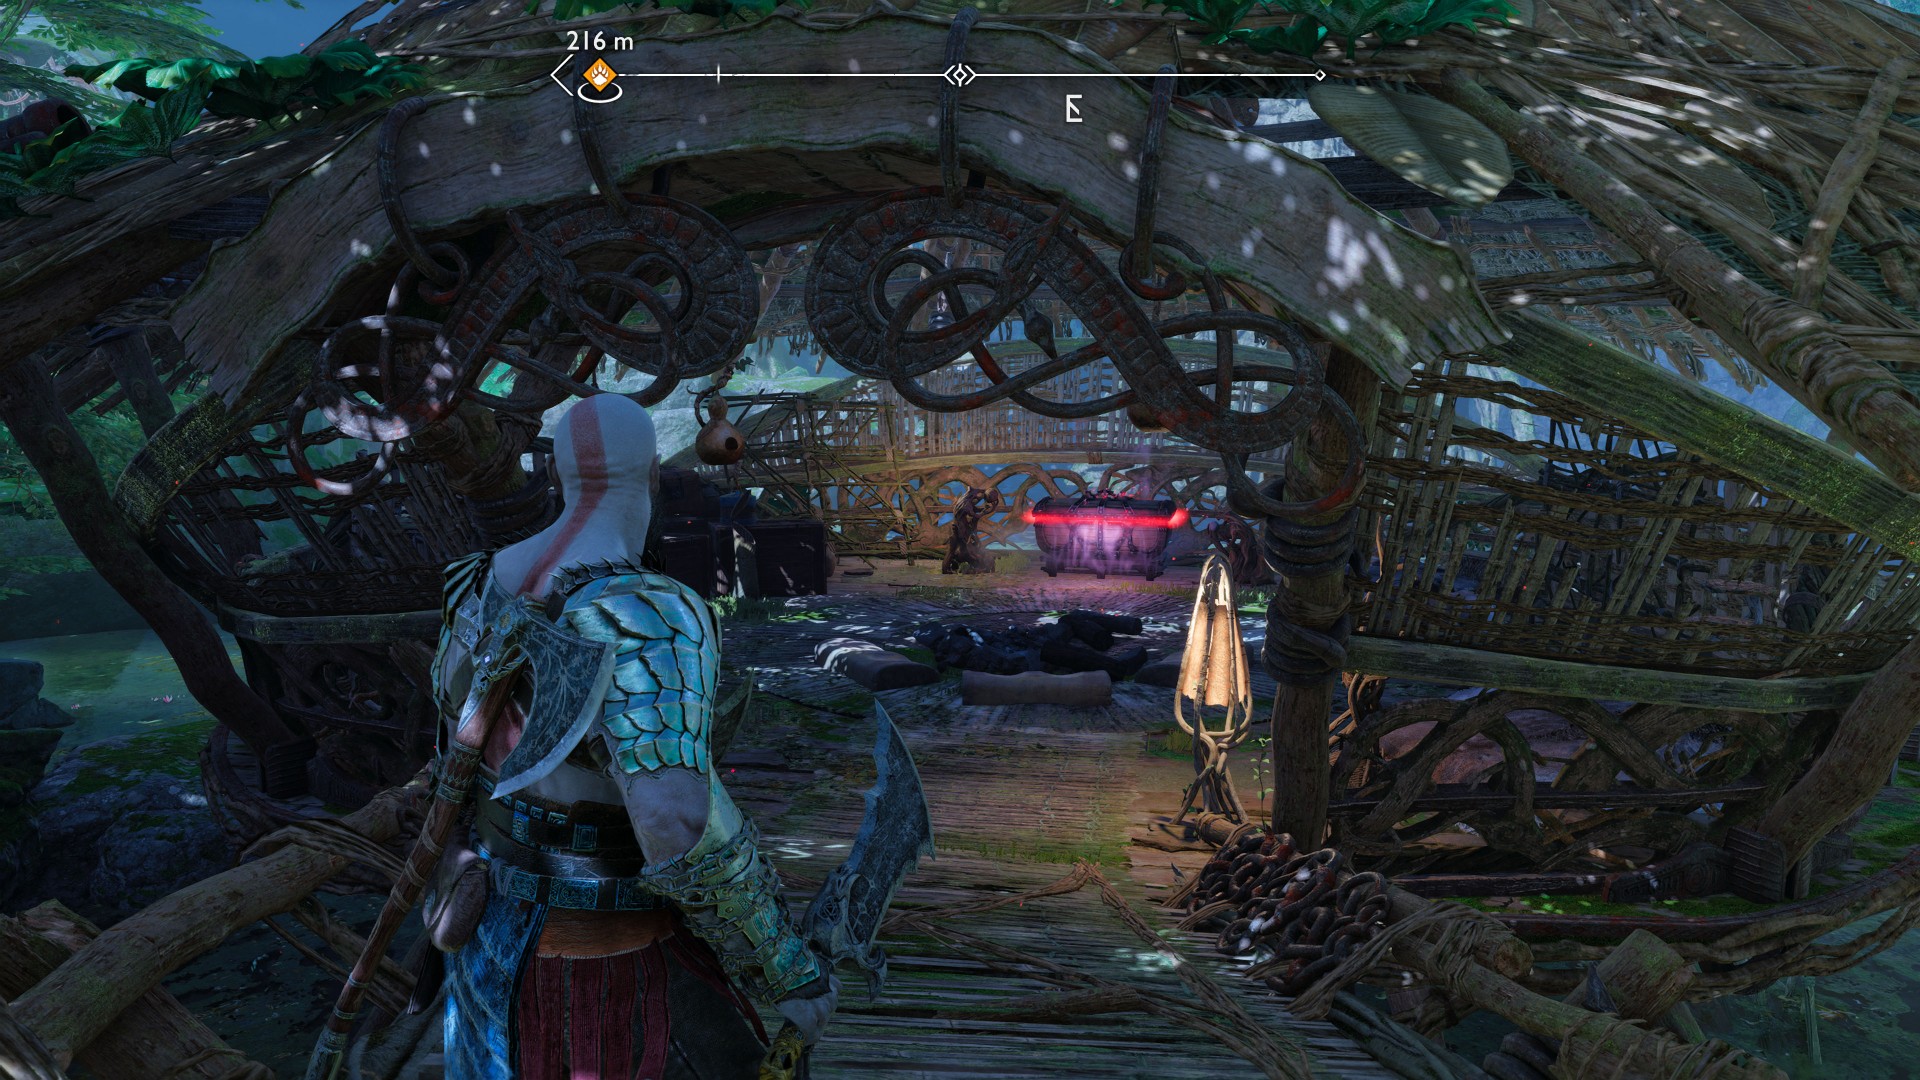
197Red Chest
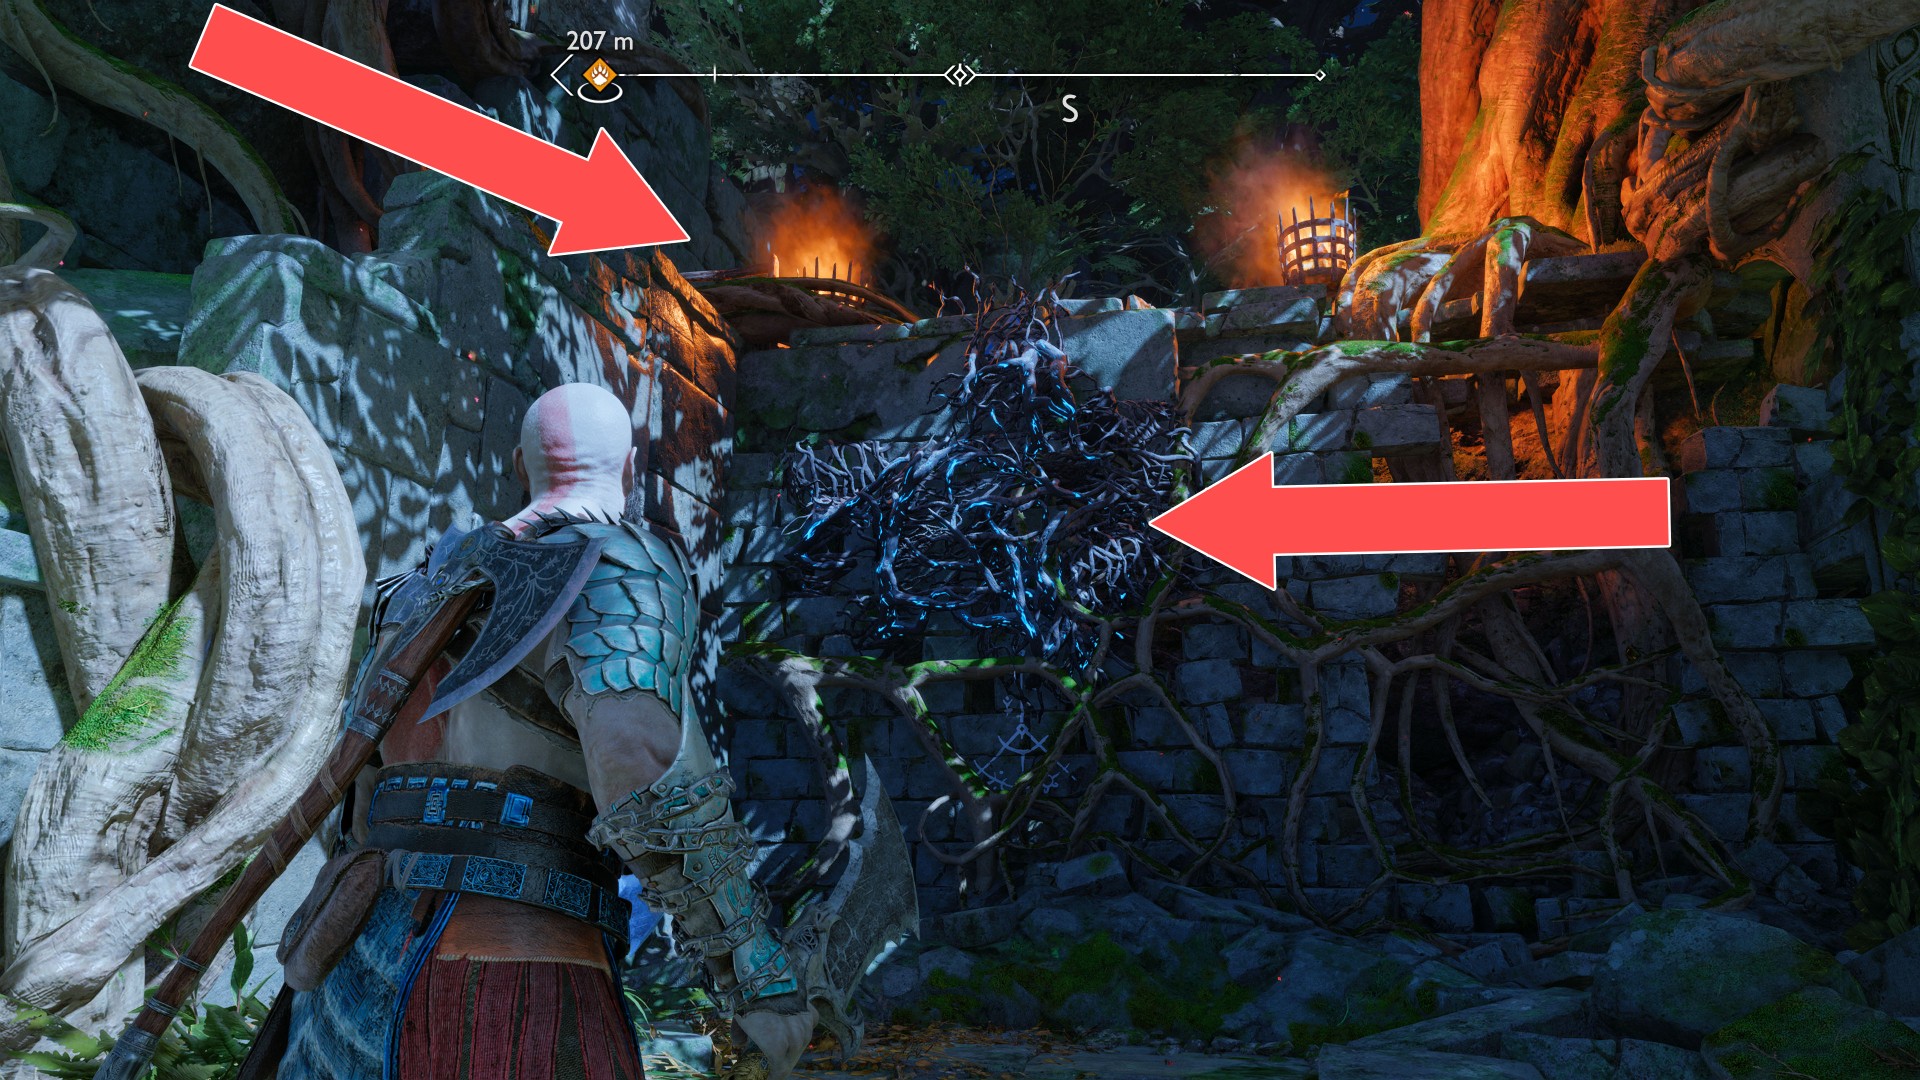
To get to this chest, which is on the platform above, you must first burn the vines blocking the anchor point that makes it possible to climb up.
198Red Chest
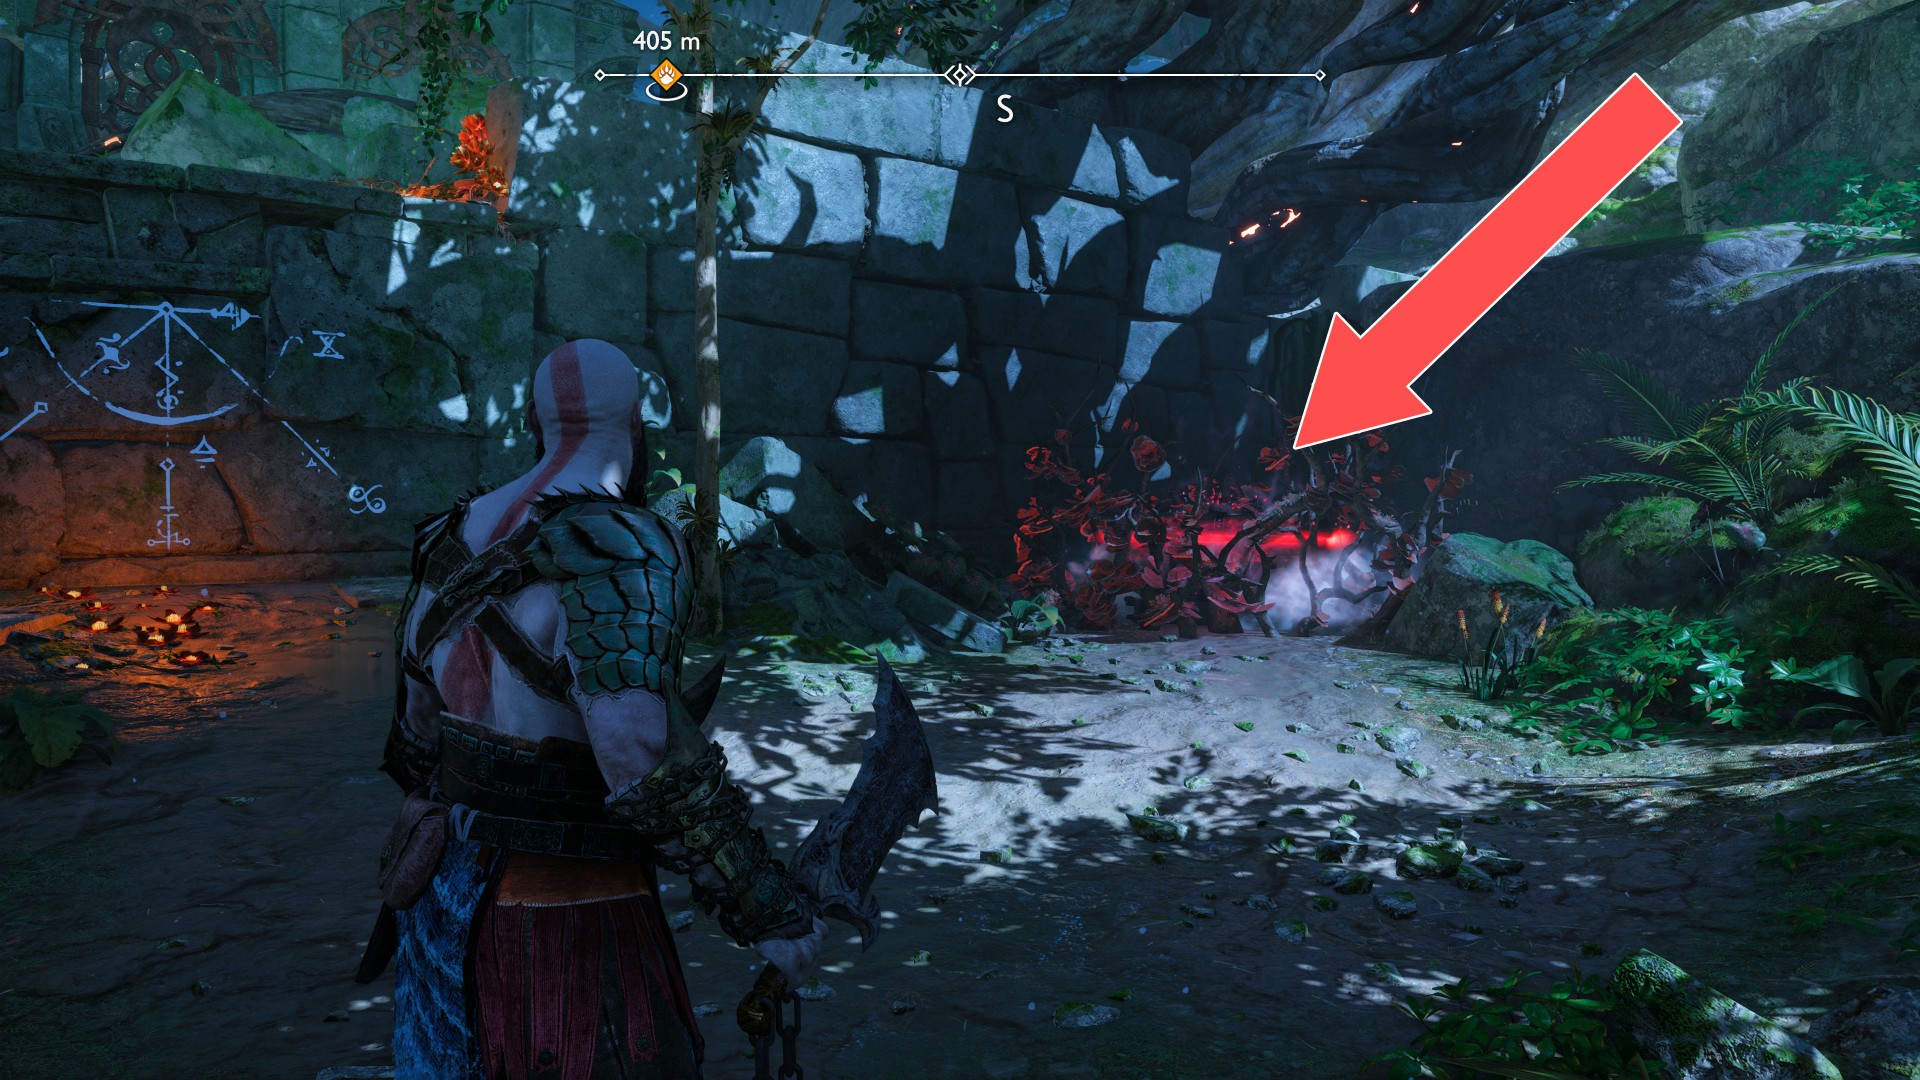
Use the sigil arrow and burn the vines blocking access to the chest.
199Red Chest
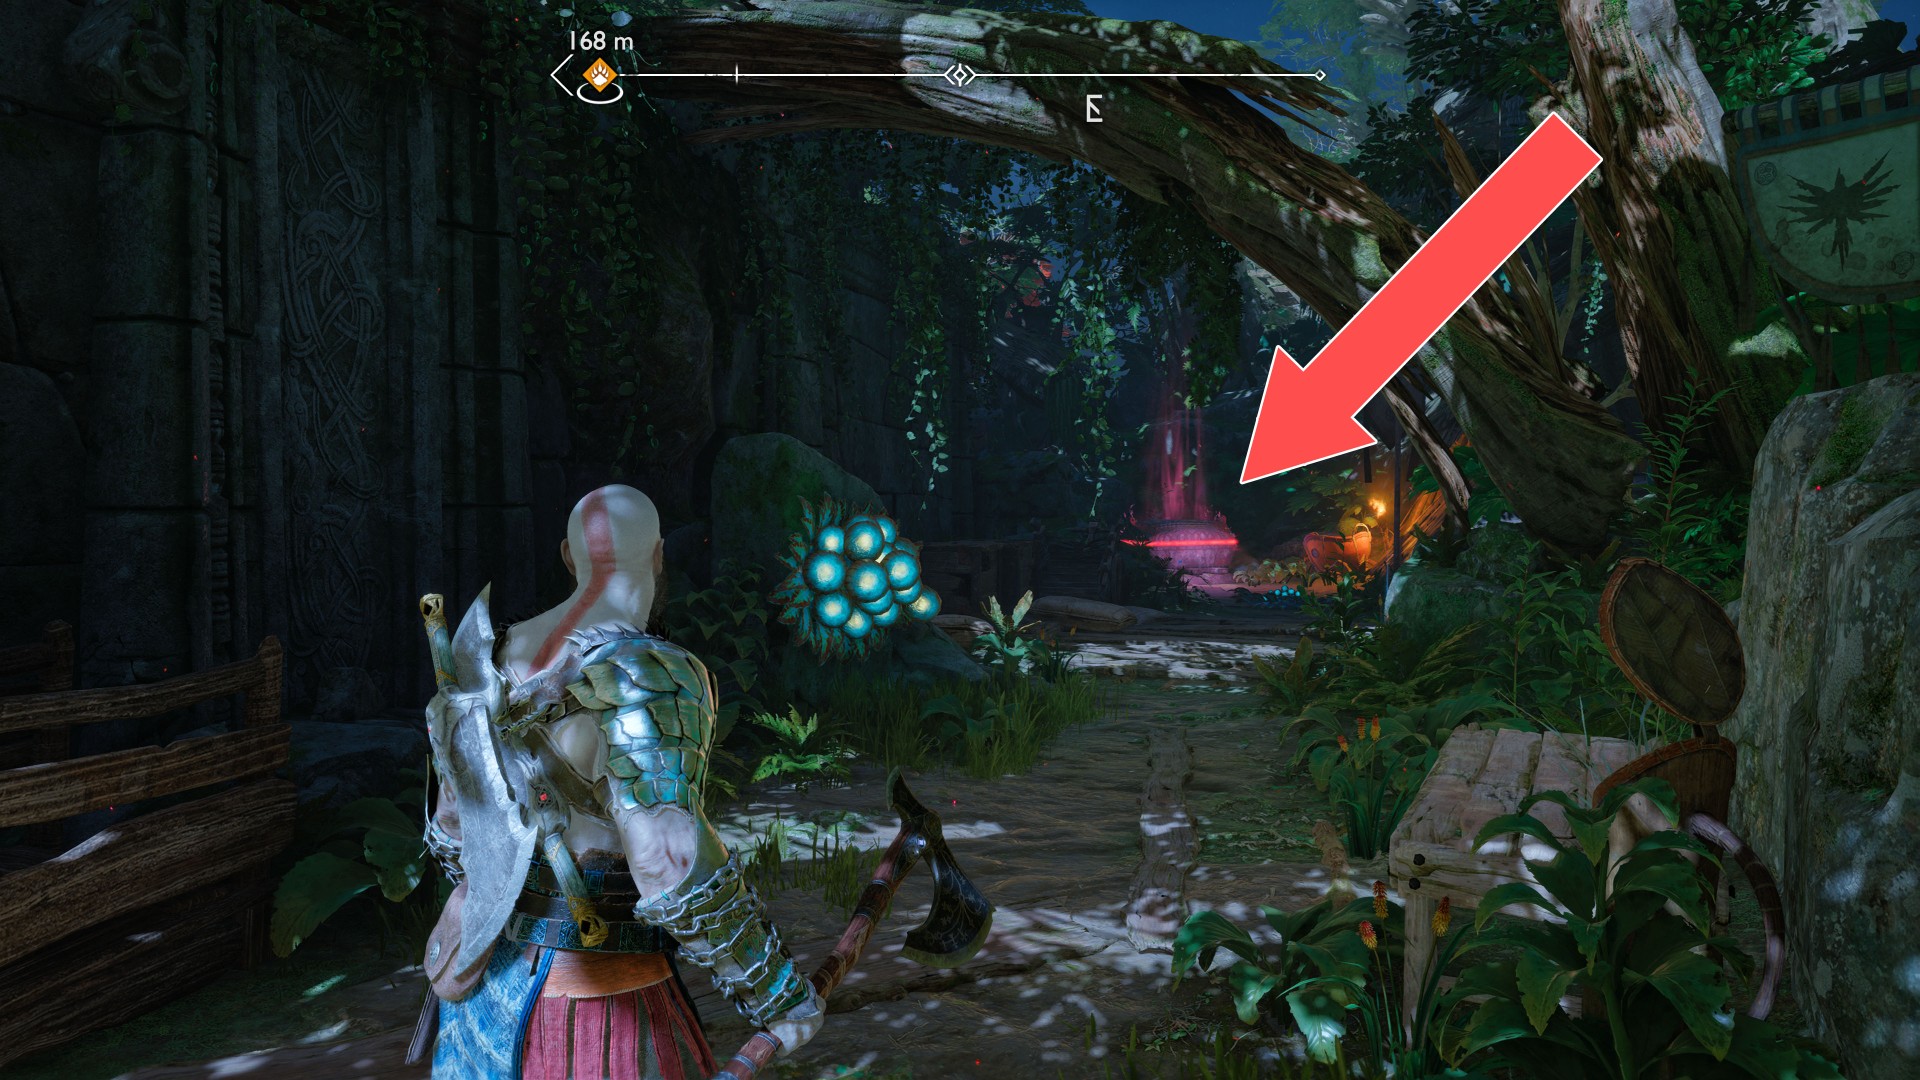
200Red Chest
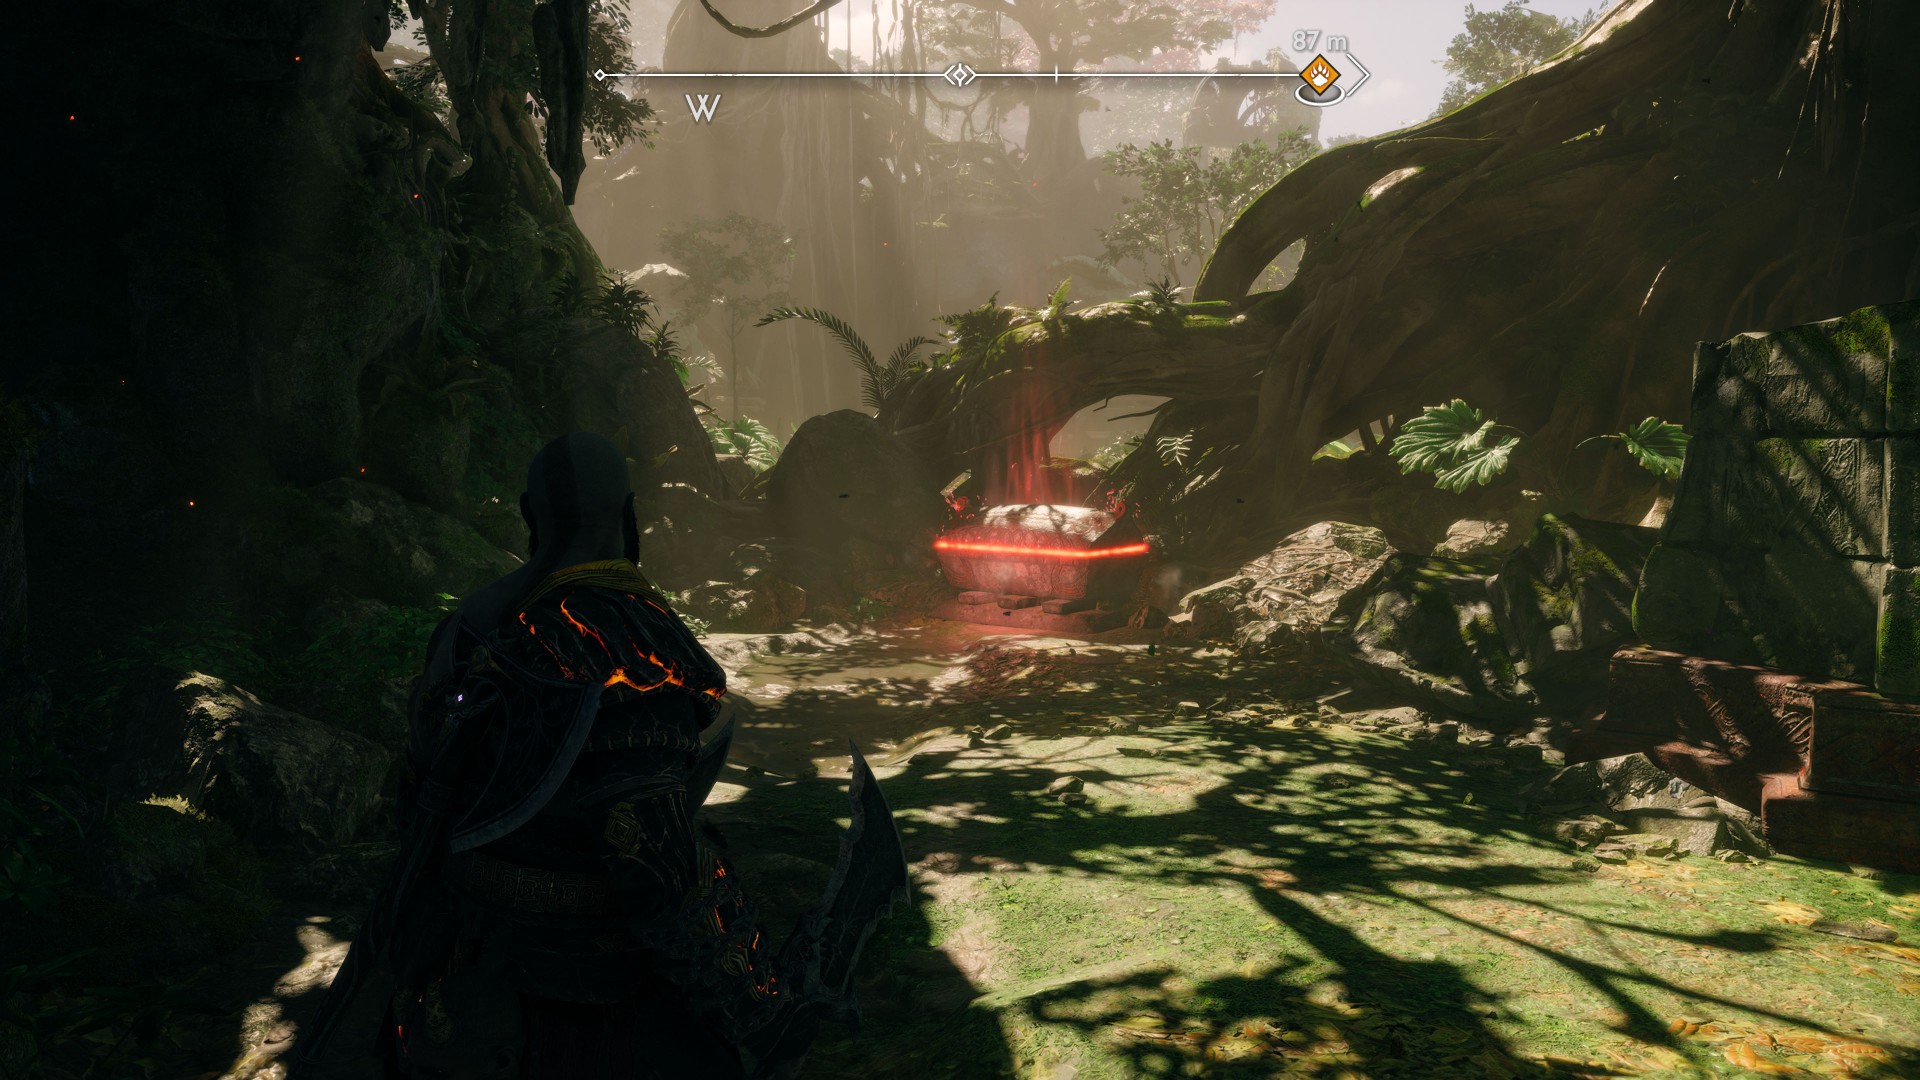
201Red Chest
Use the sigil arrow and burn the tangles blocking access to the chest.
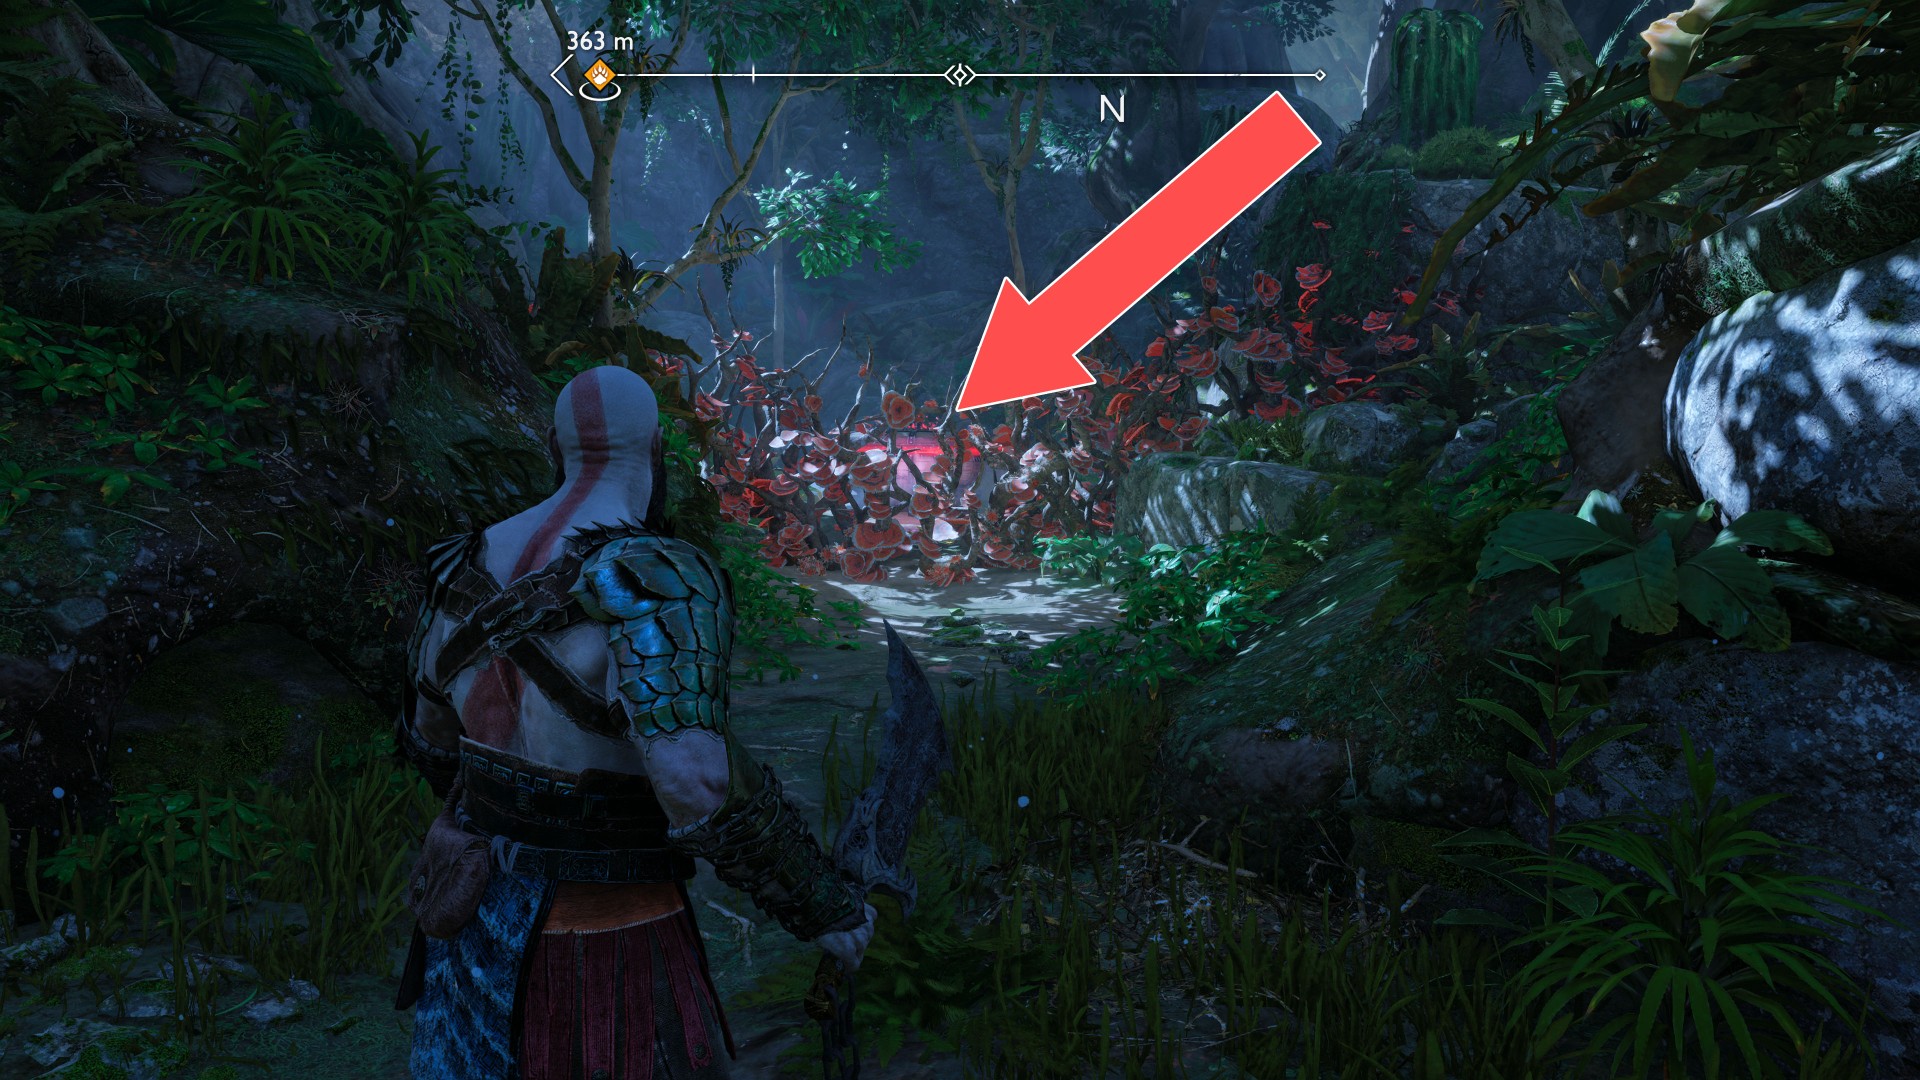
202Red Chest
Use the sigil arrow and burn the tangles blocking access to the chest.
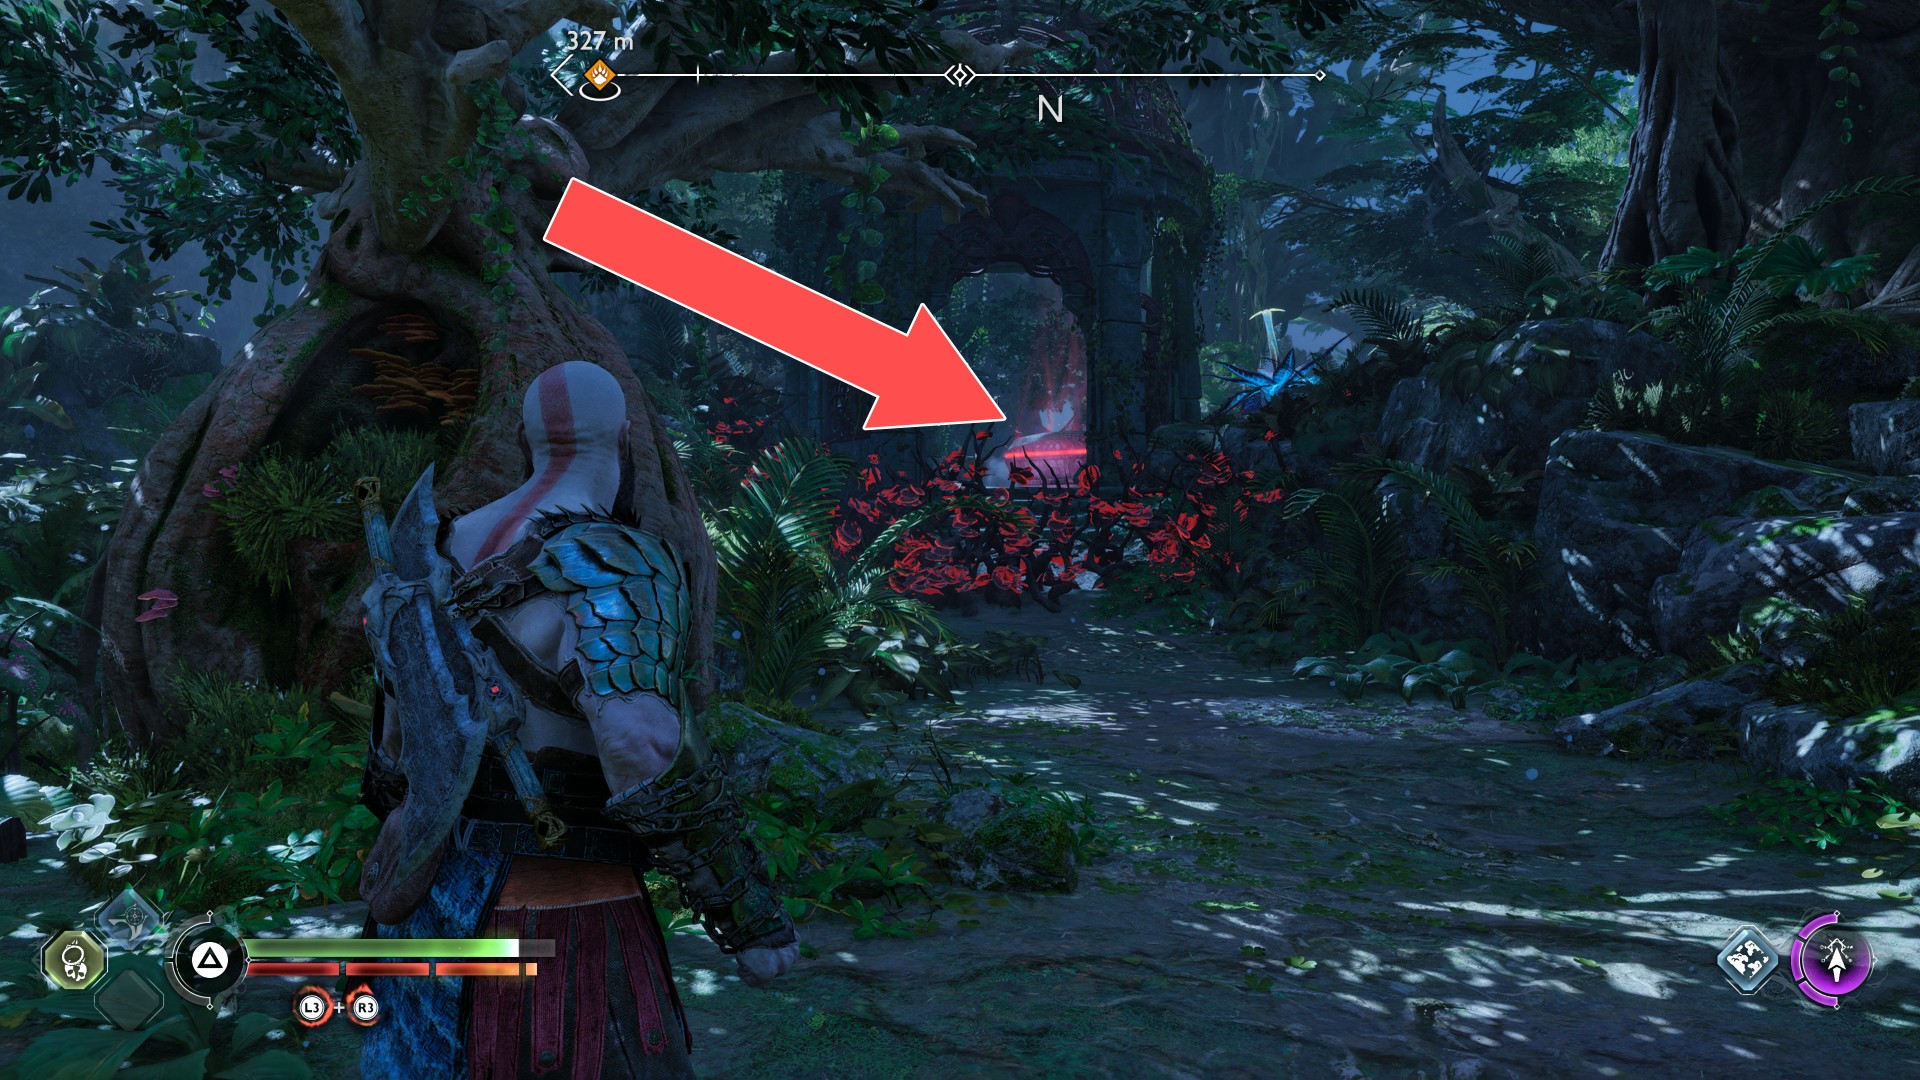
203Red Chest
To get to this chest you need the Draupnir Spear.
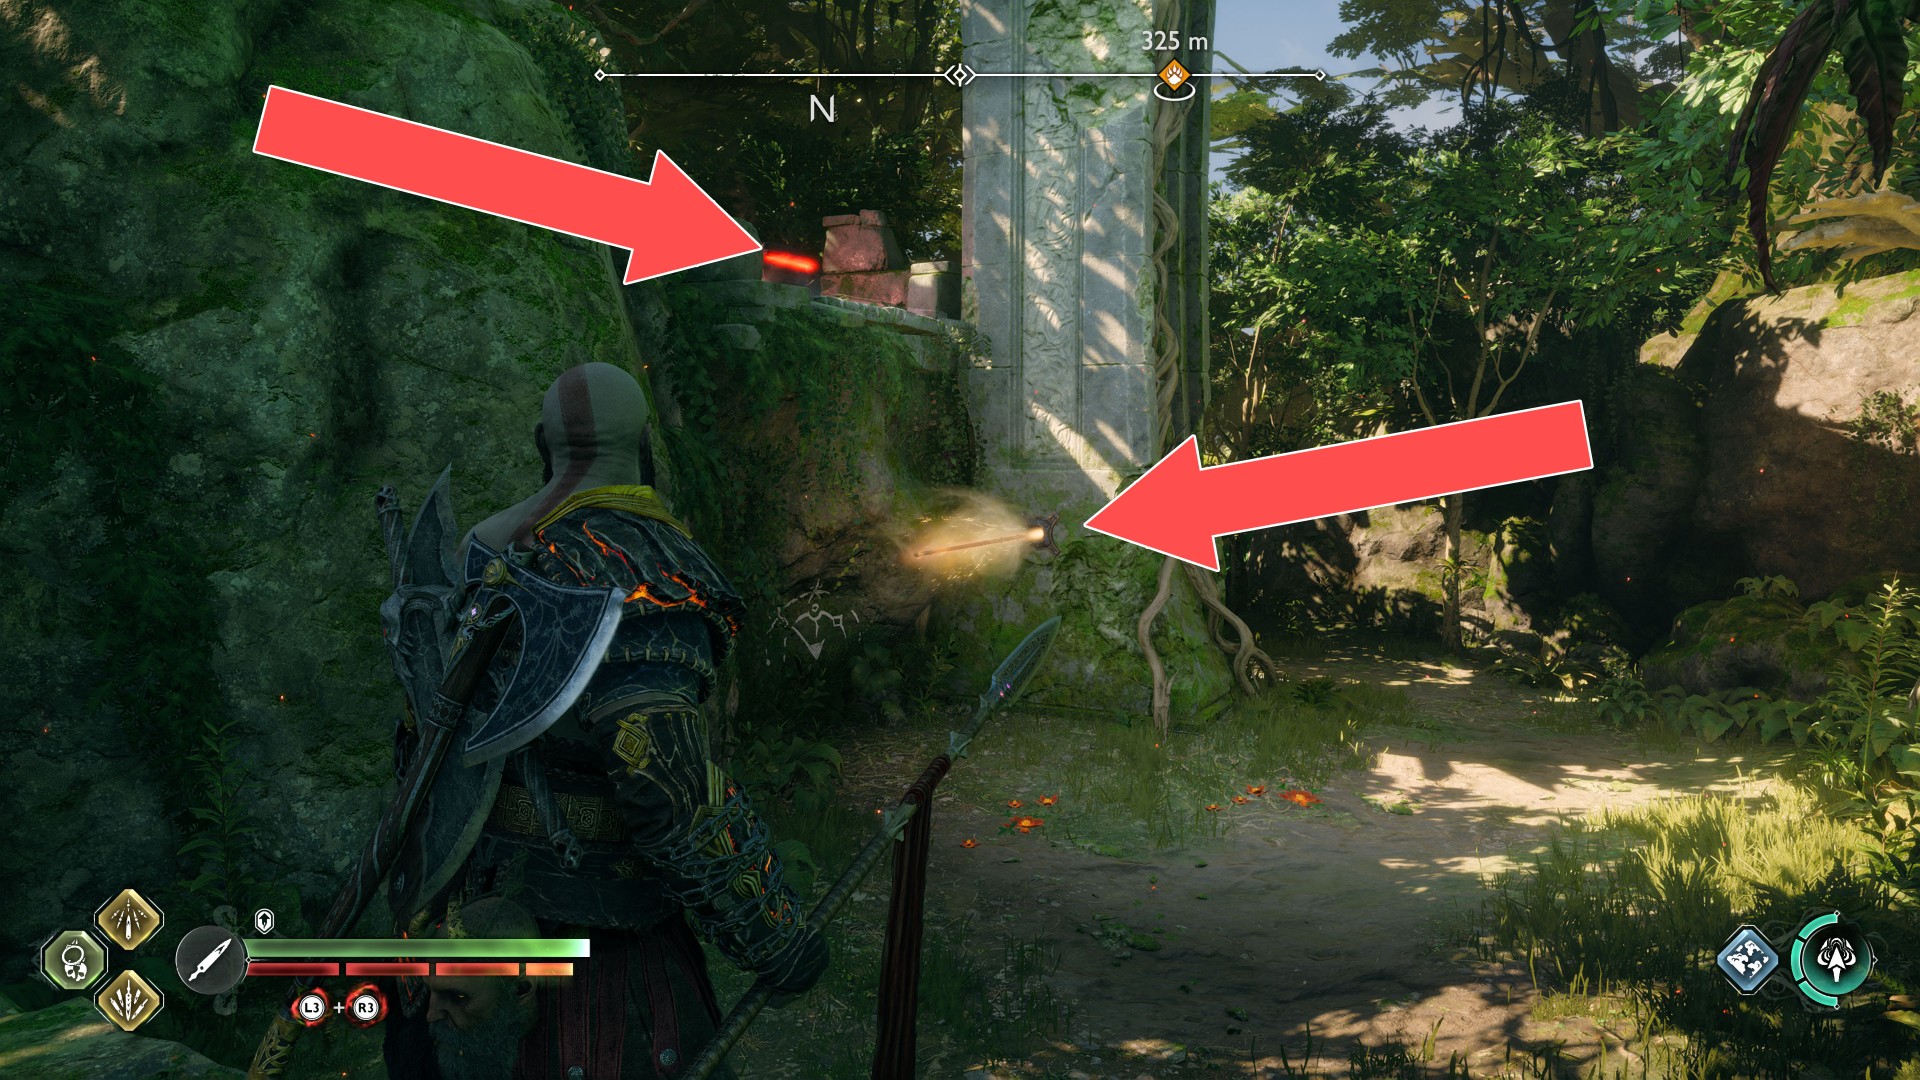
204Red Chest
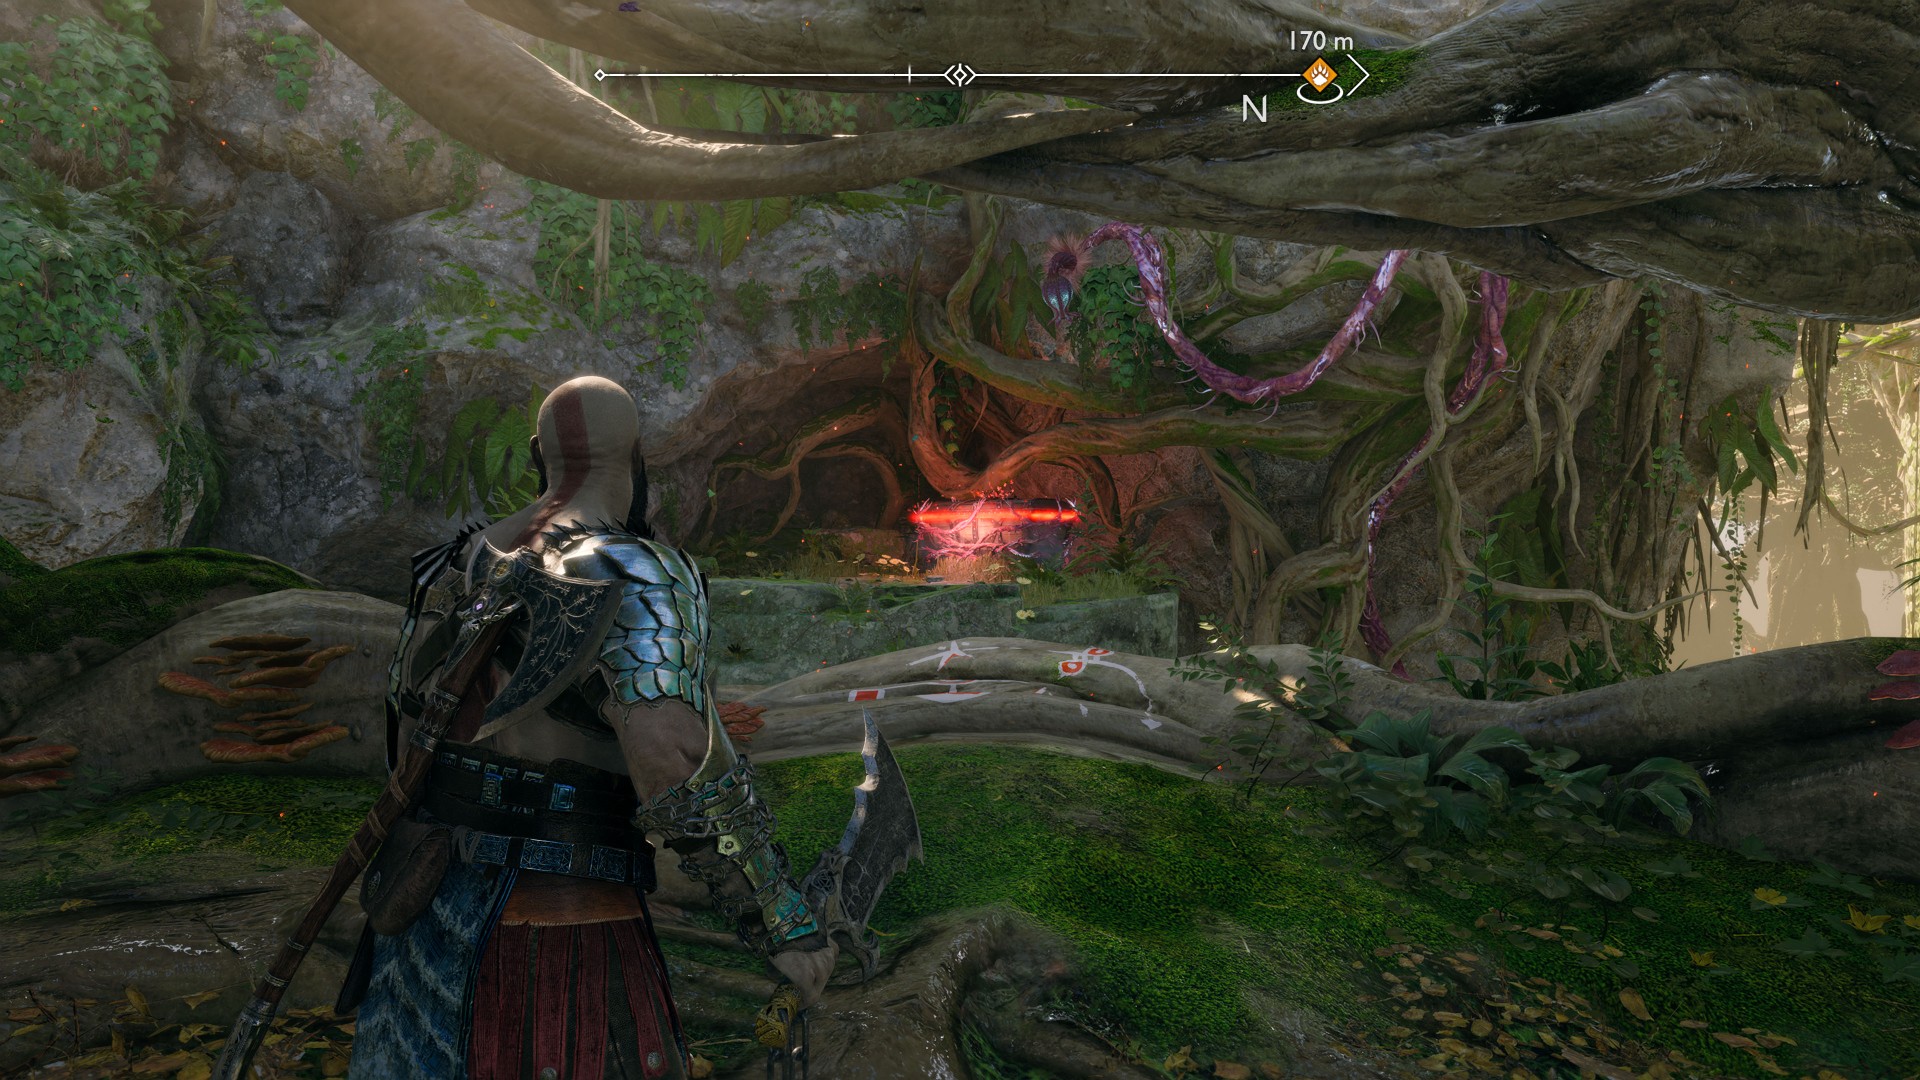
205Red Chest
To unlock this chest burn a large bulb on a tree.
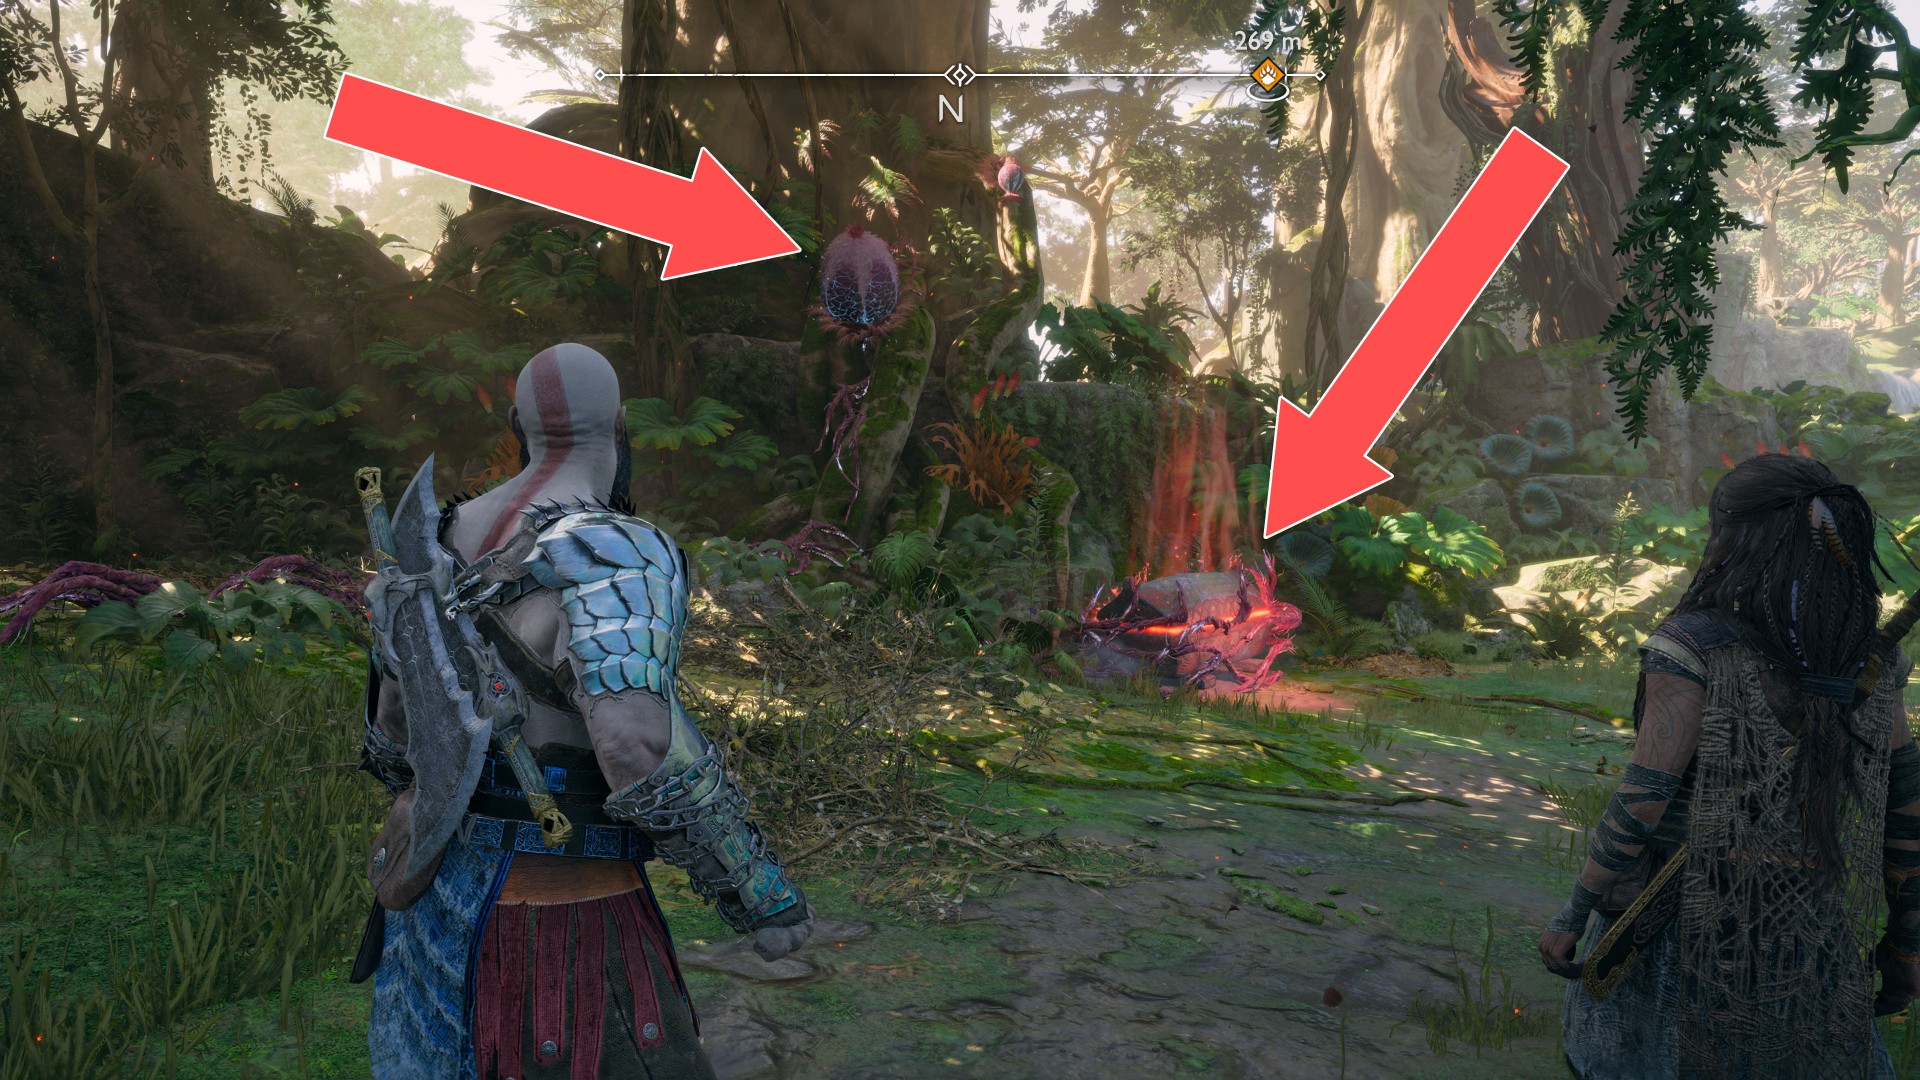
206Red Chest
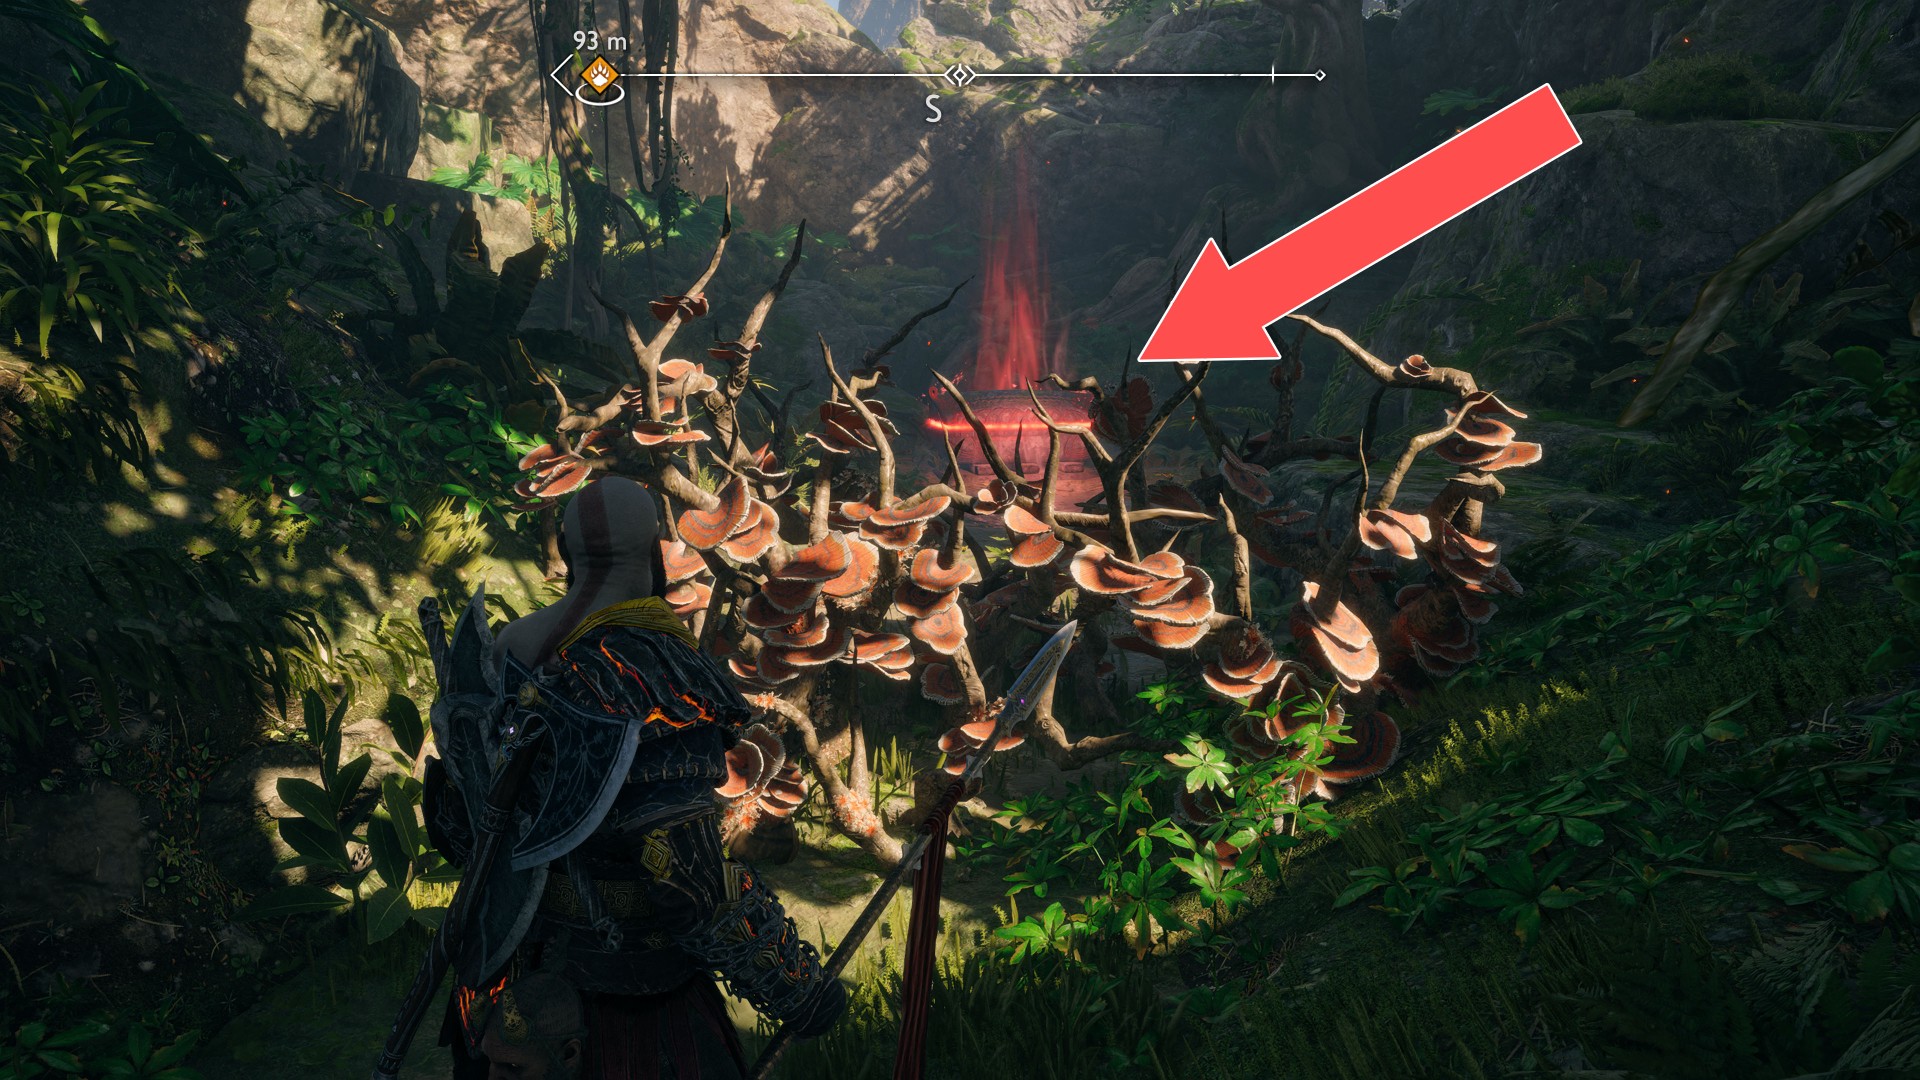
207Red Chest
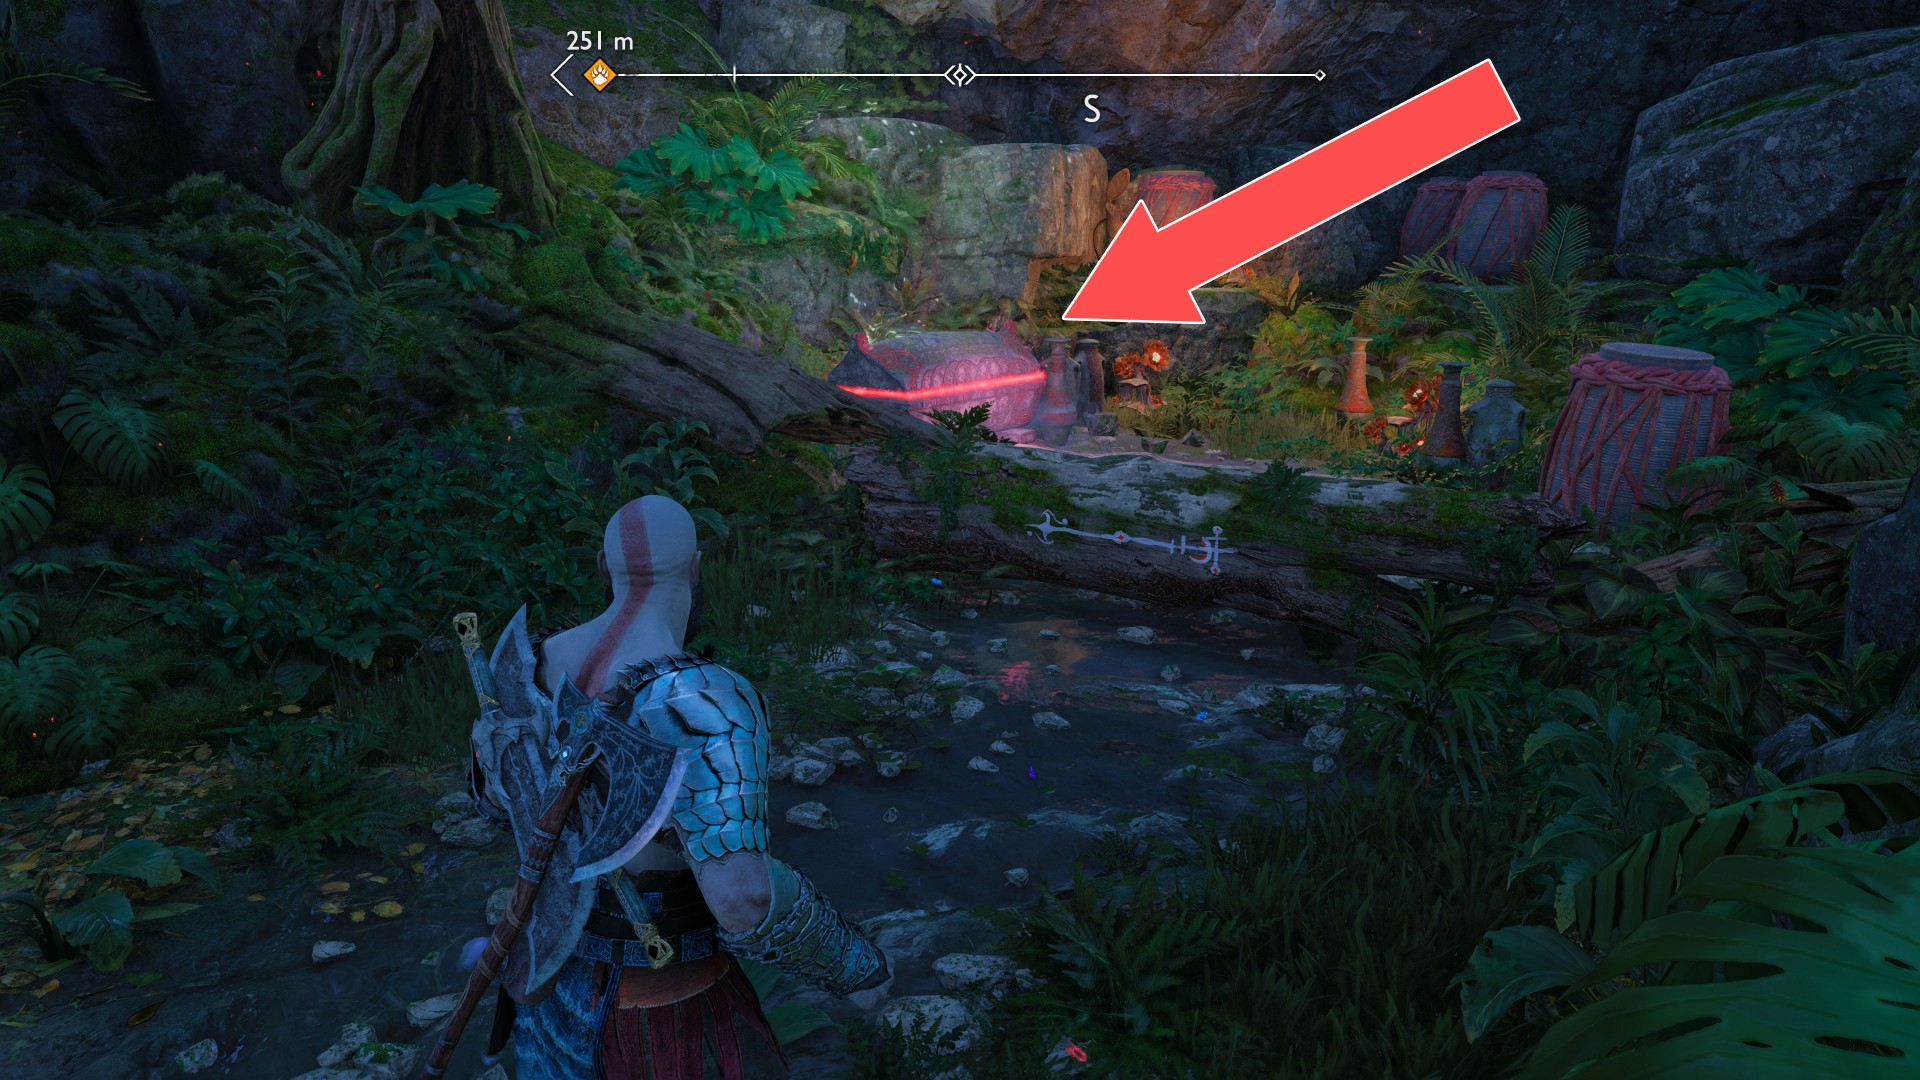
208Red Chest
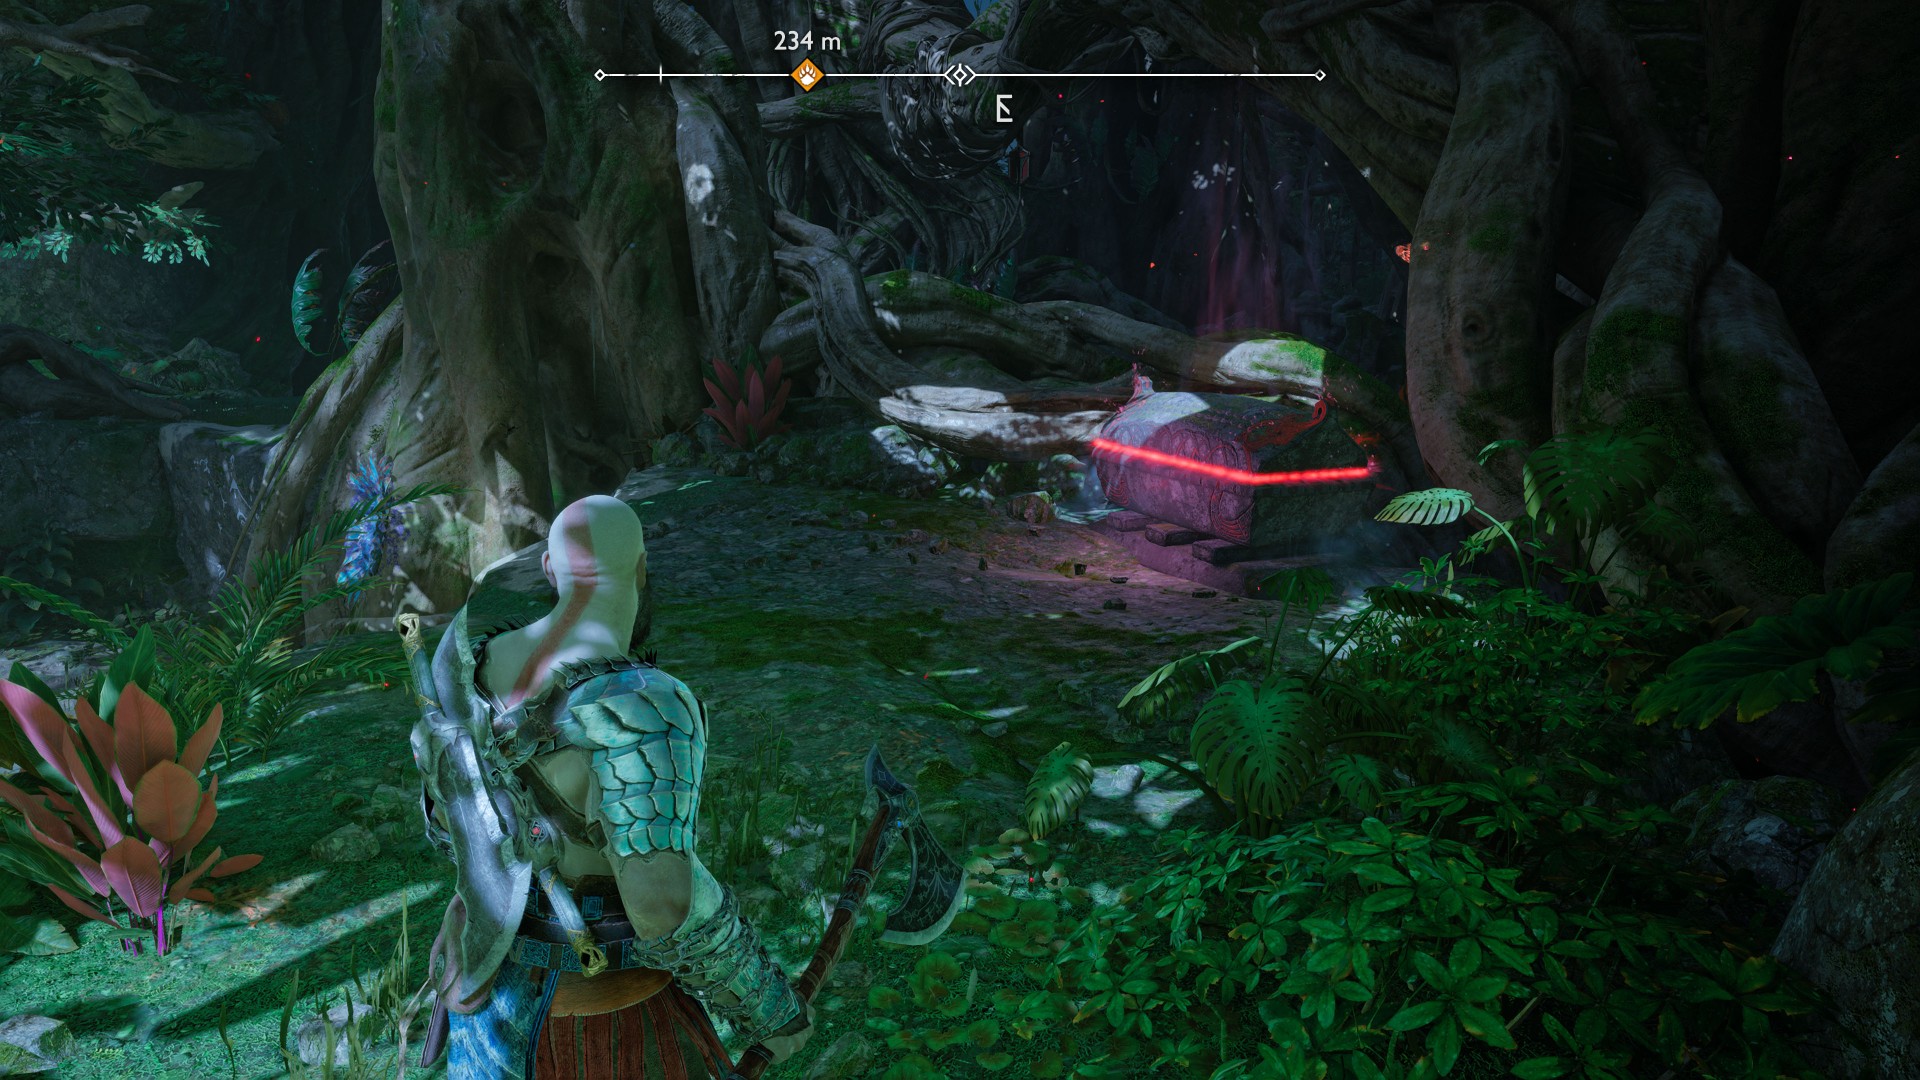
209Red Chest
You will only be able to open this chest once you have acquired the skill of using sigil arrows. Use the sigil arrow and burn the vines blocking access to the chest.
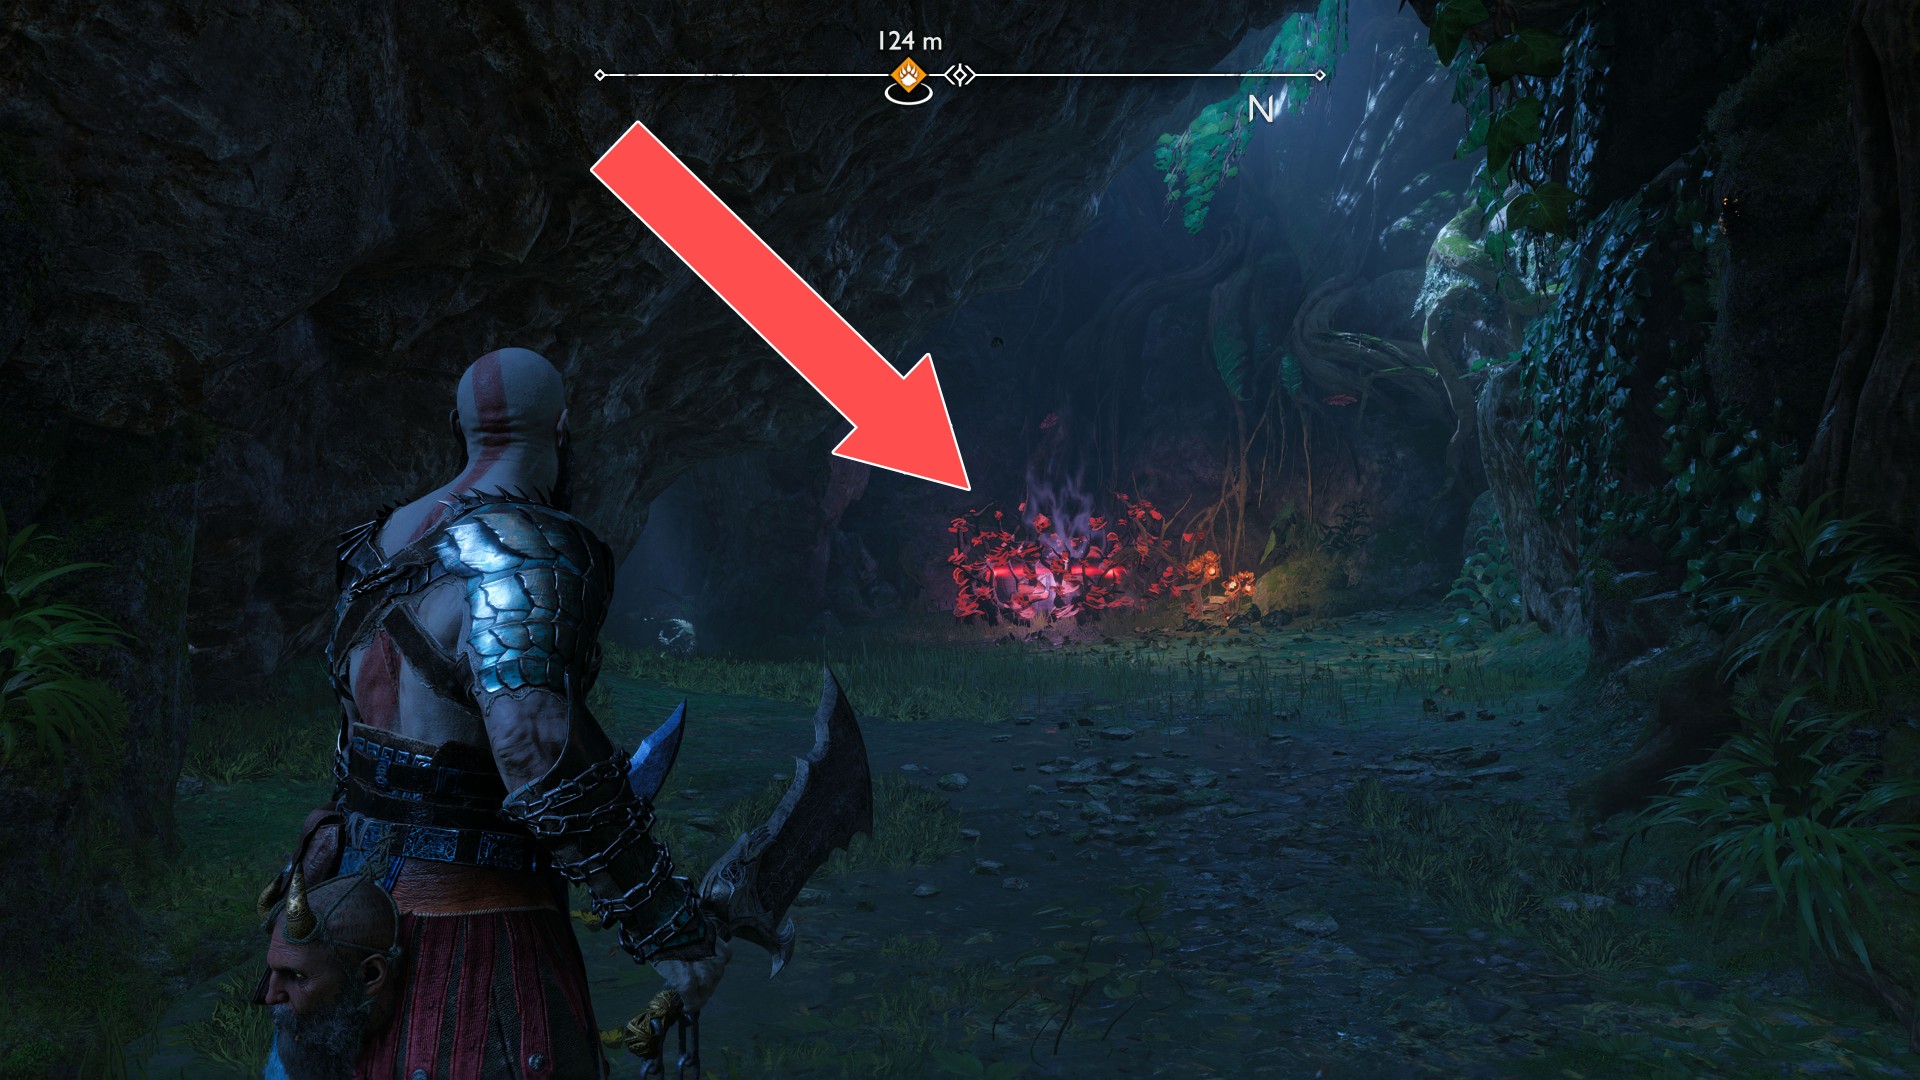
210Red Chest
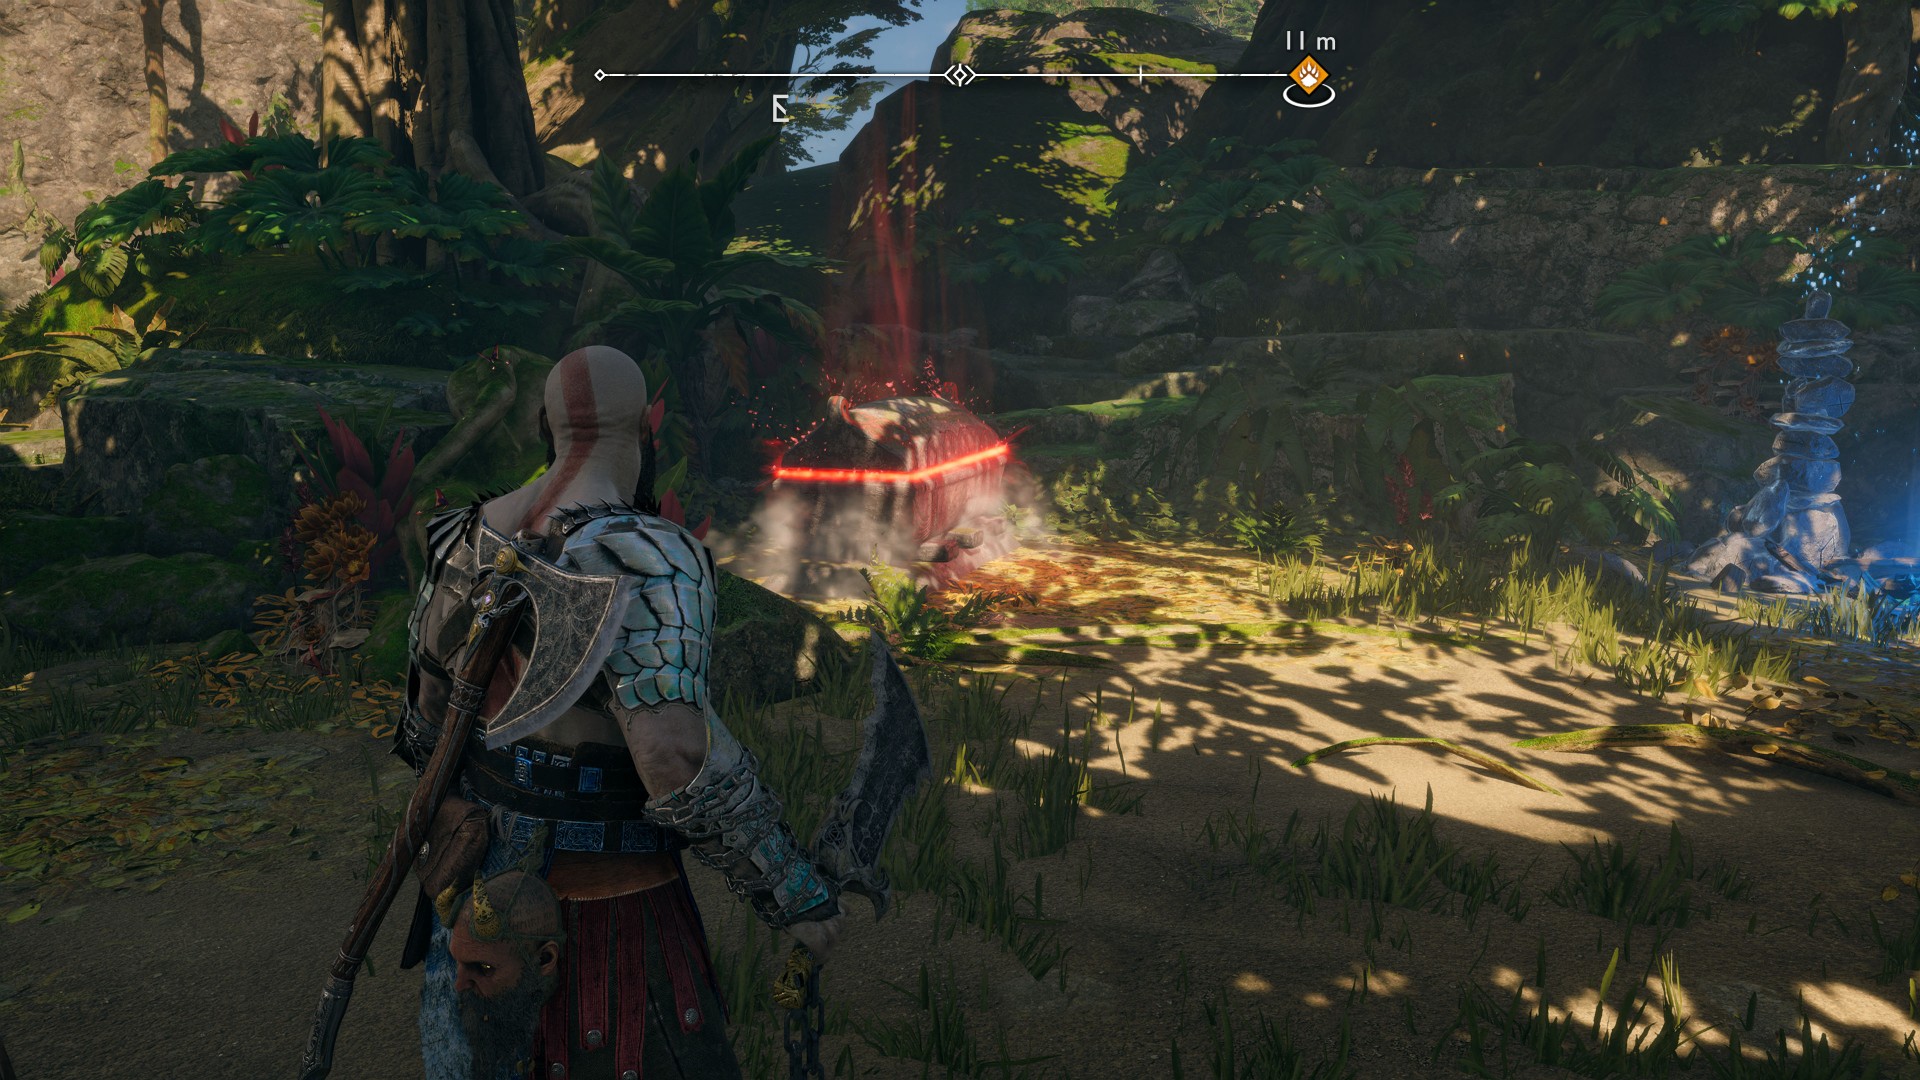
211Red Chest
To get to this chest use the blades of chaos and burn the brambles blocking the passage.
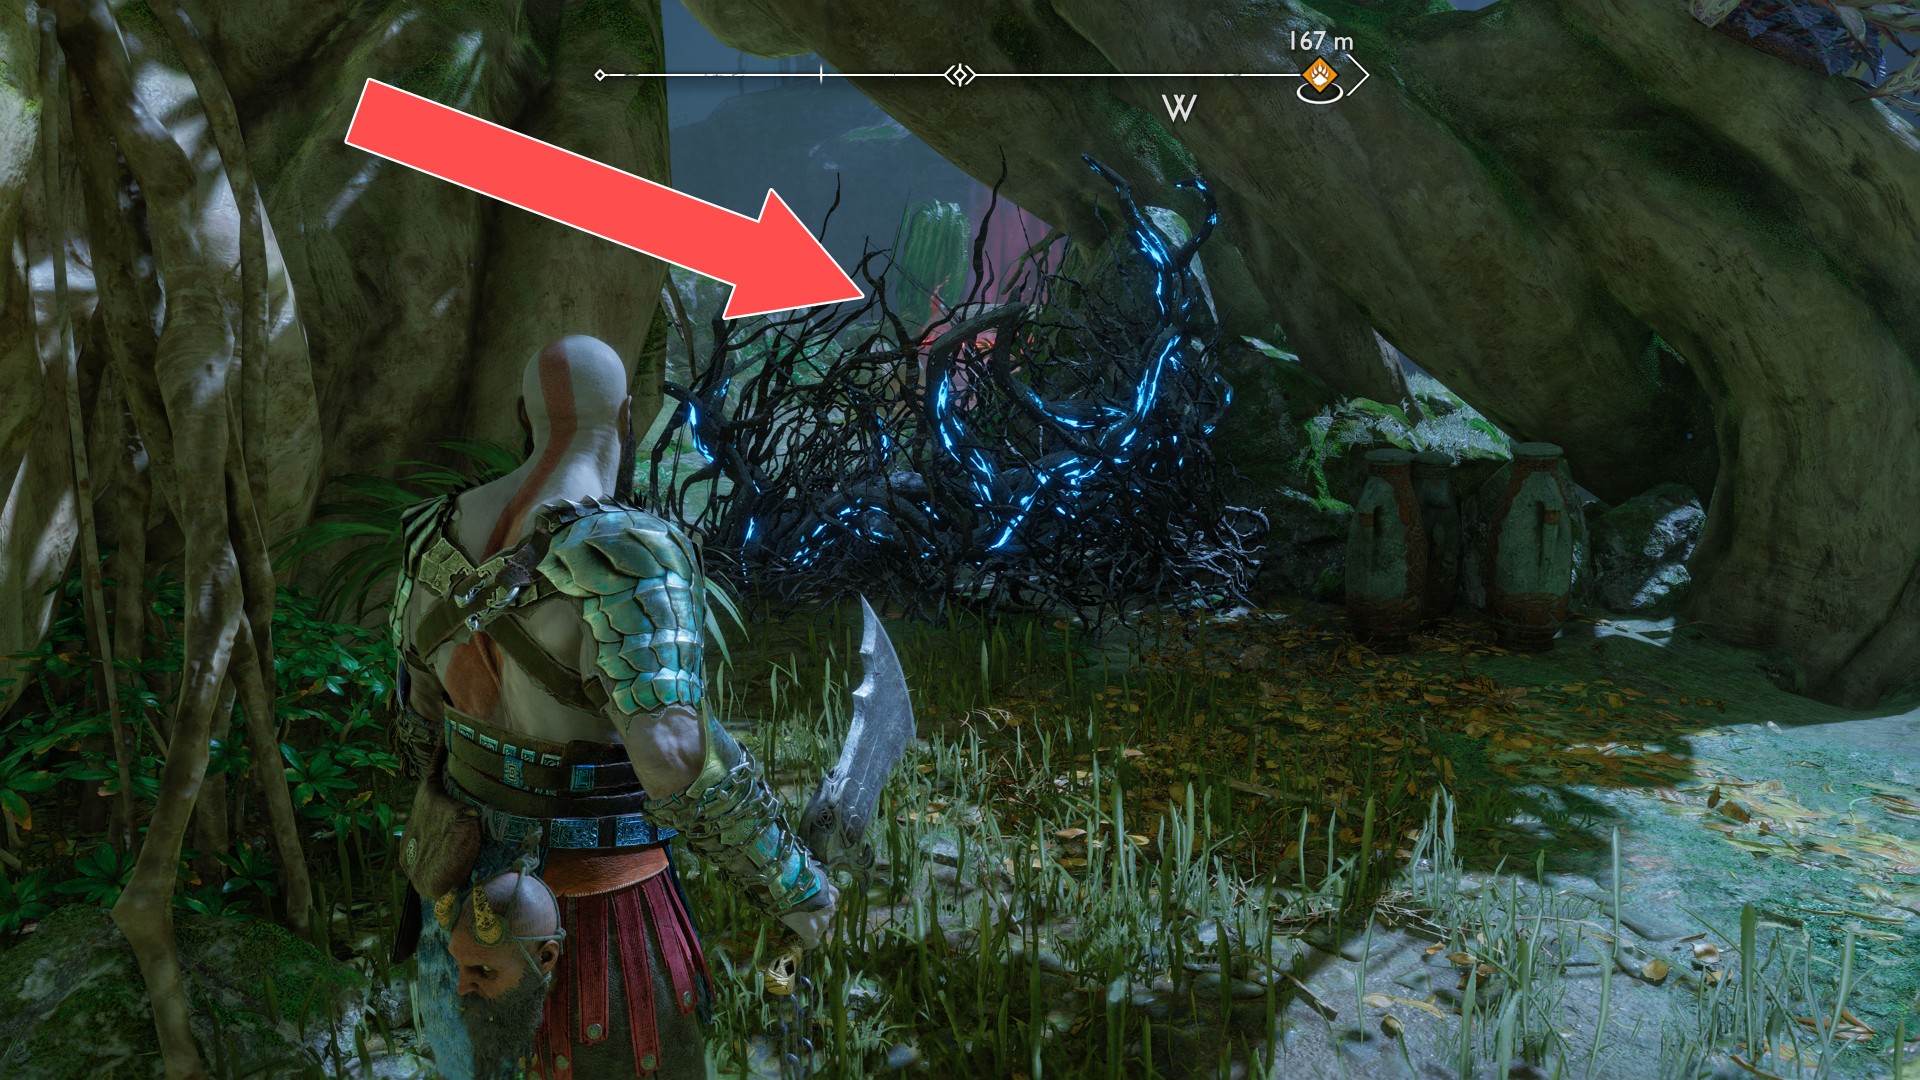
212Red Chest
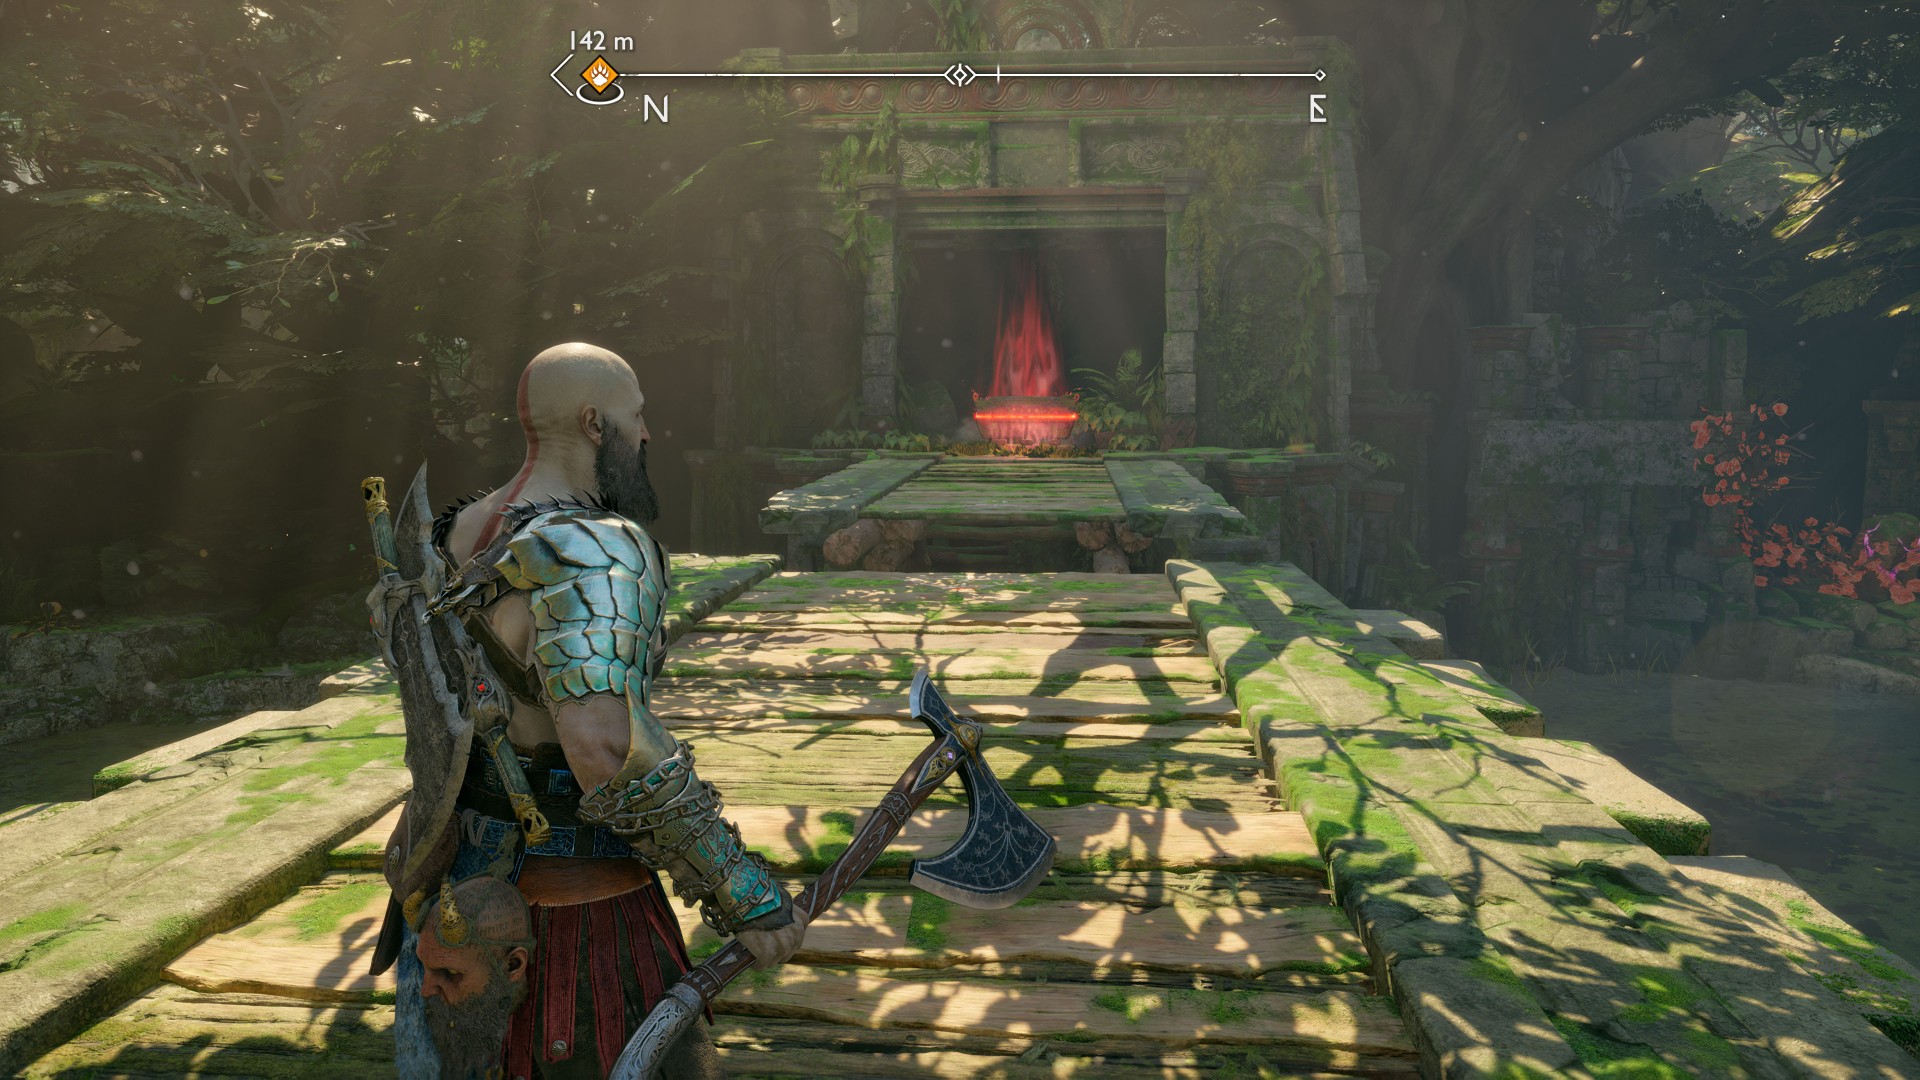
213Red Chest
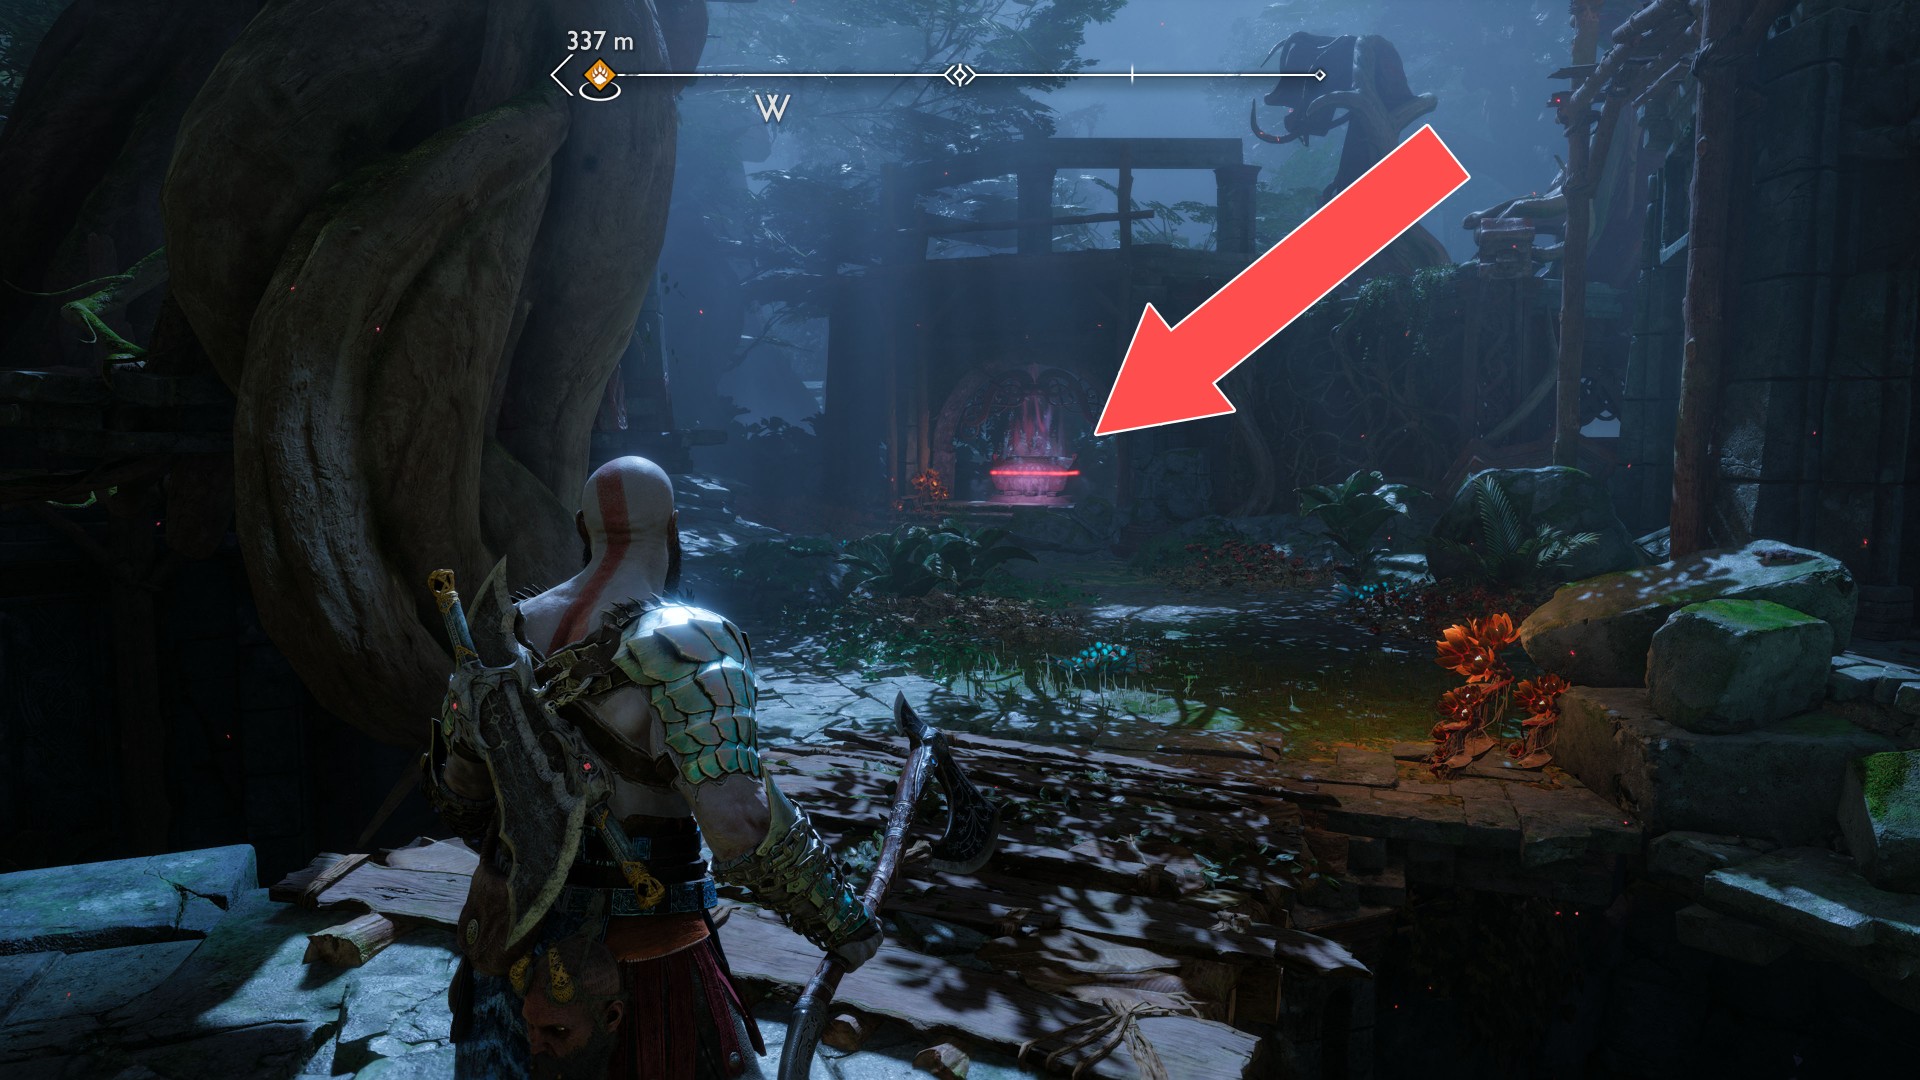
The beginning of the small passage which will get you to this chest is in the clearing where you will be attacked by several Gulons.
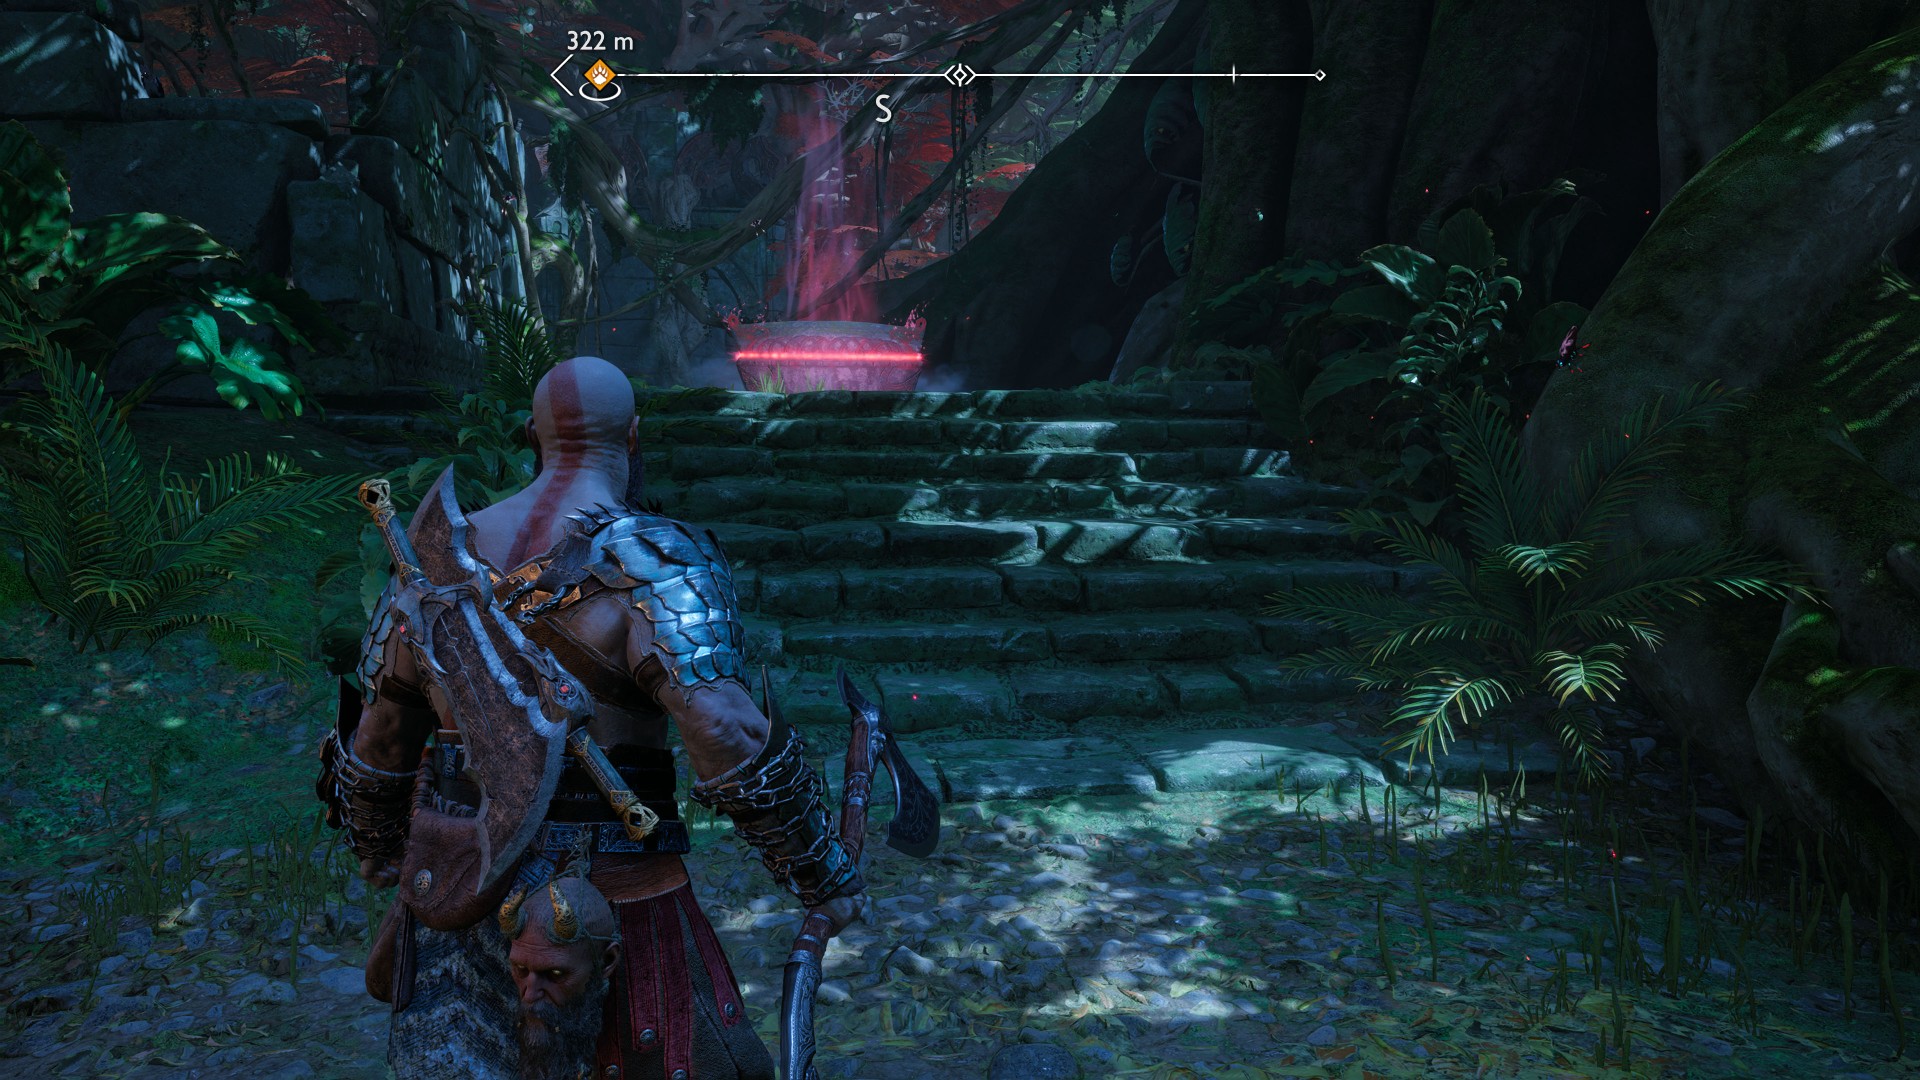
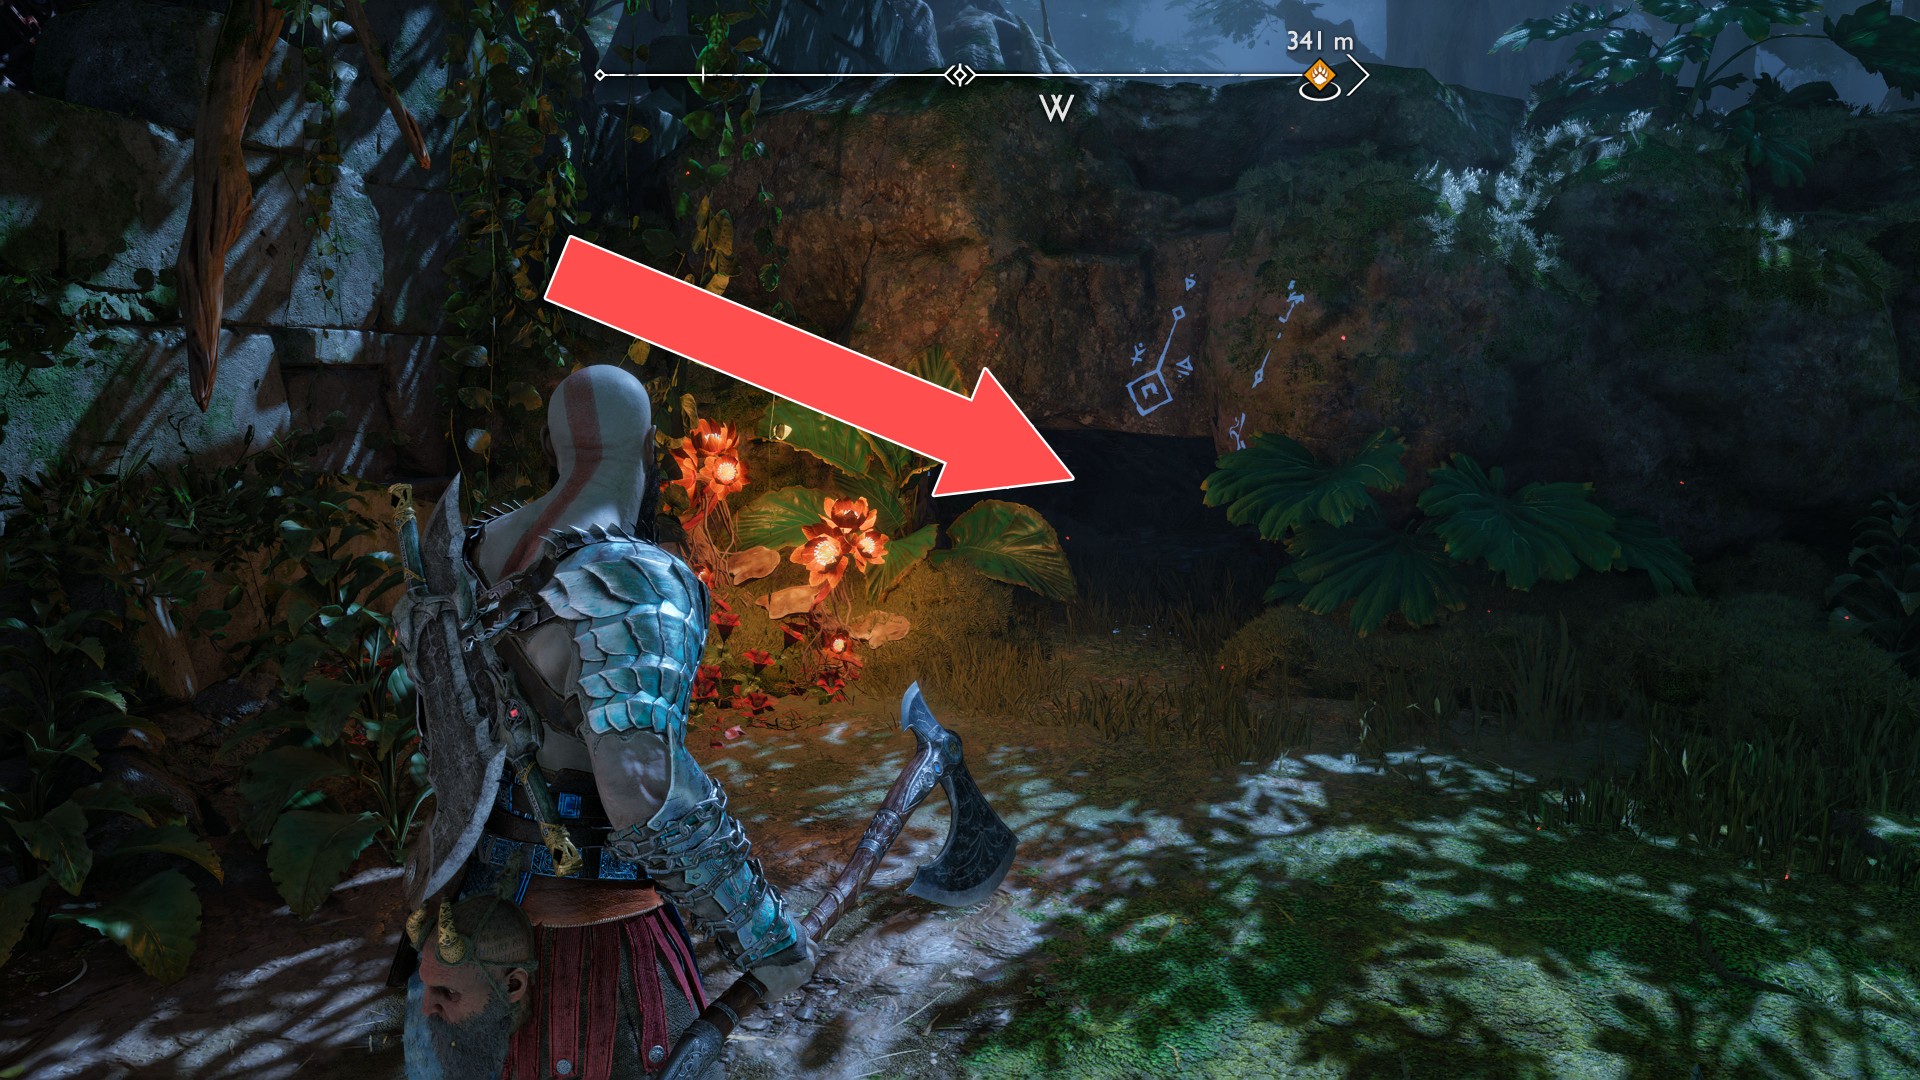
214Red Chest
215Red Chest
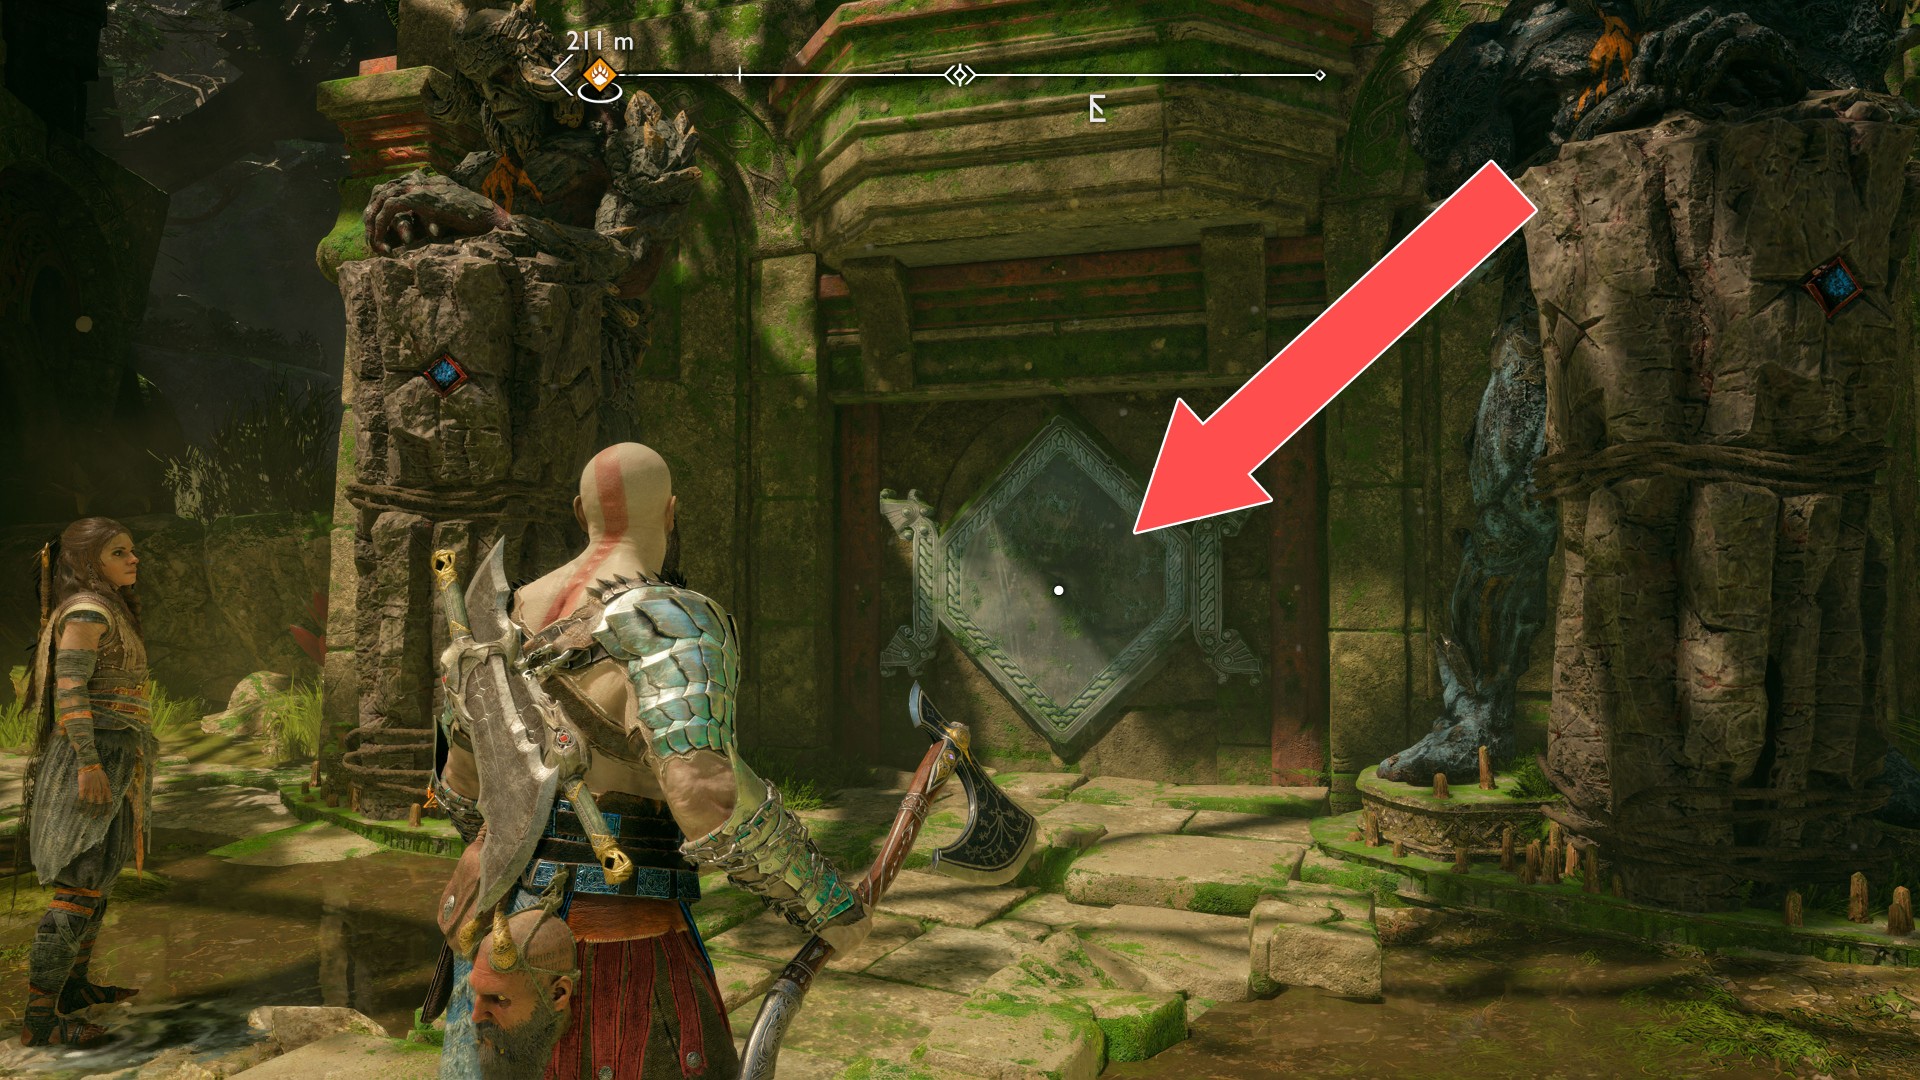
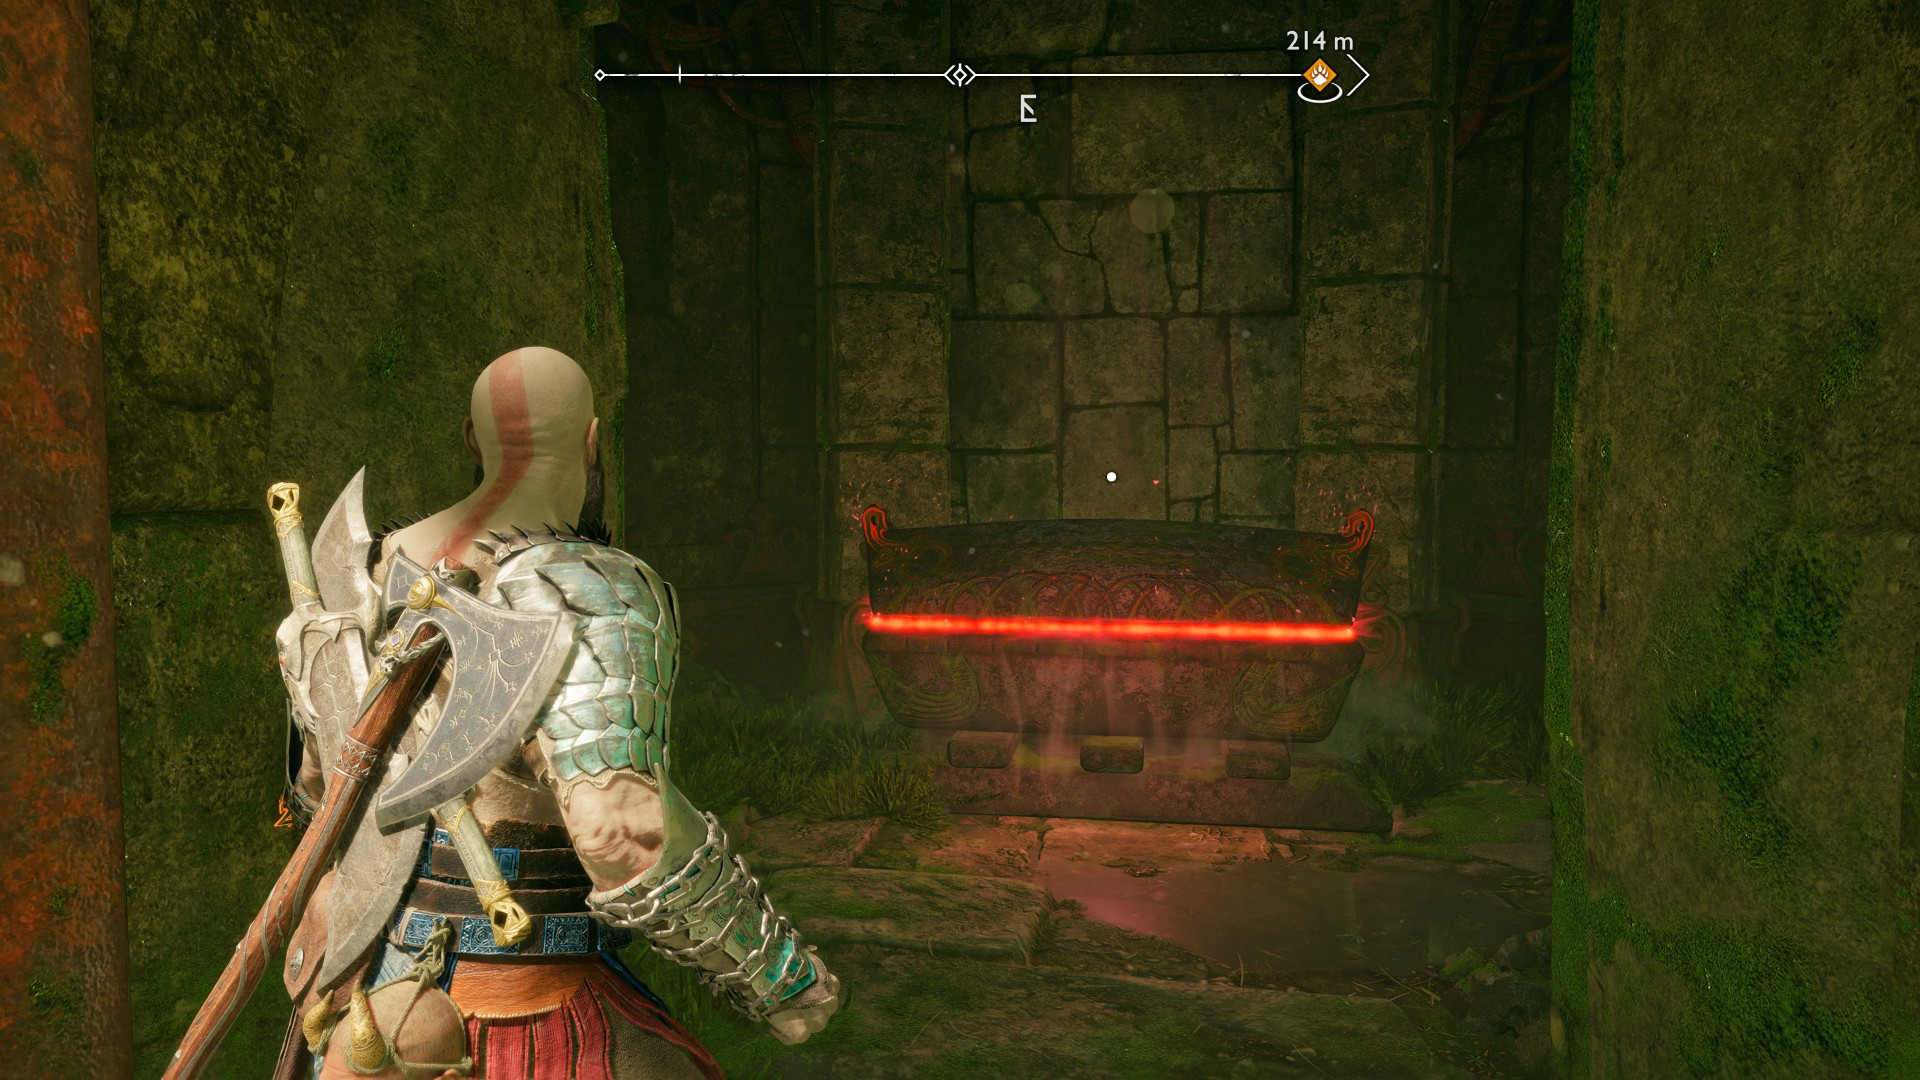
Contains: Lunda's Broken Belt (Quest Item).
216Red Chest
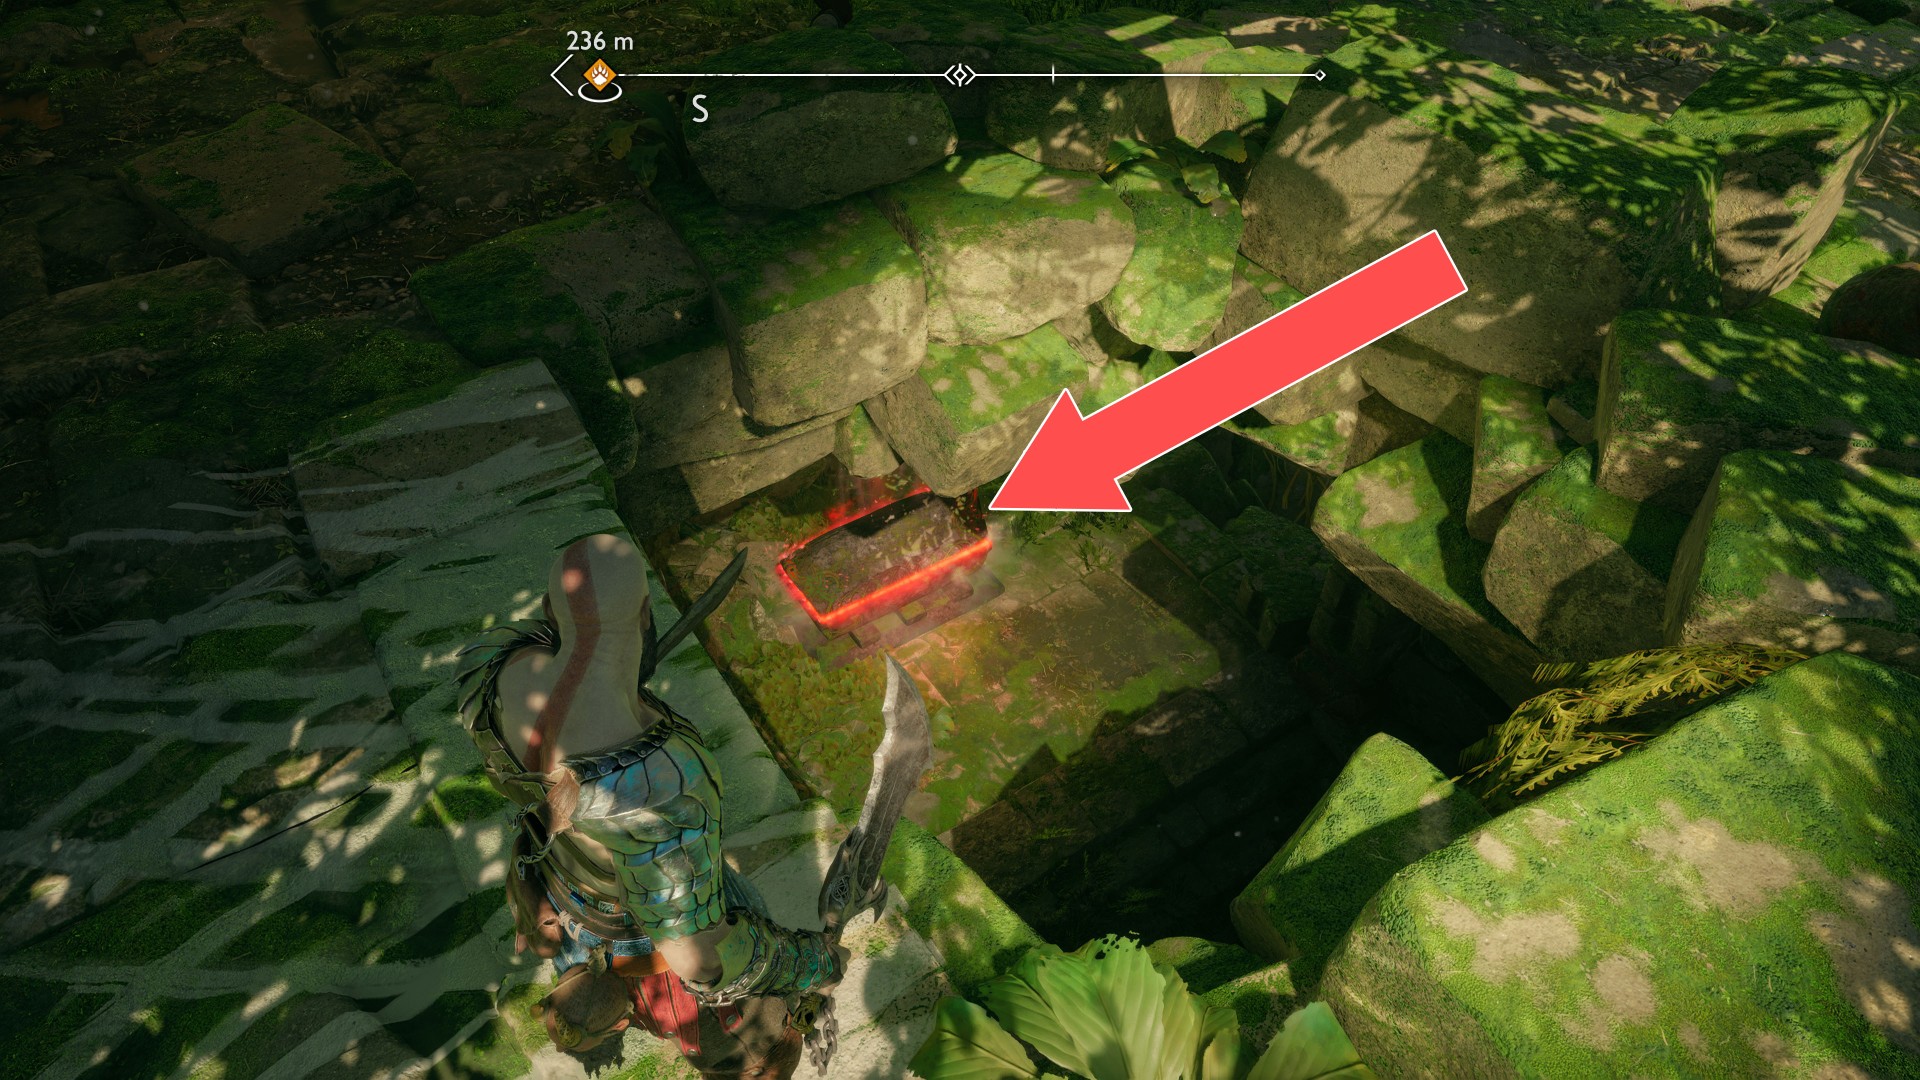
You can get inside through a hole in the roof.
217Red Chest
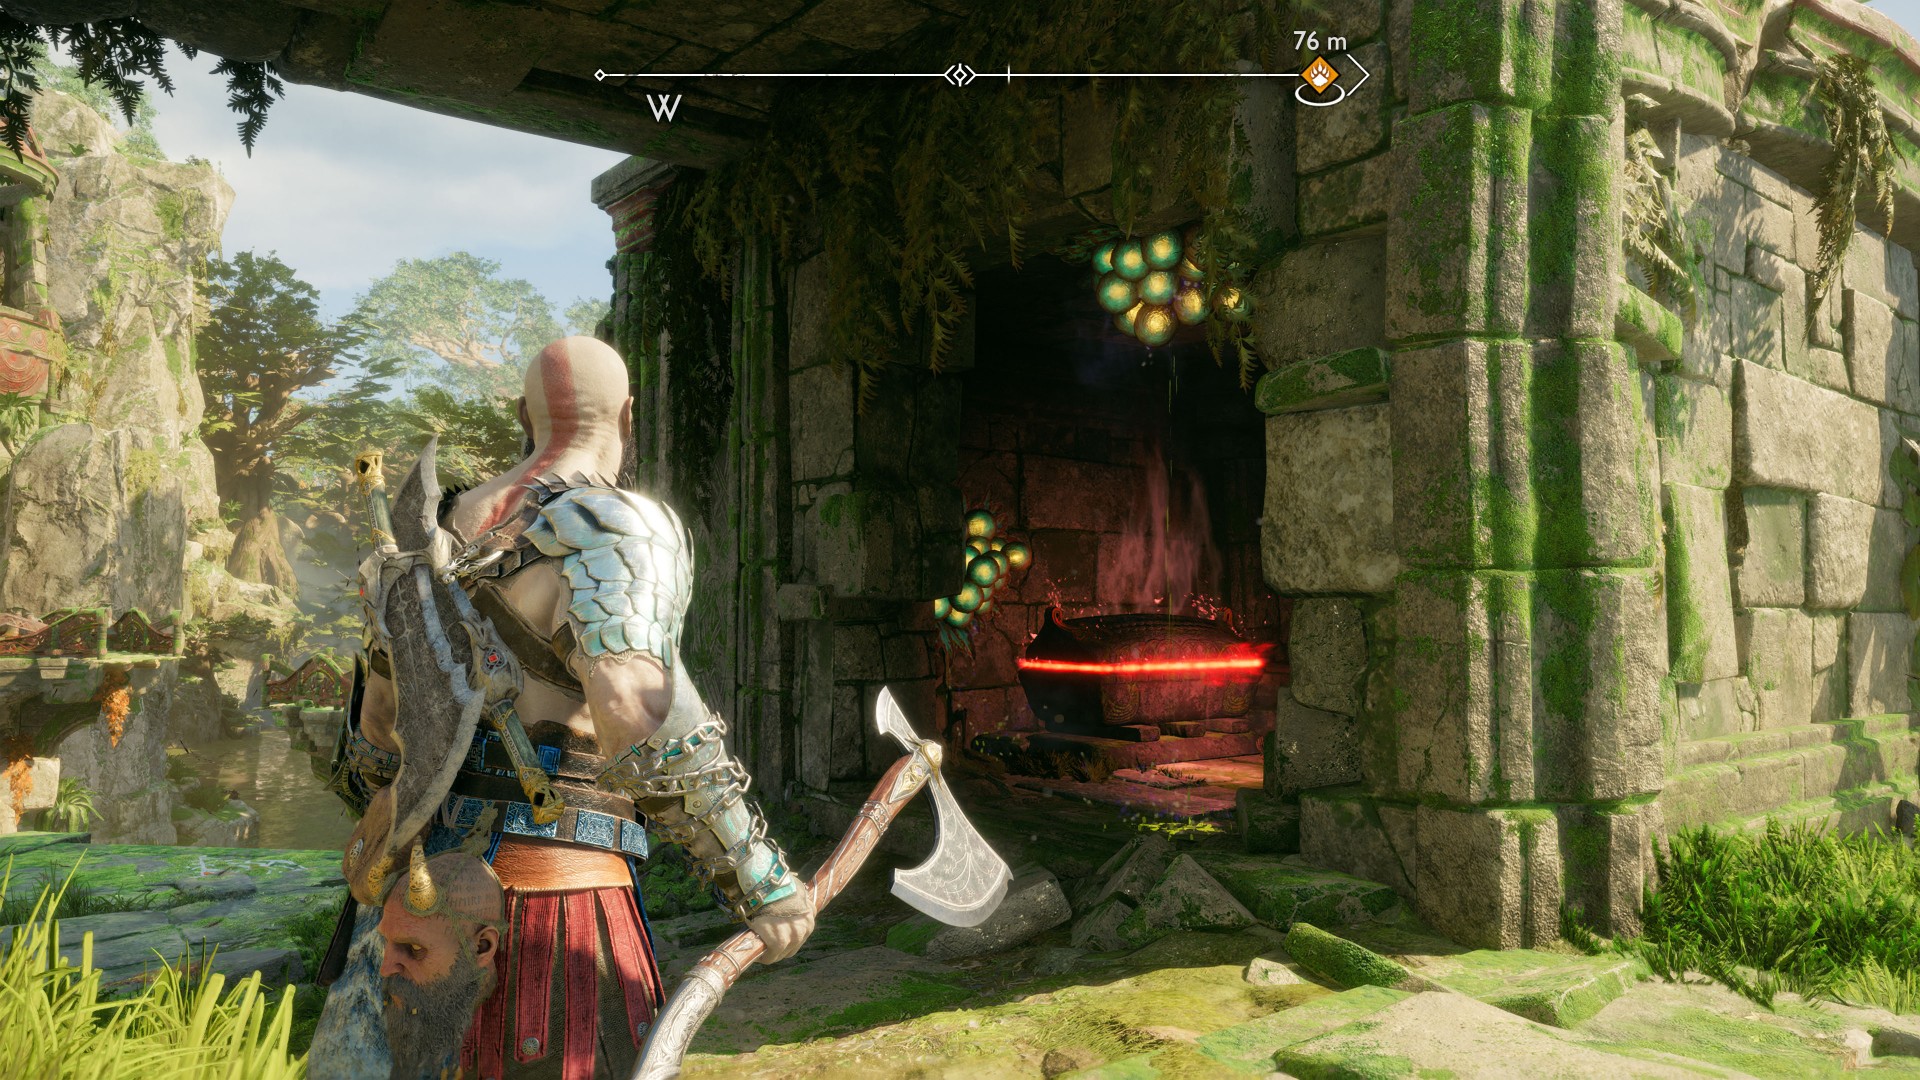
Contains: Lunda's Broken Bracers.
218Red Chest
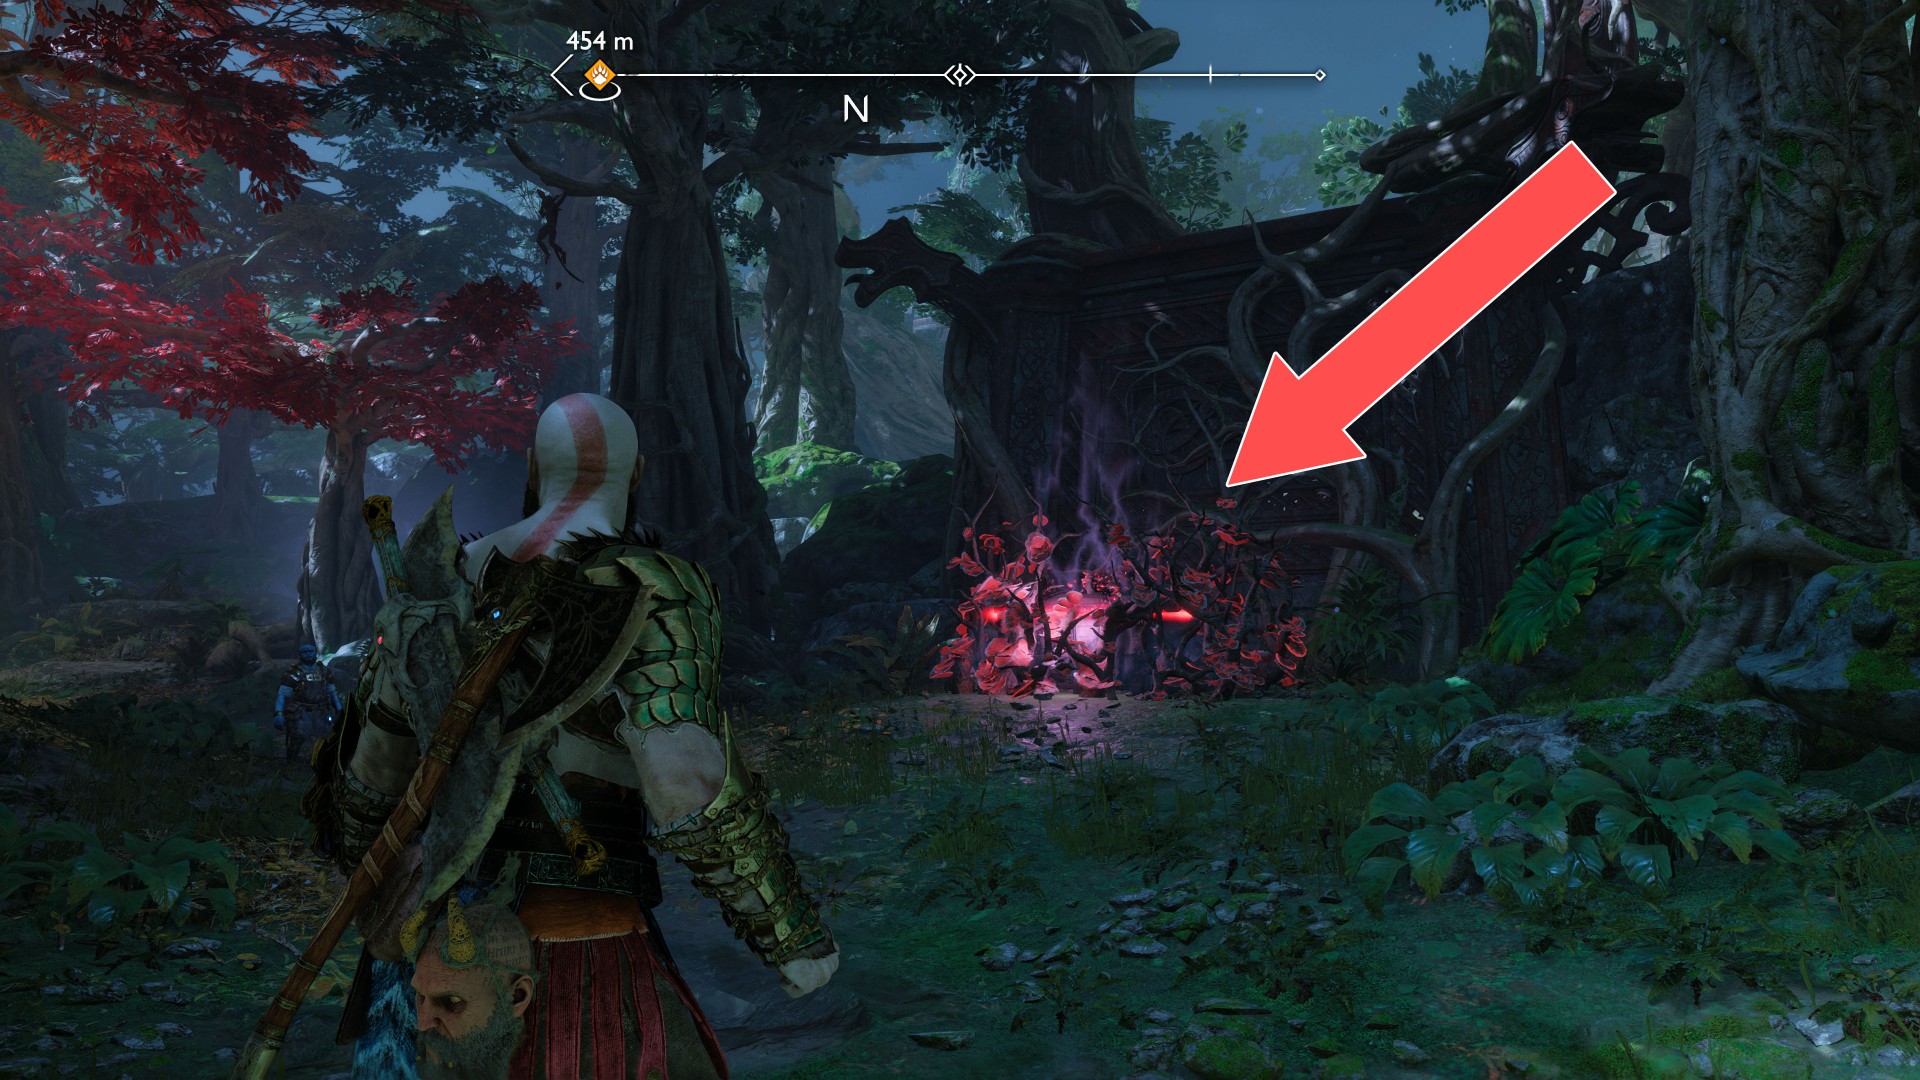
To open this chest, you must be able to burn the vines blocking access, that is, you must be able to use sigil arrows. So you won't do it on your first visit here.
219Red Chest
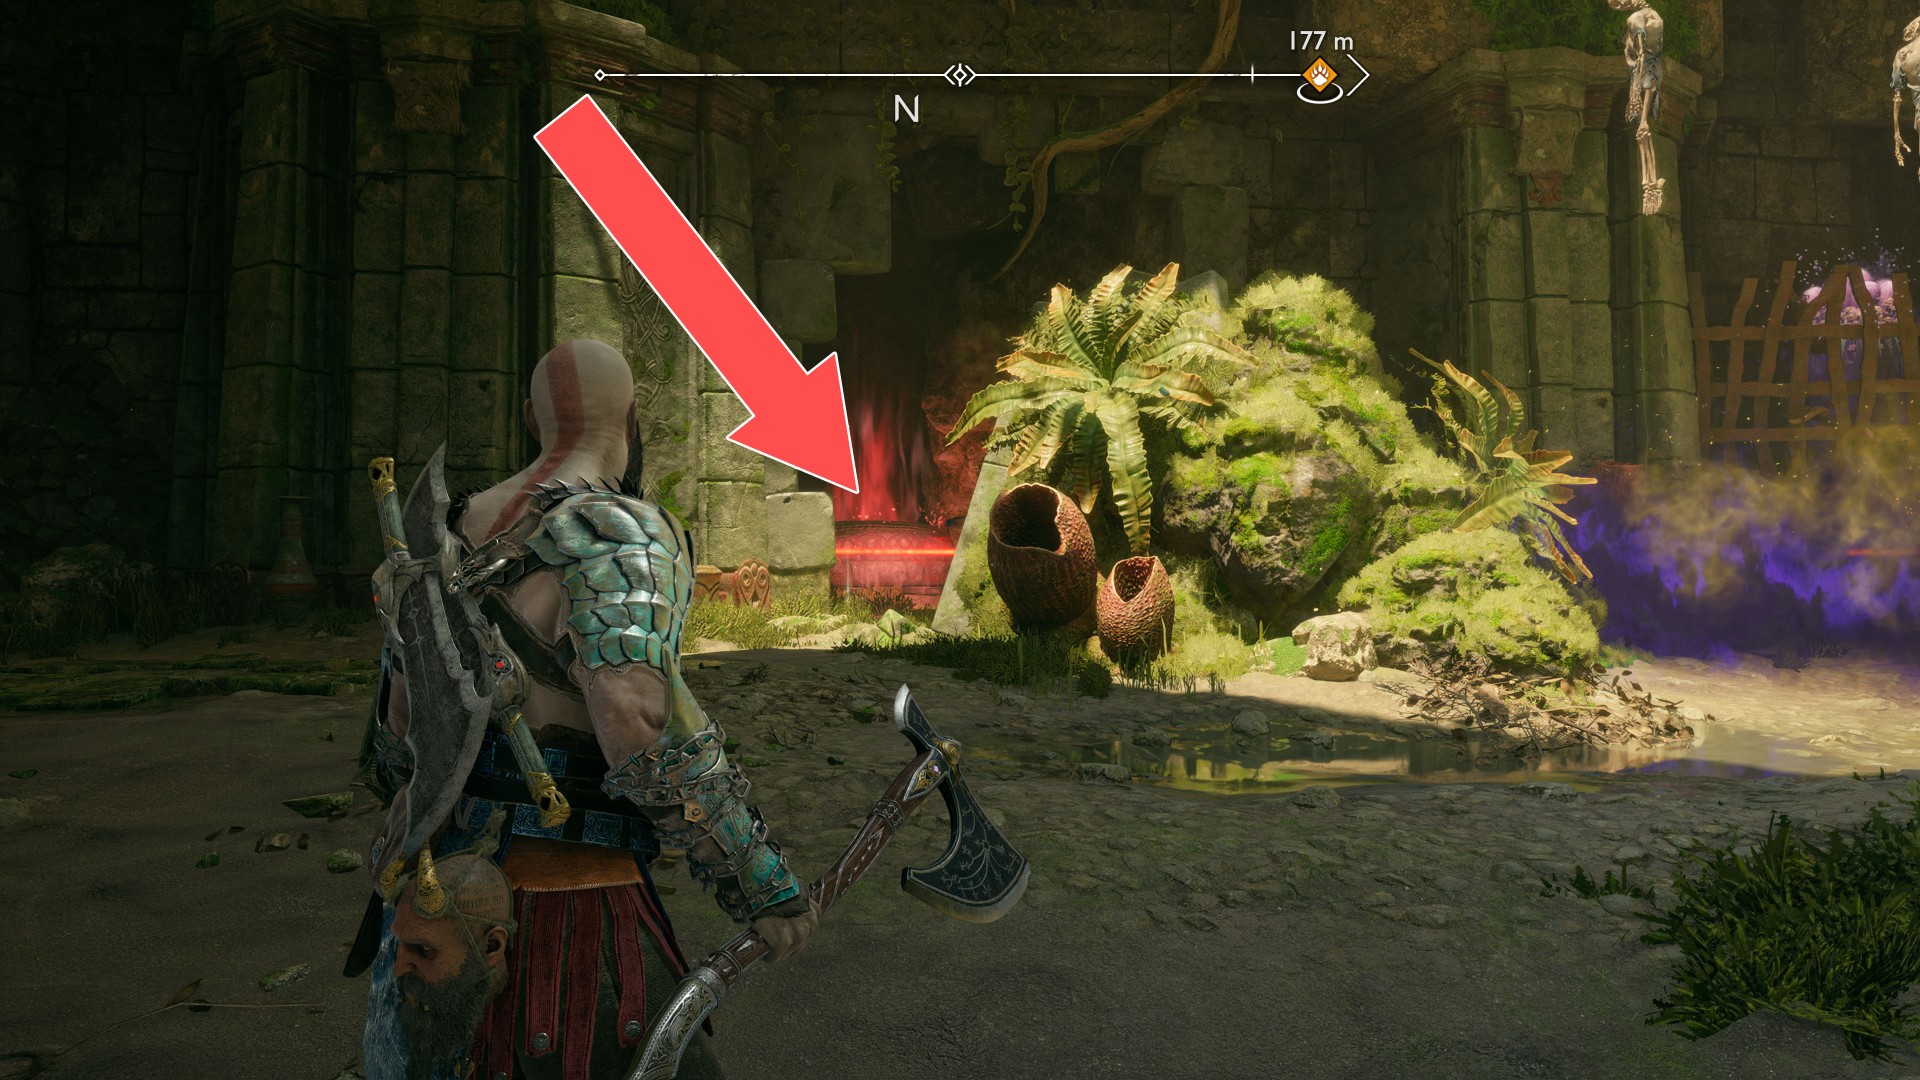
Contains: Lunda's Broken Cuirass.
220Red Chest
221Red Chest
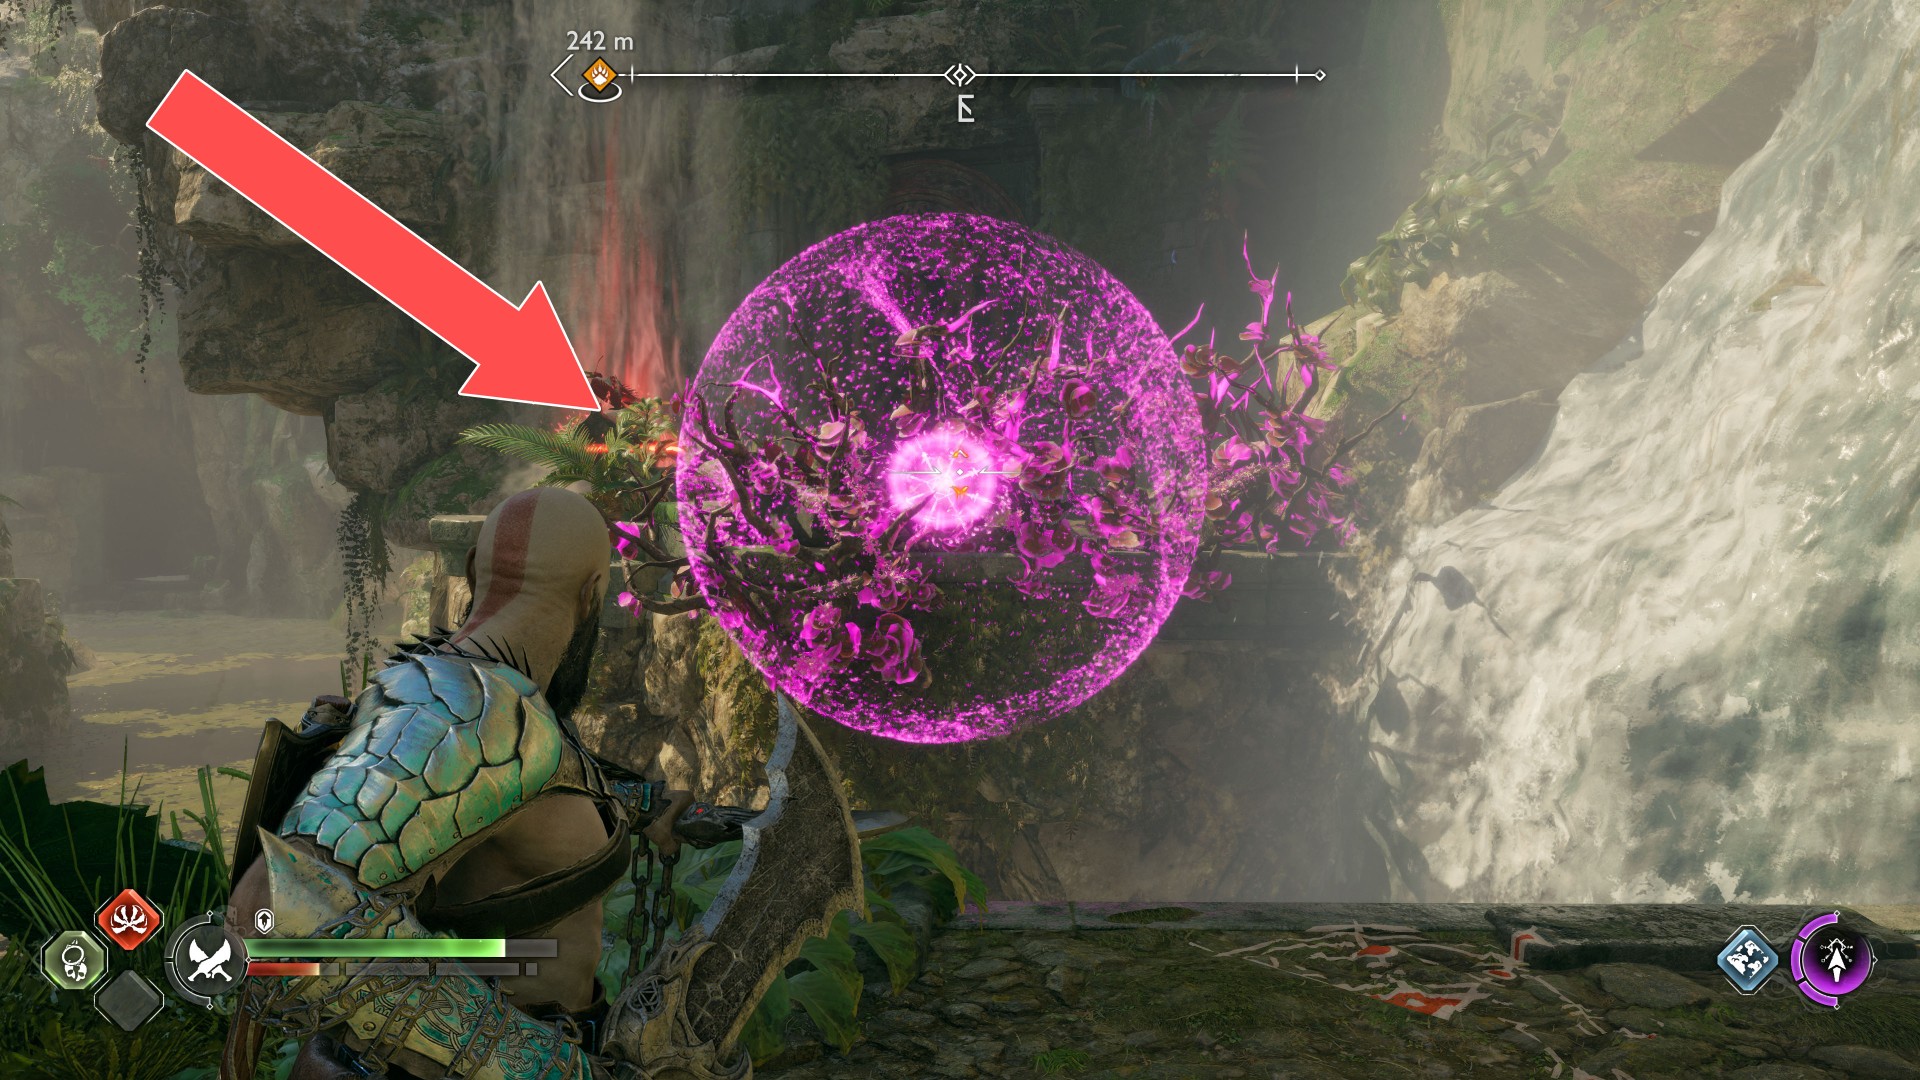
222Red Chest
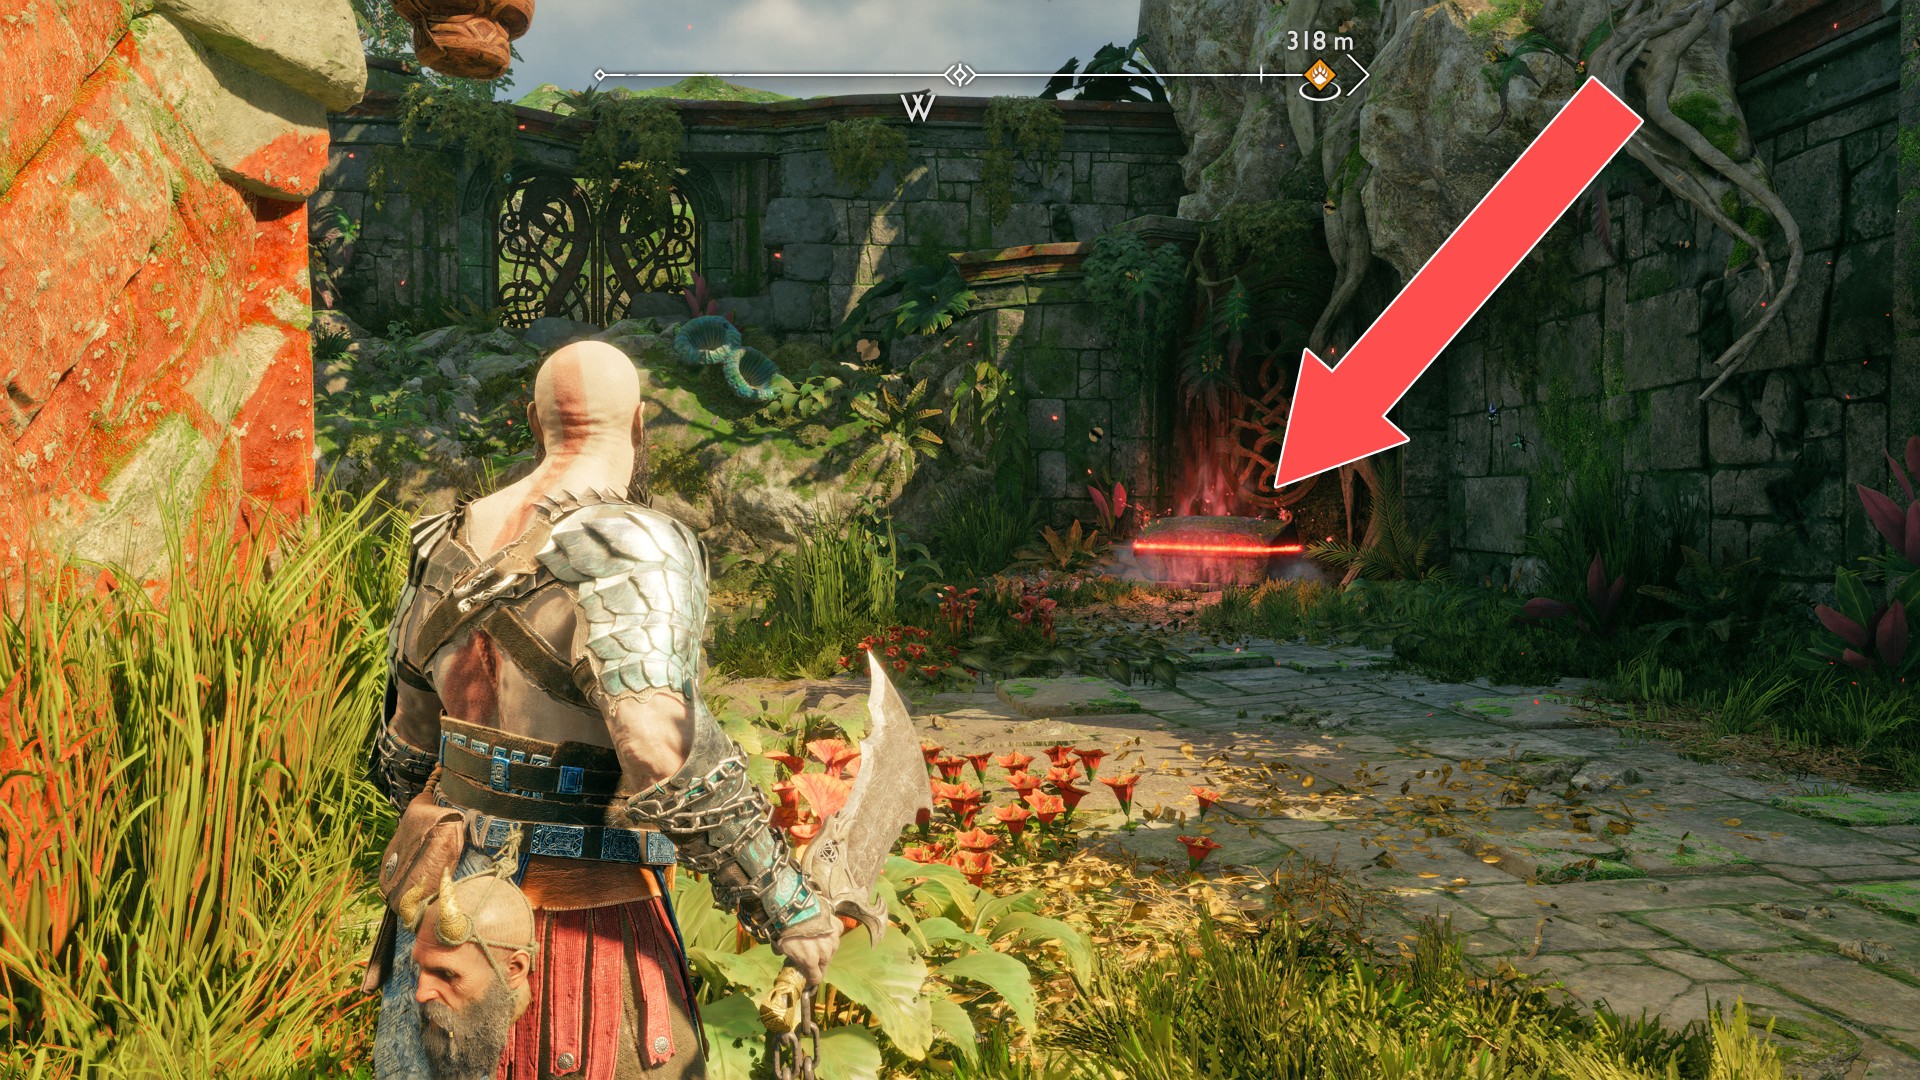
223Yellow Chest
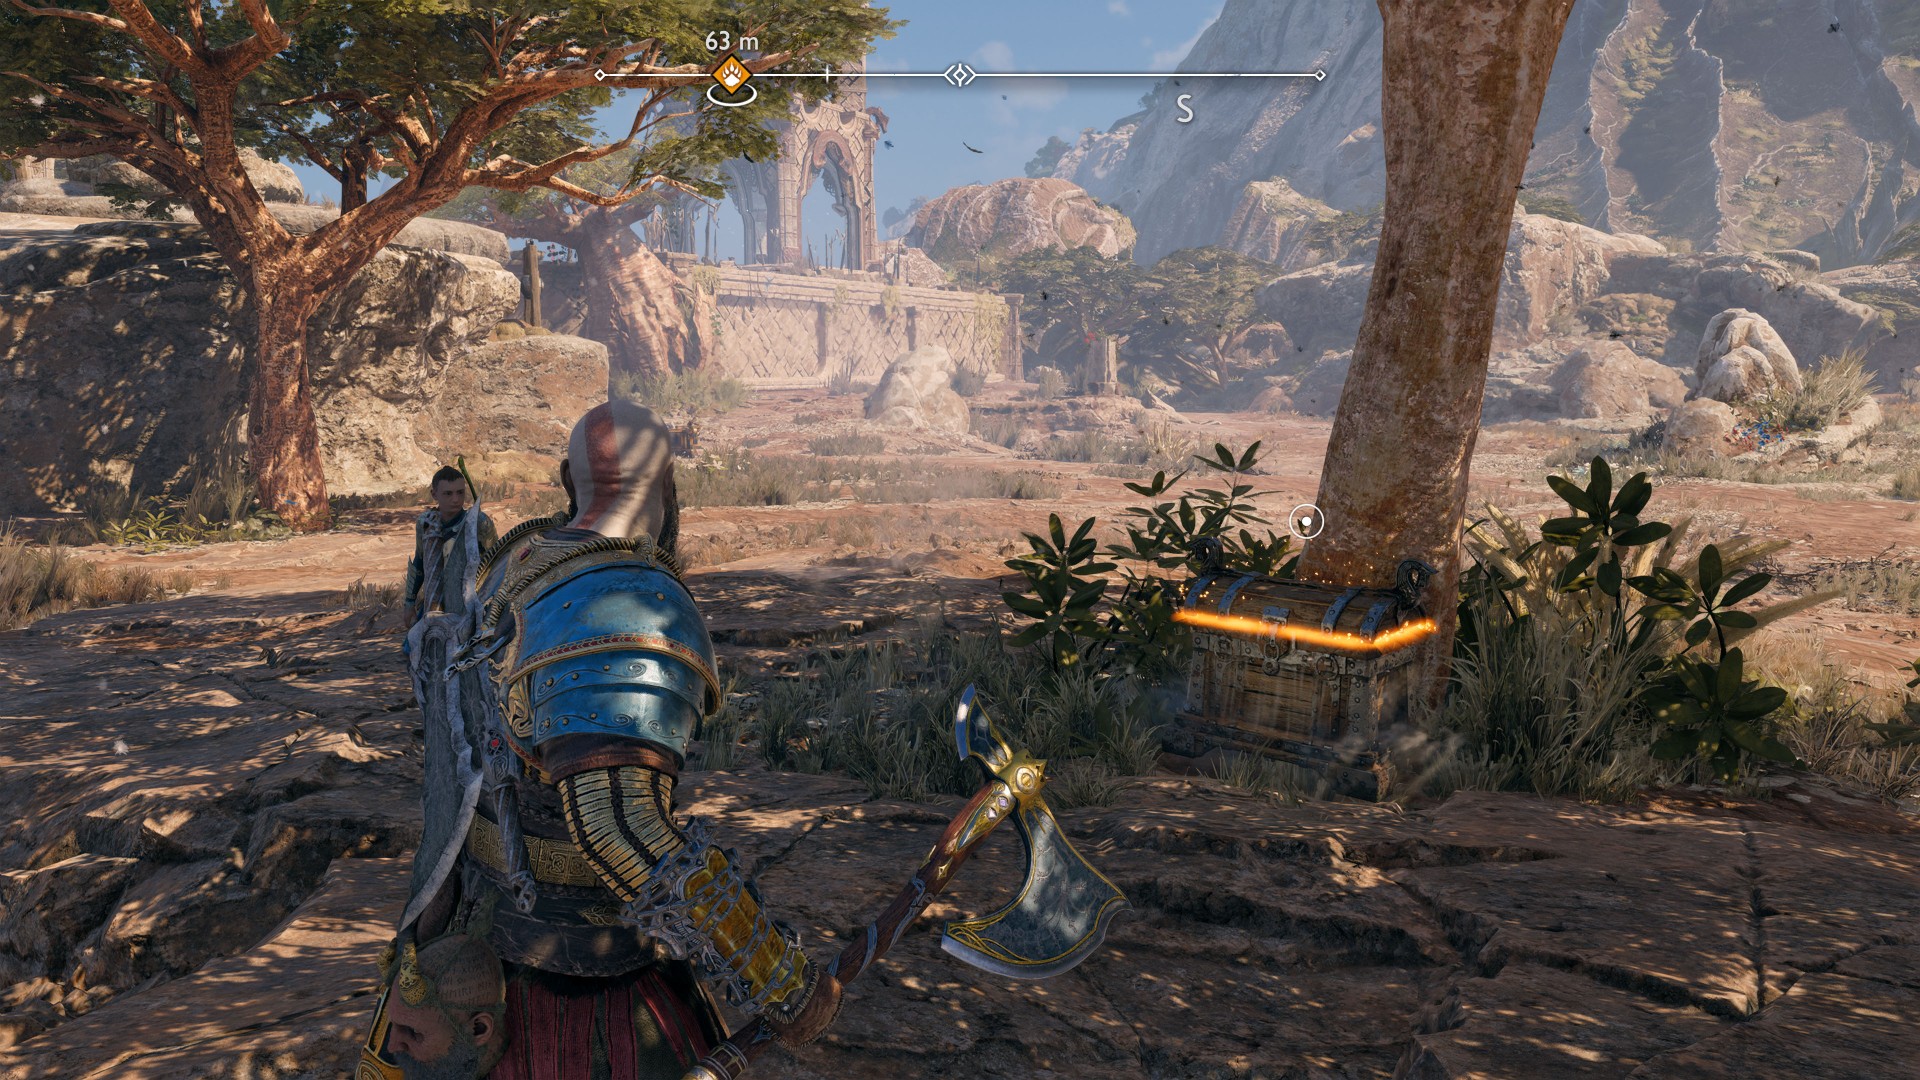
224Yellow Chest
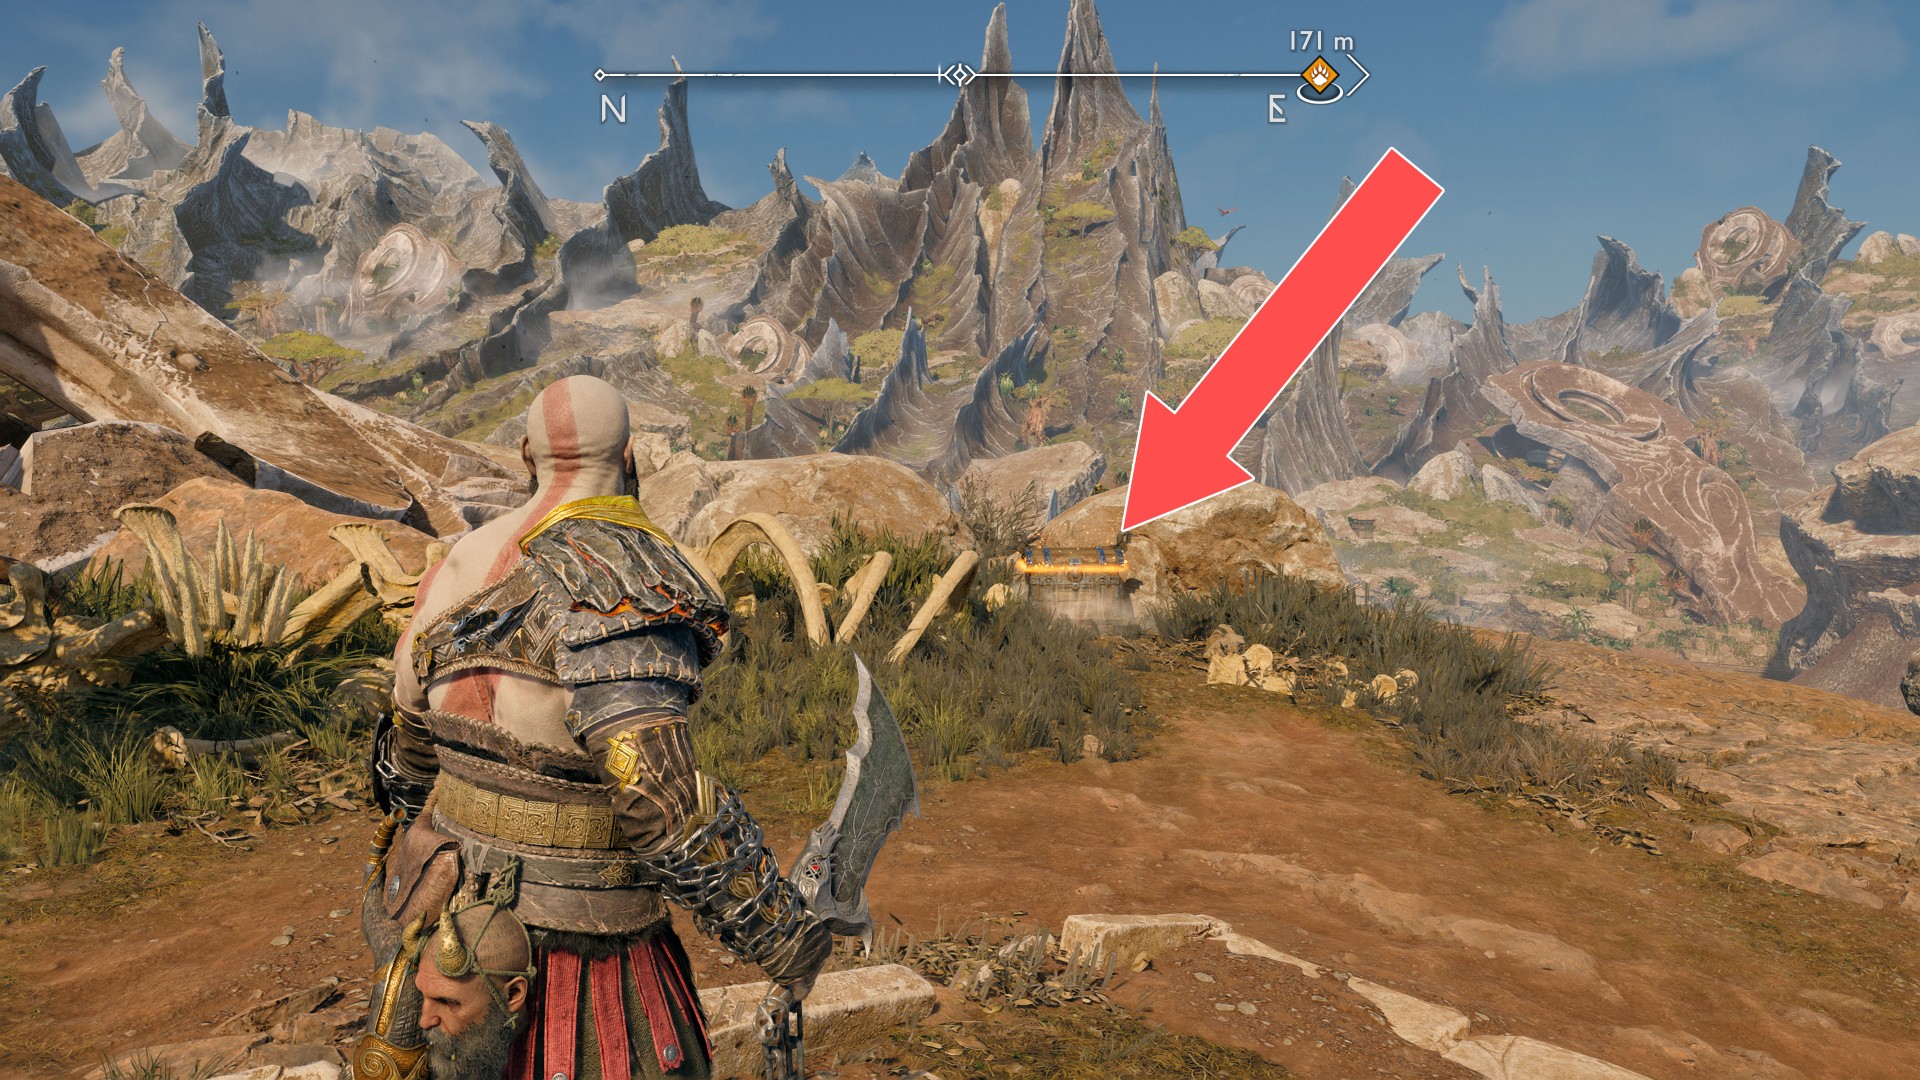
225Yellow Chest
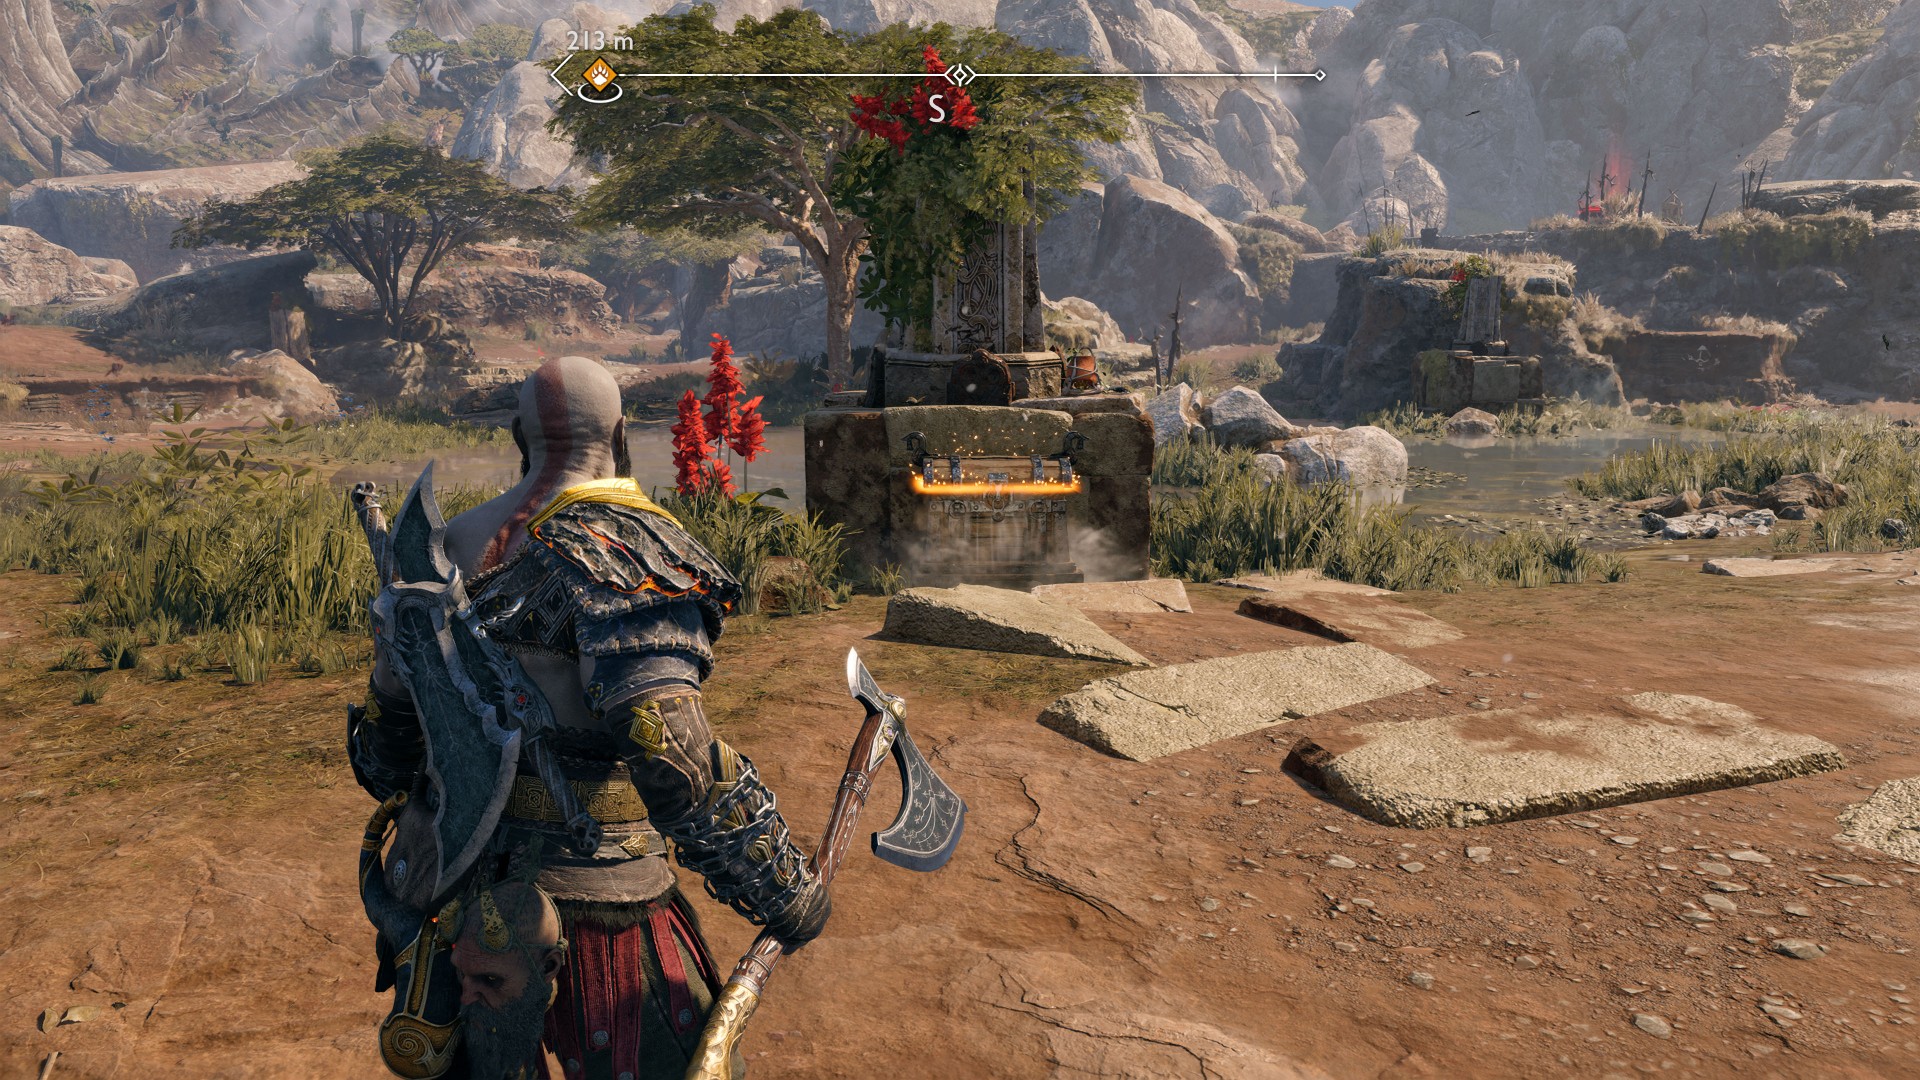
226Yellow Chest
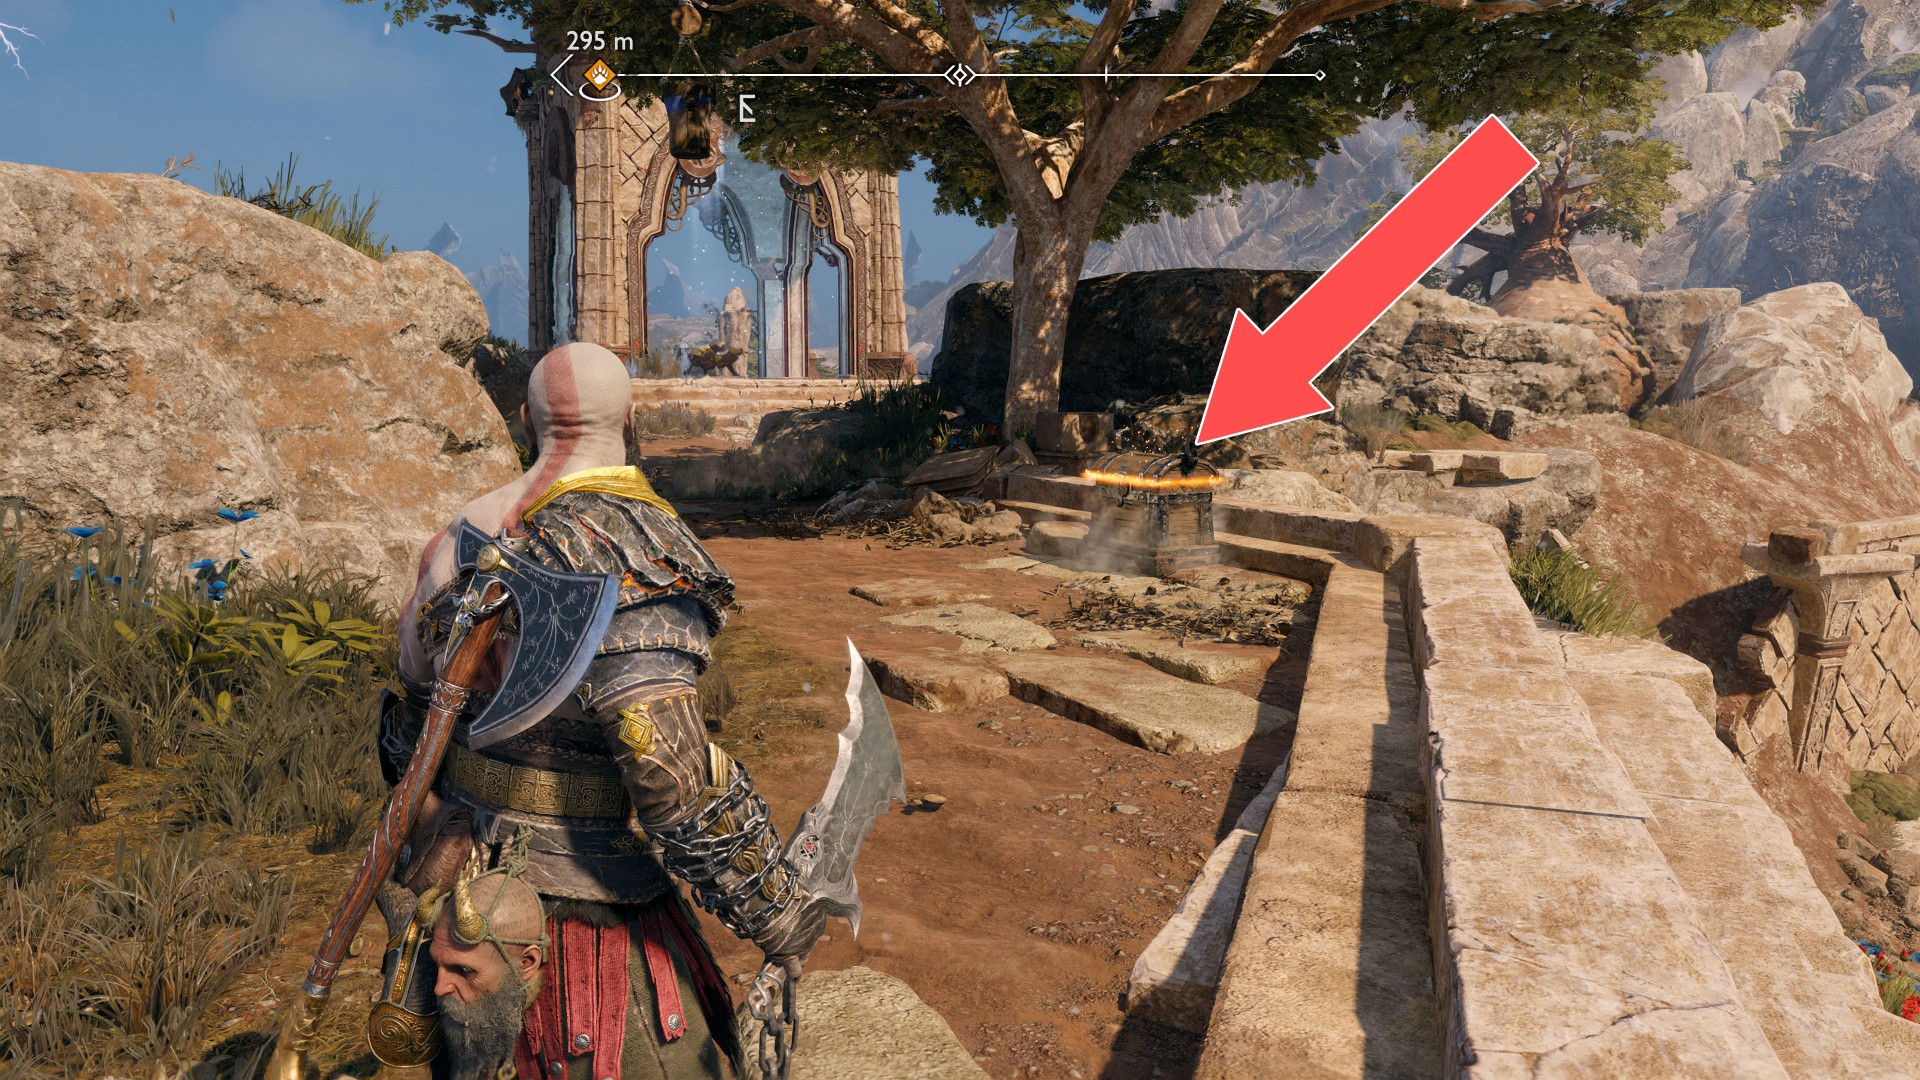
227Yellow Chest
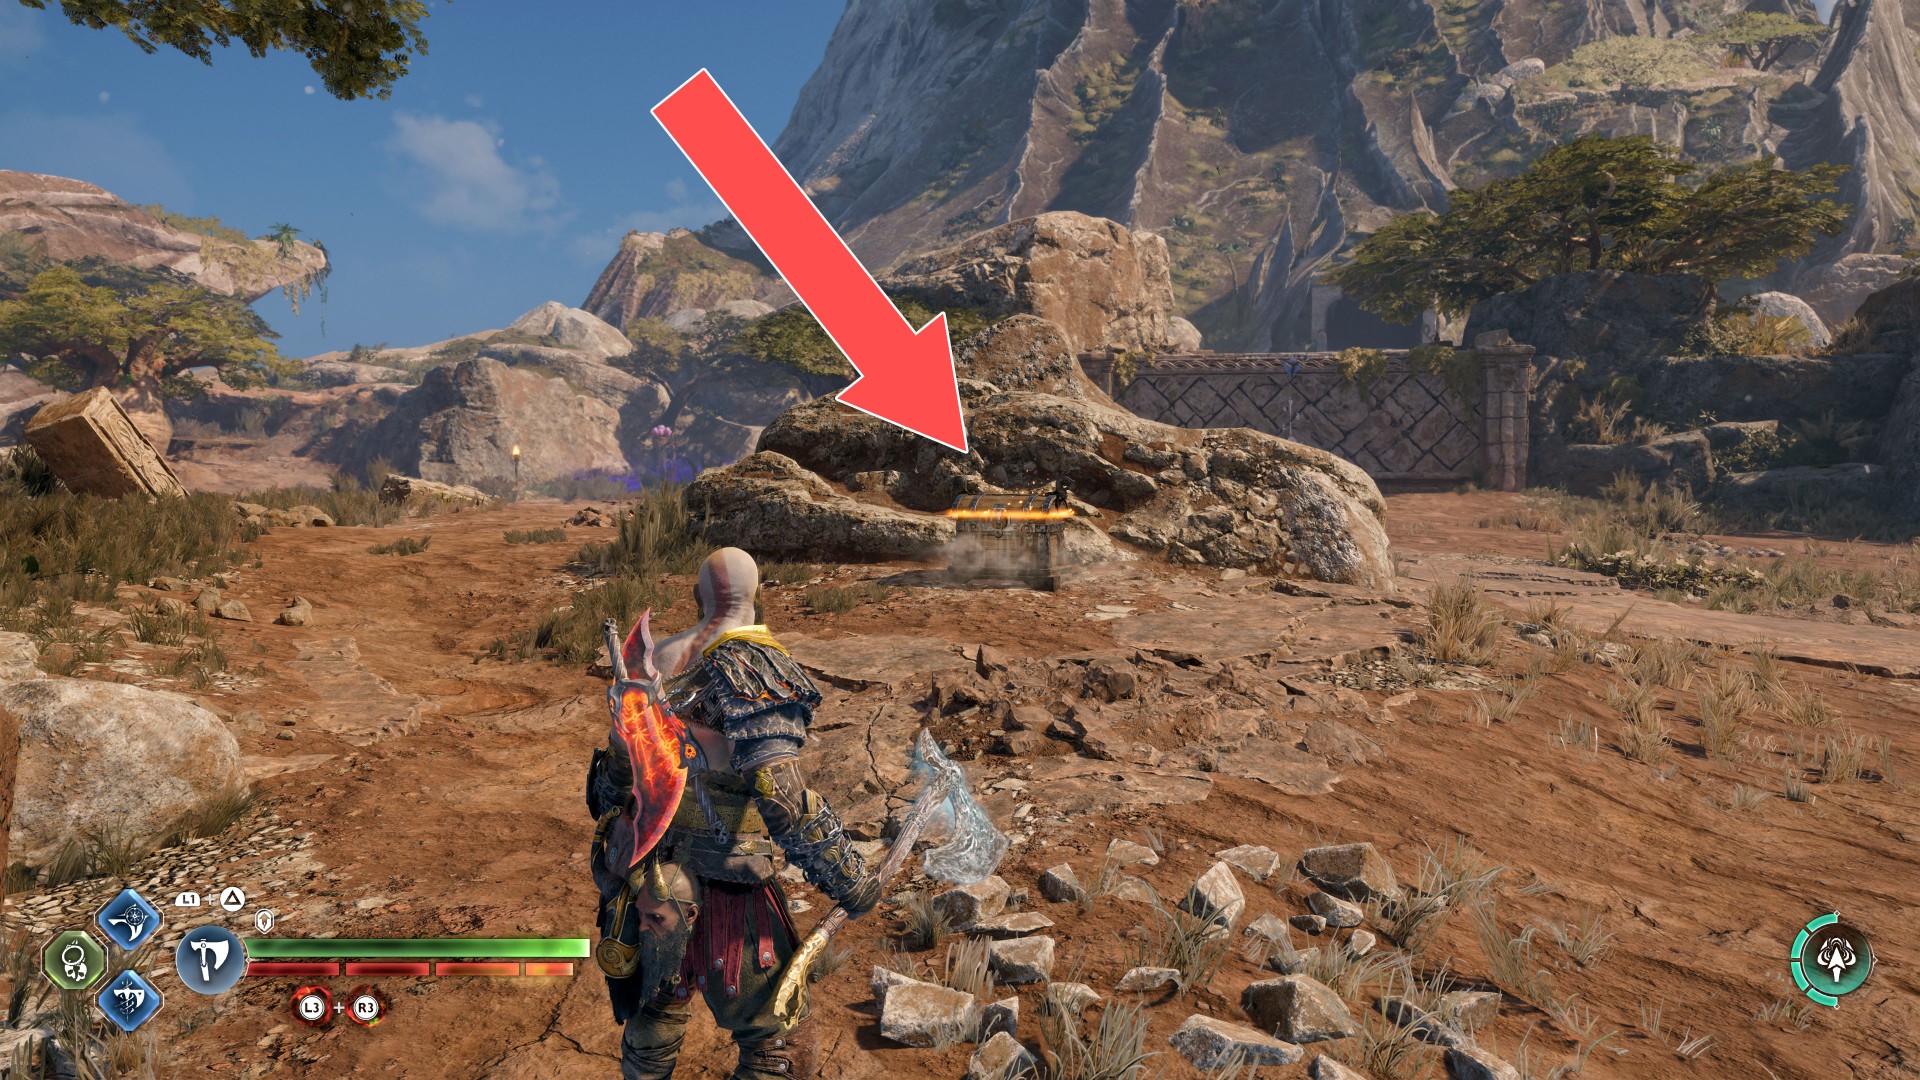
228Yellow Chest
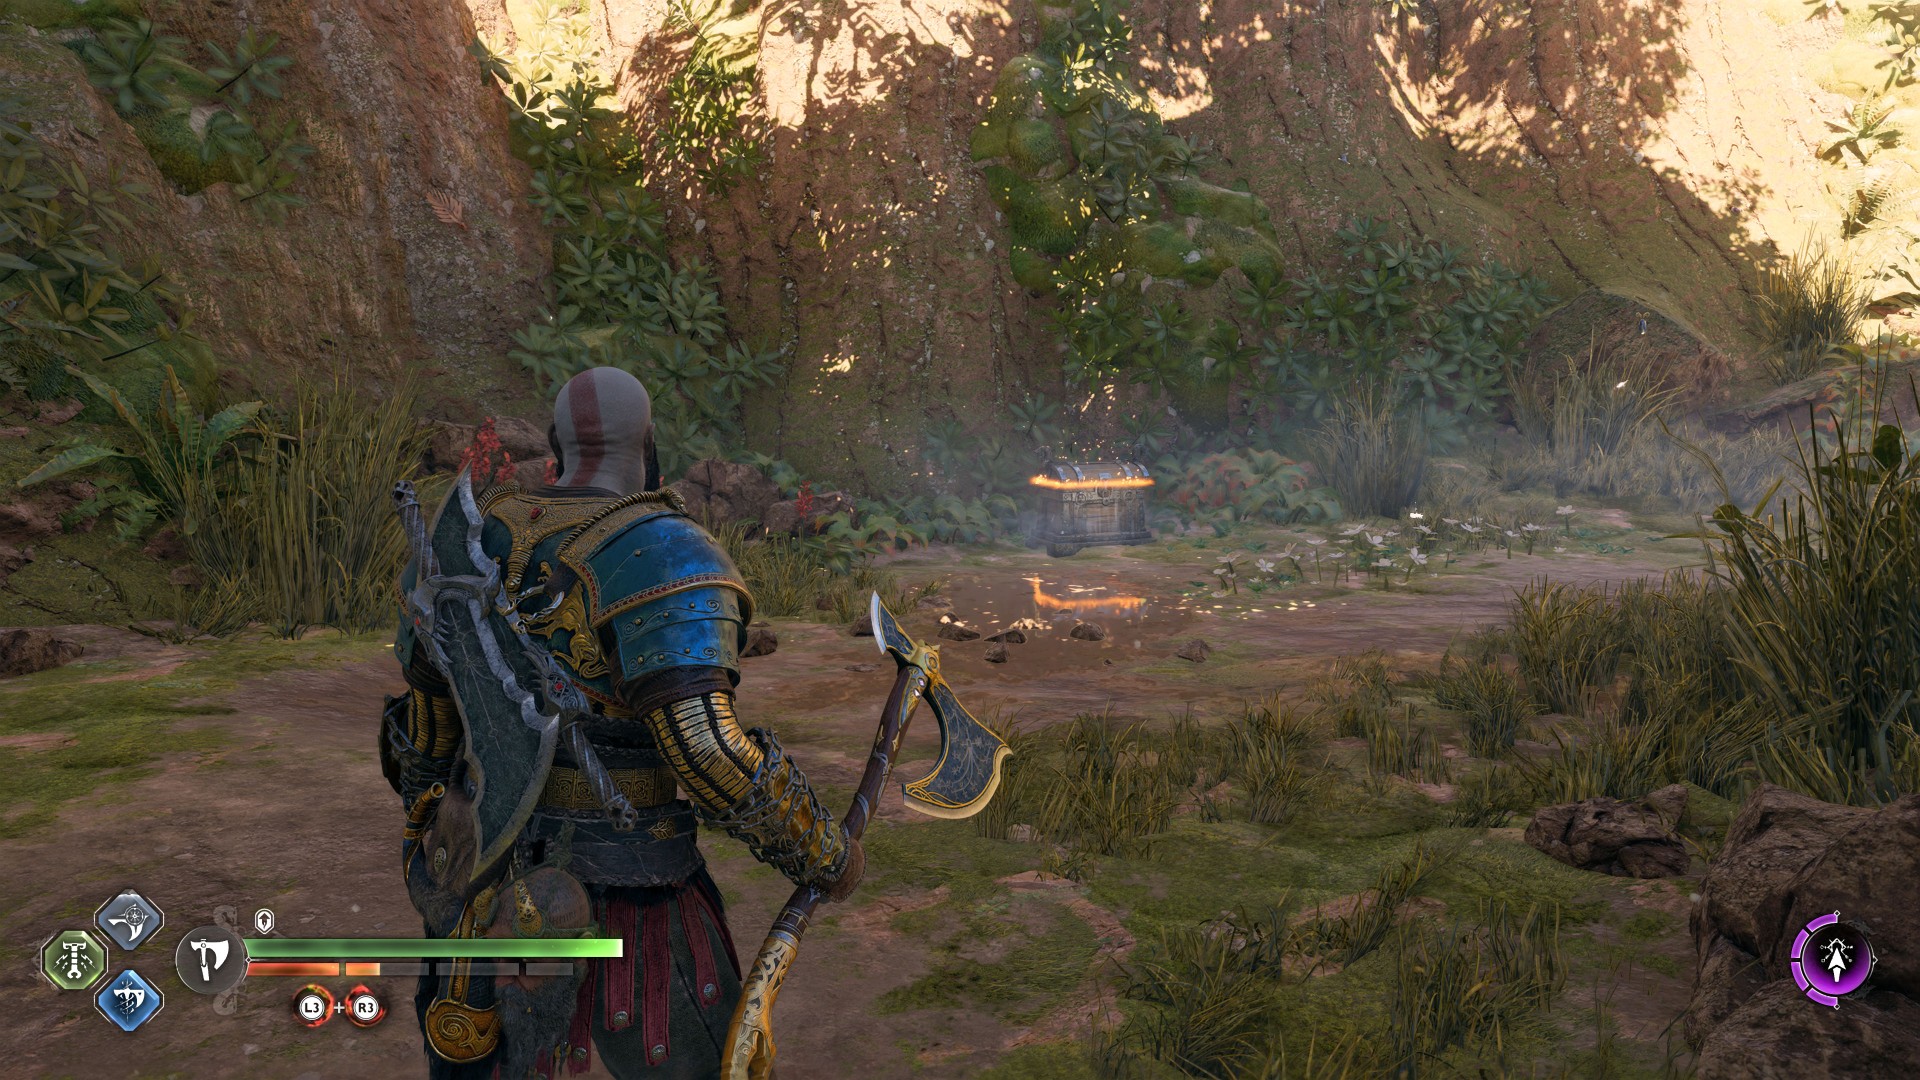
229Yellow Chest
To get to this plateau you must use the Zipline.
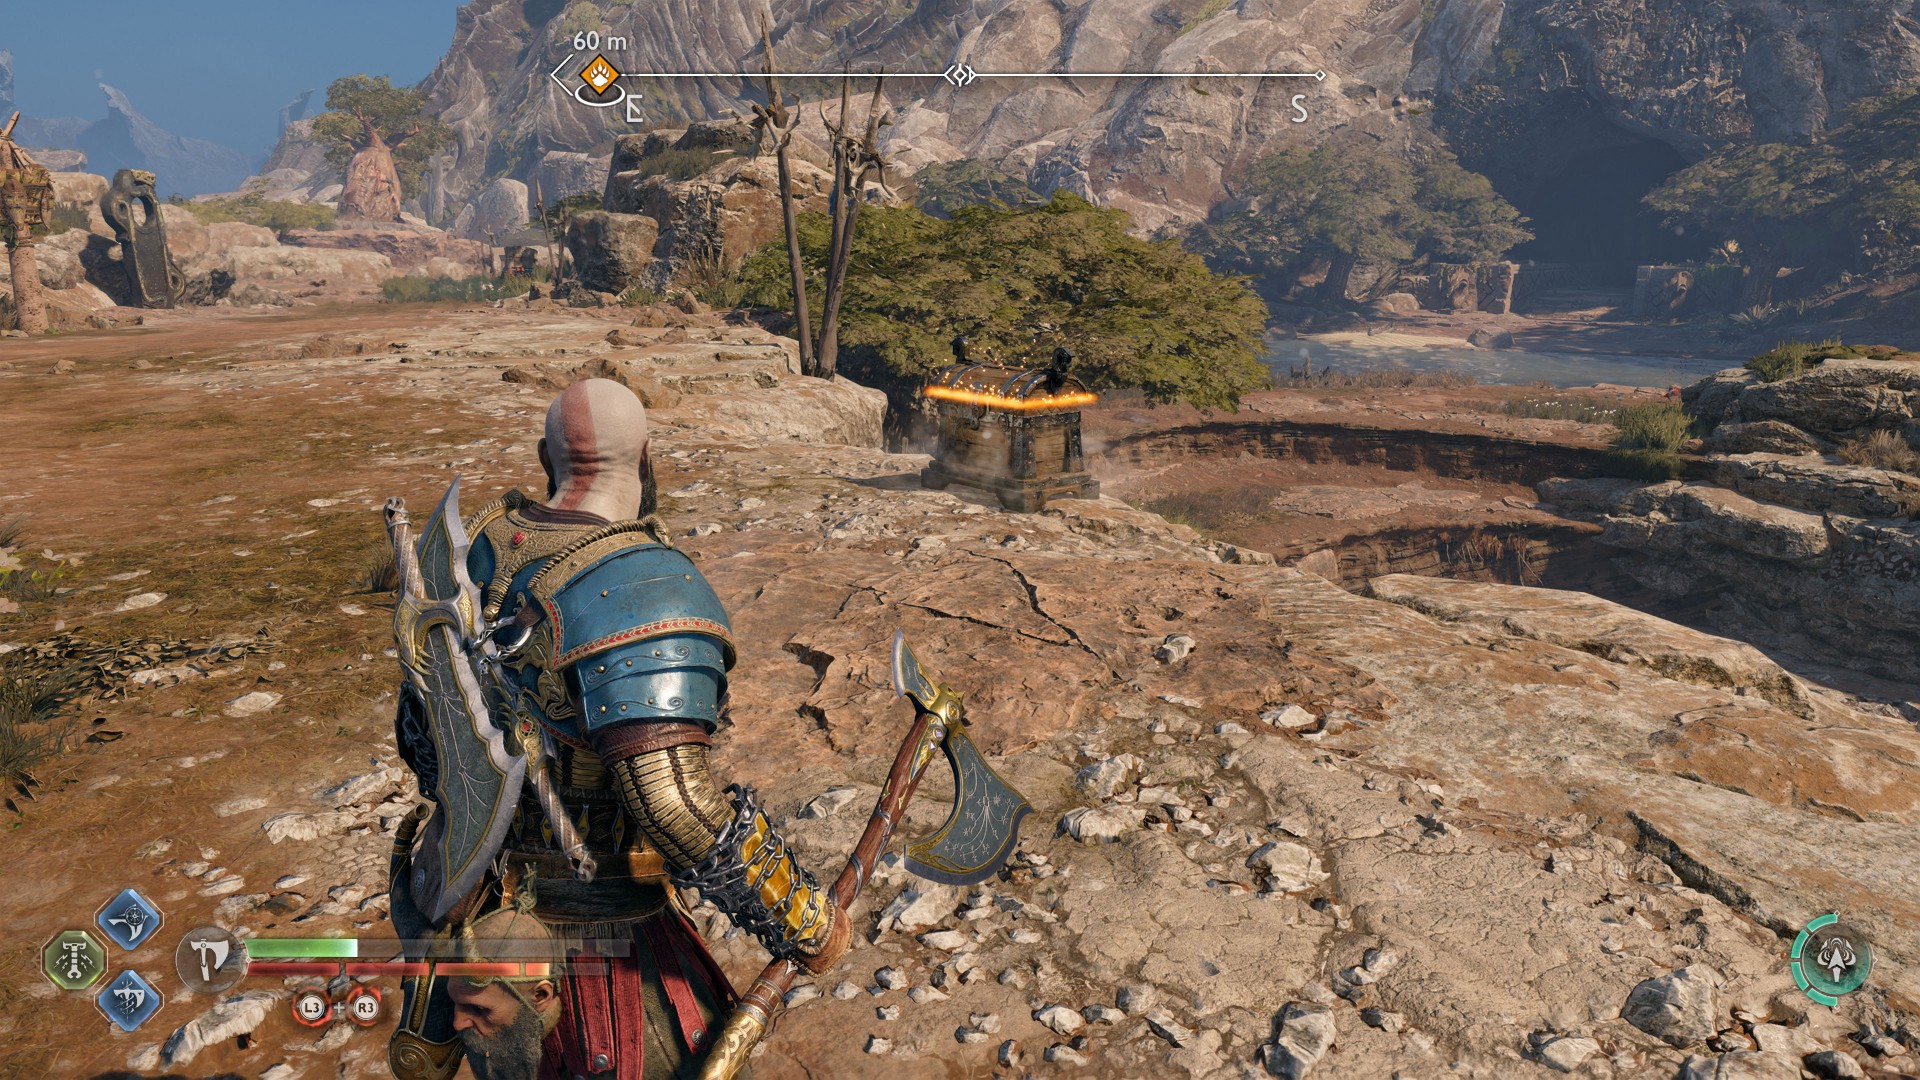
230Yellow Chest
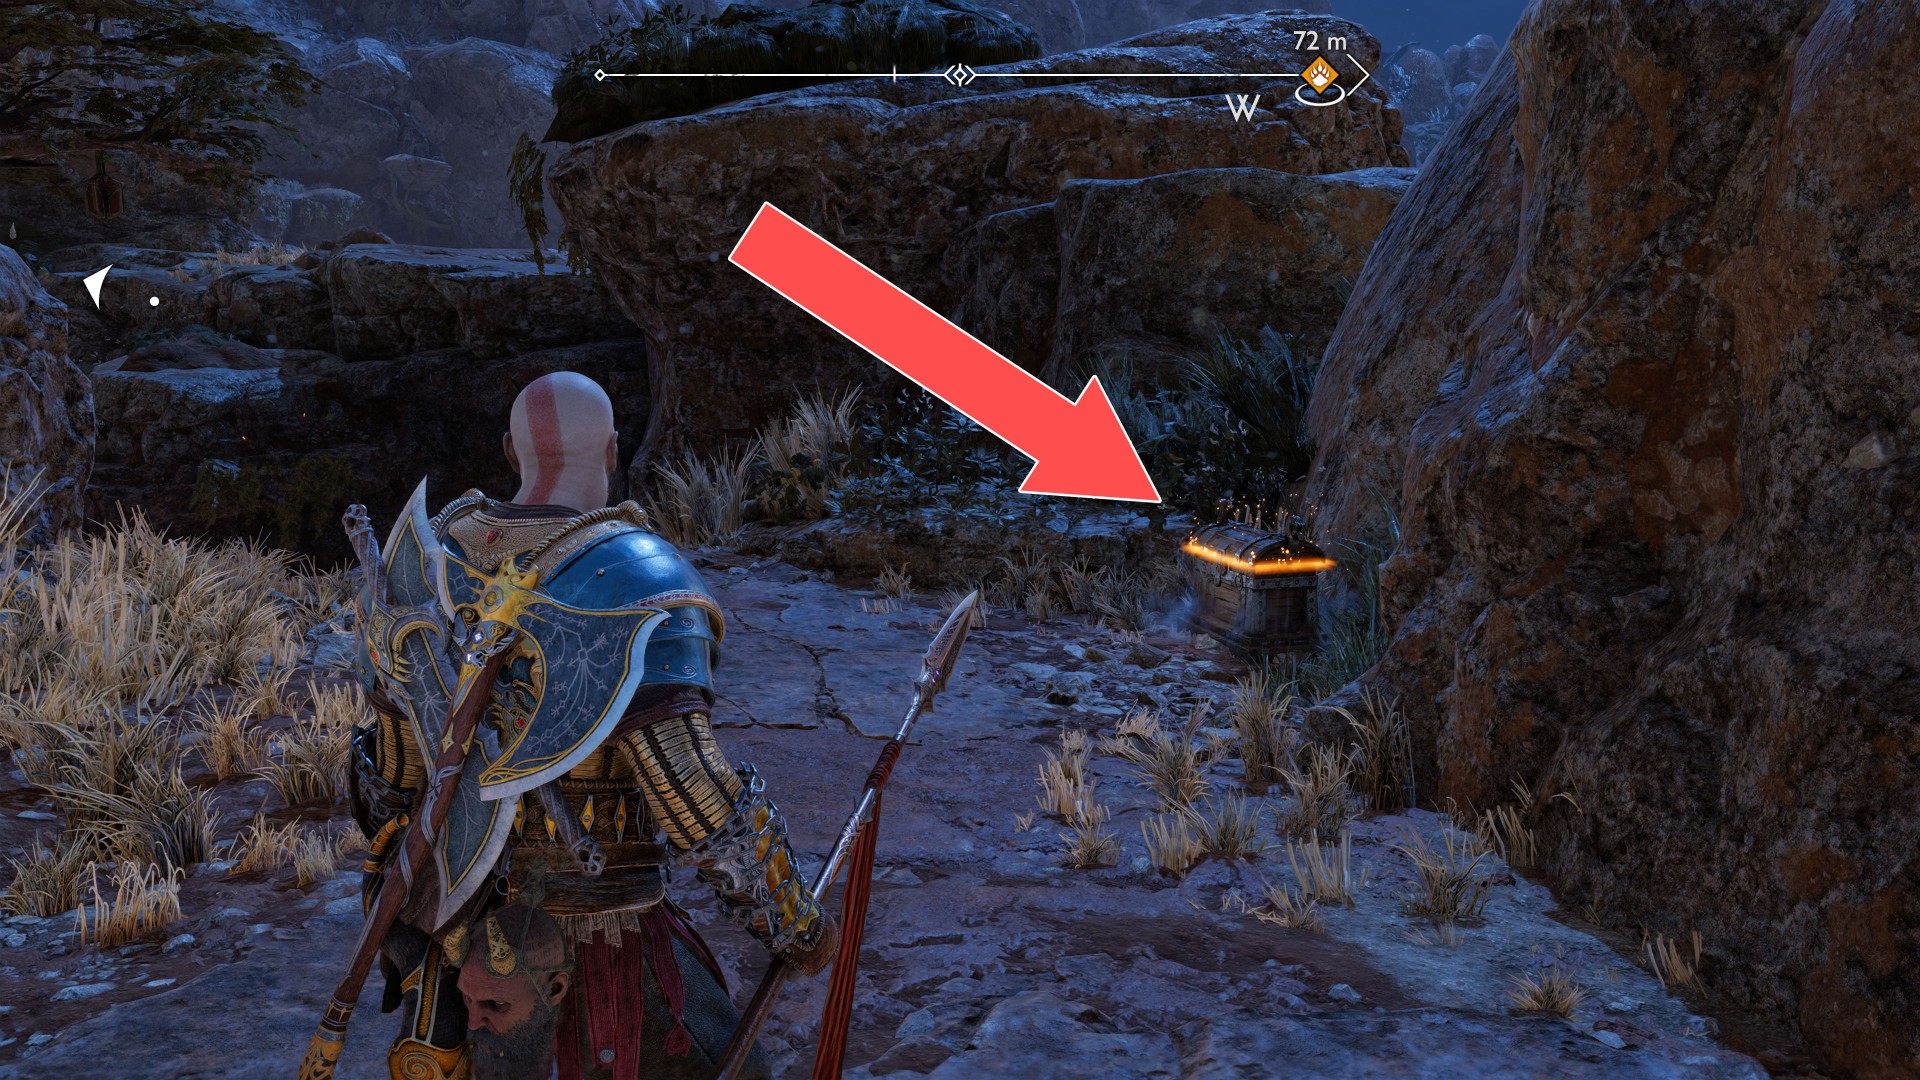
231Yellow Chest
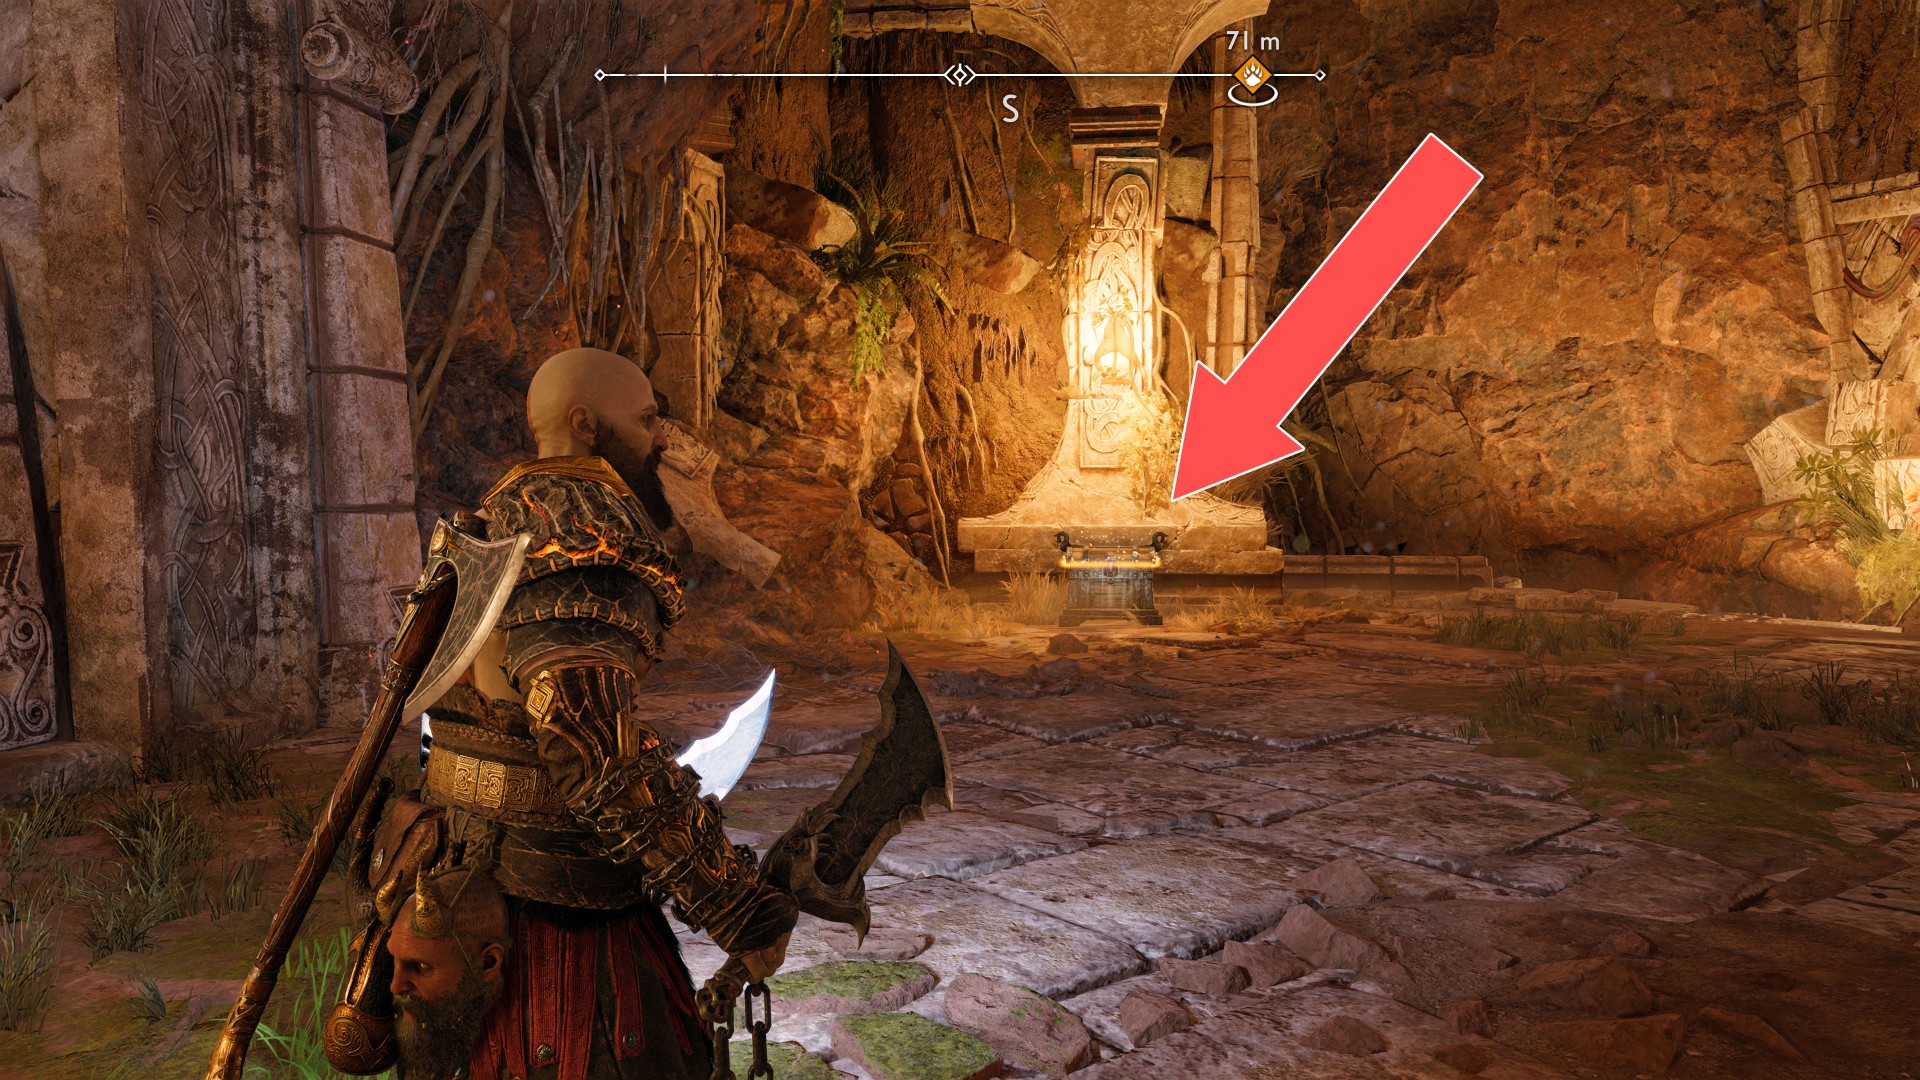
232Yellow Chest
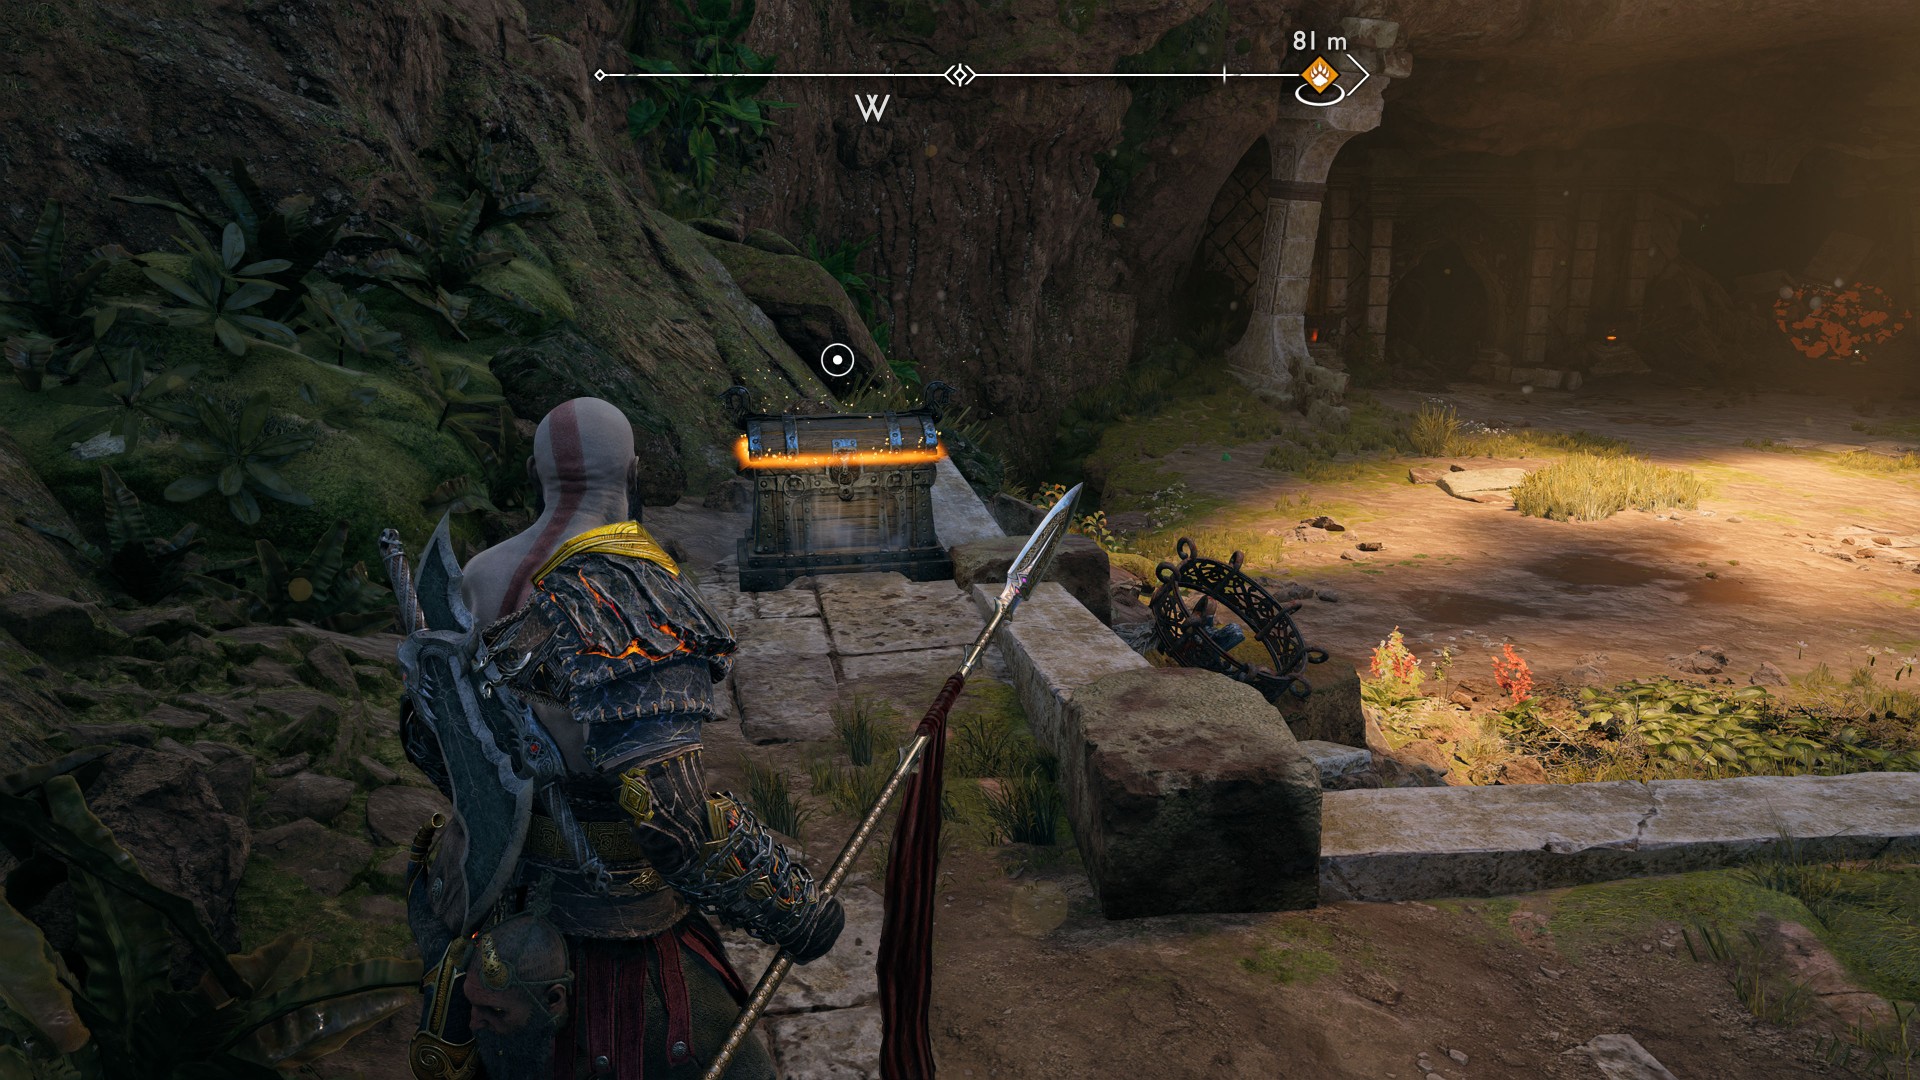
233Yellow Chest
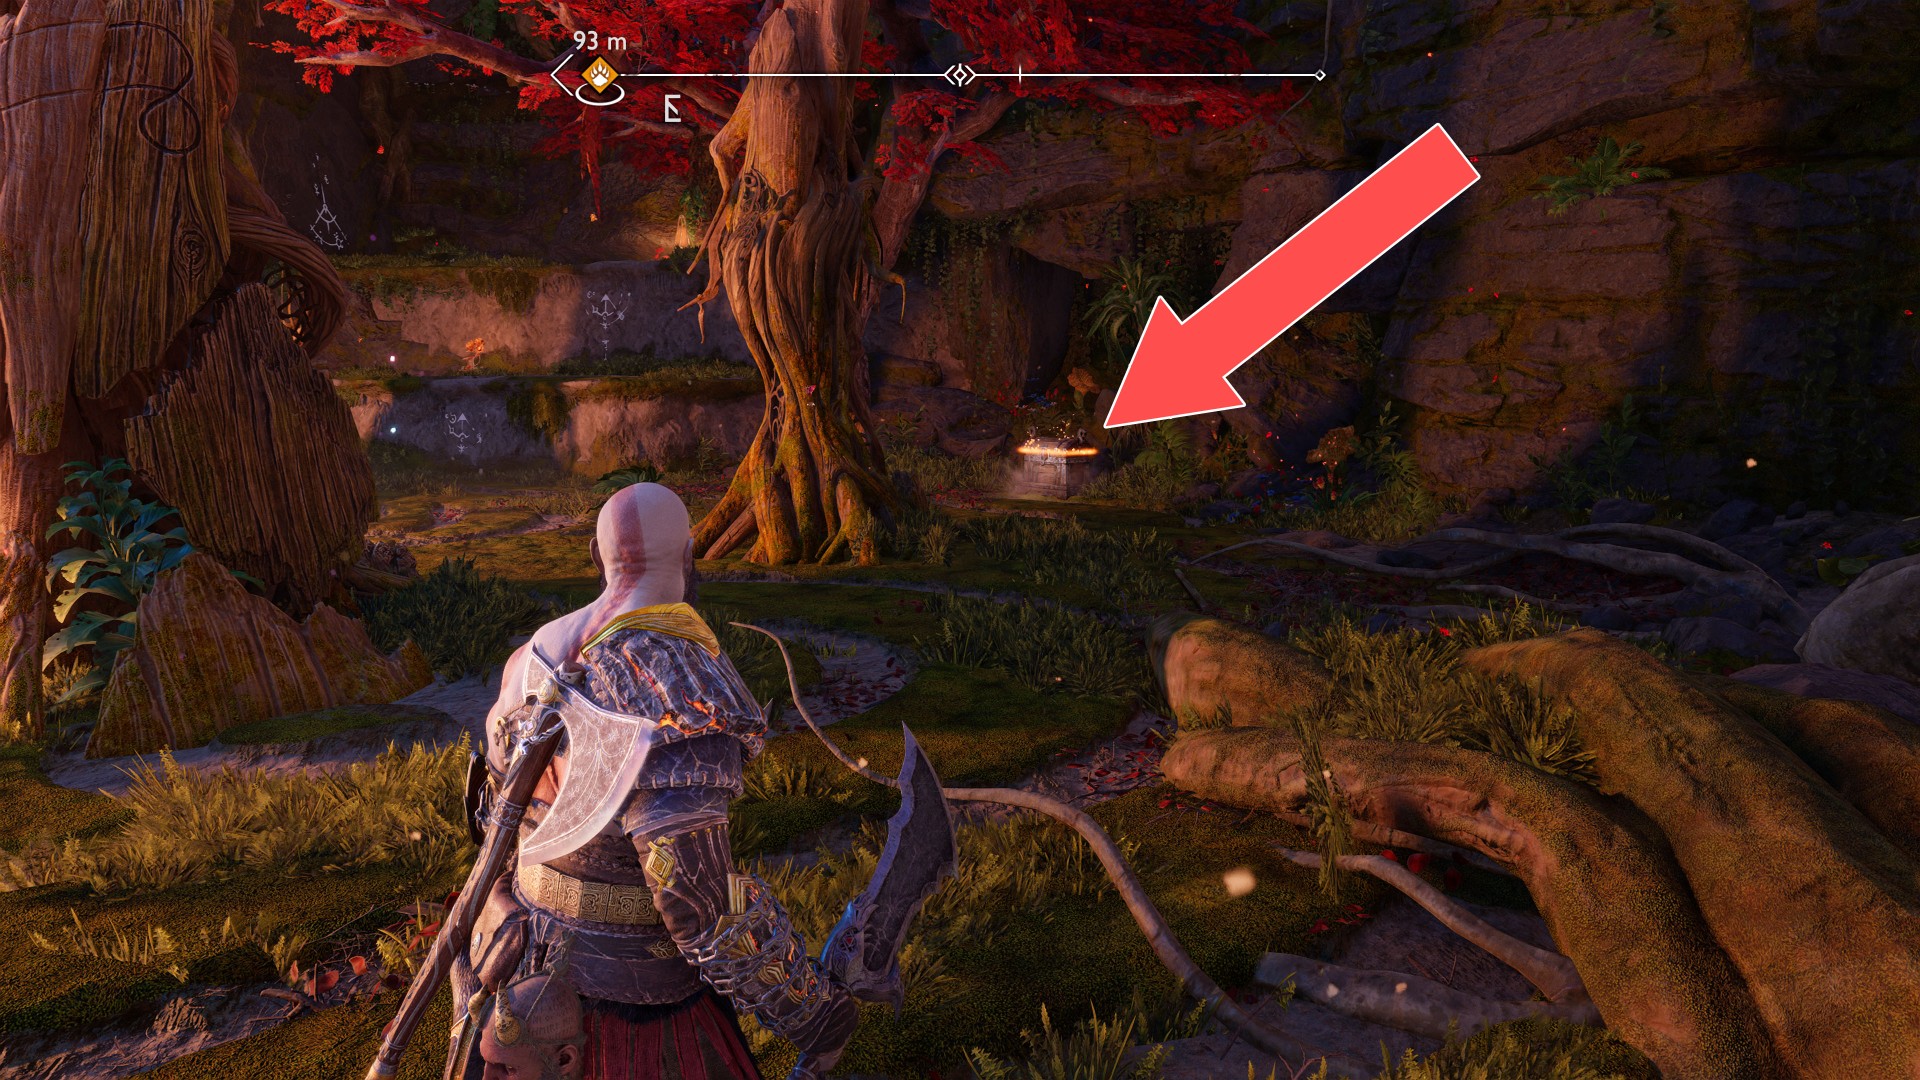
234Yellow Chest
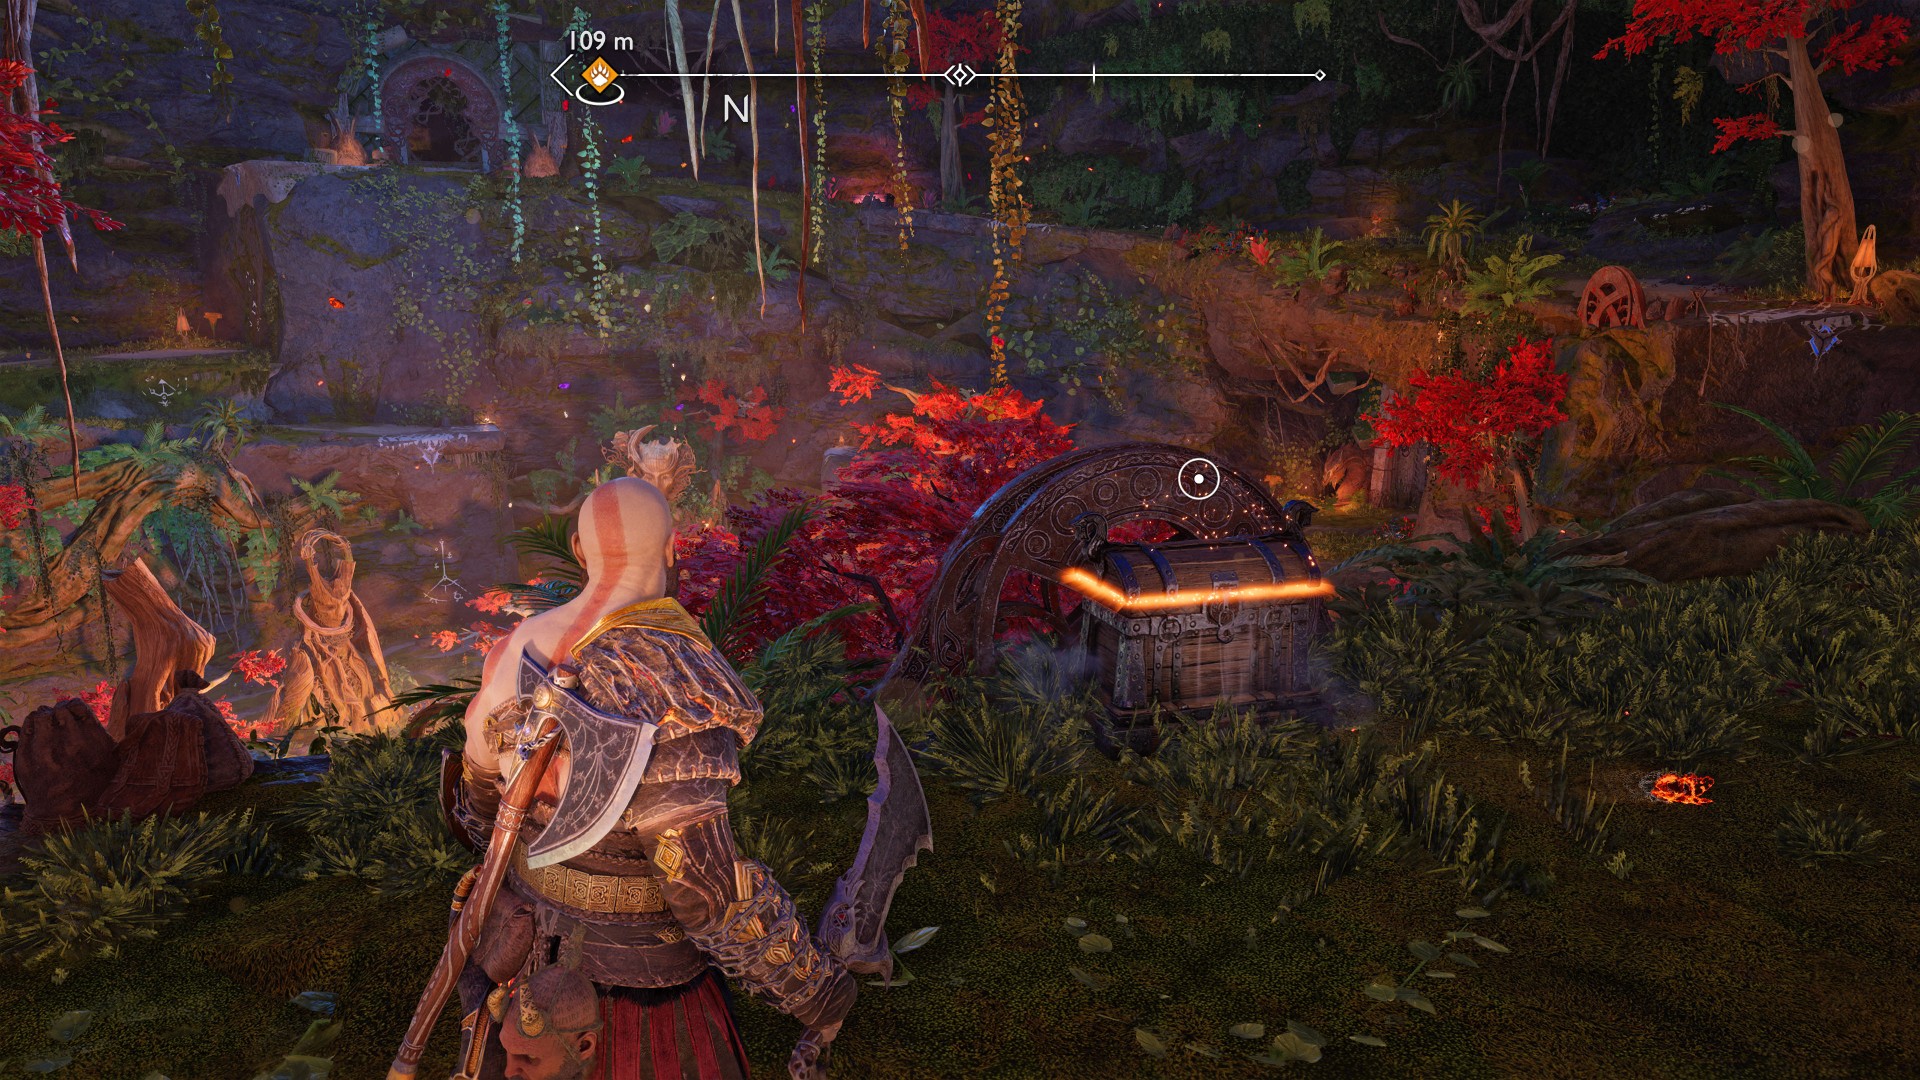
235Yellow Chest
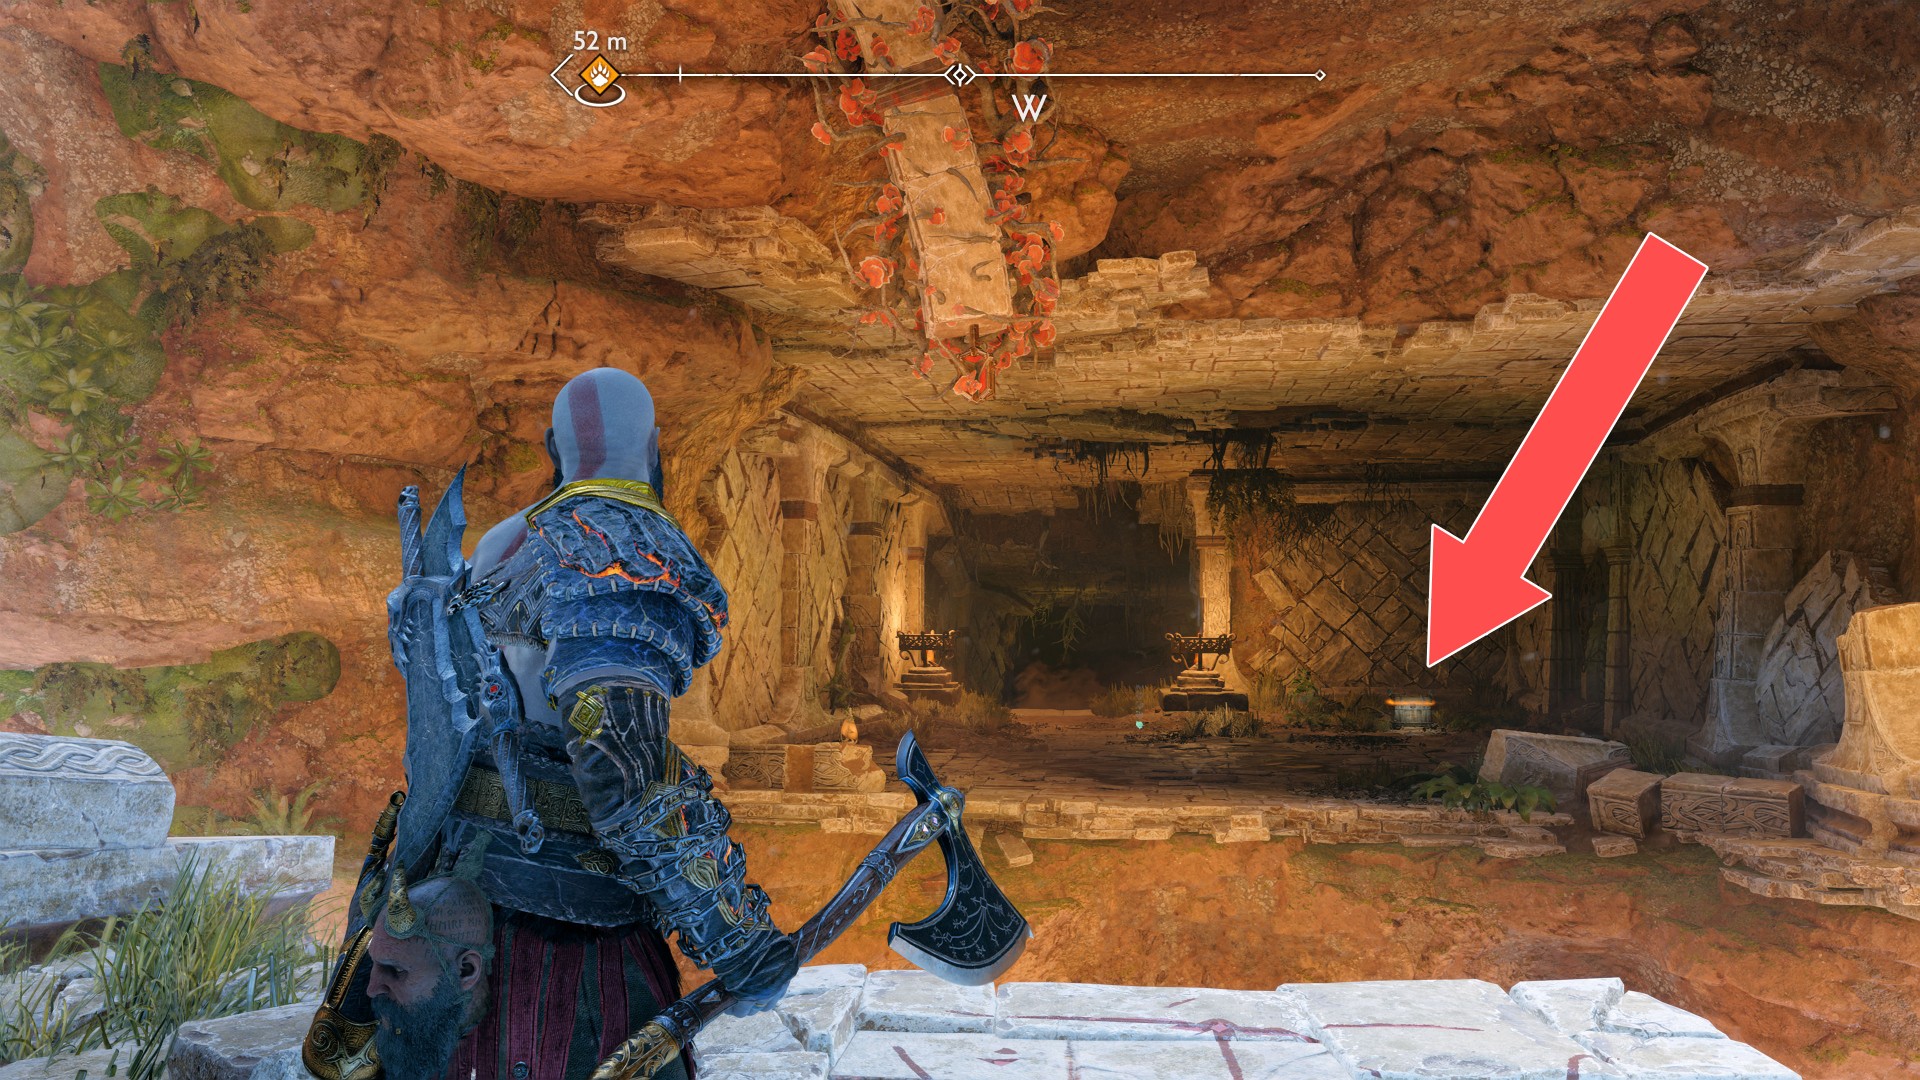
236Yellow Chest
You will be able to reach this place once you have restored the water in the rivers and walked around a large part of the Jungle.
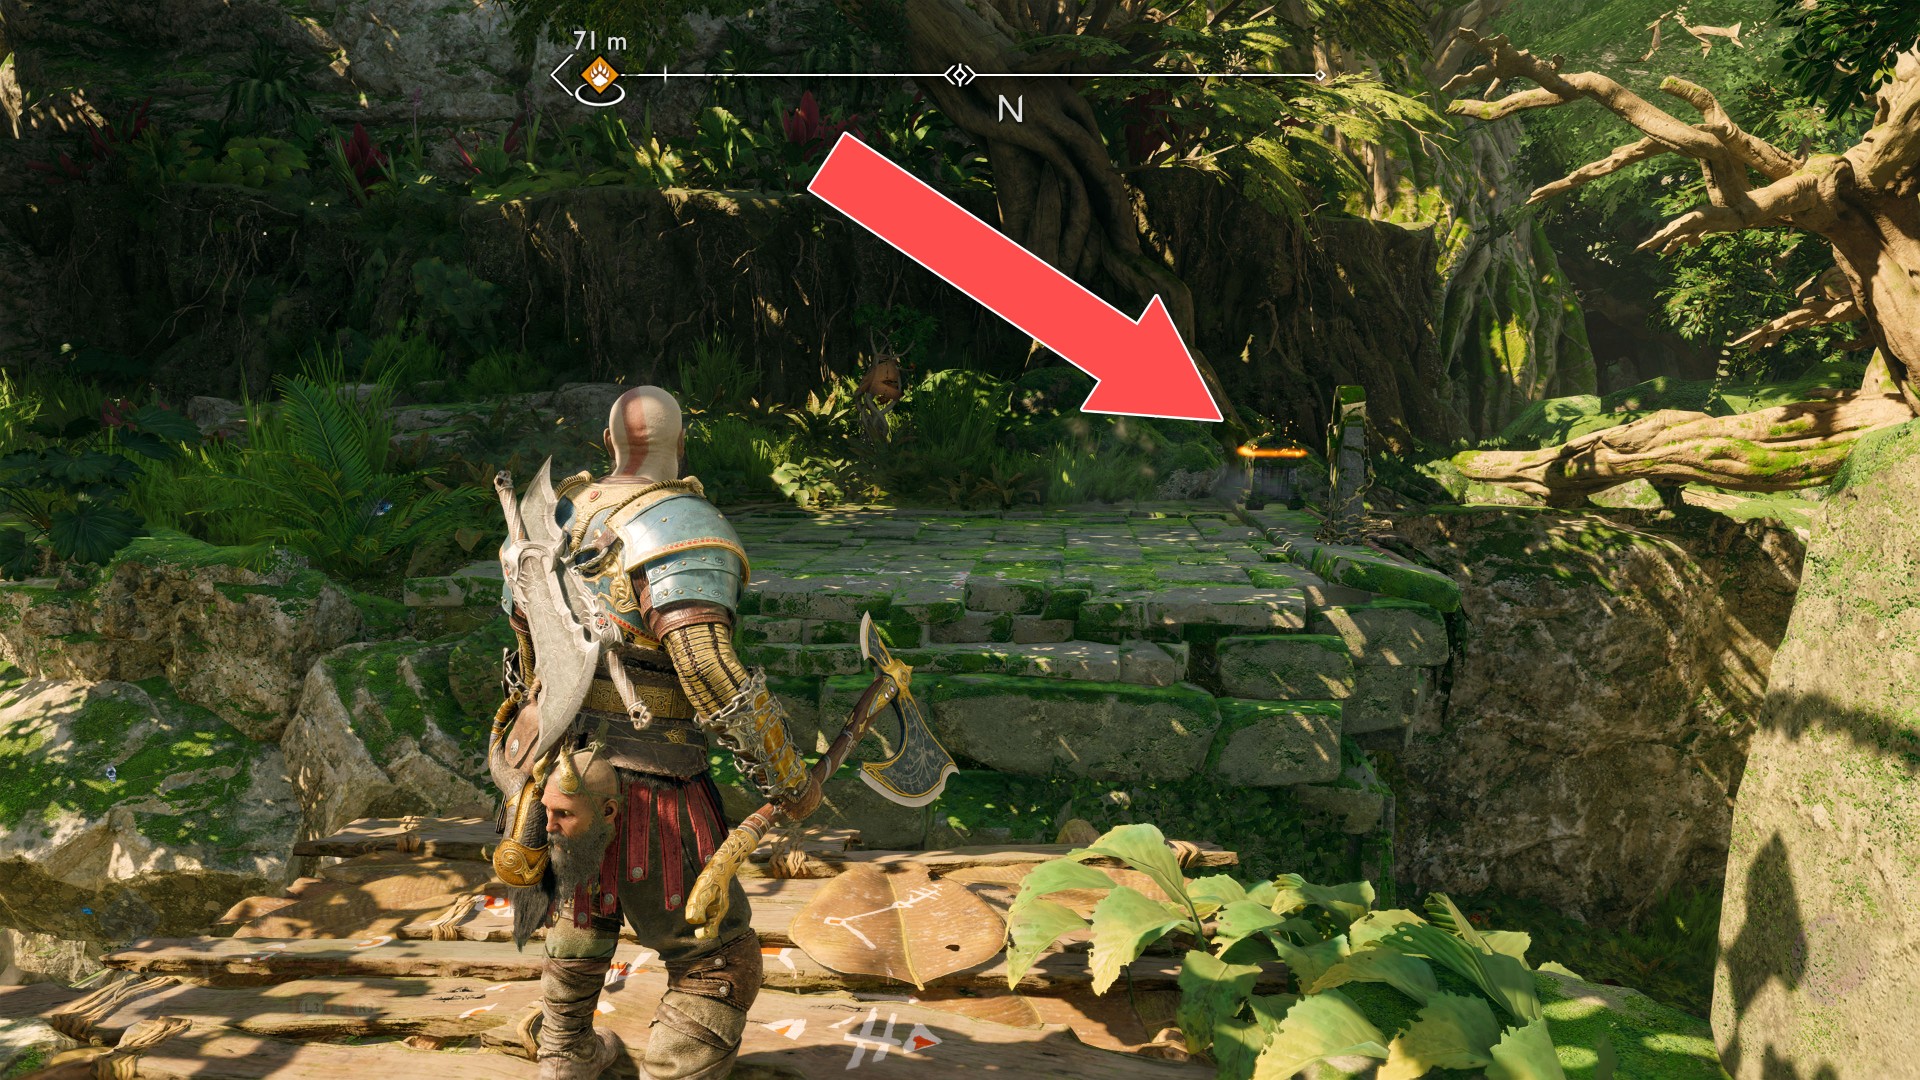
237Yellow Chest
You will open this chest only after you get rid of the ogres.
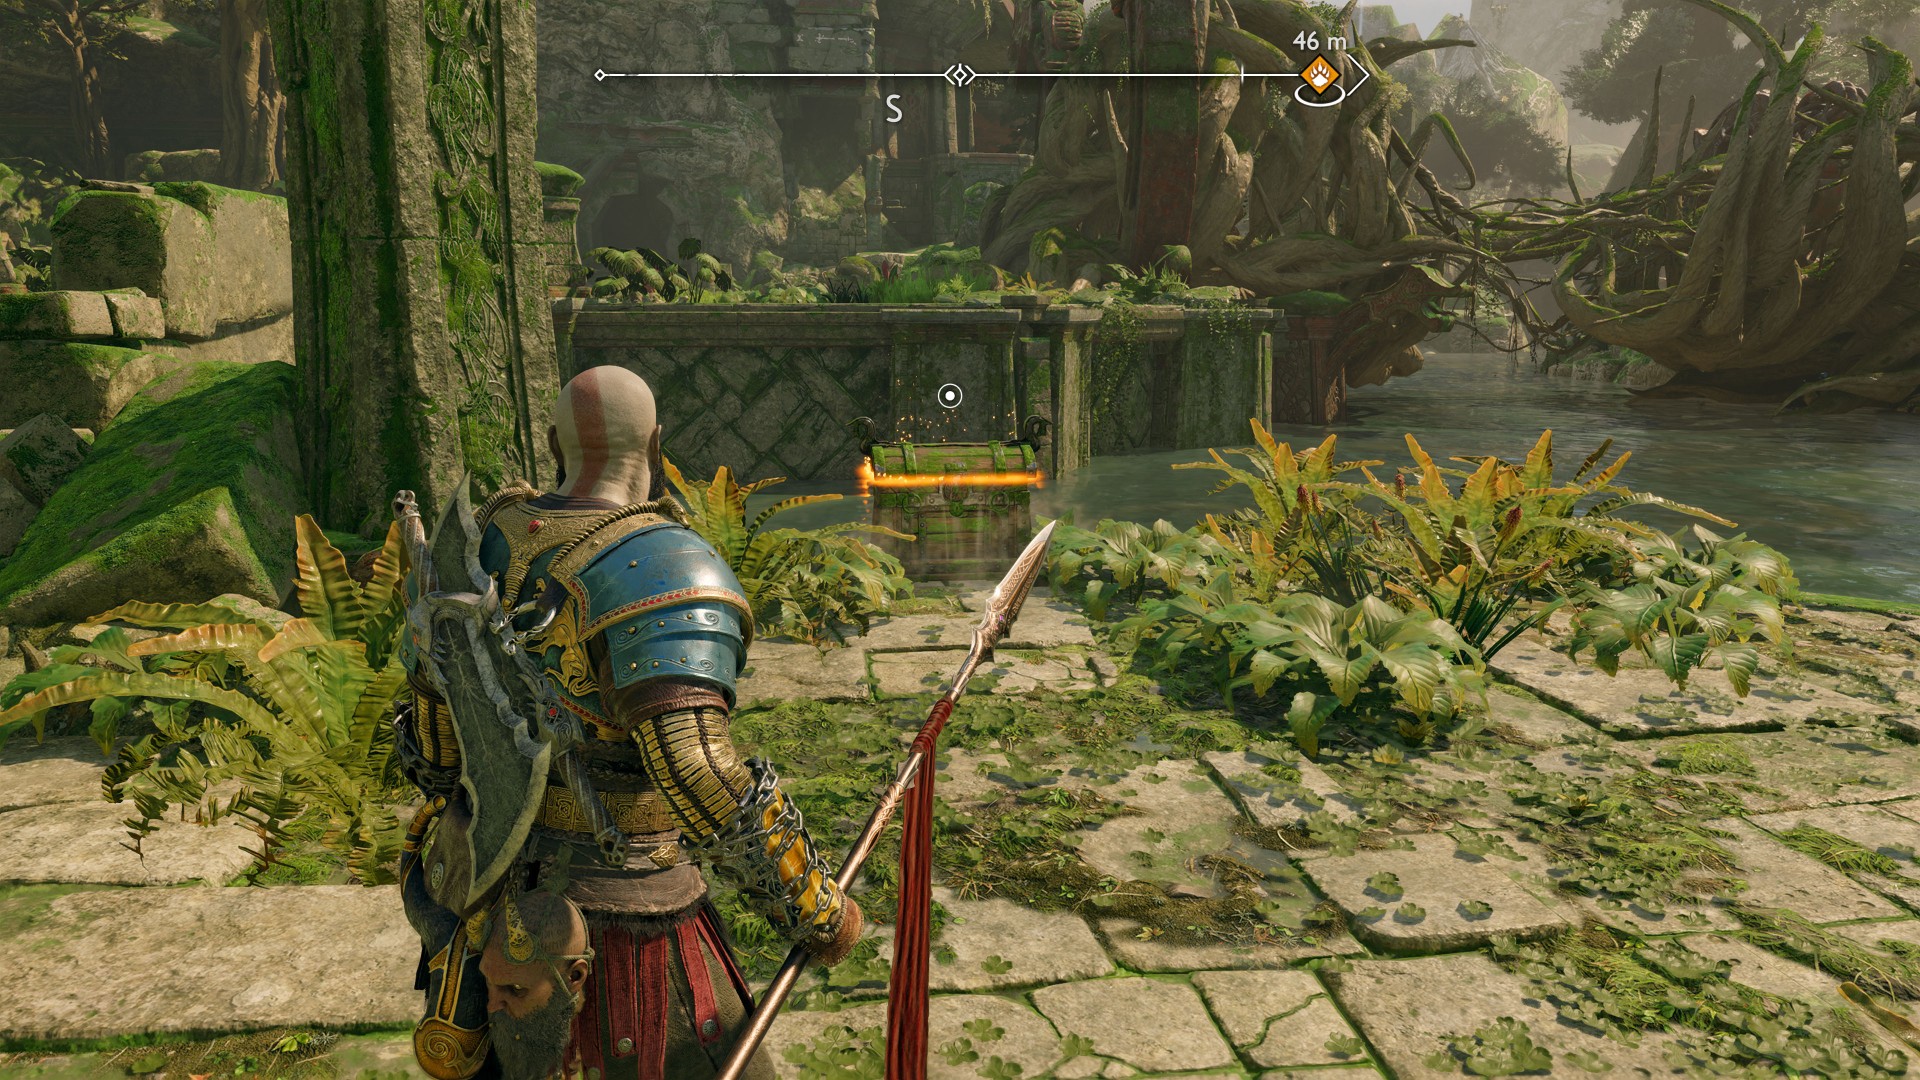
238Yellow Chest
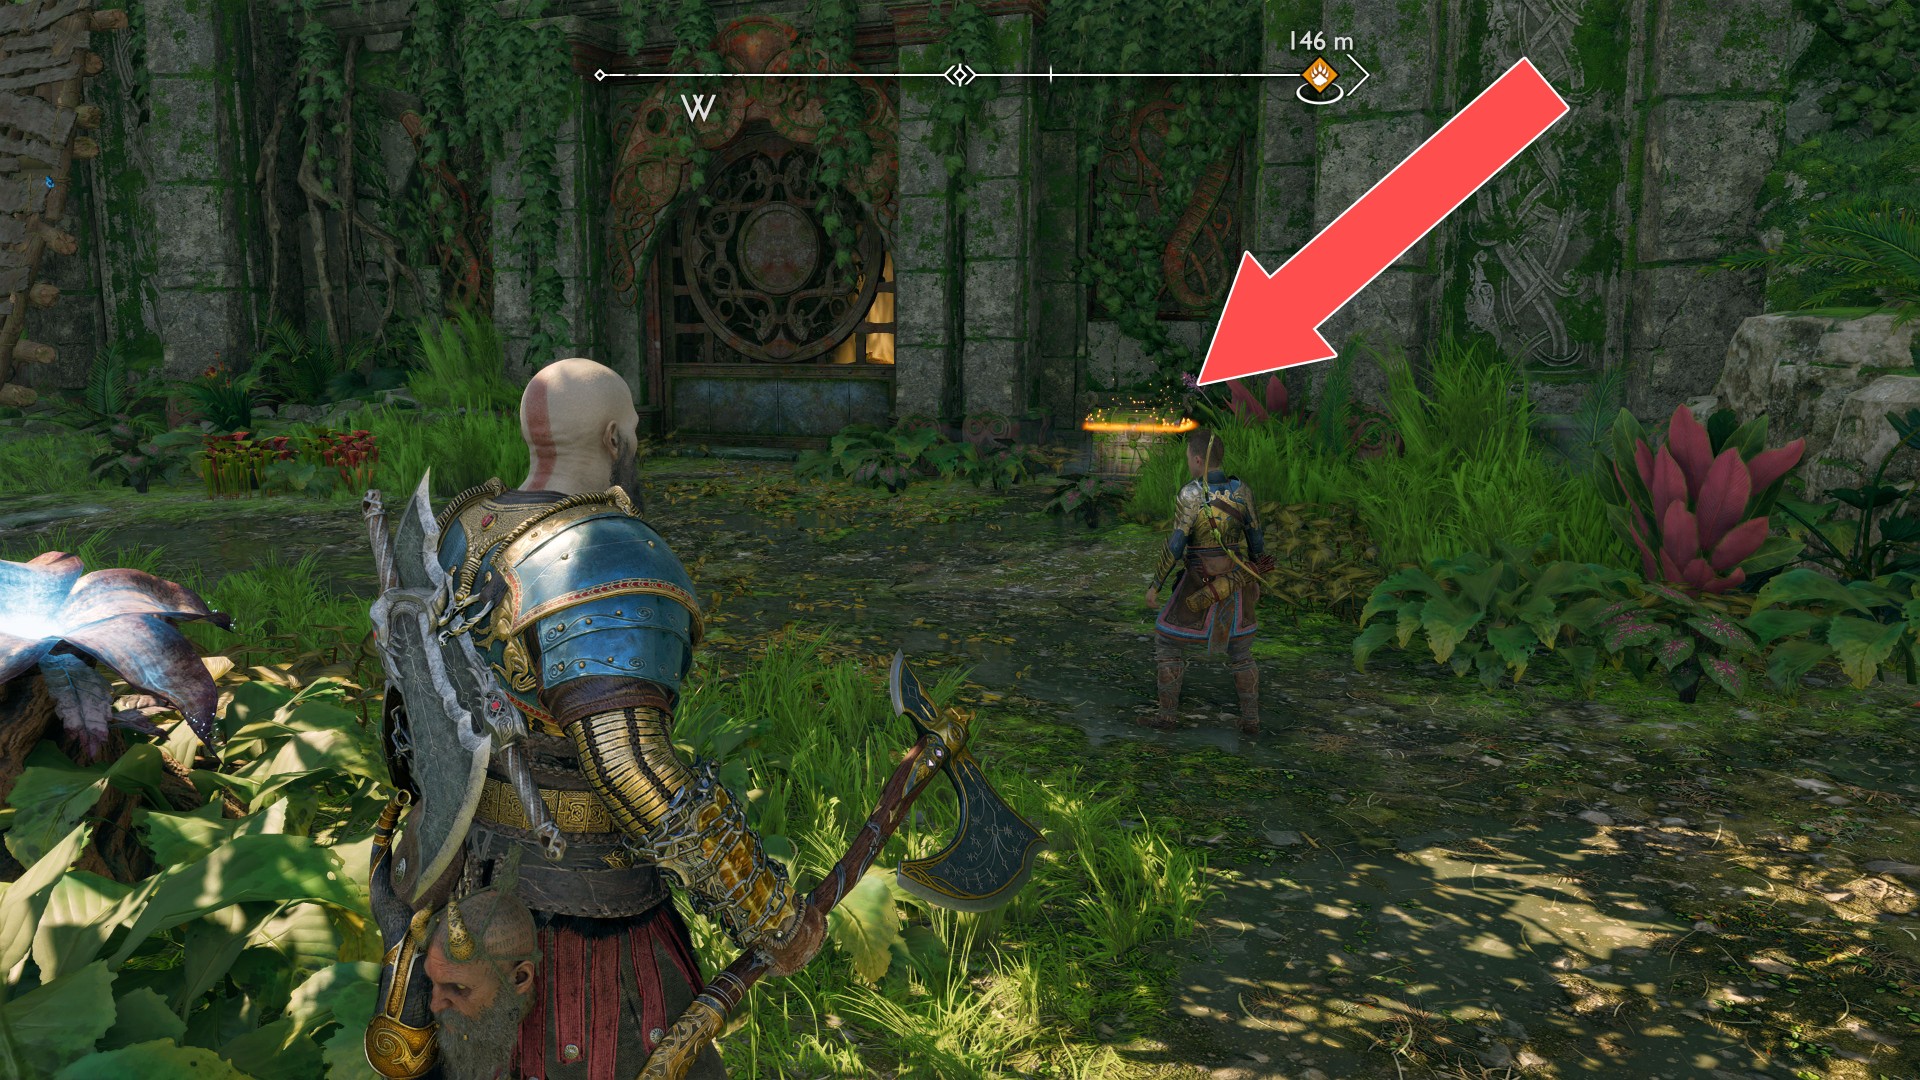
239Yellow Chest
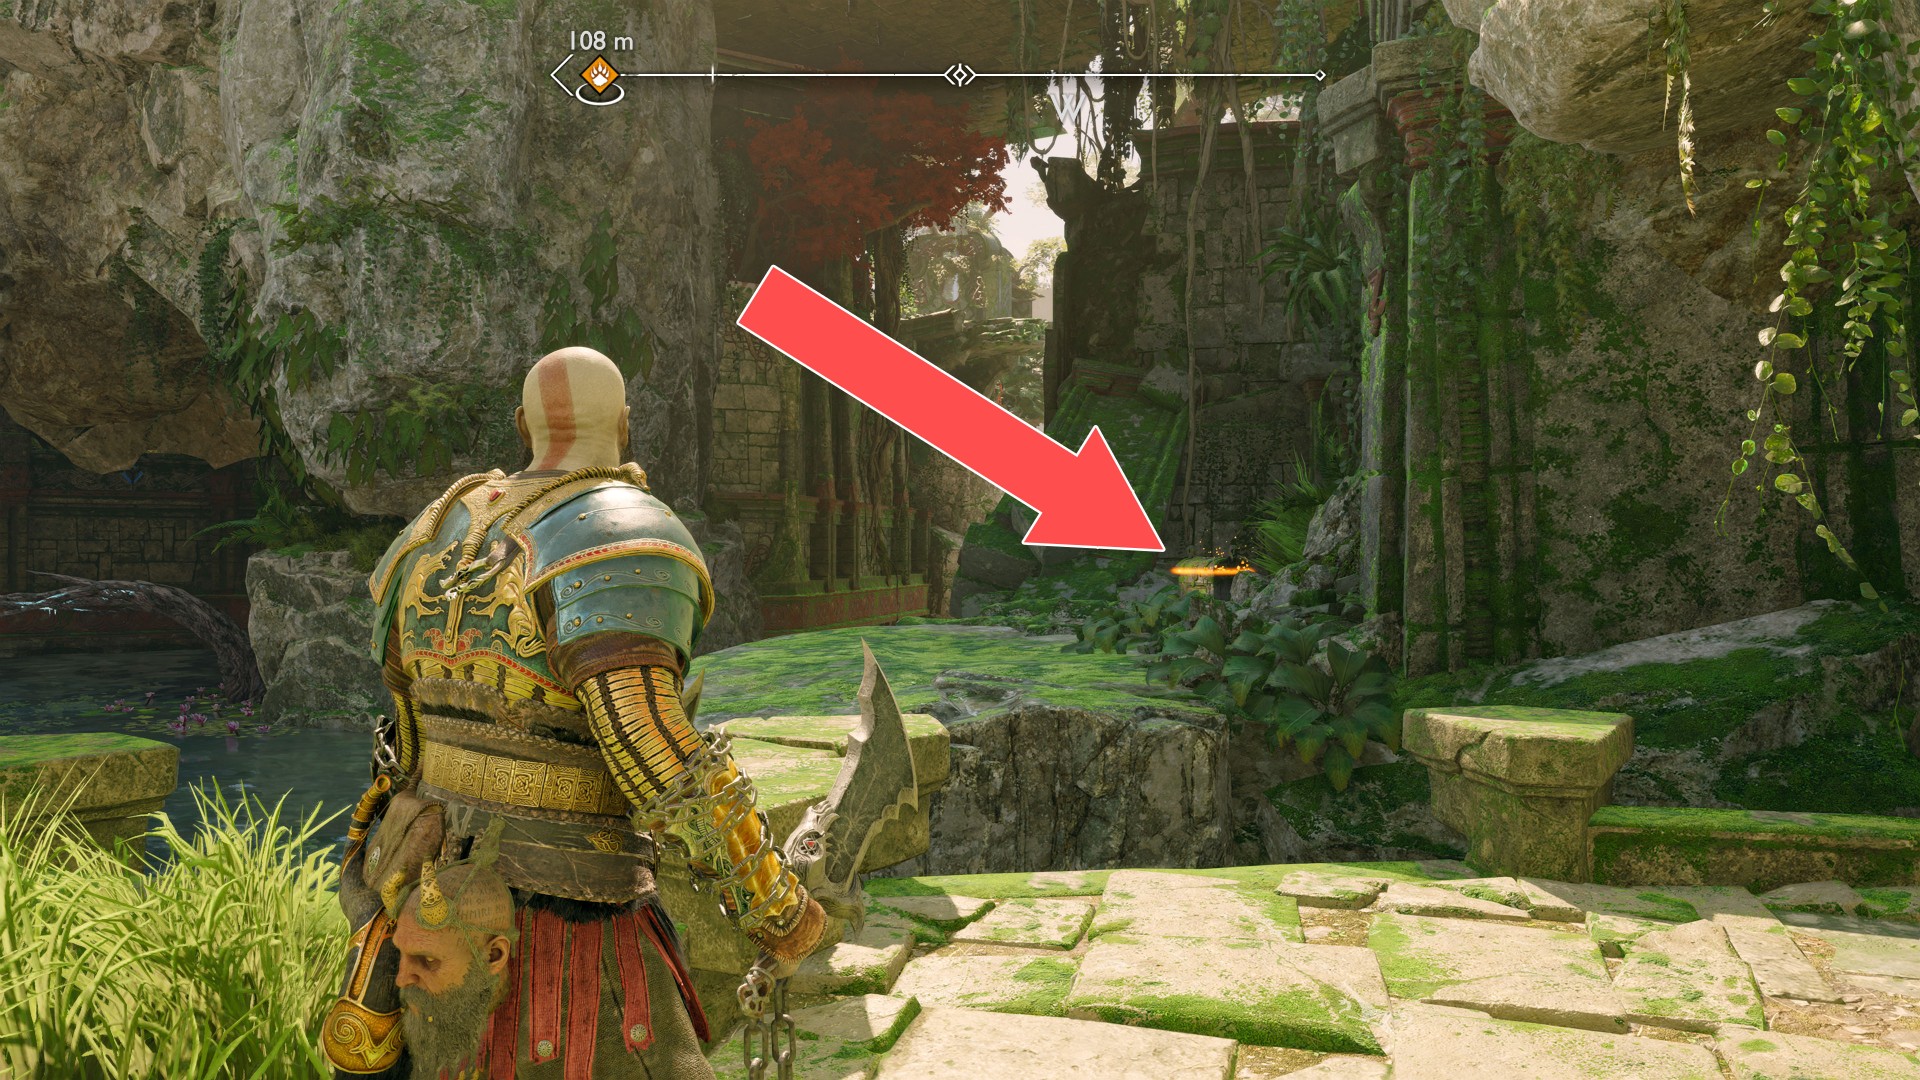
240Yellow Chest
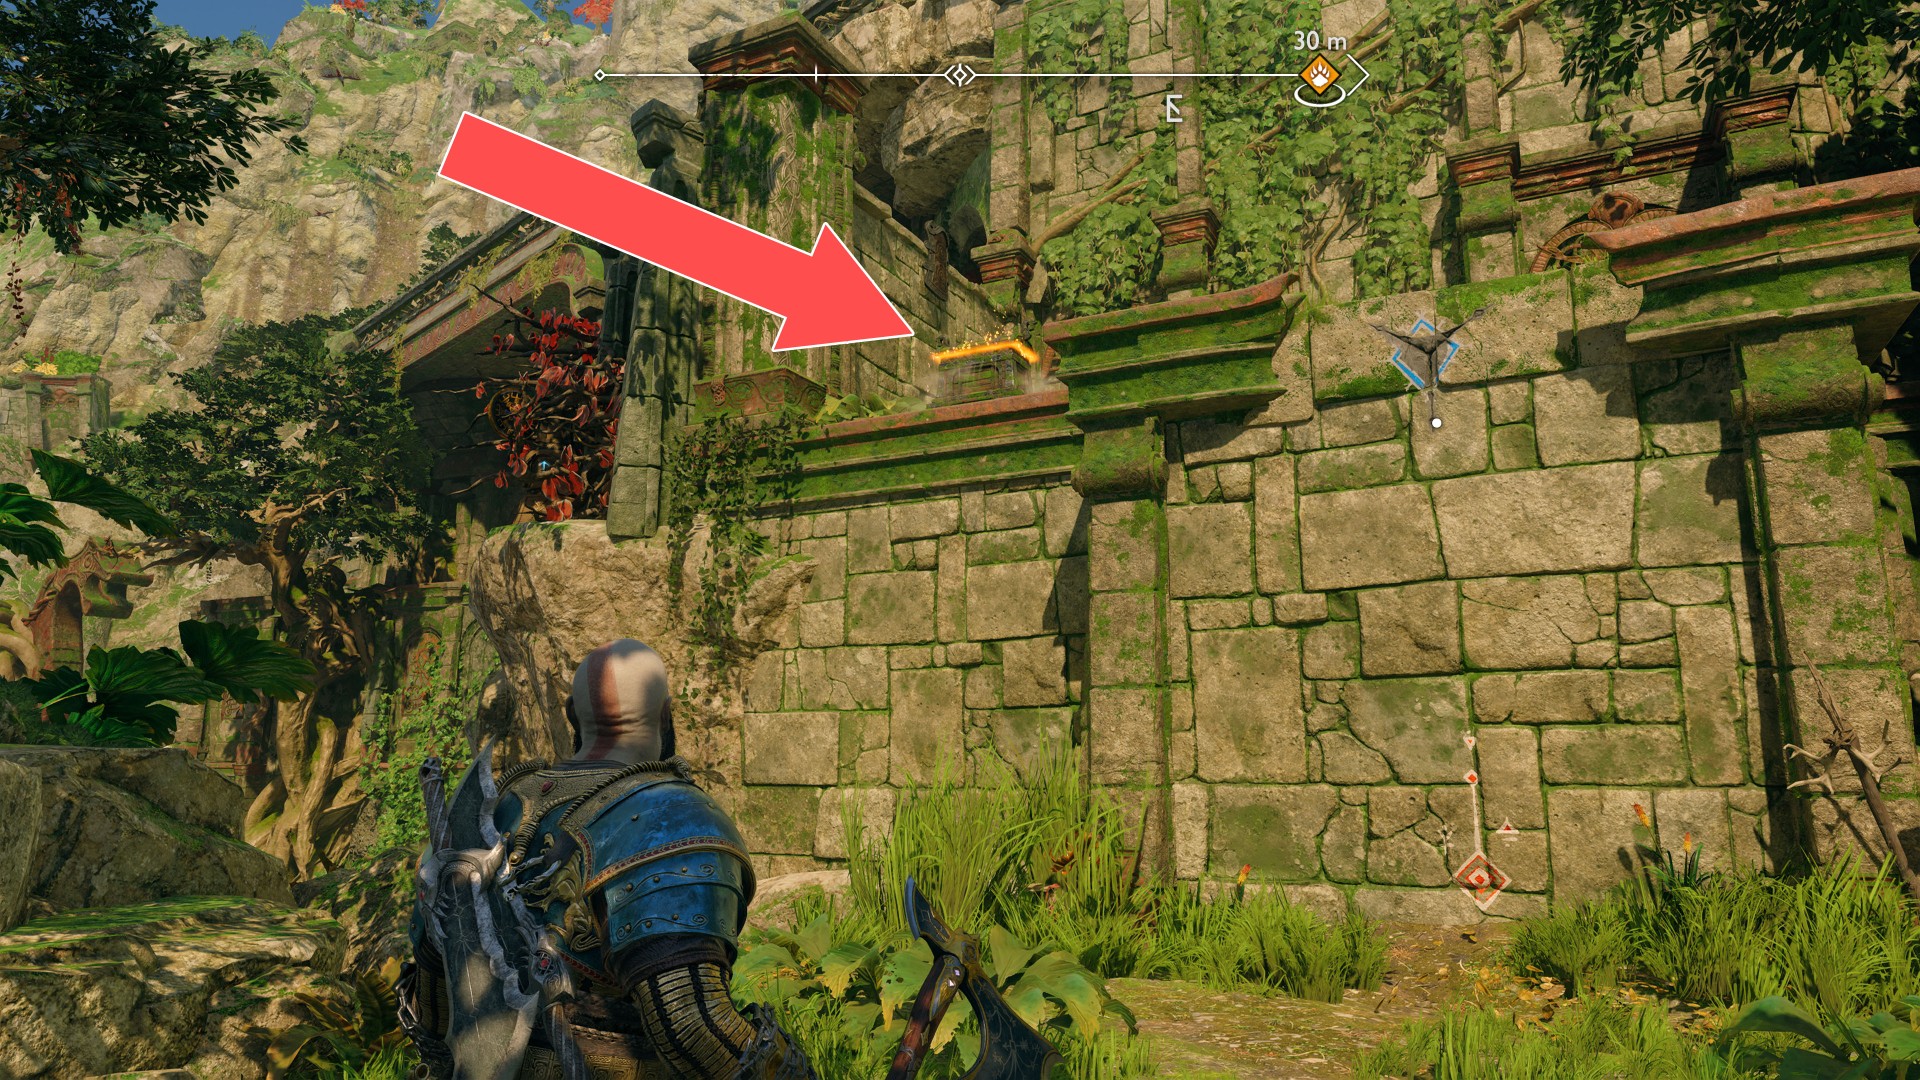
241Yellow Chest
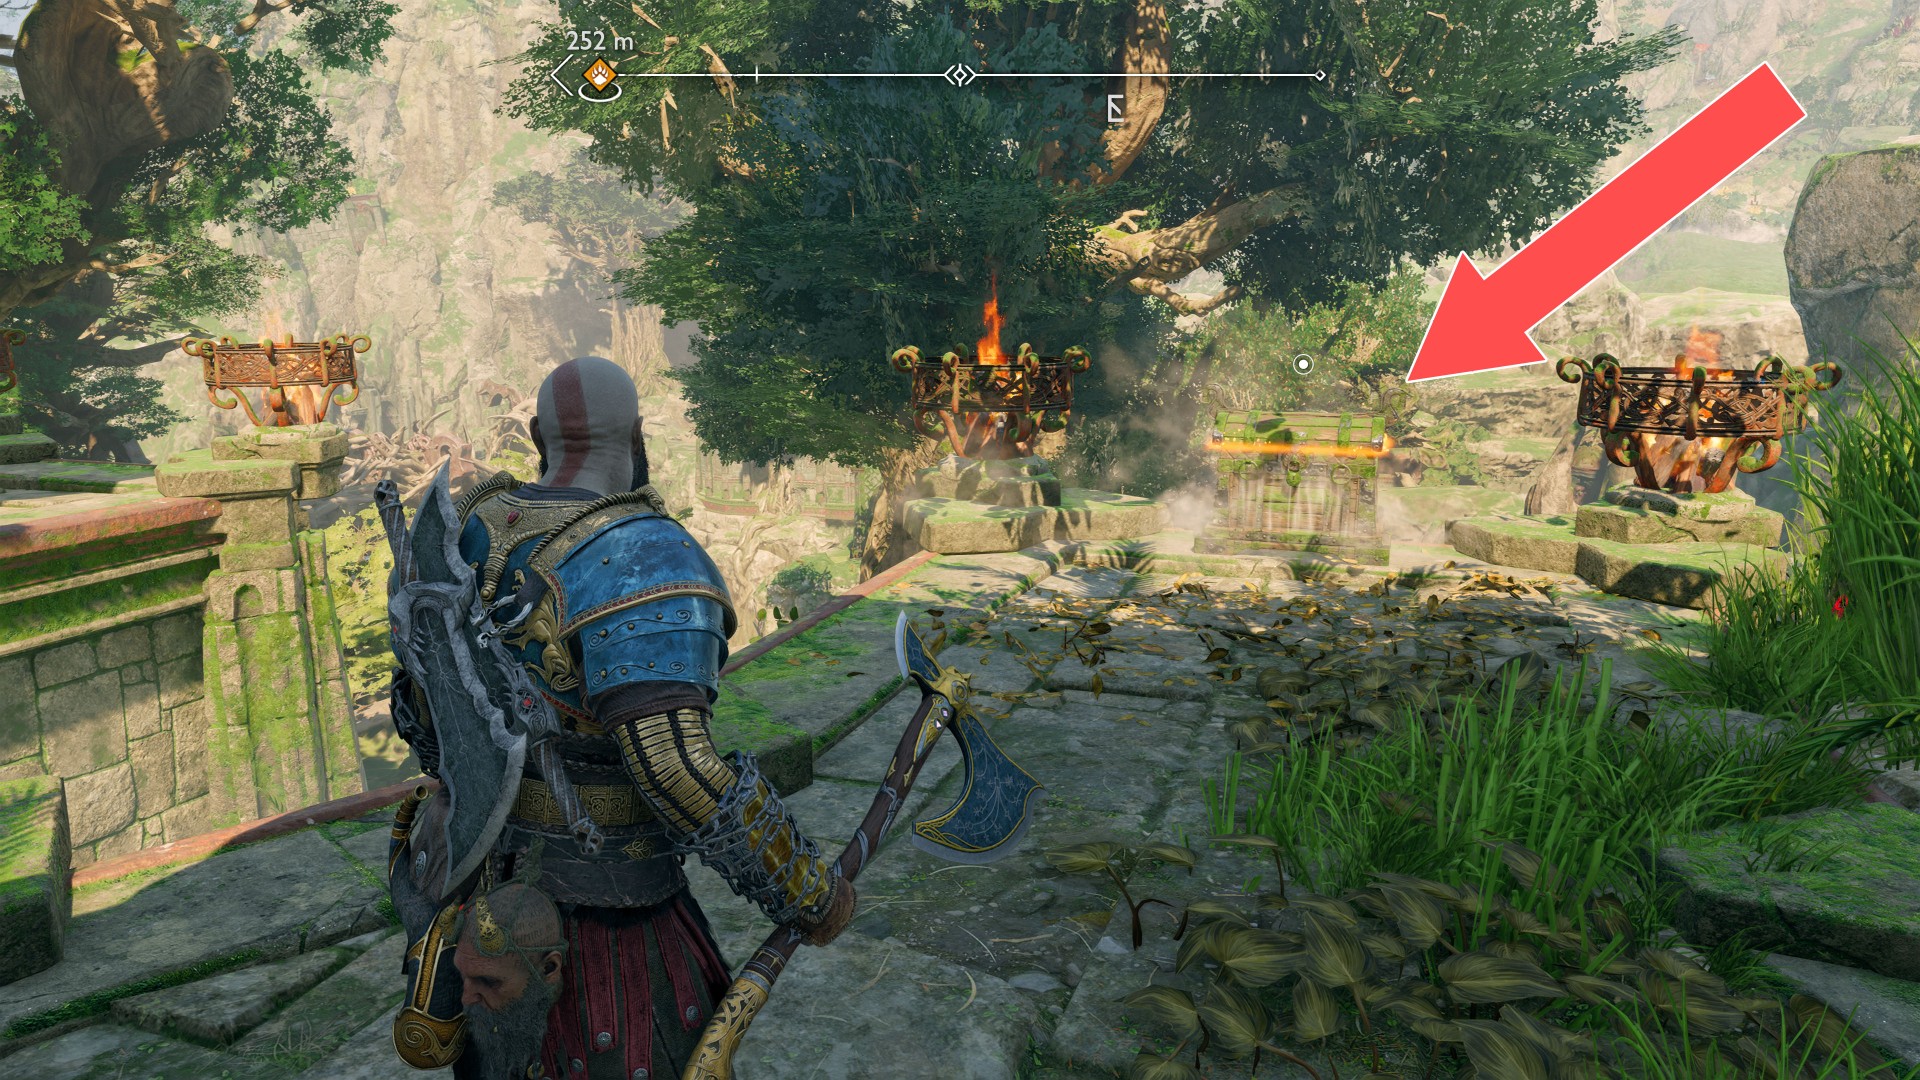
242Yellow Chest
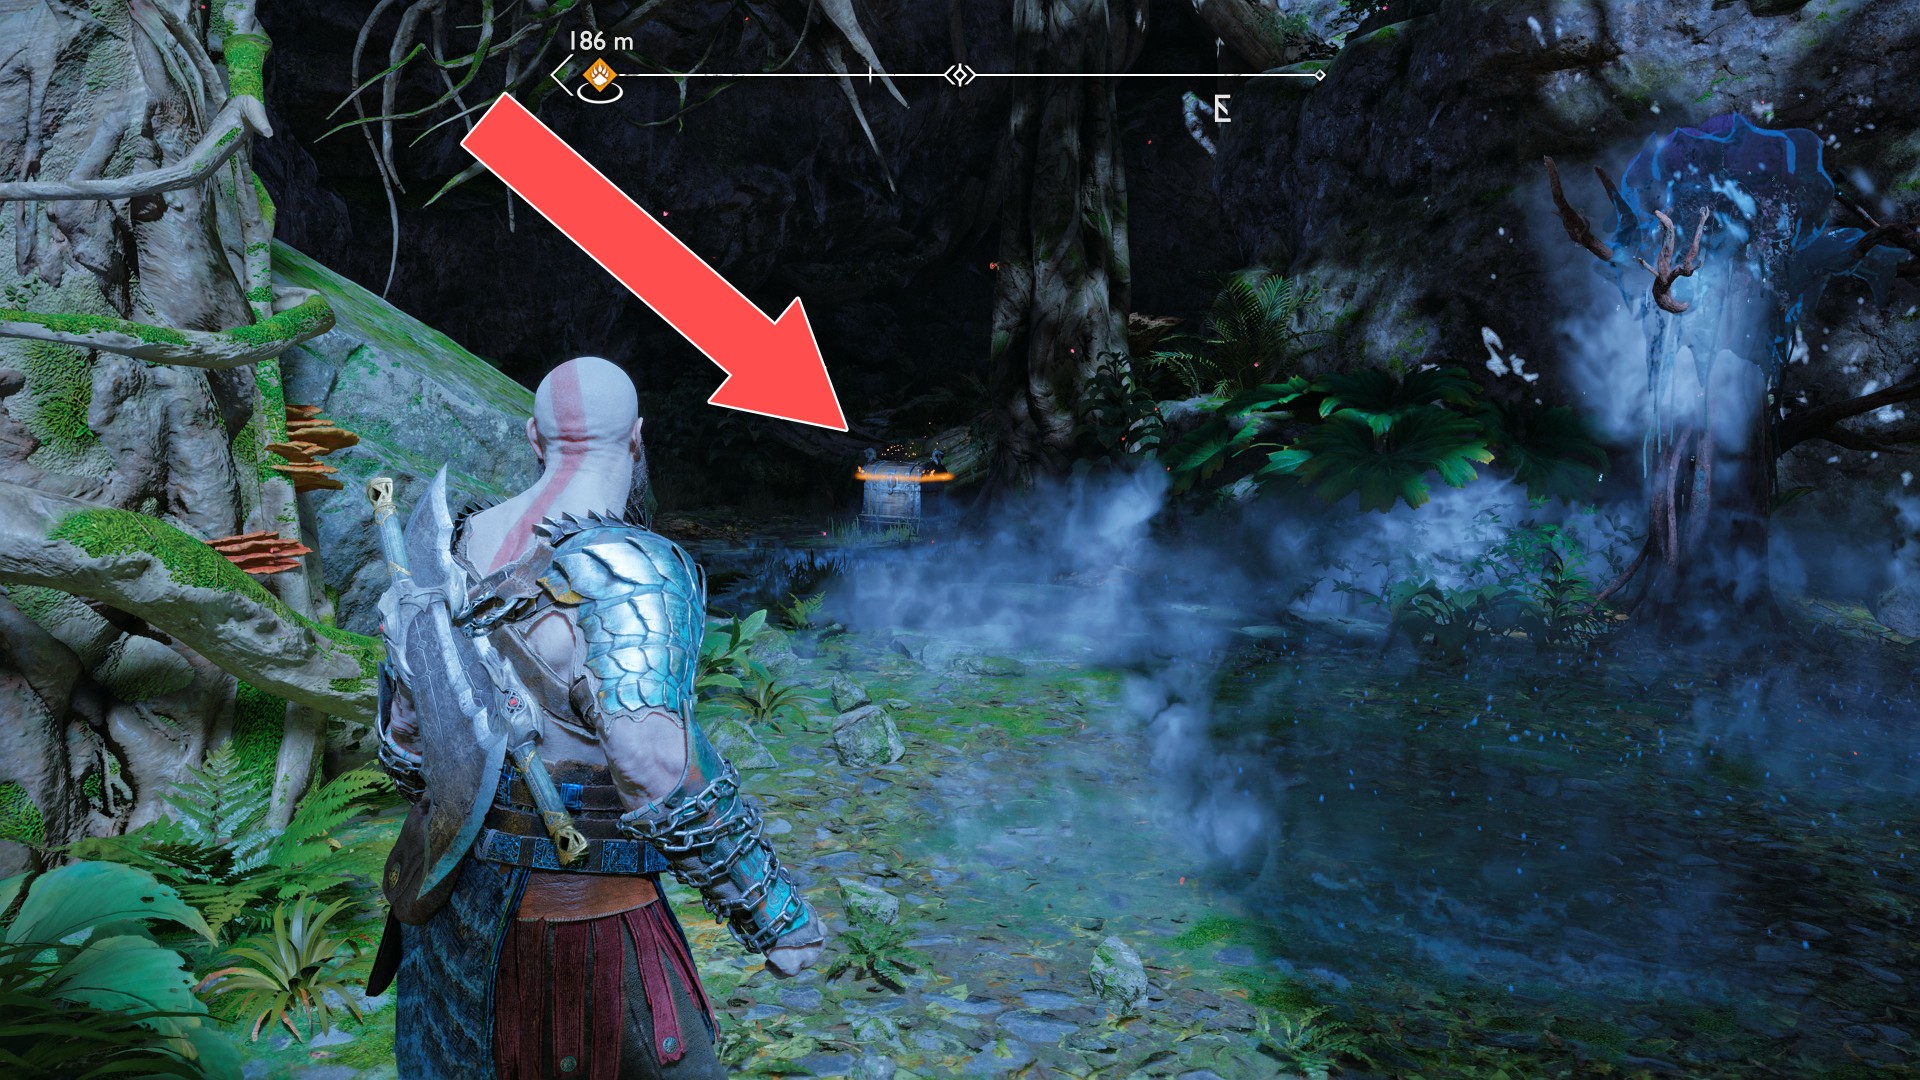
243Yellow Chest
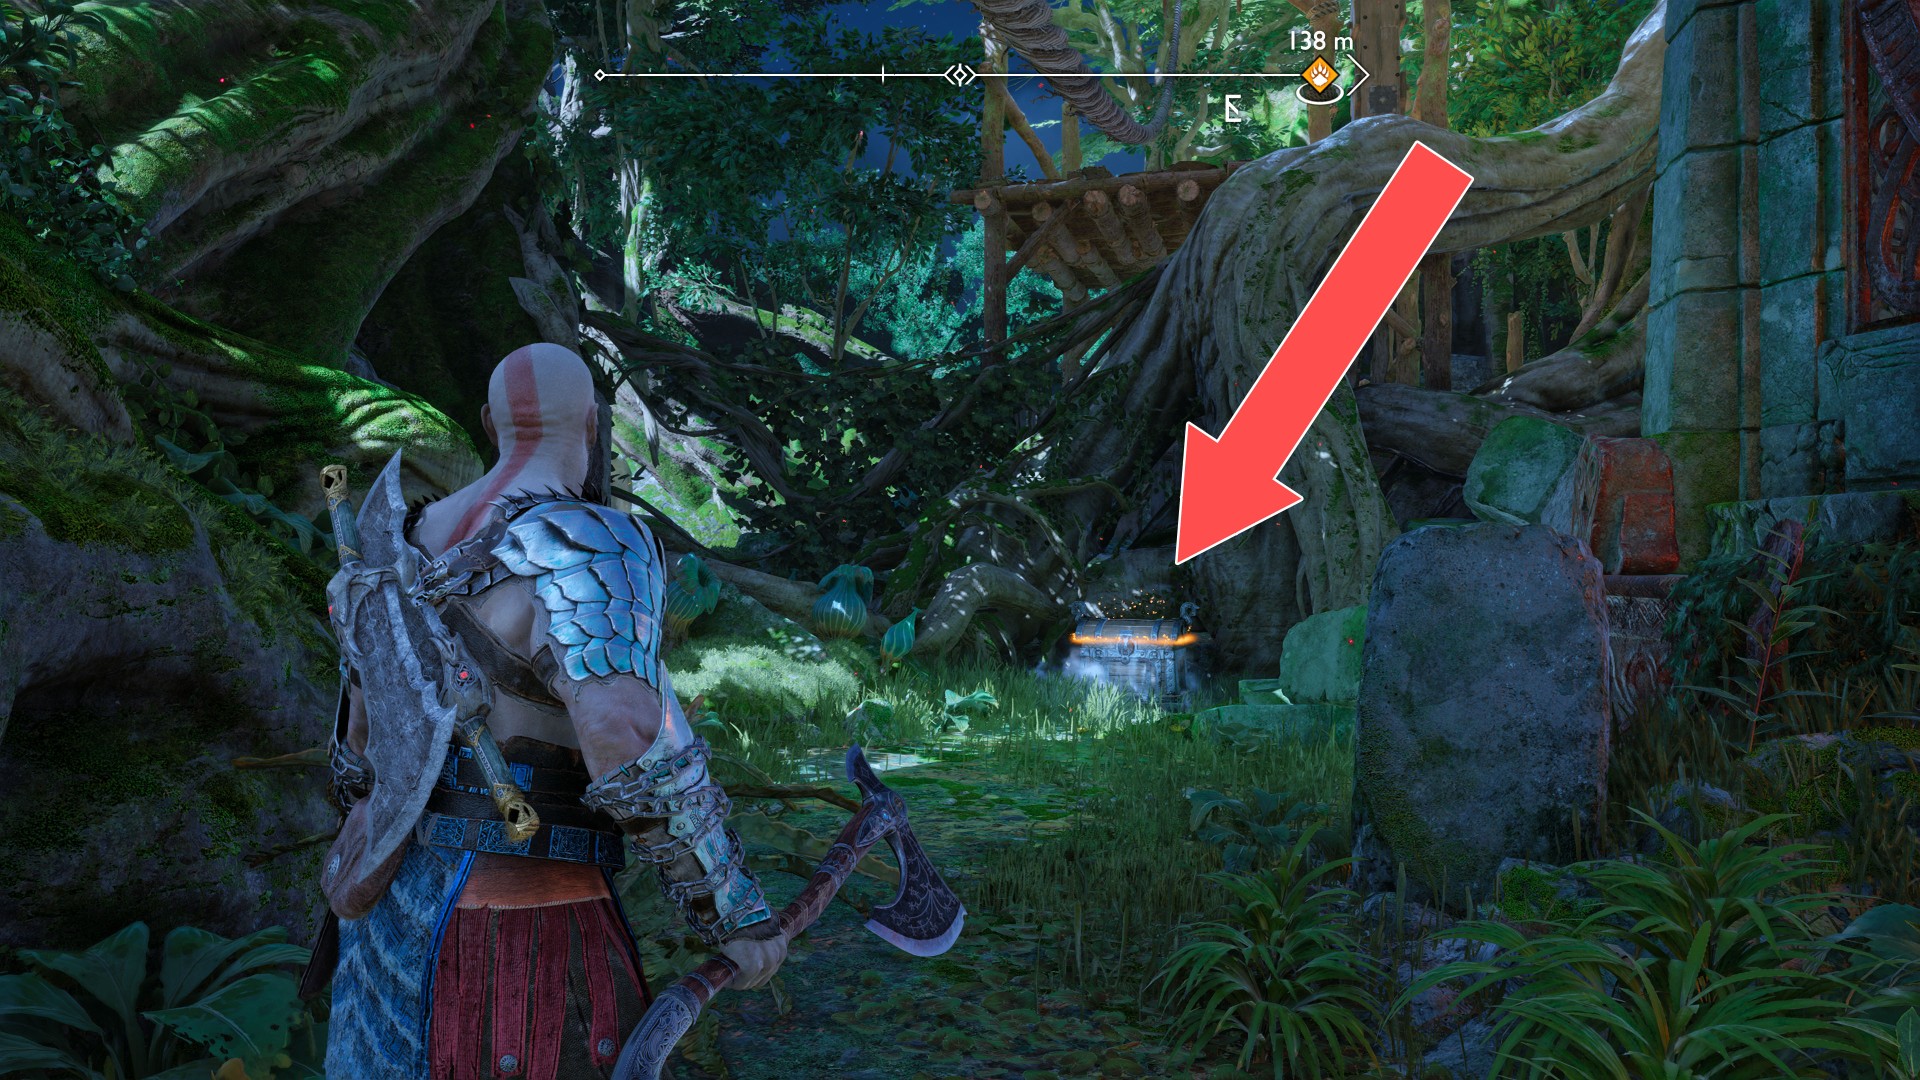
244Yellow Chest
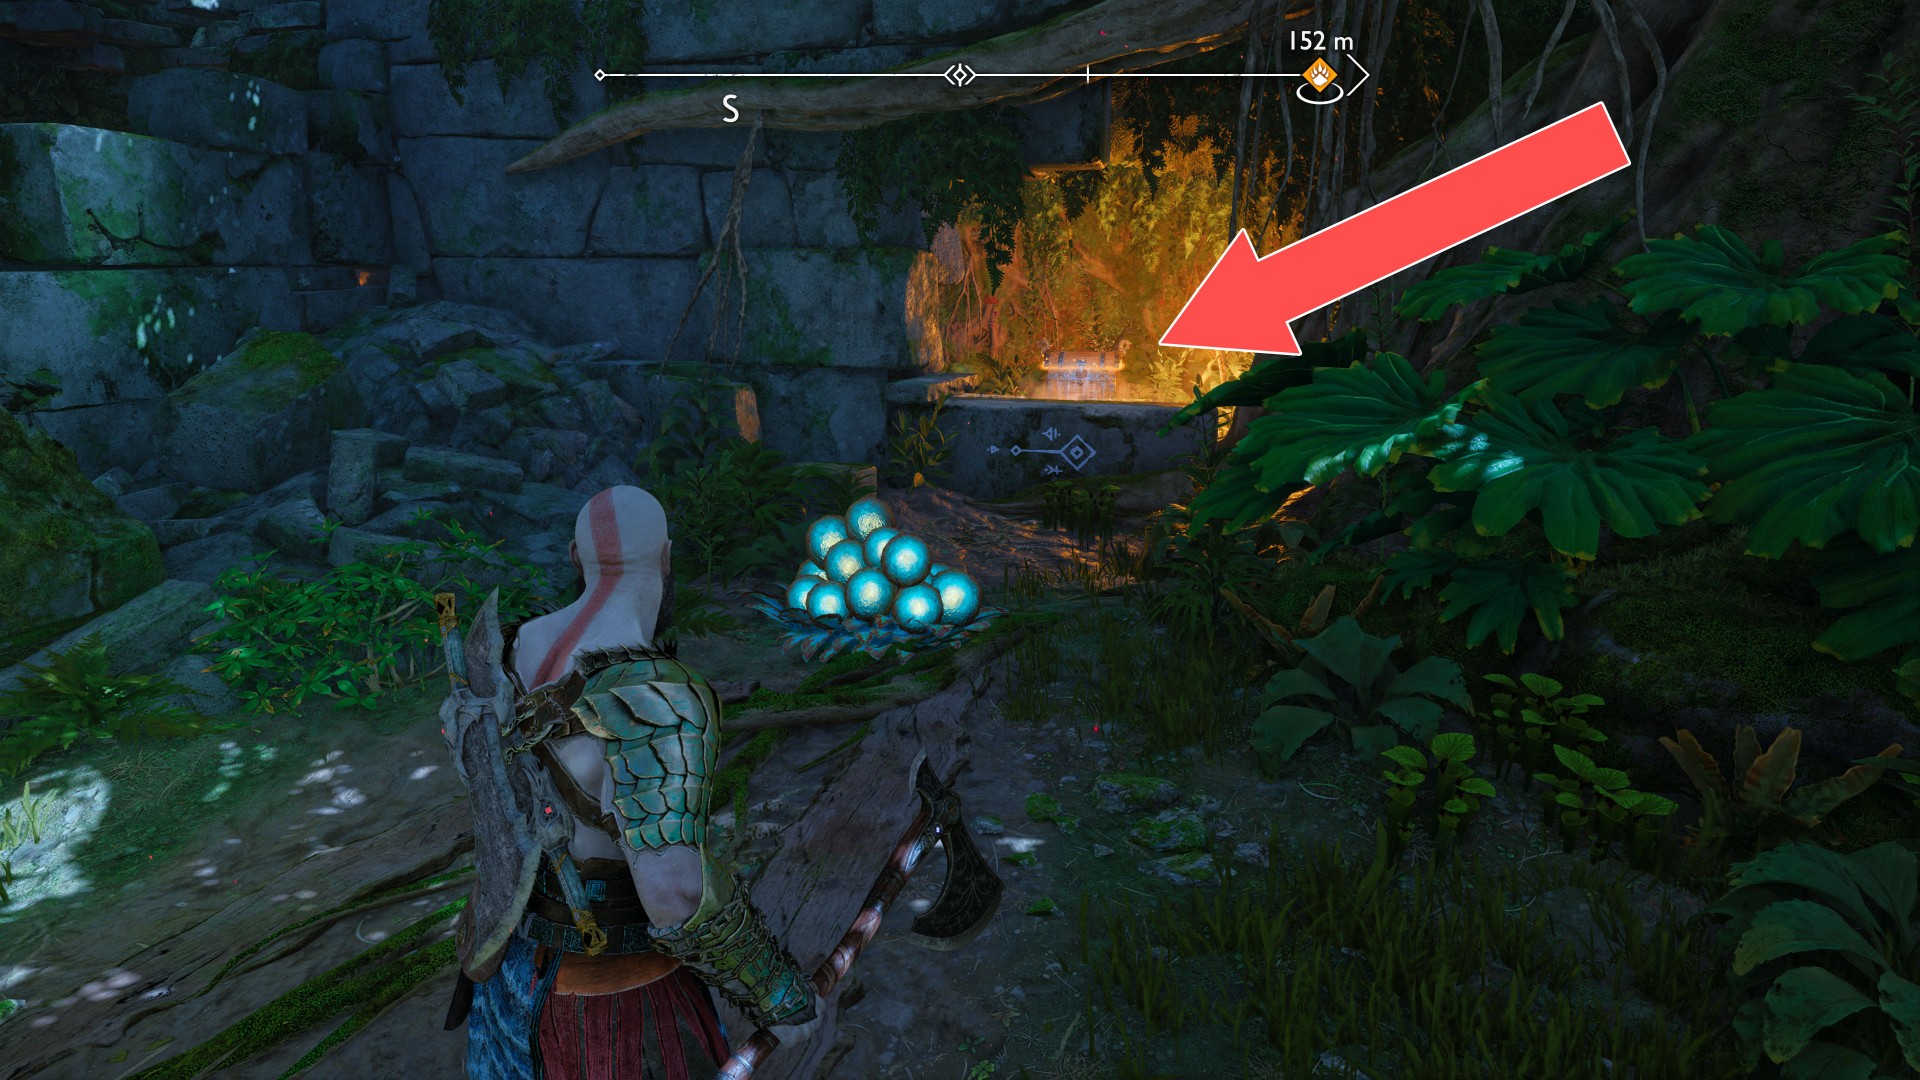
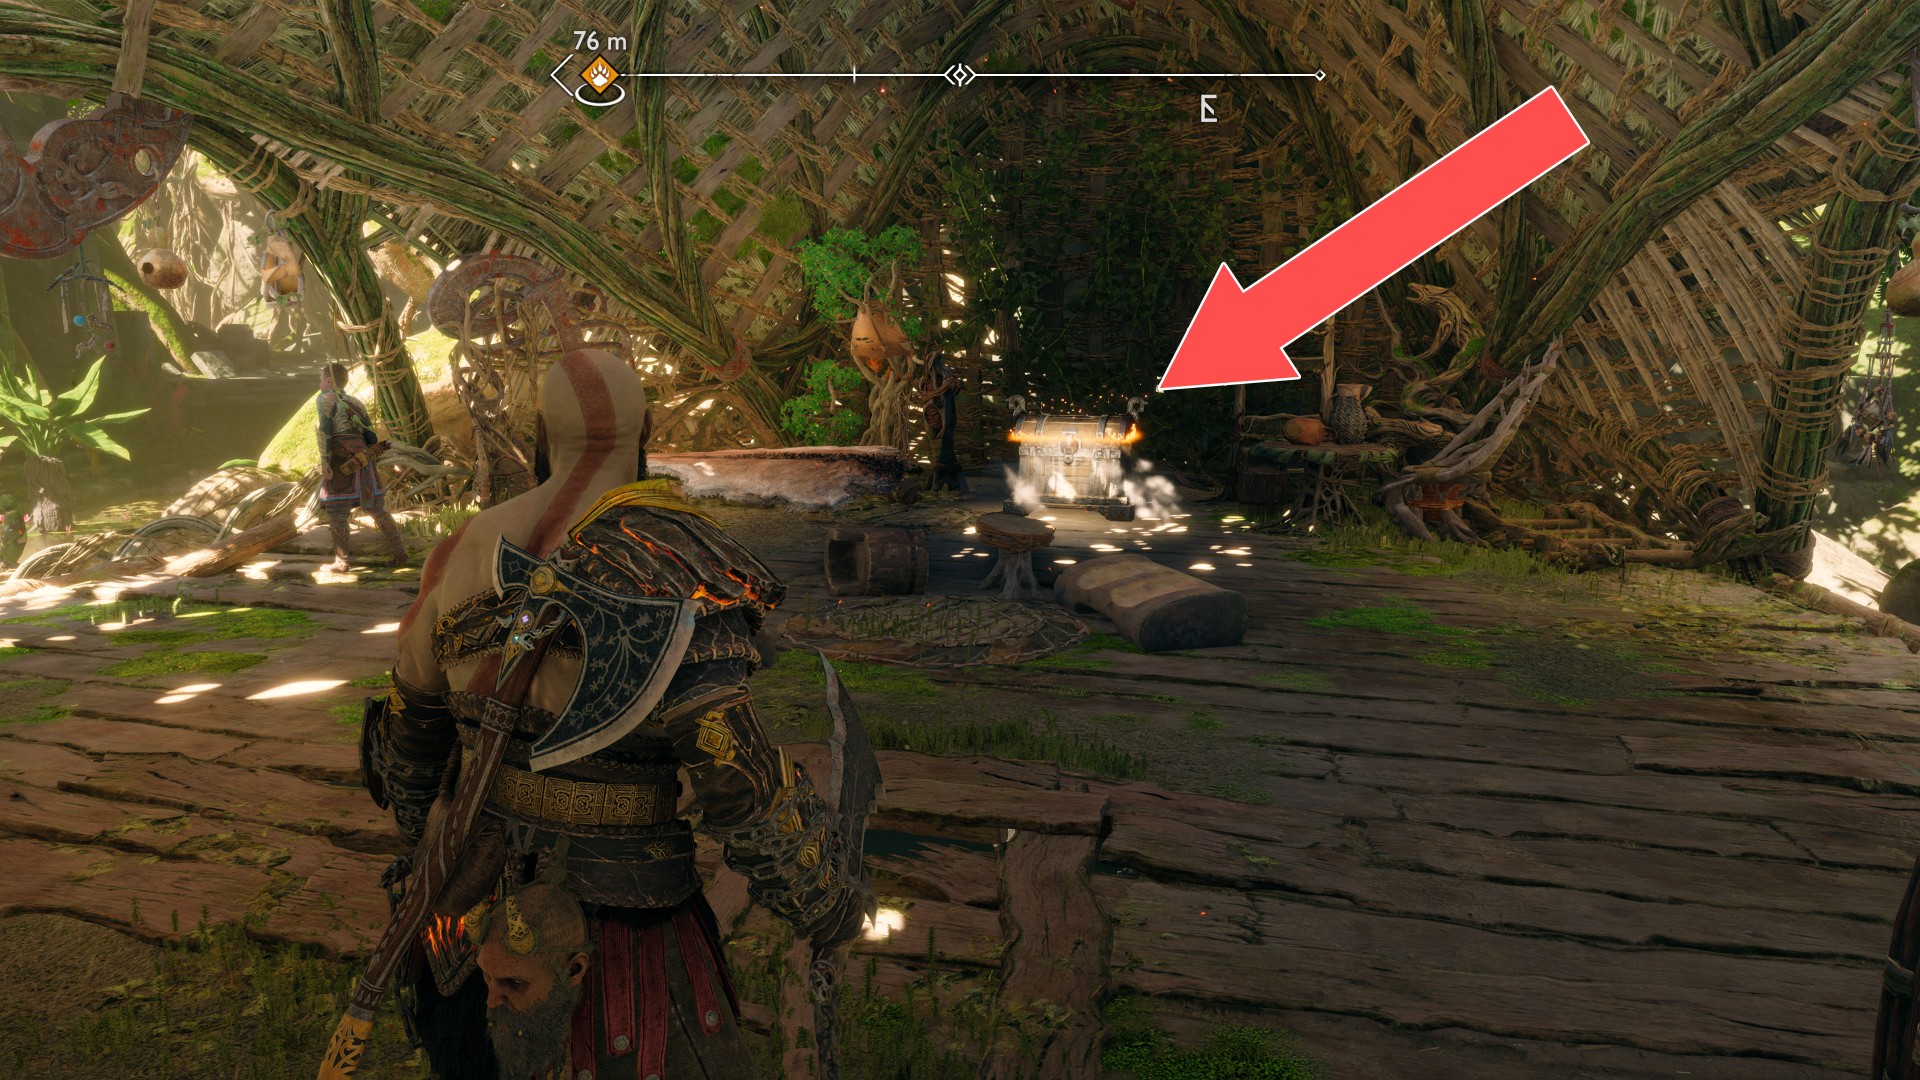
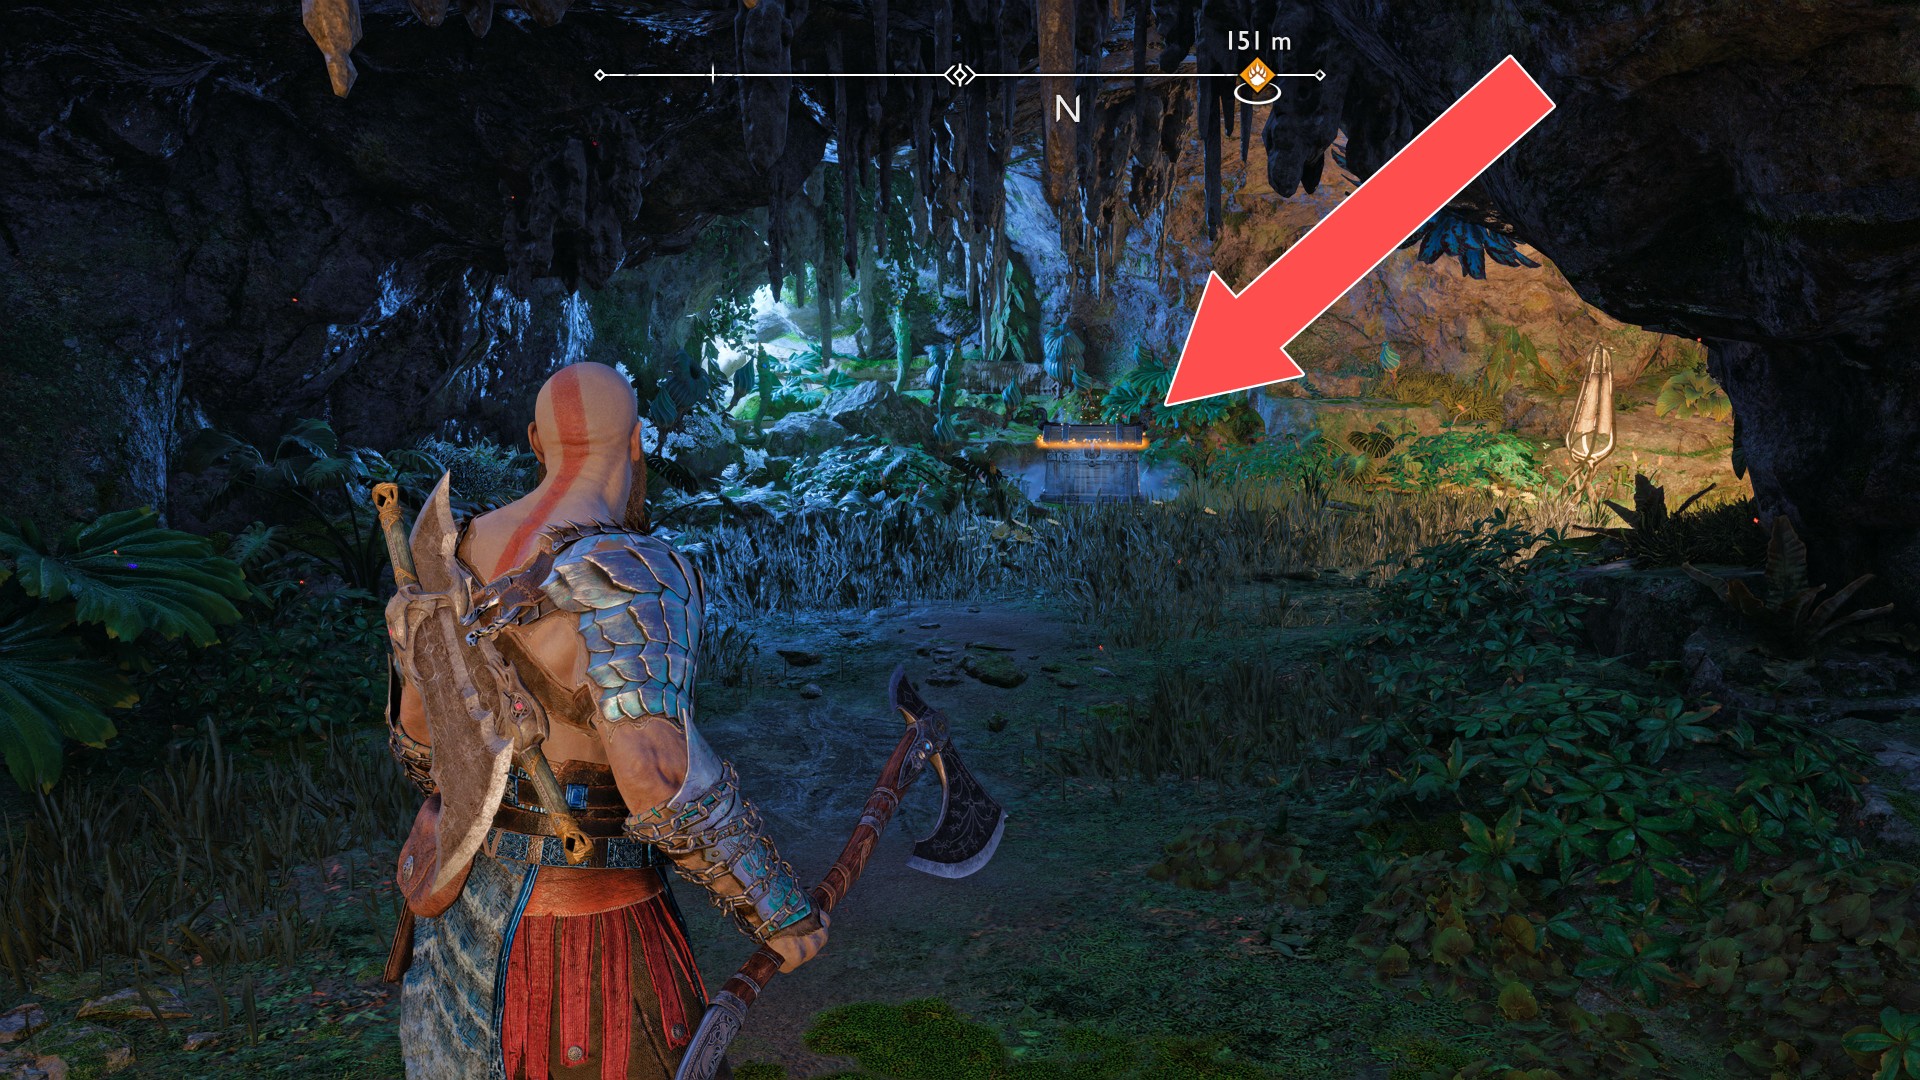
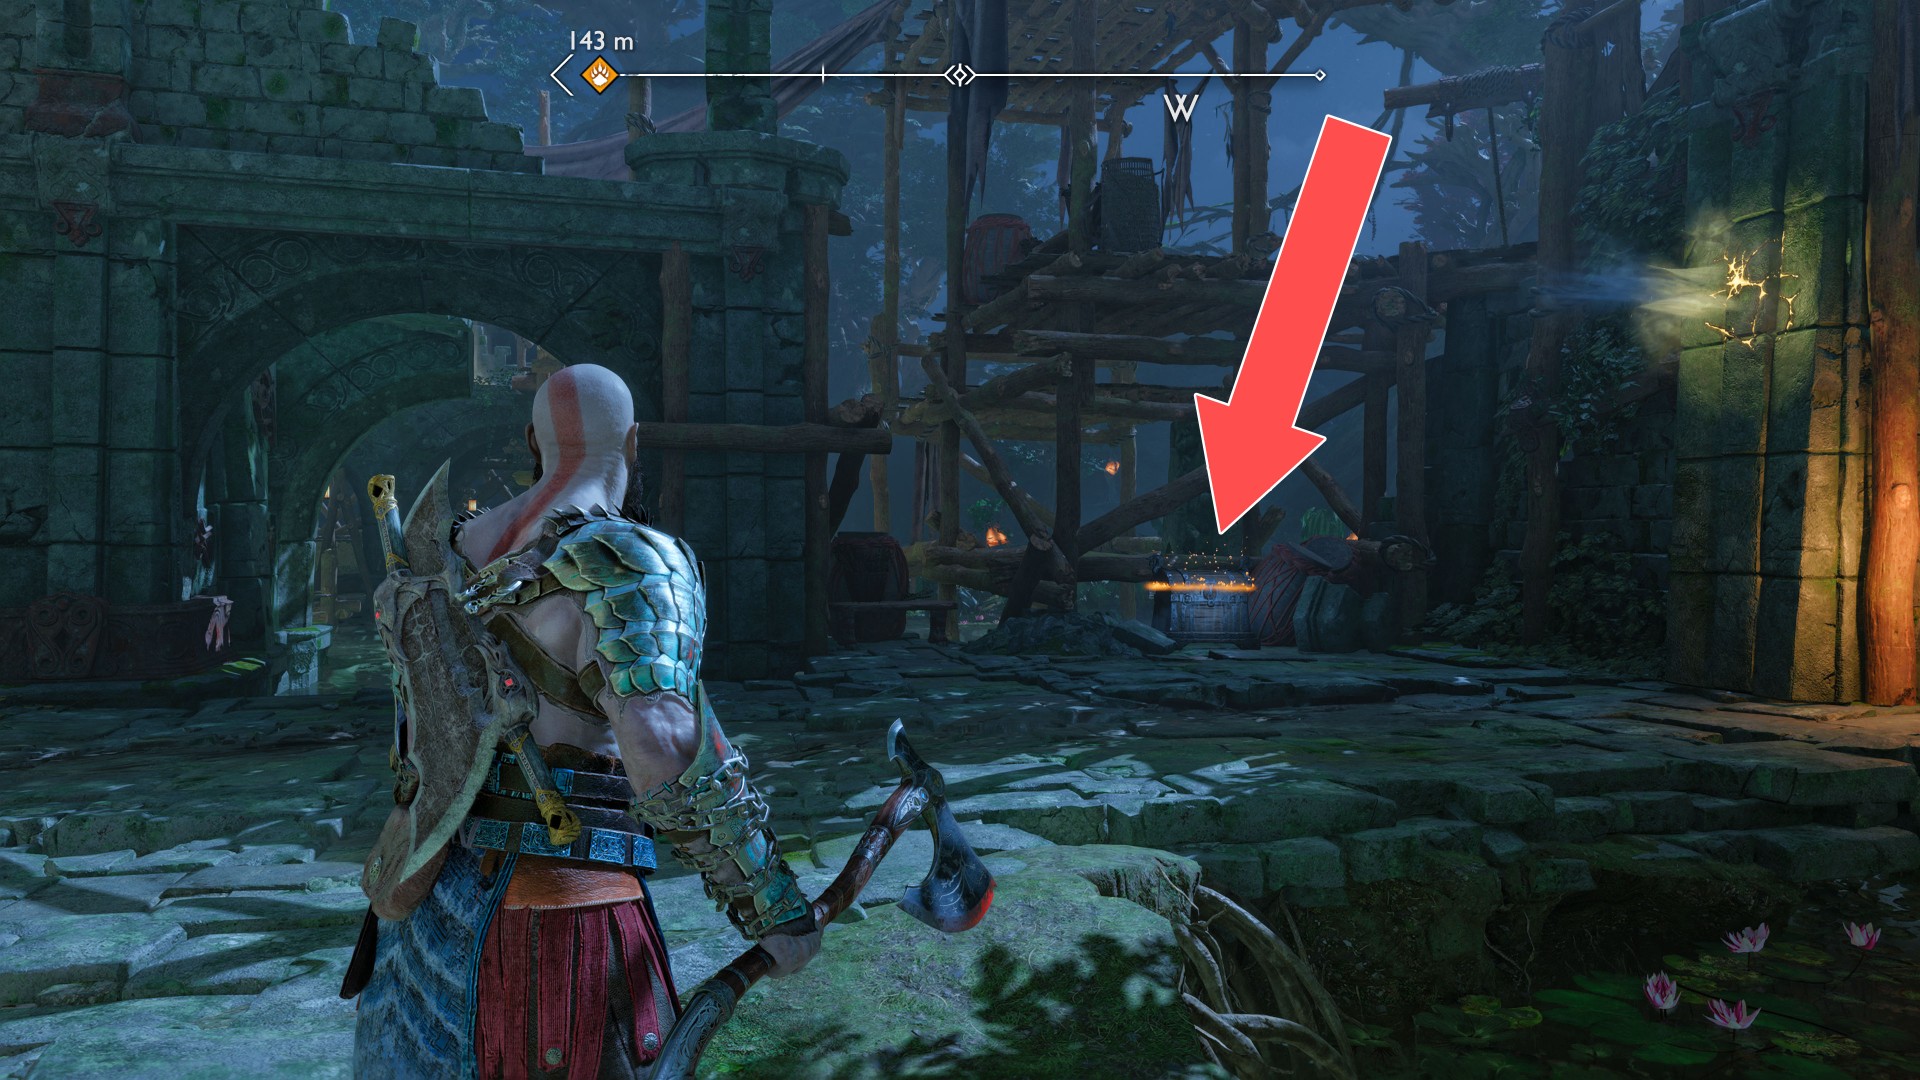
You will reach this chest from the side of the building located to the north.
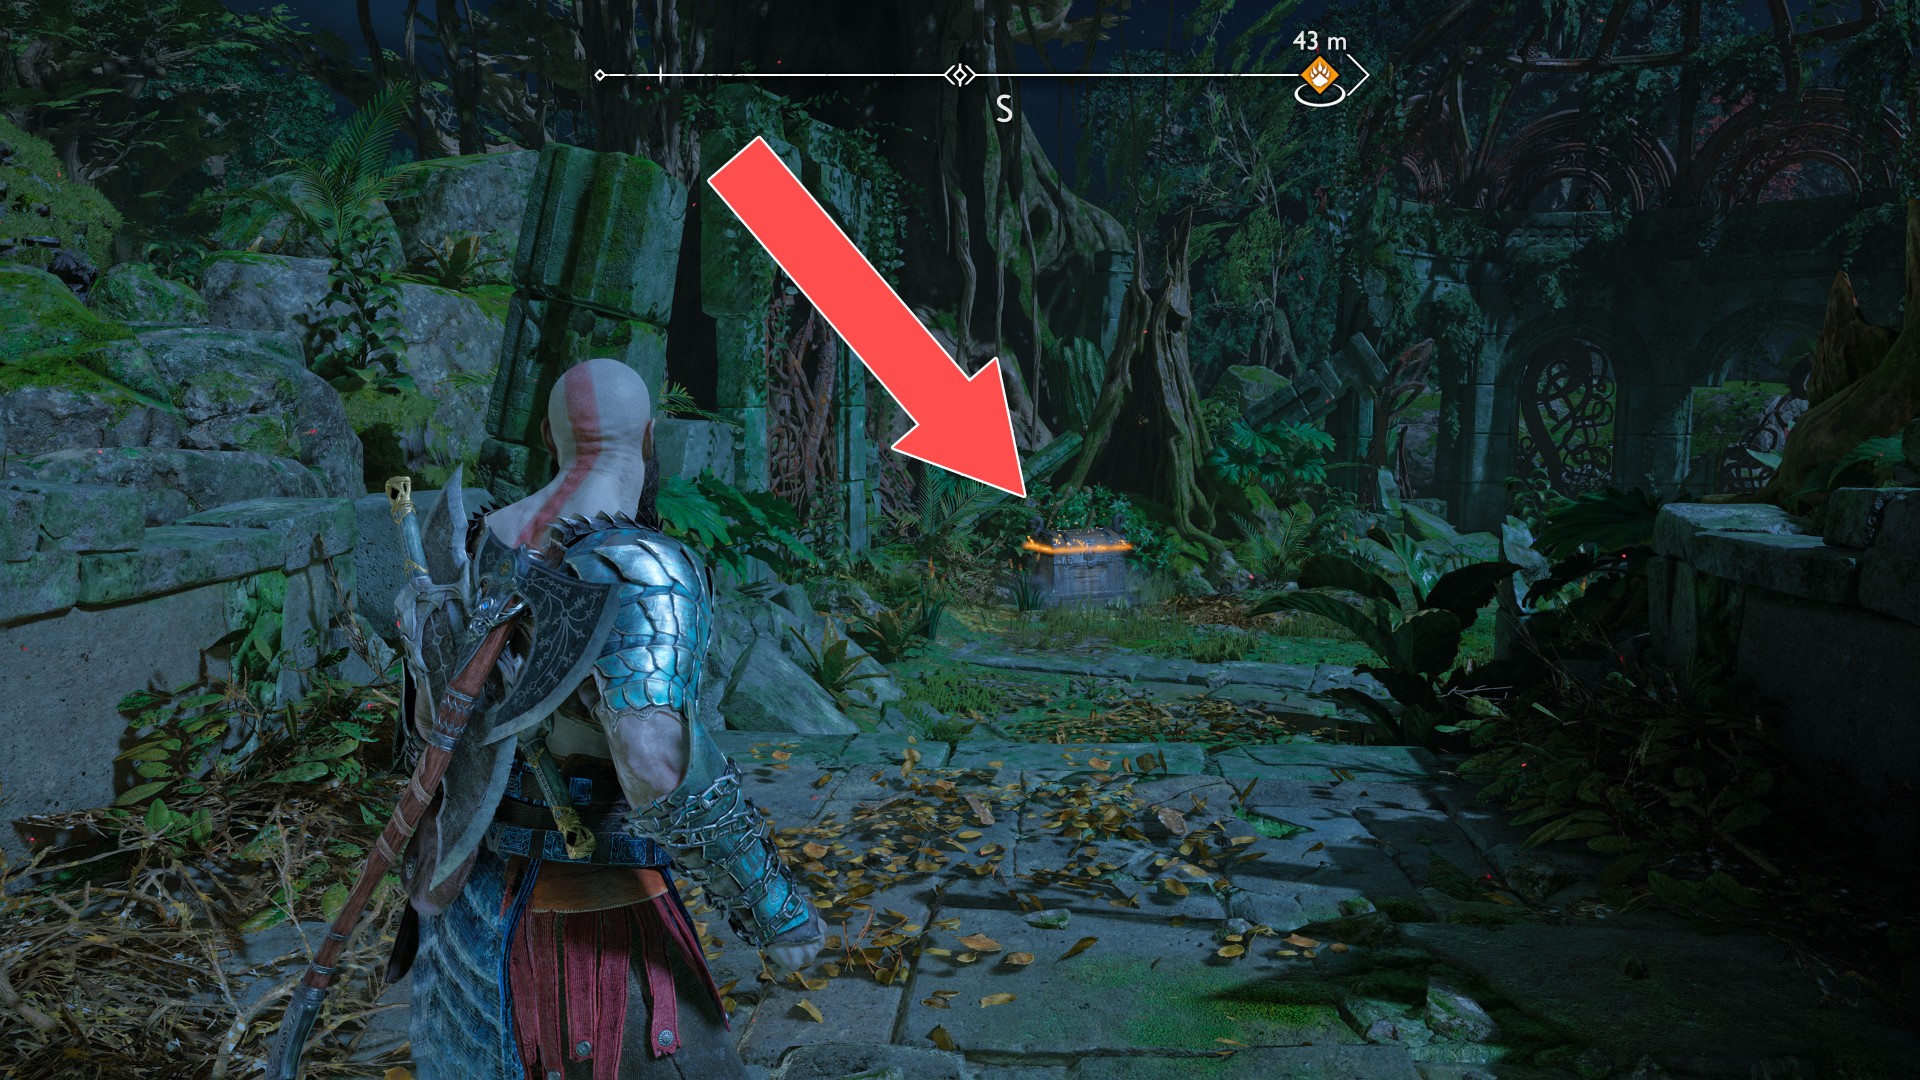
245Yellow Chest
246Yellow Chest
247Yellow Chest
248Yellow Chest
249Yellow Chest
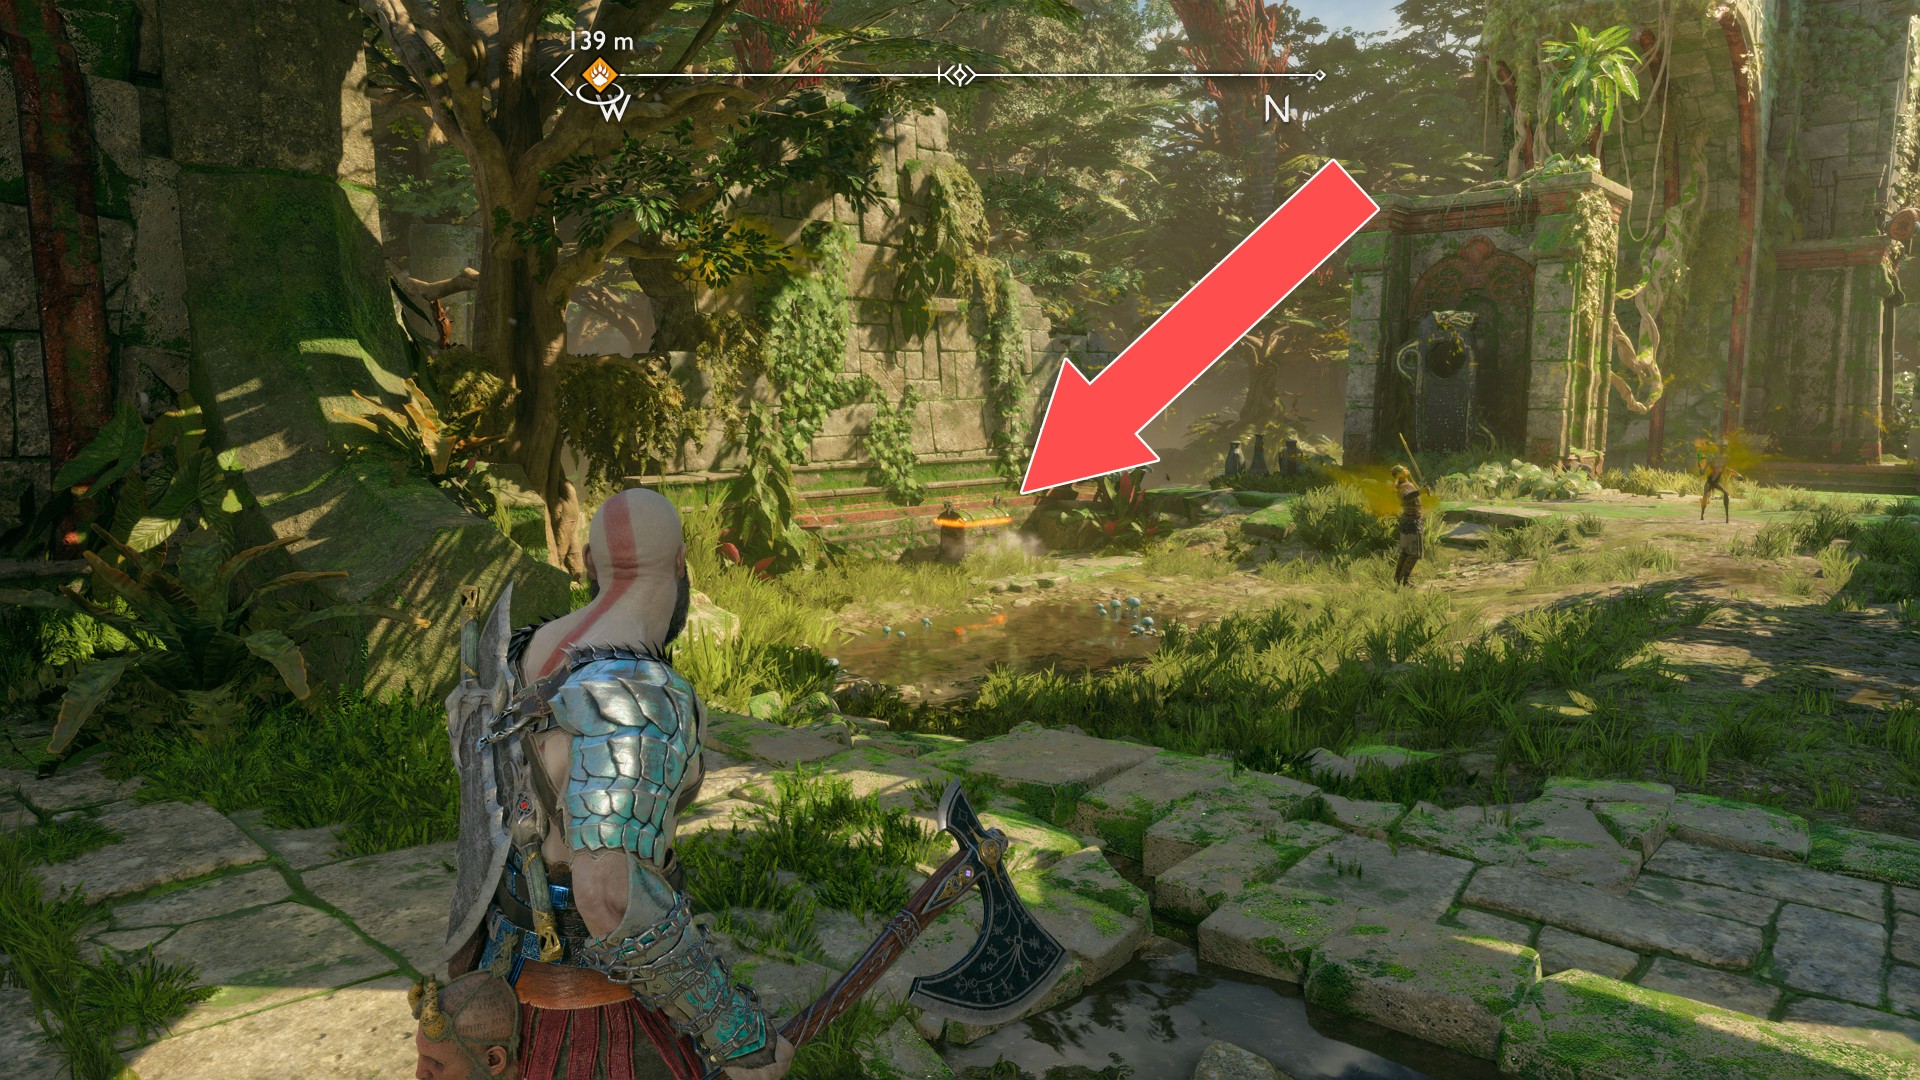
250Yellow Chest
Beware of exploding plants growing right next to the crate.
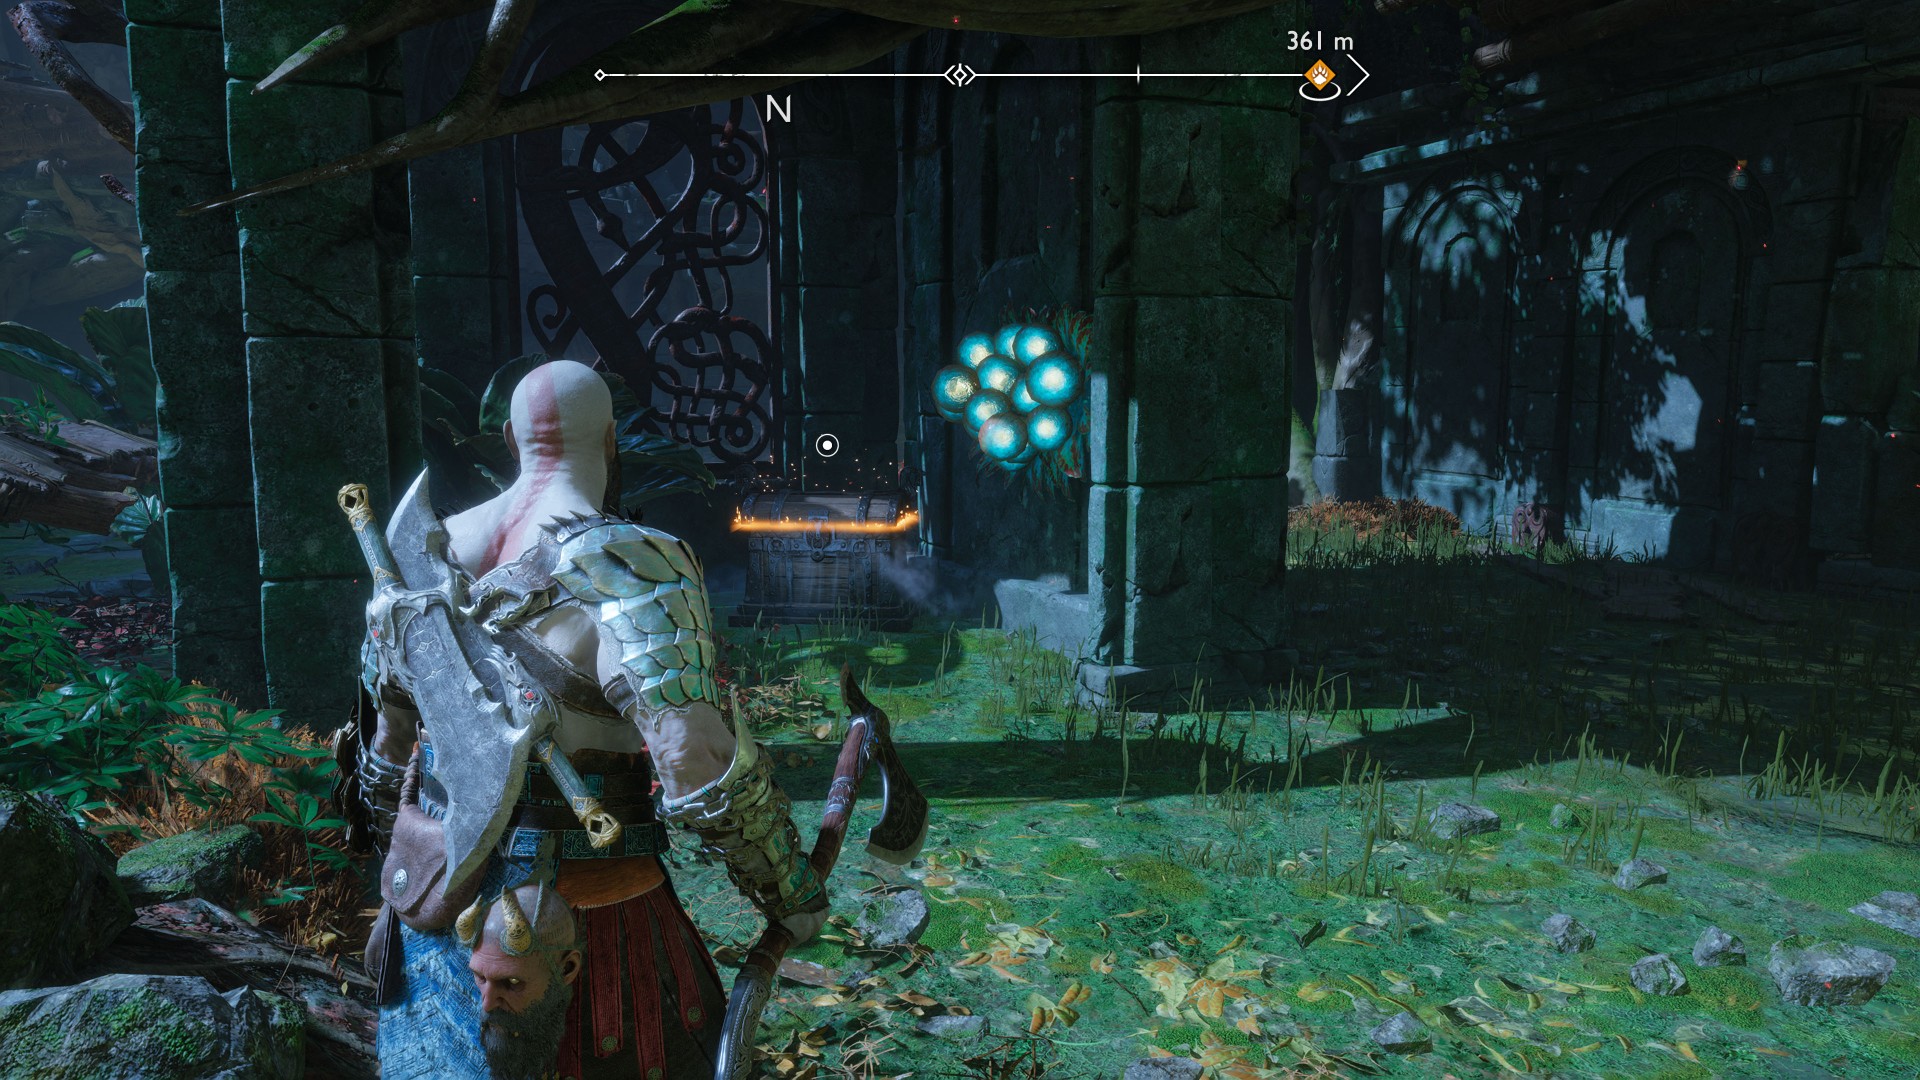
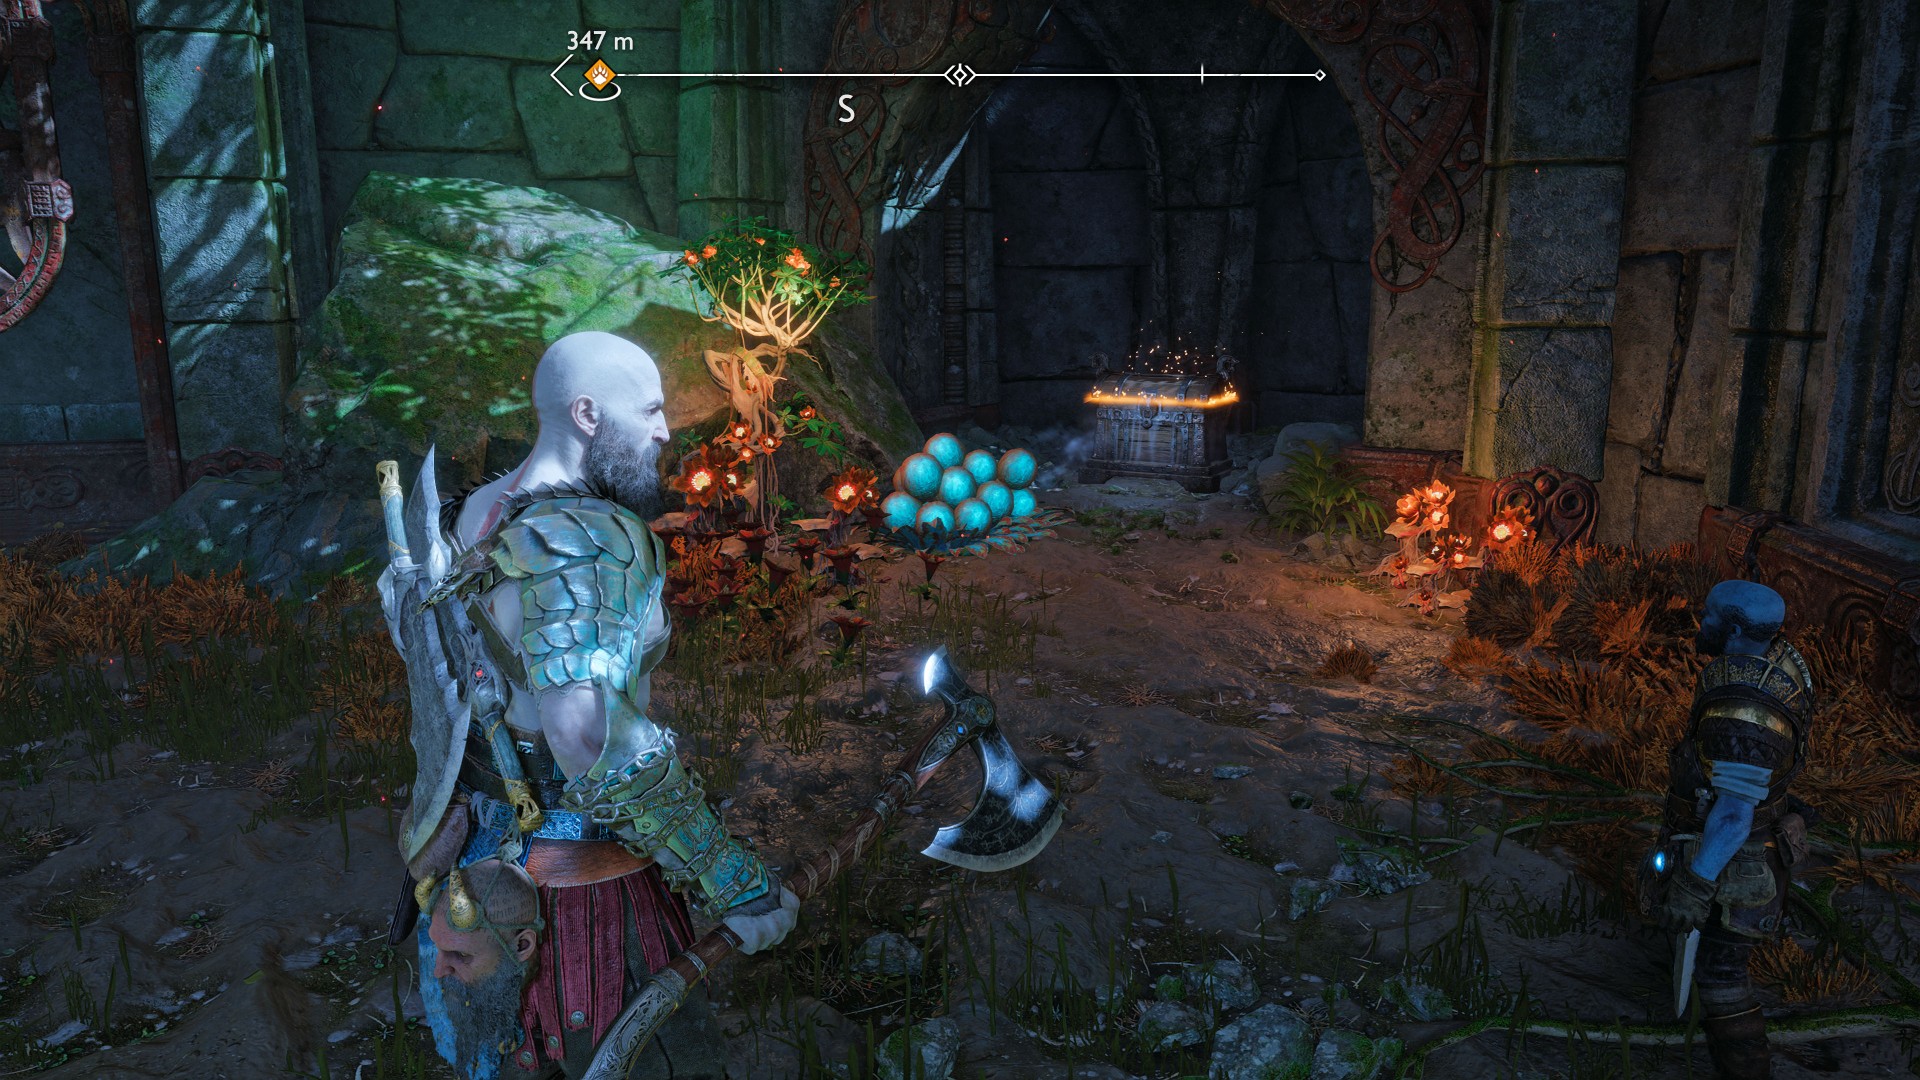
251Yellow Chest
Beware of exploding plants growing right next to the crate.
252Yellow Chest
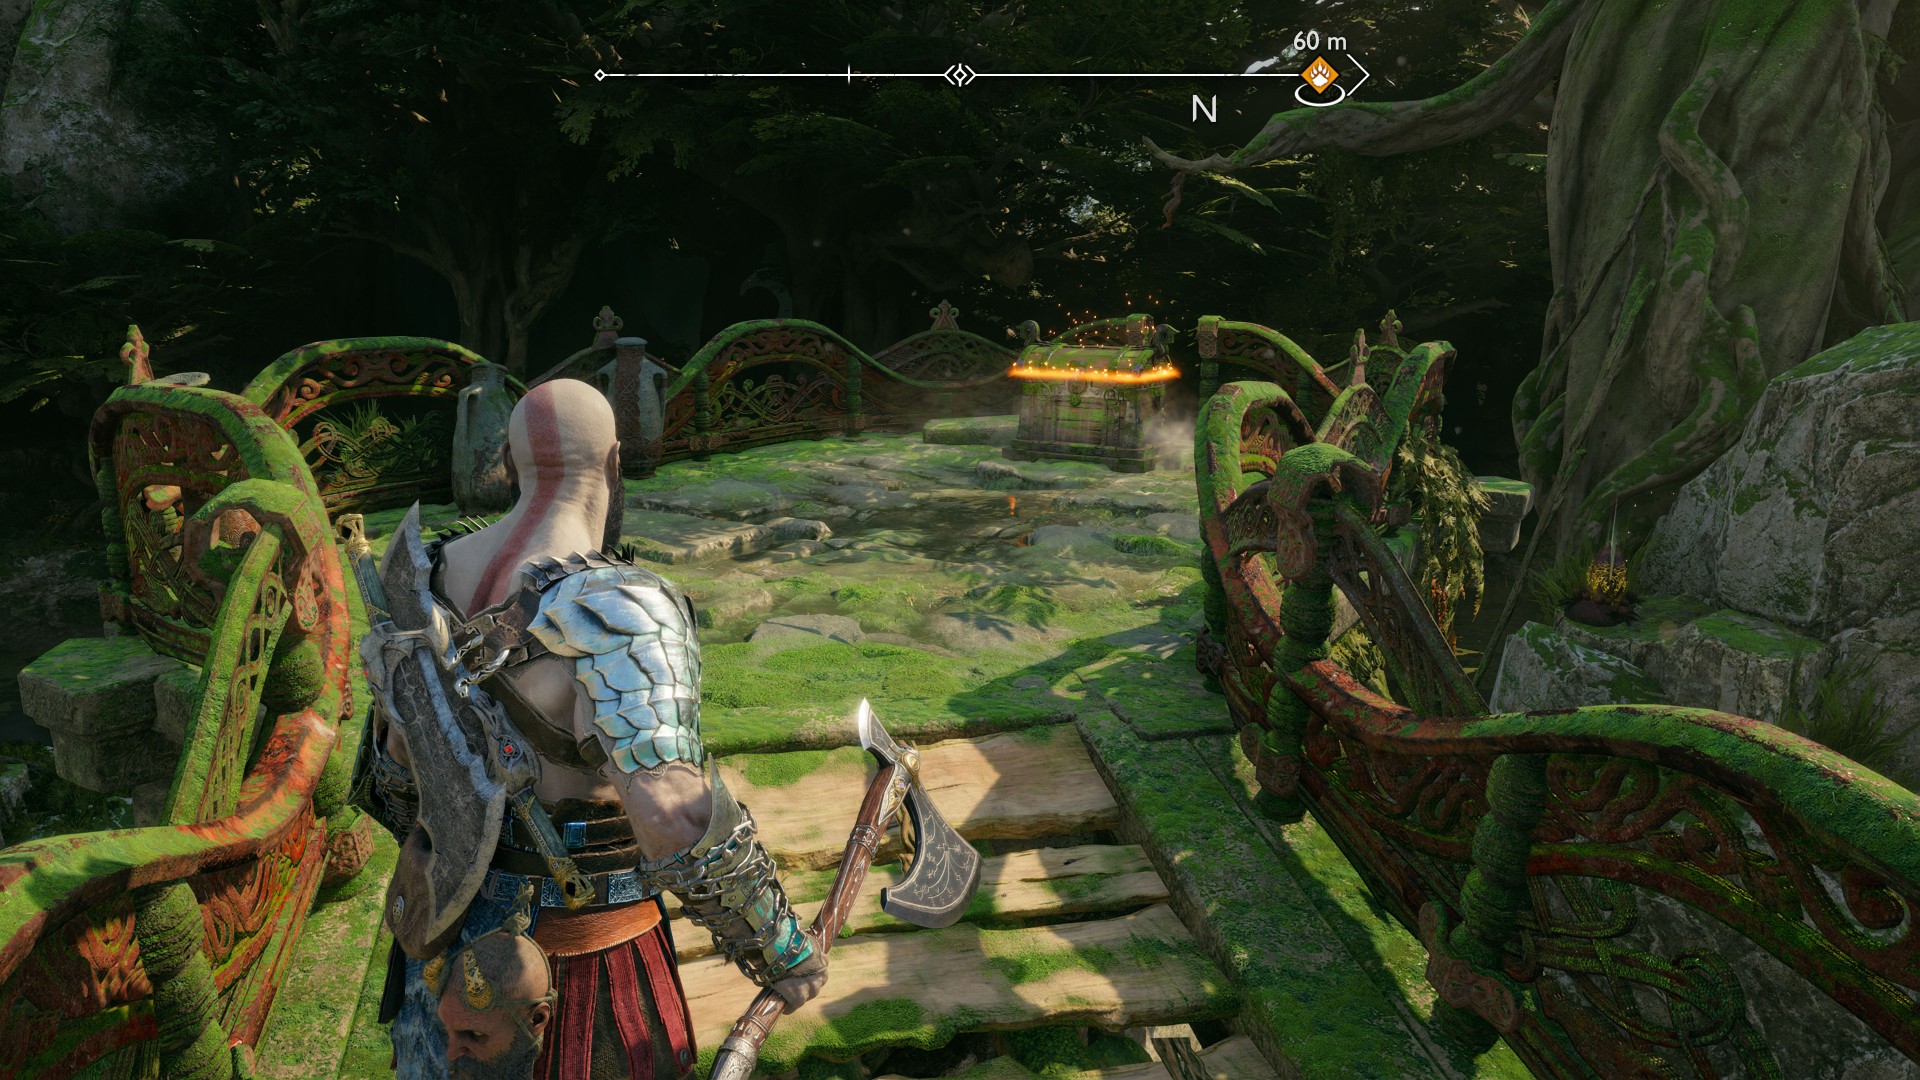
253Yellow Chest
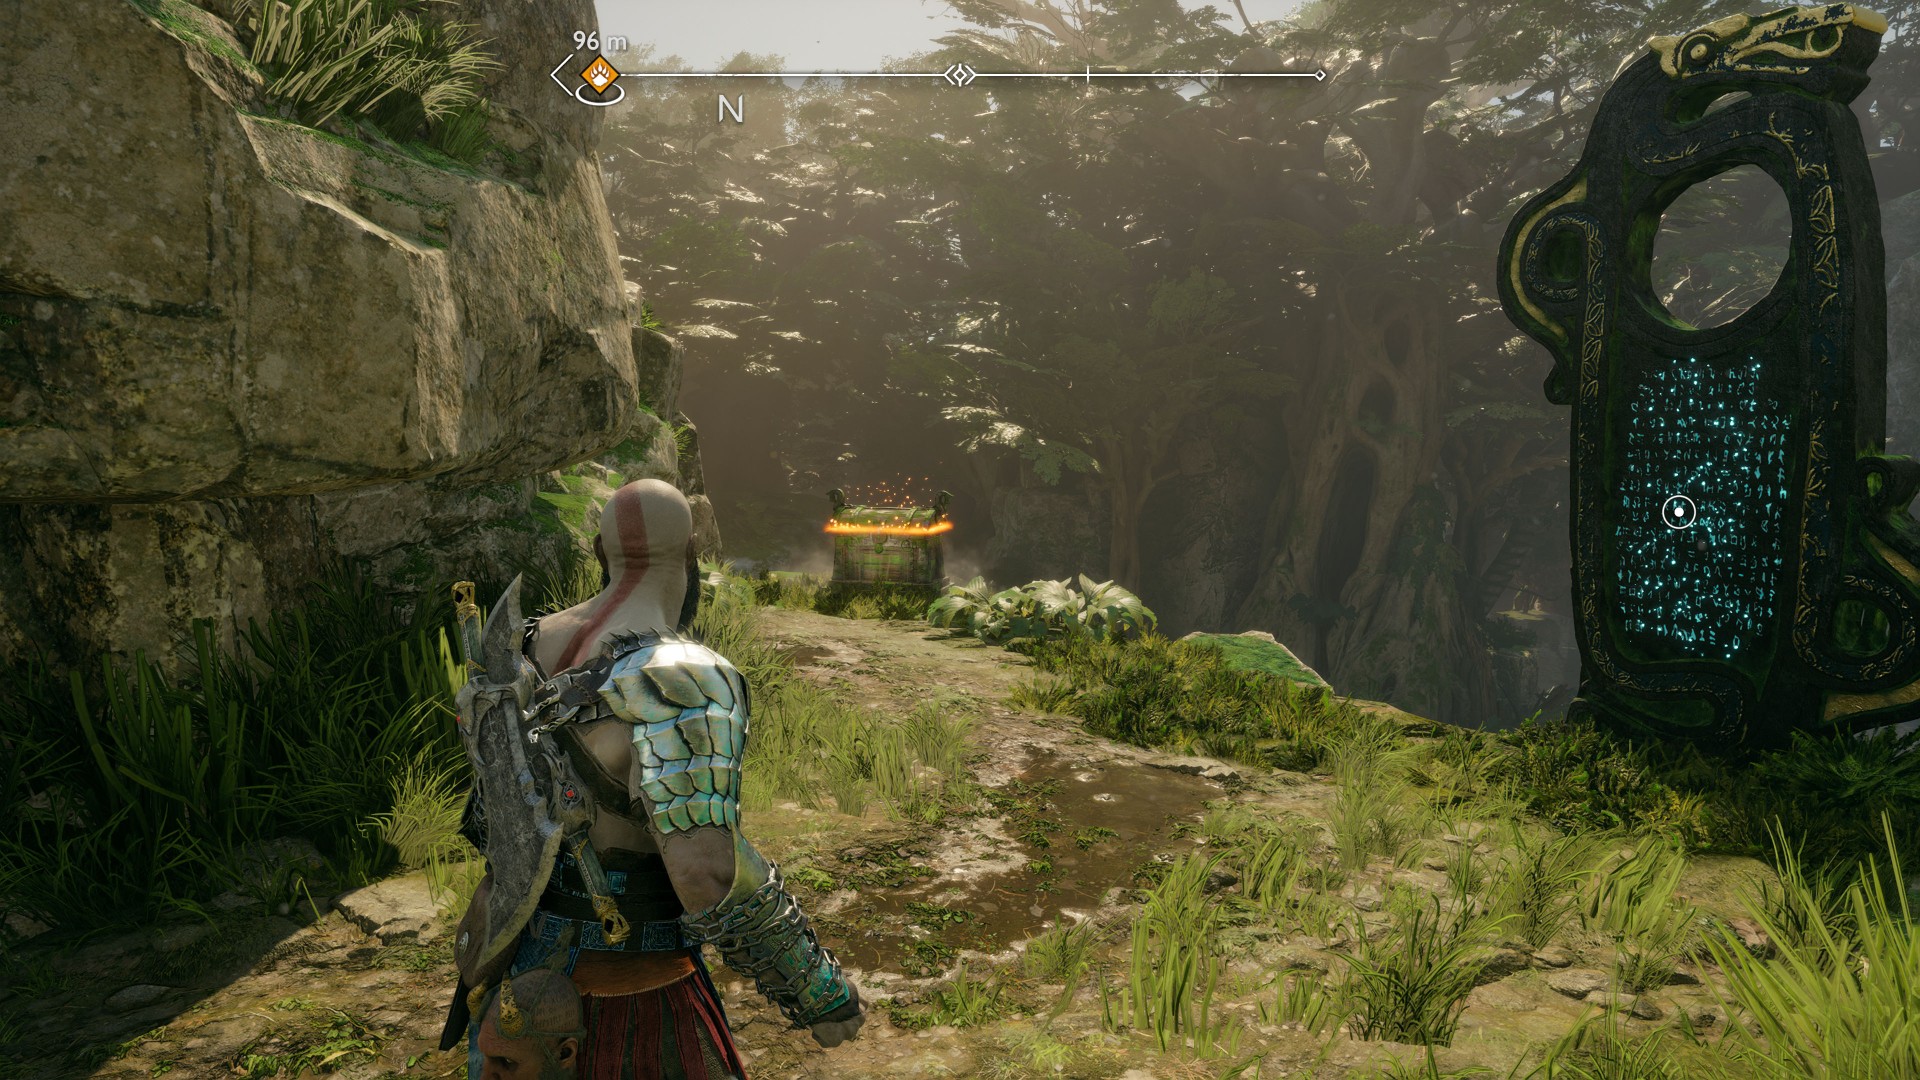
254Yellow Chest
To get to this chest you must freeze the poisonous plant. You can target it from the platform above.
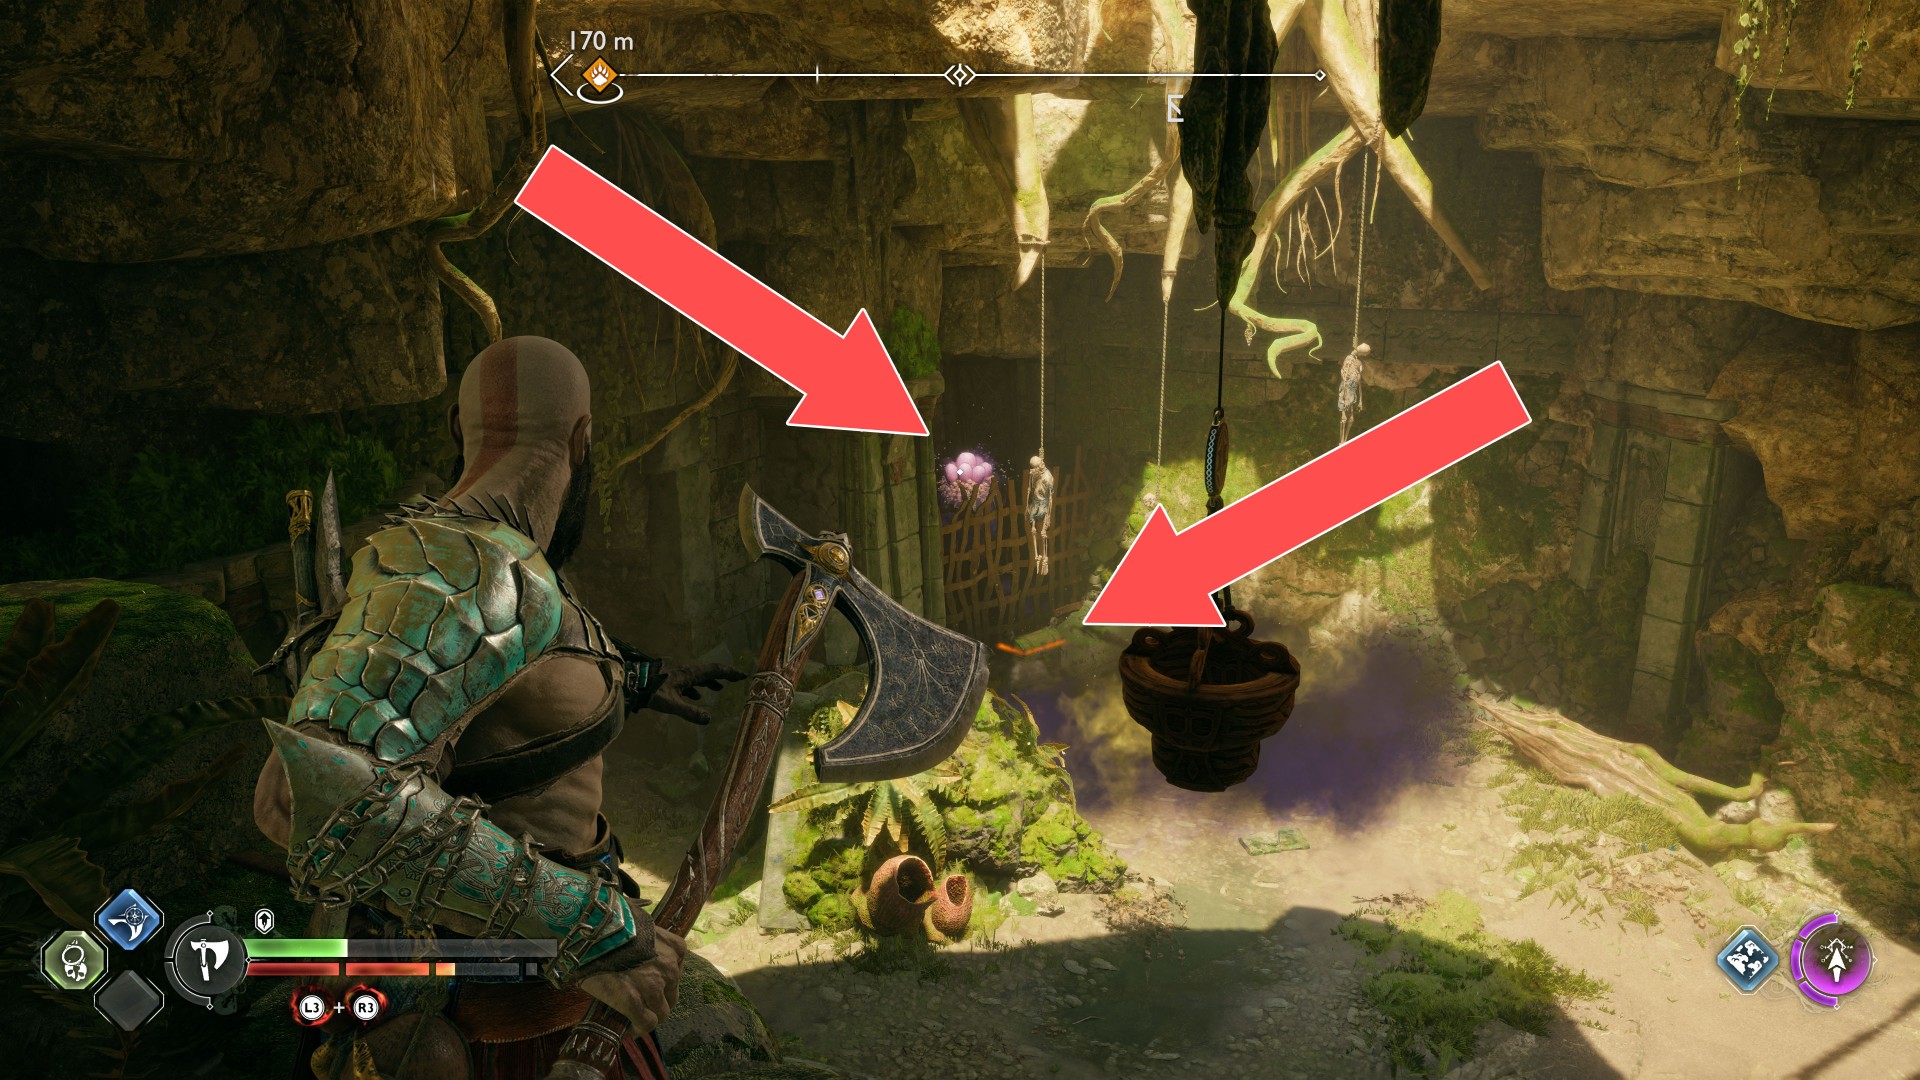
255Yellow Chest
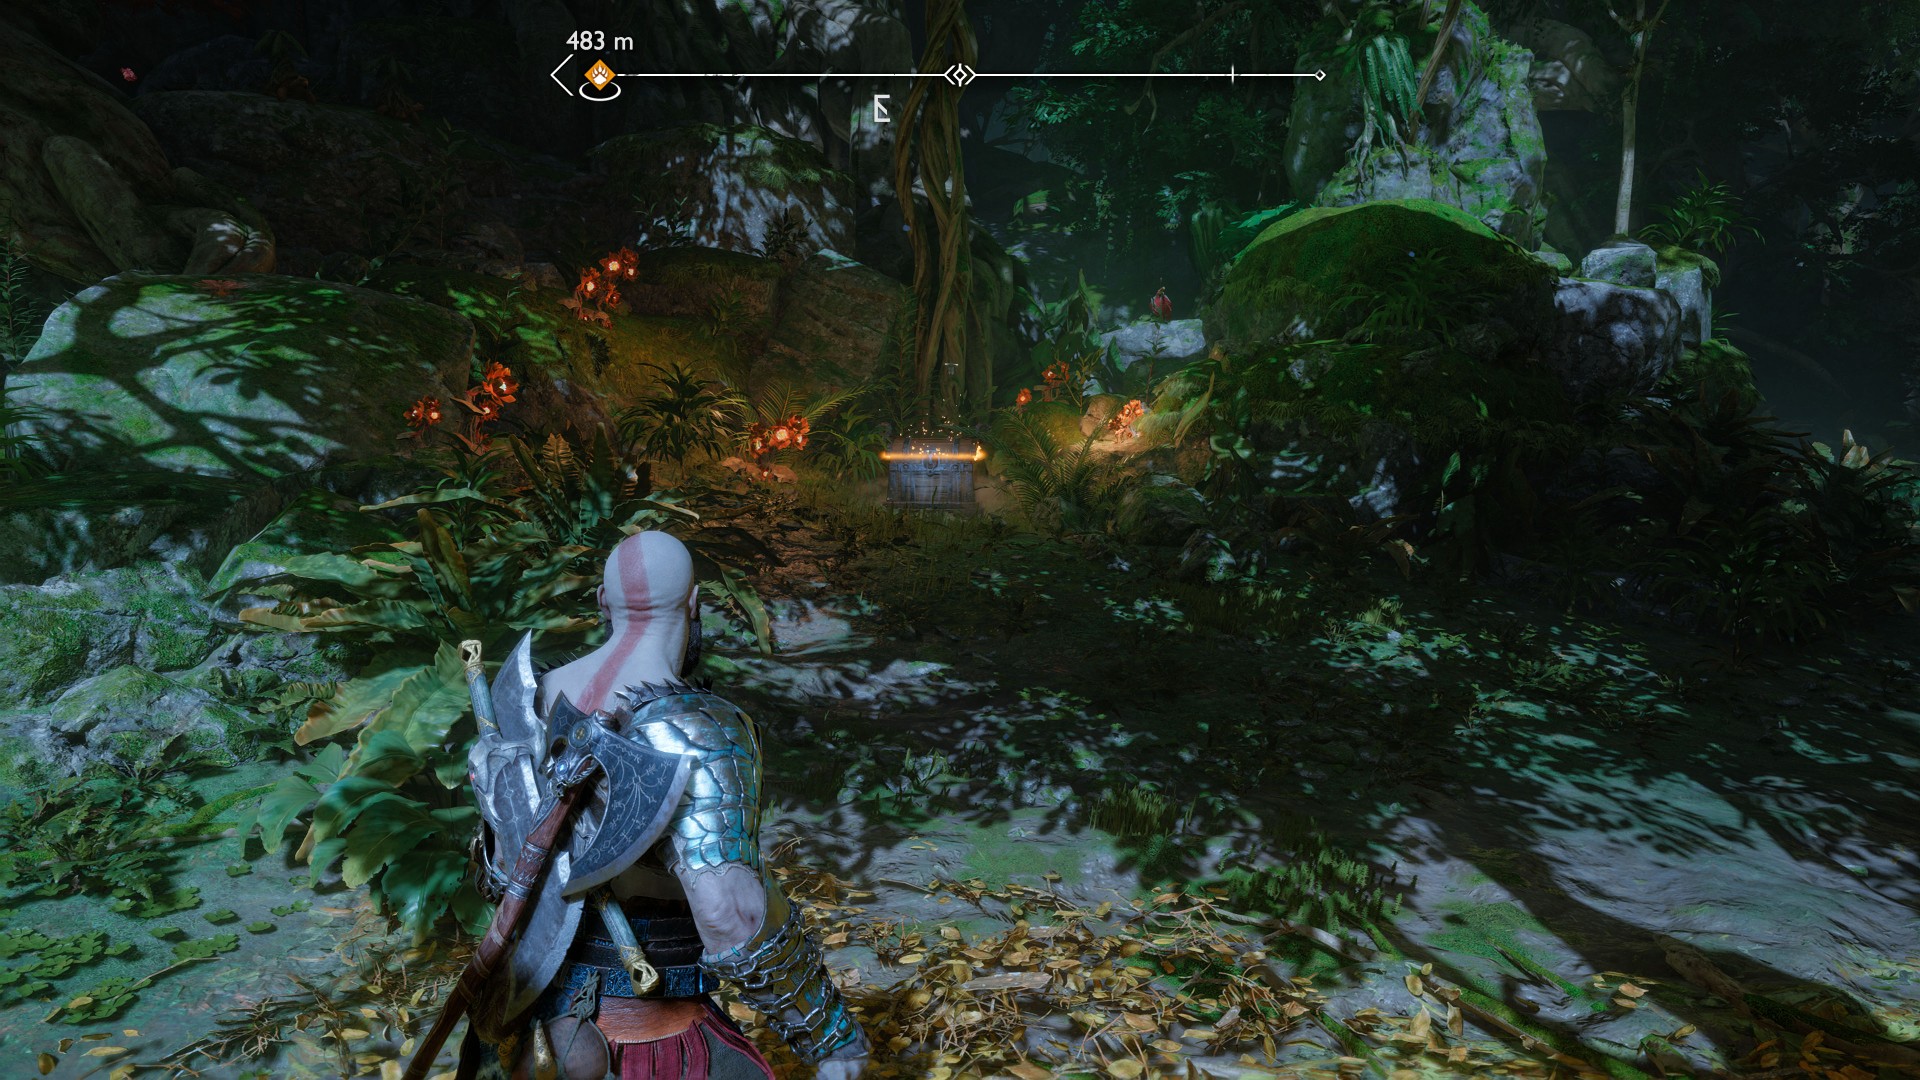
256Yellow Chest
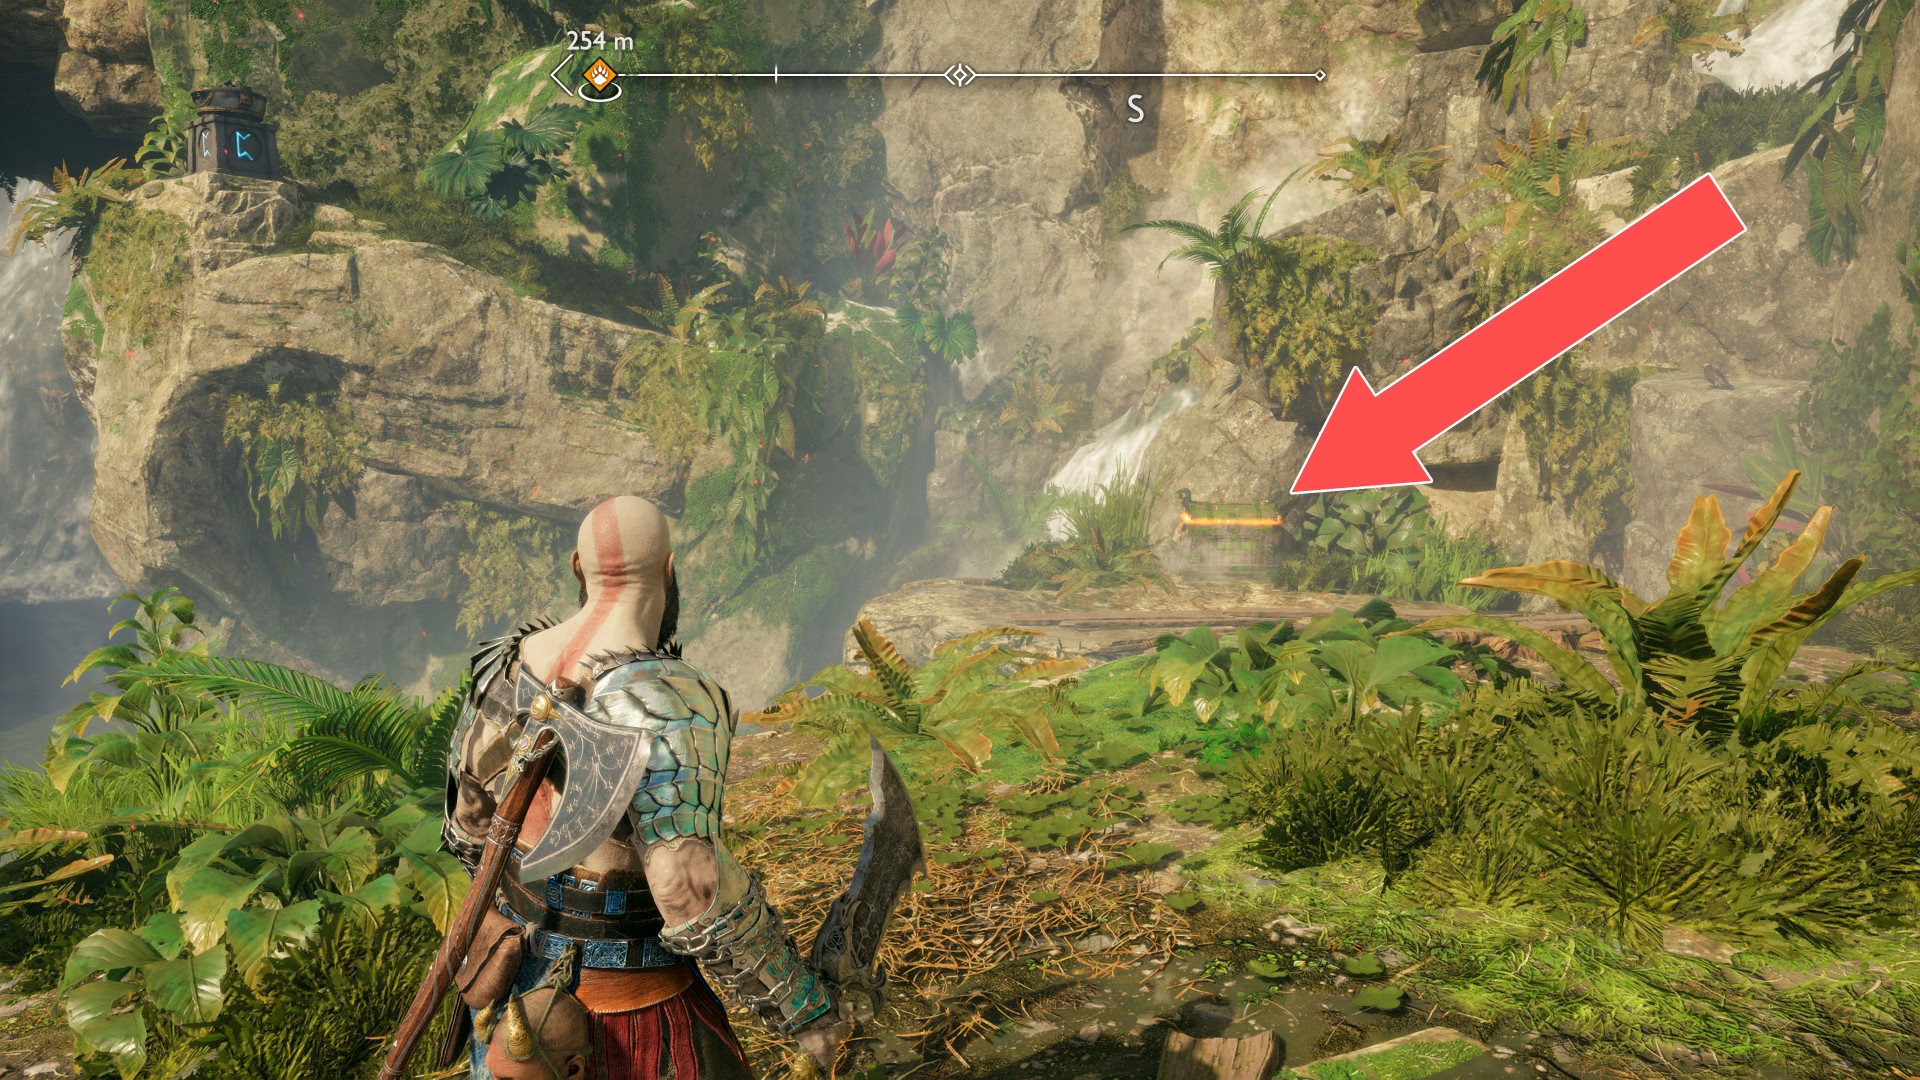
Locations on Helheim
257Red Chest
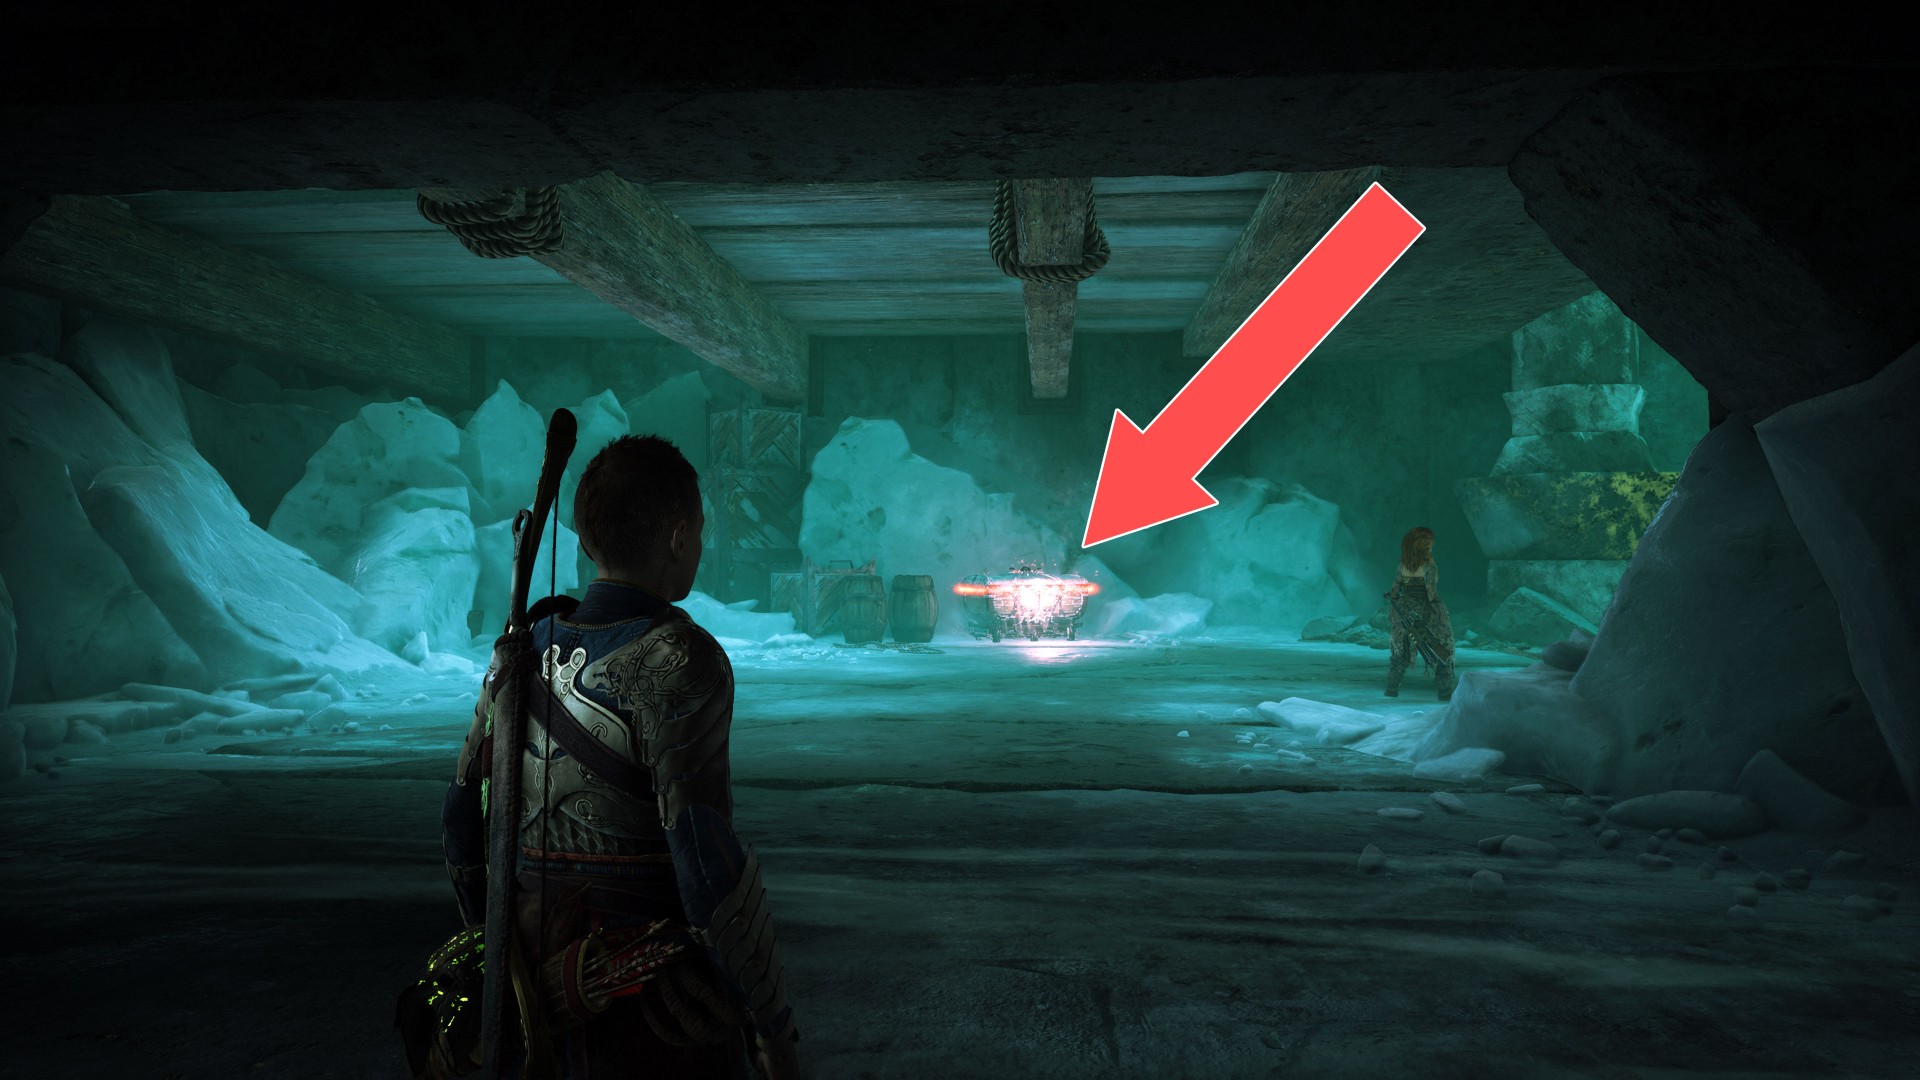
258Red Chest
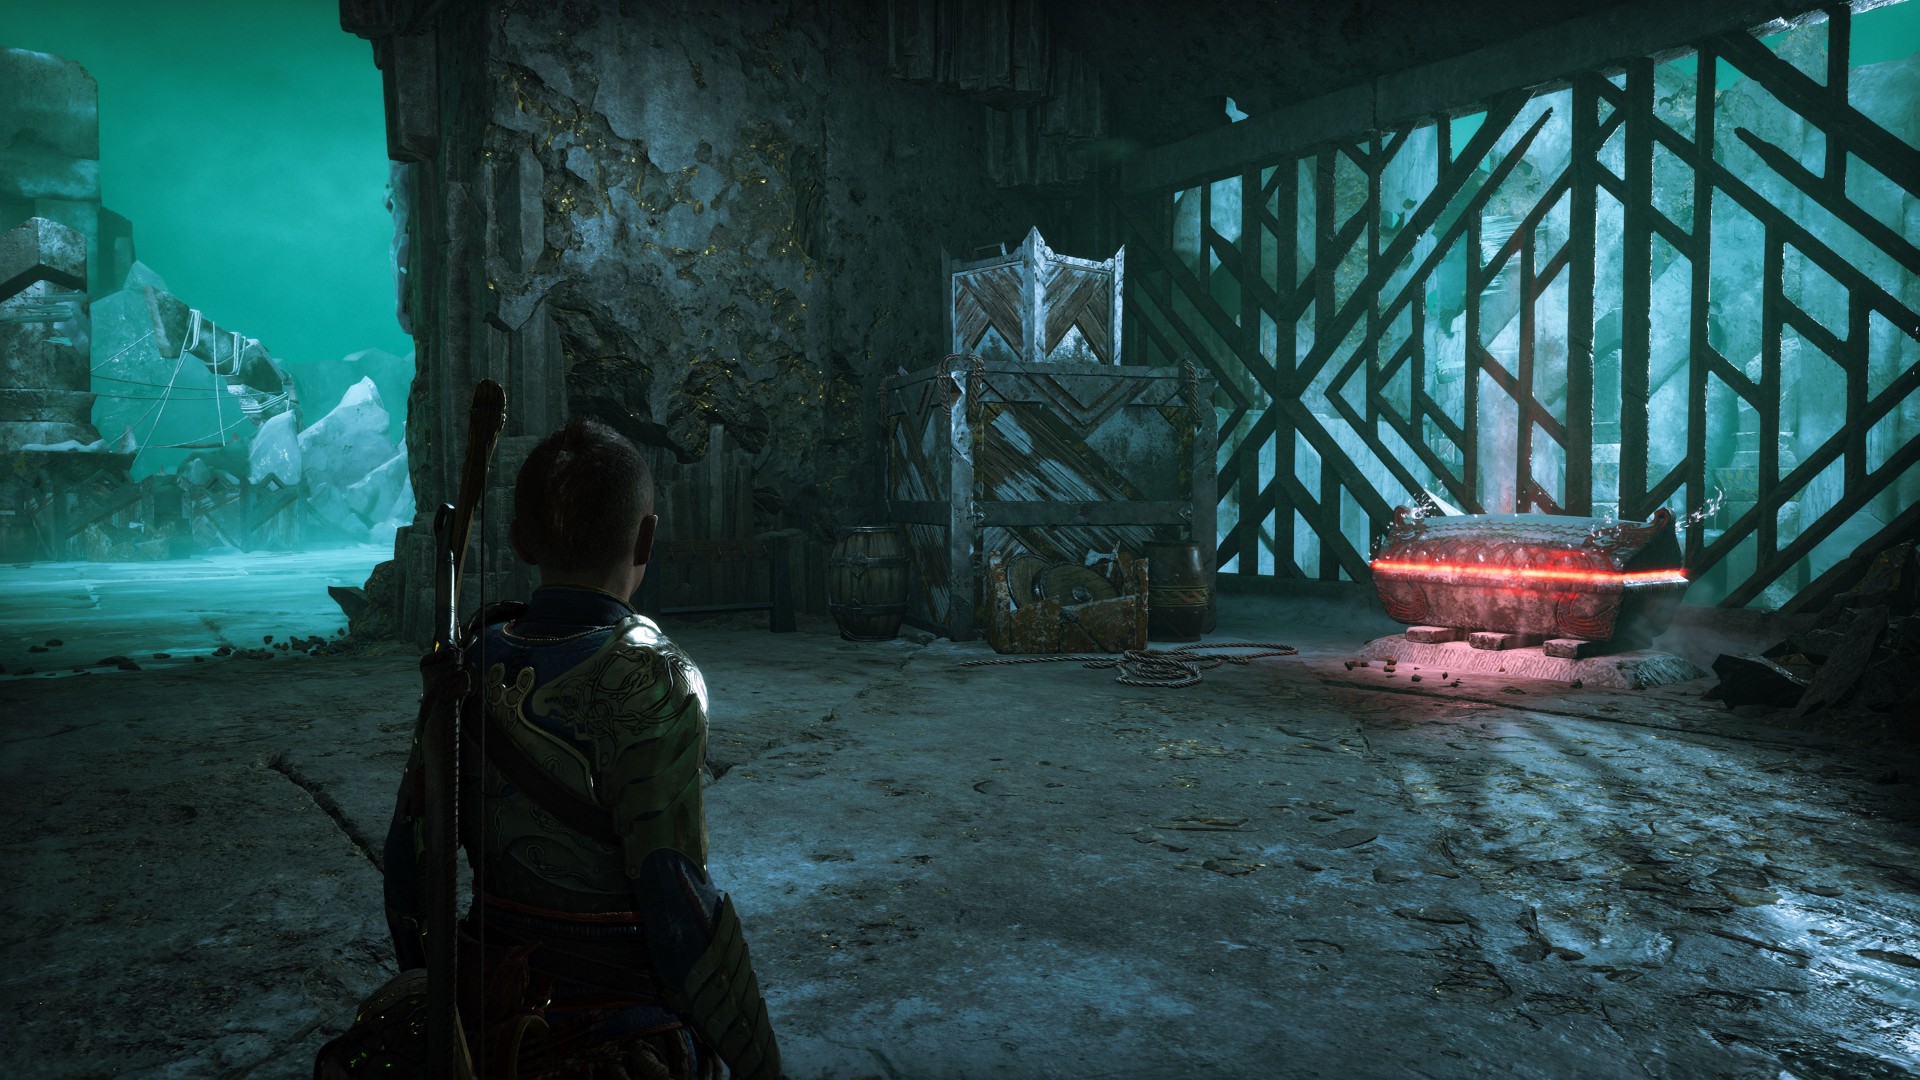
259Red Chest
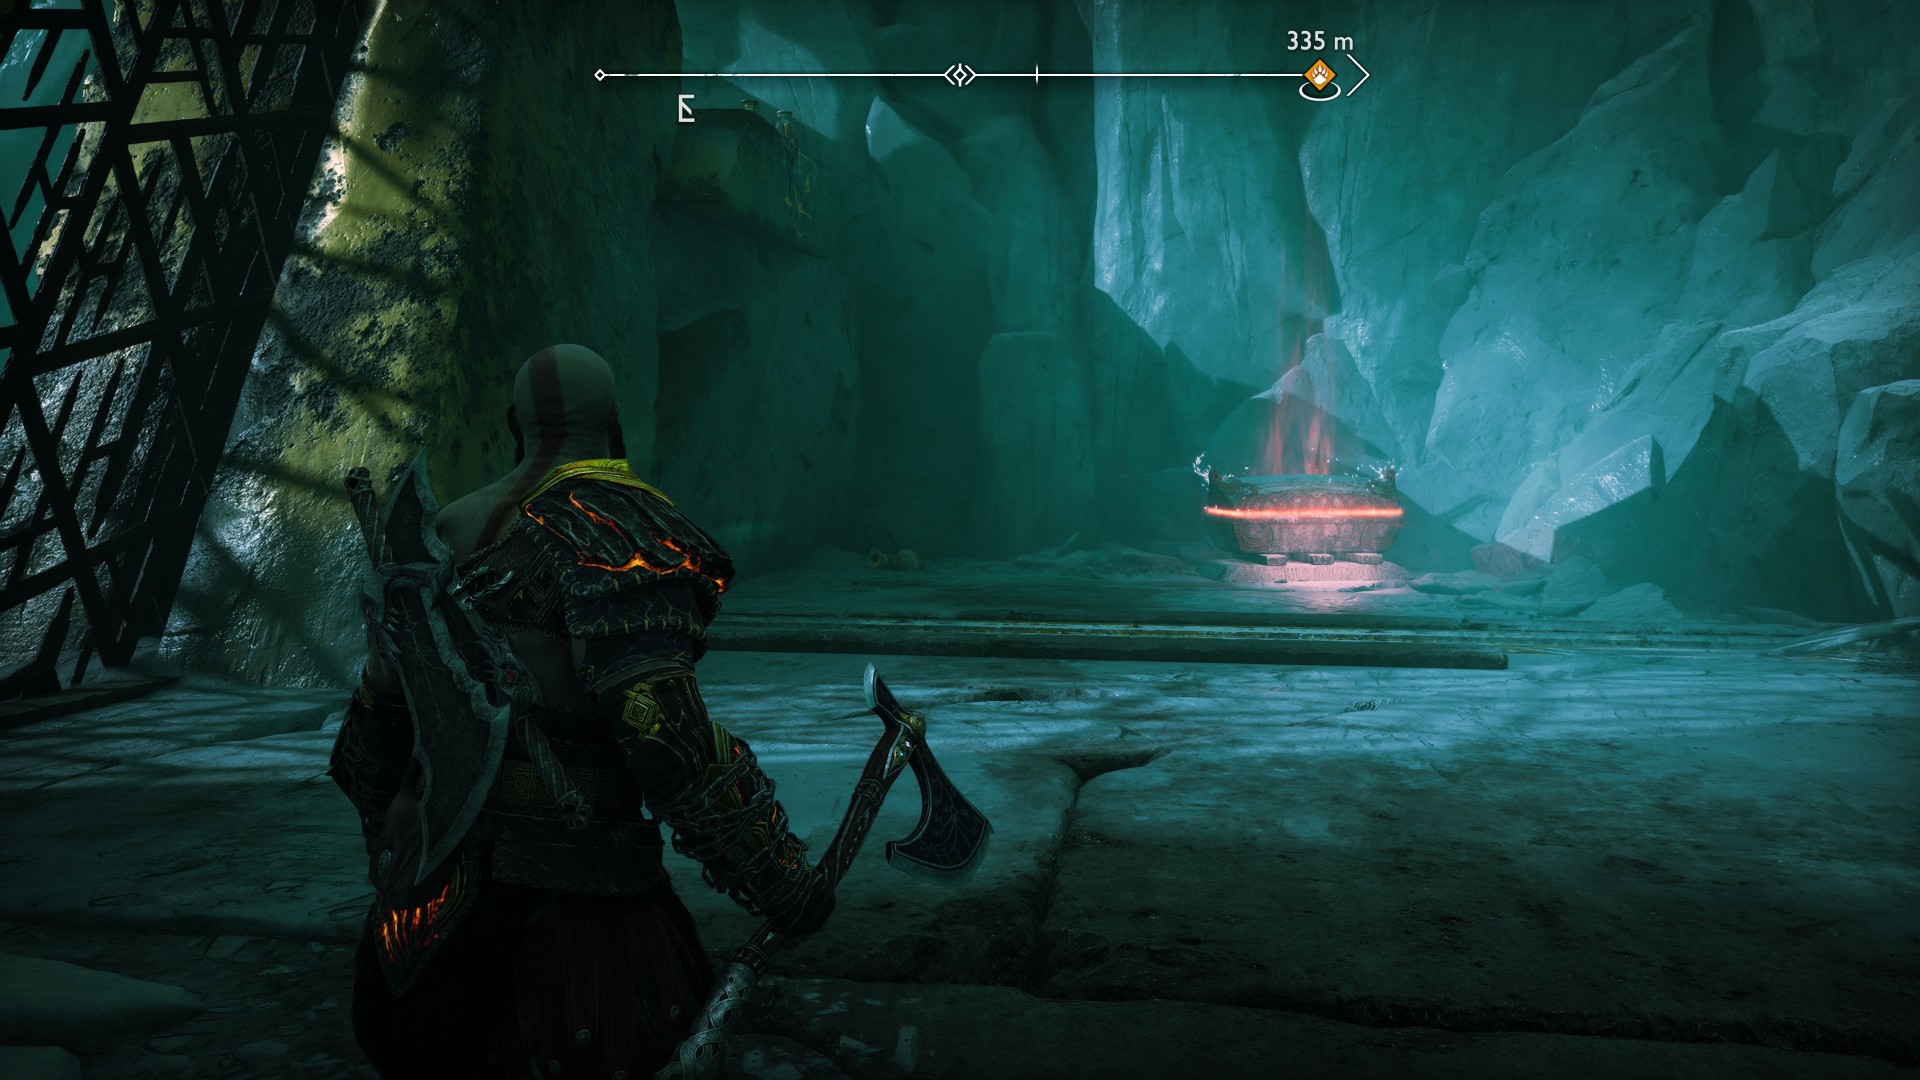
260Red Chest
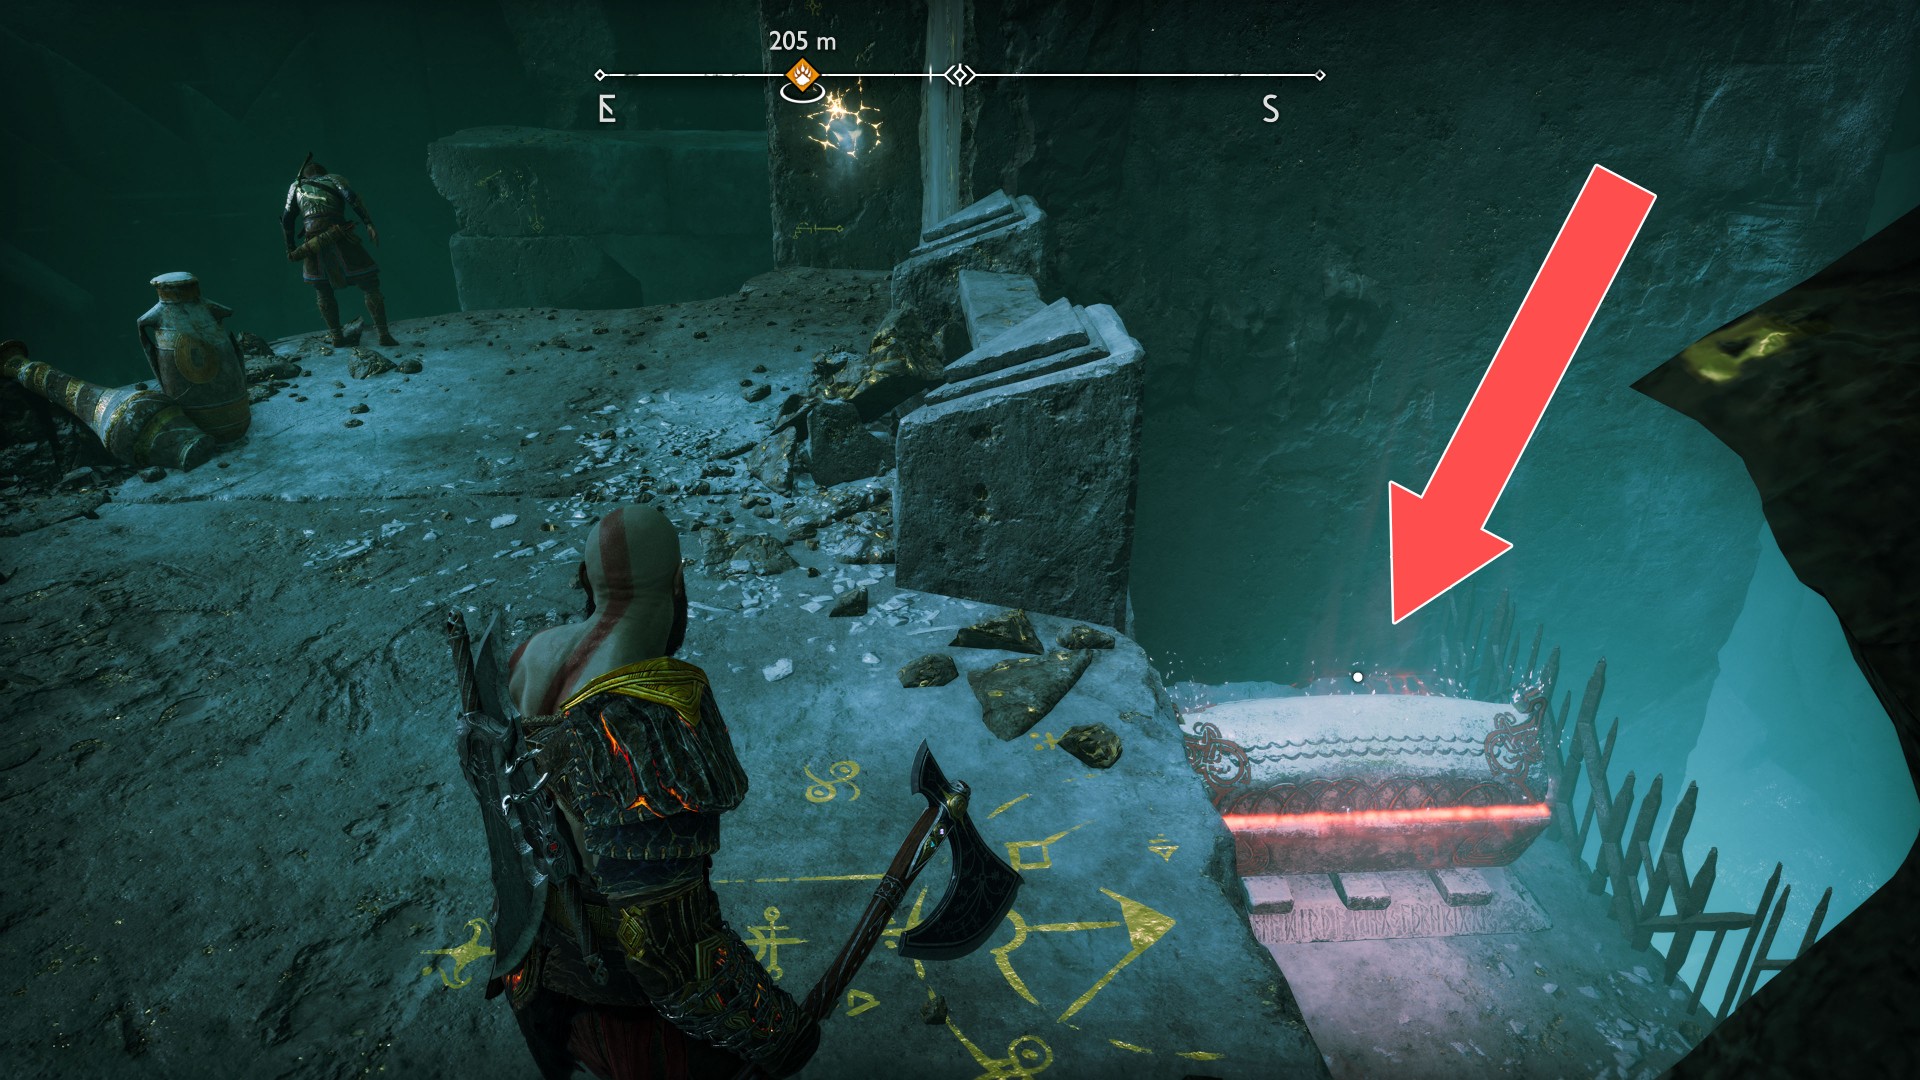
261Yellow Chest
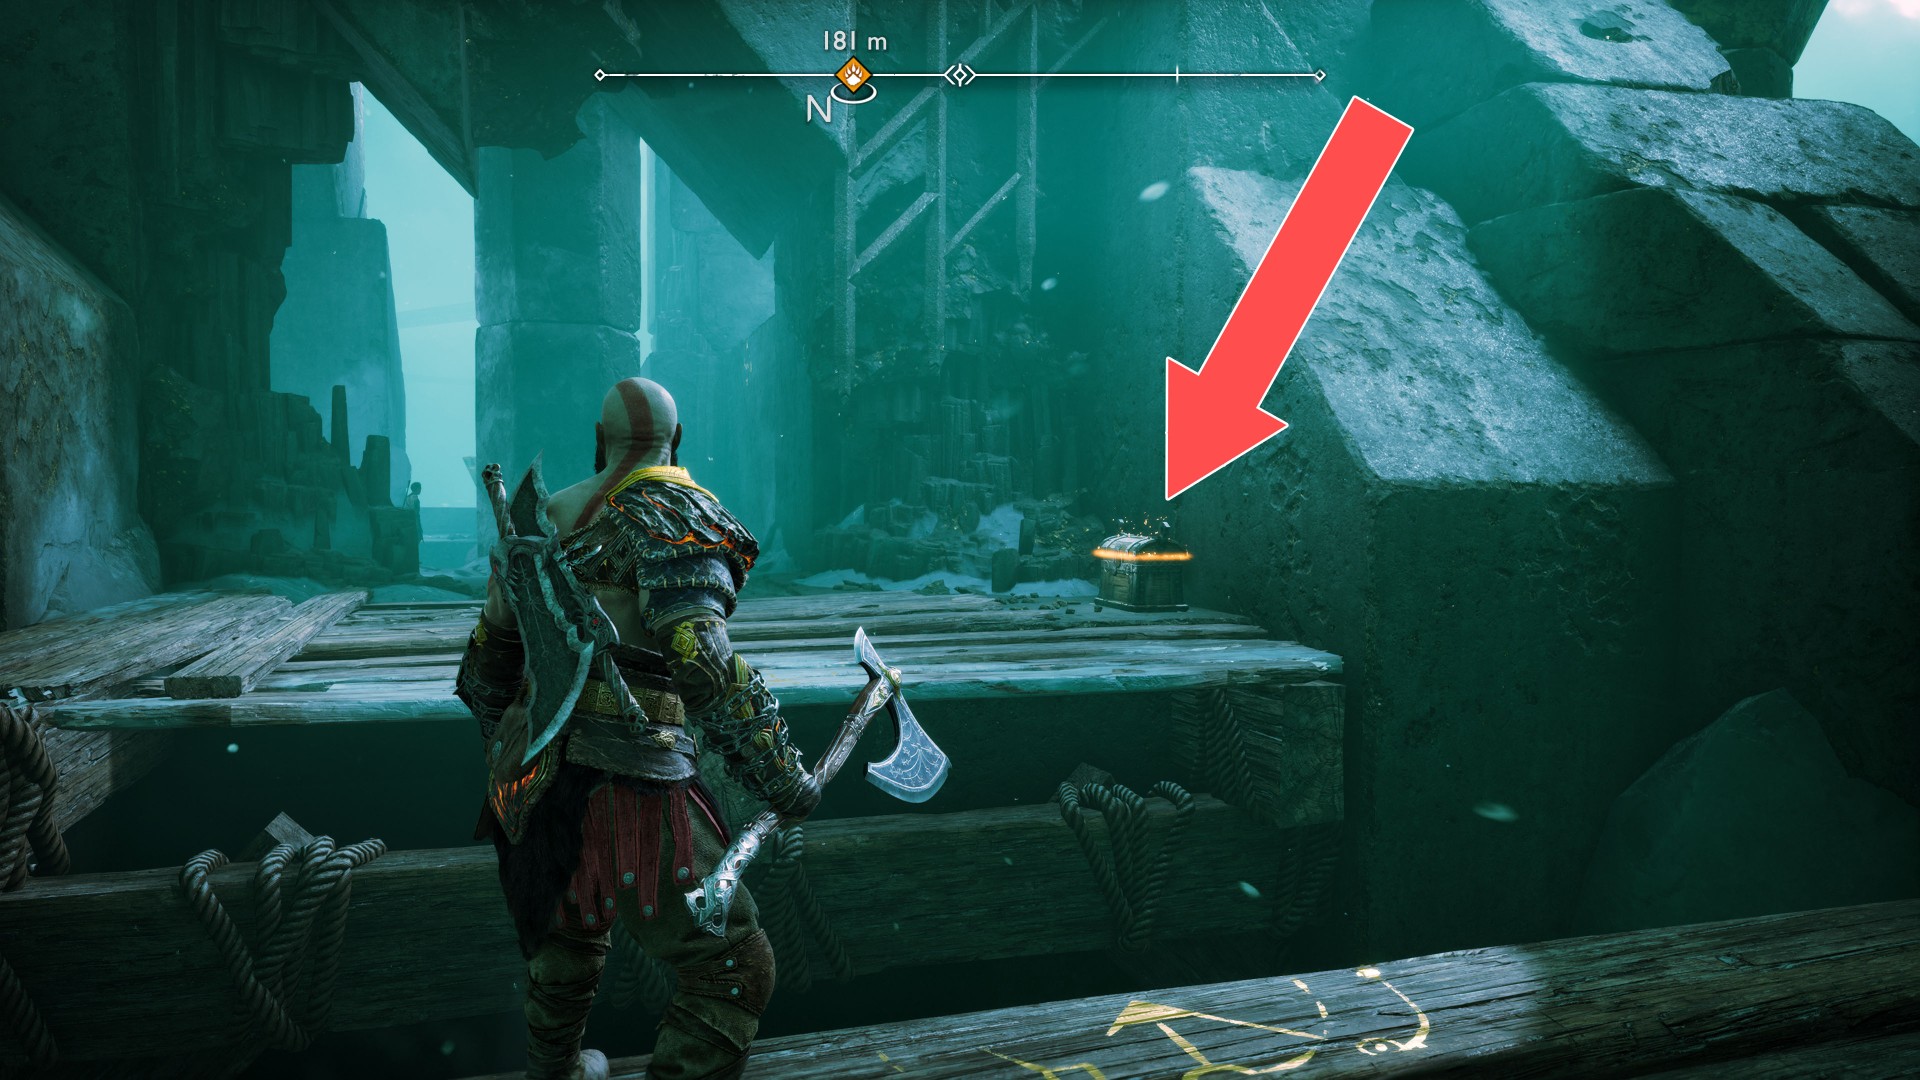
262Yellow Chest
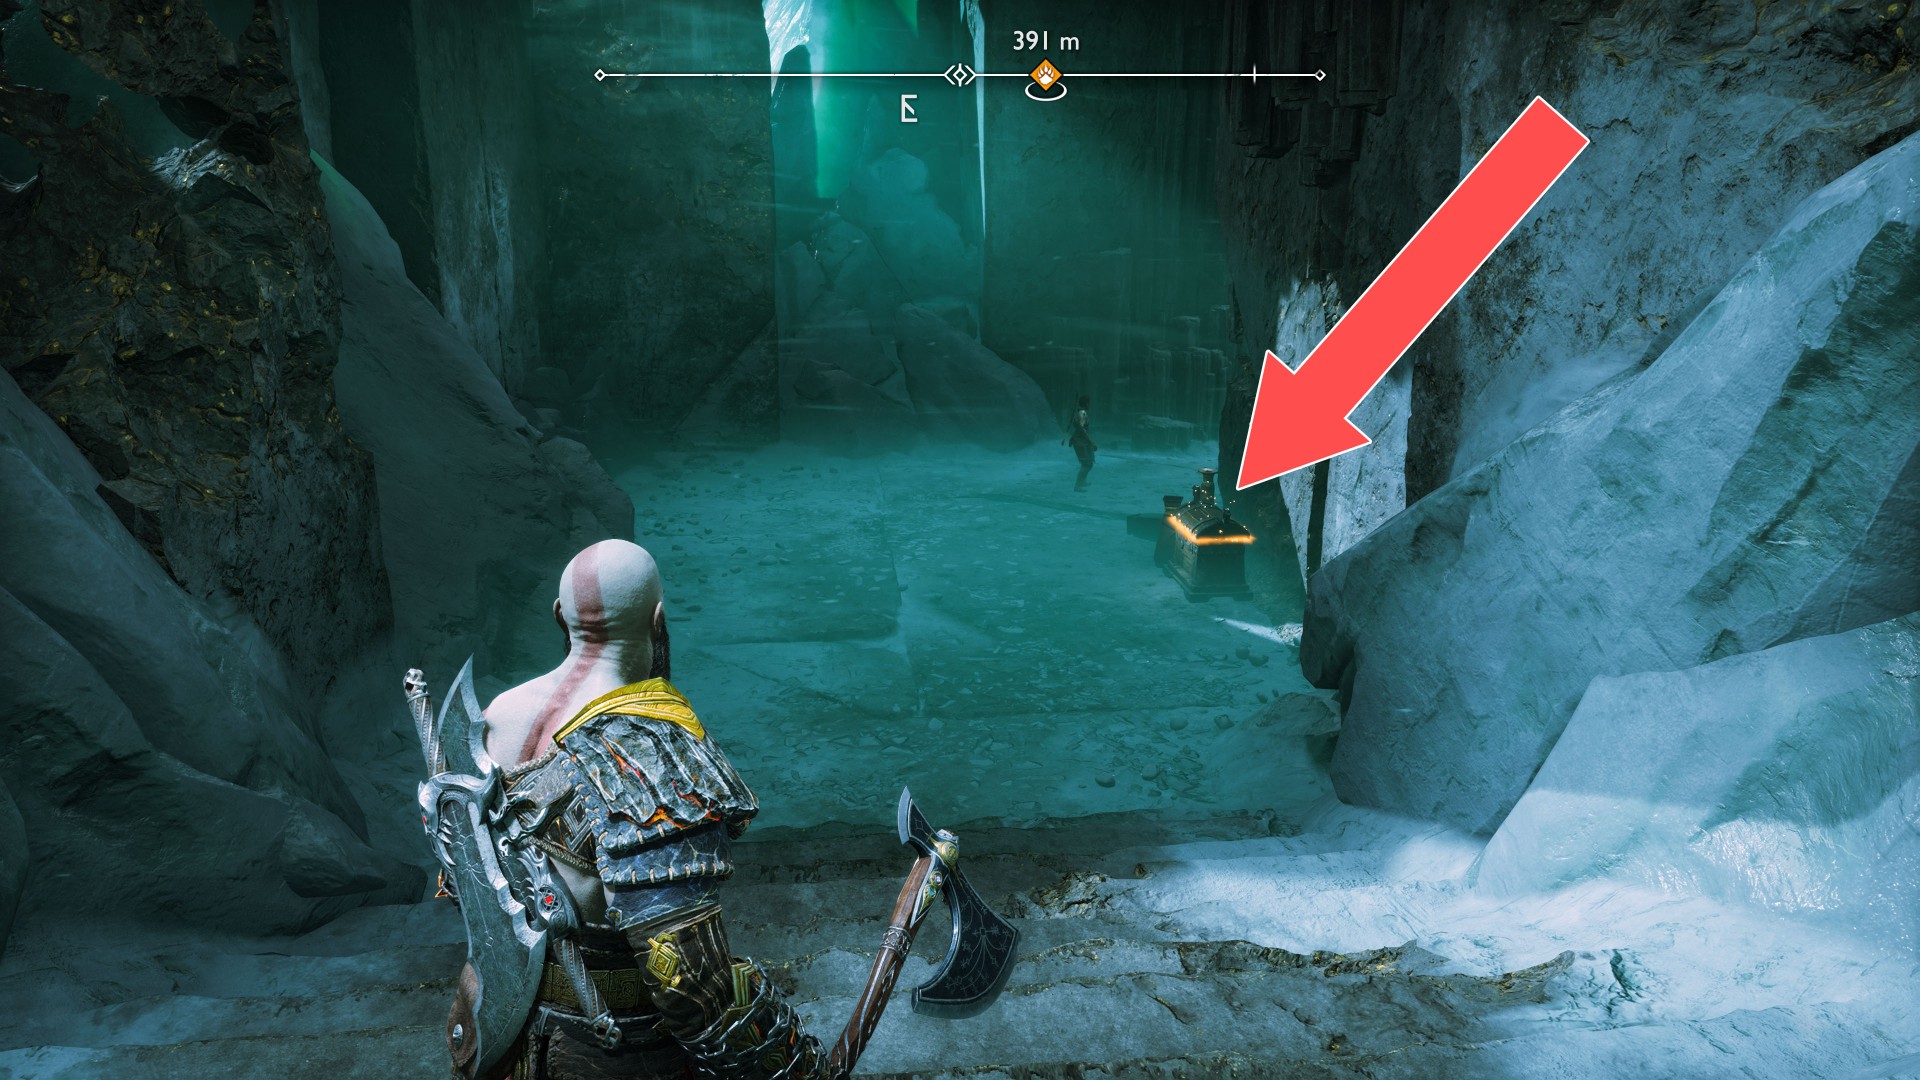
263Yellow Chest
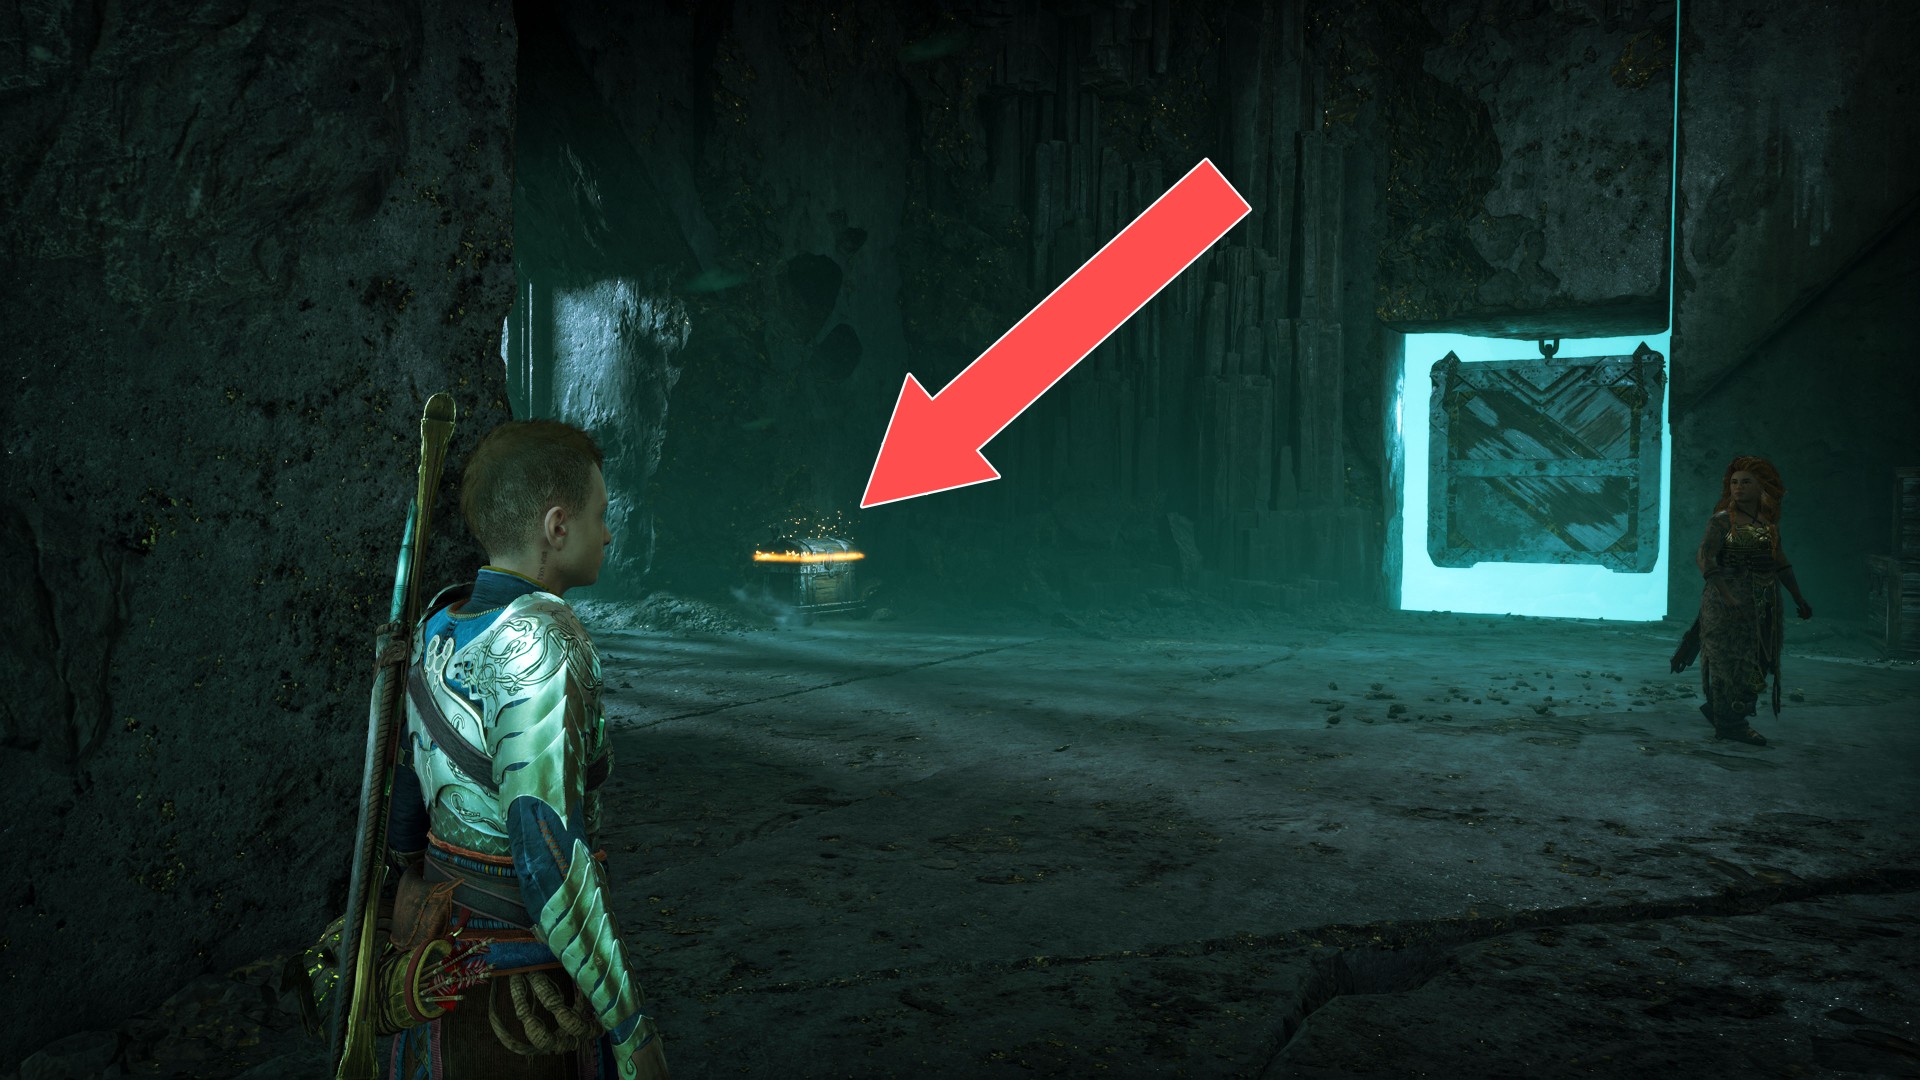
264Yellow Chest
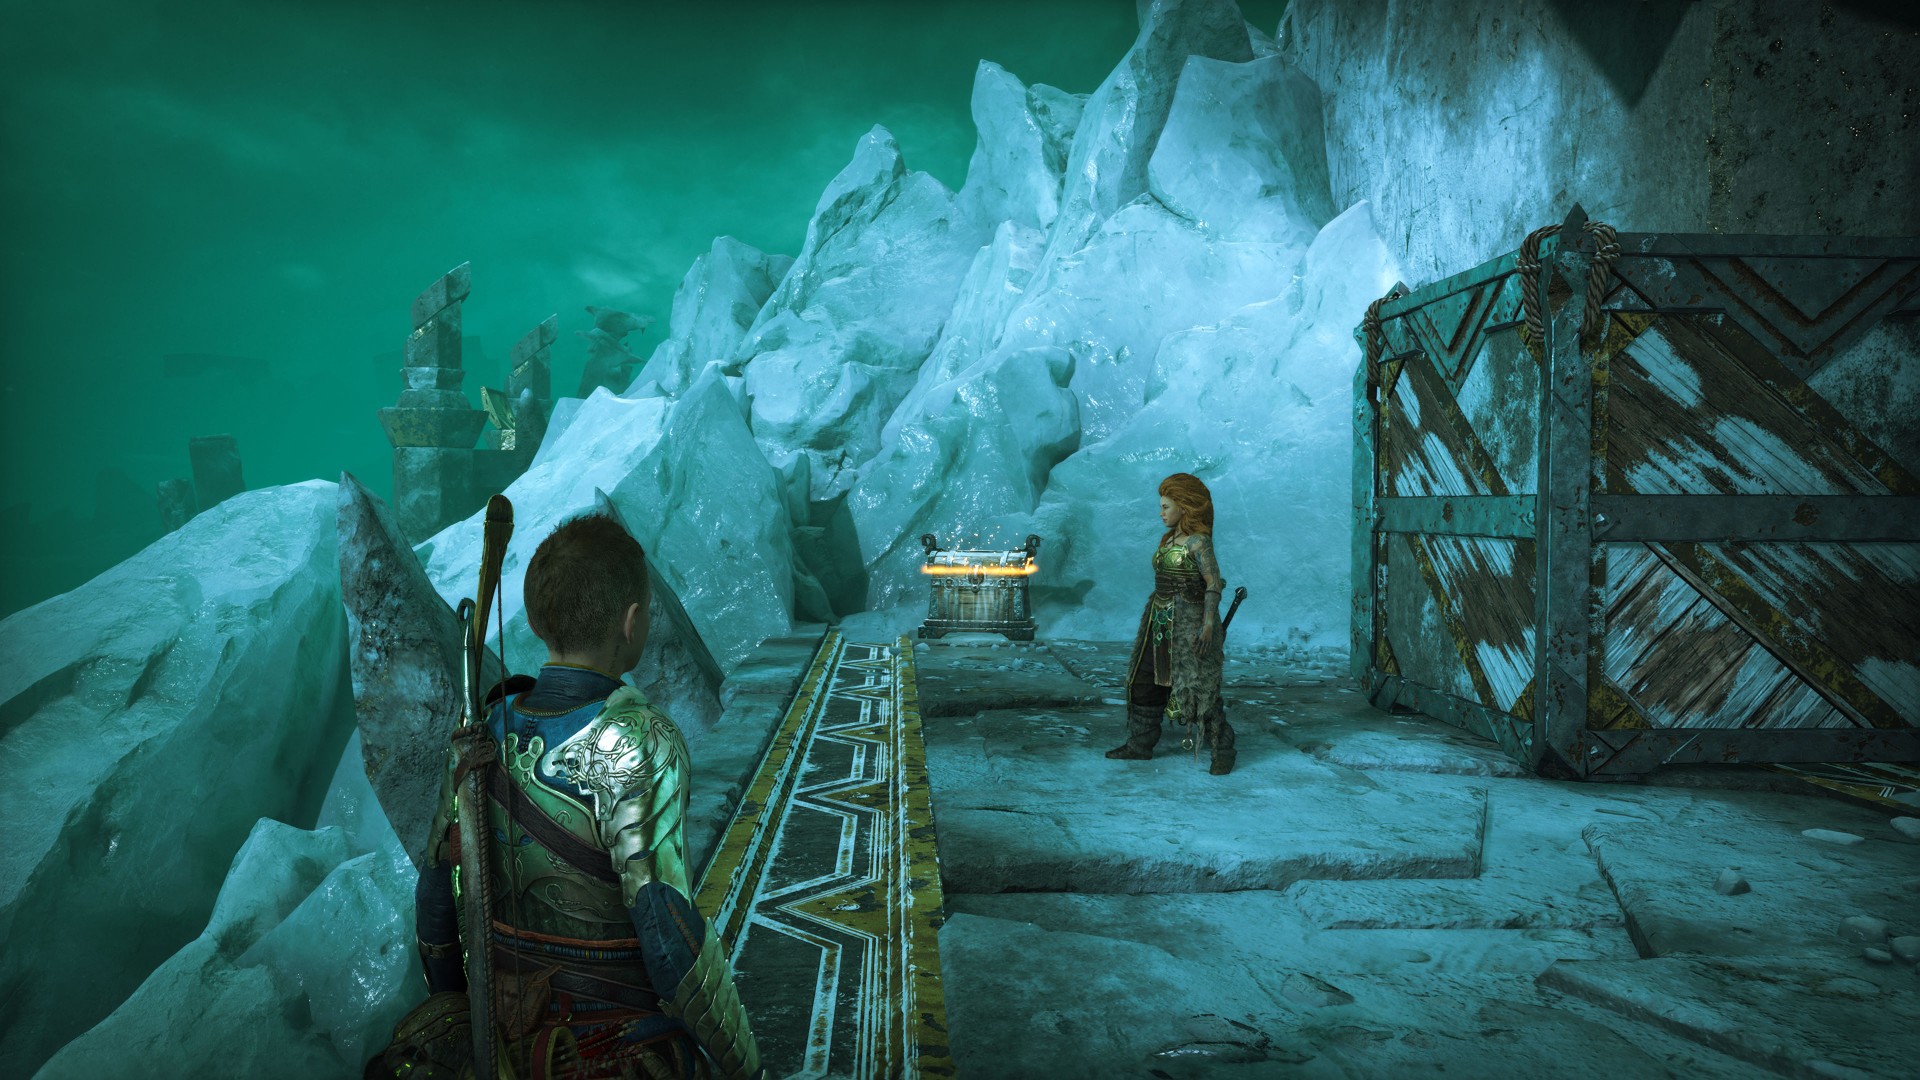
265Yellow Chest
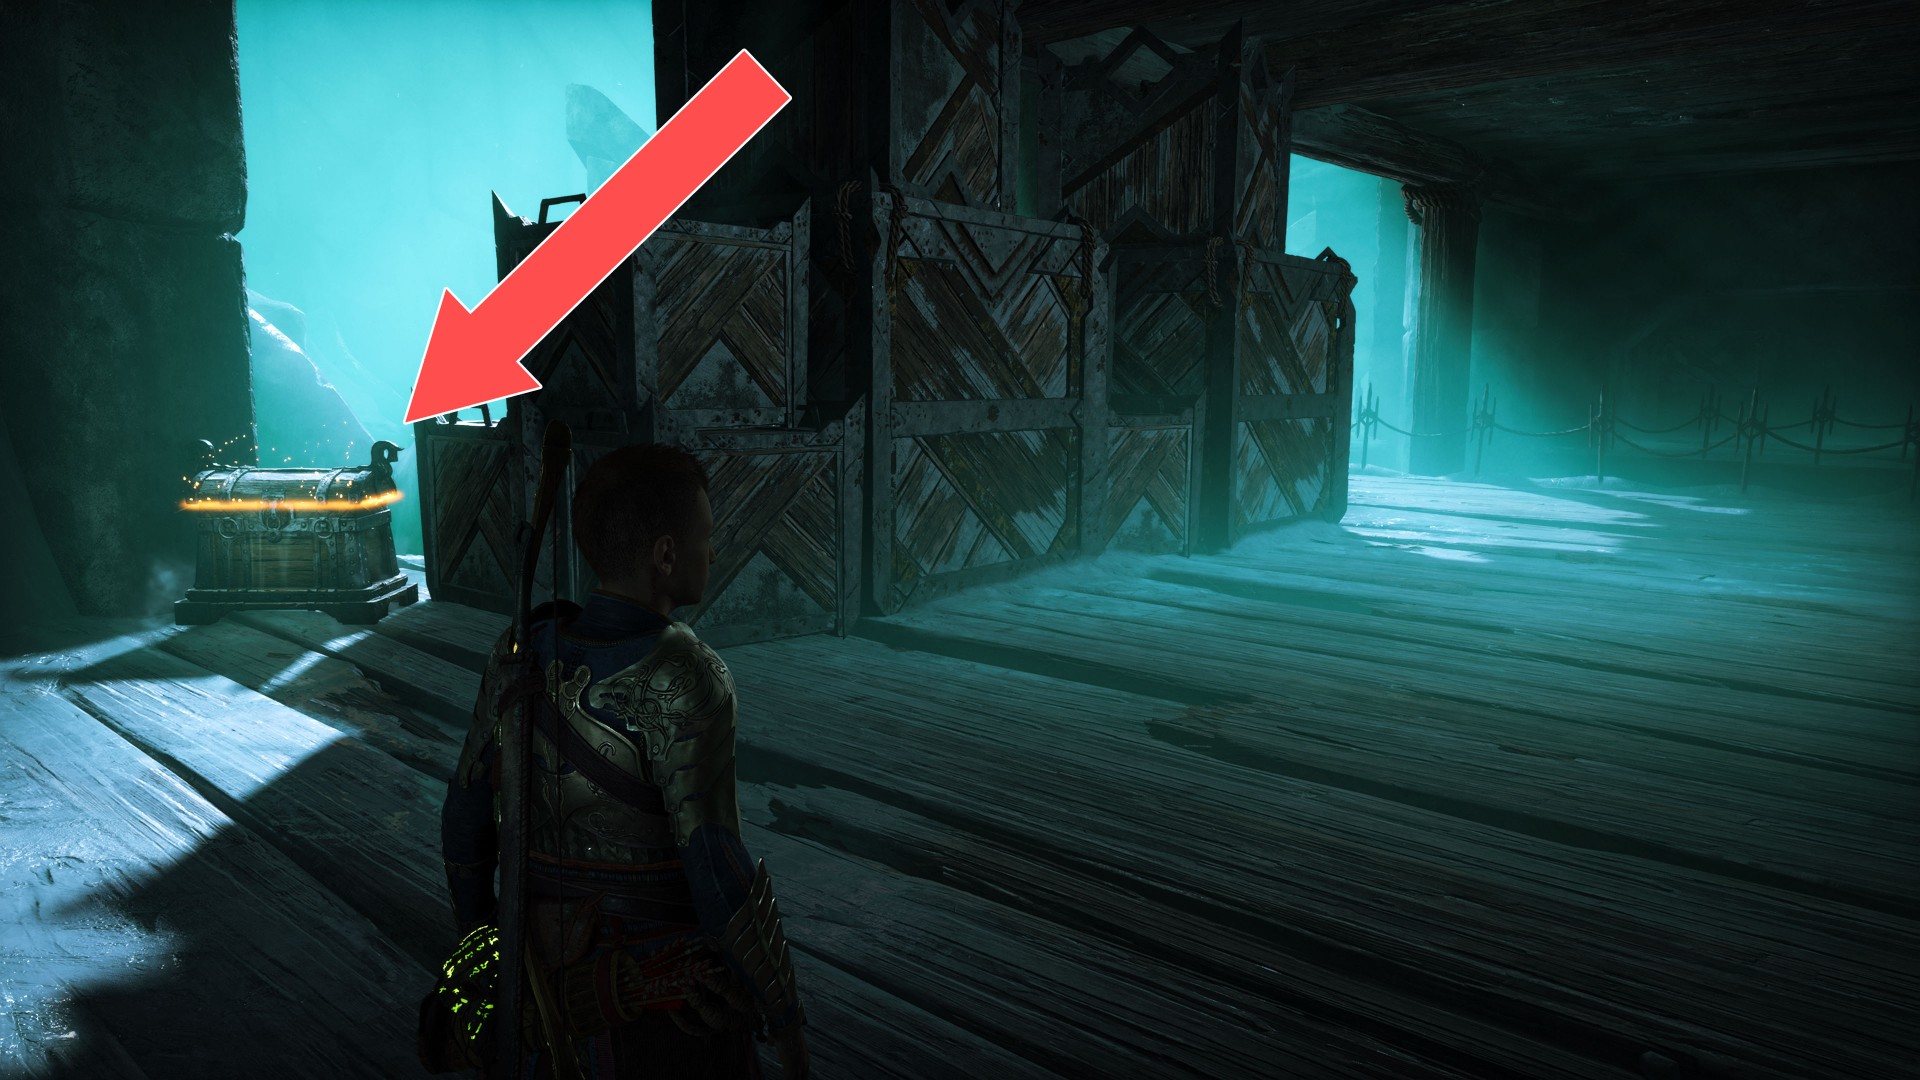
266Yellow Chest
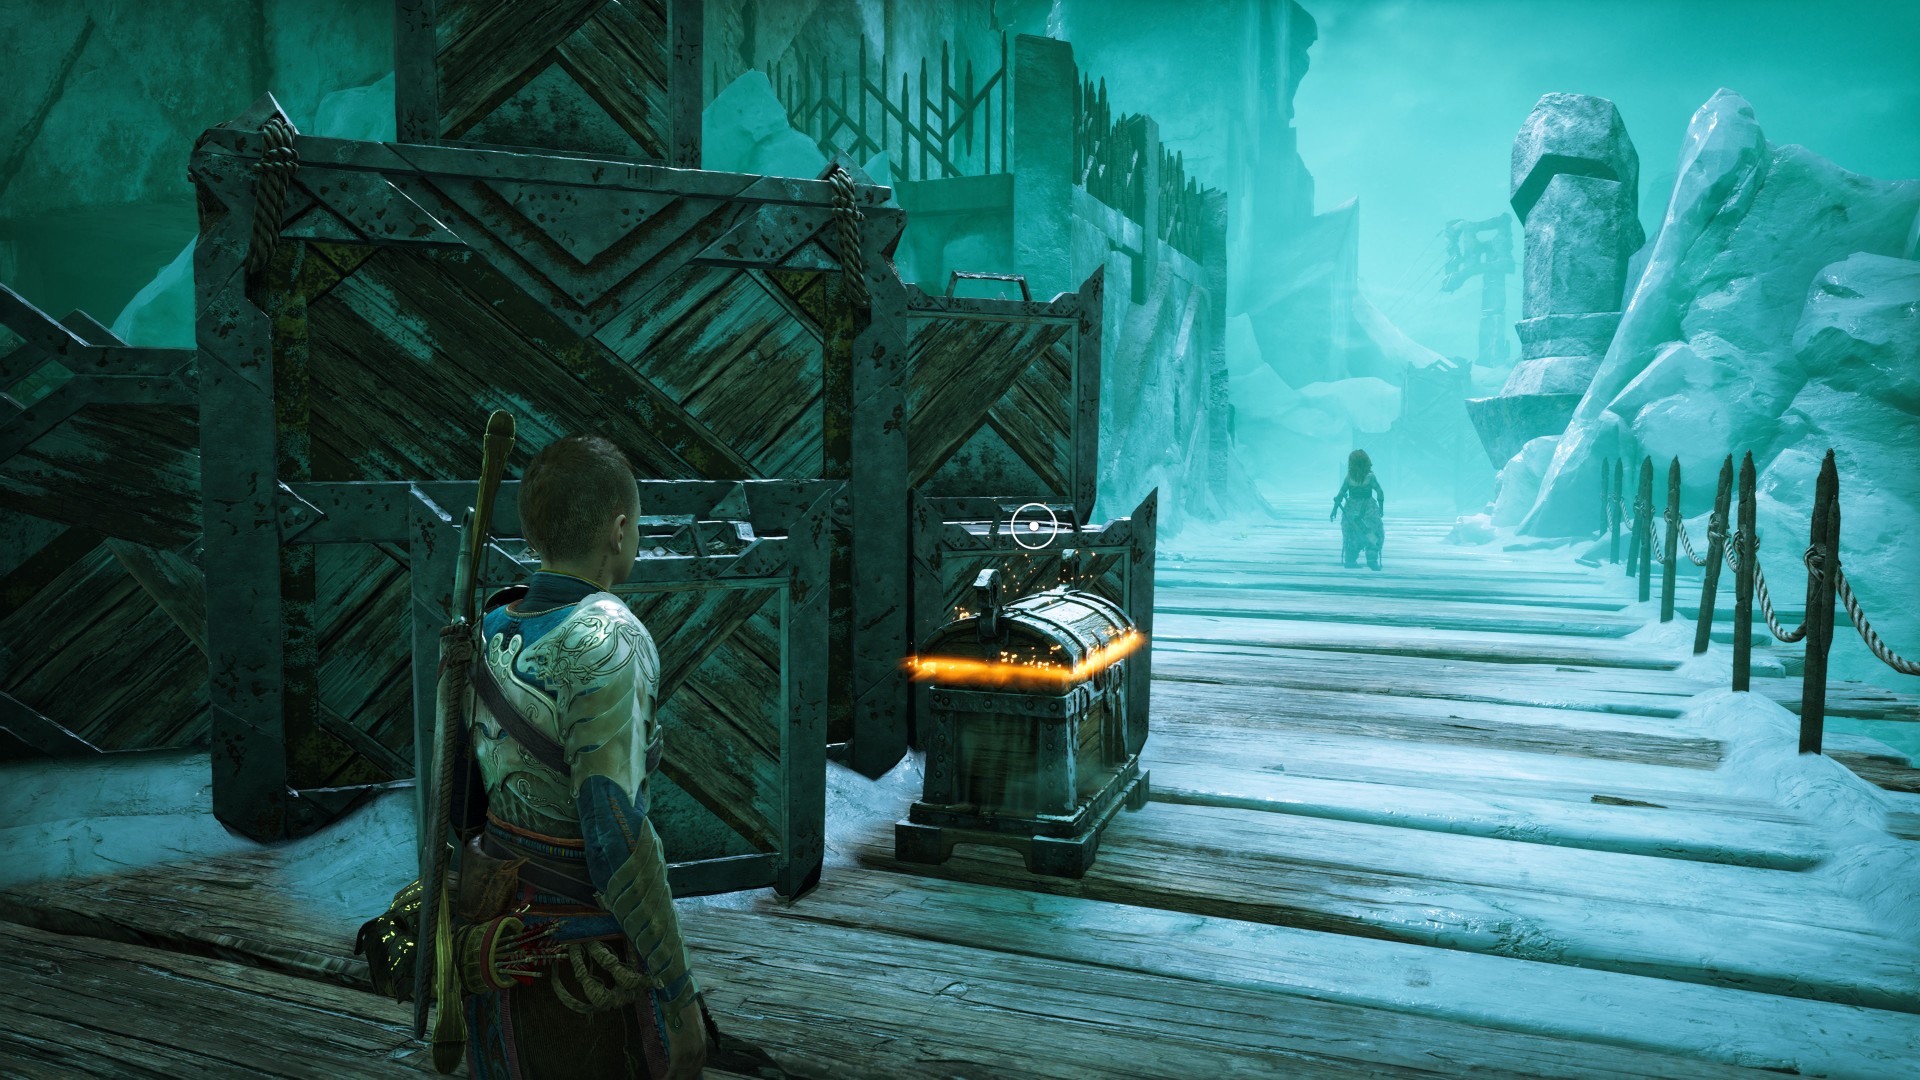
267Yellow Chest
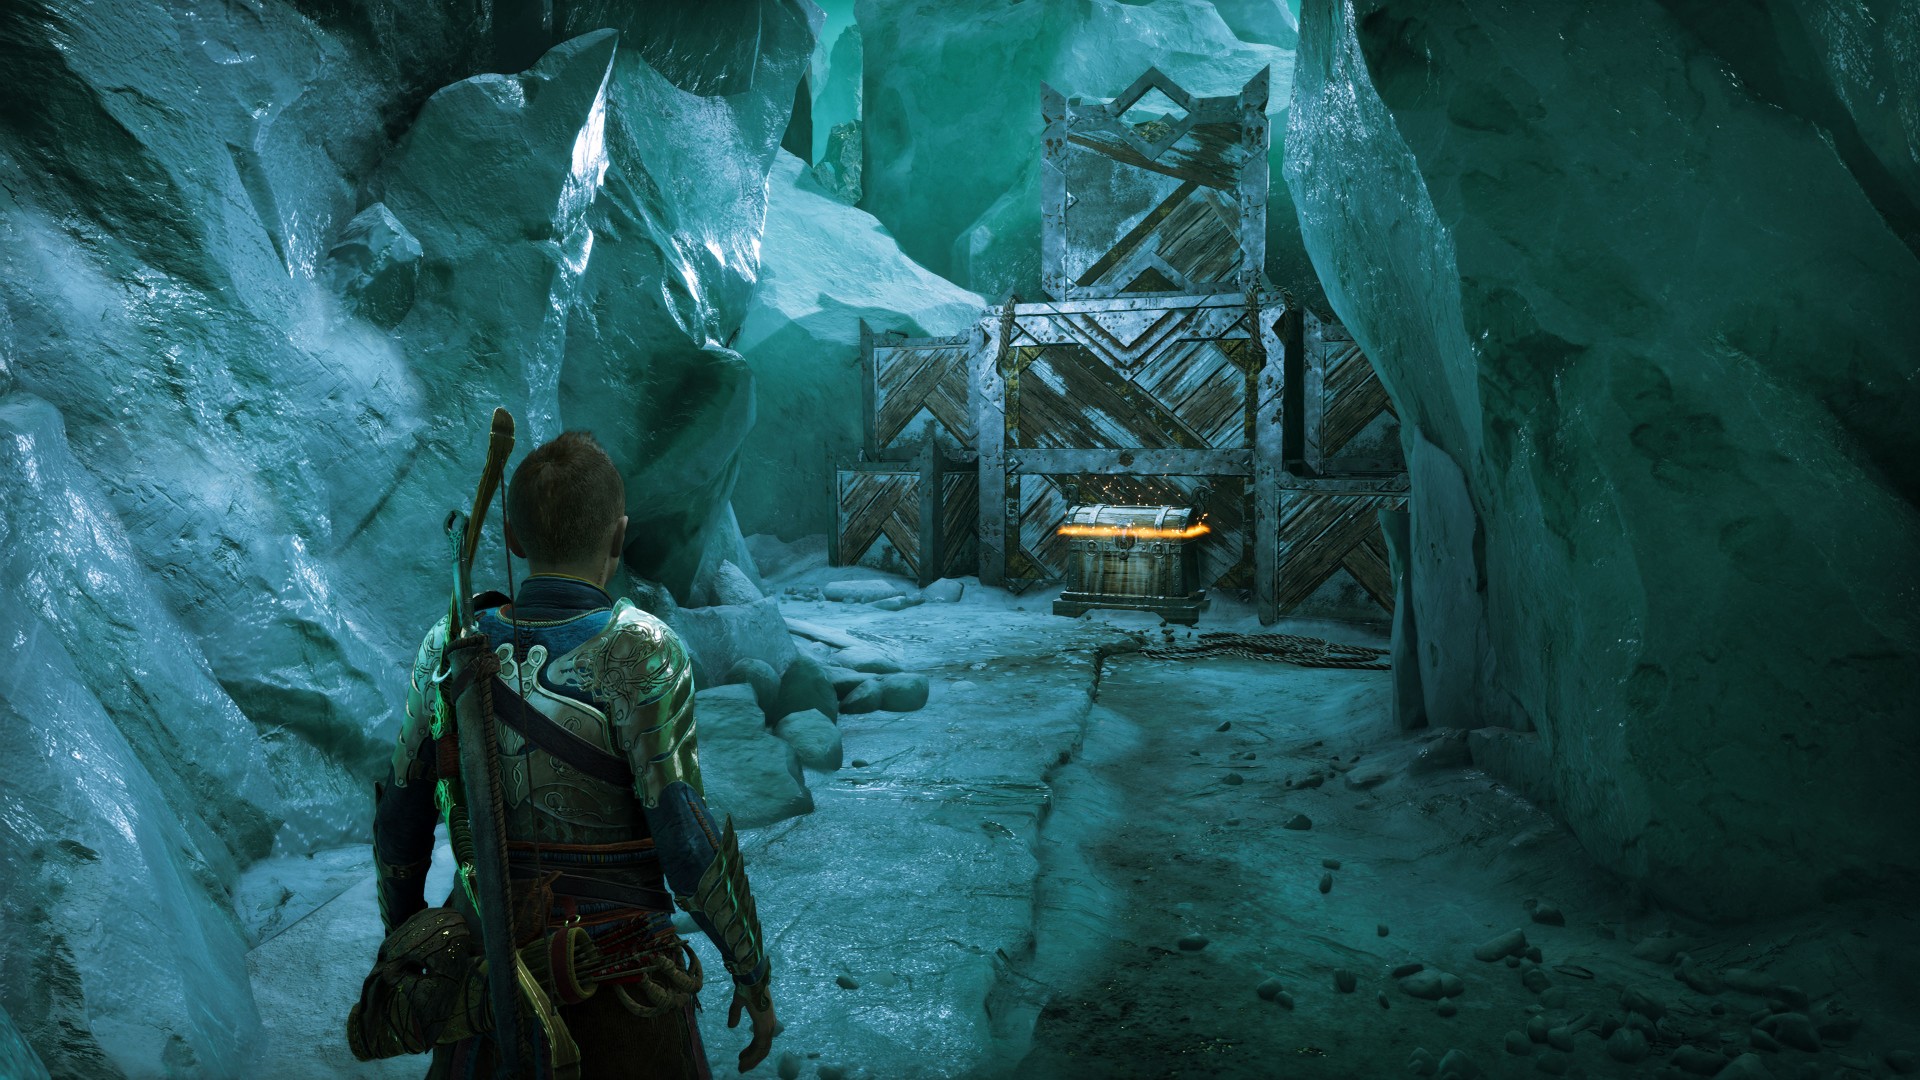
268Yellow Chest
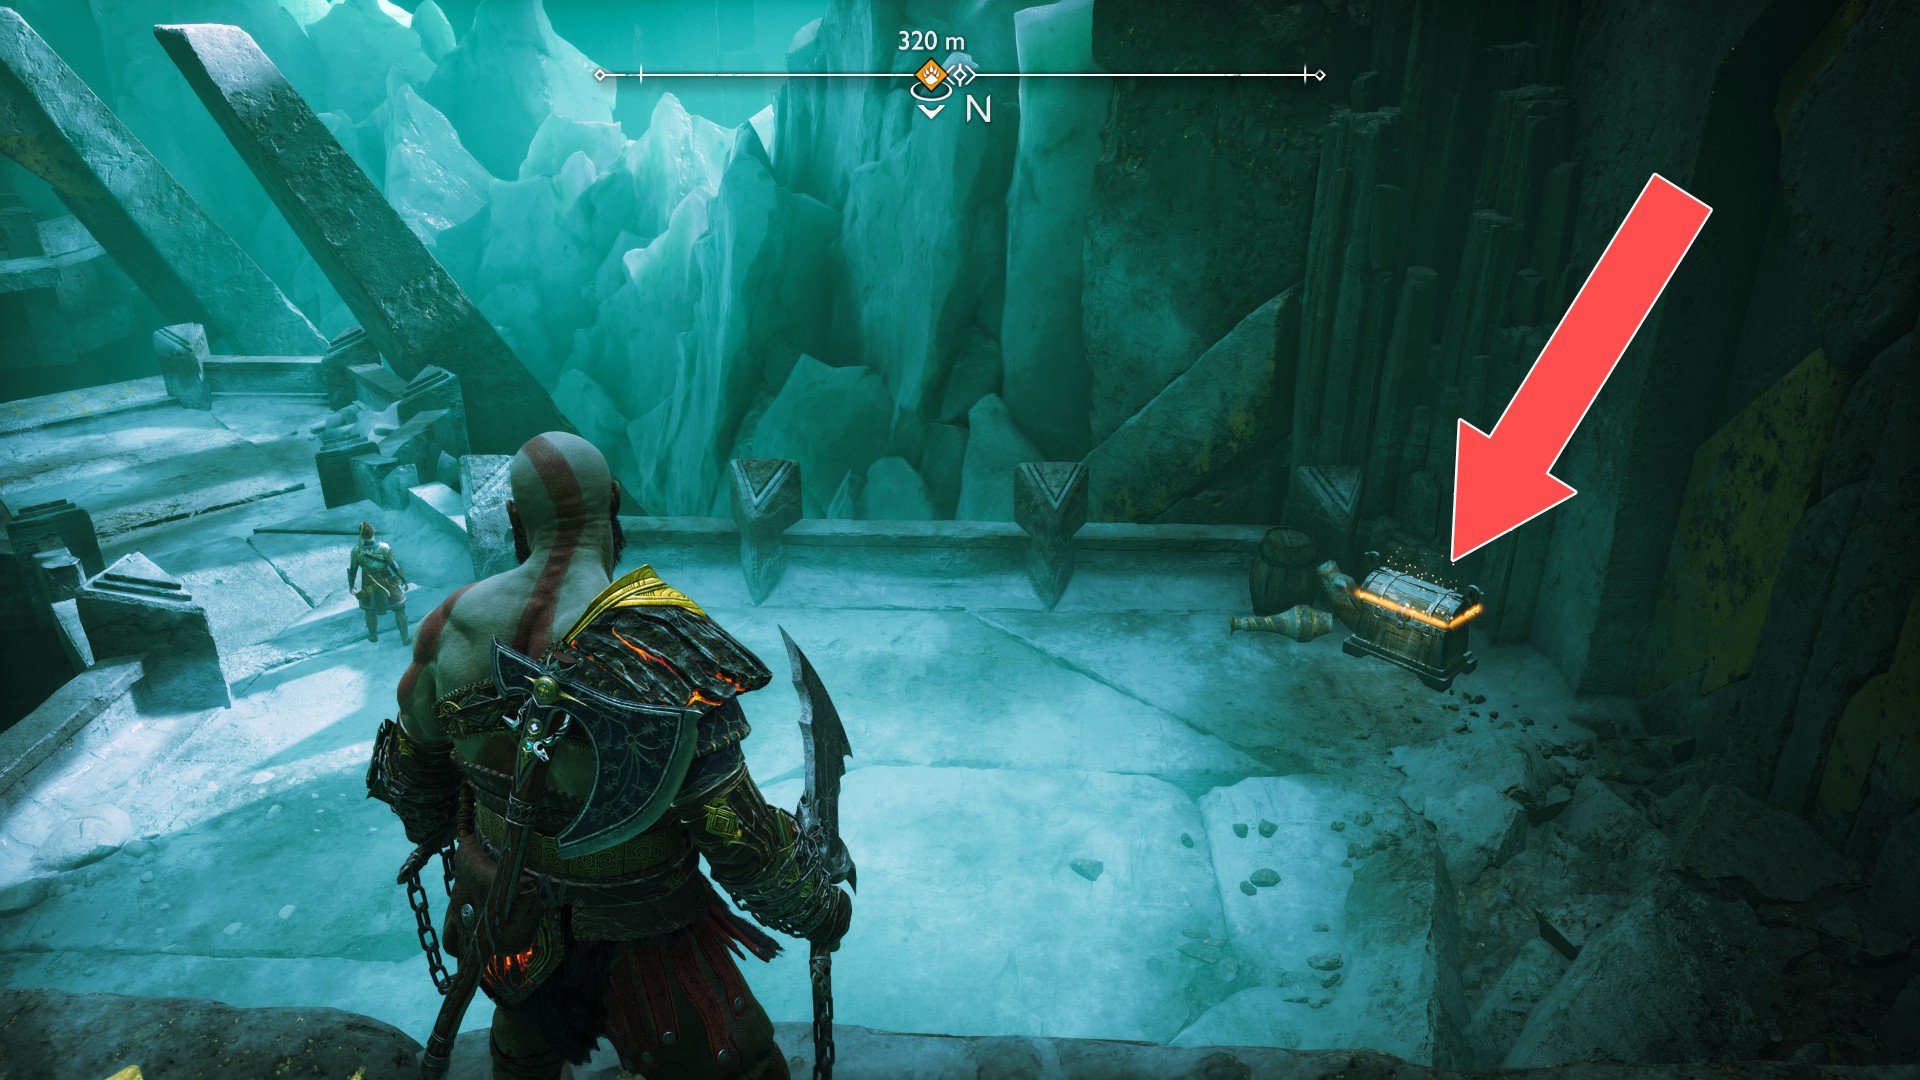
269Yellow Chest
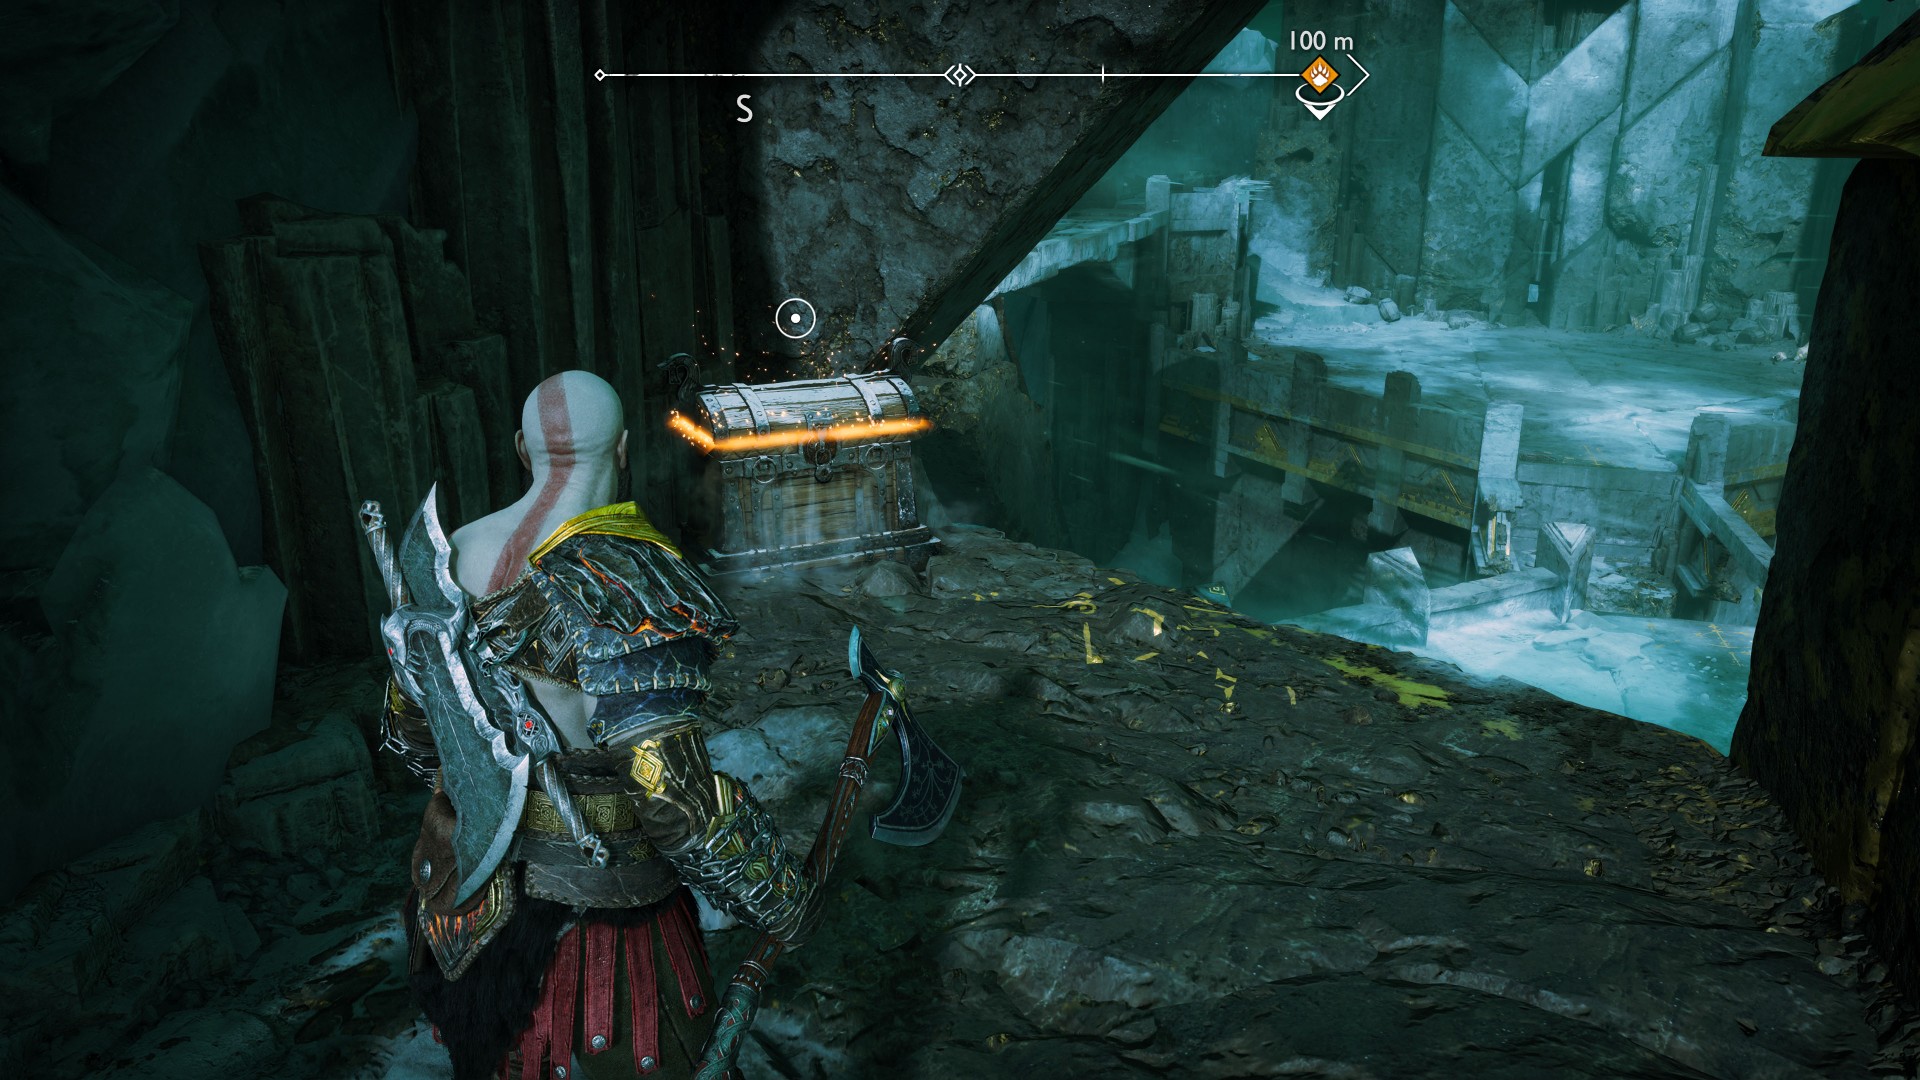
270Yellow Chest
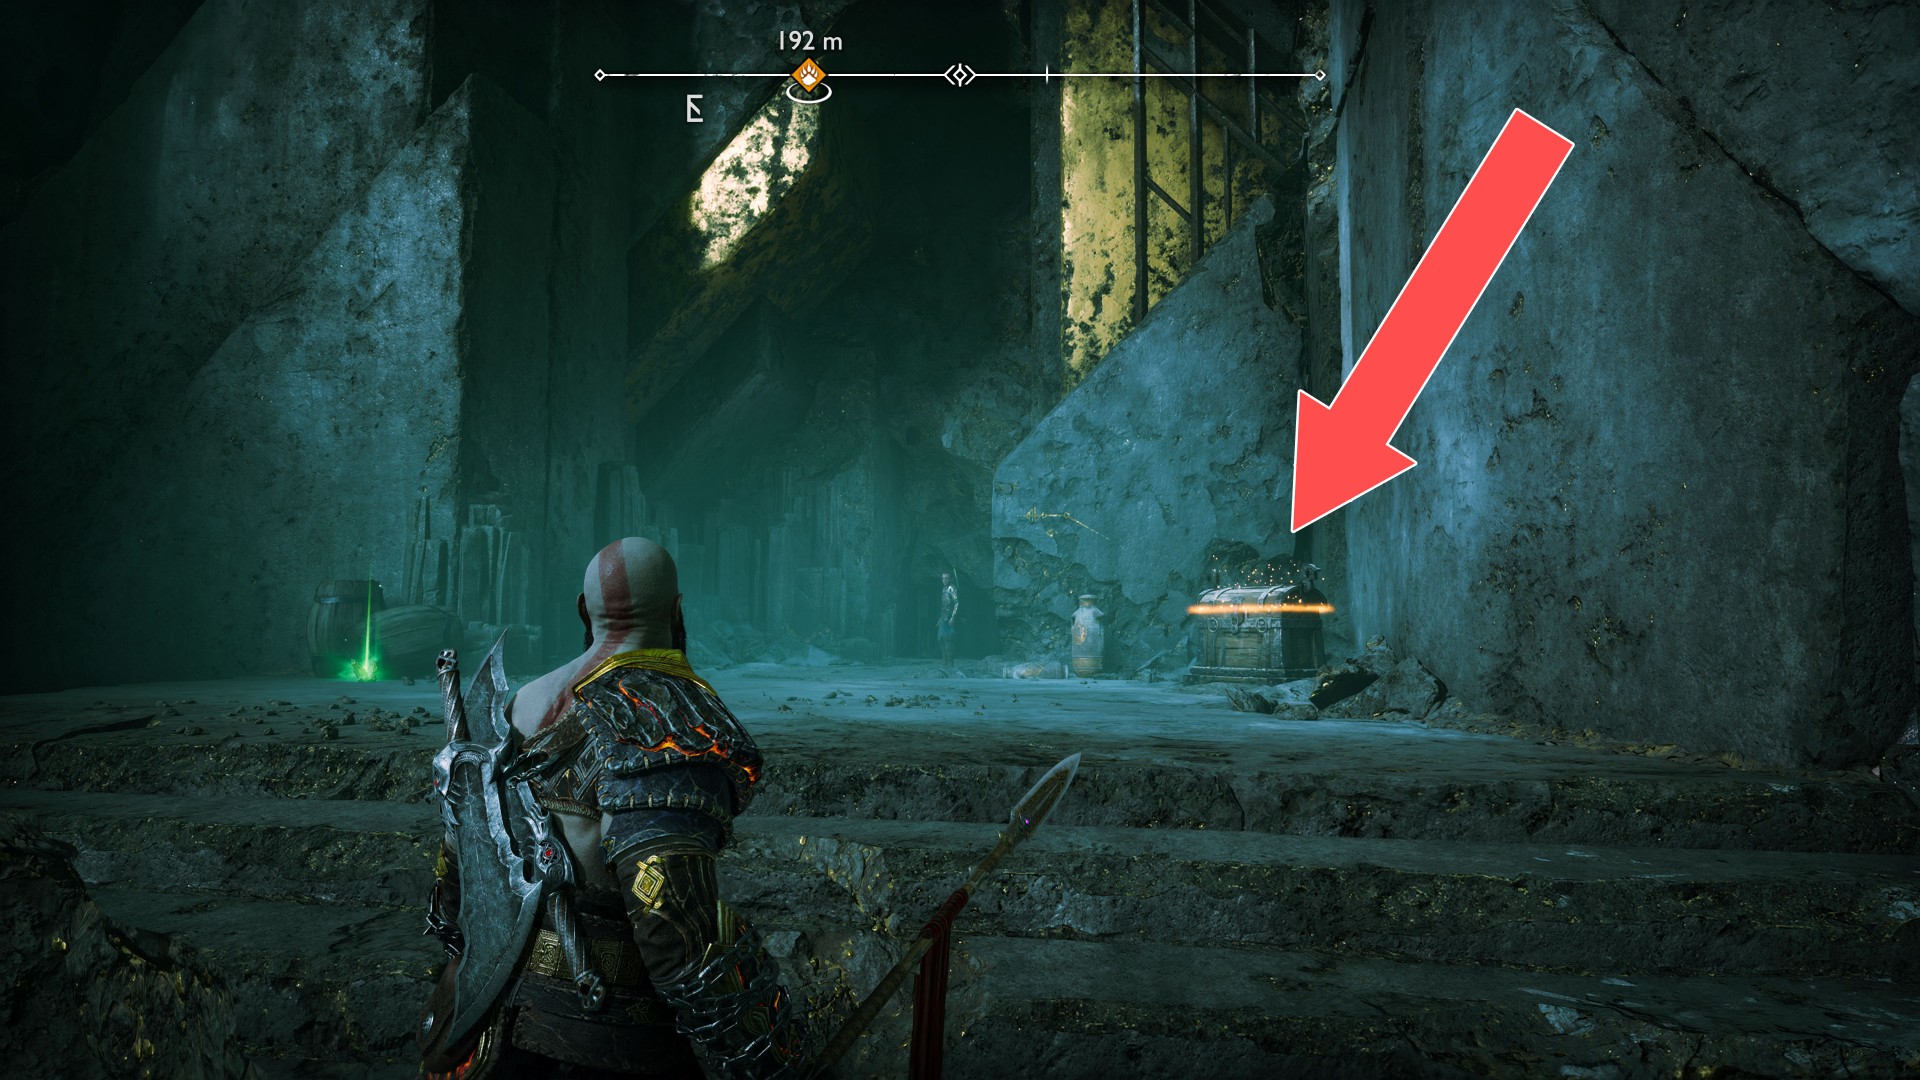
Locations on Niflheim
271Red Chest
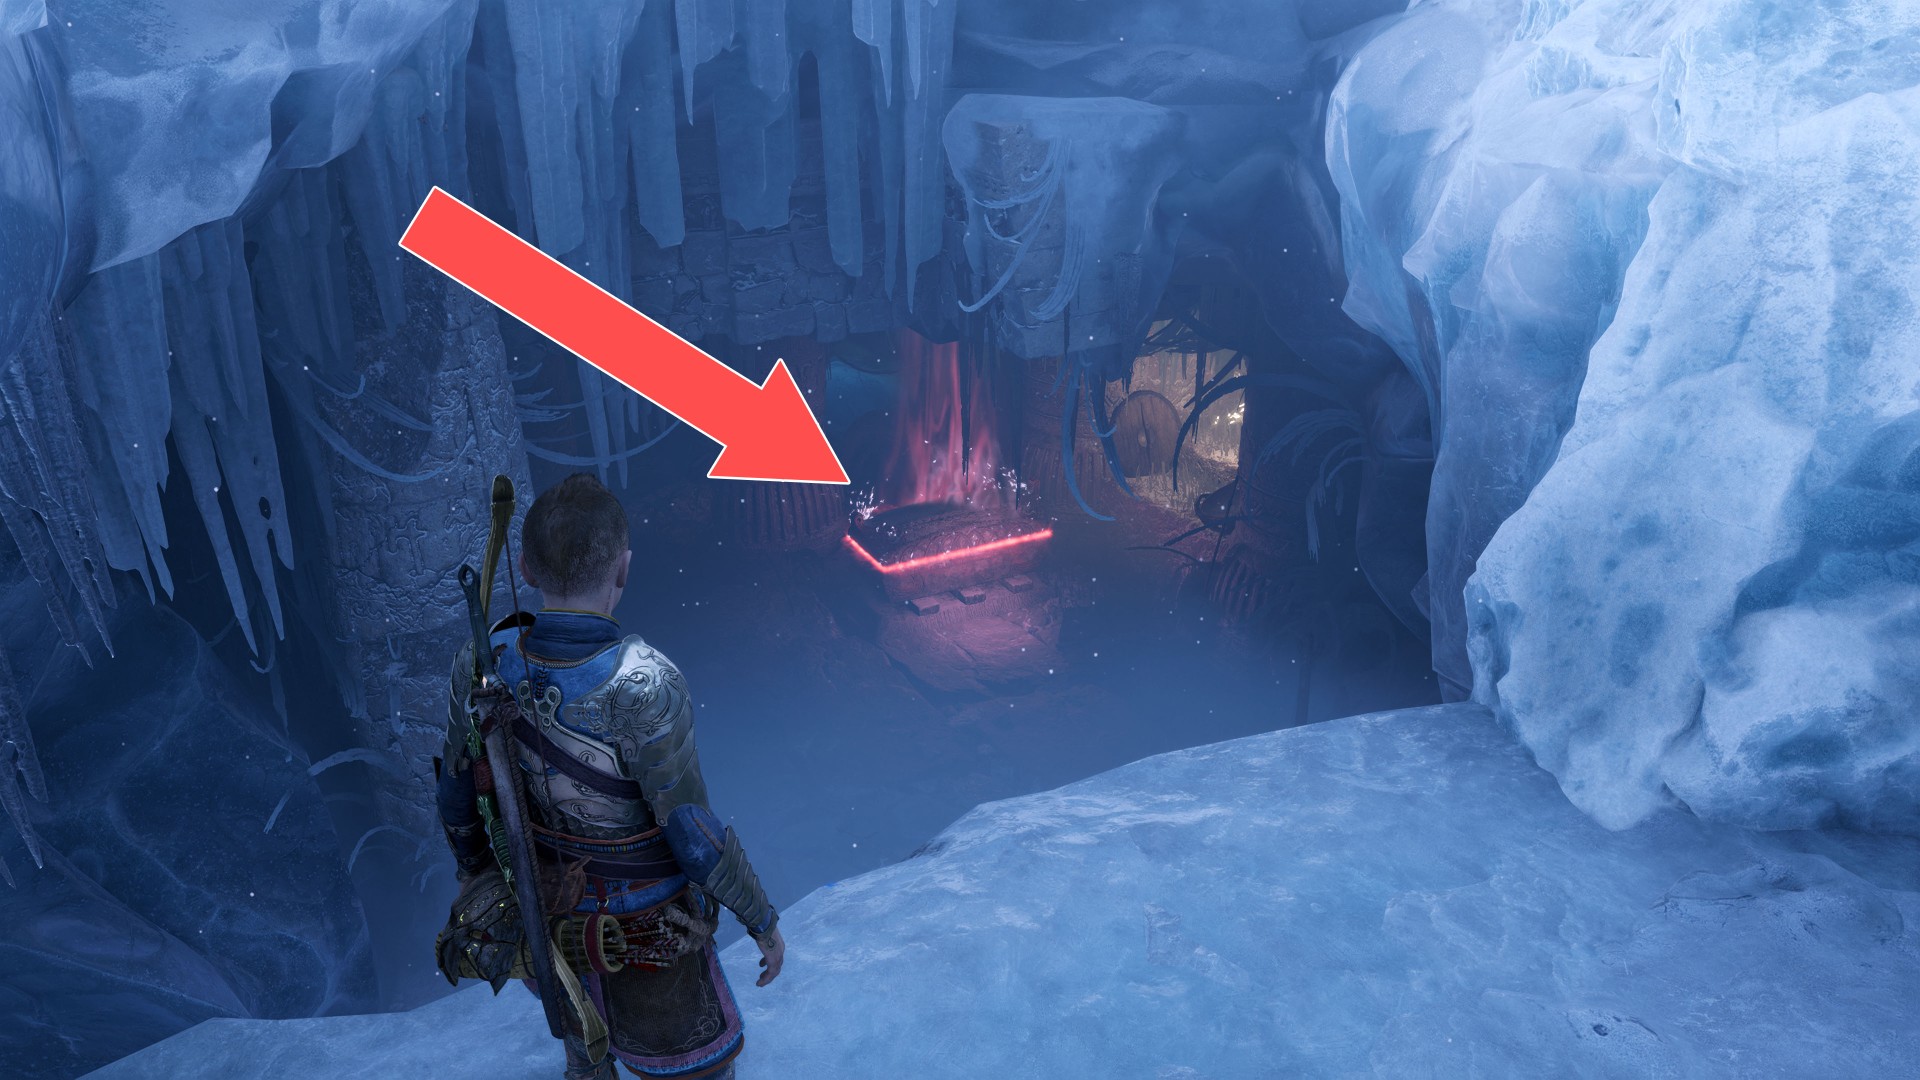
272Yellow Chest
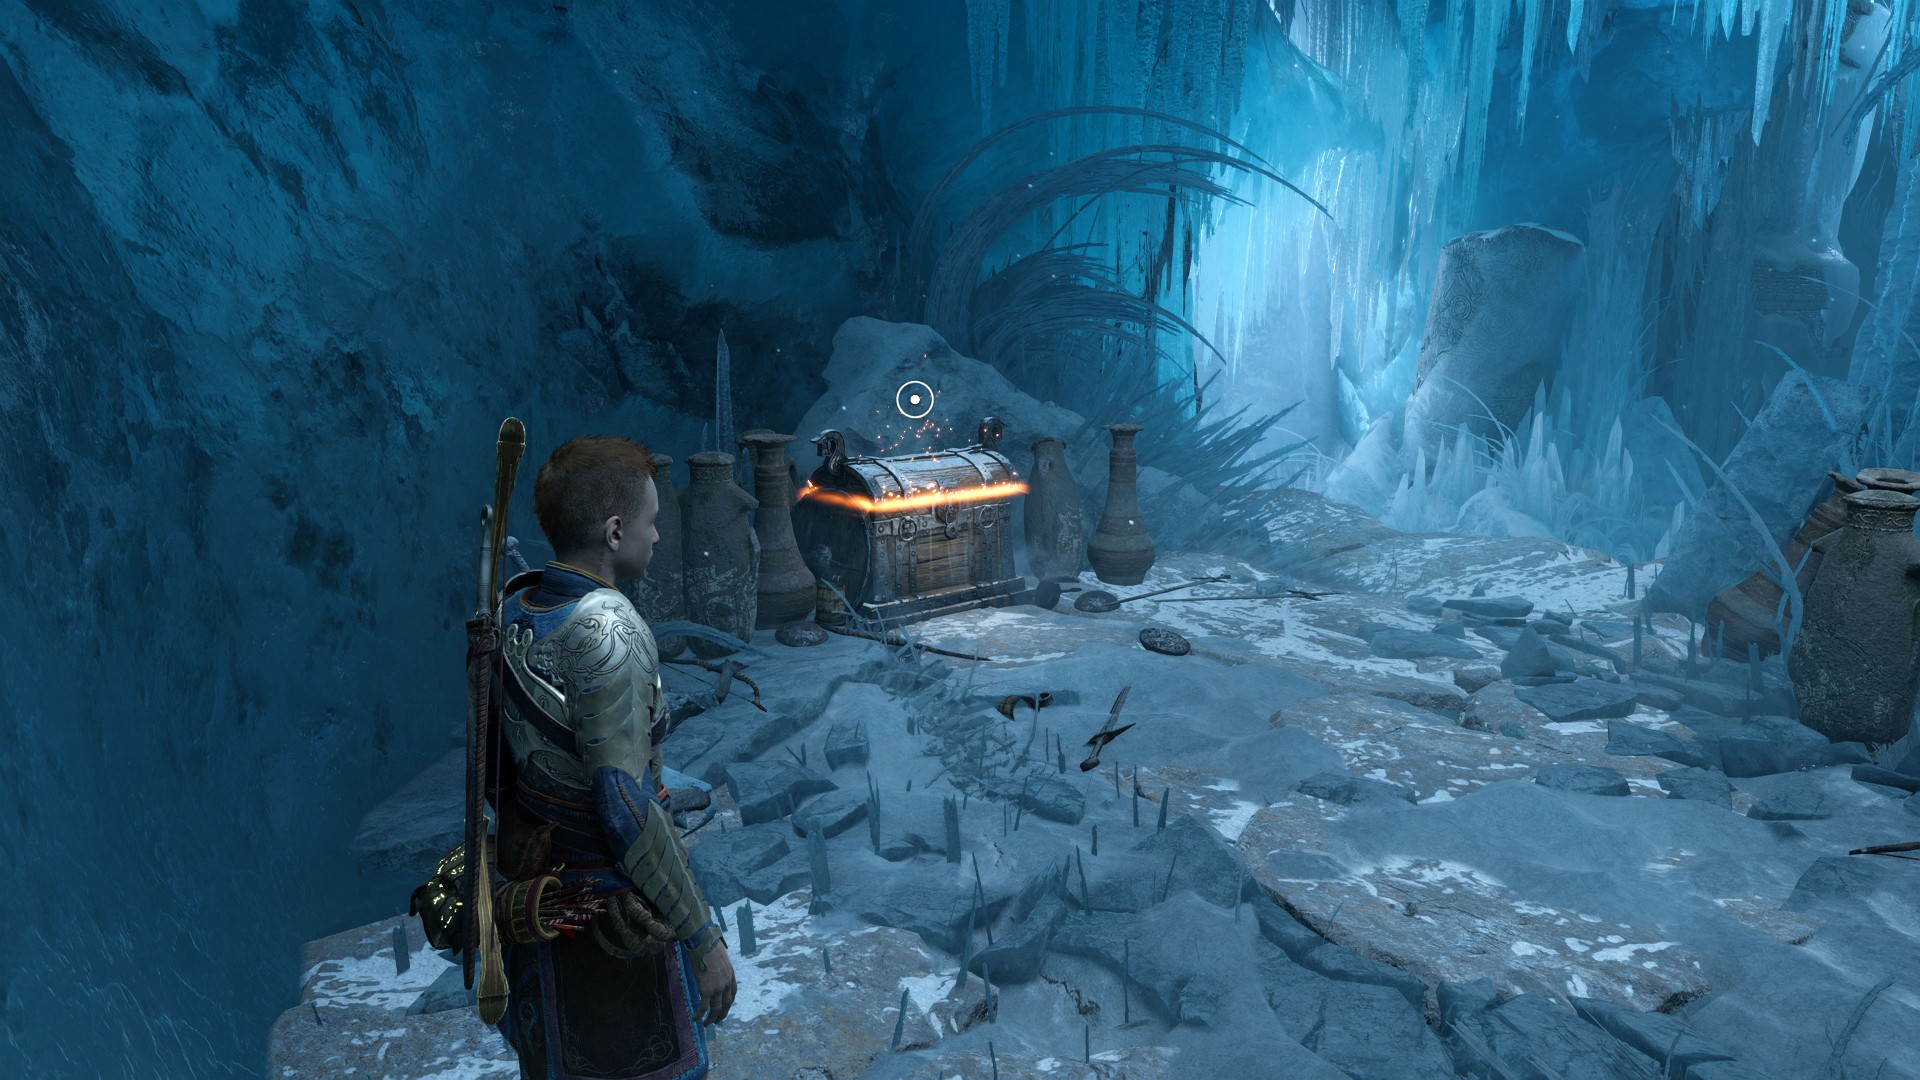
273Yellow Chest
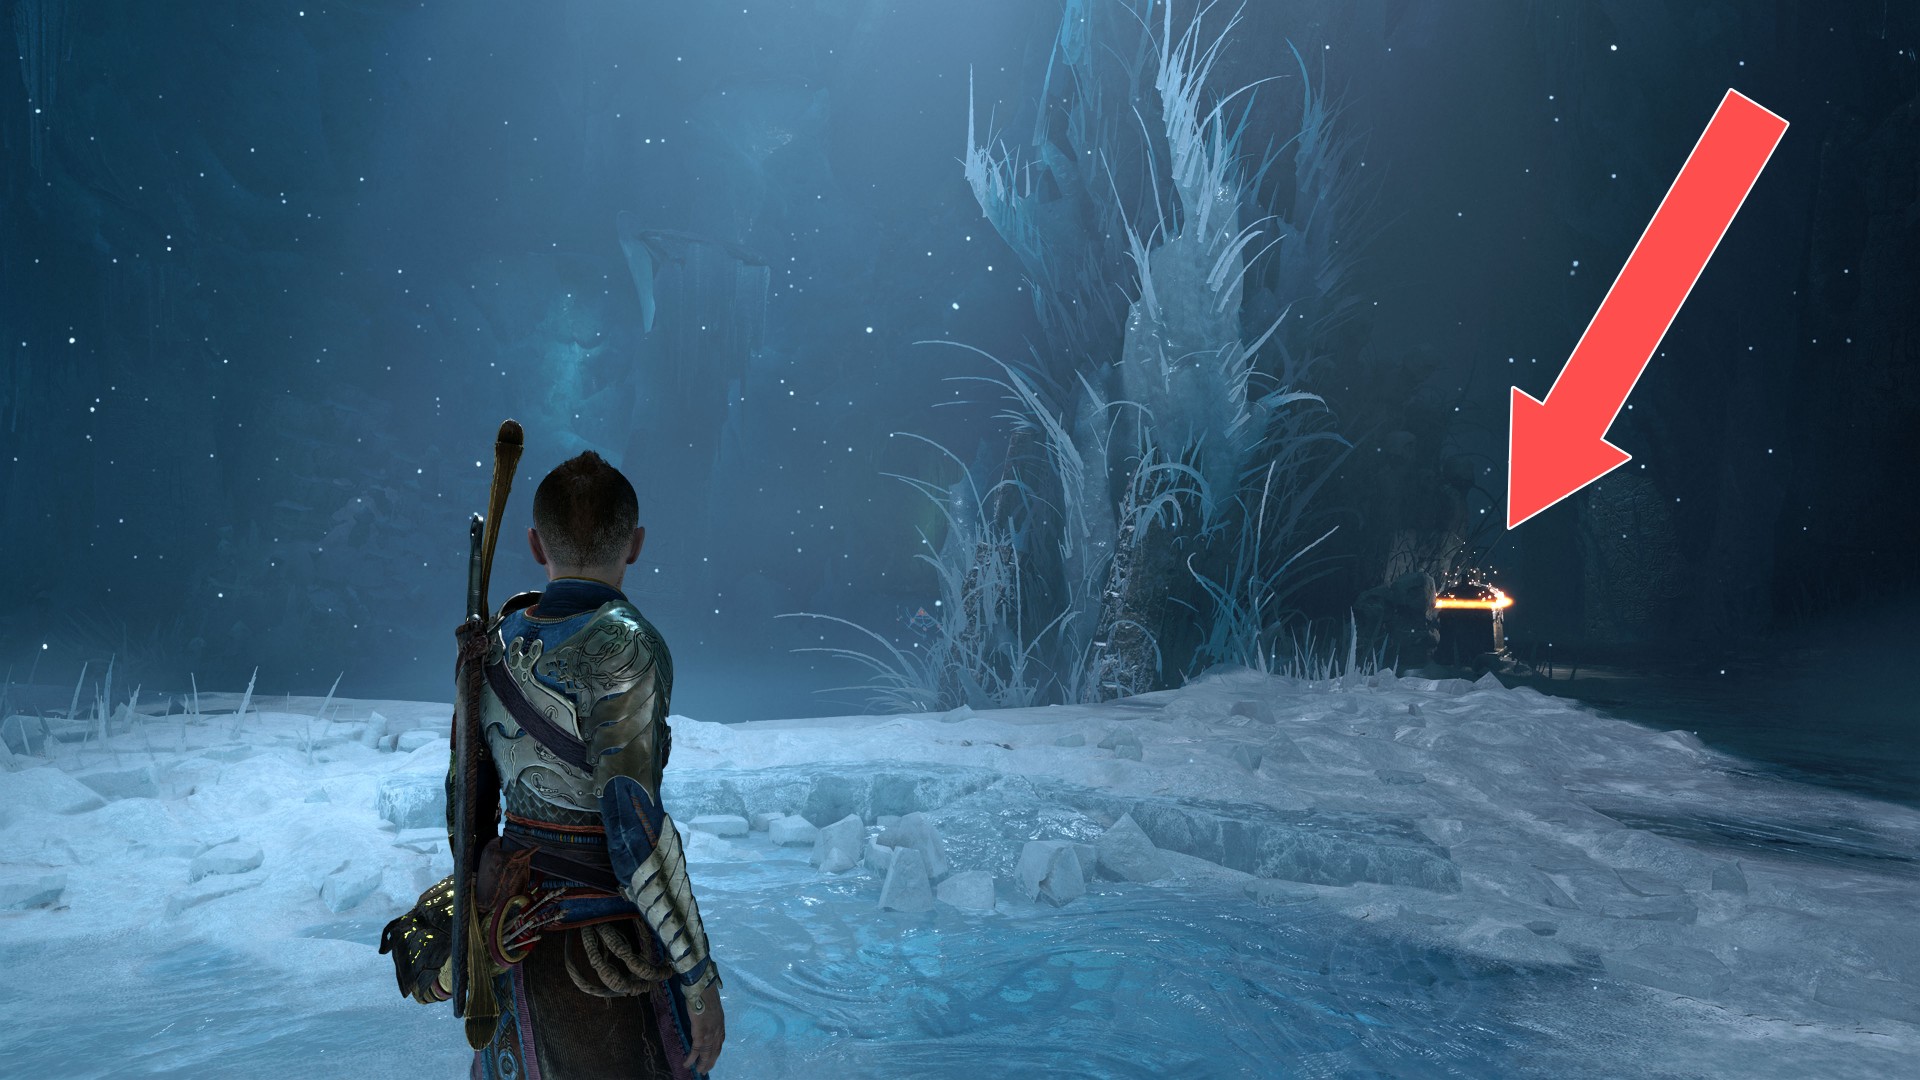
274Yellow Chest
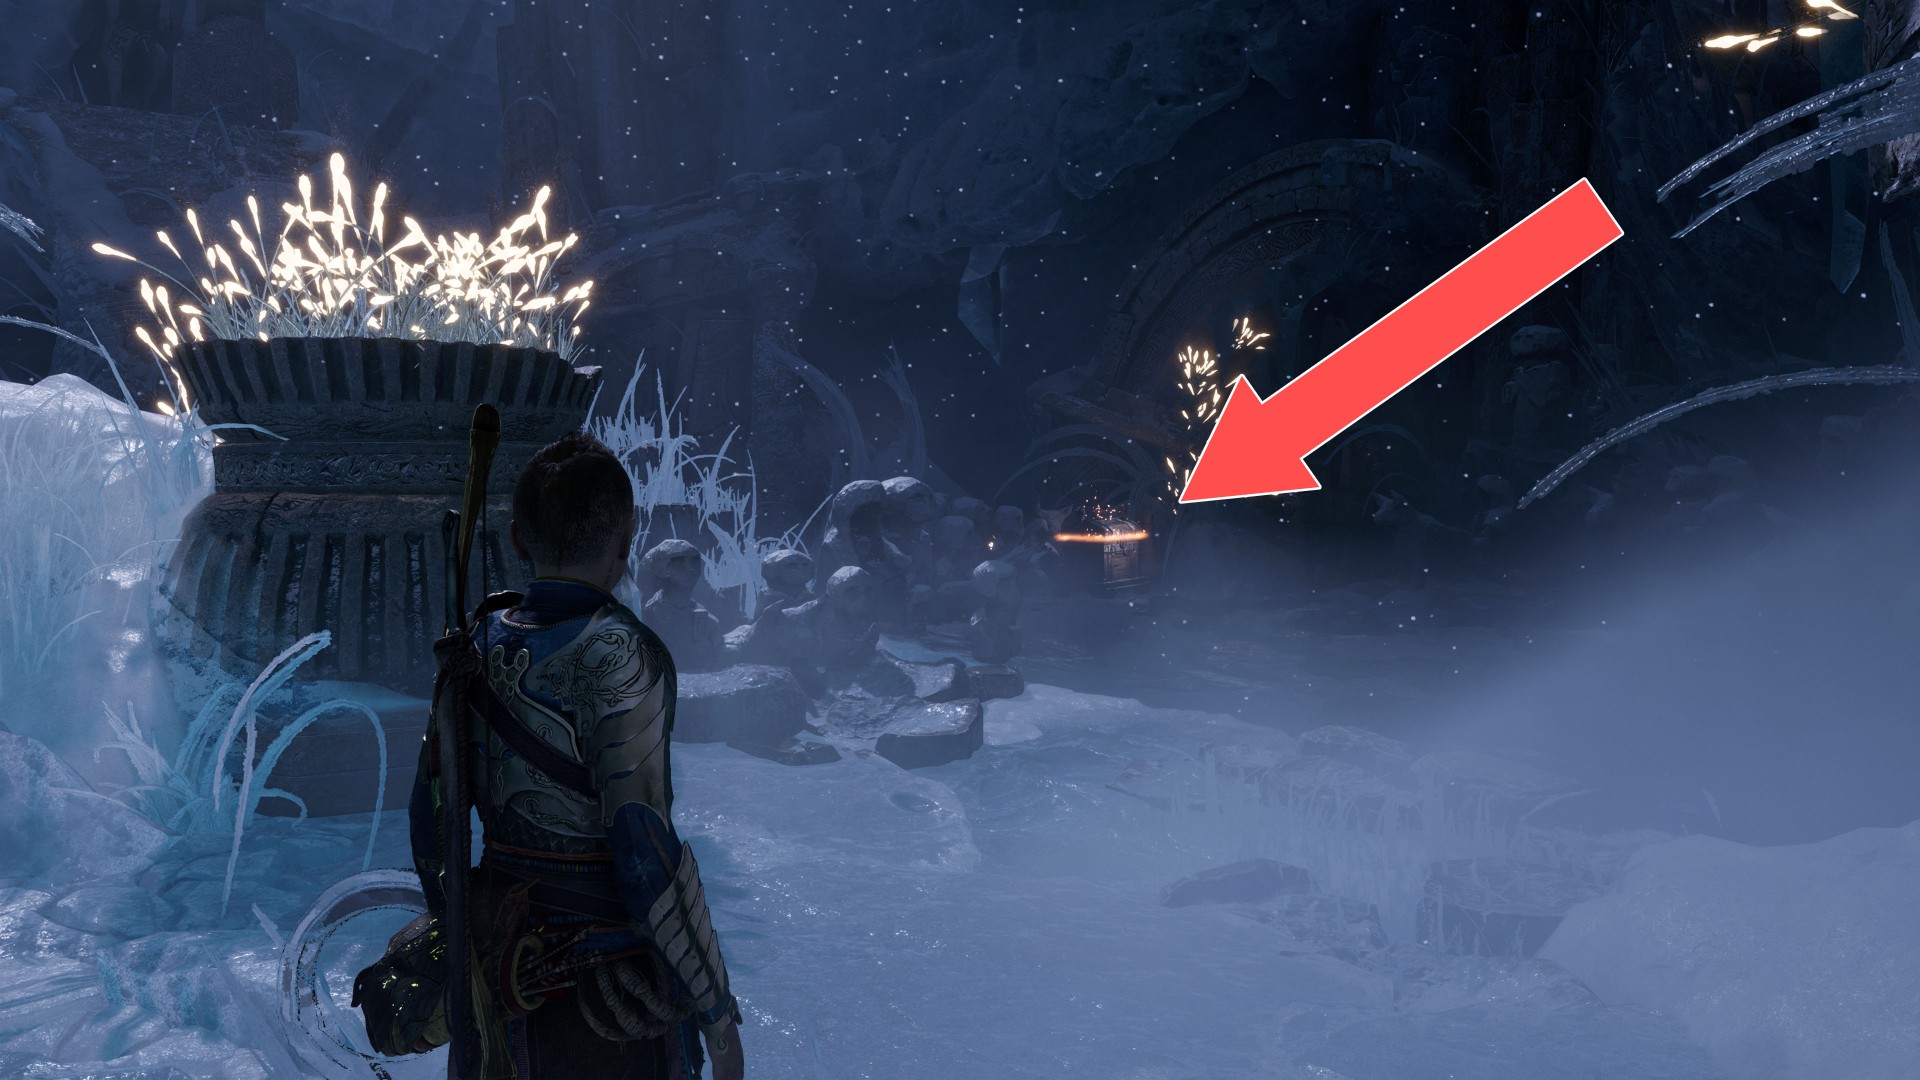
275Yellow Chest
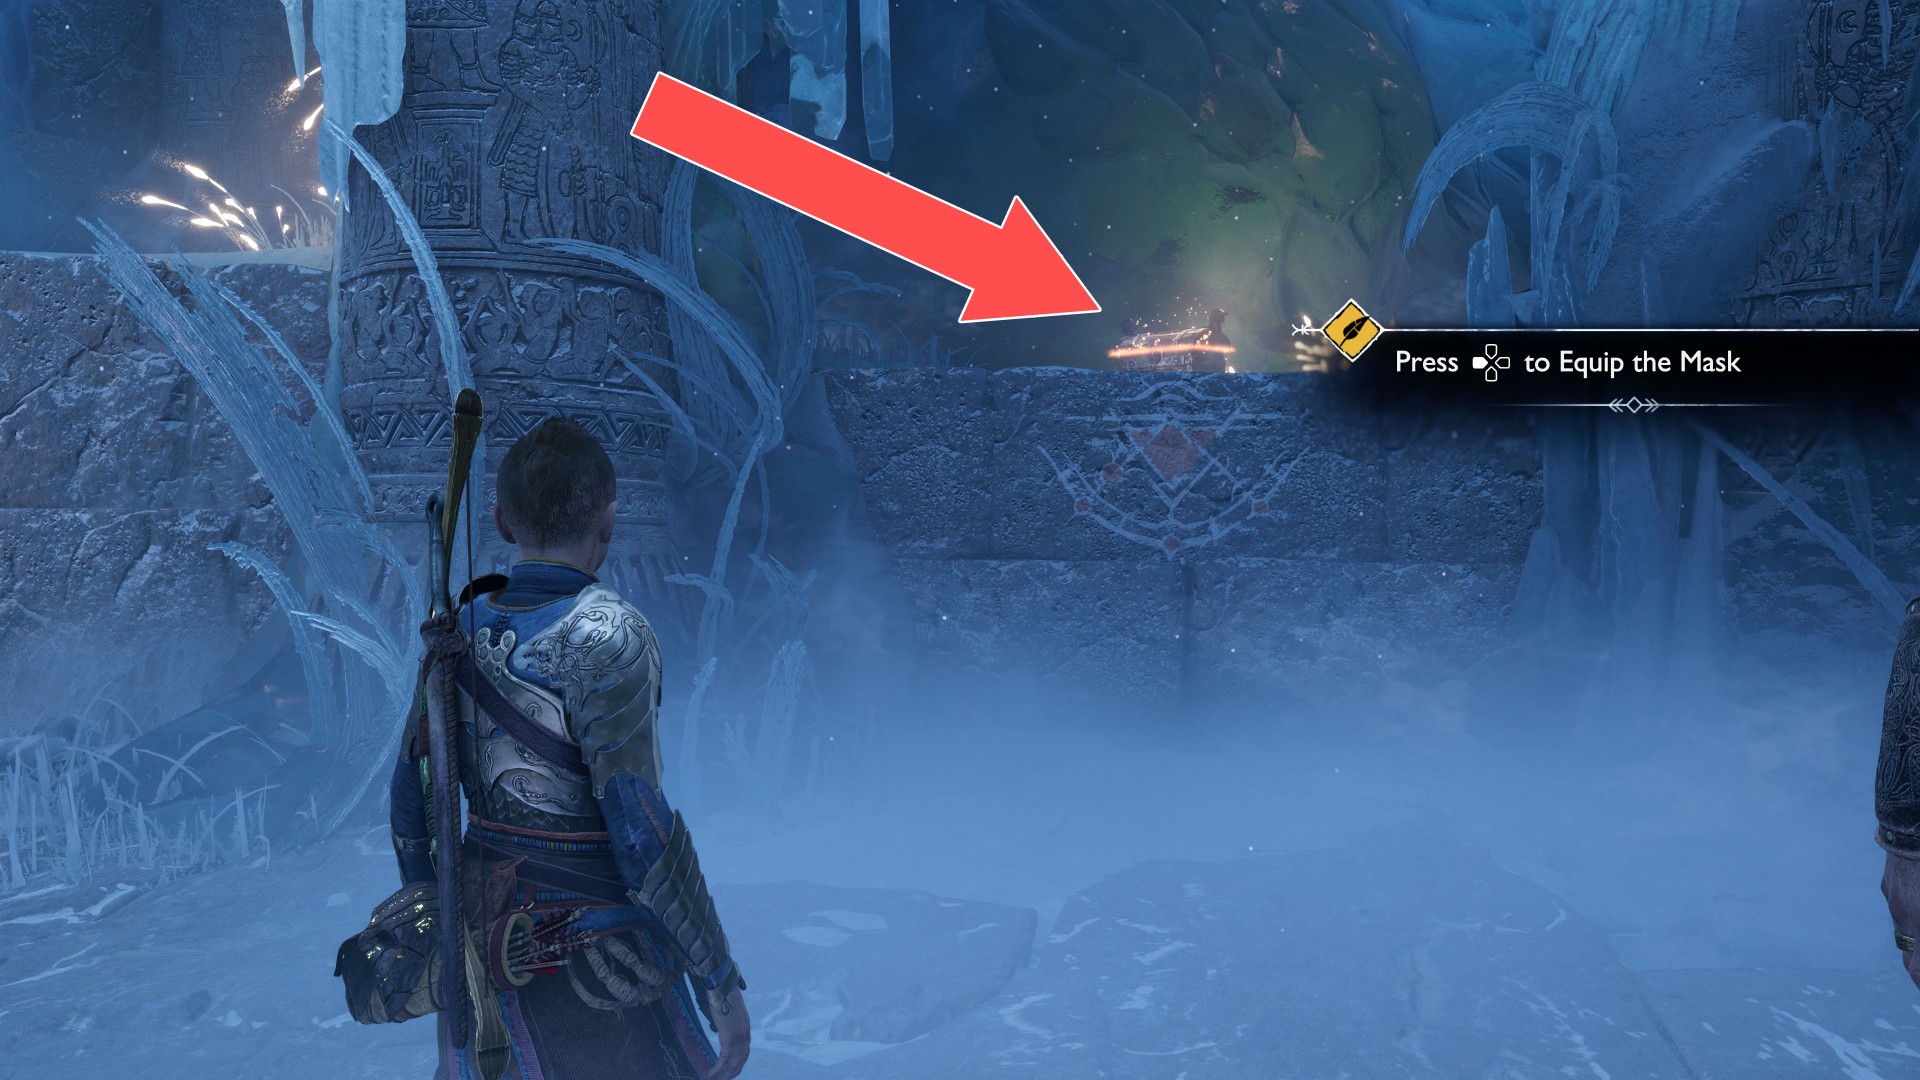
276Yellow Chest
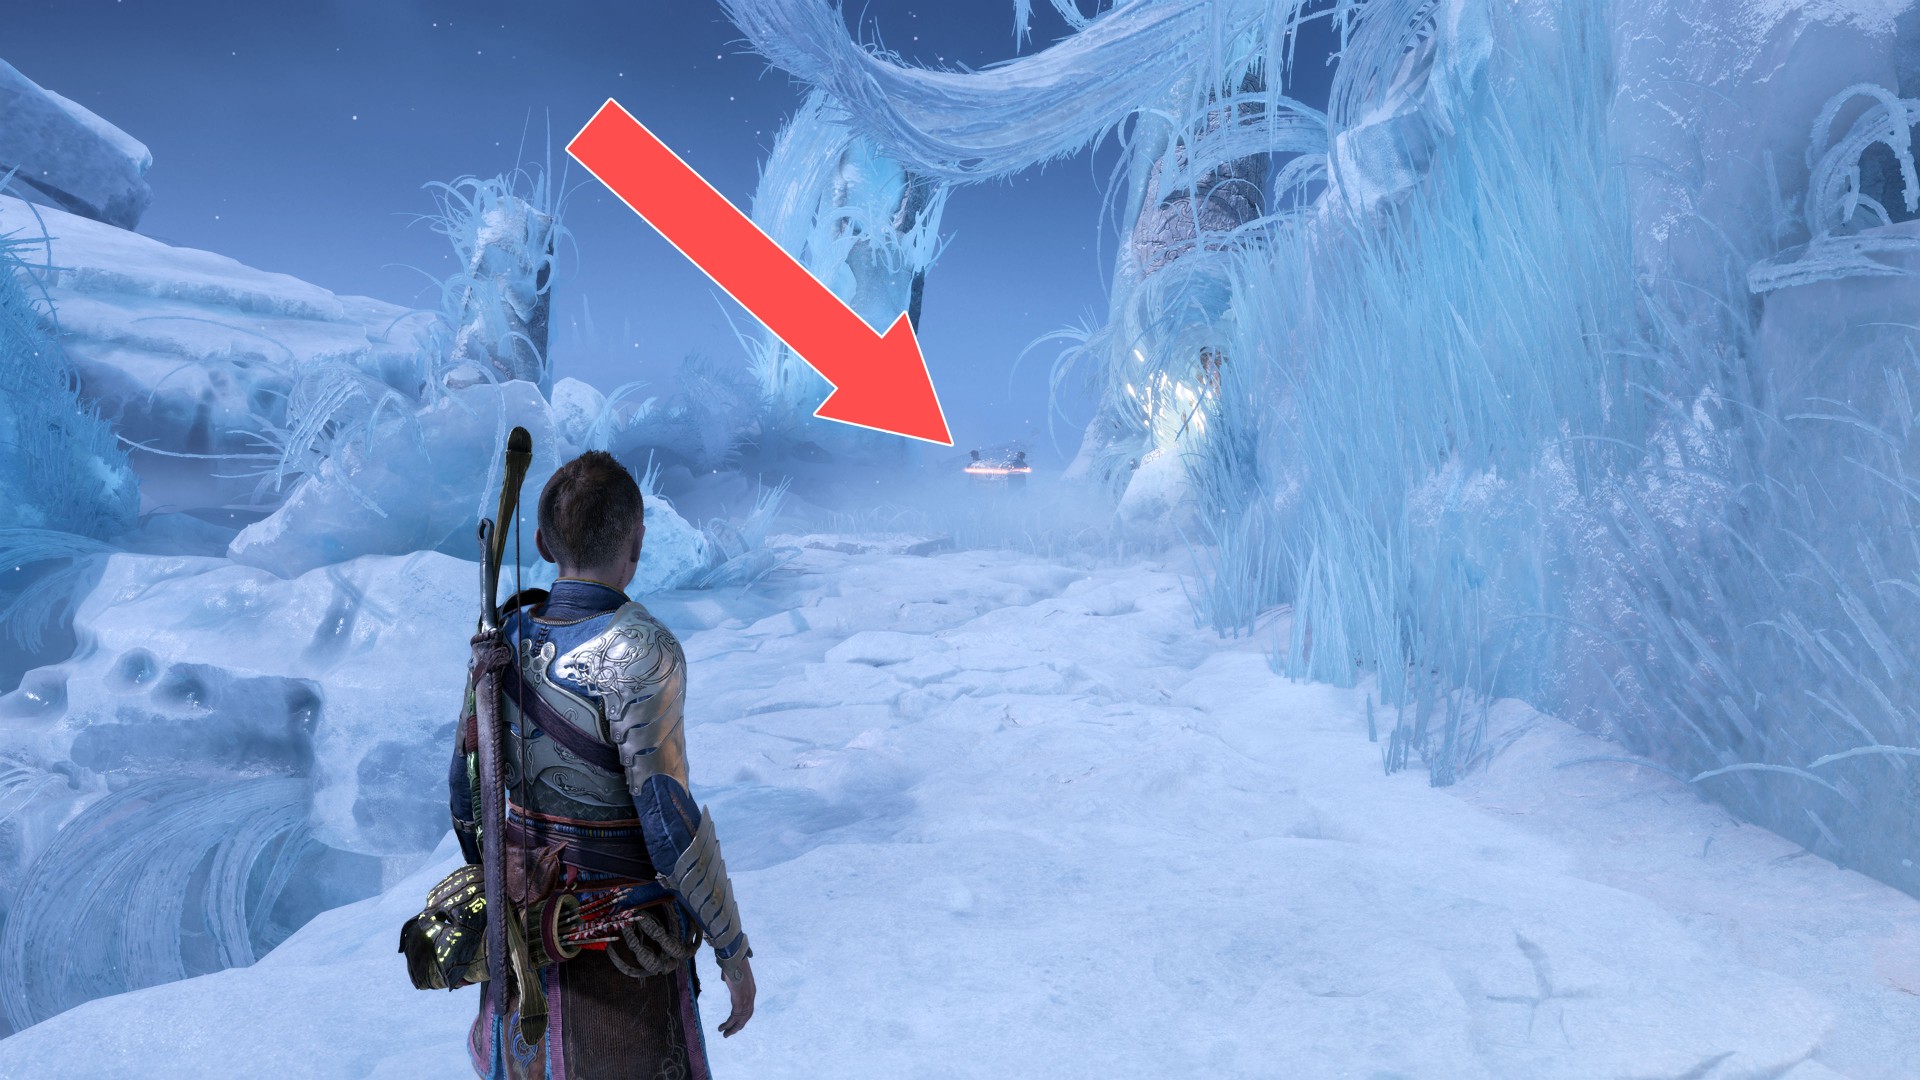
Locations on Muspelheim
277Red Chest
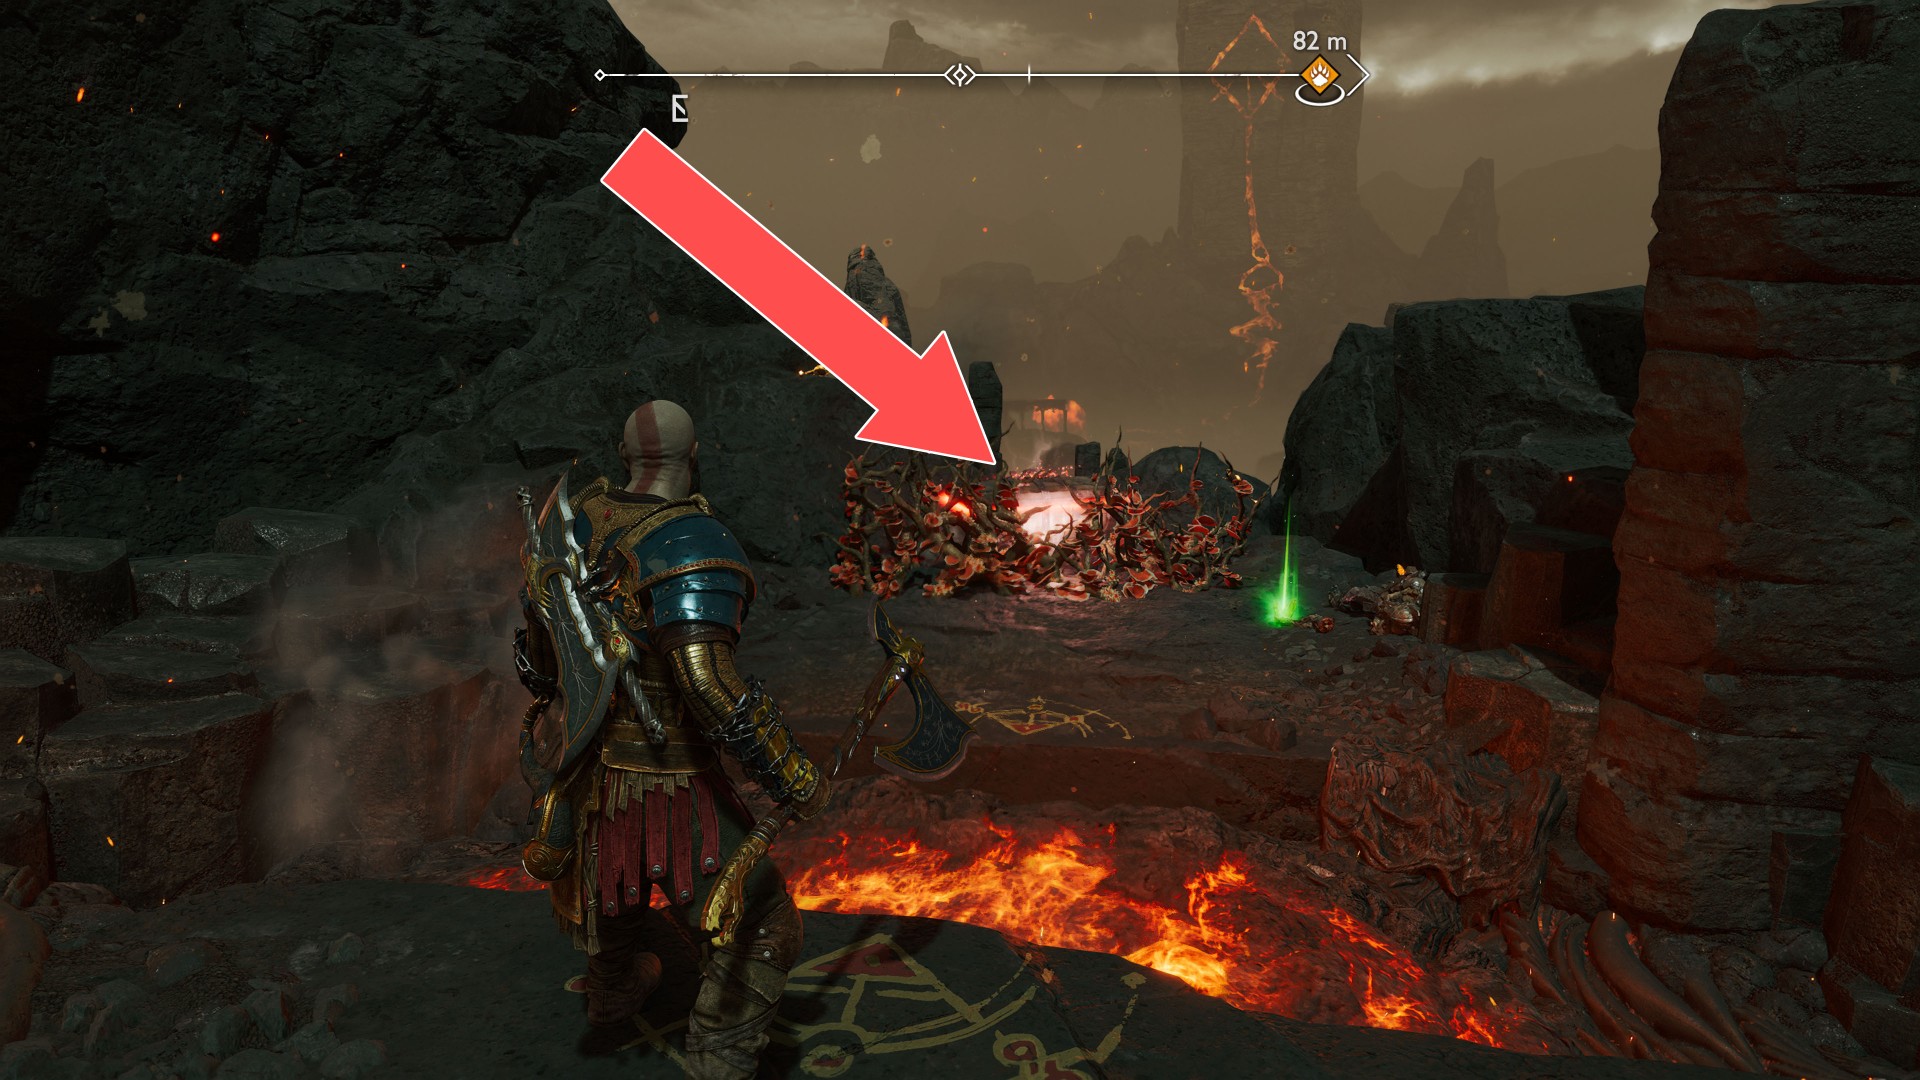
278Red Chest
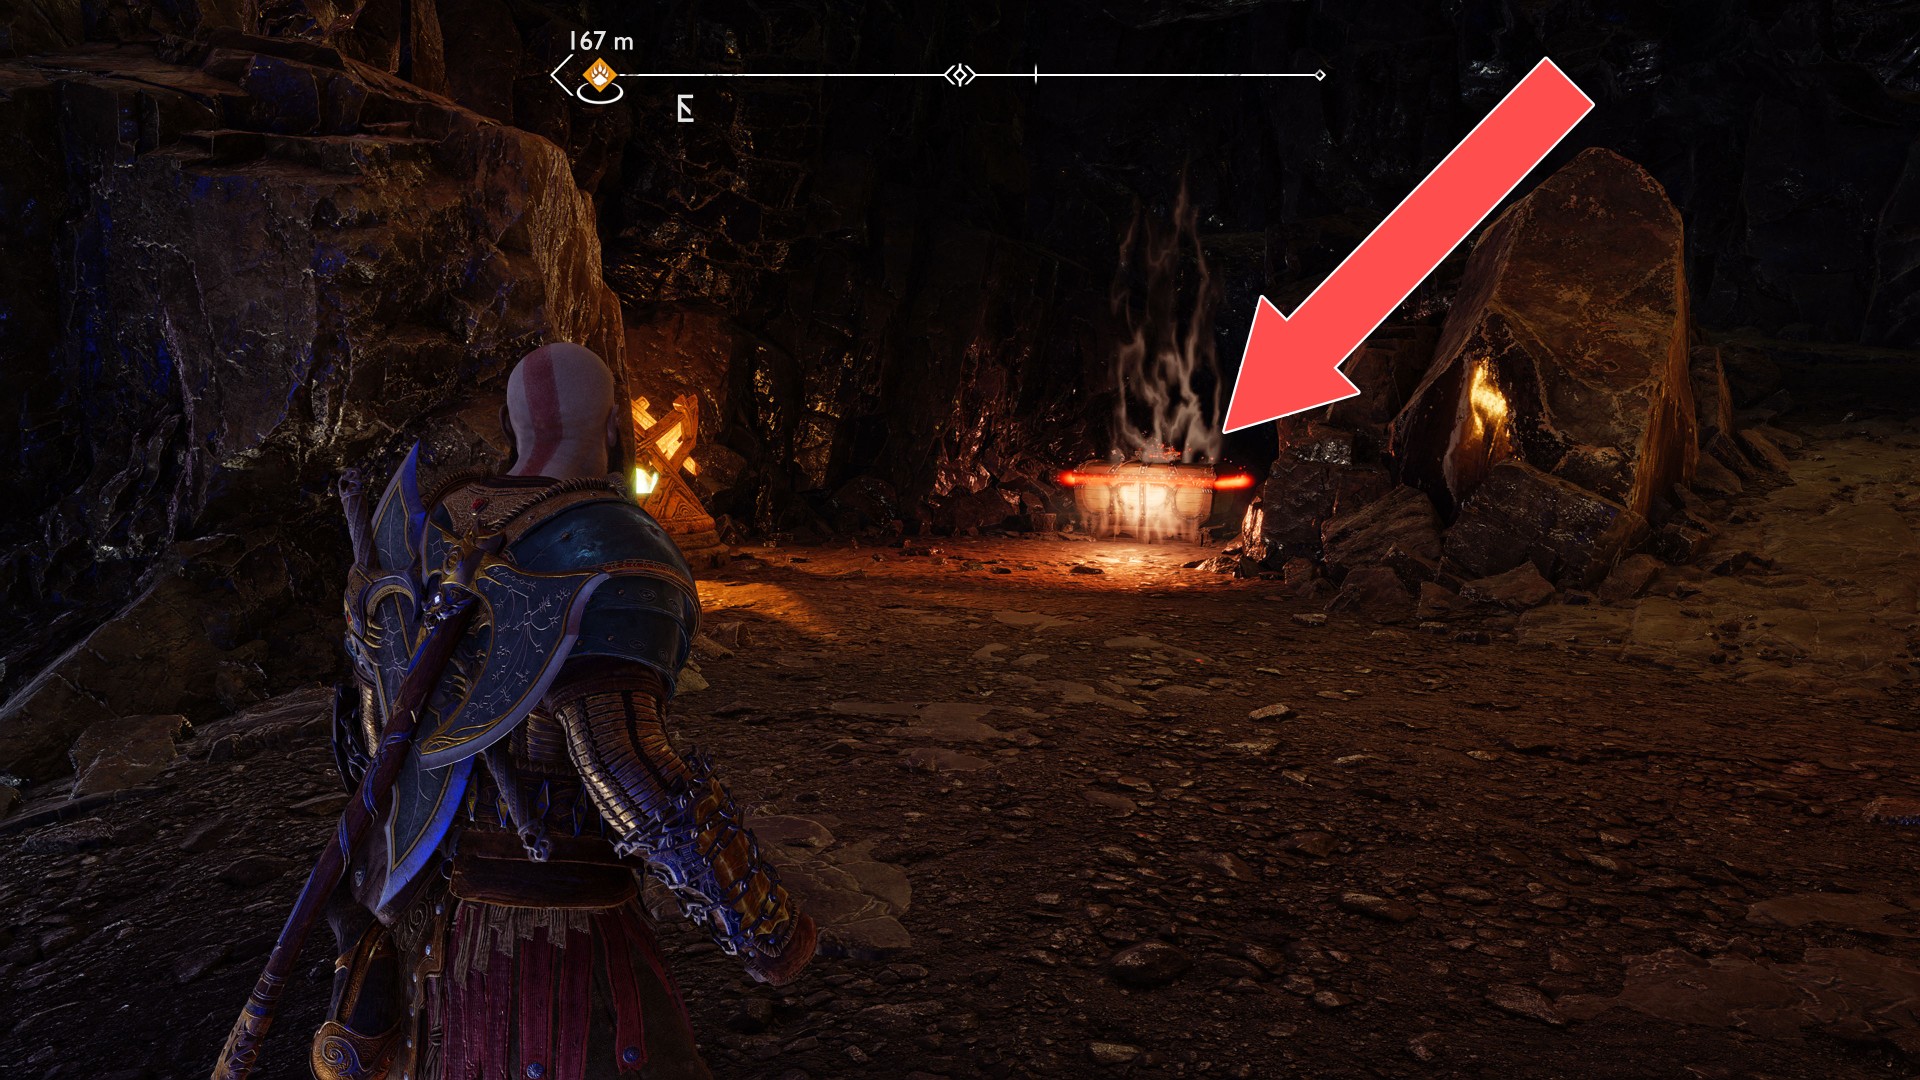
279Red Chest
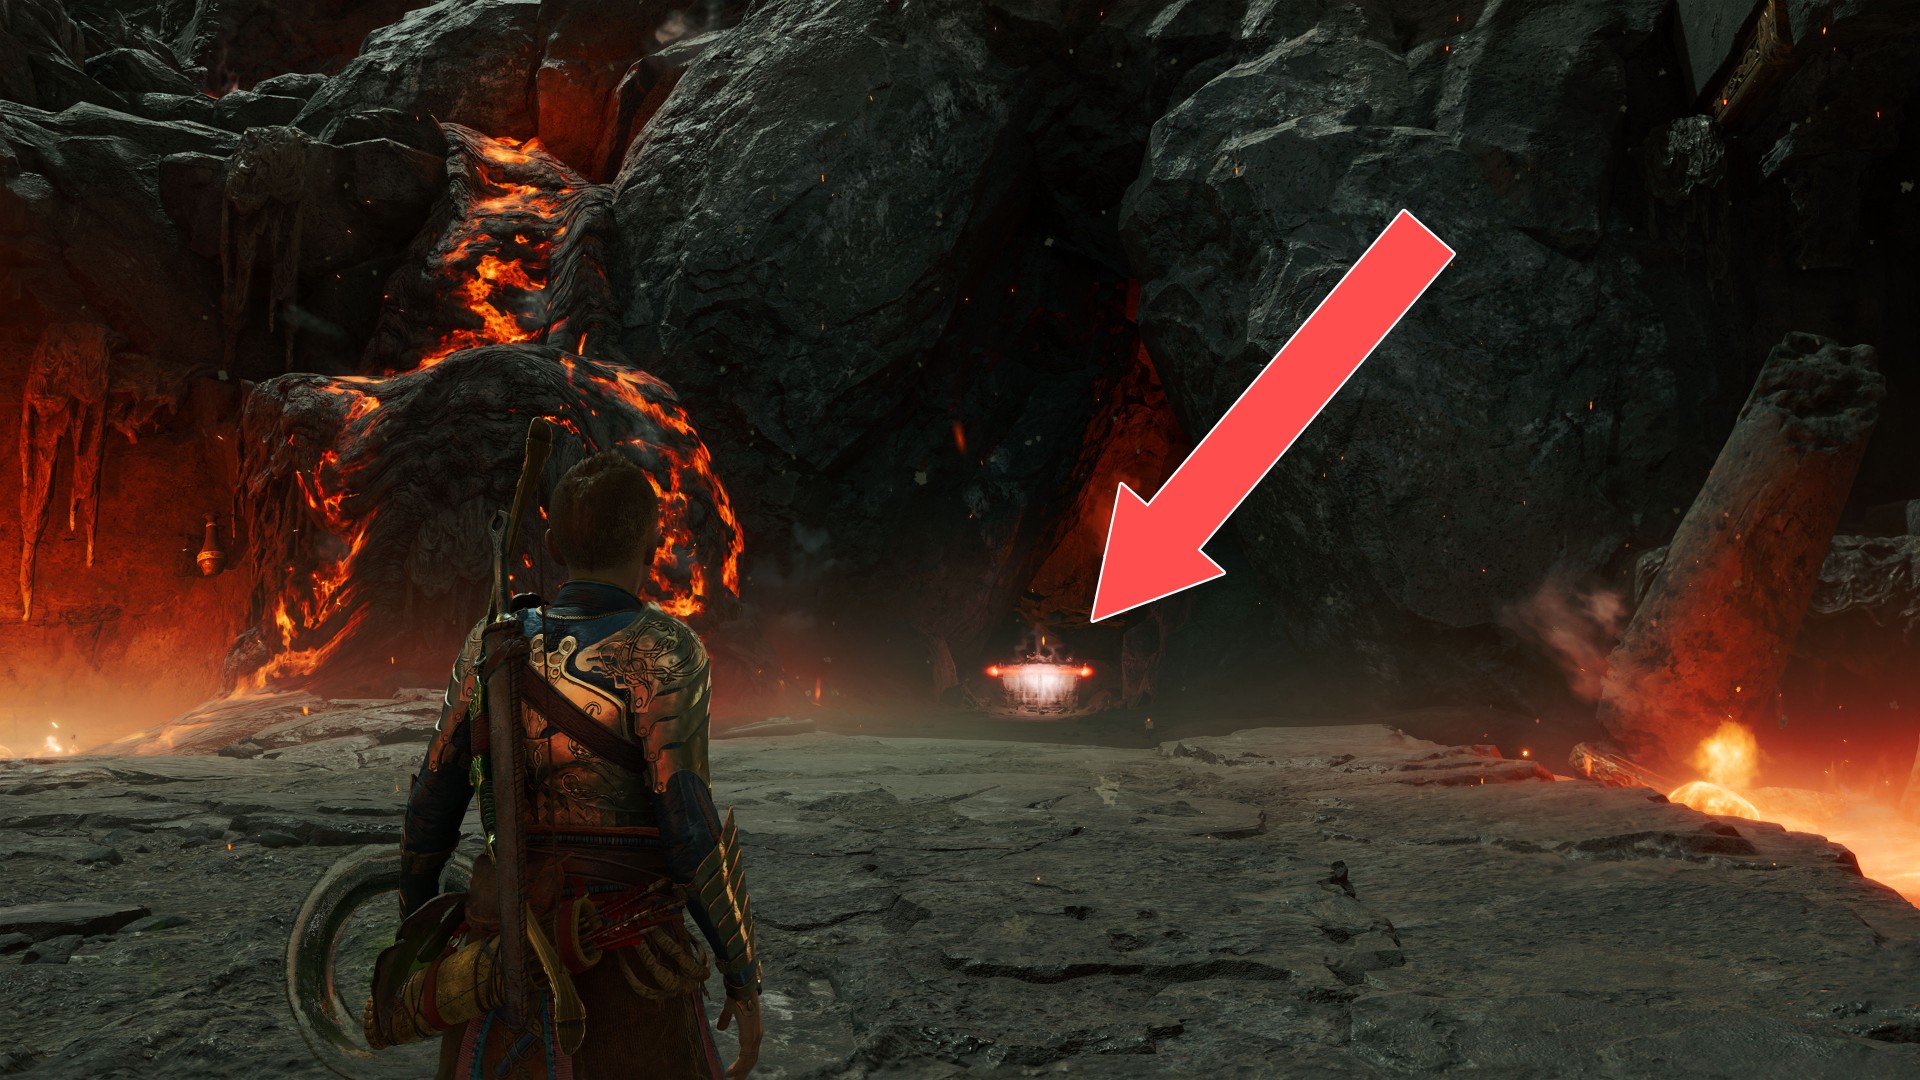
280Yellow Chest
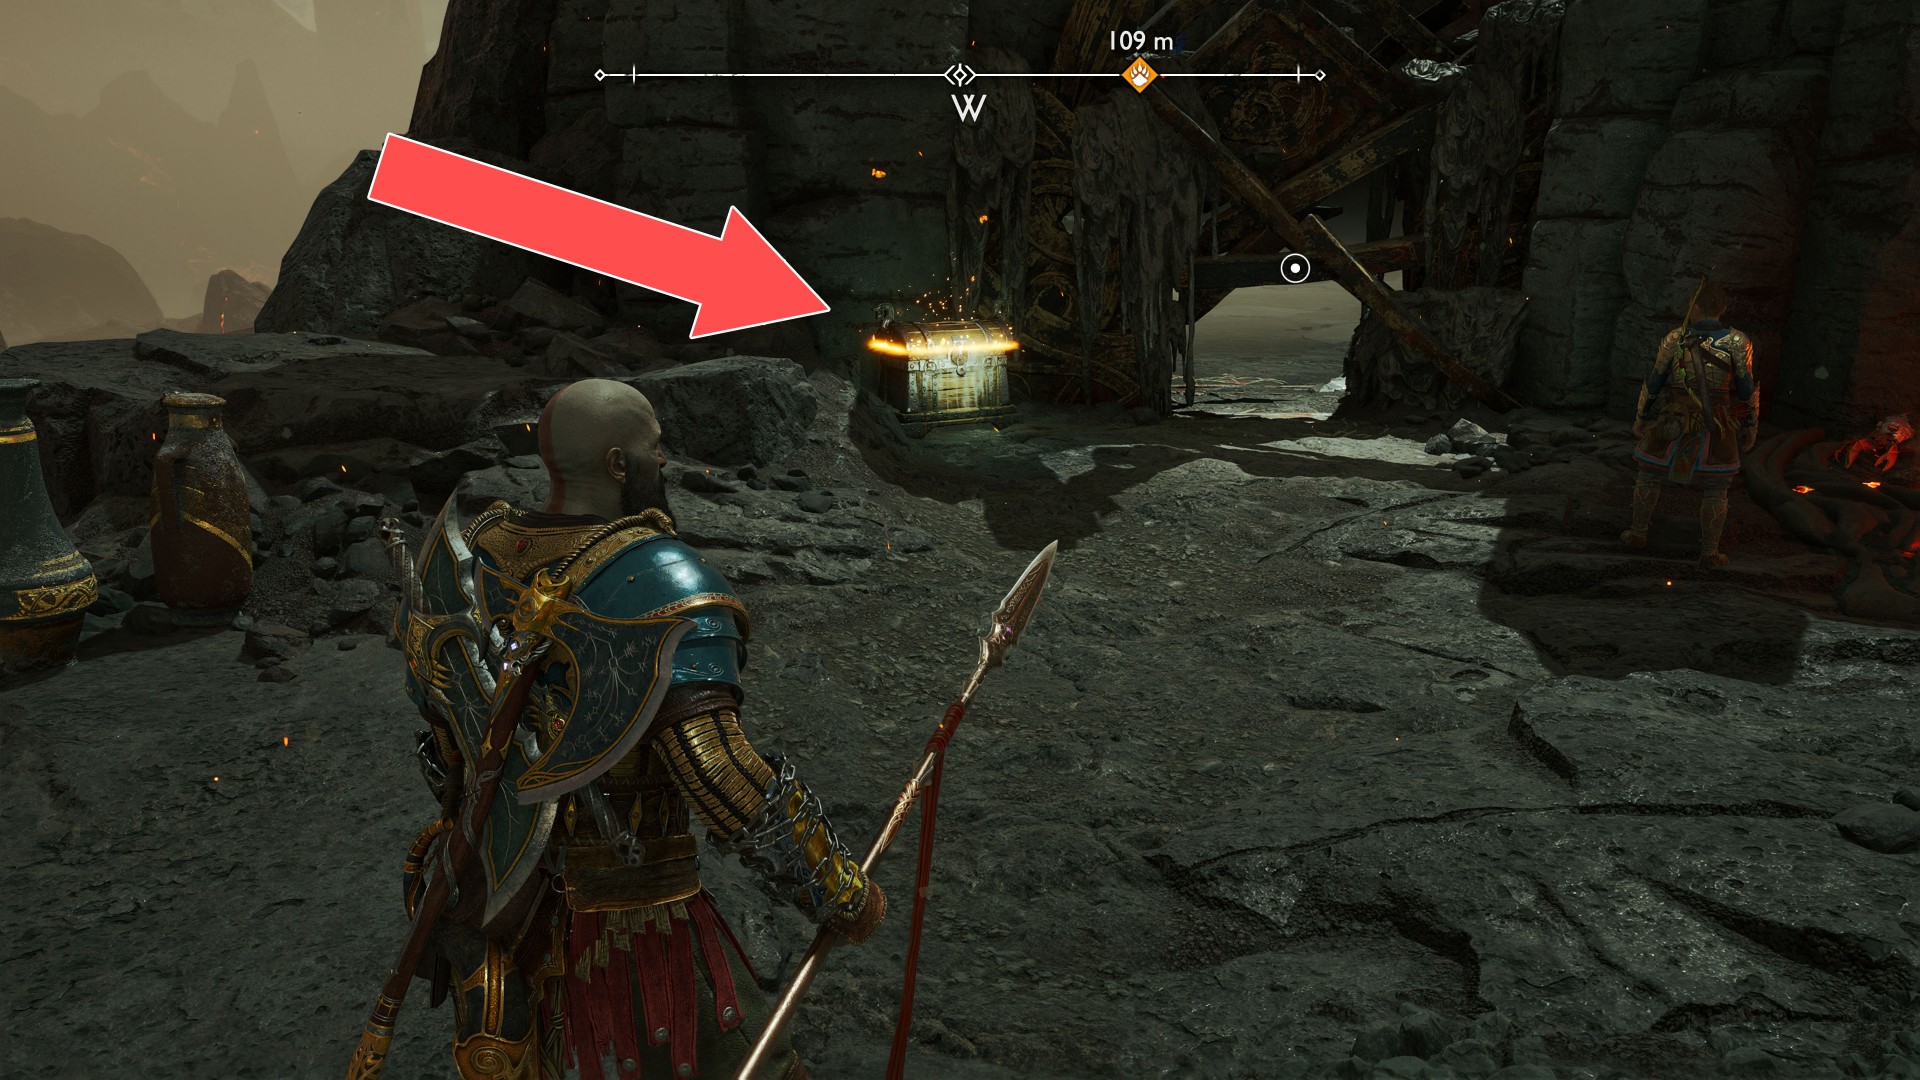
281Yellow Chest