Sites of Grace Elden Ring Points of interest
Sites of Grace are save / respawn points in Elden Ring. They also serve as fast travel points. In order to use a site of grace, you must first reach it and activate it.
You can instantly travel to any sites of grace that you've discovered through your map. However, there are some dungeons and other areas where this cannot be done.
Resting at a site of grace will restore your HP, FP, and cleanse any status ailments. It Will also refill your sacred flasks. However, most of the enemies you've defeated will be revived.
Index
- Abandoned Cave
- Abandoned Coffin
- Abductor Virgin
- Academy Crystal Cave
- Academy Gate Town
- Across the Roots
- Aeonia Swamp Shore
- Agheel Lake North
- Agheel Lake South
- Ailing Village Outskirts
- Ainsel River Downstream
- Ainsel River Main
- Ainsel River Sluice Gate
- Ainsel River Well Depths
- Altar South
- Altus Highway Junction
- Altus Plateau
- Altus Tunnel
- Ancestral Woods
- Ancient Snow Valley Ruins
- Apostate Derelict
- Aqueduct-Facing Cliffs
- Artist's Shack
- Artist's Shack
- Astel, Naturalborn of the Void
- Astray from Caelid Highway North
- Audience Pathway
- Auriza Hero's Grave
- Auriza Side Tomb
- Avenue Balcony
- Behind Caria Manor
- Behind the Castle
- Bellum Church
- Below the Well
- Beside the Crater-Pocked Glade
- Beside the Great Bridge
- Beside the Rampart Gaol
- Bestial Sanctum
- Black Knife Catacombs
- Boilprawn Shack
- Bower of Bounty
- Bridge of Iniquity
- Bridge of Sacrifice
- Caelem Ruins
- Caelid Catacombs
- Caelid Highway South
- Capital Rampart
- Castellan's Hall
- Castle Morne Lift
- Castle Morne Rampart
- Castle Sol Main Gate
- Castle Sol Rooftop
- Castleward Tunnel
- Cathedral of Dragon Communion
- Cathedral of Manus Celes
- Cathedral of the Forsaken
- Cave of Knowledge
- Cave of the Forlon
- Chair-Crypt of Selia
- Chamber Outside the Plaza
- Church of Dragon Communion
- Church of Elleh
- Church of Inhibition
- Church of Pilgrimage
- Church of Repose
- Church of the Cuckoo
- Church of the Eclipse
- Church of the Plague
- Church of Vows
- Cliffbottom Catacombs
- Coastal Cave
- Cocoon of the Empyrean
- Consecrated Snowfield
- Consecrated Snowfield Catacombs
- Converted Tower
- Craftsman's Shack
- Crumbling Beast Grave
- Crumbling Beast Grave Depths
- Crystalline Woods
- Deathtouched Catacombs
- Debate Parlor
- Deep Siofra Well
- Deeproot Depths
- Divine Bridge
- Divine Tower of Caelid: Basement
- Divine Tower of Caelid: Center
- Divine Tower of East Altus
- Divine Tower of East Altus: Gate
- Divine Tower of Limgrave
- Divine Tower of Liurnia
- Divine Tower of West Altus
- Divine Tower of West Altus: Gate
- Dragon Temple
- Dragon Temple Altar
- Dragon Temple Lift
- Dragon Temple Rooftop
- Dragon Temple Transept
- Dragonbarrow Cave
- Dragonbarrow Fork
- Dragonbarrow West
- Dragonkin Soldier of Nokstella
- Dragonlord Placidusax
- Drainage Channel
- Dynasty Mausoleum Entrance
- Dynasty Mausoleum Midpoint
- Earthbore Cave
- East Capital Rampart
- East Gate Bridge Trestle
- East Raya Lucaria Gate
- Eastern Liurnia Lake Shore
- Eastern Tableland
- Elden Throne
- Elphael Inner Wall
- Erdtree Sanctuary
- Erdtree-Gazing Hill
- Fallen Ruins of the Lake
- Farum Greatbridge
- Fire Giant
- First Church of Marika
- First Mt. Gelmir Campsite
- Folly on the Lake
- Foot of the Forge
- Foot of the Four Belfries
- Forbidden Lands
- Forest-Spanning Greatbridge
- Forge of the Giants
- Forsaken Depths
- Fort Faroth
- Fort Gael North
- Fort Haight West
- Fortified Manor, First Floor
- Fourth Church of Marika
- Freezing Lake
- Frenzied Flame Proscription
- Frenzied Flame Village Outskirts
- Gael Tunnel
- Gaol Cave
- Gate Town Bridge
- Gate Town North
- Gatefront
- Gateside Chamber
- Gelmir Hero's Grave
- Giant-Conquering Hero's Grave
- Giants' Gravepost
- Giants' Mountaintop Catacombs
- Godrick the Grafted
- Grand Cloister
- Grand Lift of Dectus
- Grand Lift of Rold
- Great Waterfall Basin
- Great Waterfall Crest
- Groveside Cave
- Guest Hall
- Haligtree Canopy
- Haligtree Promenade
- Haligtree Roots
- Haligtree Town
- Haligtree Town Plaza
- Heart of Aeonia
- Hermit Merchant's Shack
- Hidden Path to the Haligtree
- Highroad Cave
- Impaler's Catacombs
- Impassable Greatbridge
- Inner Aeonia
- Inner Consecrated Snowfield
- Isolated Divine Tower
- Isolated Merchant's Shack
- Isolated Merchant's Shack
- Jarburg
- Lake of Rot Shoreside
- Lake-Facing Cliffs
- Lakeside Crystal Cave
- Laskyar Ruins
- Lenne's Rise
- Leyndell Catacombs
- Leyndell, Capital of Ash
- Liftside Chamber
- Limgrave Tower Bridge
- Limgrave Tunnels
- Liurnia Highway North
- Liurnia Highway South
- Liurnia Lake Shore
- Liurnia Tower Bridge
- Lower Capital Church
- Magma Wyrm
- Main Academy Gate
- Main Caria Manor Gate
- Malenia, Goddess of Rot
- Maliketh, the Black Blade
- Manor Lower Level
- Manor Upper Level
- Margit, the Fell Omen
- Mausoleum Compound
- Mimic Tear
- Minor Erdtree Catacombs
- Minor Erdtree Church
- Mistwood Outskirts
- Moonlight Altar
- Morne Moangrave
- Morne Tunnel
- Murkwater Catacombs
- Murkwater Cave
- Murkwater Coast
- Night's Sacred Ground
- Ninth Mt. Gelmir Campsite
- Nokron, Eternal City
- Nokstella Waterfall Basin
- Nokstella, Eternal City
- Northern Liurnia Lake Shore
- Old Altus Tunnel
- Ordina, Liturgical Town
- Outer Wall Battleground
- Outer Wall Phantom Tree
- Palace Approach Ledge-Road
- Perfumer's Grotto
- Prayer Room
- Primeval Sorcerer Azur
- Prince of Death's Throne
- Prison Town Church
- Queen's Bedchamber
- Rampart Tower
- Rampartside Path
- Ranni's Chamber
- Ranni's Rise
- Ravine-Veiled Village
- Raya Lucaria Crystal Tunnel
- Raya Lucaria Grand Library
- Rear Gael Tunnel Entrance
- Redmane Castle Plaza
- Revenger's Shack
- Road of Iniquity
- Road of Iniquity Side Path
- Road to the Manor
- Road's End Catacombs
- Root-Facing Cliffs
- Rotview Balcony
- Royal Moongazing Ground
- Ruin-Strewn Precipice
- Ruin-Strewn Precipice Overlook
- Ruined Labyrinth
- Rykard, Lord of Blasphemy
- Sage's Cave
- Sainted Hero's Grave
- Saintsbridge
- Scenic Isle
- Schoolhouse Classroom
- Sealed Tunnel
- Seaside Ruins
- Secluded Cell
- Seethewater Cave
- Seethewater River
- Seethewater Terminus
- Sellia Backstreets
- Sellia Crystal Tunnel
- Sellia Hideaway
- Sellia Under-Stair
- Shaded Castle Inner Gate
- Shaded Castle Ramparts
- Siofra River Bank
- Siofra River Well Depths
- Slumbering Wolf's Shack
- Smoldering Church
- Smoldering Wall
- Snow Valley Ruins Overlook
- Sorcerer's Isle
- South of the Lookout Tower
- South Raya Lucaria Gate
- Southern Aeonia Swamp Bank
- Spiritcaller's Cave
- Starscourge Radahn
- Stillwater Cave
- Stormfoot Catacombs
- Stormhill Shack
- Stormveil Cliffside
- Stormveil Main Gate
- Stranded Graveyard
- Study Hall Entrance
- Subterranean Inquisition Chamber
- Summonwater Village Outskirts
- Table of Lost Grace
- Tempest-Facing Balcony
- Temple of Eiglay
- Temple Quarter
- The First Step
- The Four Belfries
- The Nameless Eternal City
- The Ravine
- Third Church of Marika
- Tombsward
- Tombsward Catacombs
- Tombsward Cave
- Underground Roadside
- Unsightly Catacombs
- Village of the Albinaurics
- Volcano Cave
- Volcano Manor
- War-Dead Catacombs
- Warmaster's Shack
- Waypoint Ruins Cellar
- West Capital Rampart
- Whiteridge Road
- Windmill Heights
- Windmill Village
- Worshippers' Woods
- Wyndham Catacombs
- Yelough Anix Tunnel
- Zamor Ruins
All known locations on the map The Lands Between
 Abandoned Cave▶ show the map ◀
Abandoned Coffin▶ show the map ◀
Abductor Virgin▶ show the map ◀
In the underground cave of Volcano Manor. Accessible after defeating the Abductor Virgin Wheel and Swinging Sickle.
Academy Crystal Cave▶ show the map ◀
Academy Gate Town▶ show the map ◀
Aeonia Swamp Shore▶ show the map ◀
Agheel Lake North▶ show the map ◀
Agheel Lake South▶ show the map ◀
Ailing Village Outskirts▶ show the map ◀
Altar South▶ show the map ◀
Altus Highway Junction▶ show the map ◀
Altus Plateau▶ show the map ◀
Altus Tunnel▶ show the map ◀
Ancient Snow Valley Ruins▶ show the map ◀
Apostate Derelict▶ show the map ◀
Artist's Shack▶ show the map ◀
Artist's Shack▶ show the map ◀
Astray from Caelid Highway North▶ show the map ◀
Audience Pathway▶ show the map ◀
Auriza Hero's Grave▶ show the map ◀
Auriza Side Tomb▶ show the map ◀
Avenue Balcony▶ show the map ◀
Behind Caria Manor▶ show the map ◀
Behind the Castle▶ show the map ◀
Bellum Church▶ show the map ◀
Beside the Crater-Pocked Glade▶ show the map ◀
Beside the Great Bridge▶ show the map ◀
Beside the Rampart Gaol▶ show the map ◀
Bestial Sanctum▶ show the map ◀
Black Knife Catacombs▶ show the map ◀
Boilprawn Shack▶ show the map ◀
Bower of Bounty▶ show the map ◀
Bridge of Iniquity▶ show the map ◀
Bridge of Sacrifice▶ show the map ◀
Caelem Ruins▶ show the map ◀
Caelid Catacombs▶ show the map ◀
Caelid Highway South▶ show the map ◀
Capital Rampart▶ show the map ◀
Castellan's Hall▶ show the map ◀
Castle Morne Lift▶ show the map ◀
Castle Morne Rampart▶ show the map ◀
Castle Sol Main Gate▶ show the map ◀
Castle Sol Rooftop▶ show the map ◀
Castleward Tunnel▶ show the map ◀
Cathedral of Dragon Communion▶ show the map ◀
Cathedral of Manus Celes▶ show the map ◀
Cathedral of the Forsaken▶ show the map ◀
Cave of Knowledge▶ show the map ◀
Cave of the Forlon▶ show the map ◀
Chair-Crypt of Selia▶ show the map ◀
Chamber Outside the Plaza▶ show the map ◀
Church of Dragon Communion▶ show the map ◀
Church of Elleh▶ show the map ◀
Church of Inhibition▶ show the map ◀
Church of Pilgrimage▶ show the map ◀
Church of Repose▶ show the map ◀
Church of the Cuckoo▶ show the map ◀
Church of the Eclipse▶ show the map ◀
Church of the Plague▶ show the map ◀
Church of Vows▶ show the map ◀
Cliffbottom Catacombs▶ show the map ◀
Coastal Cave▶ show the map ◀
By going through this cave you can get to the island located in the south.
Consecrated Snowfield▶ show the map ◀
Consecrated Snowfield Catacombs▶ show the map ◀
Converted Tower▶ show the map ◀
Craftsman's Shack▶ show the map ◀
Crumbling Beast Grave▶ show the map ◀
Crumbling Beast Grave Depths▶ show the map ◀
Crystalline Woods▶ show the map ◀
Deathtouched Catacombs▶ show the map ◀
Debate Parlor▶ show the map ◀
Deep Siofra Well▶ show the map ◀
Divine Bridge▶ show the map ◀
Divine Tower of Caelid: Basement▶ show the map ◀
Divine Tower of Caelid: Center▶ show the map ◀
Divine Tower of East Altus▶ show the map ◀
Divine Tower of East Altus: Gate▶ show the map ◀
Divine Tower of Limgrave▶ show the map ◀
Divine Tower of Liurnia▶ show the map ◀
Divine Tower of West Altus▶ show the map ◀
Divine Tower of West Altus: Gate▶ show the map ◀
You can get here by going through the Sealed Tunnel.
Dragon Temple▶ show the map ◀
Dragon Temple Altar▶ show the map ◀
Dragon Temple Lift▶ show the map ◀
To be able to get to this place you must use two Stonesword Keys to remove the barrier blocking access to the elevator below.
Dragon Temple Rooftop▶ show the map ◀
Dragon Temple Transept▶ show the map ◀
Dragonbarrow Cave▶ show the map ◀
Dragonbarrow Fork▶ show the map ◀
Dragonbarrow West▶ show the map ◀
Dragonlord Placidusax▶ show the map ◀
Drainage Channel▶ show the map ◀
Earthbore Cave▶ show the map ◀
East Capital Rampart▶ show the map ◀
East Gate Bridge Trestle▶ show the map ◀
East Raya Lucaria Gate▶ show the map ◀
Eastern Liurnia Lake Shore▶ show the map ◀
Eastern Tableland▶ show the map ◀
Elden Throne▶ show the map ◀
Elphael Inner Wall▶ show the map ◀
Erdtree Sanctuary▶ show the map ◀
Erdtree-Gazing Hill▶ show the map ◀
Fallen Ruins of the Lake▶ show the map ◀
Farum Greatbridge▶ show the map ◀
Fire Giant▶ show the map ◀
First Church of Marika▶ show the map ◀
First Mt. Gelmir Campsite▶ show the map ◀
Folly on the Lake▶ show the map ◀
Foot of the Forge▶ show the map ◀
Foot of the Four Belfries▶ show the map ◀
Forbidden Lands▶ show the map ◀
Forest-Spanning Greatbridge▶ show the map ◀
Forge of the Giants▶ show the map ◀
Forsaken Depths▶ show the map ◀
Fort Faroth▶ show the map ◀
Fort Gael North▶ show the map ◀
Fort Haight West▶ show the map ◀
Fortified Manor, First Floor▶ show the map ◀
Fourth Church of Marika▶ show the map ◀
Freezing Lake▶ show the map ◀
Frenzied Flame Proscription▶ show the map ◀
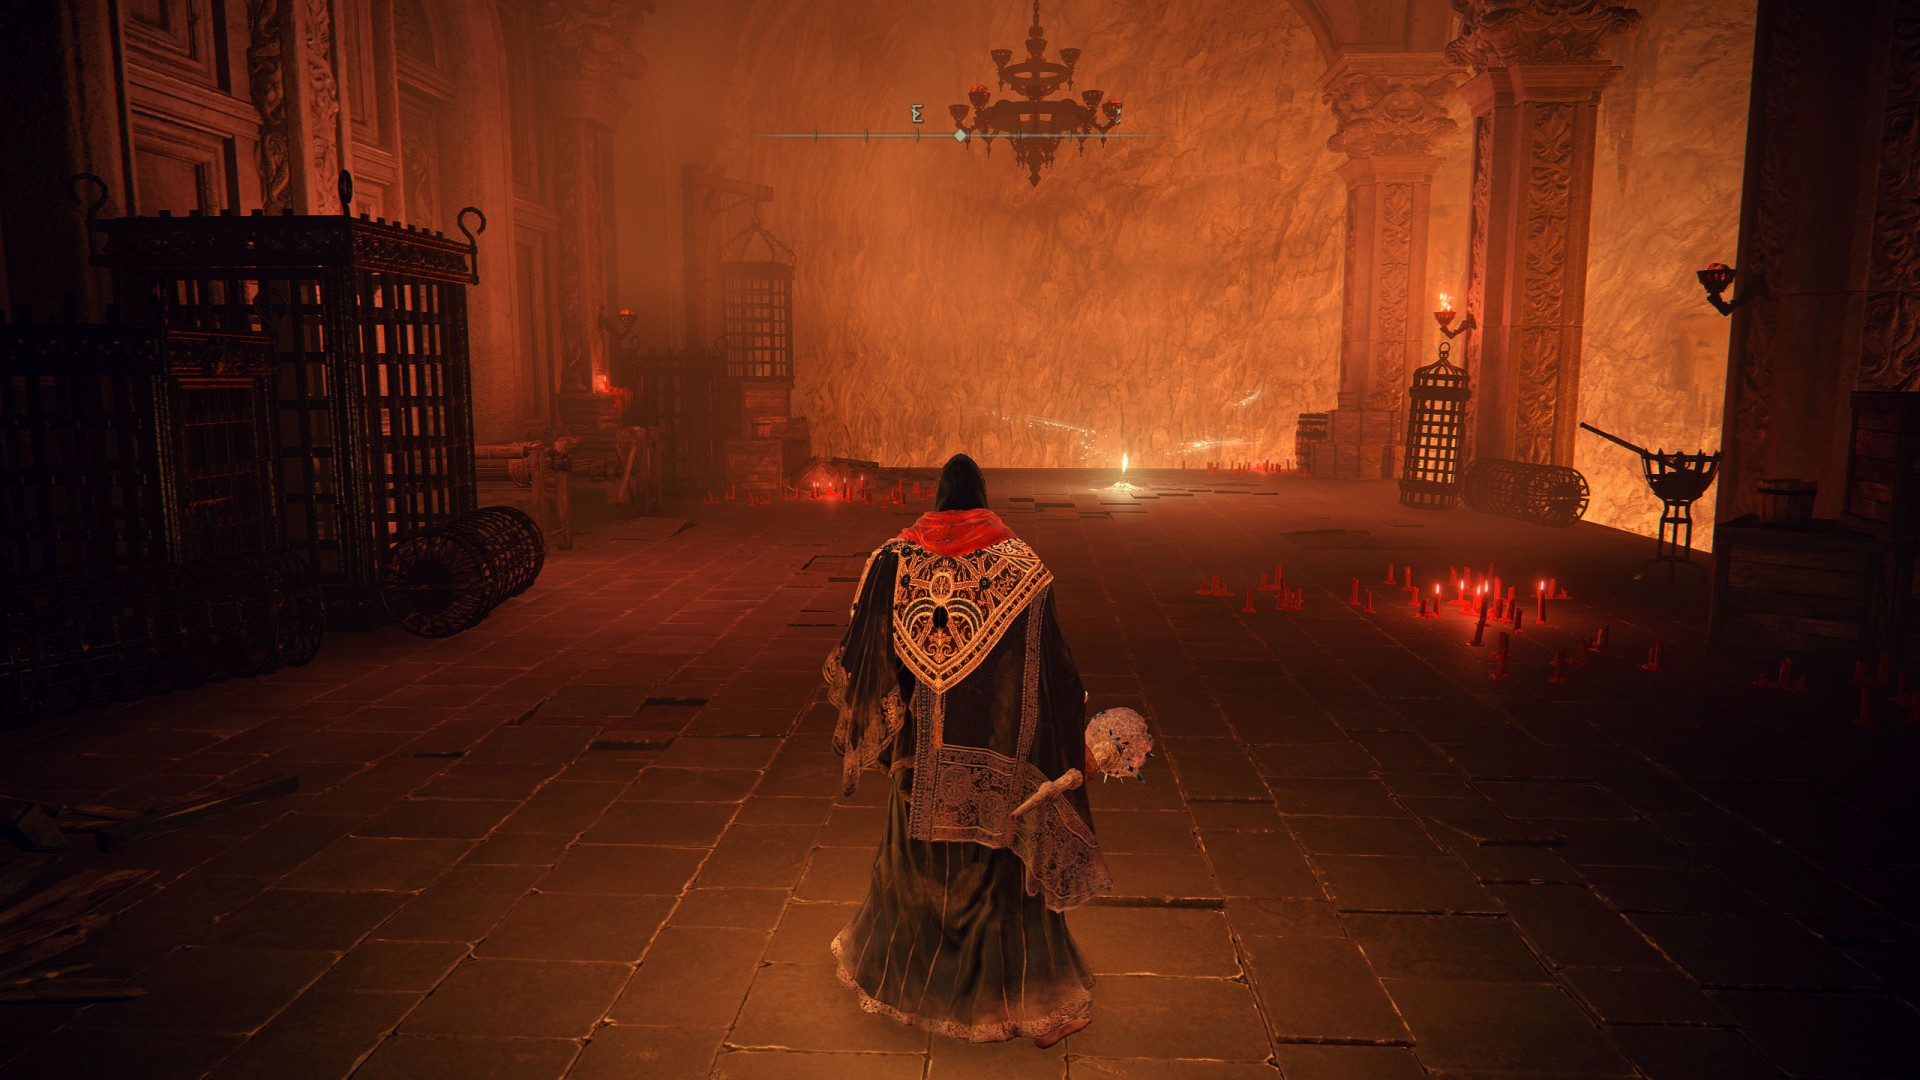
To get here you must descend to the very bottom of the room to which leads a passage hidden behind the altar in the room where you fought Mohg, the Omen.
Frenzied Flame Village Outskirts▶ show the map ◀
Gael Tunnel▶ show the map ◀
Gaol Cave▶ show the map ◀
Gate Town Bridge▶ show the map ◀
Gate Town North▶ show the map ◀
Gatefront▶ show the map ◀
Gateside Chamber▶ show the map ◀
Gelmir Hero's Grave▶ show the map ◀
Giant-Conquering Hero's Grave▶ show the map ◀
Giants' Gravepost▶ show the map ◀
Giants' Mountaintop Catacombs▶ show the map ◀
Godrick the Grafted▶ show the map ◀
Grand Lift of Dectus▶ show the map ◀
Grand Lift of Rold▶ show the map ◀
Groveside Cave▶ show the map ◀
Guest Hall▶ show the map ◀
Haligtree Canopy▶ show the map ◀
Haligtree Promenade▶ show the map ◀
Haligtree Roots▶ show the map ◀
Haligtree Town▶ show the map ◀
Haligtree Town Plaza▶ show the map ◀
Heart of Aeonia▶ show the map ◀
Hermit Merchant's Shack▶ show the map ◀
Hidden Path to the Haligtree▶ show the map ◀
Highroad Cave▶ show the map ◀
Impaler's Catacombs▶ show the map ◀
Impassable Greatbridge▶ show the map ◀
Inner Aeonia▶ show the map ◀
Inner Consecrated Snowfield▶ show the map ◀
Isolated Divine Tower▶ show the map ◀
Isolated Merchant's Shack▶ show the map ◀
Isolated Merchant's Shack▶ show the map ◀
Jarburg▶ show the map ◀
Lake-Facing Cliffs▶ show the map ◀
Lakeside Crystal Cave▶ show the map ◀
Laskyar Ruins▶ show the map ◀
Lenne's Rise▶ show the map ◀
Leyndell Catacombs▶ show the map ◀
Leyndell, Capital of Ash▶ show the map ◀
Available near endgame or post-game.
Liftside Chamber▶ show the map ◀
Limgrave Tower Bridge▶ show the map ◀
Limgrave Tunnels▶ show the map ◀
Liurnia Highway North▶ show the map ◀
Liurnia Highway South▶ show the map ◀
Liurnia Lake Shore▶ show the map ◀
Liurnia Tower Bridge▶ show the map ◀
Lower Capital Church▶ show the map ◀
Magma Wyrm▶ show the map ◀
Main Academy Gate▶ show the map ◀
Main Caria Manor Gate▶ show the map ◀
Malenia, Goddess of Rot▶ show the map ◀
Maliketh, the Black Blade▶ show the map ◀
Manor Lower Level▶ show the map ◀
Manor Upper Level▶ show the map ◀
Margit, the Fell Omen▶ show the map ◀
Mausoleum Compound▶ show the map ◀
Minor Erdtree Catacombs▶ show the map ◀
Minor Erdtree Church▶ show the map ◀
Mistwood Outskirts▶ show the map ◀
Moonlight Altar▶ show the map ◀
Morne Moangrave▶ show the map ◀
Morne Tunnel▶ show the map ◀
Murkwater Catacombs▶ show the map ◀
Murkwater Cave▶ show the map ◀
Murkwater Coast▶ show the map ◀
Ninth Mt. Gelmir Campsite▶ show the map ◀
Northern Liurnia Lake Shore▶ show the map ◀
Old Altus Tunnel▶ show the map ◀
Ordina, Liturgical Town▶ show the map ◀
Outer Wall Battleground▶ show the map ◀
Outer Wall Phantom Tree▶ show the map ◀
Perfumer's Grotto▶ show the map ◀
Prayer Room▶ show the map ◀
Primeval Sorcerer Azur▶ show the map ◀
Prison Town Church▶ show the map ◀
Queen's Bedchamber▶ show the map ◀
Rampart Tower▶ show the map ◀
Rampartside Path▶ show the map ◀
Ranni's Chamber▶ show the map ◀
Ranni's Rise▶ show the map ◀
Ravine-Veiled Village▶ show the map ◀
Raya Lucaria Crystal Tunnel▶ show the map ◀
Raya Lucaria Grand Library▶ show the map ◀
Rear Gael Tunnel Entrance▶ show the map ◀
Redmane Castle Plaza▶ show the map ◀
Revenger's Shack▶ show the map ◀
Road of Iniquity▶ show the map ◀
Road of Iniquity Side Path▶ show the map ◀
Road to the Manor▶ show the map ◀
Road's End Catacombs▶ show the map ◀
Rotview Balcony▶ show the map ◀
Royal Moongazing Ground▶ show the map ◀
Ruin-Strewn Precipice▶ show the map ◀
Ruin-Strewn Precipice Overlook▶ show the map ◀
Ruined Labyrinth▶ show the map ◀
Rykard, Lord of Blasphemy▶ show the map ◀
Sage's Cave▶ show the map ◀
Sainted Hero's Grave▶ show the map ◀
Saintsbridge▶ show the map ◀
Scenic Isle▶ show the map ◀
Schoolhouse Classroom▶ show the map ◀
Sealed Tunnel▶ show the map ◀
Seaside Ruins▶ show the map ◀
Secluded Cell▶ show the map ◀
Seethewater Cave▶ show the map ◀
Seethewater River▶ show the map ◀
Seethewater Terminus▶ show the map ◀
Sellia Backstreets▶ show the map ◀
Sellia Crystal Tunnel▶ show the map ◀
Sellia Hideaway▶ show the map ◀
Sellia Under-Stair▶ show the map ◀
Shaded Castle Inner Gate▶ show the map ◀
Shaded Castle Ramparts▶ show the map ◀
Slumbering Wolf's Shack▶ show the map ◀
Smoldering Church▶ show the map ◀
Smoldering Wall▶ show the map ◀
Snow Valley Ruins Overlook▶ show the map ◀
Sorcerer's Isle▶ show the map ◀
South of the Lookout Tower▶ show the map ◀
South Raya Lucaria Gate▶ show the map ◀
Southern Aeonia Swamp Bank▶ show the map ◀
Spiritcaller's Cave▶ show the map ◀
Starscourge Radahn▶ show the map ◀
Stillwater Cave▶ show the map ◀
Stormfoot Catacombs▶ show the map ◀
Stormhill Shack▶ show the map ◀
Stormveil Cliffside▶ show the map ◀
Stormveil Main Gate▶ show the map ◀
Stranded Graveyard▶ show the map ◀
Study Hall Entrance▶ show the map ◀
Subterranean Inquisition Chamber▶ show the map ◀
You can get here if you use the Volcano Manor Secret Arrival Point.
Summonwater Village Outskirts▶ show the map ◀
Table of Lost Grace▶ show the map ◀
Tempest-Facing Balcony▶ show the map ◀
Temple of Eiglay▶ show the map ◀
Temple Quarter▶ show the map ◀
The First Step▶ show the map ◀
The Four Belfries▶ show the map ◀
The Ravine▶ show the map ◀
Third Church of Marika▶ show the map ◀
Tombsward▶ show the map ◀
Tombsward Catacombs▶ show the map ◀
Tombsward Cave▶ show the map ◀
Underground Roadside▶ show the map ◀
Unsightly Catacombs▶ show the map ◀
Village of the Albinaurics▶ show the map ◀
Volcano Cave▶ show the map ◀
Volcano Manor▶ show the map ◀
War-Dead Catacombs▶ show the map ◀
Warmaster's Shack▶ show the map ◀
Waypoint Ruins Cellar▶ show the map ◀
West Capital Rampart▶ show the map ◀
Whiteridge Road▶ show the map ◀
Windmill Heights▶ show the map ◀
Windmill Village▶ show the map ◀
Wyndham Catacombs▶ show the map ◀
Yelough Anix Tunnel▶ show the map ◀
Zamor Ruins▶ show the map ◀
All known locations on the map Undergrounds
Across the Roots▶ show the map ◀
Ainsel River Downstream▶ show the map ◀
Ainsel River Main▶ show the map ◀
Ainsel River Sluice Gate▶ show the map ◀
Ainsel River Well Depths▶ show the map ◀
Ancestral Woods▶ show the map ◀
Aqueduct-Facing Cliffs▶ show the map ◀
Astel, Naturalborn of the Void▶ show the map ◀
Below the Well▶ show the map ◀
Cocoon of the Empyrean▶ show the map ◀
Deeproot Depths▶ show the map ◀
Dragonkin Soldier of Nokstella▶ show the map ◀
Dynasty Mausoleum Entrance▶ show the map ◀
Dynasty Mausoleum Midpoint▶ show the map ◀
Grand Cloister▶ show the map ◀
Great Waterfall Basin▶ show the map ◀
Great Waterfall Crest▶ show the map ◀
Lake of Rot Shoreside▶ show the map ◀
Mimic Tear▶ show the map ◀
Night's Sacred Ground▶ show the map ◀
Nokron, Eternal City▶ show the map ◀
Nokstella Waterfall Basin▶ show the map ◀
Nokstella, Eternal City▶ show the map ◀
Palace Approach Ledge-Road▶ show the map ◀
Prince of Death's Throne▶ show the map ◀
Root-Facing Cliffs▶ show the map ◀
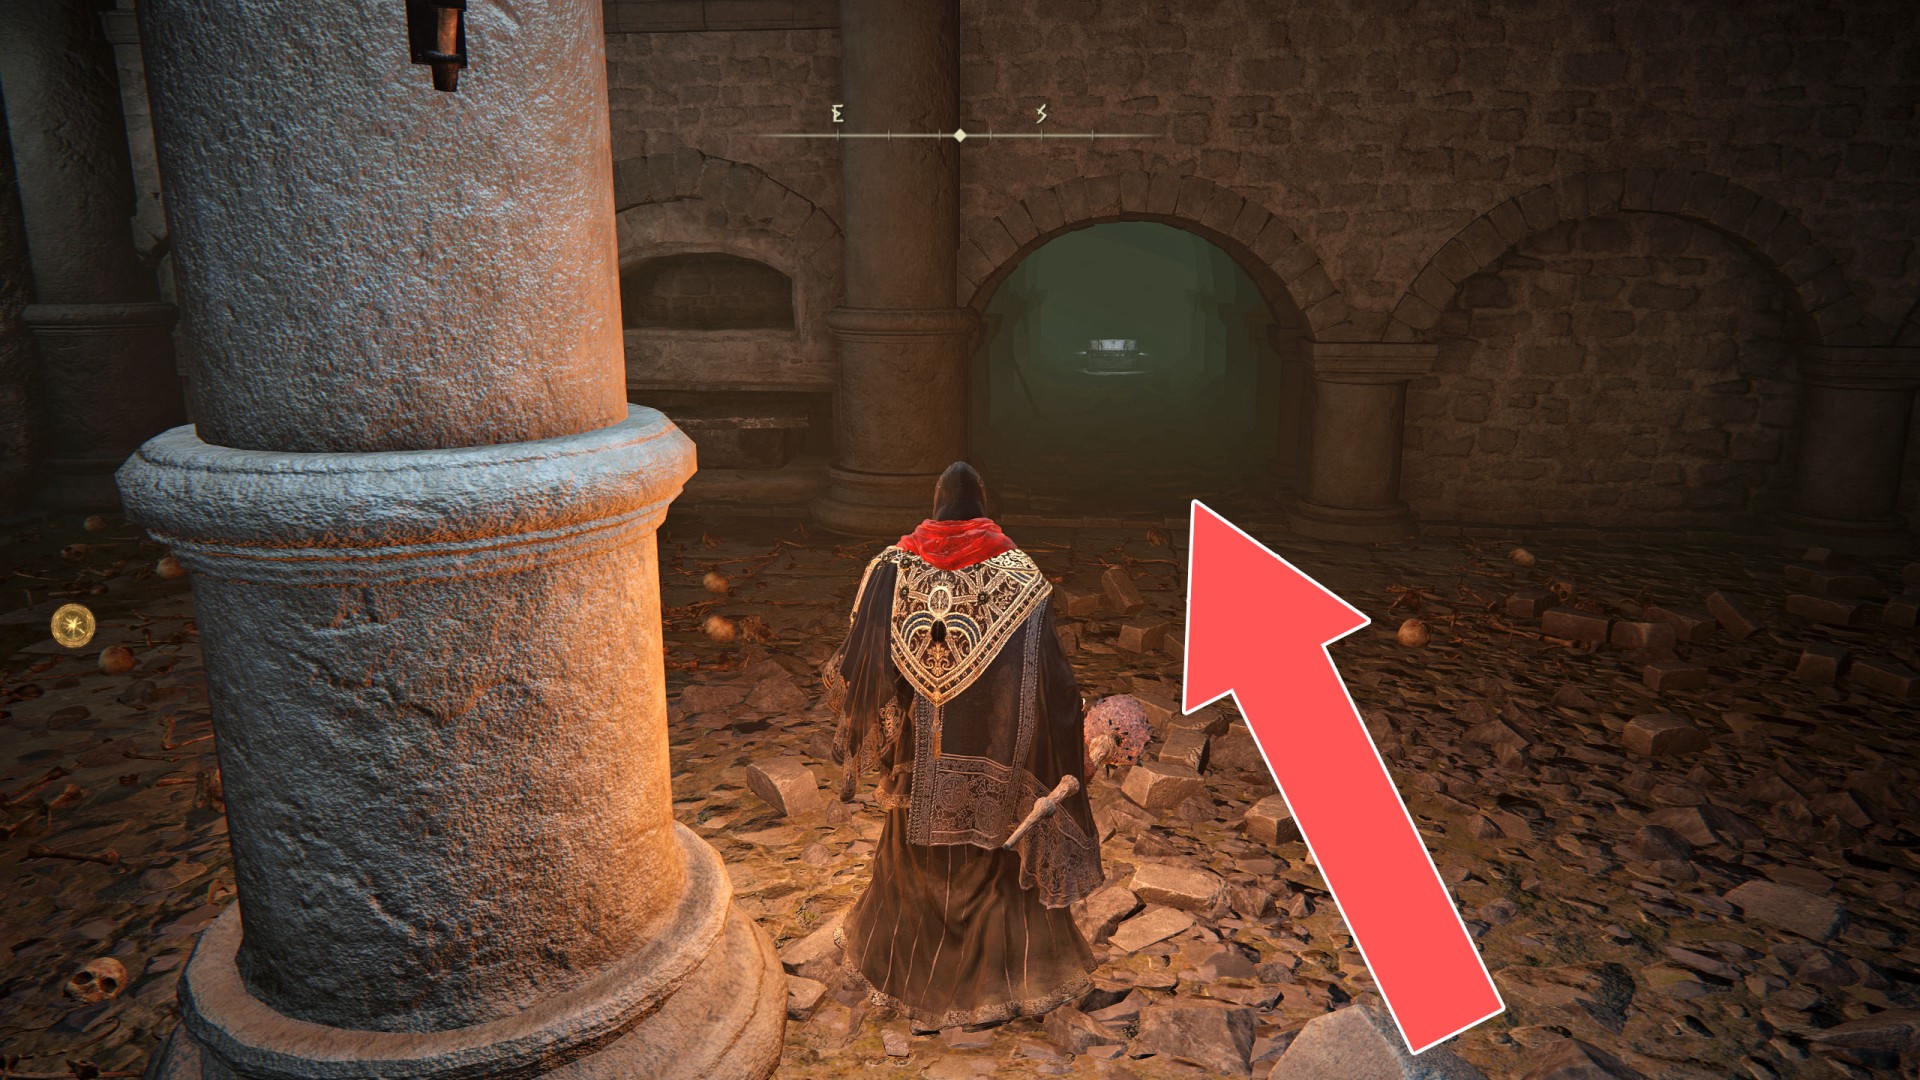
You can get here by passing through a corridor hidden behind two illusionary walls after getting to the Frenzied Flame Proscription. After removing the first wall you should see a chest. The second wall is the one right behind this chest.