Fixing the kiln may grant a closer look at their craftsmanship. Help with the repairs and examine the pots in the workshop.
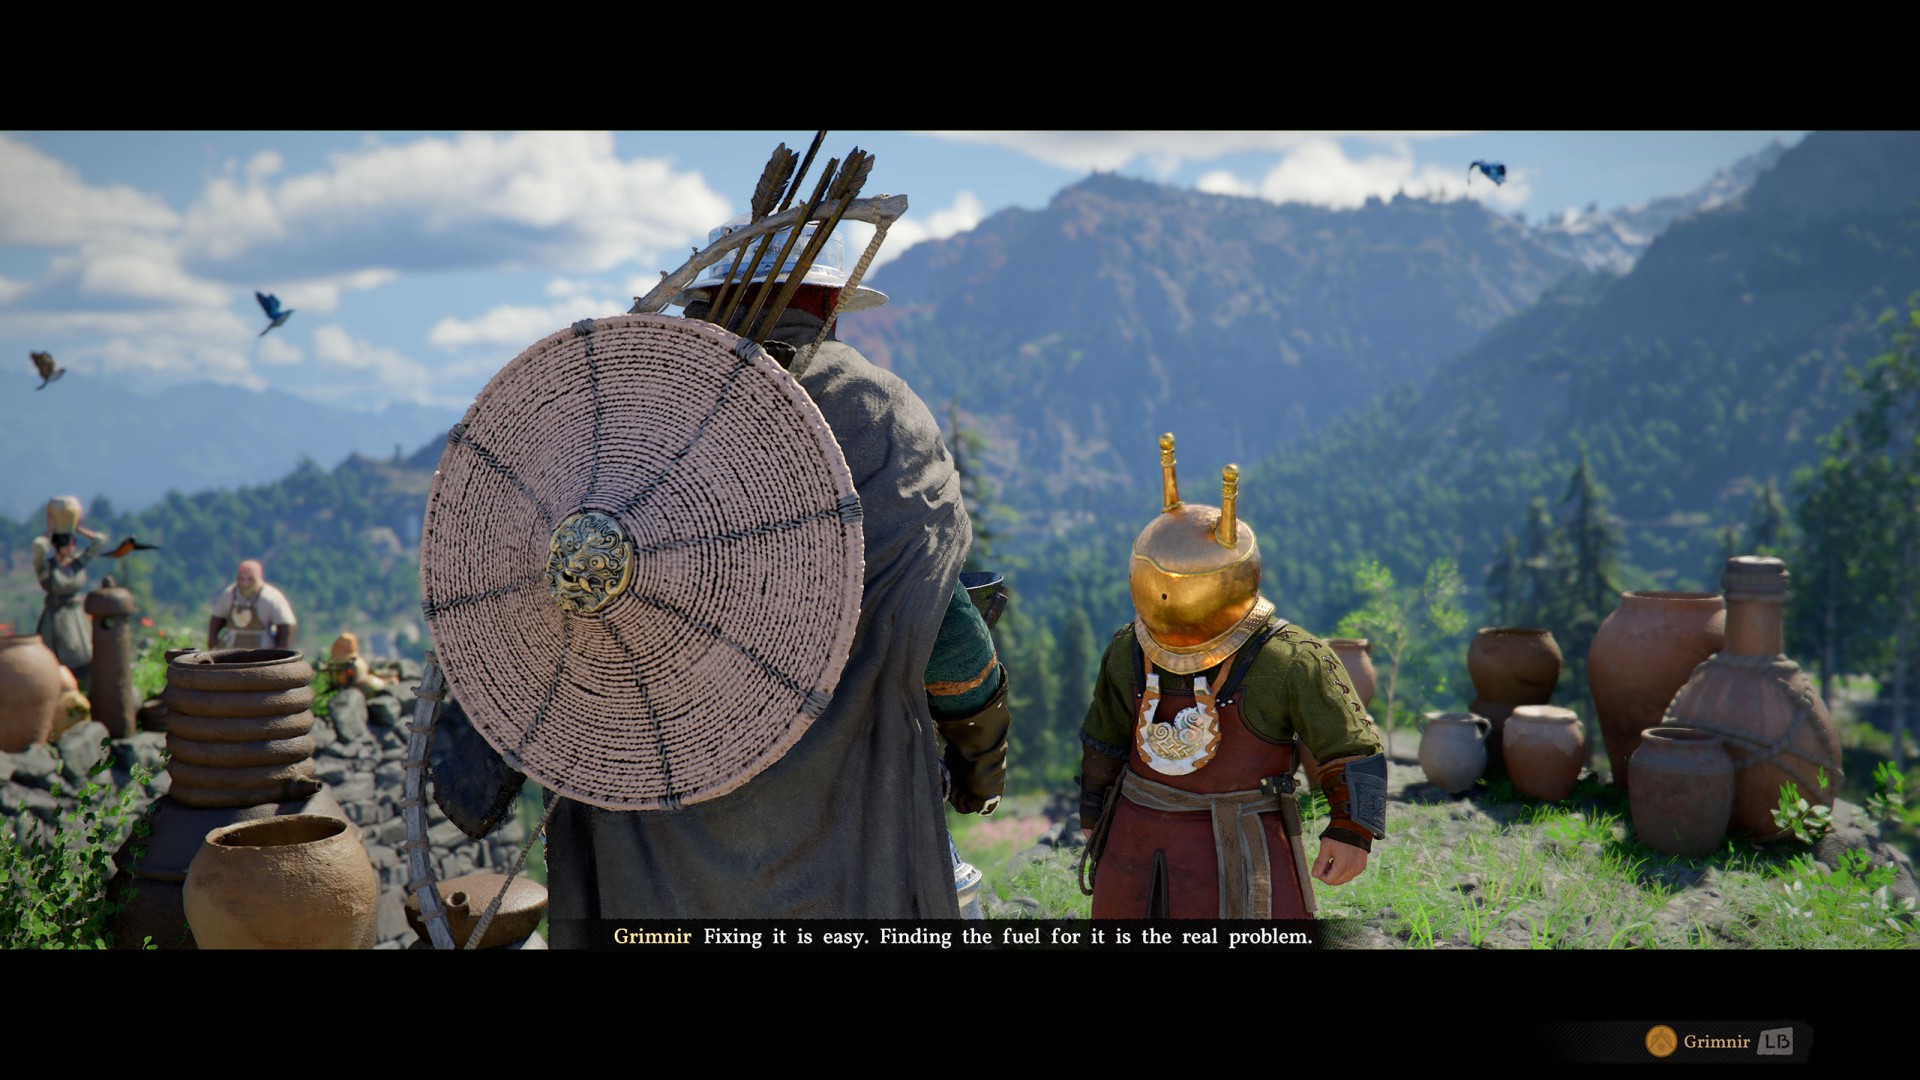
Fixing the kiln may grant a closer look at their craftsmanship. Help with the repairs and examine the pots in the workshop.
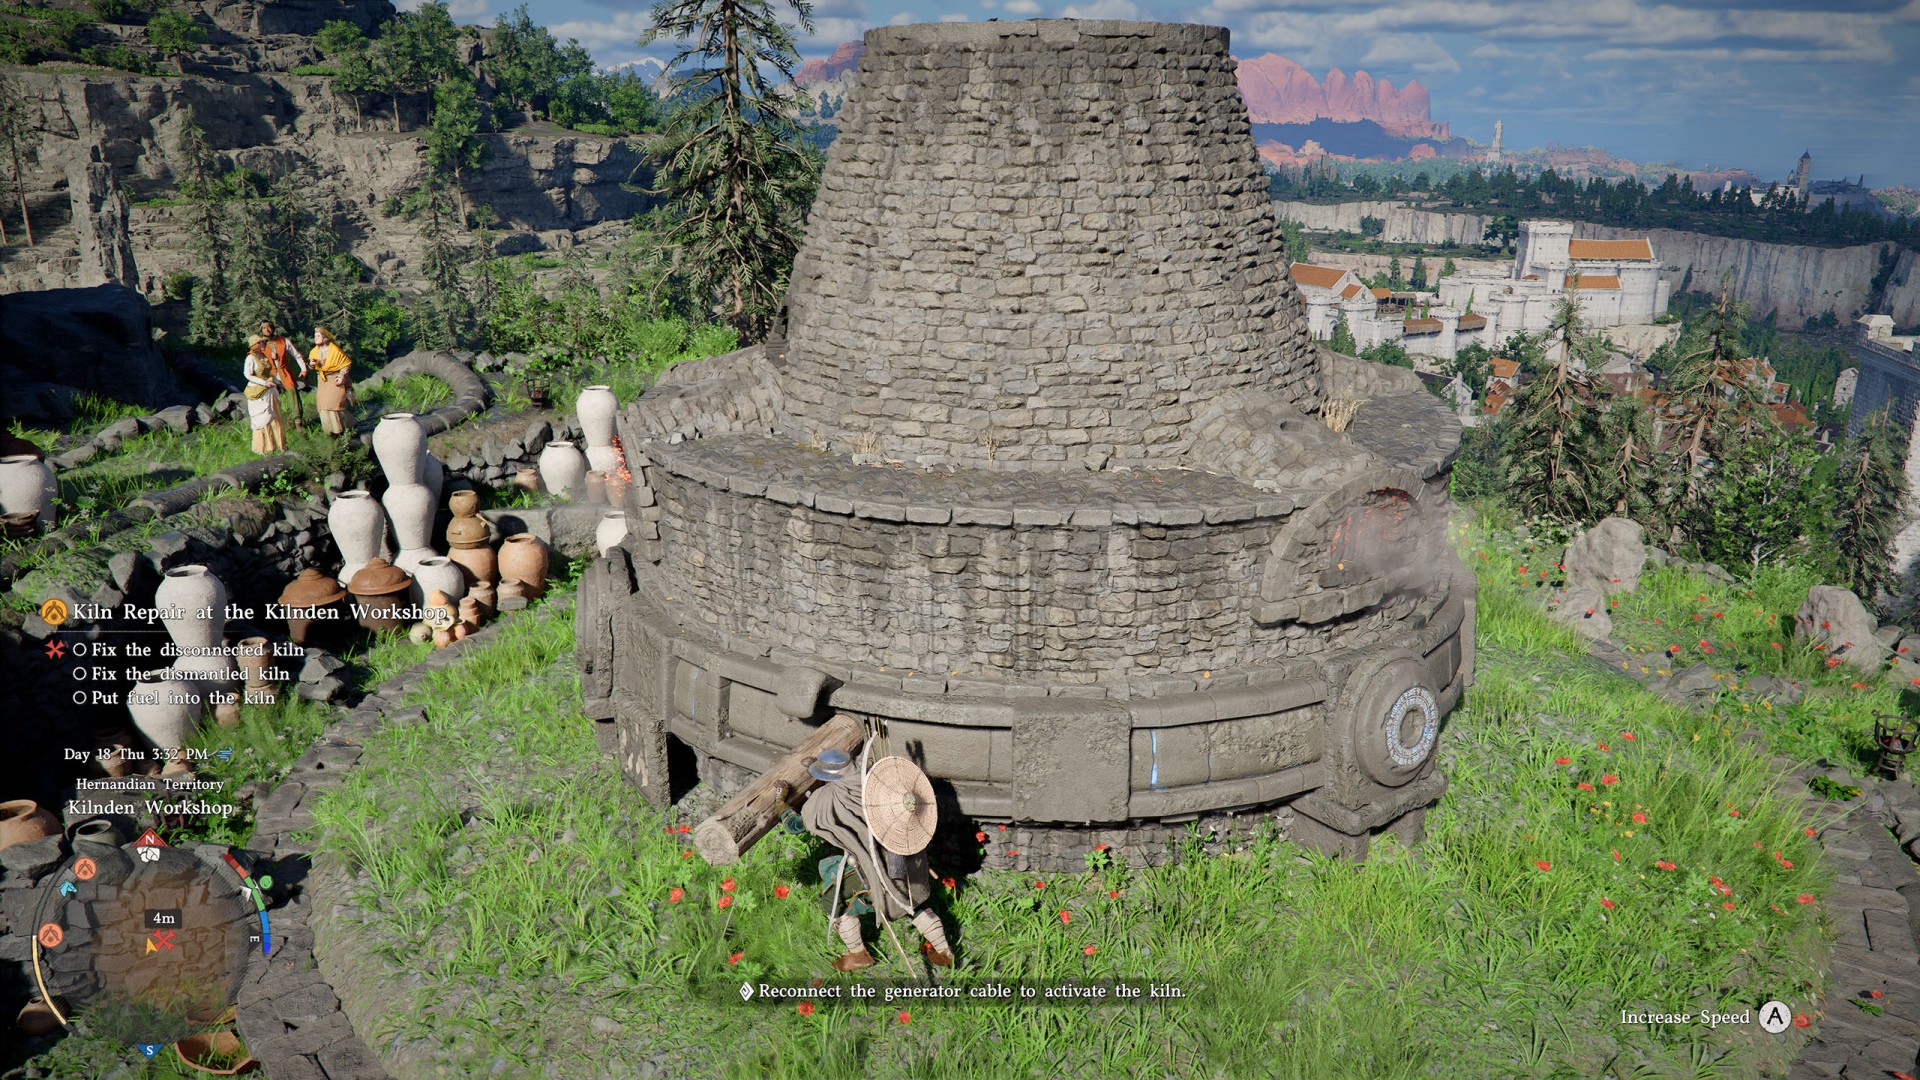
The generator is the tower just a few steps away from you. To activate it, you must align the 4 glowing symbols - 3 of which are located on rotating rings.
The first symbol, the one on the top ring, is already correctly positioned - you must align the other 2 rings. By moving the switch, you can change rings. Setting the switch to the left selects the top ring, the switch in the middle selects the center ring, and setting the switch to the right selects the bottom ring.
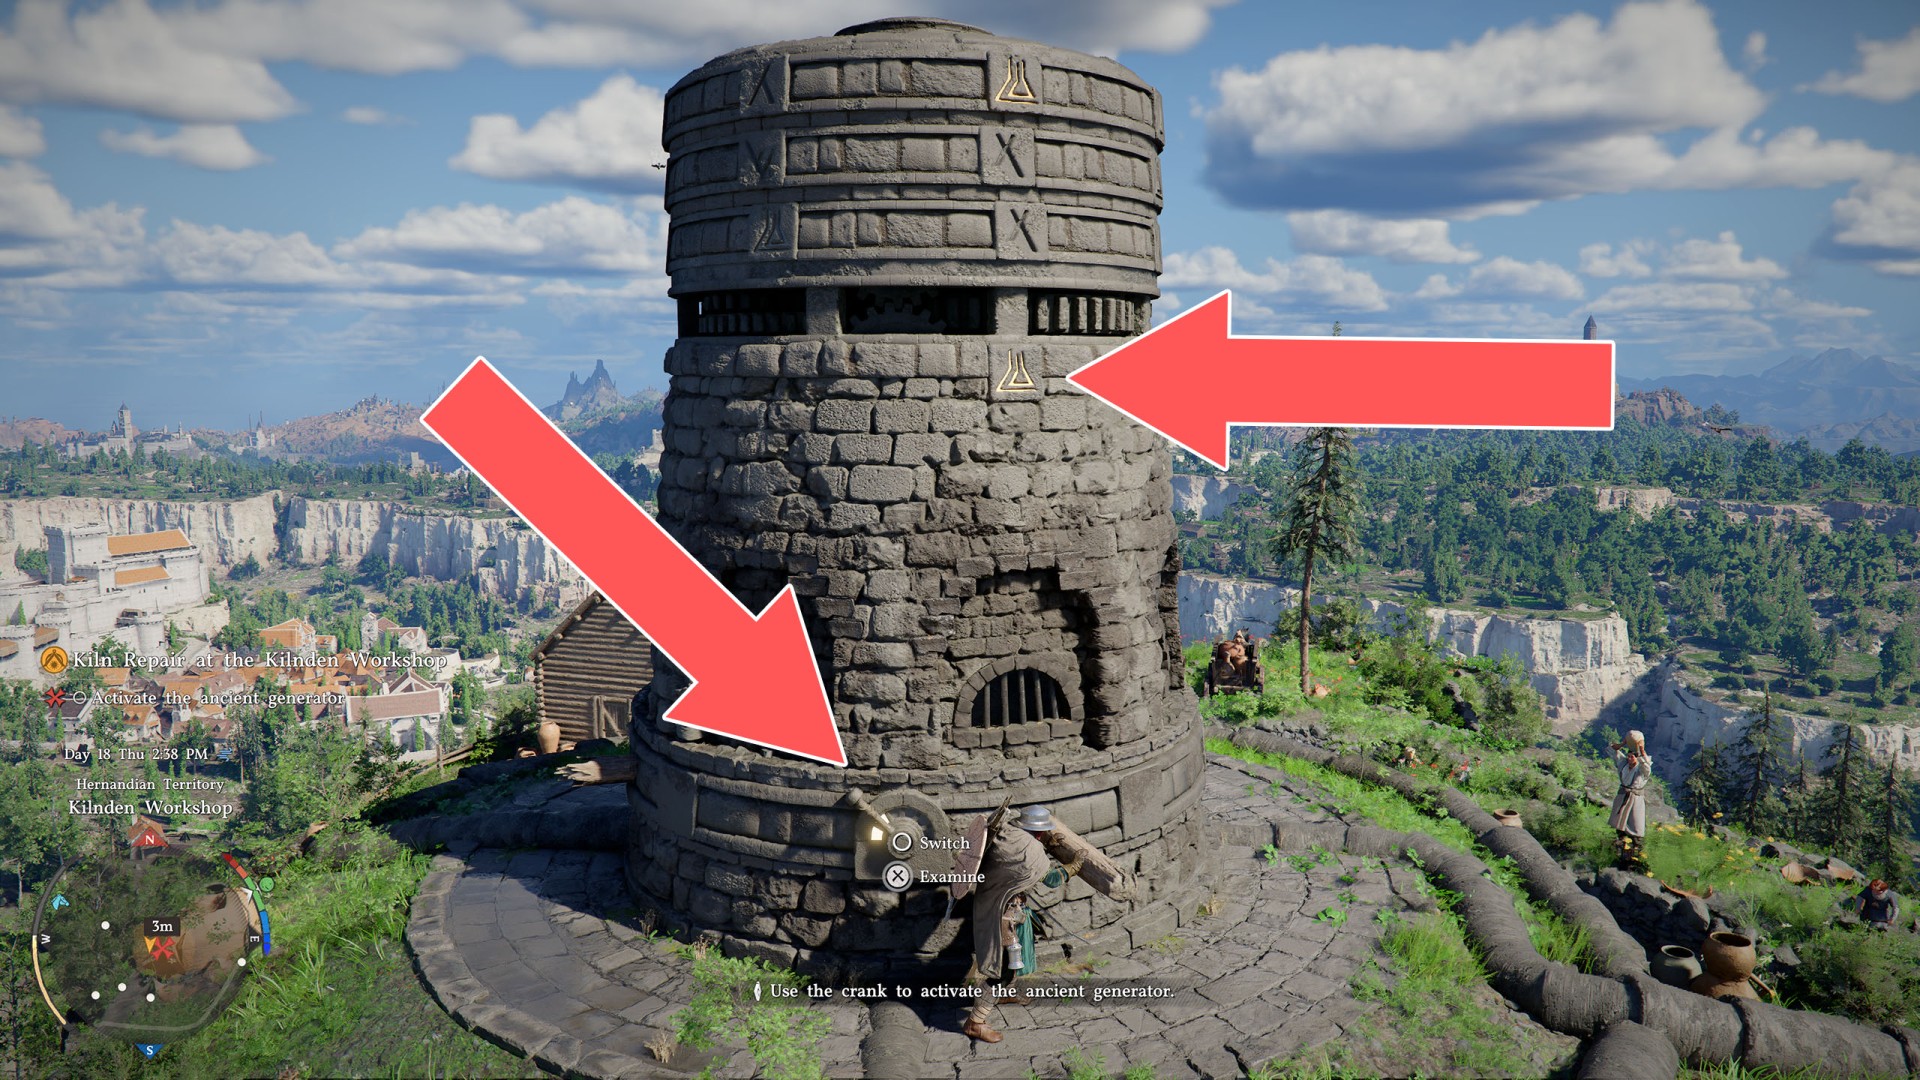
After selecting a ring, push the wooden levers to rotate the ring into the required position. Once everything is done correctly, the symbols will glow blue and the generator will activate.
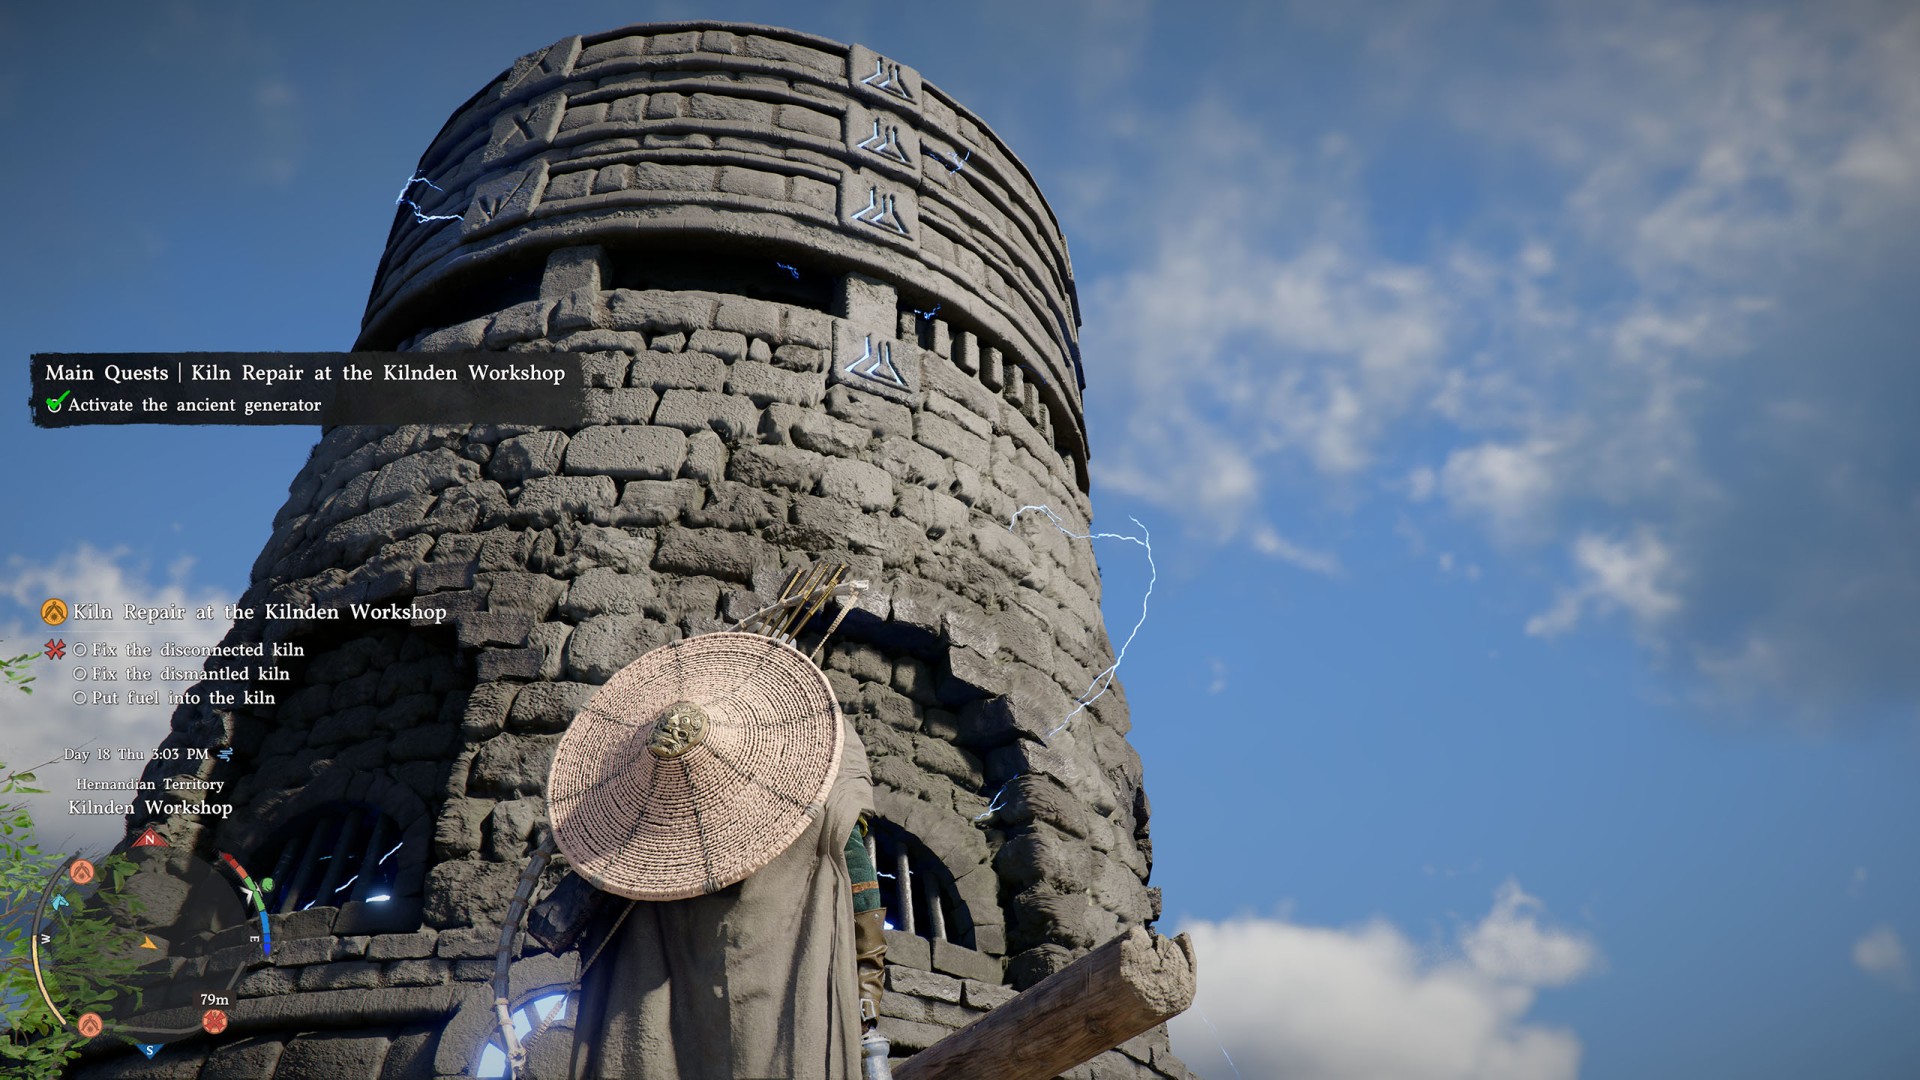
Three new markers should appear on the map. "Disconnected kiln" is the bottom one on the right side (the southeast). To fix this kiln, simply interact with the conduit to plug it into the socket.
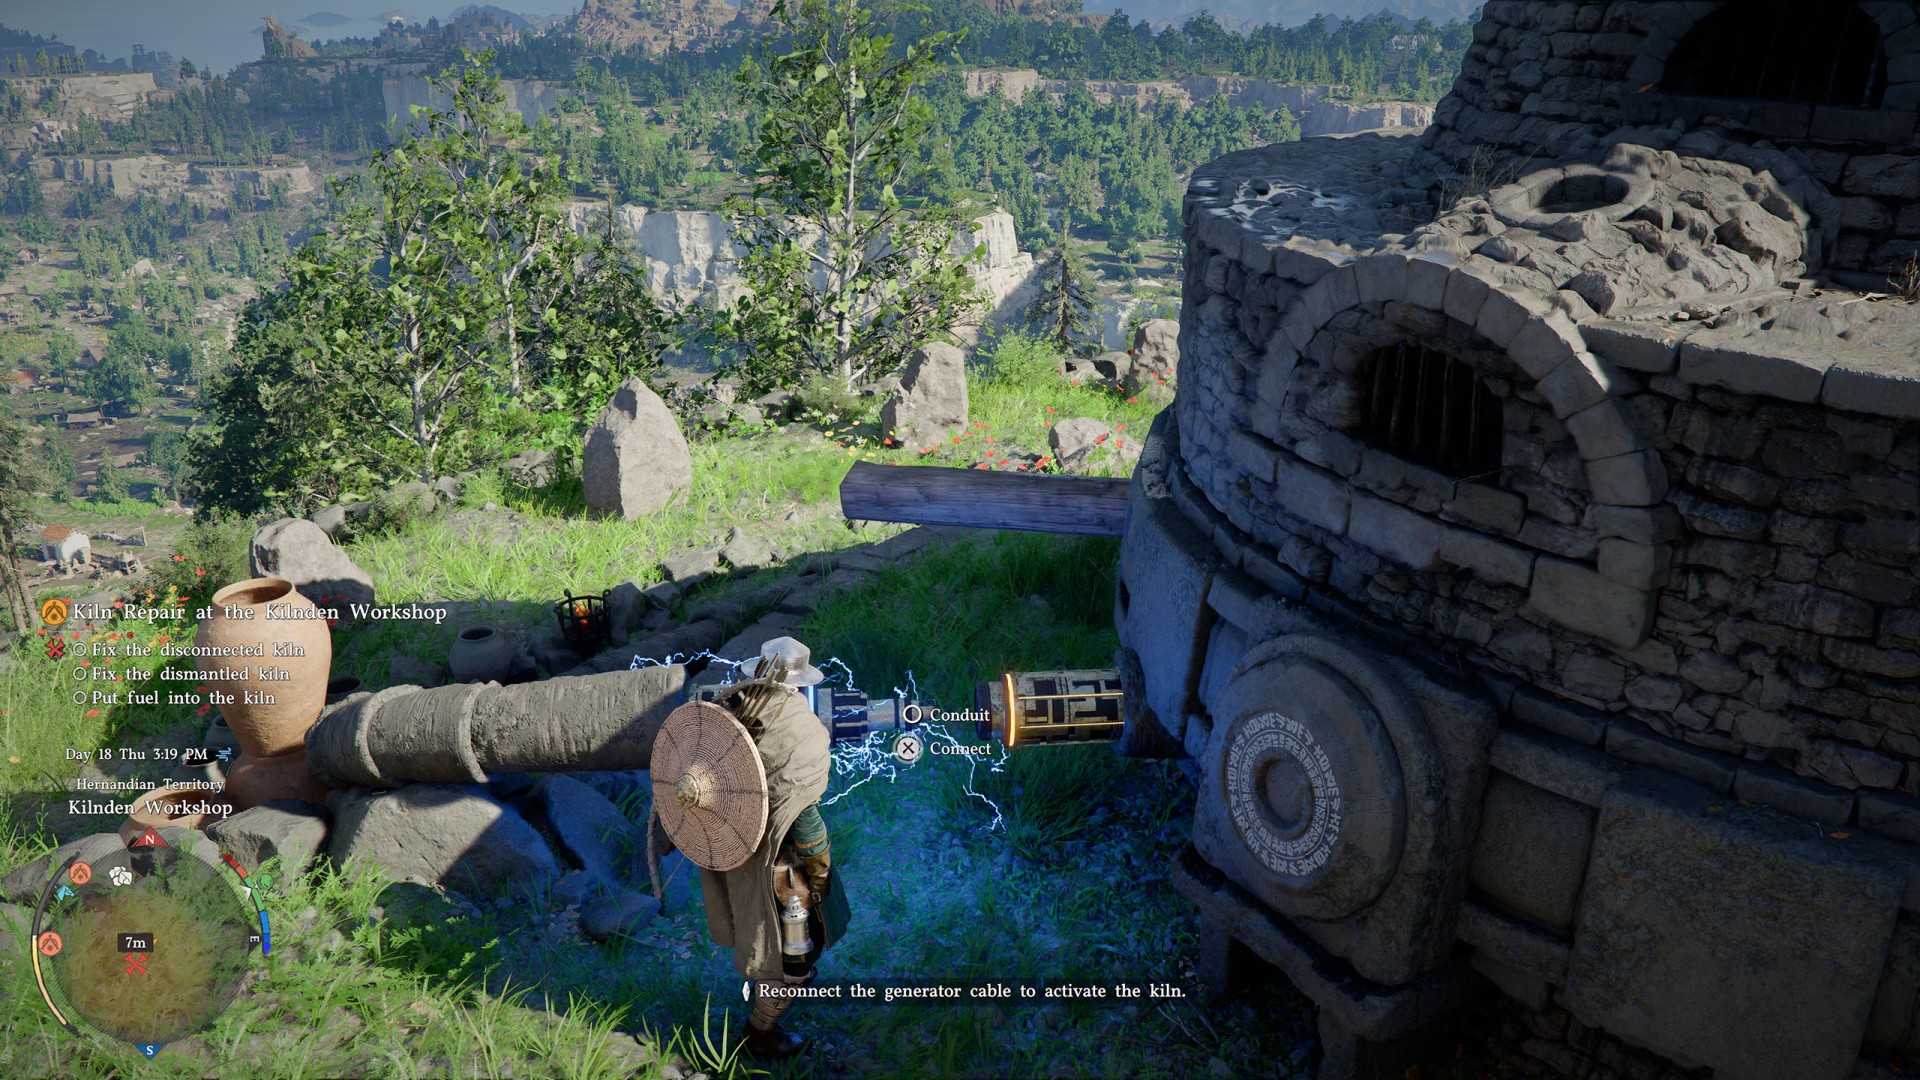
Next, push the wooden lever clockwise to power on the kiln.
This kiln is located at the bottom on the left side. When you approach it, you should receive additional instructions regarding how to fix it.
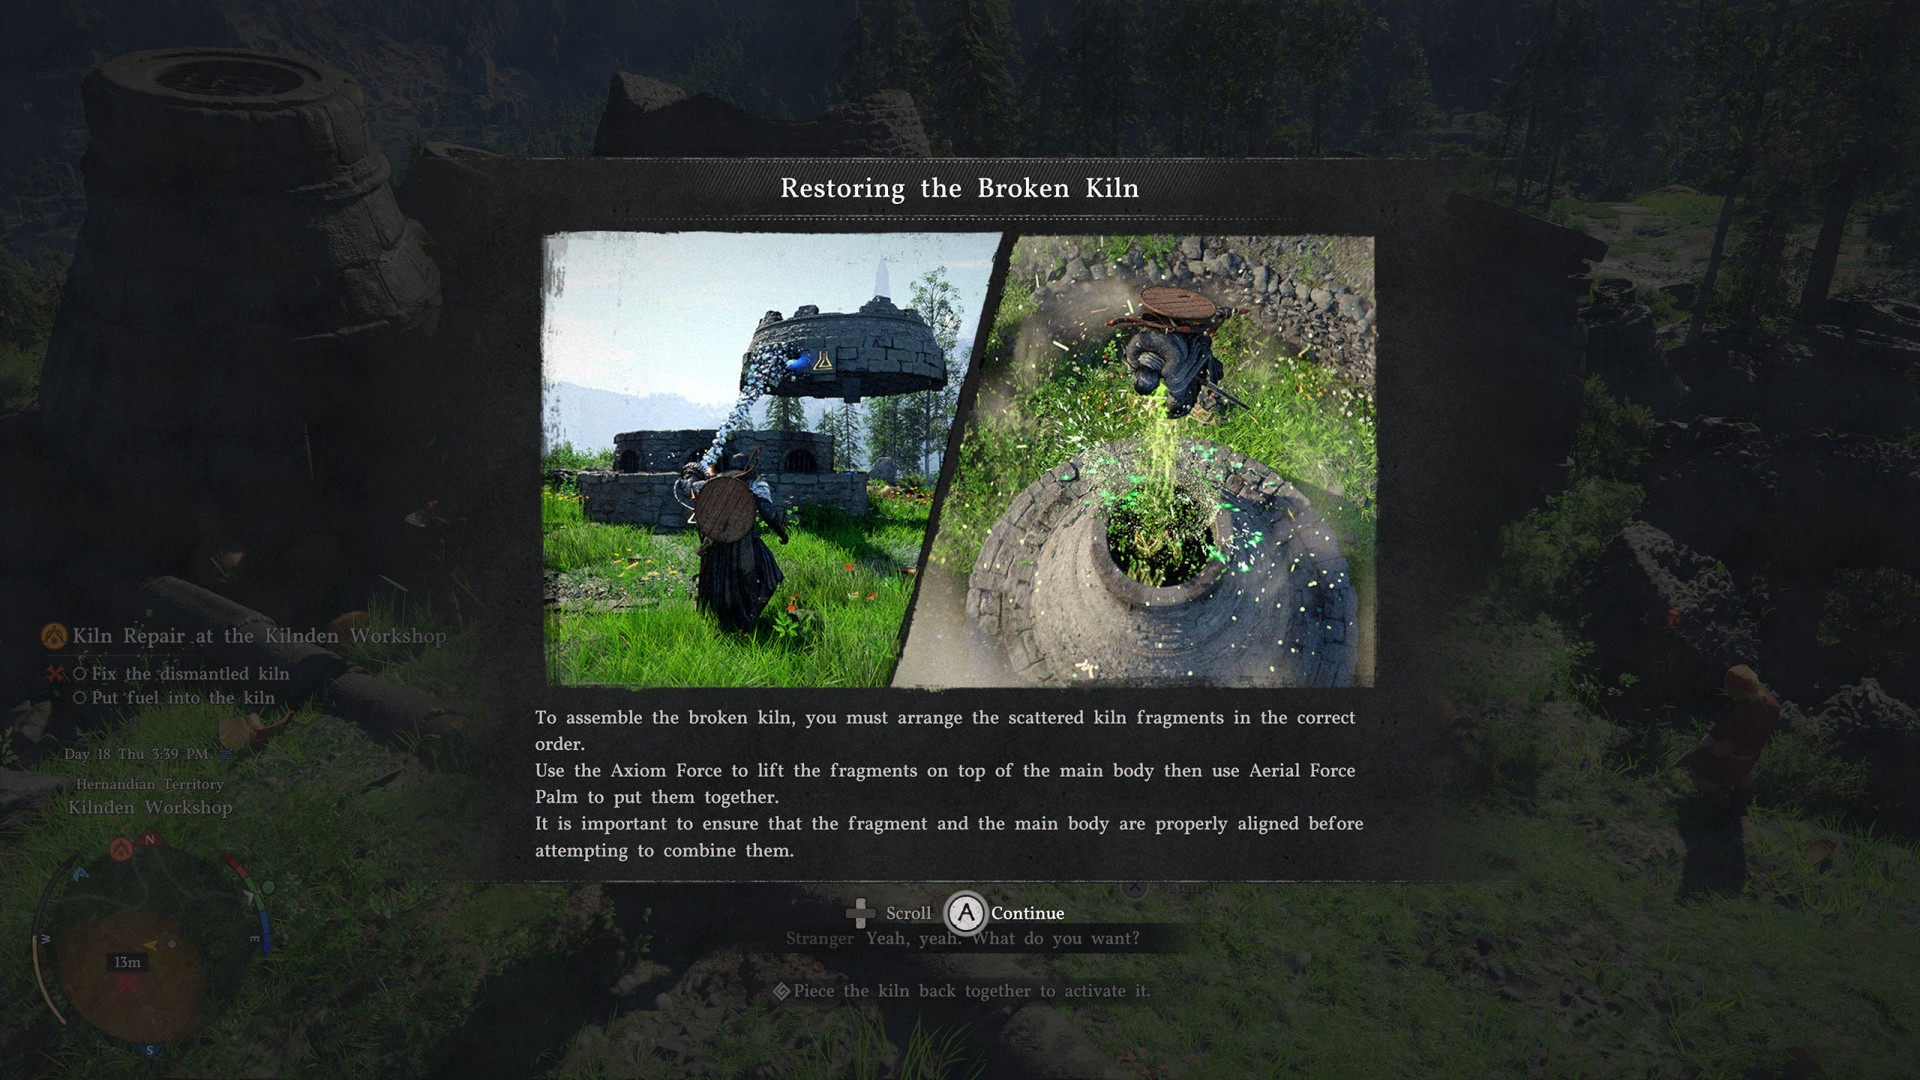
To fix this kiln, you must properly position the two broken fragments and then use Aerial Force Palm to put everything together.
The first fragment is to the right of the kiln. Use the Axiom Force to lift it and move it over the kiln.
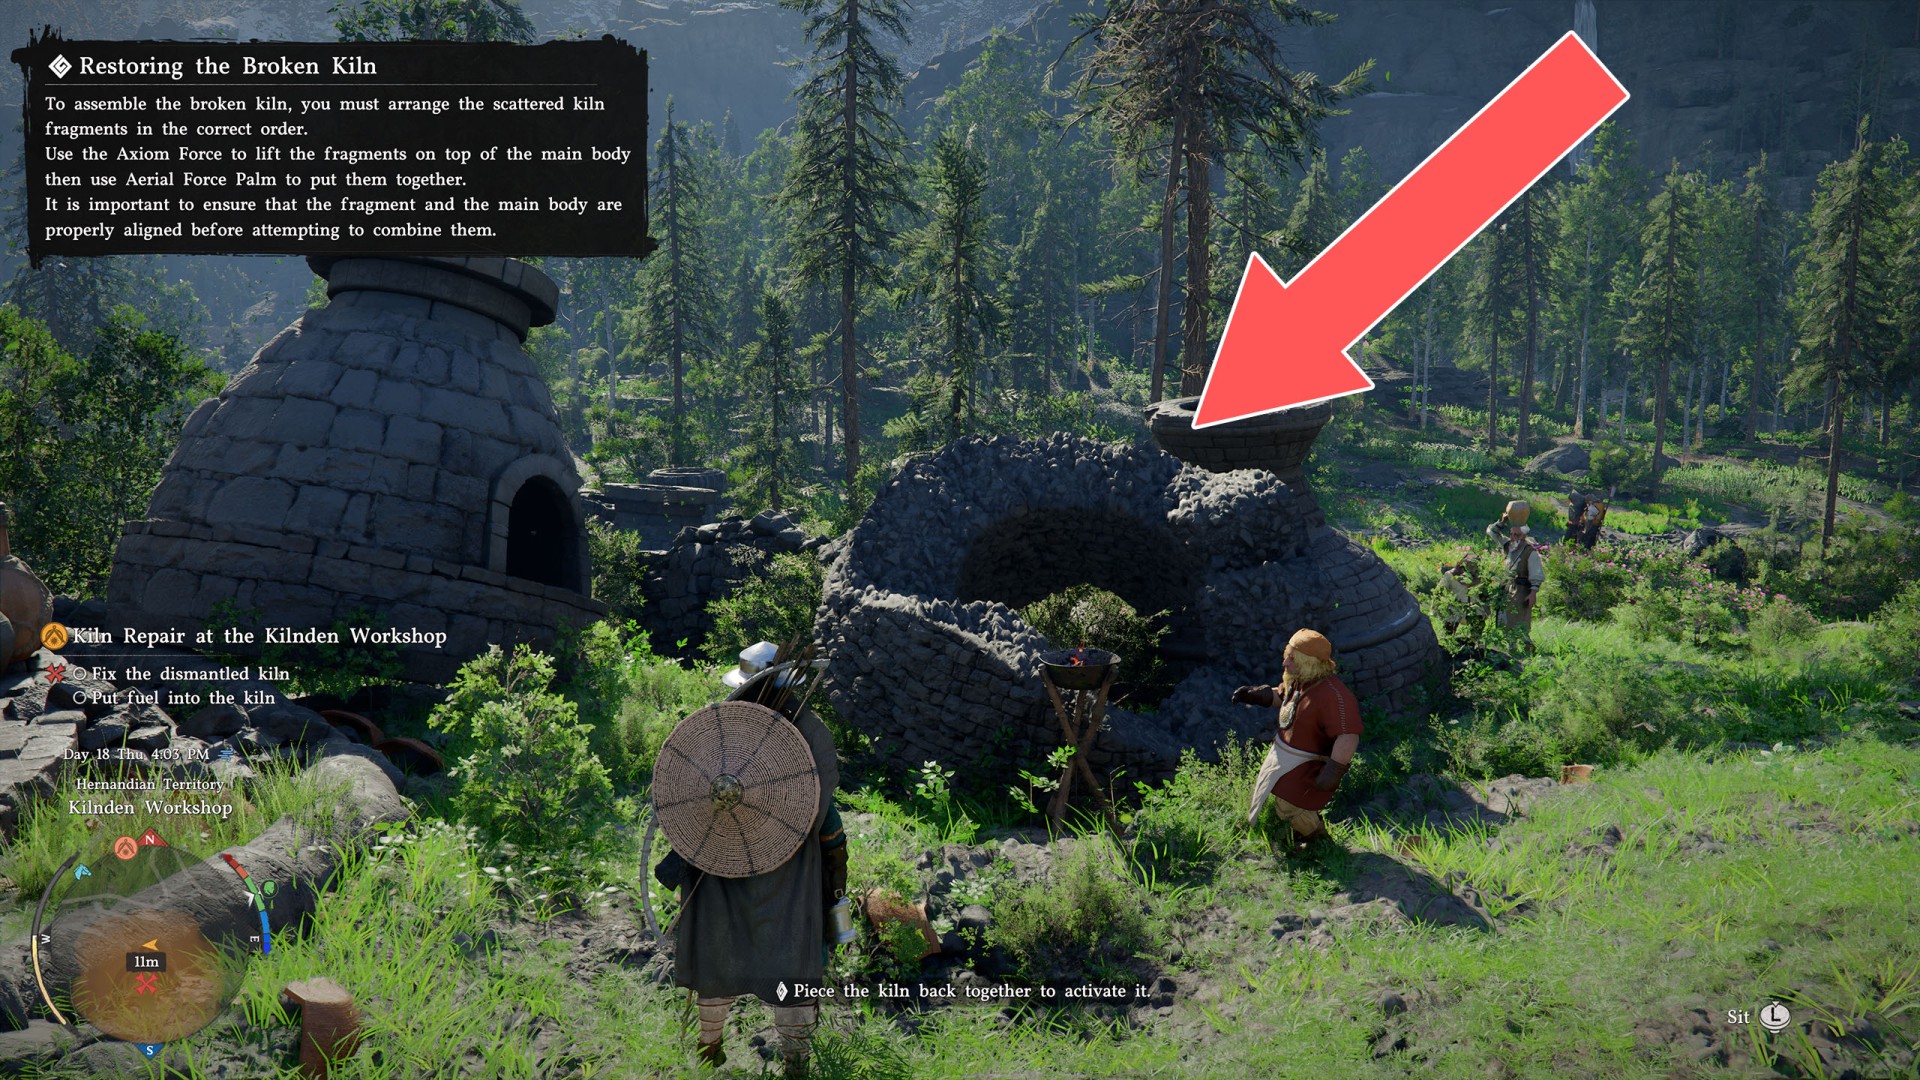
It should automatically rotate into the correct position - it will then flash green.
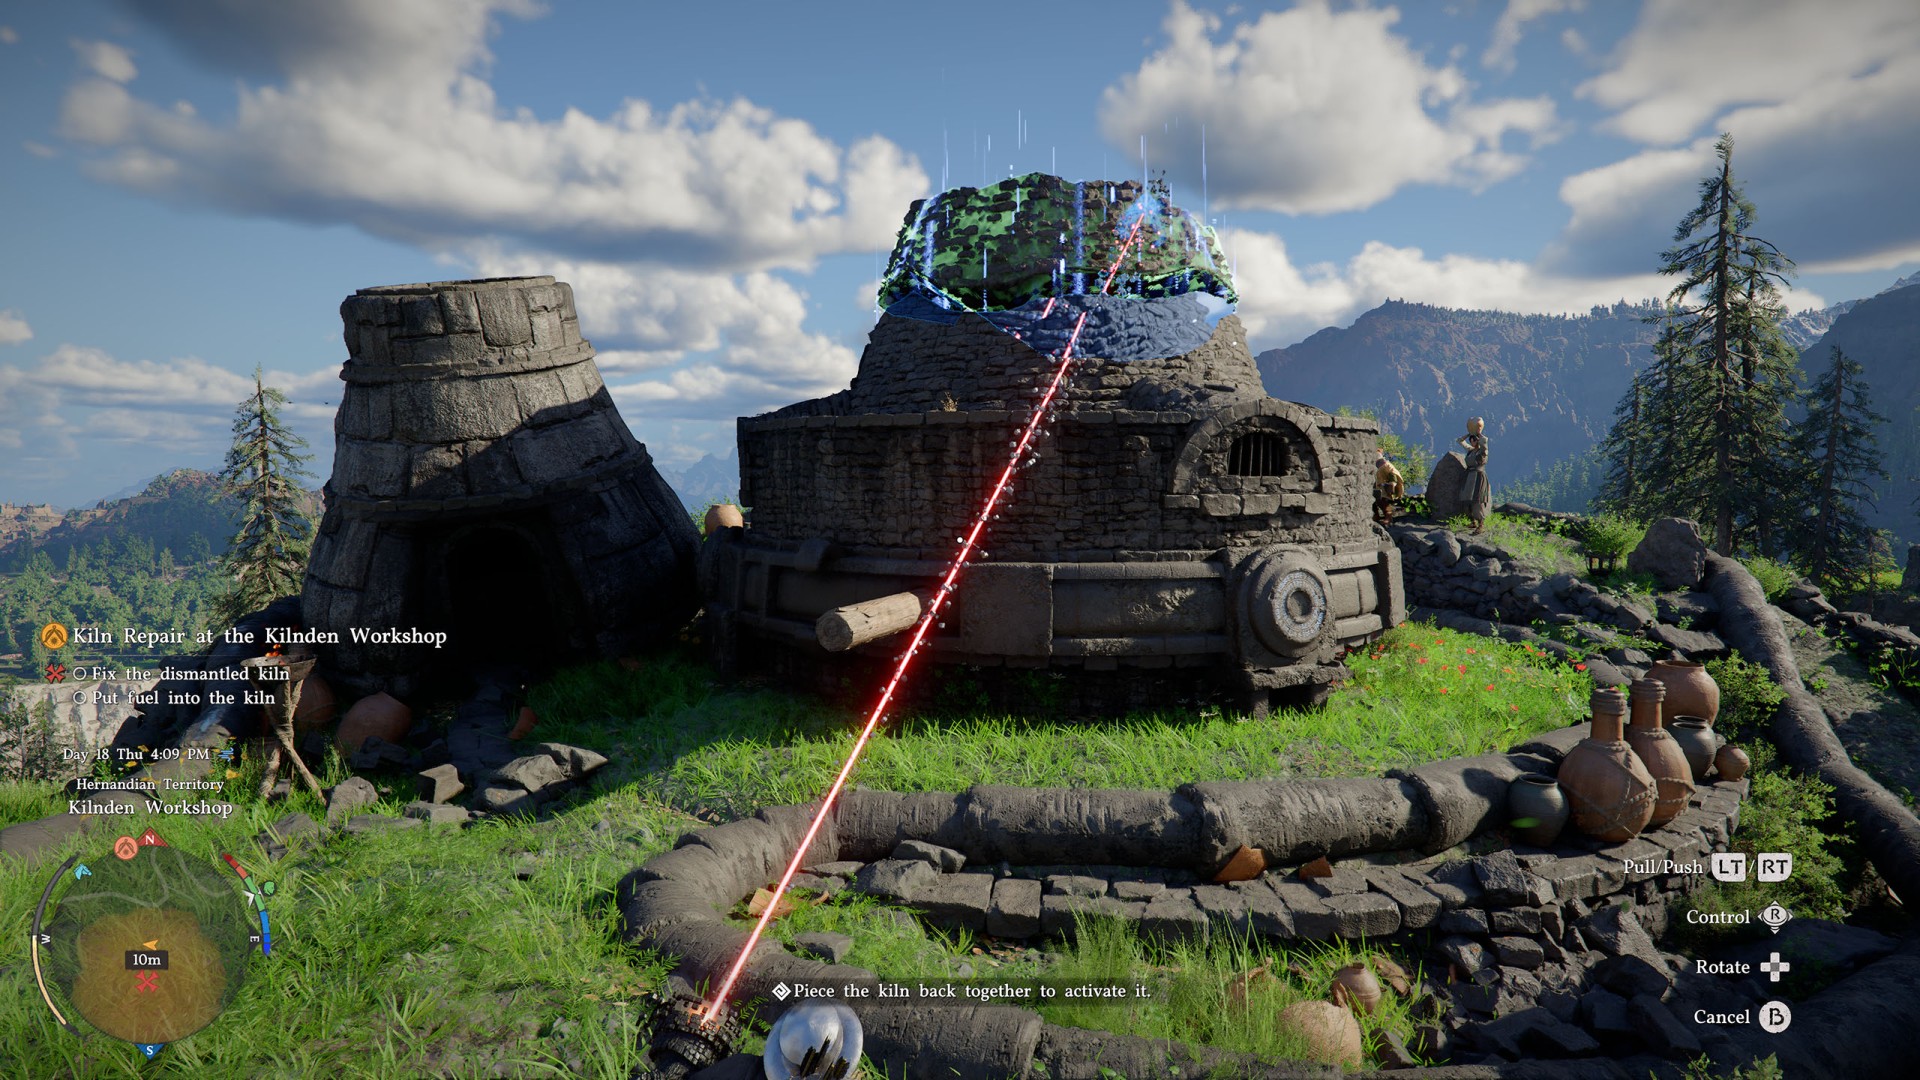
Do the same with the second, top fragment, which you'll find behind the kiln.
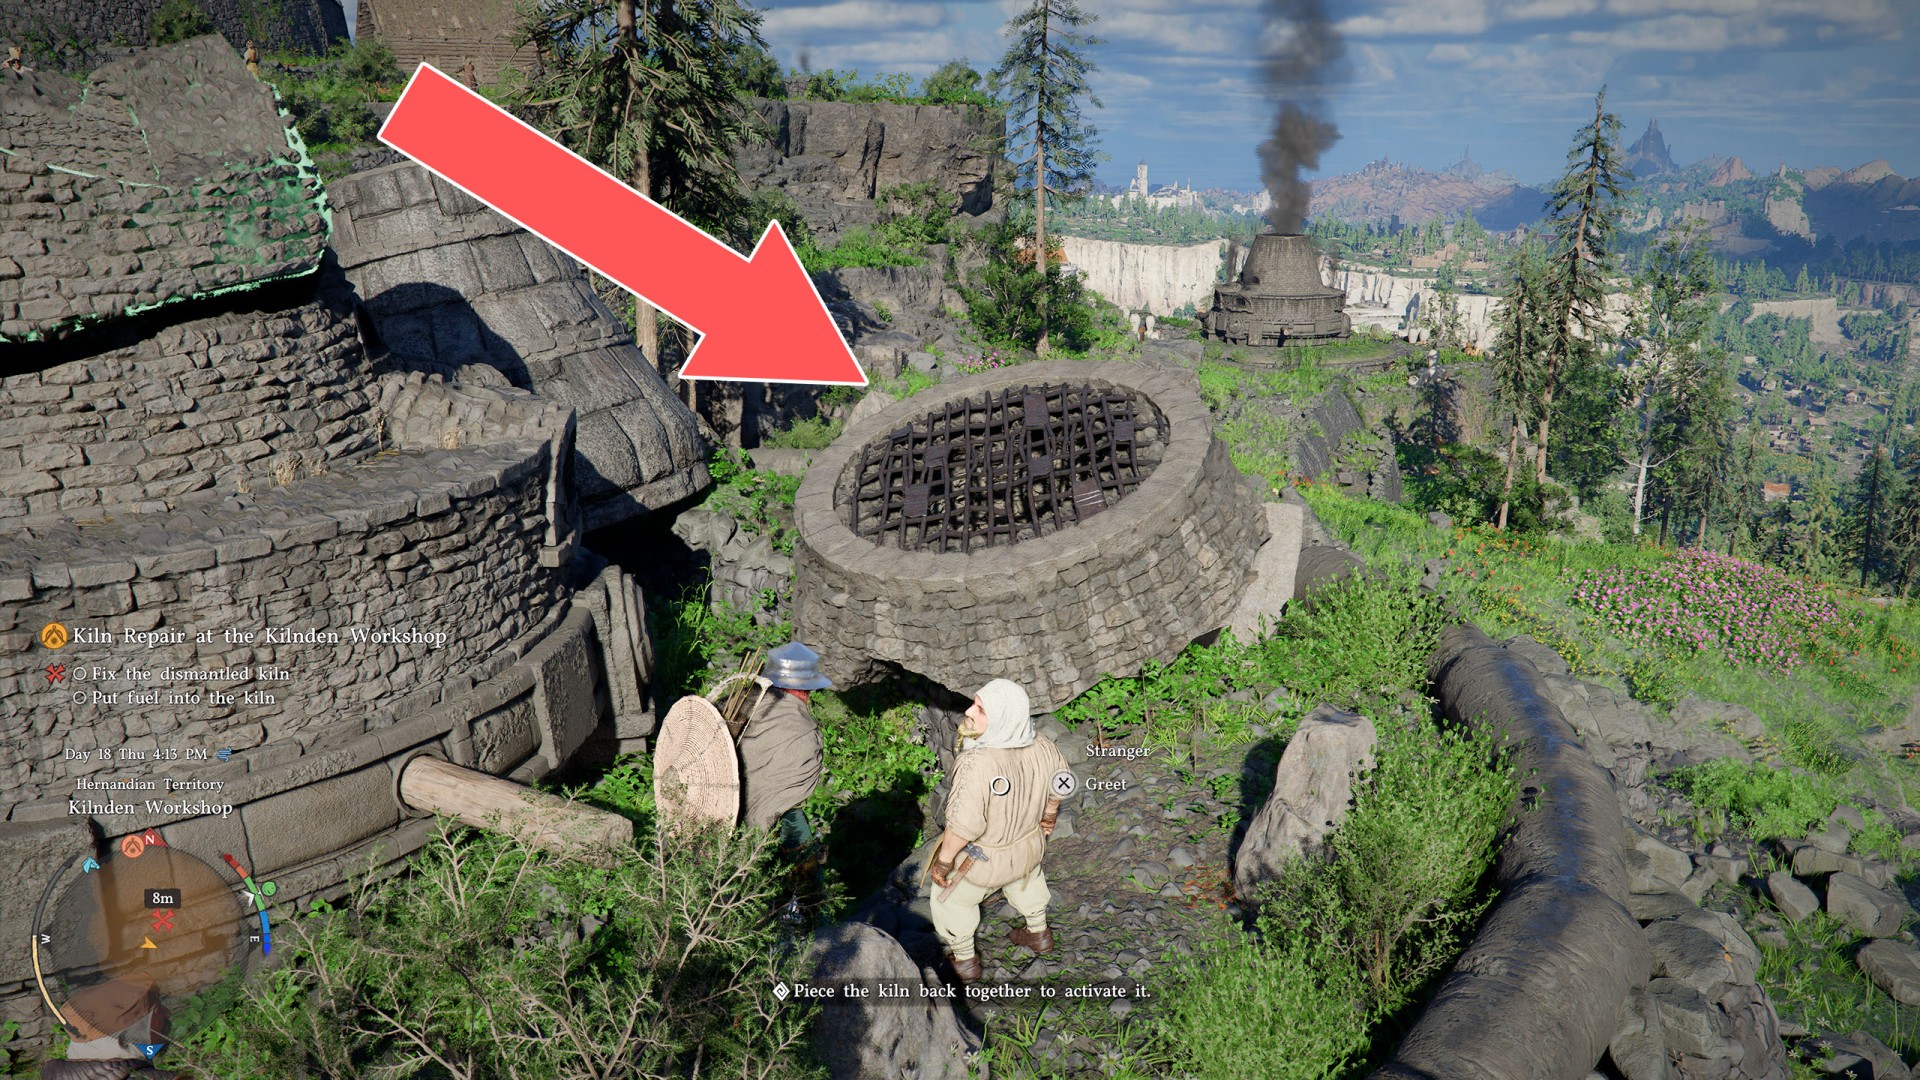
It should also automatically snap into the correct position - and if it doesn't, you can always rotate it until it starts flashing green.
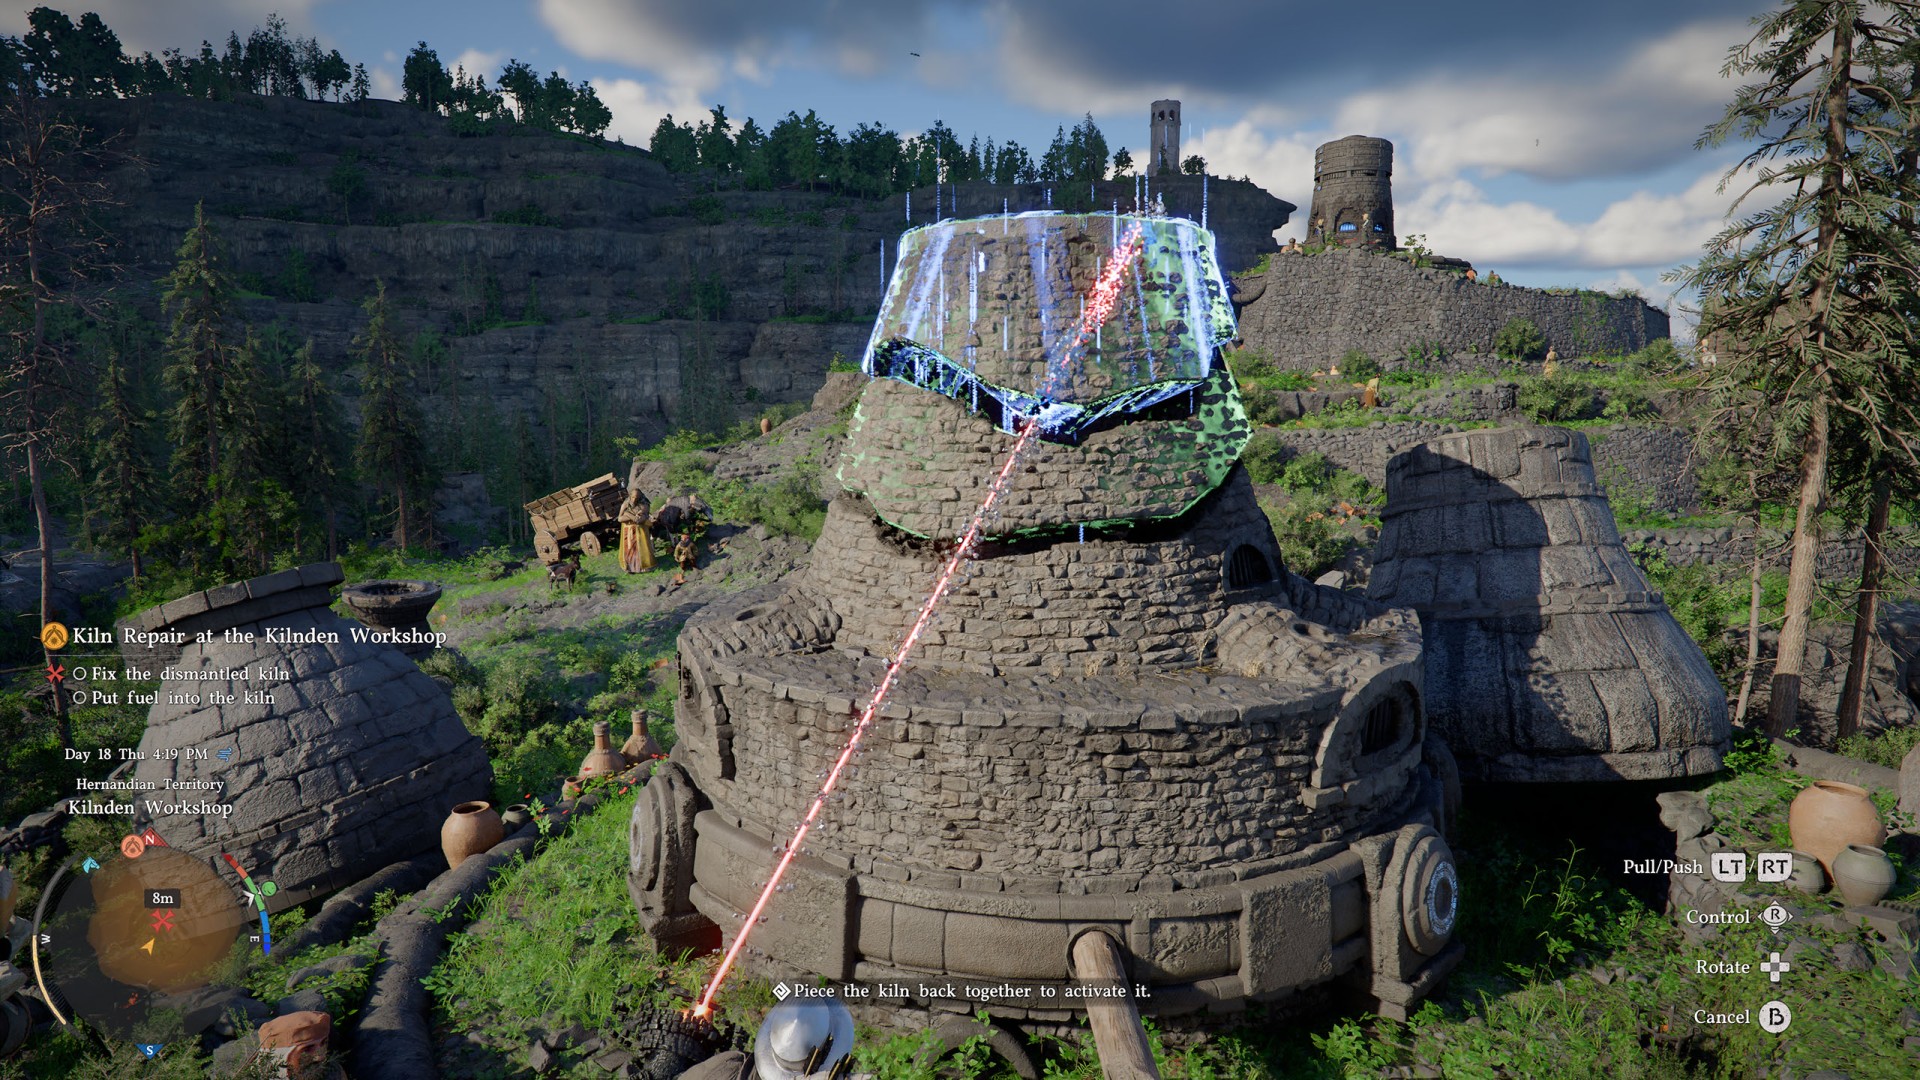
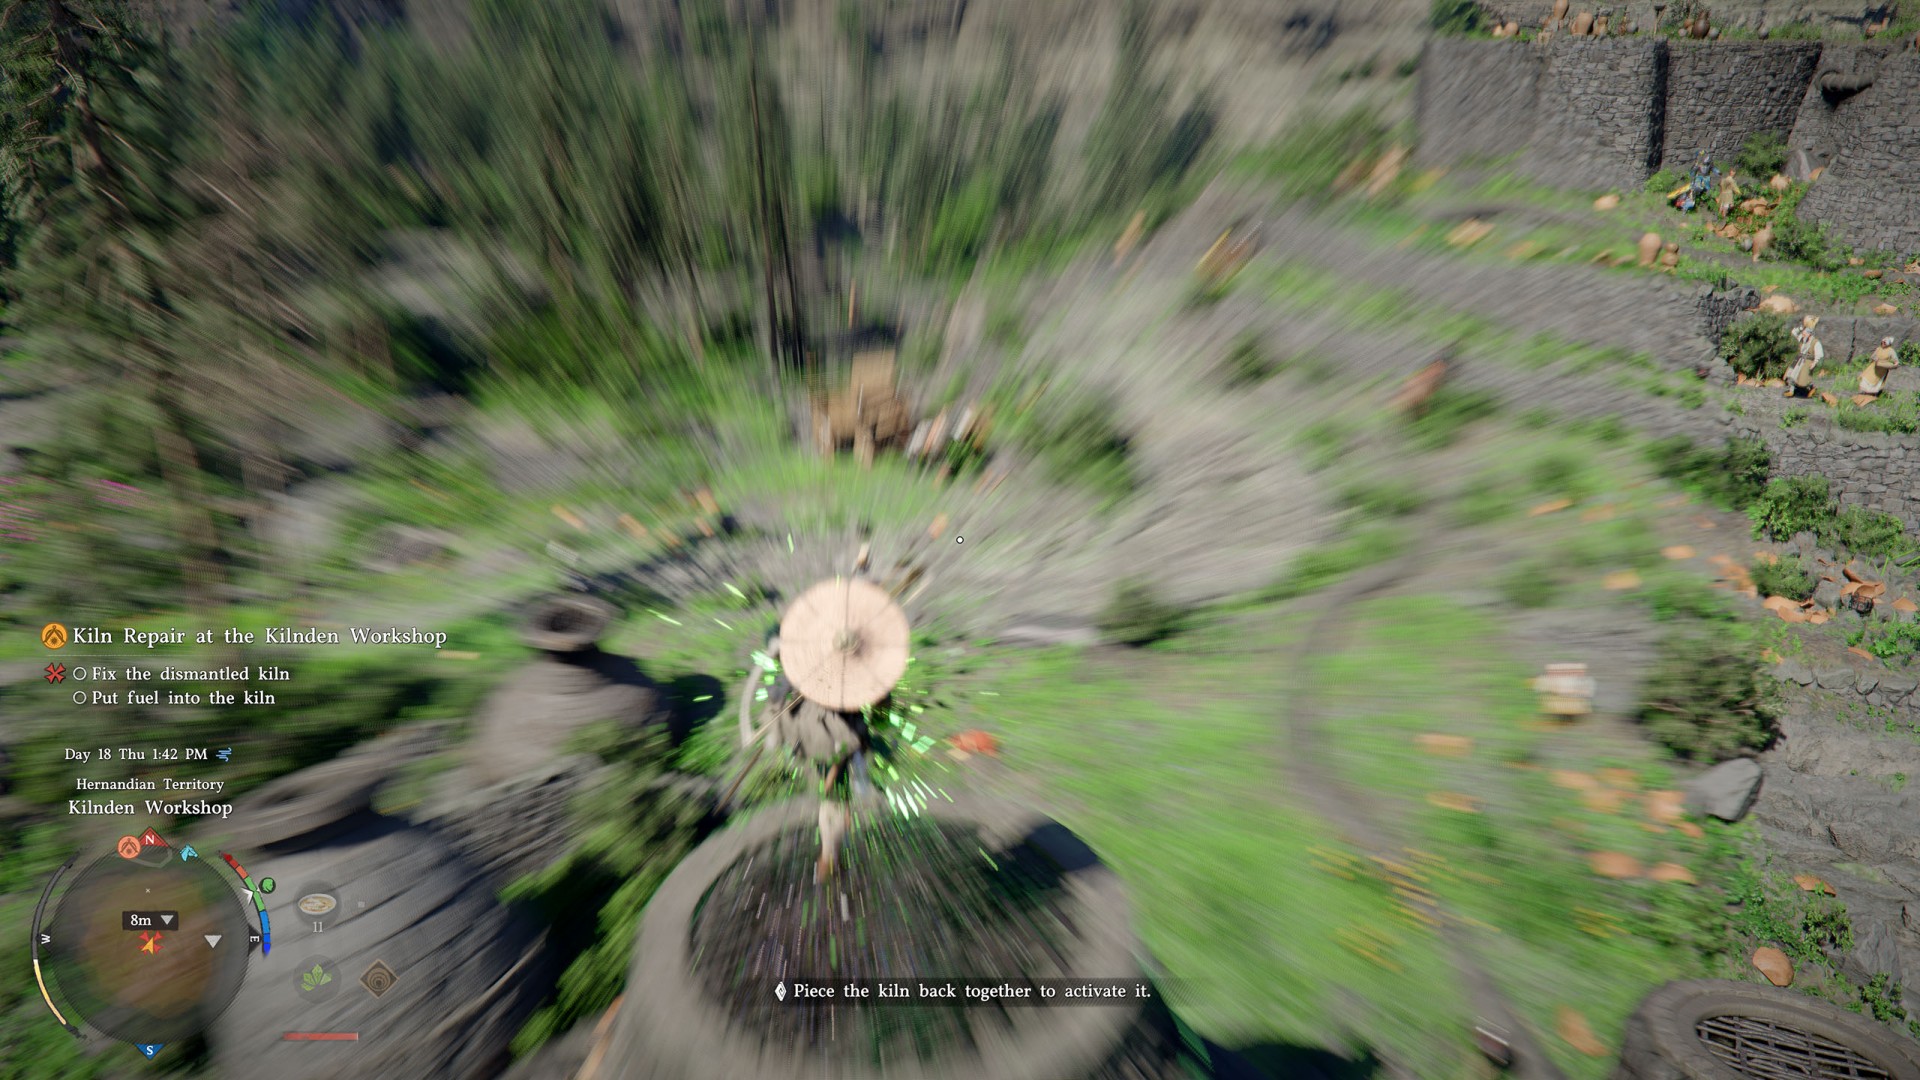
To put everything together, climb to the top of the kiln and perform an Aerial Force Palm.
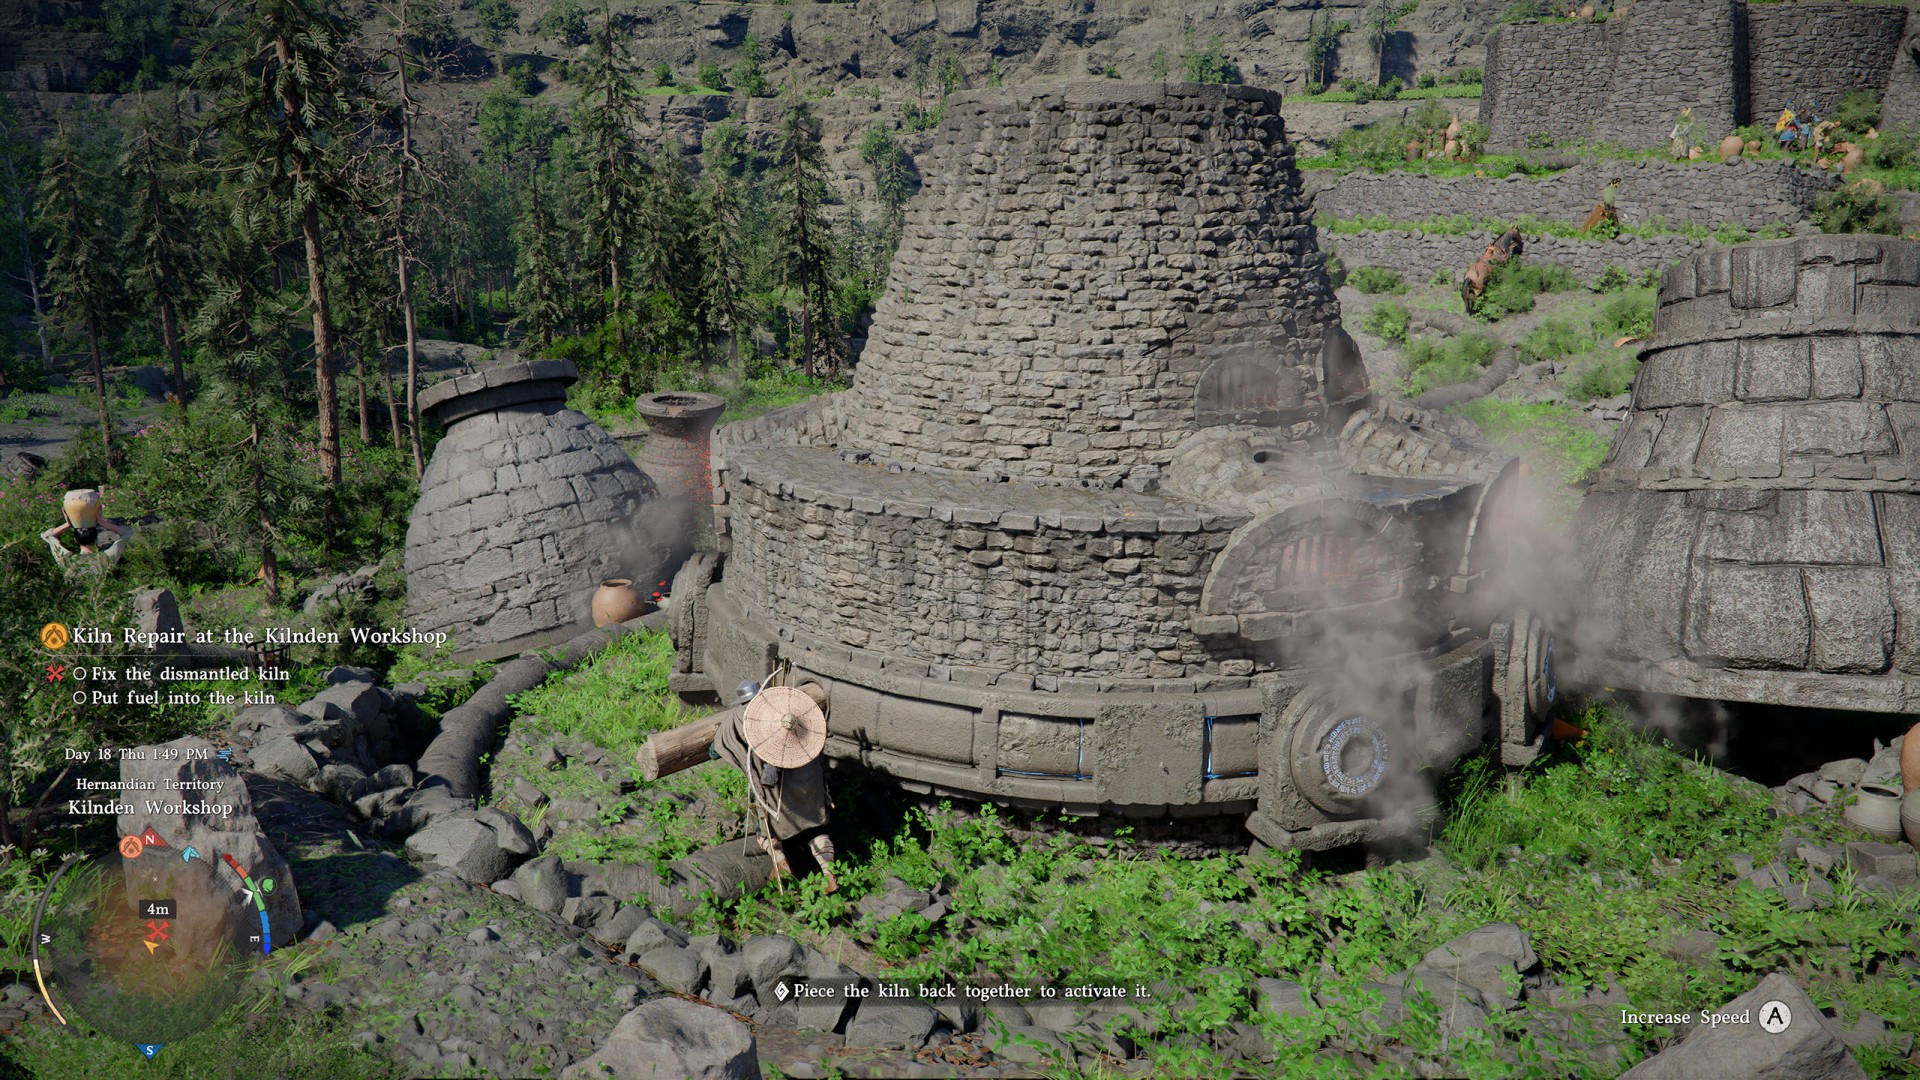
Once the kiln is back in one piece, go back down and move the wooden lever to activate the kiln.
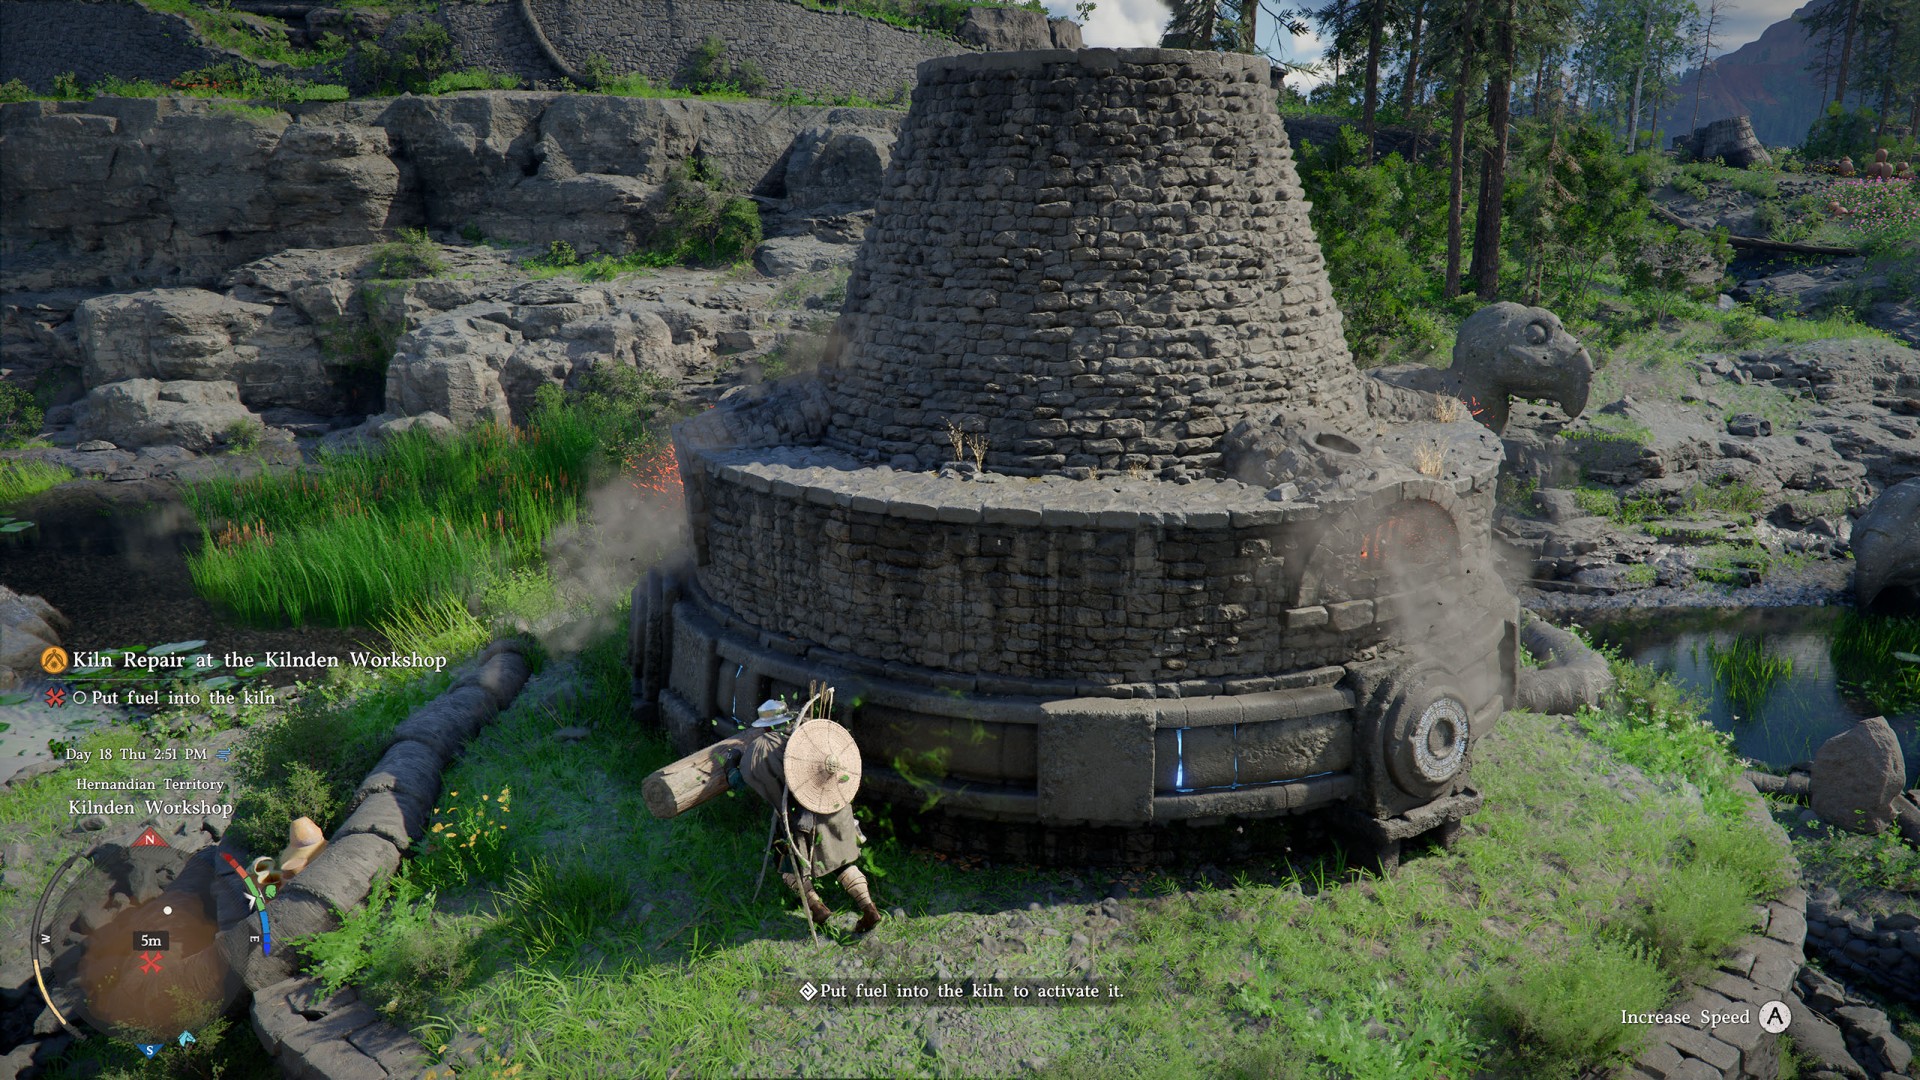
This kiln is located in the middle of a small pond. To put fuel into it you must use Axiom Force on the 5 blue glowing balls, then place them into the round openings around the kiln. The locations where you can find the orbs are marked on the map.
Warning: Be careful not to touch any of the civilians who may be nearby while moving the orbs, as they cause damage.
You'll find the first two orbs right next to the kiln.
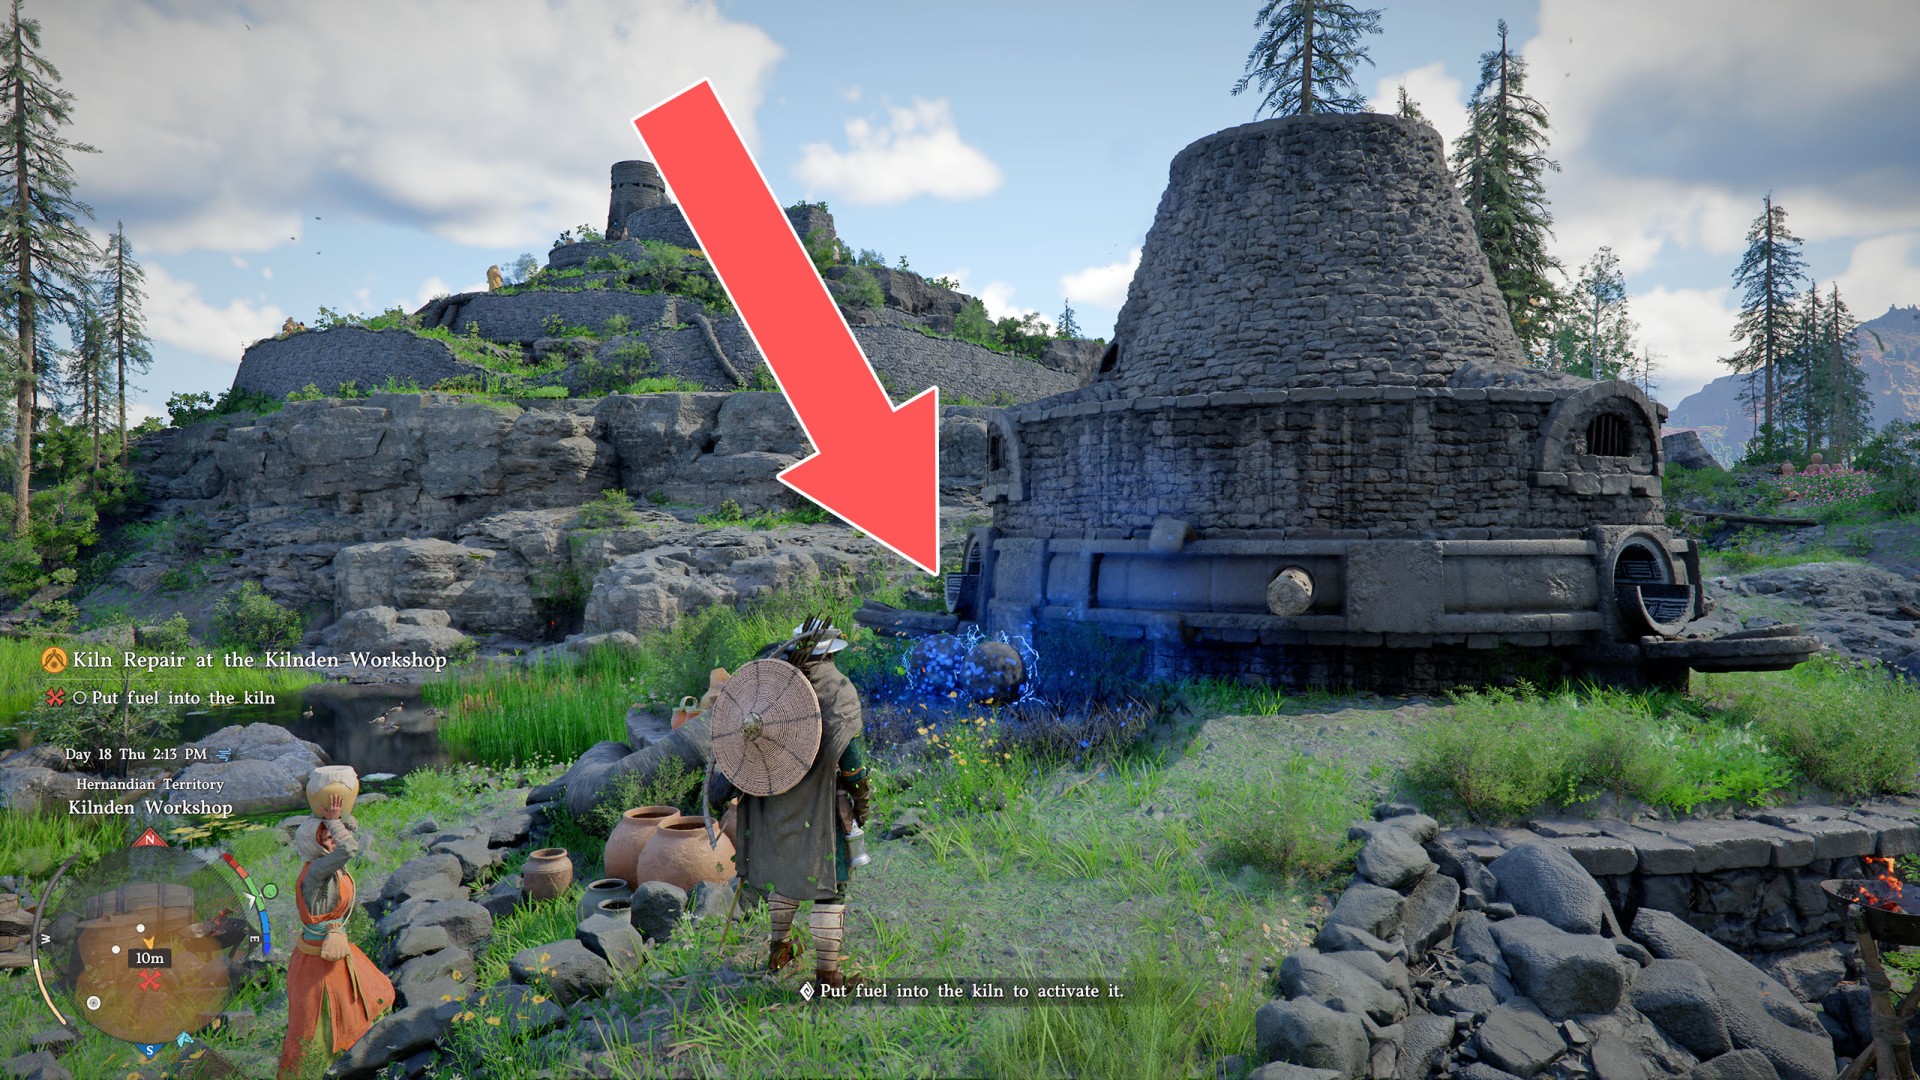
The second orb is located a bit further away, southwest of the kiln, at the bottom near the water.
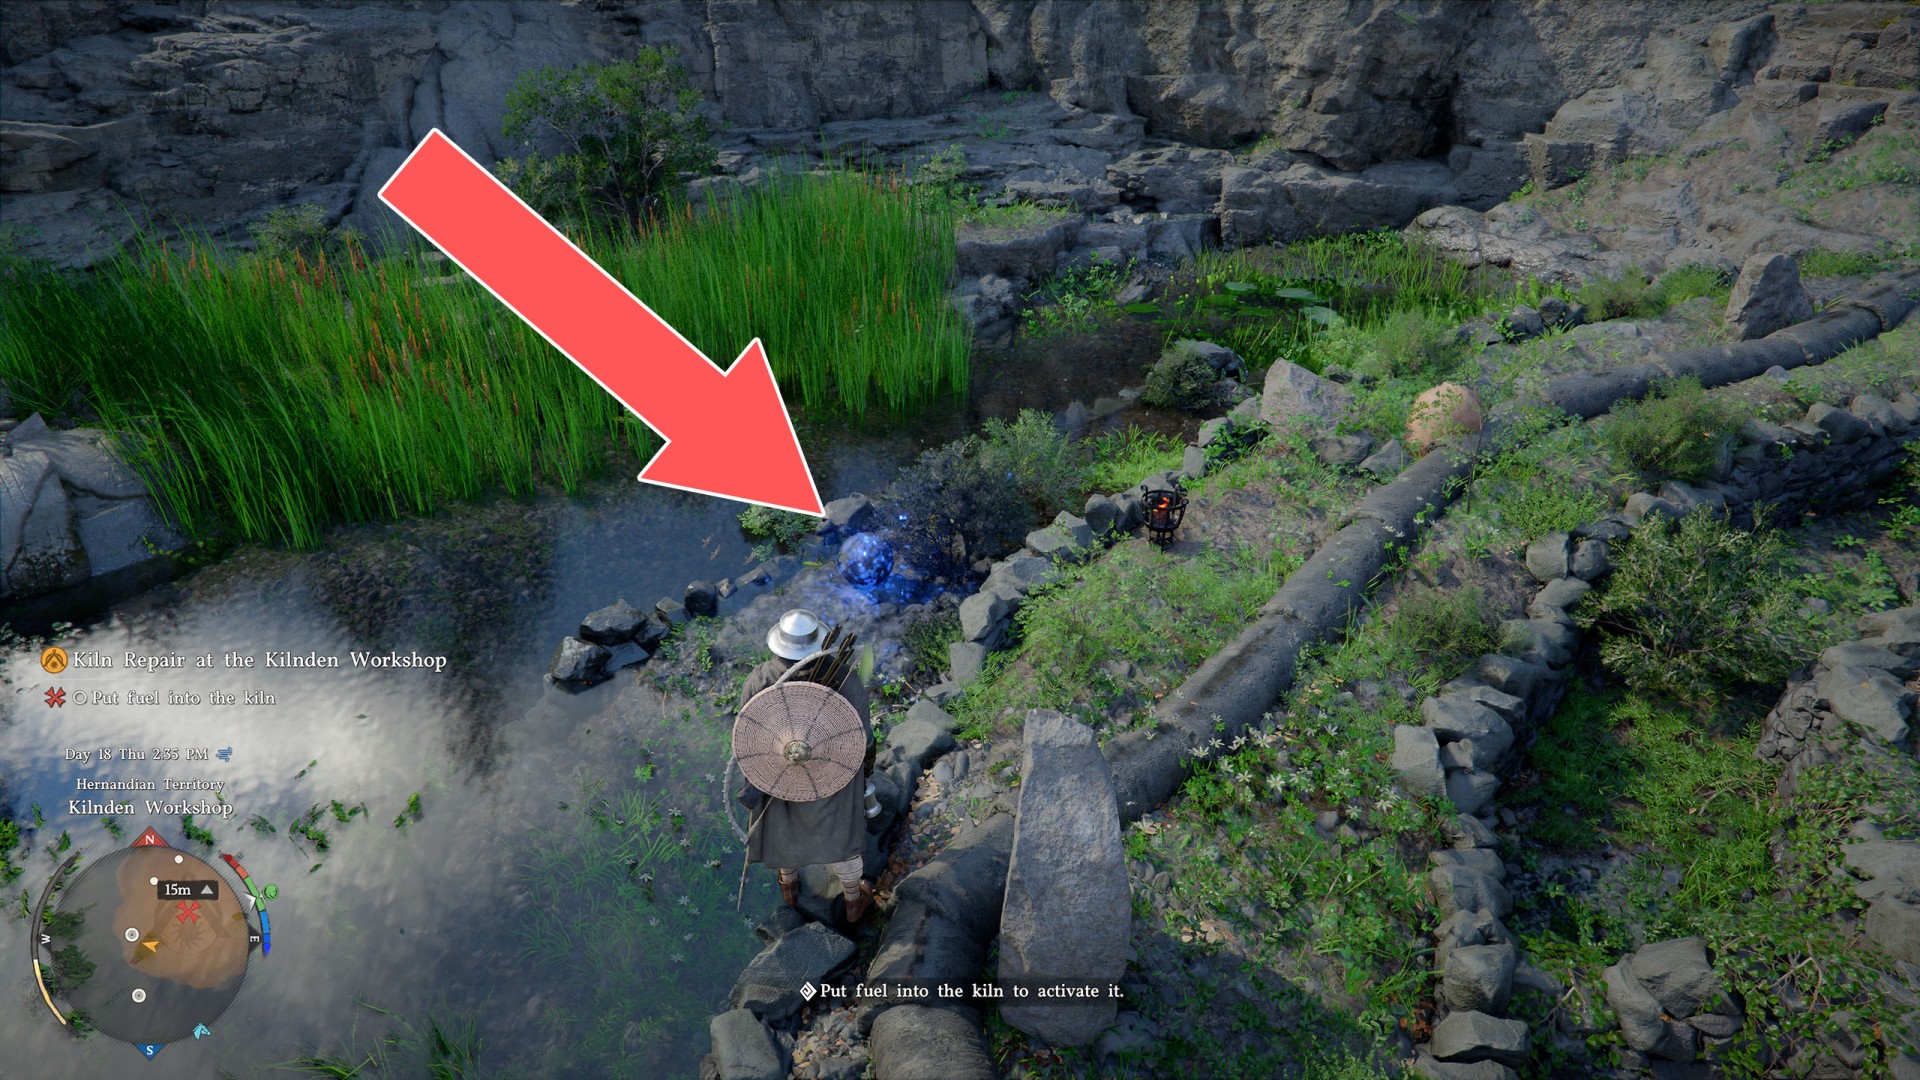
You'll find the next one even further south - it serves as the eye of a bird-head statue. Once you grab it, you must pull hard to yank it out of the eye socket.
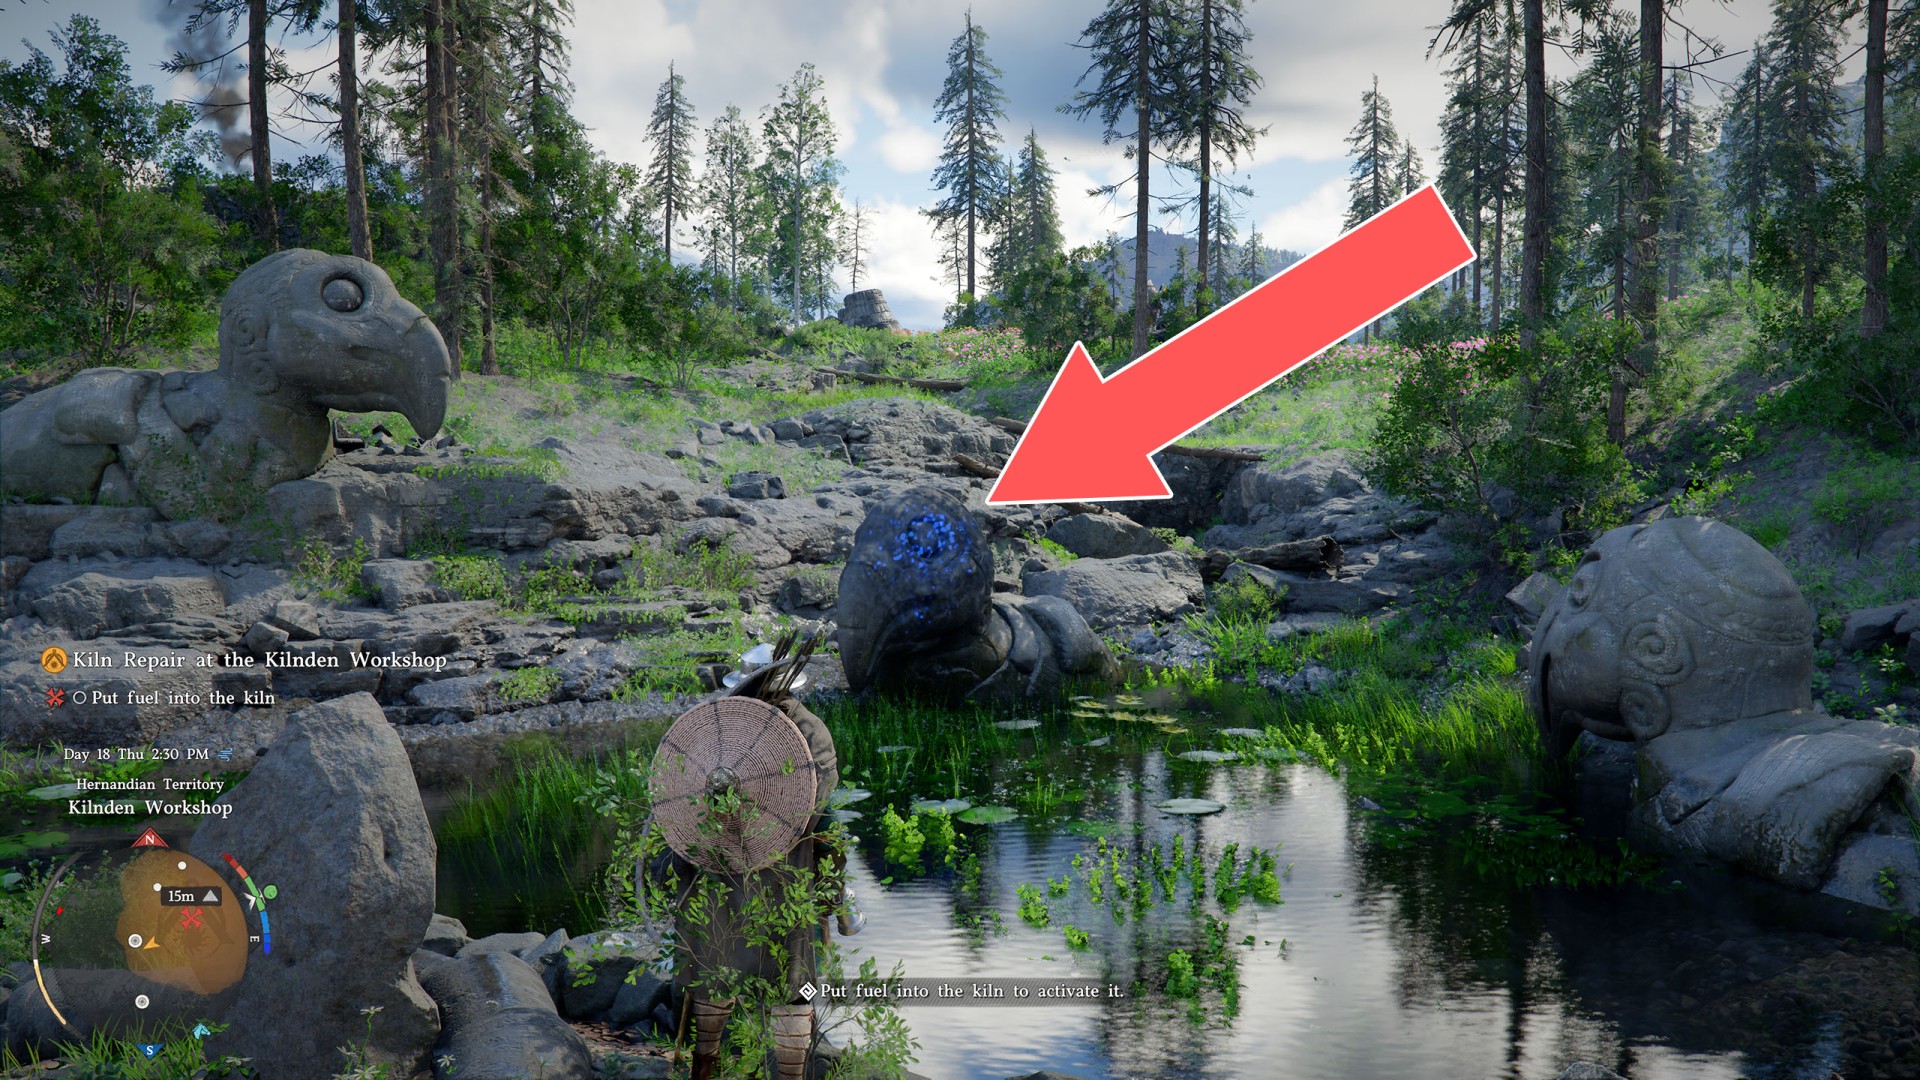
You'll find the last orb to the southwest, on the other side of the water, at the entrance to the cave beneath the hill where the generator stands.
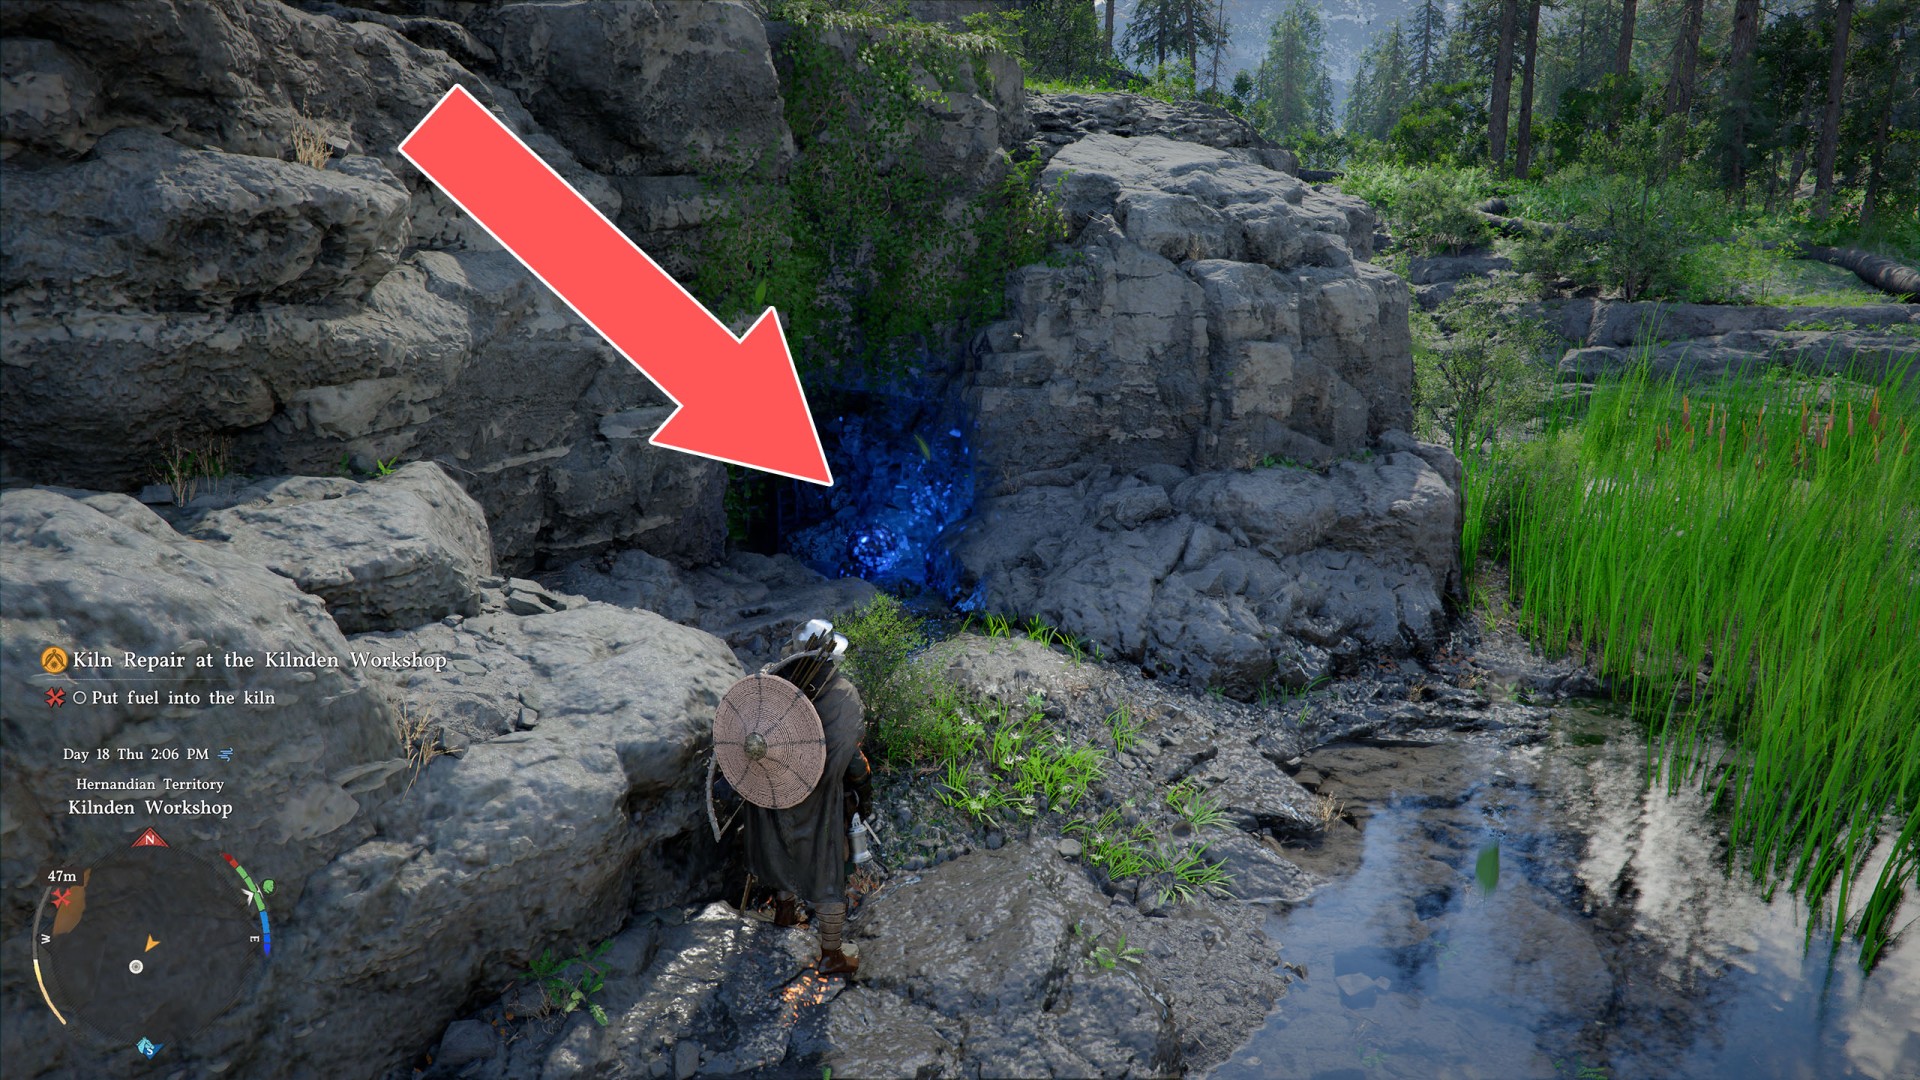
After placing all the orbs, push the wooden lever to activate the kiln.
Return to Grimnir. He will be very pleased with your help and will decide to repay you for your assistance. This quest will end, and the next one will begin.
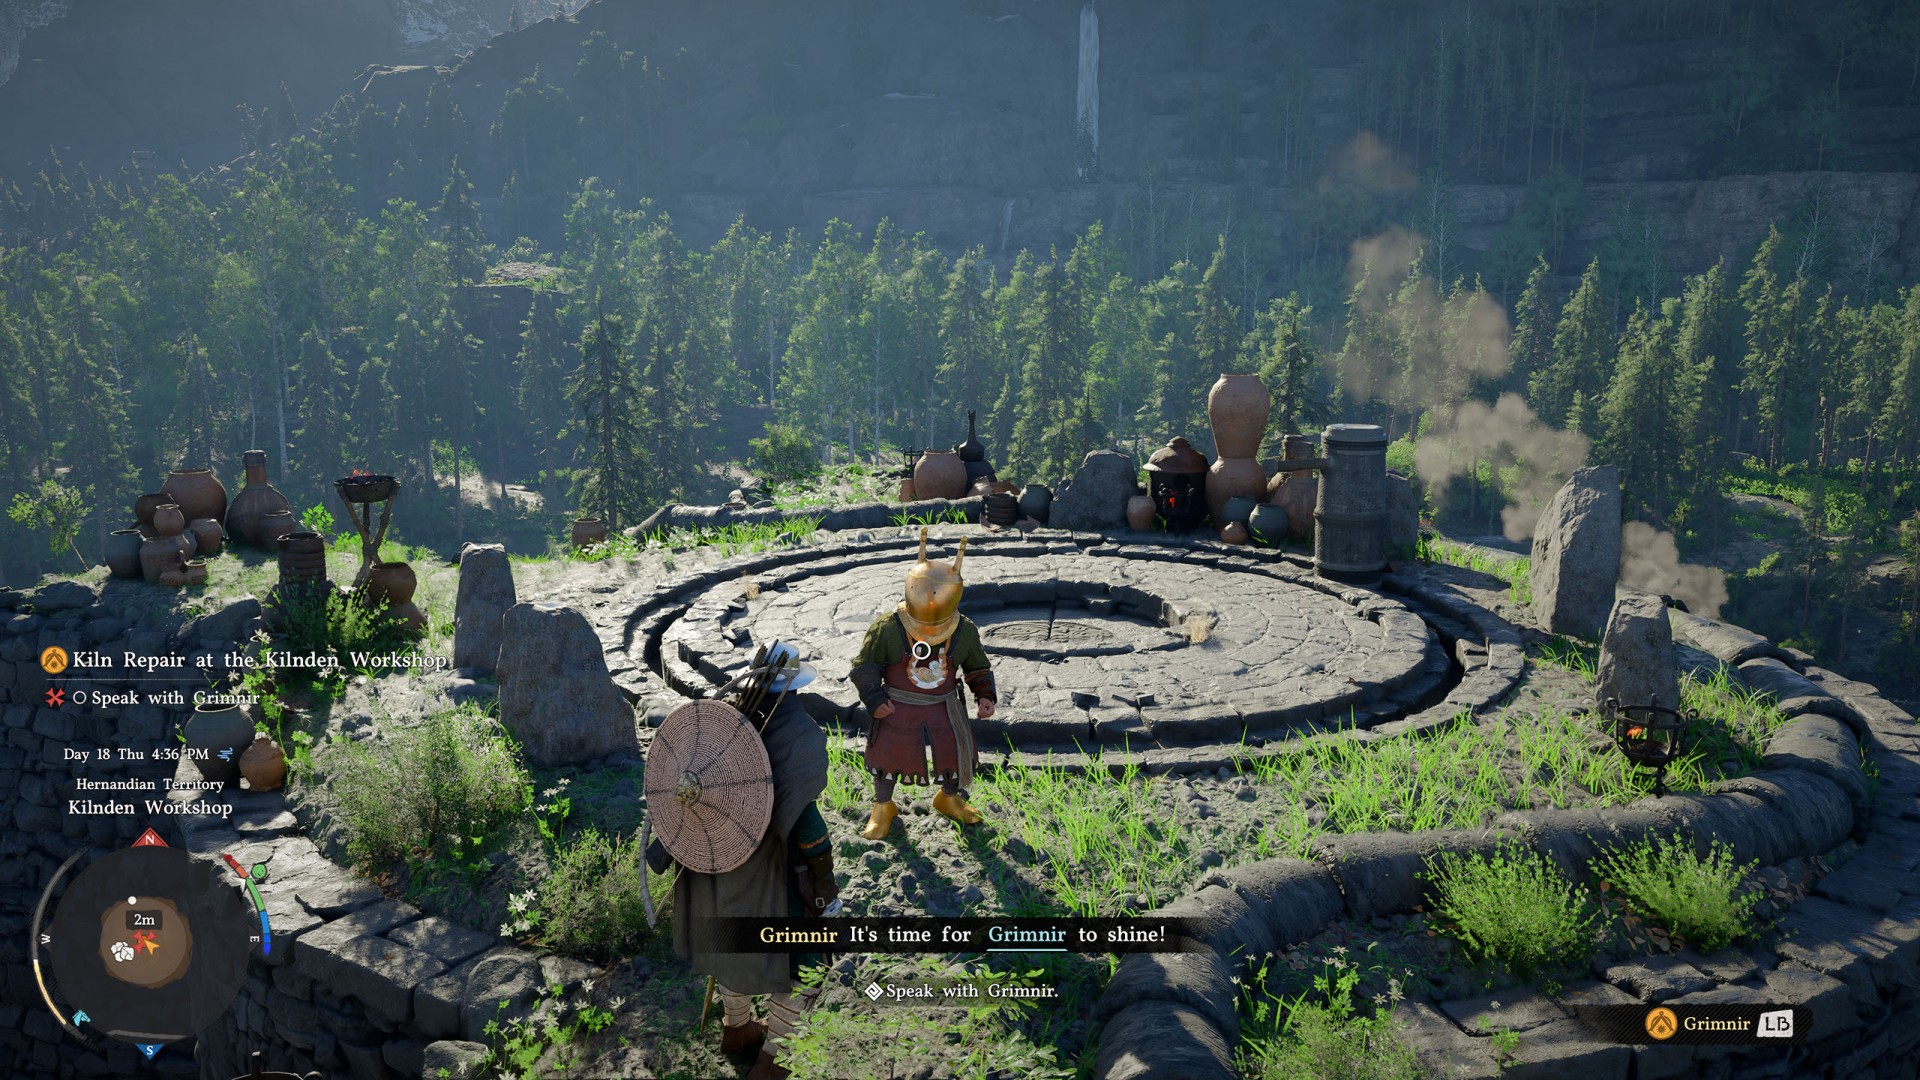
You repaired the broken kiln. Grimnir expressed immense joy and excitement as the kiln began operating again and promised an iron pot as a token of gratitude.
