Welcome to guides4gamers.com

Treasures, Priorite Shards, Star Wars Jedi: Survivor Points of interest

This collection includes every marker from the Treasures category of points of interest in Star Wars Jedi: Survivor, all placed on interactive maps created specifically for the game.

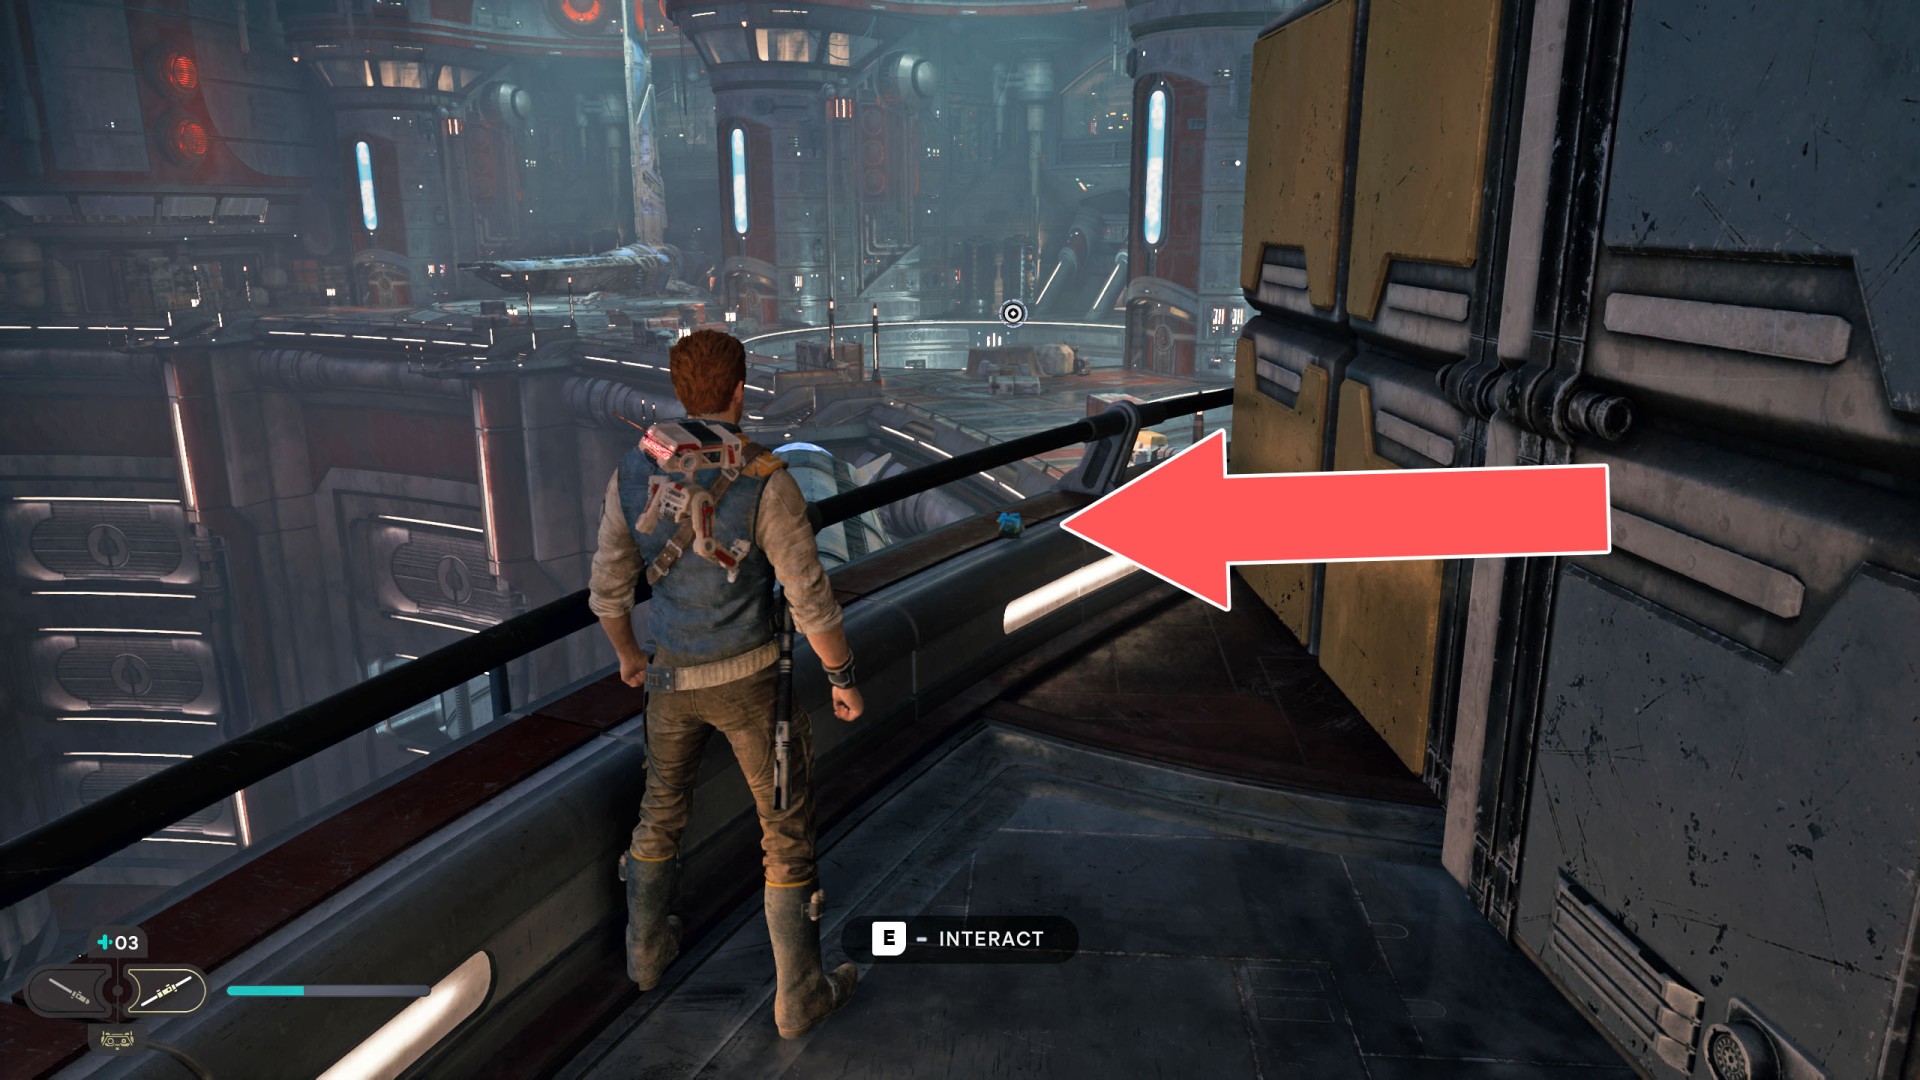
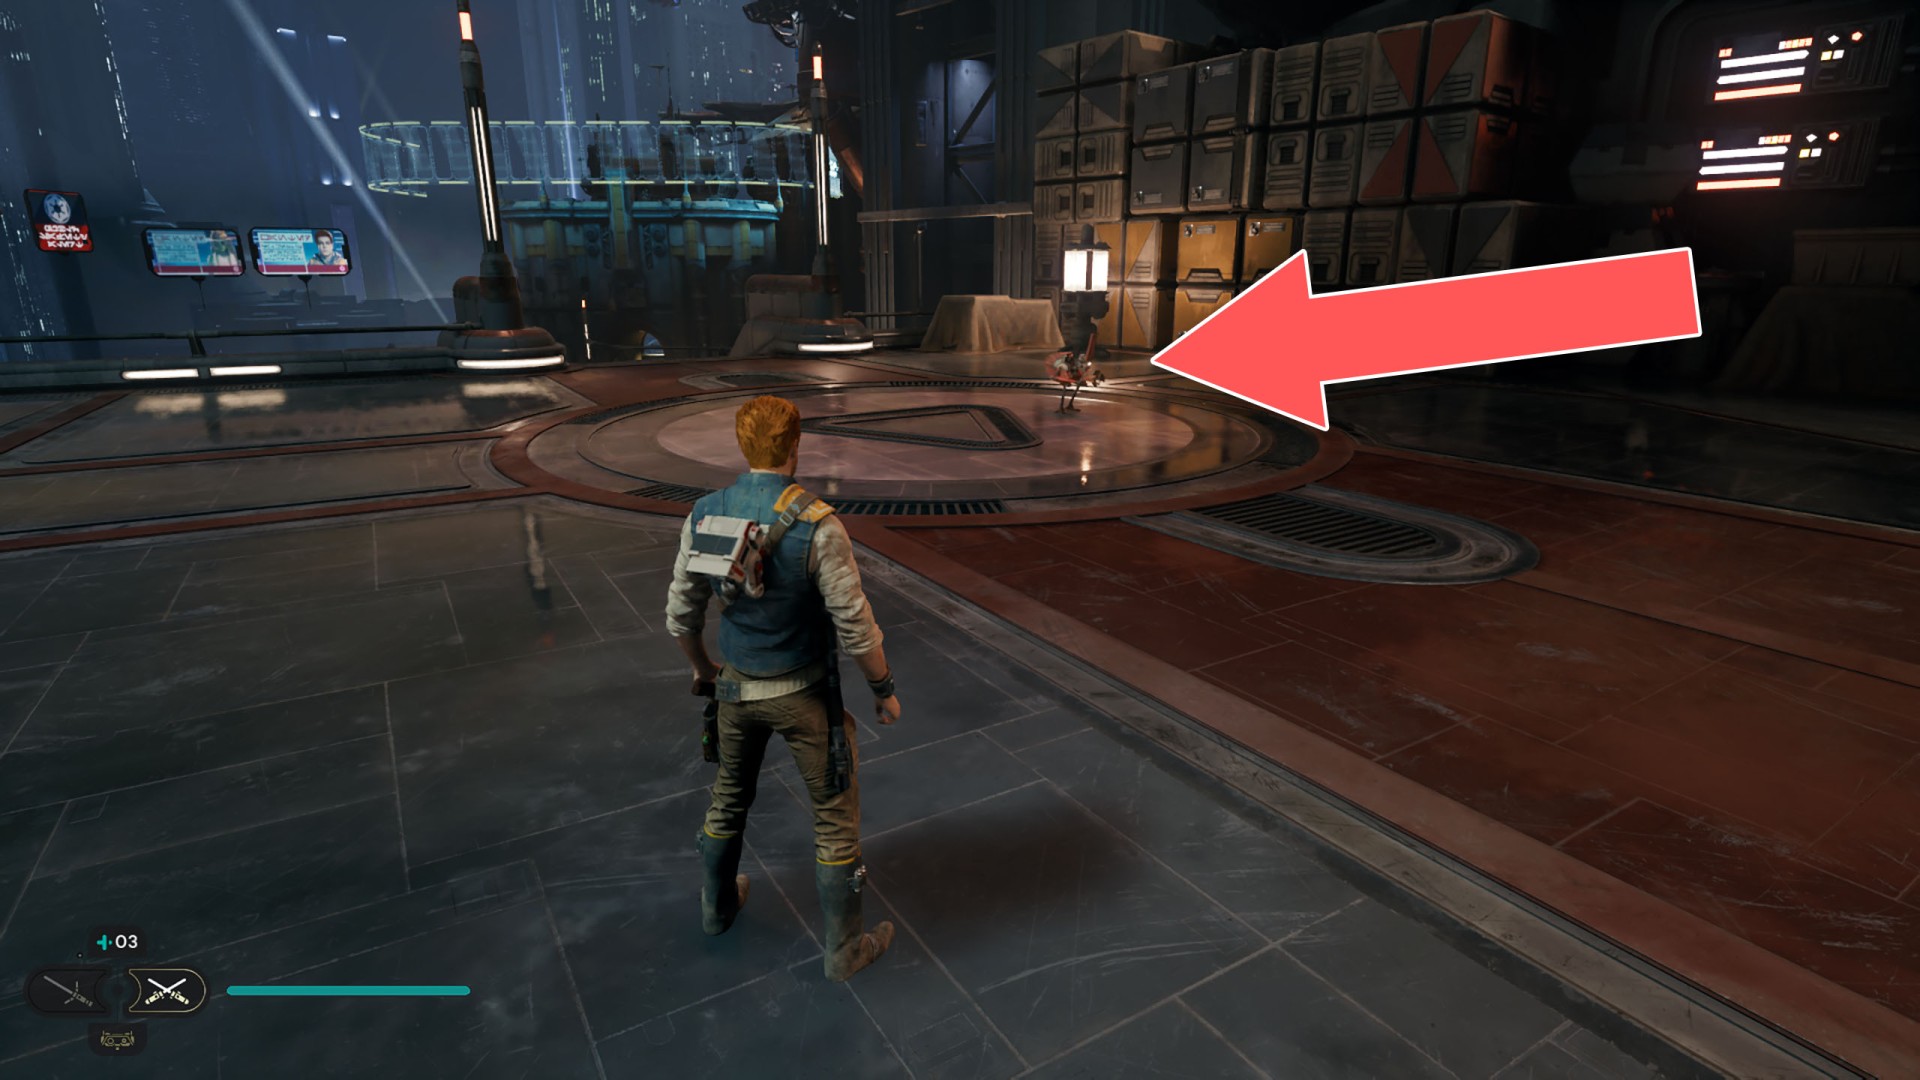
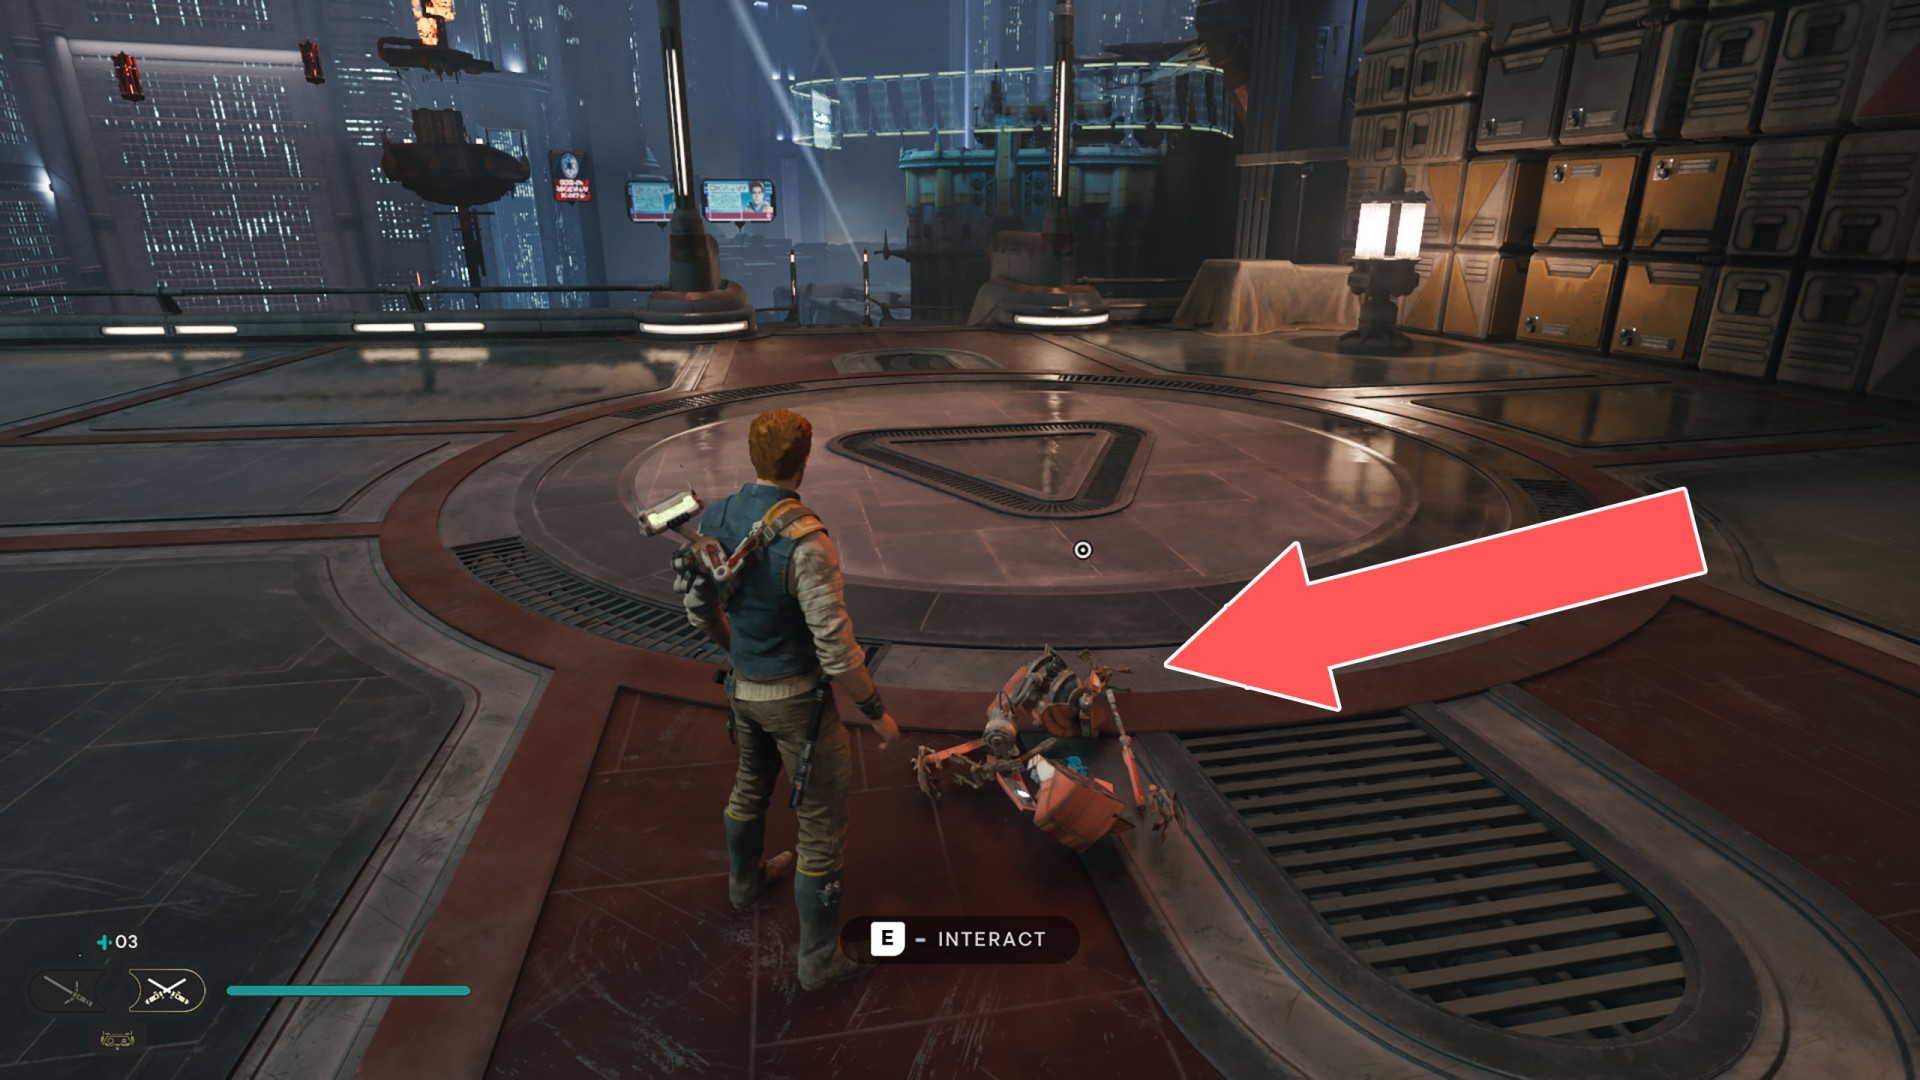
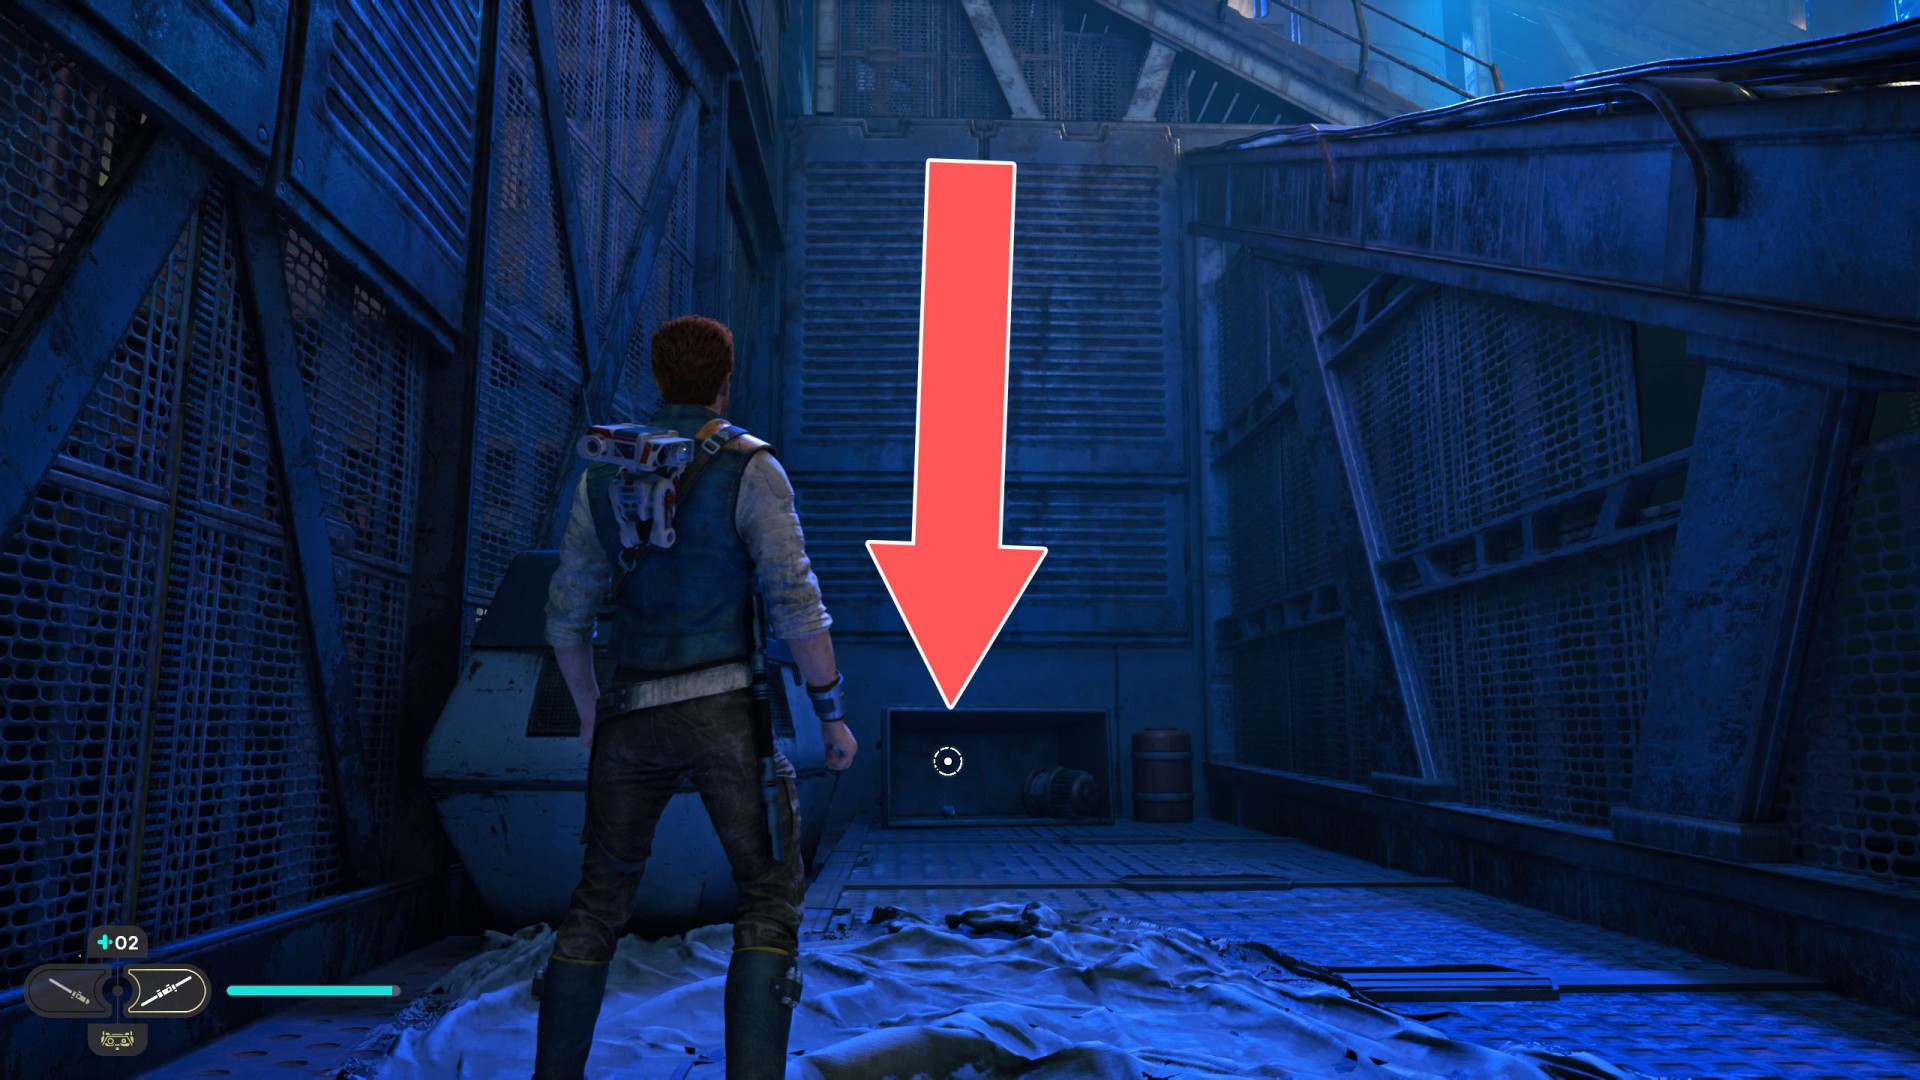
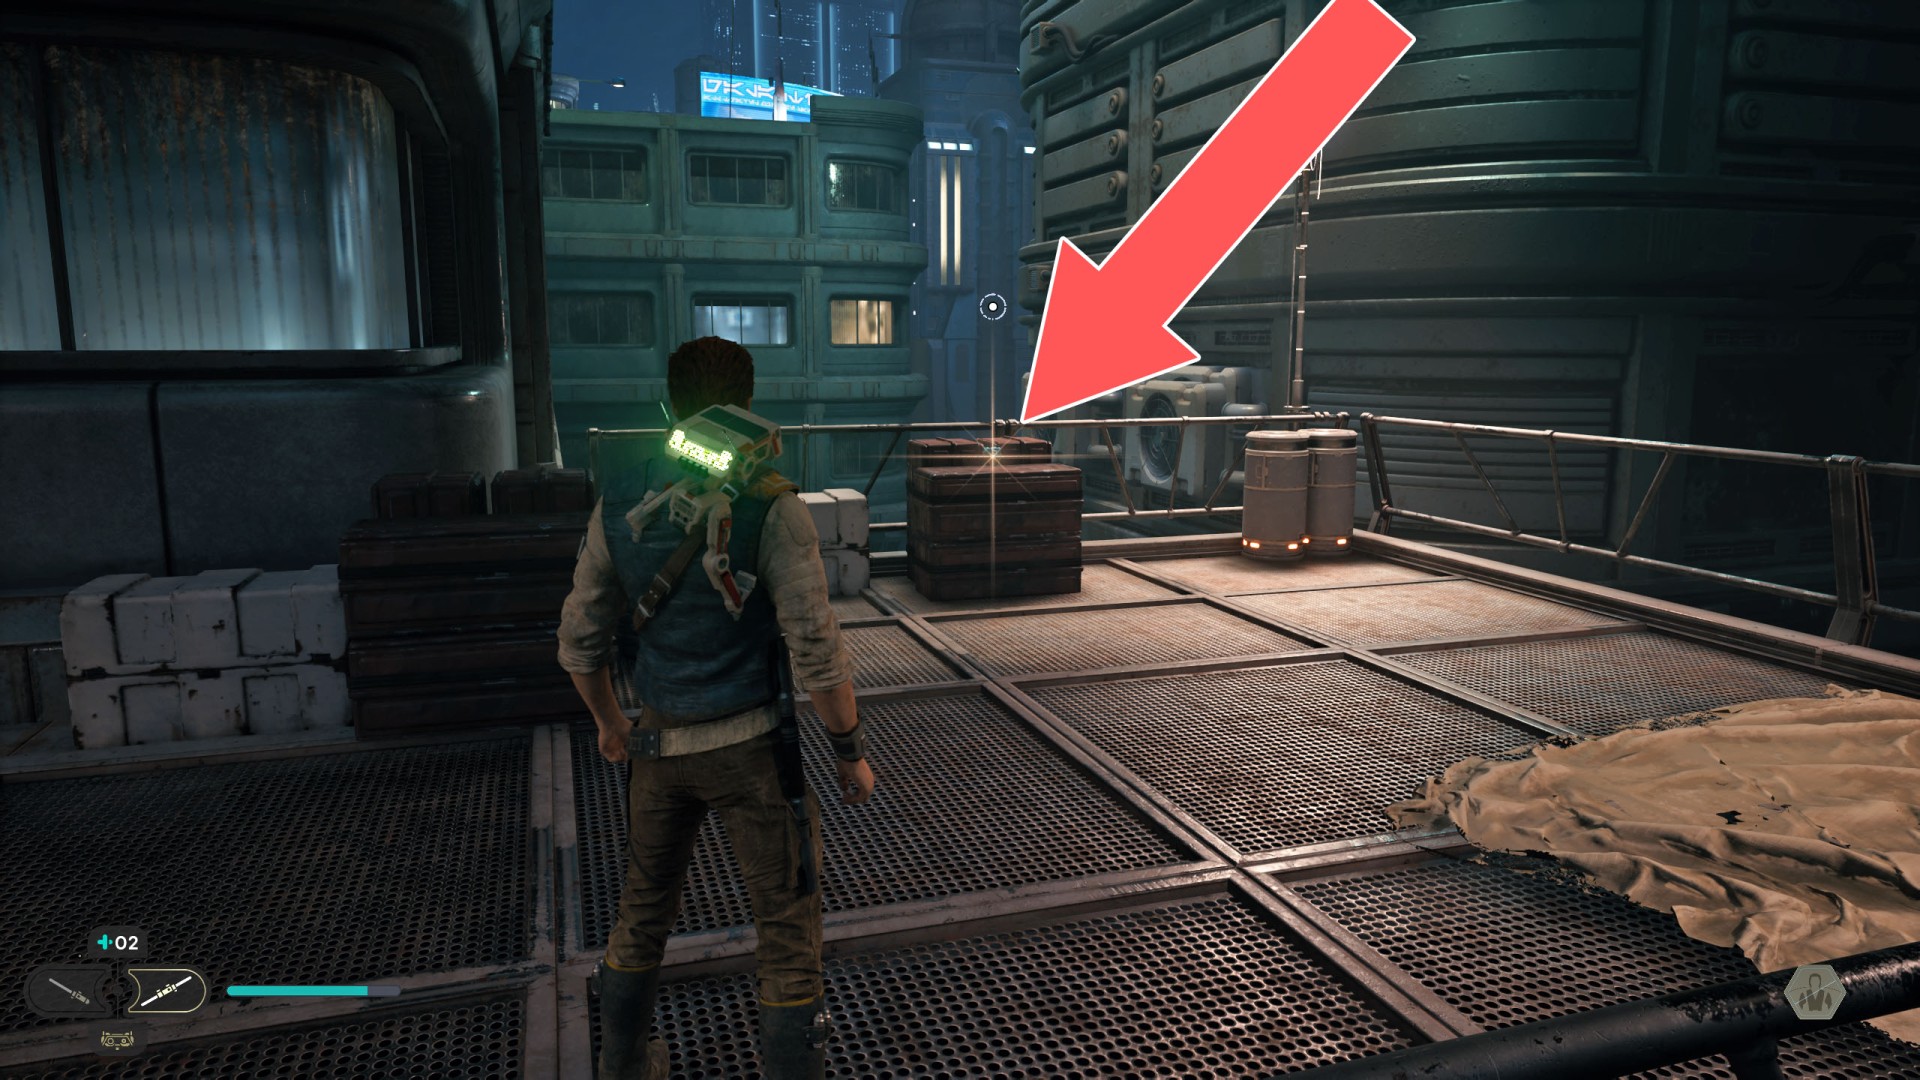
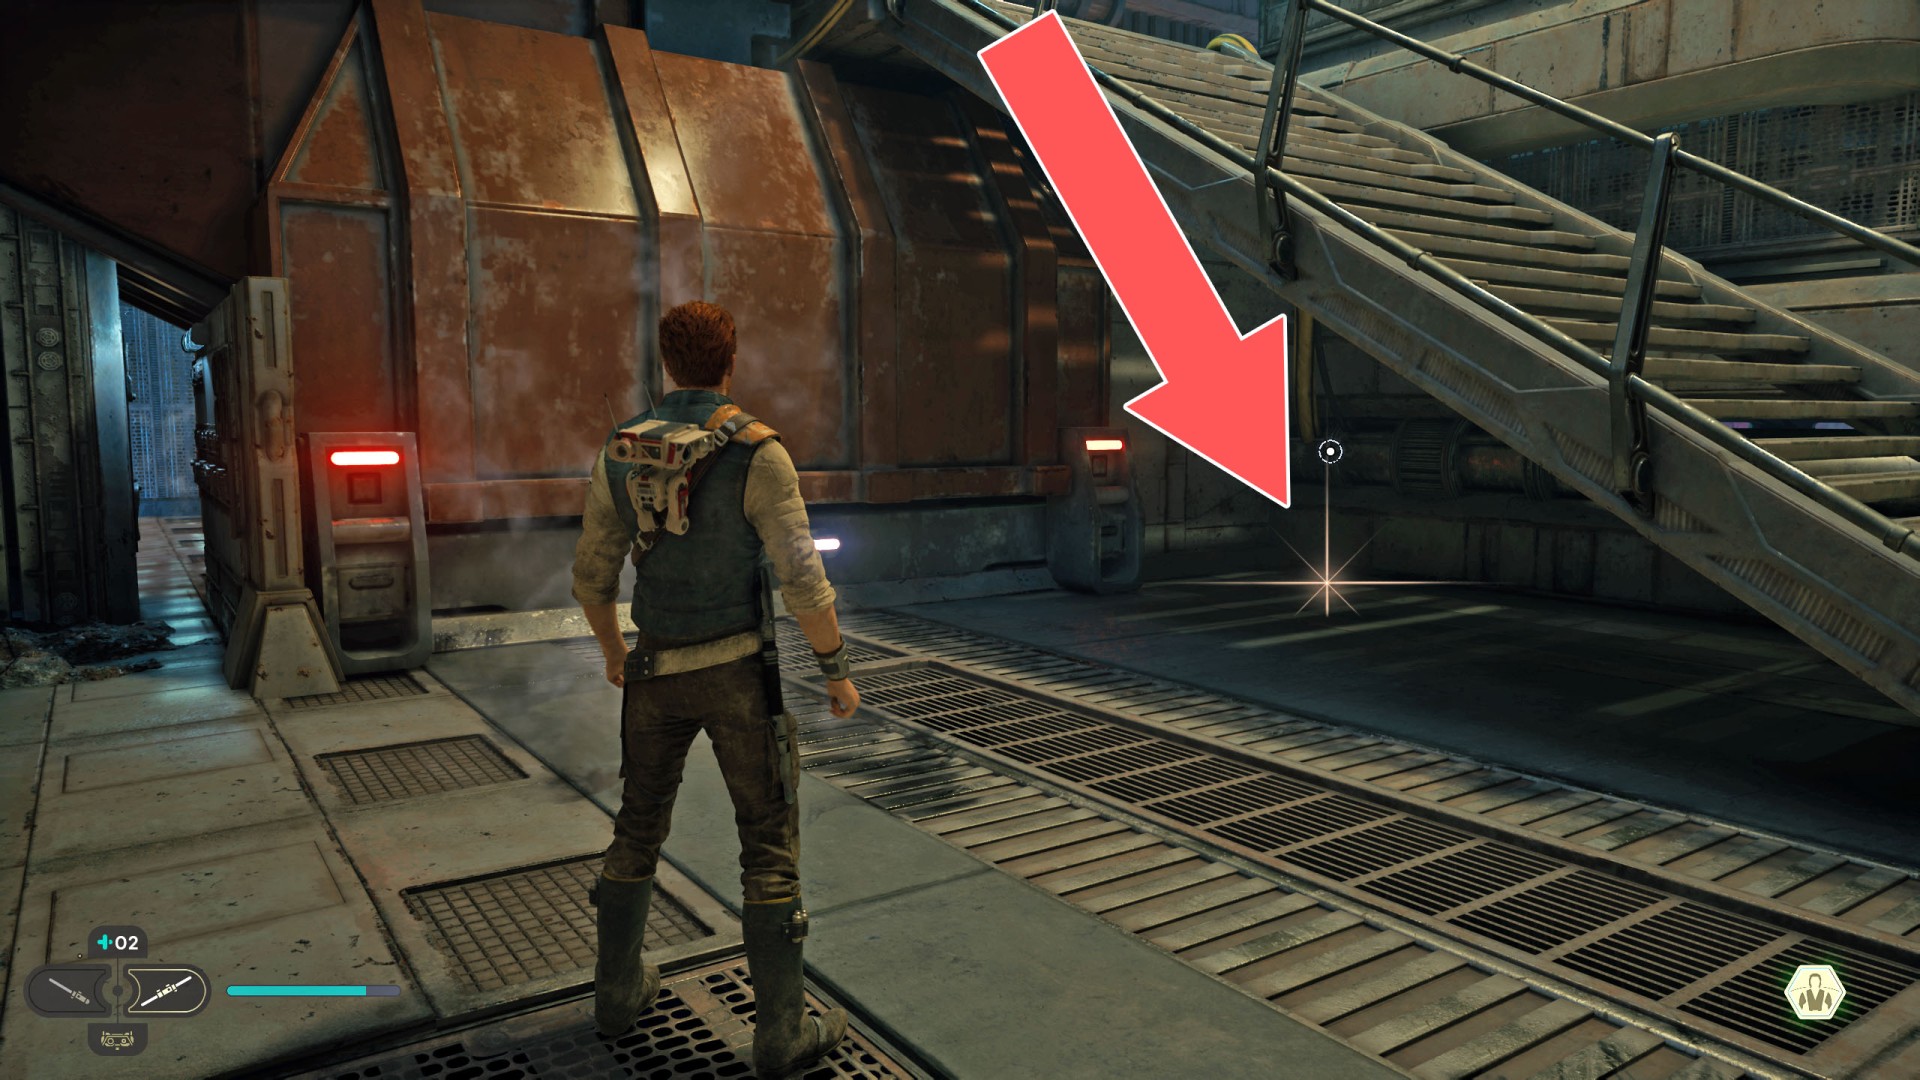
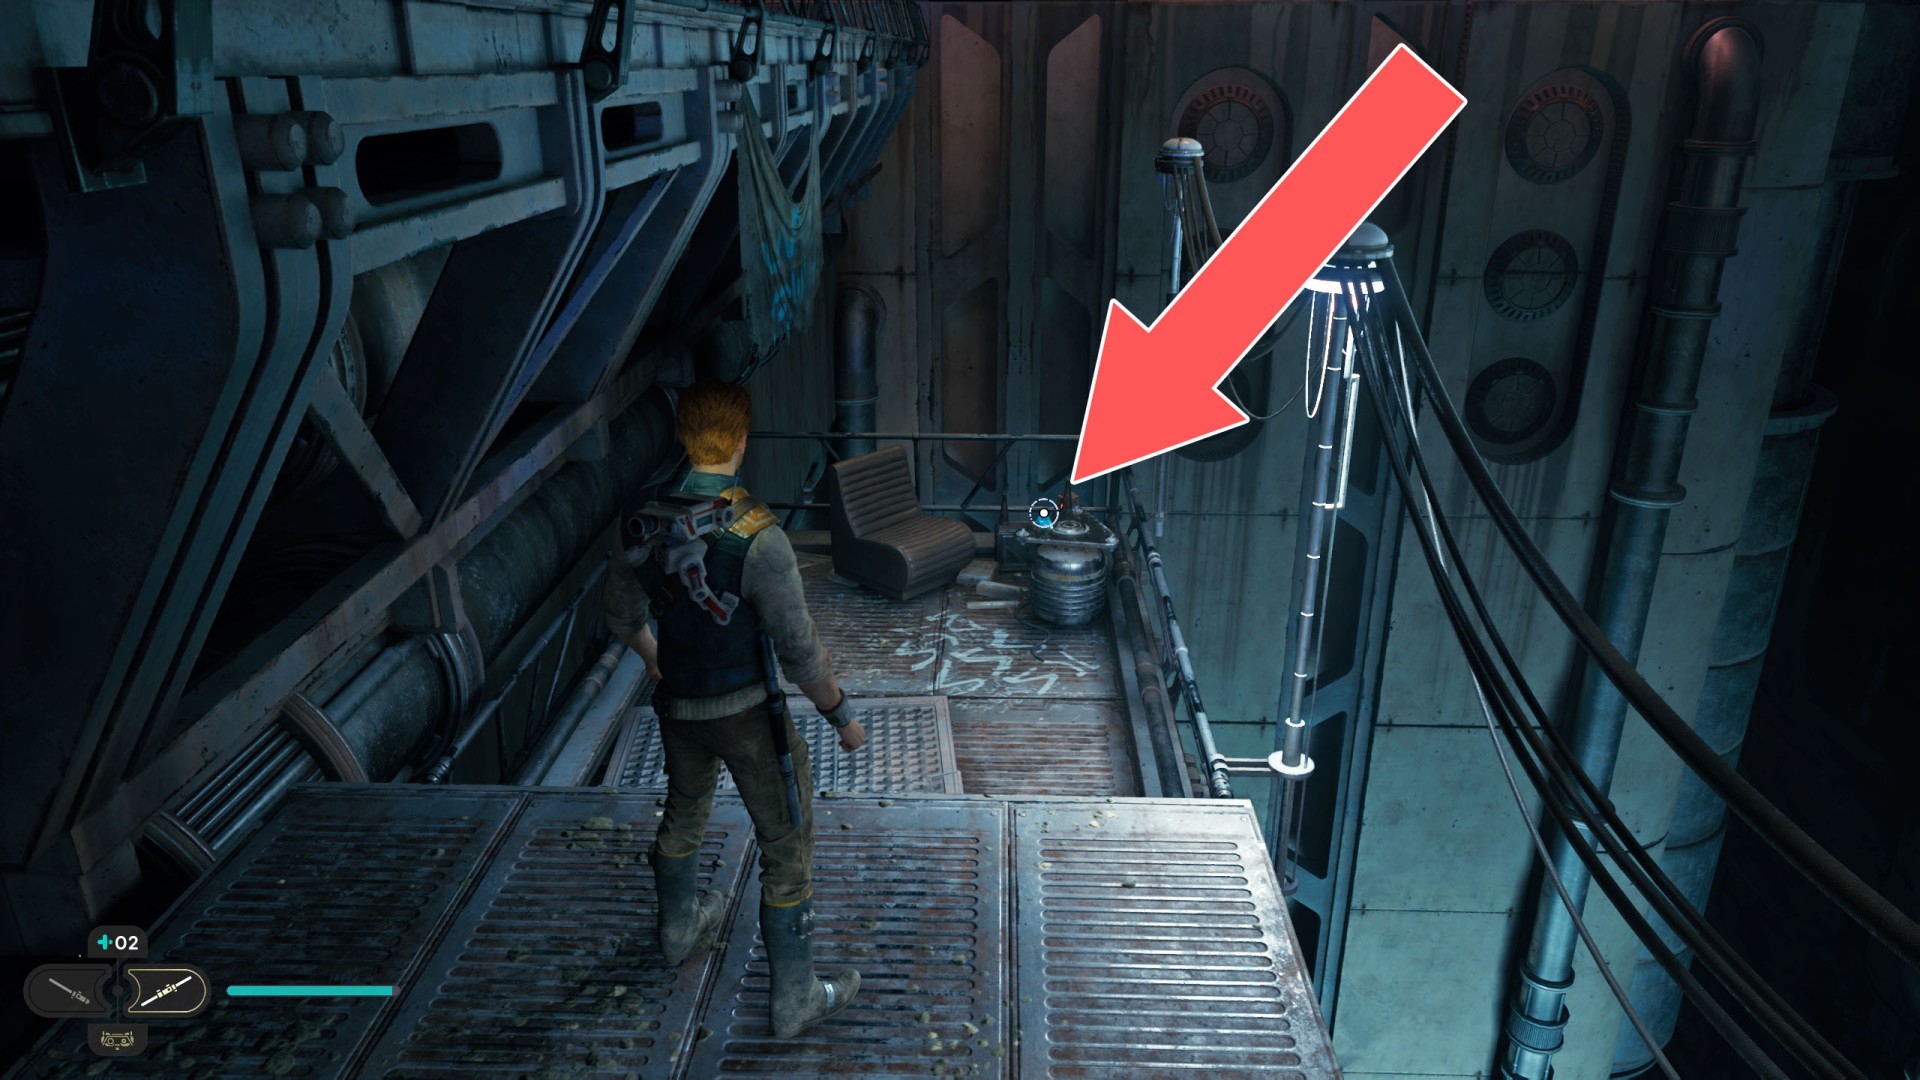
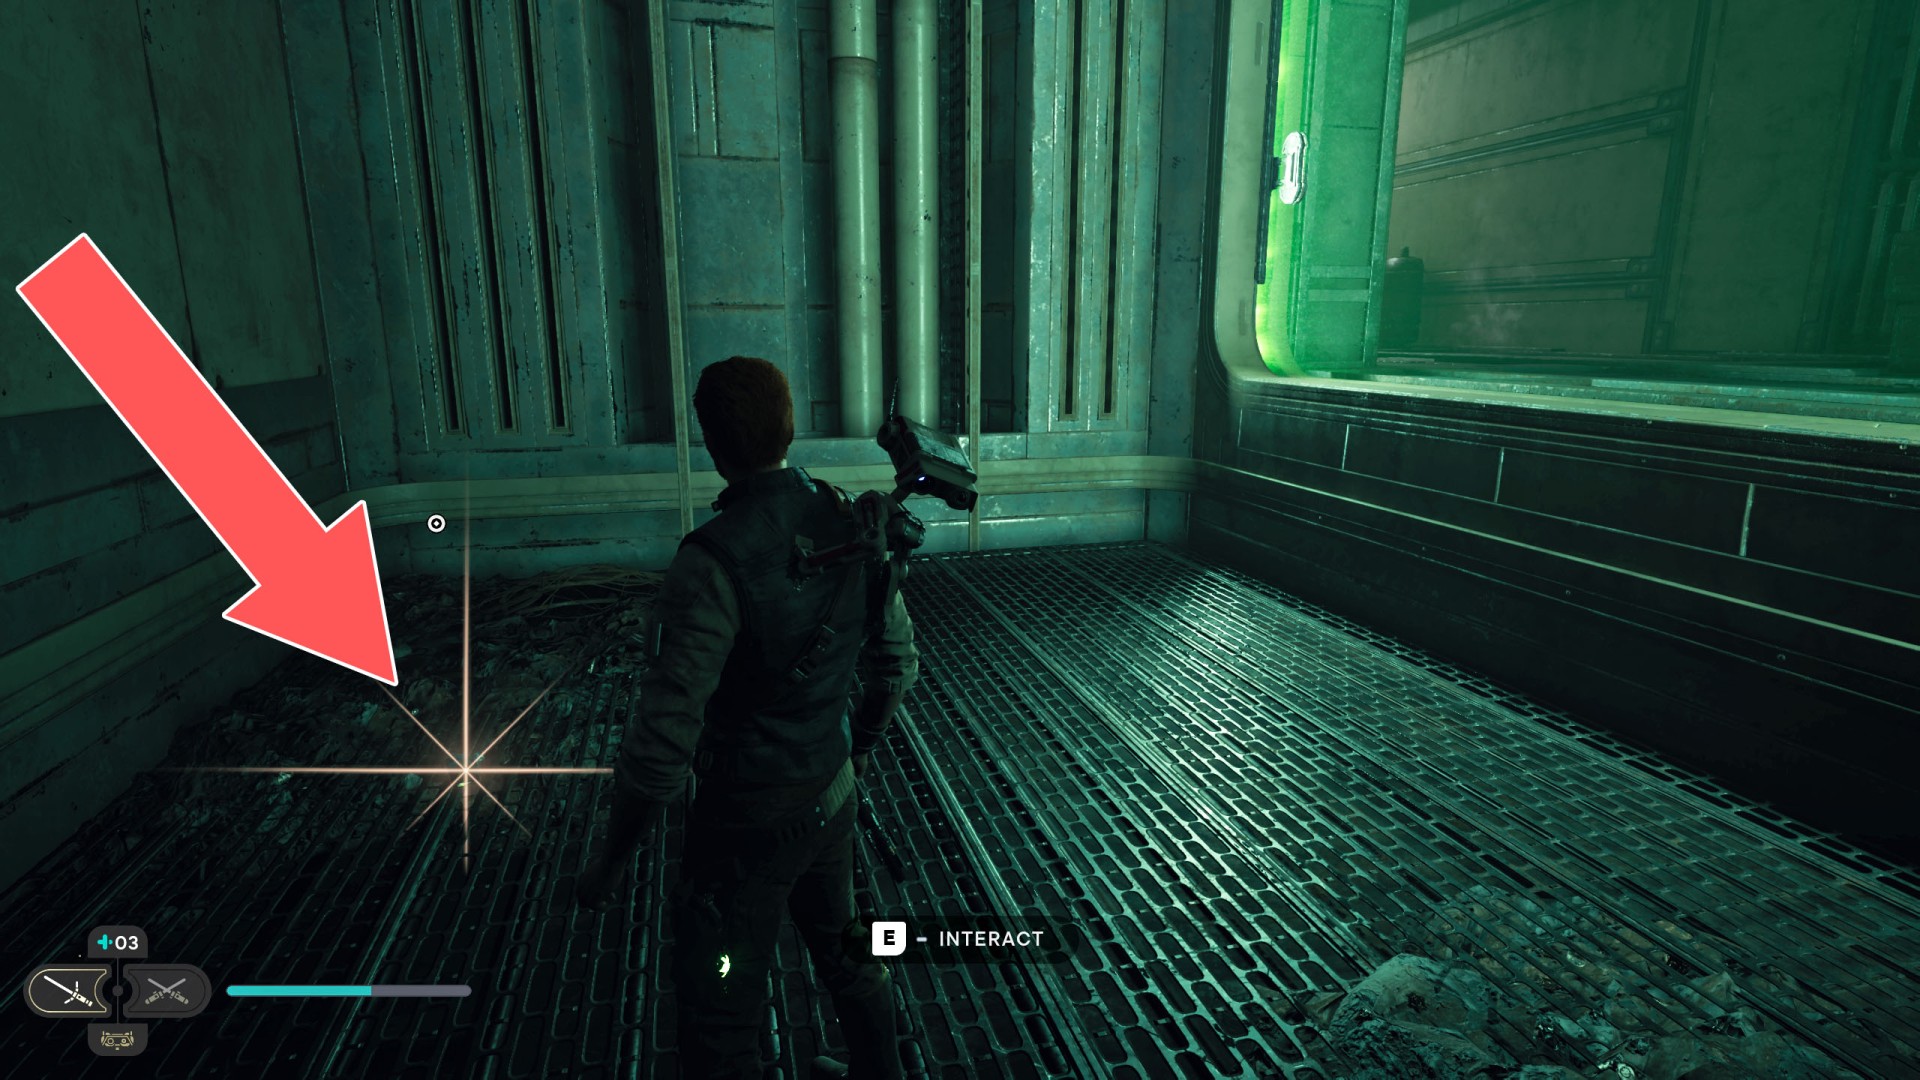
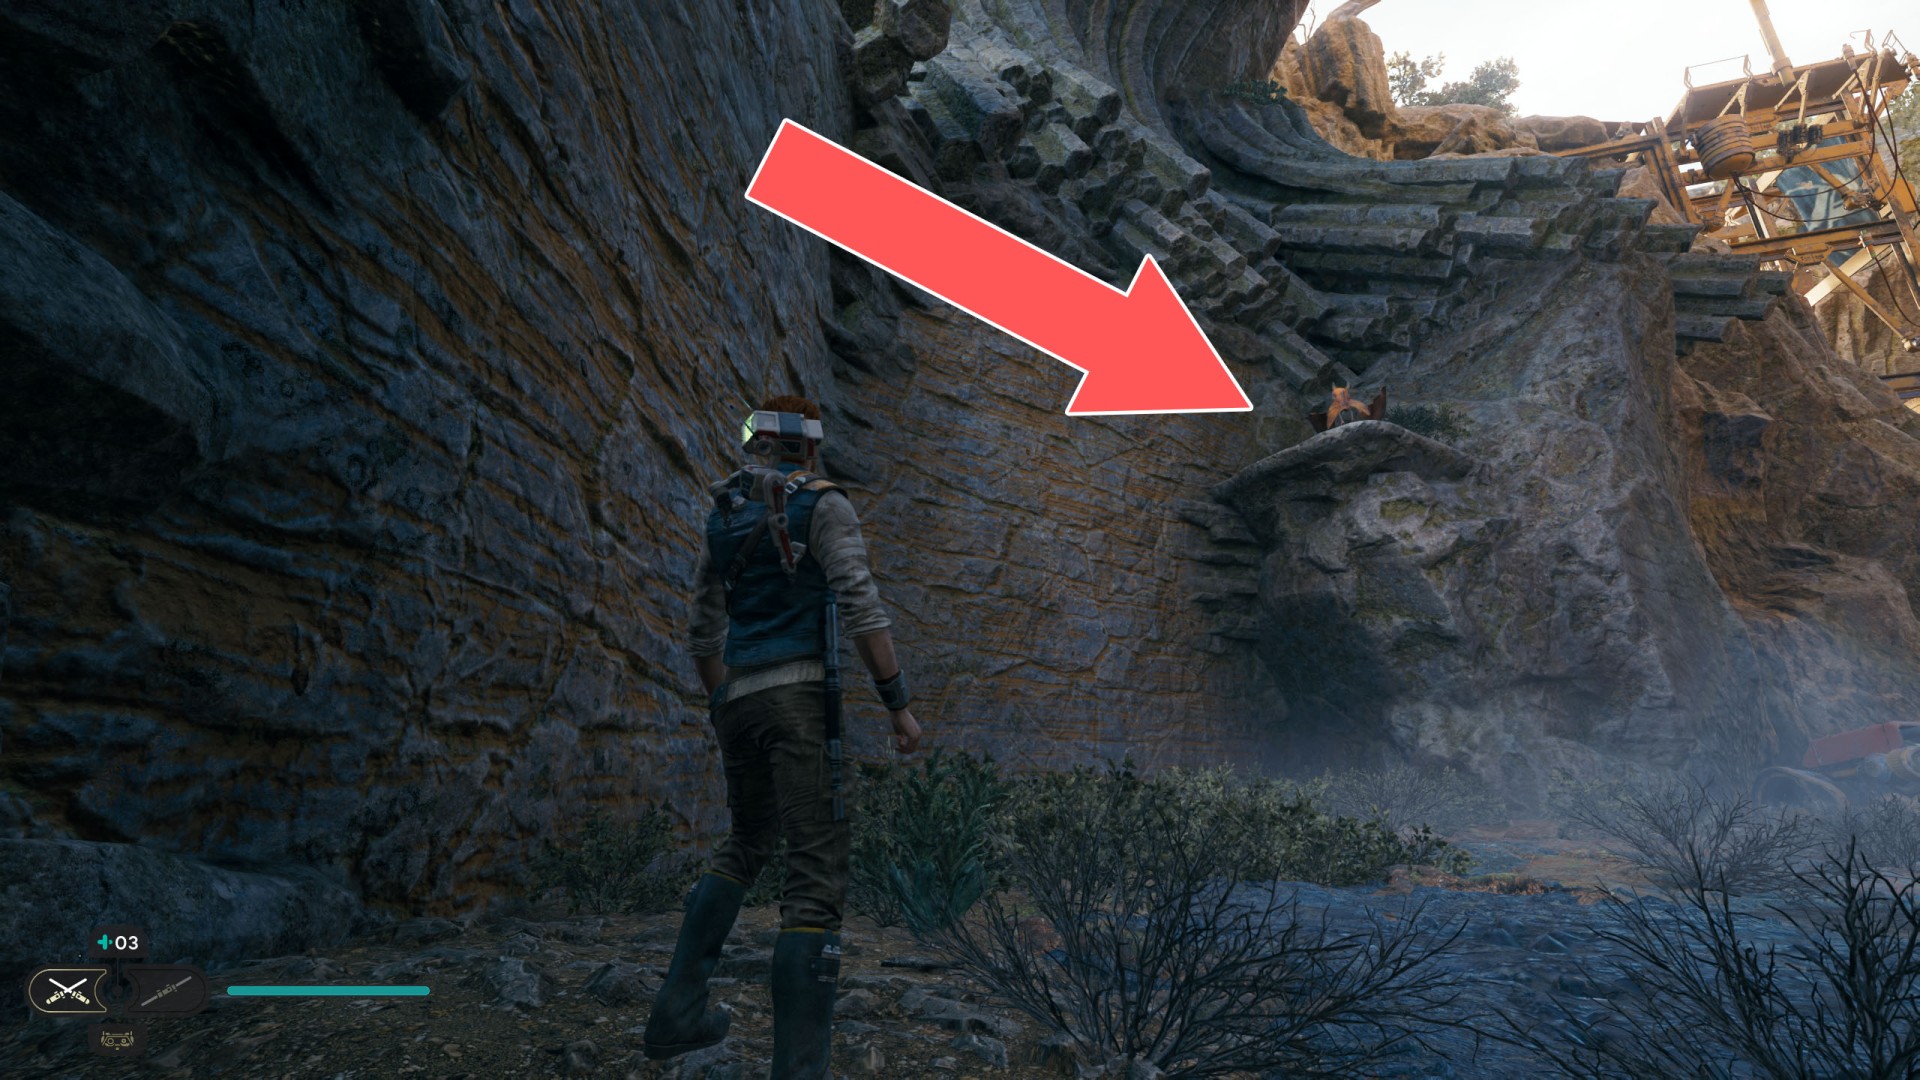
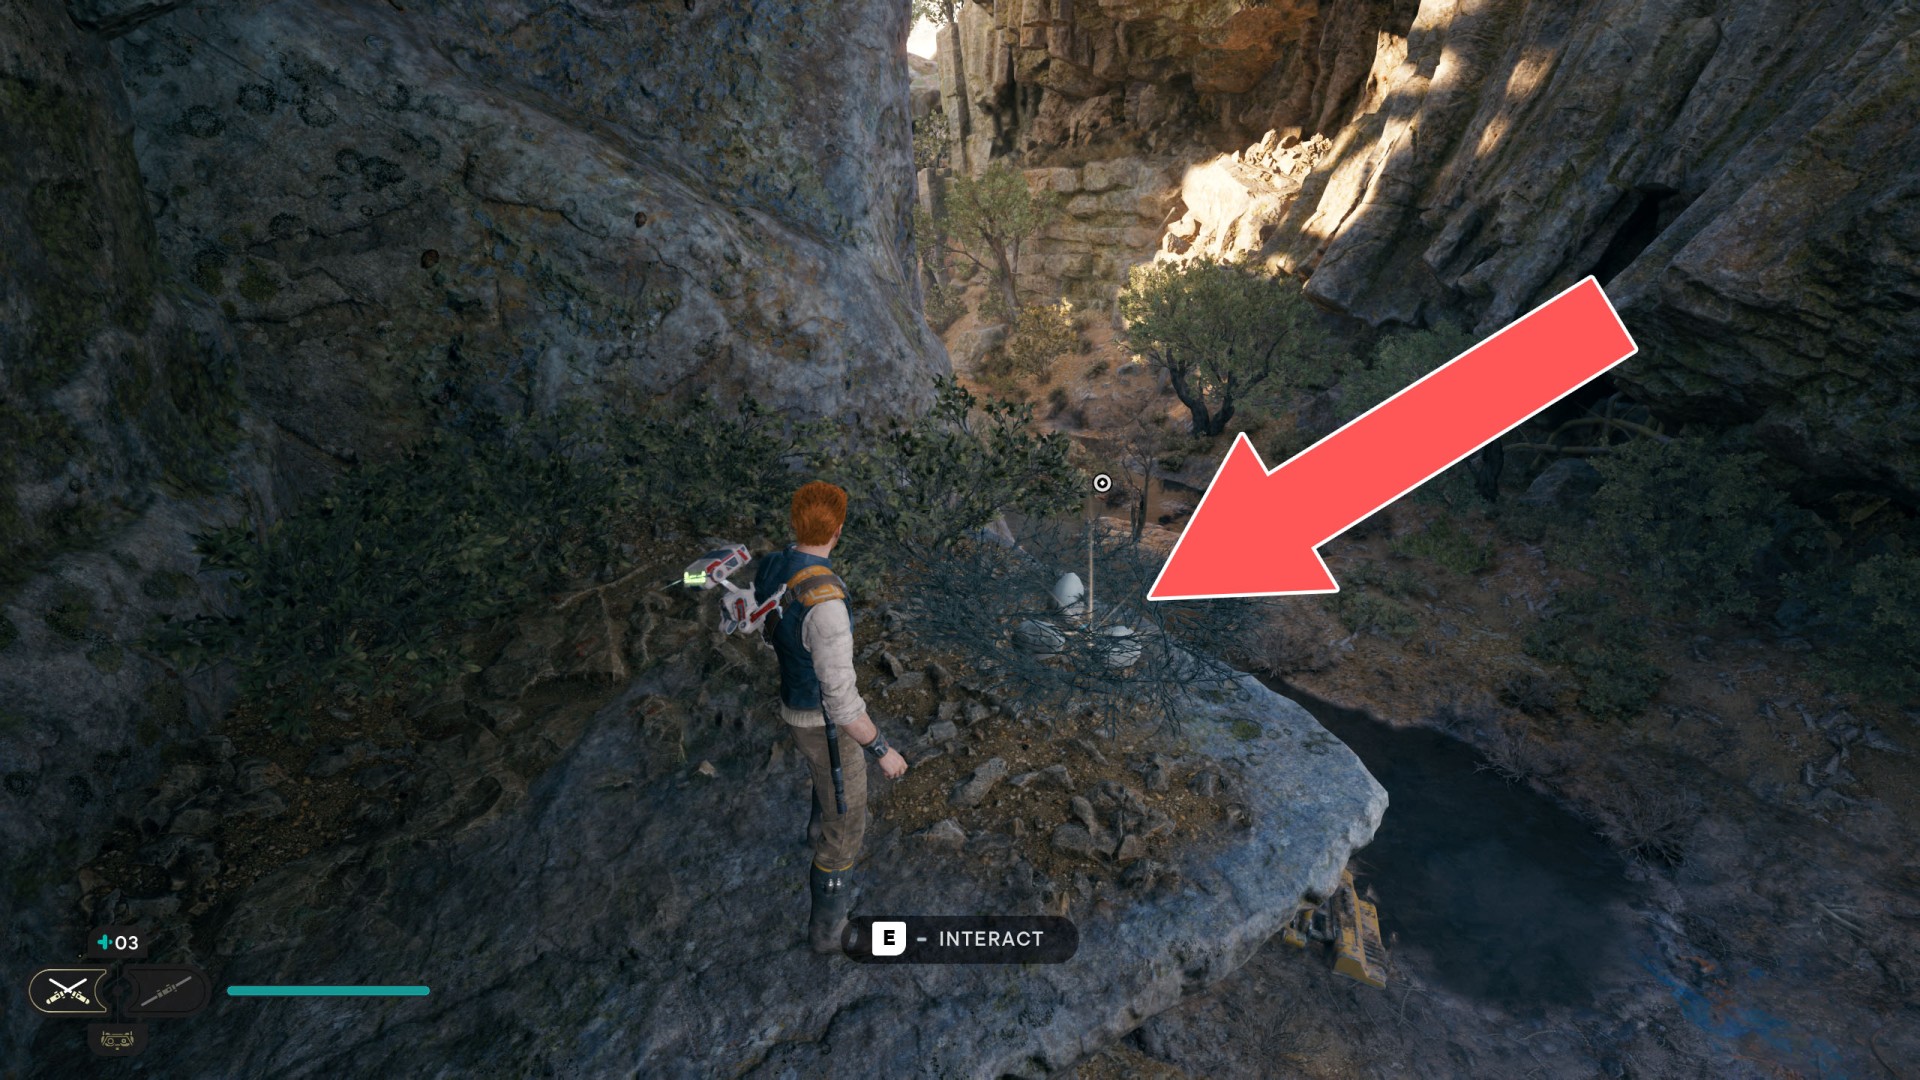
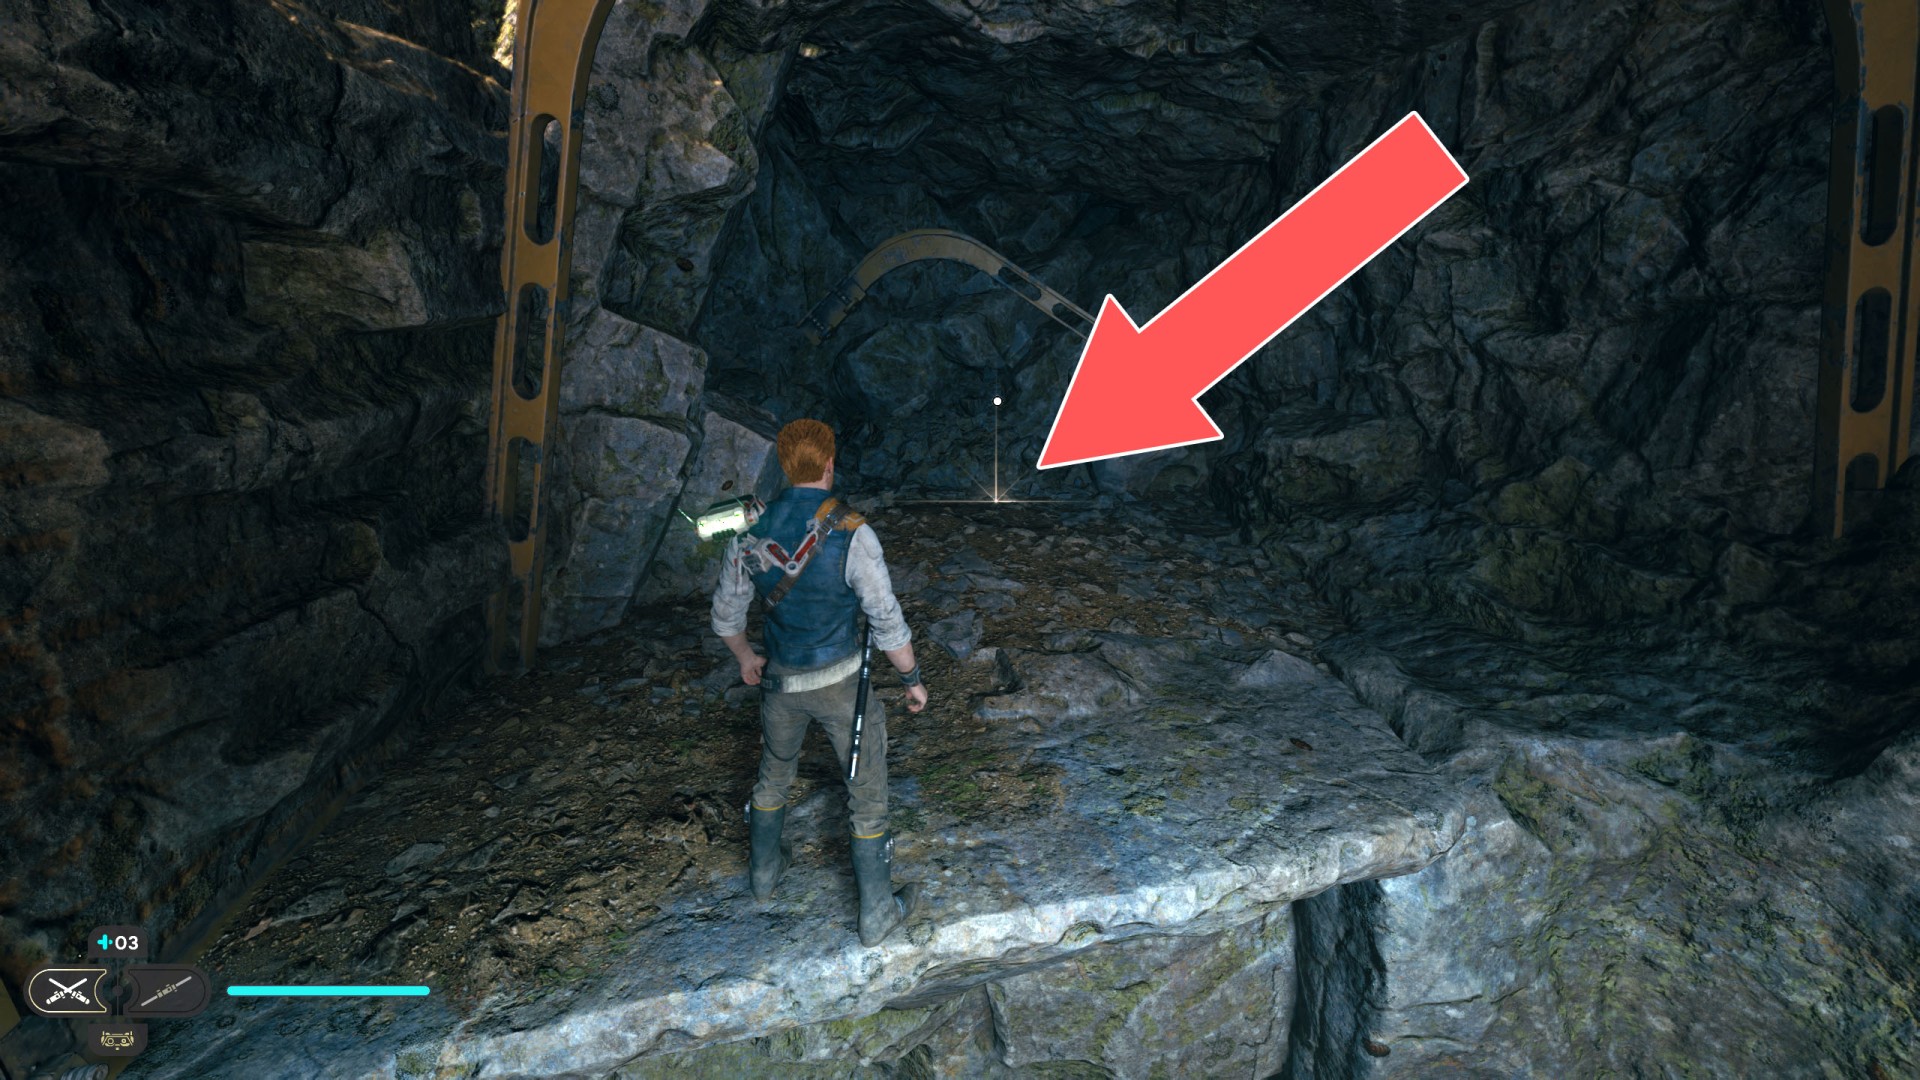
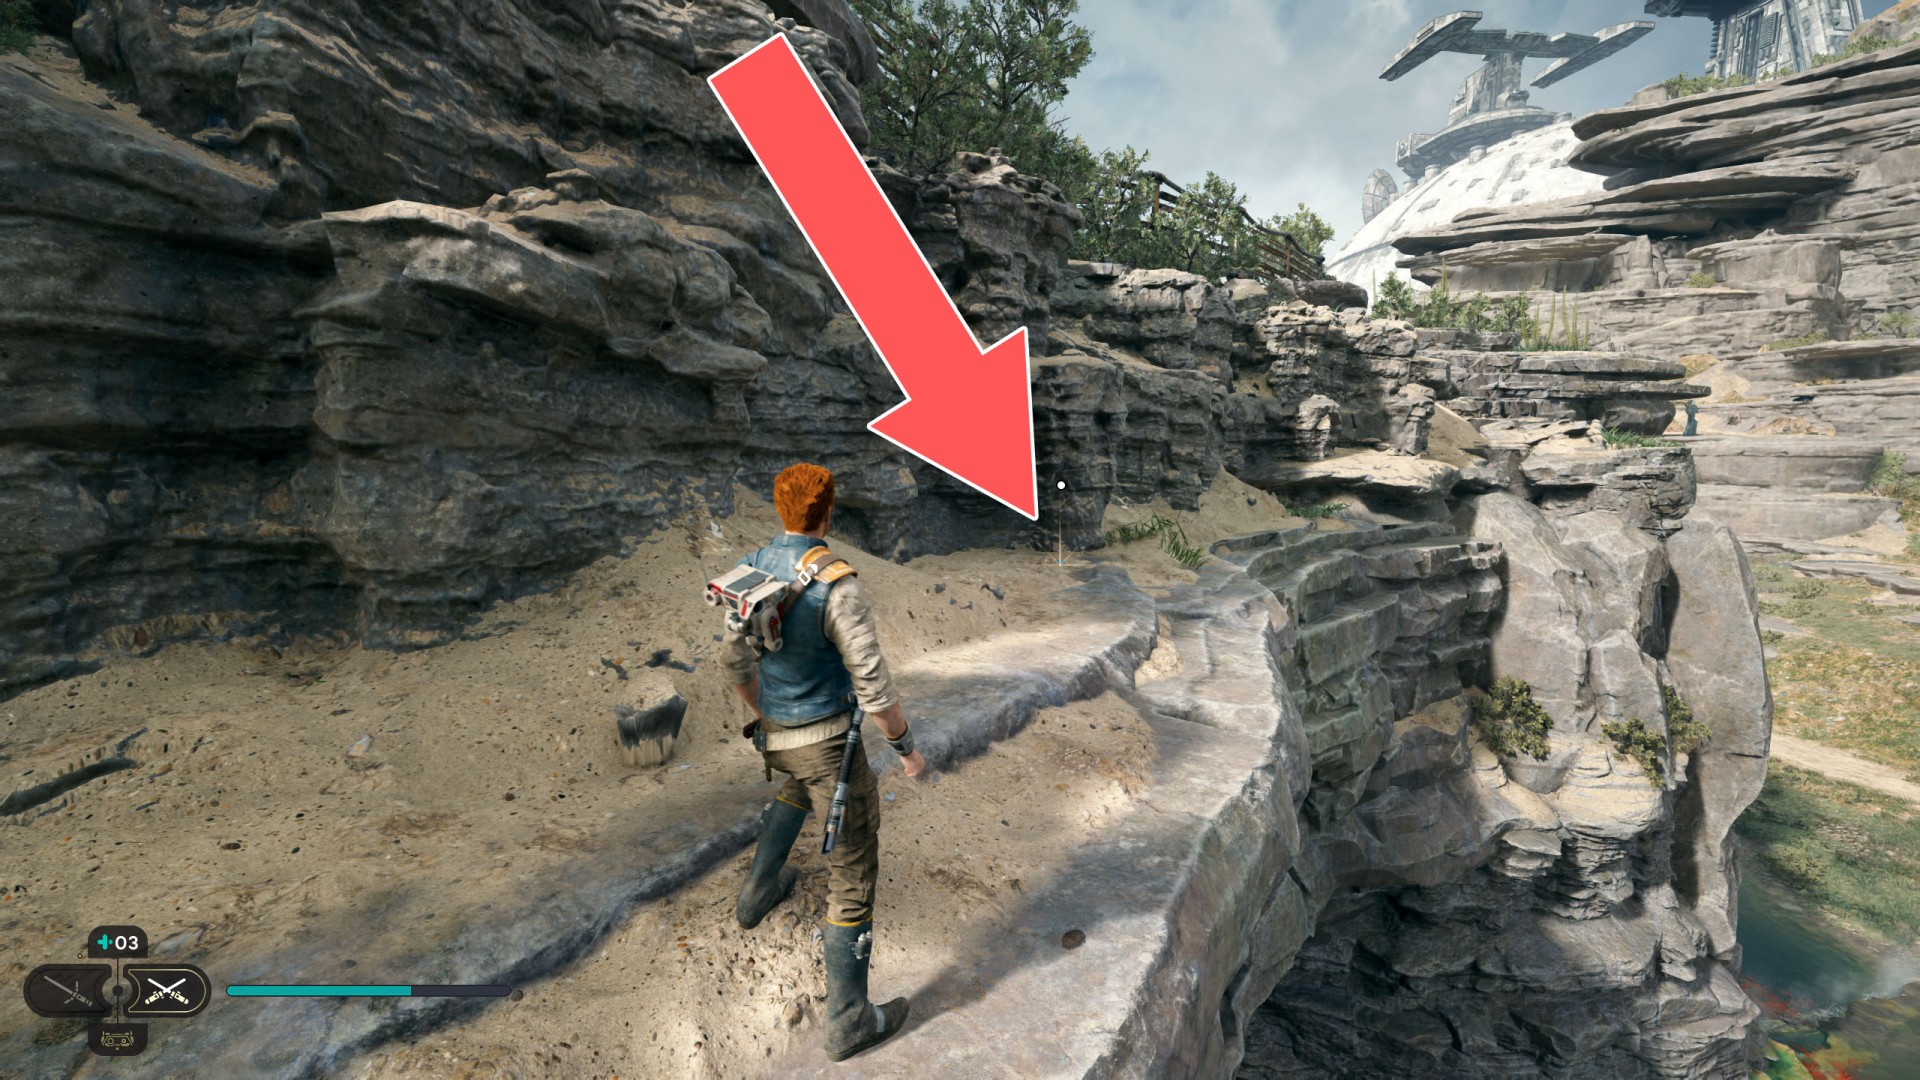
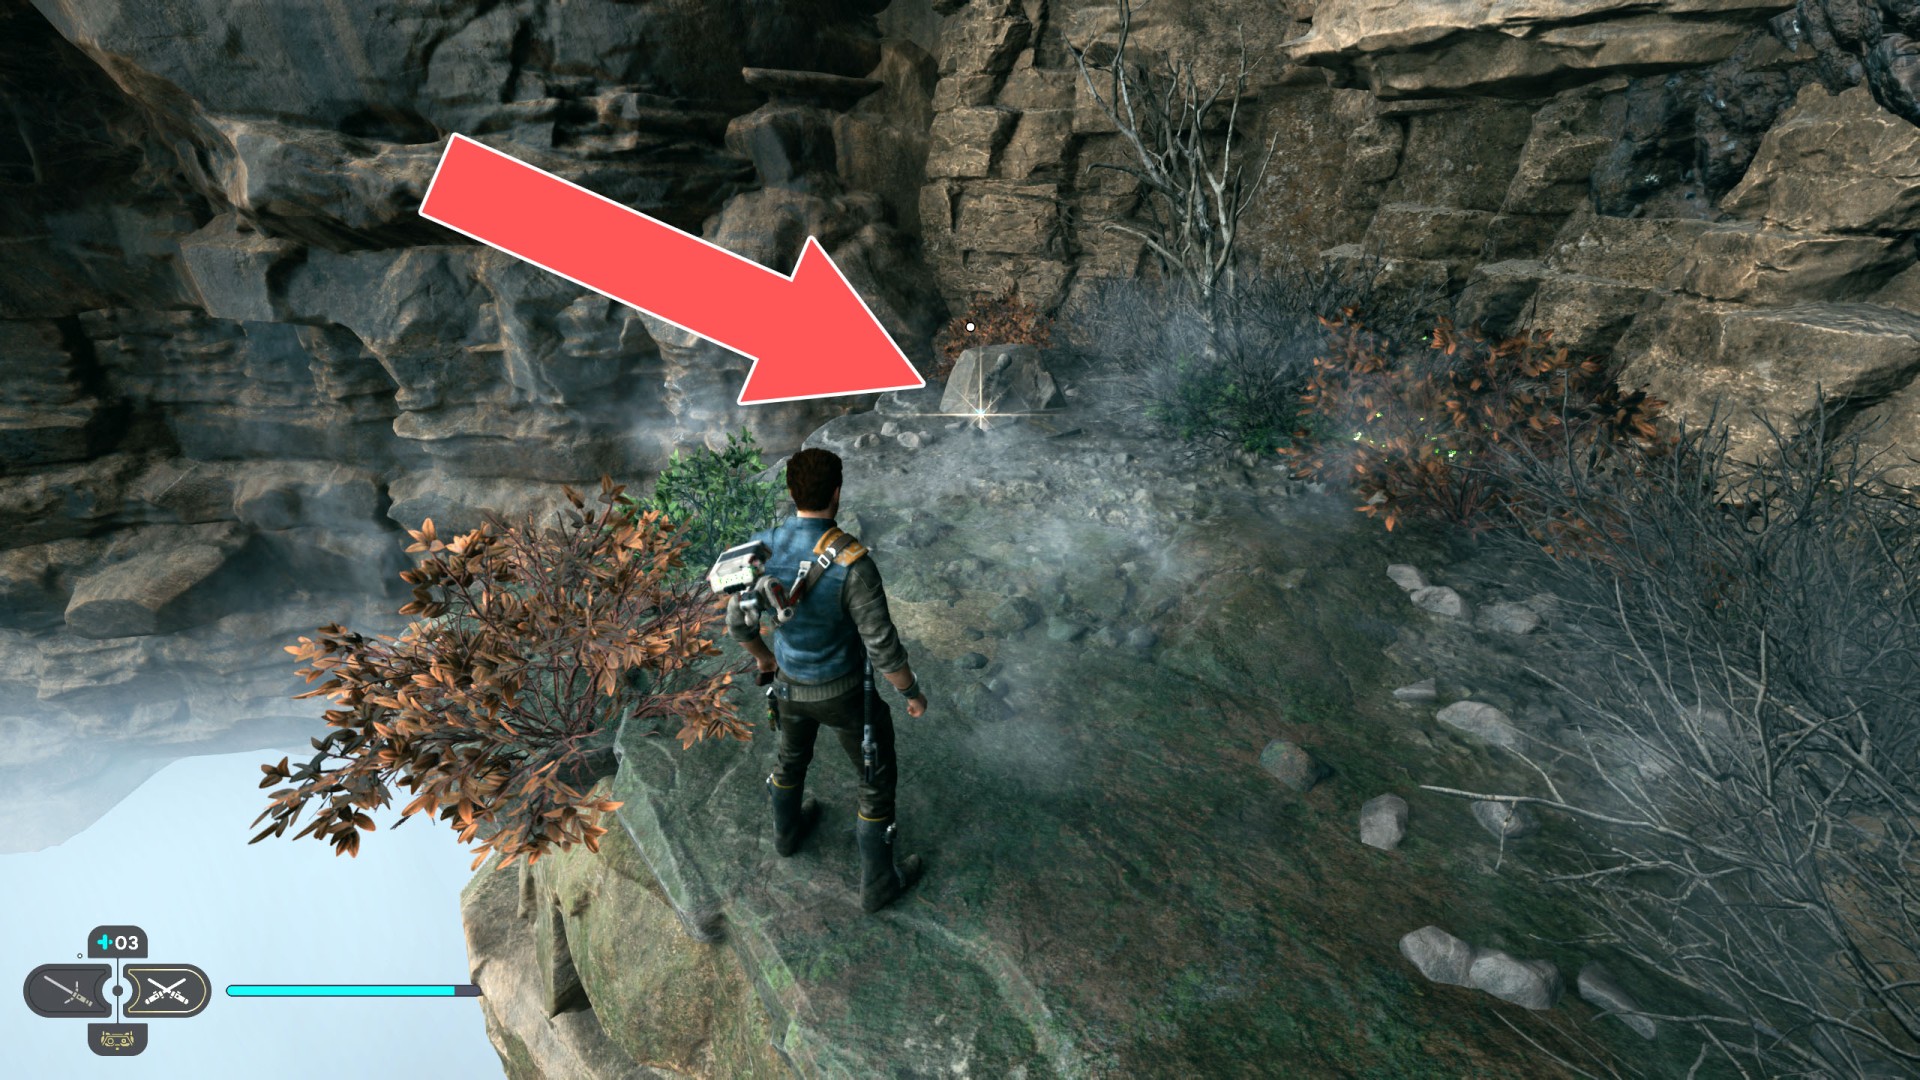
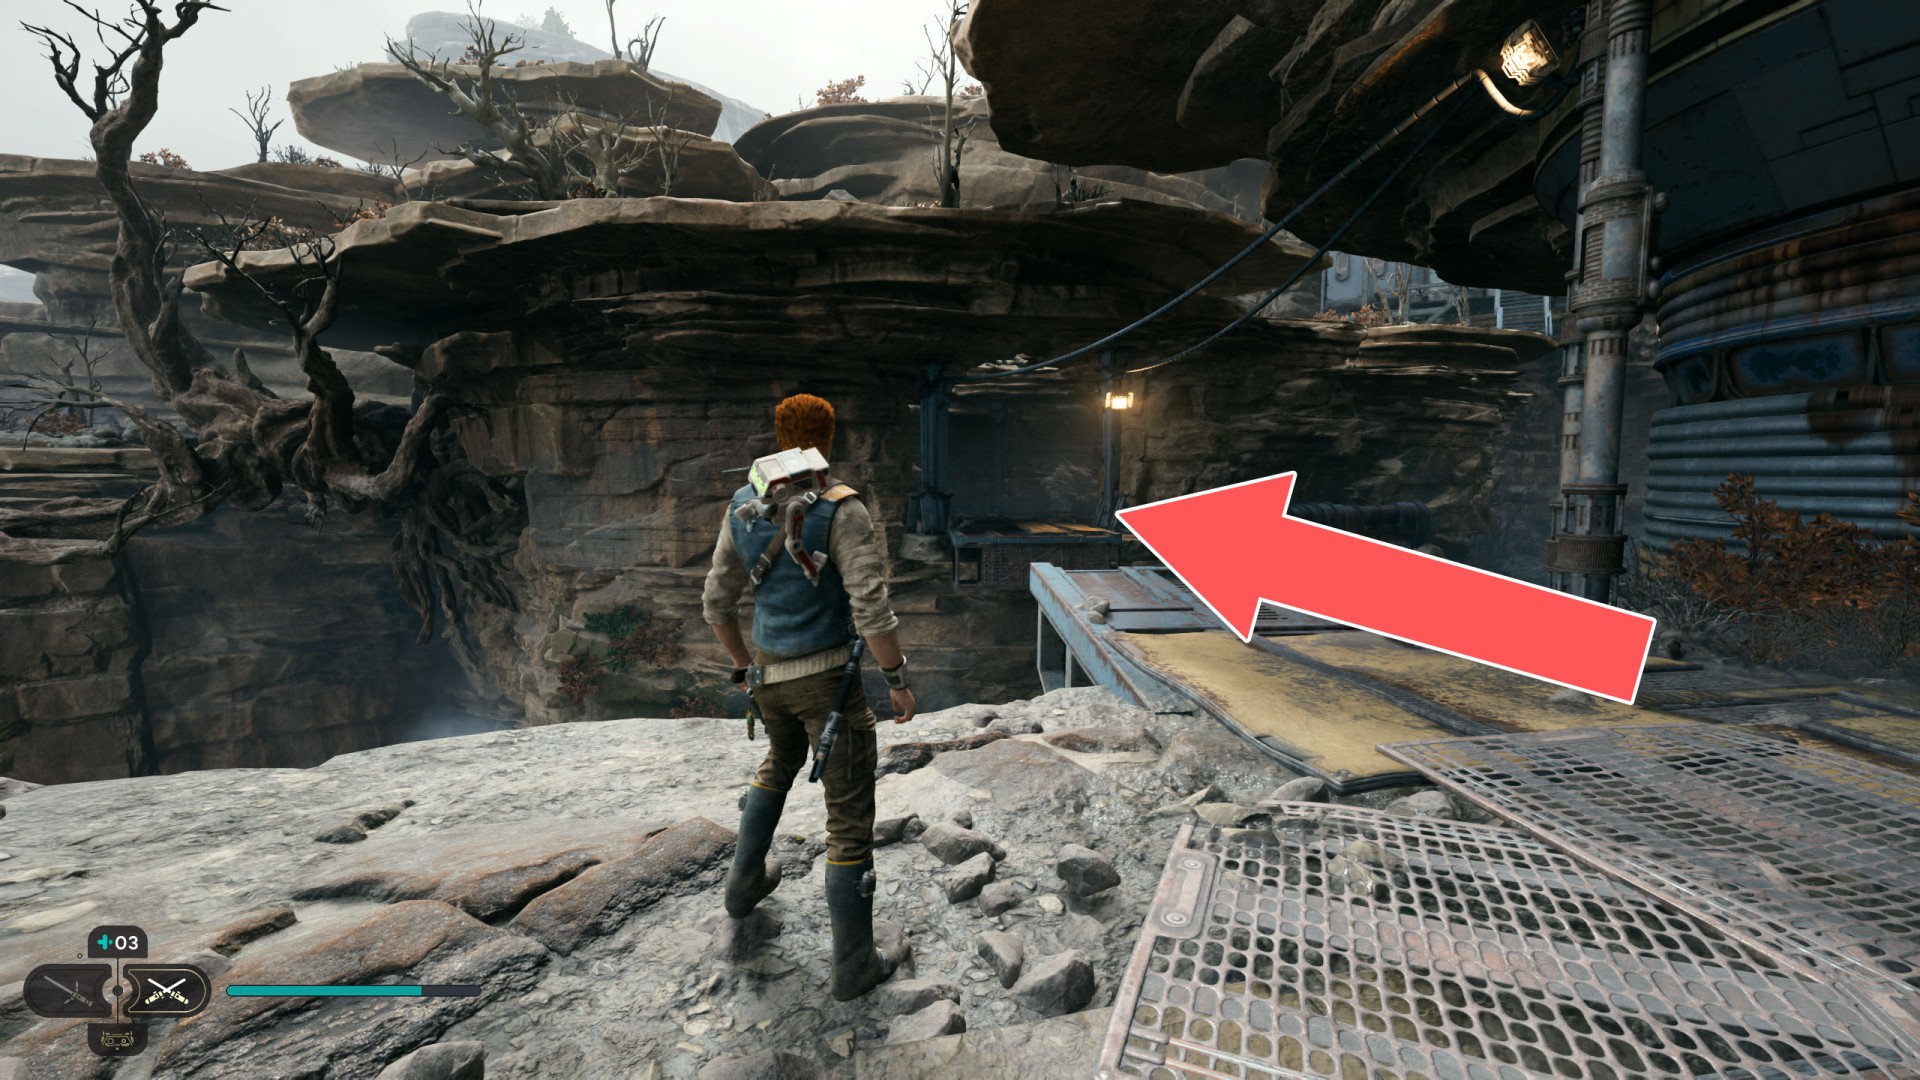
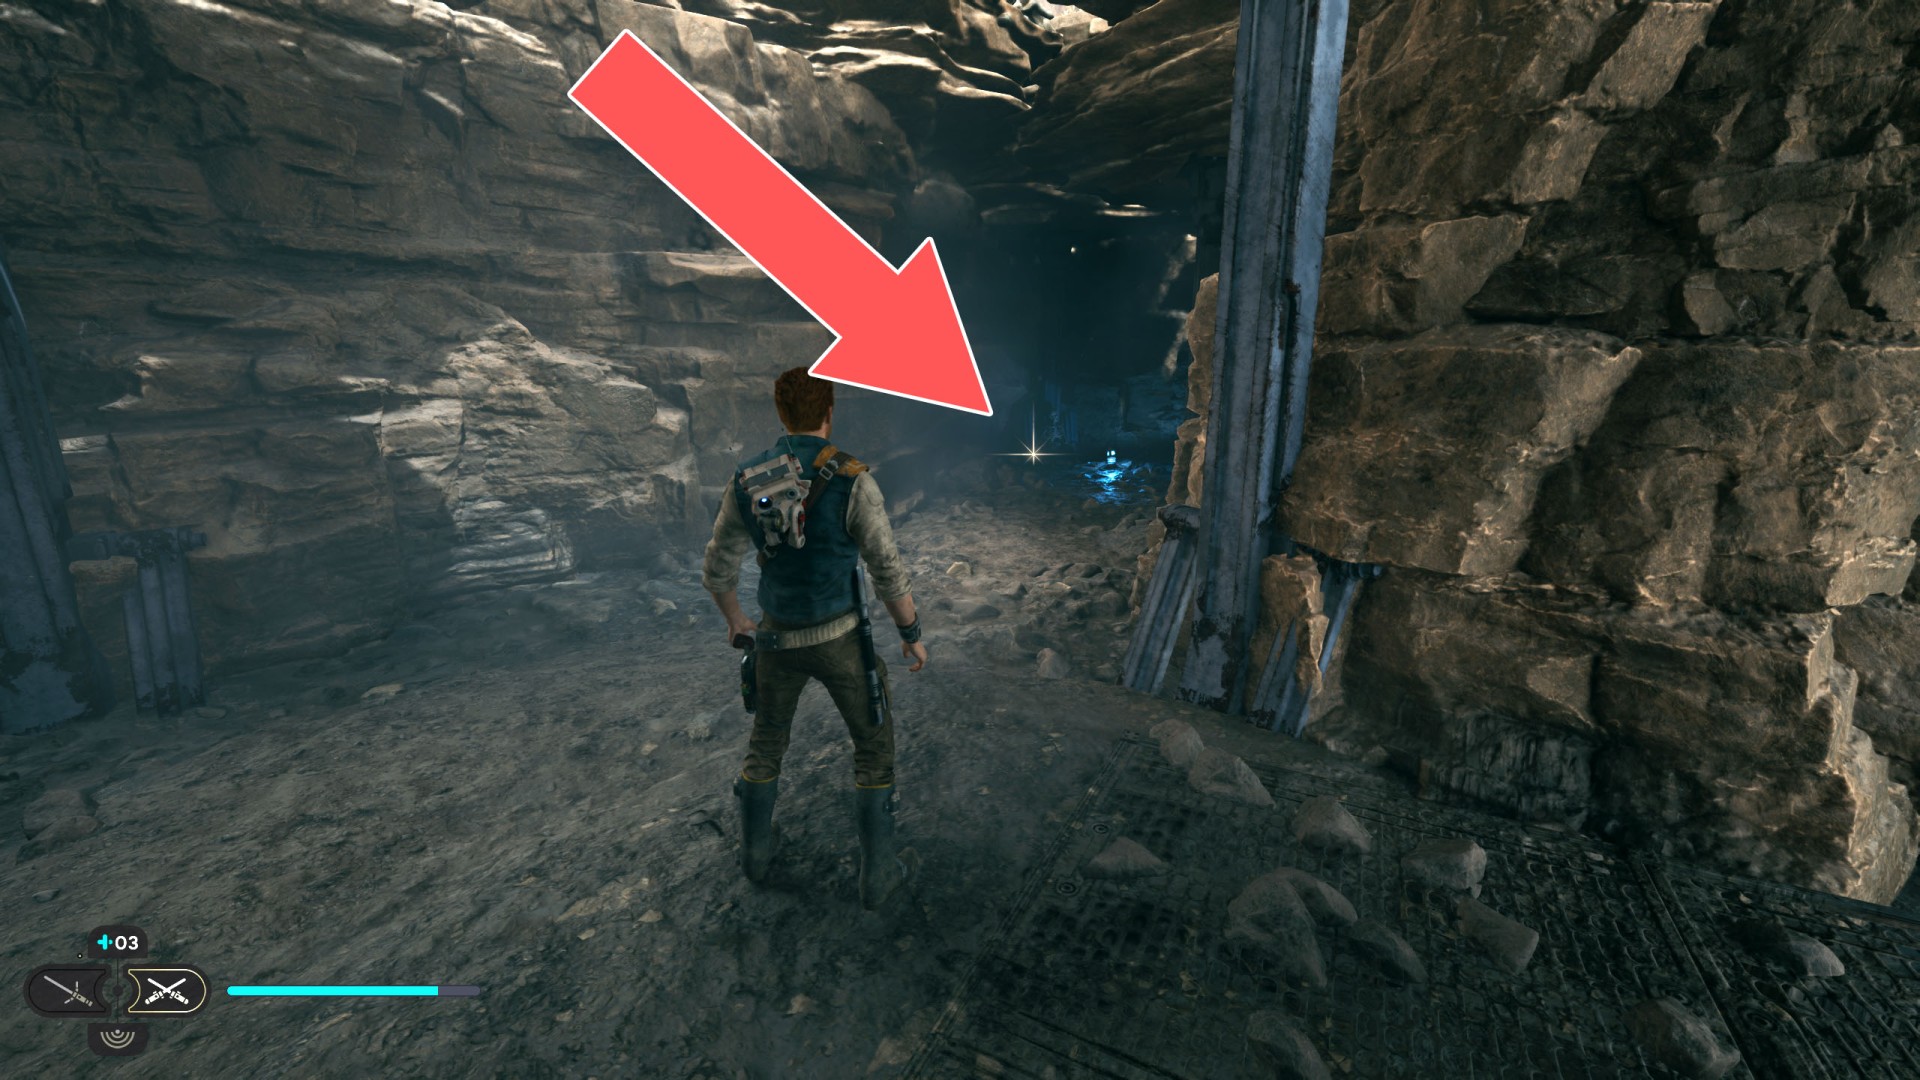
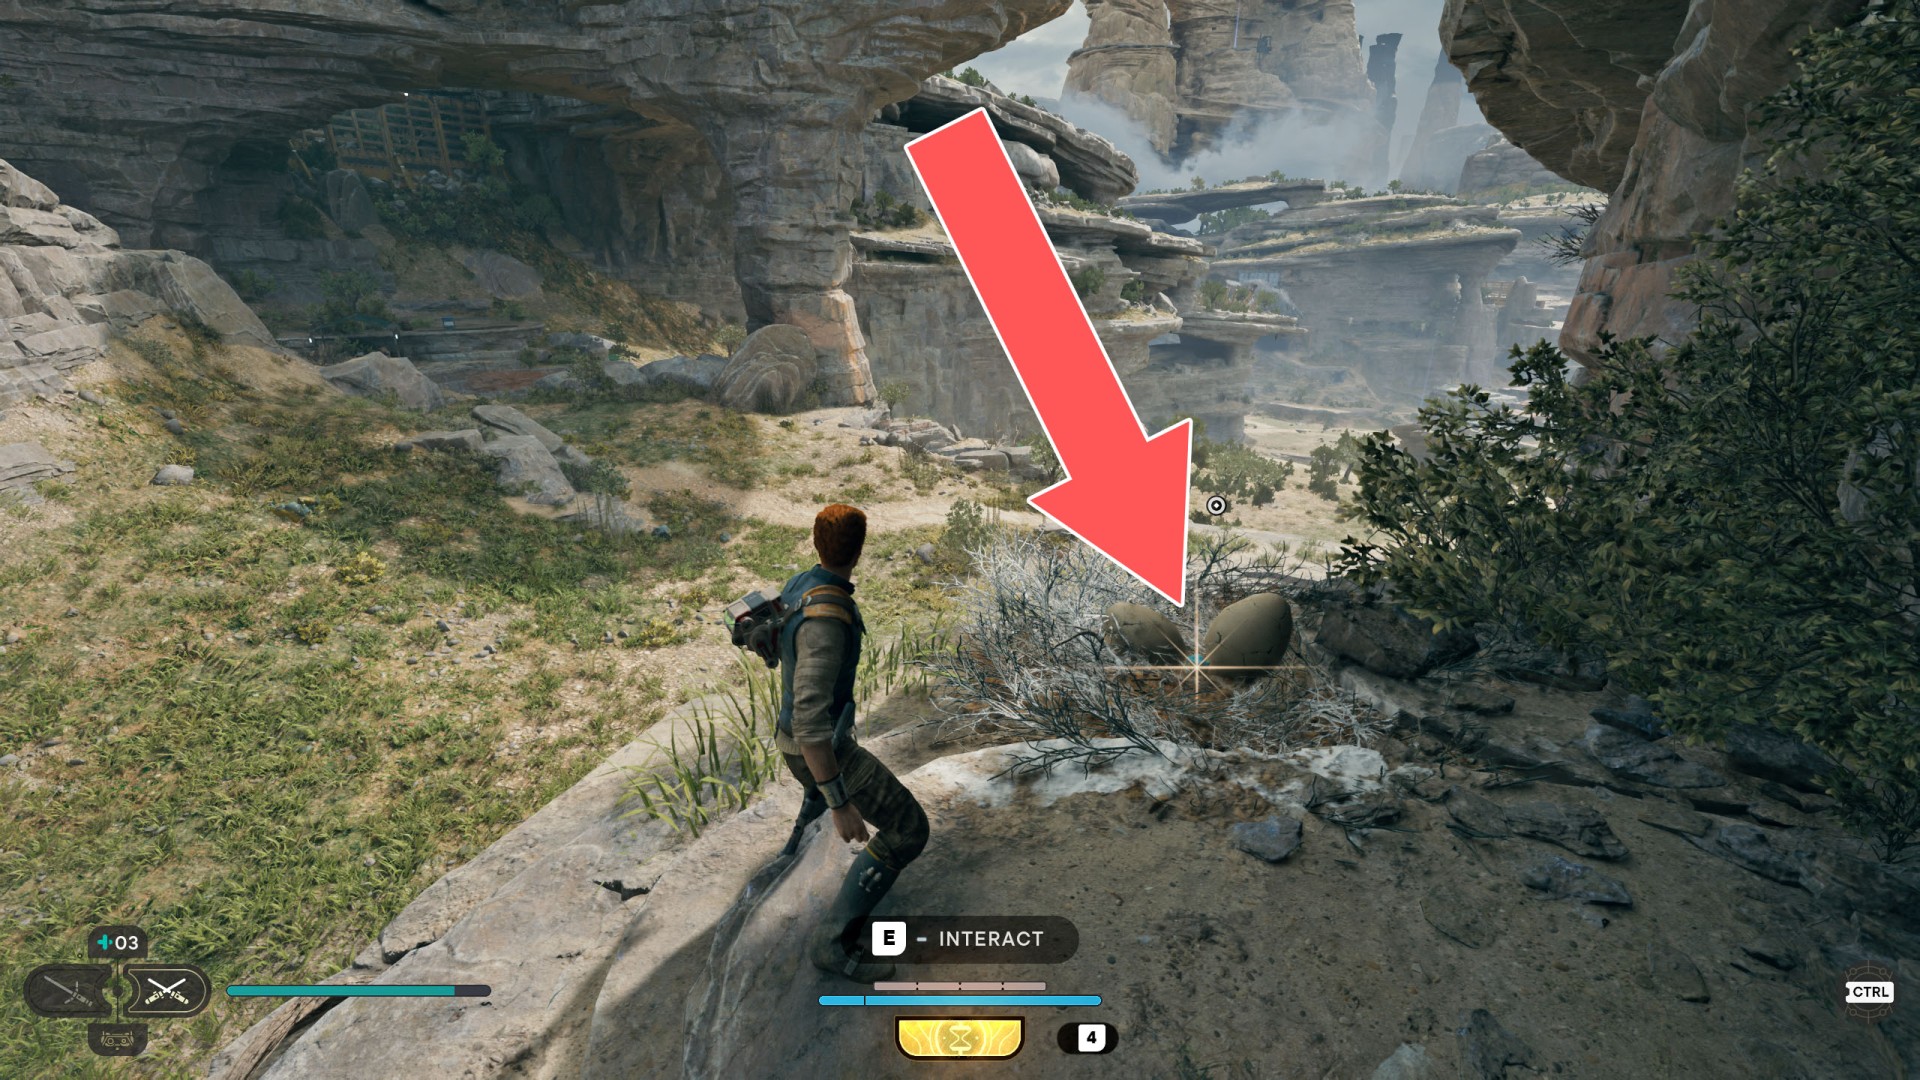
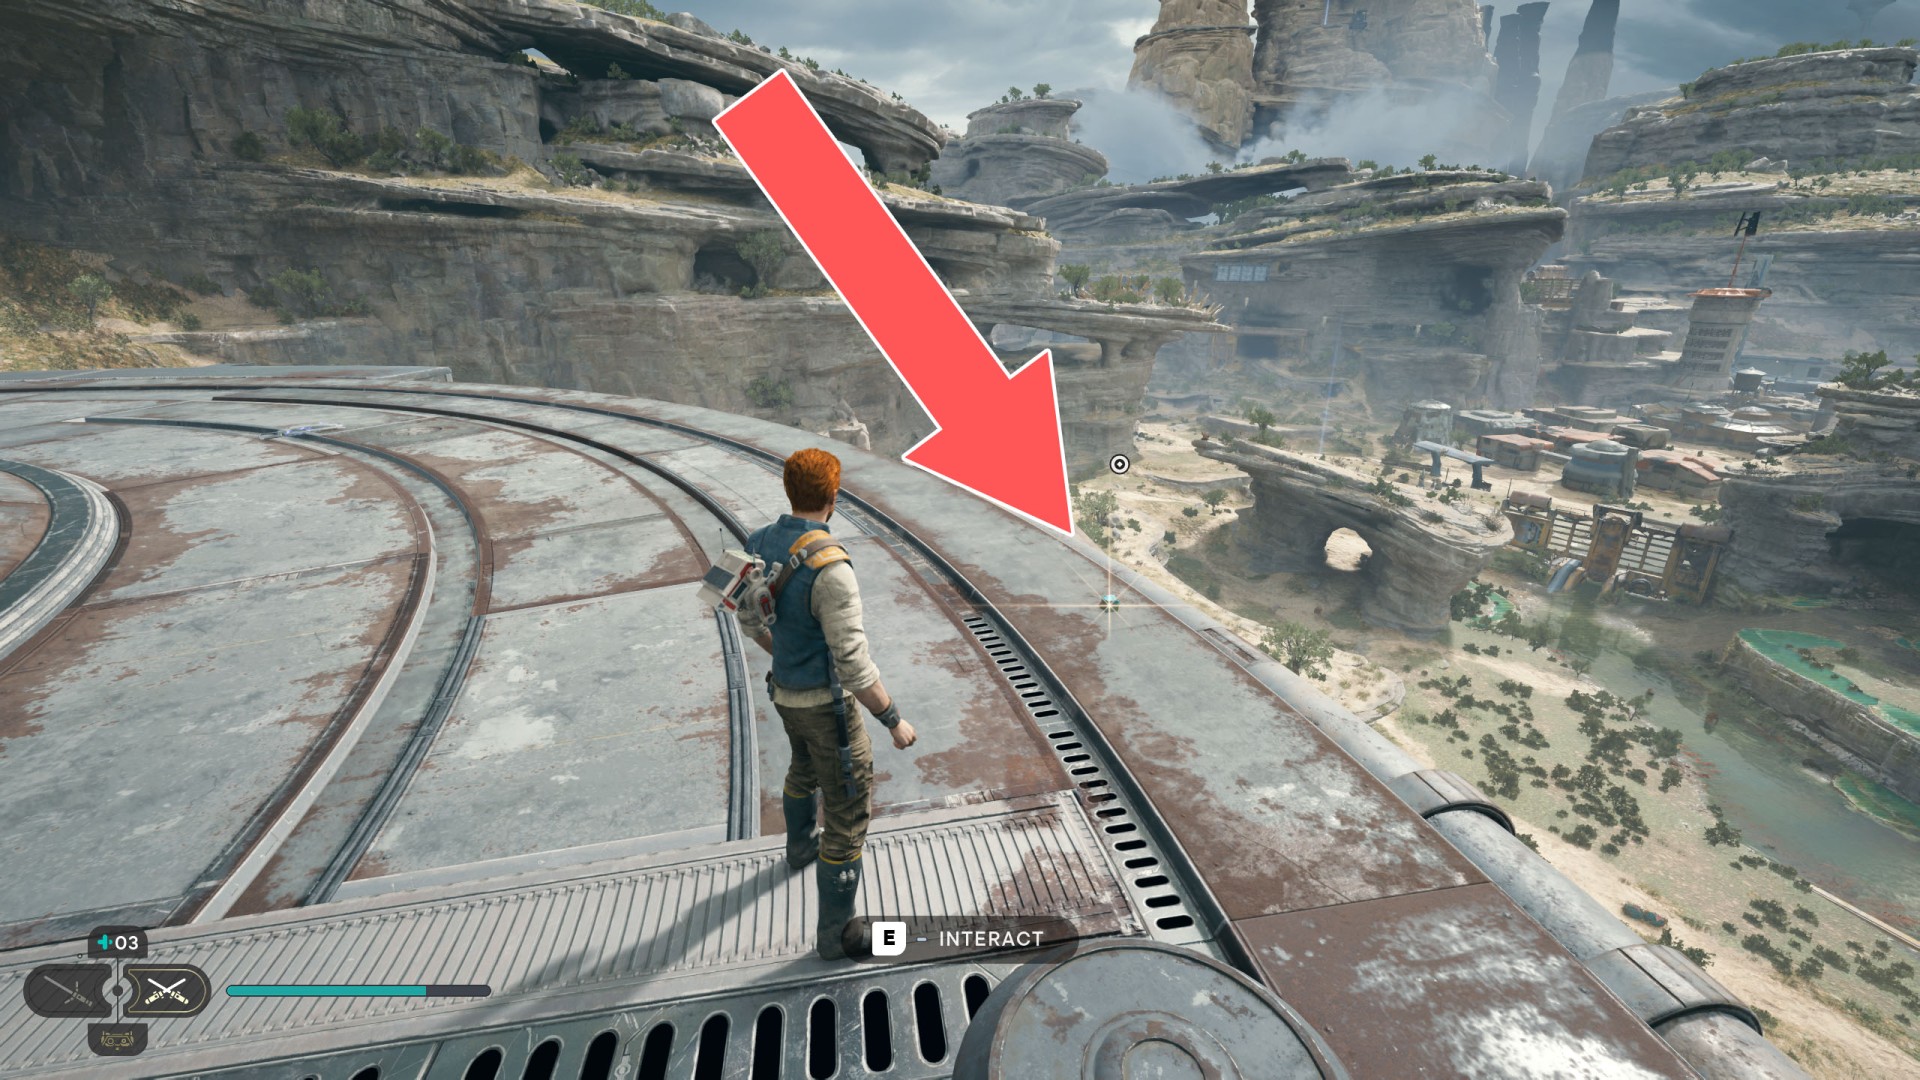
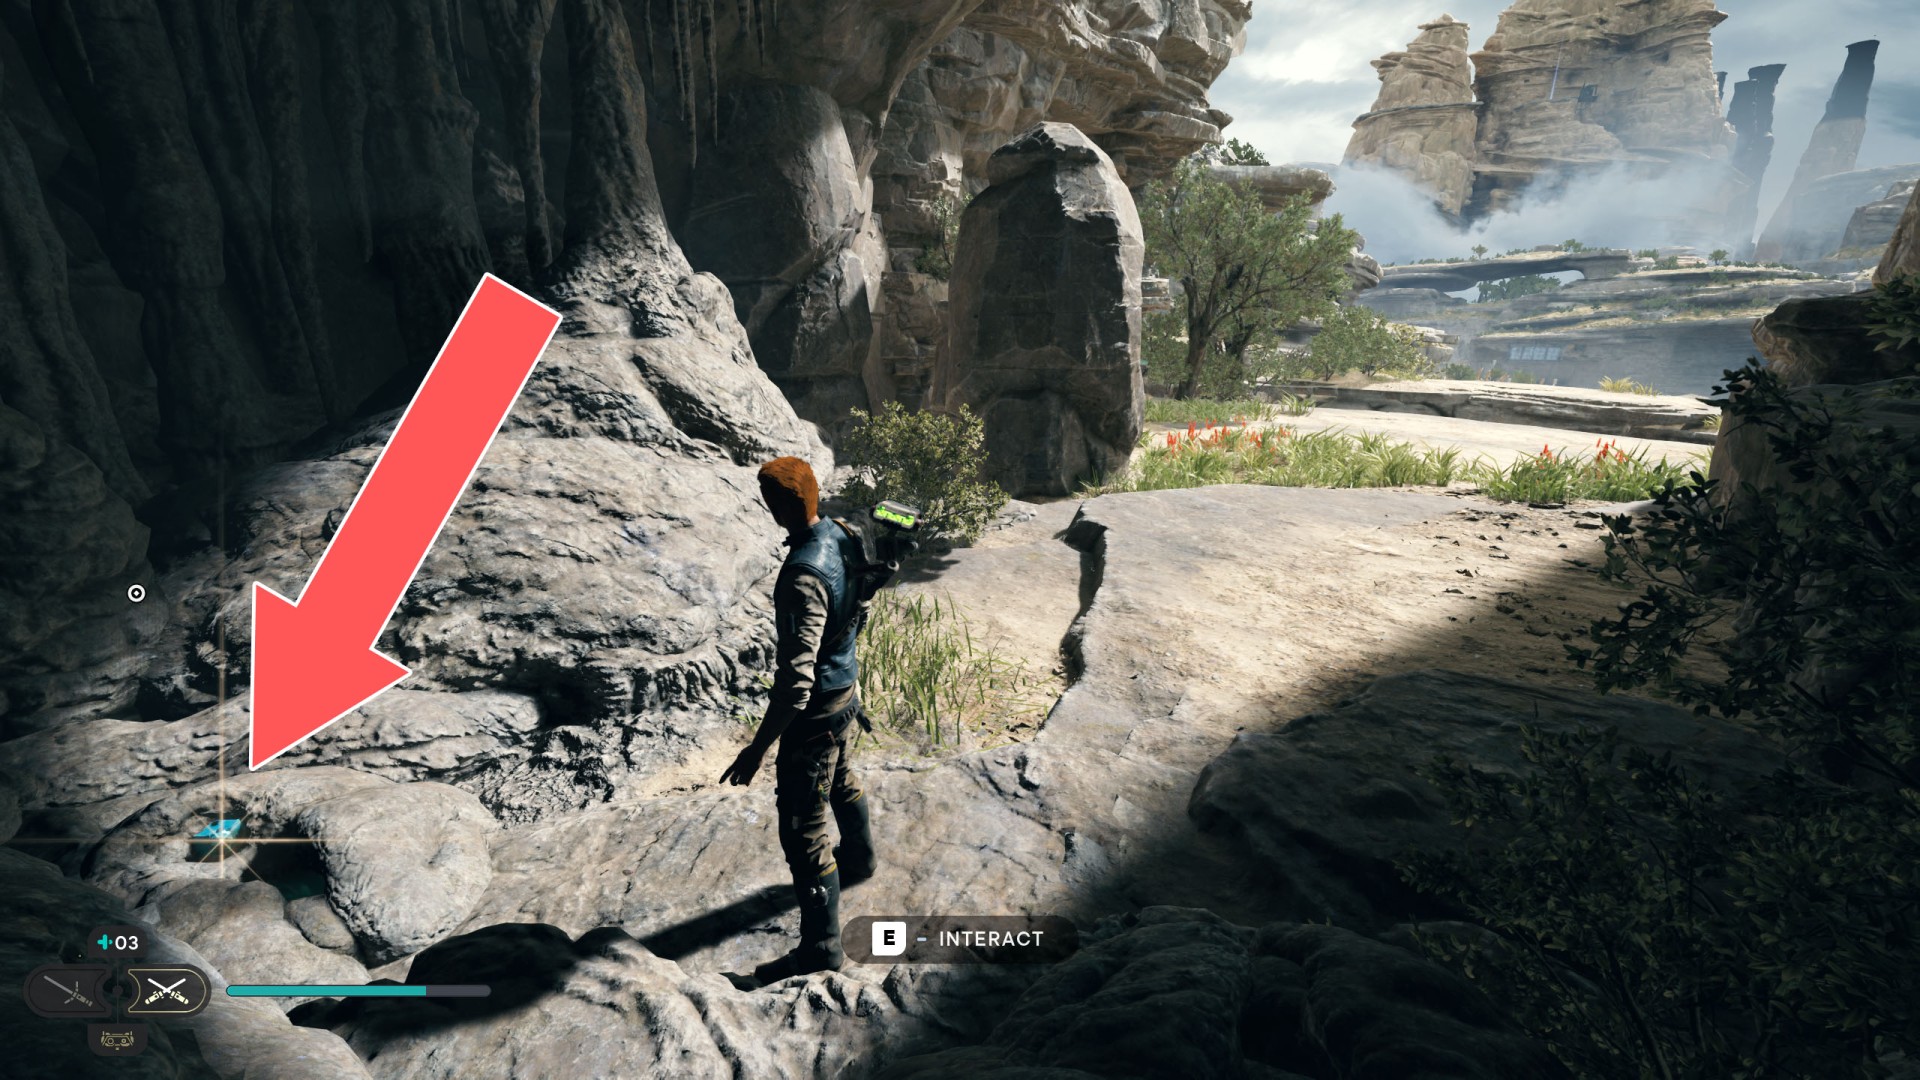
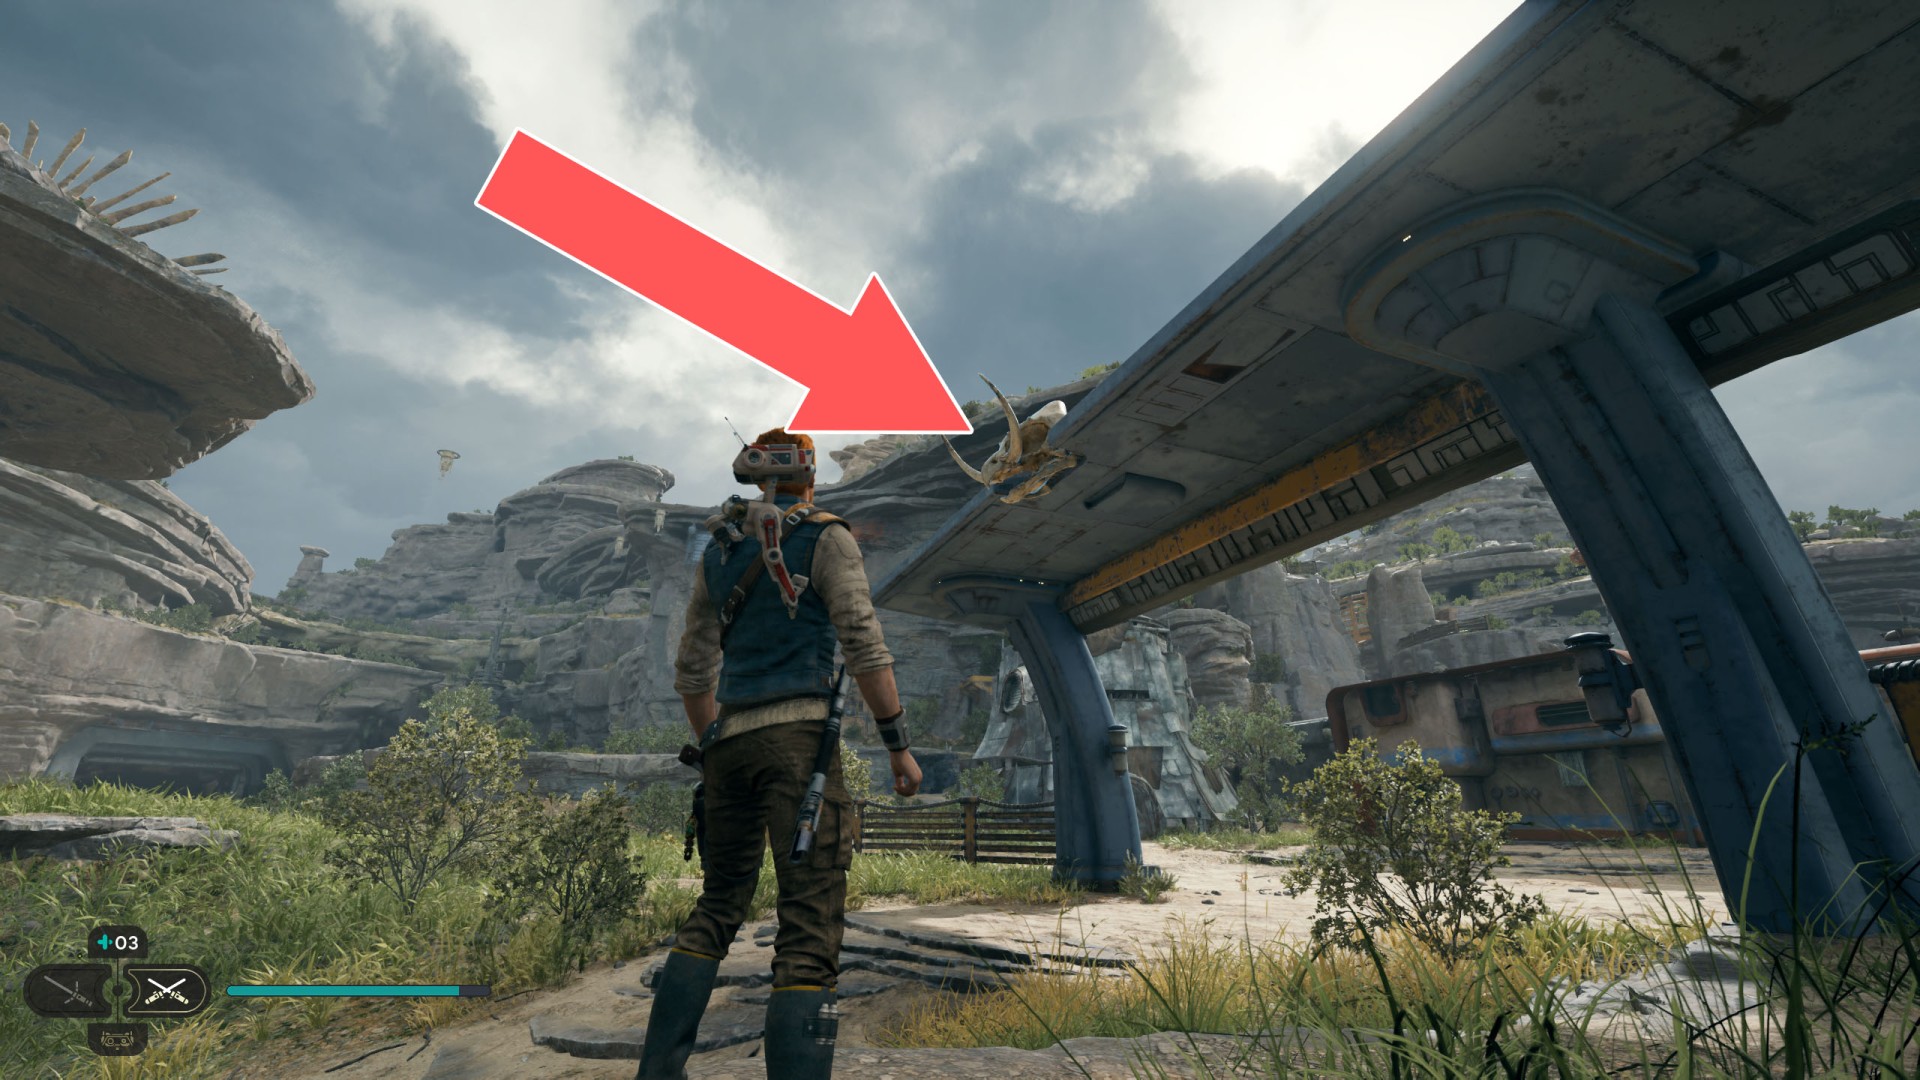
In total, you can collect 100 Priorite Shards in Star Wars Jedi: Survivor. 99 of them you will find by exploring various planets, the last one you can get by winning a holotactics battle in Pyloon's Saloon at Koboh. For this to be possible you must first recruit Bhima and Tulli. When you have done this, head to the saloon, find the holotactics table and defeat Turgle in a holotactics battle.

Where To Spend Priorite Shards In Star Wars Jedi Survivor?

You can use the Priorite Shards you collect to purchase various types of gear at the Doma's Outpost Commodities store located next to Pyloon's Saloon on the planet Koboh.

Treasures

Index

The index below enables quick navigation to the desired marker / point of interest.

All known locations on the map - Coruscant

TreasureHangar 2046-C Treasure 1/2

Priorite Shard. This treasure sits at the end of the railing.

Hangar 2046-C Treasure 1/2

Show the map

TreasureHangar 2046-C Treasure 2/2

Priorite Shard. Kill a Scavenger Droid and loot its remains. This will only be possible, during subsequent visits to Coruscant, which is the earliest when Merrin joins your crew.

Hangar 2046-C Treasure 2/2

Hangar 2046-C Treasure 2/2

Show the map

TreasureRenovation Site 4733 Treasure 1/3

Priorite Shard. It's to the left of the nearby slippery slope.

Renovation Site 4733 Treasure 1/3

Show the map

TreasureRenovation Site 4733 Treasure 2/3

Priorite Shard. You will reach this place from the location where you fall from the pipe into a group of Stormtroopers. From the wall of one of the nearby buildings sticks out a horizontal beam / lantern that you can use to get to the platform where you will find the shard.

Renovation Site 4733 Treasure 2/3

Show the map

TreasureRenovation Site 4733 Treasure 3/3

Priorite Shard. This treasure lies underneath the metal staircase.

Renovation Site 4733 Treasure 3/3

Show the map

TreasureRooftops Treasure 1/1

Priorite Shard. It's at the end of the raised platform overlooking the Rooftops Meditation Point.

Rooftops Treasure 1/1

Show the map

TreasureUndercity Meats Treasure 1/1

Priorite Shard. You can only reach this treasure on your next visit to Coruscant because you must have Merrin's Charm to traverse the green force field. The treasure is located UNDER the elevator platform. Get on the elevator and as soon as it starts moving upwards get out of it.

Undercity Meats Treasure 1/1

Show the map

All known locations on the map - Koboh

TreasureBasalt Rift Treasure 1/5

Priorite Shard. Destroy one of the stone pillars.

Basalt Rift Treasure 1/5

Basalt Rift Treasure 1/5

Show the map

TreasureBasalt Rift Treasure 2/5

Priorite Shard.

Basalt Rift Treasure 2/5

Show the map

TreasureBasalt Rift Treasure 4/5

Priorite Shard. It's a scavenger droid.

Basalt Rift Treasure 4/5

Show the map

TreasureBoiling Bluff Treasure 1/2

Priorite Shard.

Boiling Bluff Treasure 1/2

Boiling Bluff Treasure 1/2

Show the map

TreasureBoiling Bluff Treasure 2/2

Priorite Shard.

Boiling Bluff Treasure 2/2

Boiling Bluff Treasure 2/2

Show the map

TreasureBygone Settlement Treasure 1/5

Priorite Shard.

Bygone Settlement Treasure 1/5

Bygone Settlement Treasure 1/5

Show the map

TreasureBygone Settlement Treasure 2/5

Priorite Shard.

Bygone Settlement Treasure 2/5

Show the map

TreasureBygone Settlement Treasure 3/5

Priorite Shard.

Bygone Settlement Treasure 3/5

Bygone Settlement Treasure 3/5

Show the map

TreasureBygone Settlement Treasure 4/5

Priorite Shard.

Bygone Settlement Treasure 4/5

Bygone Settlement Treasure 4/5

Show the map

TreasureBygone Settlement Treasure 5/5

Priorite Shard.

Bygone Settlement Treasure 5/5

Show the map

TreasureDerelict Dam Treasure 1/10

Priorite Shard.

Derelict Dam Treasure 1/10

Show the map

TreasureDerelict Dam Treasure 2/10

Priorite Shard.

Derelict Dam Treasure 2/10

Show the map

TreasureDerelict Dam Treasure 3/10

Priorite Shard. To get here you must use a rolling mine and blow up the dam.

Derelict Dam Treasure 3/10

Show the map

TreasureDerelict Dam Treasure 4/10

Priorite Shard. You can get here after blowing up the dam.

Derelict Dam Treasure 4/10

Show the map

TreasureDerelict Dam Treasure 5/10

Priorite Shard.

Derelict Dam Treasure 5/10

Derelict Dam Treasure 5/10

Show the map

TreasureDerelict Dam Treasure 6/10

Priorite Shard.

Derelict Dam Treasure 6/10

Show the map

TreasureDerelict Dam Treasure 7/10

Priorite Shard.

Derelict Dam Treasure 7/10

Show the map

TreasureDerelict Dam Treasure 8/10

Priorite Shard. You can get here by jumping up one of the walls.

Derelict Dam Treasure 8/10

Derelict Dam Treasure 8/10

Show the map

TreasureDerelict Dam Treasure 9/10

Priorite Shard. Requires: Upgraded Ascension Cable (Grappling Hook).

Derelict Dam Treasure 9/10

Show the map

TreasureDerelict Dam Treasure 10/10

Priorite Shard. It's a scavenger droid, kill it and loot the shard.

Derelict Dam Treasure 10/10

Show the map

TreasureFlooded Bunker Treasure 1/1

Priorite Shard.

Flooded Bunker Treasure 1/1

Show the map

TreasureFogged Expanse Treasure 1/7

Priorite Shard.

Fogged Expanse Treasure 1/7

Fogged Expanse Treasure 1/7

Show the map

TreasureFogged Expanse Treasure 2/7

Priorite Shard. Requires: Lift and Slam.

Fogged Expanse Treasure 2/7

Show the map

TreasureFogged Expanse Treasure 3/7

Priorite Shard.

Fogged Expanse Treasure 3/7

Show the map

TreasureFogged Expanse Treasure 4/7

Priorite Shard. Requires: Upgraded Ascension Cable.

Fogged Expanse Treasure 4/7

Fogged Expanse Treasure 4/7

Show the map

TreasureFogged Expanse Treasure 5/7

Priorite Shard. Requires: Upgraded Ascension Cable.

Fogged Expanse Treasure 5/7

Show the map

TreasureFogged Expanse Treasure 6/7

Priorite Shard. Requires: BD-1 Electro Dart & Lift and Slam. Check the description of the Fogged Expanse Essence 2/2 to find out how to get here.

Fogged Expanse Treasure 6/7

Show the map

TreasureFogged Expanse Treasure 7/7

Priorite Shard. It's a scavenger droid. Kill it and it will drop the shard.

Fogged Expanse Treasure 7/7

Show the map

TreasureFoothill Falls Treasure 1/2

Priorite Shard.

Foothill Falls Treasure 1/2

Show the map

TreasureFoothill Falls Treasure 2/2

Priorite Shard.

Foothill Falls Treasure 2/2

Foothill Falls Treasure 2/2

Show the map

TreasureFort Kah'lin Treasure 1/1

Priorite Shard.

Fort Kah'lin Treasure 1/1

Fort Kah'lin Treasure 1/1

Show the map

TreasureForward Control Tower Treasure 1/1

Priorite Shard.

Forward Control Tower Treasure 1/1

Forward Control Tower Treasure 1/1

Forward Control Tower Treasure 1/1

Show the map

TreasureGenerator Underbelly Treasure 1/2

Priorite Shard.

Generator Underbelly Treasure 1/2

Generator Underbelly Treasure 1/2

Show the map

TreasureGenerator Underbelly Treasure 2/2

Priorite Shard.

Generator Underbelly Treasure 2/2

Generator Underbelly Treasure 2/2

Show the map

TreasureGorge Crash Site Treasure 1/2

Priorite Shard. To get here run along the wall and jump up to reach the shelf where the treasure is located.

Gorge Crash Site Treasure 1/2

Gorge Crash Site Treasure 1/2

Show the map

TreasureGorge Crash Site Treasure 2/2

Priorite Shard.

Gorge Crash Site Treasure 2/2

Show the map

TreasureHarvest Ridge Treasure 1/1

Priorite Shard.

Harvest Ridge Treasure 1/1

Show the map

TreasureHunter's Quarry Treasure 1/2

Priorite Shard.

Hunter's Quarry Treasure 1/2

Show the map

TreasureIgneous Fissure Treasure 1/1

Priorite Shard.

Igneous Fissure Treasure 1/1

Show the map

TreasureLoading Gantry Treasure 1/4

Priorite Shard.

Loading Gantry Treasure 1/4

Show the map

TreasureLoading Gantry Treasure 2/4

Priorite Shard.

Loading Gantry Treasure 2/4

Show the map

TreasureLoading Gantry Treasure 3/4

Priorite Shard.

Loading Gantry Treasure 3/4

Show the map

TreasureLoading Gantry Treasure 4/4

Priorite Shard.

Loading Gantry Treasure 4/4

Loading Gantry Treasure 4/4

Show the map

TreasureLucrehulk Core Treasure 1/2

Priorite Shard. It's a scavenger droid.

Lucrehulk Core Treasure 1/2

Show the map

TreasureLucrehulk Core Treasure 2/2

Priorite Shard. Requires: Lift and Slam (To deactivate shooting turrets).

Lucrehulk Core Treasure 2/2

Lucrehulk Core Treasure 2/2

Show the map

TreasureMarl Cavern Treasure 1/1

Priorite Shard.

Marl Cavern Treasure 1/1

Show the map

TreasureMountain Ascent Treasure 1/4

Priorite Shard.

Mountain Ascent Treasure 1/4

Show the map

TreasureMountain Ascent Treasure 2/4

Priorite Shard.

Mountain Ascent Treasure 2/4

Mountain Ascent Treasure 2/4

Show the map

TreasureMountain Ascent Treasure 3/4

Priorite Shard. Requires: Lift and Slam.

Mountain Ascent Treasure 3/4

Show the map

TreasureMountain Ascent Treasure 4/4

Priorite Shard.

Mountain Ascent Treasure 4/4

Show the map

TreasureNekko Pools Treasure 1/2

Priorite Shard.

Nekko Pools Treasure 1/2

Show the map

TreasureNekko Pools Treasure 2/2

Priorite Shard.

Nekko Pools Treasure 2/2

Show the map

TreasurePyloon's Saloon Treasure 1/1

Priorite Shard. Interact with the toilet.

Pyloon's Saloon Treasure 1/1

Show the map

TreasureRambler's Reach Outpost Treasure x/7

Priorite Shard. Kill the scavenger droid and loot its remains.

Rambler's Reach Outpost Treasure x/7

Show the map

TreasureRambler's Reach Outpost Treasure x/7

Priorite Shard. Requires: Nekko Mount.

Rambler's Reach Outpost Treasure x/7

Show the map

TreasureRambler's Reach Outpost Treasure x/7

Priorite Shard. Stable a nekko (violet / purple), rest at the meditation point and return to the stables.

Rambler's Reach Outpost Treasure x/7

Show the map

TreasureRambler's Reach Outpost Treasure x/7

Priorite Shard. Kill the scavenger droid and loot its remains.

Rambler's Reach Outpost Treasure x/7

Show the map

TreasureRambler's Reach Outpost Treasure x/7

Priorite Shard. Use Relter to get here.

Rambler's Reach Outpost Treasure x/7

Show the map

TreasureRiverbed Watch Treasure 1/2

Priorite Shard.

Riverbed Watch Treasure 1/2

Show the map

TreasureRiverbed Watch Treasure 2/2

Priorite Shard. It's a scavenger droid.

Riverbed Watch Treasure 2/2

Show the map

TreasureSmuggler's Tunnels Treasure 1/4

Priorite Shard.

Smuggler's Tunnels Treasure 1/4

Show the map

TreasureSmuggler's Tunnels Treasure 2/4

Priorite Shard.

Smuggler's Tunnels Treasure 2/4

Show the map

TreasureSmuggler's Tunnels Treasure 3/4

Priorite Shard.

Smuggler's Tunnels Treasure 3/4

Show the map

TreasureSmuggler's Tunnels Treasure 4/4

Priorite Shard. Break the vase.

Smuggler's Tunnels Treasure 4/4

Show the map

TreasureSodden Grotto Treasure 1/2

Priorite Shard.

Sodden Grotto Treasure 1/2

Show the map

TreasureSodden Grotto Treasure 2/2

Priorite Shard. It's a scavenger droid.

Sodden Grotto Treasure 2/2

Show the map

TreasureSouthern Reach Treasure 1/7

Priorite Shard.

Southern Reach Treasure 1/7

Southern Reach Treasure 1/7

Show the map

TreasureSouthern Reach Treasure 3/7

Priorite Shard.

Southern Reach Treasure 3/7

Show the map

TreasureSouthern Reach Treasure 4/7

Priorite Shard.

Southern Reach Treasure 4/7

Show the map

TreasureSouthern Reach Treasure 5/7

Priorite Shard. Force Pull the skull and then the shard will drop to the ground.

Southern Reach Treasure 5/7

Southern Reach Treasure 5/7

Show the map

TreasureSouthern Reach Treasure 6/7

Priorite Shard. Requires: Relter Tame.

Southern Reach Treasure 6/7

Show the map

TreasureSouthern Reach Treasure 7/7

Priorite Shard. Requires: Lift and Slam.

Southern Reach Treasure 7/7

Southern Reach Treasure 7/7

Show the map

TreasureSummit Ridge Treasure 1/2

Priorite Shard.

Summit Ridge Treasure 1/2

Show the map

TreasureSwindler's Wash Treasure 1/3

Priorite Shard.

Swindler's Wash Treasure 1/3

Show the map

TreasureSwindler's Wash Treasure 2/3

Priorite Shard.

Swindler's Wash Treasure 2/3

Show the map

TreasureSwindler's Wash Treasure 3/3

Priorite Shard.

Swindler's Wash Treasure 3/3

Show the map

TreasureUntamed Downs Treasure 1/6

Priorite Shard.

Untamed Downs Treasure 1/6

Untamed Downs Treasure 1/6

Show the map

TreasureUntamed Downs Treasure 2/6

Priorite Shard.

Untamed Downs Treasure 2/6

Show the map

TreasureUntamed Downs Treasure 3/6

Priorite Shard.

Untamed Downs Treasure 3/6

Untamed Downs Treasure 3/6

Show the map

TreasureUntamed Downs Treasure 4/6

Priorite Shard. Requires: Merrin's Charm.

Untamed Downs Treasure 4/6

Untamed Downs Treasure 4/6

Show the map

TreasureUntamed Downs Treasure 5/6

Requires: Lift and Slam.

Untamed Downs Treasure 5/6

Show the map

TreasureUntamed Downs Treasure 6/6

Priorite Shard. Requires: Lift and Slam.

Untamed Downs Treasure 6/6

Show the map

TreasureWinding Ravine Treasure 1/2

Priorite Shard.

Winding Ravine Treasure 1/2

Show the map

TreasureWinding Ravine Treasure 2/2

Priorite Shard. Bouncing off the walls of stone pillars, you need to get to the top of one of them.

Winding Ravine Treasure 2/2

Show the map

TreasureYurt Barracks Treasure 1/3

Priorite Shard.

Yurt Barracks Treasure 1/3

Show the map

TreasureYurt Barracks Treasure 2/3

Priorite Shard.

Yurt Barracks Treasure 2/3

Show the map

TreasureYurt Barracks Treasure 3/3

Priorite Shard.

Yurt Barracks Treasure 3/3

Show the map

All known locations on the map - Nova Garon

TreasureCentral Command Treasure 1/3

Priorite Shard.

Central Command Treasure 1/3

Show the map

TreasureCentral Command Treasure 2/3

Priorite Shard.

Central Command Treasure 2/3

Show the map

TreasureCentral Command Treasure 3/3

Priorite Shard. The door to this room will be unlocked after talking to Denvik in his office.

Central Command Treasure 3/3

Central Command Treasure 3/3

Show the map

TreasureHangar Bay Exterior Treasure 1/1

Priorite Shard.

Hangar Bay Exterior Treasure 1/1

Hangar Bay Exterior Treasure 1/1

Show the map

TreasureHangar Bay Treasure 1/1

Priorite Shard. Use the force to destroy the barrier obstructing the entrance to the side corridor. The shard sits on a box.

Hangar Bay Treasure 1/1

Hangar Bay Treasure 1/1

Show the map