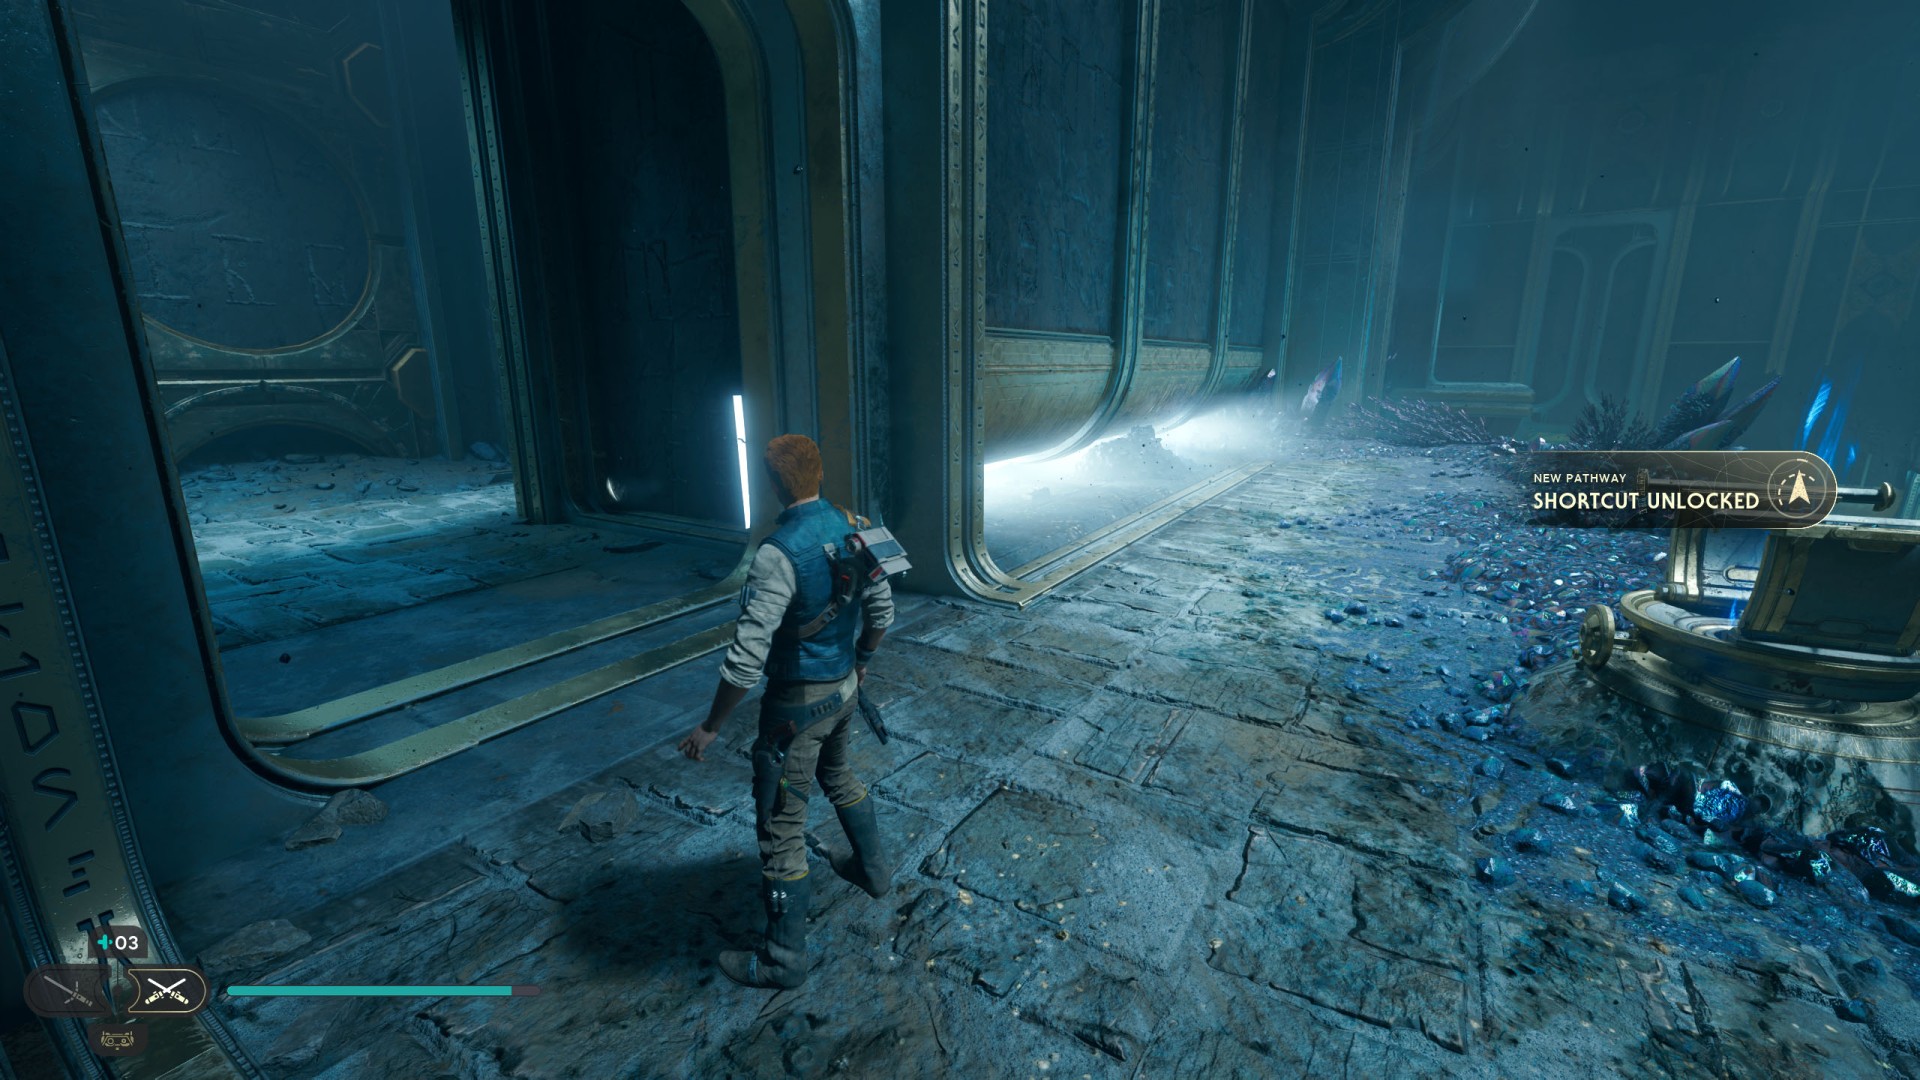
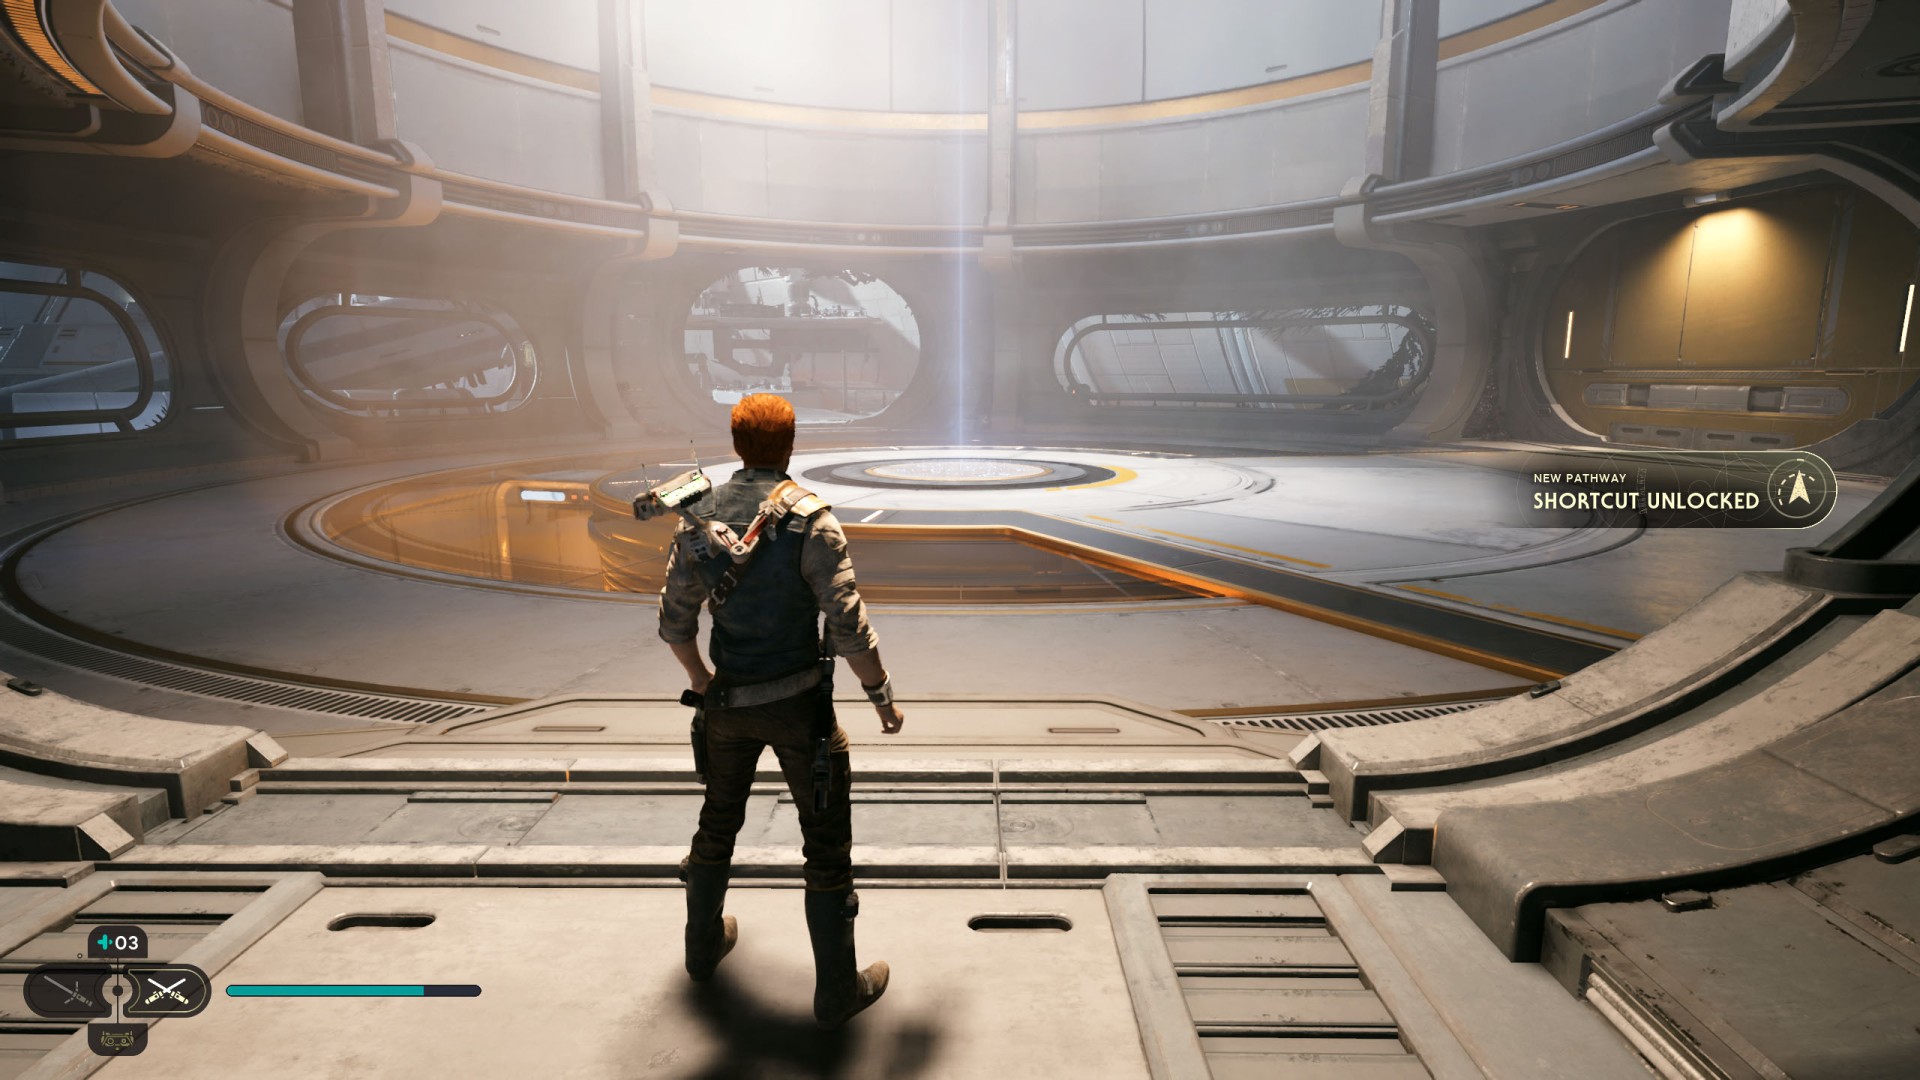
When you get to this place for the first time, and this will mostly involve traversing some sort of platform section, you will be able to activate a shortcut, such as a rope that will allow you to move faster between different sections of the map.
Shortcuts
Locations on Coruscant
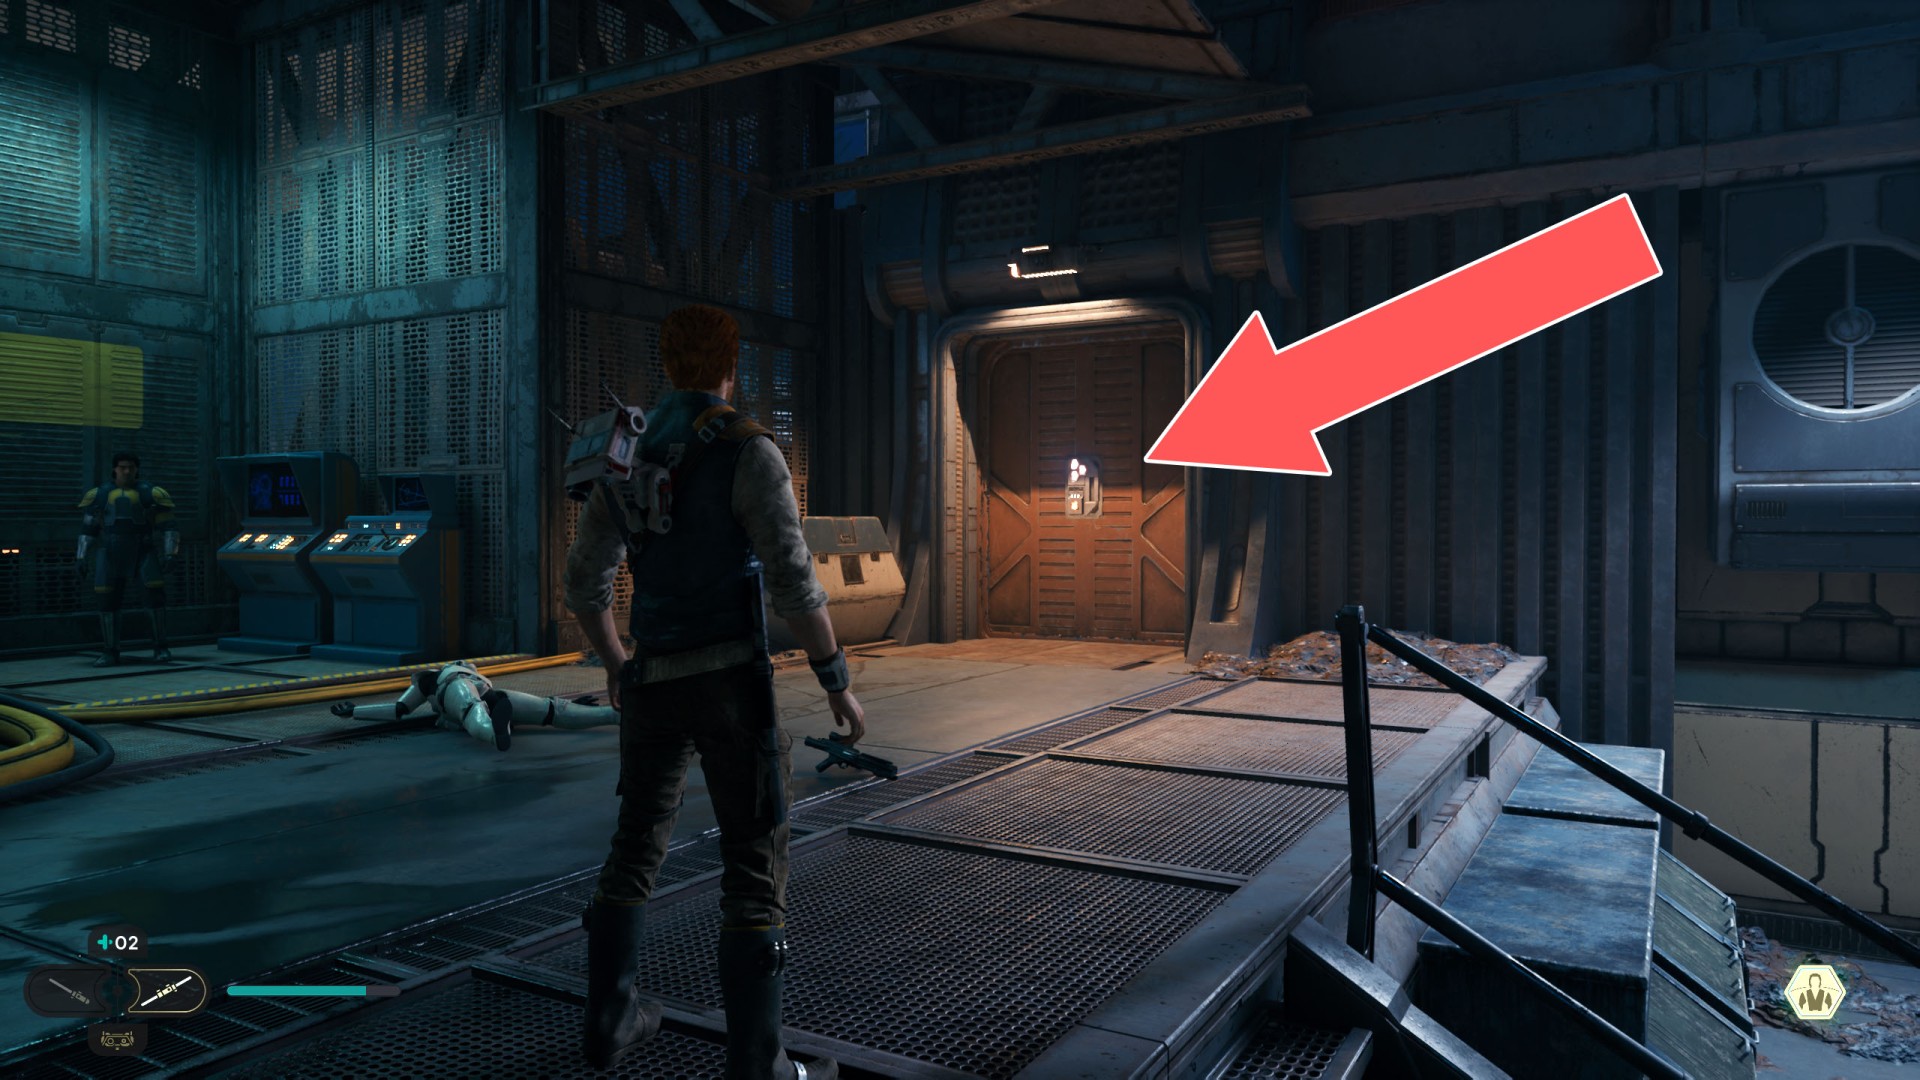
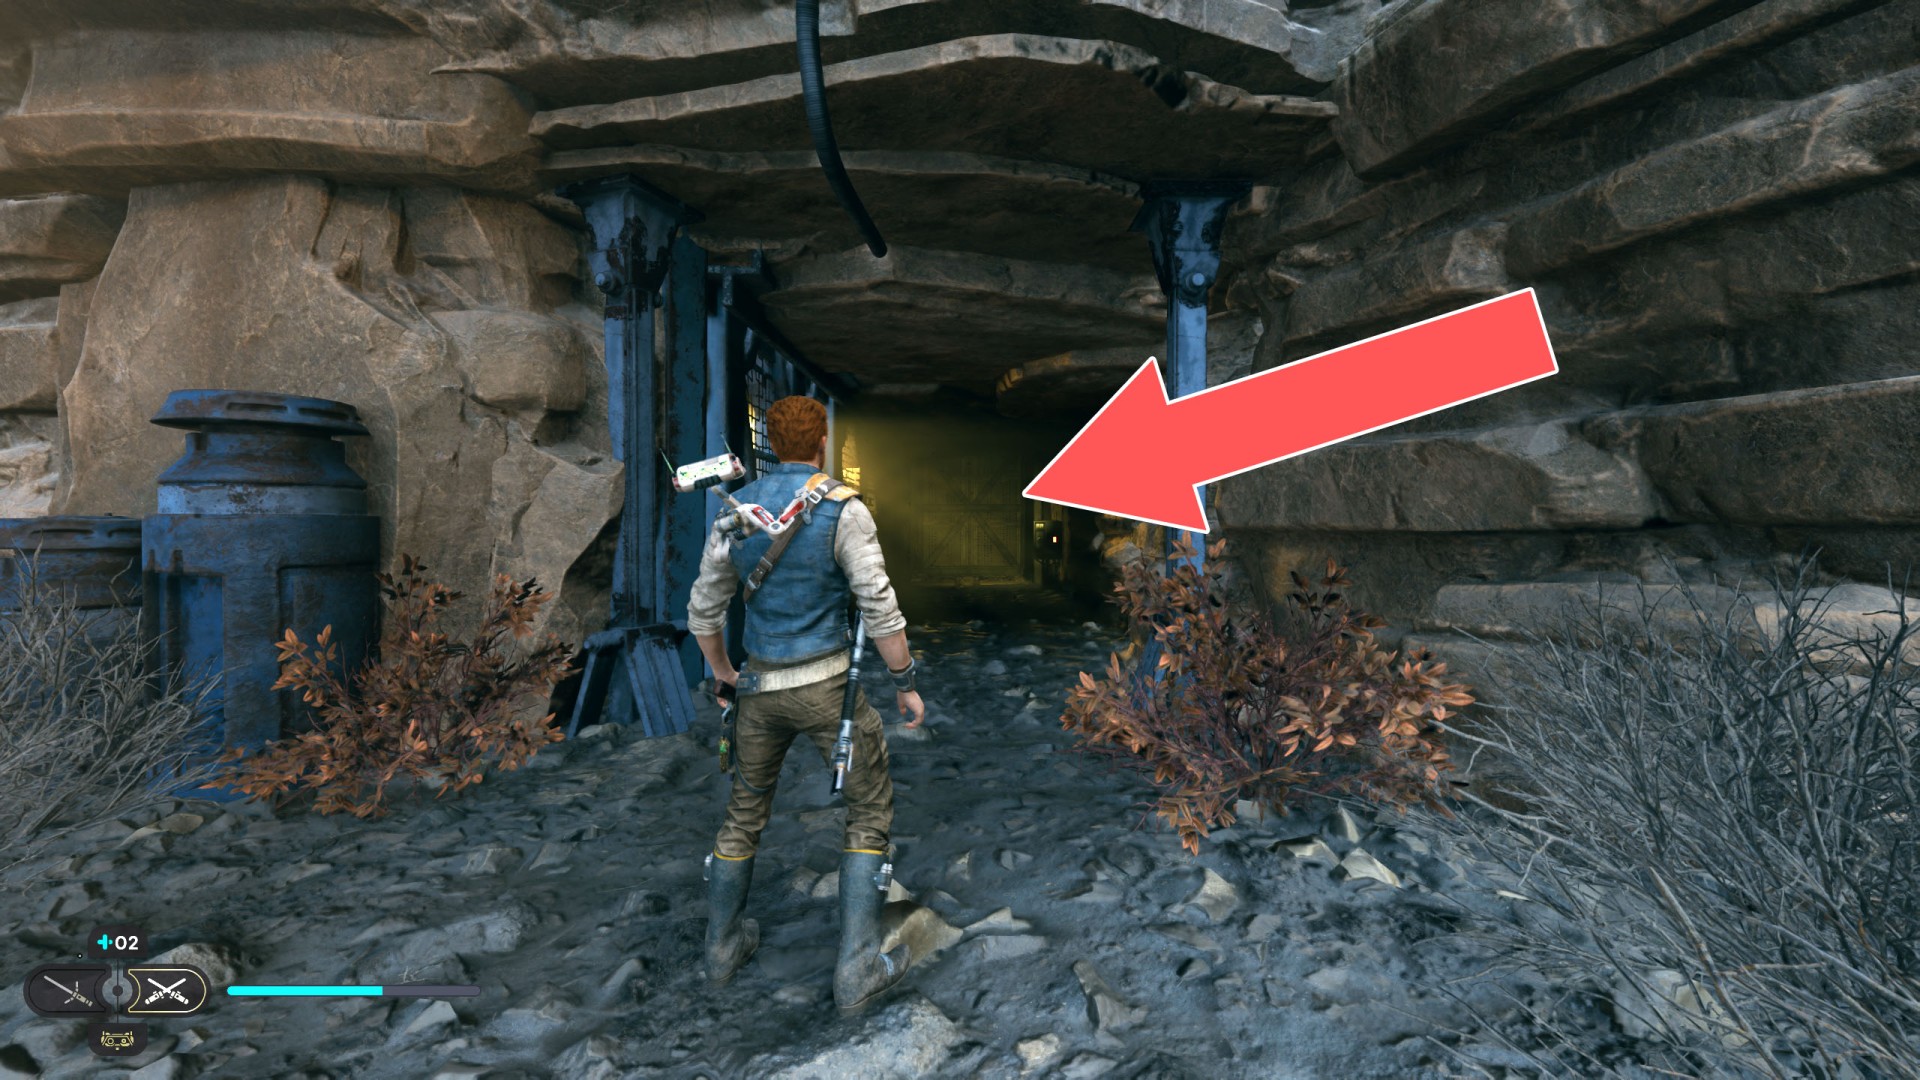
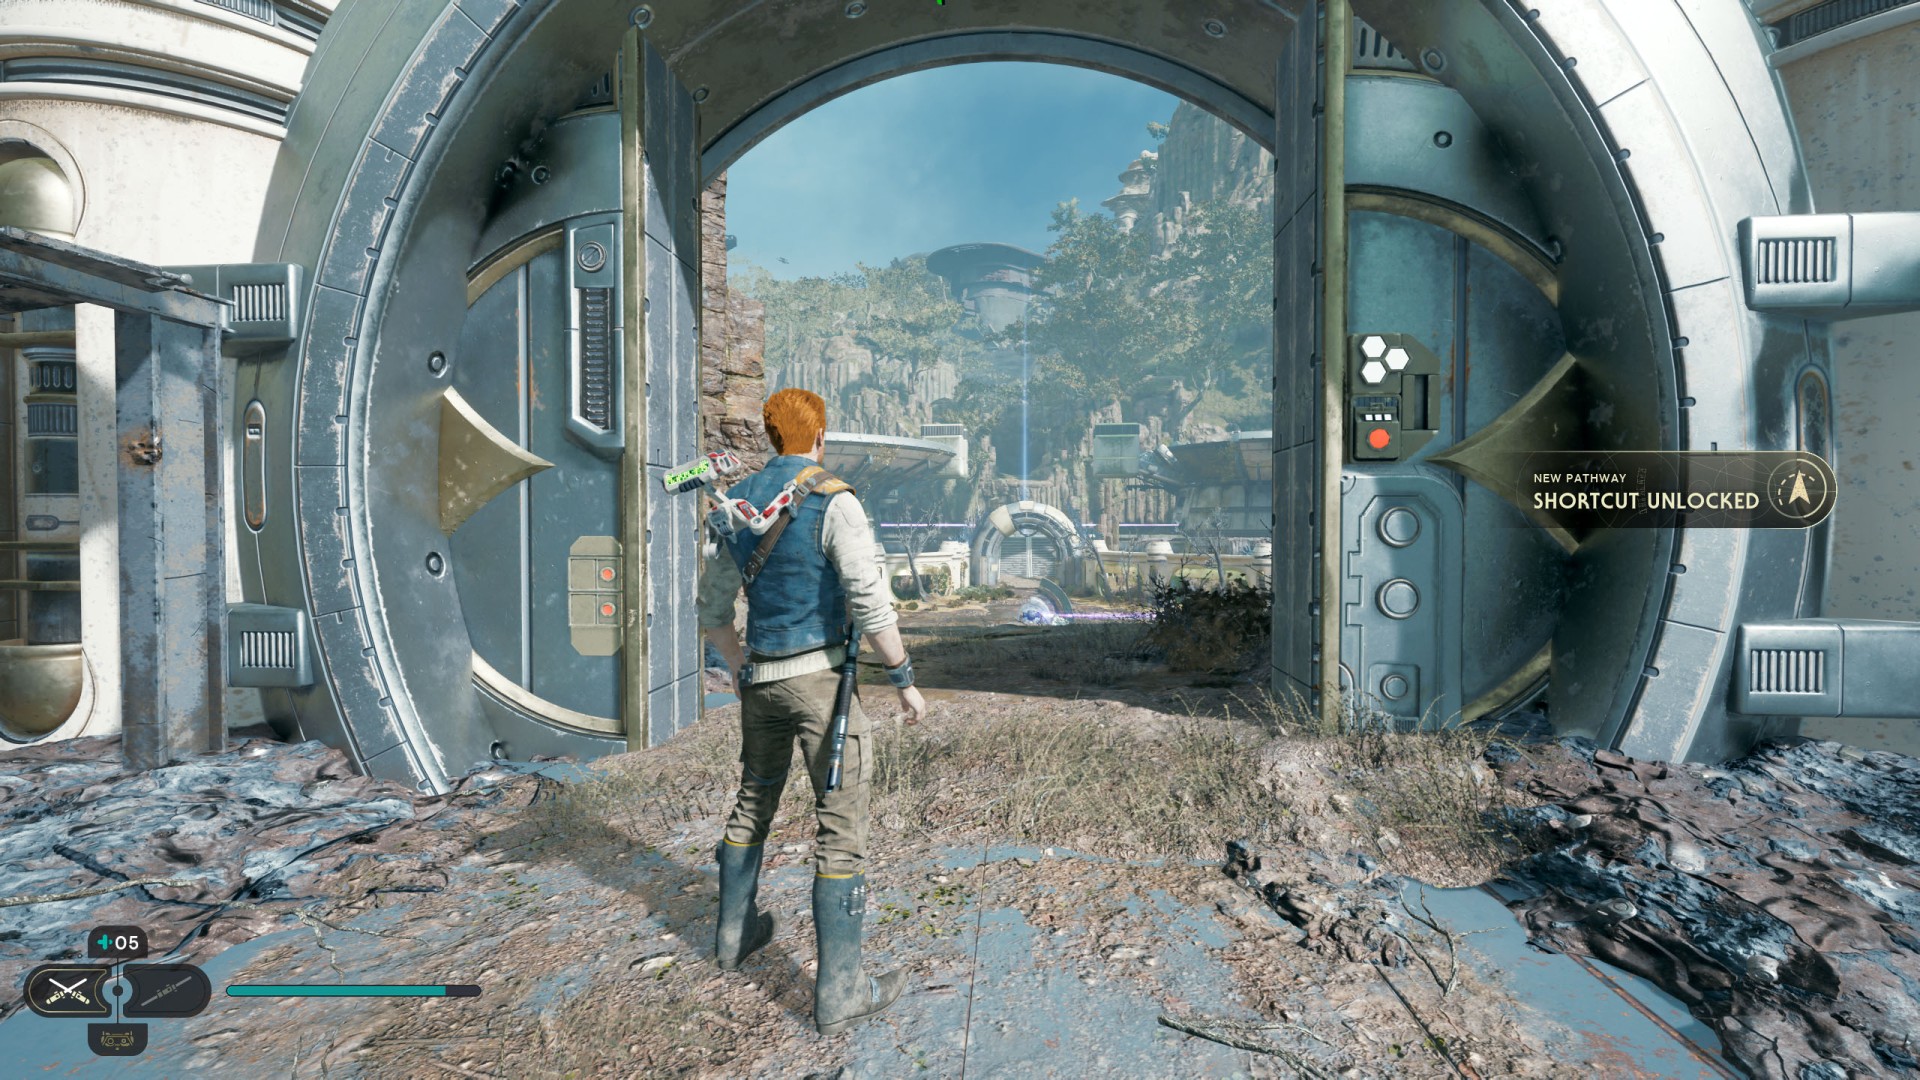
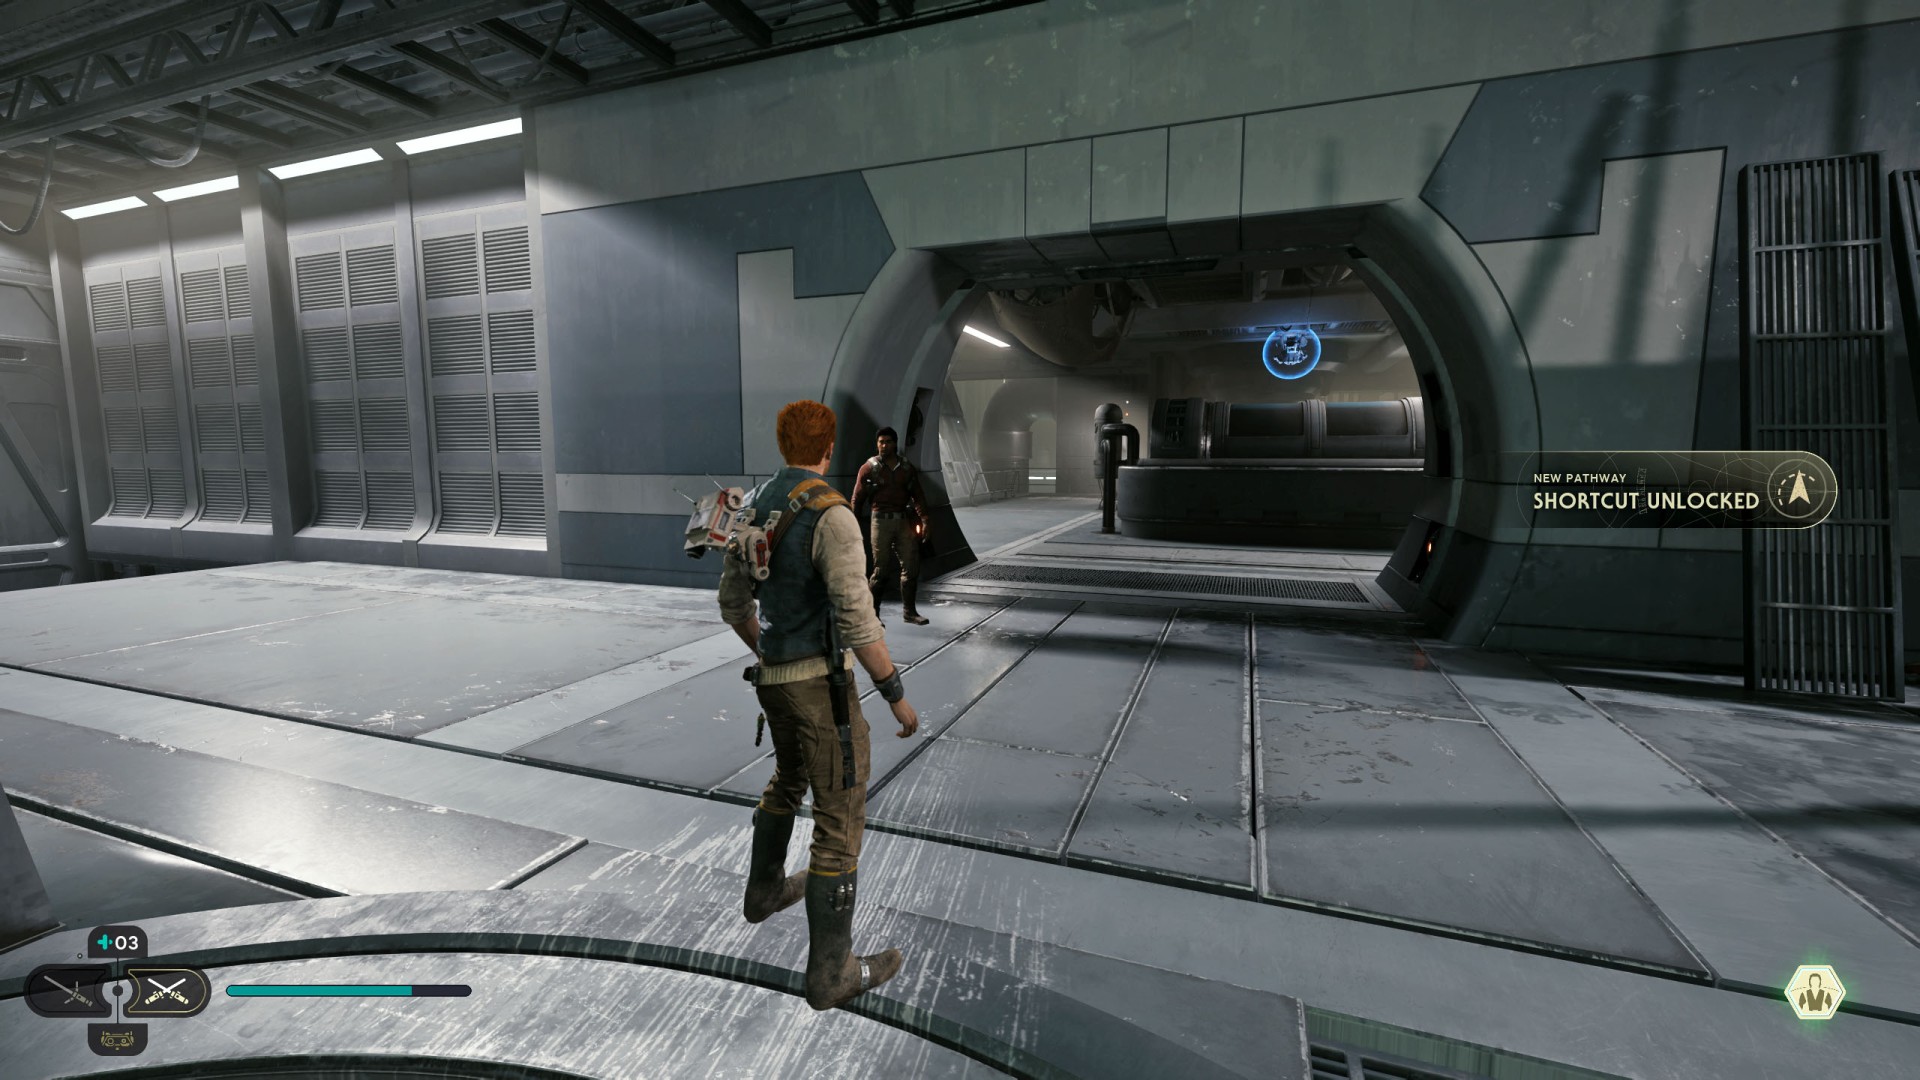
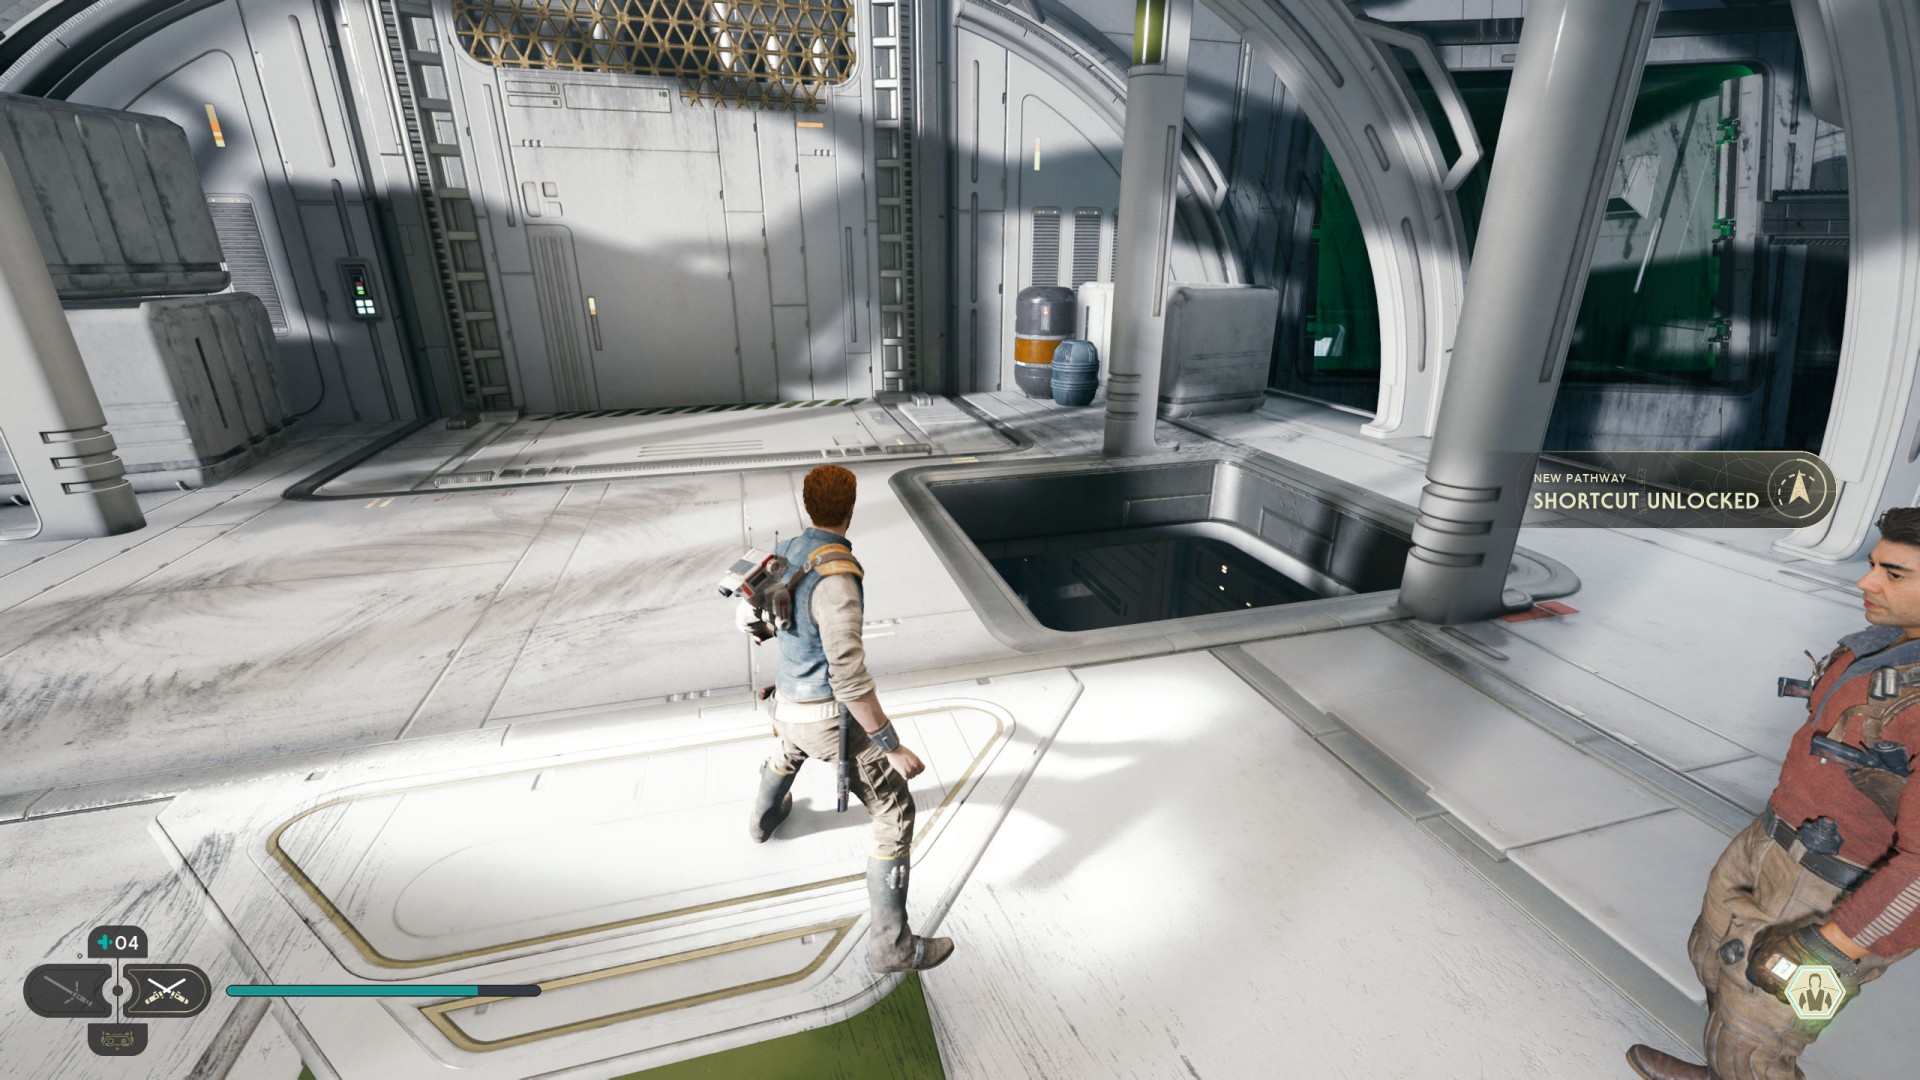
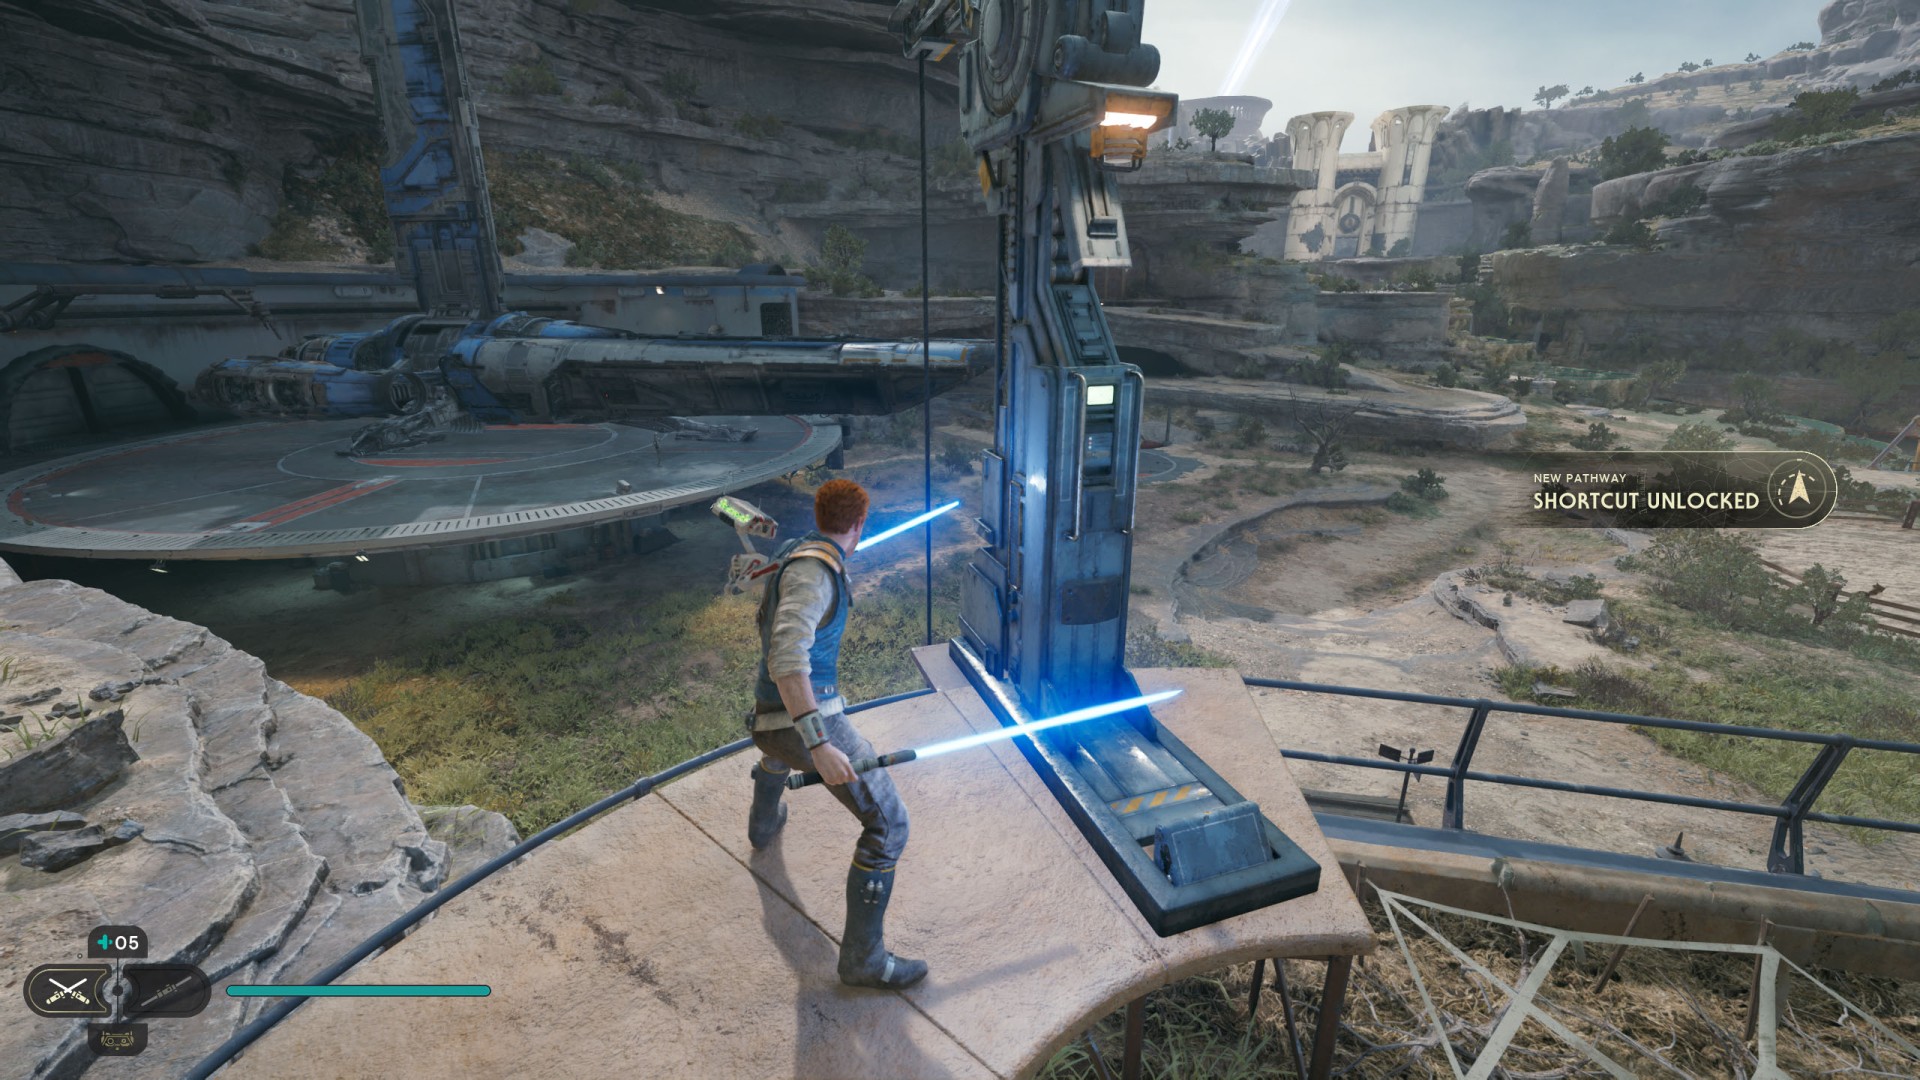
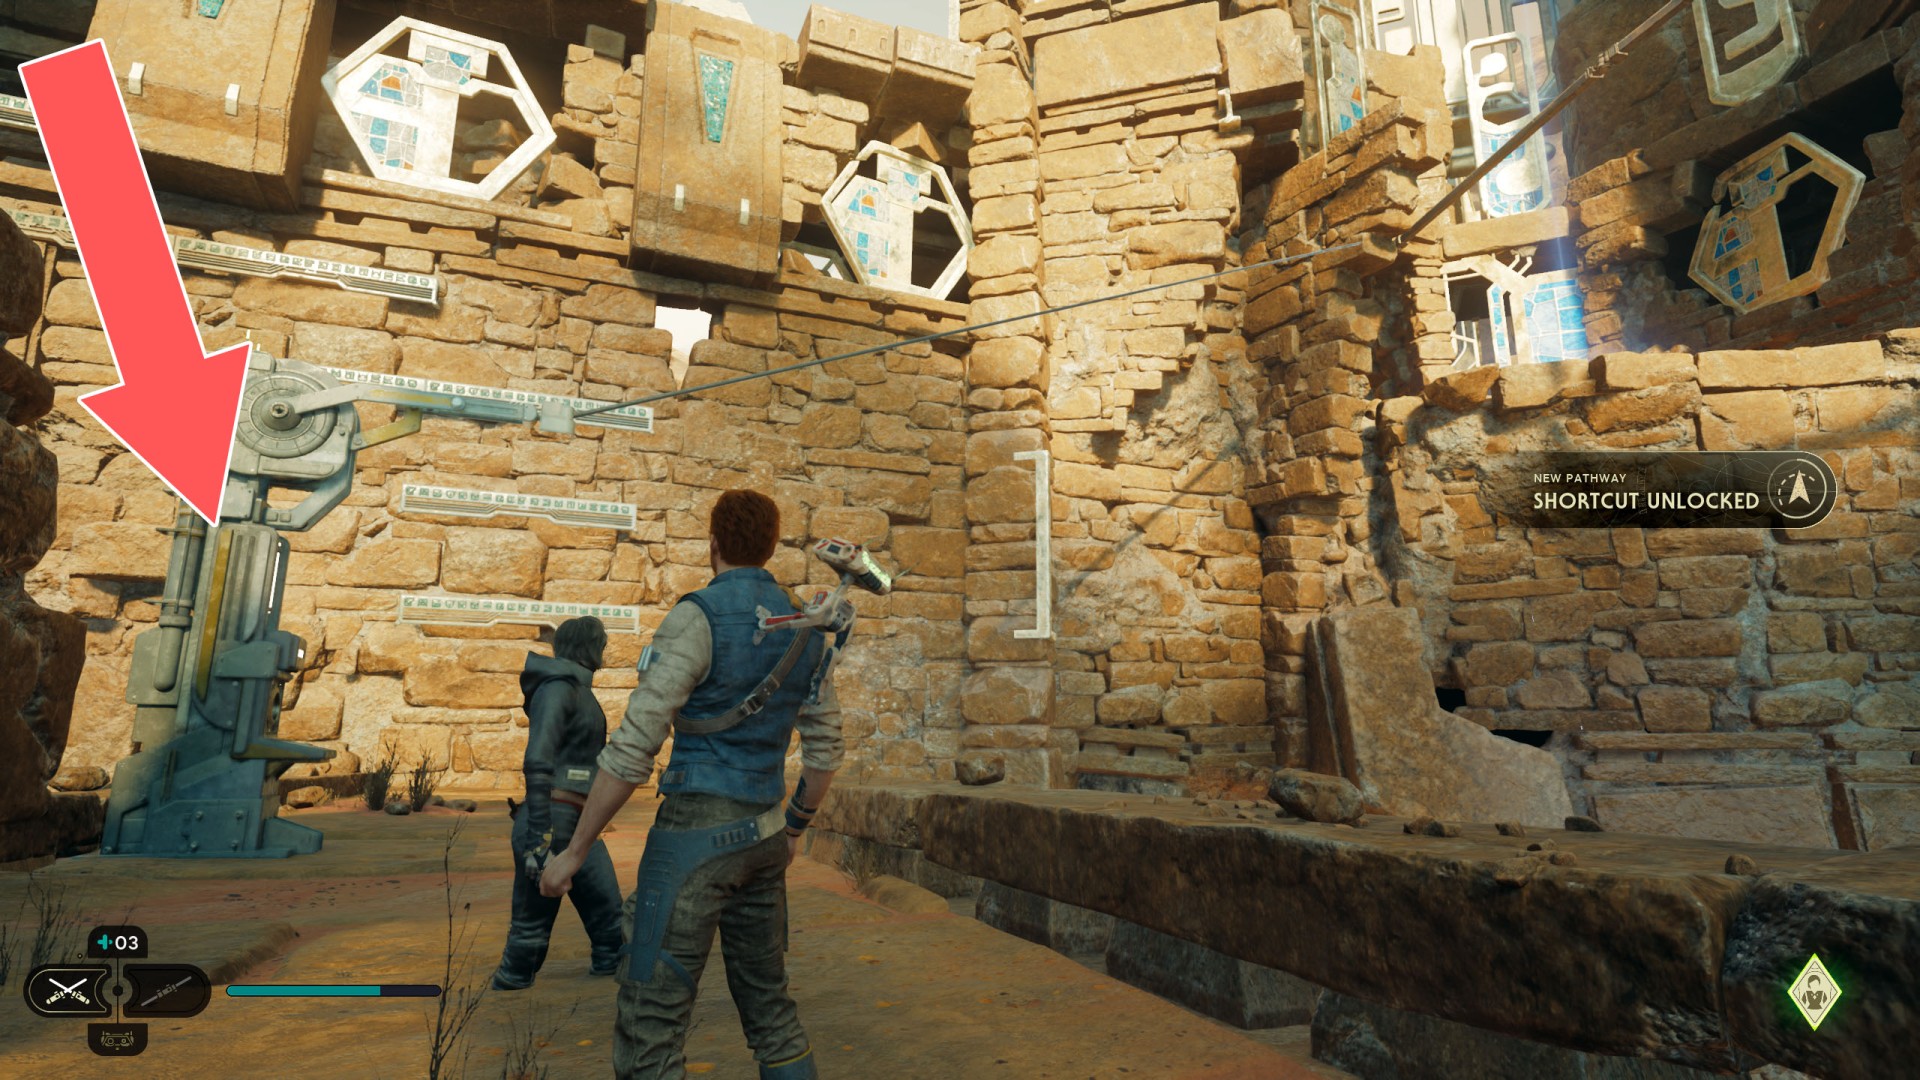
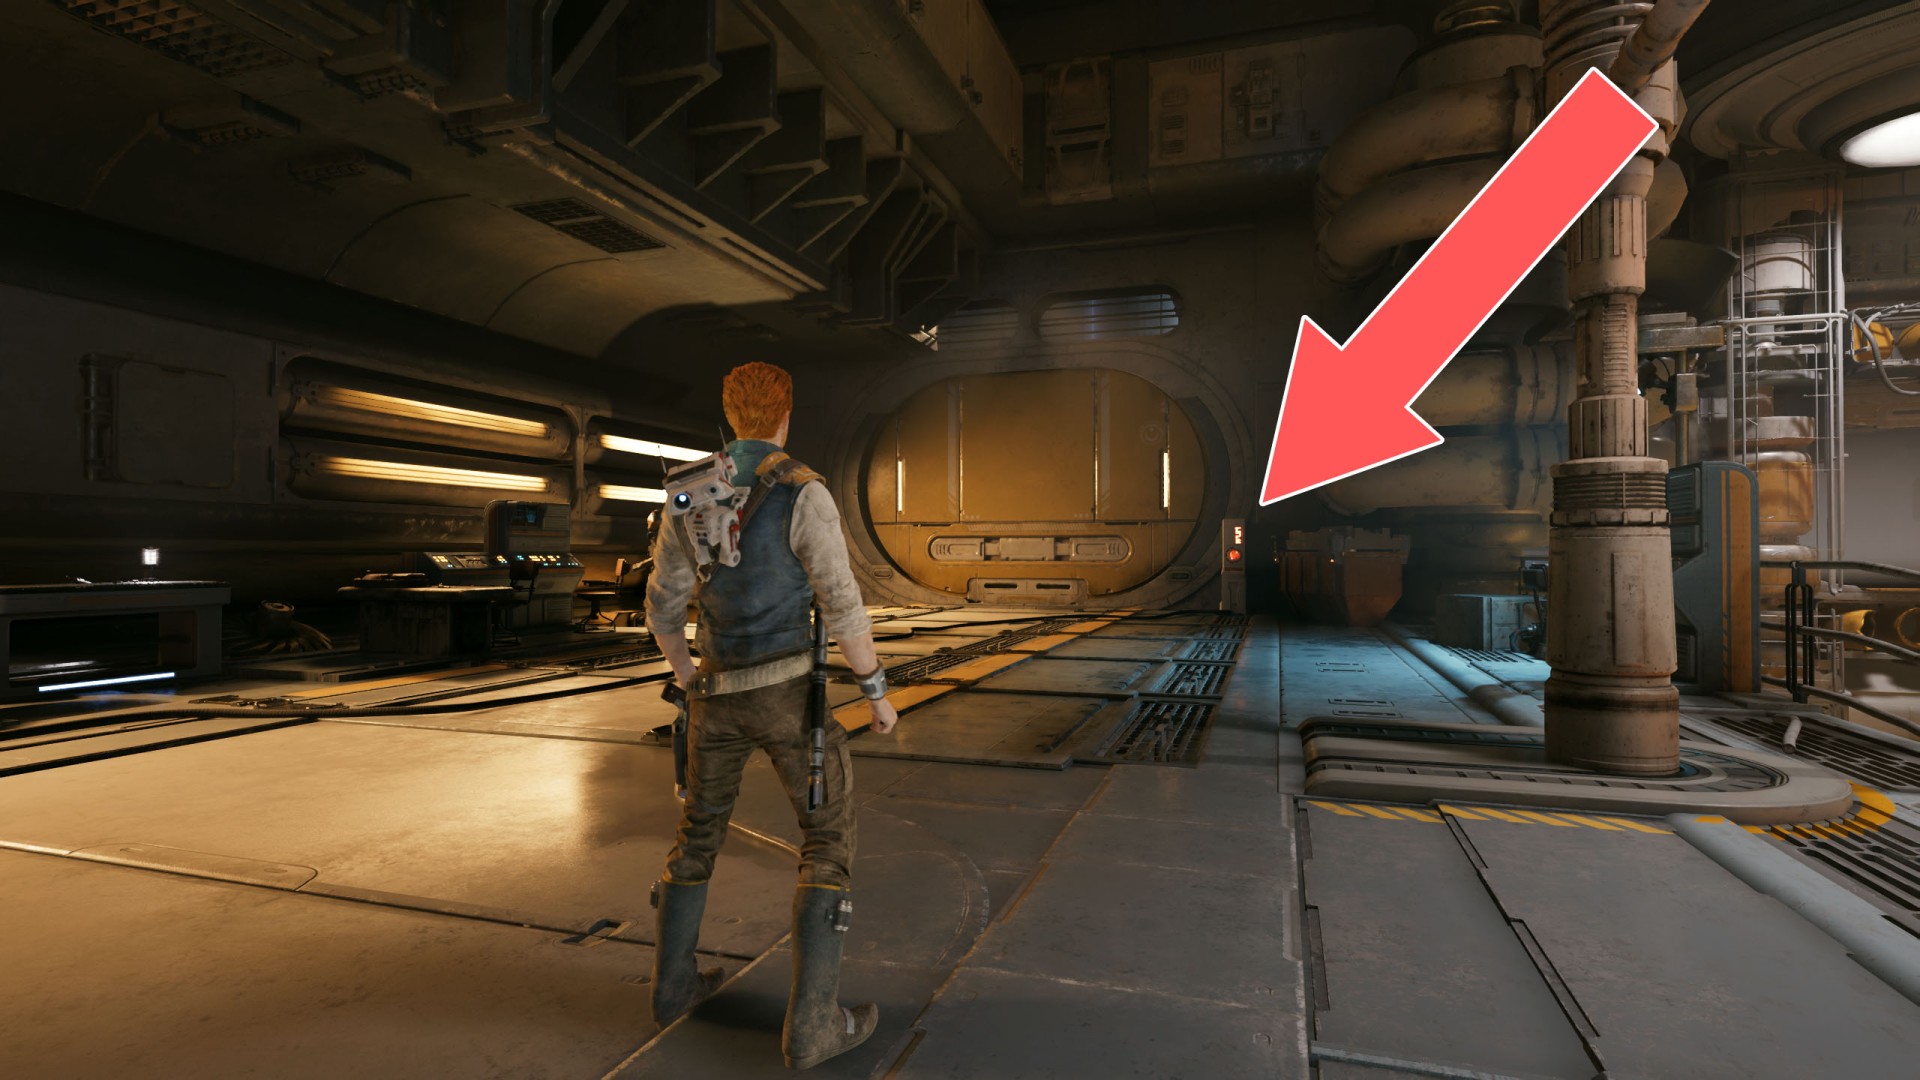
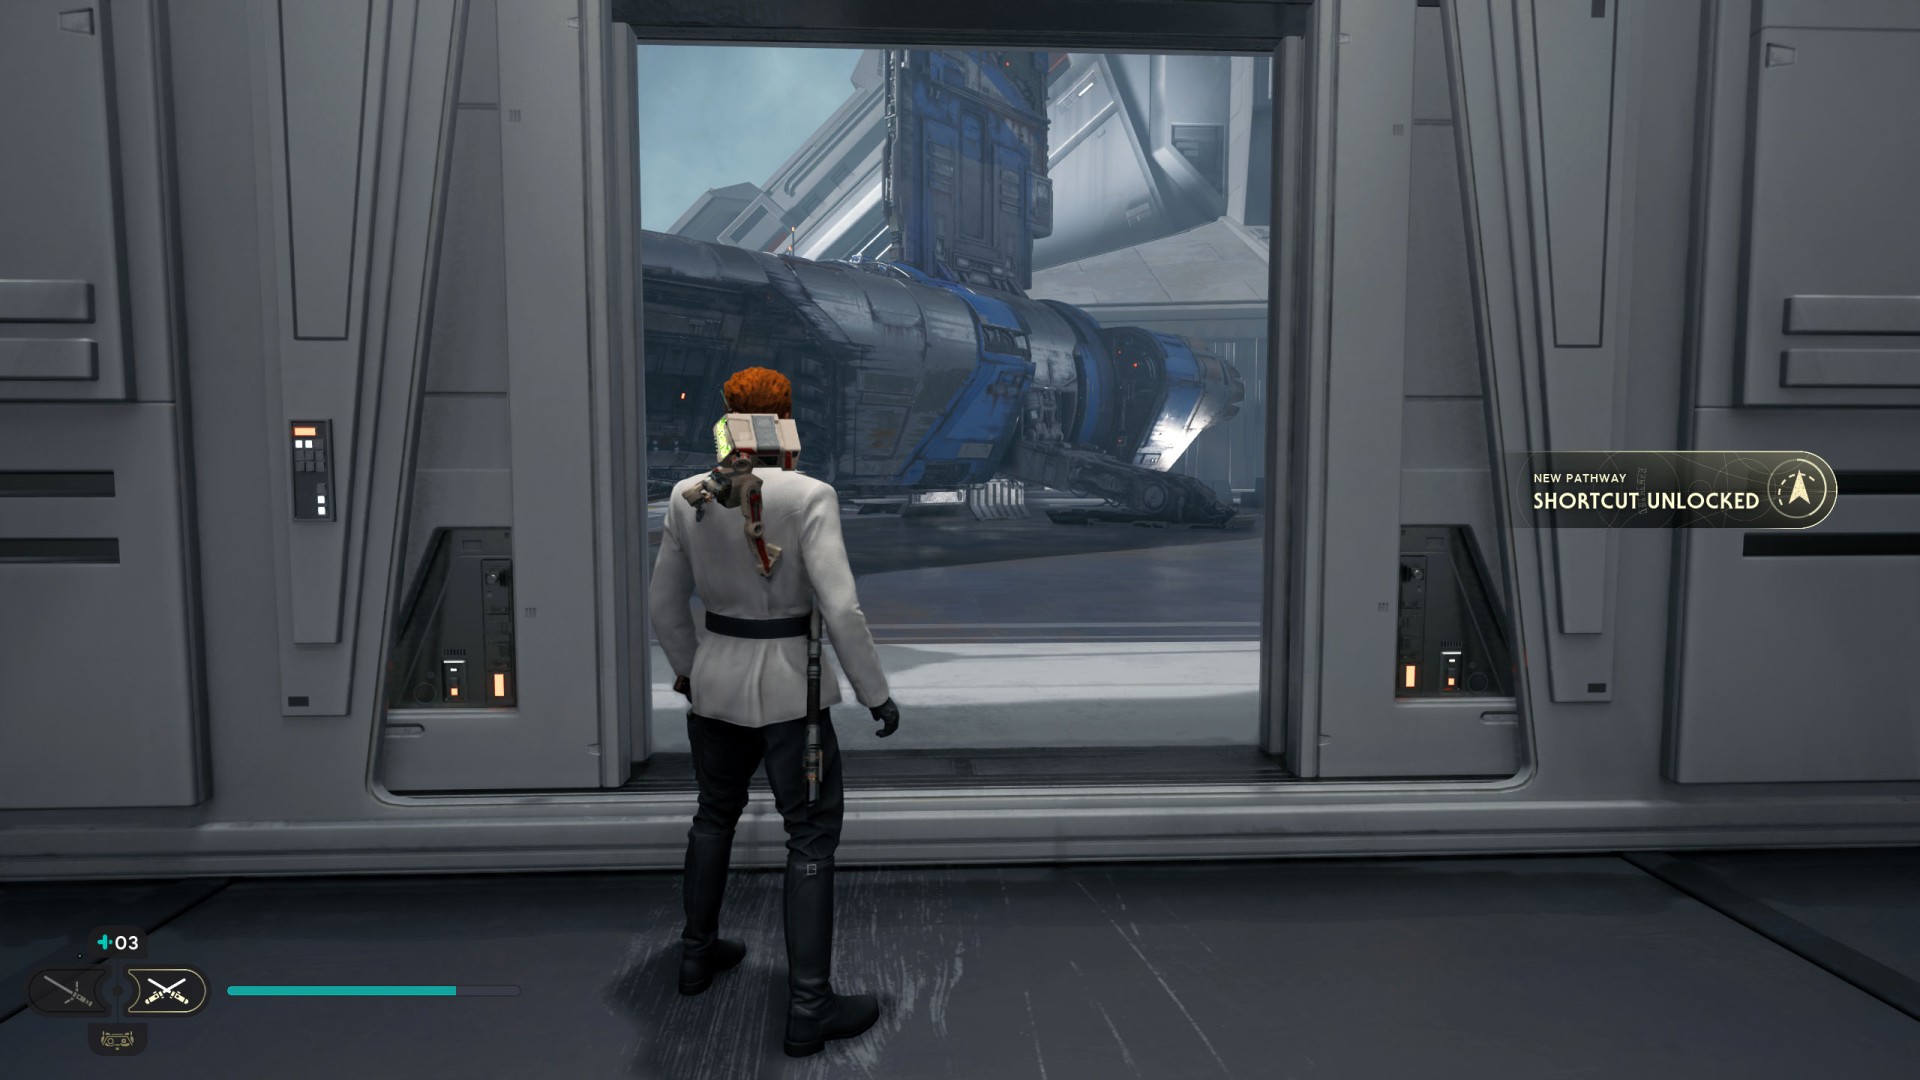
1 Freight Handling Depot Shortcut
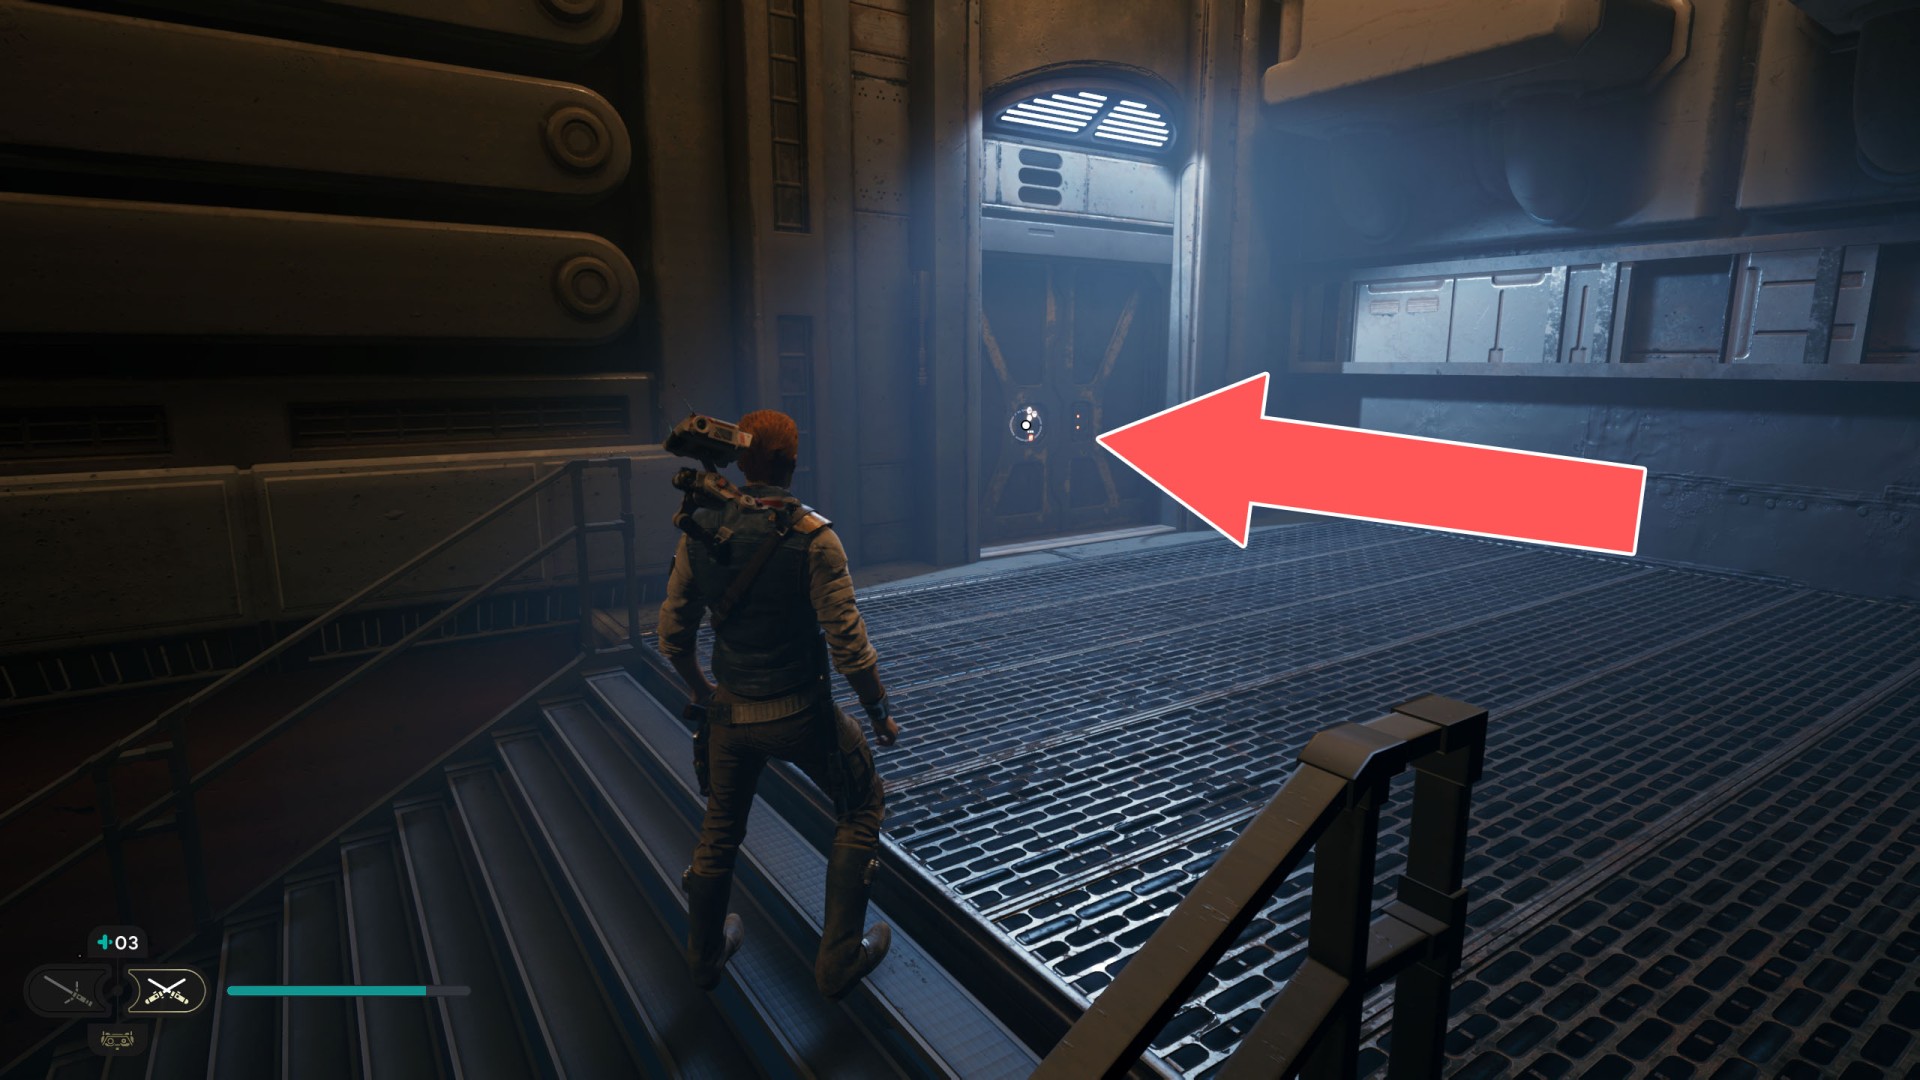
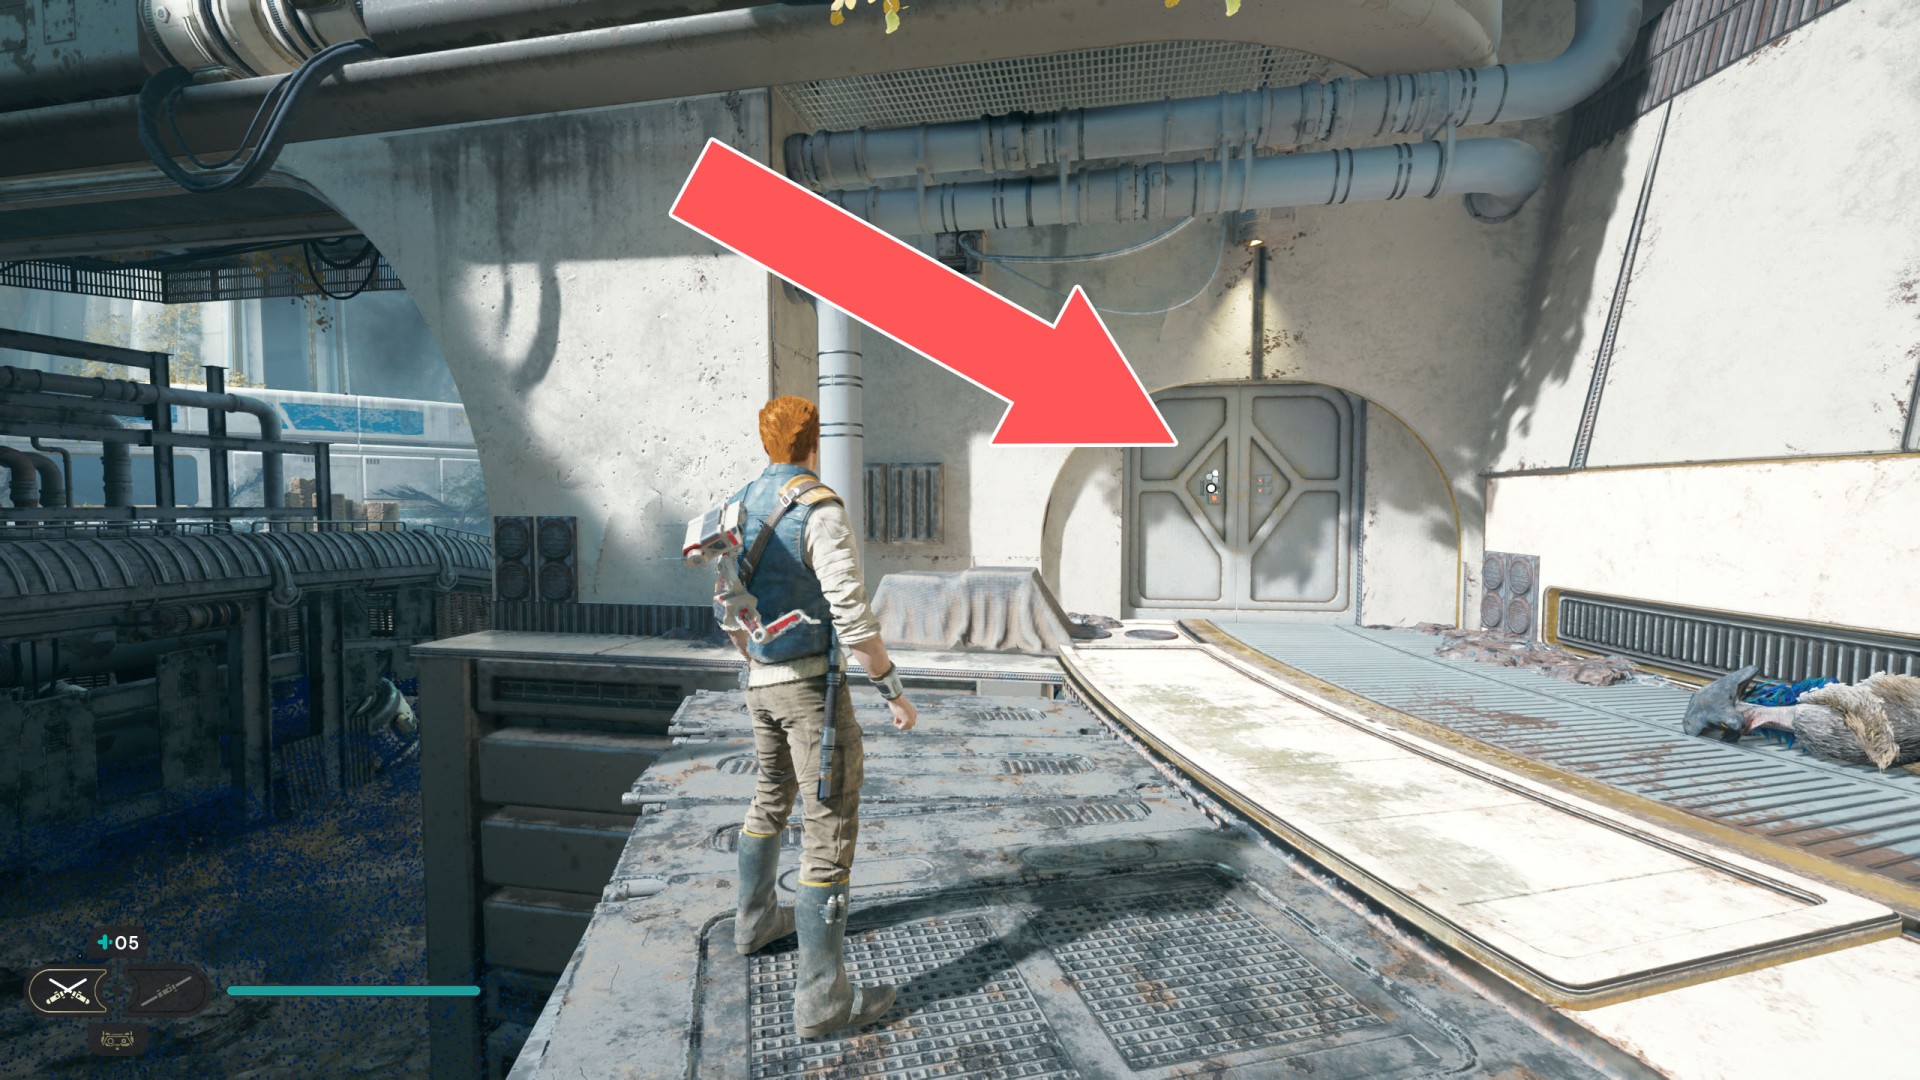
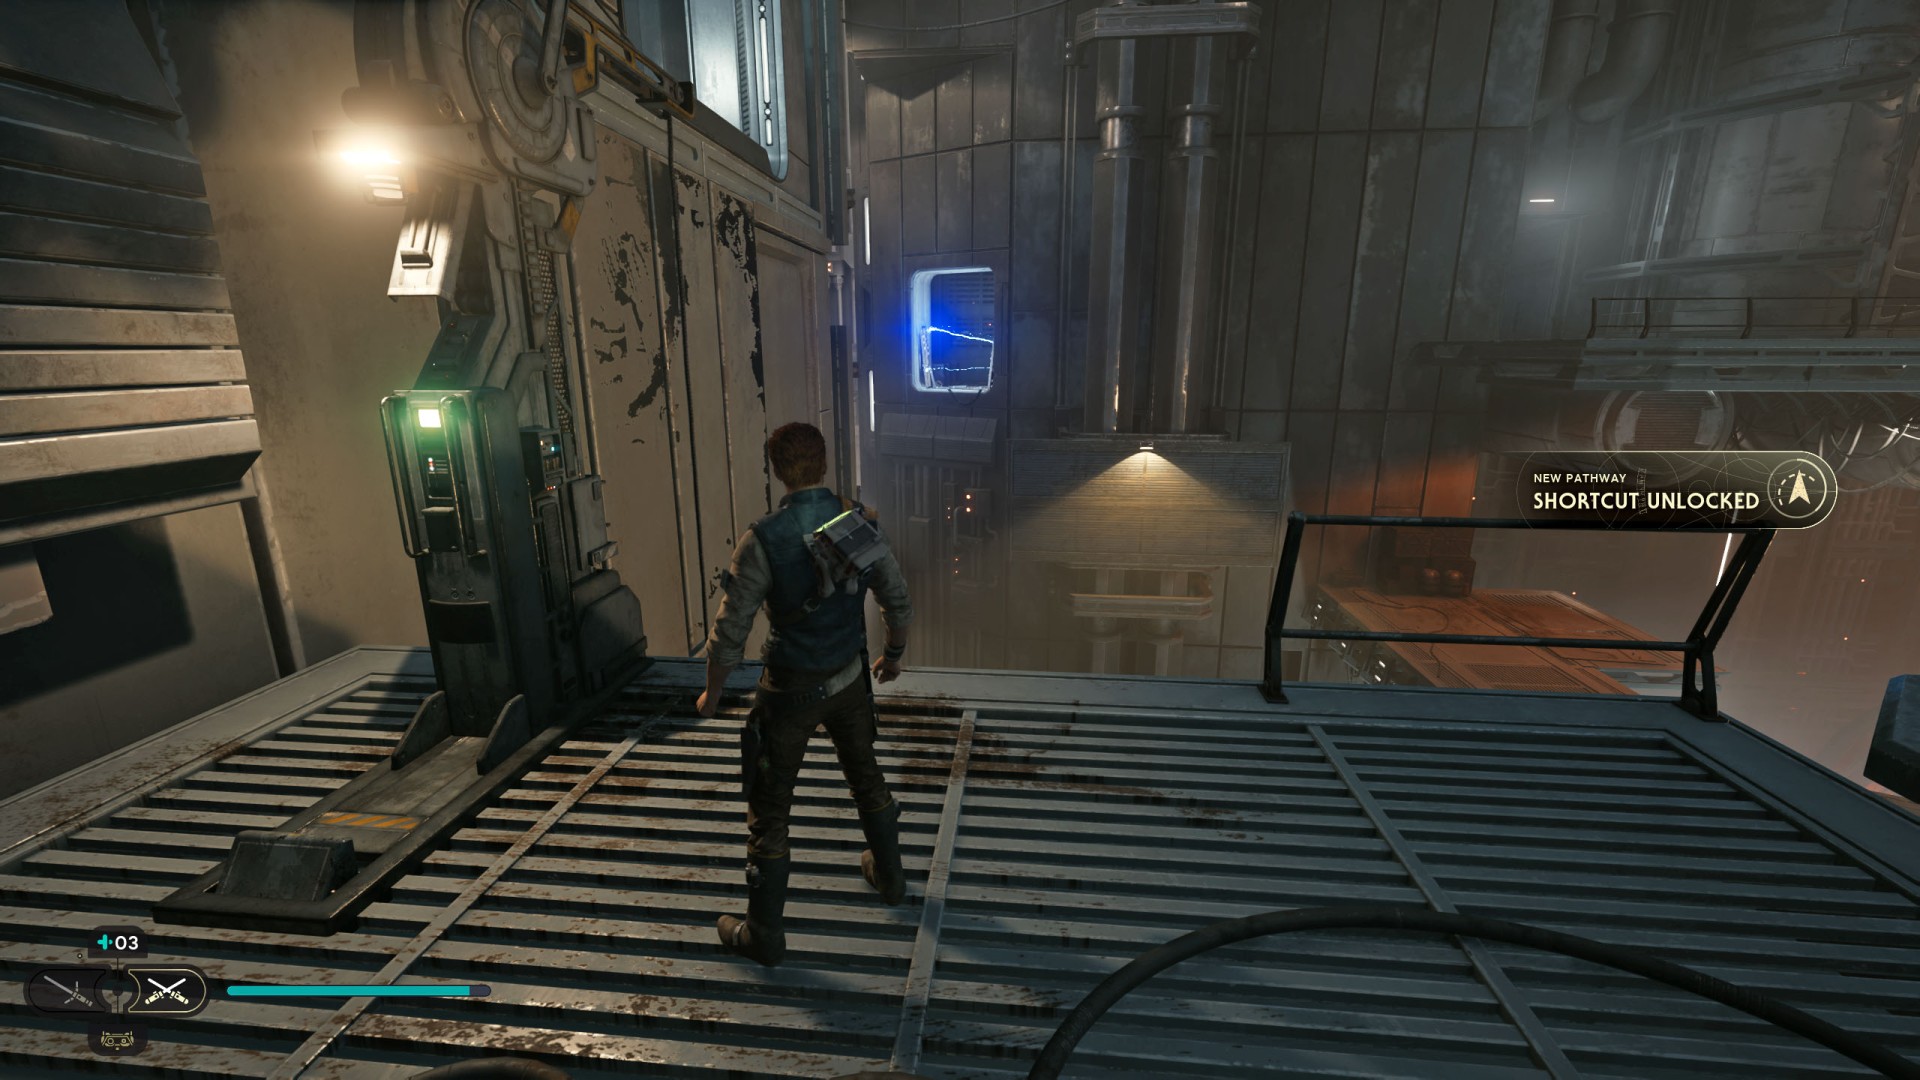
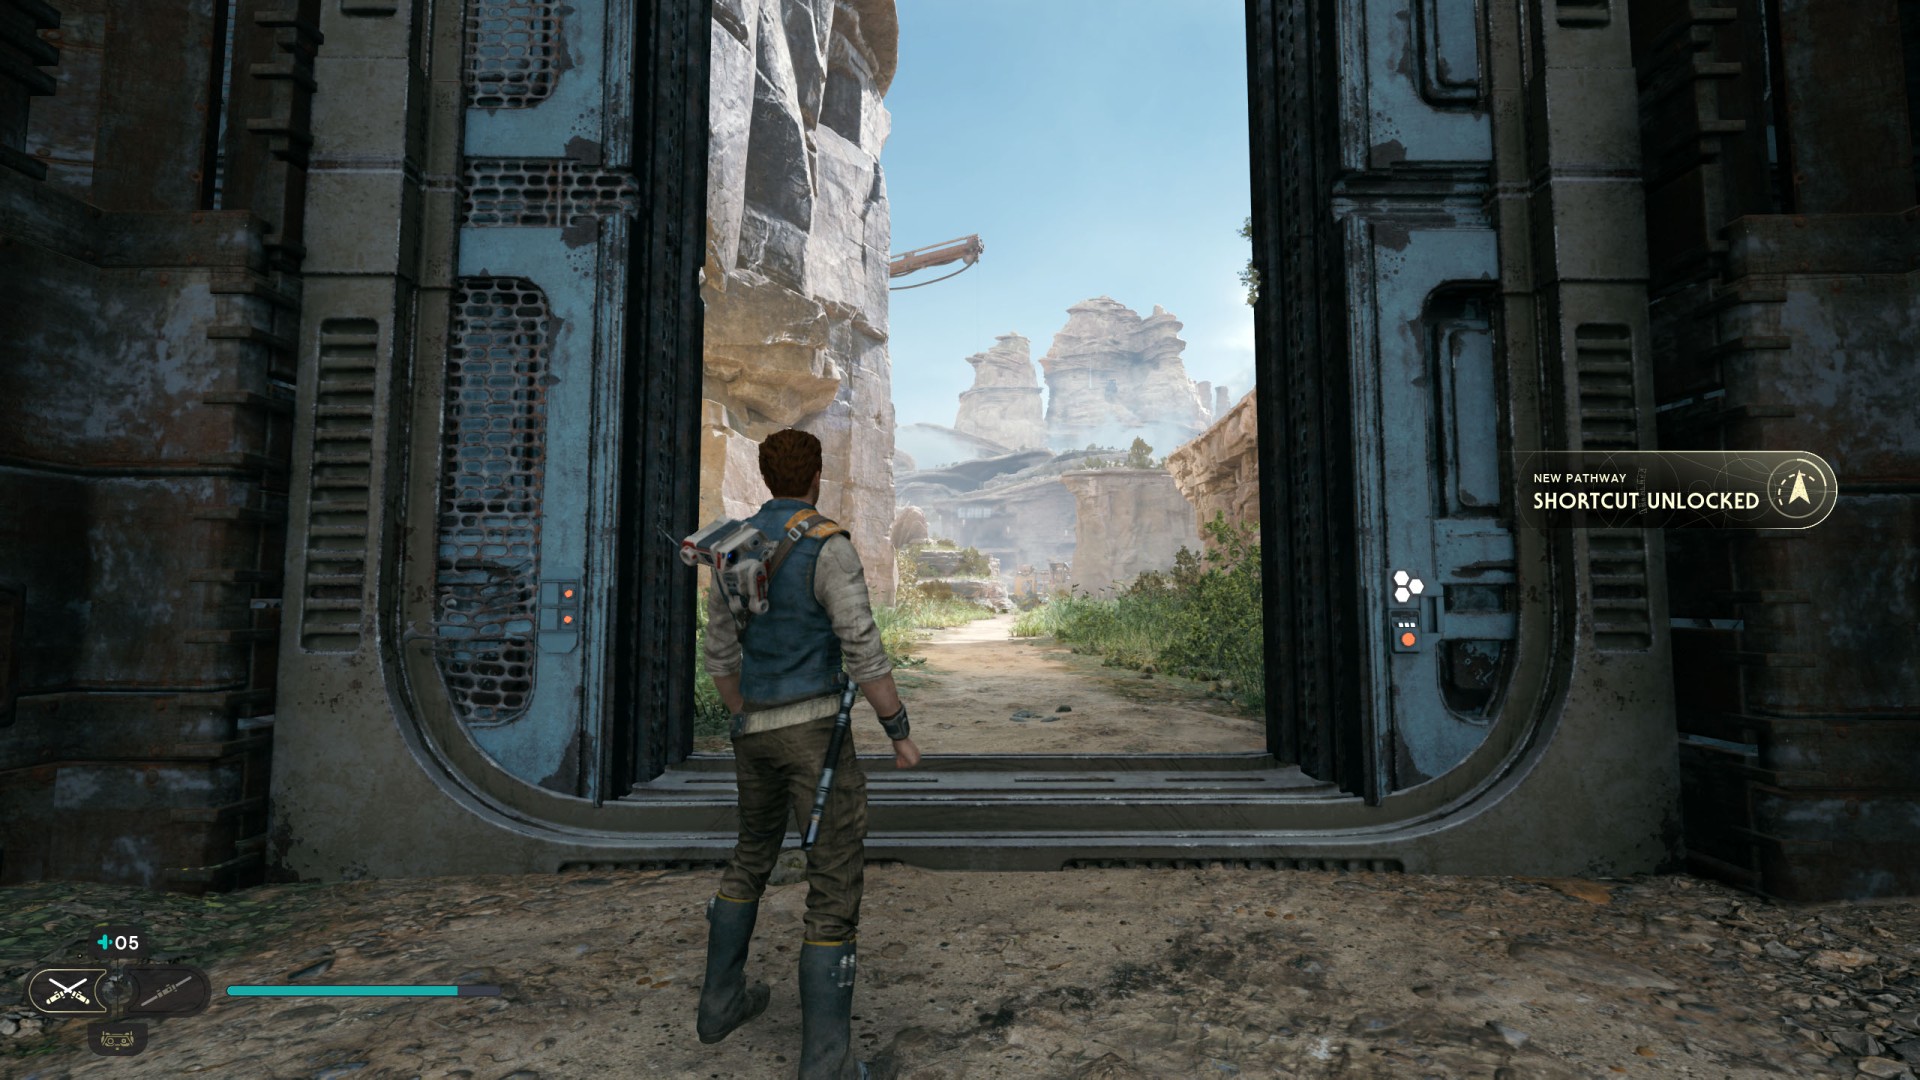
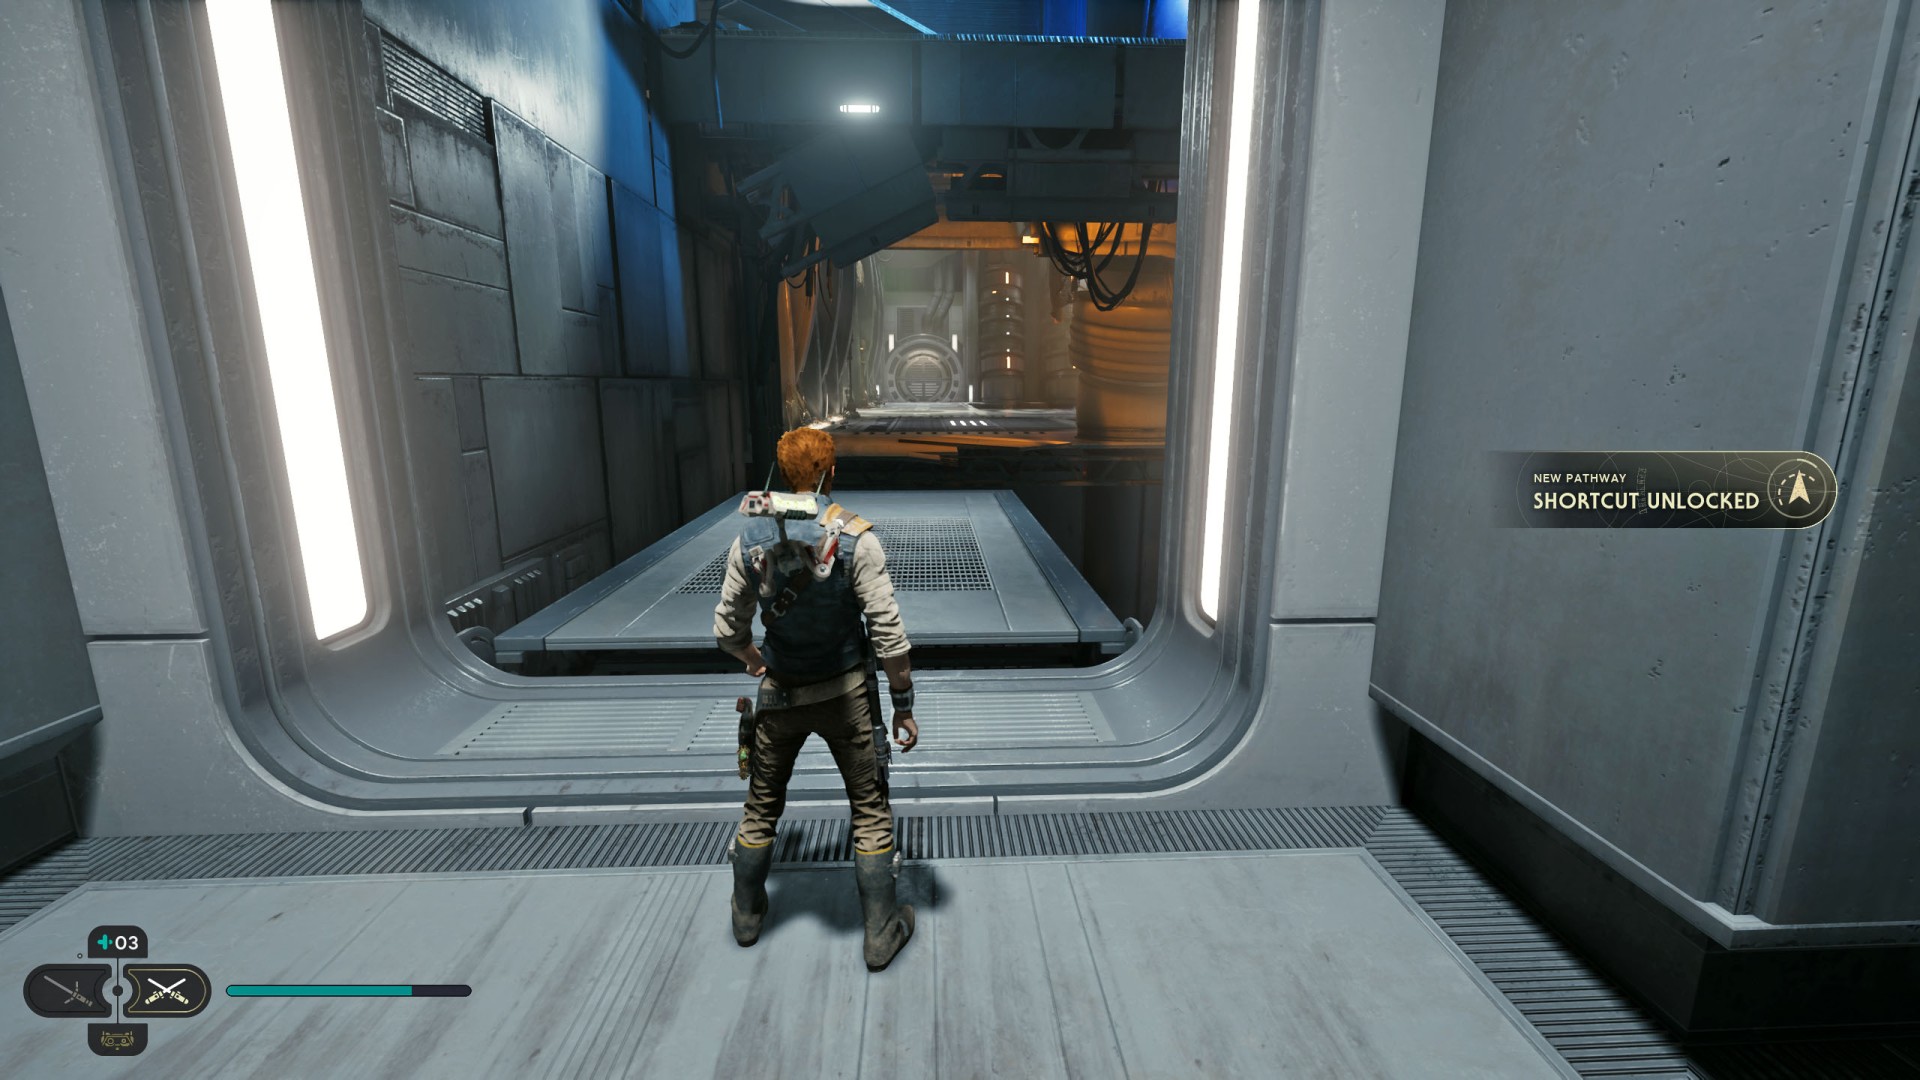
To activate this shortcut you must open the door. You can only do this from one side. It will be possible to do this during subsequent visits to Coruscant.
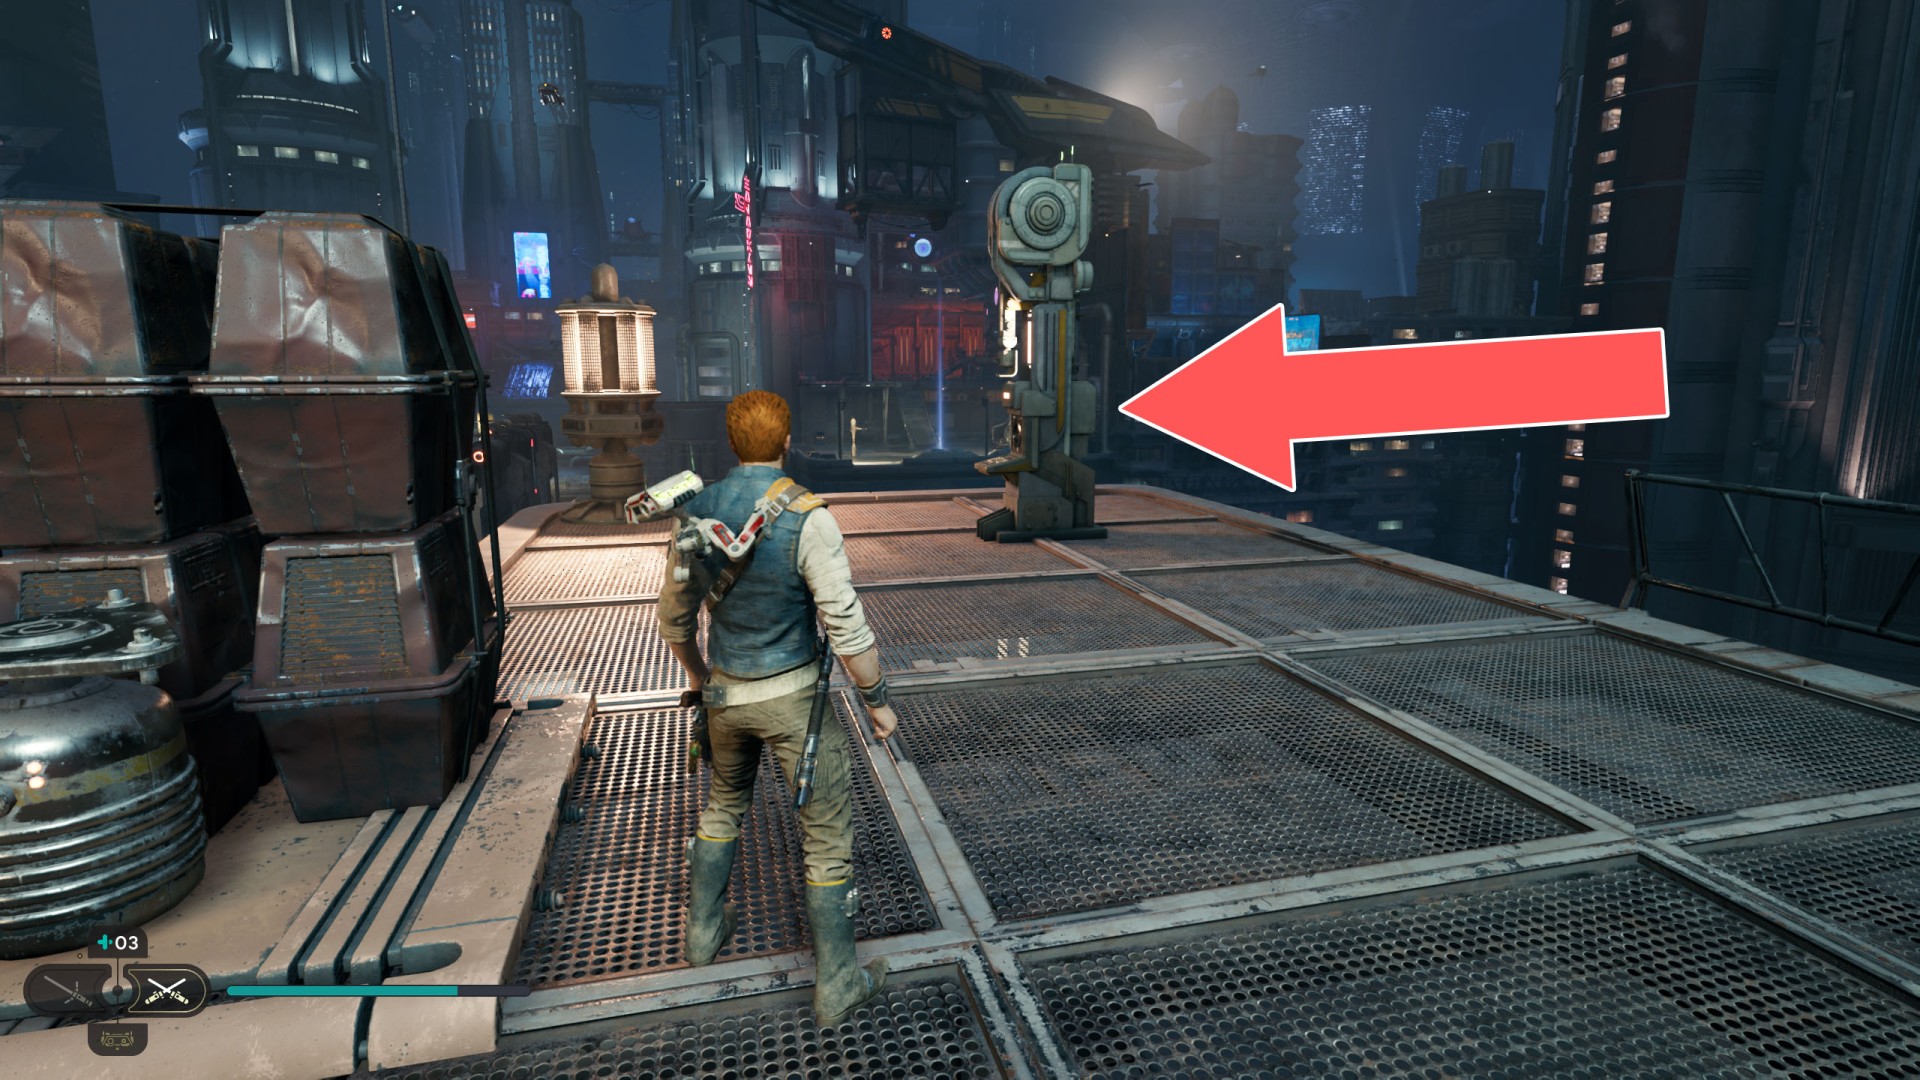
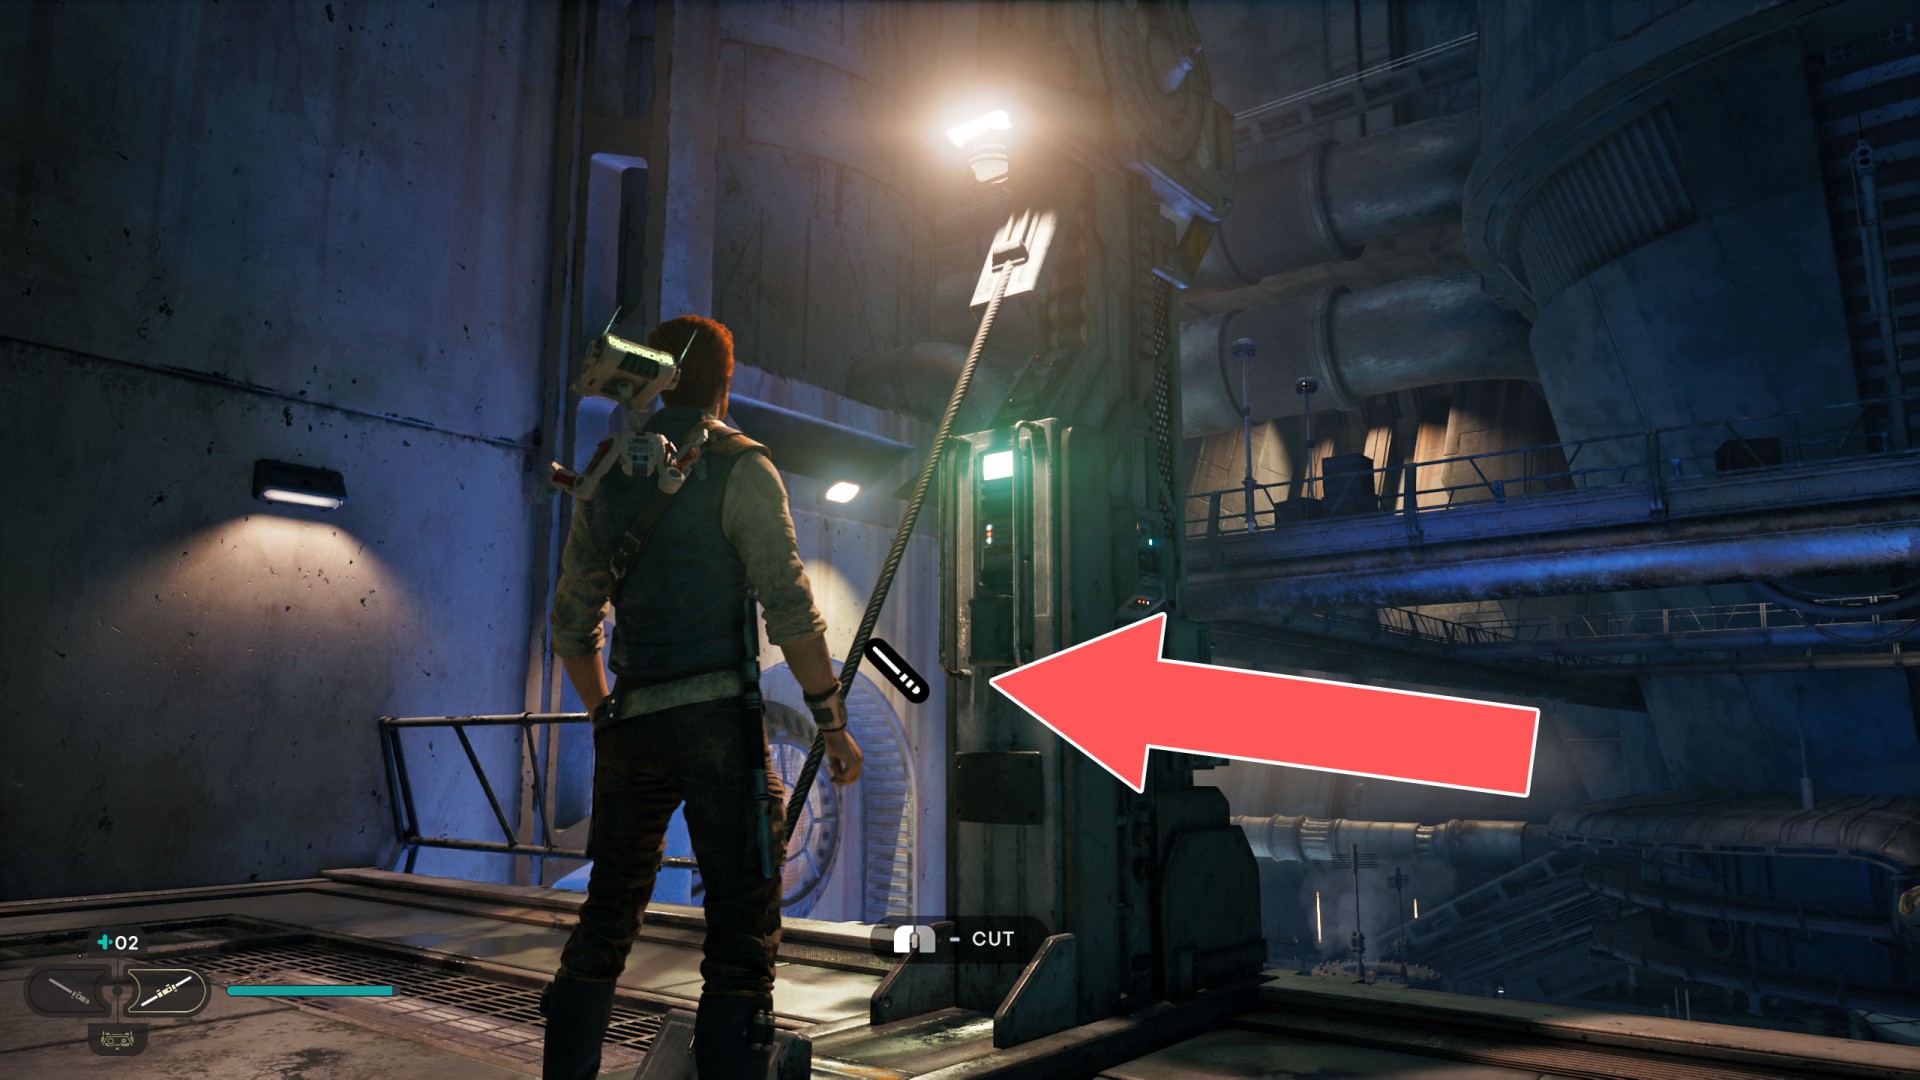
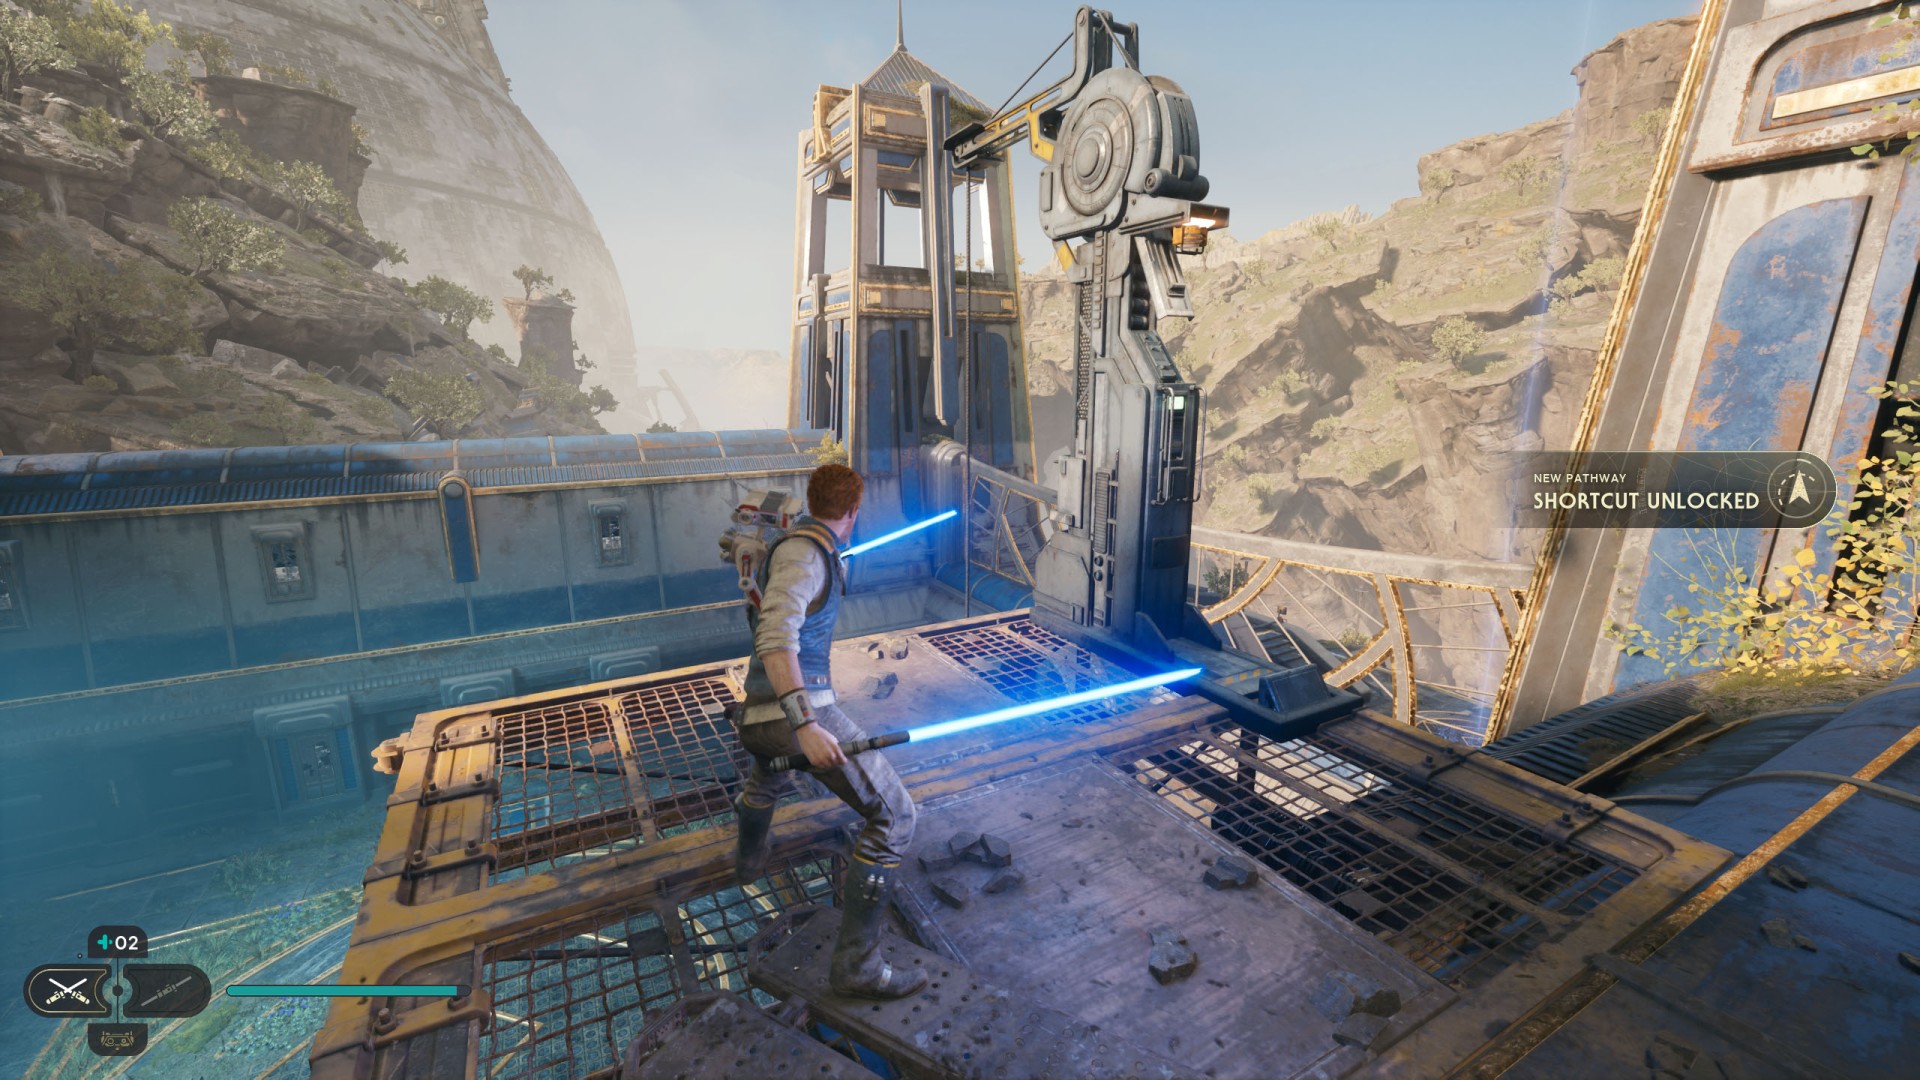
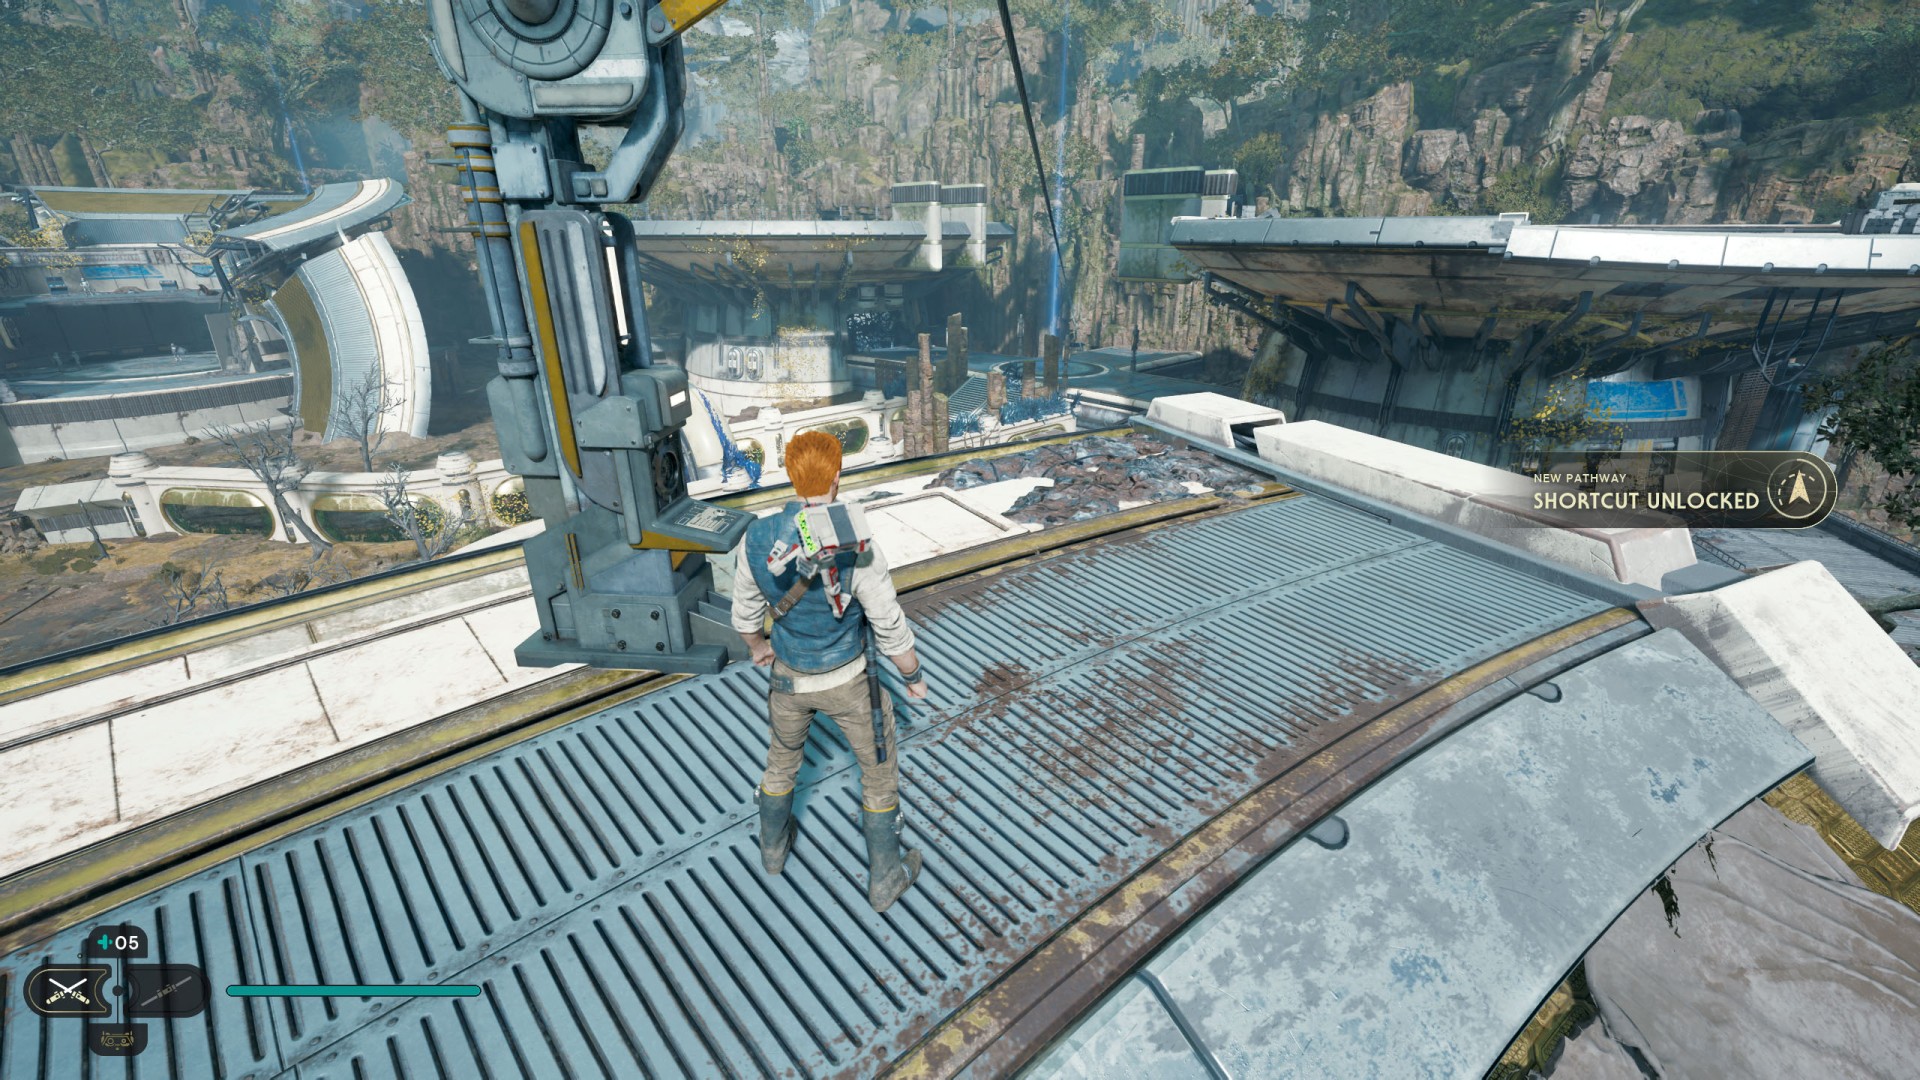
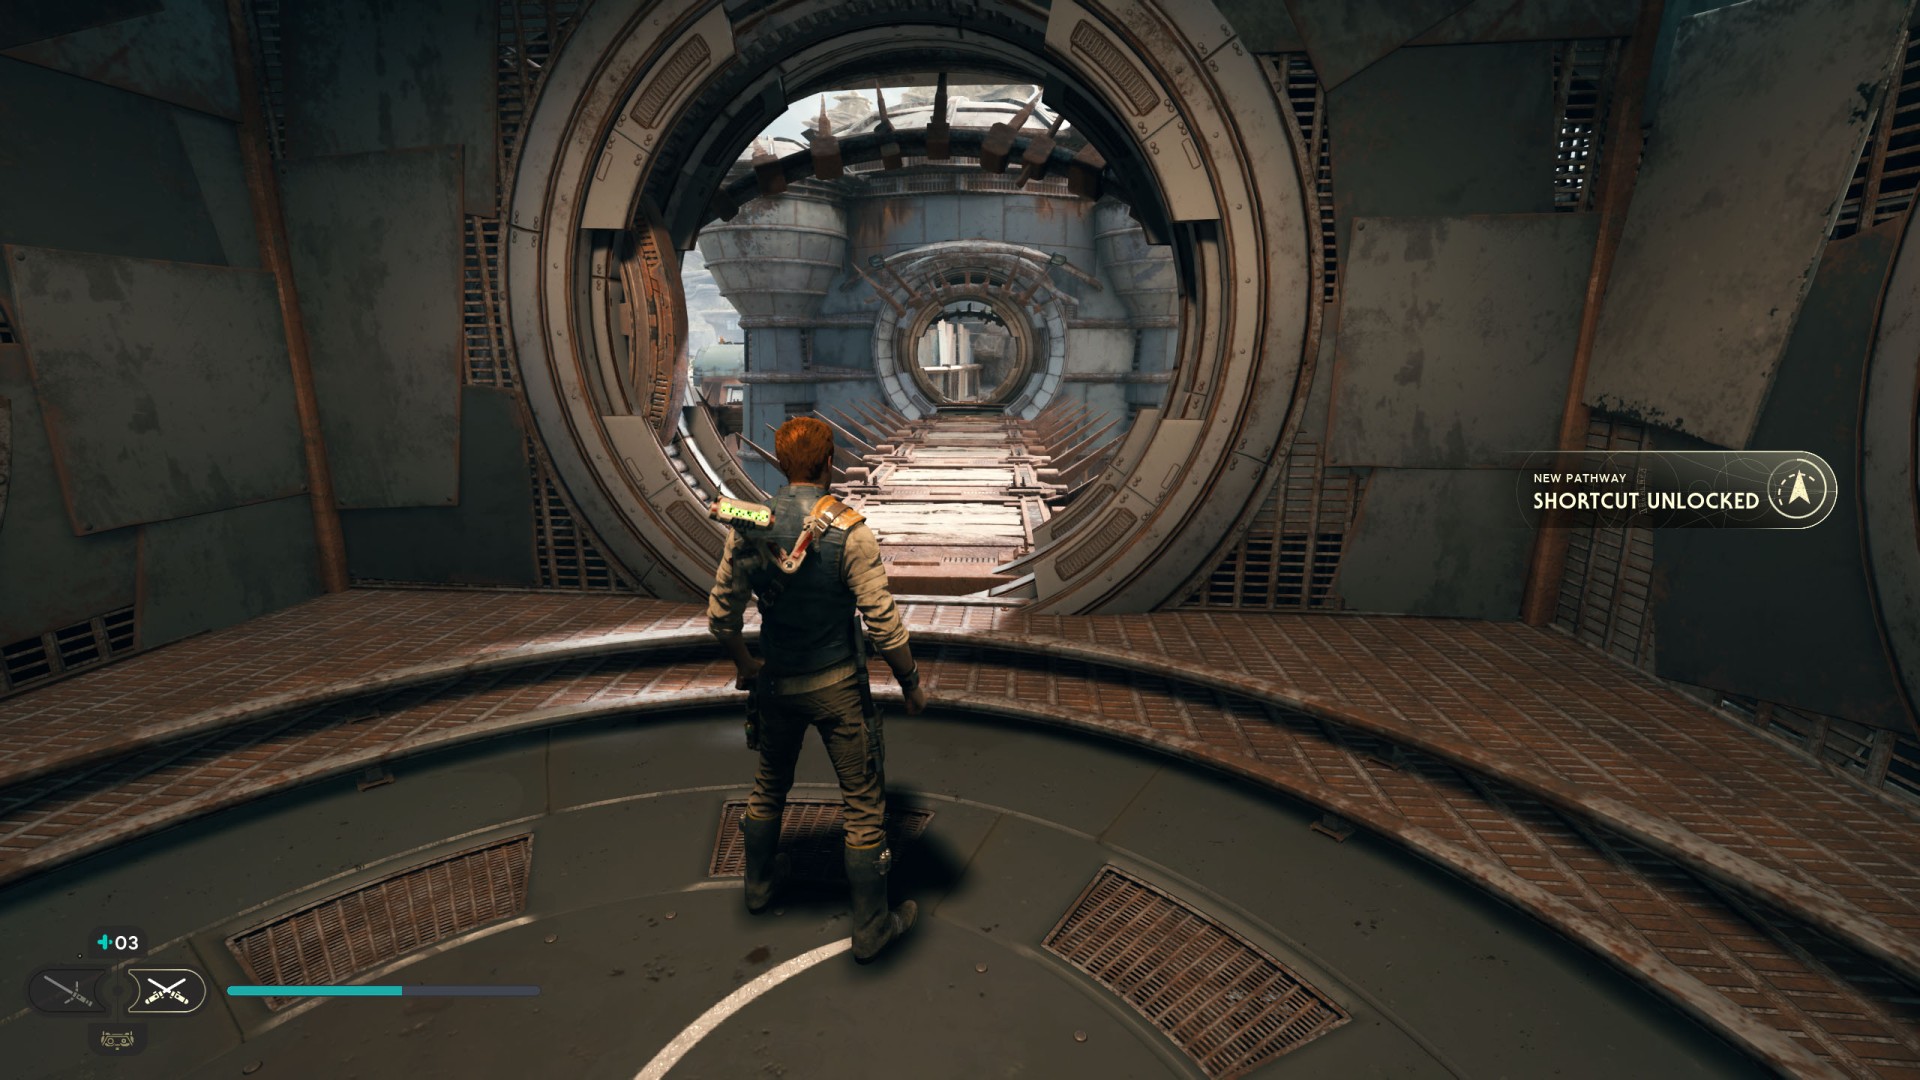
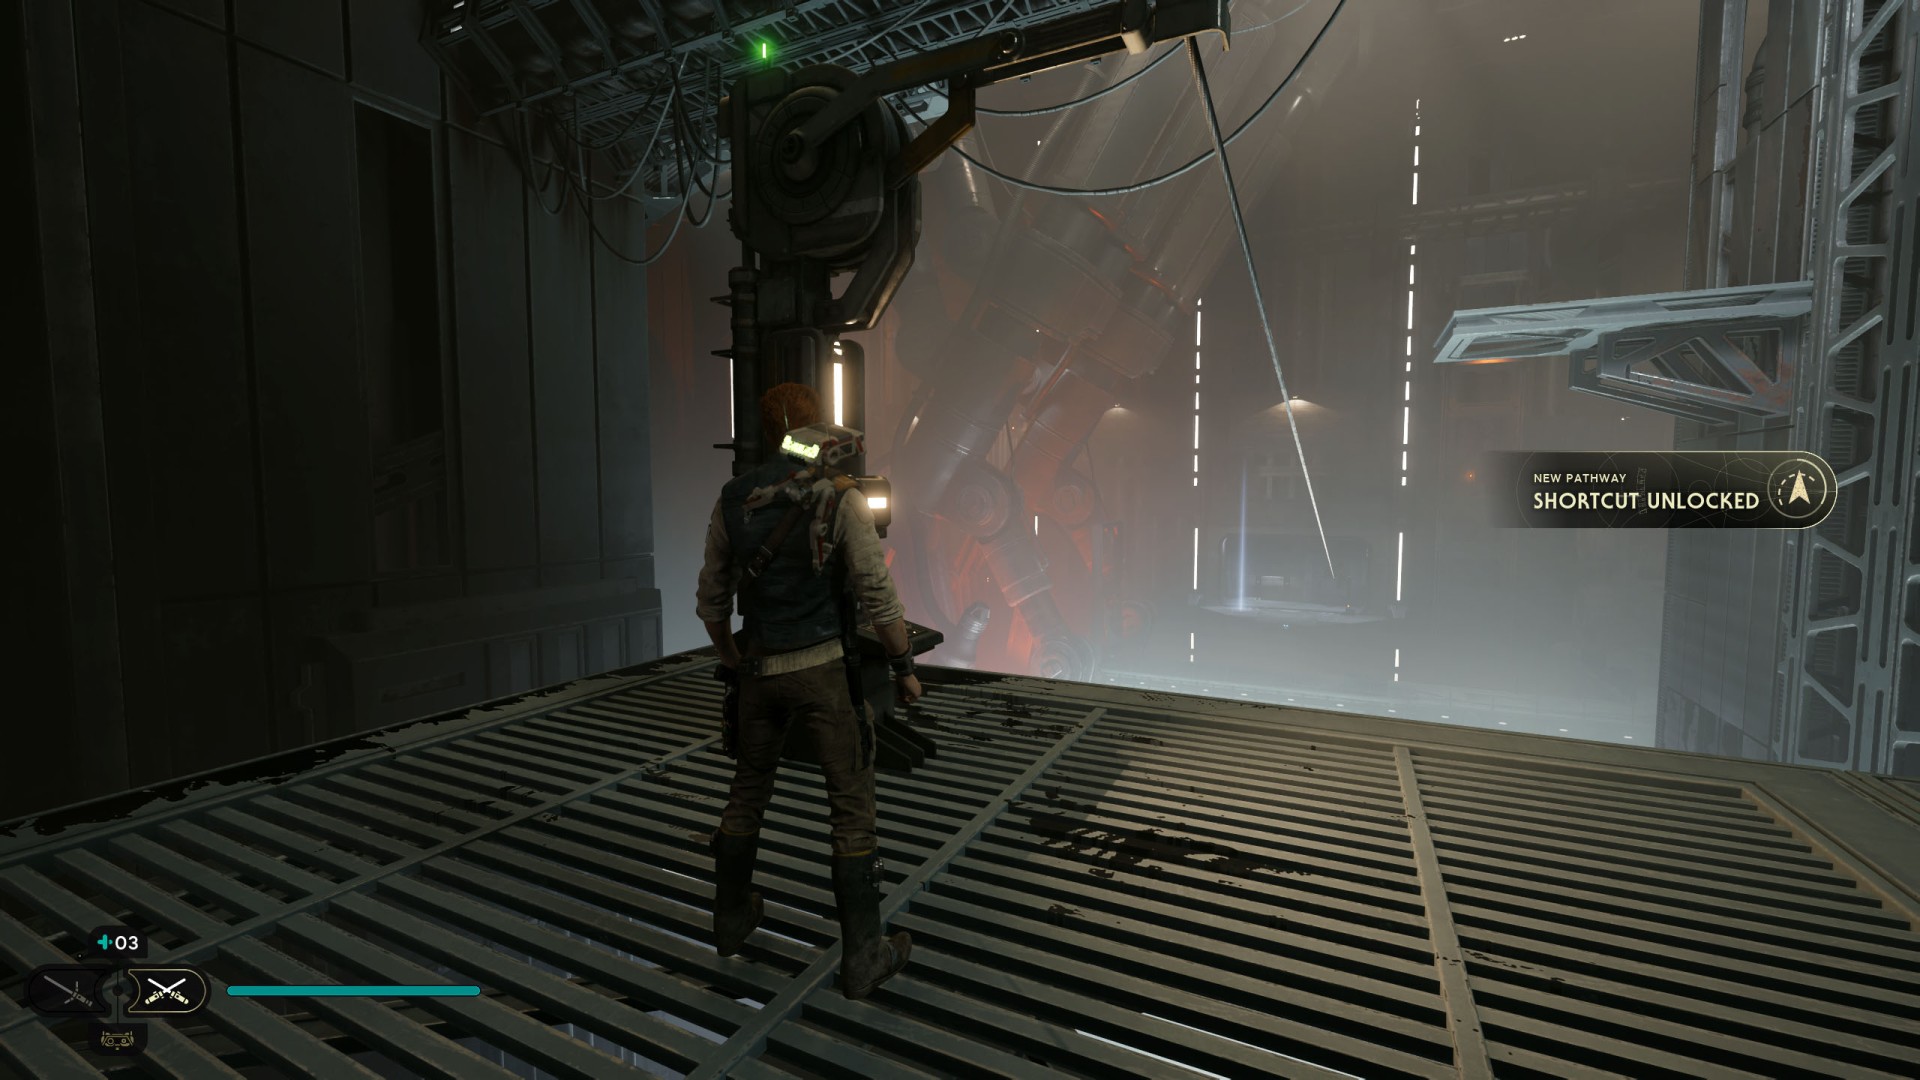
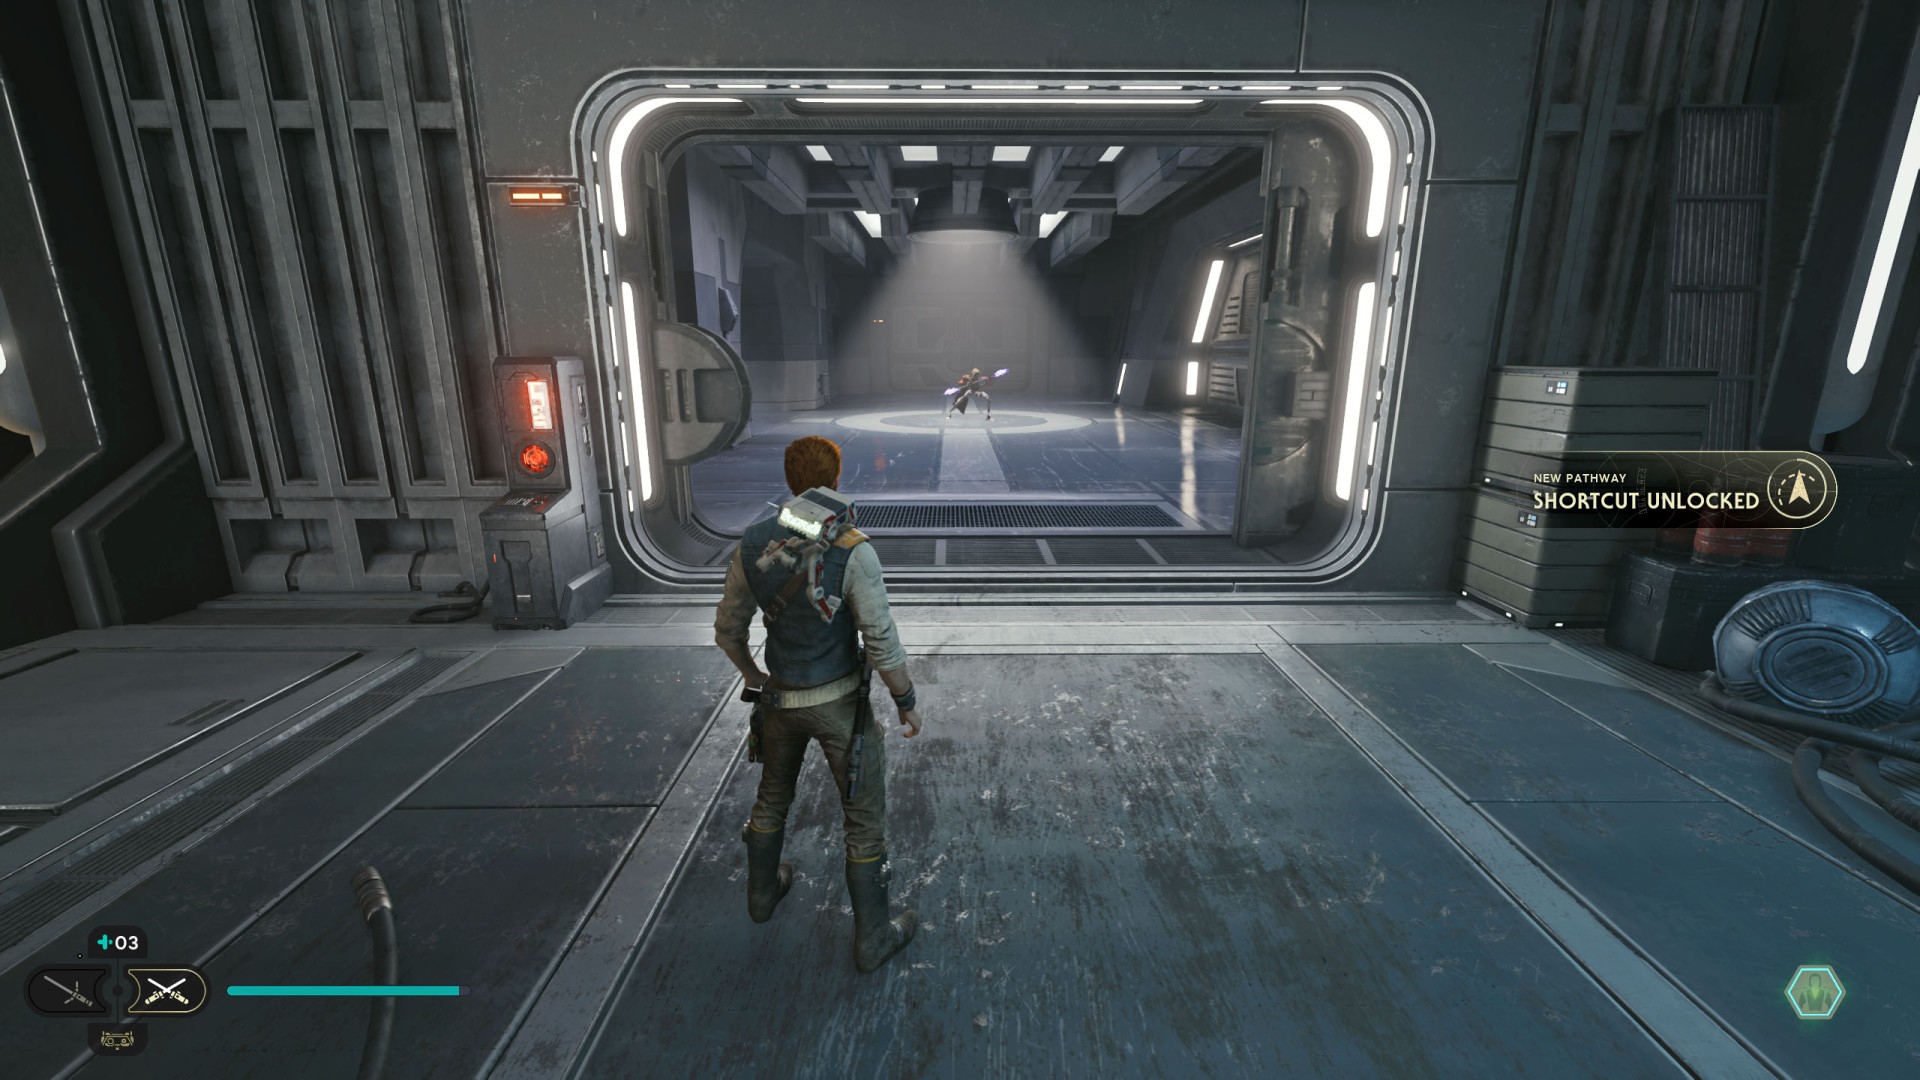
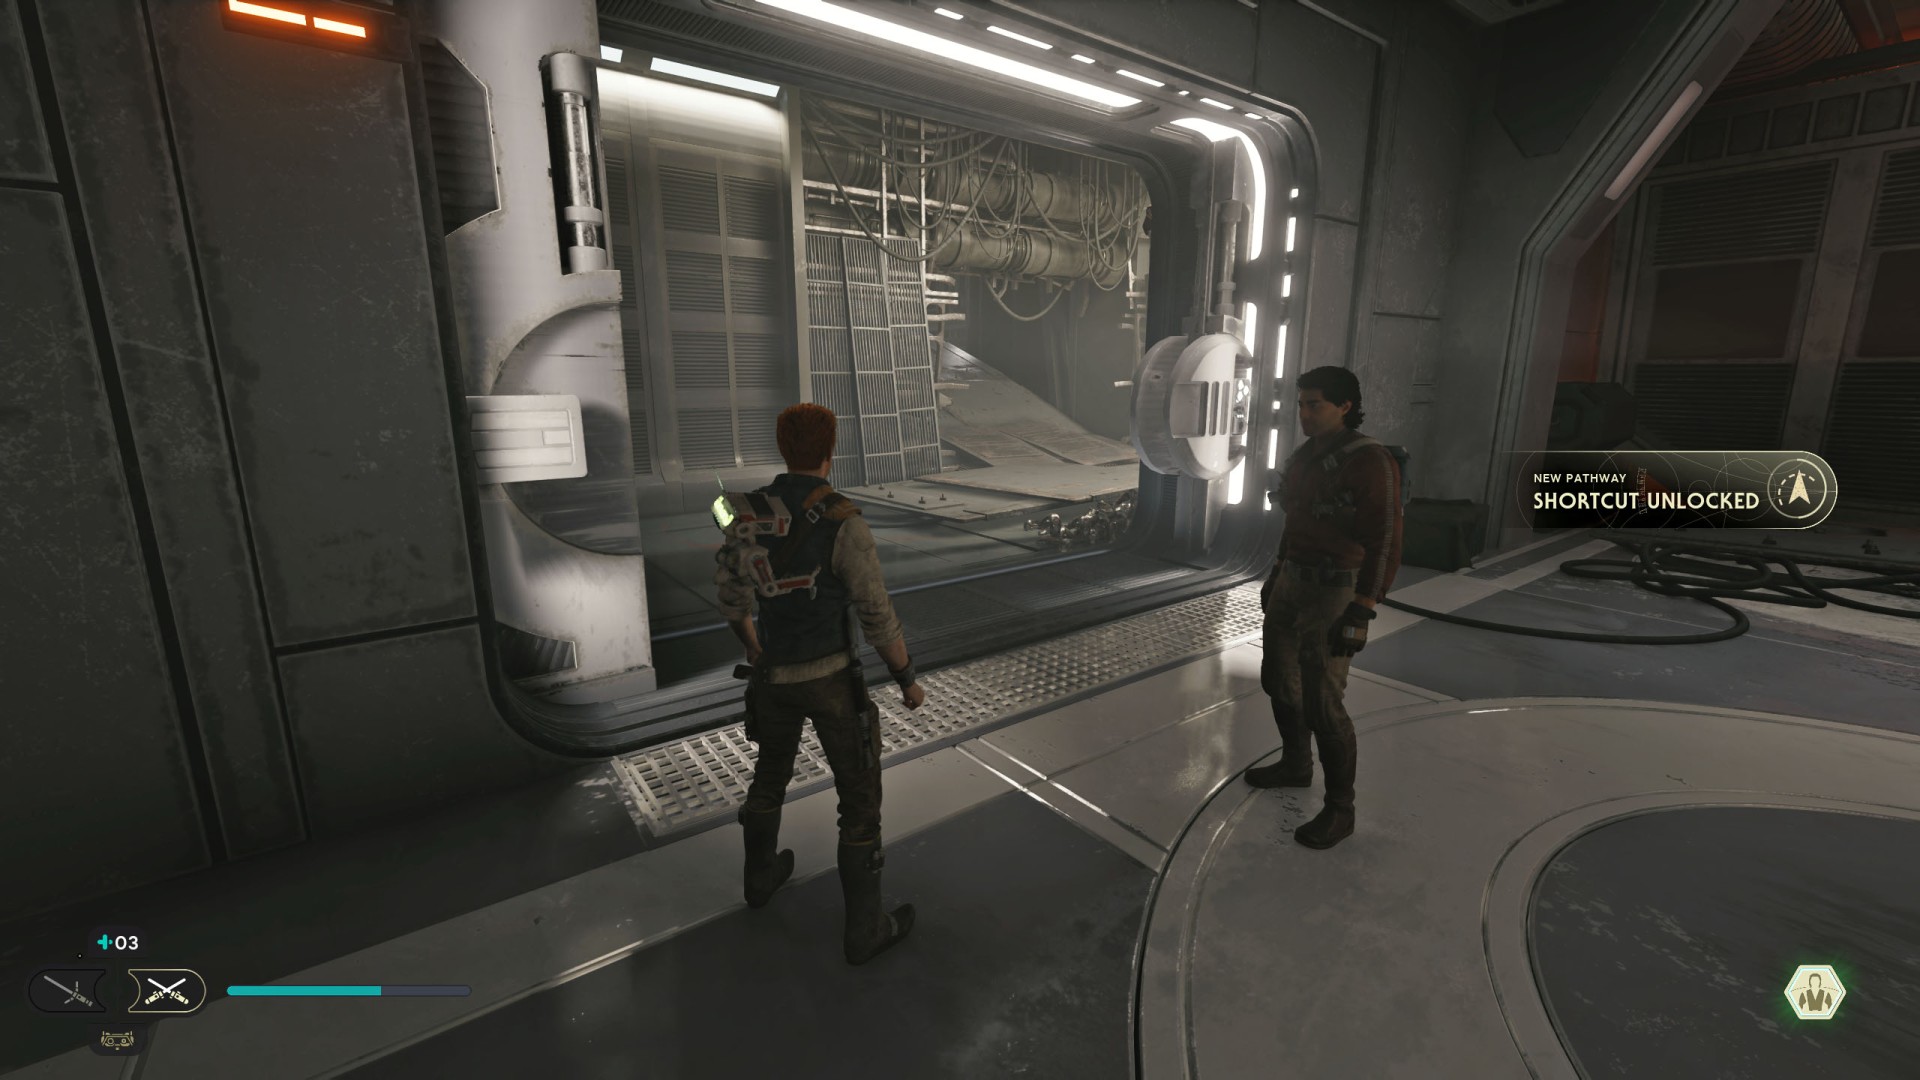
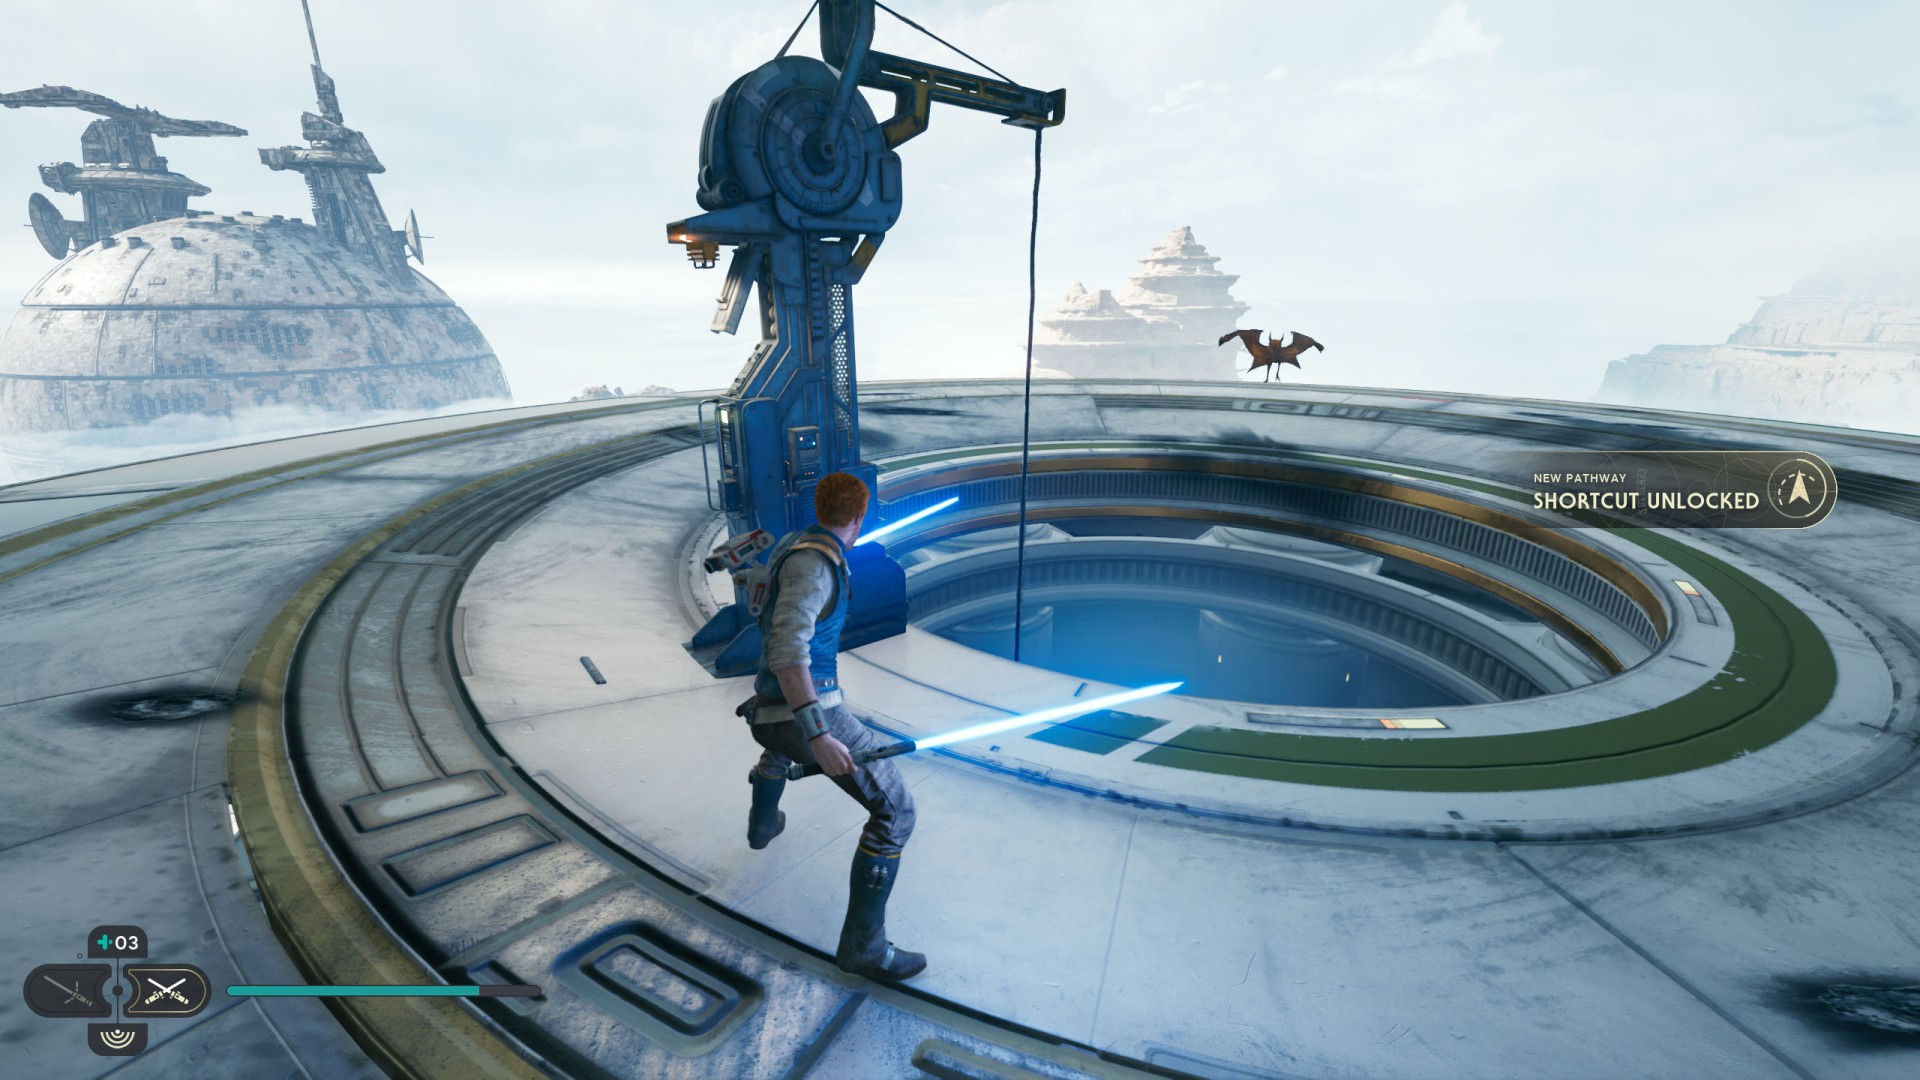
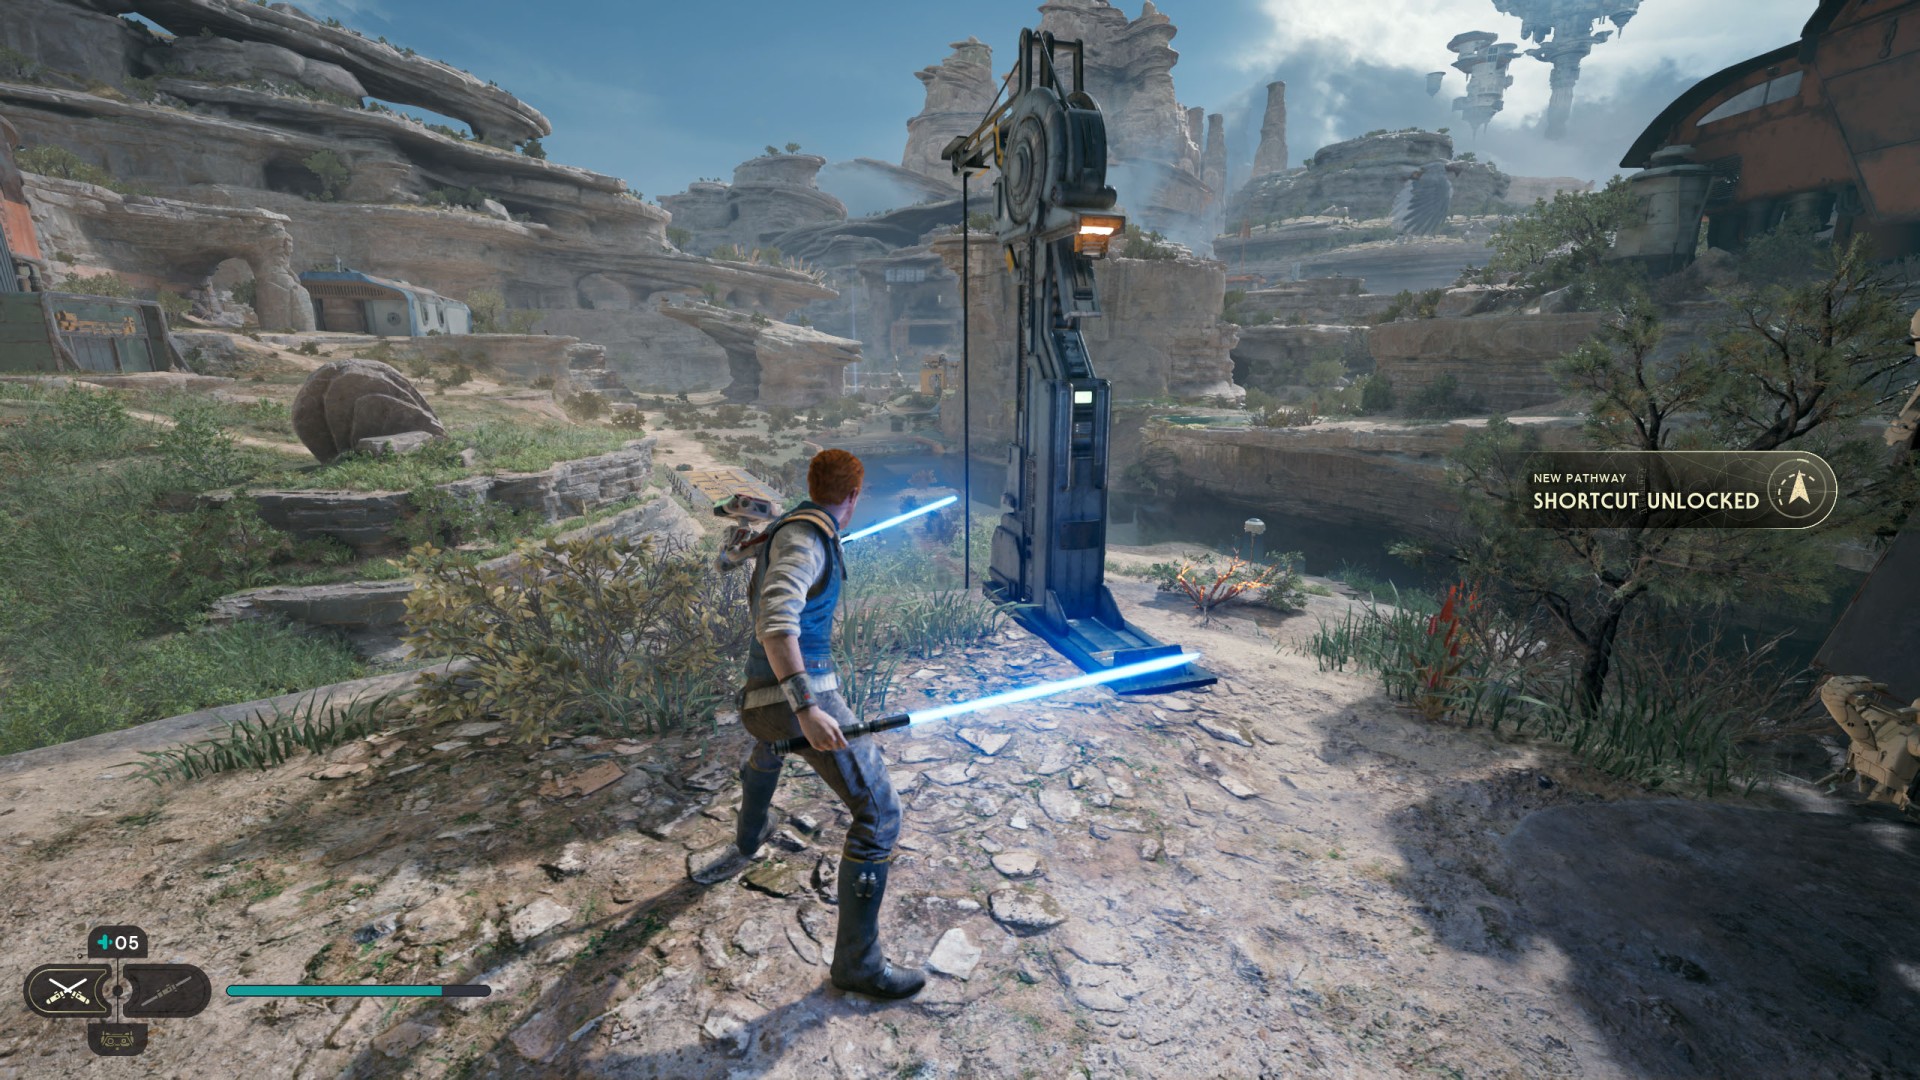
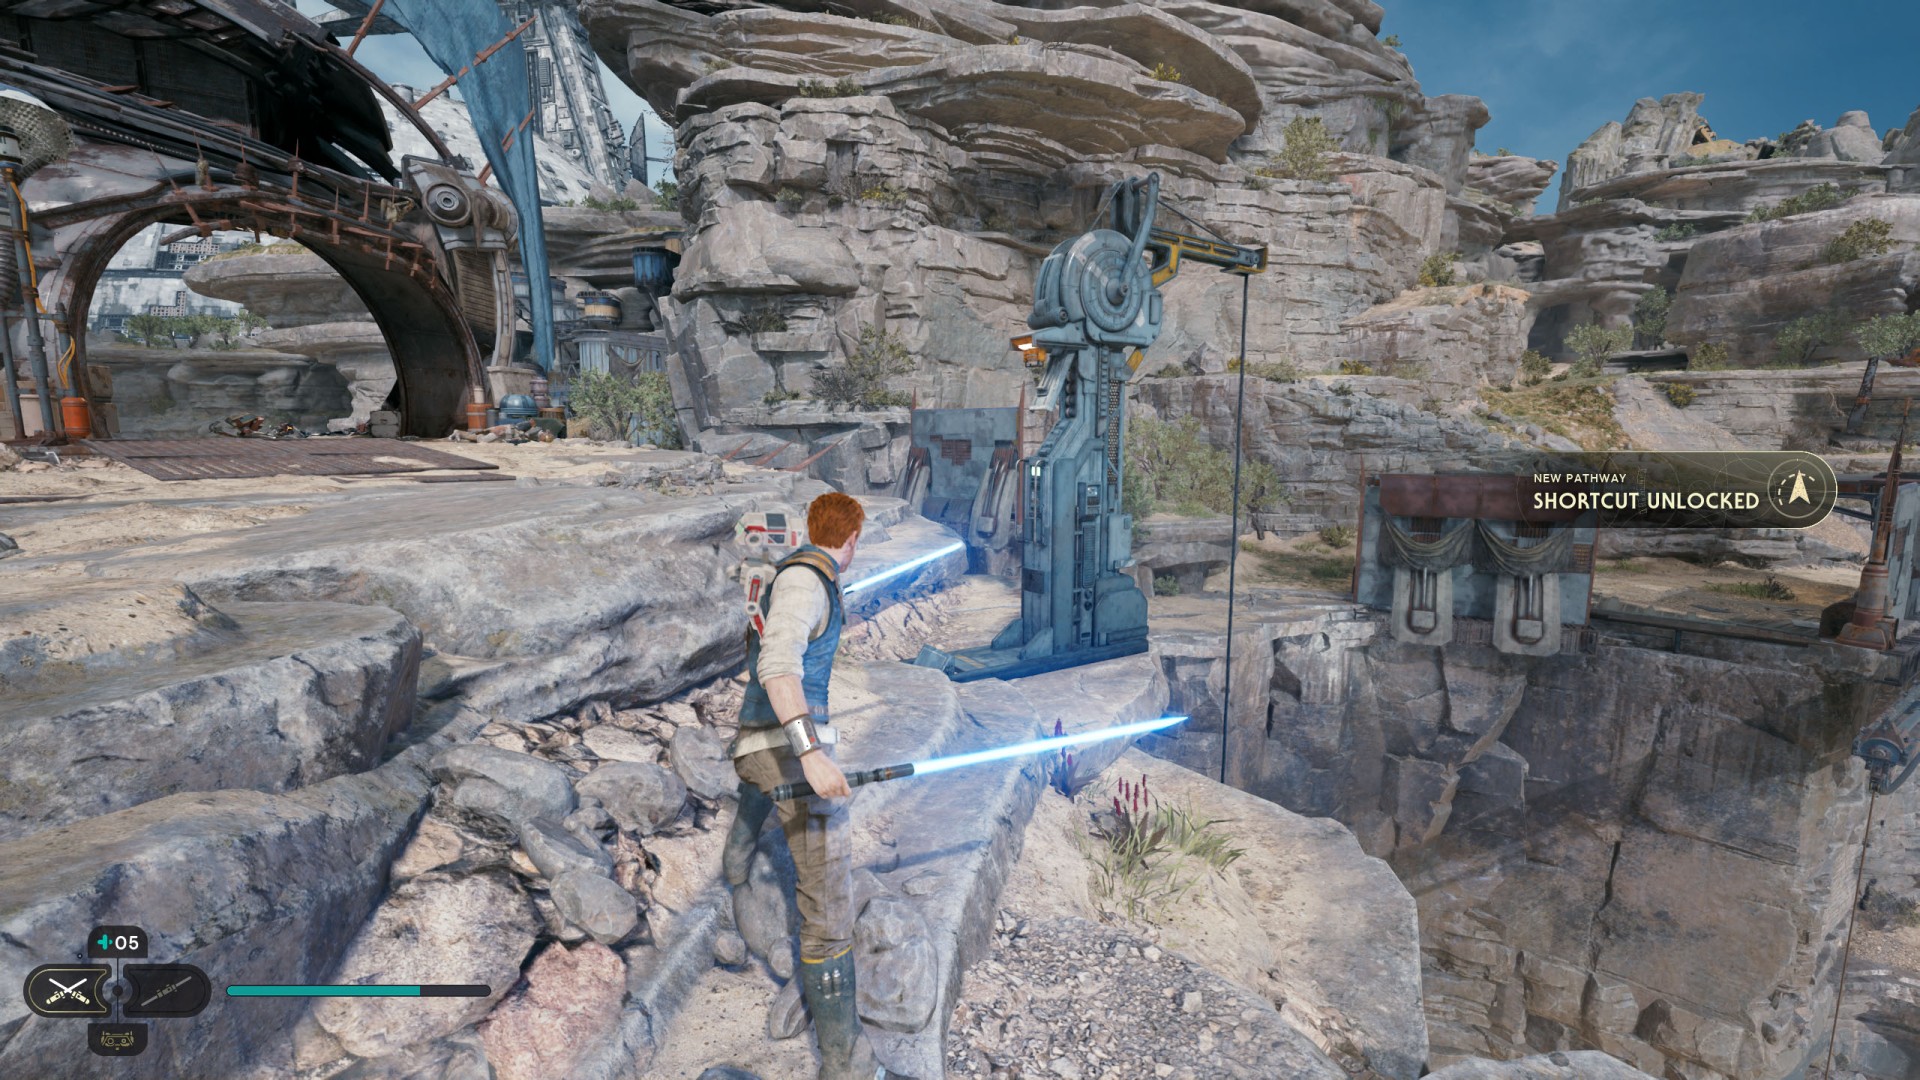
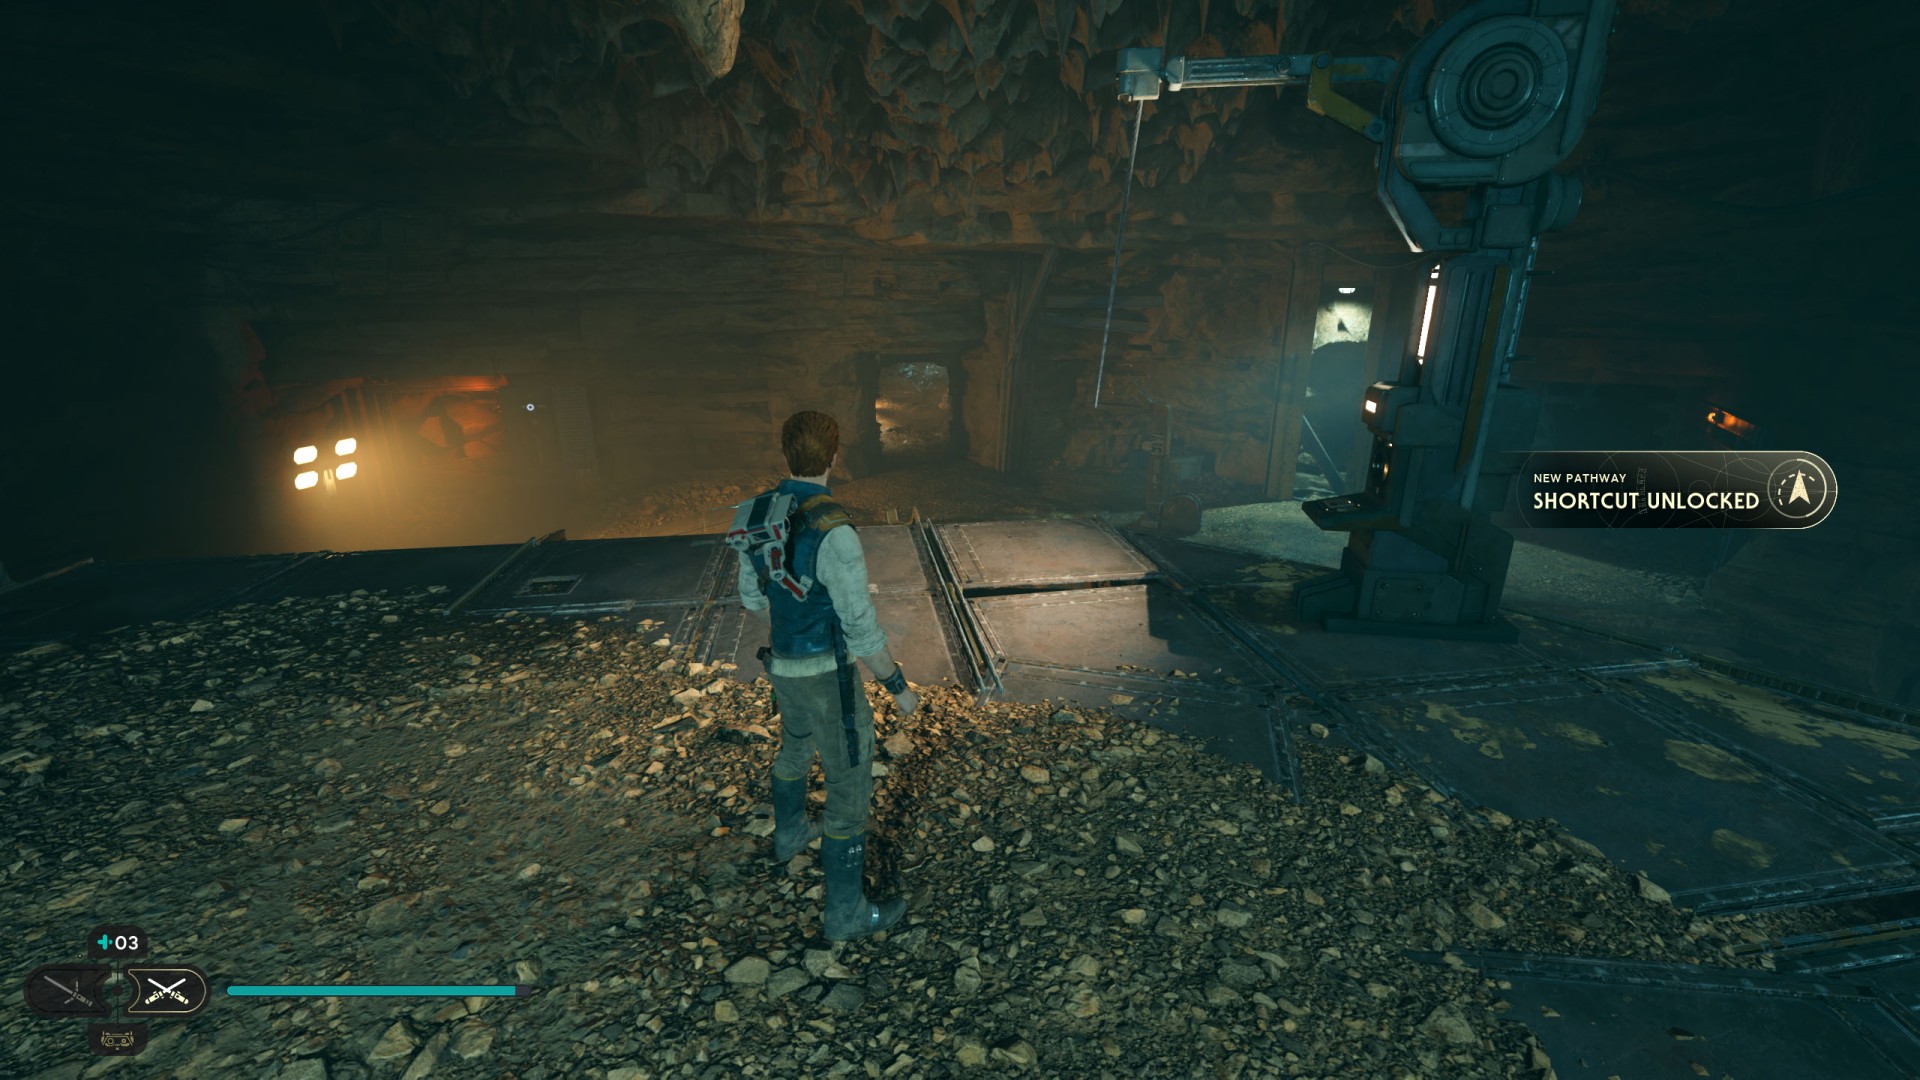
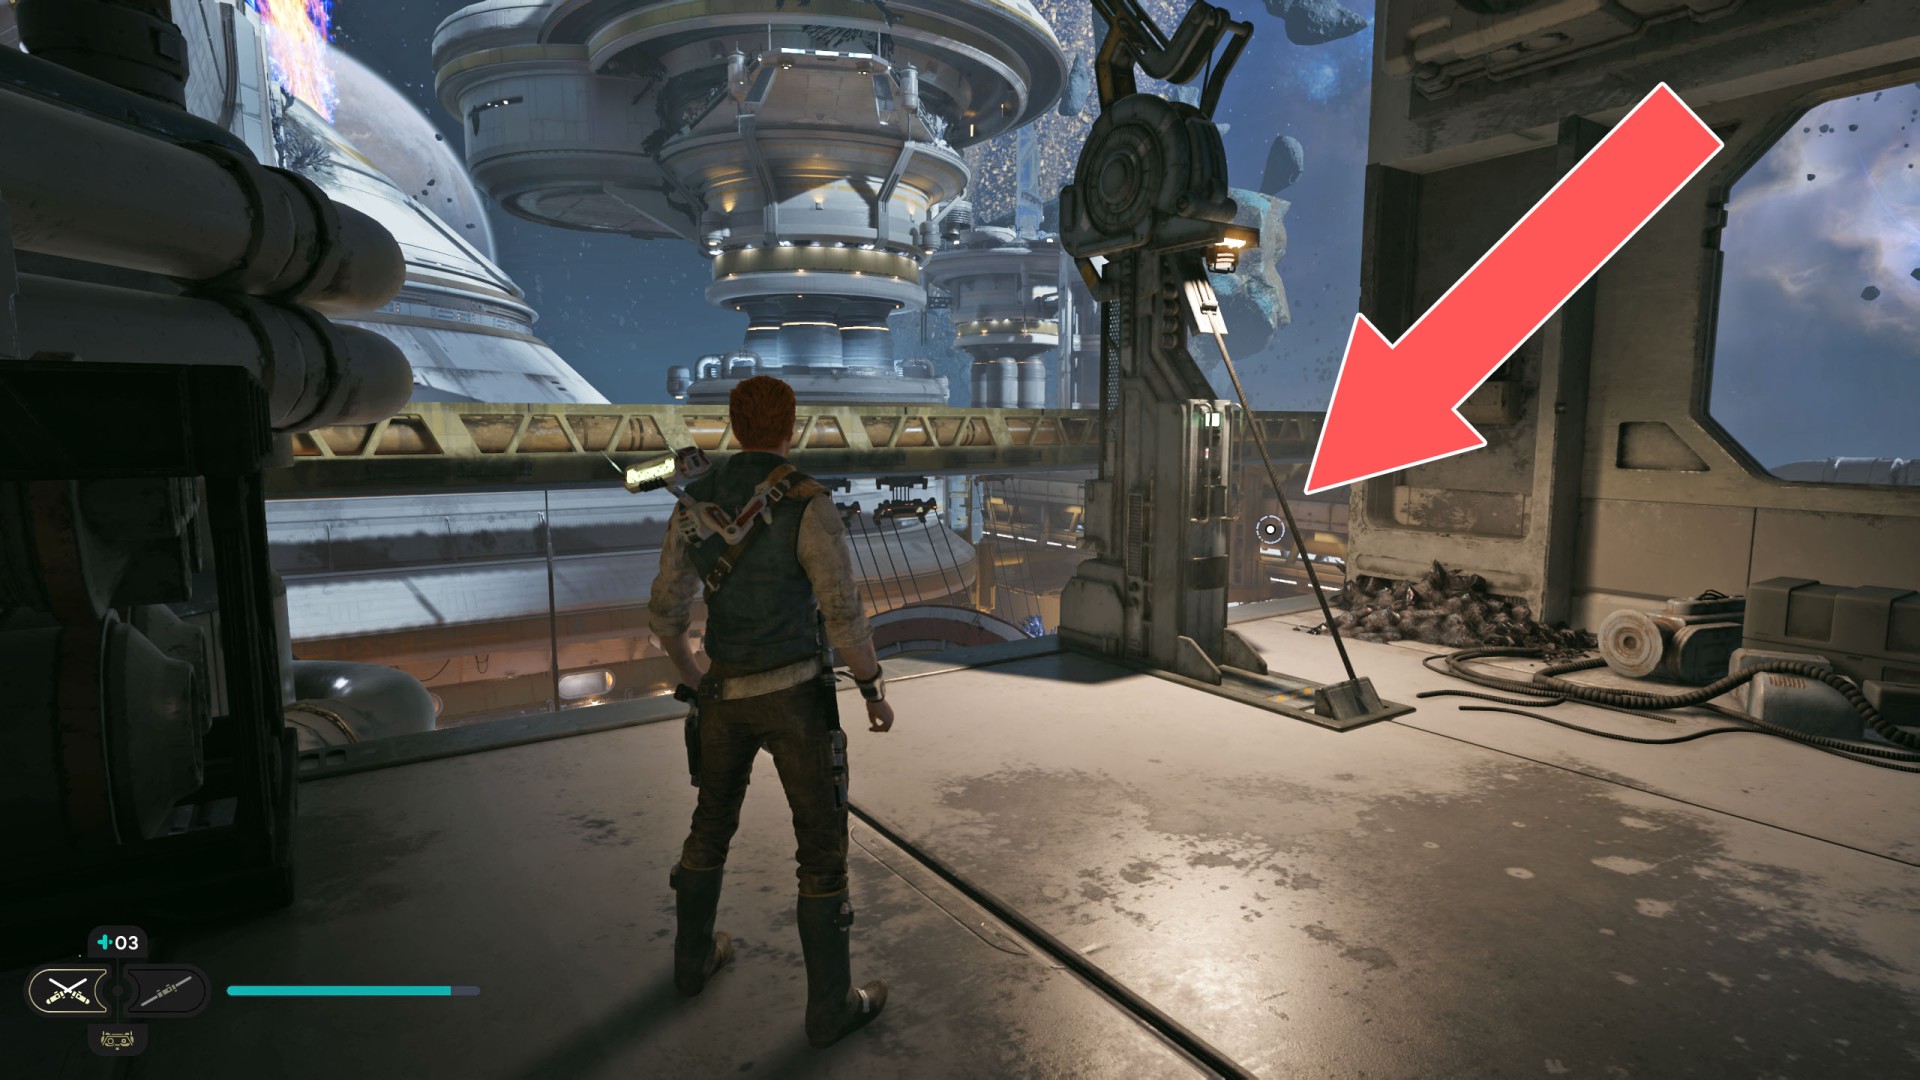
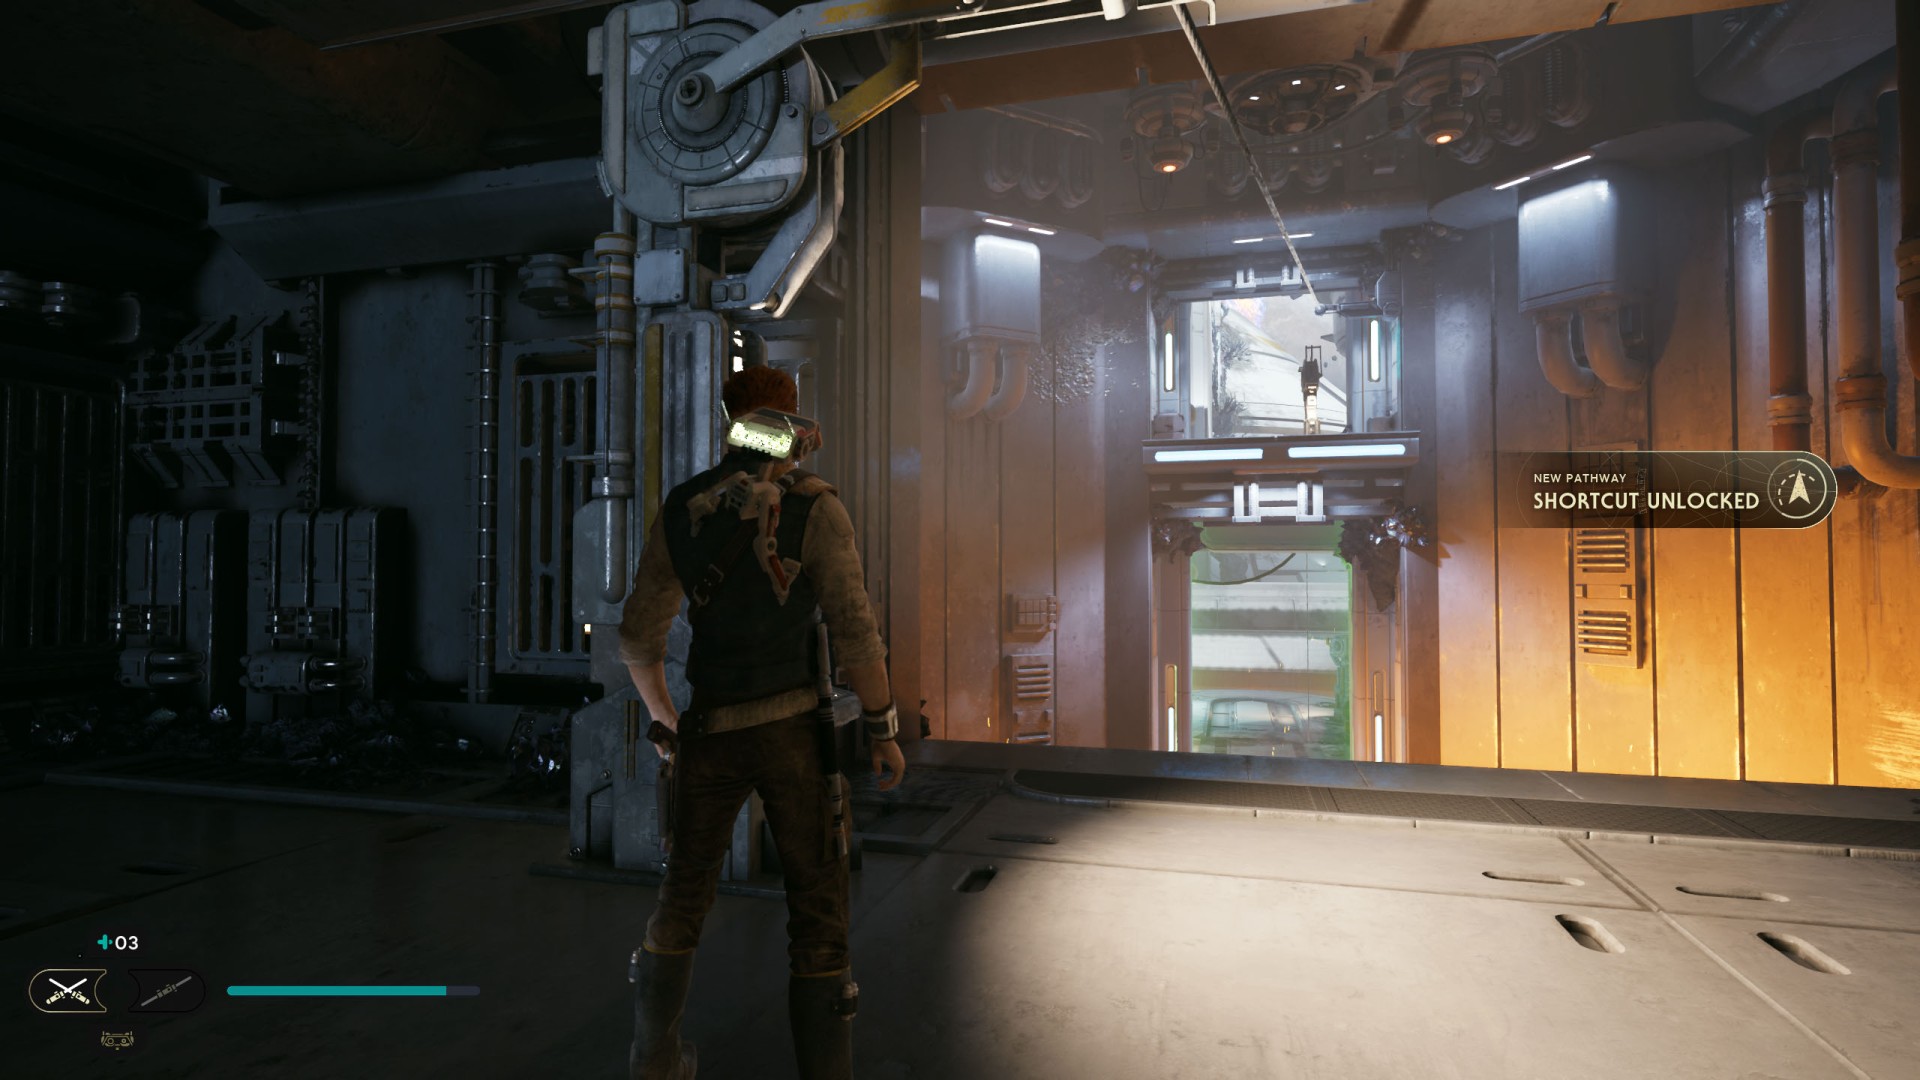
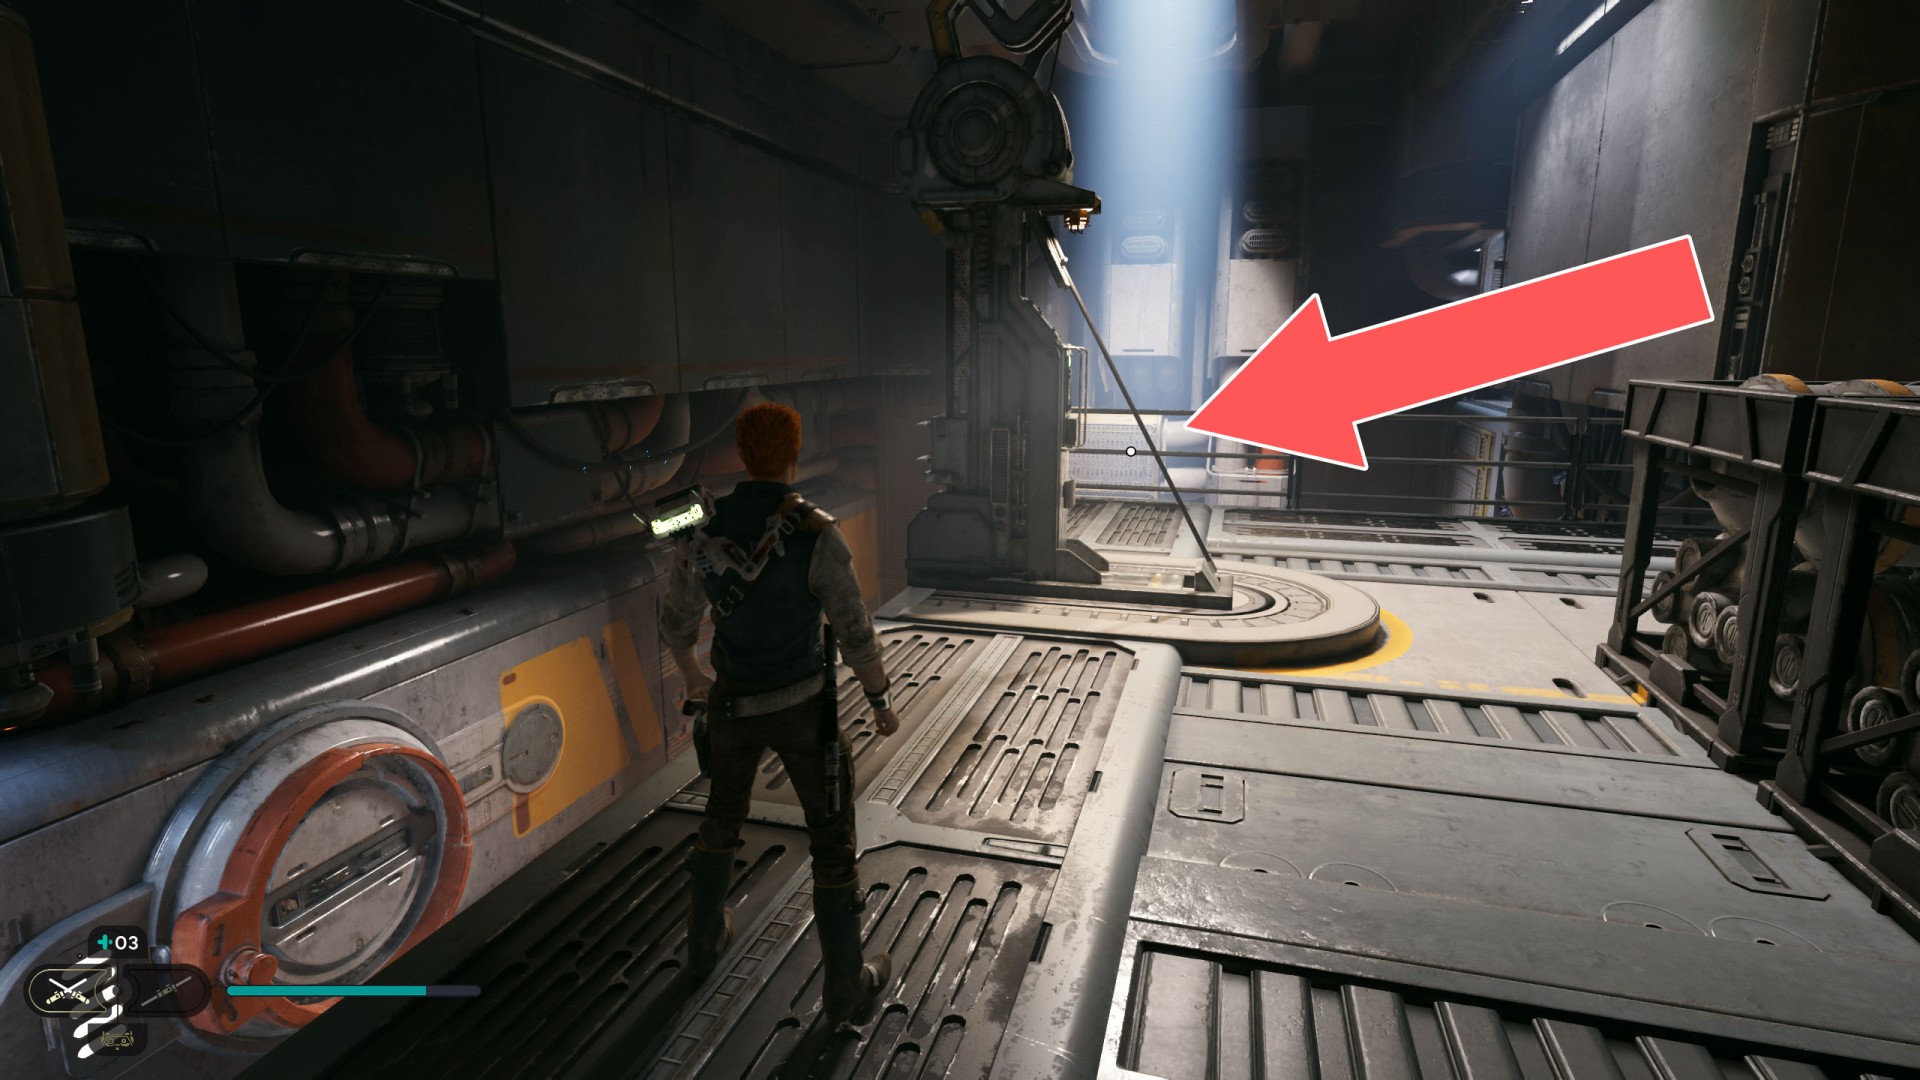
2Industrial Stacks Shortcut
To activate this shortcut order BD-1 to hack the rope launcher.
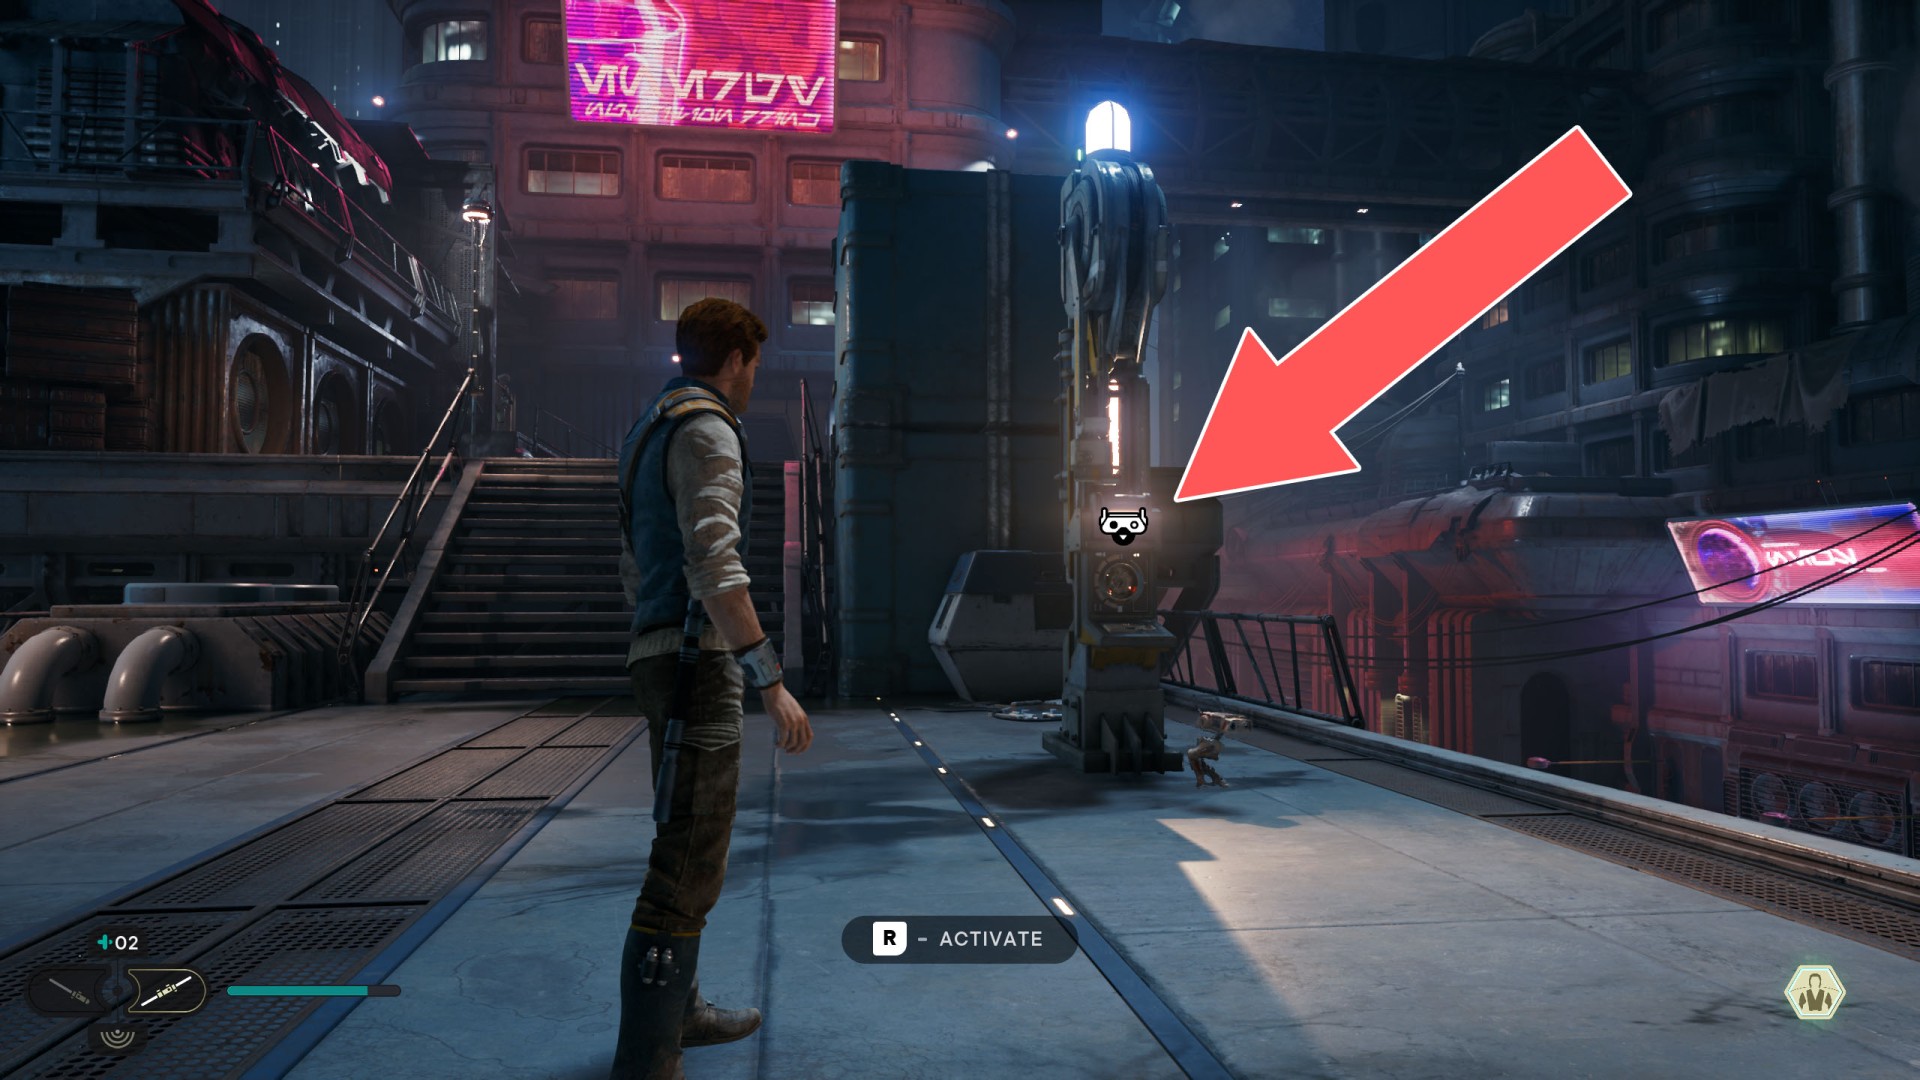
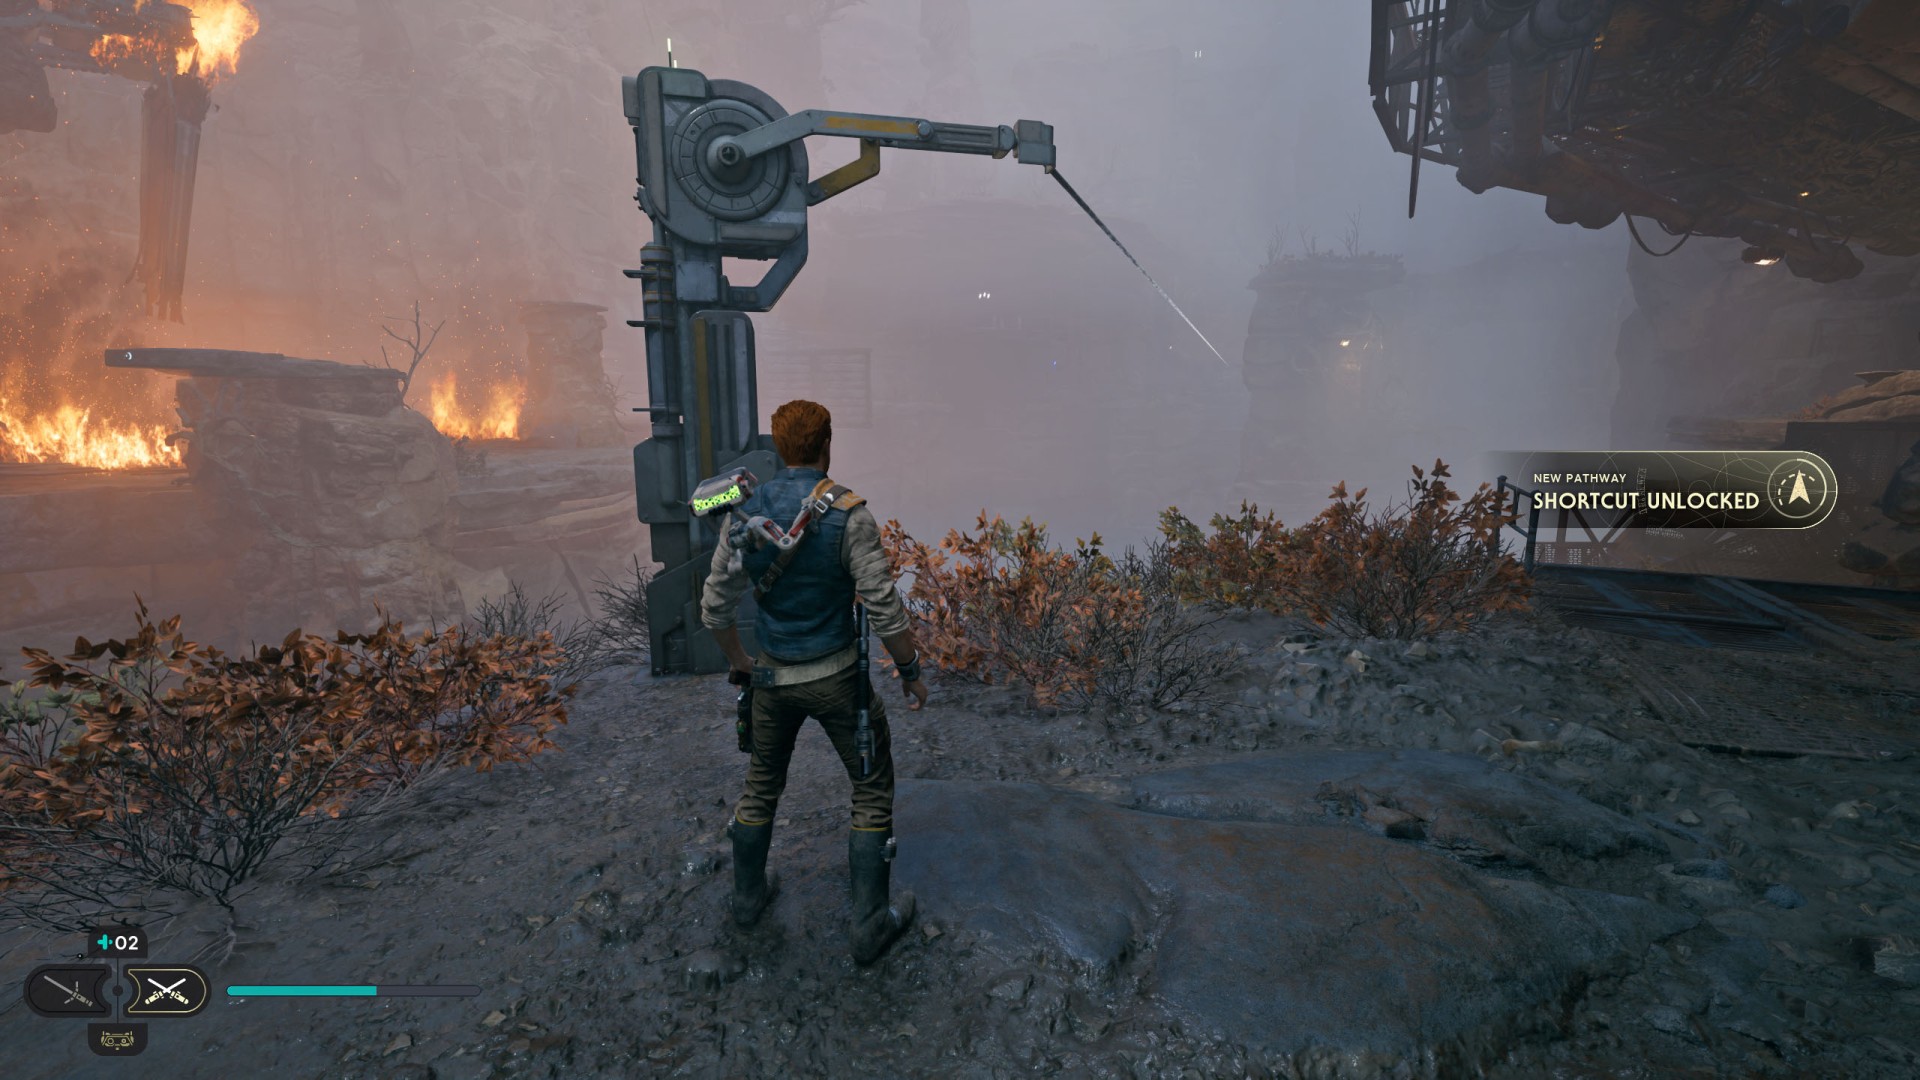
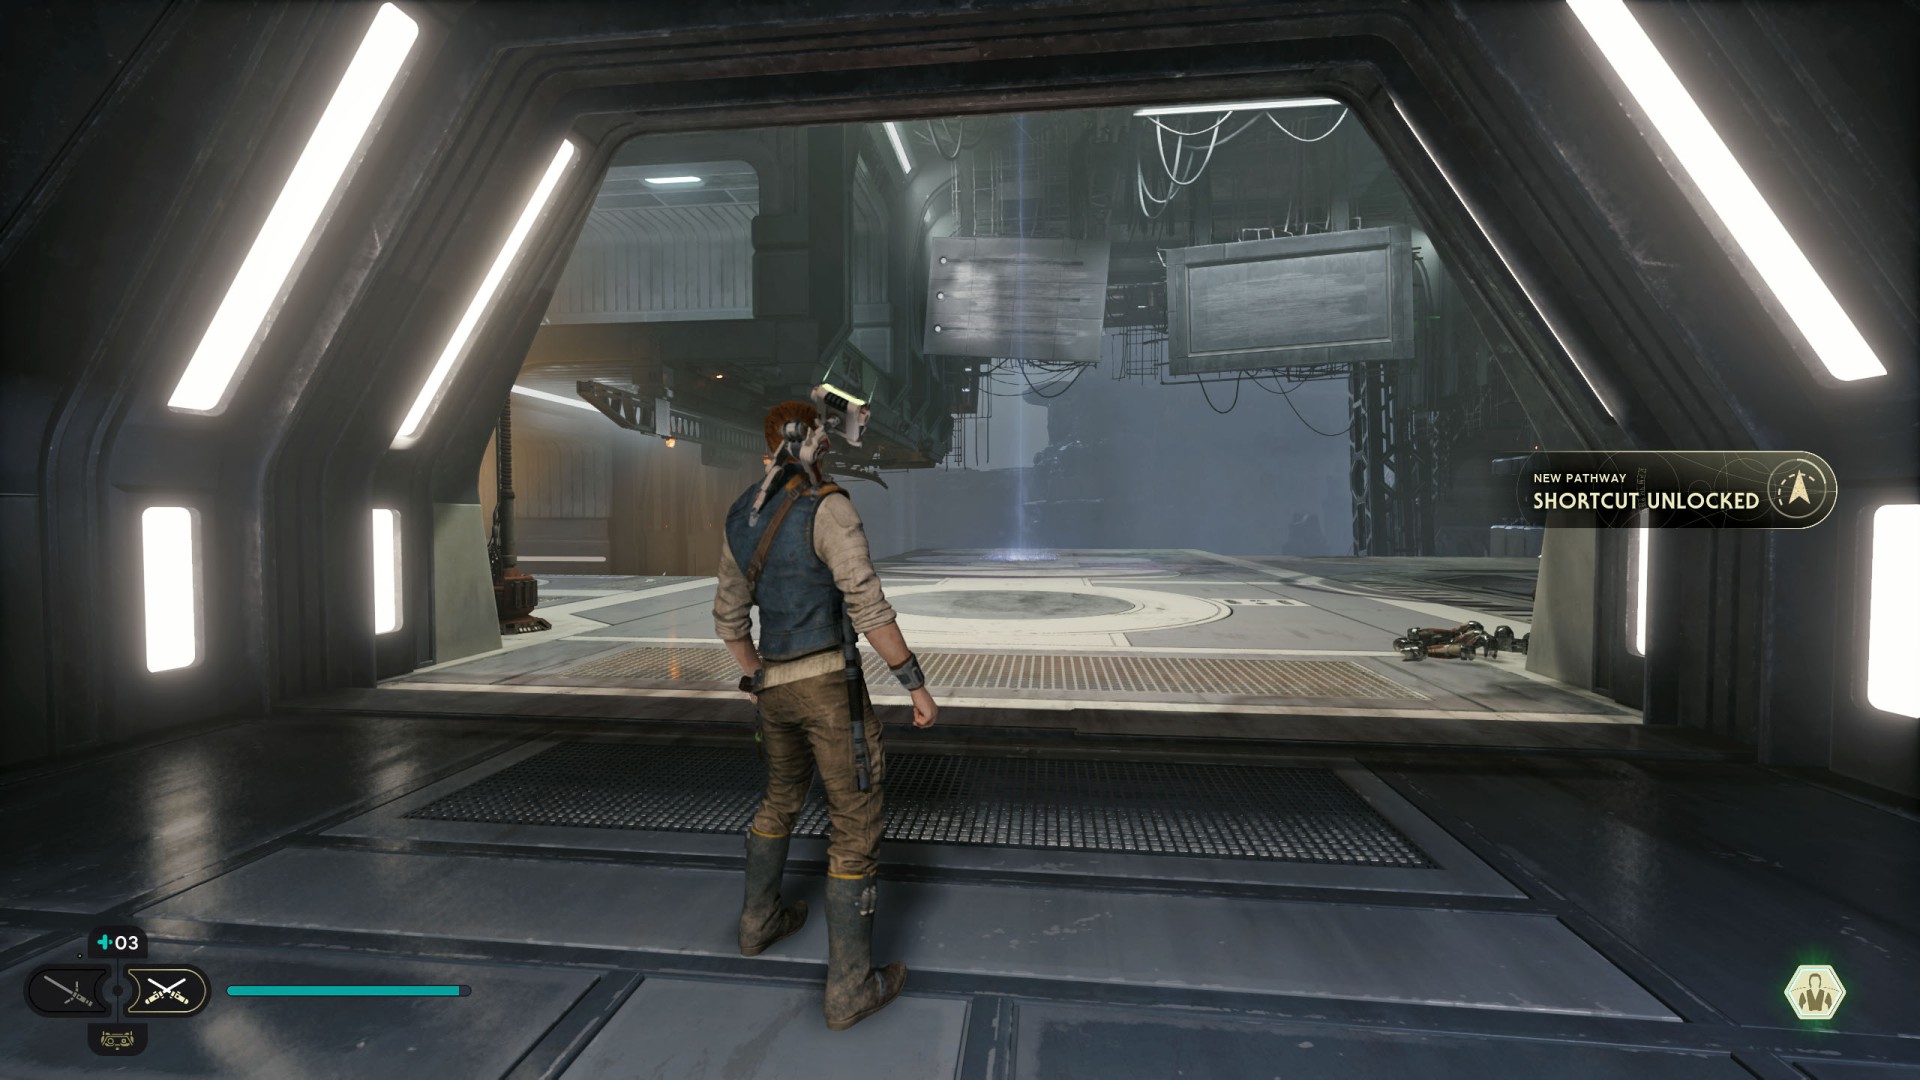
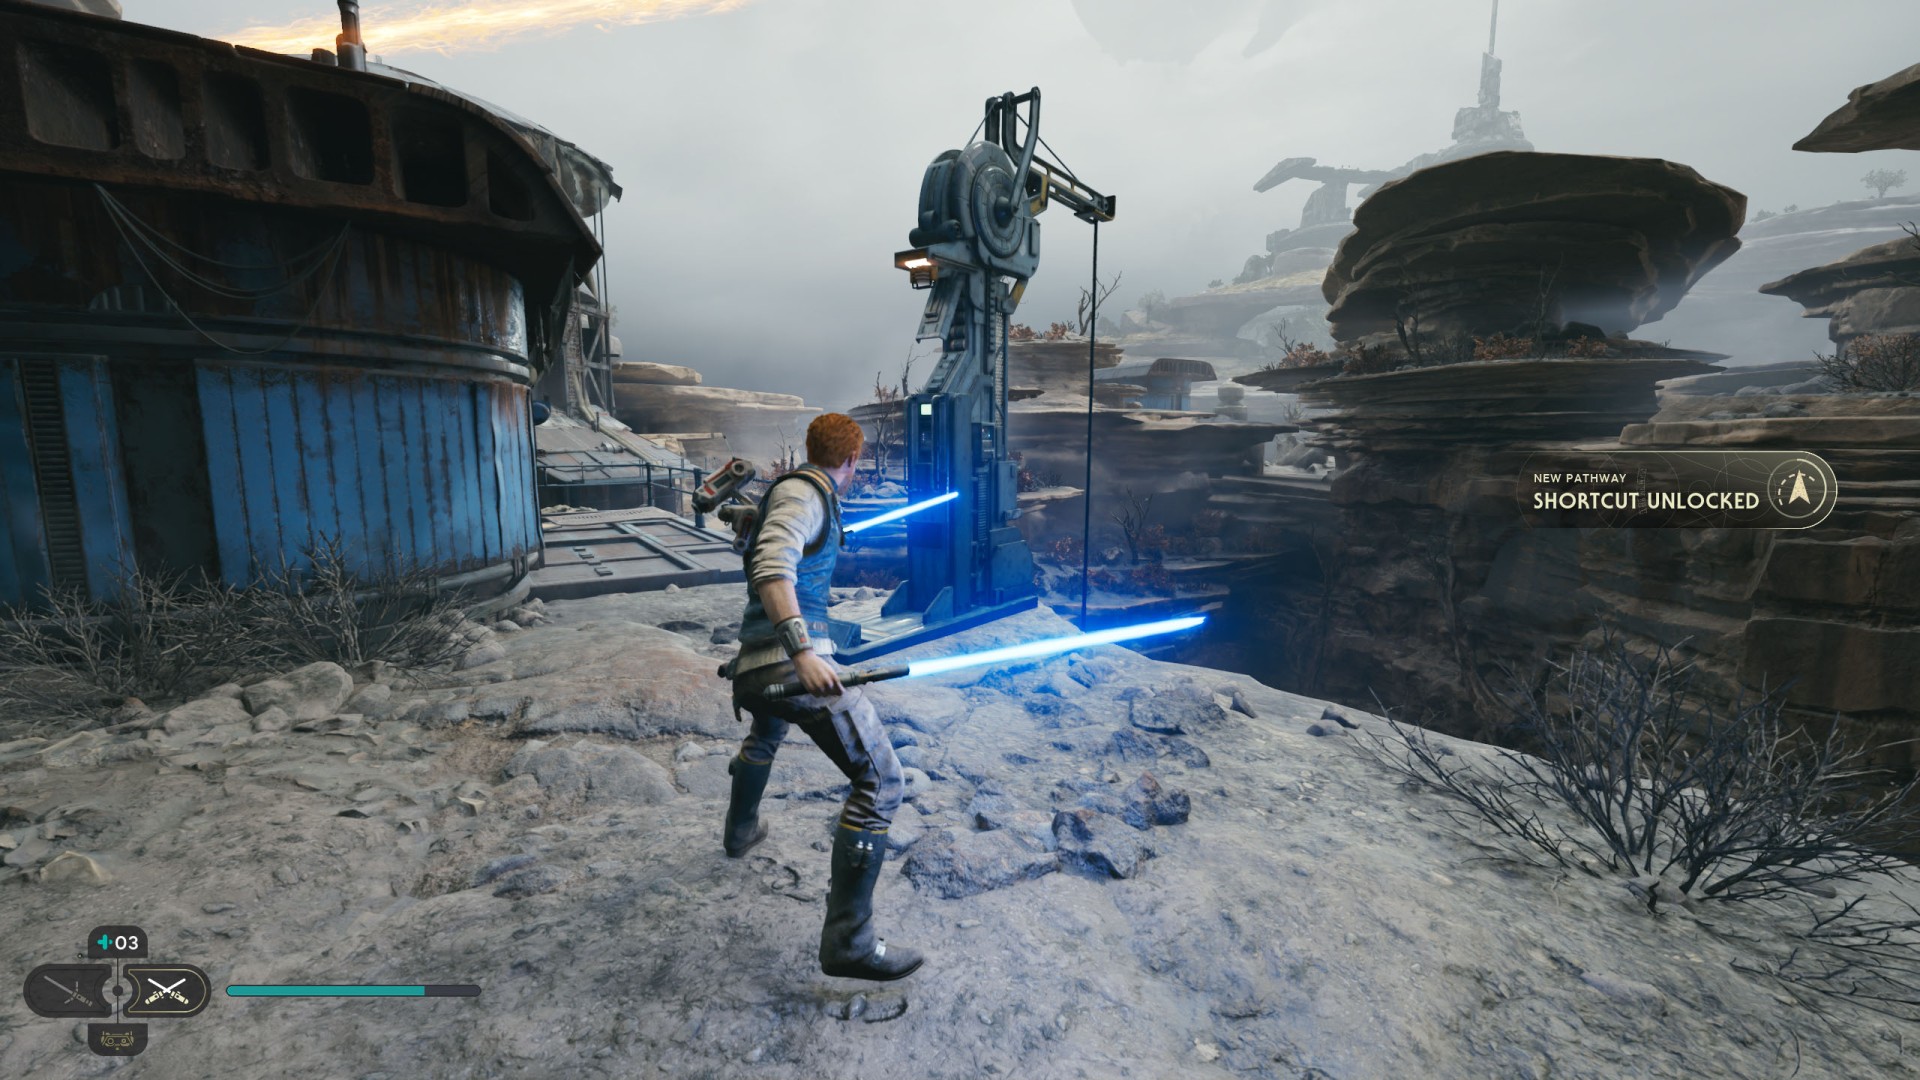
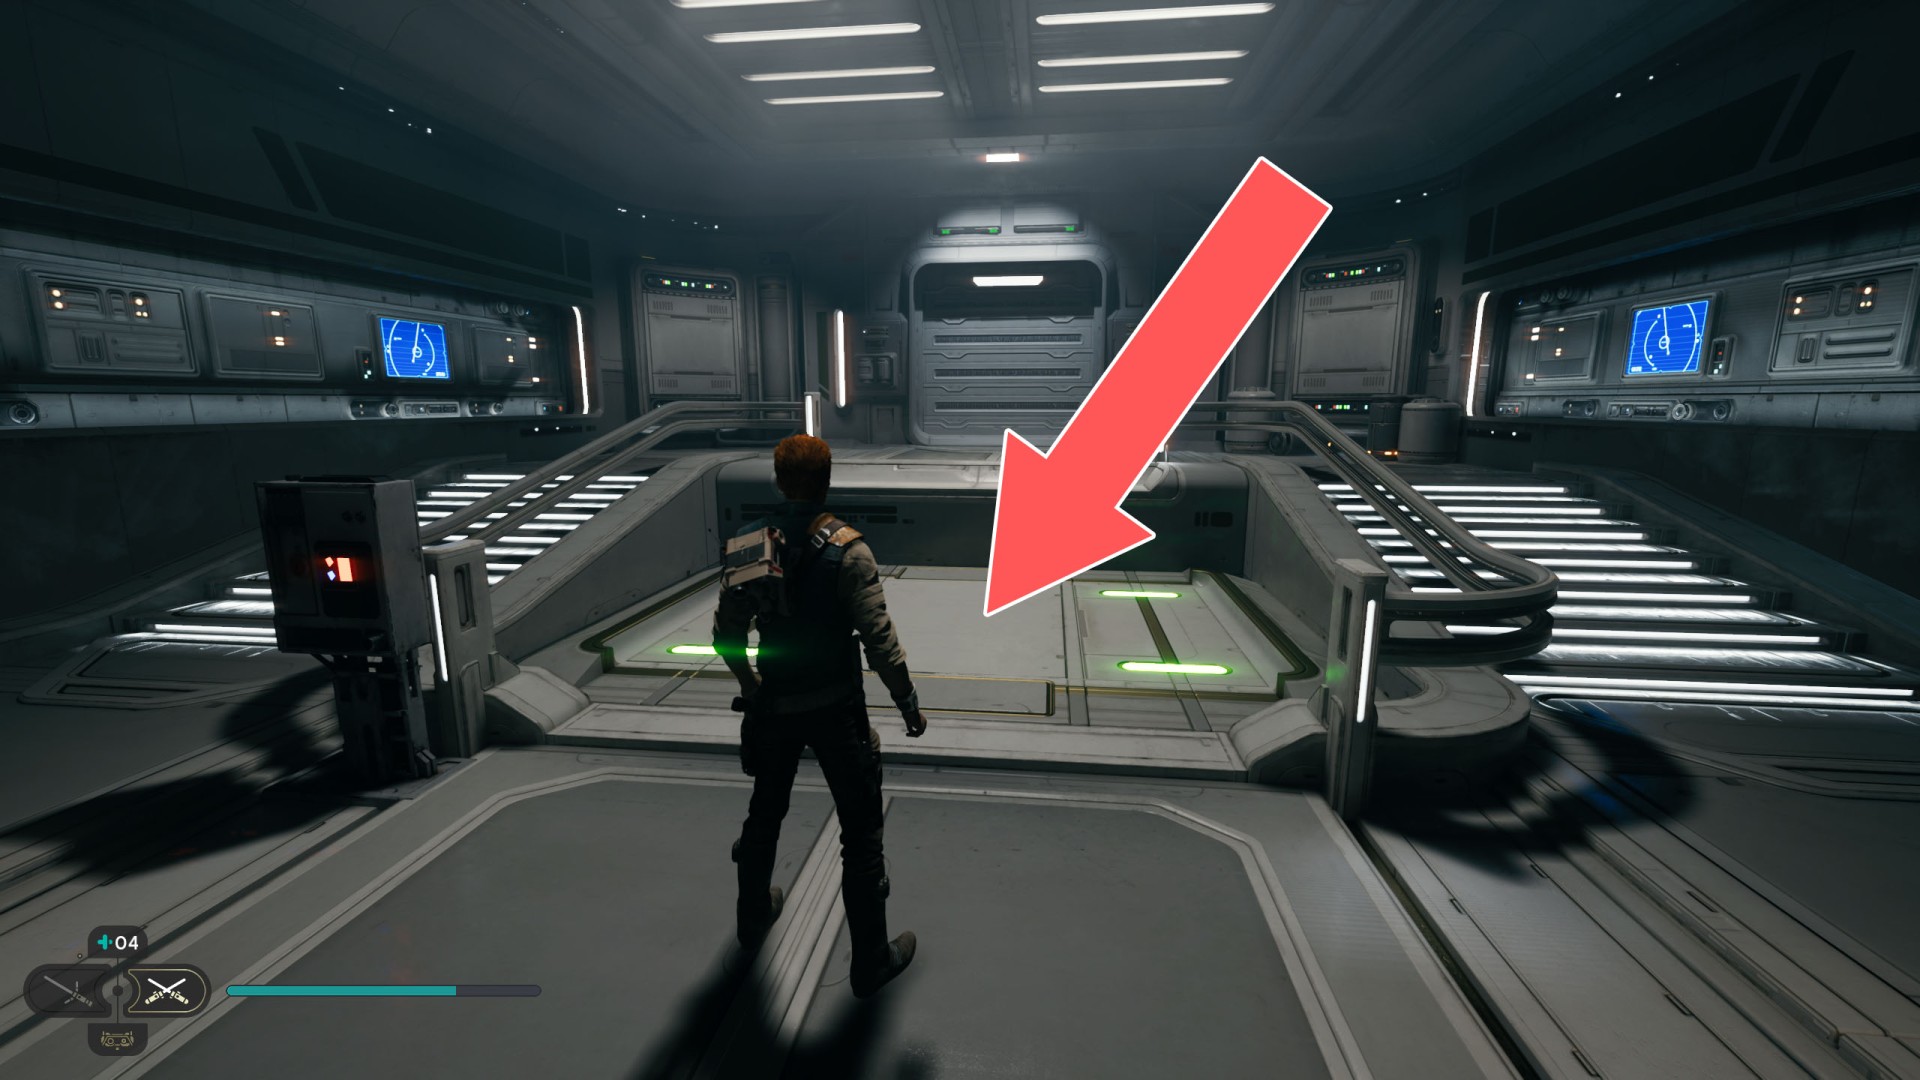
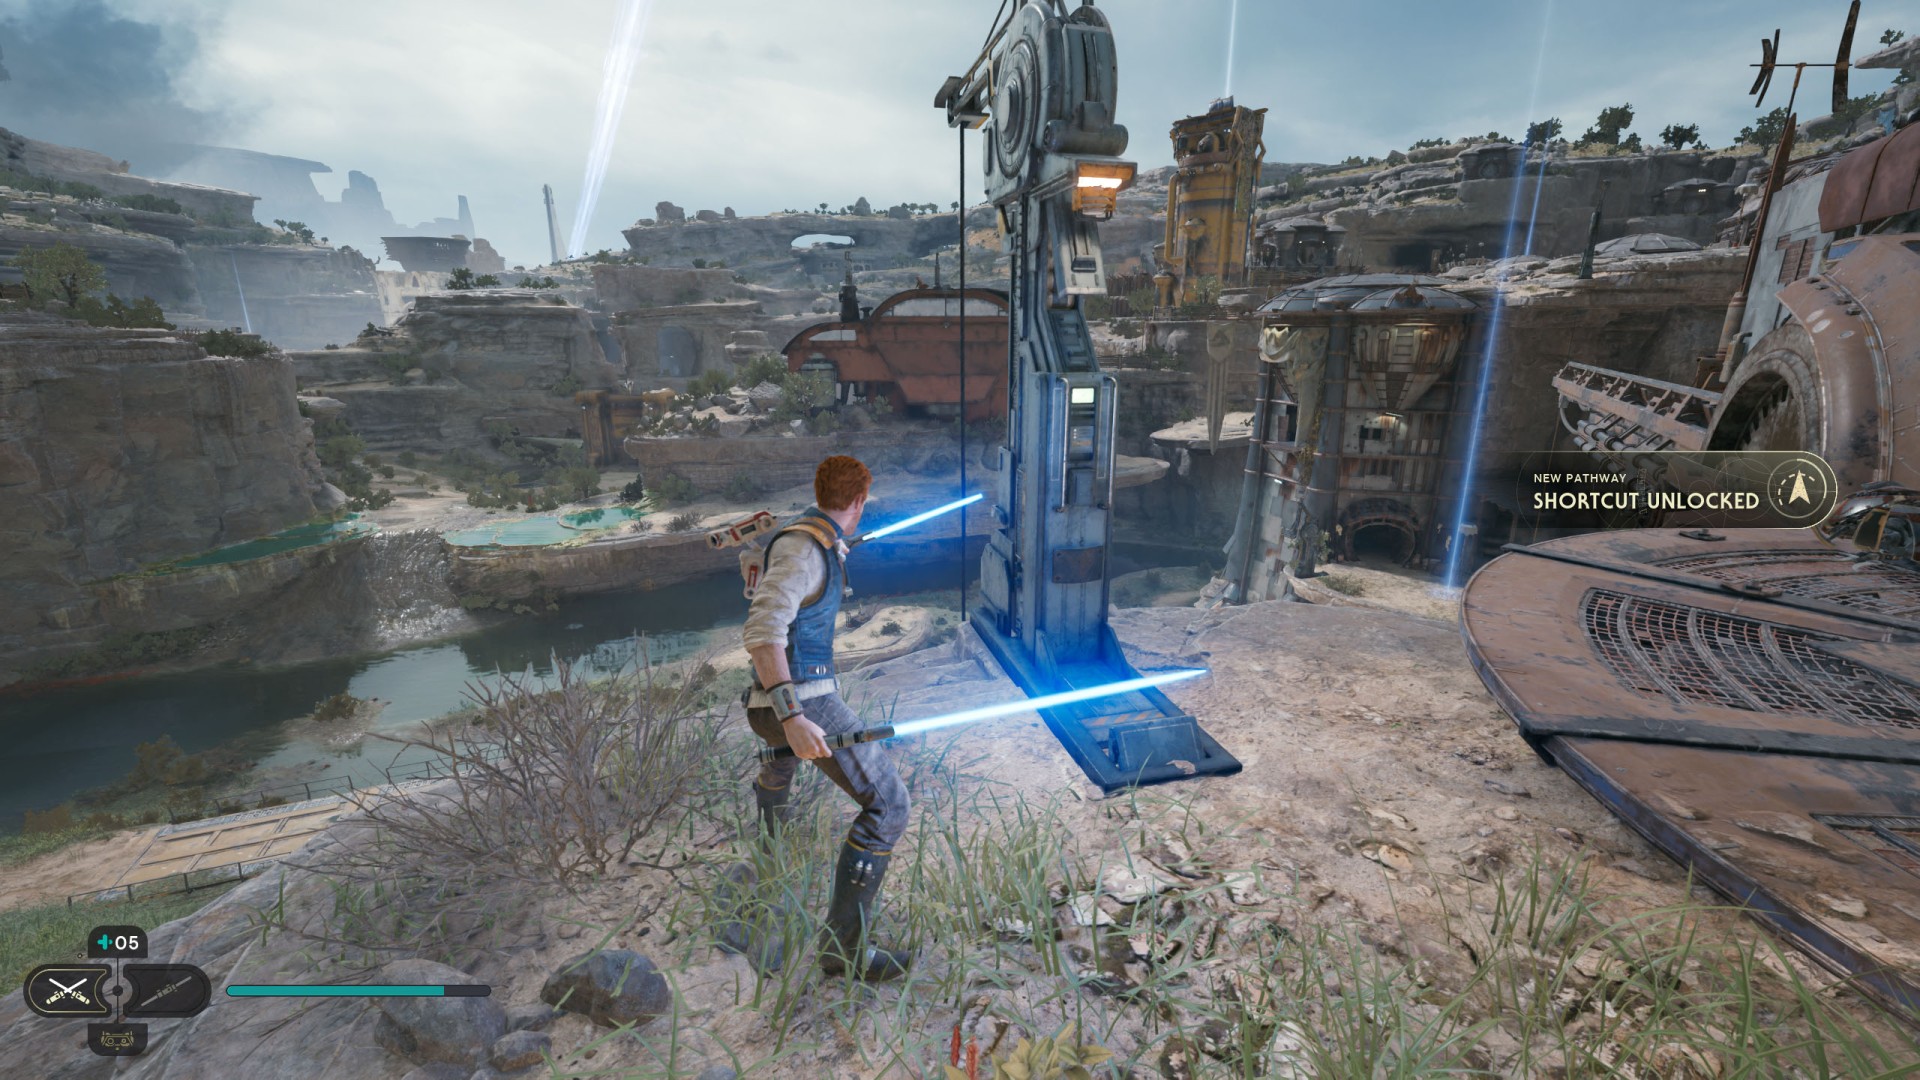
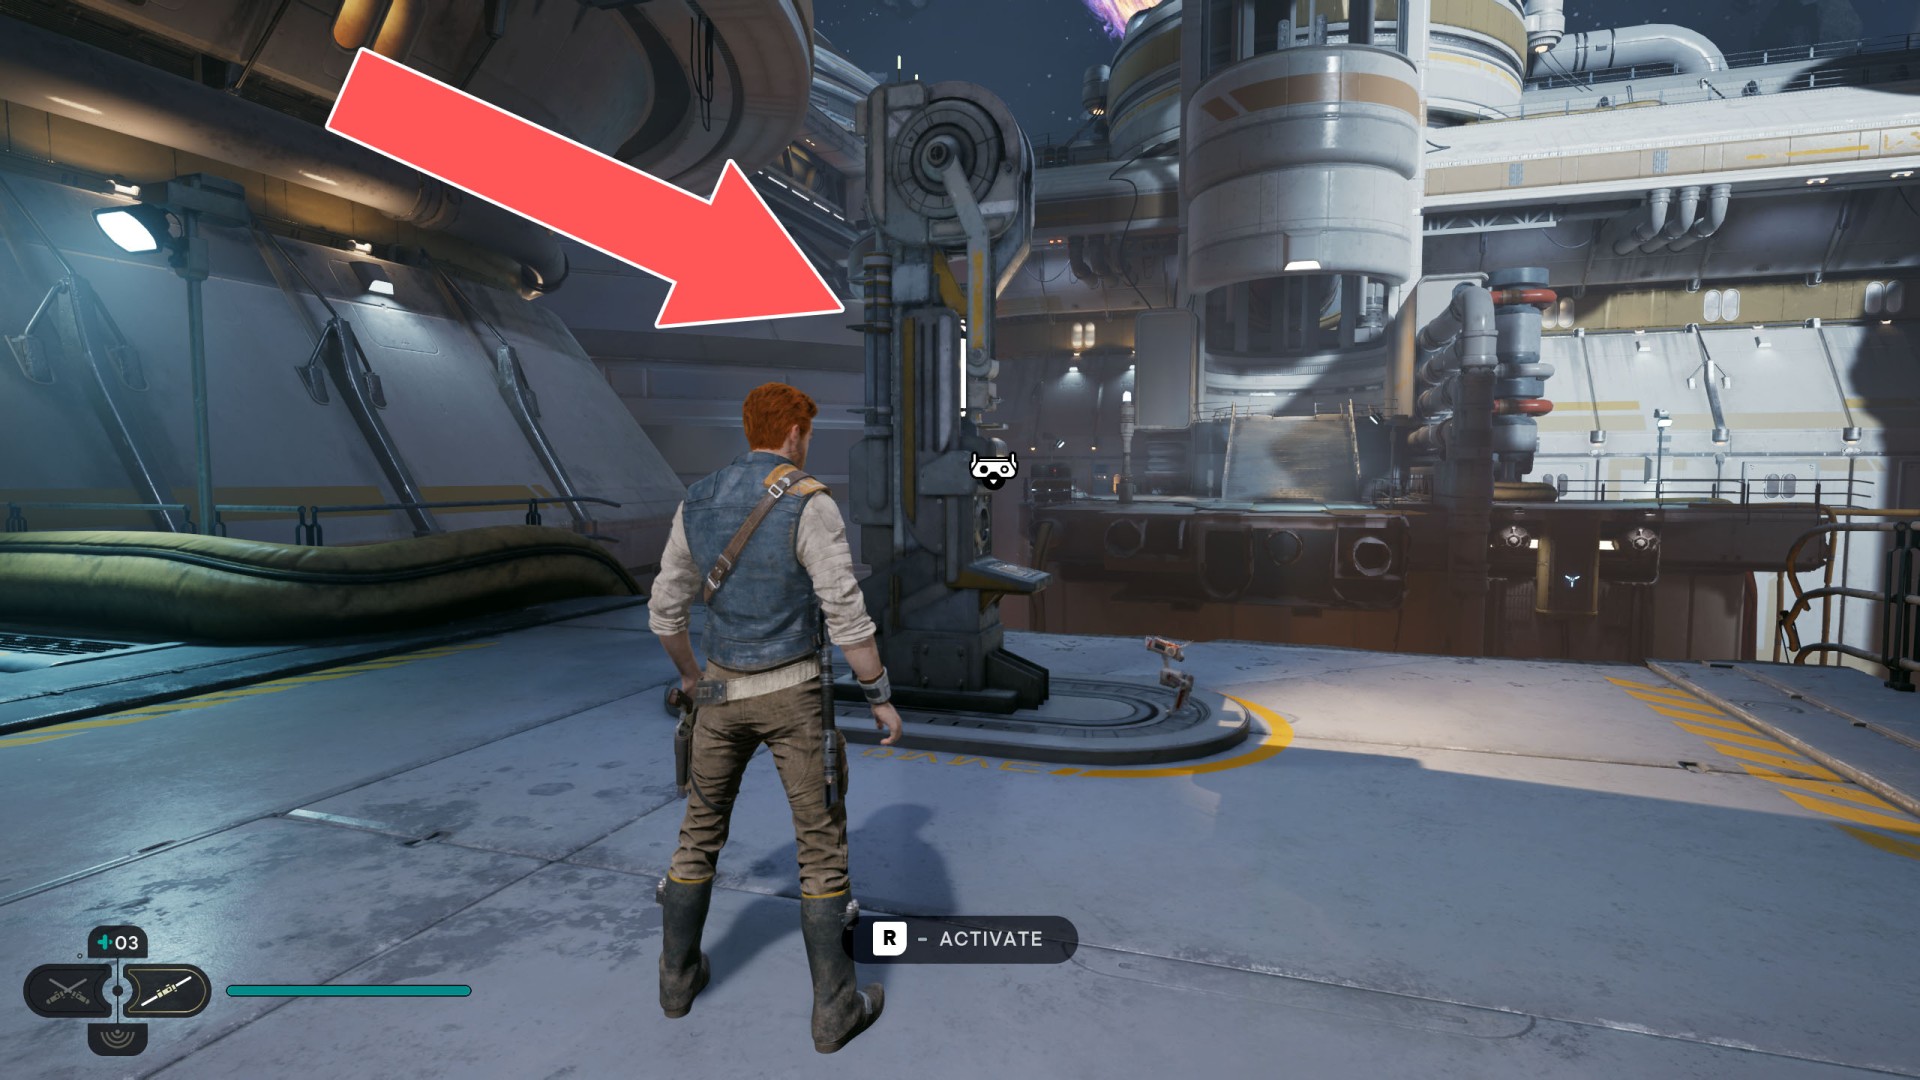
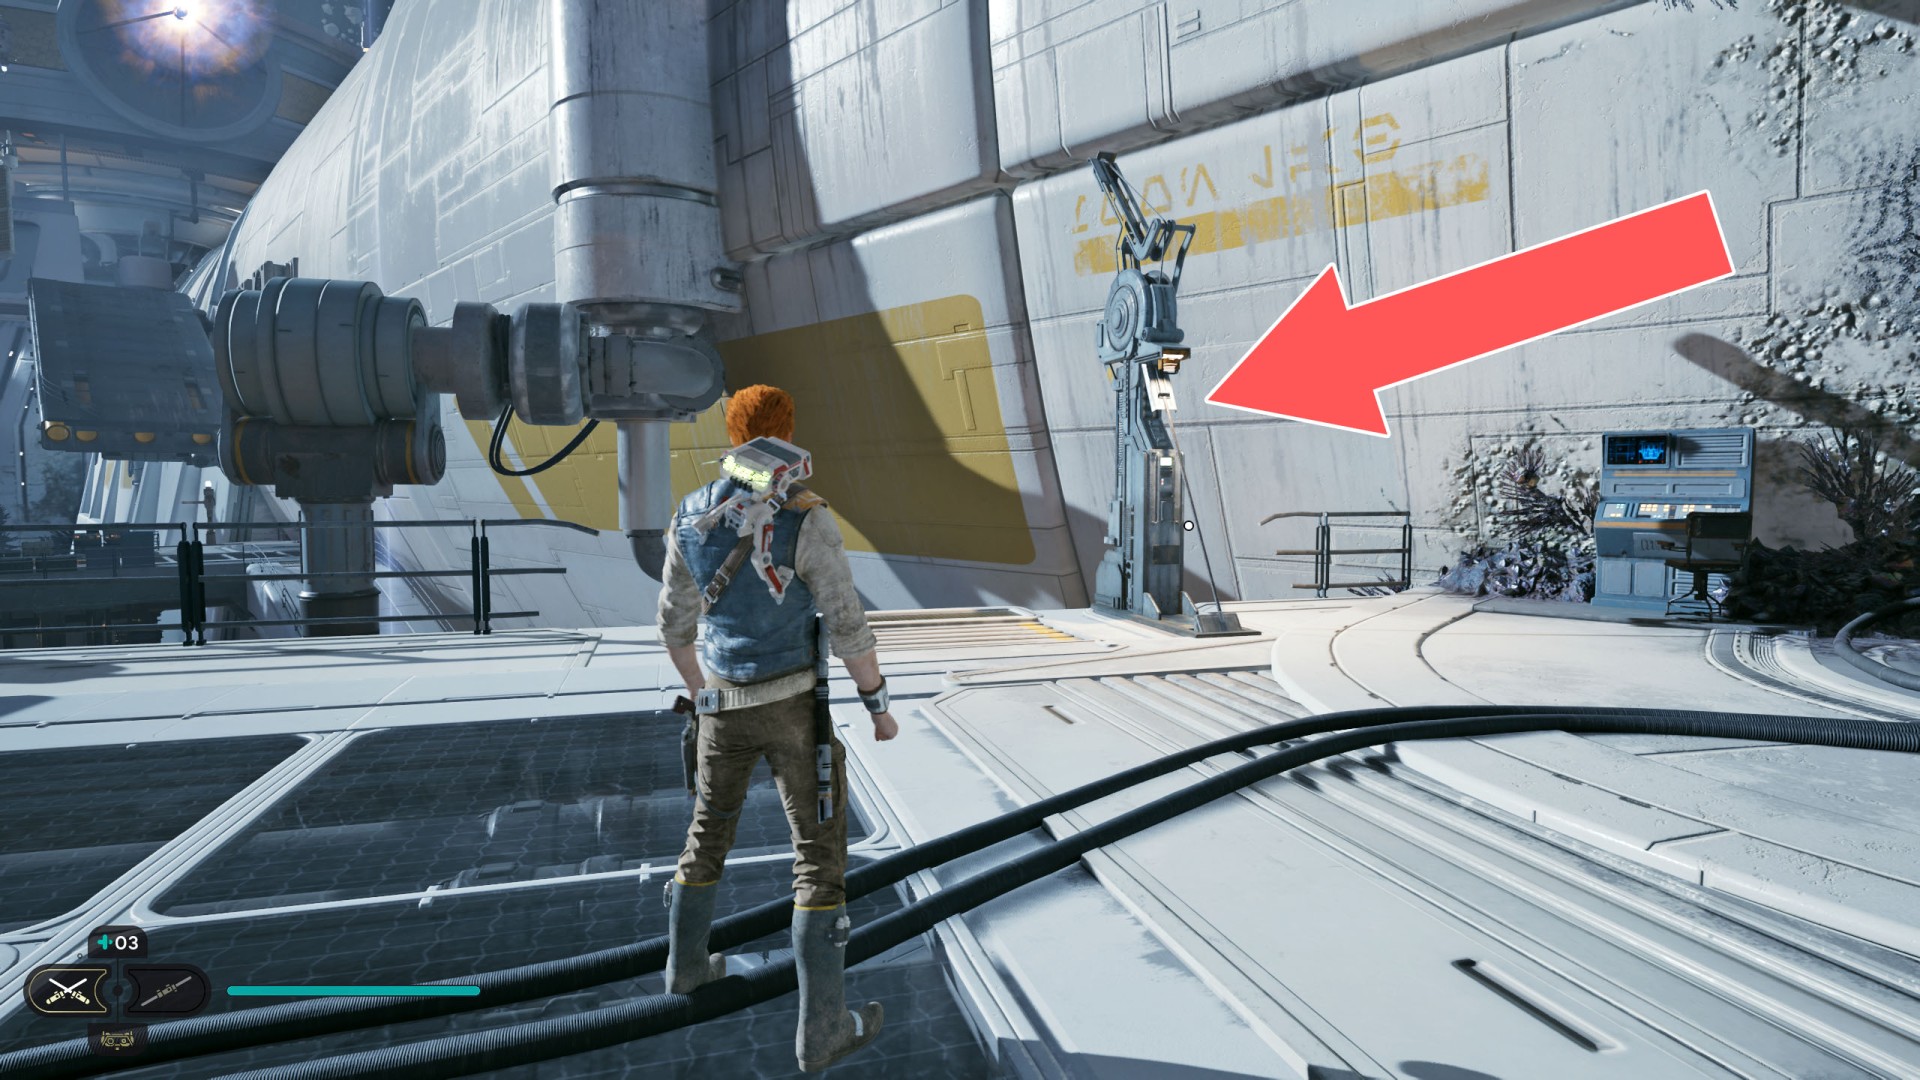
3Renovation Site 4733 Shortcut #1
Use BD-1 and activate the device that stands here. It will cast a rope with which you can quickly move between here and the neighboring platform.
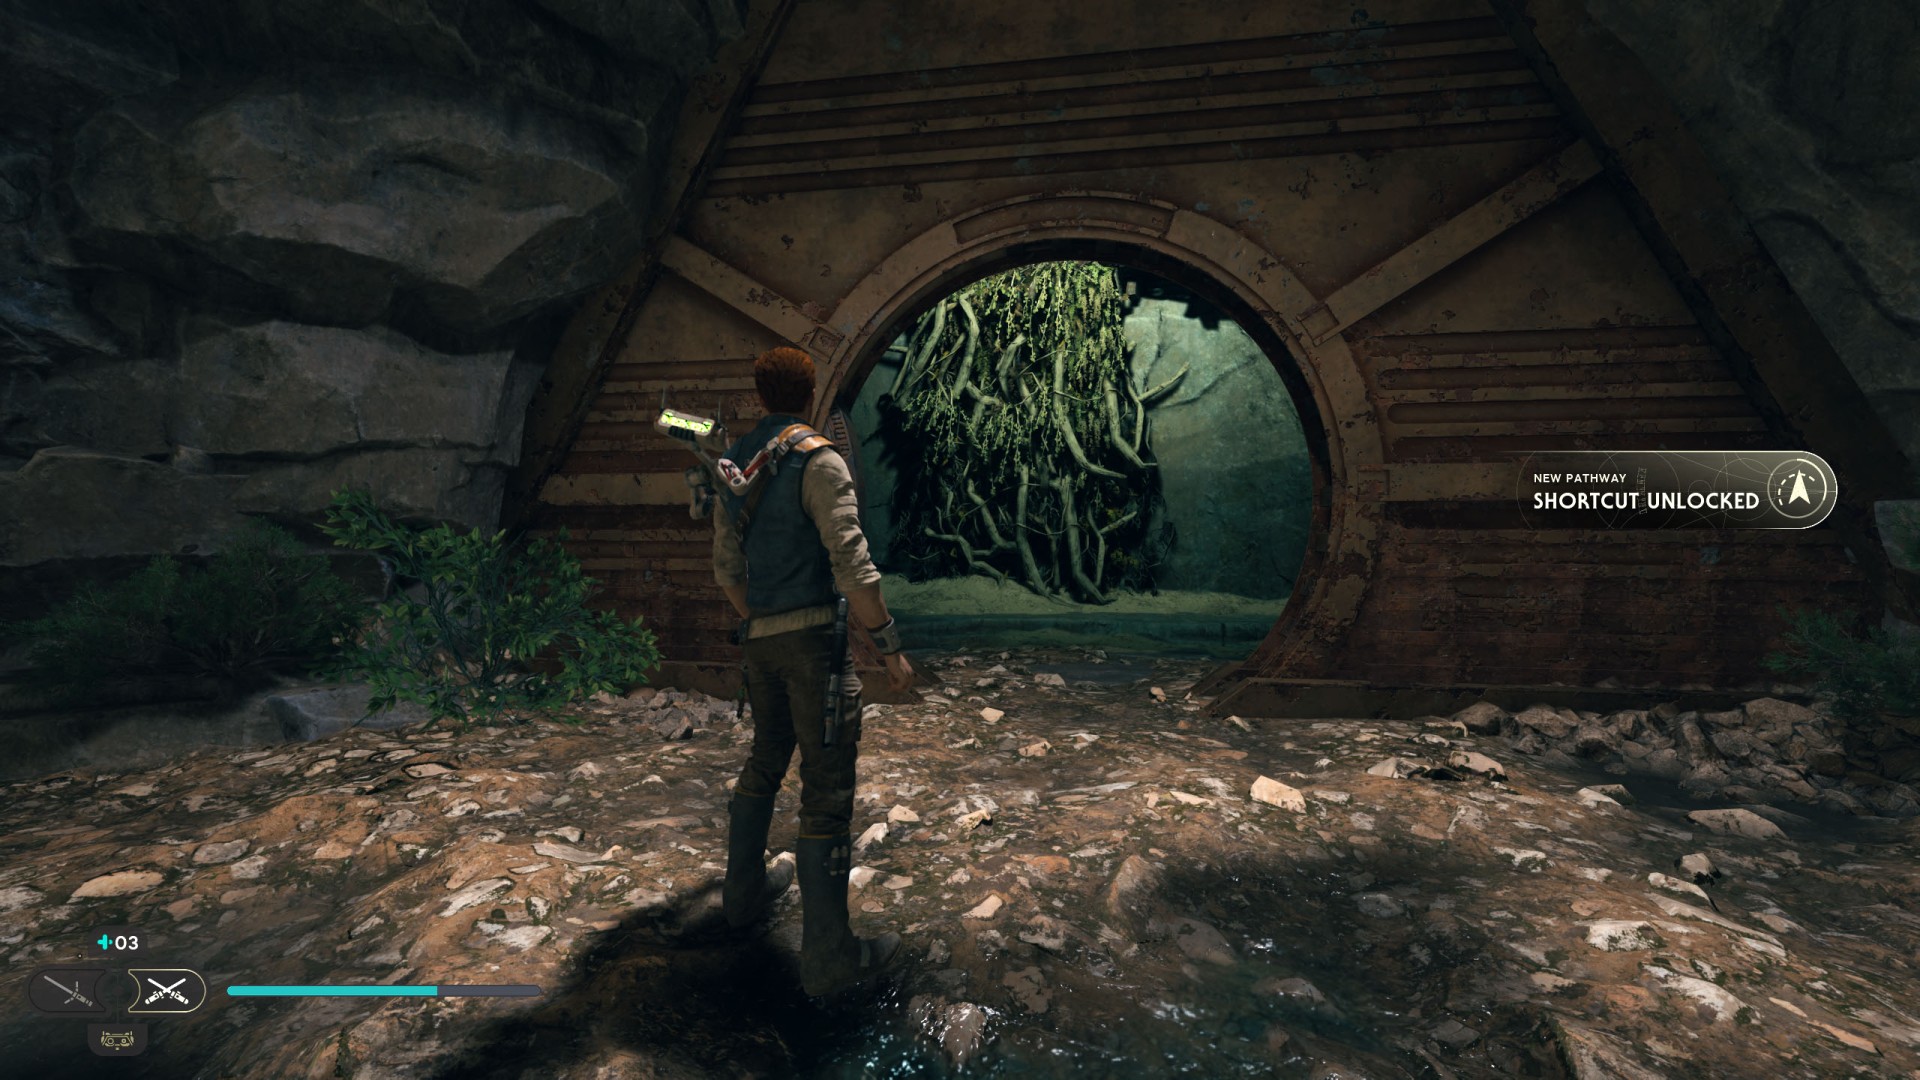
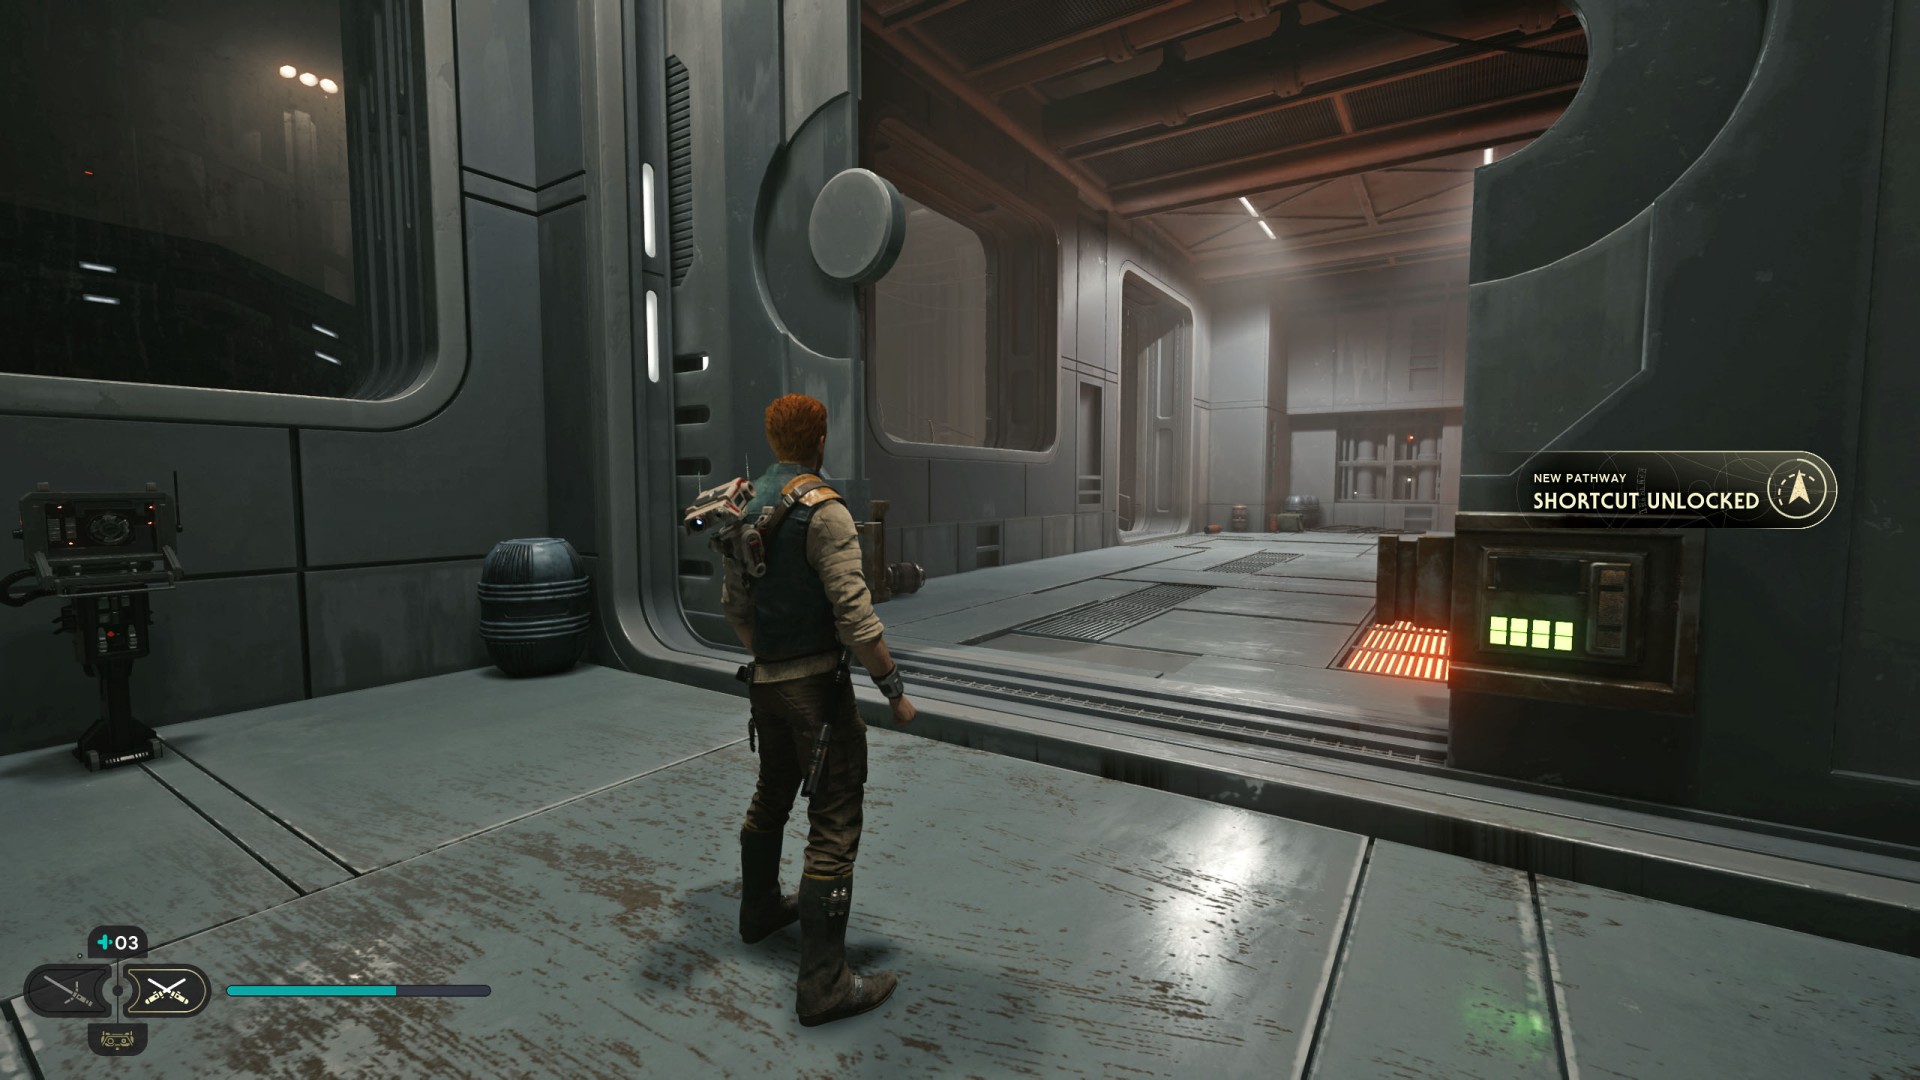
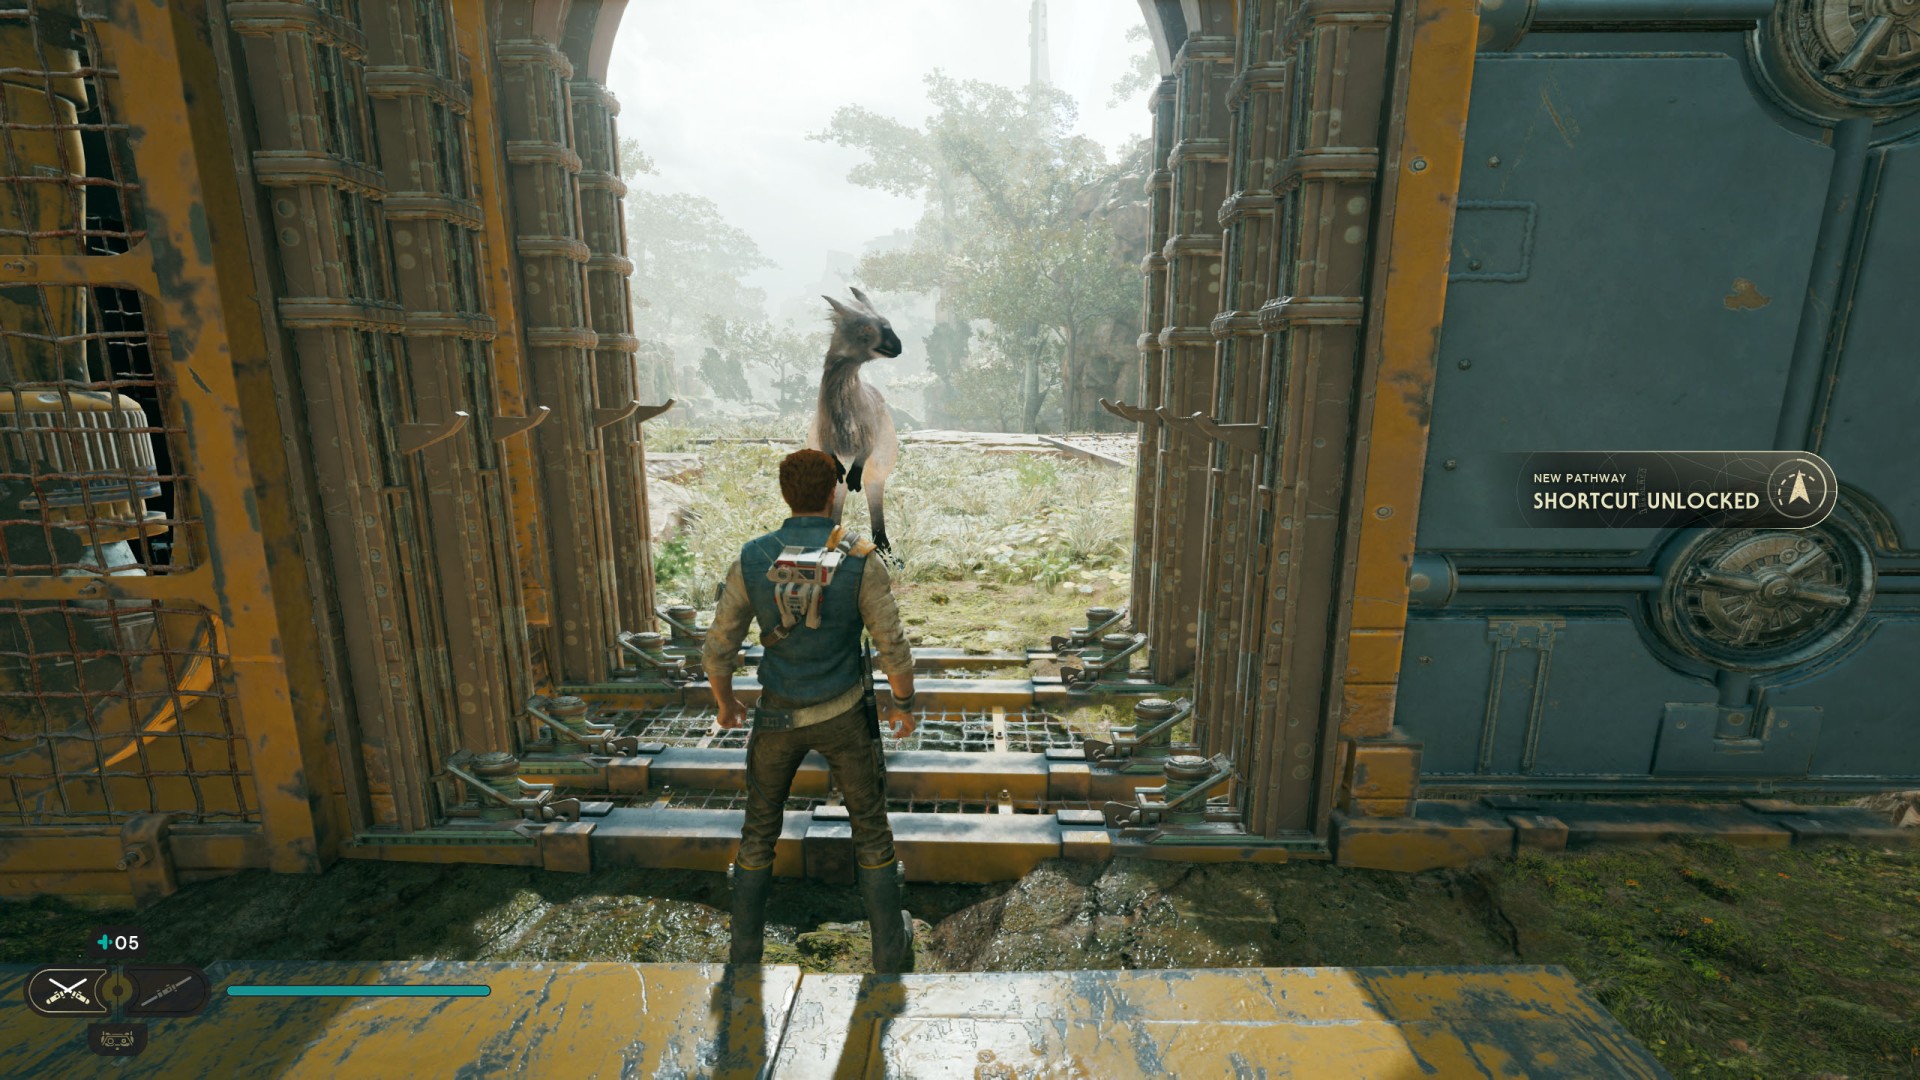
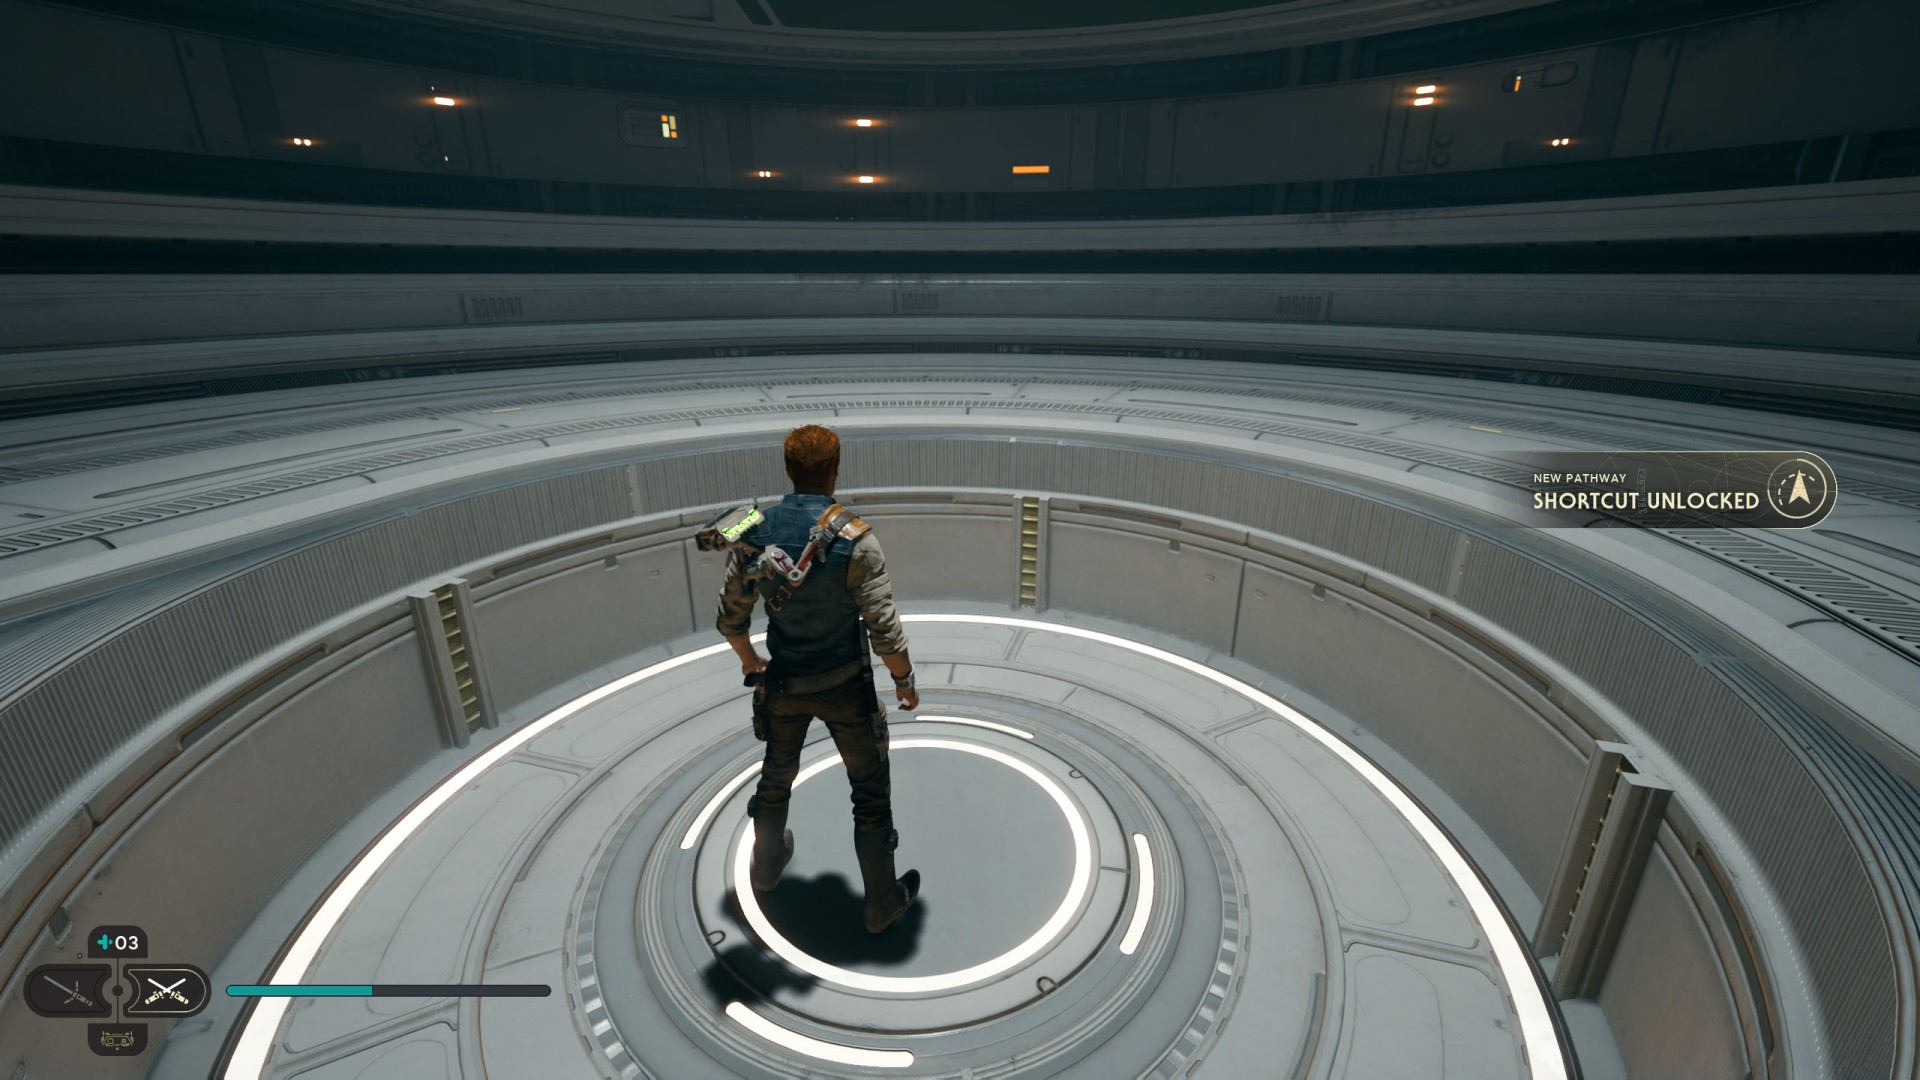
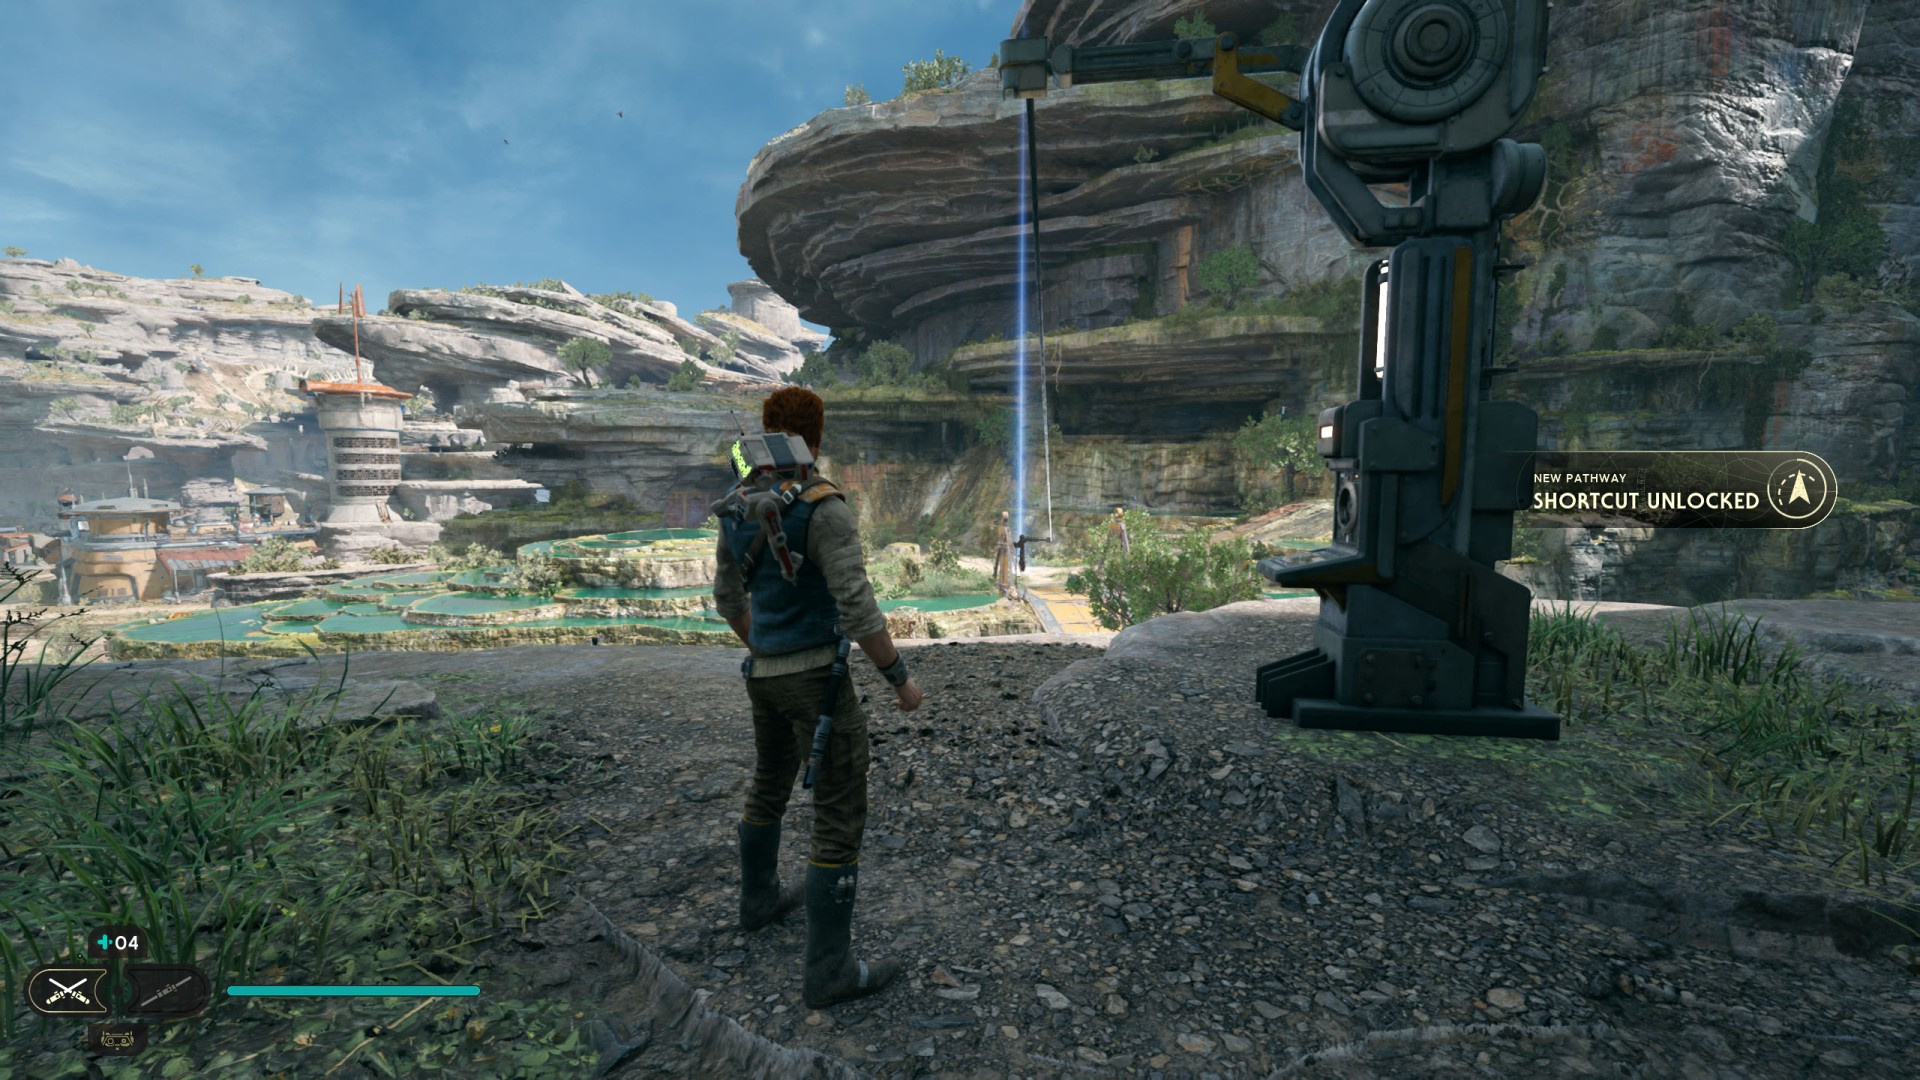
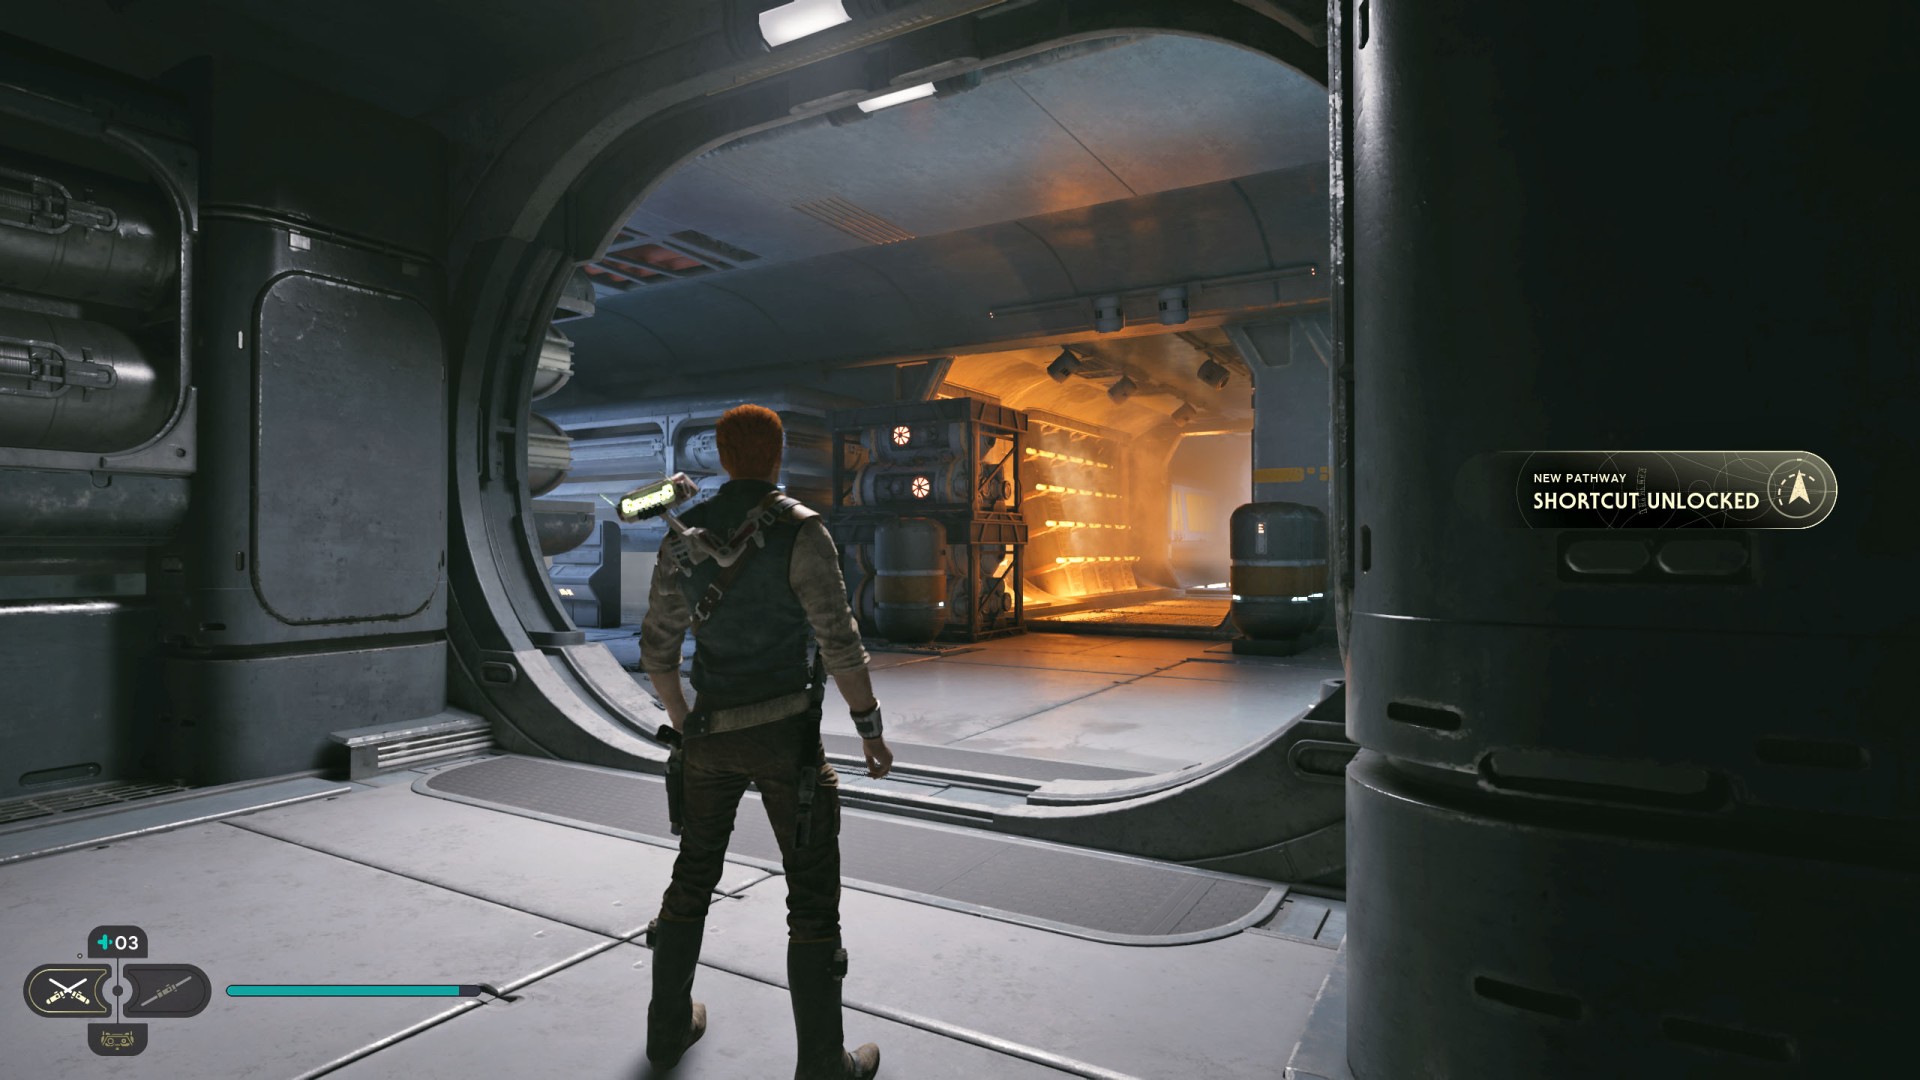
4Renovation Site 4733 Shortcut #2
To activate this shortcut you must open the door. You can only do this from one side, from the outside.
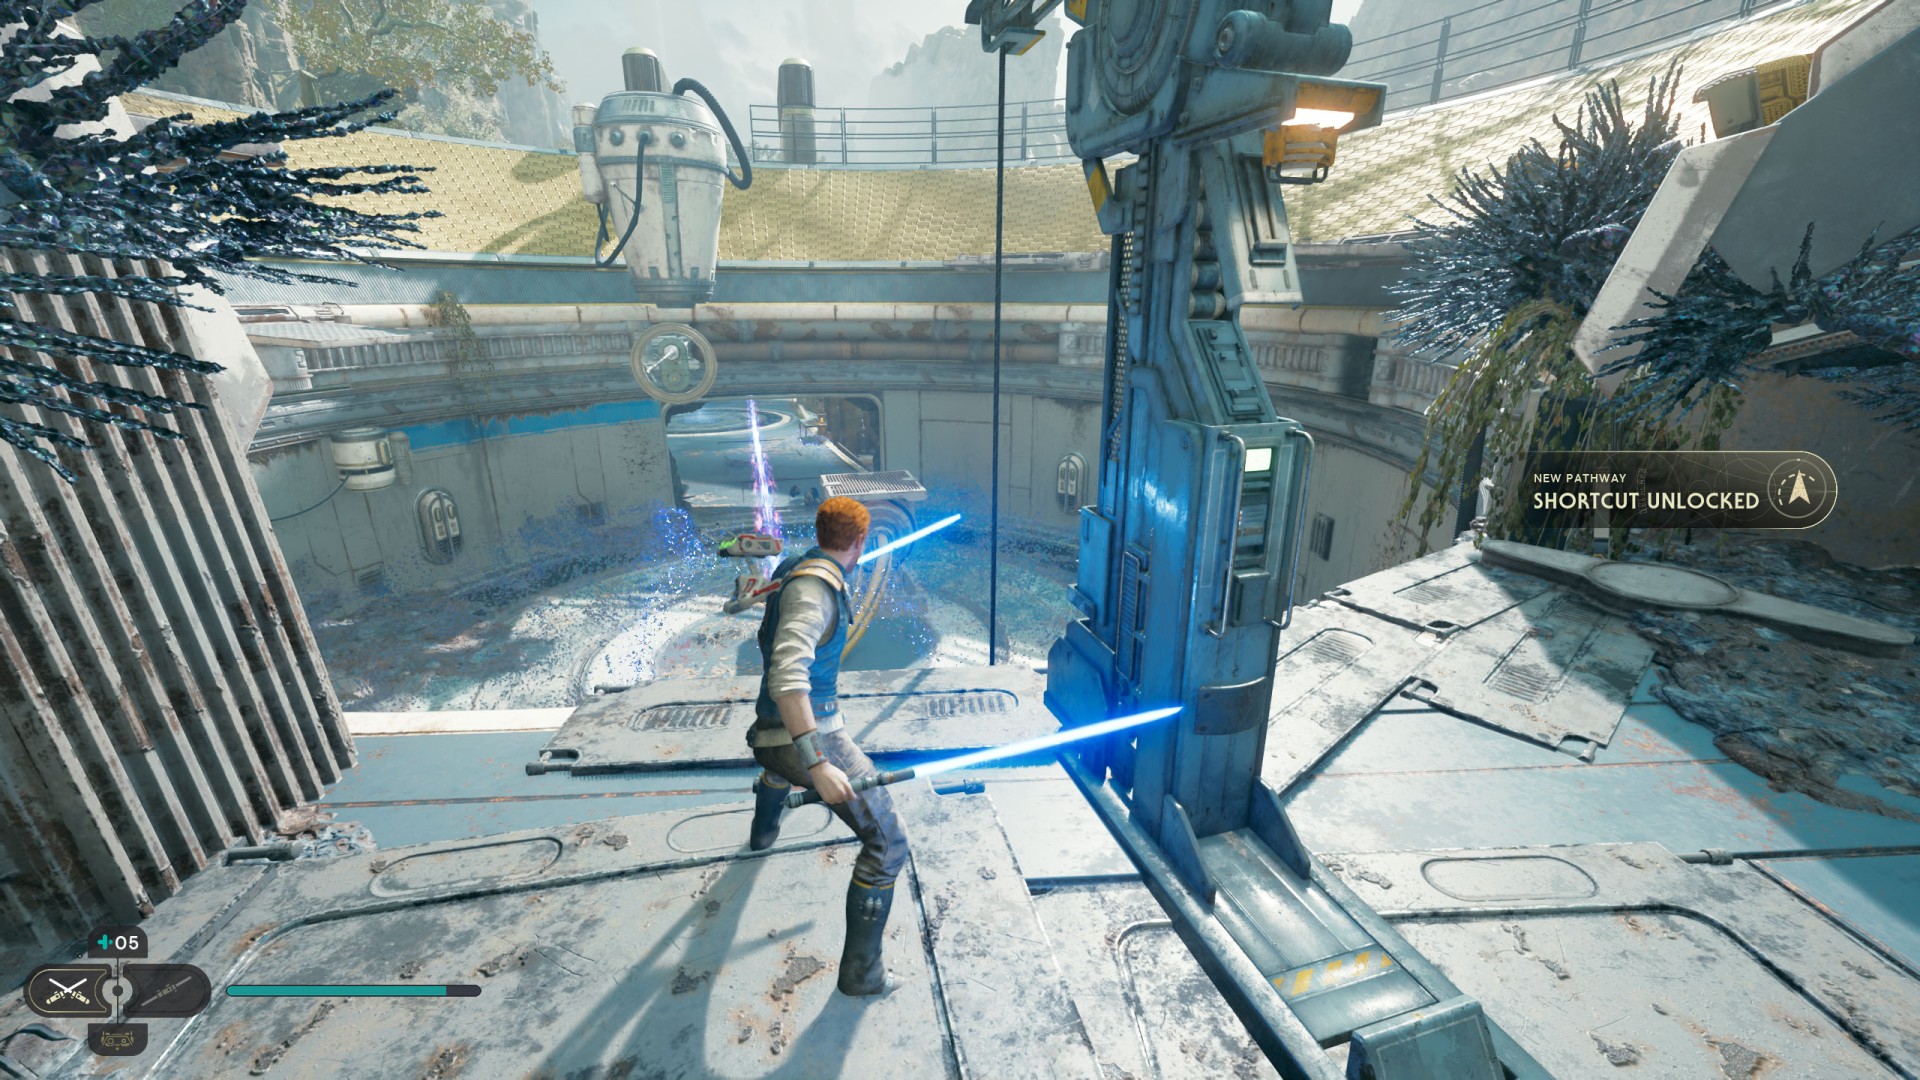
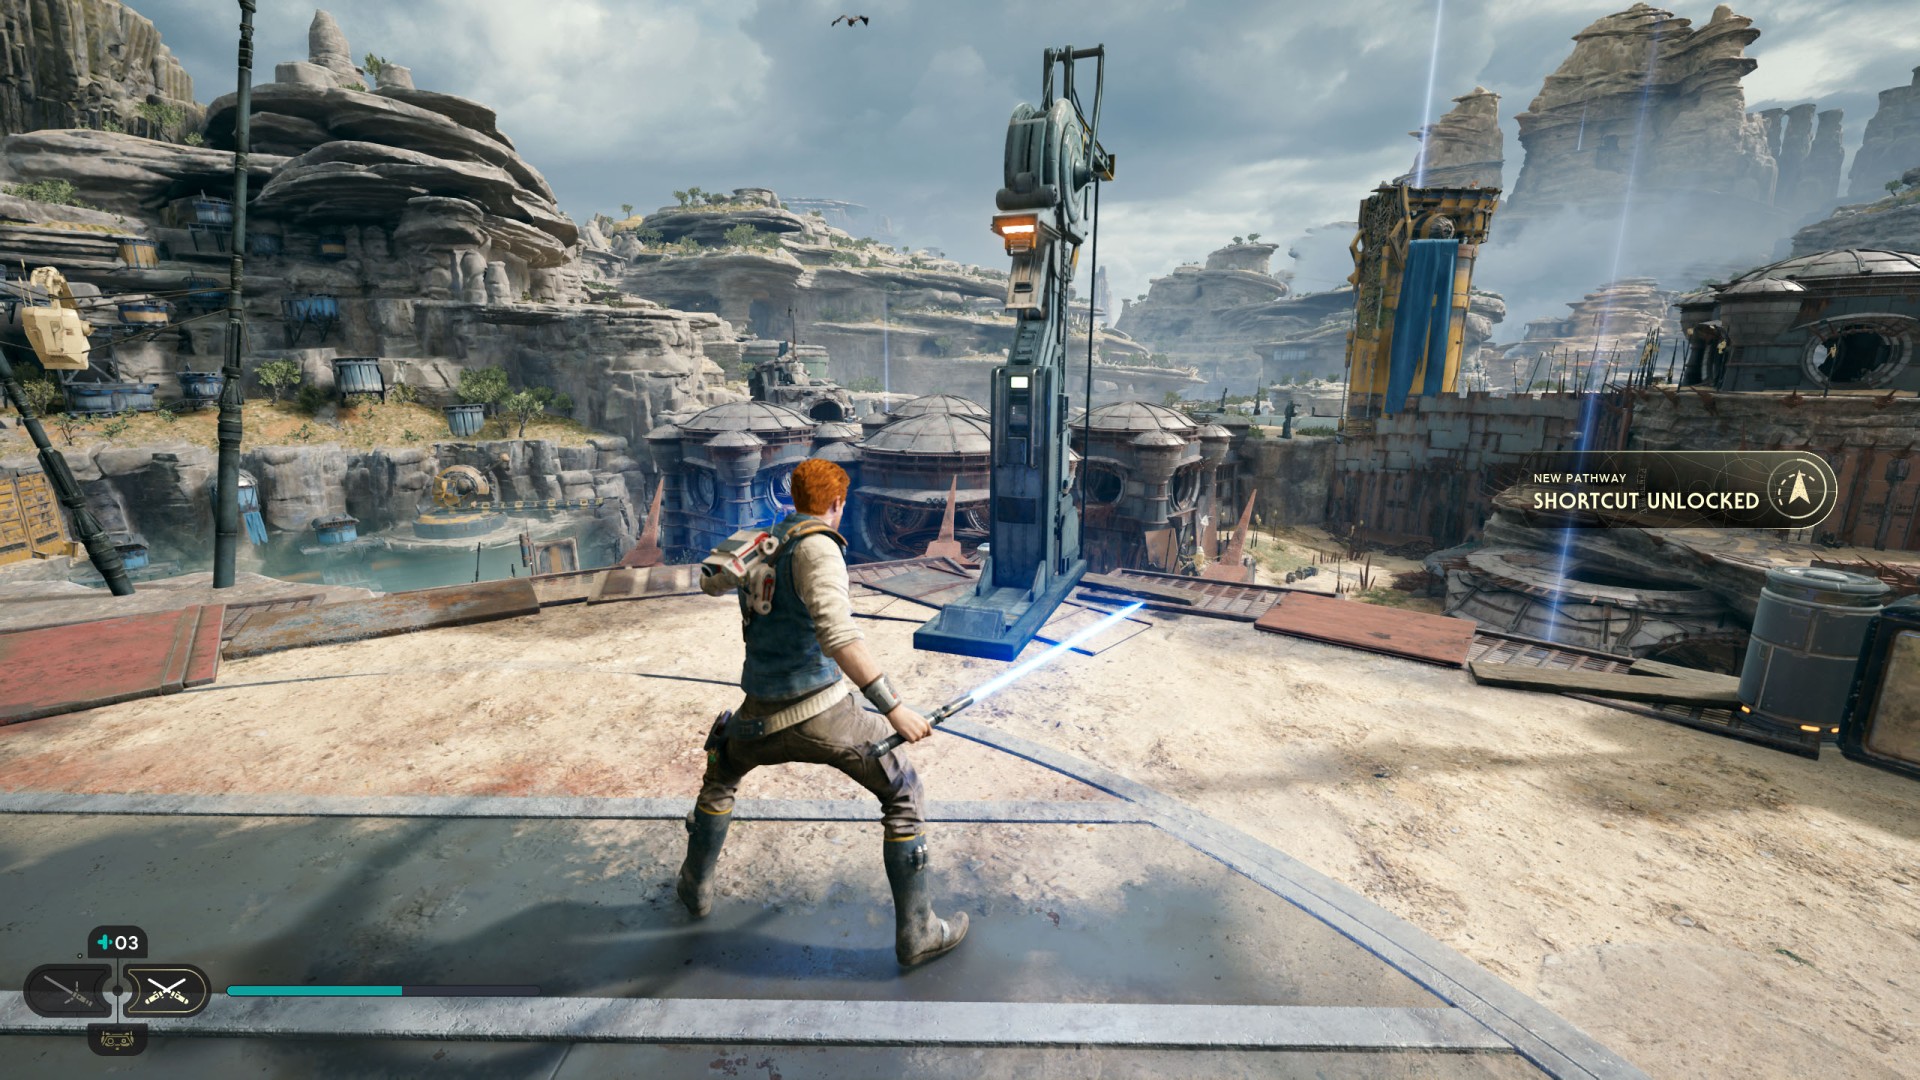
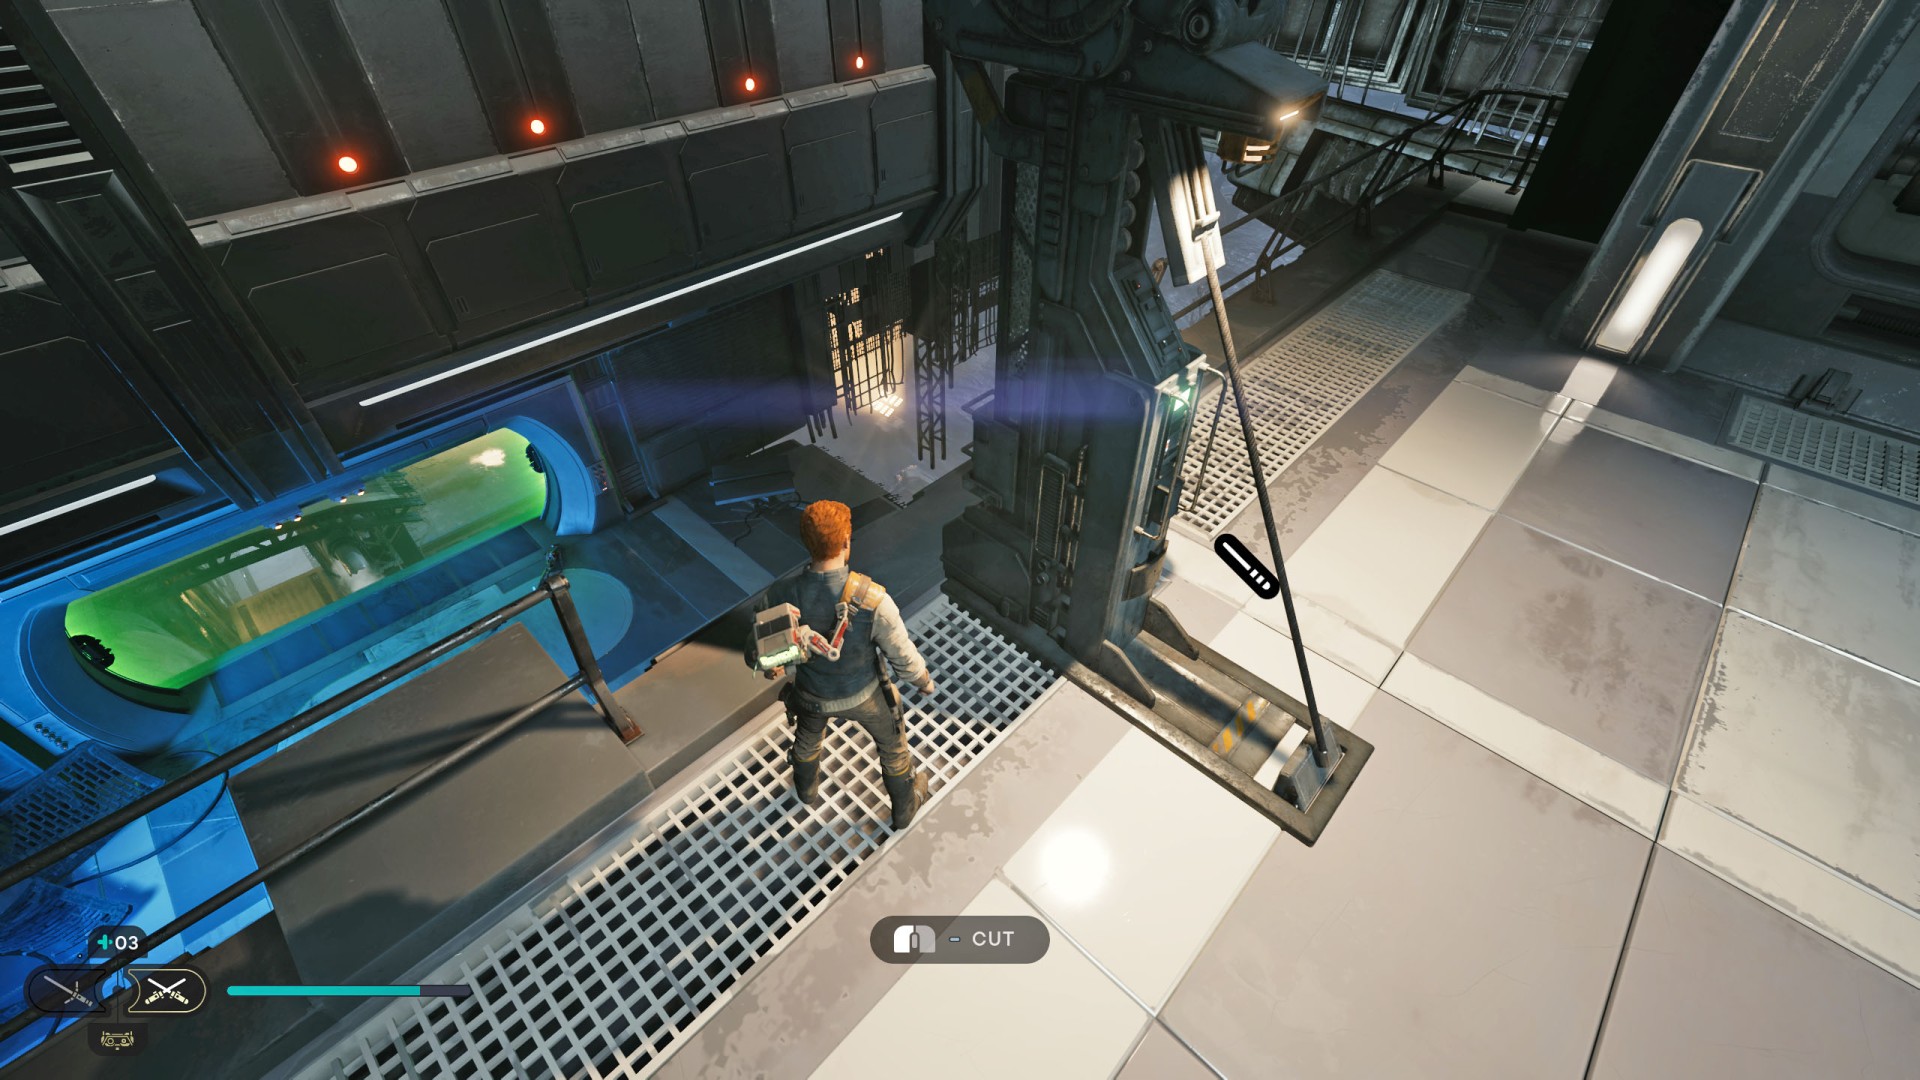
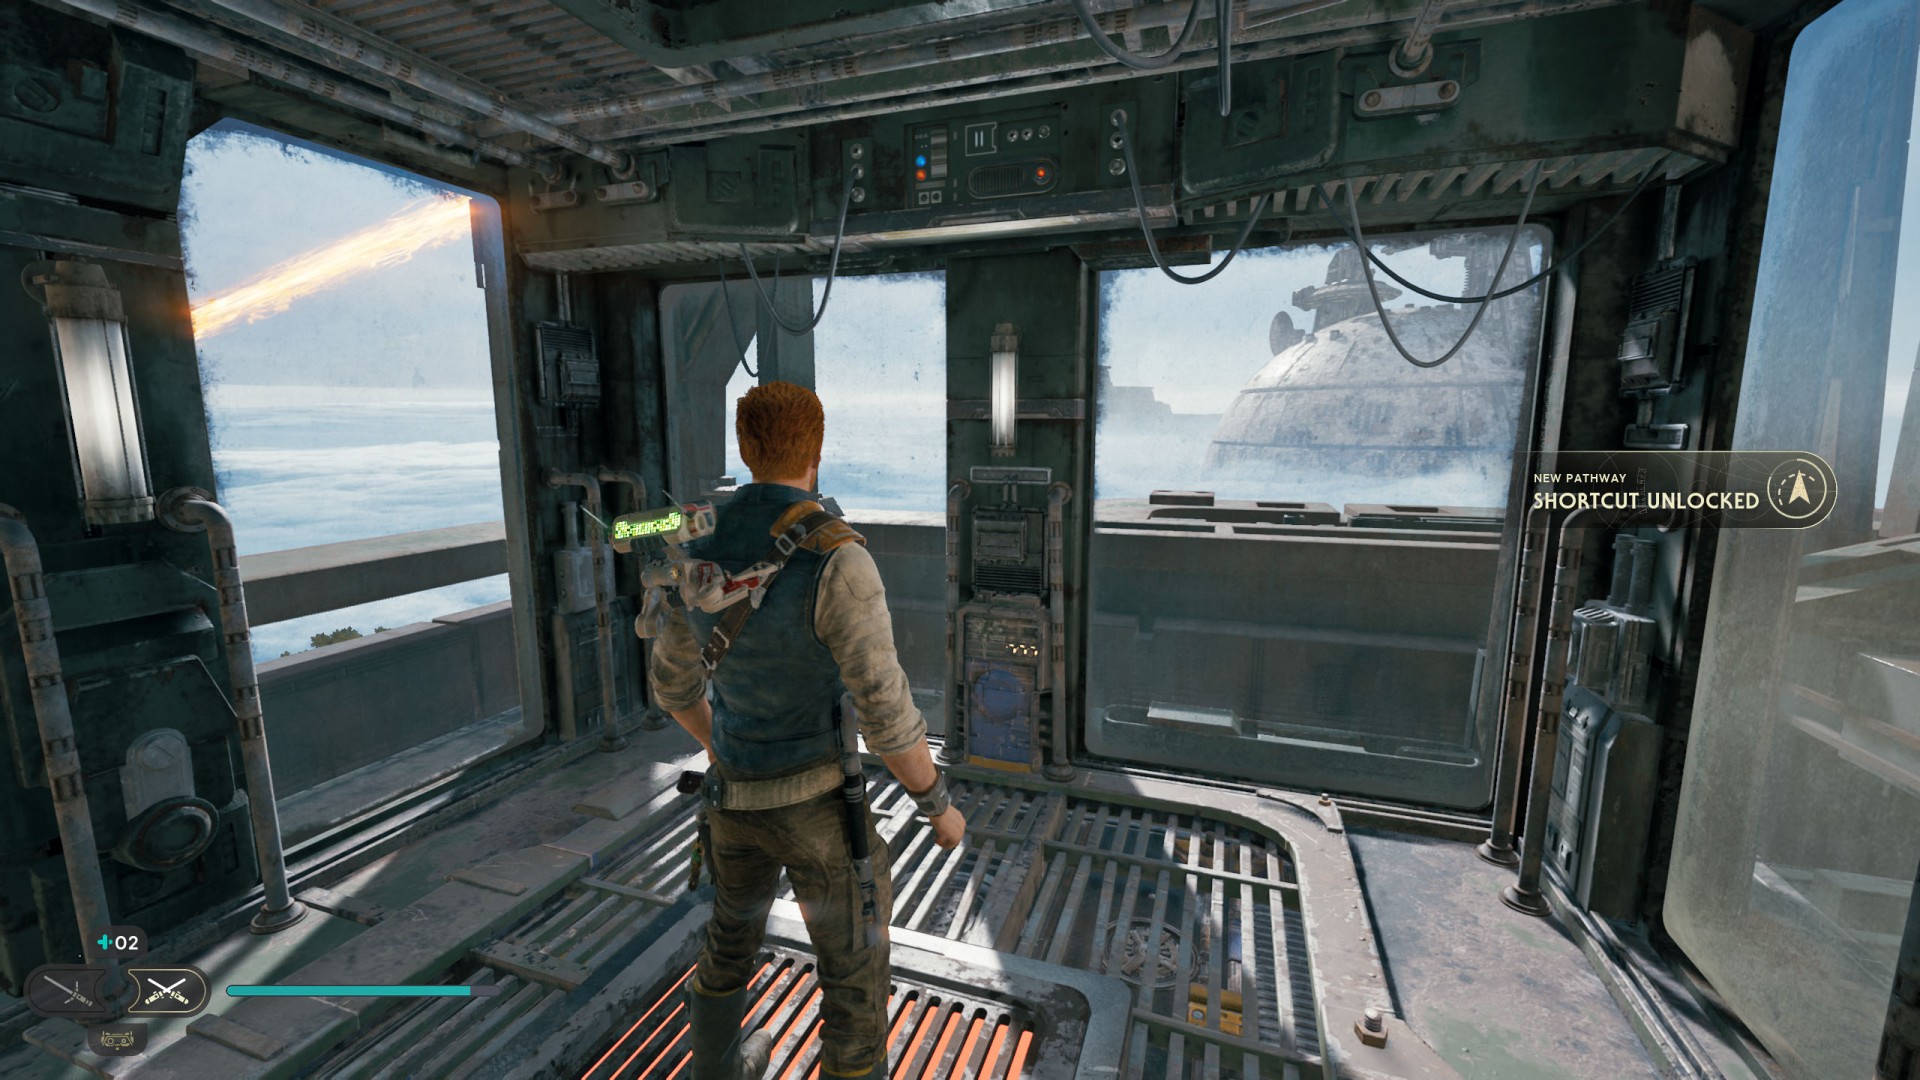
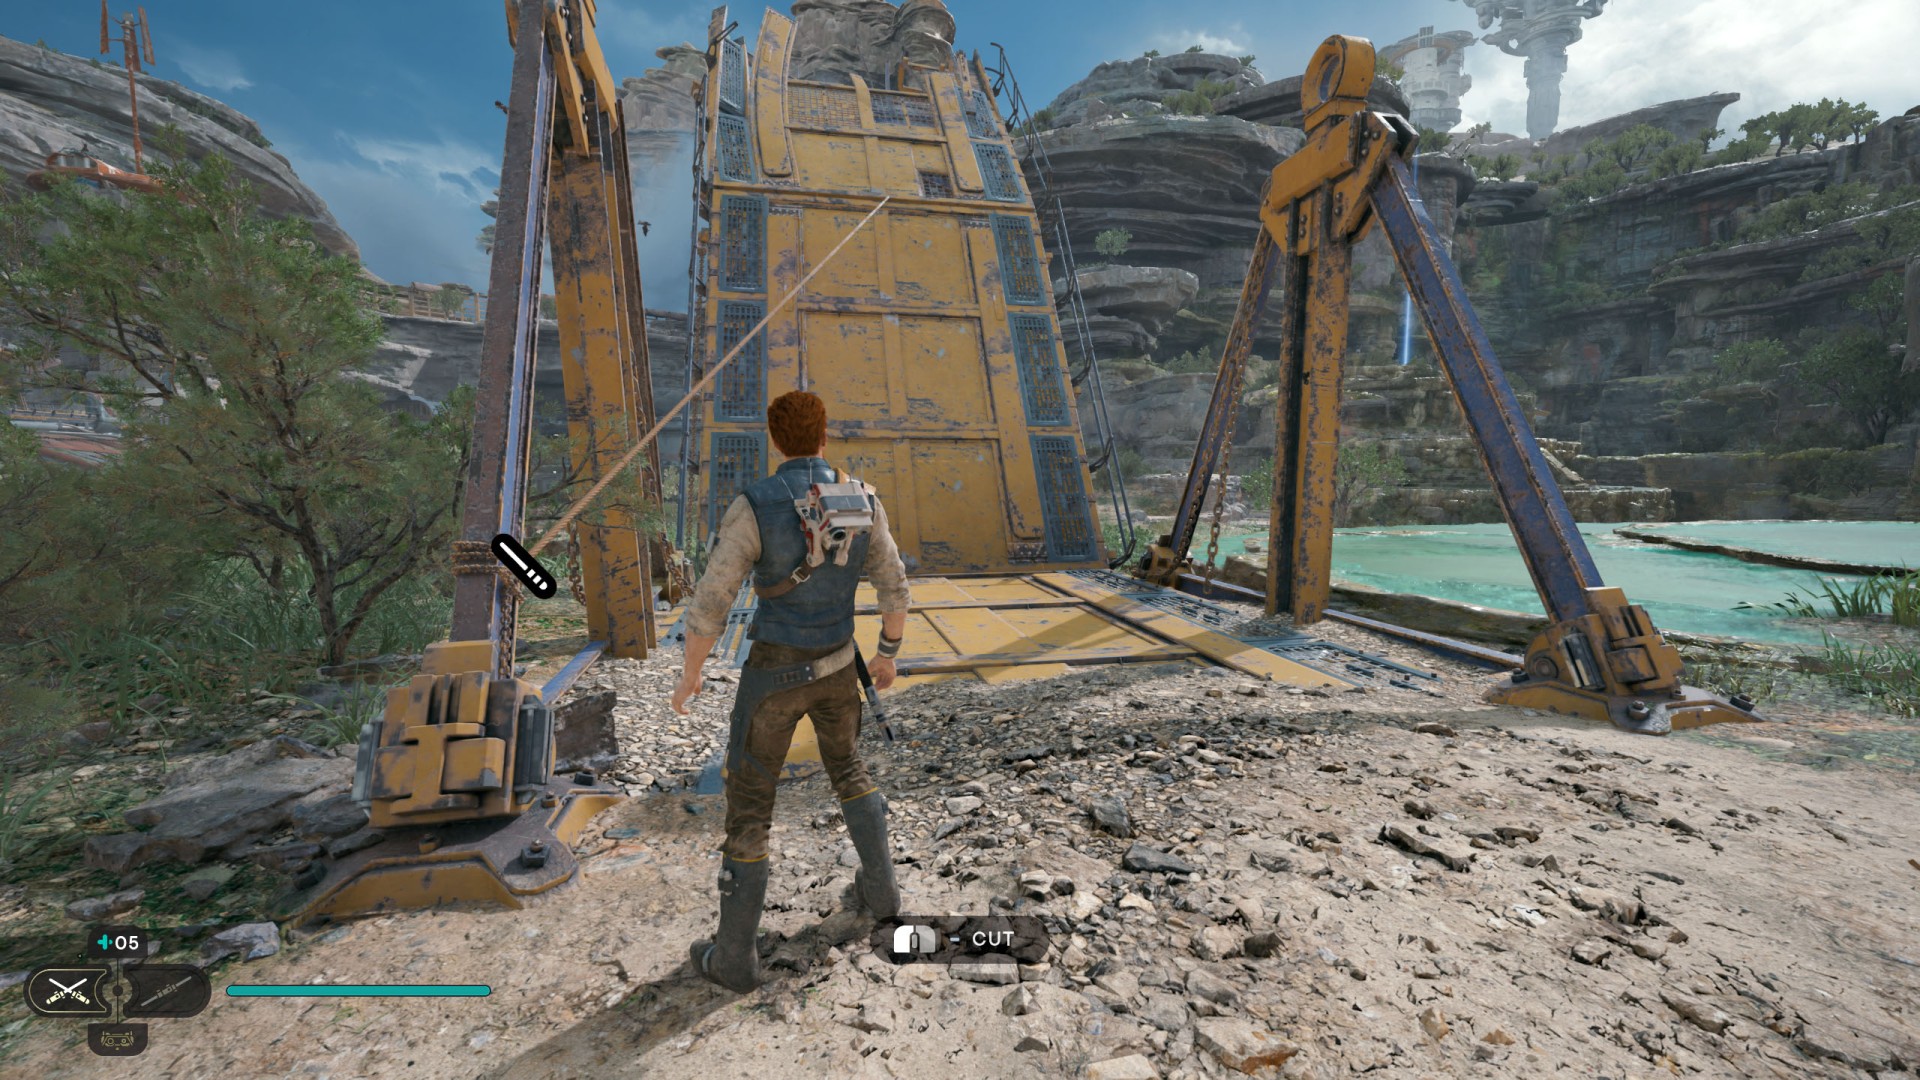
5Rooftops Shortcut
To unlock this shortcut cut the rope. Thanks to the rope, you will be able to move up and down quickly.
Locations on Koboh
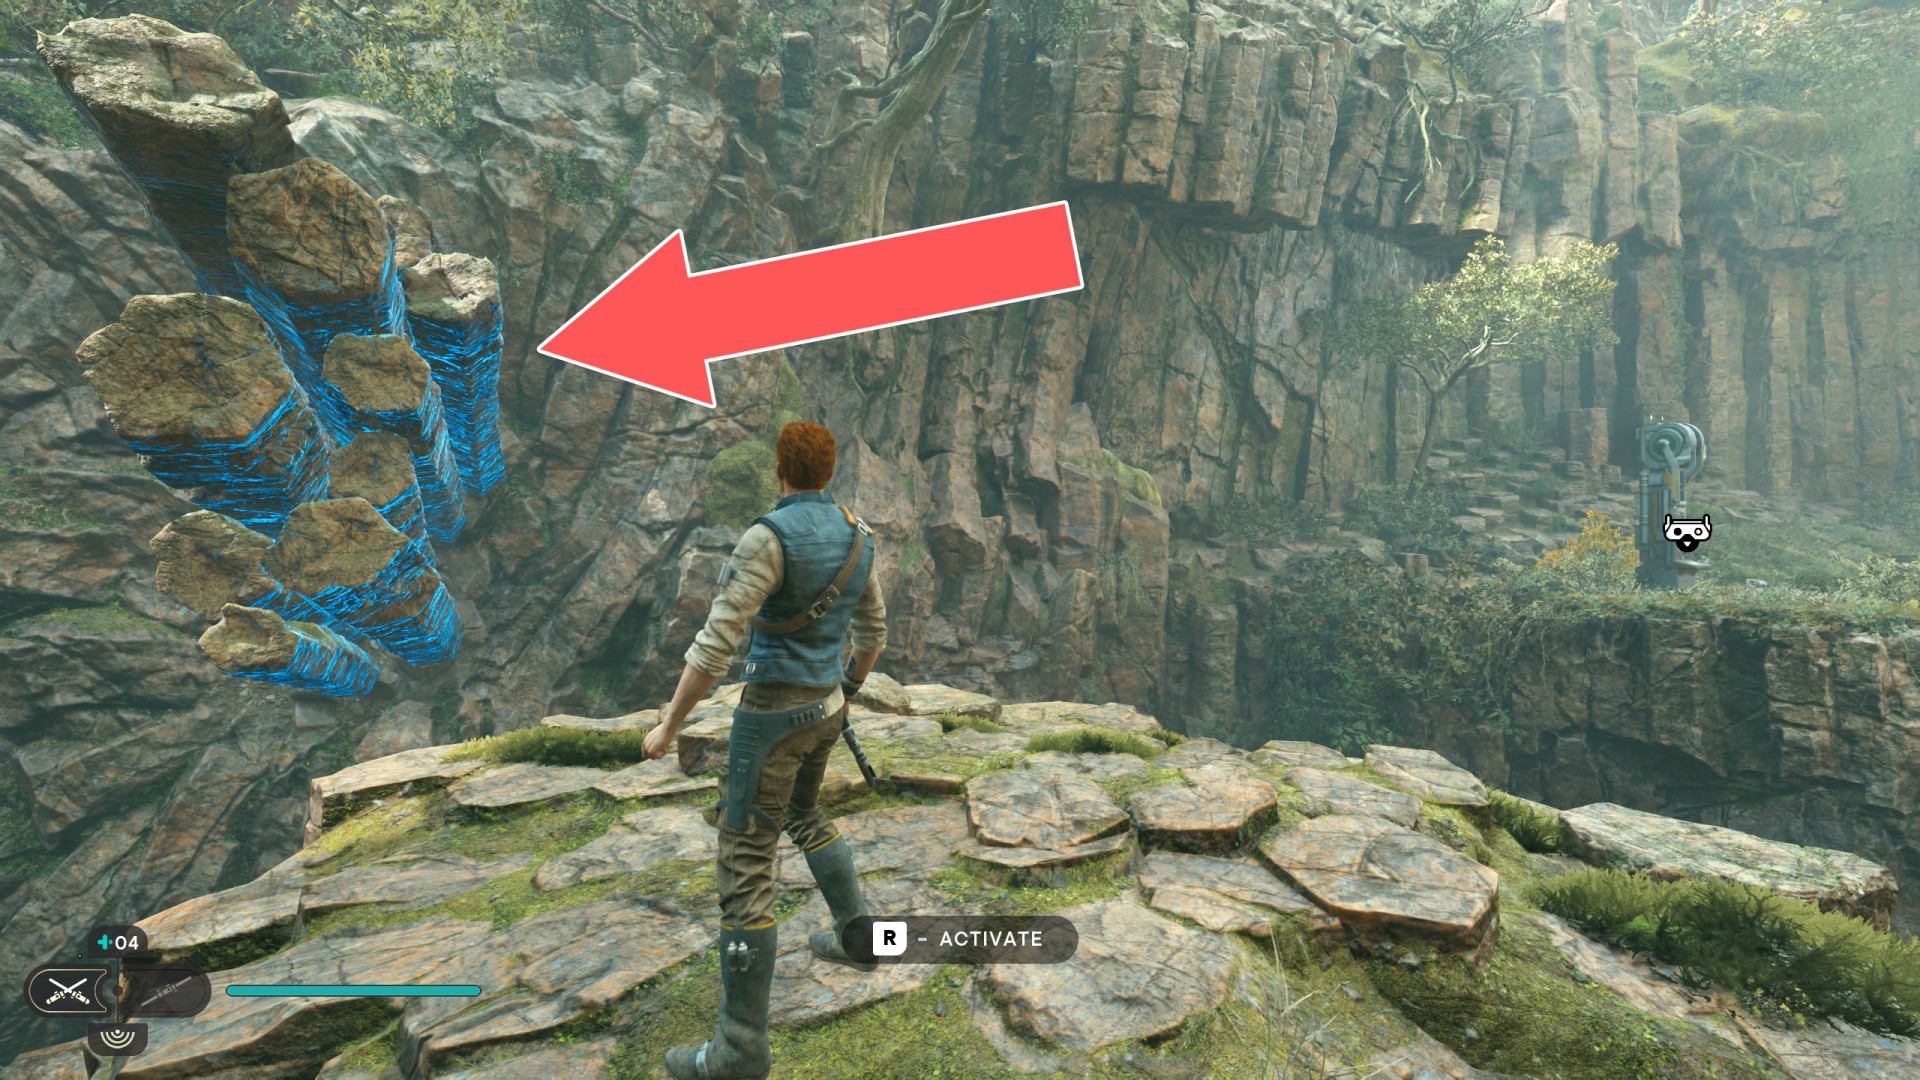
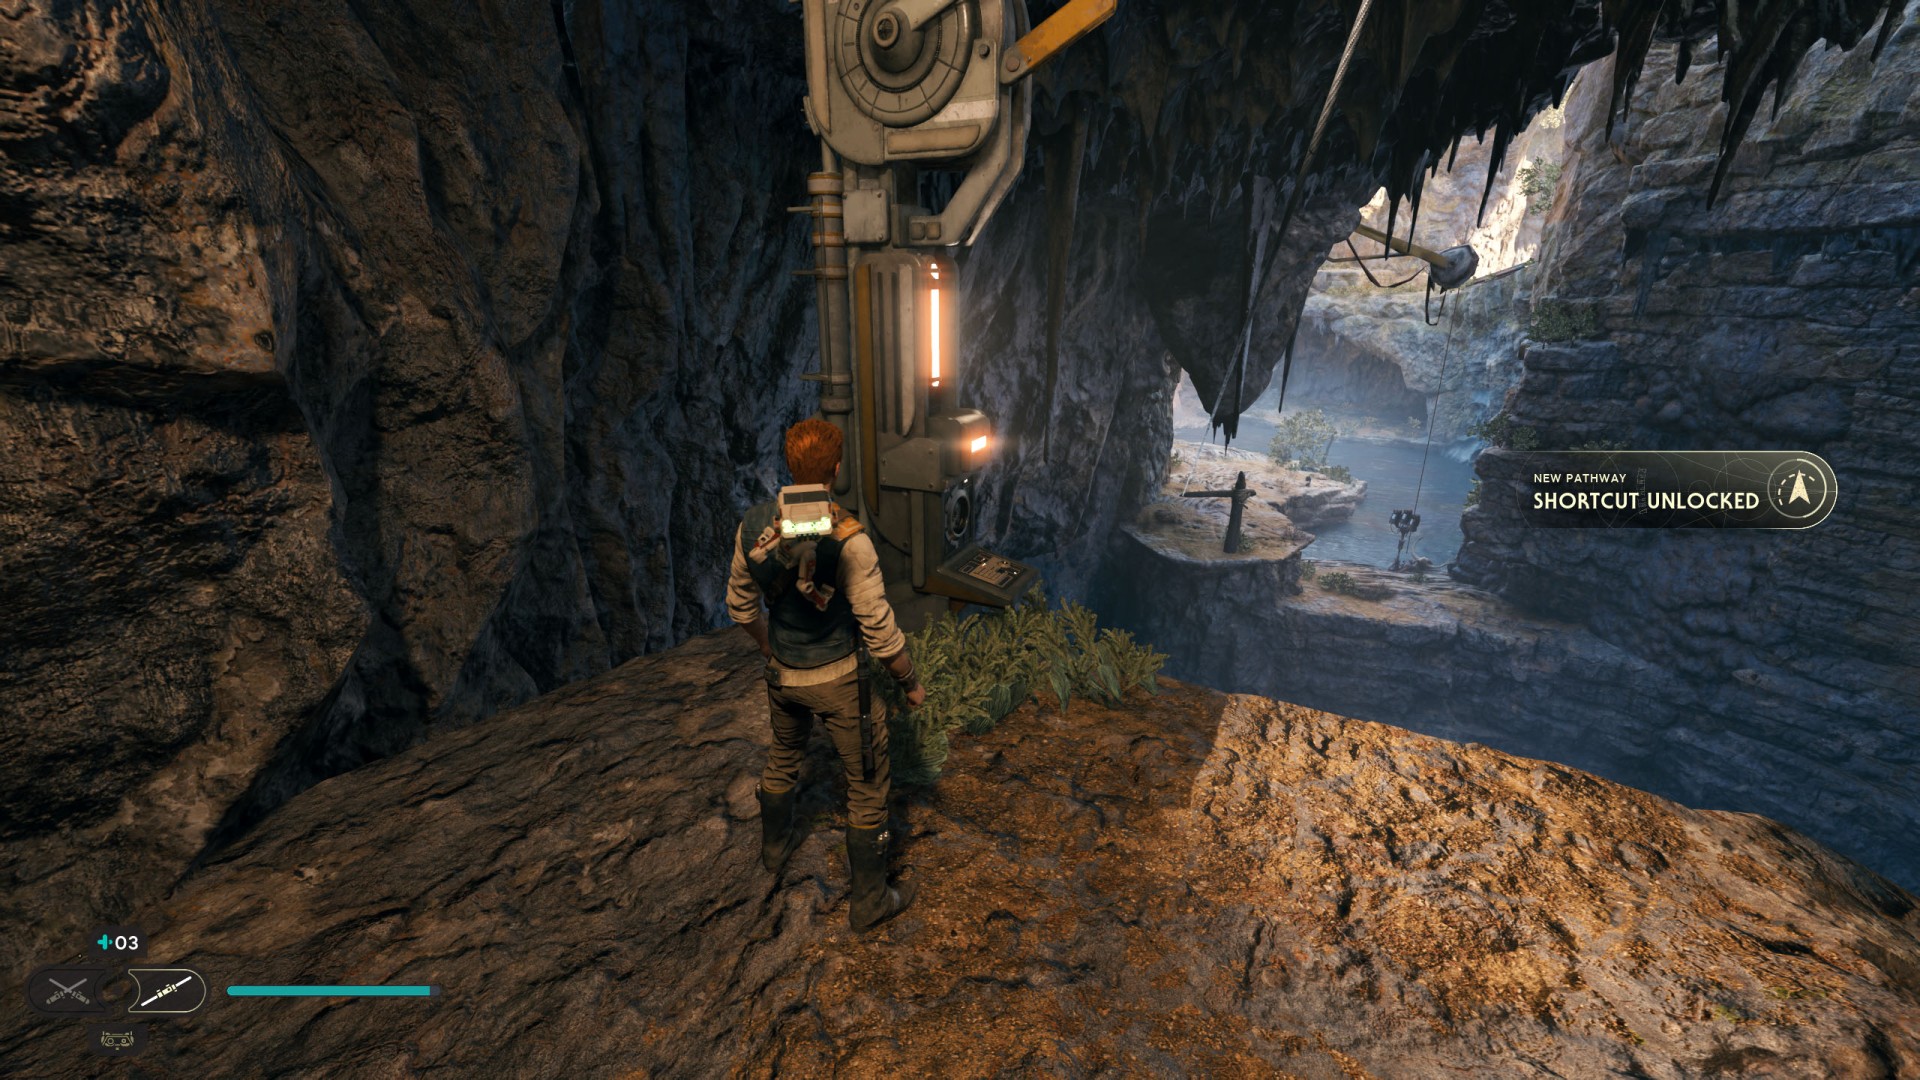
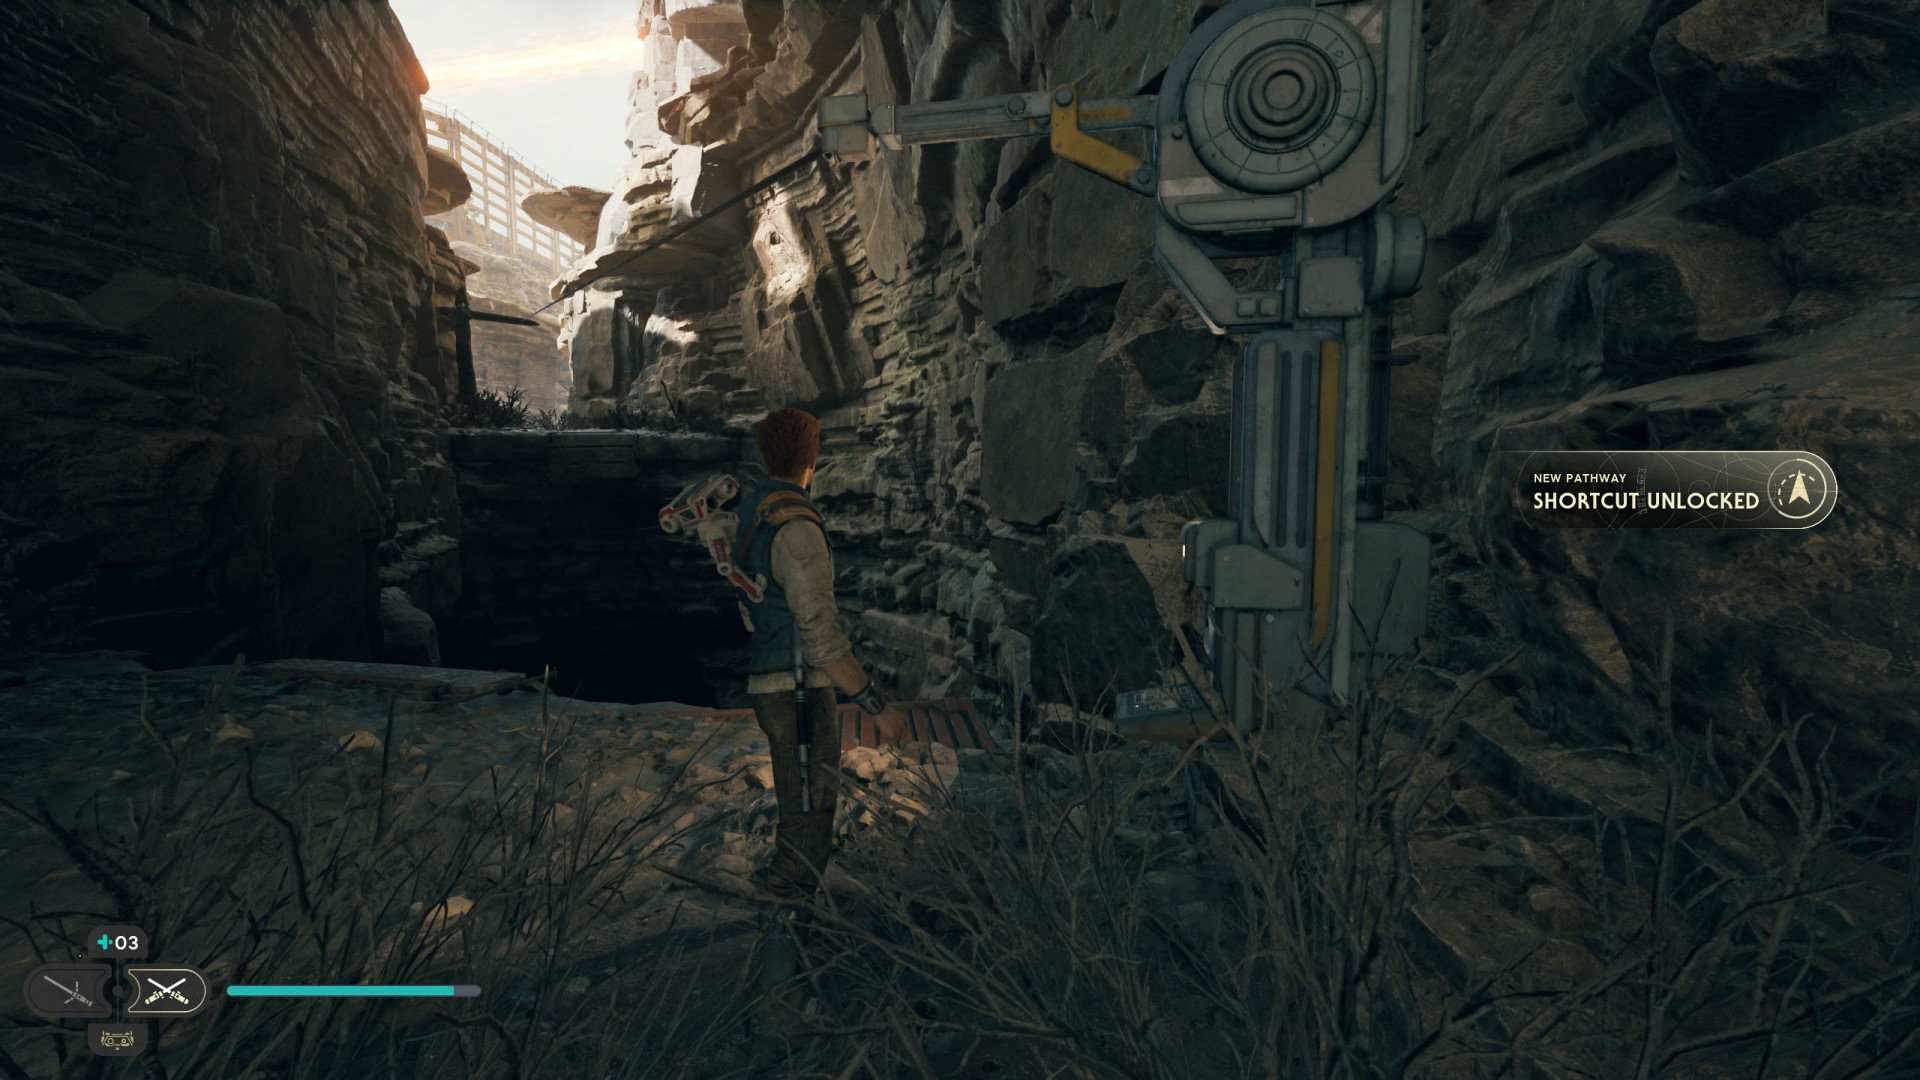
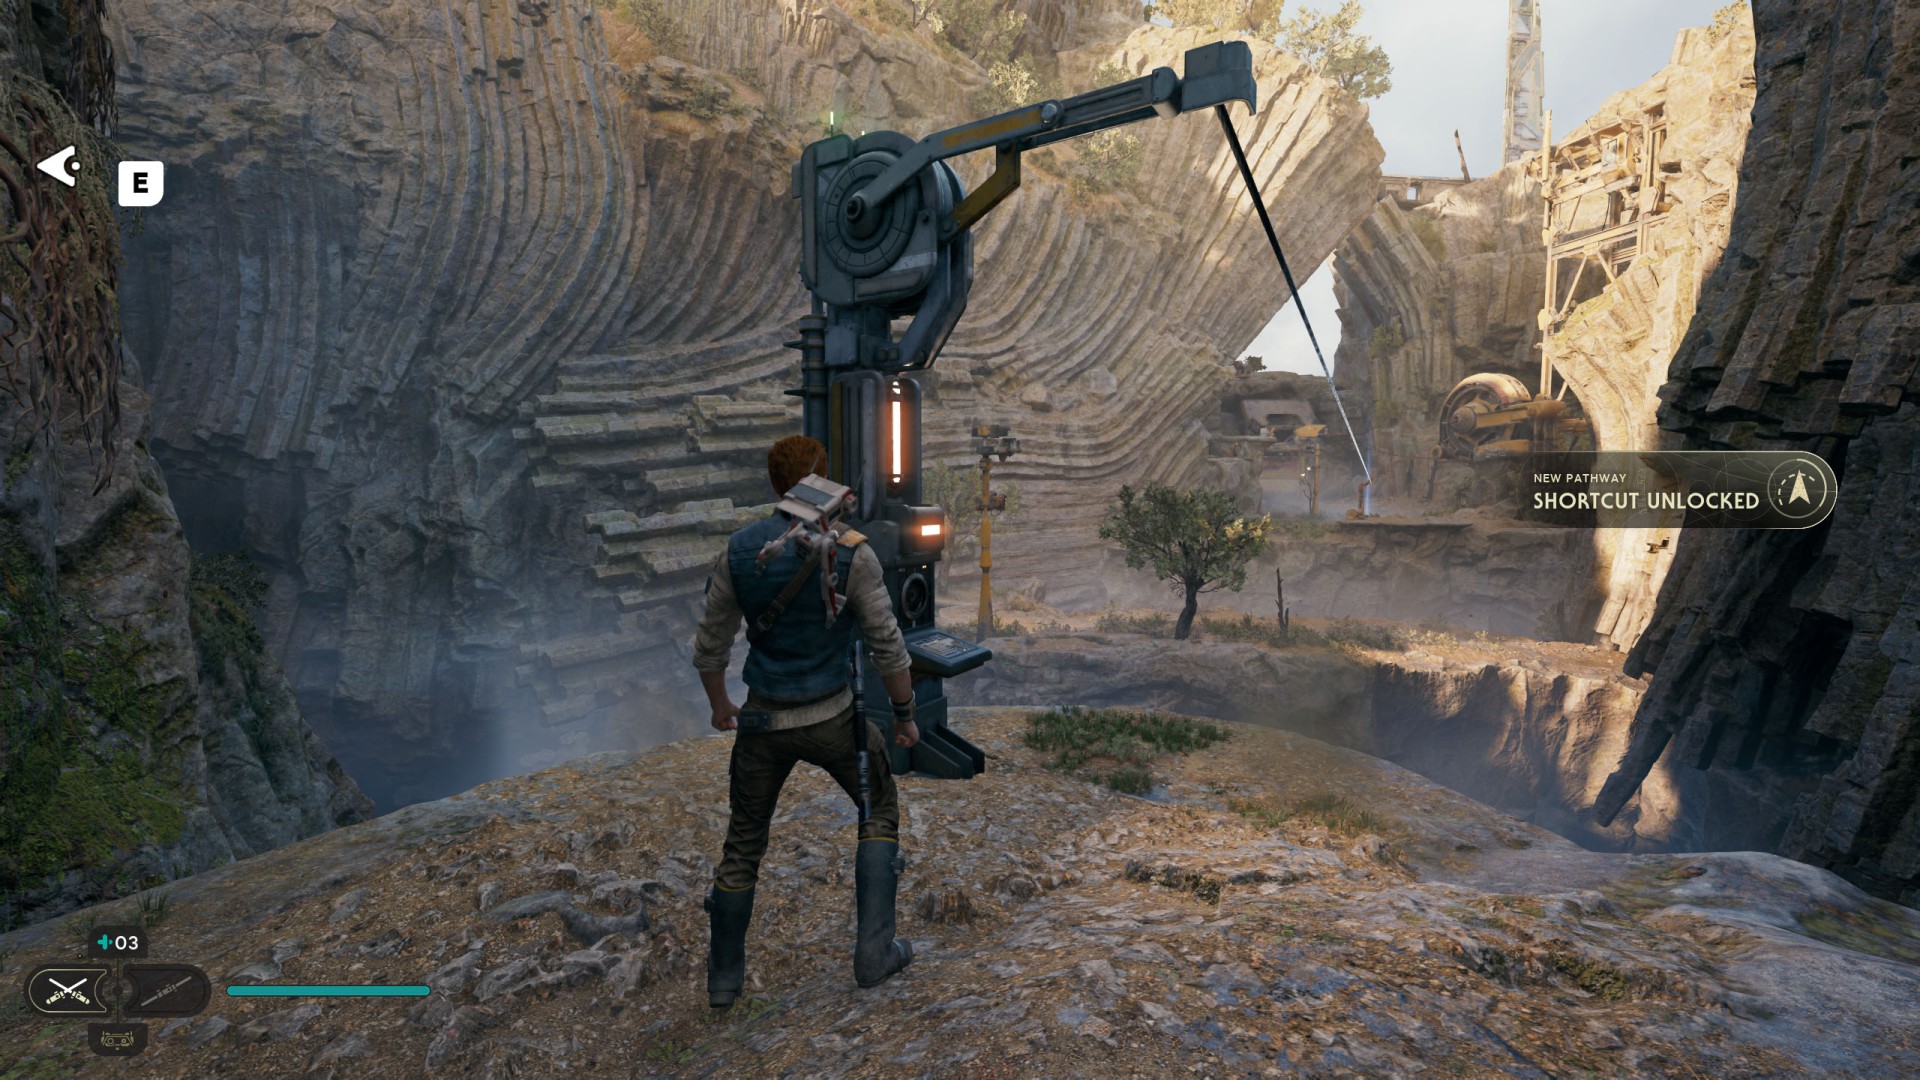
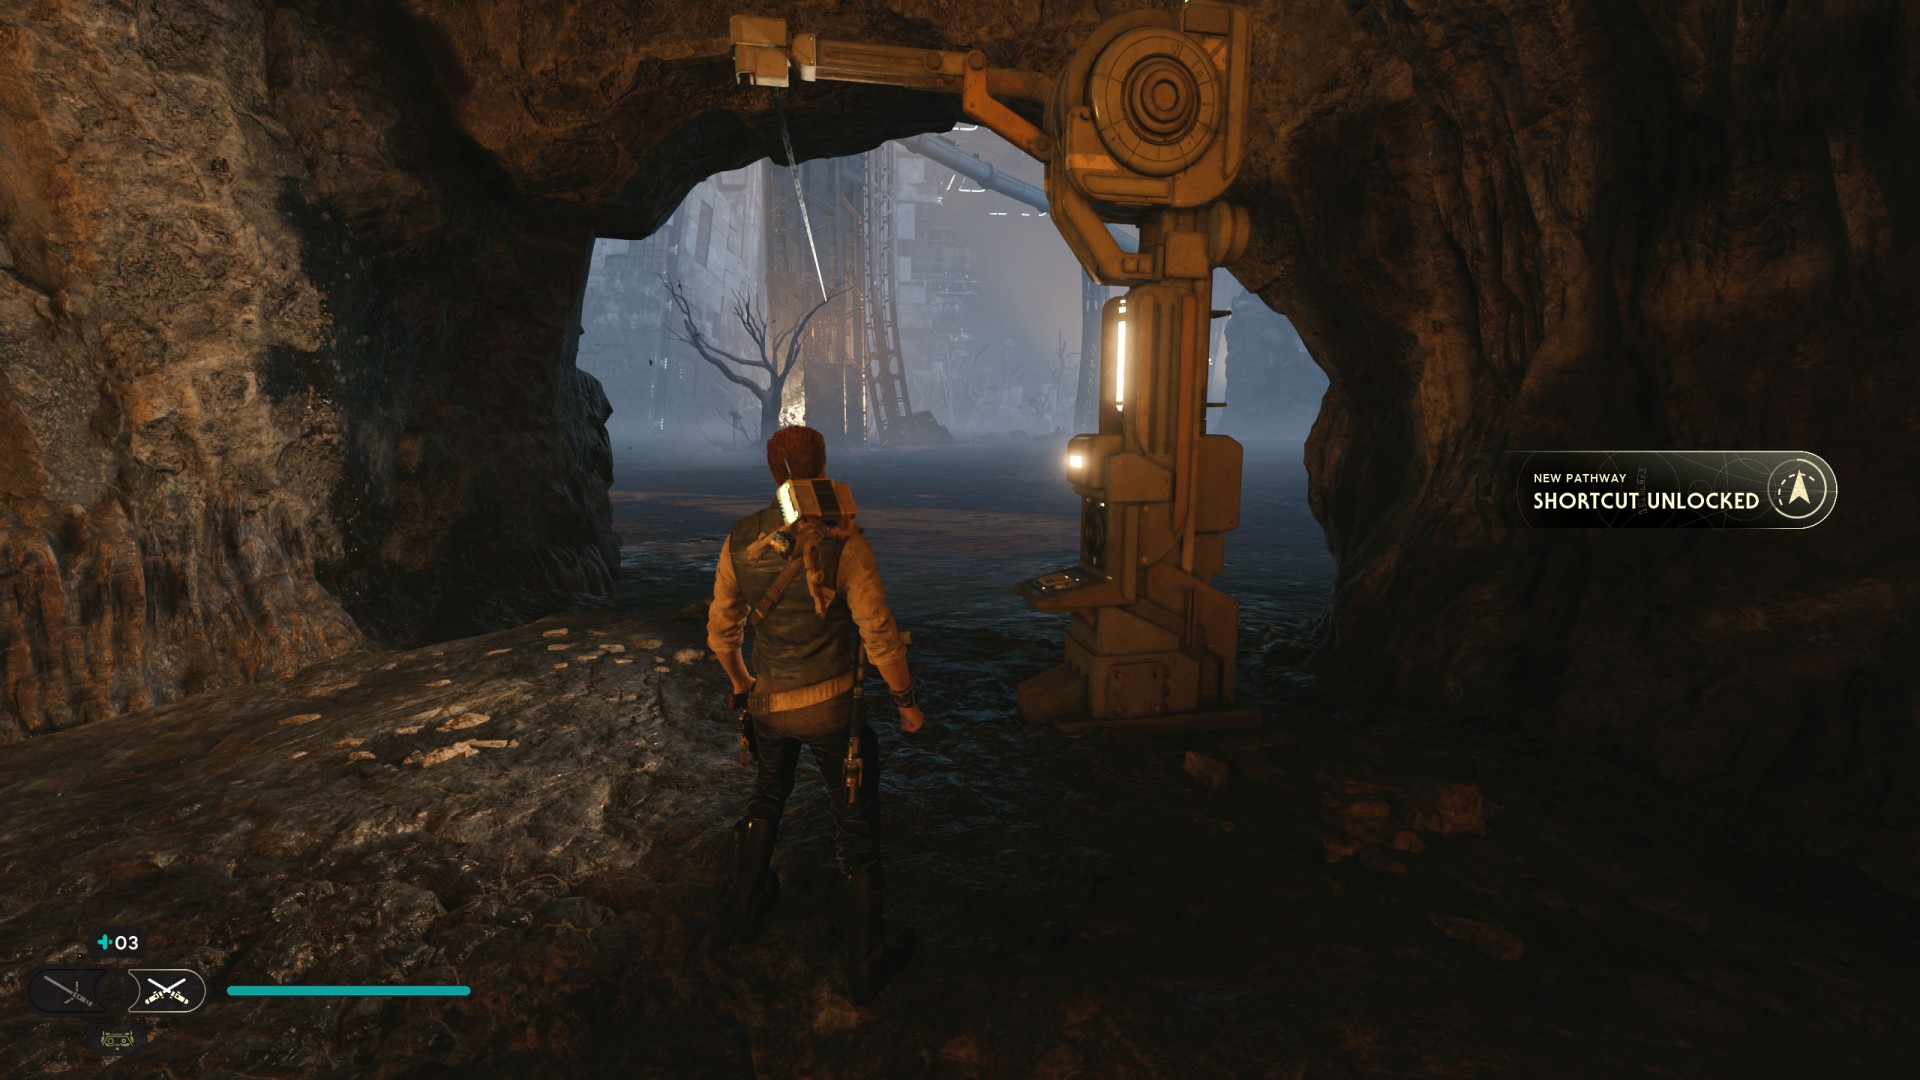
6Basalt Rift Shortcut #1
To be able to activate this shortcut you must first use the Force Push to remove the rocks blocking the way.
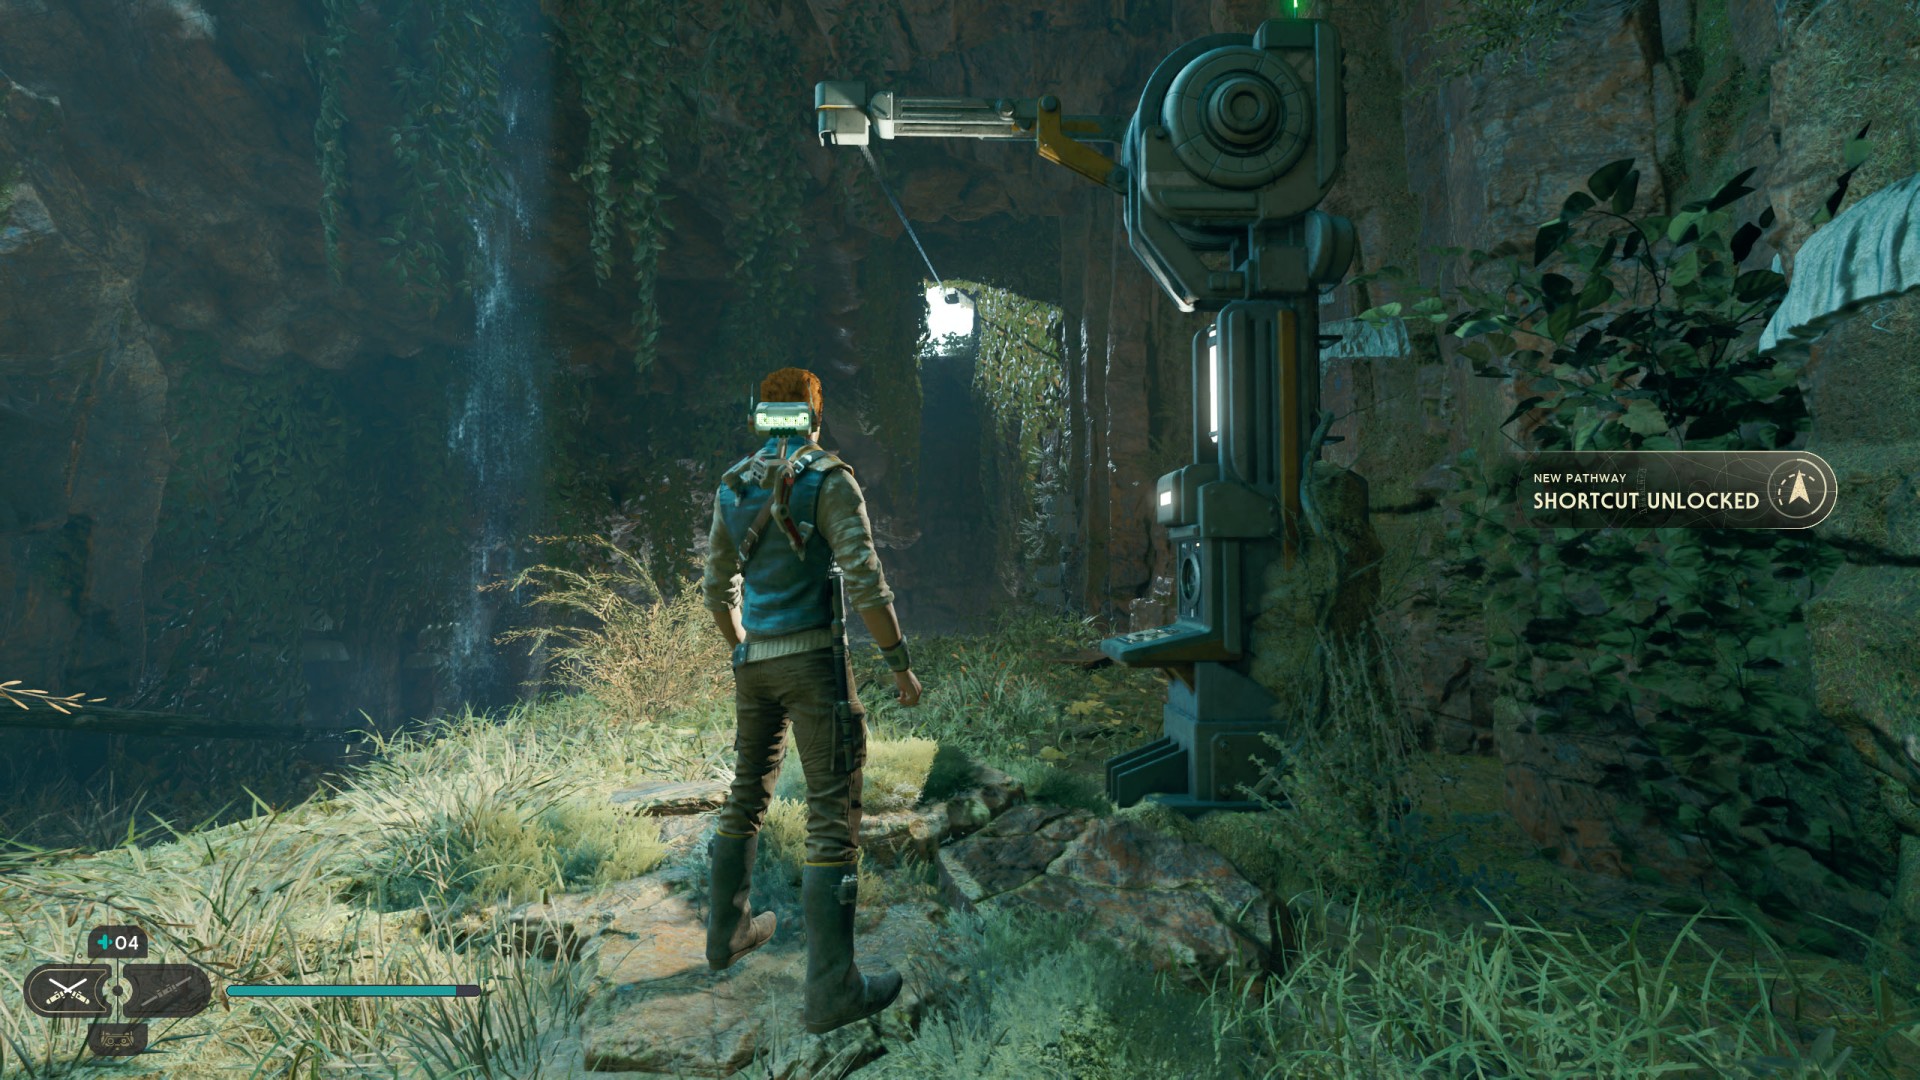
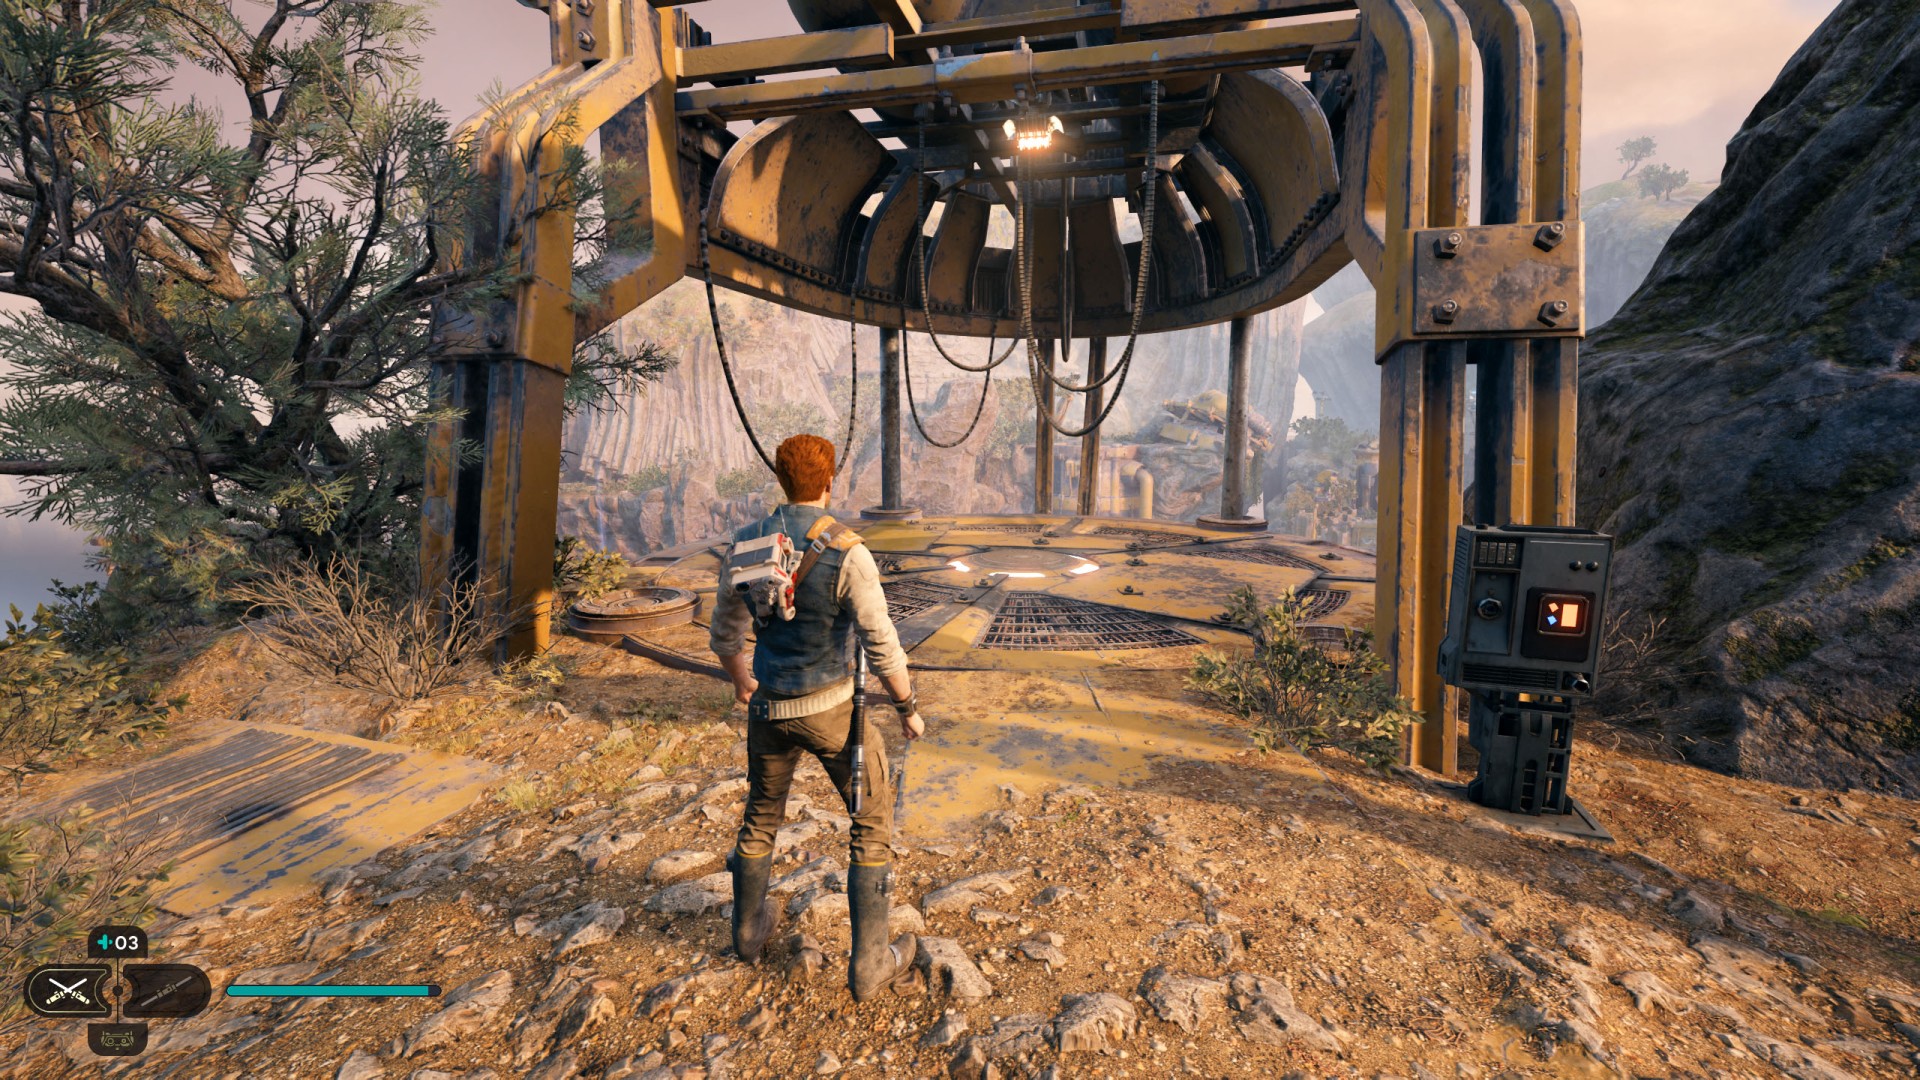
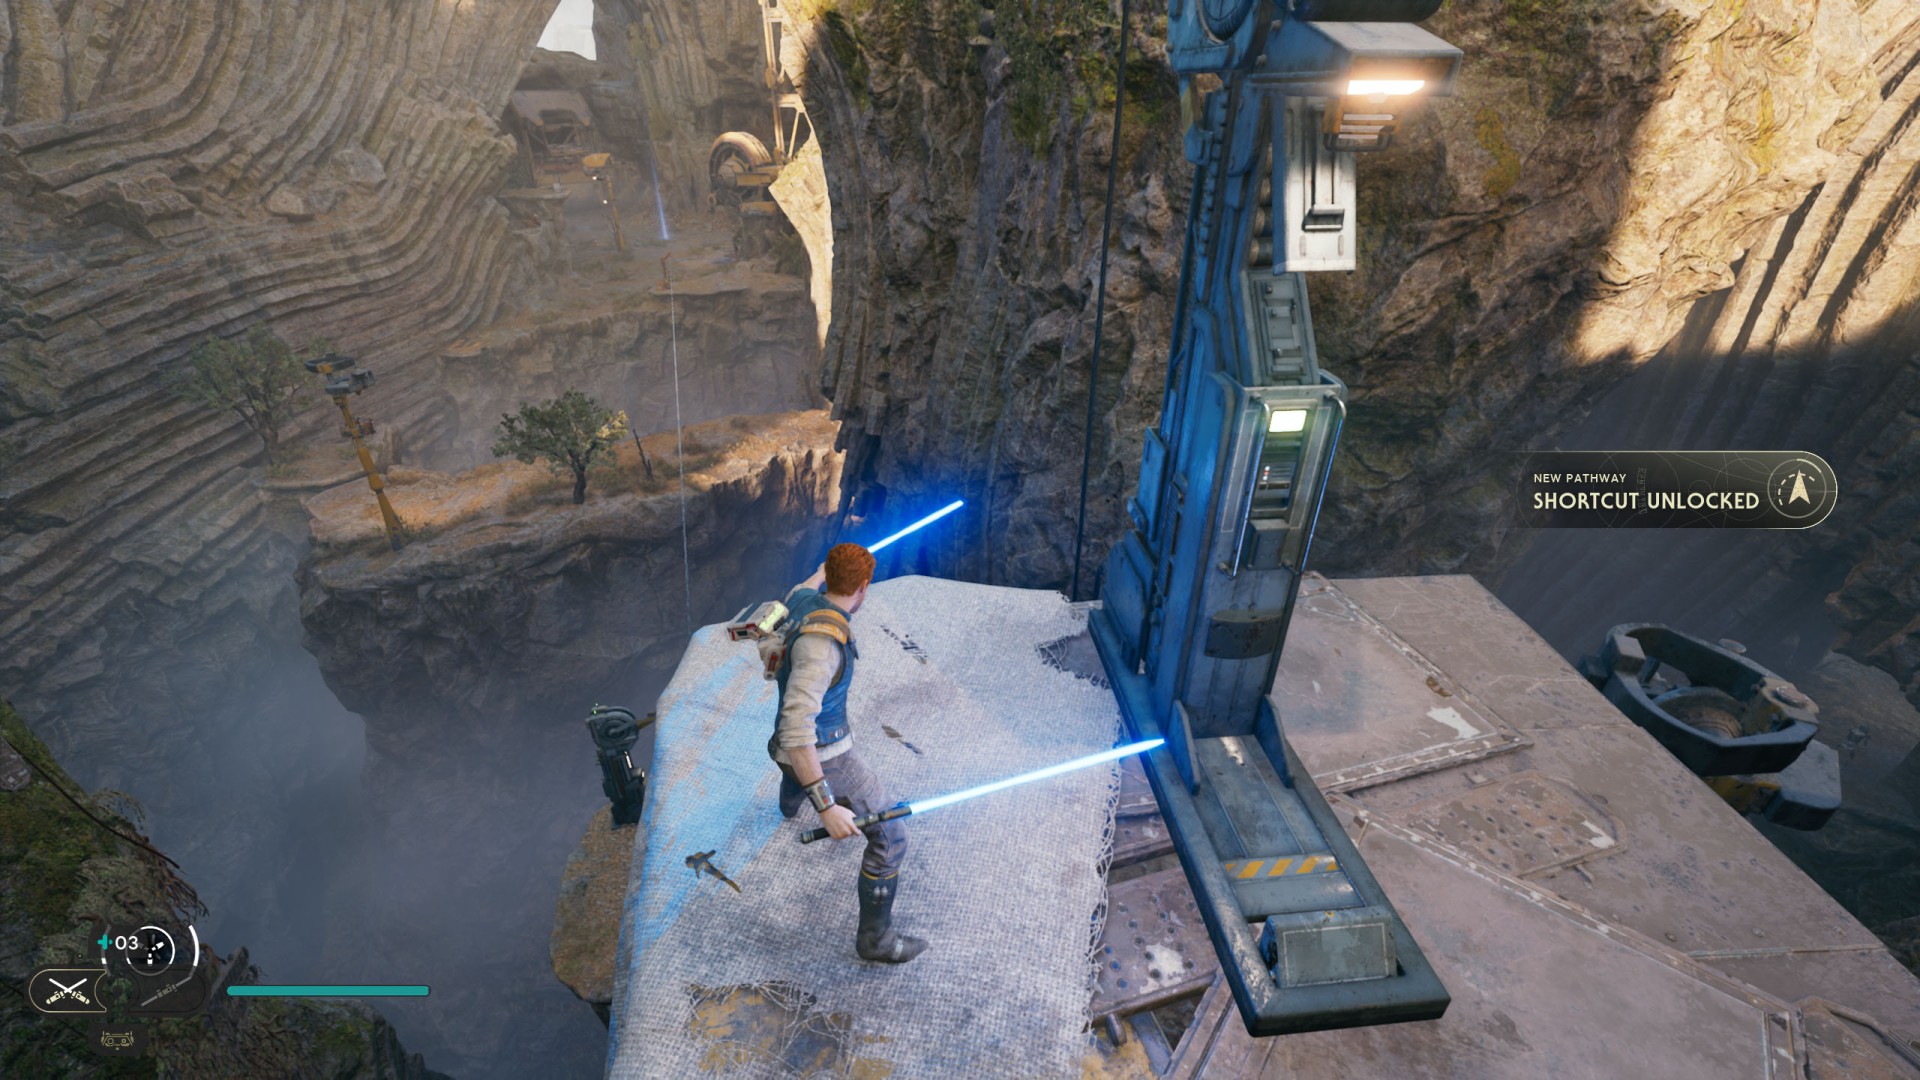
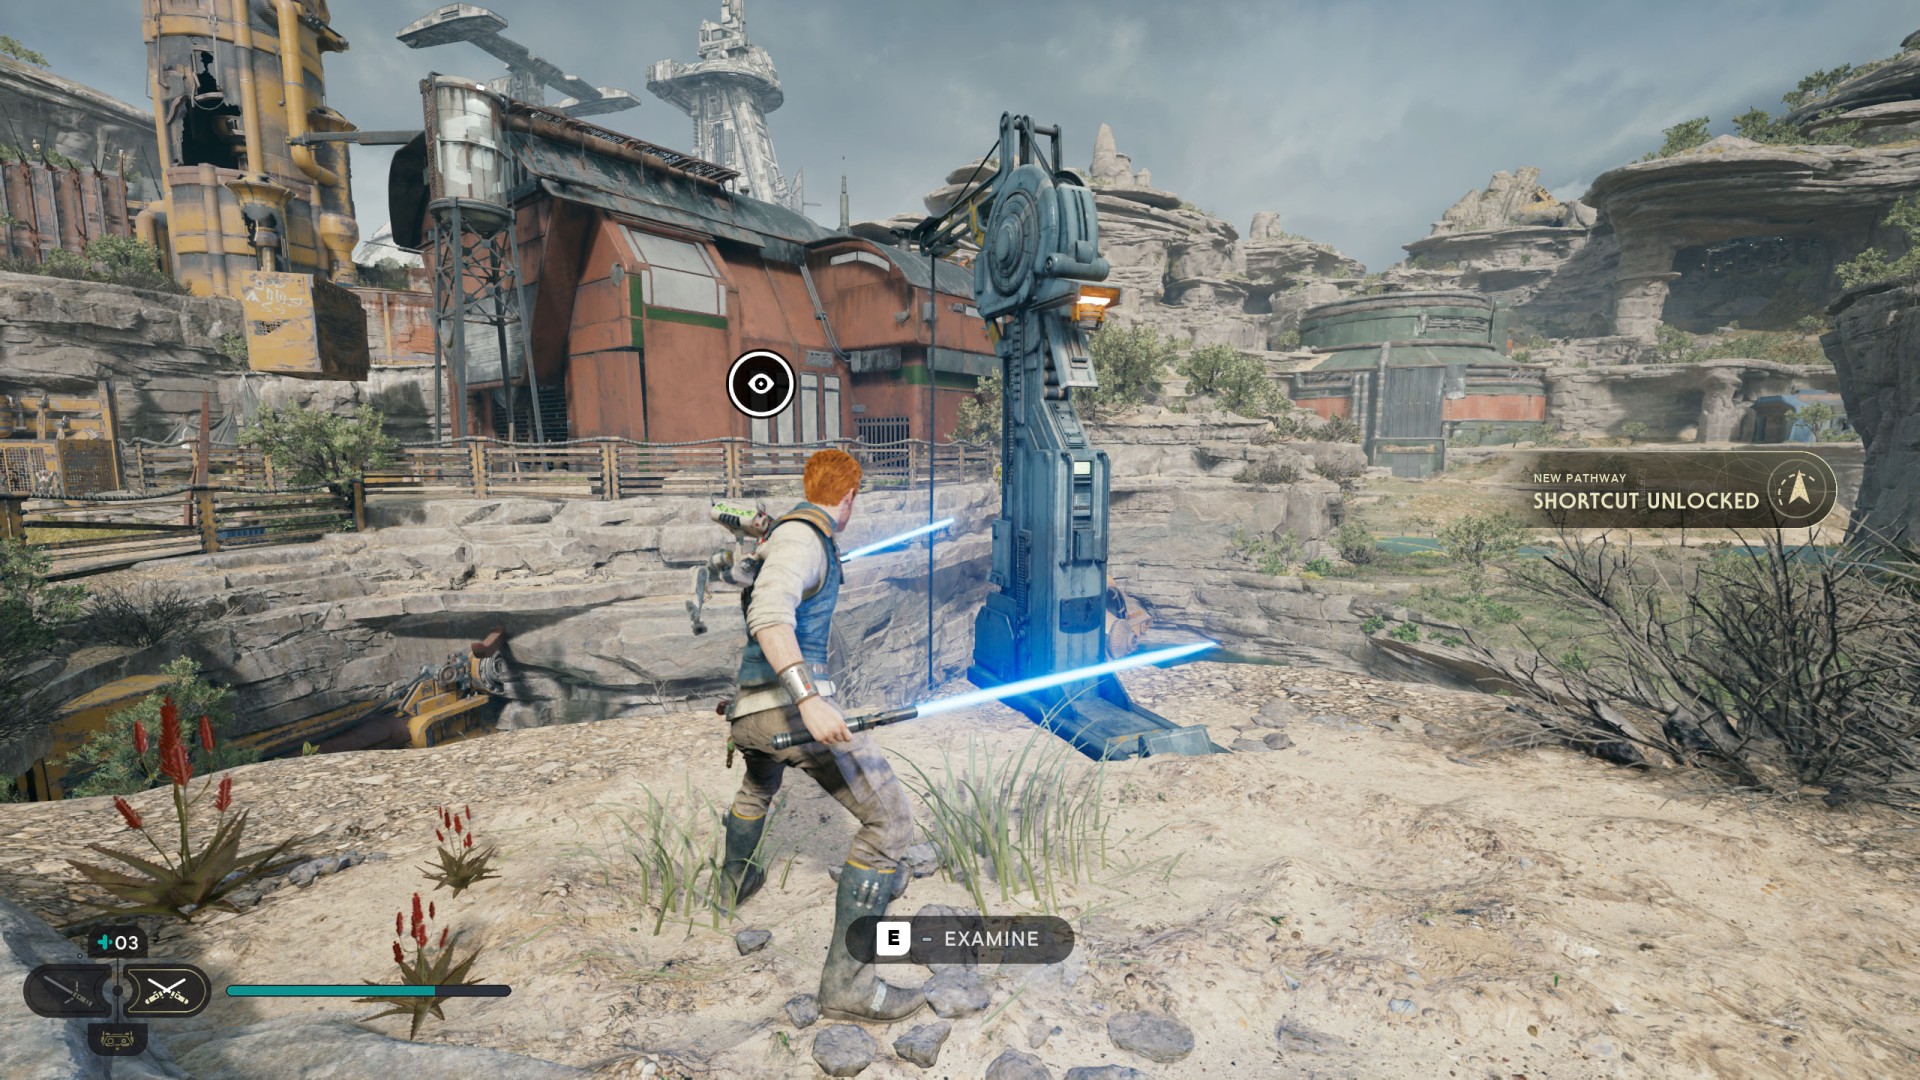
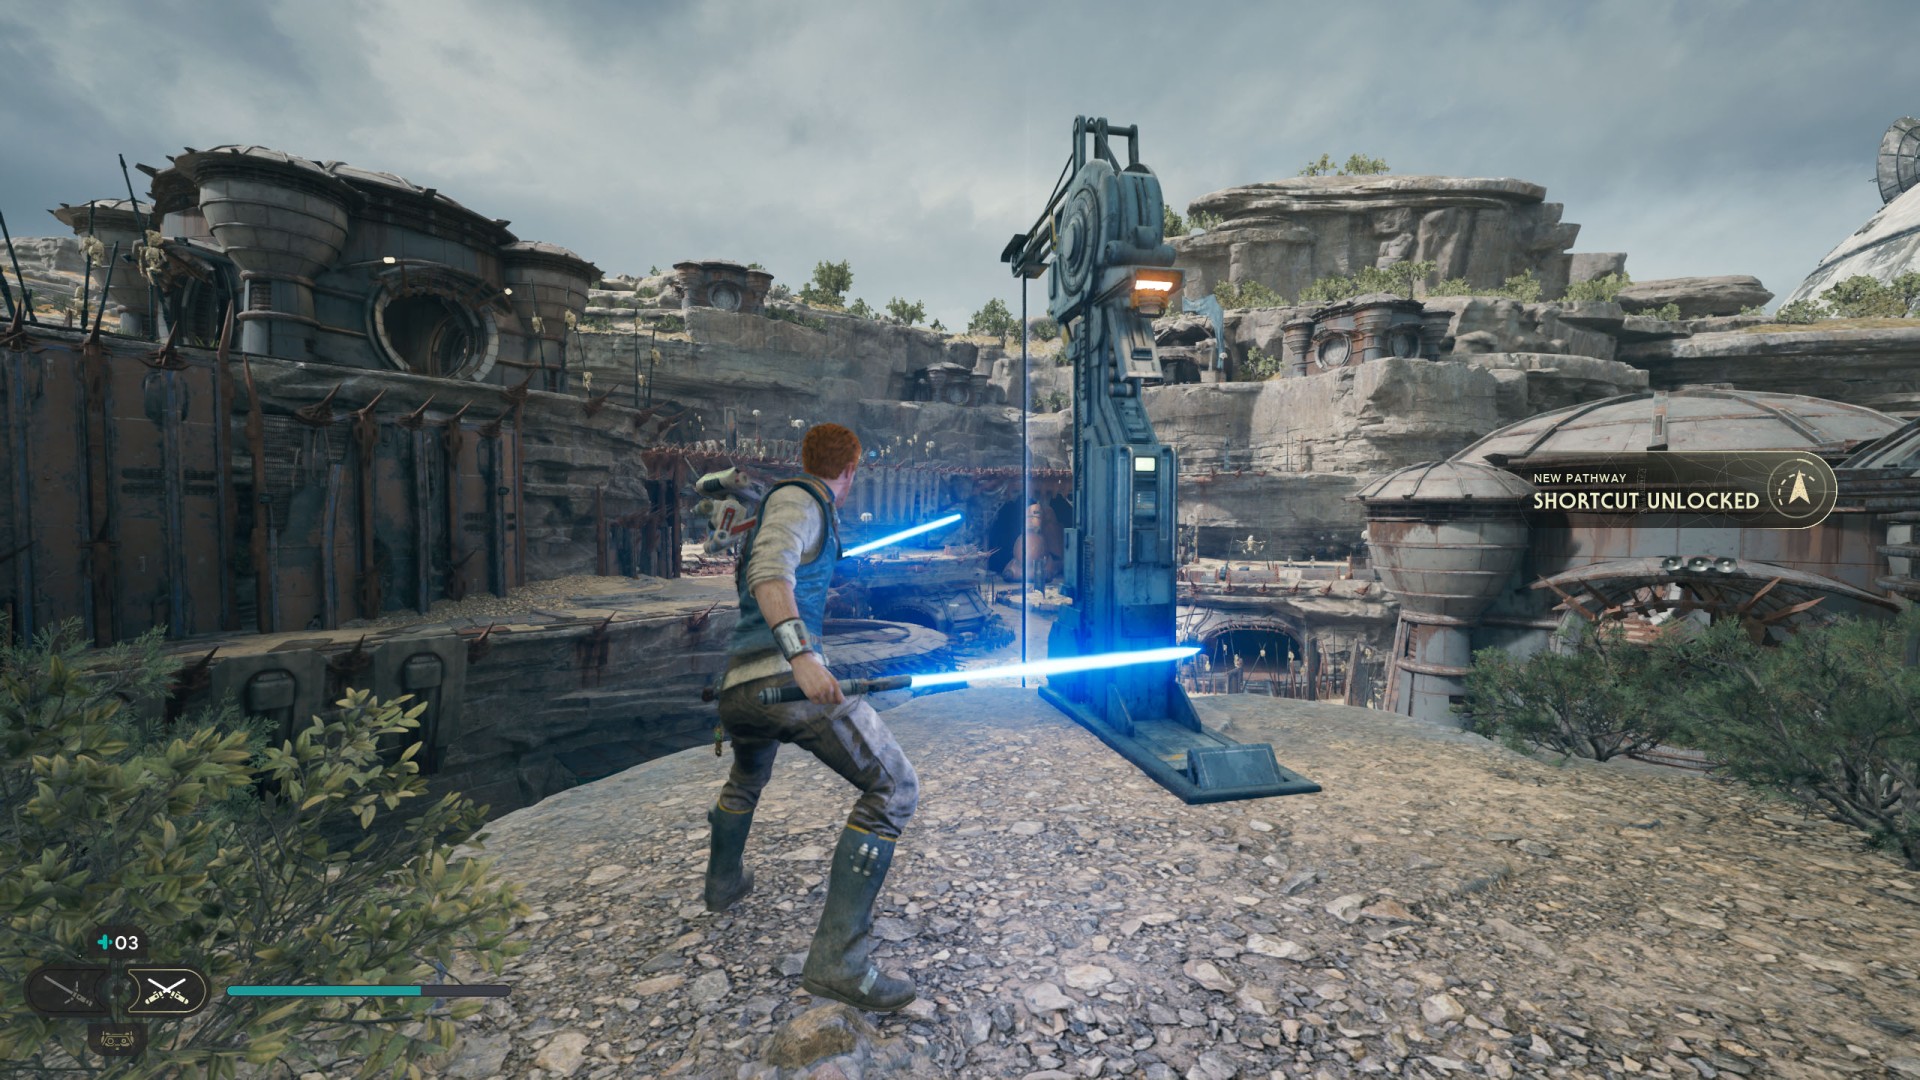
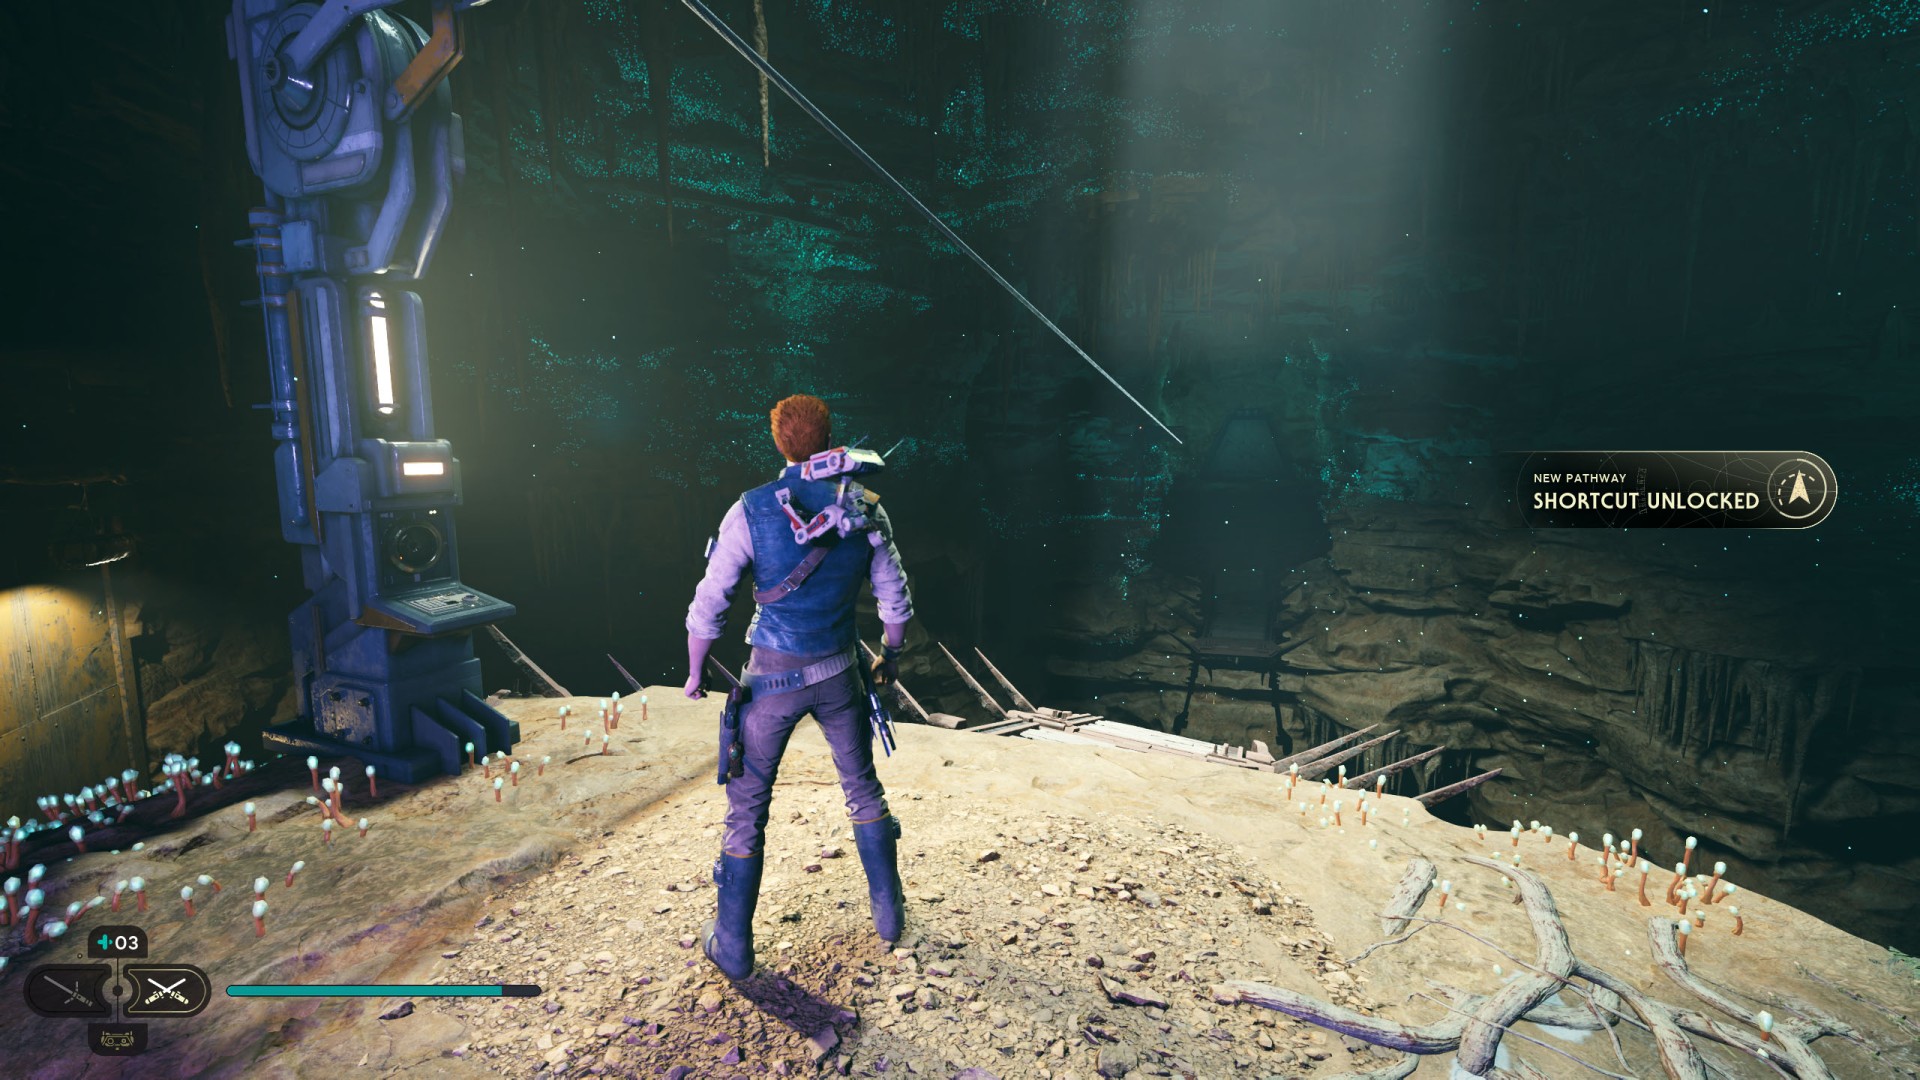
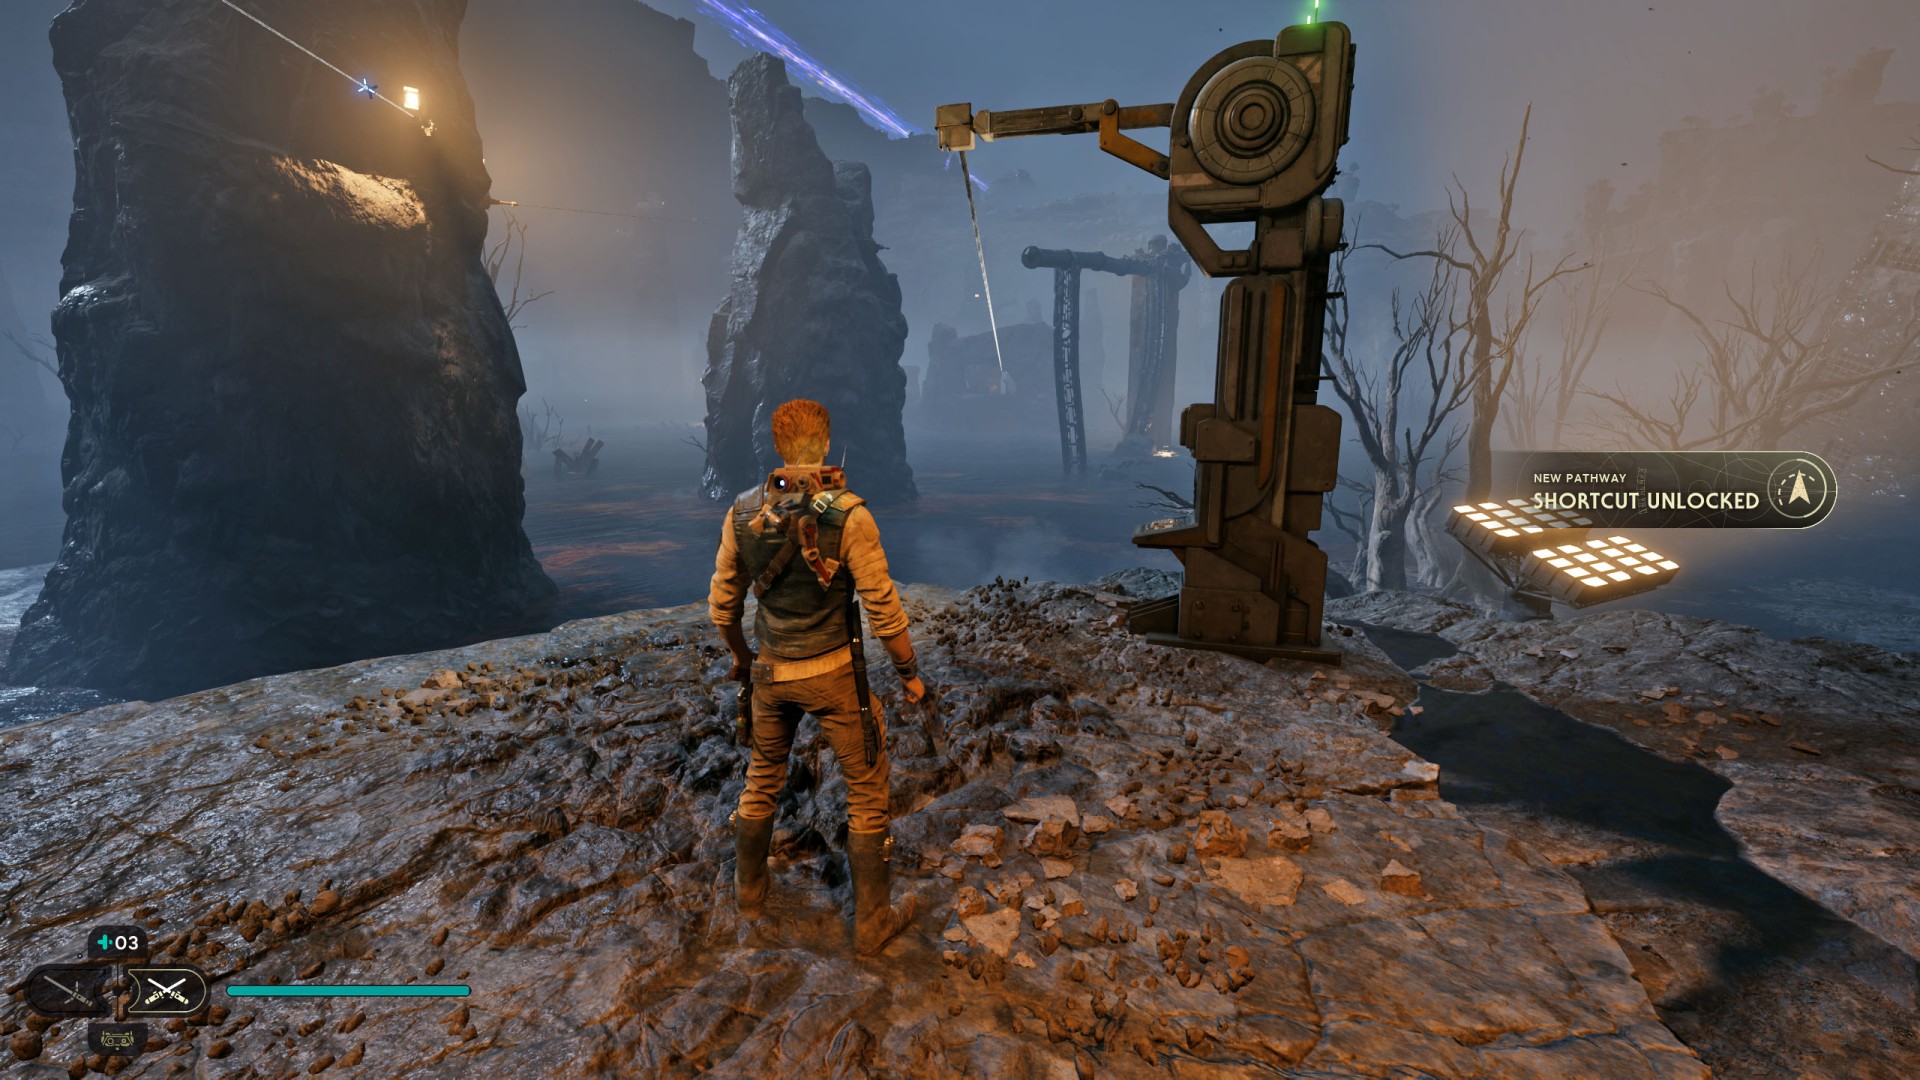
7Basalt Rift Shortcut #2
Order BD-1 to activate the line launcher.
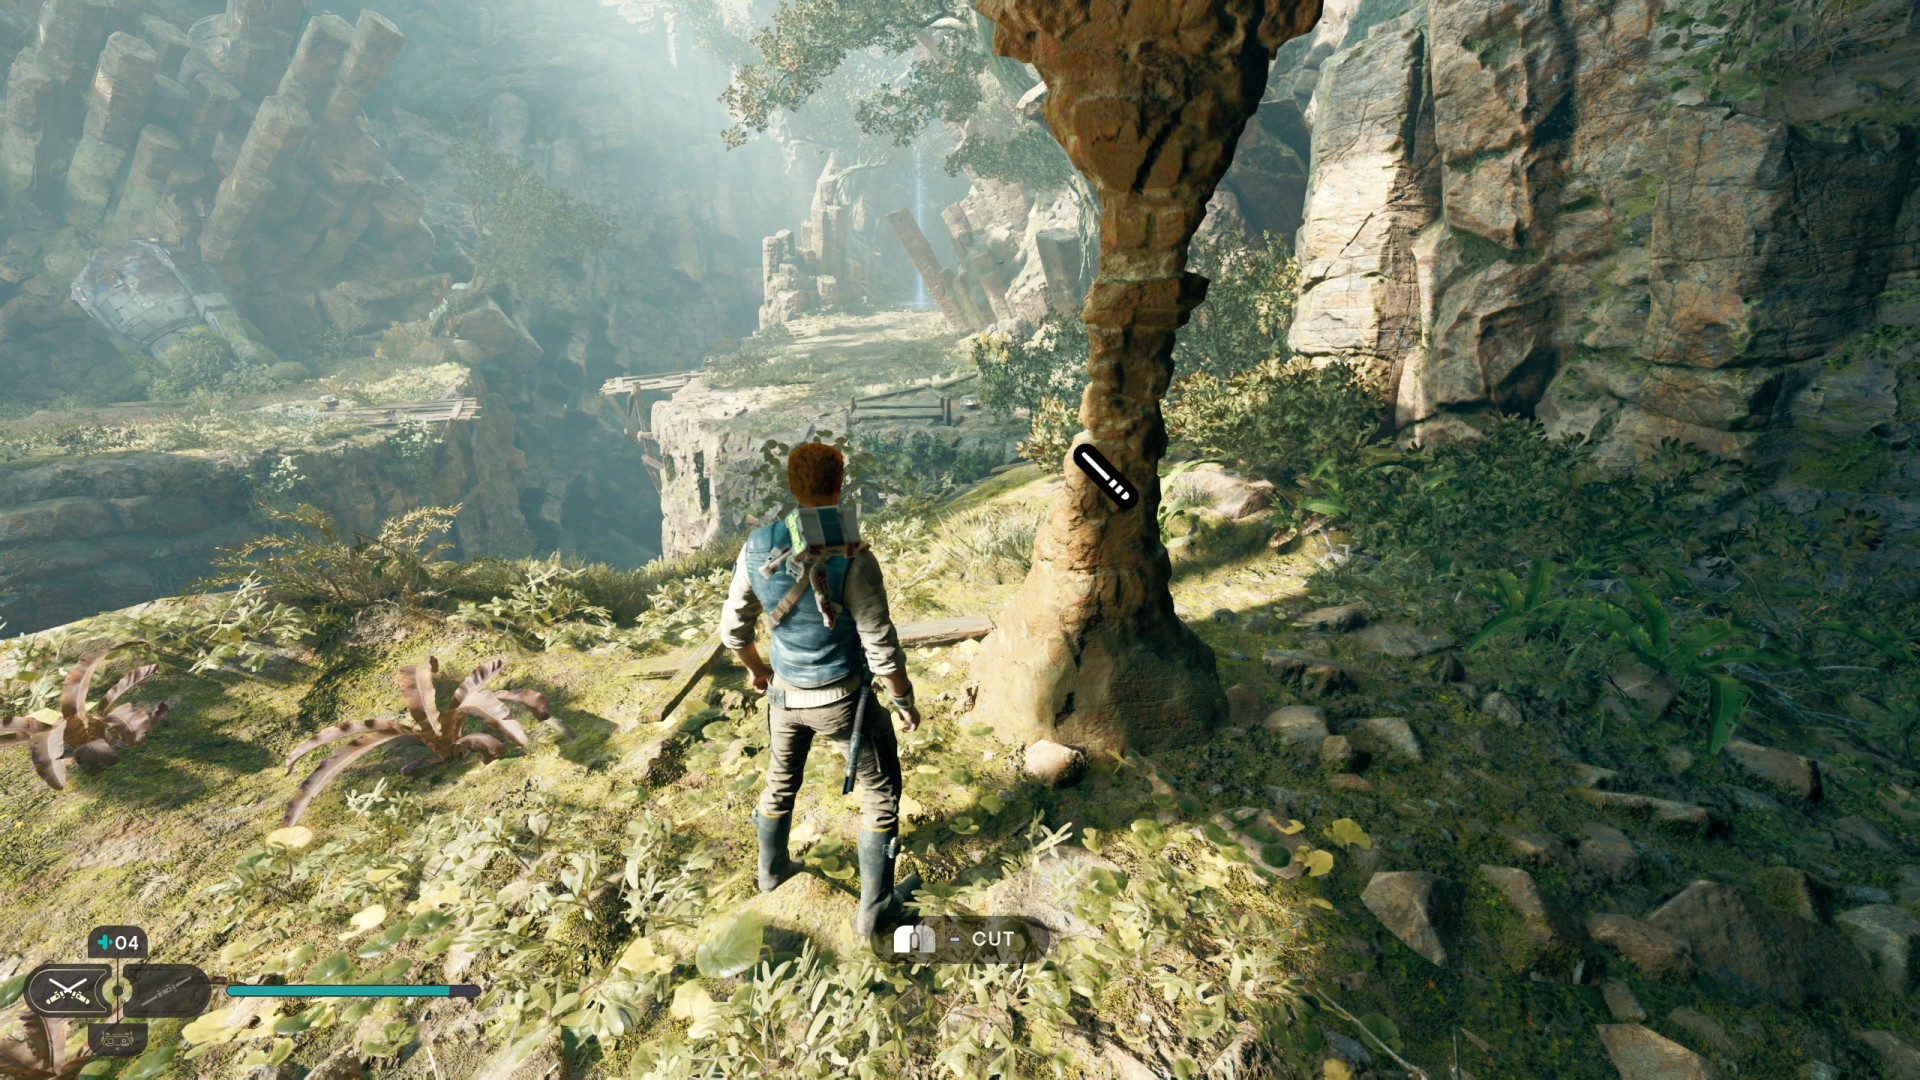
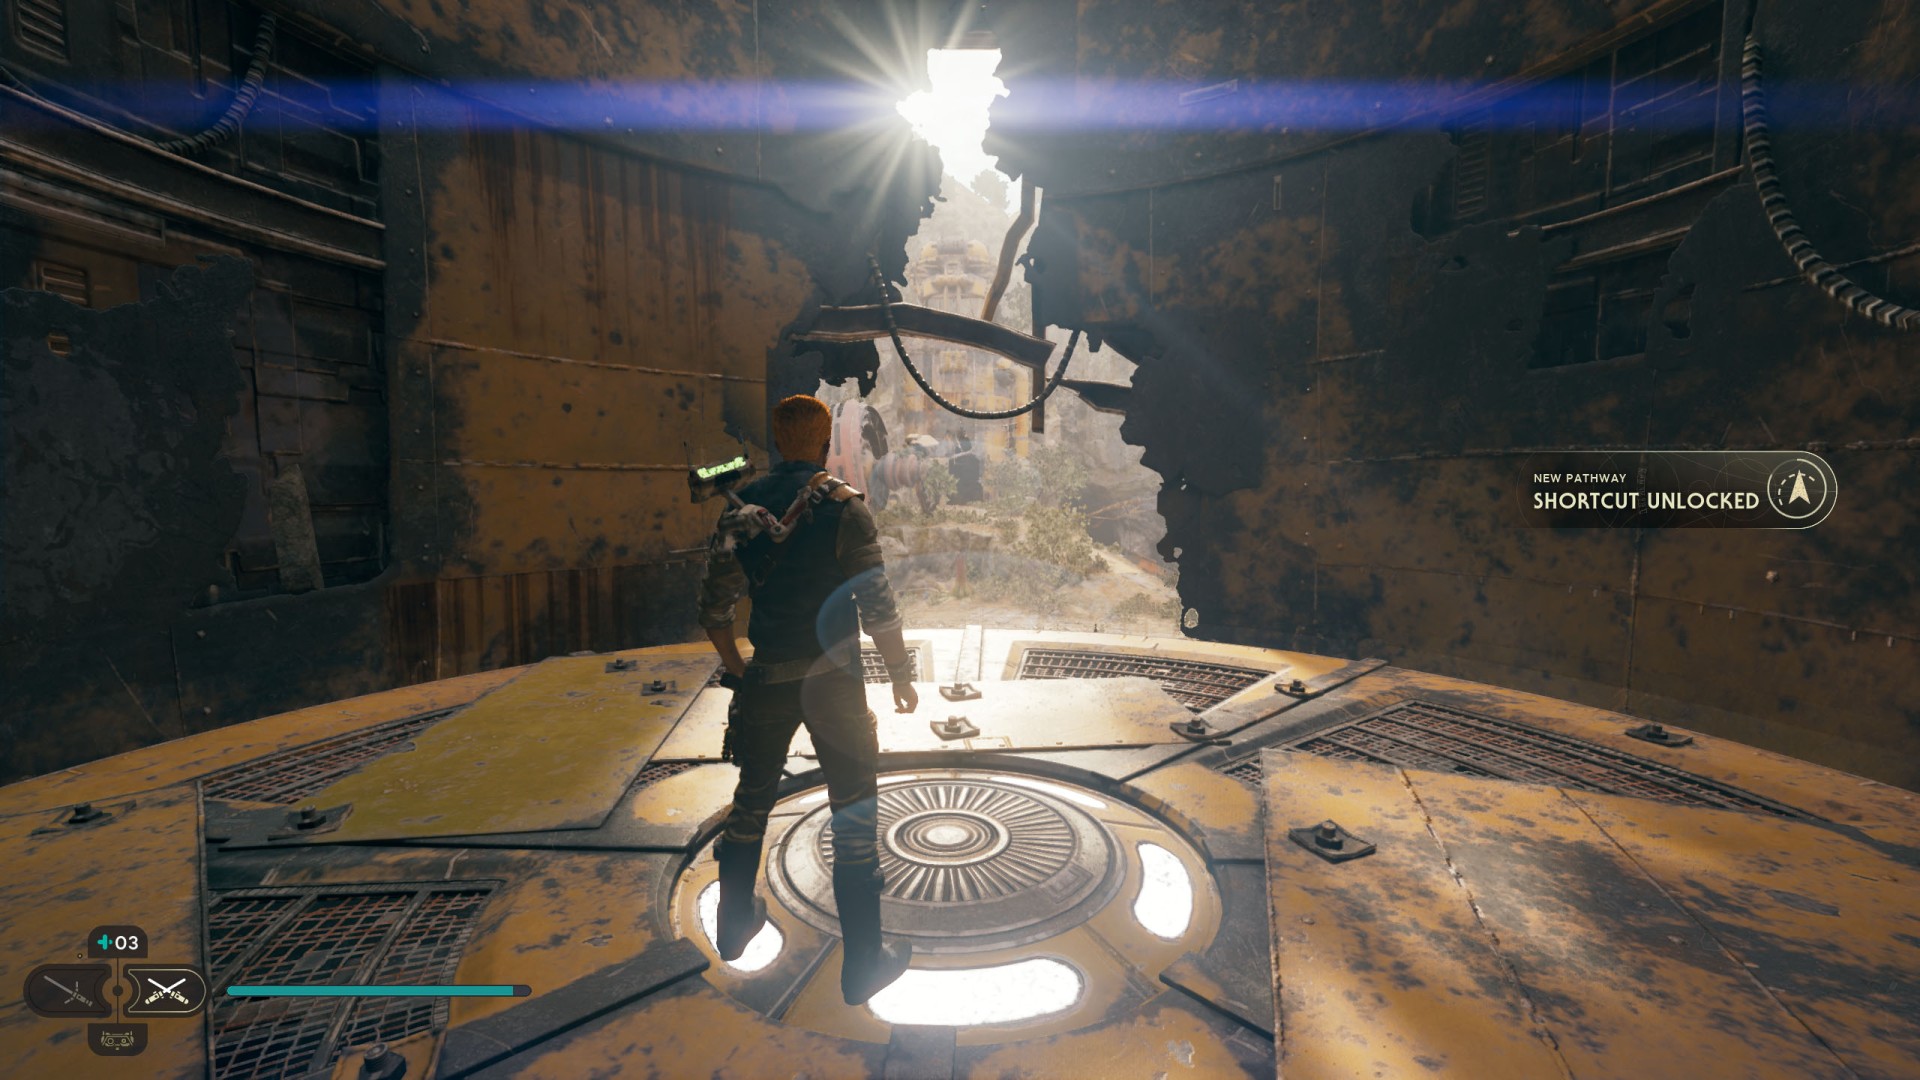
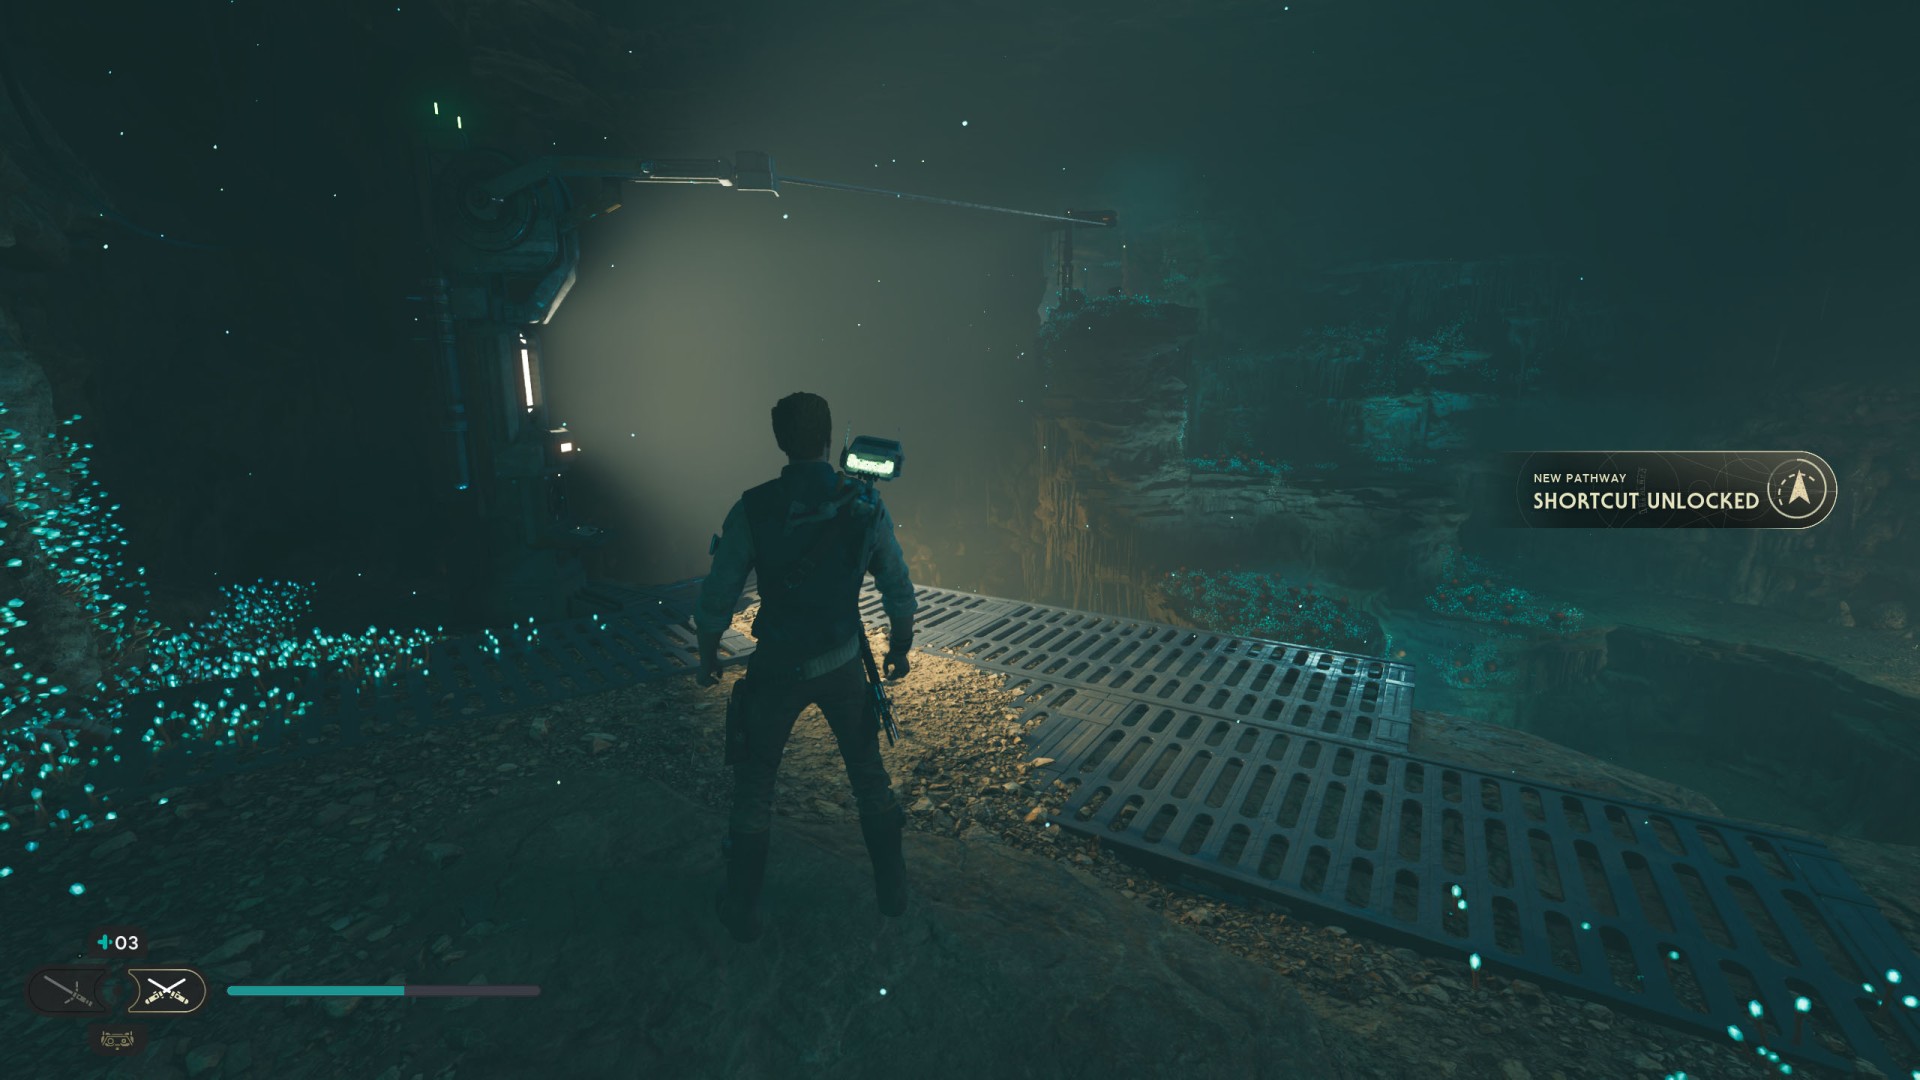
8Basalt Rift Shortcut #3
Cut the stone pillar to create this shortcut.
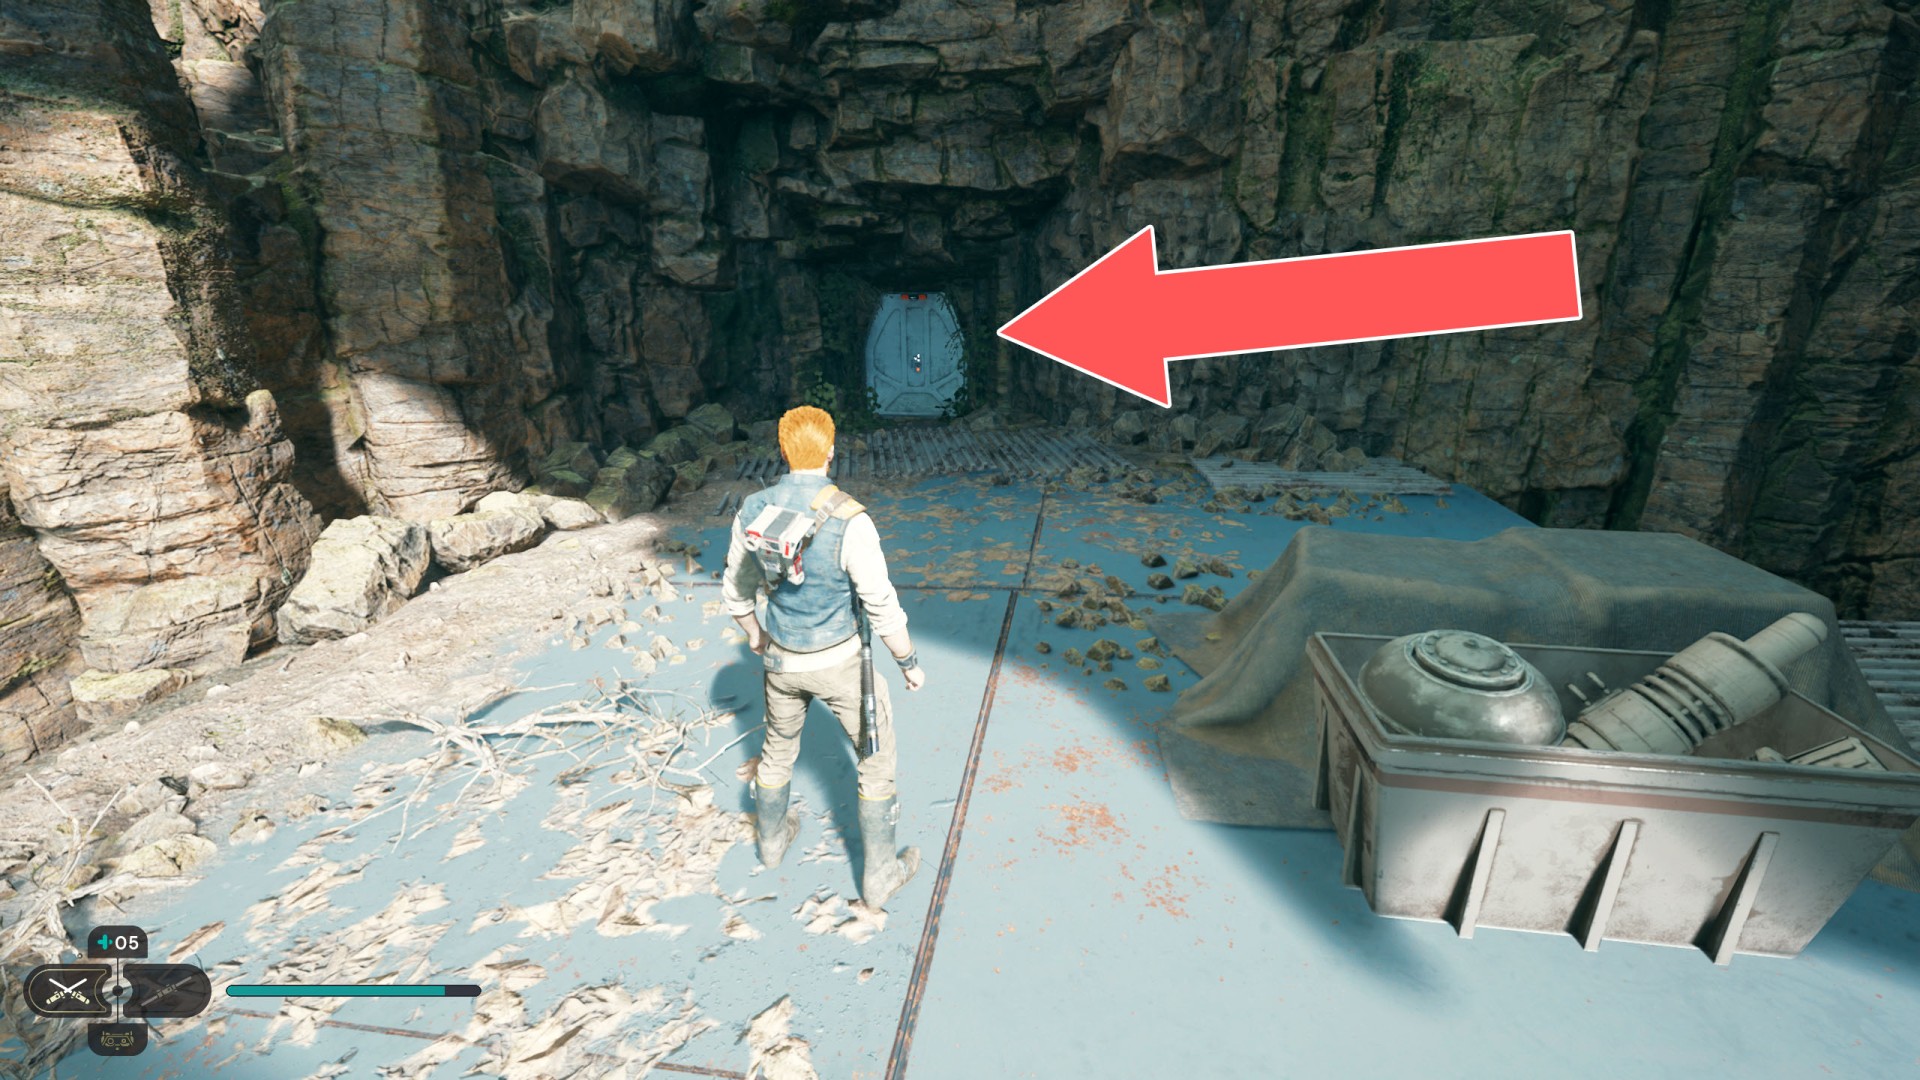
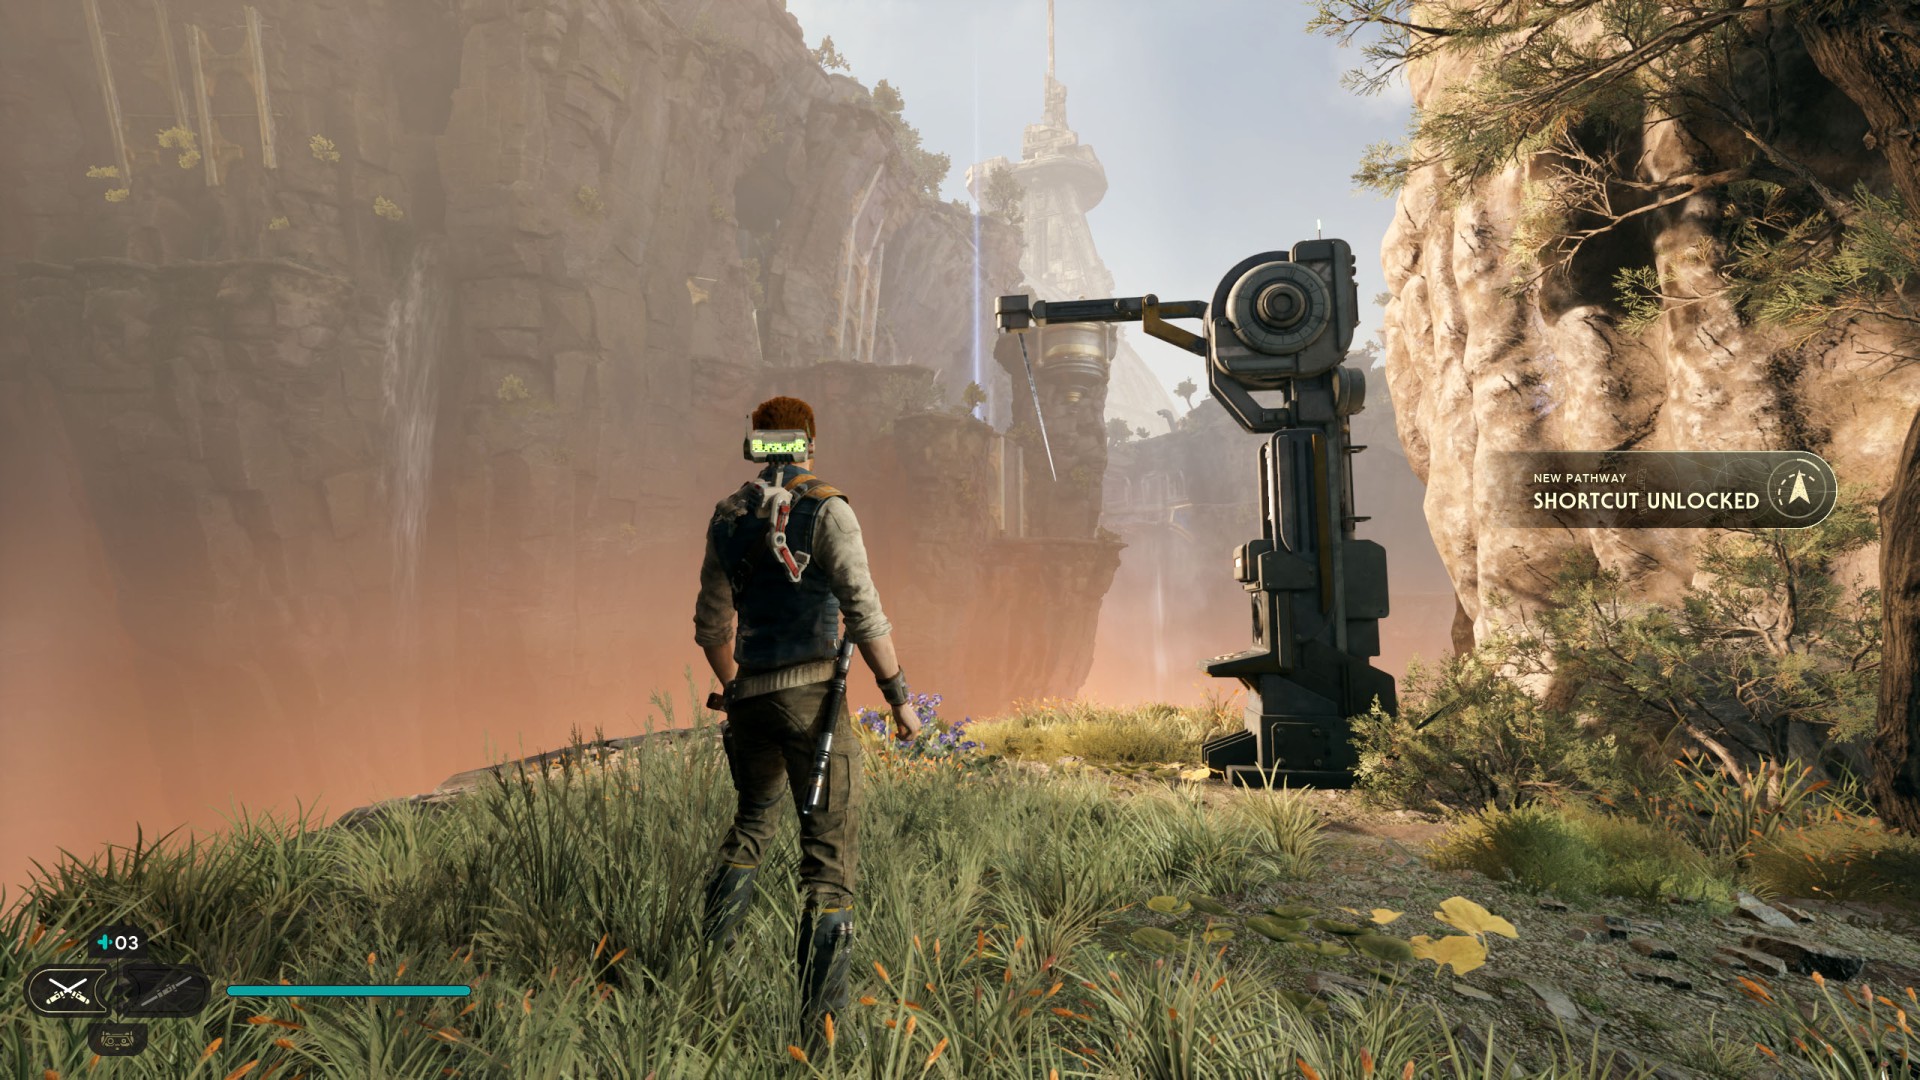
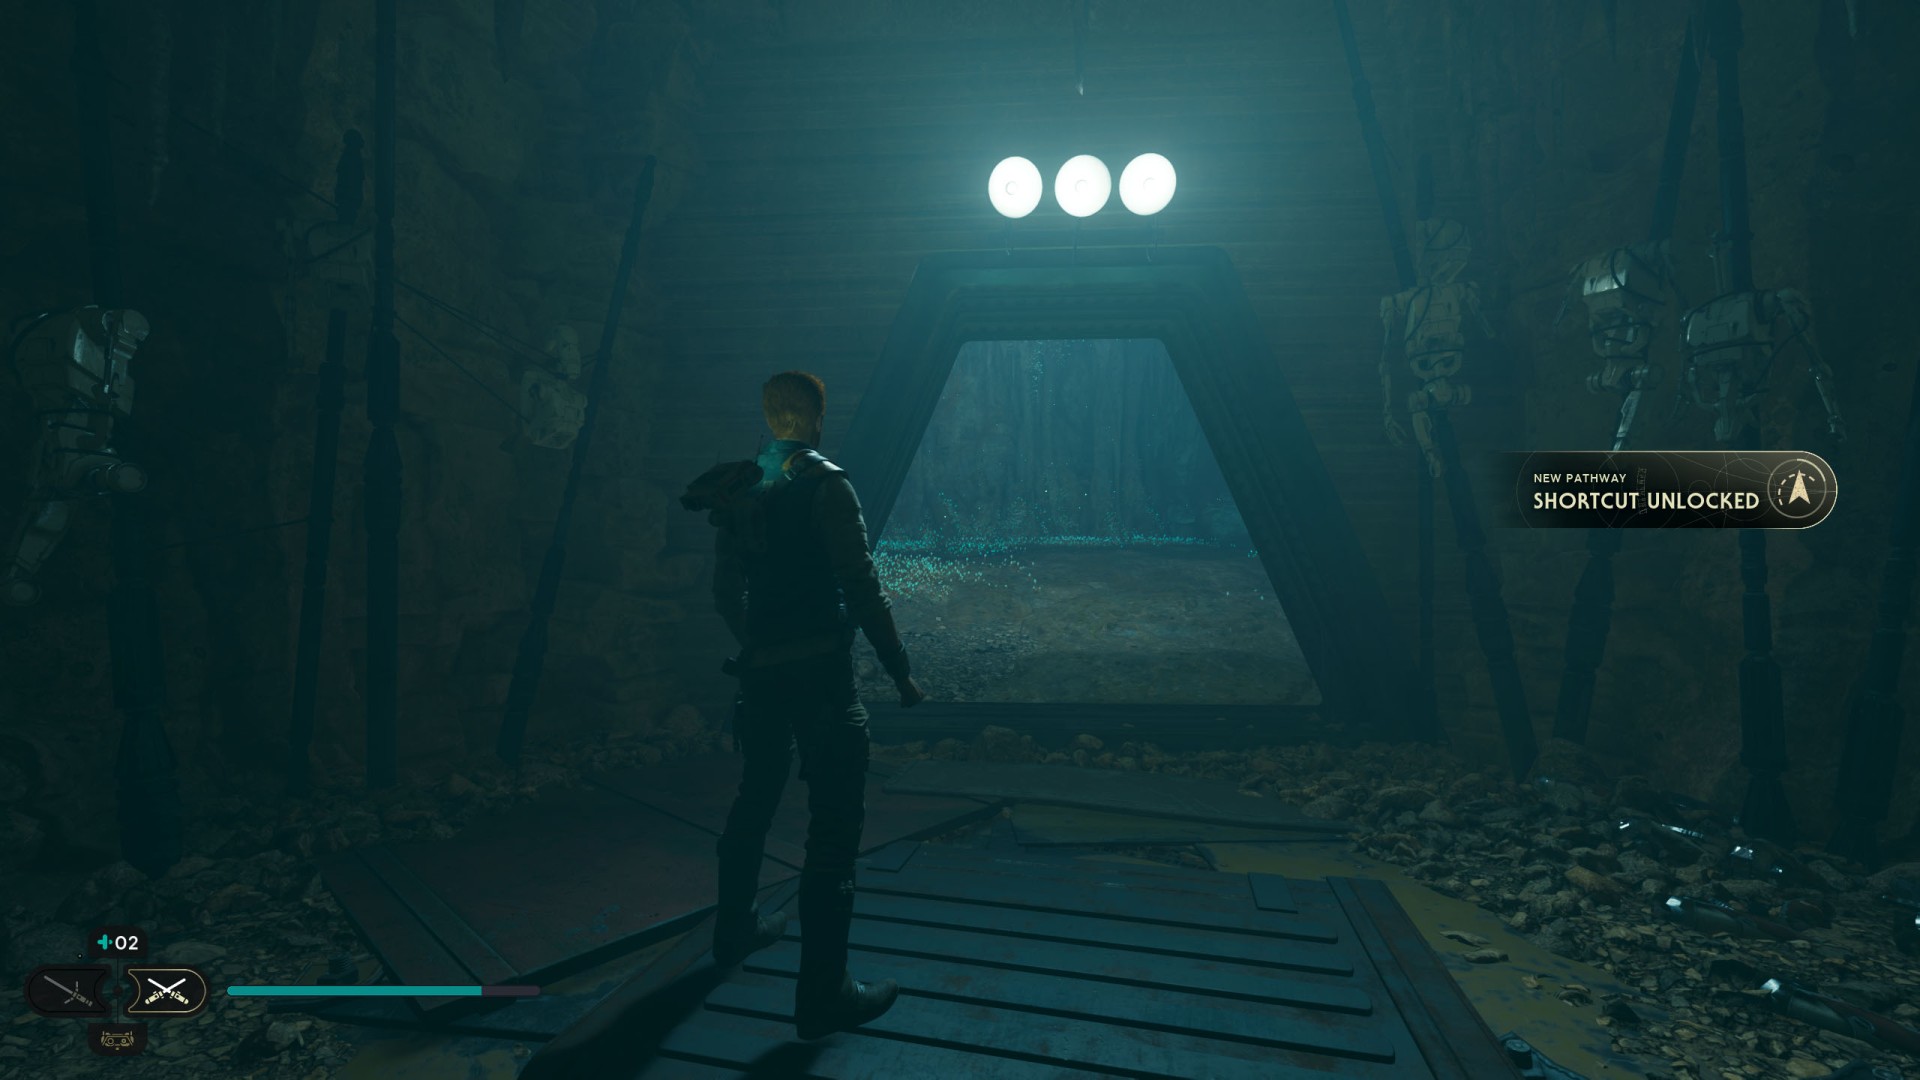
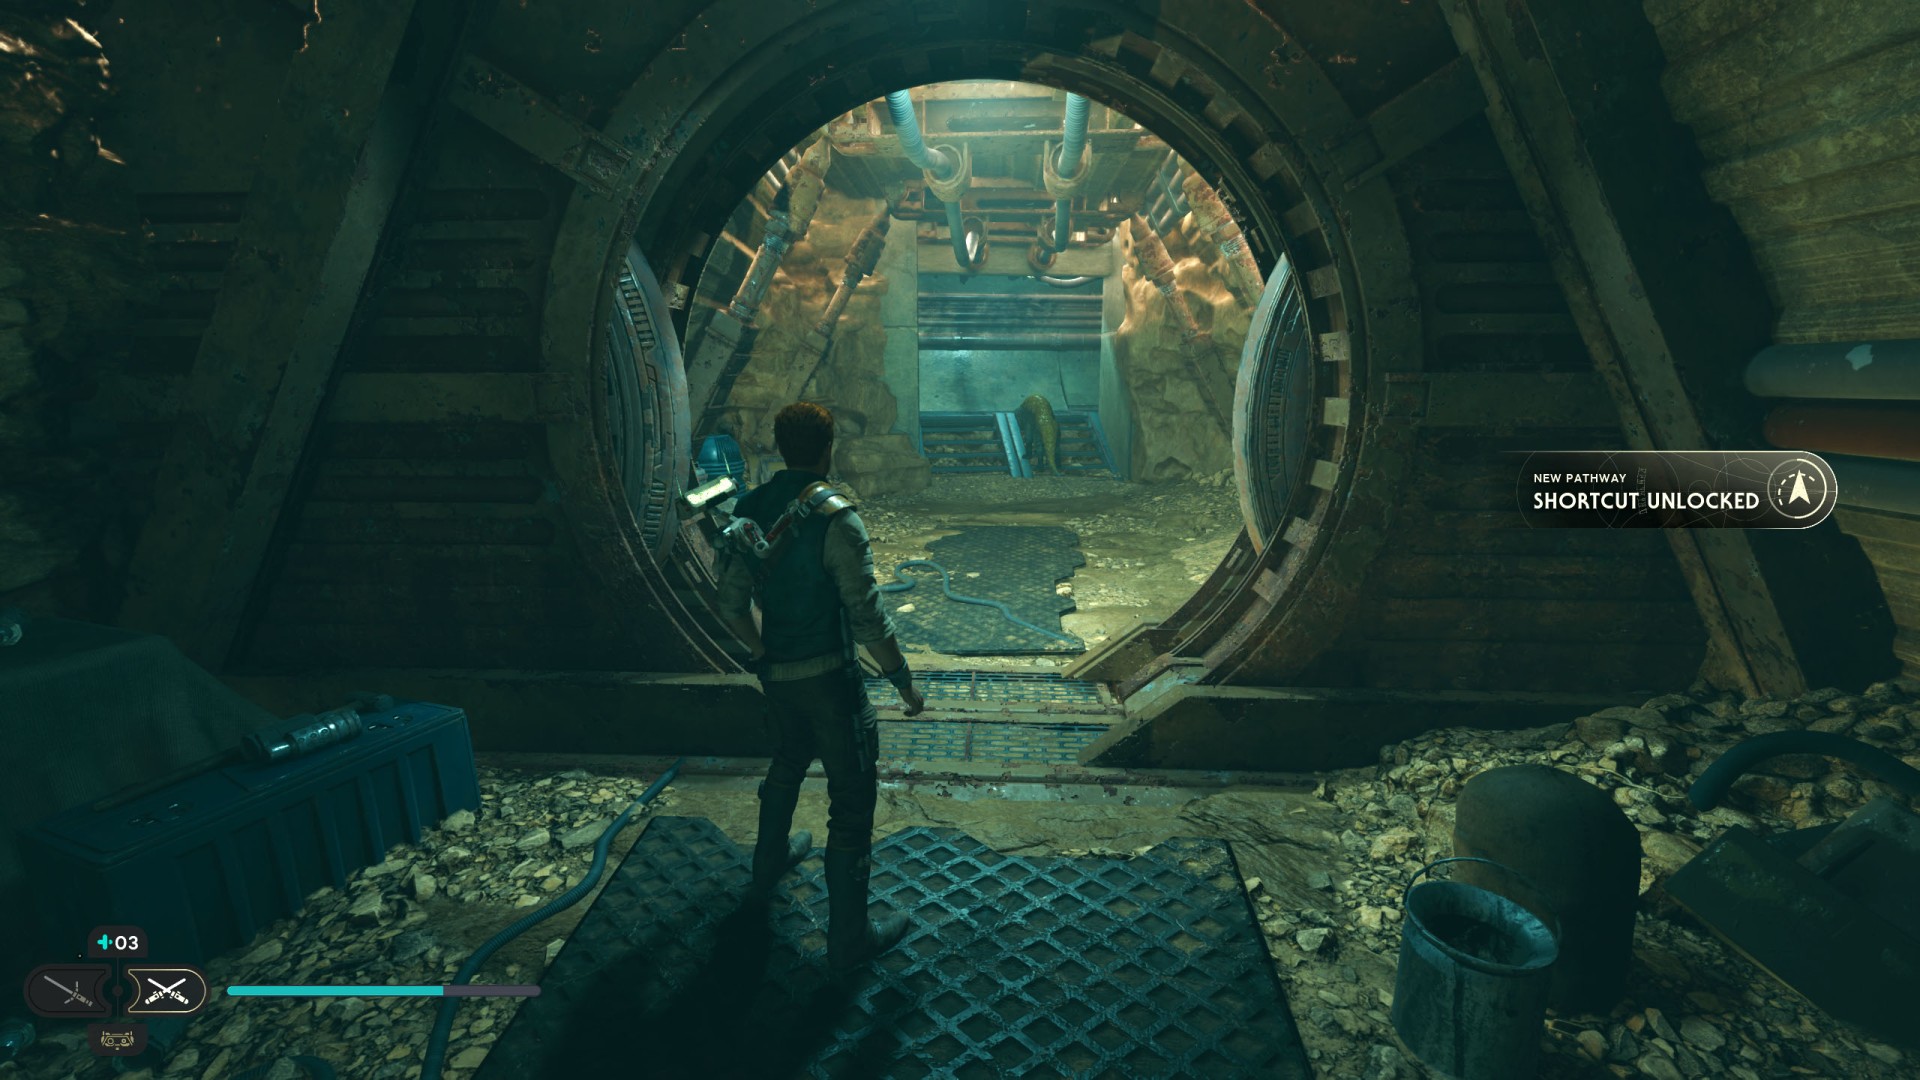
9Bilemaw Den Shortcut
This door can only be unlocked from one side (Forest Array side).
10Bygone Settlement Shortcut #1
Order BD-1 to activate the line launcher.
11Bygone Settlement Shortcut #2
12Chamber of Connection Shortcut
13Chamber of Duality Shortcut
You will unlock this shortcut automatically during the main storyline of the game. The elevator leads to a large golden cube located near the Pyloon's Saloon.
14Corroded Silo Shortcut
Exit to Riverbed Watch.
15Derelict Dam Shortcut #1
Order BD-1 to activate the line launcher.
16Derelict Dam Shortcut #2
To activate this shortcut use the elevator and take it to the bottom.
17Derelict Dam Shortcut #3
To activate this shortcut use the elevator and take it to the bottom.
18Devastated Settlement Shortcut #1
19Devastated Settlement Shortcut #2
20Diagnostics Corridor Shortcut #1

21Flooded Bunker Shortcut
22Fogged Expanse Shortcut #1
You will be able to use this elevator after killing the Vile Bilemaw.
23Fogged Expanse Shortcut #2
24Foothill Falls Shortcut
25Forest Array Shortcut #1
Order BD-1 to activate the line launcher.
26Forest Array Shortcut #2
This door can only be unlocked from one side.
27Forest Array Shortcut #3
You will unlock this shortcut from the inside while leaving the place where the Forest Array Essence 1/2 is located.

28Forest Array Shortcut #4
To activate this shortcut just cut the rope.
29Forest Array Shortcut #5
This door can only be unlocked from one side only.
30Fort Kah'lin Shortcut #1
31Fort Kah'lin Shortcut #2
32Fort Kah'lin Shortcut #3
33Generator Underbelly Shortcut #1
34Generator Underbelly Shortcut #2
35Generator Underbelly Shortcut #3
36Gorge Crash Site Shortcut #1
Order BD-1 to activate the line launcher.
37Gorge Crash Site Shortcut #2
To activate this shortcut you should cut the rope.
38Harvest Ridge Shortcut #1
39Harvest Ridge Shortcut #2
40Imperial Post 8L-055 Shortcut
41Loading Gantry Shortcut #1
42Loading Gantry Shortcut #2
Force Push the wall.
43Loading Gantry Shortcut #3
44Loading Gantry Shortcut #4
45Lucrehulk Core Shortcut #1
46Lucrehulk Core Shortcut #2
47Mountain Ascent Shortcut
48Nekko Pools Shortcut
You have to jump over the top and open this door from the other side.
49Observation Deck Shortcut #1
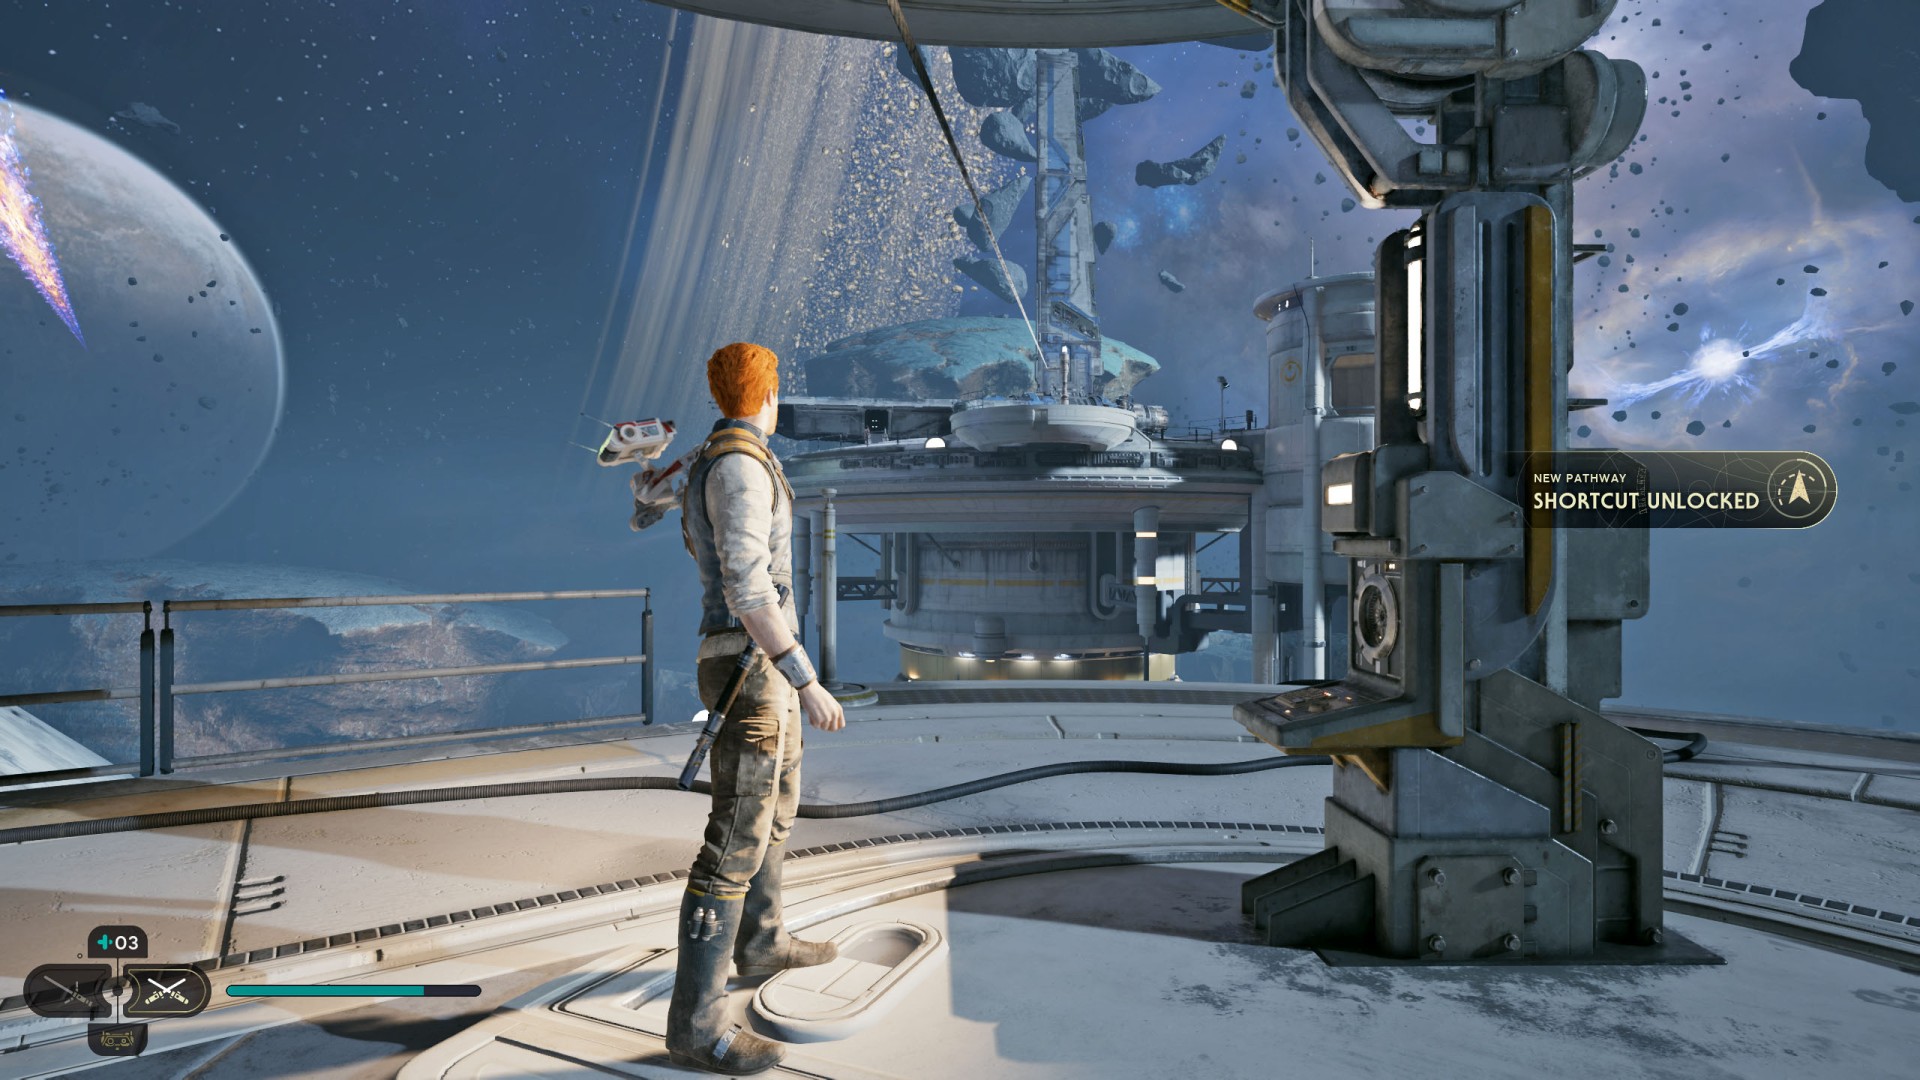
50Observatory Understructure Shortcut #1
51Observatory Understructure Shortcut #2
52Observatory Understructure Shortcut #3

53Observatory Understructure Shortcut #4
54Phon'Qi Caverns Shortcut #1
55Phon'Qi Caverns Shortcut #2
56Phon'Qi Caverns Shortcut #3

57Phon'Qi Caverns Shortcut #4
58Rambler's Reach Outpost Shortcut
On the roof of the Pyloona's Saloon. To activate it you should cut the rope.
59Riverbed Watch Shortcut #1
60Riverbed Watch Shortcut #2
61Riverbed Watch Shortcut #3
62Smuggler's Tunnels Shortcut
These doors can be unlocked from the tunnel side.
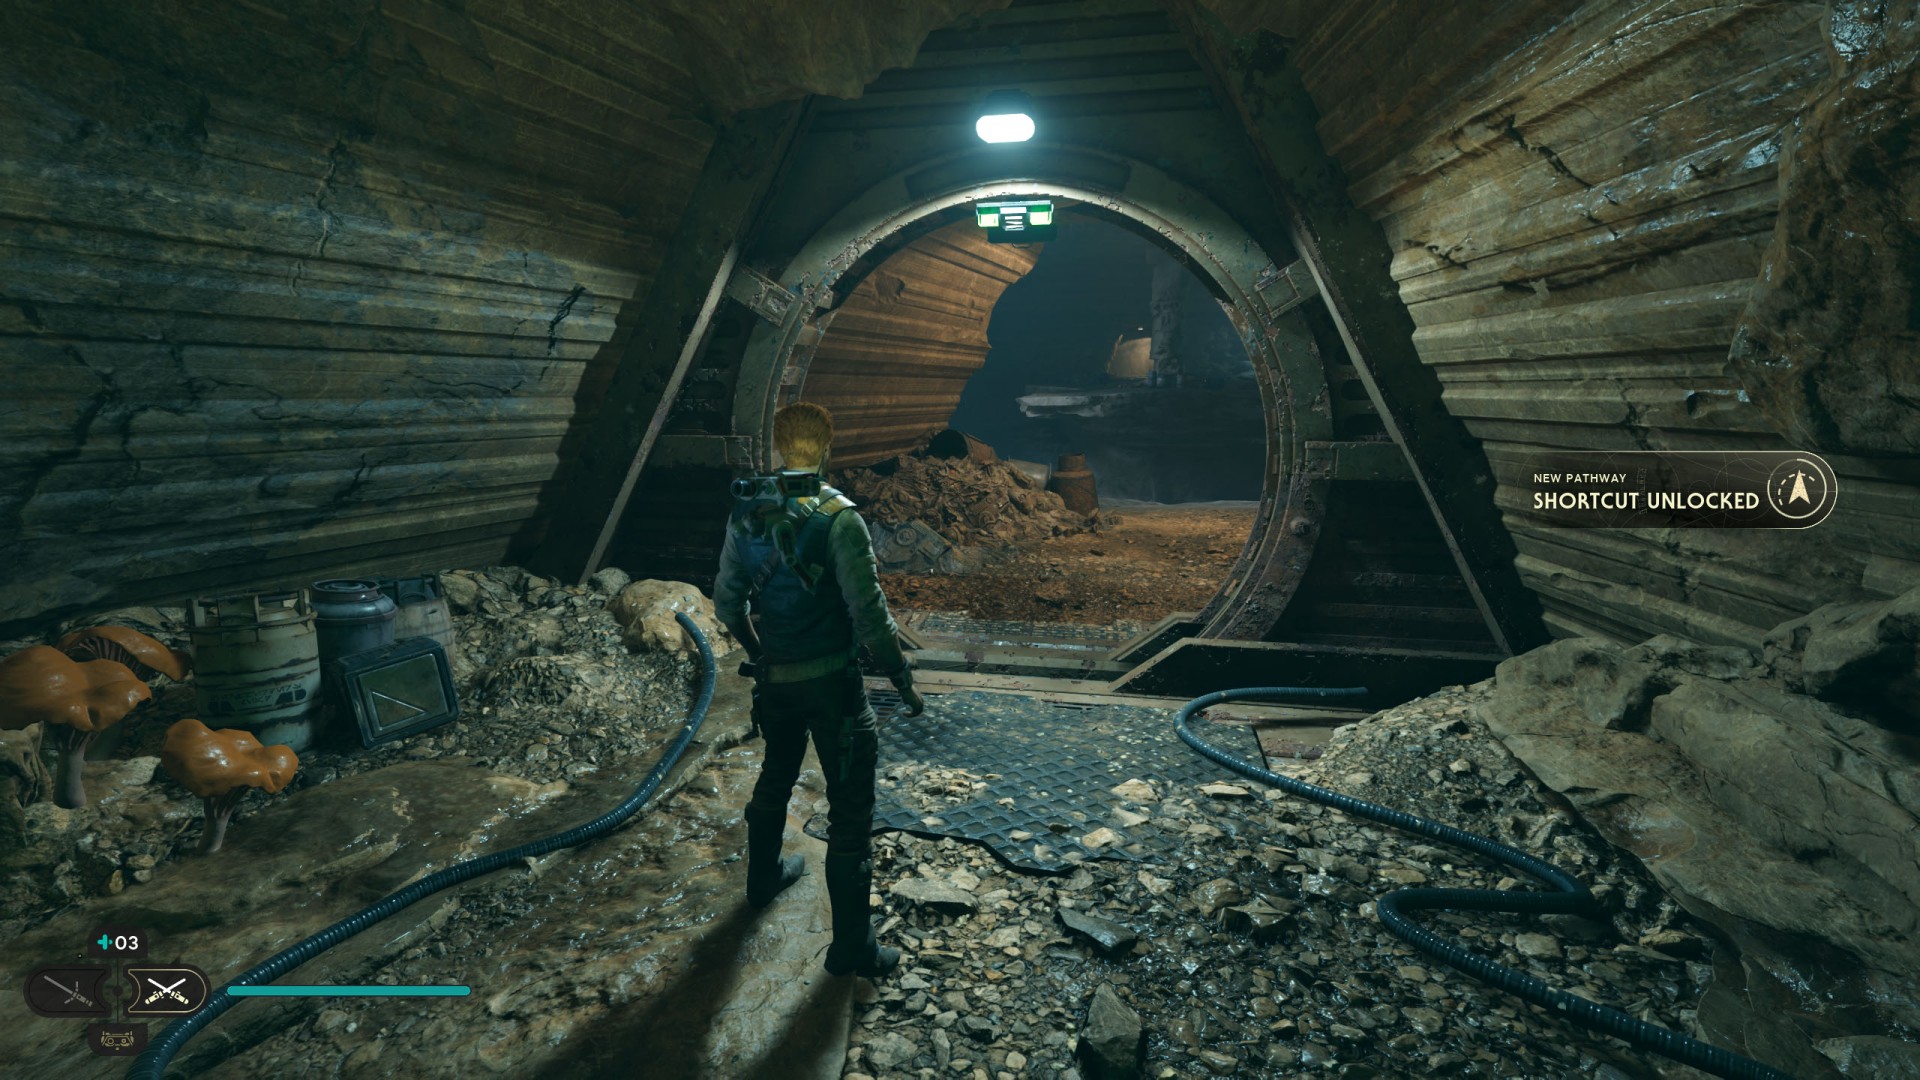
63Smuggler's Tunnels Shortcut
These doors can be opened from inside the building.

64Sodden Grotto Shortcut
65Southern Reach Shortcut
66Summit Ridge Shortcut
An elevator to Foothill Falls.
67Swindler's Wash Shortcut
Order BD-1 to activate the line launcher.
68Untamed Downs Shortcut
Cut the rope and then the bridge will drop and you will be able to walk across.
69Viscid Bog Shortcut #1
70Viscid Bog Shortcut #2
71Water Treatment Works Shortcut
72Winding Ravine Shortcut
To activate this shortcut you should cut the rope.
73Yurt Barracks Shortcut #1

Locations on Jedha
74Blustery Mesa Shortcut
This door can be opened from the outside.
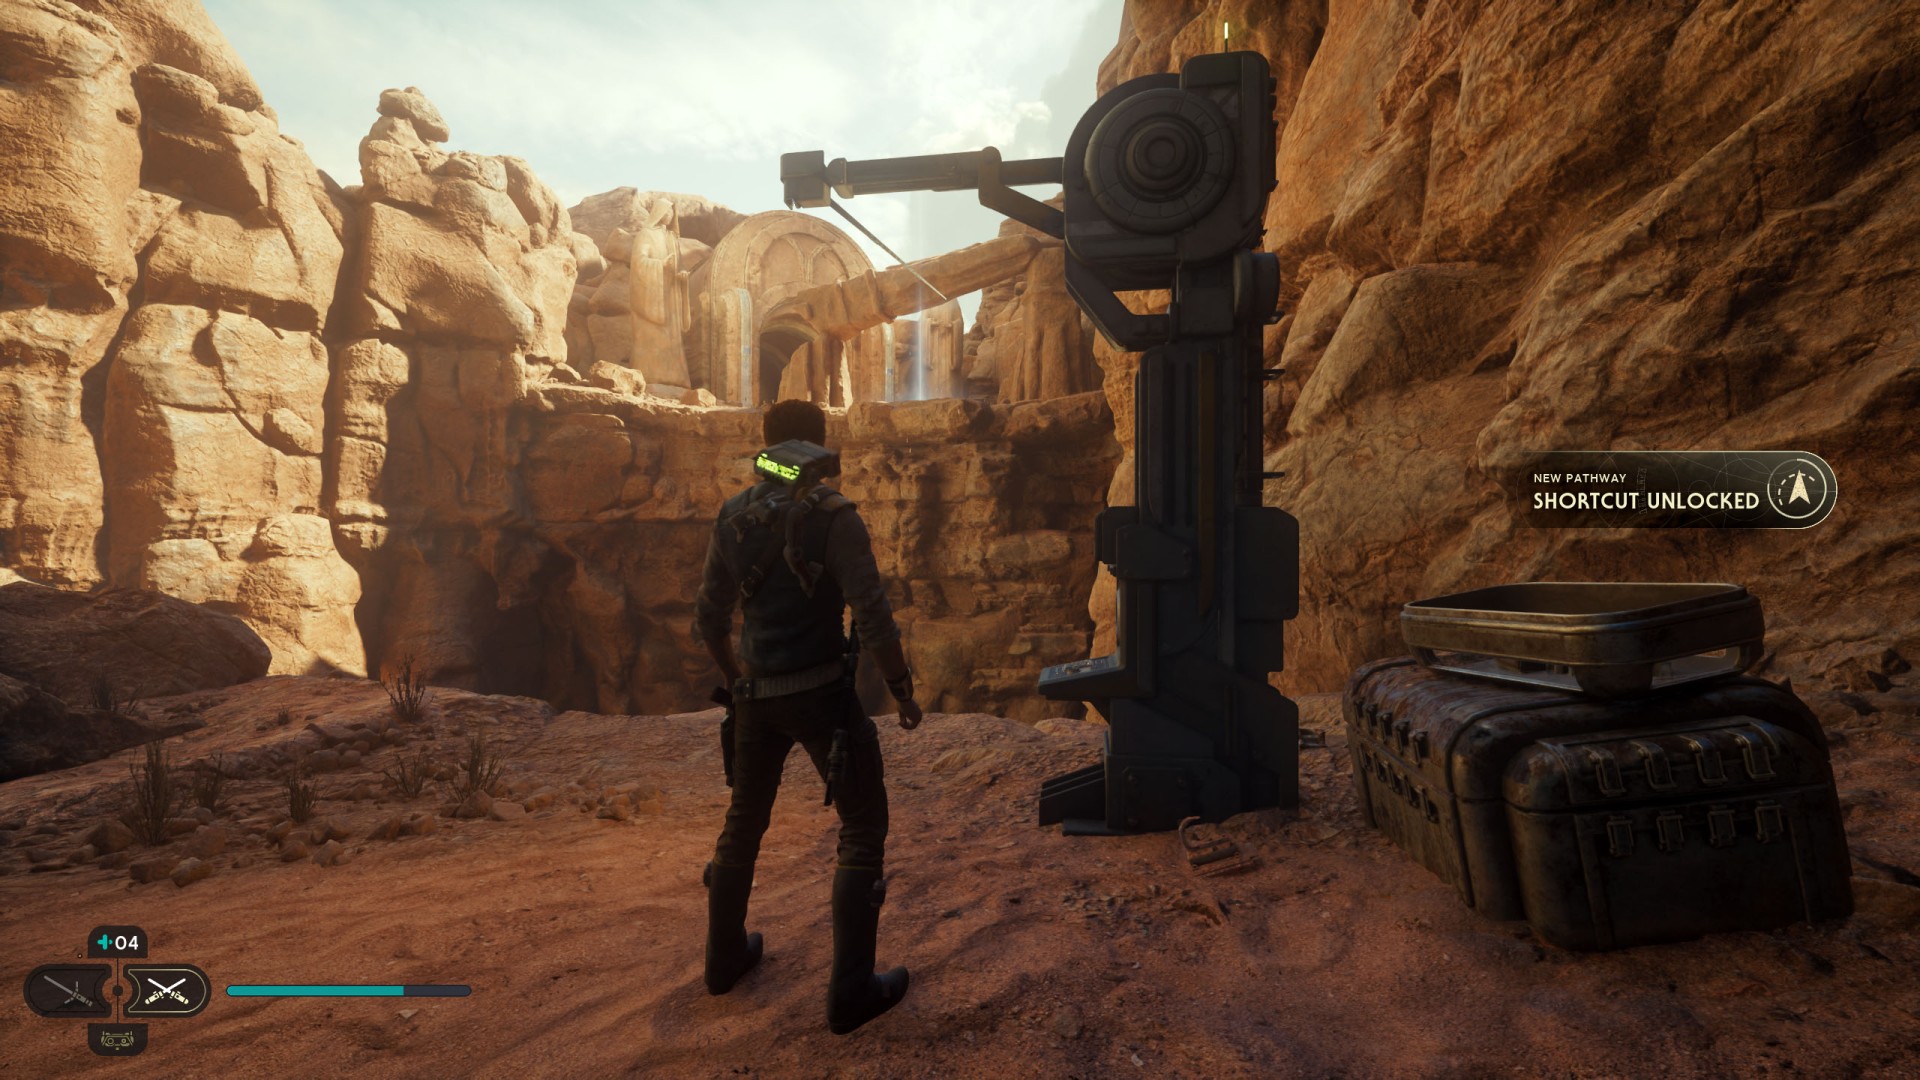
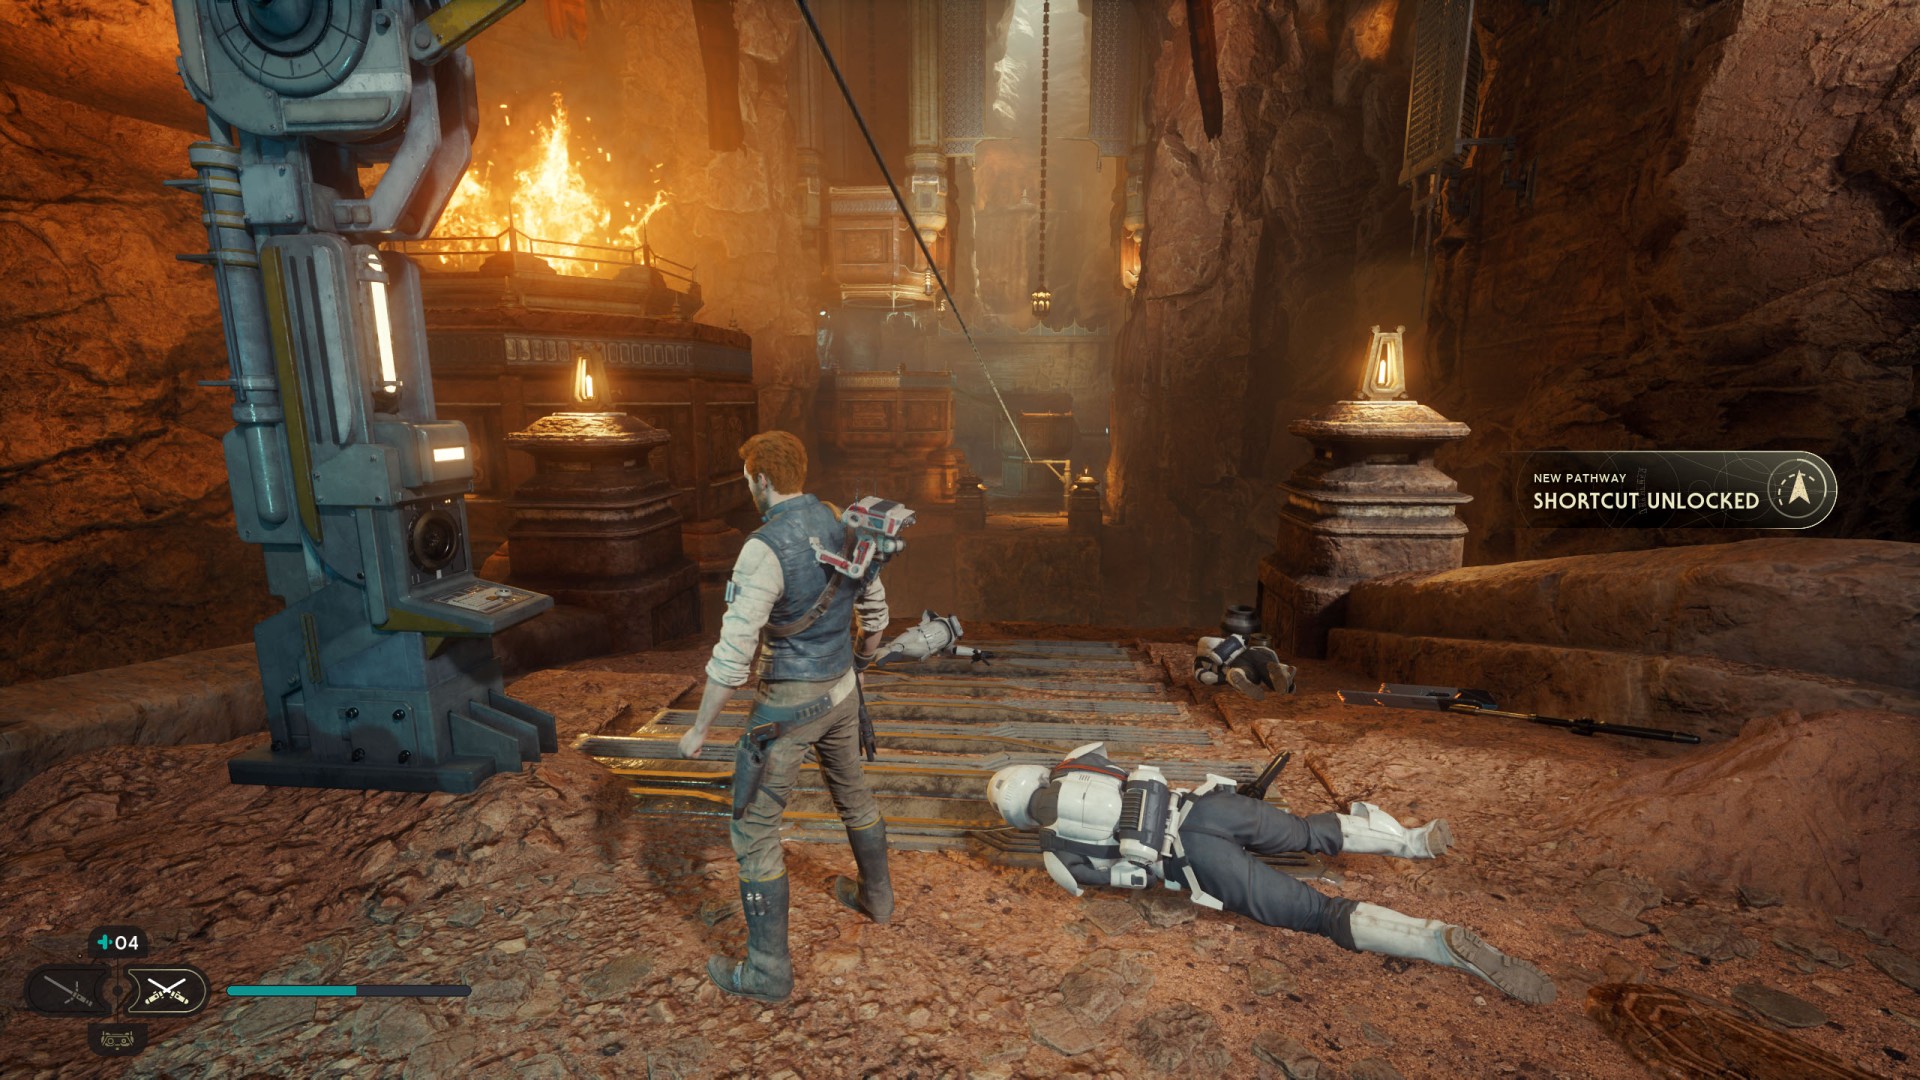
75Crypt of Uhrma Shortcut
Order BD-1 to hack the line launcher.
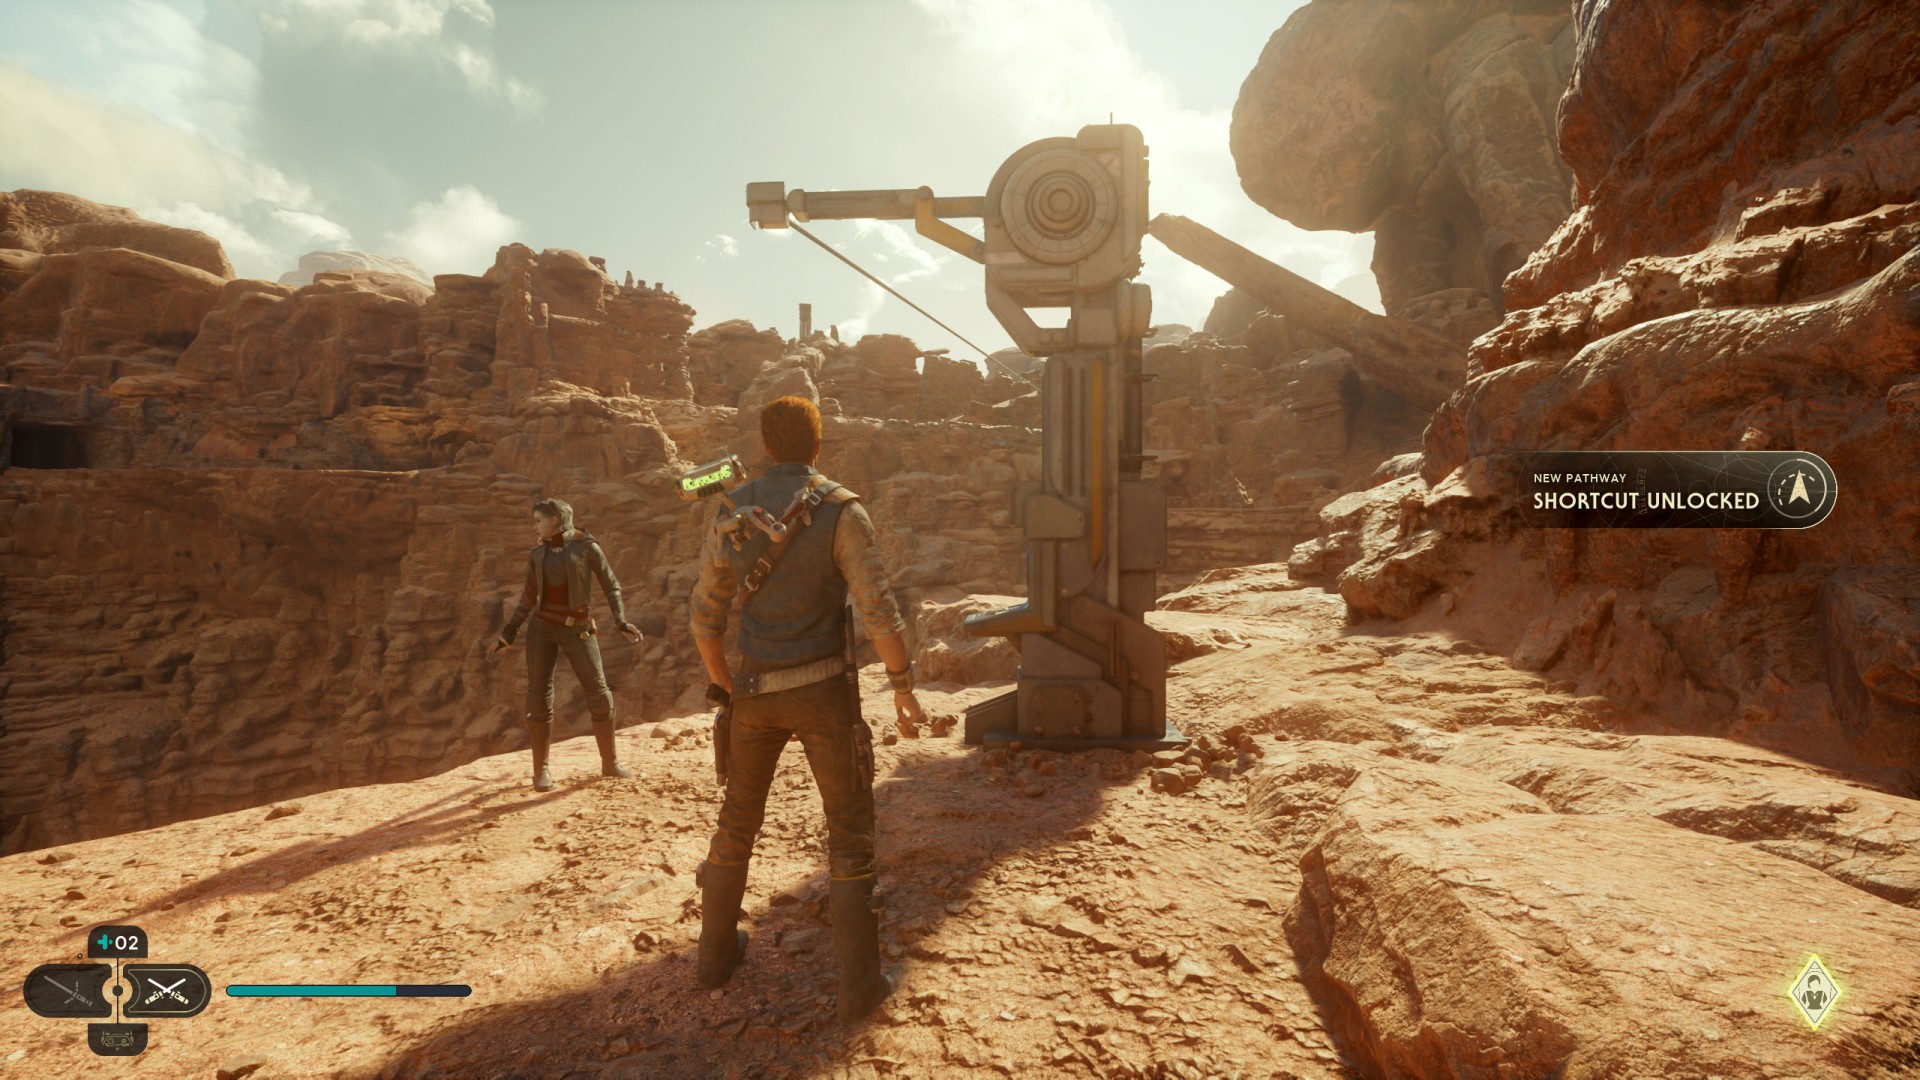
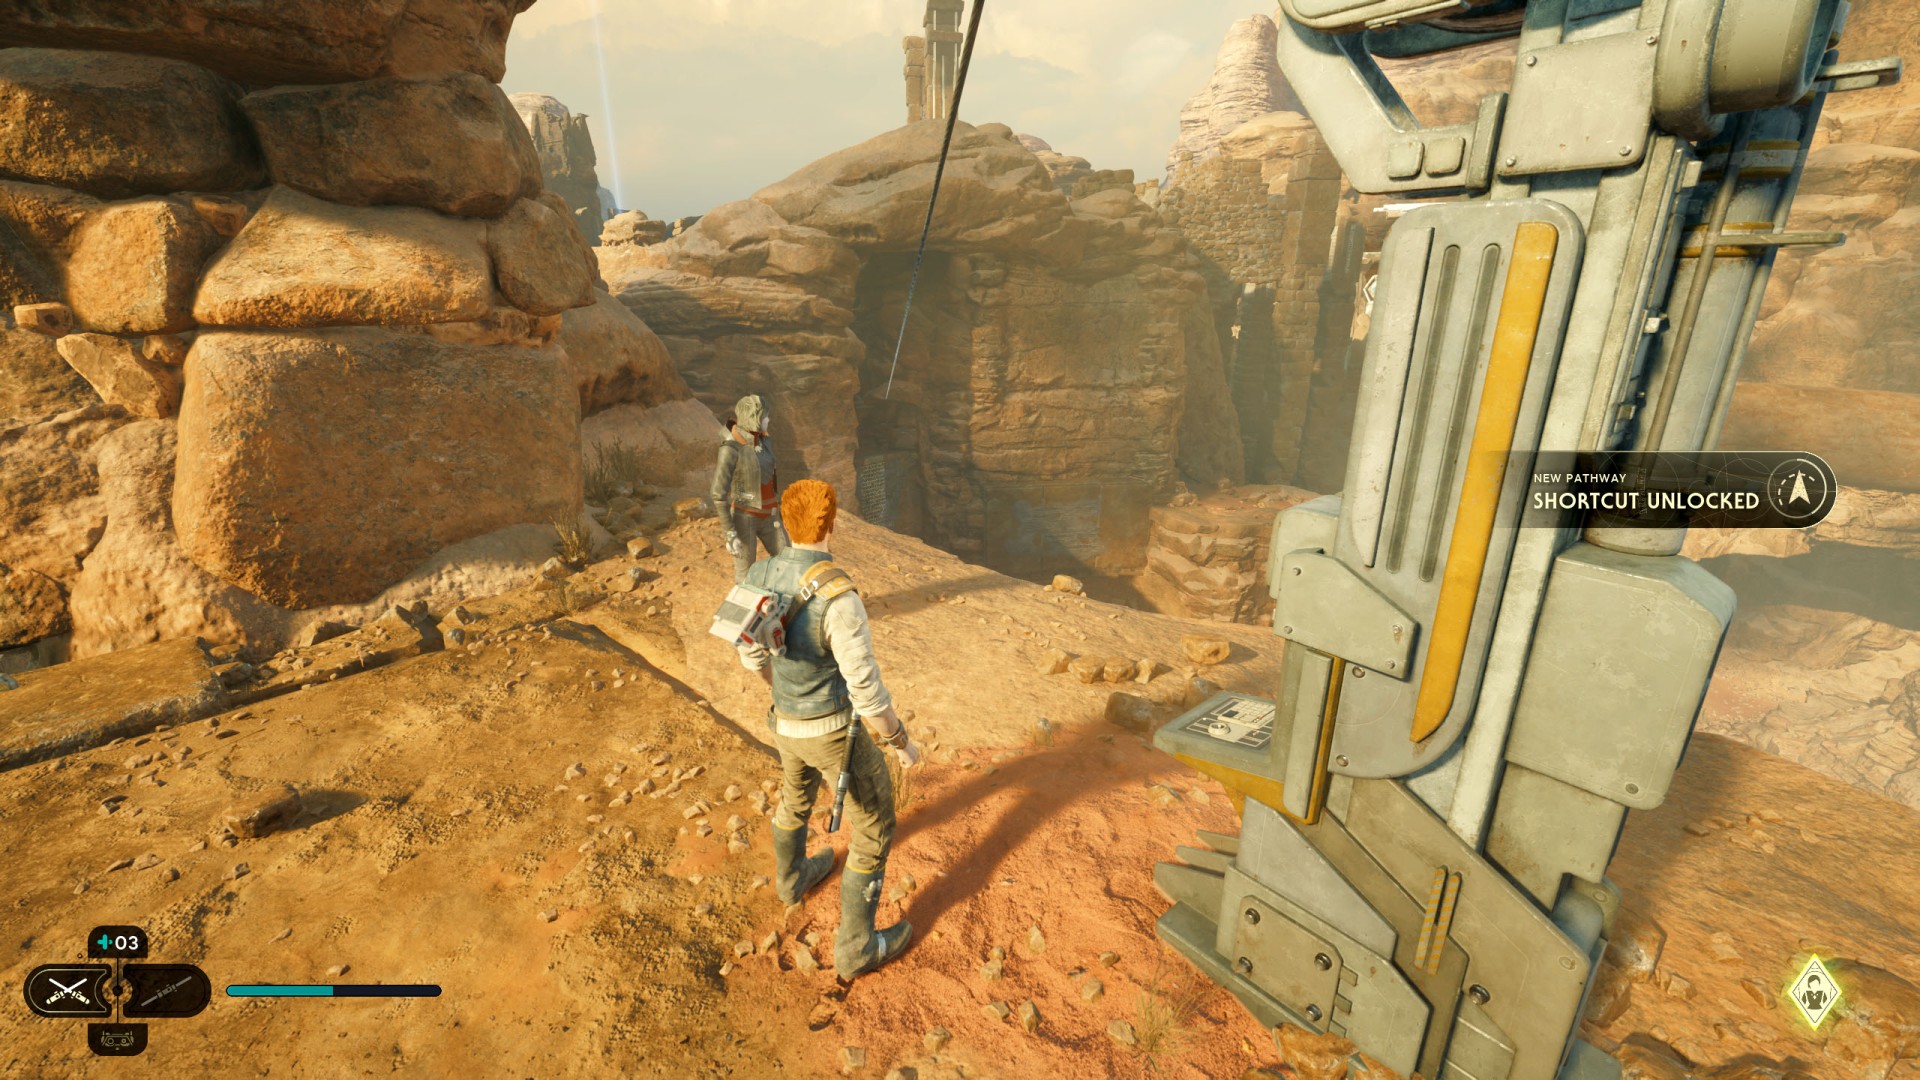
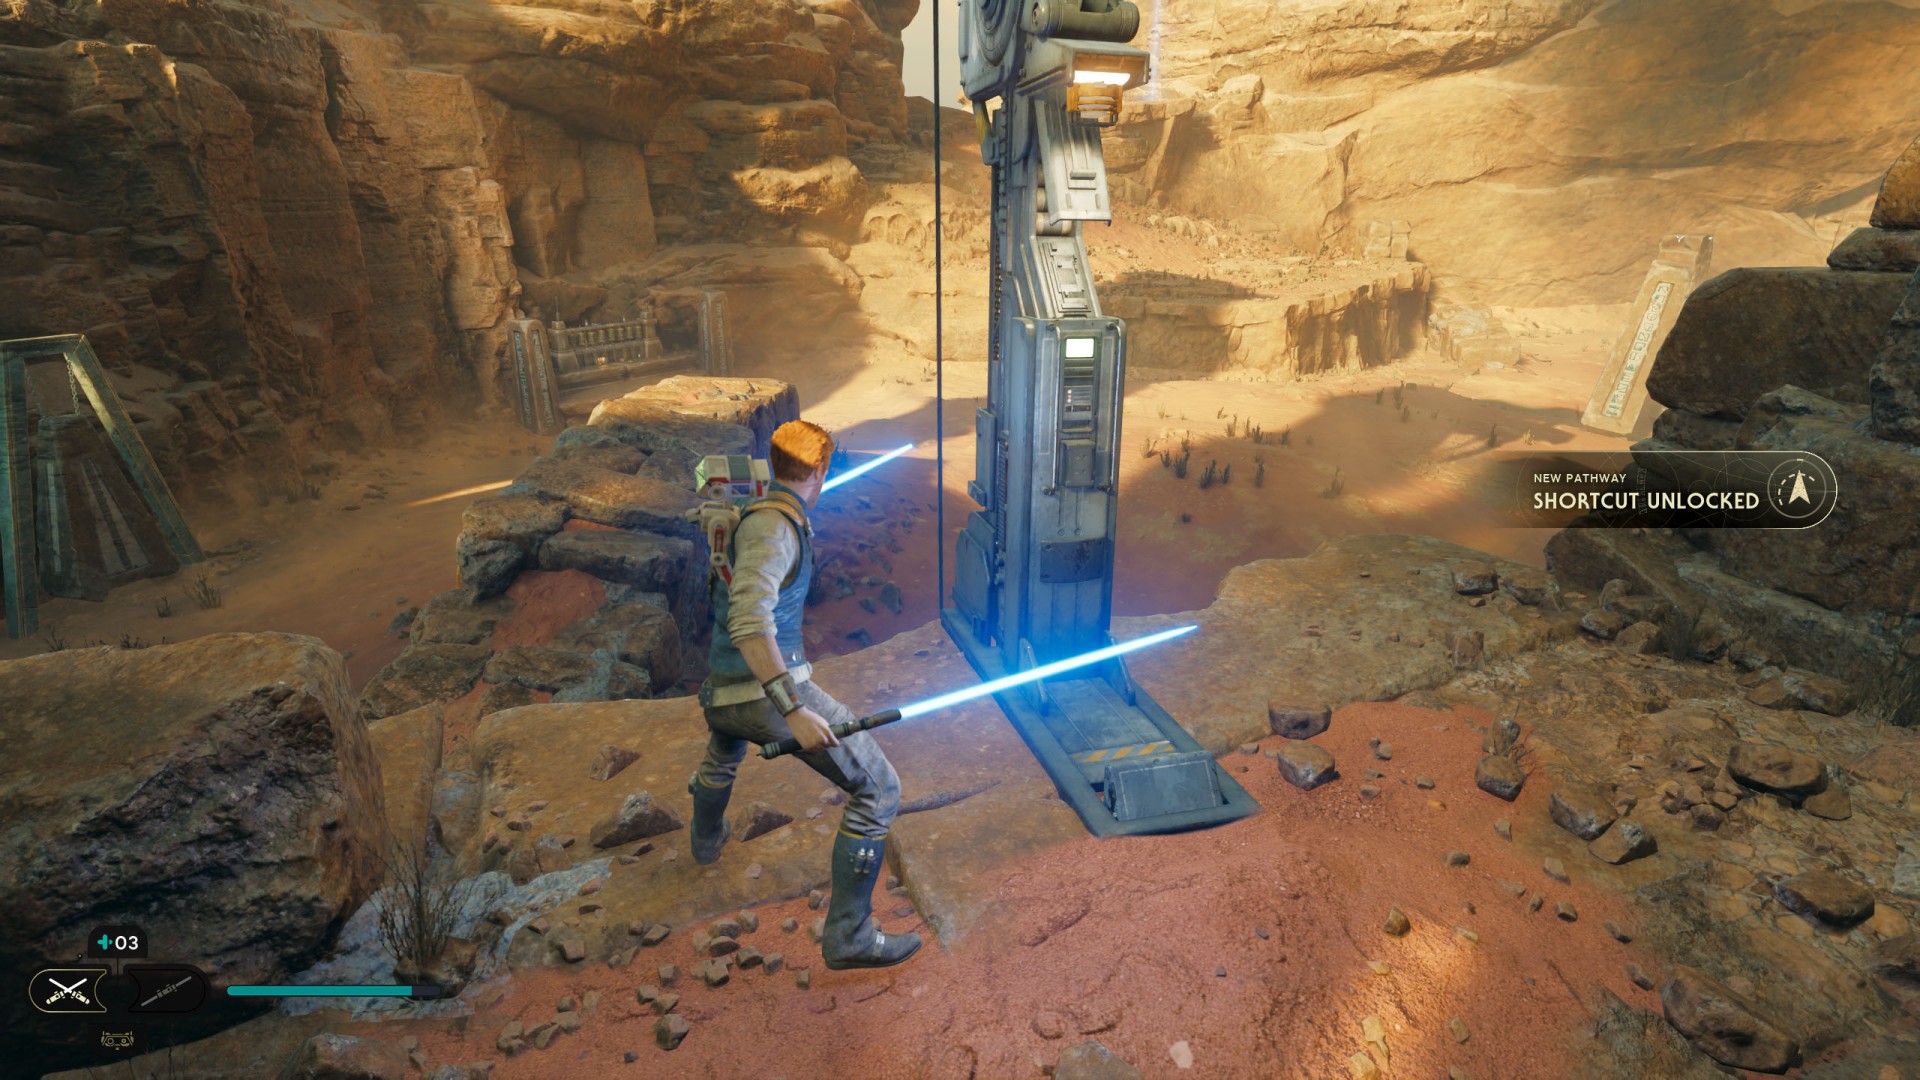
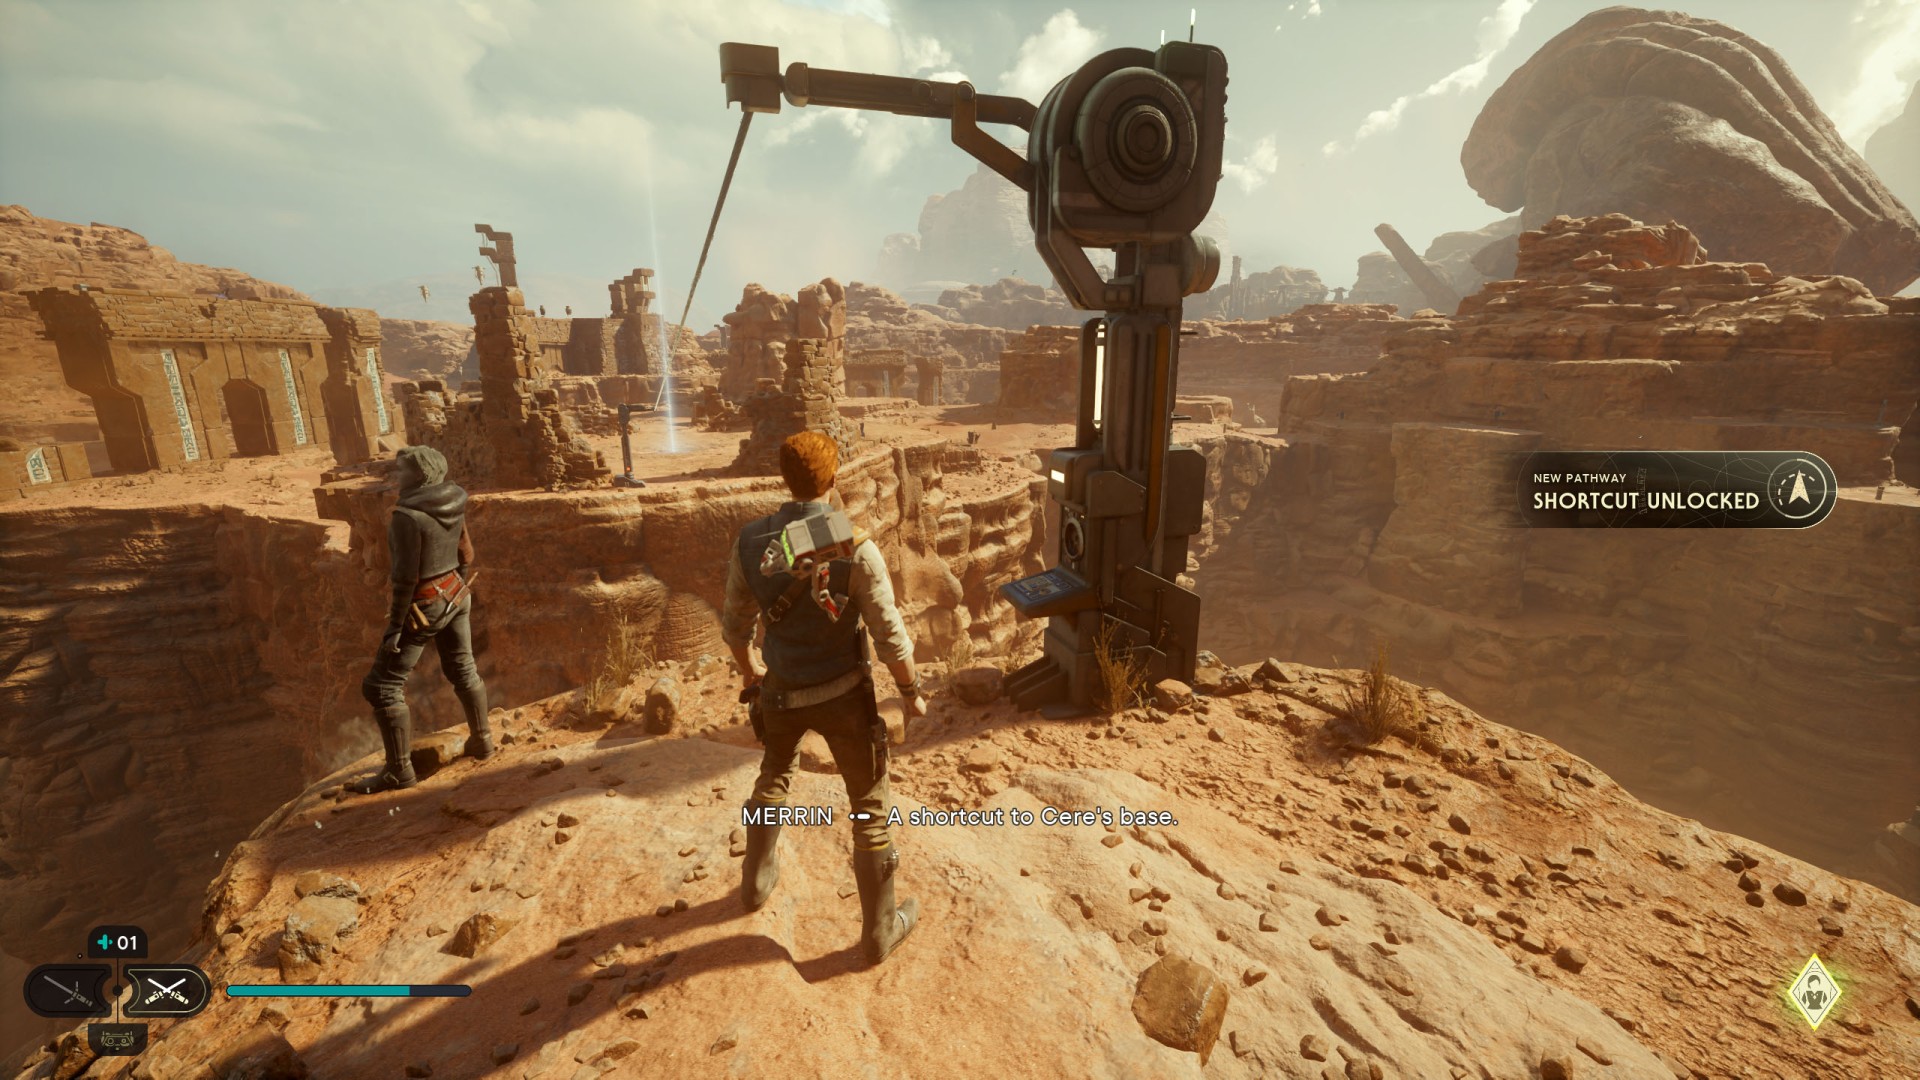
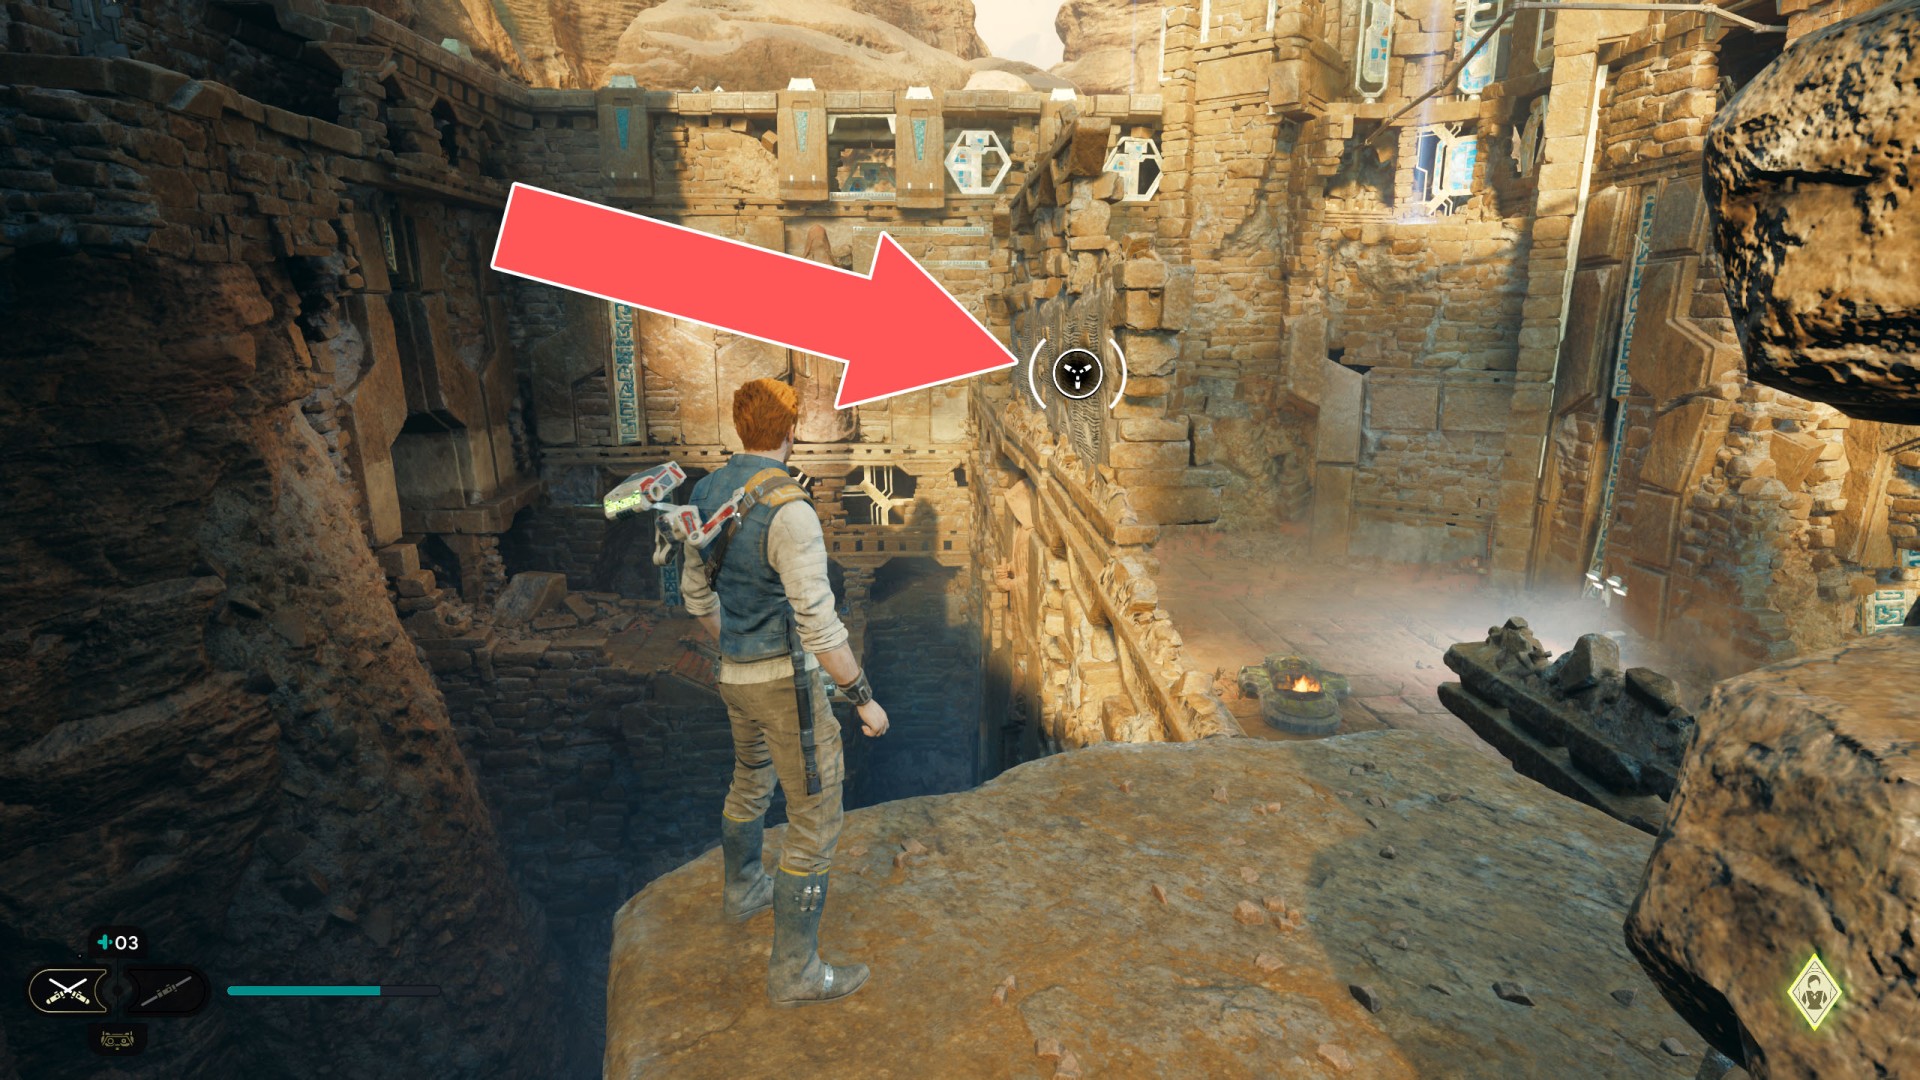
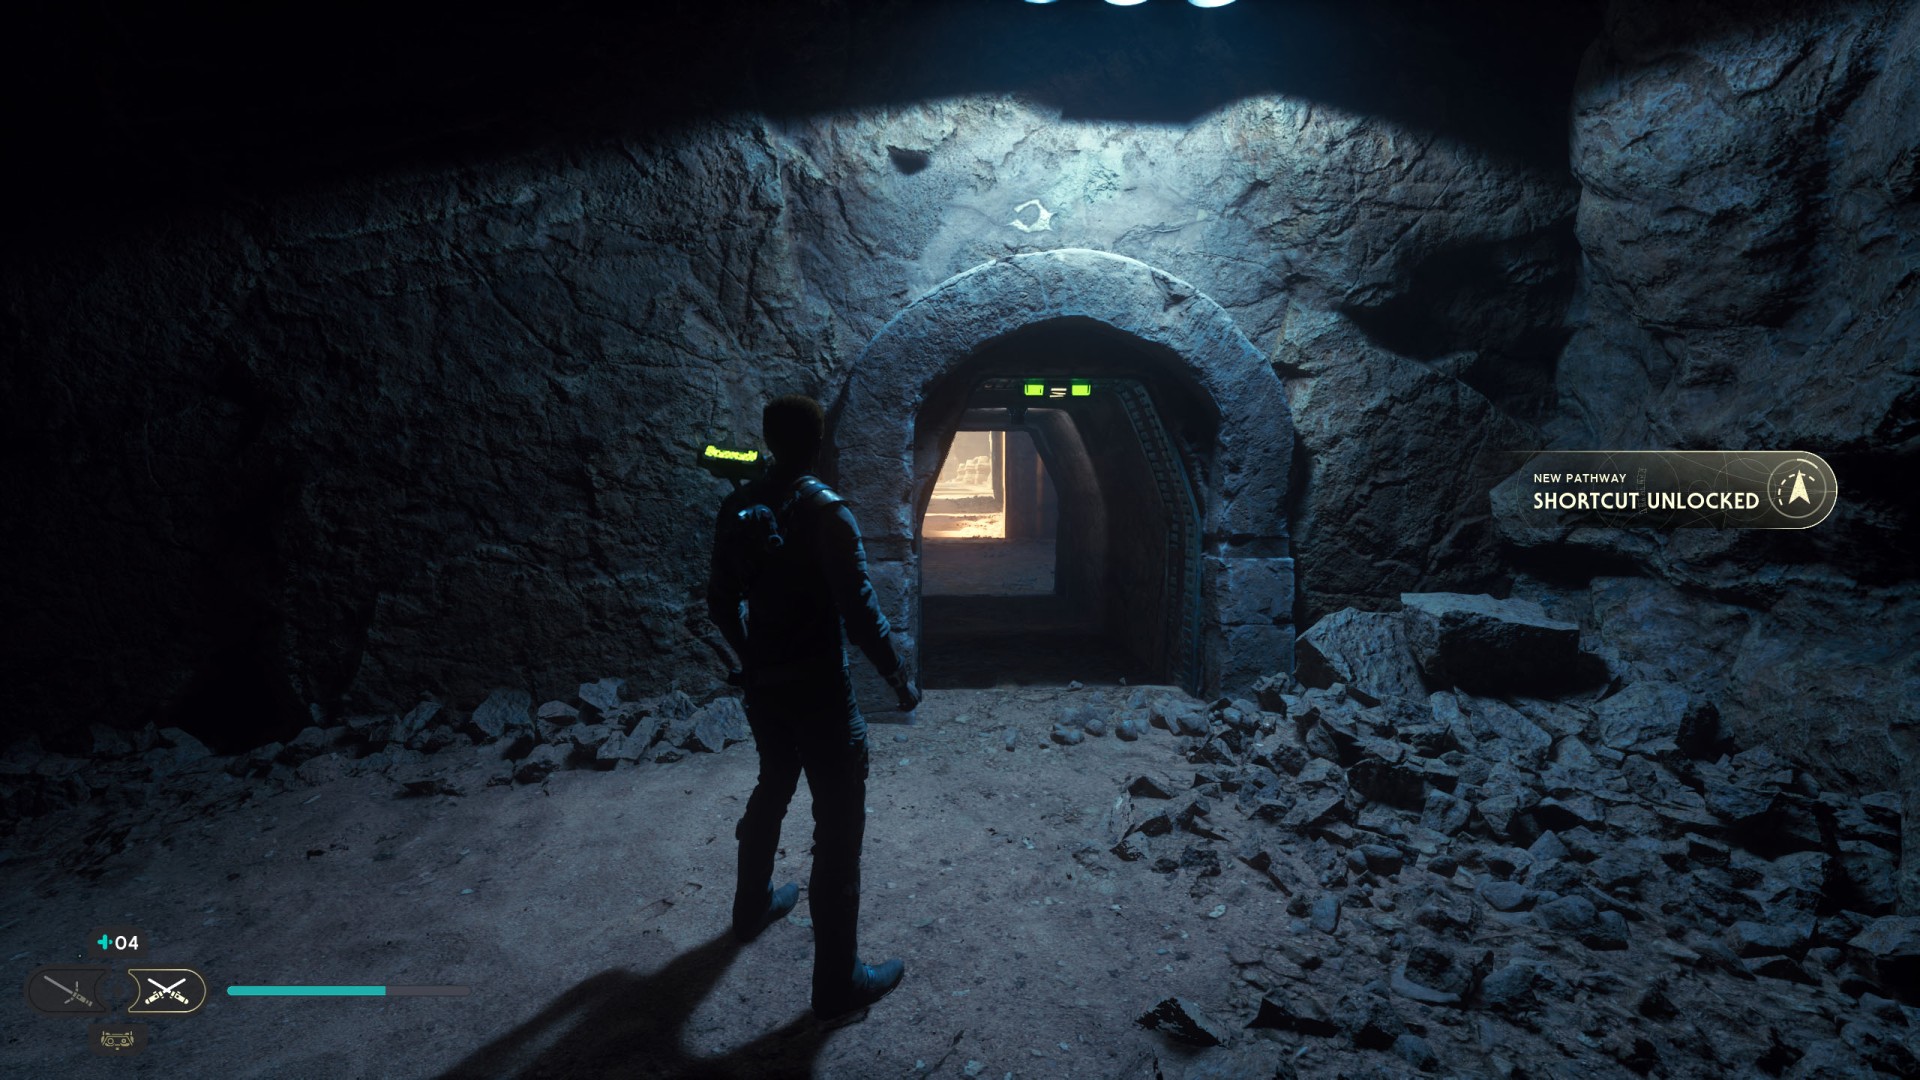
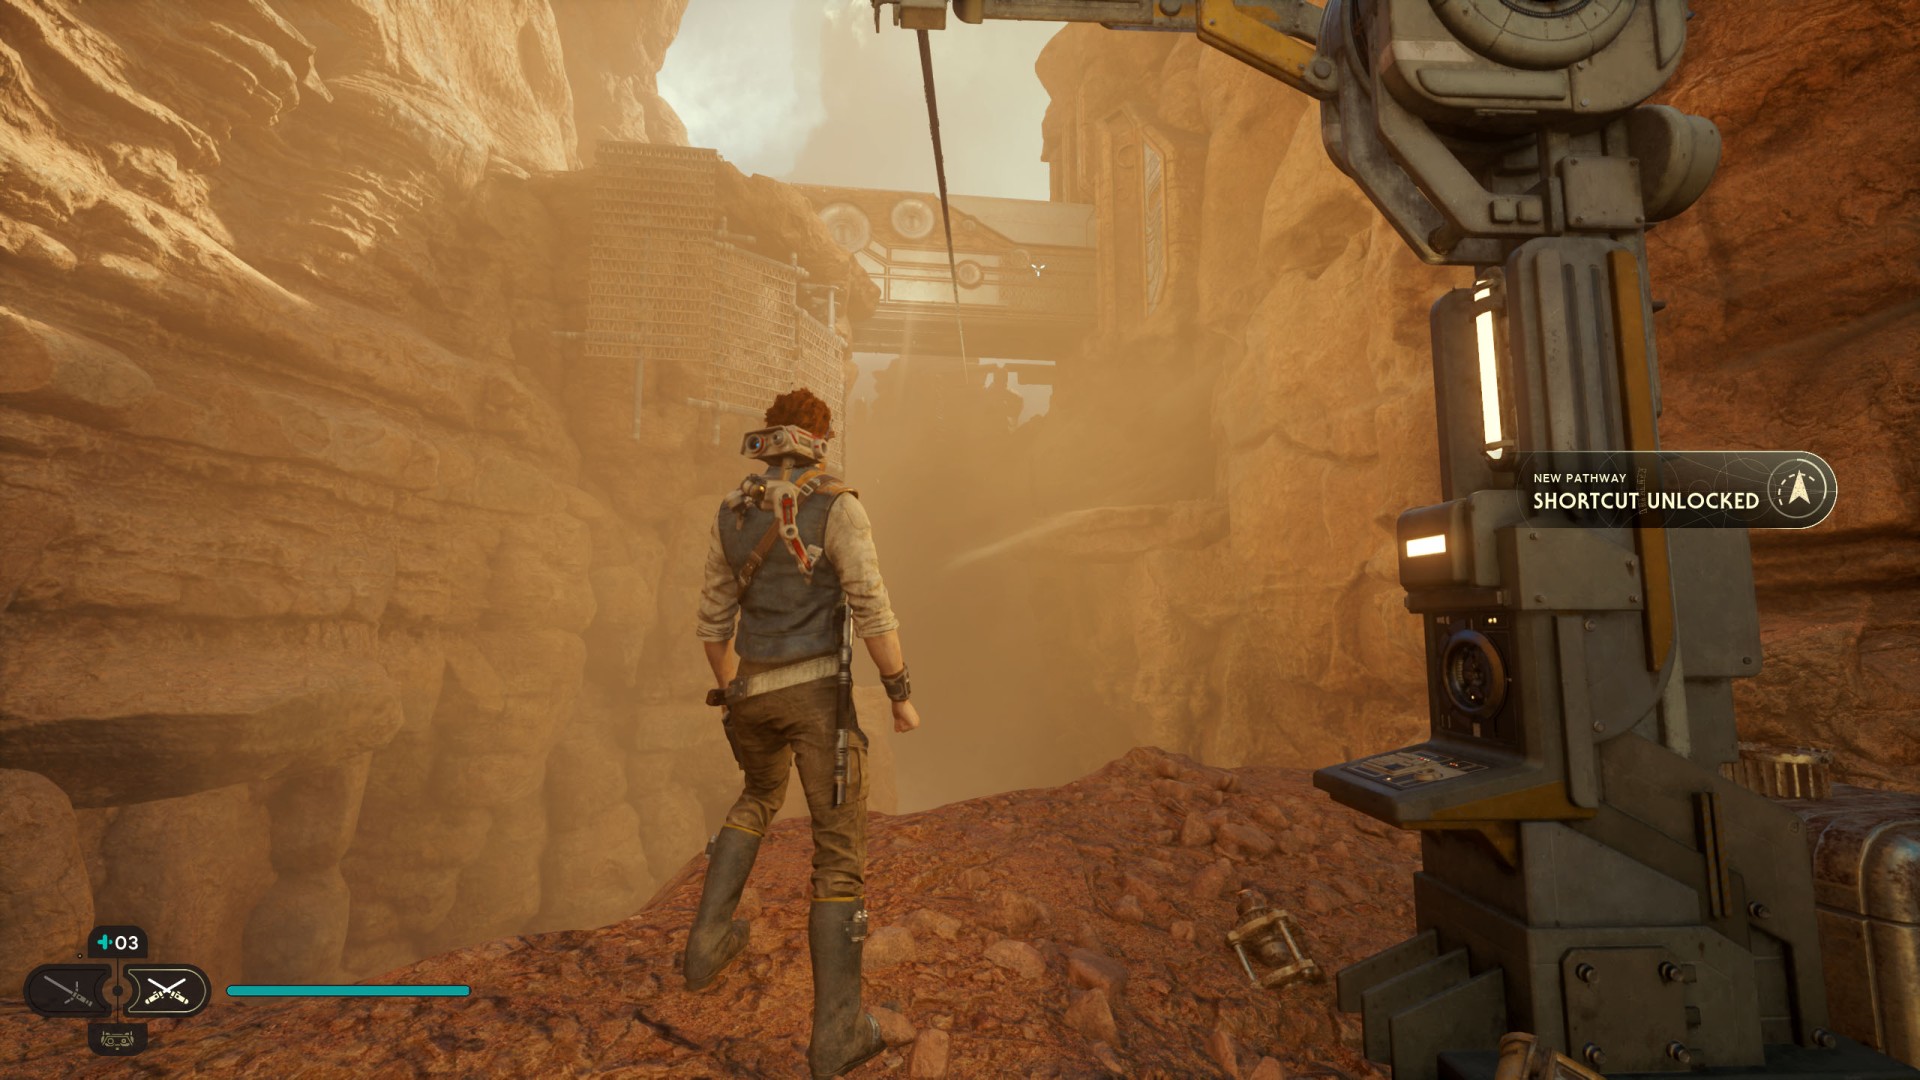
76Desert Ridge Shortcut #1
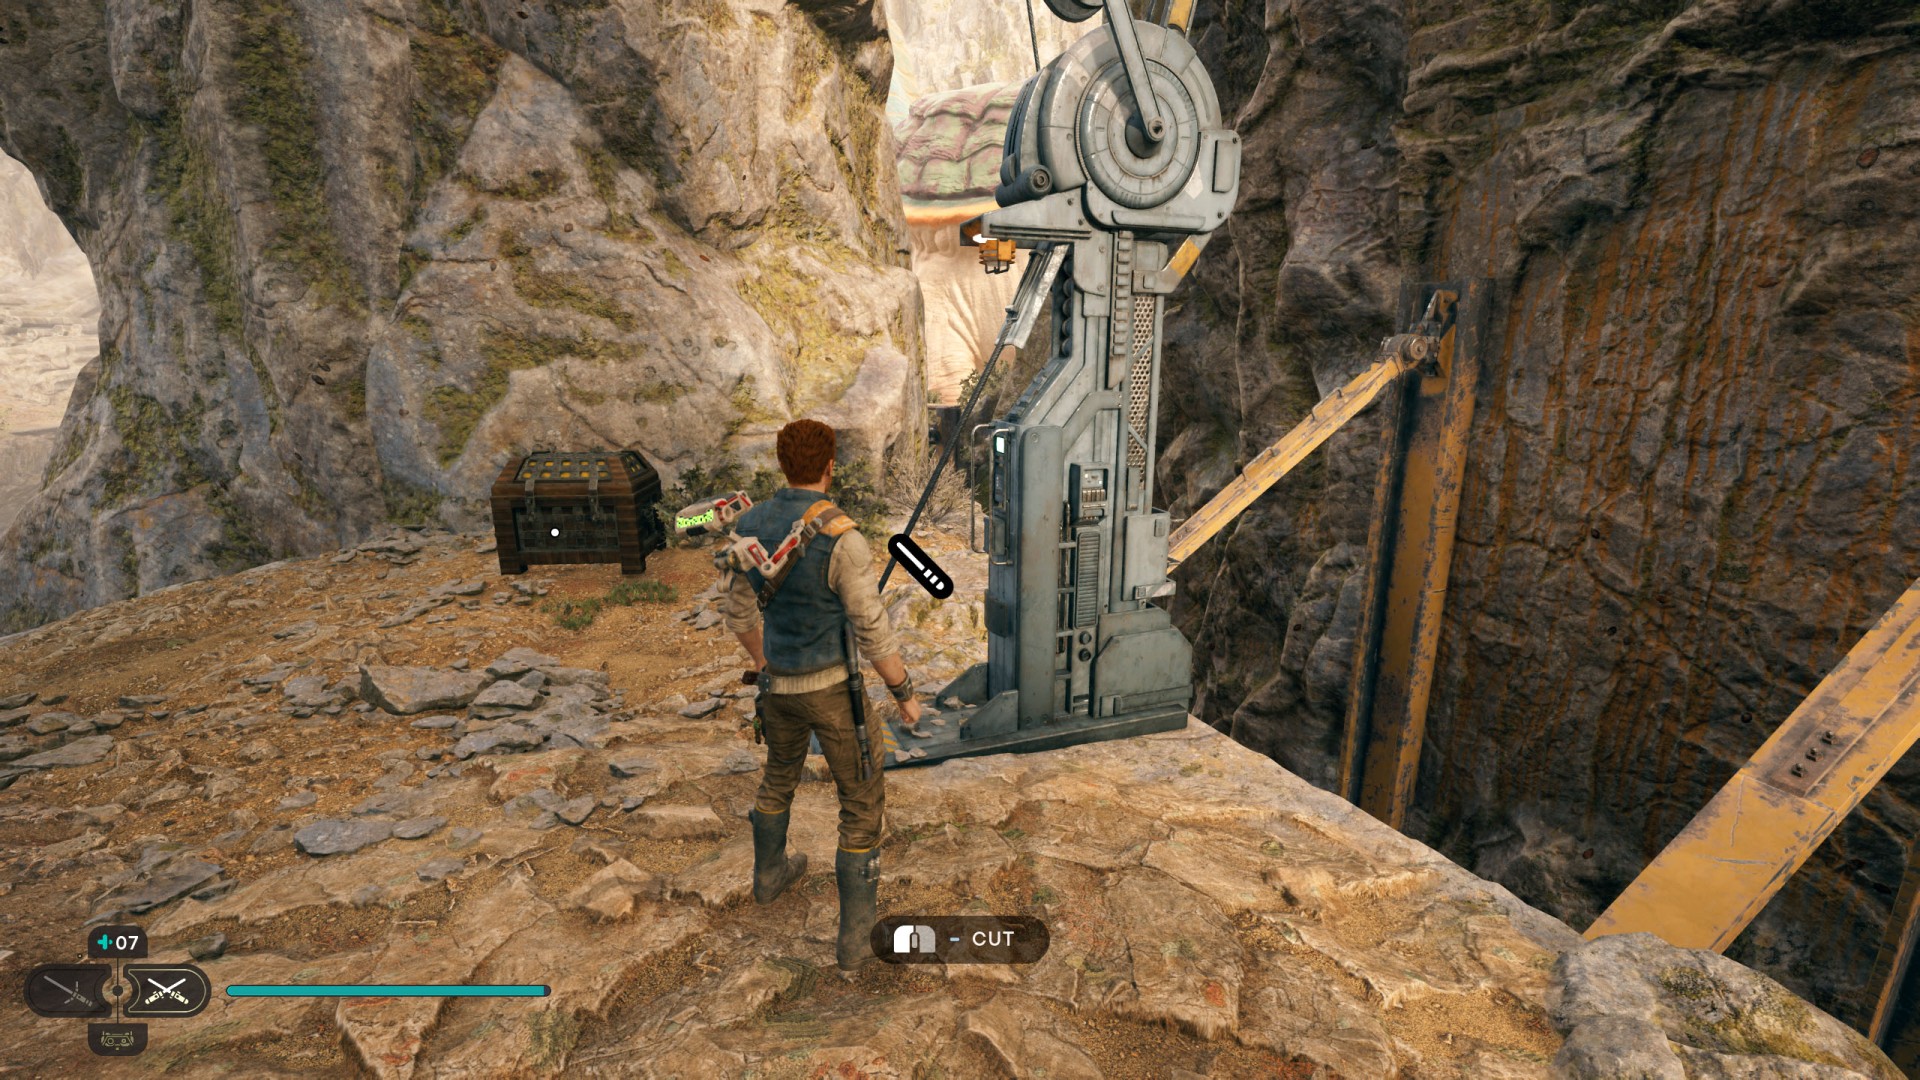
To activate this shortcut cut the rope.
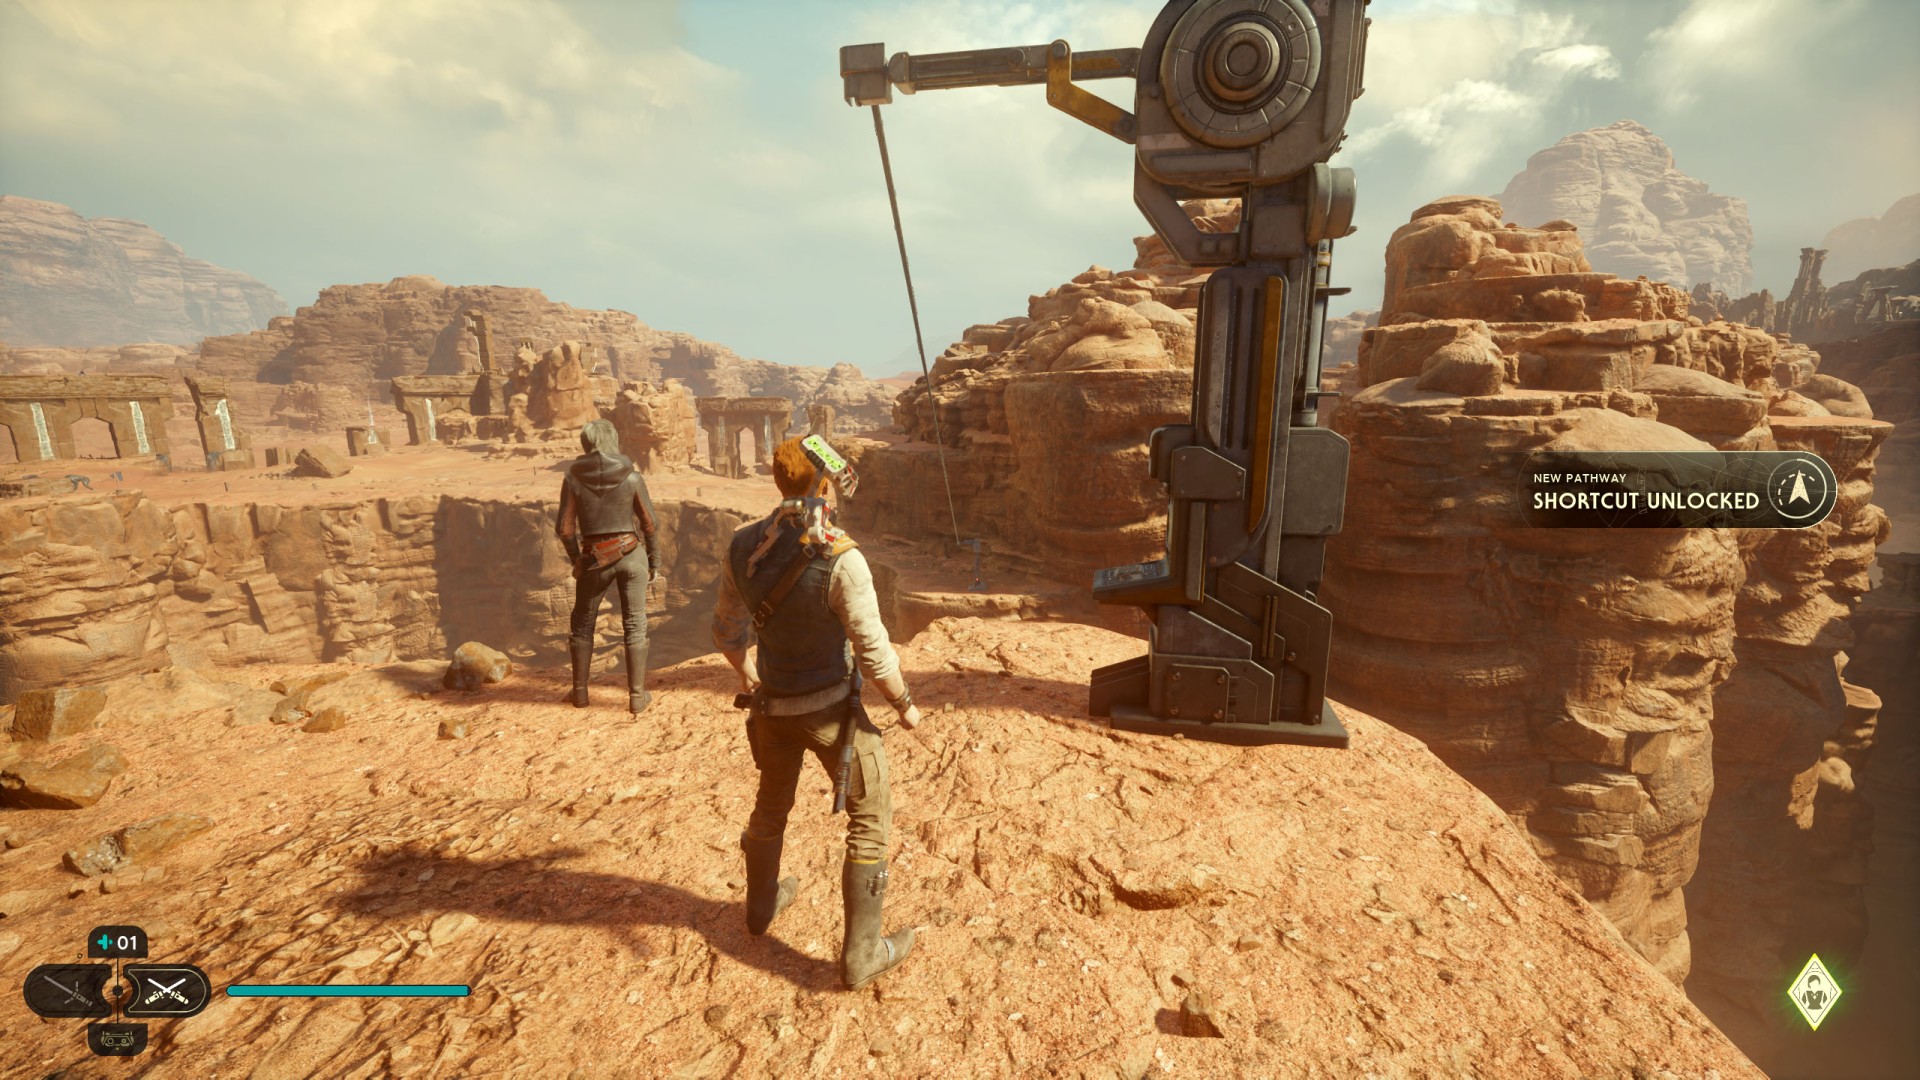
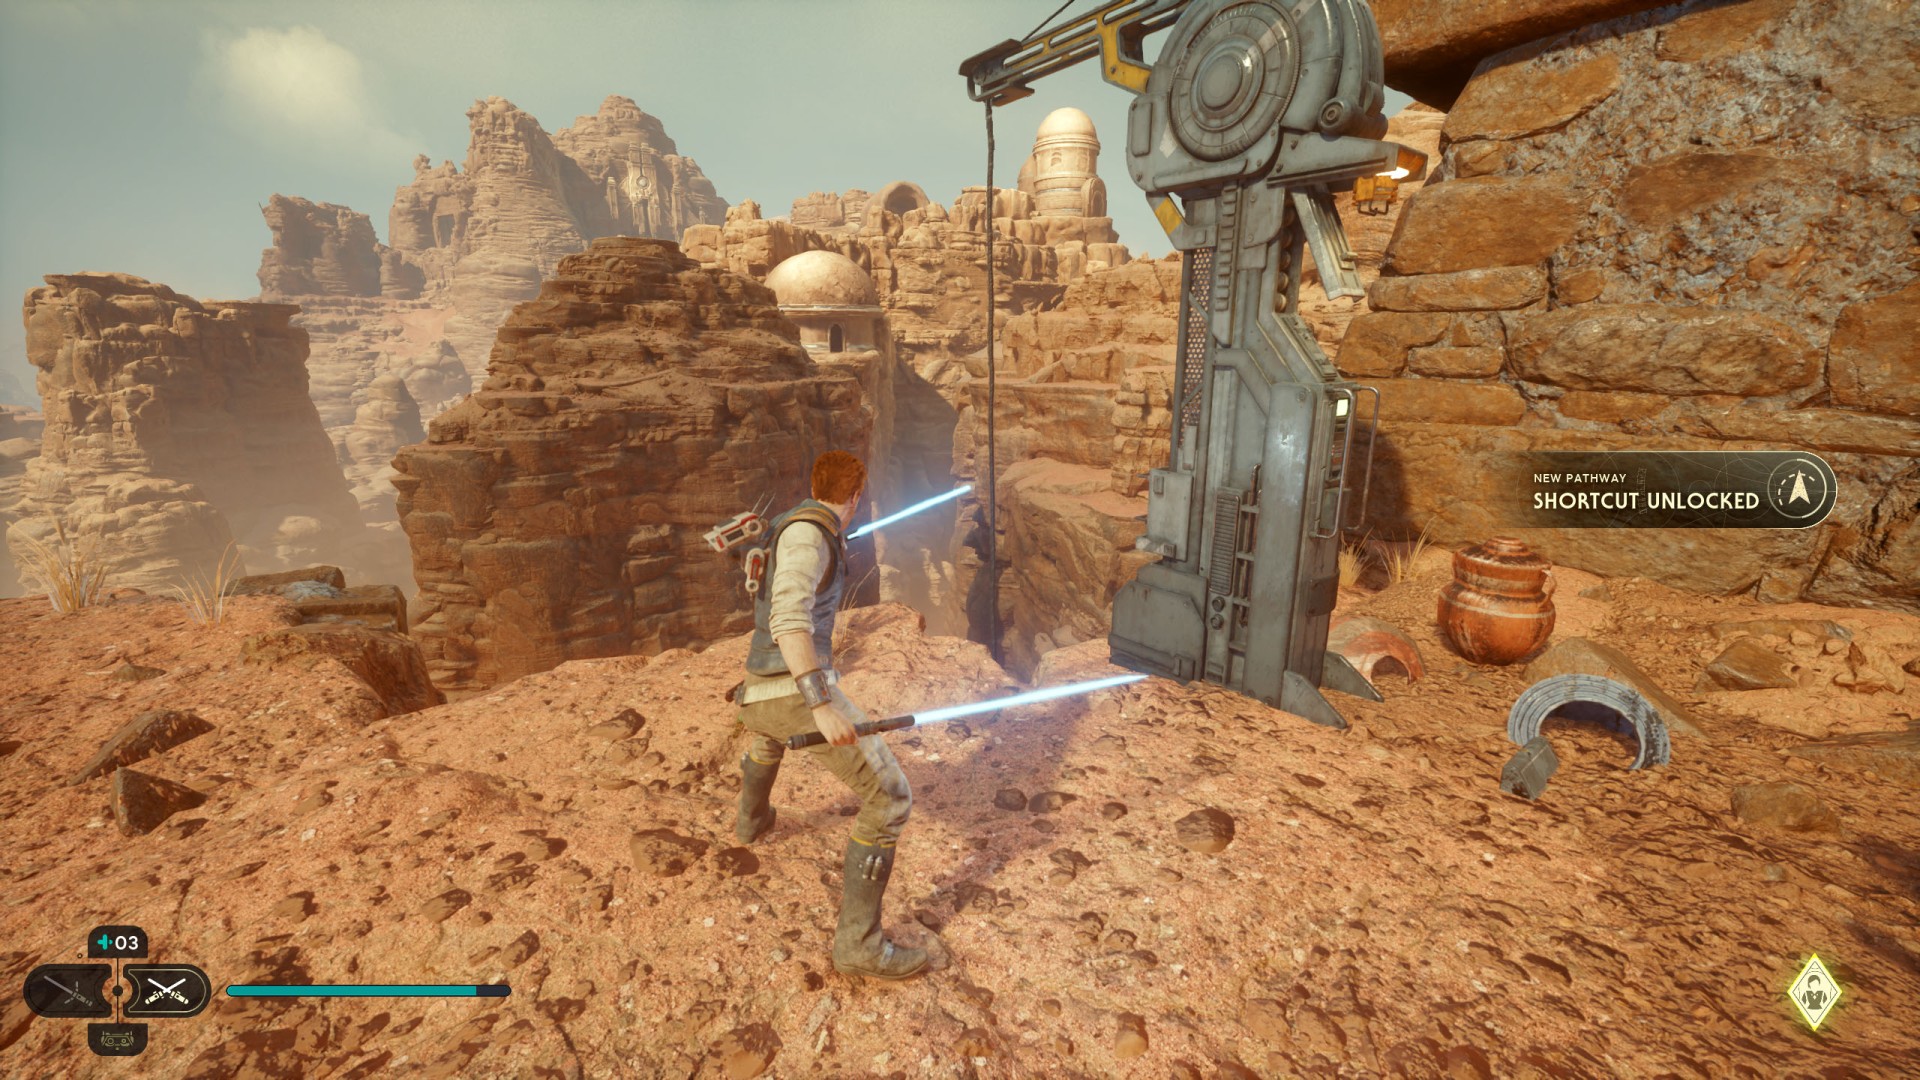
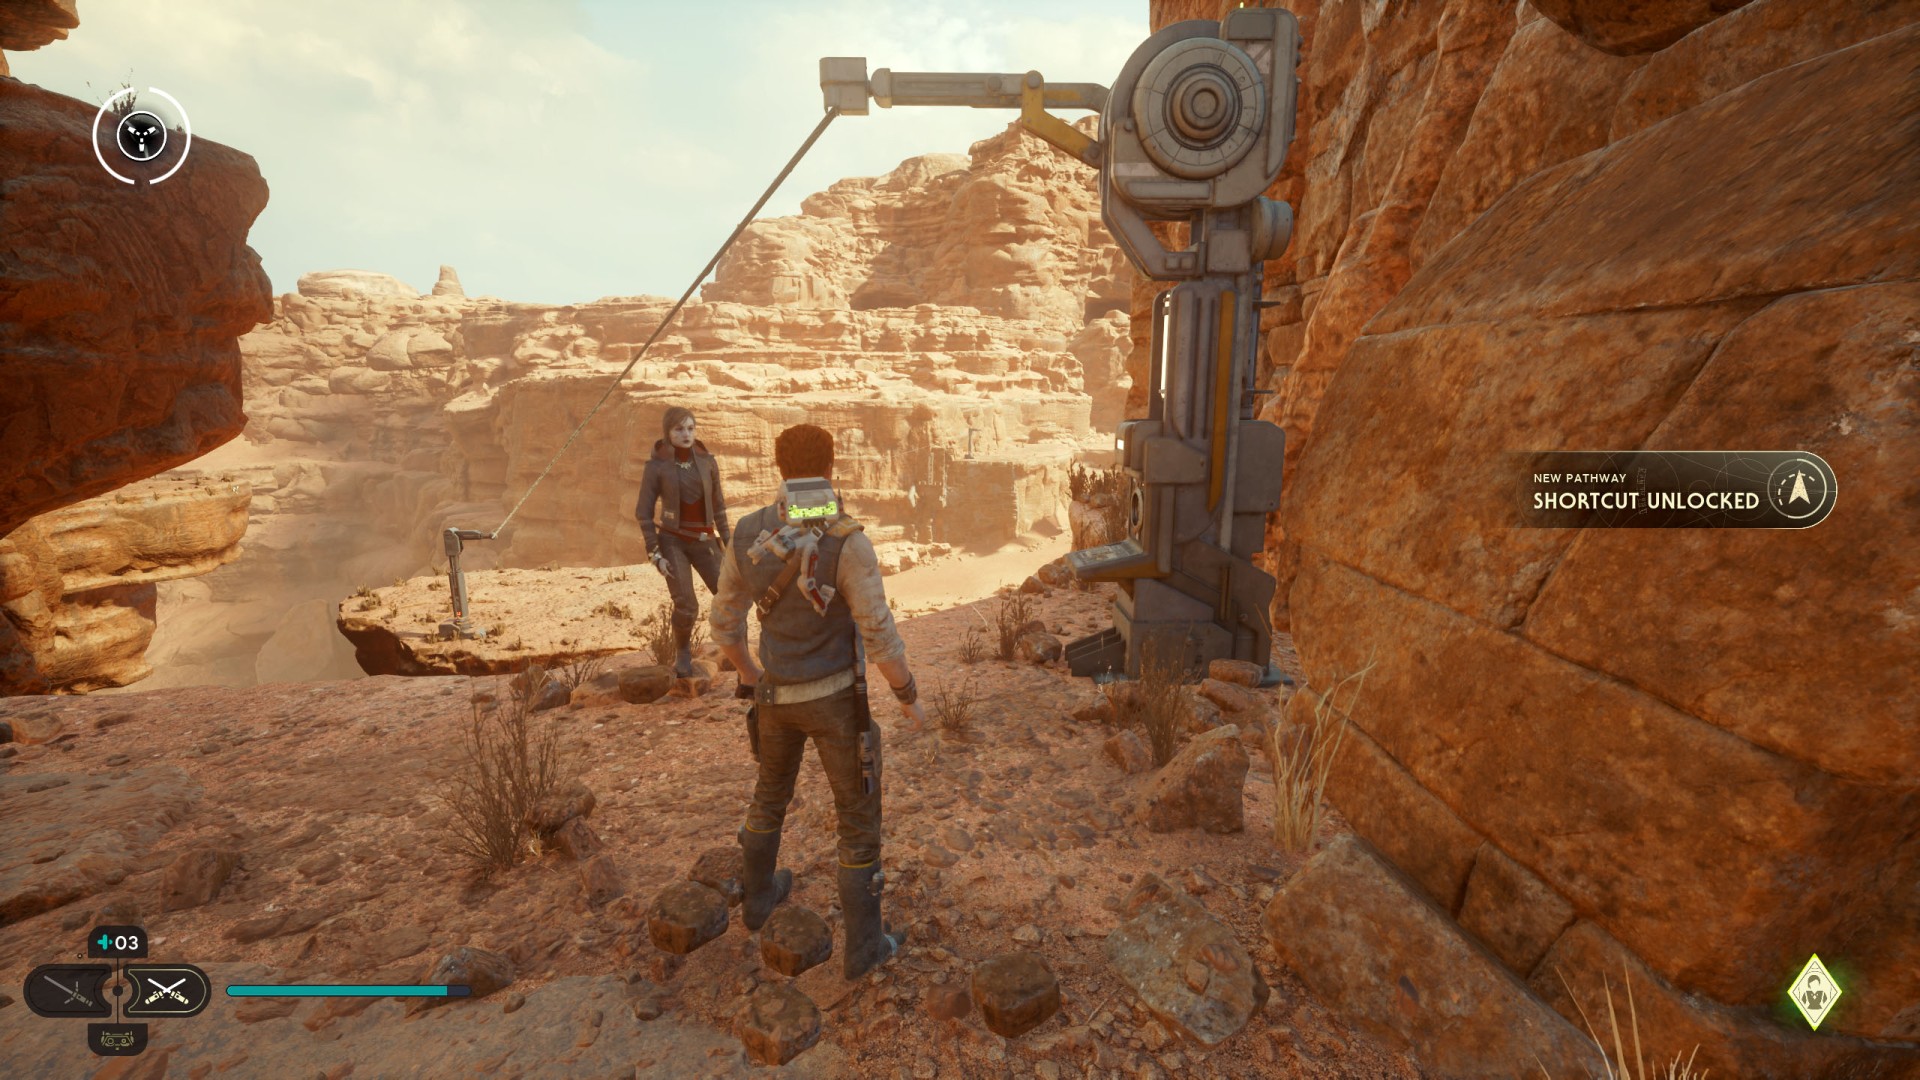
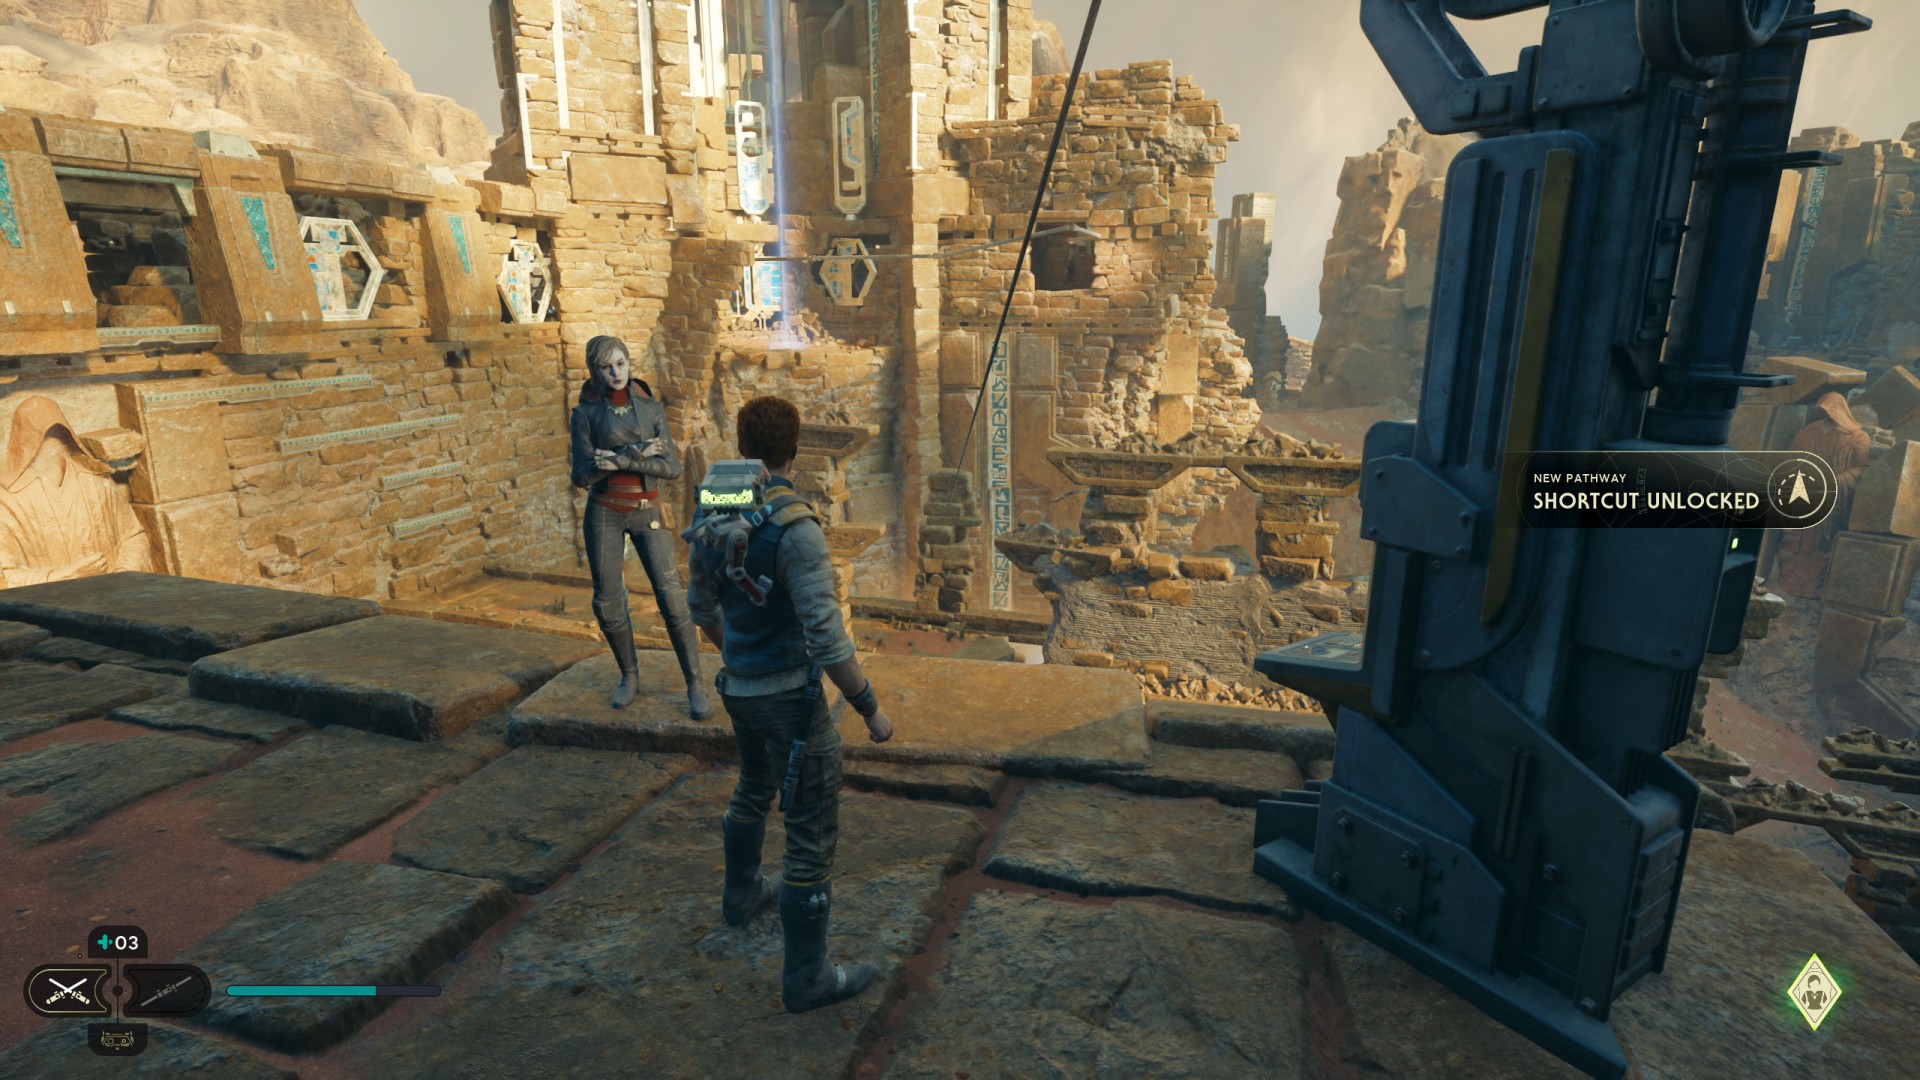
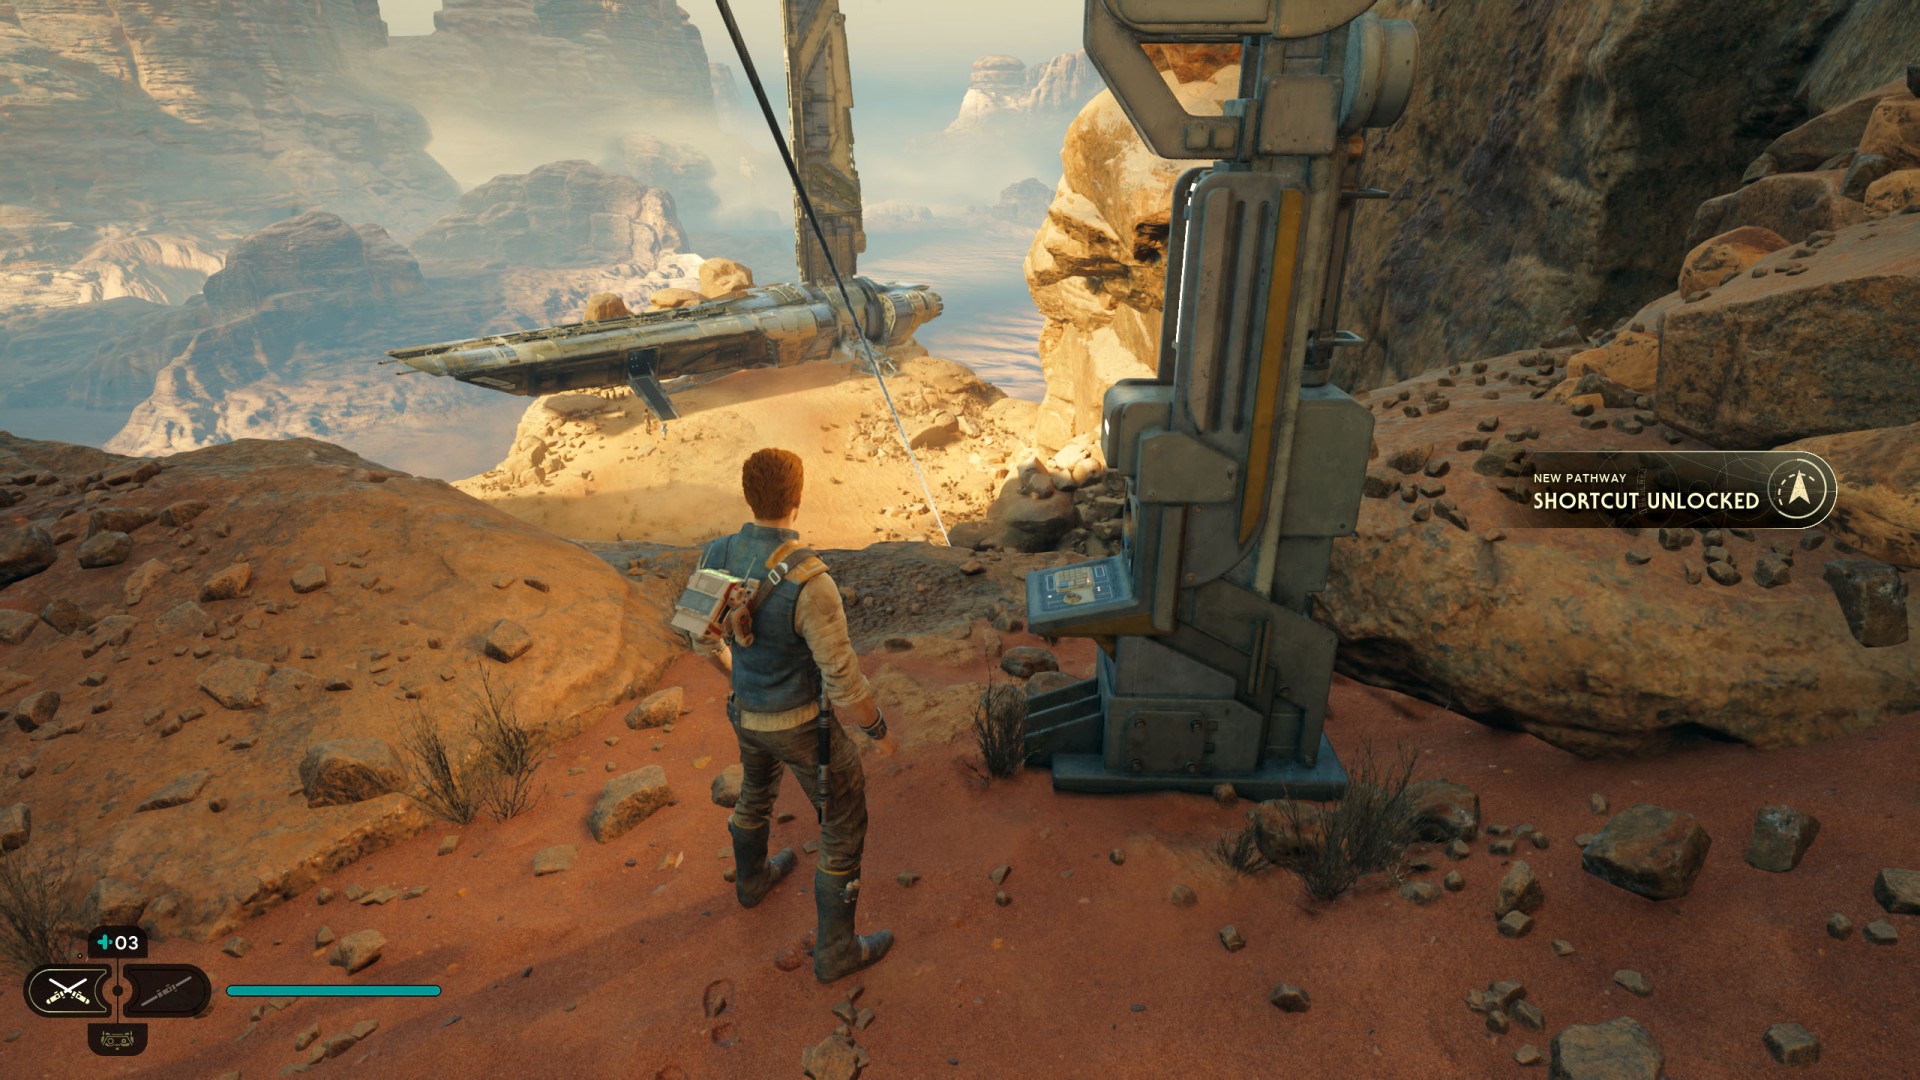
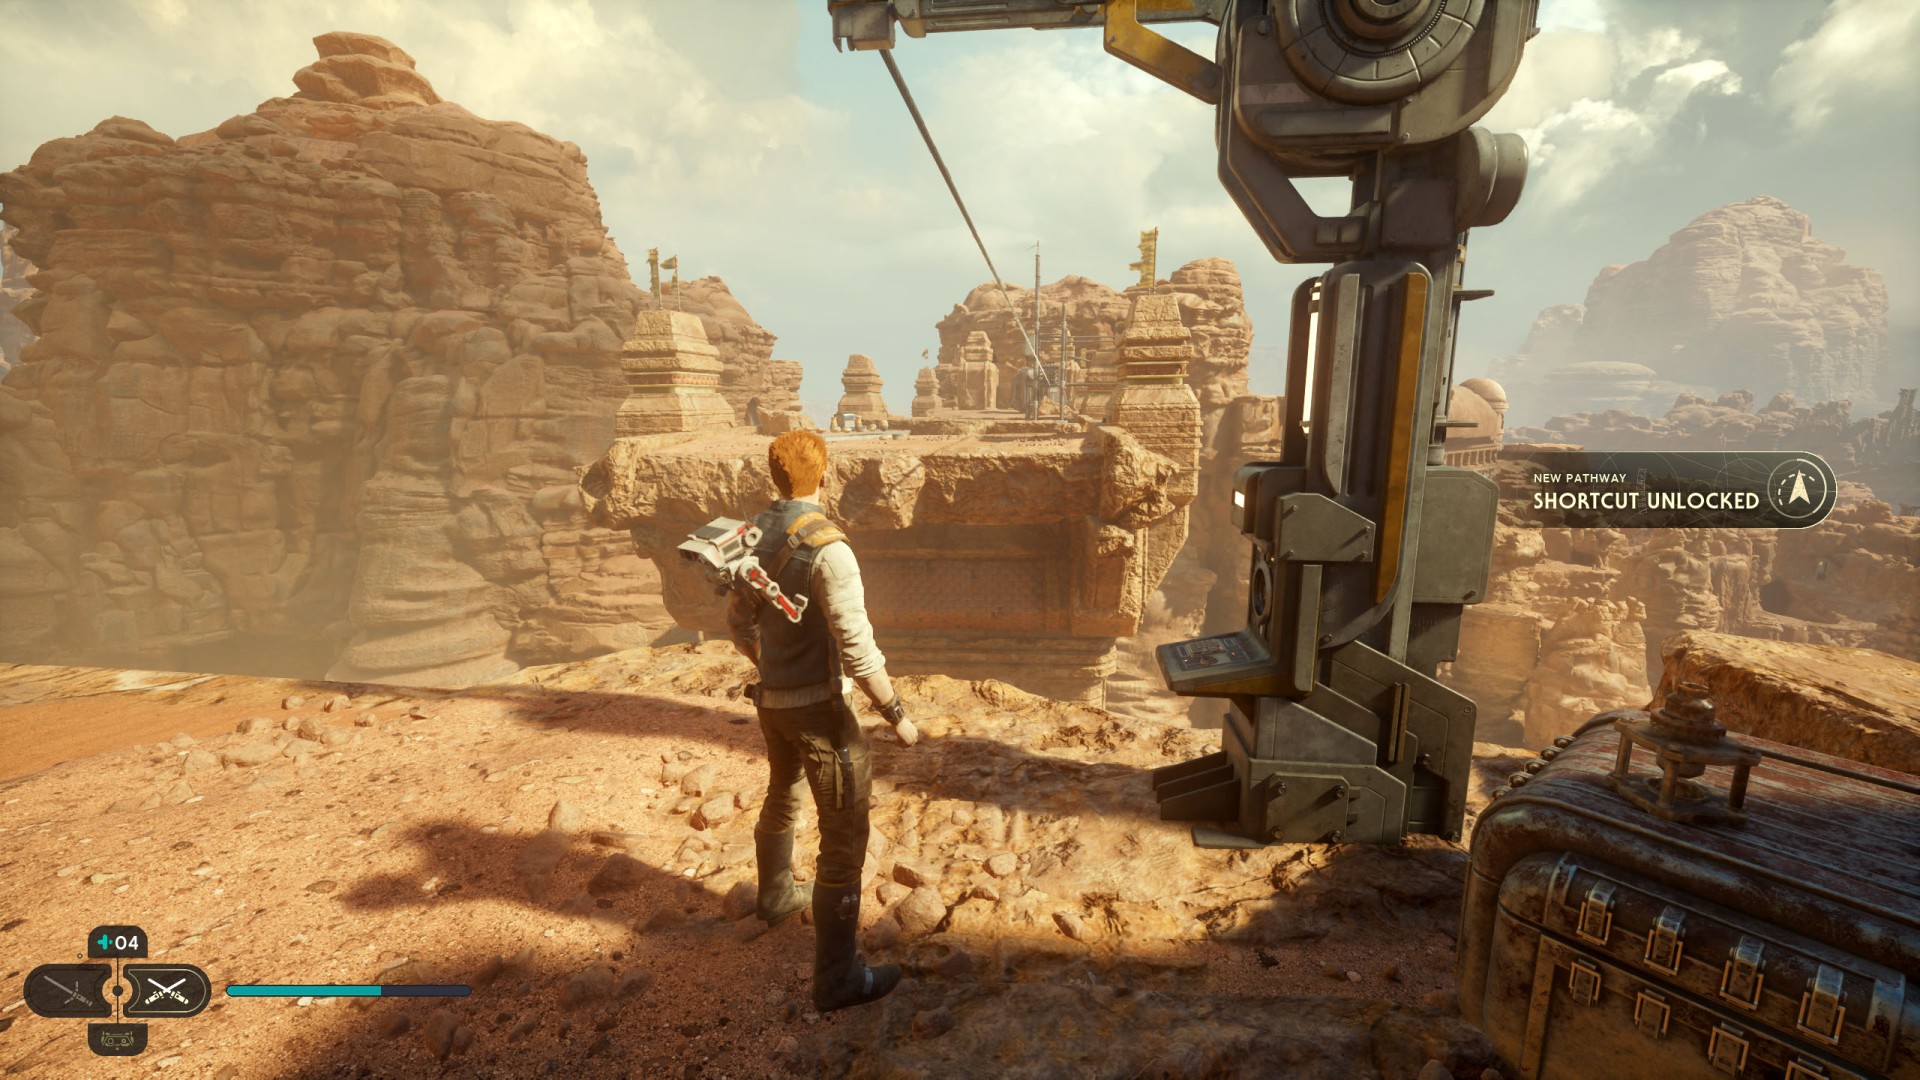
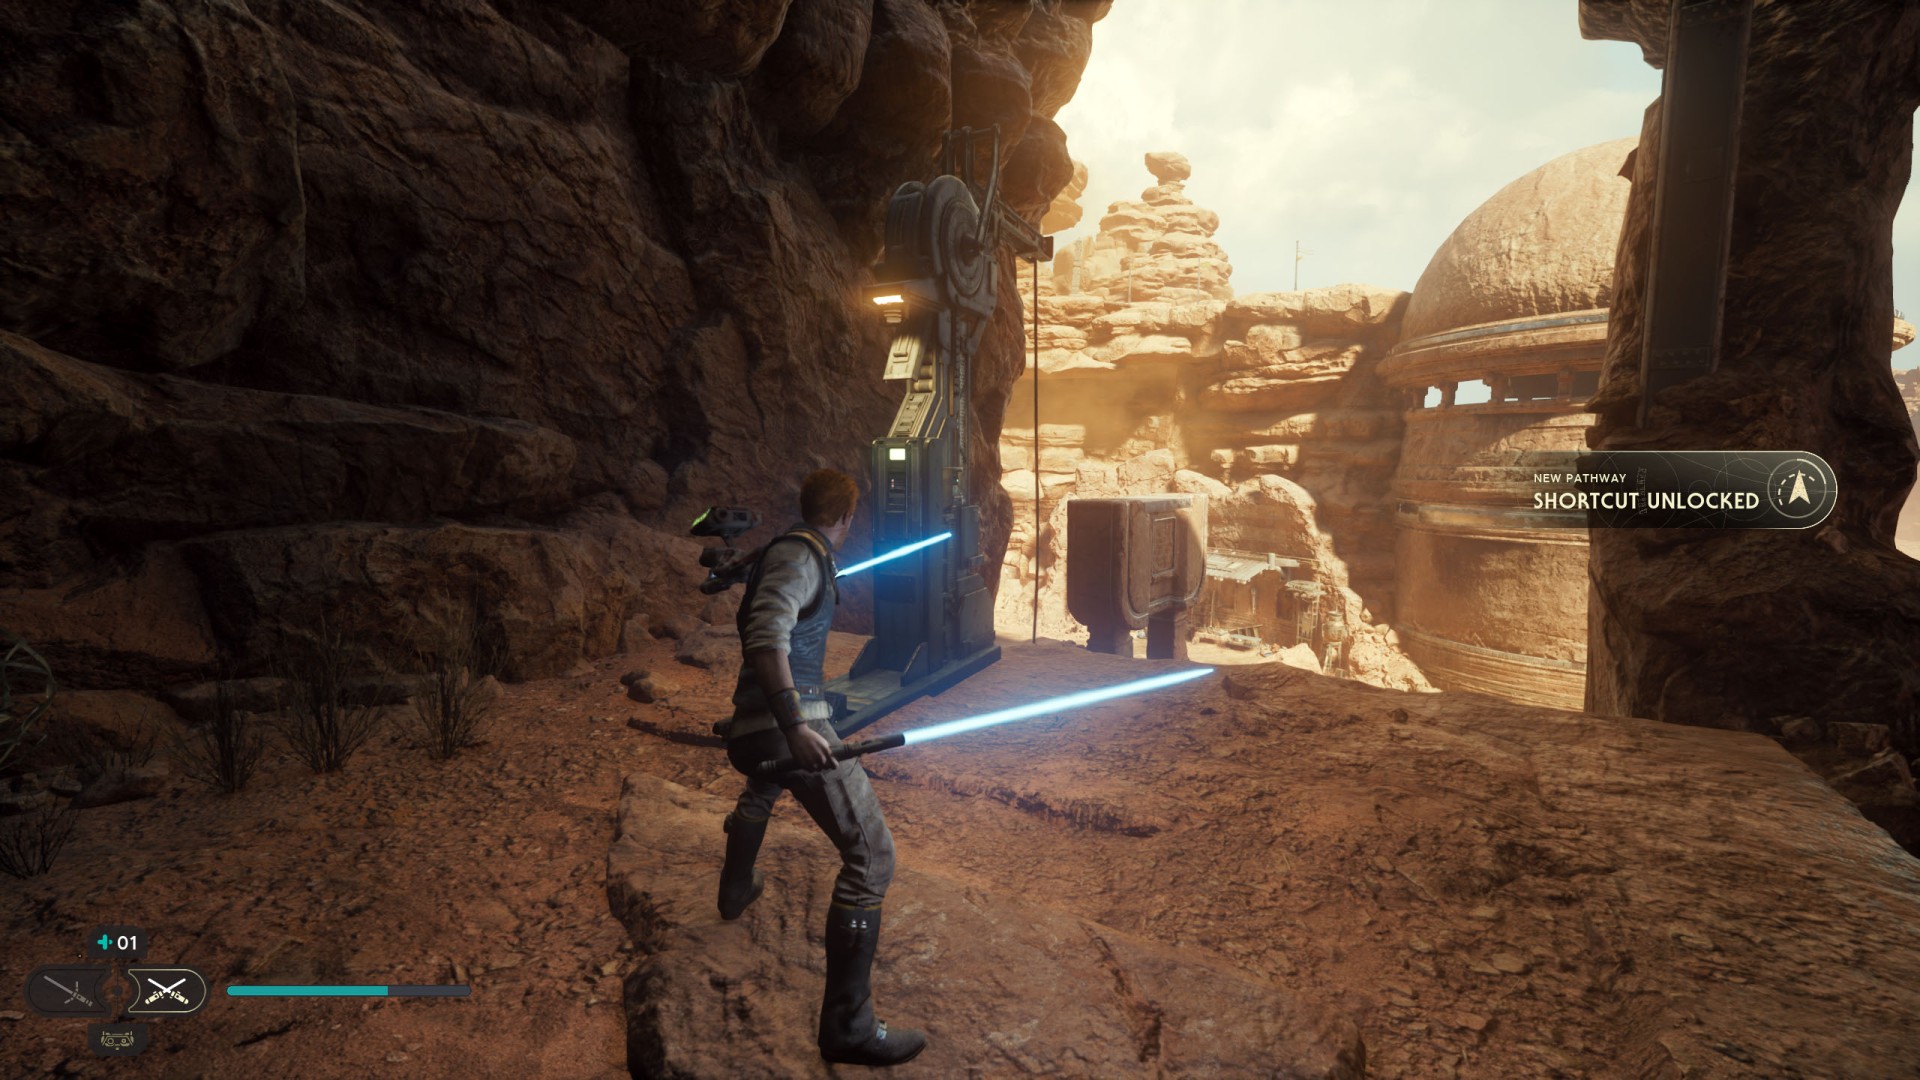
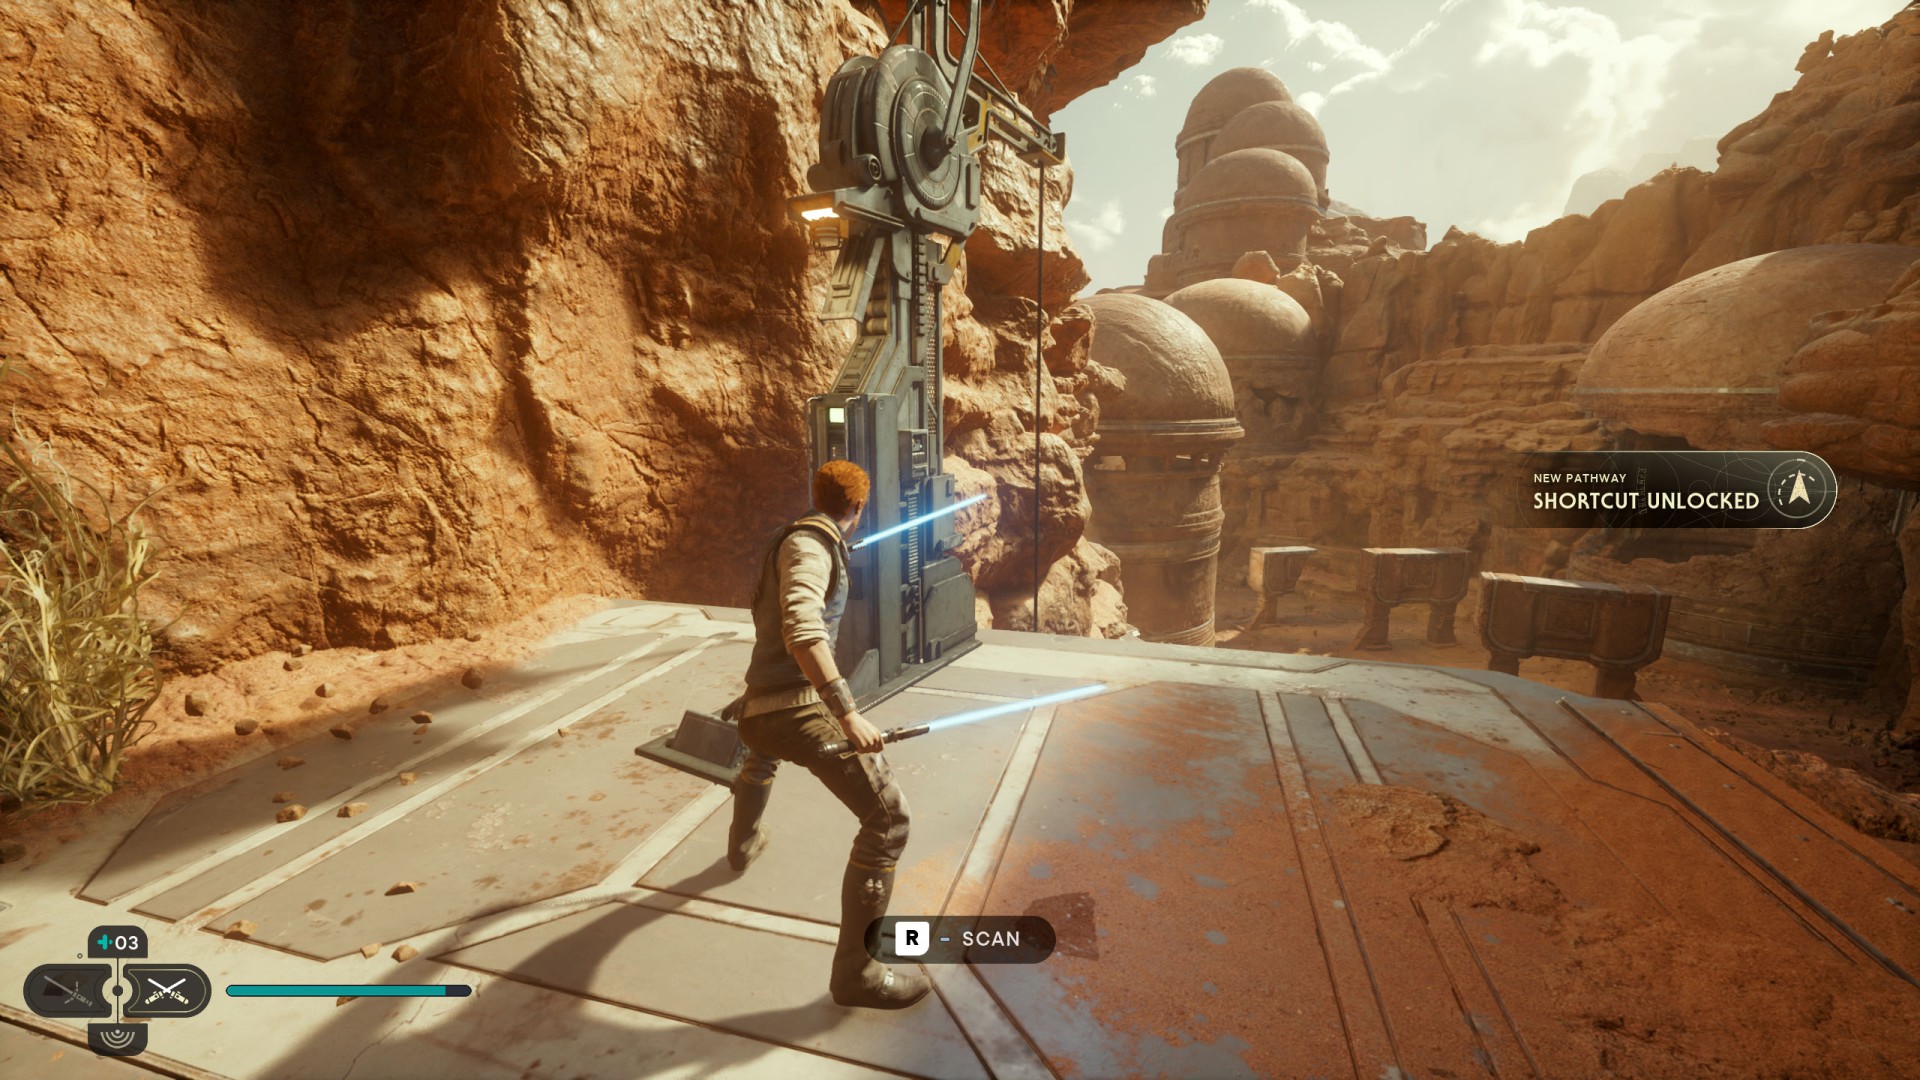
77Desert Ridge Shortcut #2
Order BD-1 to hack the rope launcher.
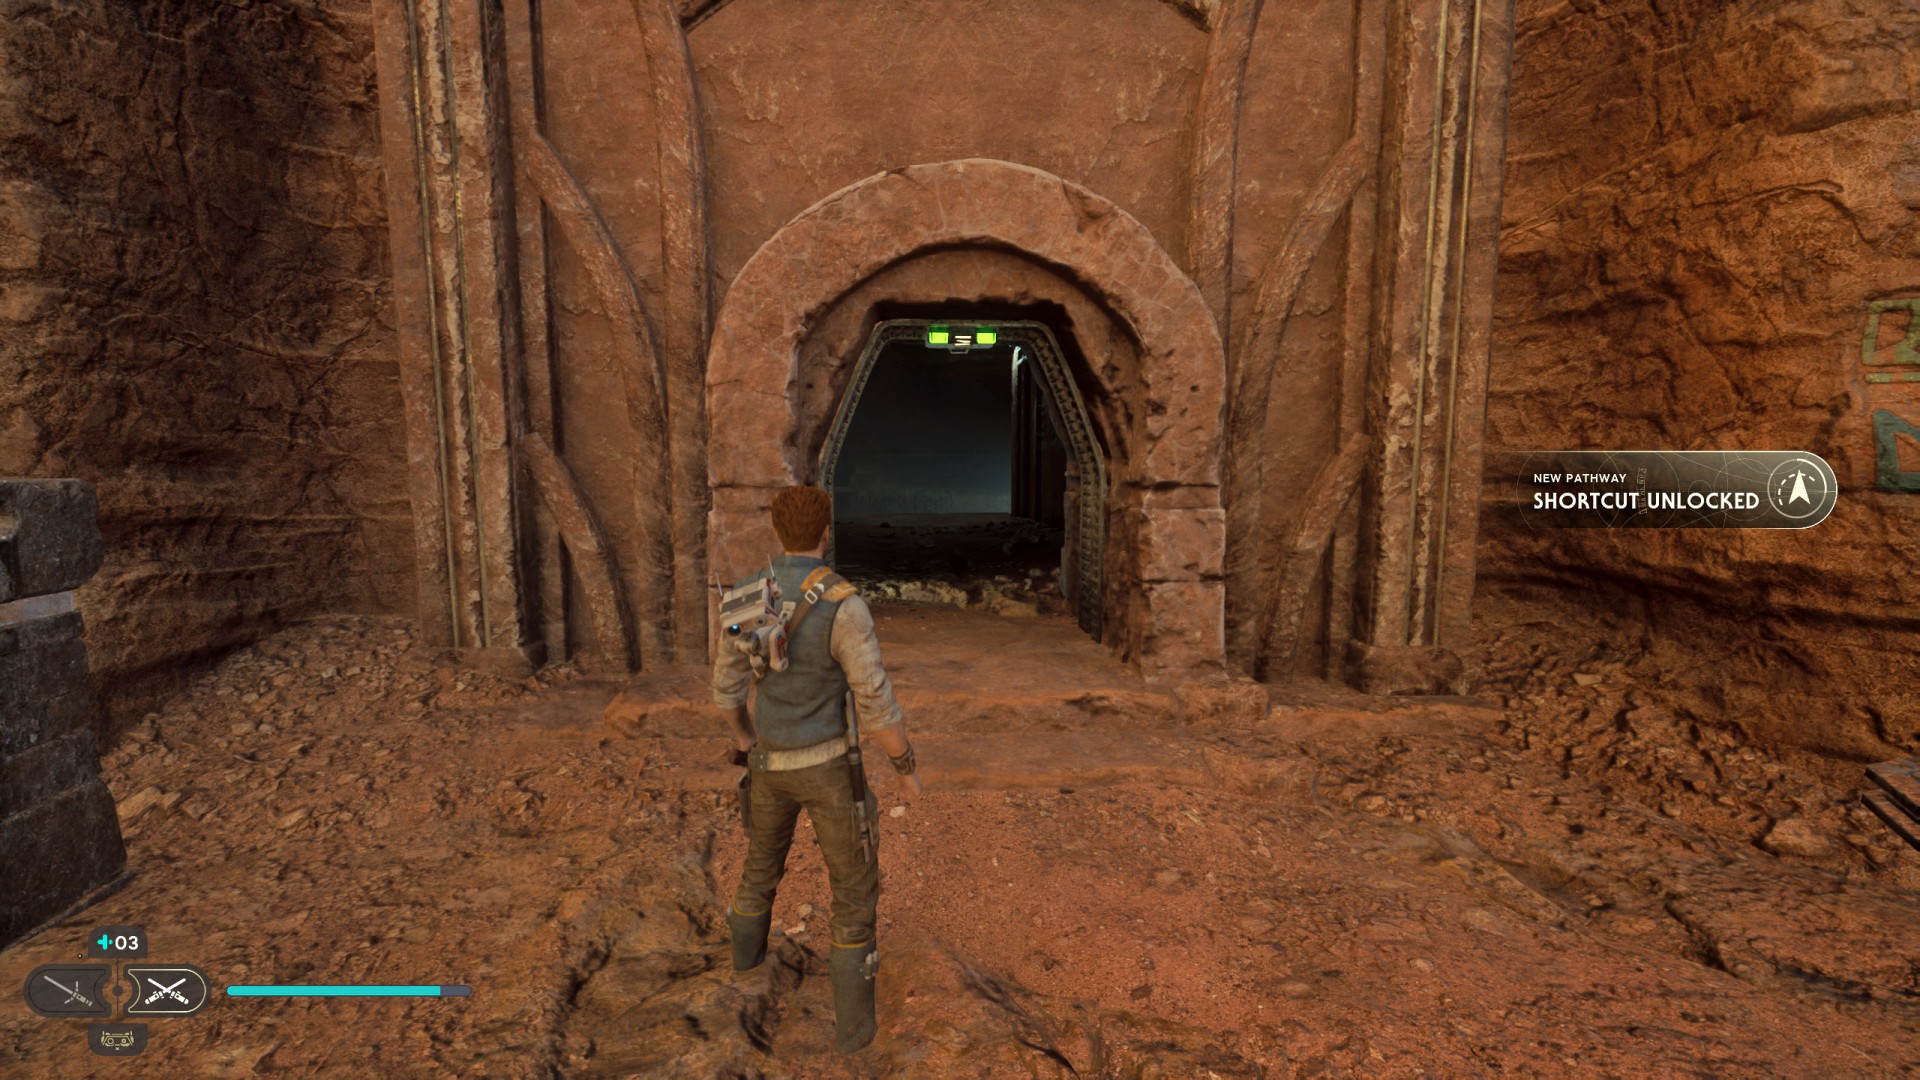
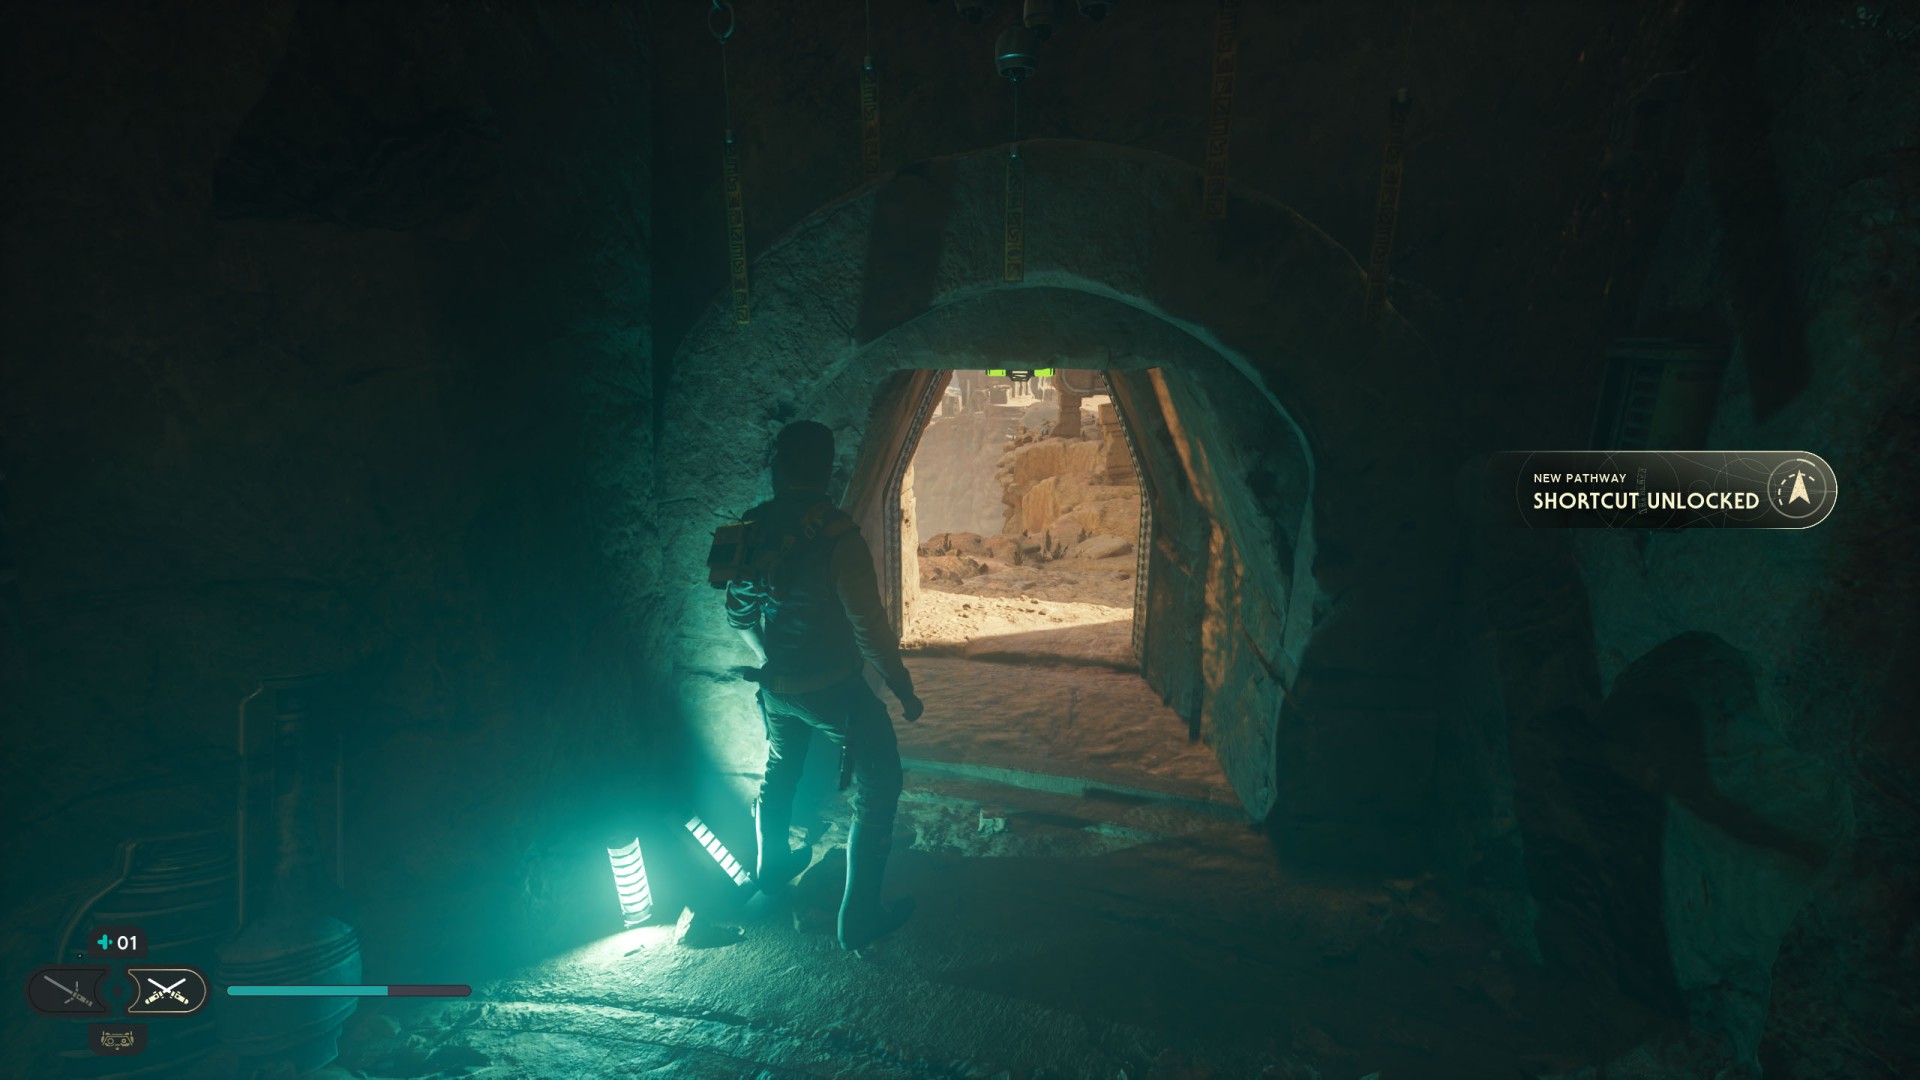
78Divine Oasis Shortcut
This door can be unlocked from the Divine Oasis side. To be able to get here get on the spamel, ride up to the edge and jump up.

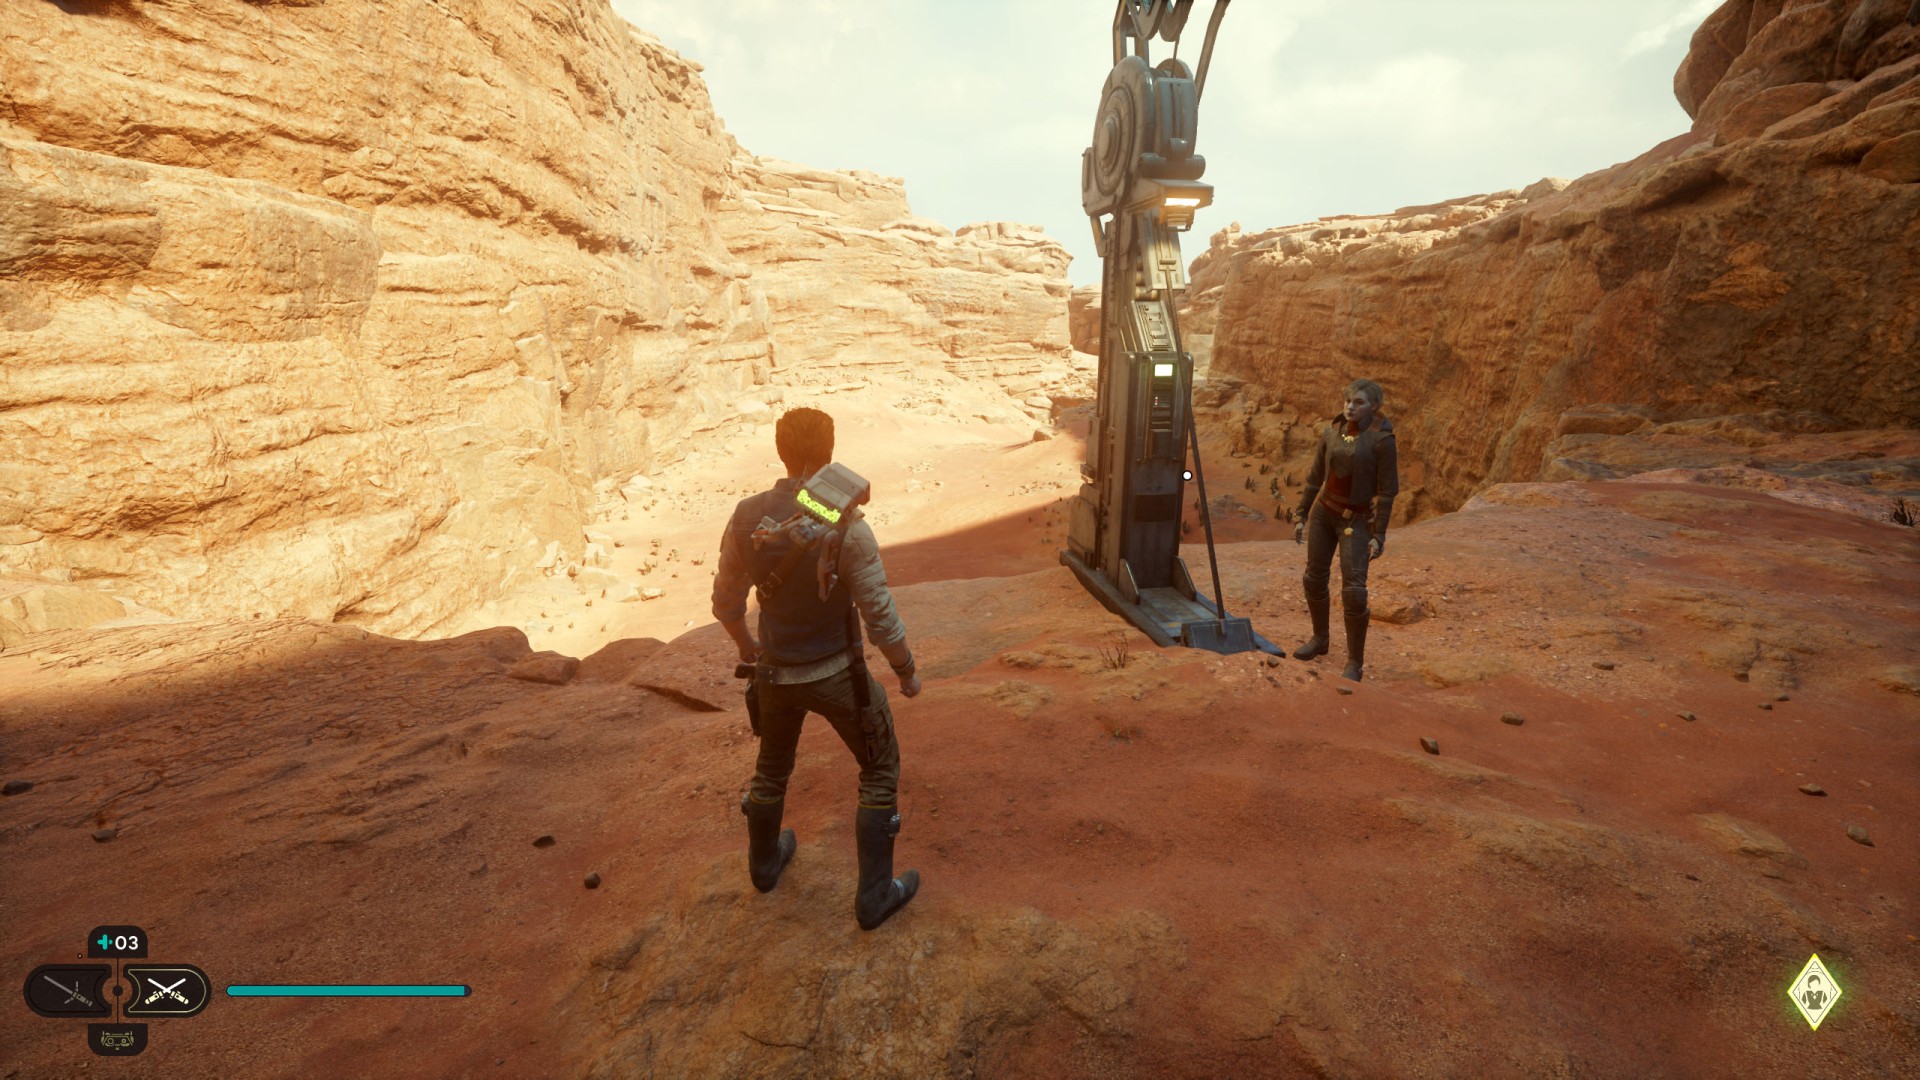
79Halls of Ranvell Shortcut
Order BD-1 to hack the rope launcher.
80Monastery Walls Shortcut
To activate this shortcut cut the rope.
81Narkis Highlands Shortcut
Order BD-1 to hack the rope launcher.
82Narkis Highlands Shortcut #2
Order BD-1 to hack the line launcher.
83Path of Conviction Shortcut
To activate this shortcut you should cut the line.
84Path of Persistance Shortcut
It's at the bottom level. Order BD-1 to hack the rope launcher.
85Penitent Chambers Shortcut #1
You can get here after the fight with the soldiers standing near the Merrin's broken speeder. Use the anchor point on the outer wall and then make a wall-run.
86Penitent Chambers Shortcut #2
Order BD-1 to hack the rope launcher.
87Ruins Landing Site Shortcut
To activate this shortcut order BD-1 to hack the rope launcher.
88Sanctuary Temple Shortcut
Order BD-1 to activate the line launcher.
89Timeworn Bridge Shortcut #1
90Timeworn Bridge Shortcut #2

91Timeworn Bridge Shortcut #3
92Trailhead Pantheon Shortcut #1
To unlock this shortcut you should cut the rope.
93Trailhead Pantheon Shortcut #2
This door must be opened from the inside.
94Whistling Drop Shortcut
Order BD-1 to hack the line launcher.
95Whistling Drop Shortcut #2
To unlock this shortcut you need to cut the line.
Locations on Shattered Moon
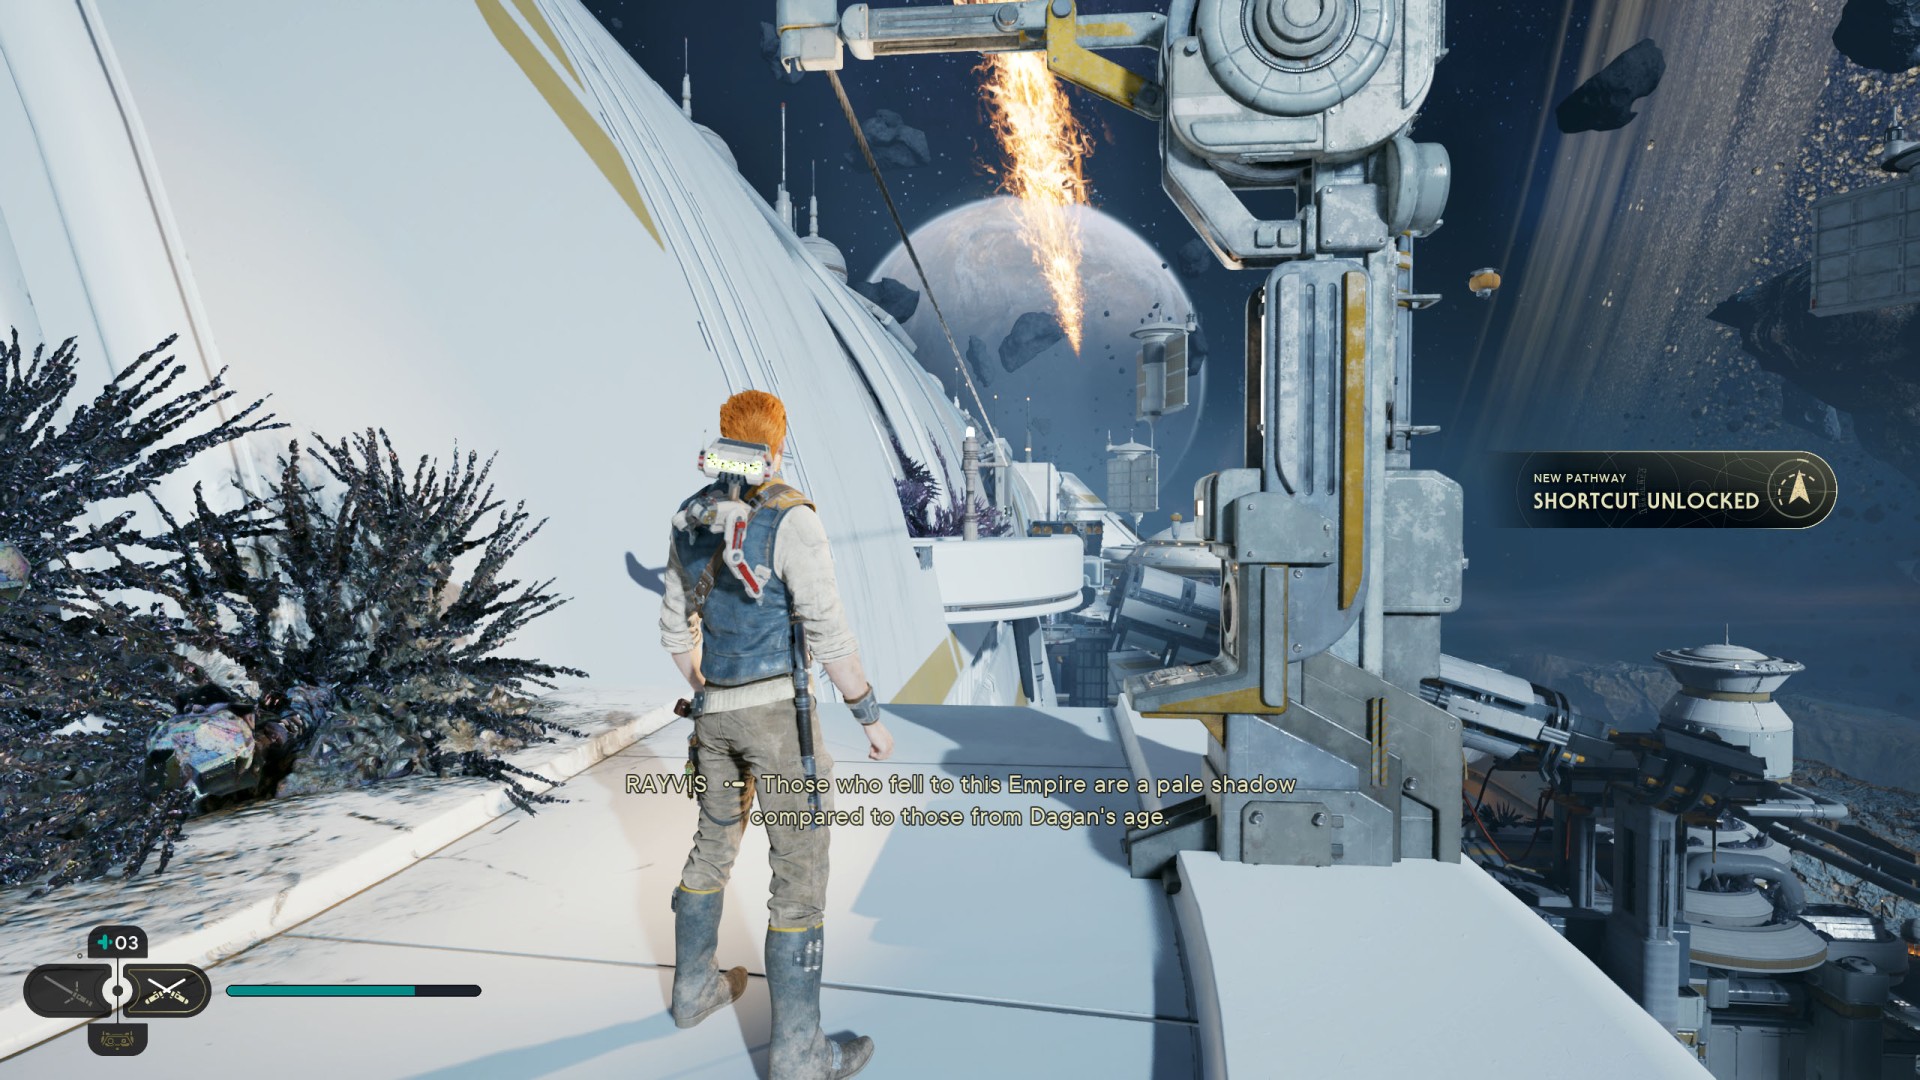
96Array Channel Shortcut #1
To activate this shortcut order BD-1 to hack the rope launcher.

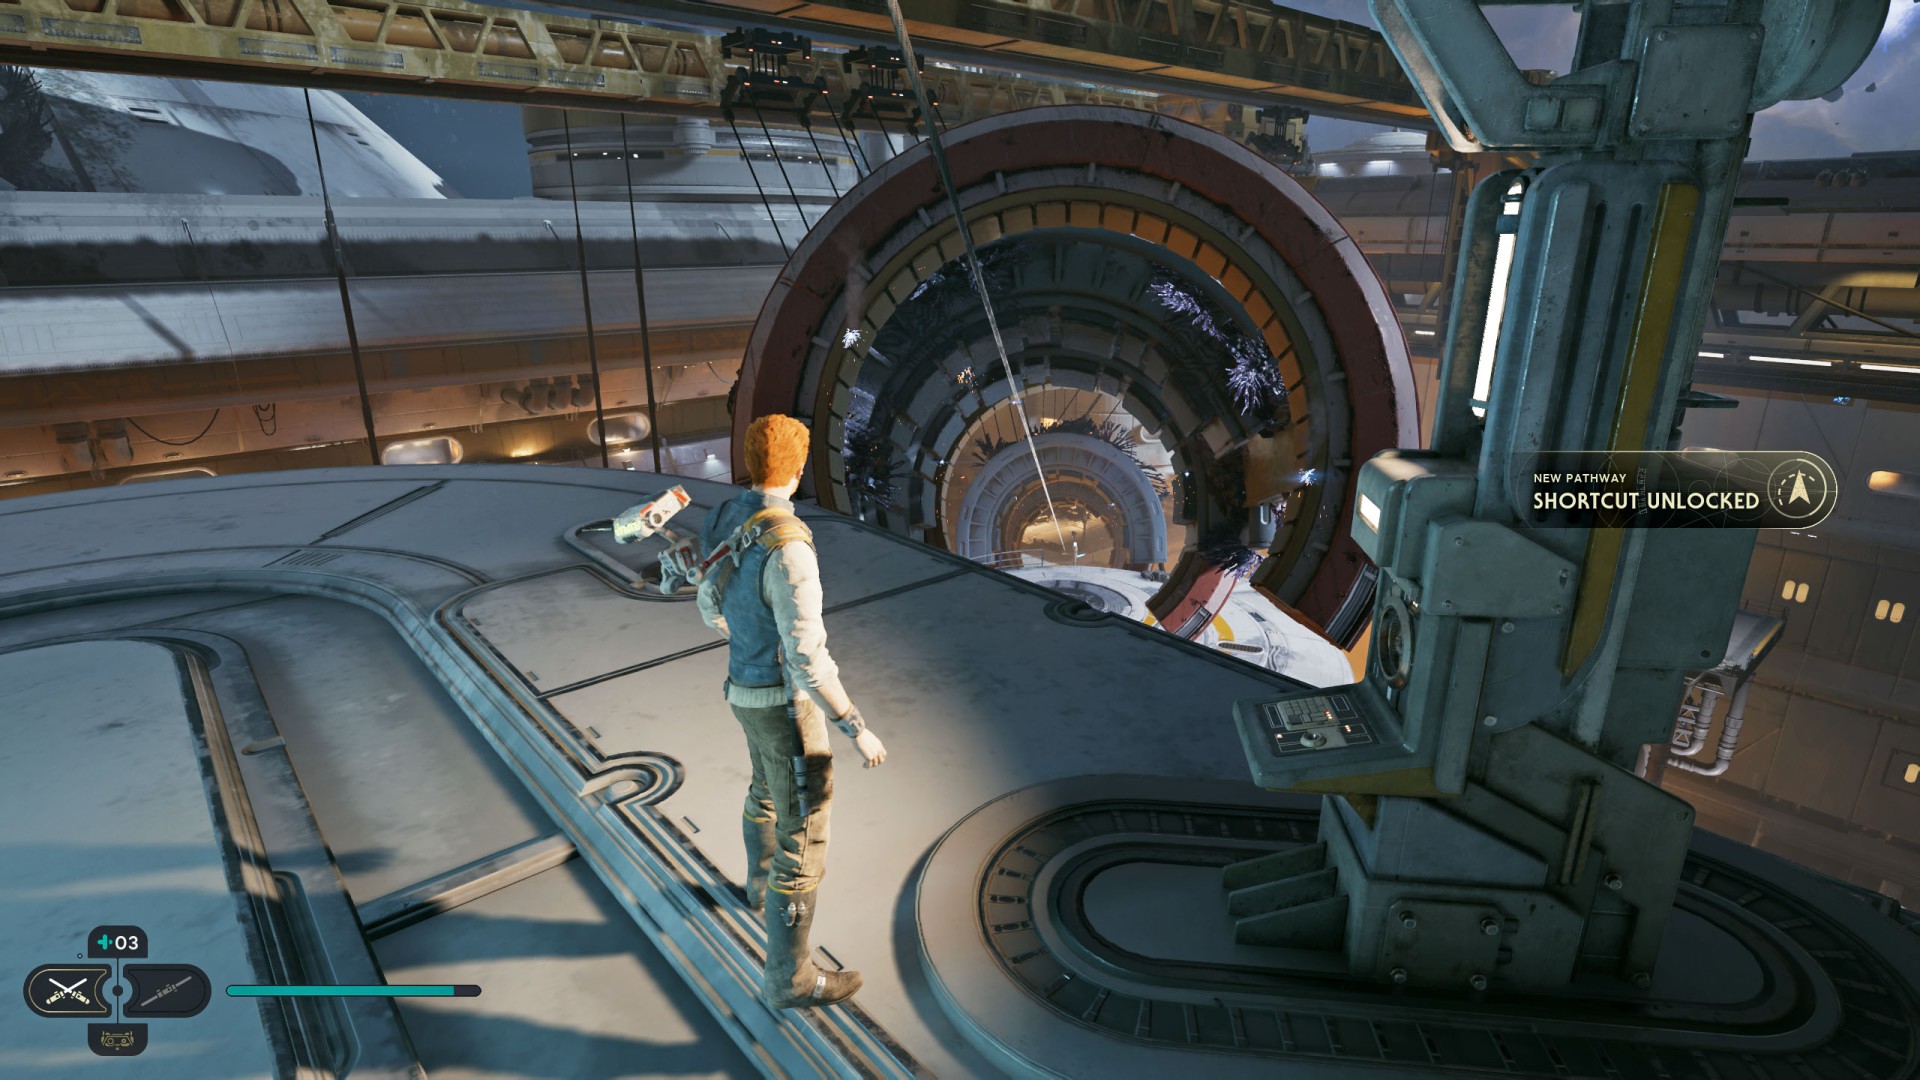
97Array Channel Shortcut #2
To activate this shortcut order BD-1 to hack the rope launcher.
98Assembly Staging Shortcut #1
To activate this shortcut order BD-1 to hack the rope launcher. Line goes to Automated Forge.
99Assembly Staging Shortcut #2
To unlock this shortcut cut the rope.
100Assembly Staging Shortcut #3
To activate this shortcut order BD-1 to hack the rope launcher.
101Automated Forge Shortcut #1
To activate this shortcut order BD-1 to hack the rope launcher.
102Automated Forge Shortcut #2
You can only unlock this gate from one side. From the side where the Automated Forge Chest 2/3 is located.
103Automated Forge Shortcut #3
To unlock this shortcut cut the rope.
104Automated Forge Shortcut #4
You can only unlock this gate from one side. It will be possible as you get around most of the Automated Forge. Order BD-1 to hack the door controls.
105Superstructure Fabricators Shortcut #1
To unlock this shortcut cut the rope.
106Superstructure Fabricators Shortcut #2
To unlock this shortcut you must open the door from the right side.
107Superstructure Fabricators Shortcut #3
To activate this shortcut order BD-1 to hack the rope launcher.
Locations on Nova Garon
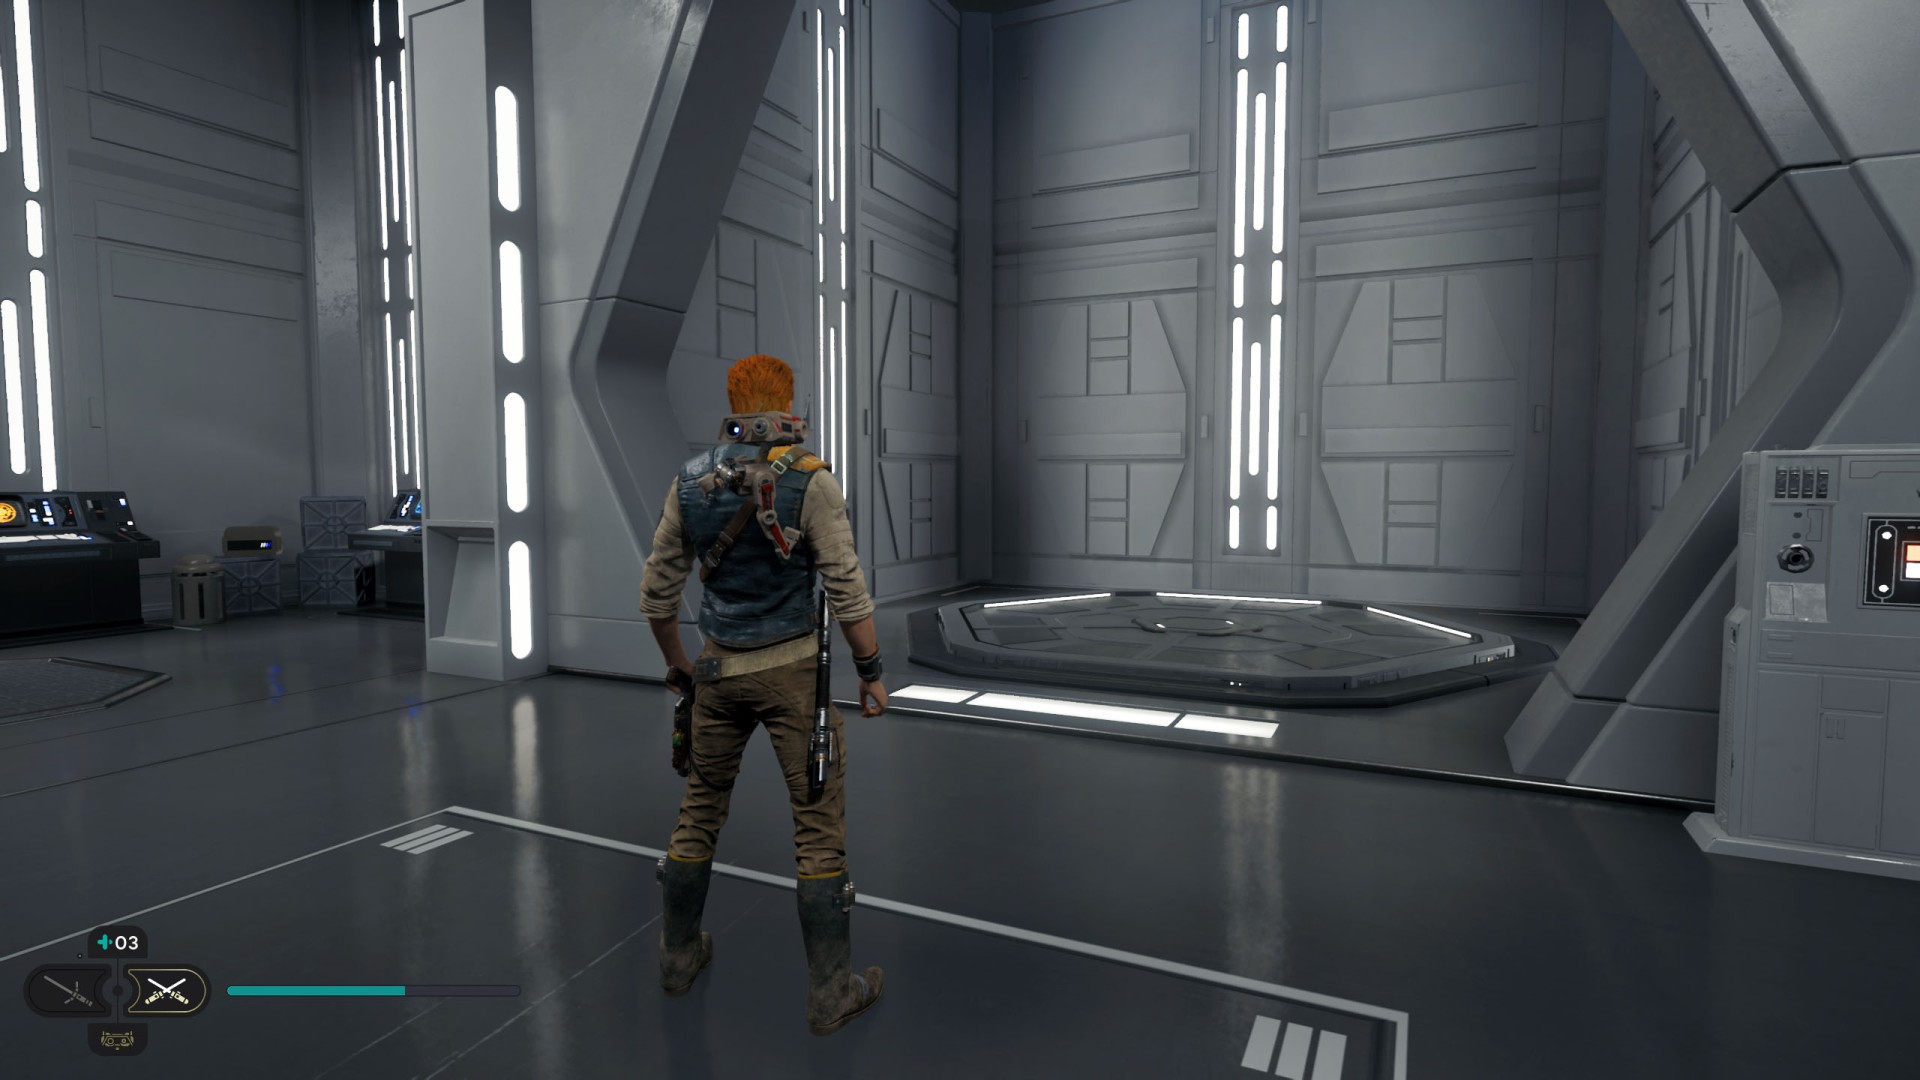
108Central Command Shortcut #1
To unlock this shortcut use the elevator to take it to the upper level.
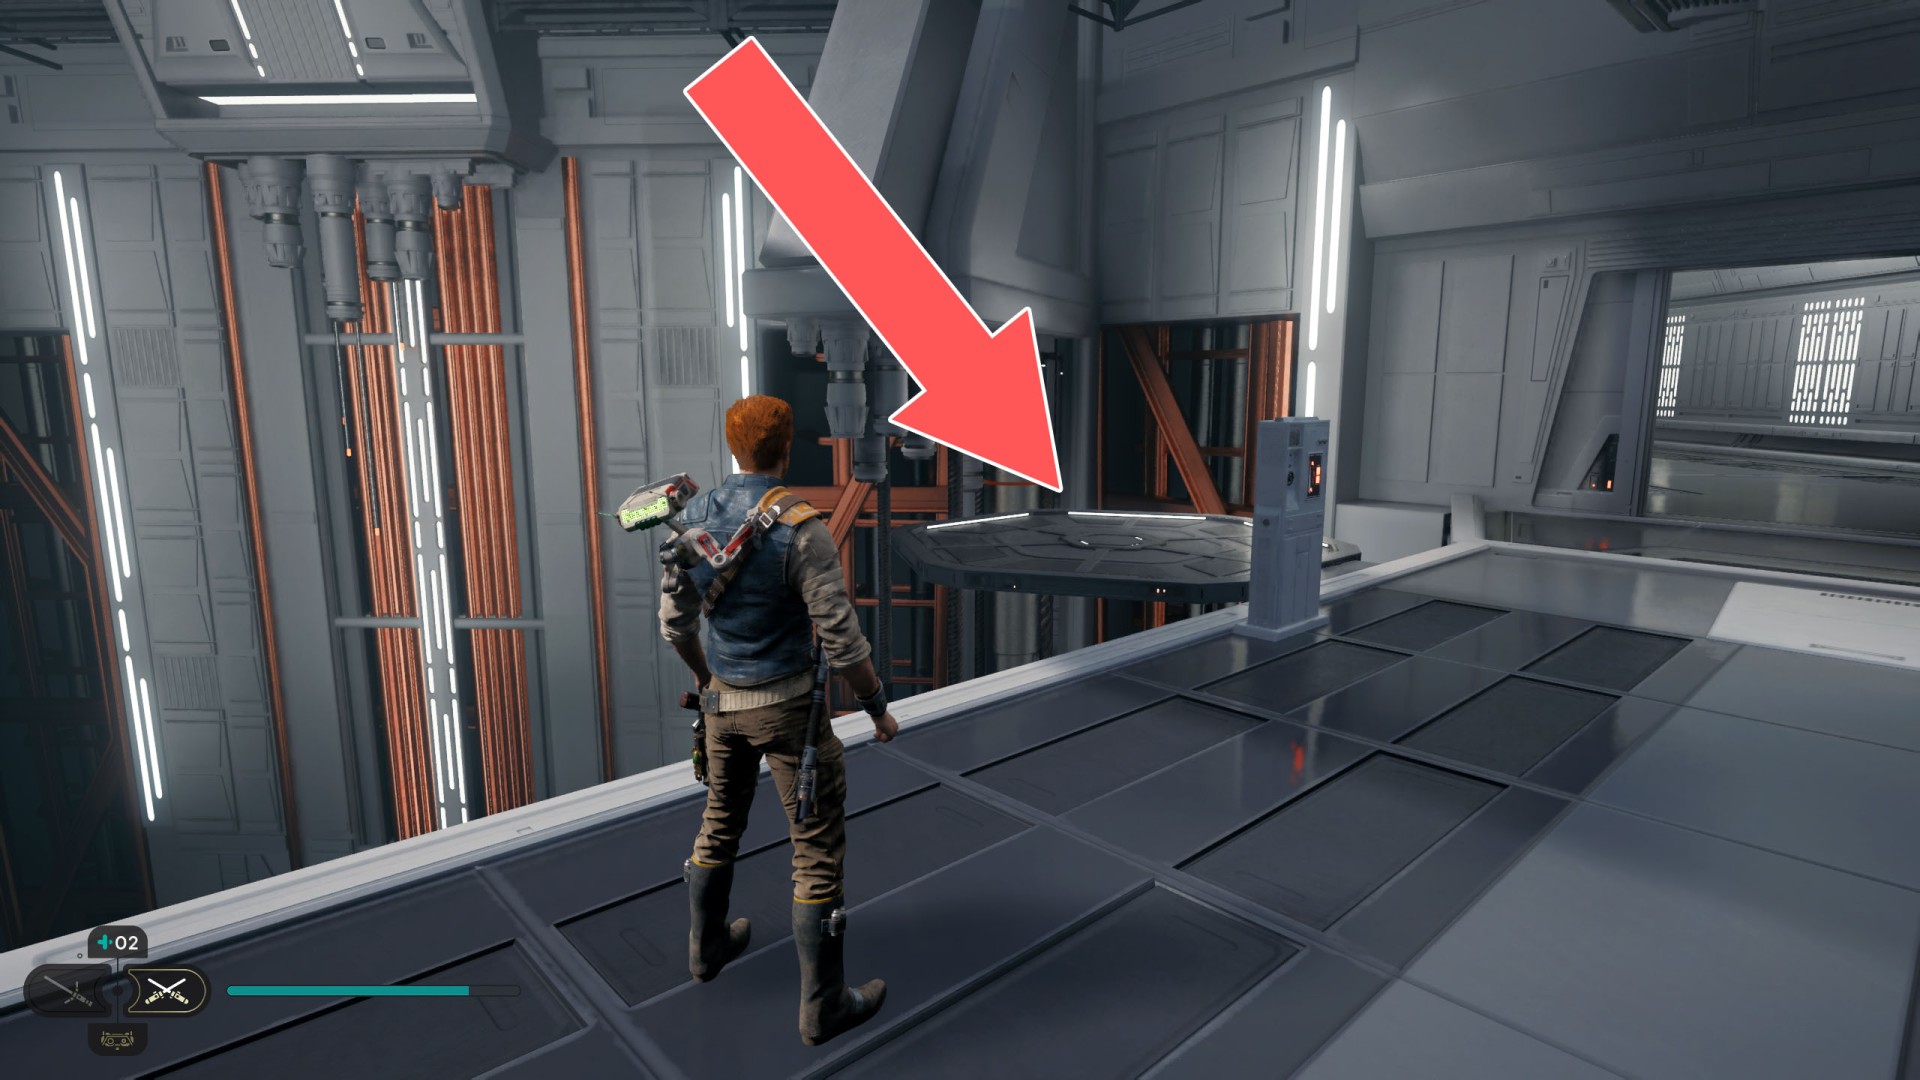
109Central Command Shortcut #2
To unlock this shortcut step onto the elevator platform to ride it down to the lower level.
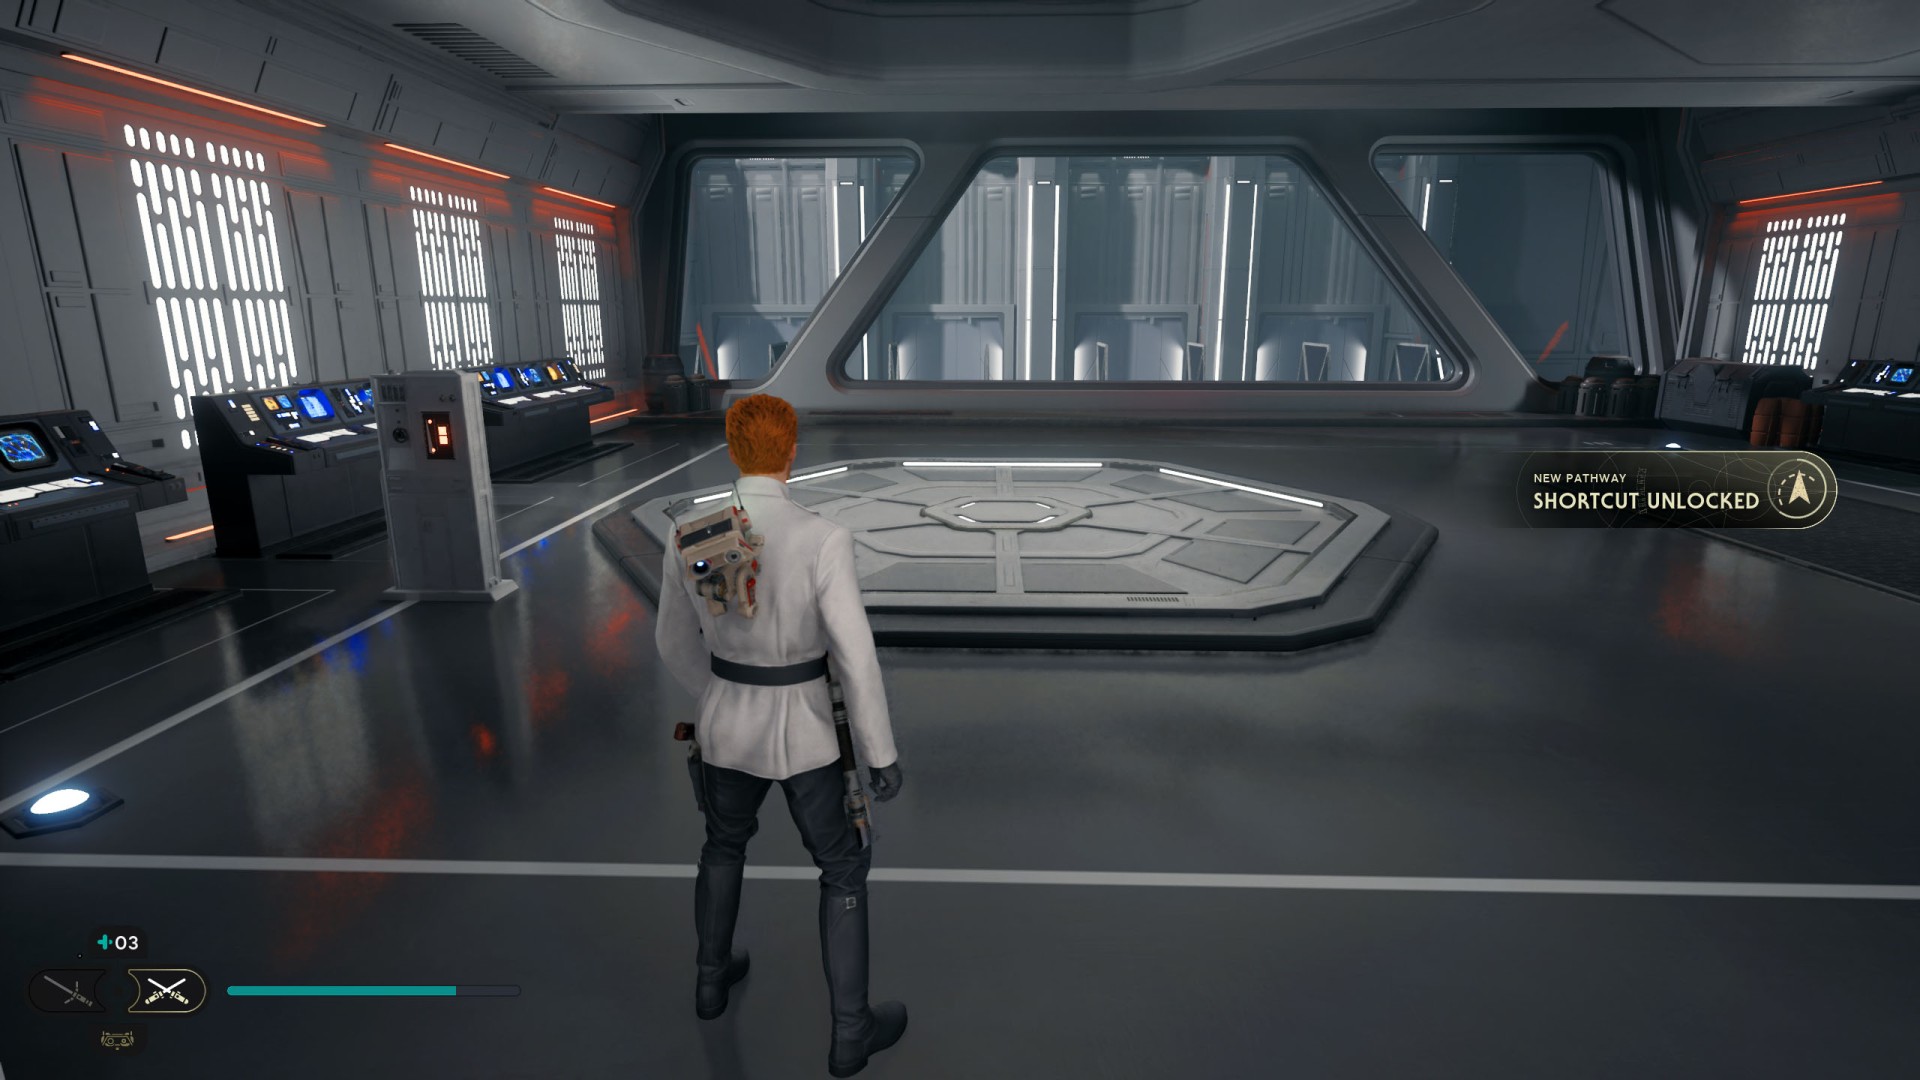
110Central Command Shortcut #3
You will unlock this passage in the final phase of the plot events taking place on this planet.

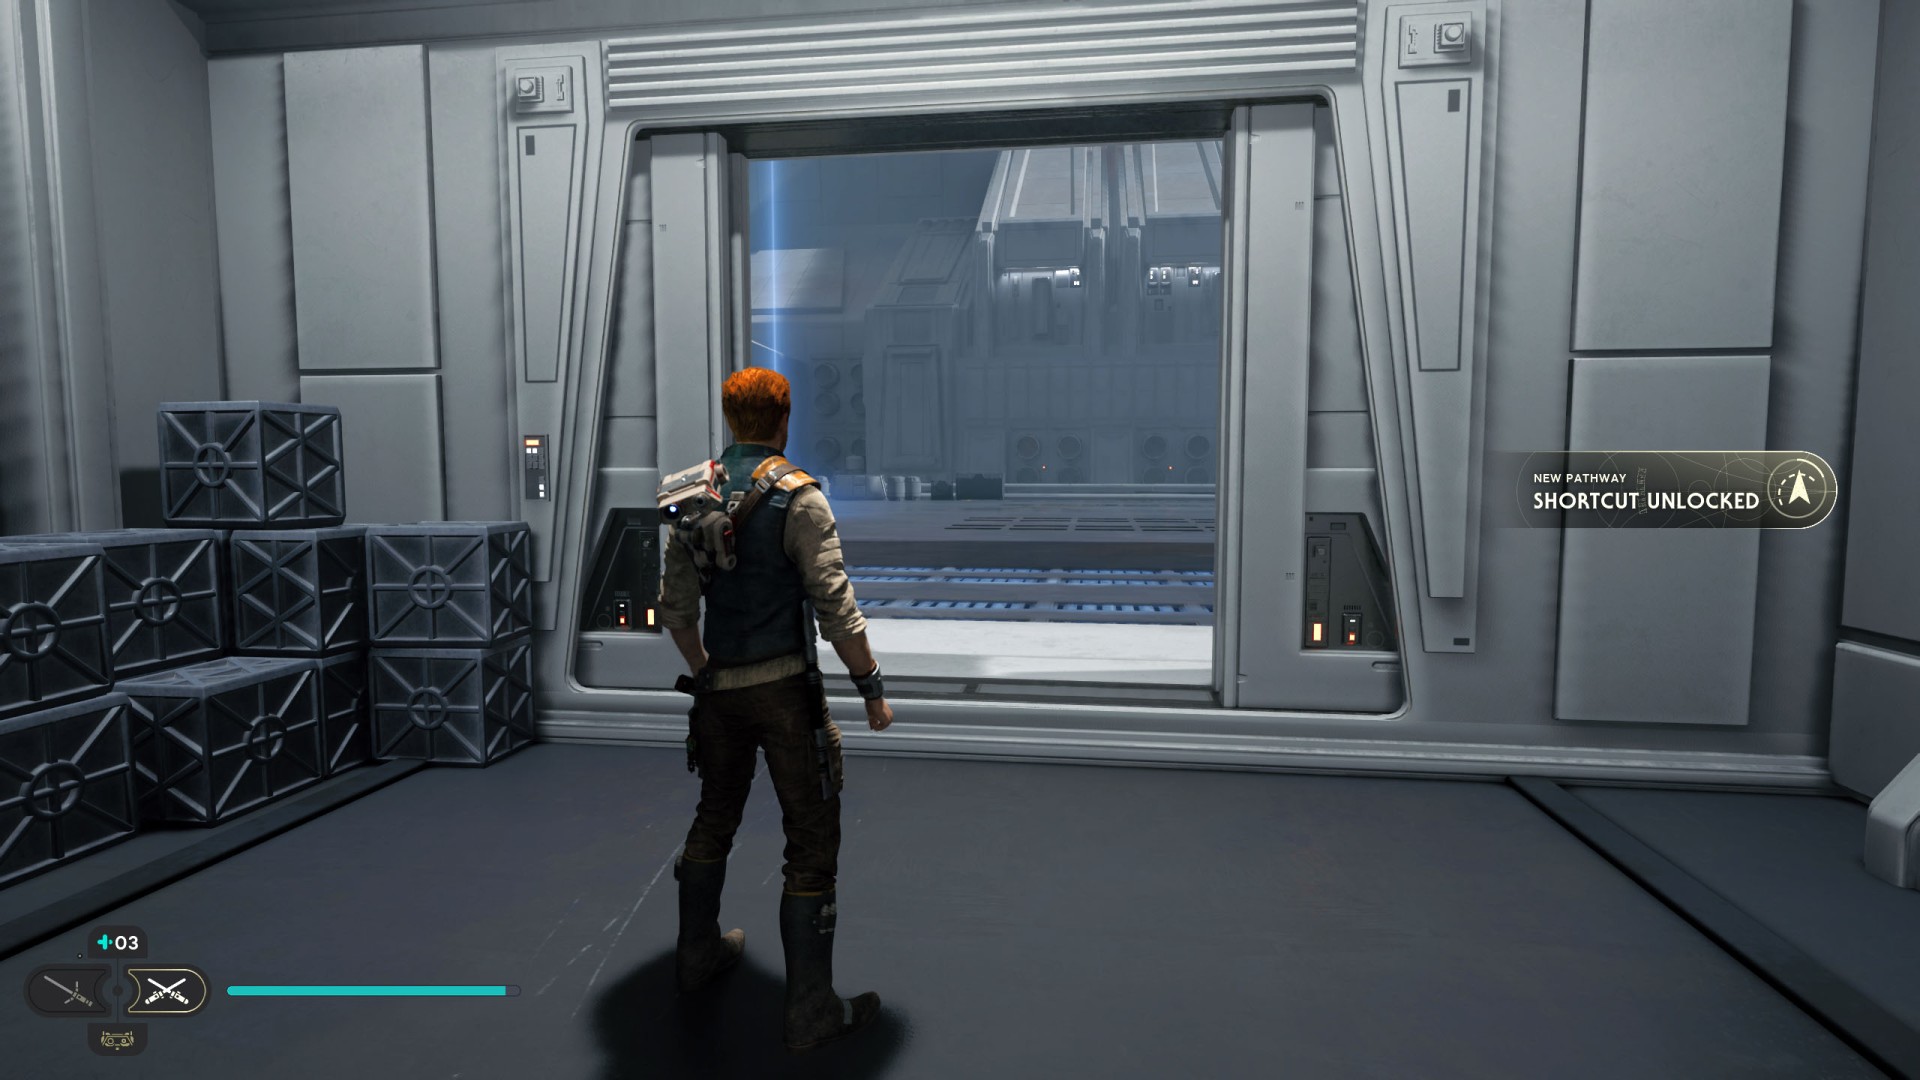
111Hangar Bay Exterior Shortcut #1
These doors can be unlocked from inside the base.
112Hangar Bay Exterior Shortcut #2
This door can be opened from inside. It will be possible at the end of the main story events taking place on this planet.
113Hangar Bay Shortcut
You will reach this place in the final phase of the main story events taking place on this planet.