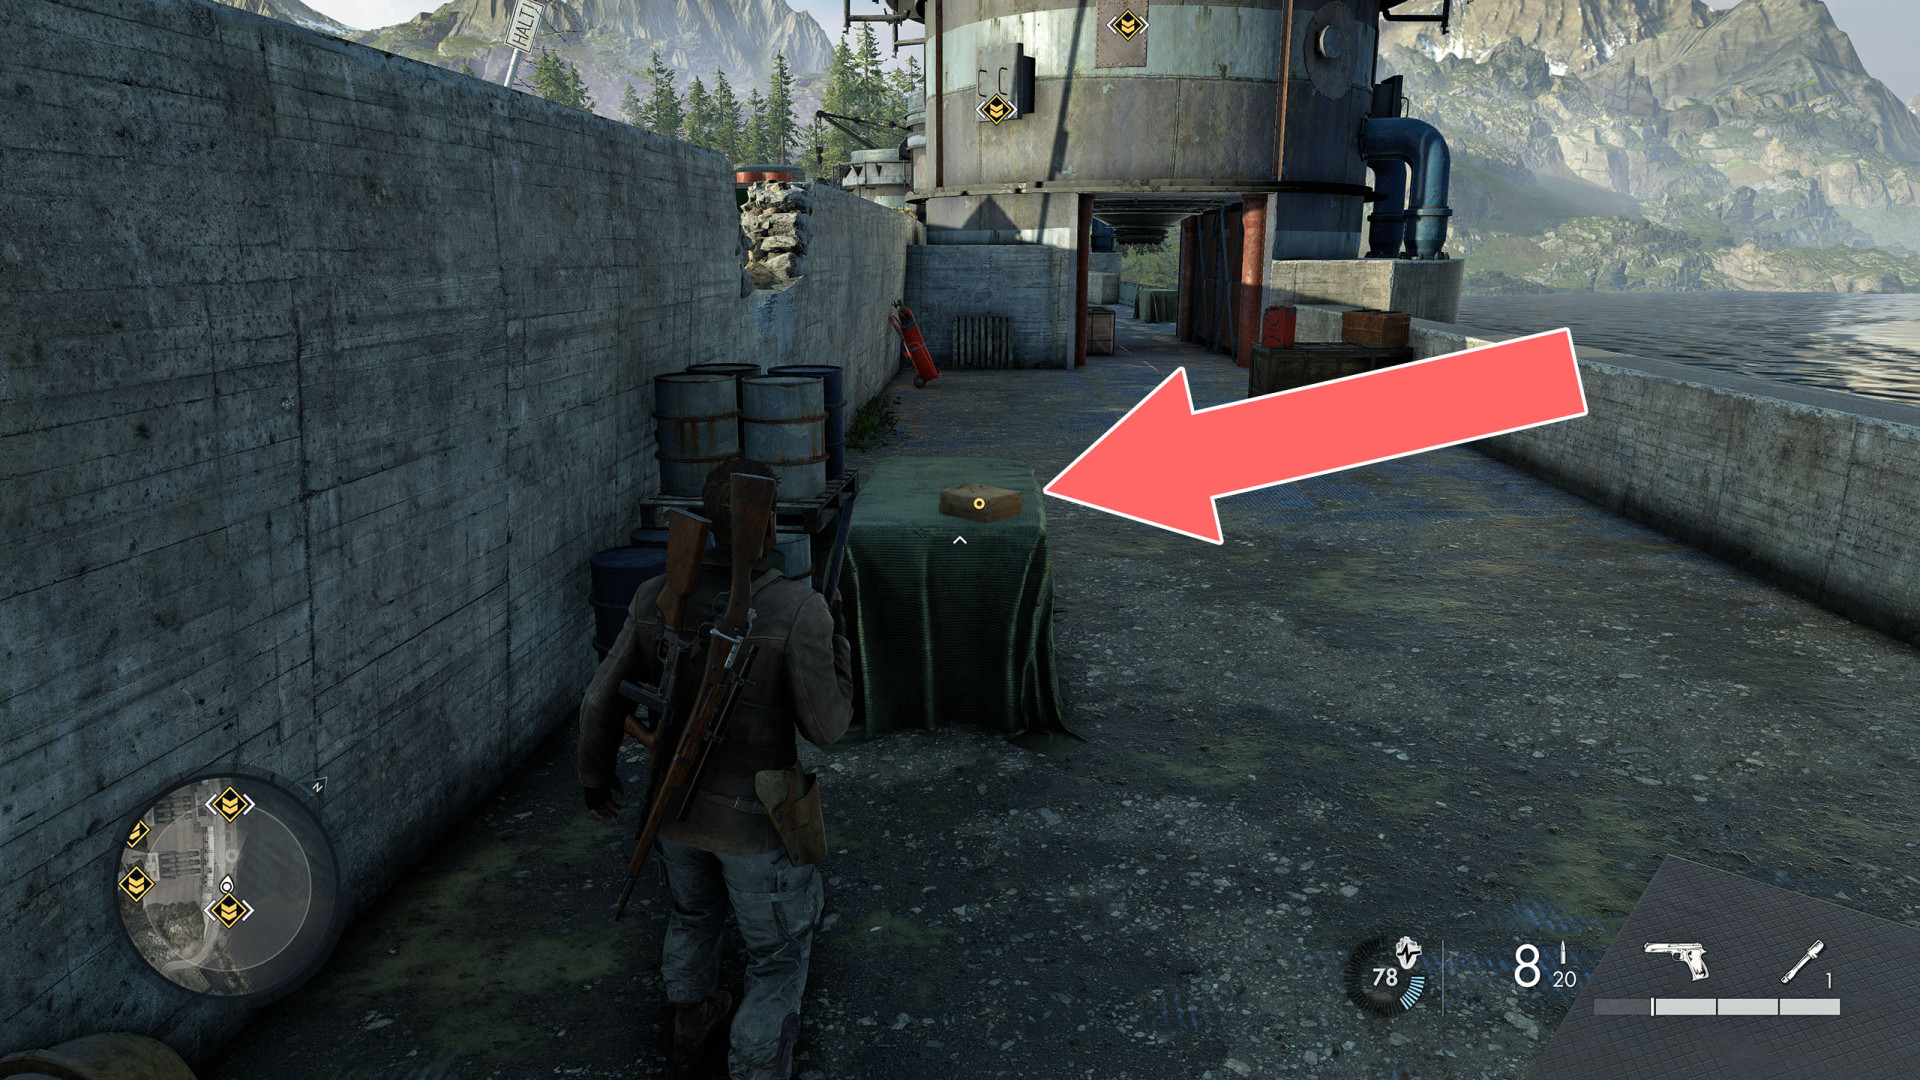
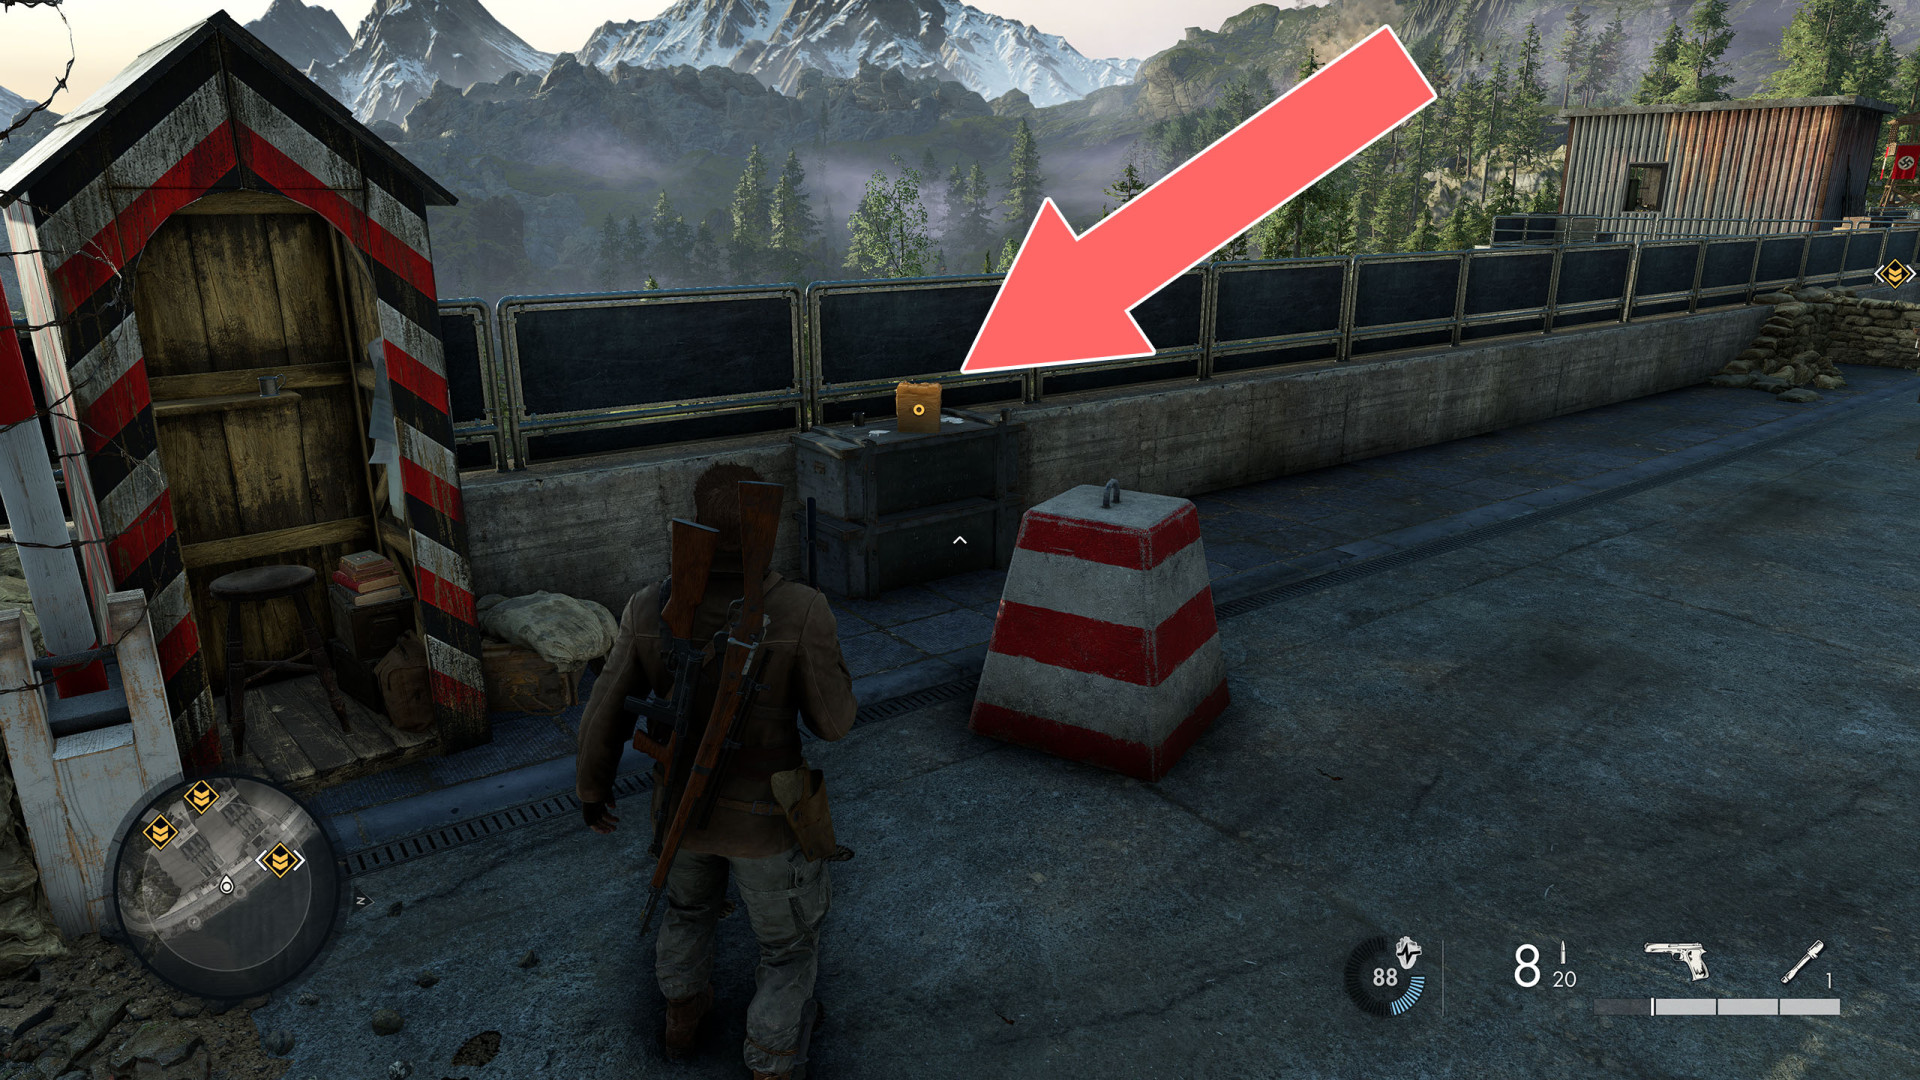
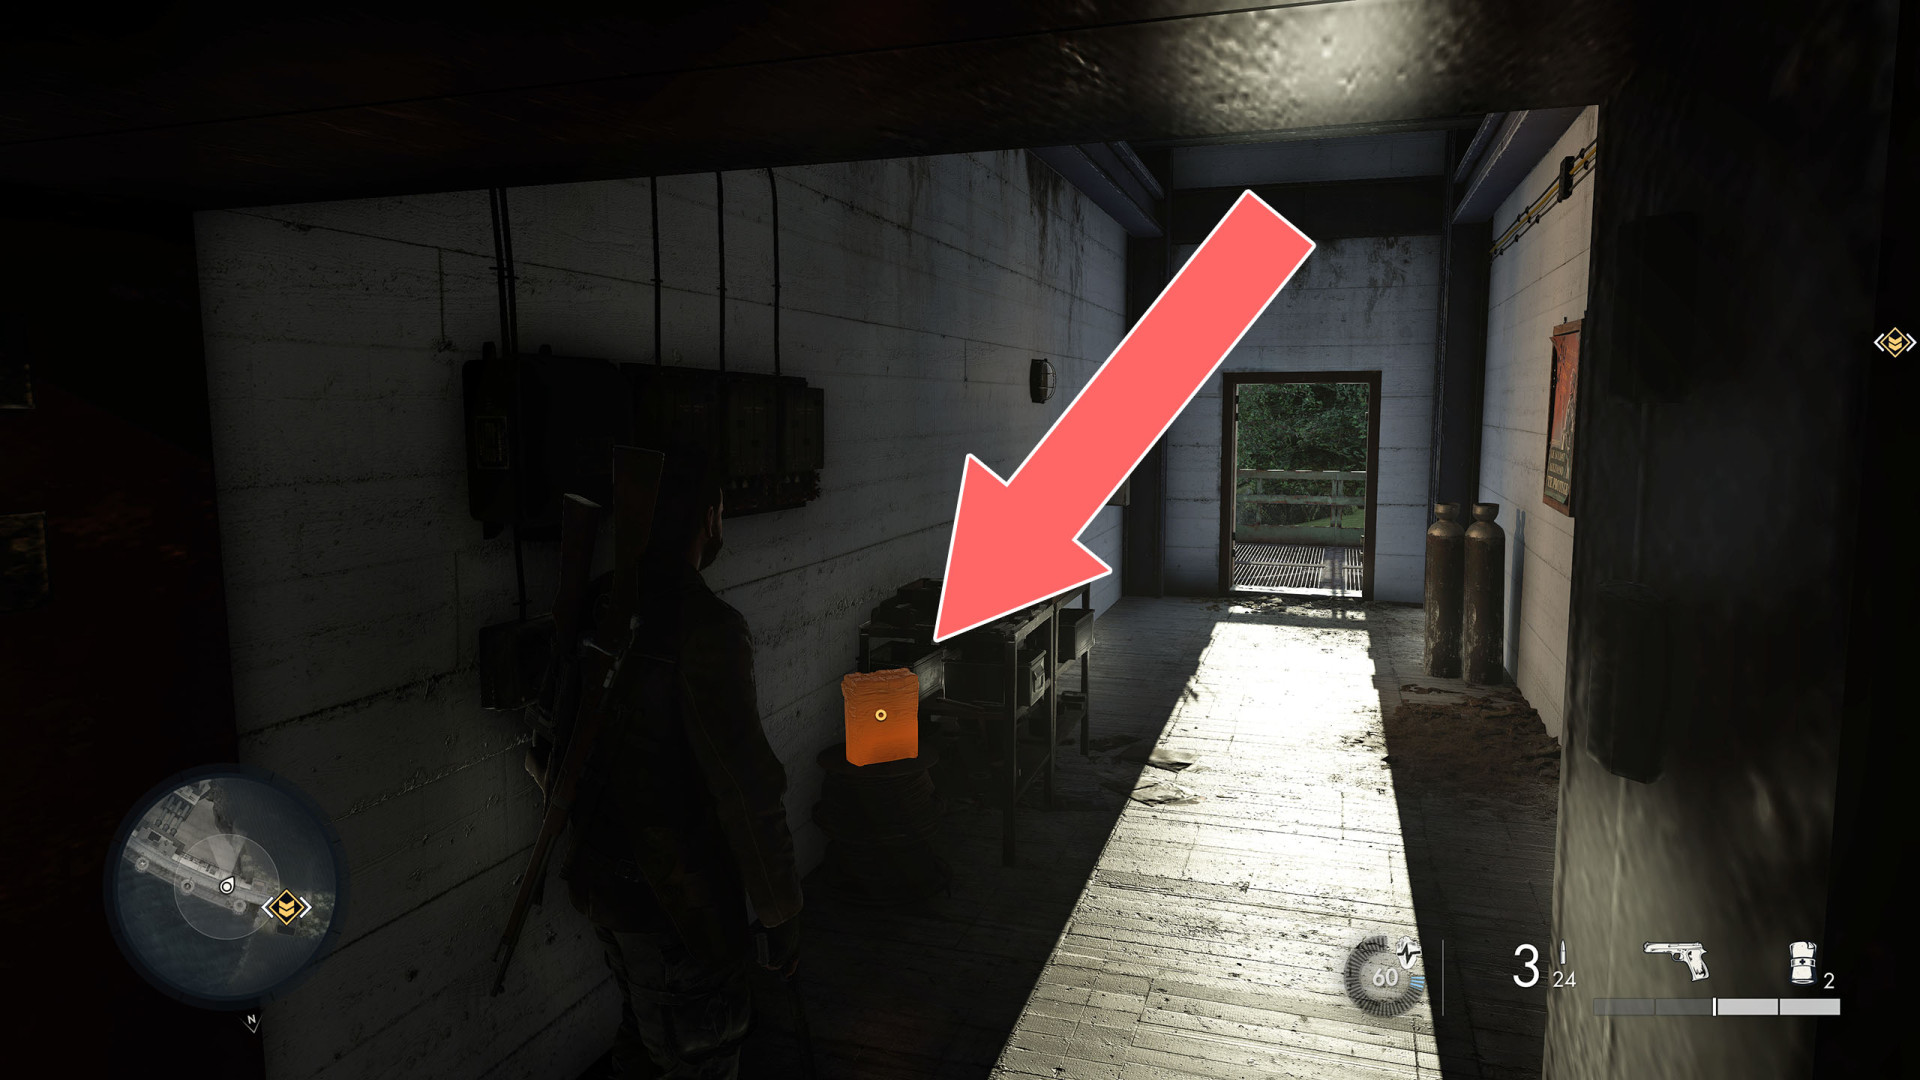
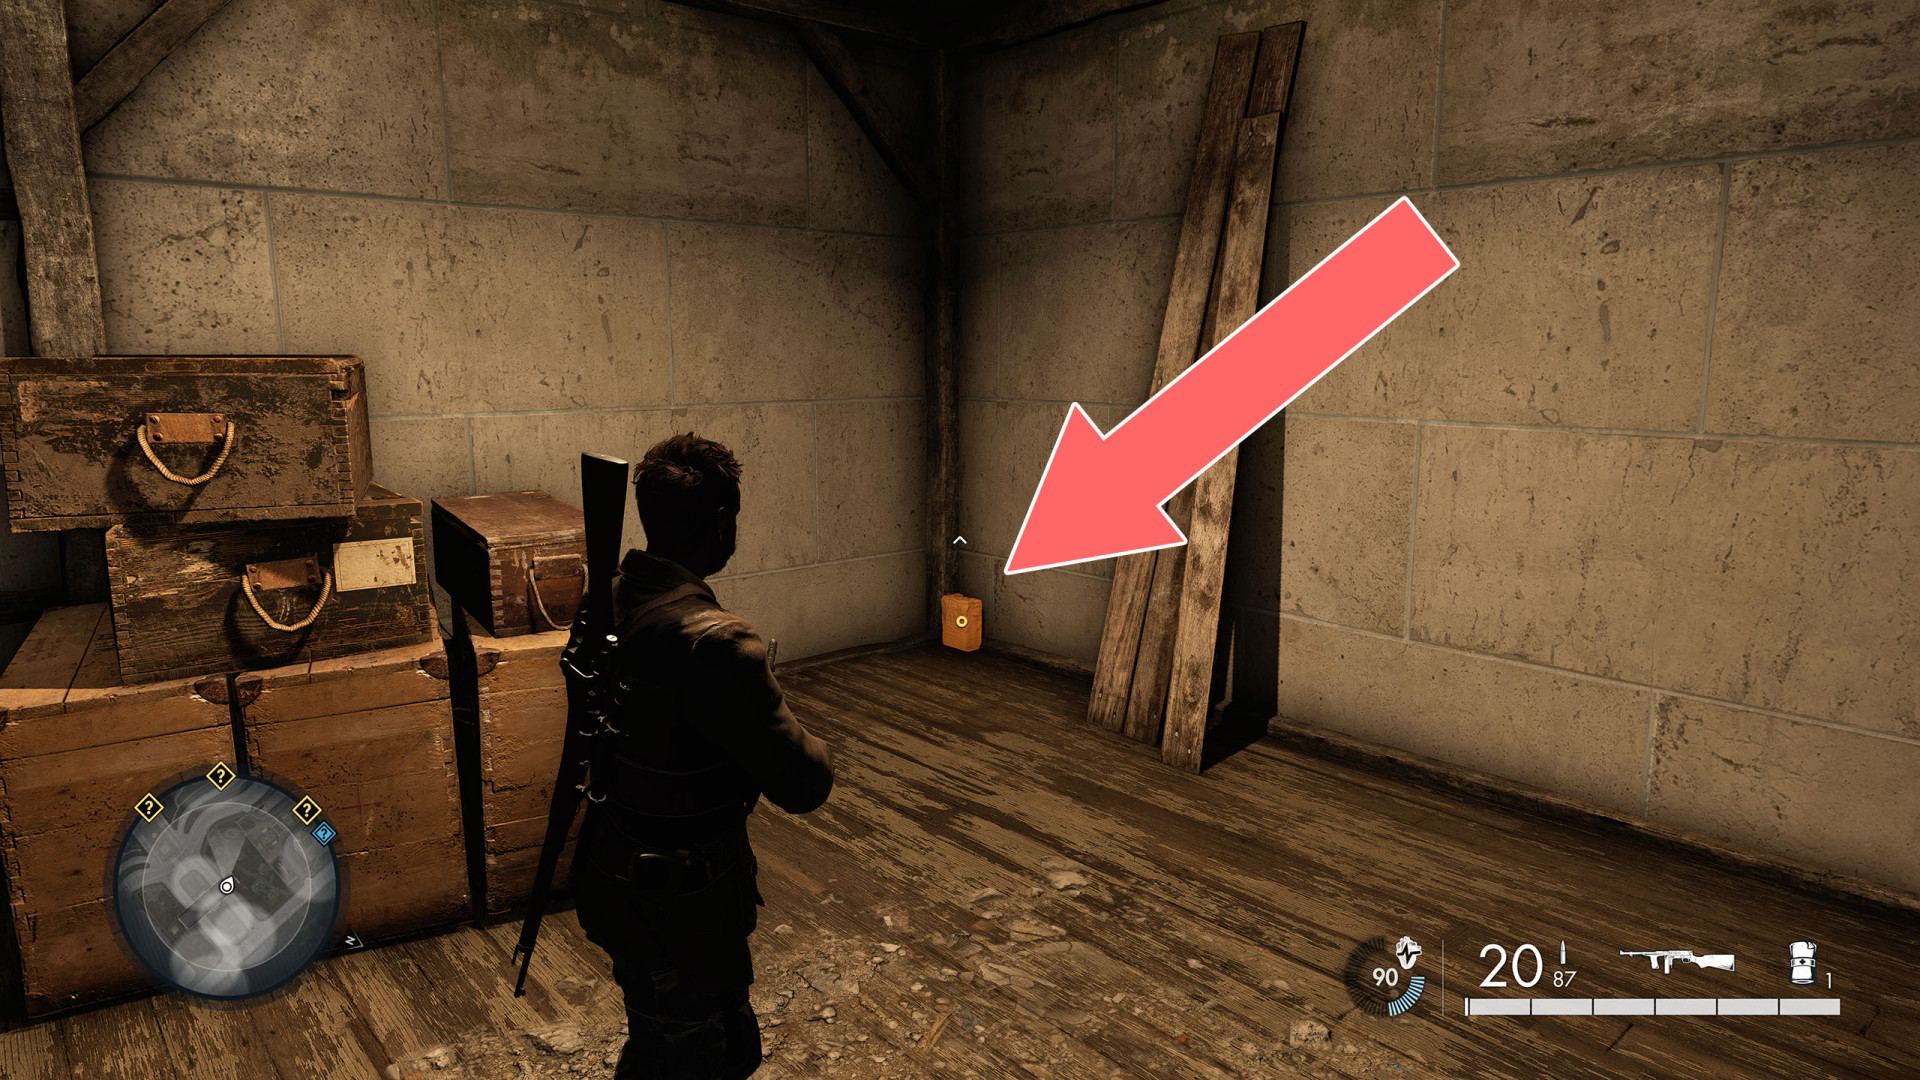
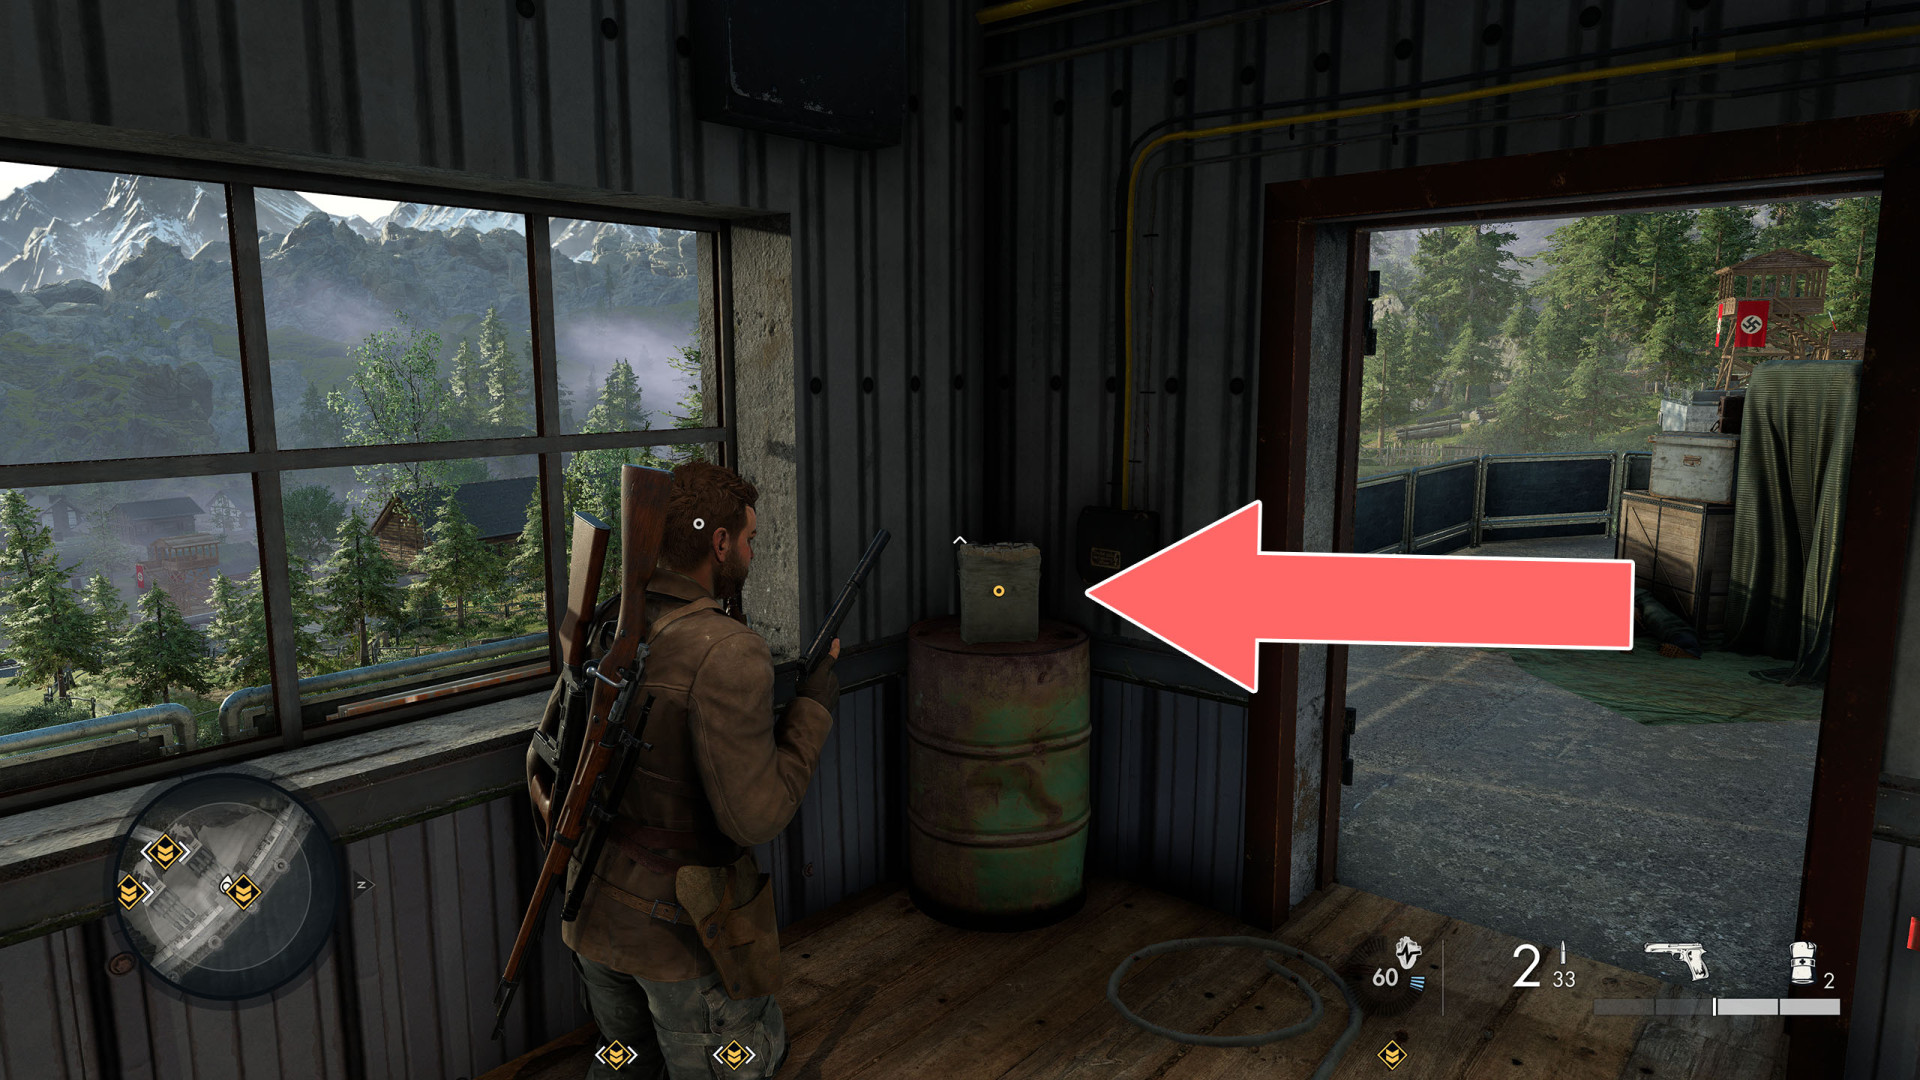
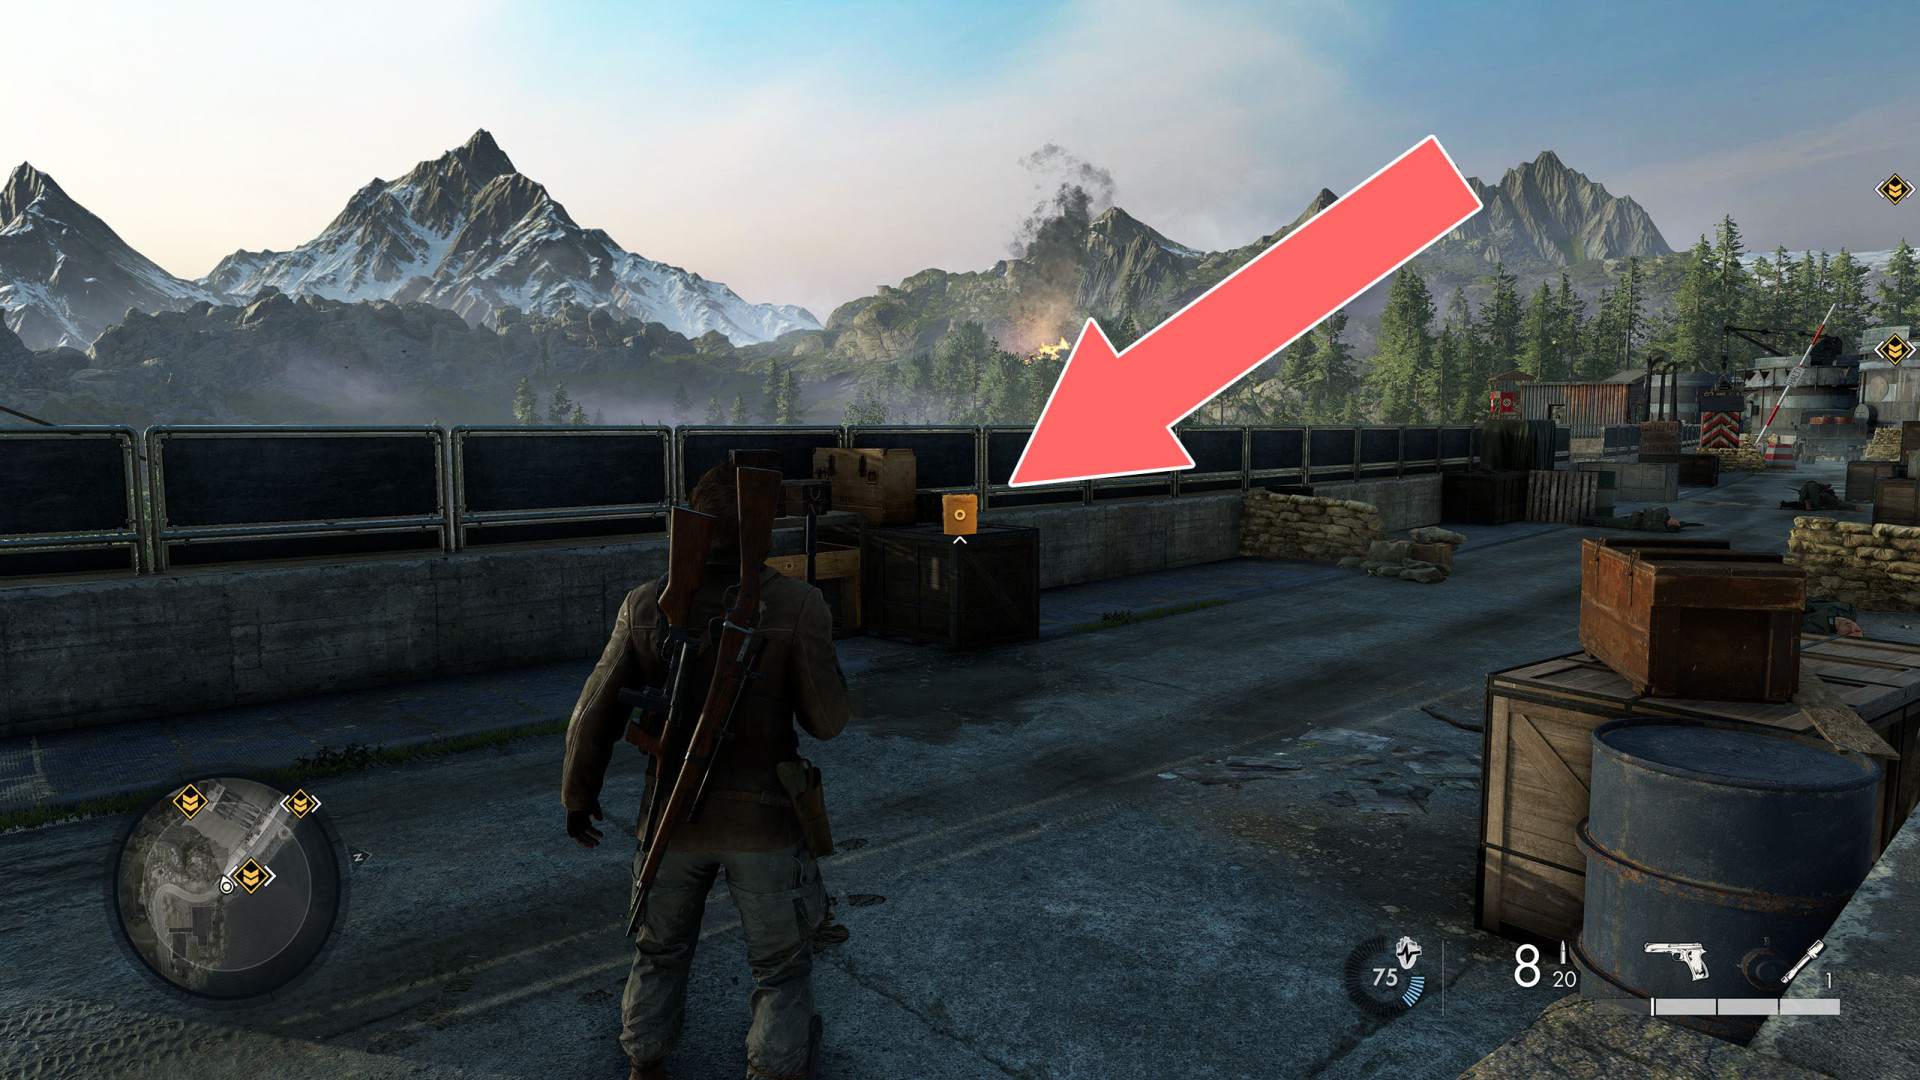
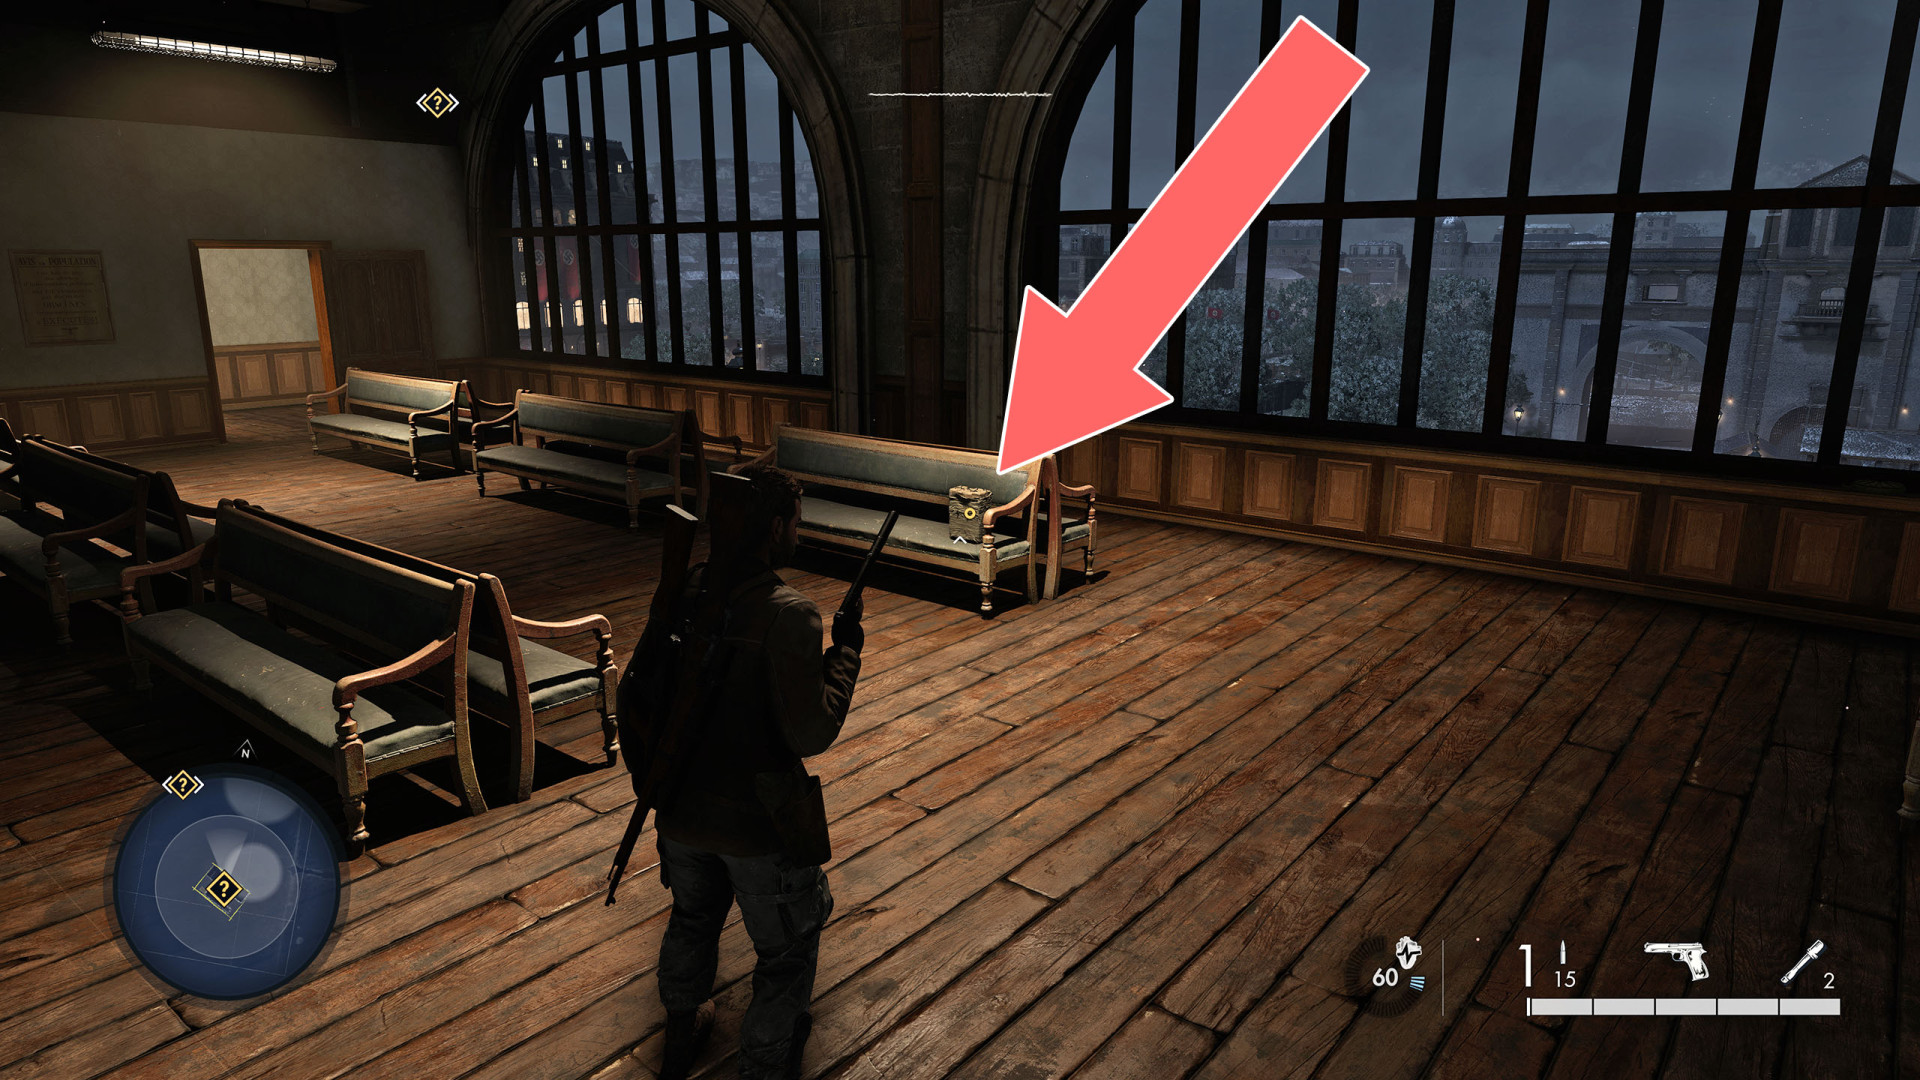
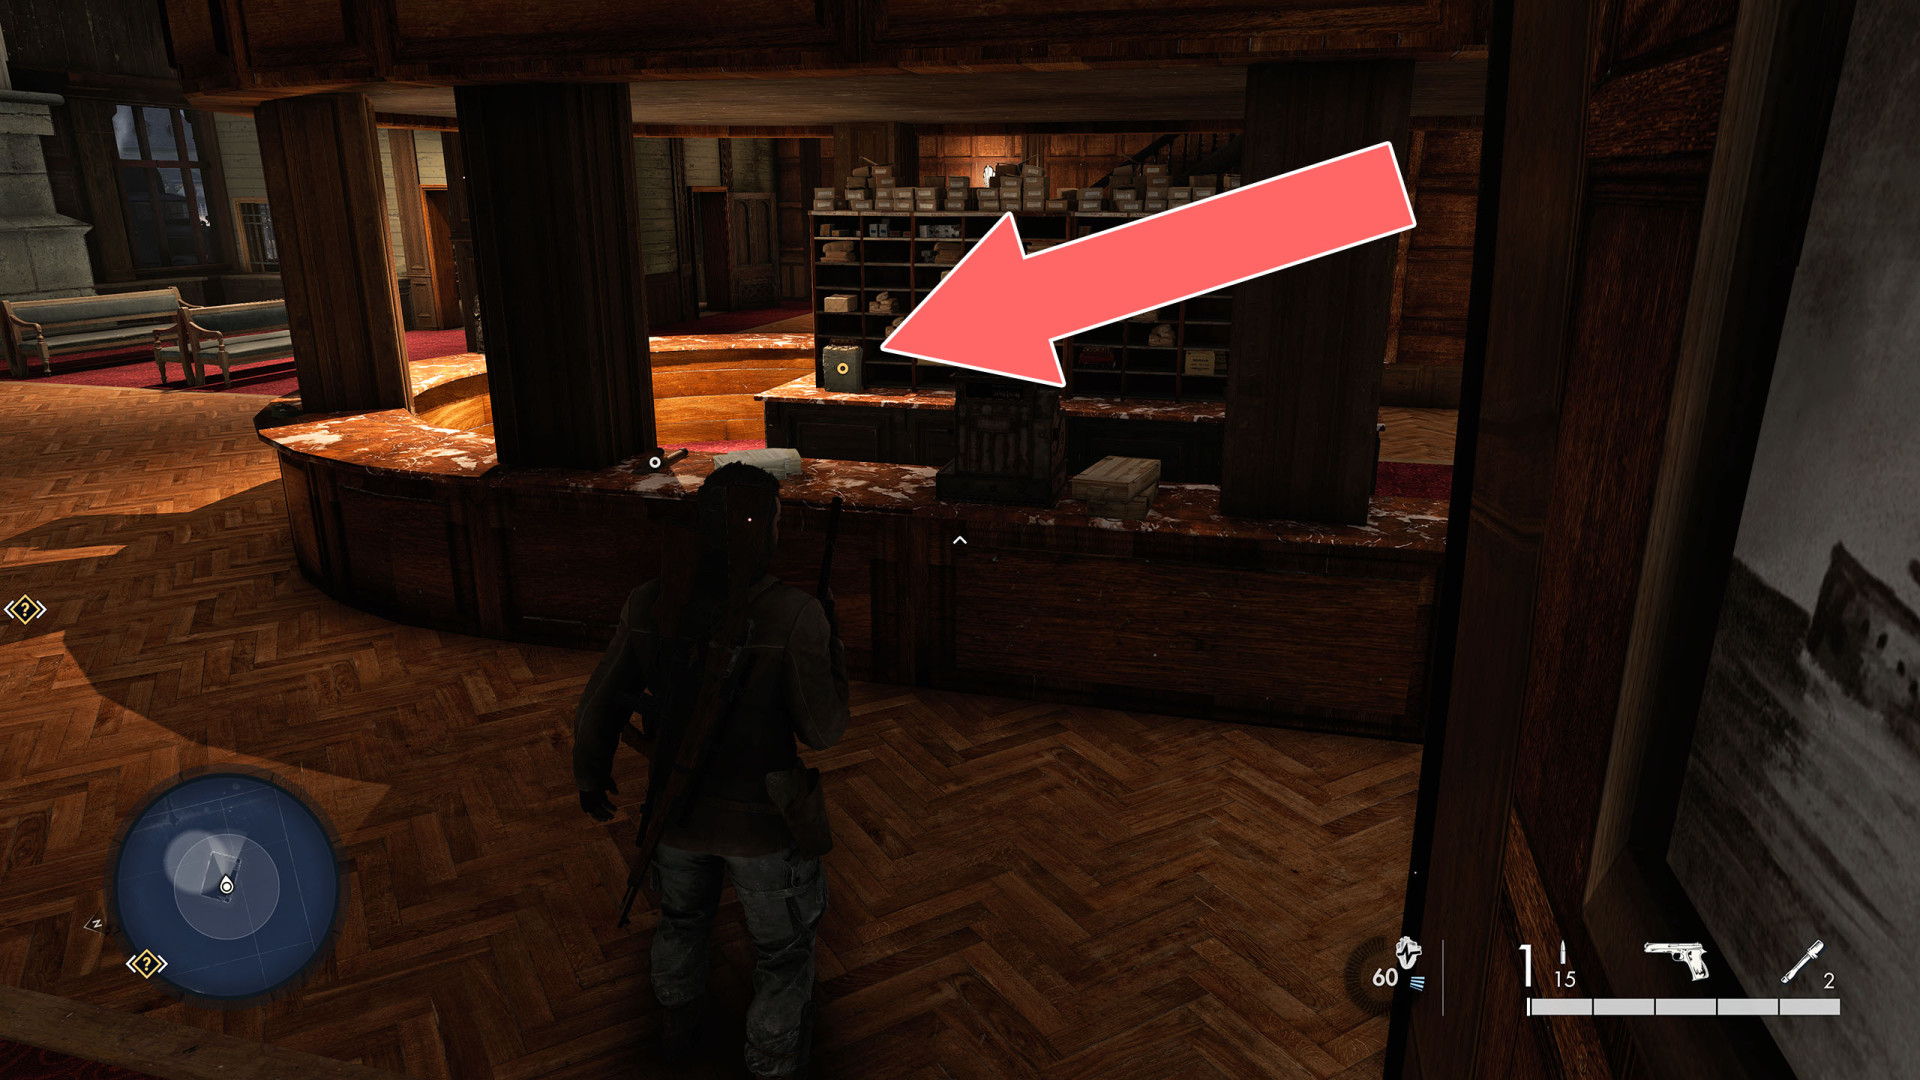
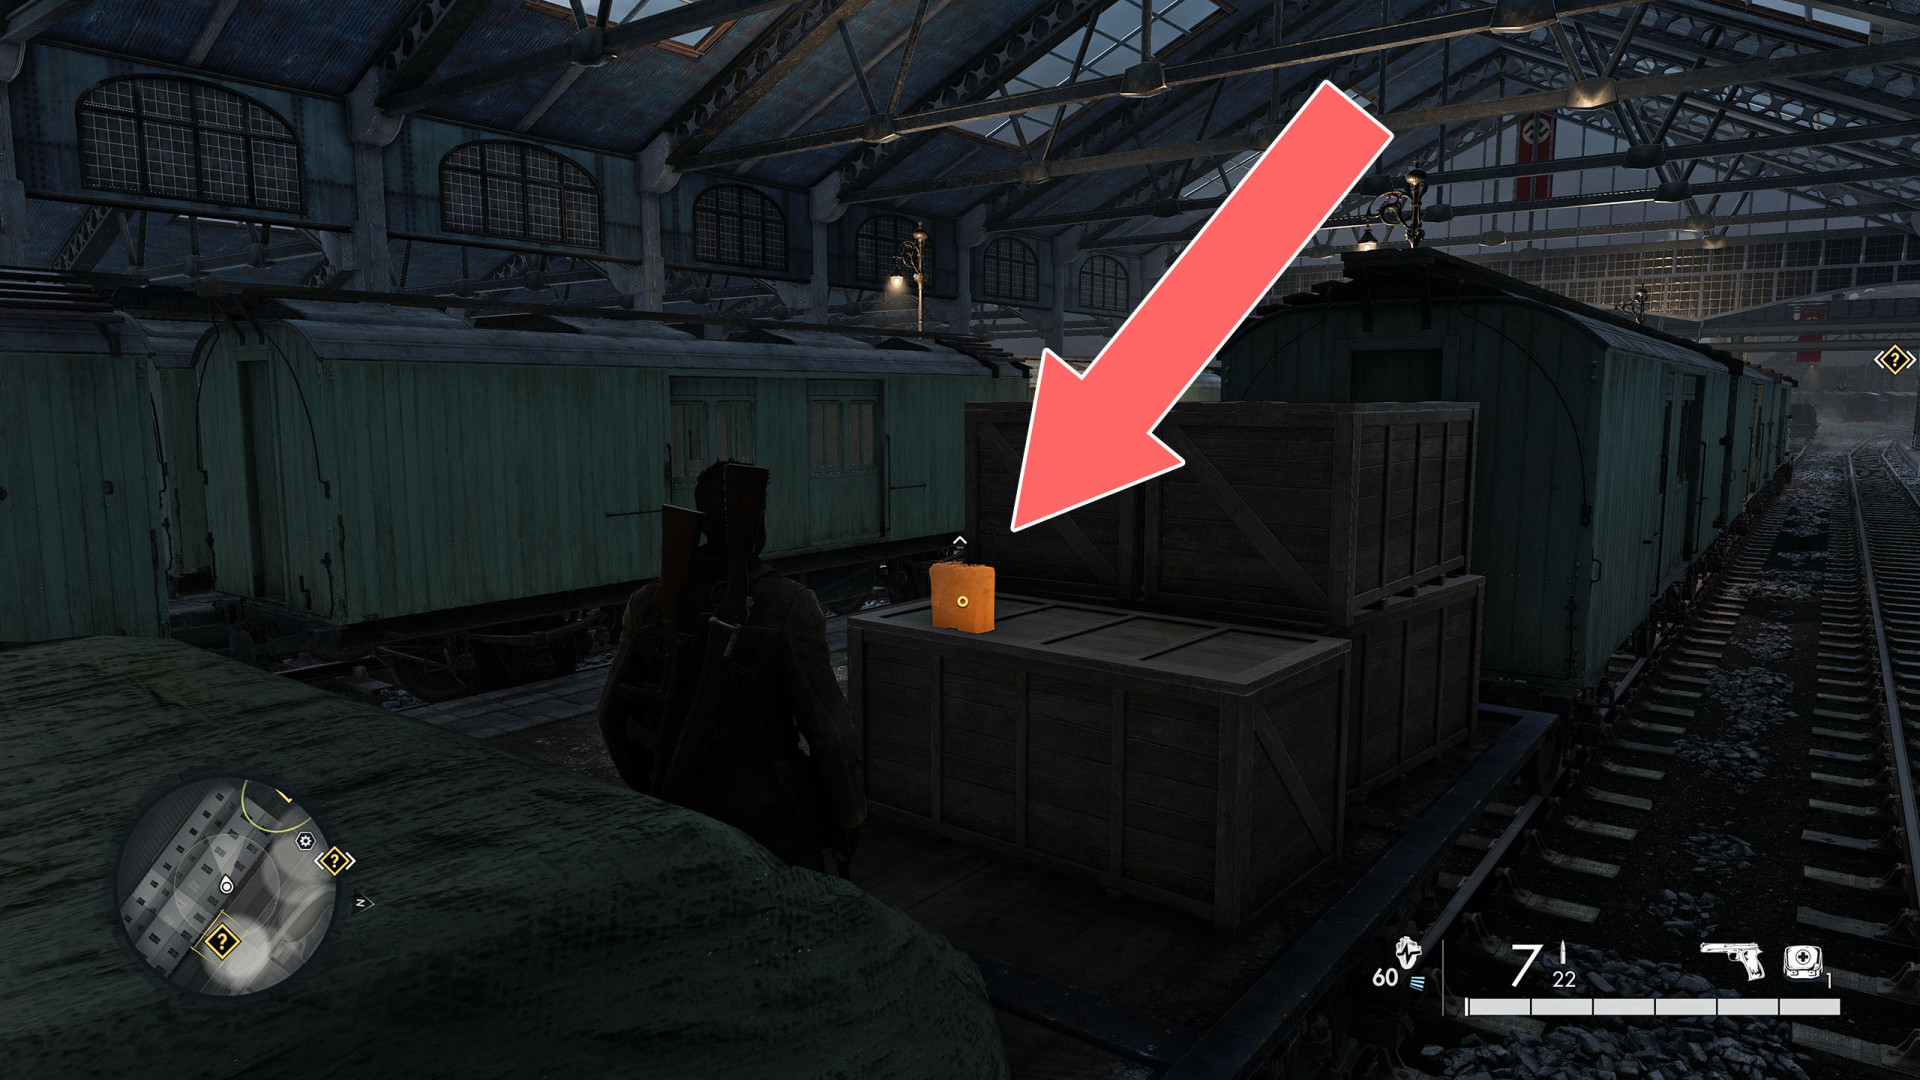
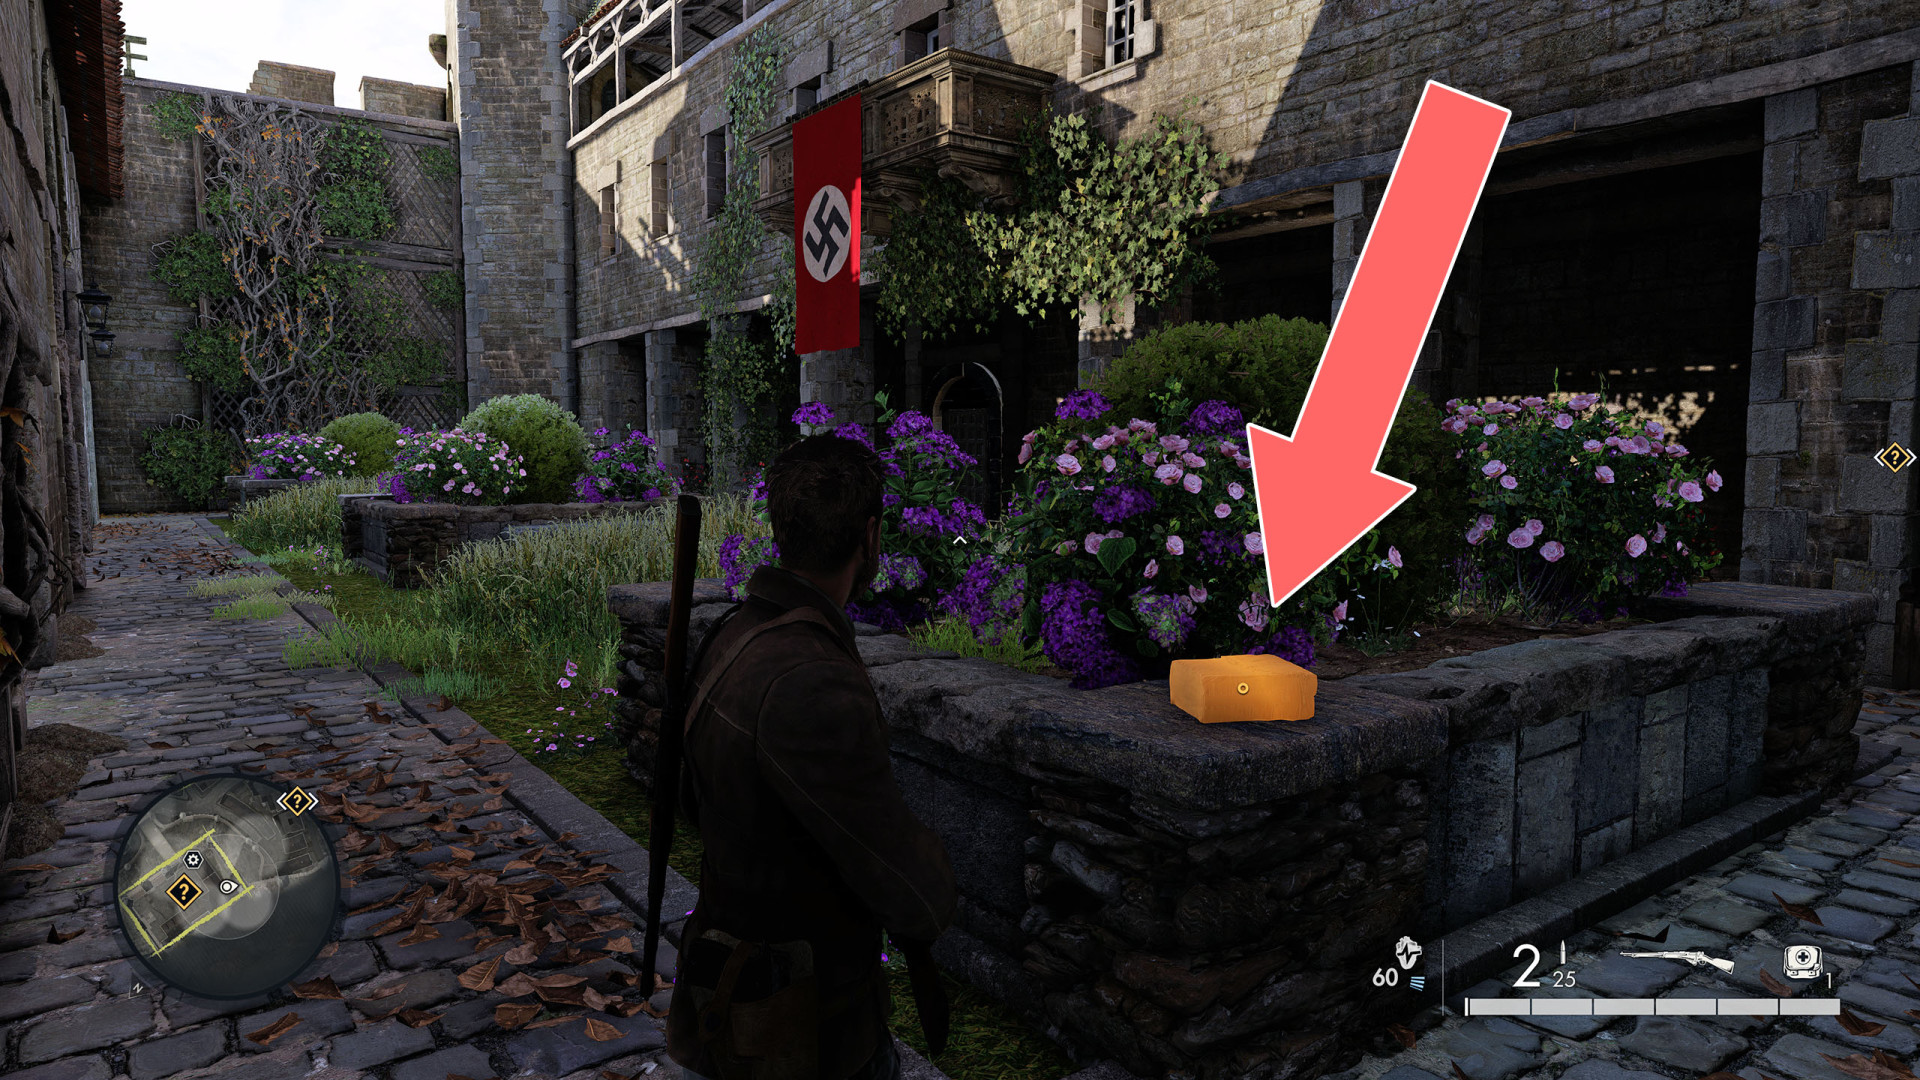
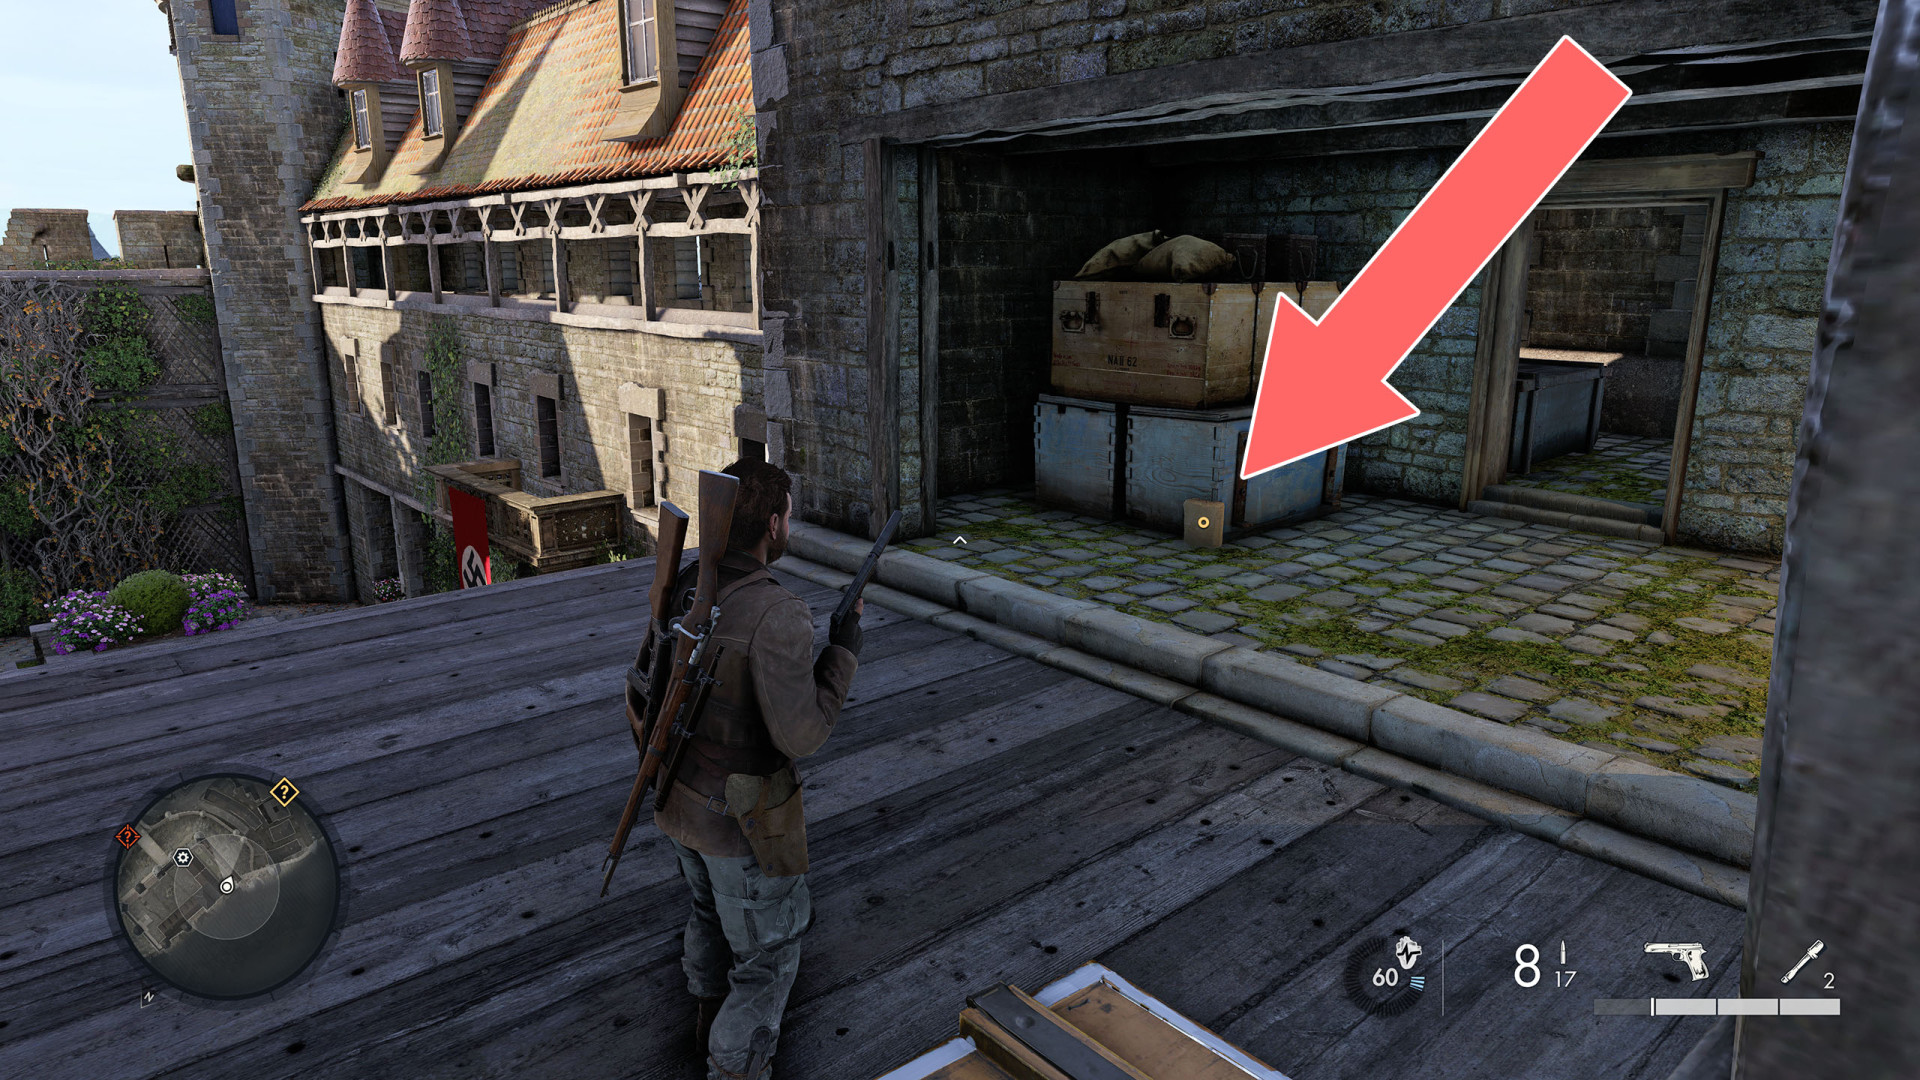
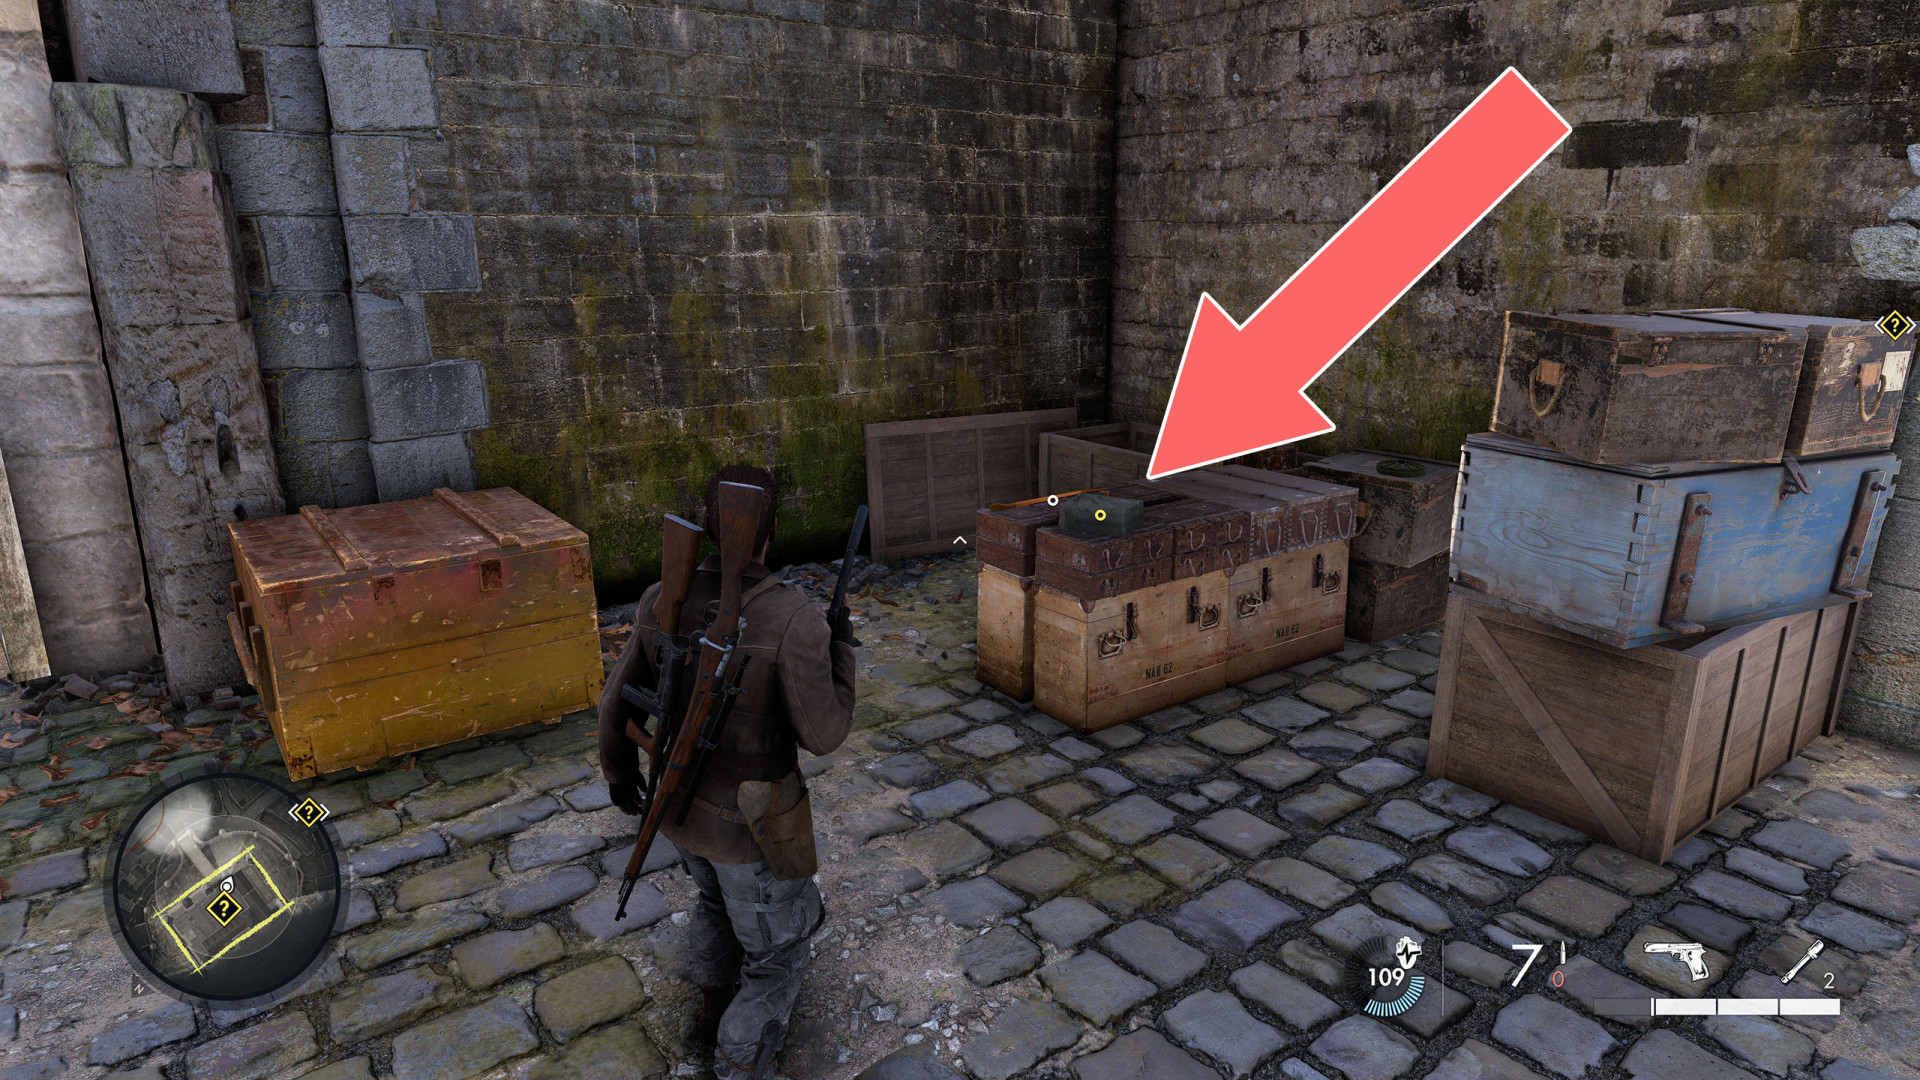
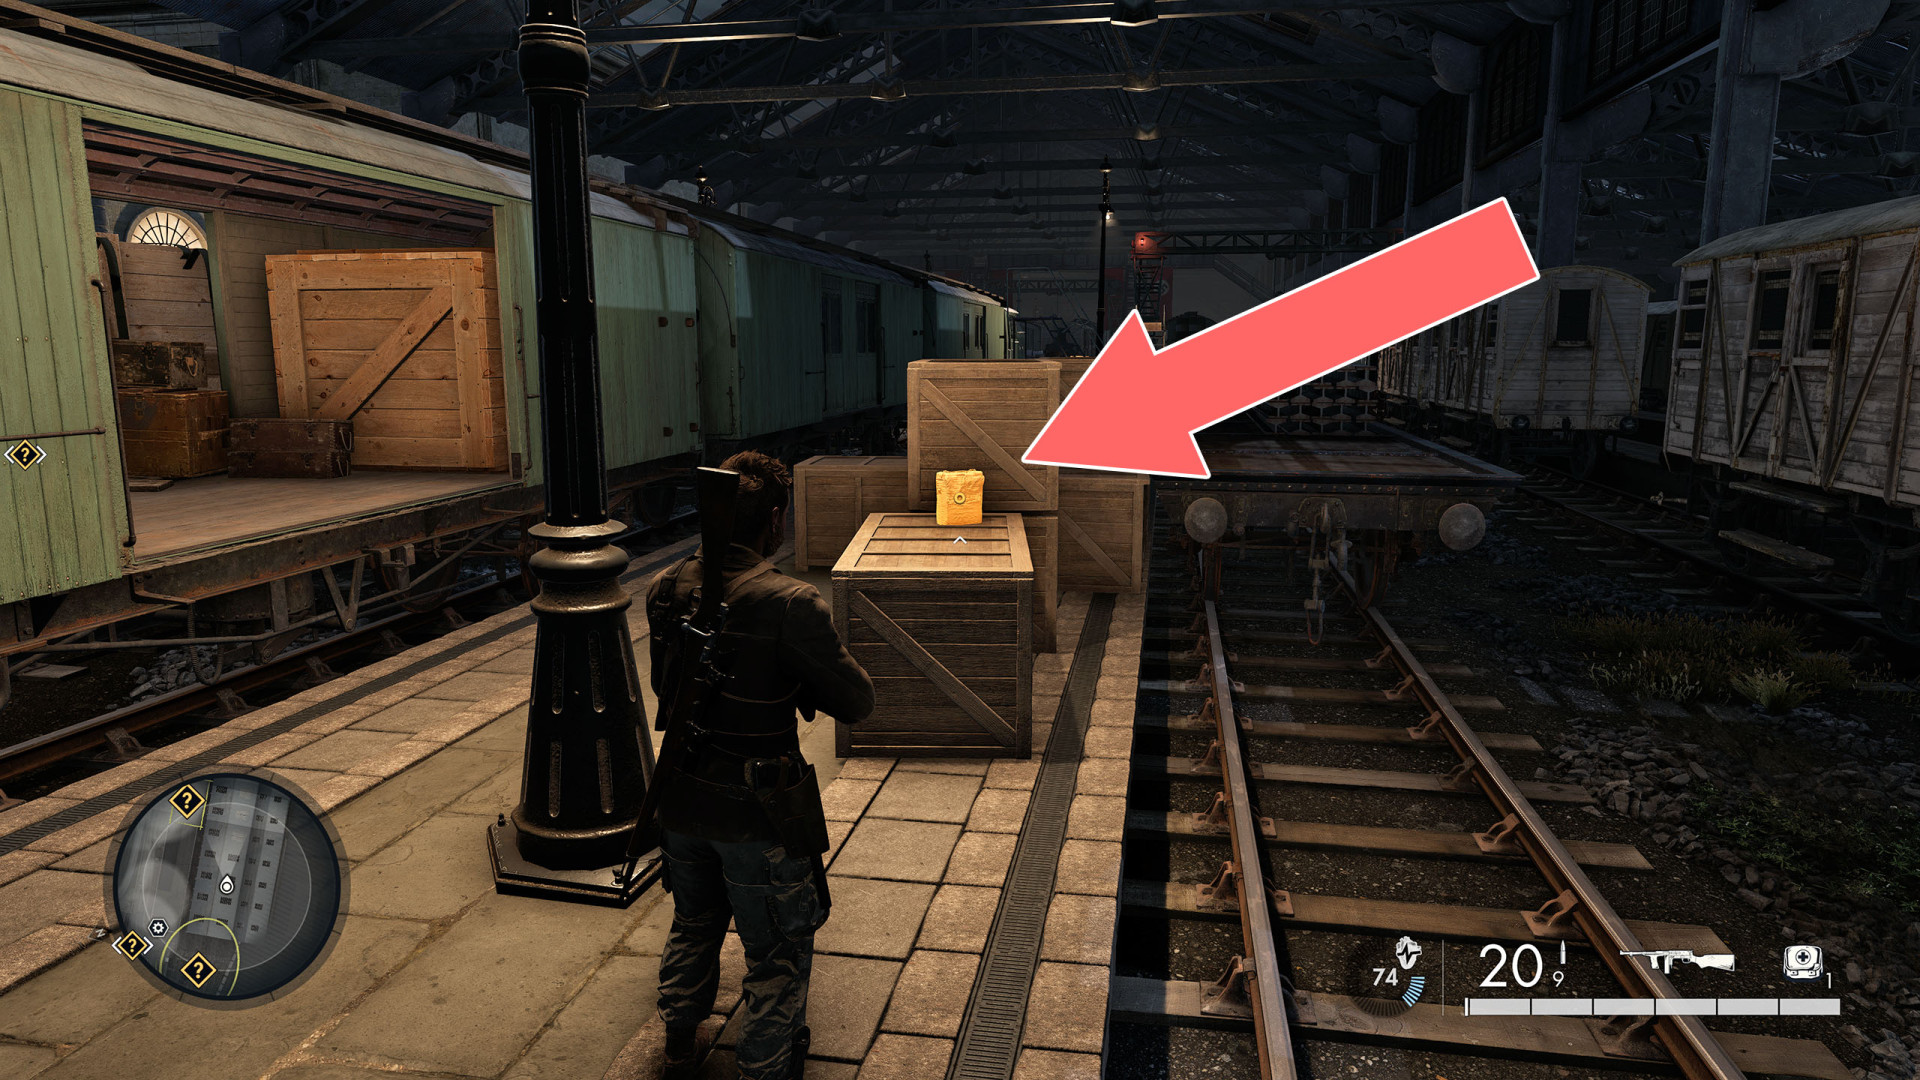
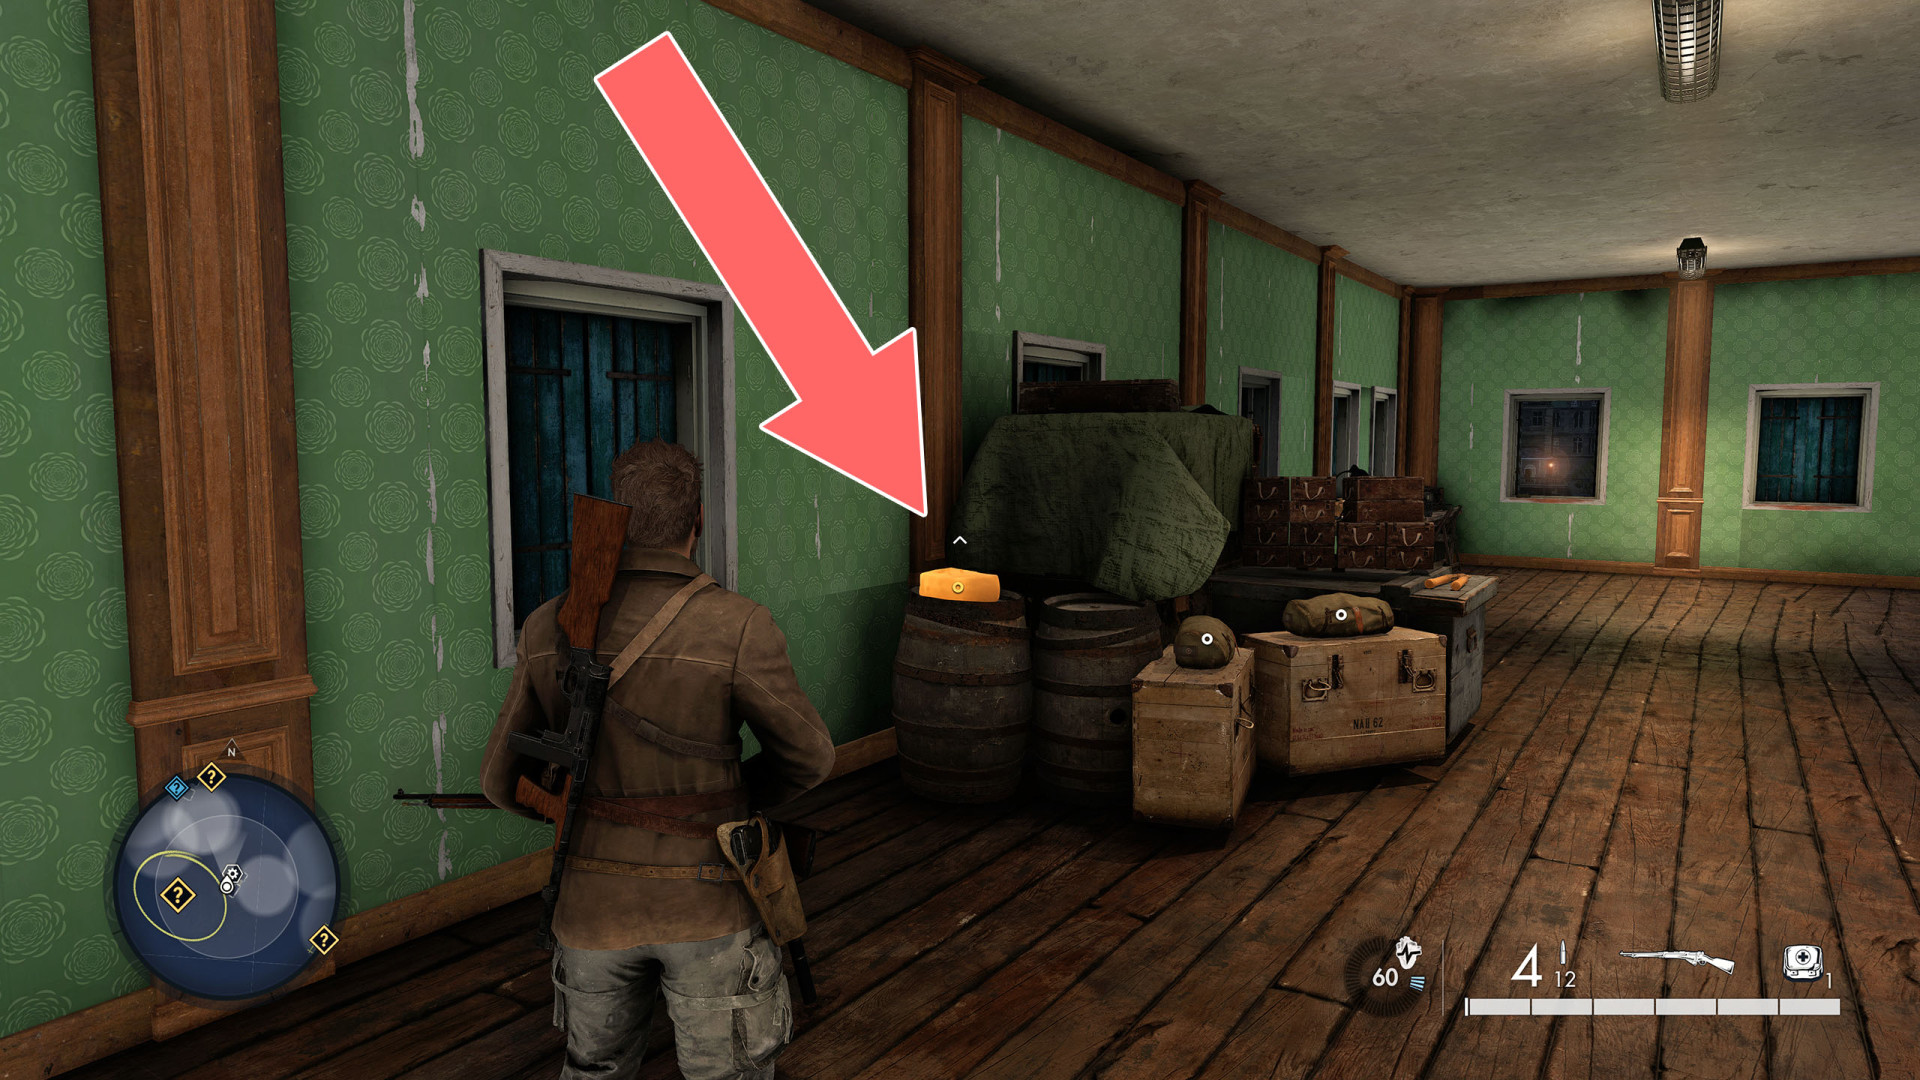
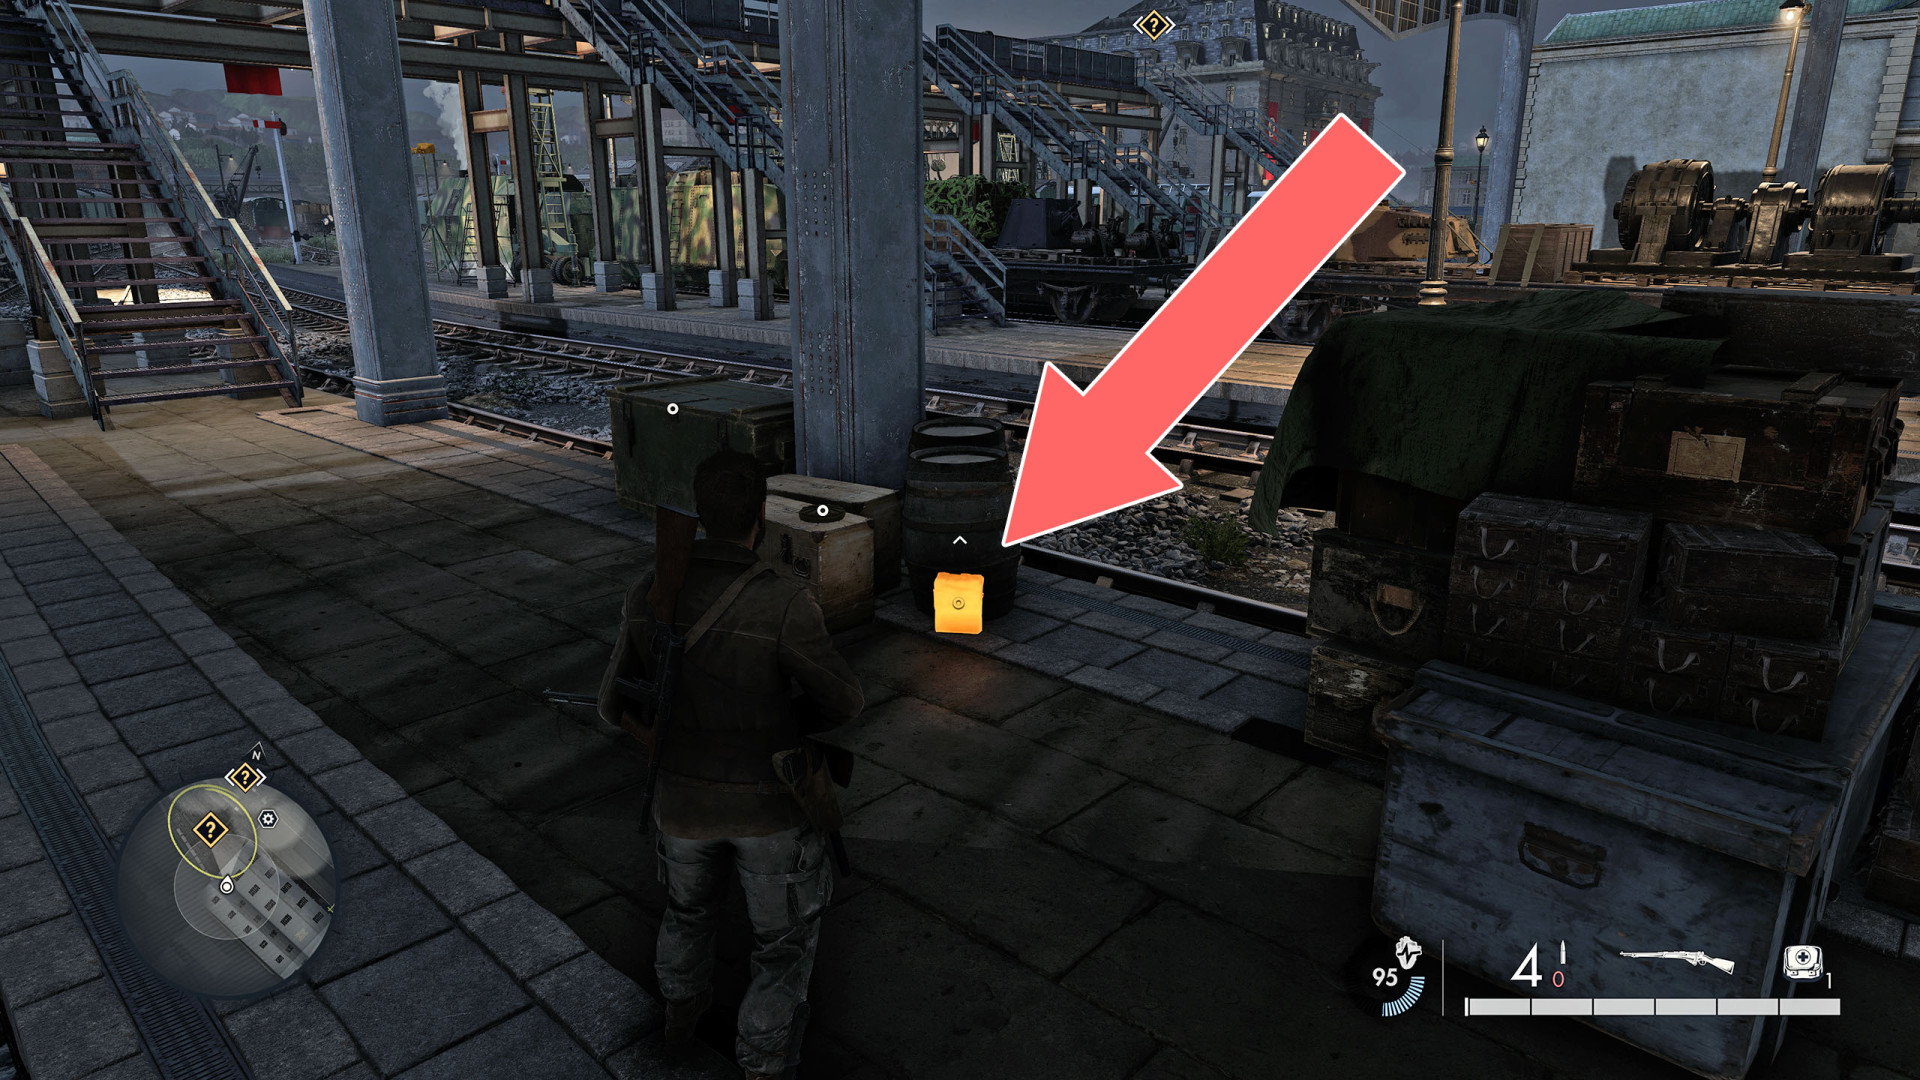
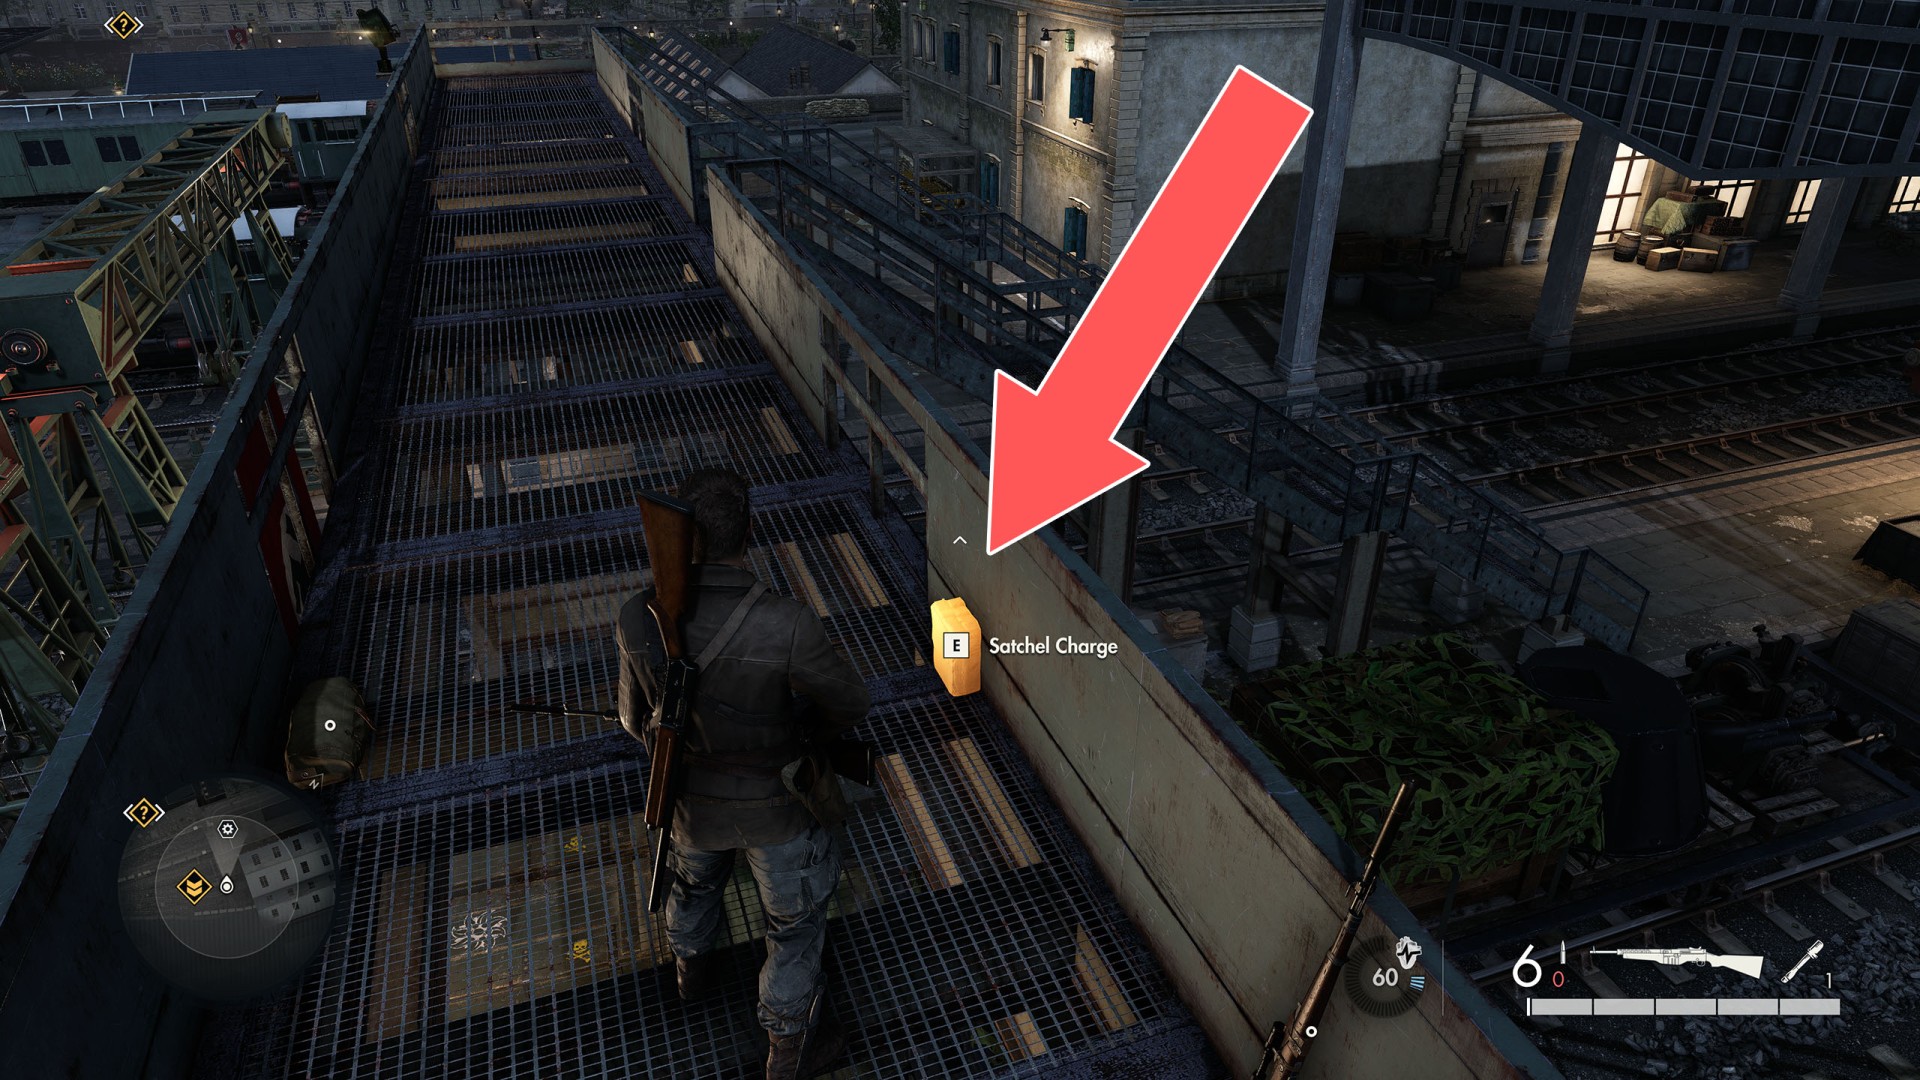
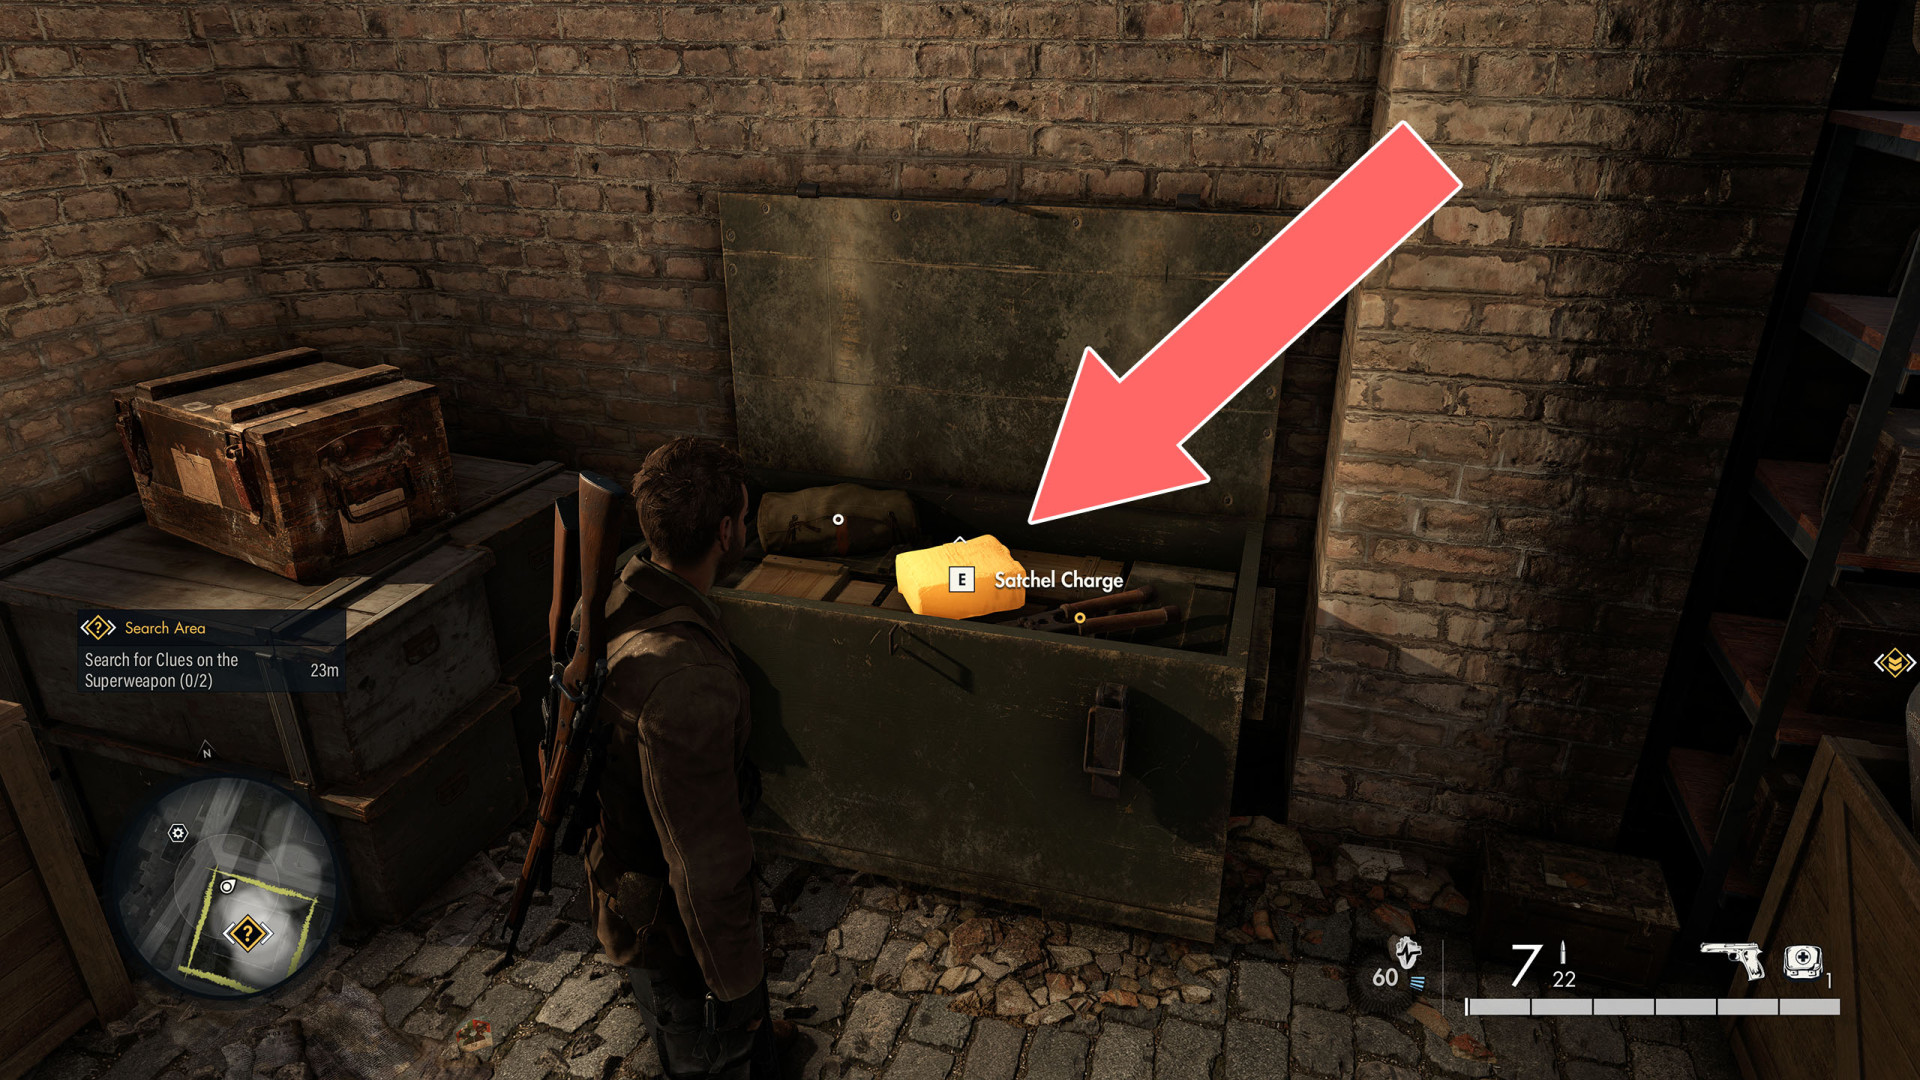
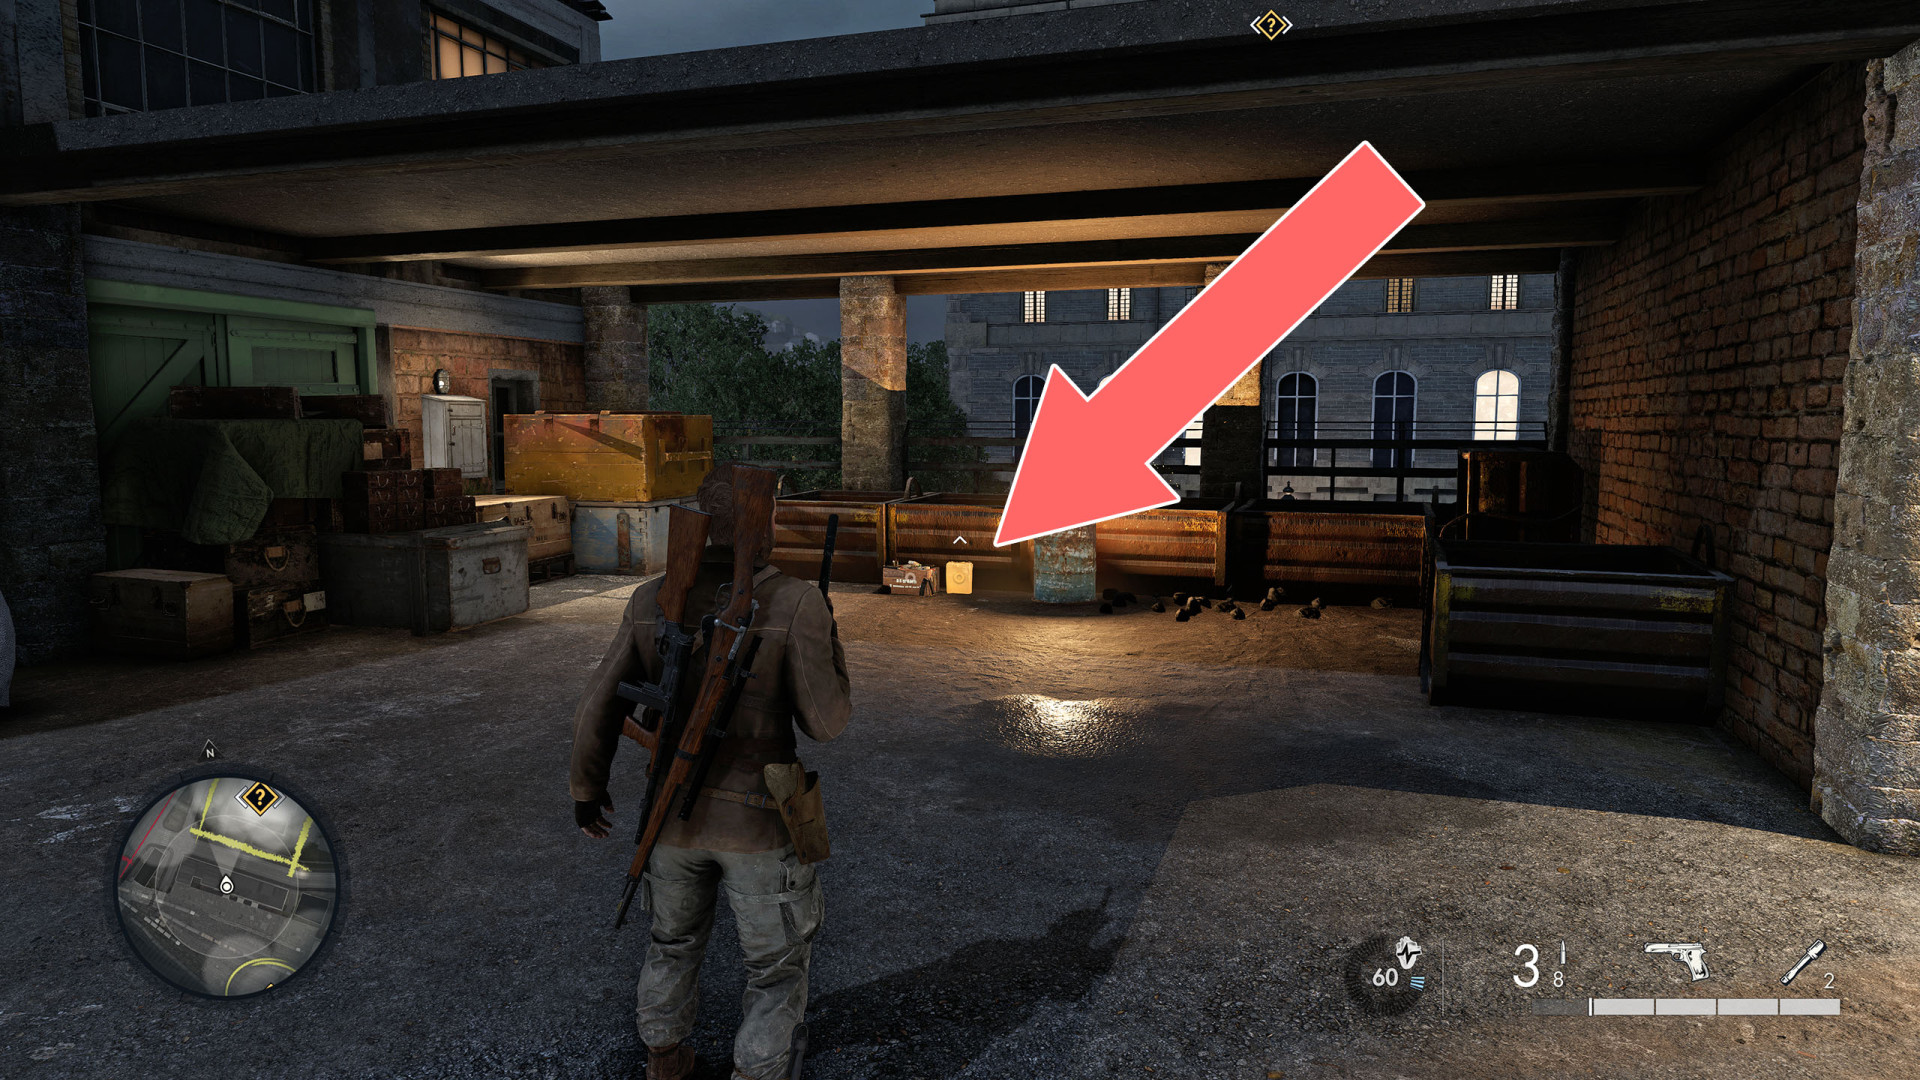
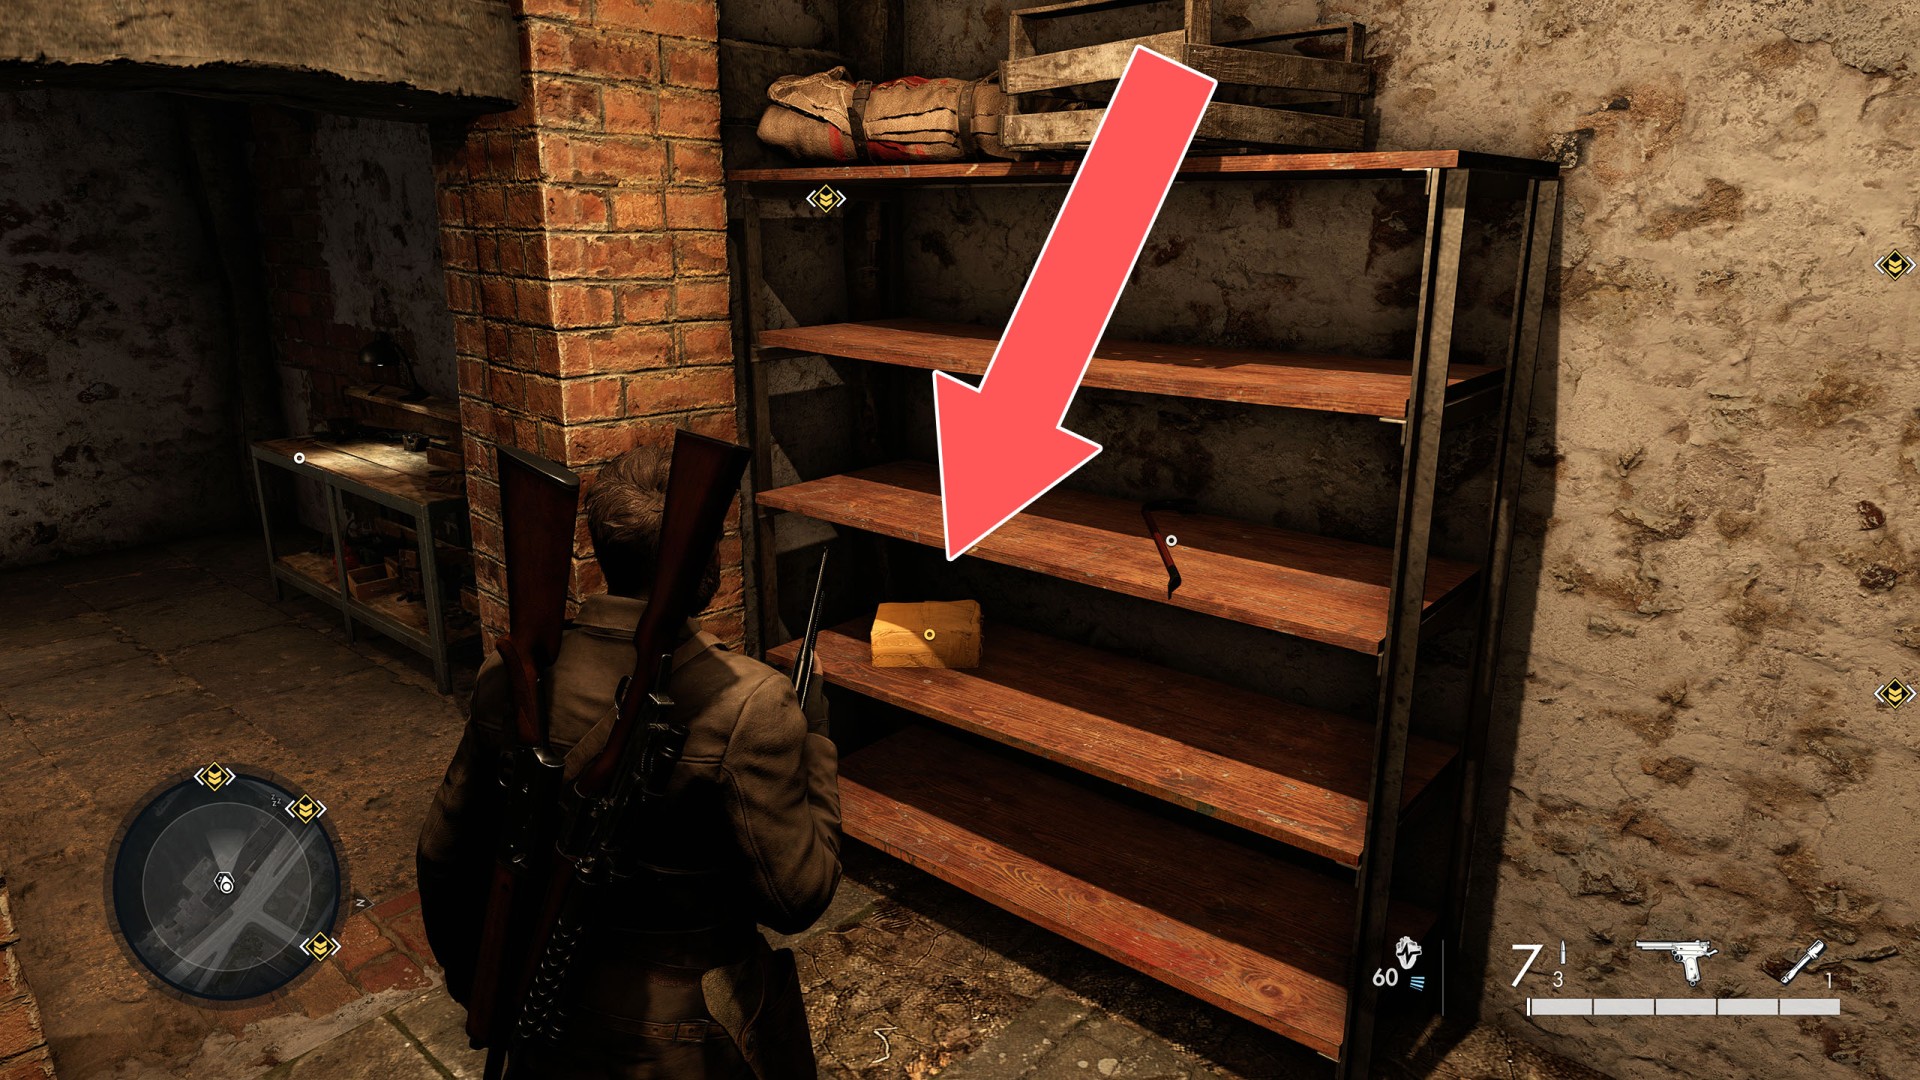
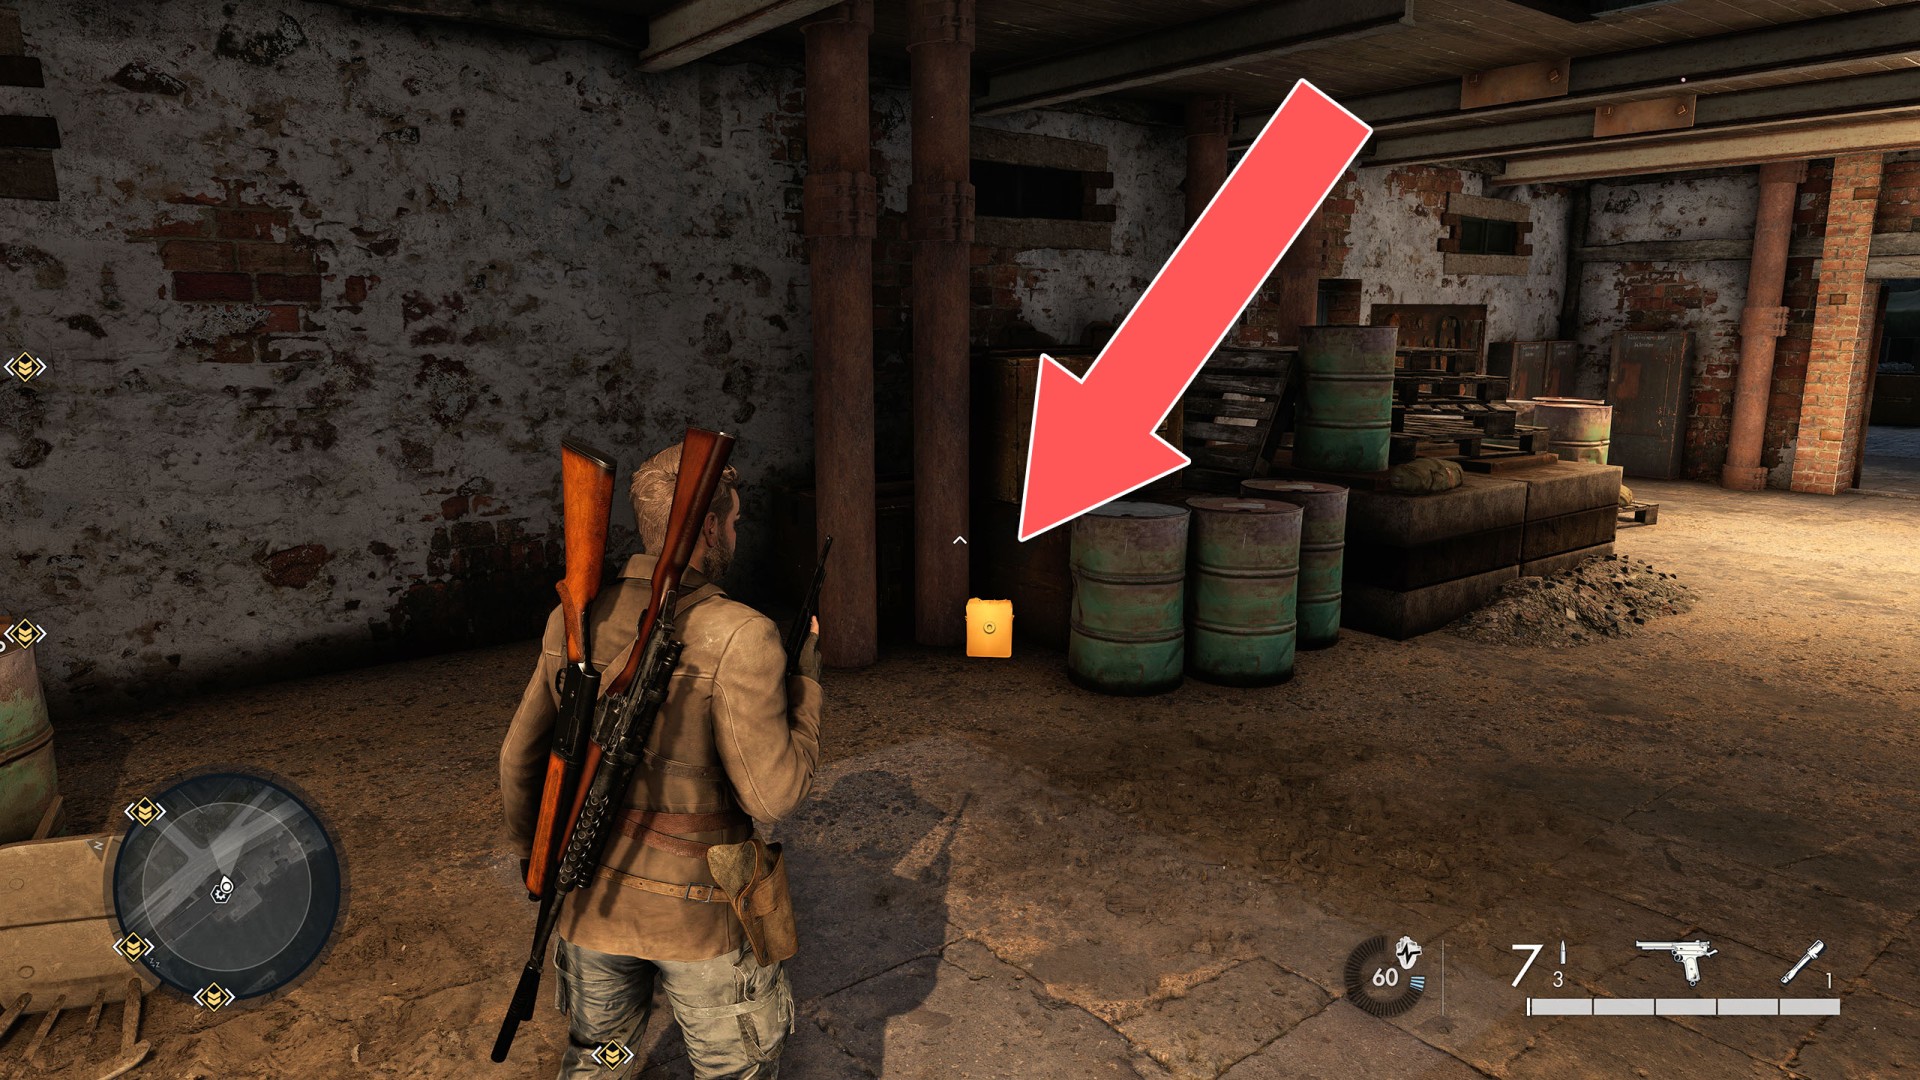
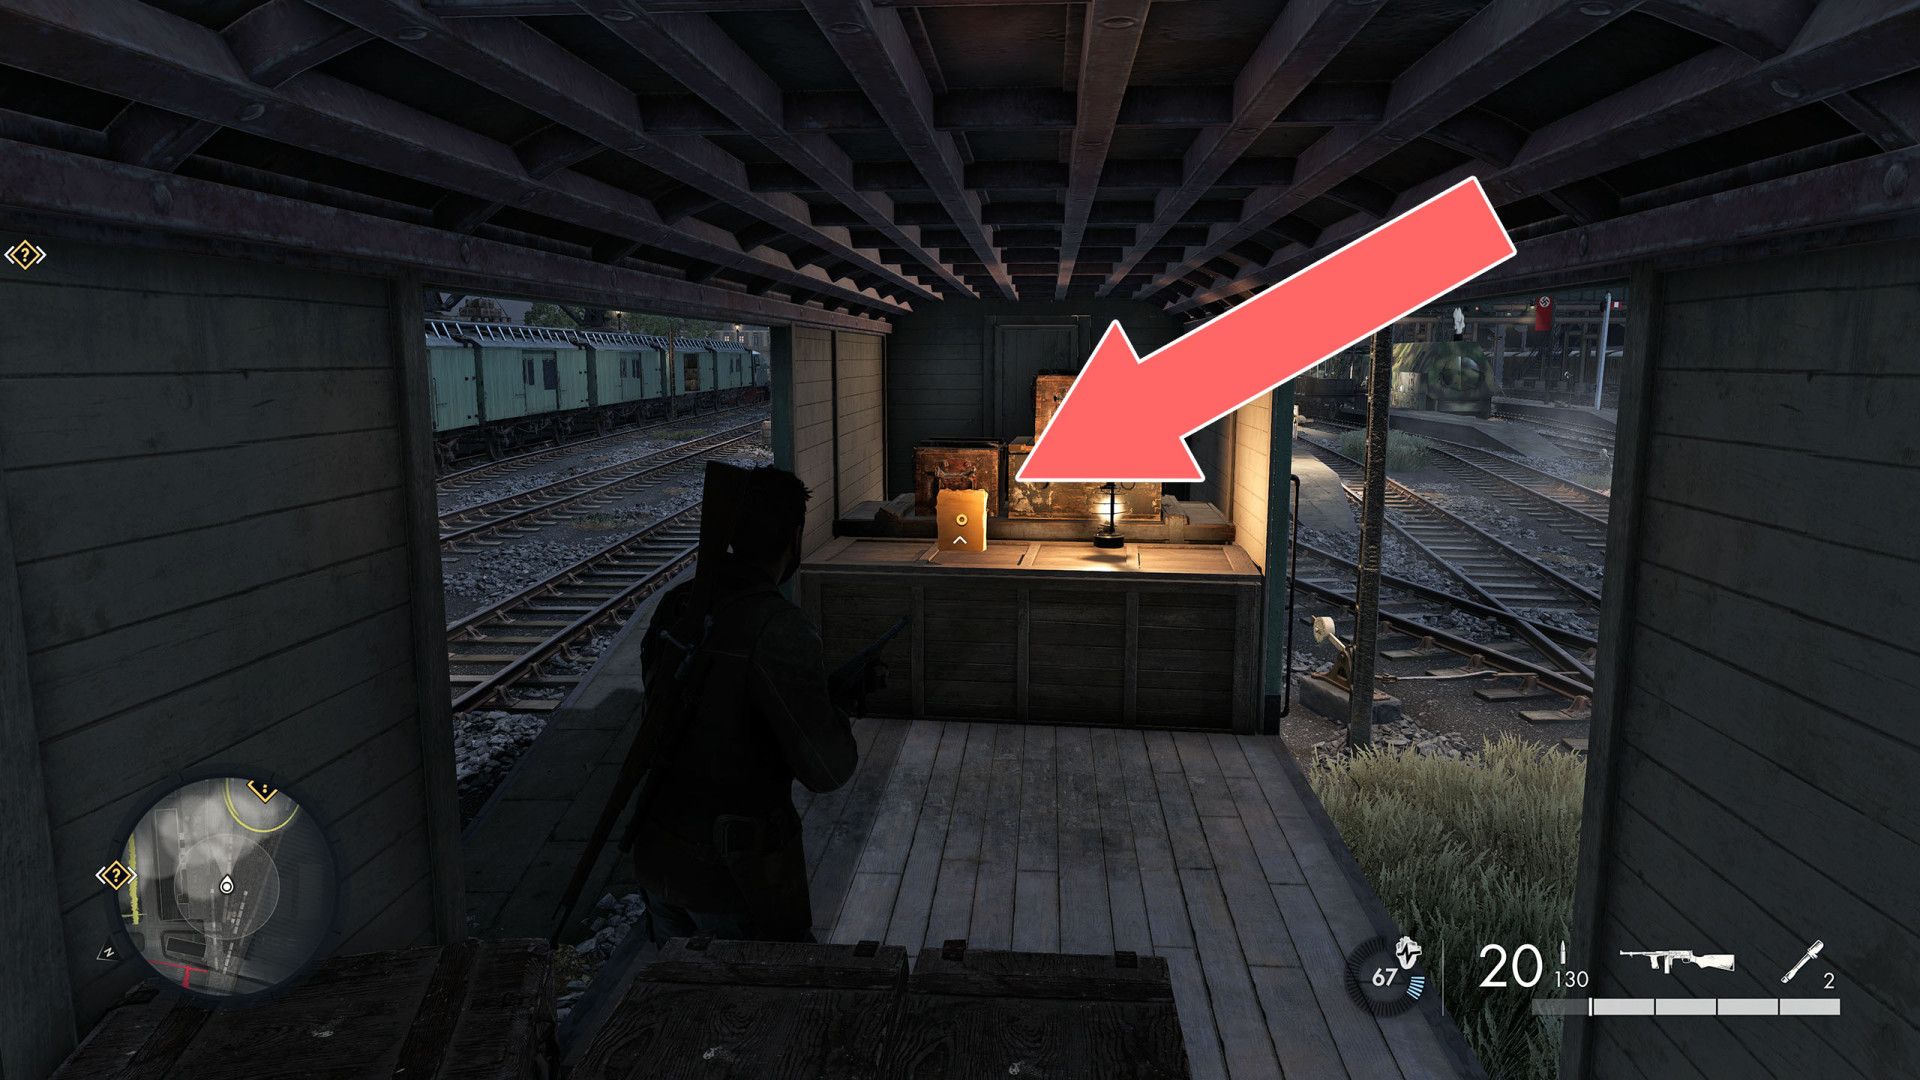
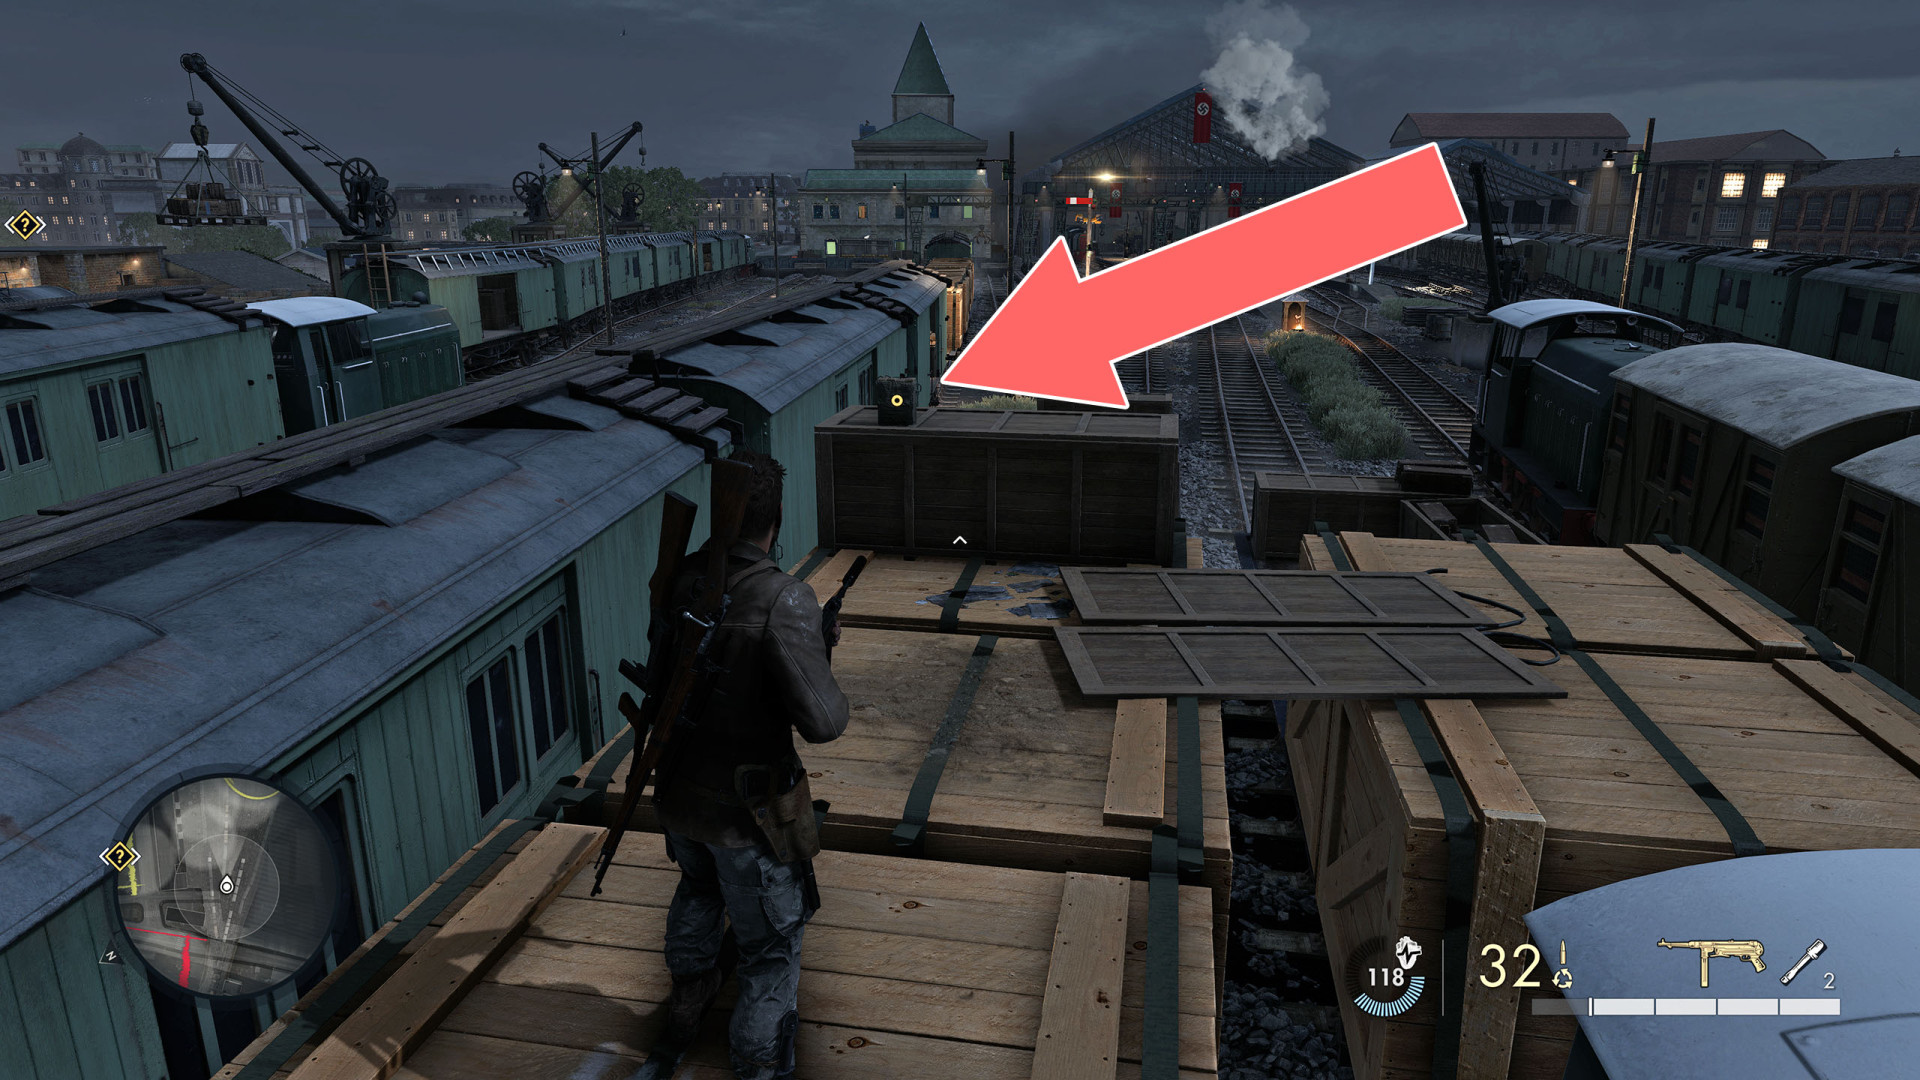
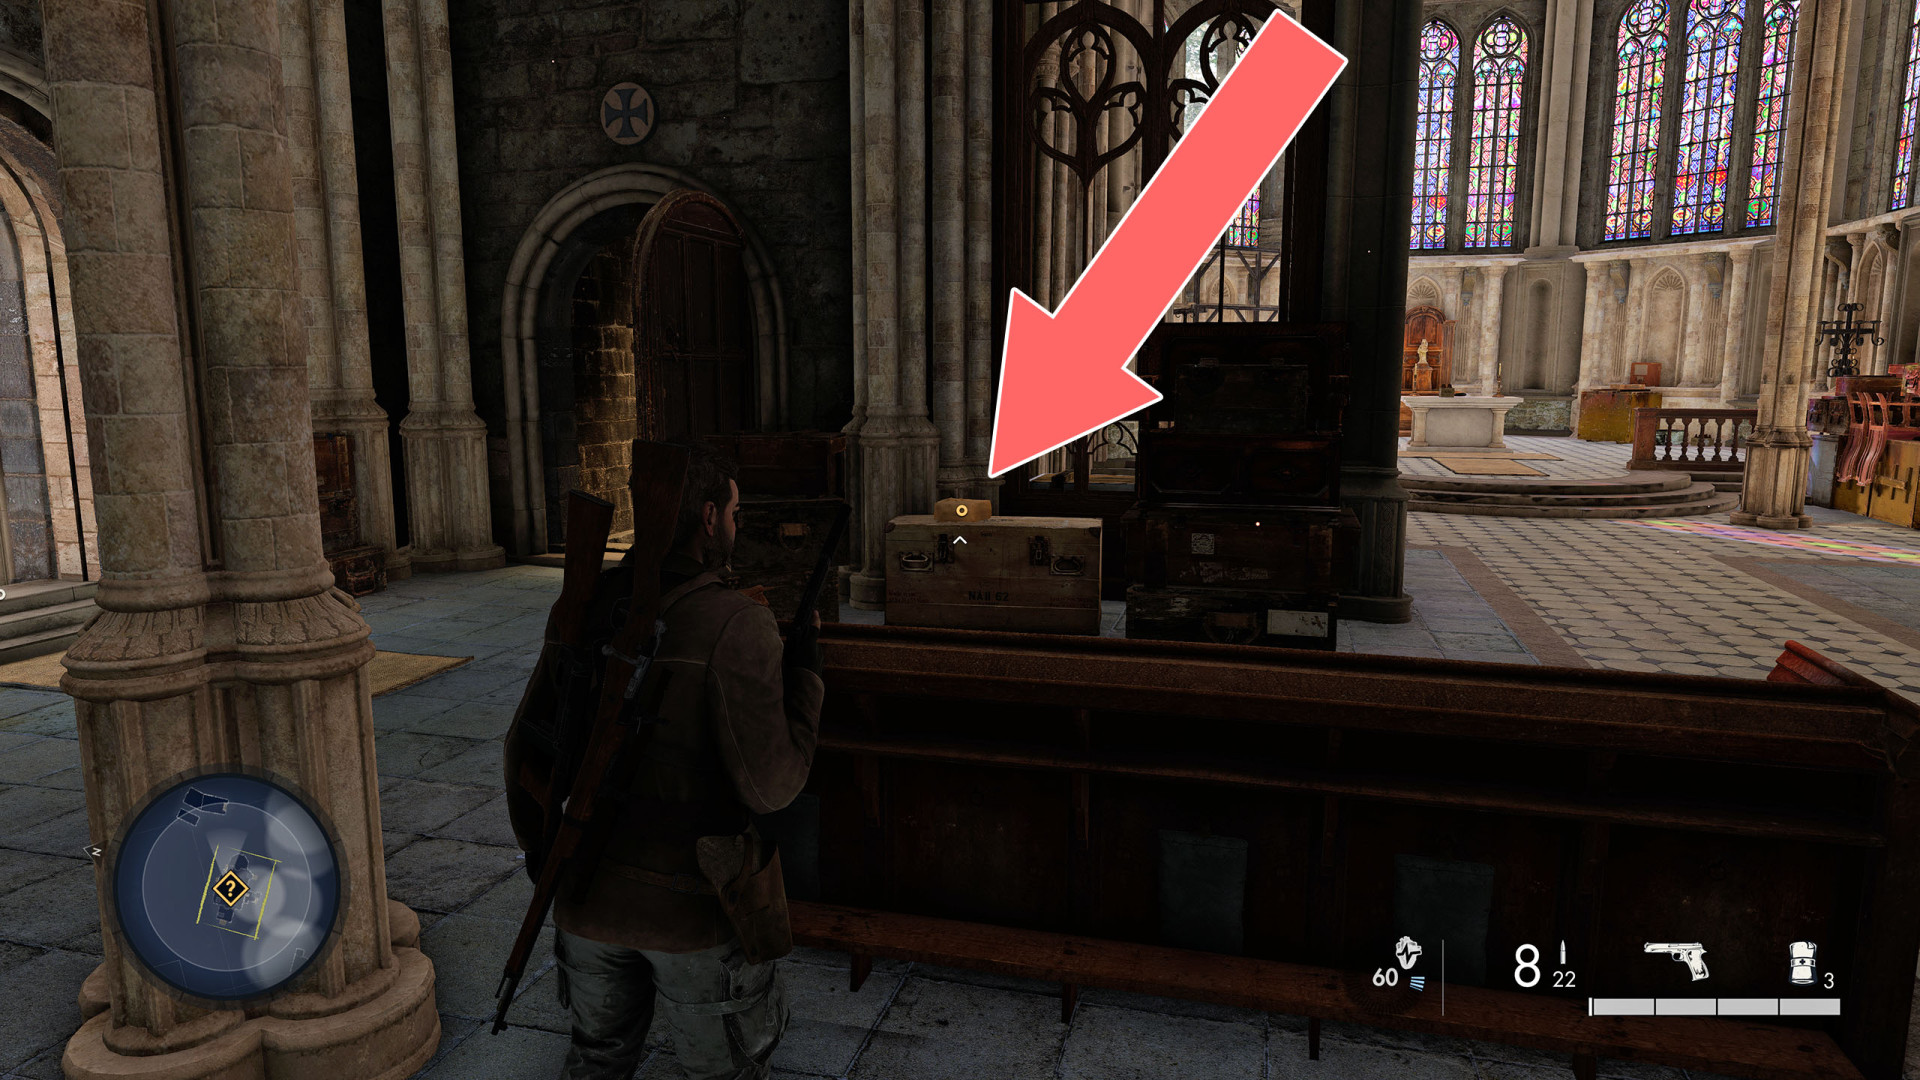
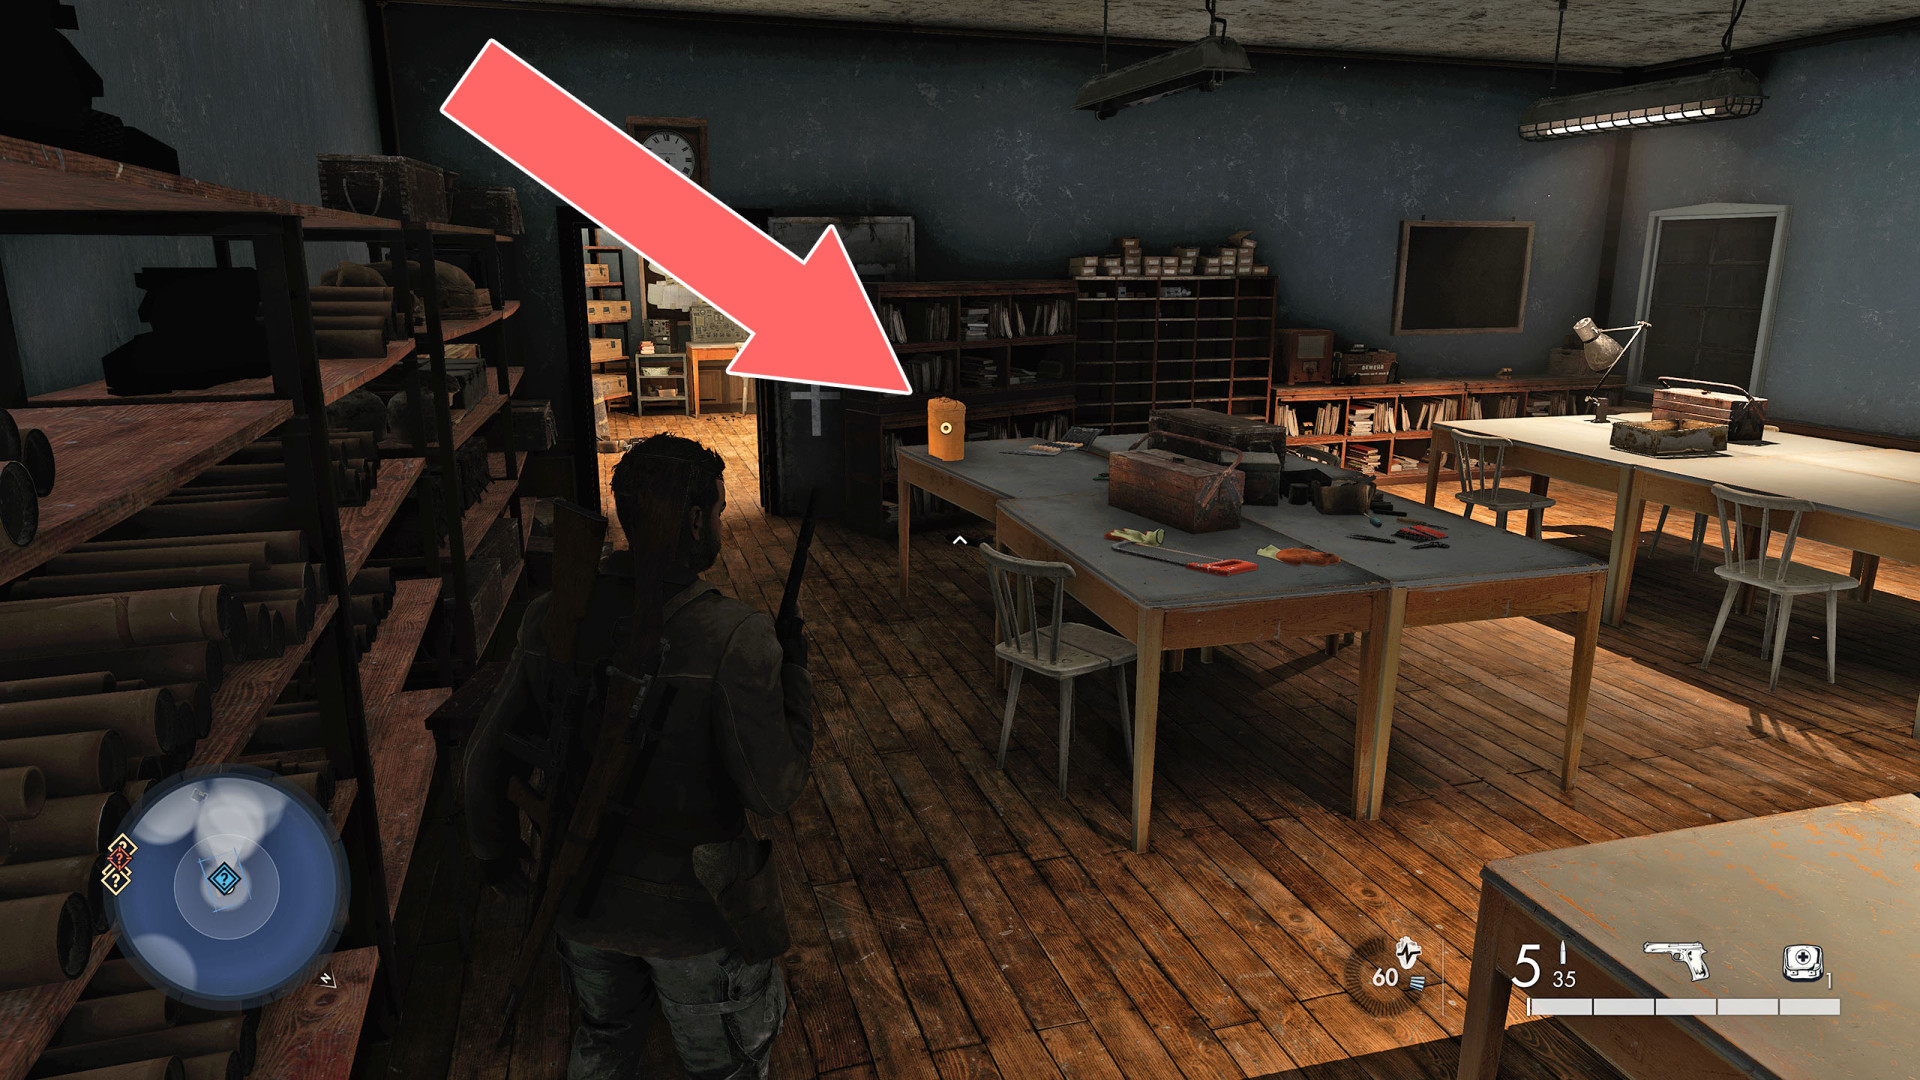
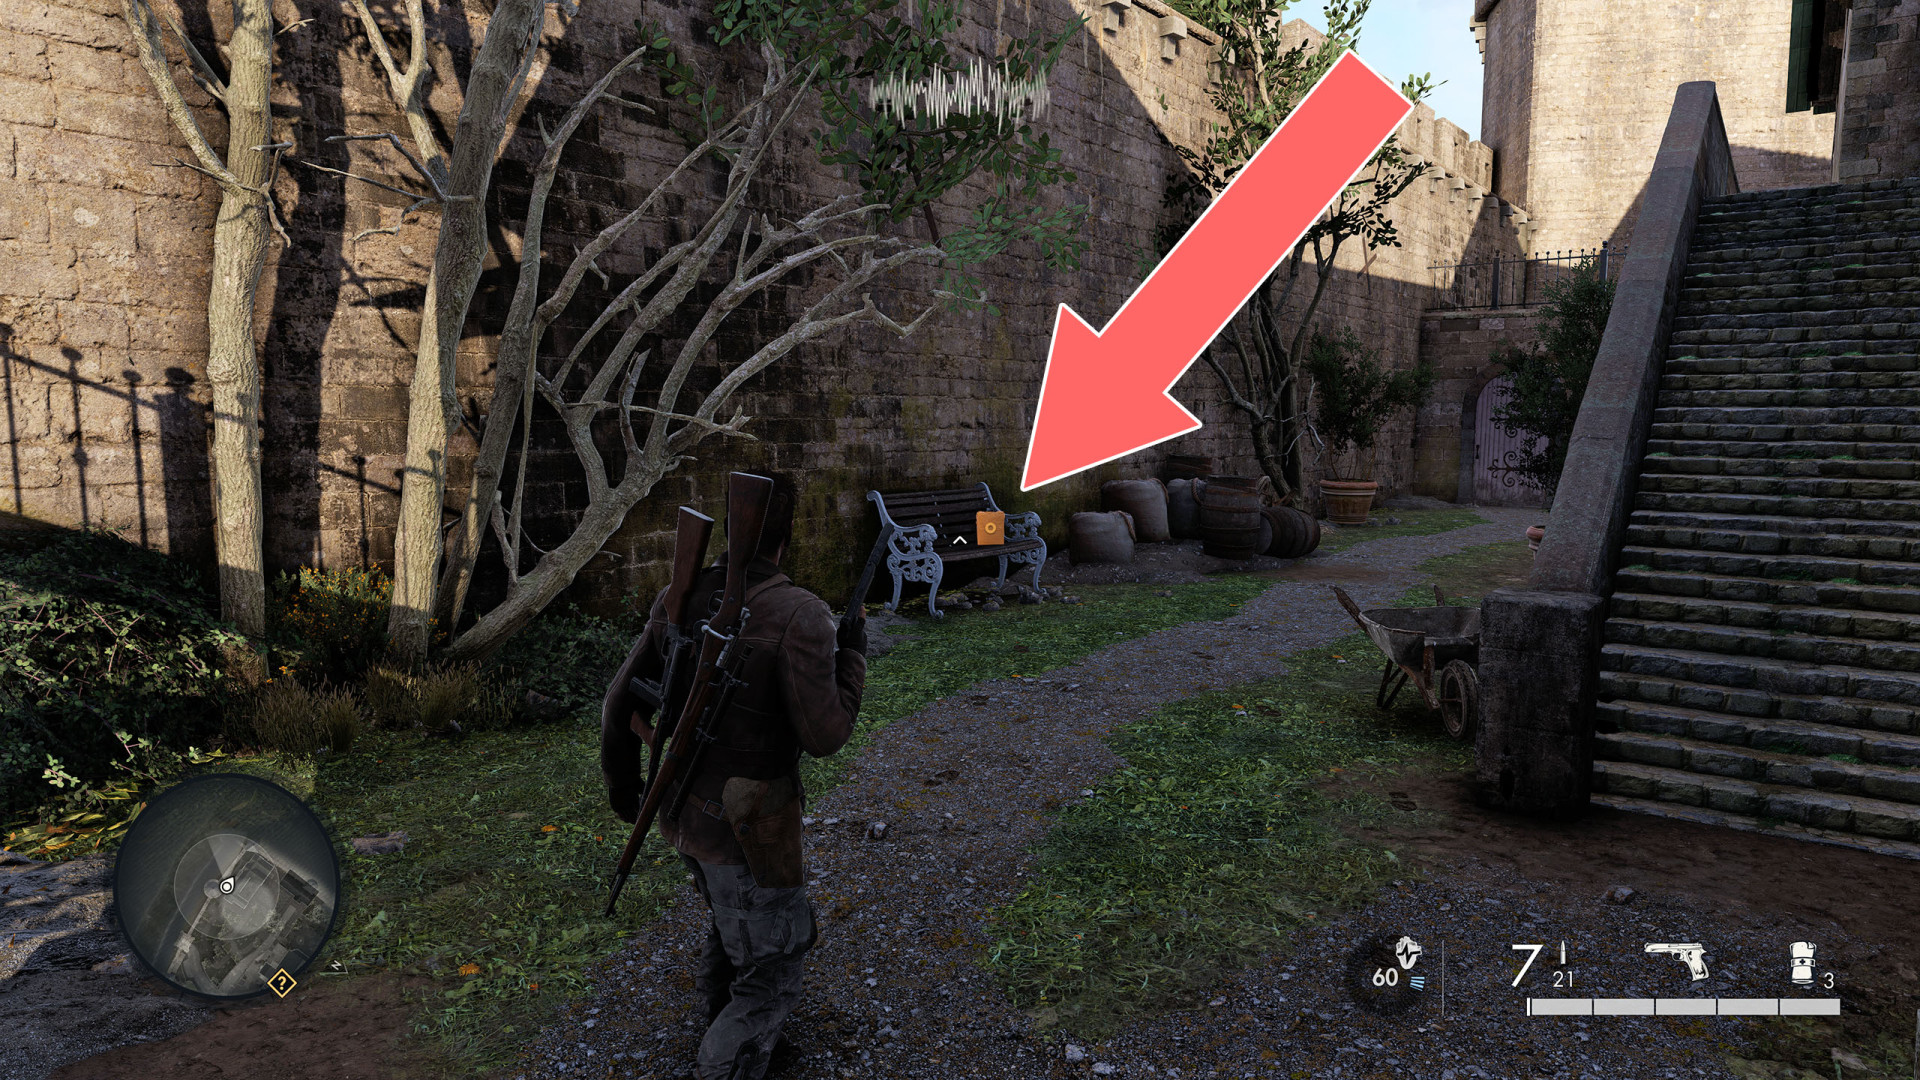
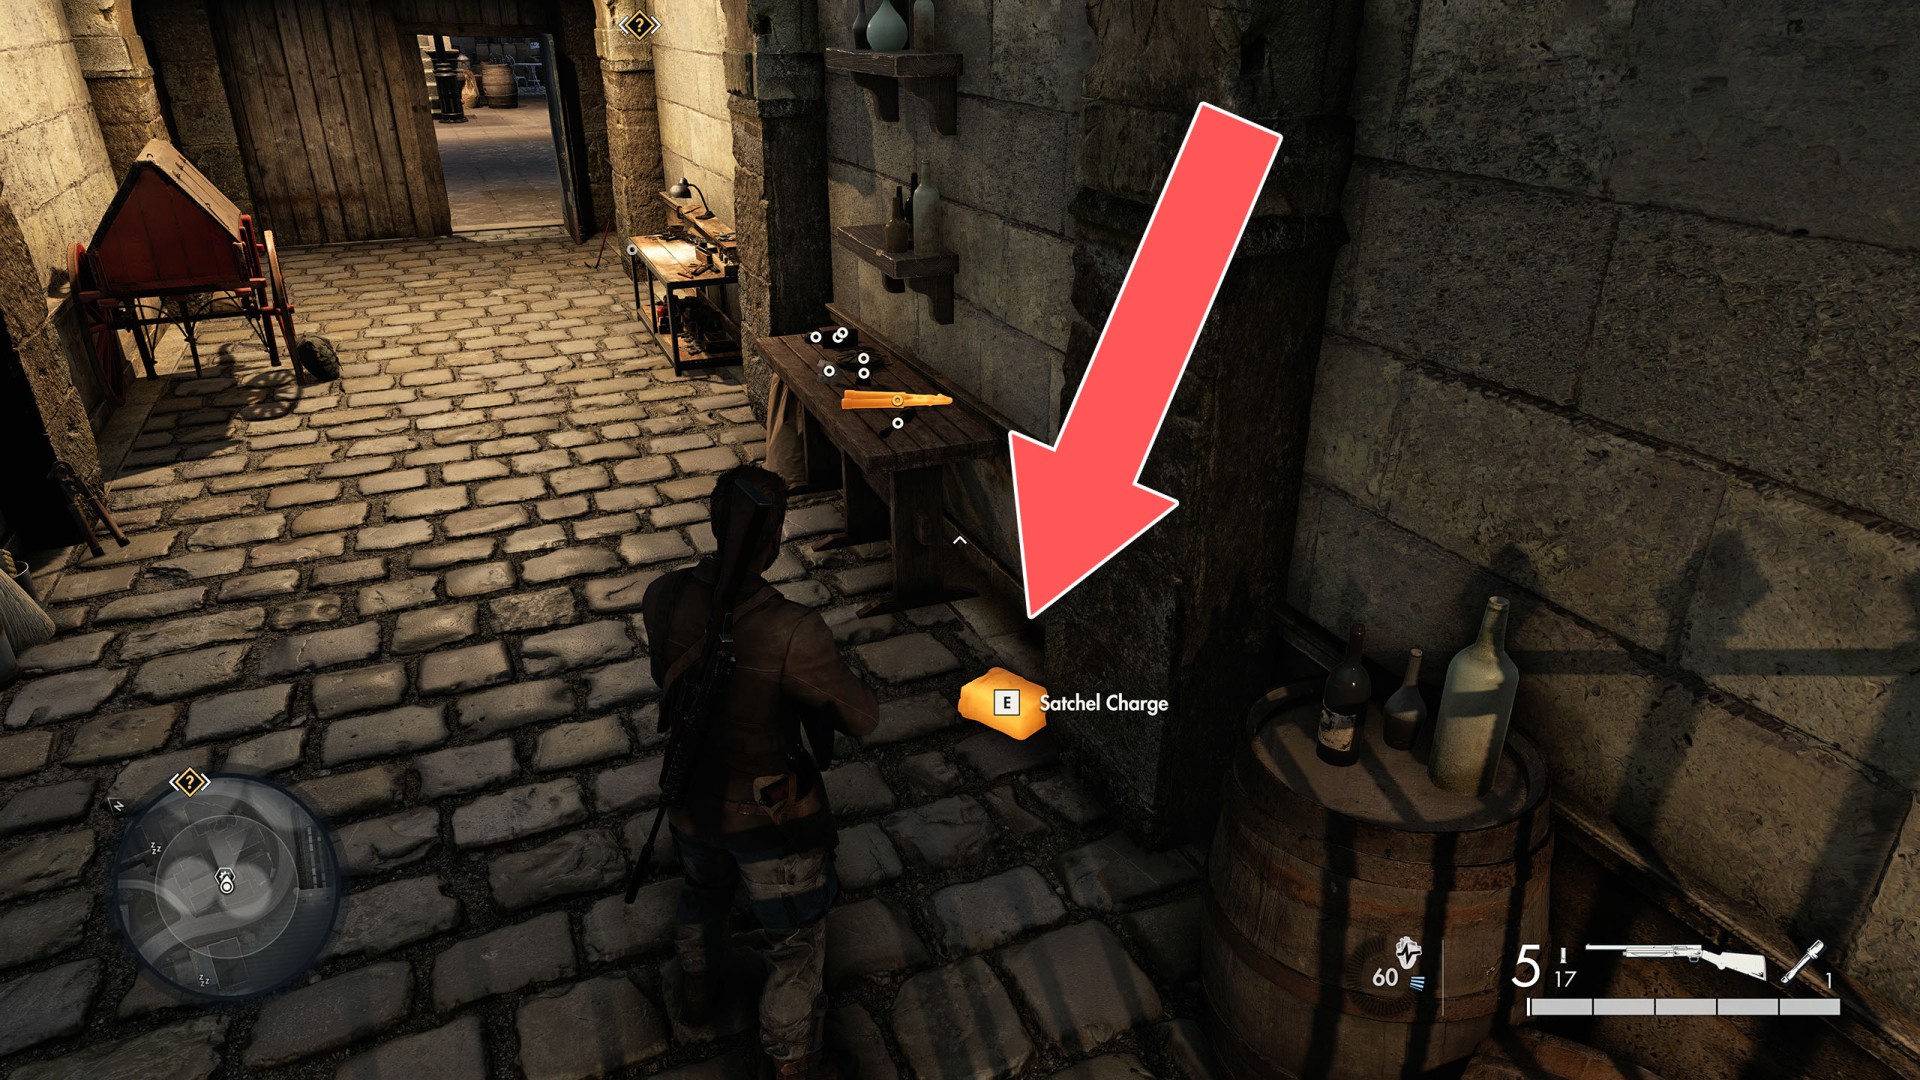
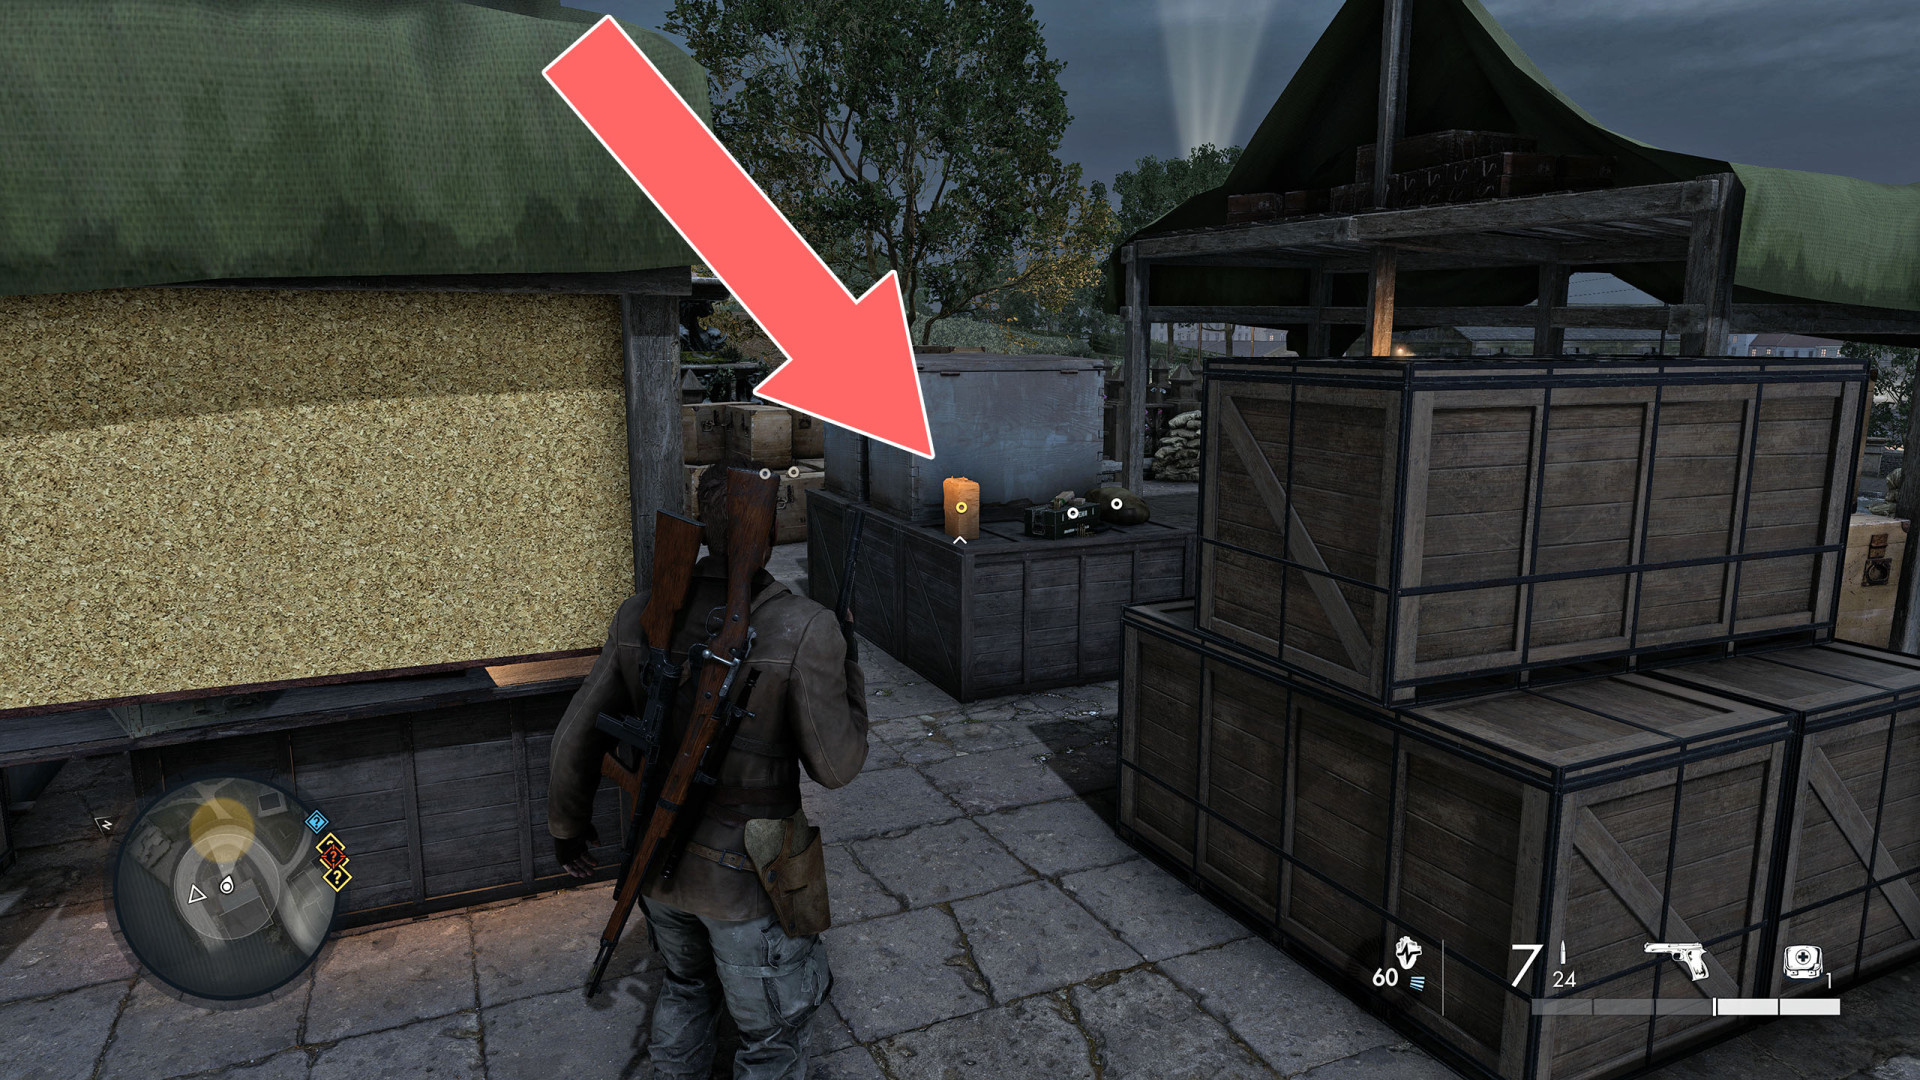
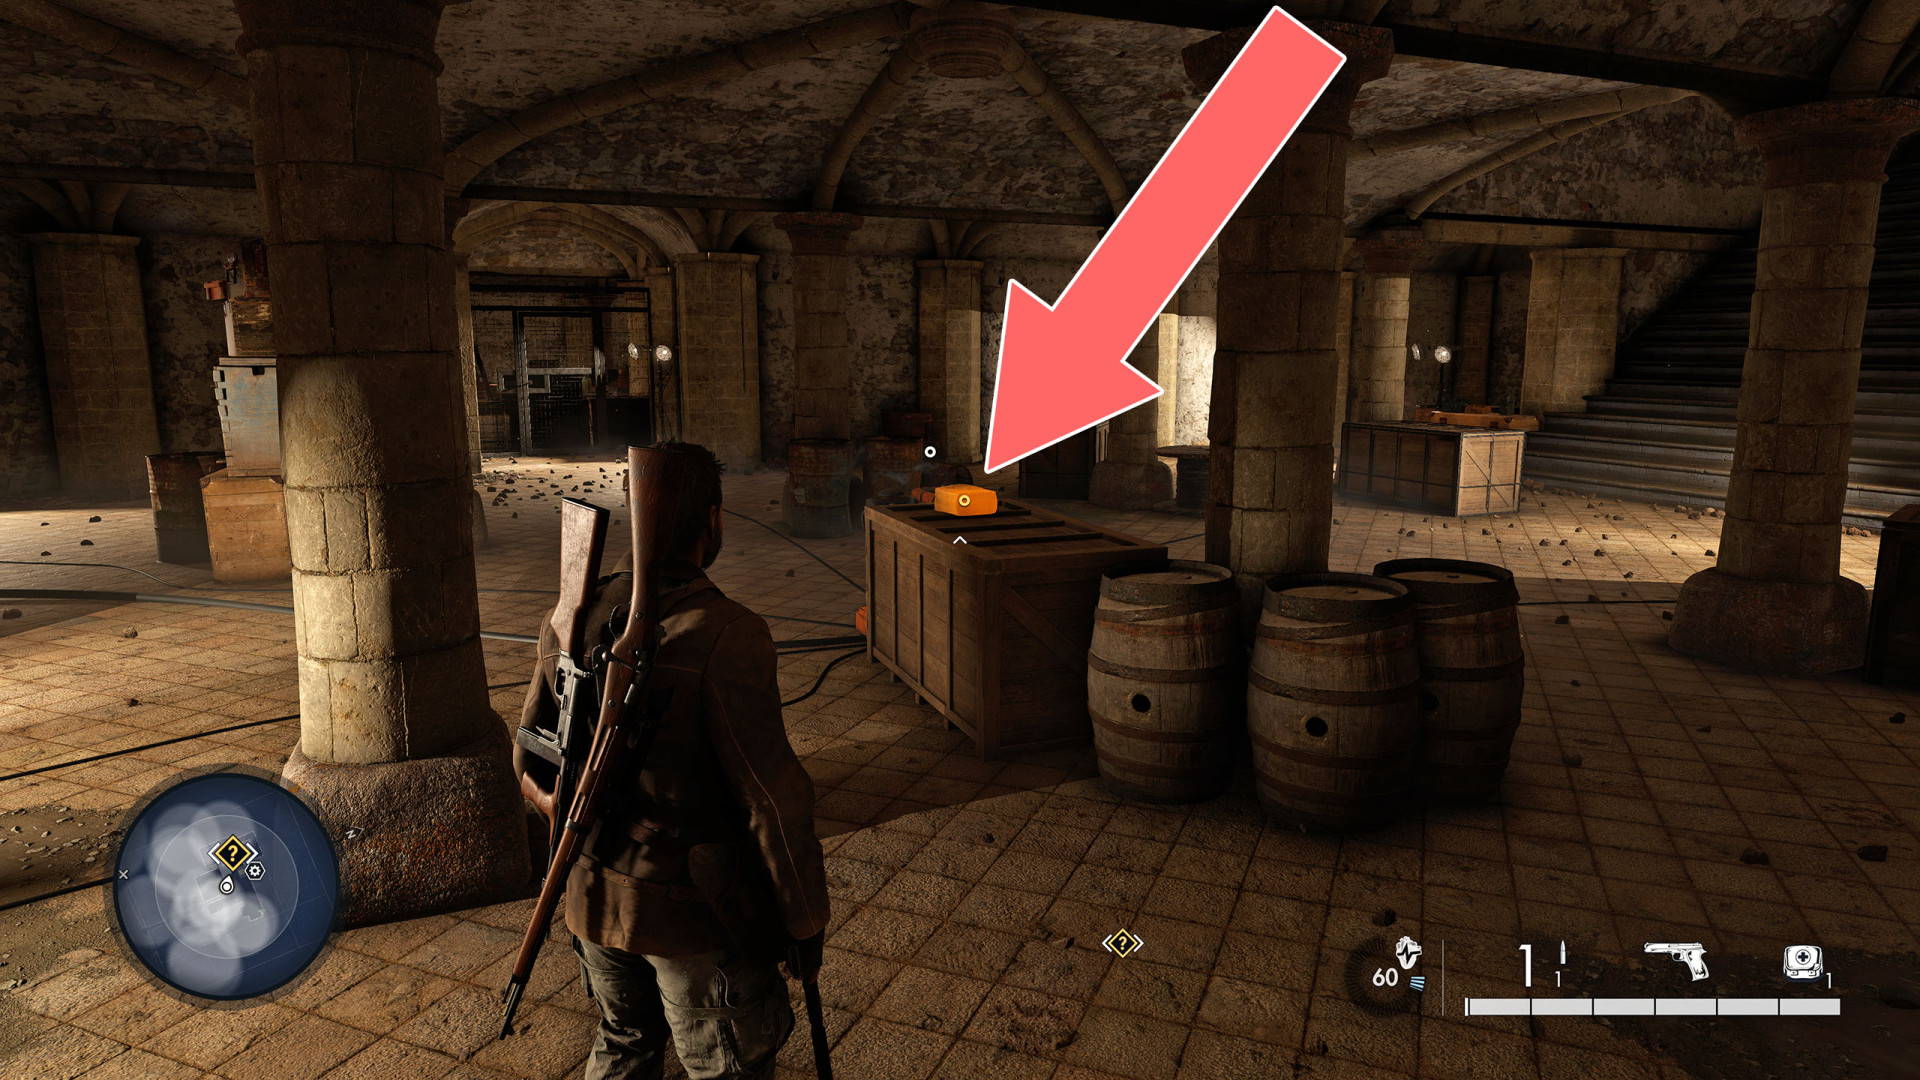
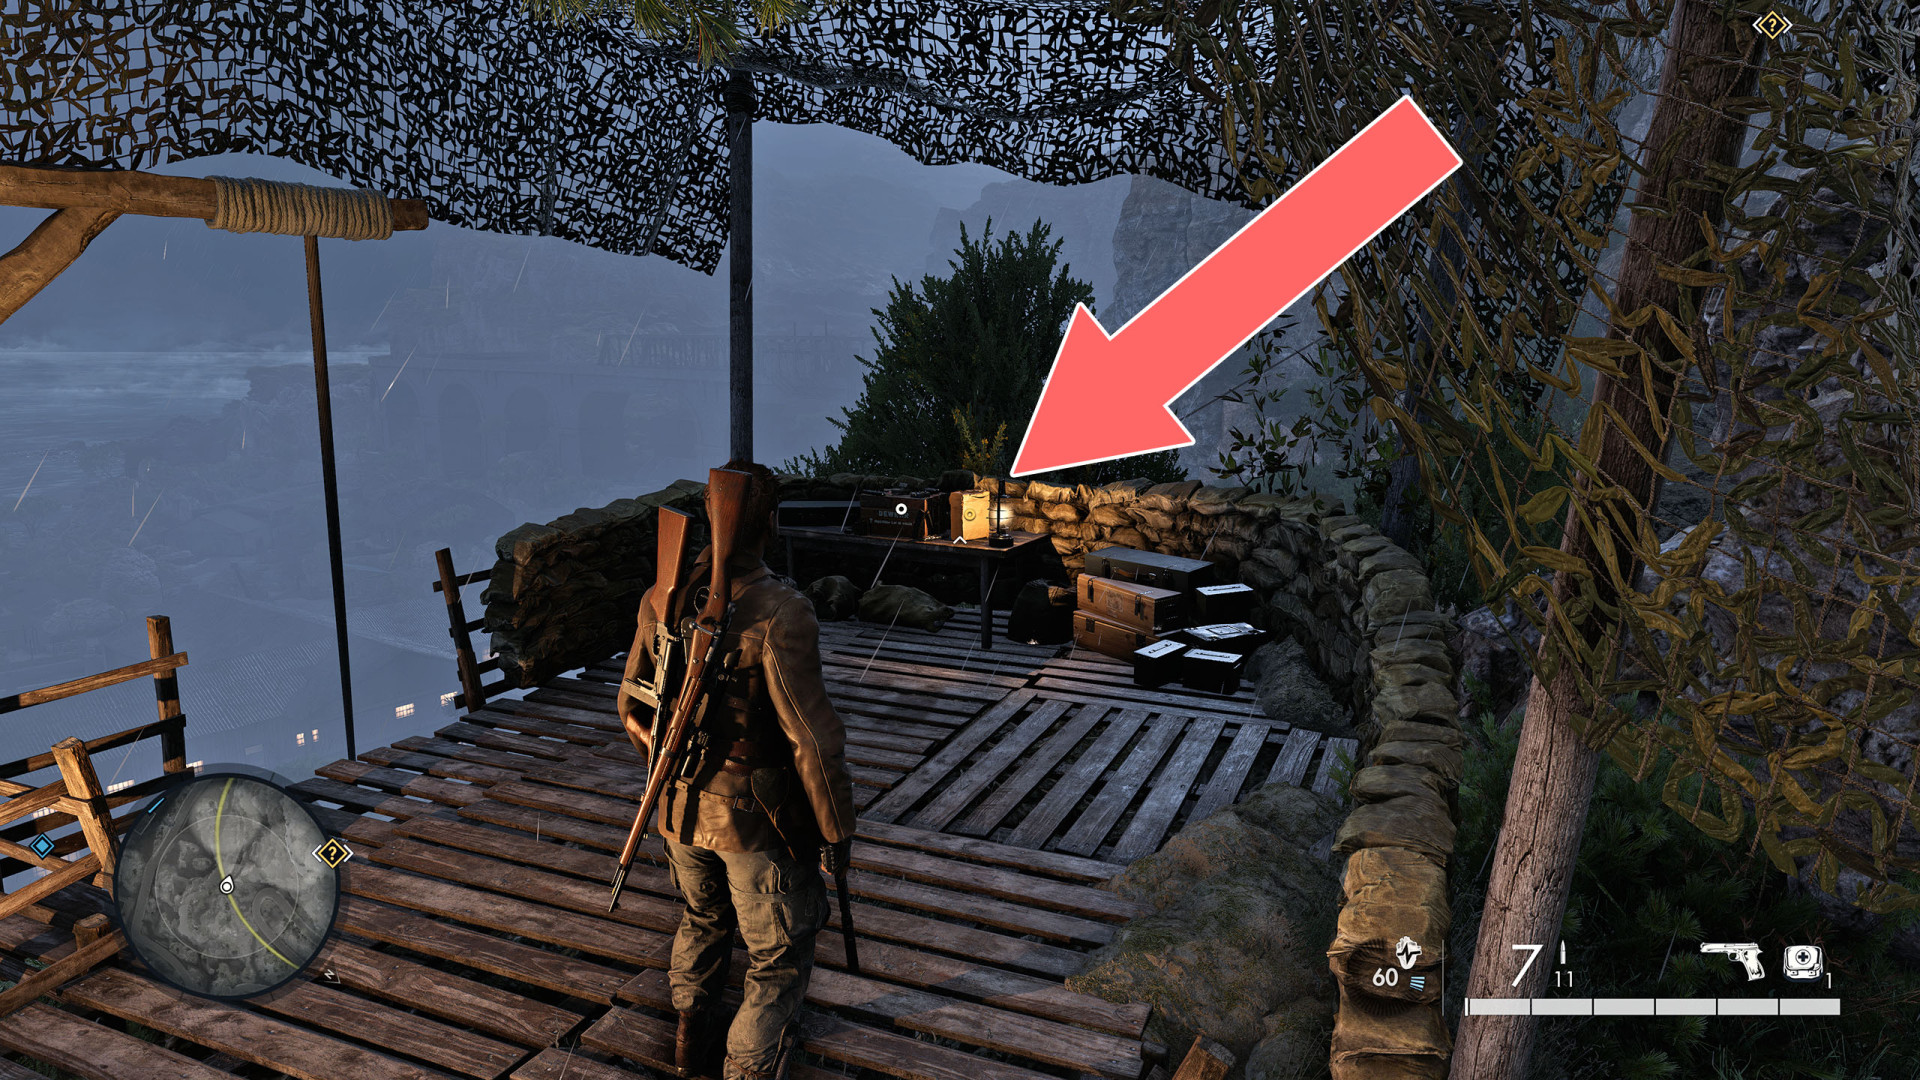
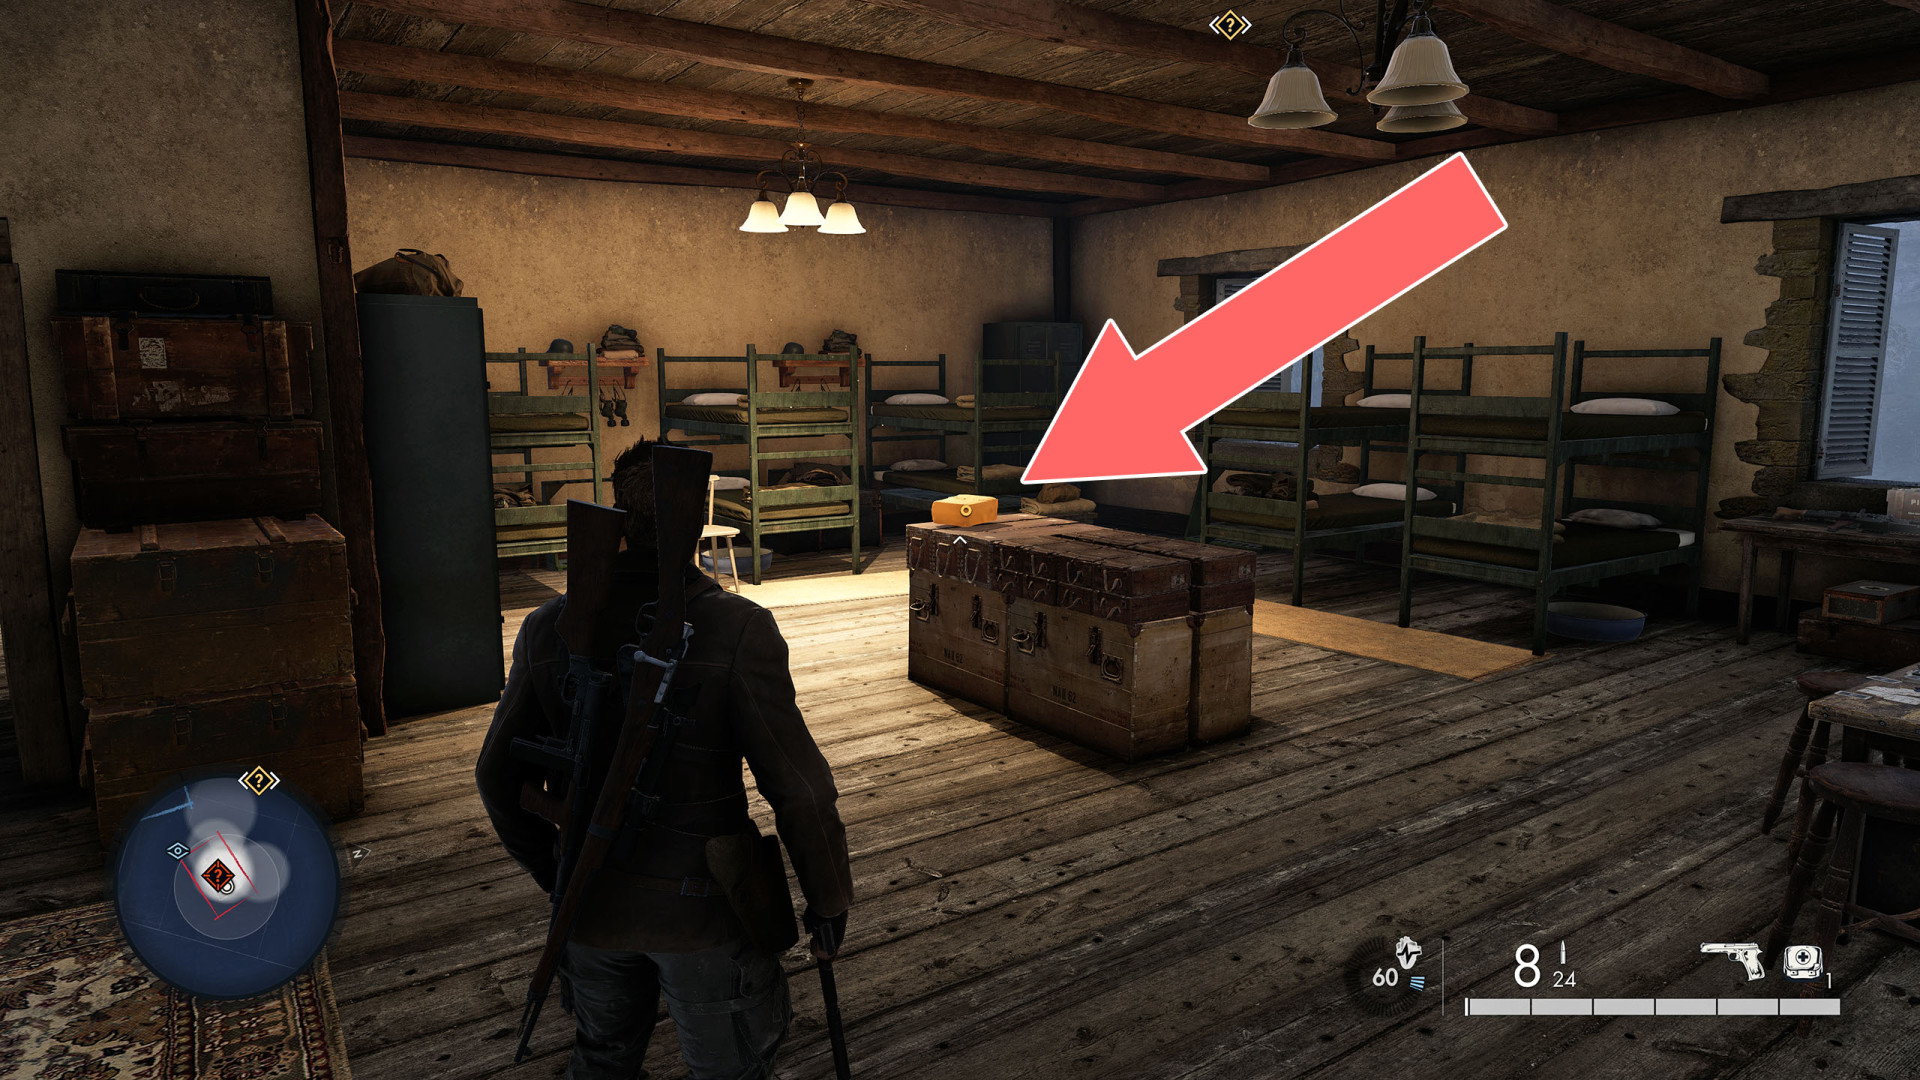
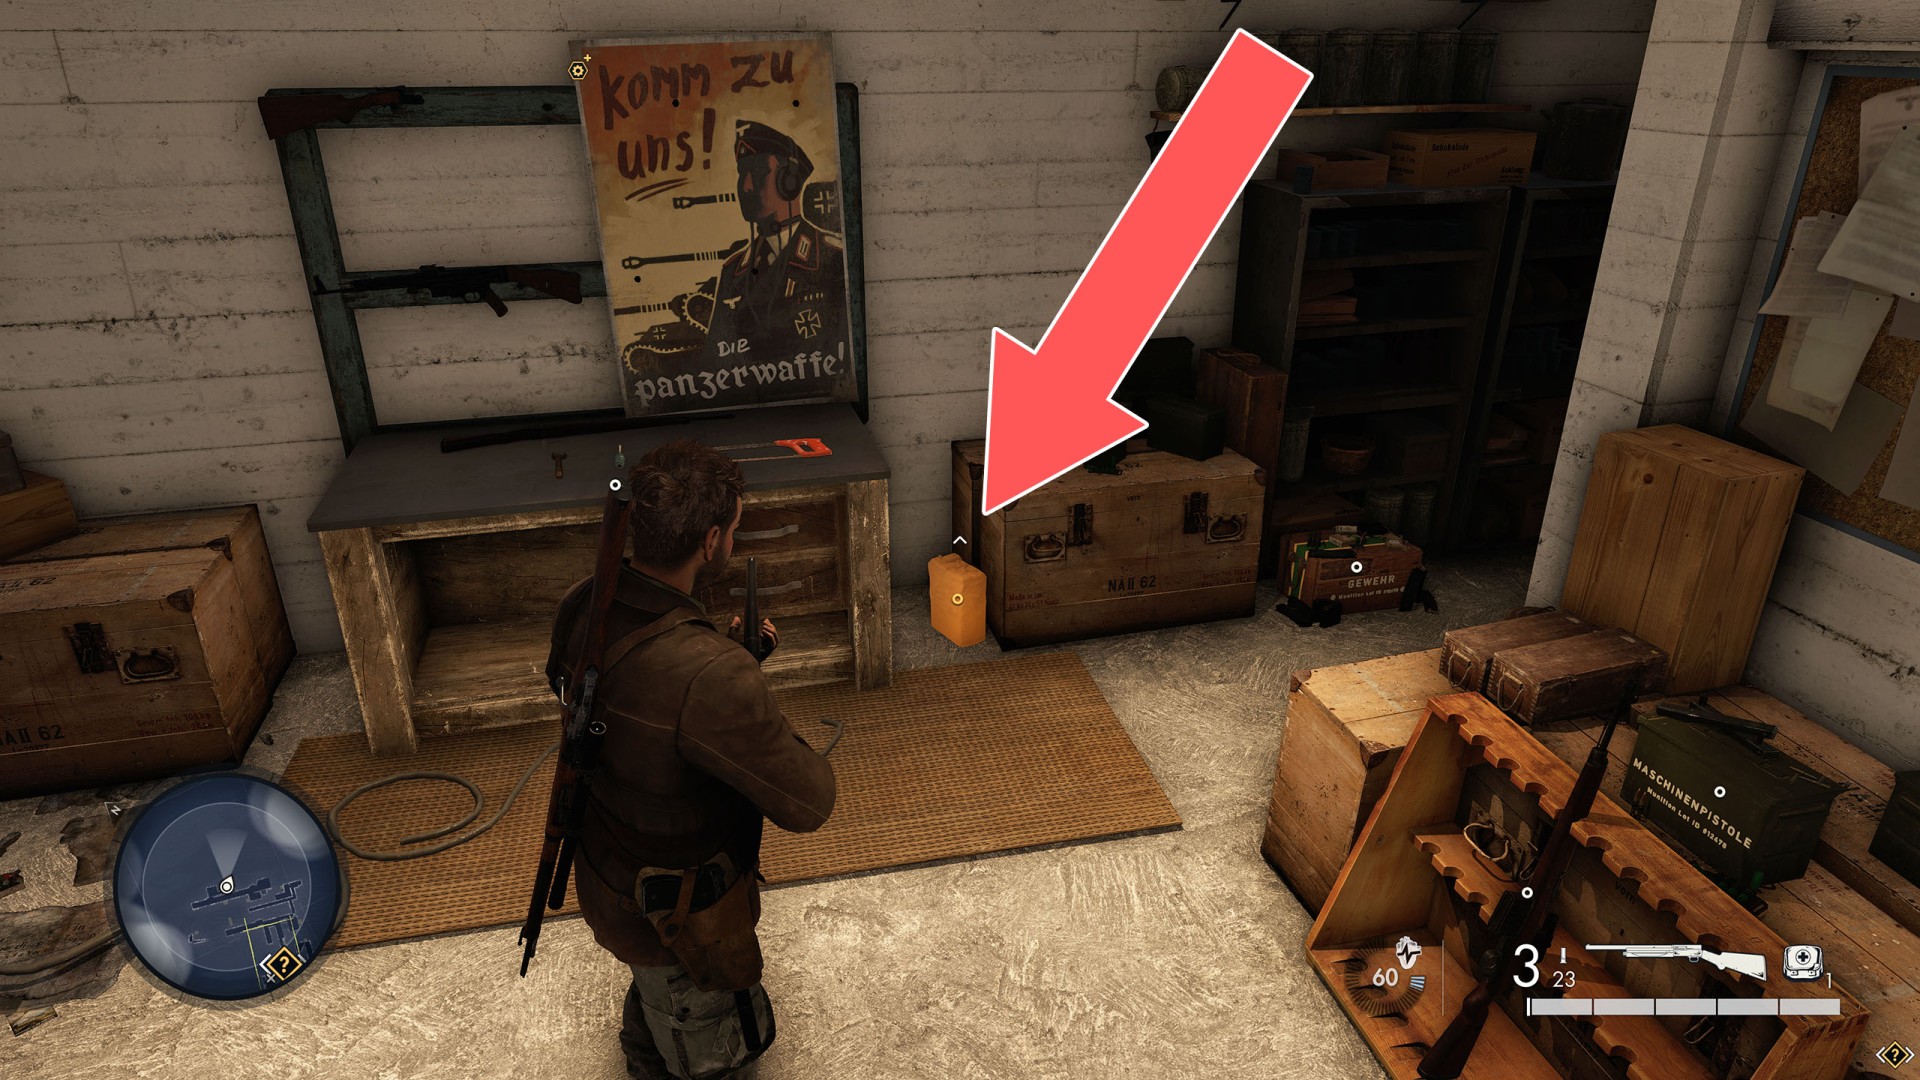
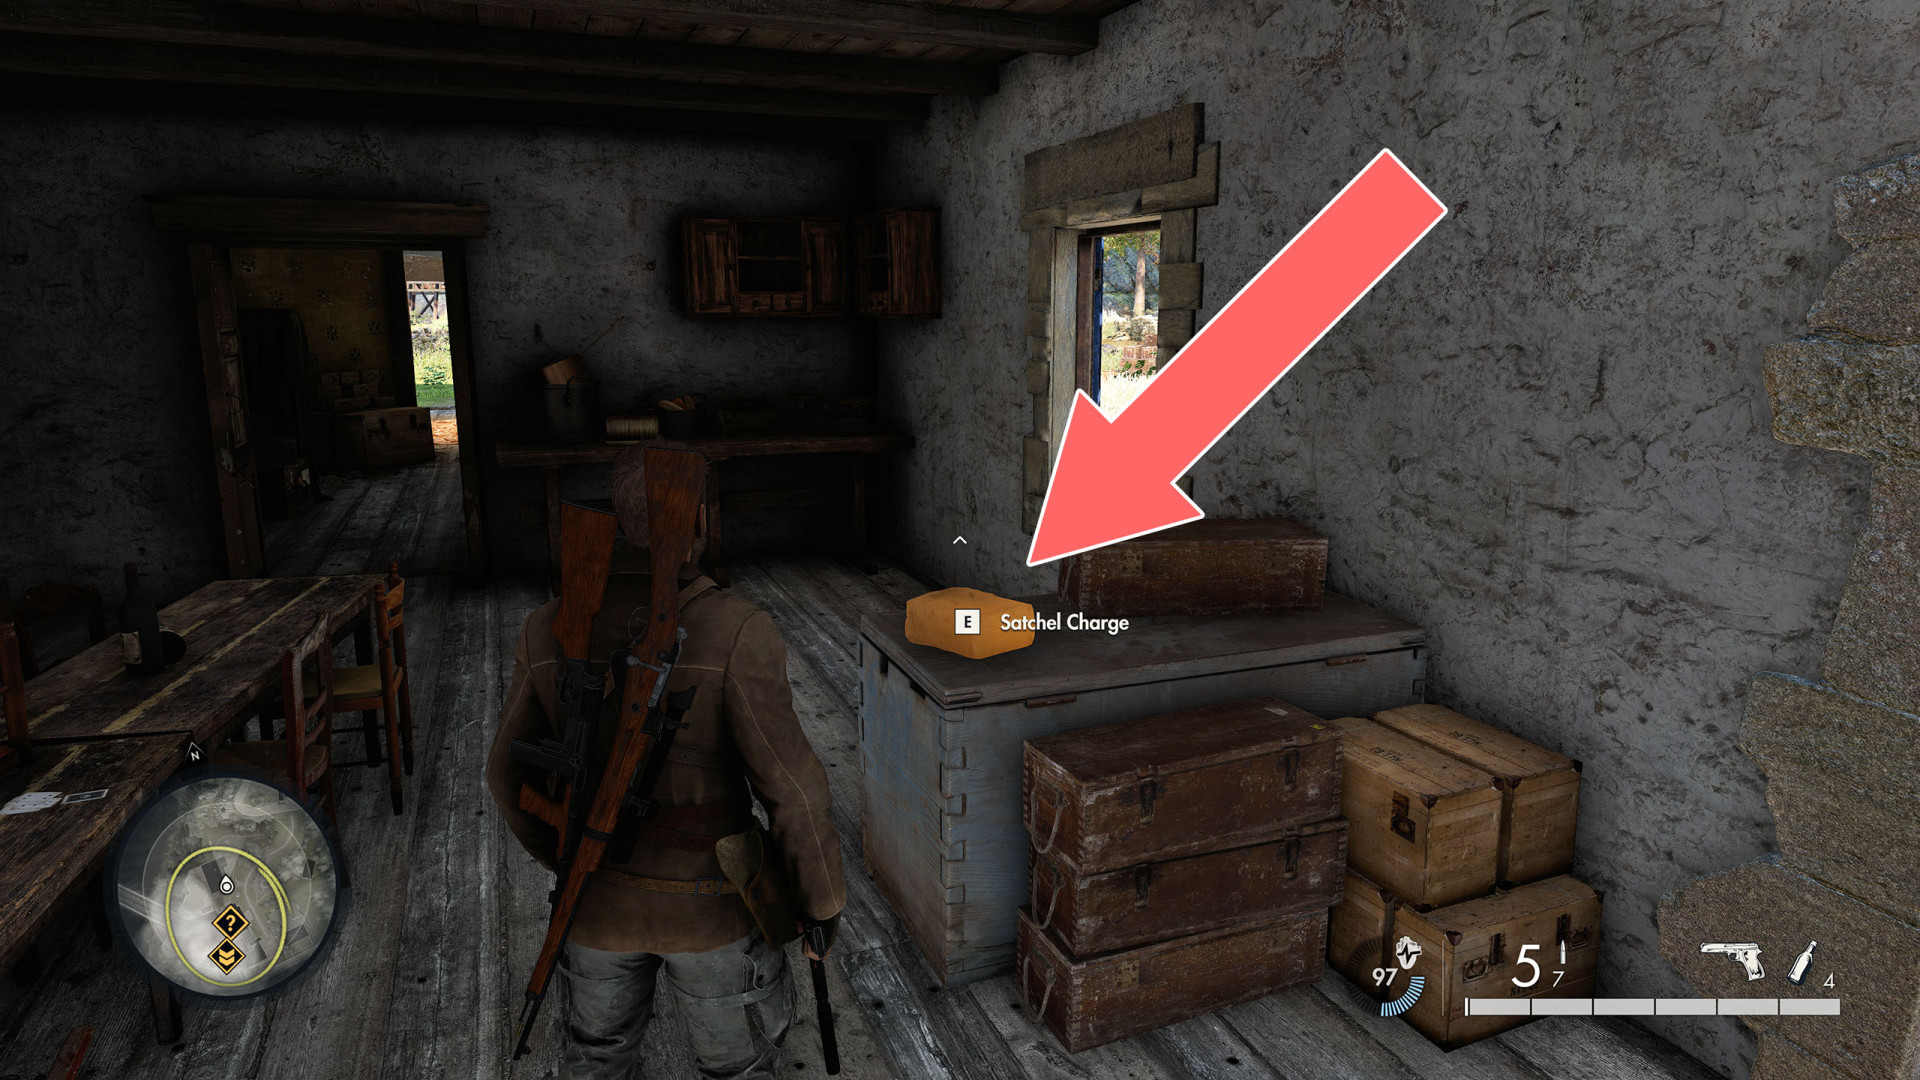
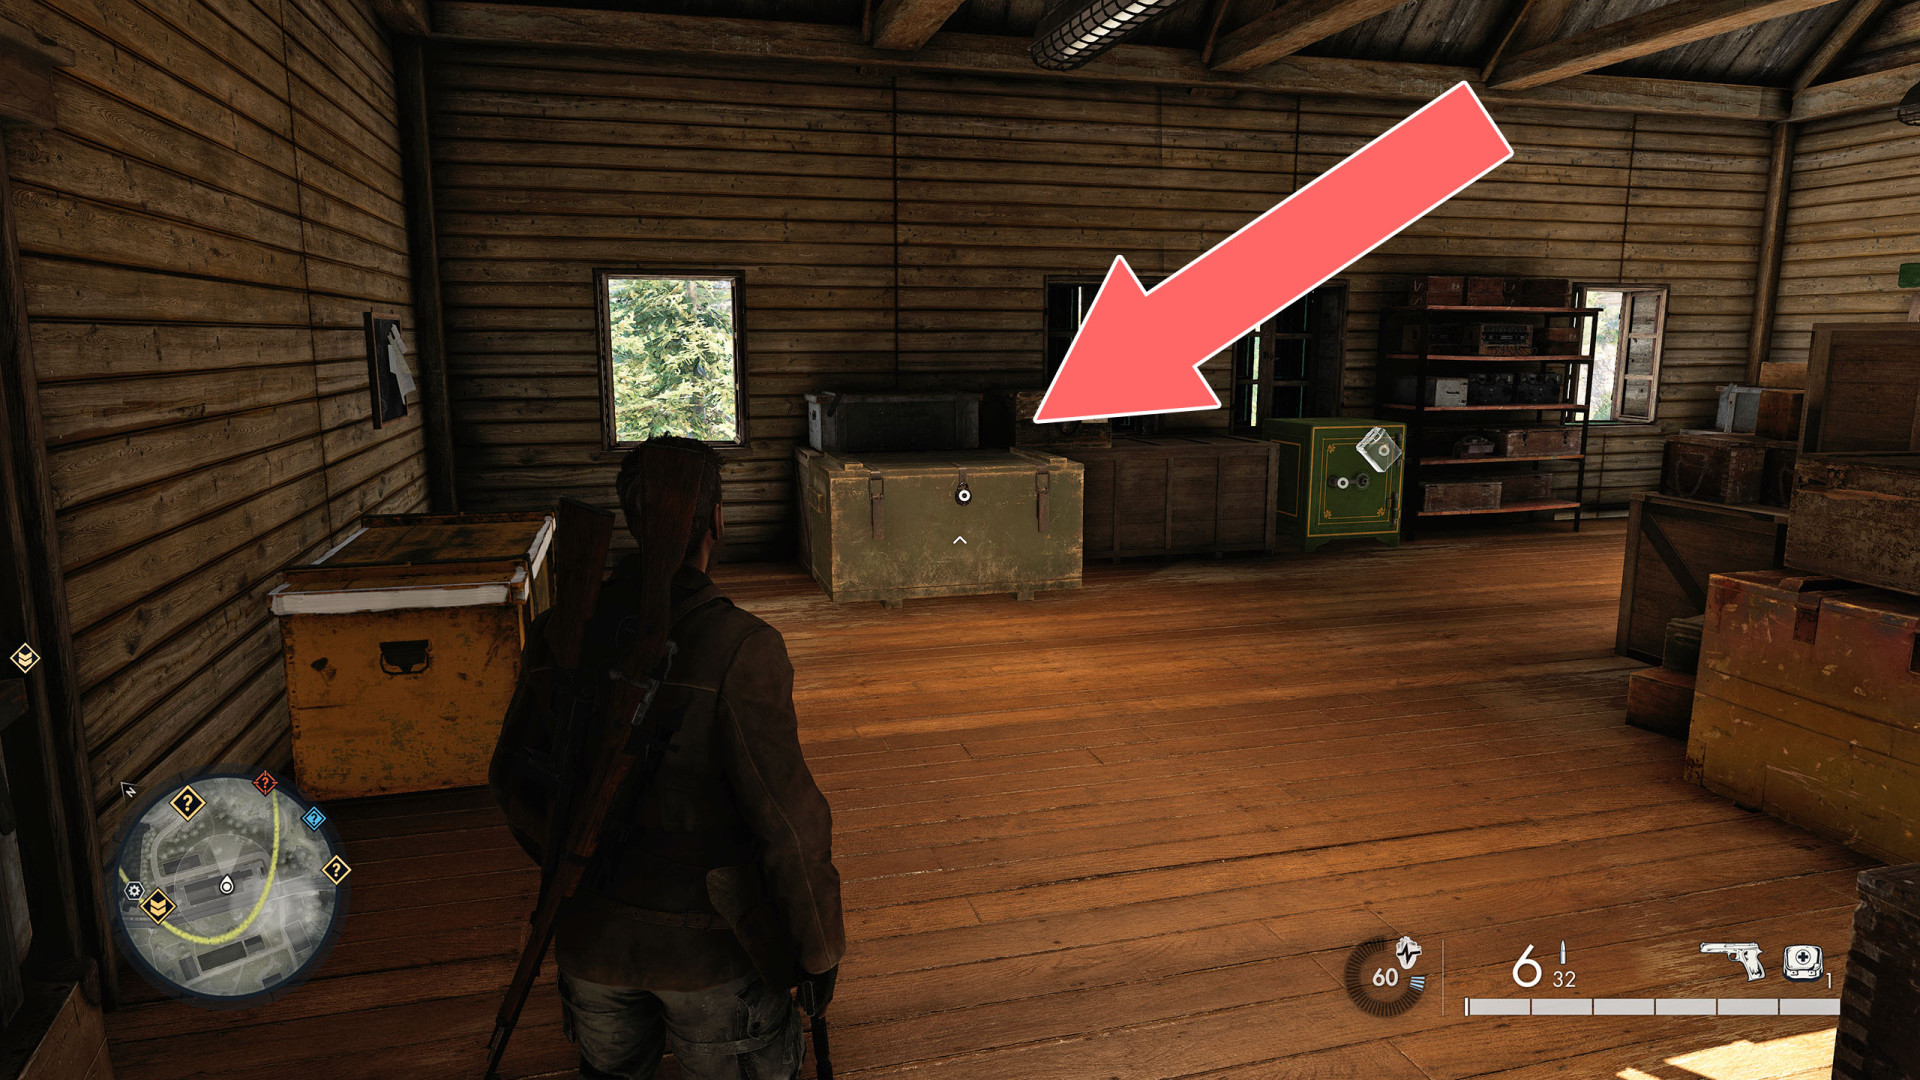
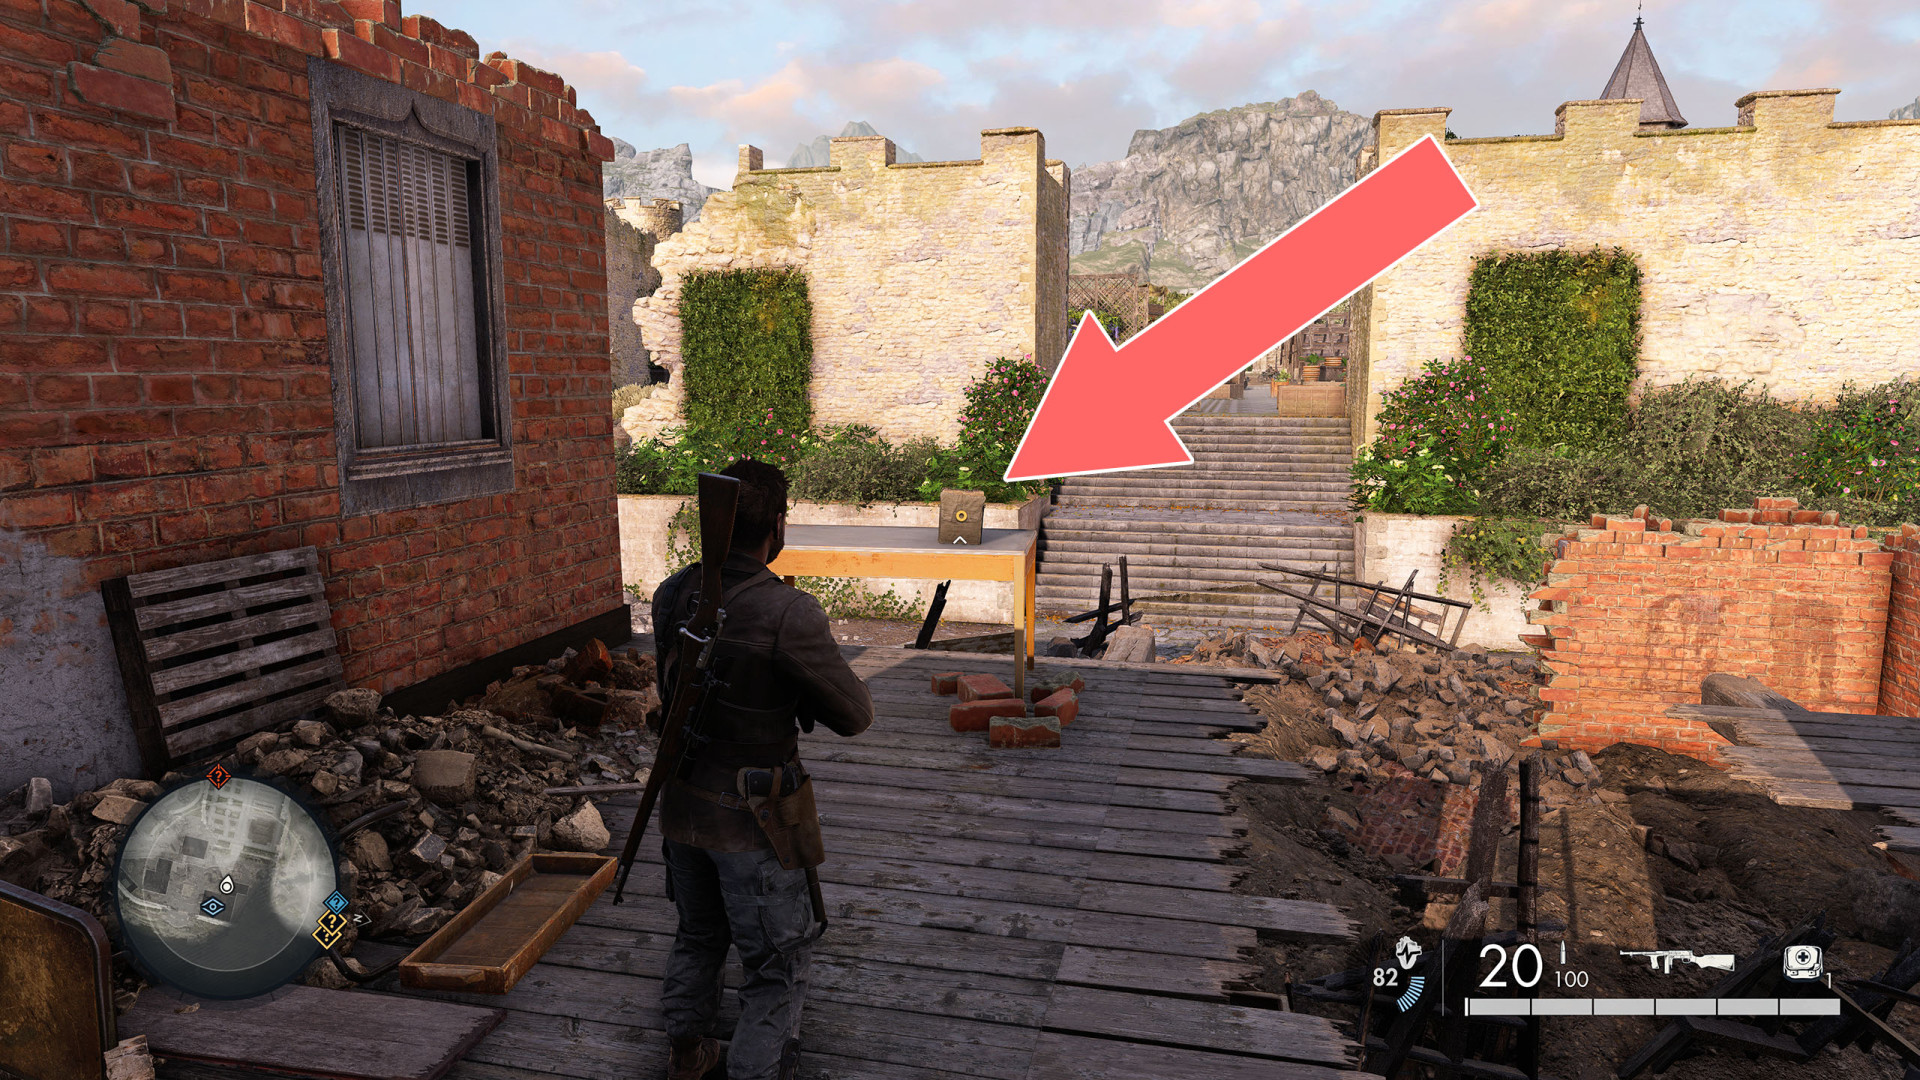
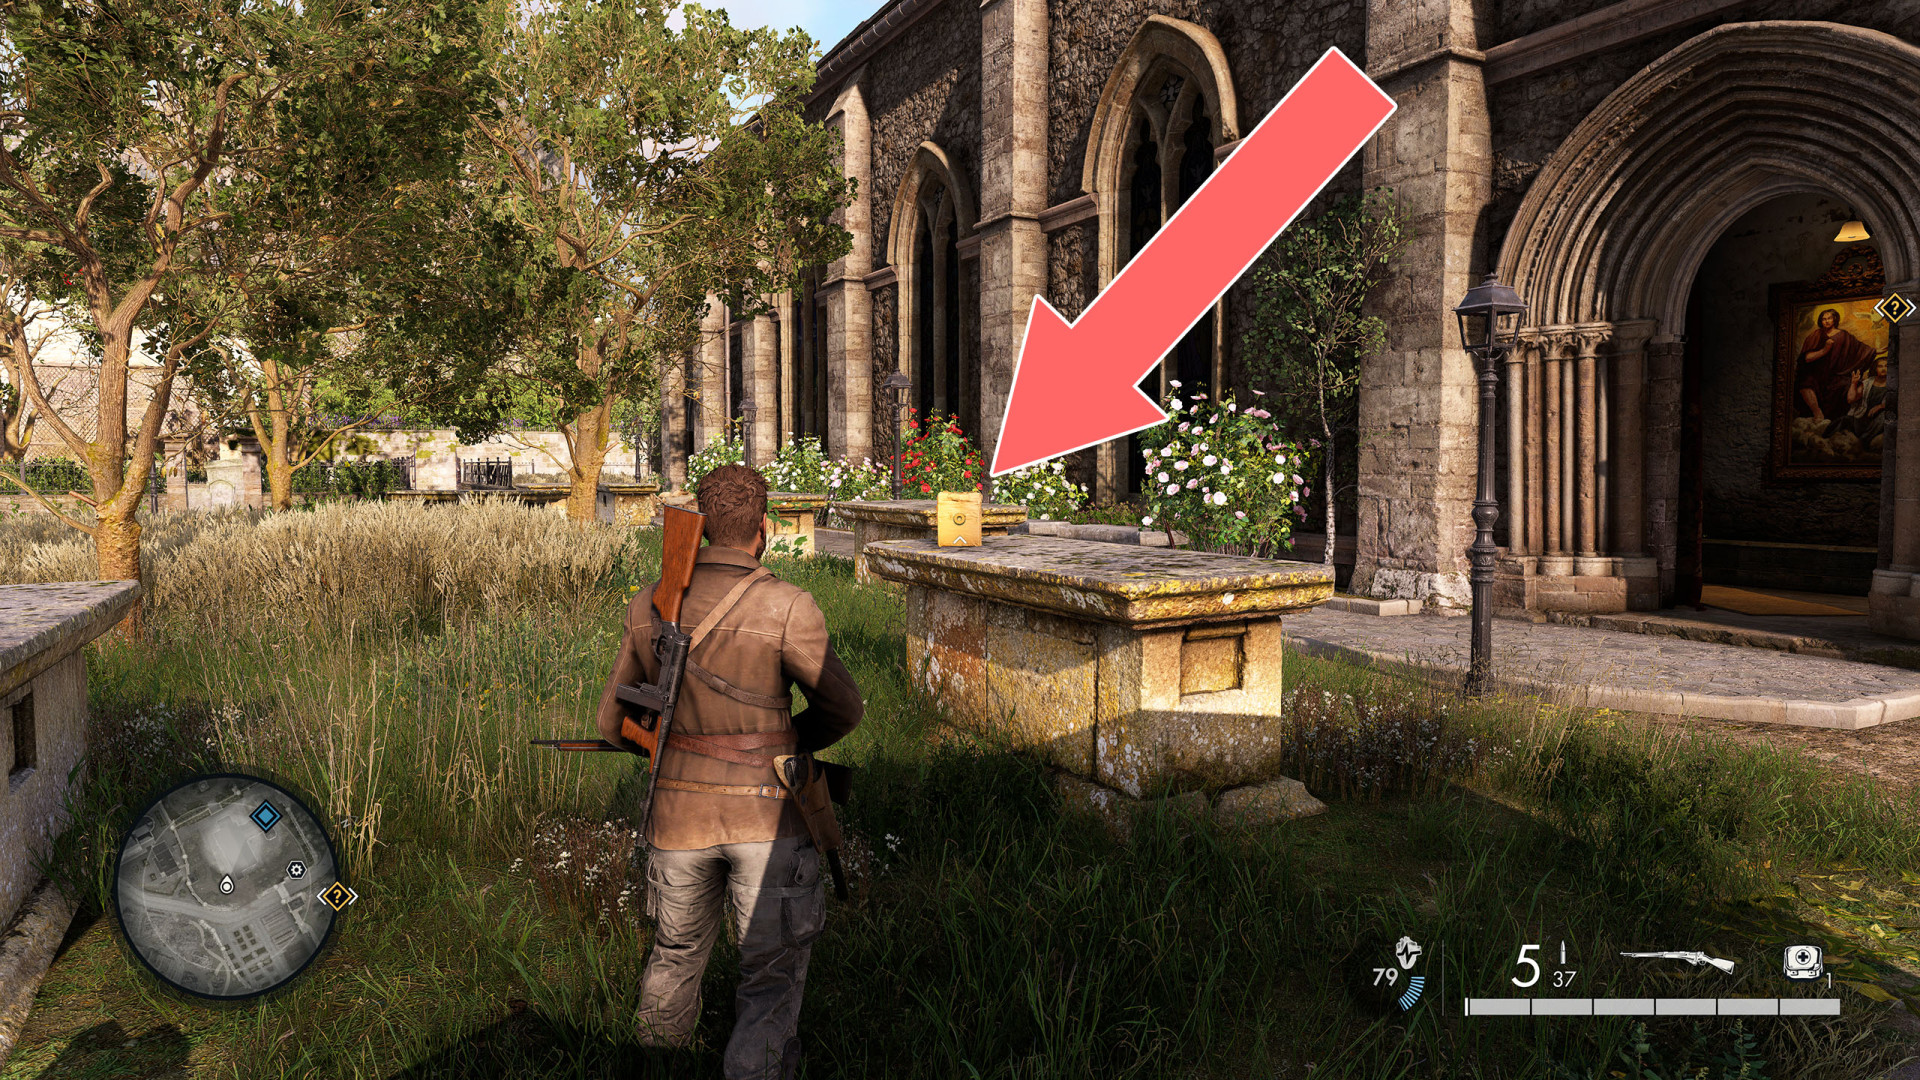
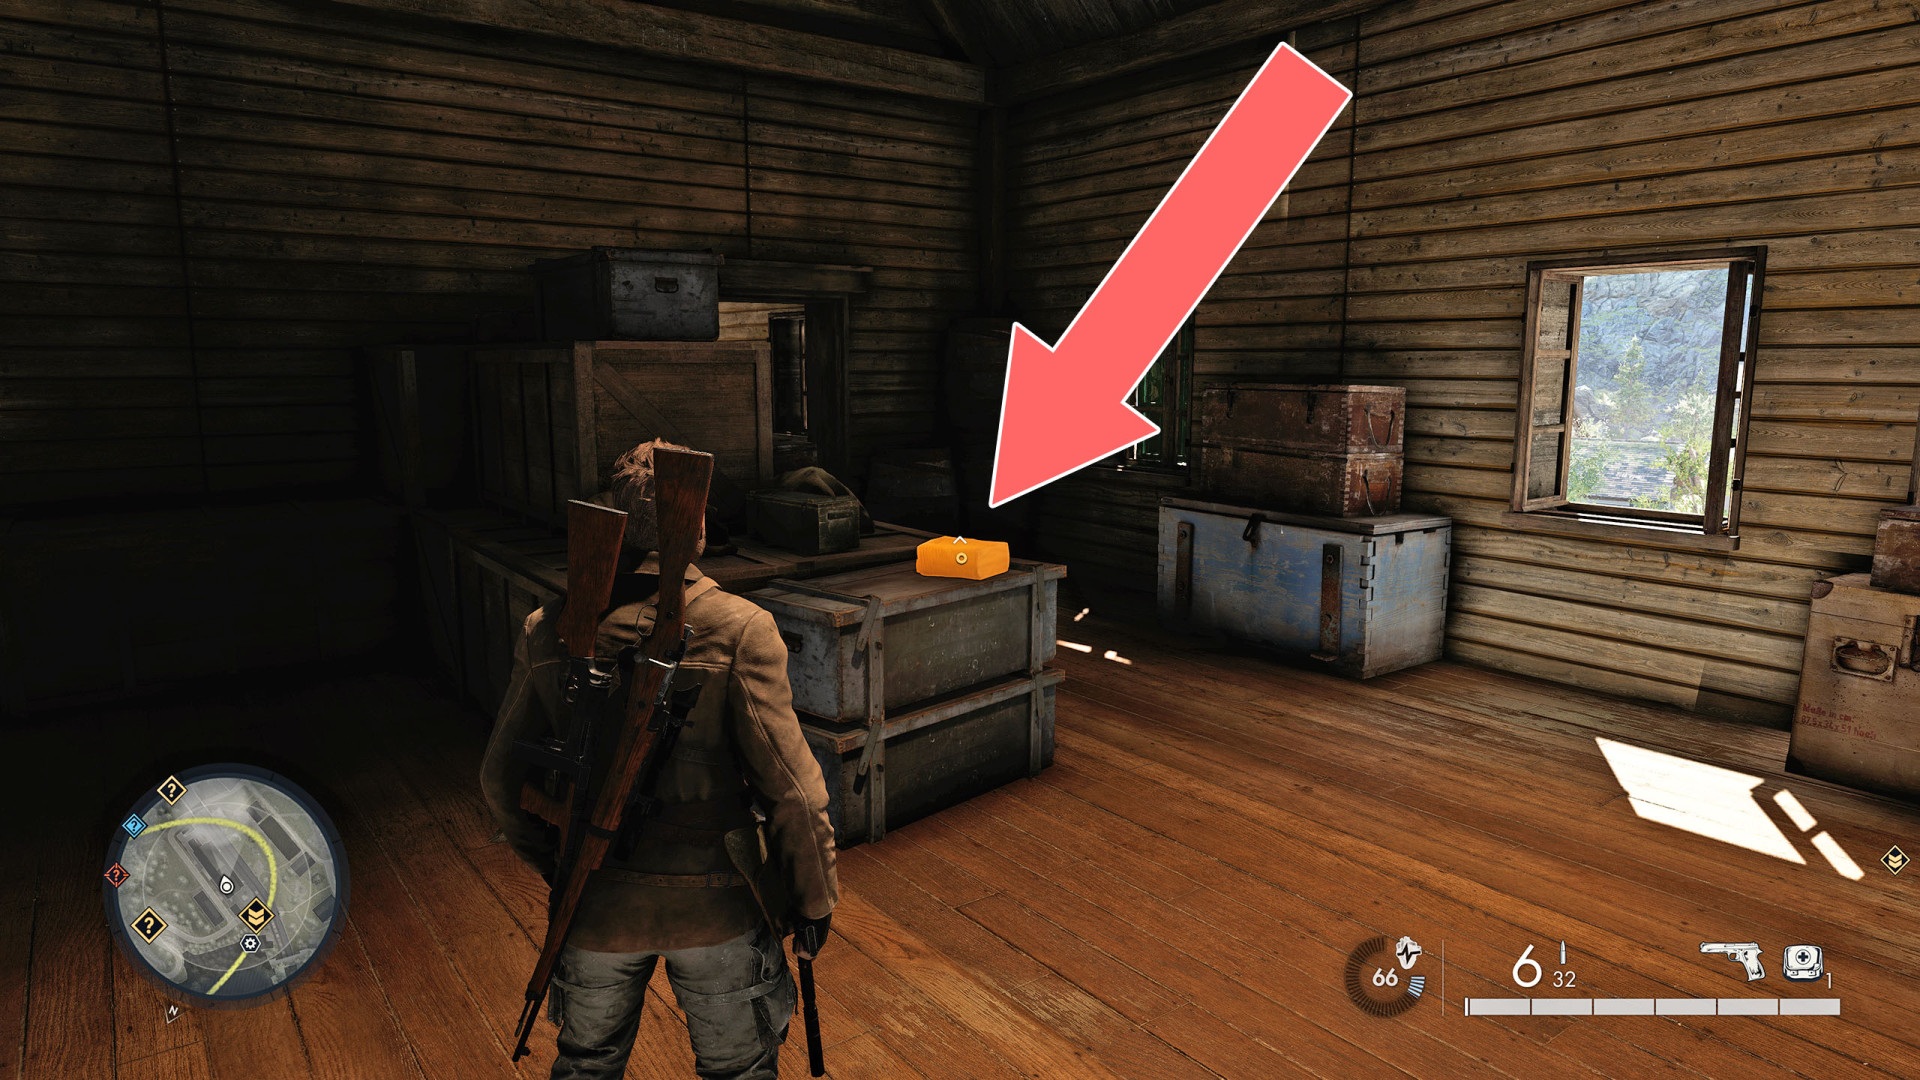
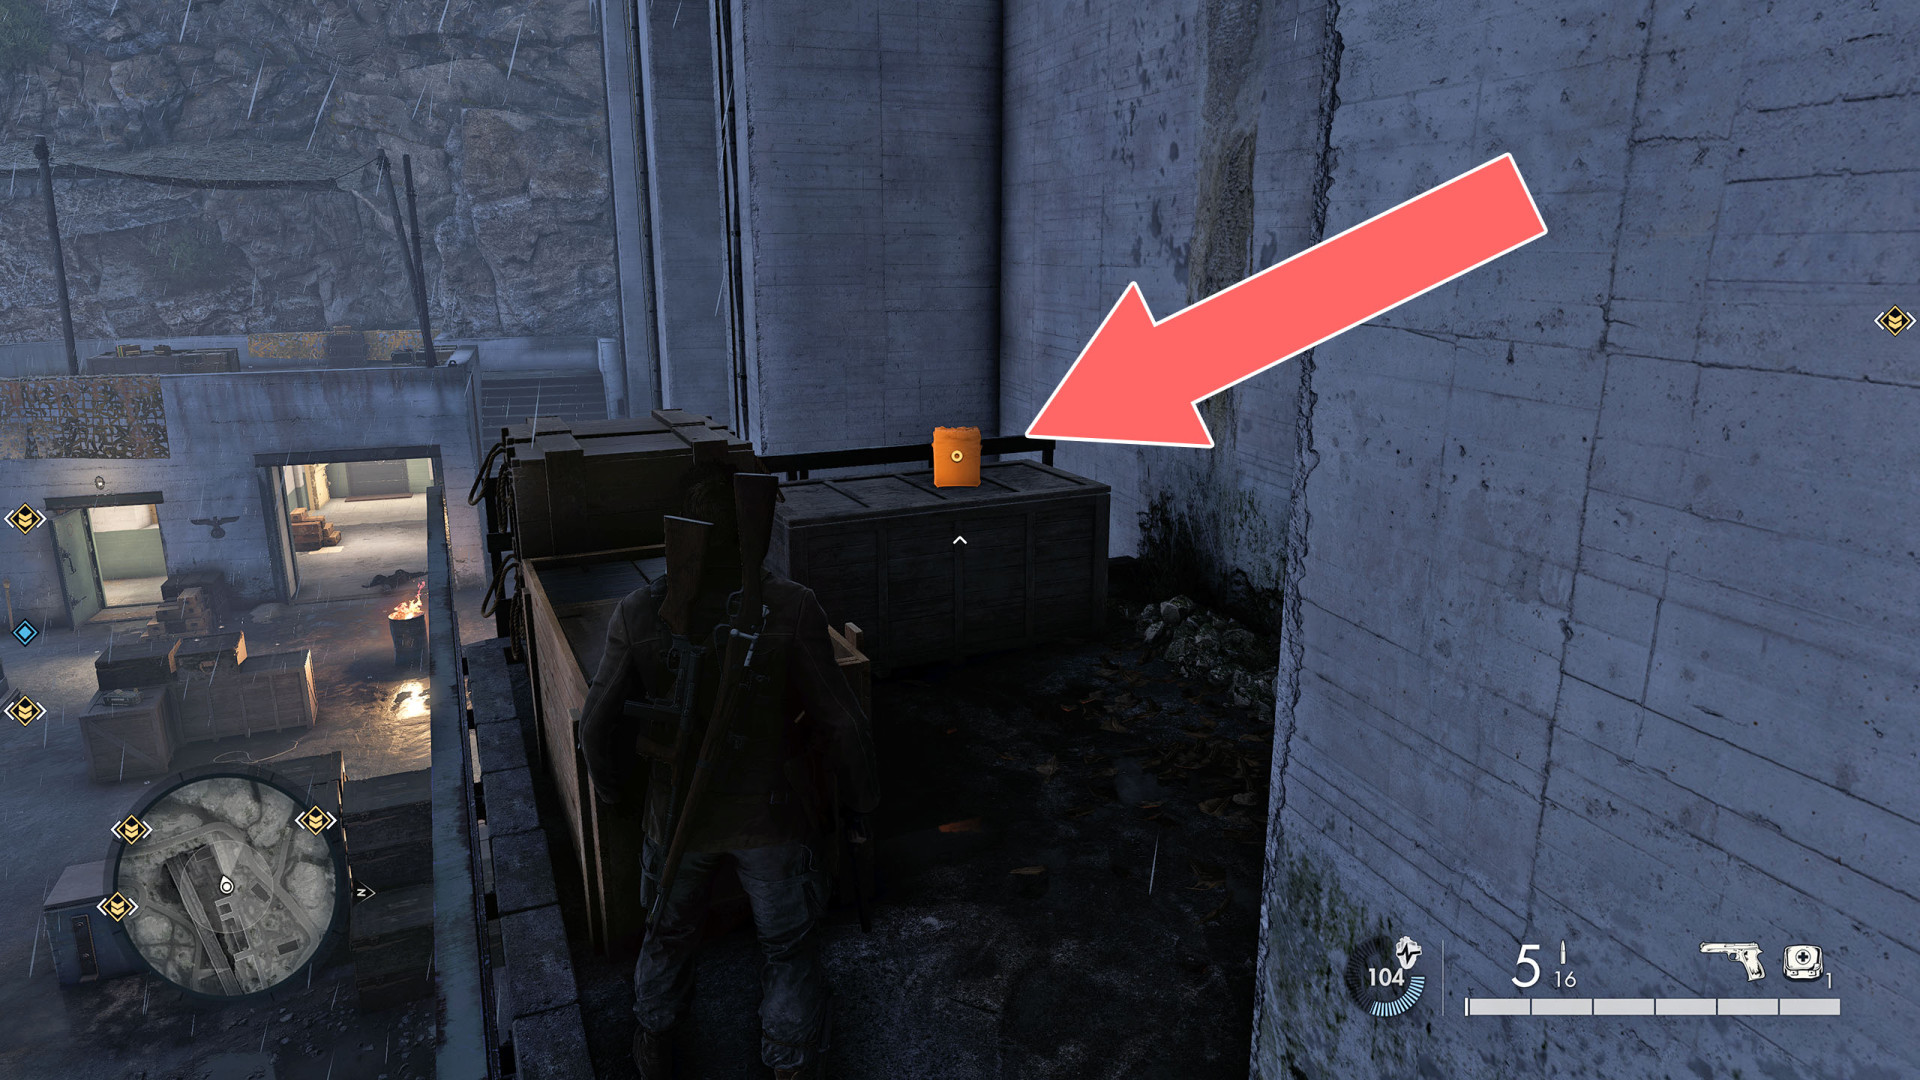
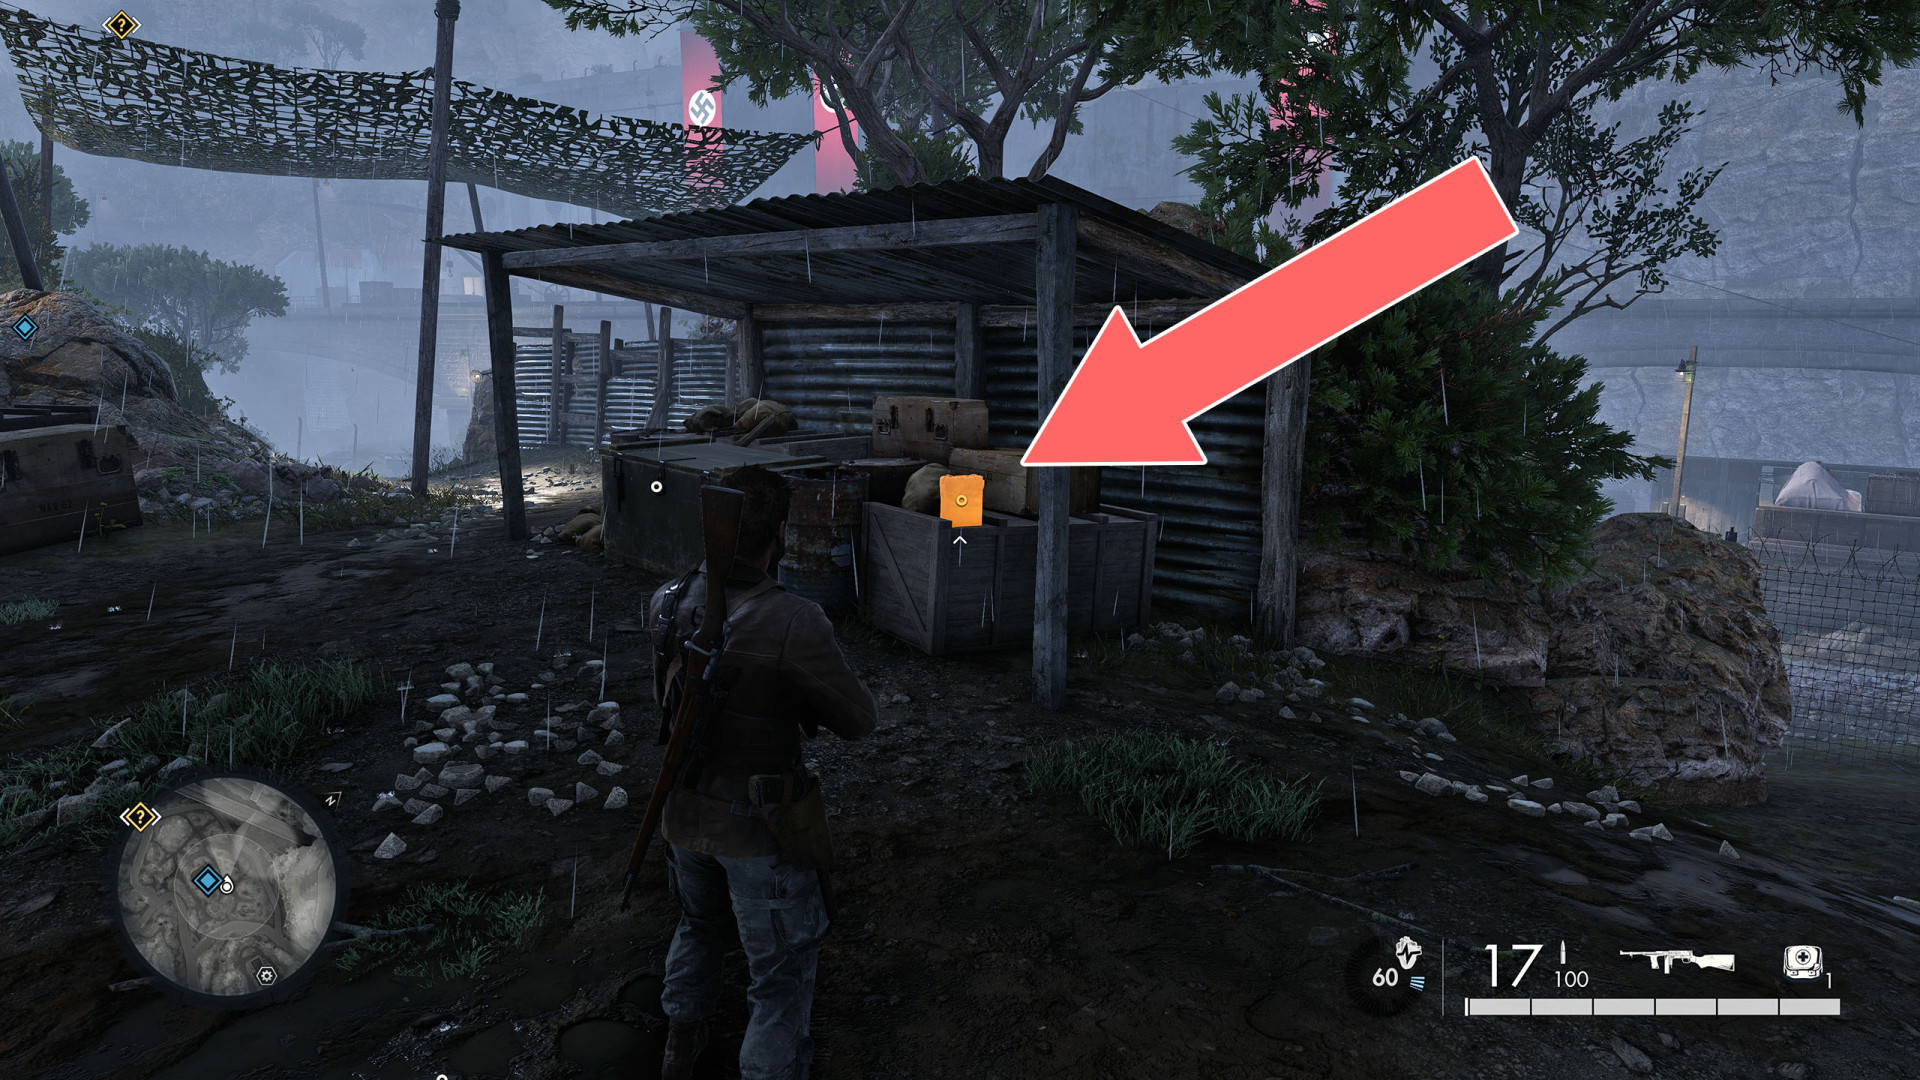
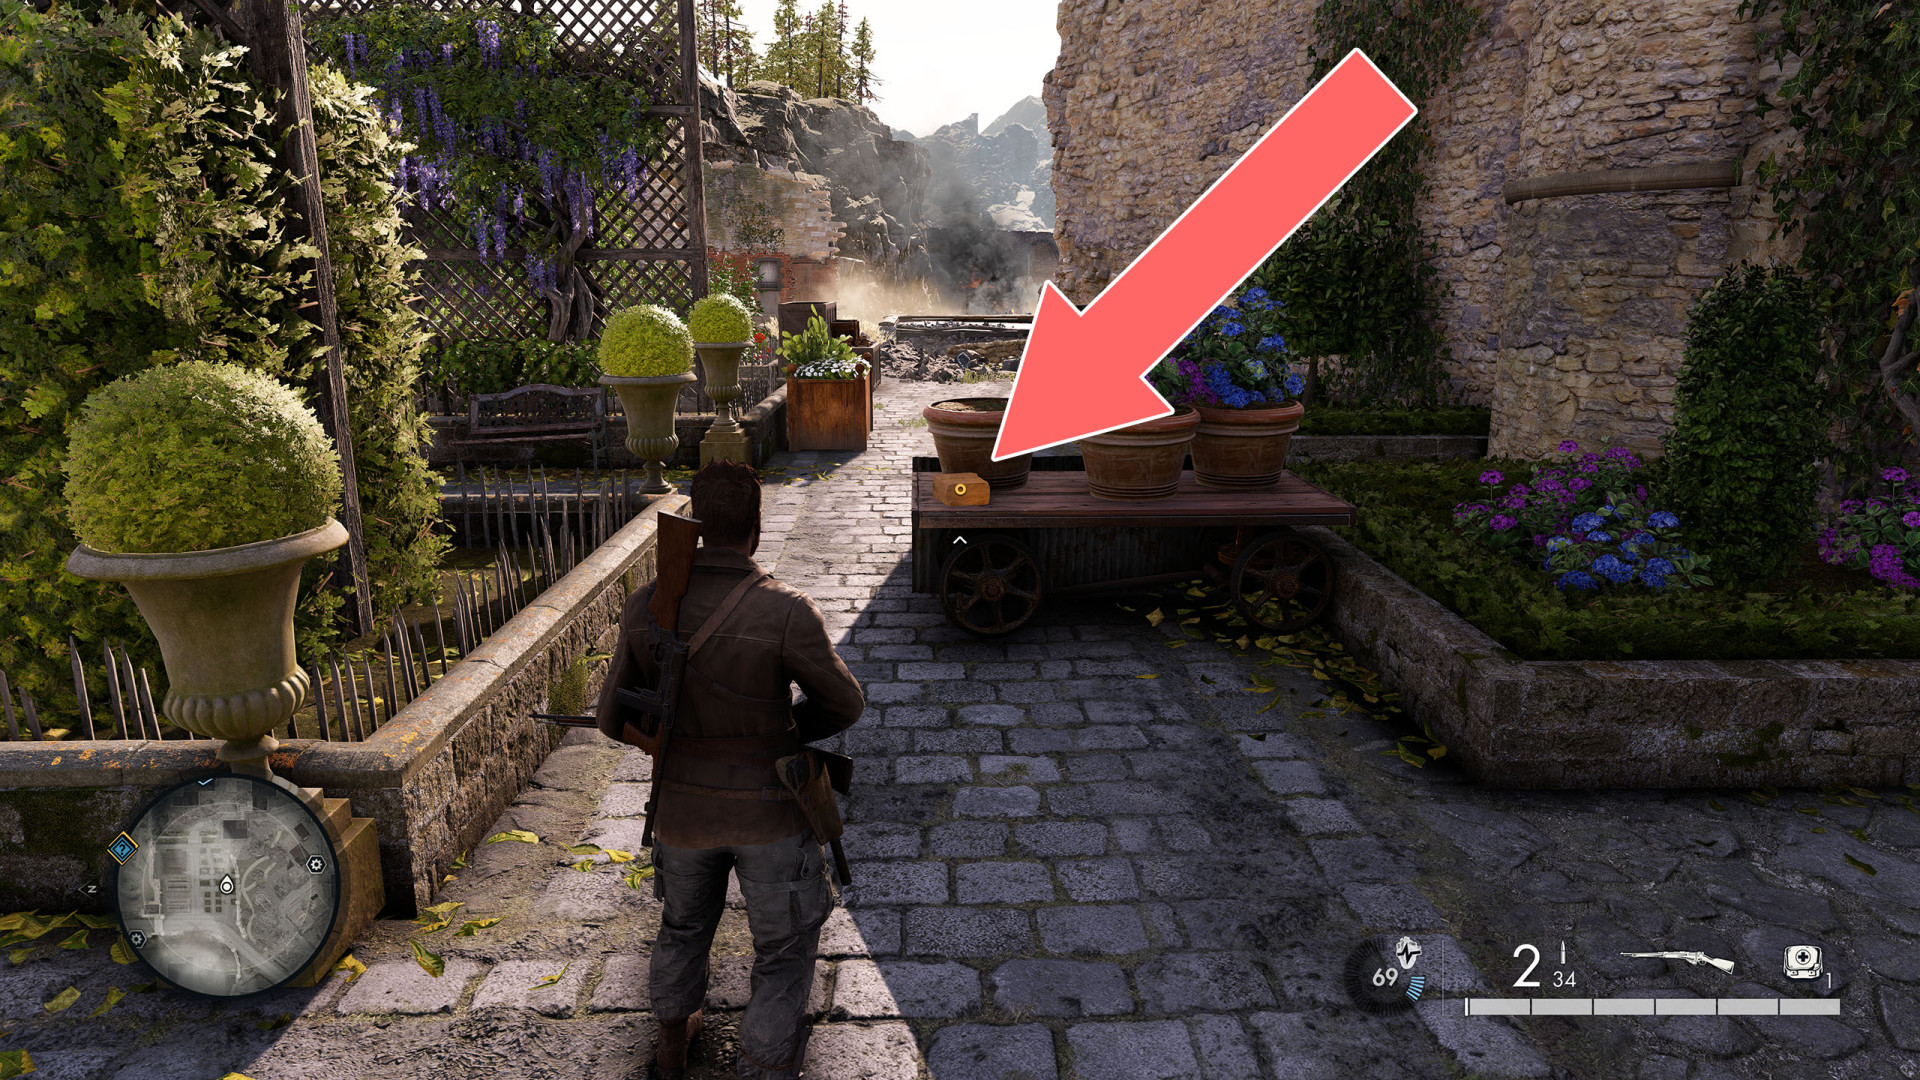
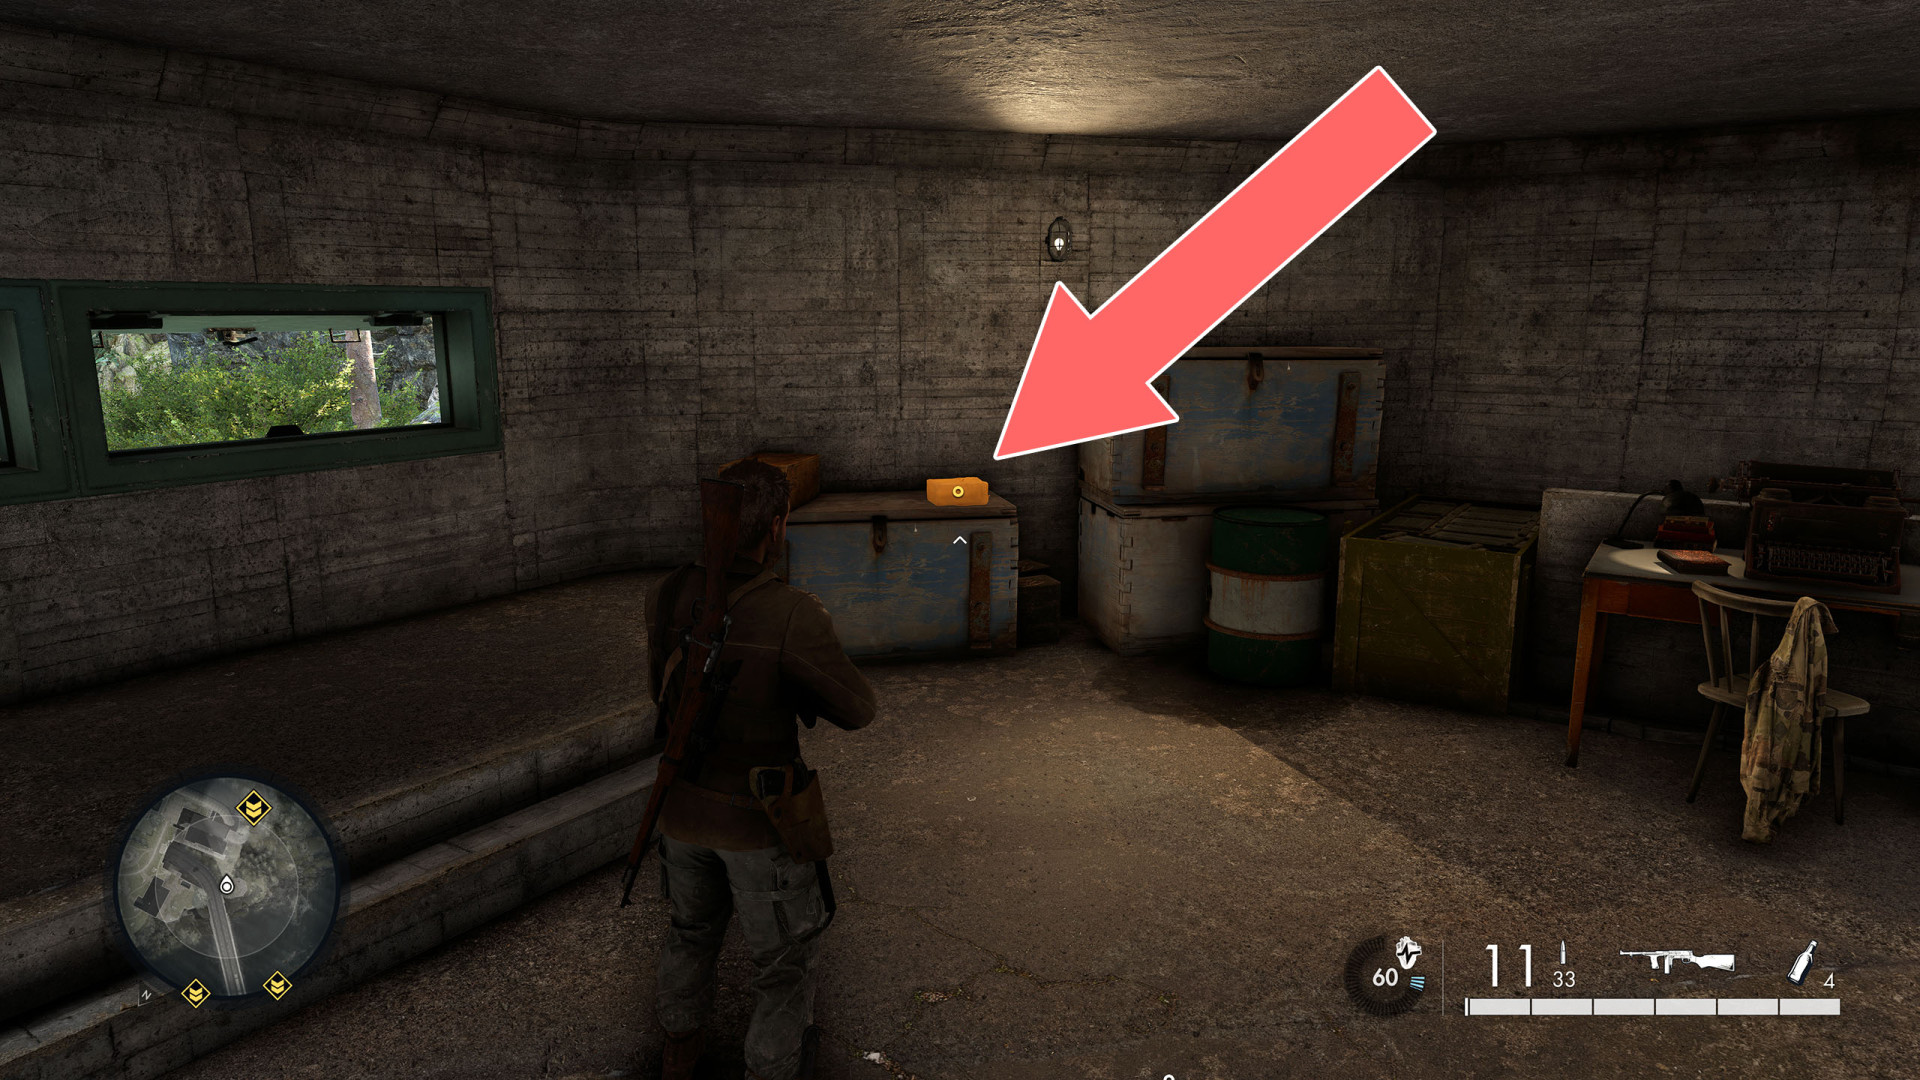
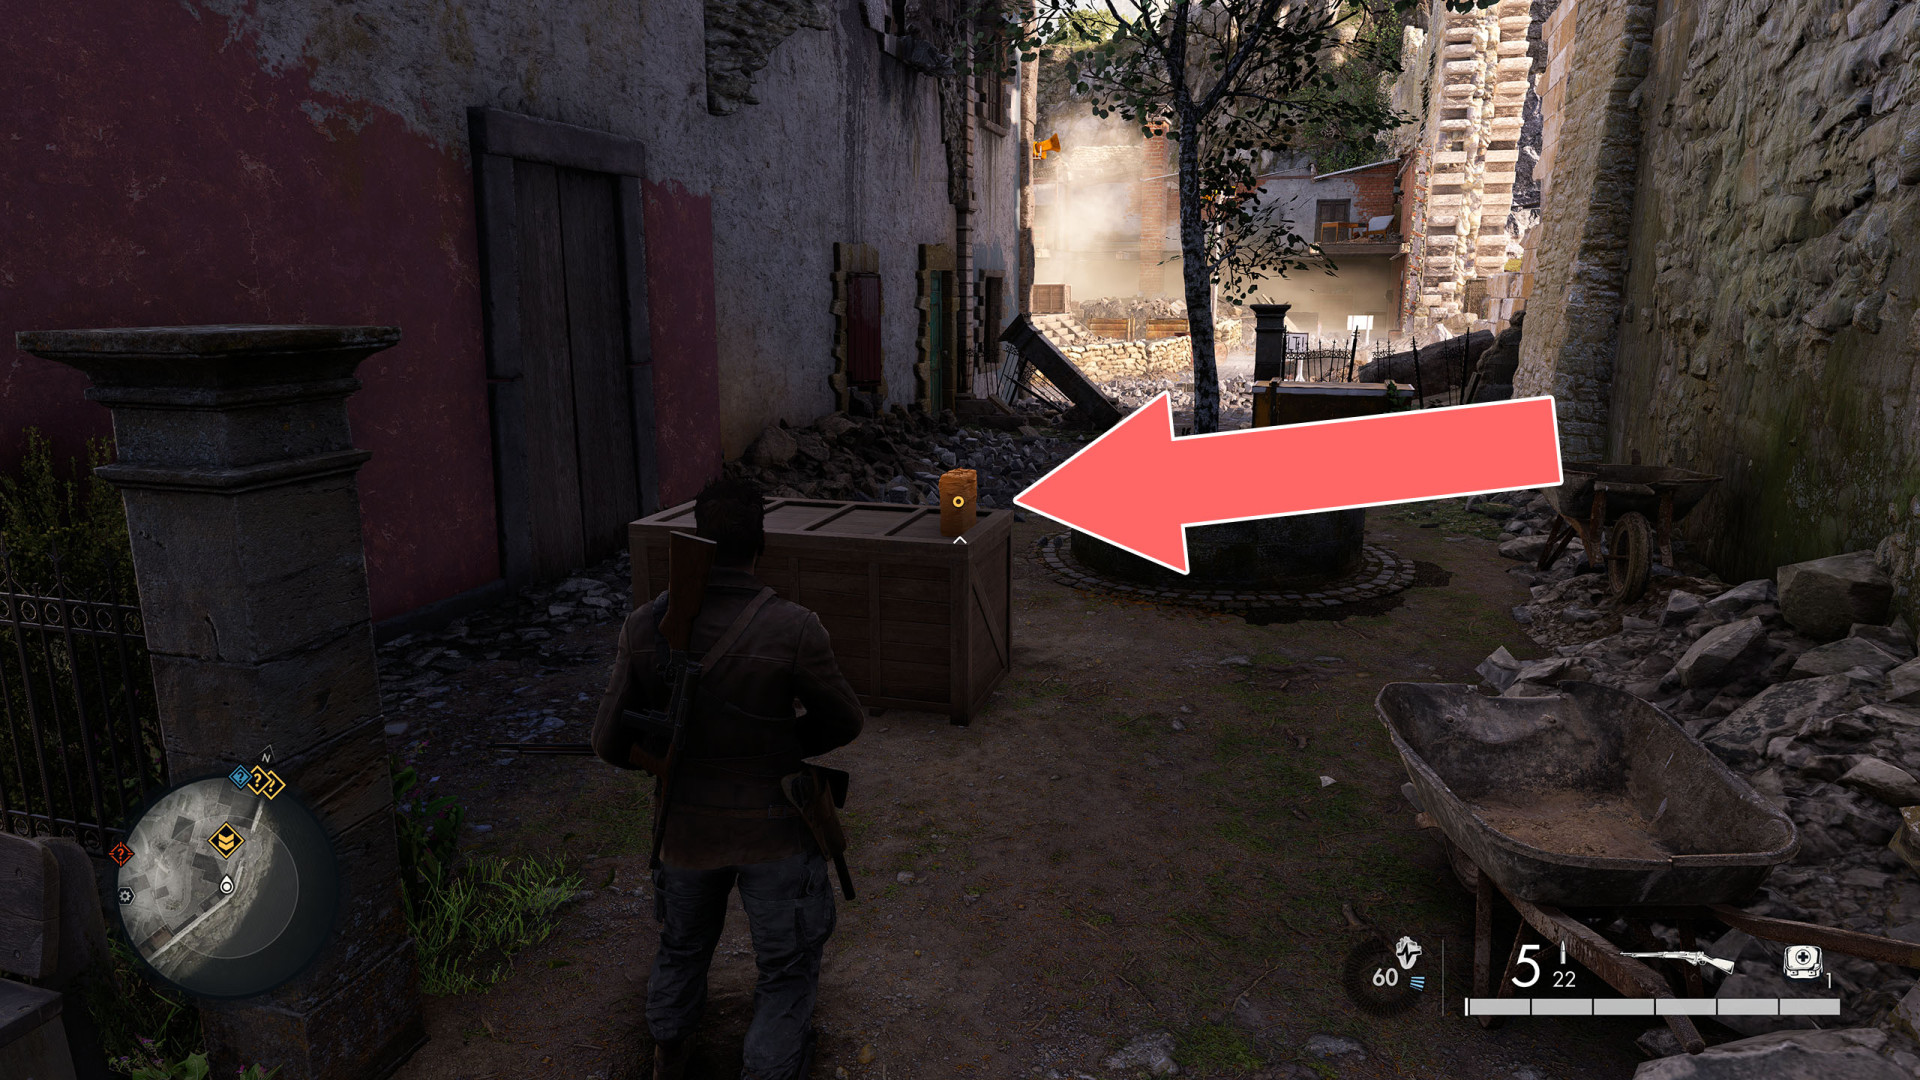
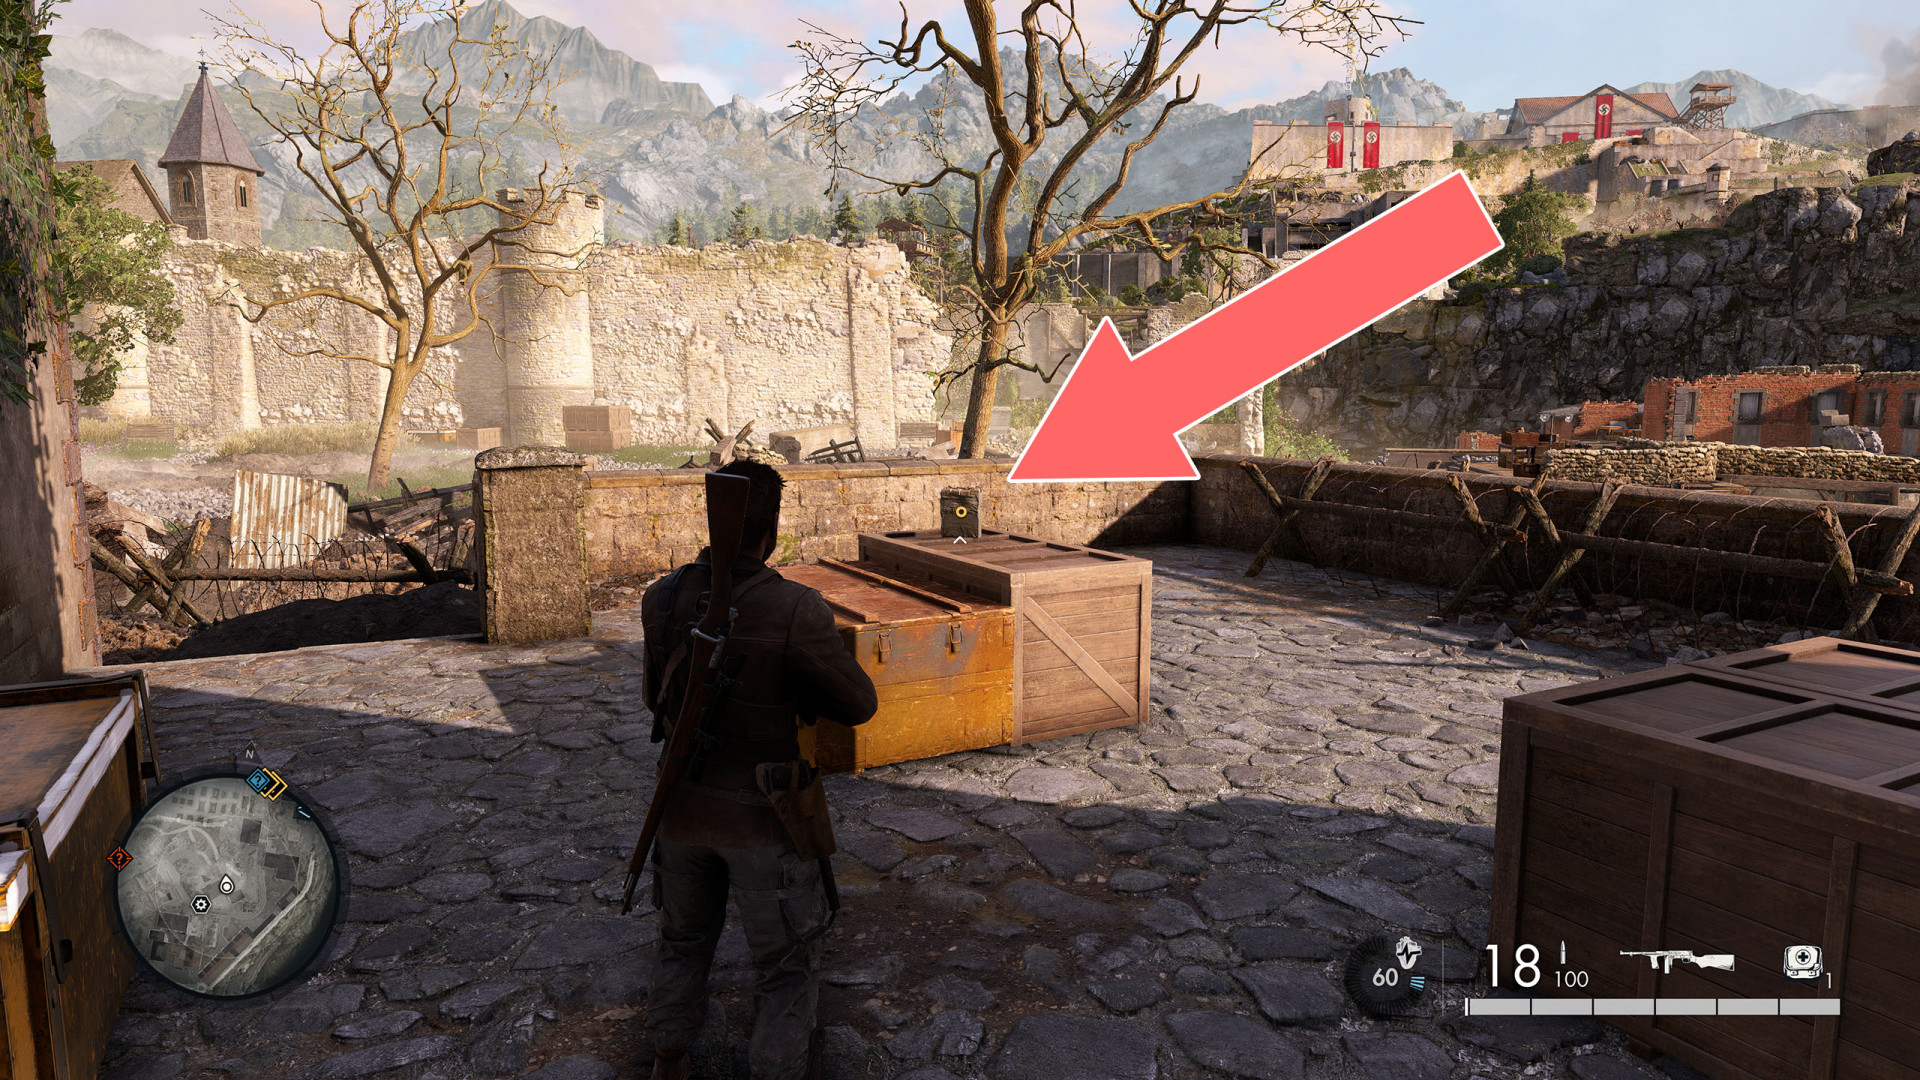
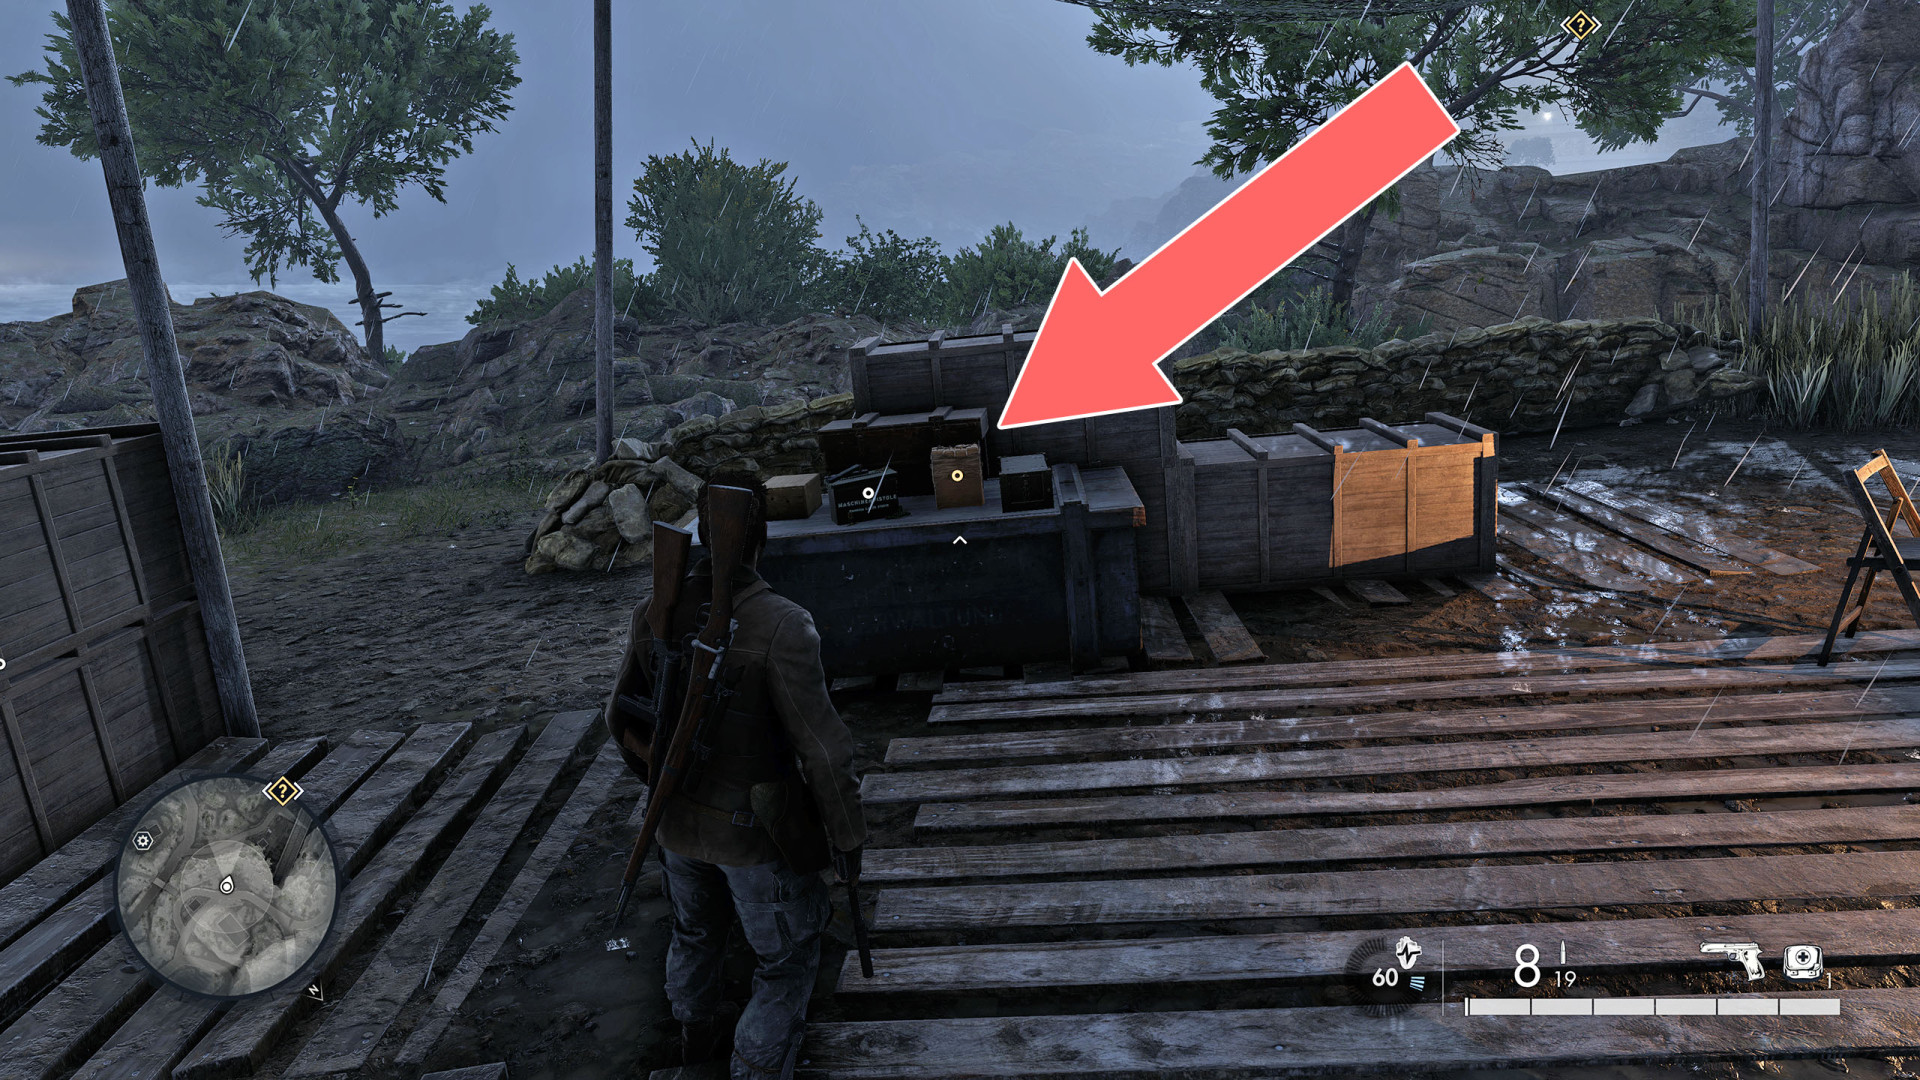
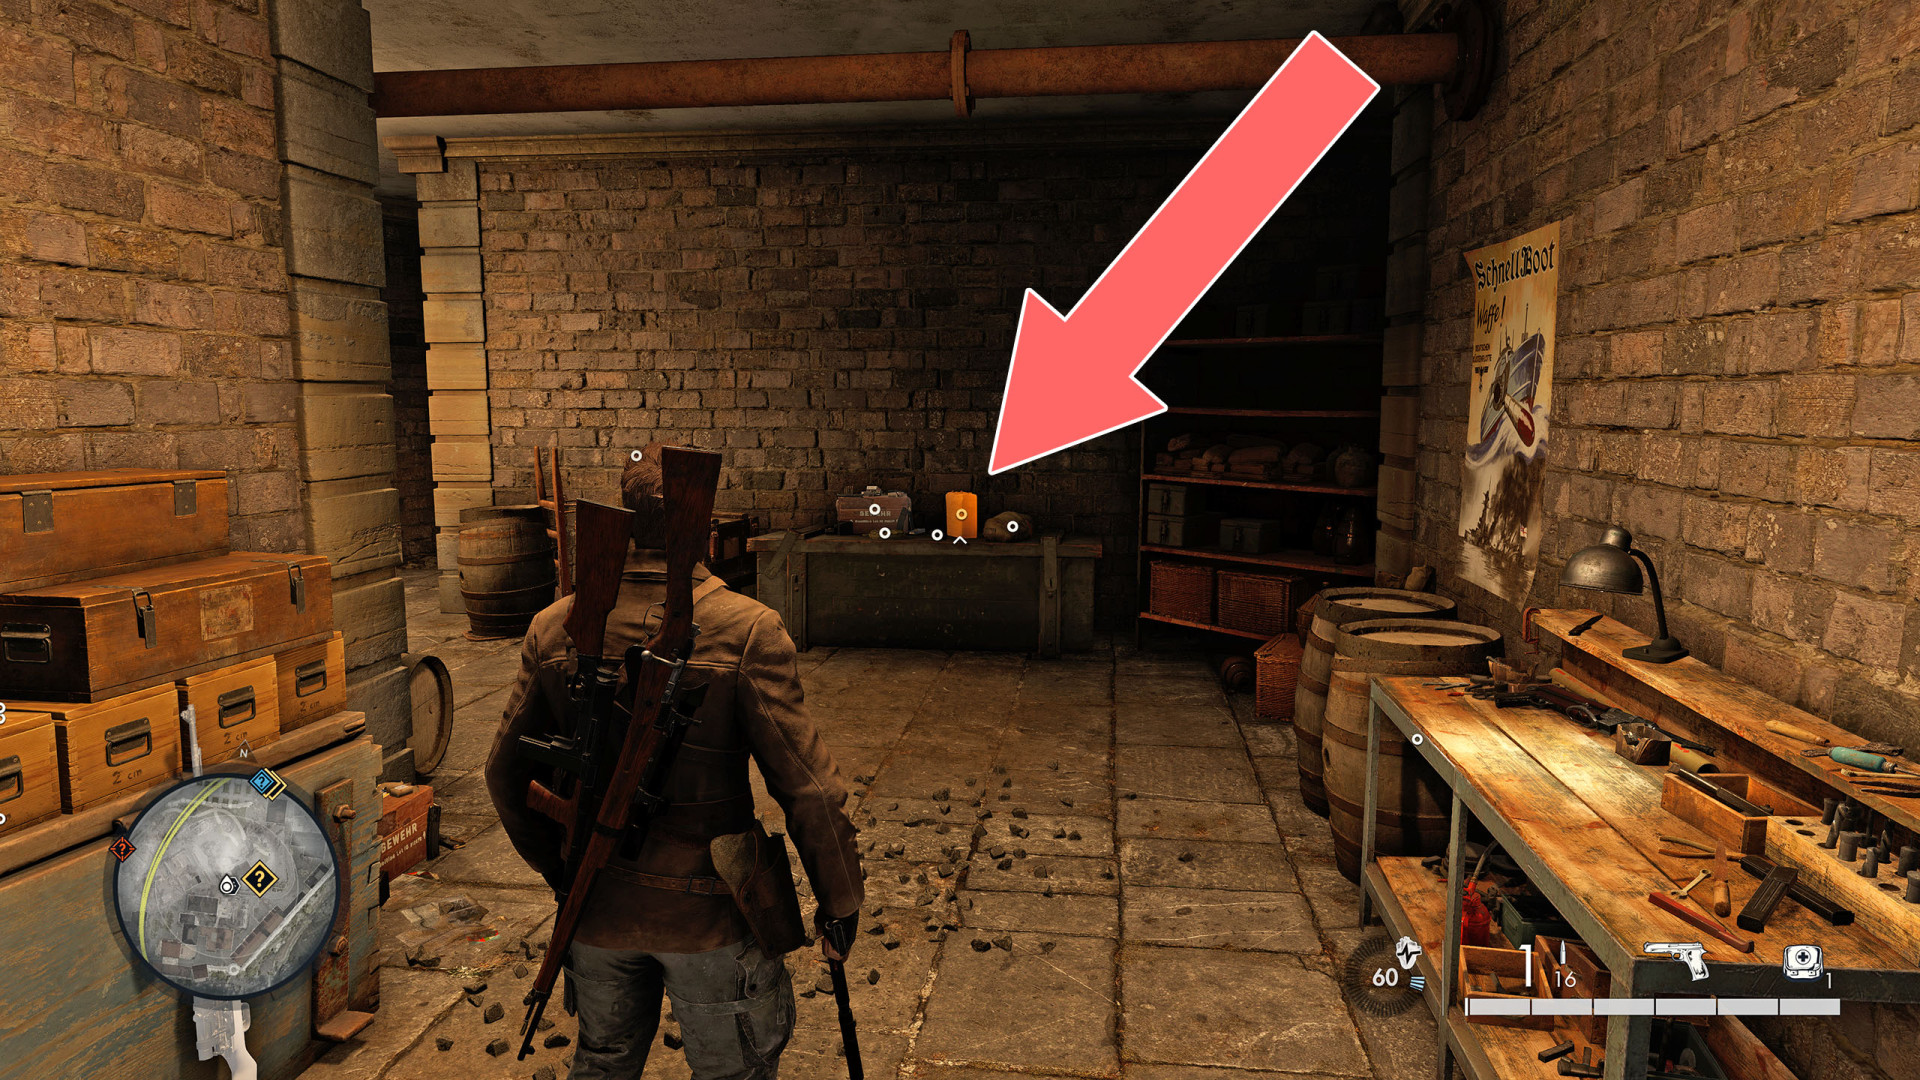
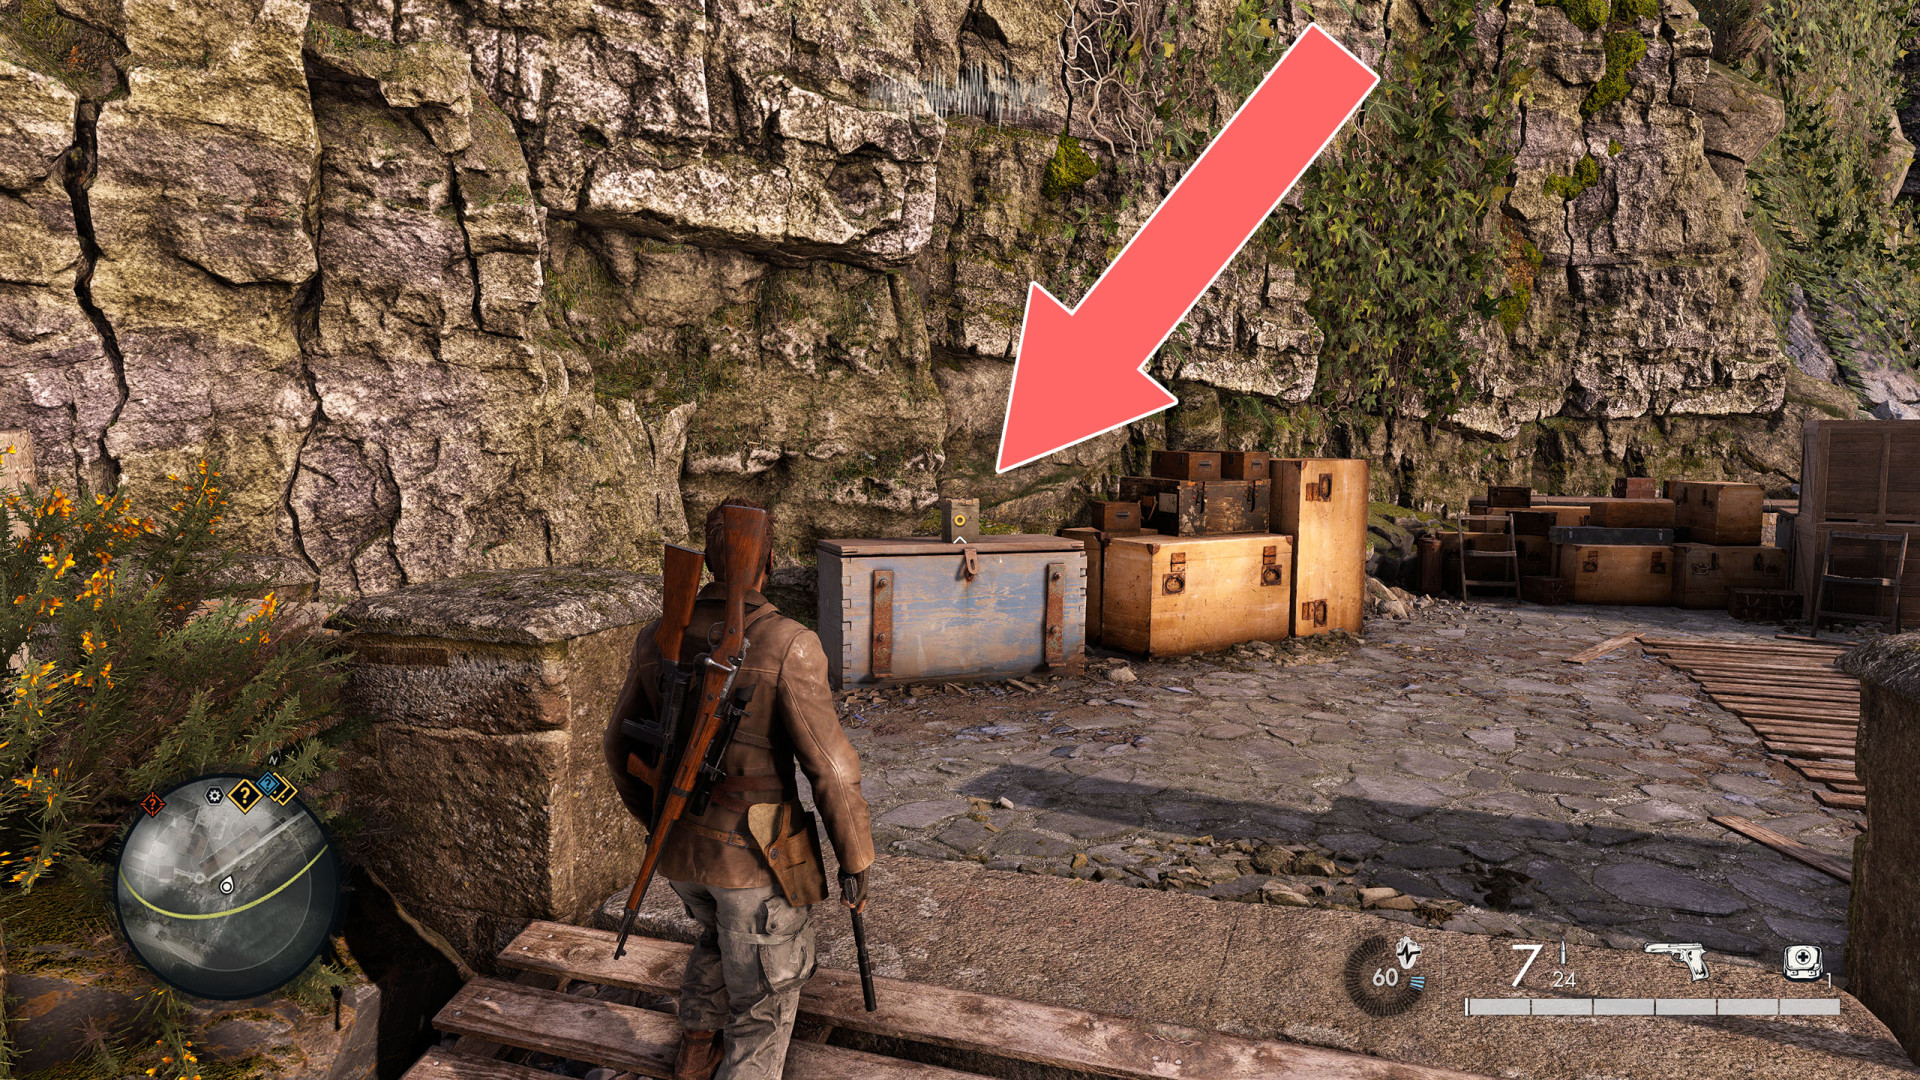
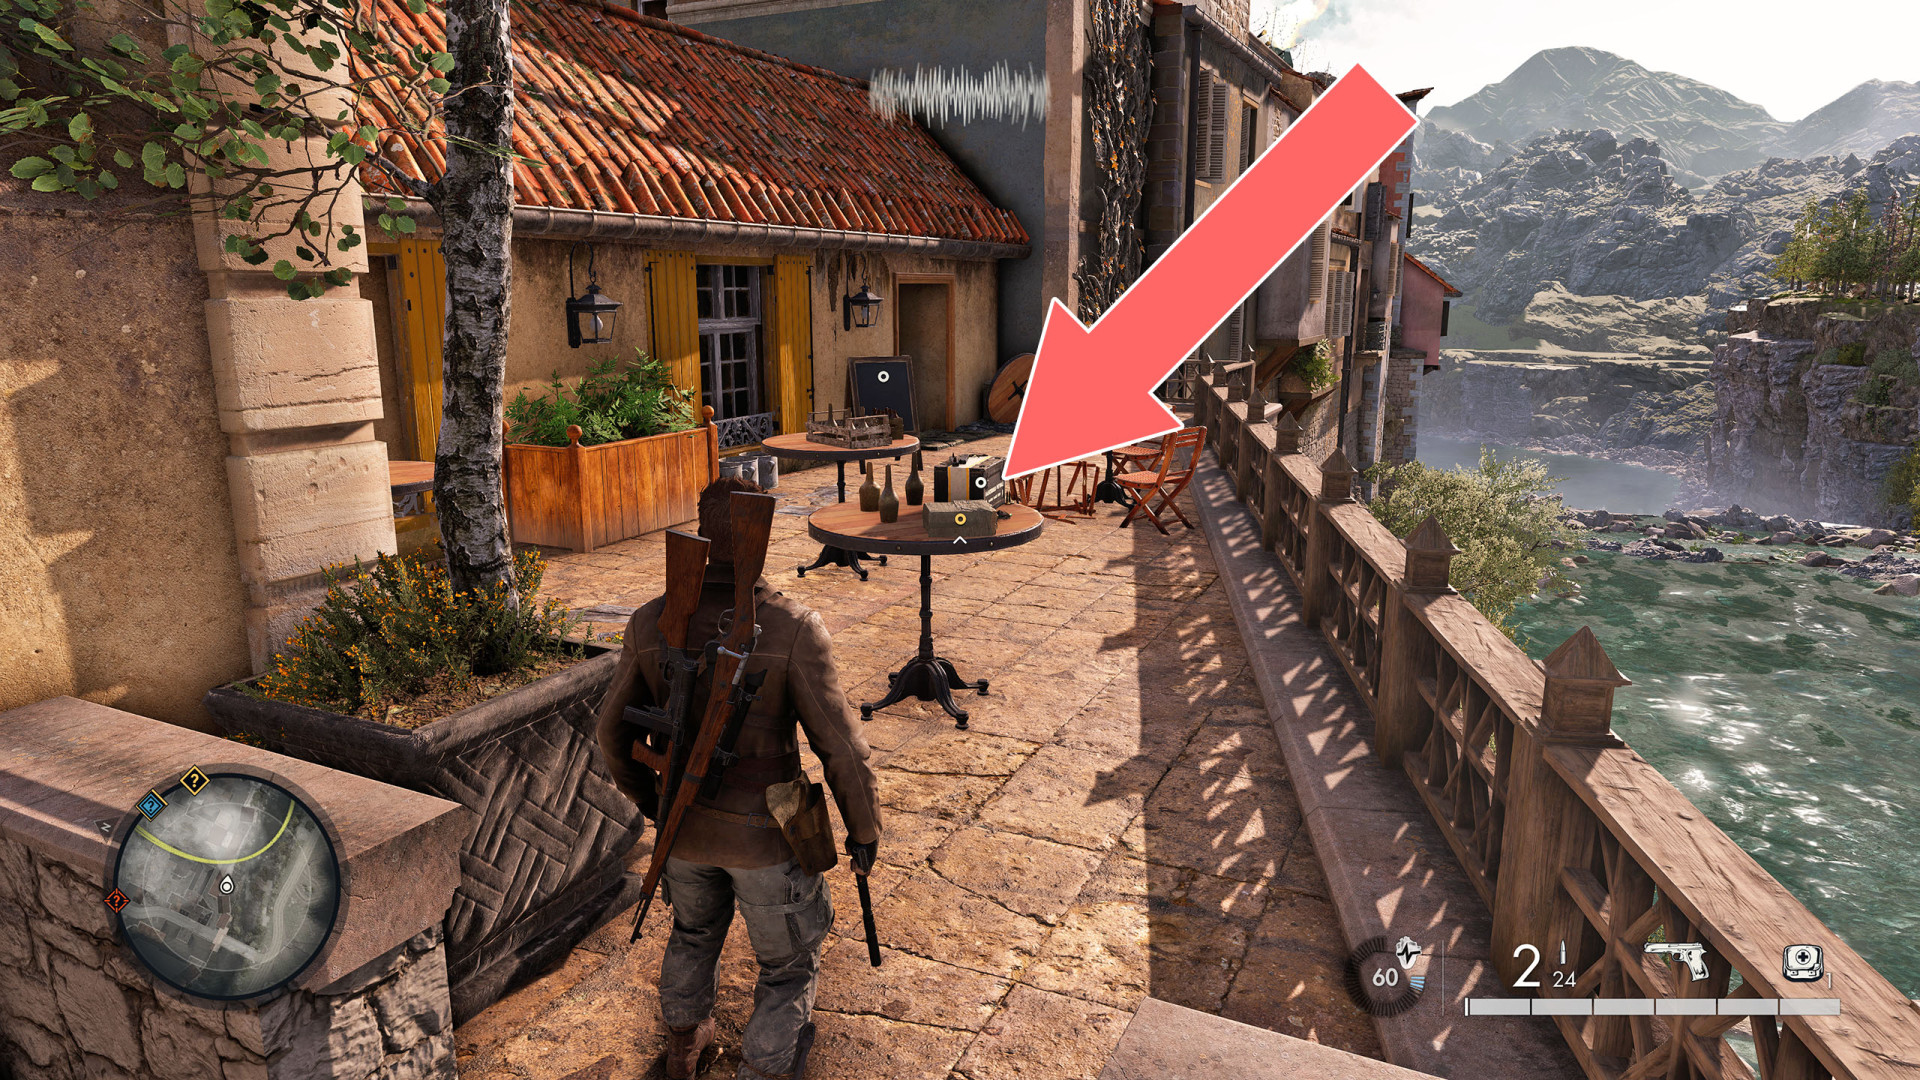
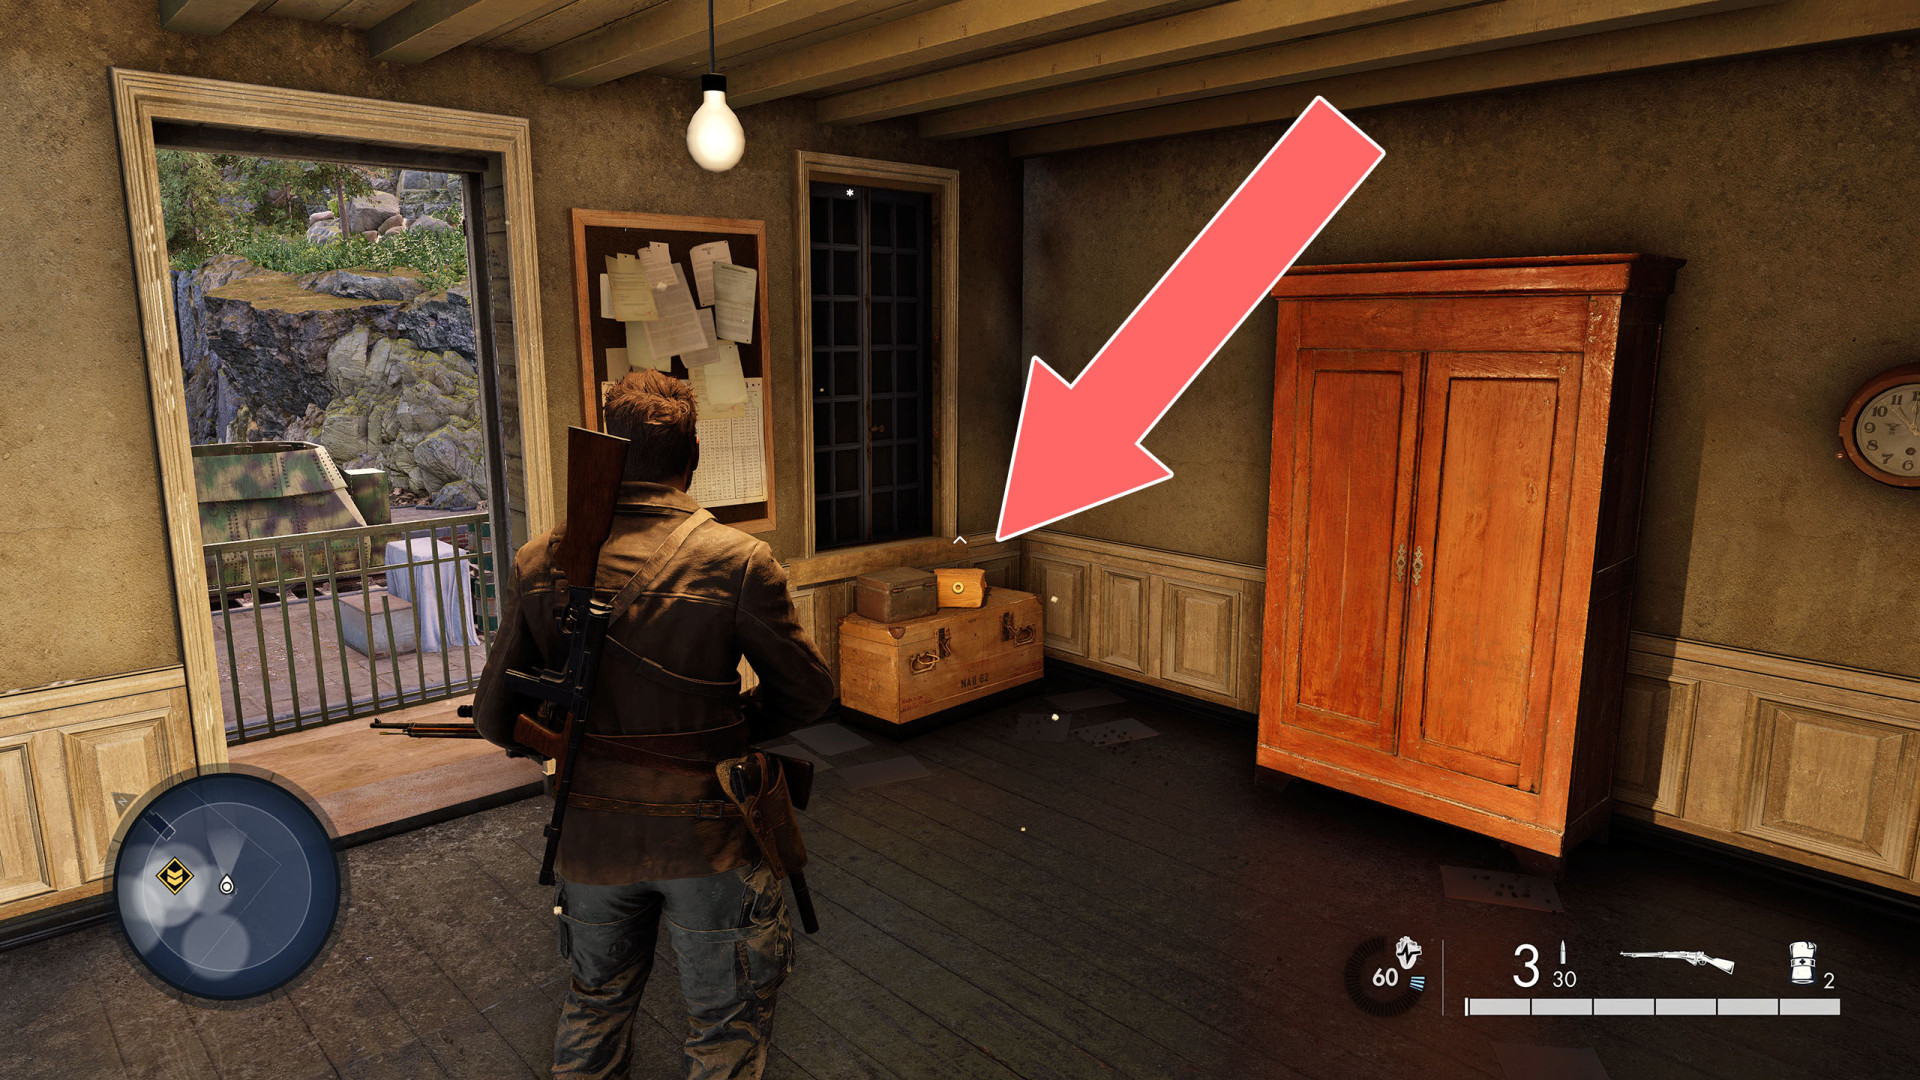
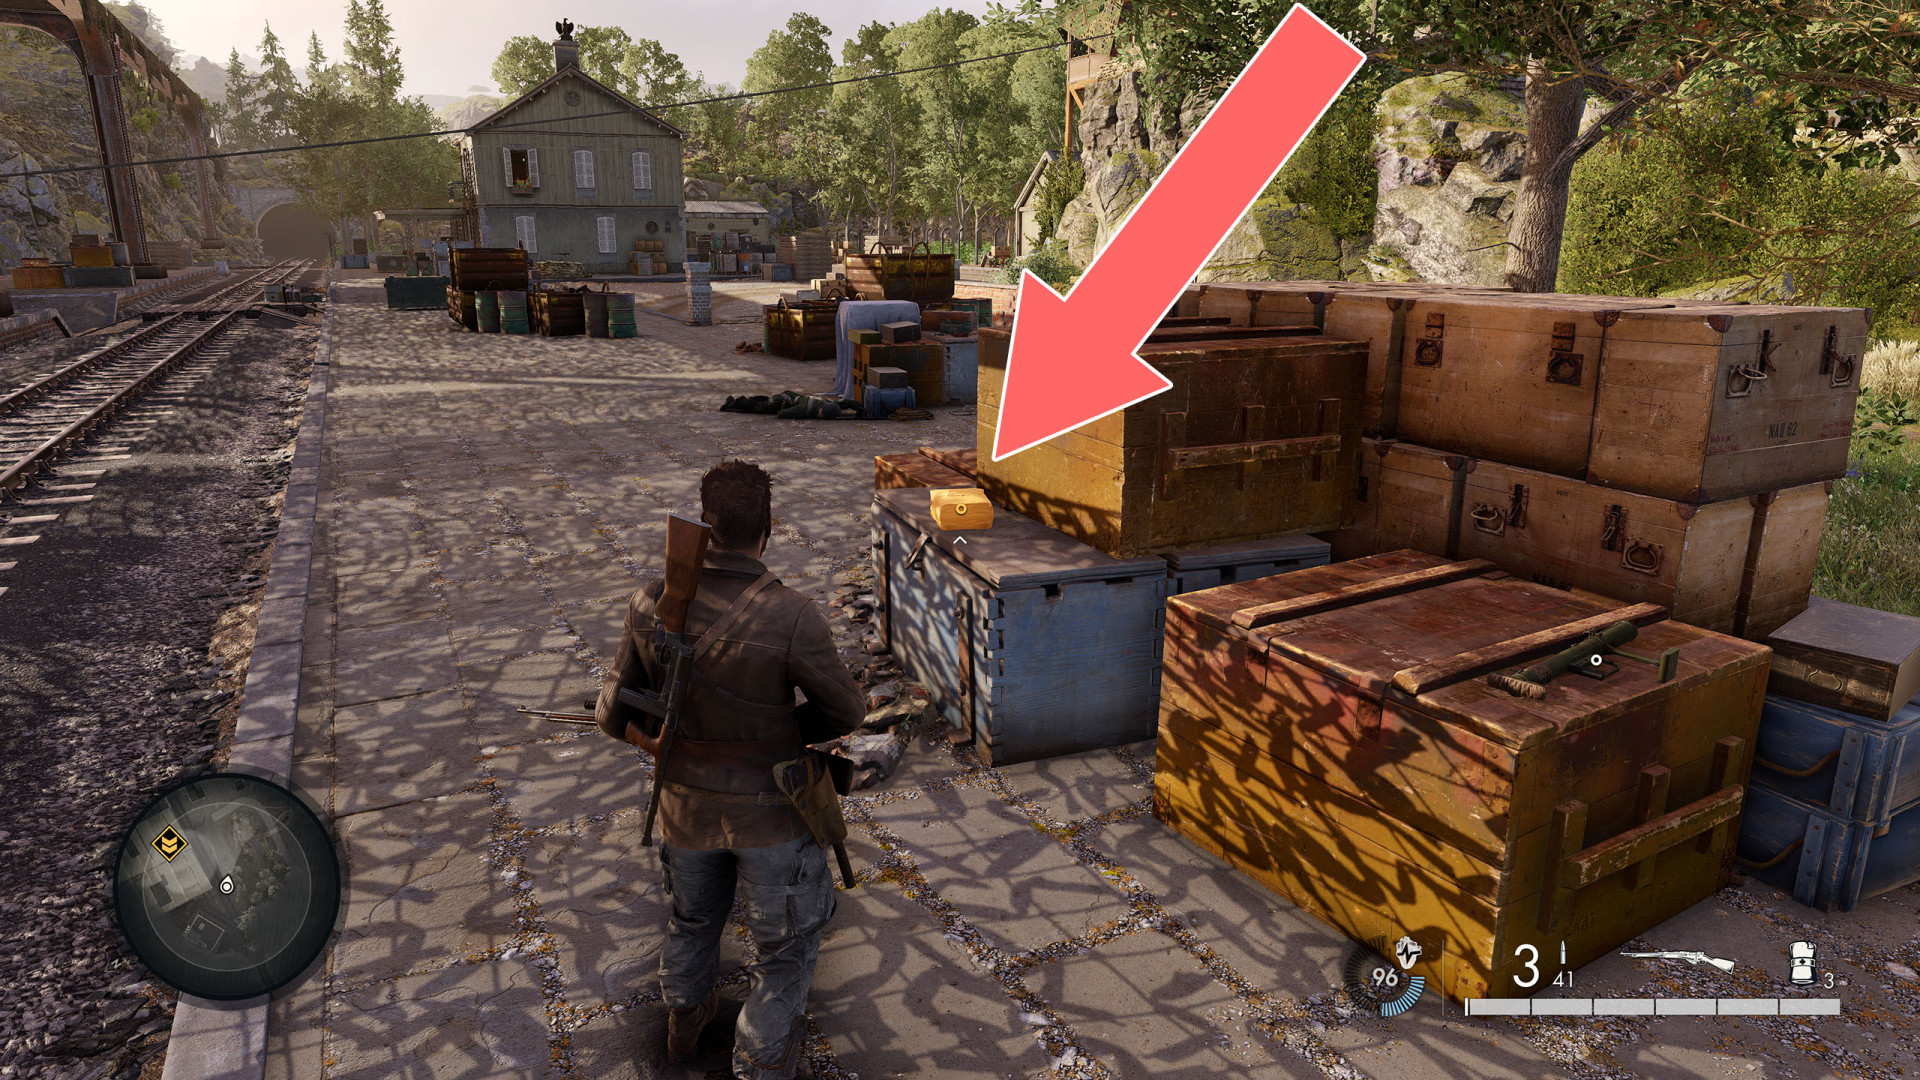
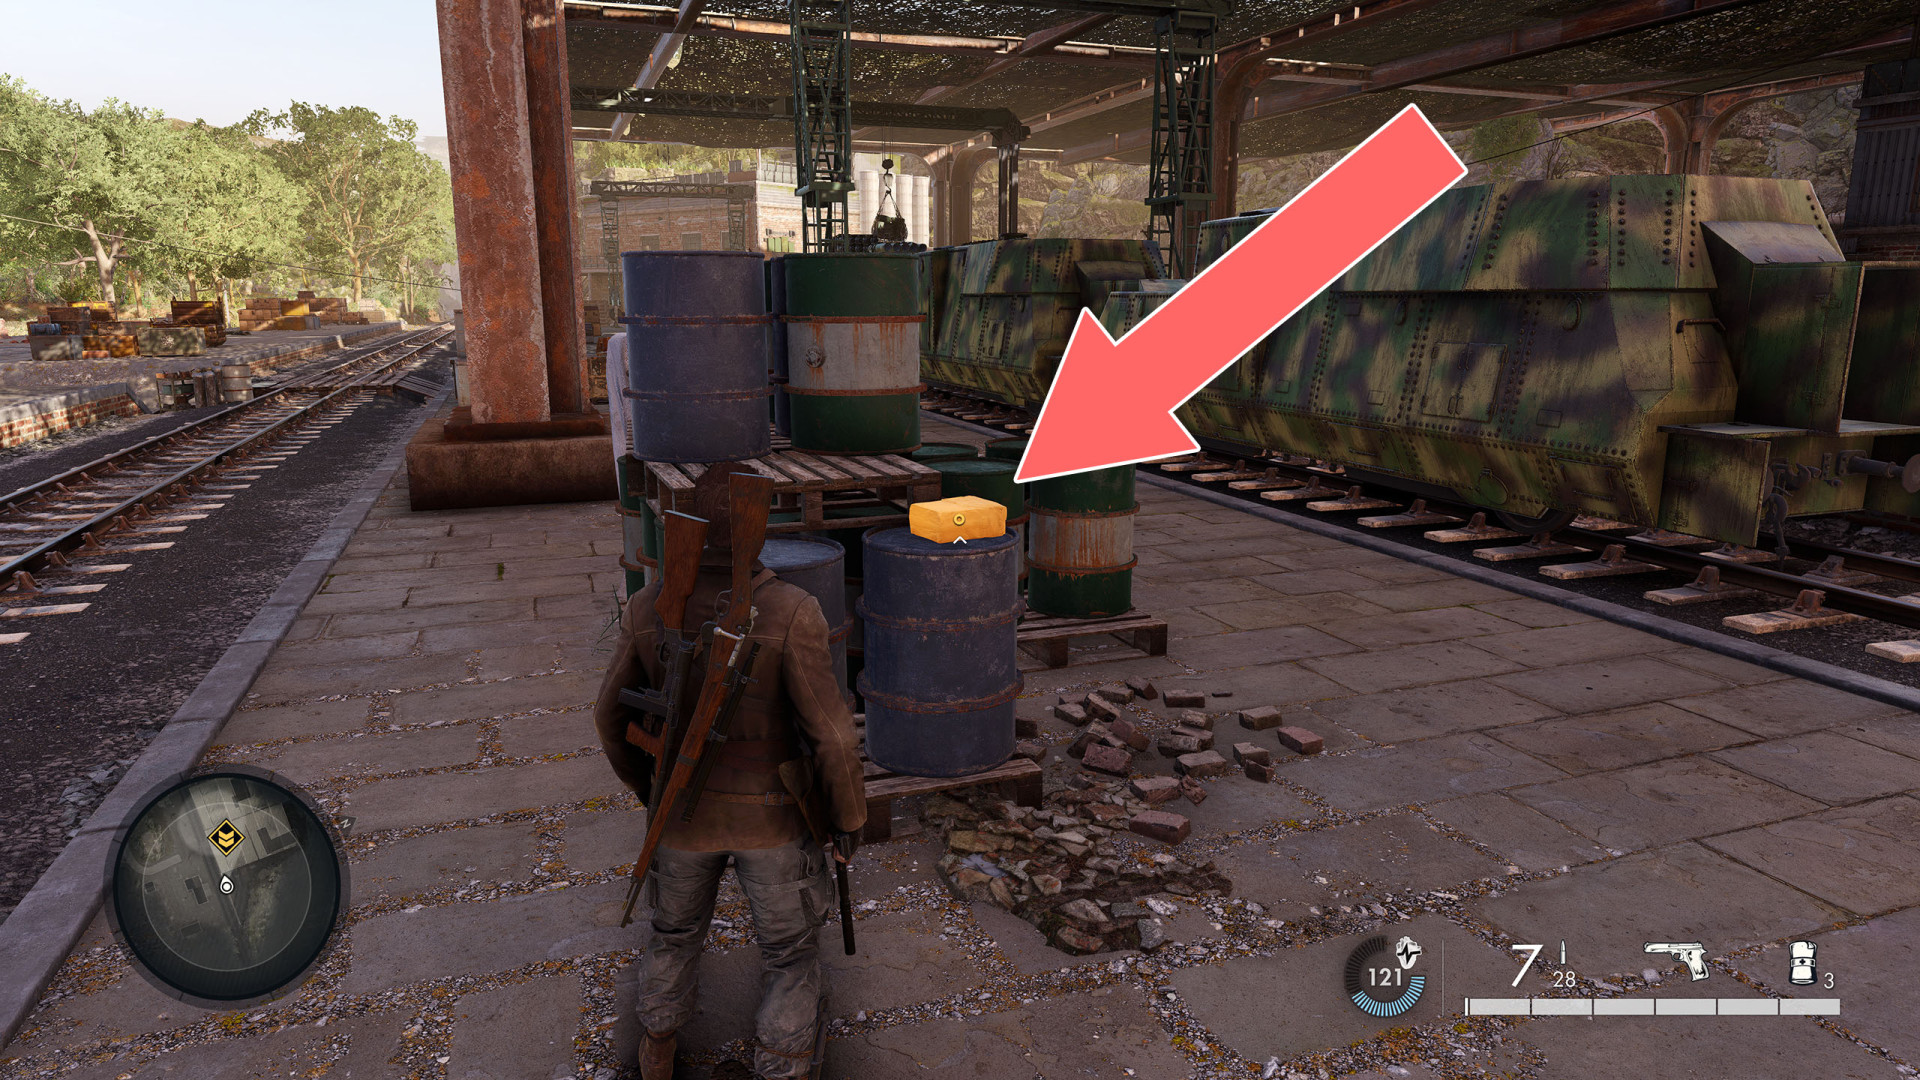
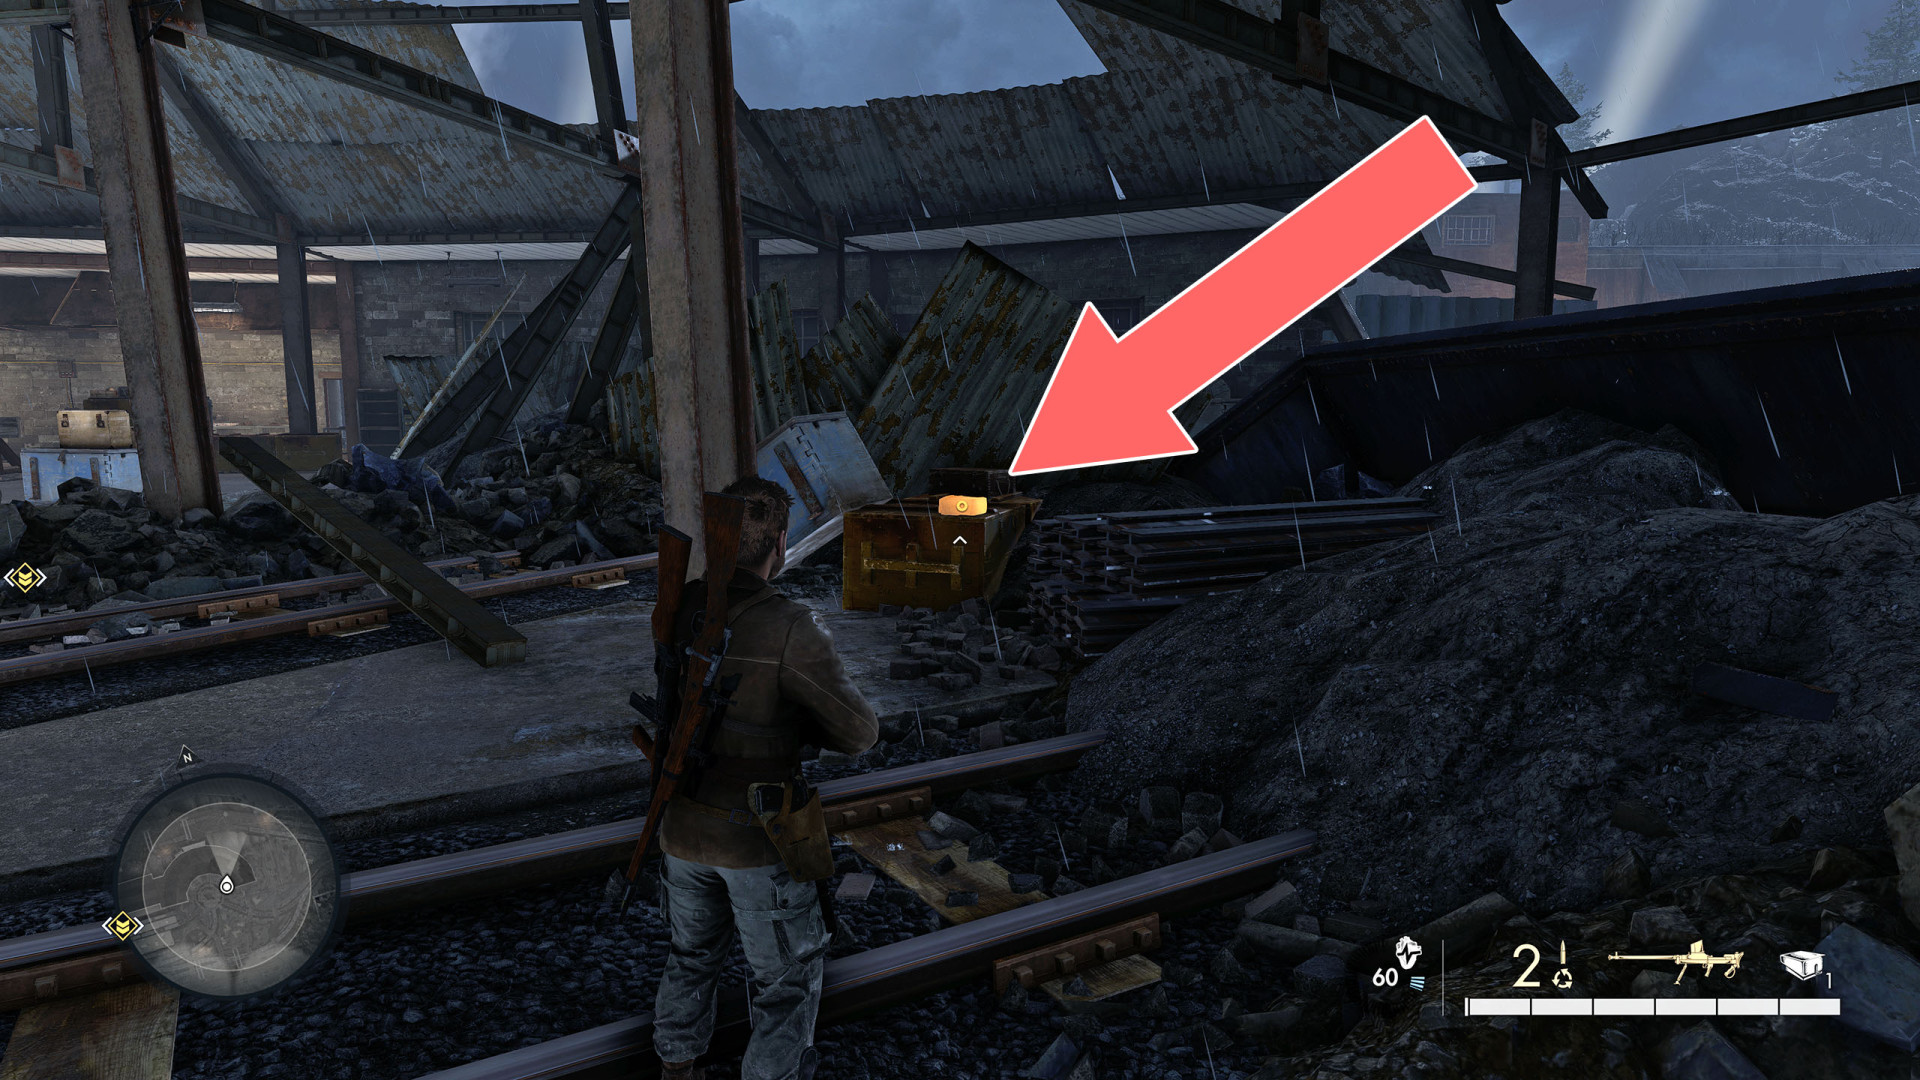
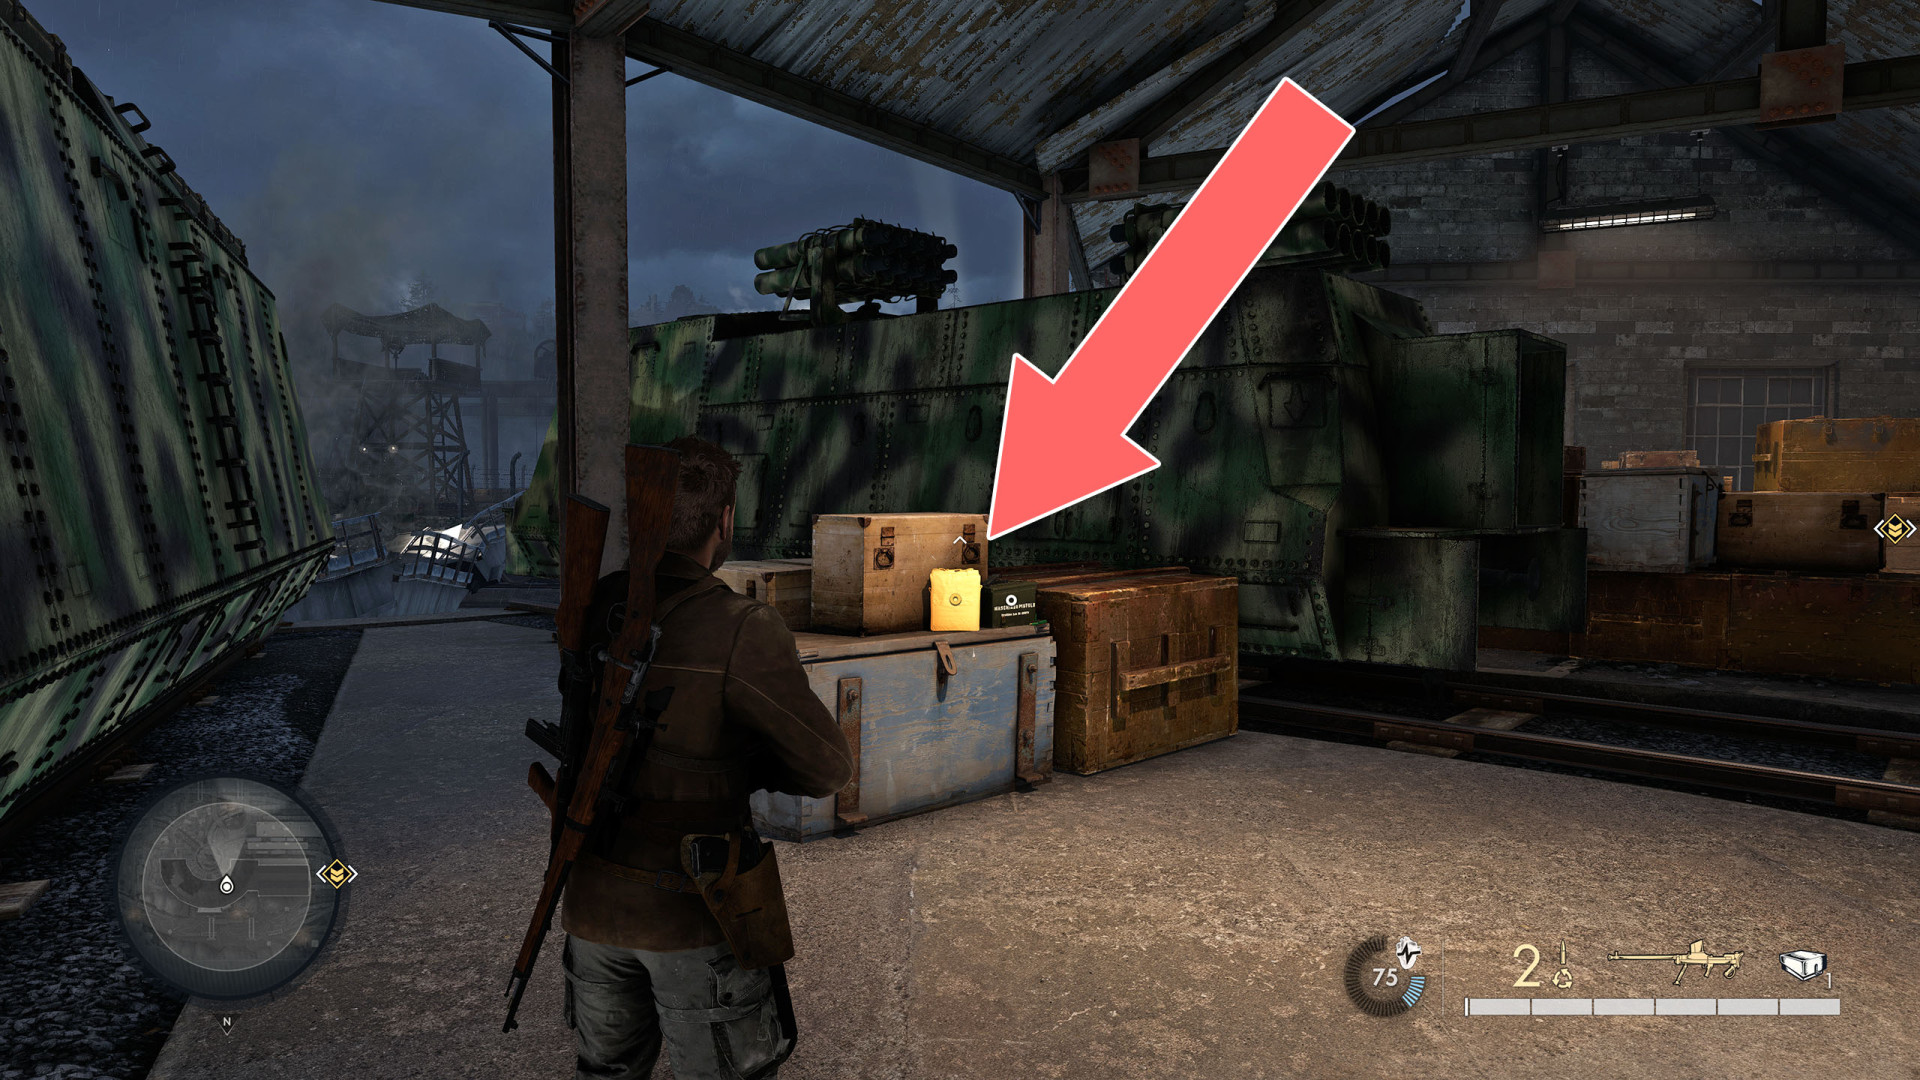
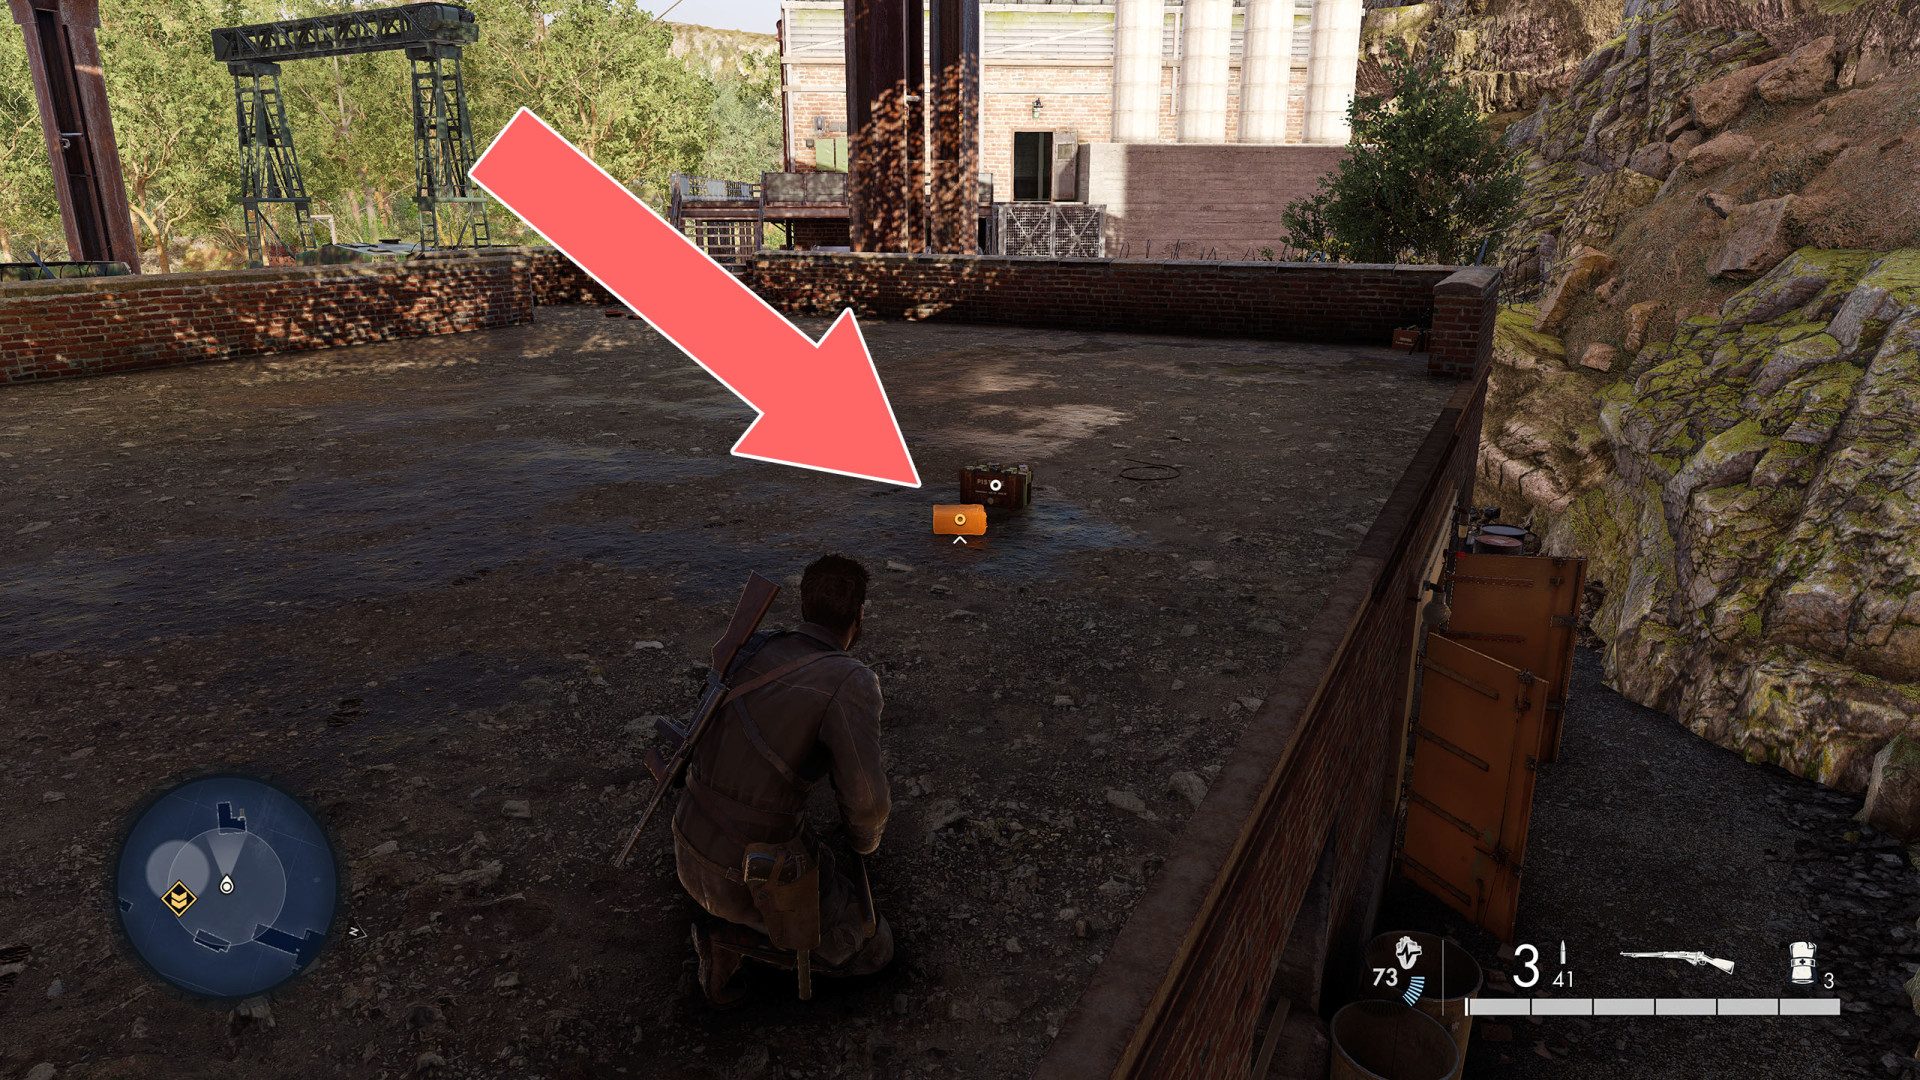
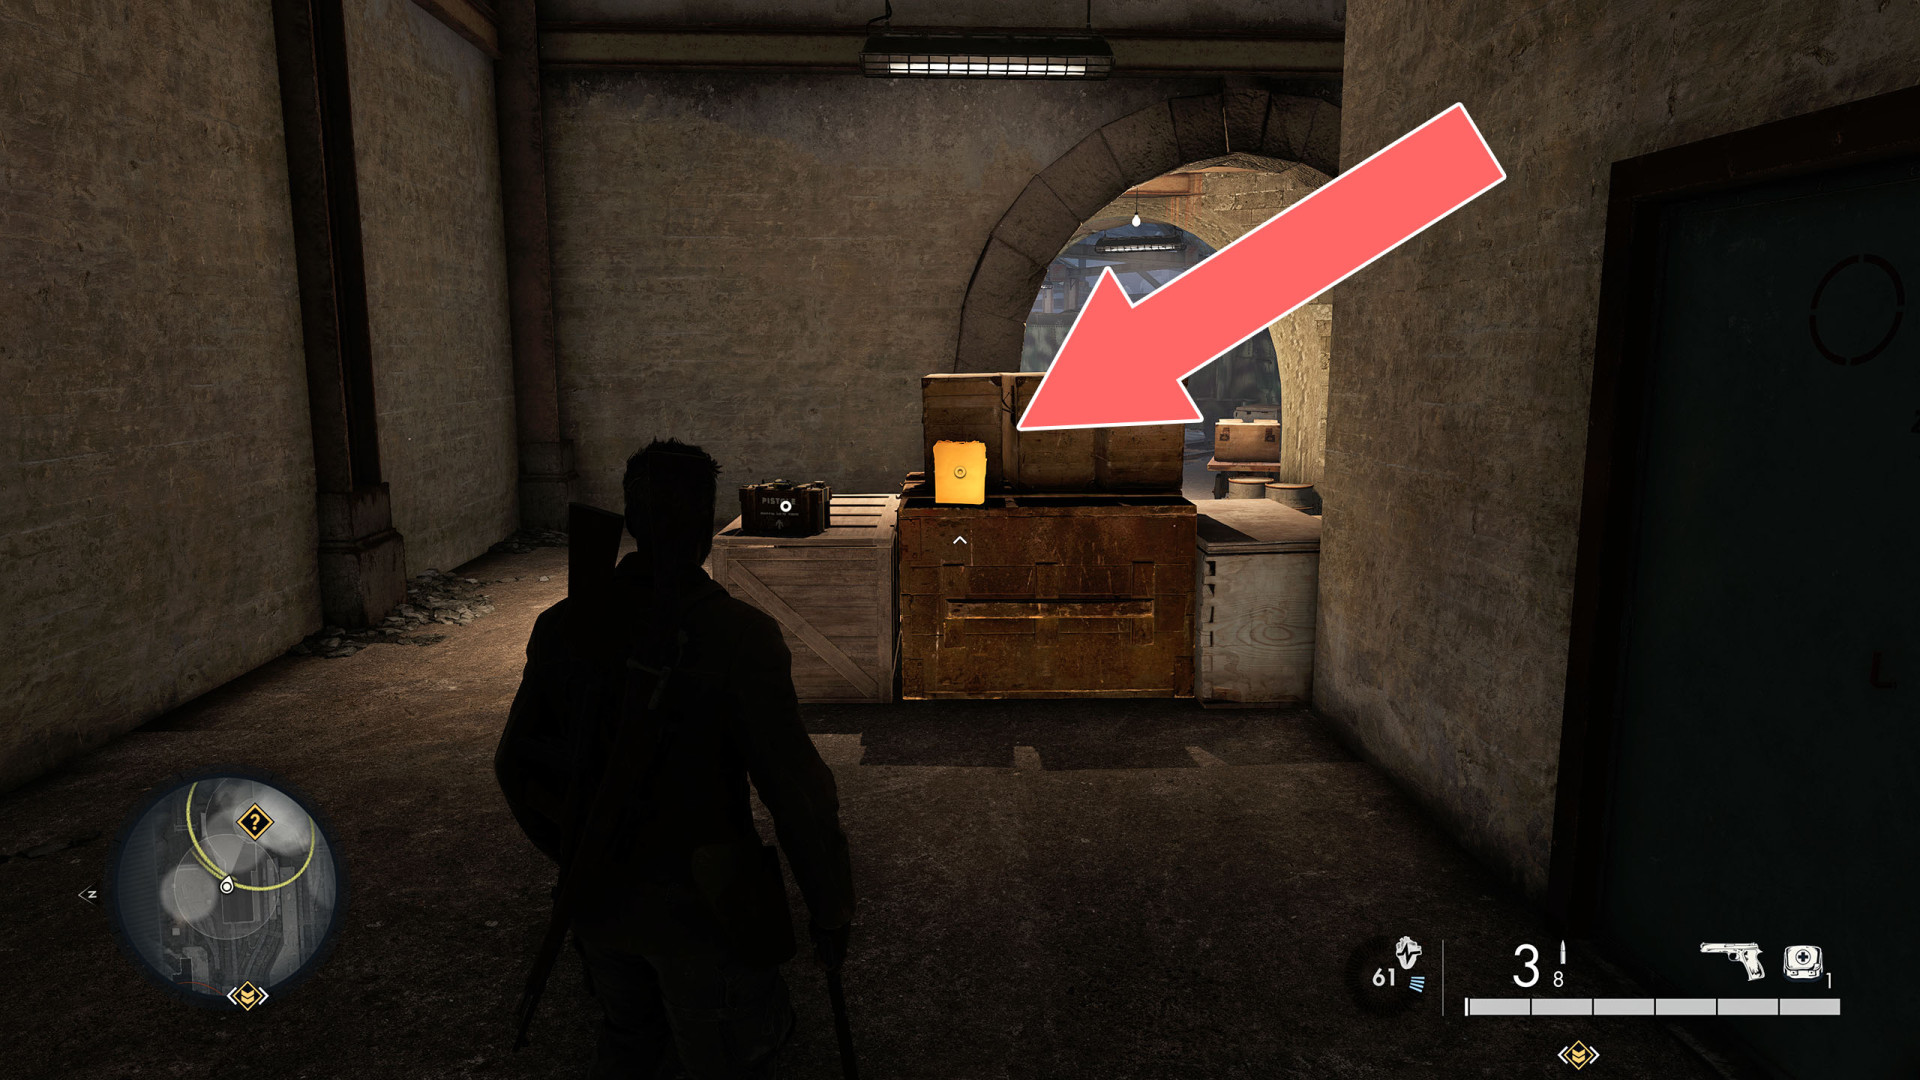
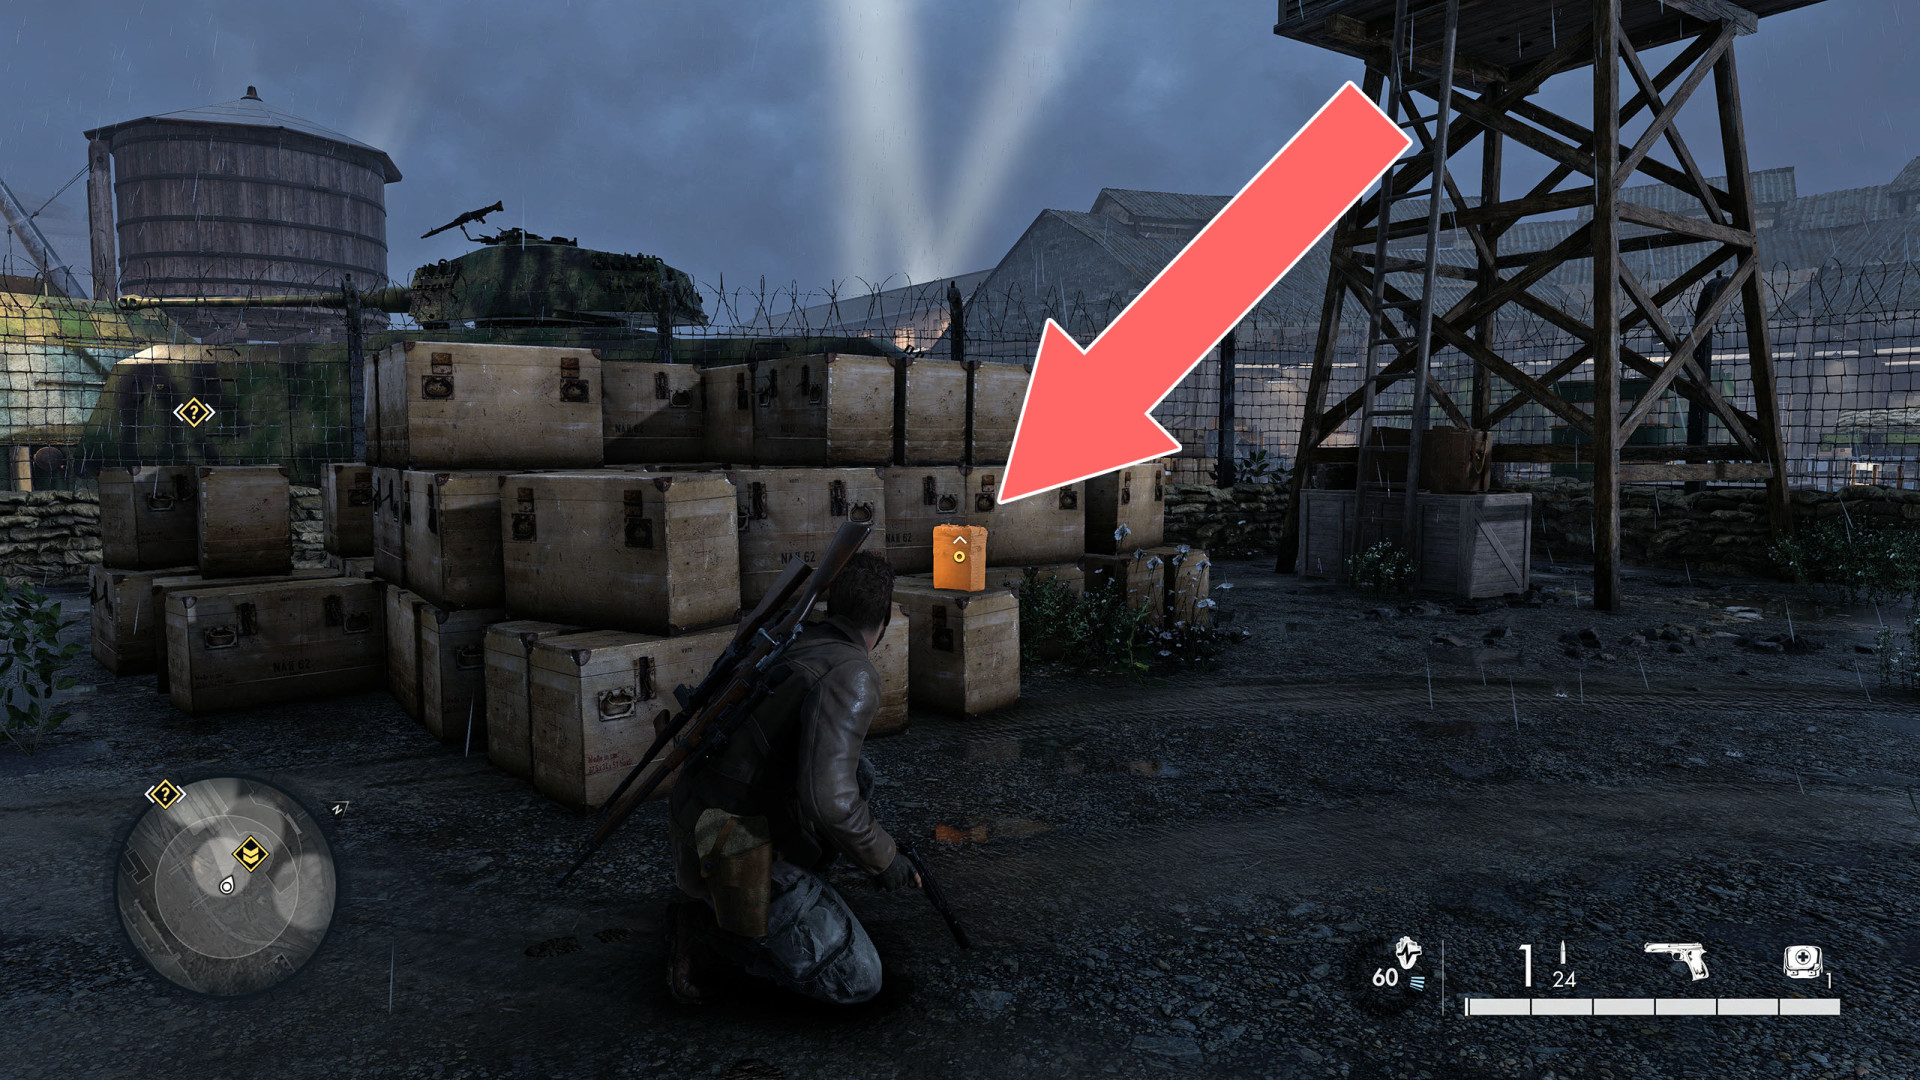
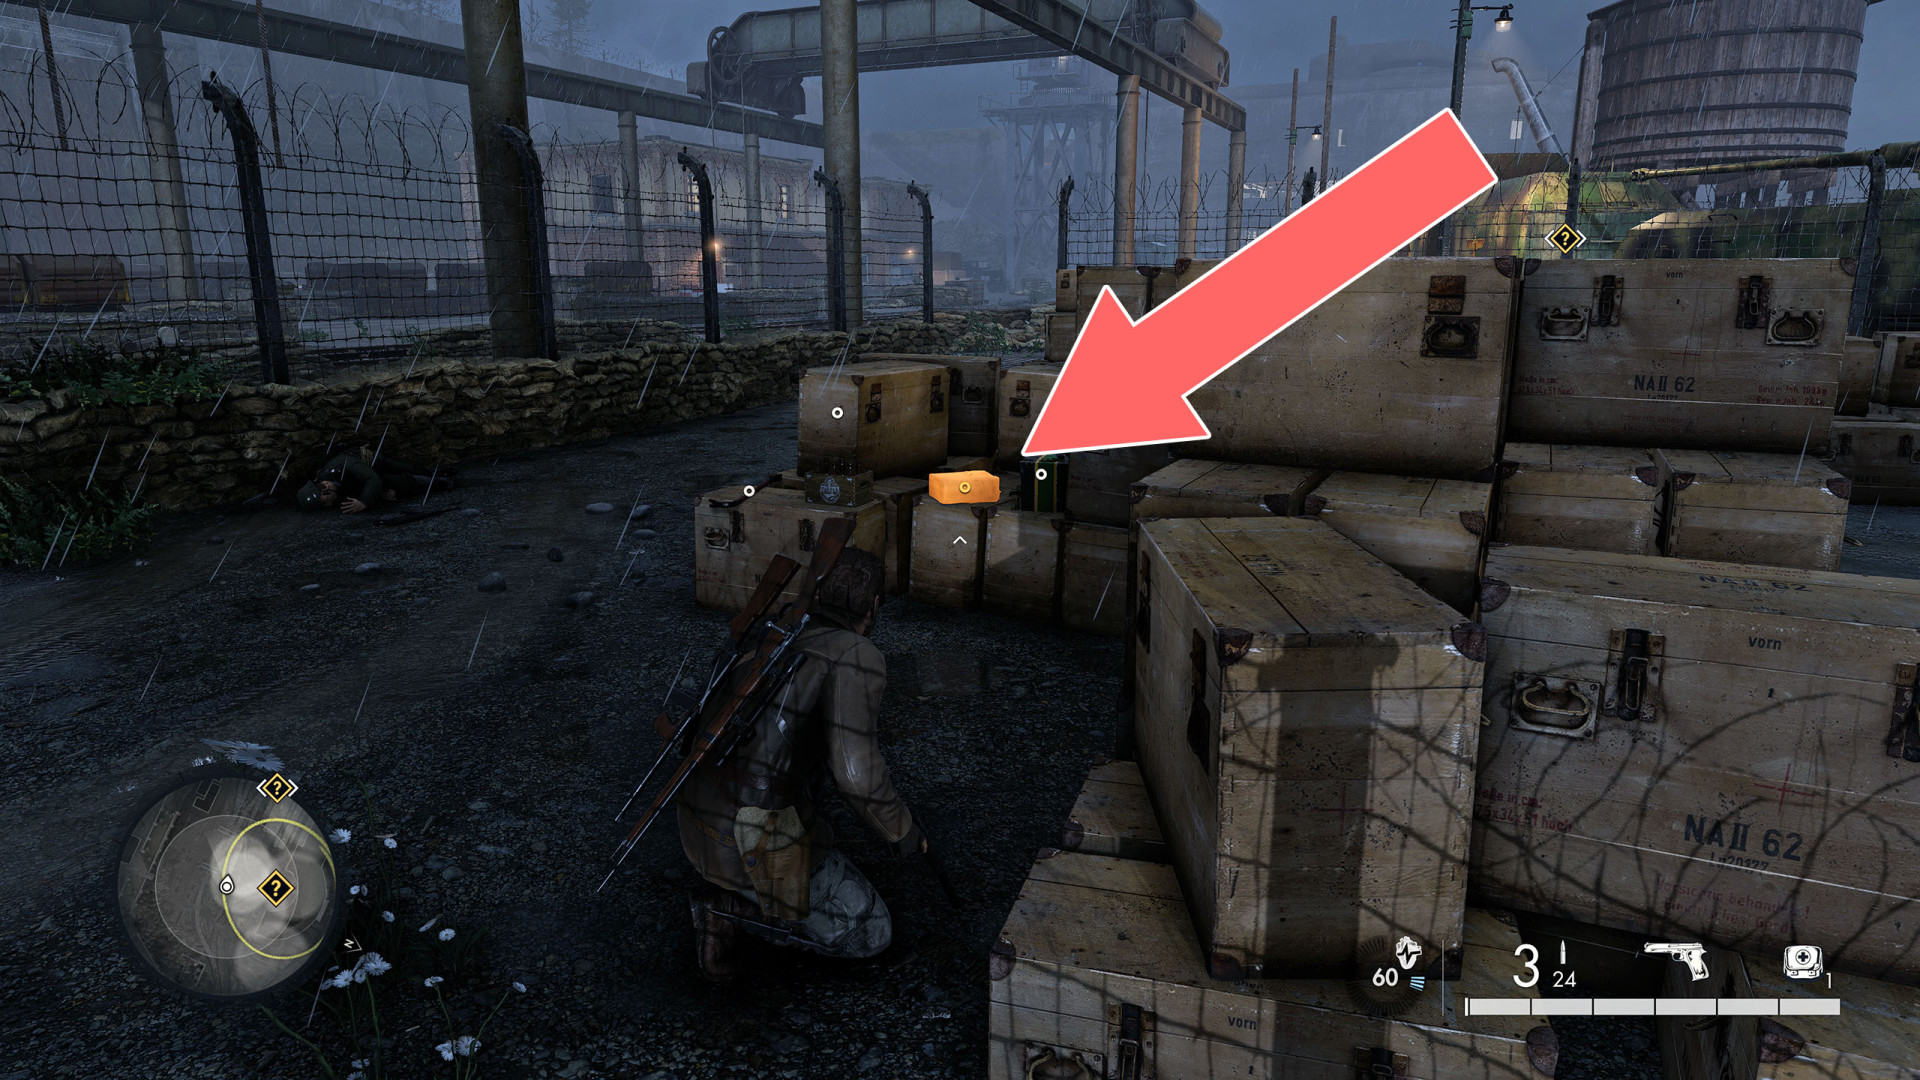
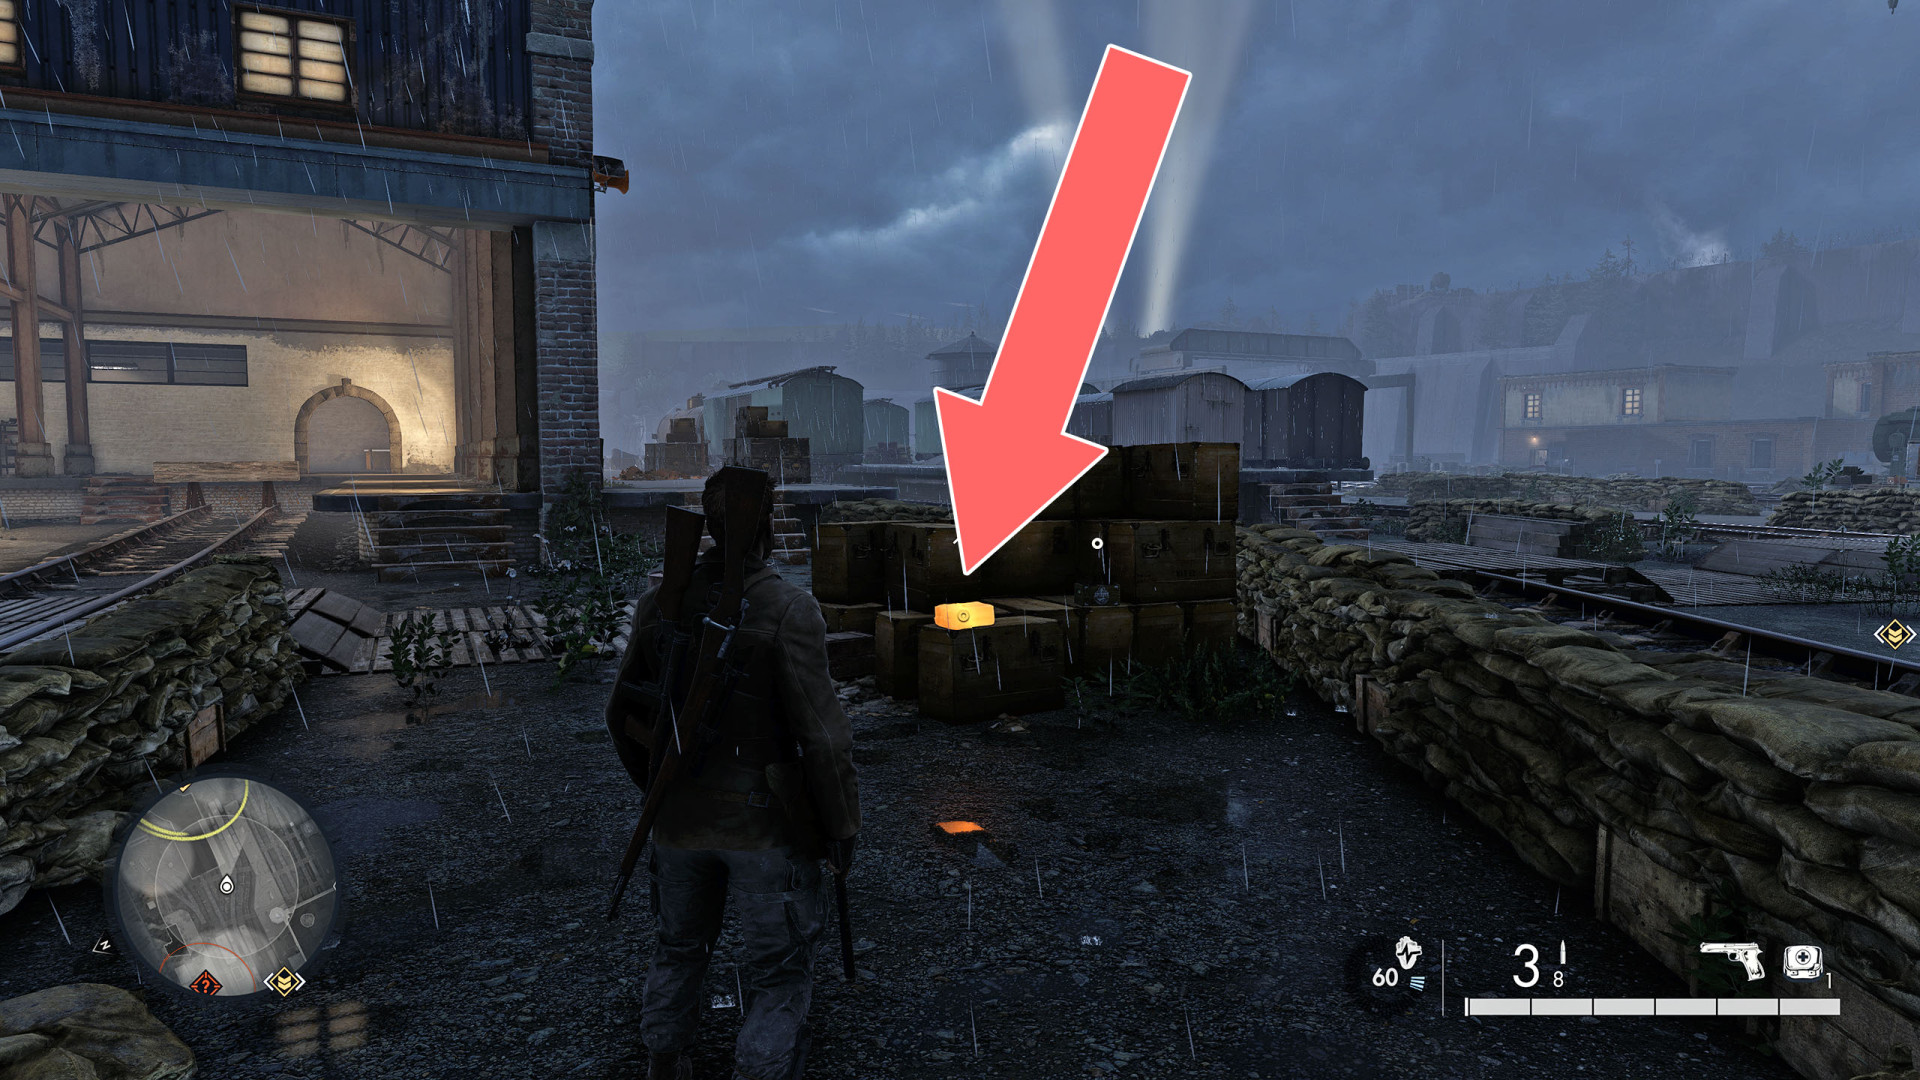
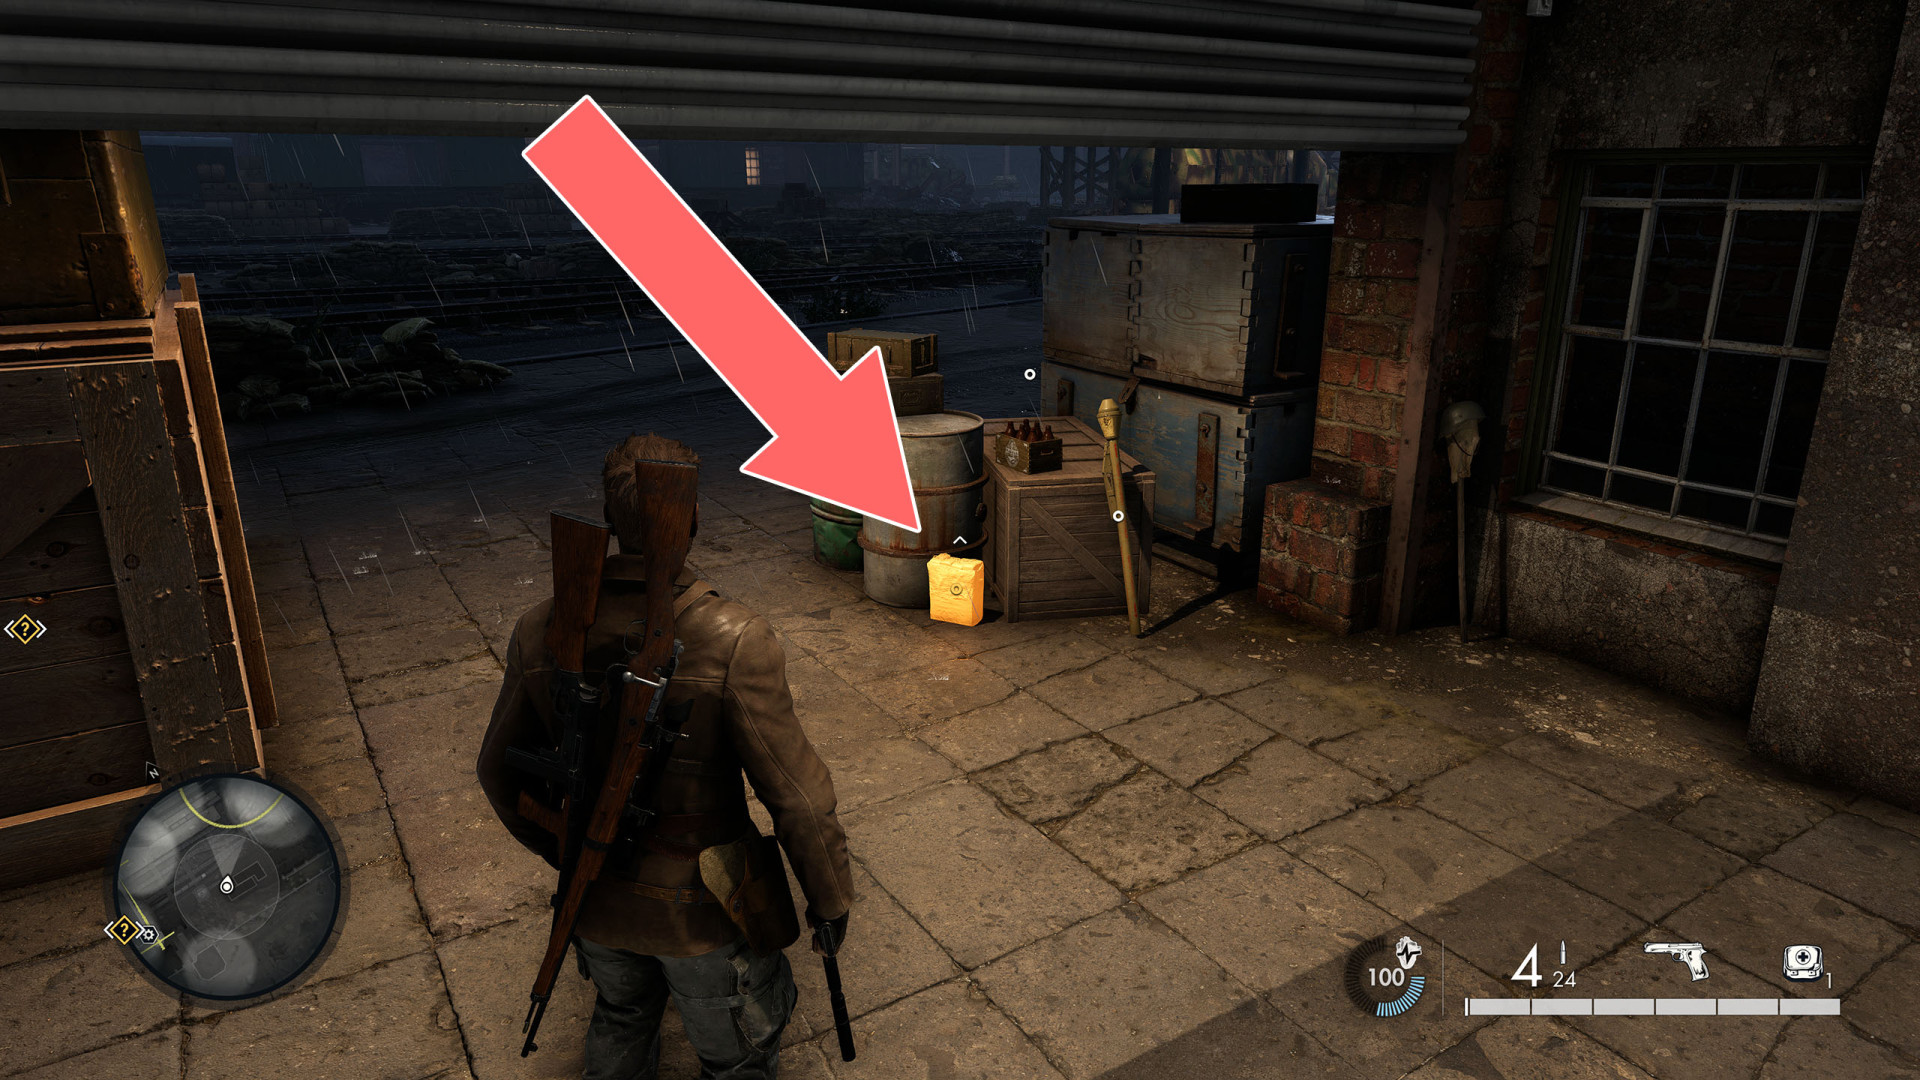
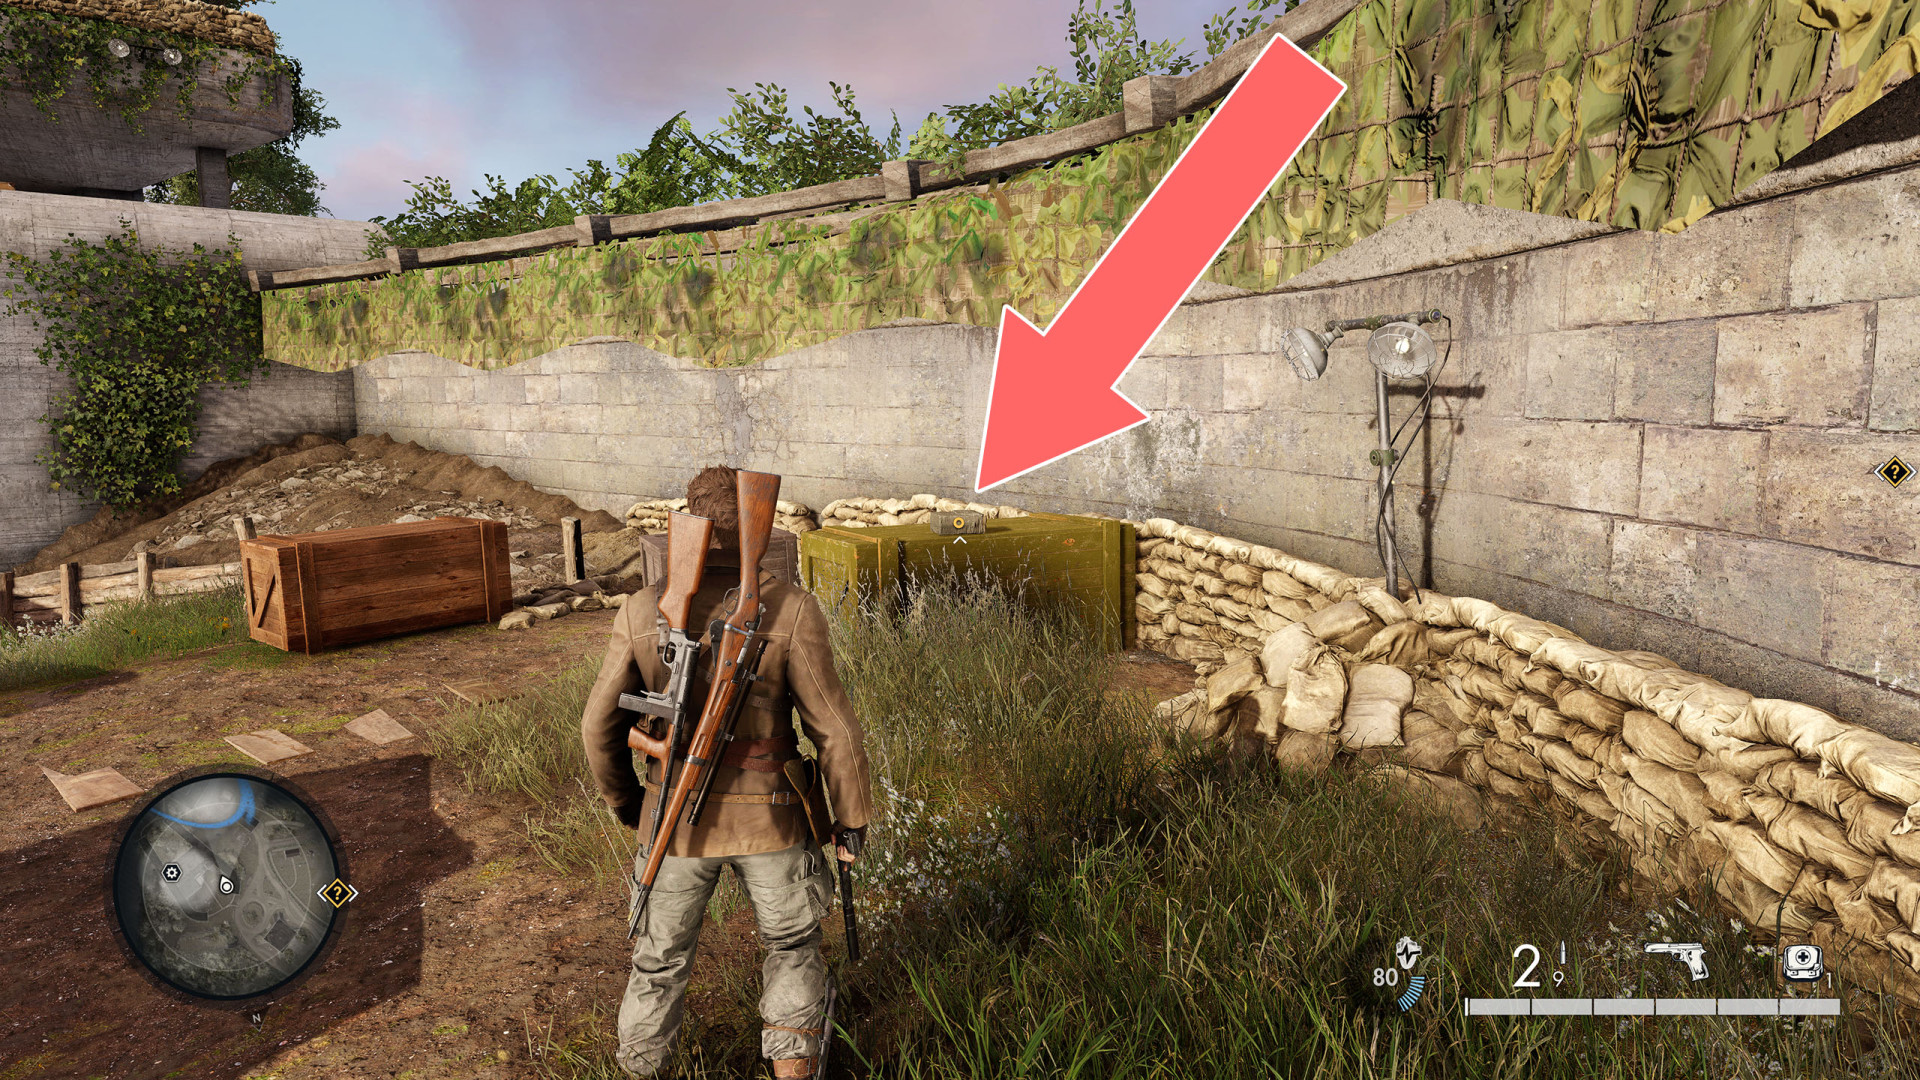
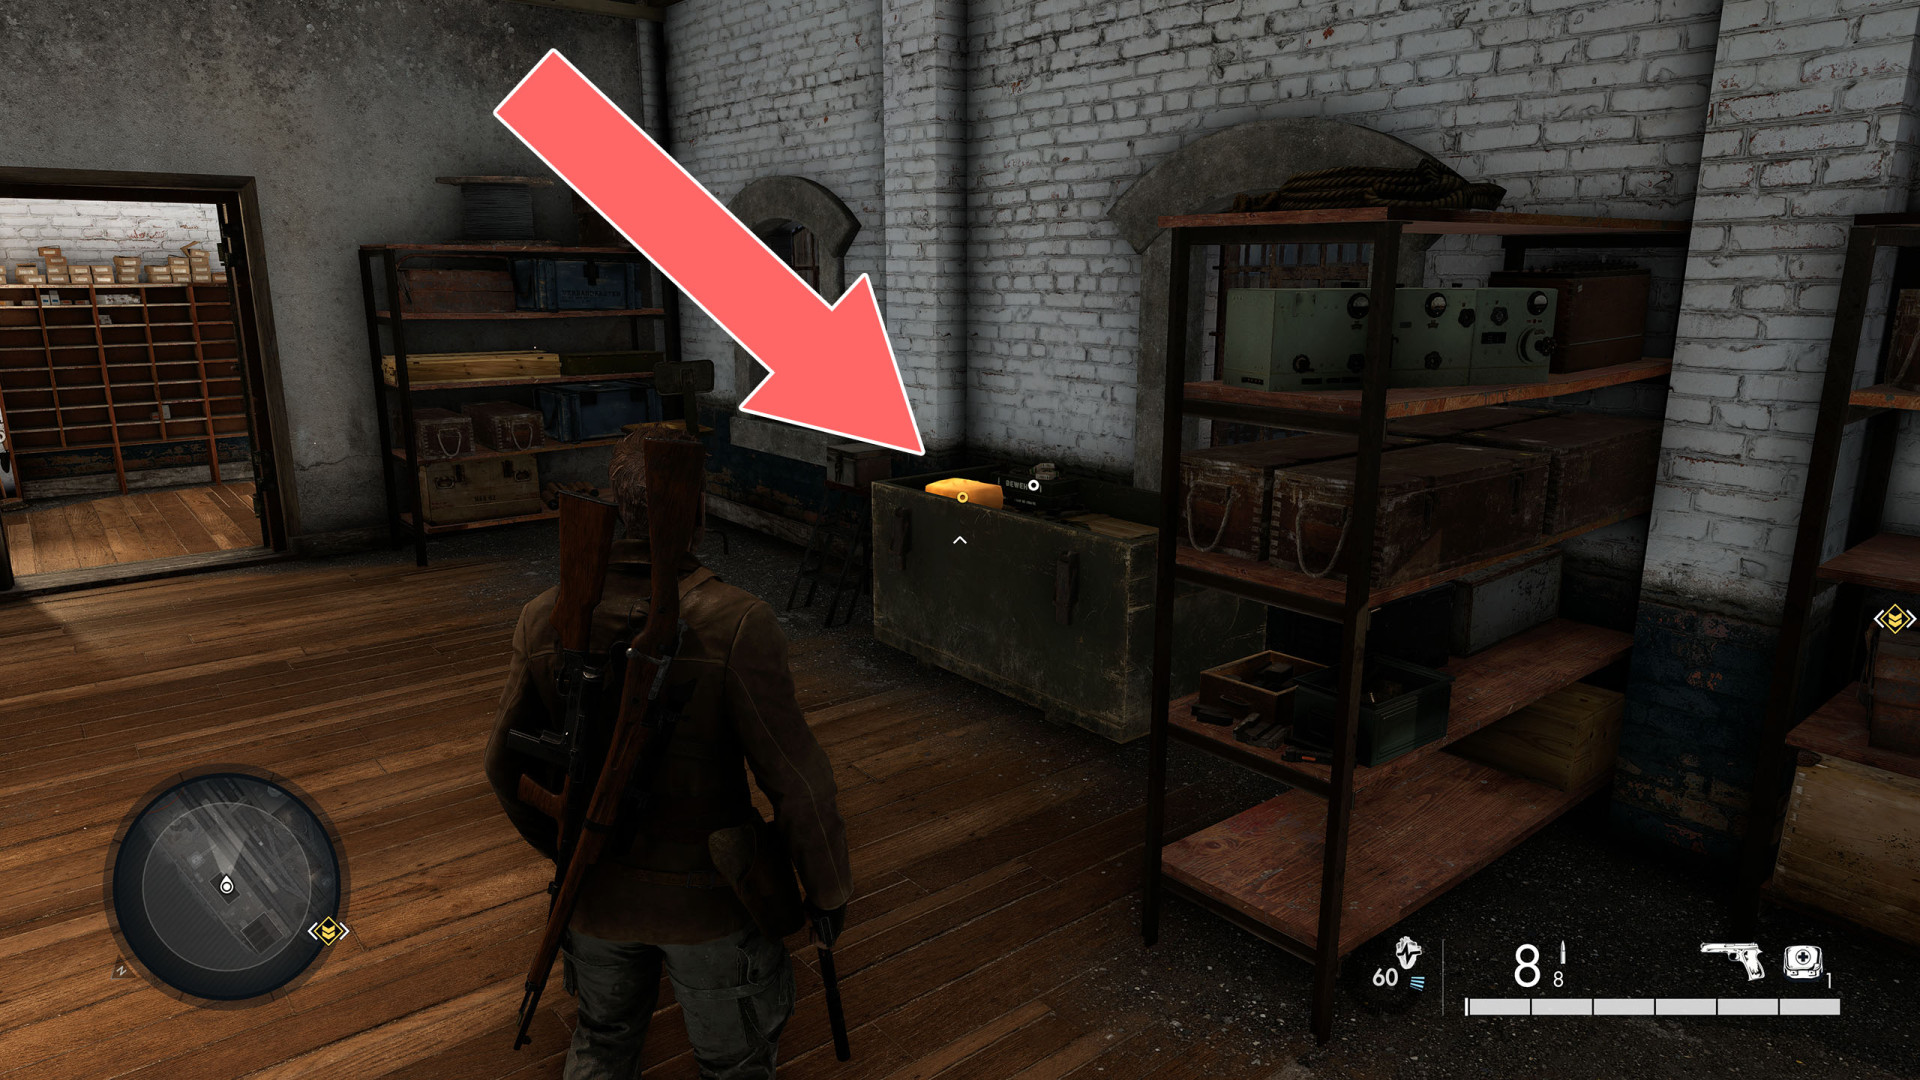
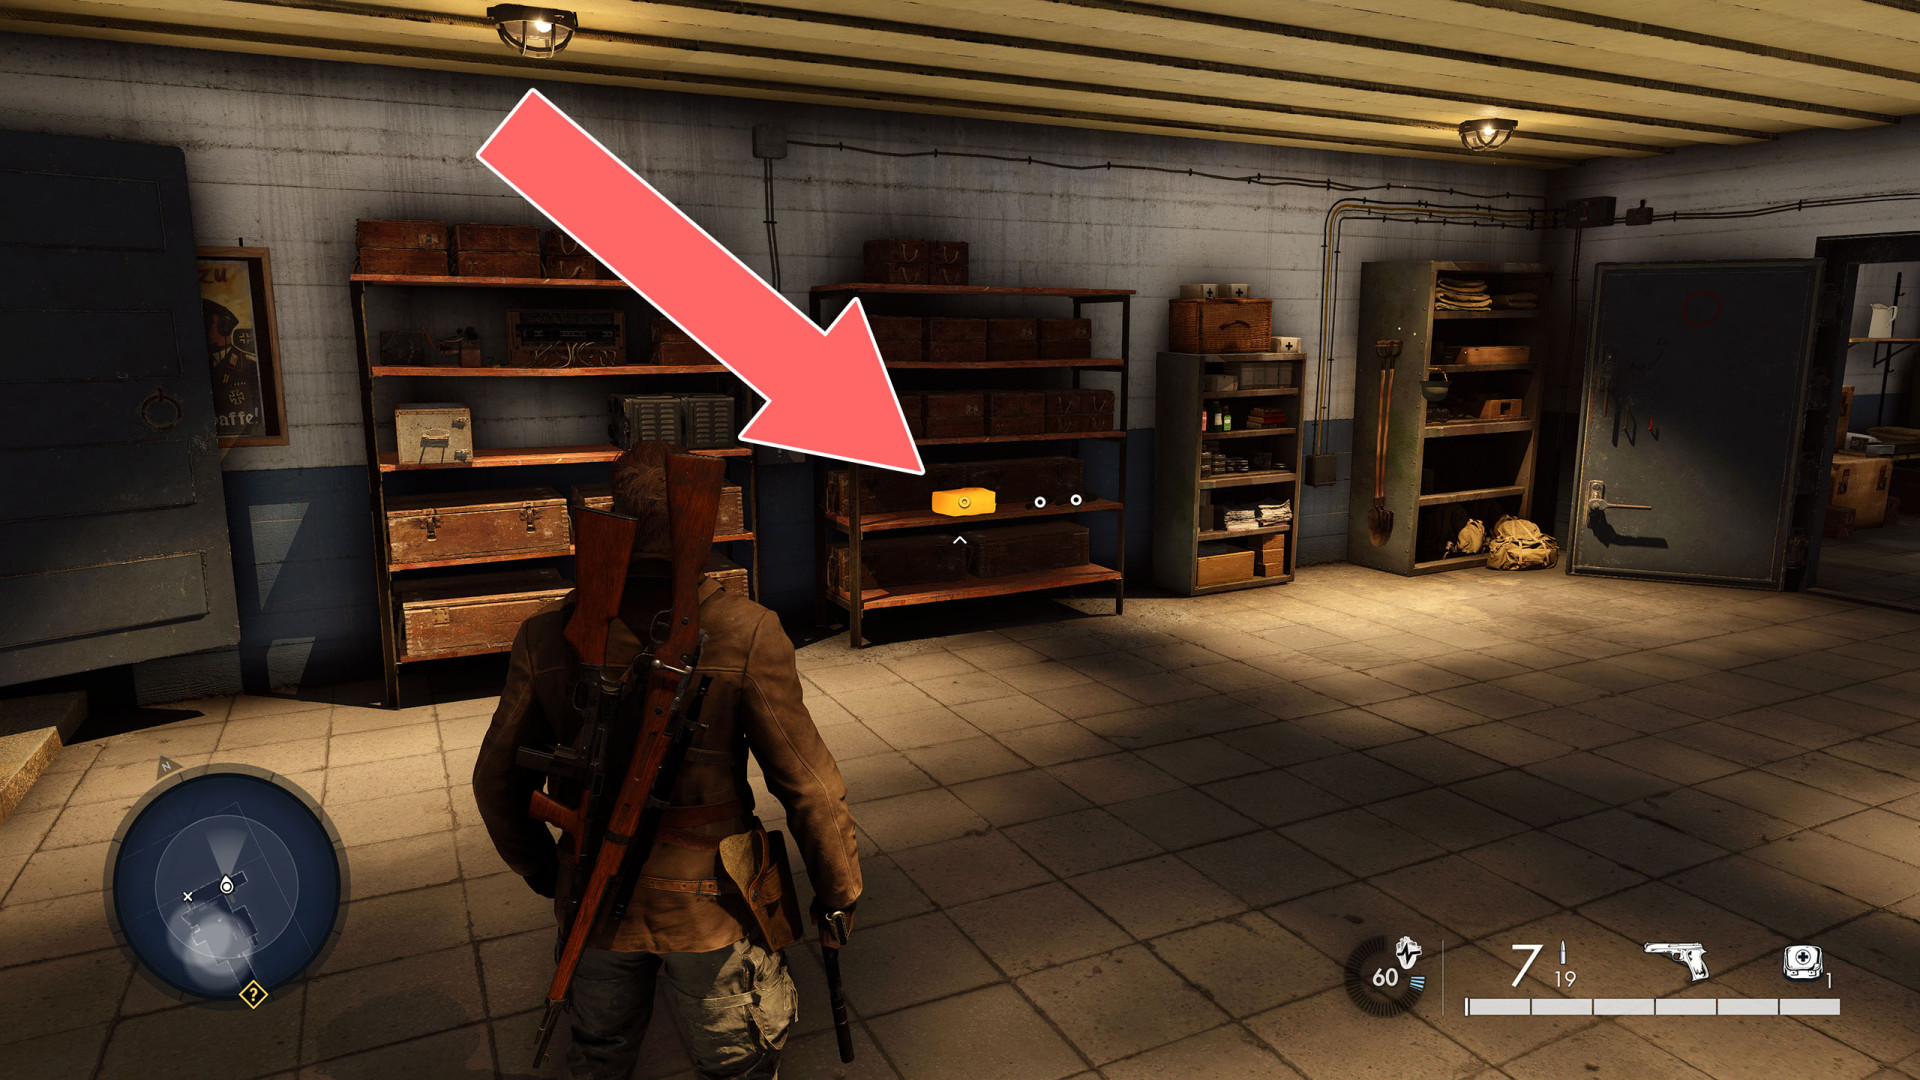
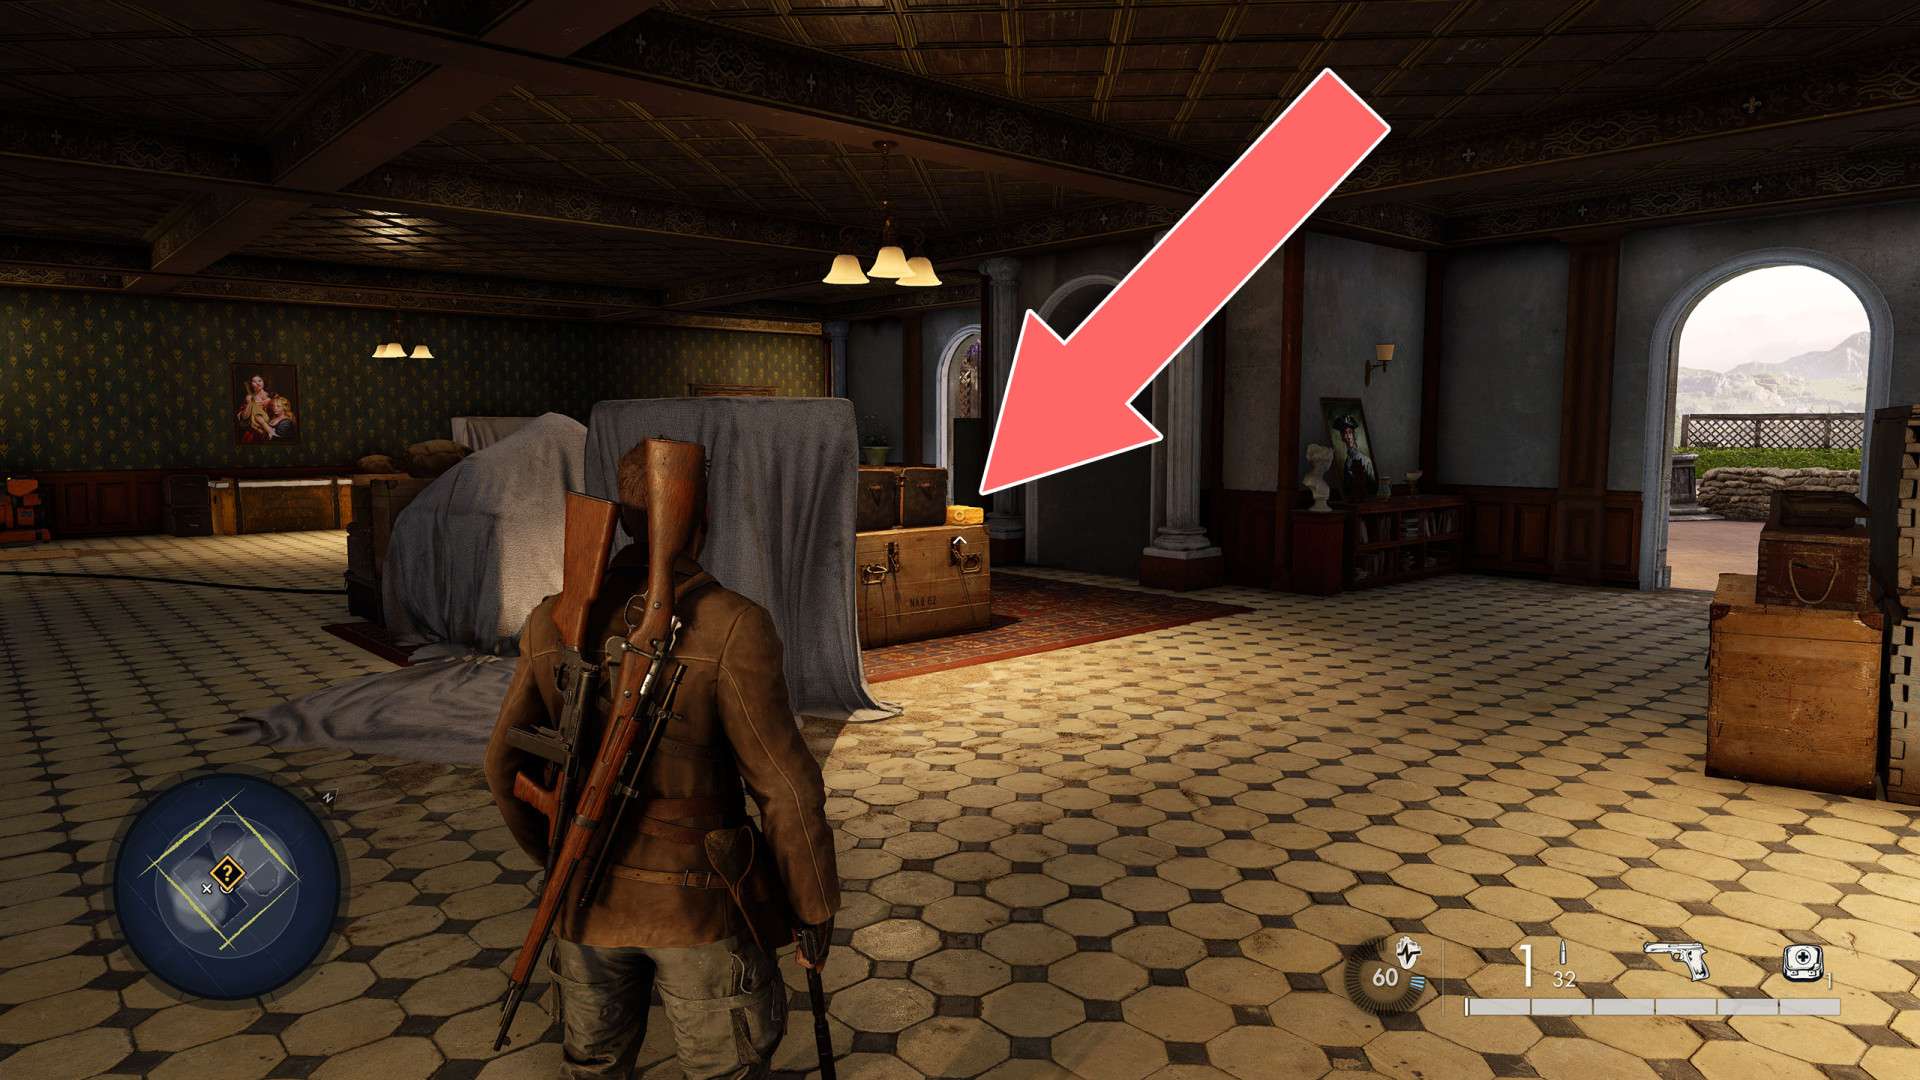
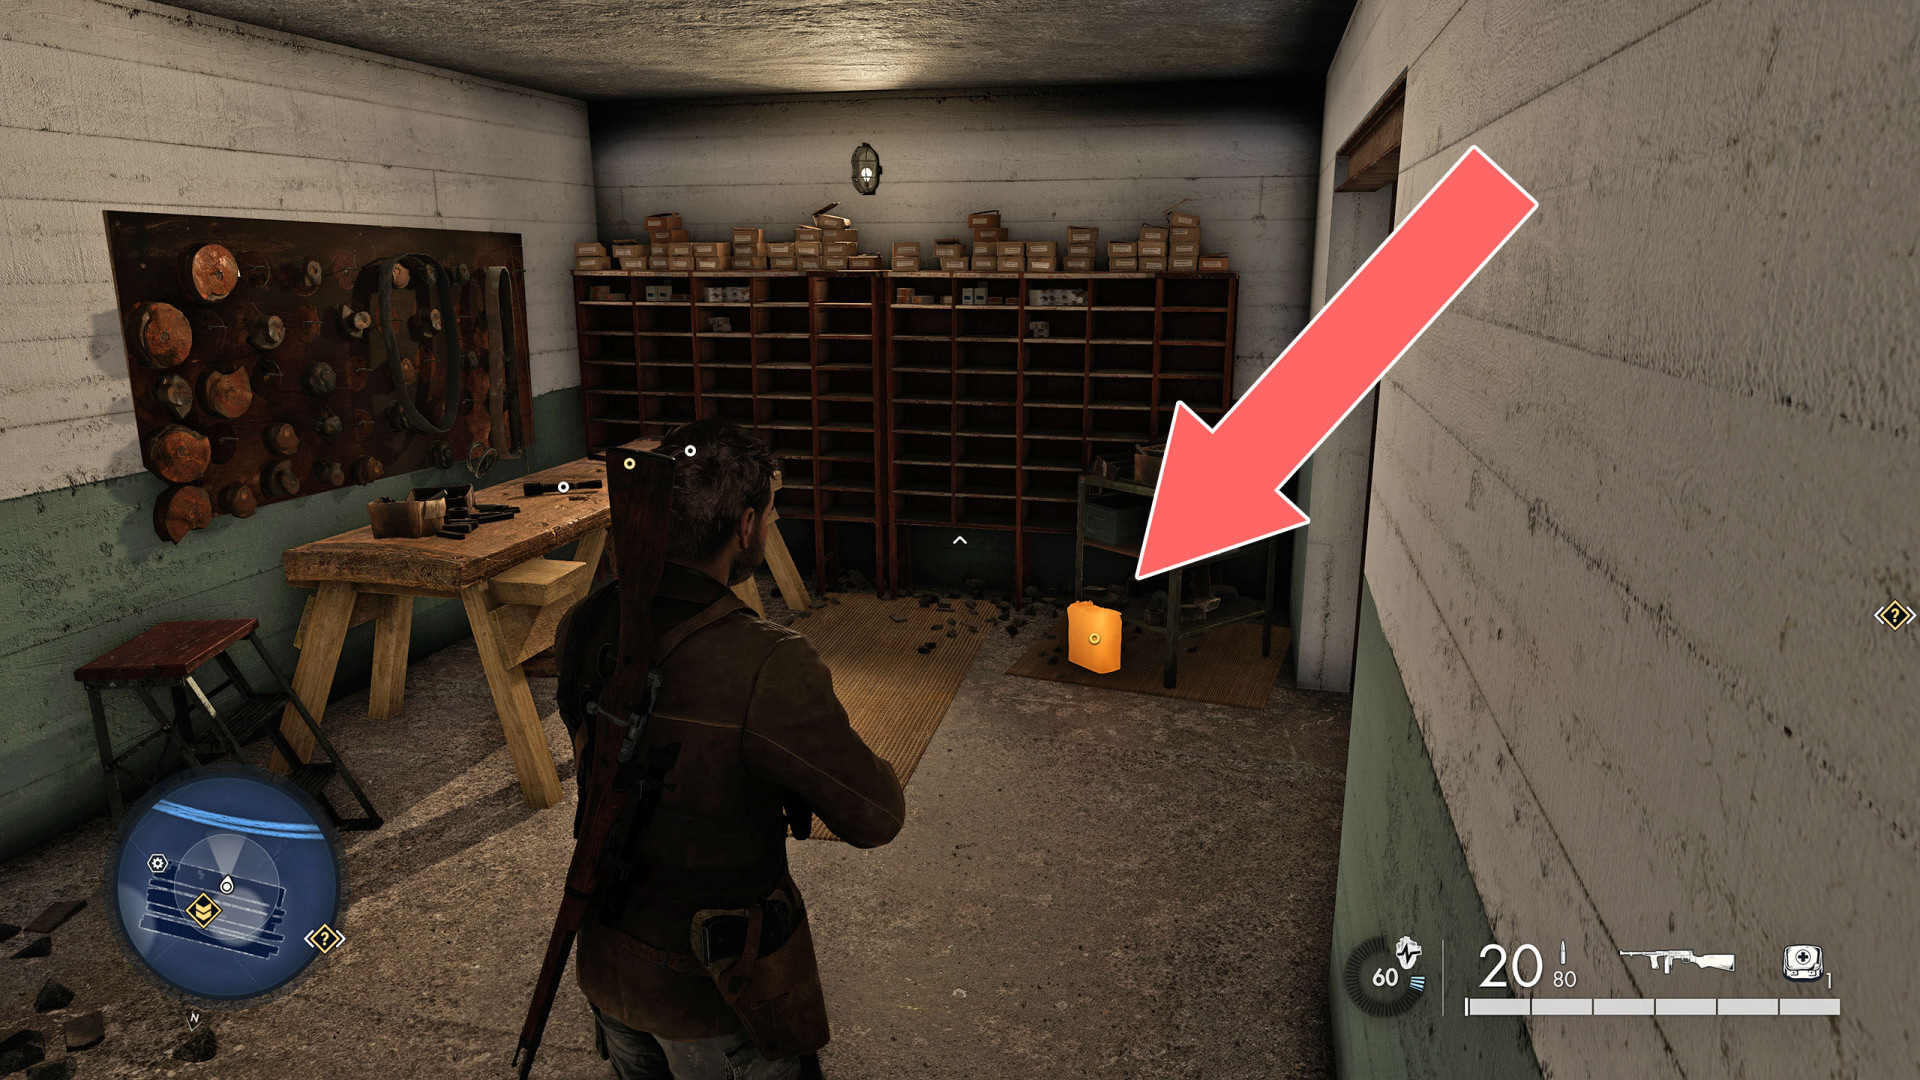
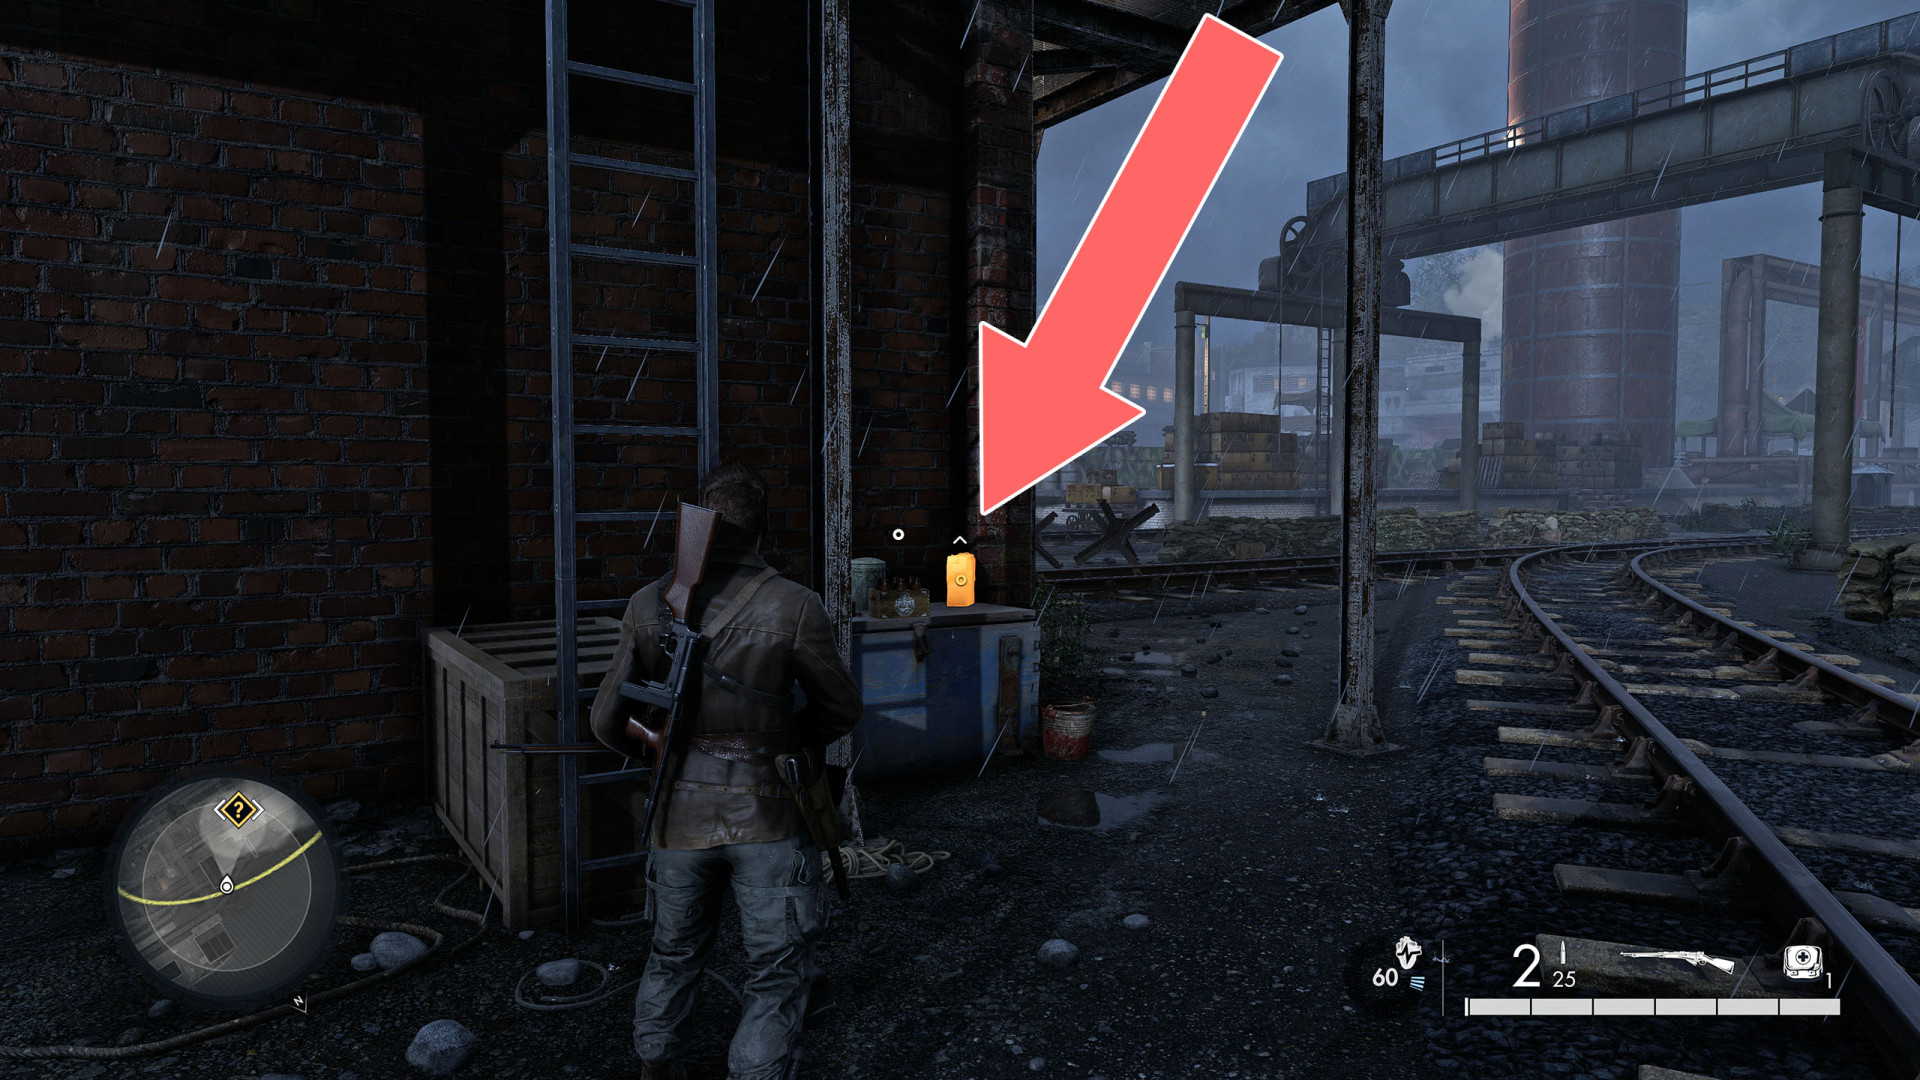
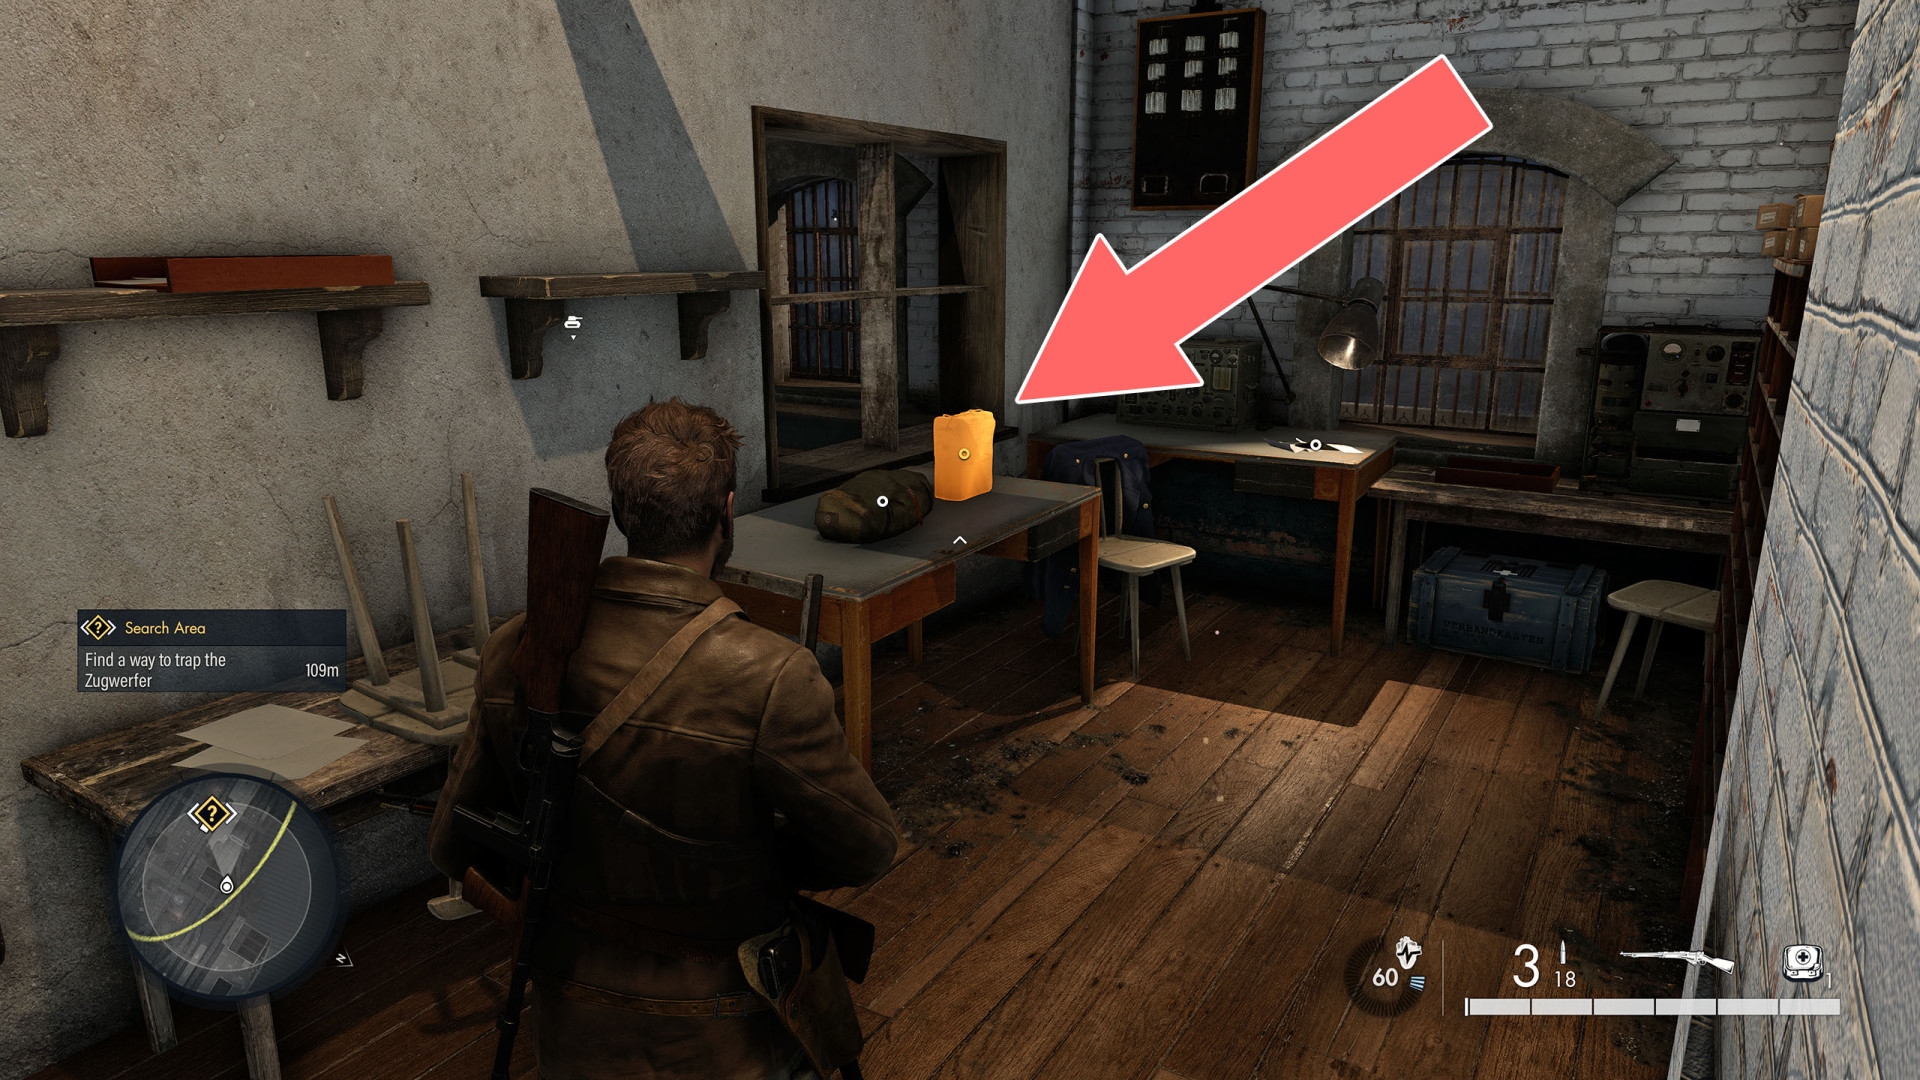
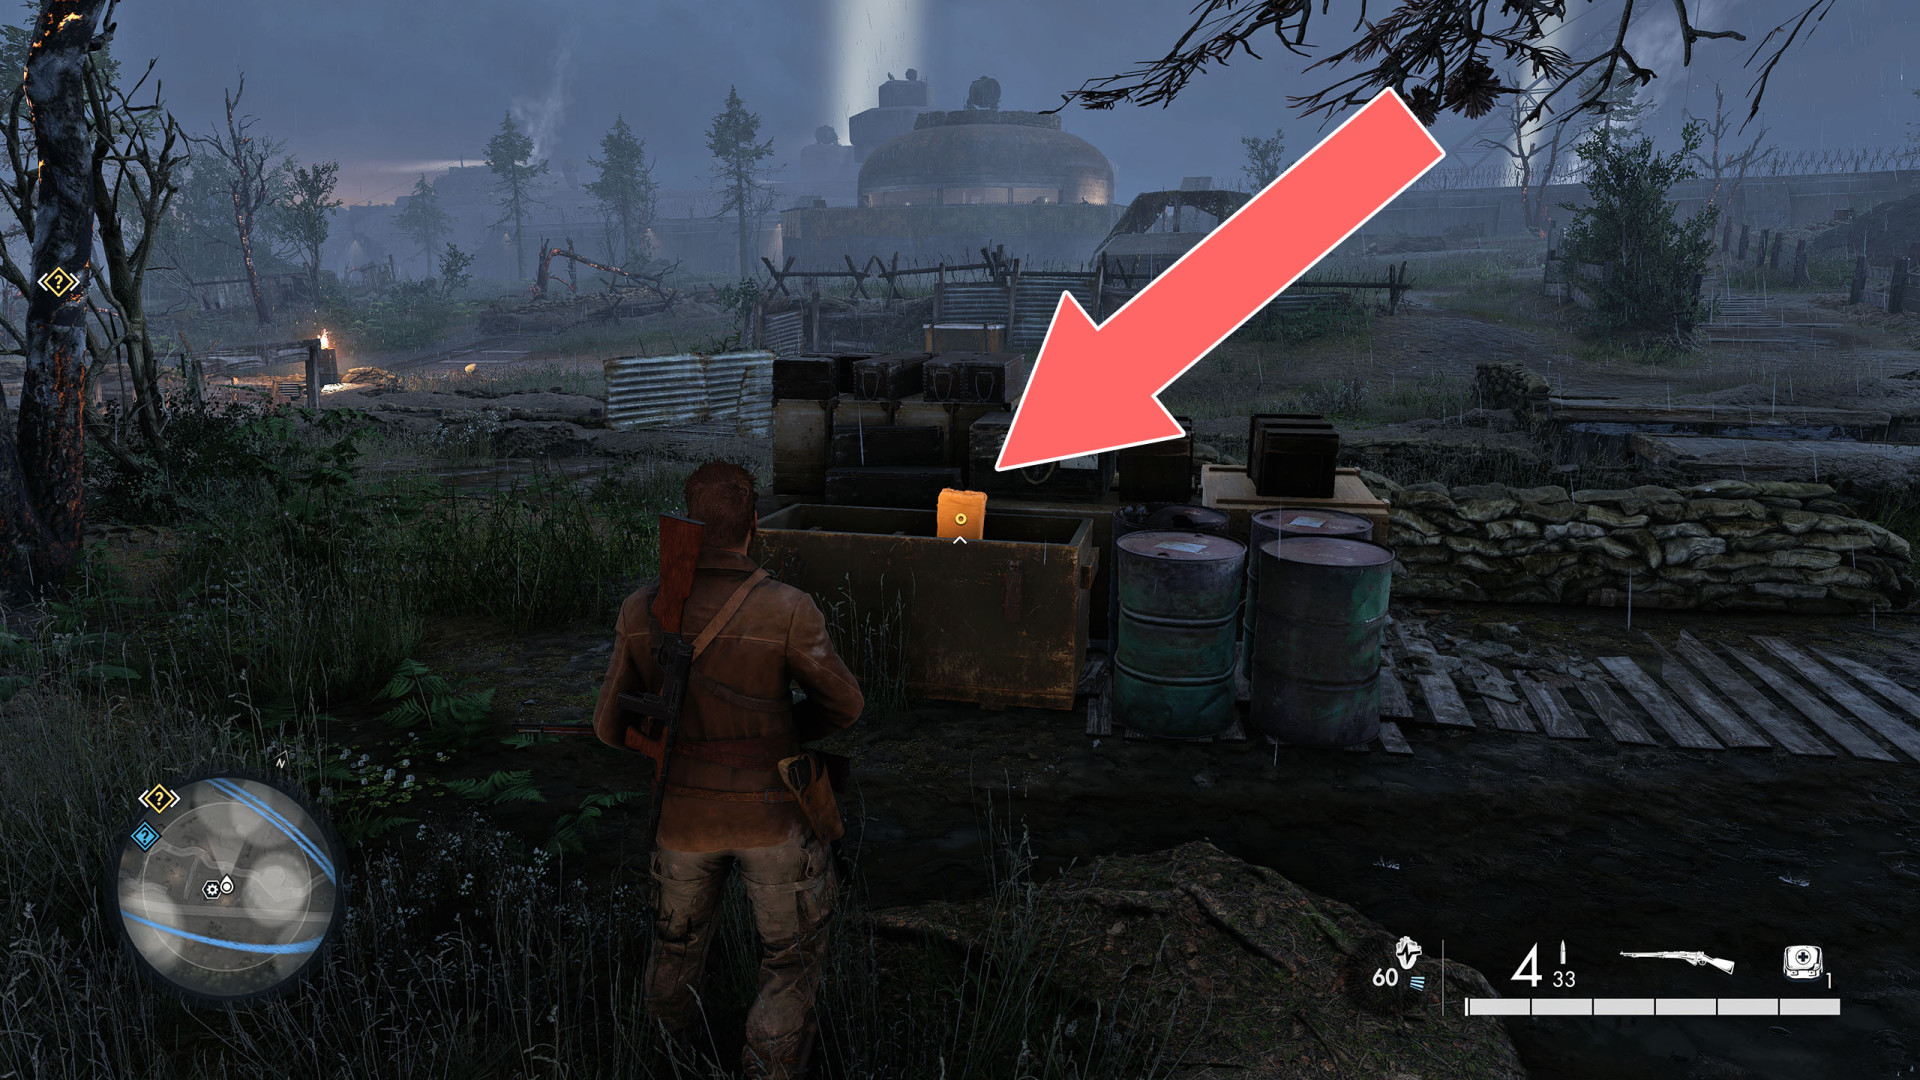
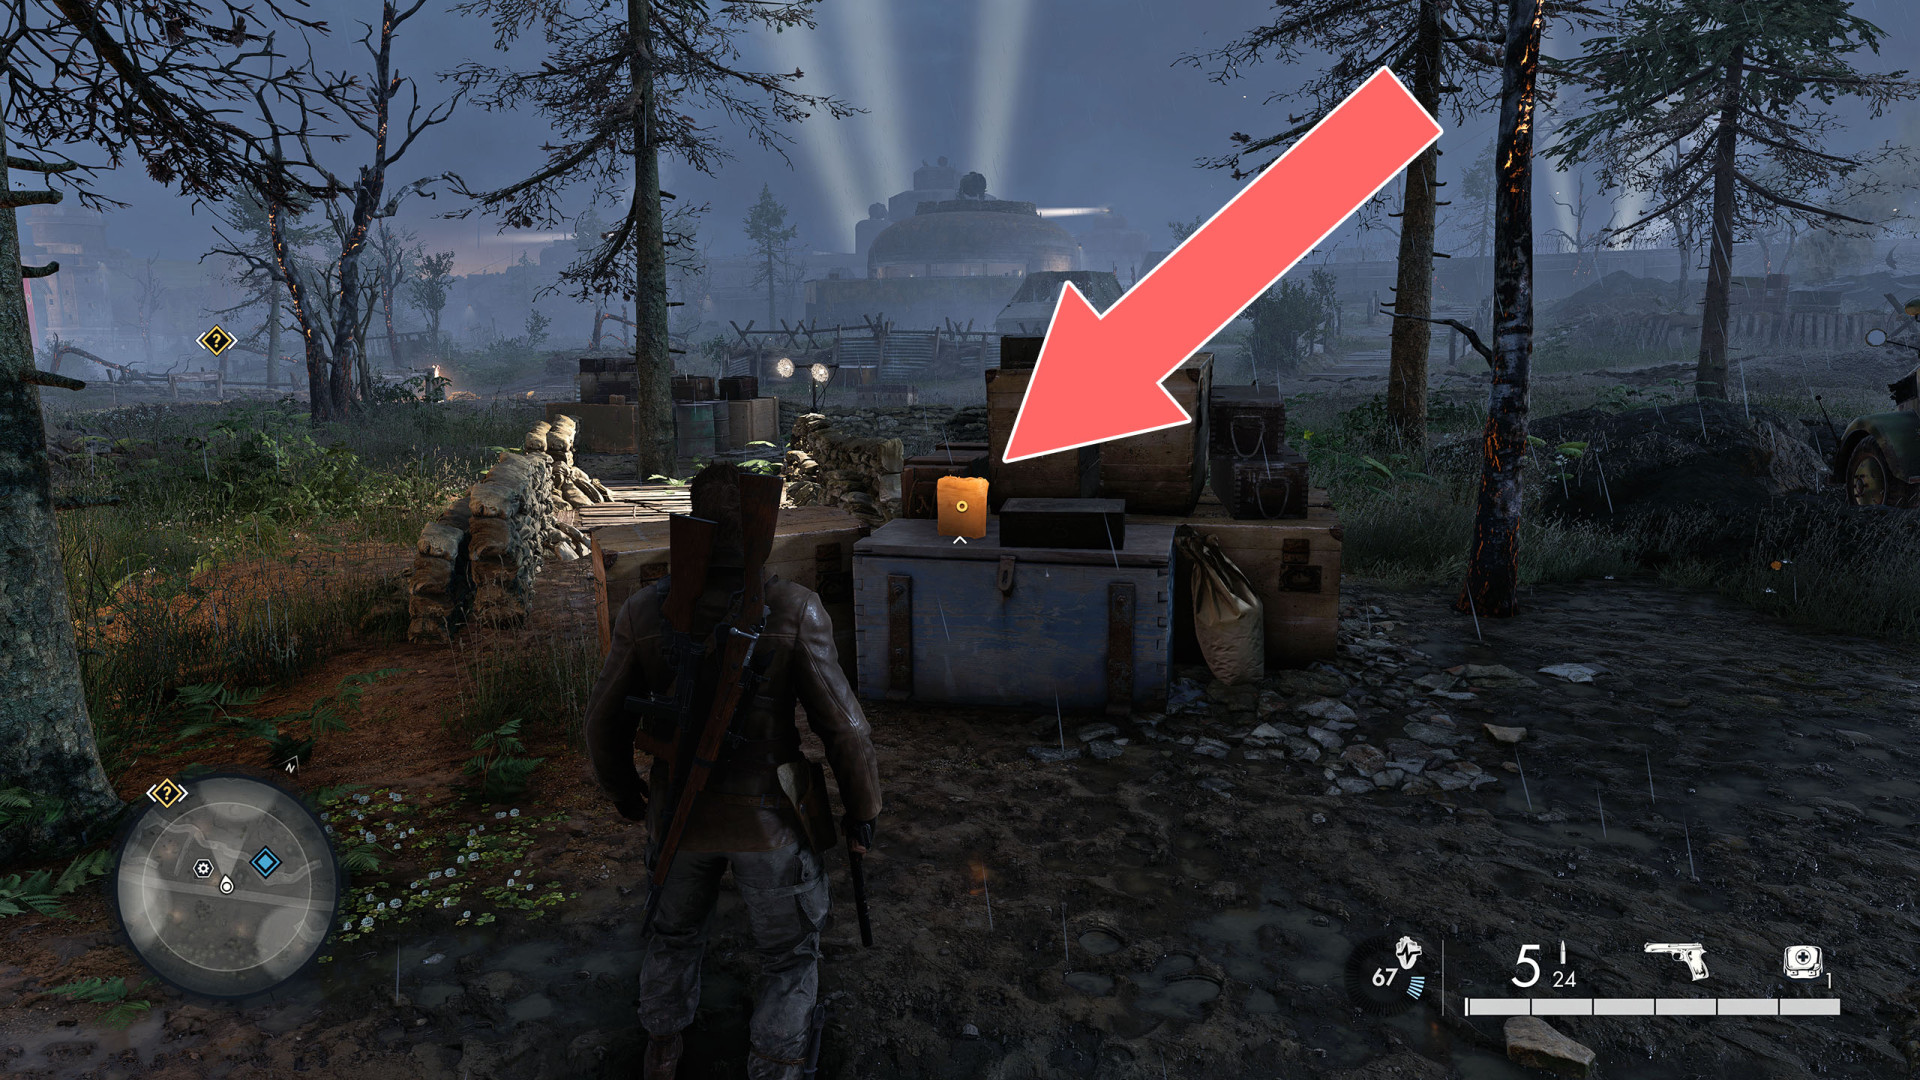
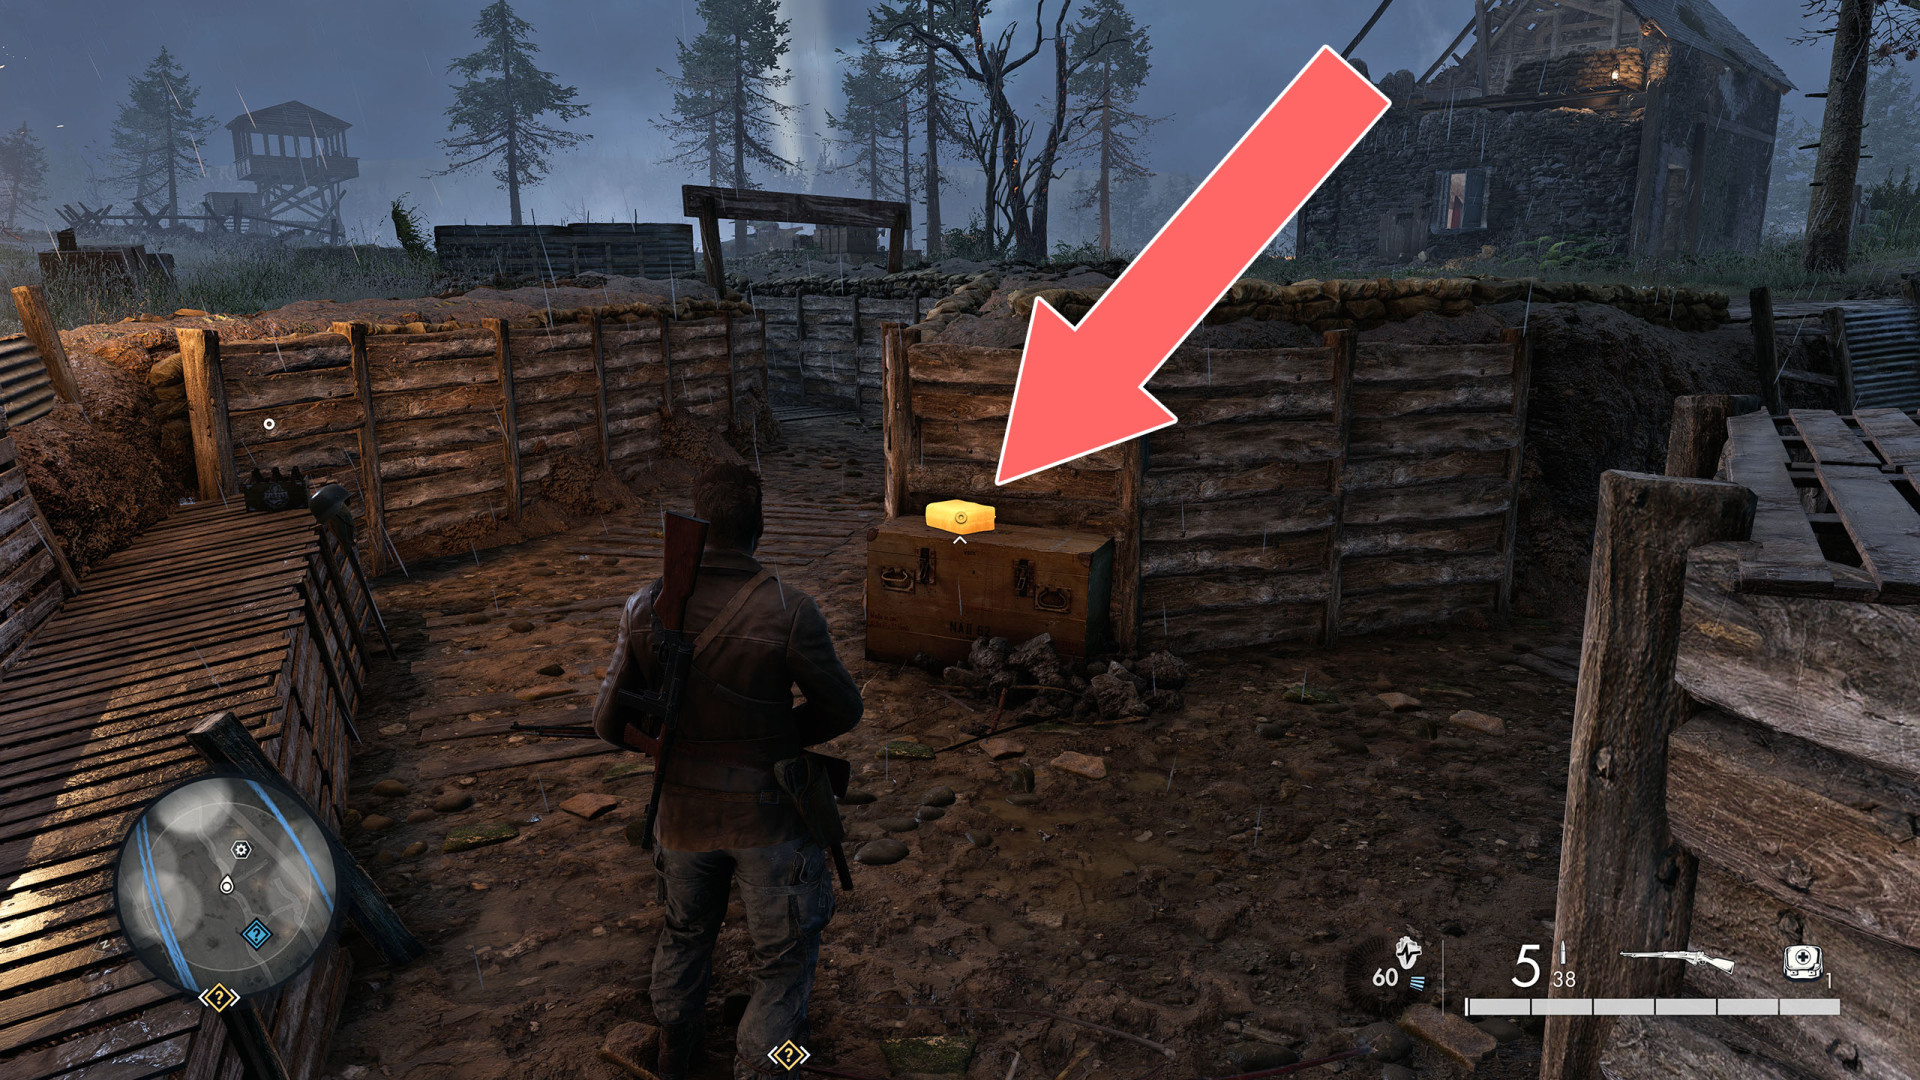
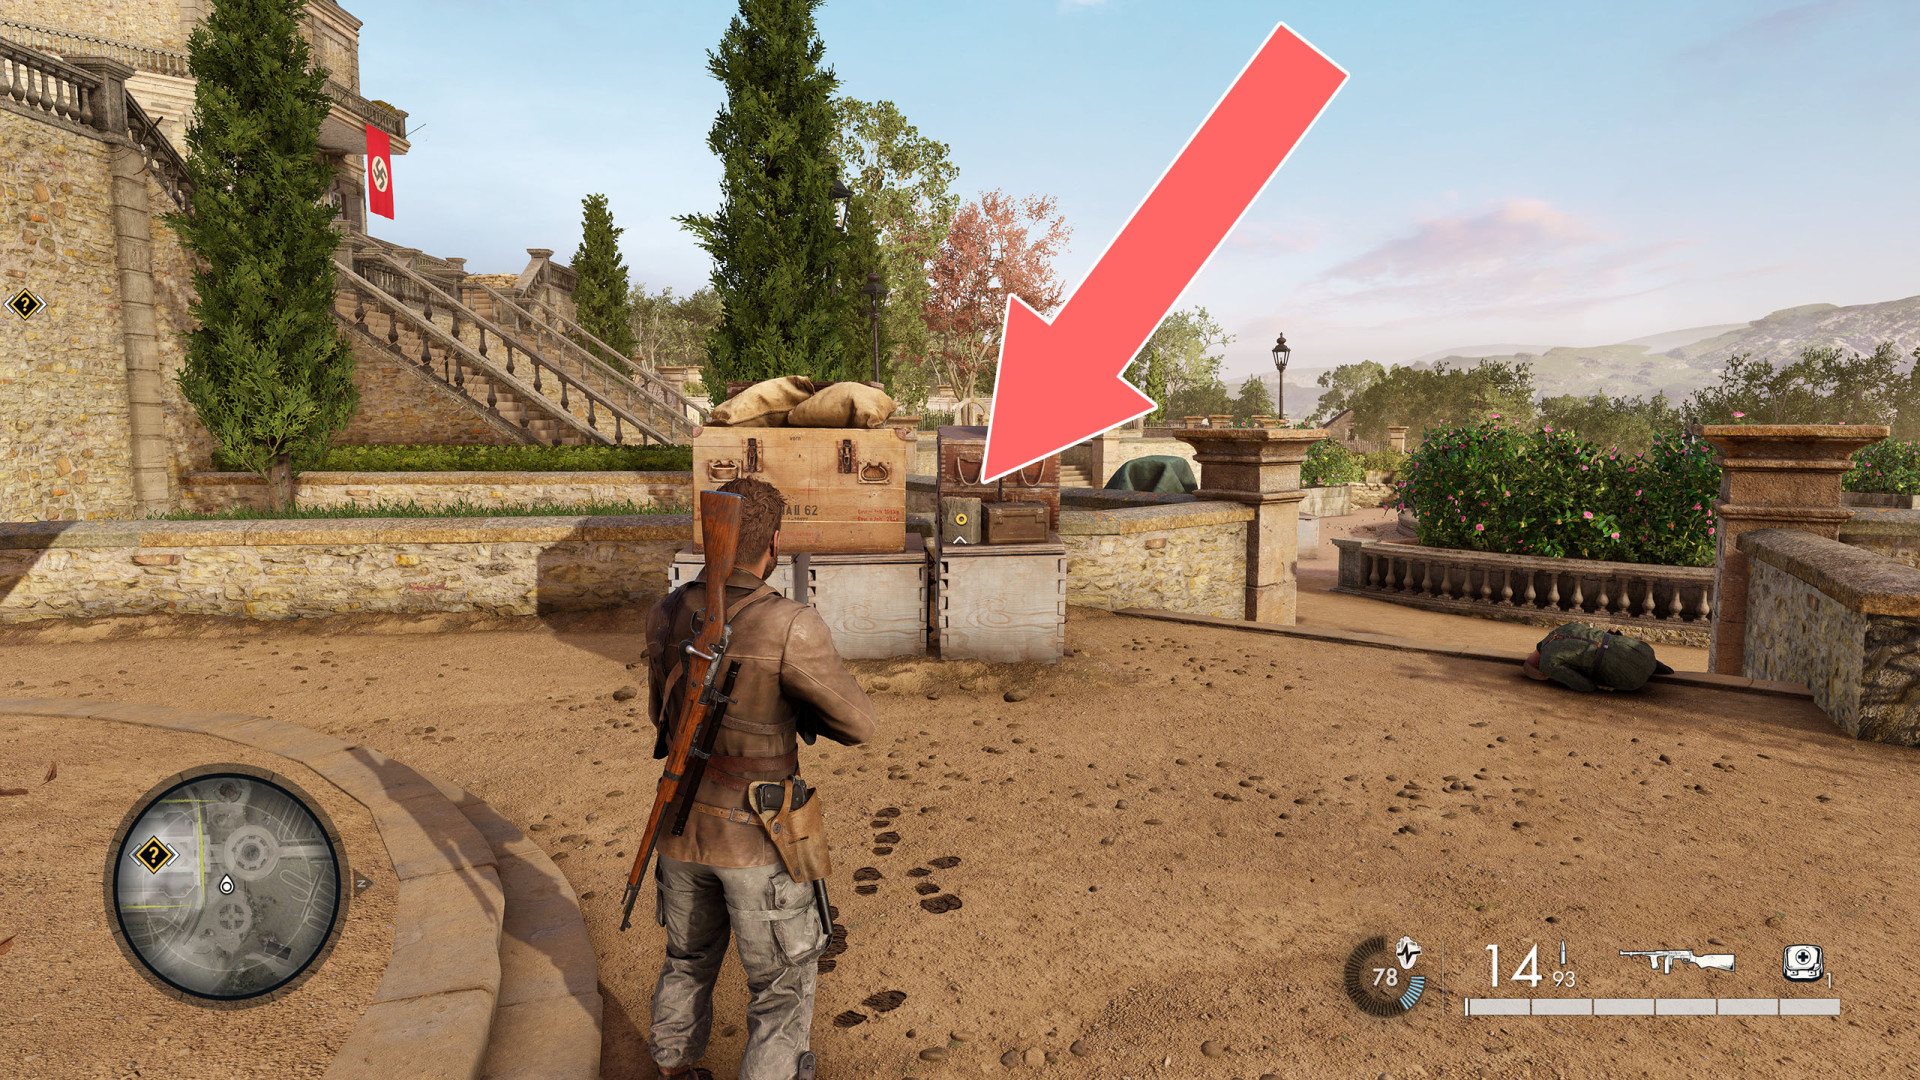
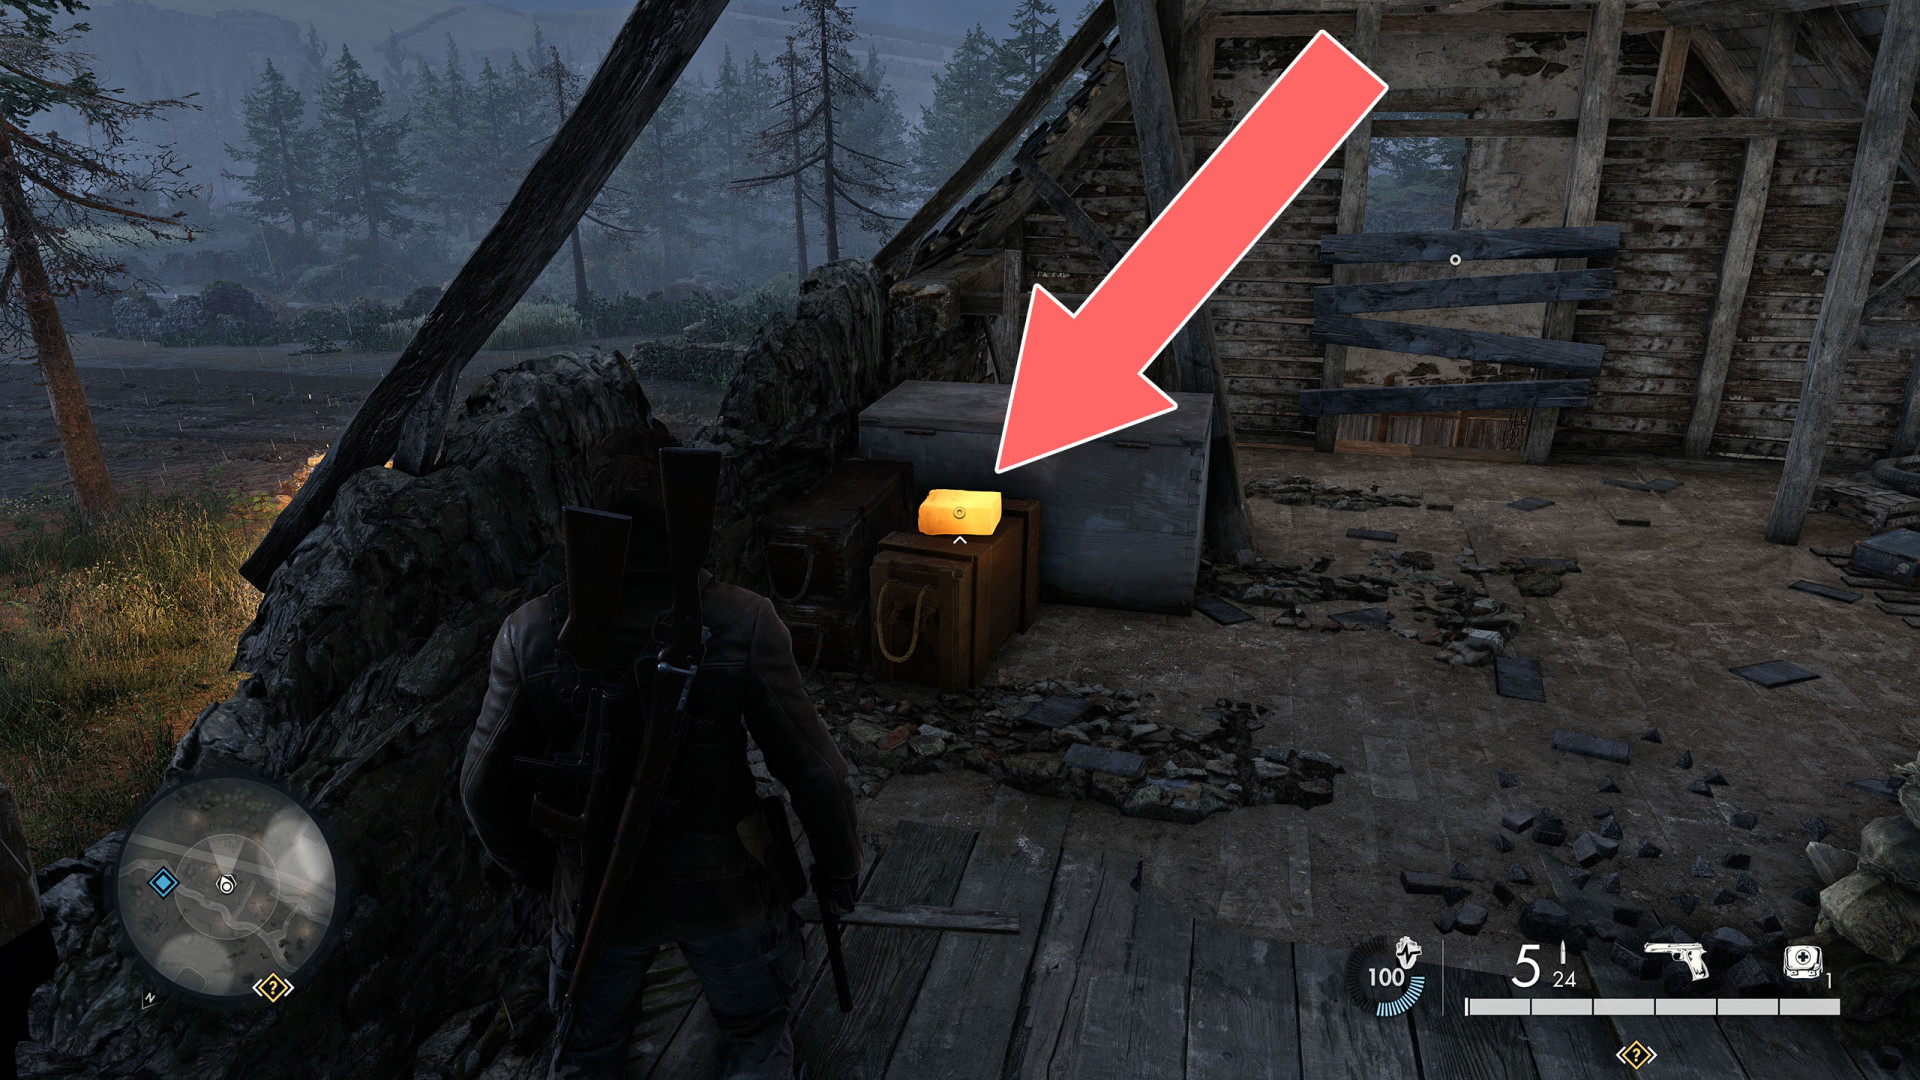
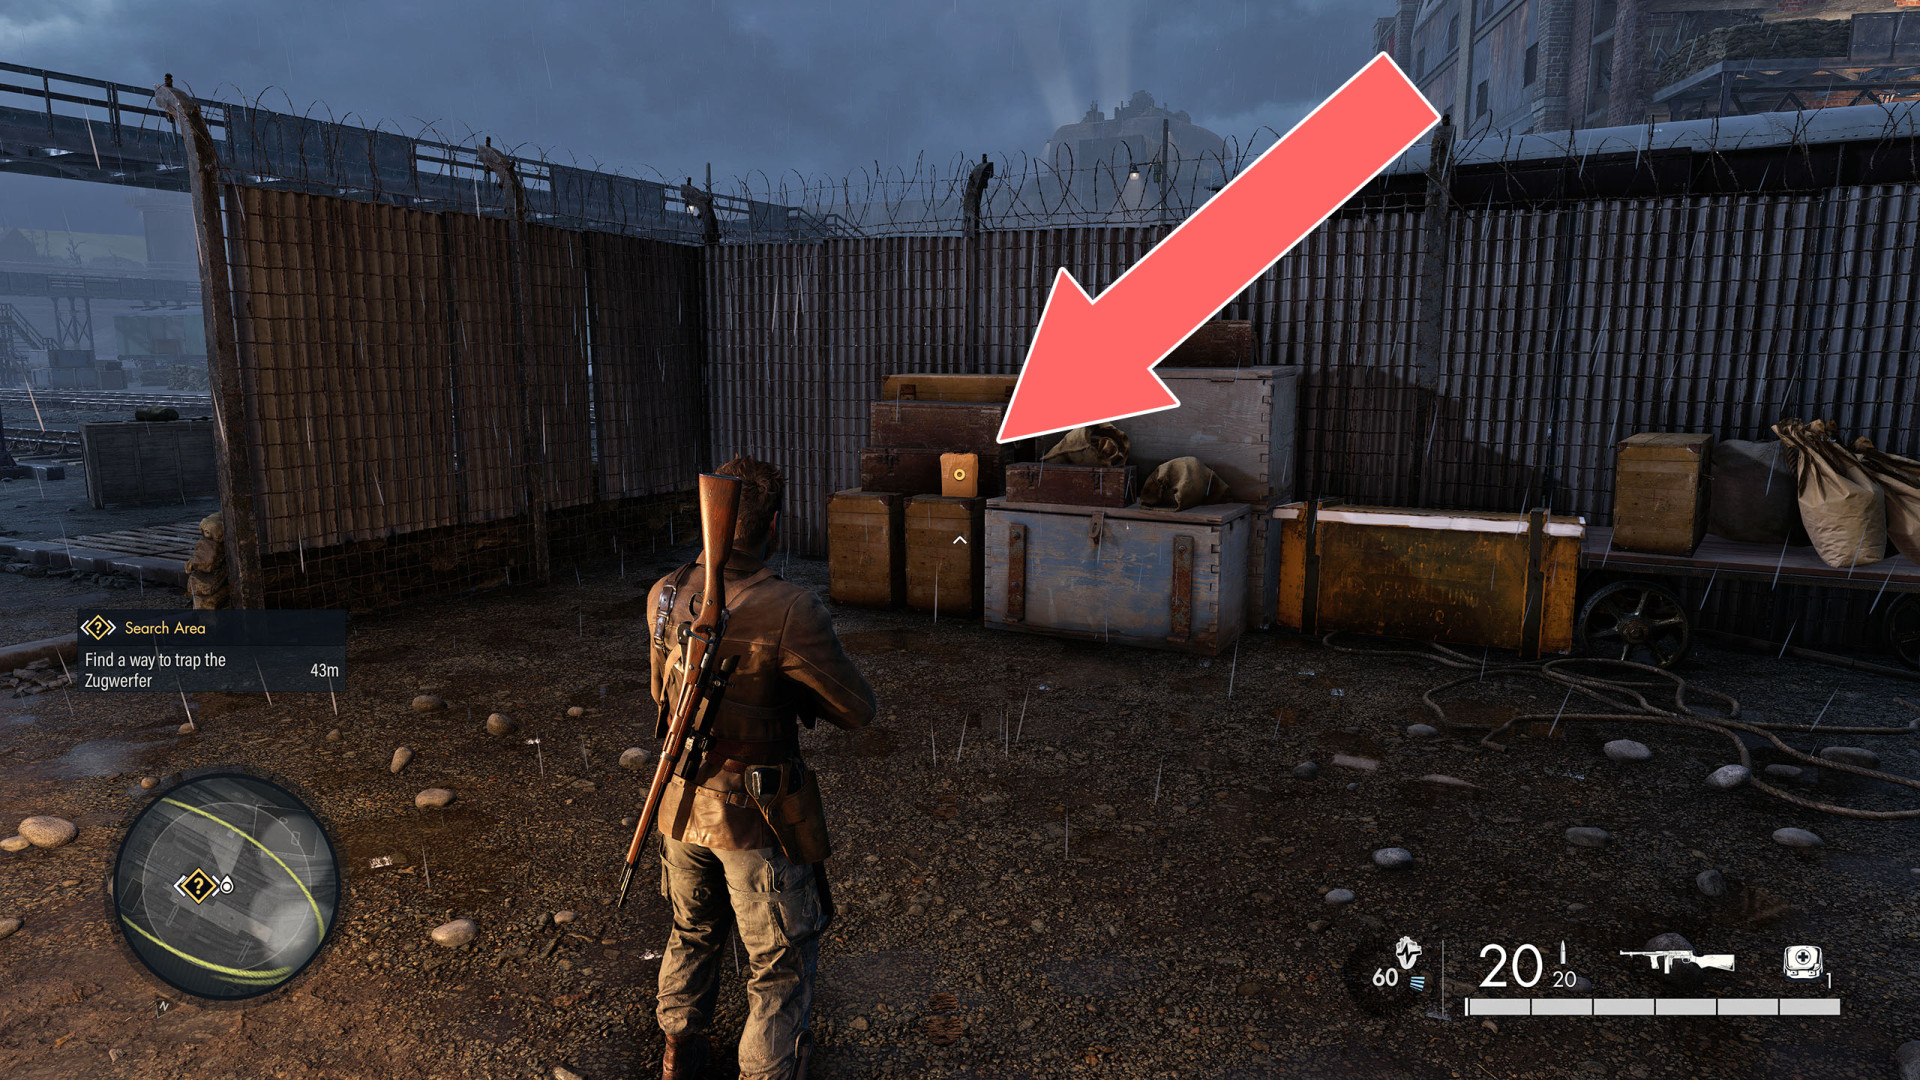
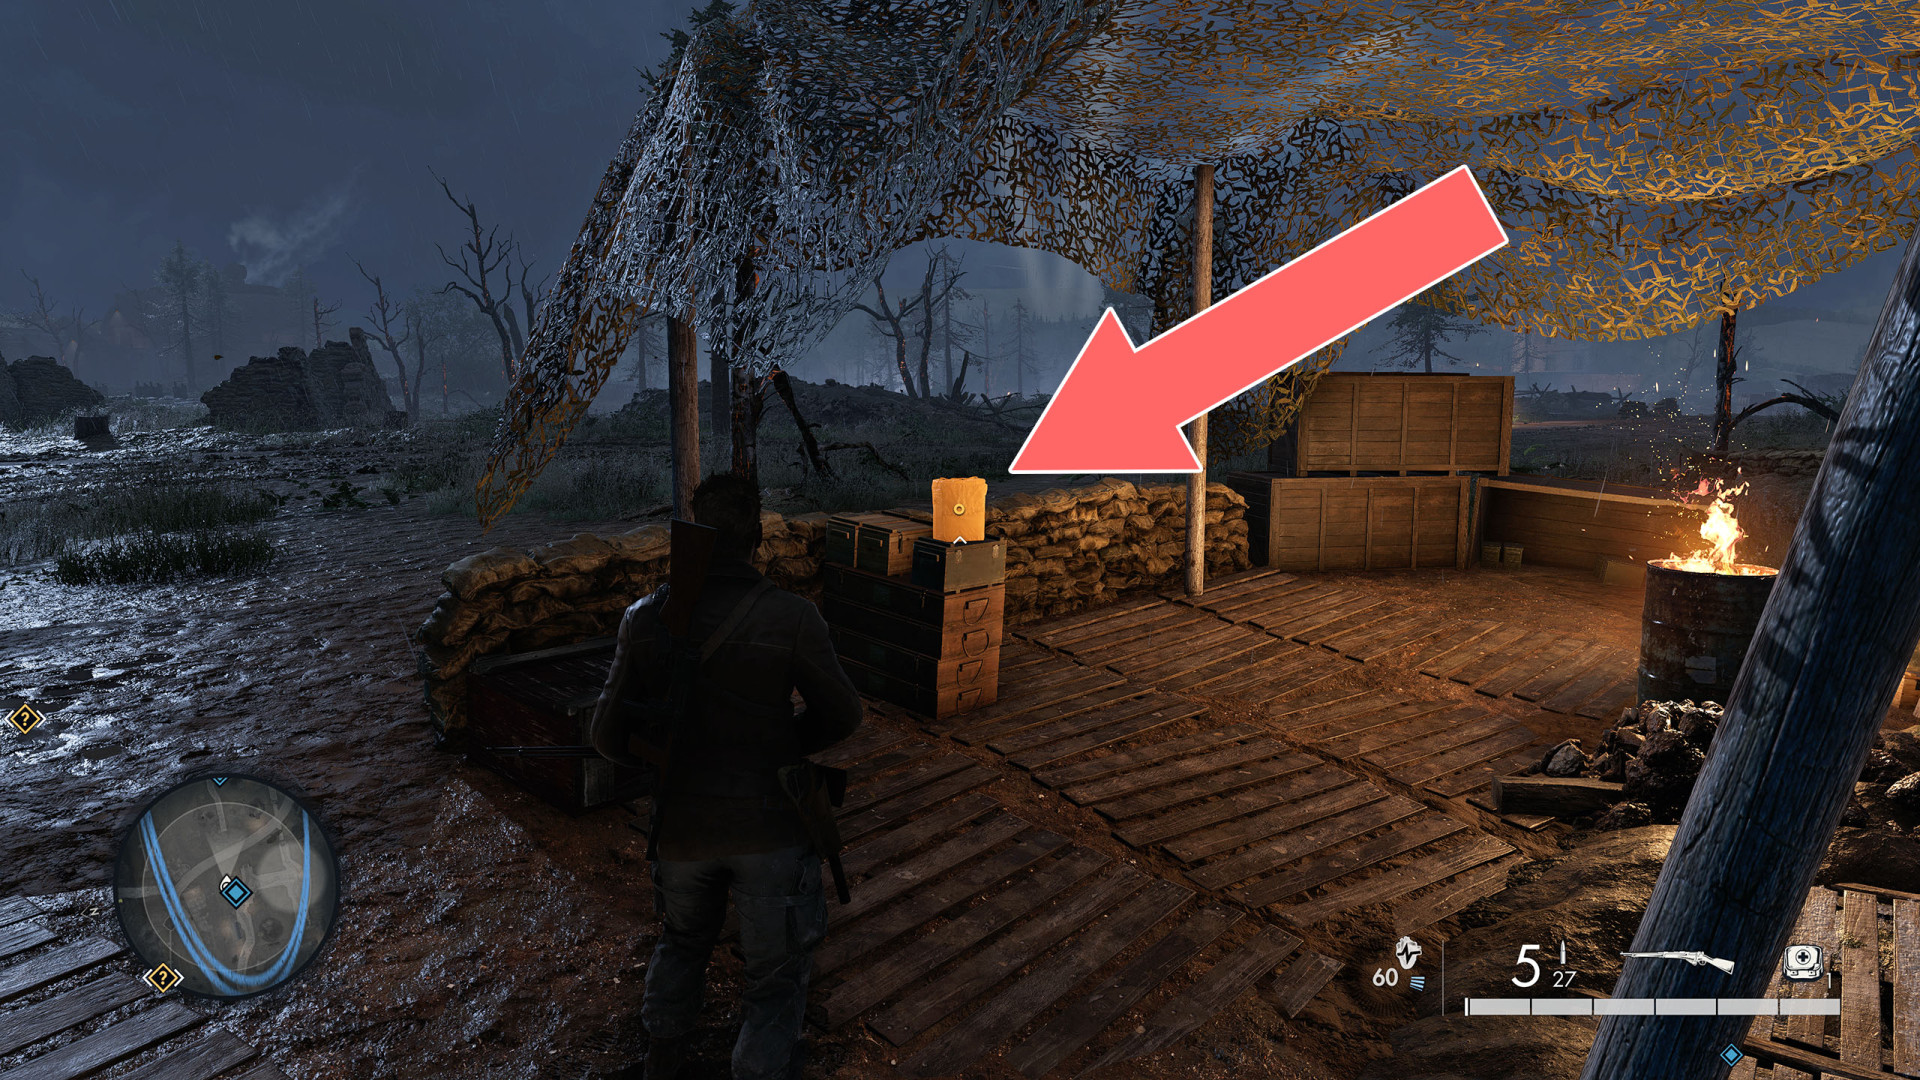
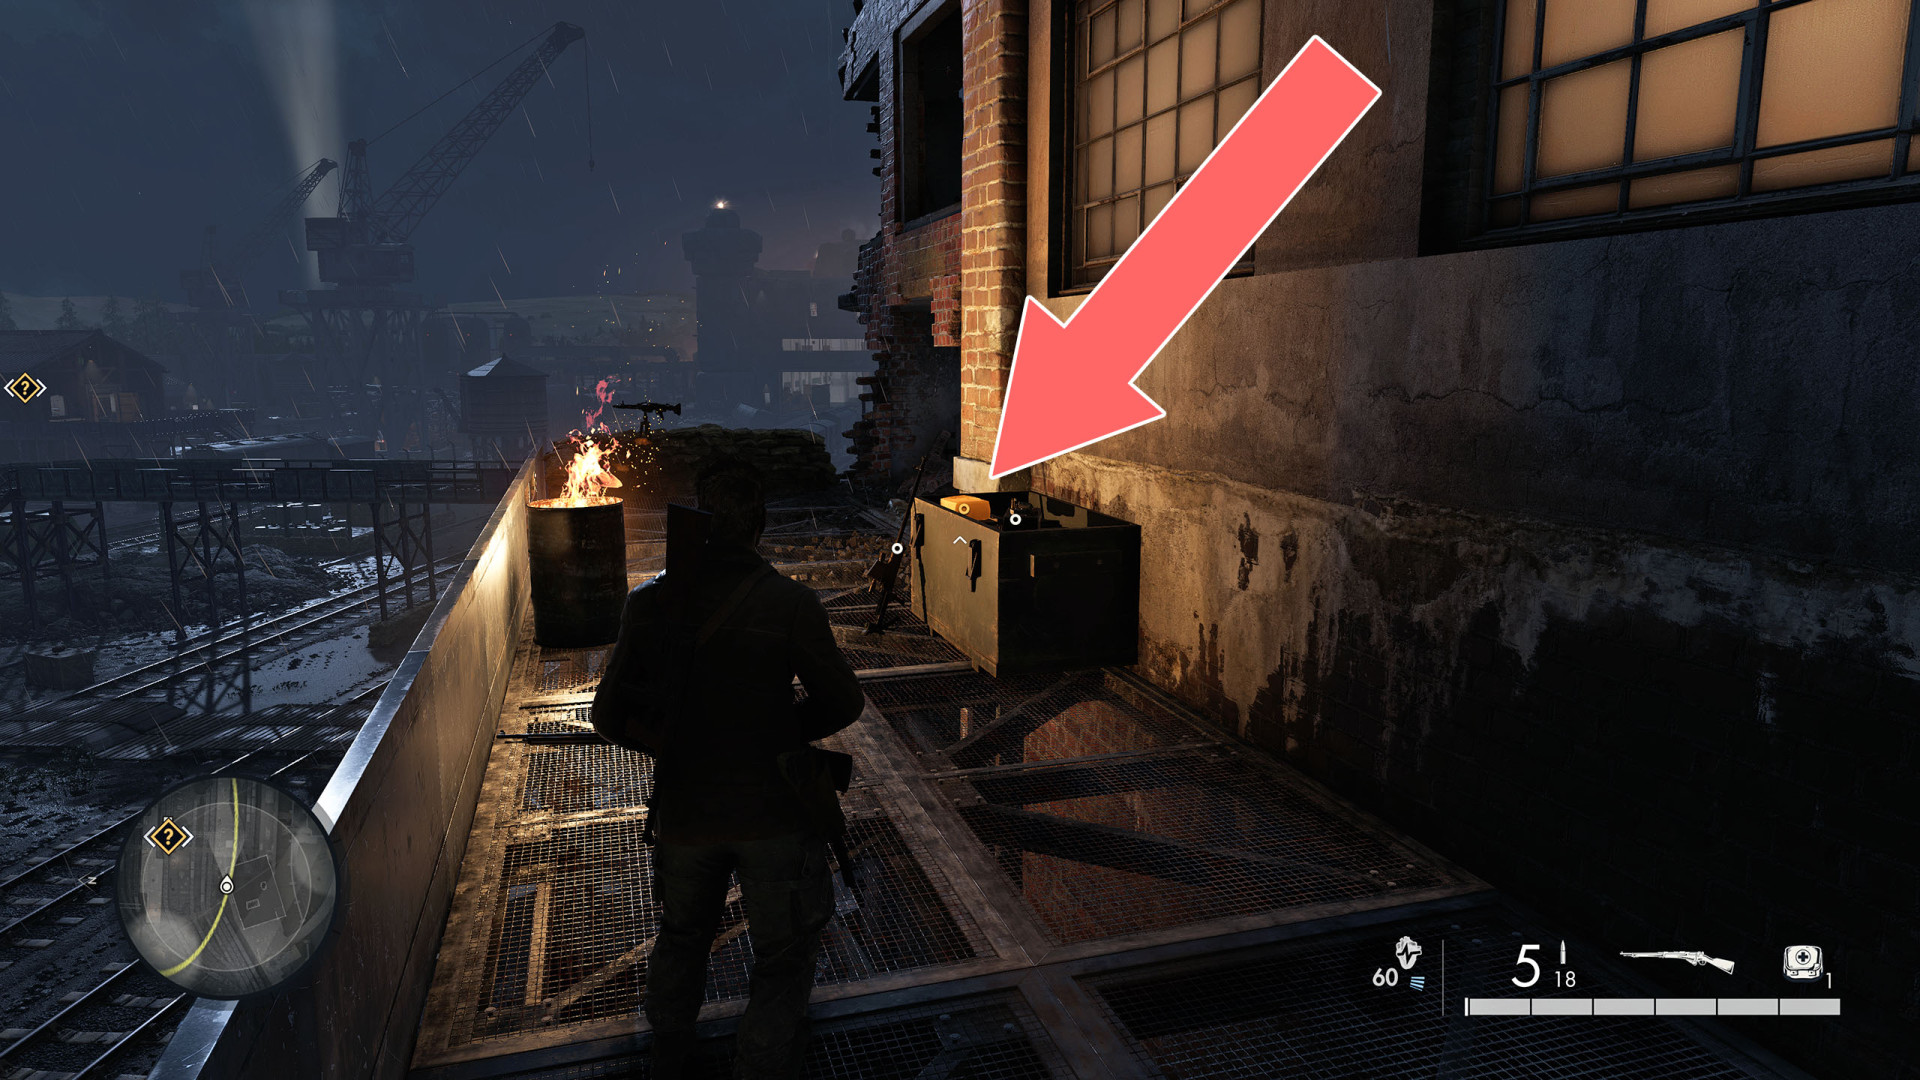
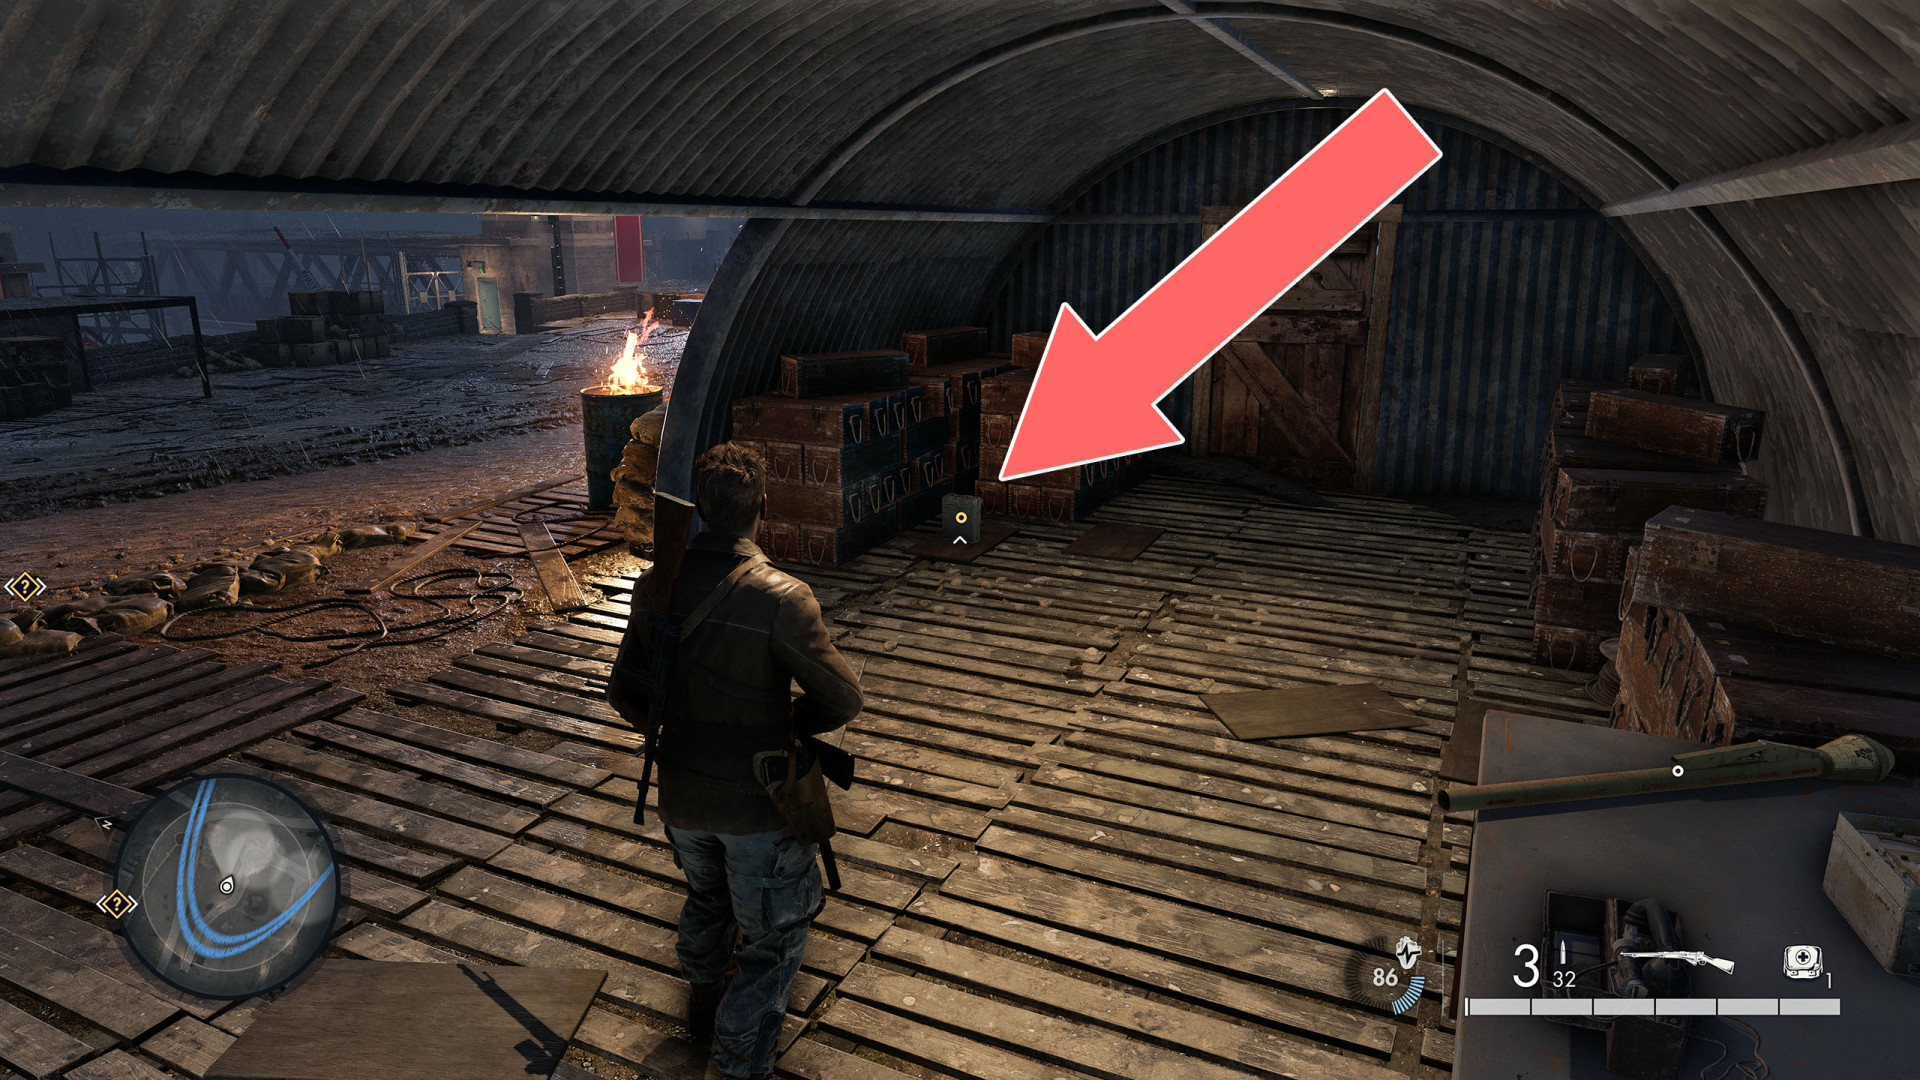
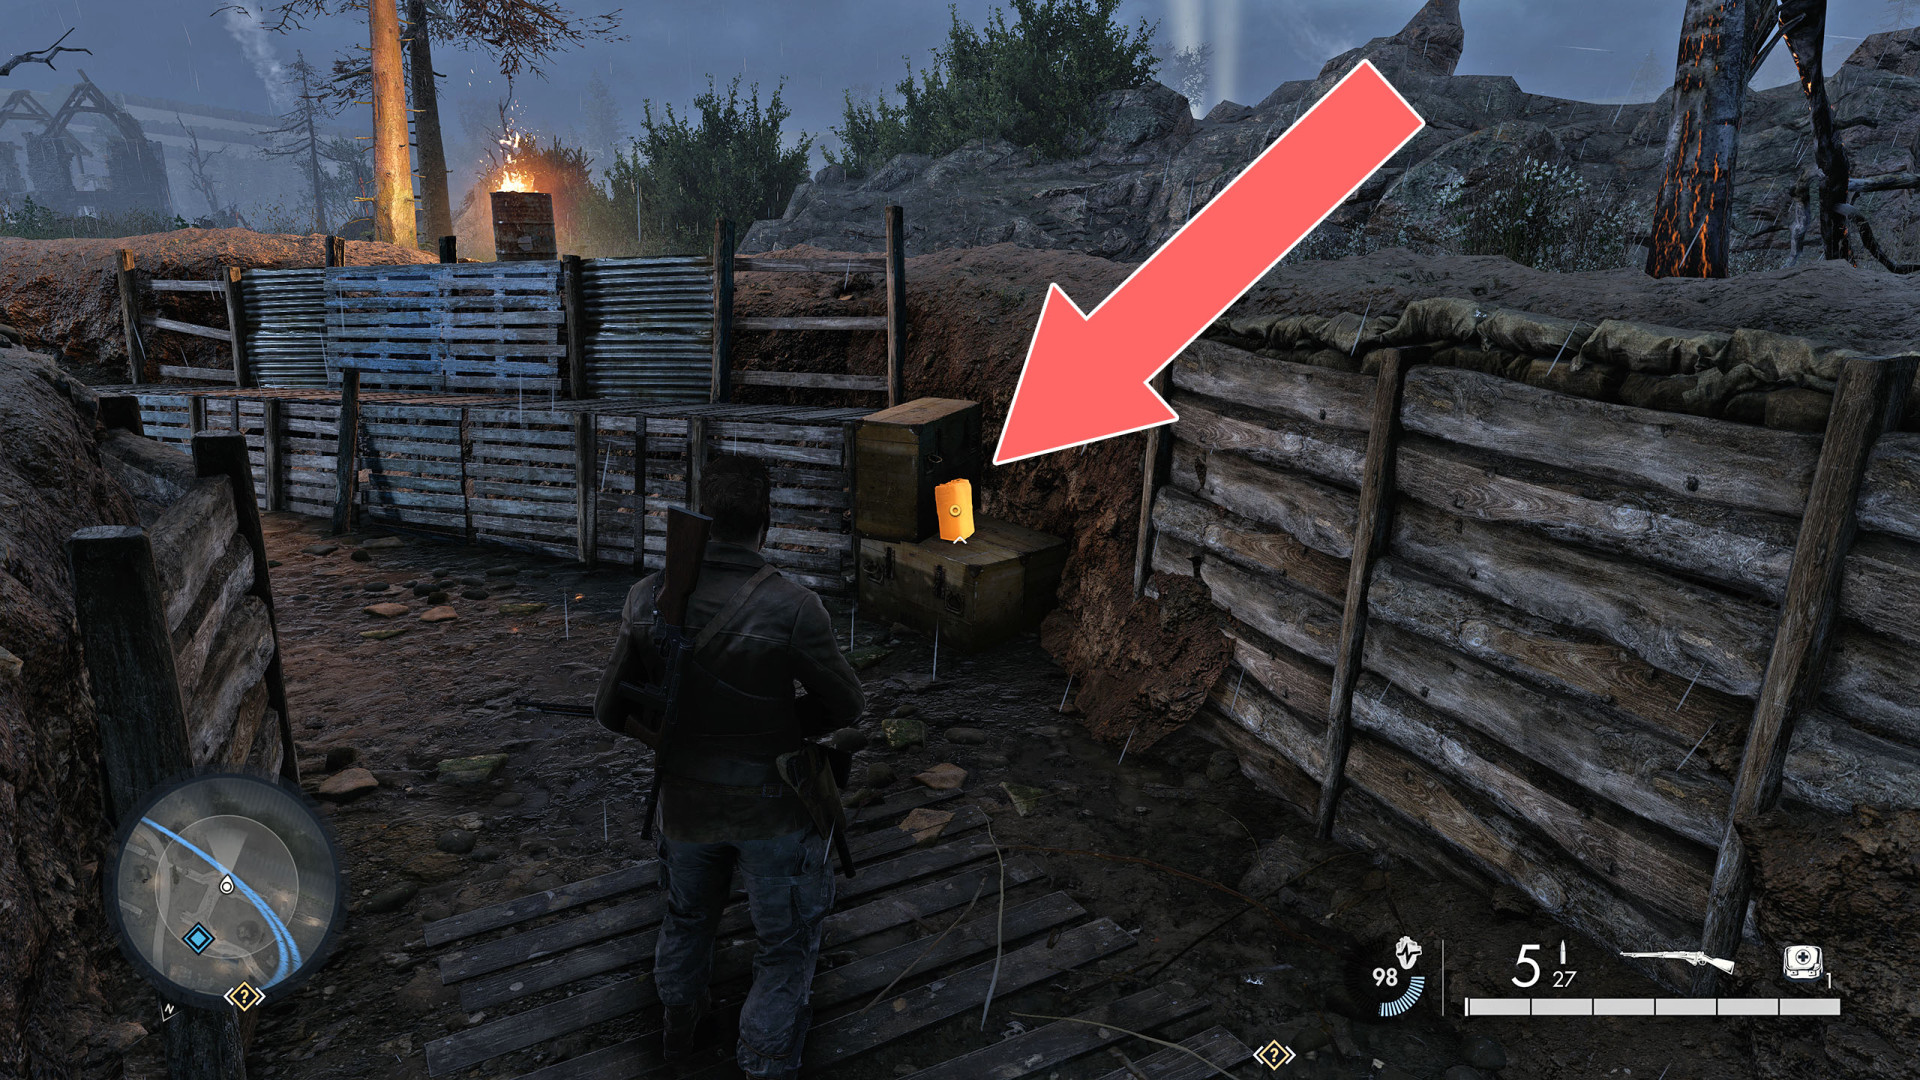
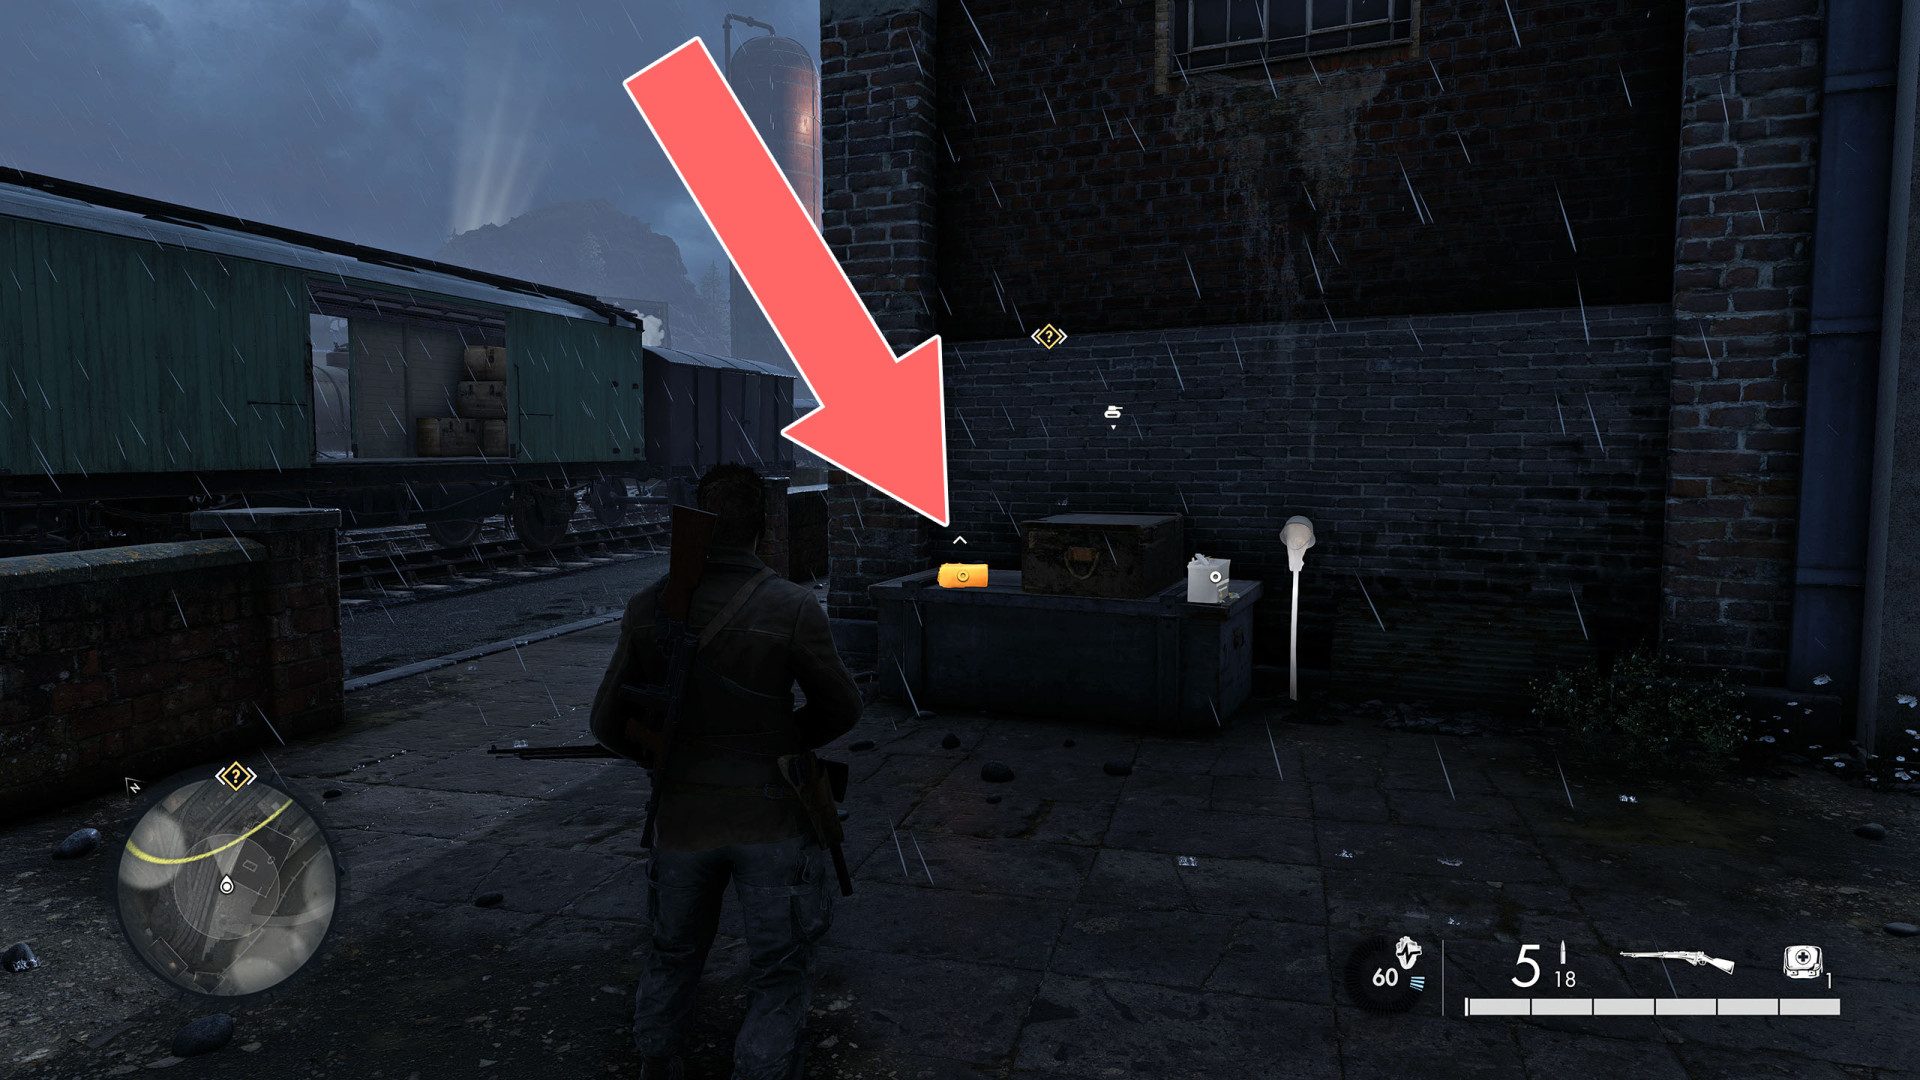
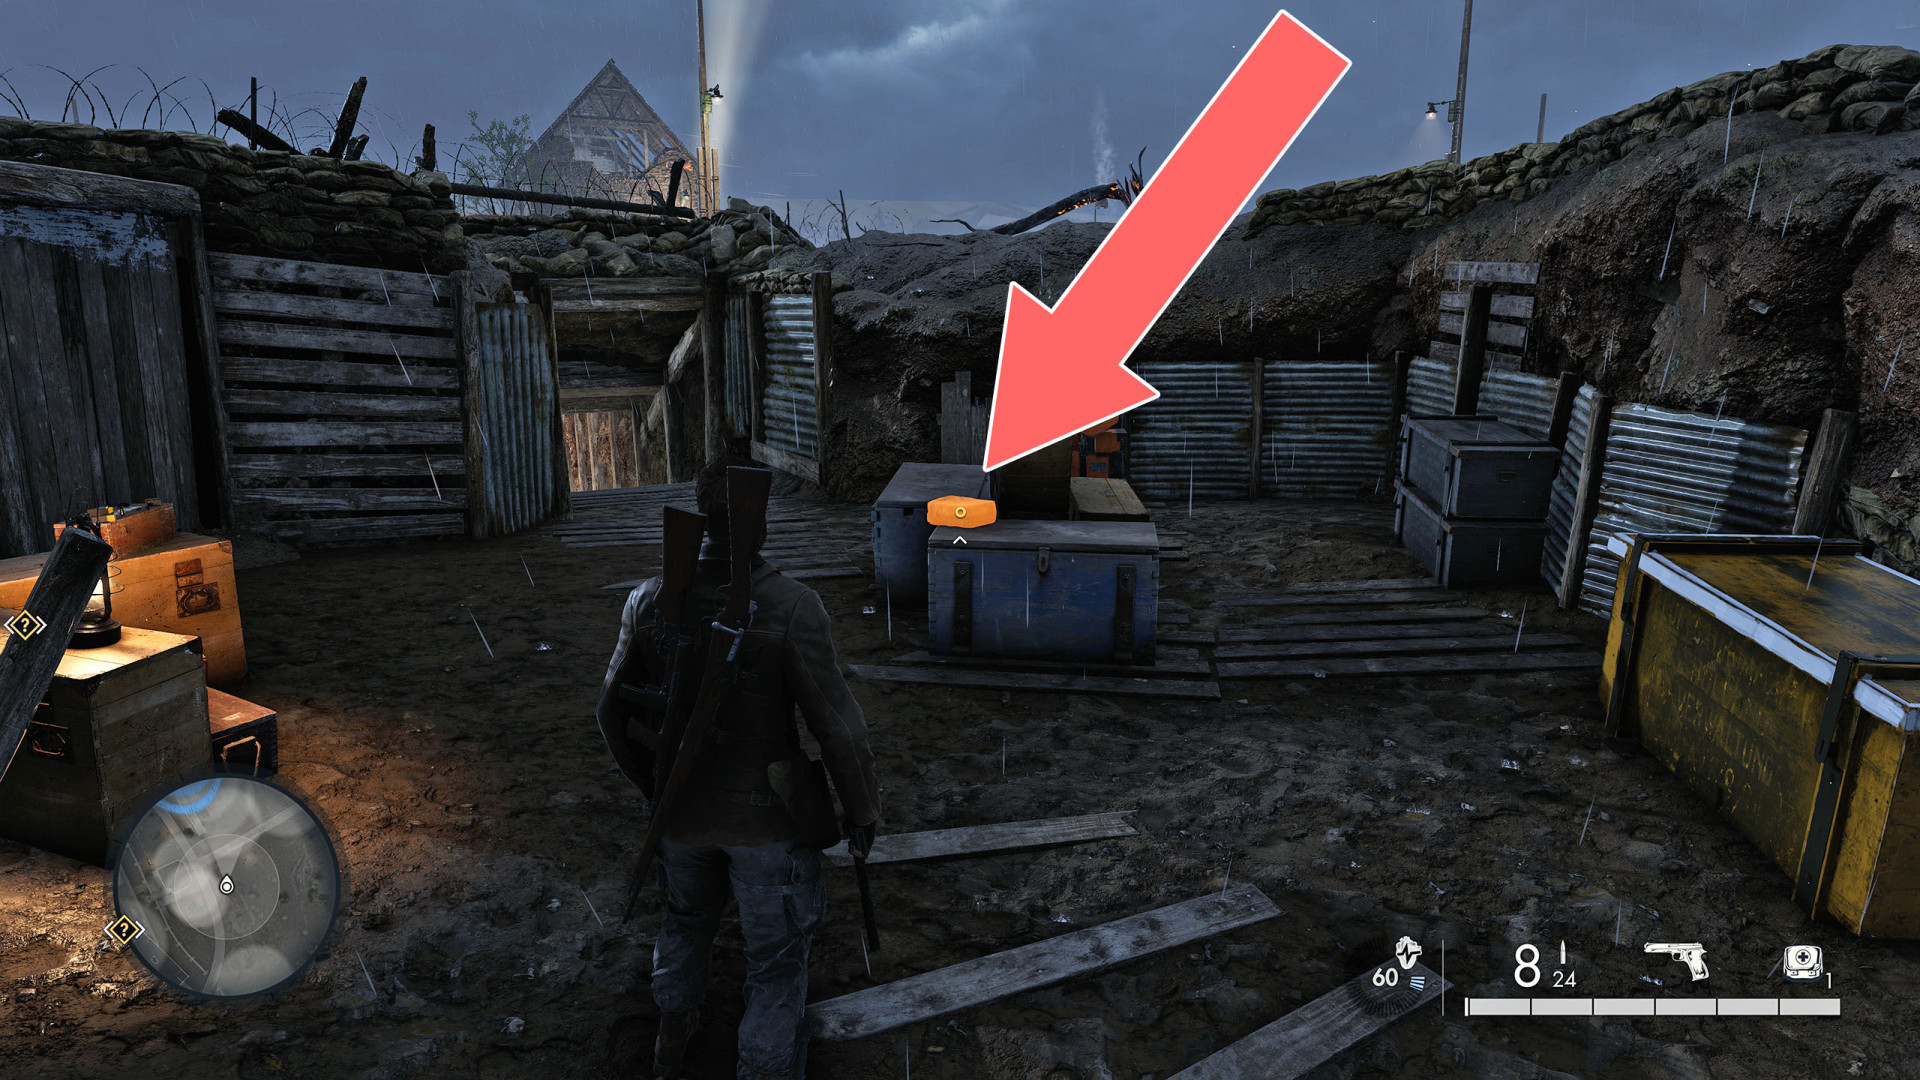
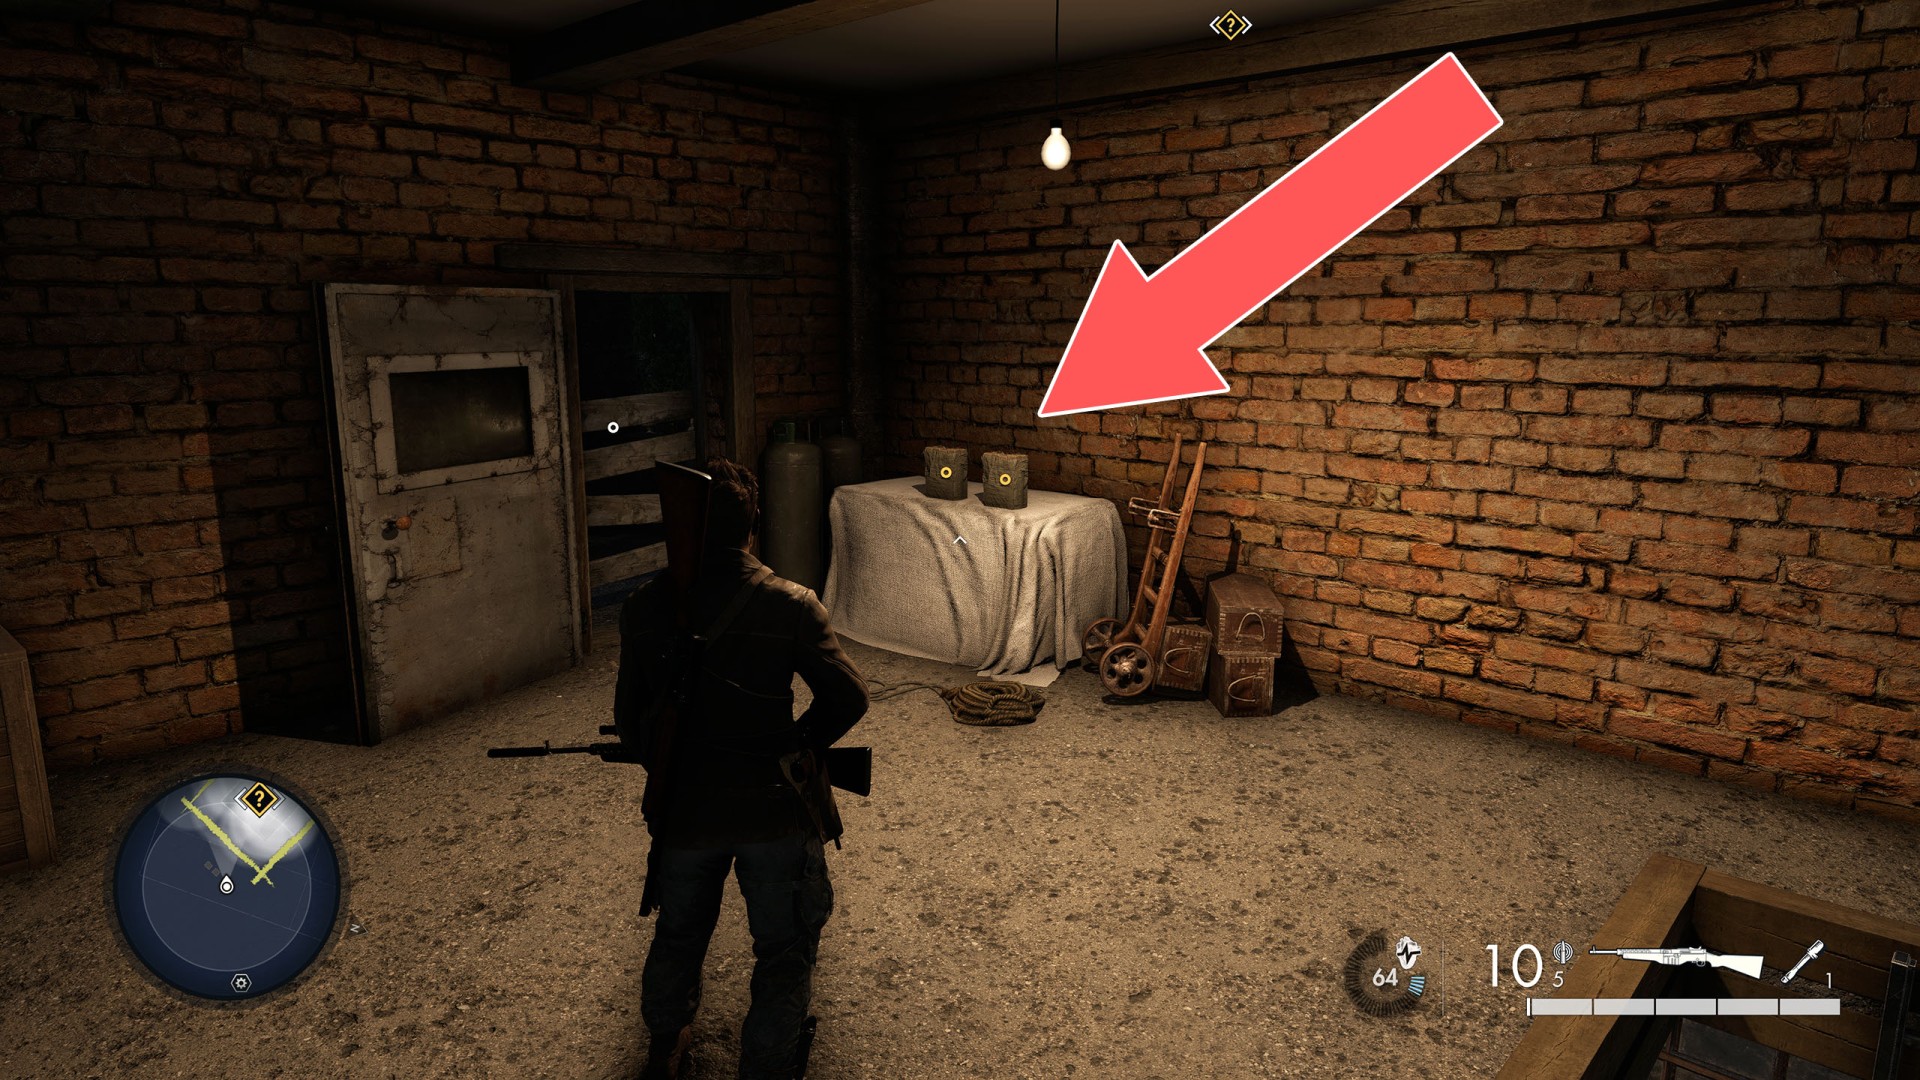
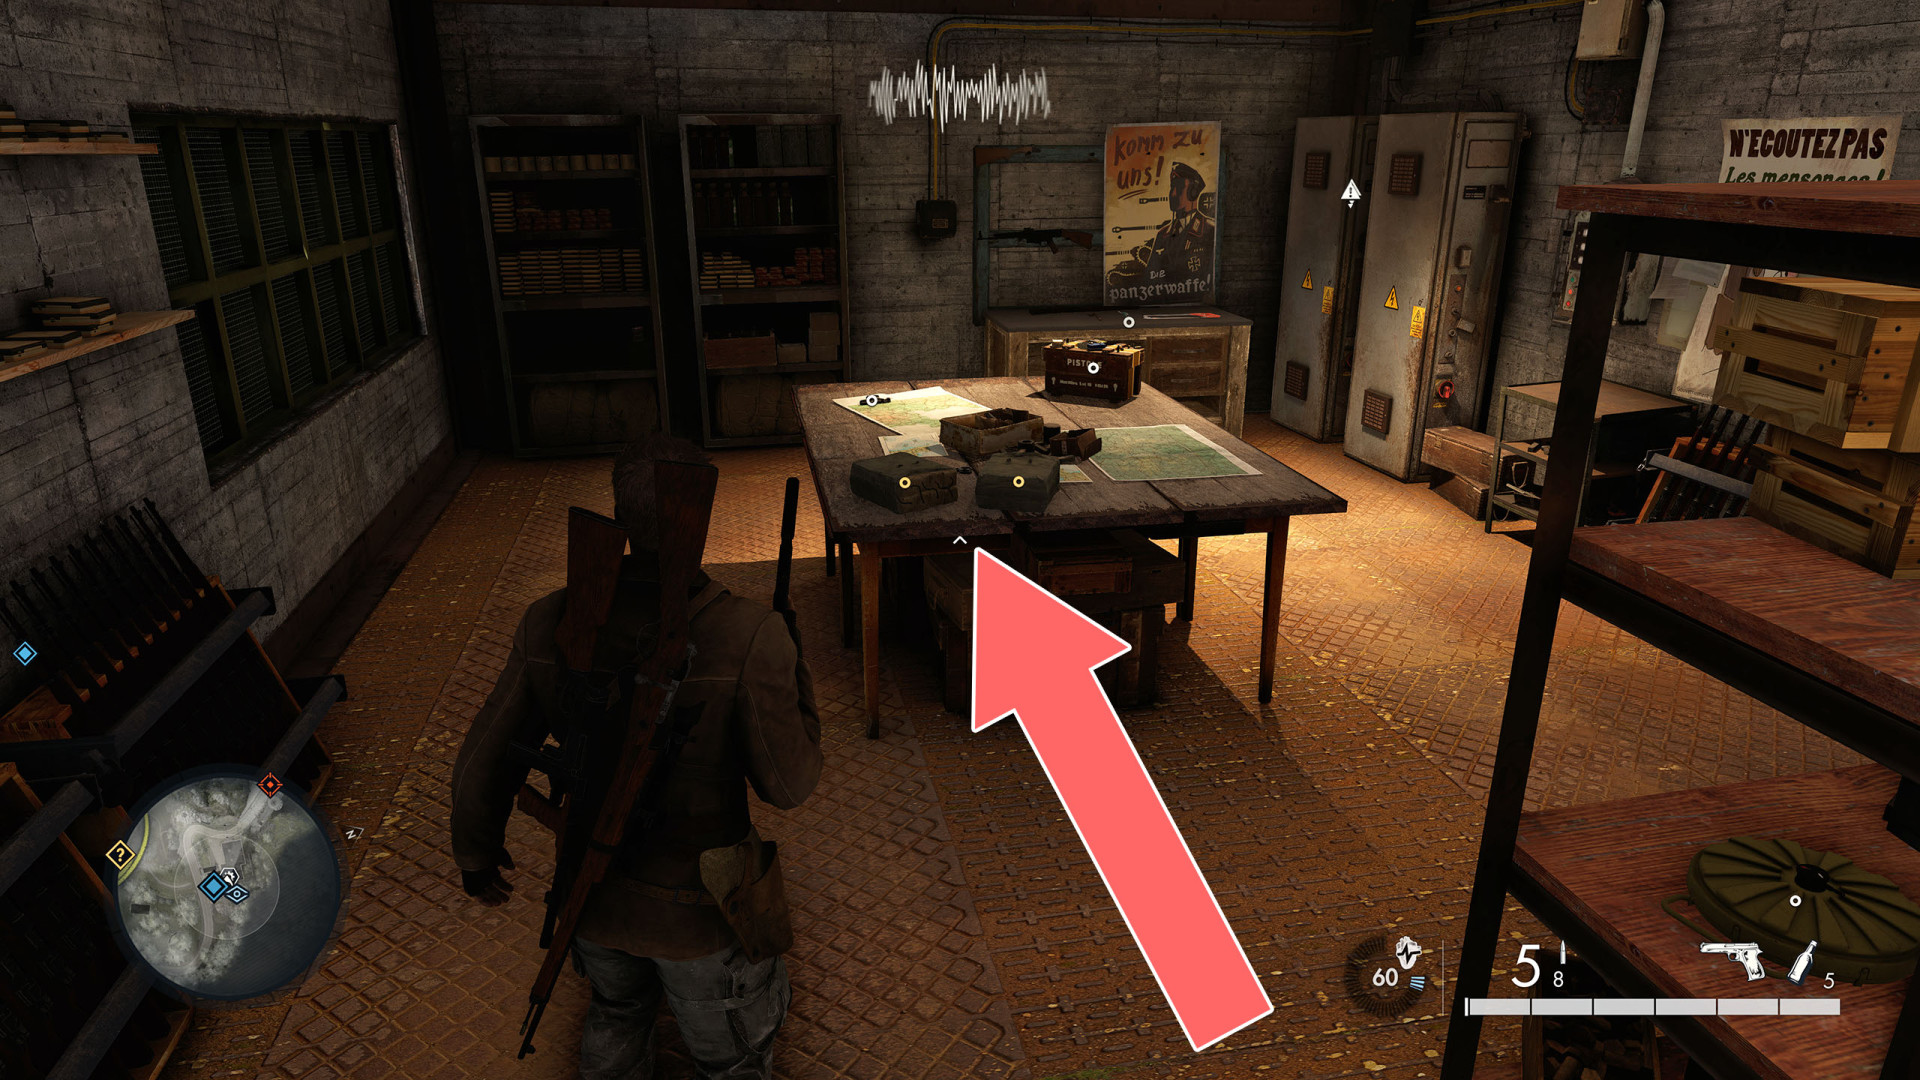
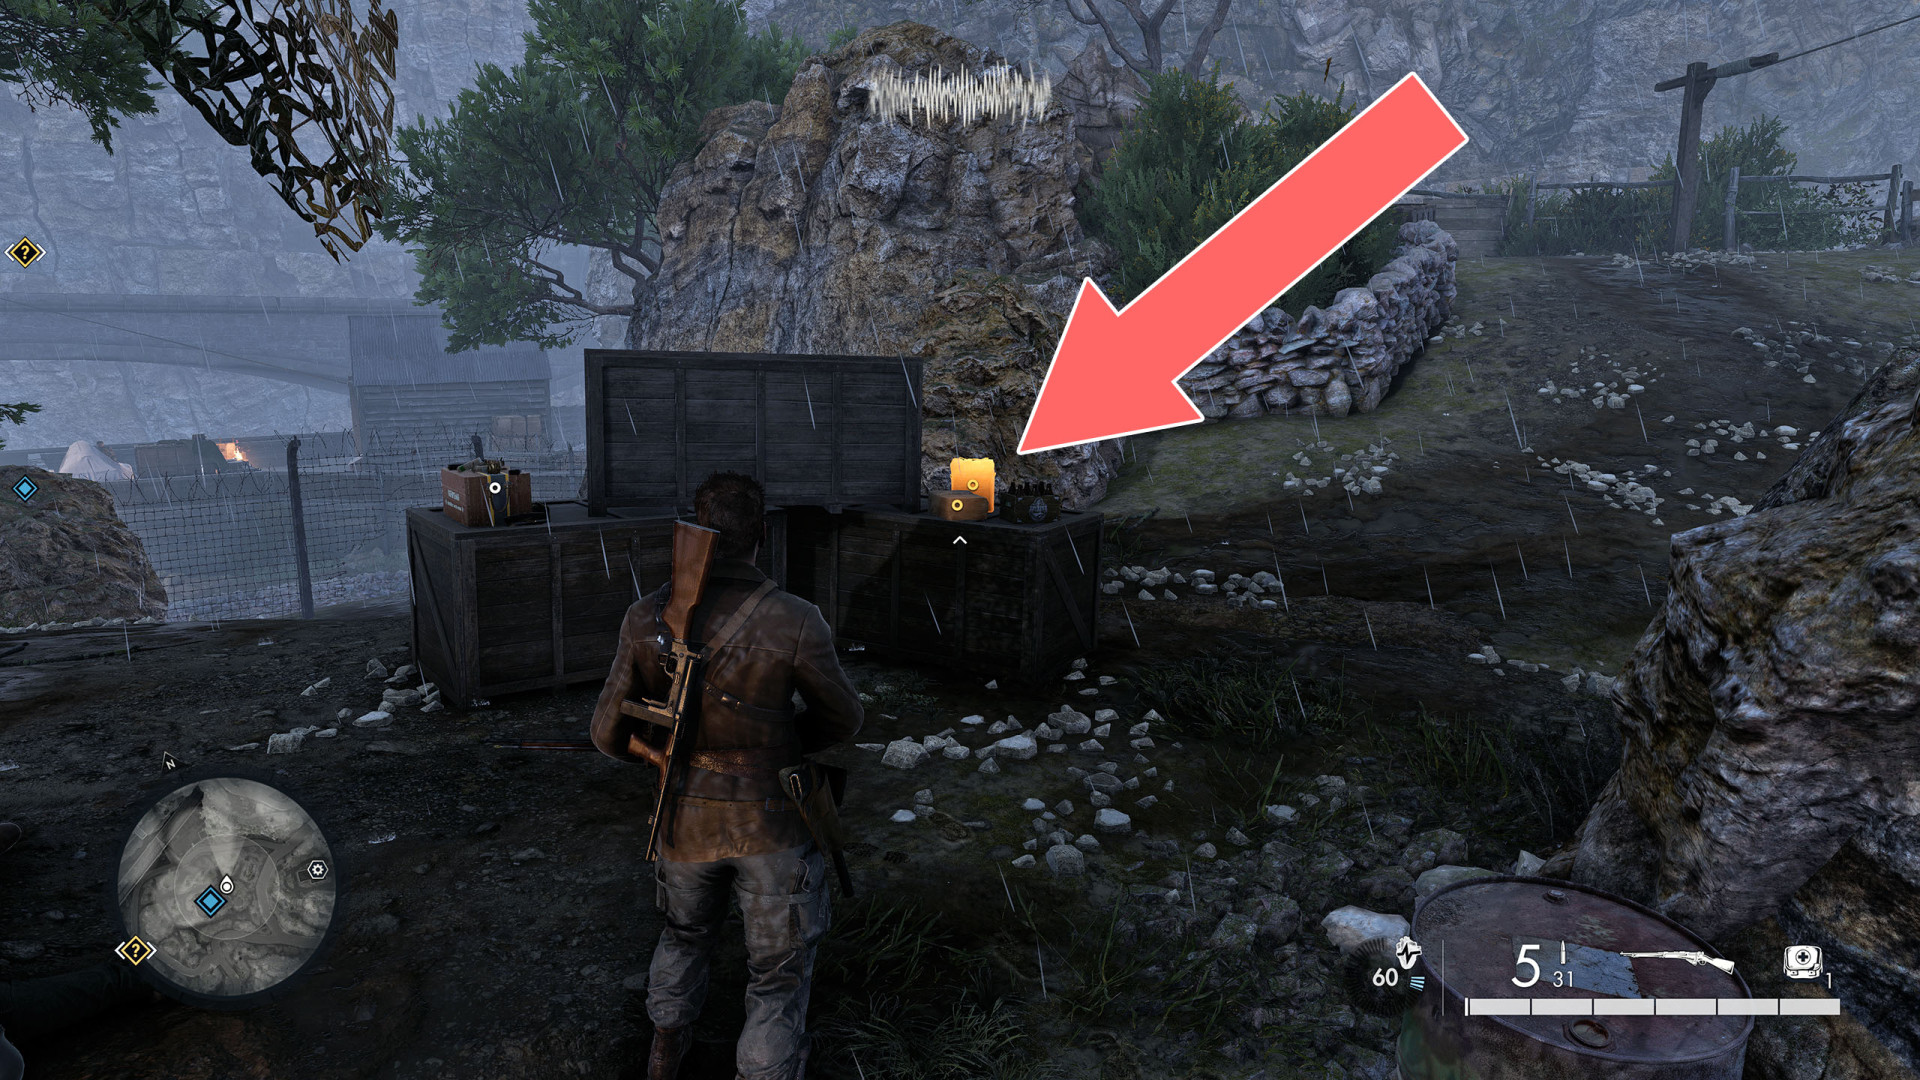
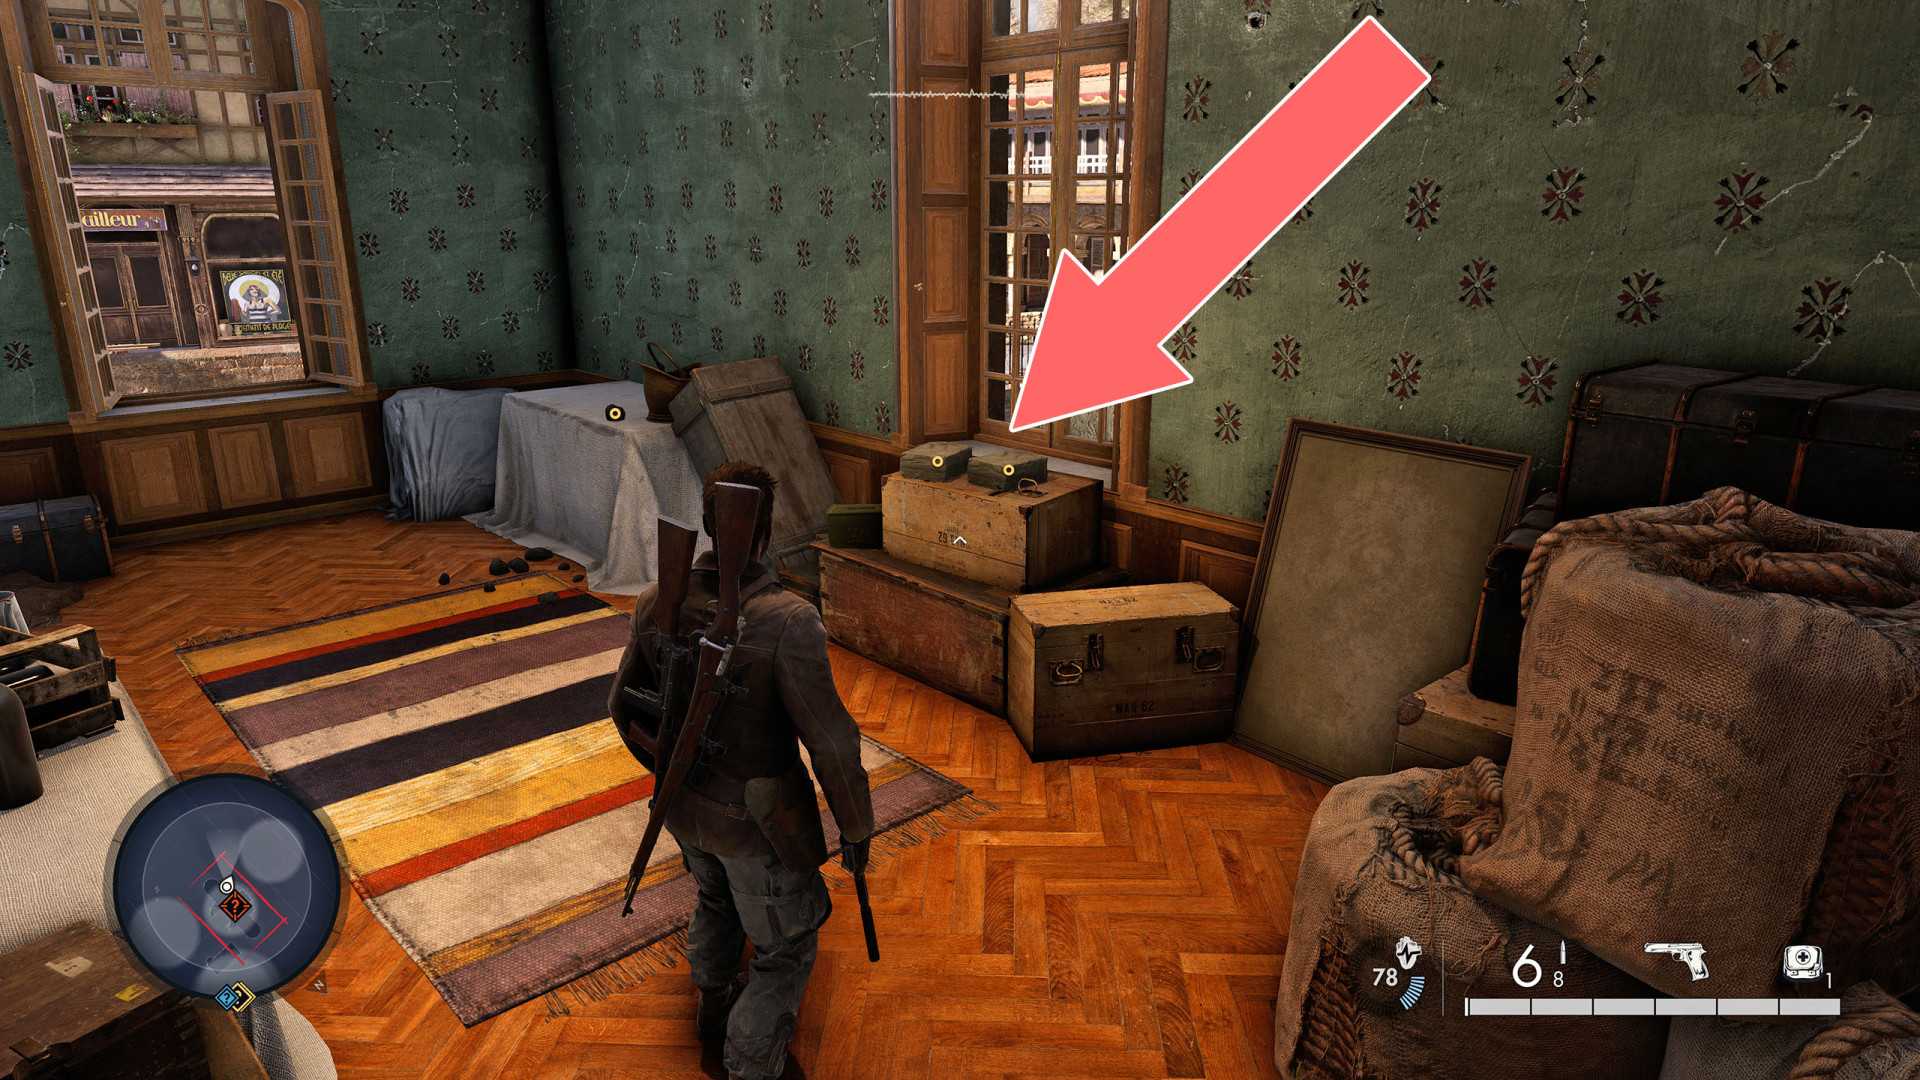
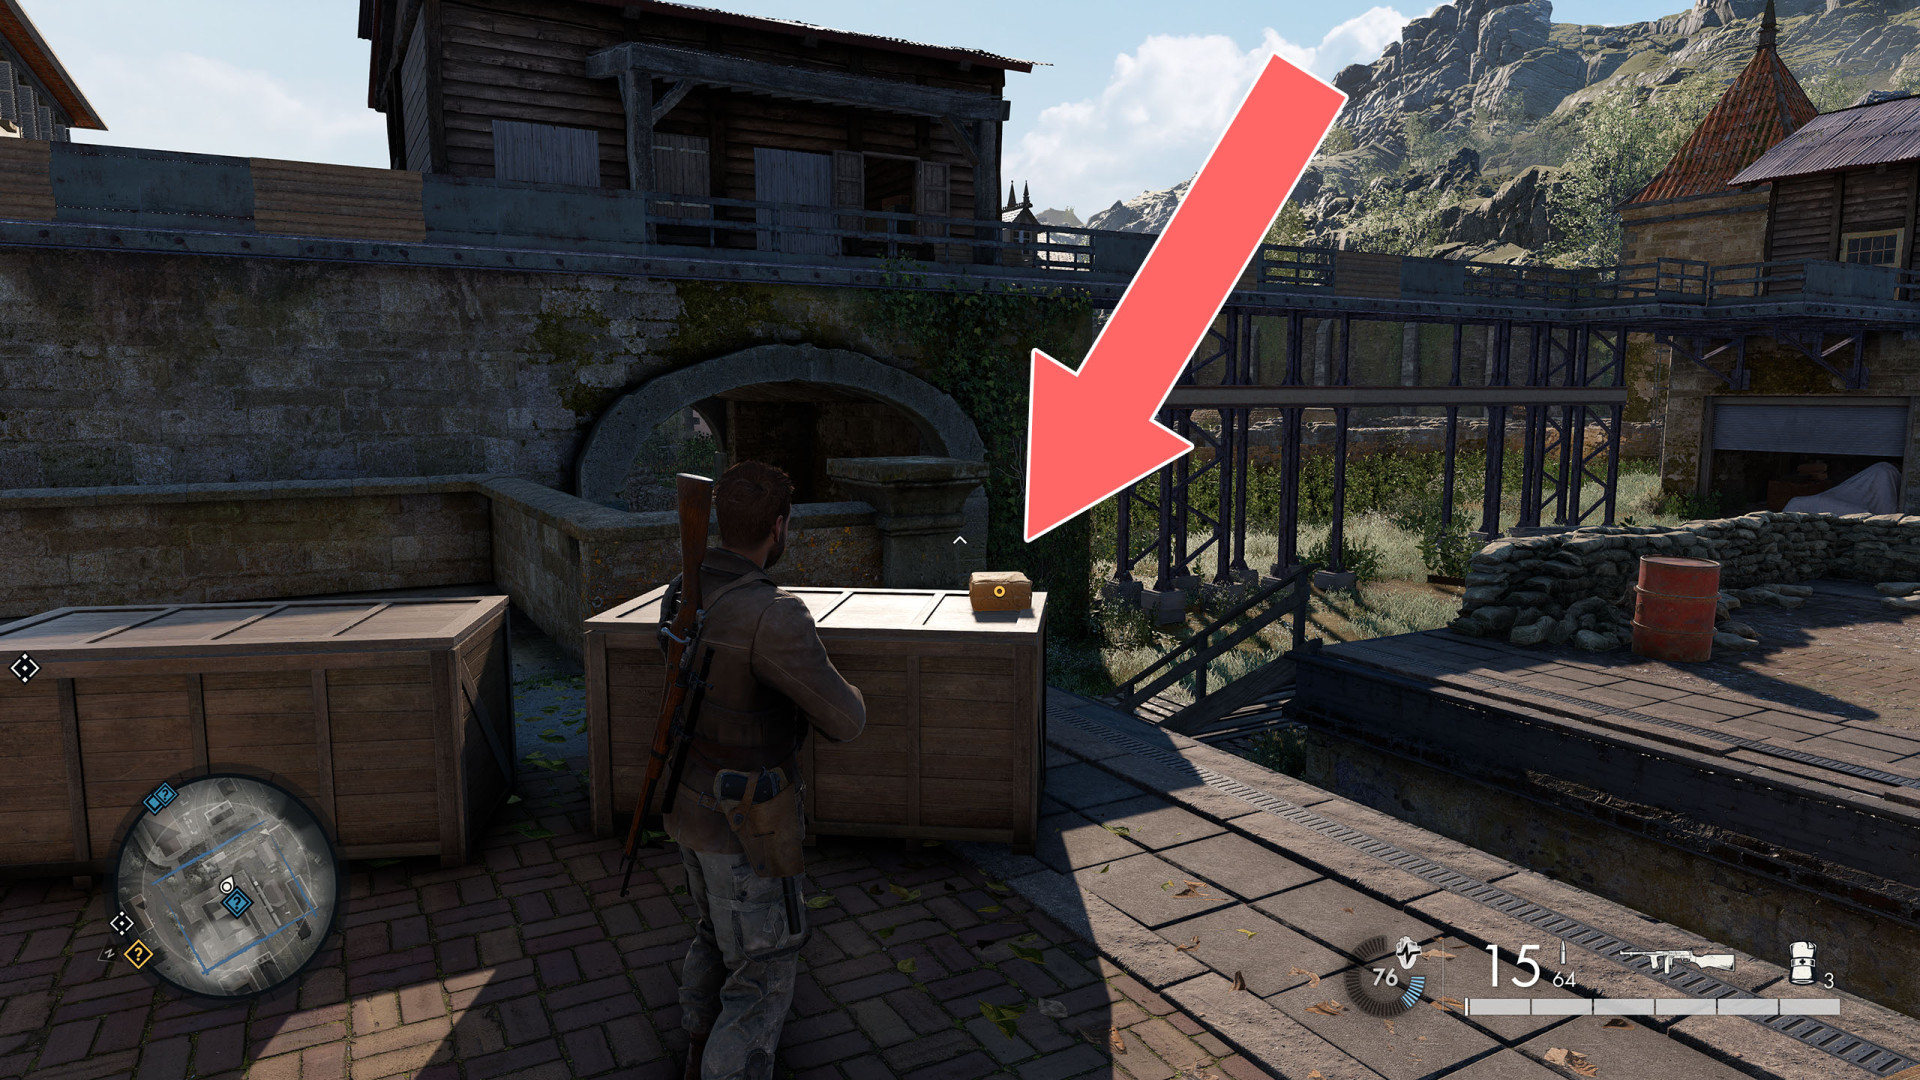
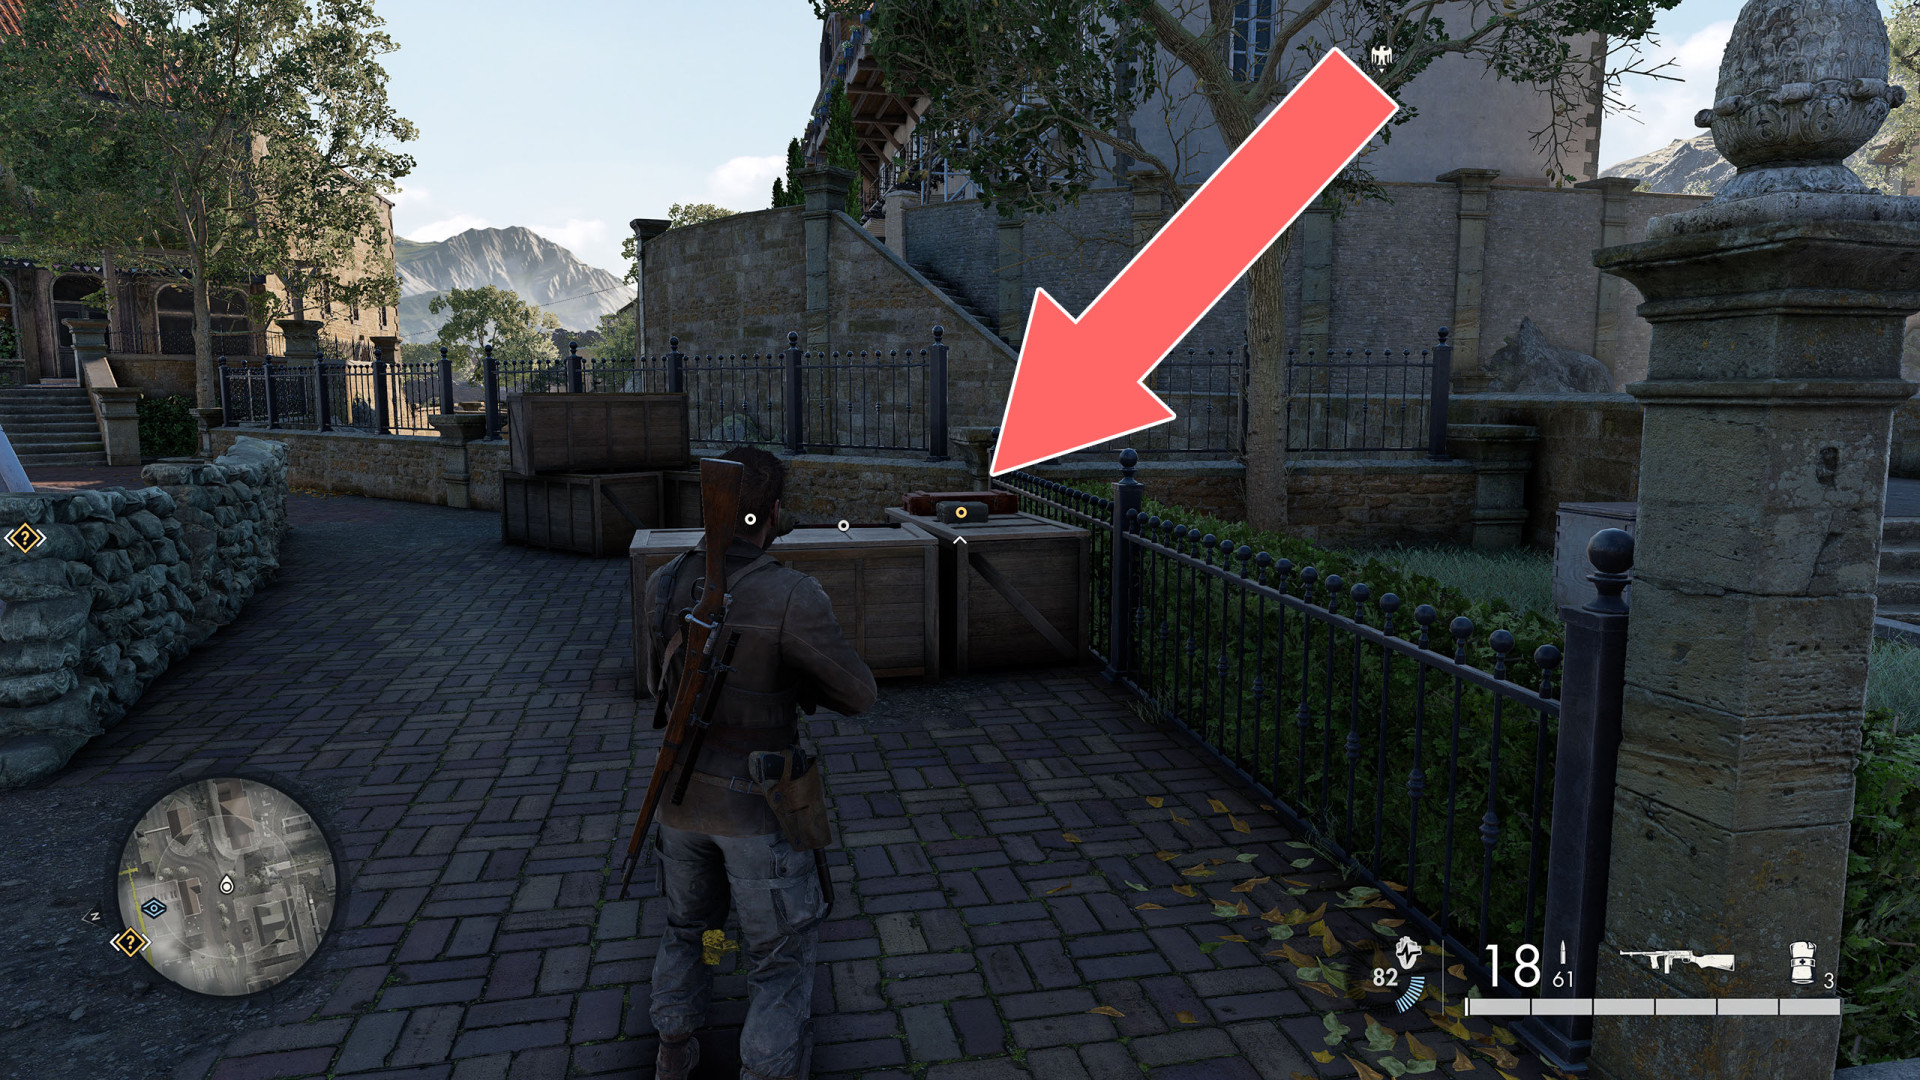
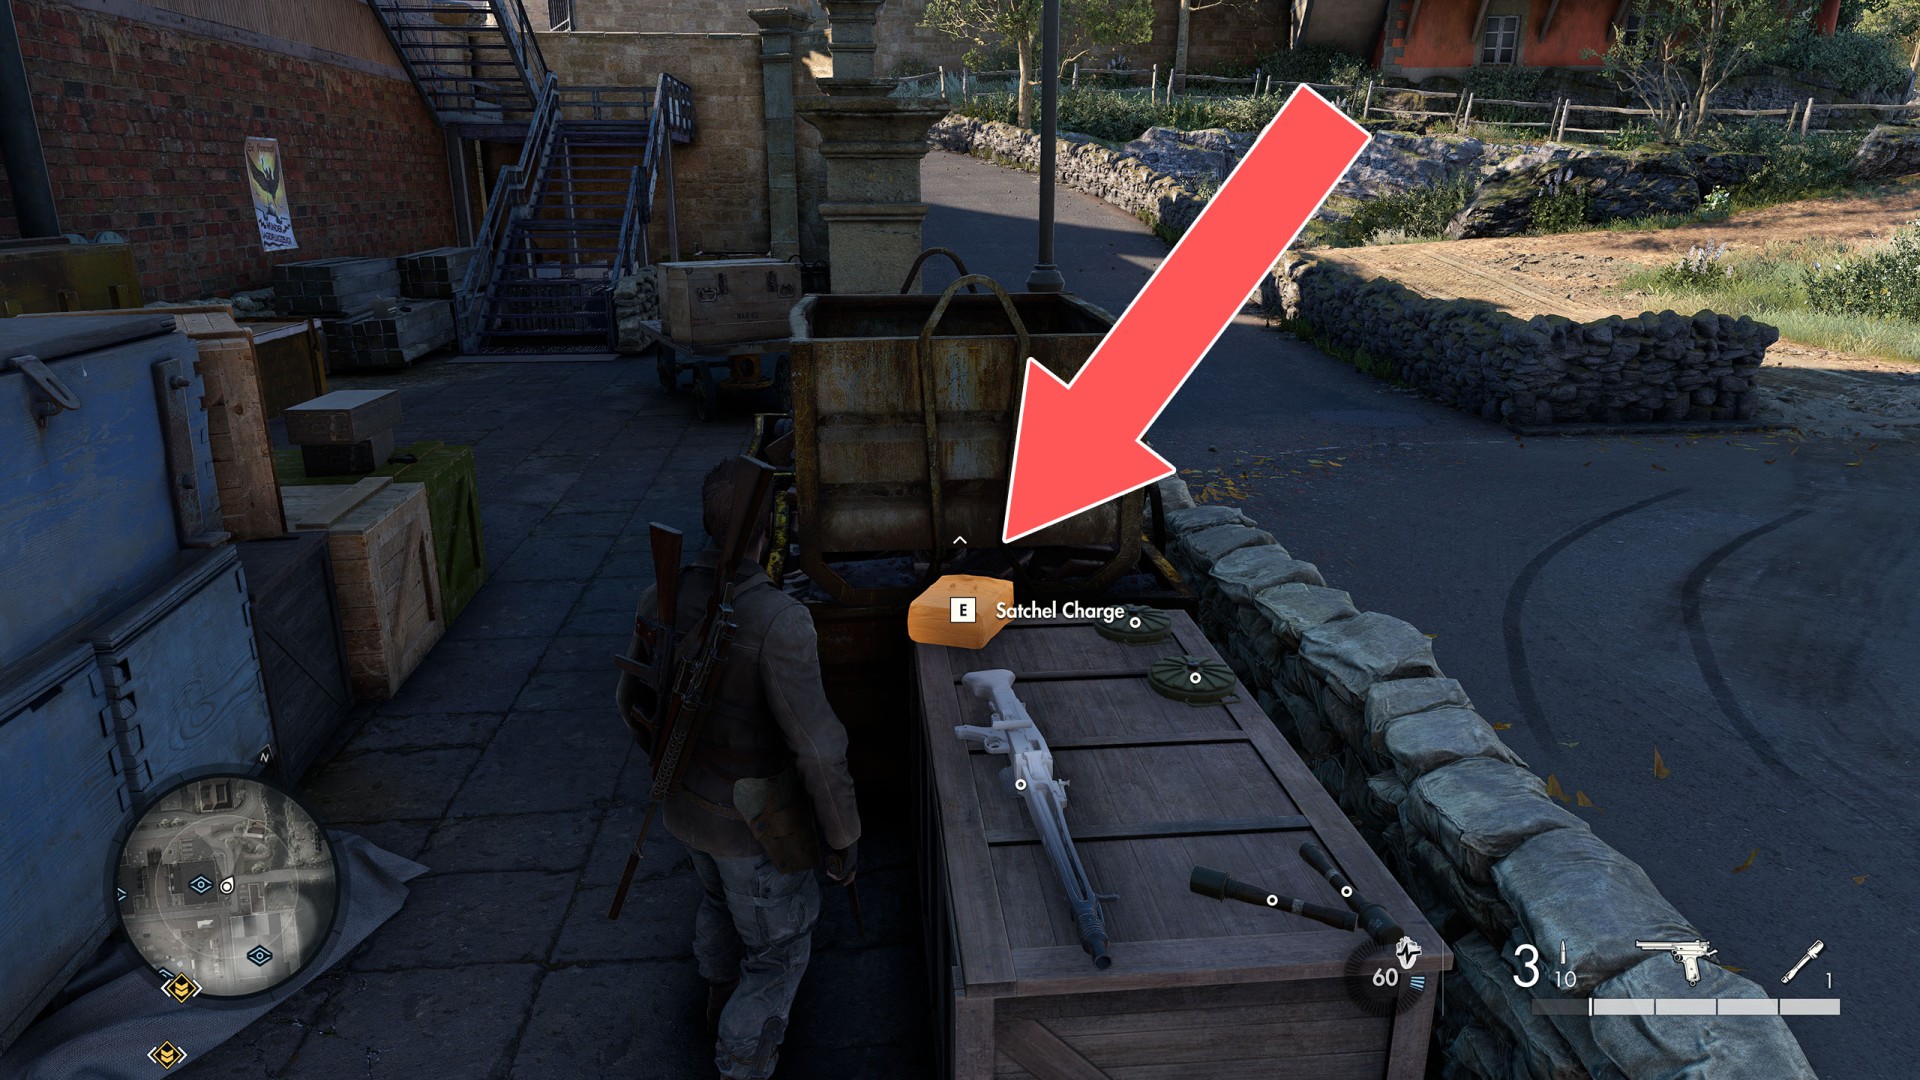
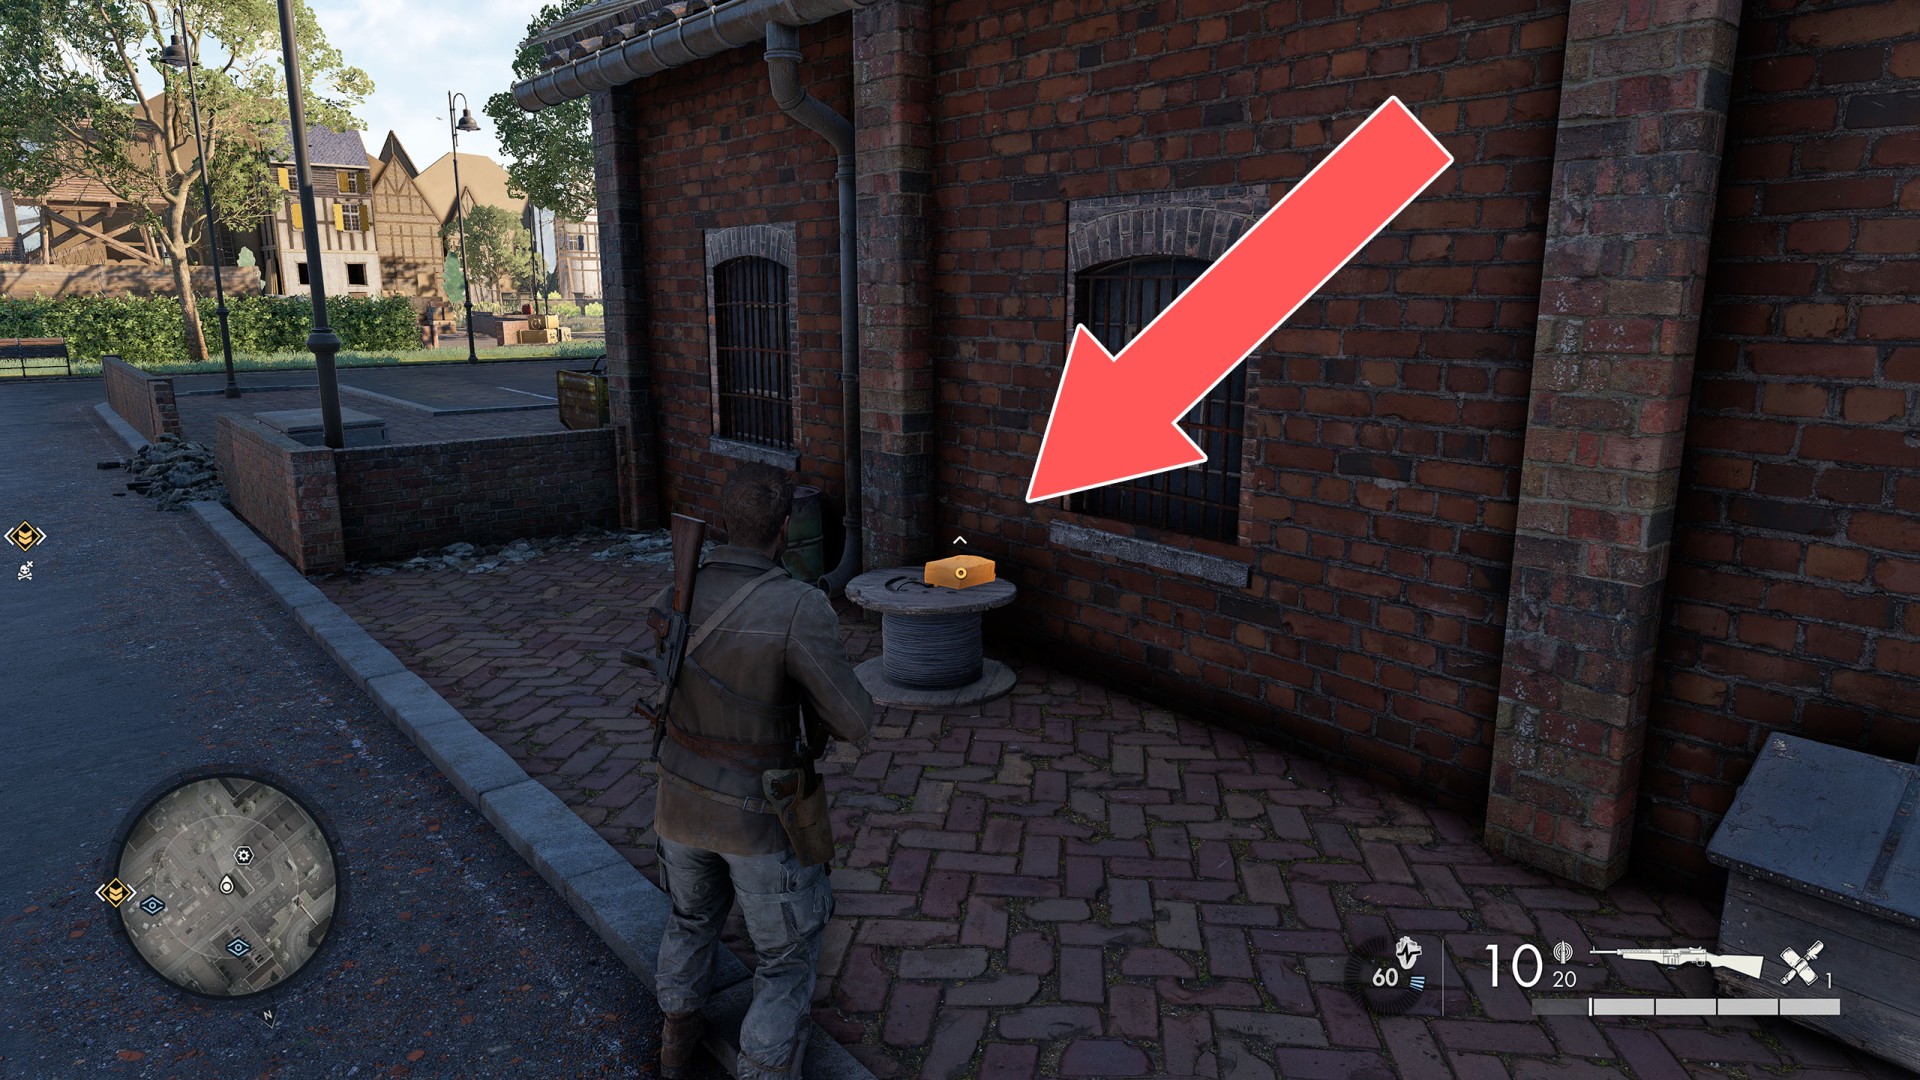
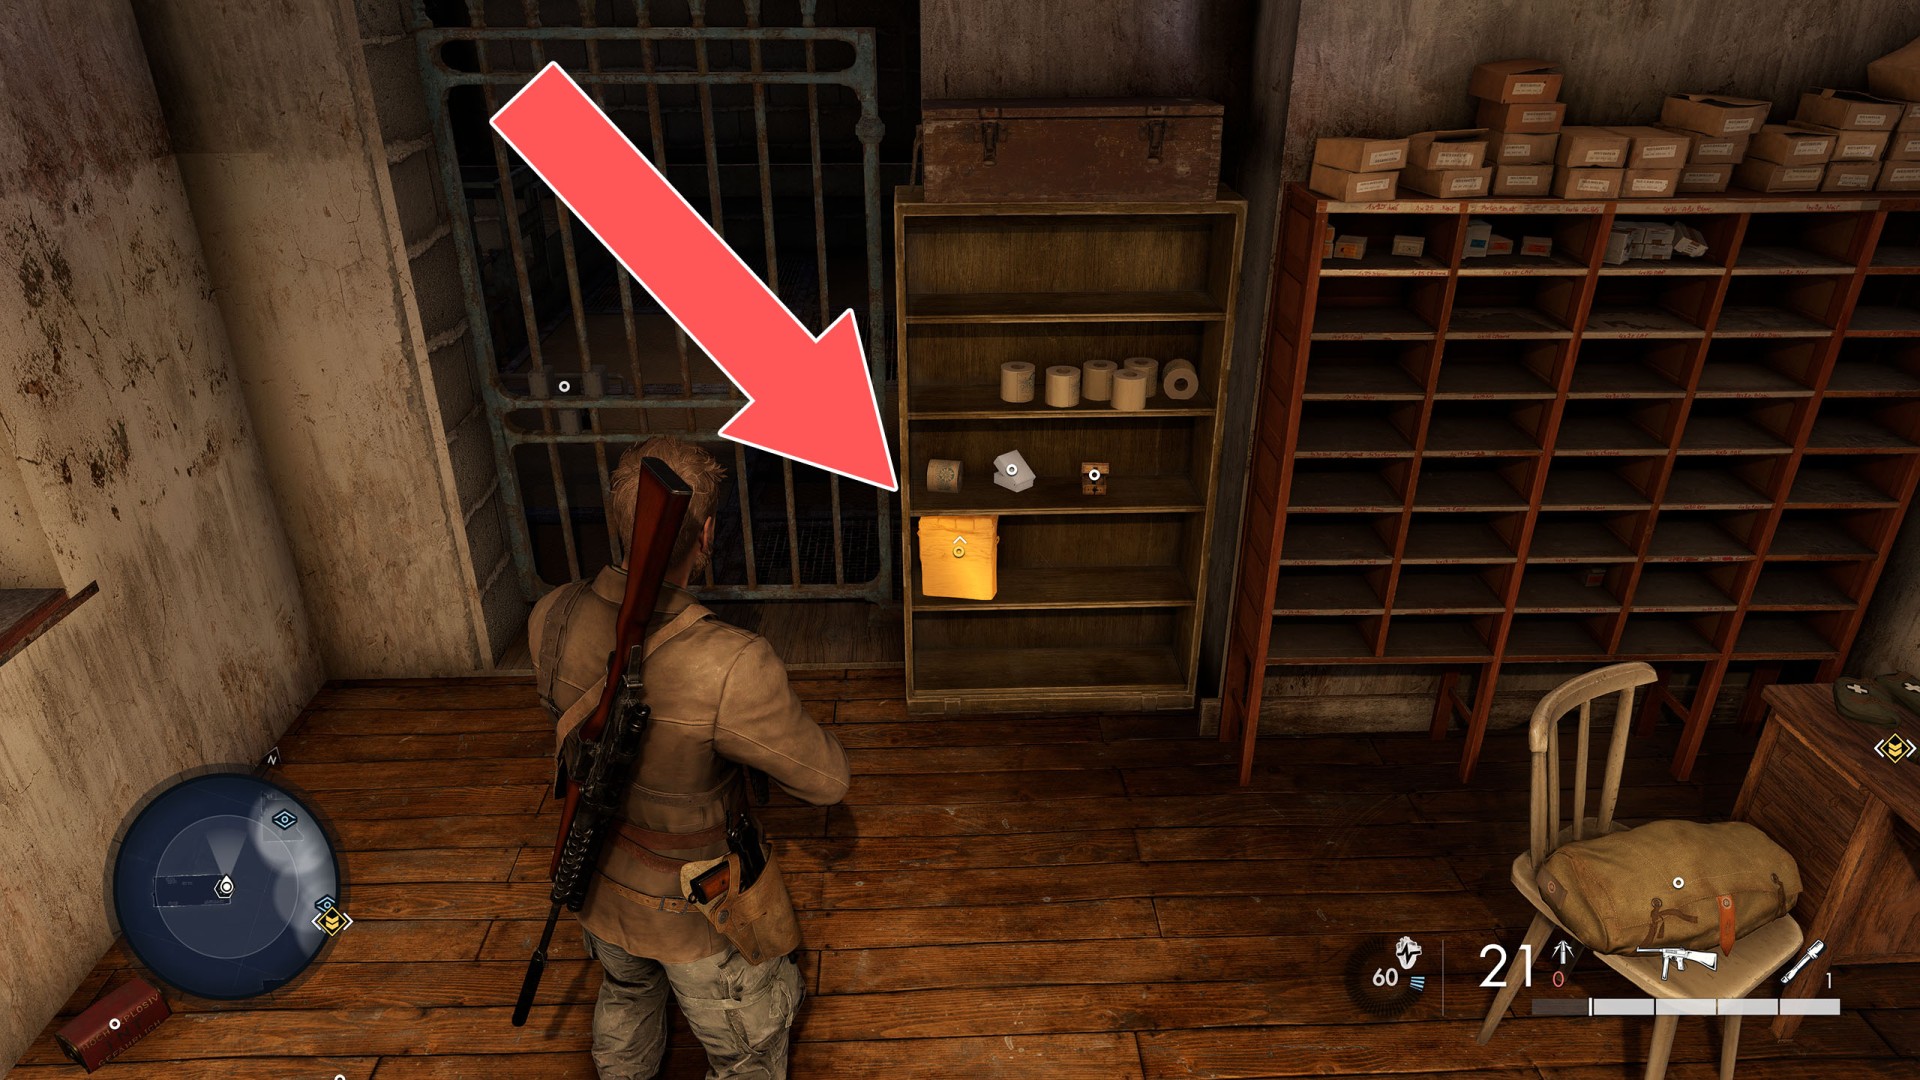
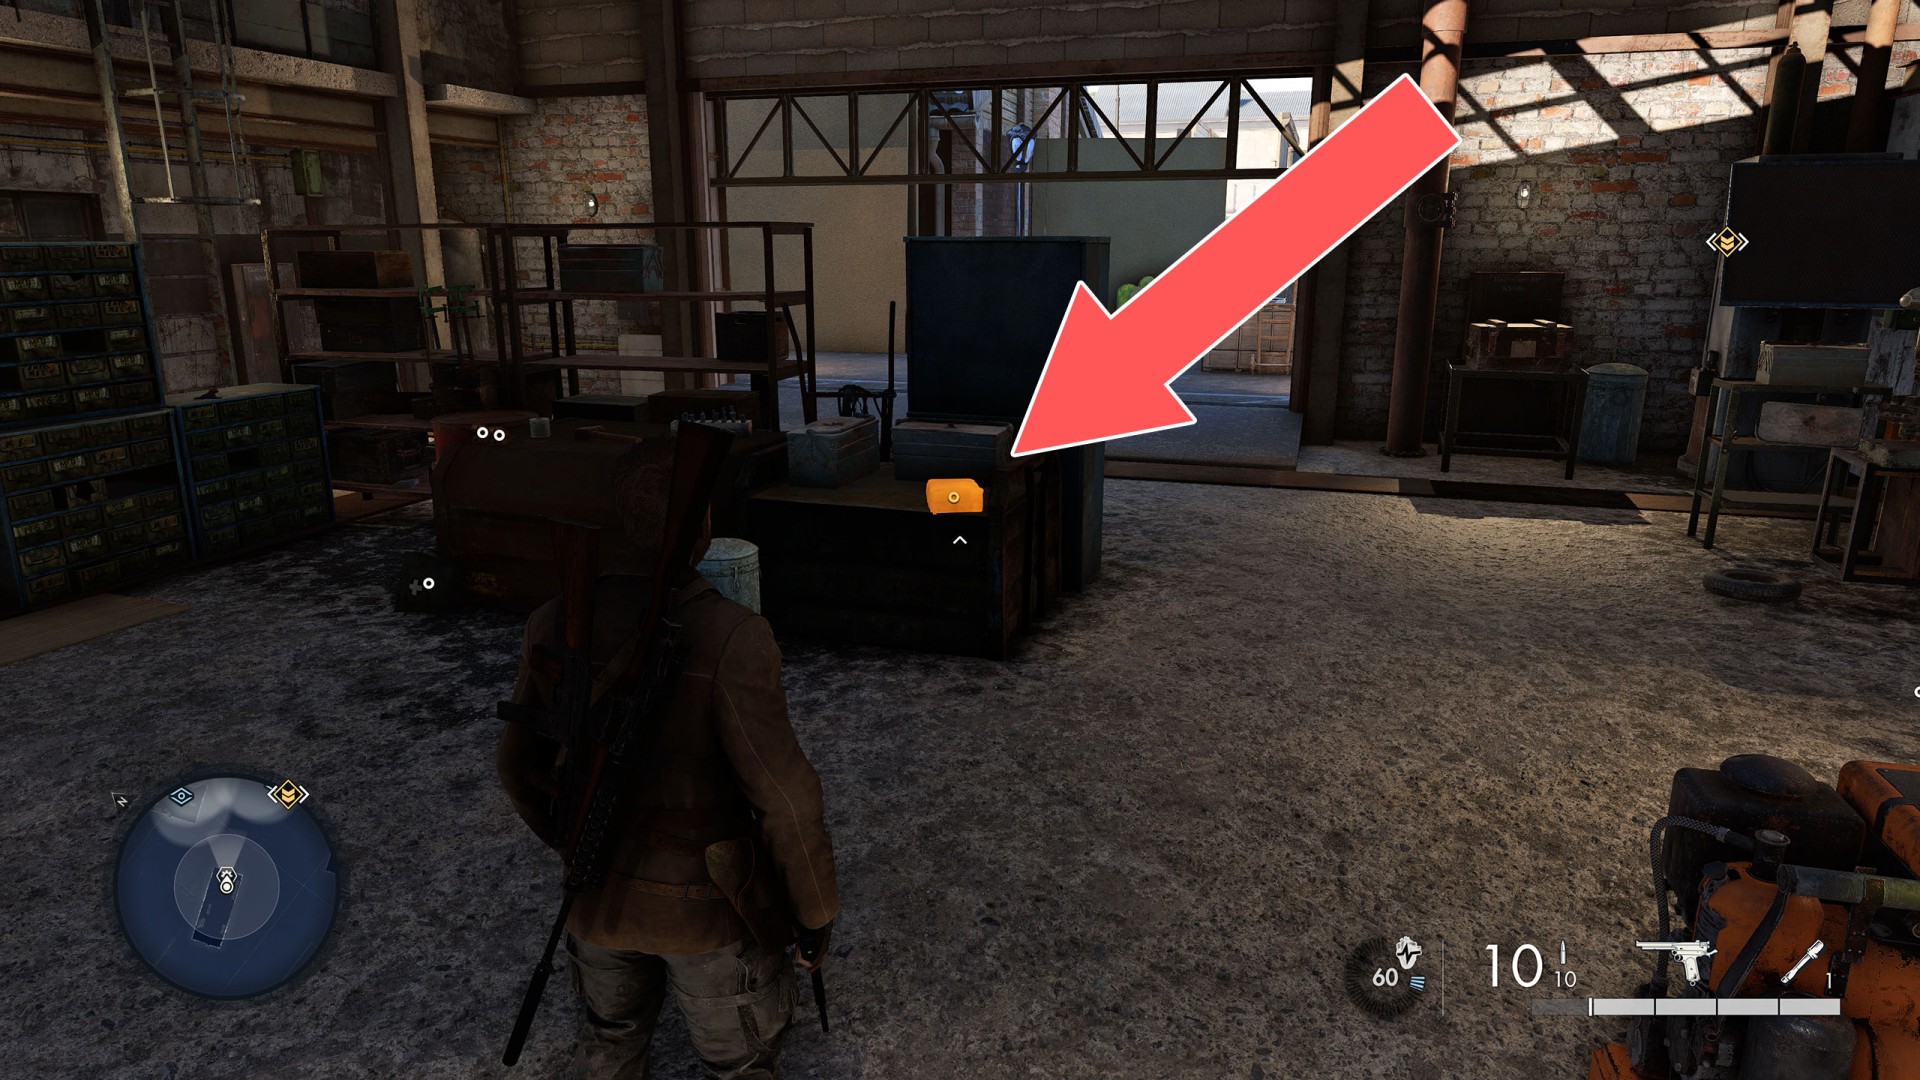
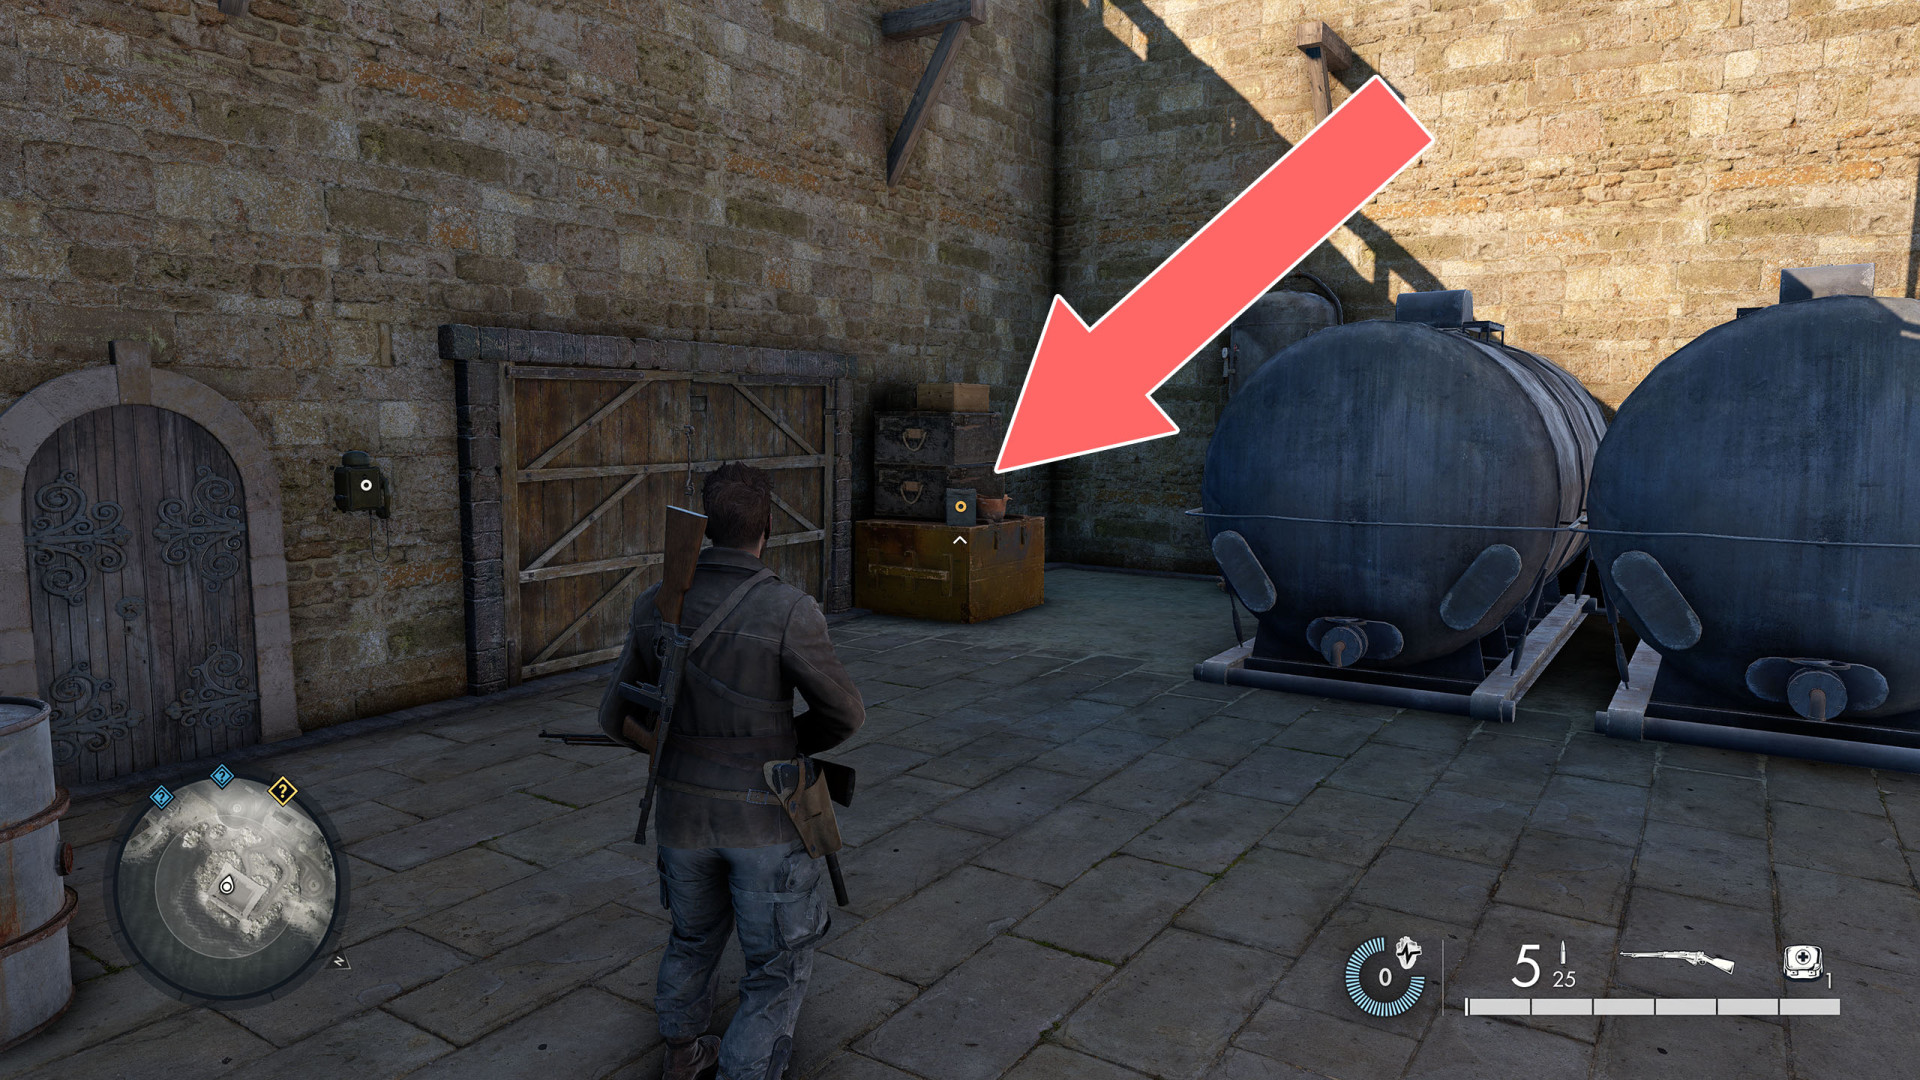
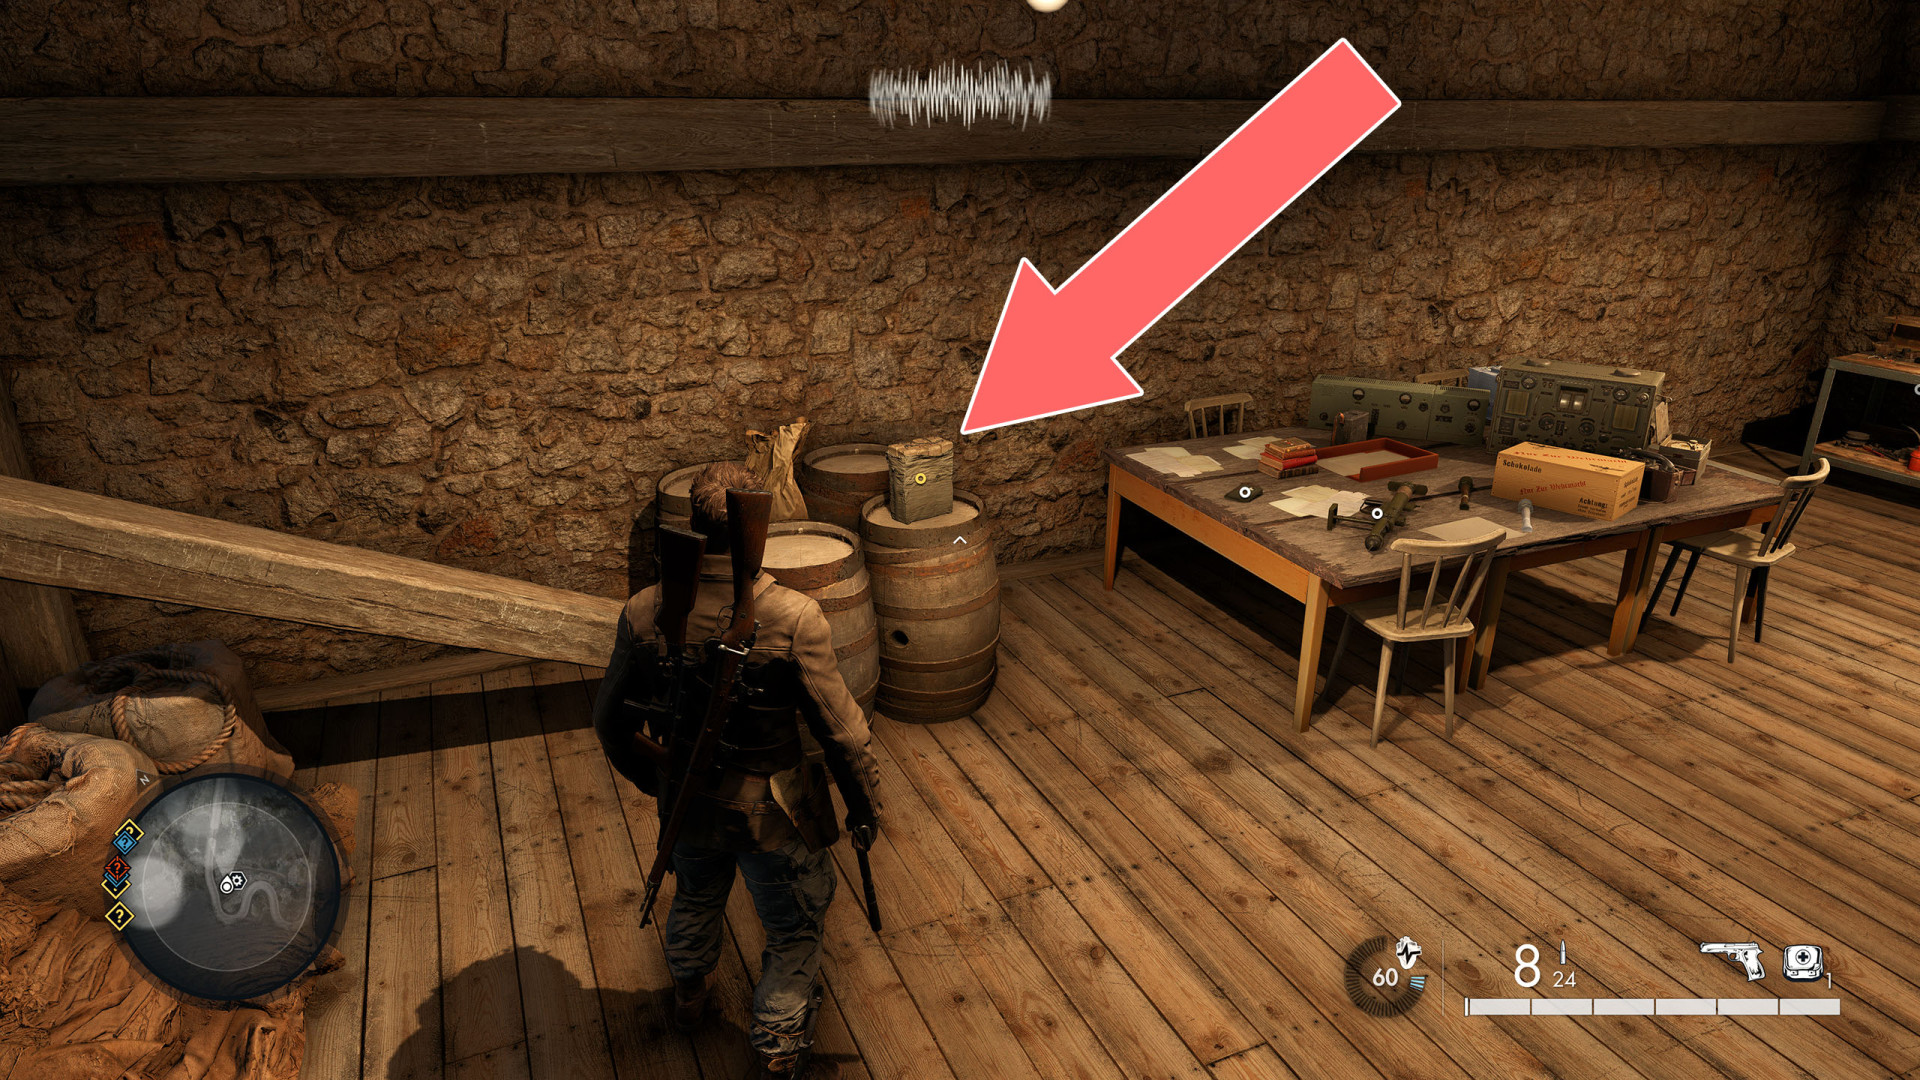
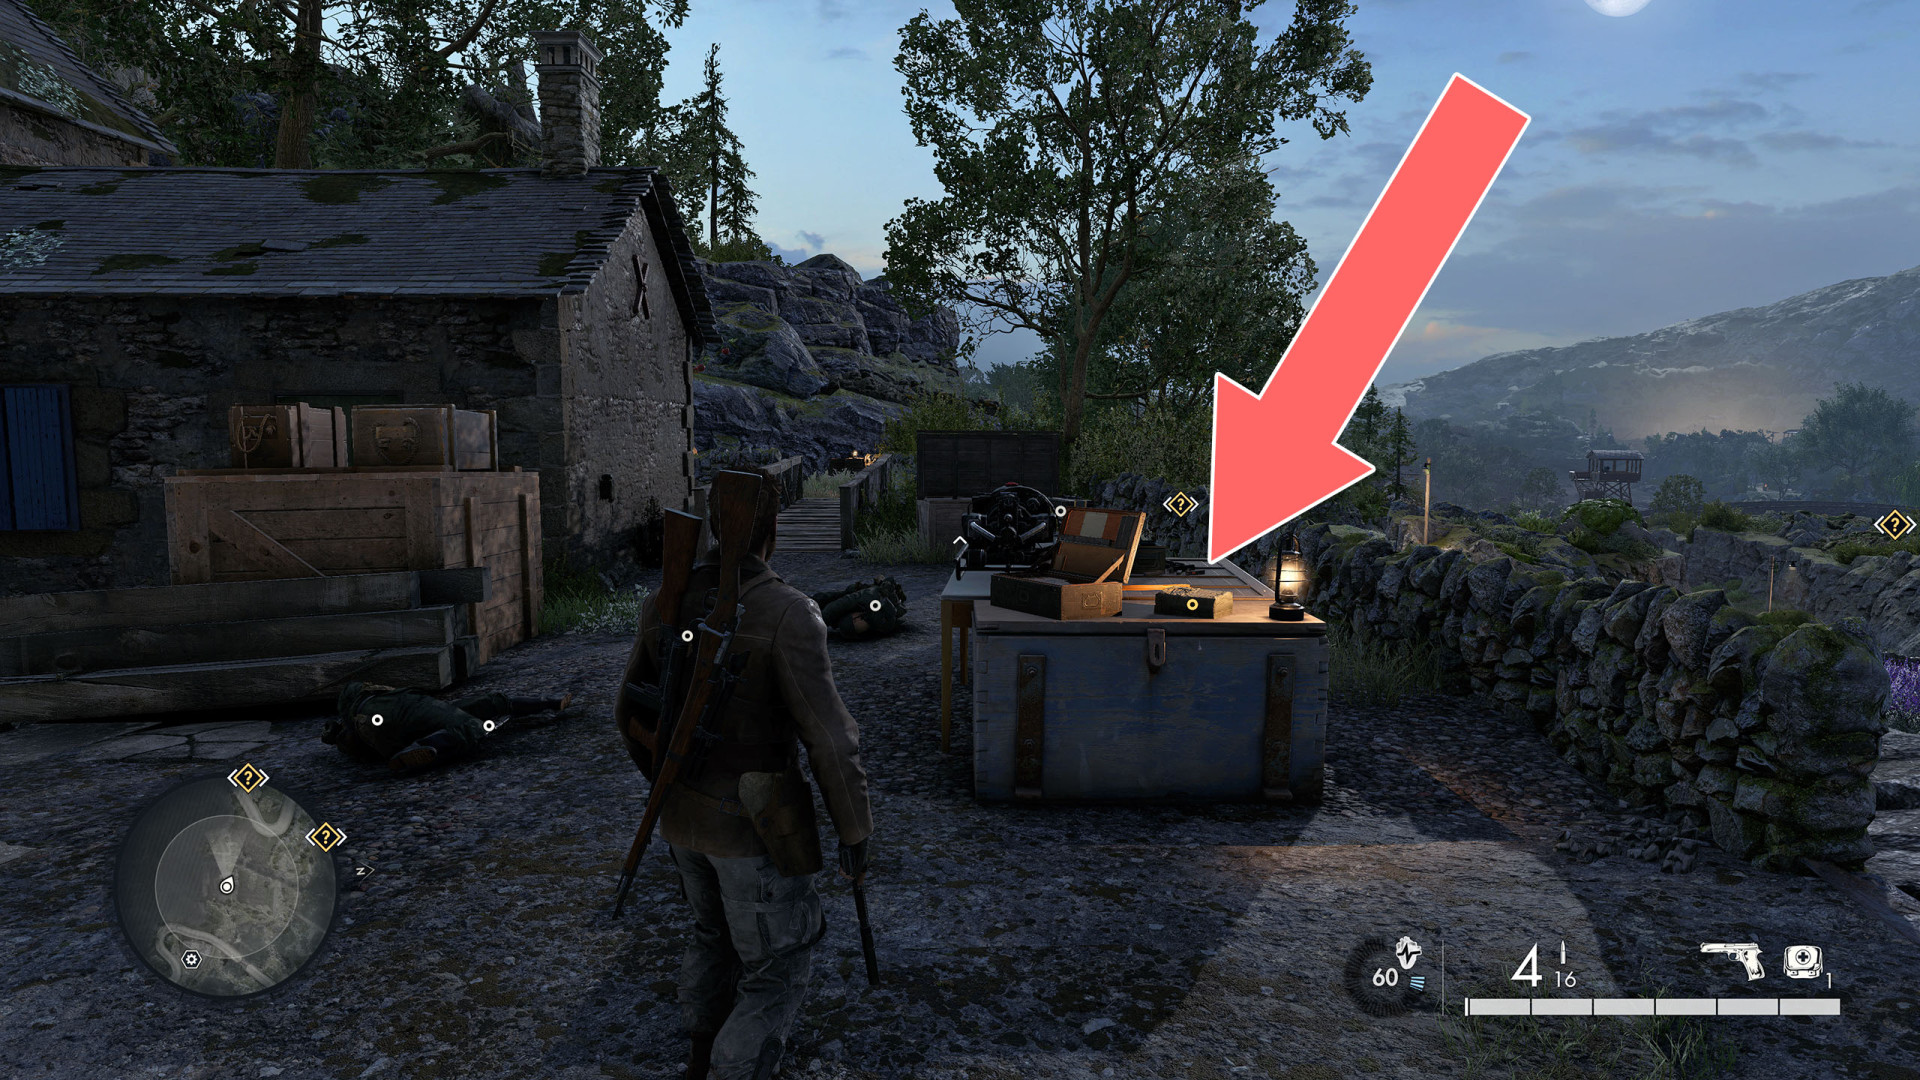
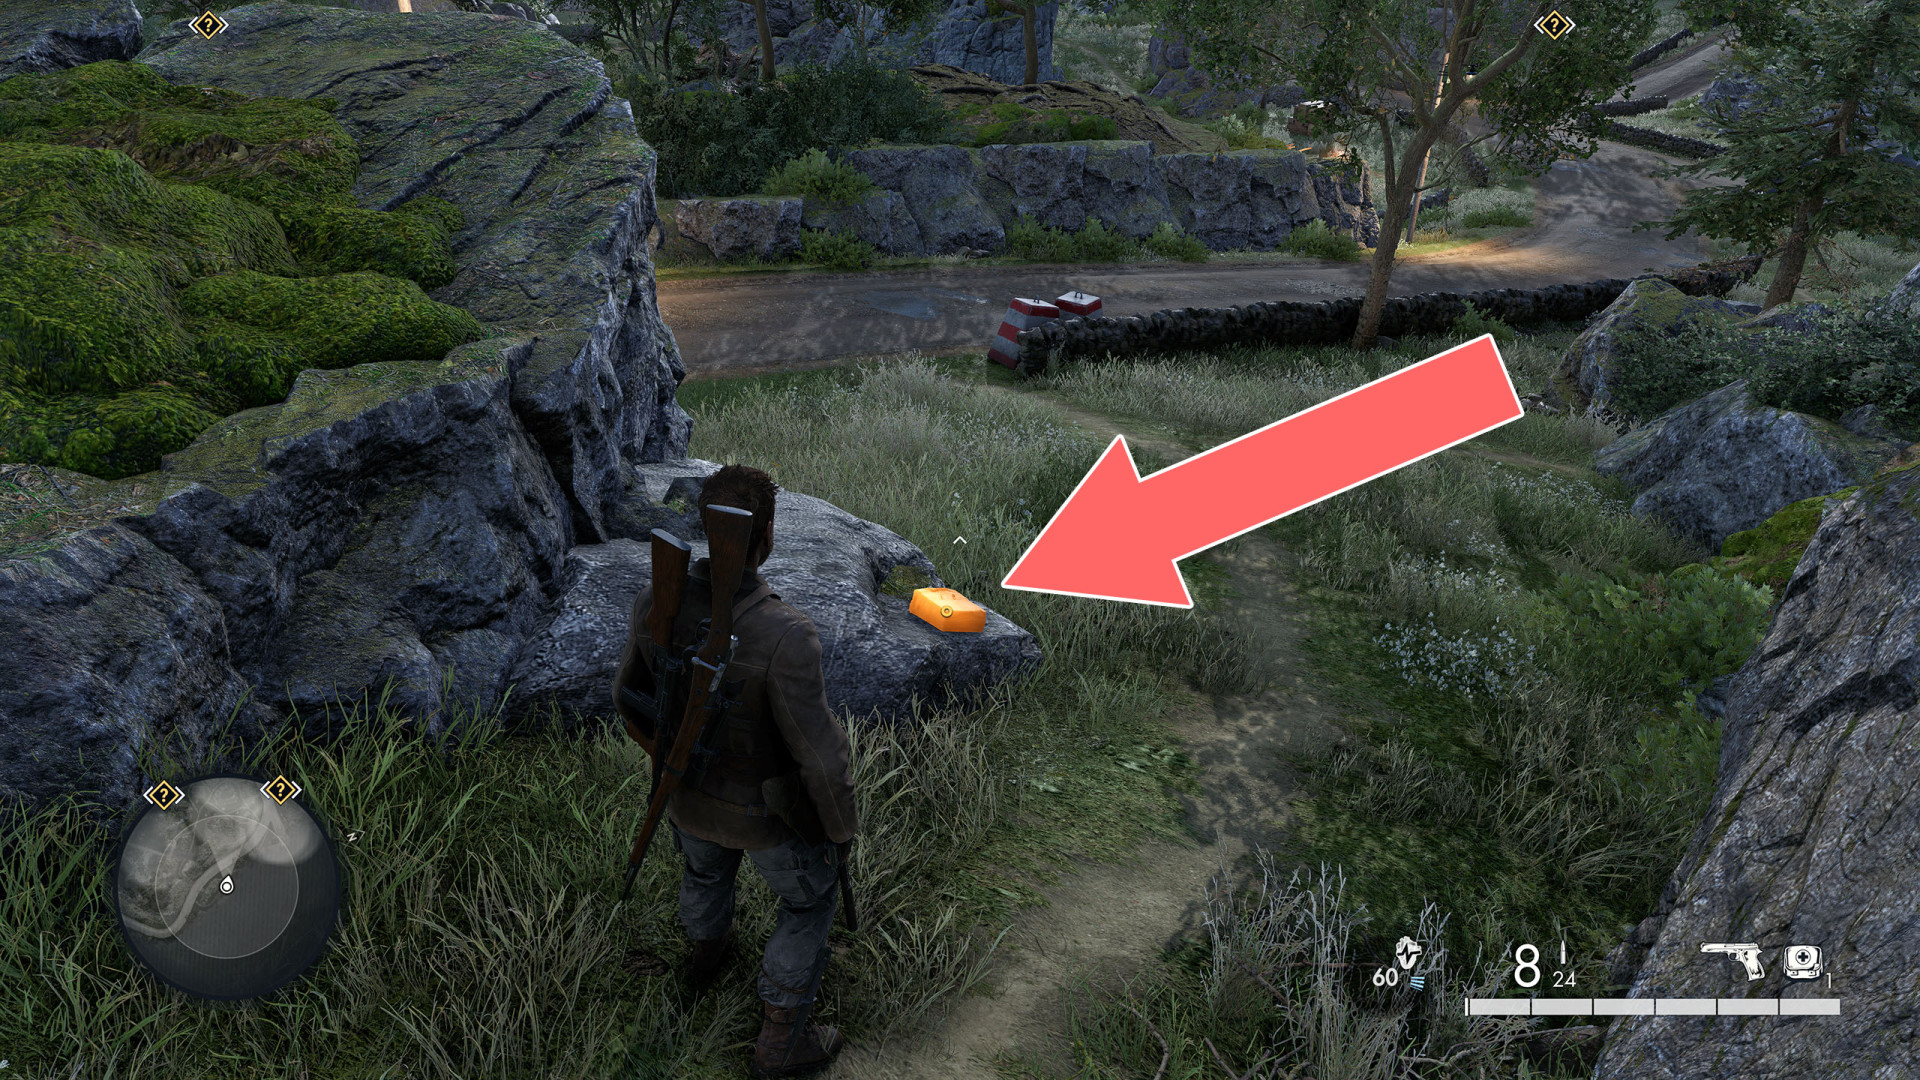
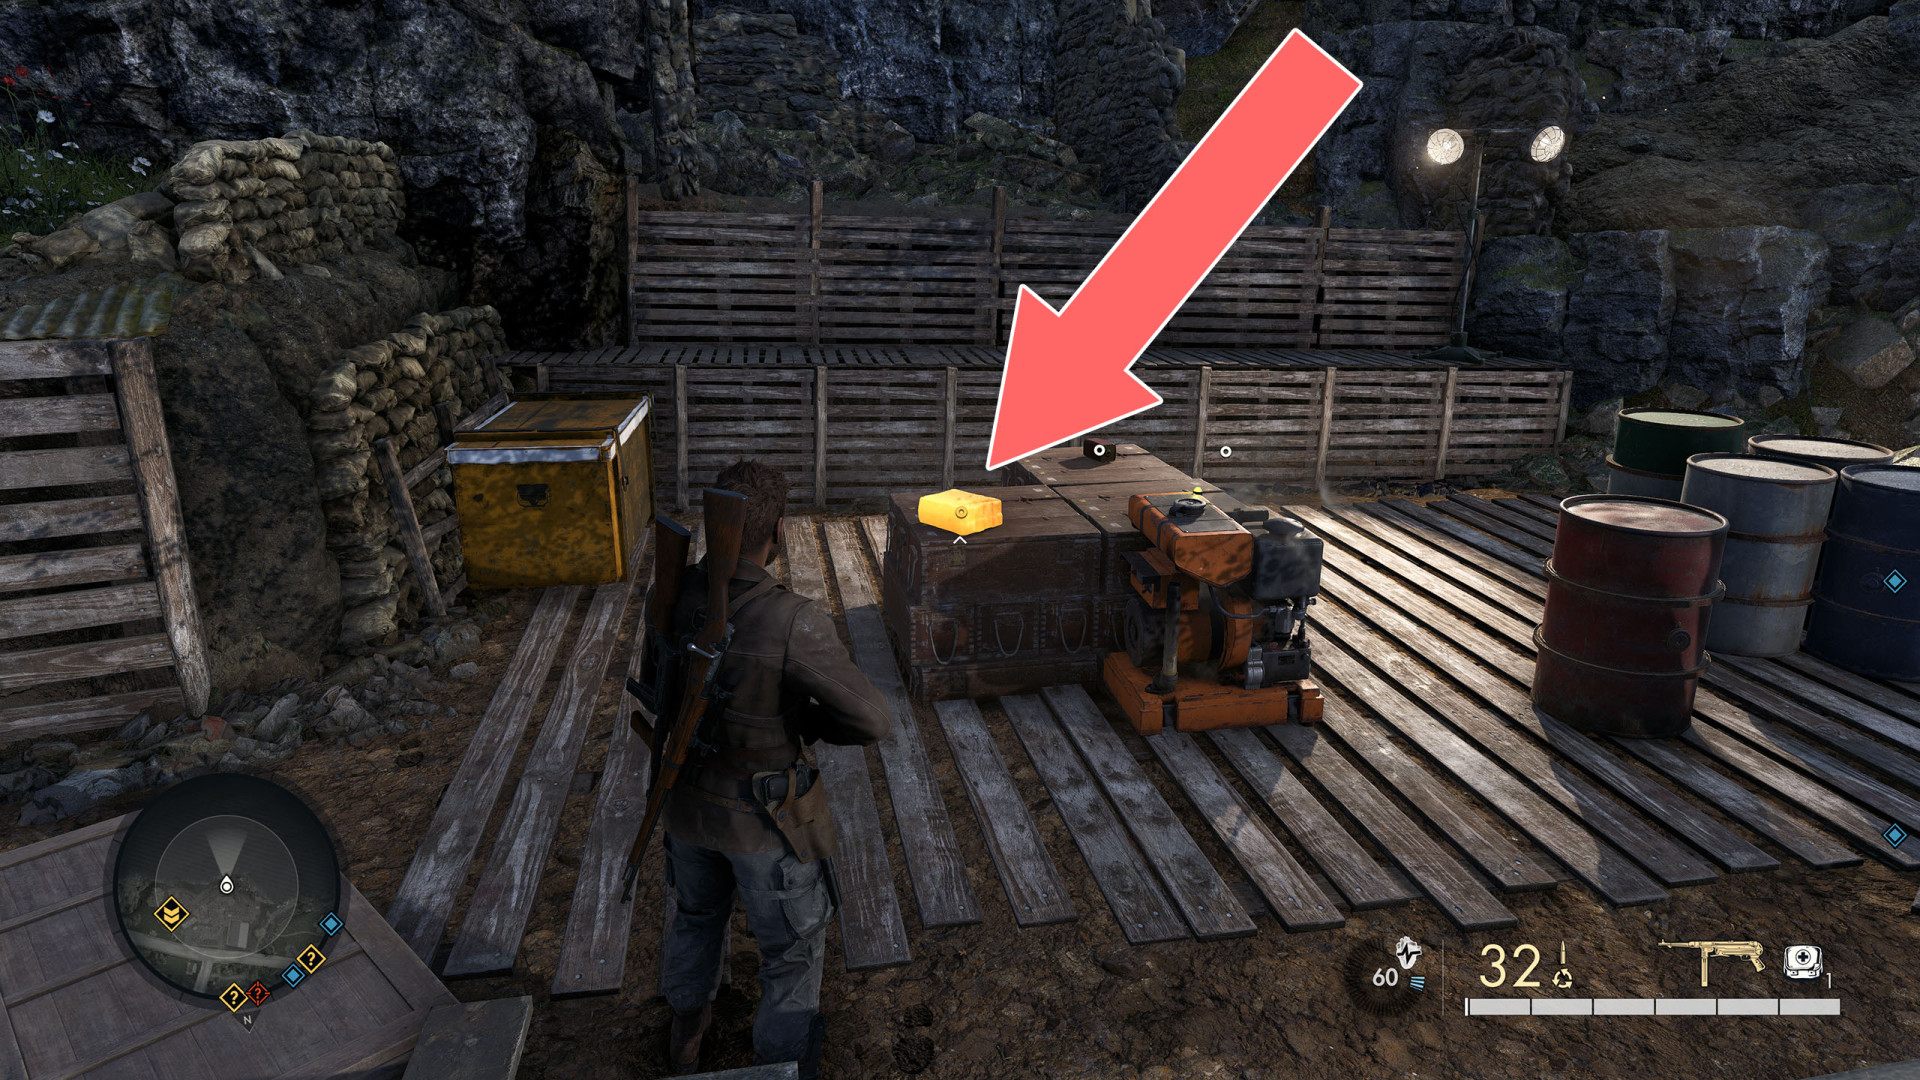
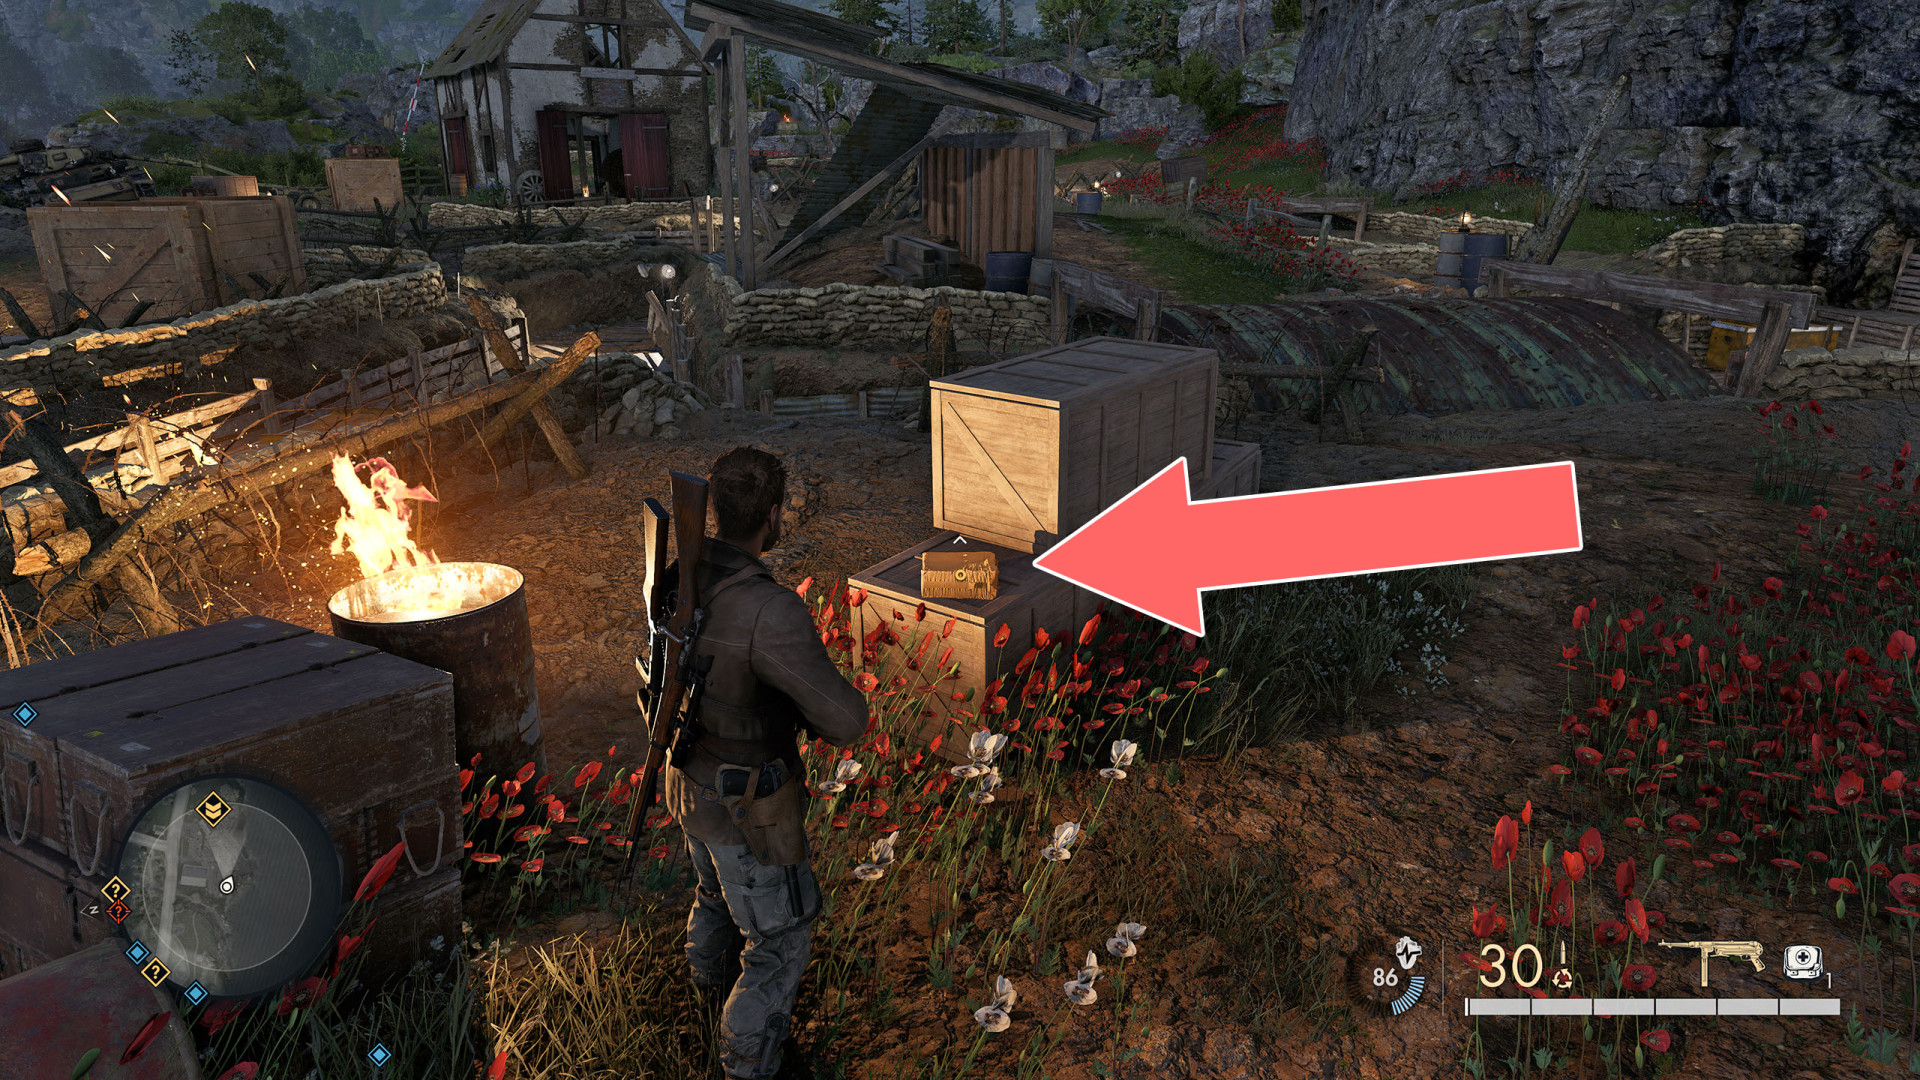
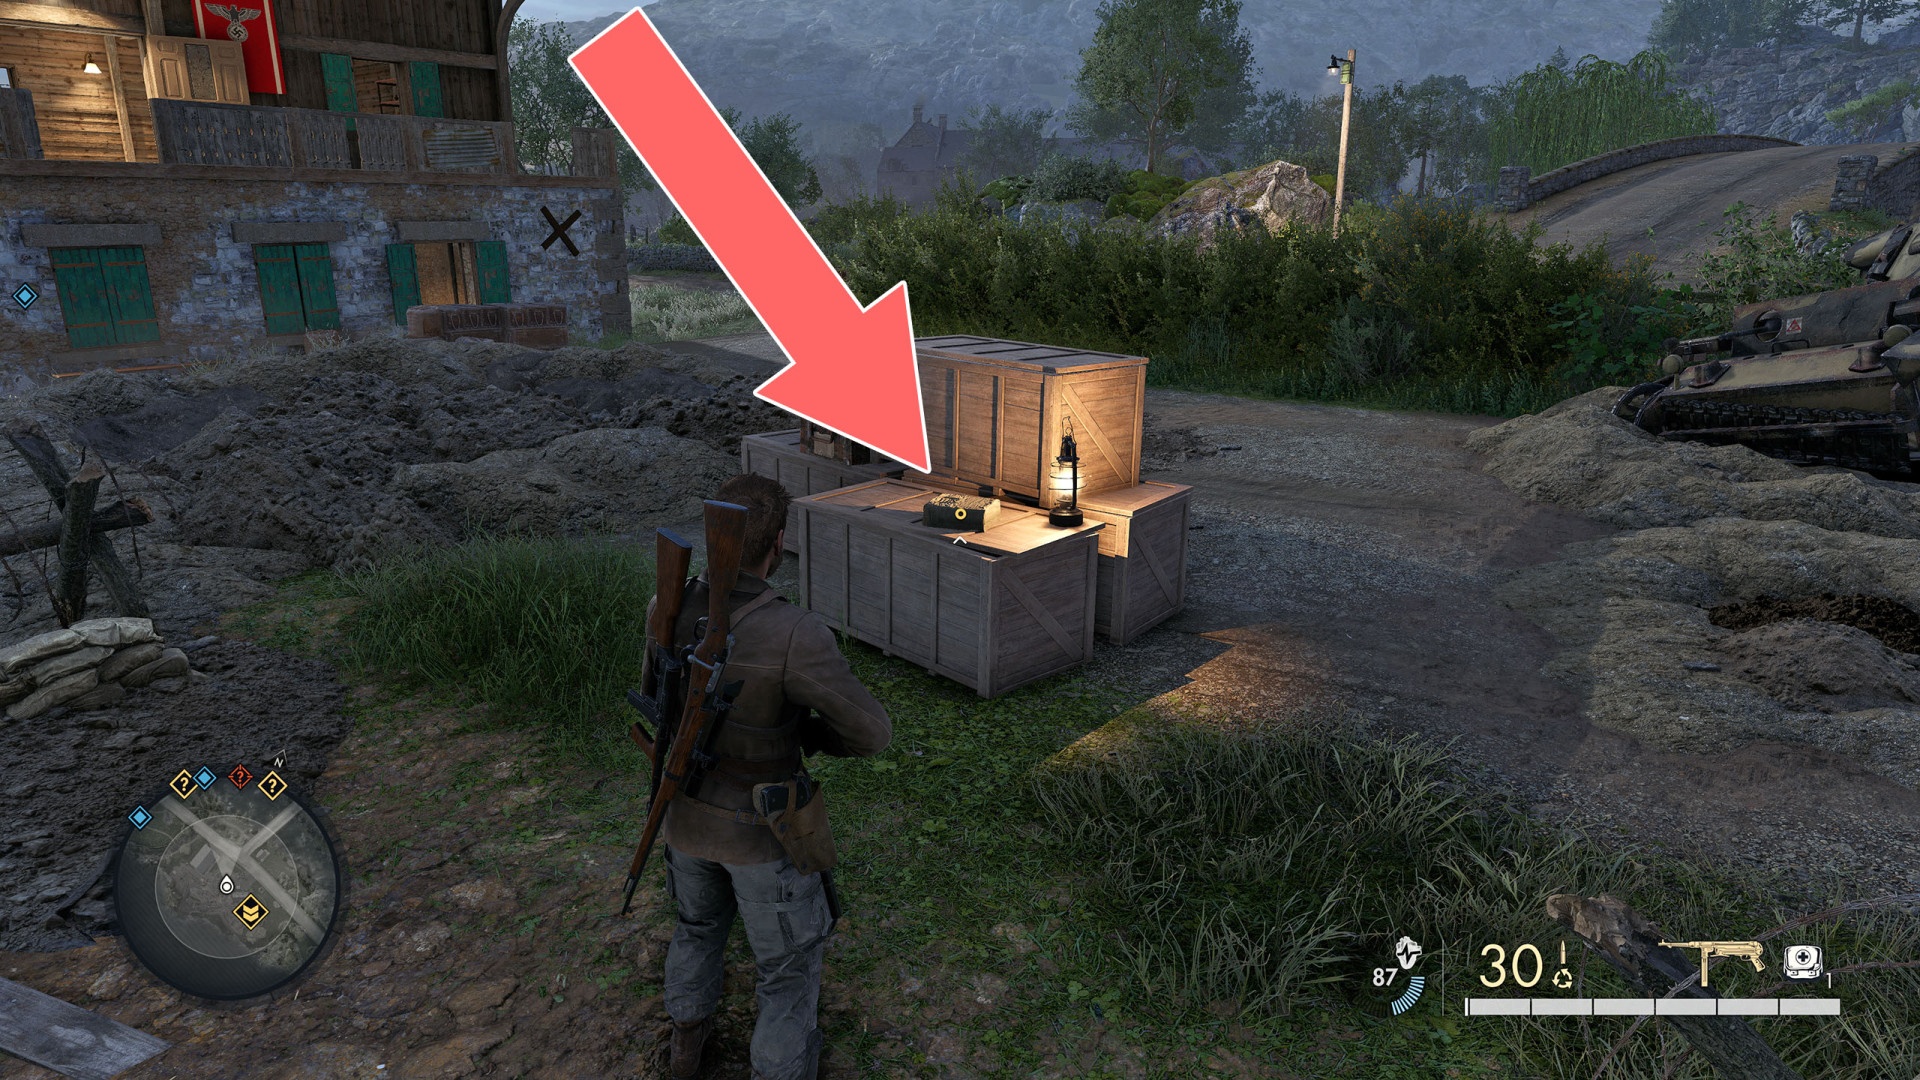
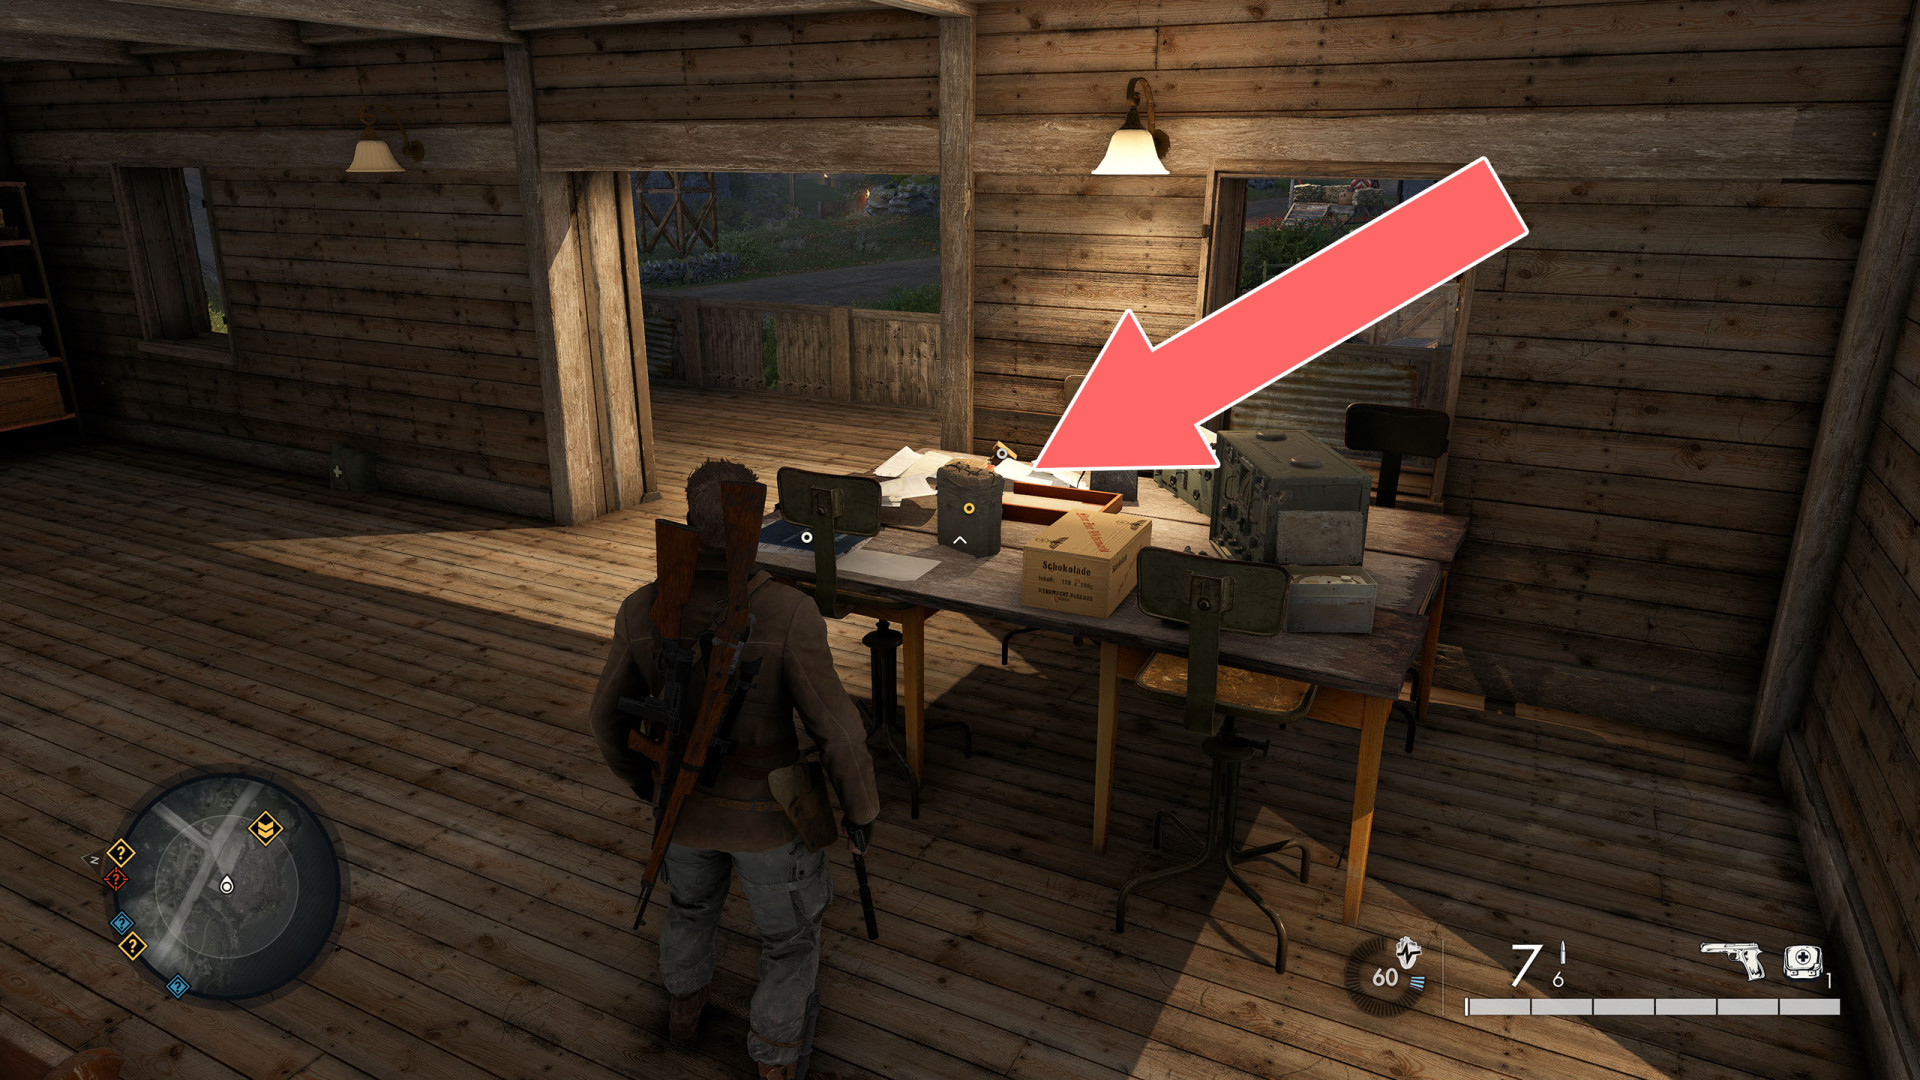
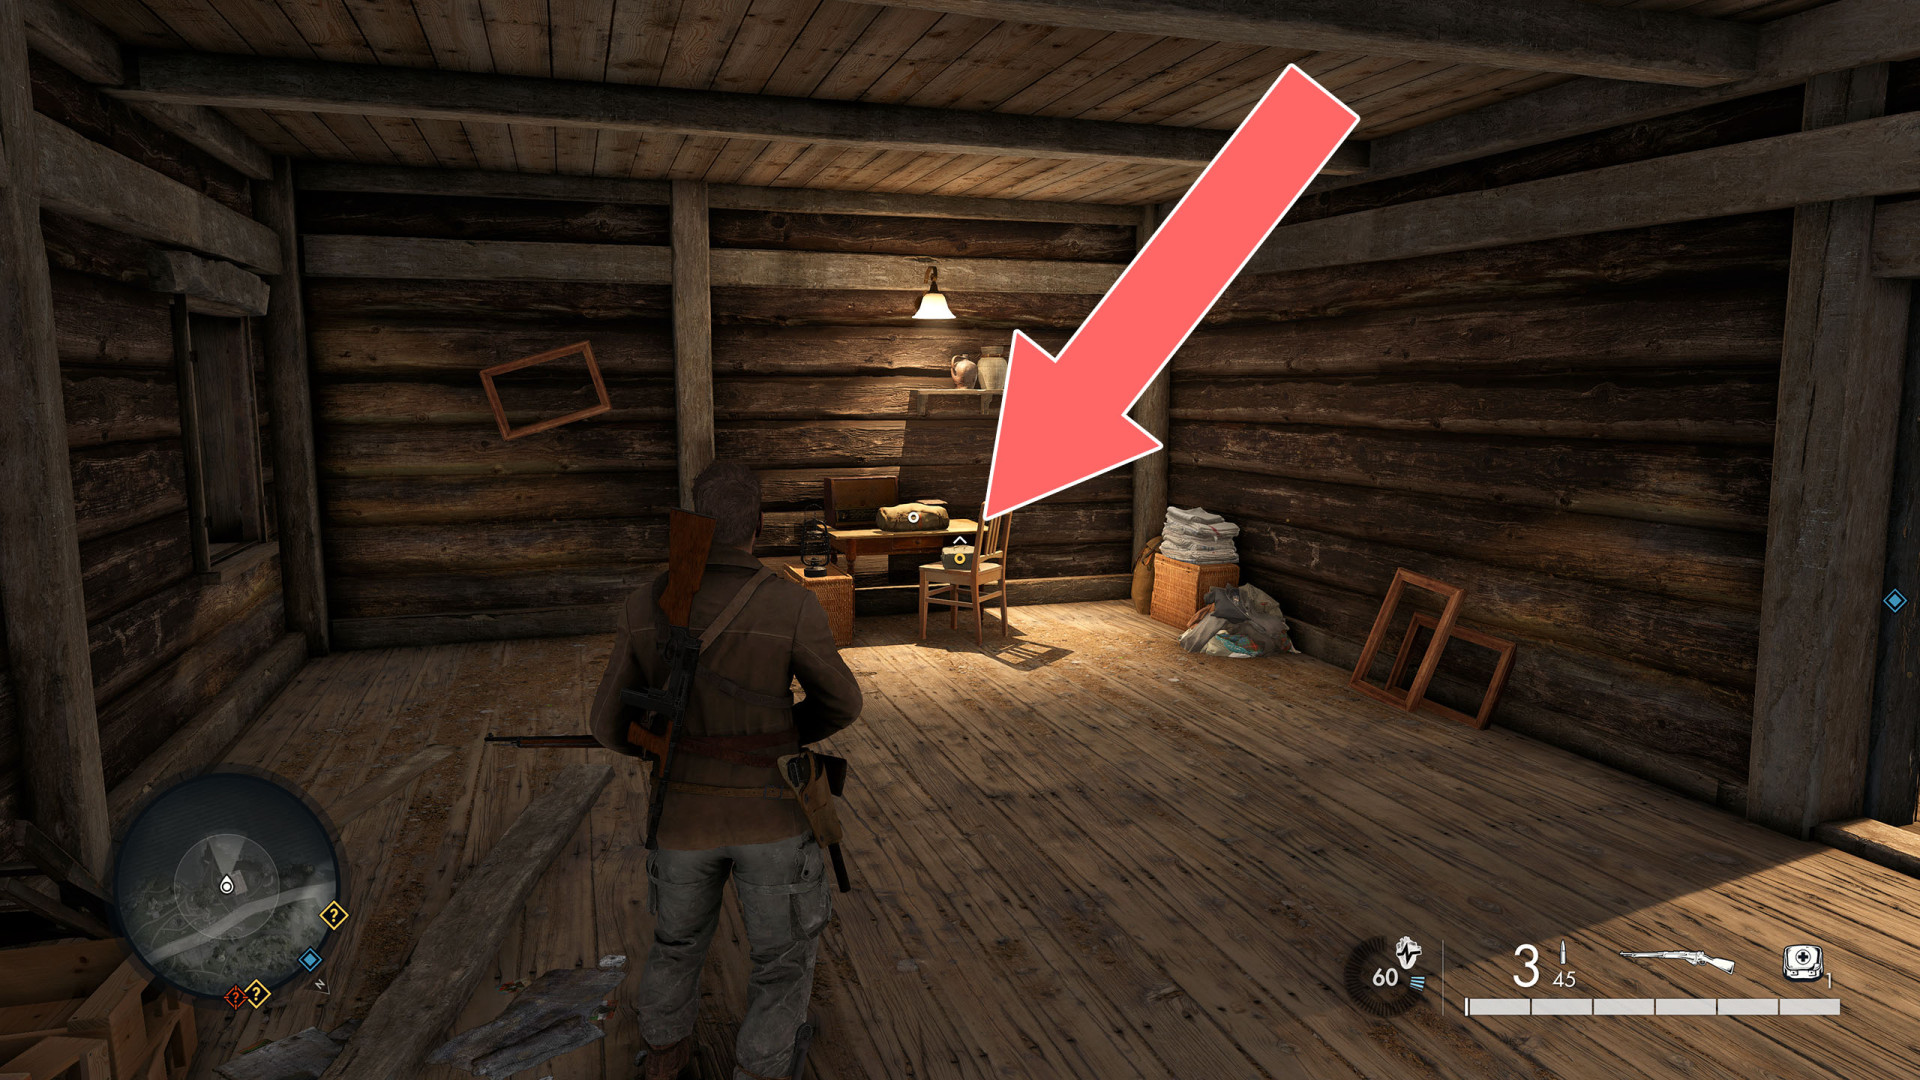
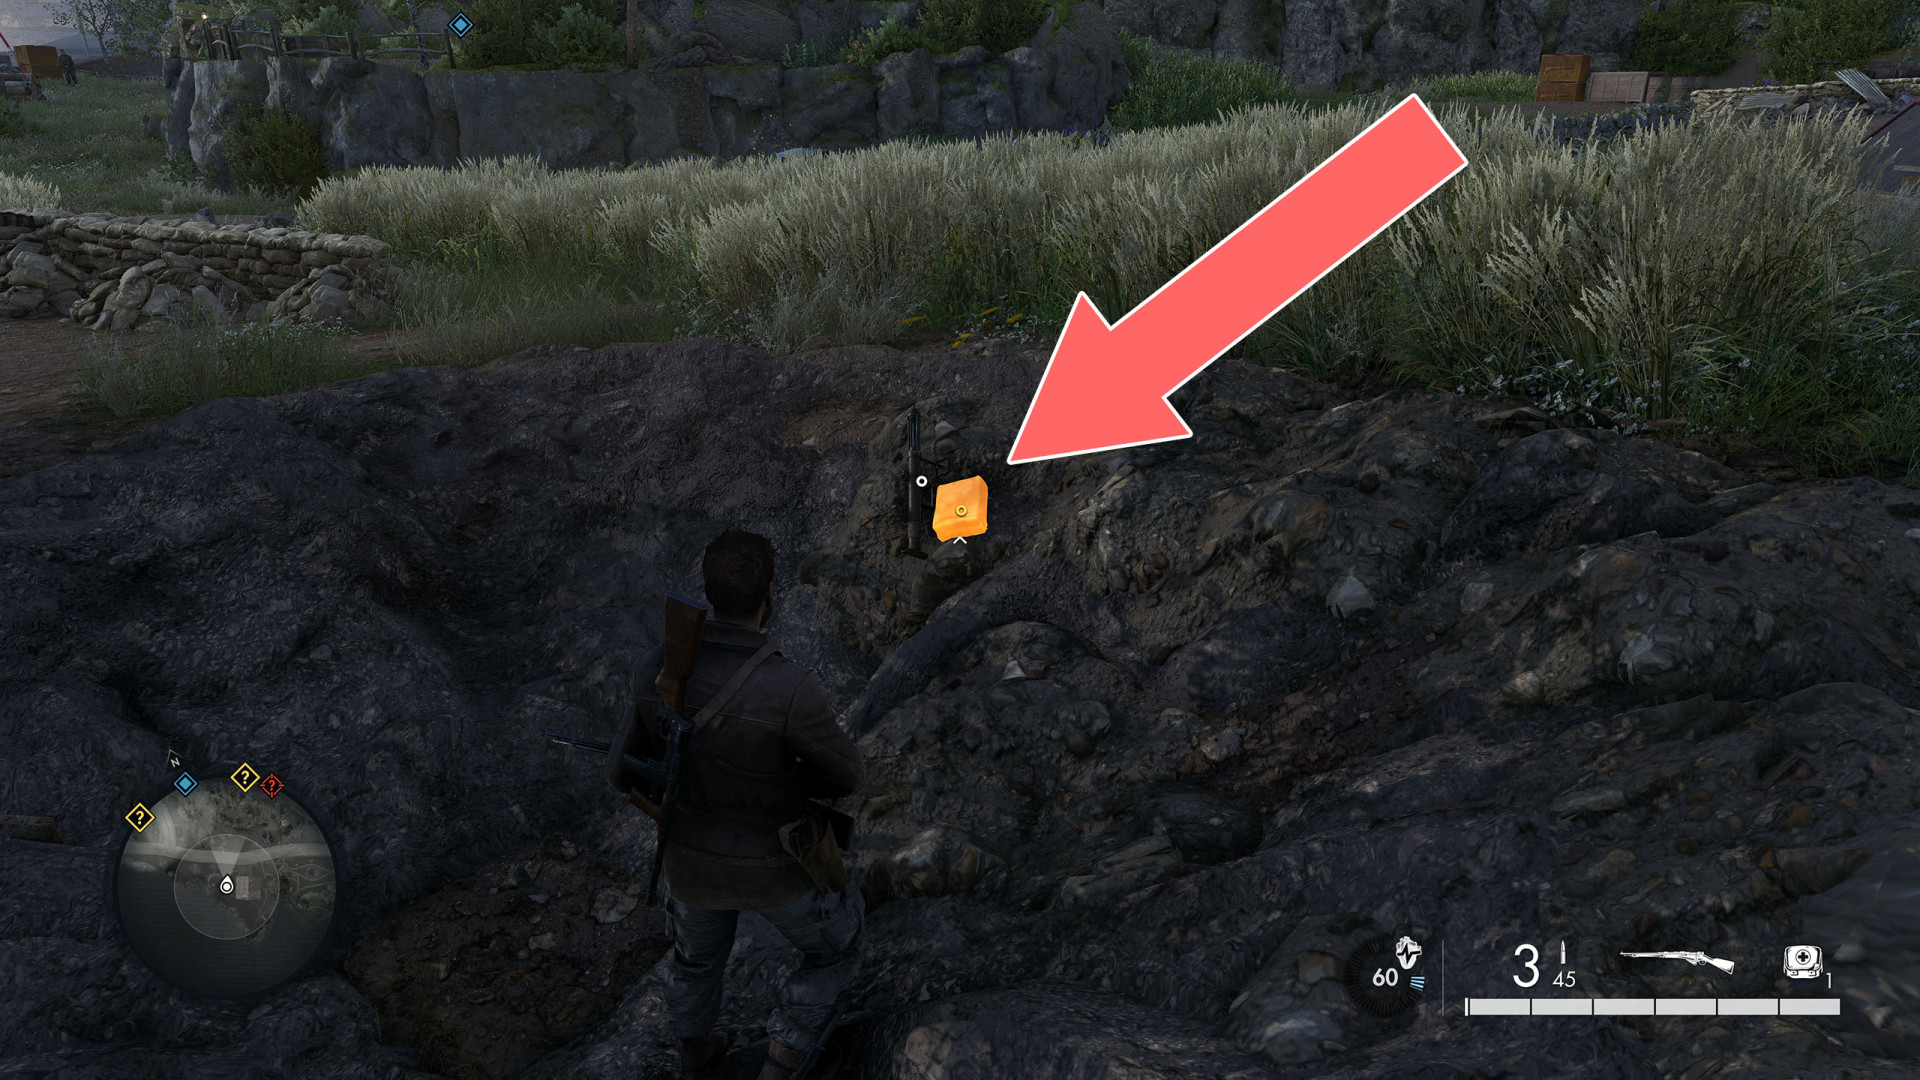
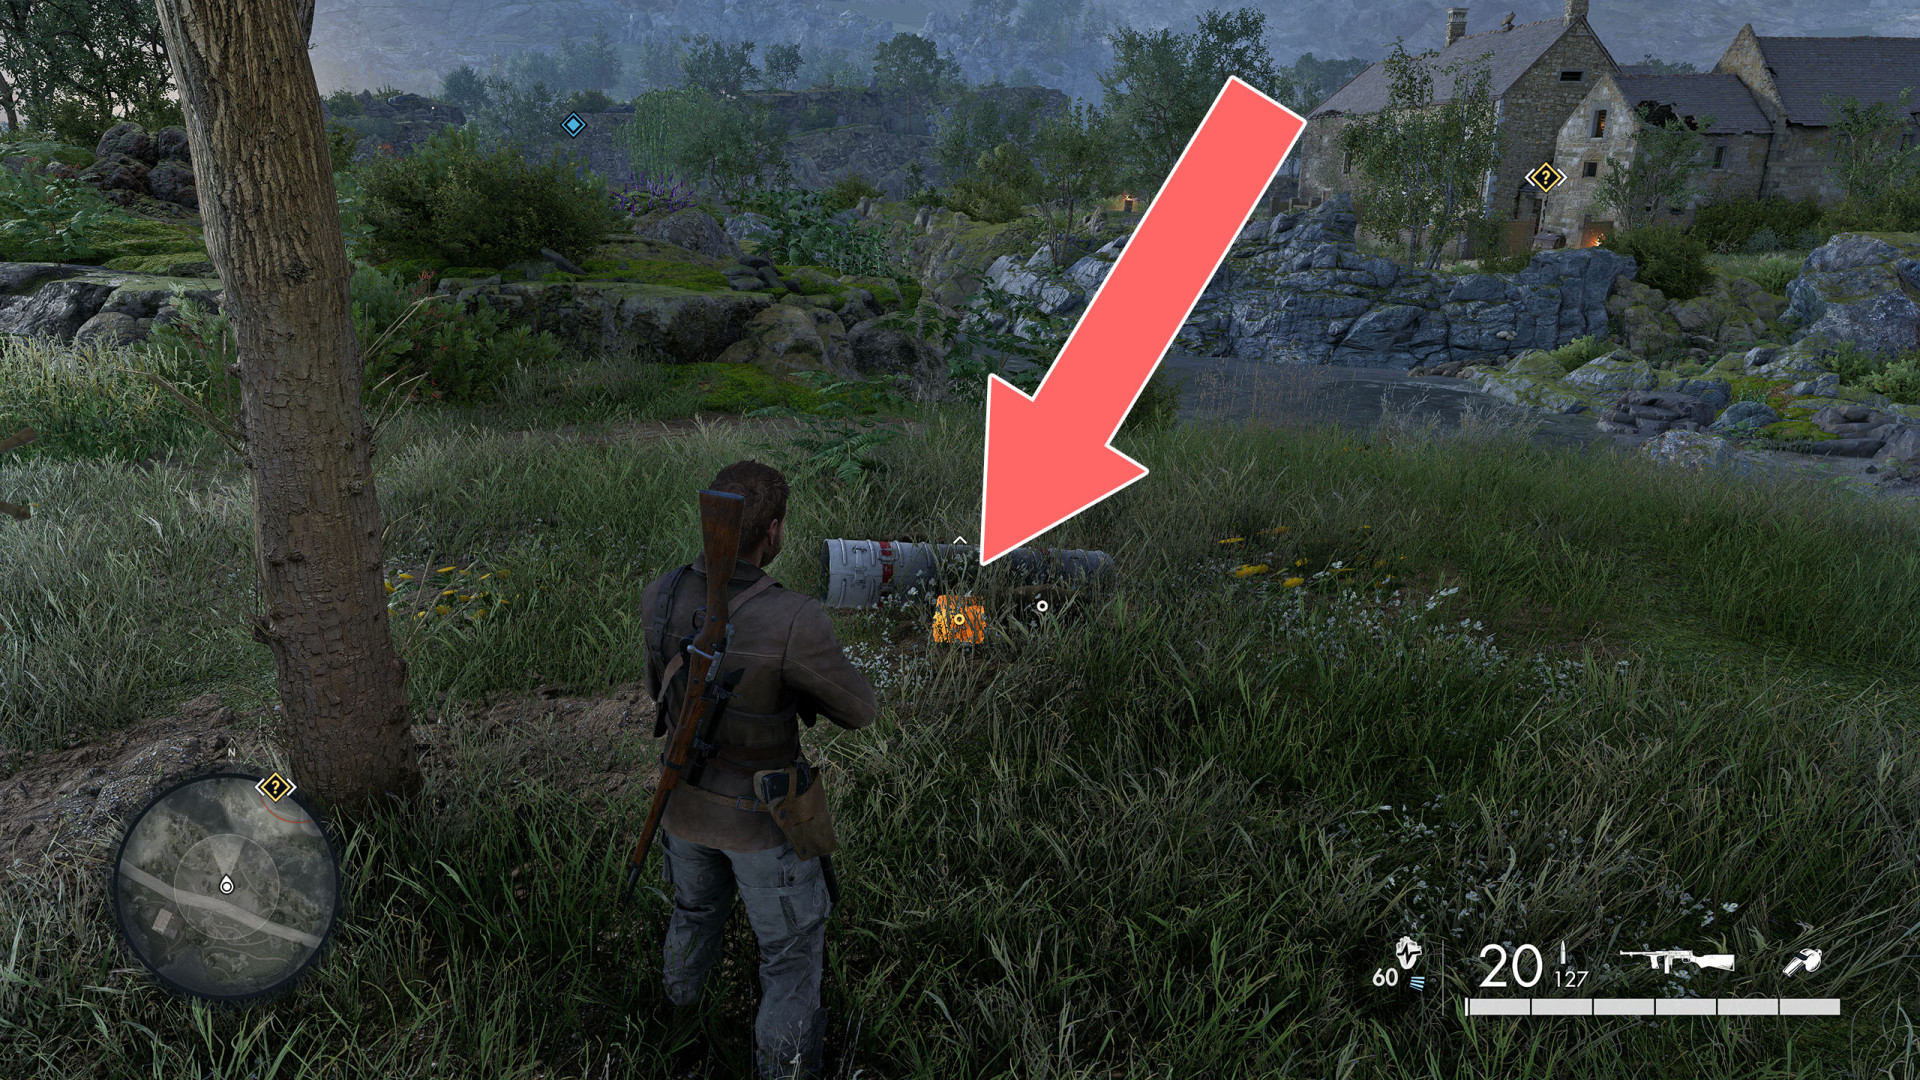
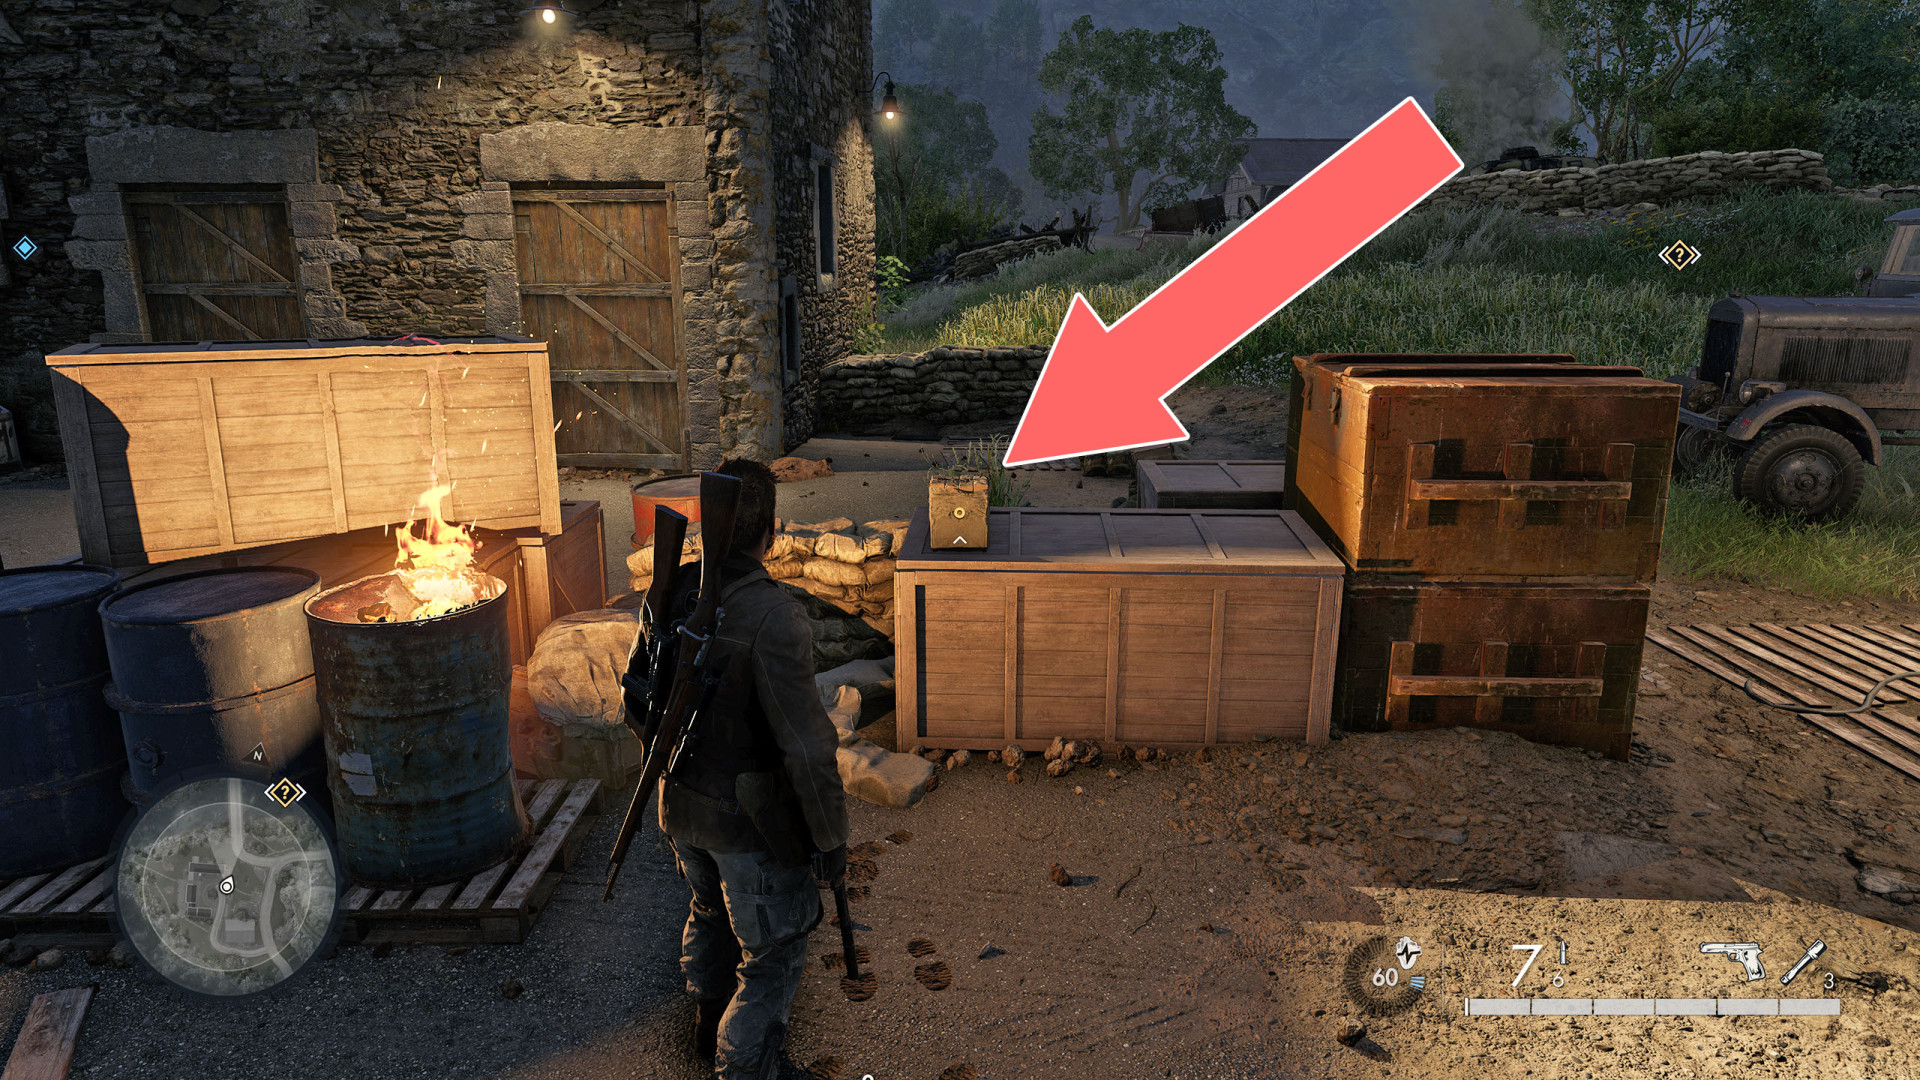
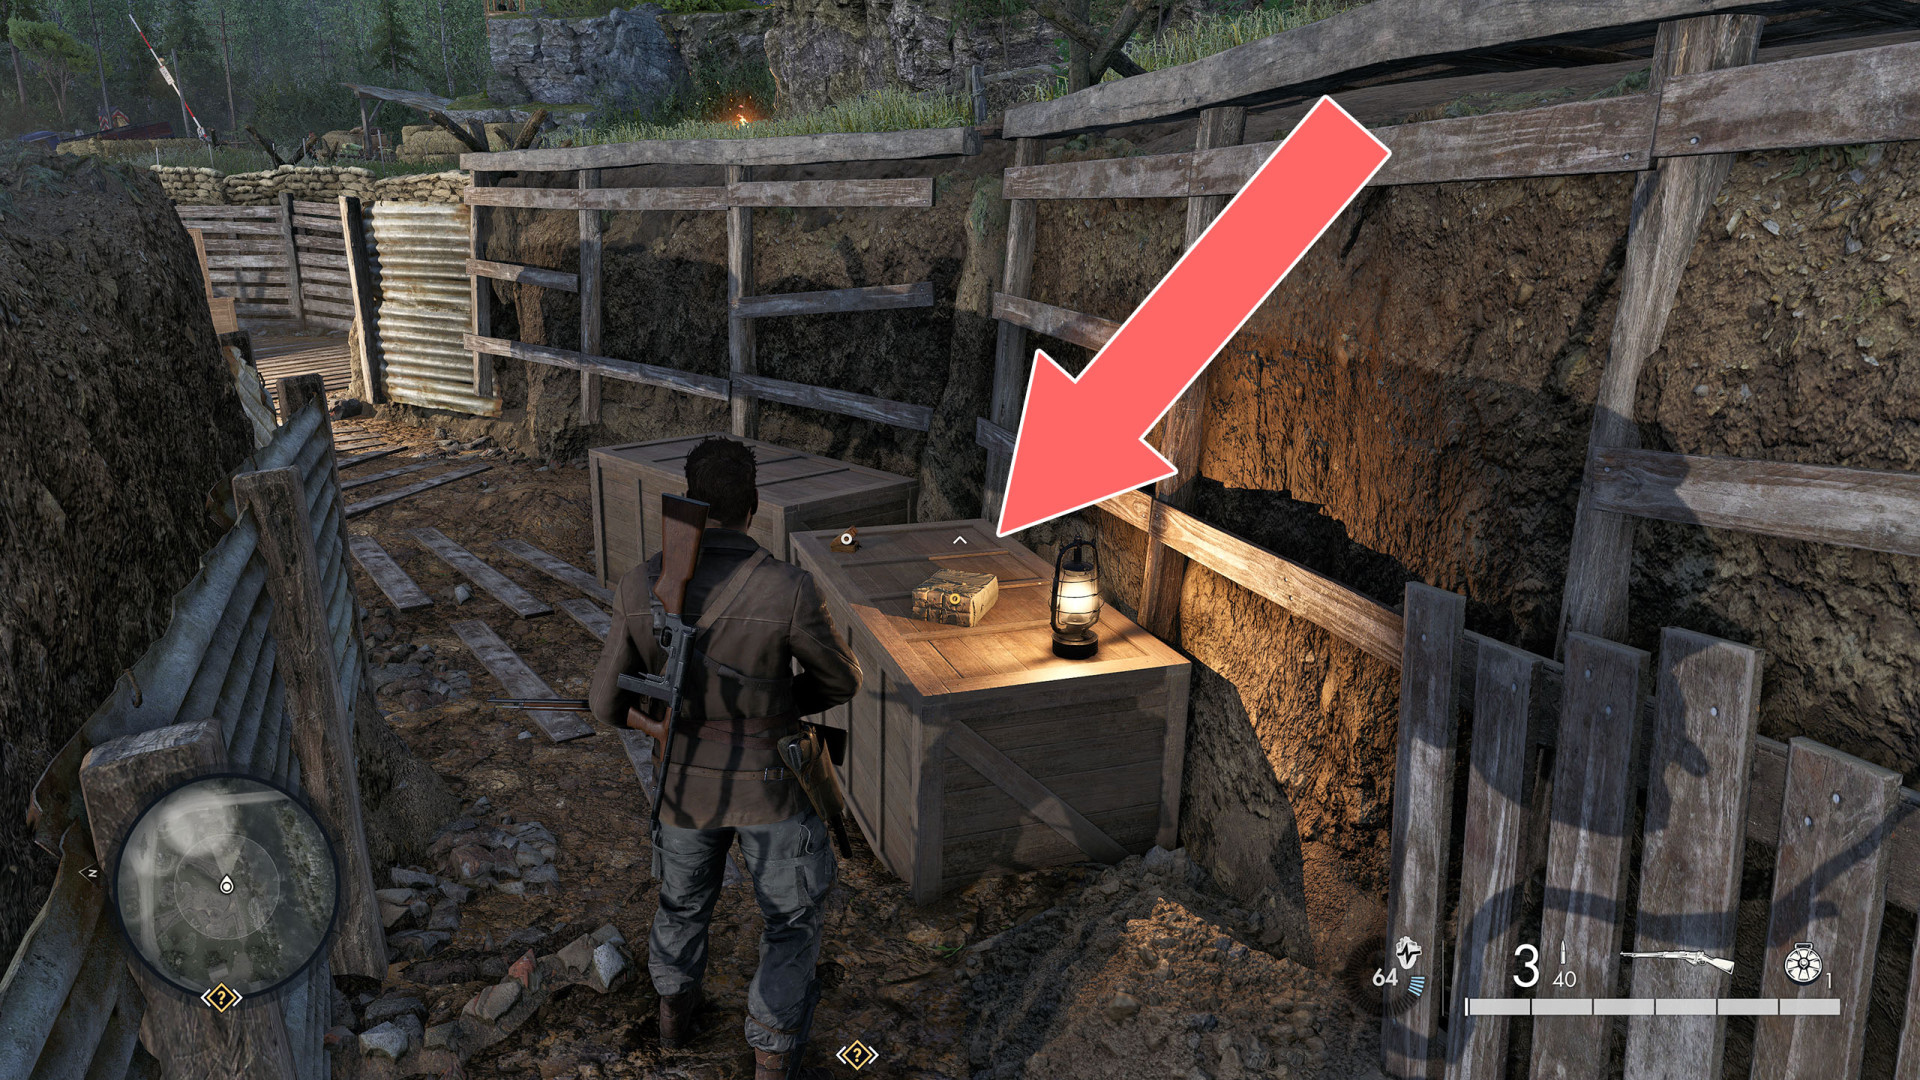
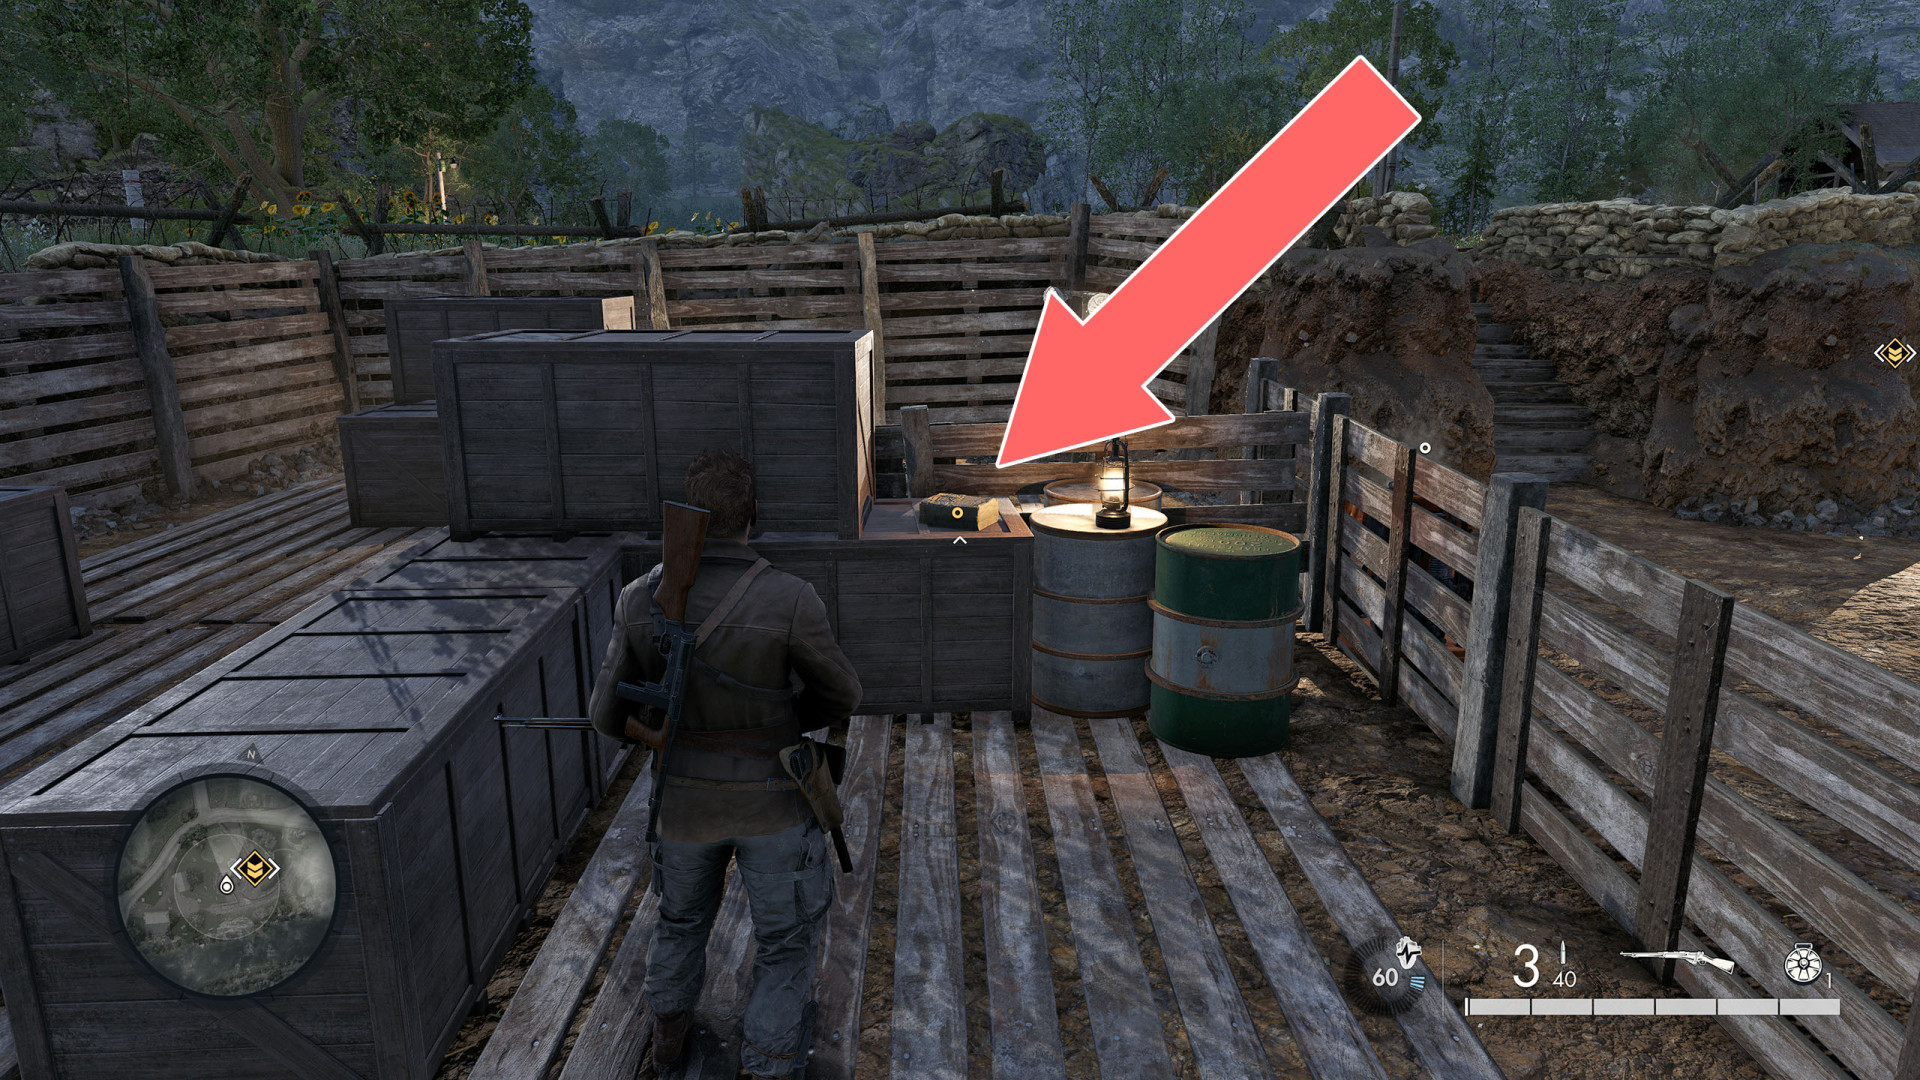
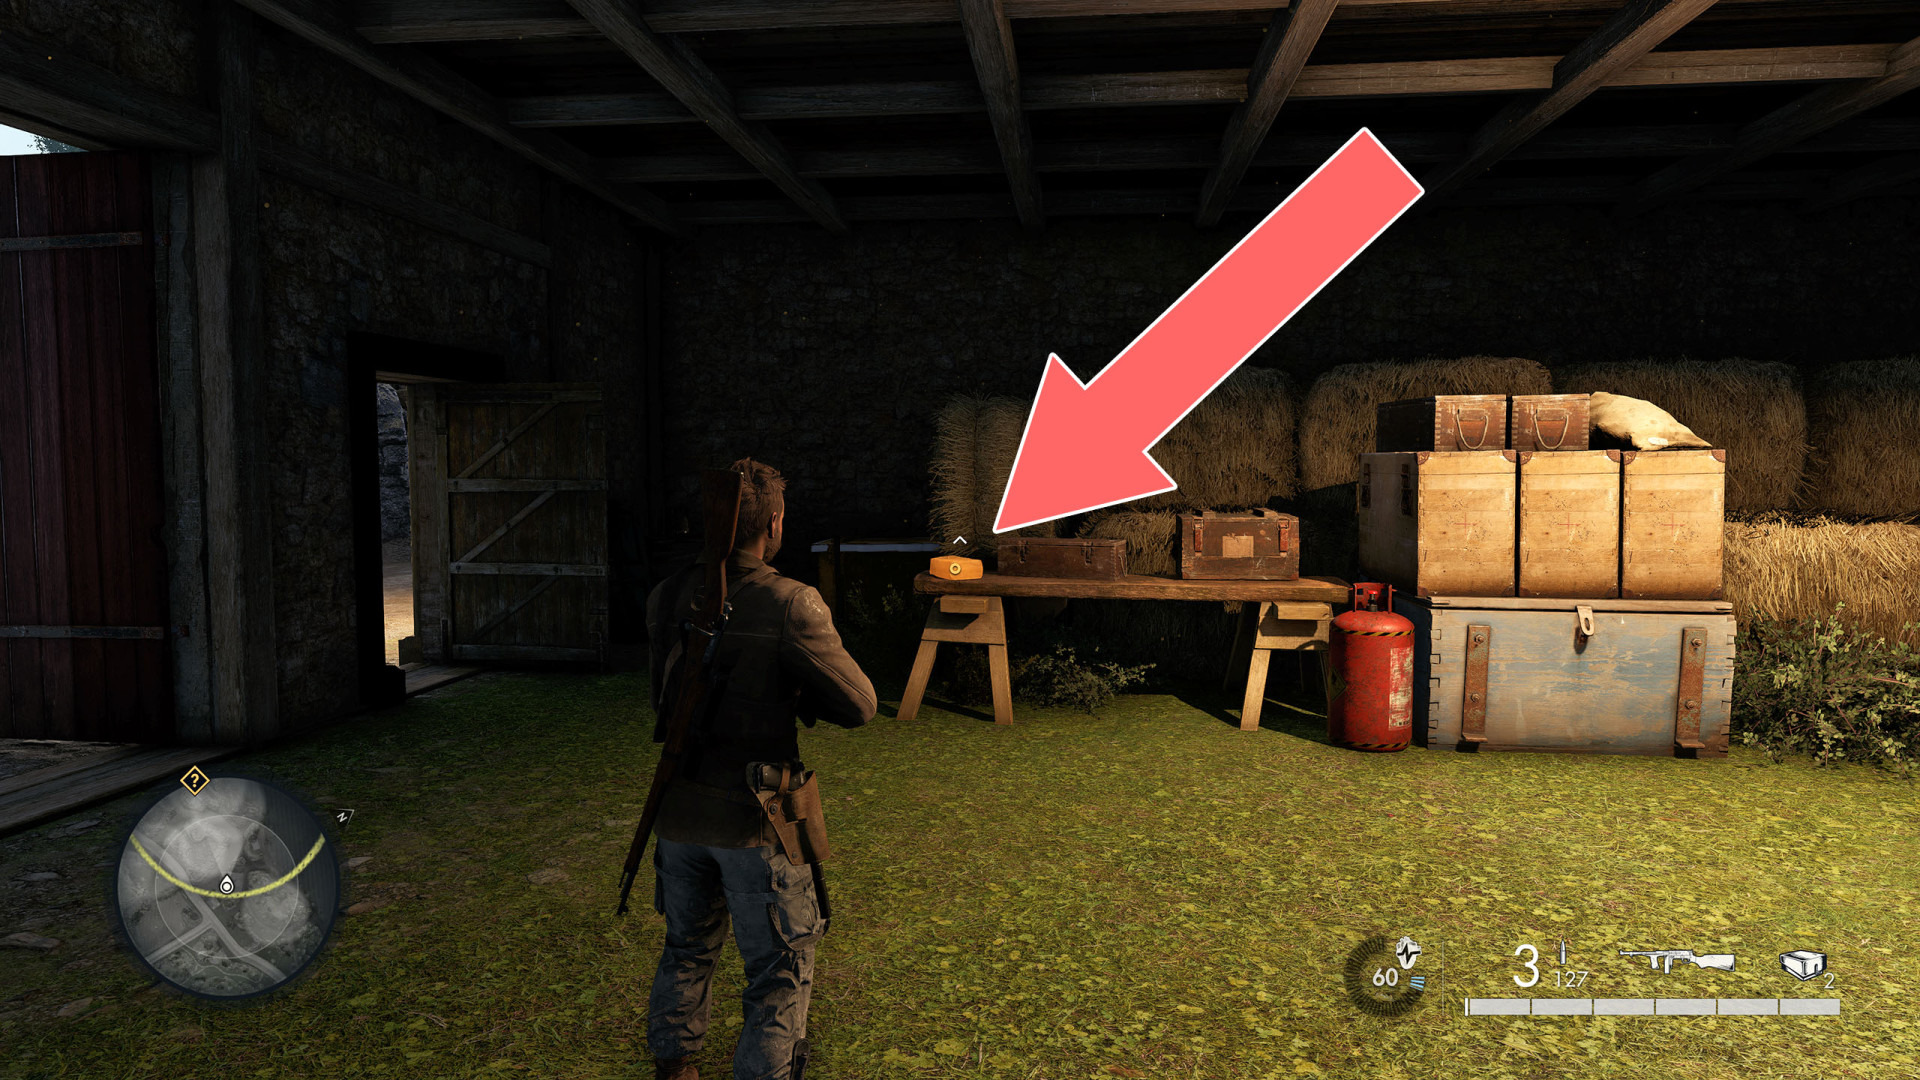
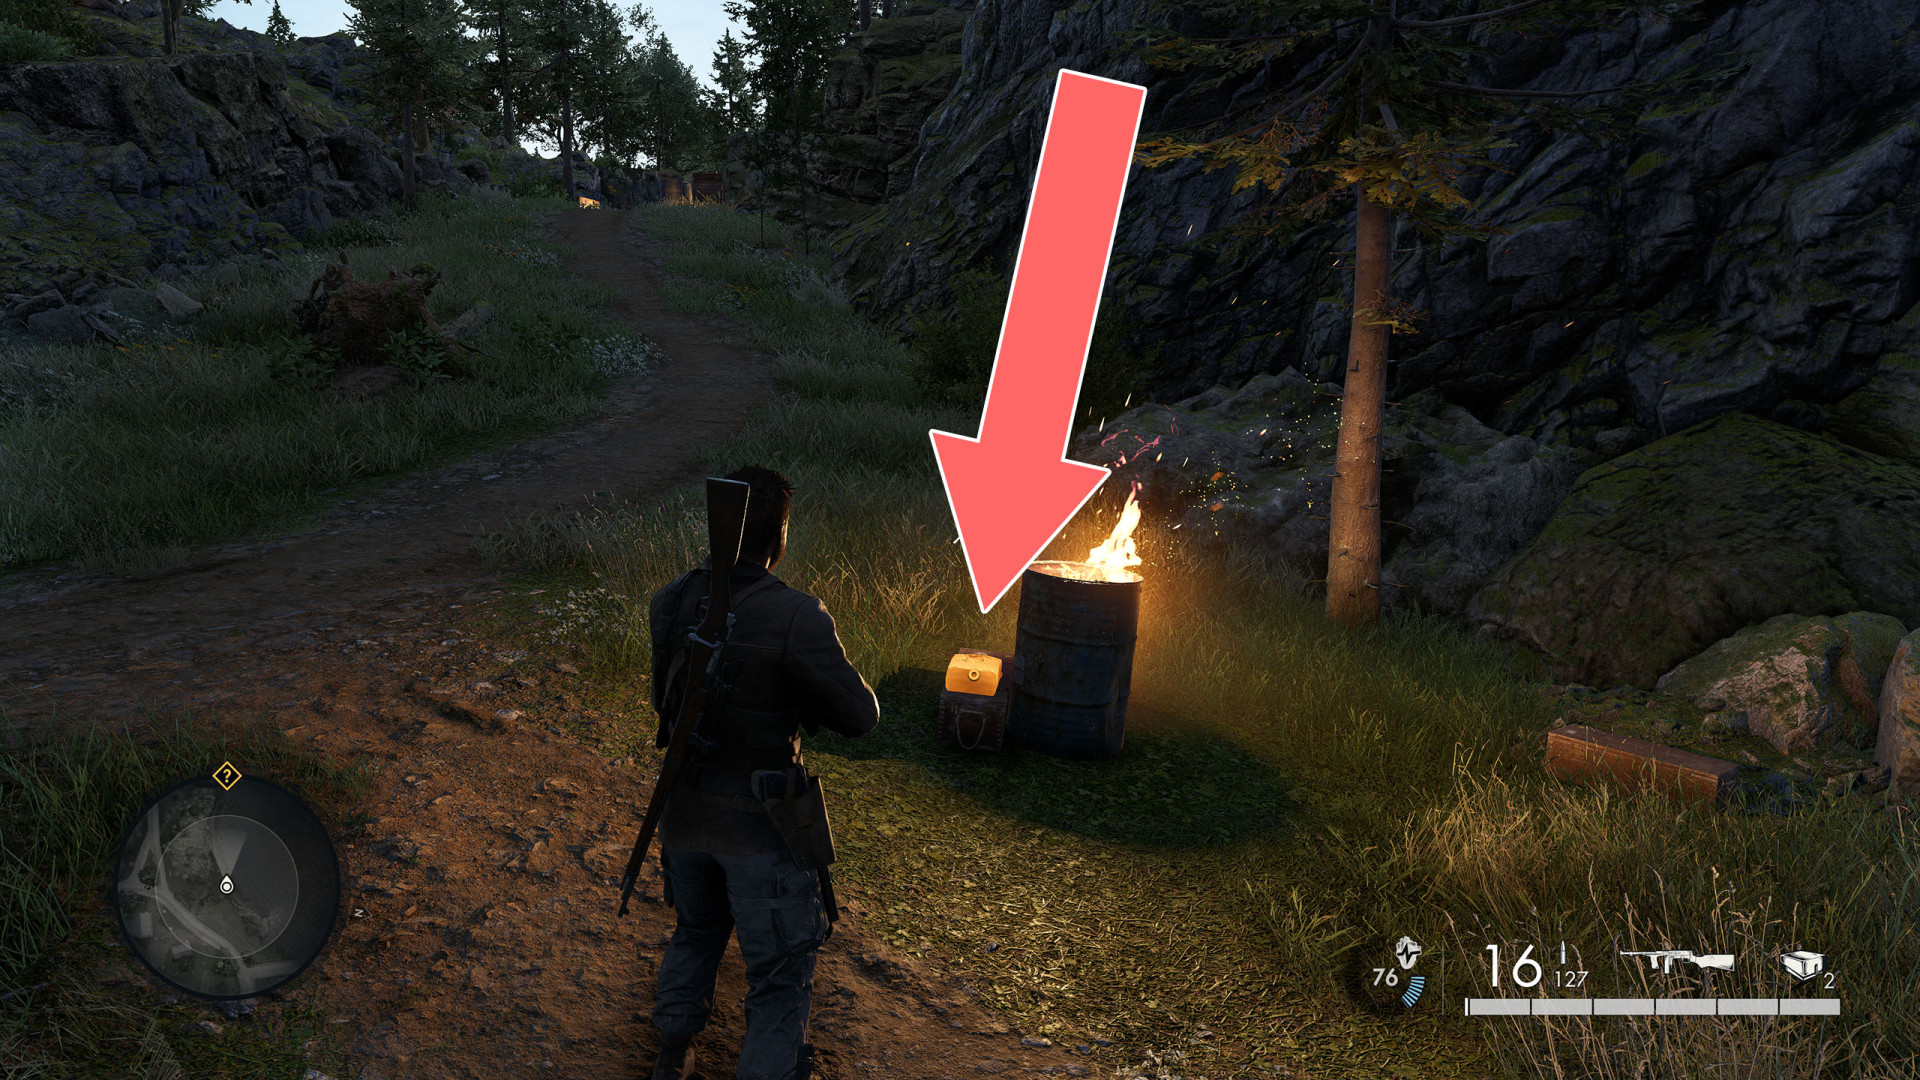
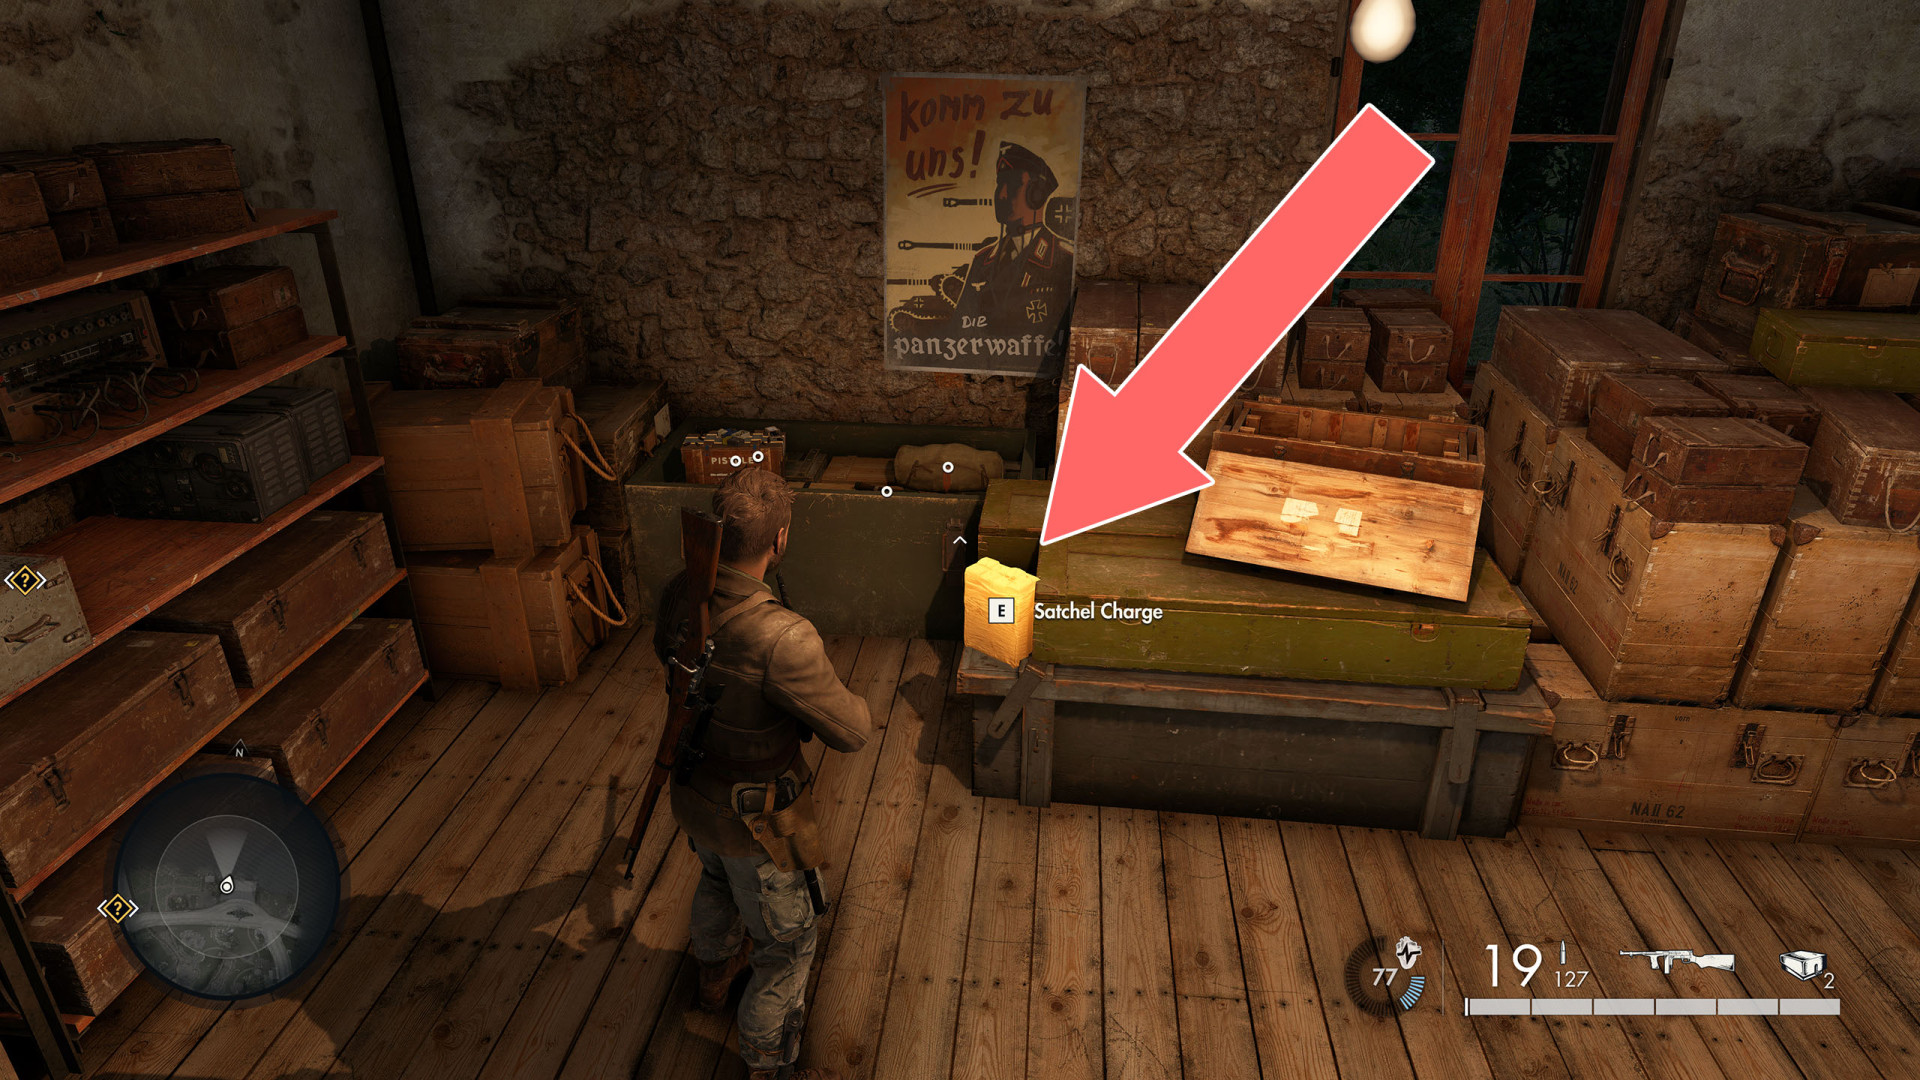
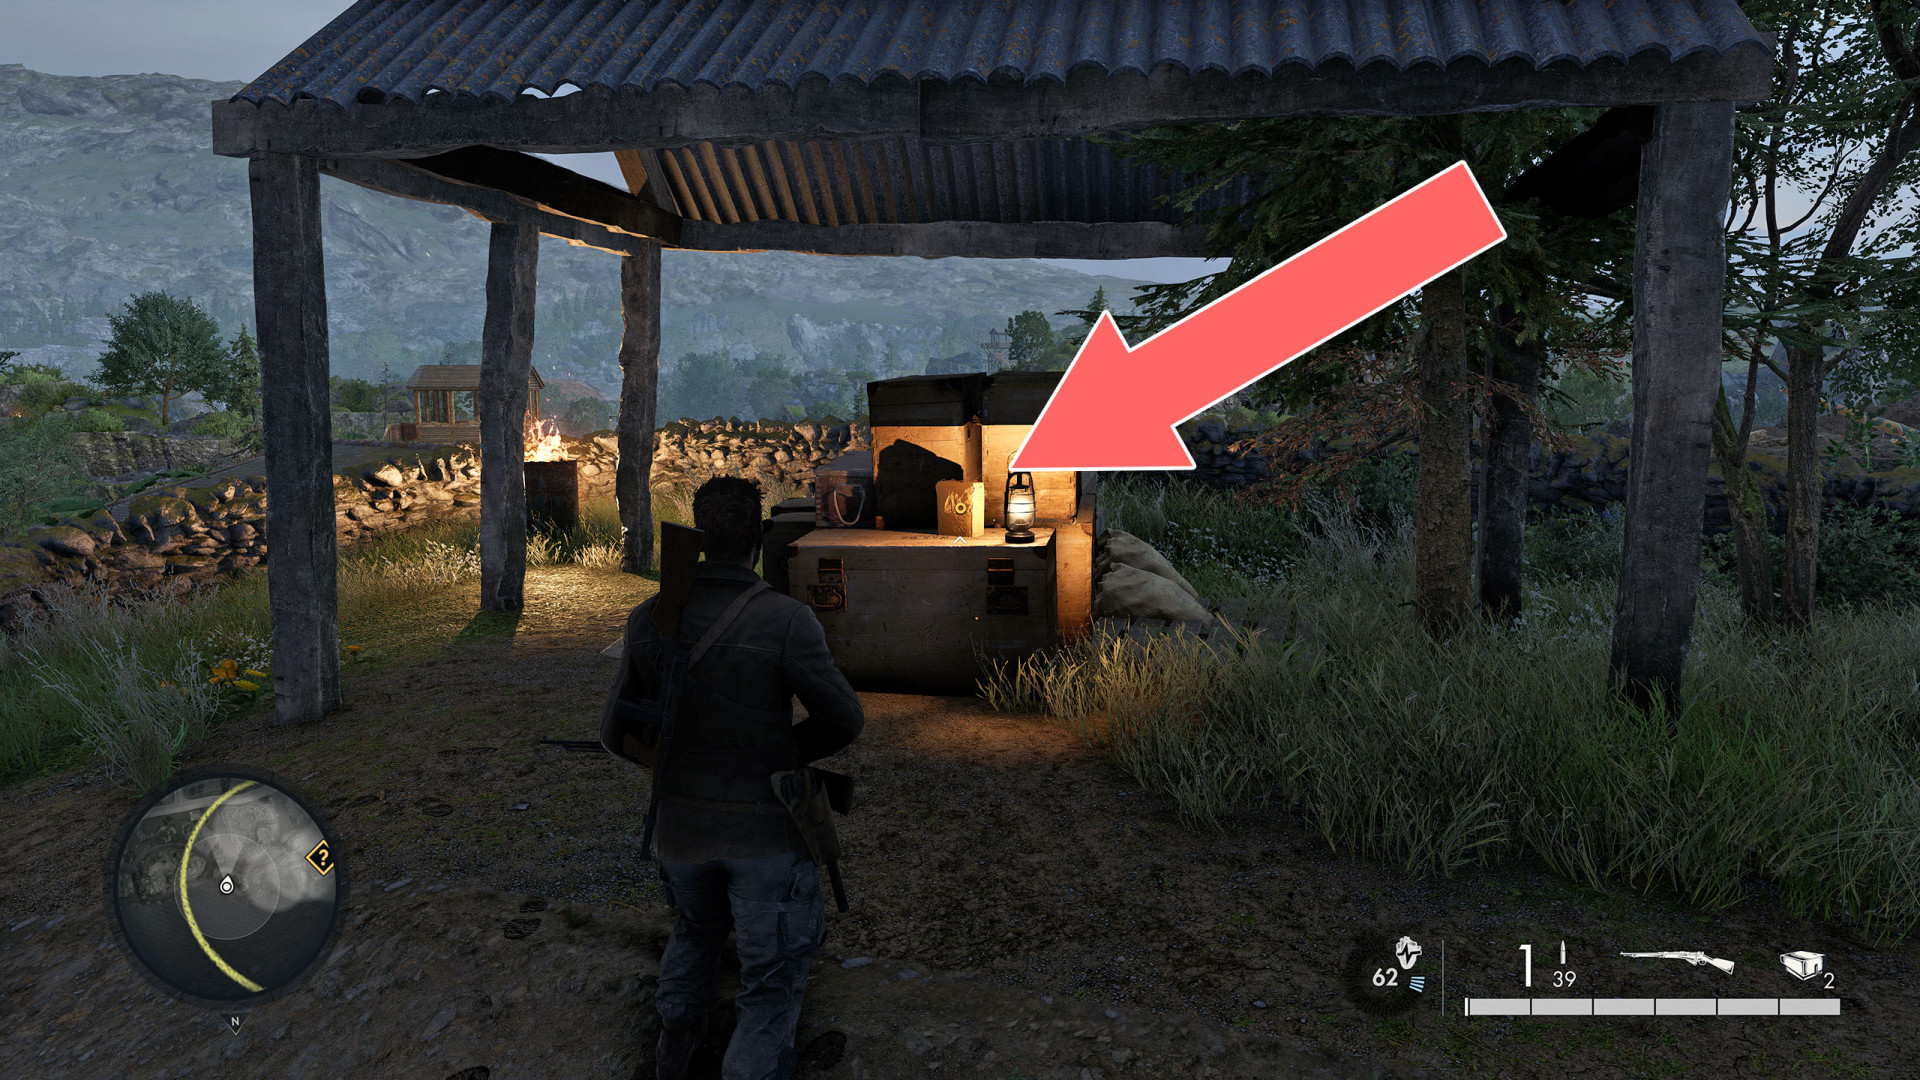
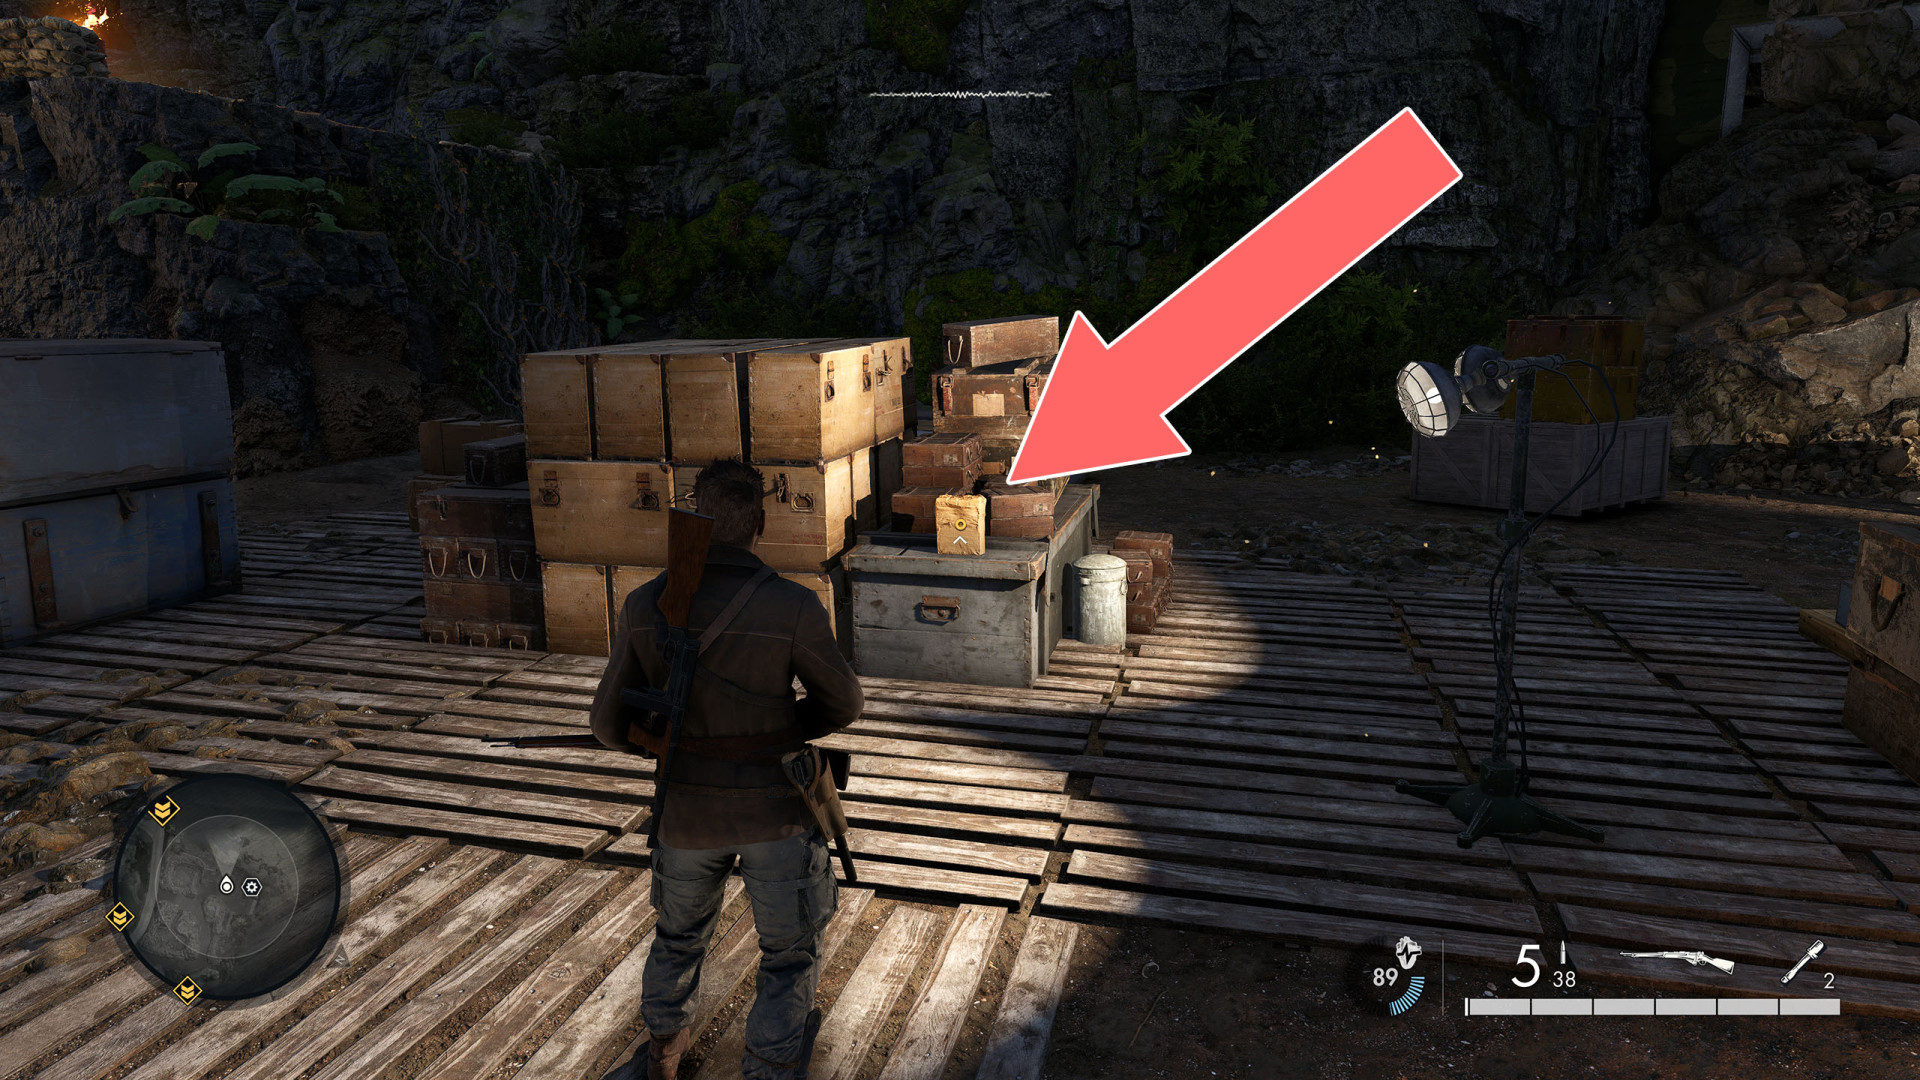
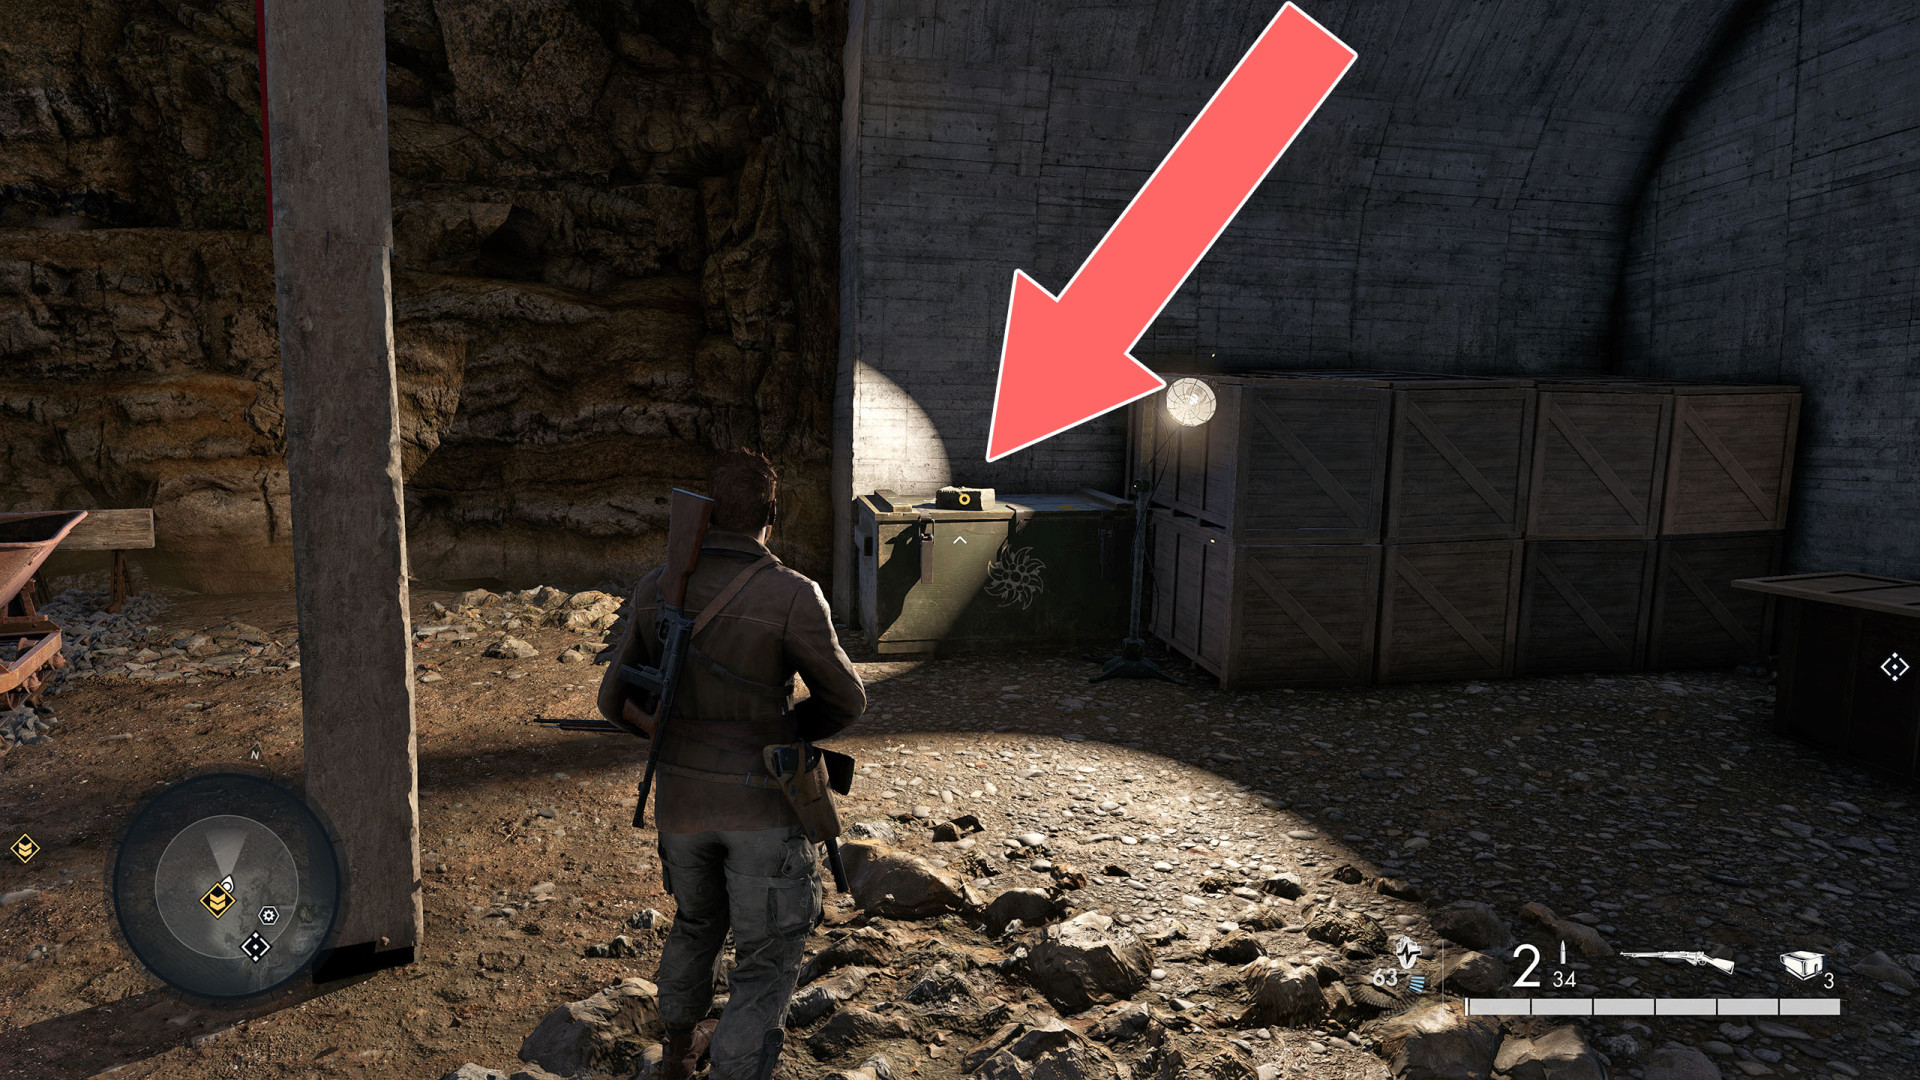
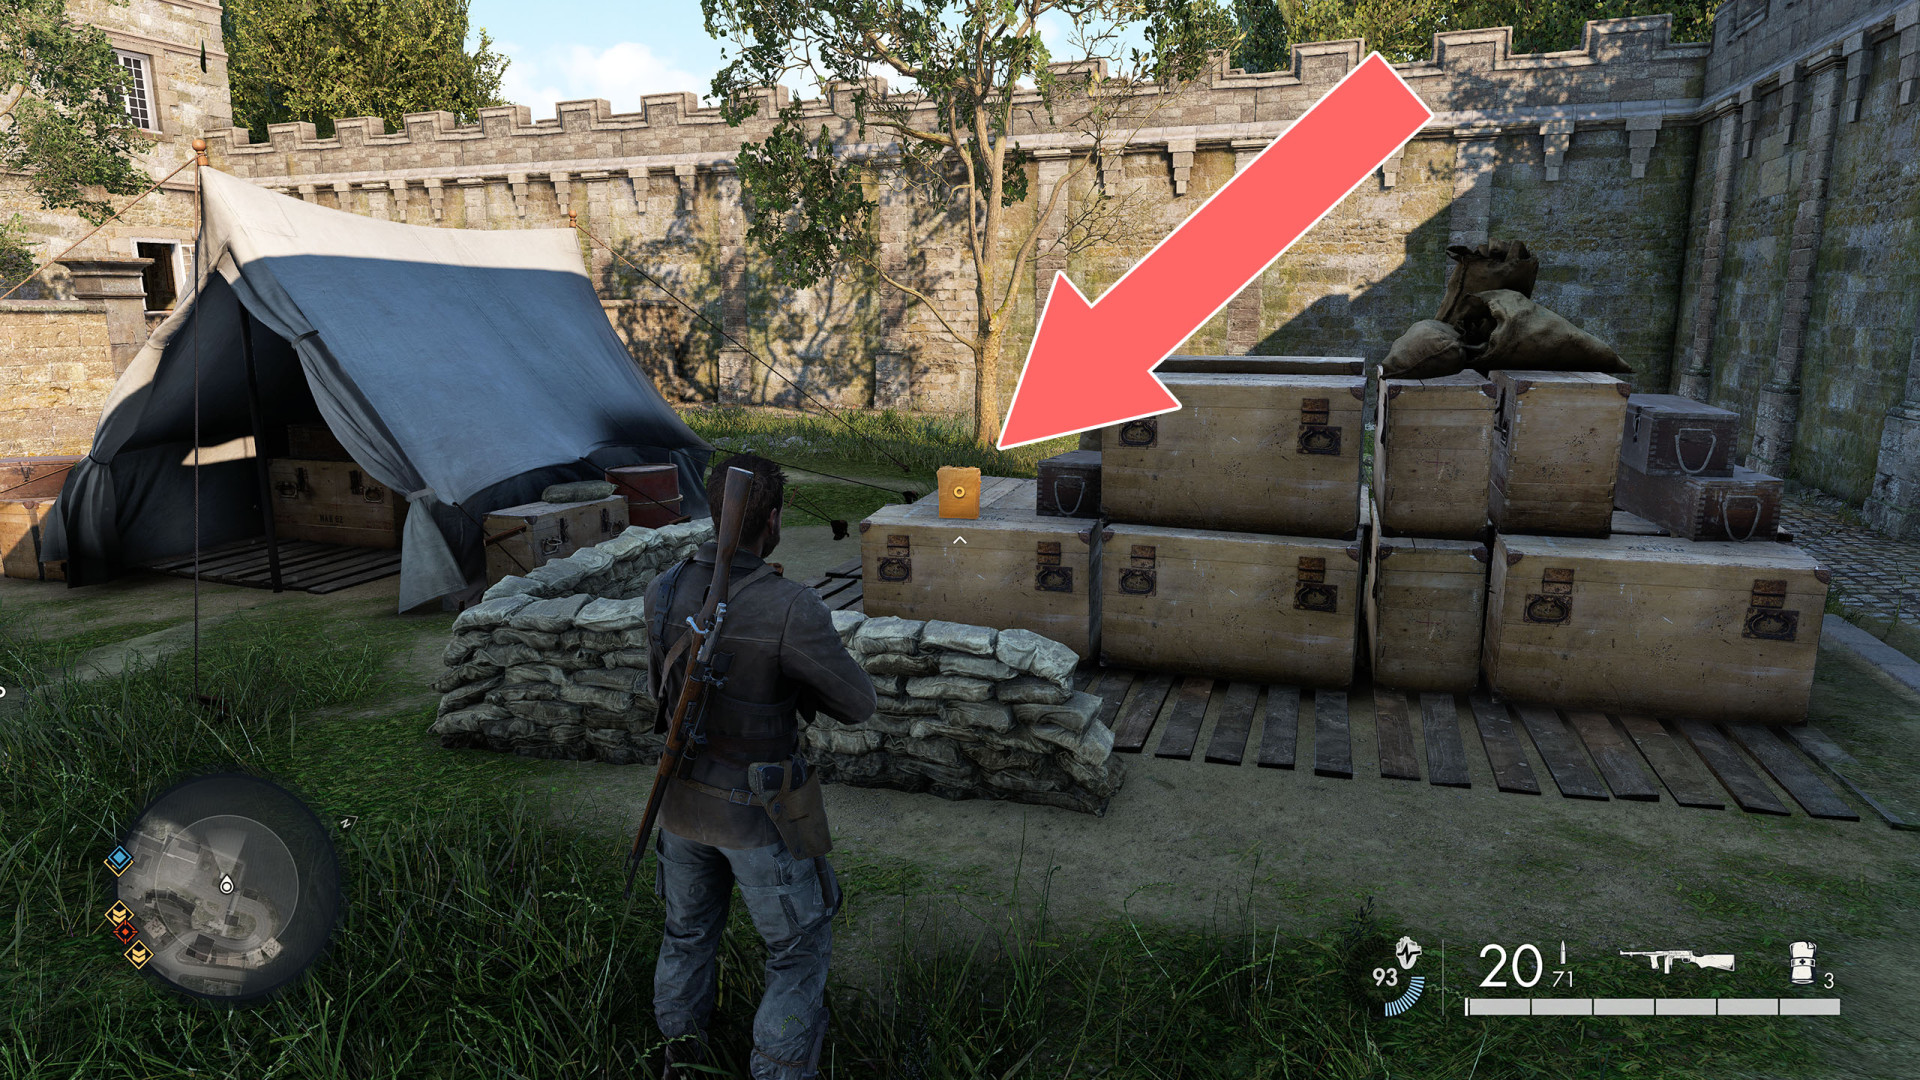
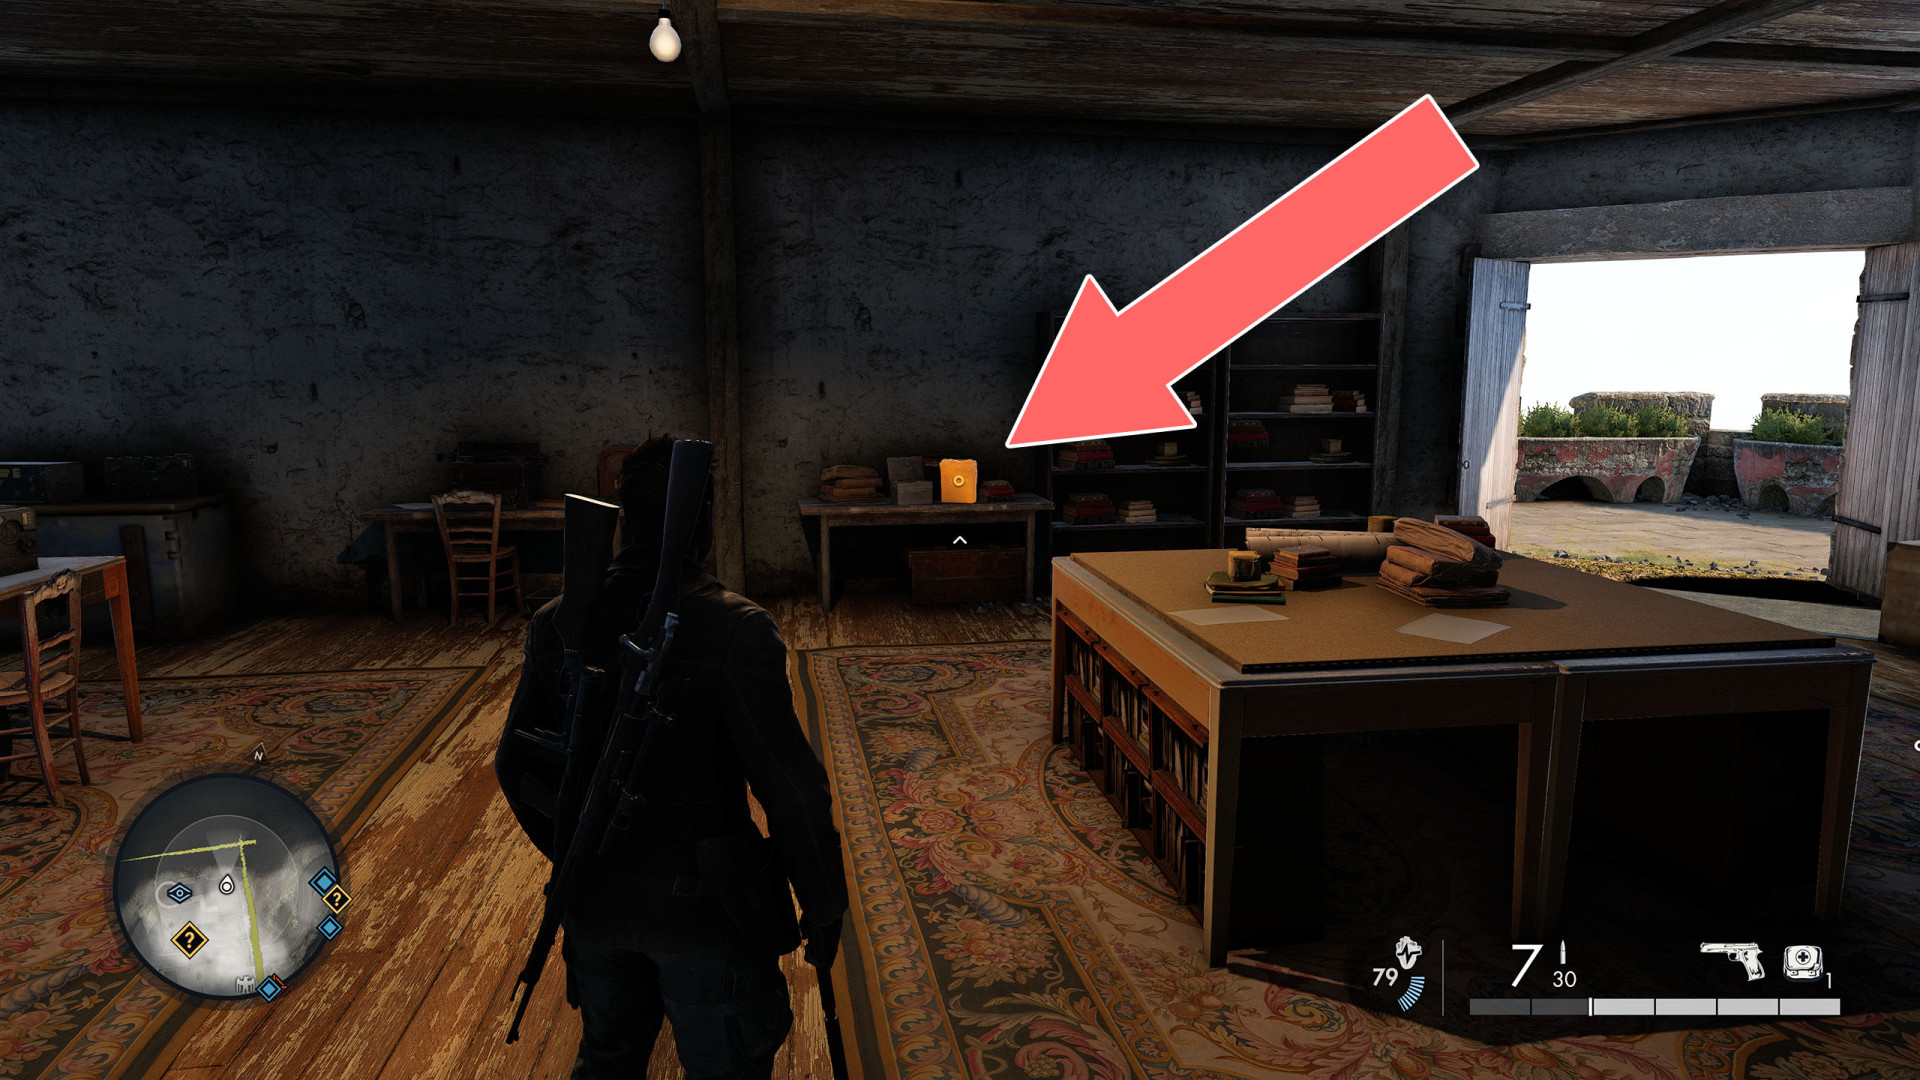
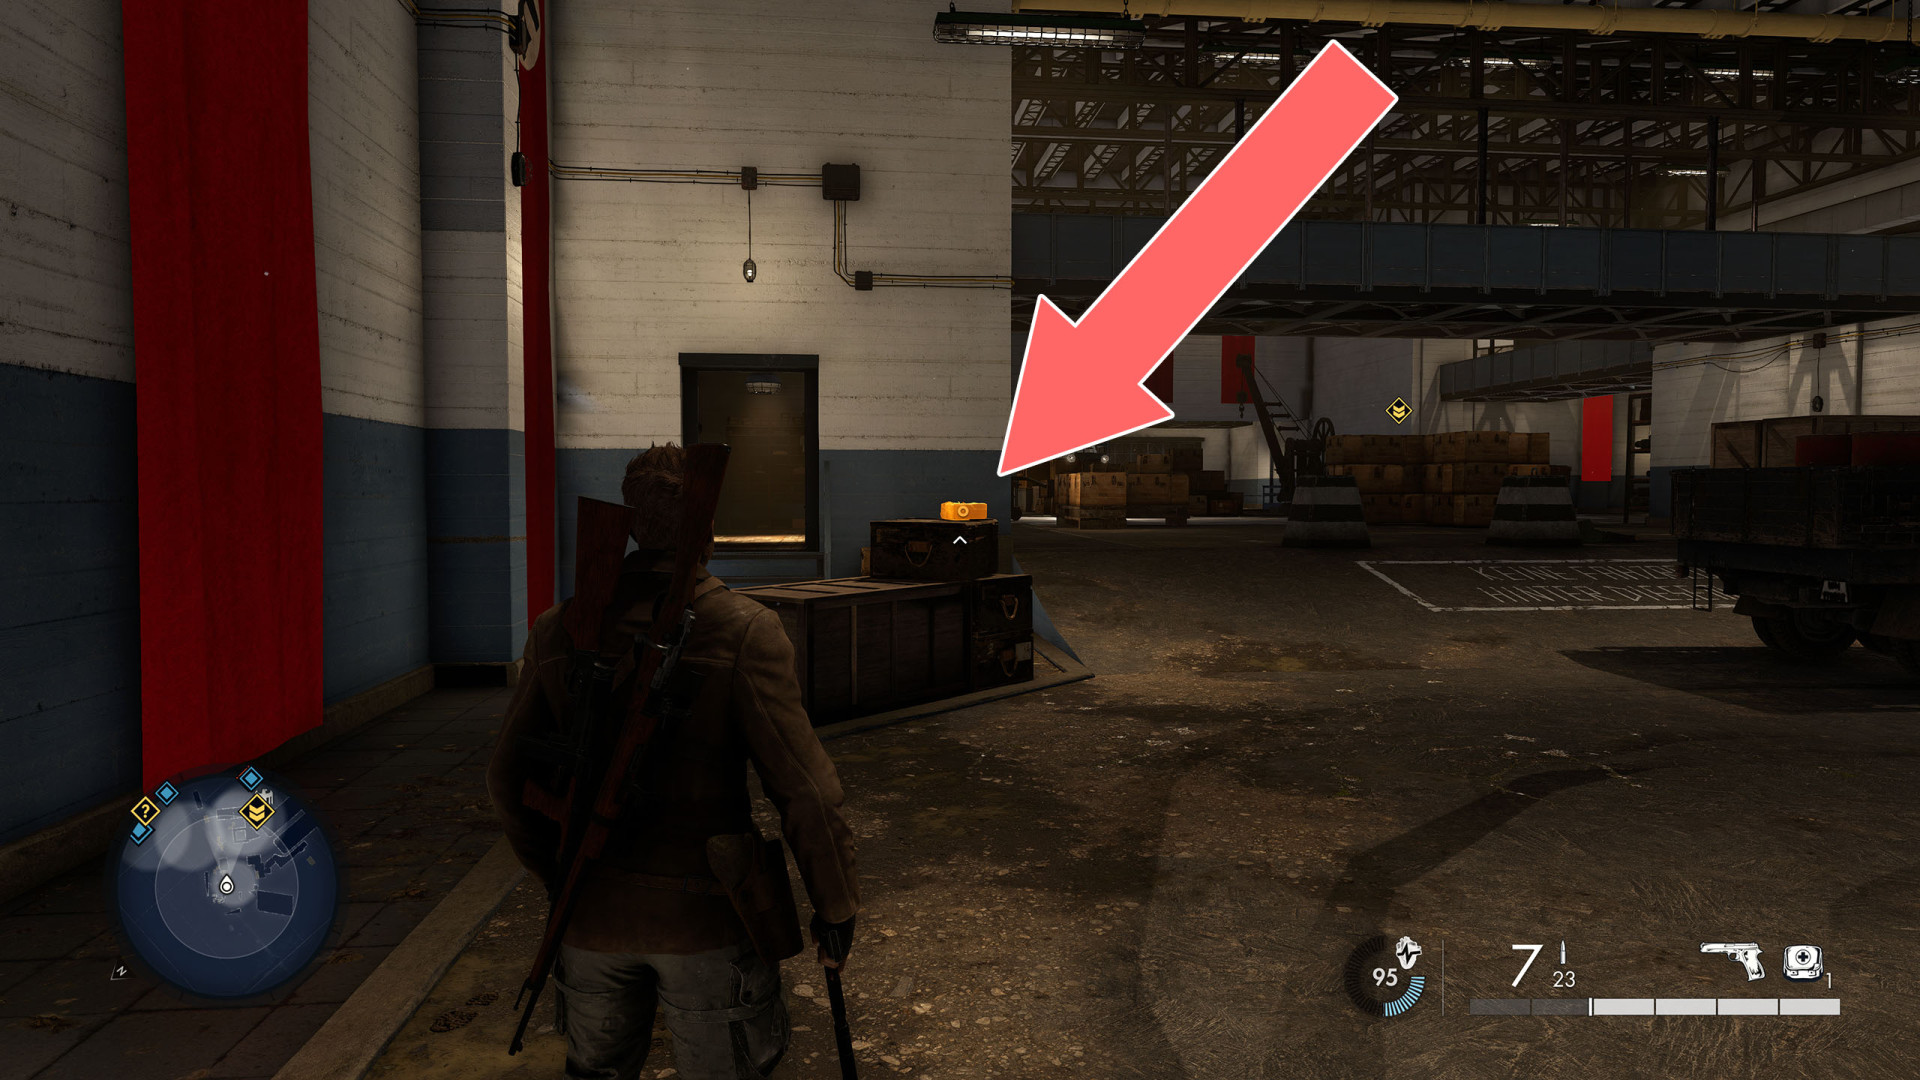
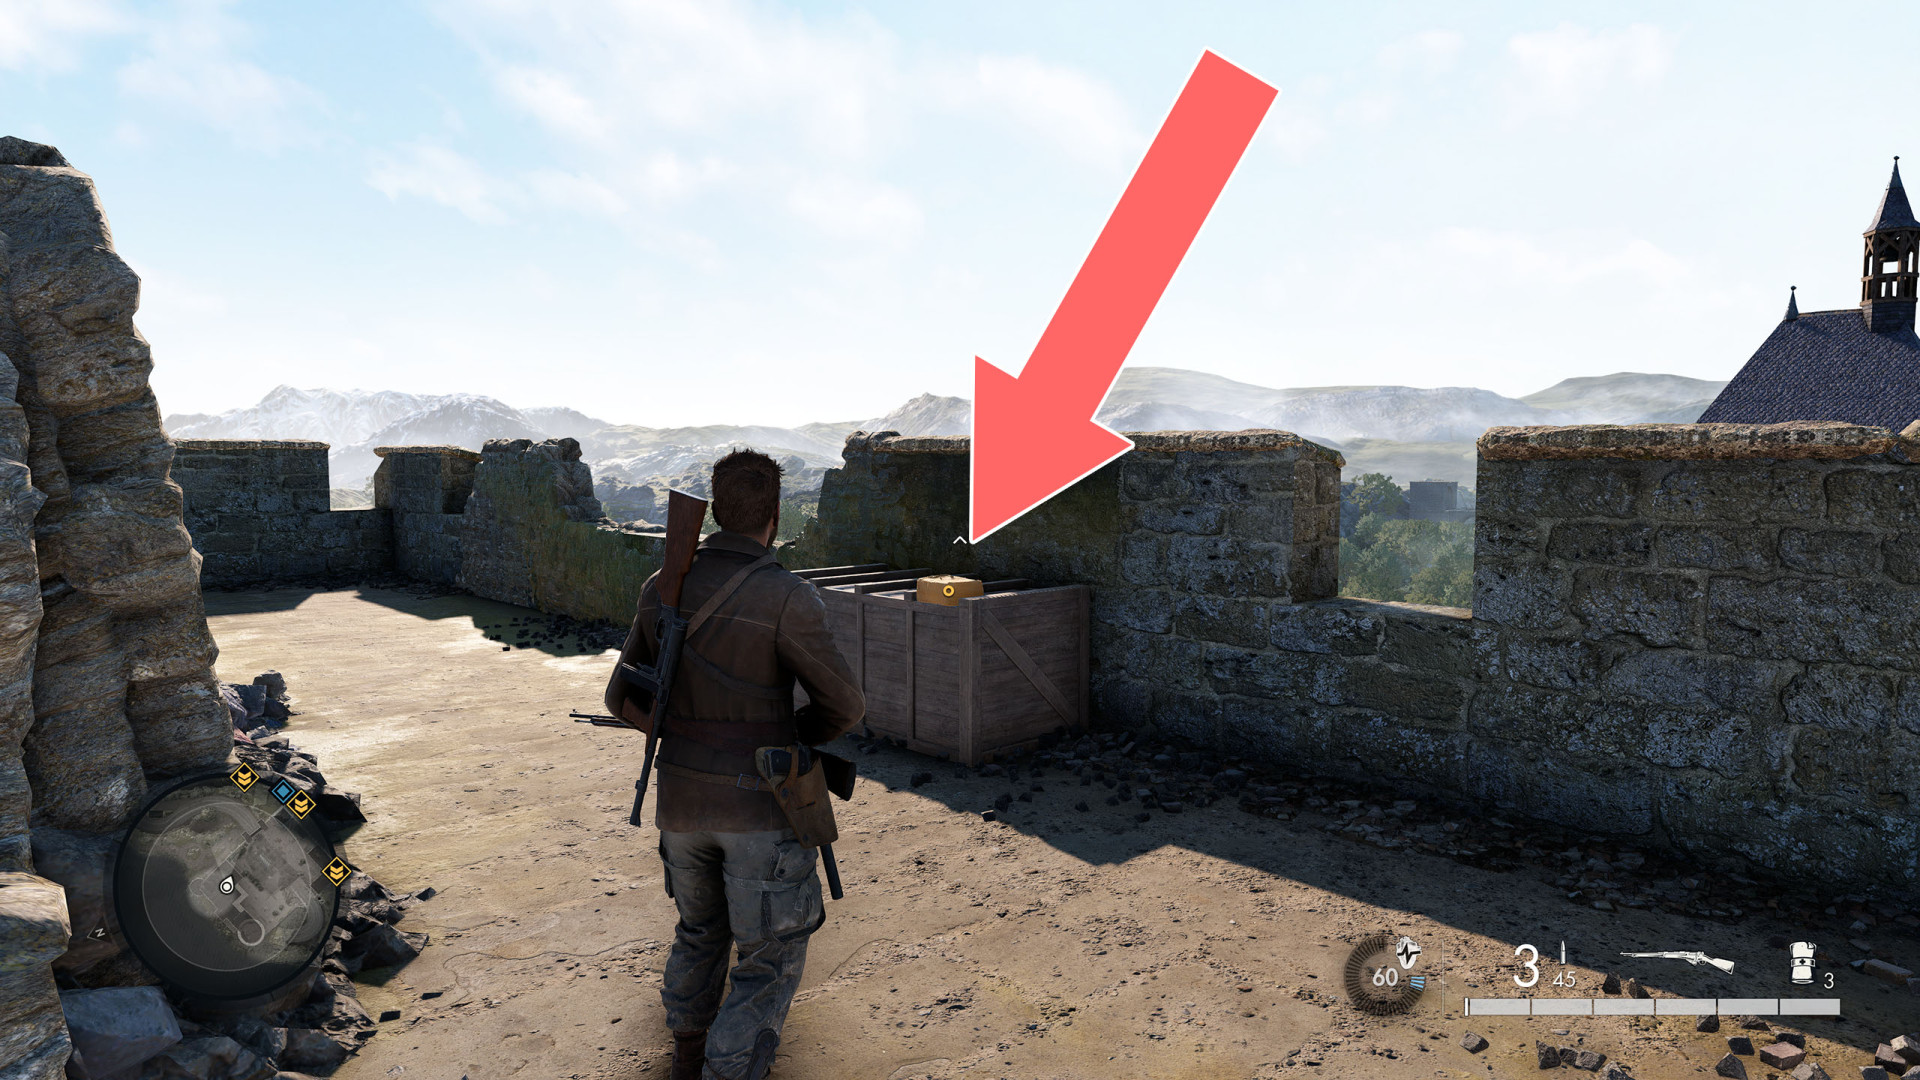
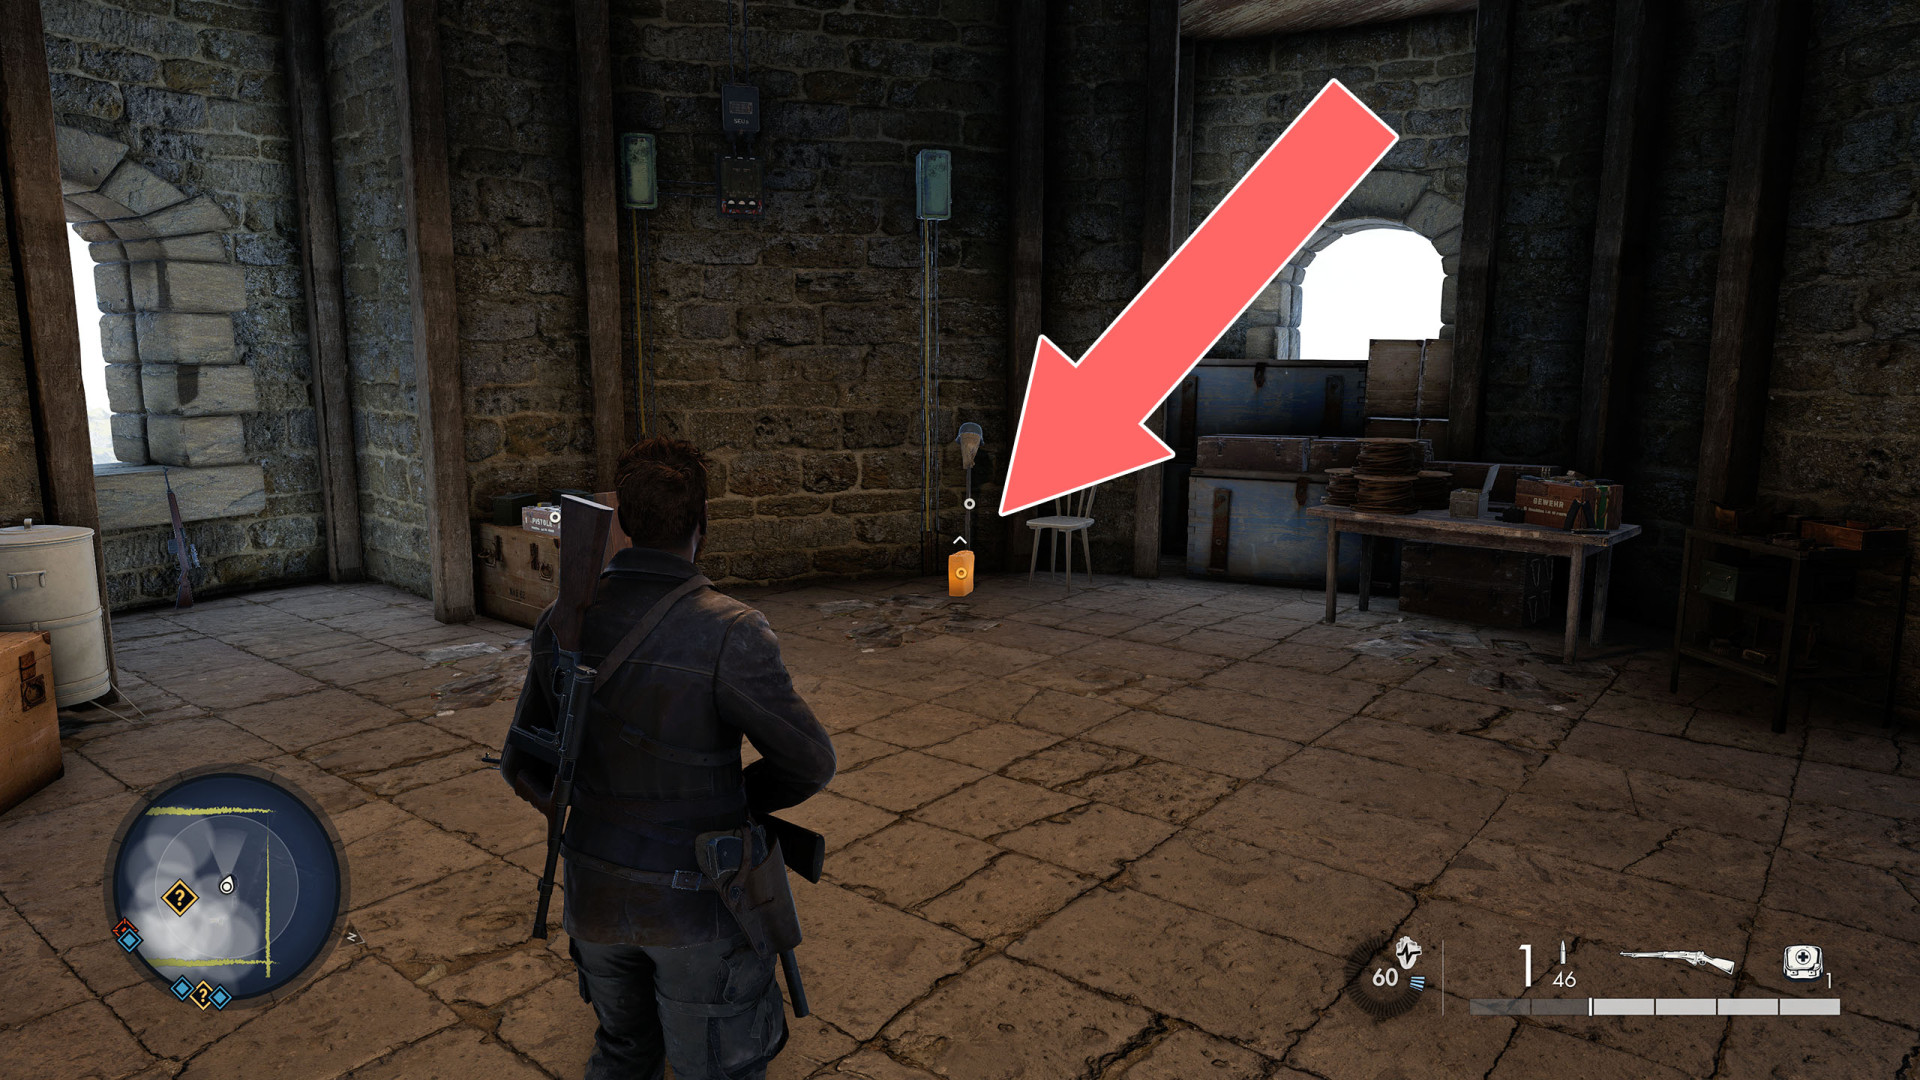
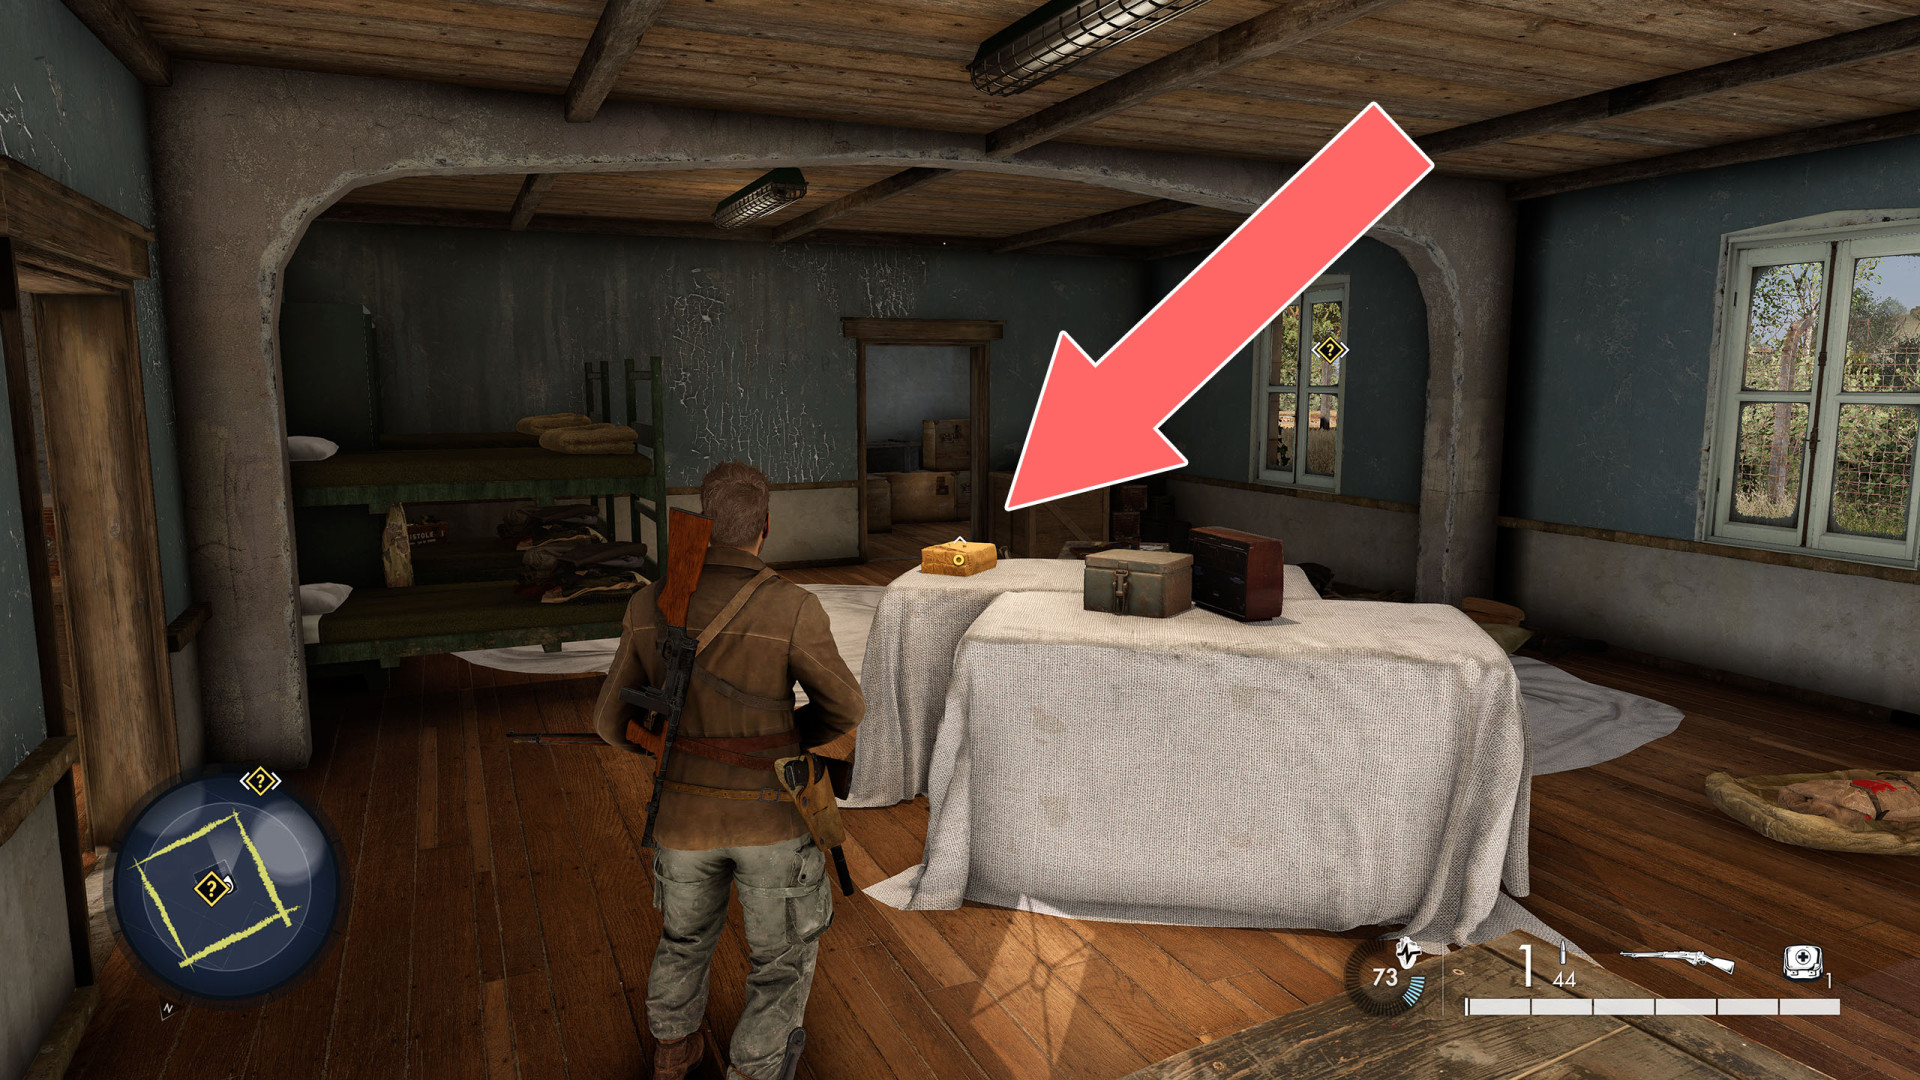
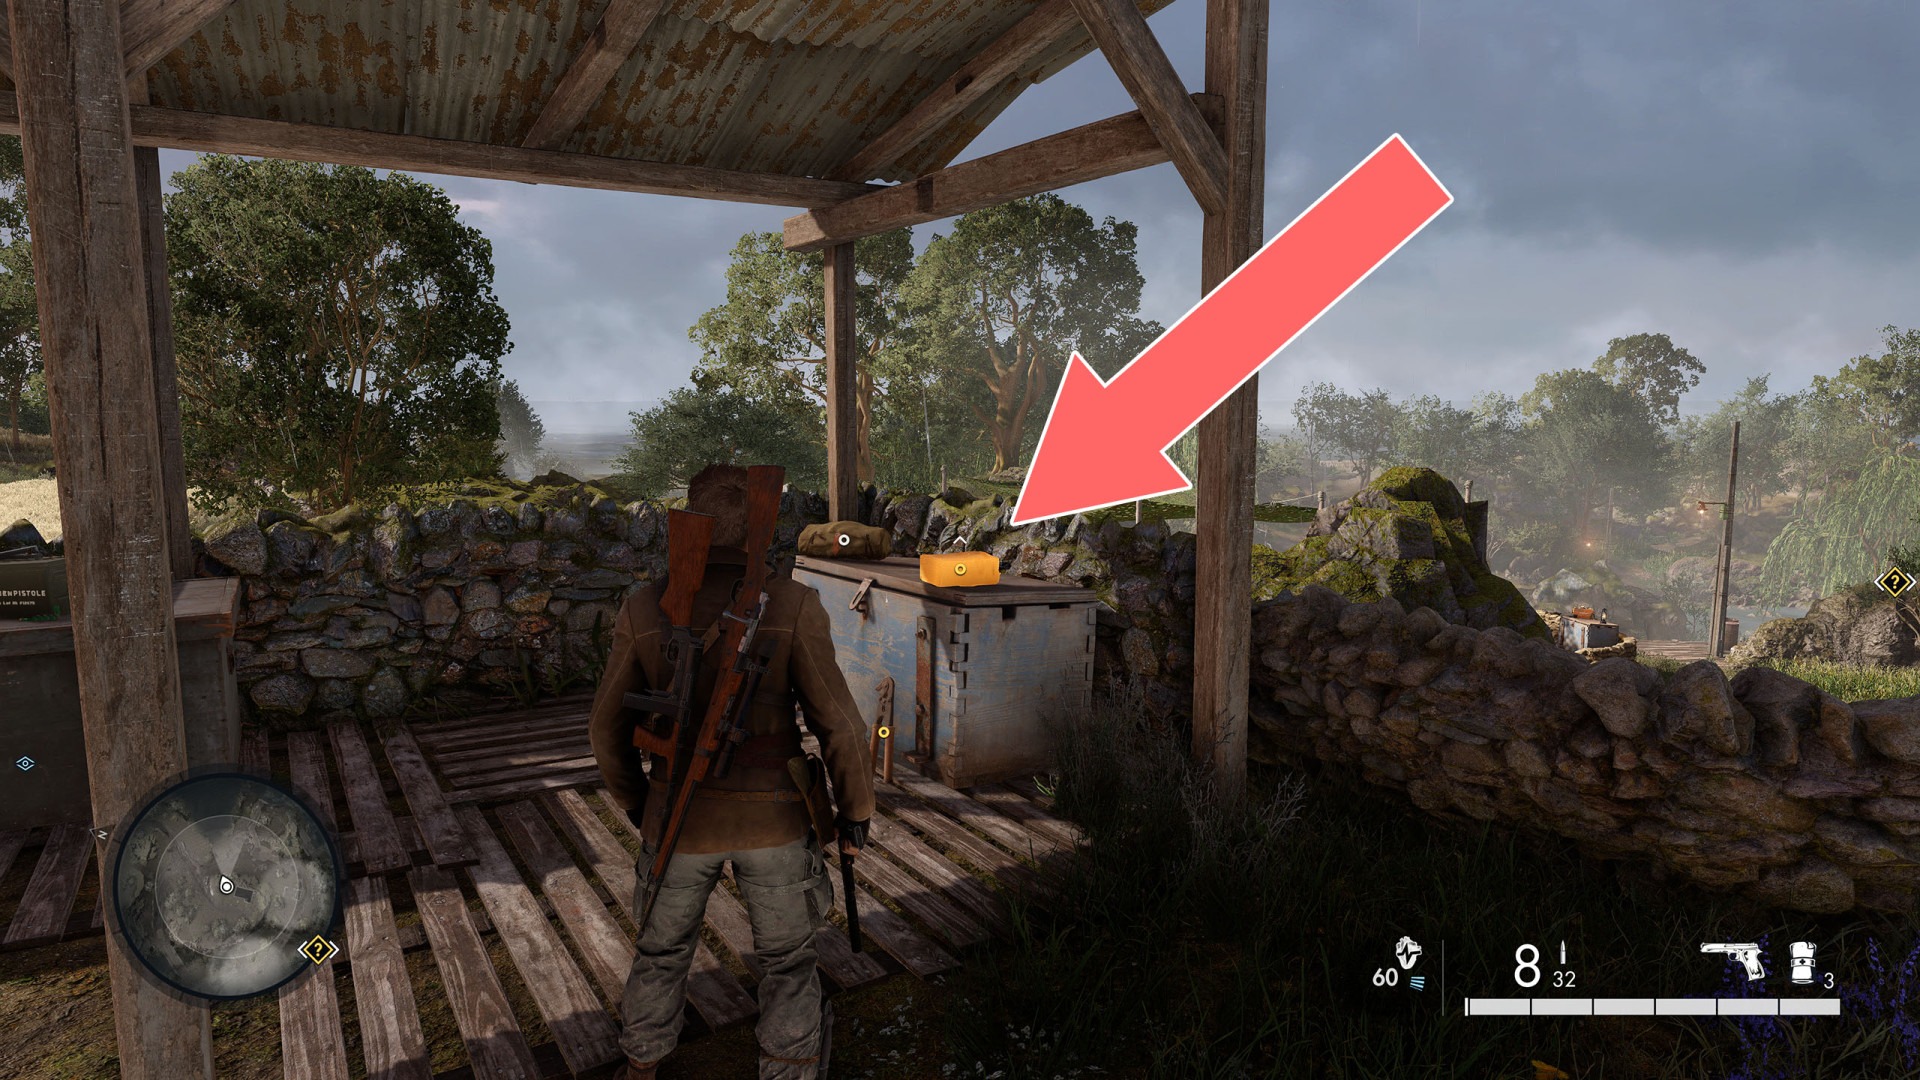
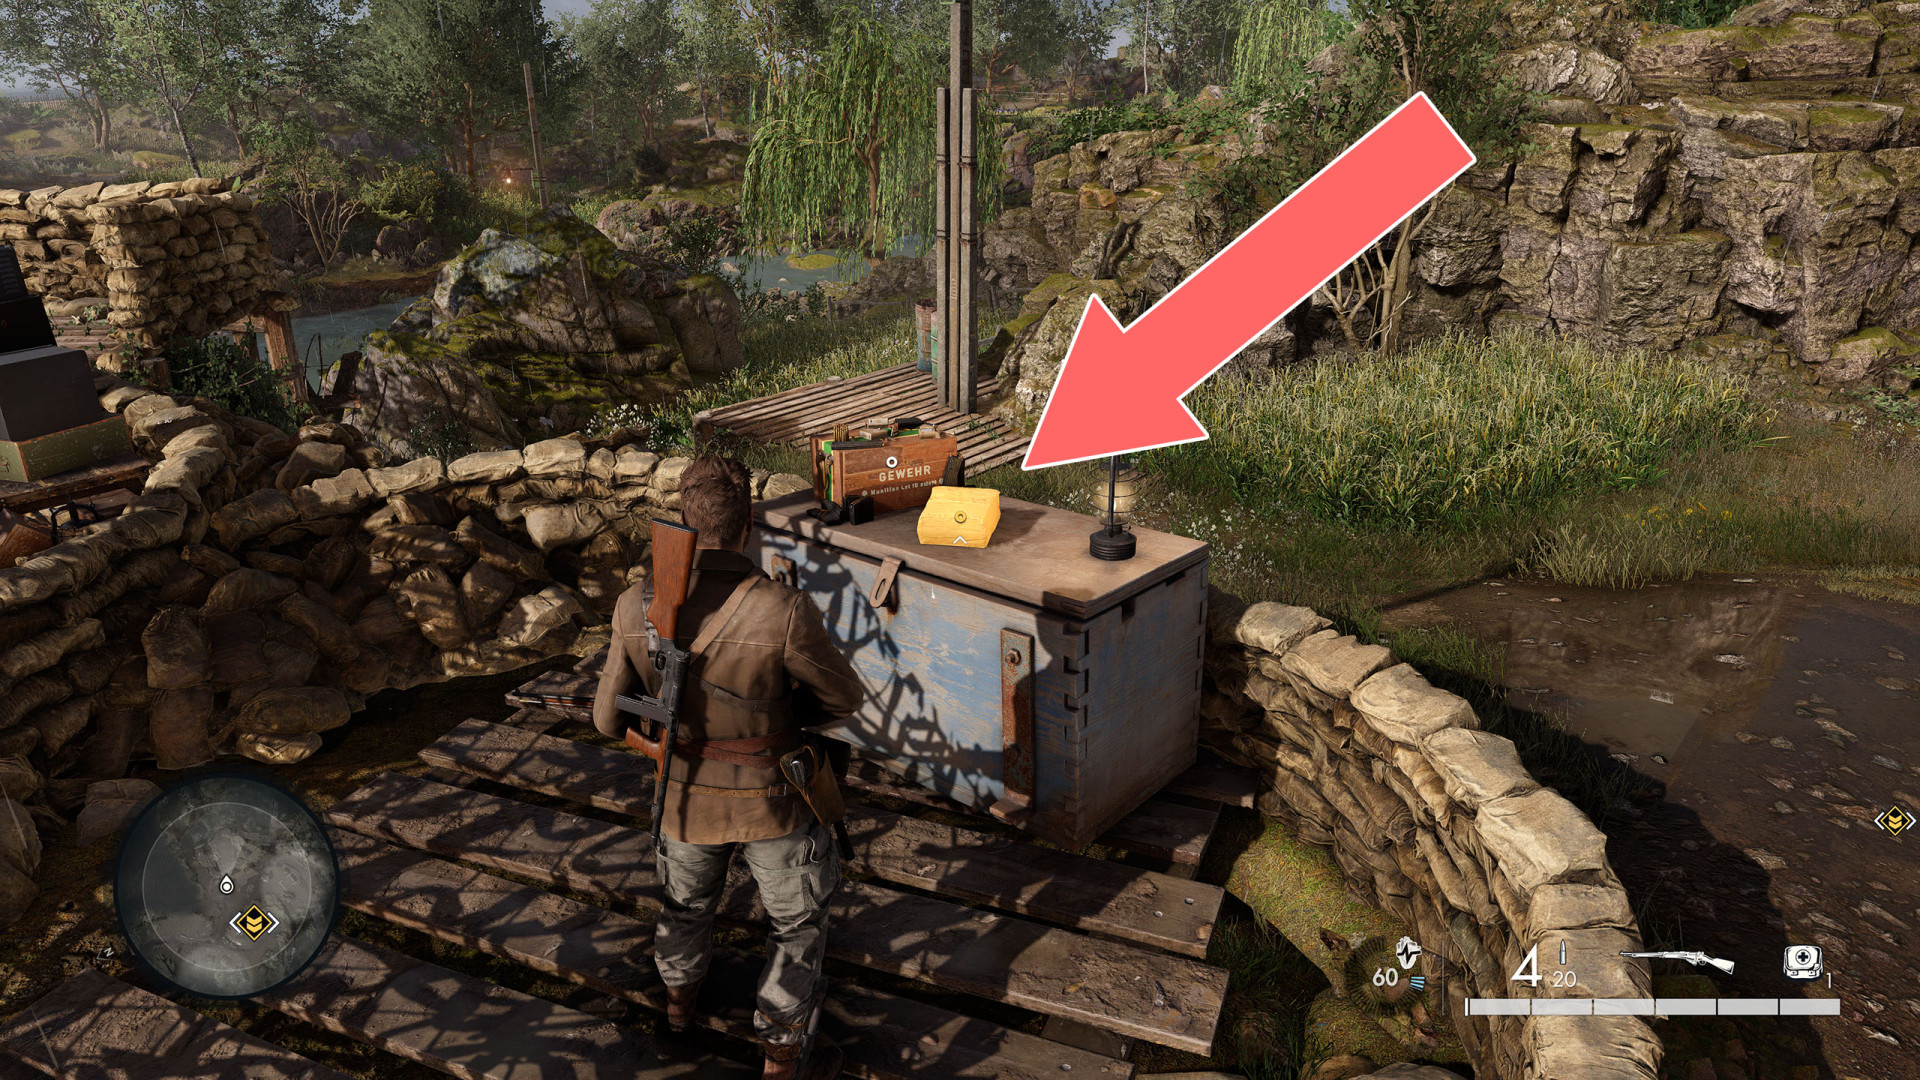
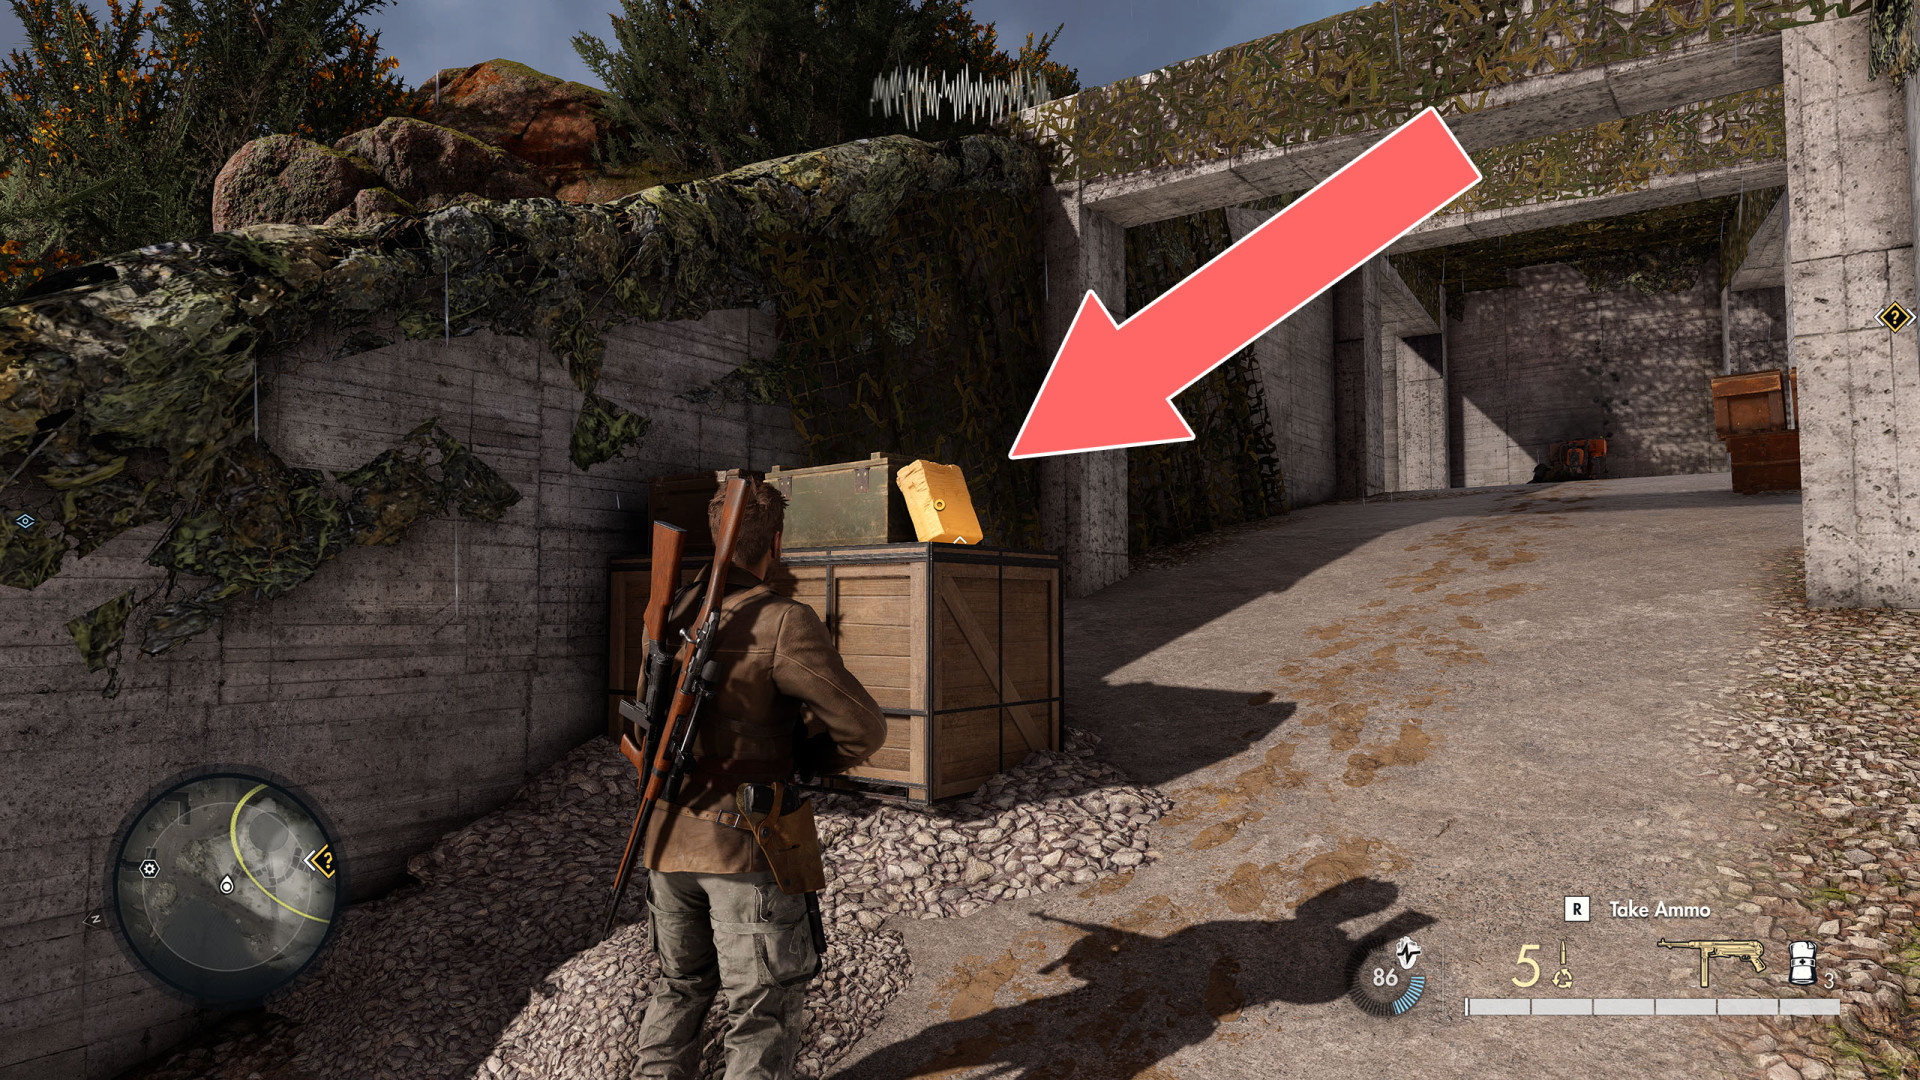
Satchel Charges are placed explosives. Satchel Charges can be used to destroy important objects, open heavy doors, or even blast through some walls.

After placing a Satchel Charge, you can either set a fuse on it or detonate it from a distance by shooting it.

Even a Tank is vulnerable to a well-placed Satchel Charge - try and plant it on the back, between the exhausts.

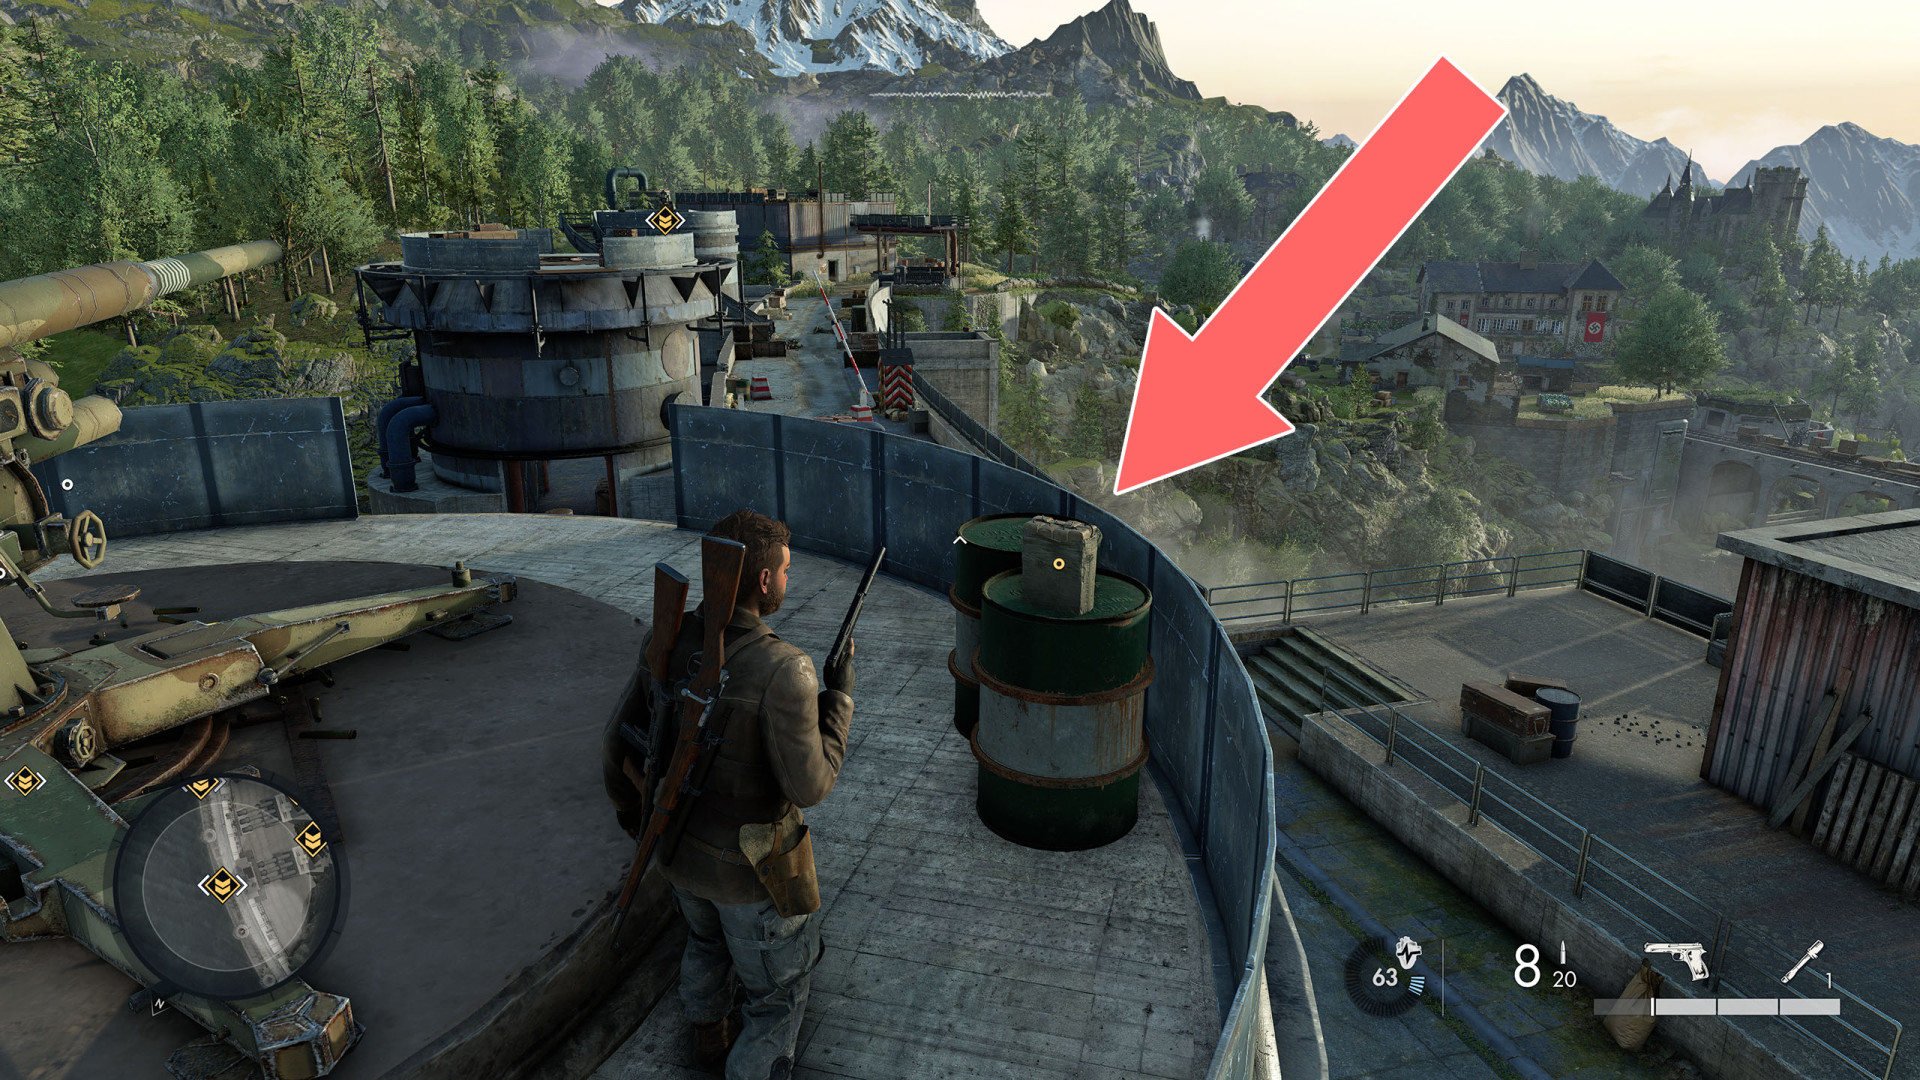
Locations on Campaign Maps

1Satchel Charge

Satchel Charge

Show the map

2Satchel Charge

Satchel Charge

Show the map

3Satchel Charge

Satchel Charge

Show the map

4Satchel Charge

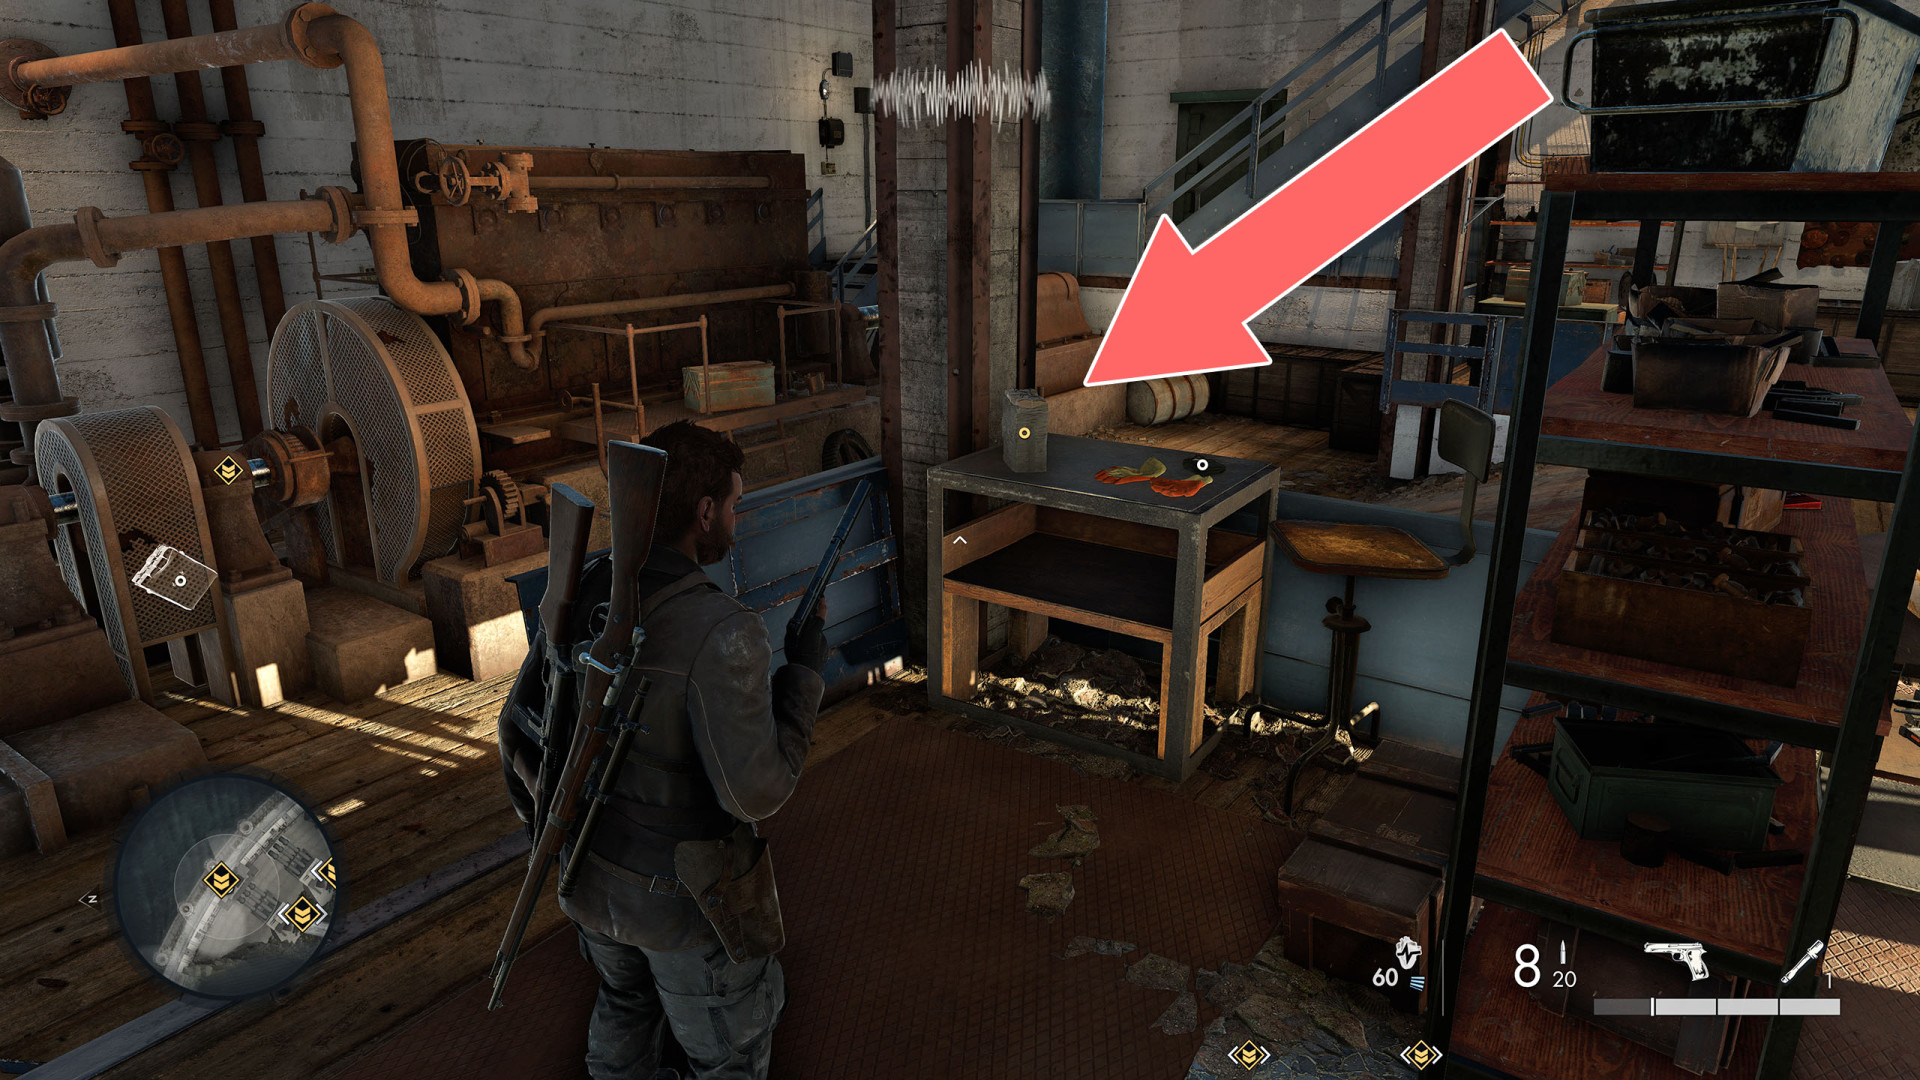
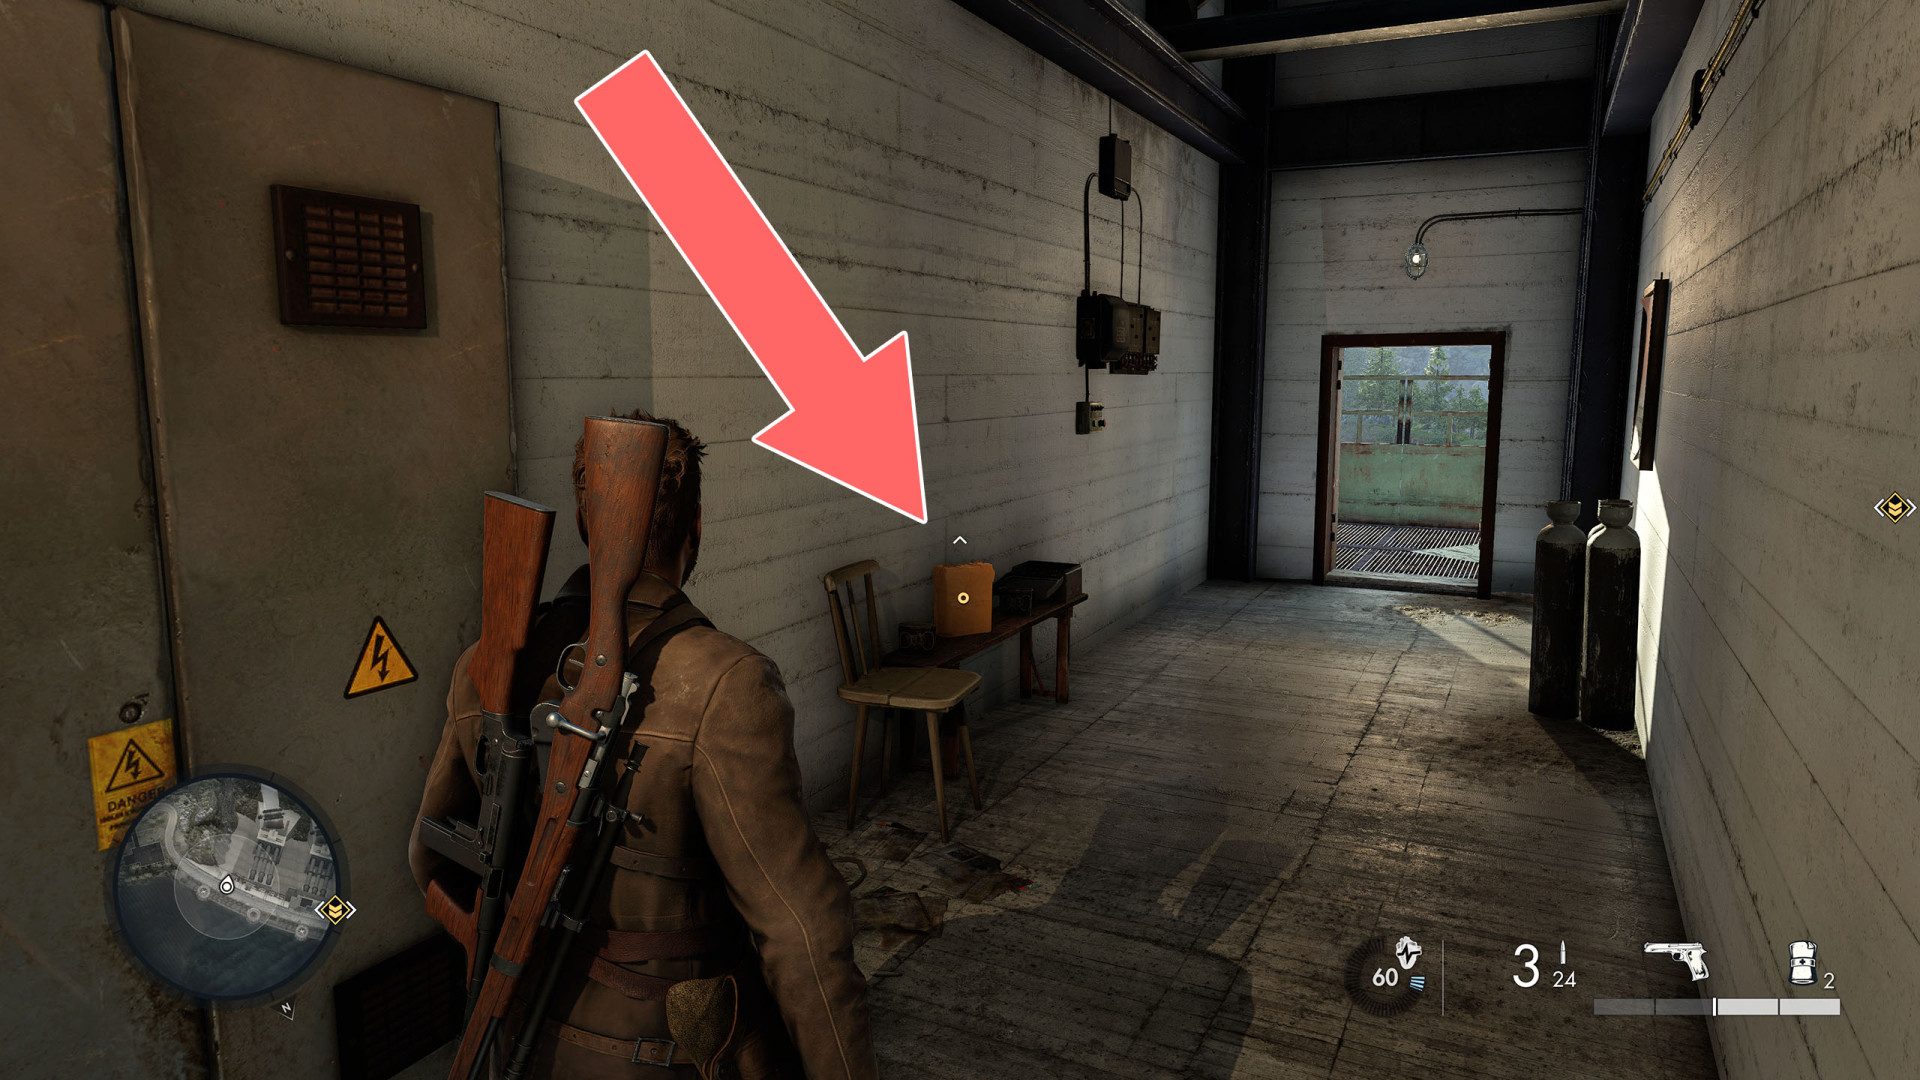
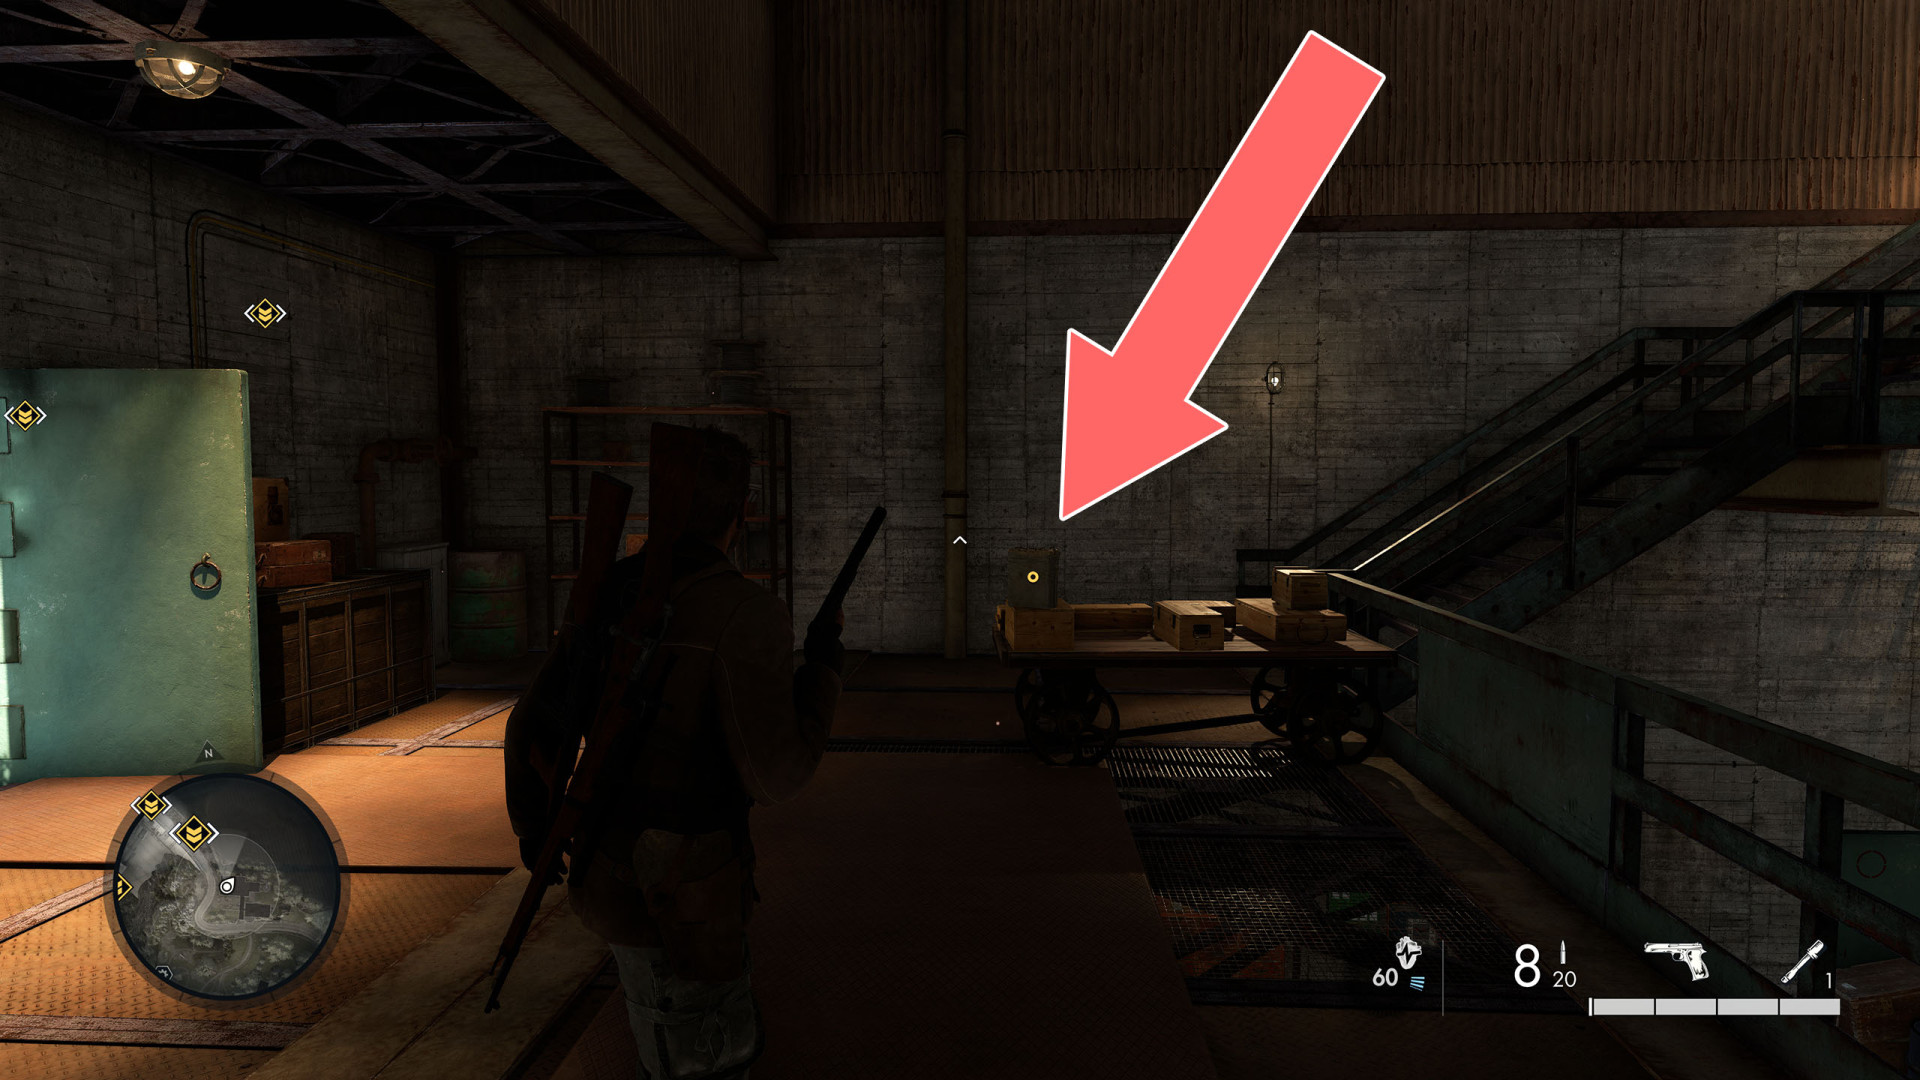
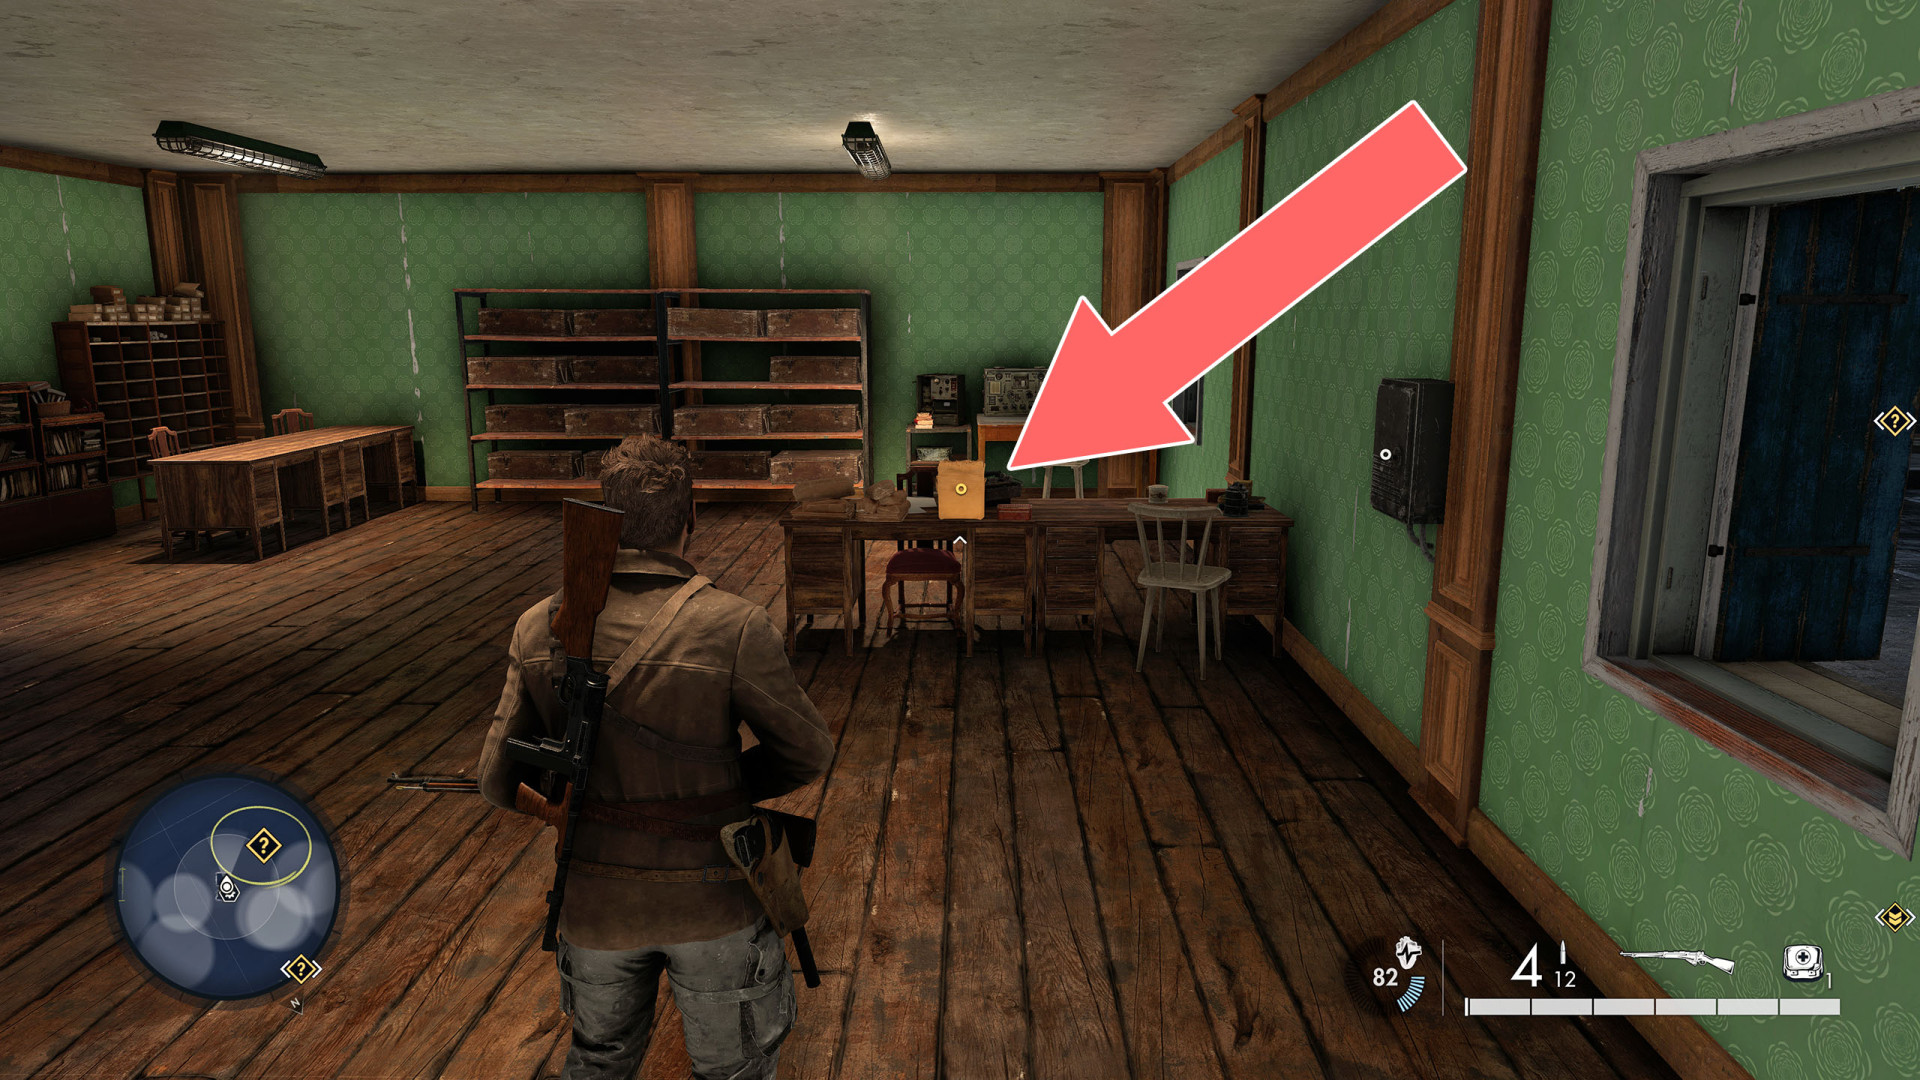
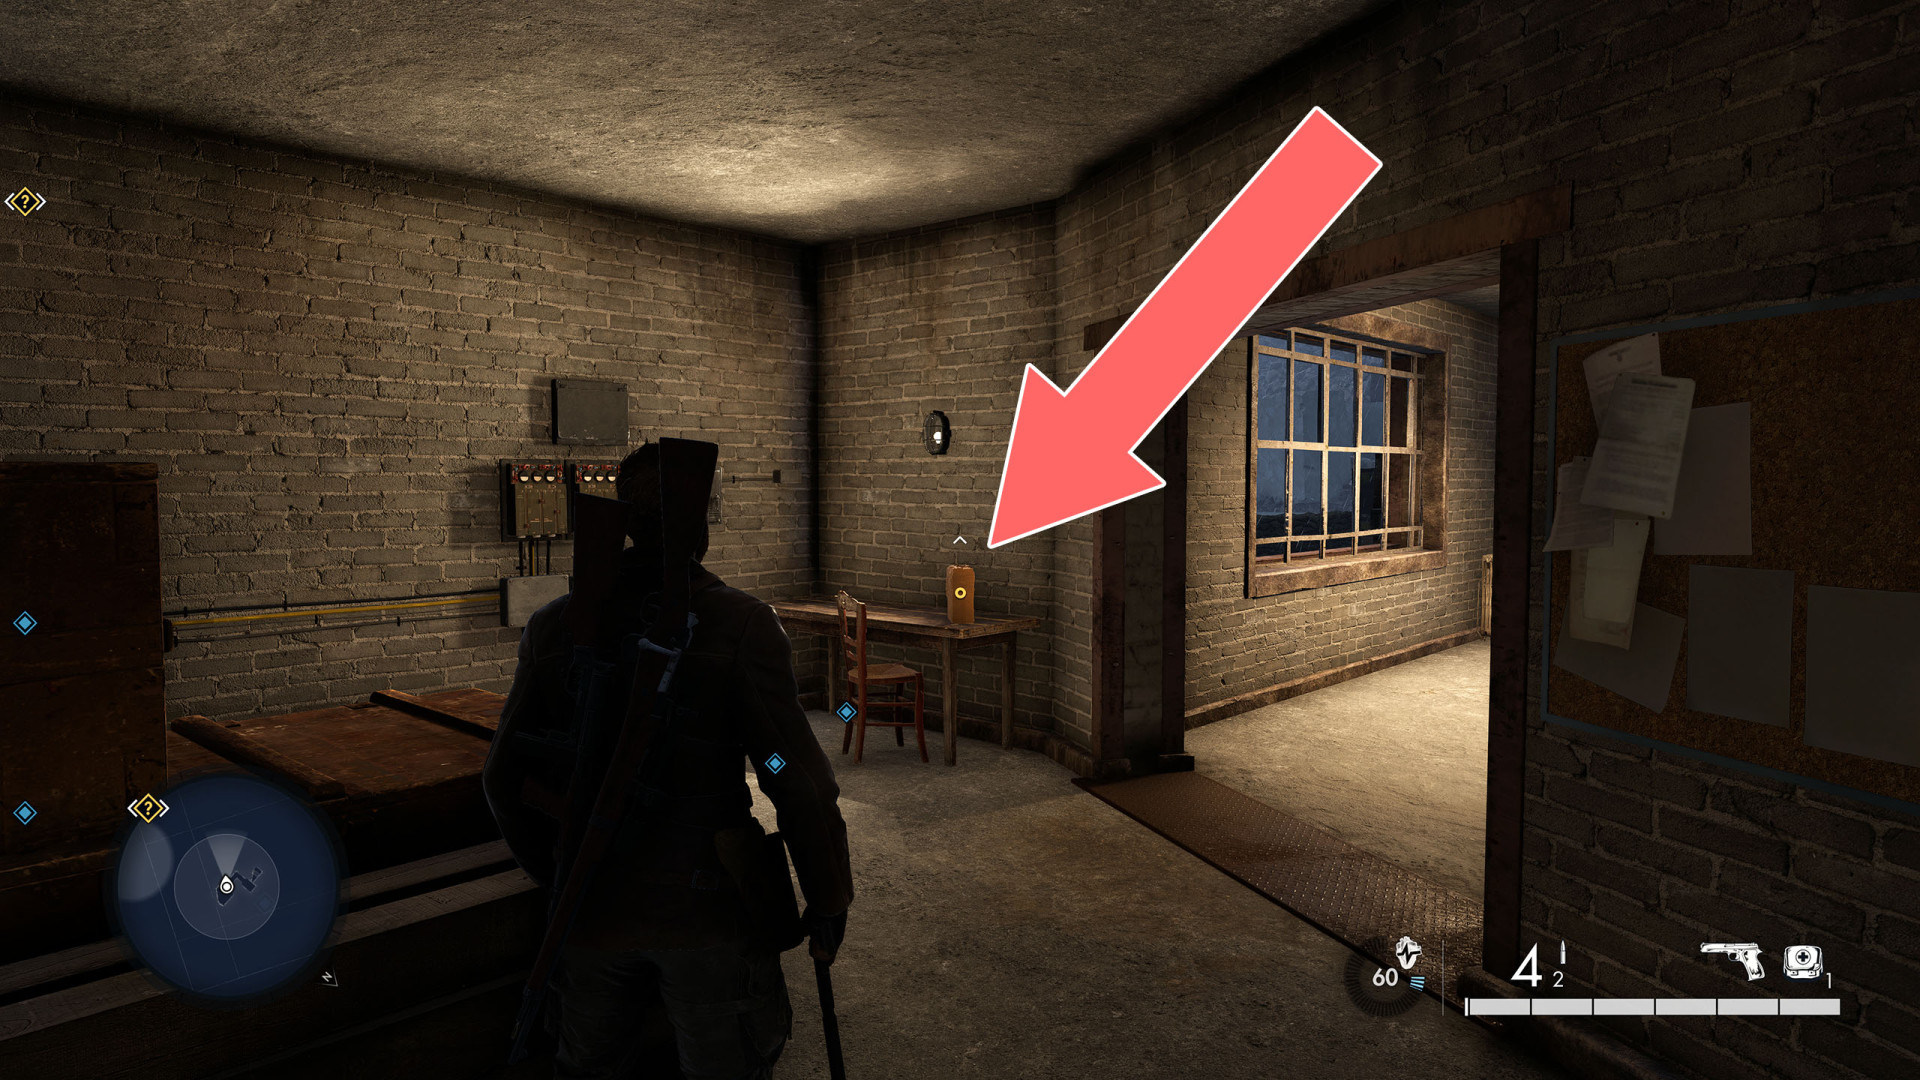
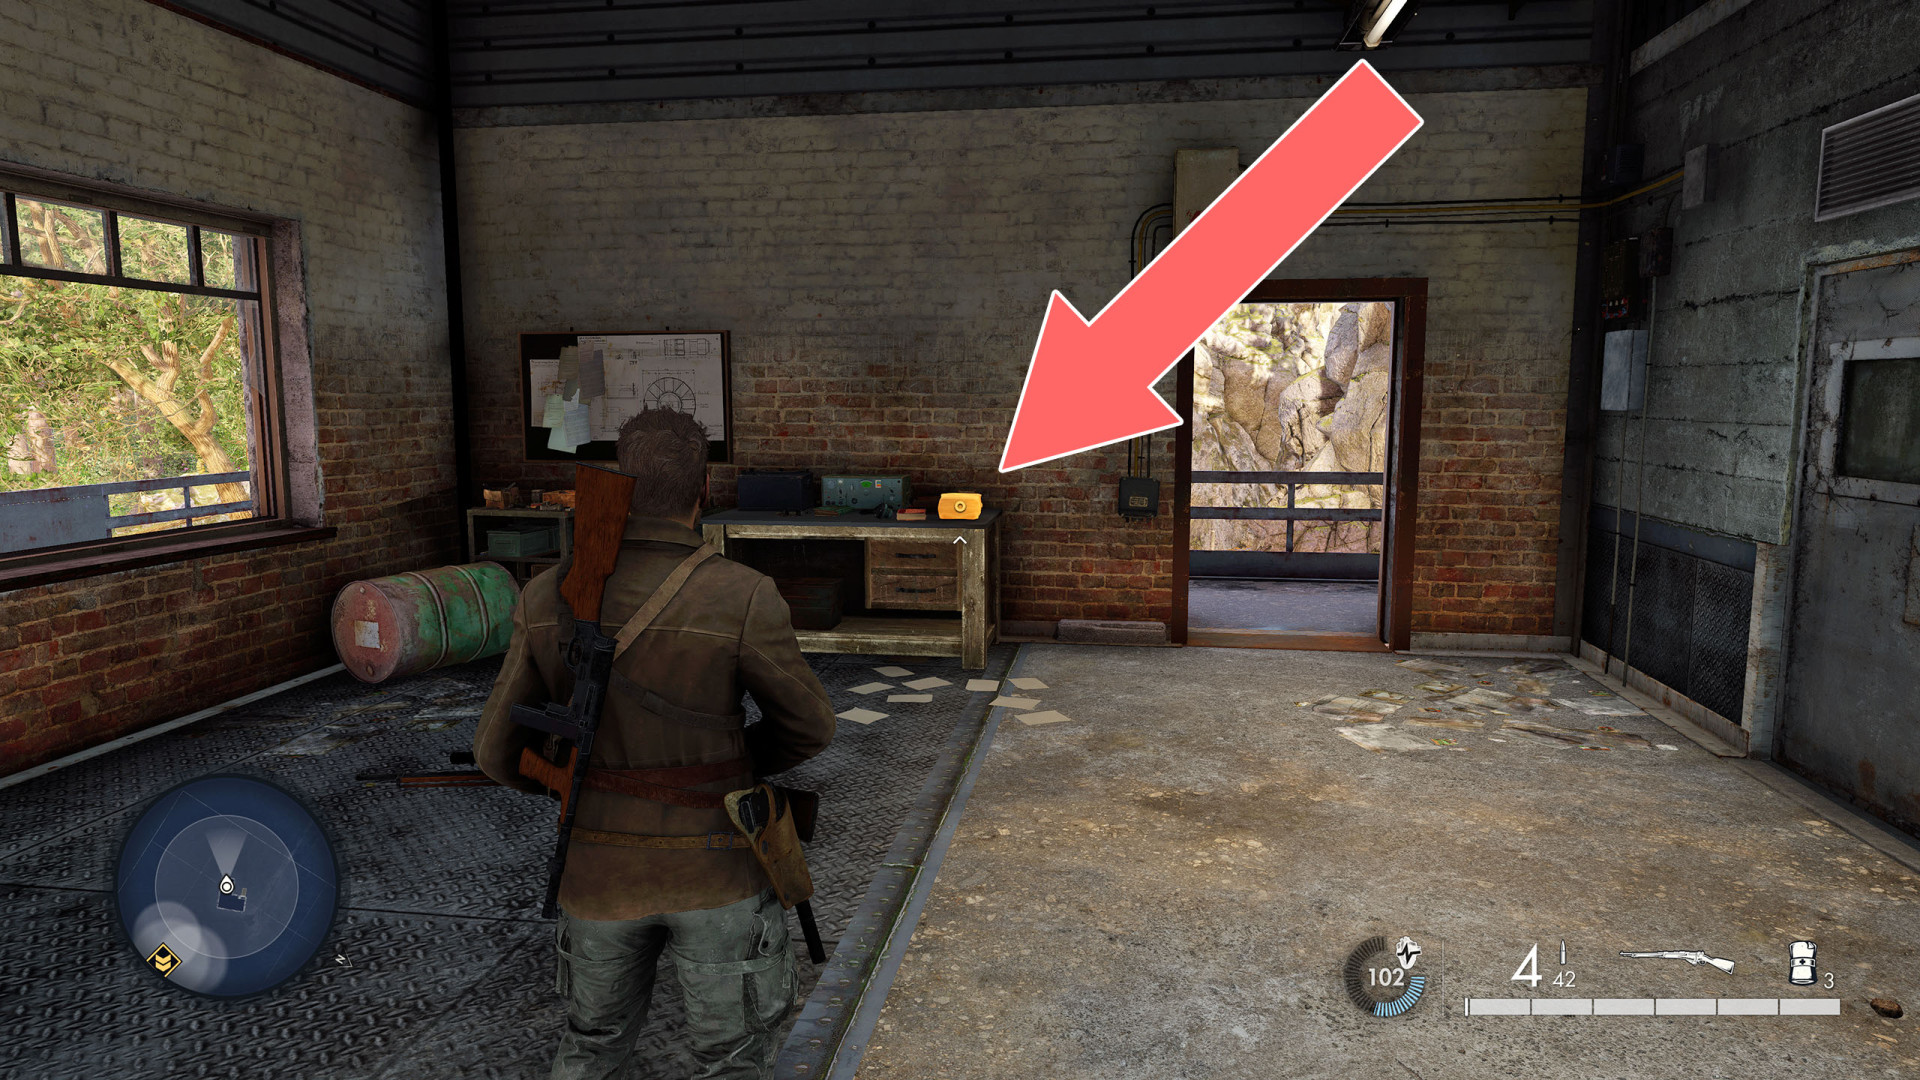
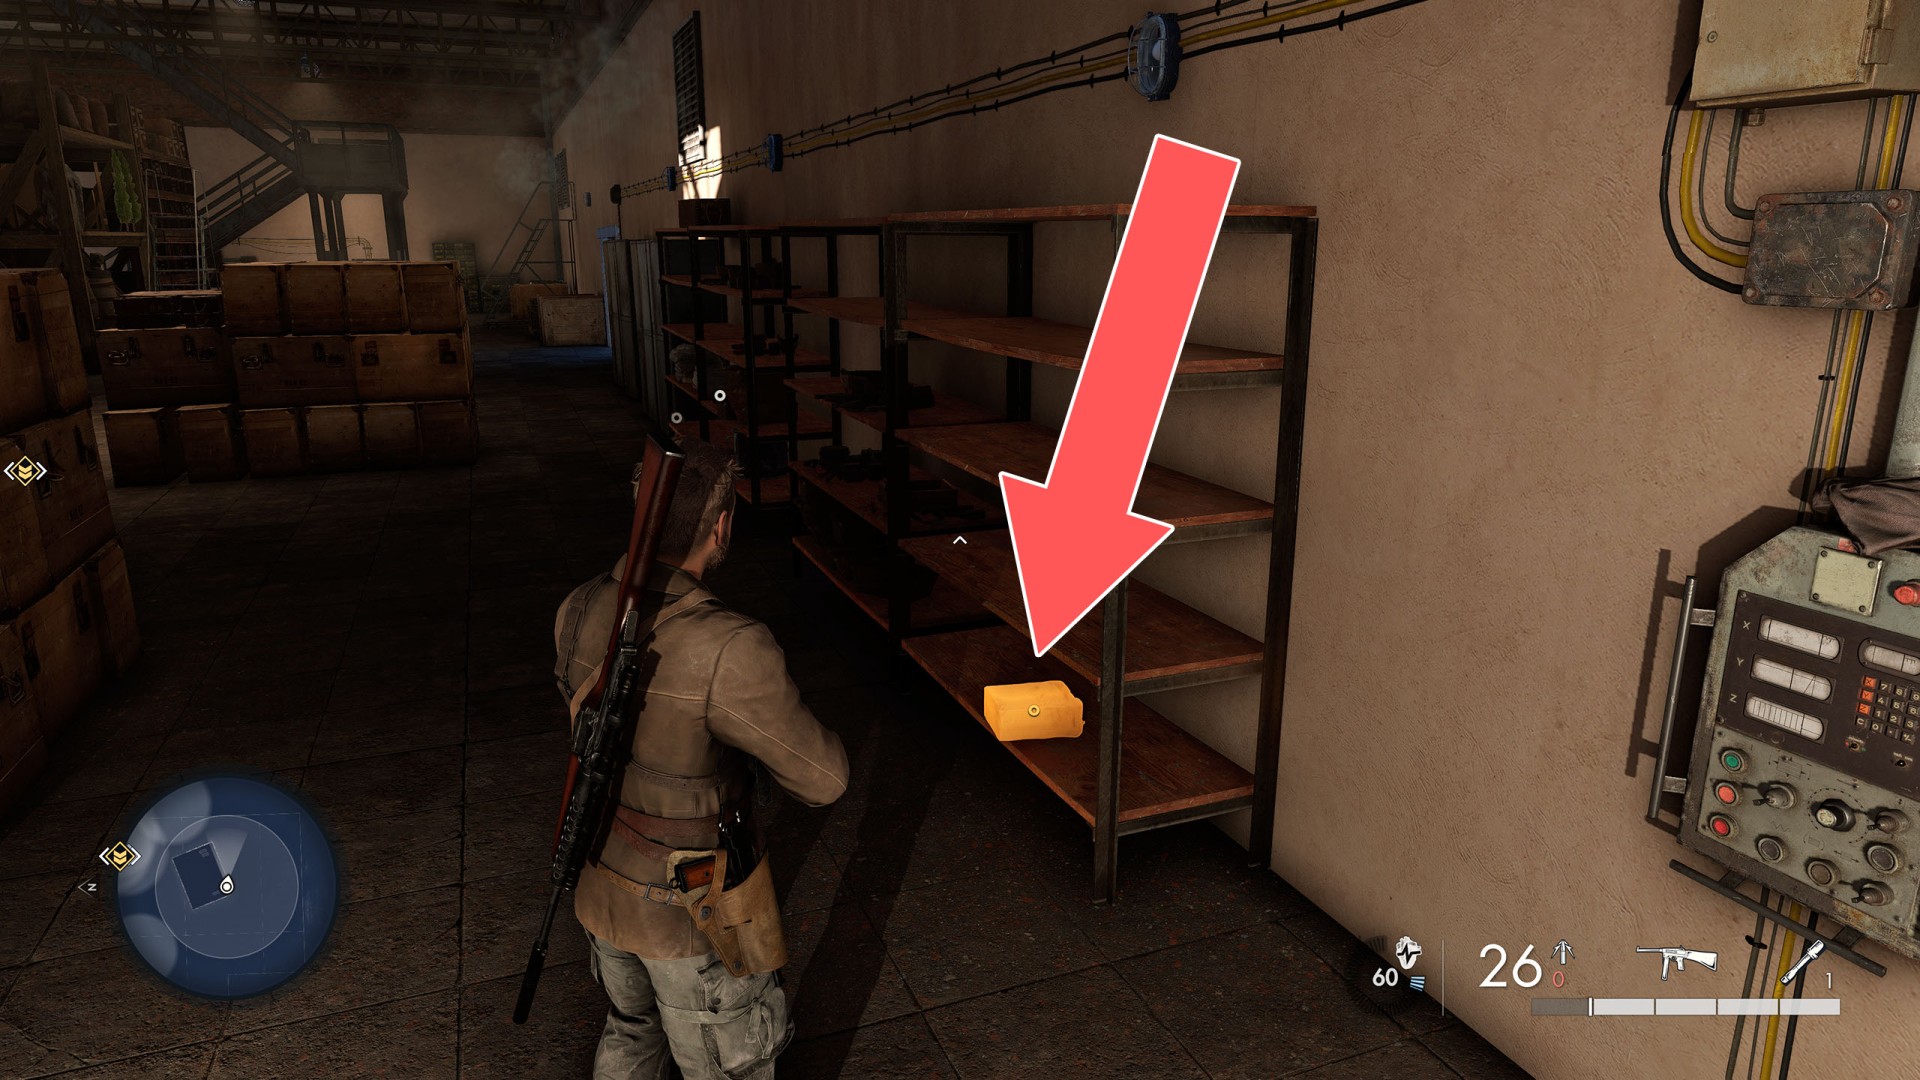
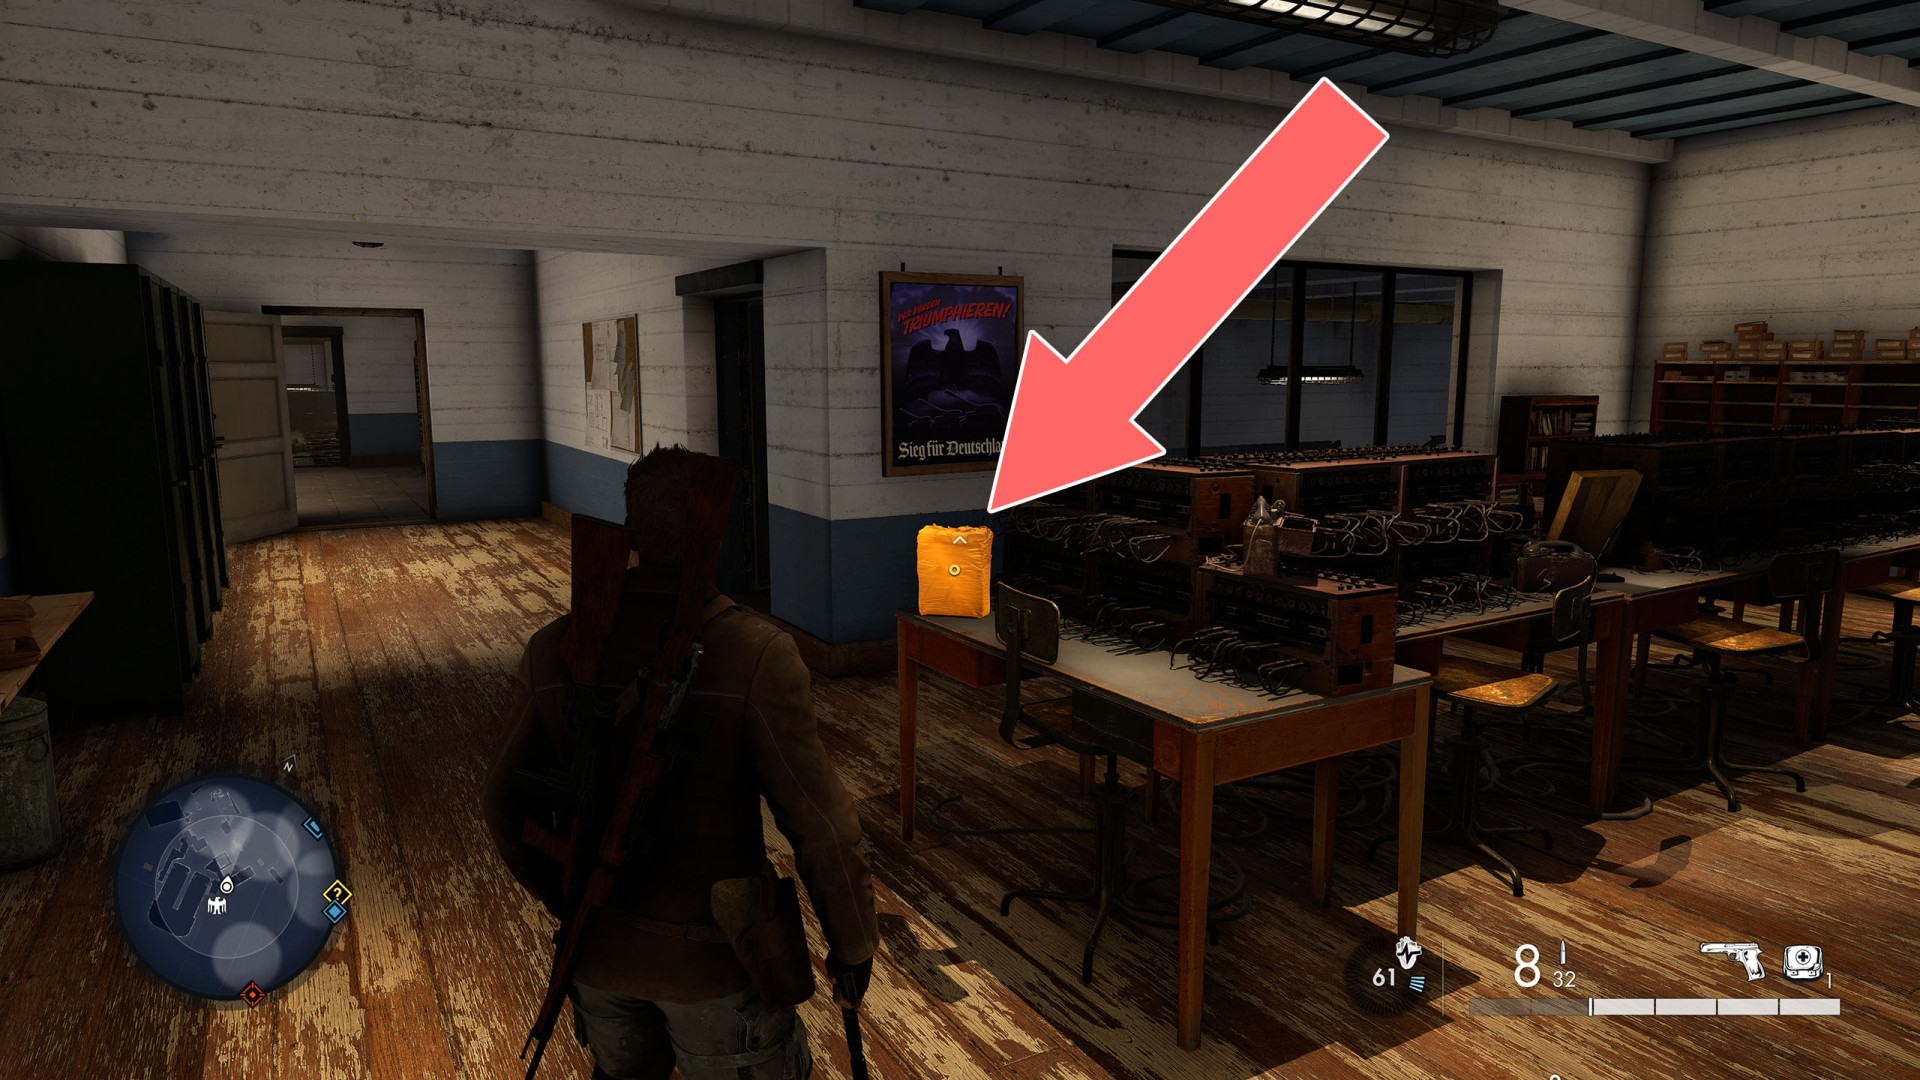
On the table, in the generator room.
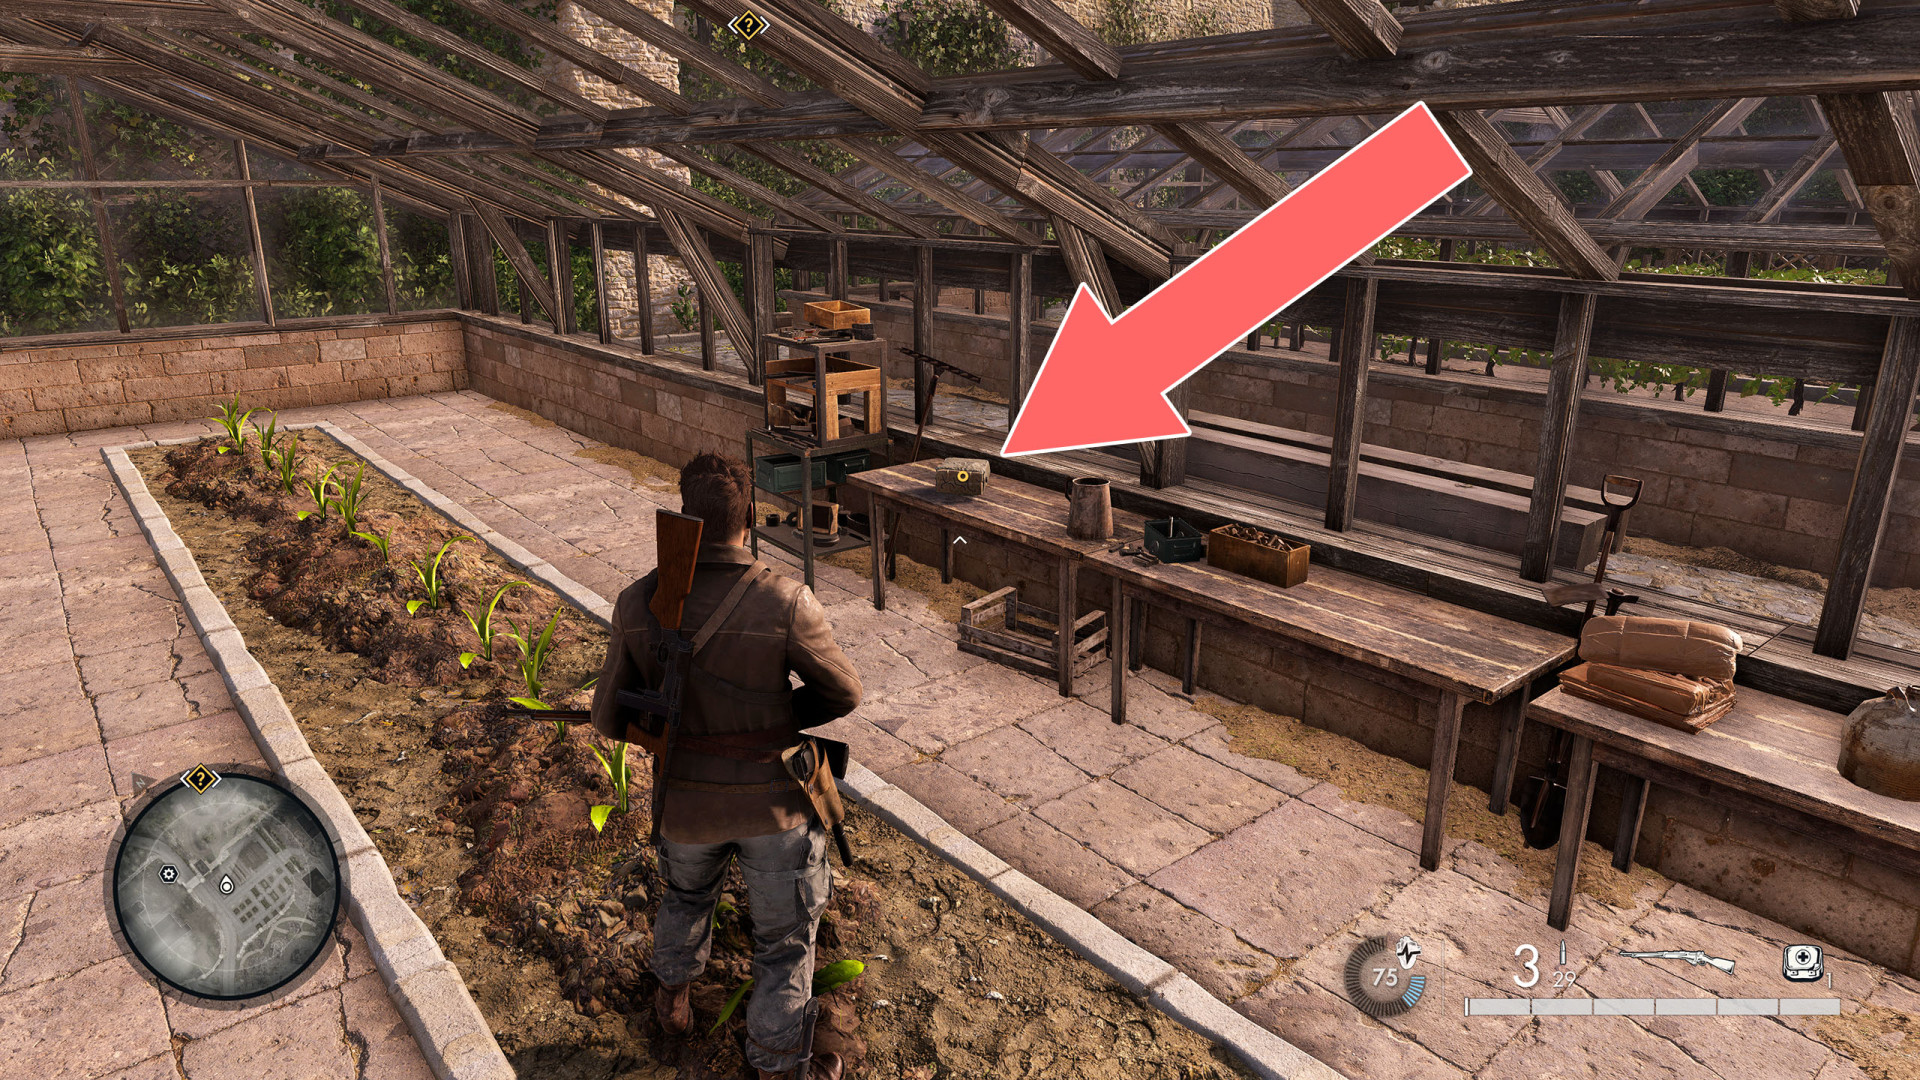
Satchel Charge

Show the map

5Satchel Charge

Satchel Charge

Show the map

6Satchel Charge

Satchel Charge

Show the map

7Satchel Charge

Satchel Charge

Show the map

8Satchel Charge

Satchel Charge

Show the map

9Satchel Charge

Satchel Charge

Show the map

10Satchel Charge

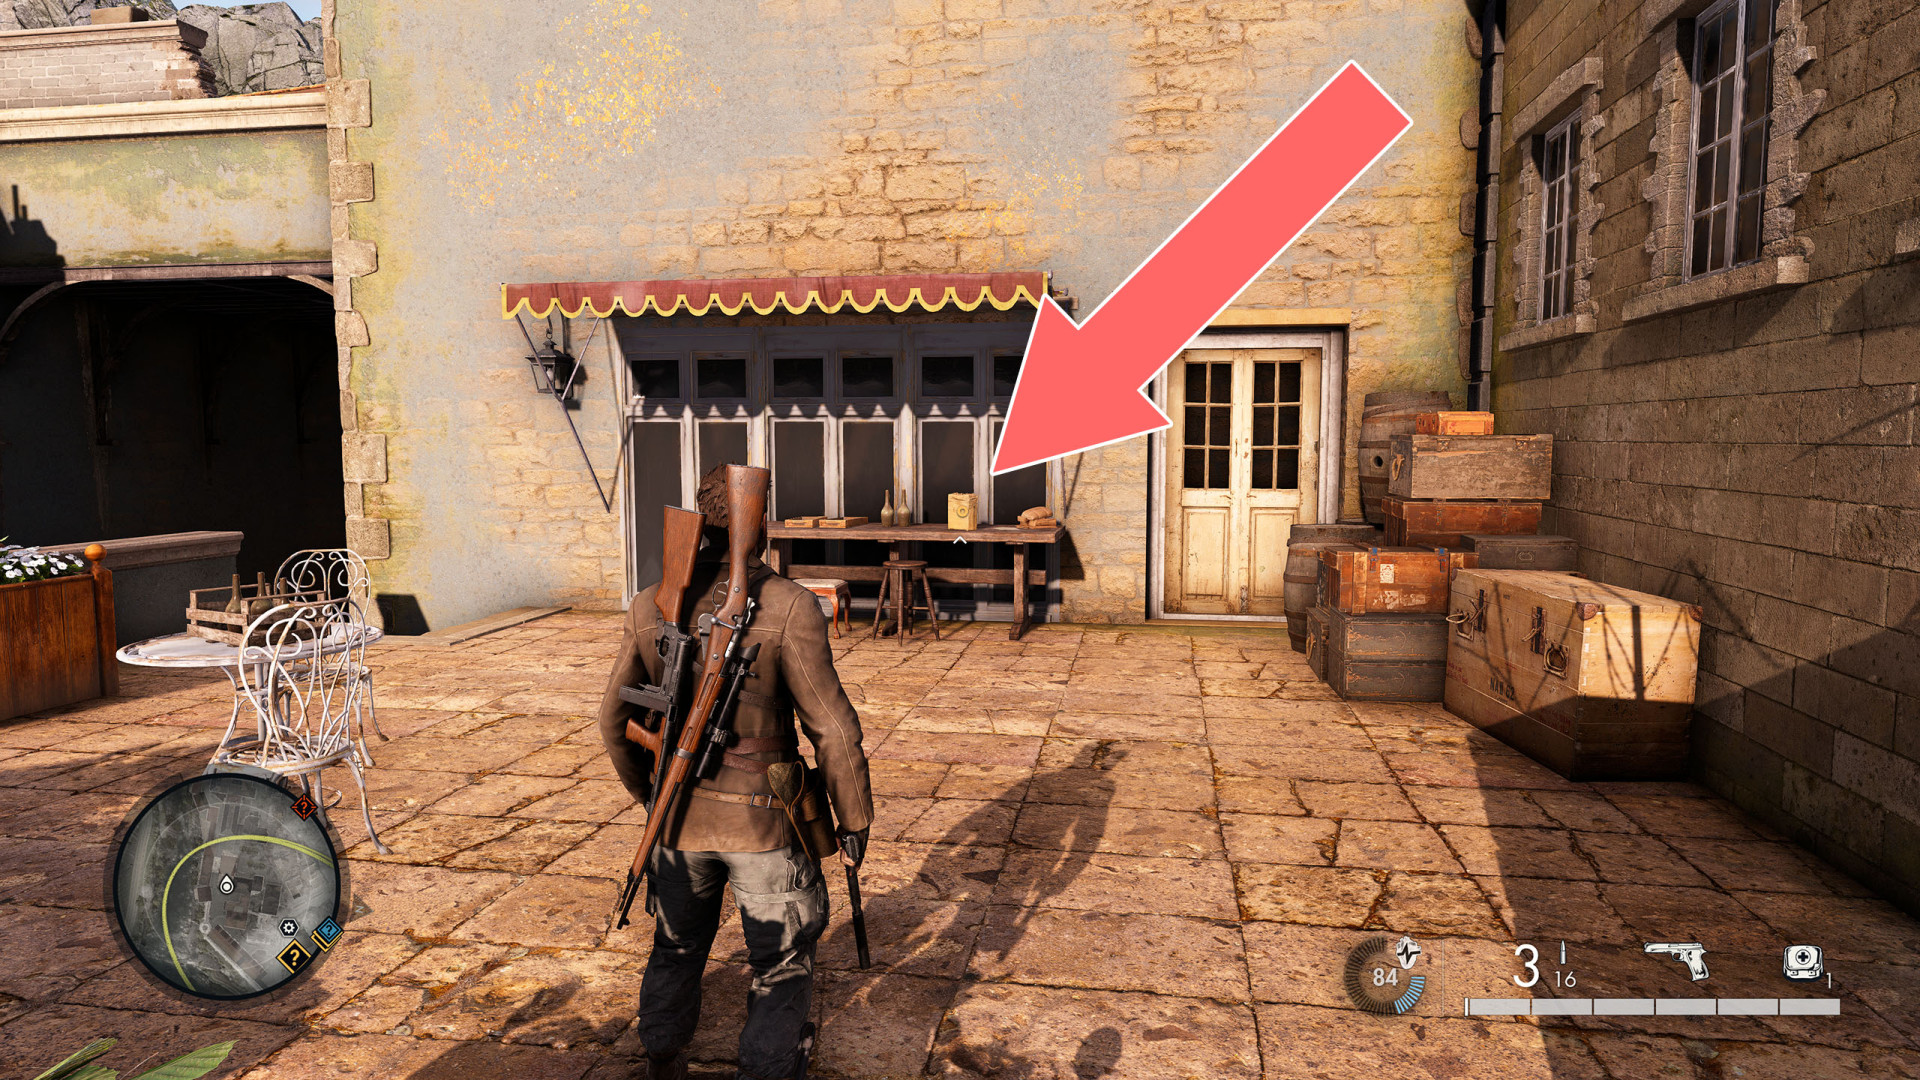
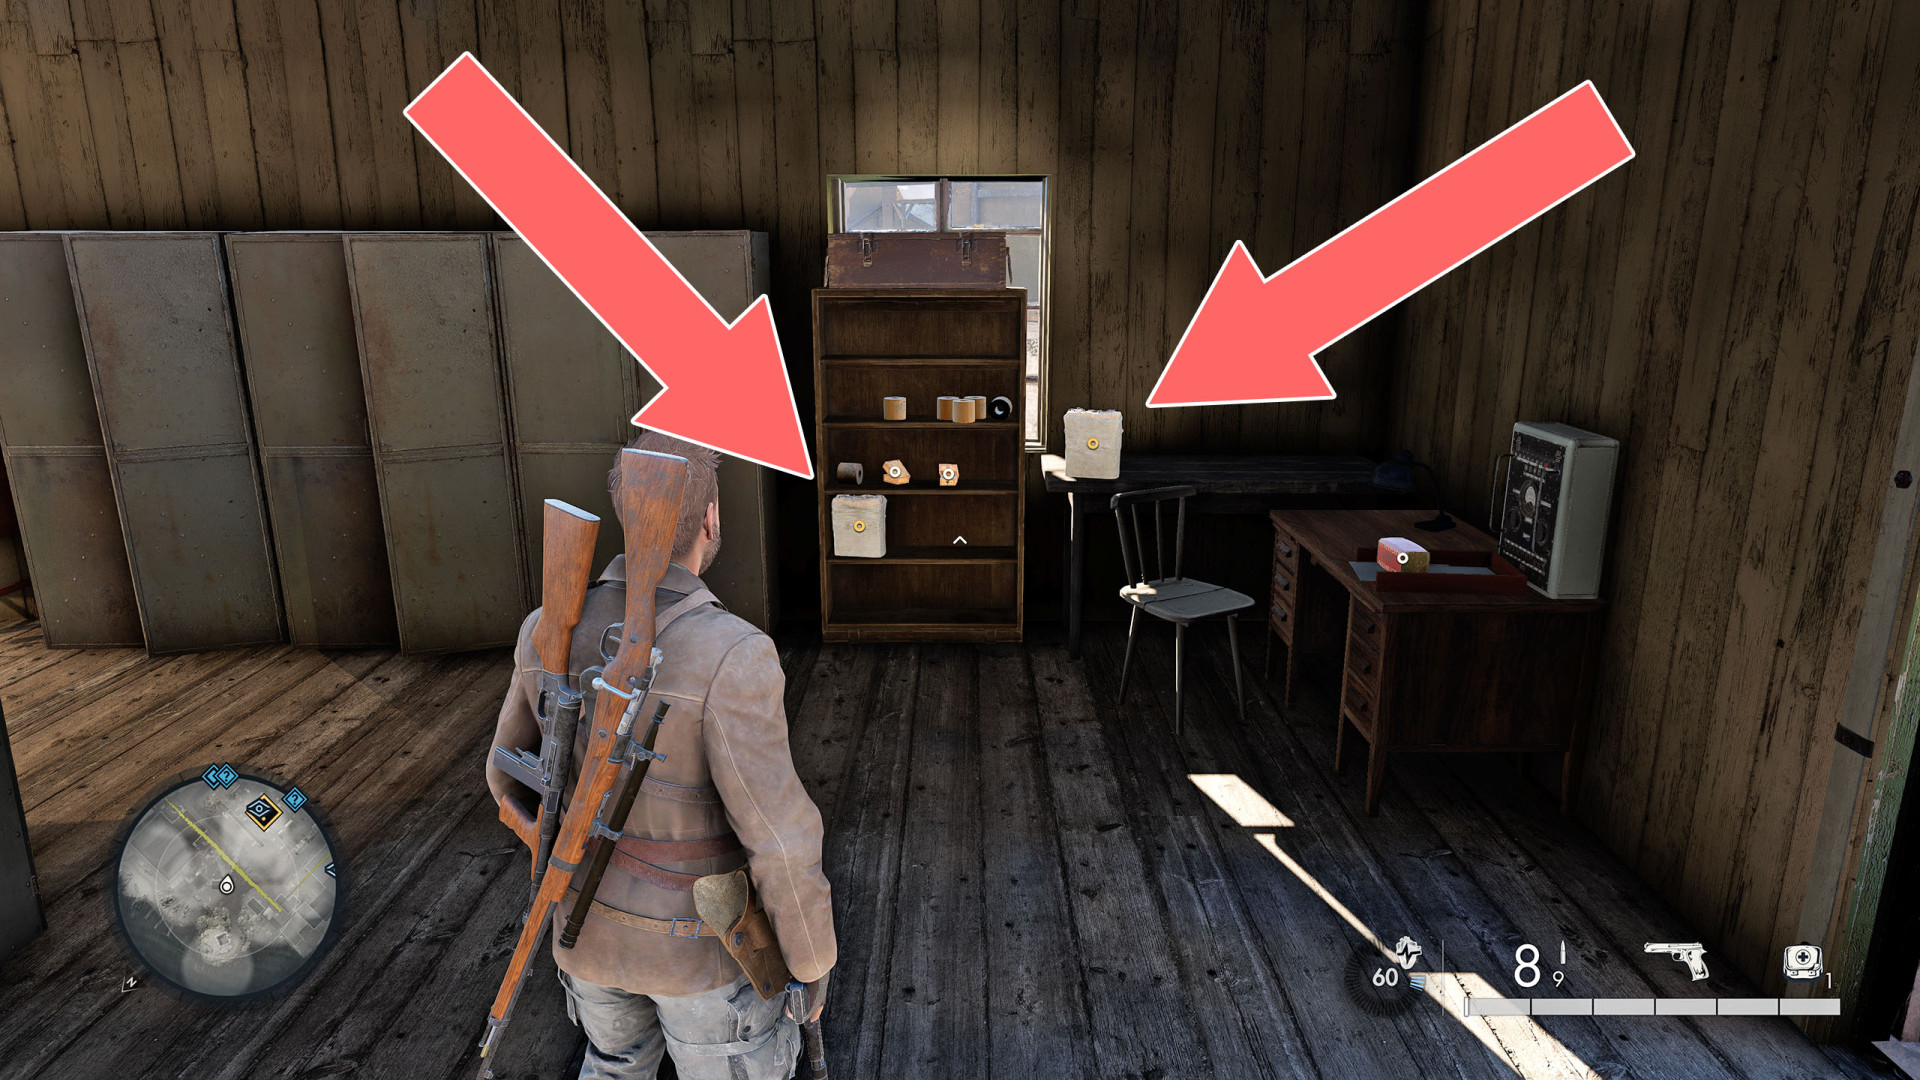
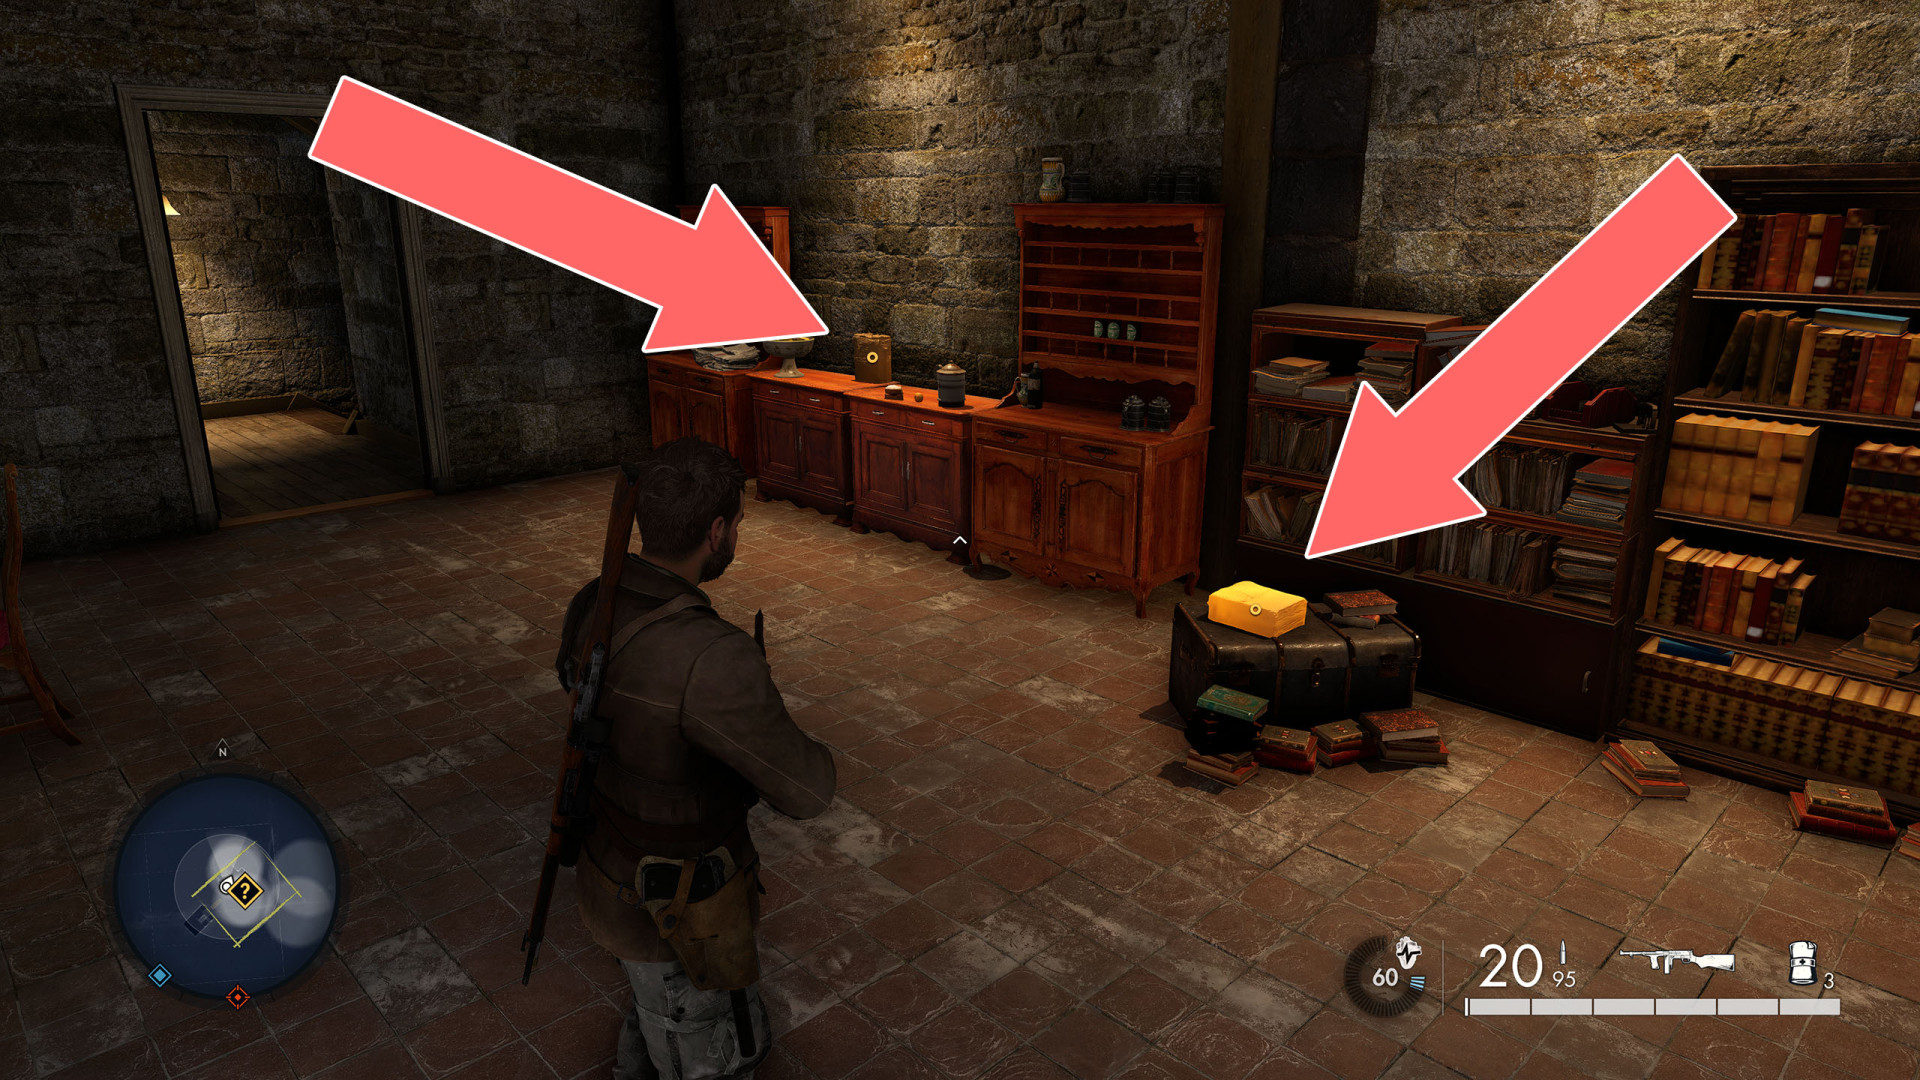
On a table on the middle level of the building.
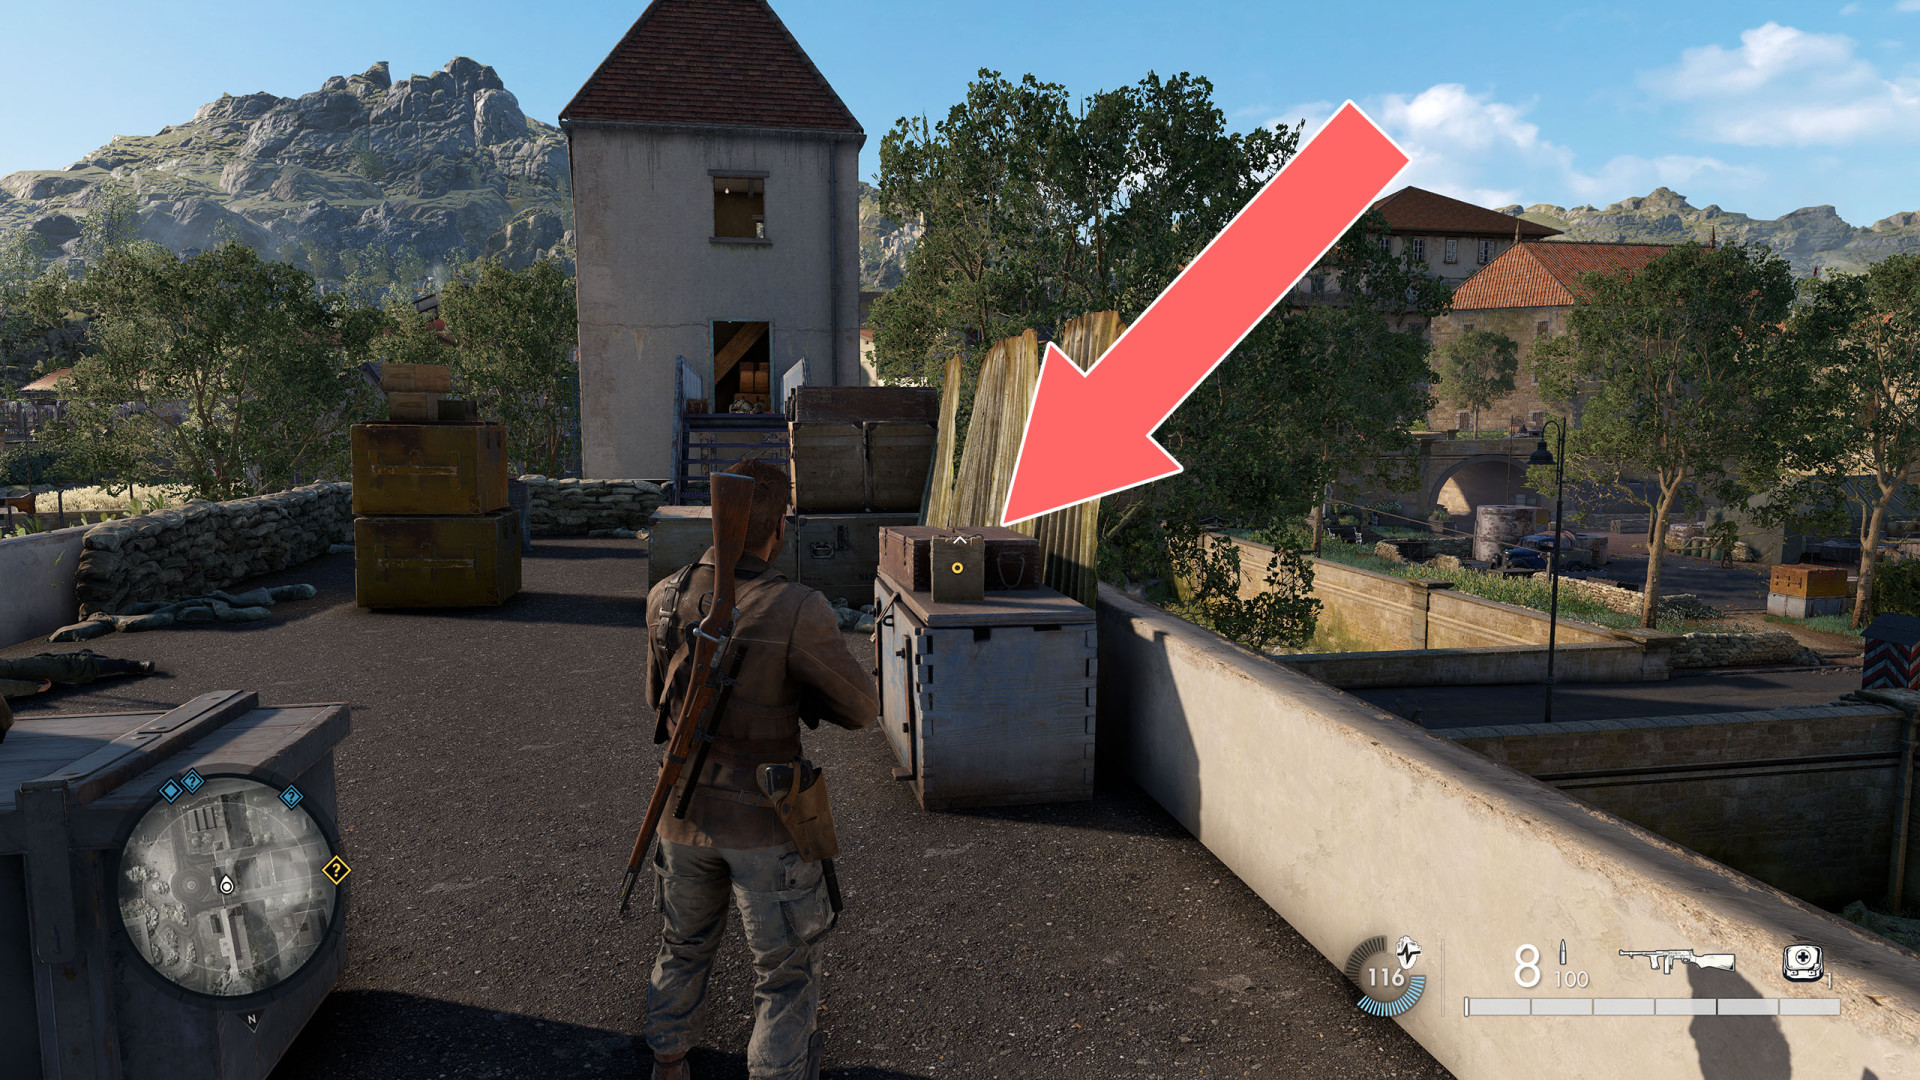
Satchel Charge

Show the map

11Satchel Charge

Satchel Charge

Show the map

12Satchel Charge

Satchel Charge

Show the map

13Satchel Charge

Satchel Charge

Show the map

14Satchel Charge

Satchel Charge

Show the map

15Satchel Charge

Satchel Charge

Show the map

16Satchel Charge

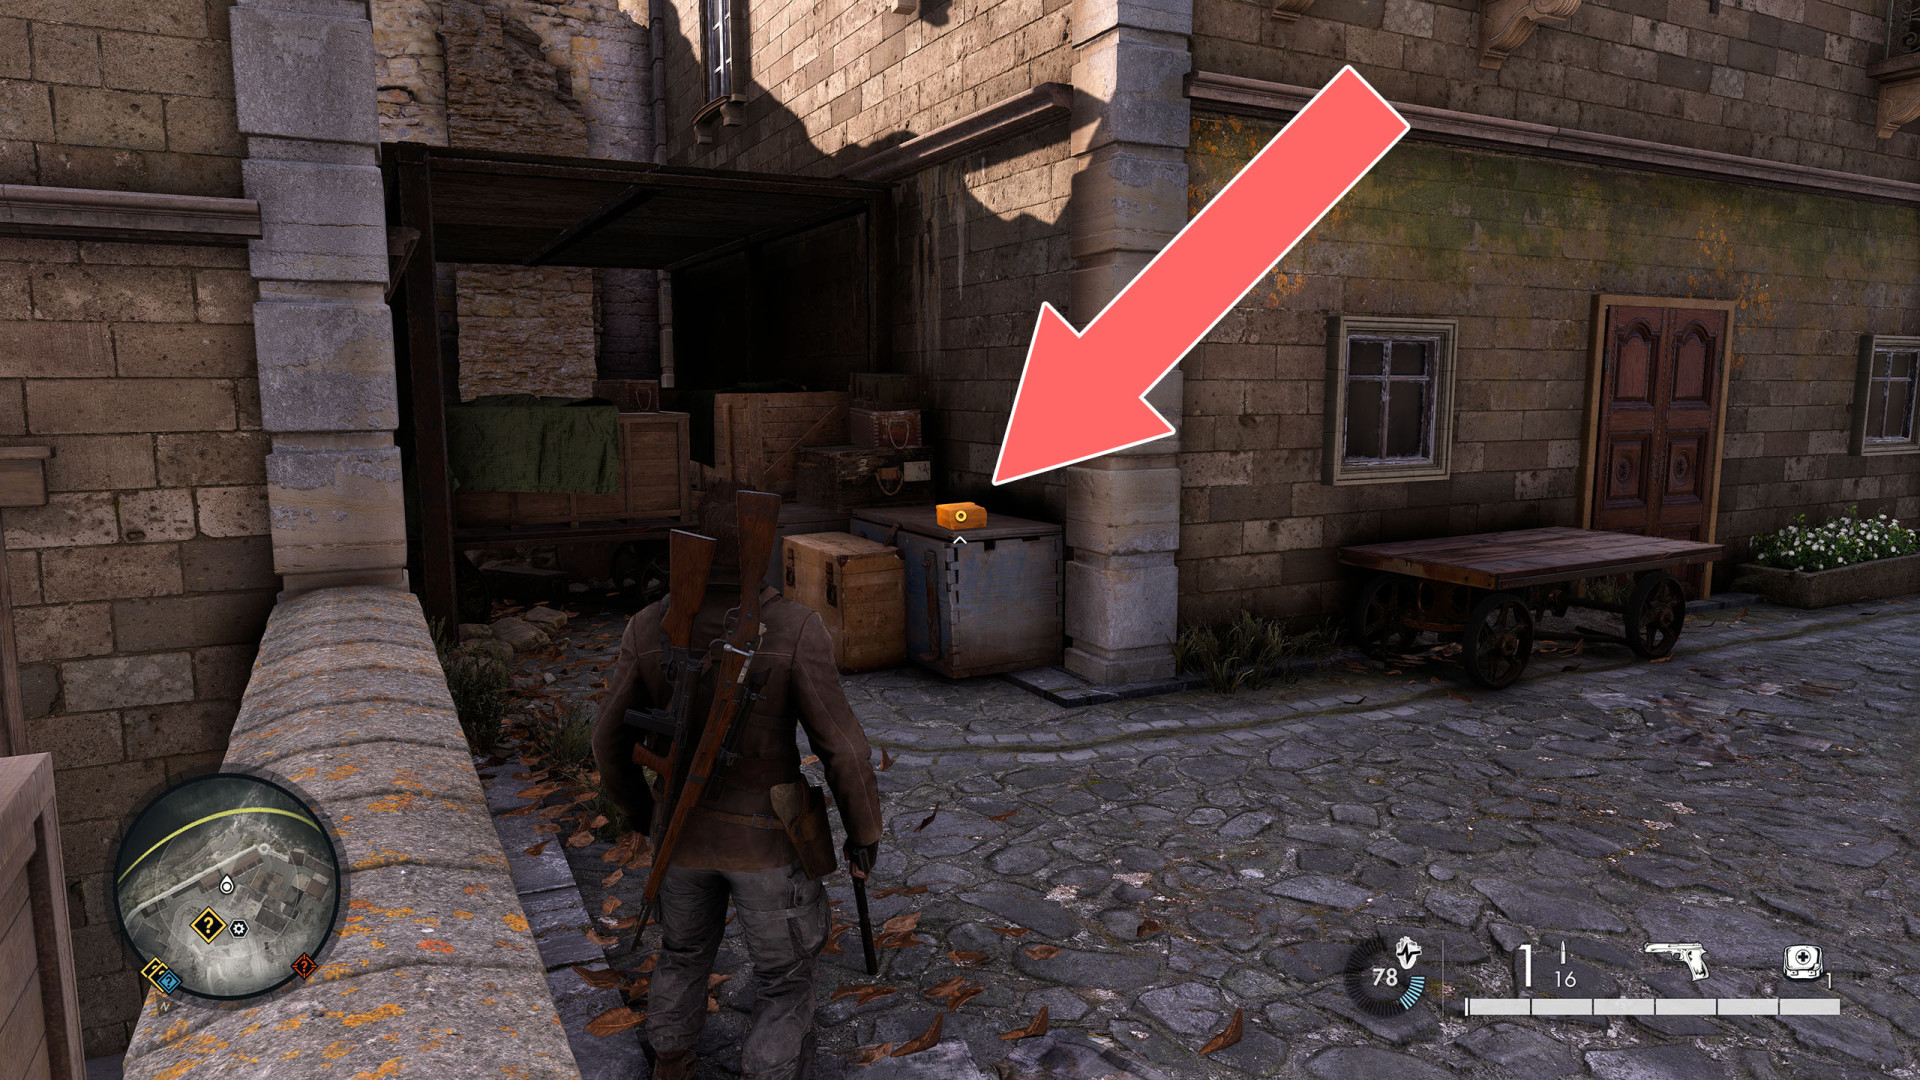
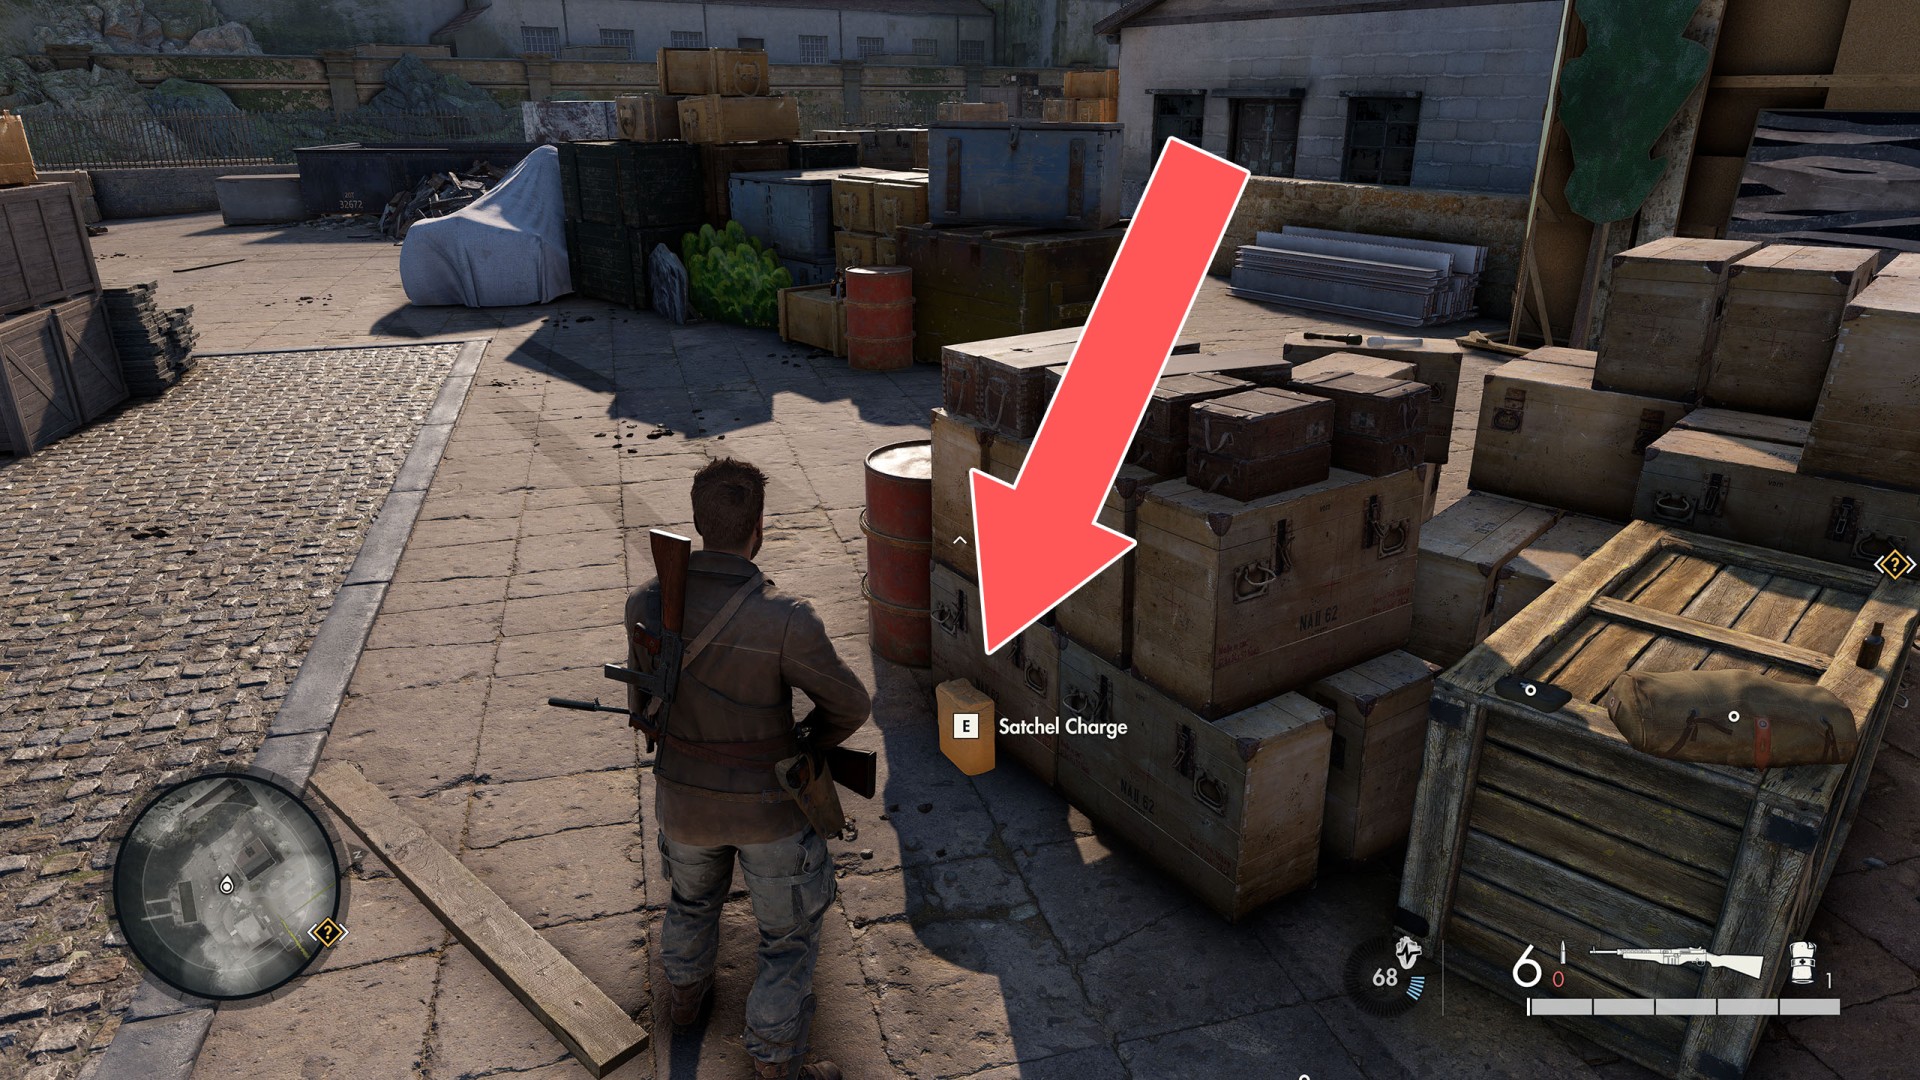
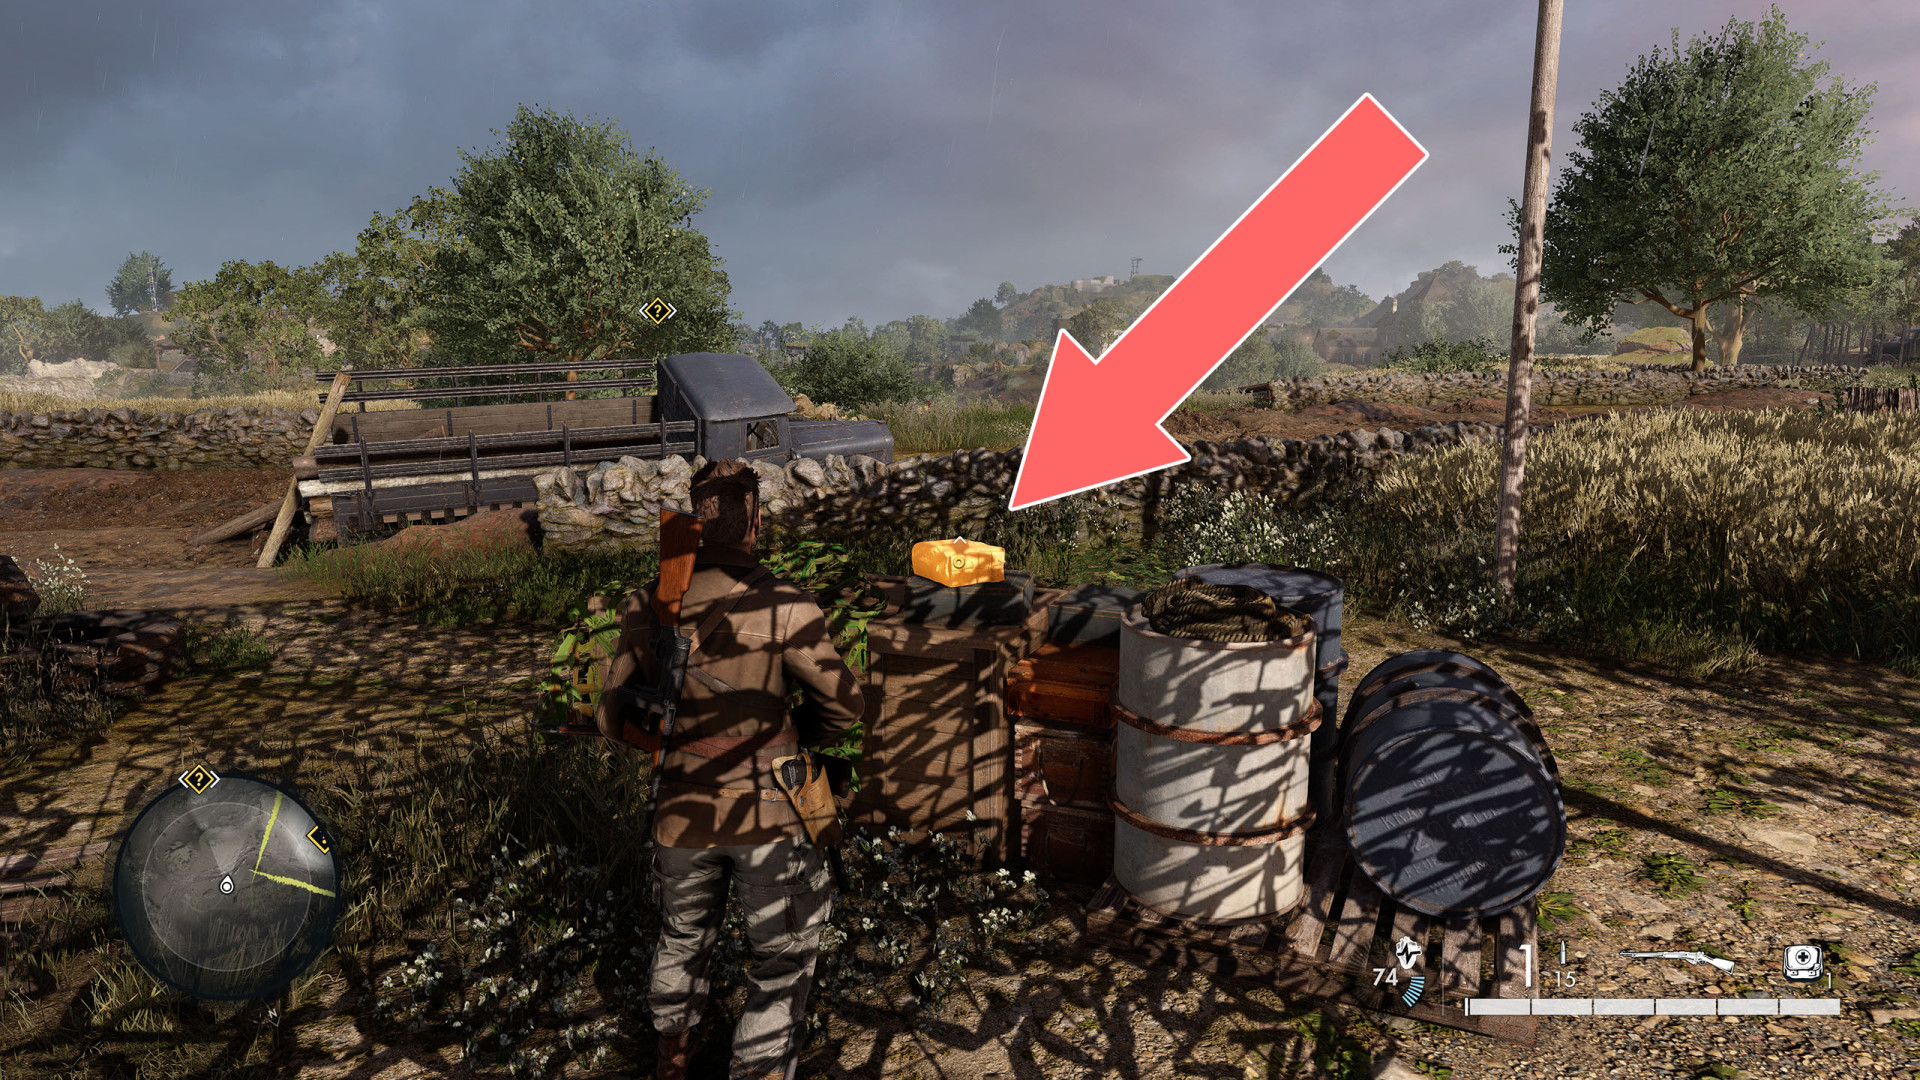
On the crates standing in the corner of the courtyard.

Satchel Charge

Show the map

17Satchel Charge

Satchel Charge

Show the map

18Satchel Charge

Satchel Charge

Show the map

19Satchel Charge

Satchel Charge

Show the map

20Satchel Charge

Satchel Charge

Show the map

21Satchel Charge

Satchel Charge

Show the map

22Satchel Charge

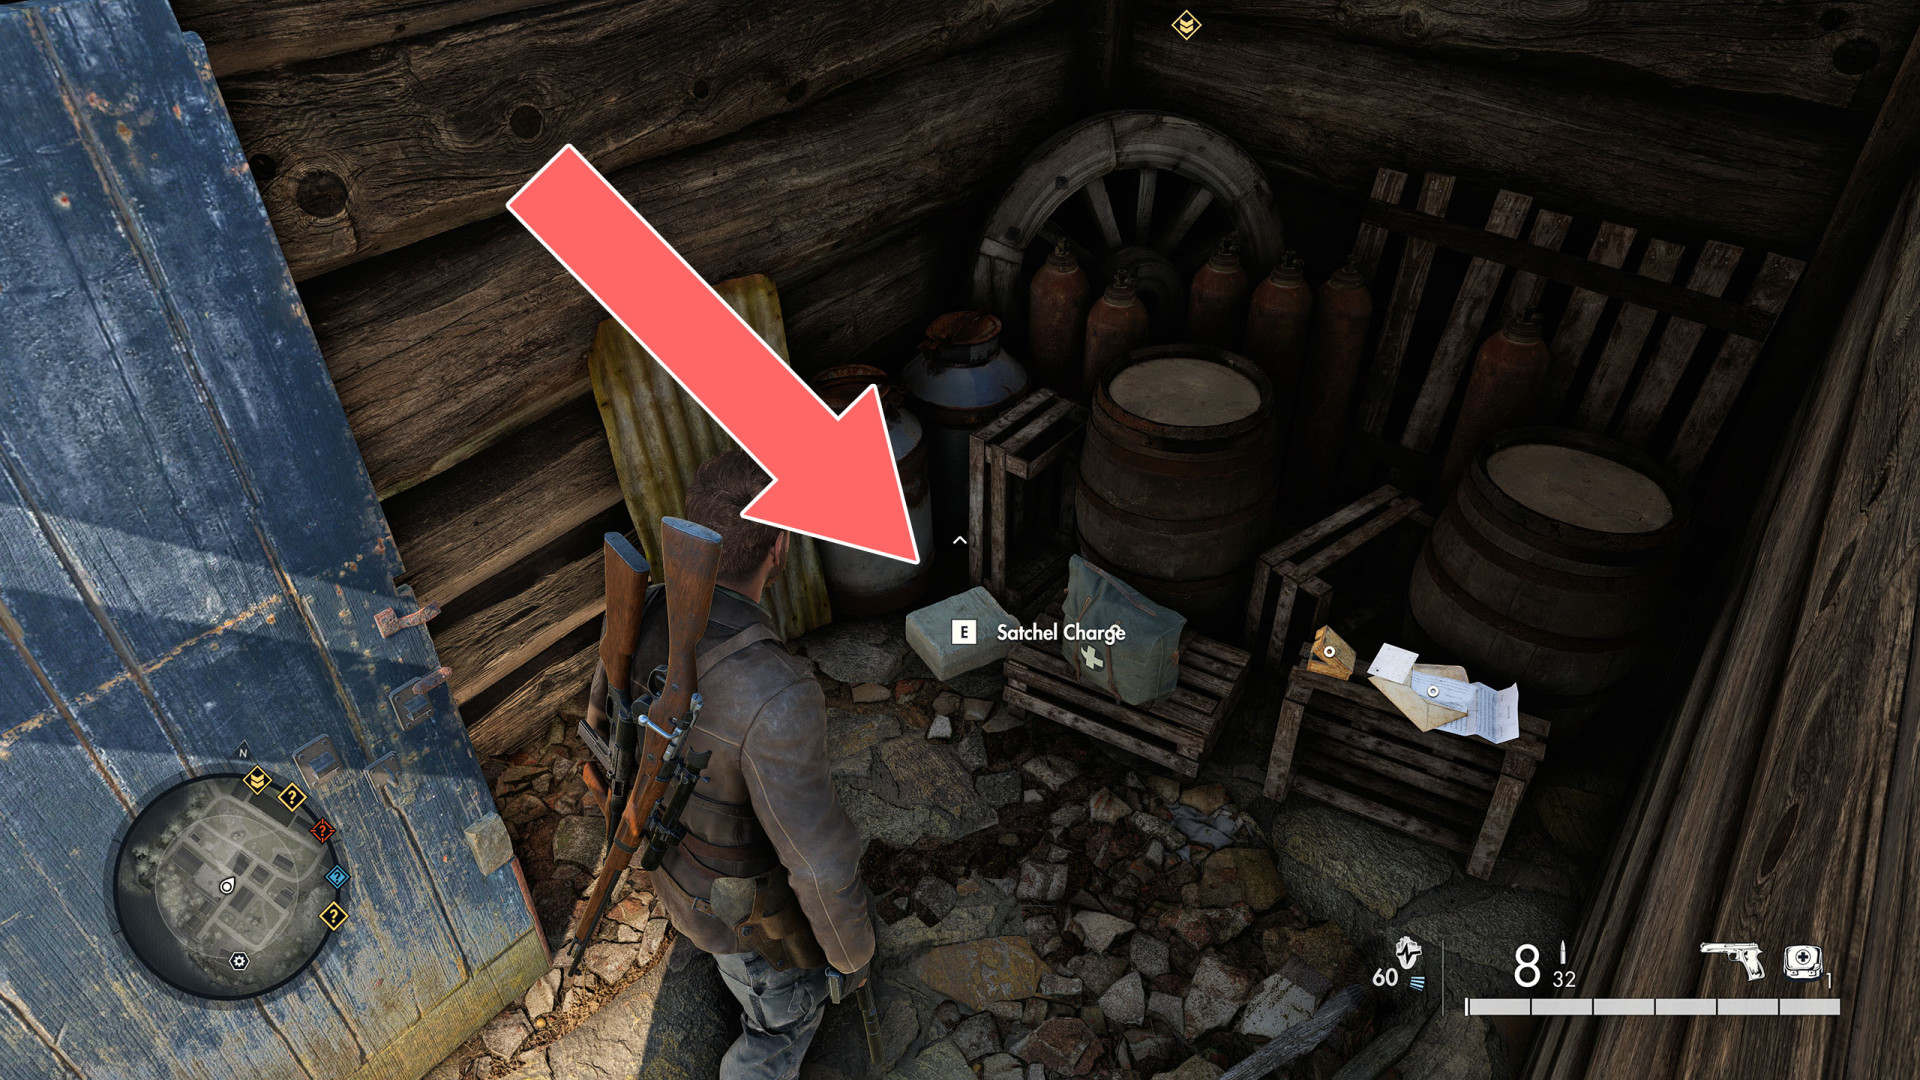
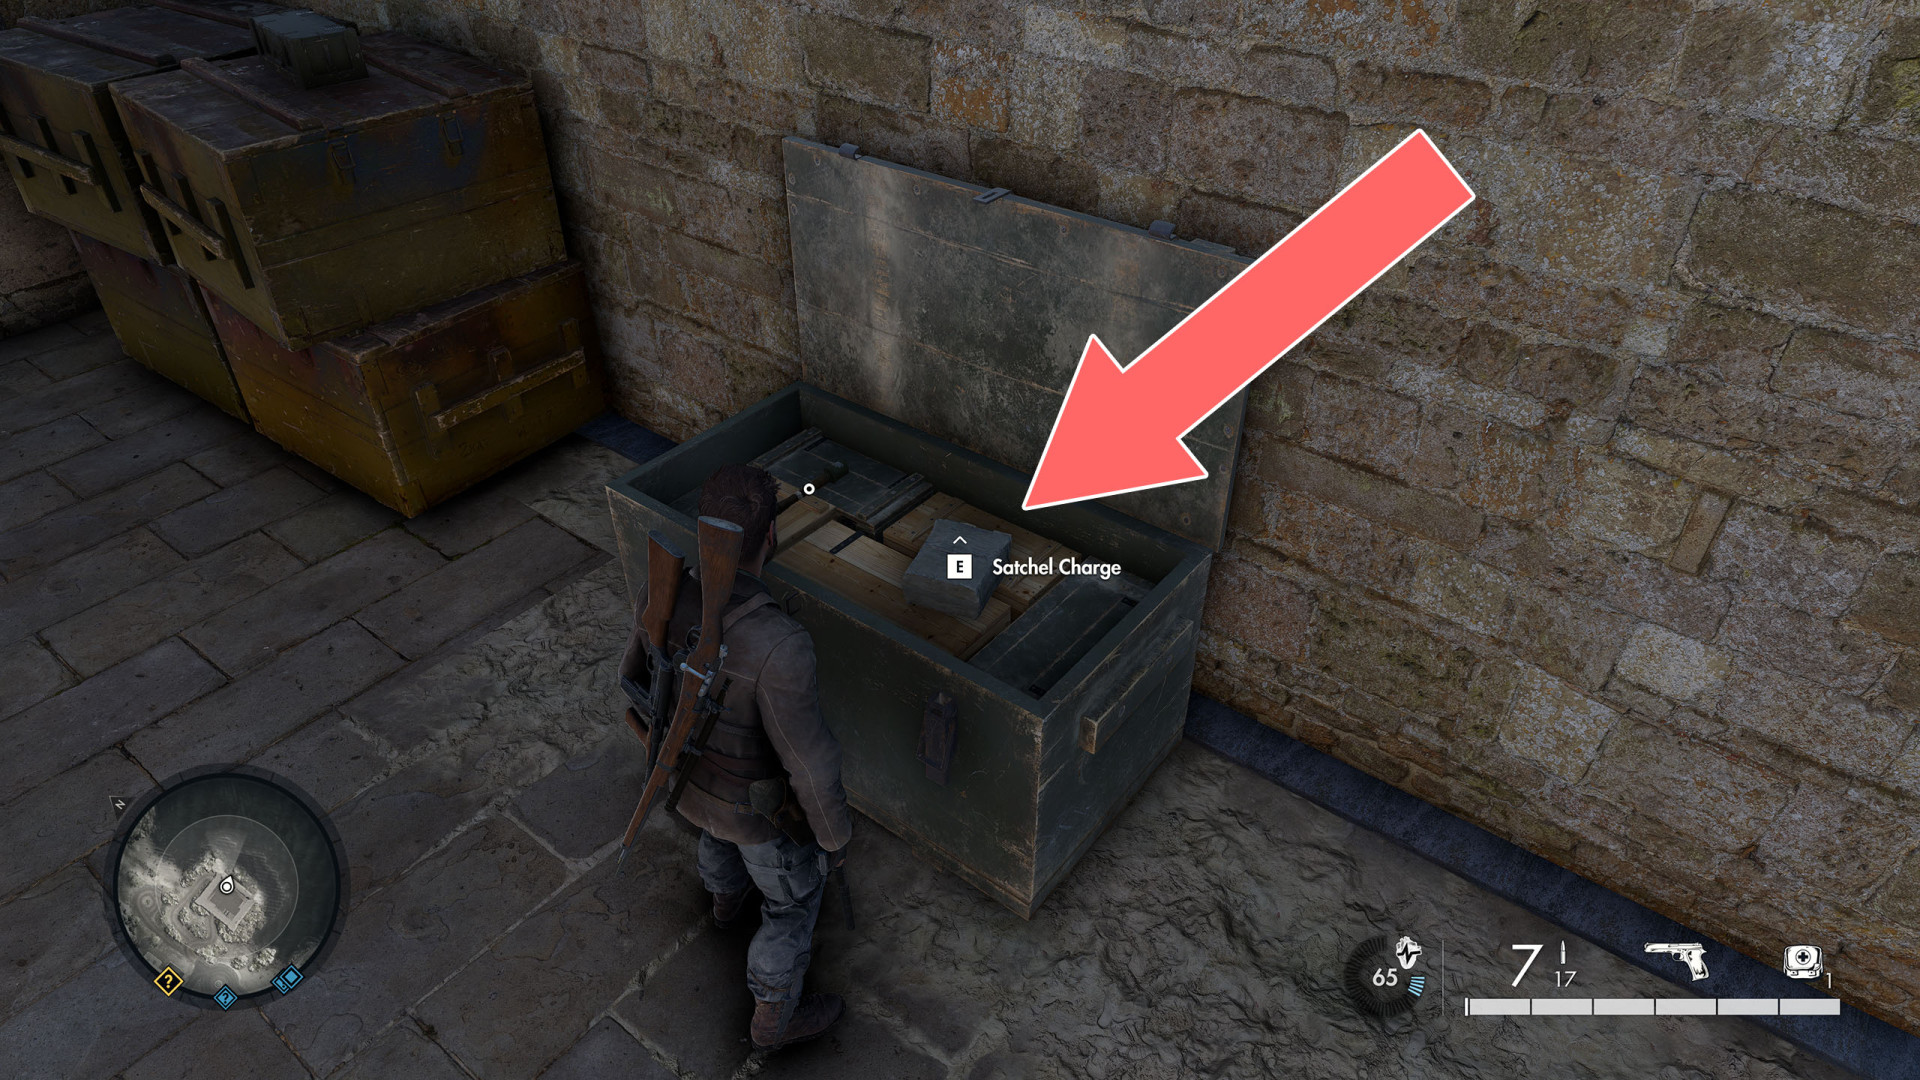
In the hotel's basement.

Satchel Charge

Show the map

23Satchel Charge

Satchel Charge

Show the map

24Satchel Charge

Satchel Charge

Show the map

25Satchel Charge

Satchel Charge

Show the map

26Satchel Charge

Satchel Charge

Show the map

27Satchel Charge

Satchel Charge

Show the map

28Satchel Charge

Satchel Charge

Show the map

29Satchel Charge

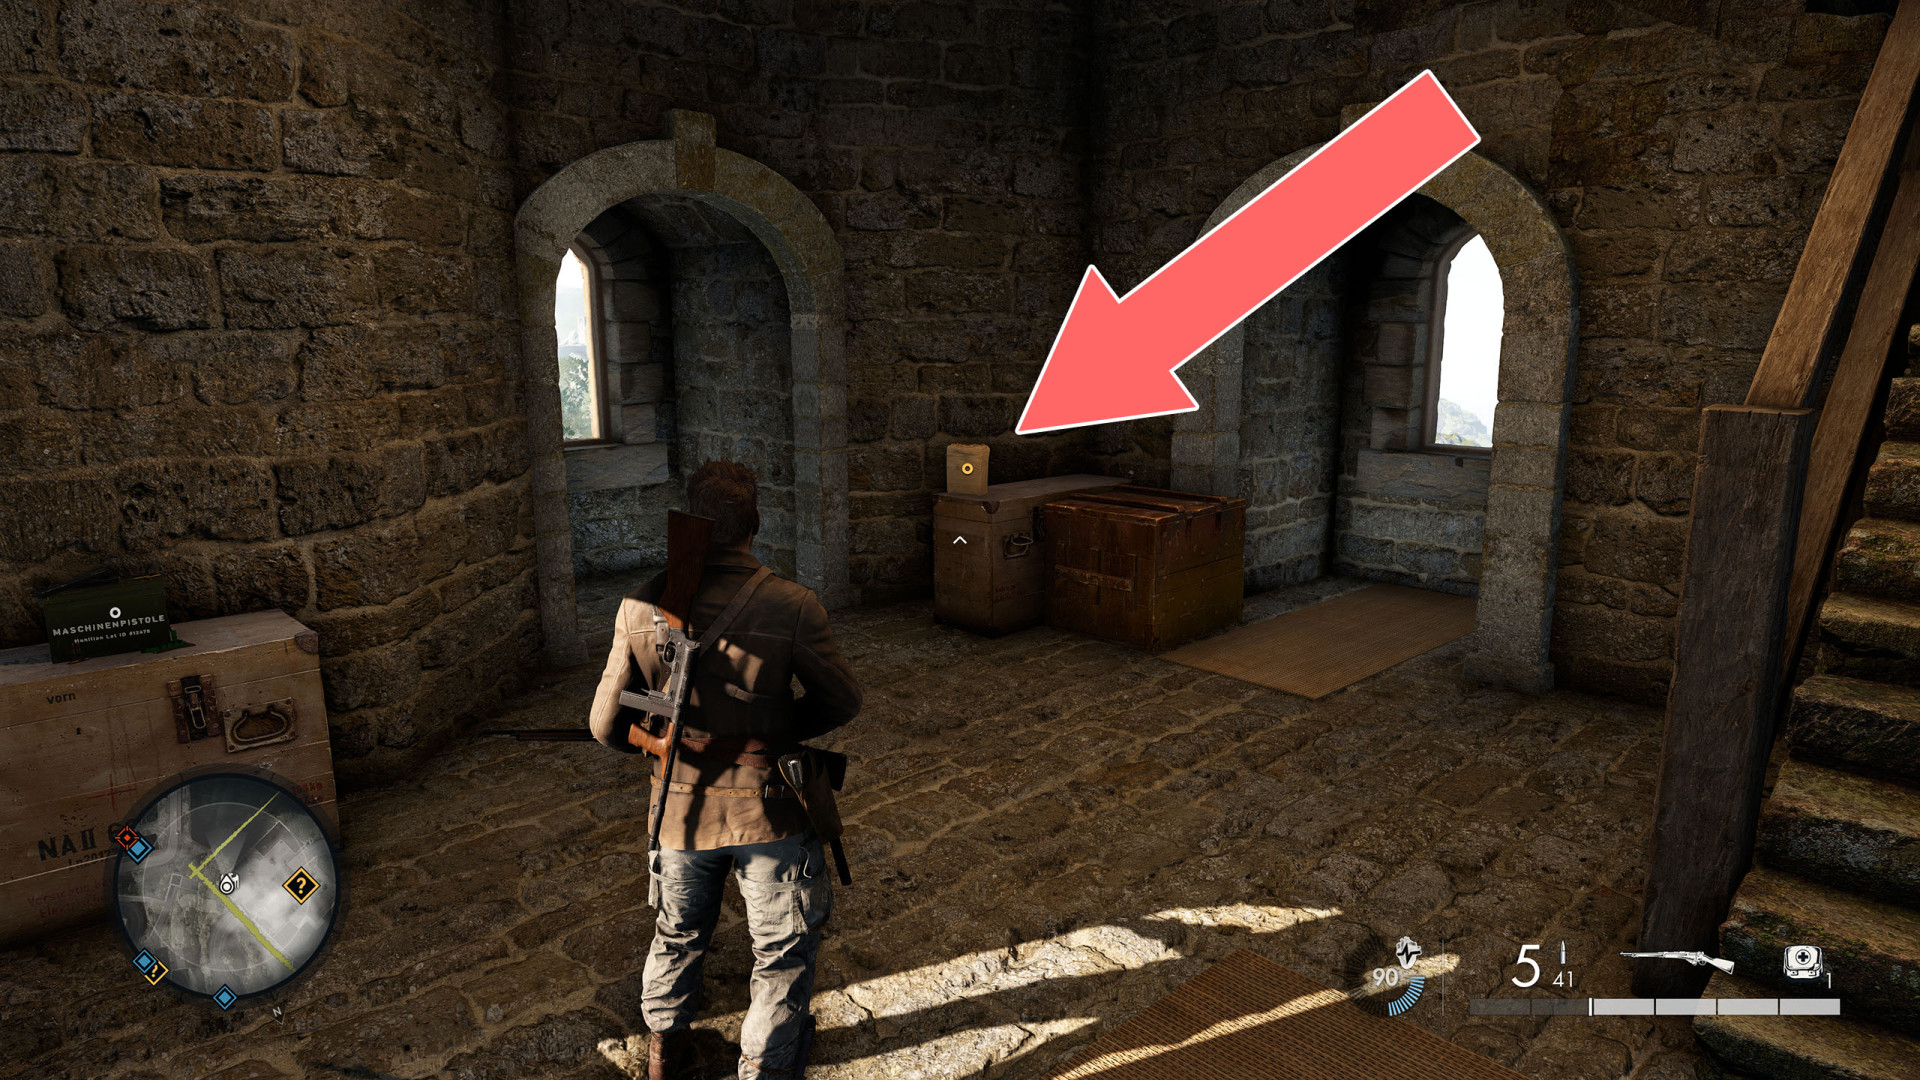
On the upper floor of the building.

Satchel Charge

Show the map

30Satchel Charge

Satchel Charge

Show the map

31Satchel Charge

Satchel Charge

Show the map

32Satchel Charge

Satchel Charge

Show the map

33Satchel Charge

Satchel Charge

Show the map

34Satchel Charge

Satchel Charge

Show the map

35Satchel Charge

Satchel Charge

Show the map

36Satchel Charge

Satchel Charge

Show the map

37Satchel Charge

Satchel Charge

Show the map

38Satchel Charge

Satchel Charge

Show the map

39Satchel Charge

Satchel Charge

Show the map

40Satchel Charge

Satchel Charge

Show the map

41Satchel Charge

Satchel Charge

Show the map

42Satchel Charge

Satchel Charge

Show the map

43Satchel Charge

Satchel Charge

Show the map

44Satchel Charge

Satchel Charge

Show the map

45Satchel Charge

Satchel Charge

Show the map

46Satchel Charge

Satchel Charge

Show the map

47Satchel Charge

Satchel Charge

Show the map

48Satchel Charge

Satchel Charge

Show the map

49Satchel Charge

Satchel Charge

Show the map

50Satchel Charge

Satchel Charge

Show the map

51Satchel Charge

Satchel Charge

Show the map

52Satchel Charge

Satchel Charge

Show the map

53Satchel Charge

Satchel Charge

Show the map

54Satchel Charge

Satchel Charge

Show the map

55Satchel Charge

Satchel Charge

Show the map

56Satchel Charge

Satchel Charge

Show the map

57Satchel Charge

Satchel Charge

Show the map

58Satchel Charge

Satchel Charge

Show the map

59Satchel Charge

Satchel Charge

Show the map

60Satchel Charge

Satchel Charge

Show the map

61Satchel Charge

Satchel Charge

Show the map

62Satchel Charge

Satchel Charge

Show the map

63Satchel Charge

Satchel Charge

Show the map

64Satchel Charge

Satchel Charge

Show the map

65Satchel Charge

Satchel Charge

Show the map

66Satchel Charge

Satchel Charge

Show the map

67Satchel Charge

Satchel Charge

Show the map

68Satchel Charge

Satchel Charge

Show the map

69Satchel Charge

Satchel Charge

Show the map

70Satchel Charge

Satchel Charge

Show the map

71Satchel Charge

Satchel Charge

Show the map

72Satchel Charge

Satchel Charge

Show the map

73Satchel Charge

Satchel Charge

Show the map

74Satchel Charge

Satchel Charge

Show the map

75Satchel Charge

Satchel Charge

Show the map

76Satchel Charge

Satchel Charge

Show the map

77Satchel Charge

Satchel Charge

Show the map

78Satchel Charge

Satchel Charge

Show the map

79Satchel Charge

Satchel Charge

Show the map

80Satchel Charge

Satchel Charge

Show the map

81Satchel Charge

Satchel Charge

Show the map

82Satchel Charge

Satchel Charge

Show the map

83Satchel Charge

Satchel Charge

Show the map

84Satchel Charge

Satchel Charge

Show the map

85Satchel Charge

Satchel Charge

Show the map

86Satchel Charge

Satchel Charge

Show the map

87Satchel Charge

Satchel Charge

Show the map

88Satchel Charge x2

Satchel Charge x2

Show the map

89Satchel Charge x2

Satchel Charge x2

Show the map

90Satchel Charge x2

Satchel Charge x2

Show the map

91Satchel Charge x2

Satchel Charge x2

Show the map

Locations on Lights, Camera, Achtung!

92Satchel Charge

Satchel Charge

Show the map

93Satchel Charge

Satchel Charge

Show the map

94Satchel Charge

Satchel Charge

Show the map

95Satchel Charge

Satchel Charge

Show the map

96Satchel Charge

Satchel Charge

Show the map

97Satchel Charge

Satchel Charge

Show the map

98Satchel Charge

Satchel Charge

Show the map

99Satchel Charge

Satchel Charge

Show the map

100Satchel Charge

Satchel Charge

Show the map

101Satchel Charge

Satchel Charge

Show the map

102Satchel Charge

In a big locked crate (Crowbar).

Satchel Charge

Show the map

103Satchel Charge x2

Satchel Charge x2

Show the map

Locations on Vercors Vendetta

104Satchel Charge

Satchel Charge

Show the map

105Satchel Charge

Satchel Charge

Show the map

106Satchel Charge

Satchel Charge

Show the map

107Satchel Charge

Satchel Charge

Show the map

108Satchel Charge

Satchel Charge

Show the map

109Satchel Charge

Satchel Charge

Show the map

110Satchel Charge

Satchel Charge

Show the map

111Satchel Charge

Satchel Charge

Show the map

112Satchel Charge

Satchel Charge

Show the map

113Satchel Charge

Satchel Charge

Show the map

114Satchel Charge

Satchel Charge

Show the map

115Satchel Charge

Satchel Charge

Show the map

116Satchel Charge

Satchel Charge

Show the map

117Satchel Charge

Satchel Charge

Show the map

118Satchel Charge

Satchel Charge

Show the map

119Satchel Charge

Satchel Charge

Show the map

120Satchel Charge

Satchel Charge

Show the map

121Satchel Charge

Satchel Charge

Show the map

122Satchel Charge

Satchel Charge

Show the map

Locations on Striking Range

123Satchel Charge

Satchel Charge

Show the map

124Satchel Charge

Satchel Charge

Show the map

125Satchel Charge

Satchel Charge

Show the map

126Satchel Charge

Satchel Charge

Show the map

127Satchel Charge

Satchel Charge

Show the map

128Satchel Charge

Satchel Charge

Show the map

129Satchel Charge

Satchel Charge

Show the map

130Satchel Charge x2

Satchel Charge x2

Show the map

Locations on Mud and Thunder

131Satchel Charge

Satchel Charge

Show the map

132Satchel Charge

In a room on the lowest floor of the building.

Satchel Charge

Show the map

133Satchel Charge

Satchel Charge

Show the map

134Satchel Charge

Satchel Charge

Show the map

135Satchel Charge

Satchel Charge

Show the map