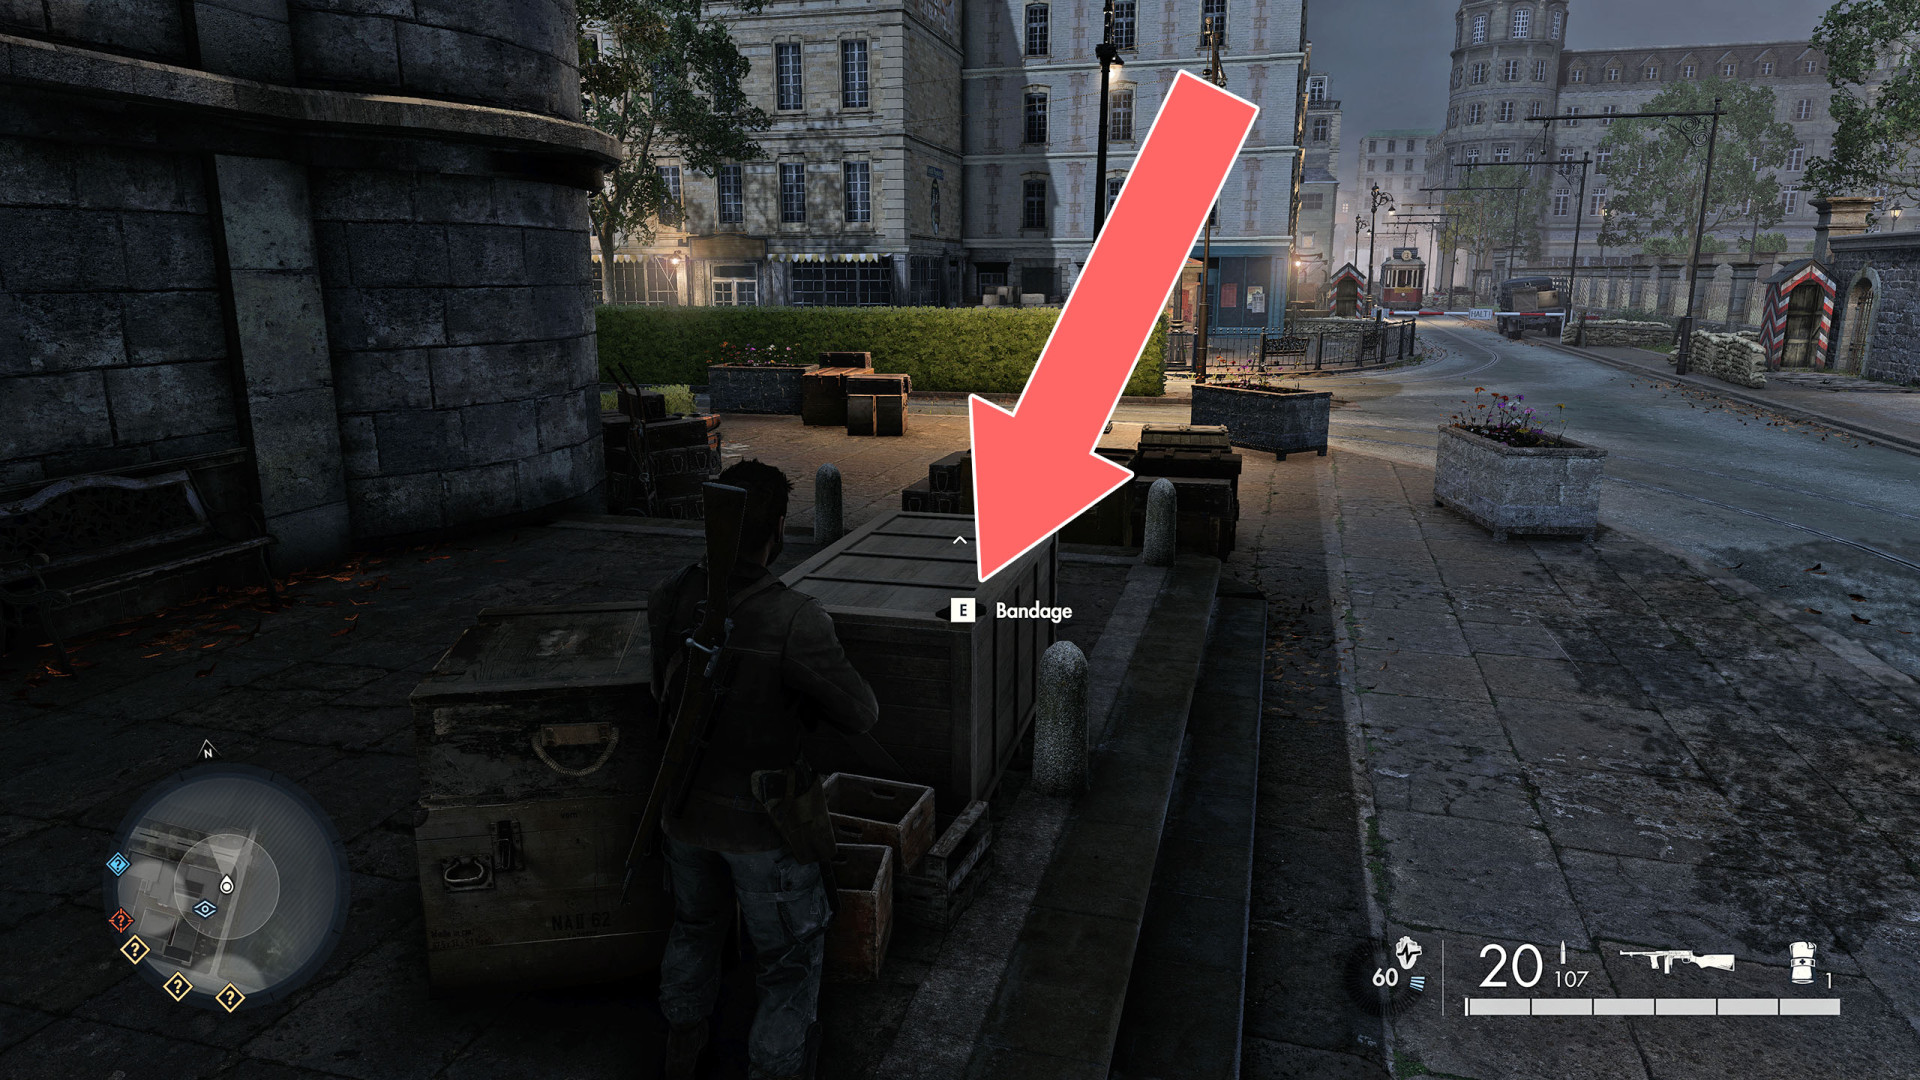
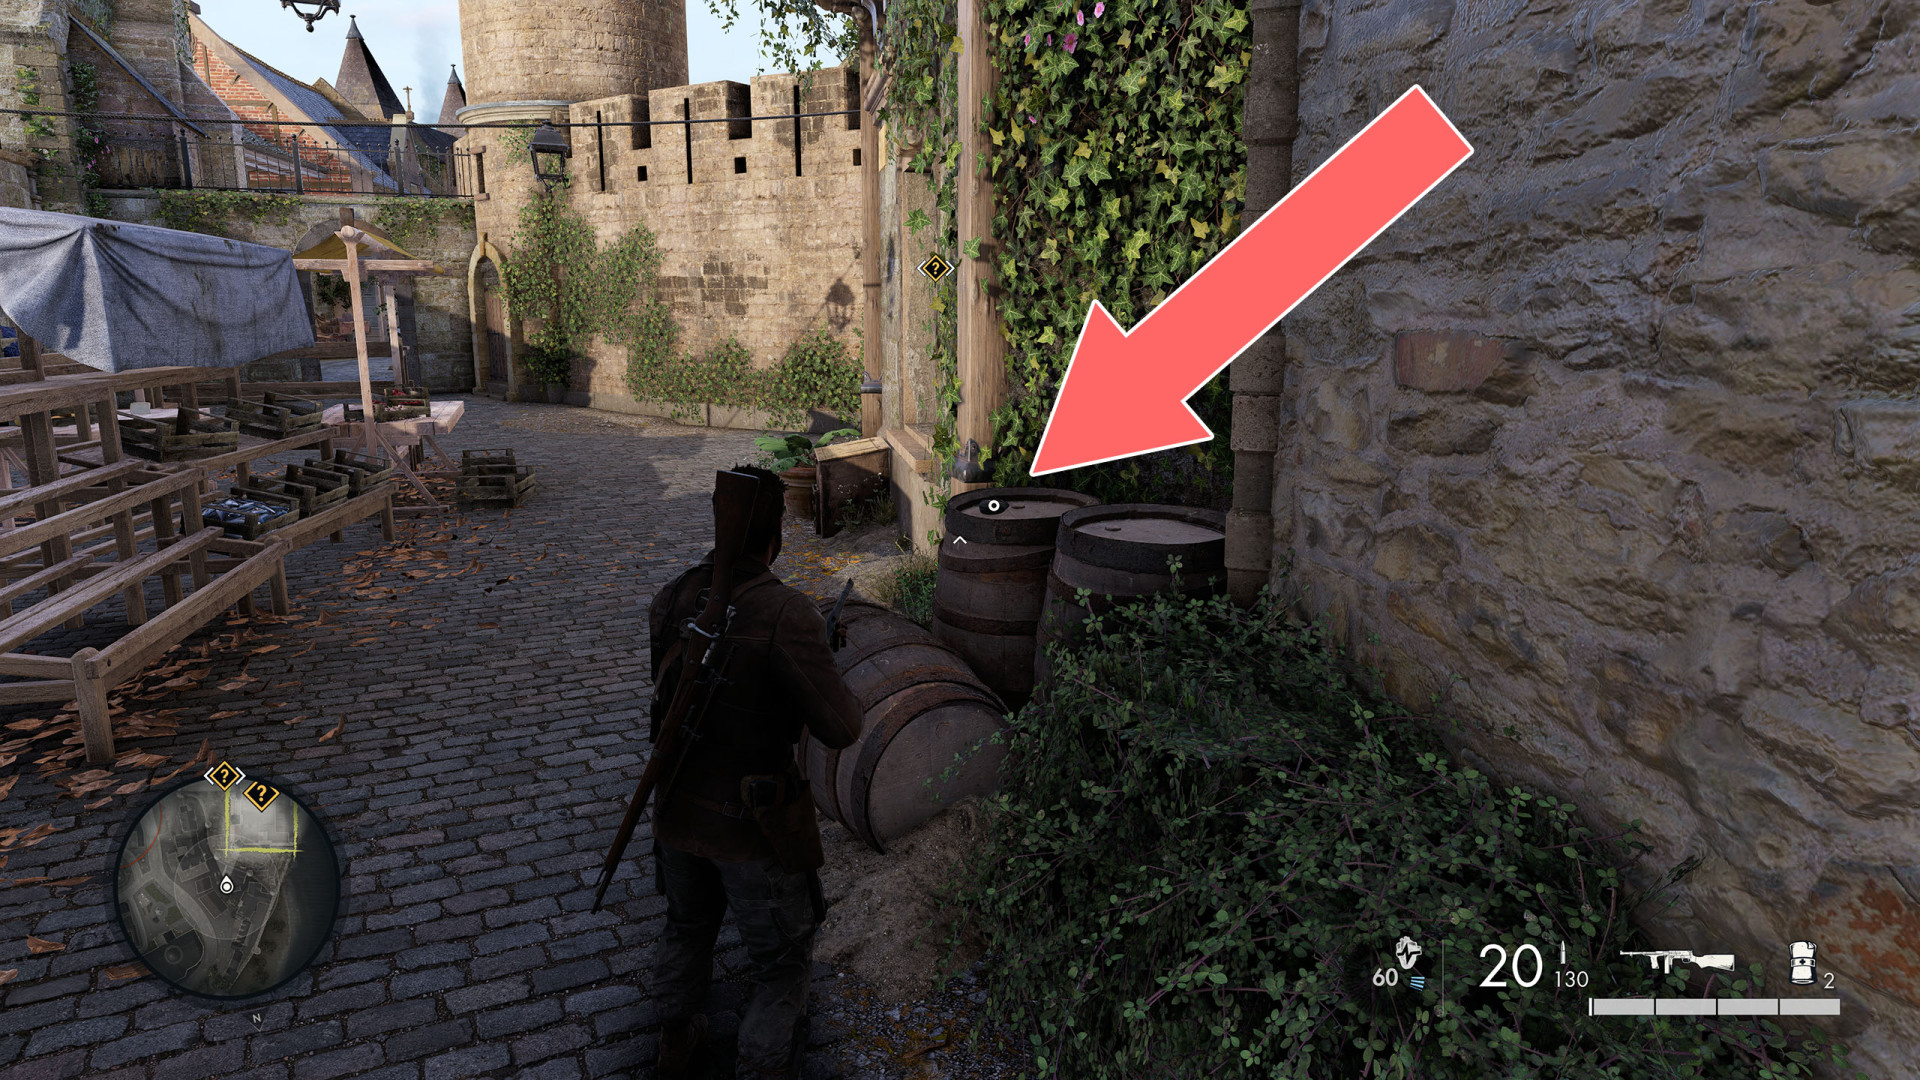
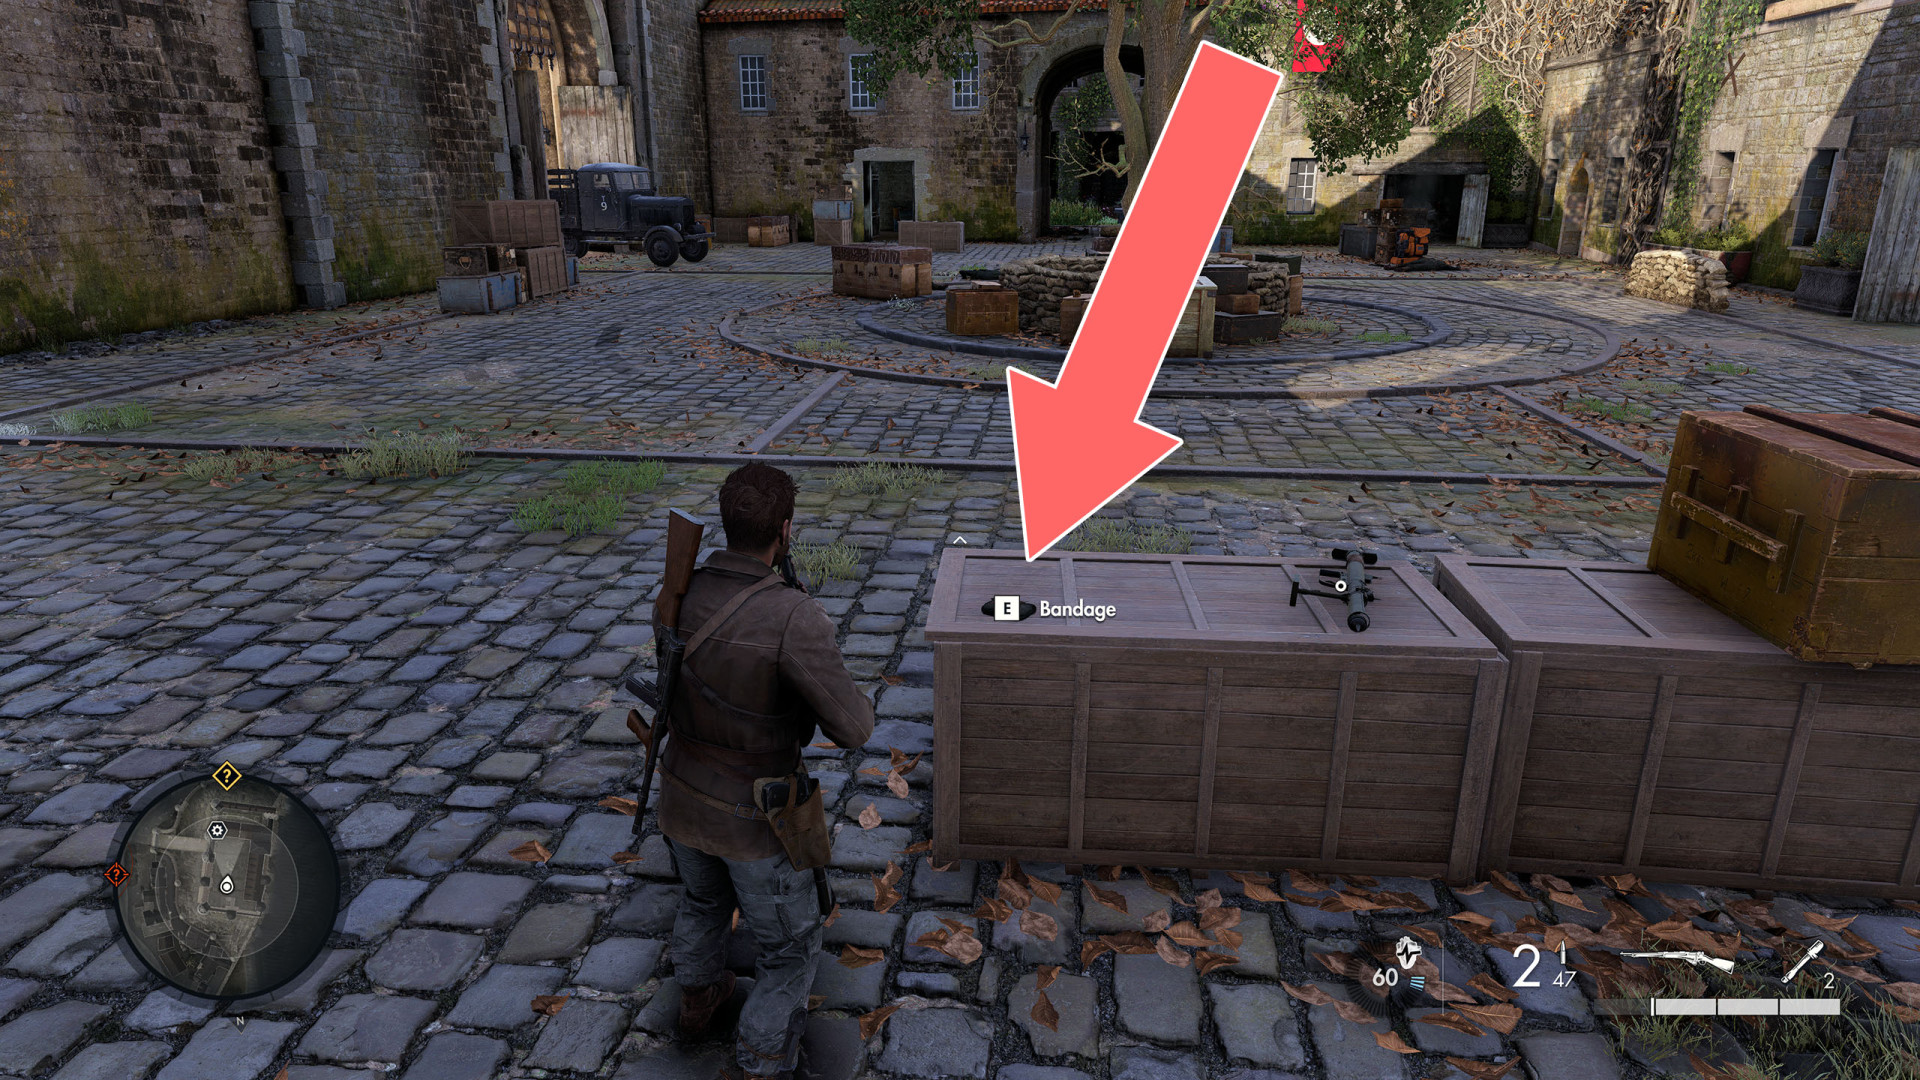
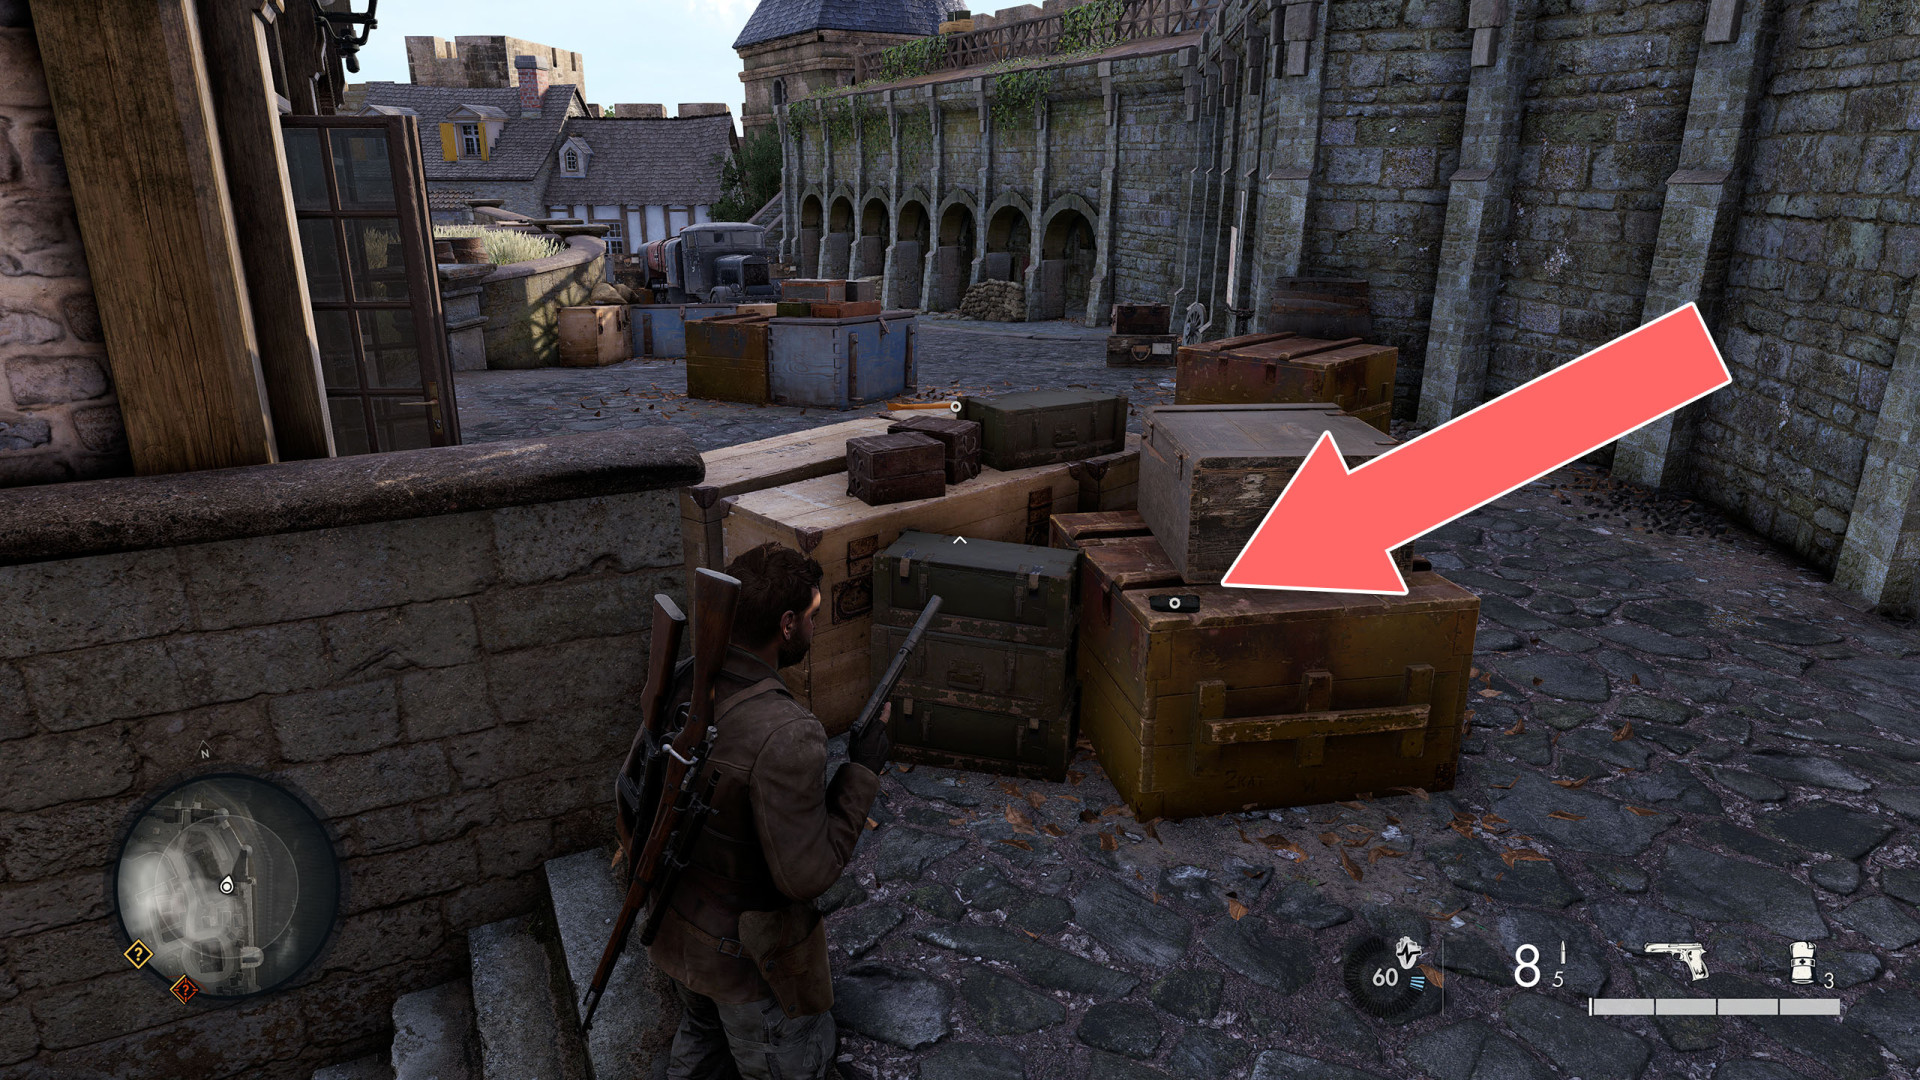
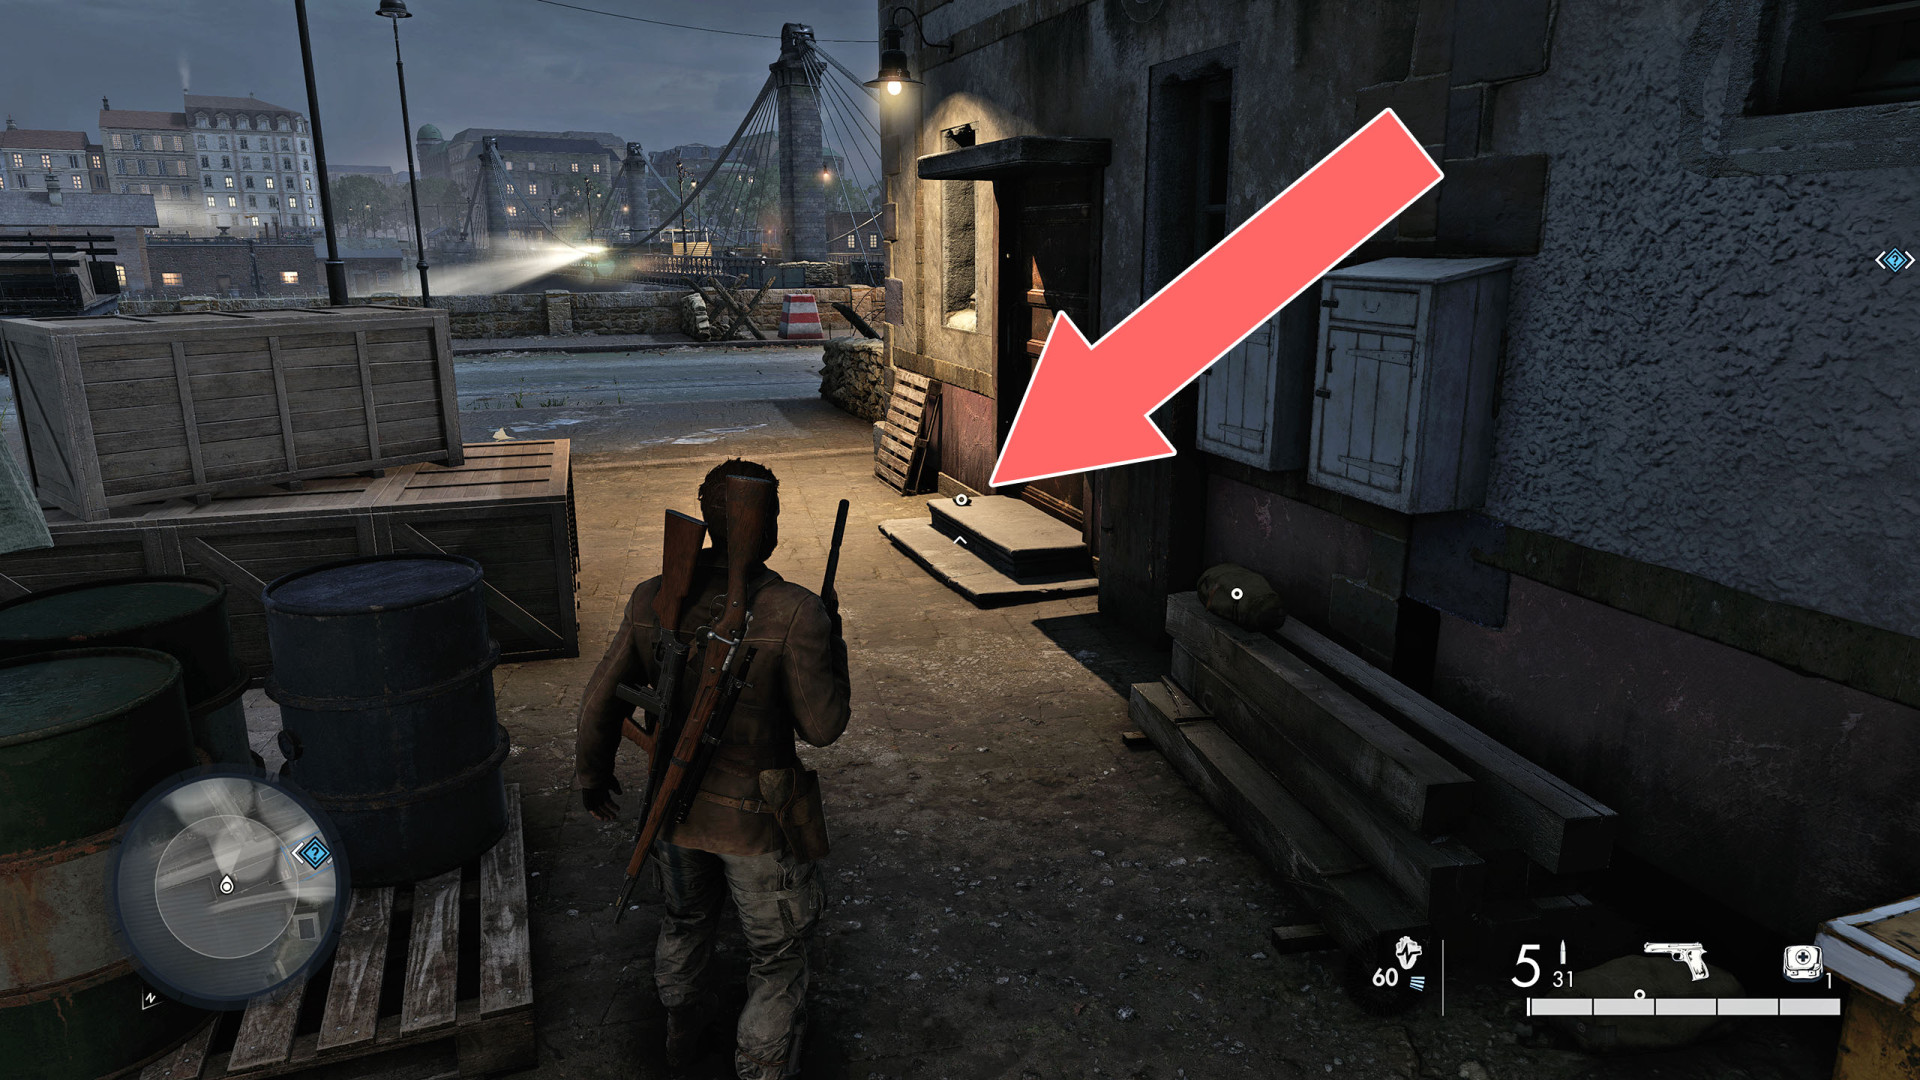
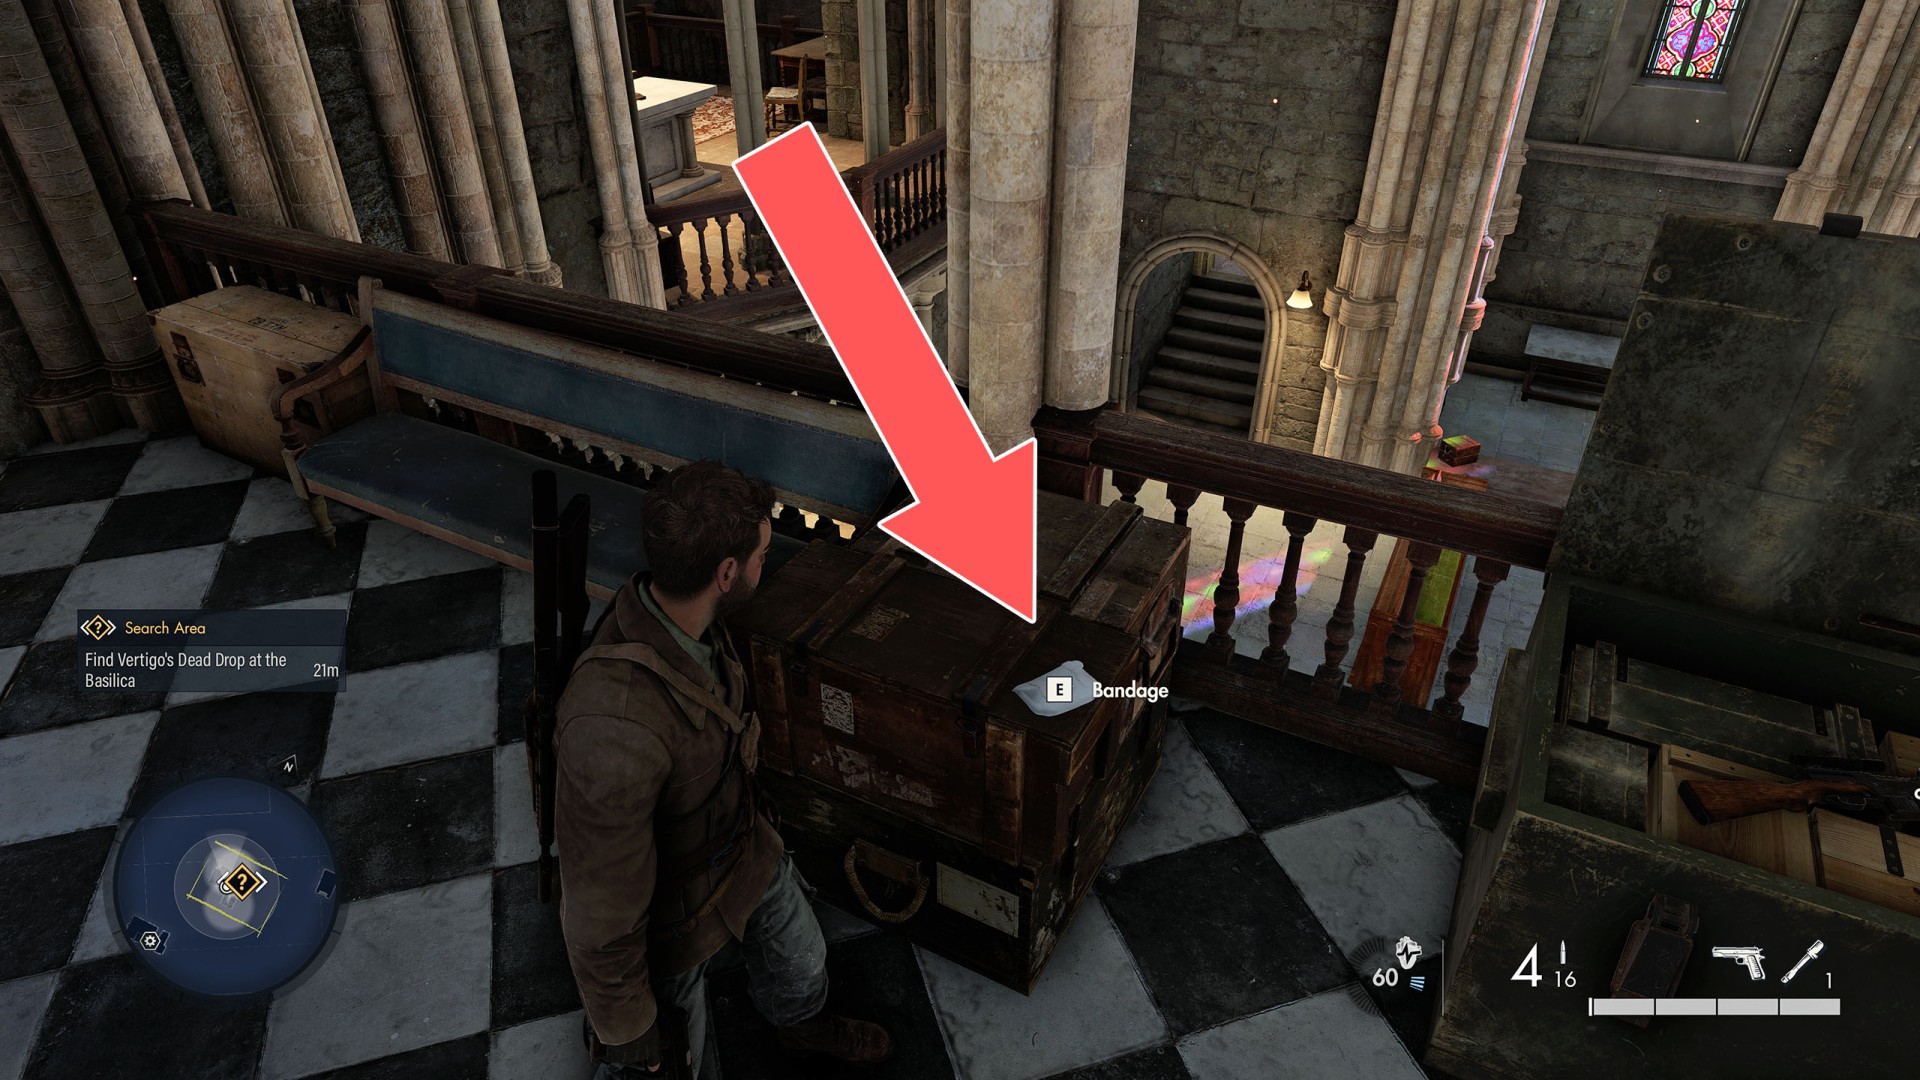
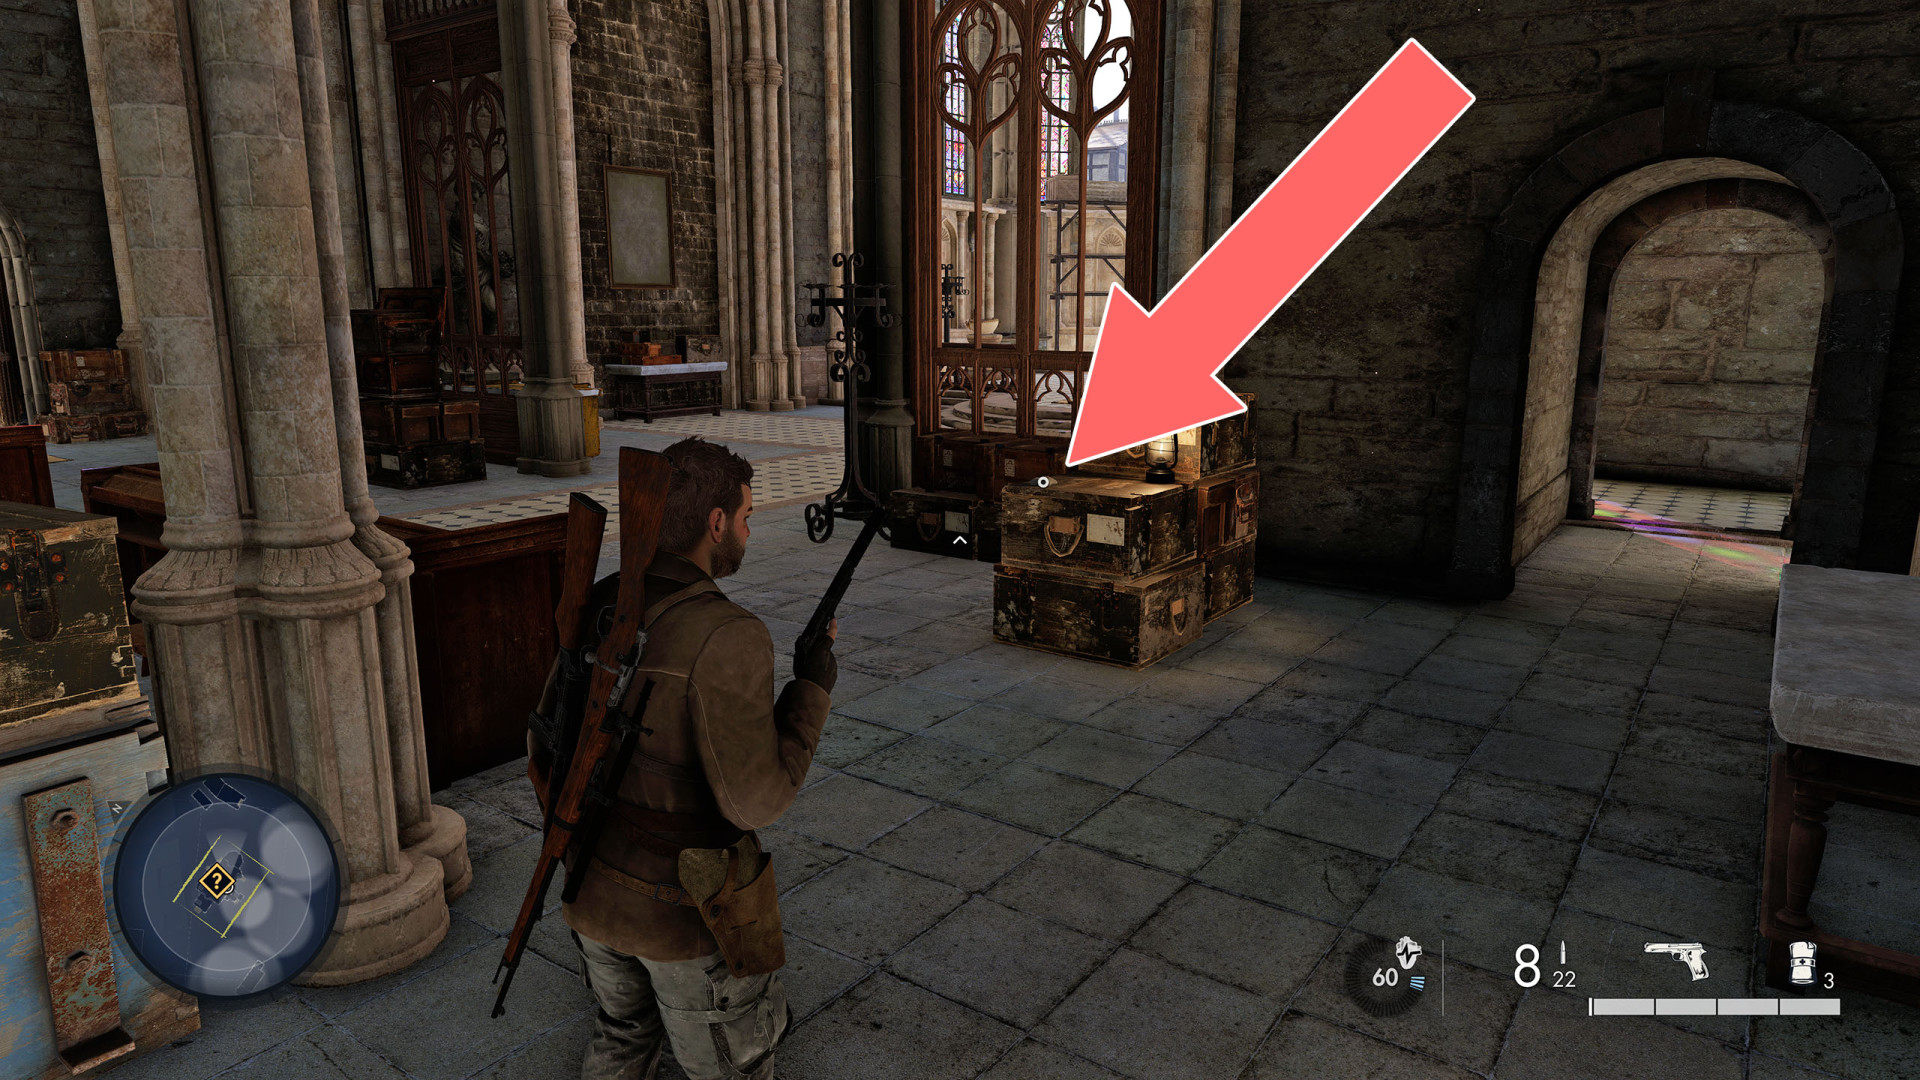
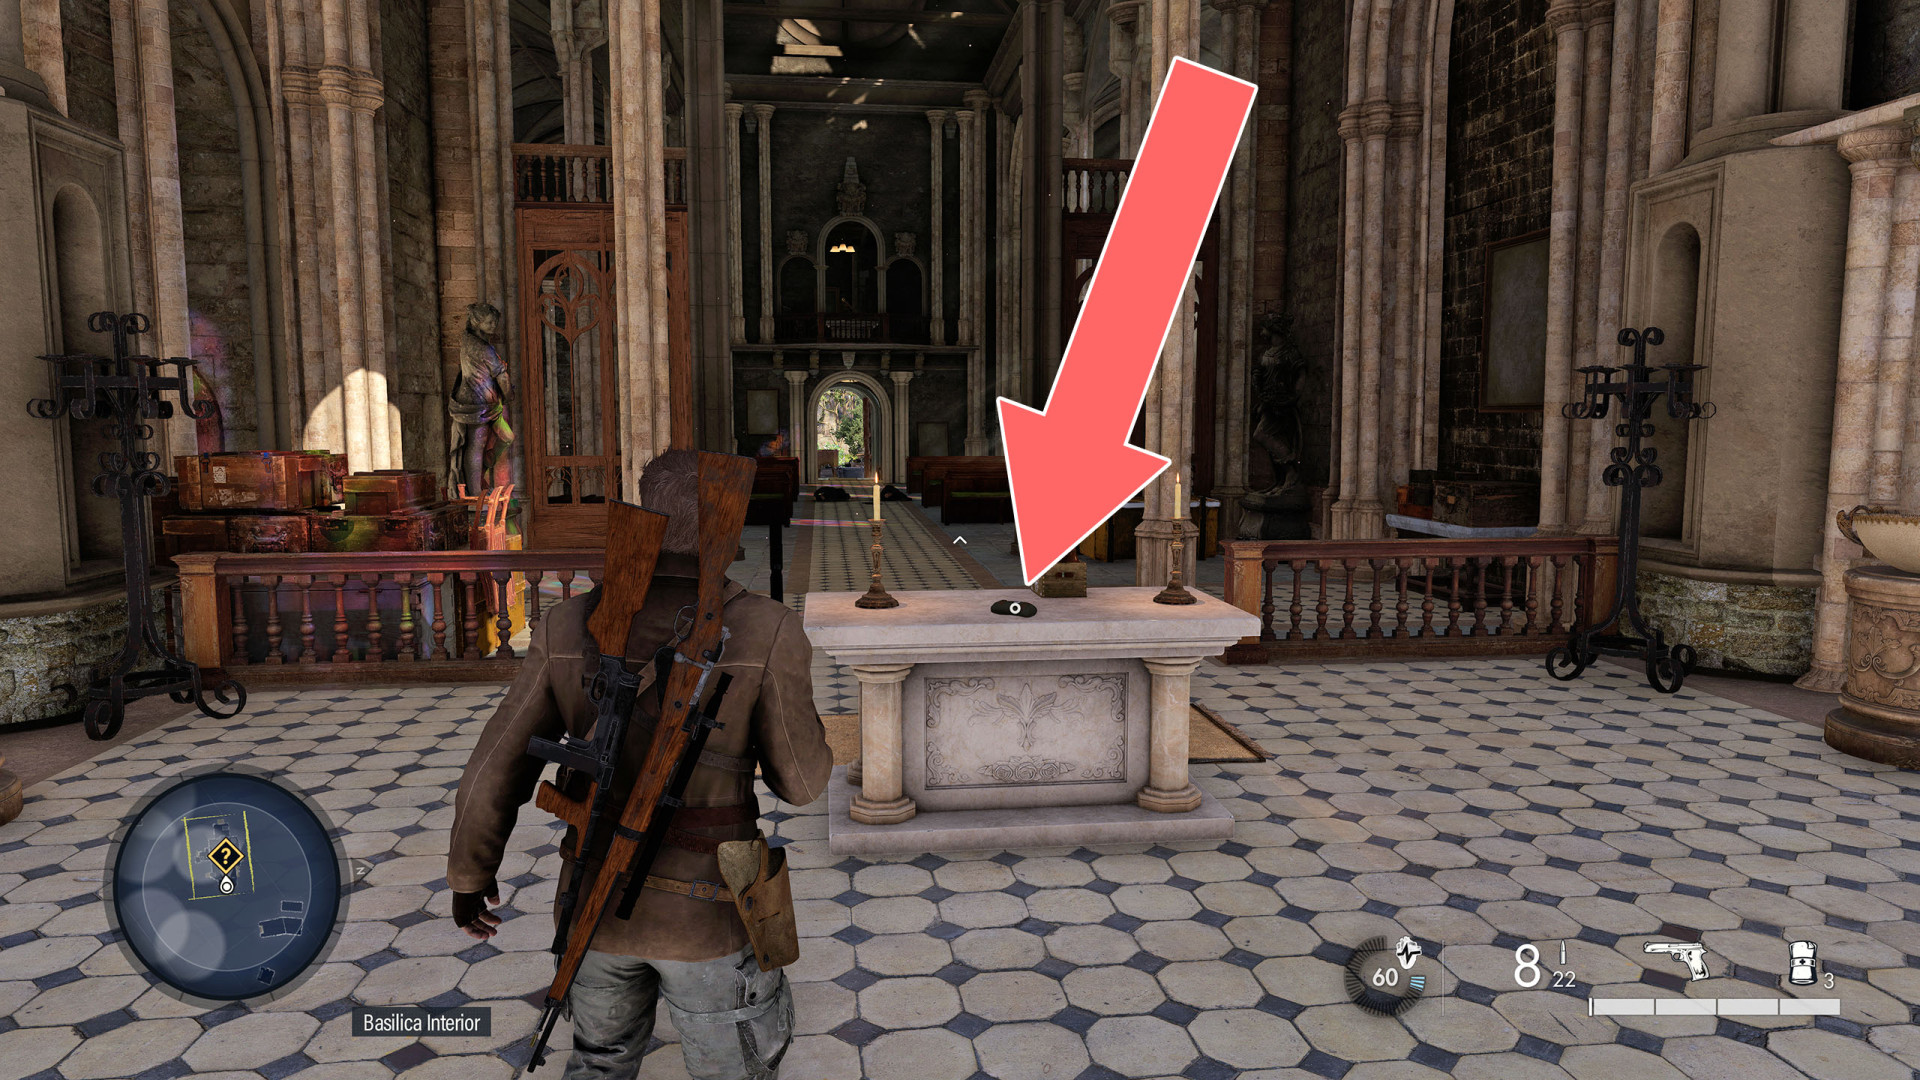
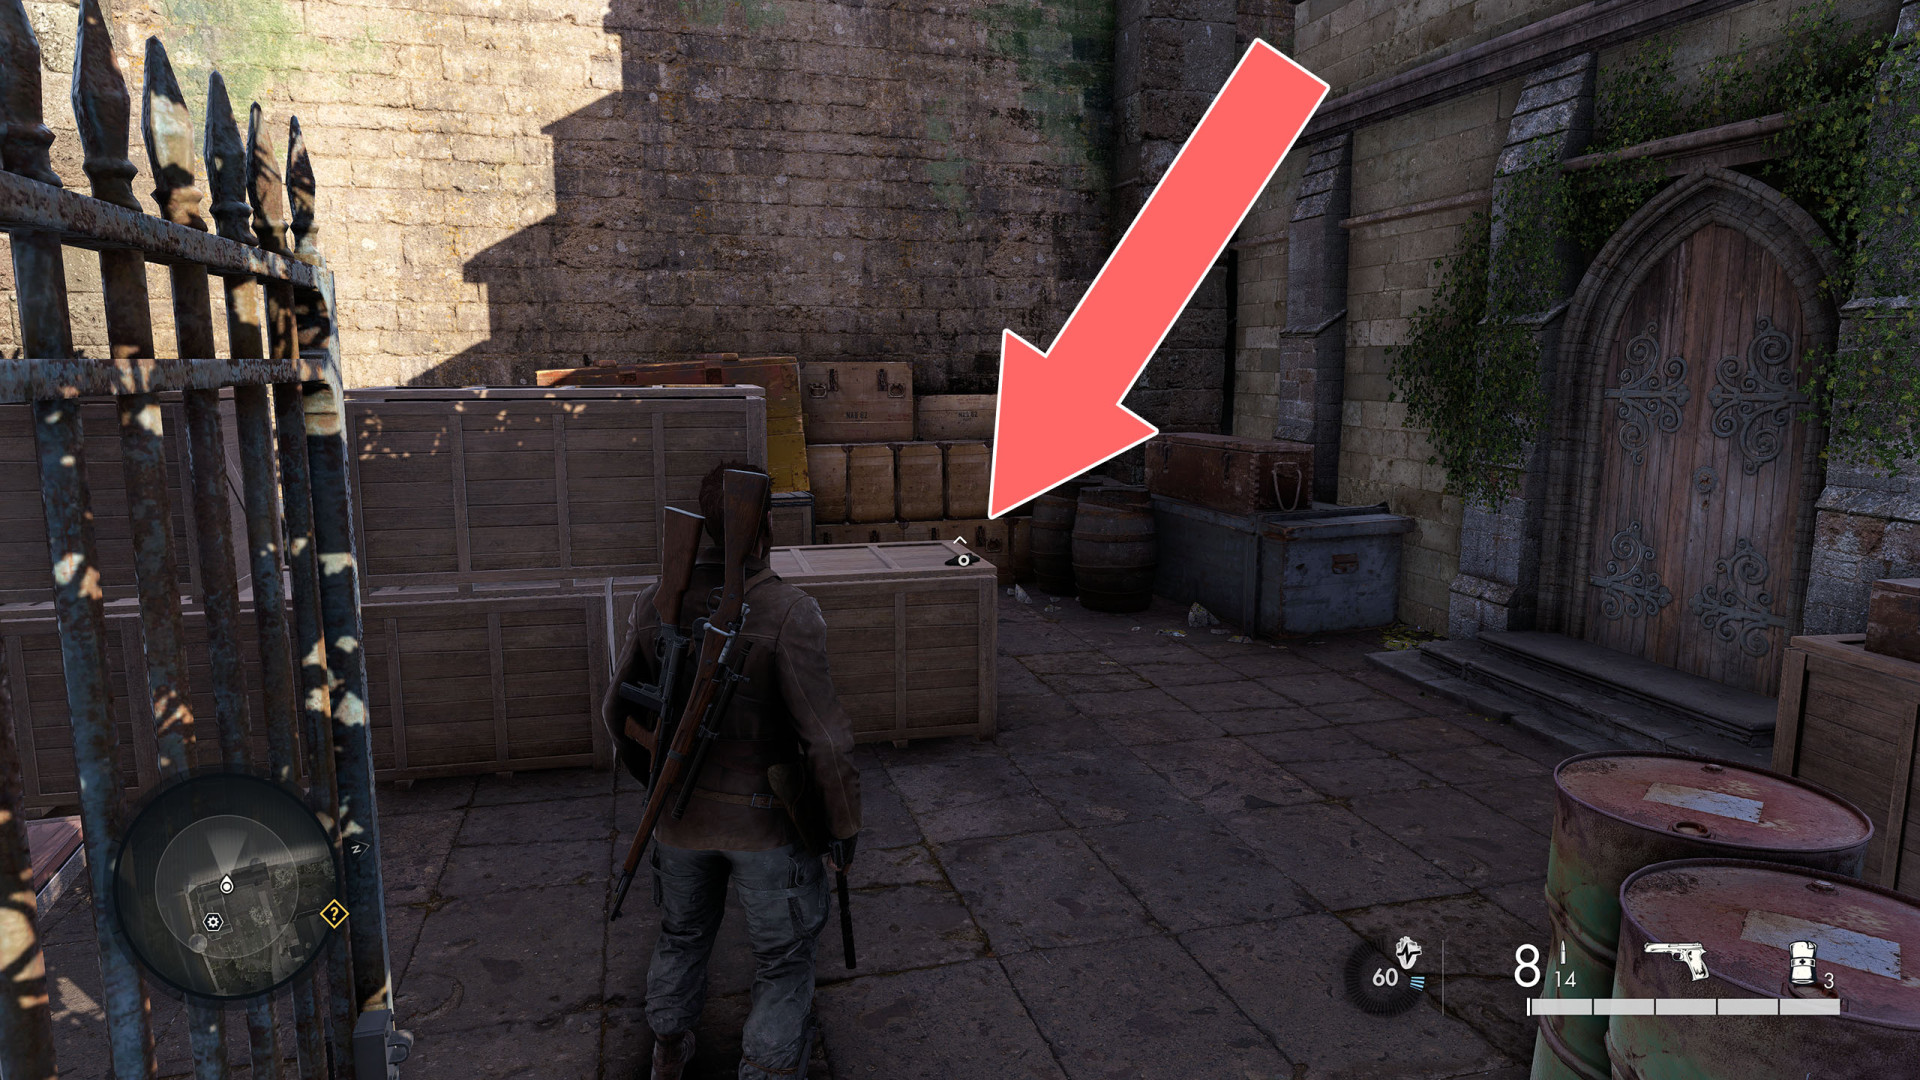
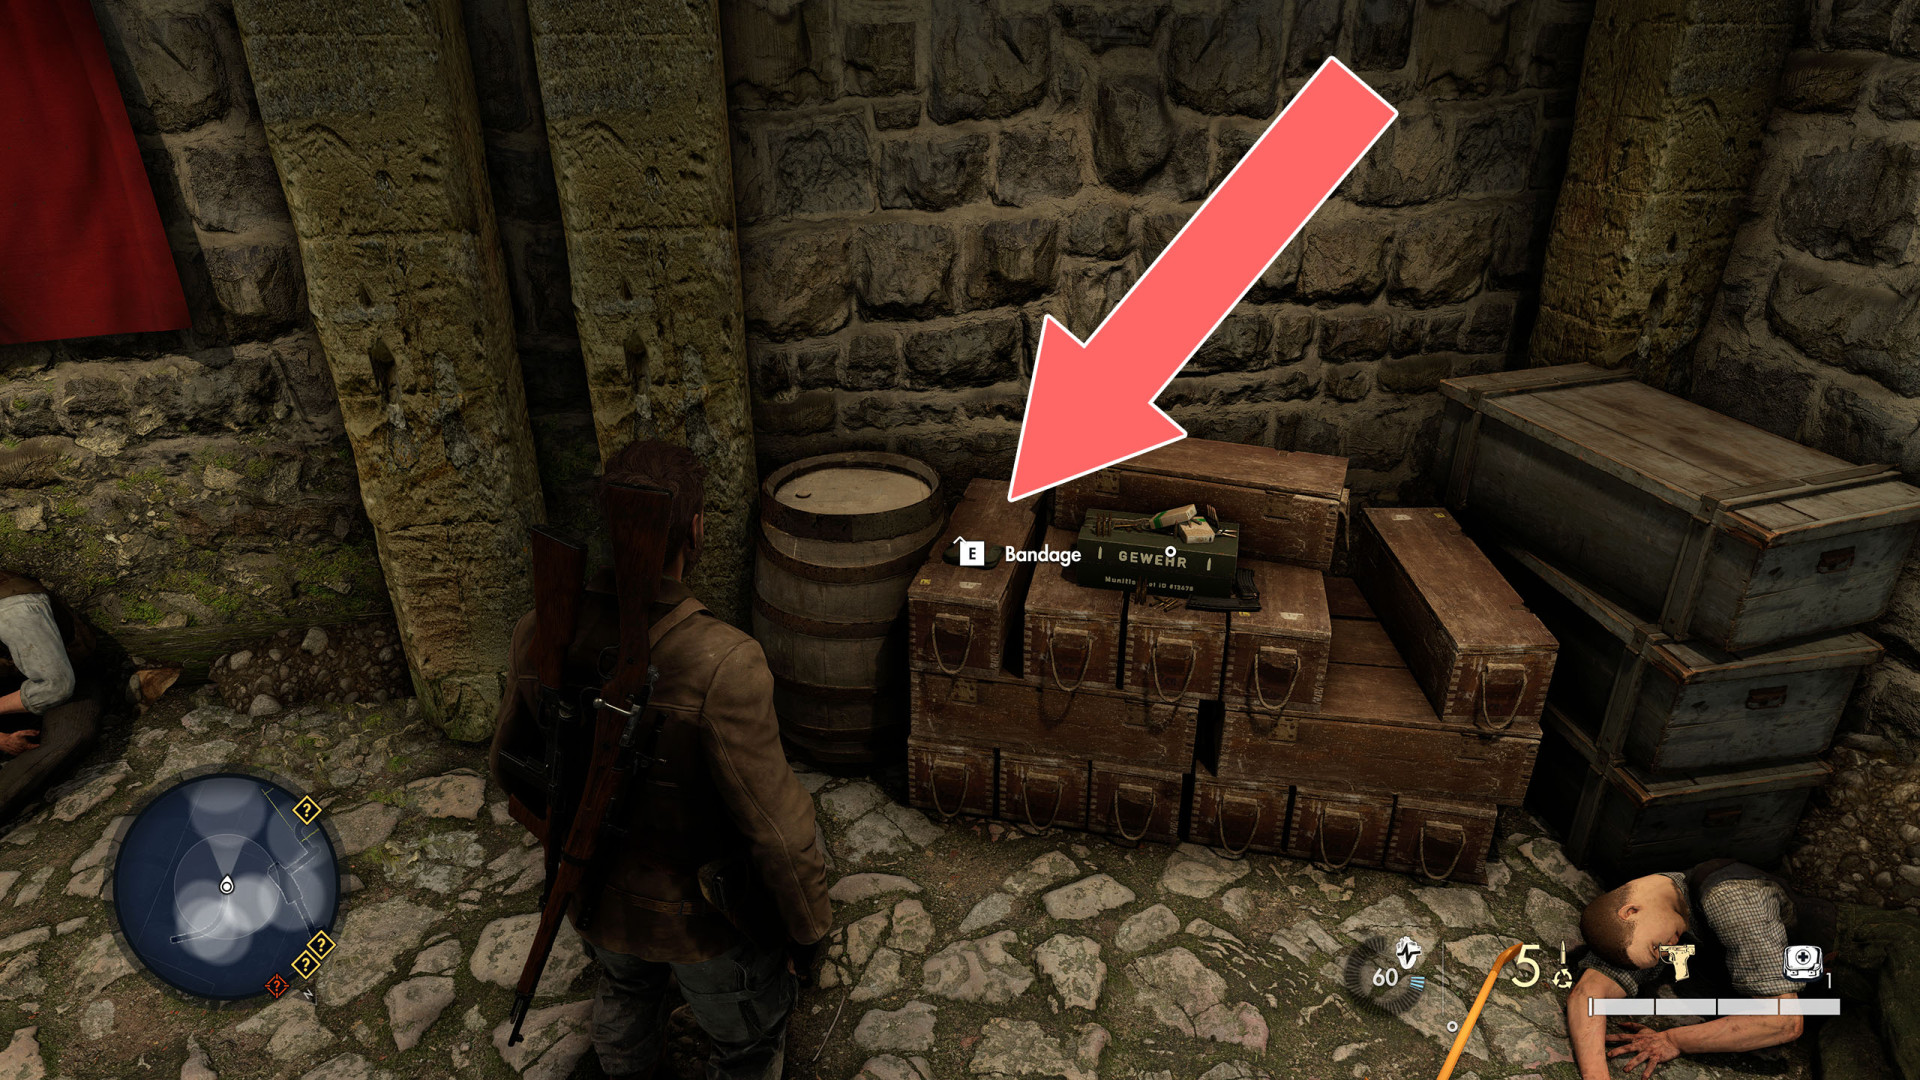
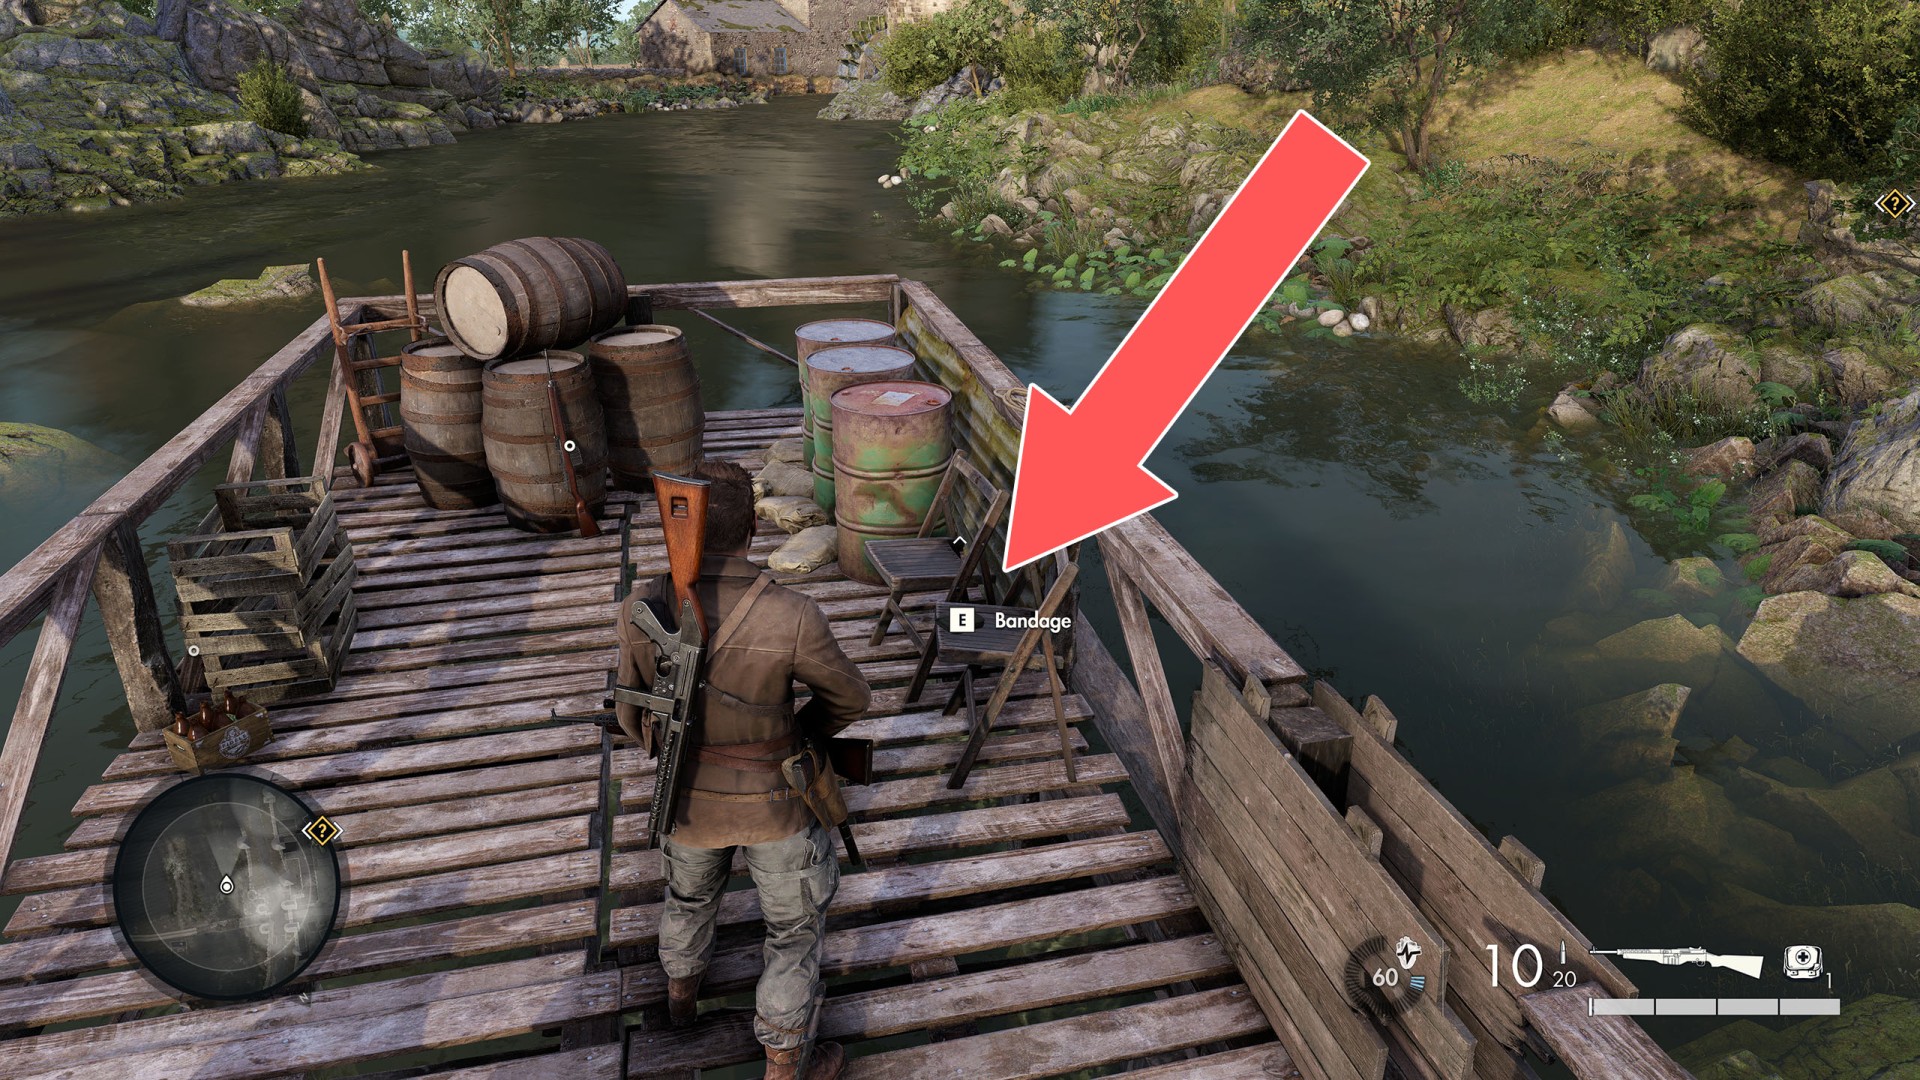
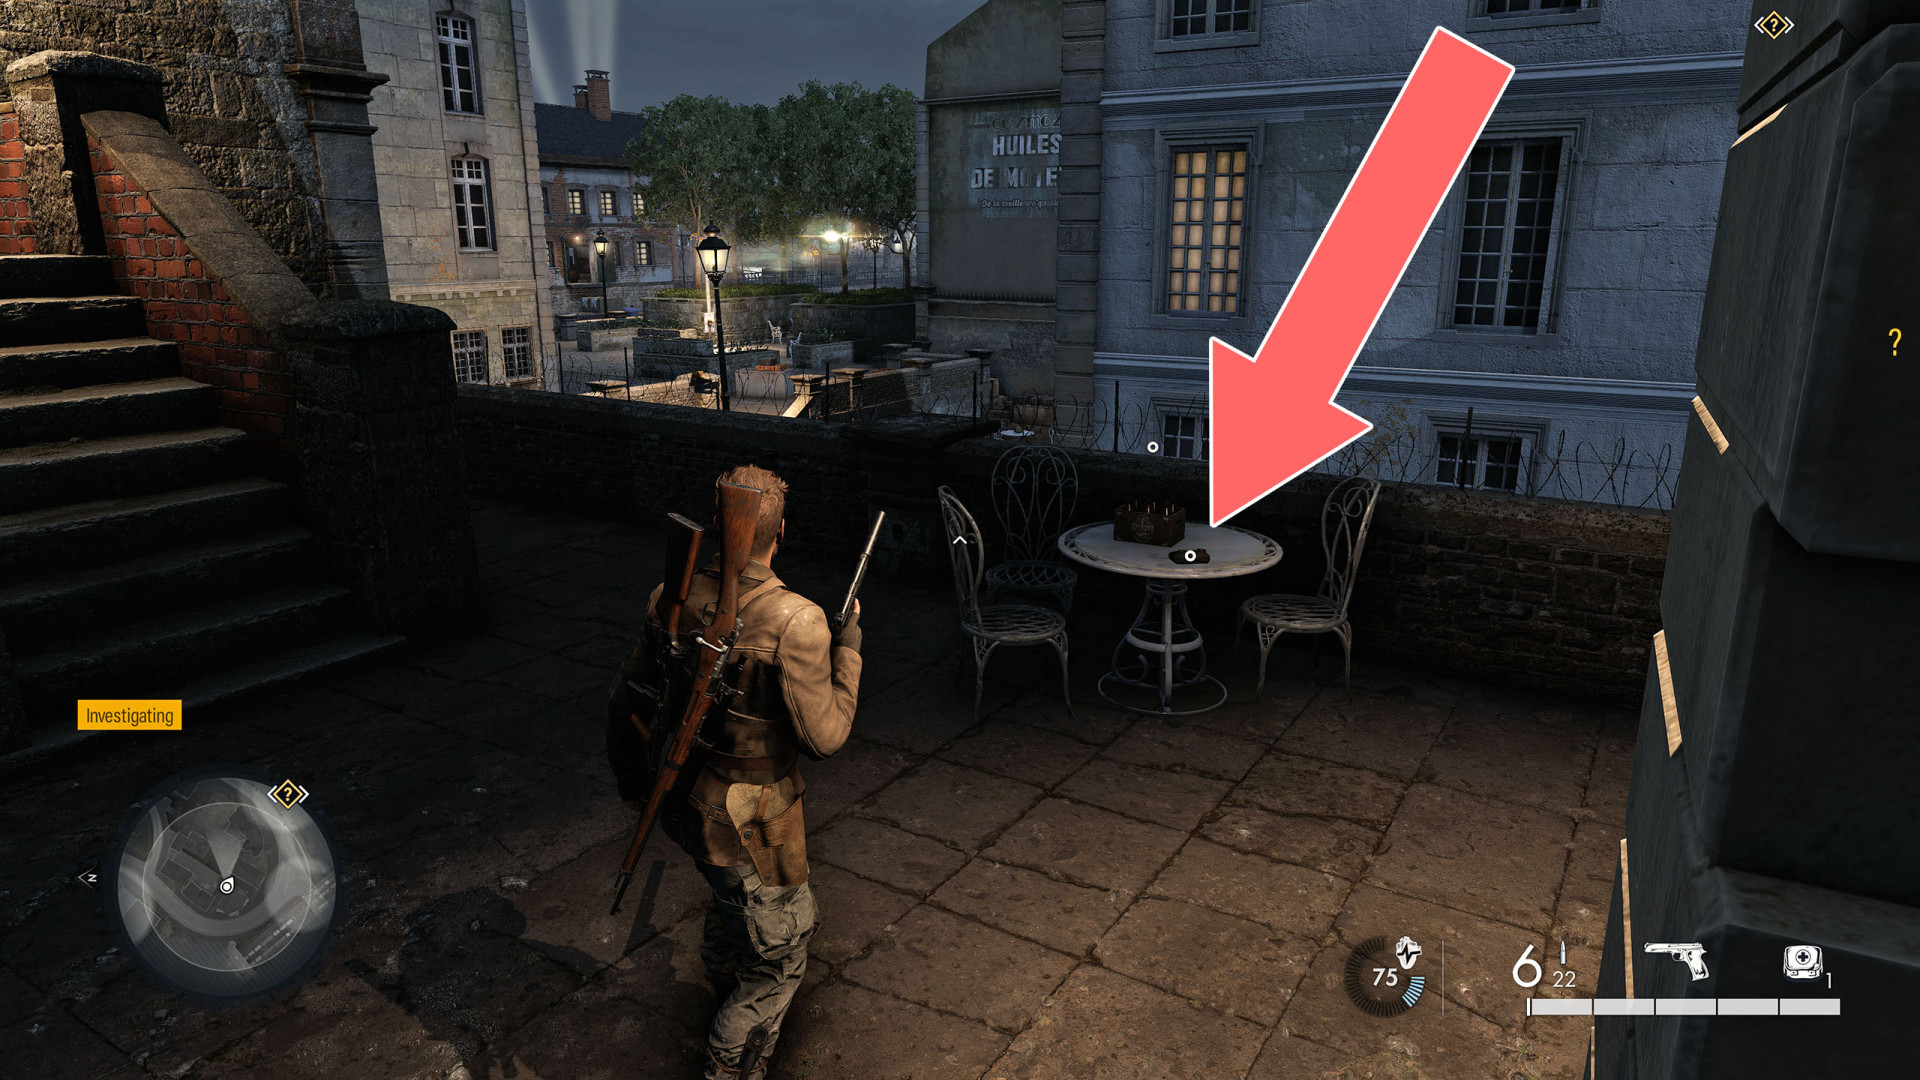
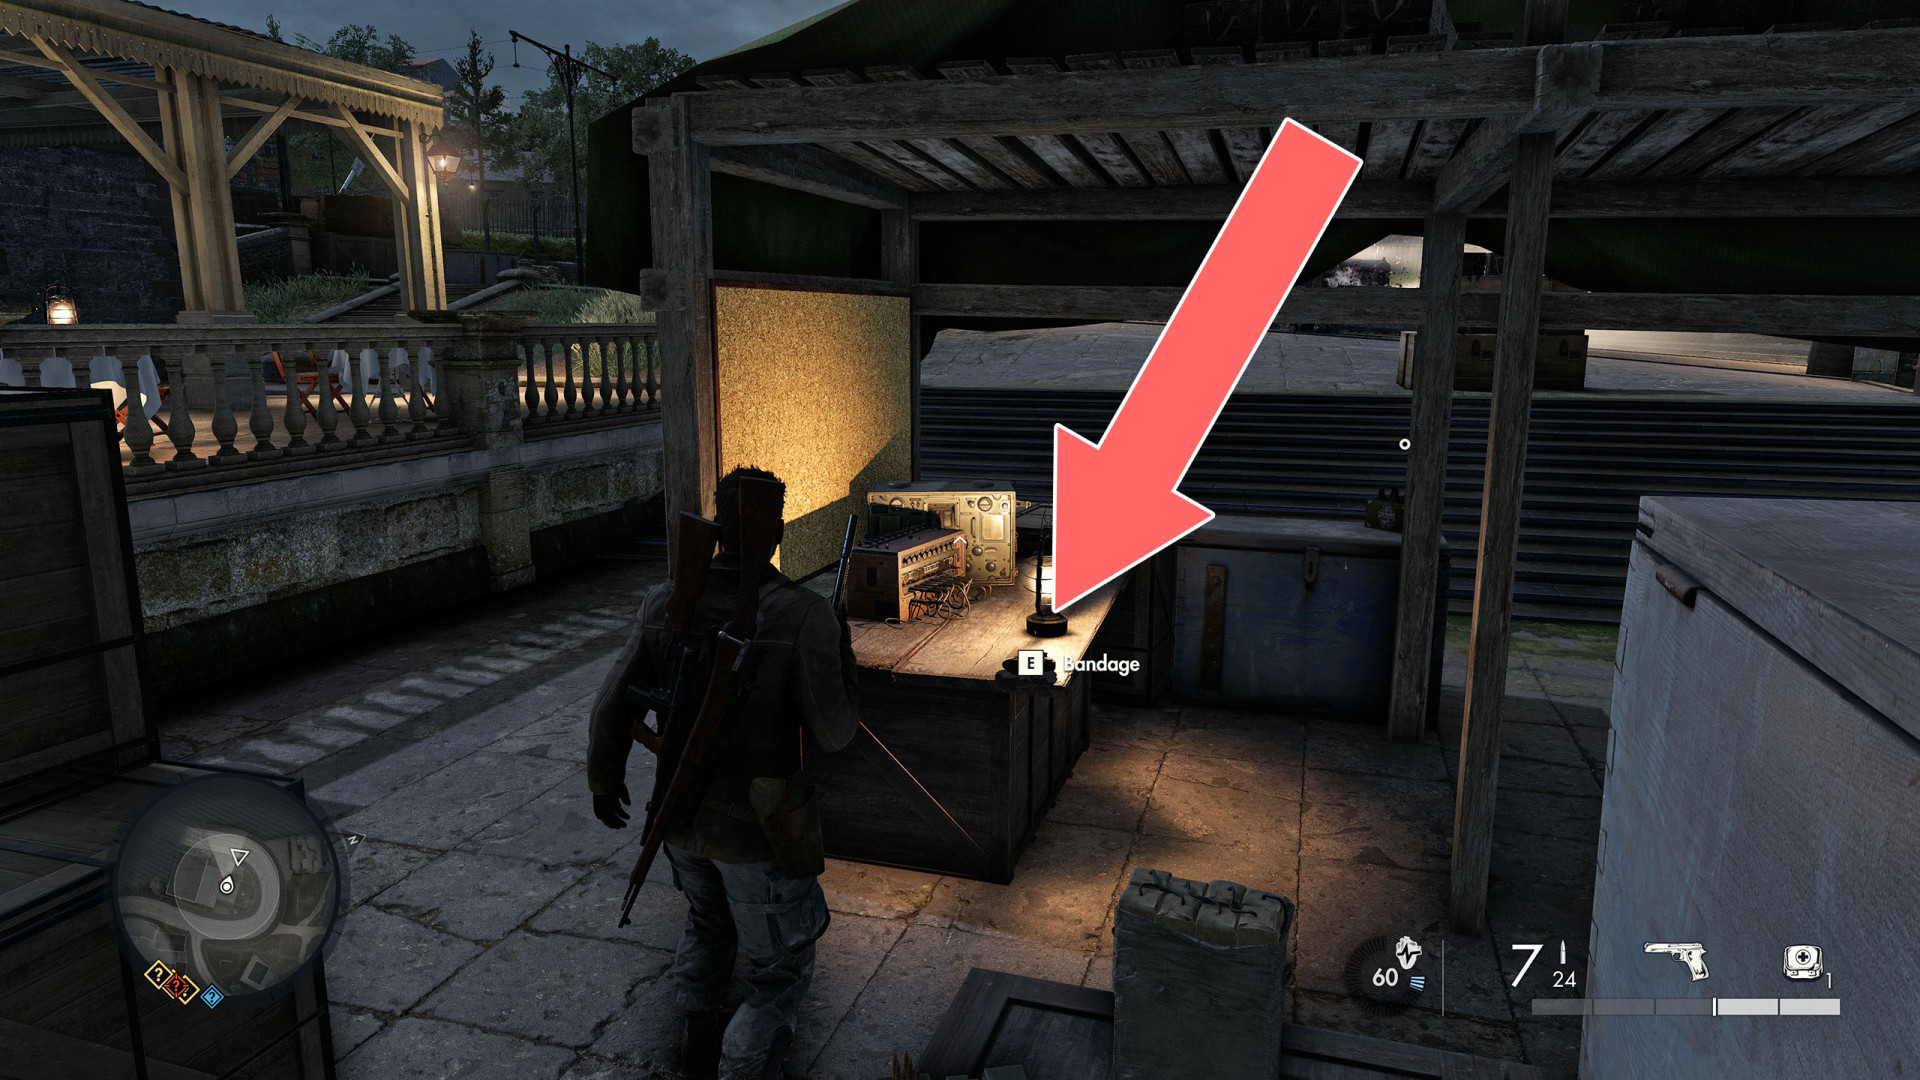
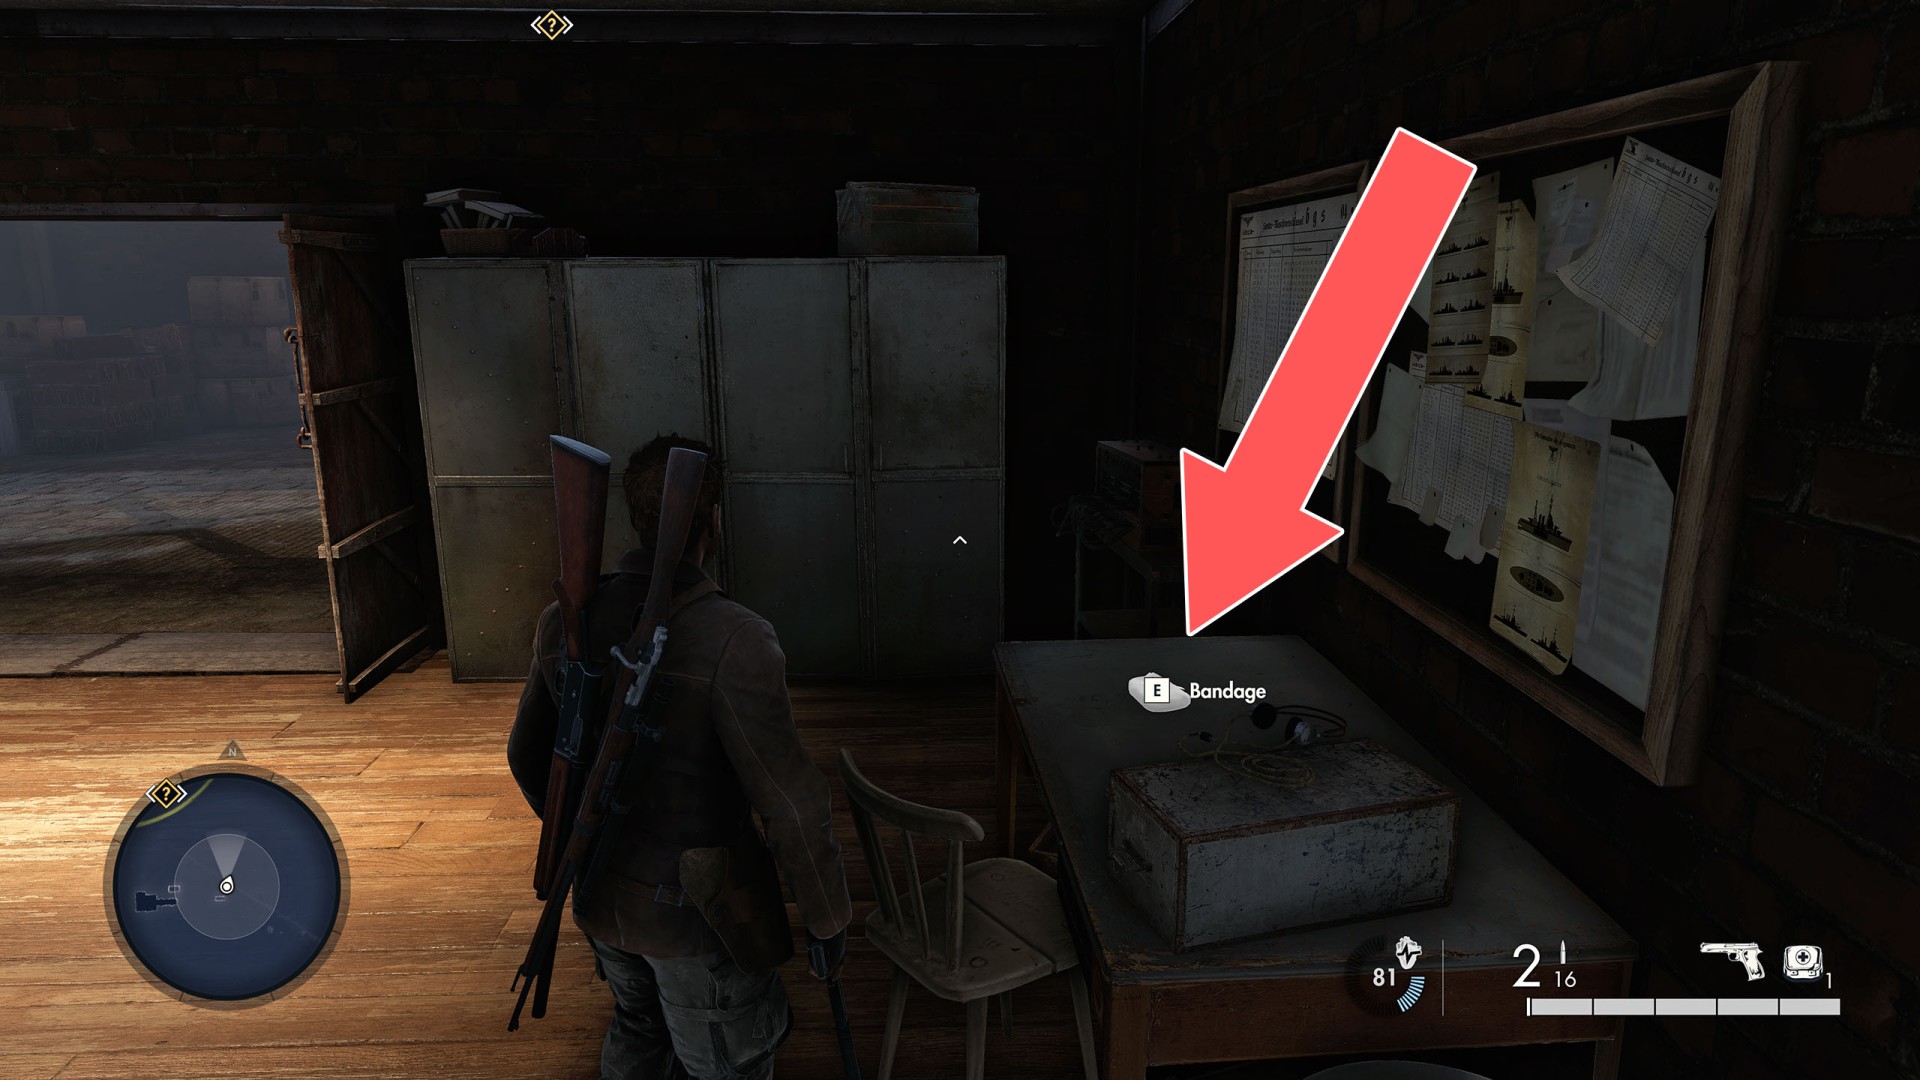
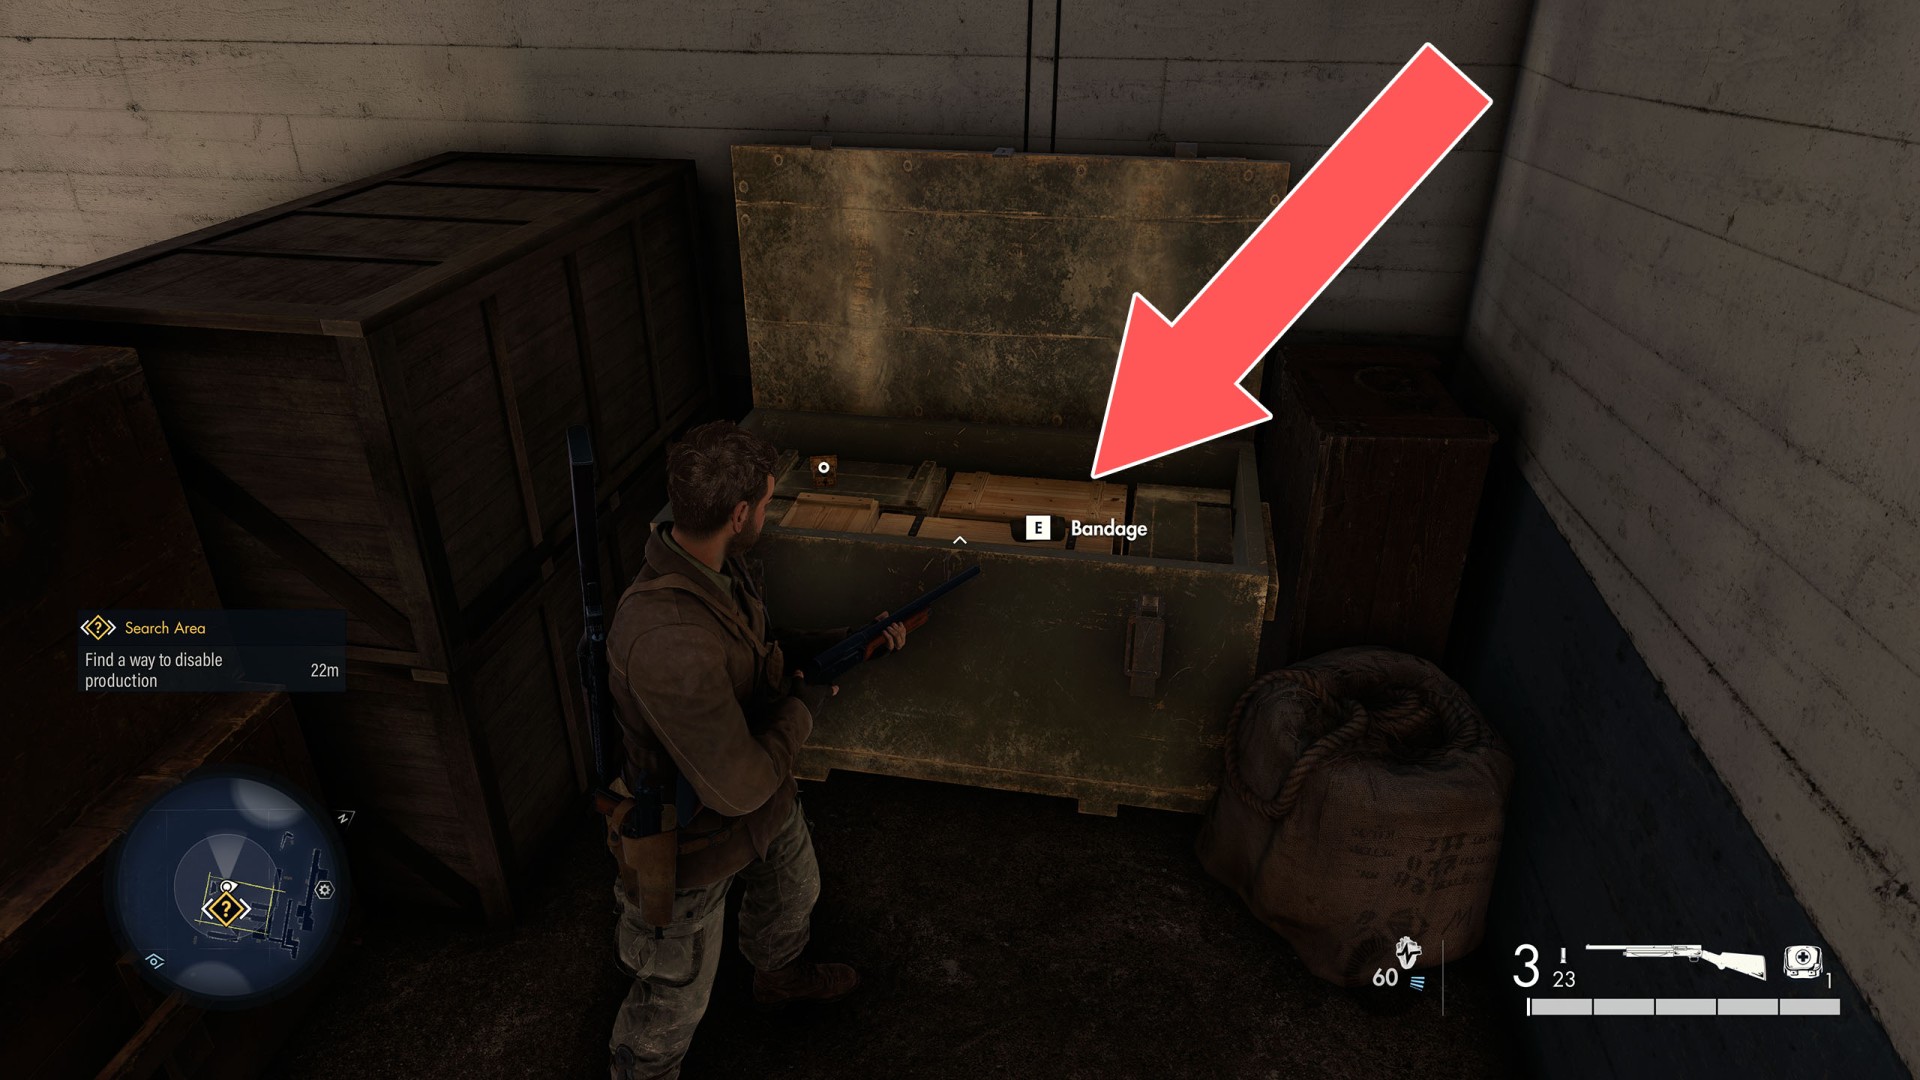
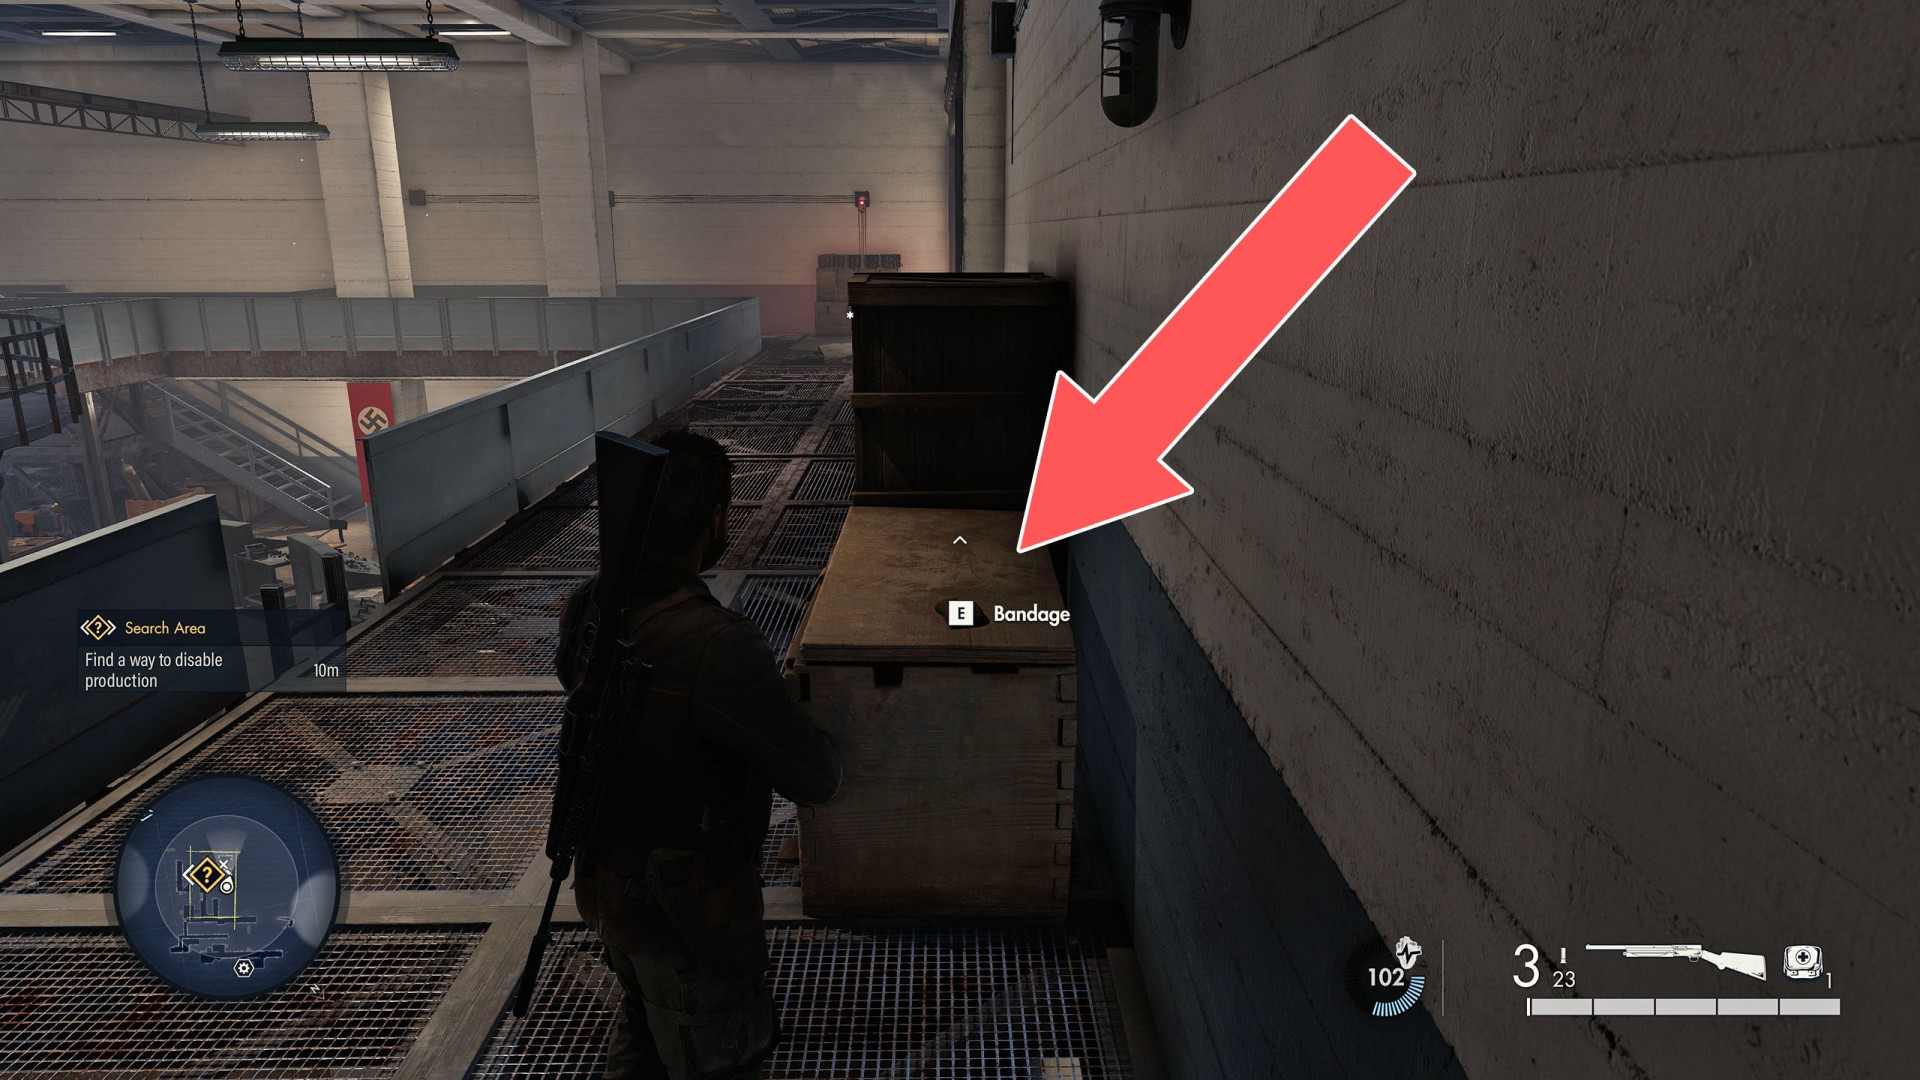
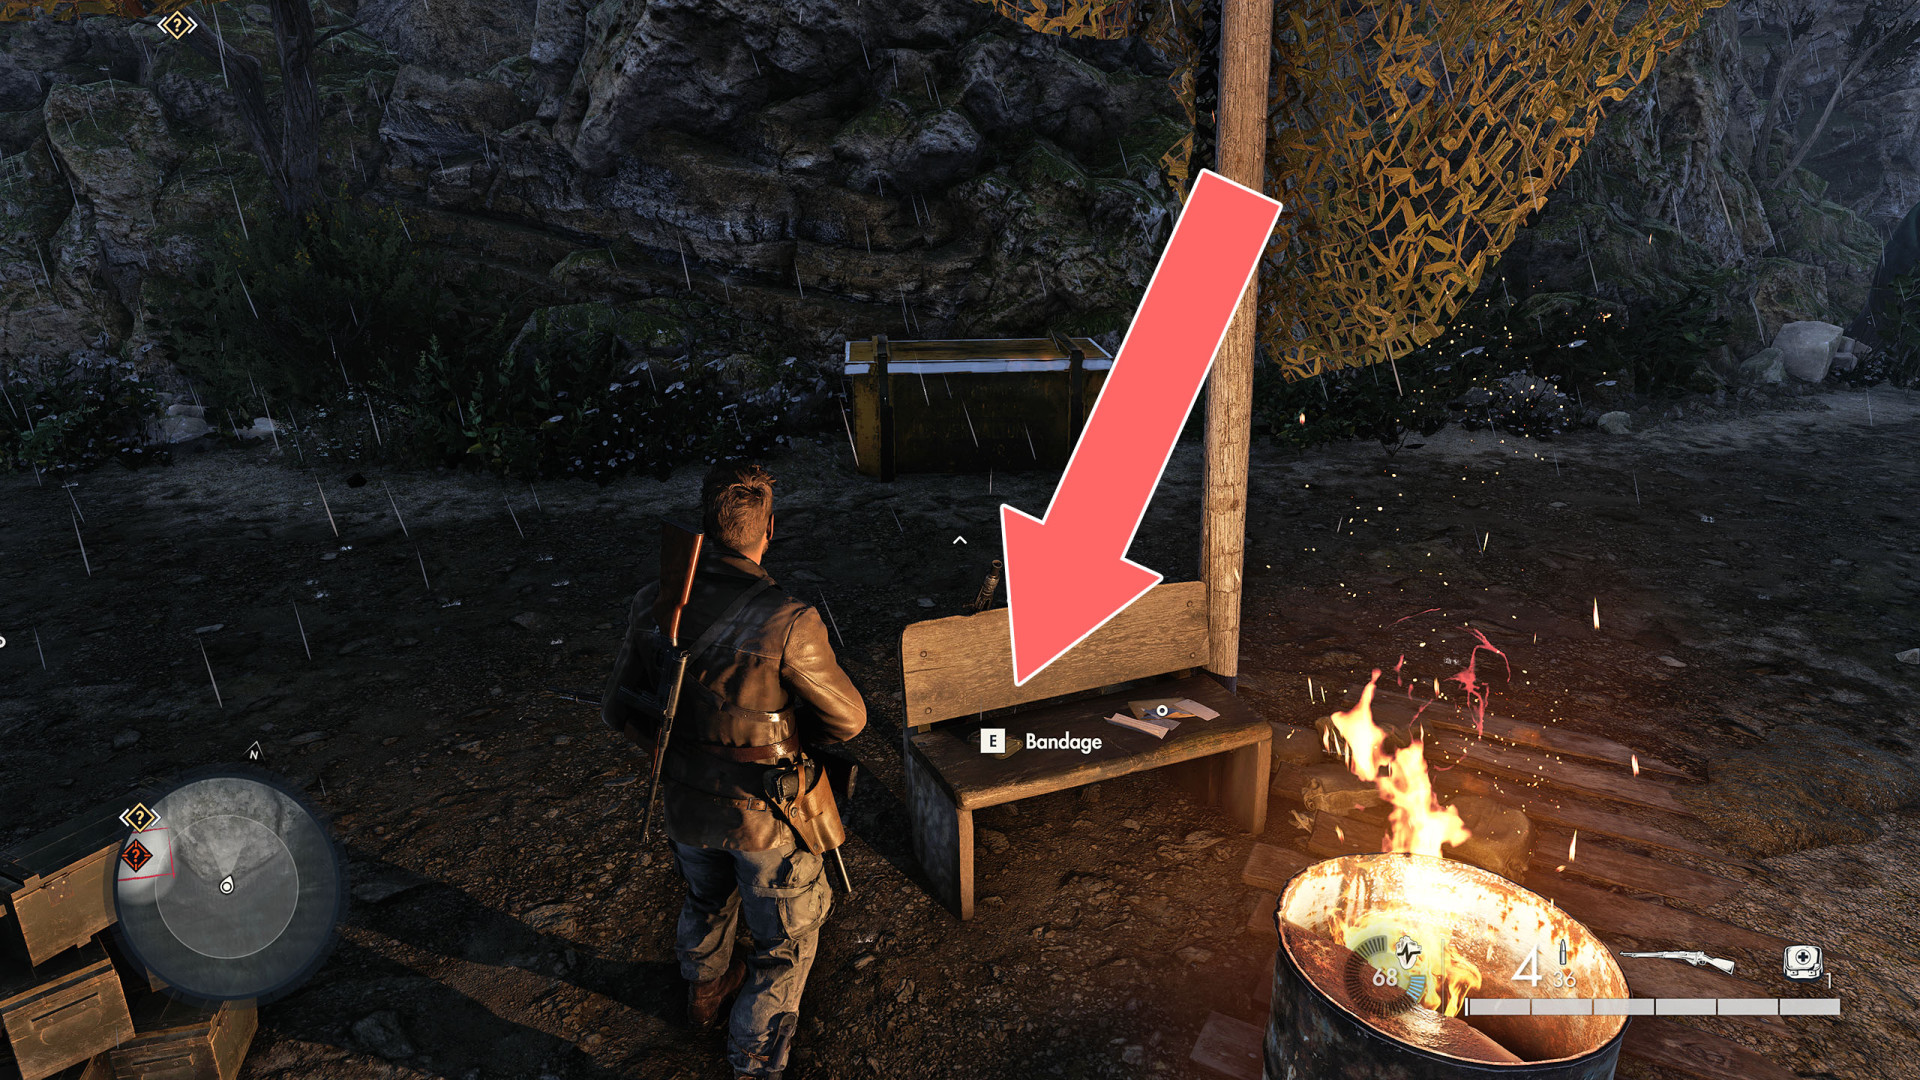
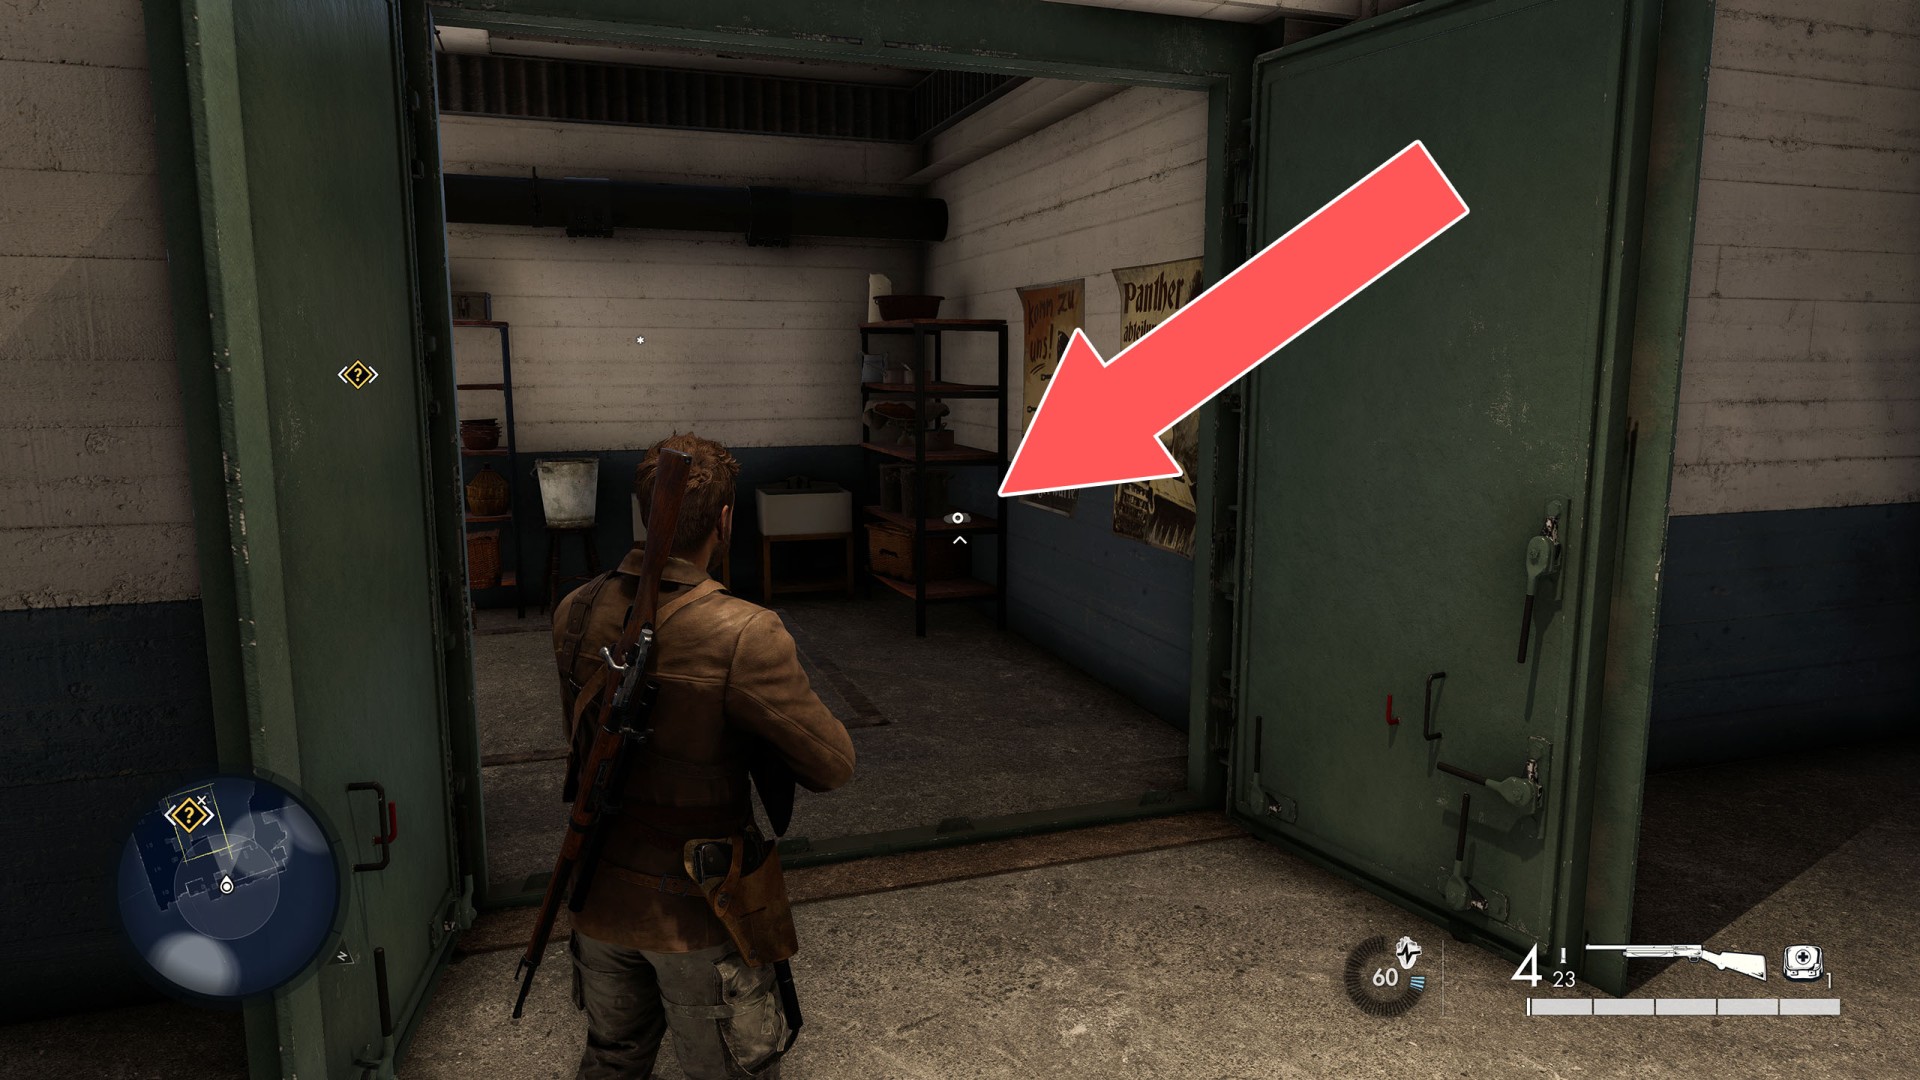
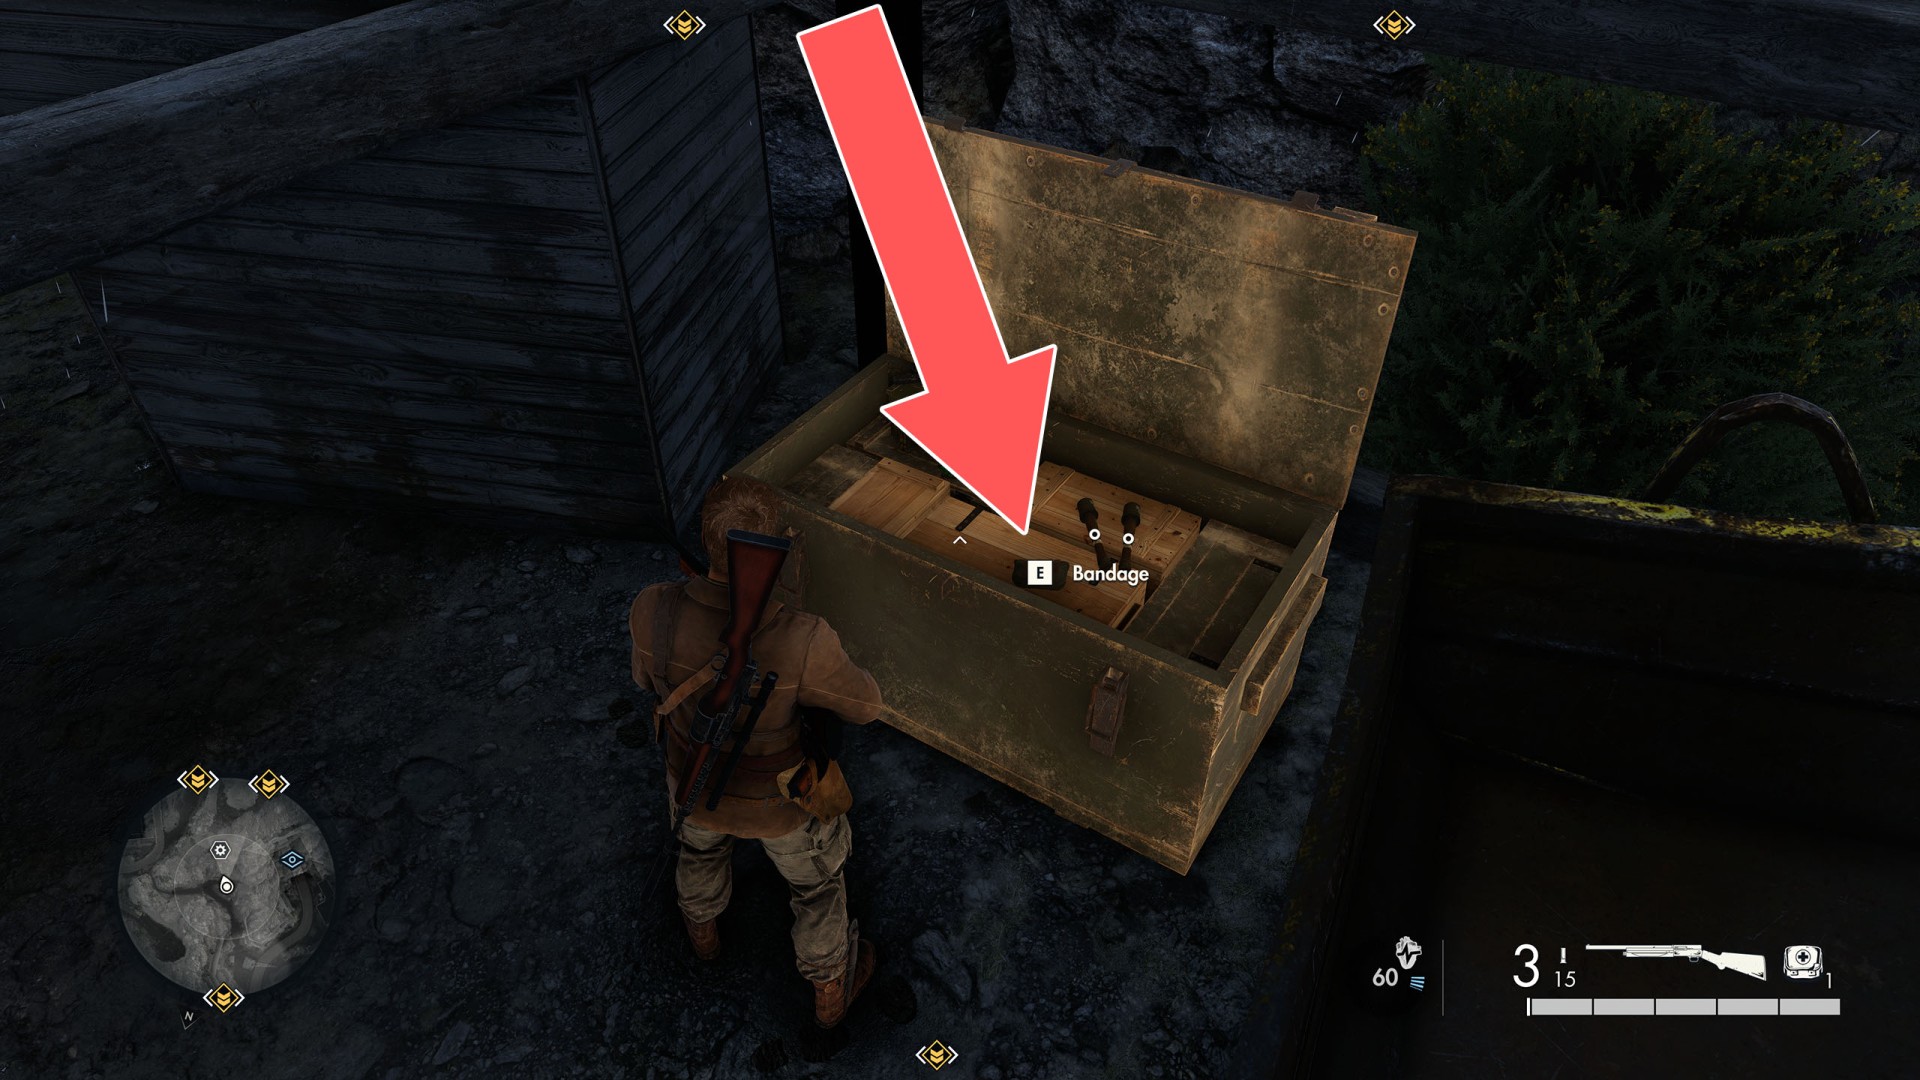
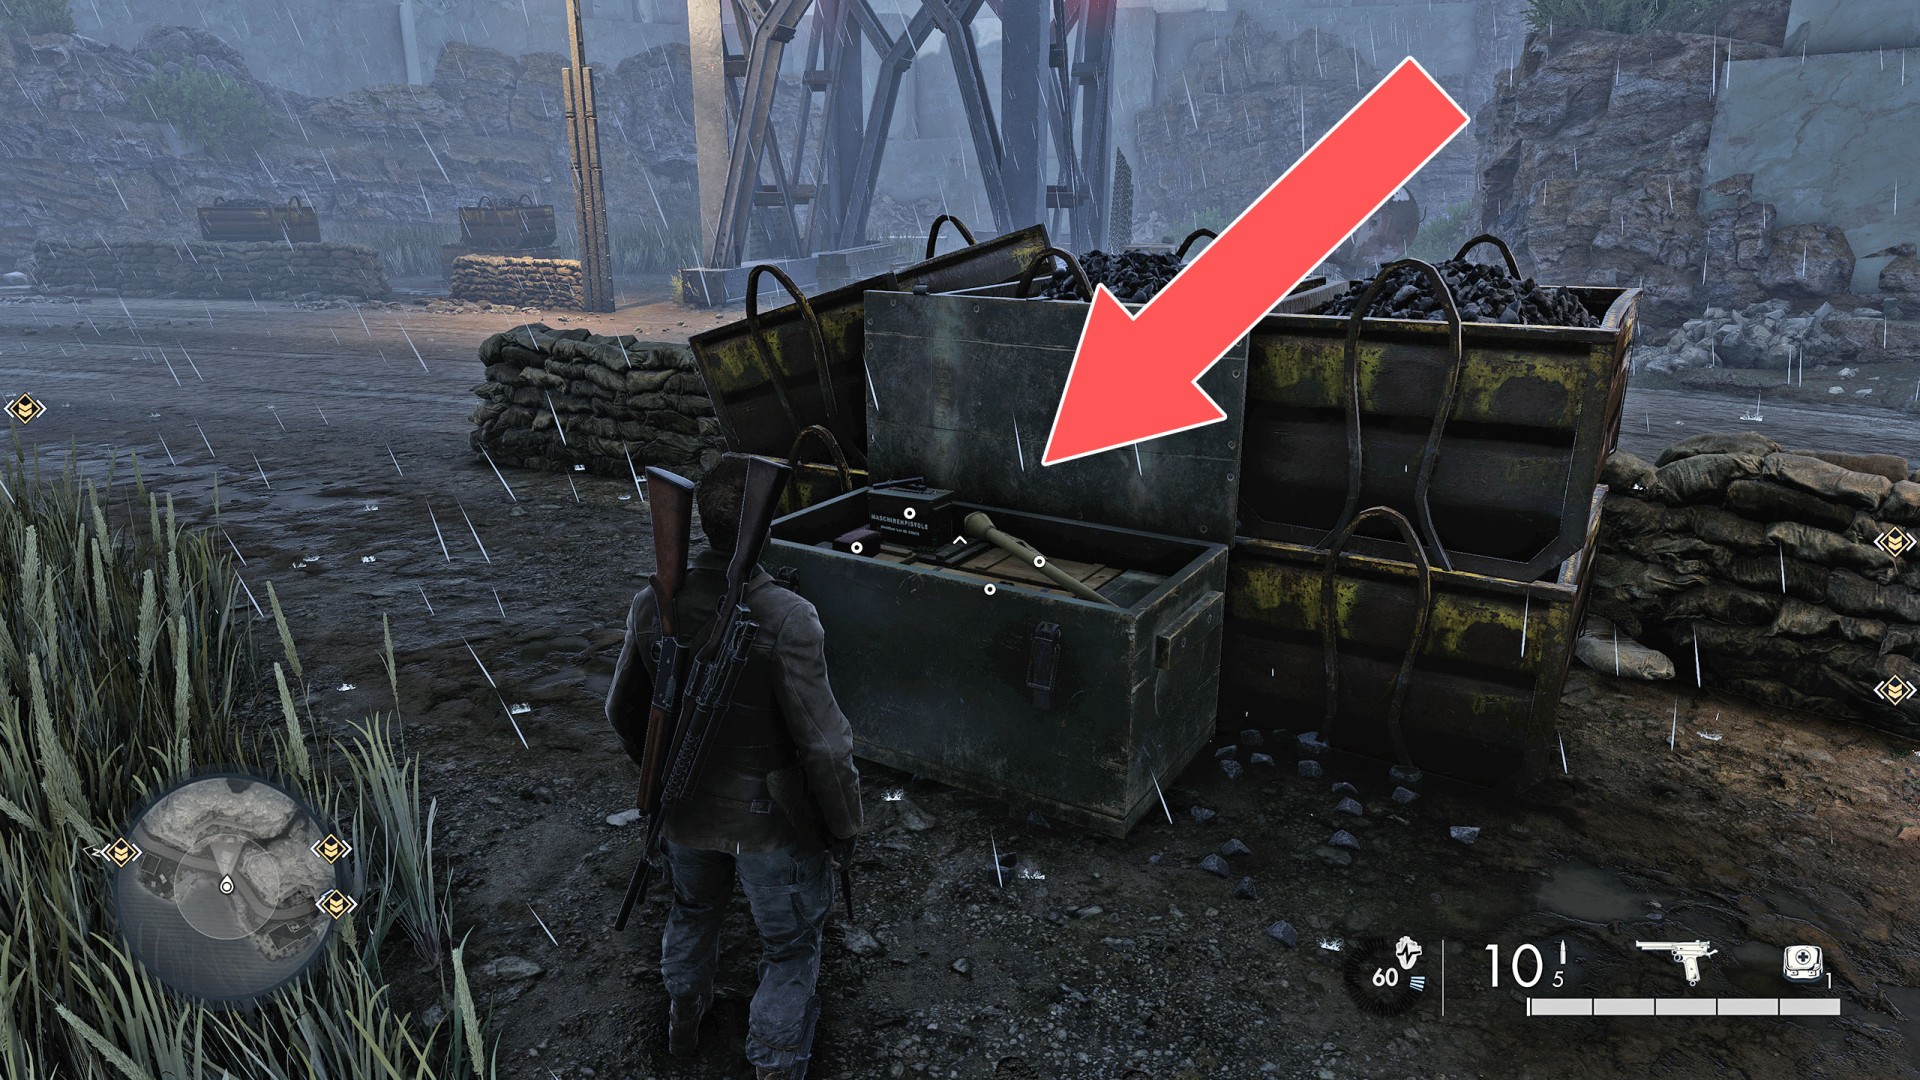
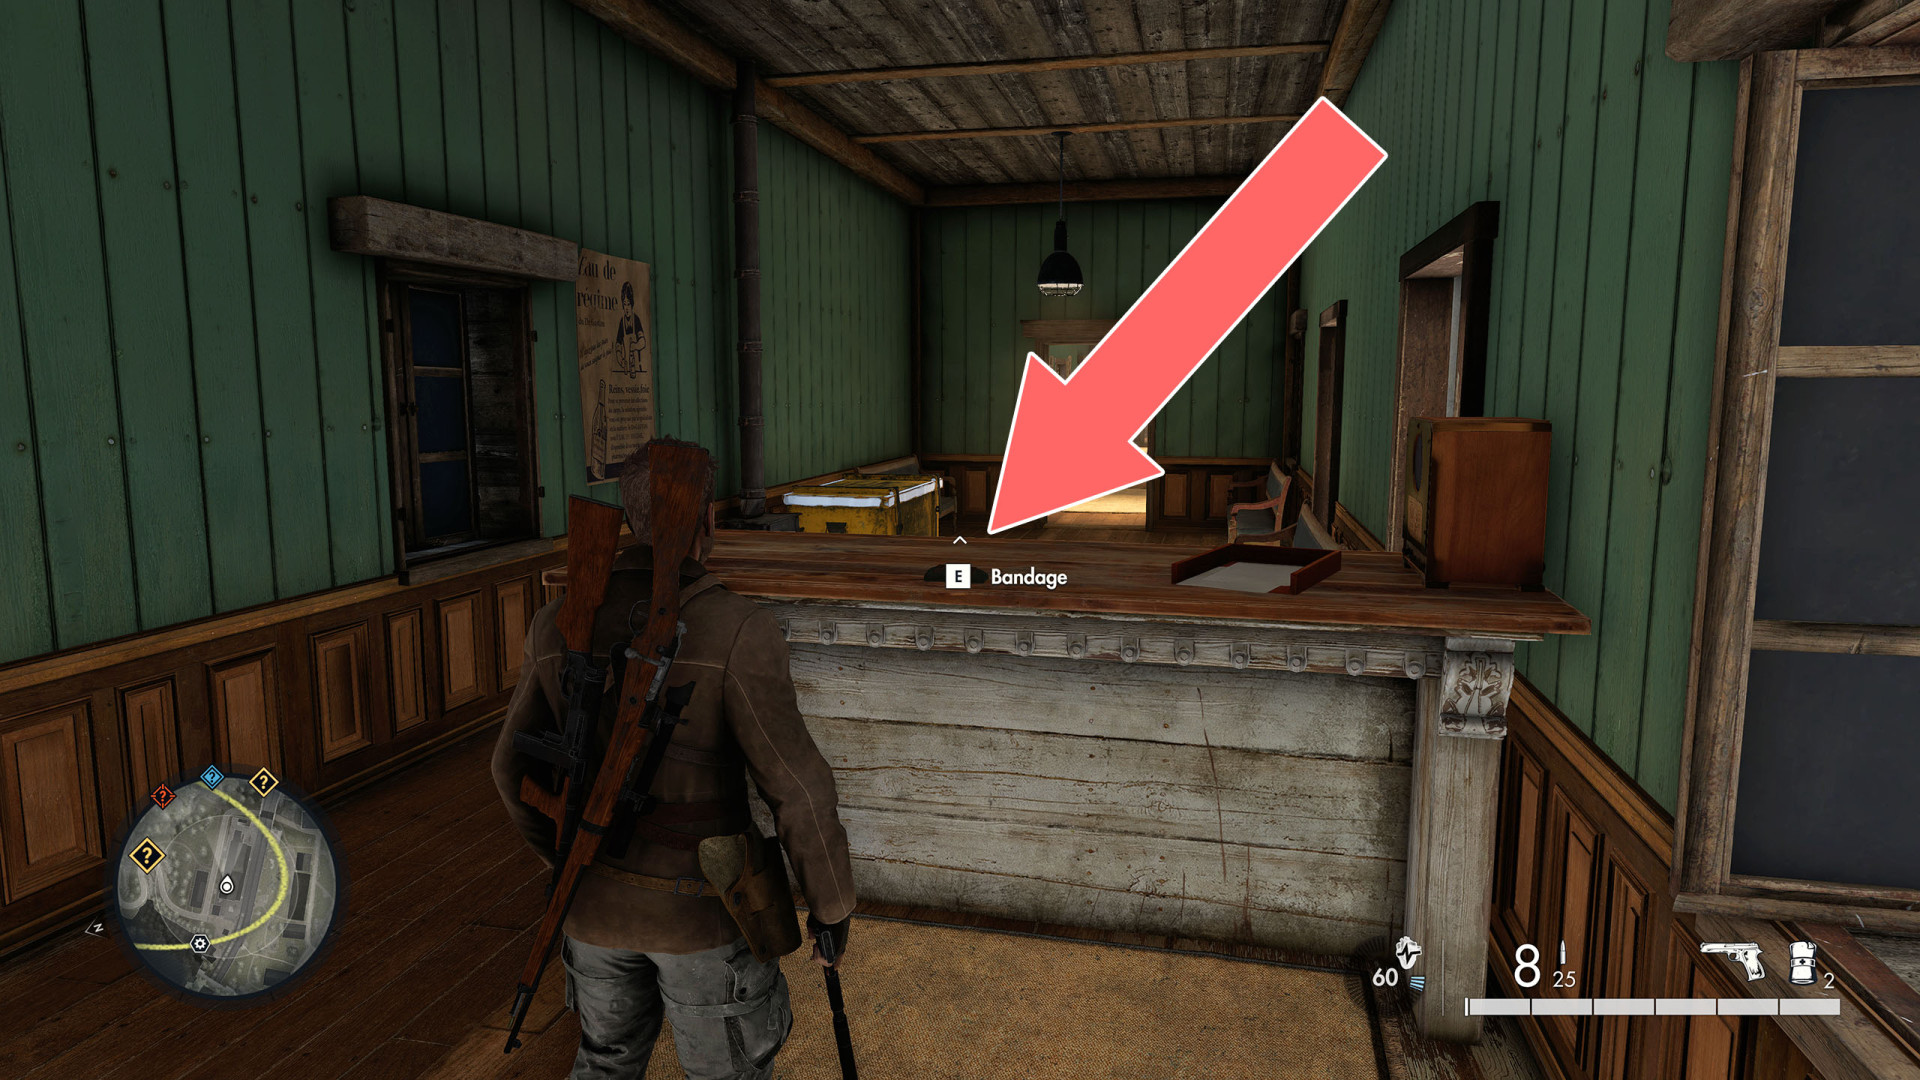
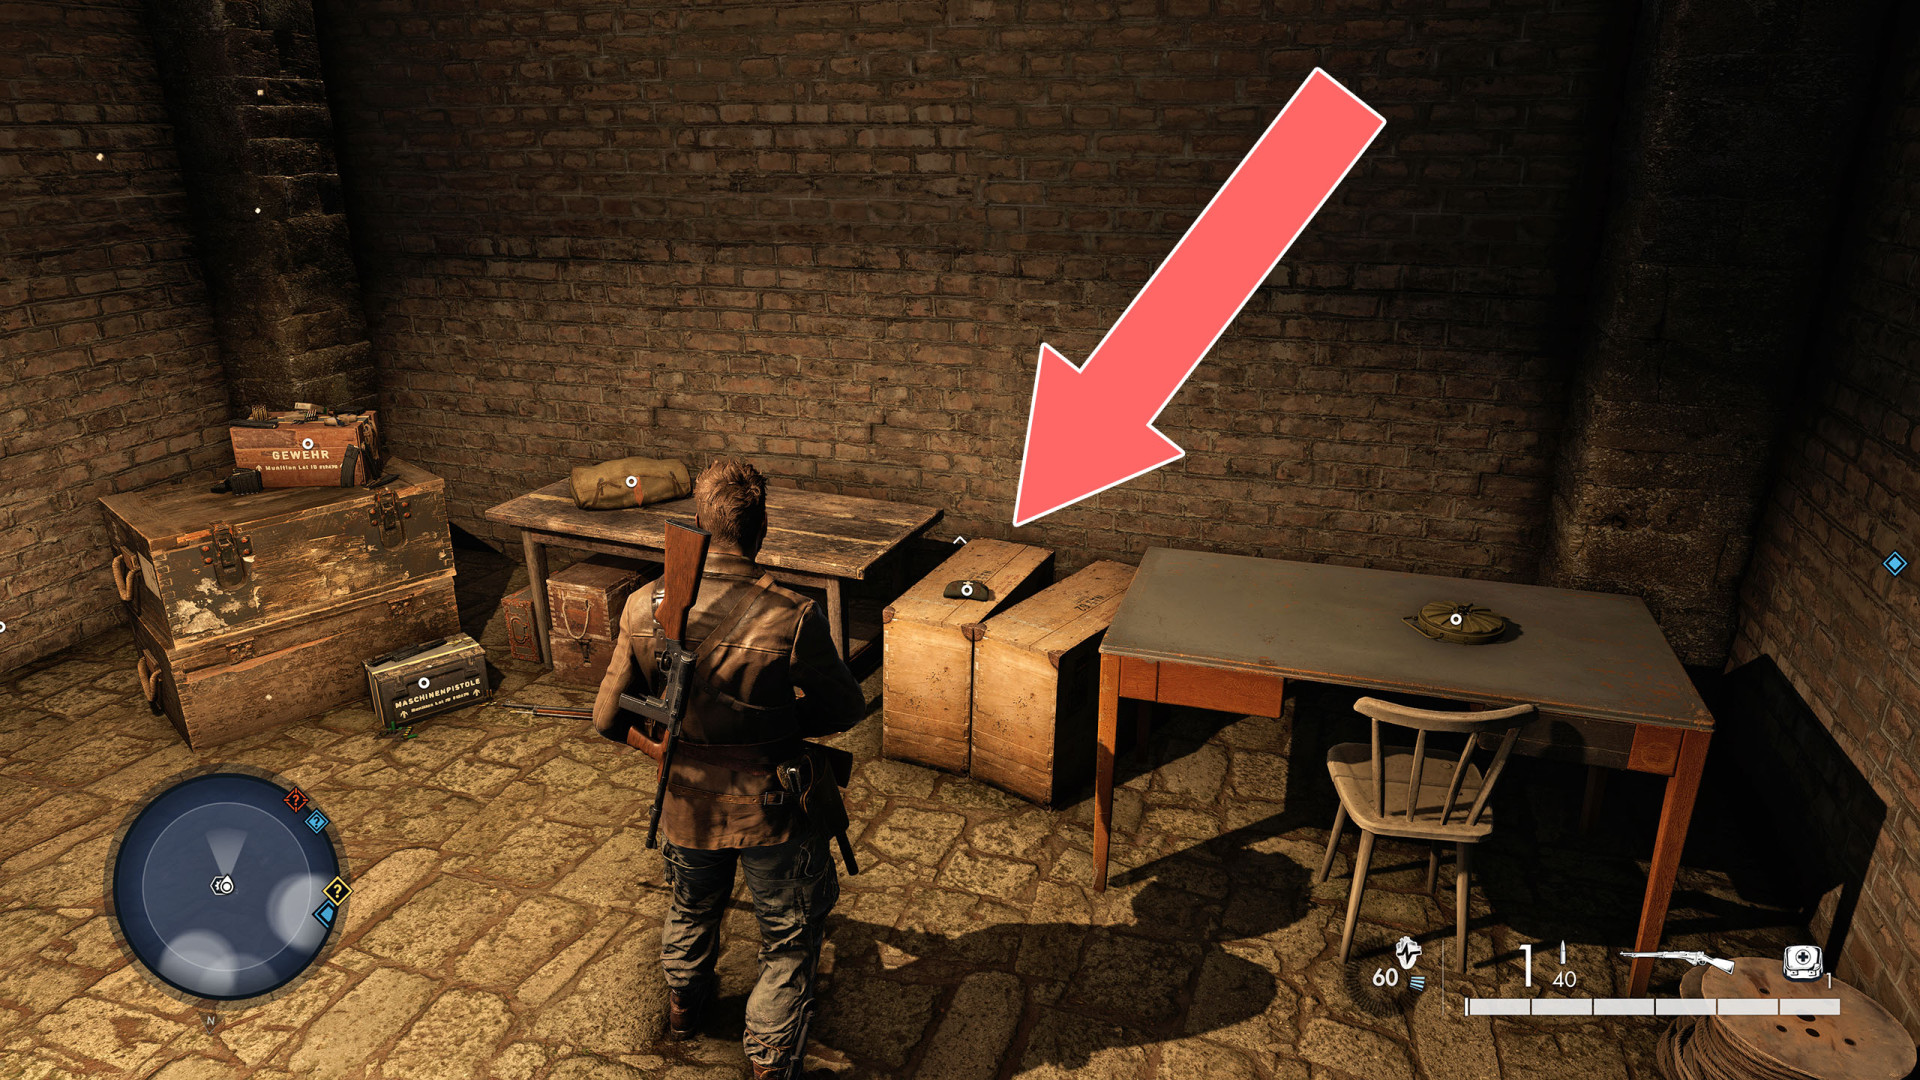
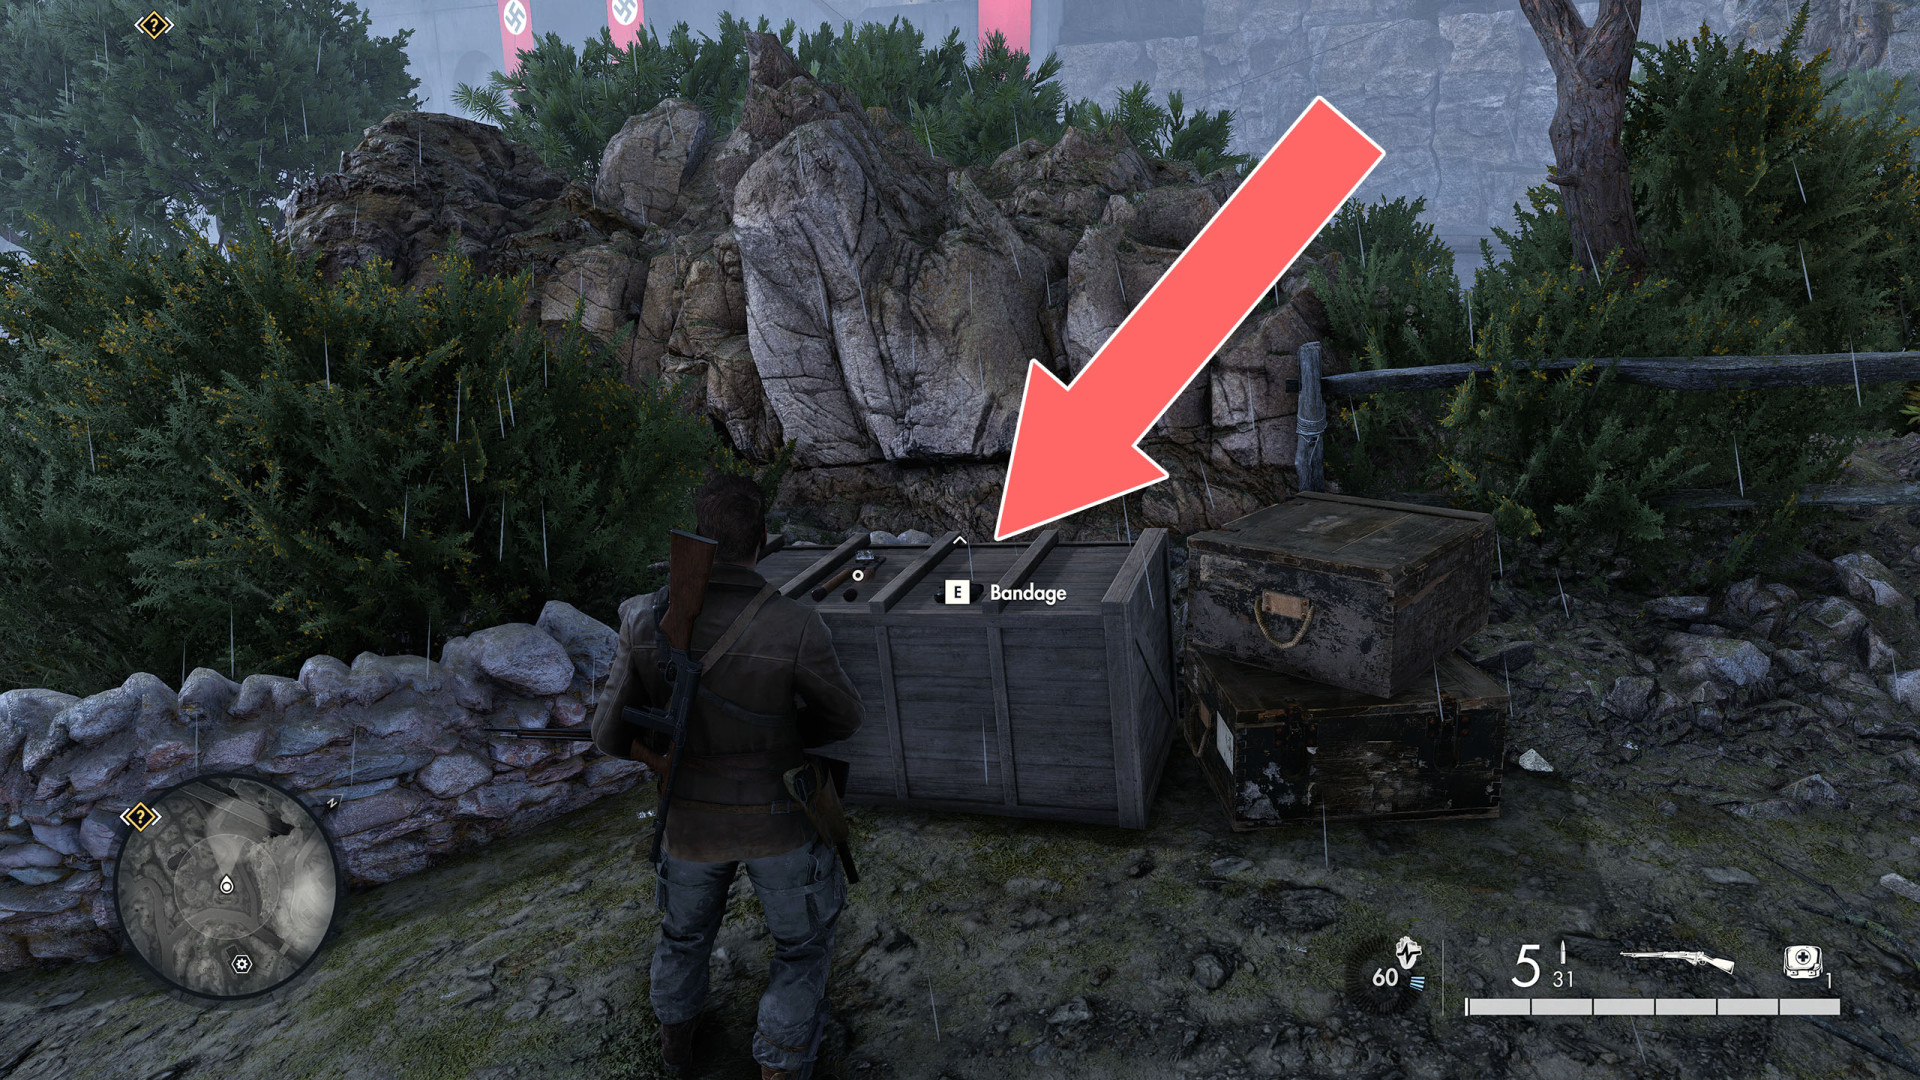
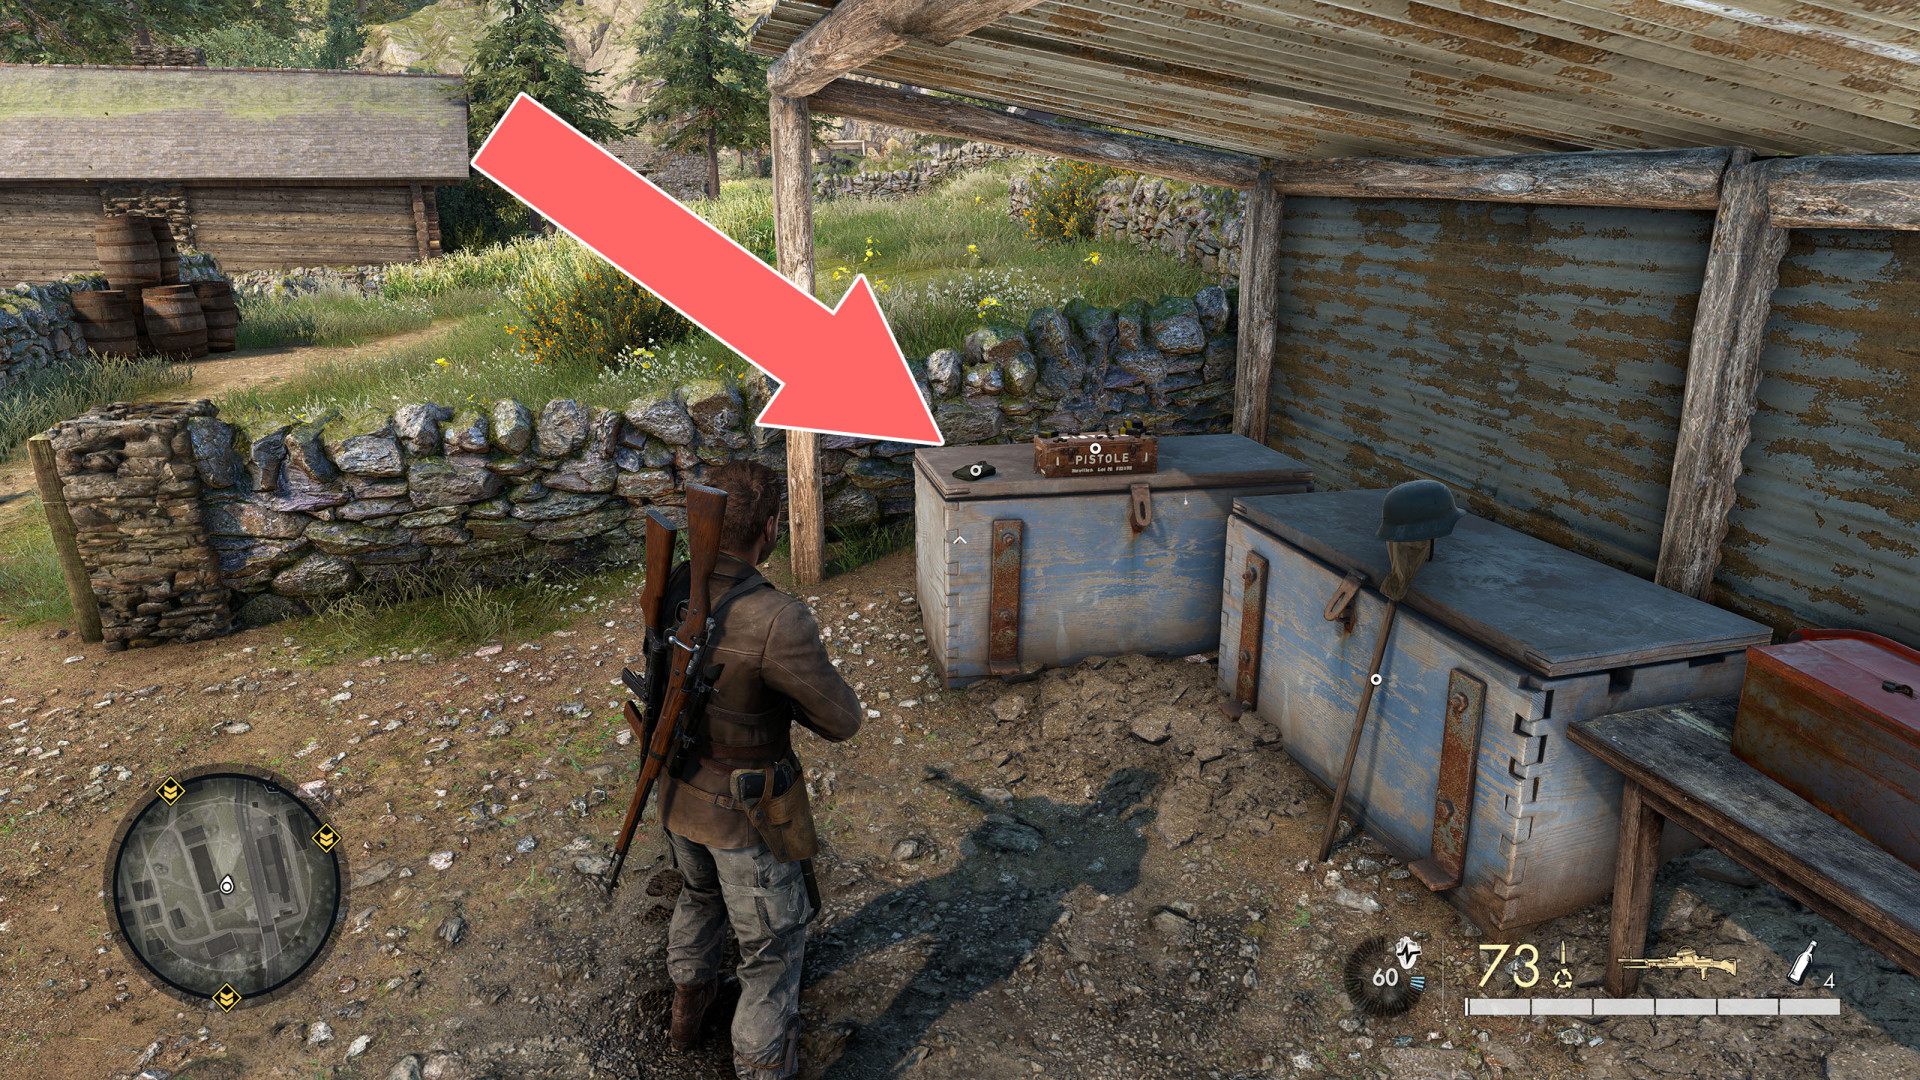
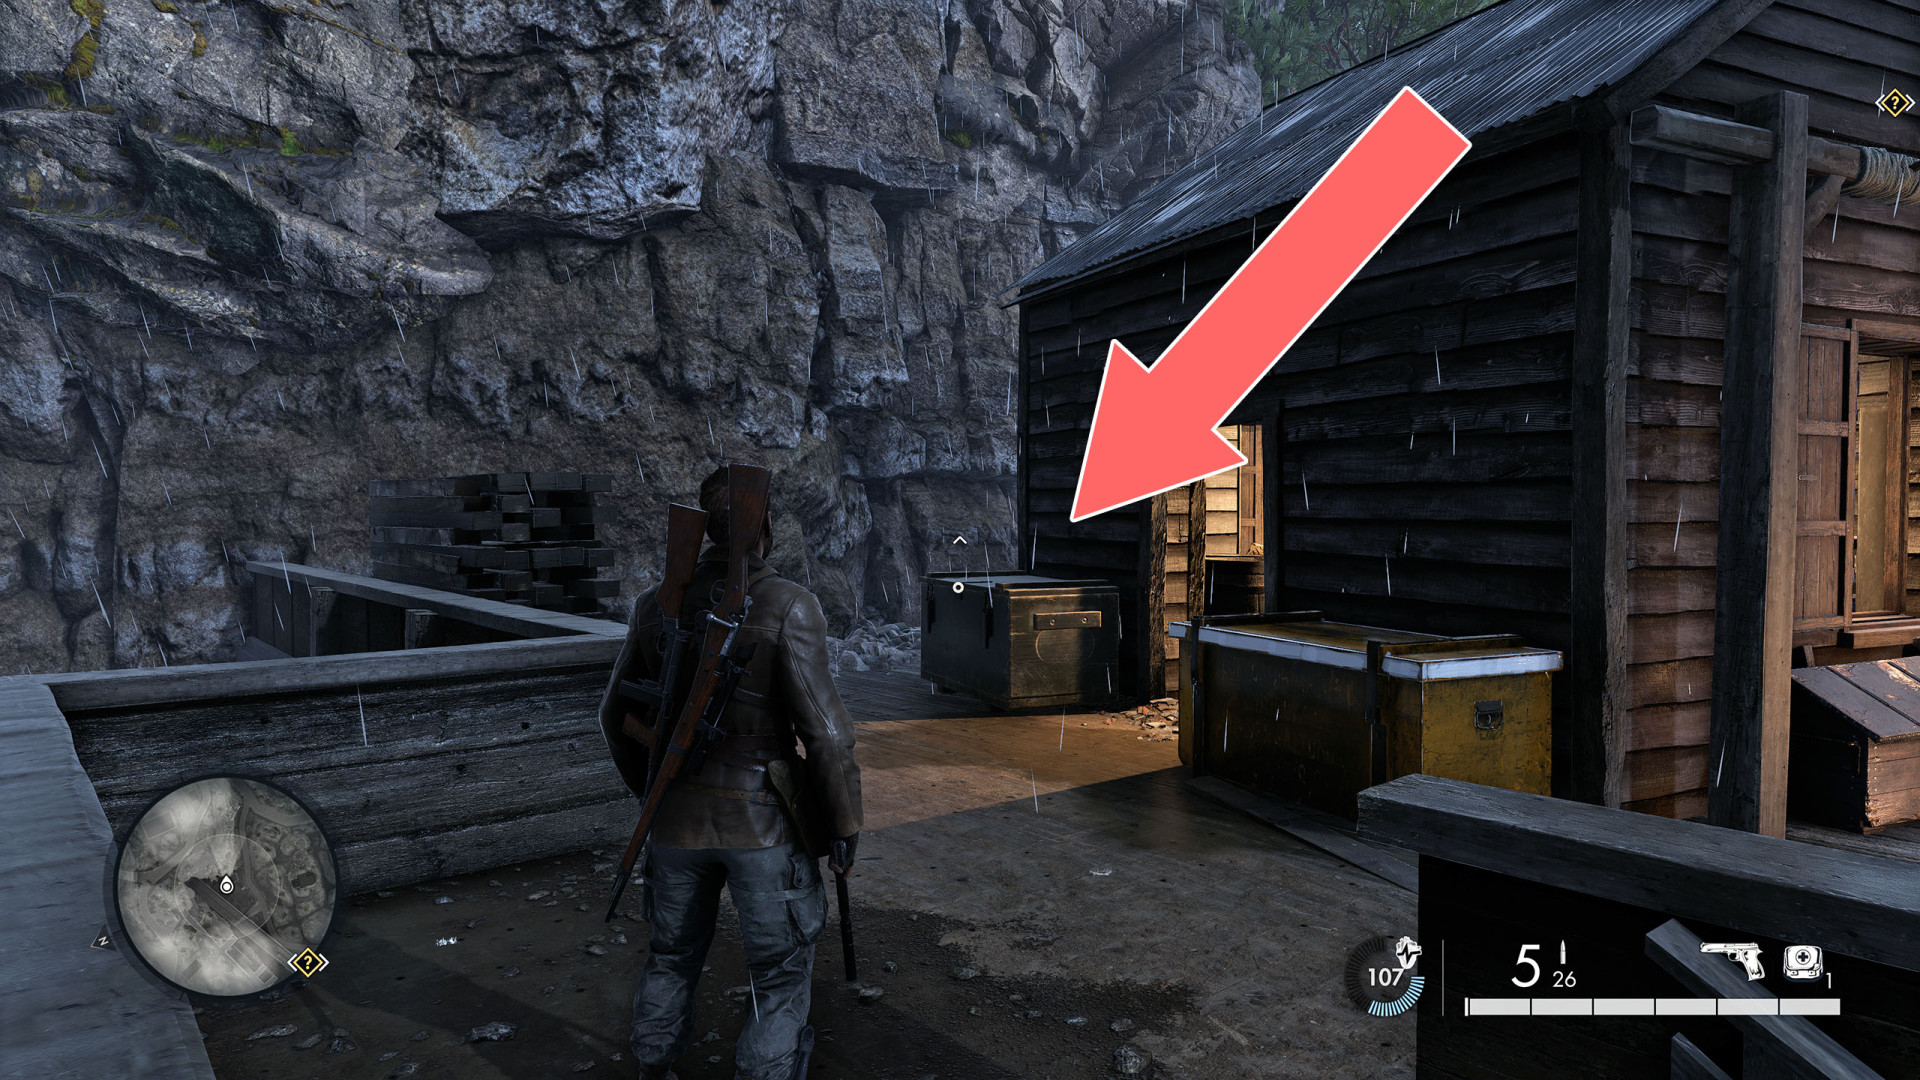
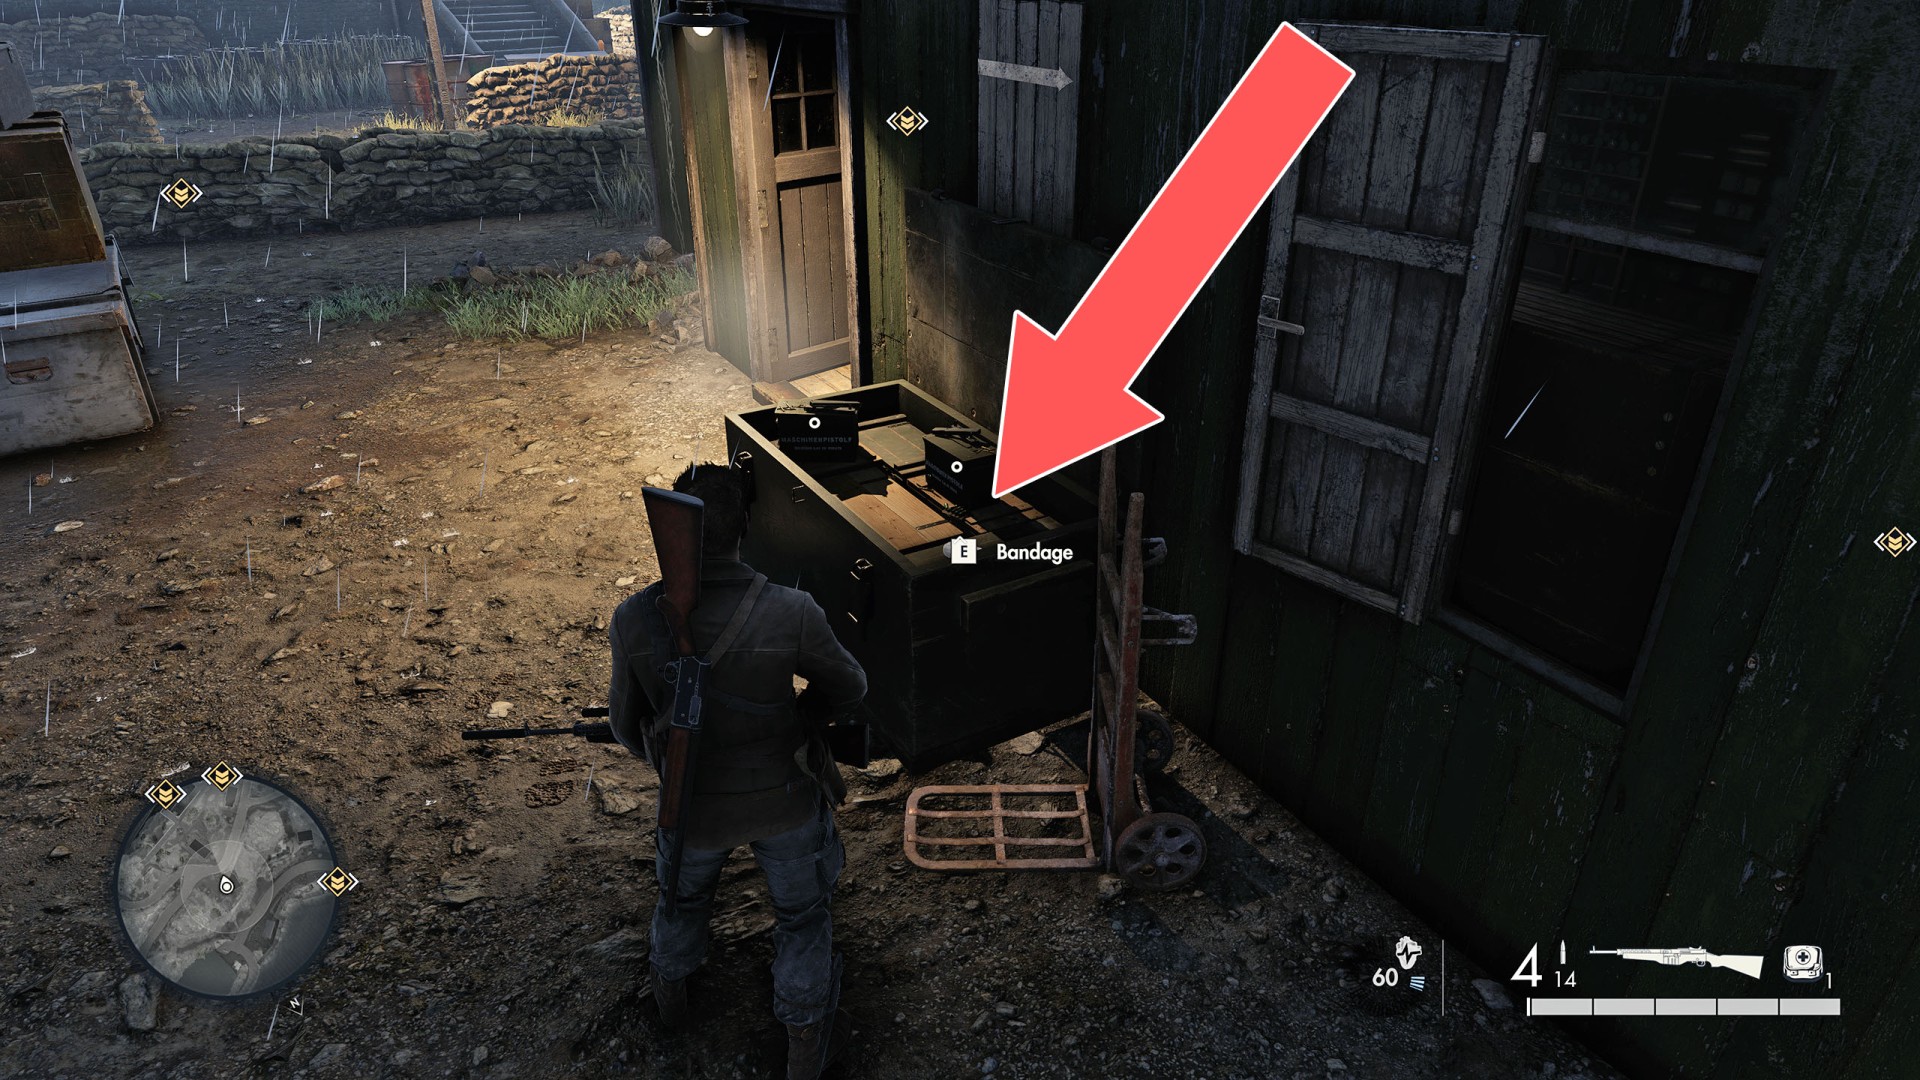
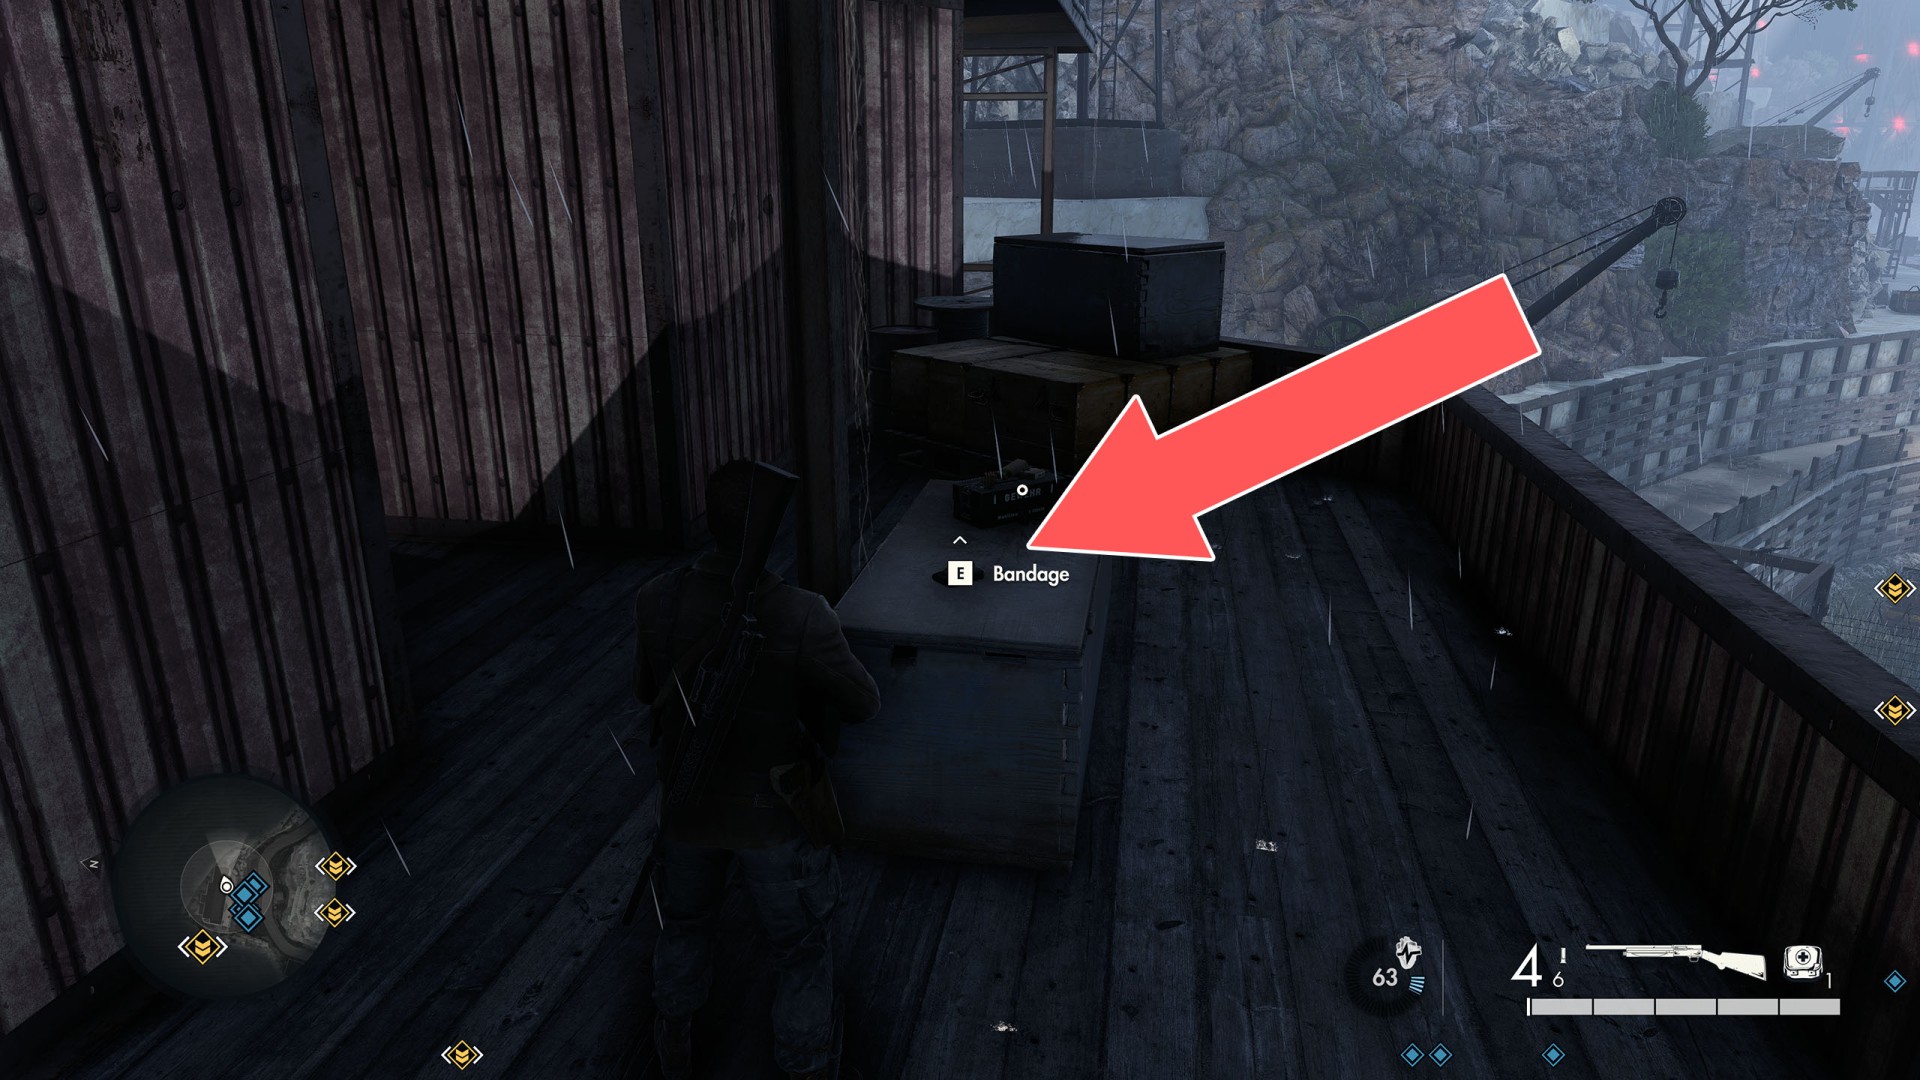
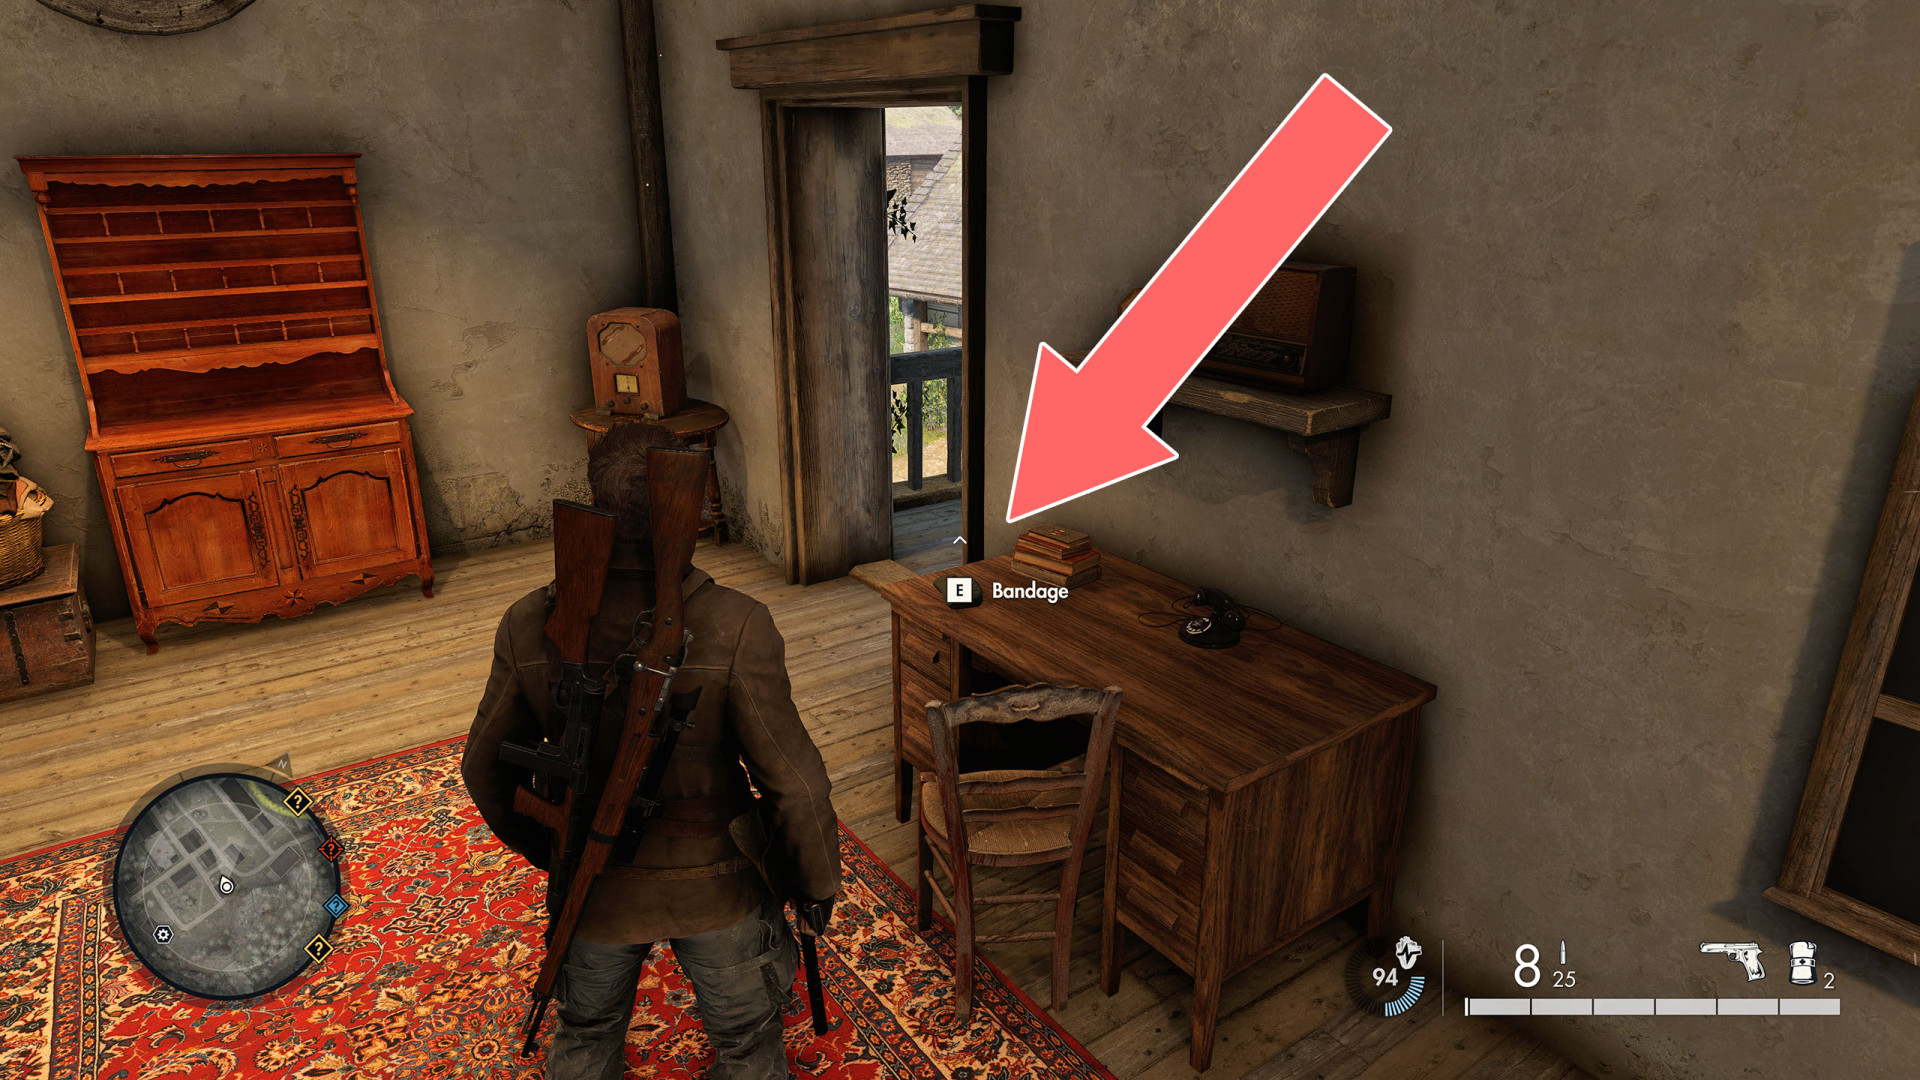
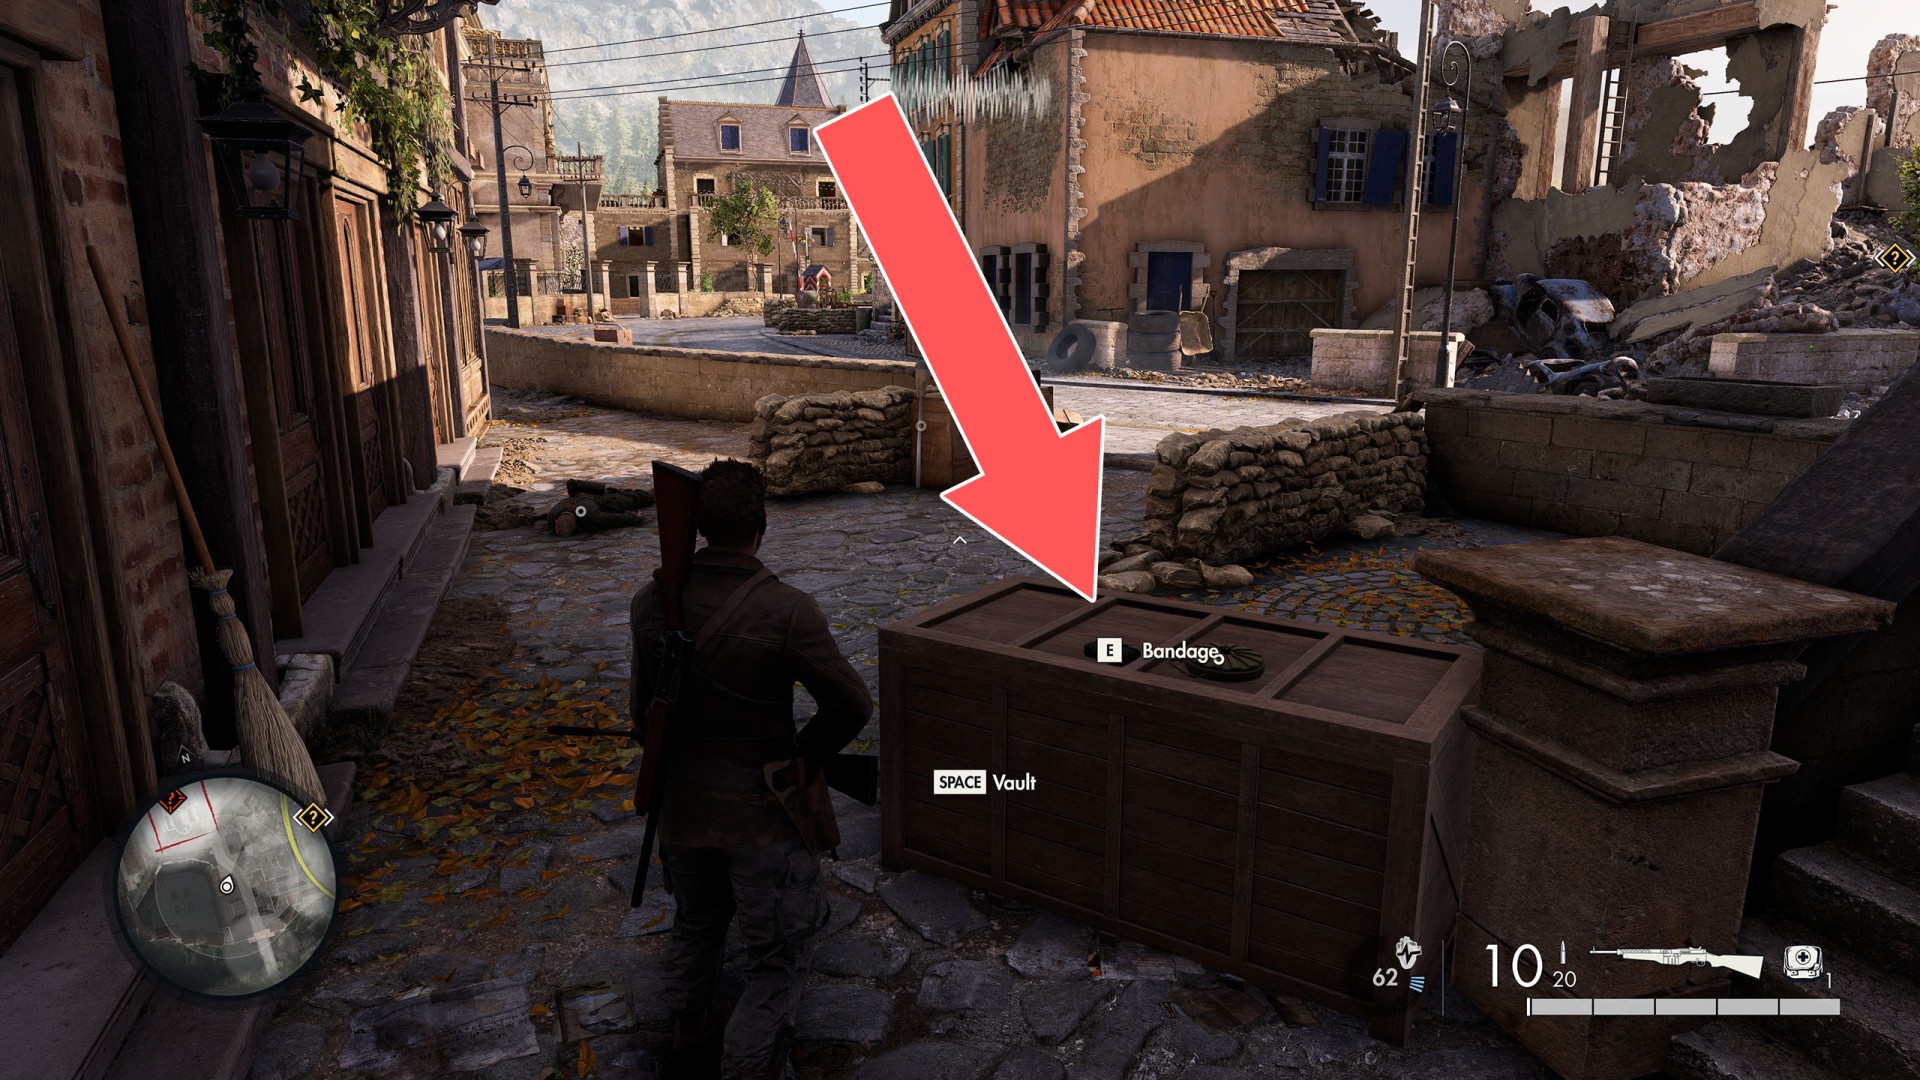
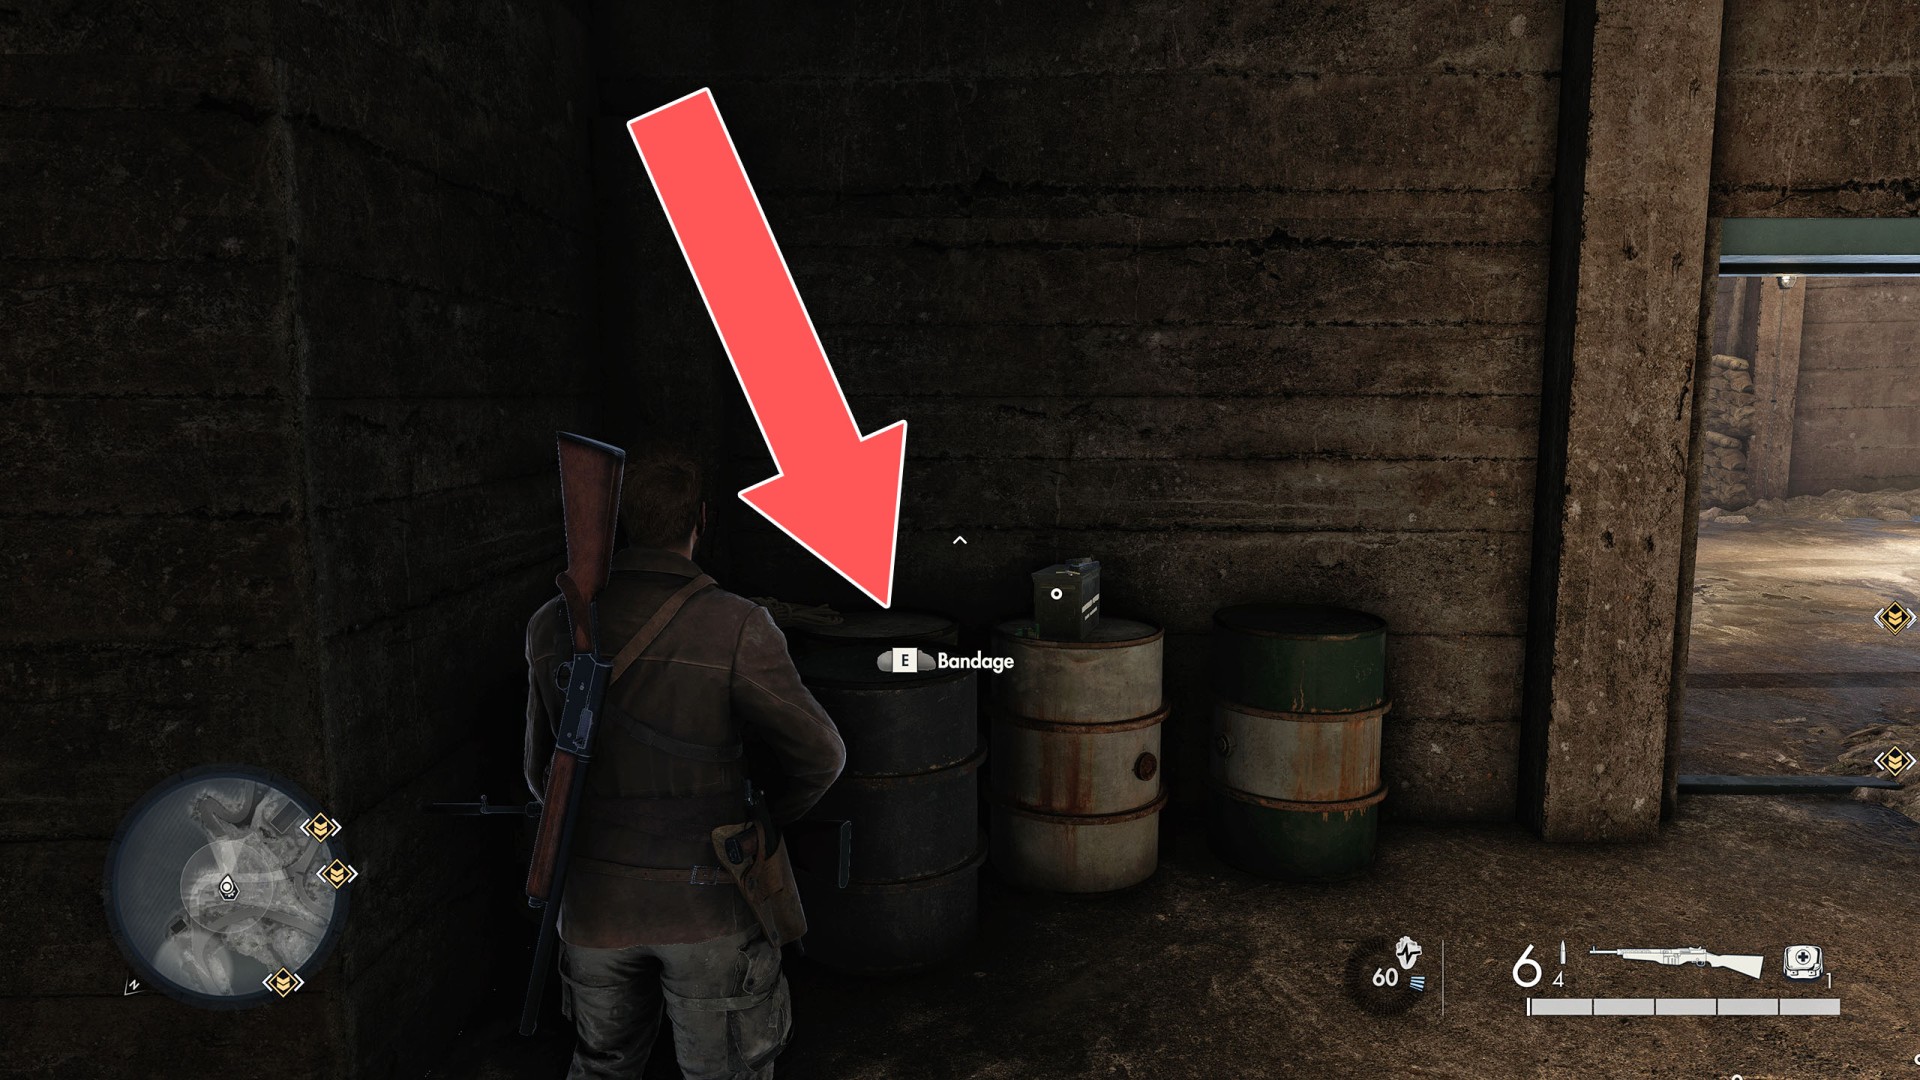
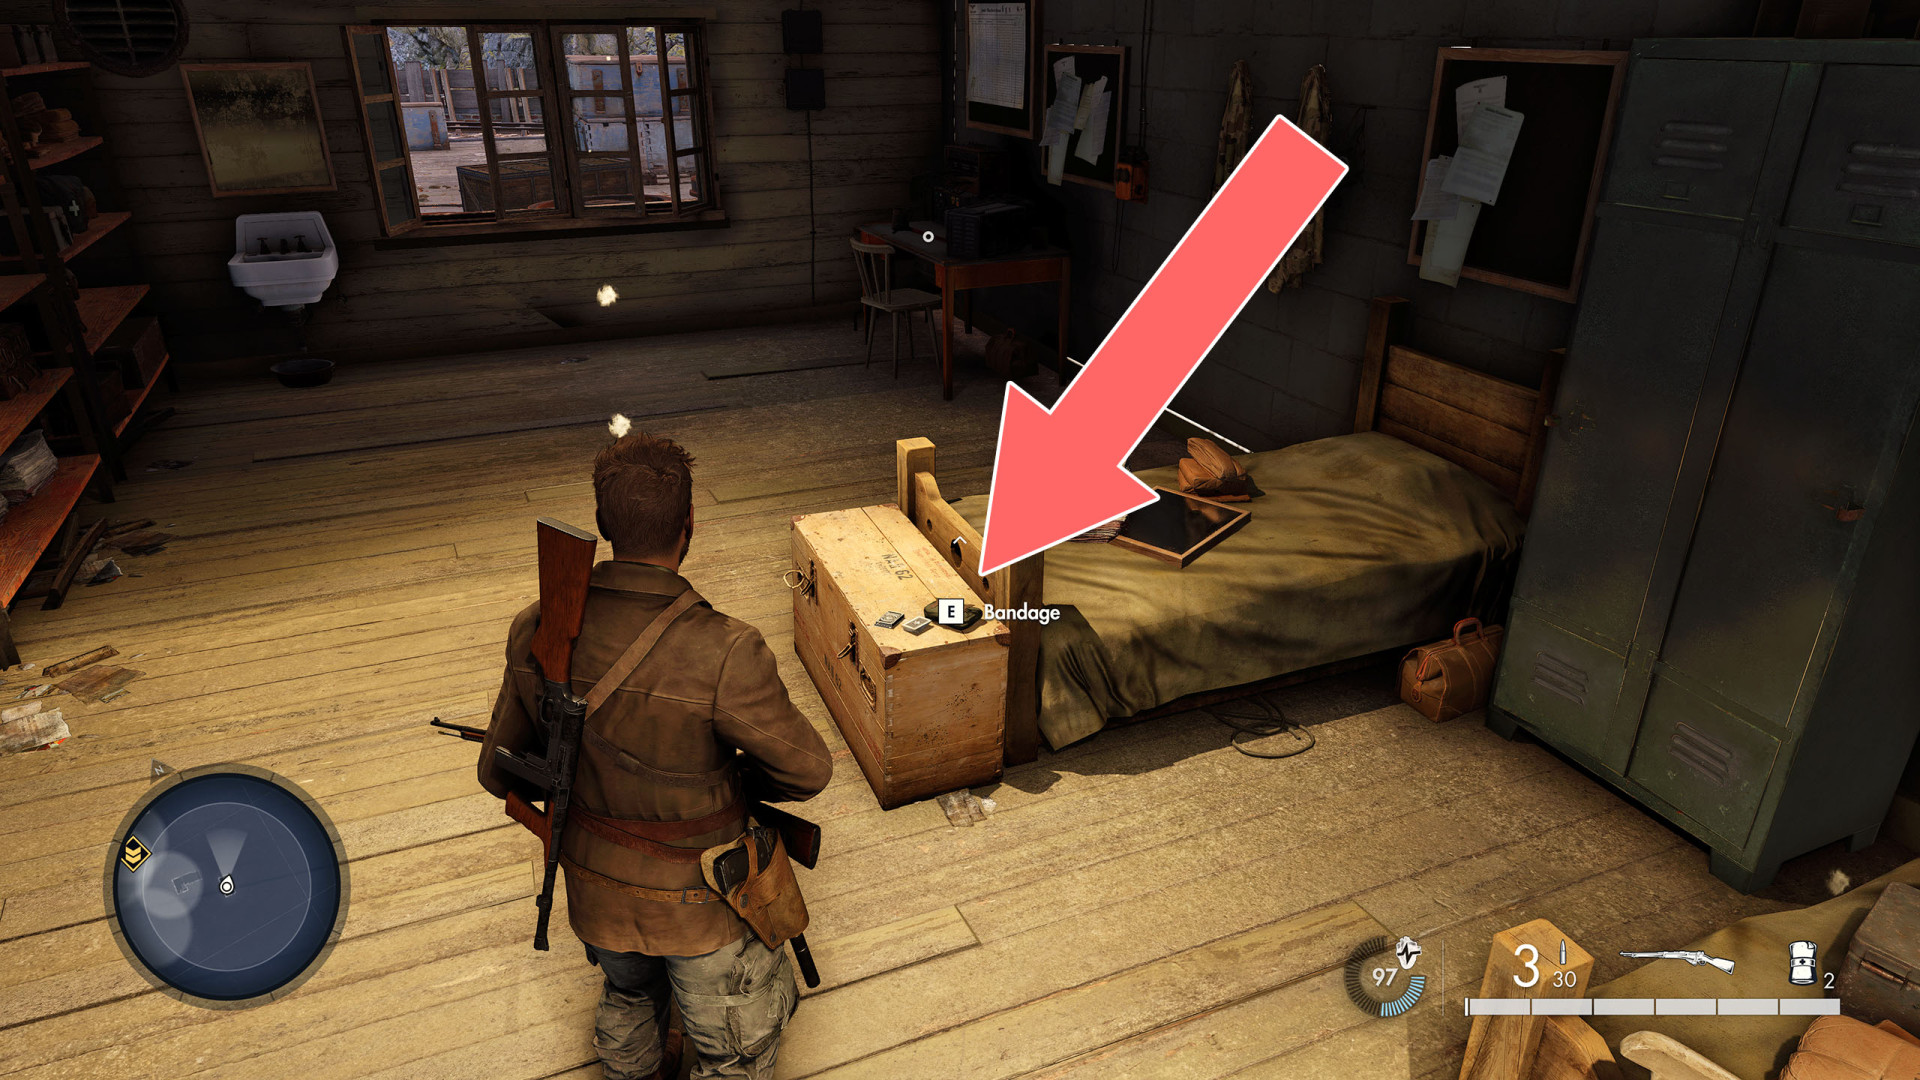
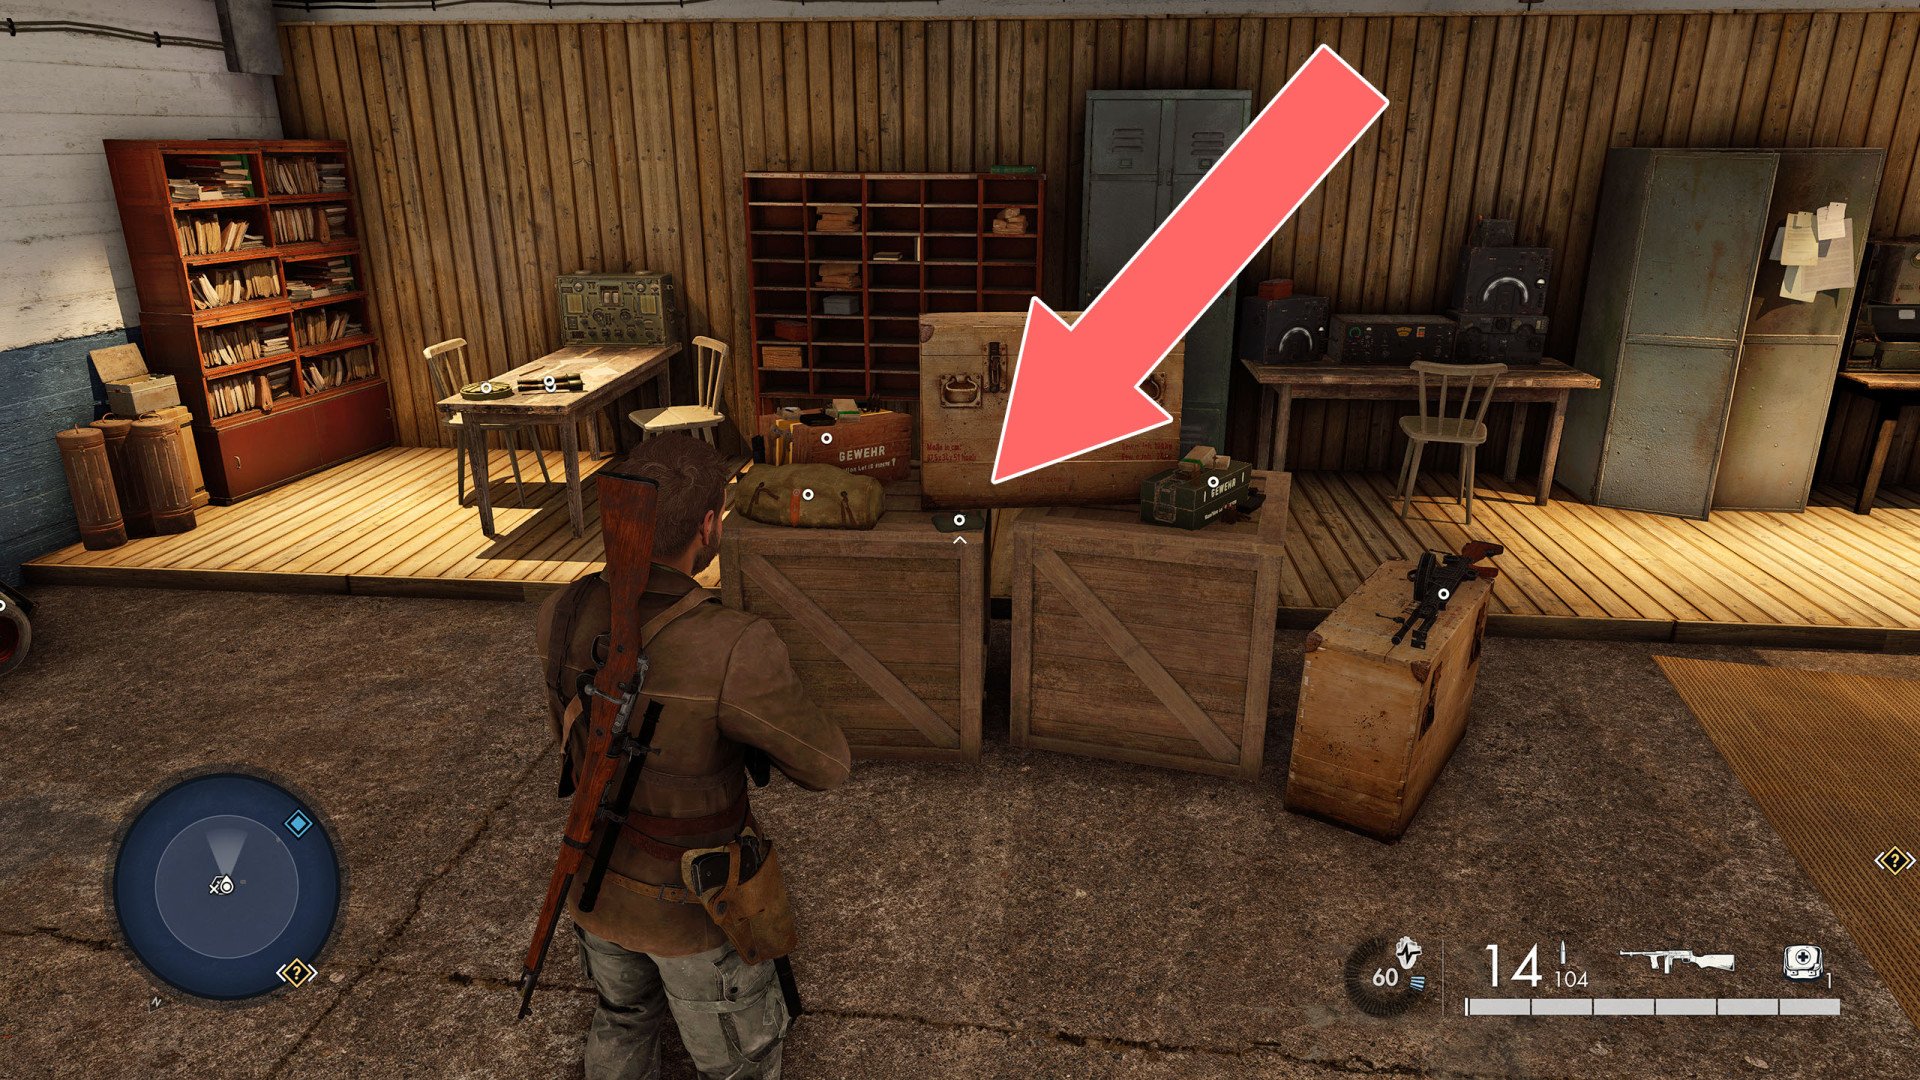
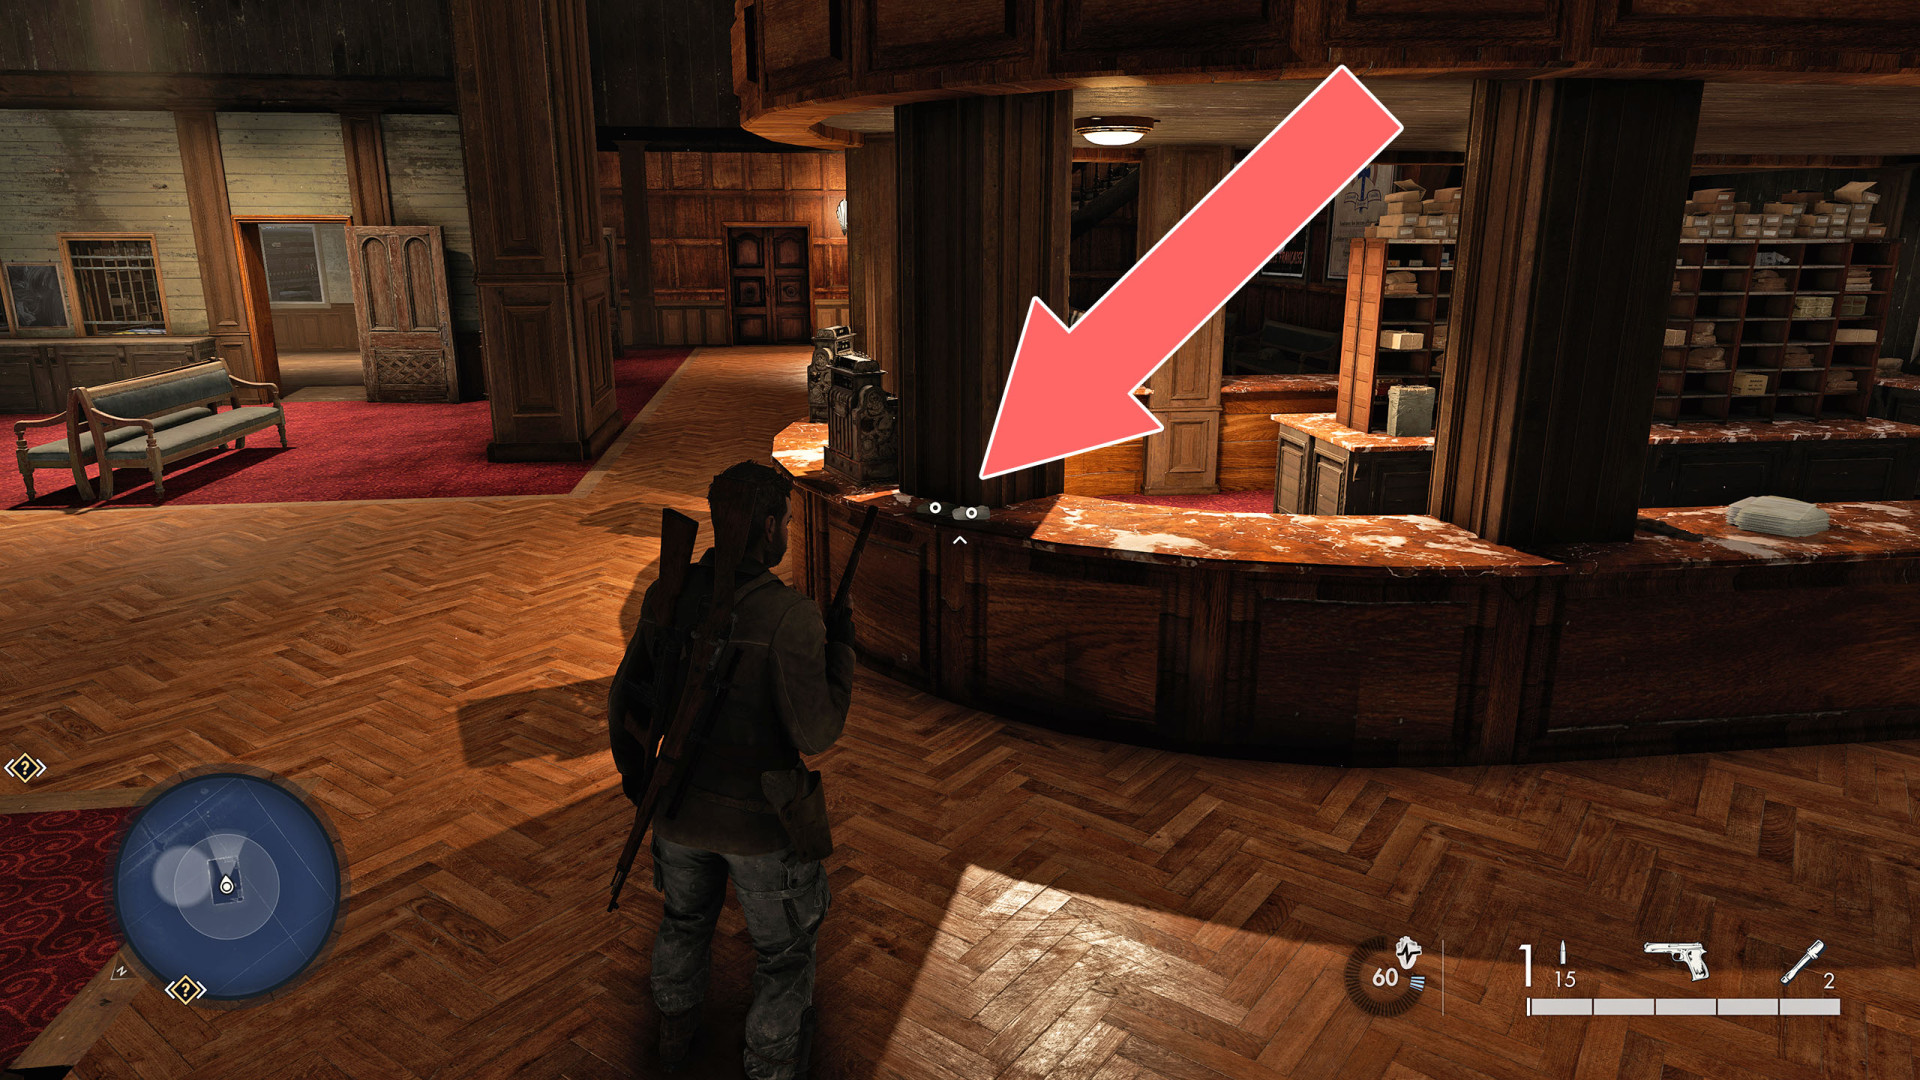
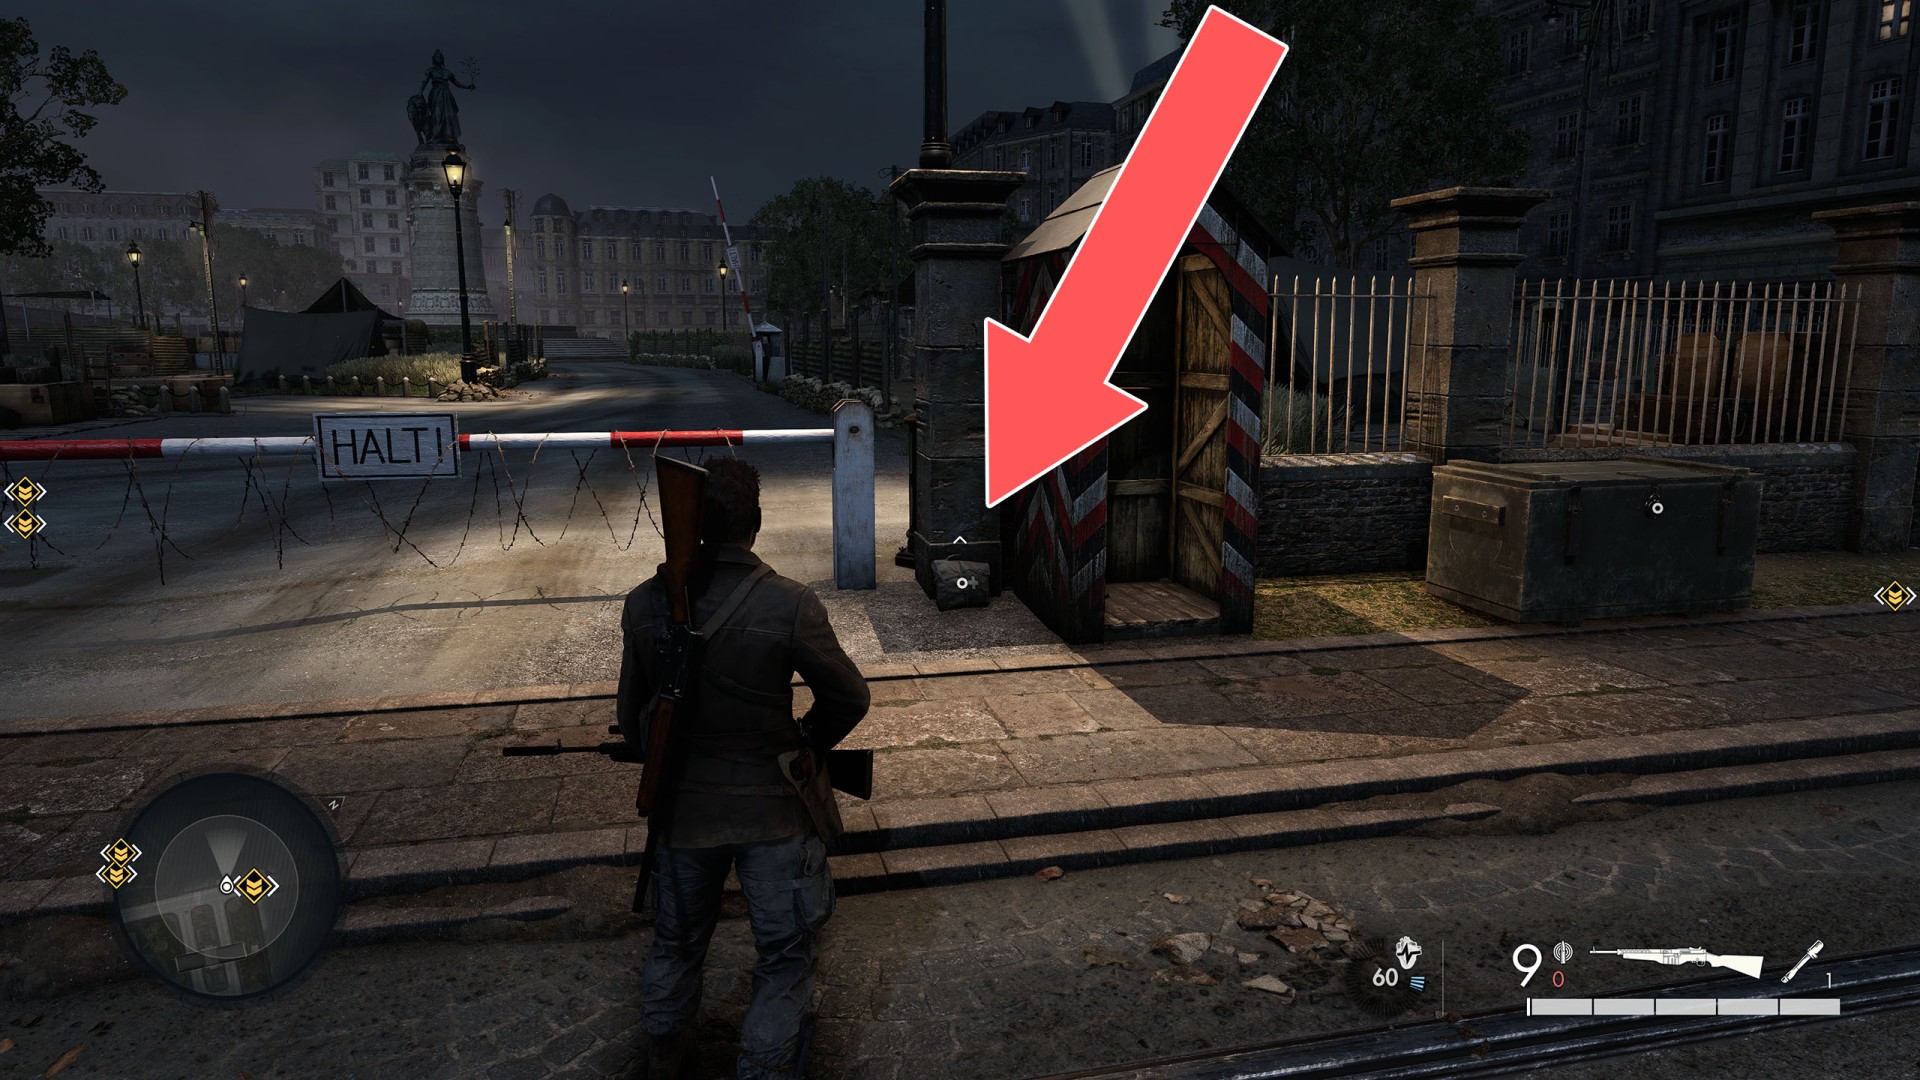
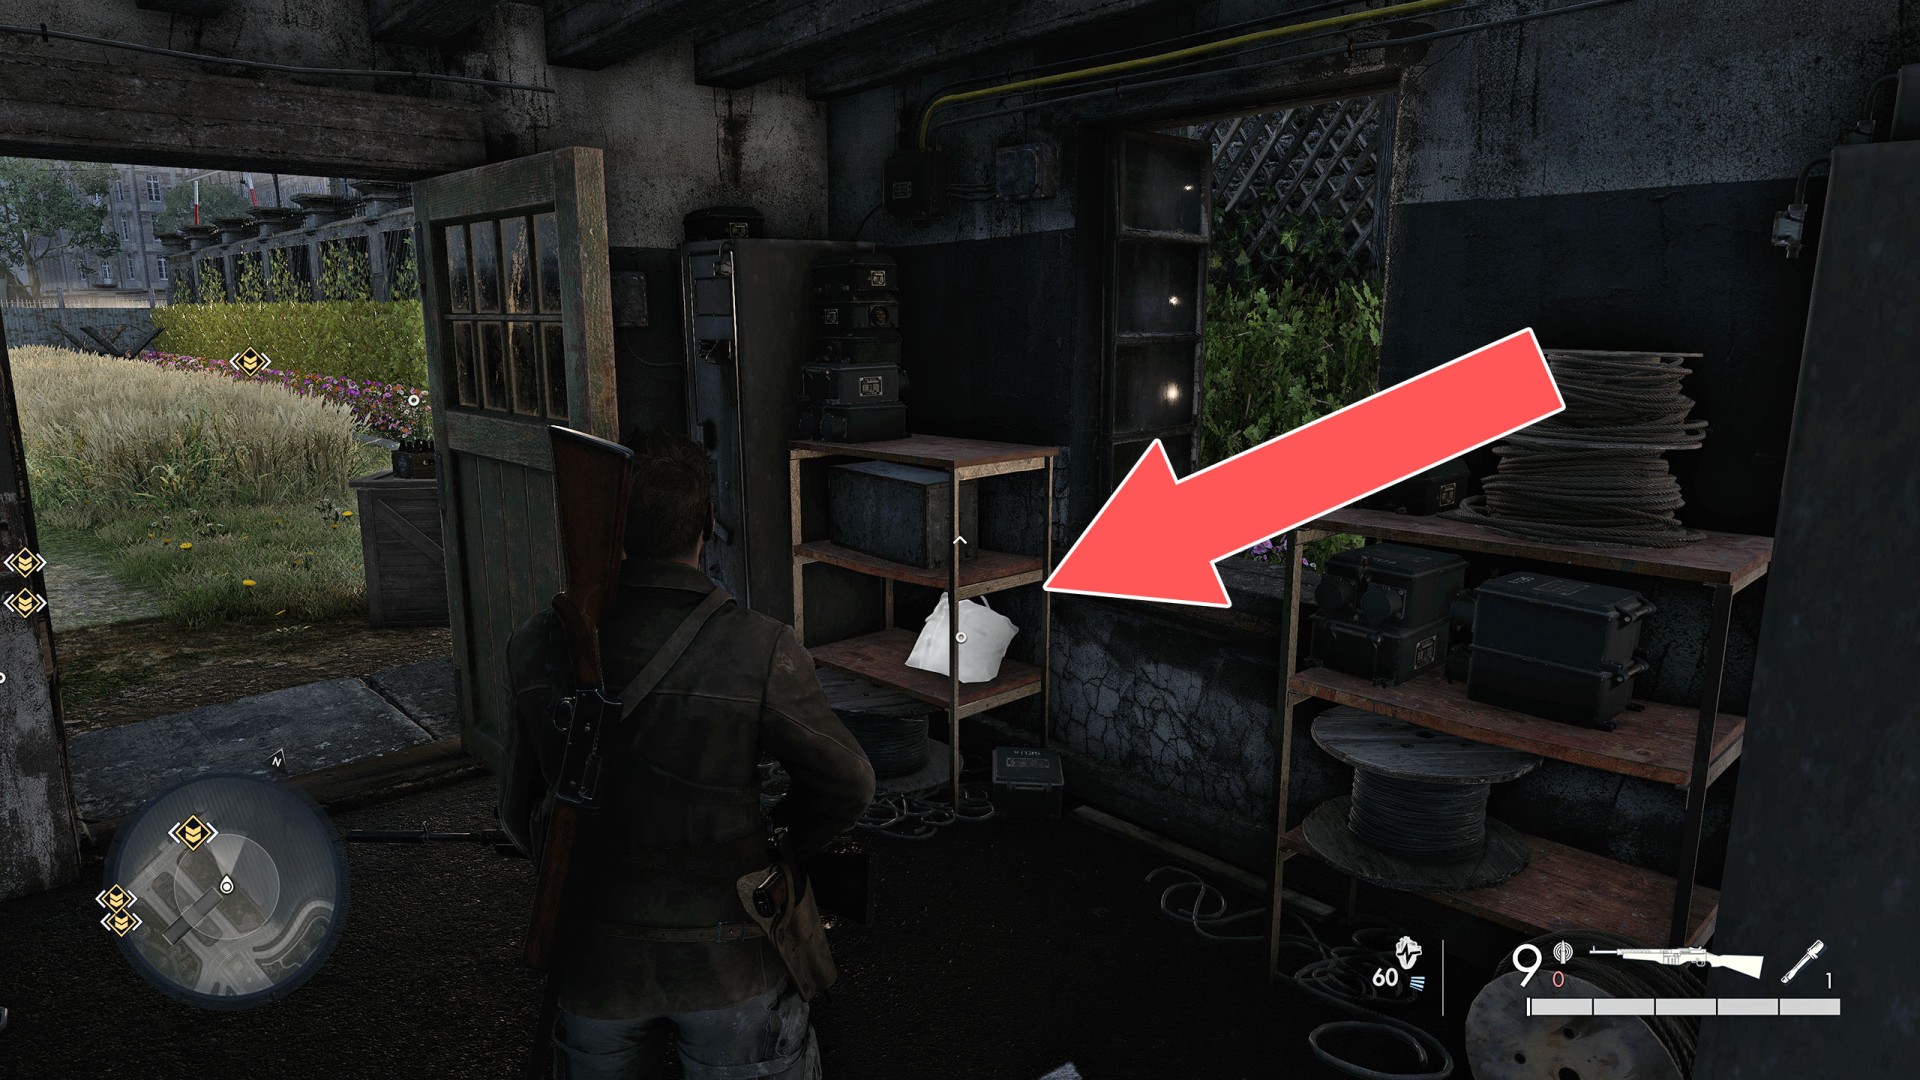
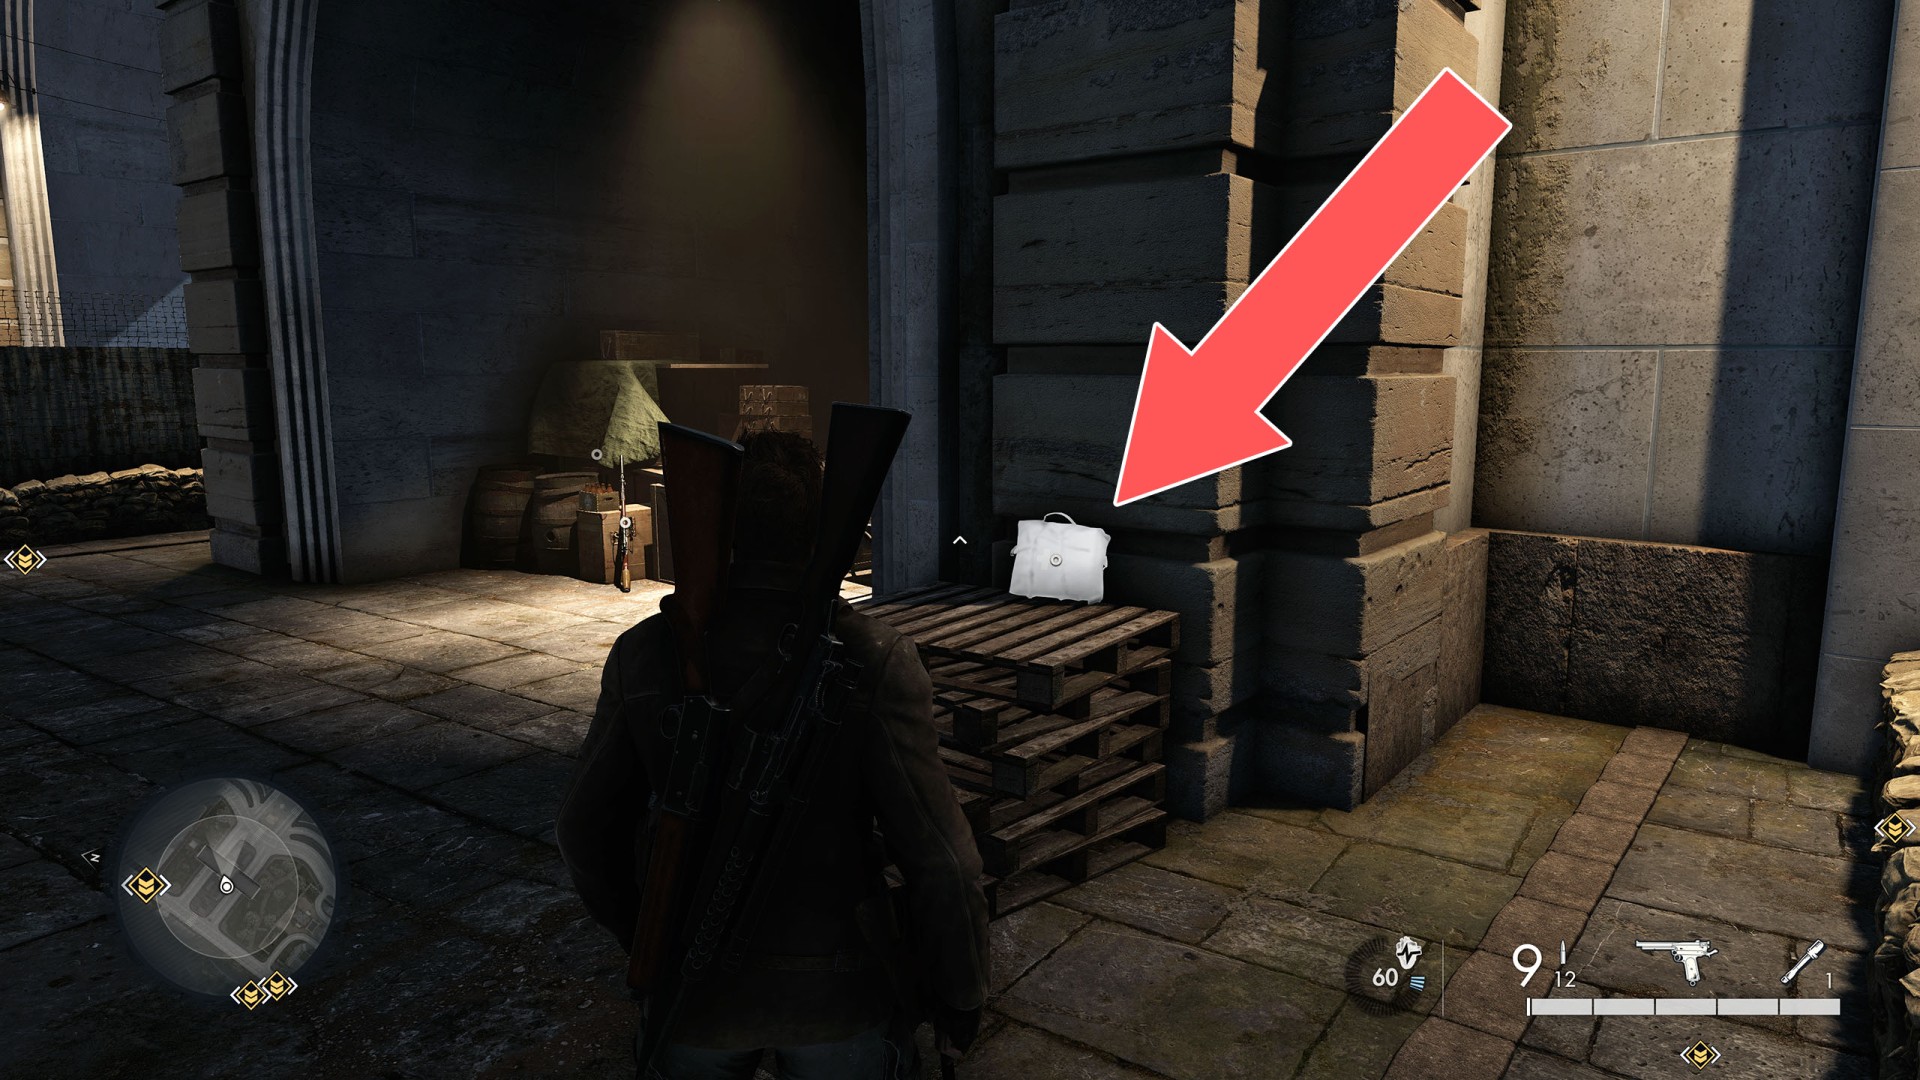
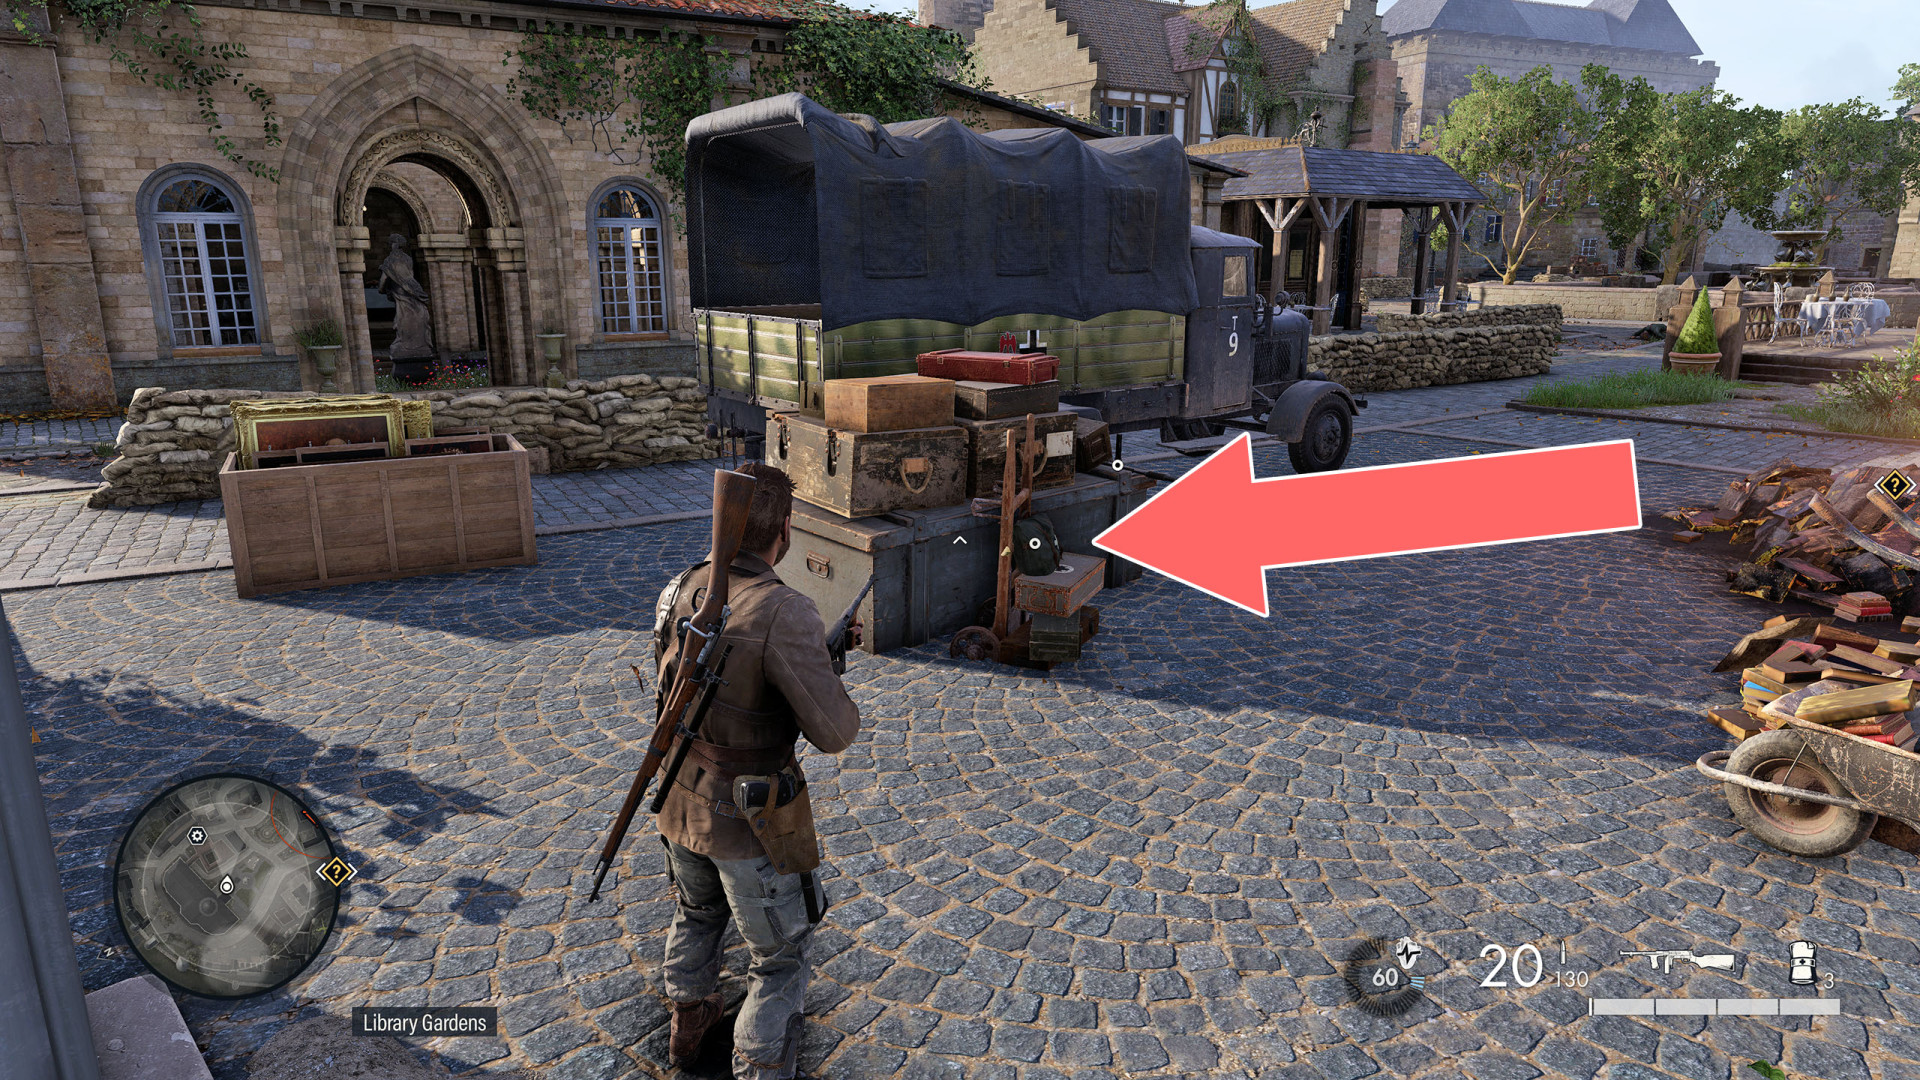
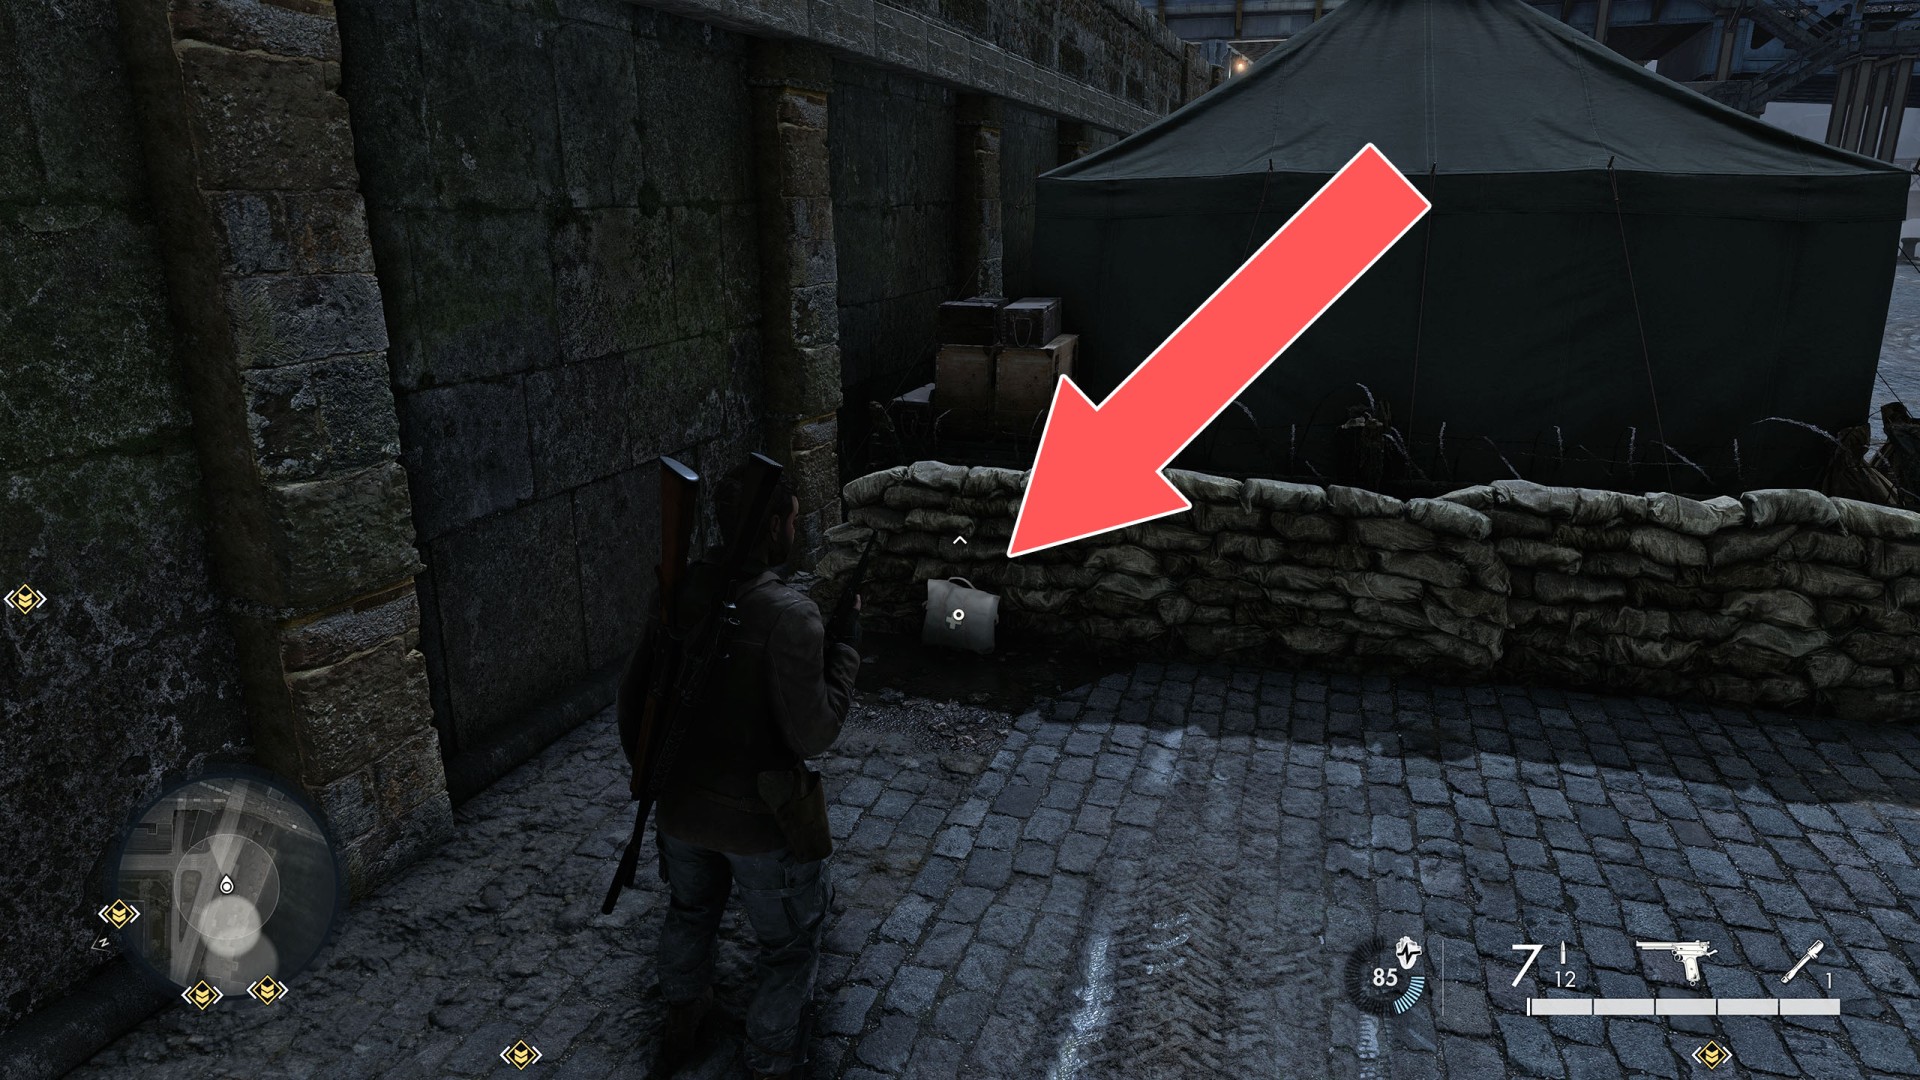
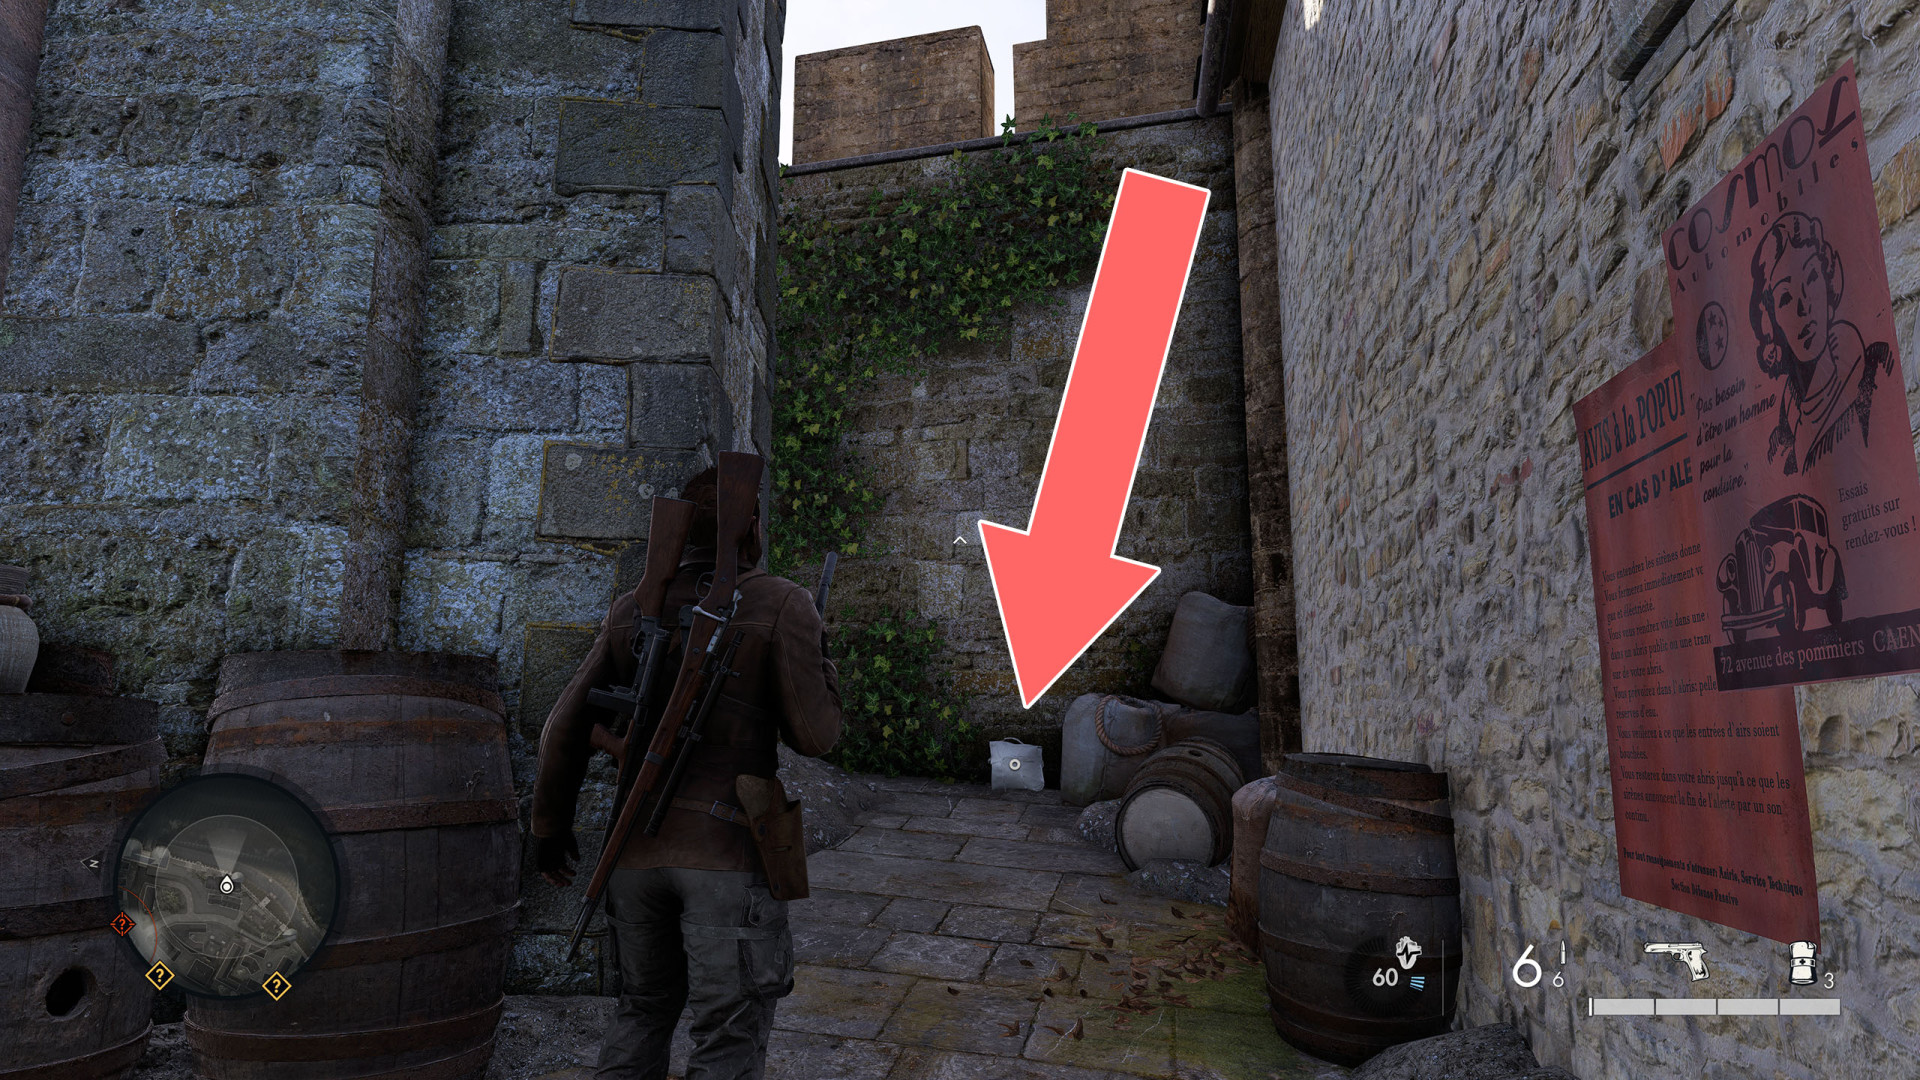
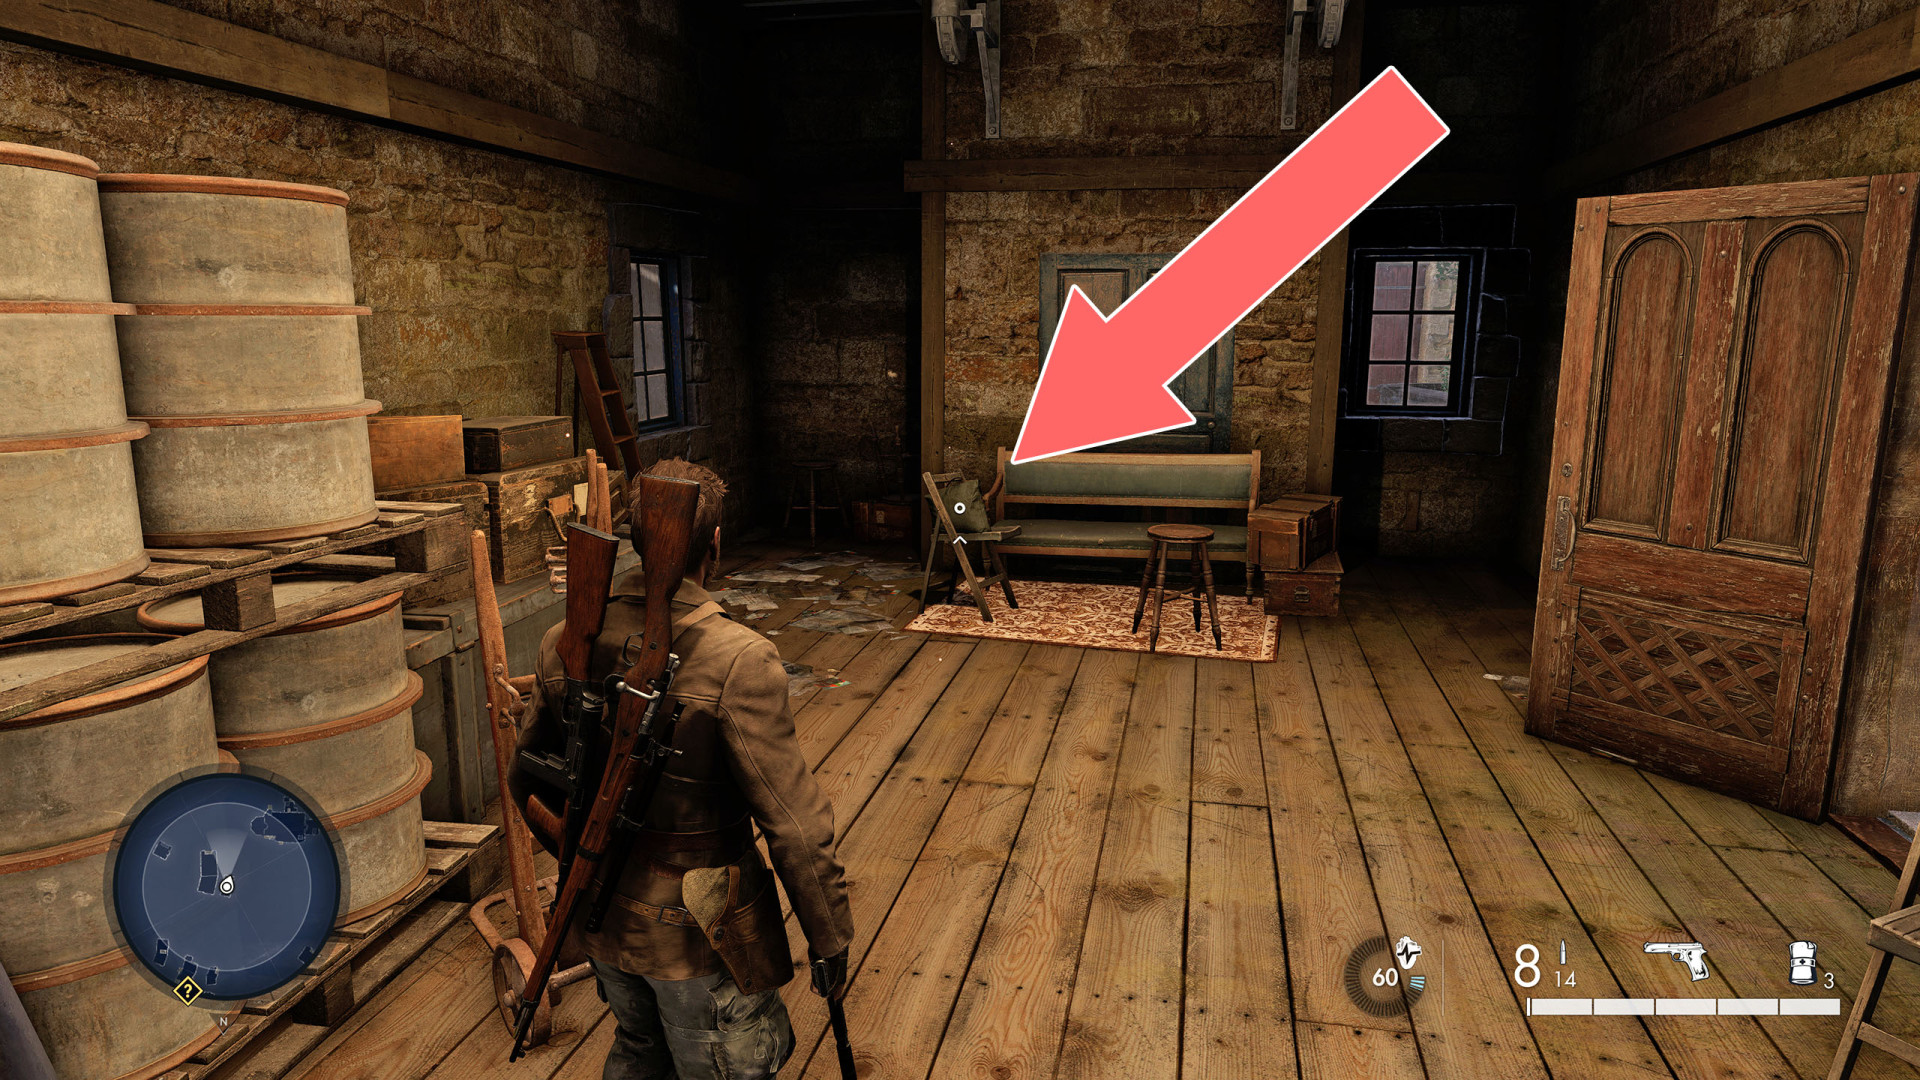
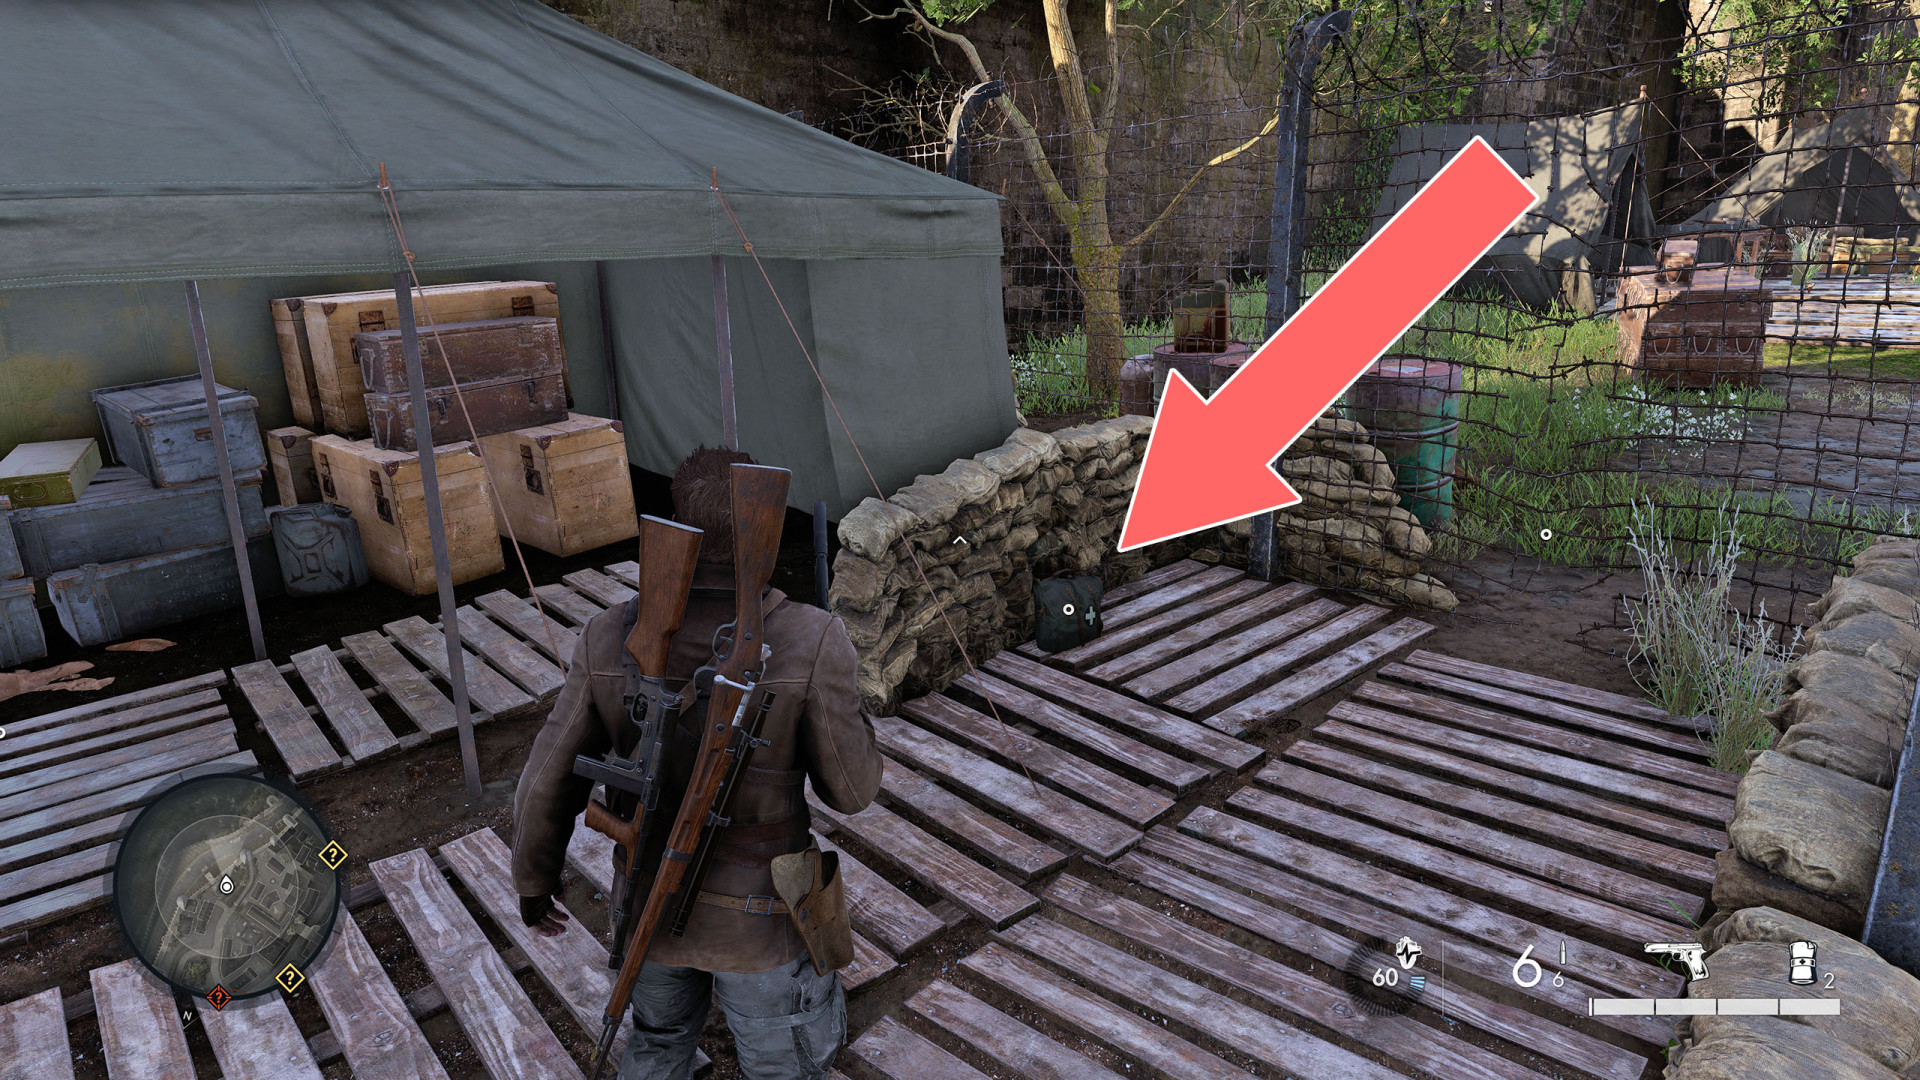
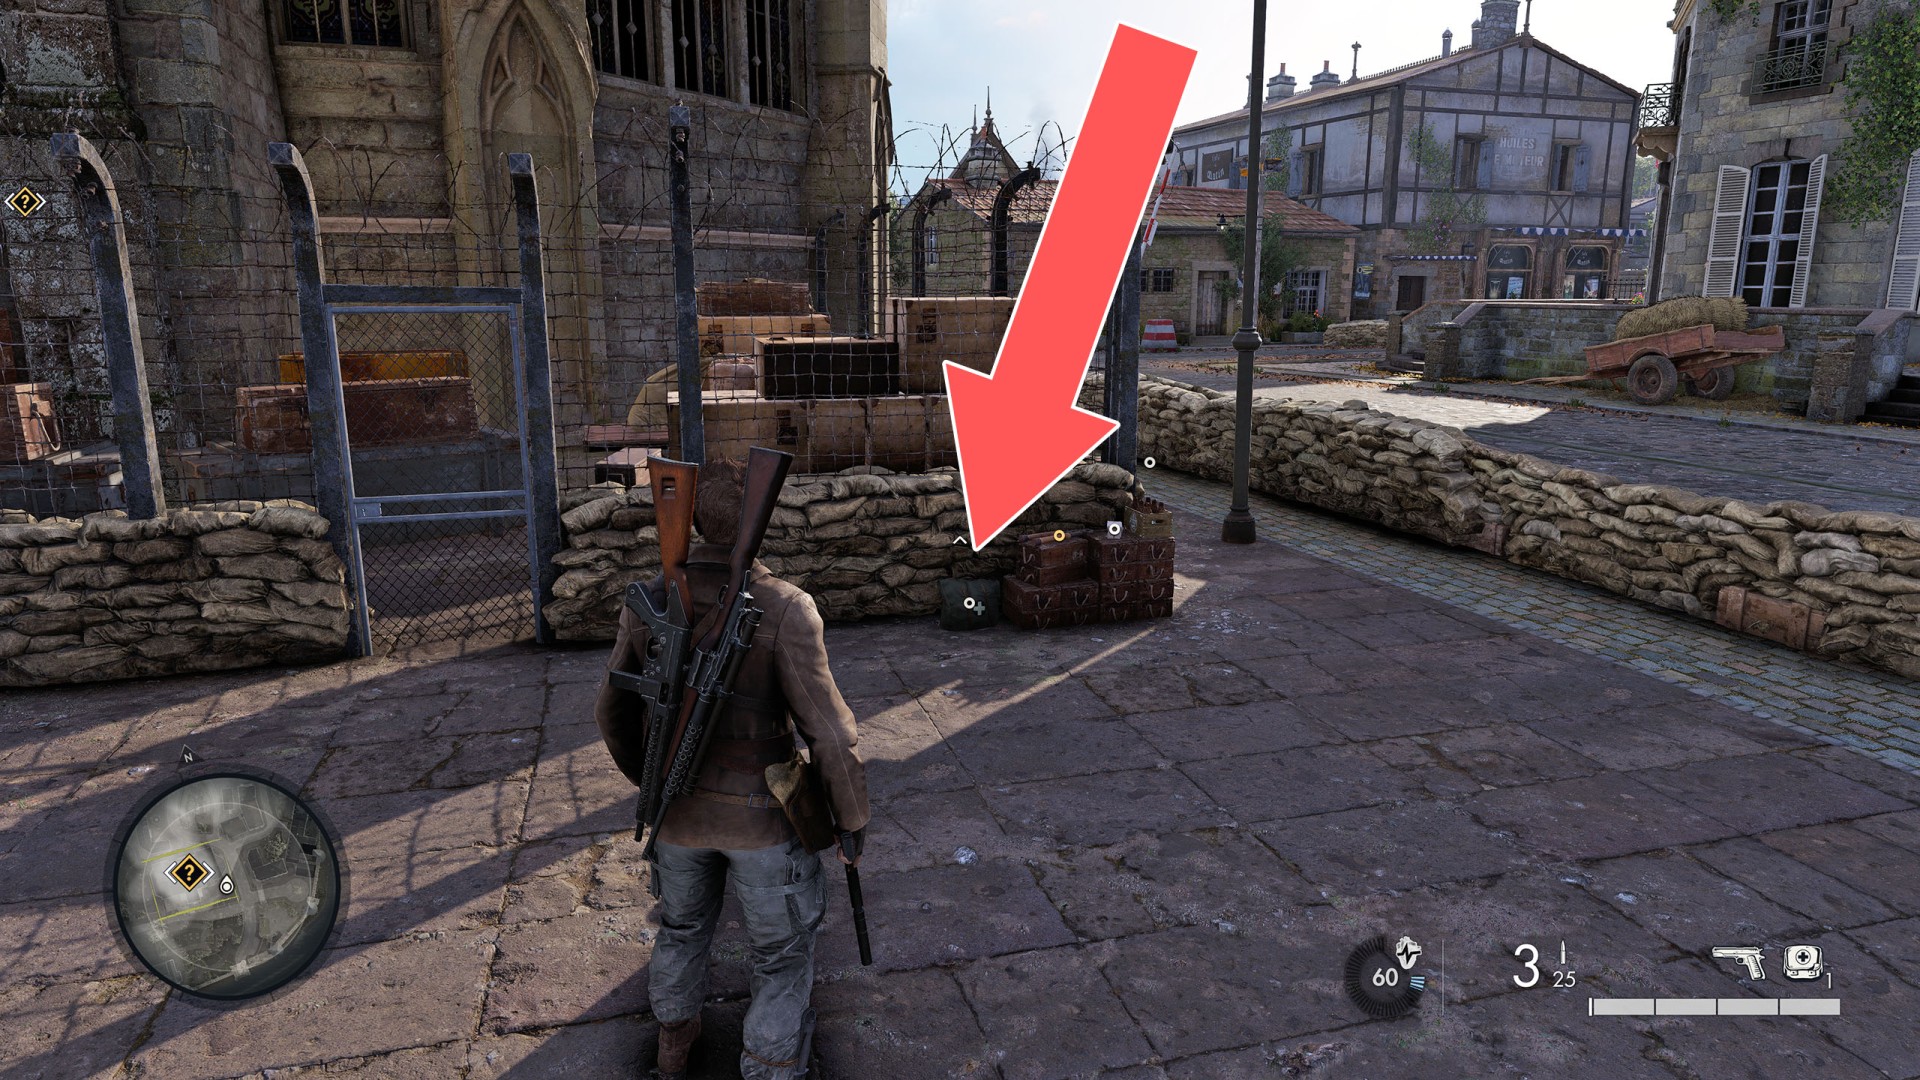
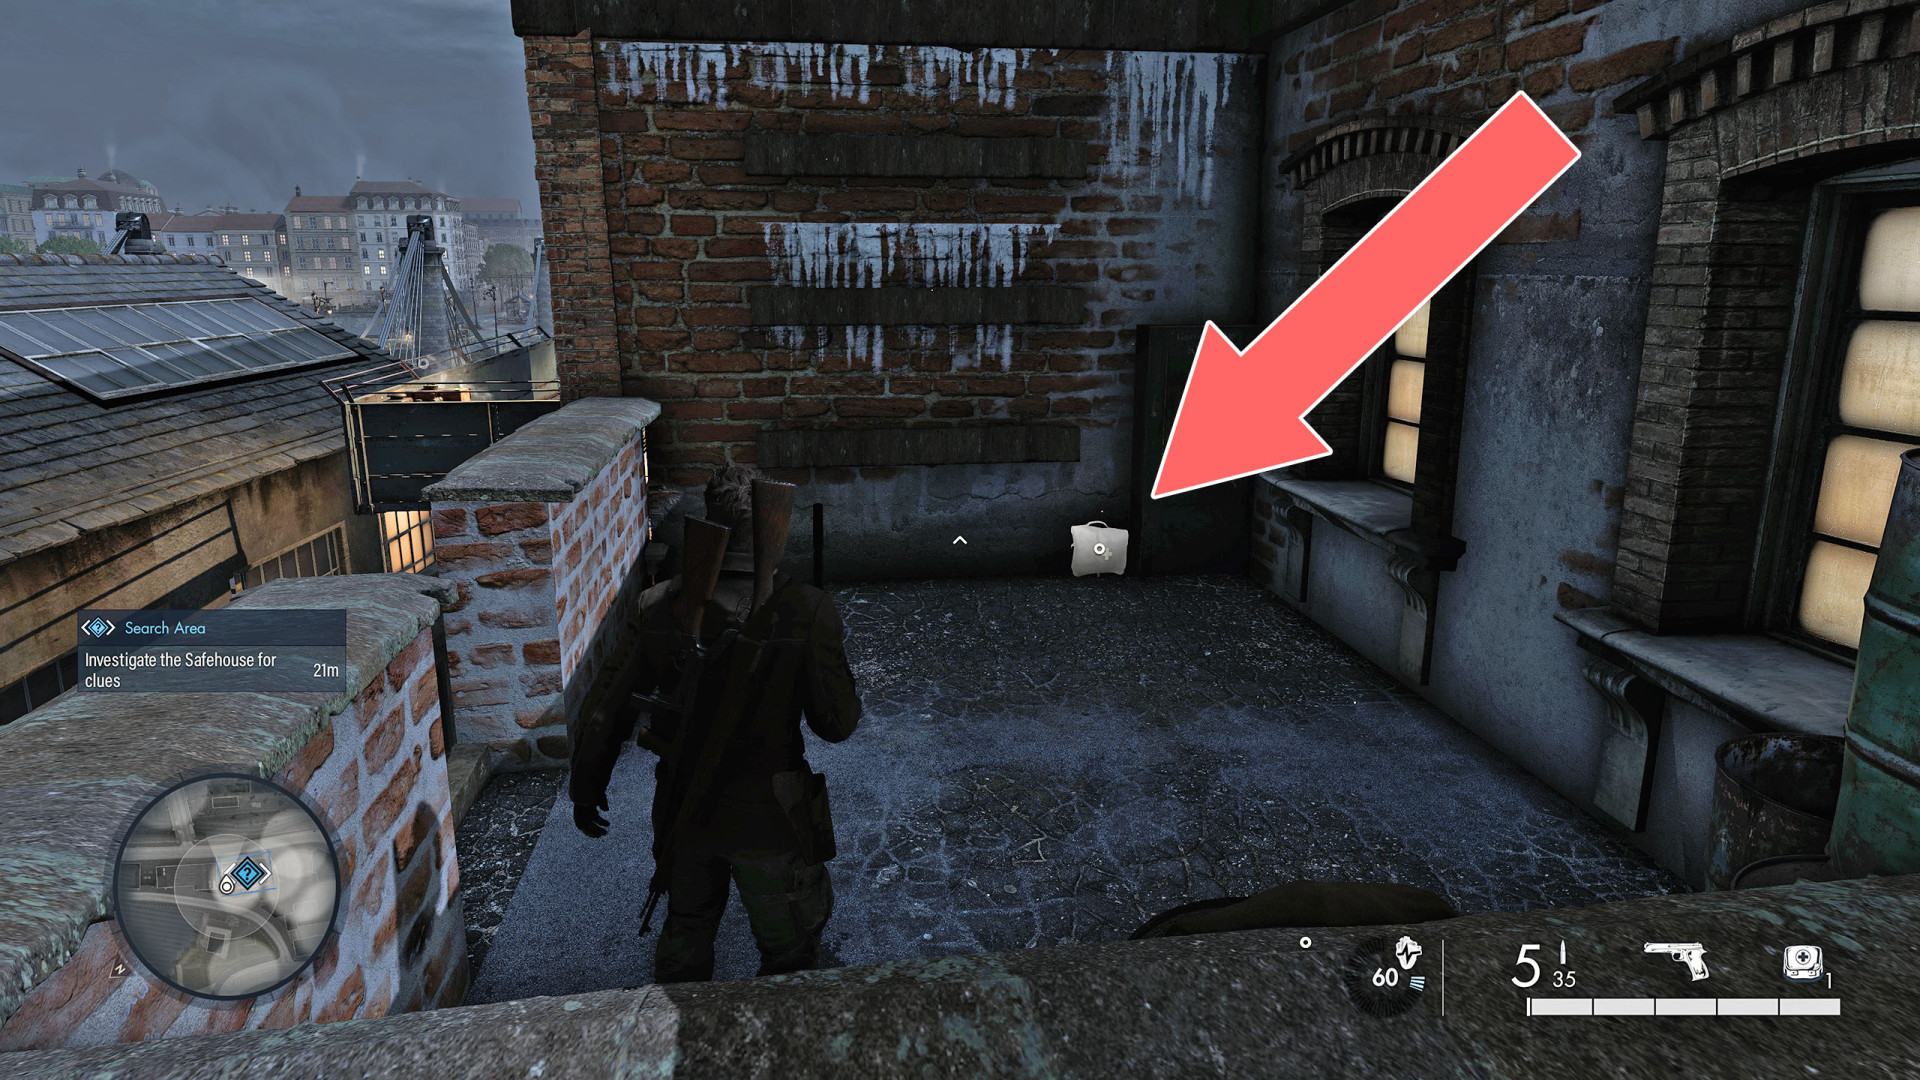
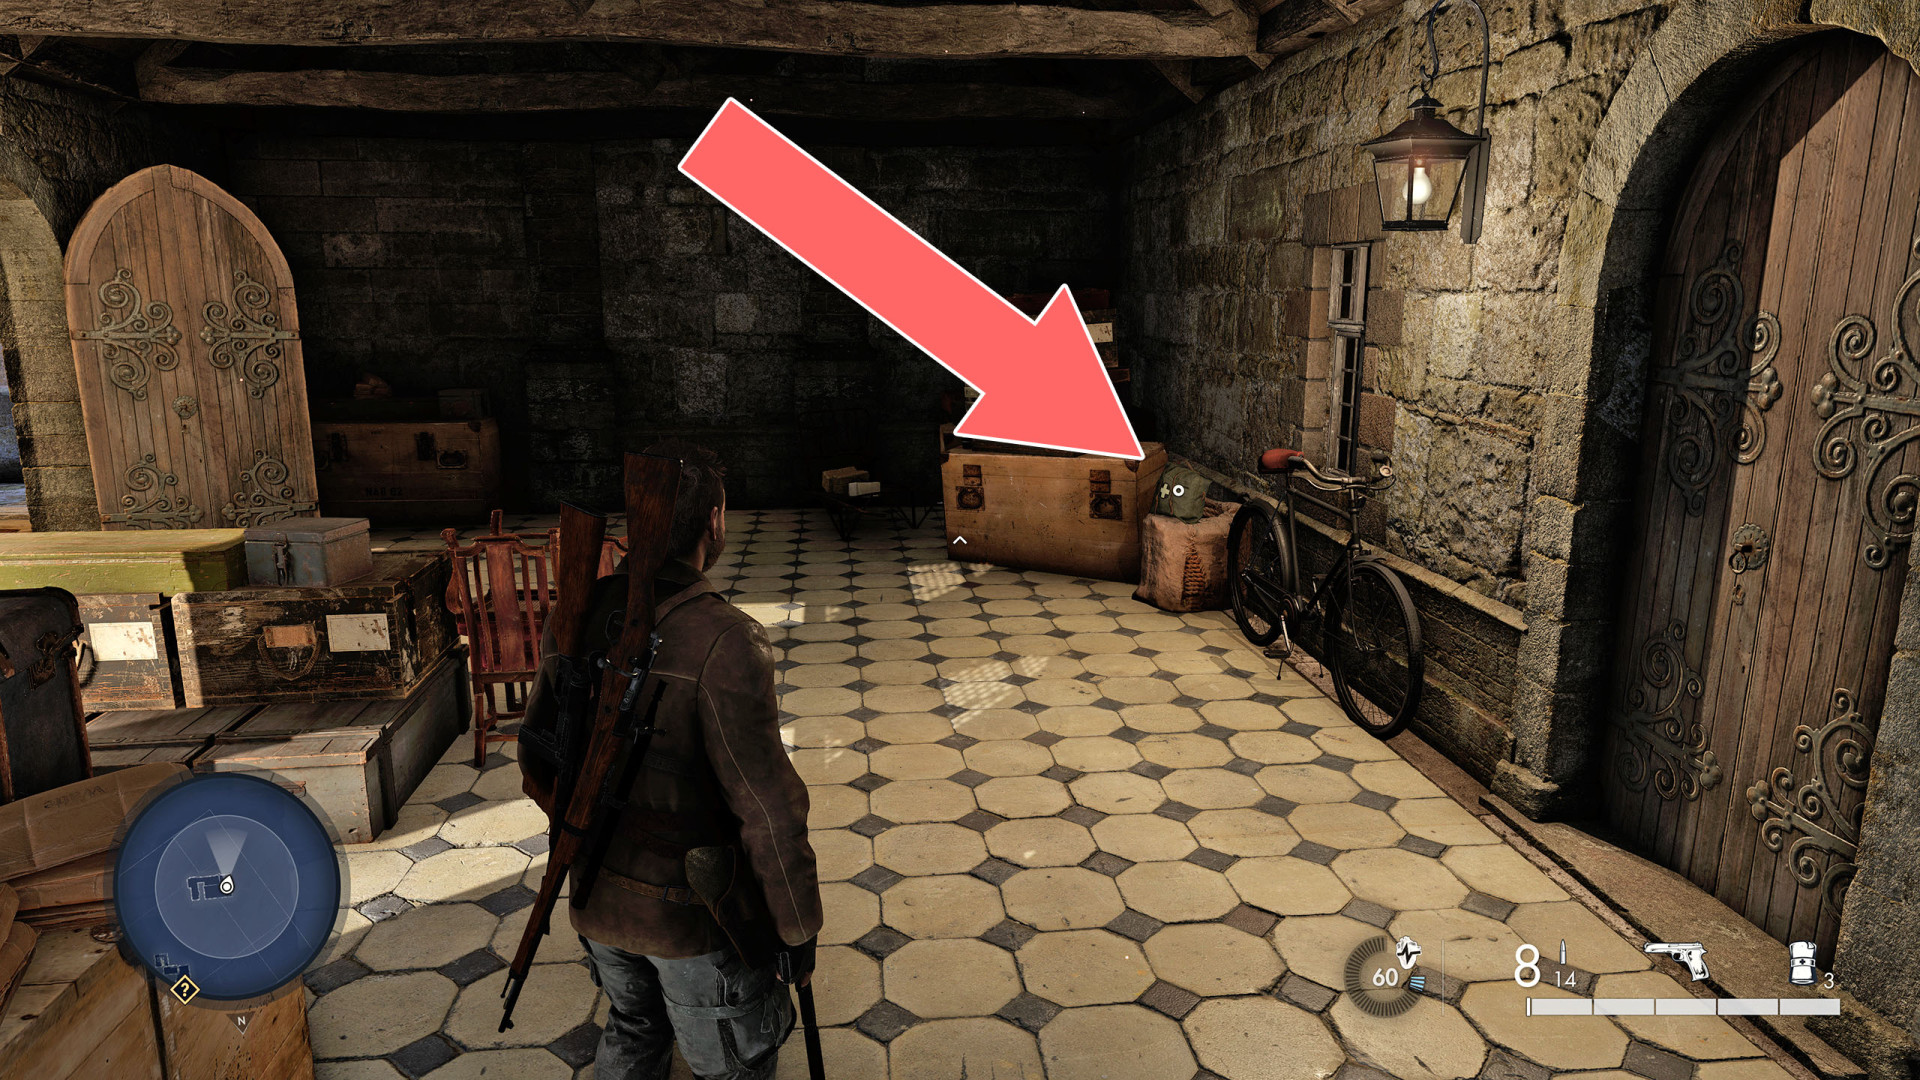
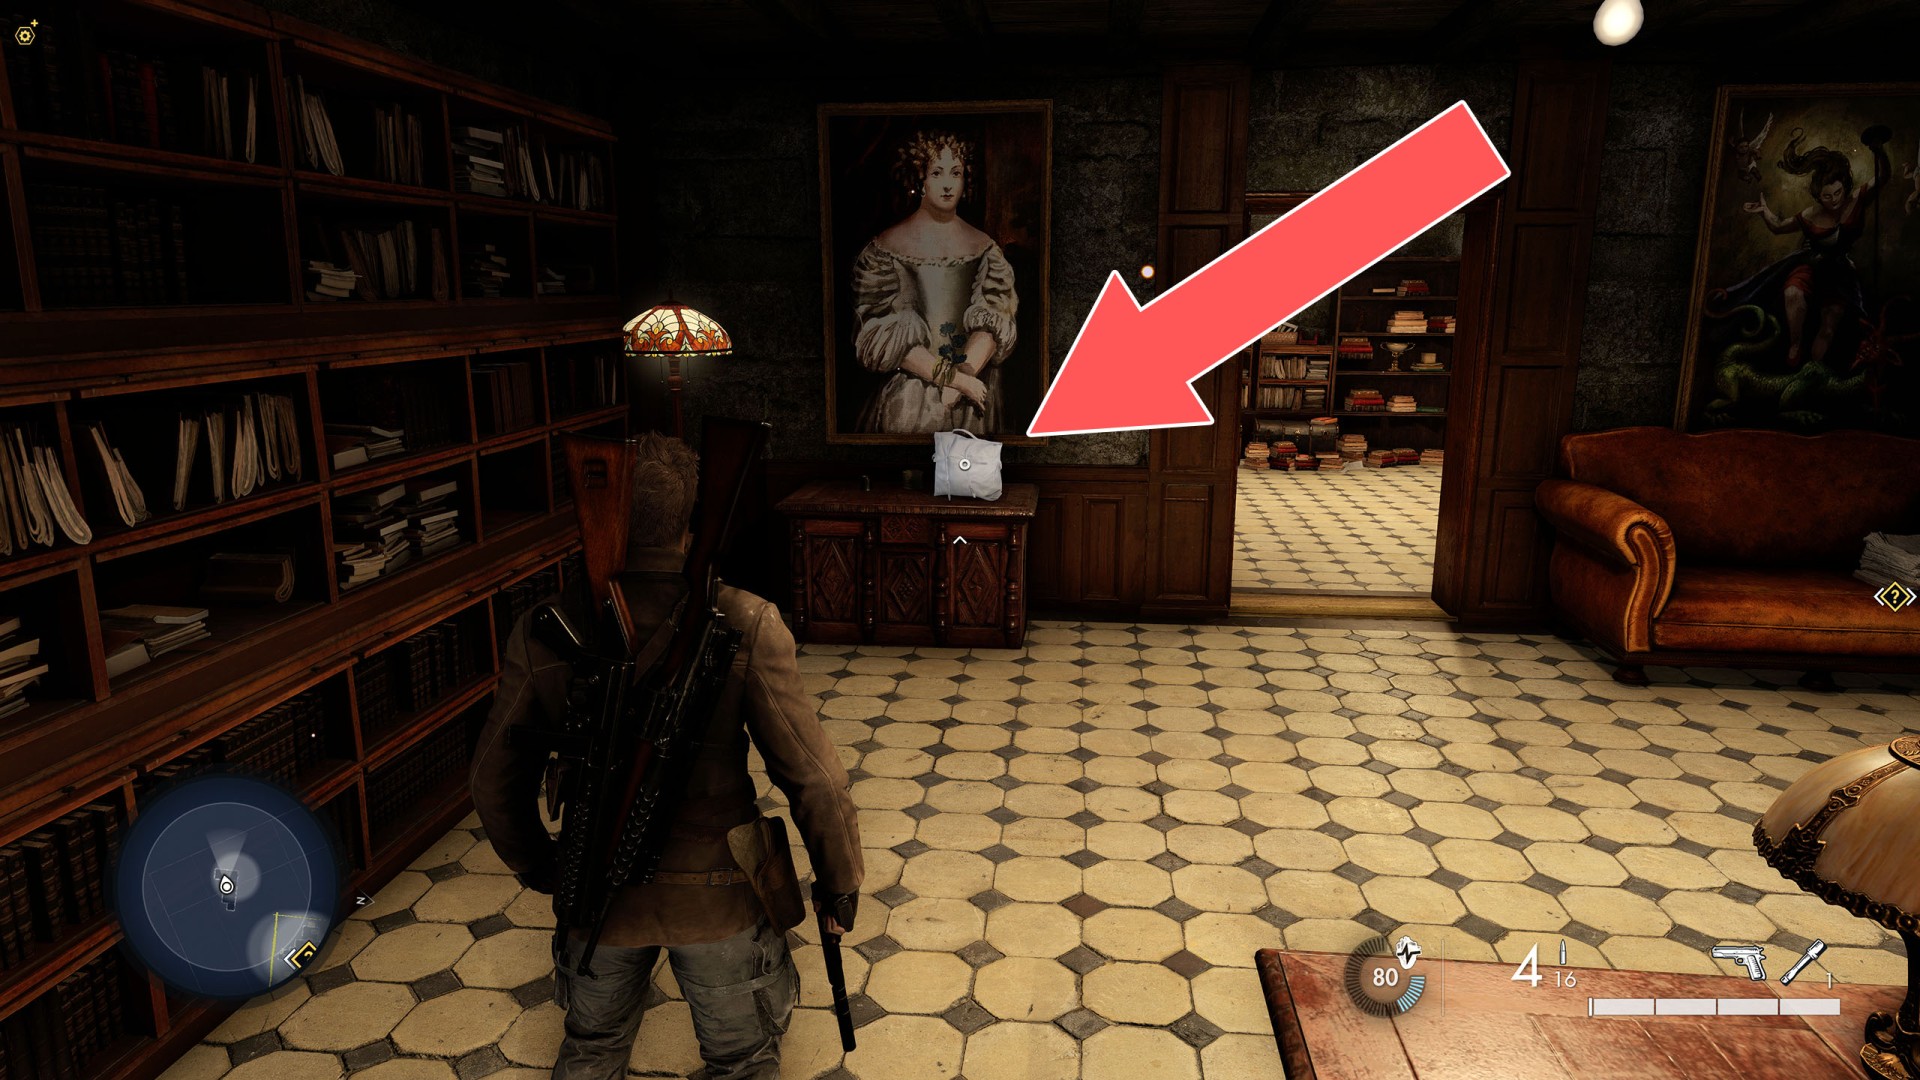
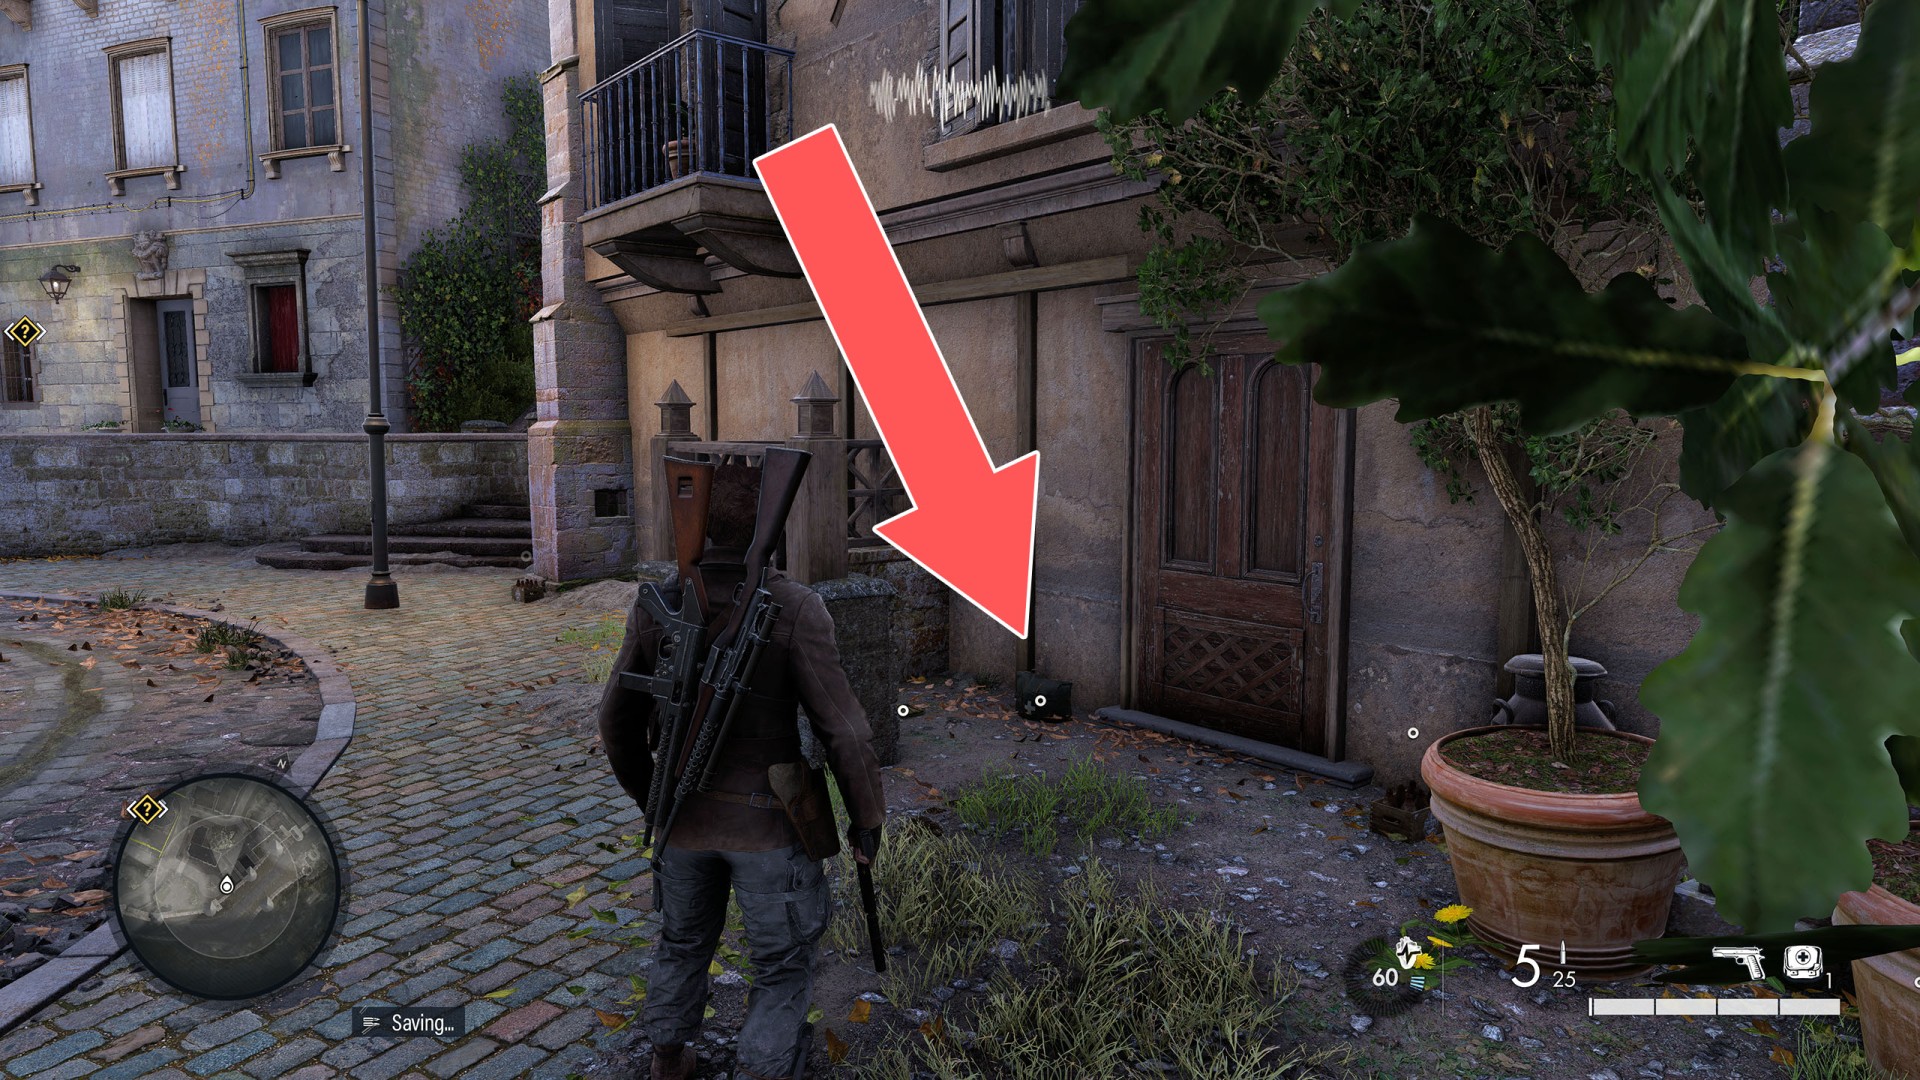
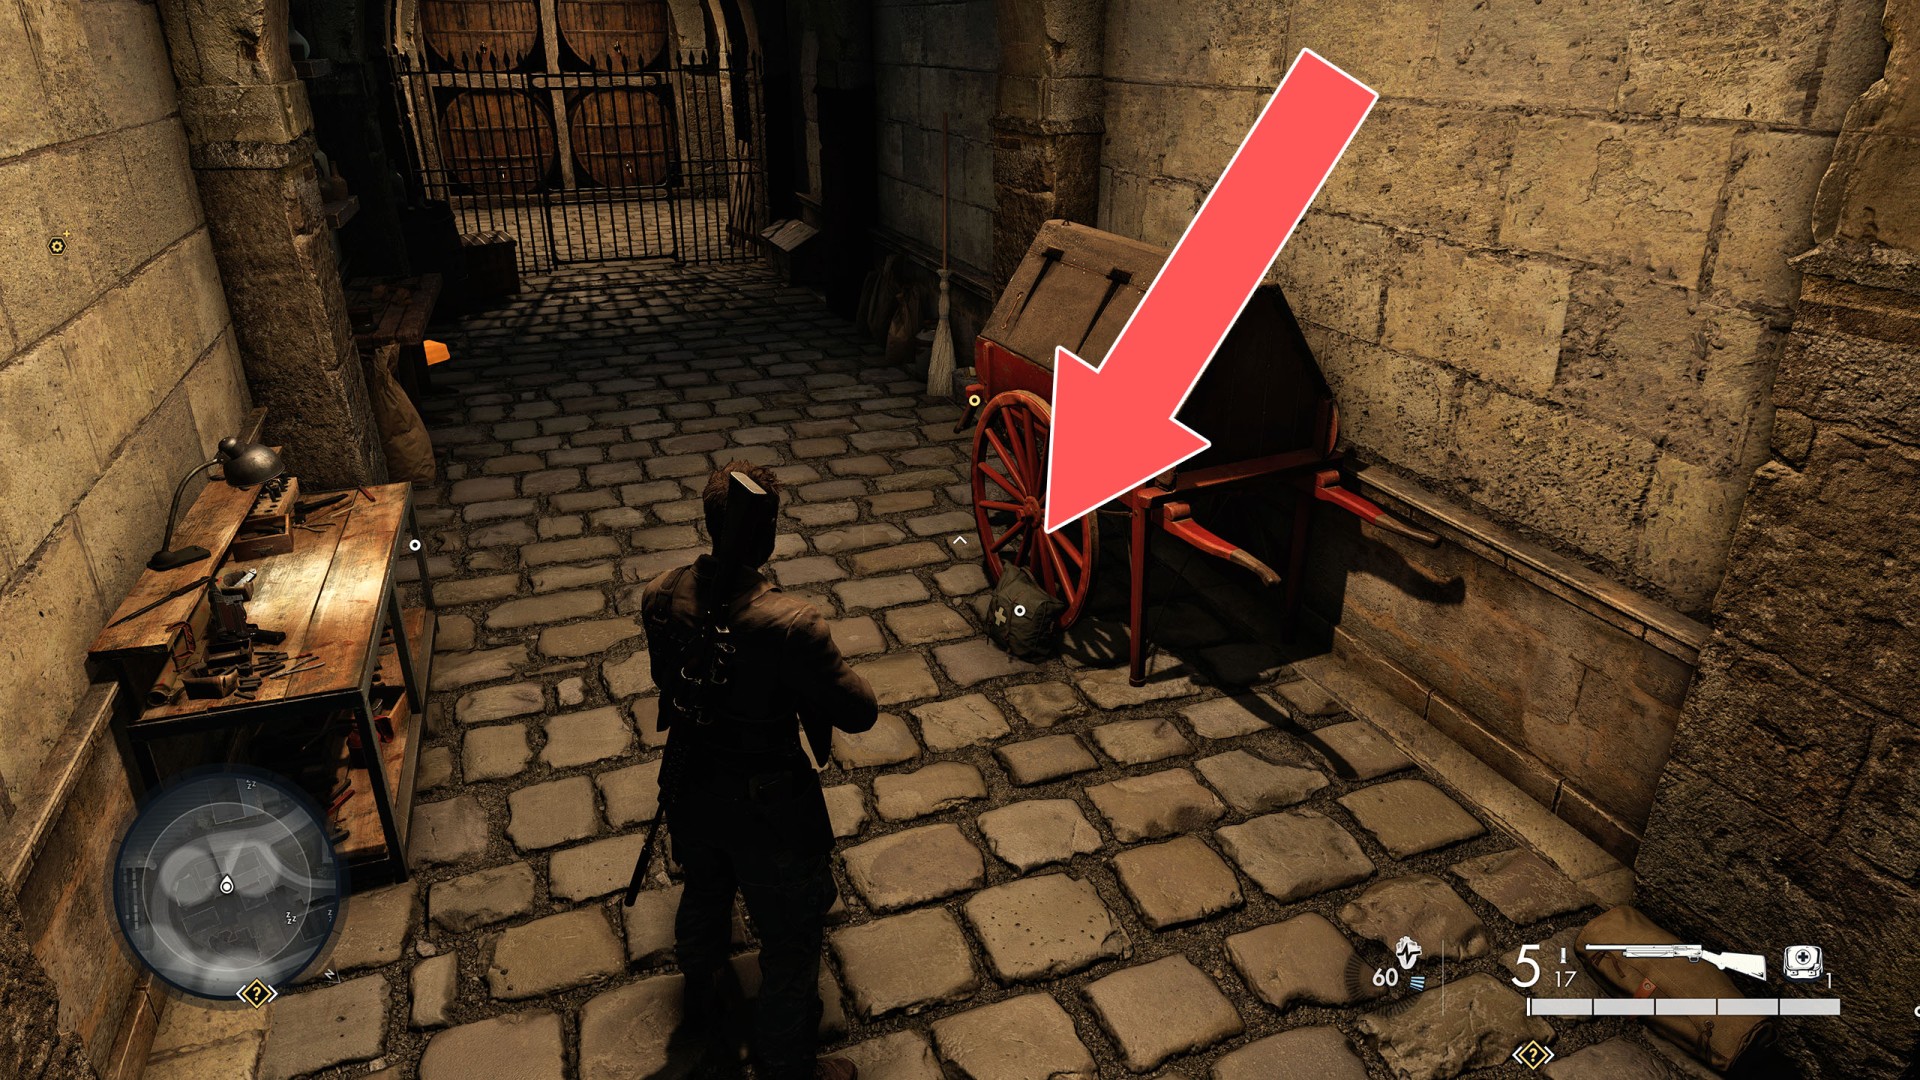
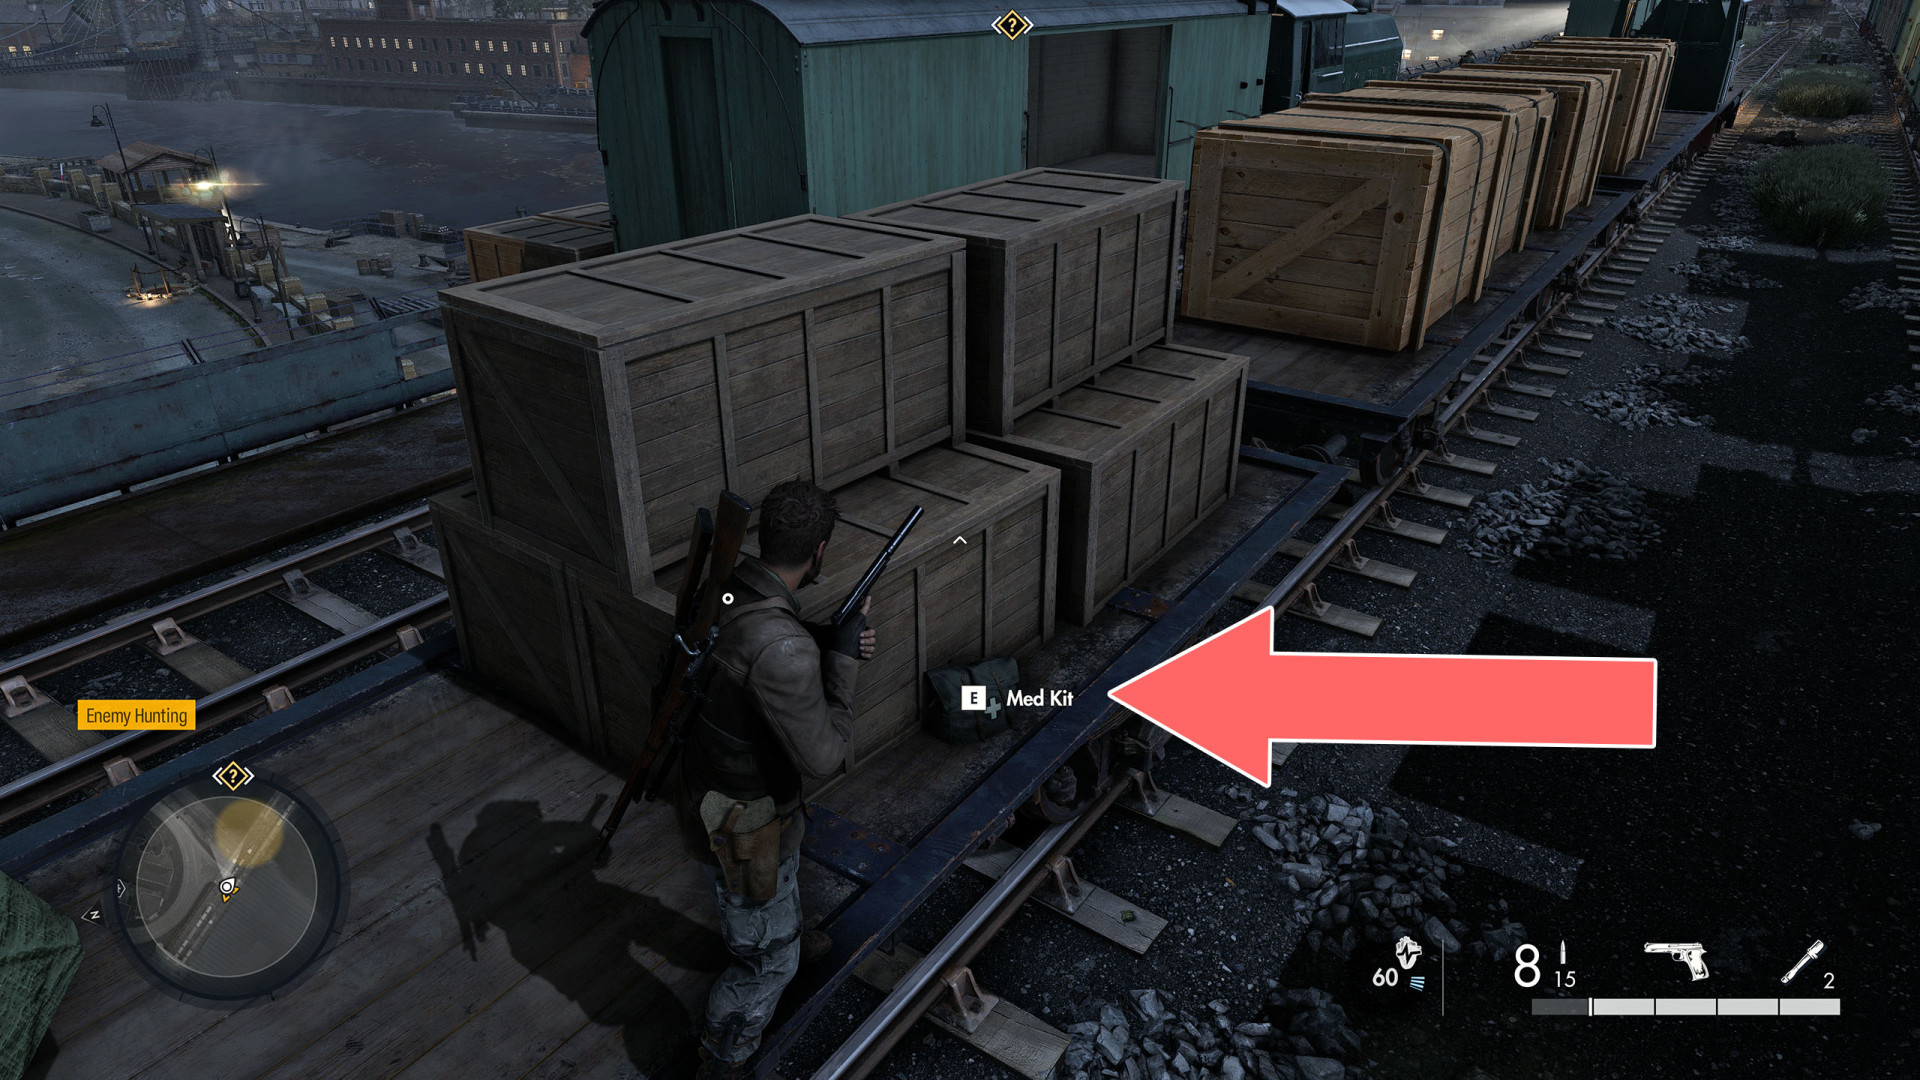
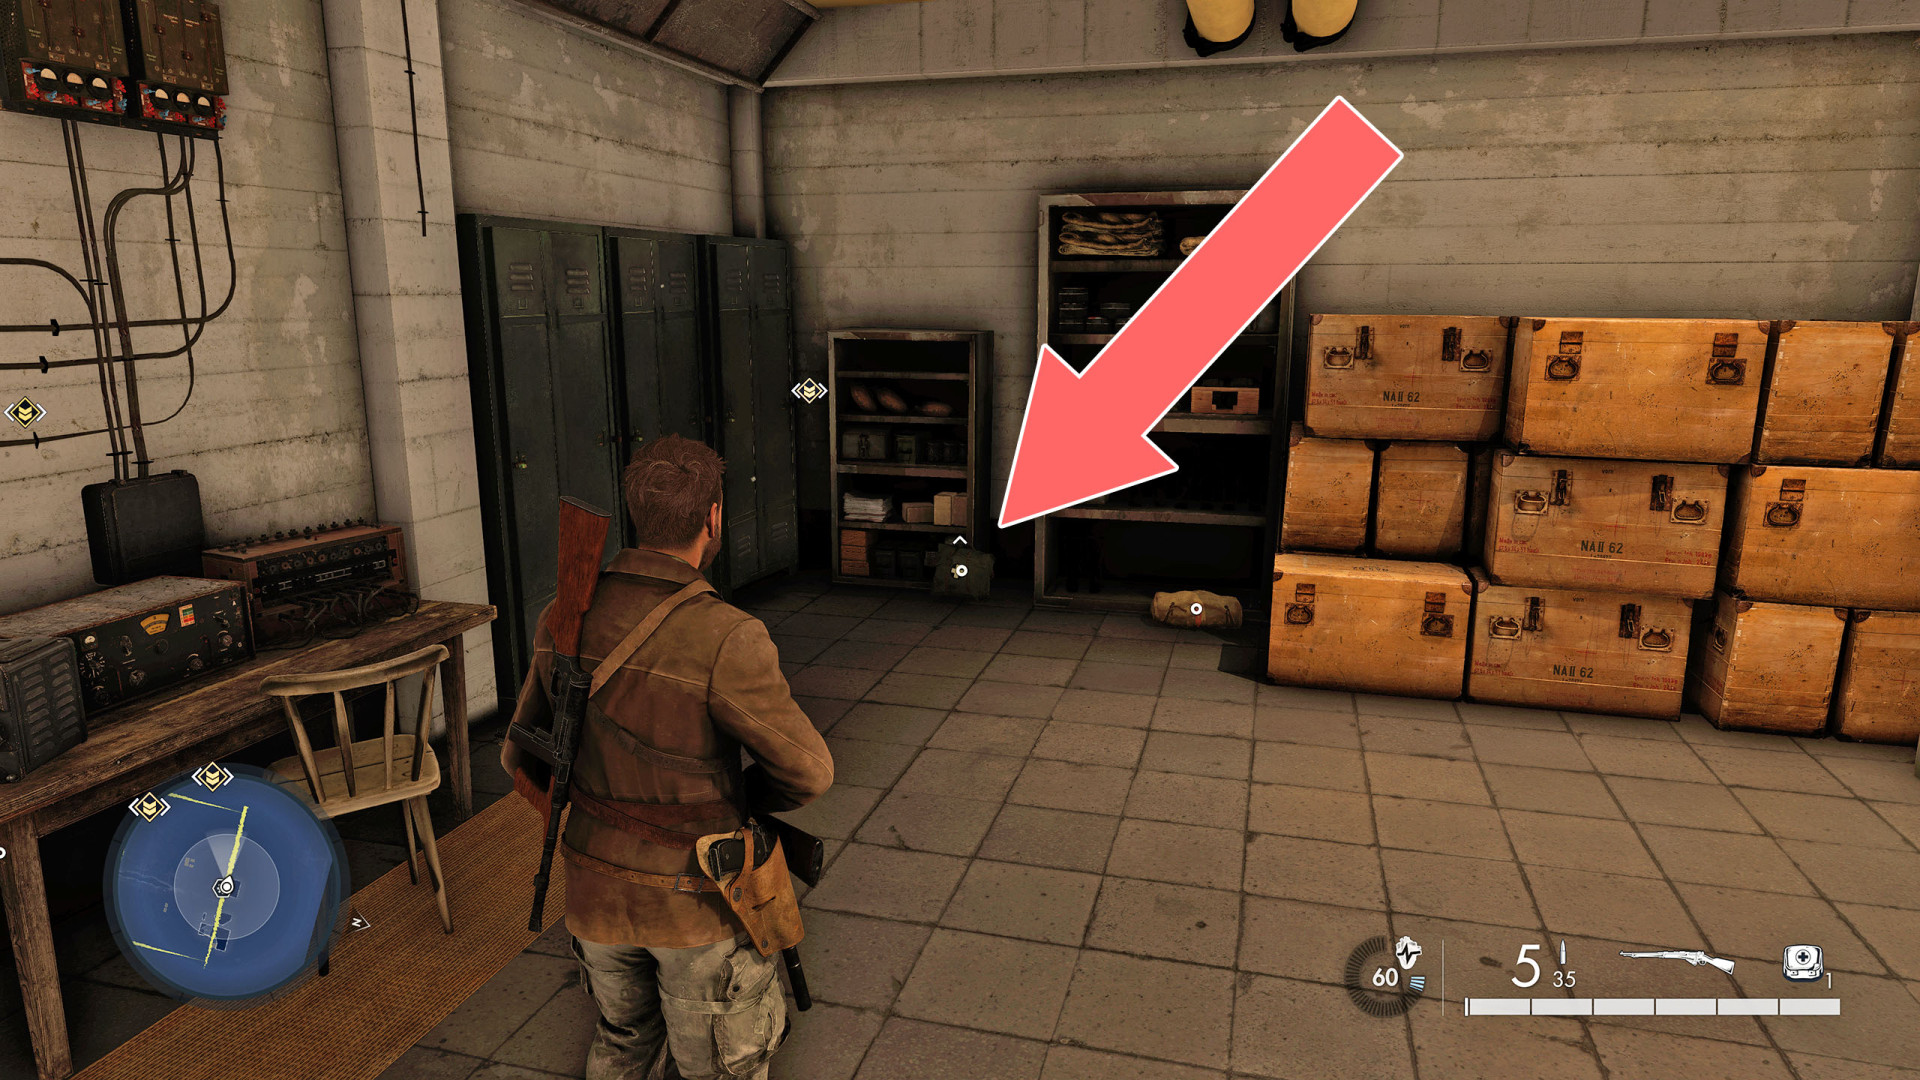
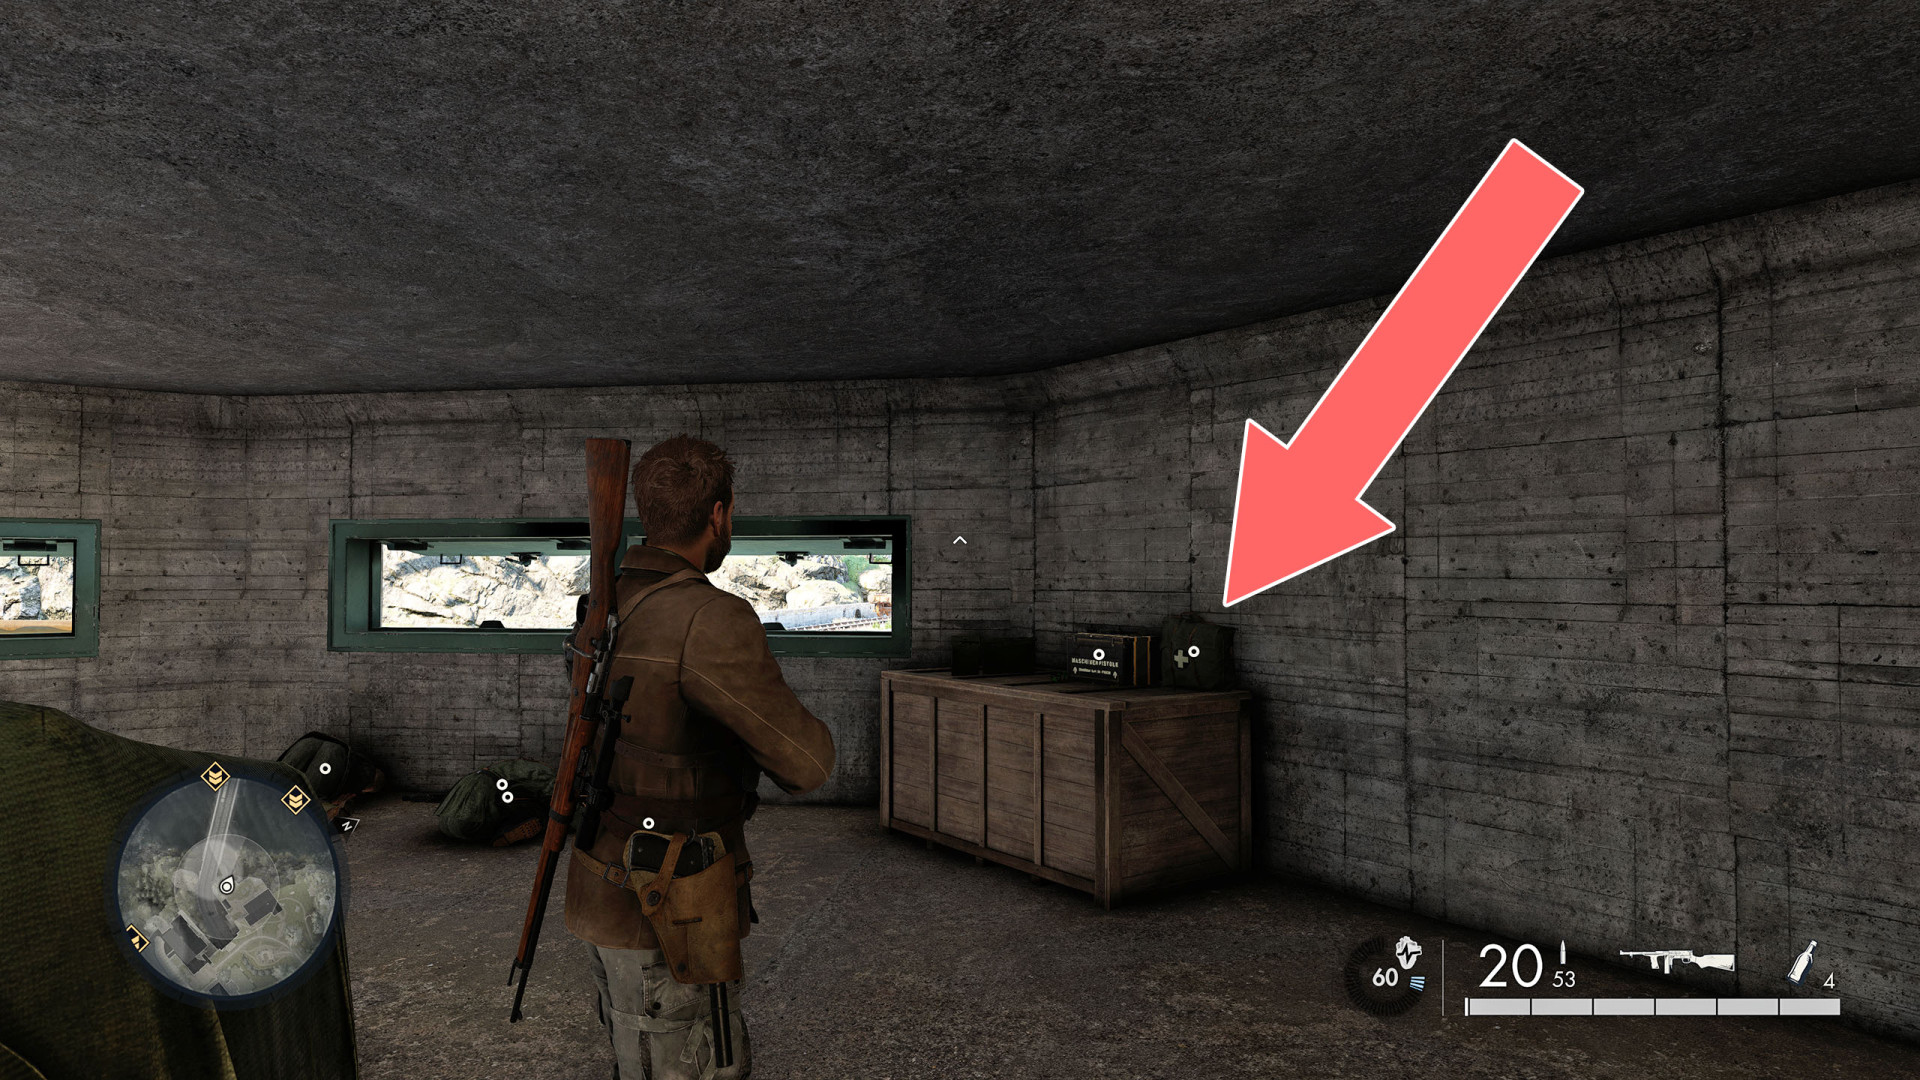
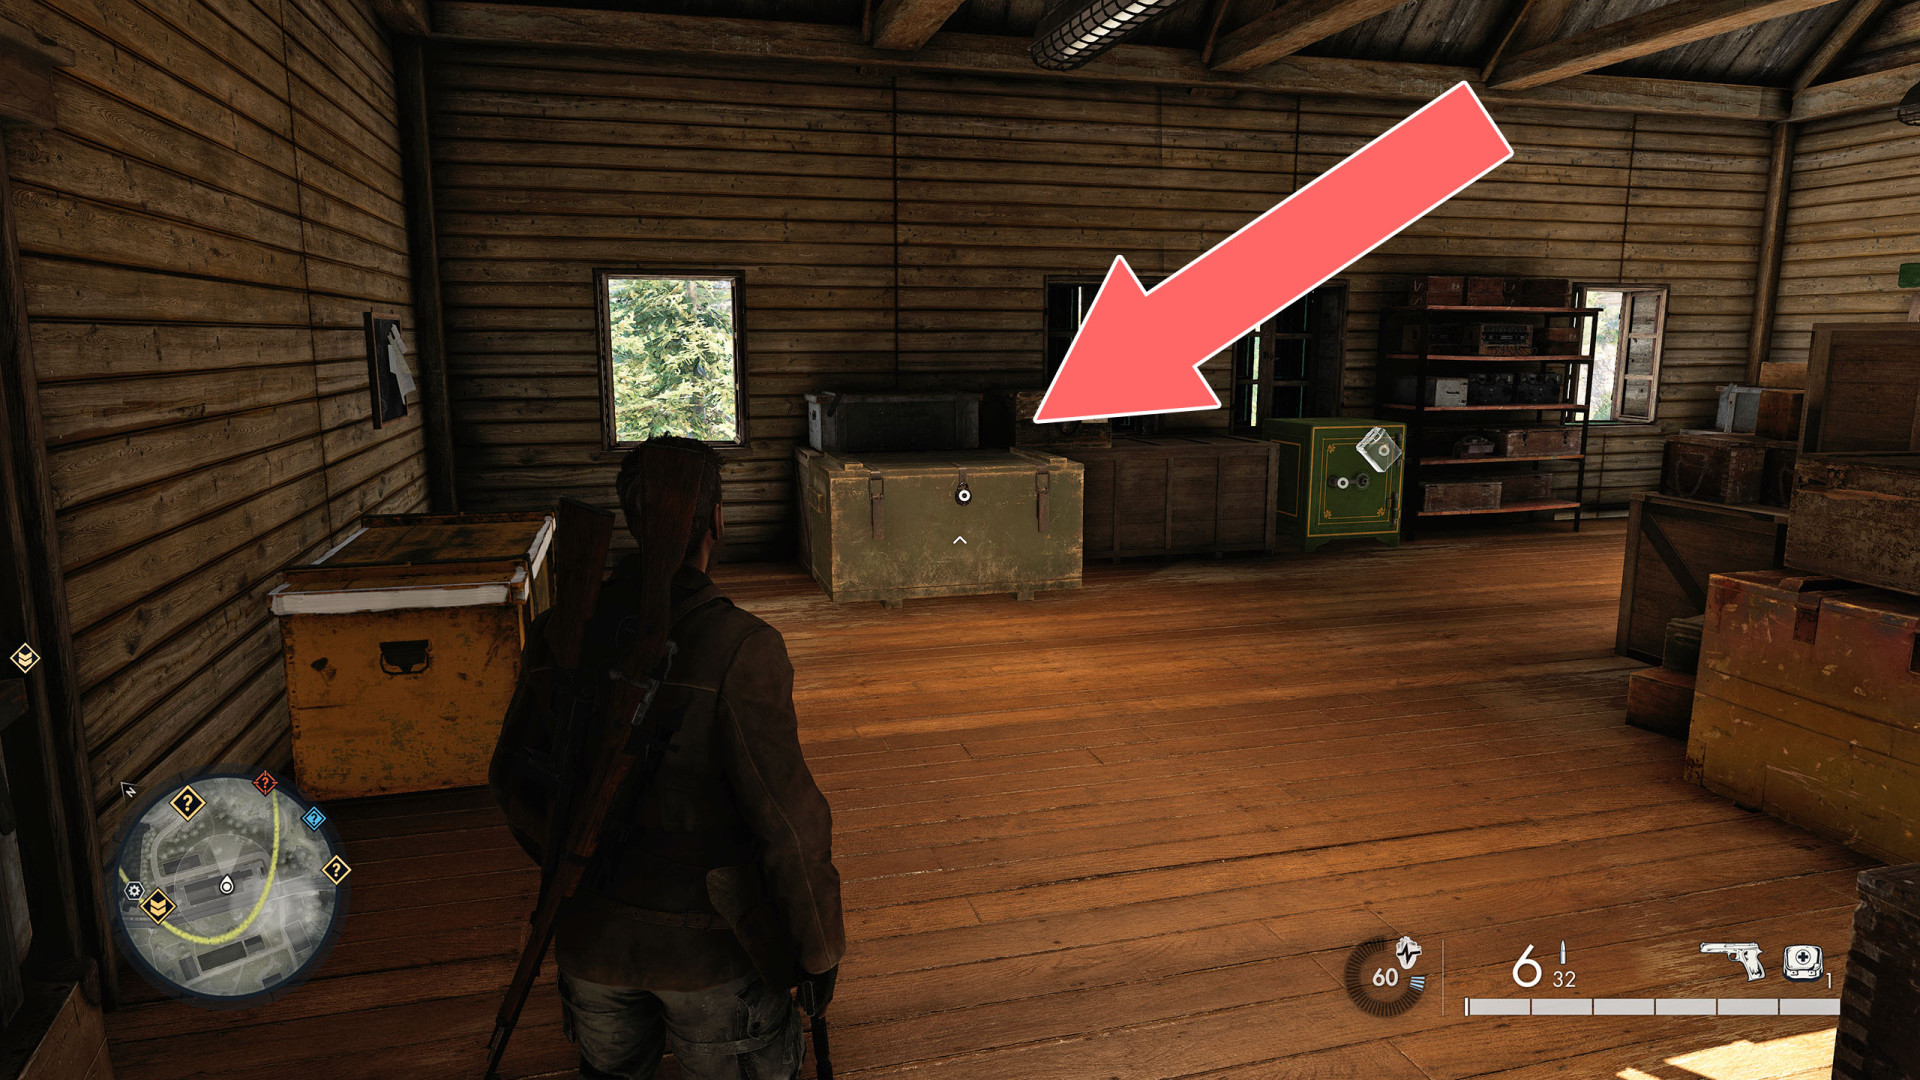
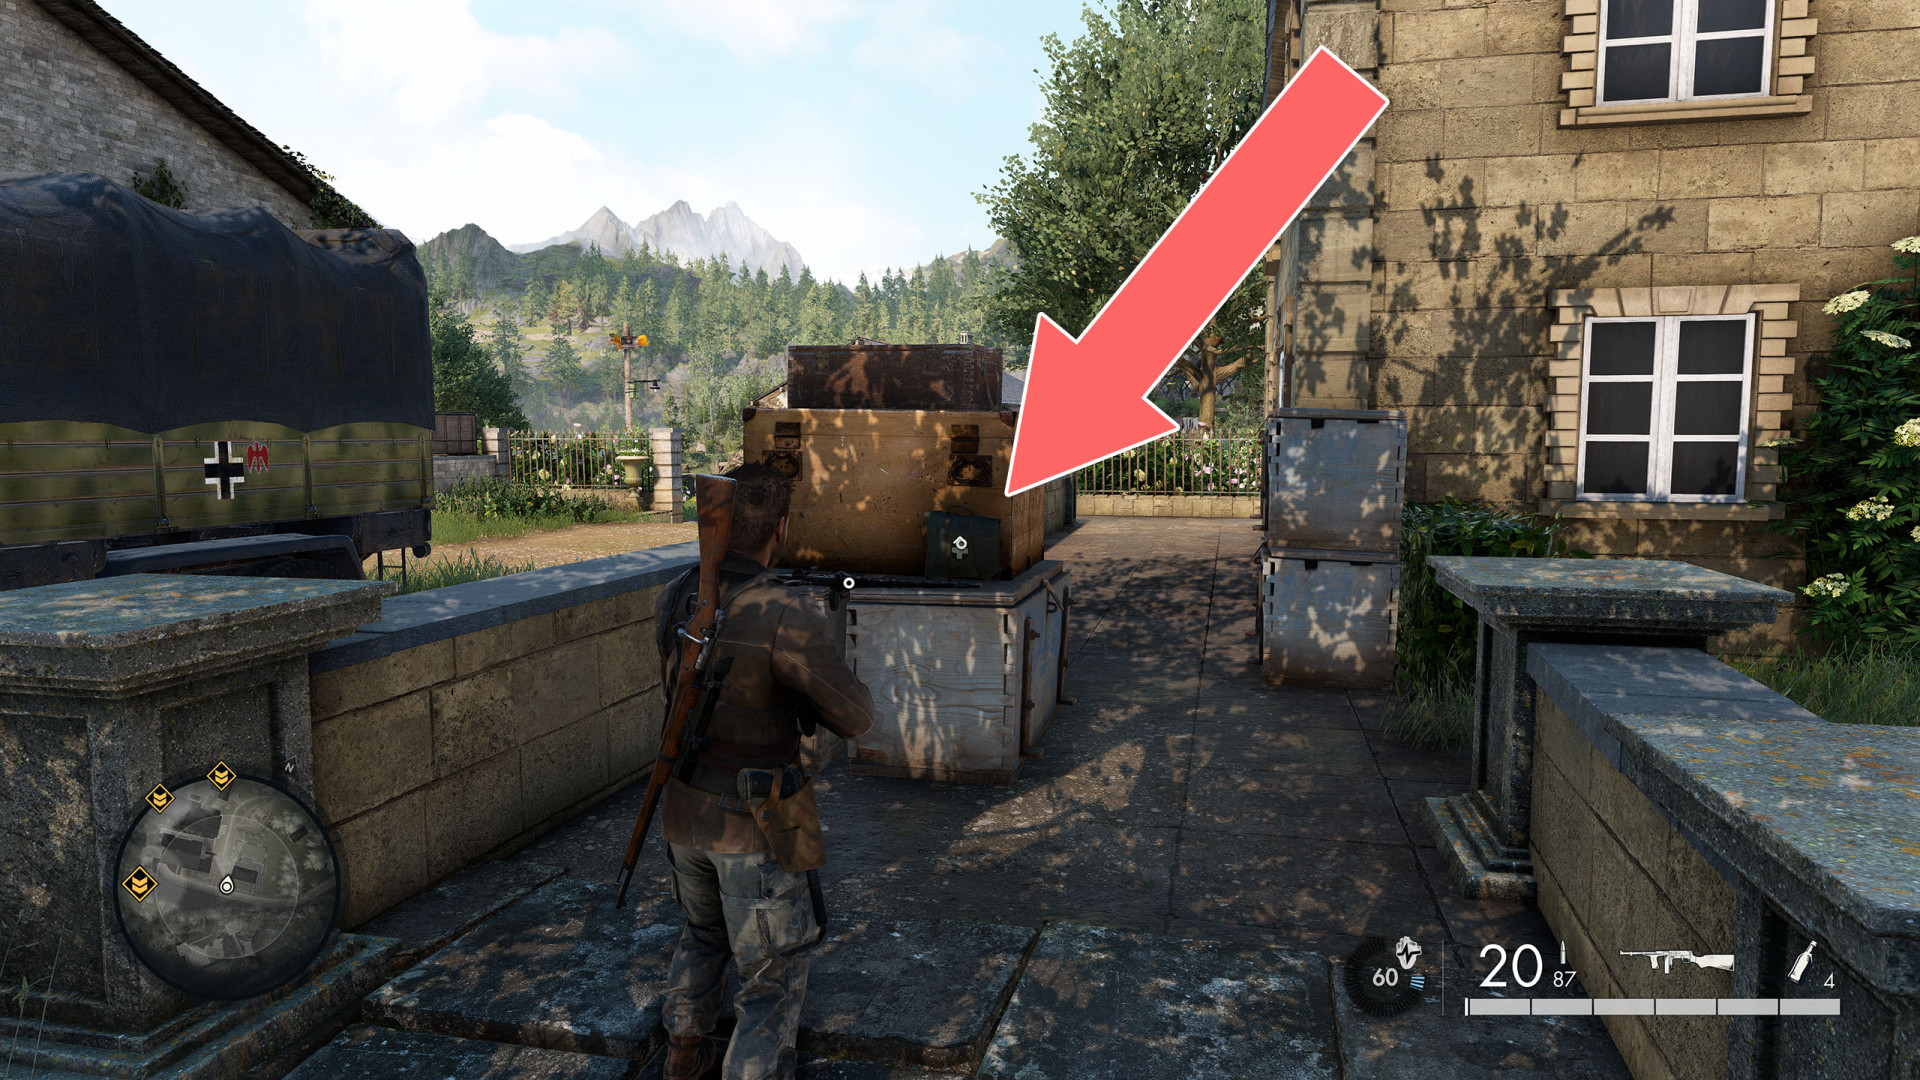
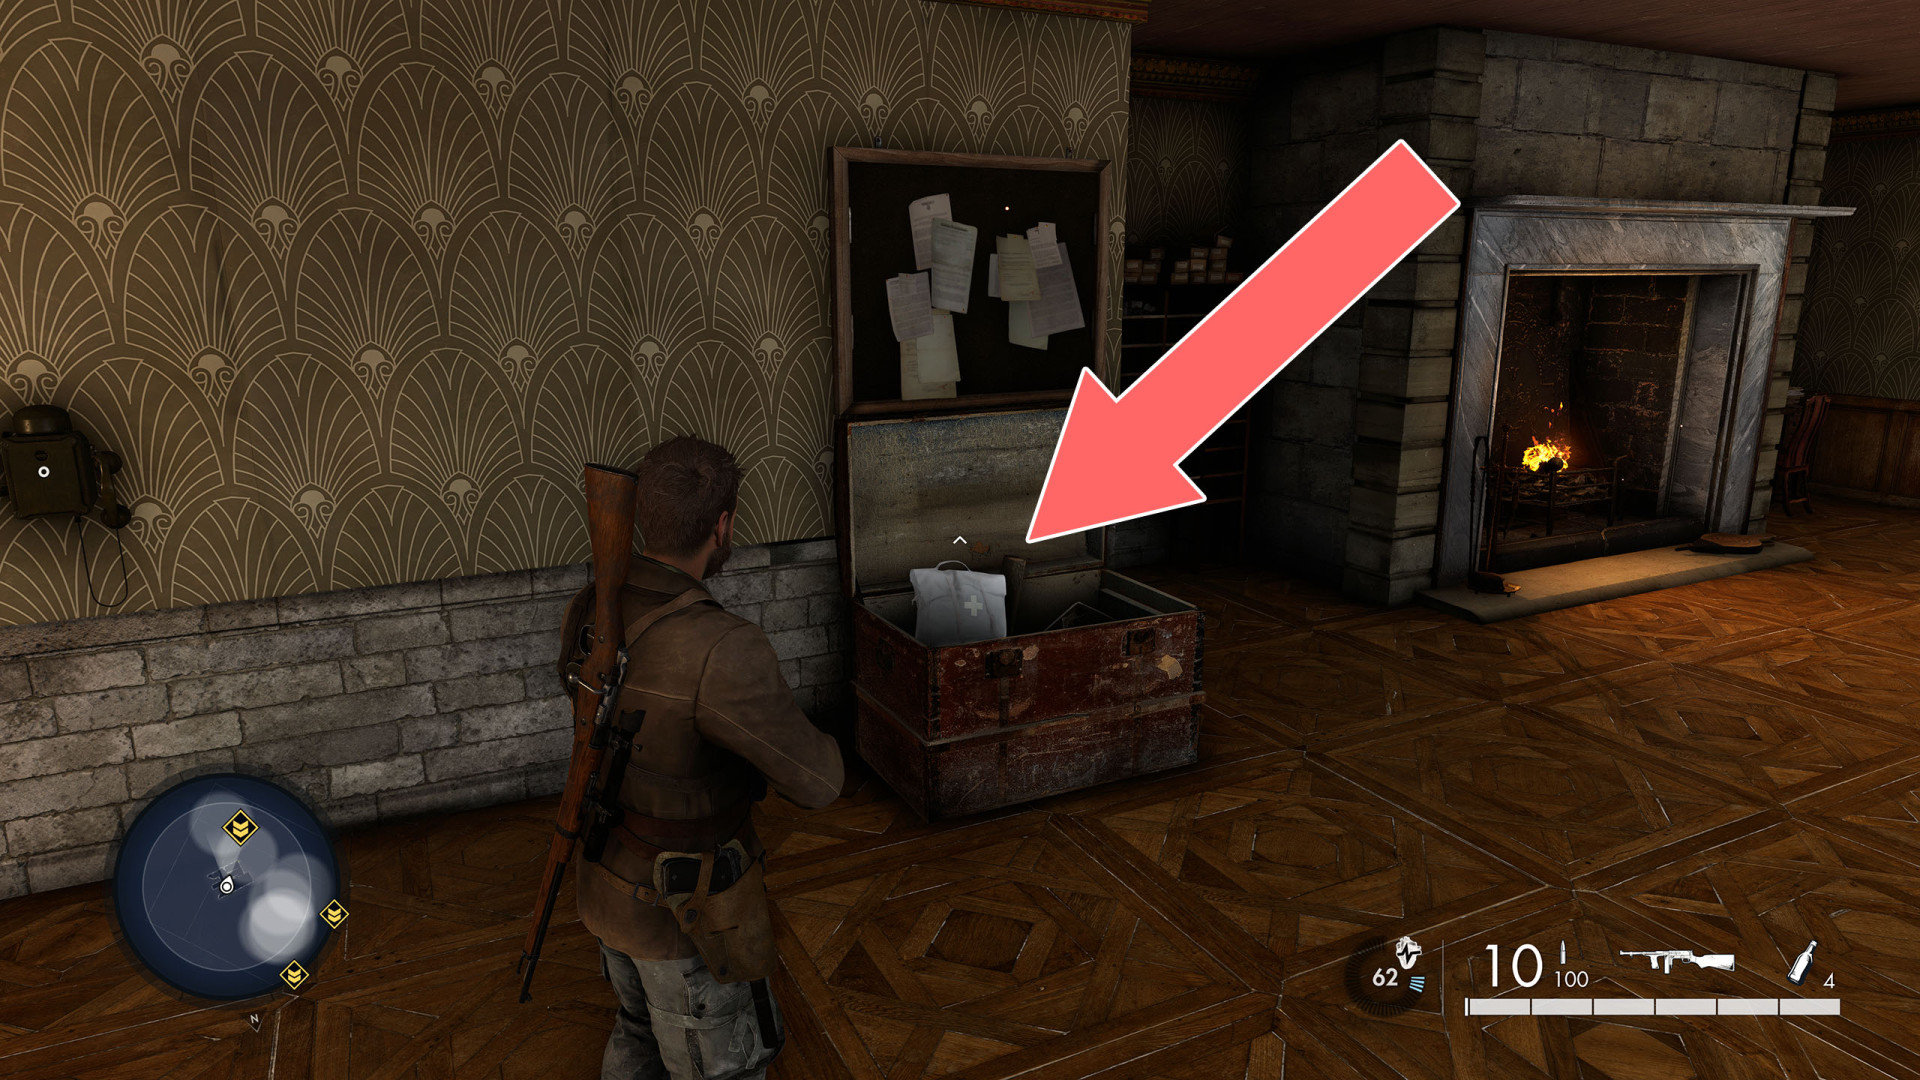
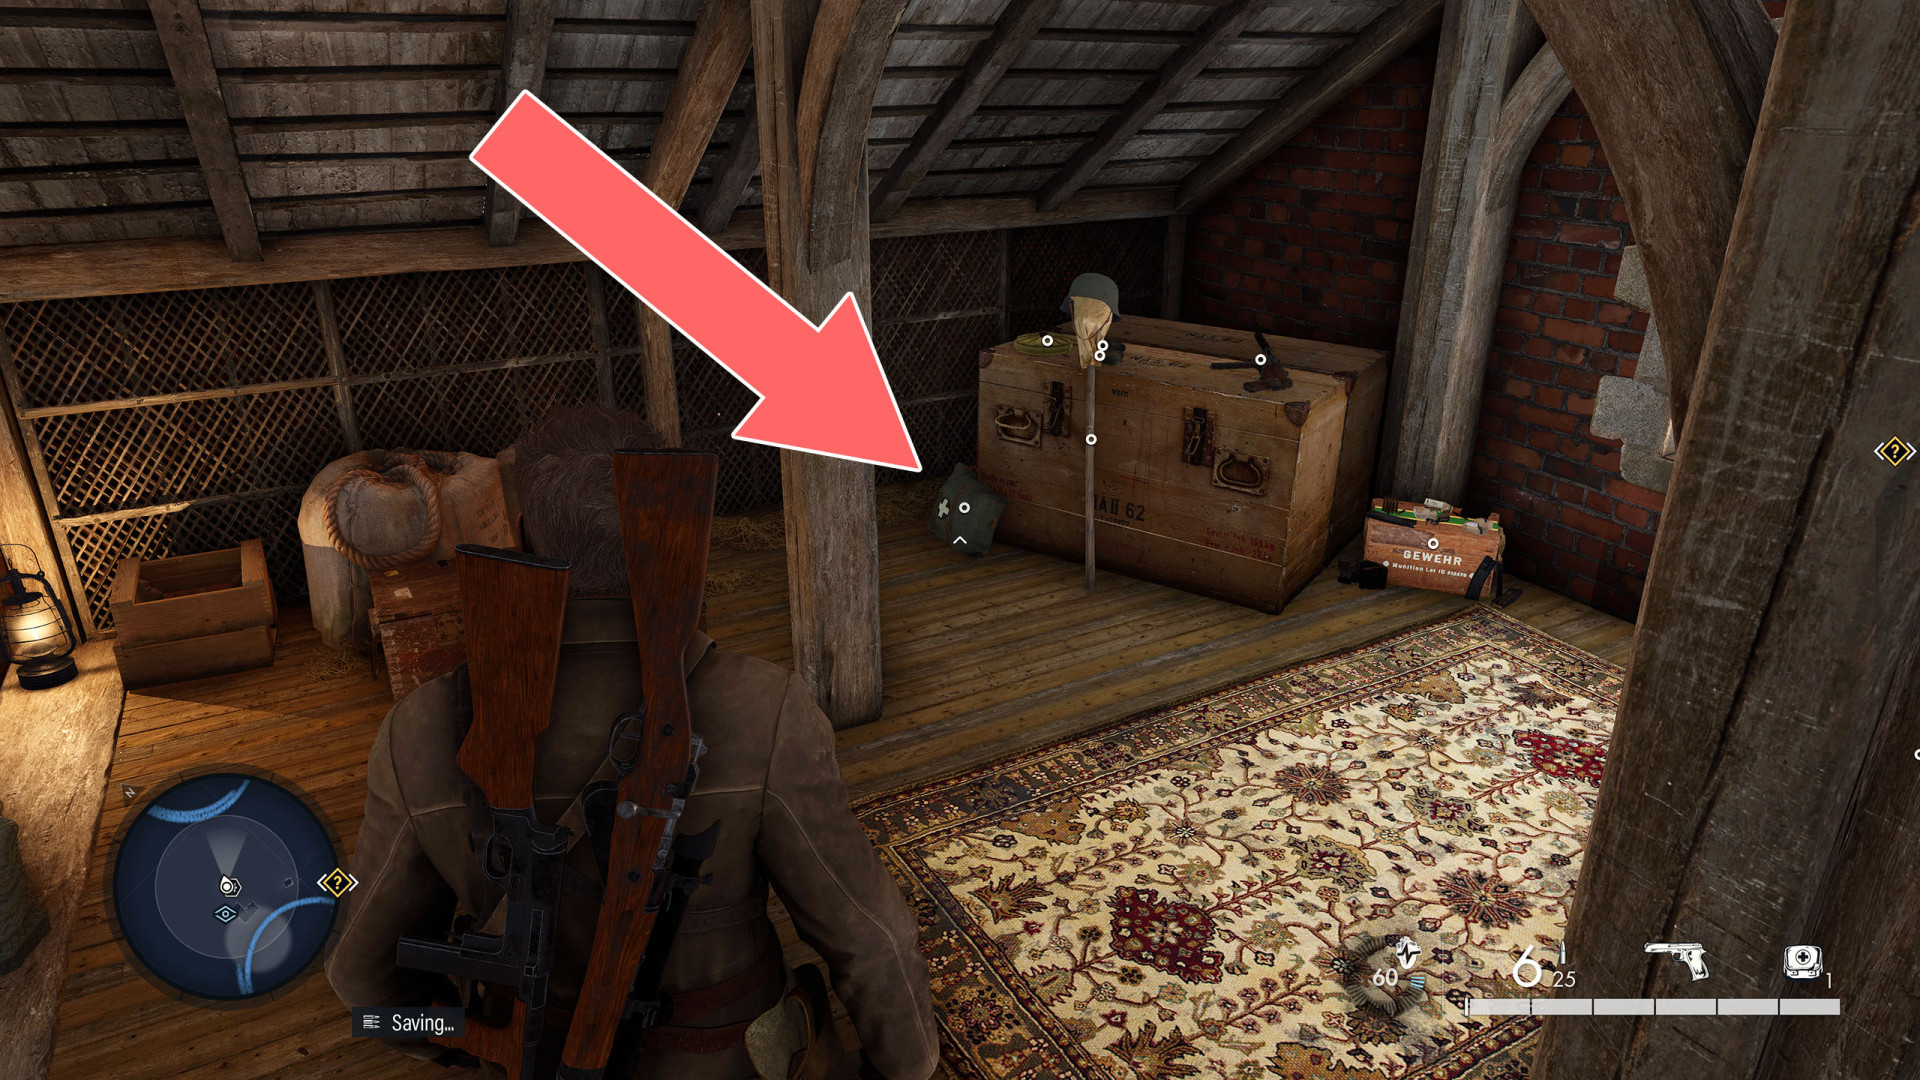
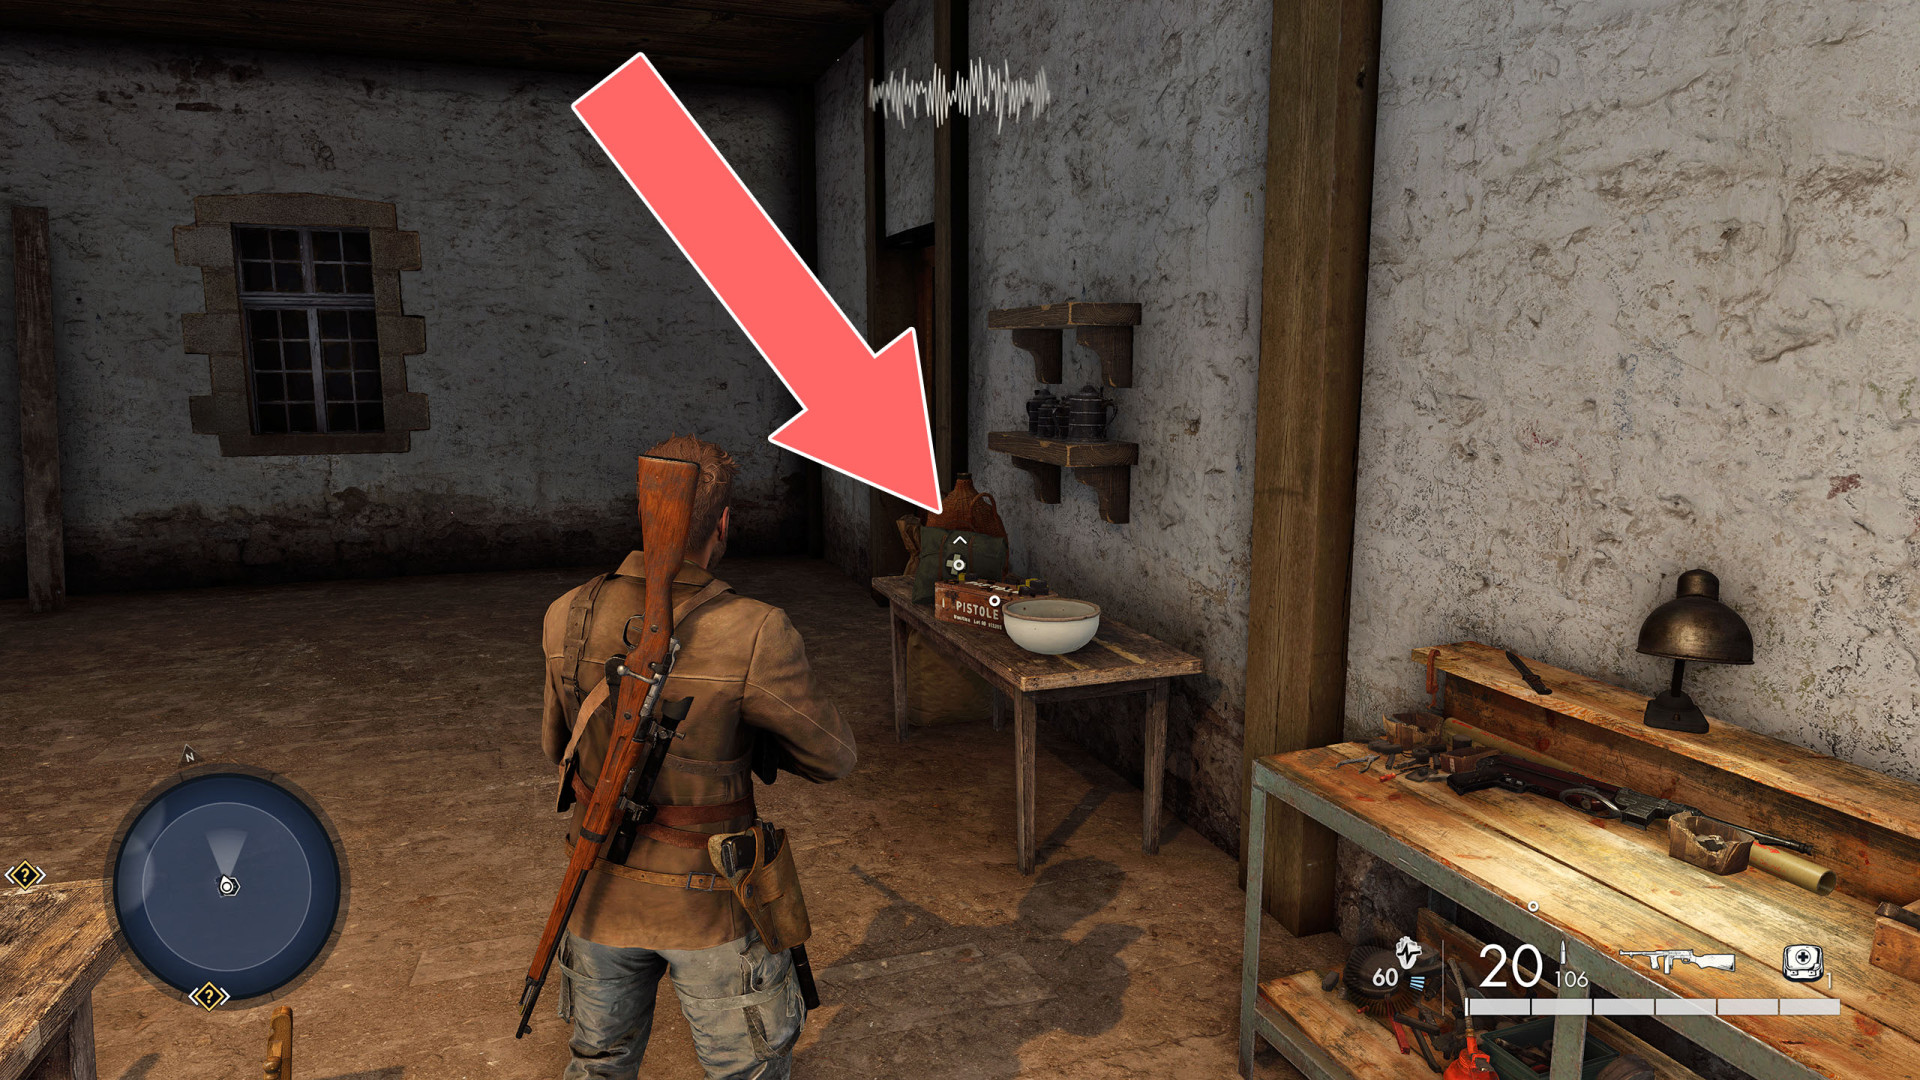
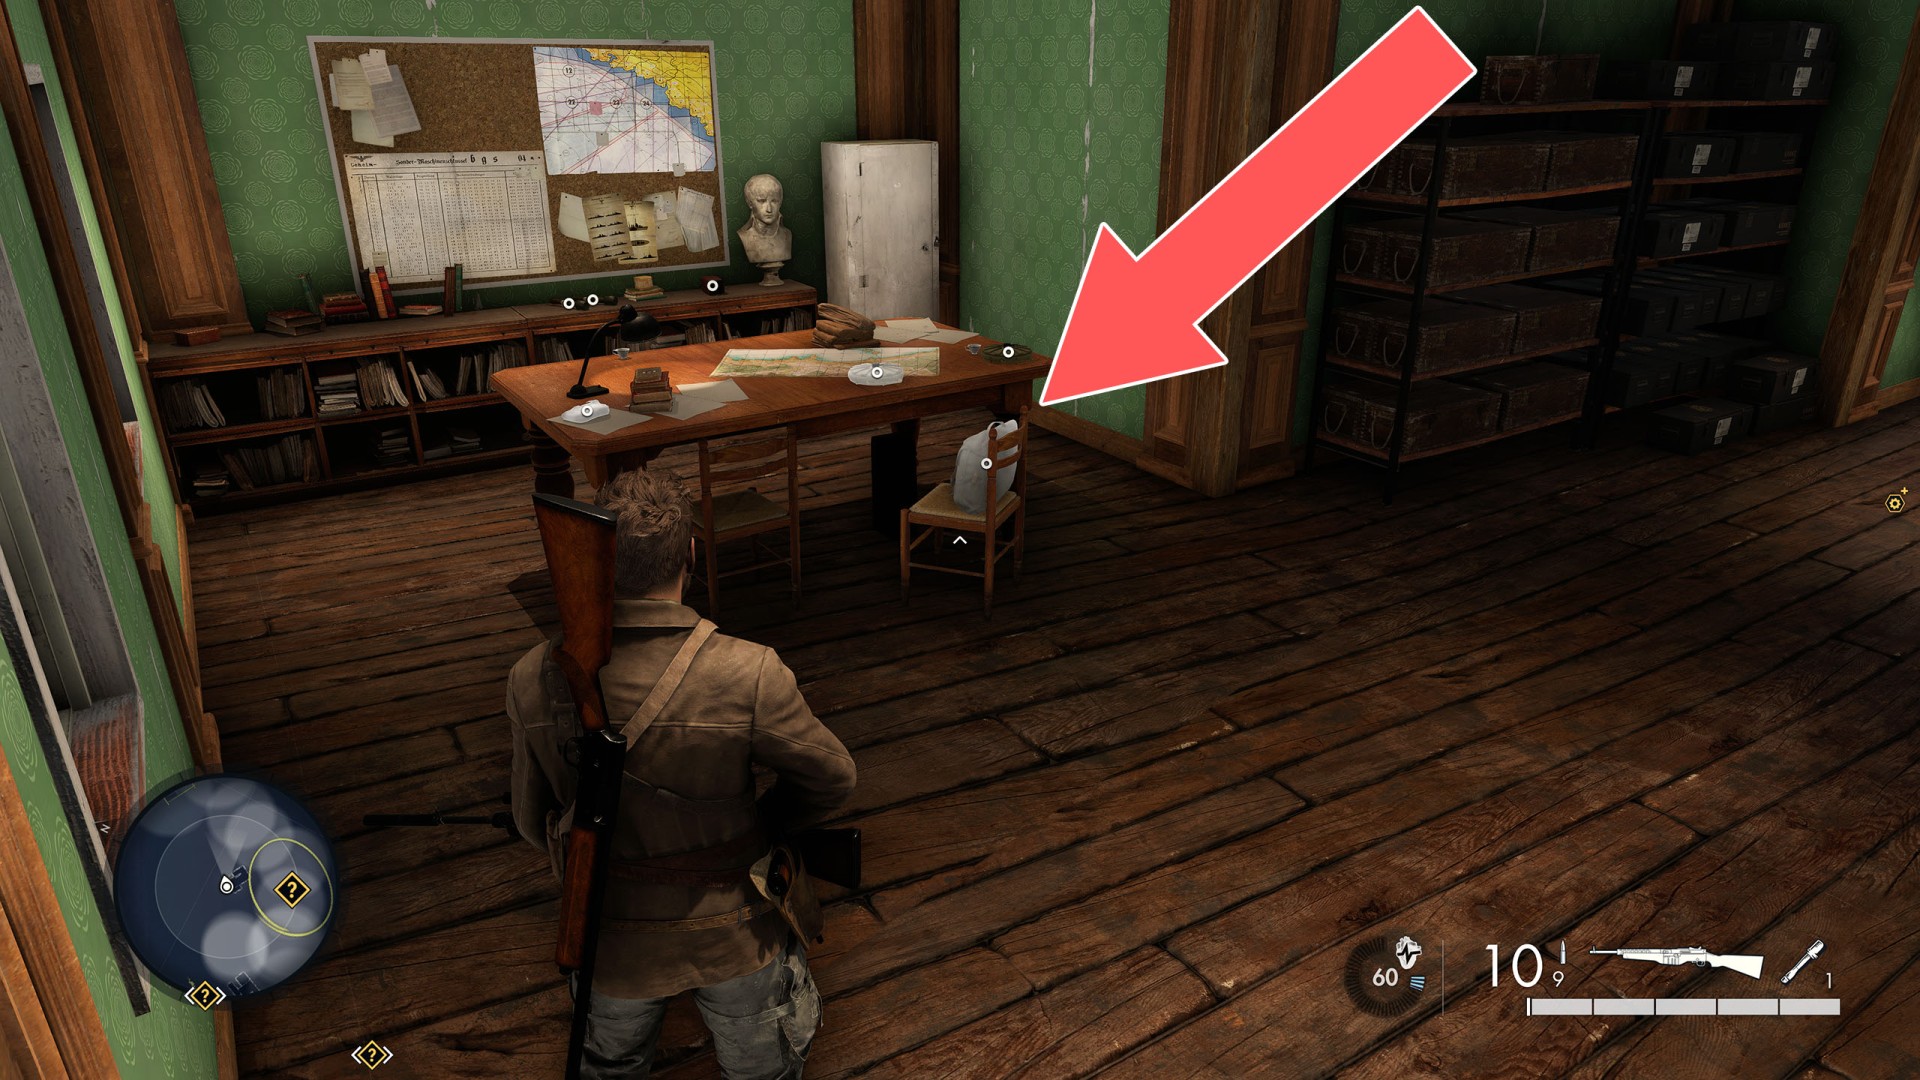
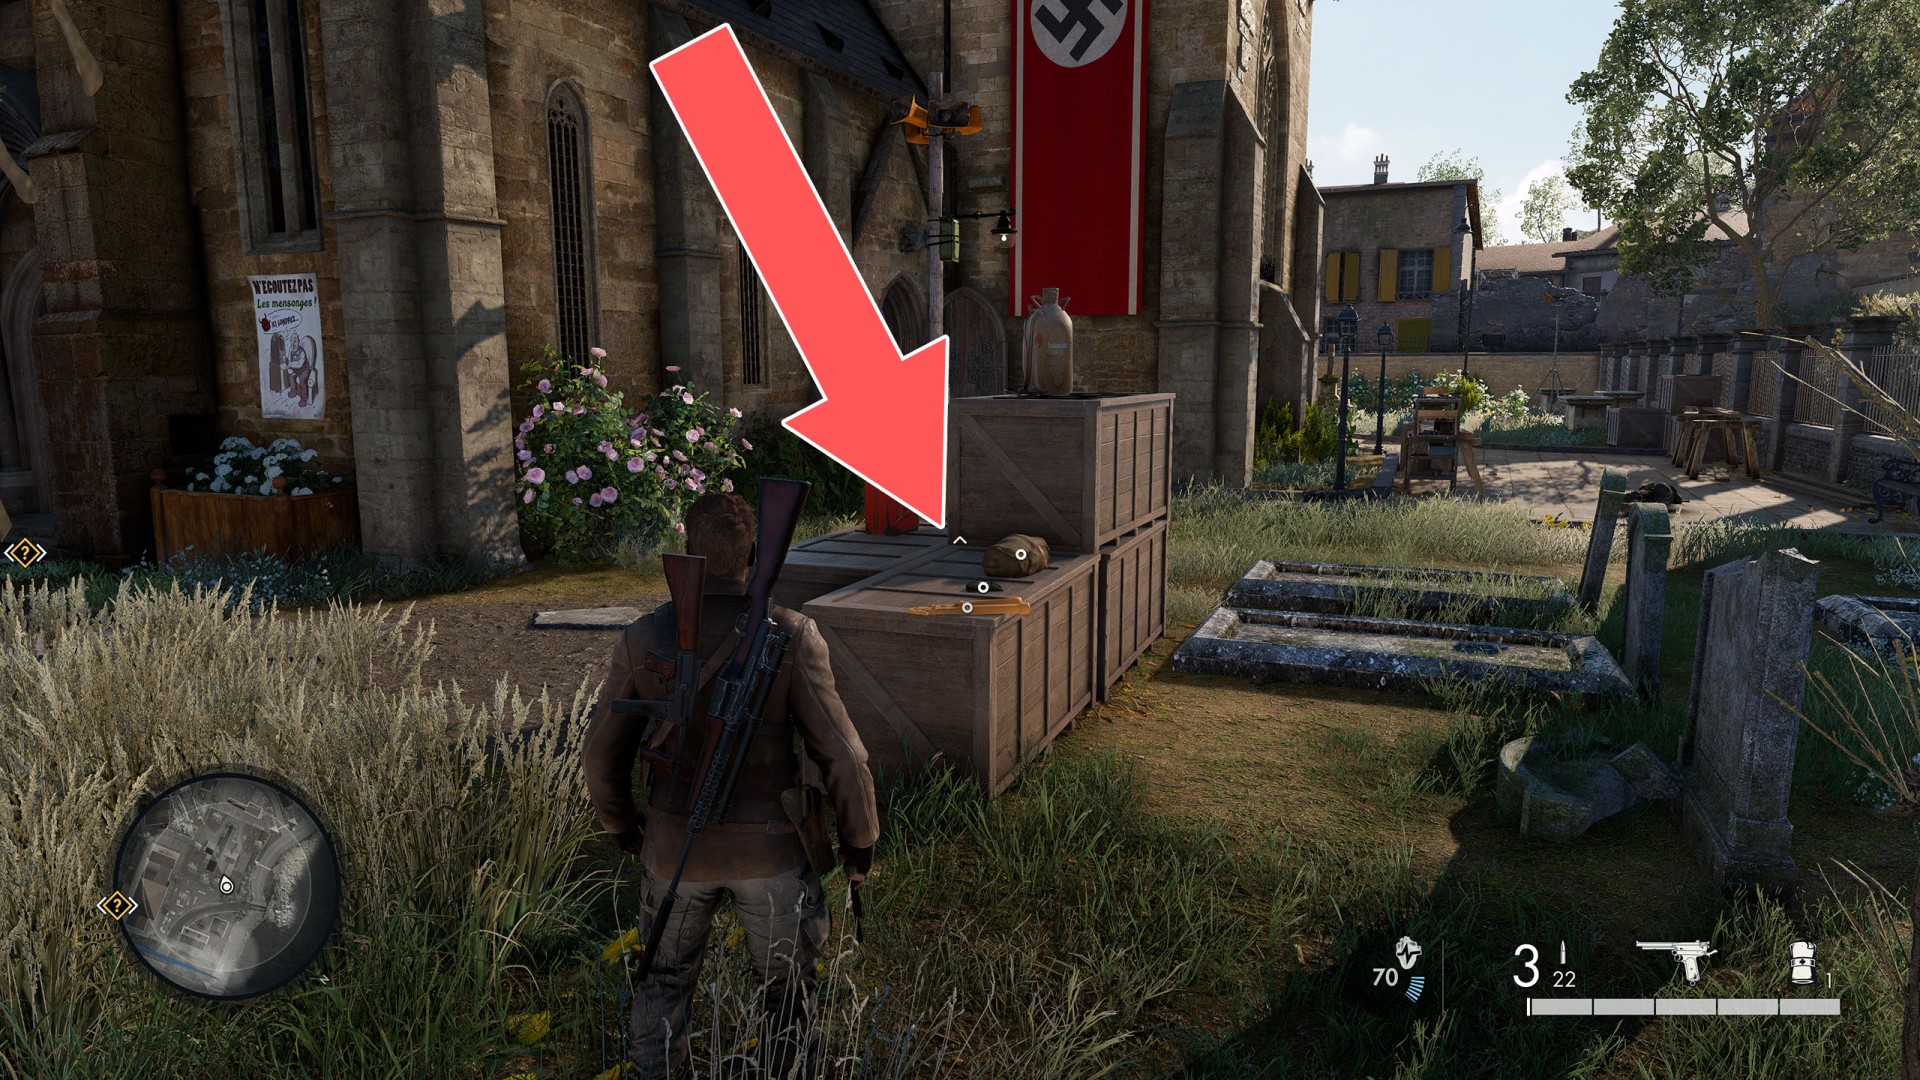
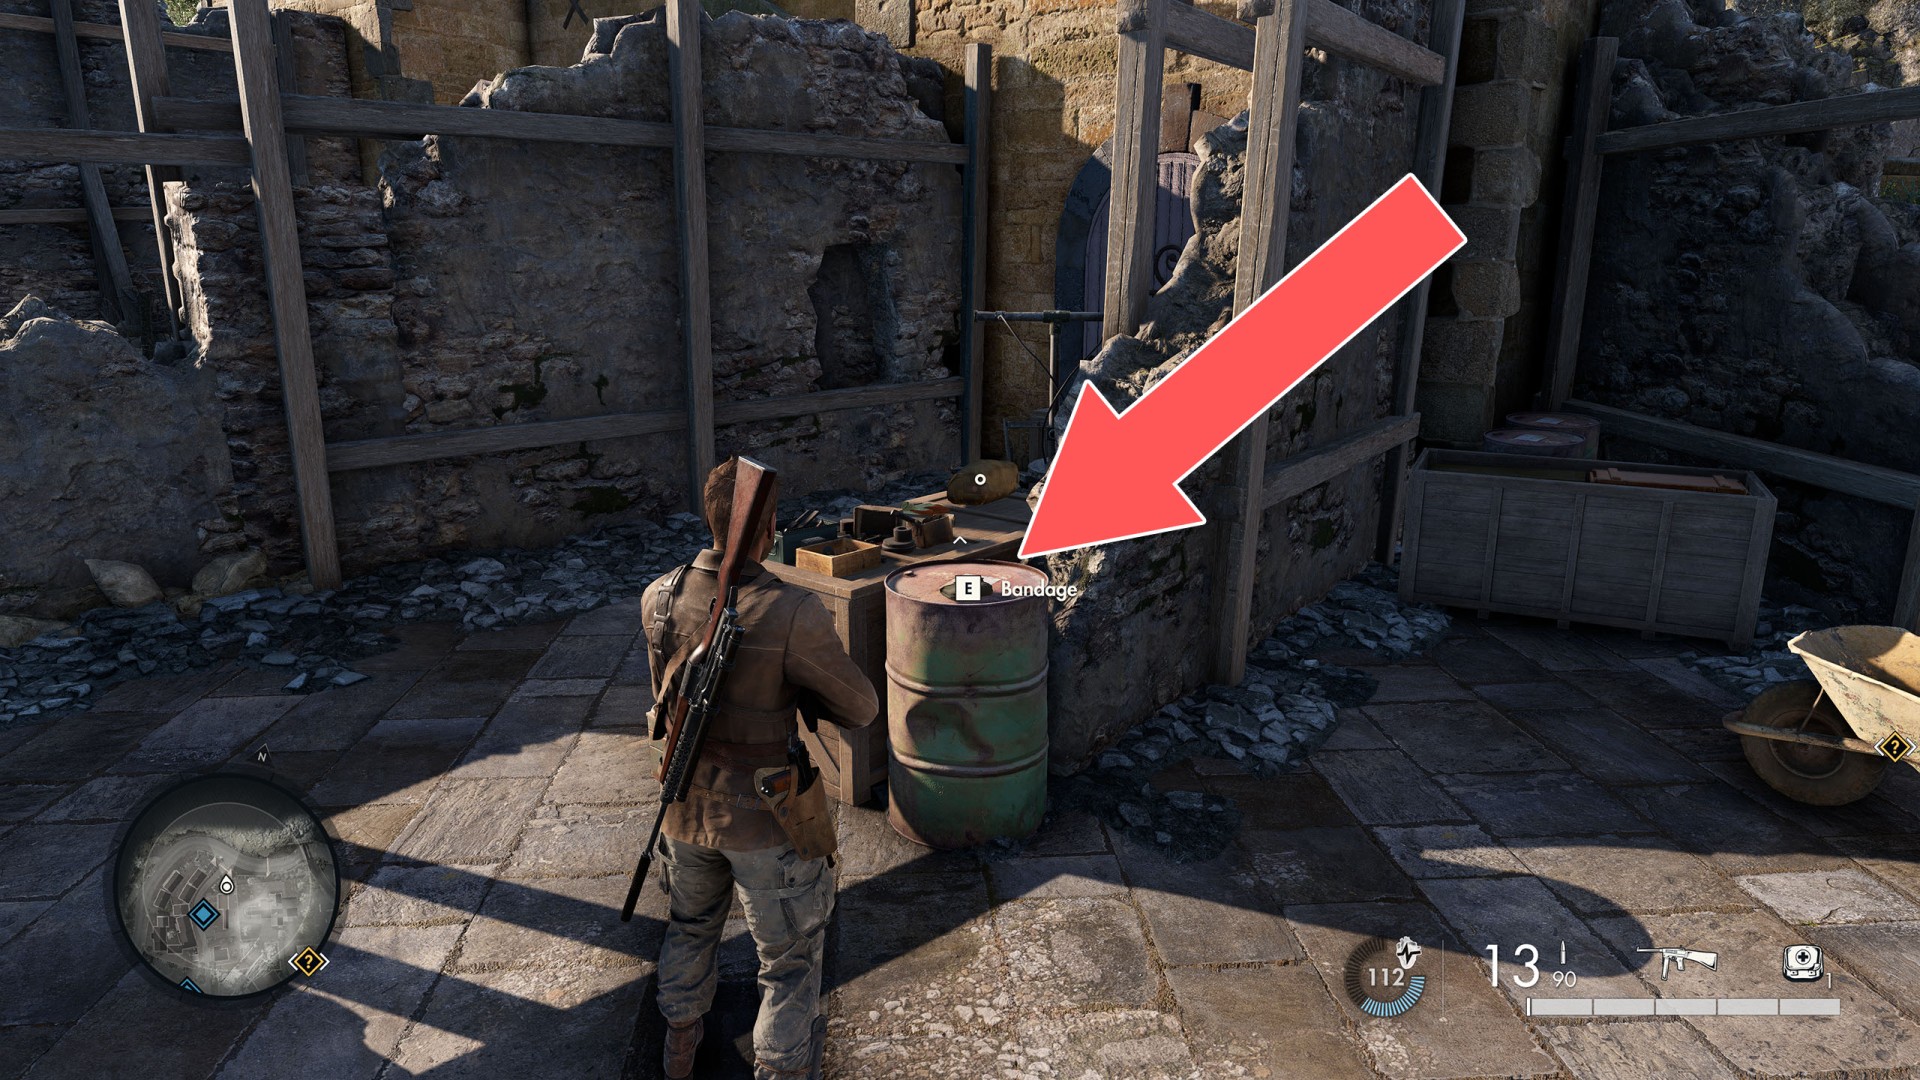
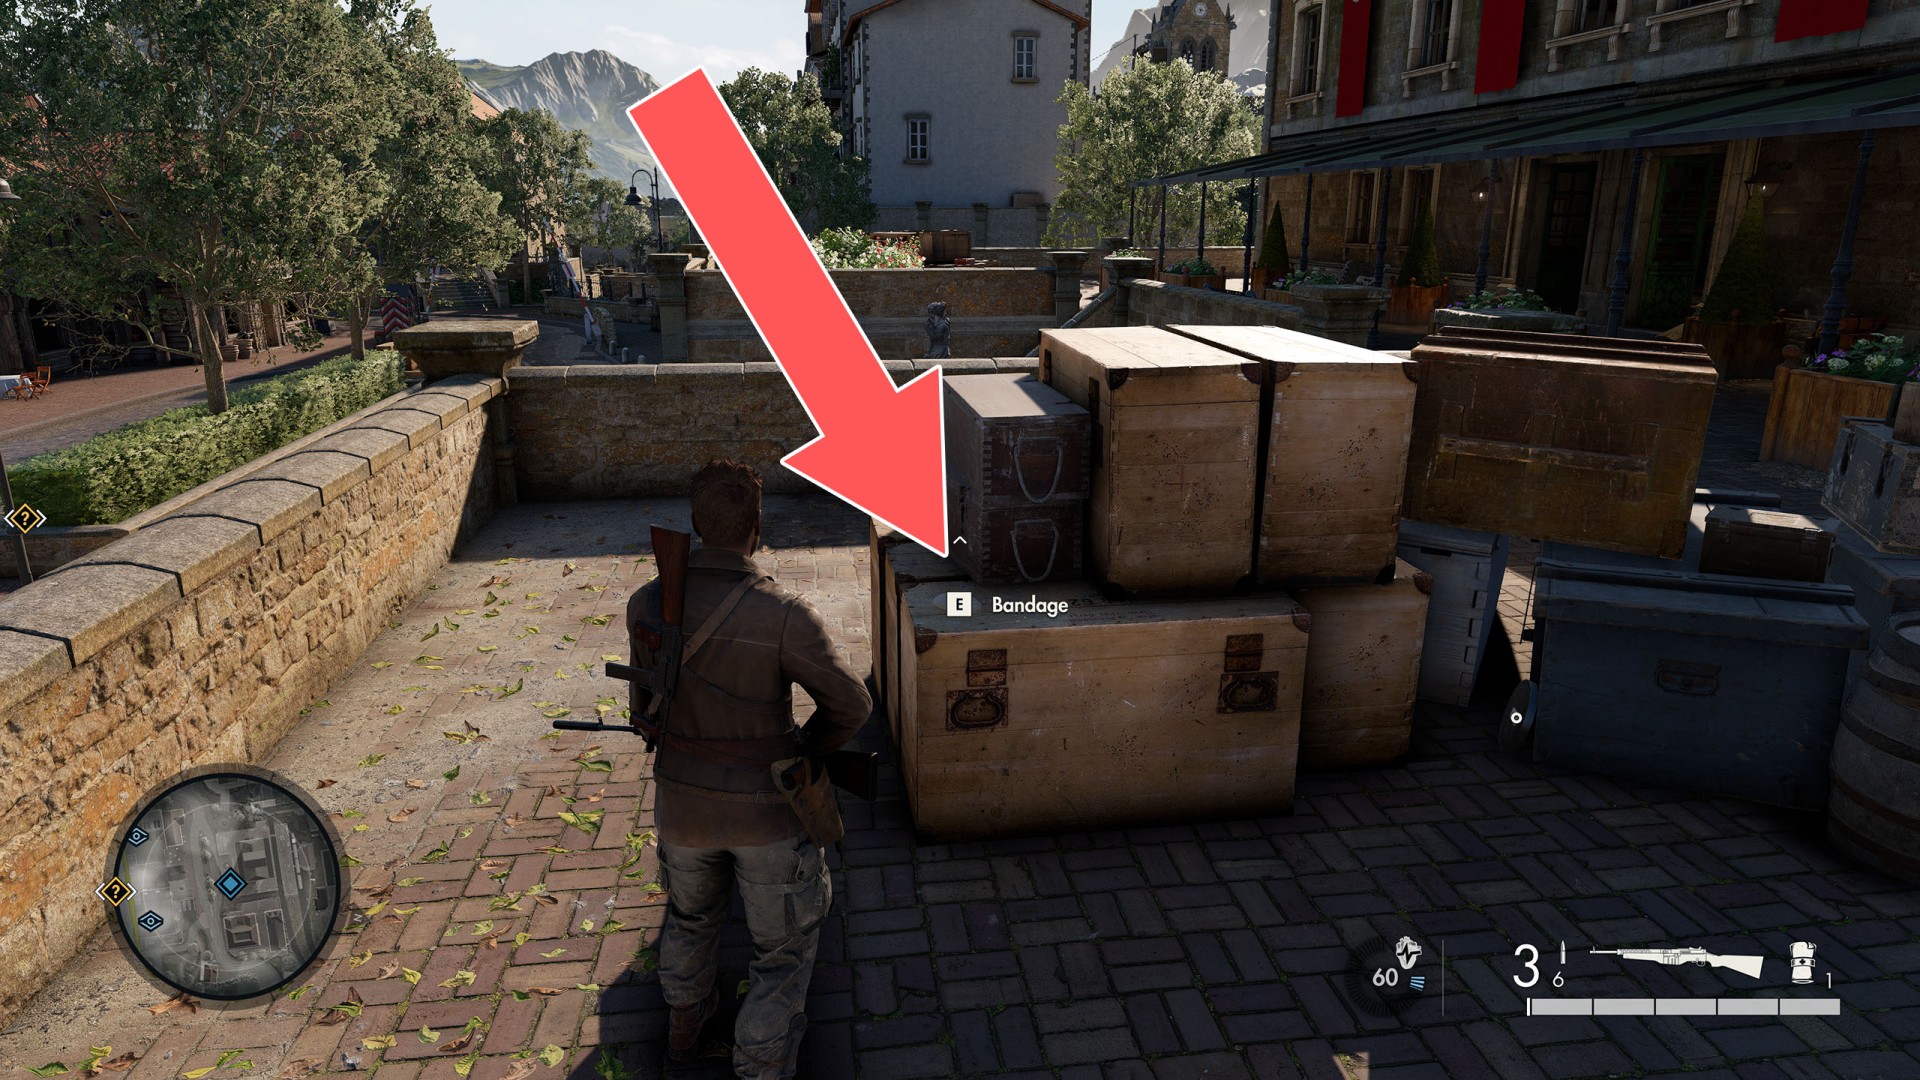
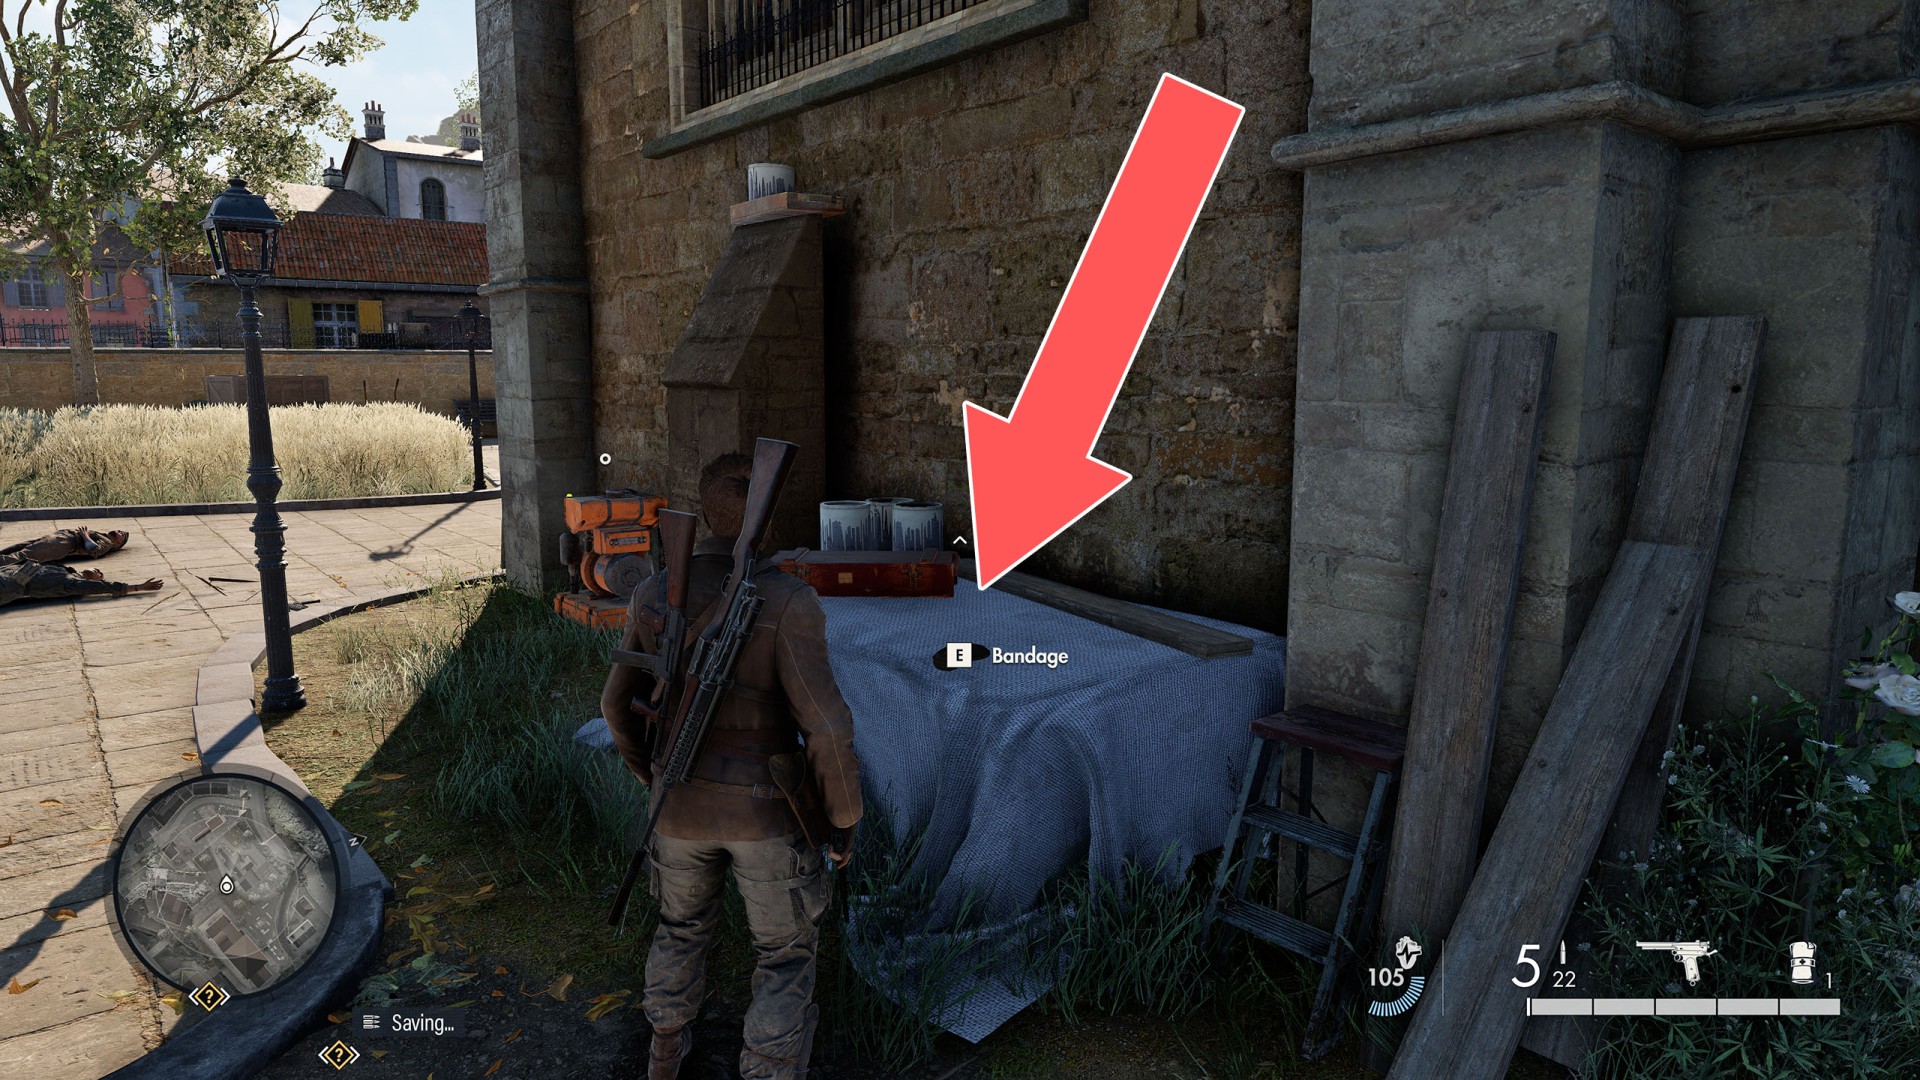
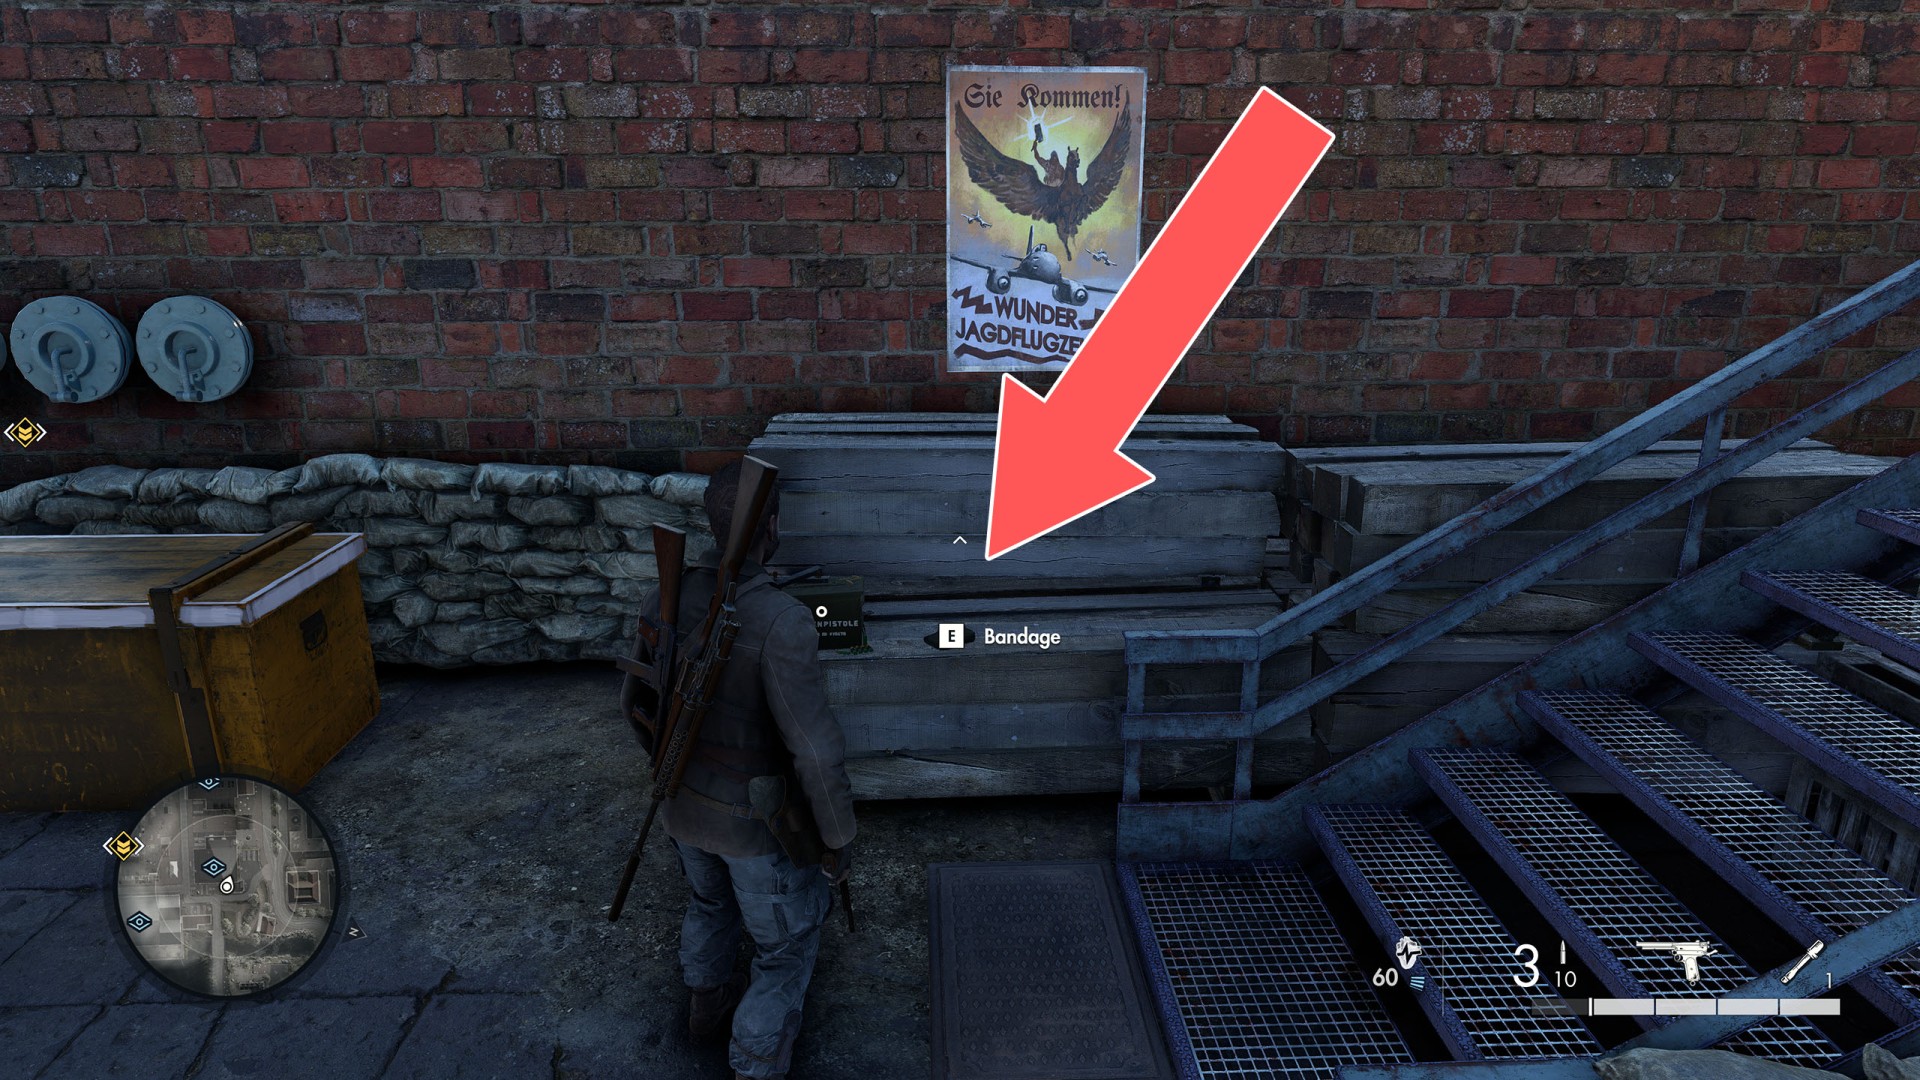
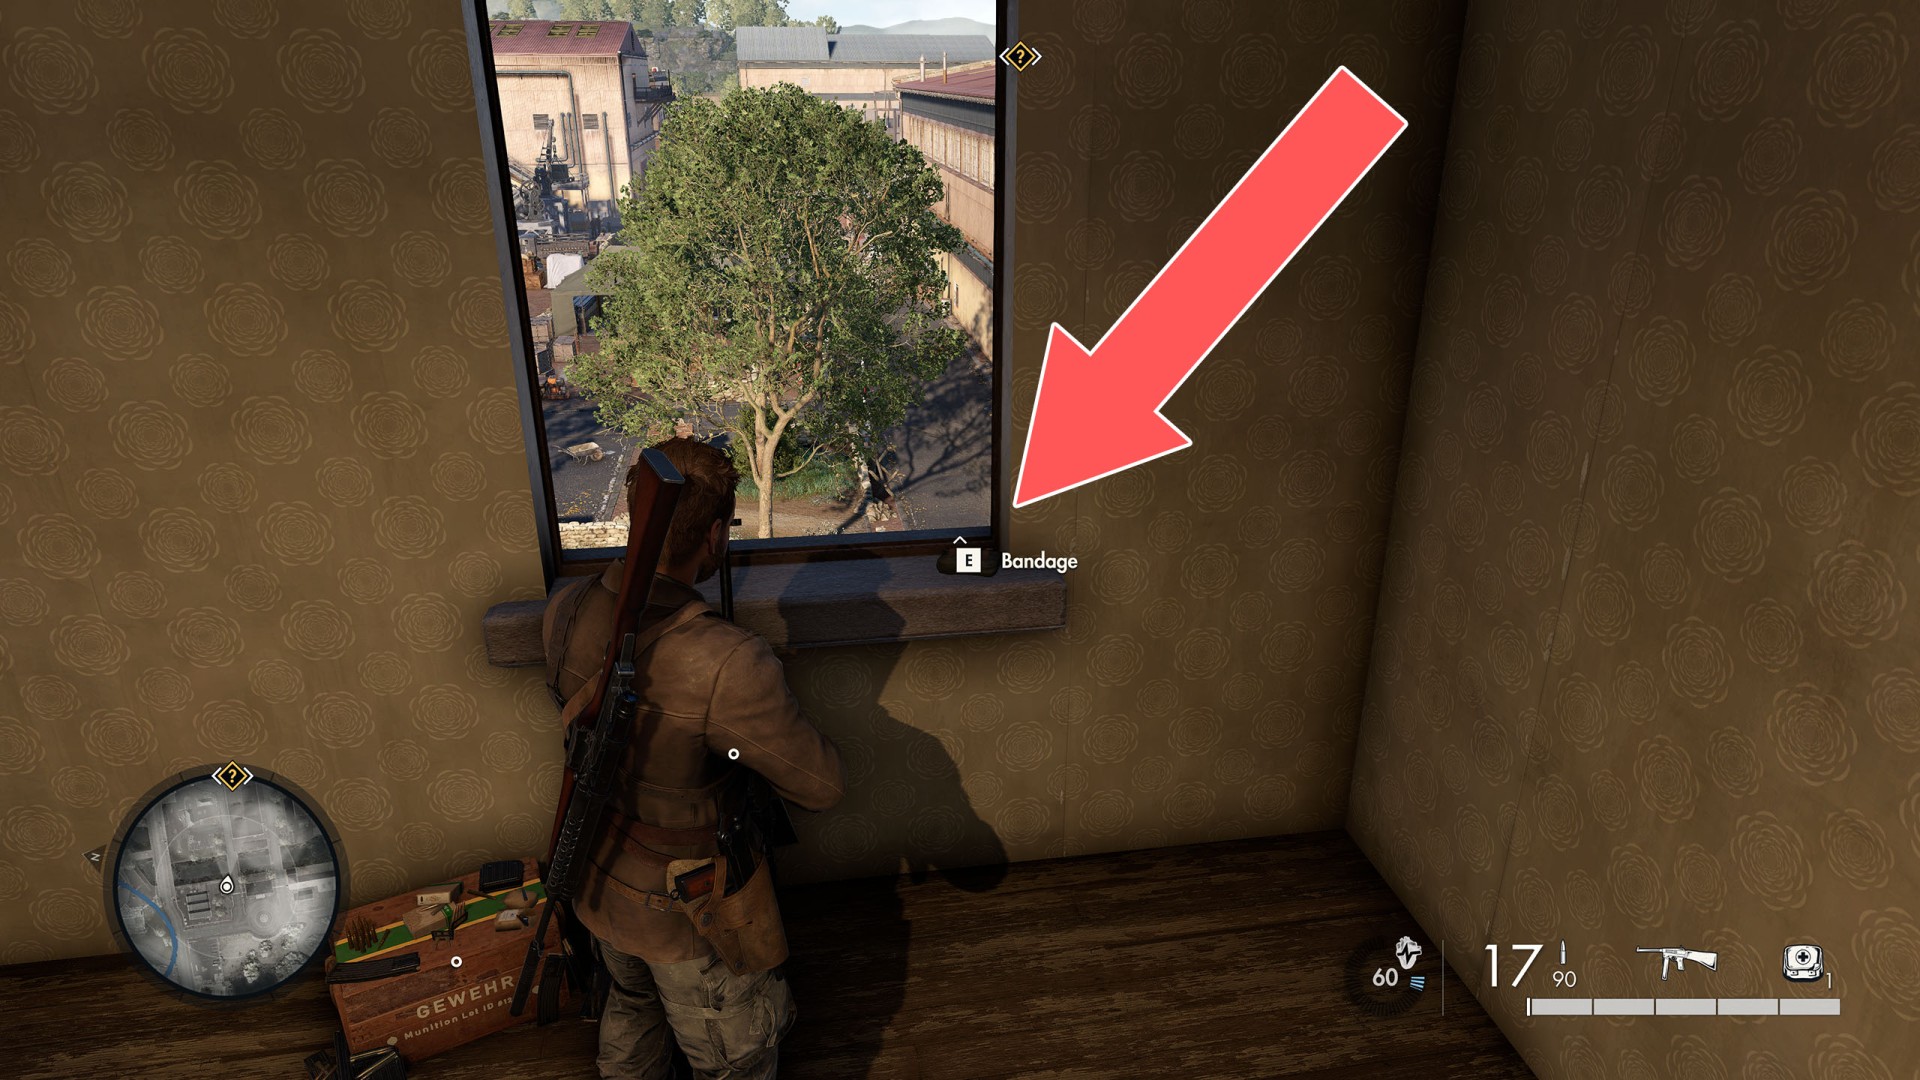
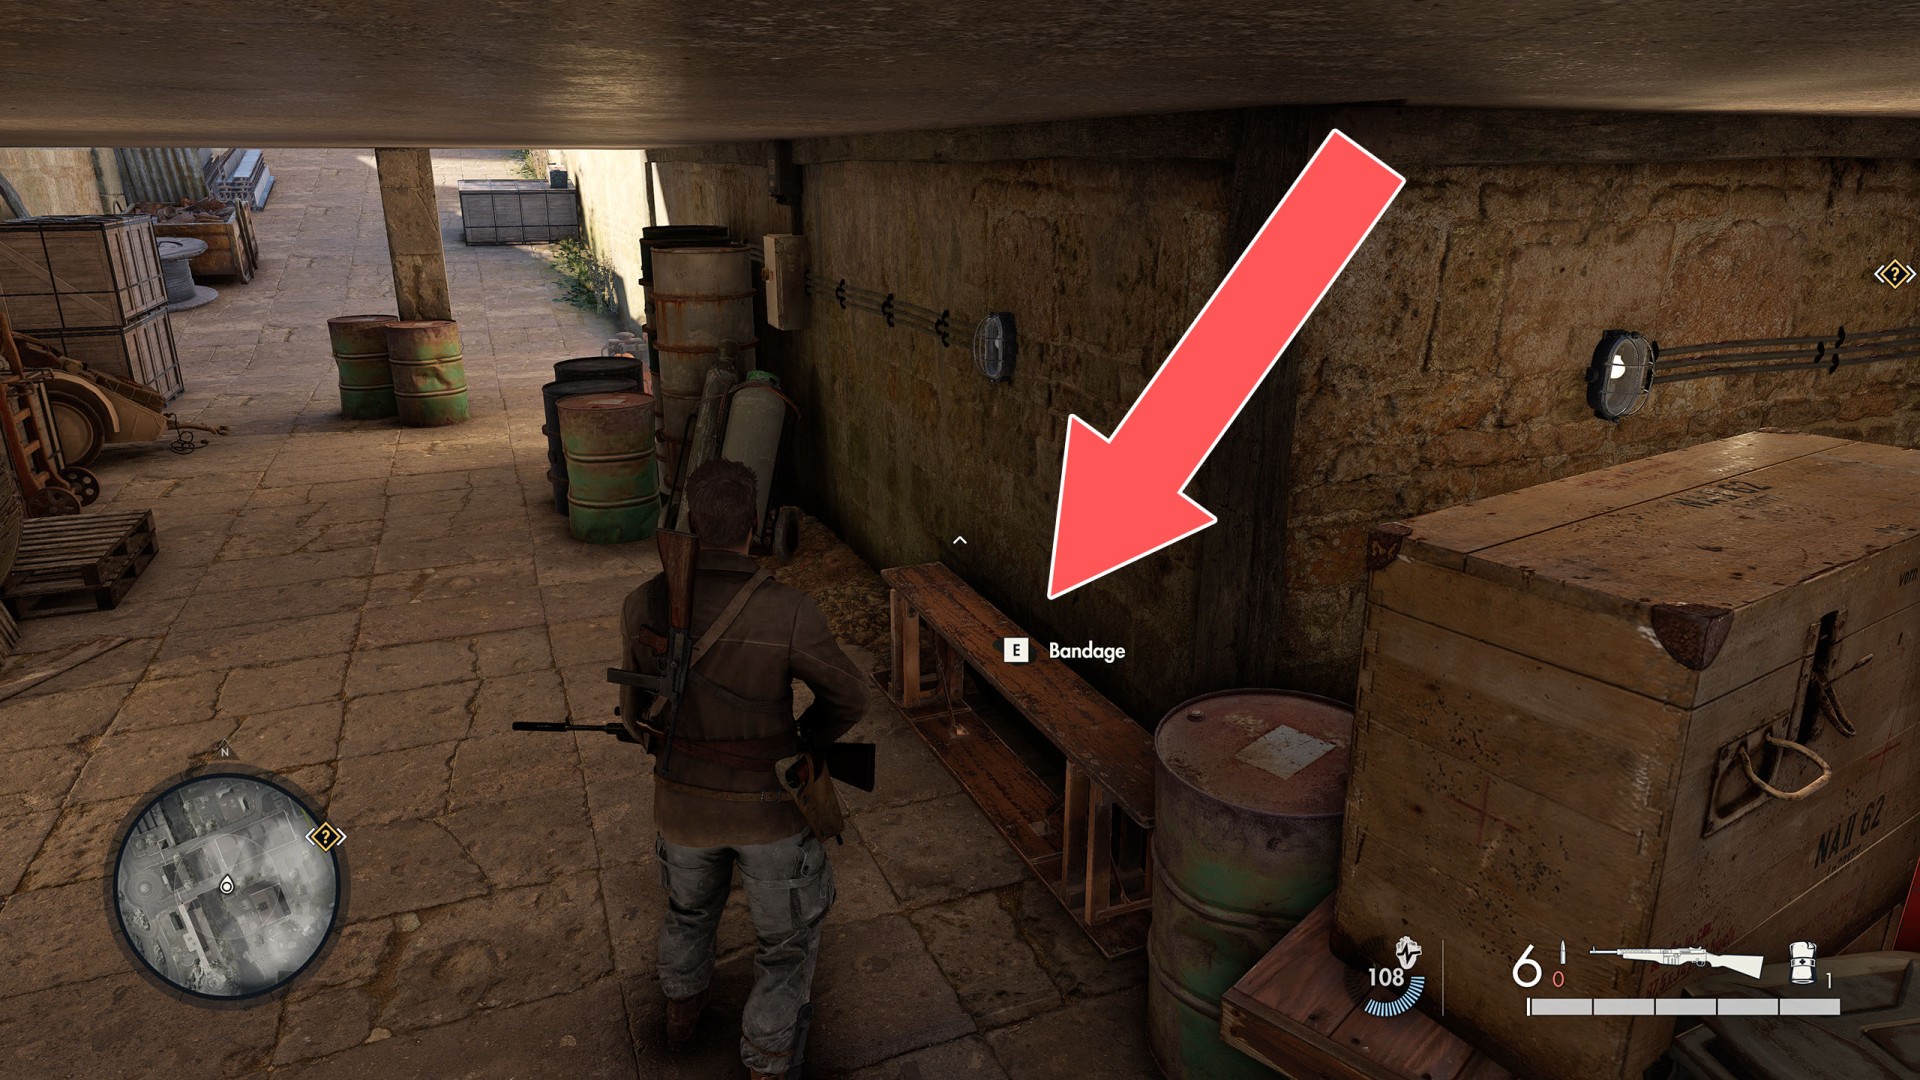
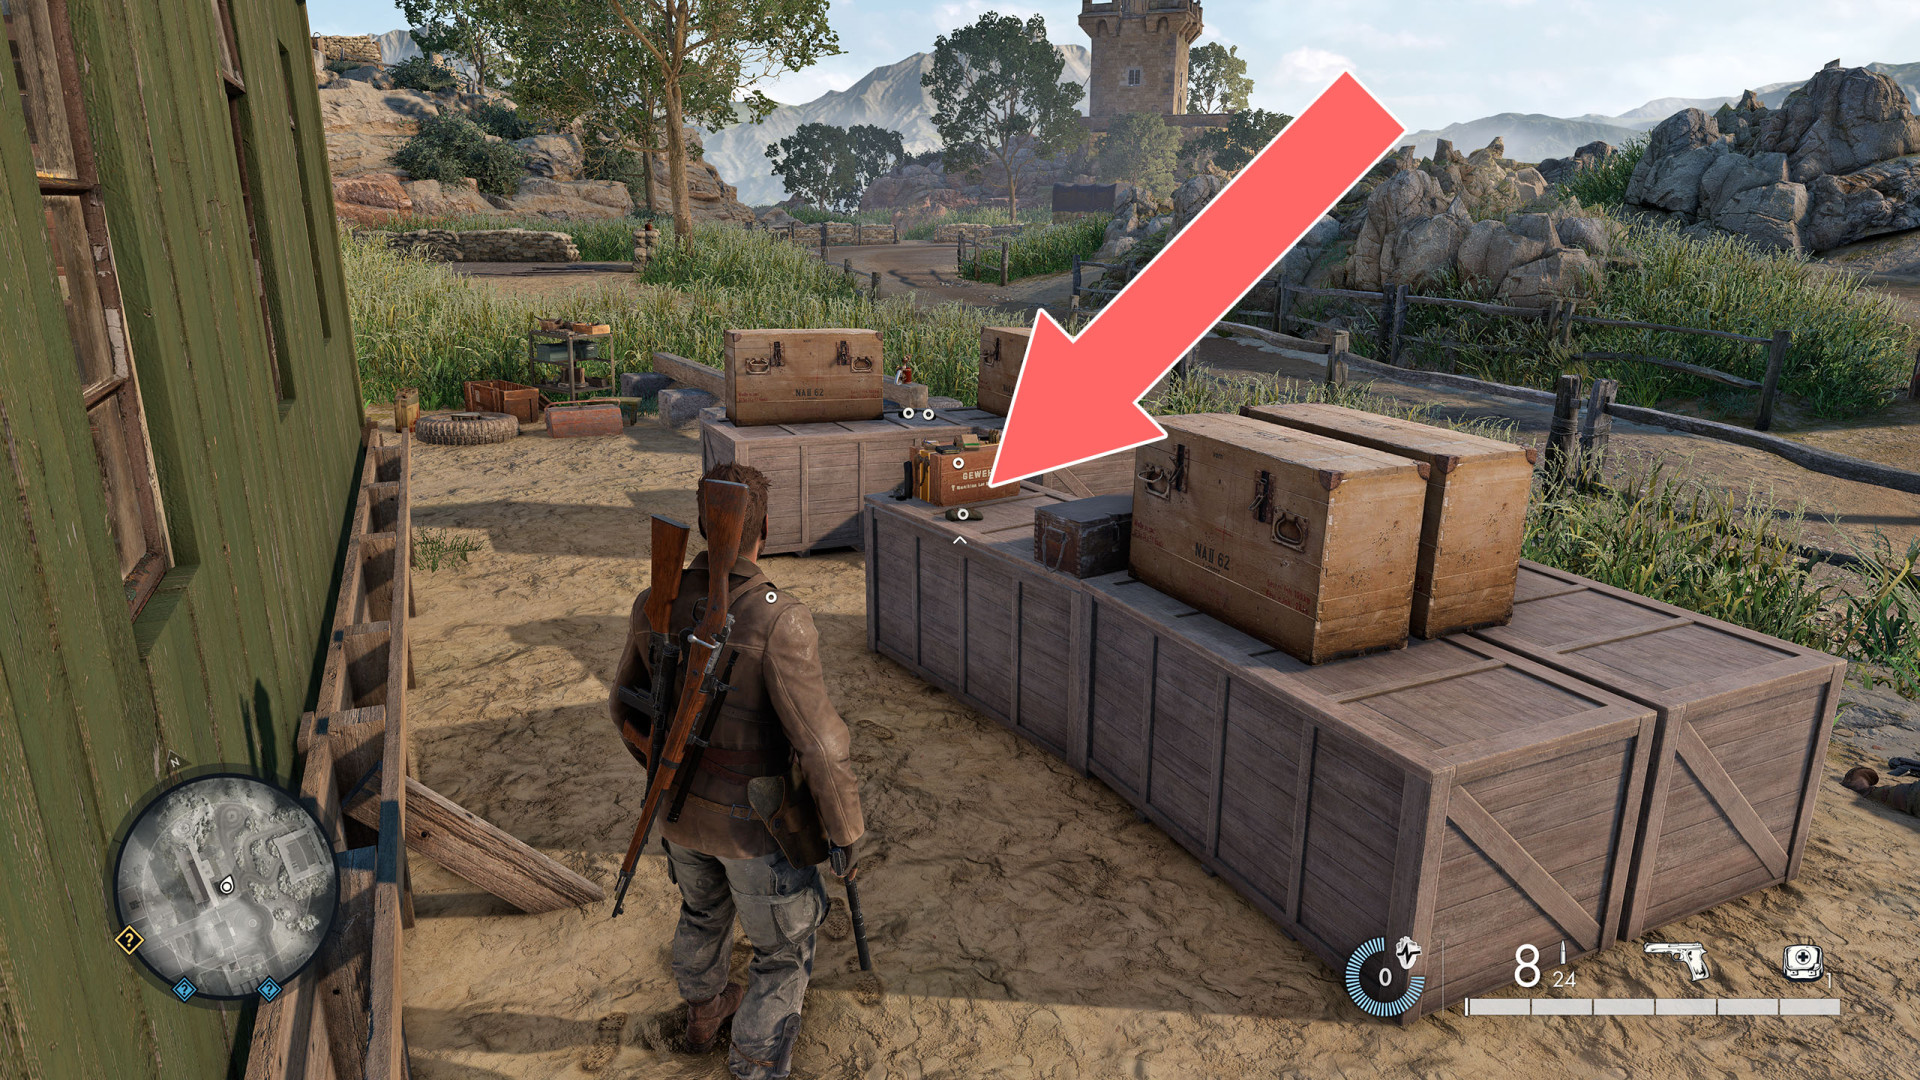
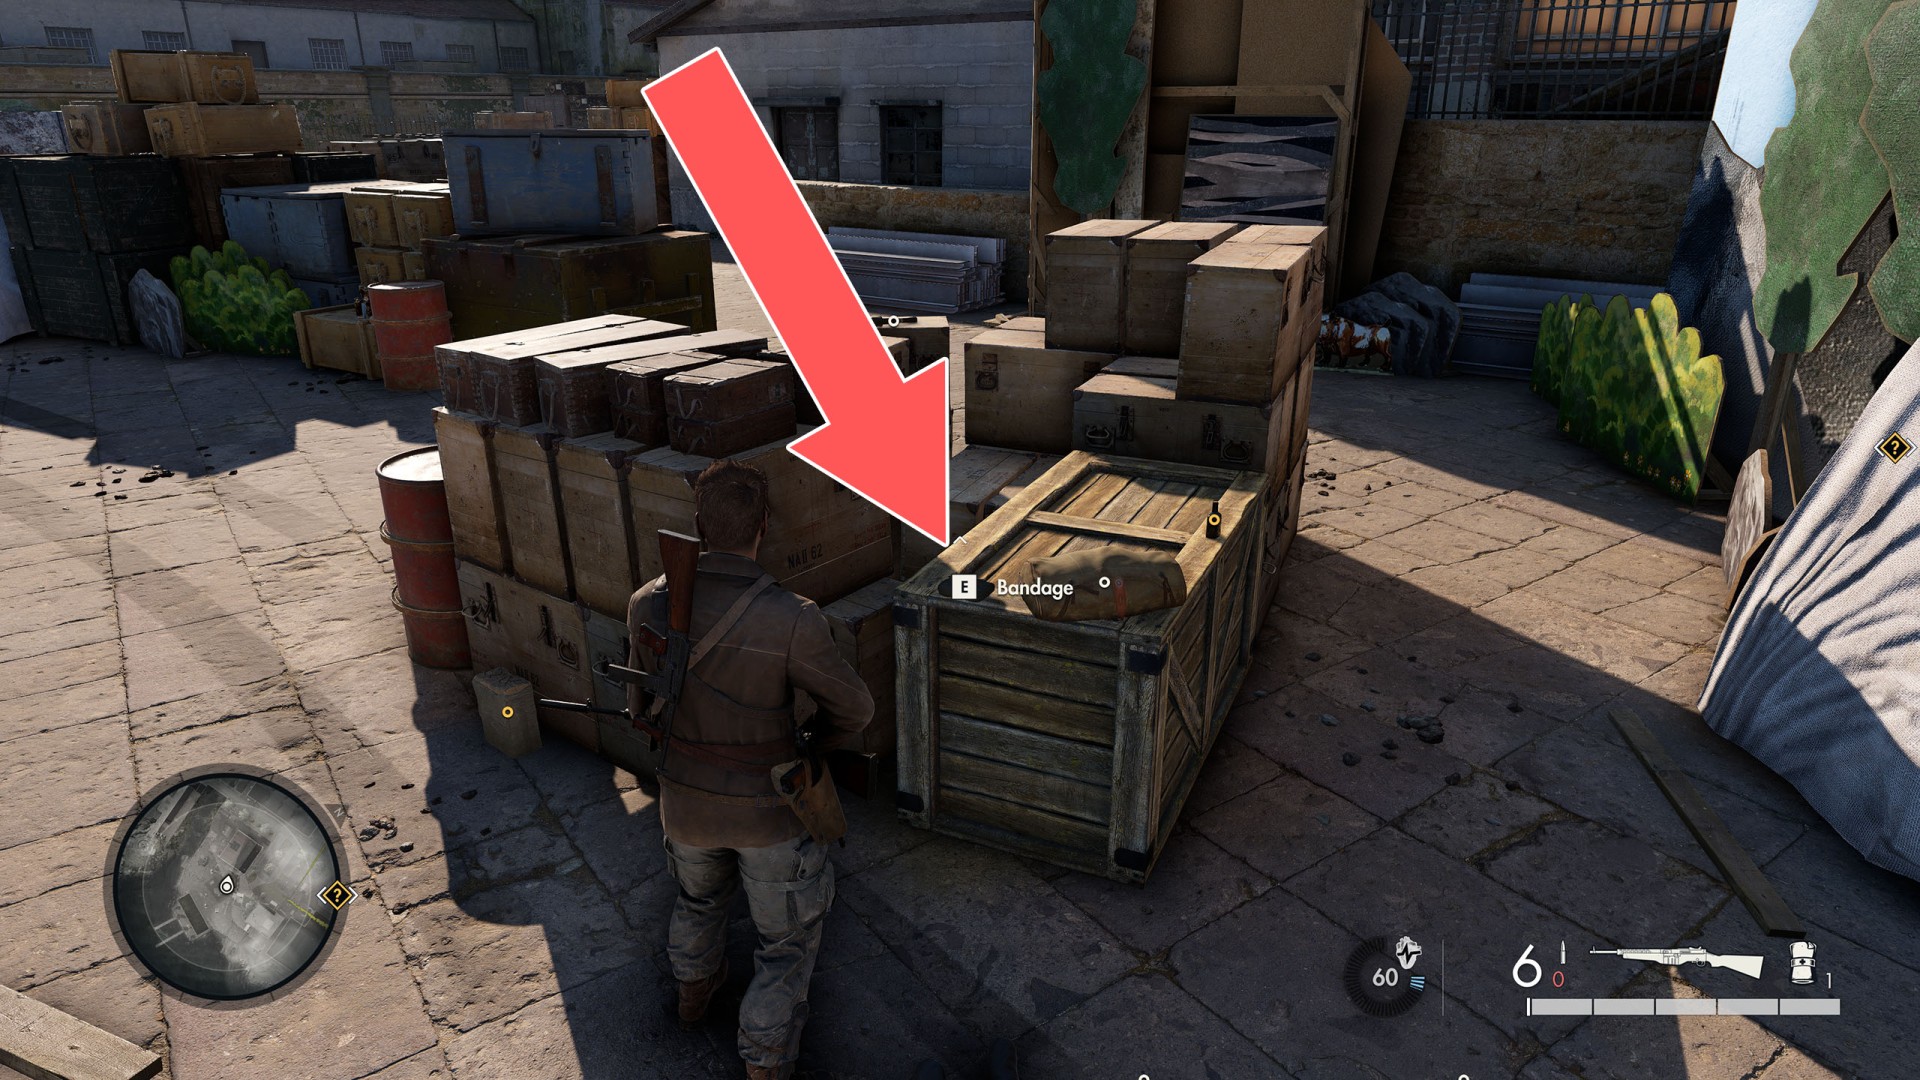
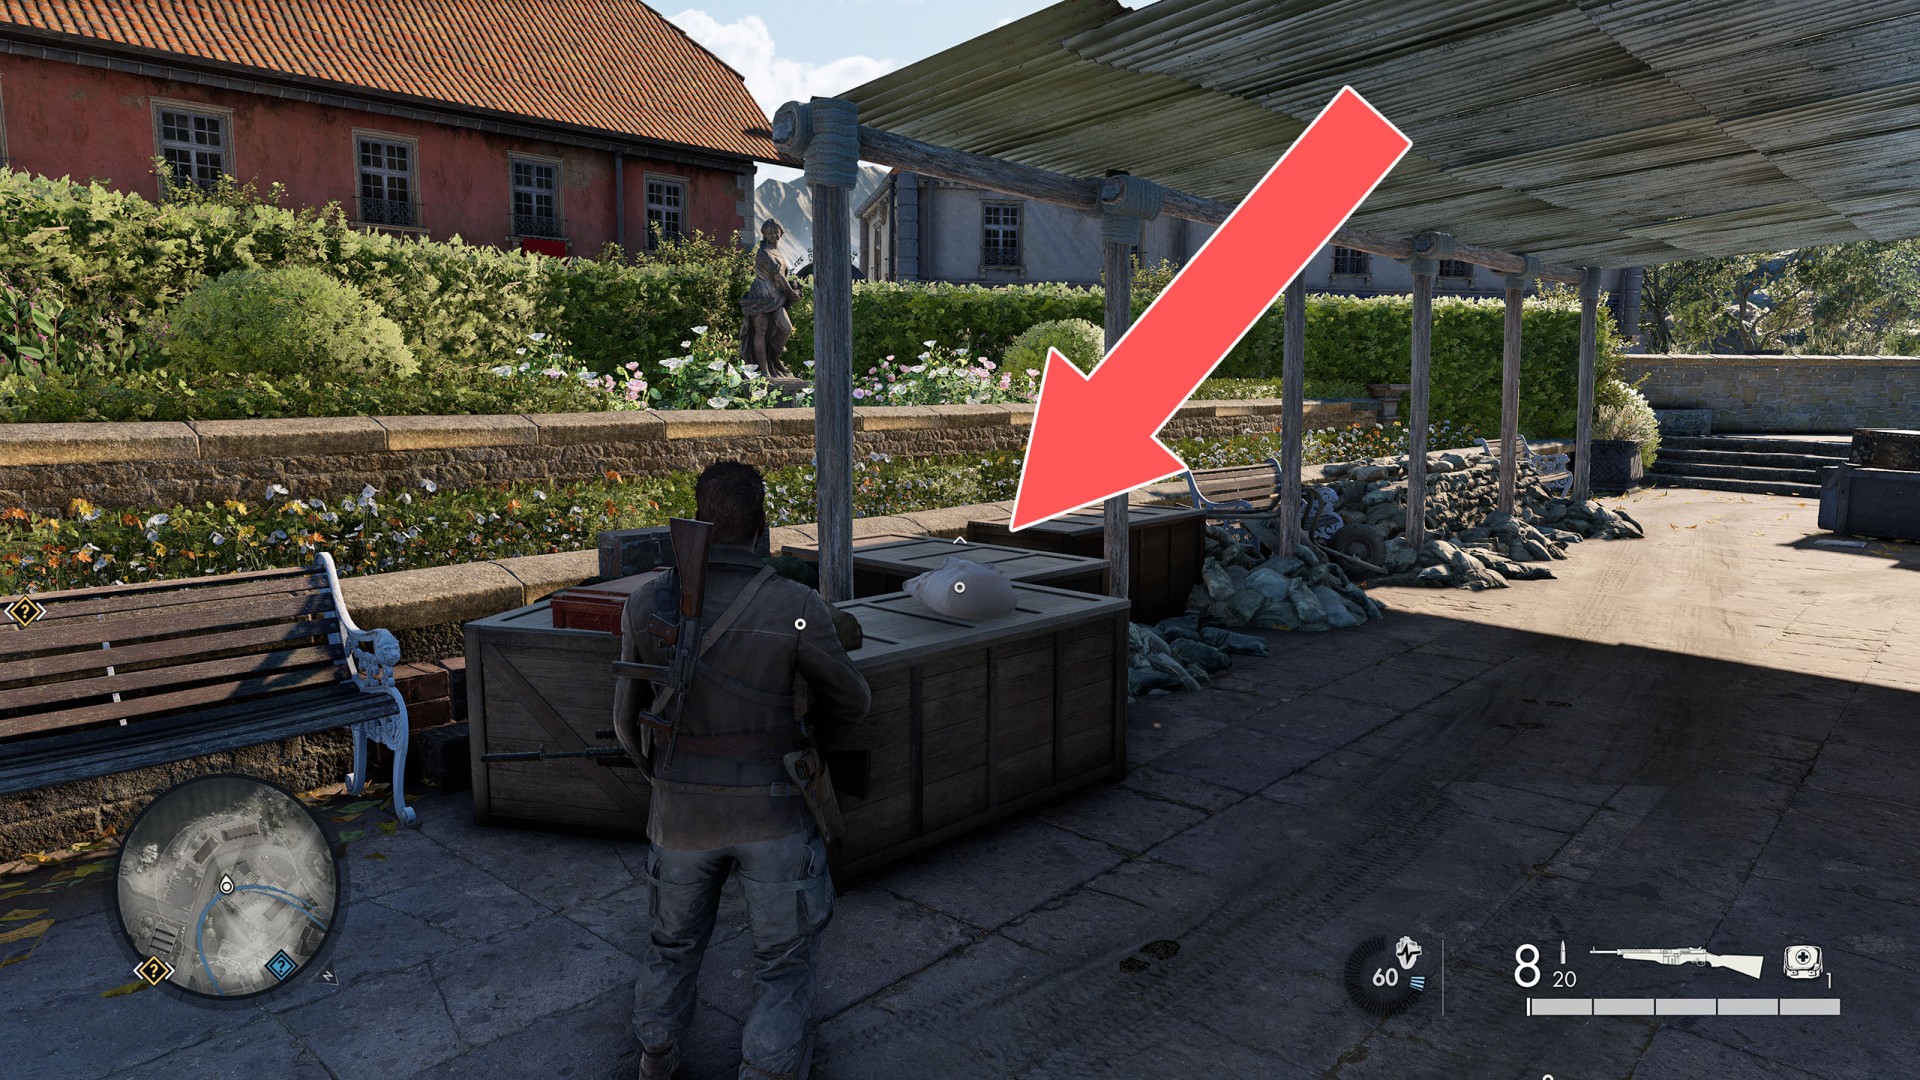
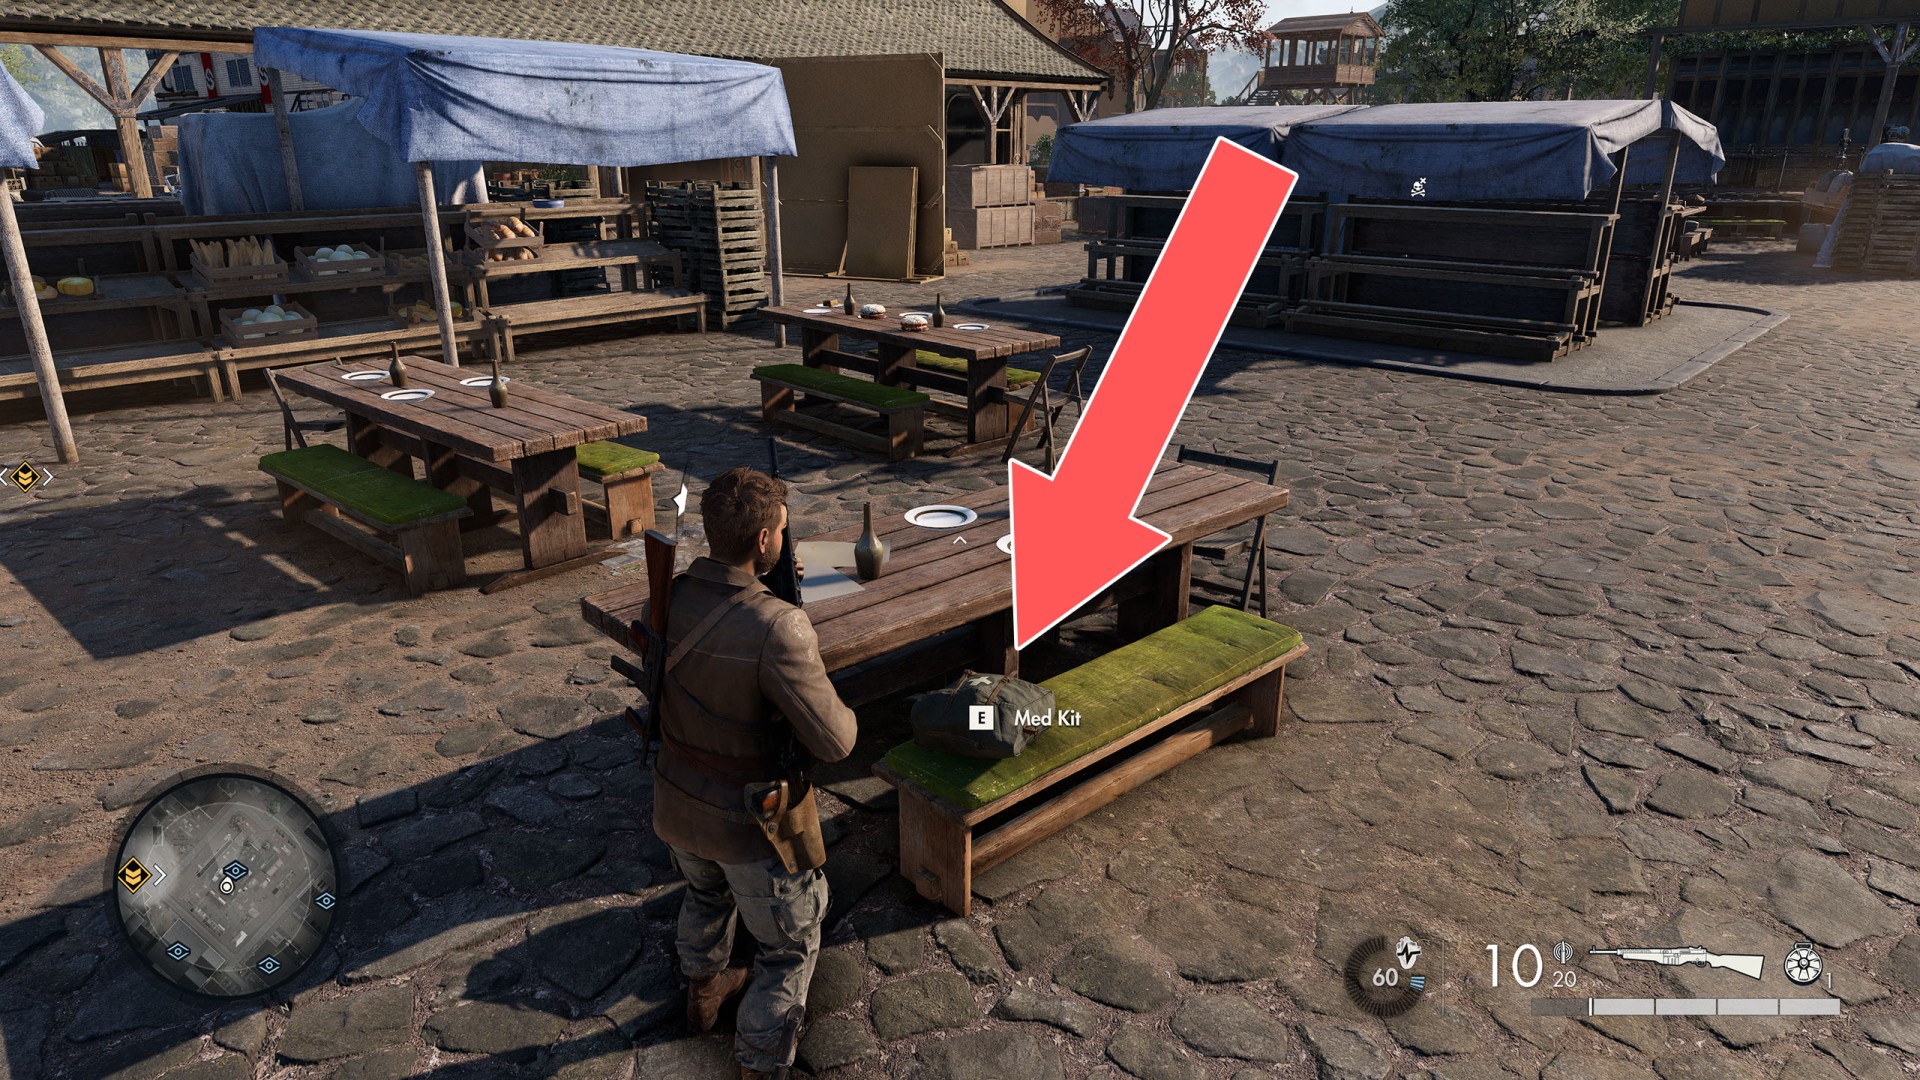
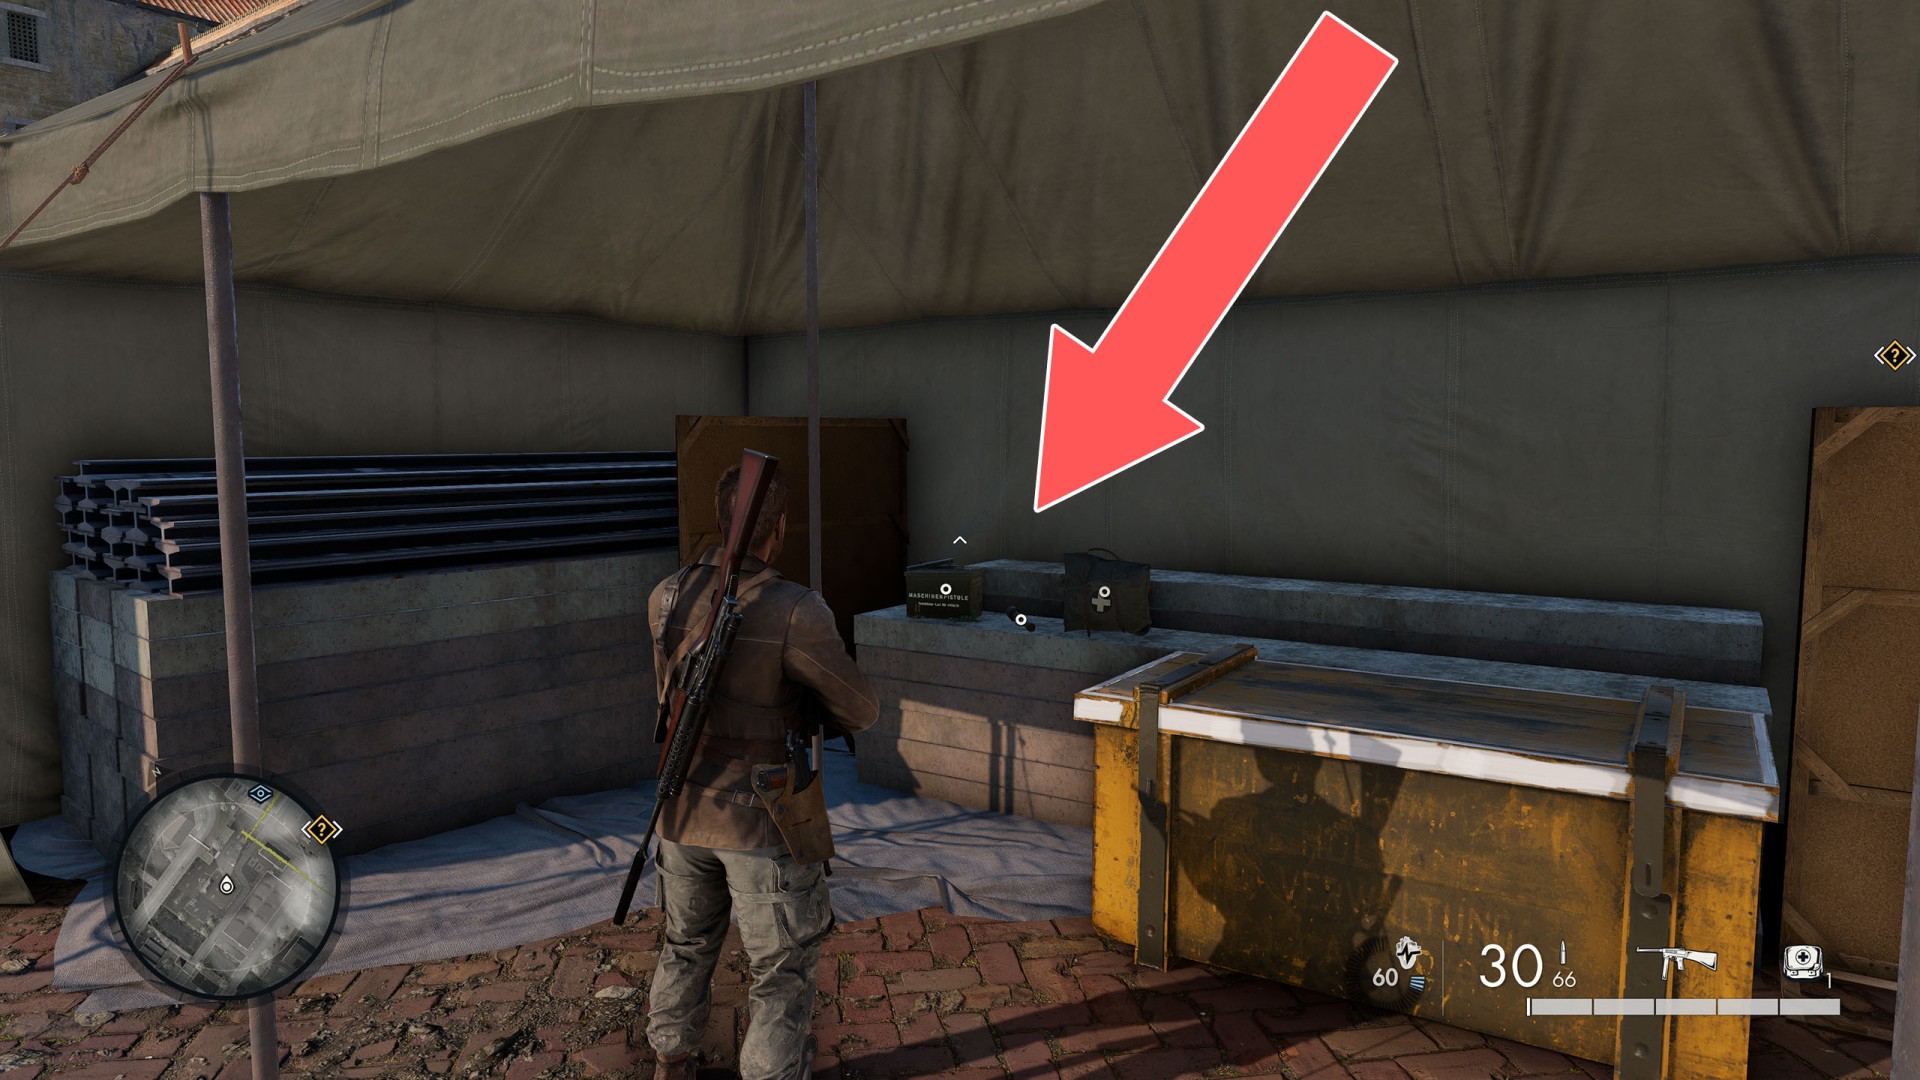
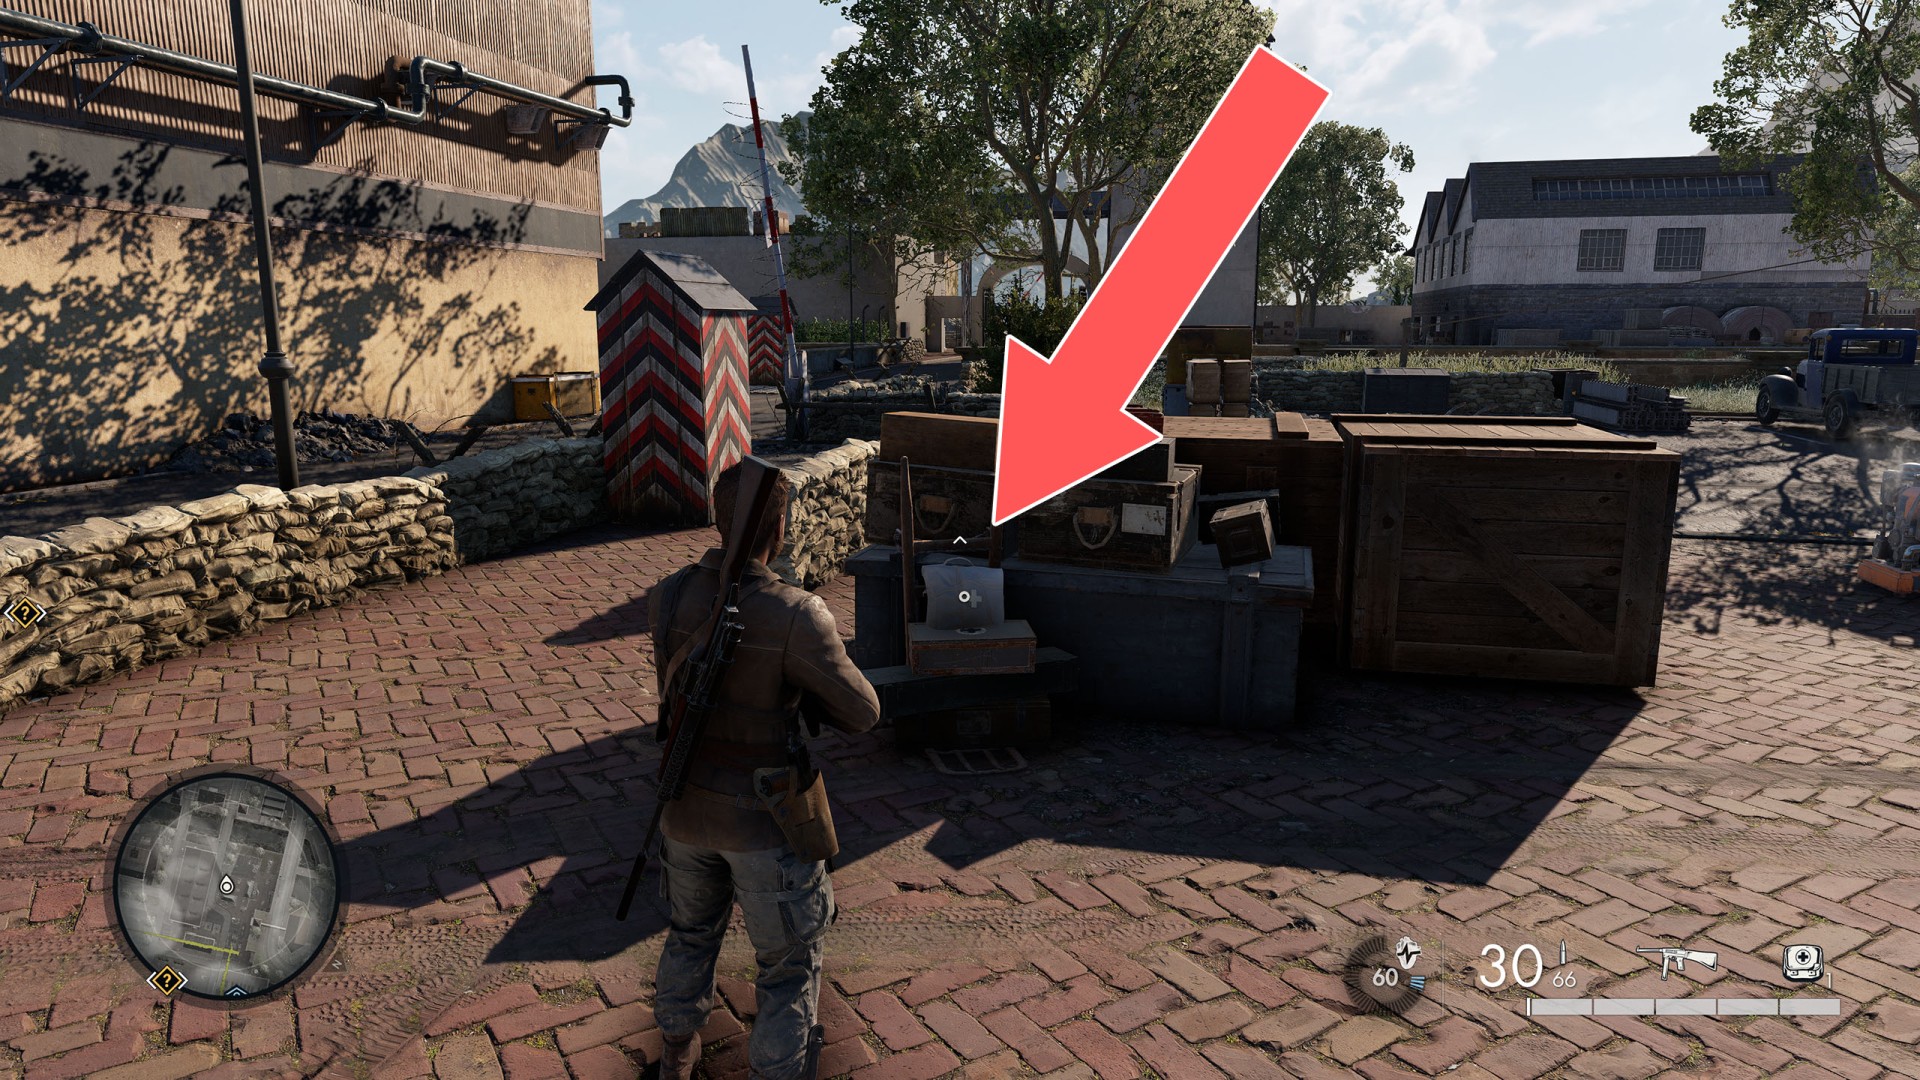
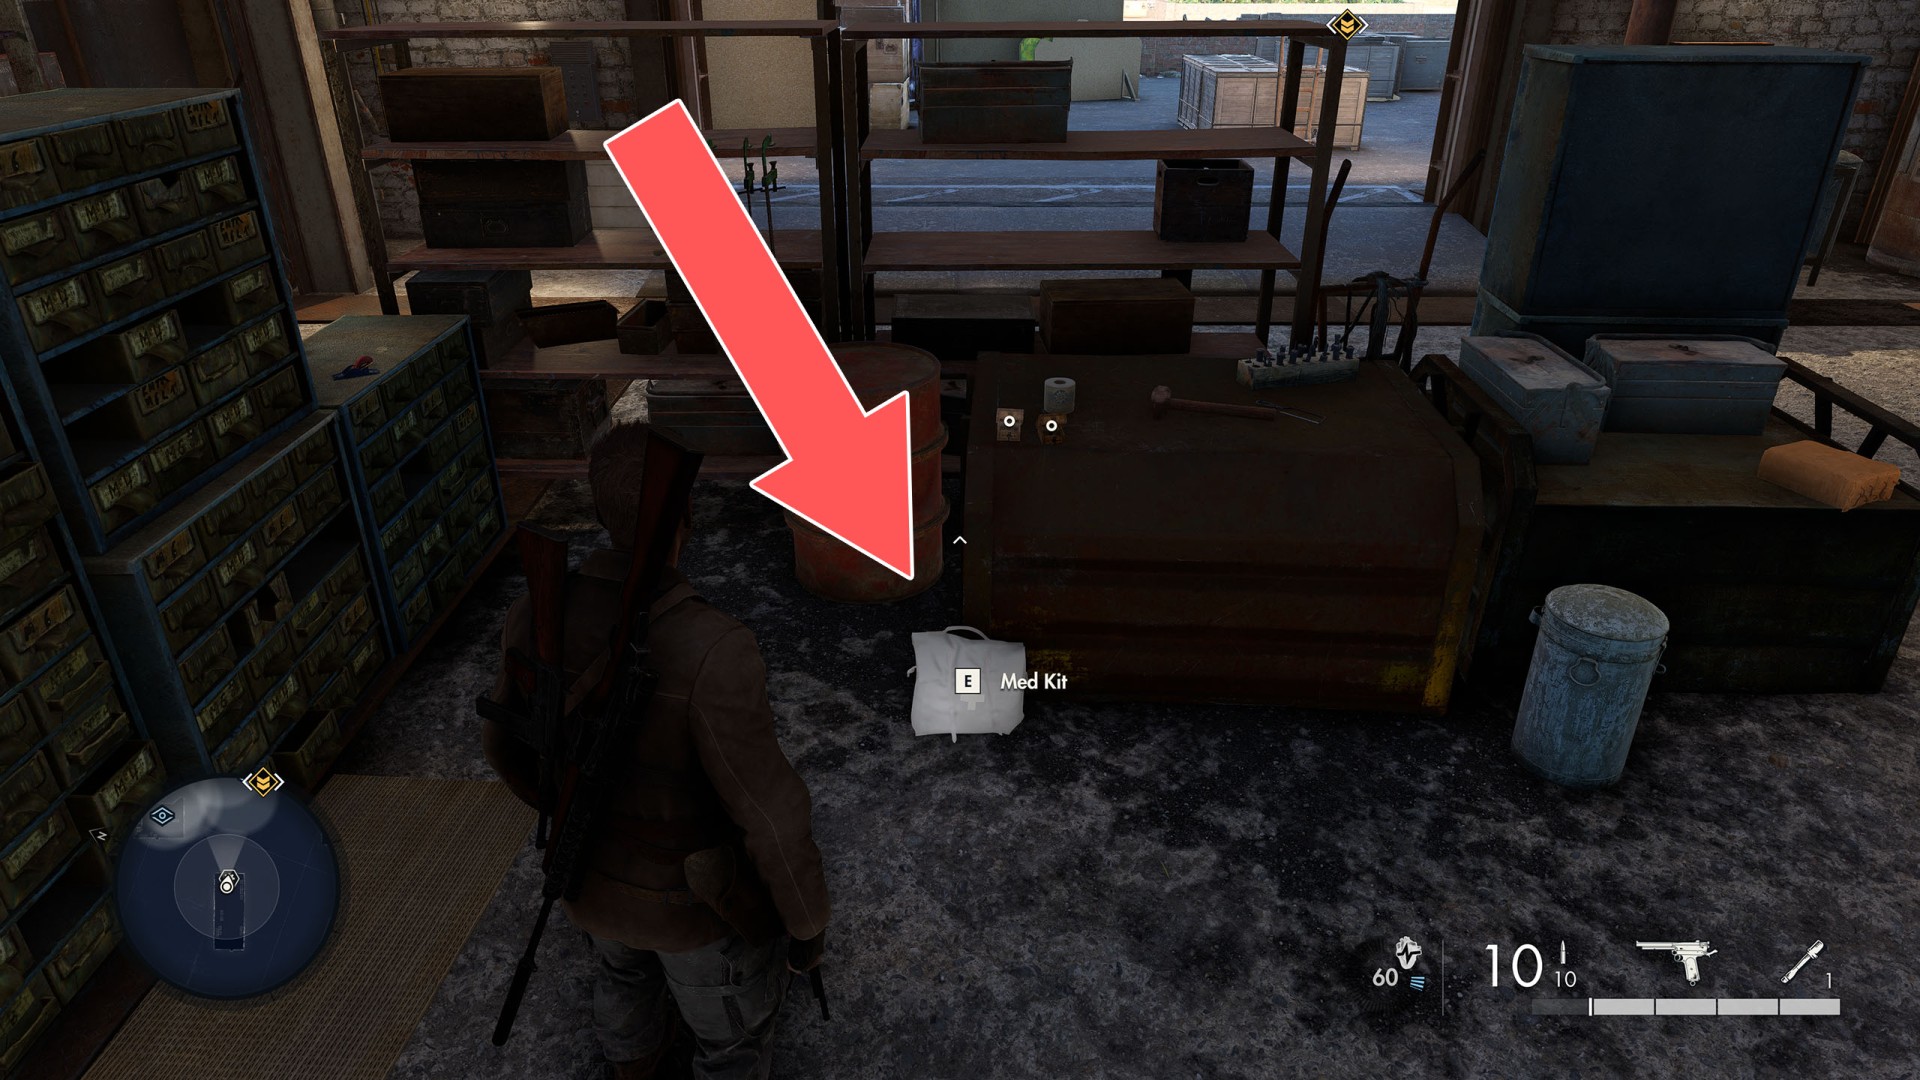
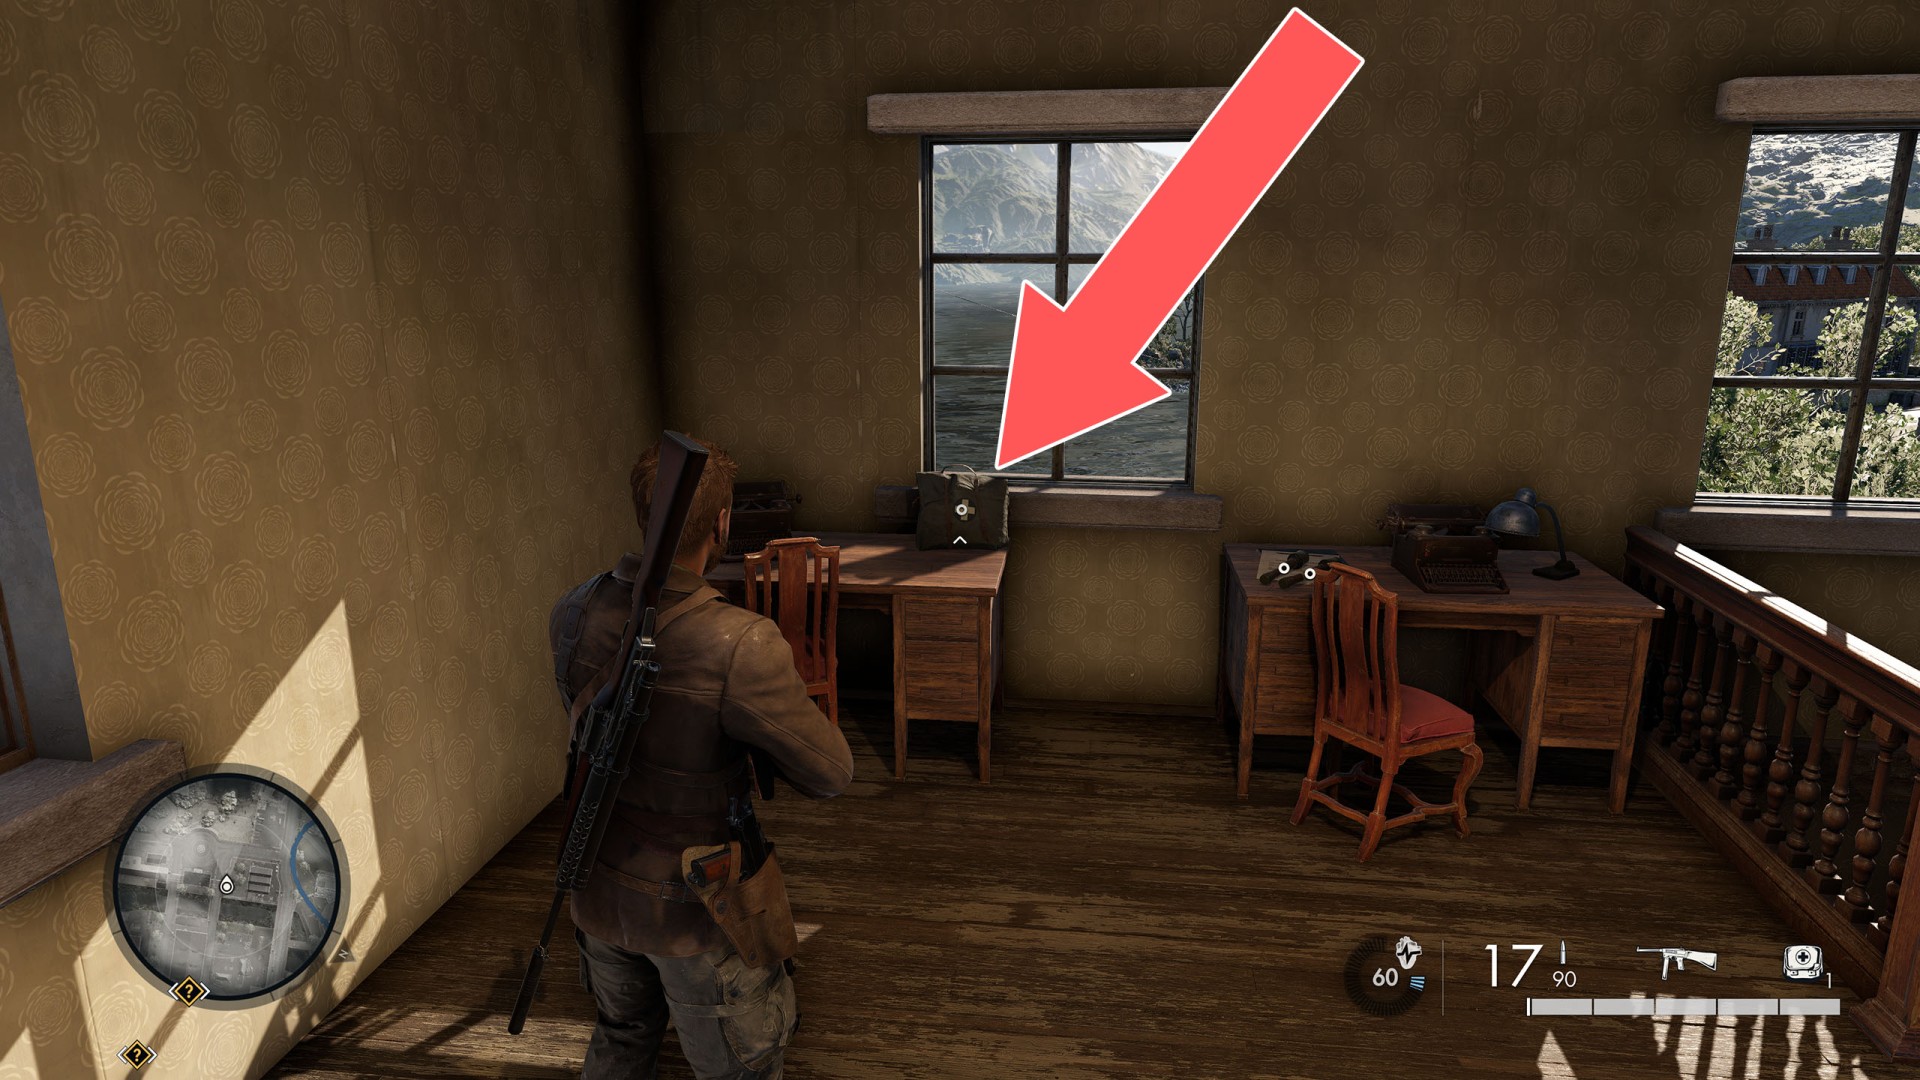
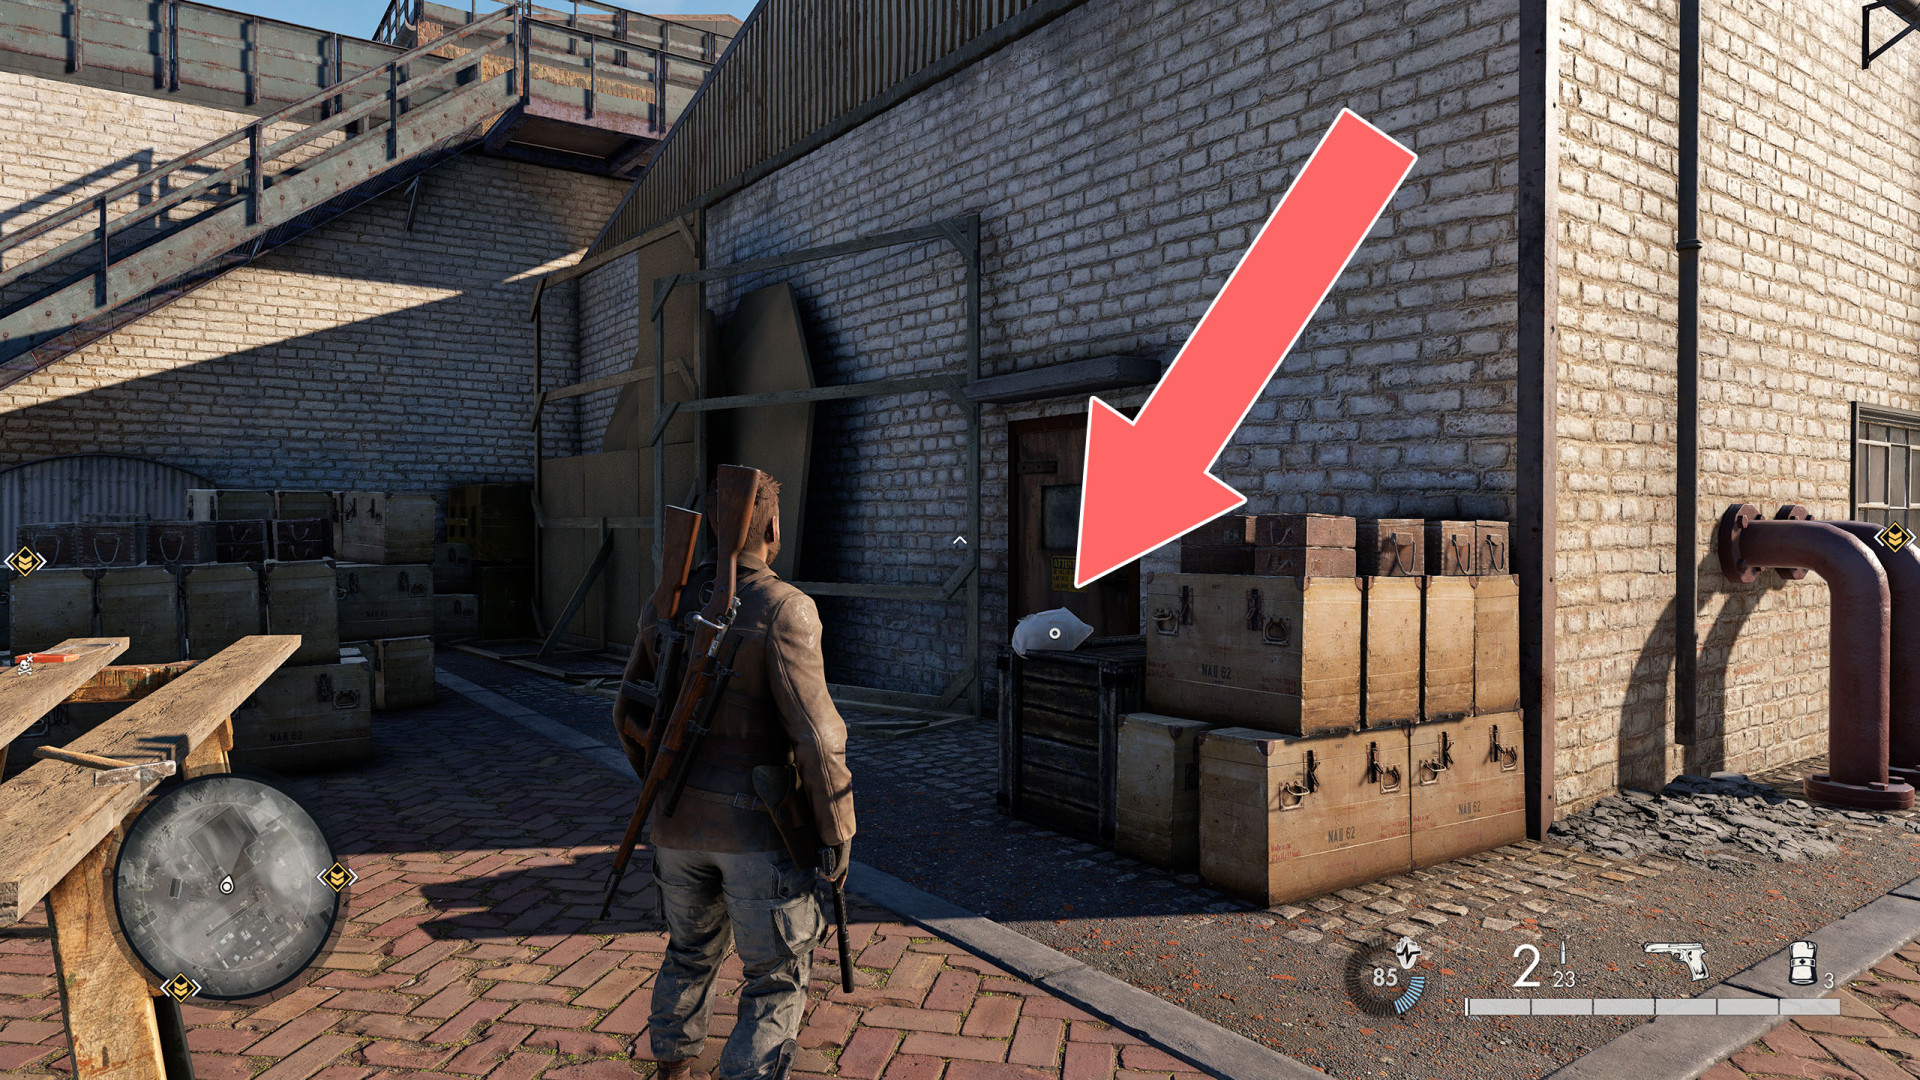
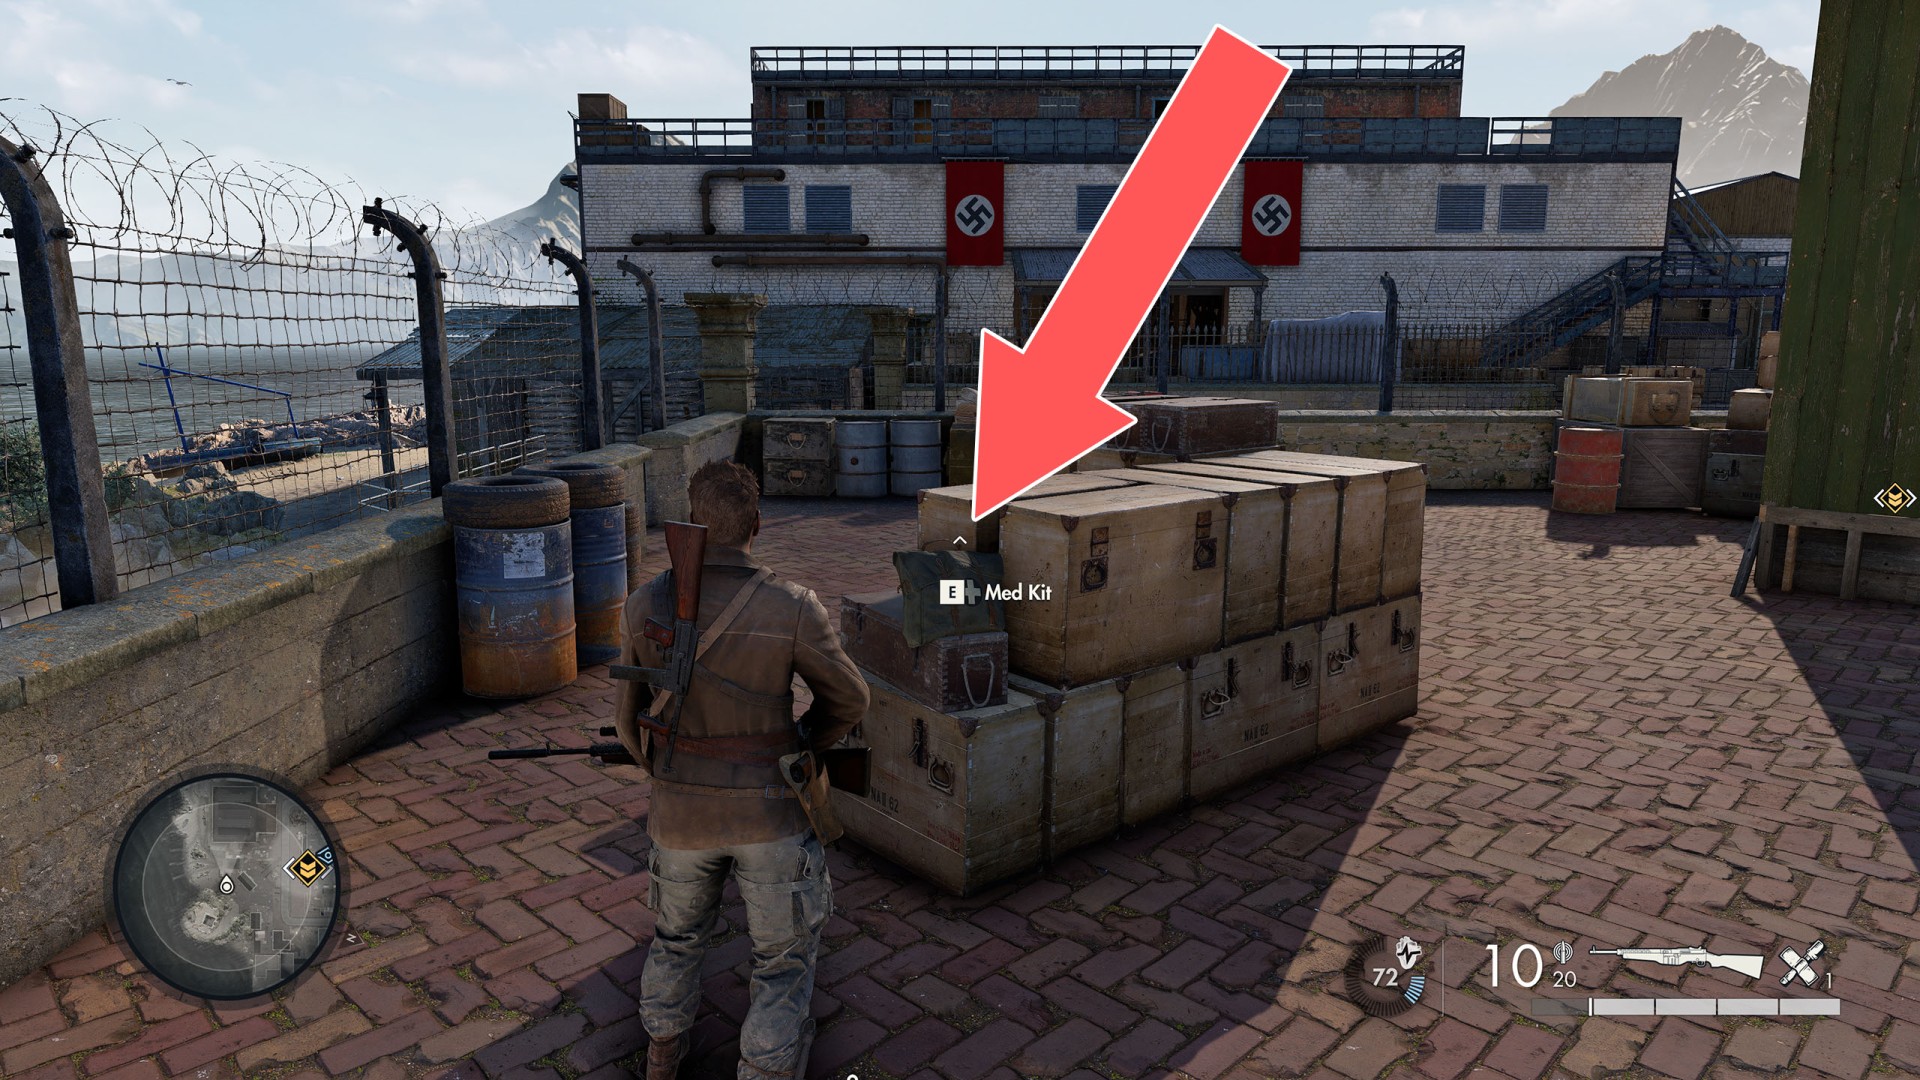
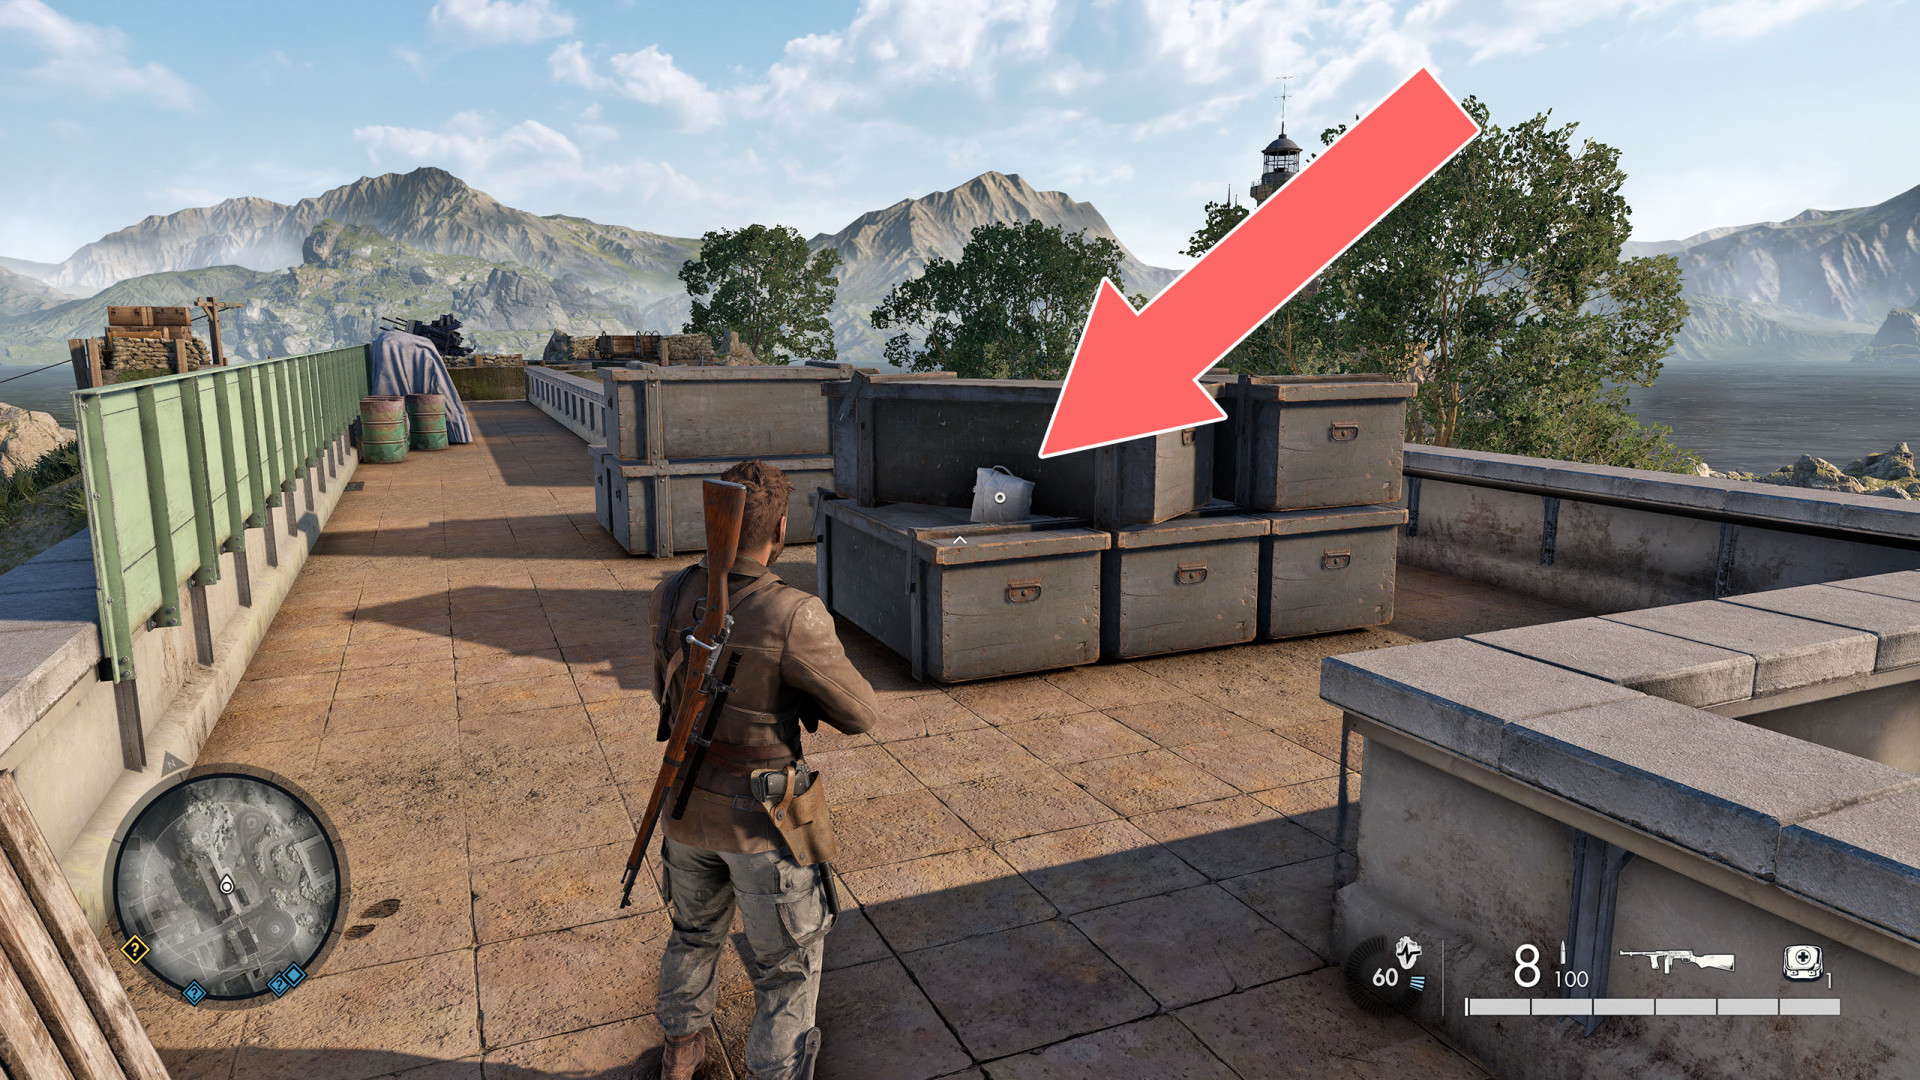
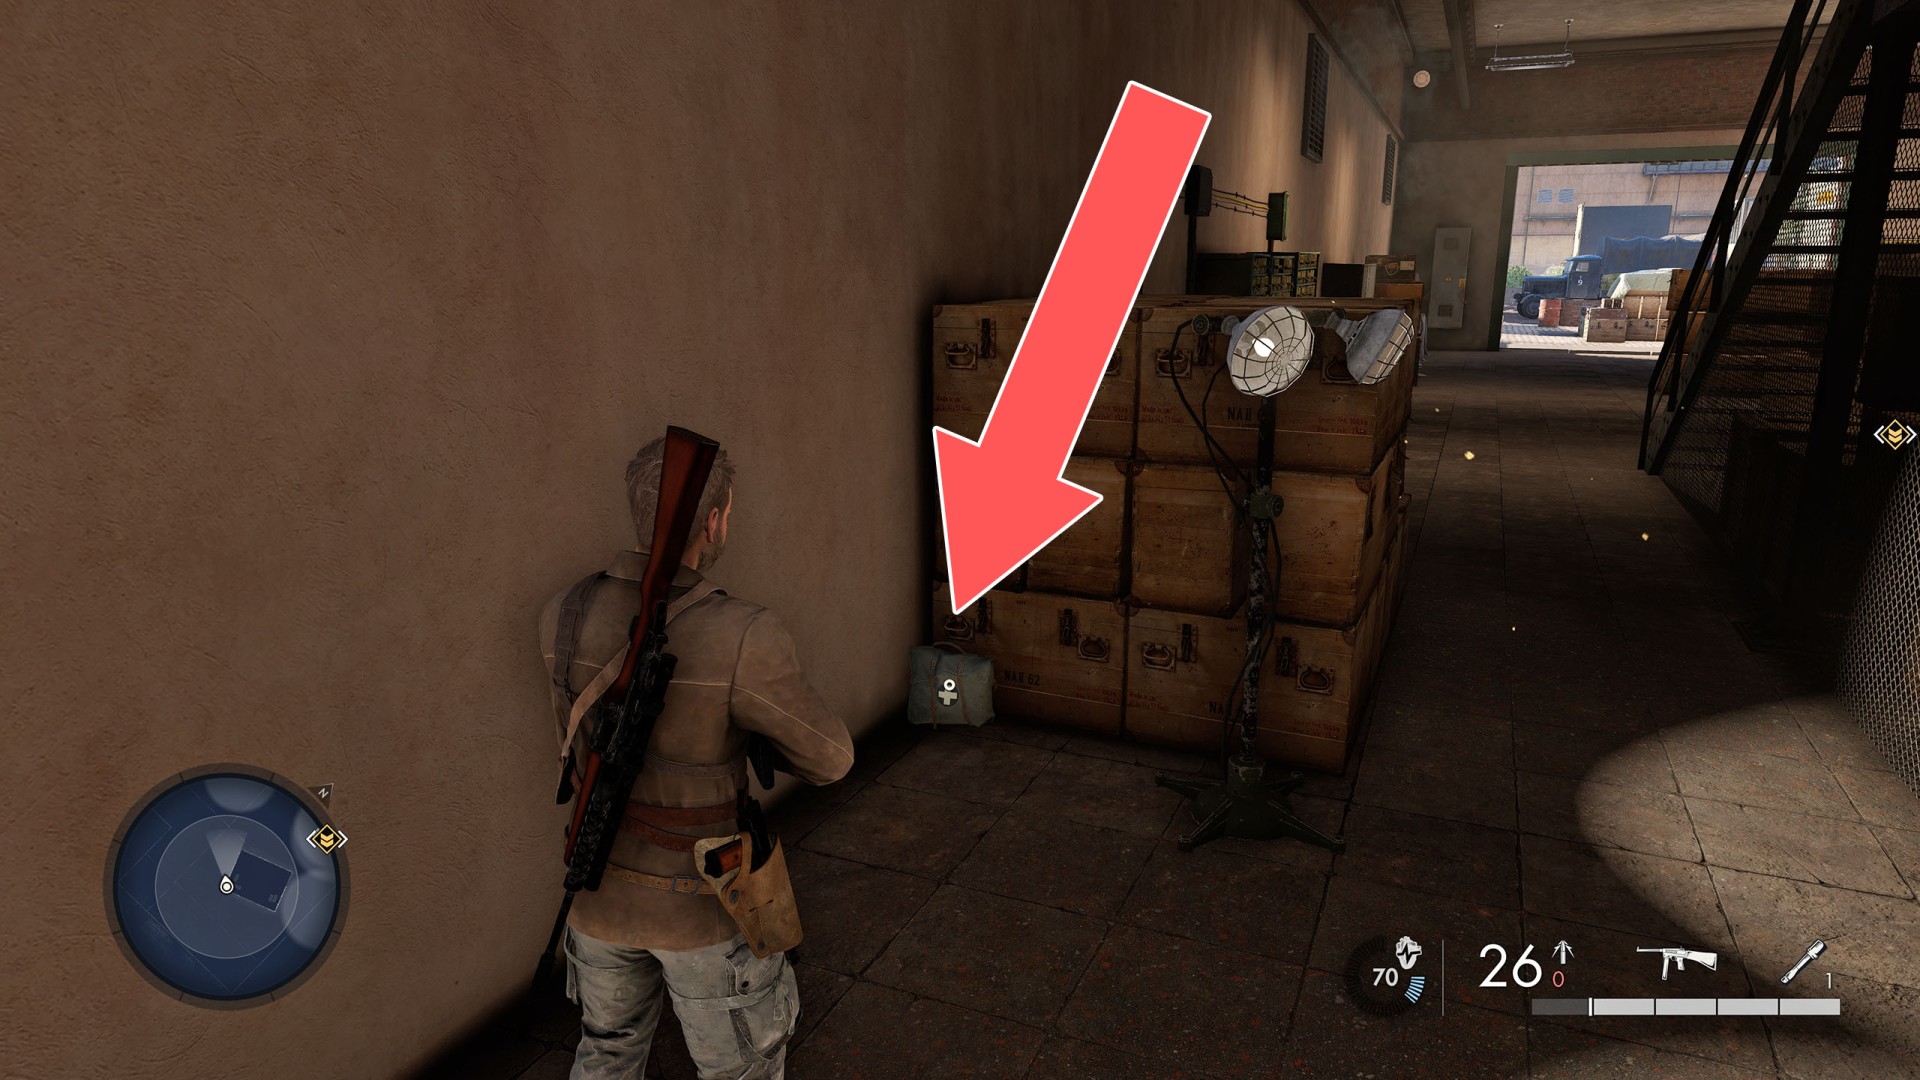
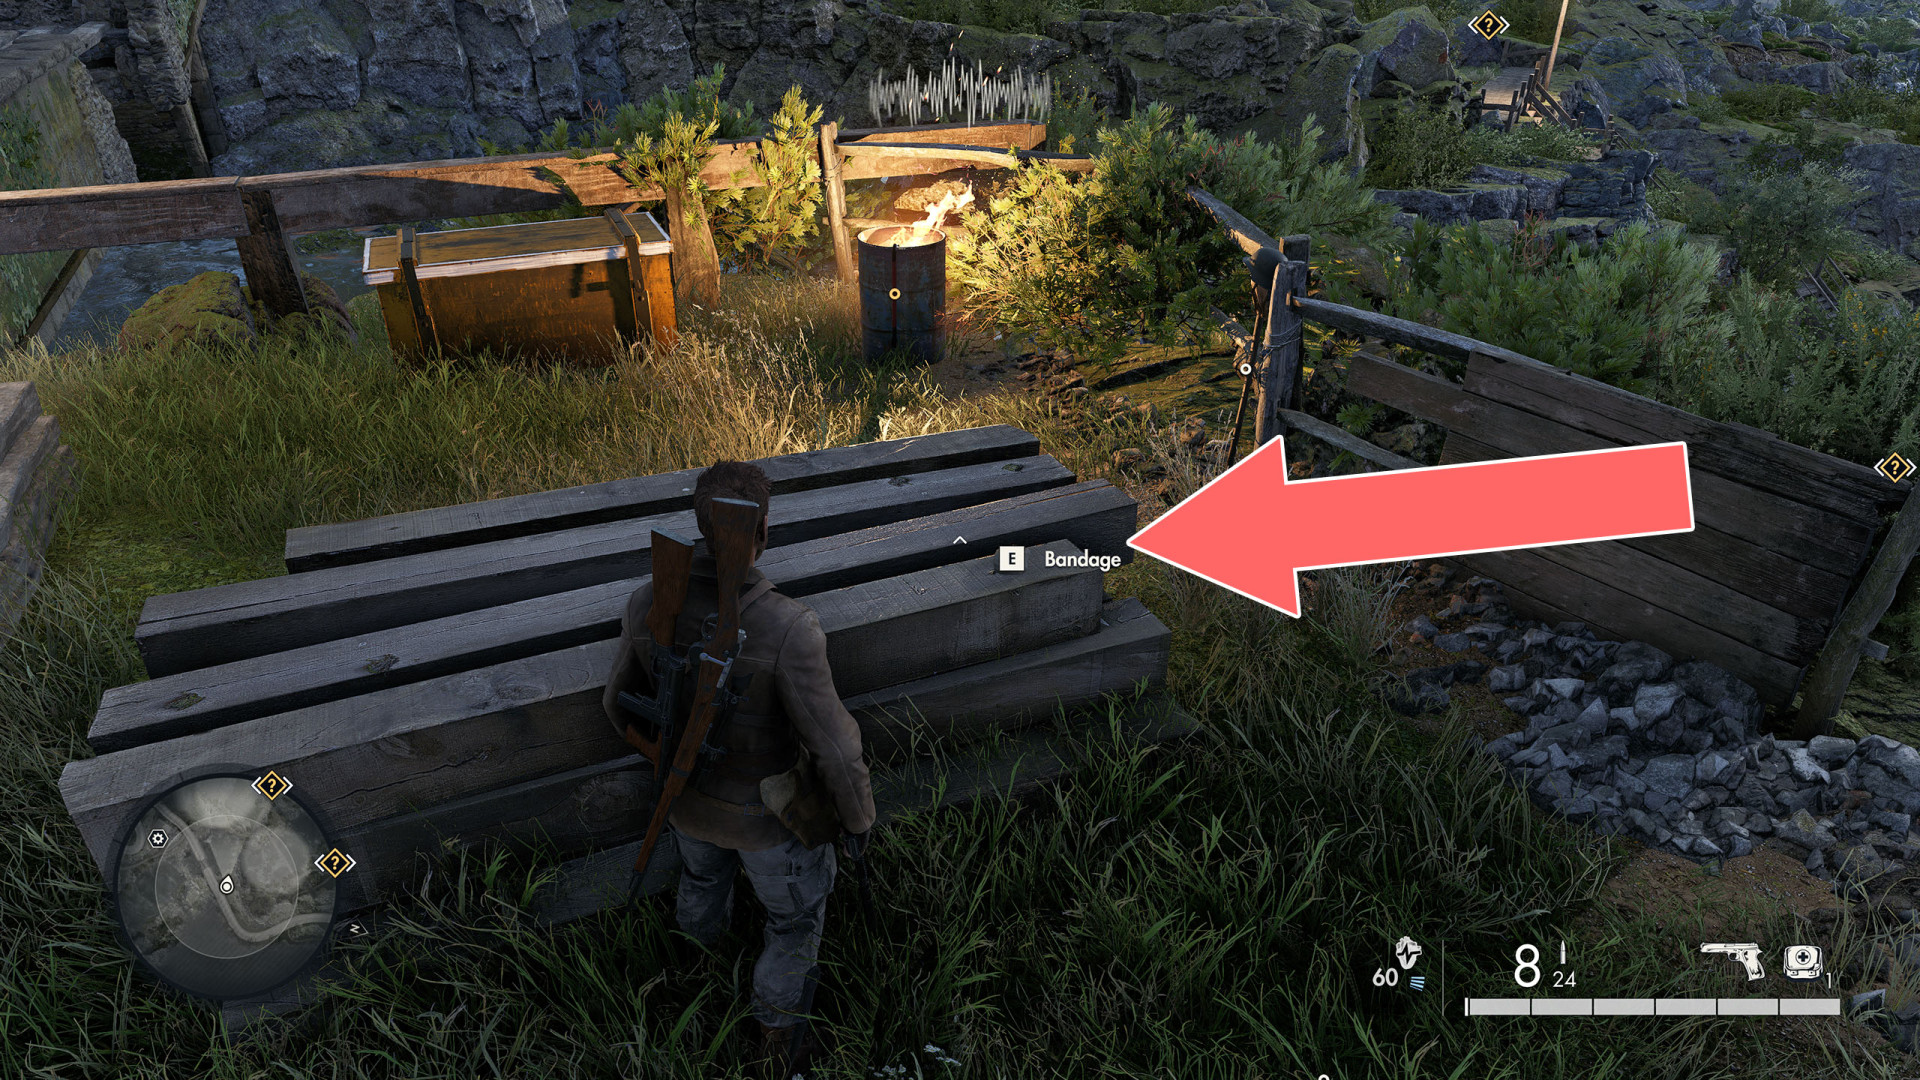
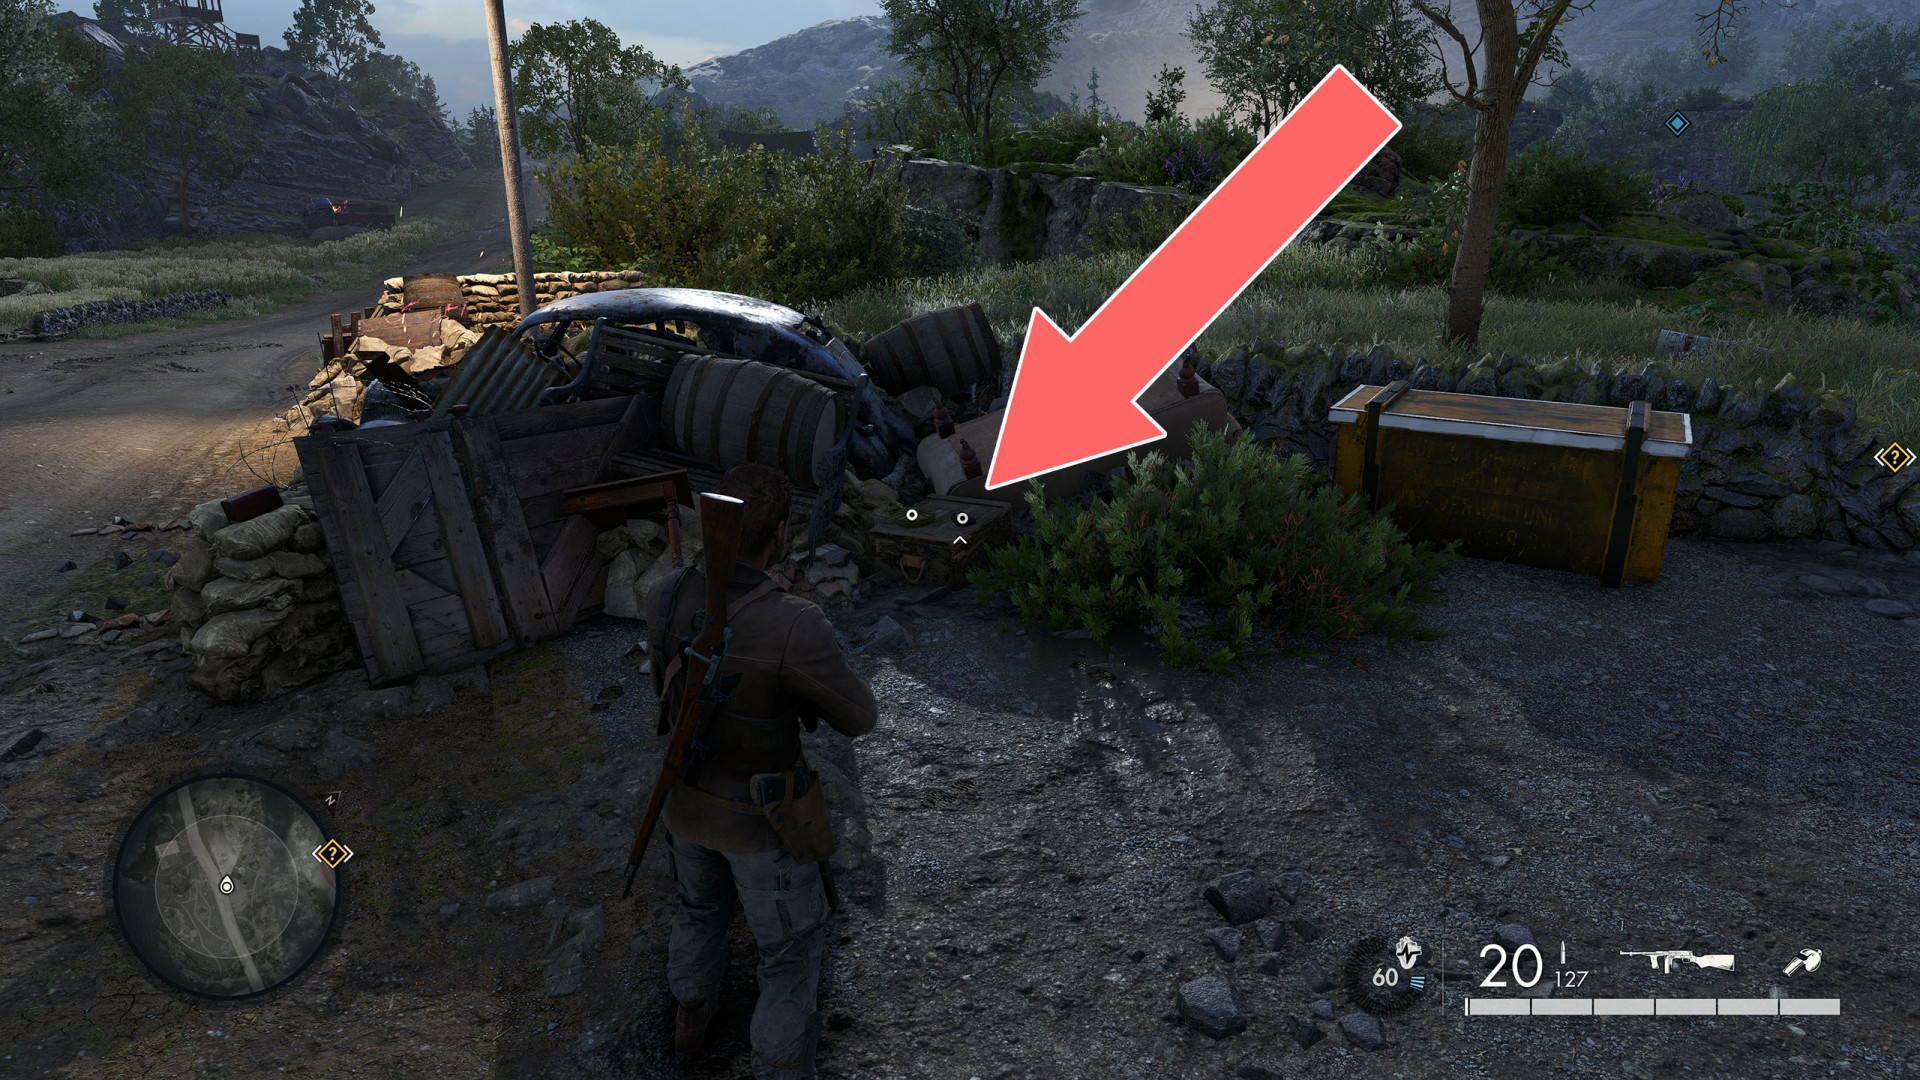
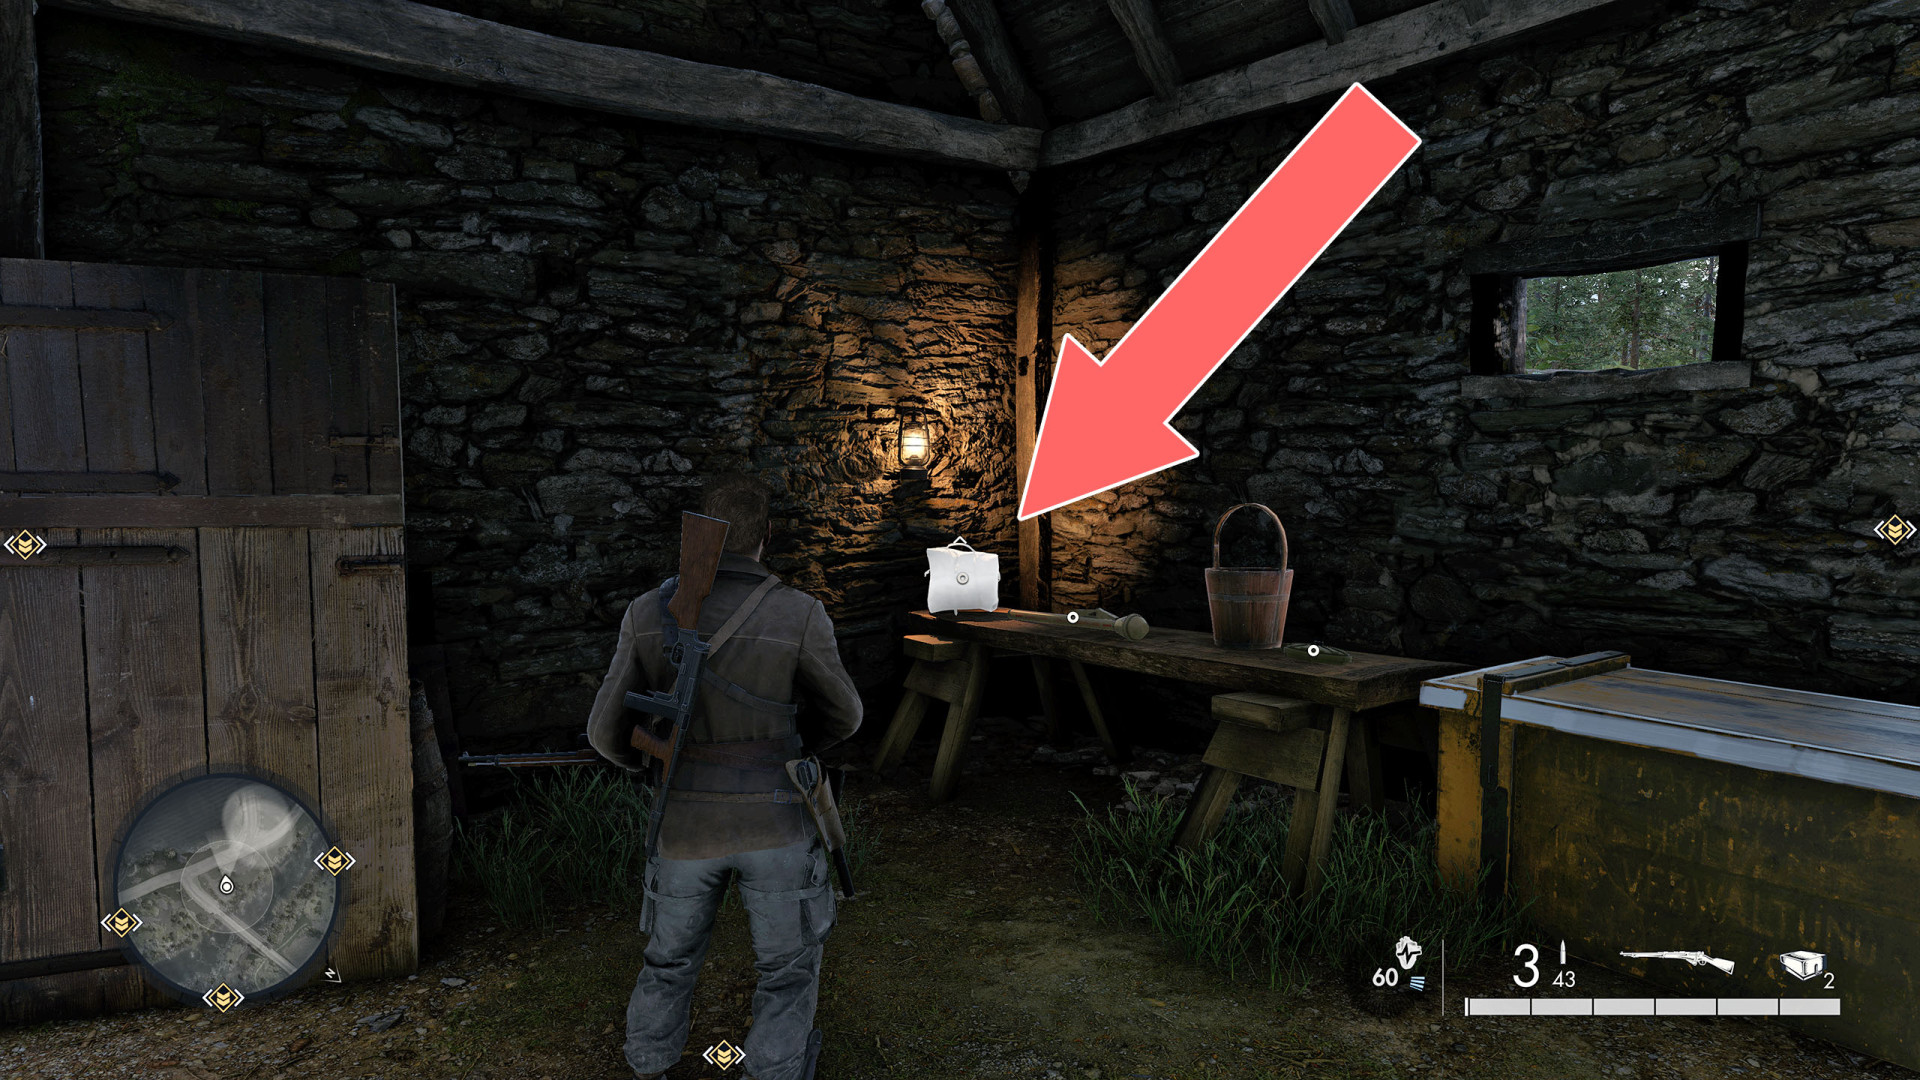
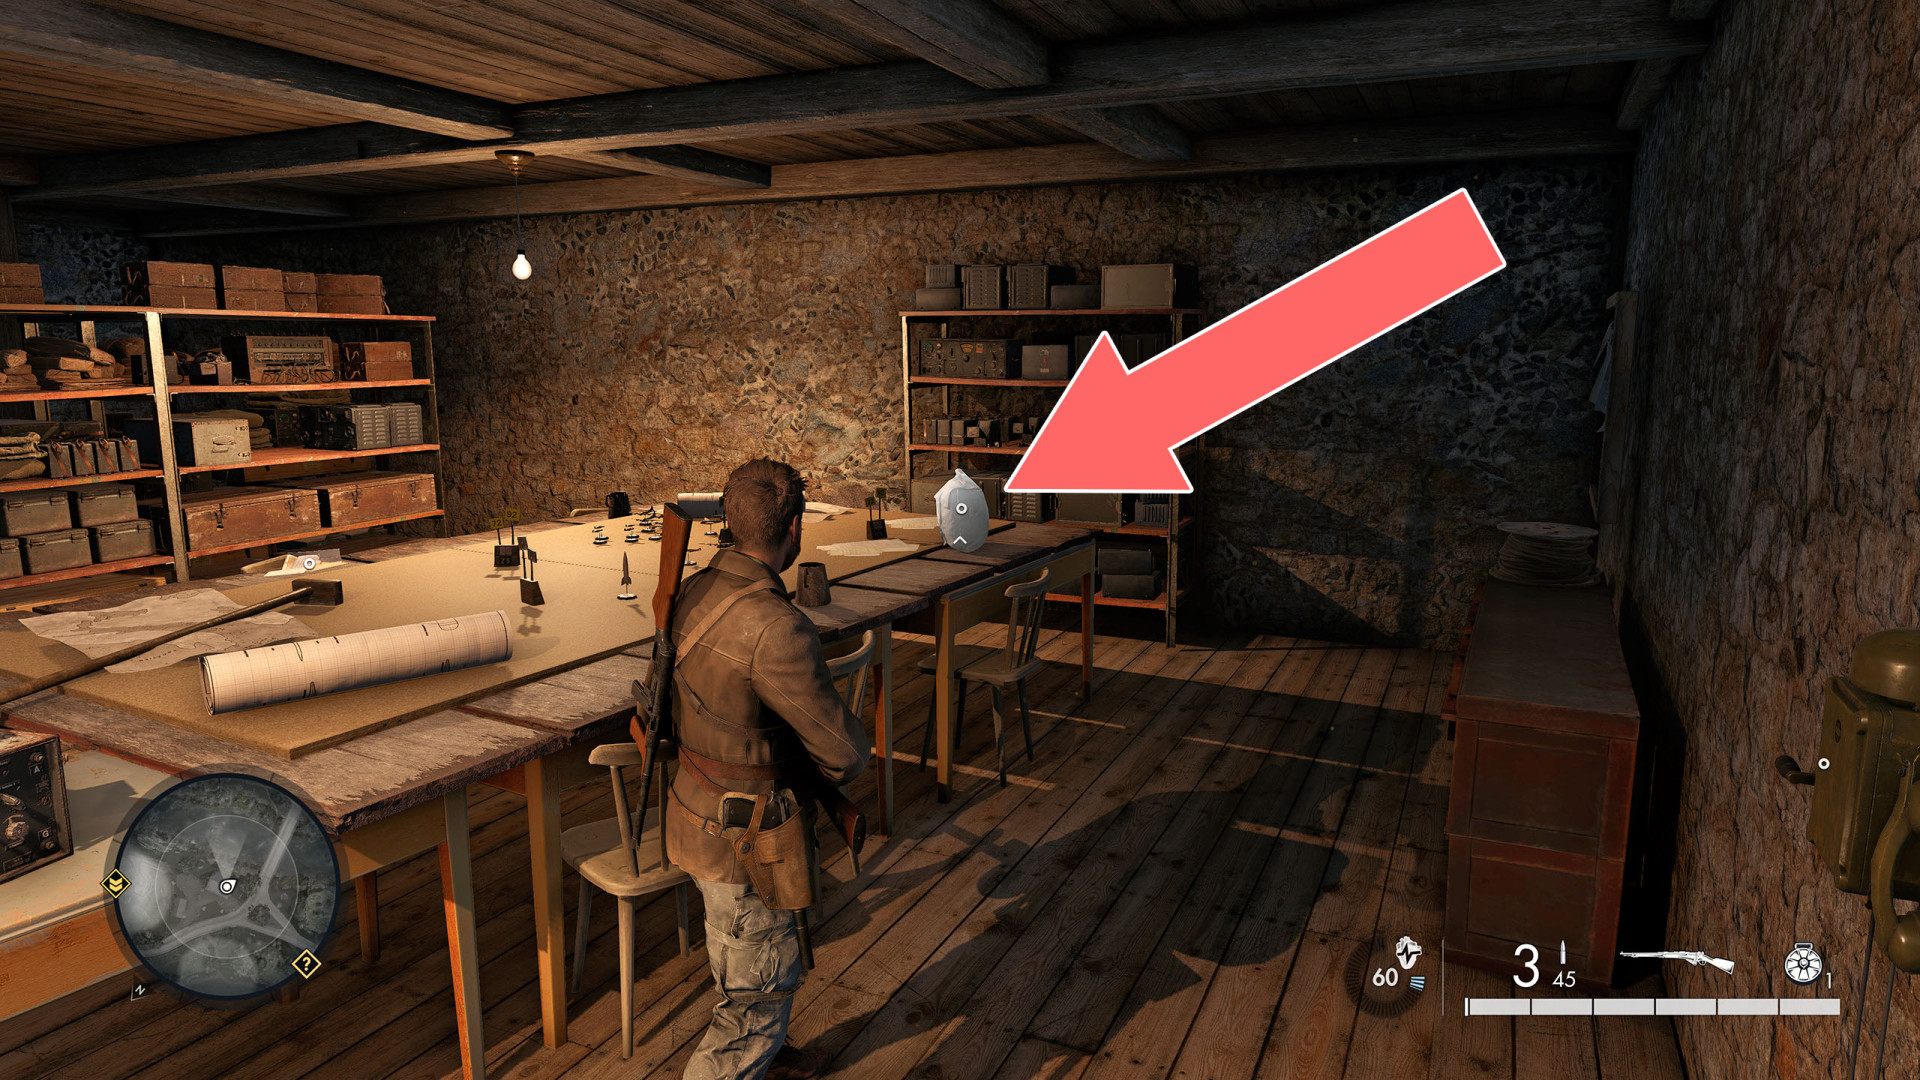
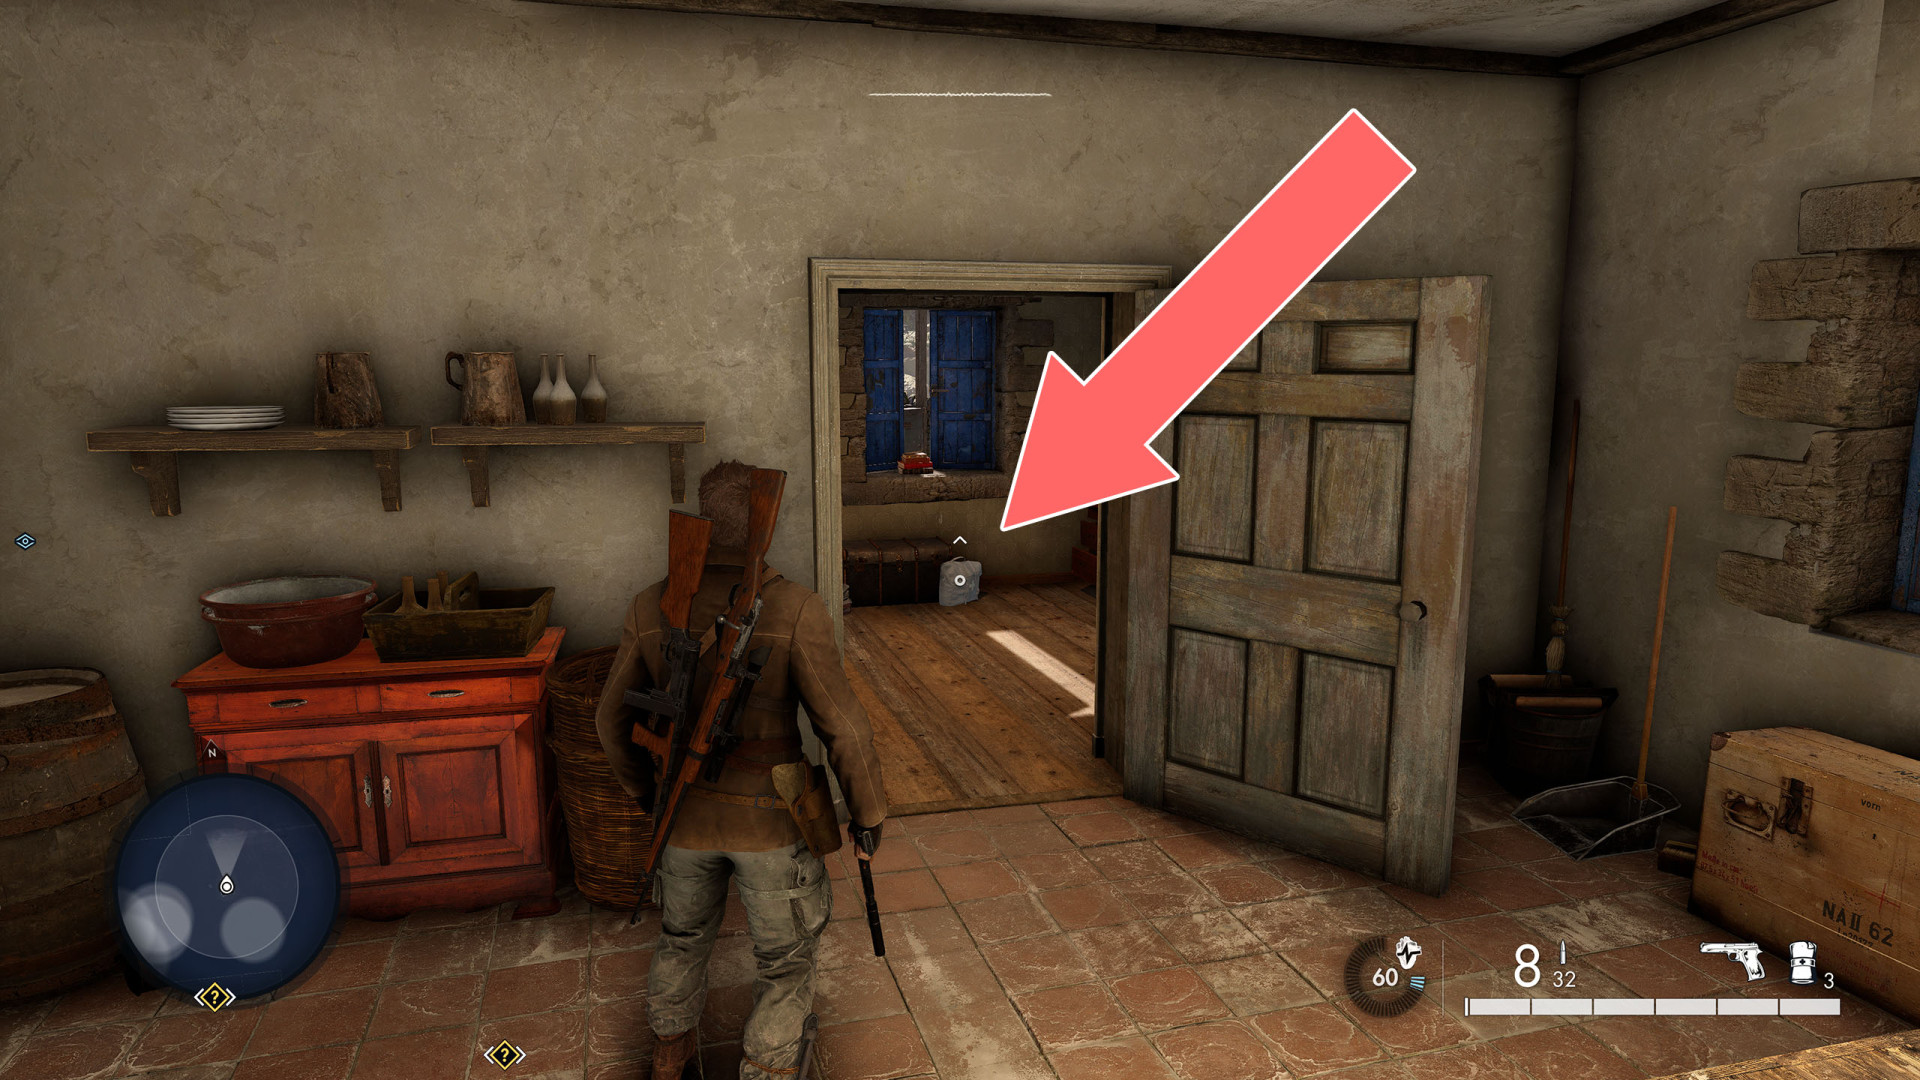
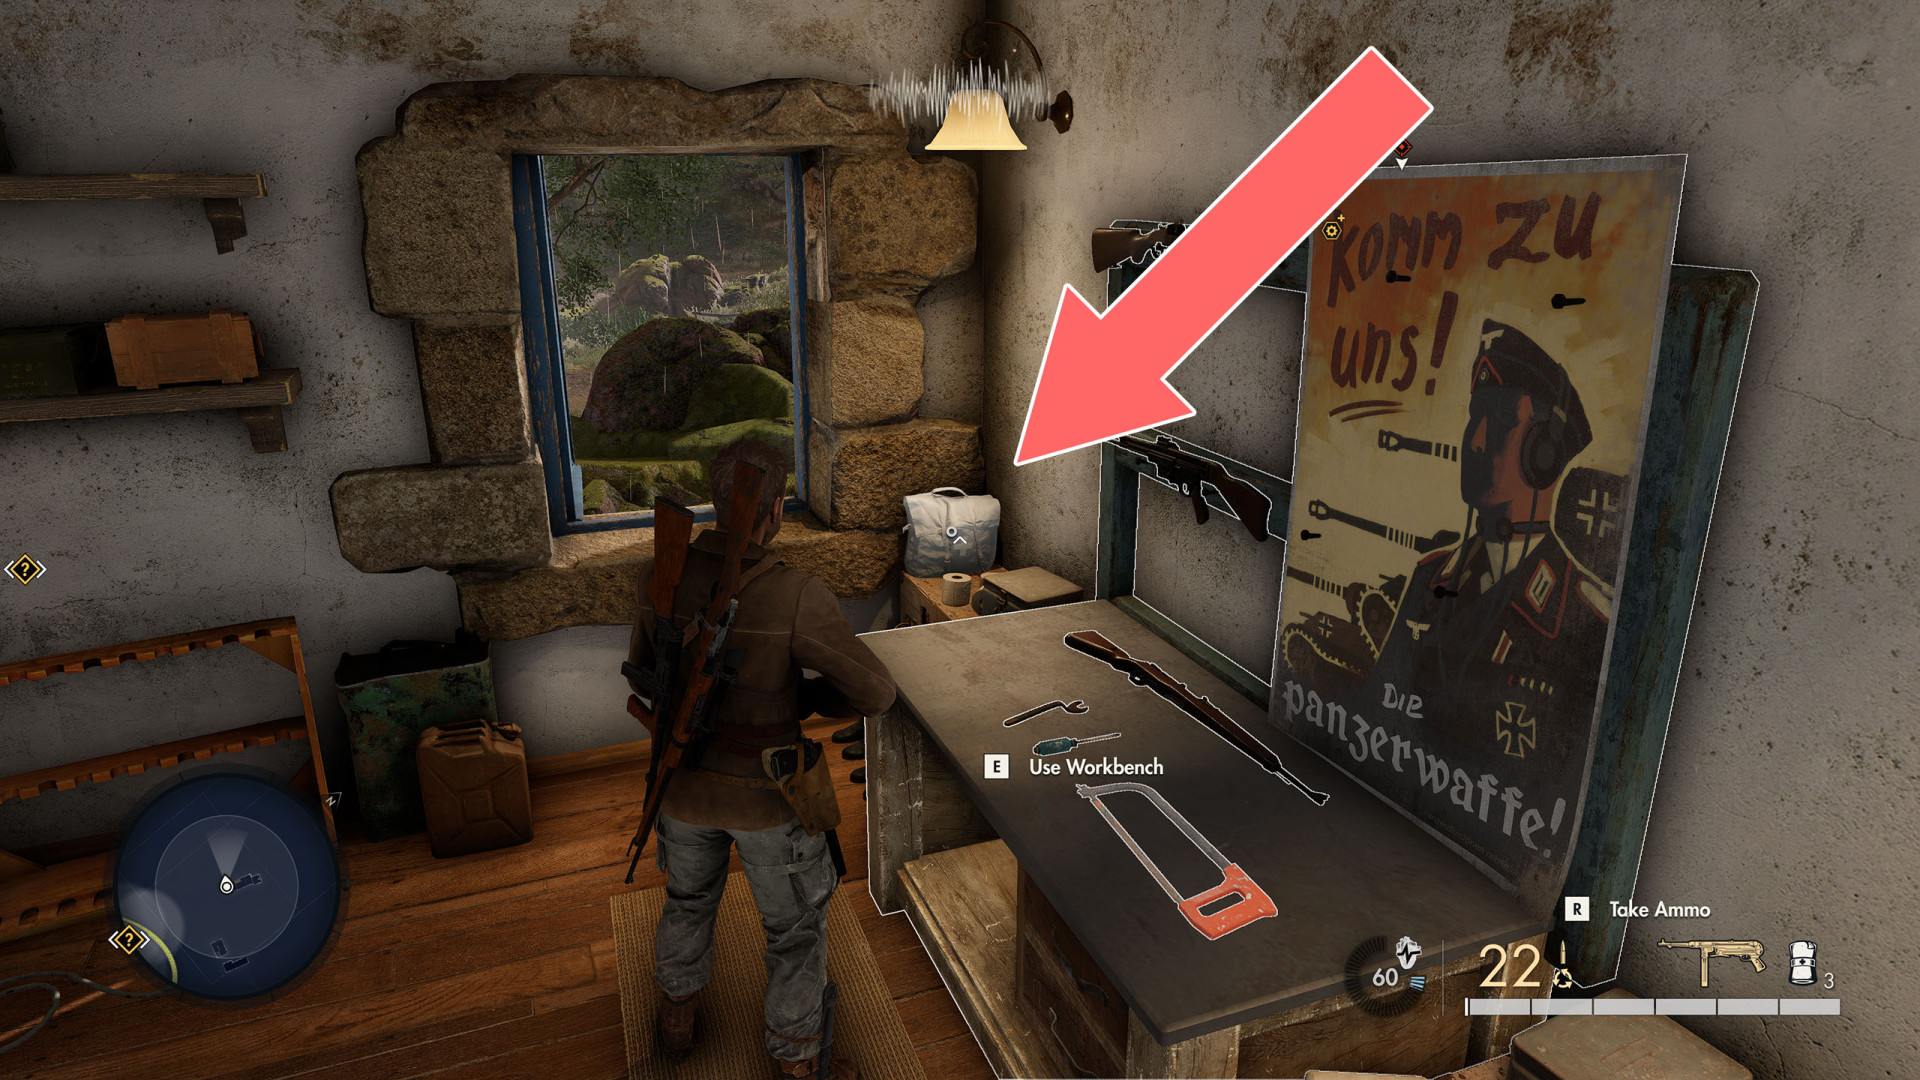
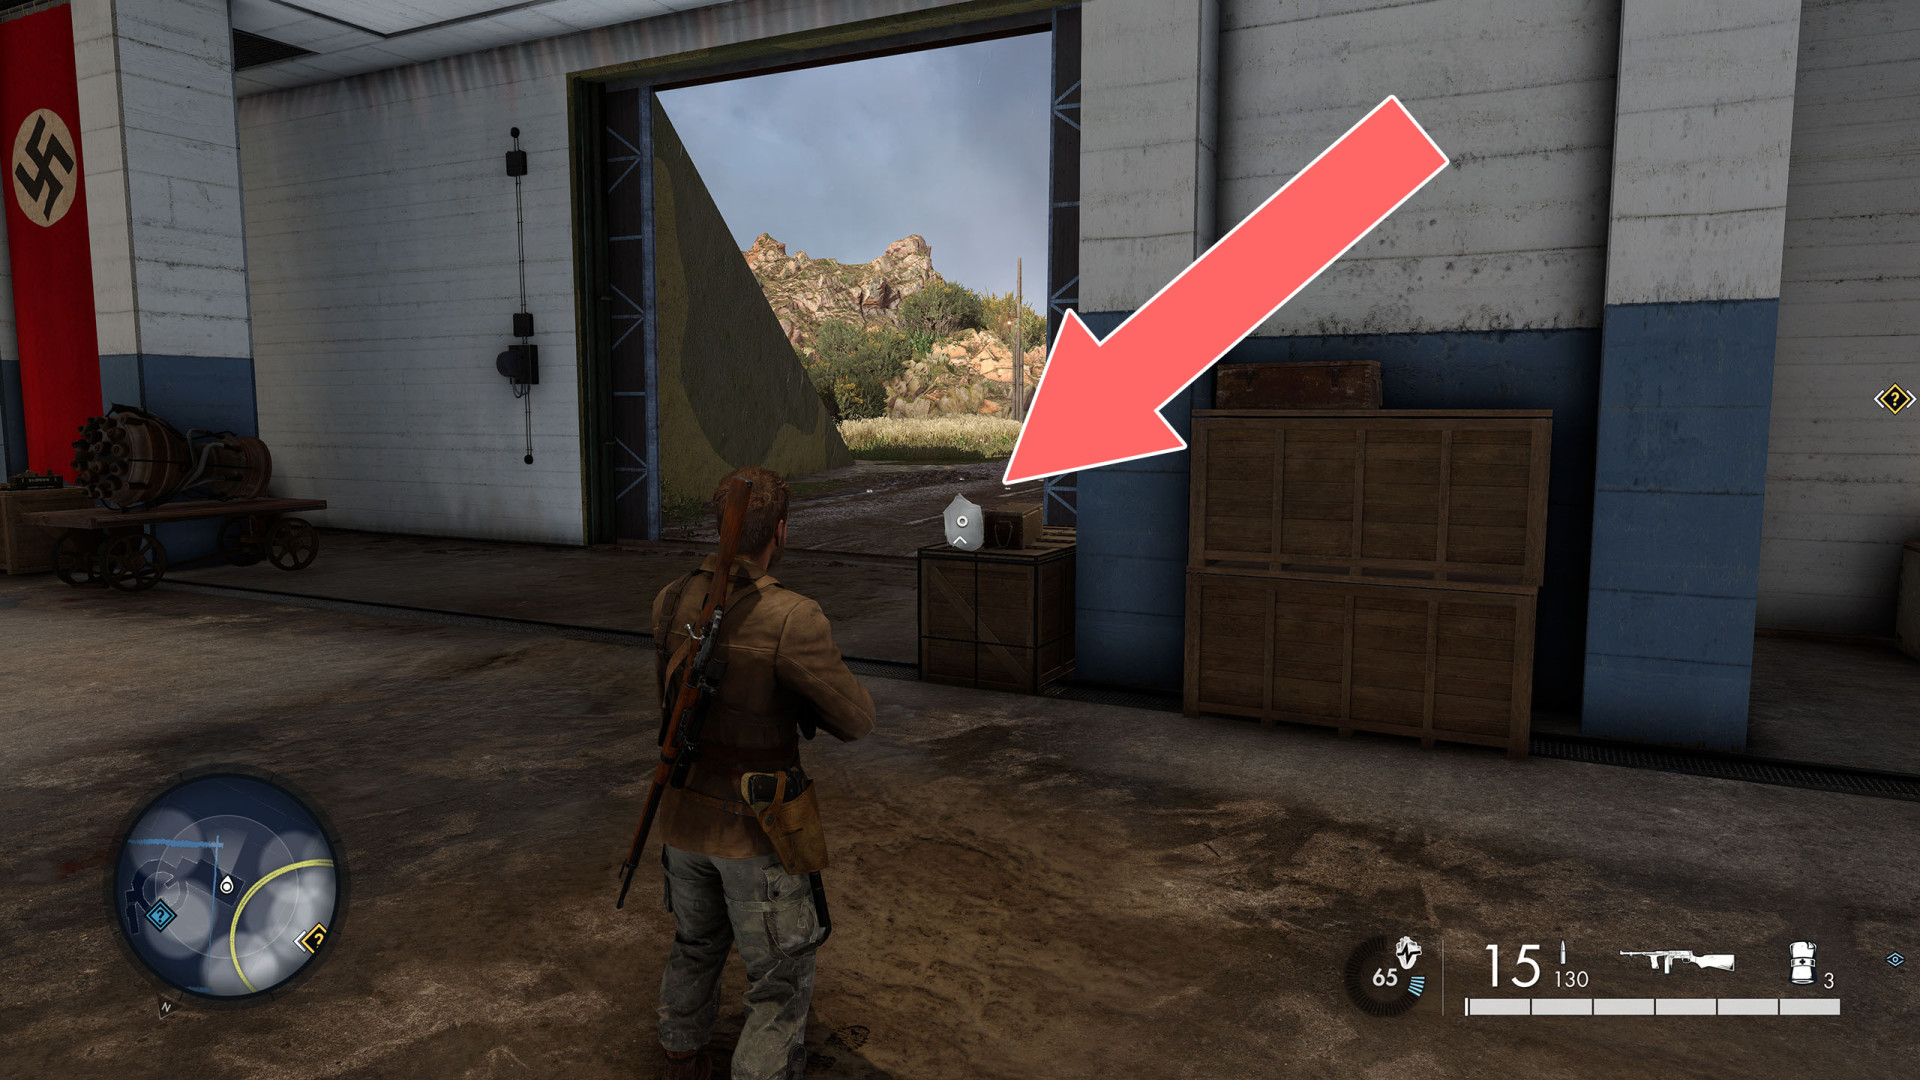
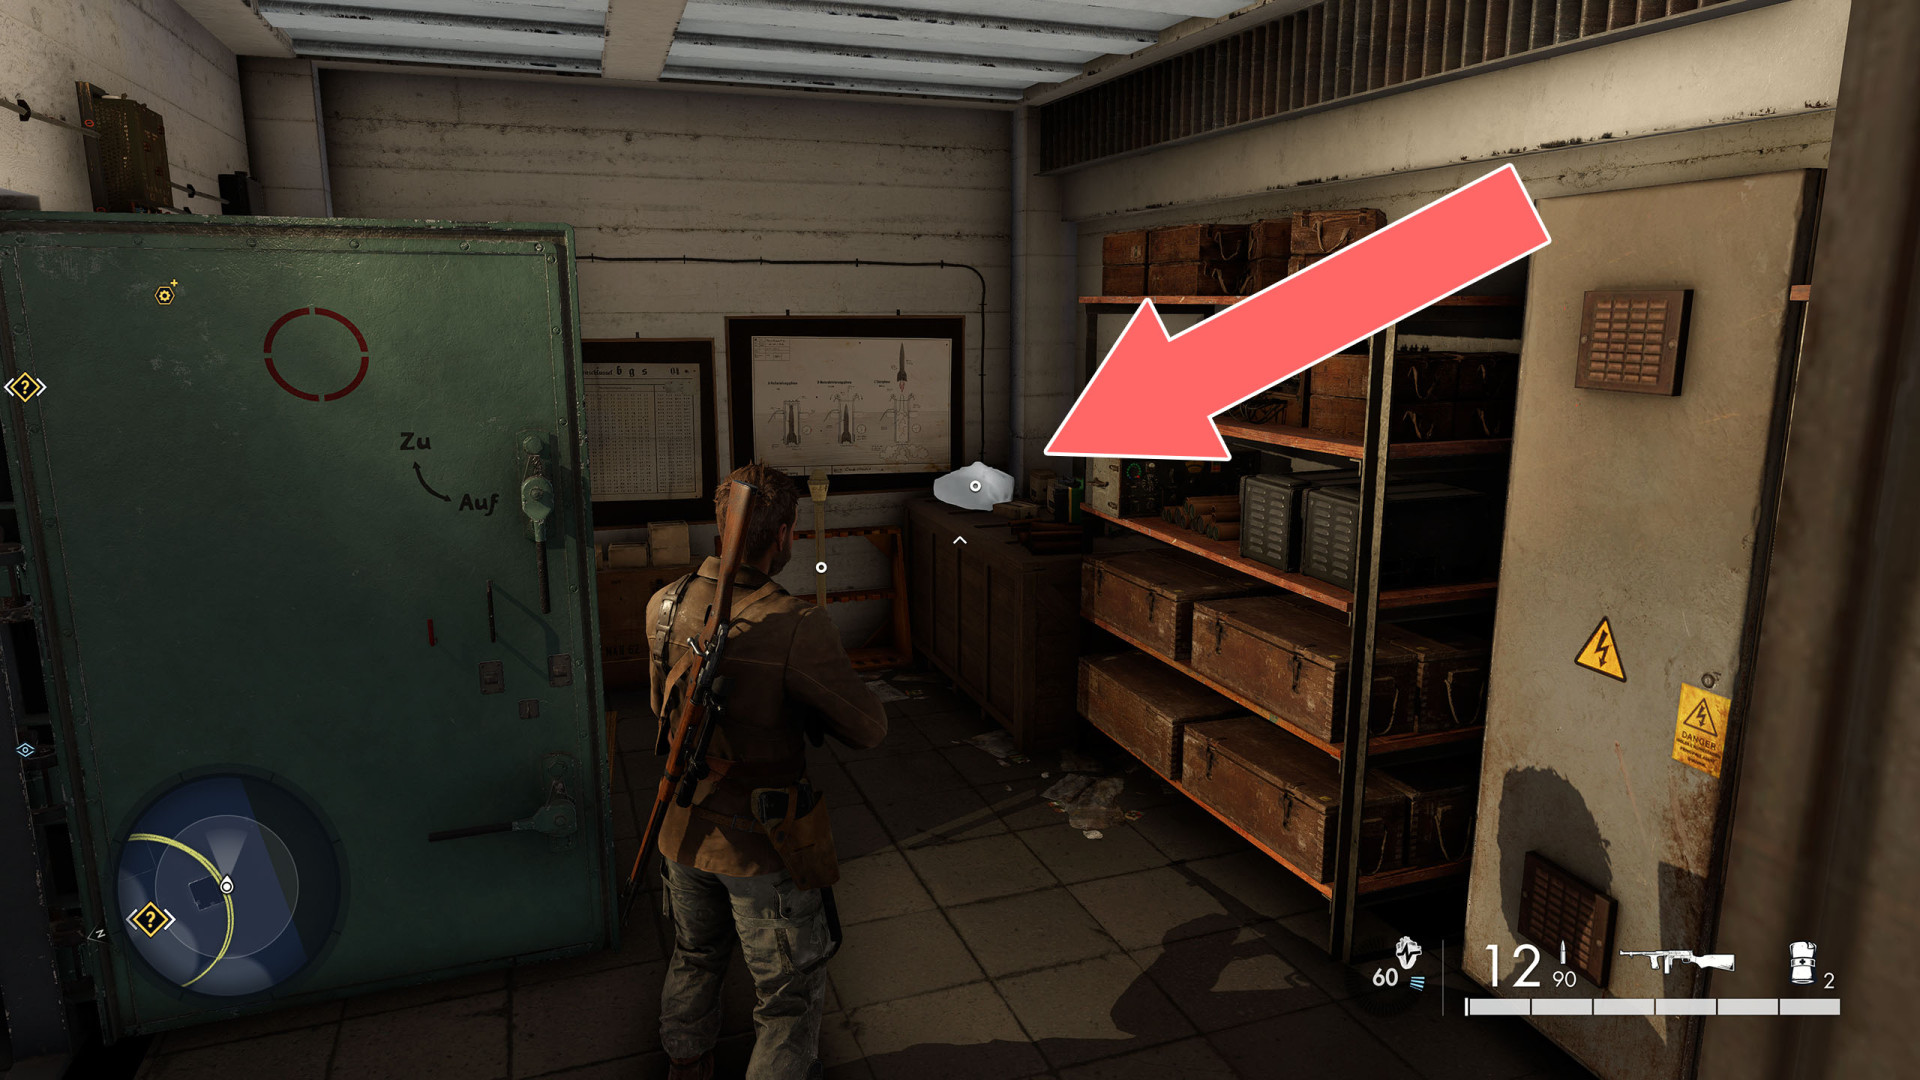
Medical Items restore Health you have lost. Bandages recover a small amount of your Health. Med Kits are much rarer, but return you to full Health.

Locations on Campaign Maps

1Bandage

Bandage

Show the map

2Bandage

Bandage

Show the map

3Bandage

Bandage

Show the map

4Bandage

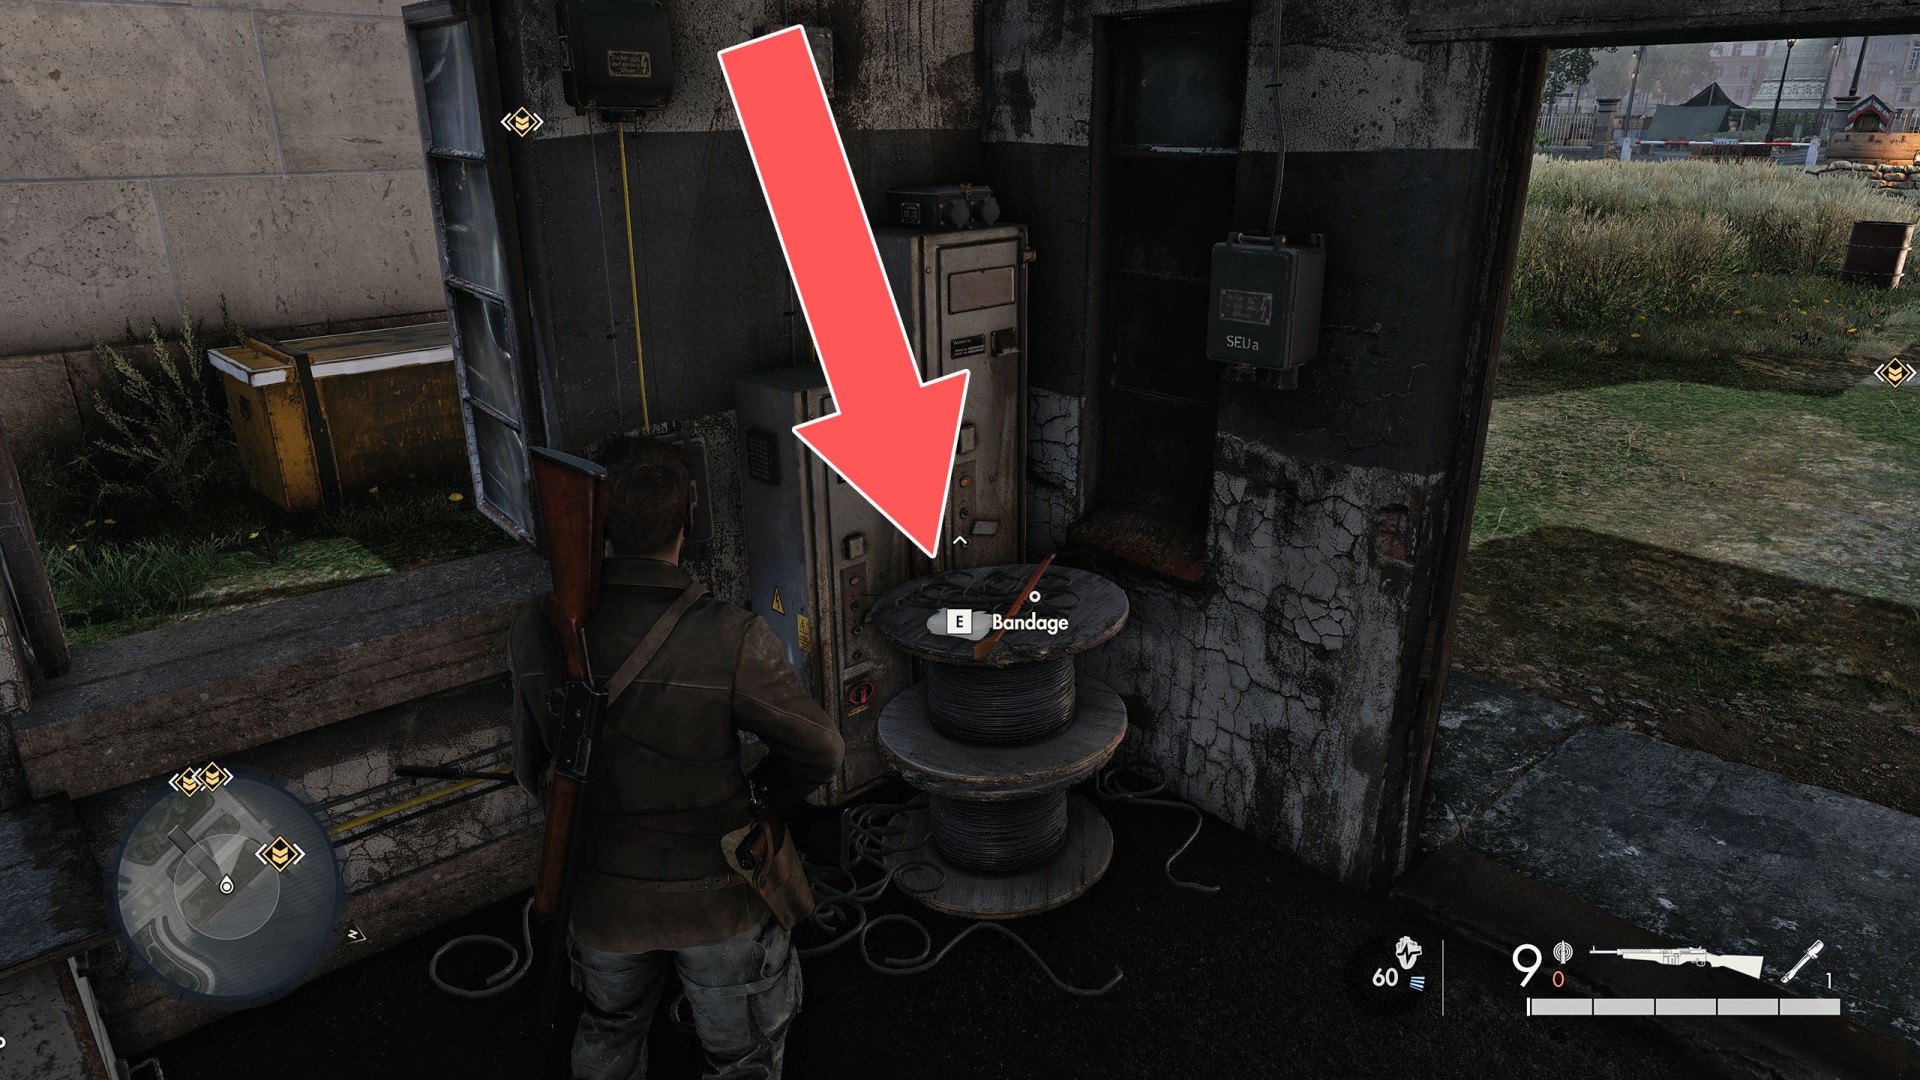
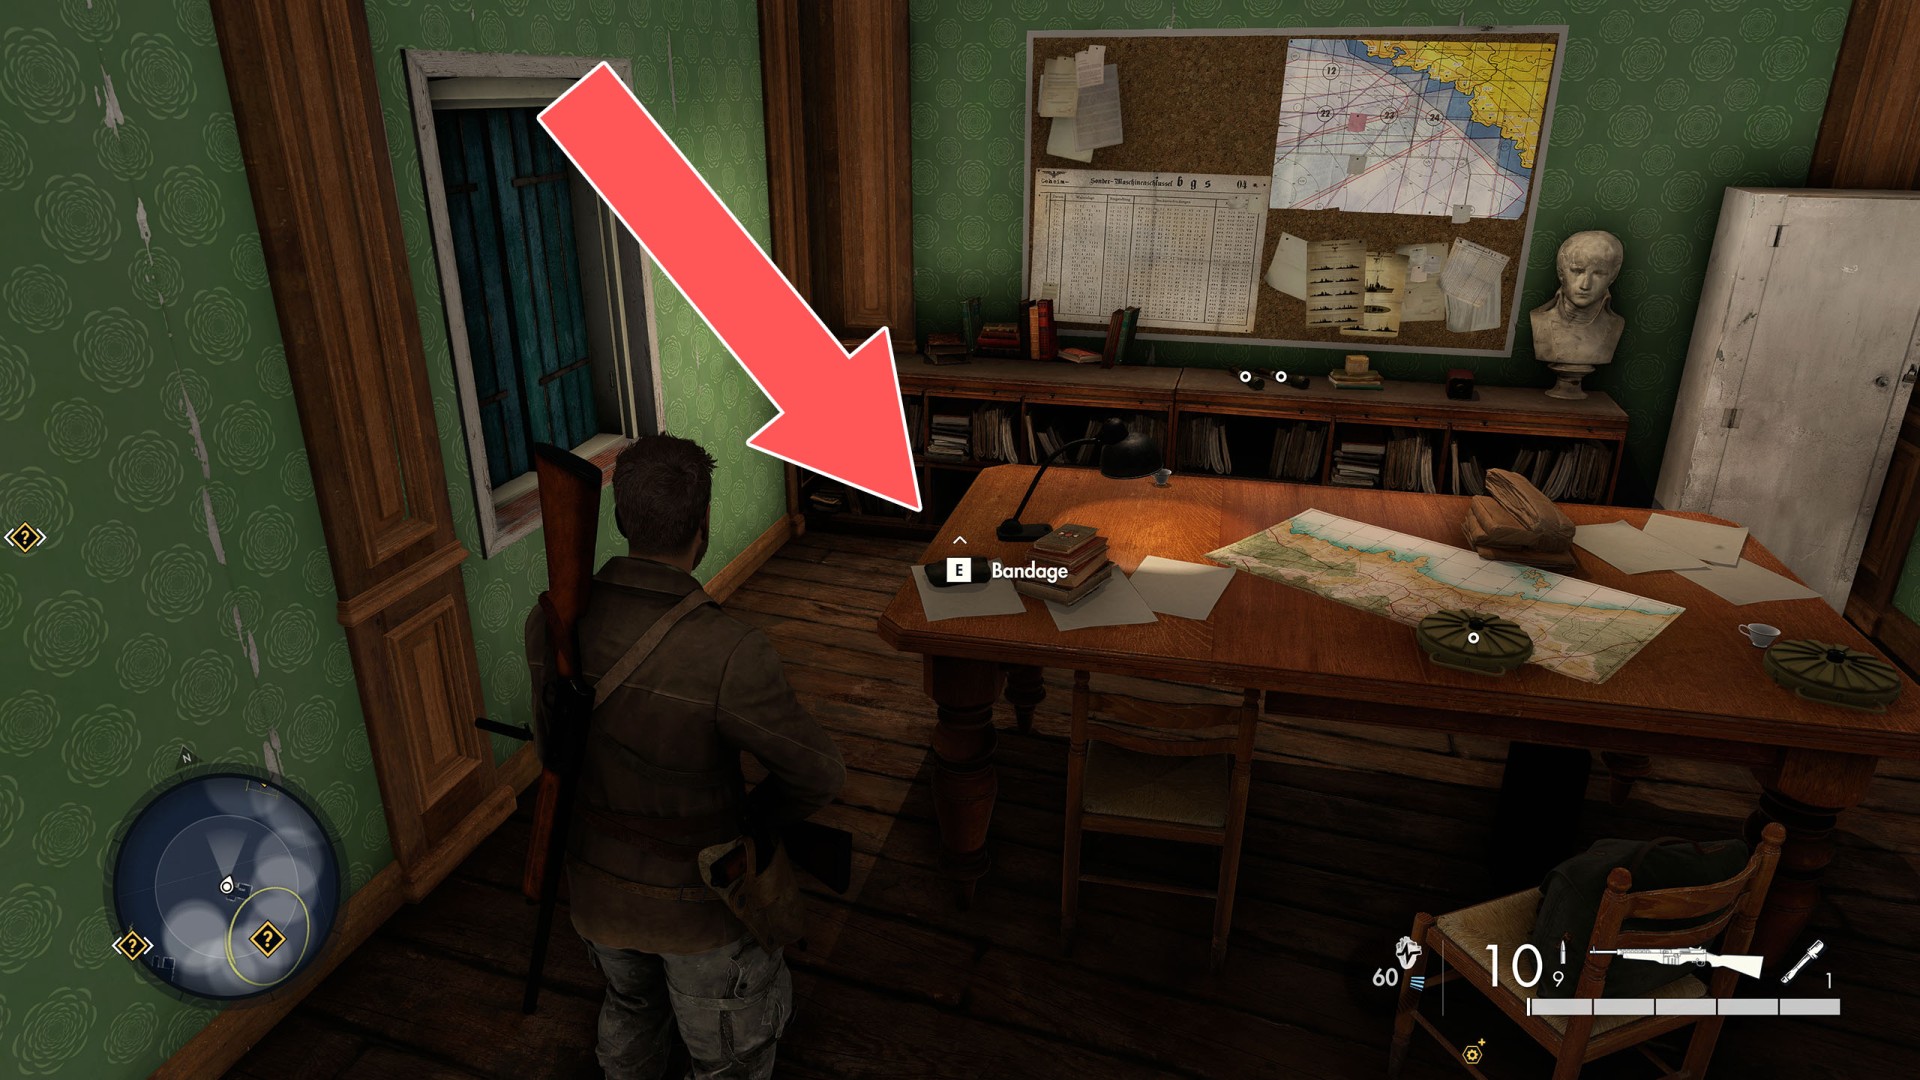
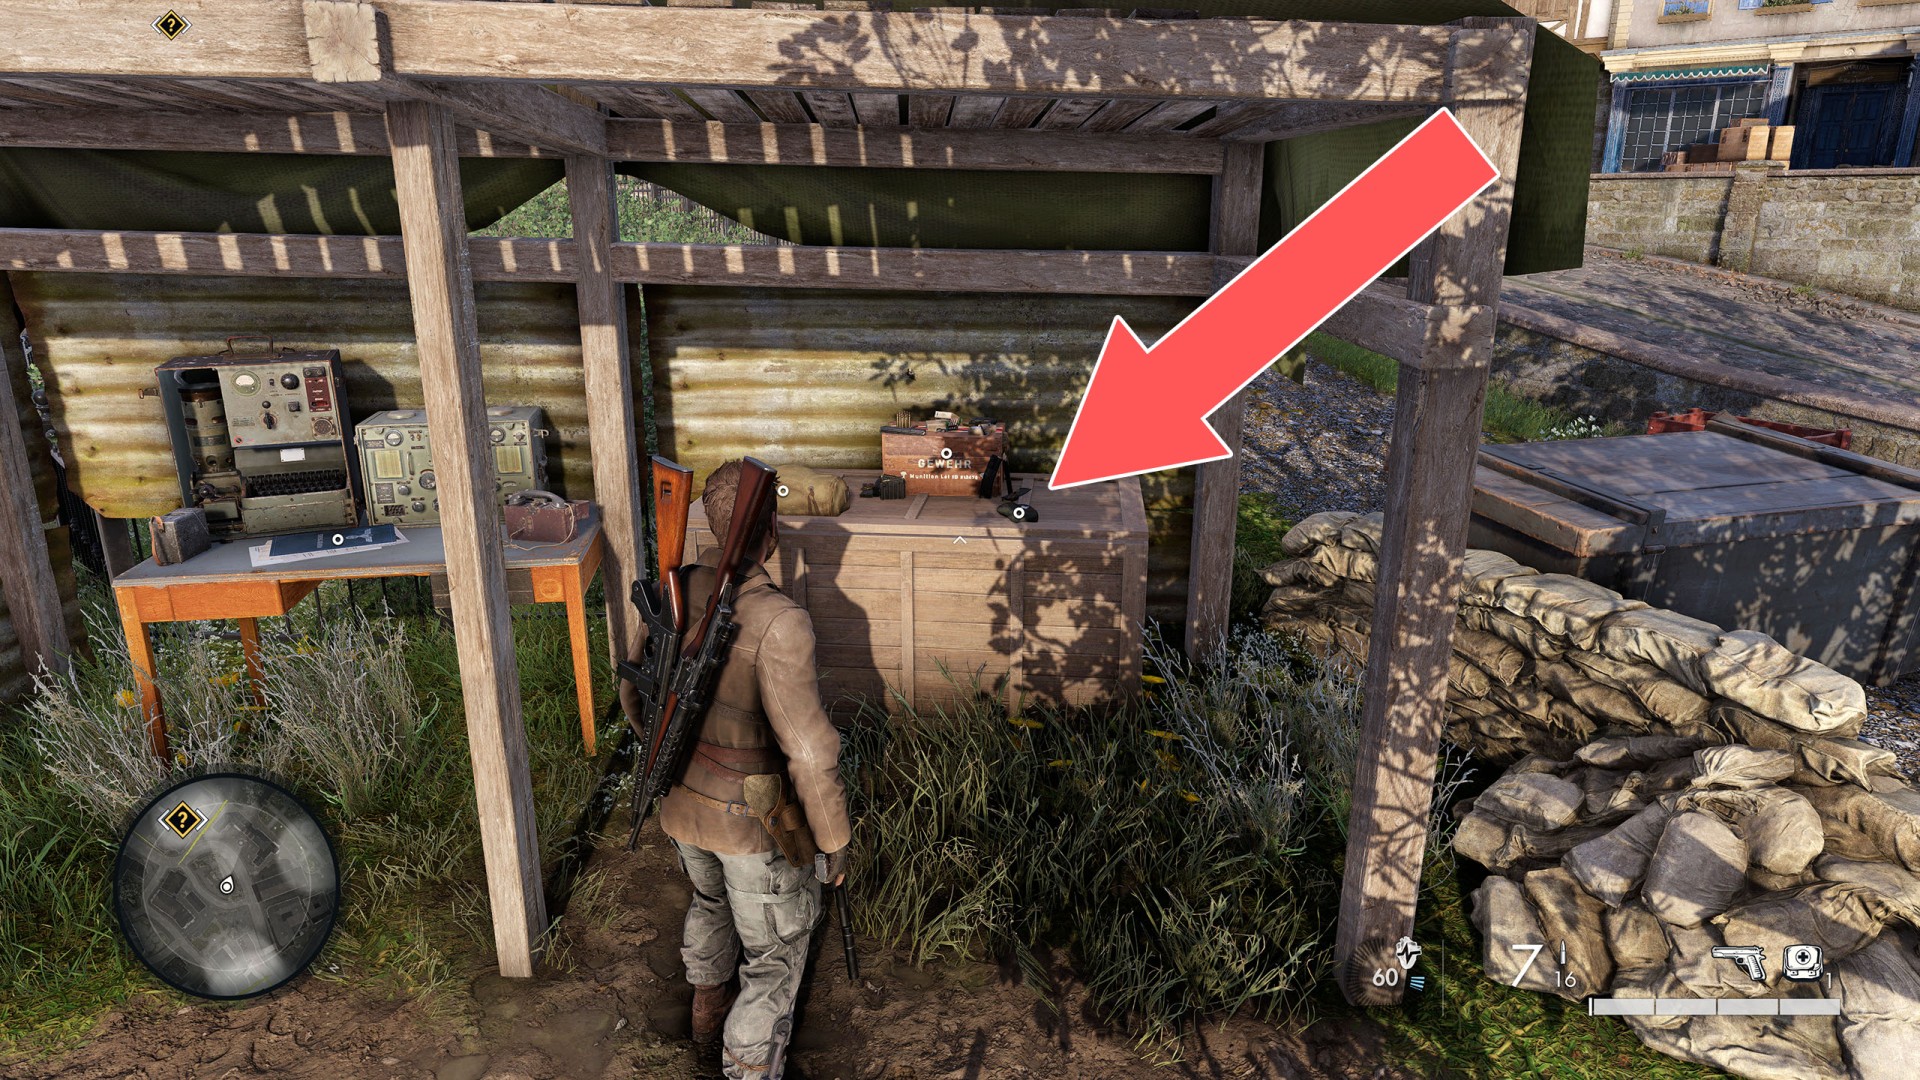
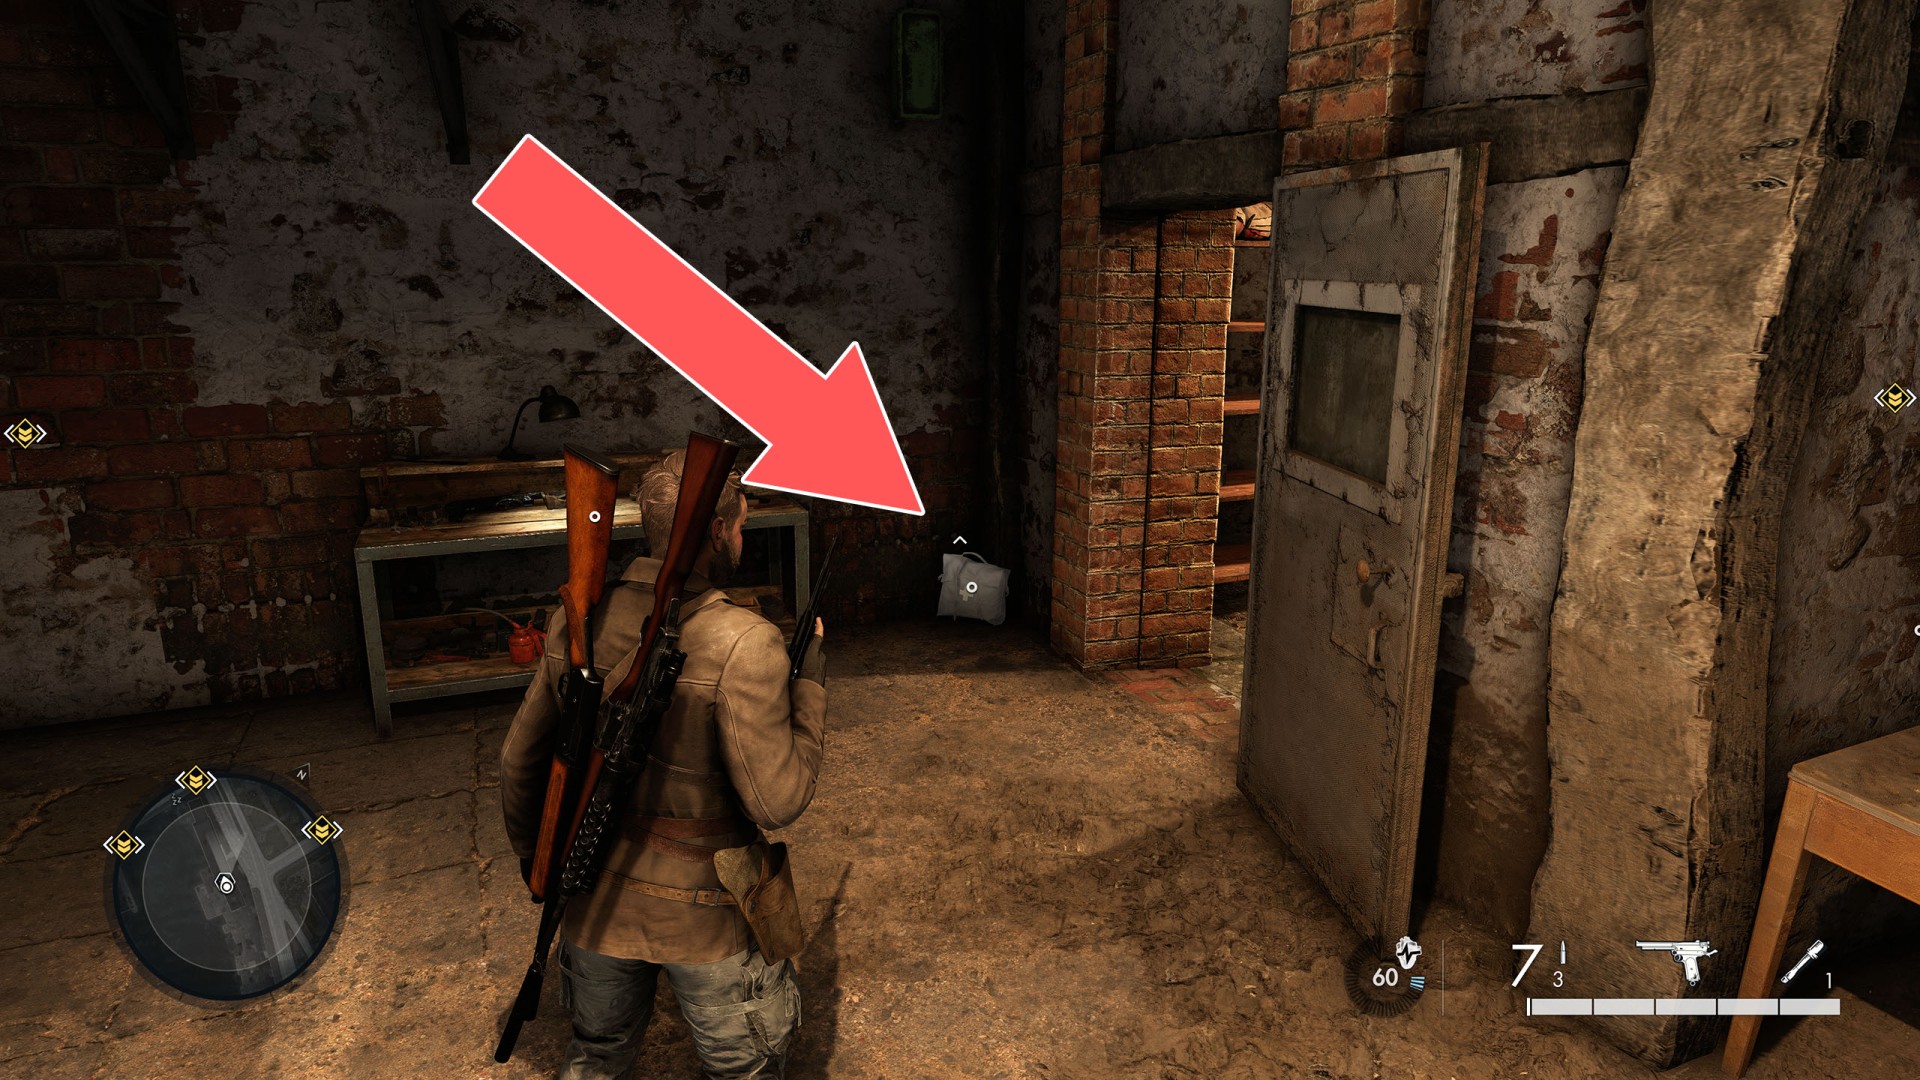
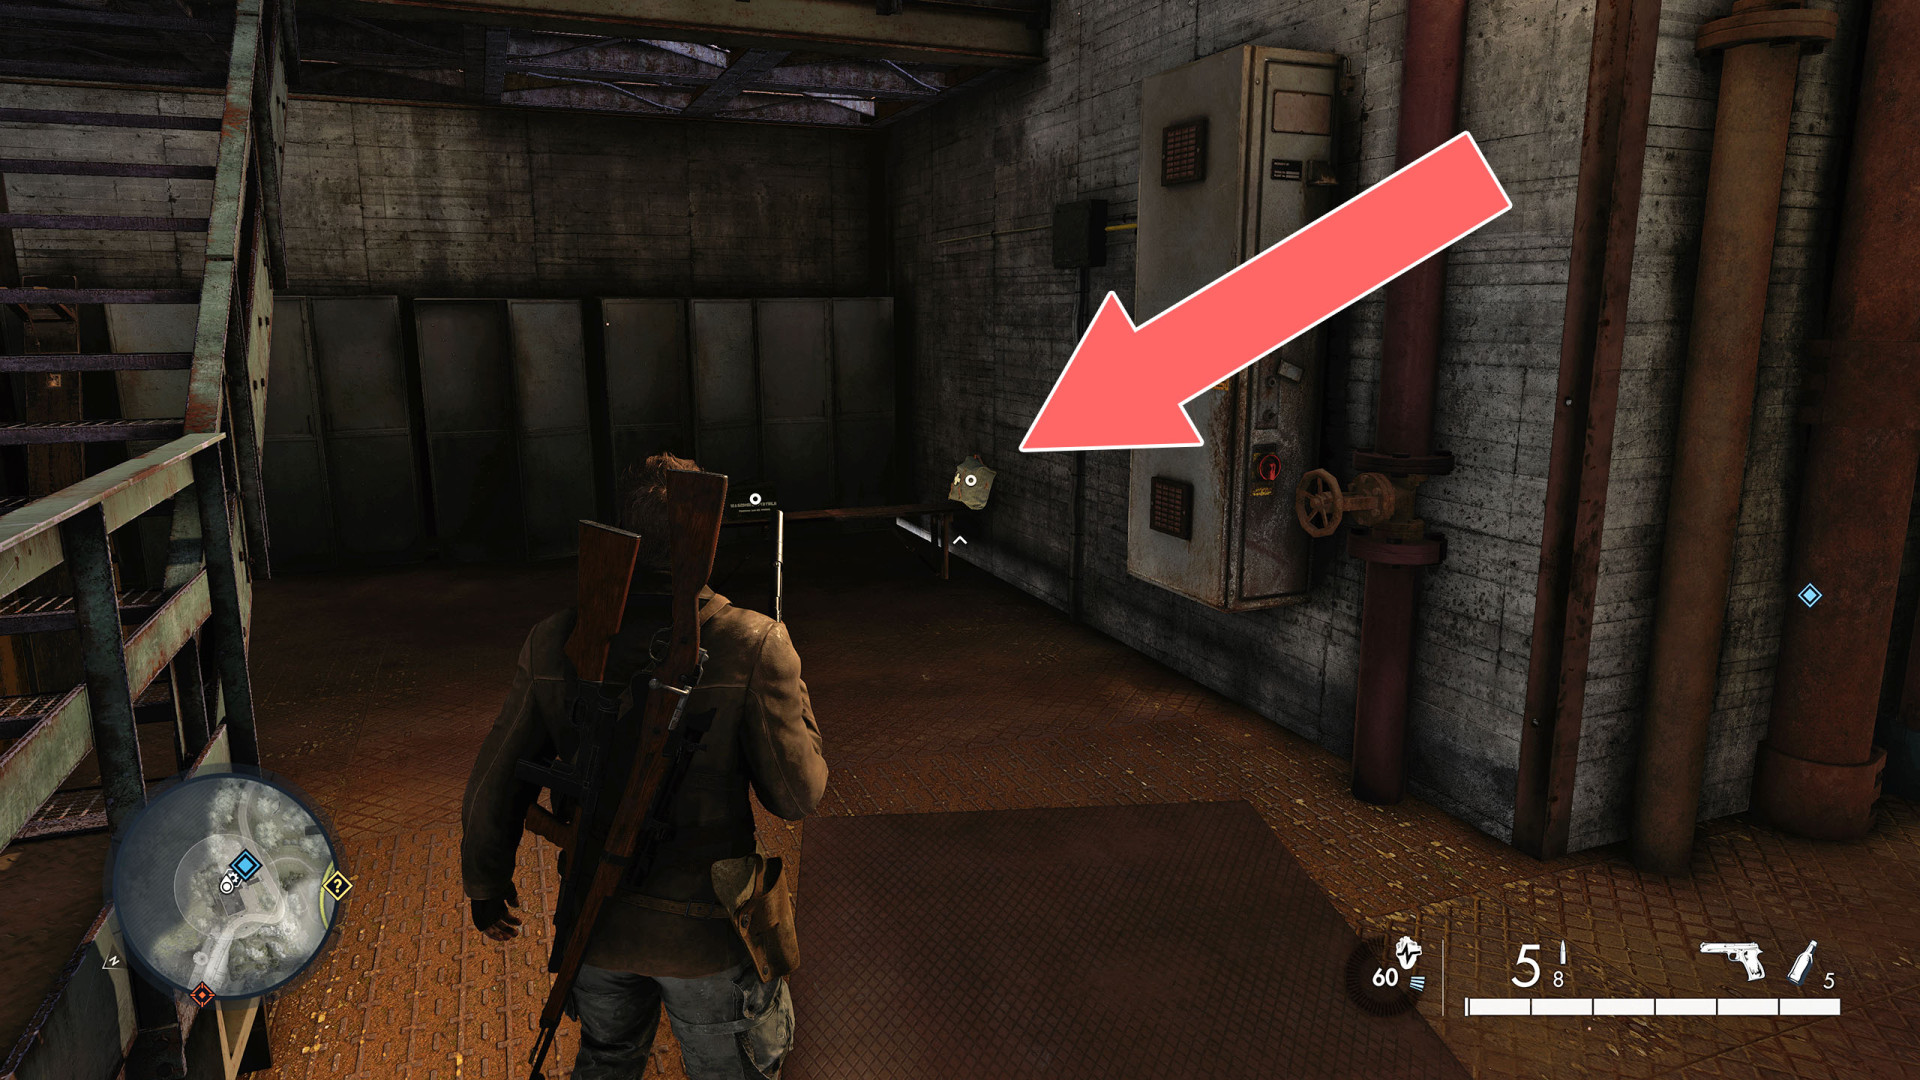
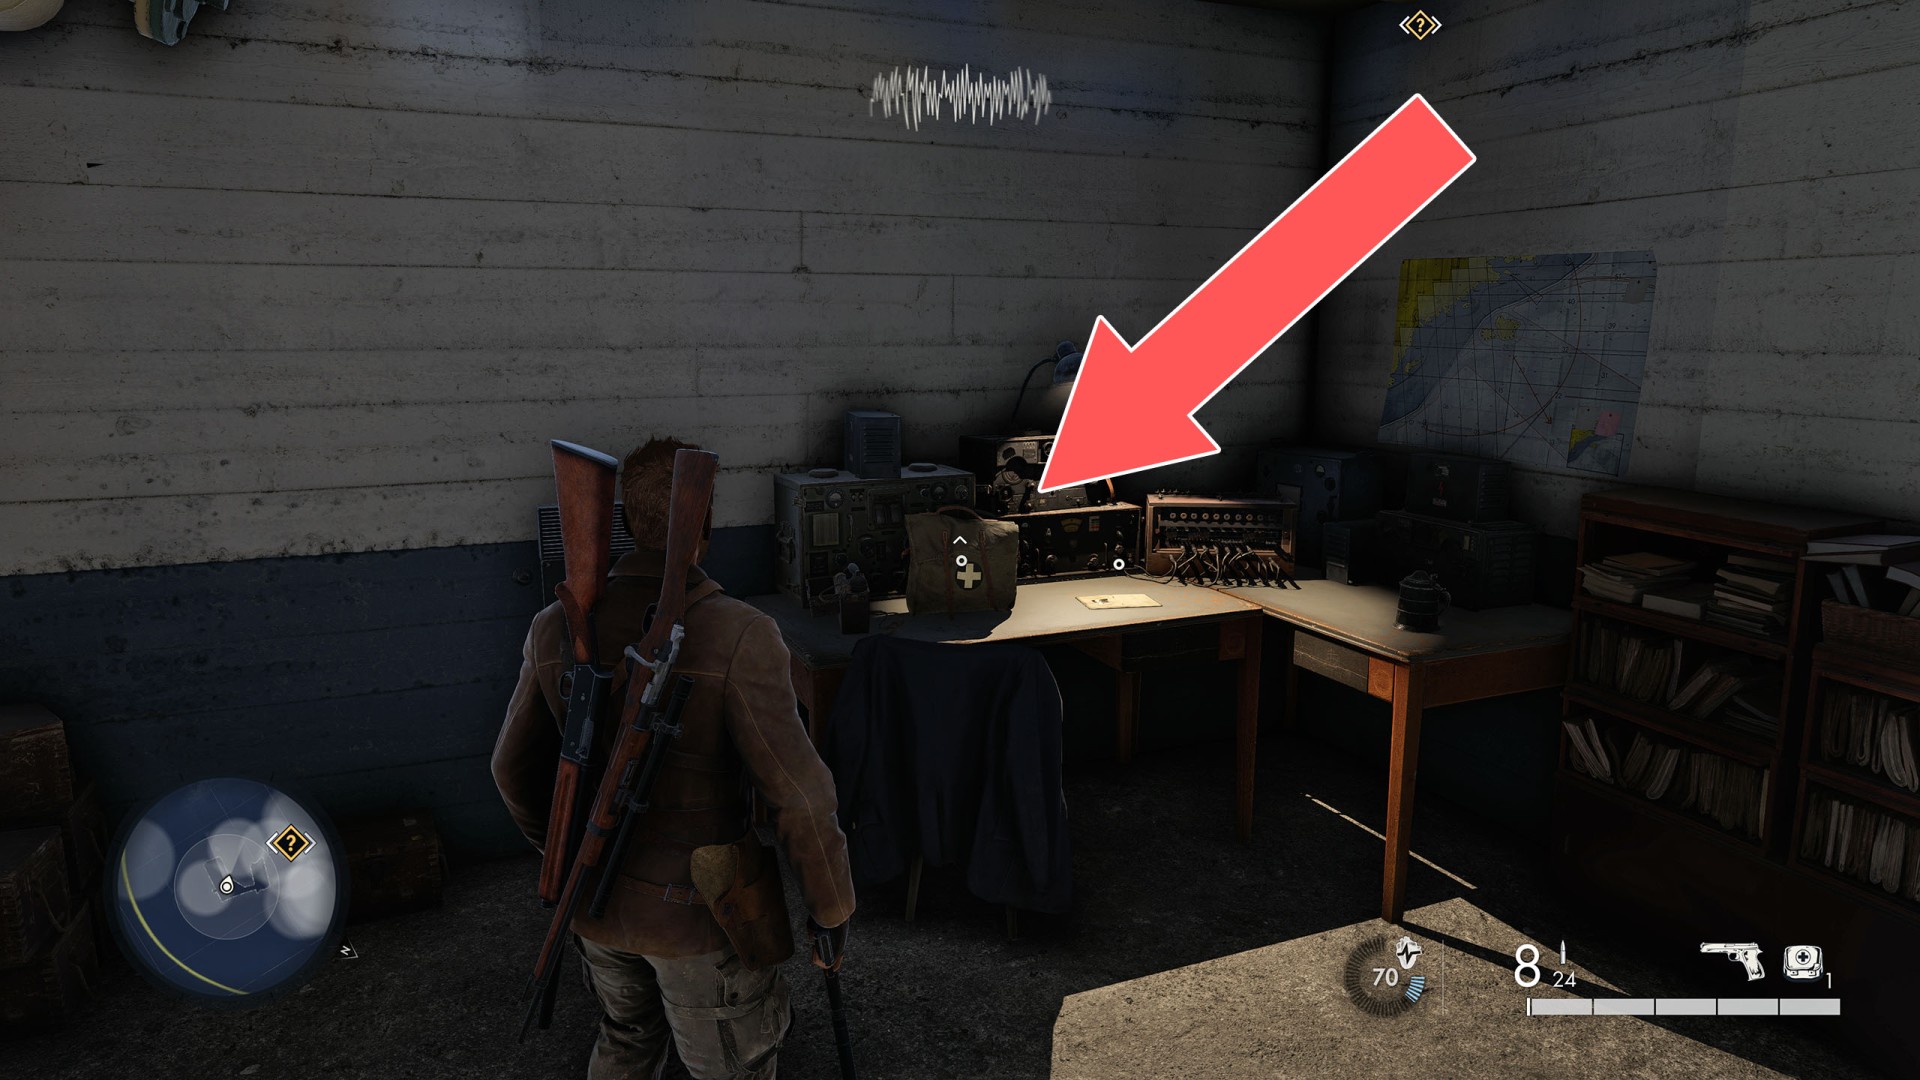
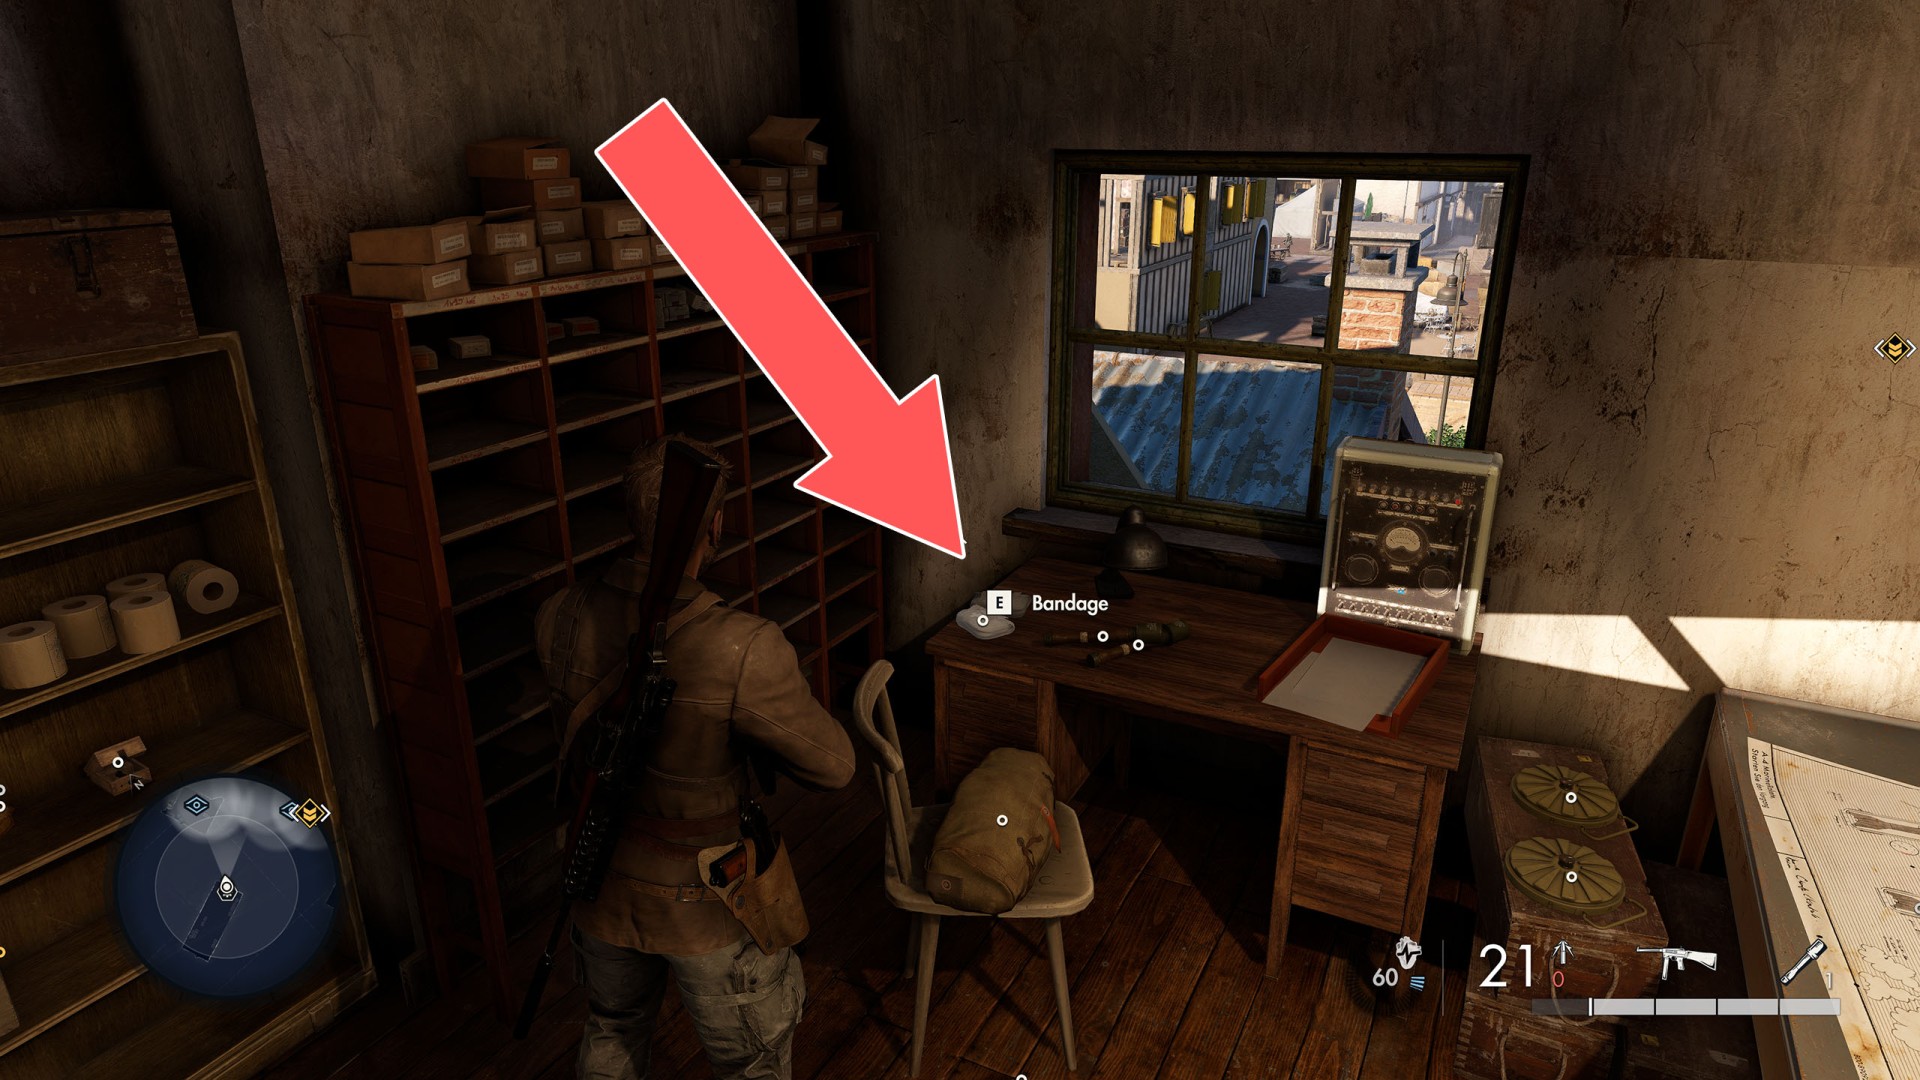
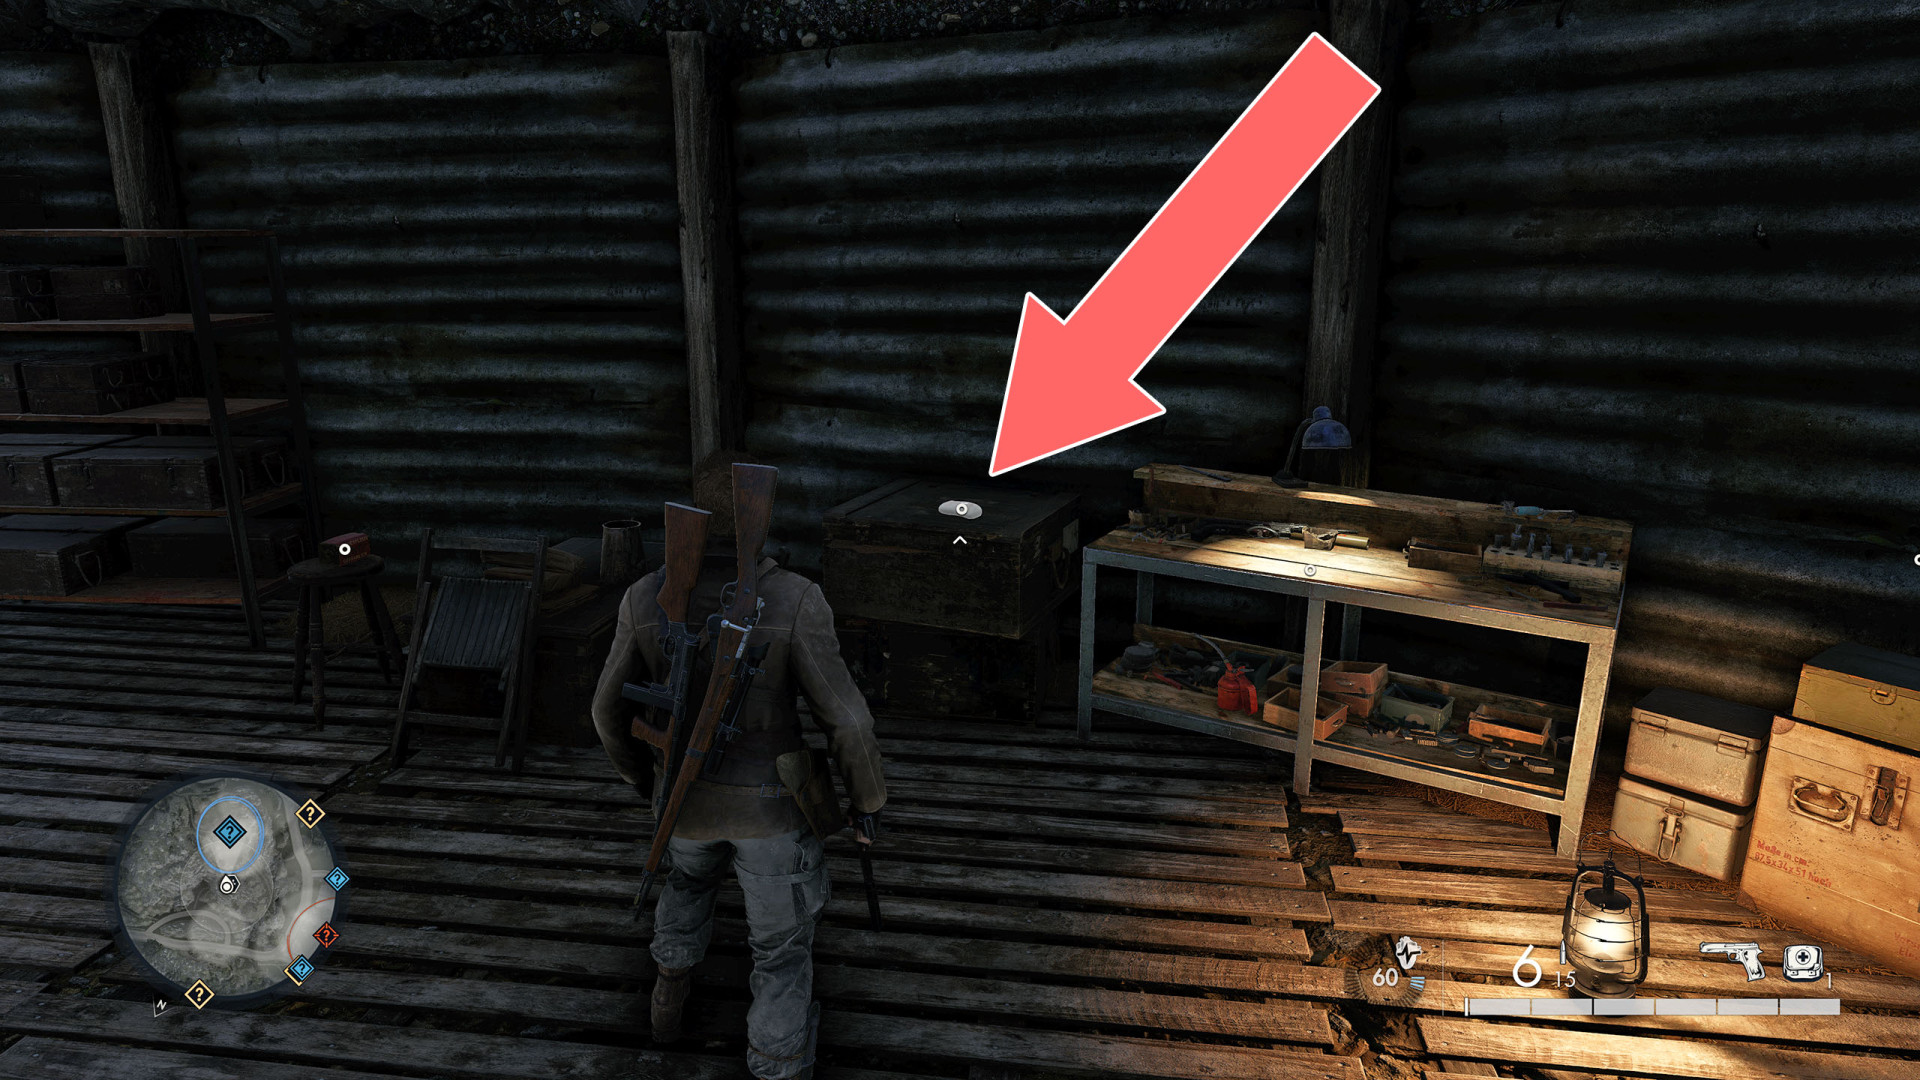
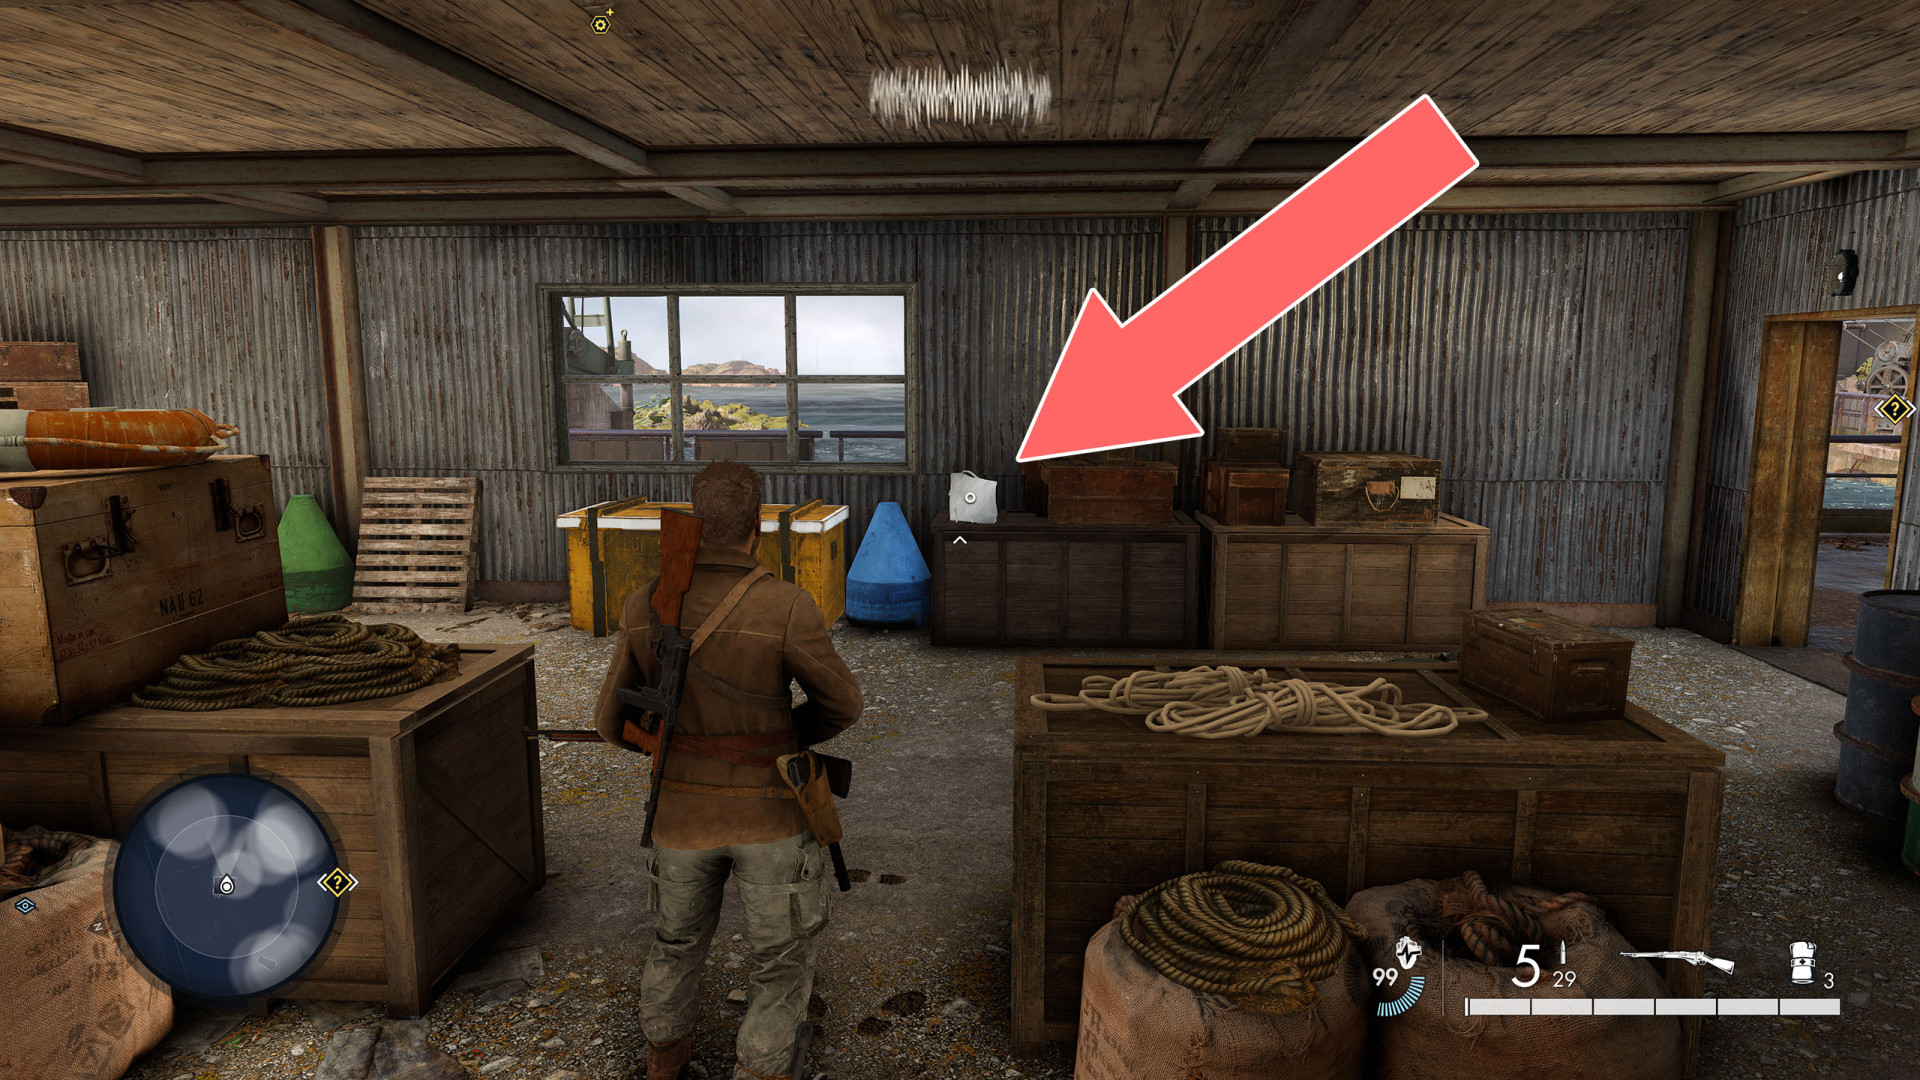
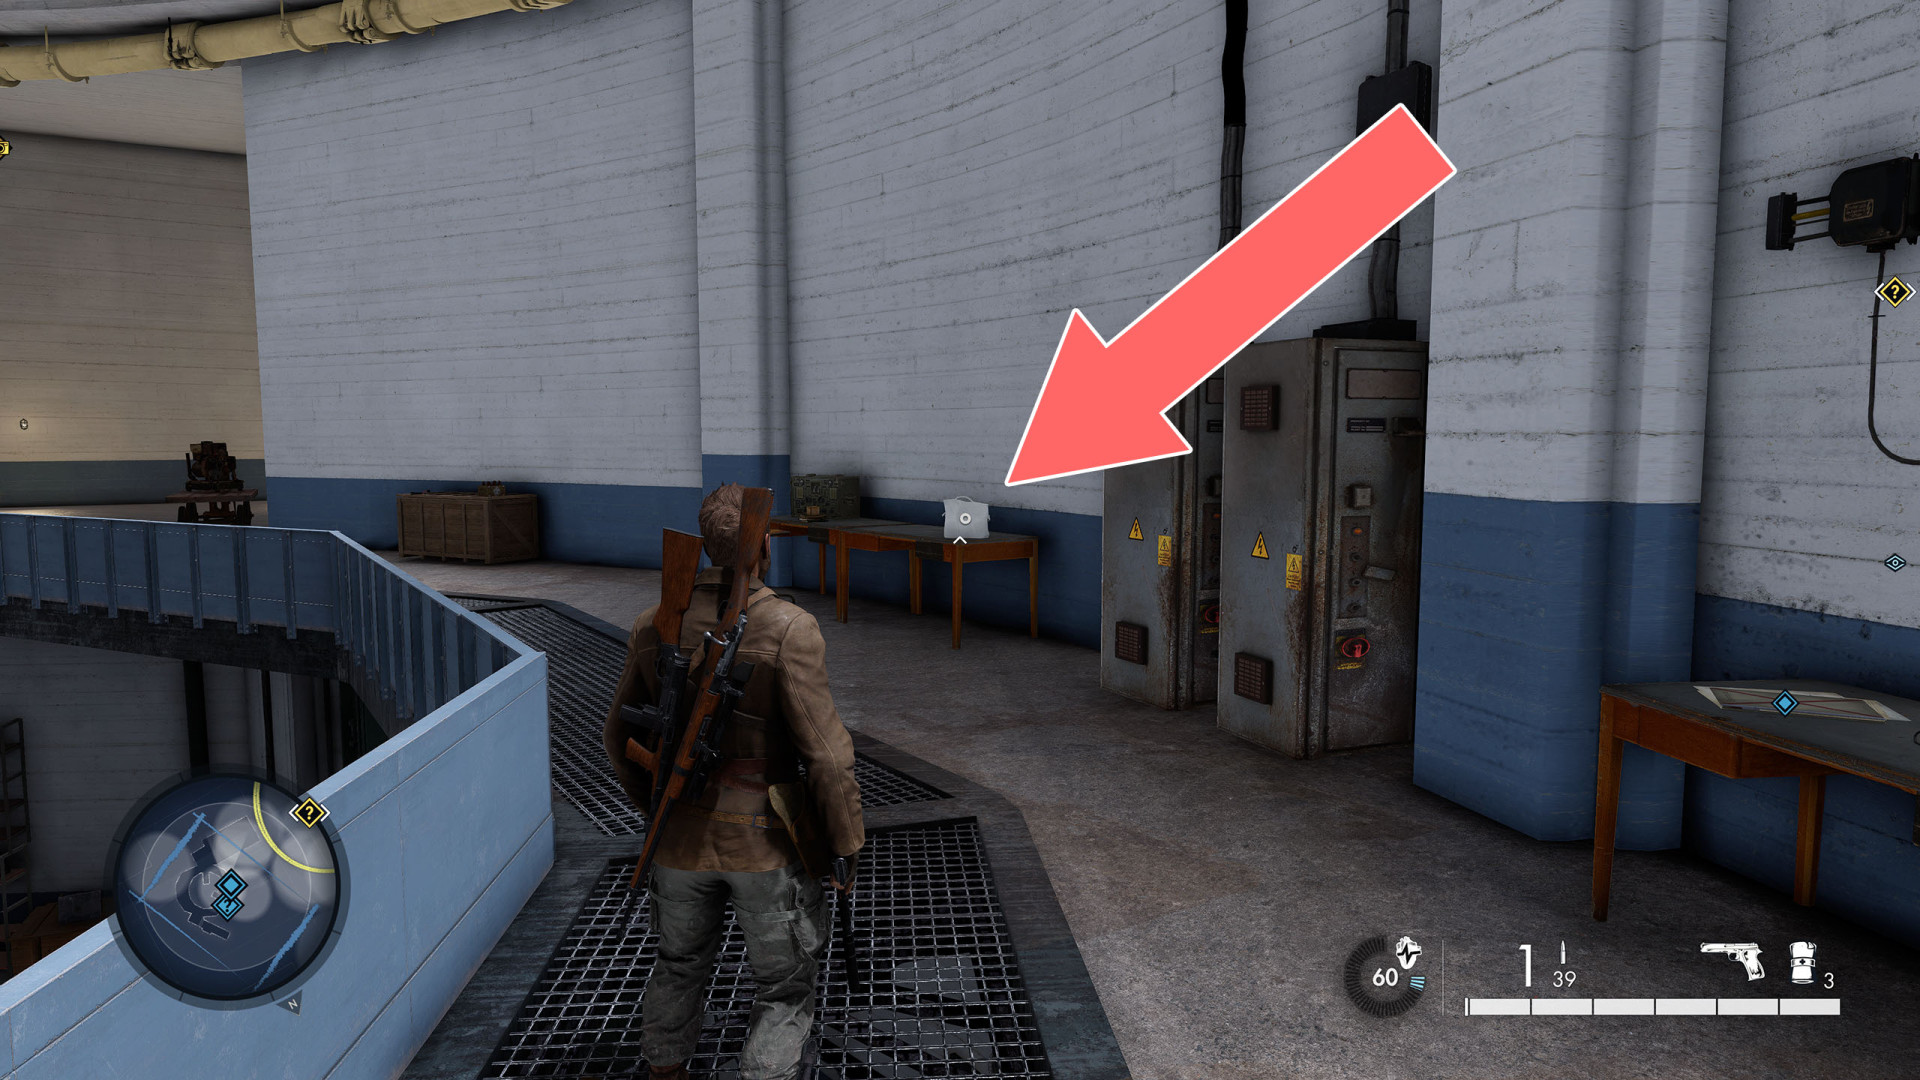
On the table, in the generator room.
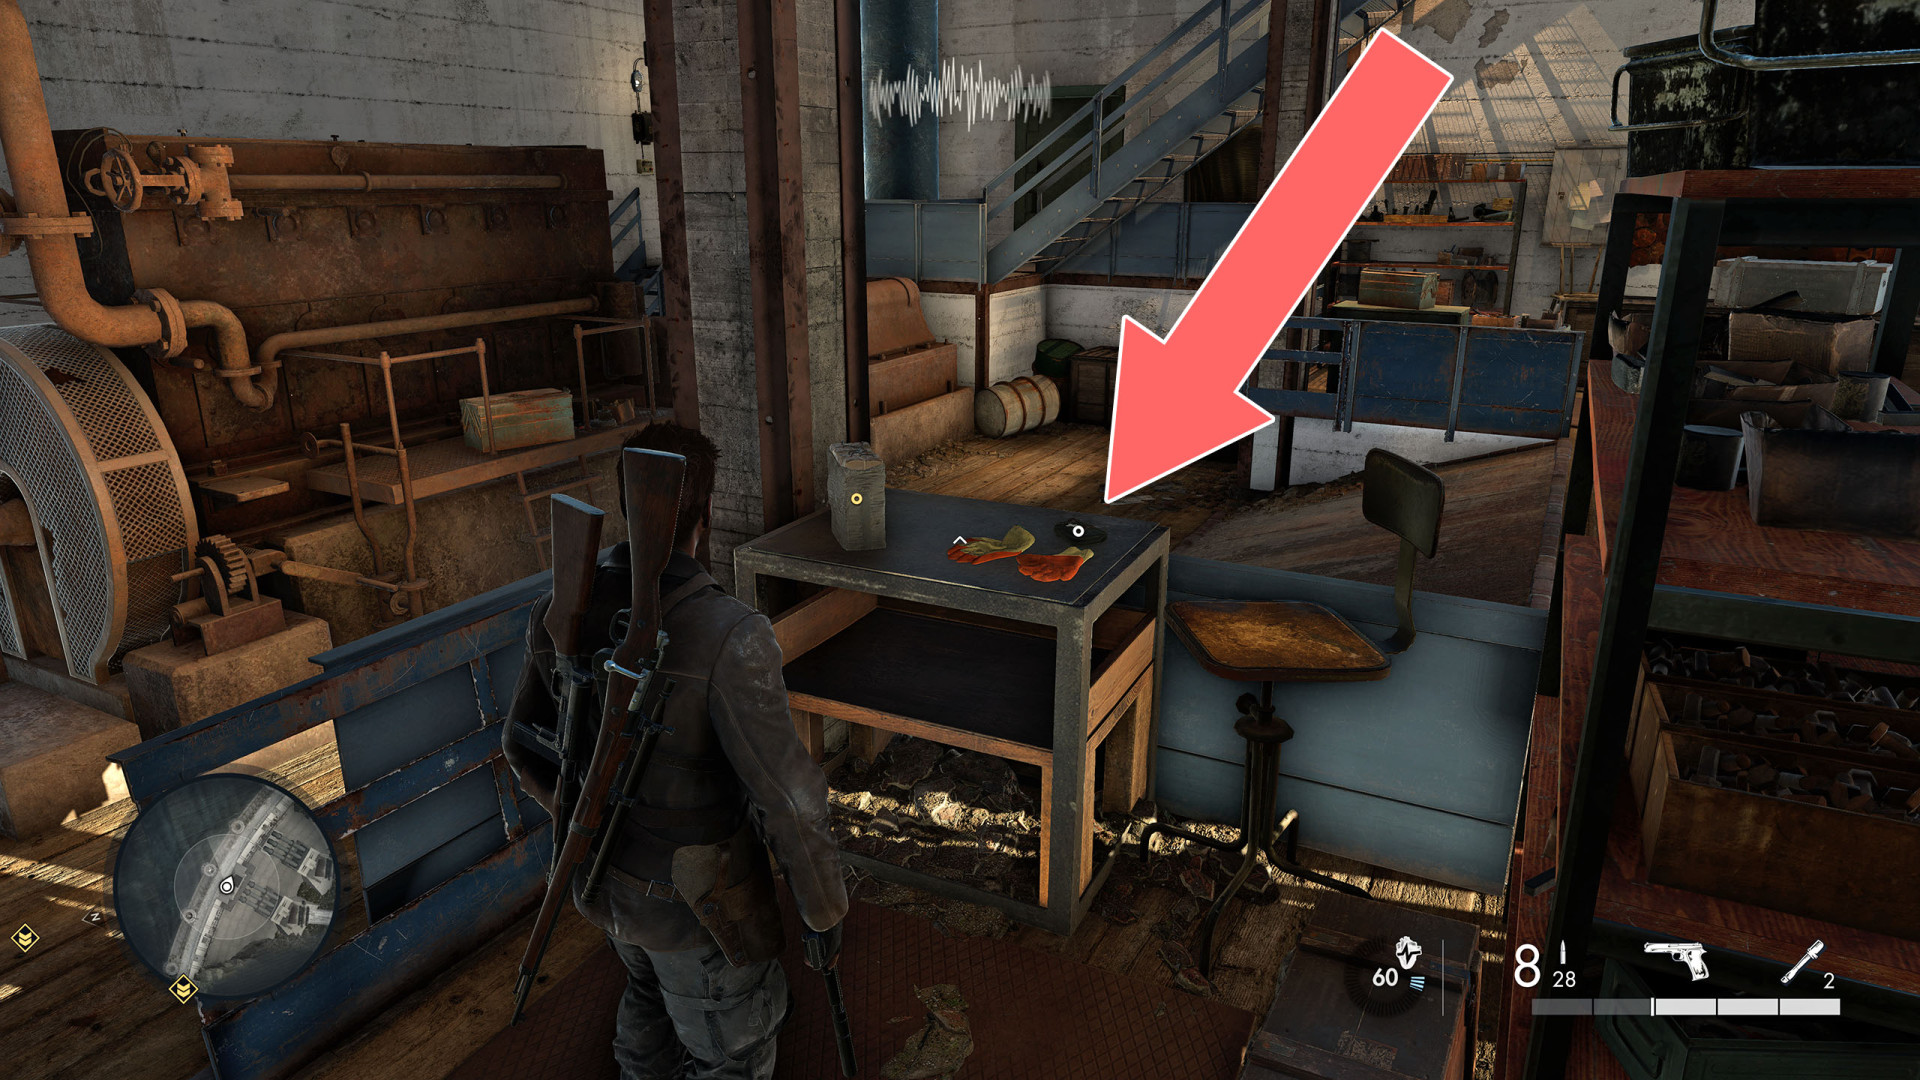
Bandage

Show the map

5Bandage

Bandage

Show the map

6Bandage

Bandage

Show the map

7Bandage

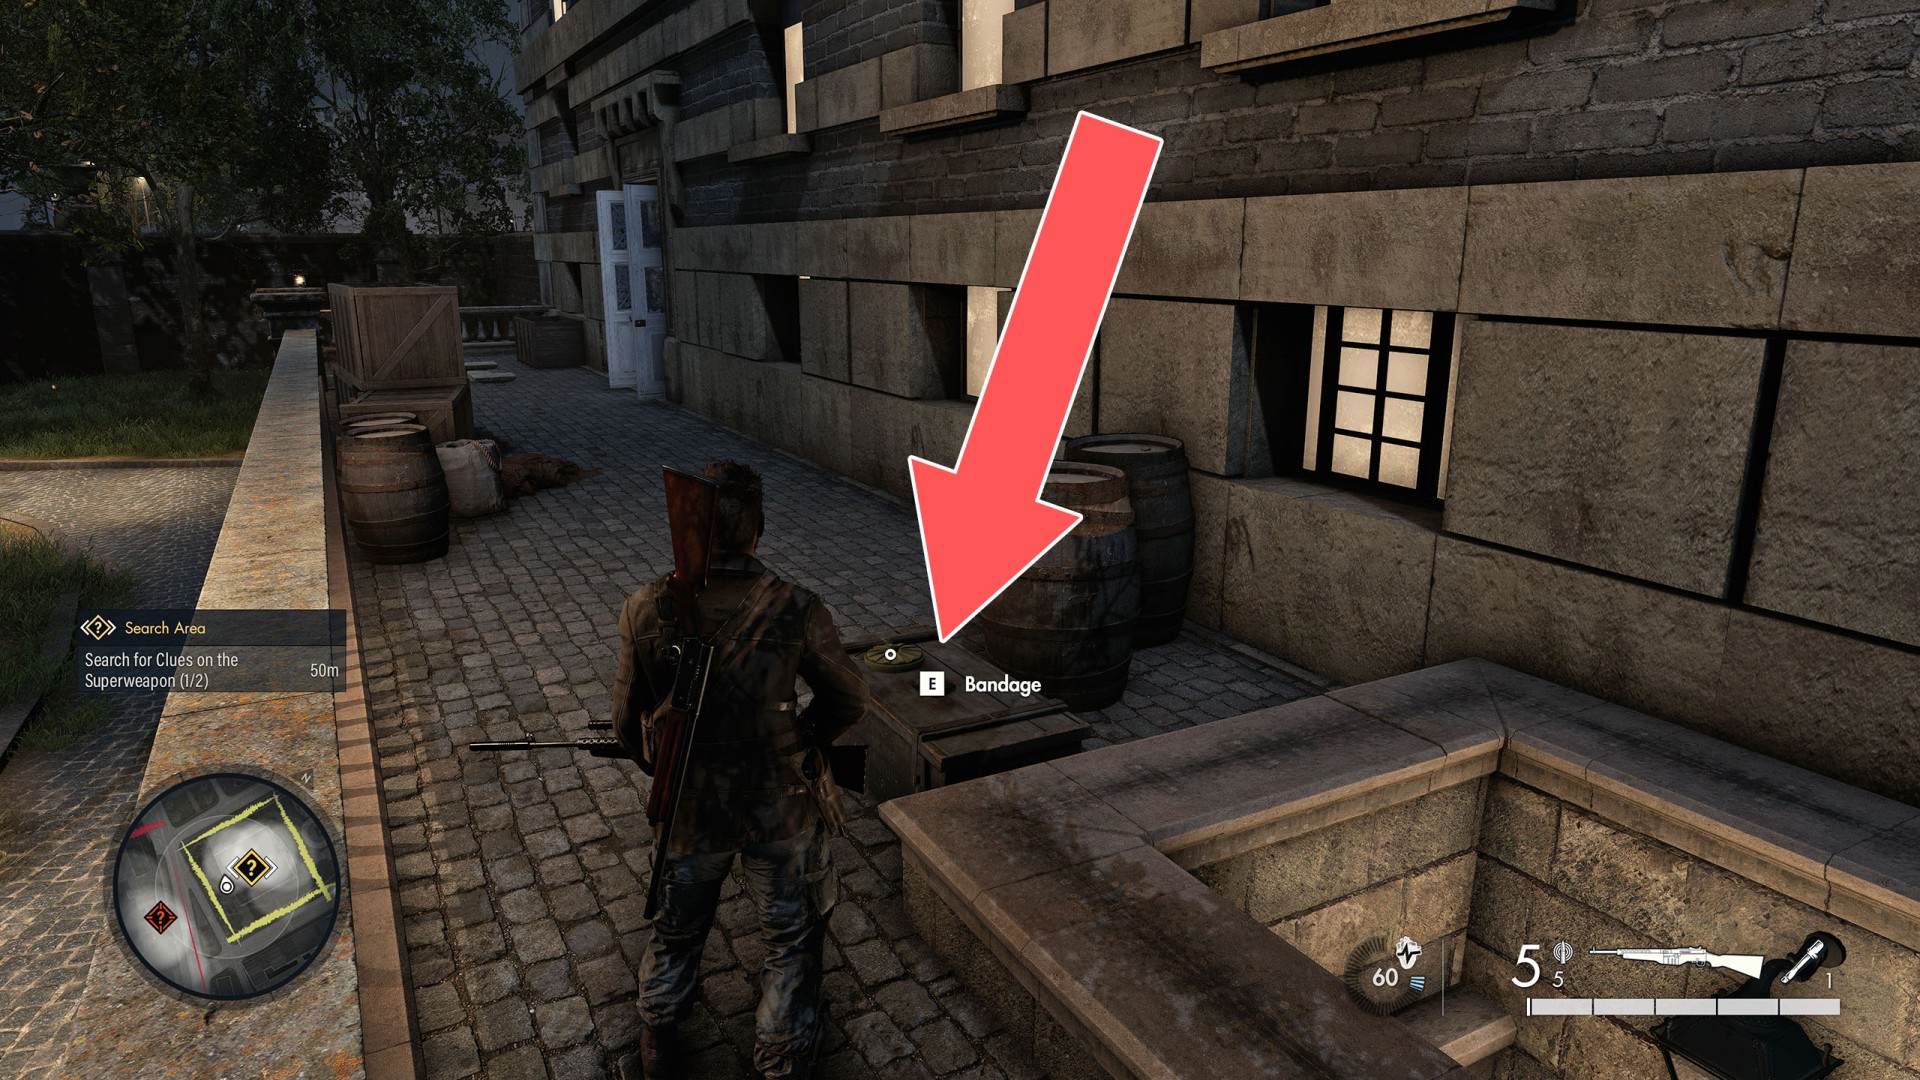
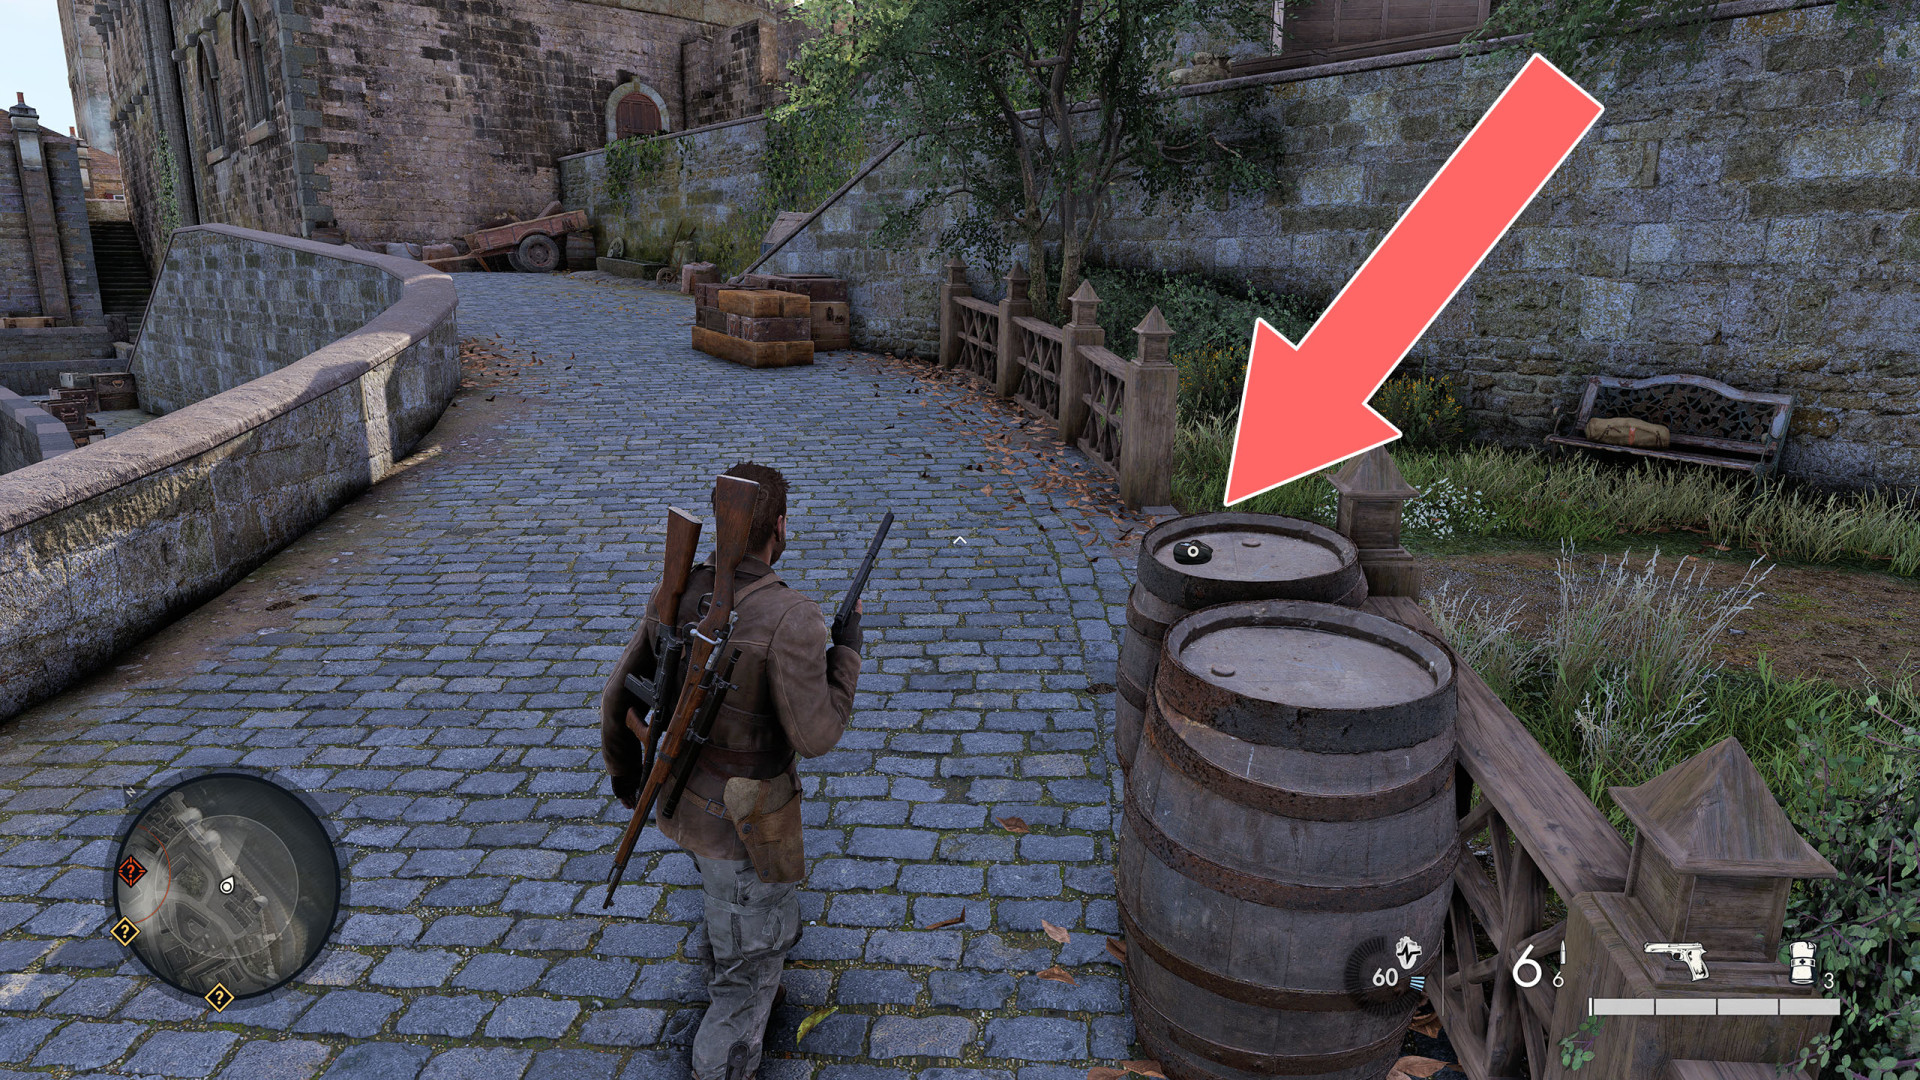
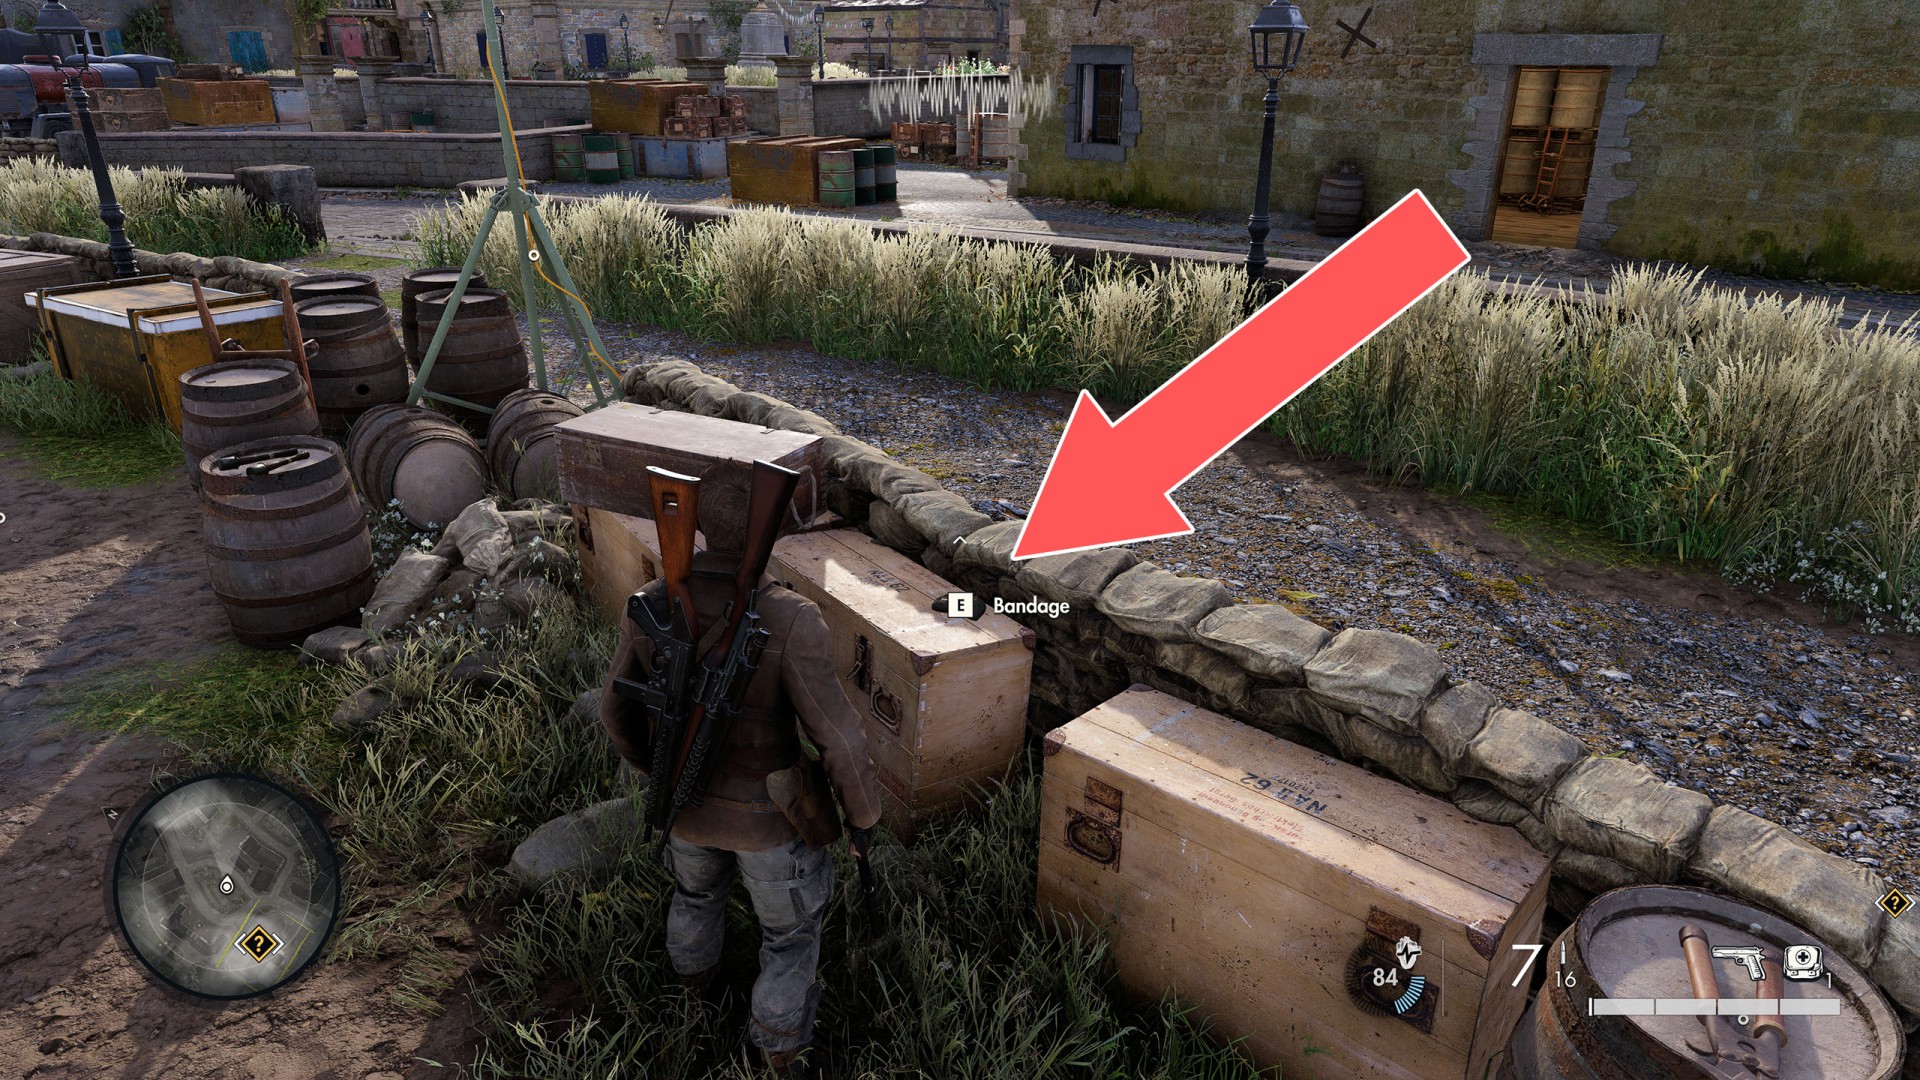
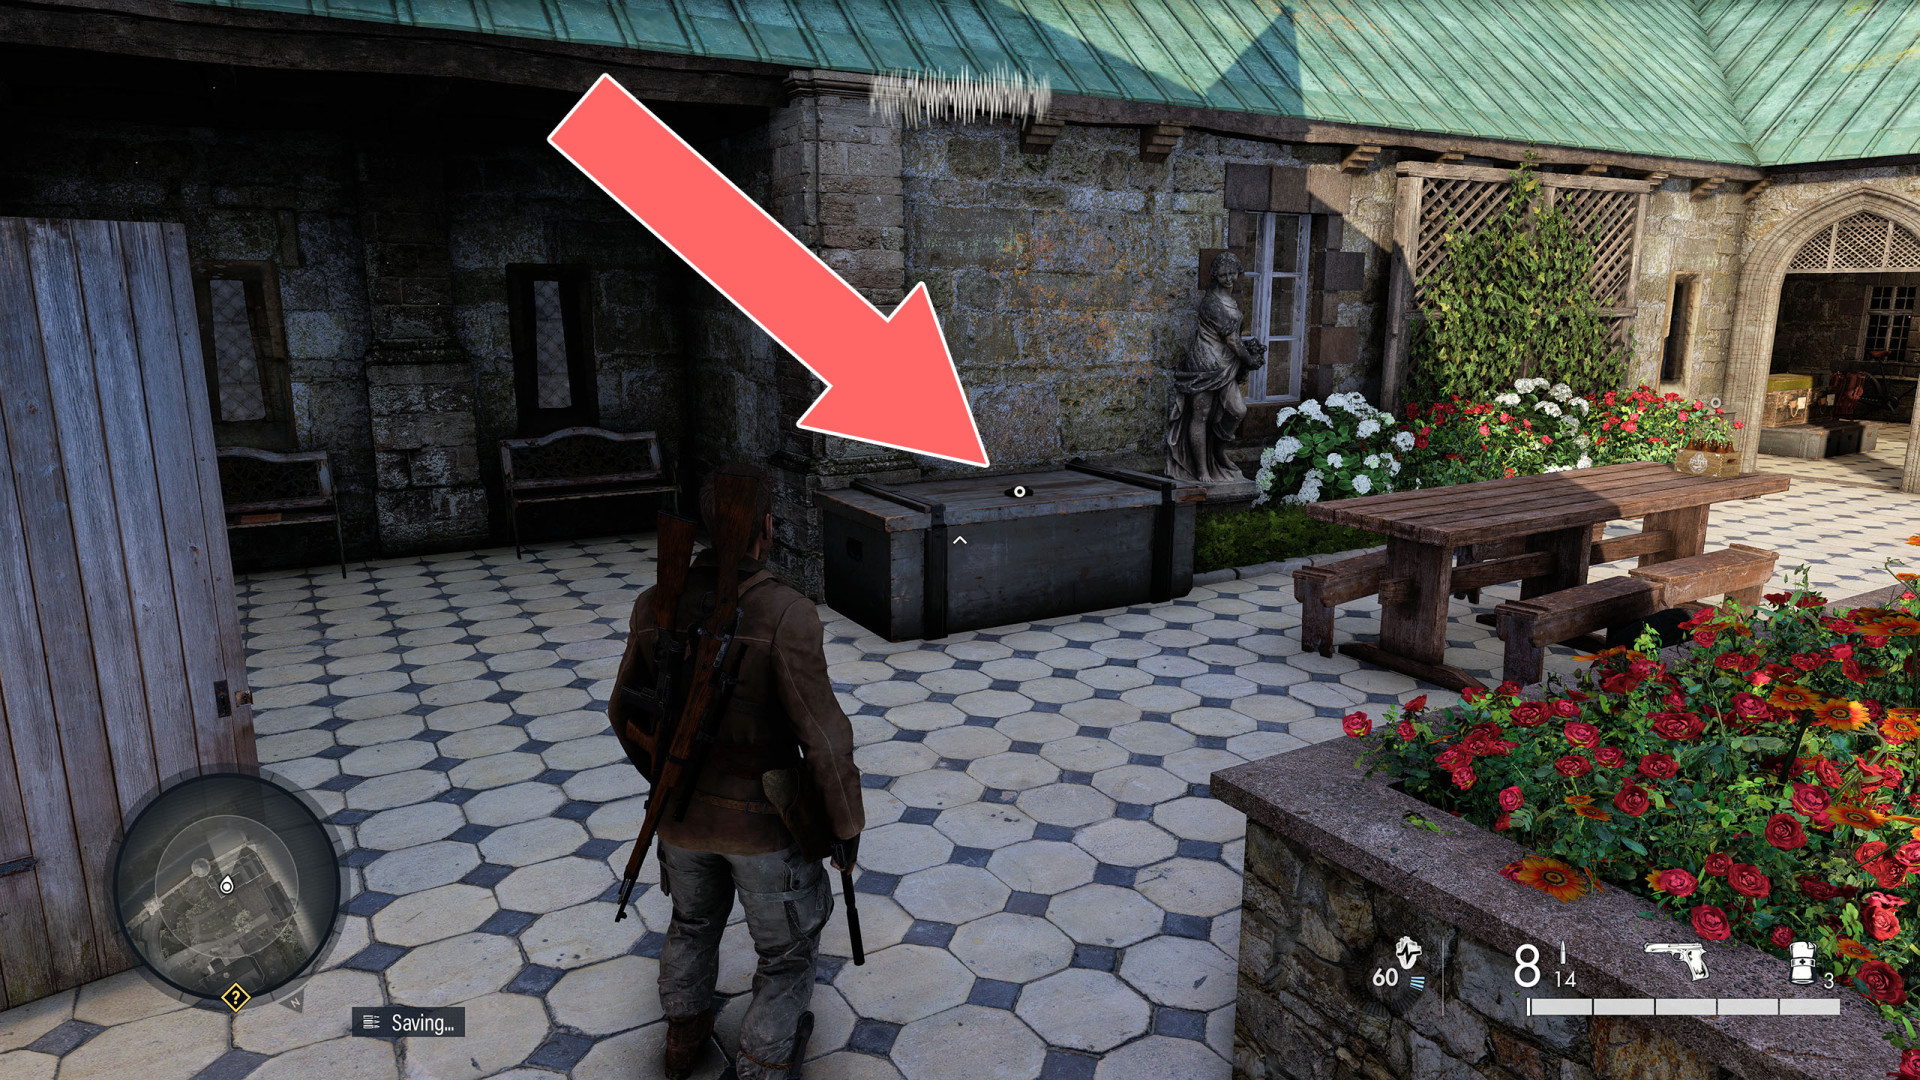
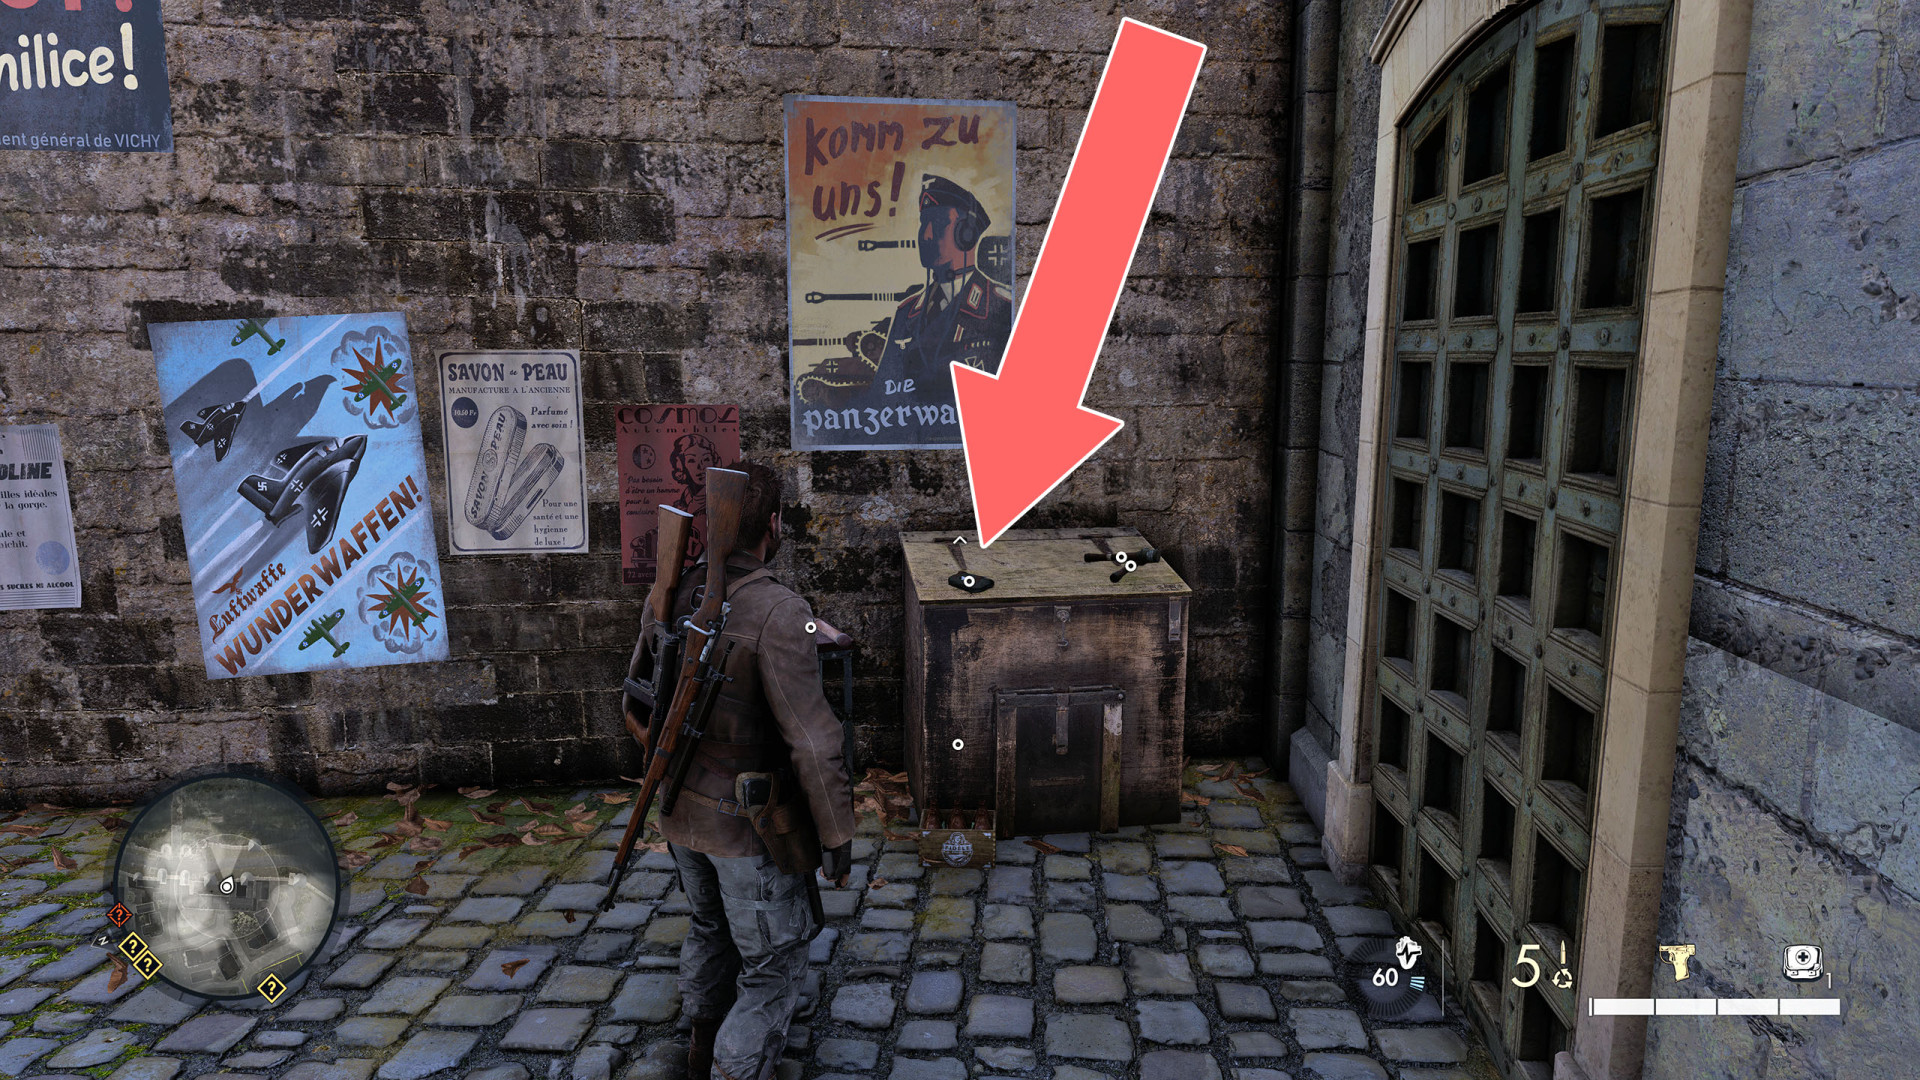
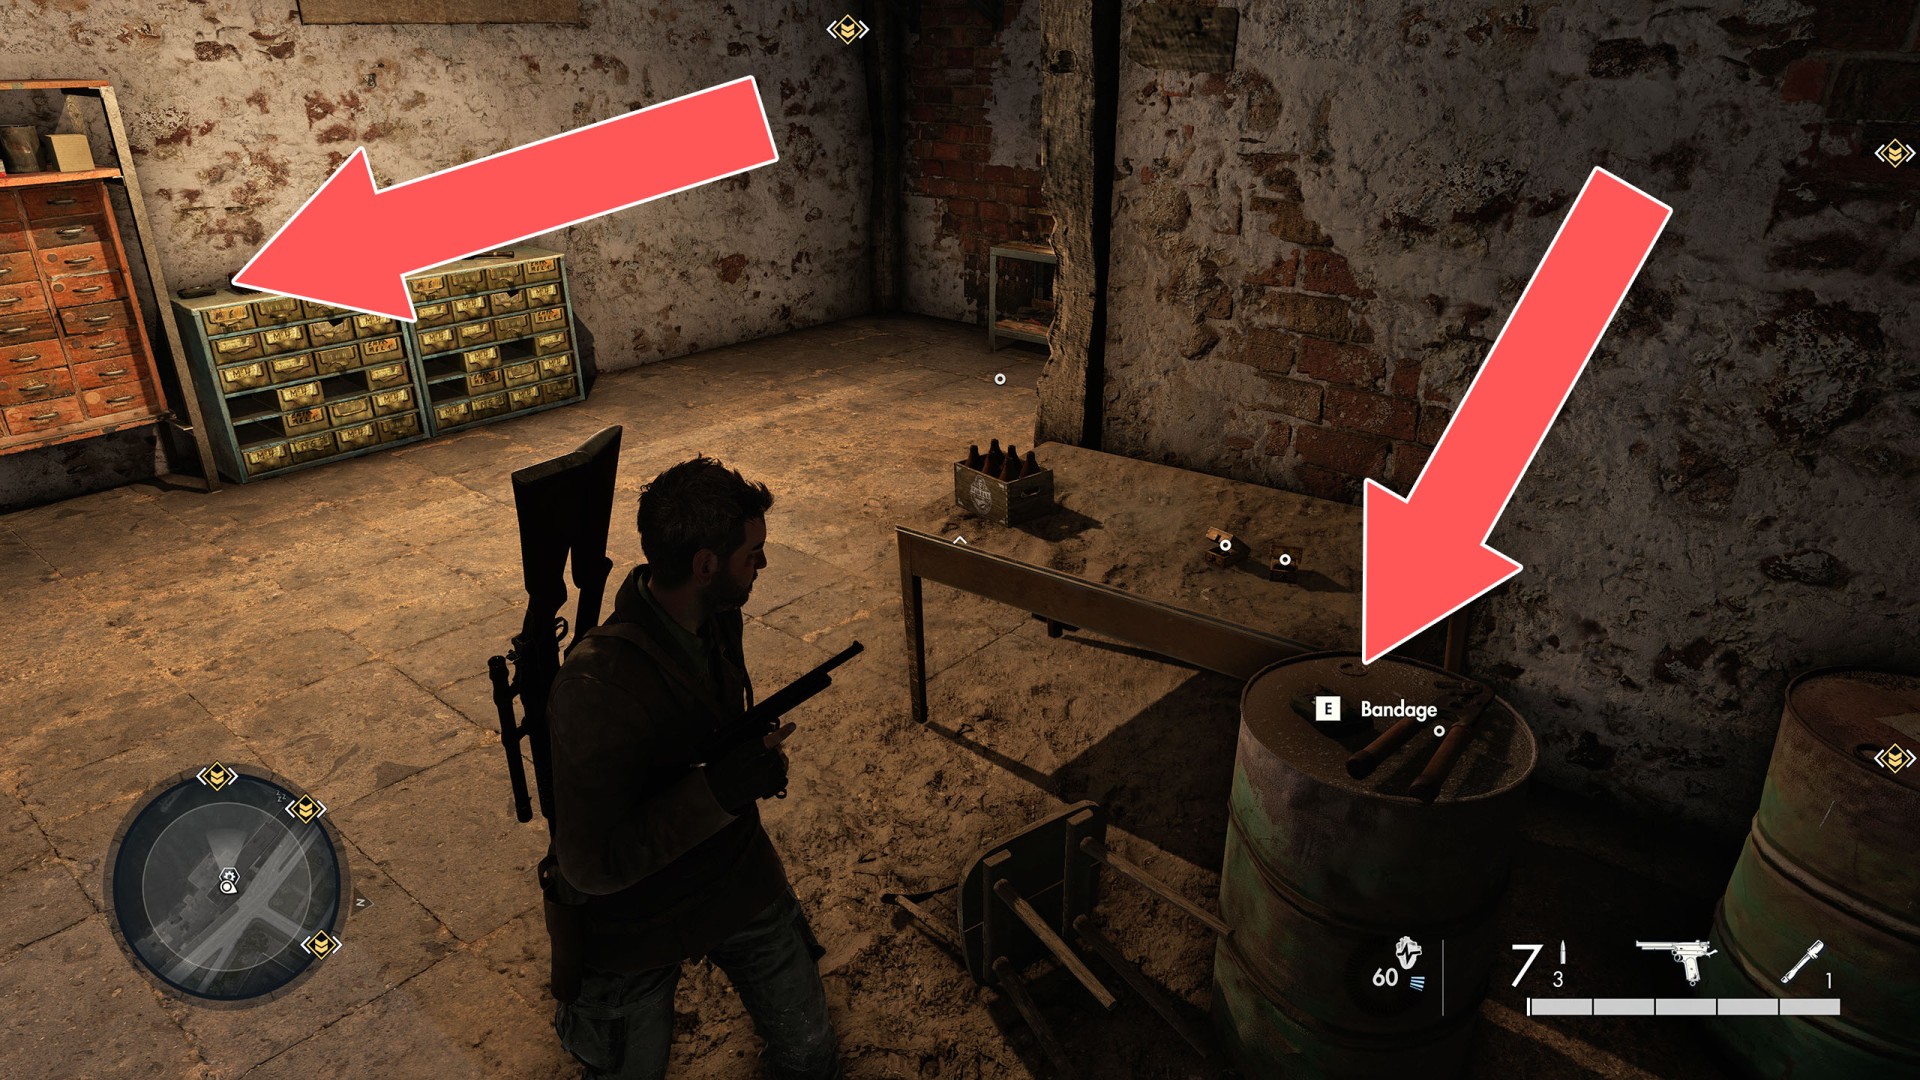
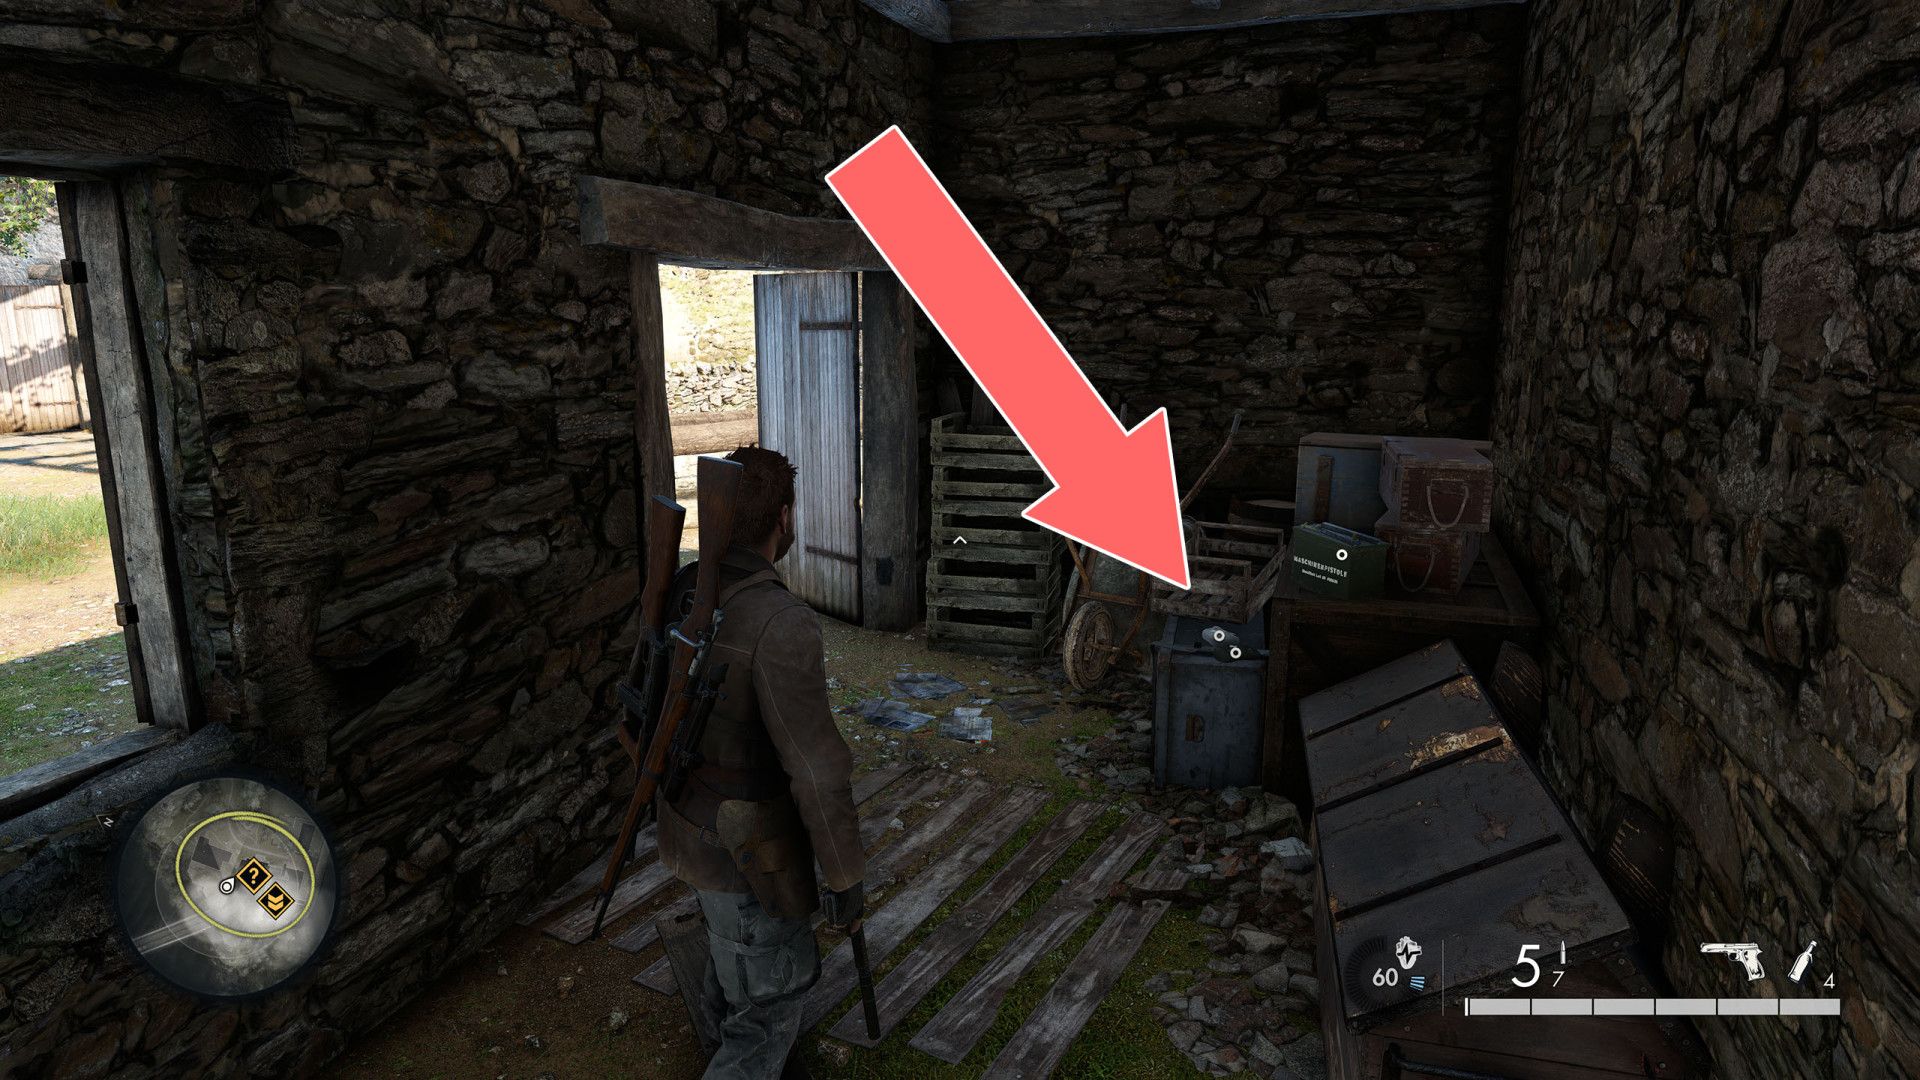
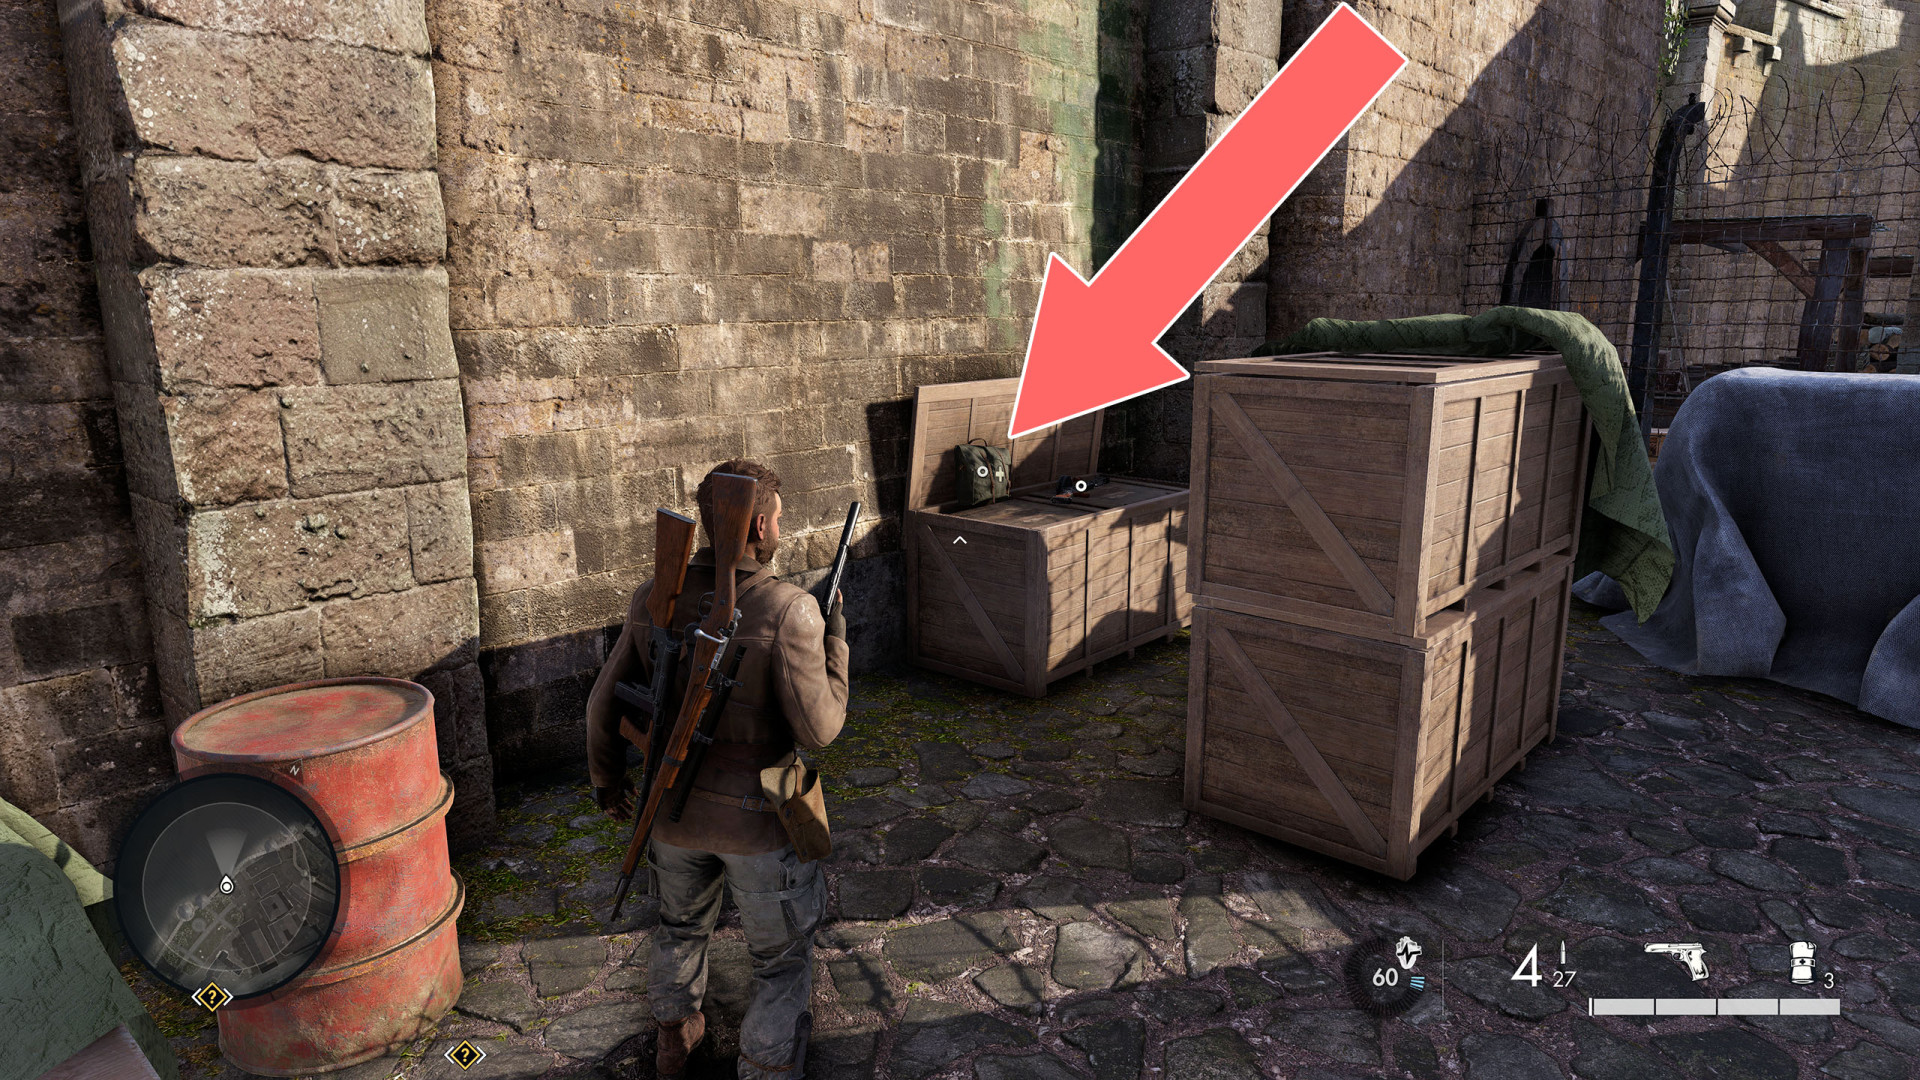
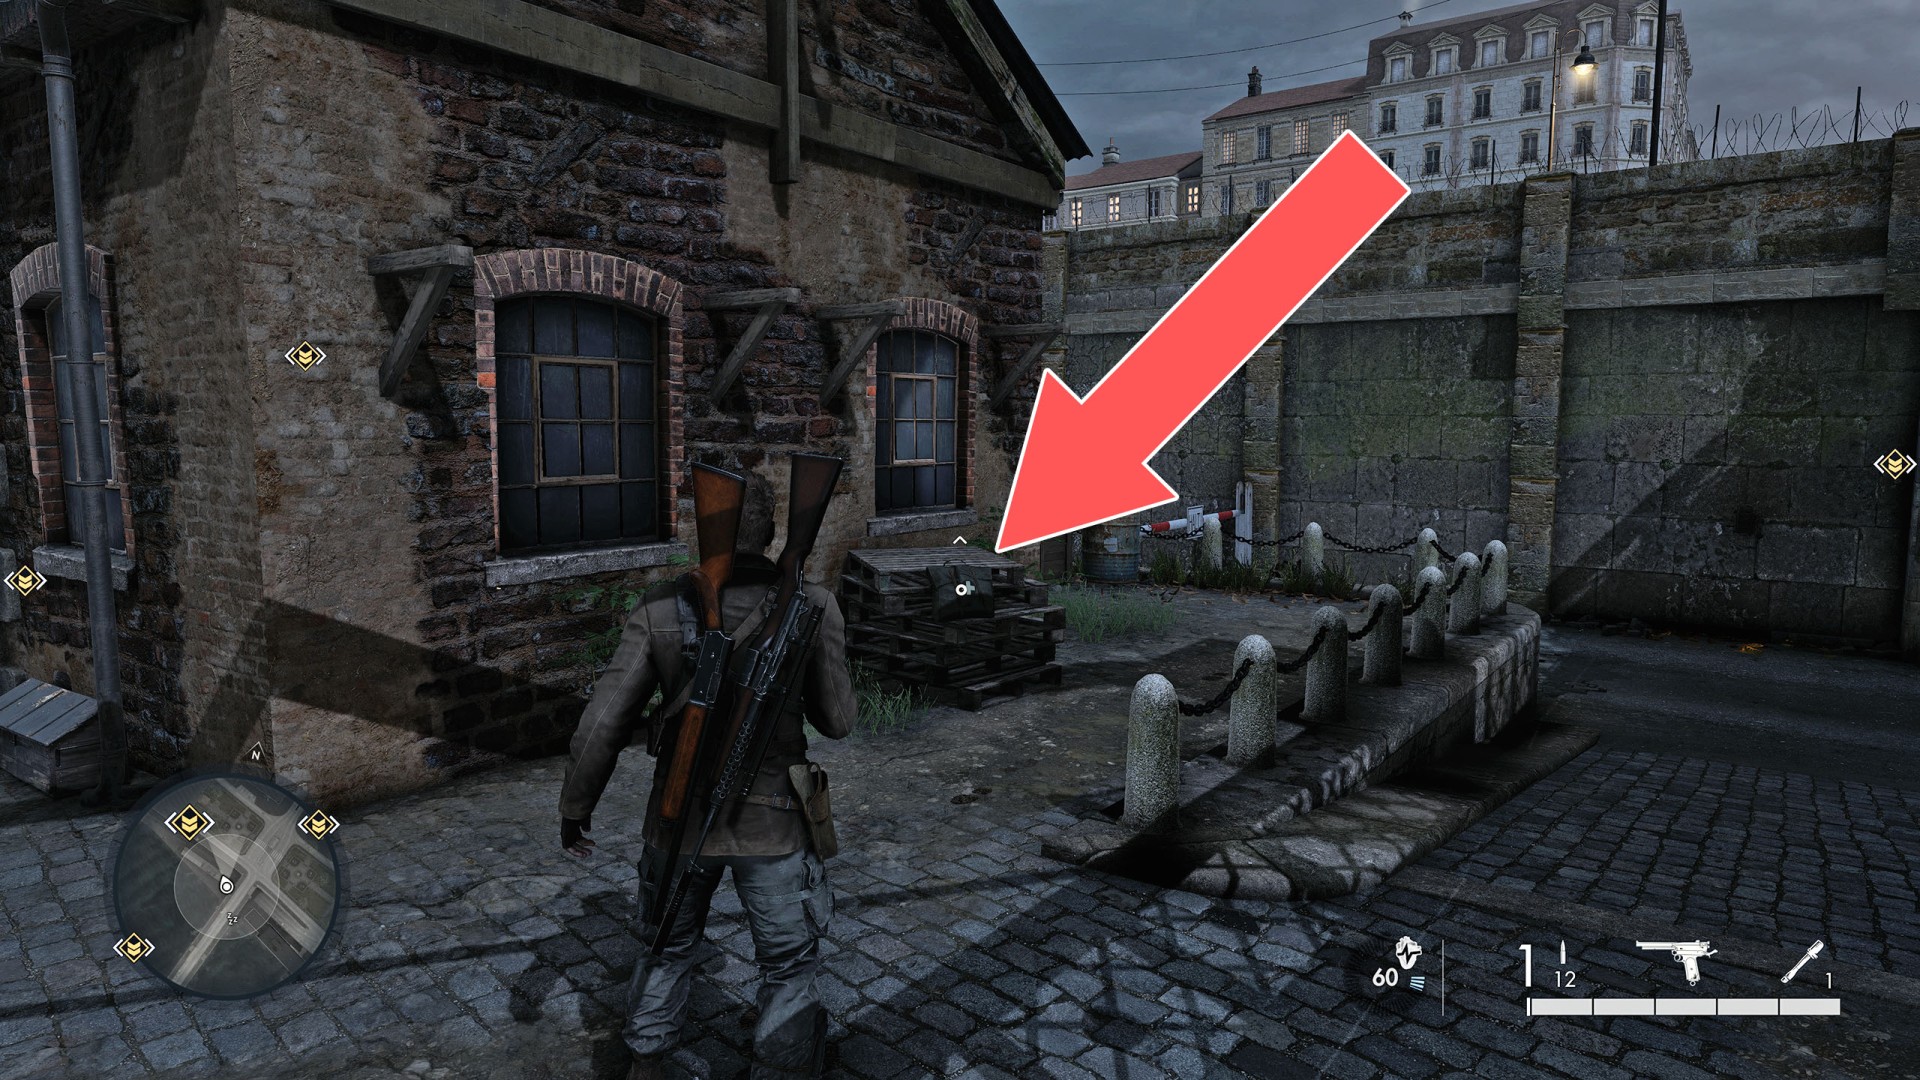
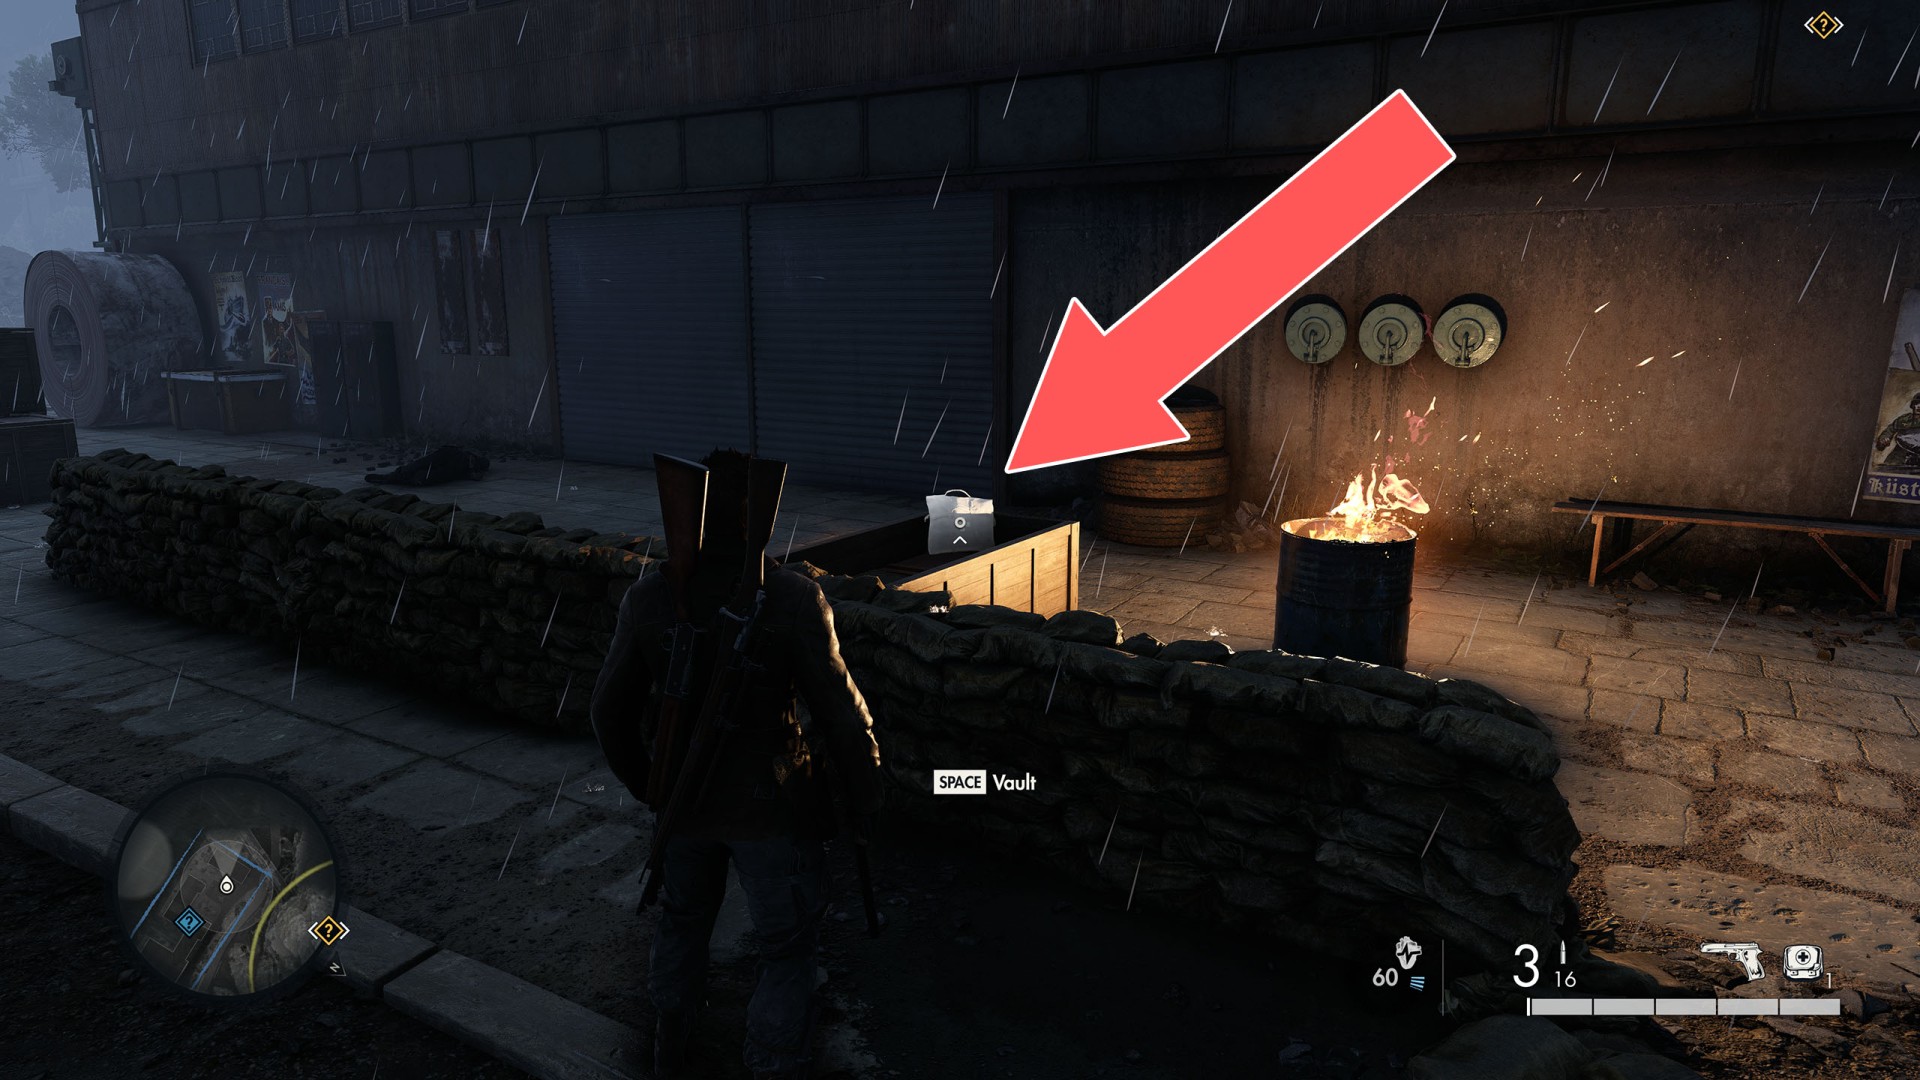
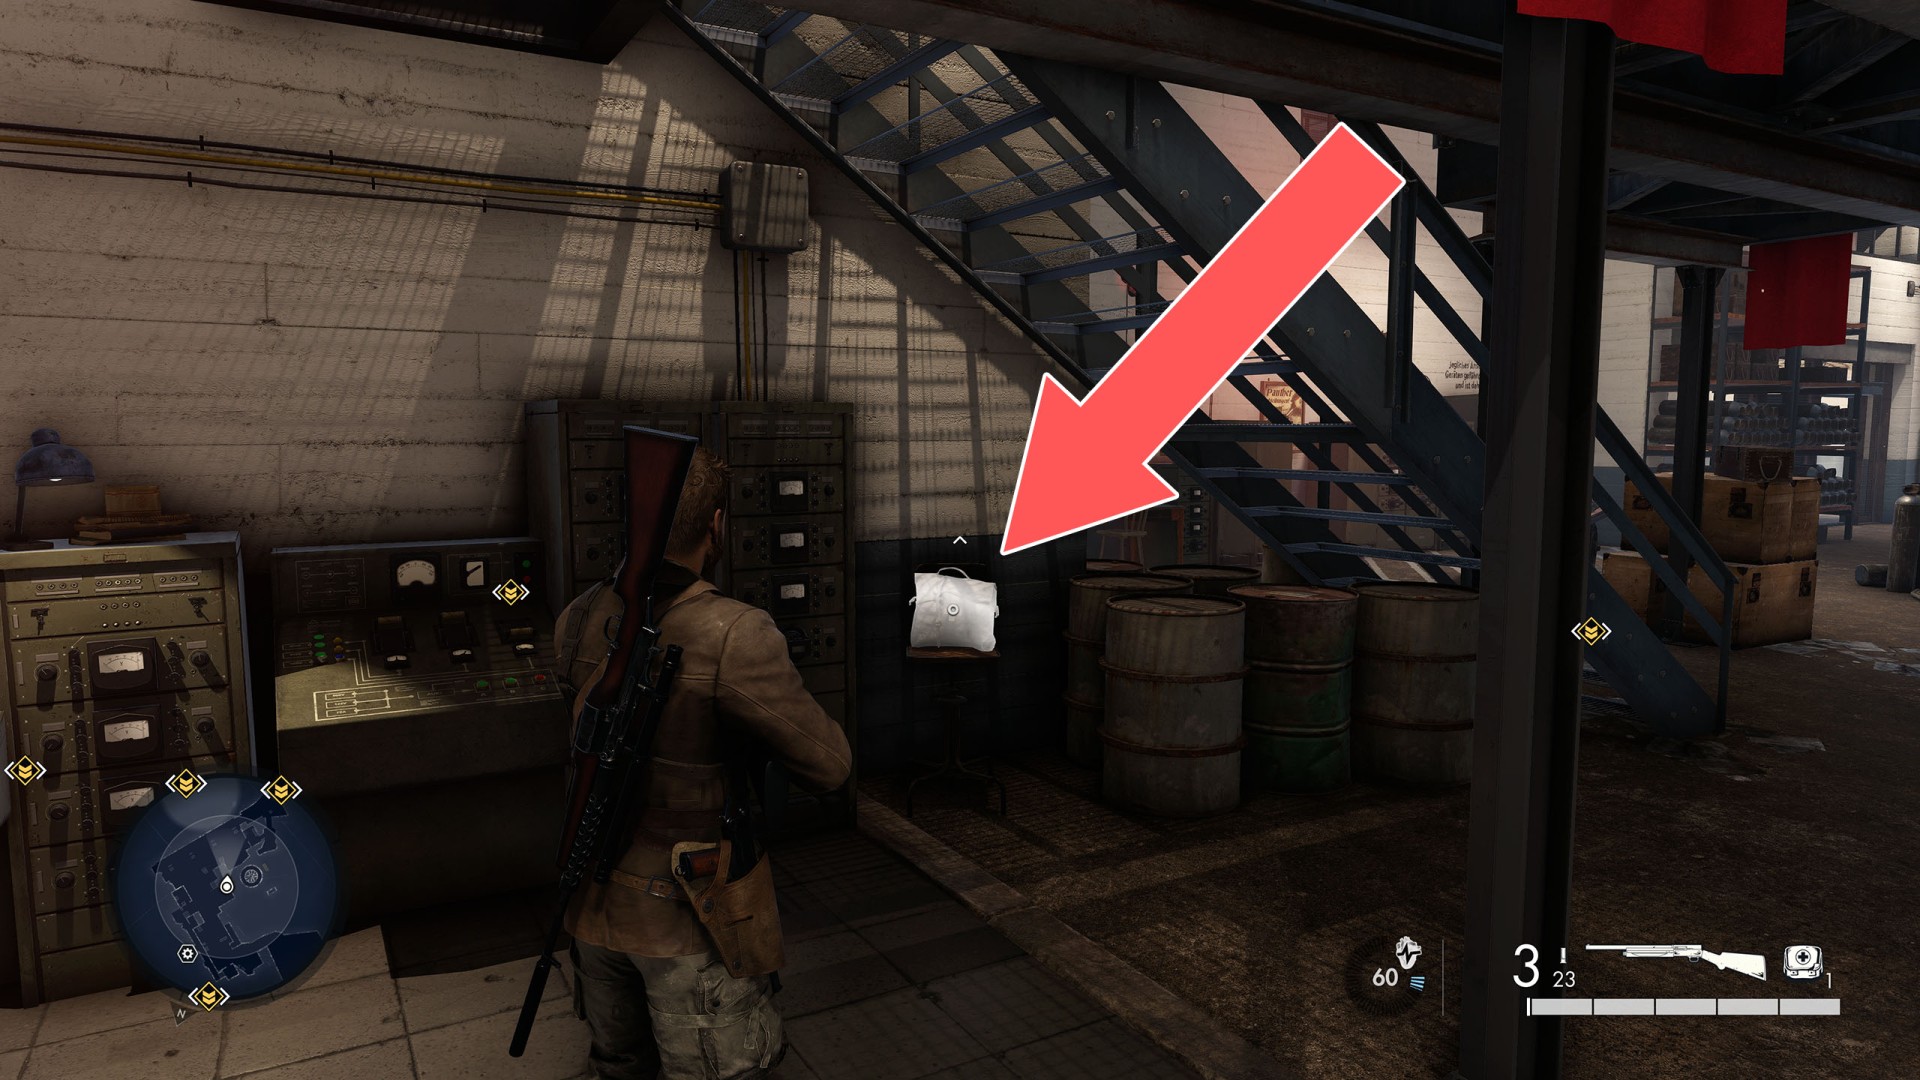
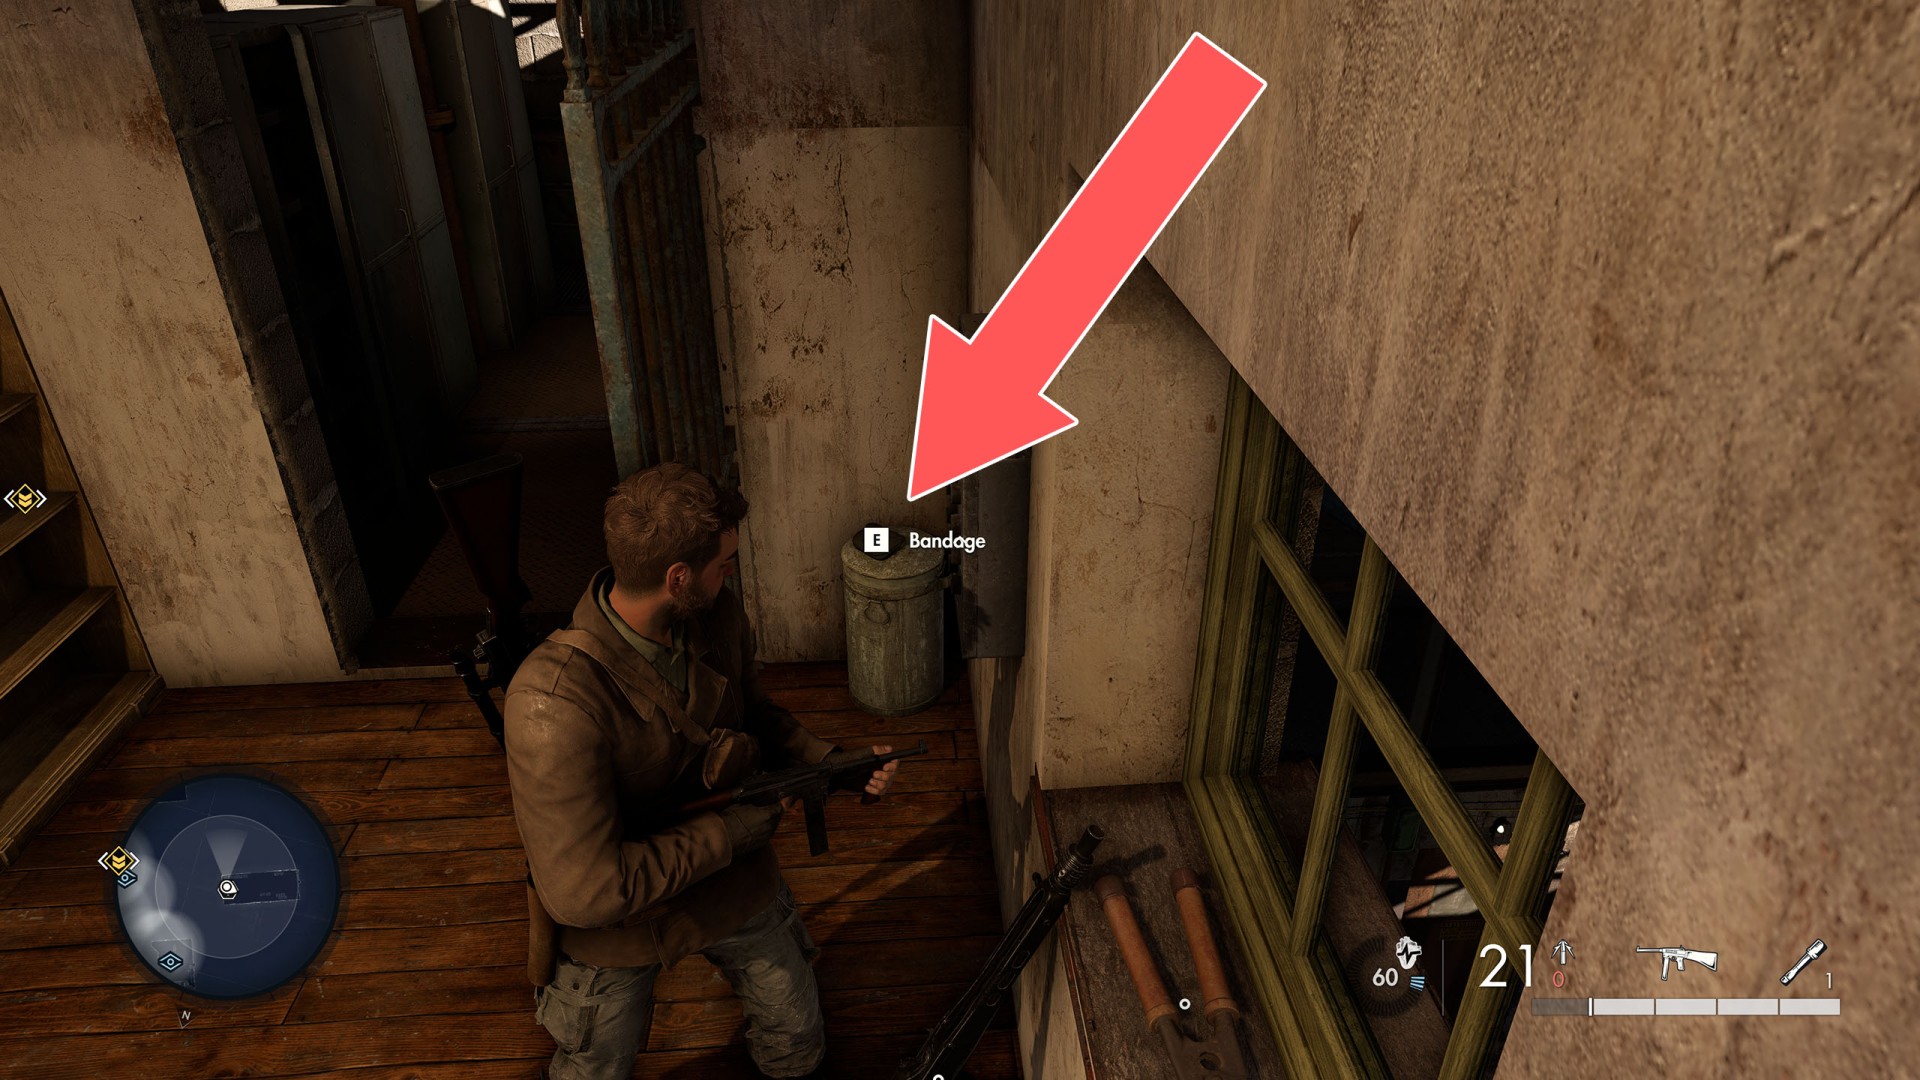
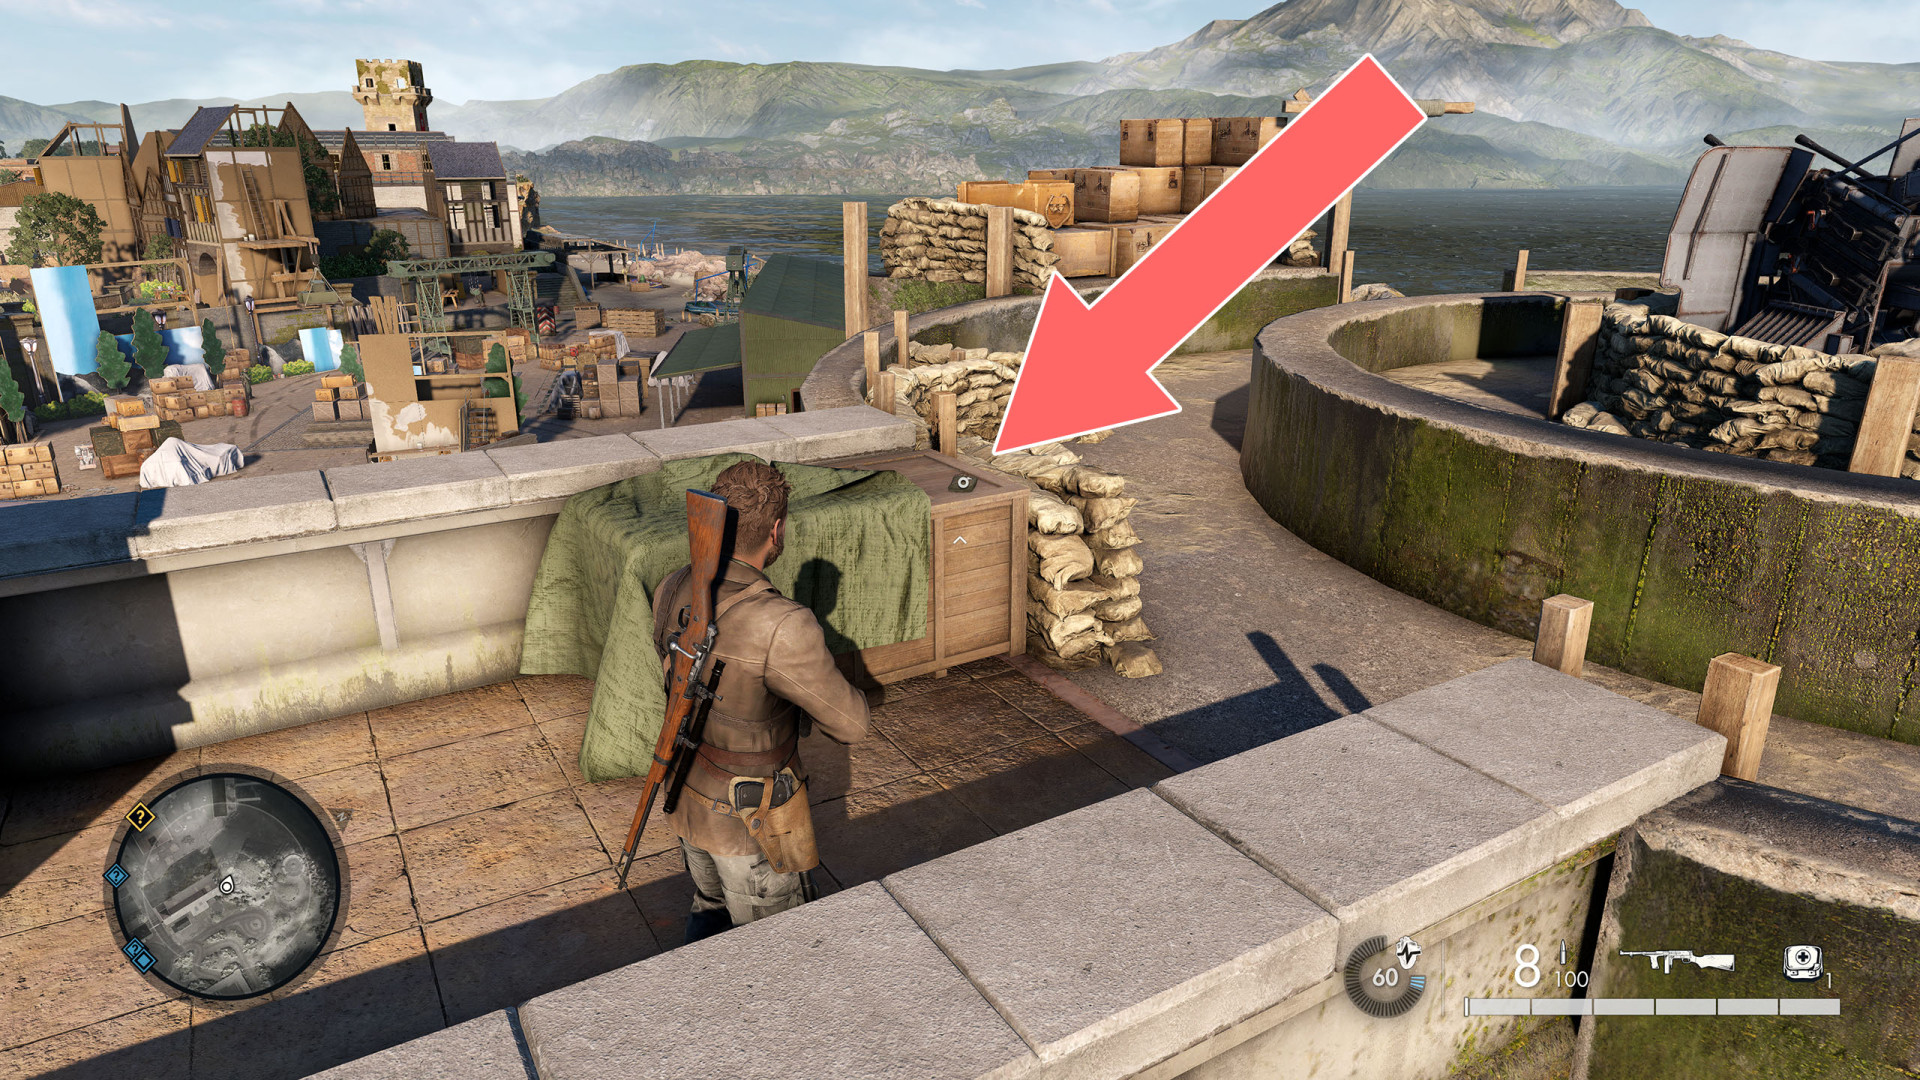
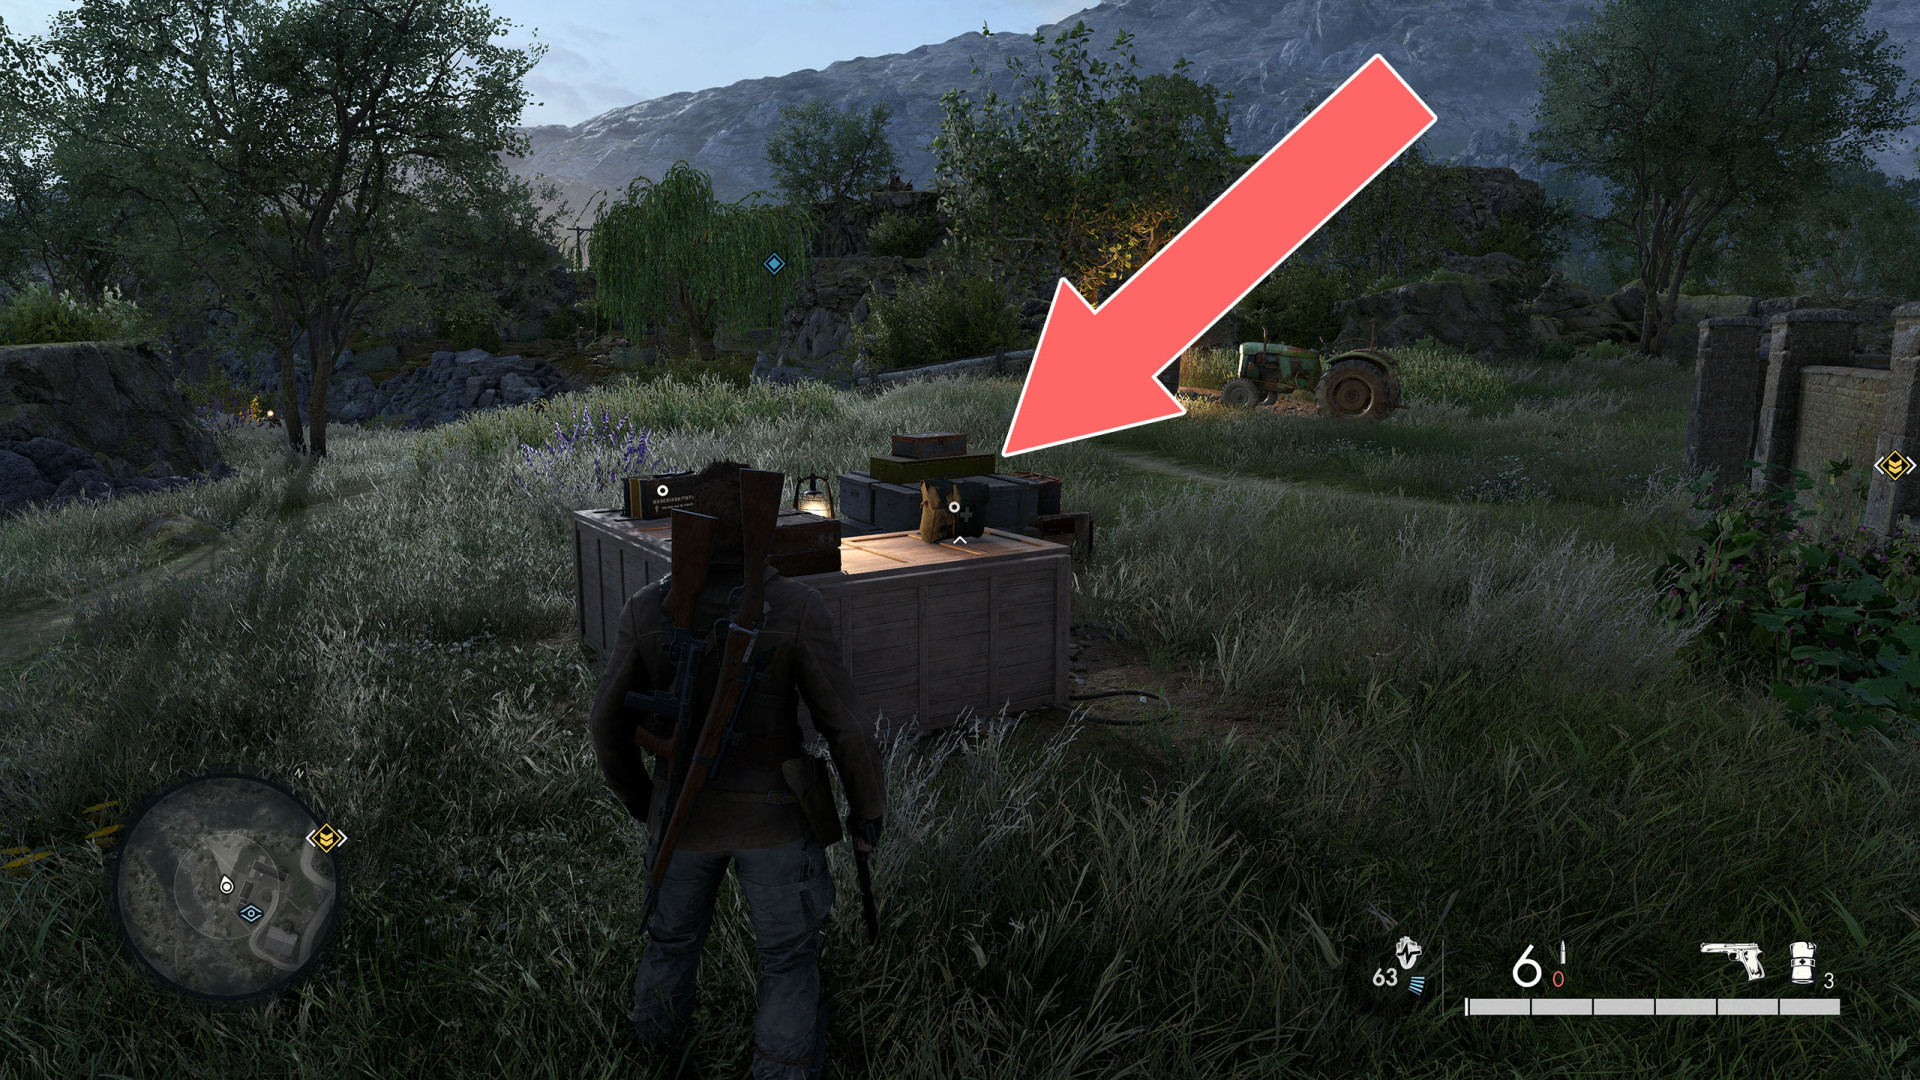
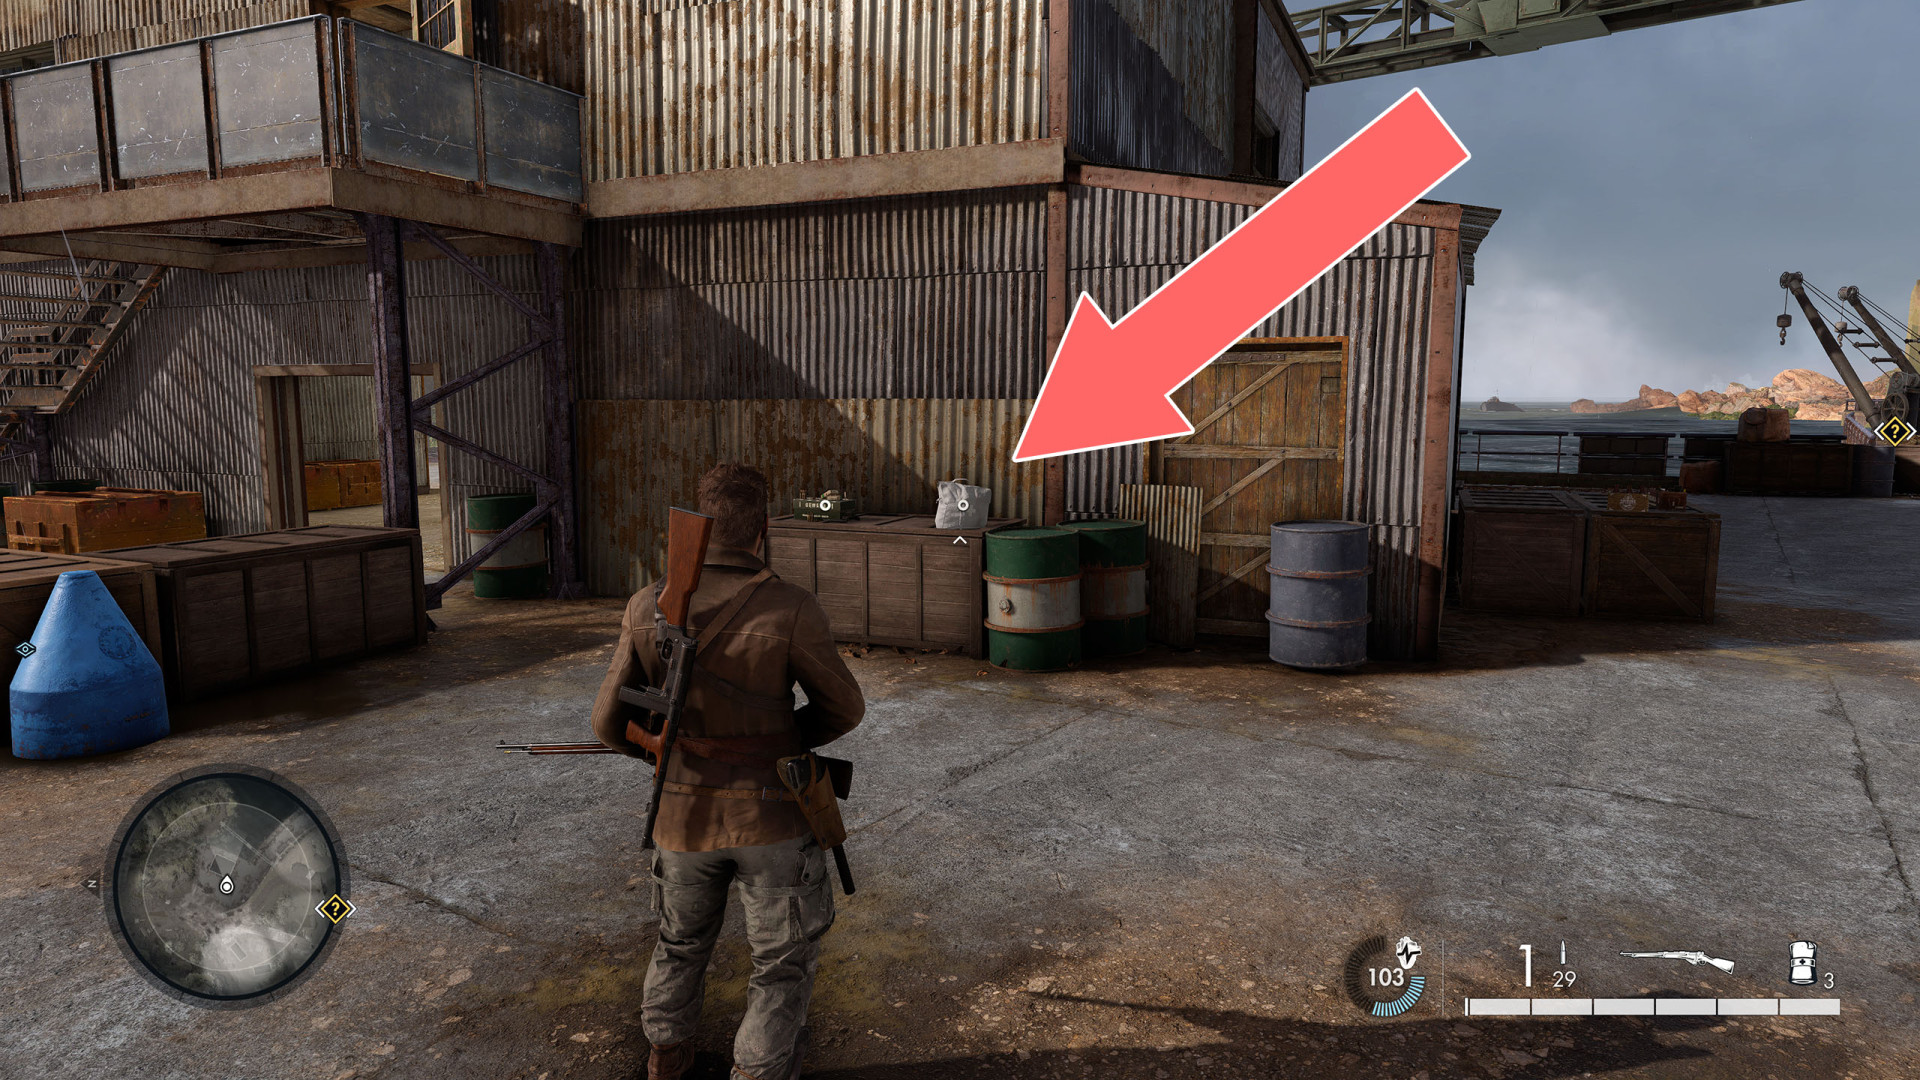
On the barrel.

Bandage

Show the map

8Bandage

Bandage

Show the map

9Bandage

Bandage

Show the map

10Bandage

Bandage

Show the map

11Bandage

Bandage

Show the map

12Bandage

Bandage

Show the map

13Bandage

Bandage

Show the map

14Bandage

Bandage

Show the map

15Bandage

Bandage

Show the map

16Bandage

Bandage

Show the map

17Bandage

Bandage

Show the map

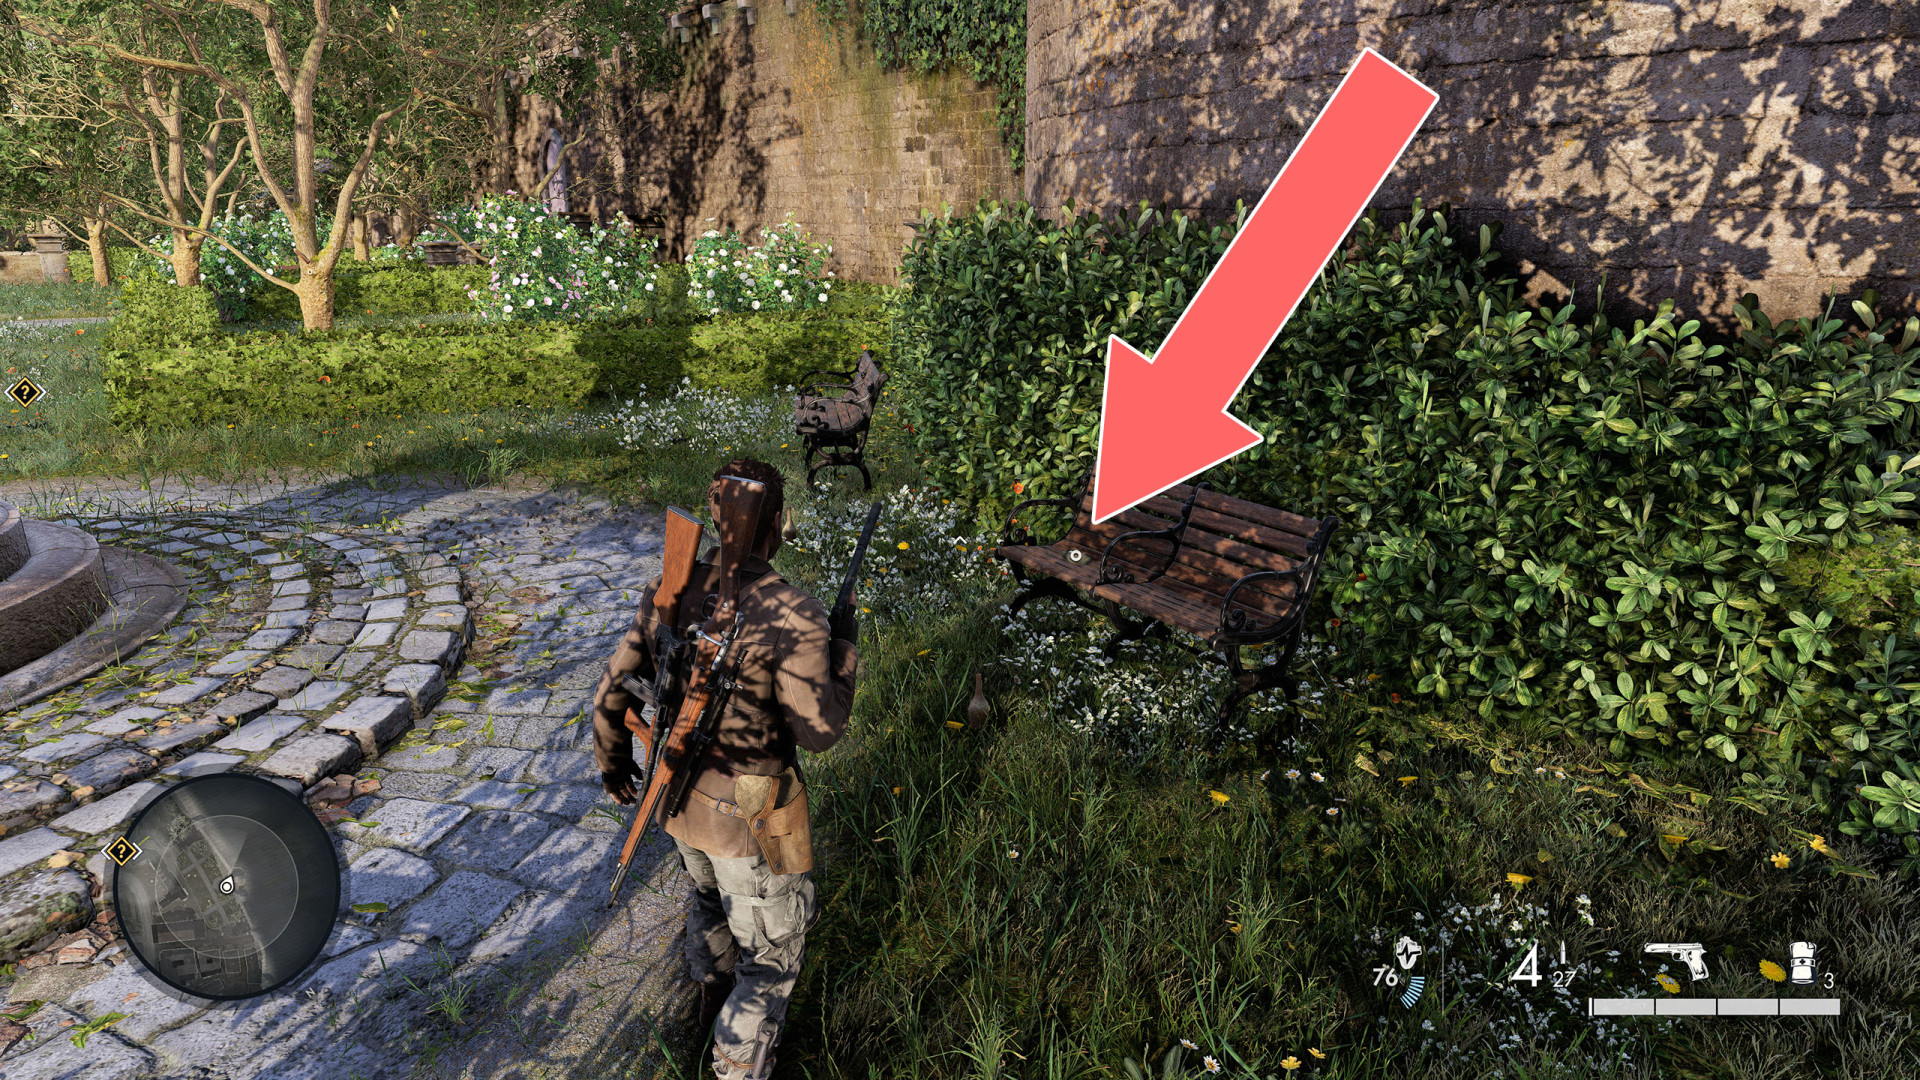
18Bandage

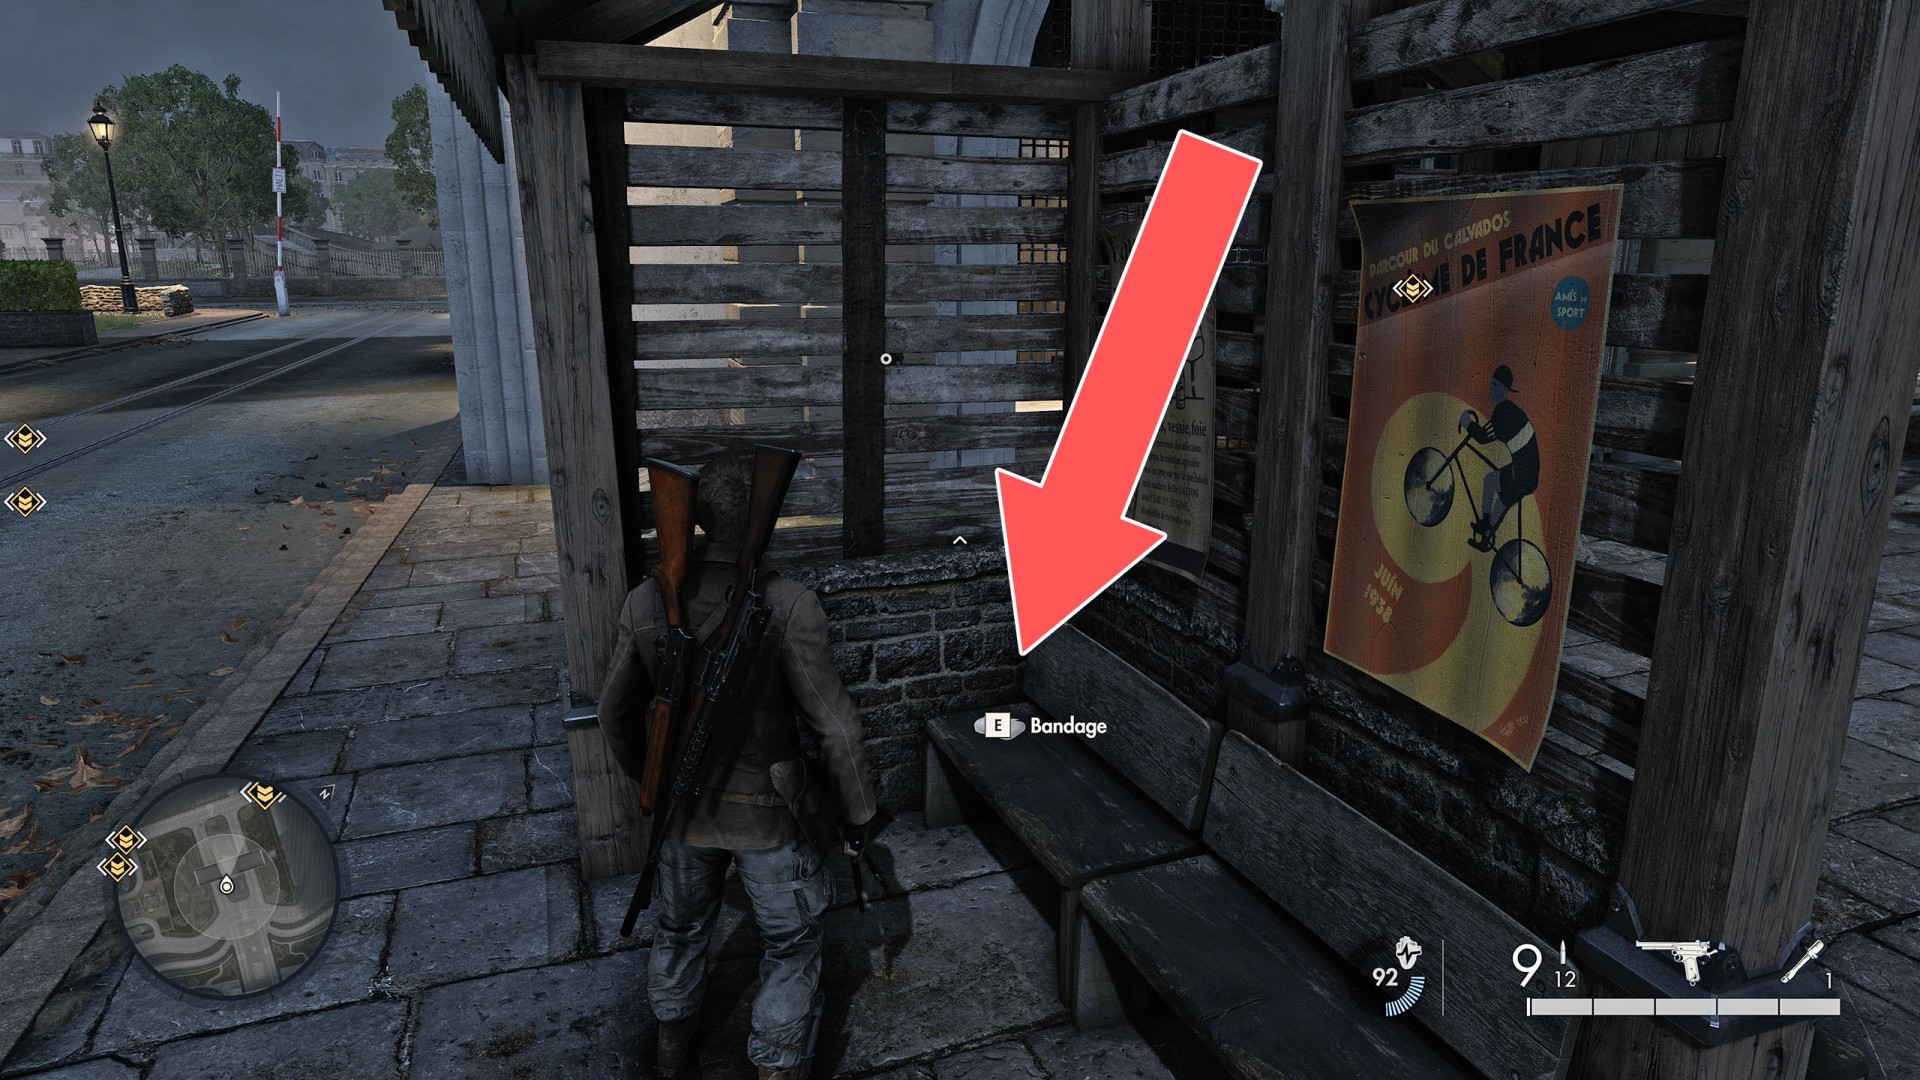
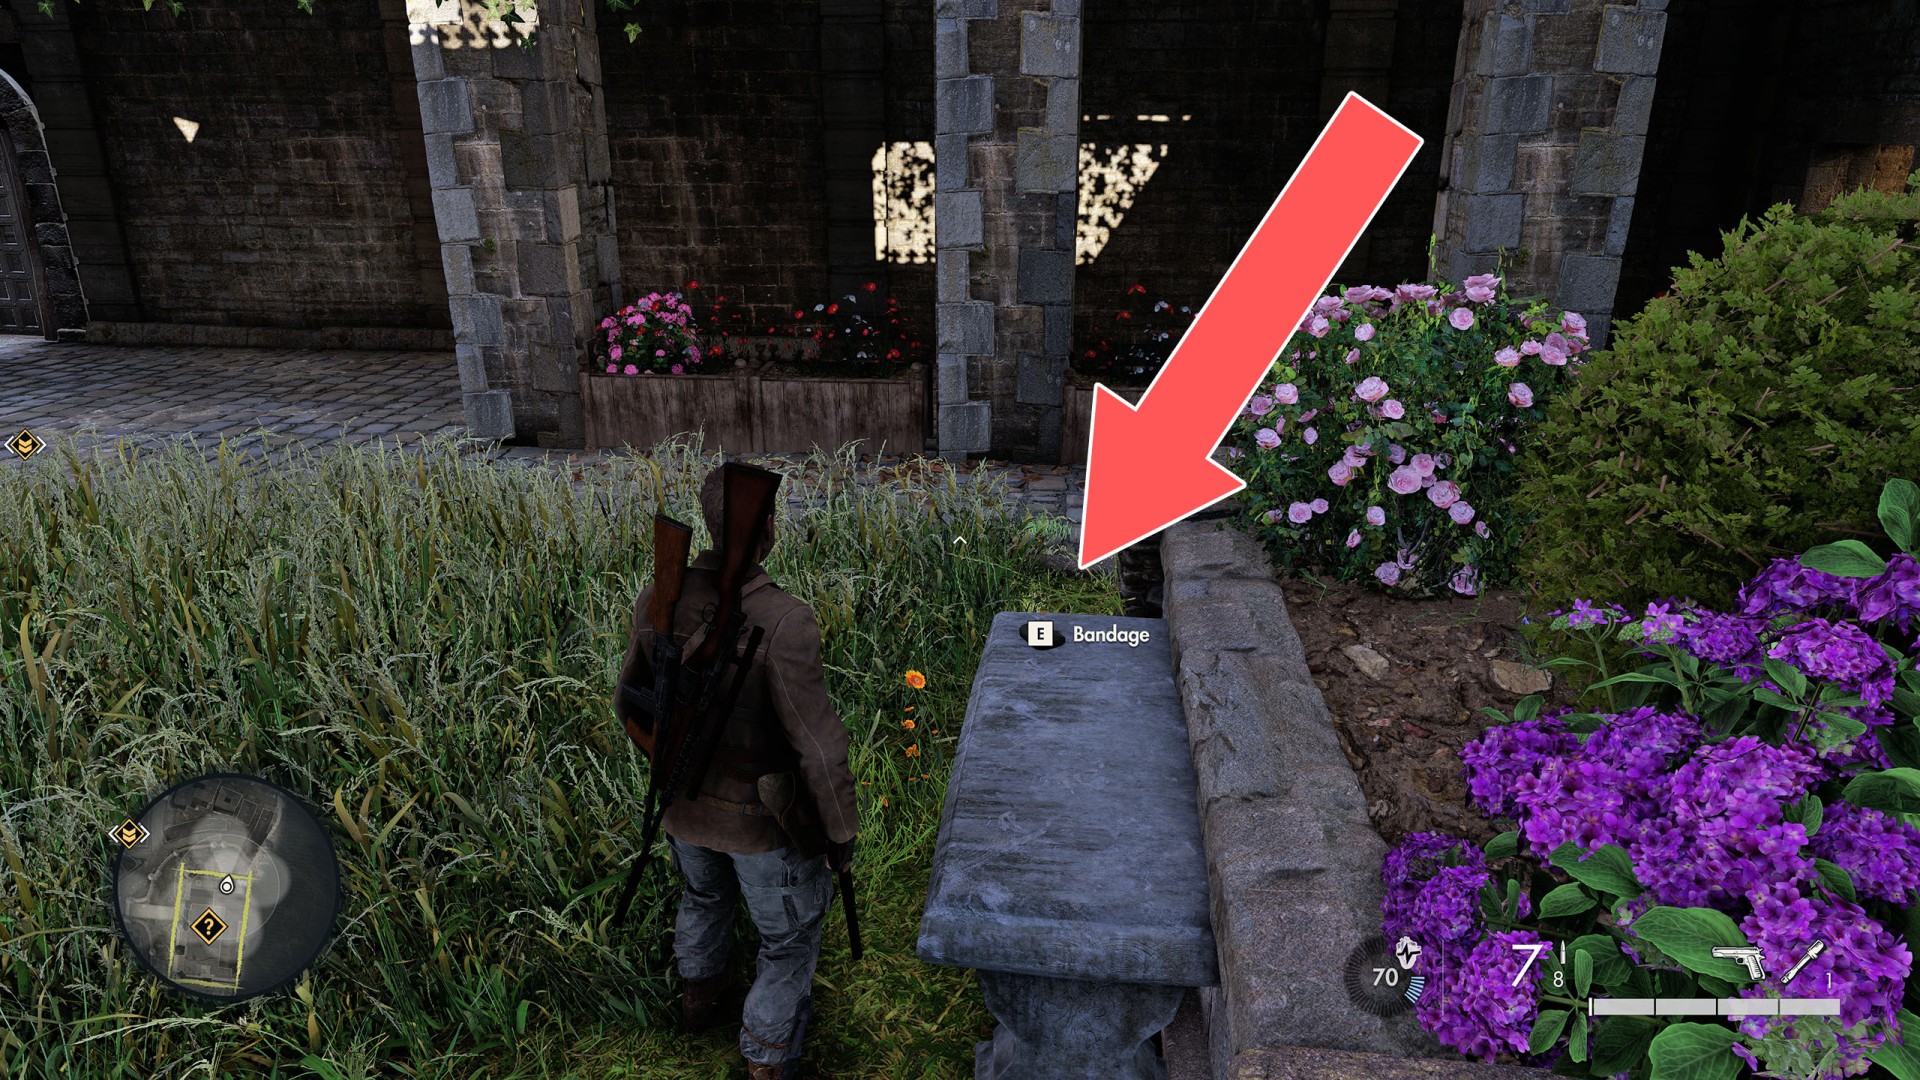
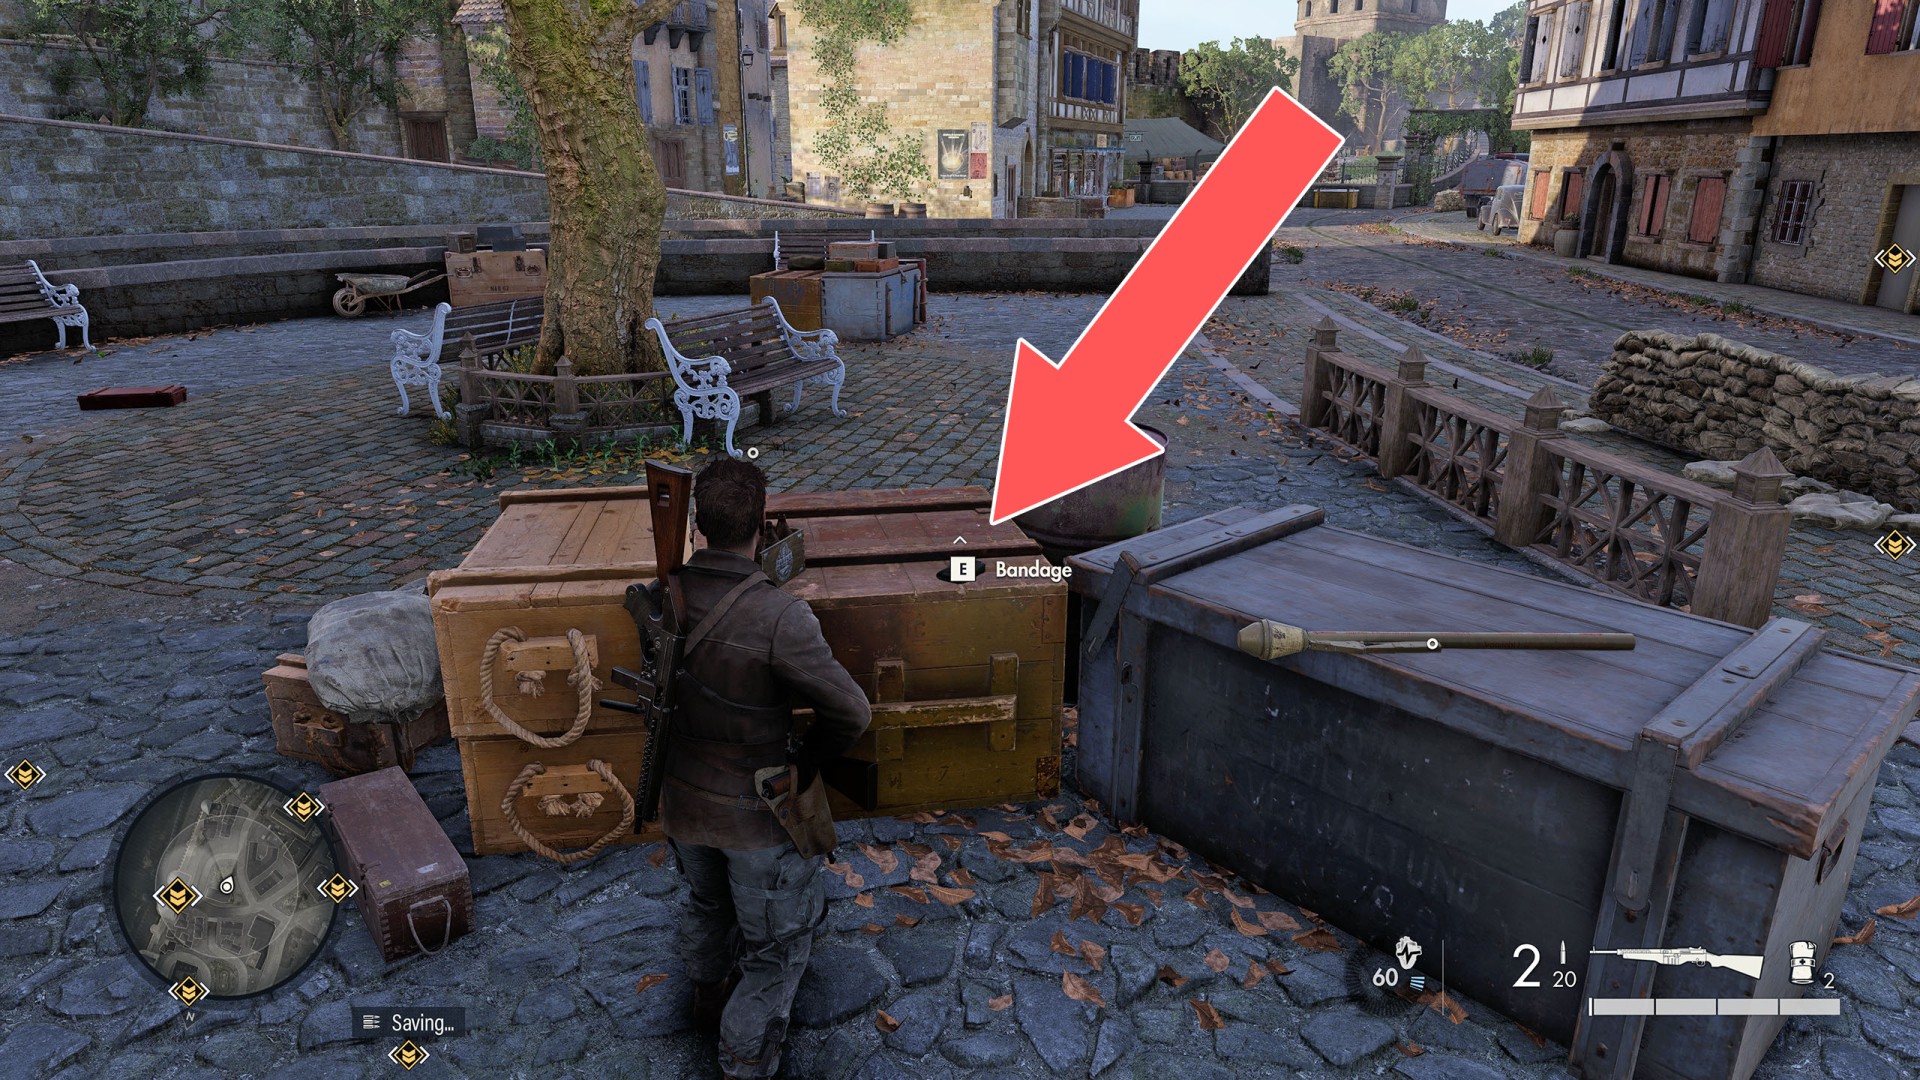
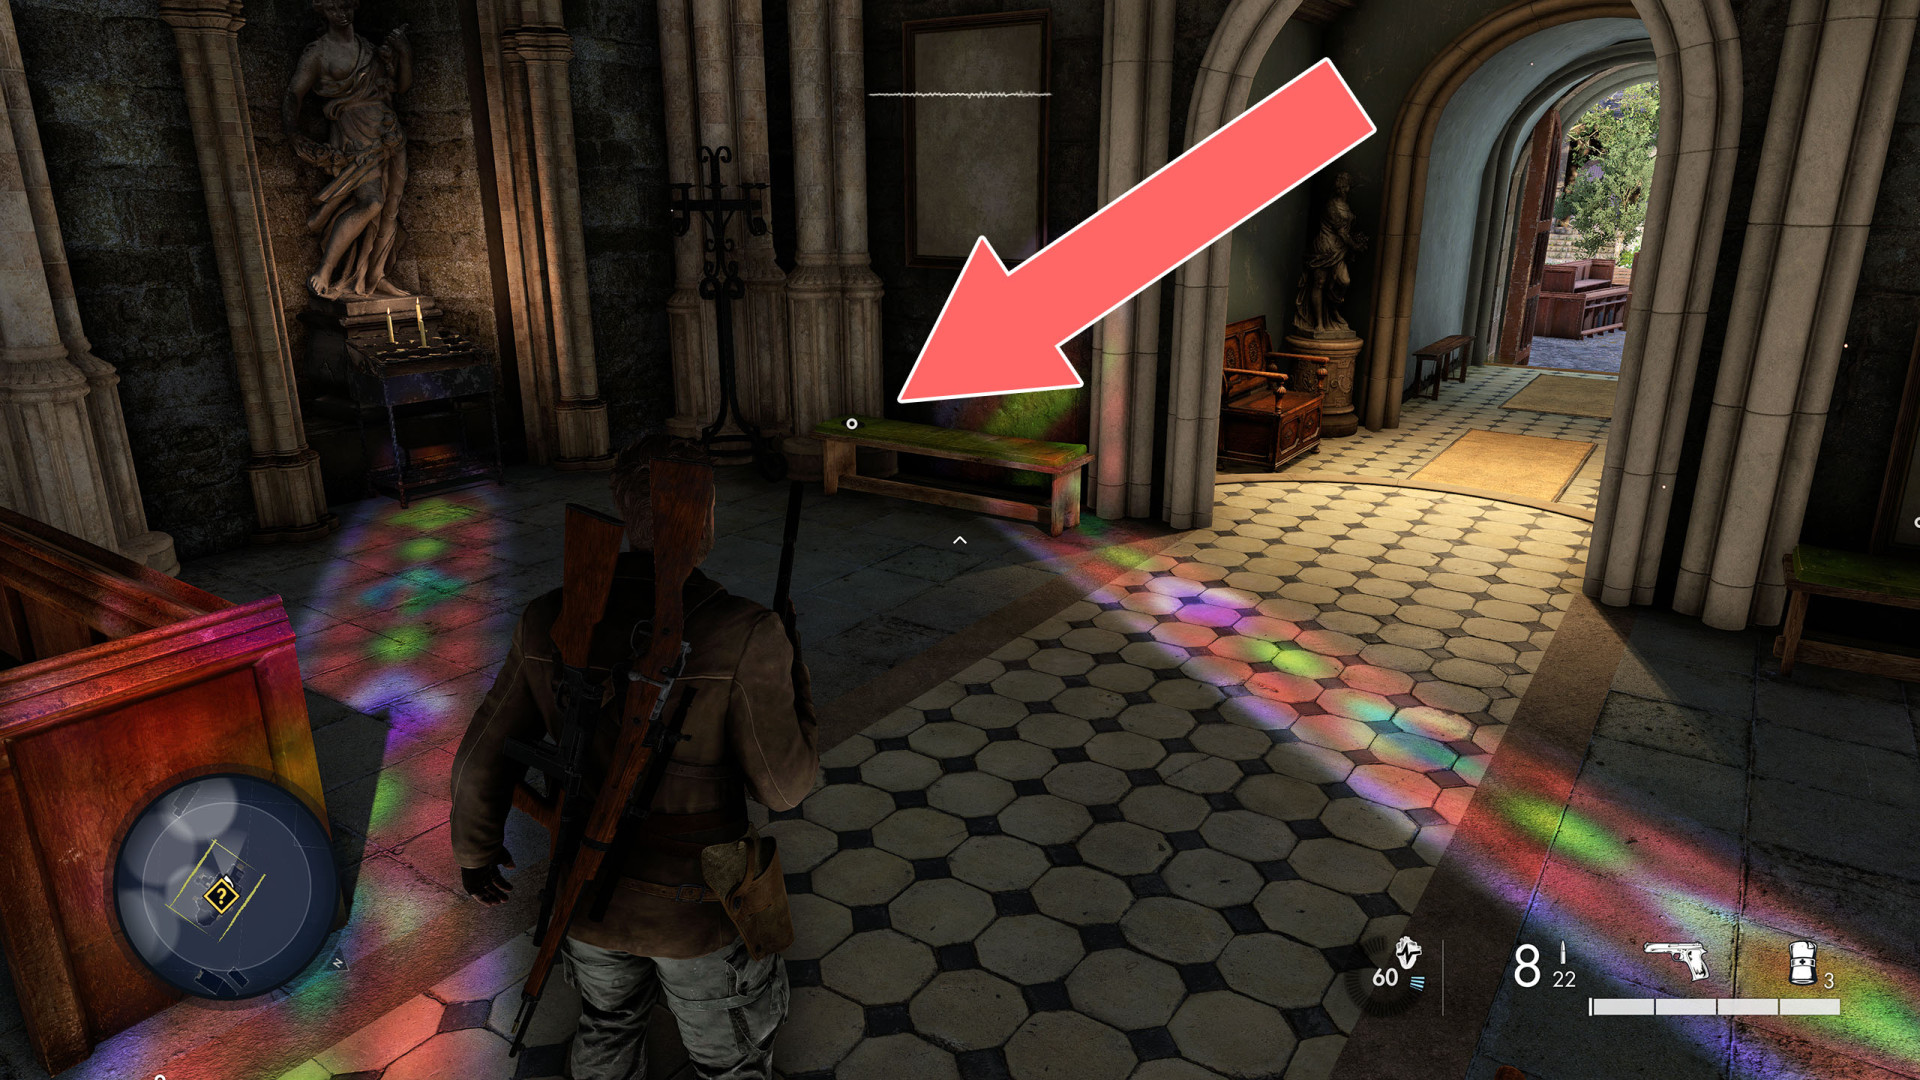
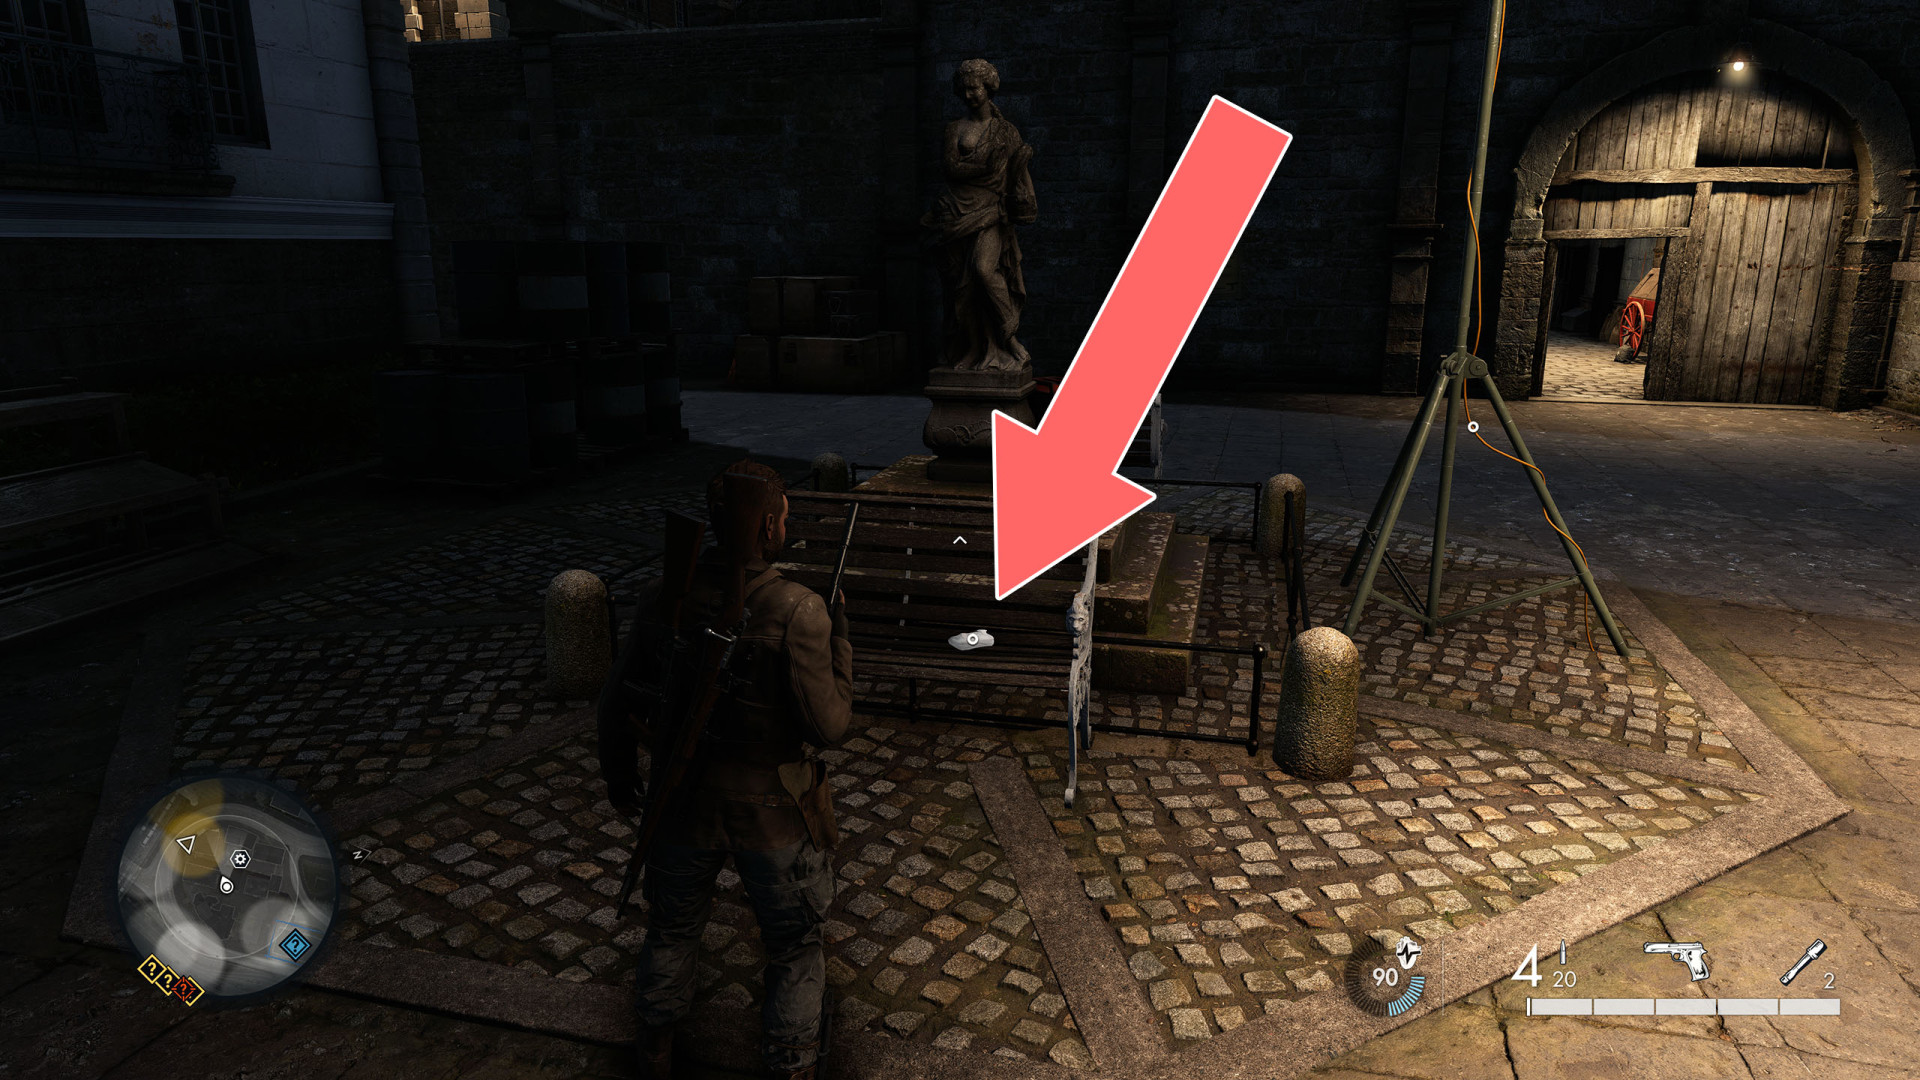
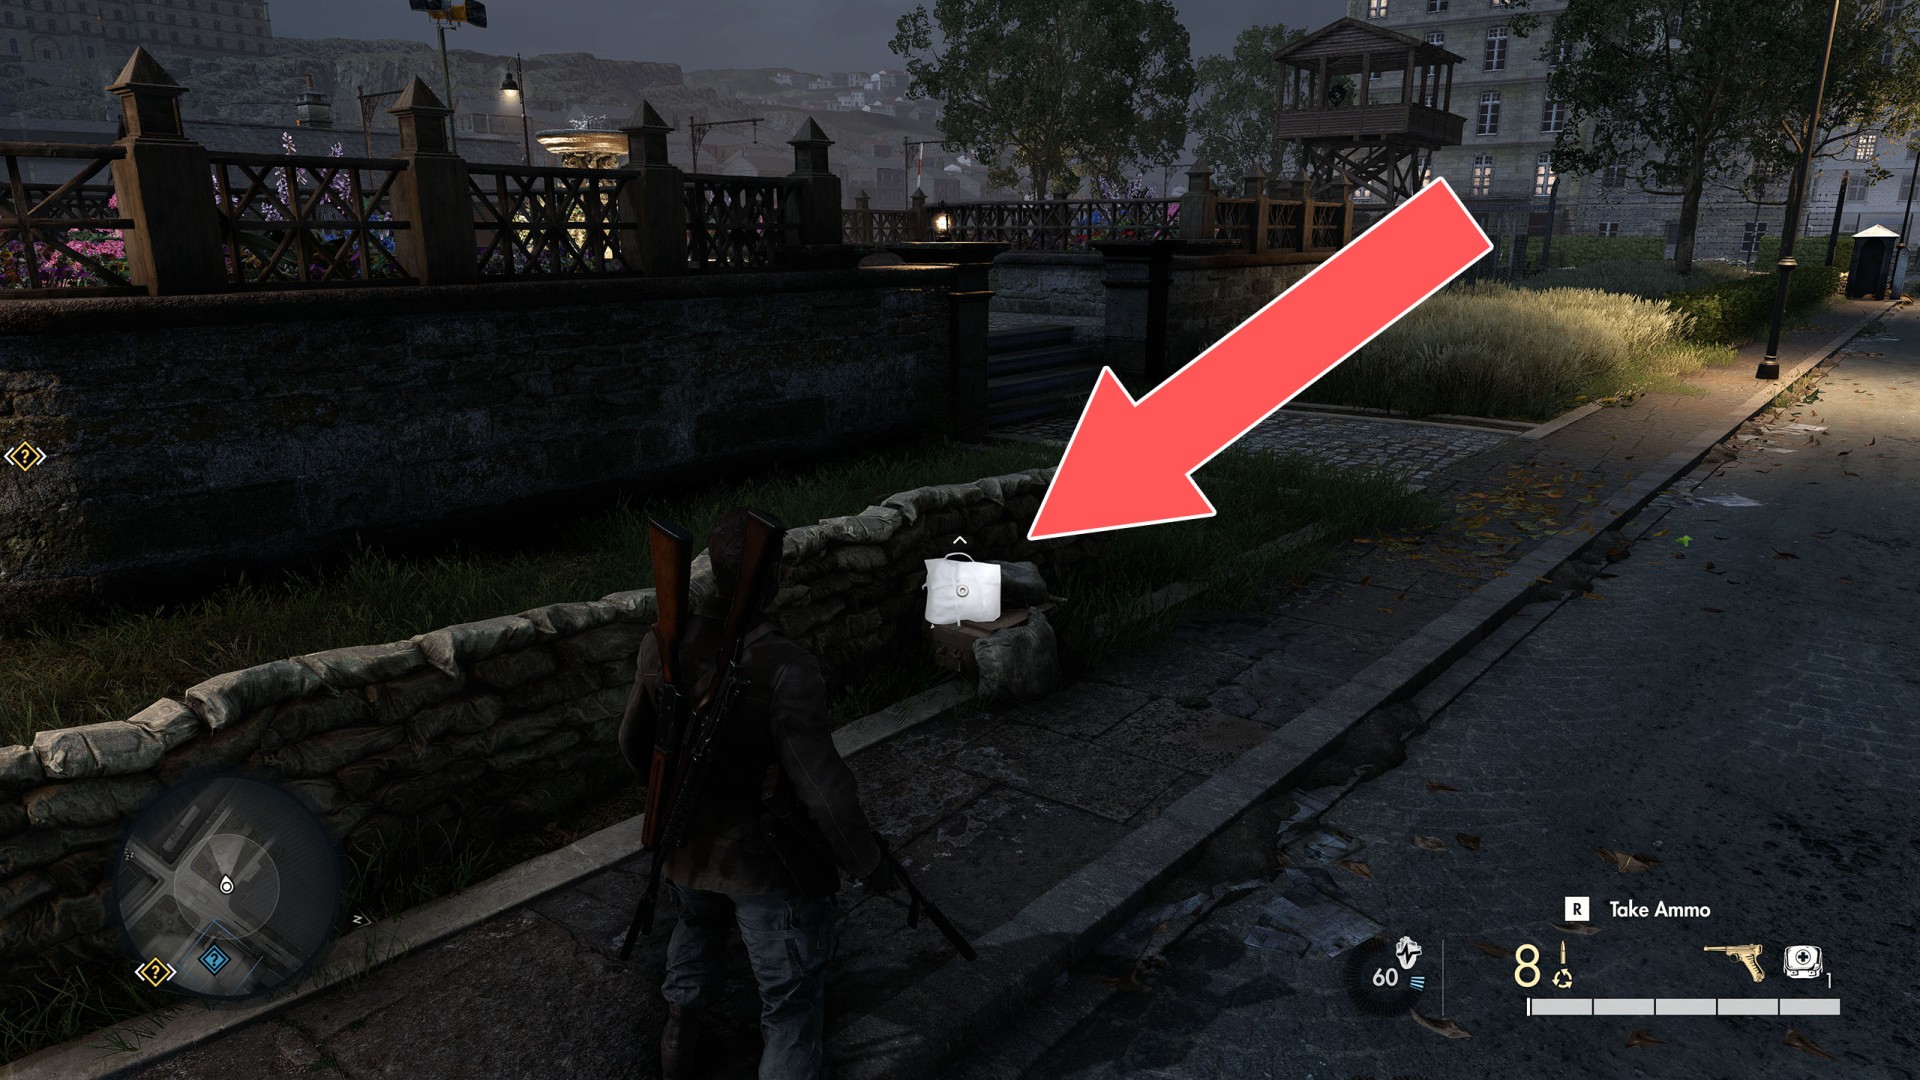
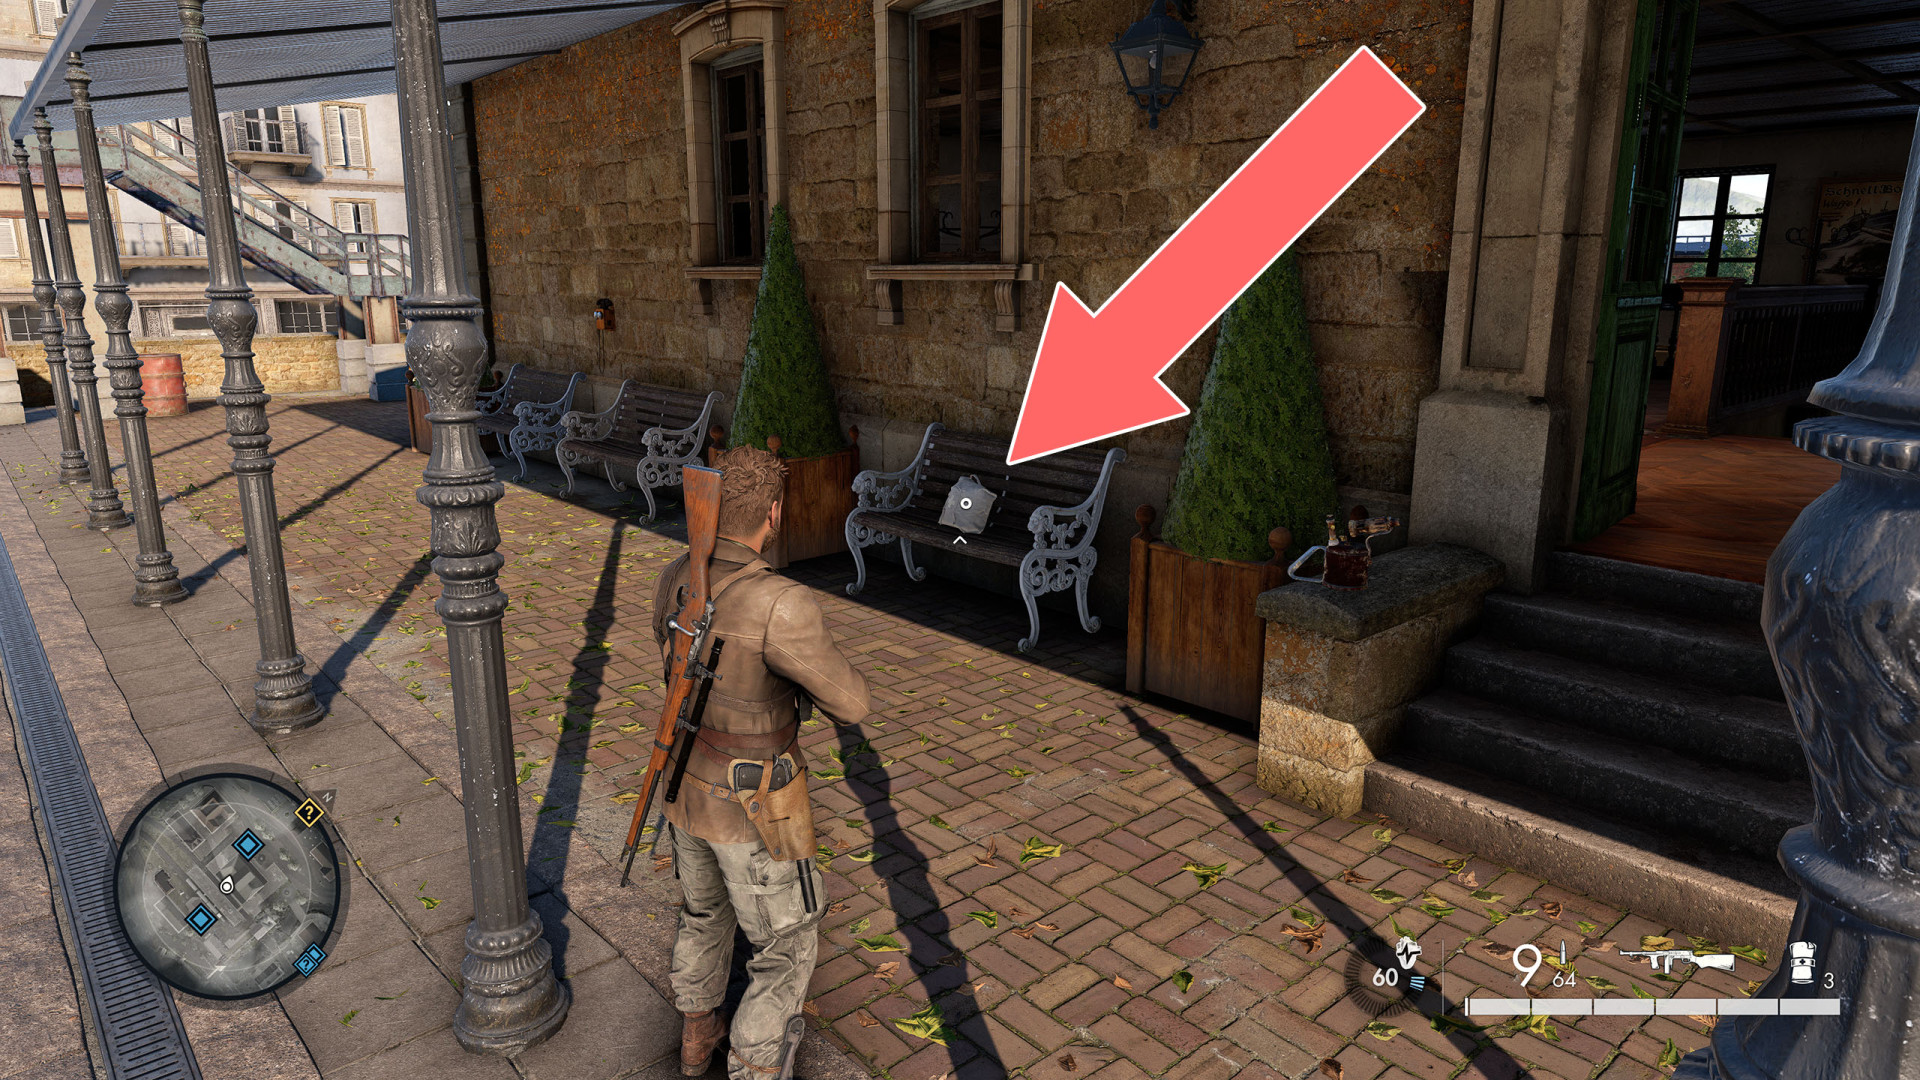
On a park bench.

Bandage

Show the map

19Bandage

Bandage

Show the map

20Bandage

Bandage

Show the map

21Bandage

Bandage

Show the map

22Bandage

Bandage

Show the map

23Bandage

Bandage

Show the map

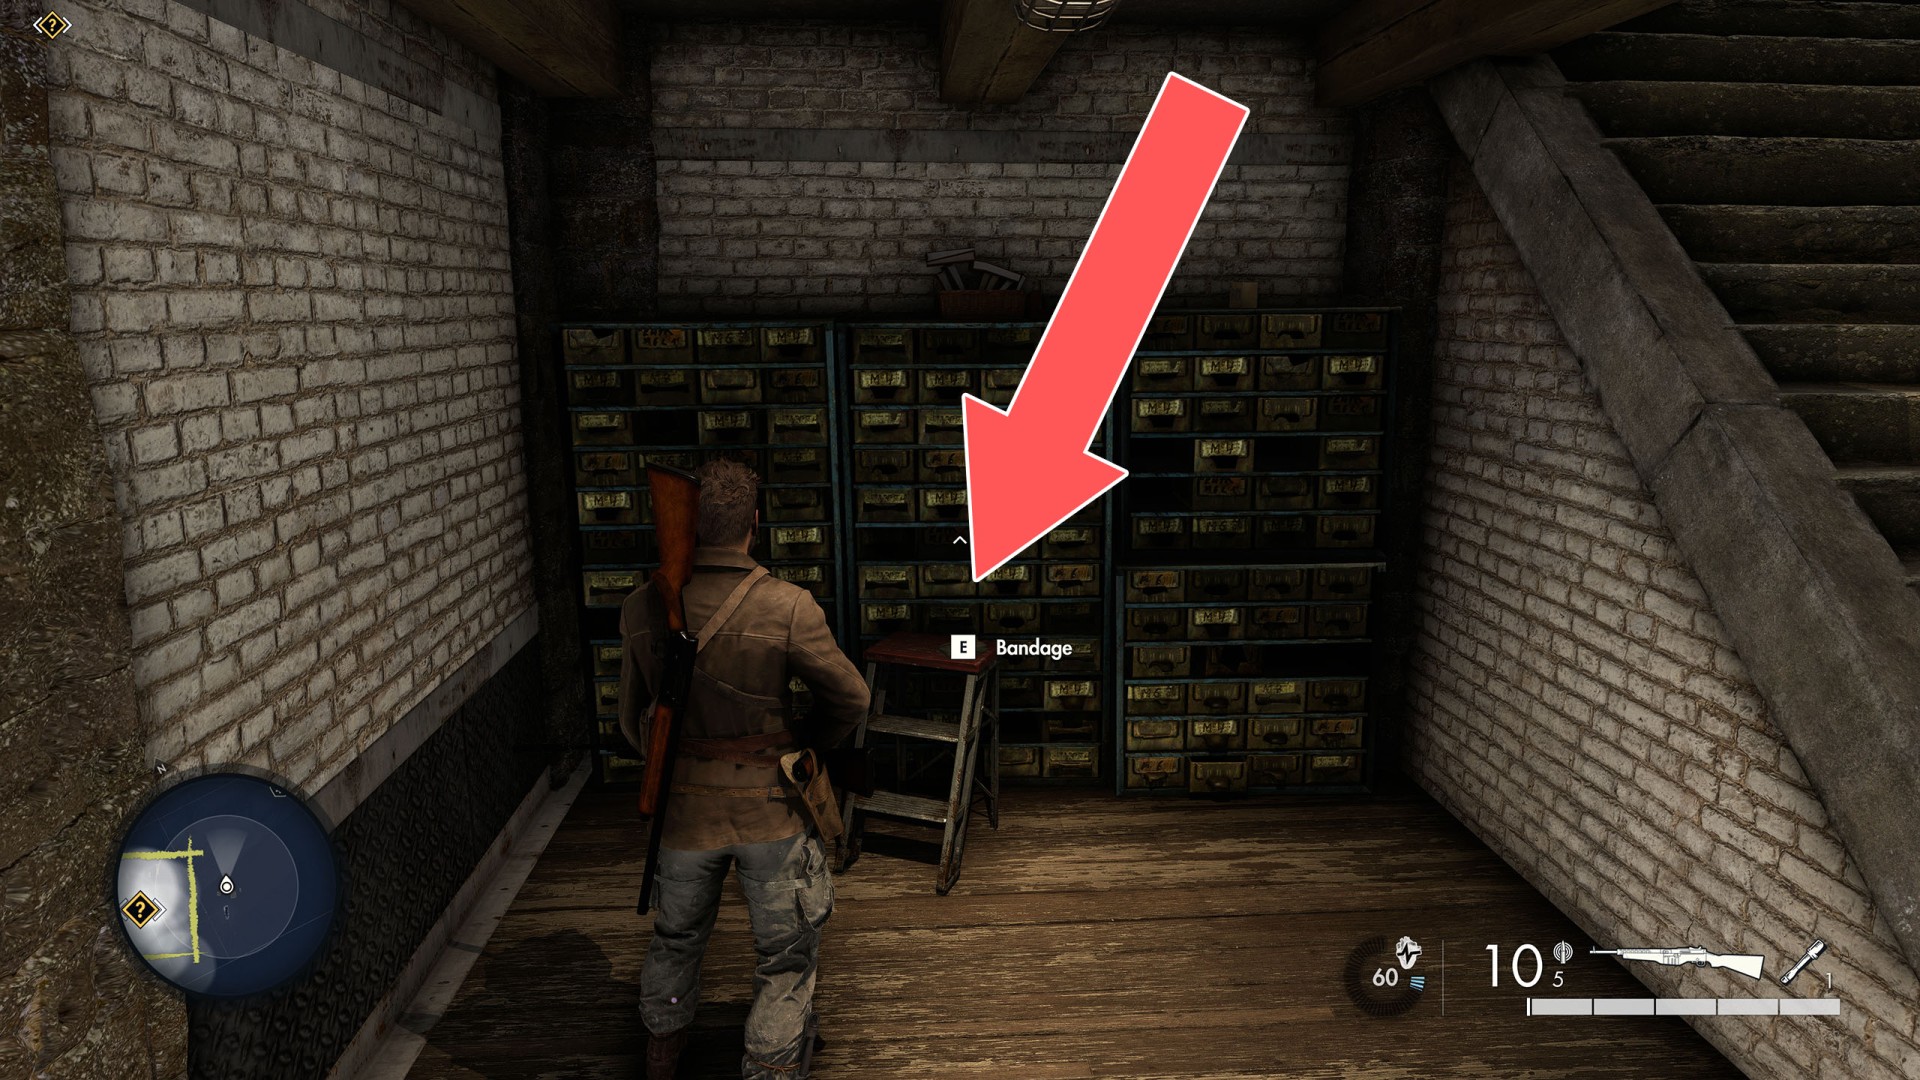
24Bandage

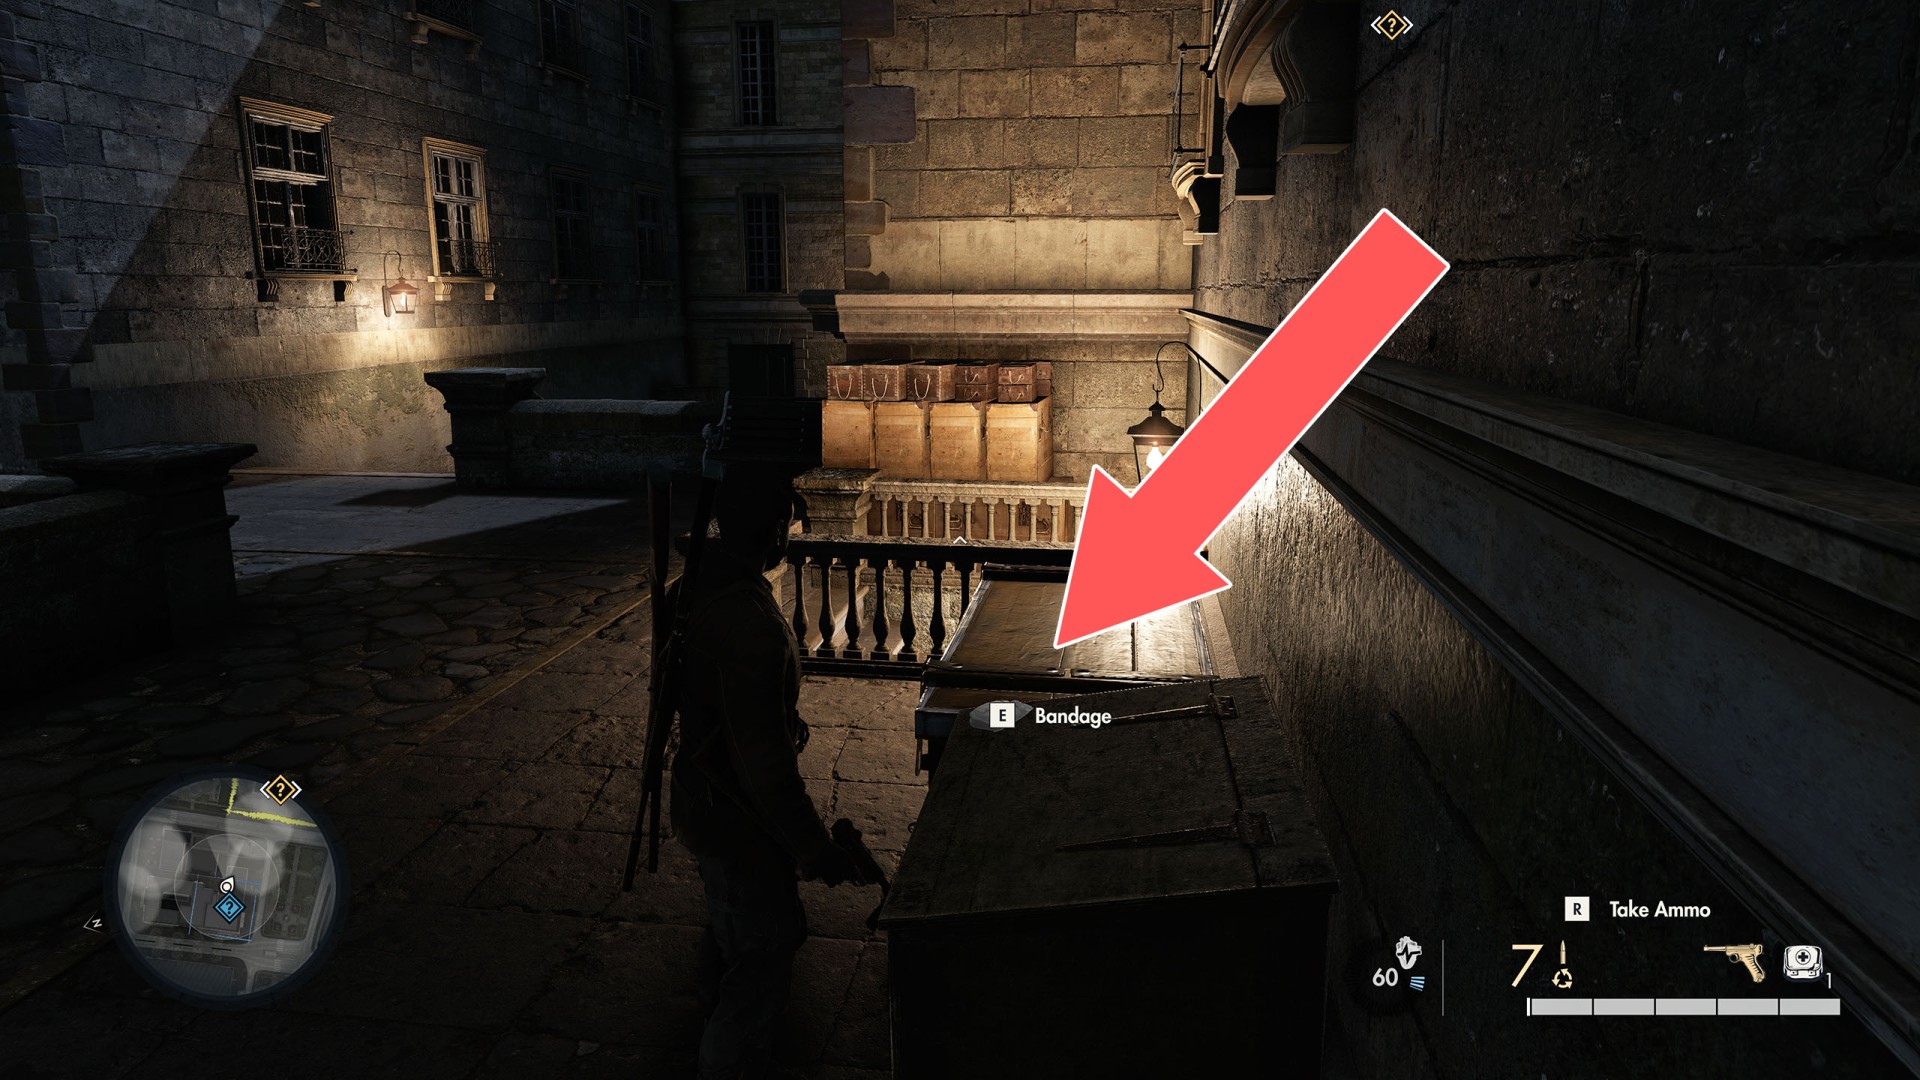
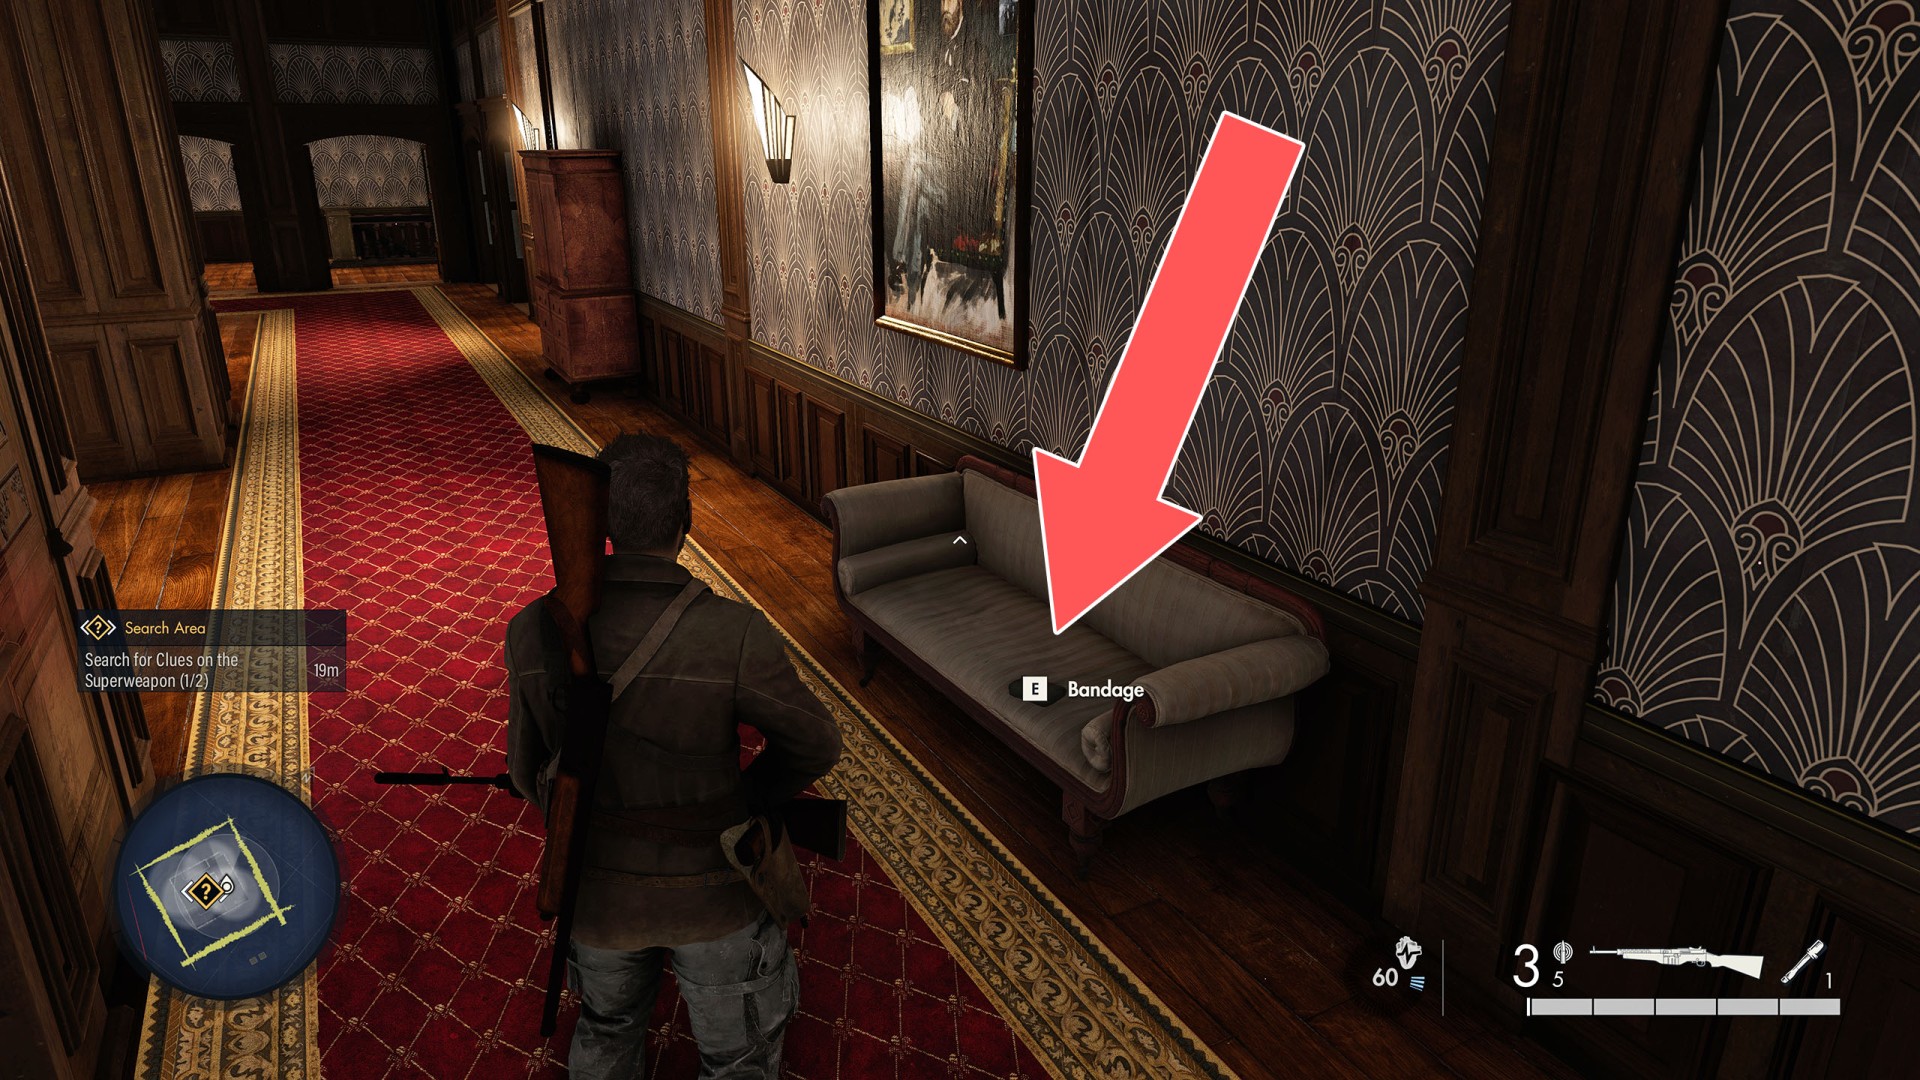
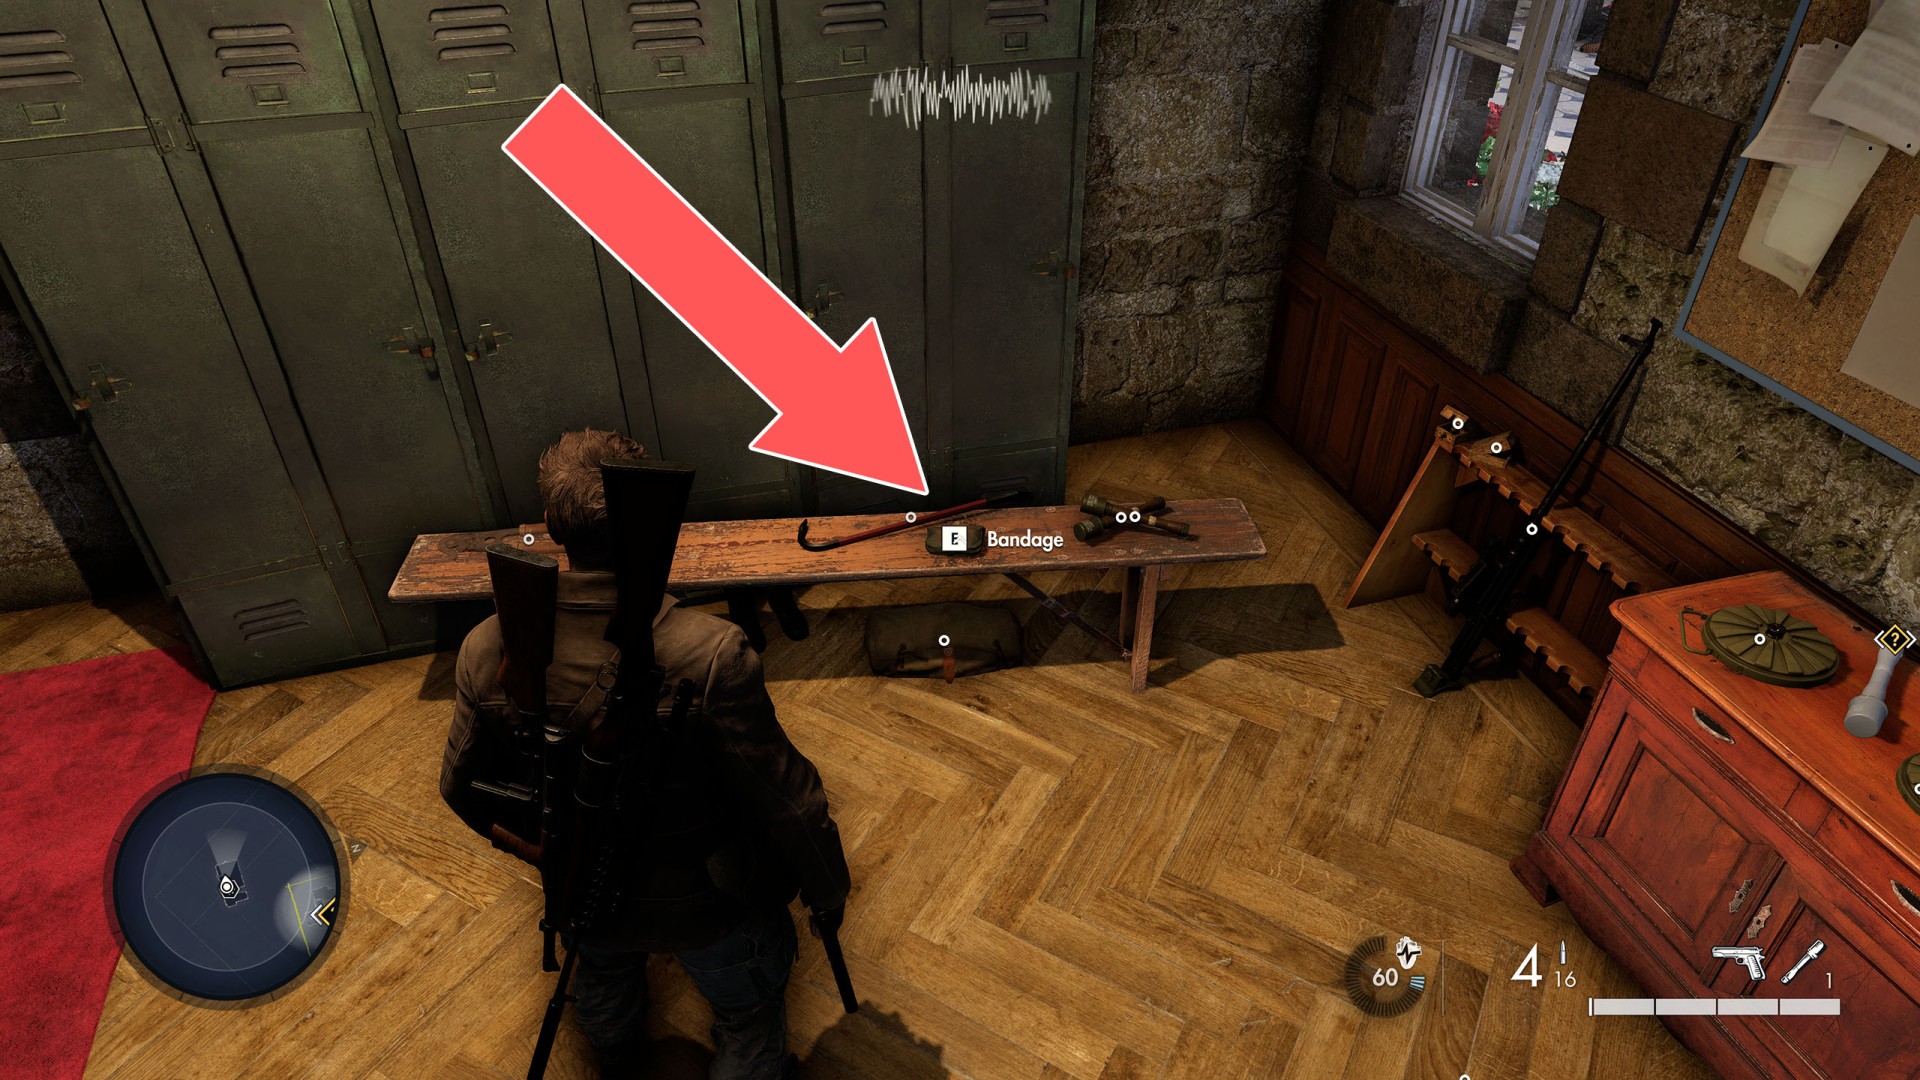
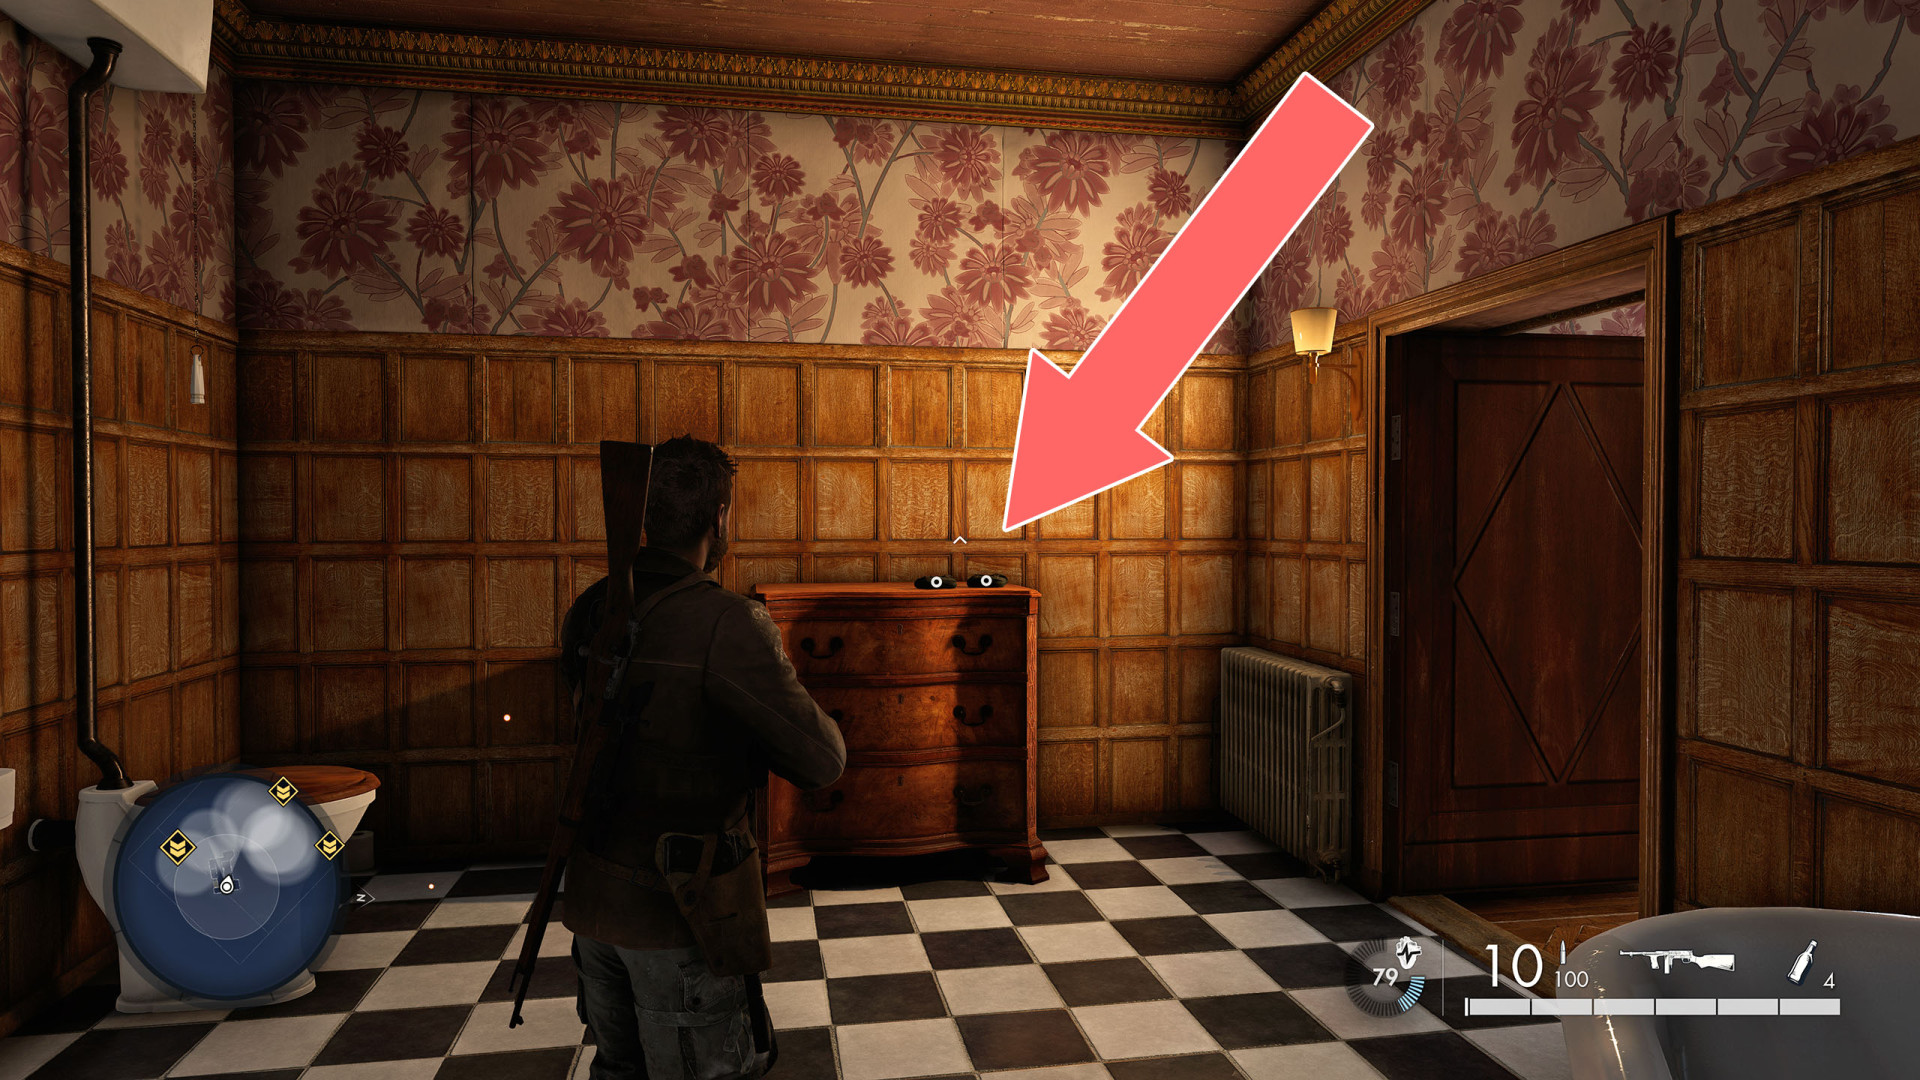
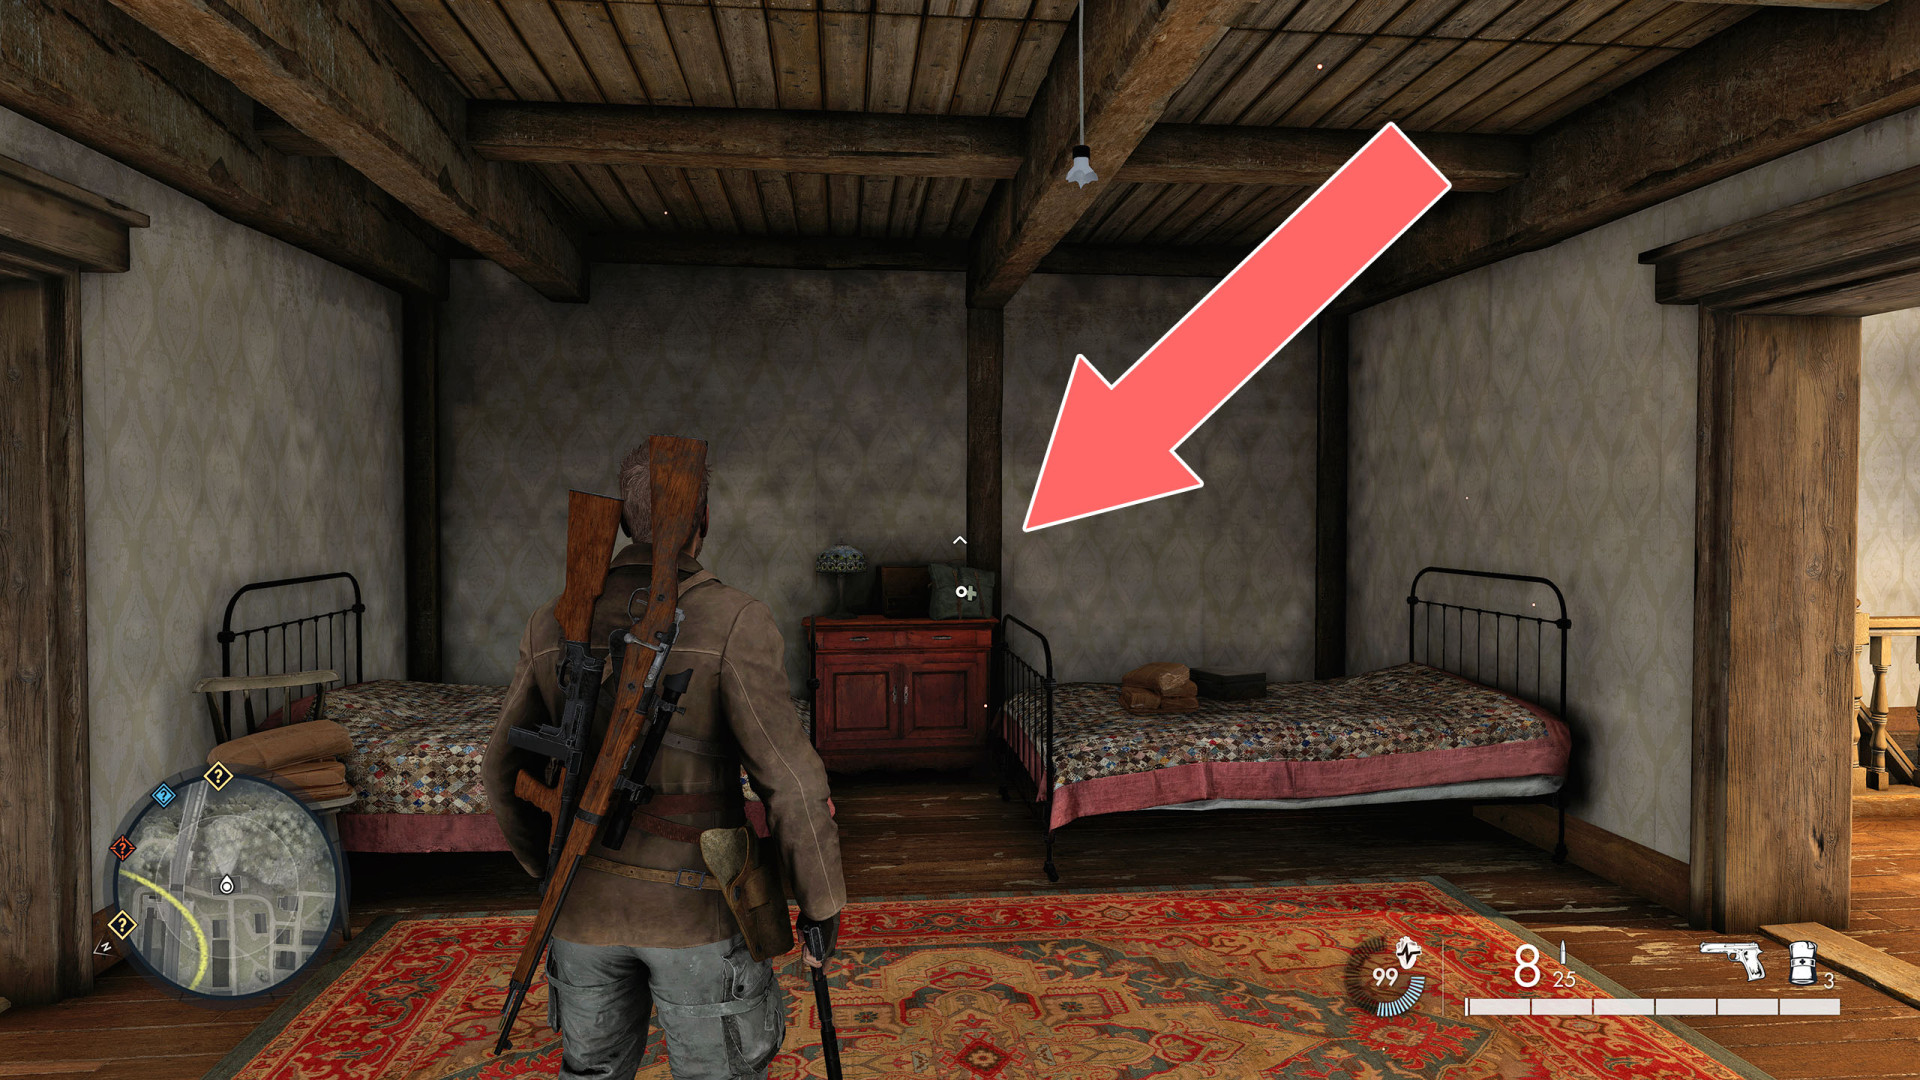
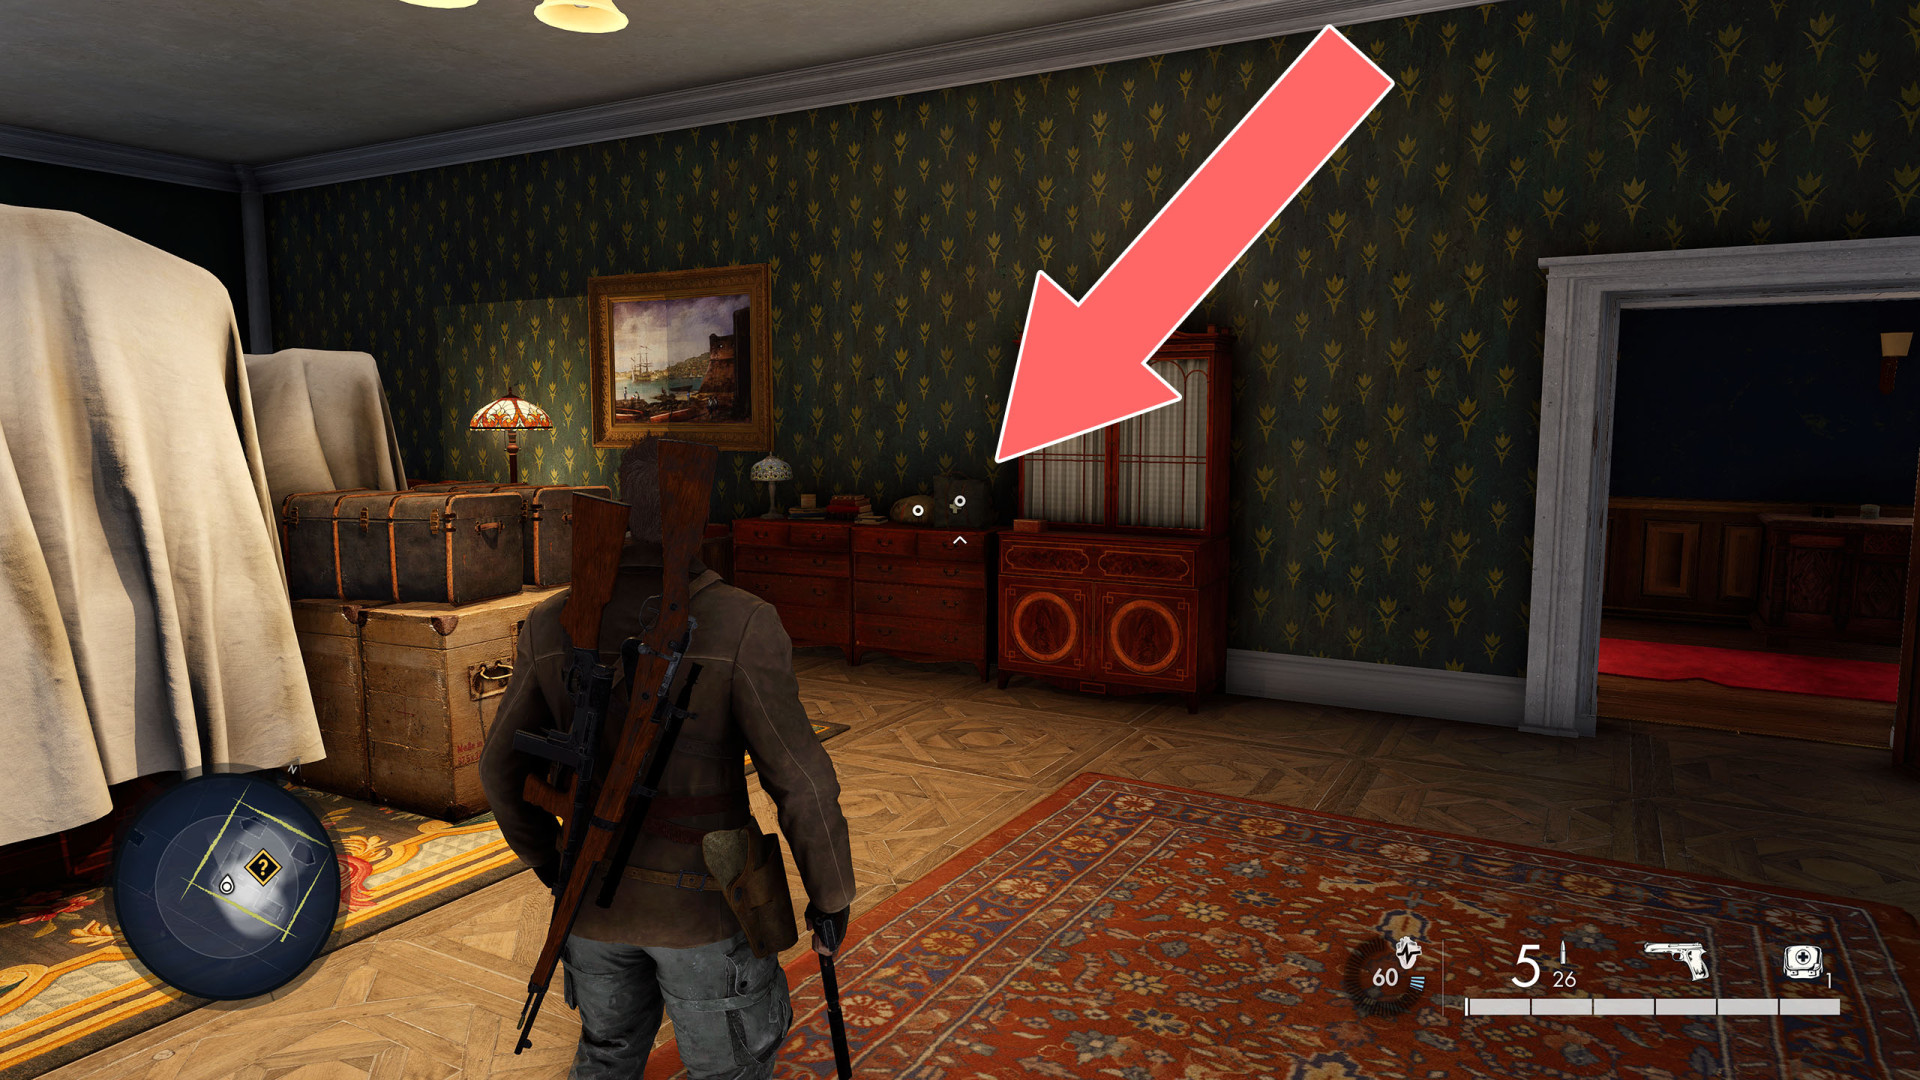
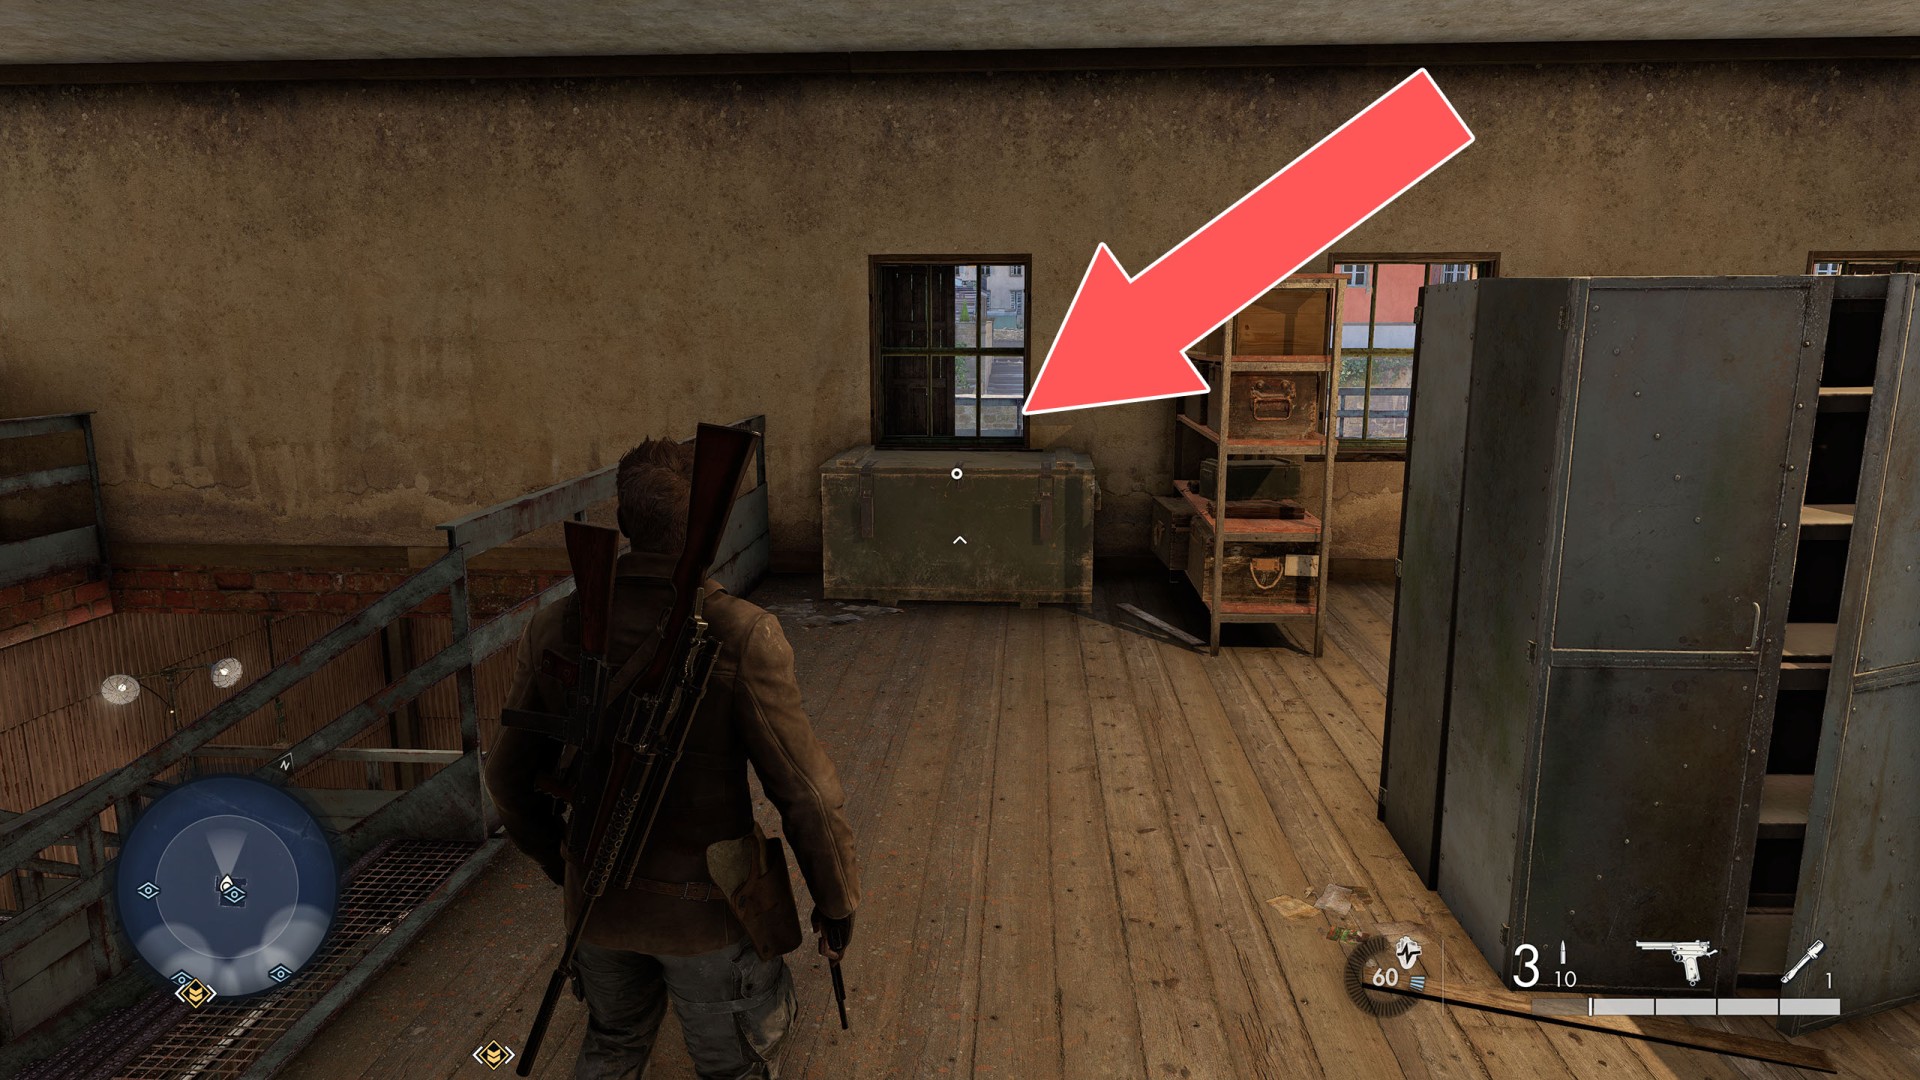
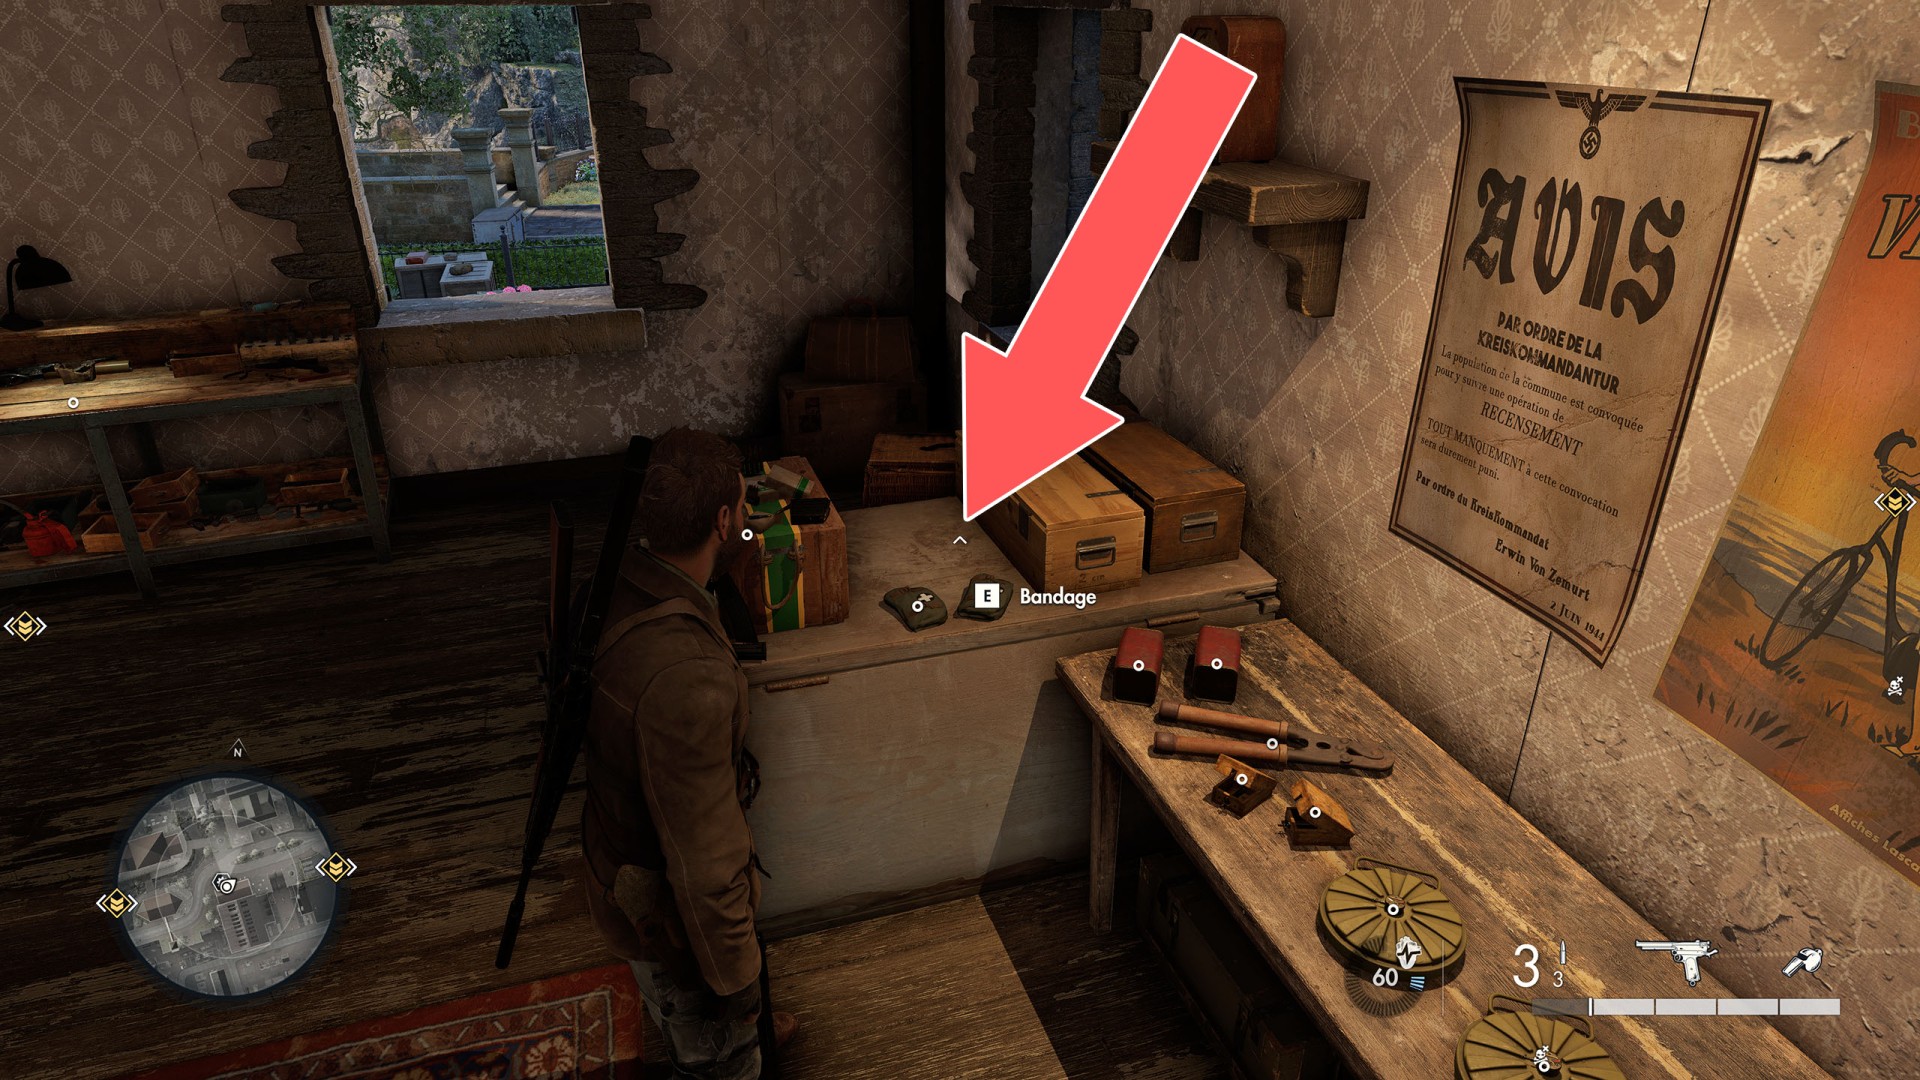
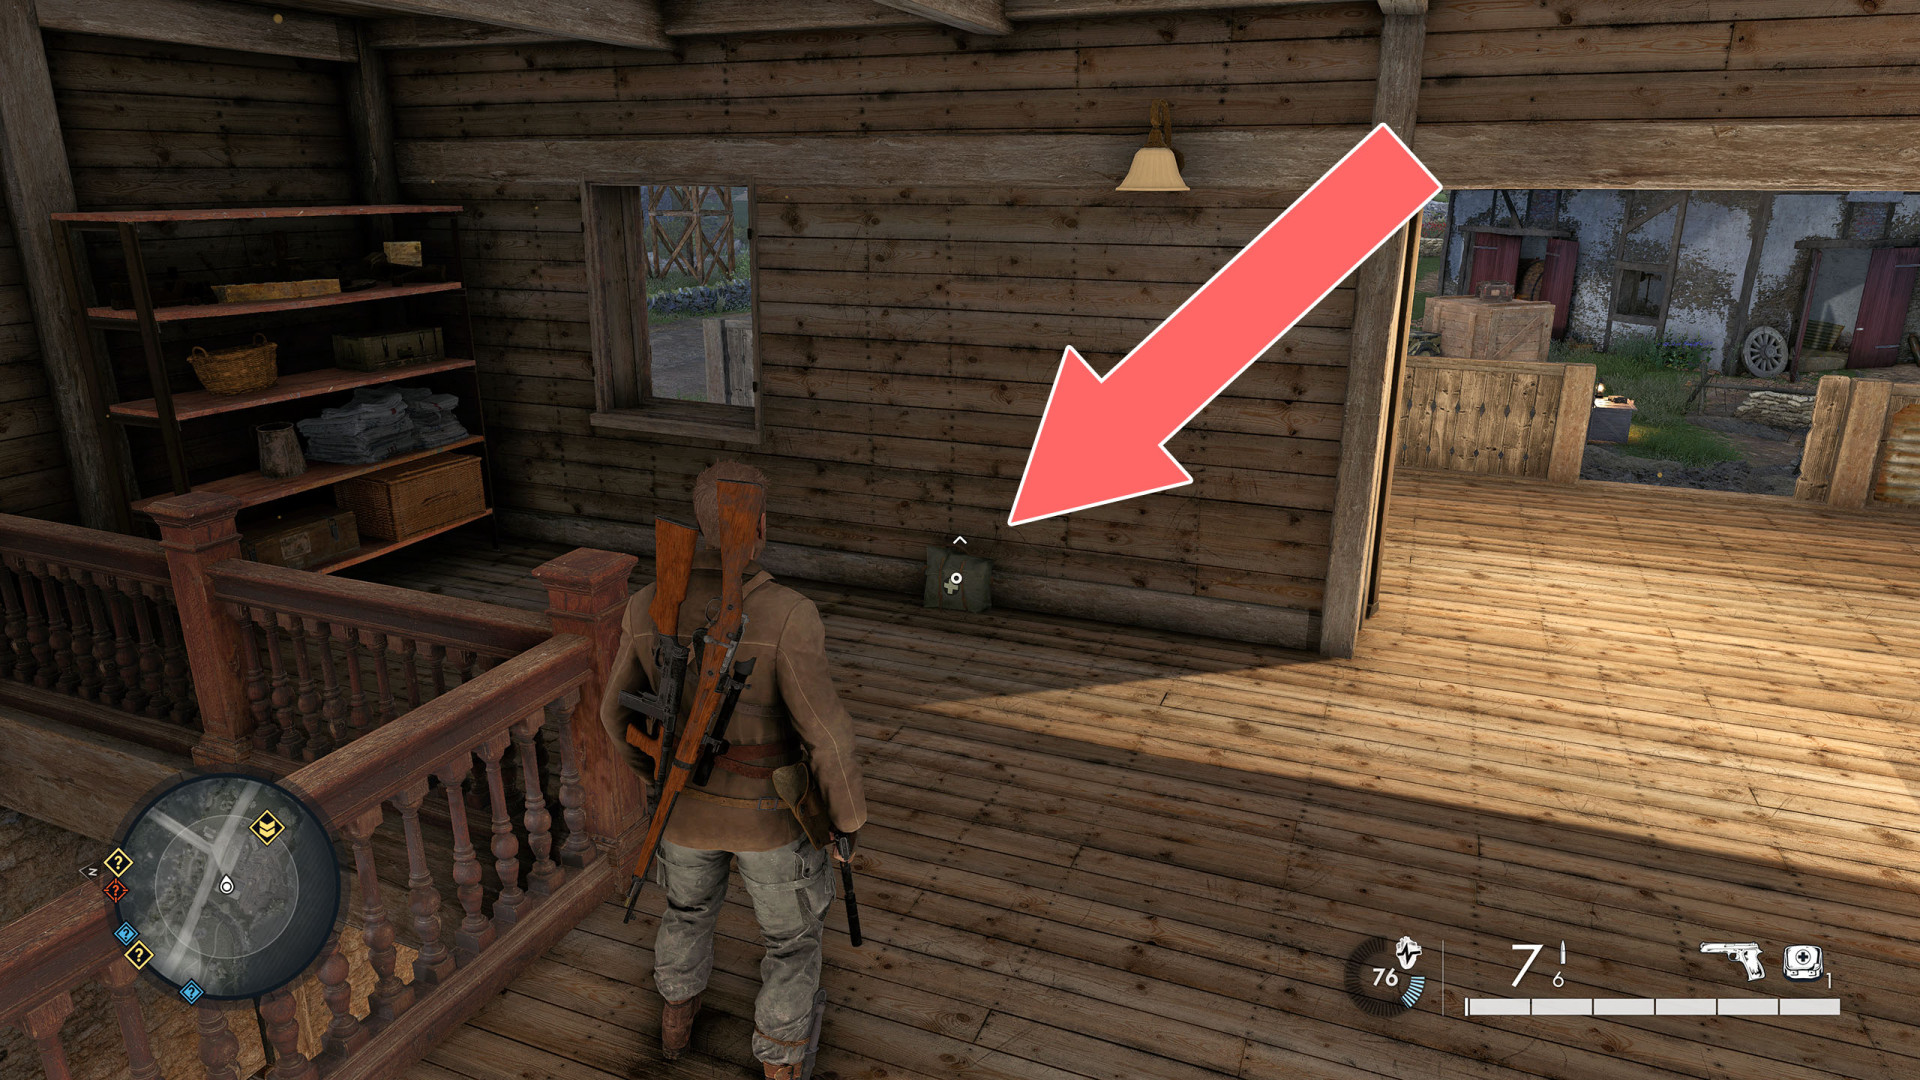
On a dresser standing on the middle floor of the building.
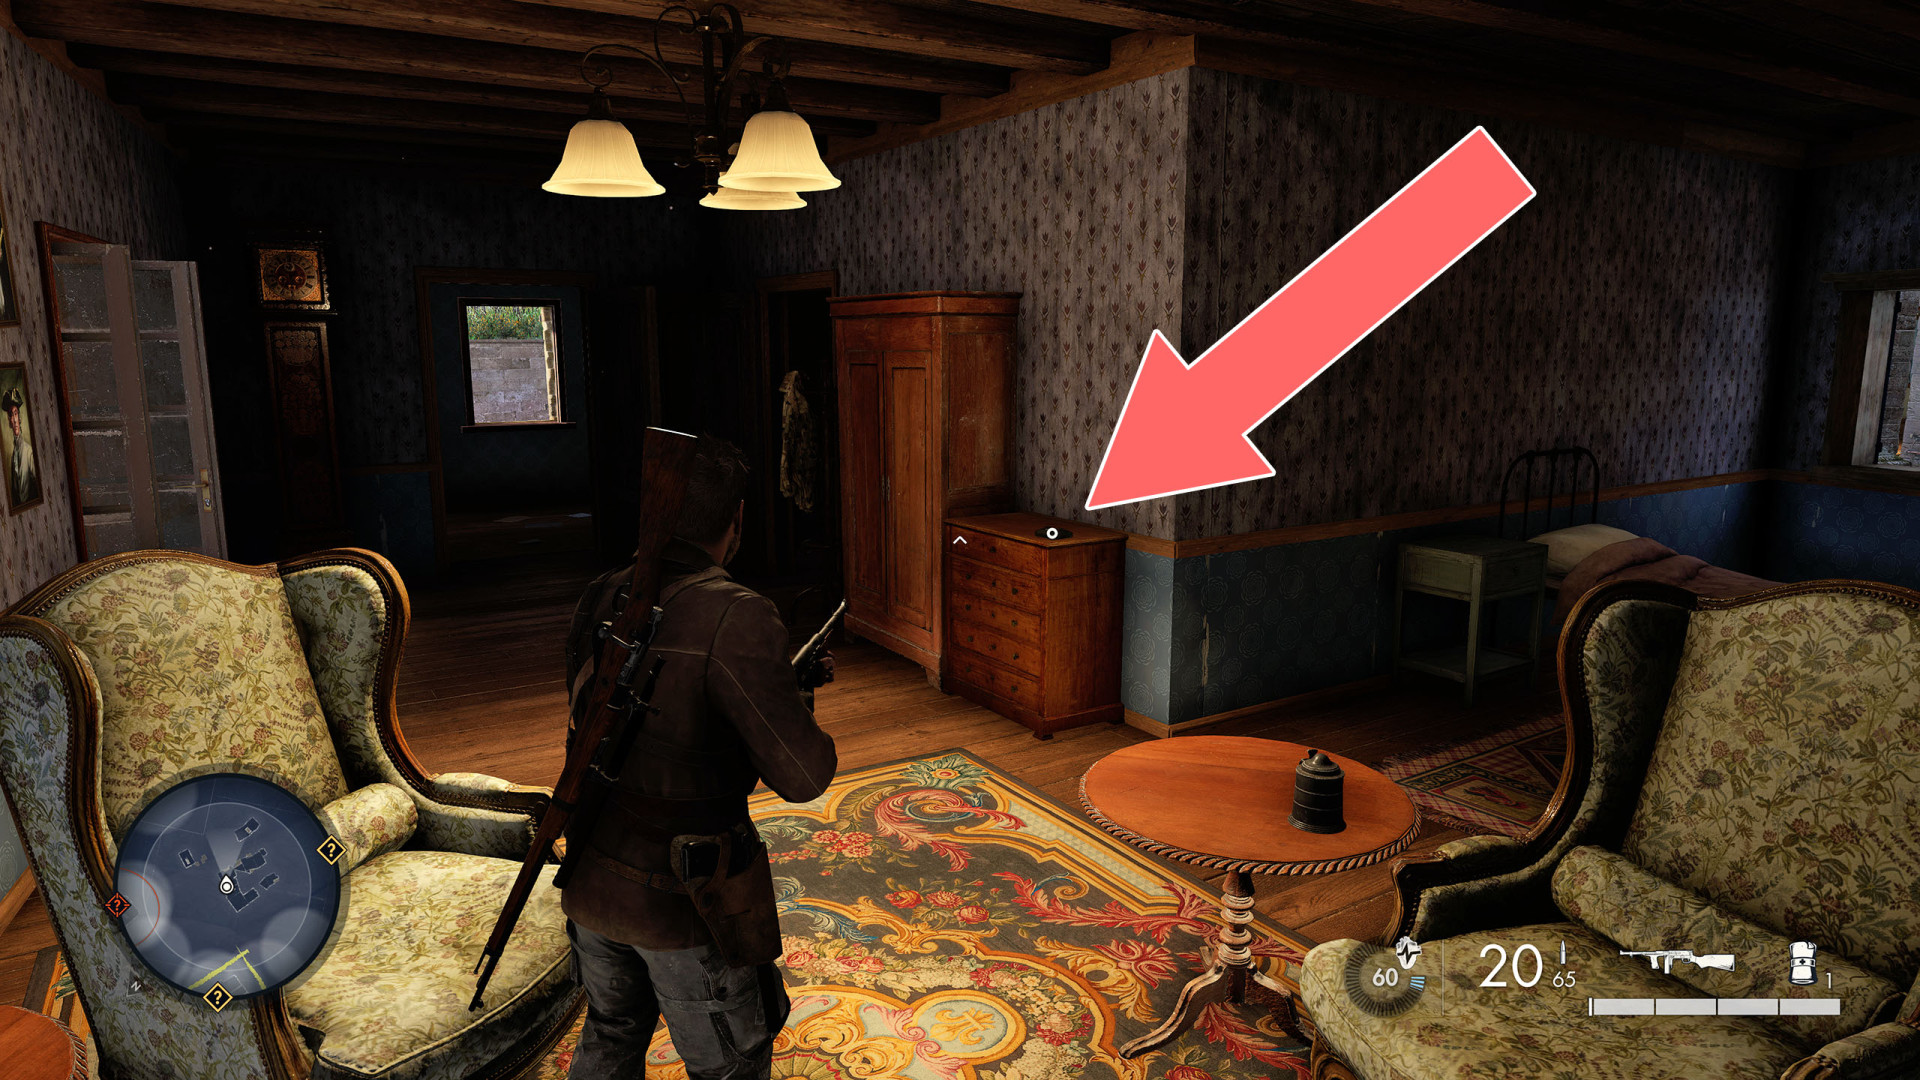
Bandage

Show the map

25Bandage

Bandage

Show the map

26Bandage

Bandage

Show the map

27Bandage

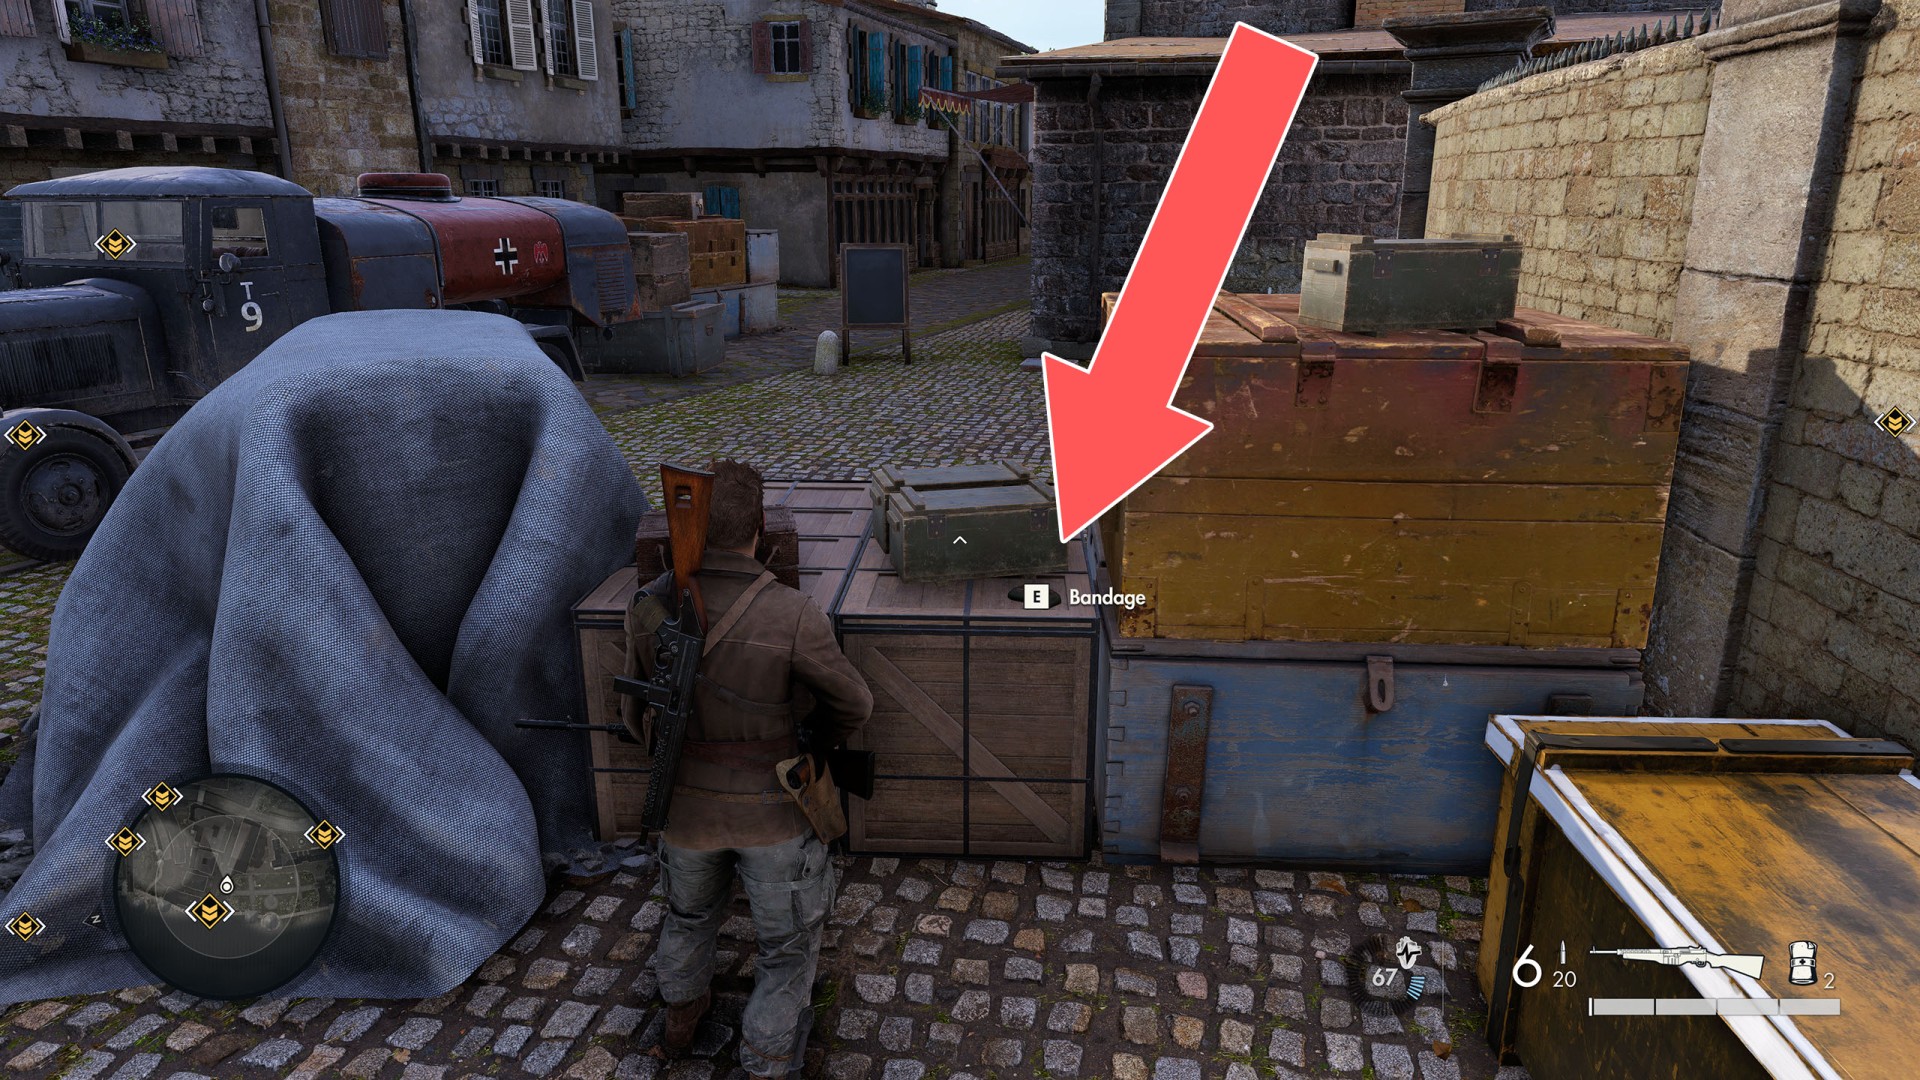
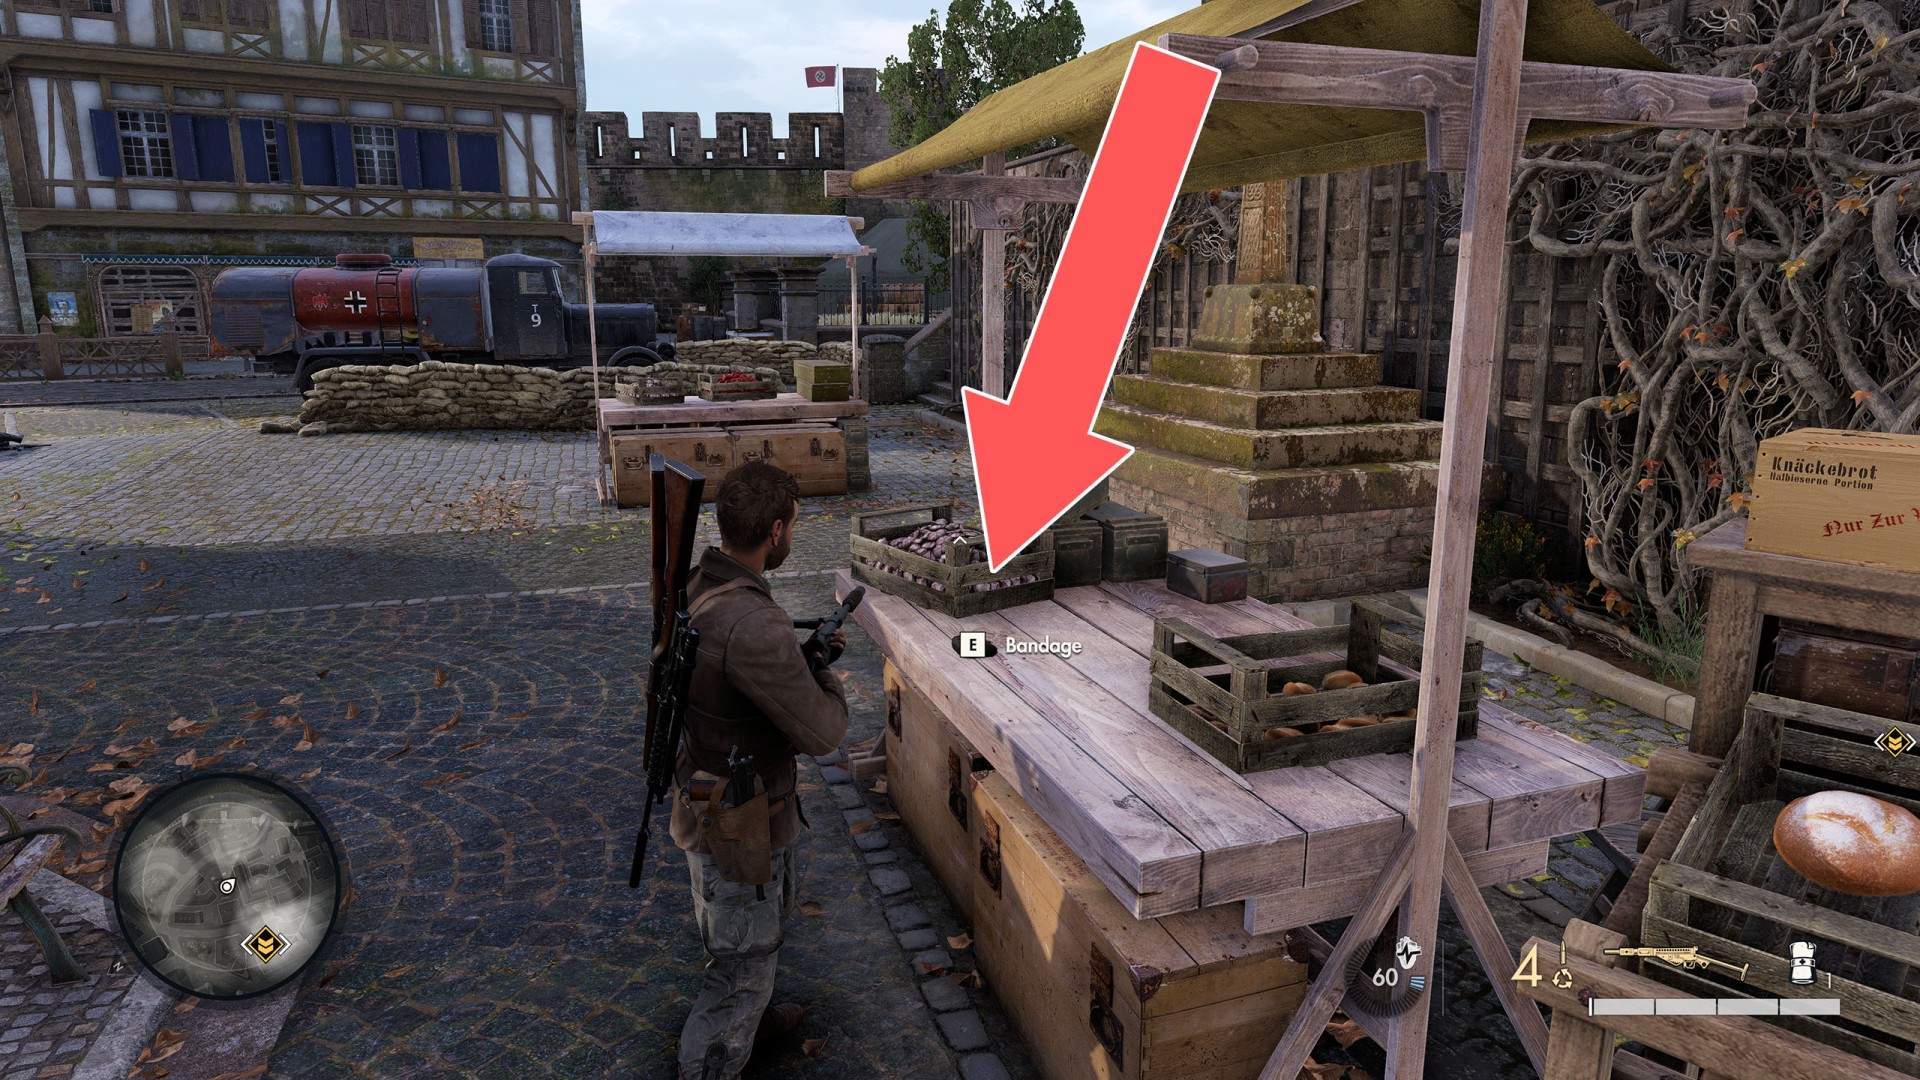
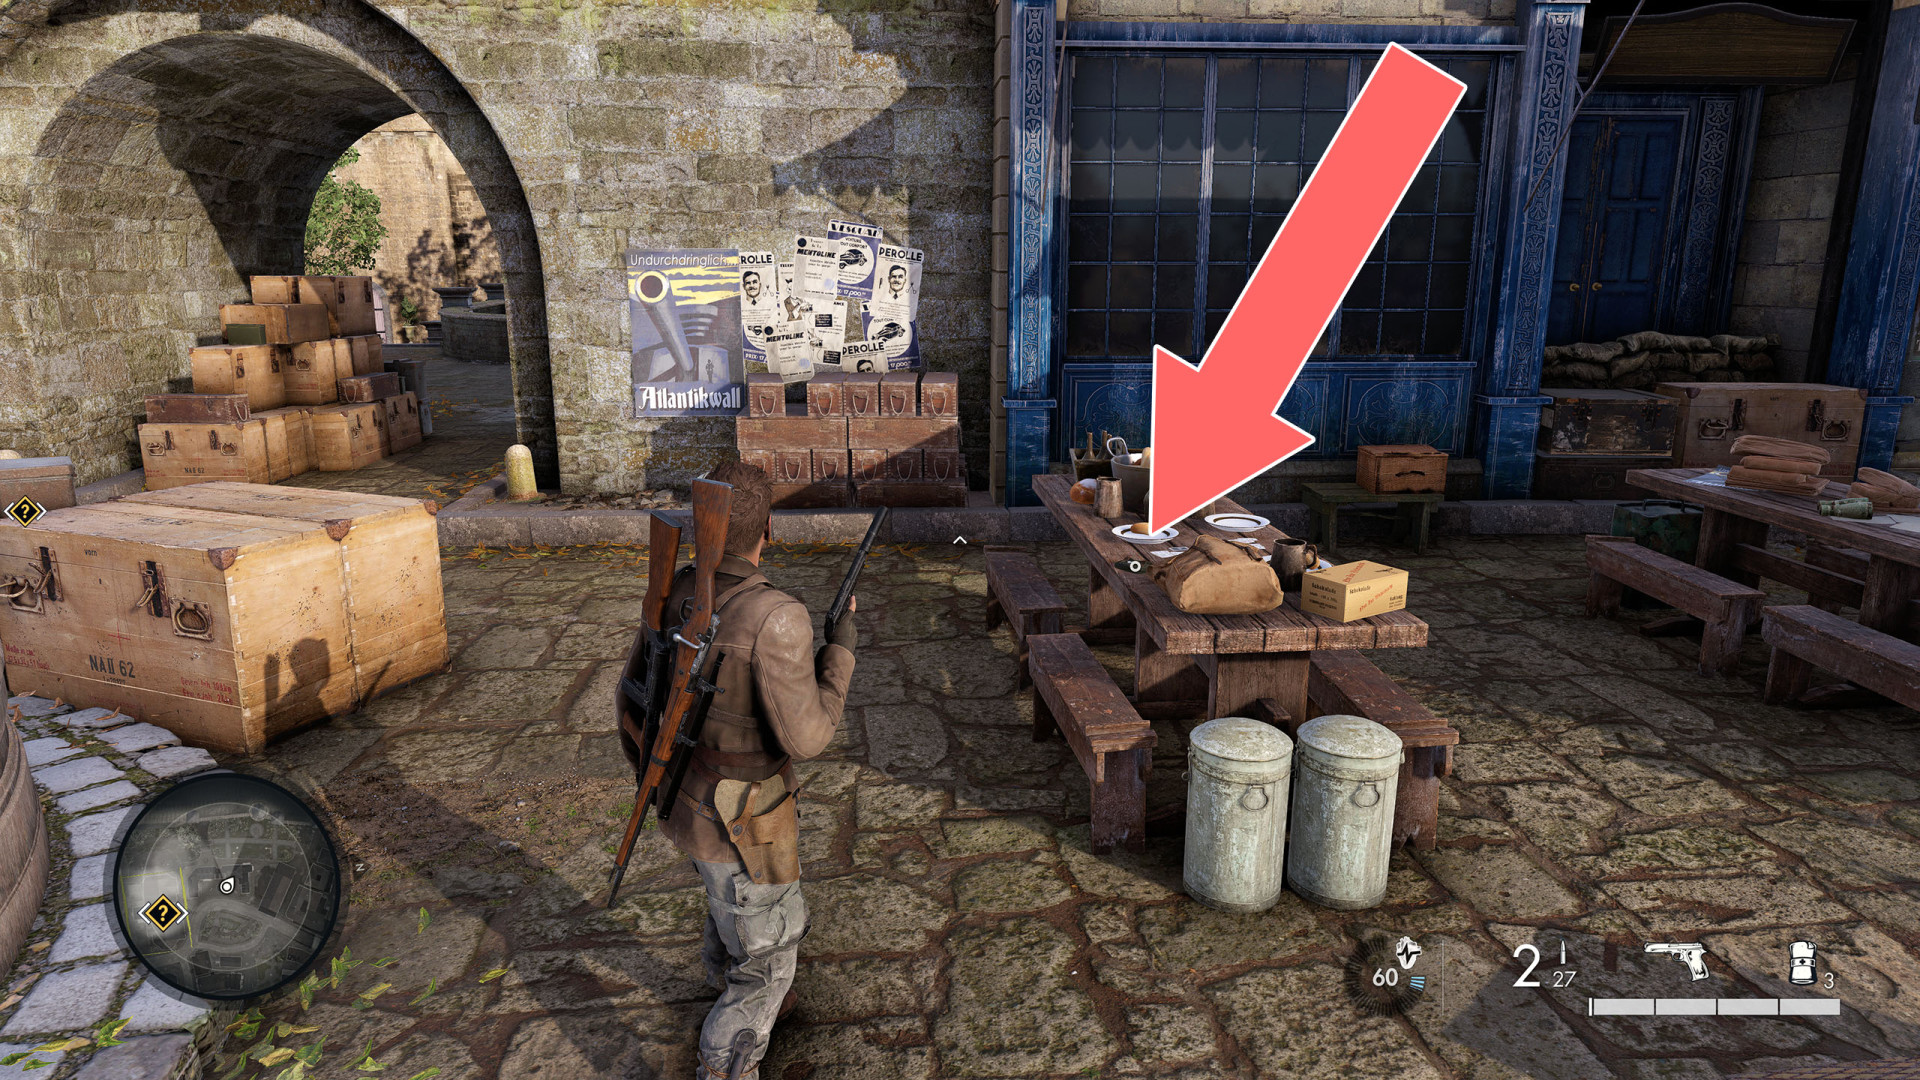
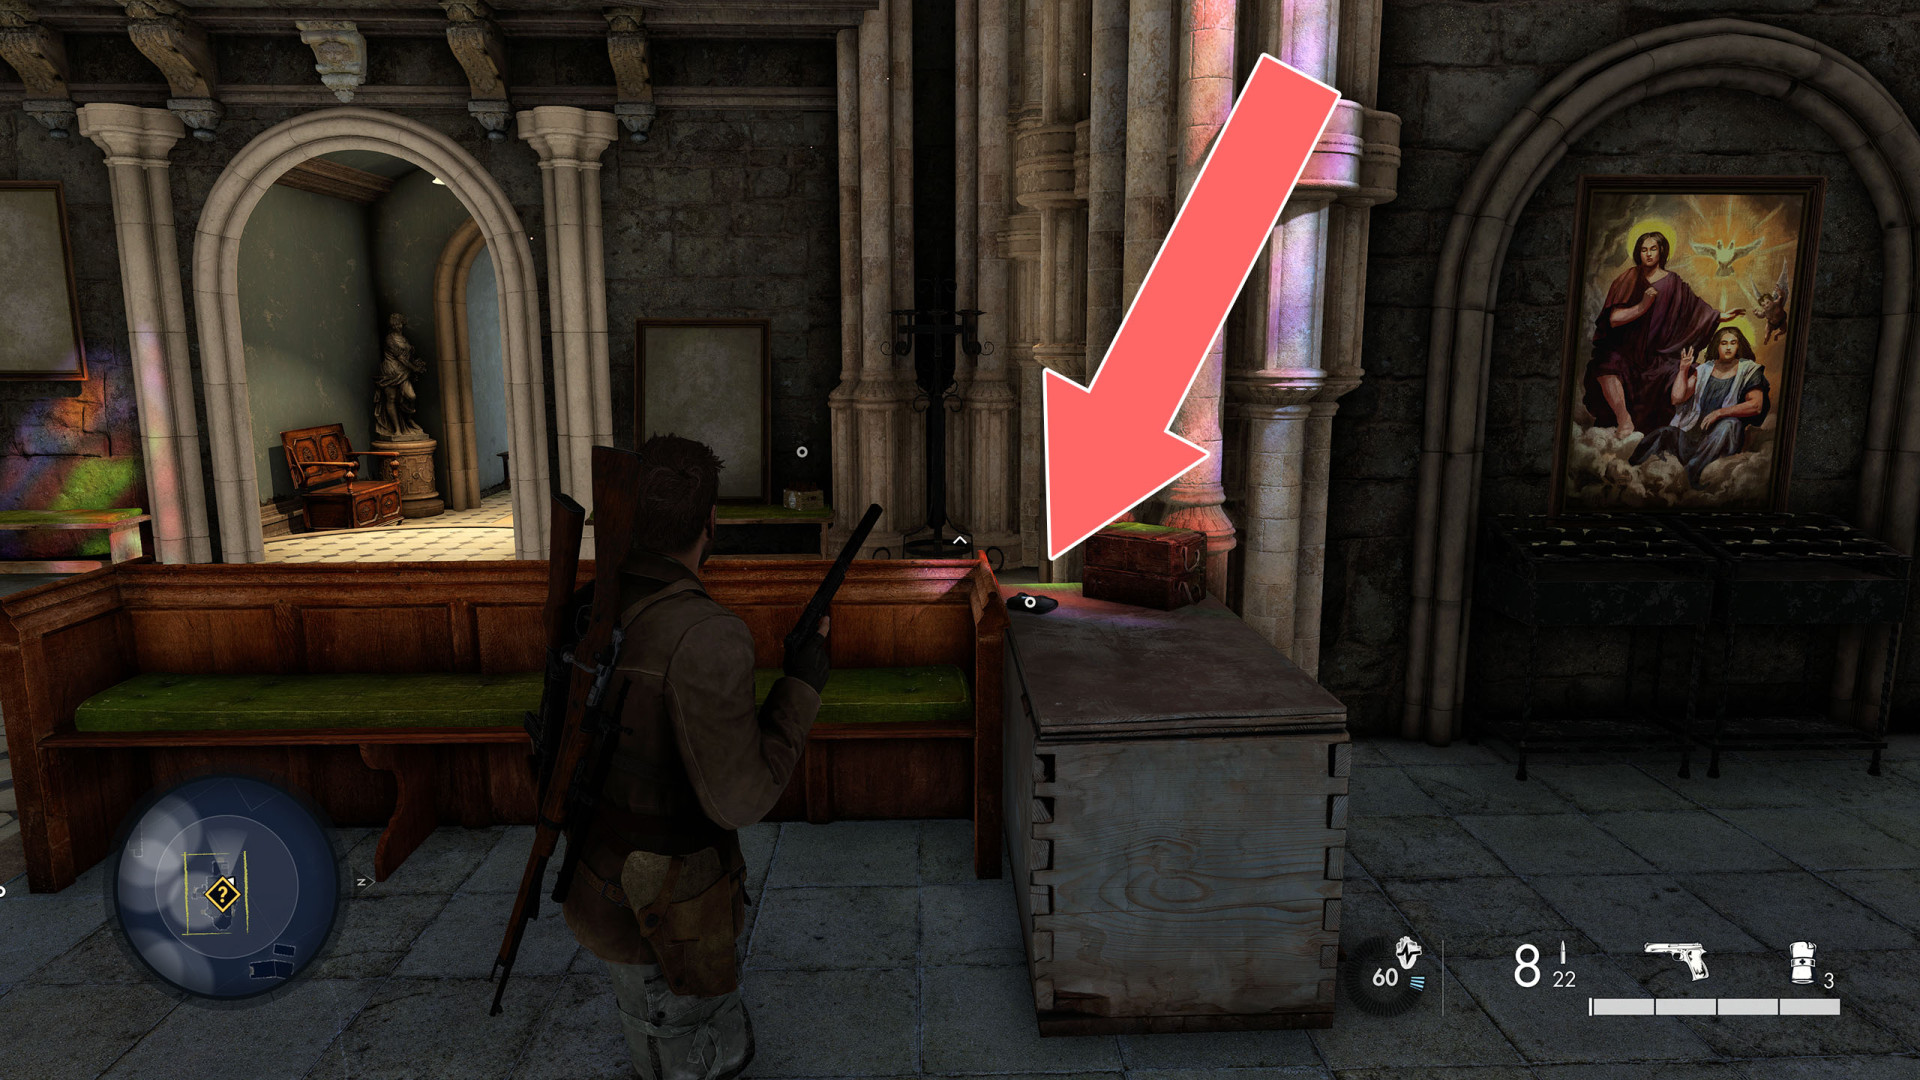
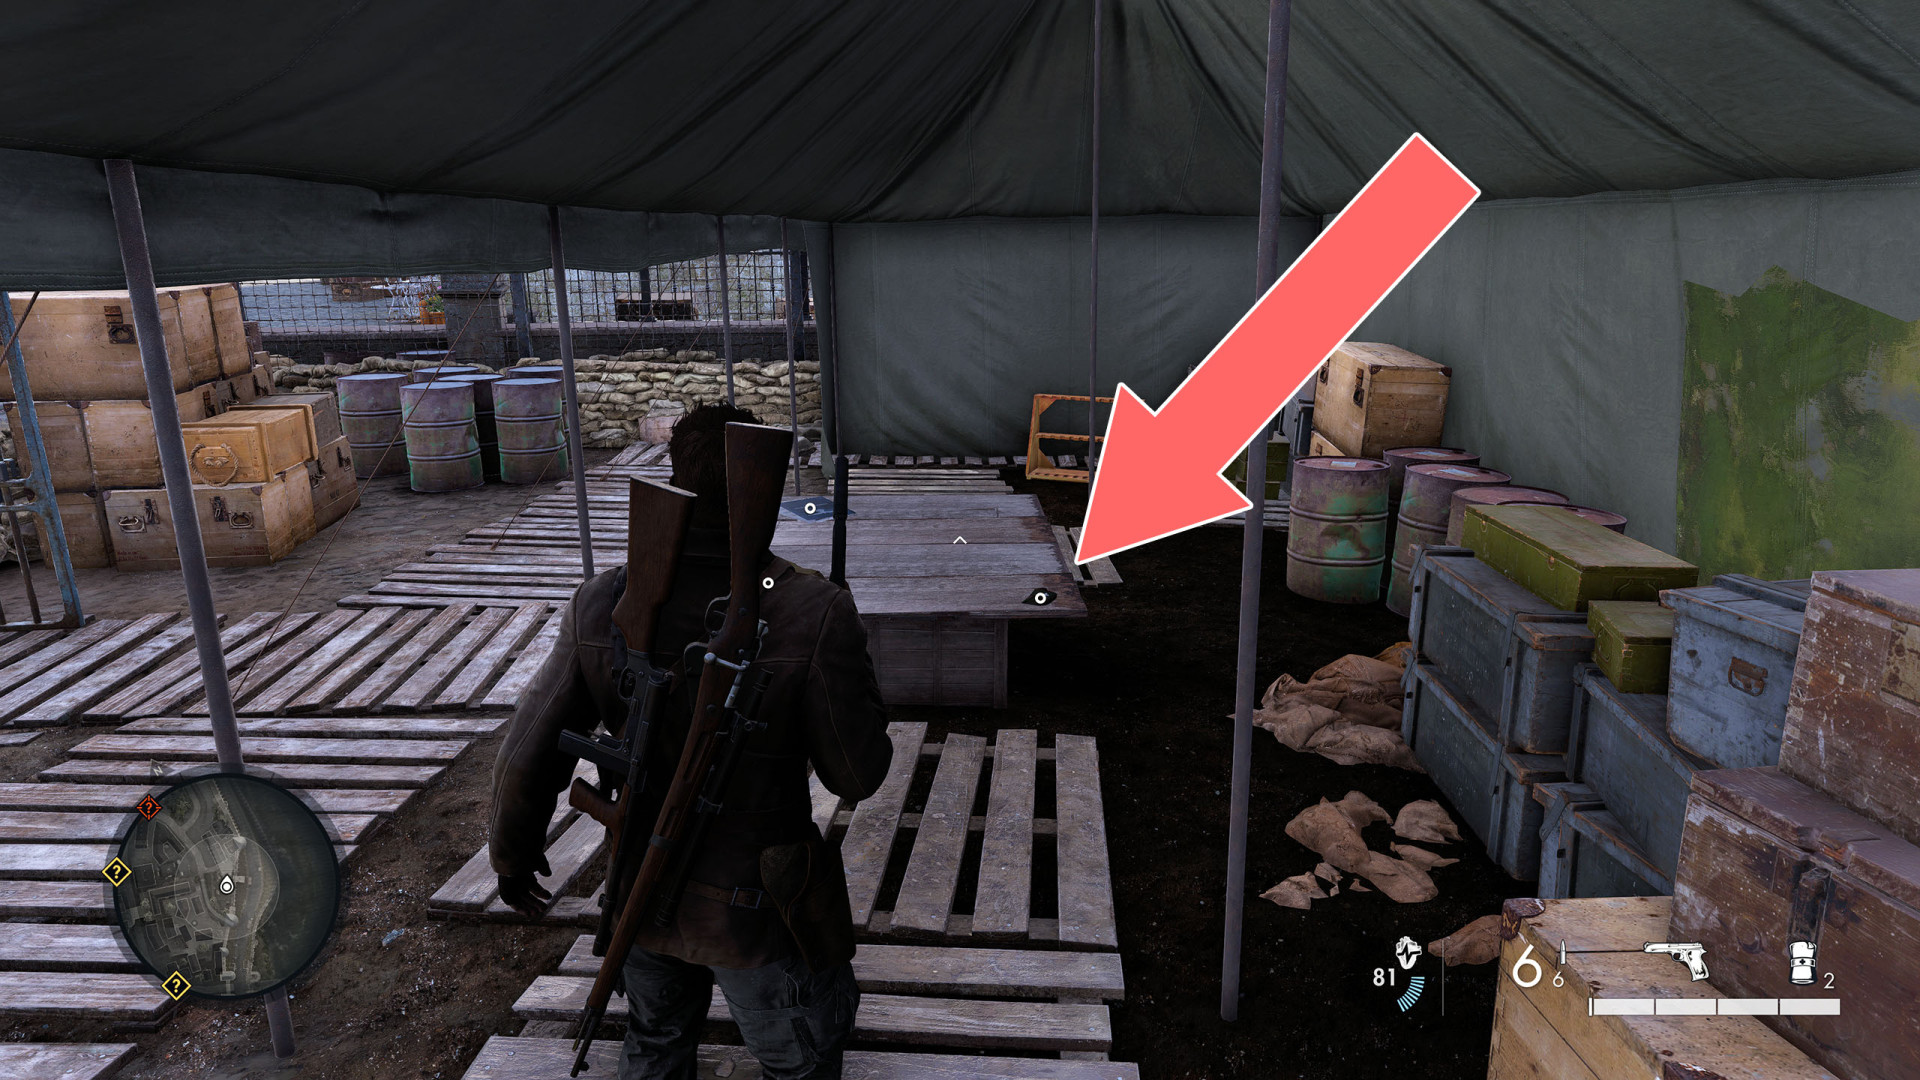
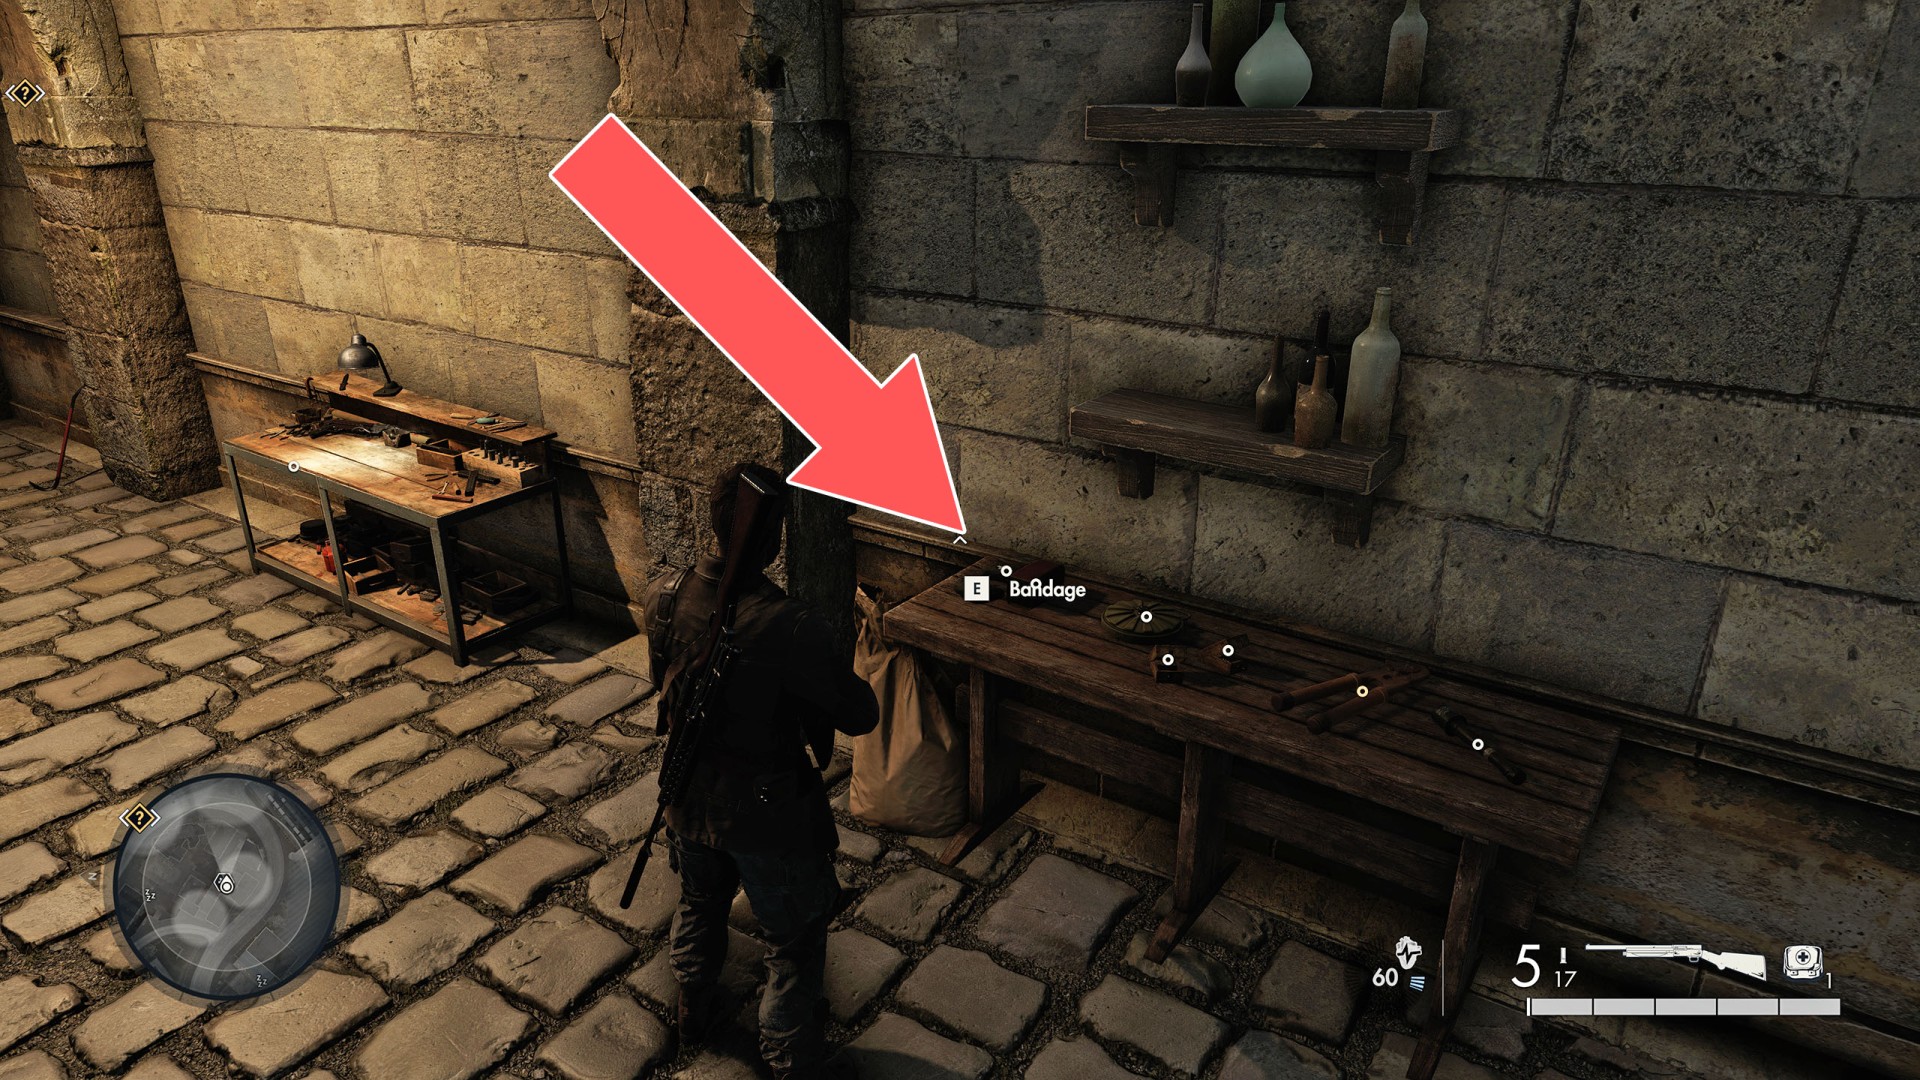
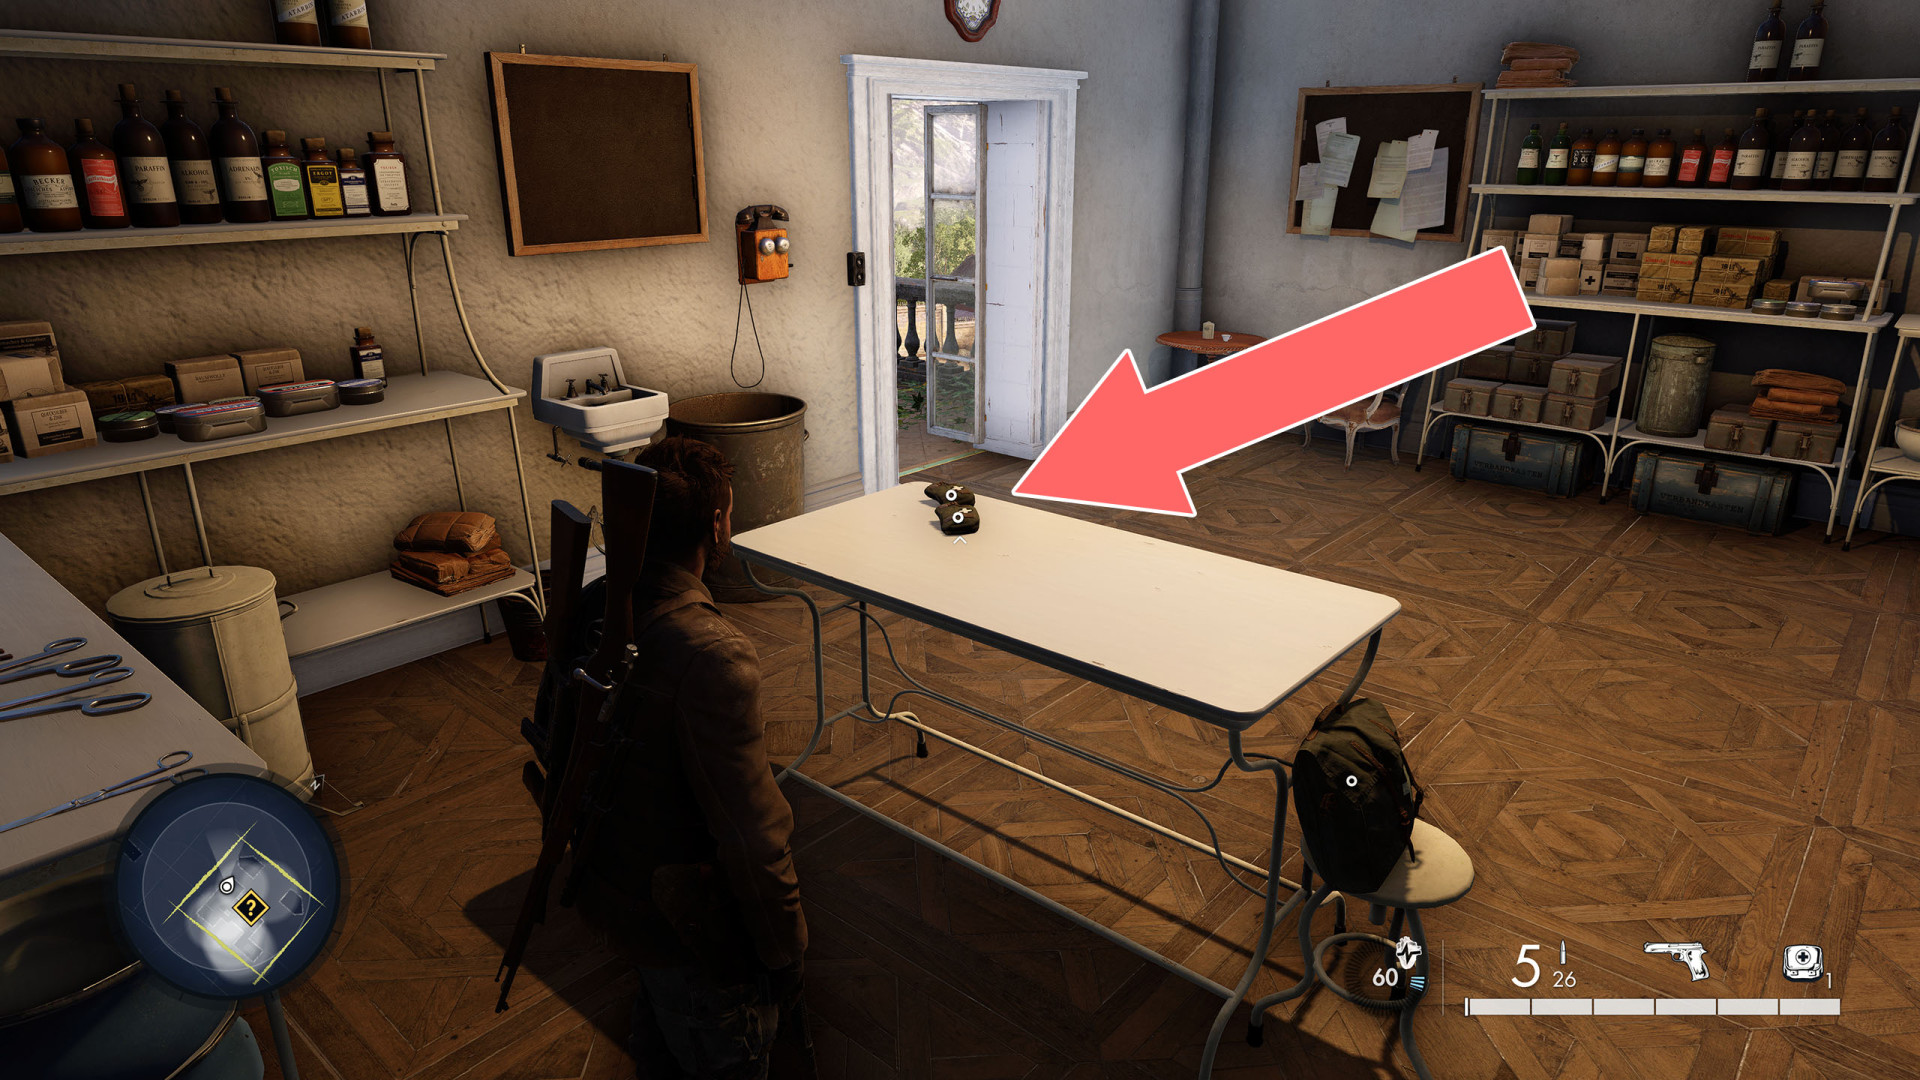
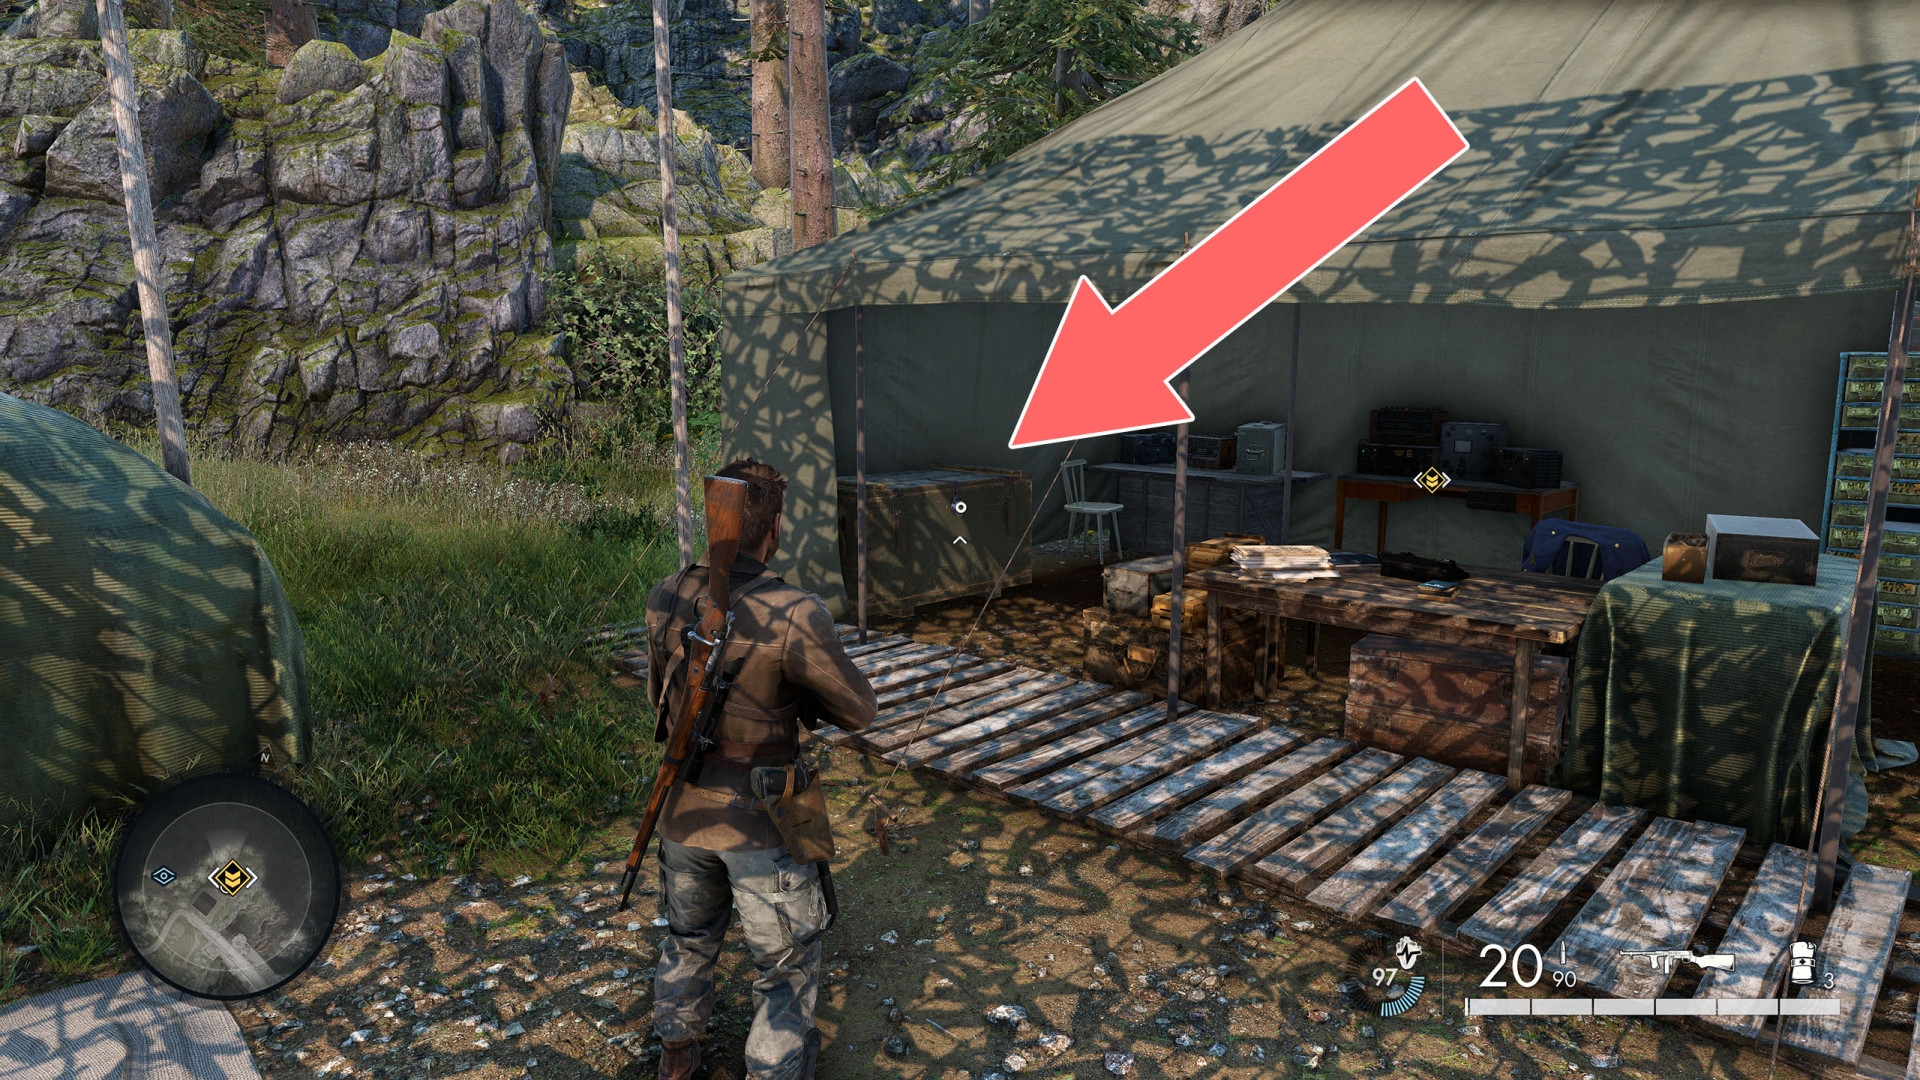
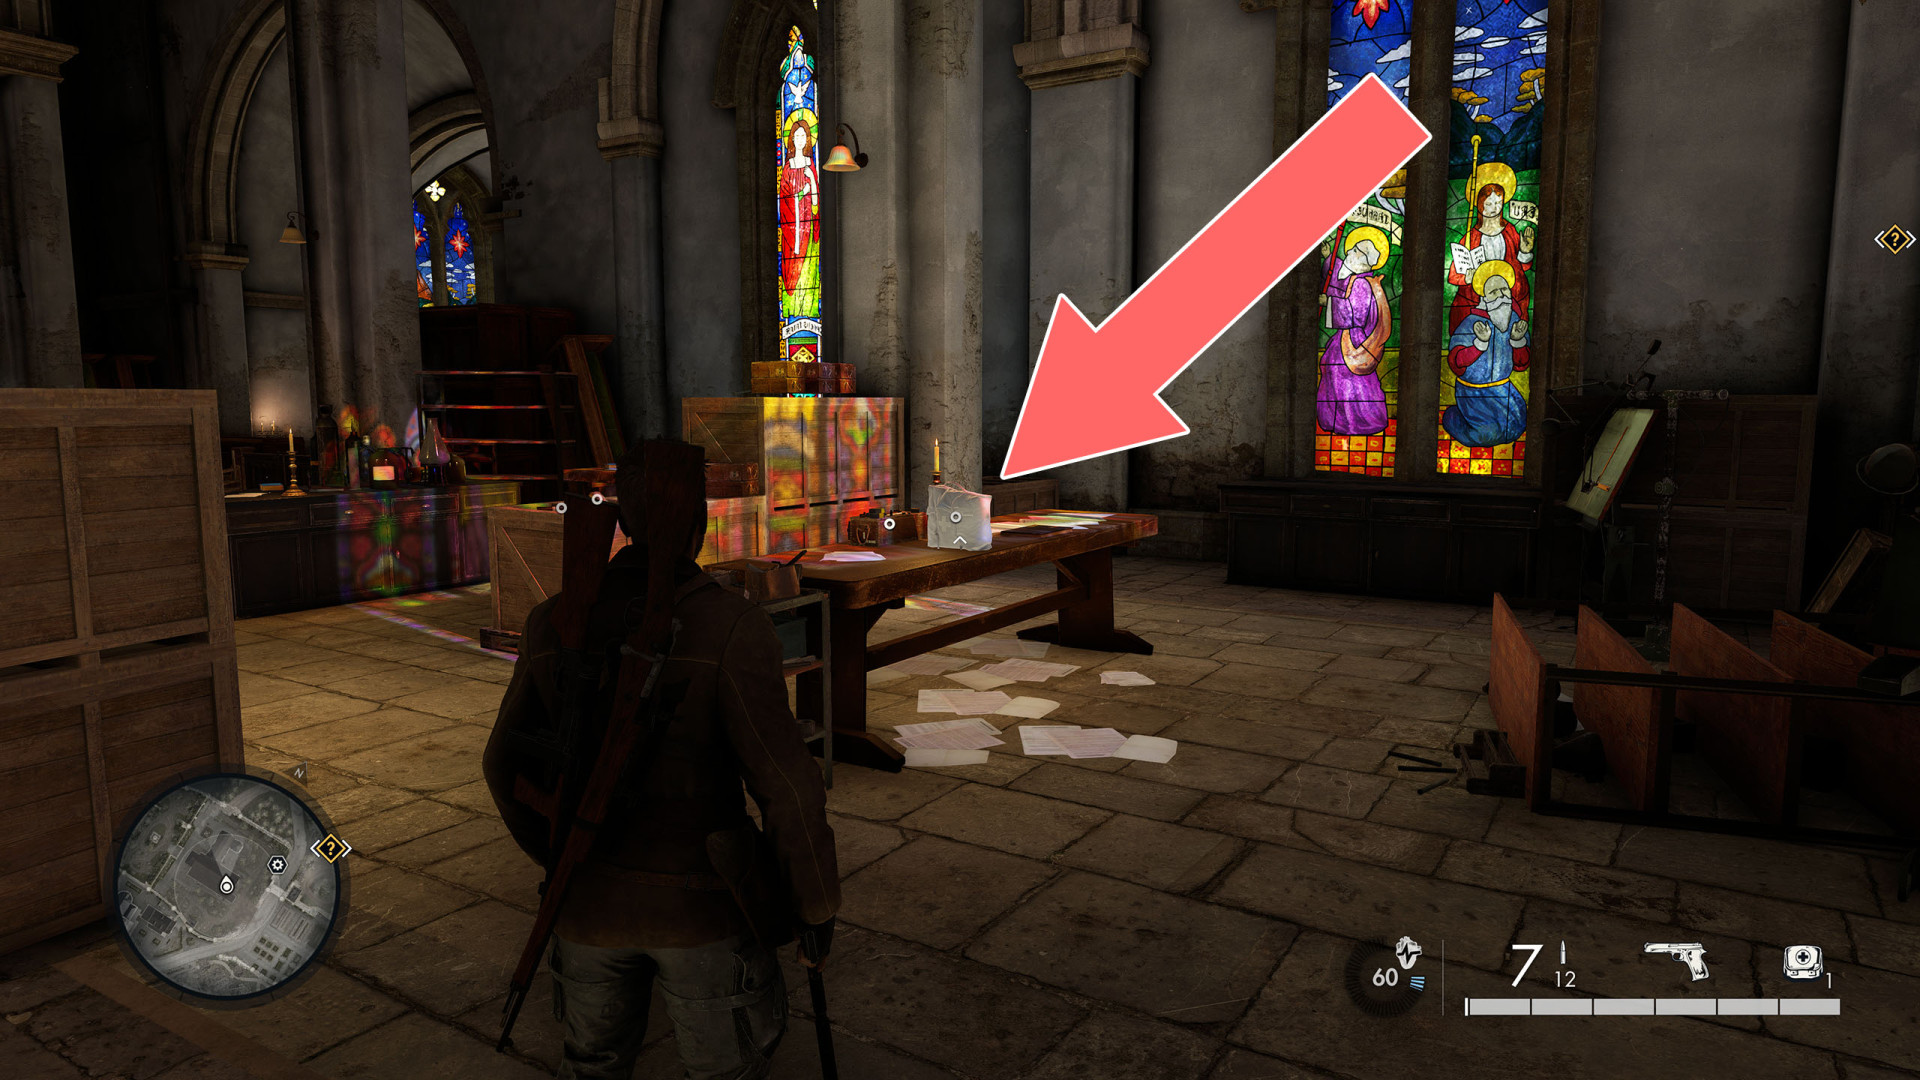
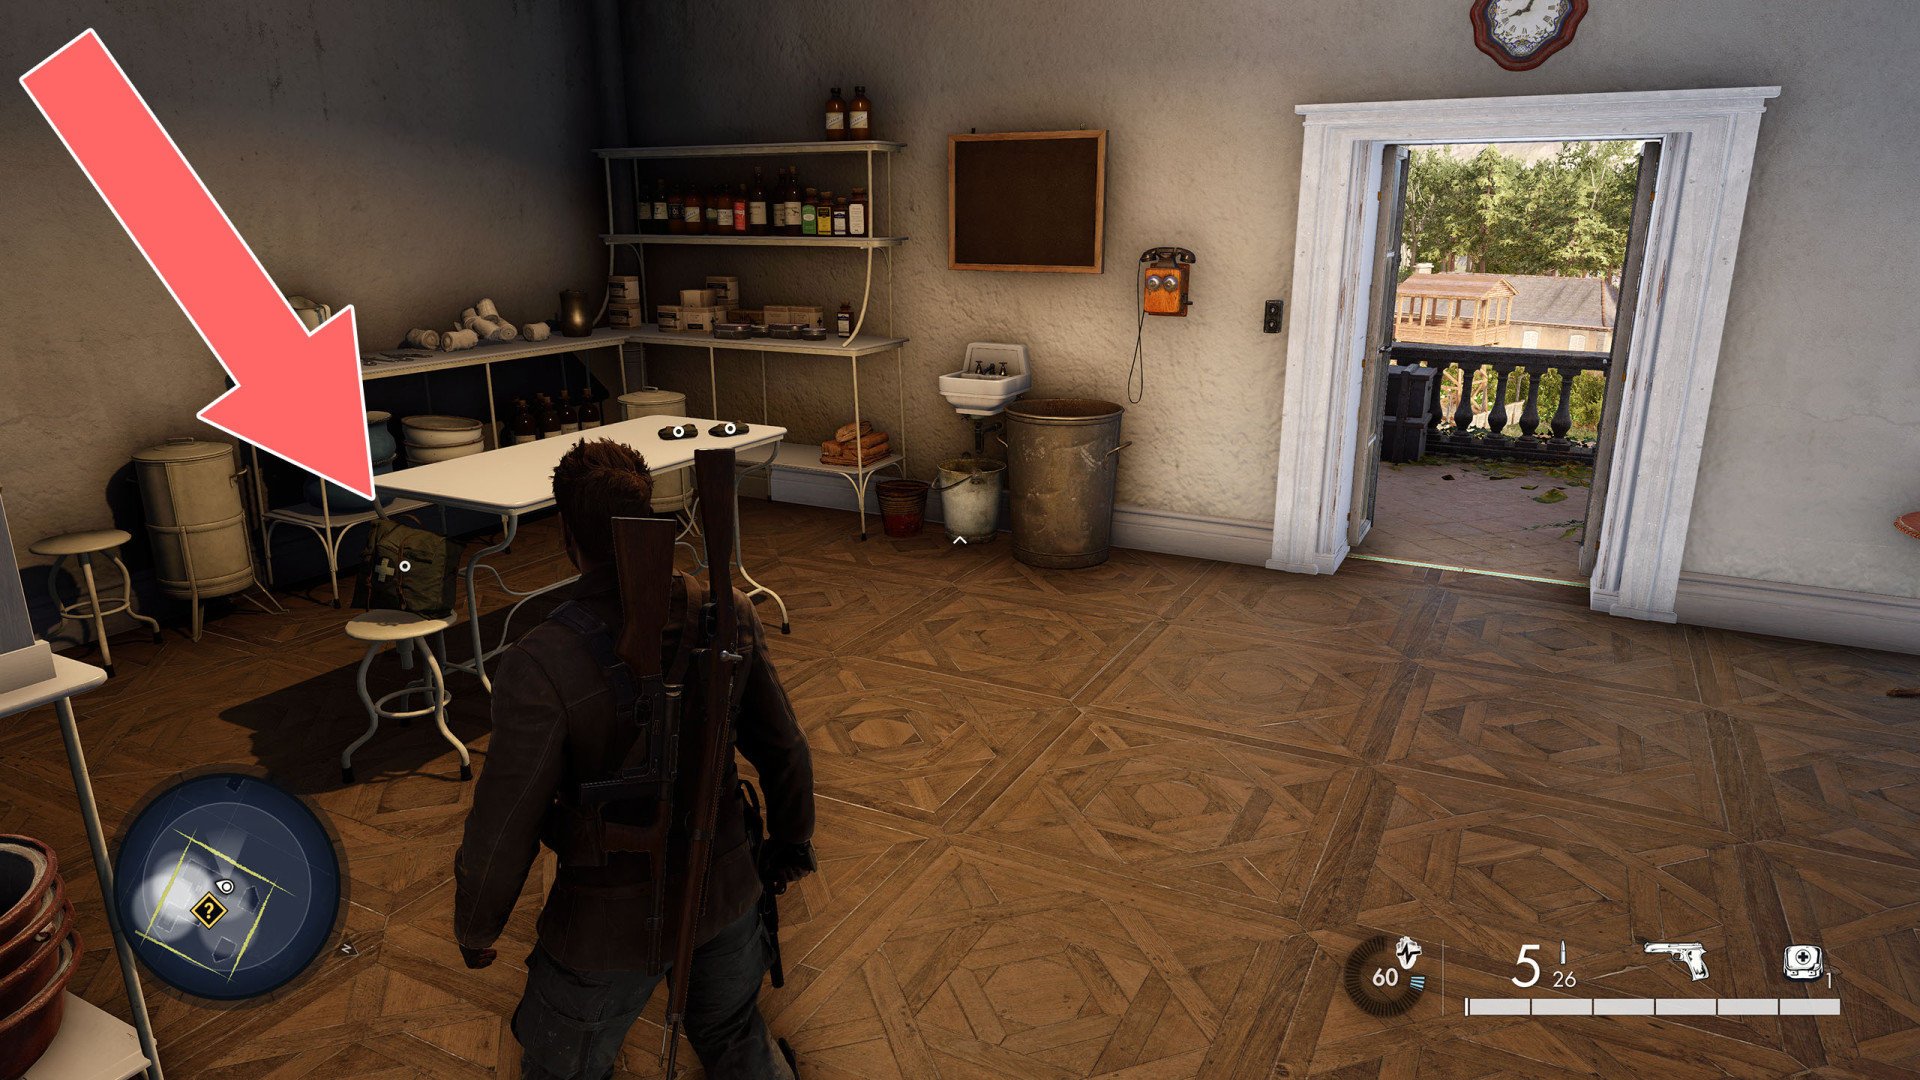
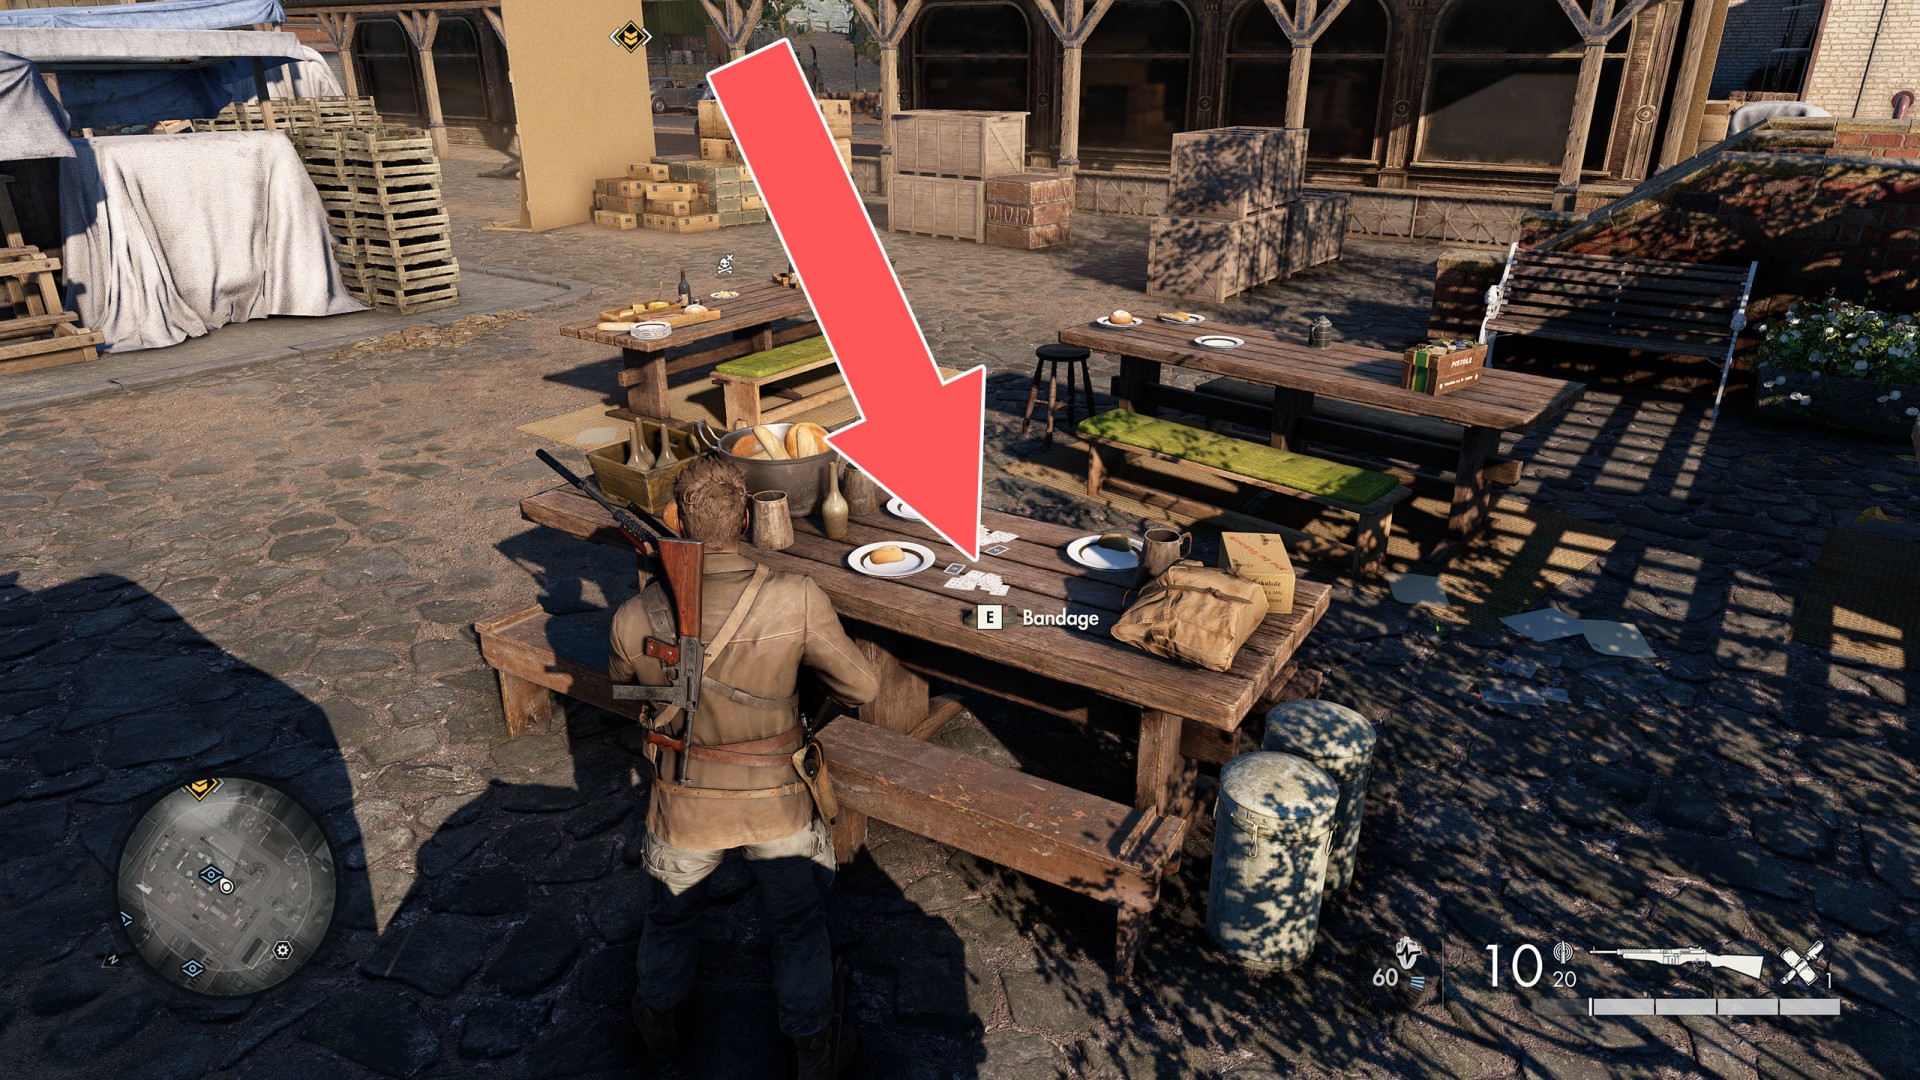
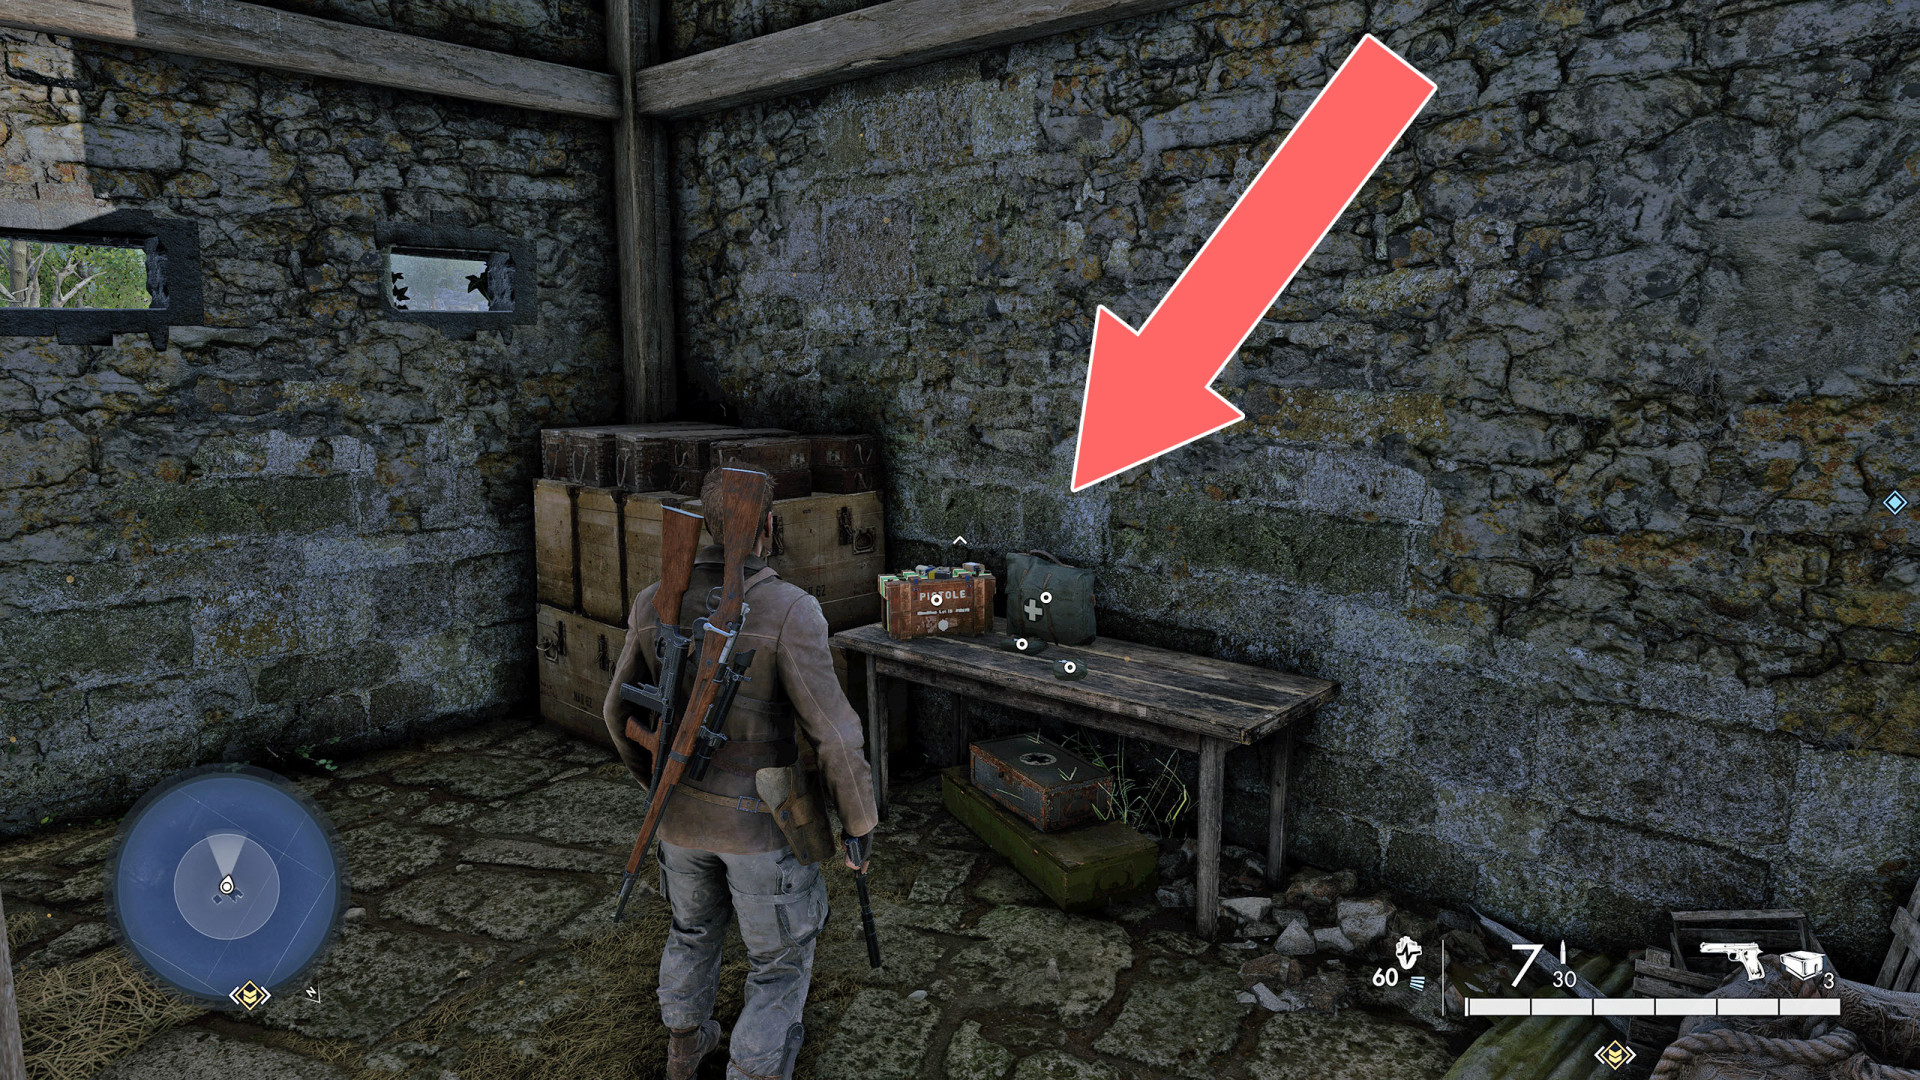
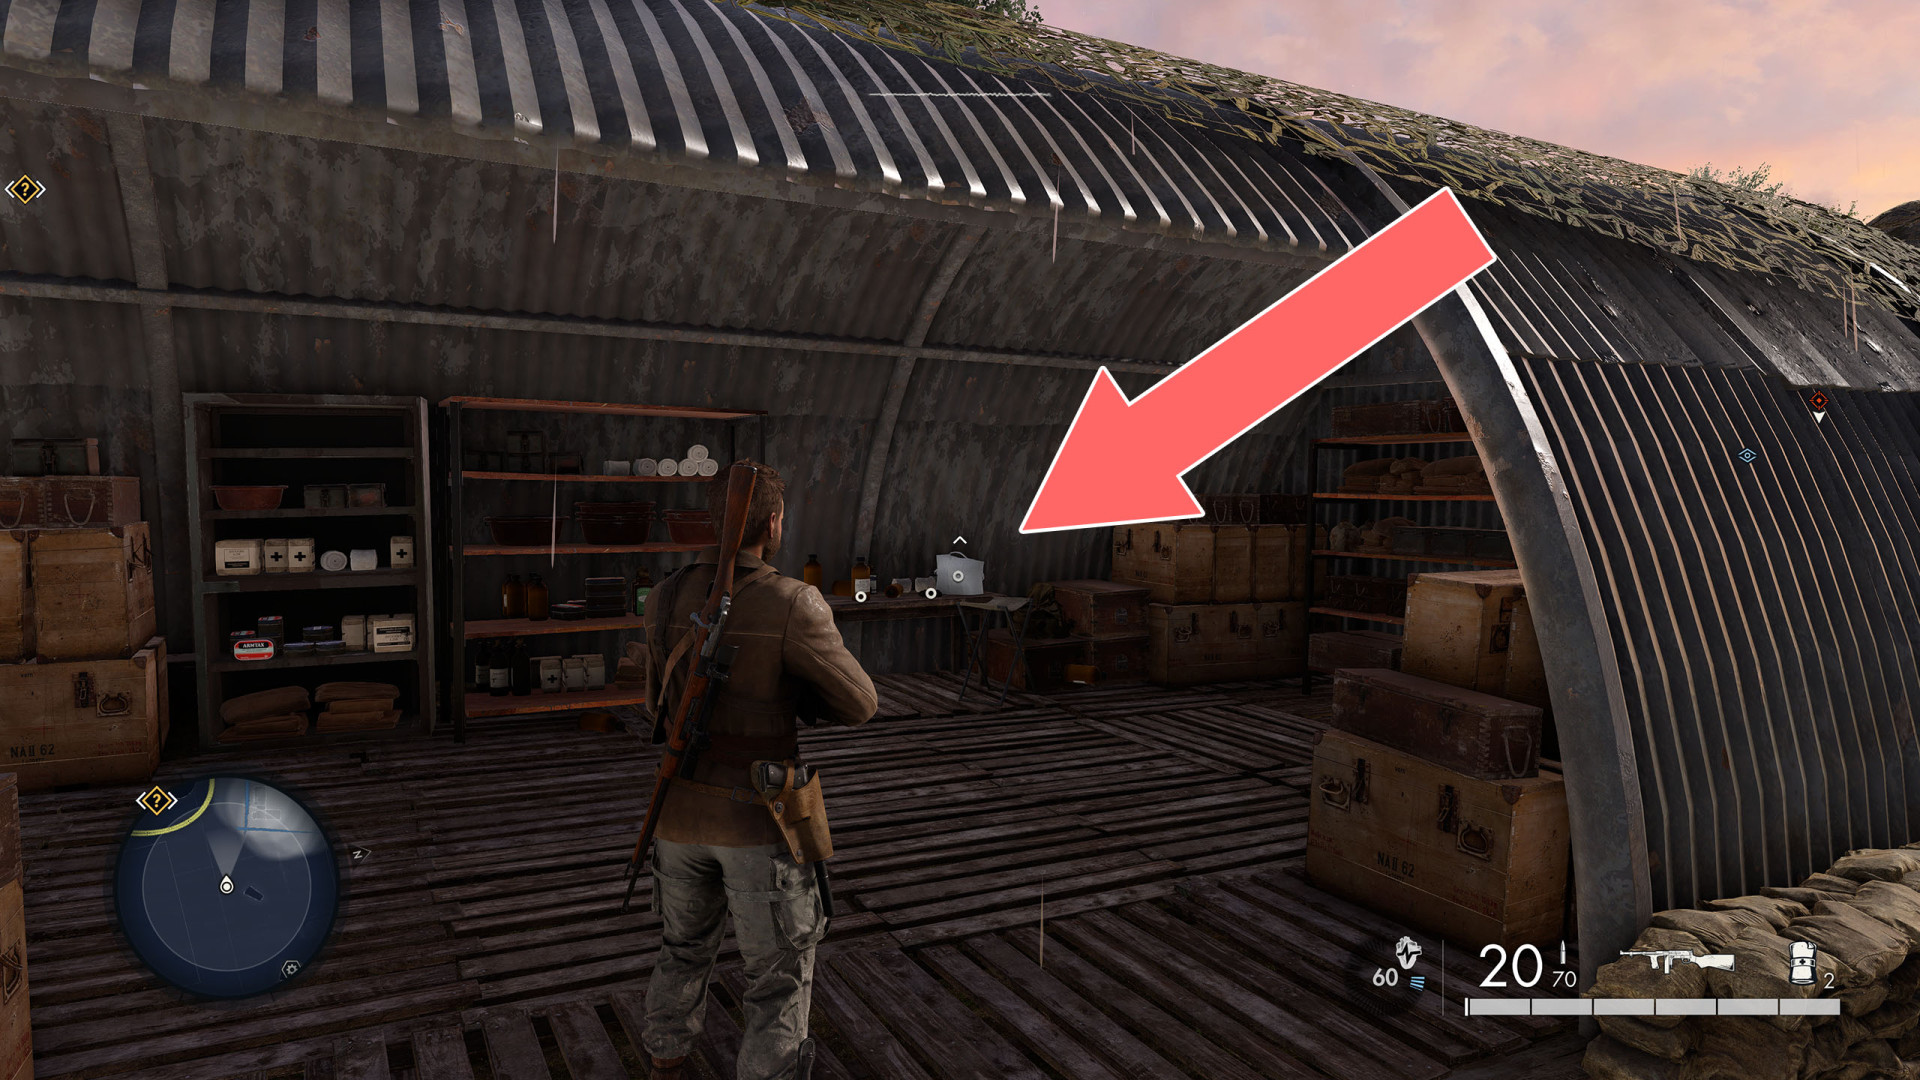
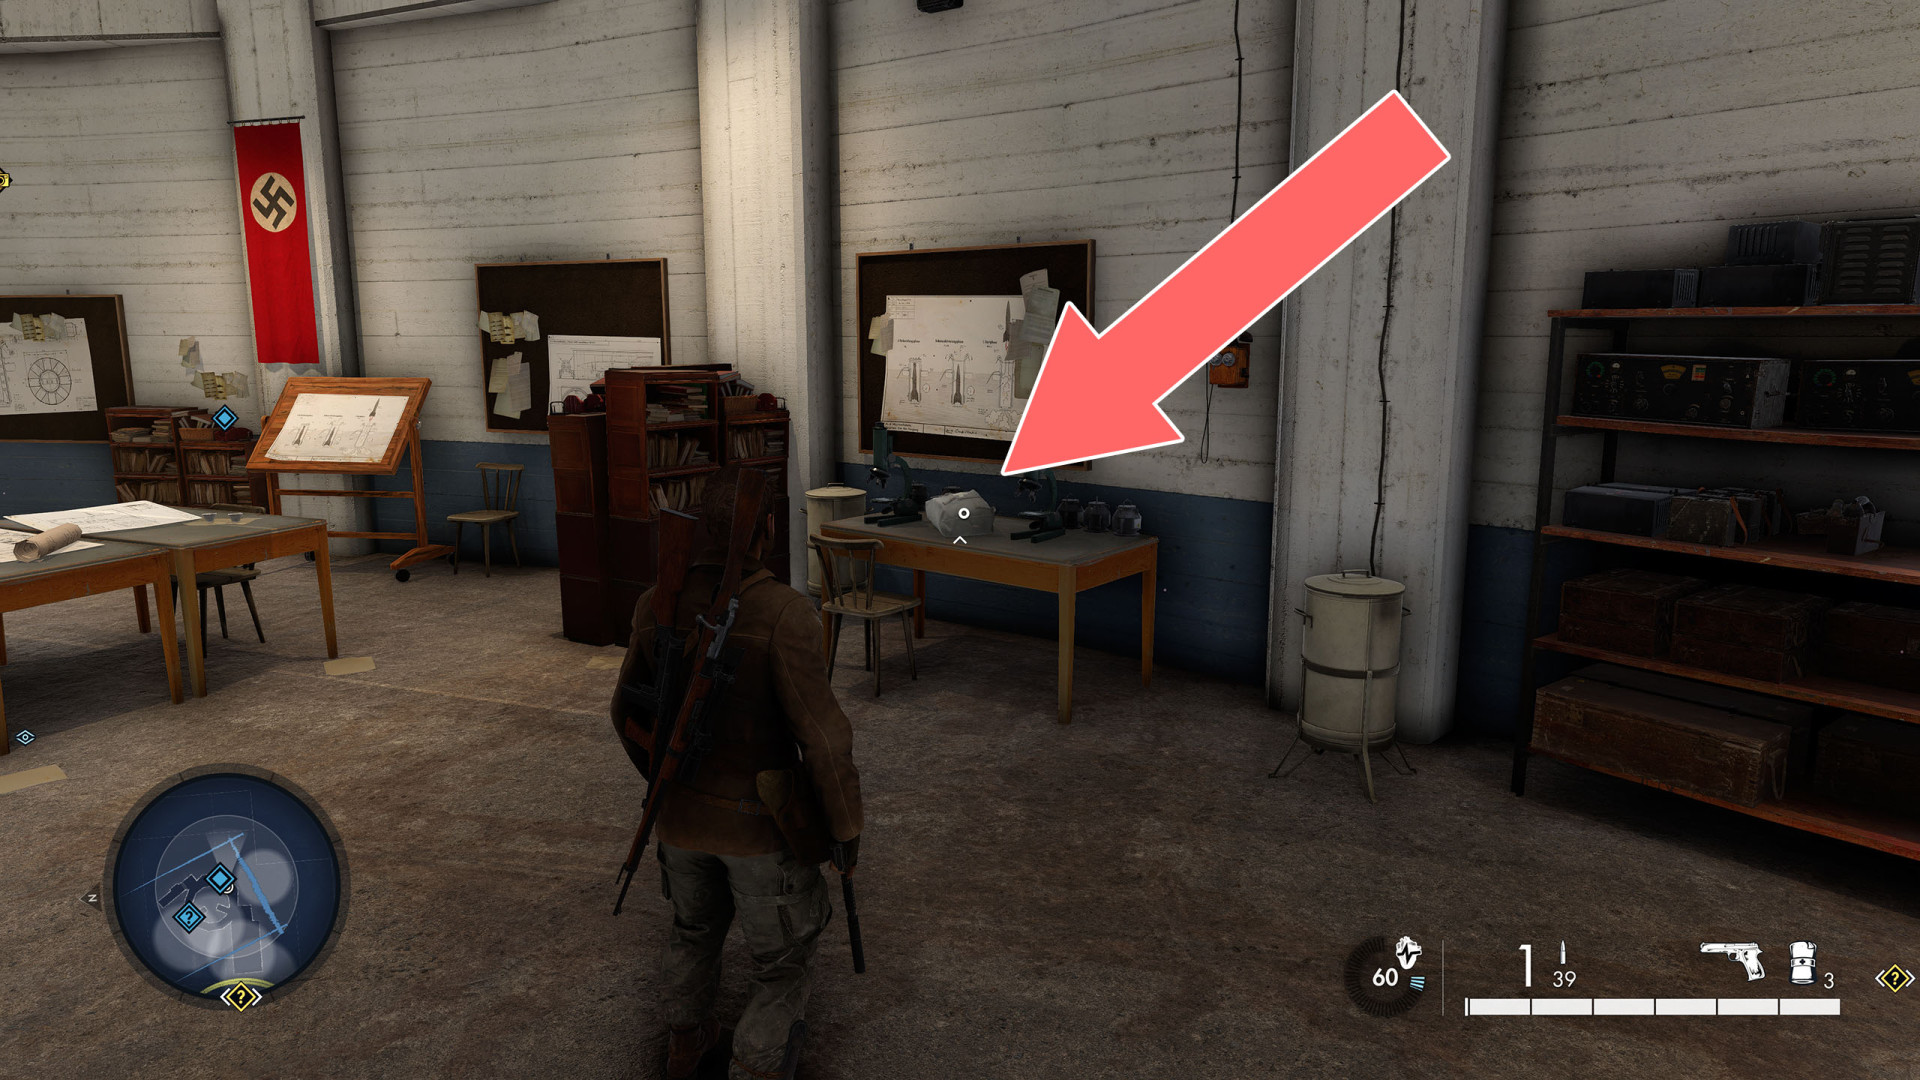
On the table.

Bandage

Show the map

28Bandage

Bandage

Show the map

29Bandage

On the barrel.

Bandage

Show the map

30Bandage

Bandage

Show the map

31Bandage

Bandage

Show the map

32Bandage

Bandage

Show the map

33Bandage

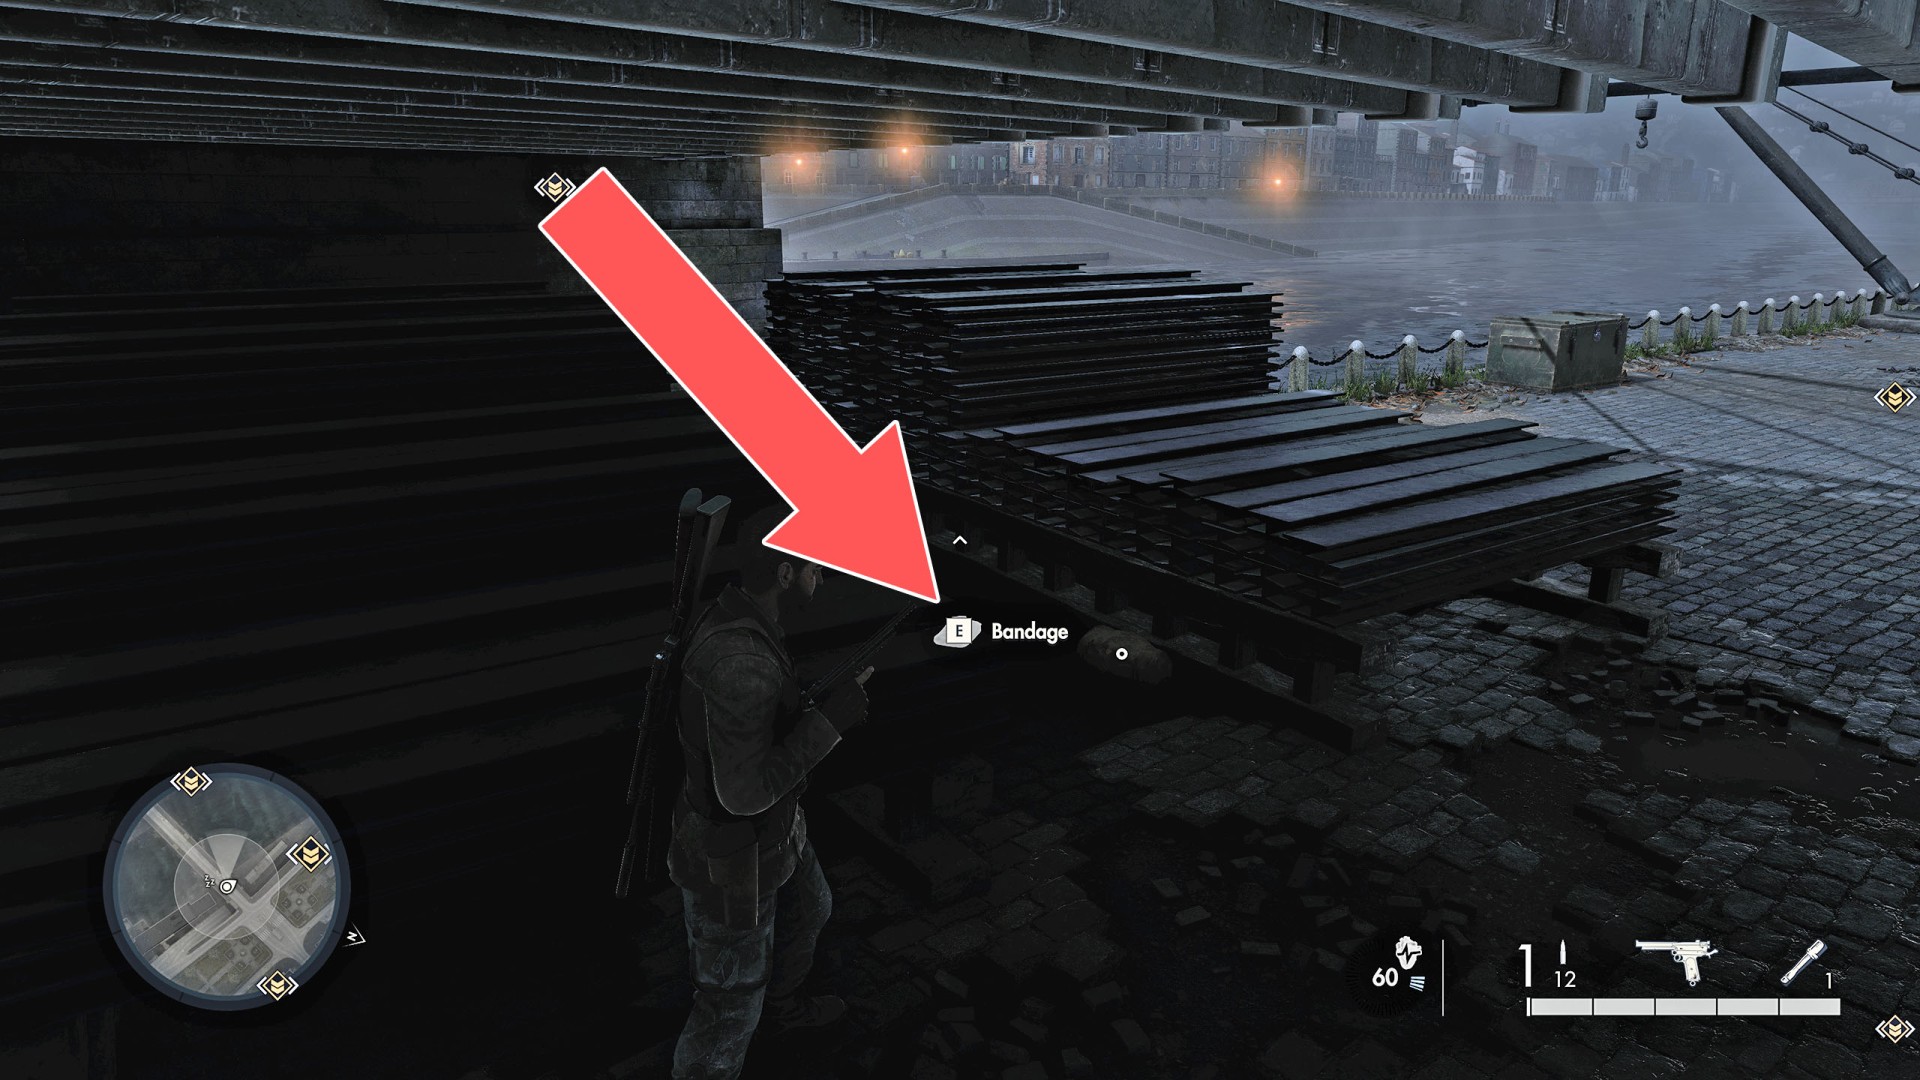
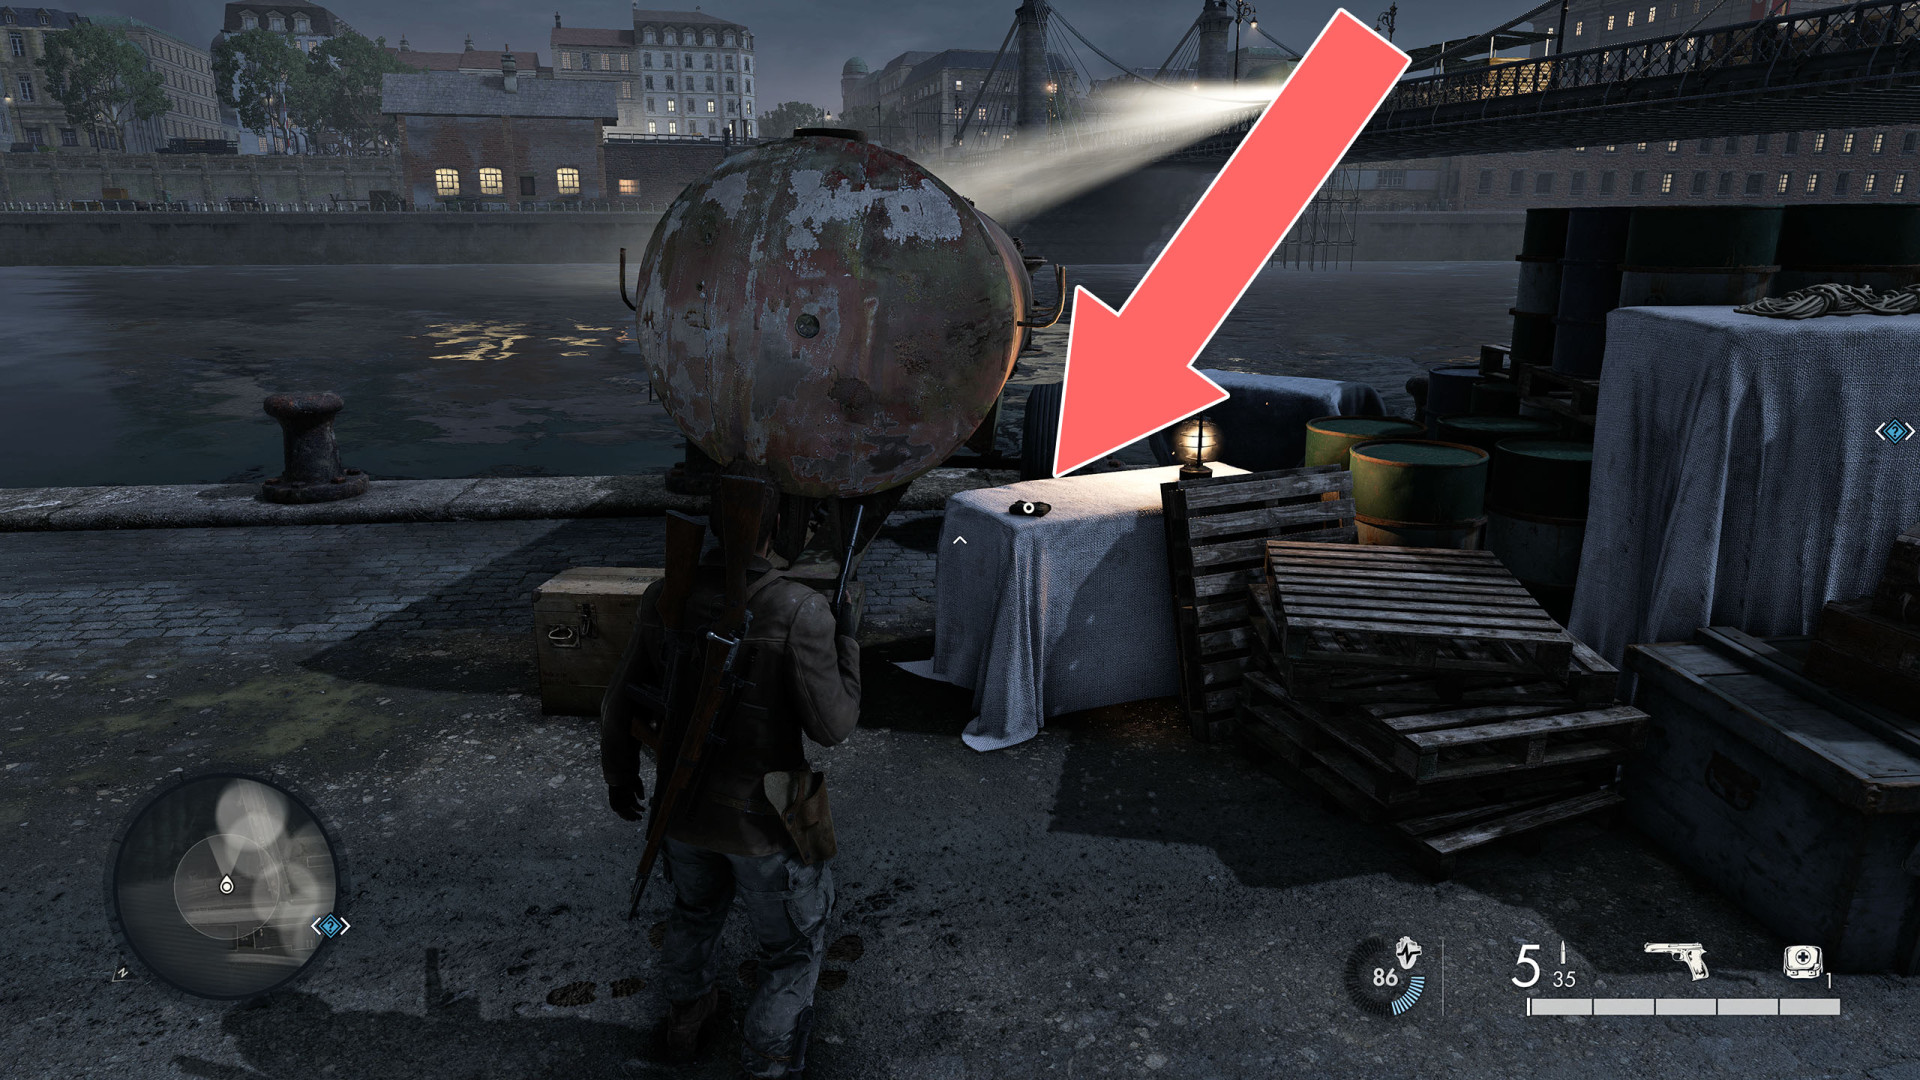
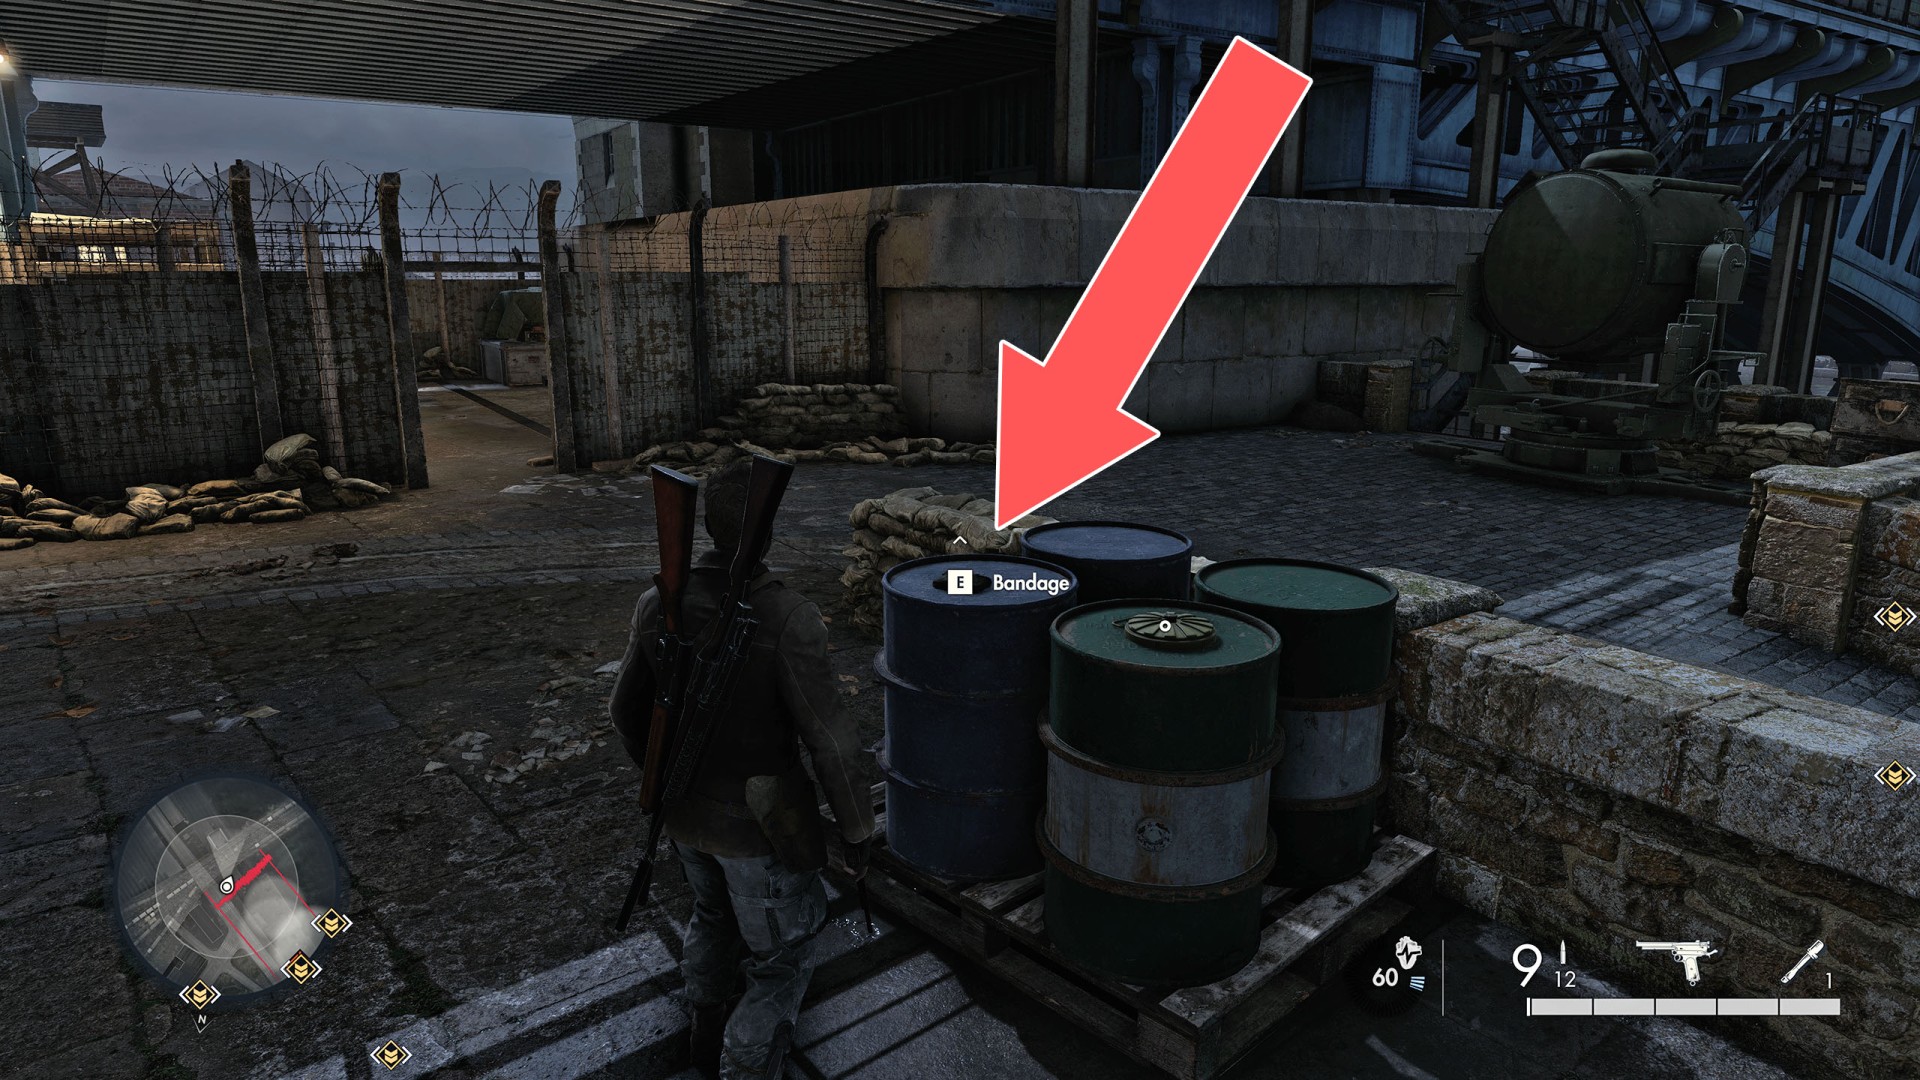
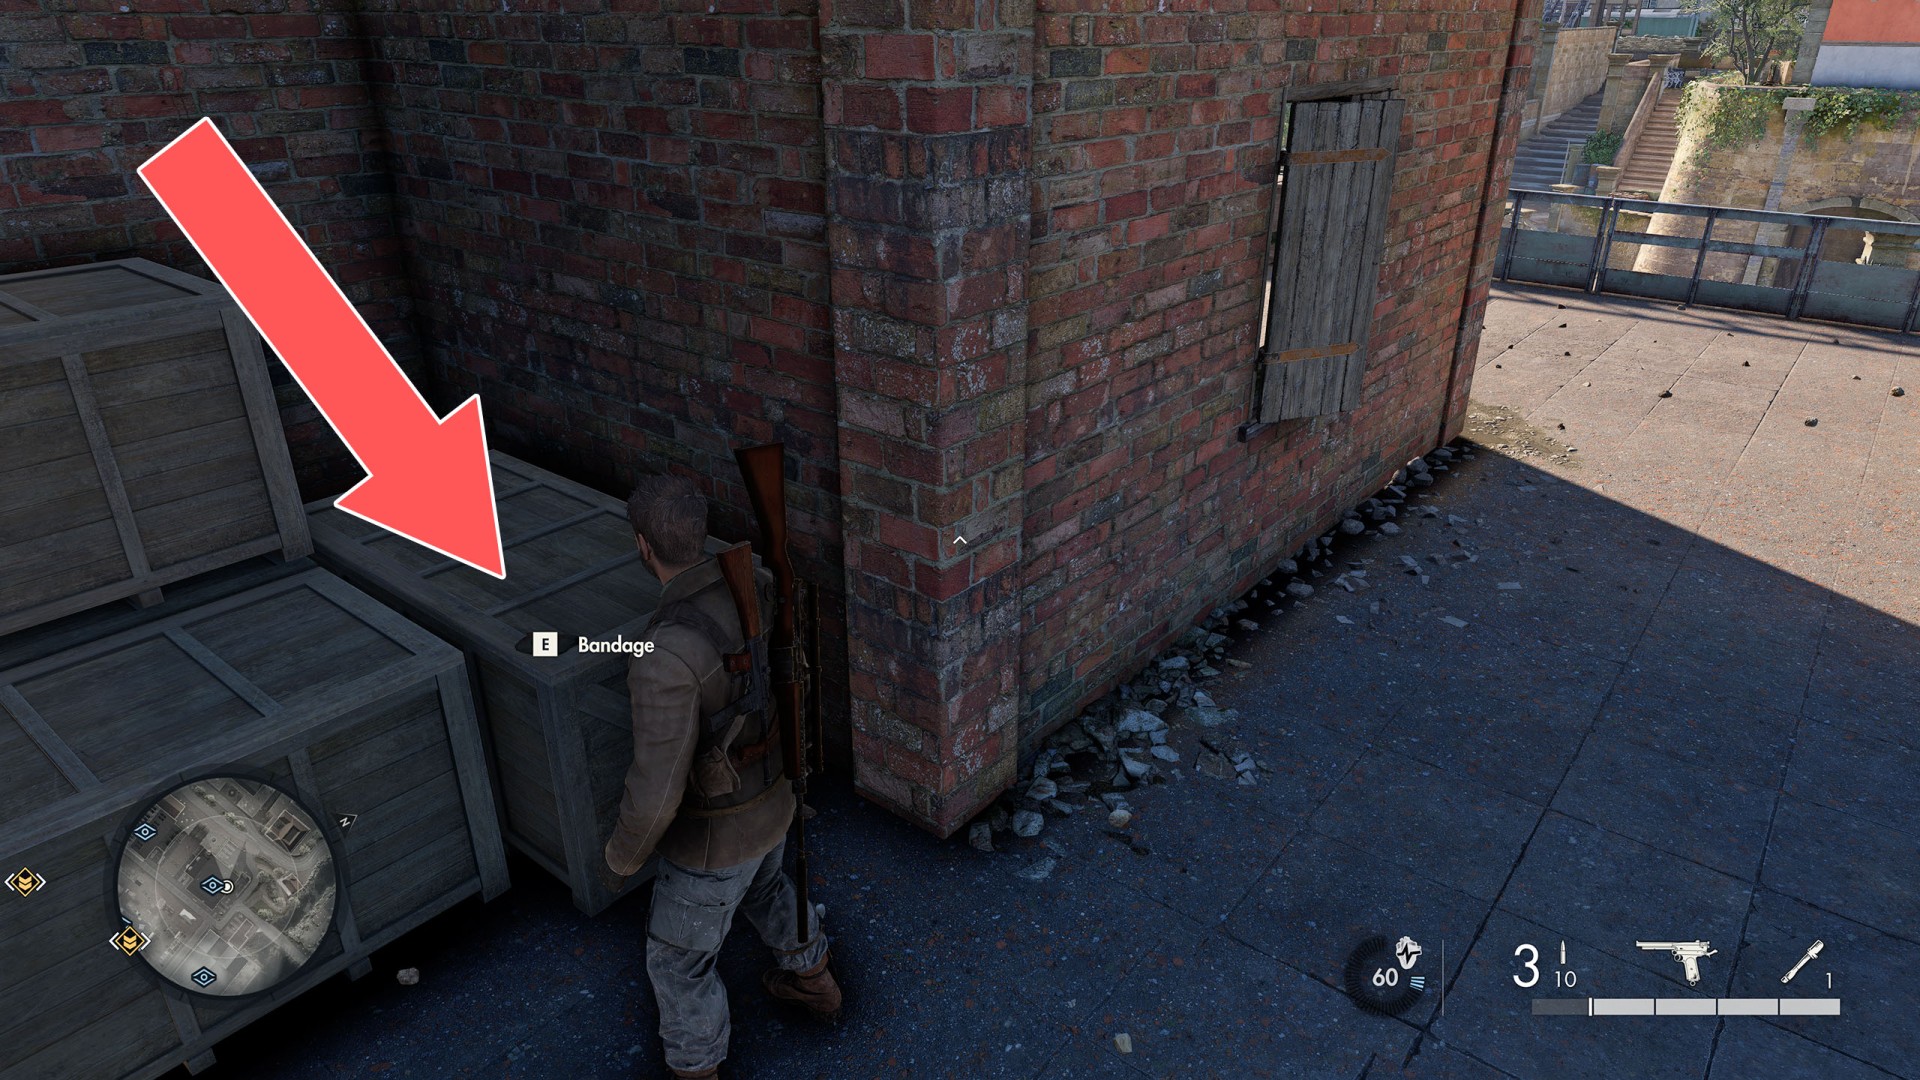
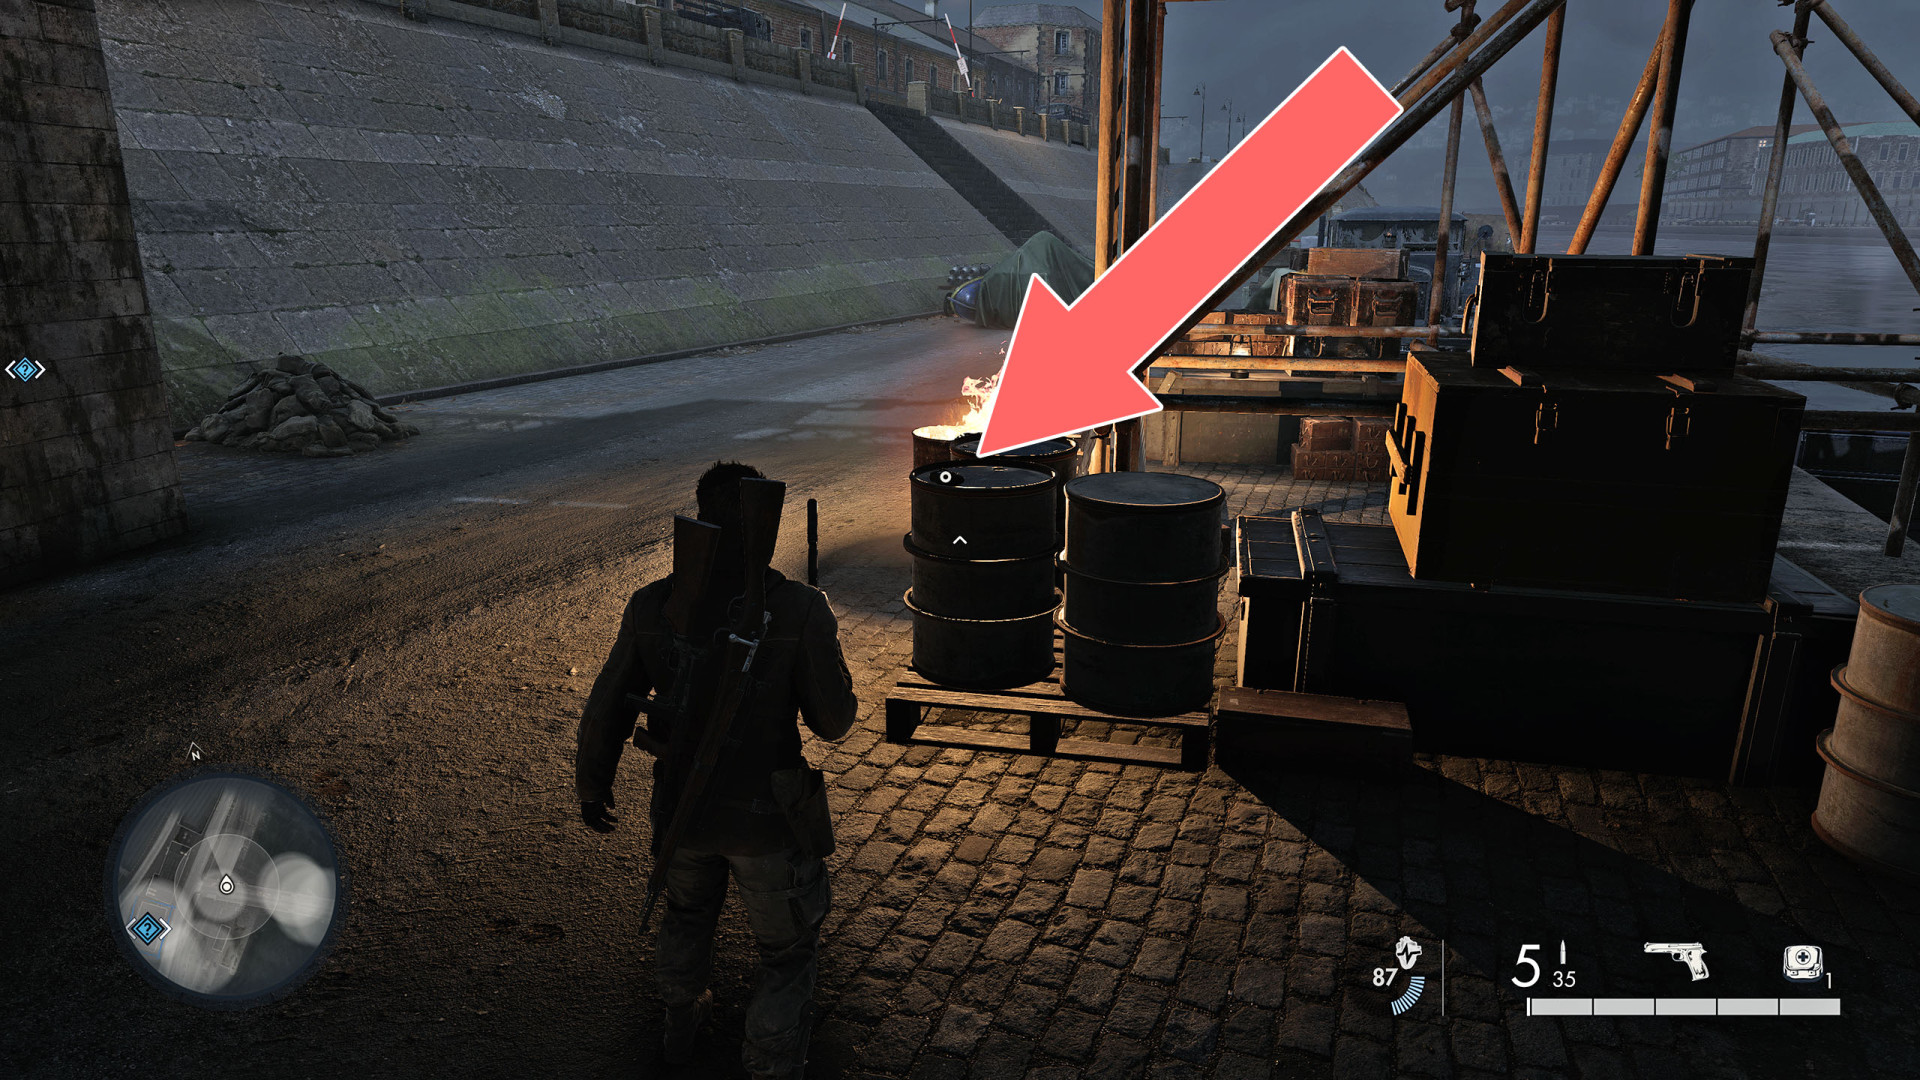
On the barrel, under the bridge.
Bandage

Show the map

34Bandage

Bandage

Show the map

35Bandage

Bandage

Show the map

36Bandage

Bandage

Show the map

37Bandage

Bandage

Show the map

38Bandage

Bandage

Show the map

39Bandage

Bandage

Show the map

40Bandage

Bandage

Show the map

41Bandage

Bandage

Show the map

42Bandage

Bandage

Show the map

43Bandage

Bandage

Show the map

44Bandage

Bandage

Show the map

45Bandage

Bandage

Show the map

46Bandage

Bandage

Show the map

47Bandage

Bandage

Show the map

48Bandage

Bandage

Show the map

49Bandage

Bandage

Show the map

50Bandage

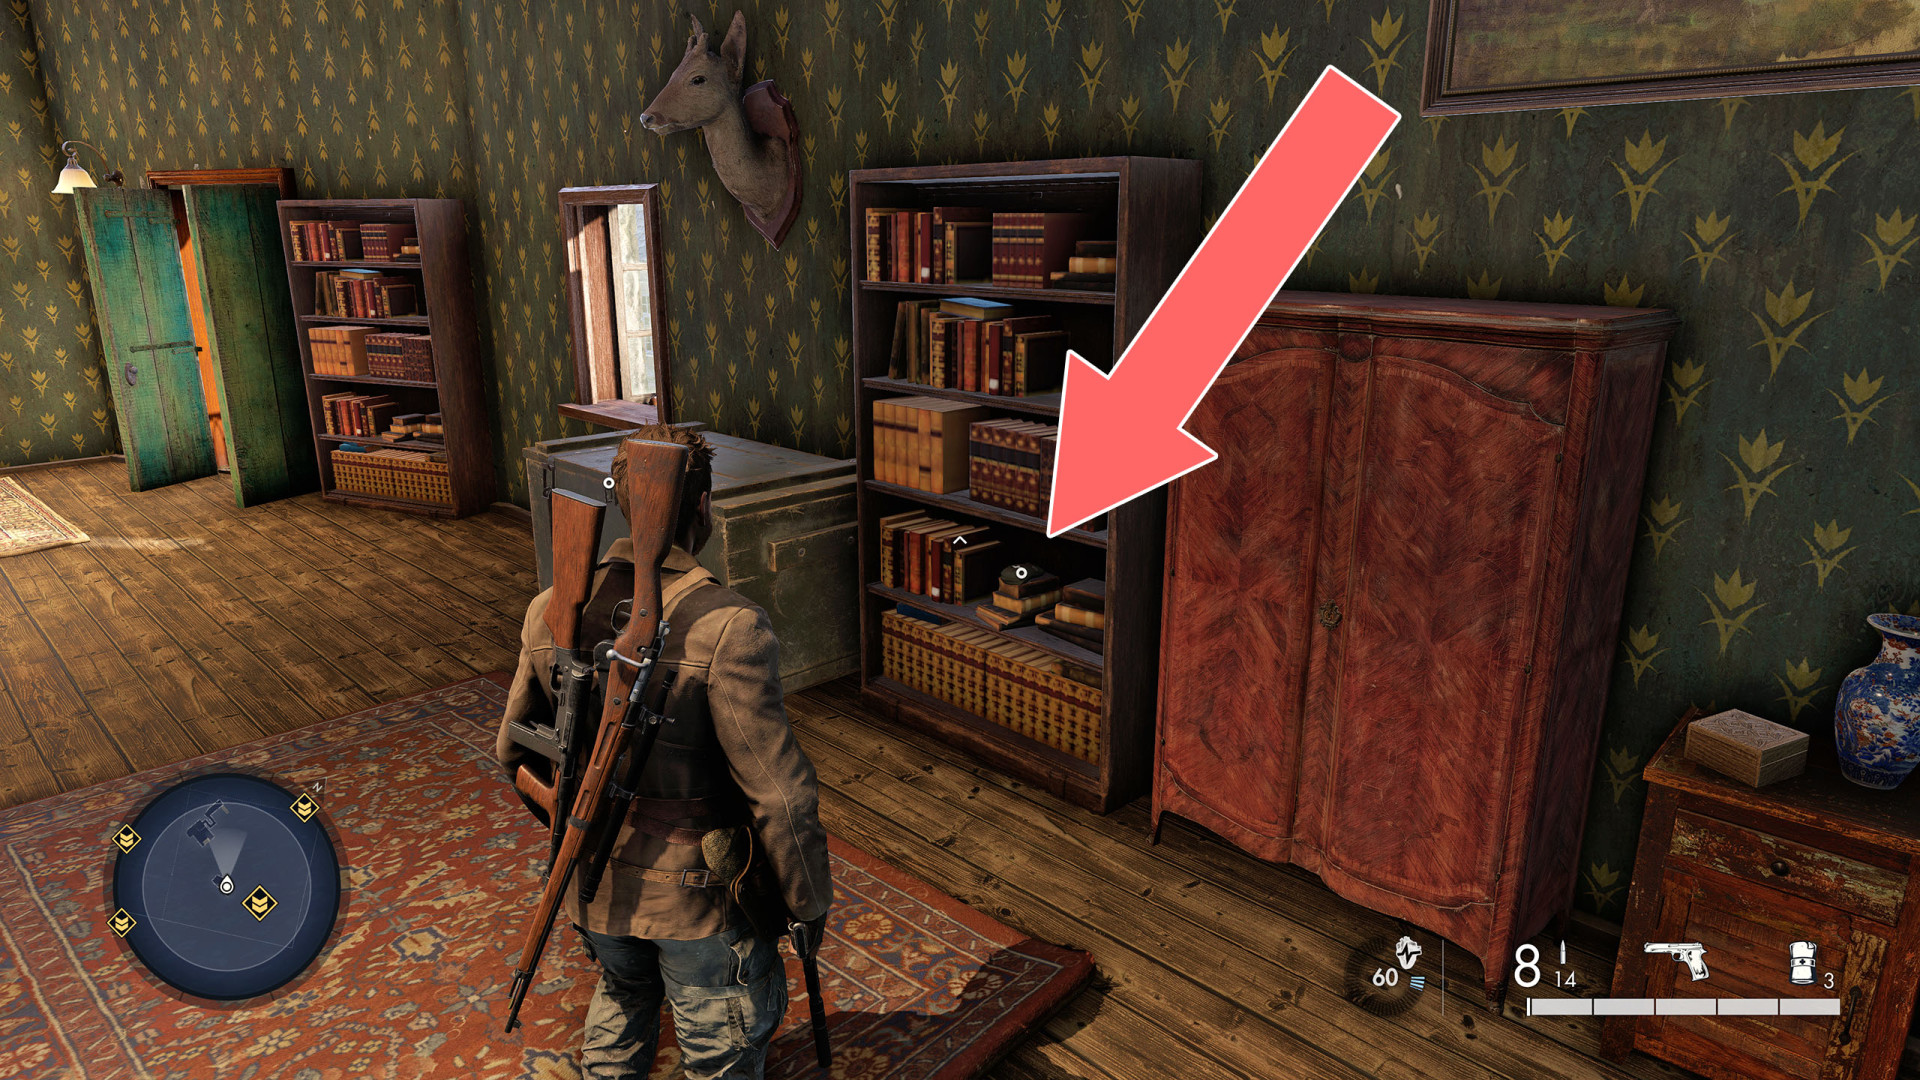
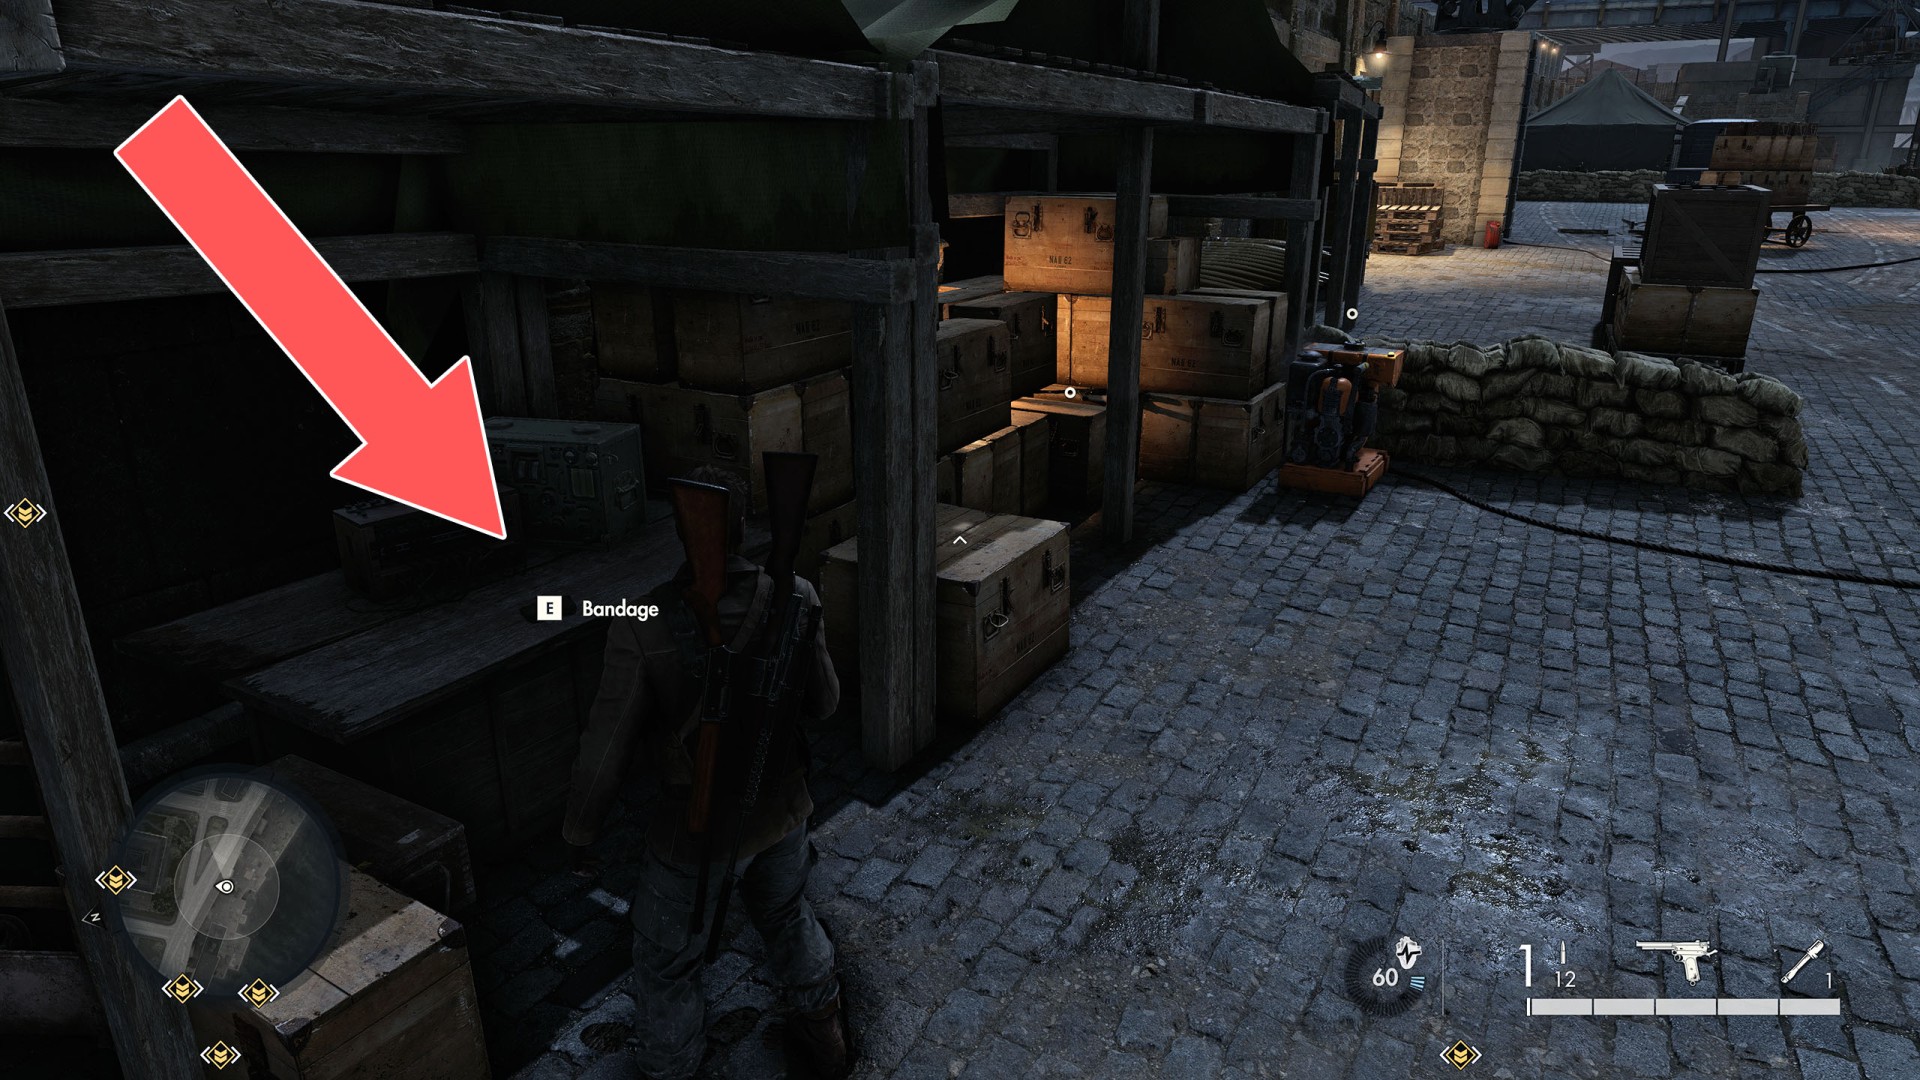
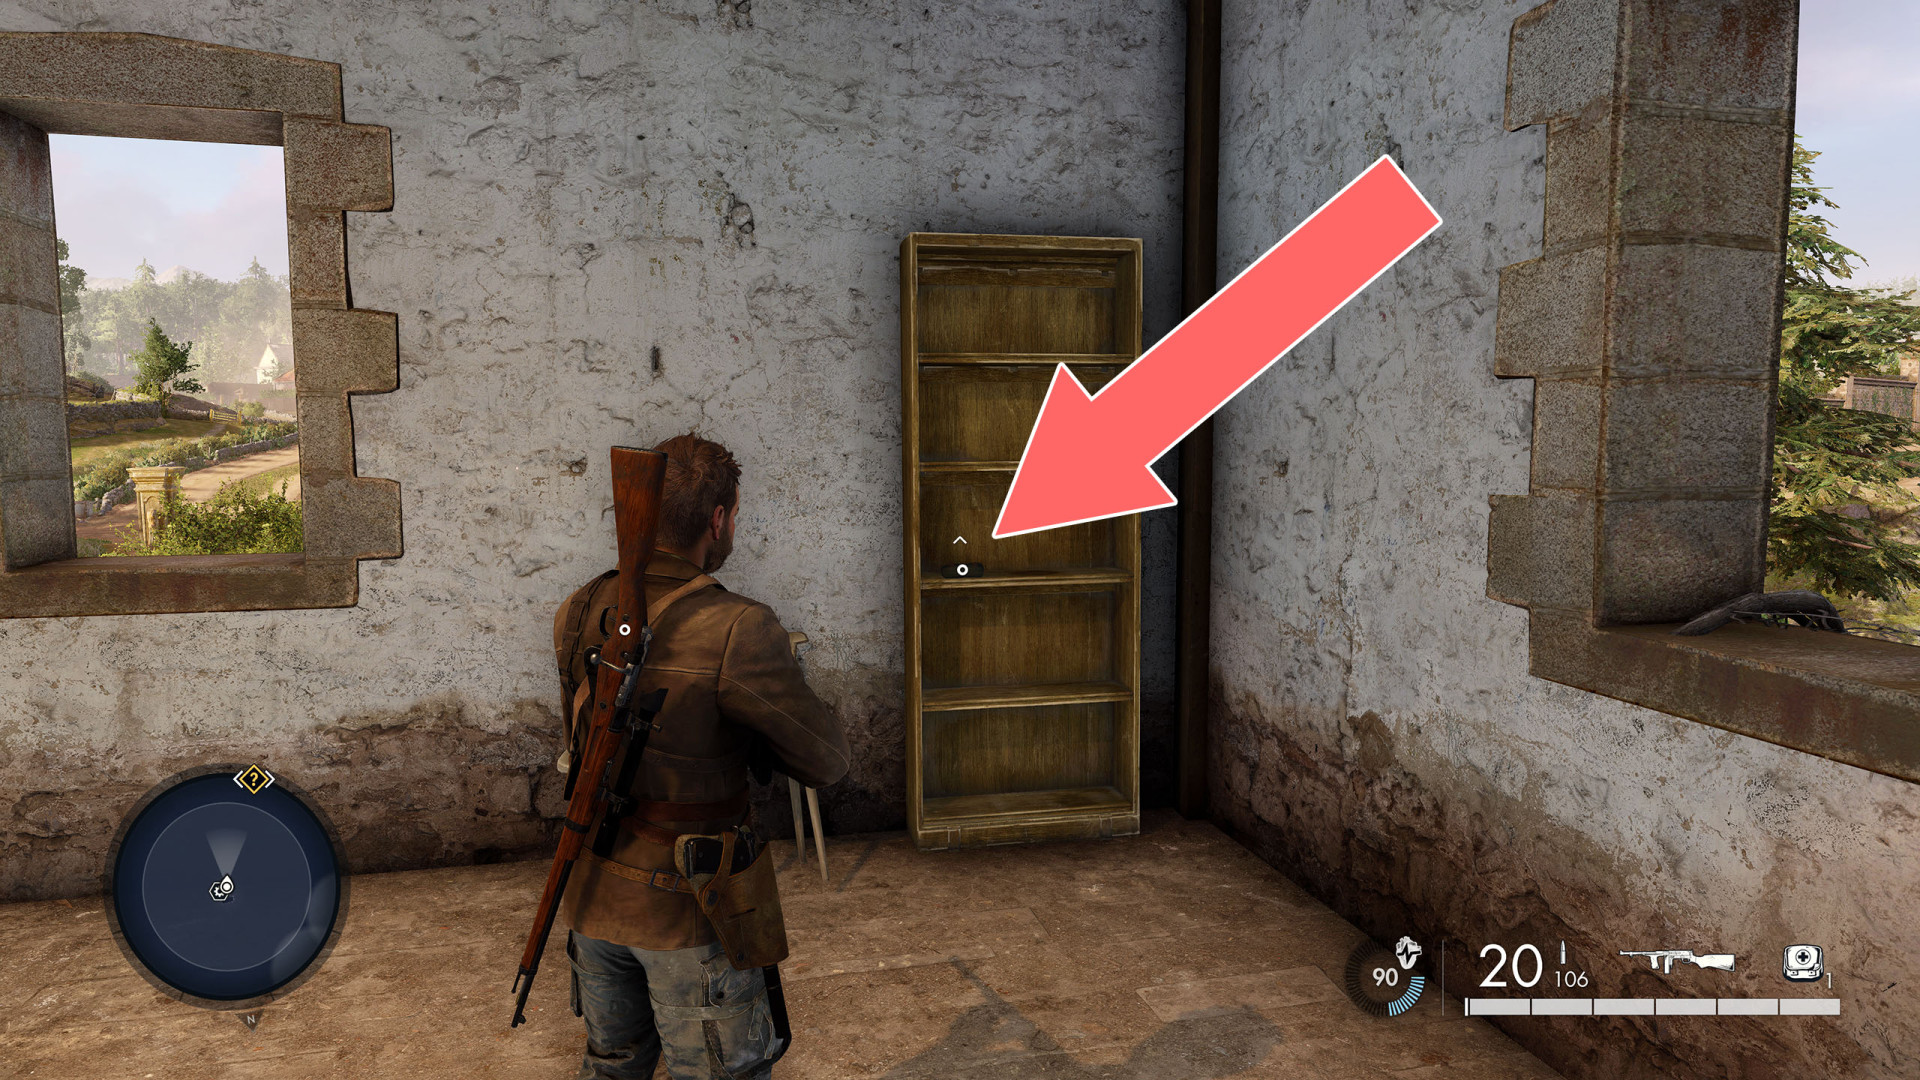
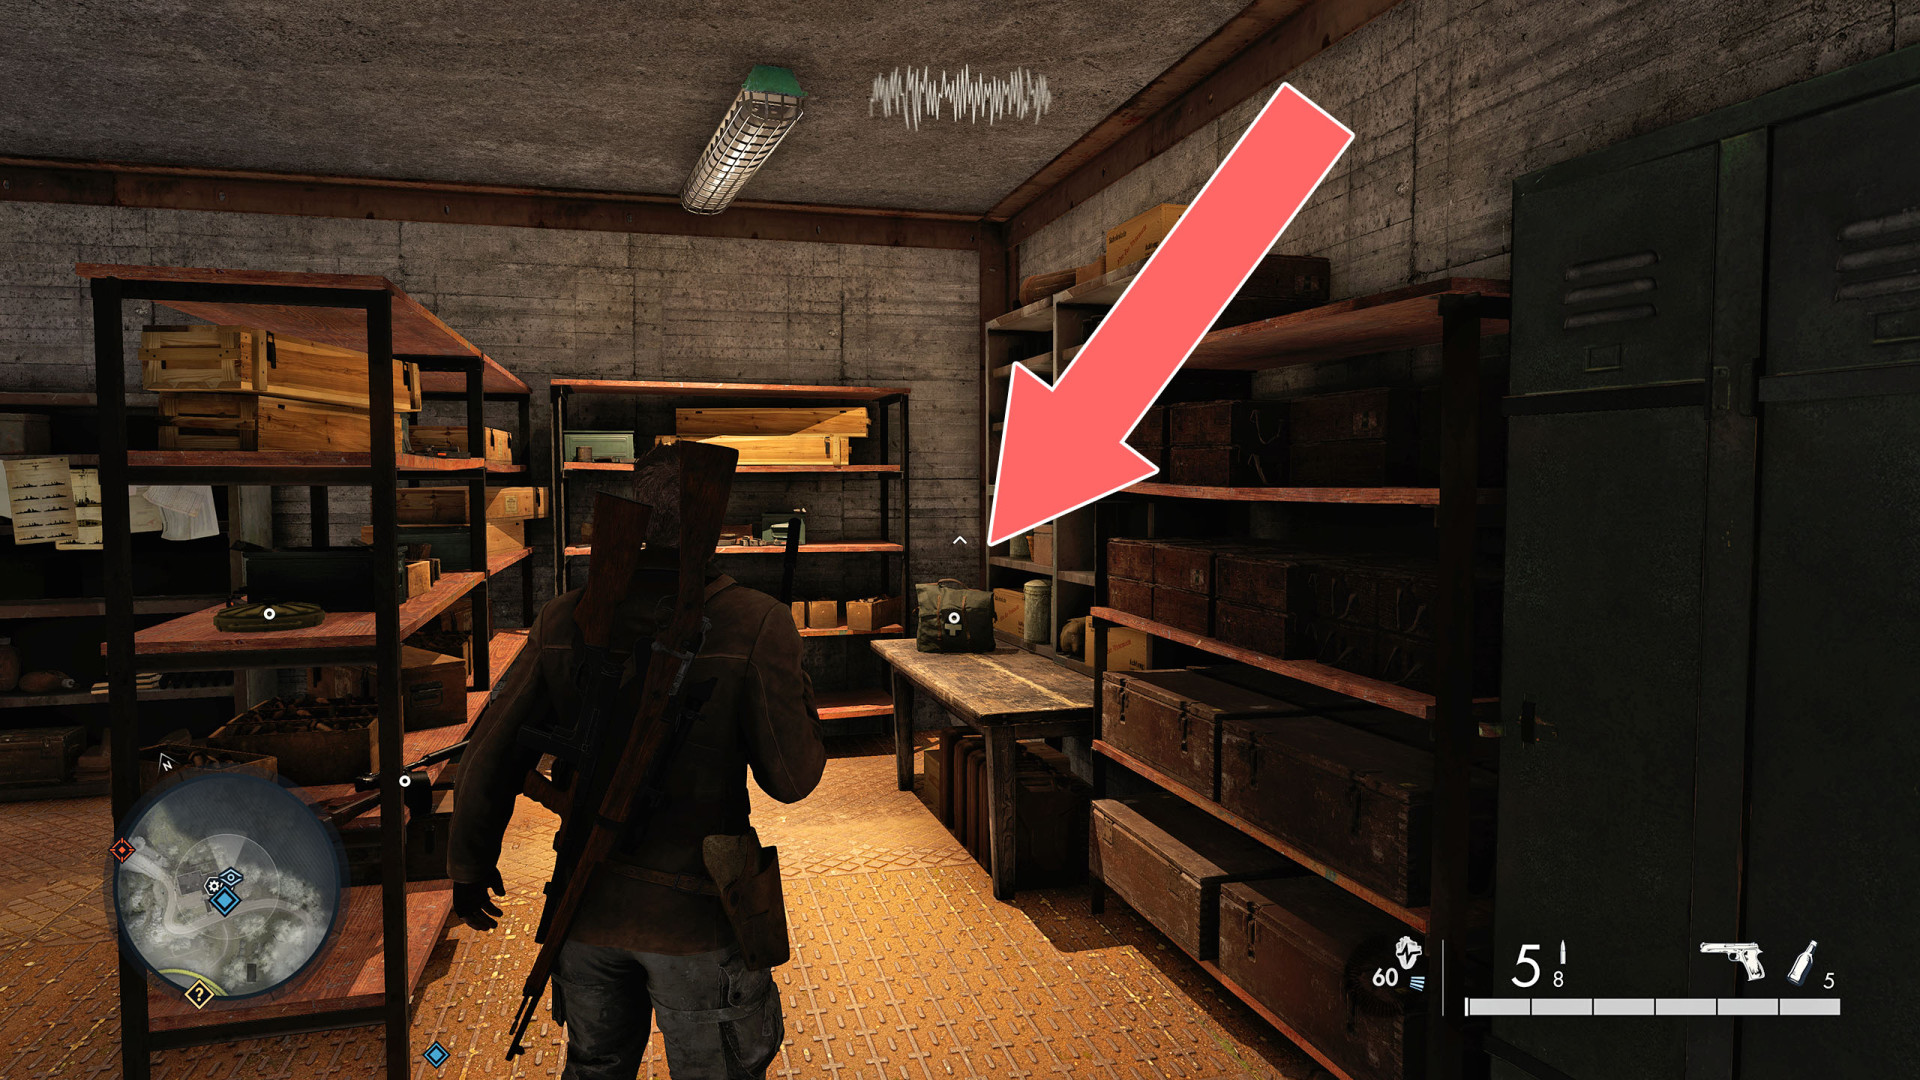
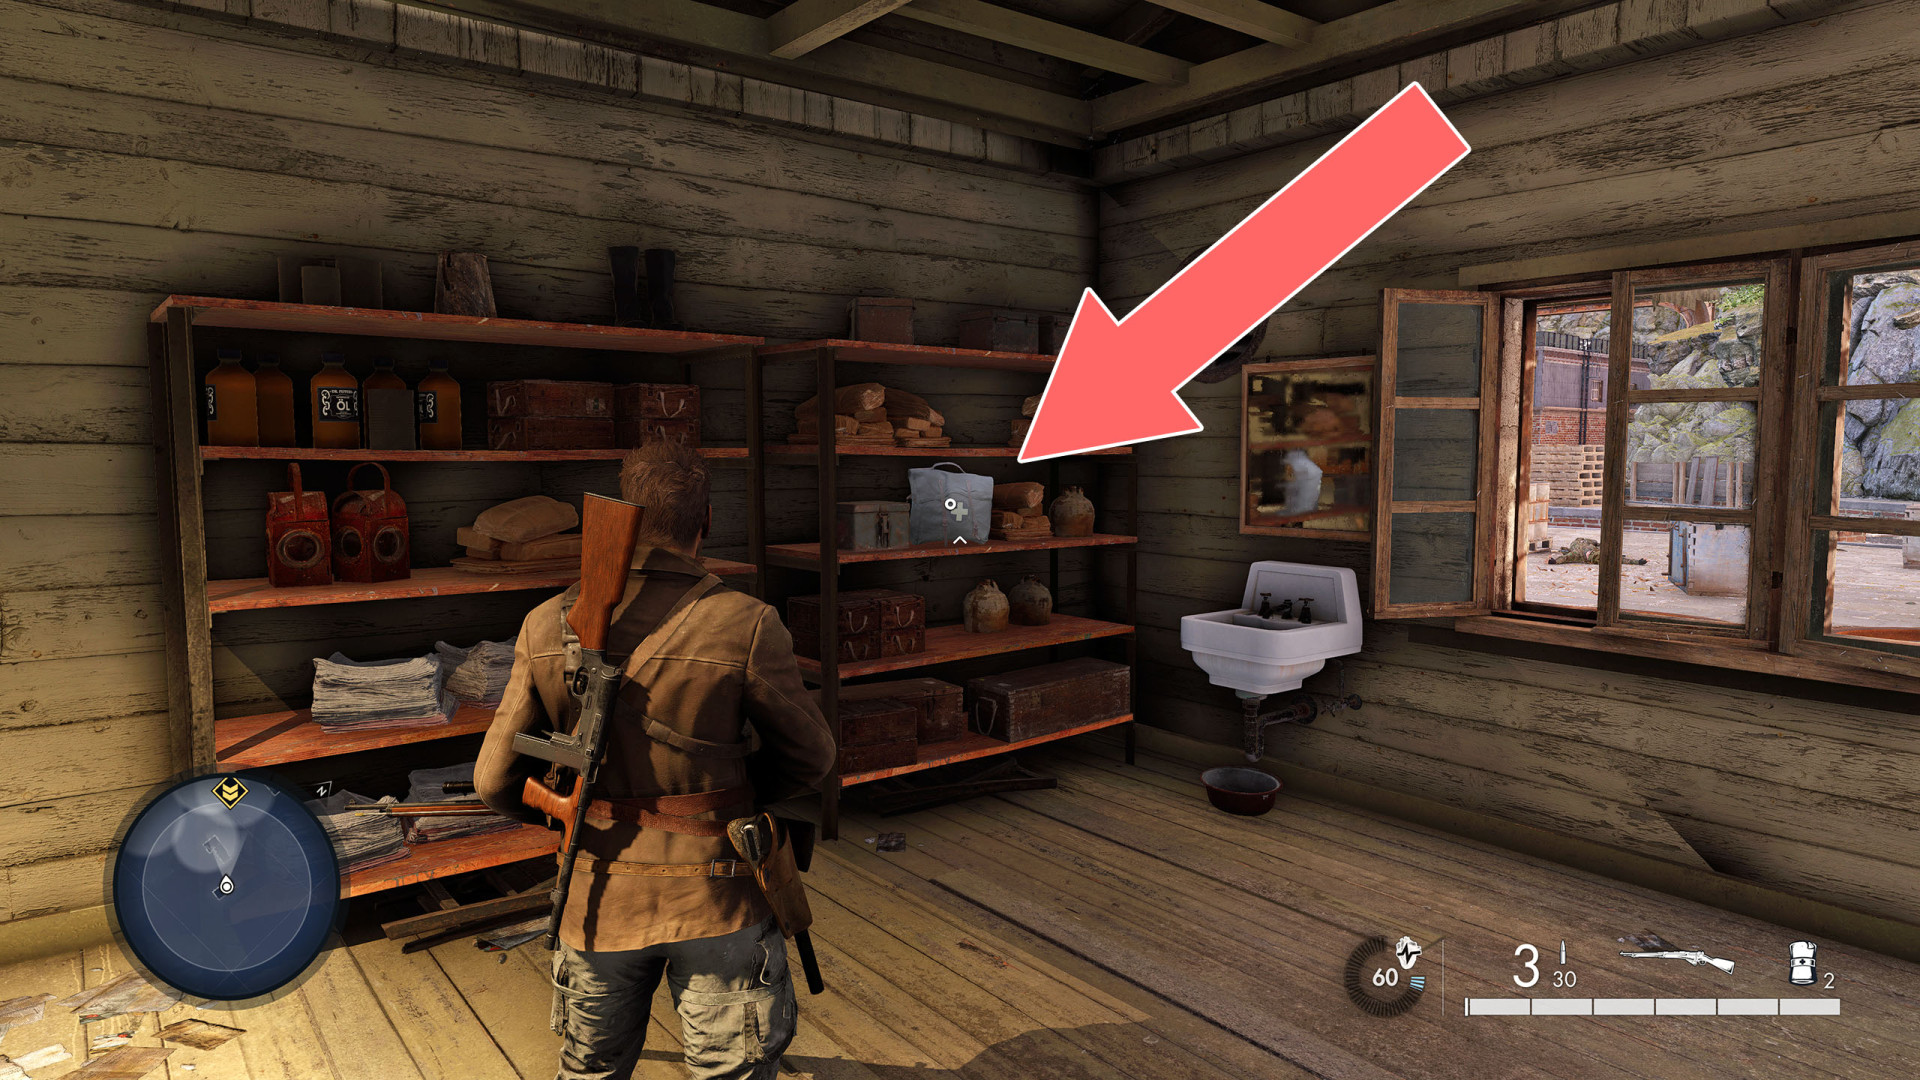
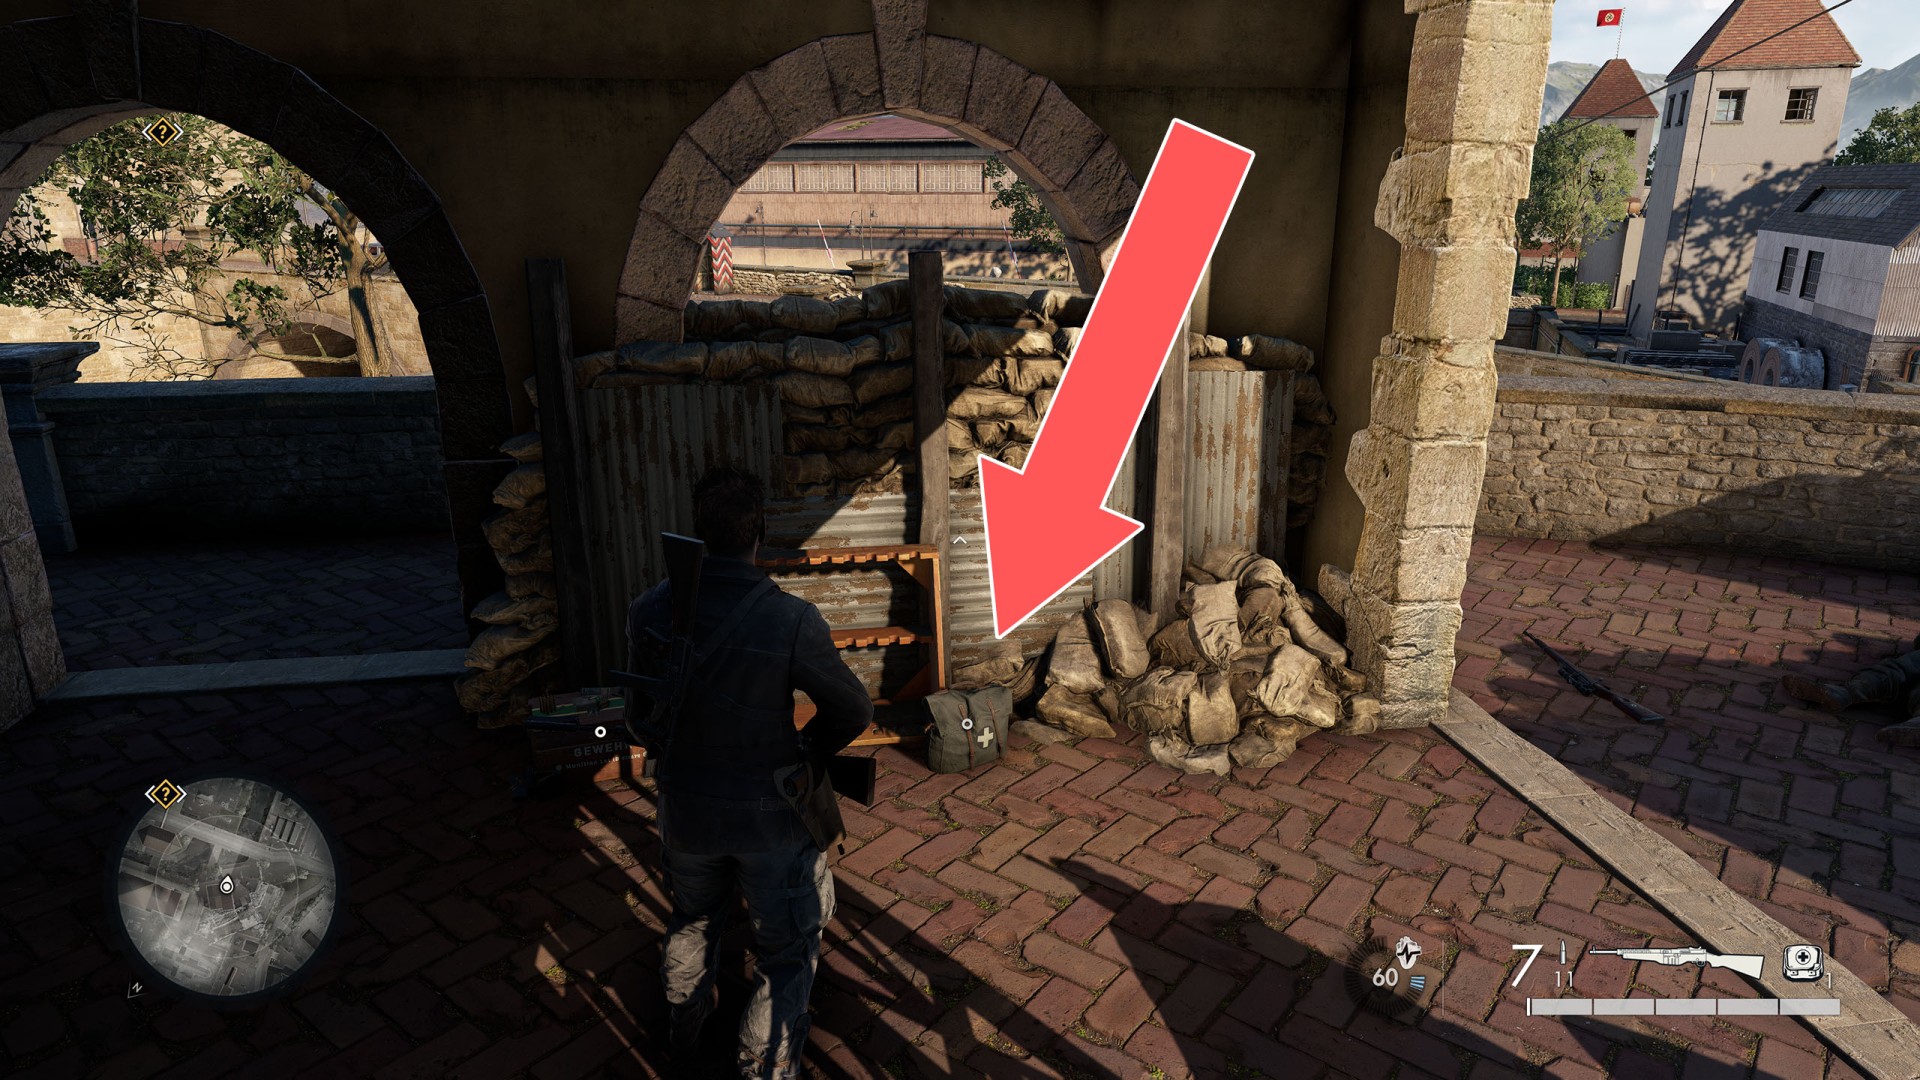
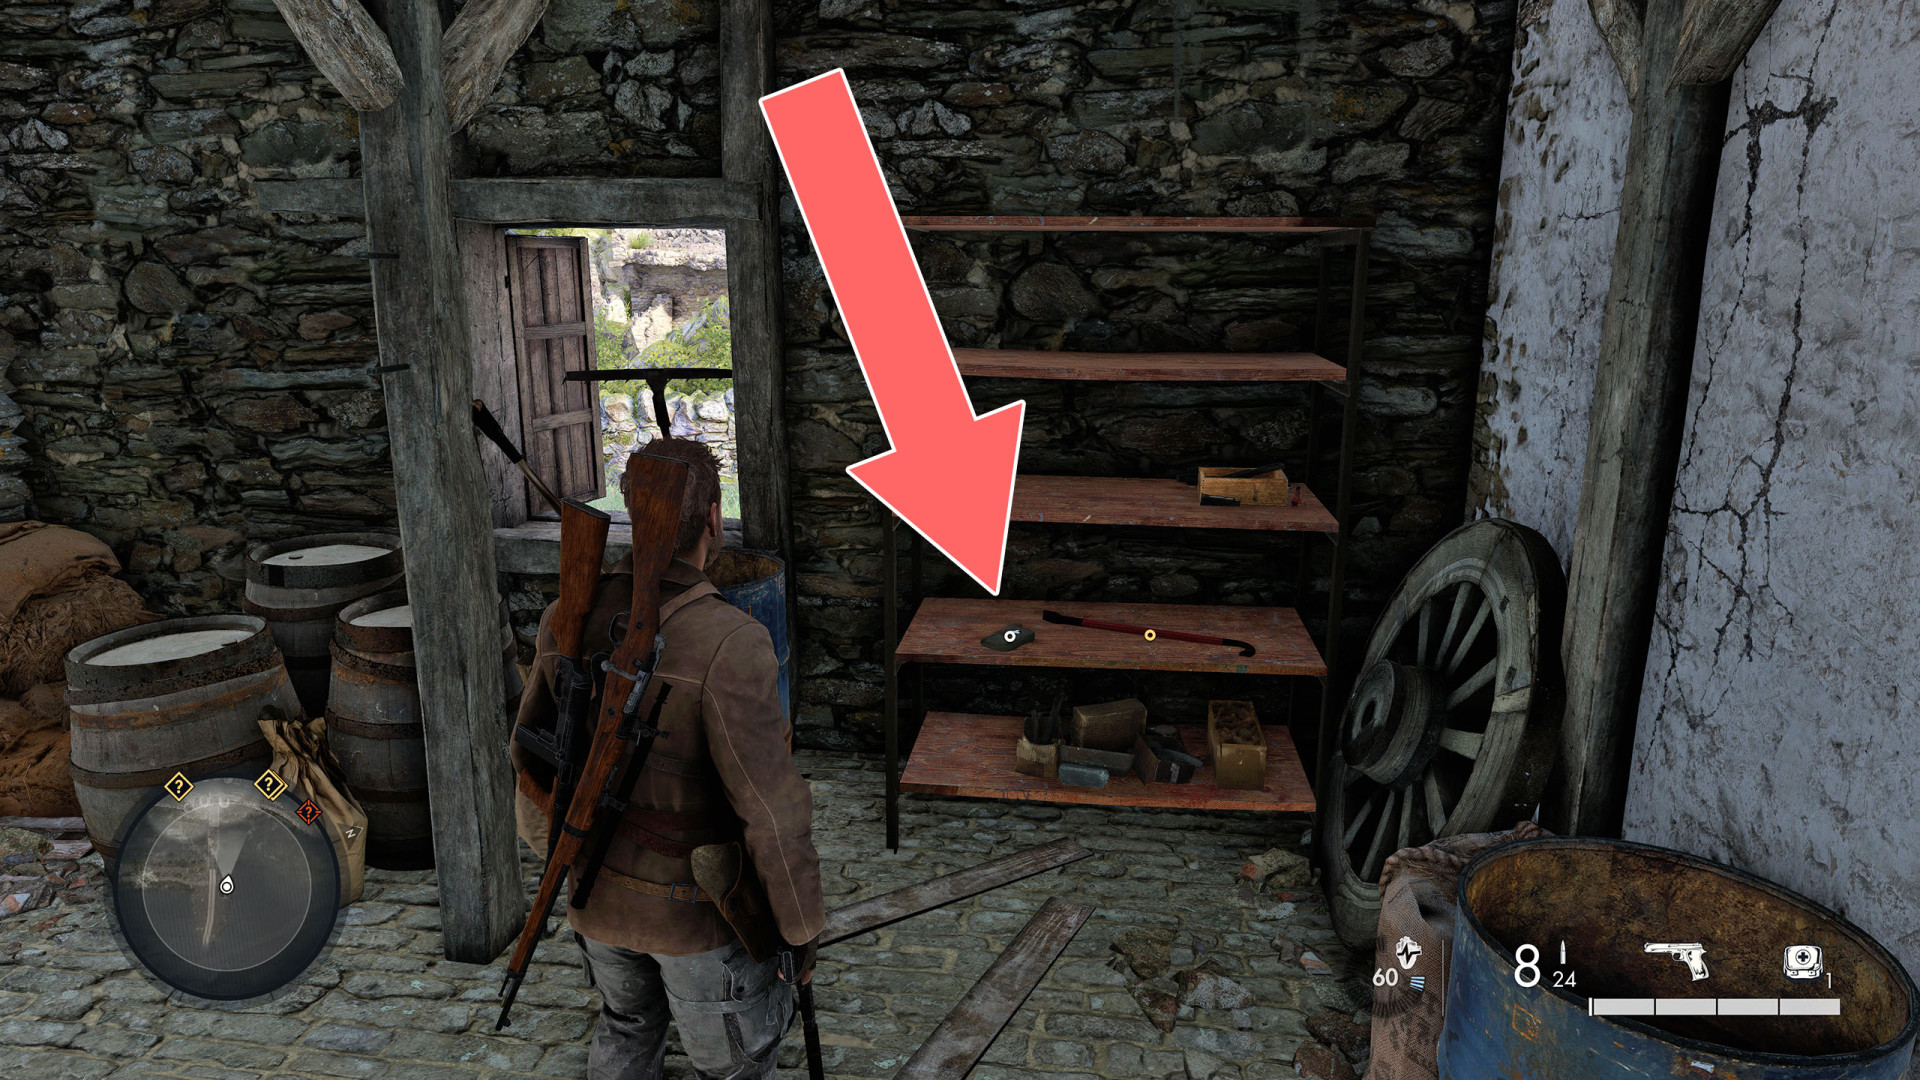
On a shelf standing on the first floor of the building.
Bandage

Show the map

51Bandage

Bandage

Show the map

52Bandage

Bandage

Show the map

53Bandage

Bandage

Show the map

54Bandage

Bandage

Show the map

55Bandage

Bandage

Show the map

56Bandage

Bandage

Show the map

57Bandage

Bandage

Show the map

58Bandage

Bandage

Show the map

59Bandage

Bandage

Show the map

60Bandage

Bandage

Show the map

61Bandage

Bandage

Show the map

62Bandage

Bandage

Show the map

63Bandage

Bandage

Show the map

64Bandage

Bandage

Show the map

65Bandage

Bandage

Show the map

66Bandage

Bandage

Show the map

67Bandage

Bandage

Show the map

68Bandage

Bandage

Show the map

69Bandage

Bandage

Show the map

70Bandage

Bandage

Show the map

71Bandage

Bandage

Show the map

72Bandage

Bandage

Show the map

73Bandage

Bandage

Show the map

74Bandage

Bandage

Show the map

75Bandage

Bandage

Show the map

76Bandage x2

Bandage x2

Show the map

77Bandage x2

Bandage x2

Show the map

78Bandage x2

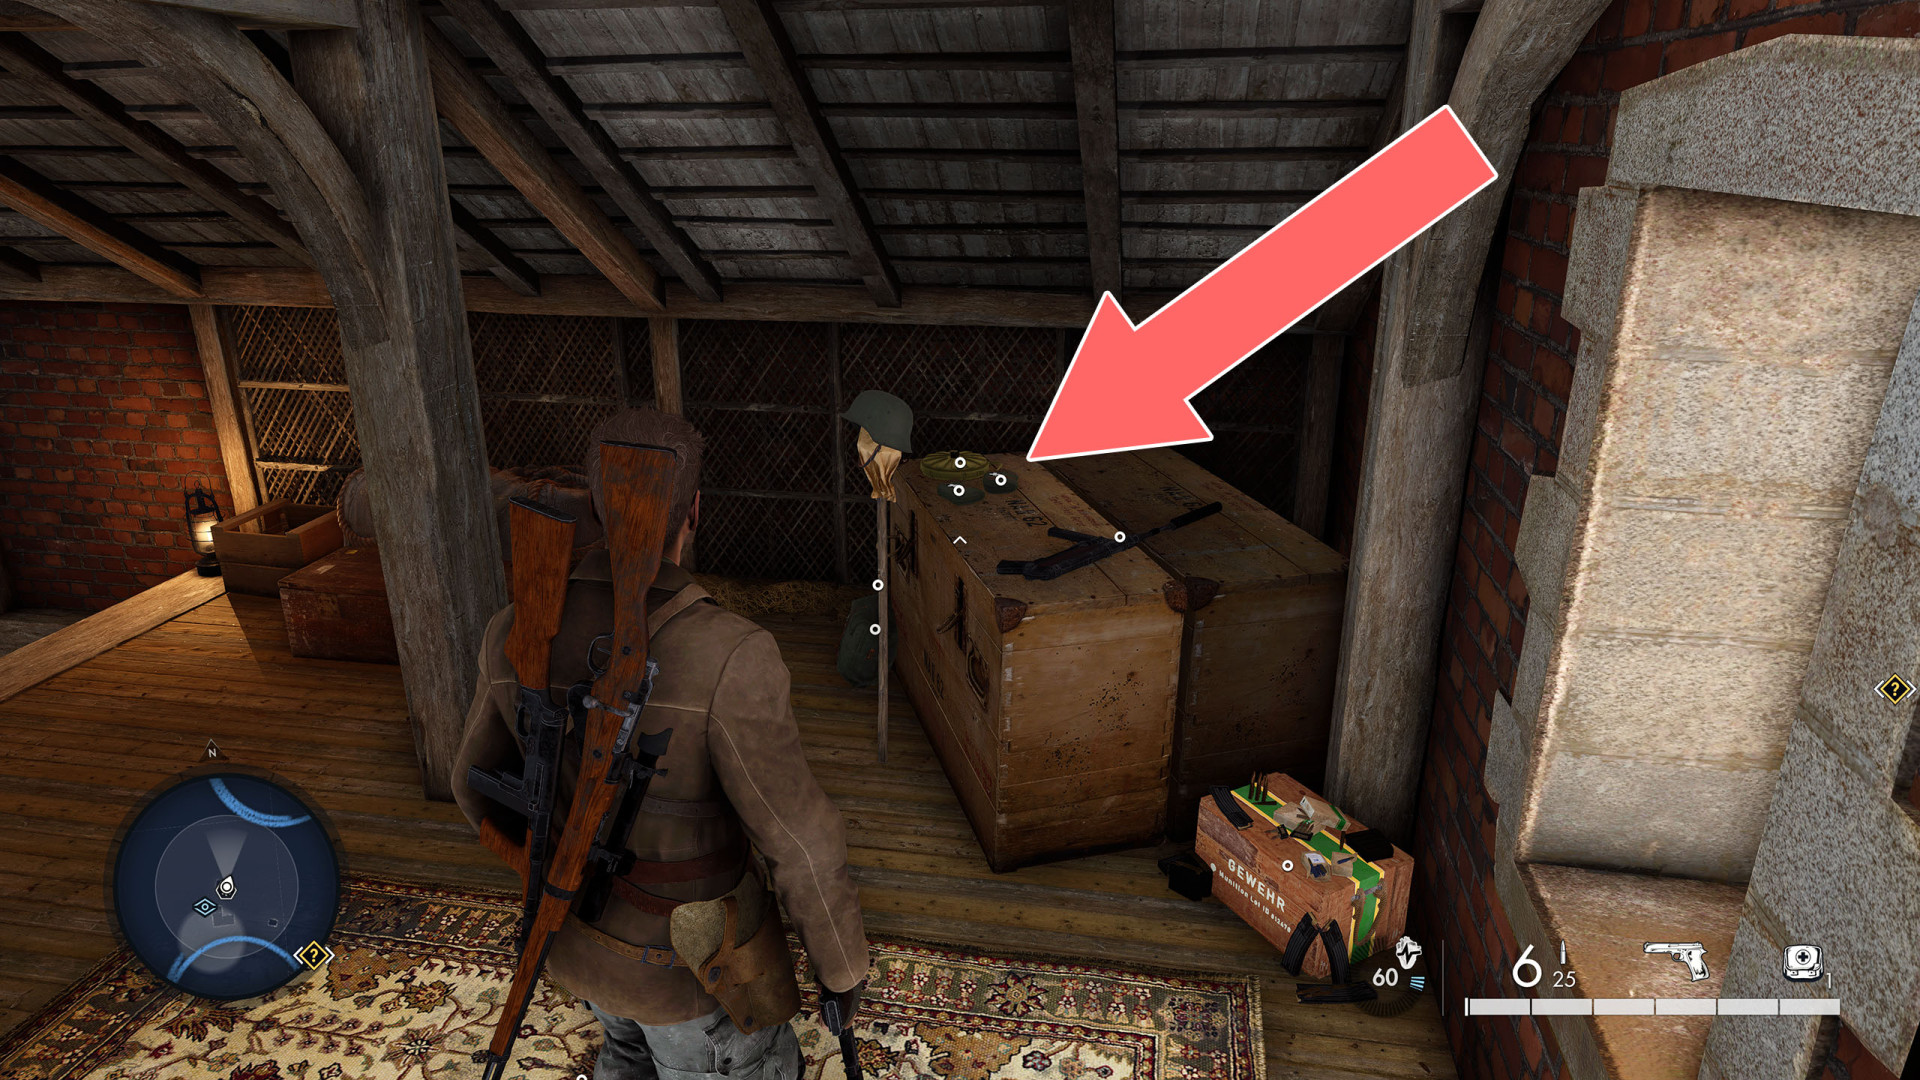
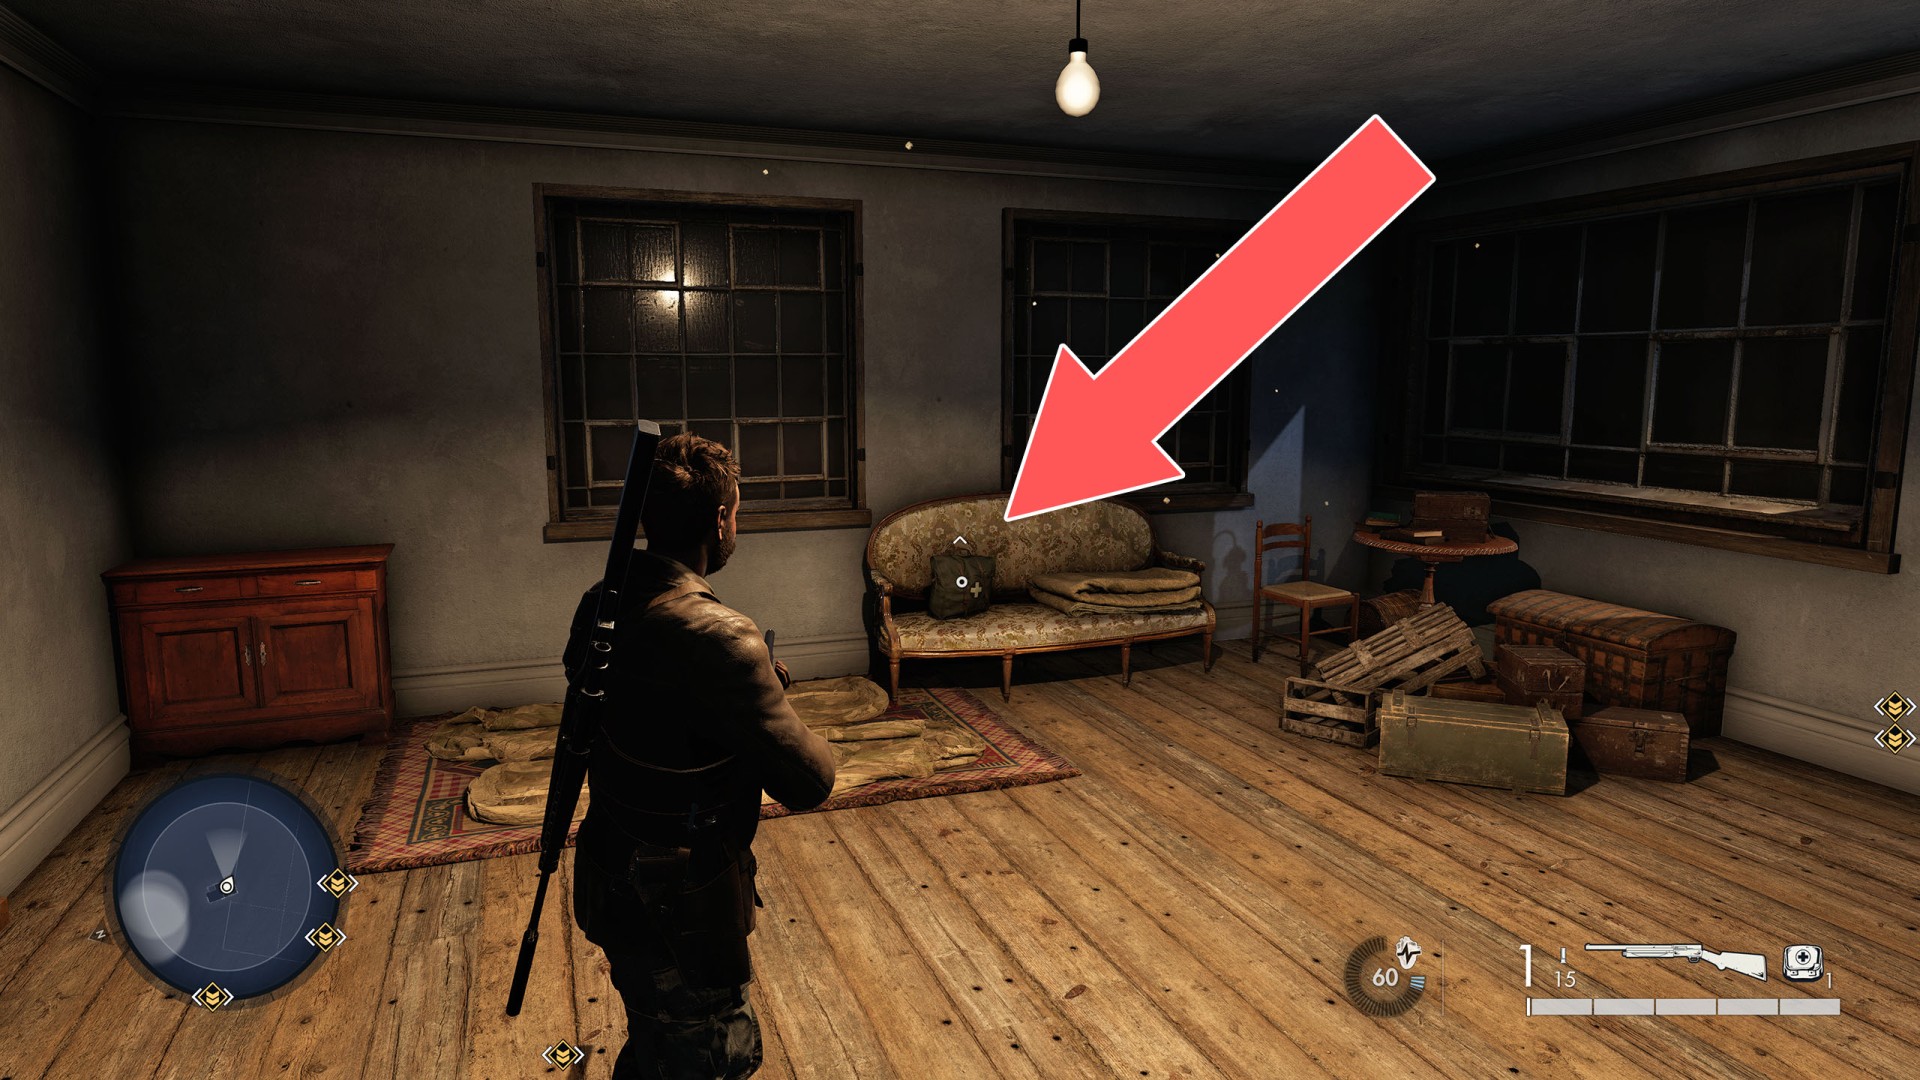
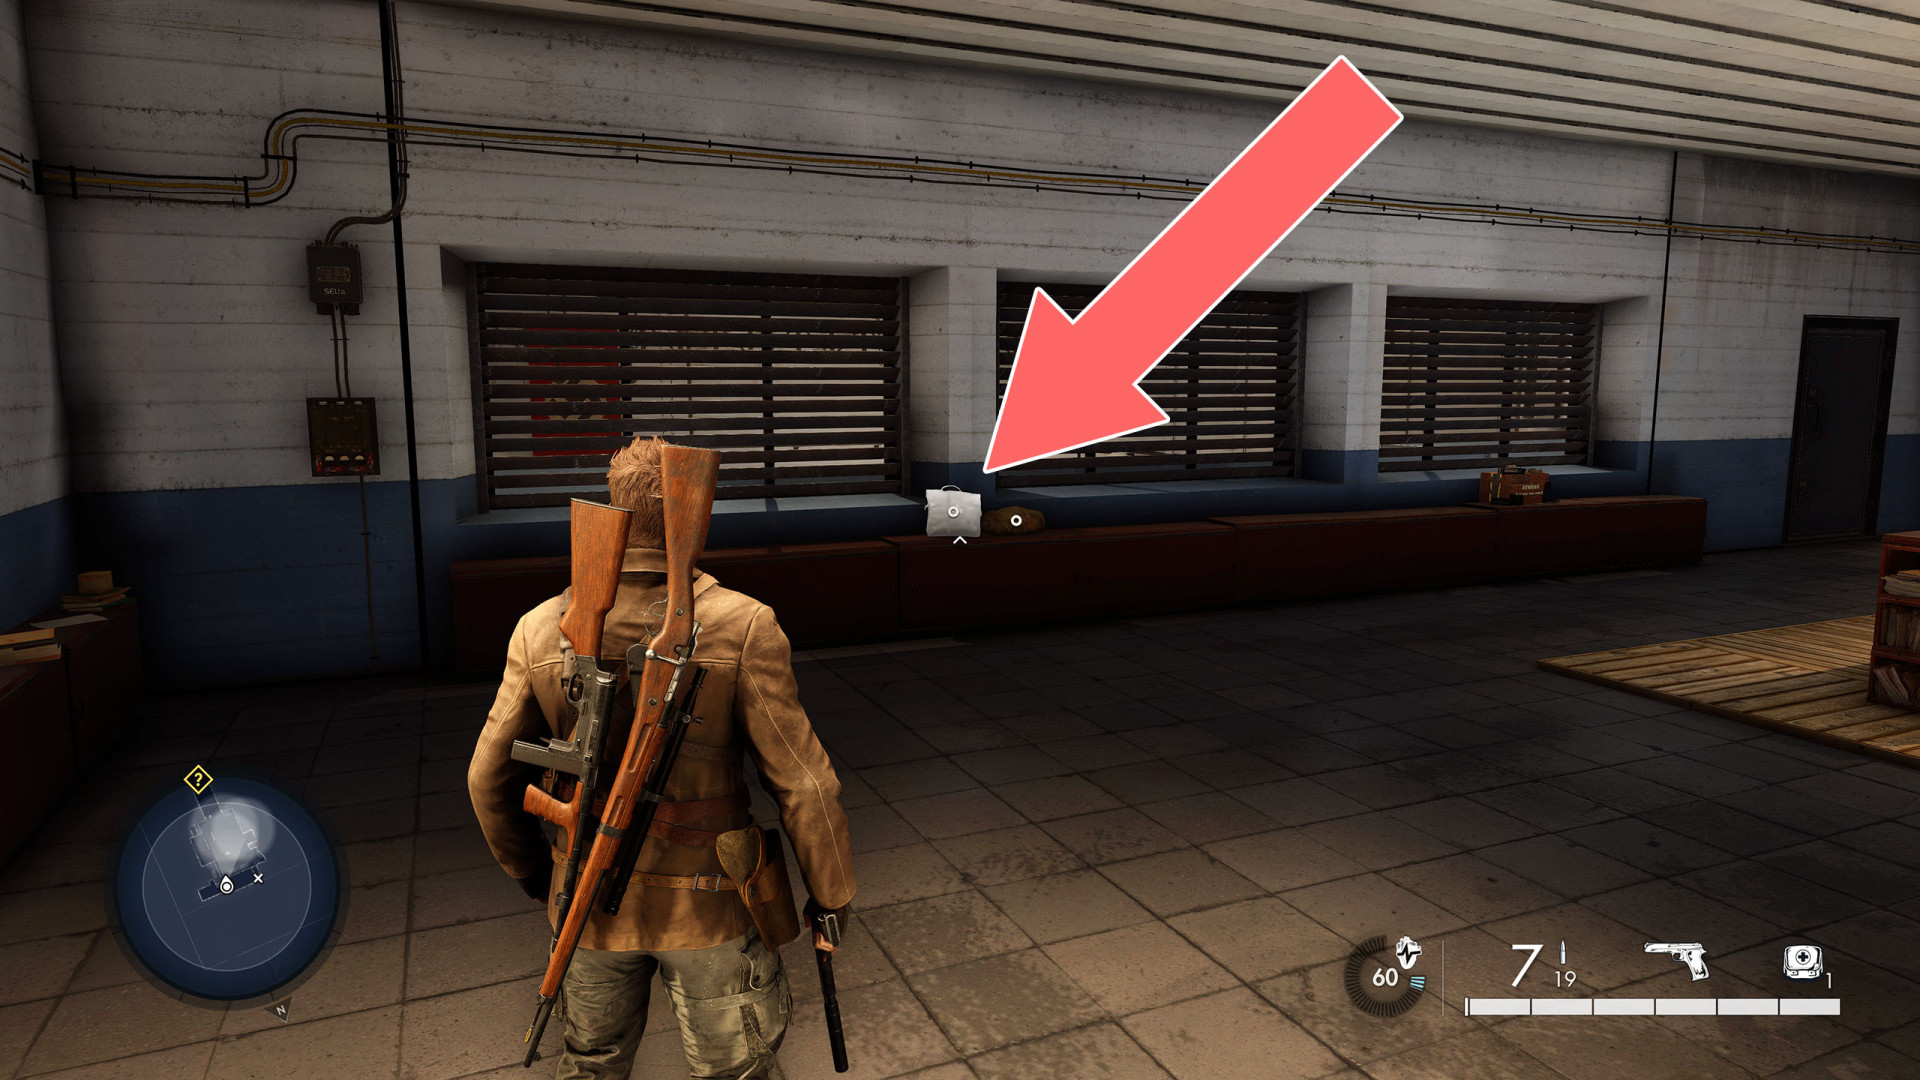
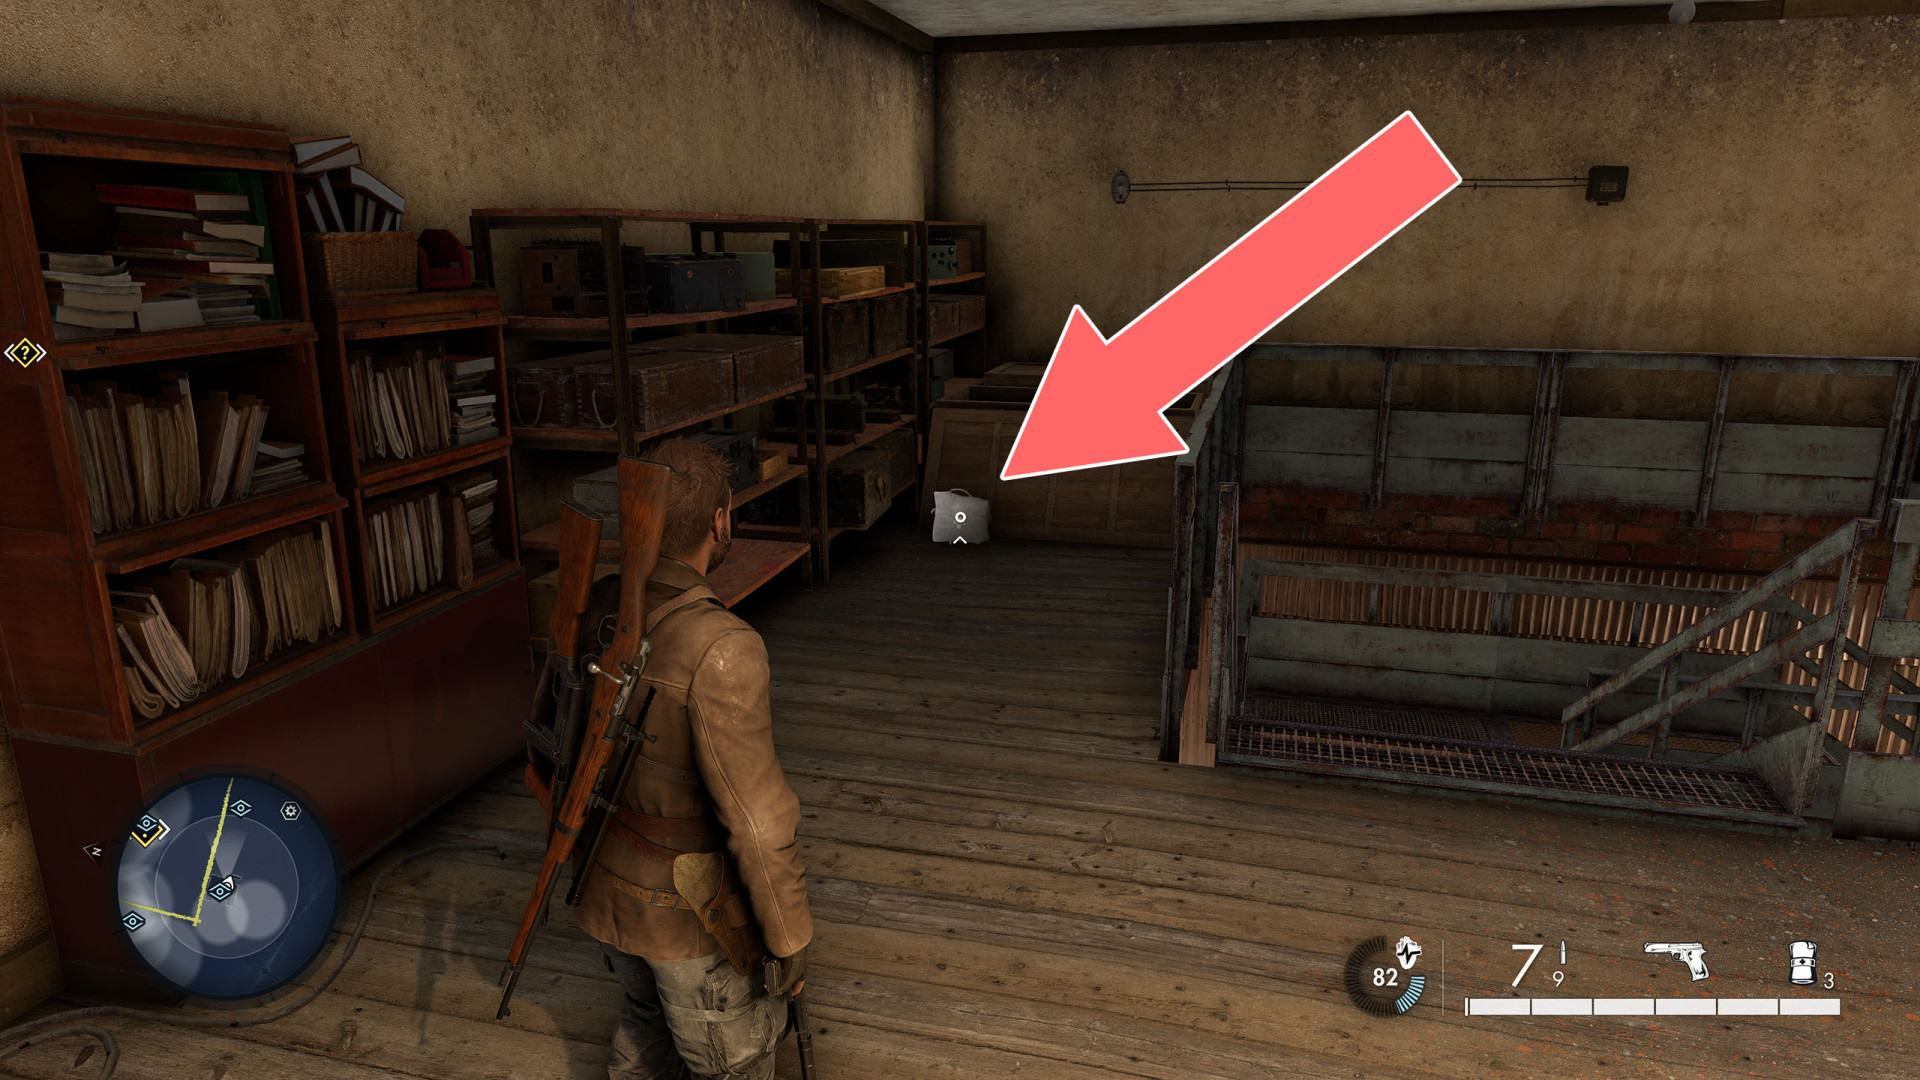
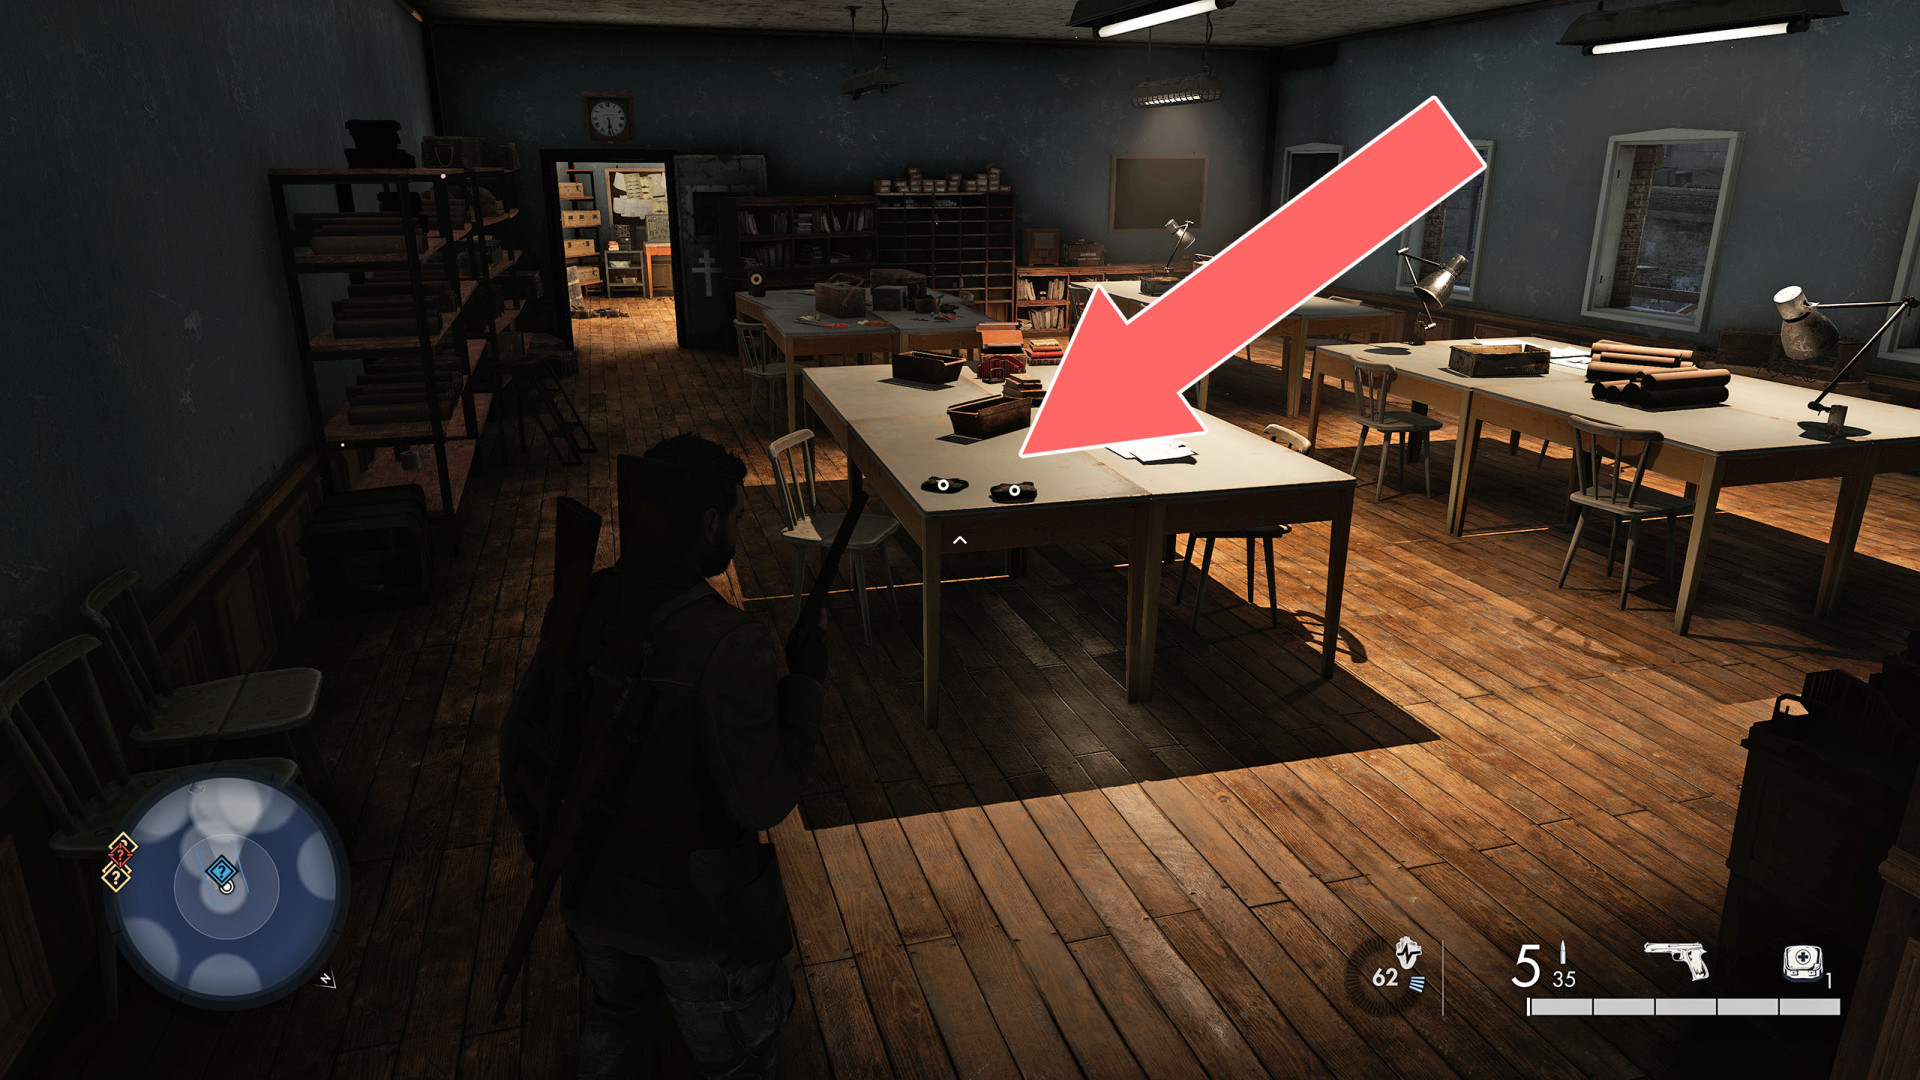
On the upper floor of the building.
Bandage x2

Show the map

79Bandage x2

Bandage x2

Show the map

80Bandage x2

Bandage x2

Show the map

81Bandage x2

Bandage x2

Show the map

82Bandage x2

Bandage x2

Show the map

83Bandage x2

Bandage x2

Show the map

84Bandage x2

Bandage x2

Show the map

85Bandage x2

Bandage x2

Show the map

86Bandage x2

Bandage x2

Show the map

87Bandage x2

Bandage x2

Show the map

88Med Kit

Med Kit

Show the map

89Med Kit

Med Kit

Show the map

90Med Kit

Med Kit

Show the map

91Med Kit

Med Kit

Show the map

92Med Kit

Med Kit

Show the map

93Med Kit

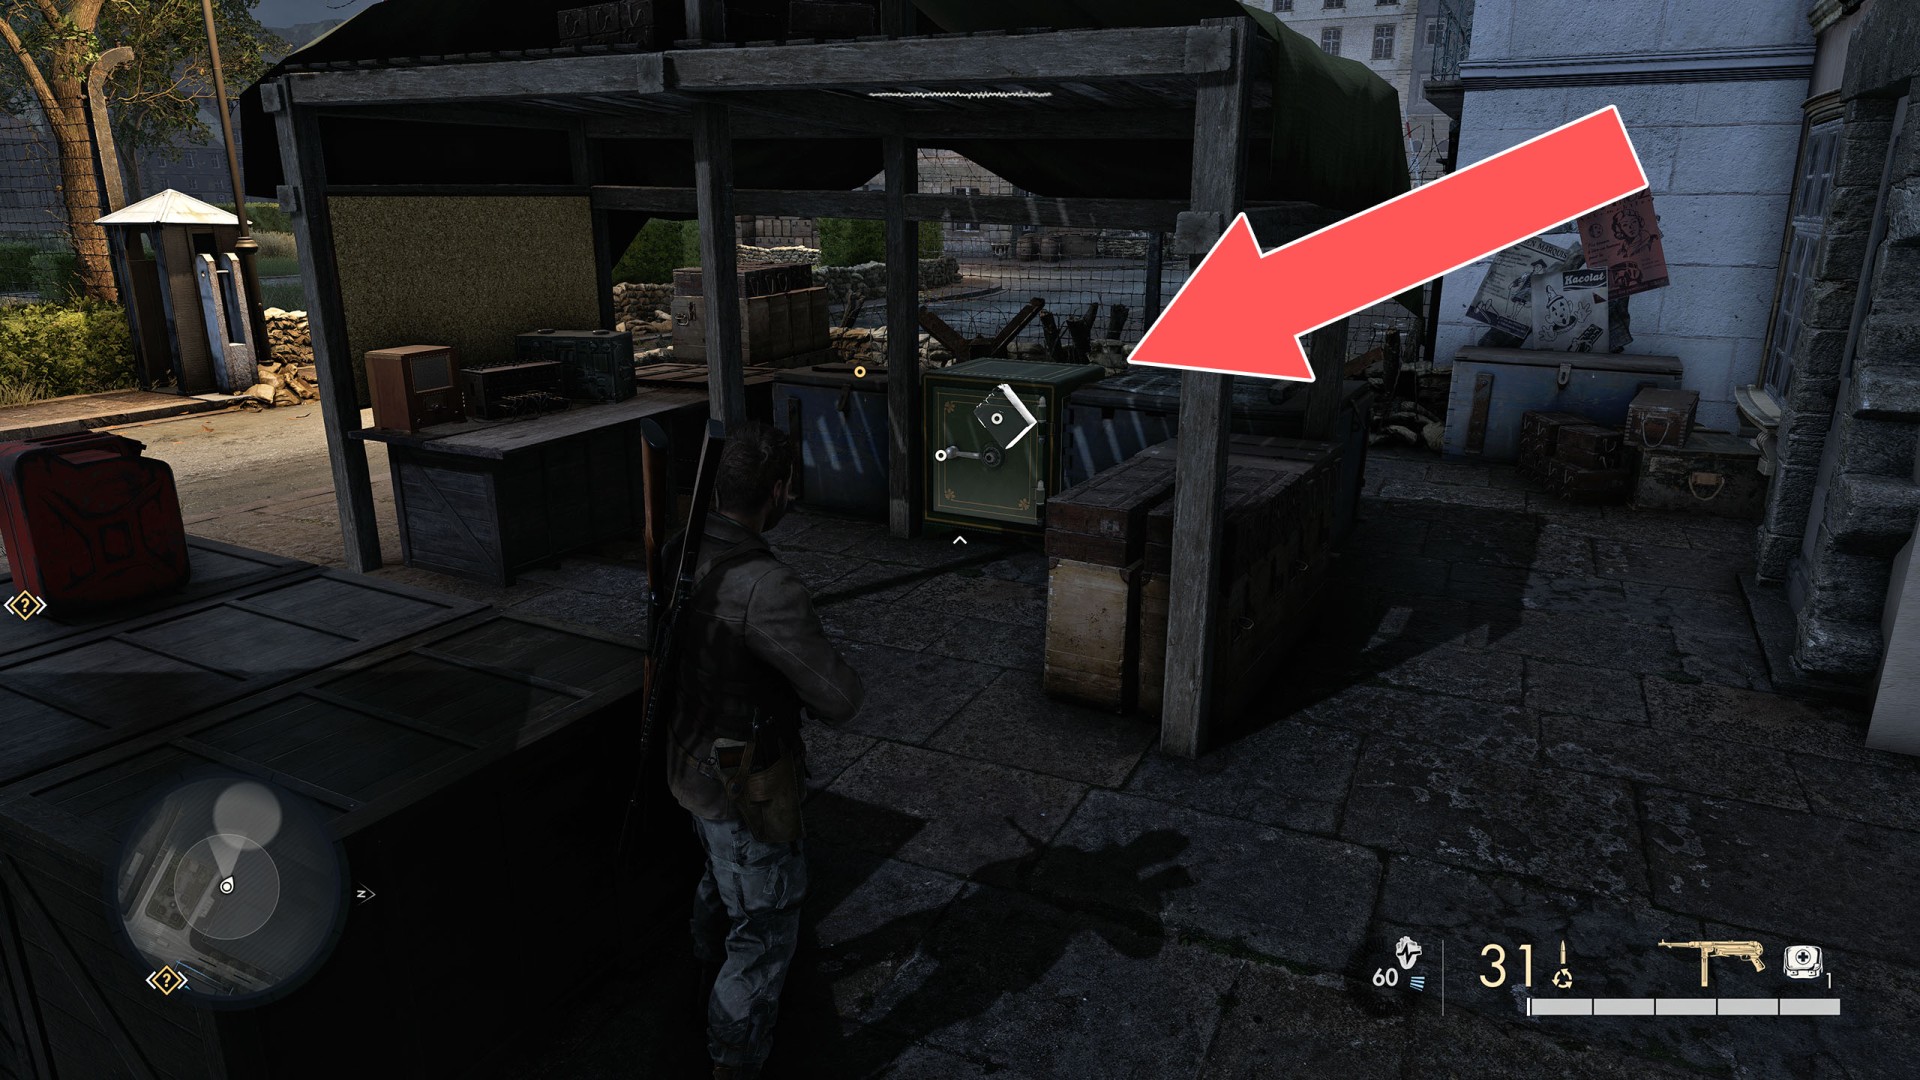
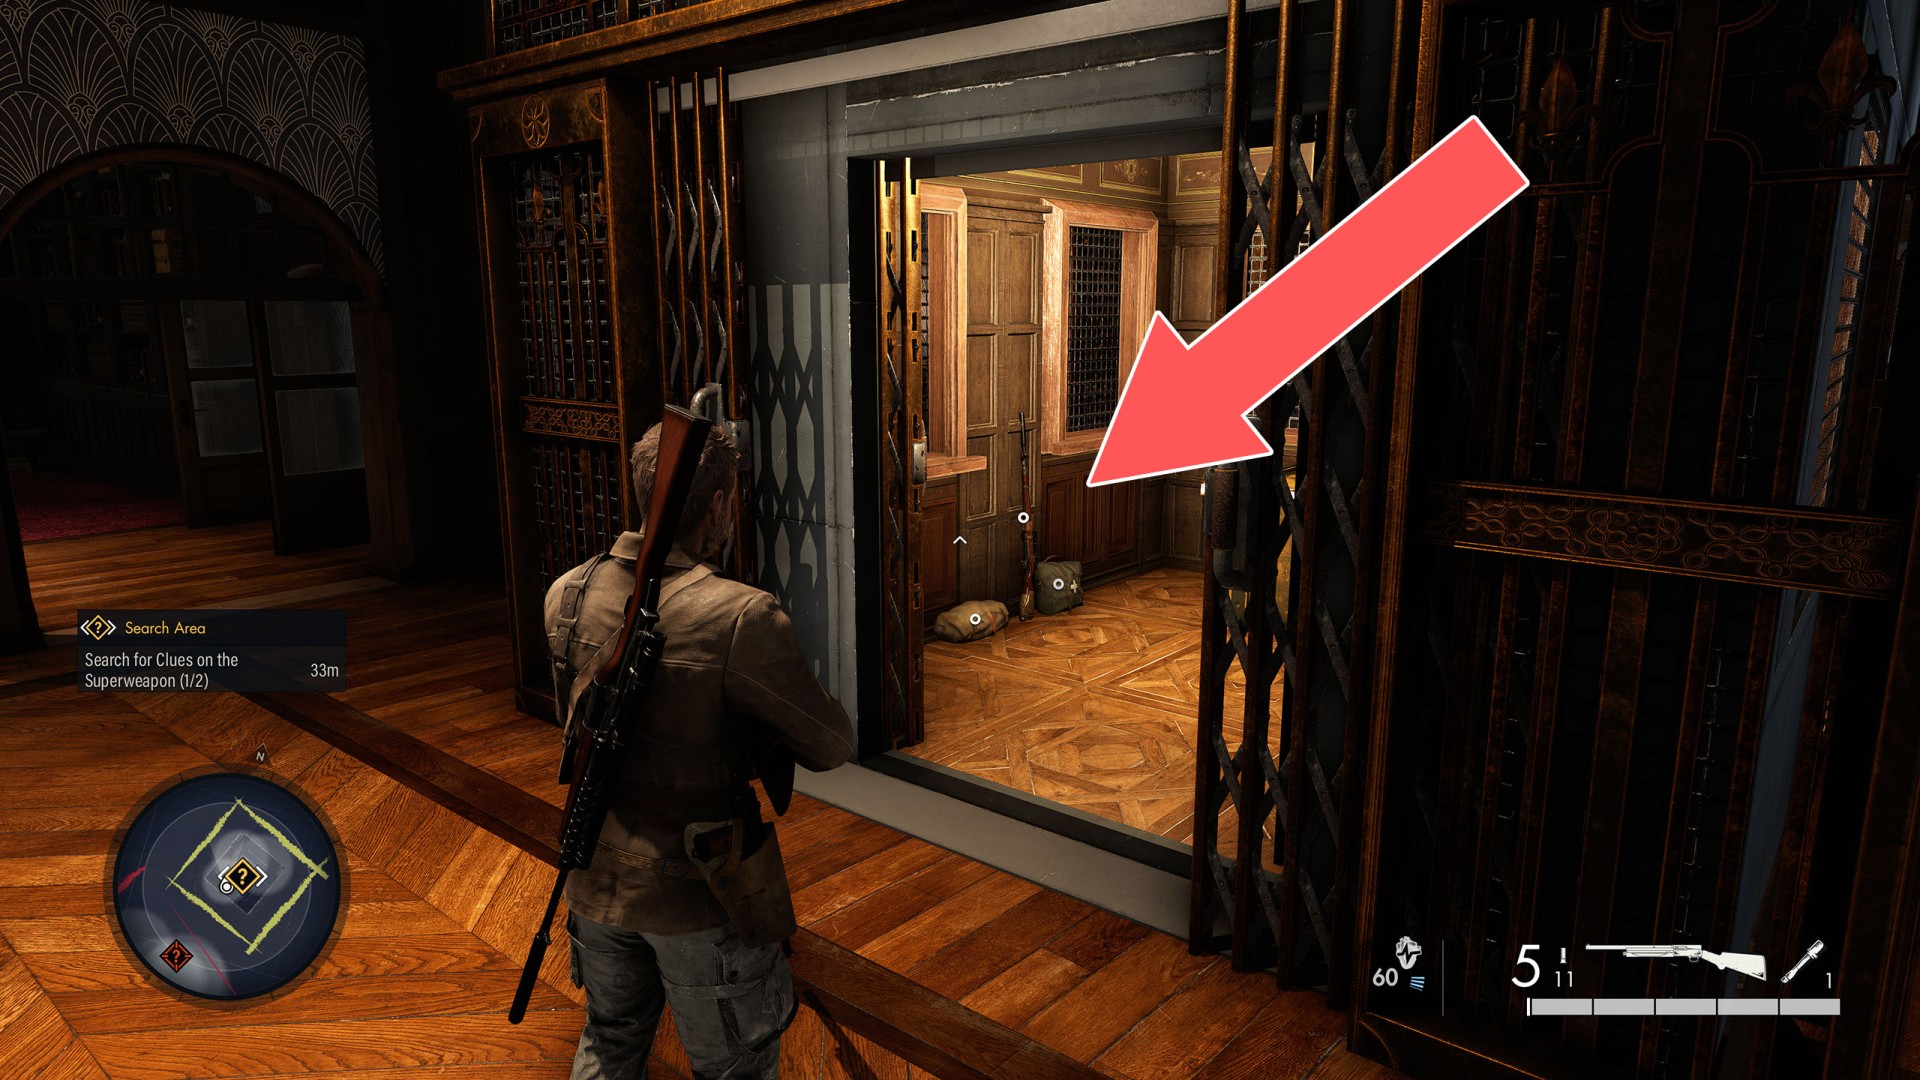
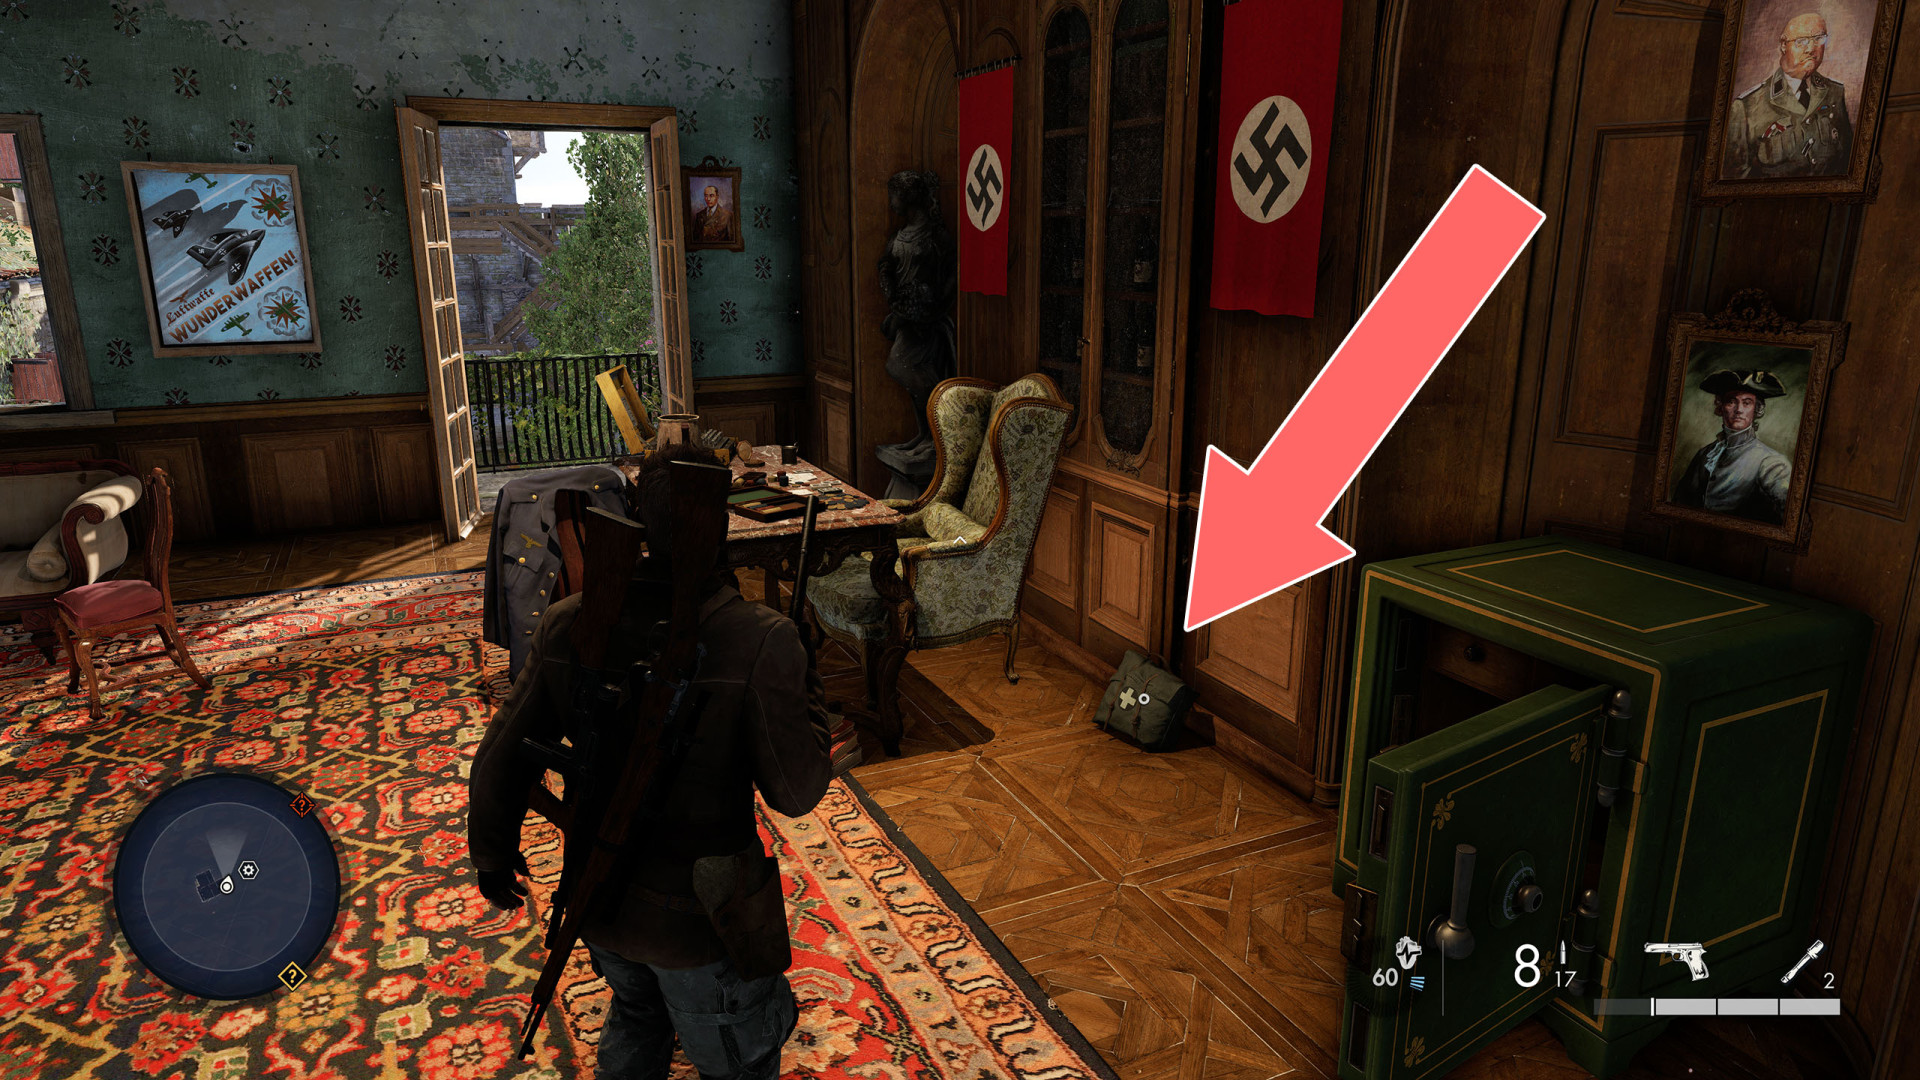
In Vertigo's office, by the safe.
Med Kit

Show the map

94Med Kit

Med Kit

Show the map

95Med Kit

Med Kit

Show the map

96Med Kit

Med Kit

Show the map

97Med Kit

Med Kit

Show the map

98Med Kit

Med Kit

Show the map

99Med Kit

Med Kit

Show the map

100Med Kit

In the room you can climb up to from the lower floor using the drainpipe.
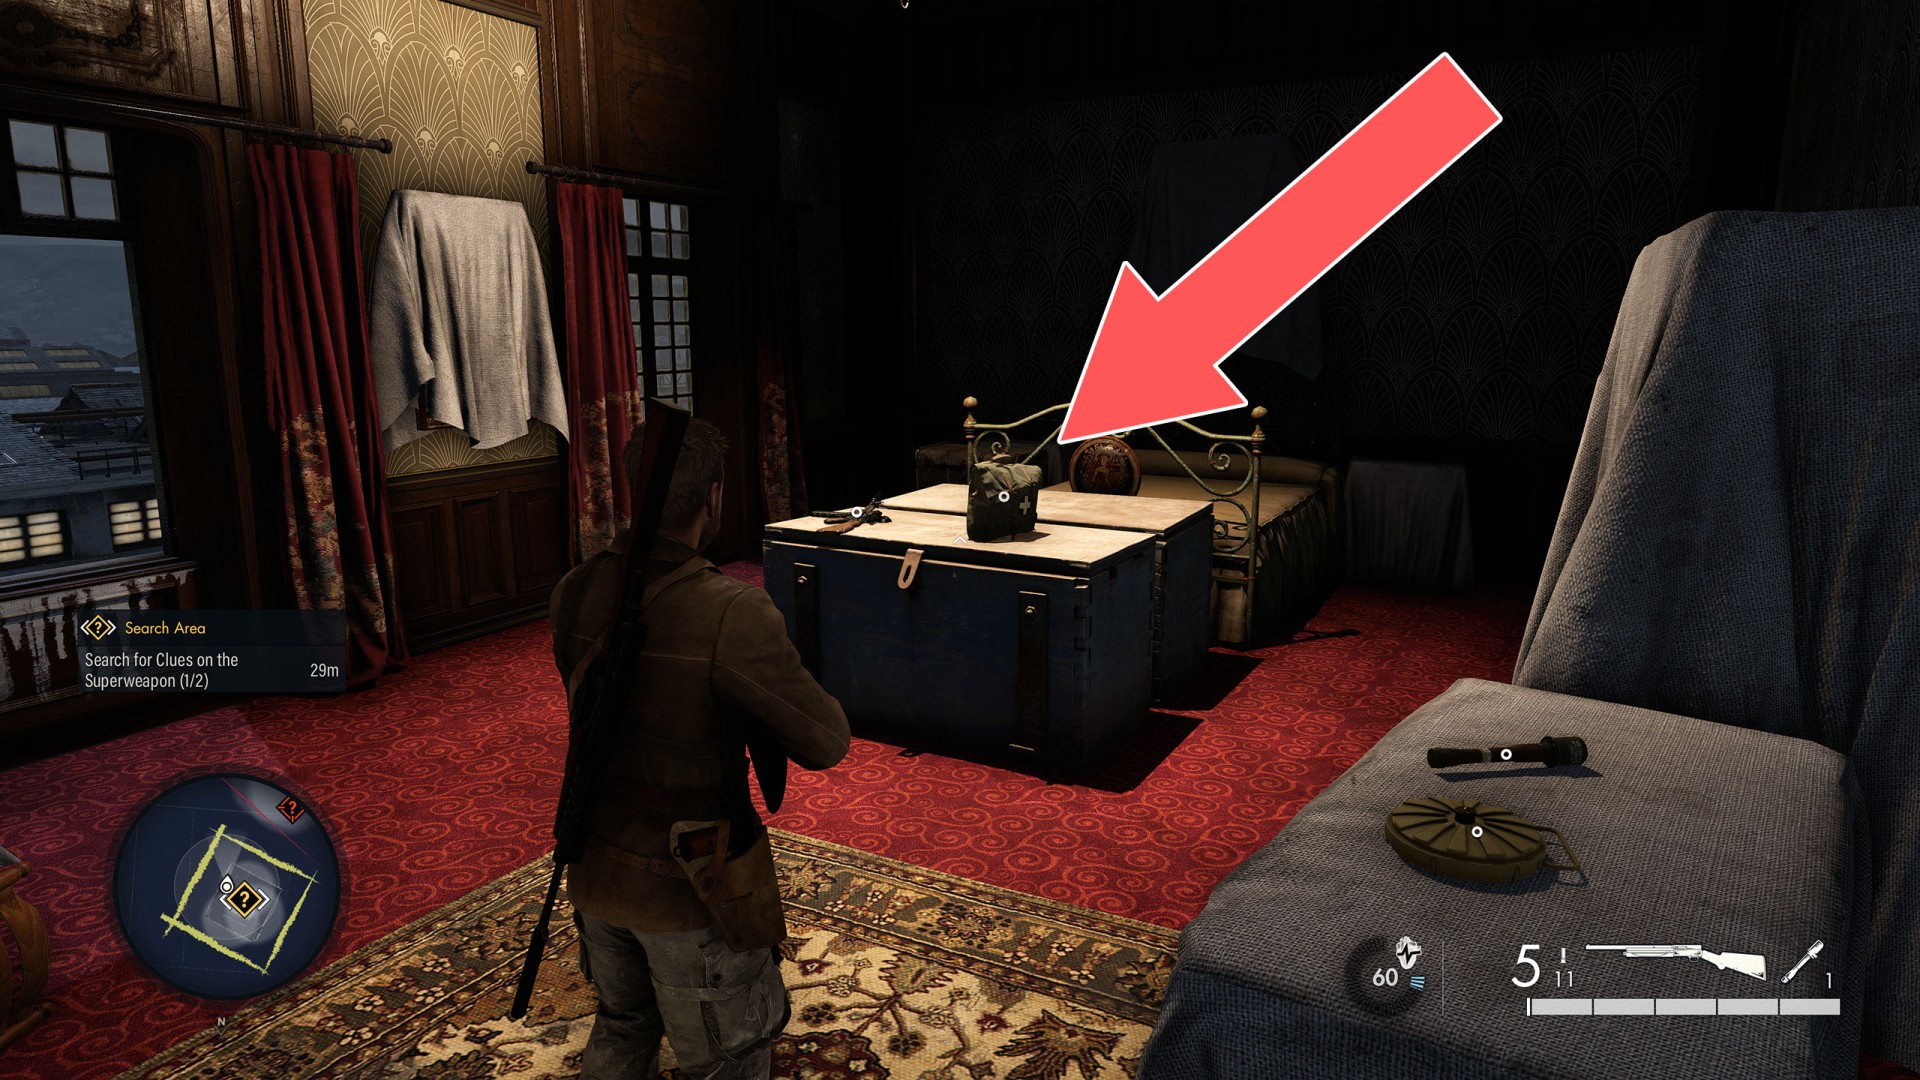
Med Kit

Show the map

101Med Kit

Med Kit

Show the map

102Med Kit

Med Kit

Show the map

103Med Kit

Med Kit

Show the map

104Med Kit

Med Kit

Show the map

105Med Kit

Med Kit

Show the map

106Med Kit

Med Kit

Show the map

107Med Kit

Med Kit

Show the map

108Med Kit

Med Kit

Show the map

109Med Kit

Med Kit

Show the map

110Med Kit

Med Kit

Show the map

111Med Kit

Med Kit

Show the map

112Med Kit

Med Kit

Show the map

113Med Kit

Med Kit

Show the map

114Med Kit

Med Kit

Show the map

115Med Kit

Med Kit

Show the map

116Med Kit

Med Kit

Show the map

117Med Kit

Med Kit

Show the map

118Med Kit

Med Kit

Show the map

119Med Kit

Med Kit

Show the map

120Med Kit

Med Kit

Show the map

121Med Kit

Med Kit

Show the map

122Med Kit

Med Kit

Show the map

123Med Kit

Med Kit

Show the map

124Med Kit

Med Kit

Show the map

125Med Kit

Med Kit

Show the map

126Med Kit

Med Kit

Show the map

127Med Kit

Med Kit

Show the map

128Med Kit

Med Kit

Show the map

129Med Kit

Med Kit

Show the map

130Med Kit

Med Kit

Show the map

131Med Kit

Med Kit

Show the map

132Med Kit

Med Kit

Show the map

133Med Kit

Med Kit

Show the map

134Med Kit

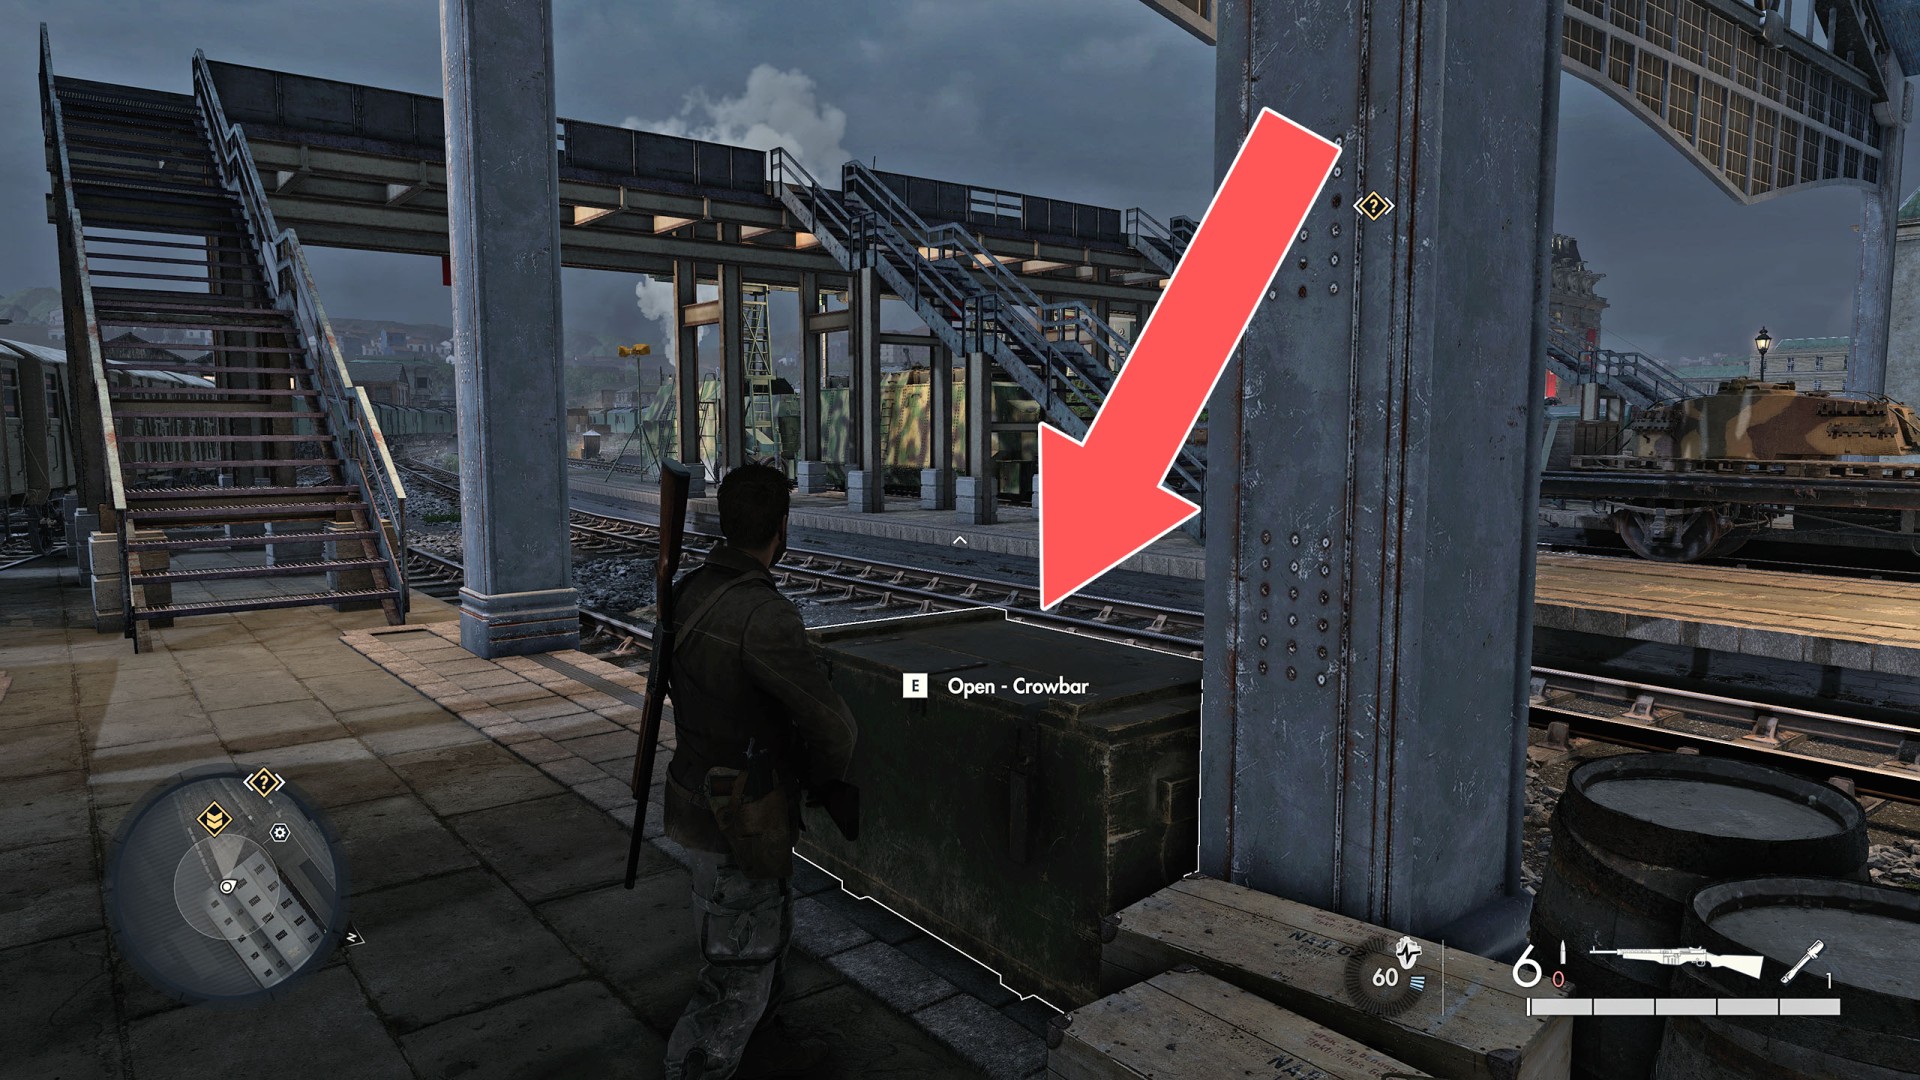
In a large locked crate (crowbar).

Med Kit

Show the map

135Med Kit

Med Kit

Show the map

136Med Kit

Med Kit

Show the map

137Med Kit

Med Kit

Show the map

138Med Kit

Med Kit

Show the map

139Med-Kit

Med-Kit

Show the map

Locations on Lights, Camera, Achtung!

140Bandage
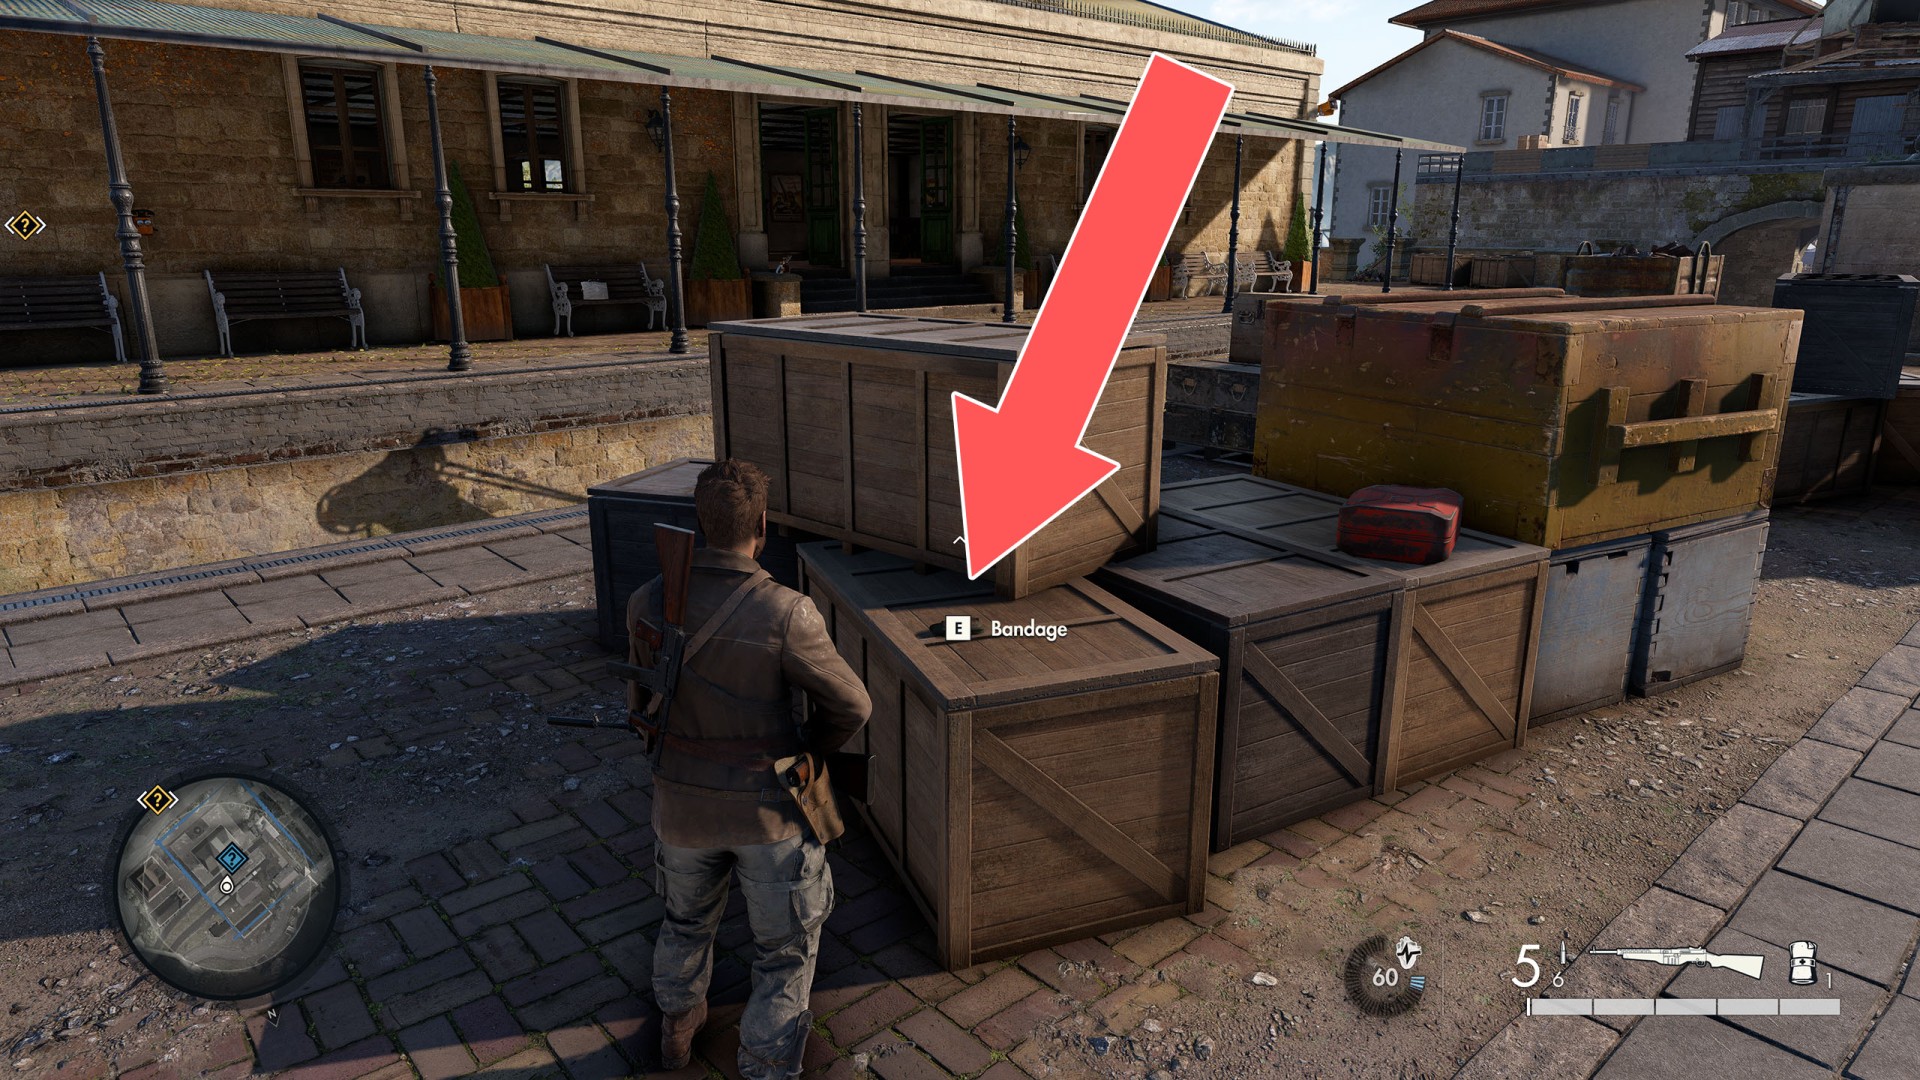
Bandage

Show the map

141Bandage

Bandage

Show the map

142Bandage

Bandage

Show the map

143Bandage

Bandage

Show the map

144Bandage

Bandage

Show the map

145Bandage

Bandage

Show the map

146Bandage

Bandage

Show the map

147Bandage

Bandage

Show the map

148Bandage

Bandage

Show the map

149Bandage

Bandage

Show the map

150Bandage

Bandage

Show the map

151Bandage

Bandage

Show the map

152Bandage

Bandage

Show the map

153Bandage

Bandage

Show the map

154Bandage

Bandage

Show the map

155Bandage x2

Bandage x2

Show the map

156Bandage x2

Bandage x2

Show the map

157Bandage x2

Bandage x2

Show the map

158Med Kit

Med Kit

Show the map

159Med Kit

Med Kit

Show the map

160Med Kit

Med Kit

Show the map

161Med Kit

Med Kit

Show the map

162Med Kit

Med Kit

Show the map

163Med Kit

Med Kit

Show the map

164Med Kit

Med Kit

Show the map

165Med Kit

Med Kit

Show the map

166Med Kit

Med Kit

Show the map

167Med Kit

Med Kit

Show the map

168Med Kit

Med Kit

Show the map

169Med Kit

Med Kit

Show the map

170Med Kit

Med Kit

Show the map

171Med Kit

Med Kit

Show the map

Locations on Vercors Vendetta

172Bandage
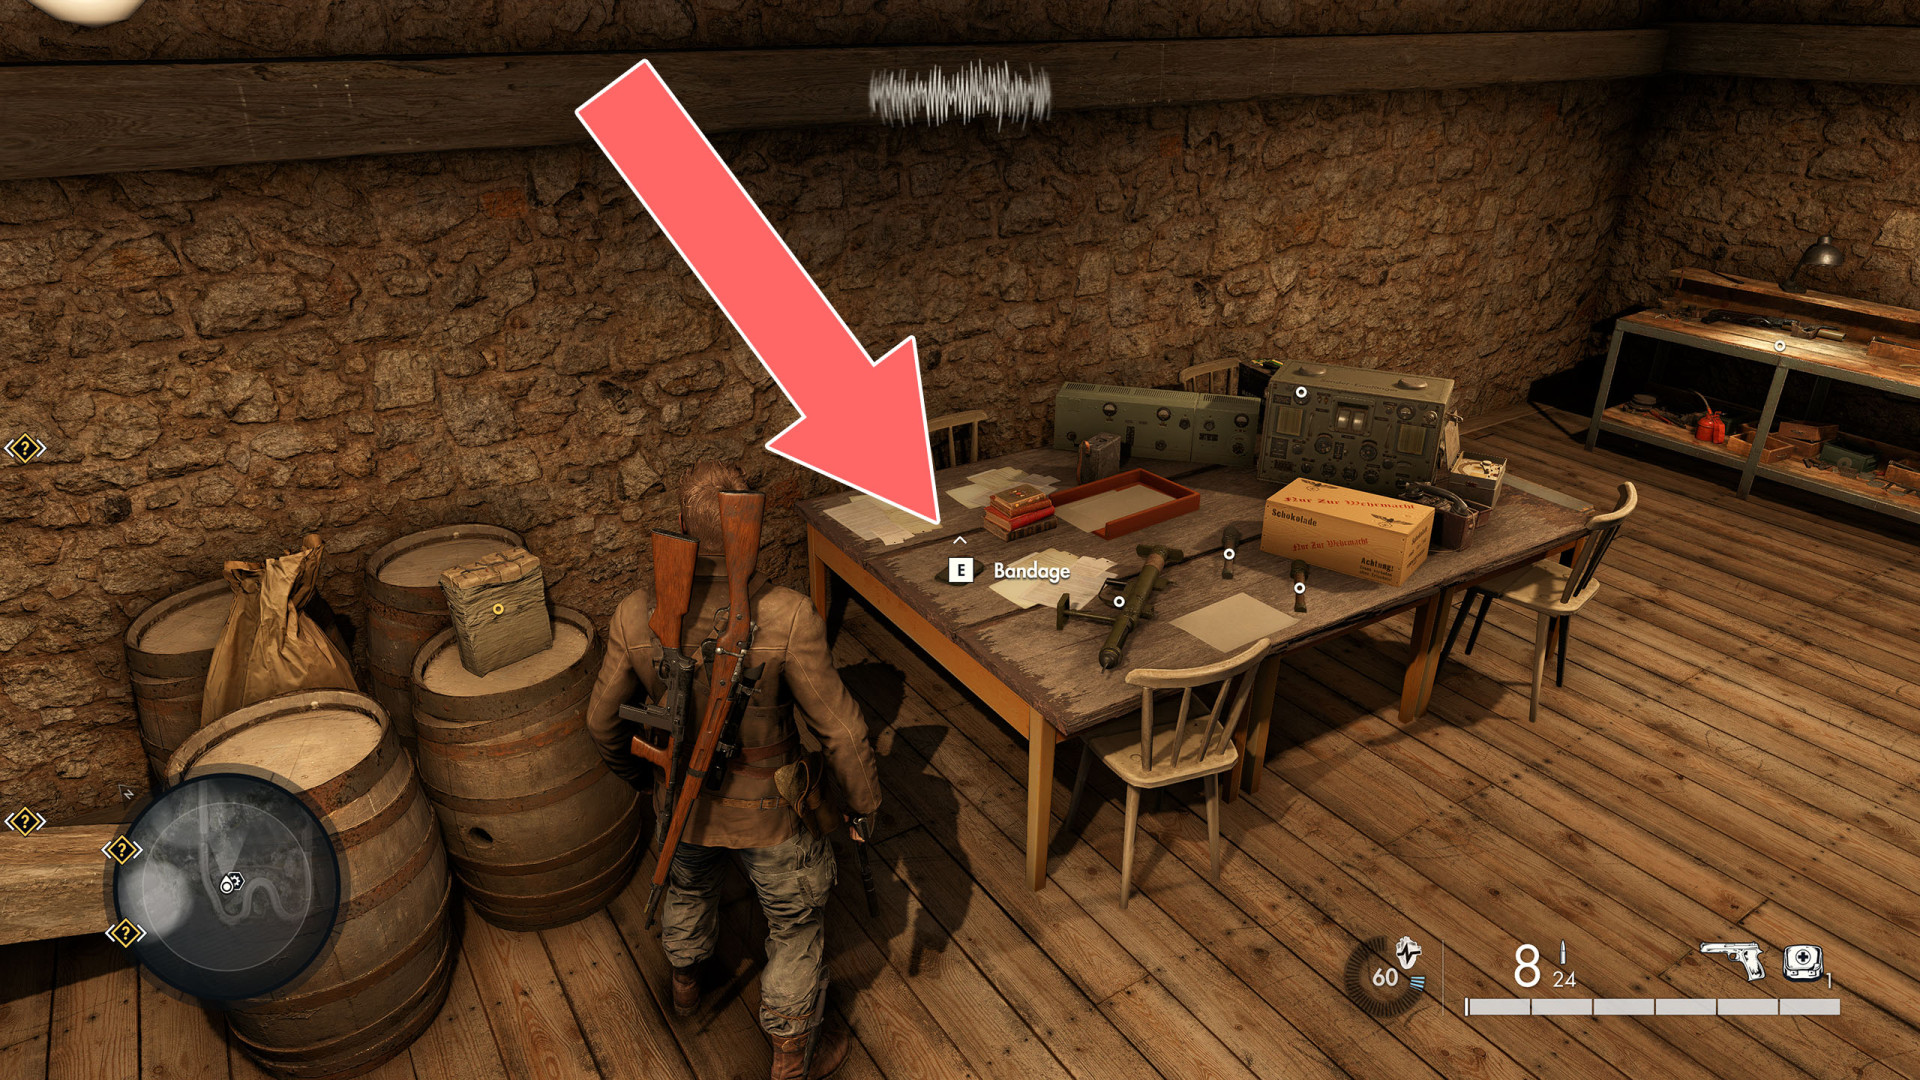
Bandage

Show the map

173Bandage

Bandage

Show the map

174Bandage

Bandage

Show the map

175Bandage

Bandage

Show the map

176Bandage

Bandage

Show the map

177Bandage x2

Bandage x2

Show the map

178Med Kit

Med Kit

Show the map

179Med Kit

Med Kit

Show the map

180Med Kit

Med Kit

Show the map

181Med Kit

Med Kit

Show the map

182Med Kit

Med Kit

Show the map

Locations on Mud and Thunder

183Med Kit

Climb the ladder to the upper level of the ruins.
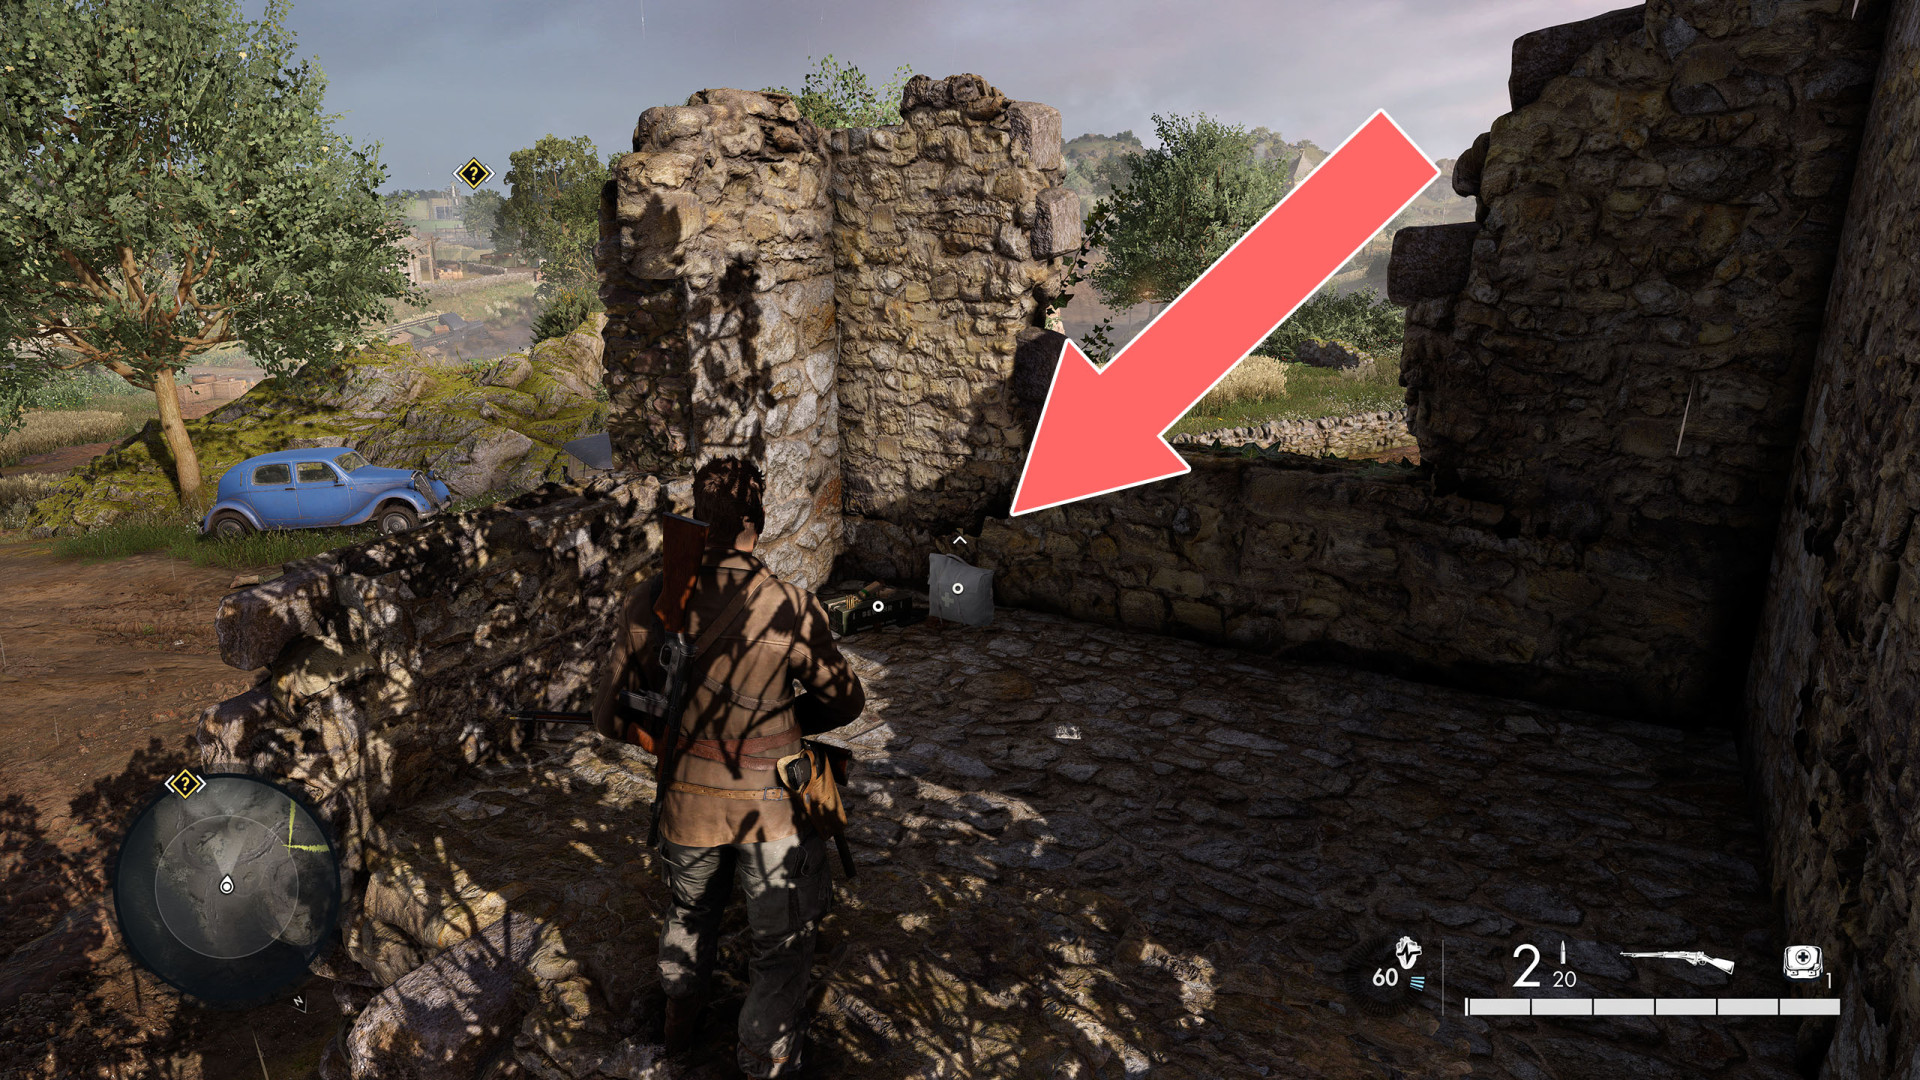
Med Kit

Show the map

184Med Kit

On the lowest floor of the building.
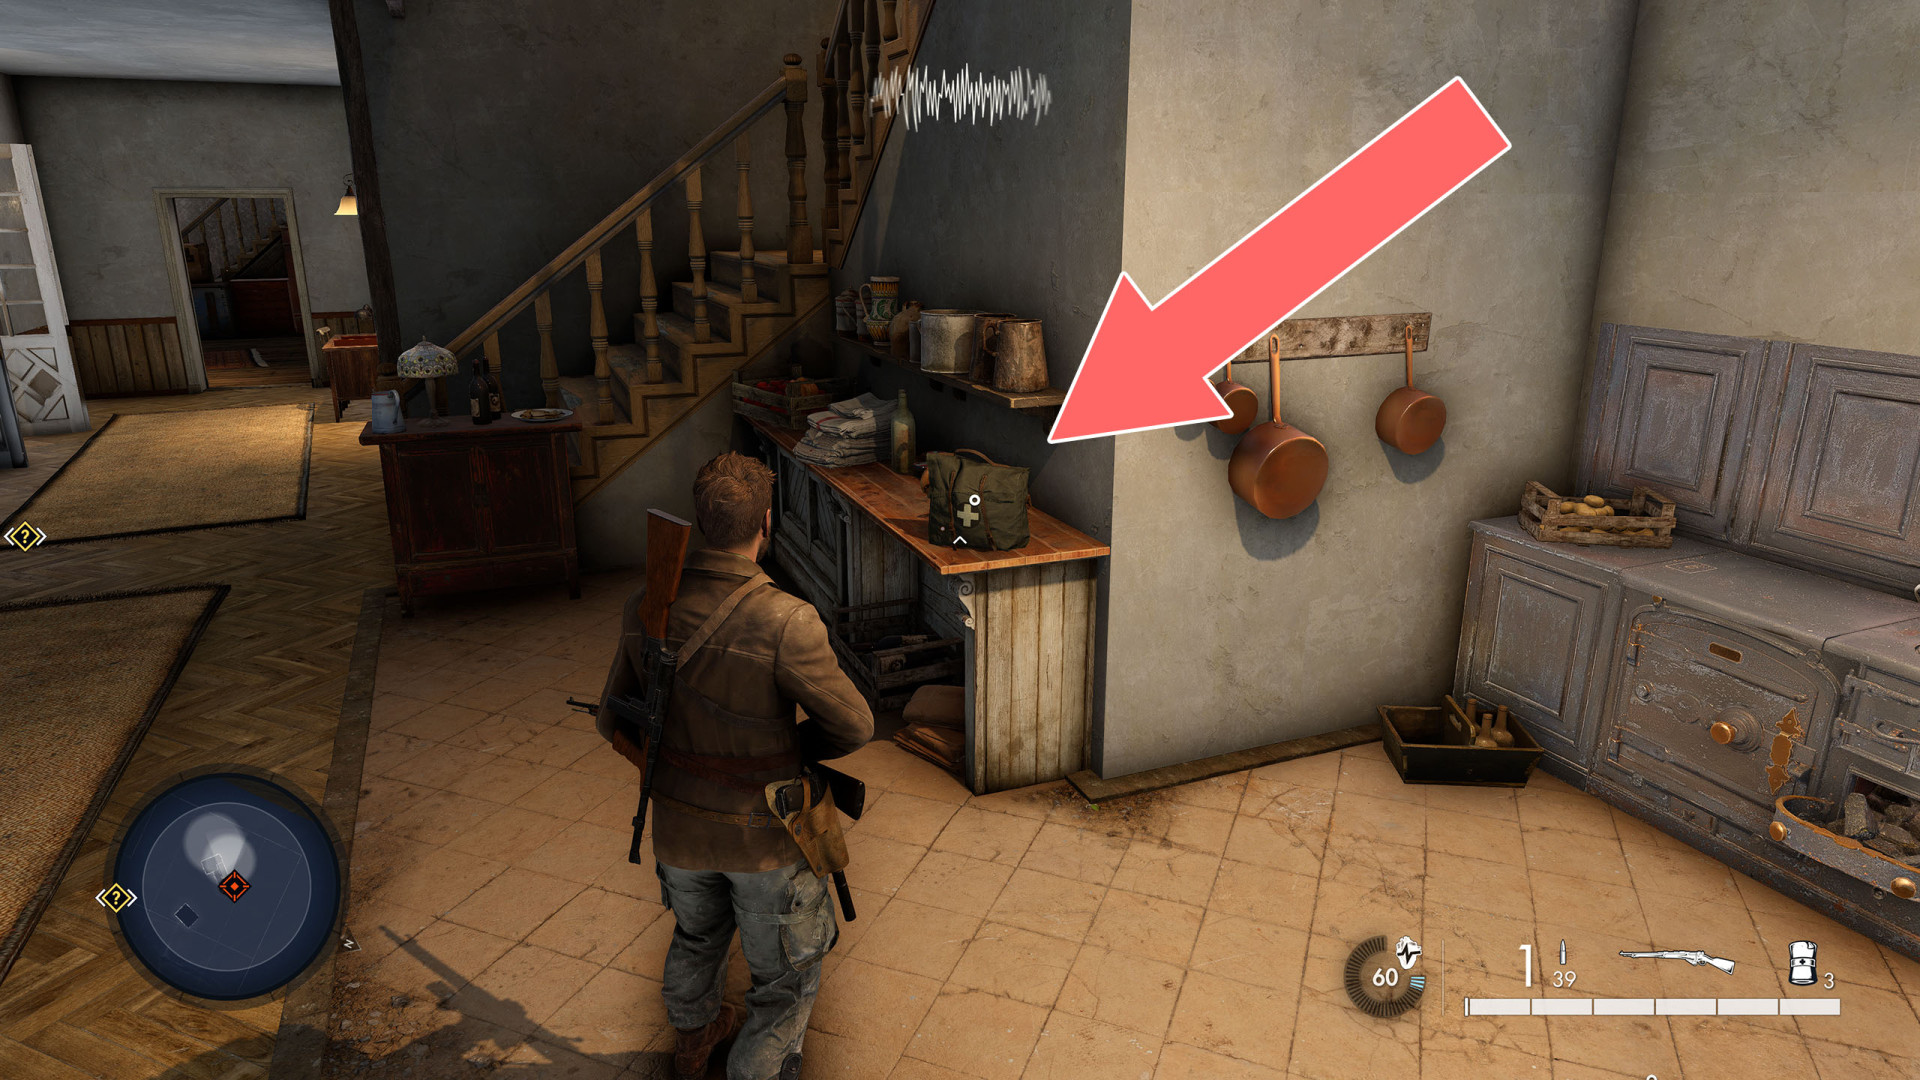
Med Kit

Show the map

185Med Kit

Med Kit

Show the map

186Med Kit

Med Kit

Show the map

187Med Kit

Med Kit

Show the map

188Med Kit

Med Kit

Show the map

189Med Kit

Med Kit

Show the map

190Med Kit

Med Kit

Show the map

191Med Kit

Med Kit

Show the map

192Med Kit

Med Kit

Show the map

193Med Kit

Med Kit

Show the map

194Med Kit

Med Kit

Show the map

195Med Kit

Med Kit

Show the map

196Med Kit

Med Kit

Show the map