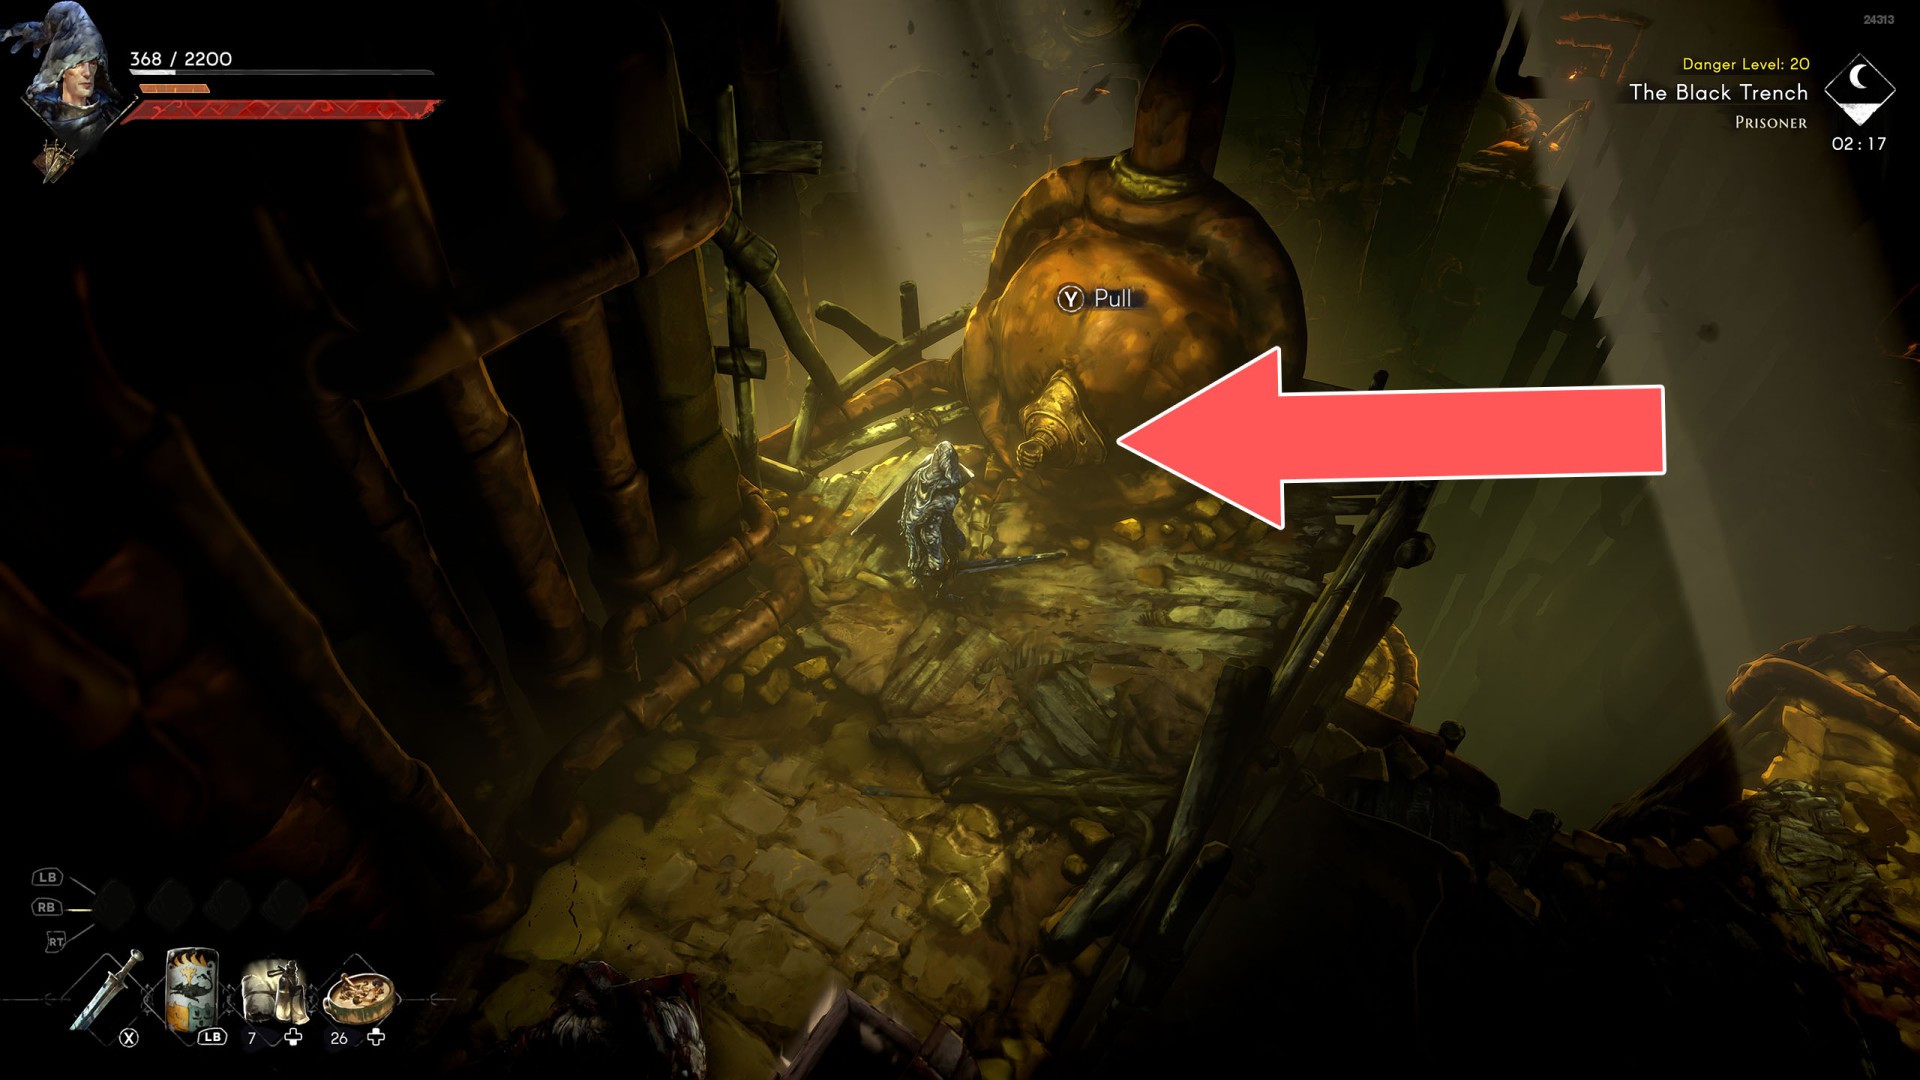
Various mechanisms, for example, levers or turning wheels which you have to use to open some gate, move a platform over which you can jump further, etc.
Mechanisms
Locations on Isola Sacra
1 Cable Car
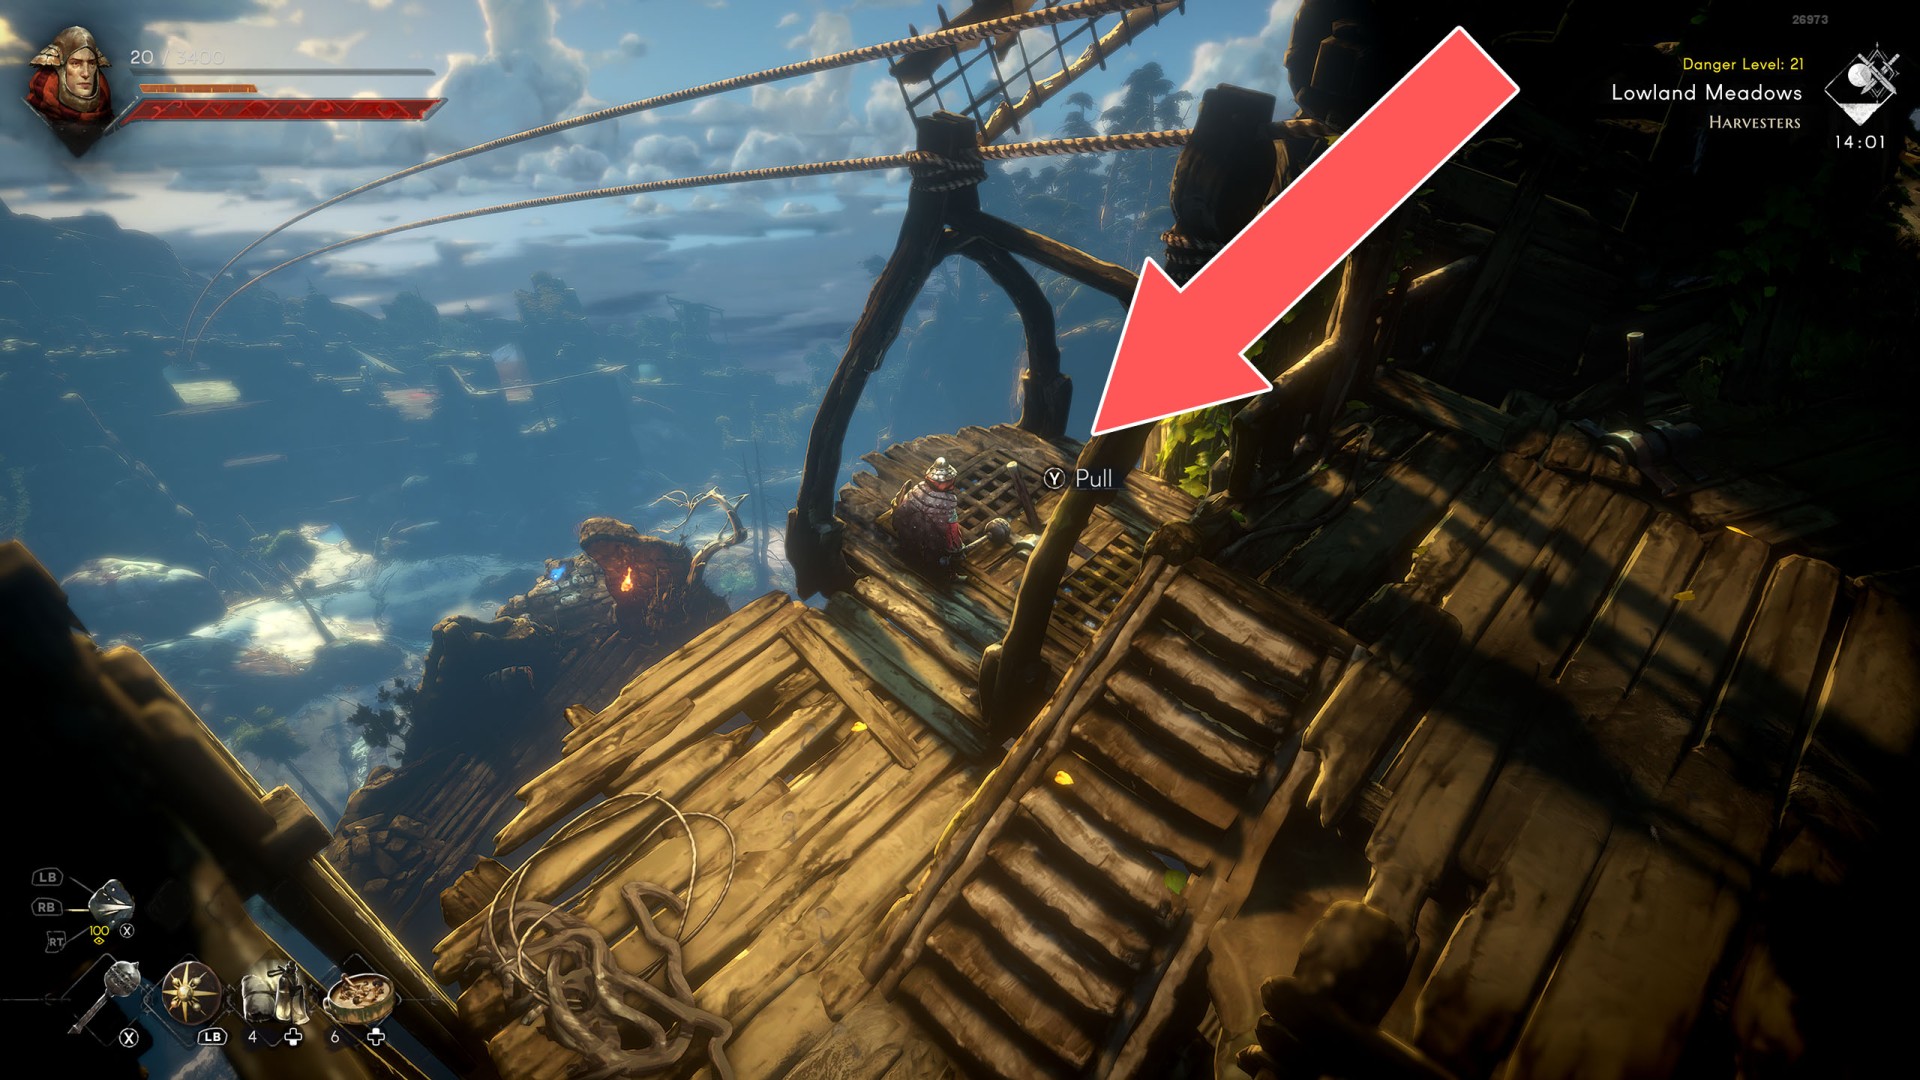
2Crane
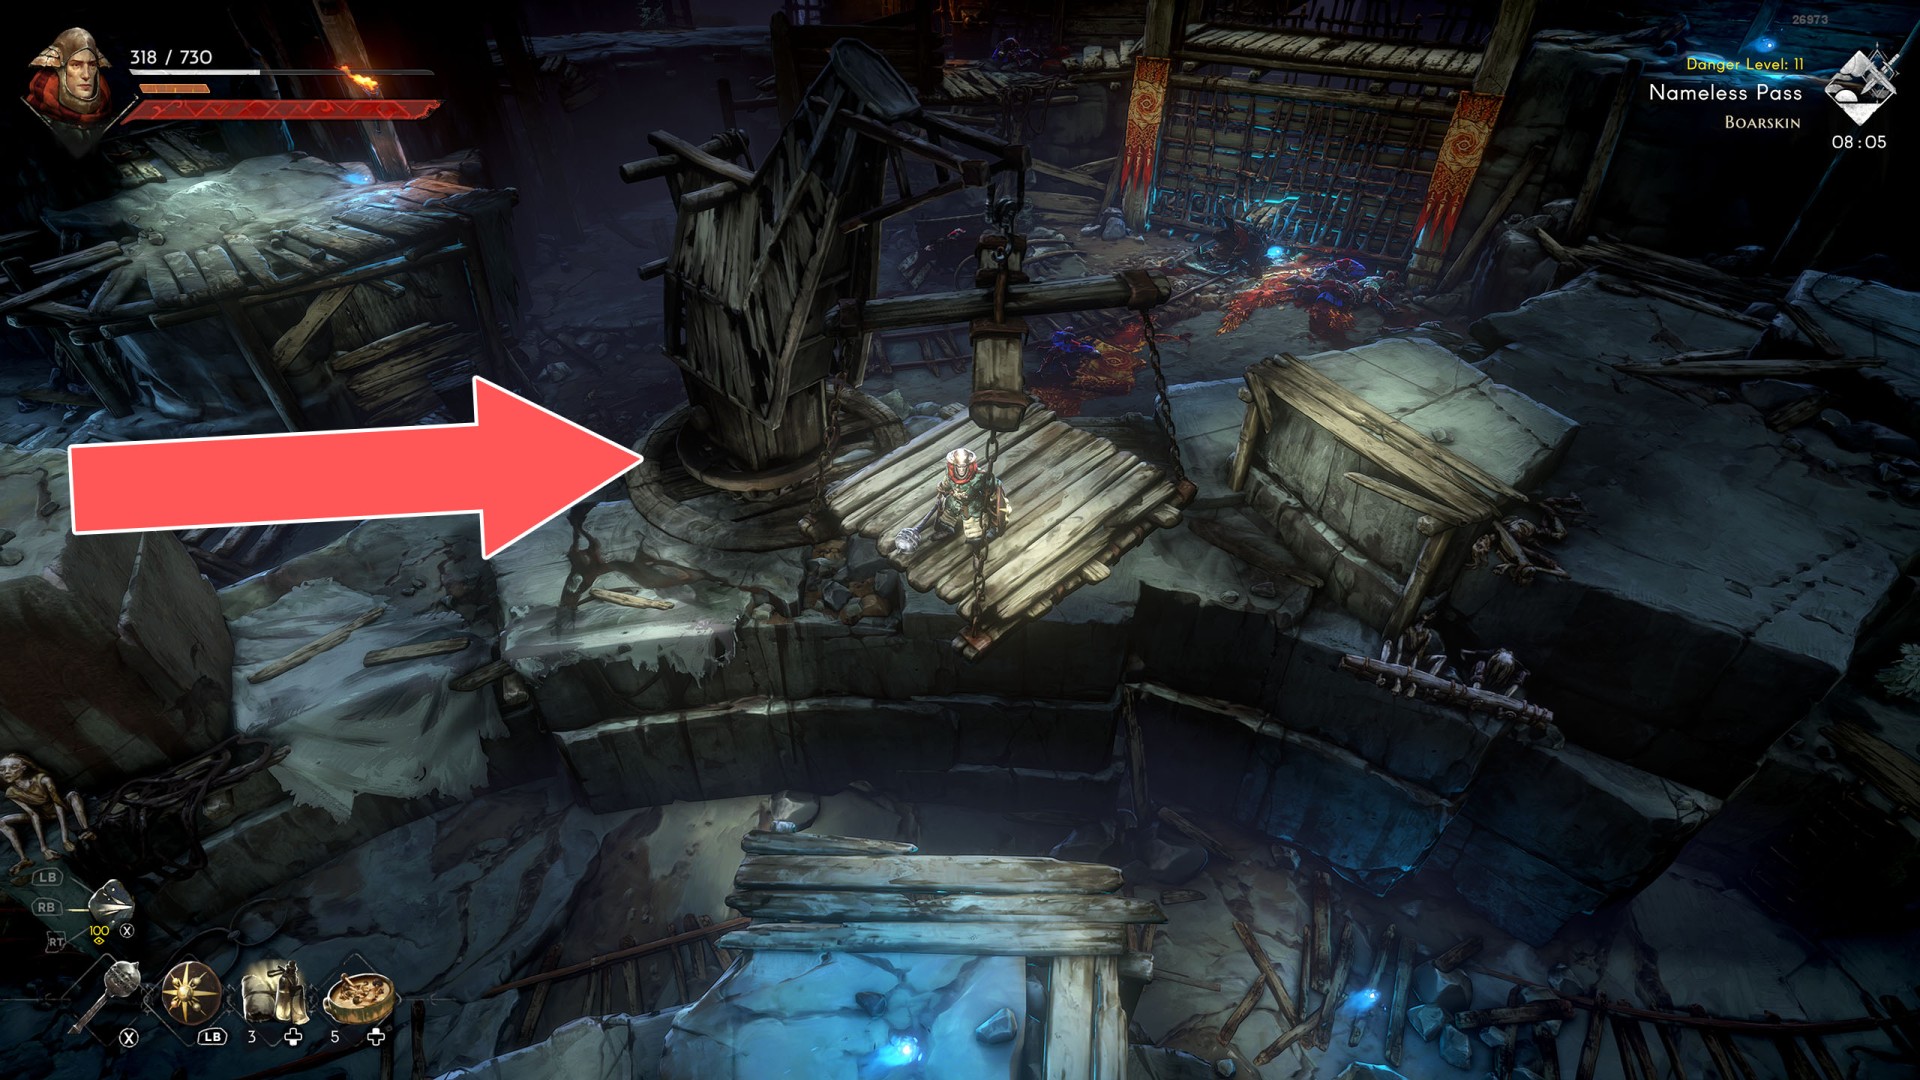
3Crane
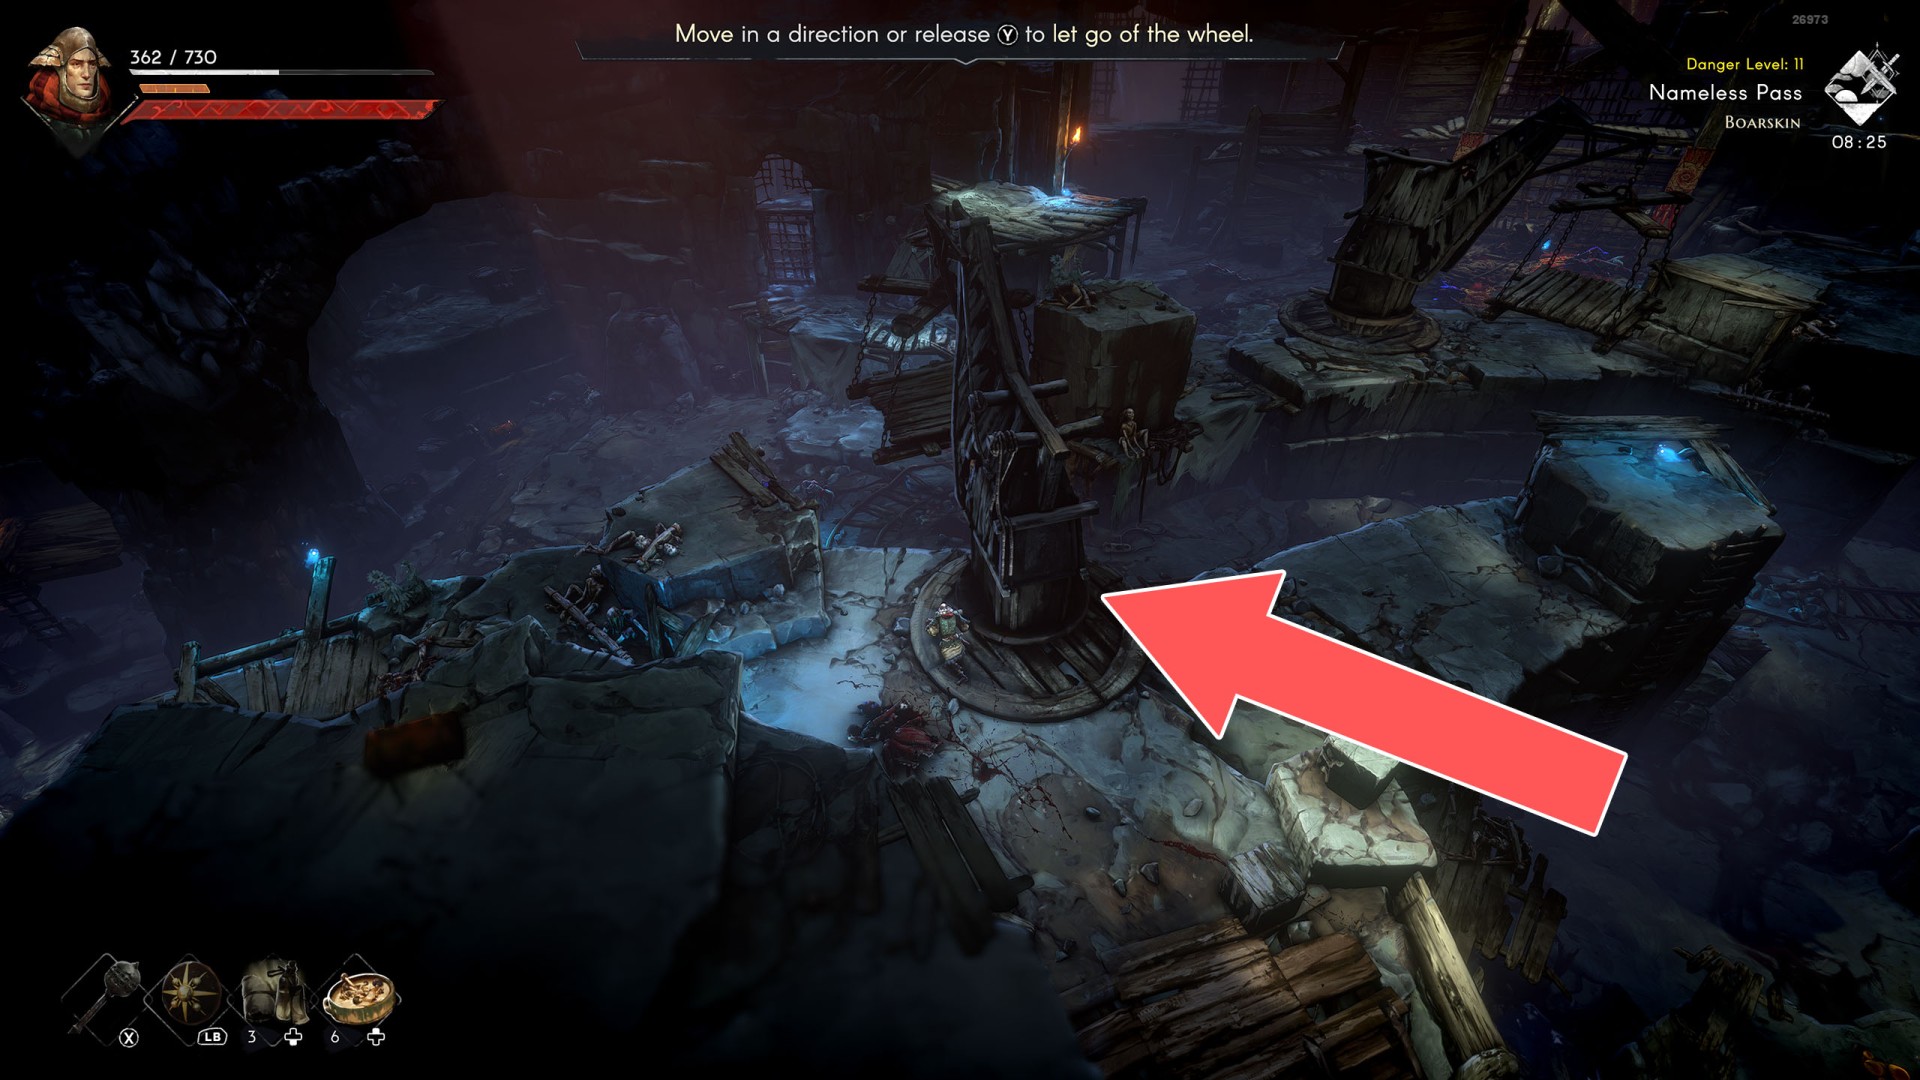
4Crane
Show the map
5Crane
Show the map
6Crane
Show the map
7Crane
Show the map
8Crane (Nameless Pass #1)
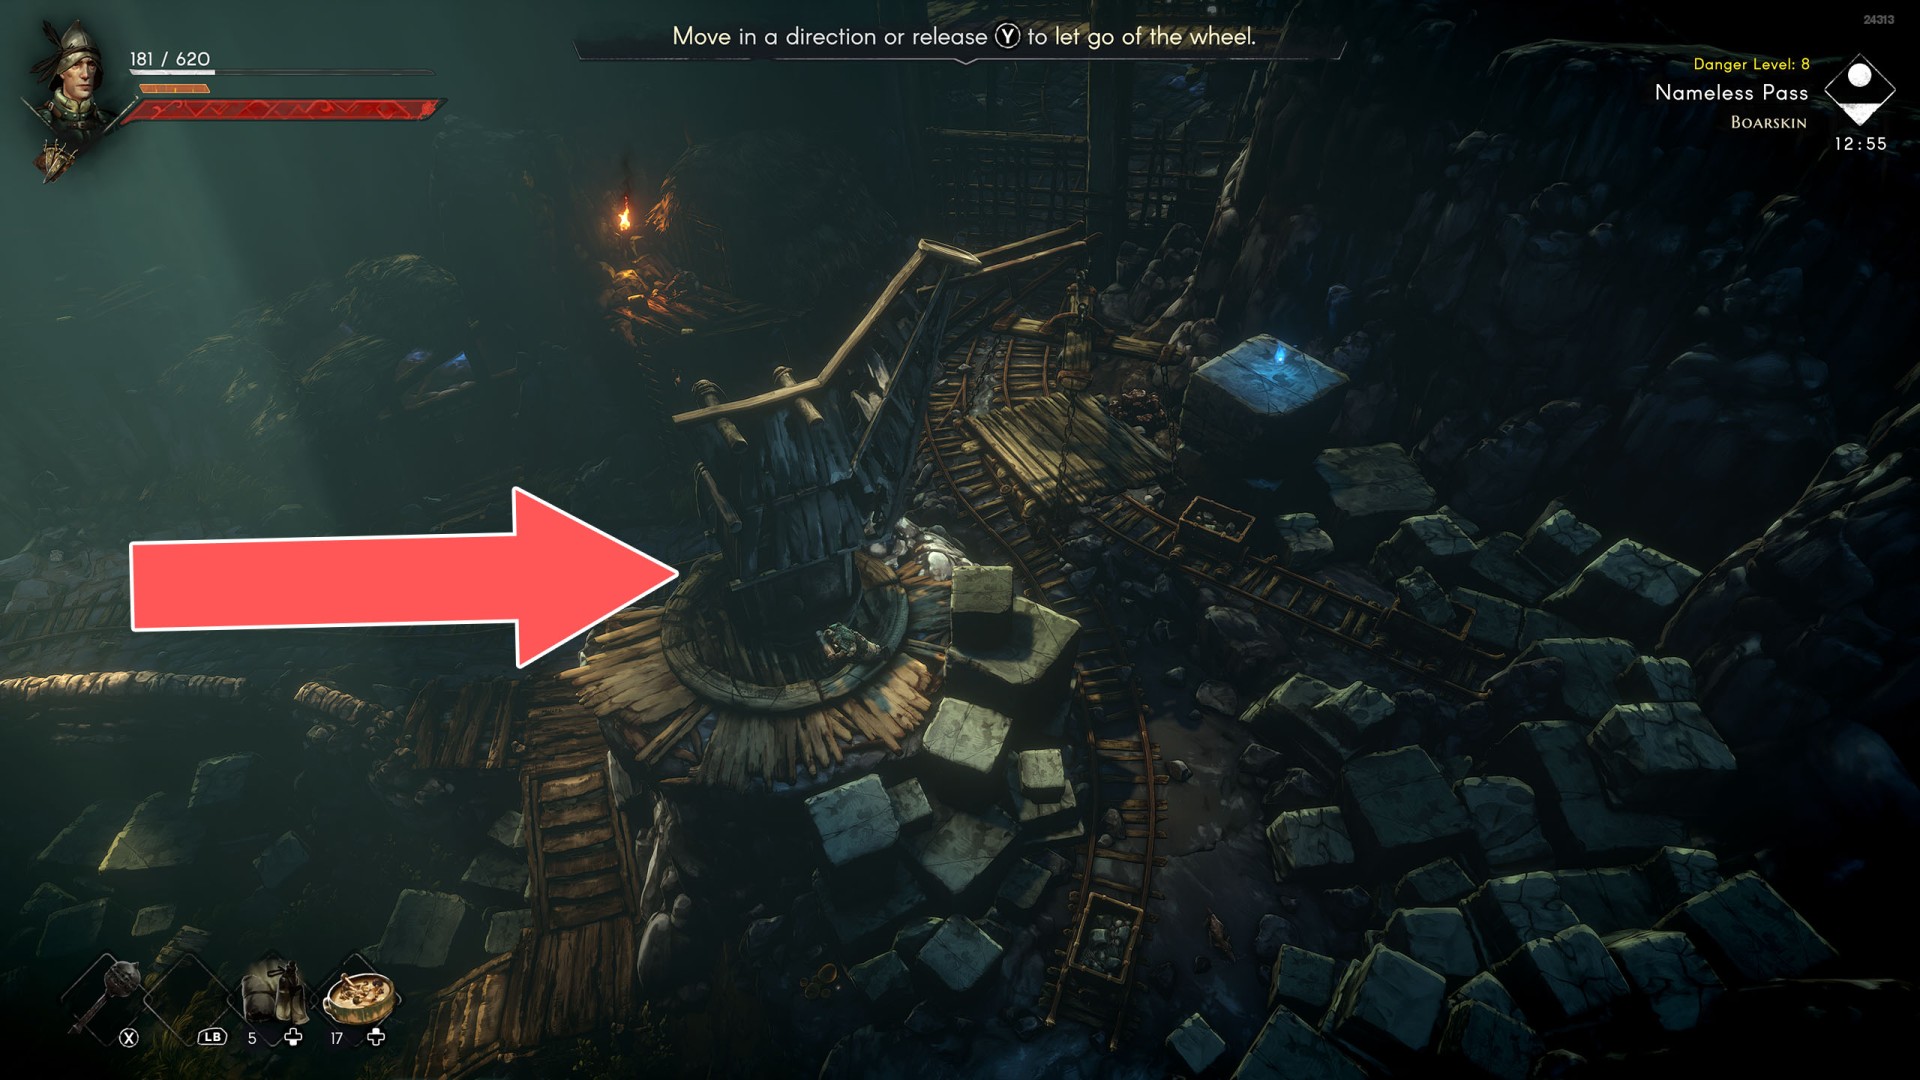
9Drawbridge
Kick
10Drawbridge
Kick
11Drawbridge
To use this bridge you must first kick it down from the right side.
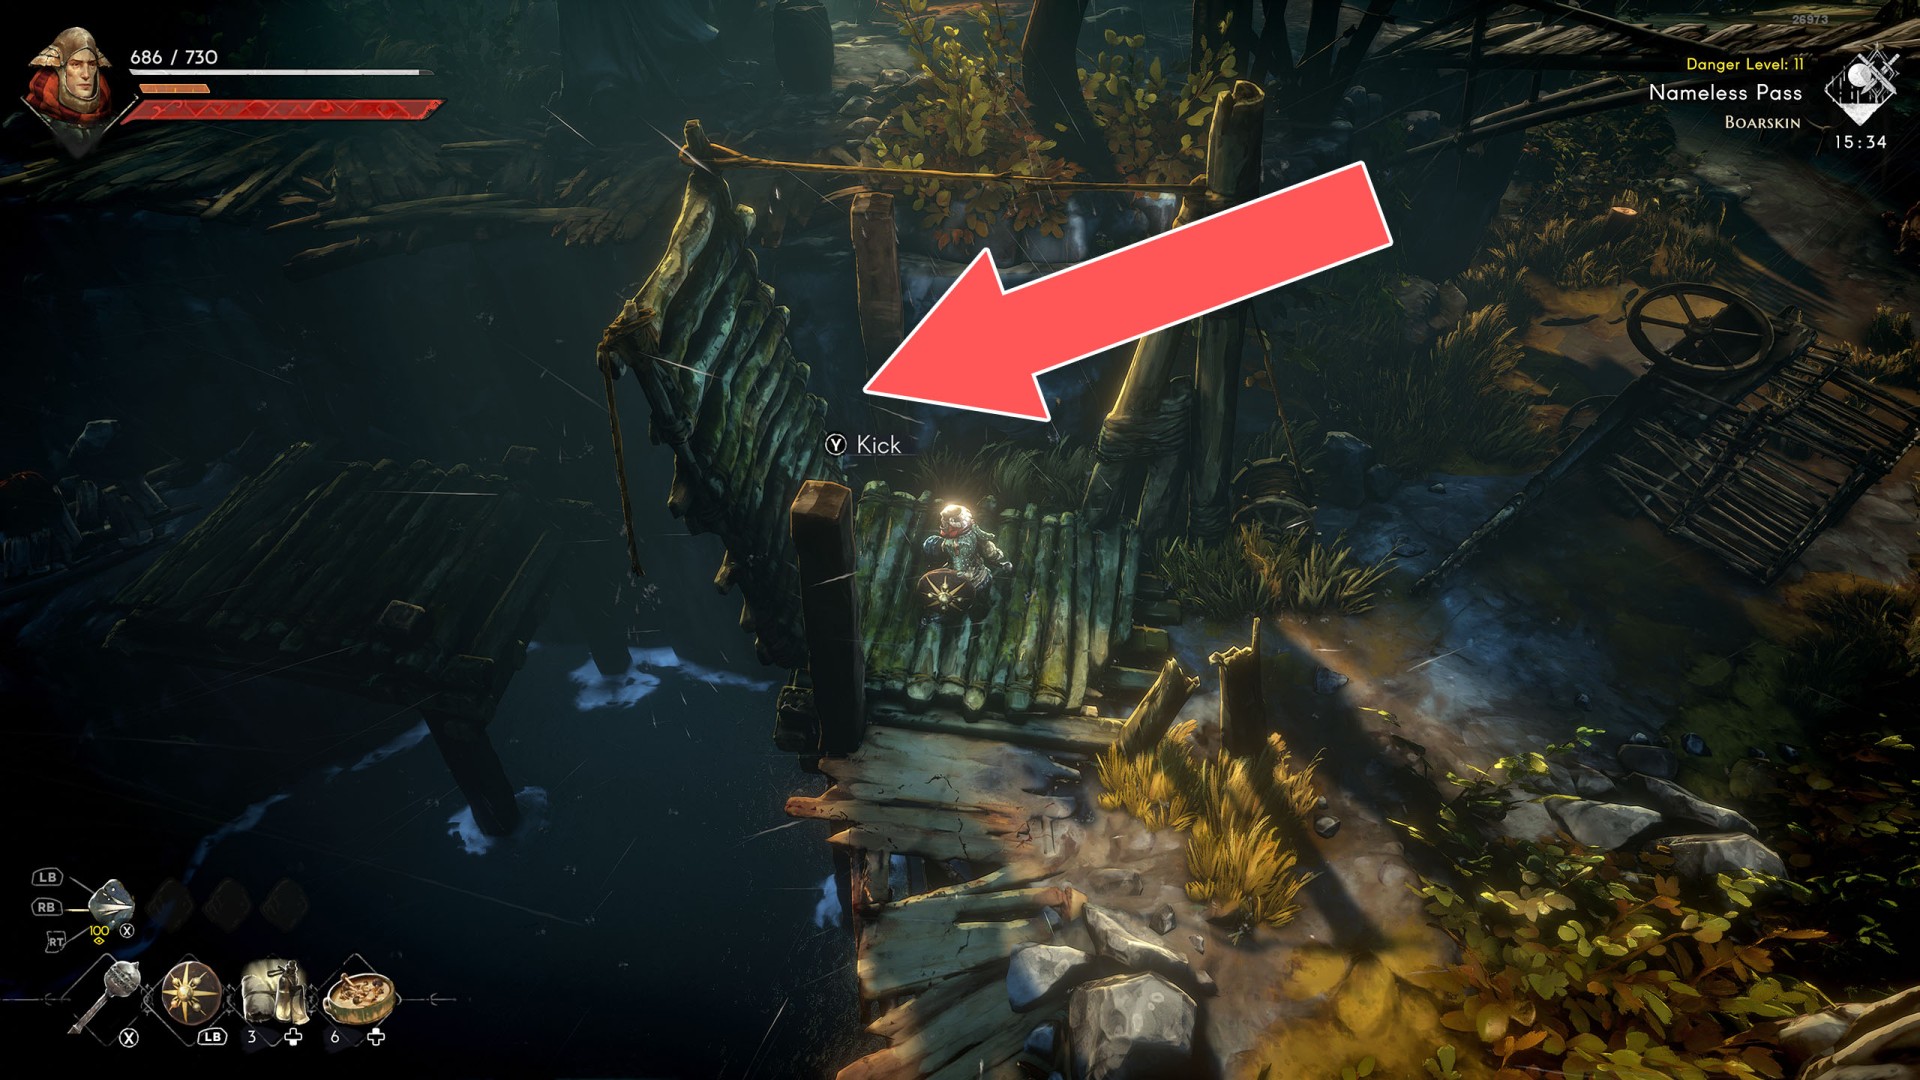
12Drawbridge
To use this bridge you must first kick it down from the right side.
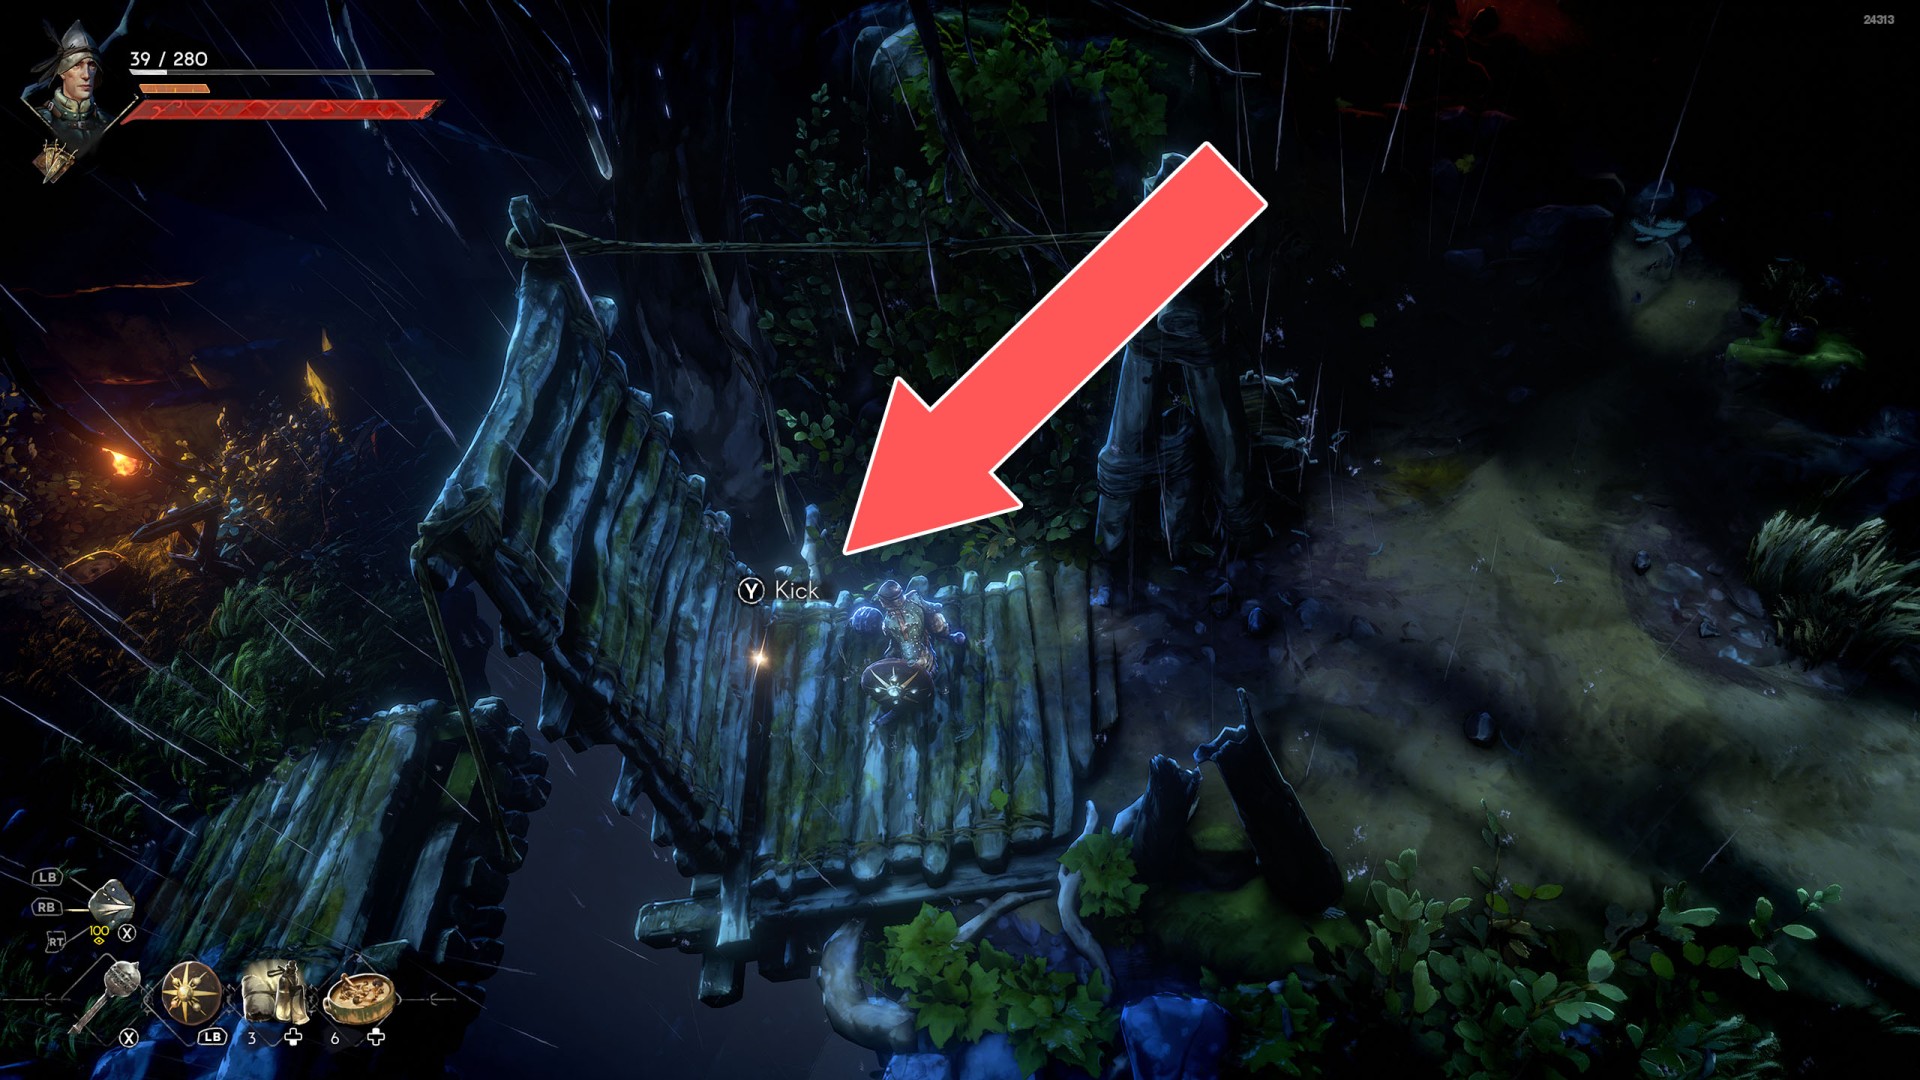
13Drawbridge
Kick
14Drawbridge
Kick
15Drawbridge Lever
Show the map
16Drawbridge Lever
Show the map
17Gate
Show the map
18Gate Lever
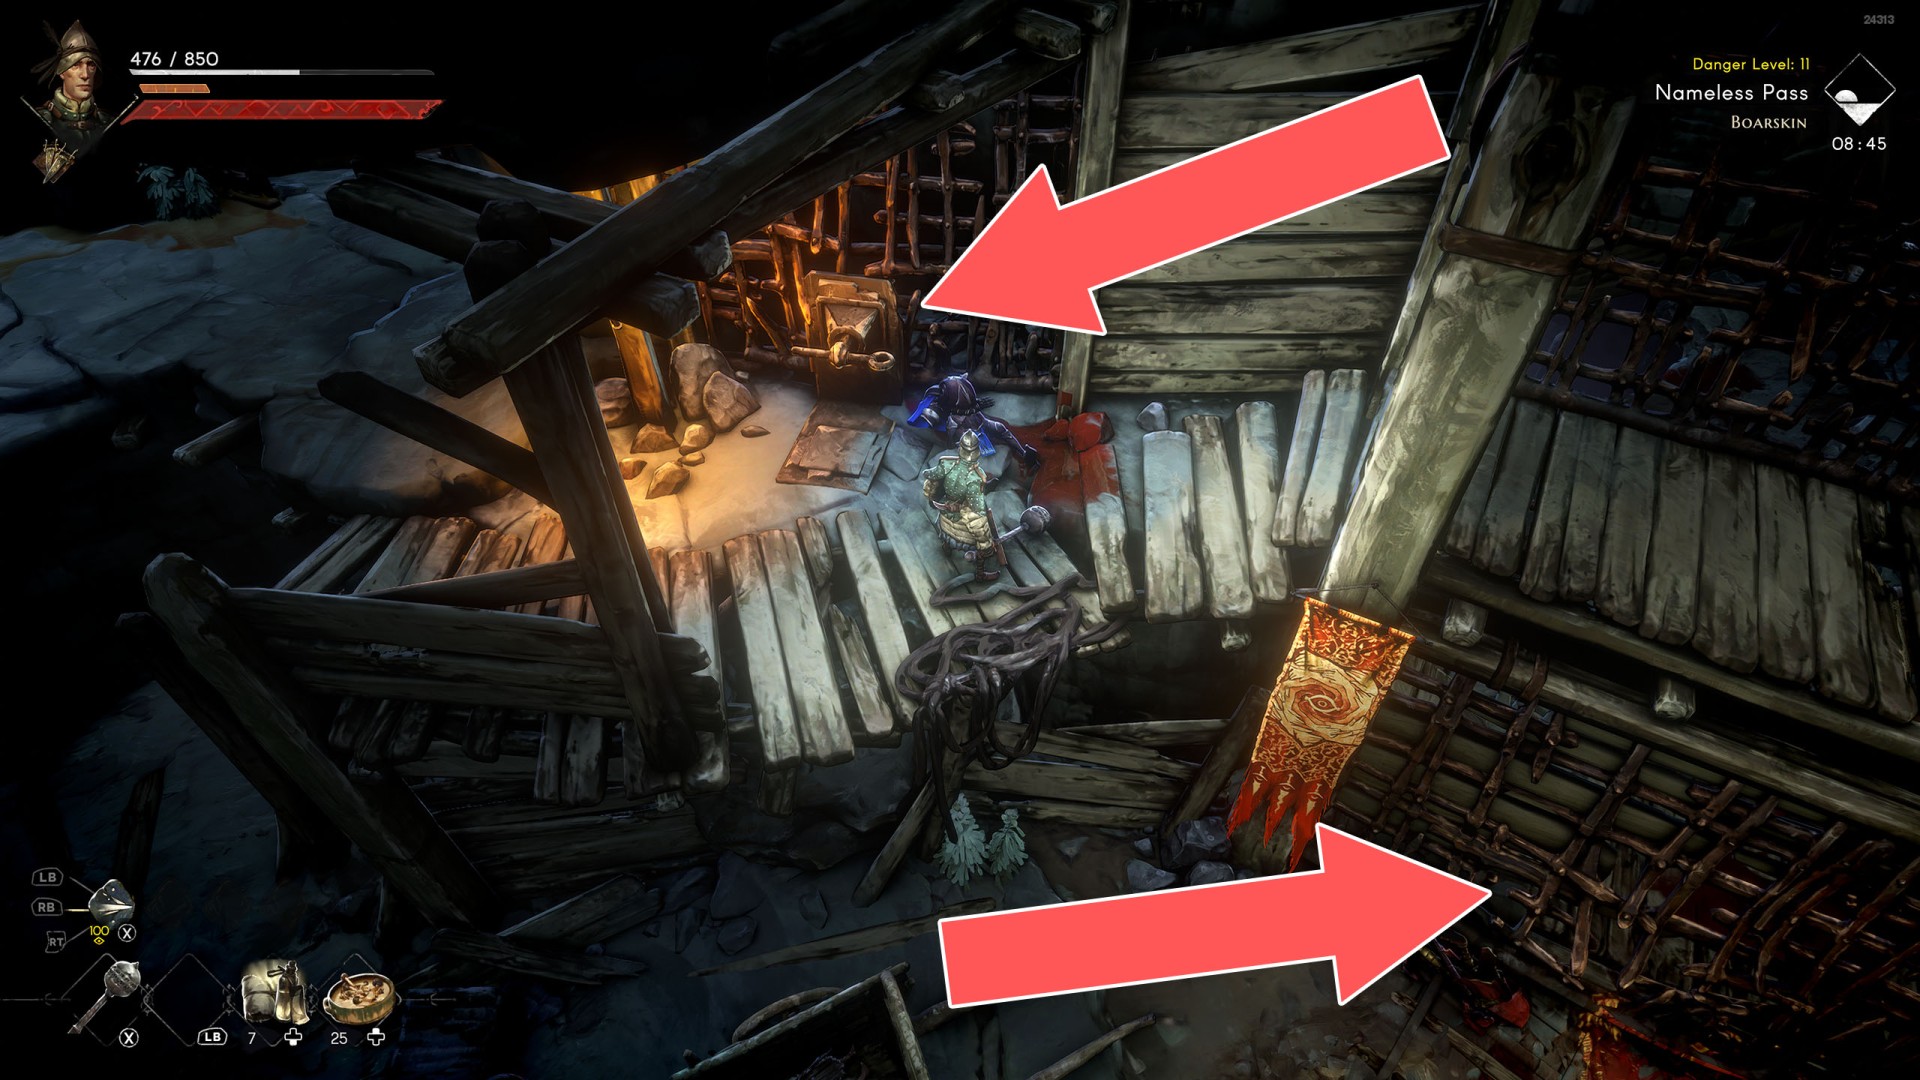
19Gate Lever
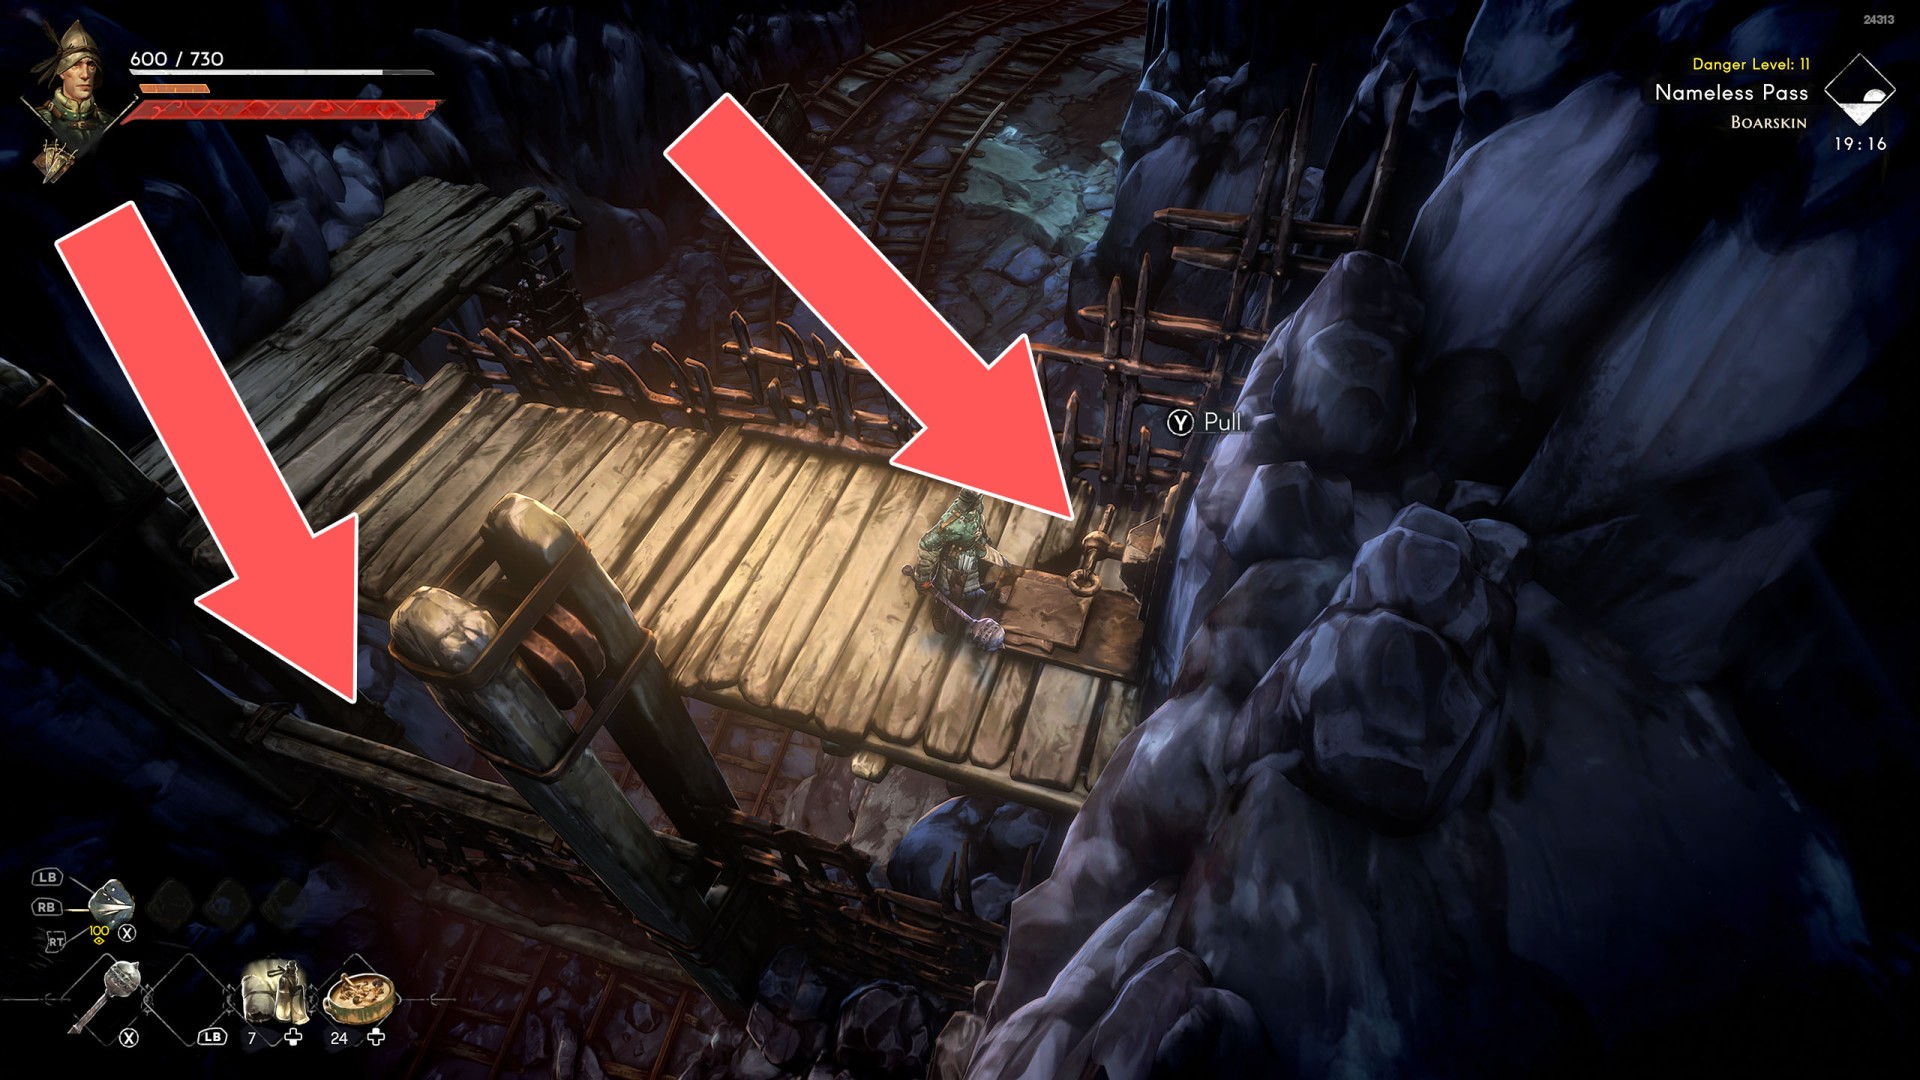
20Gate Lever
Show the map
21Gate Opening Lever
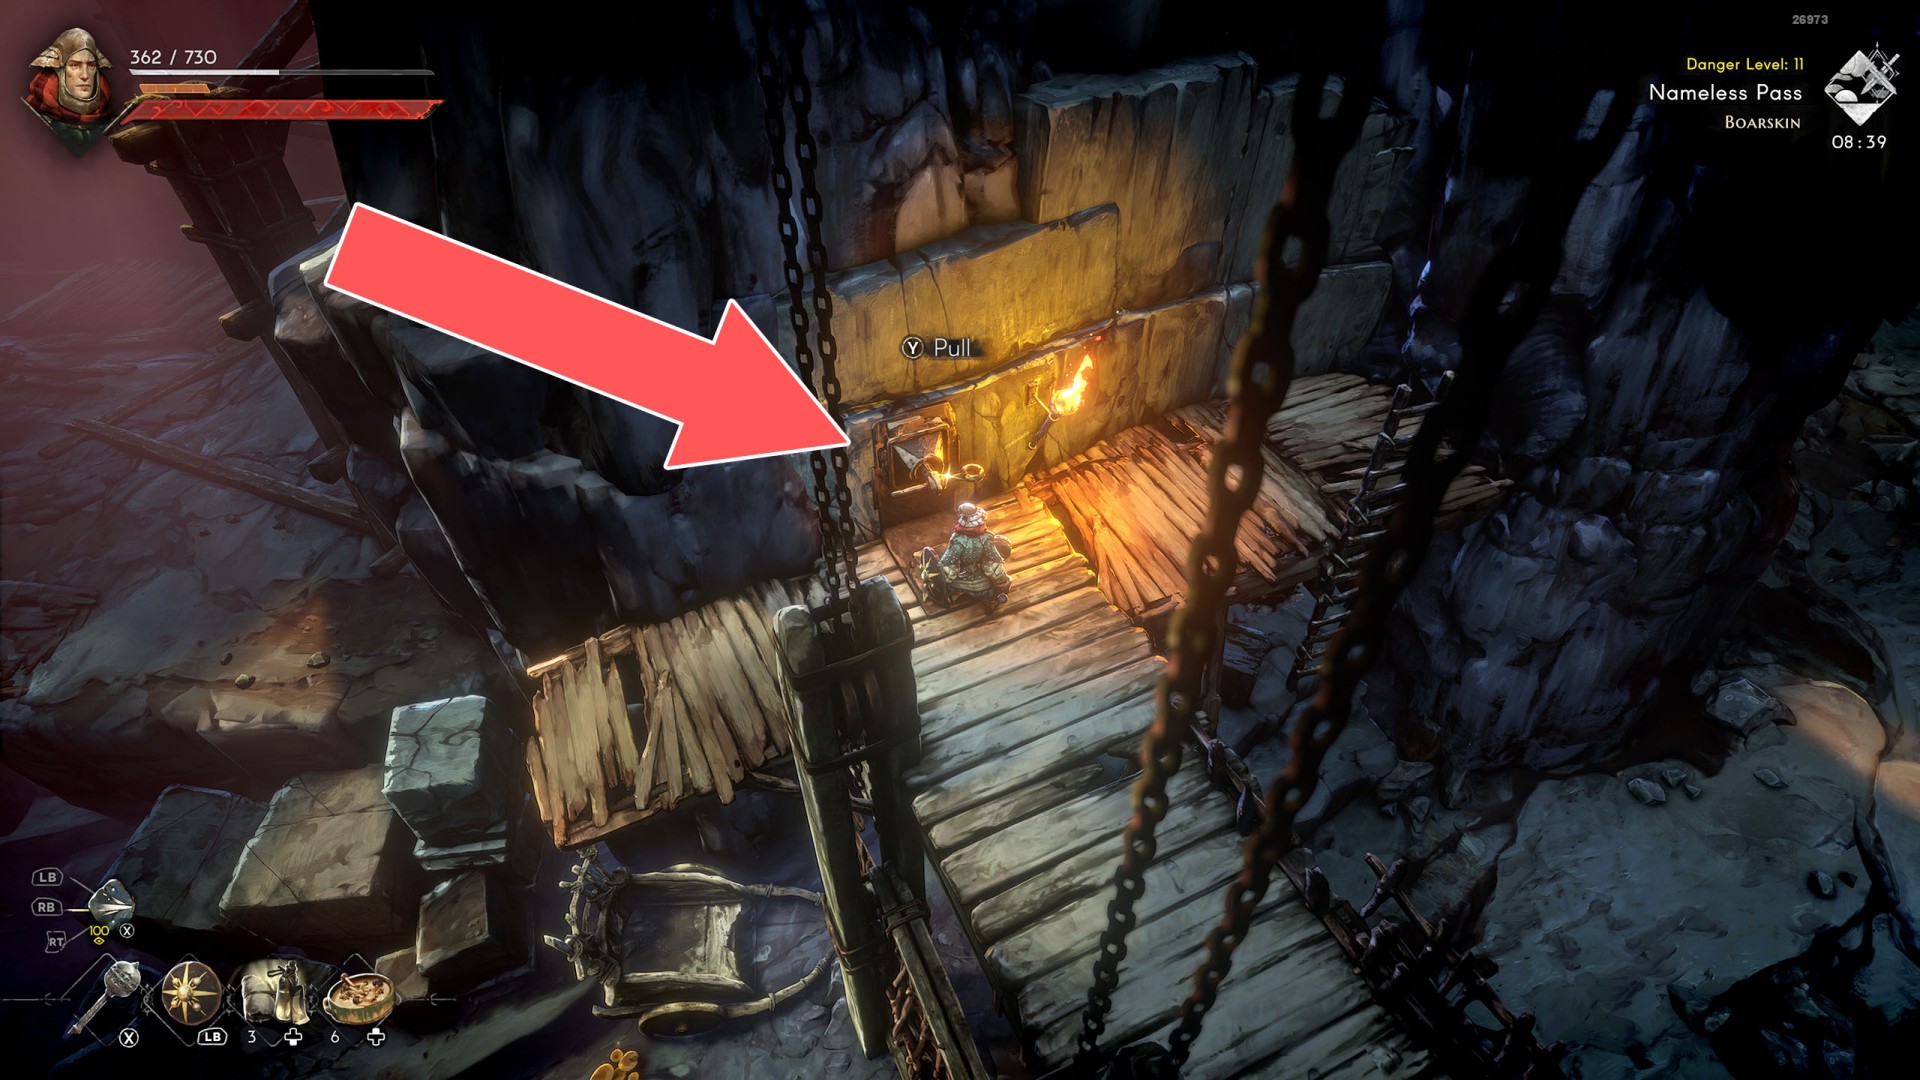
22Gate Opening Lever (Mariner's Keep)
You need the Gate Lever Handle from Fillmore to use it and open the gate.
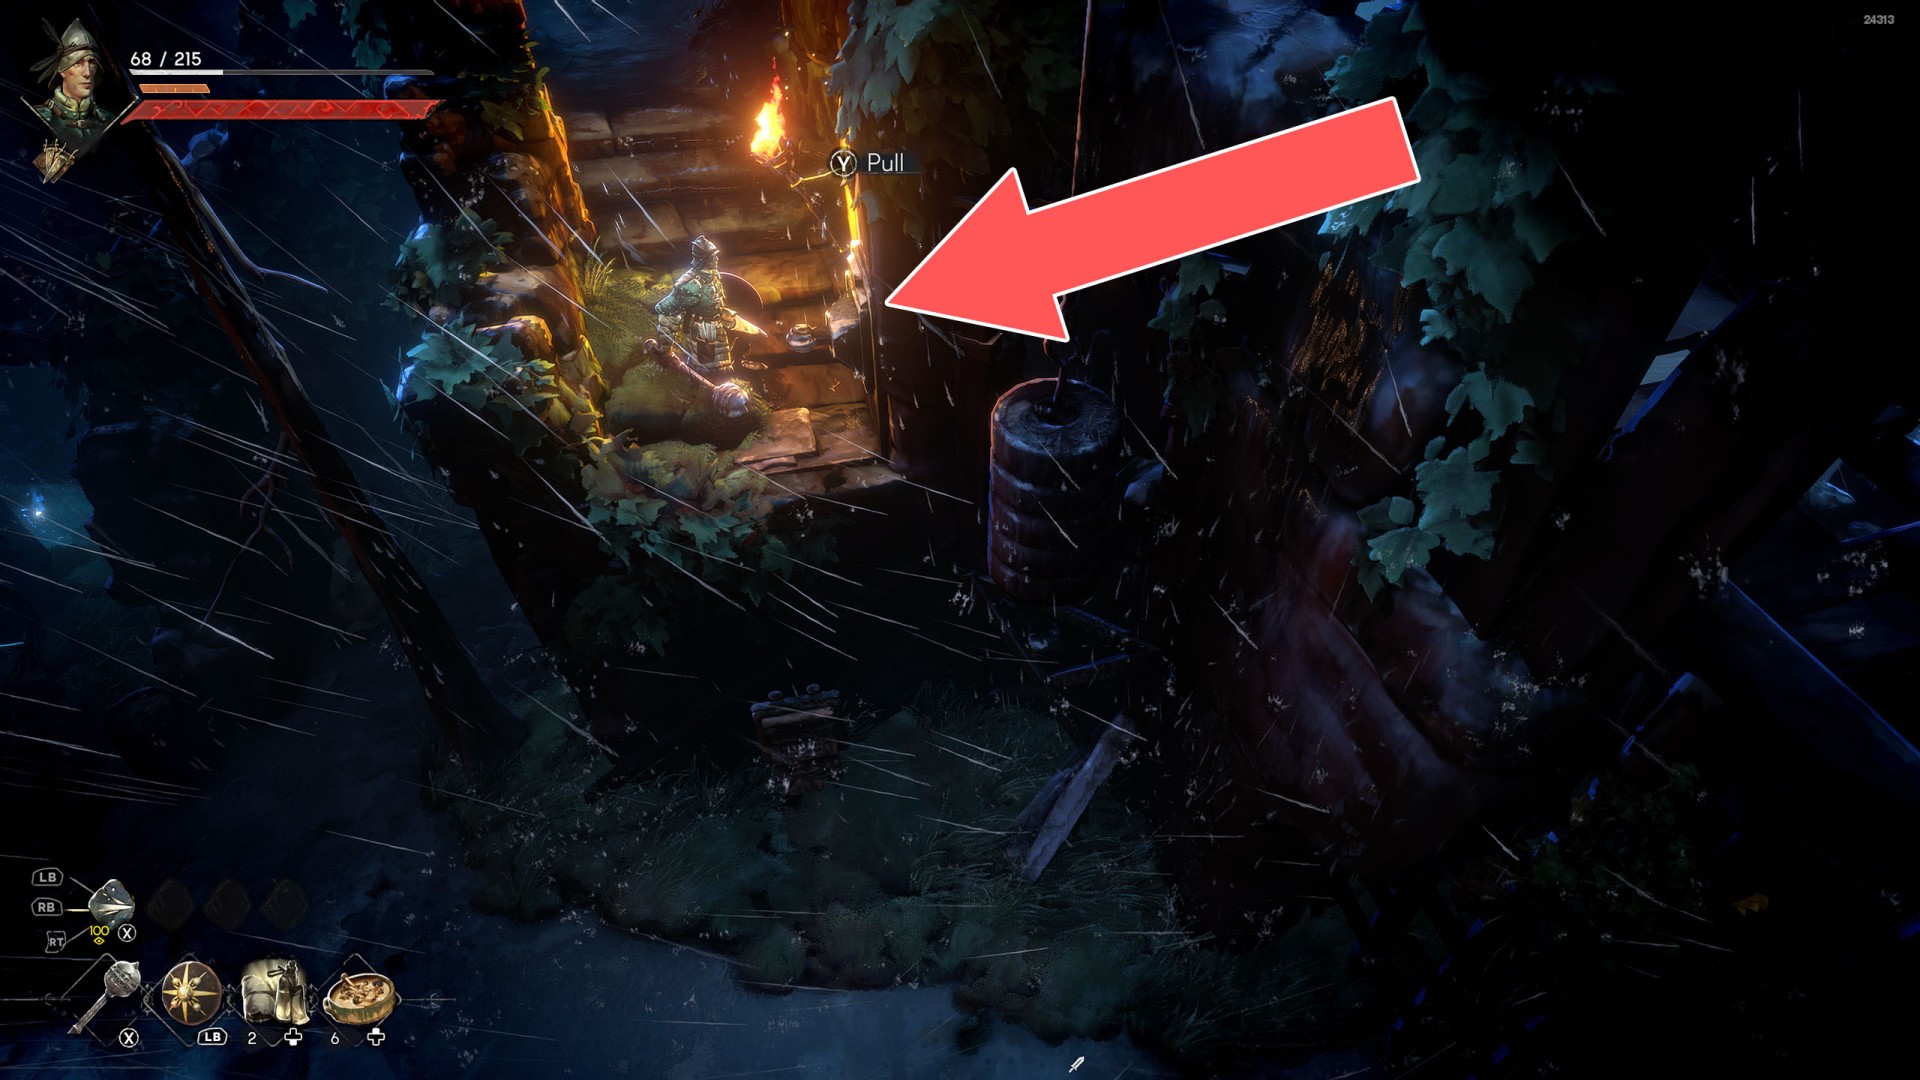
23Gate Opening Lever (Orban Glades)
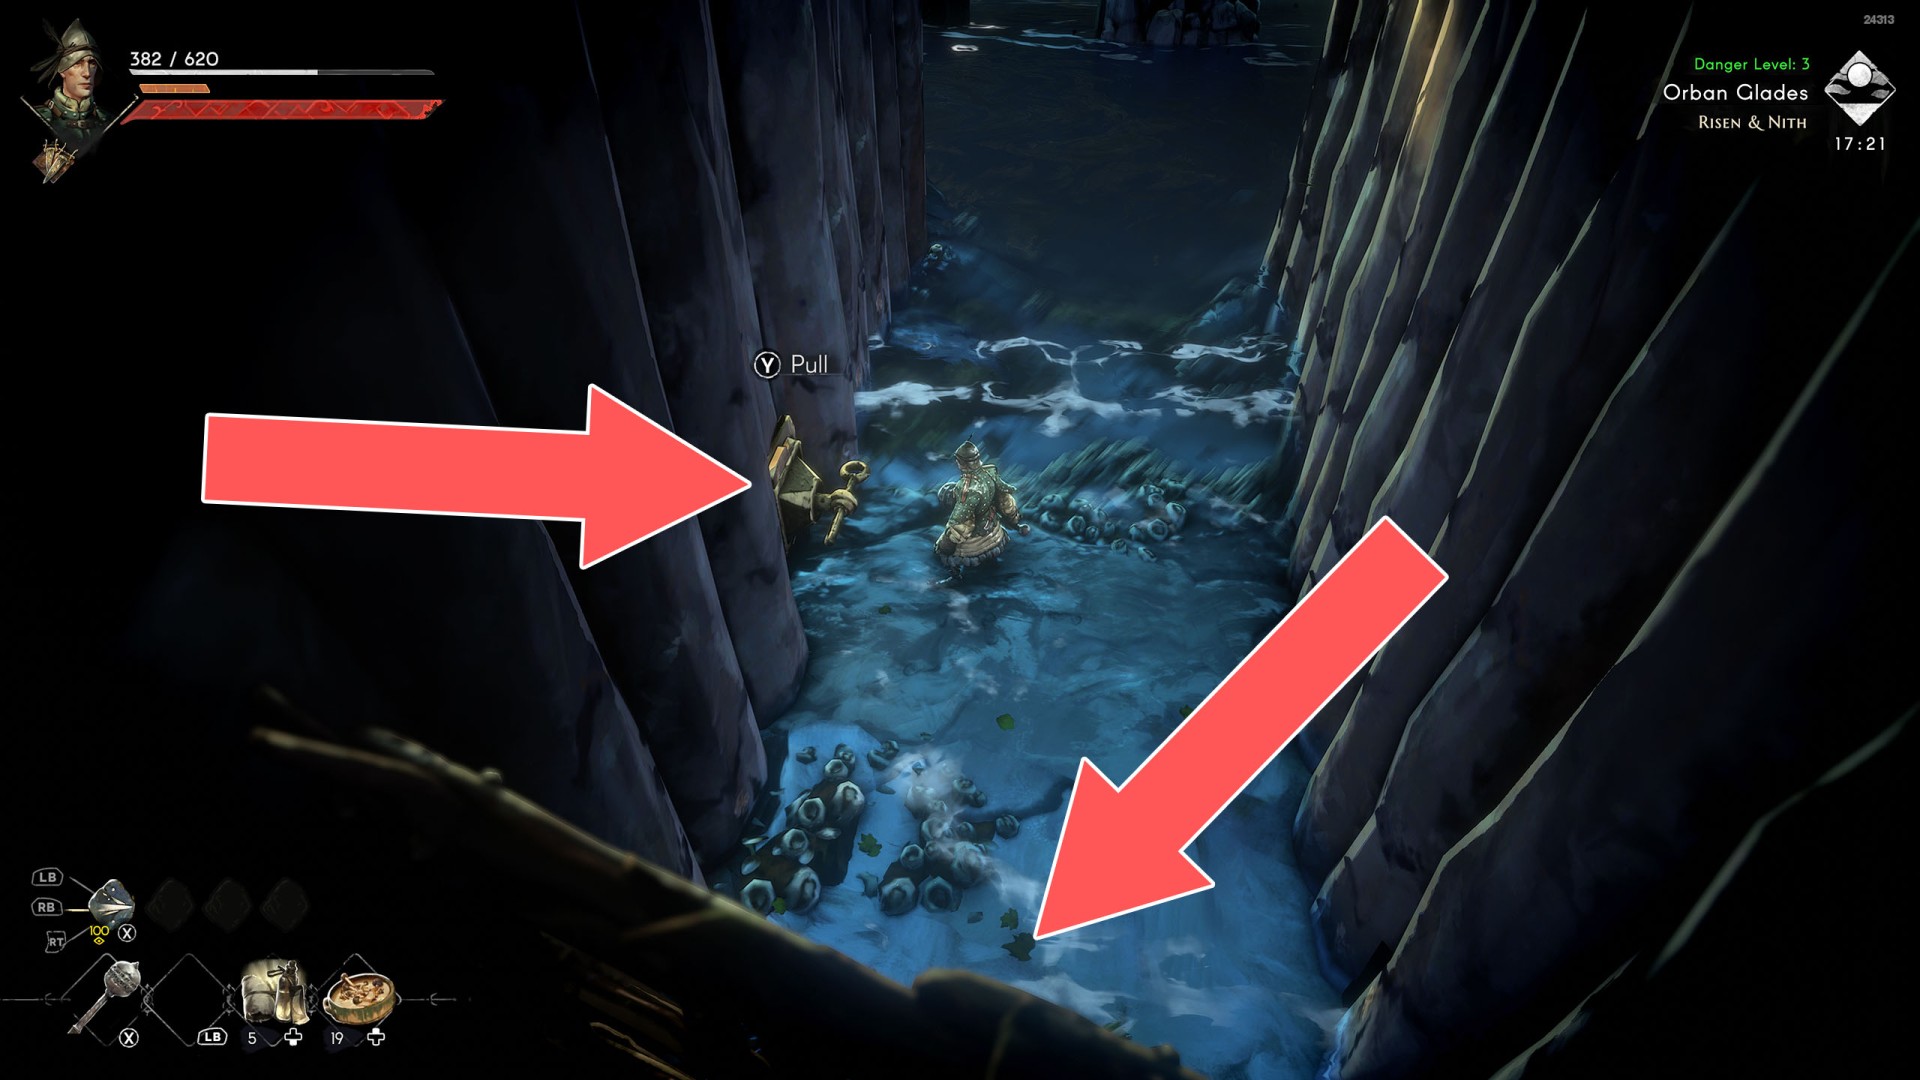
24Lever
Show the map
25Prison Wheel
By turning this wheel you can open the prison cells.
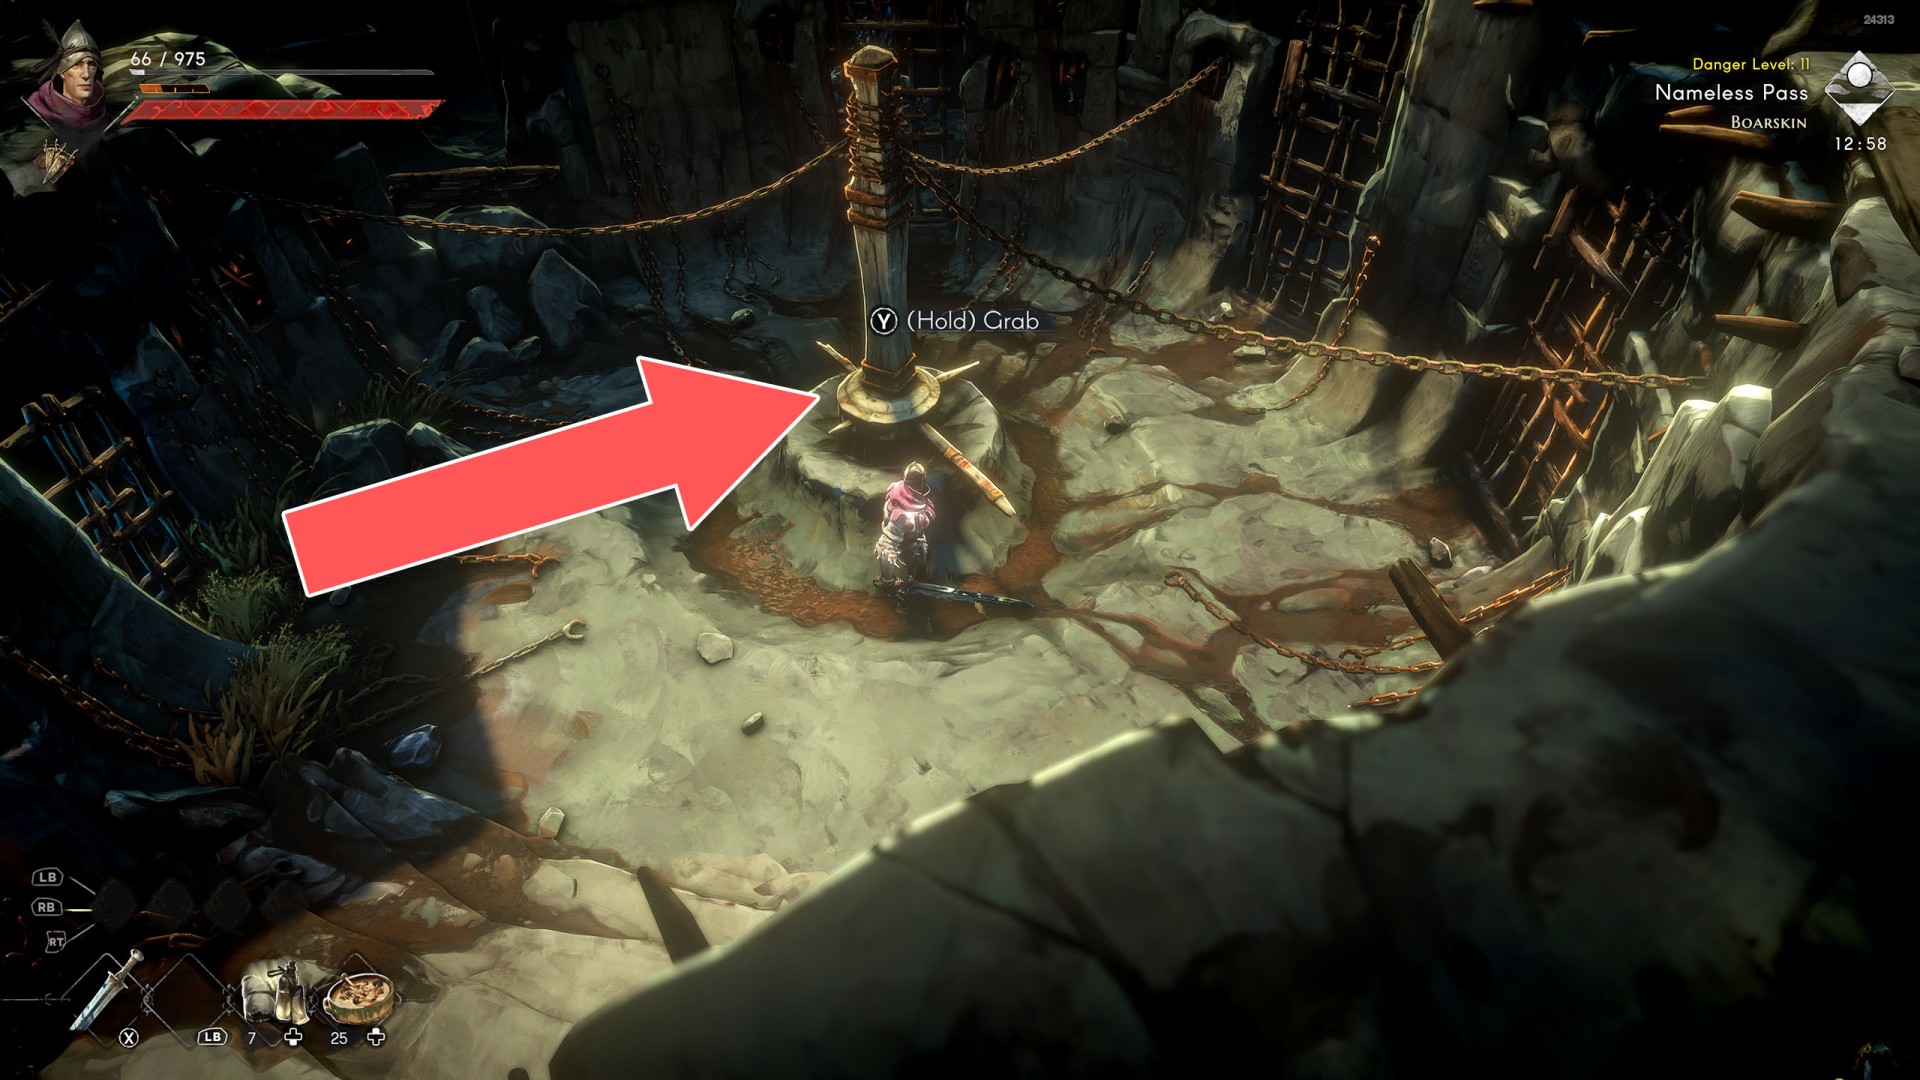
26Reservoir Lever
Related quest: The Weeping Sisters.
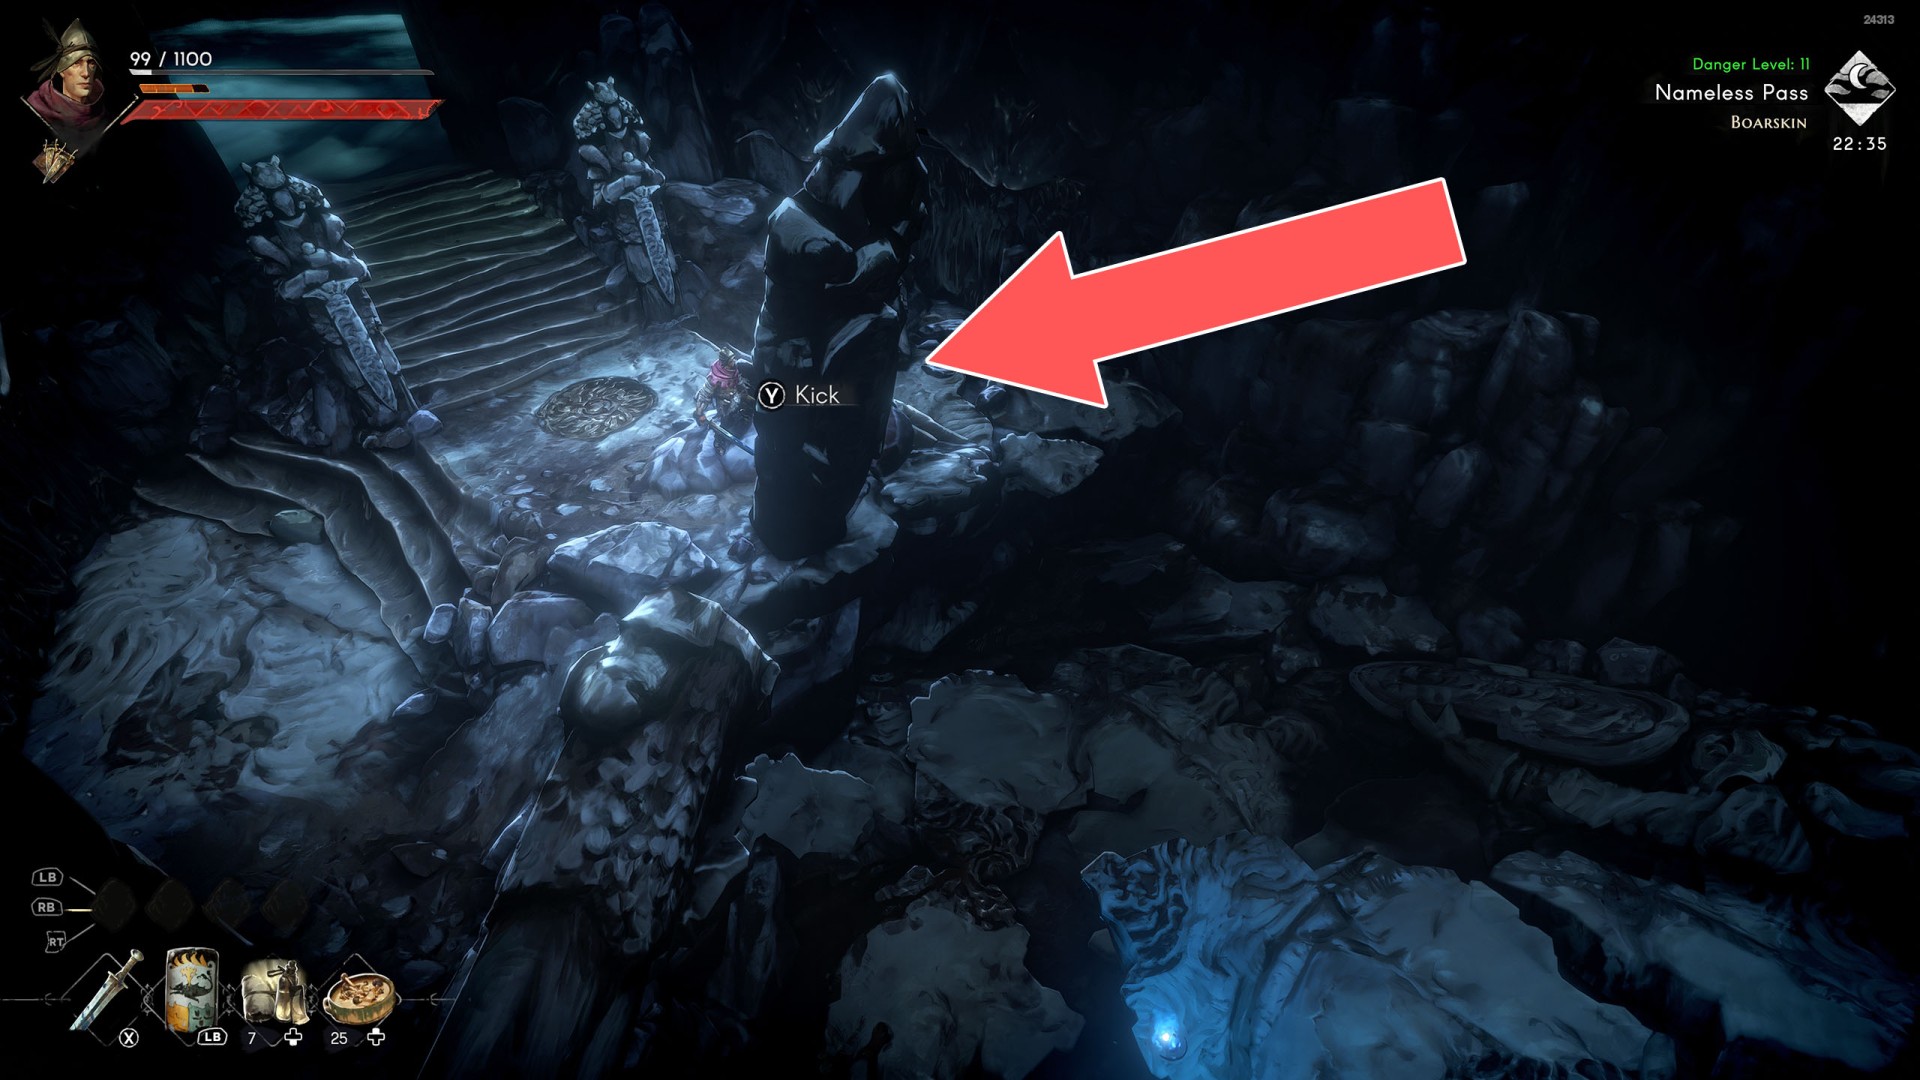
27Stone Pillar
To walk over it, you must first knock it down by approaching it from the right side.
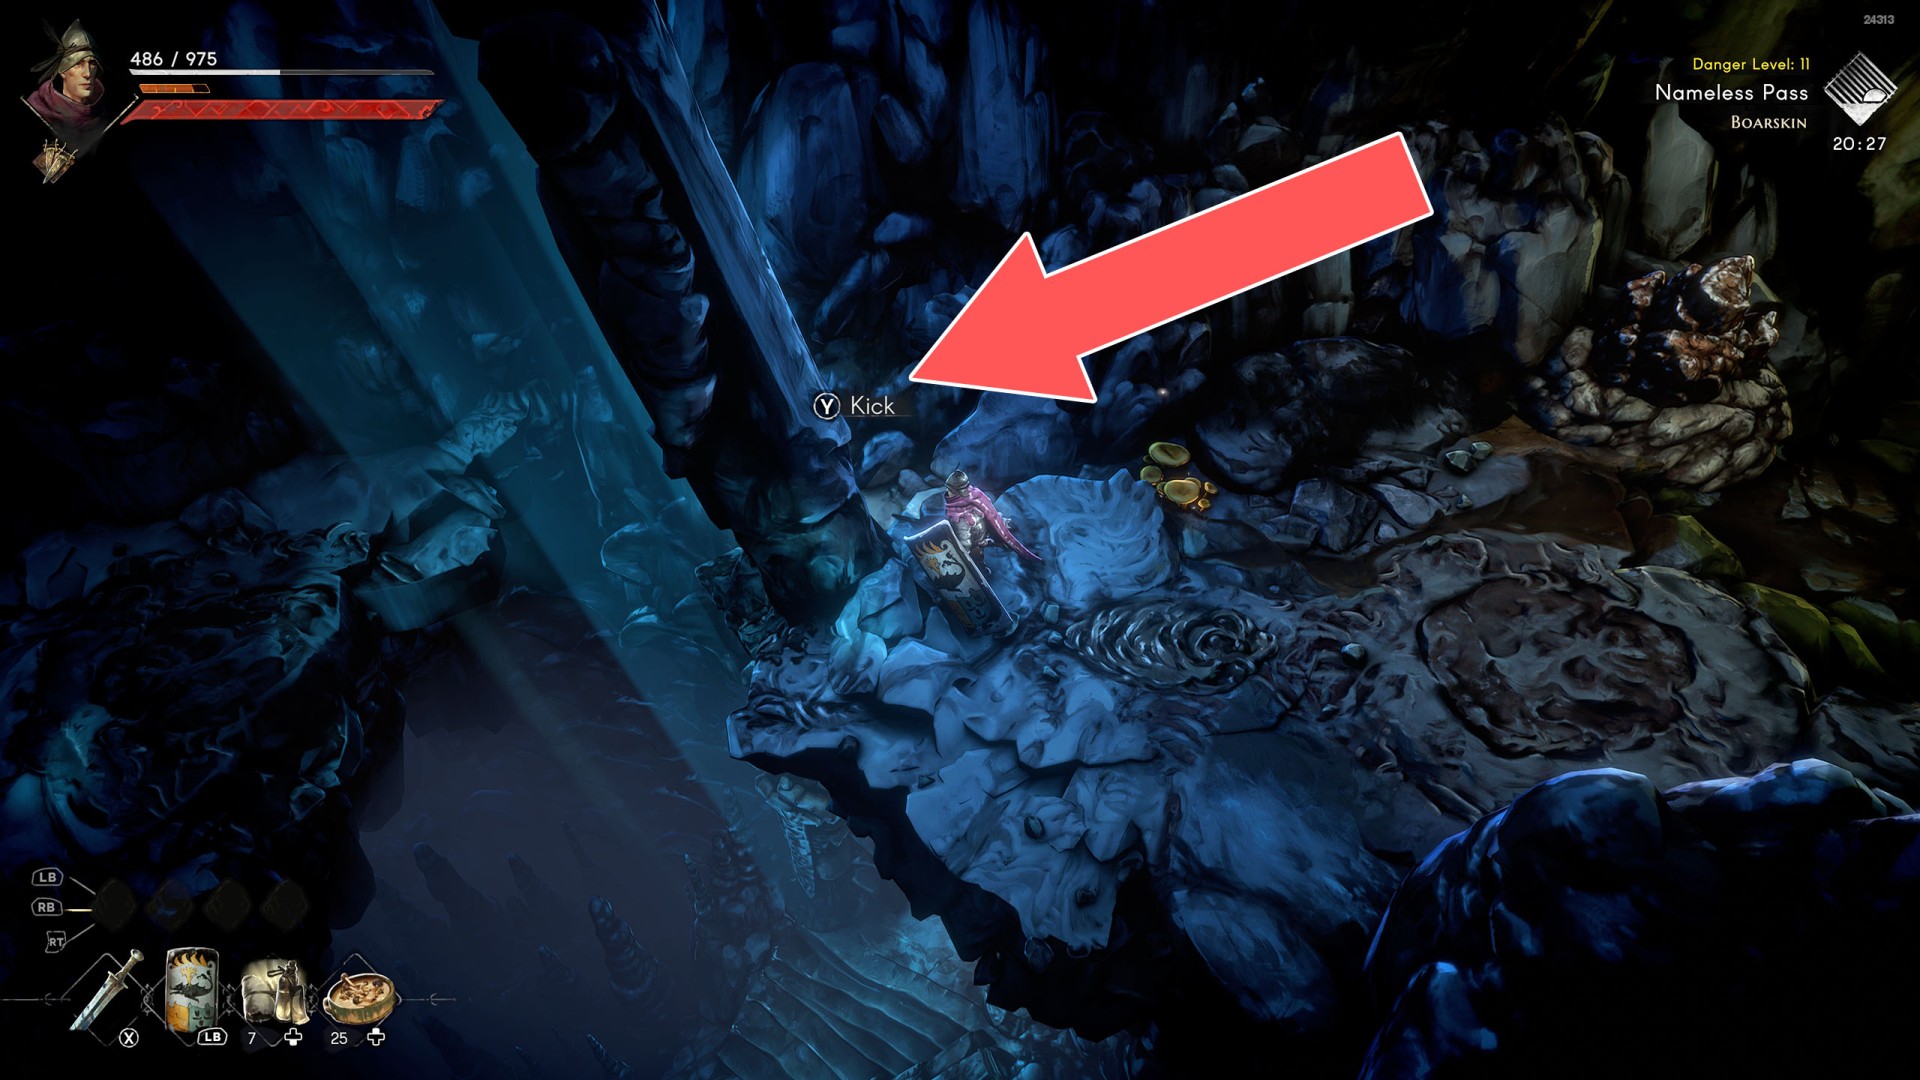
28Stone Pillar
To walk over it, you must first knock it down by approaching it from the right side.
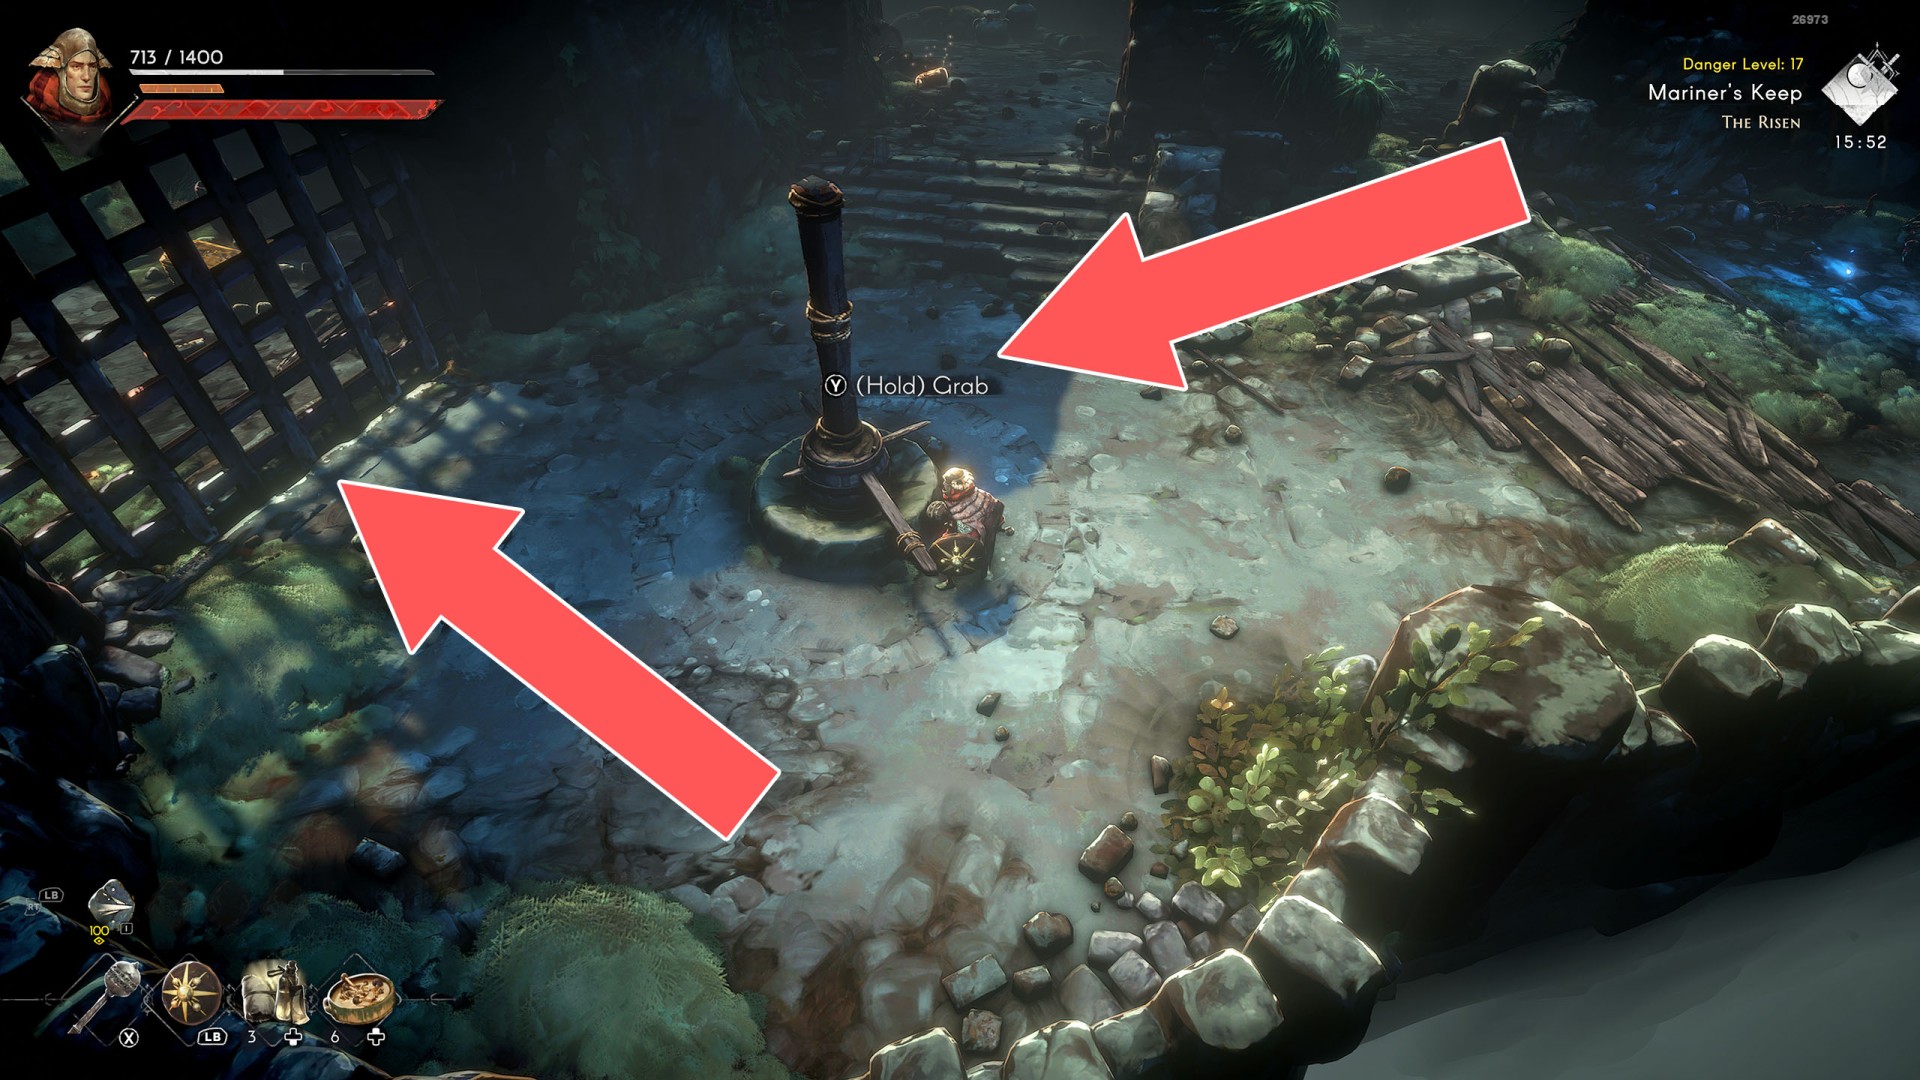
29Western Gate Mechanism
Locations on The Black Trench
30Elevator Lever #1
After pulling this lever, the connected "elevator" will rise after a moment. So pull the lever, run quickly, and step onto the elevator platform to reach the higher level.
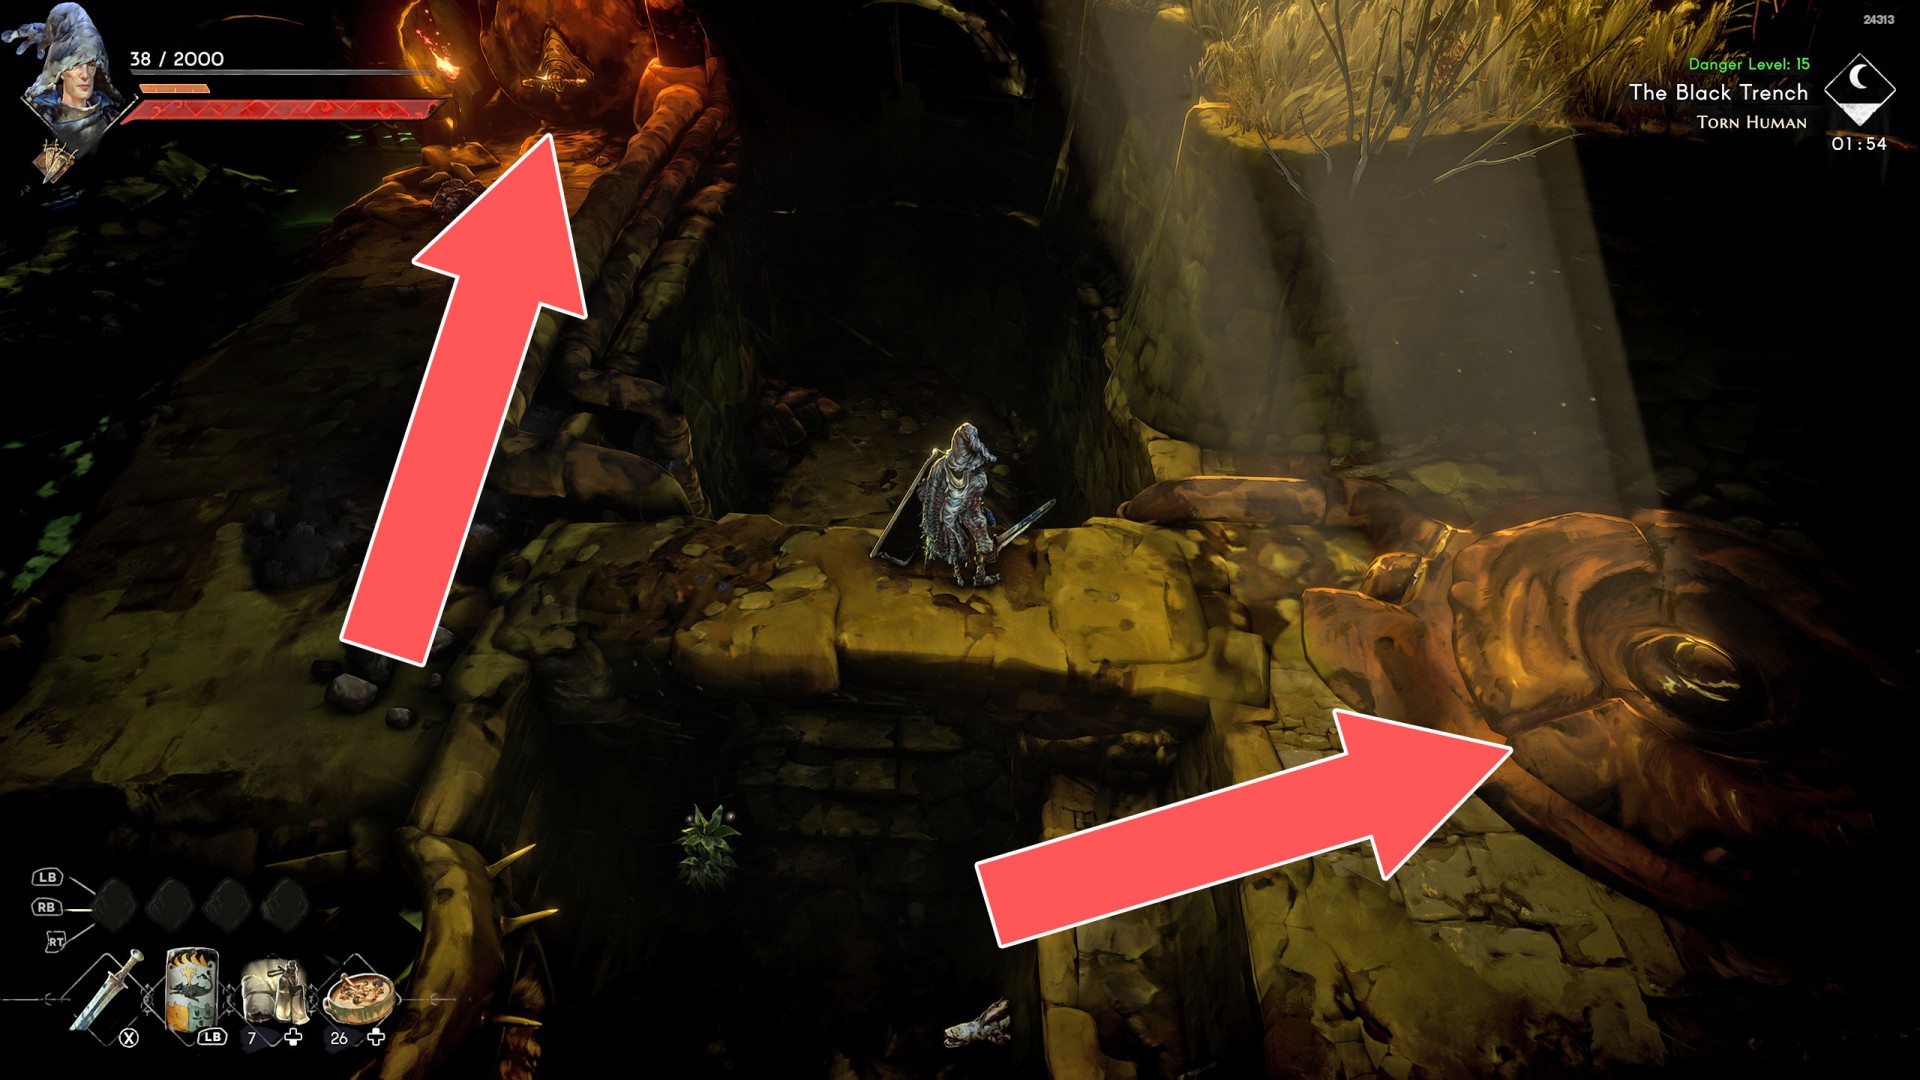
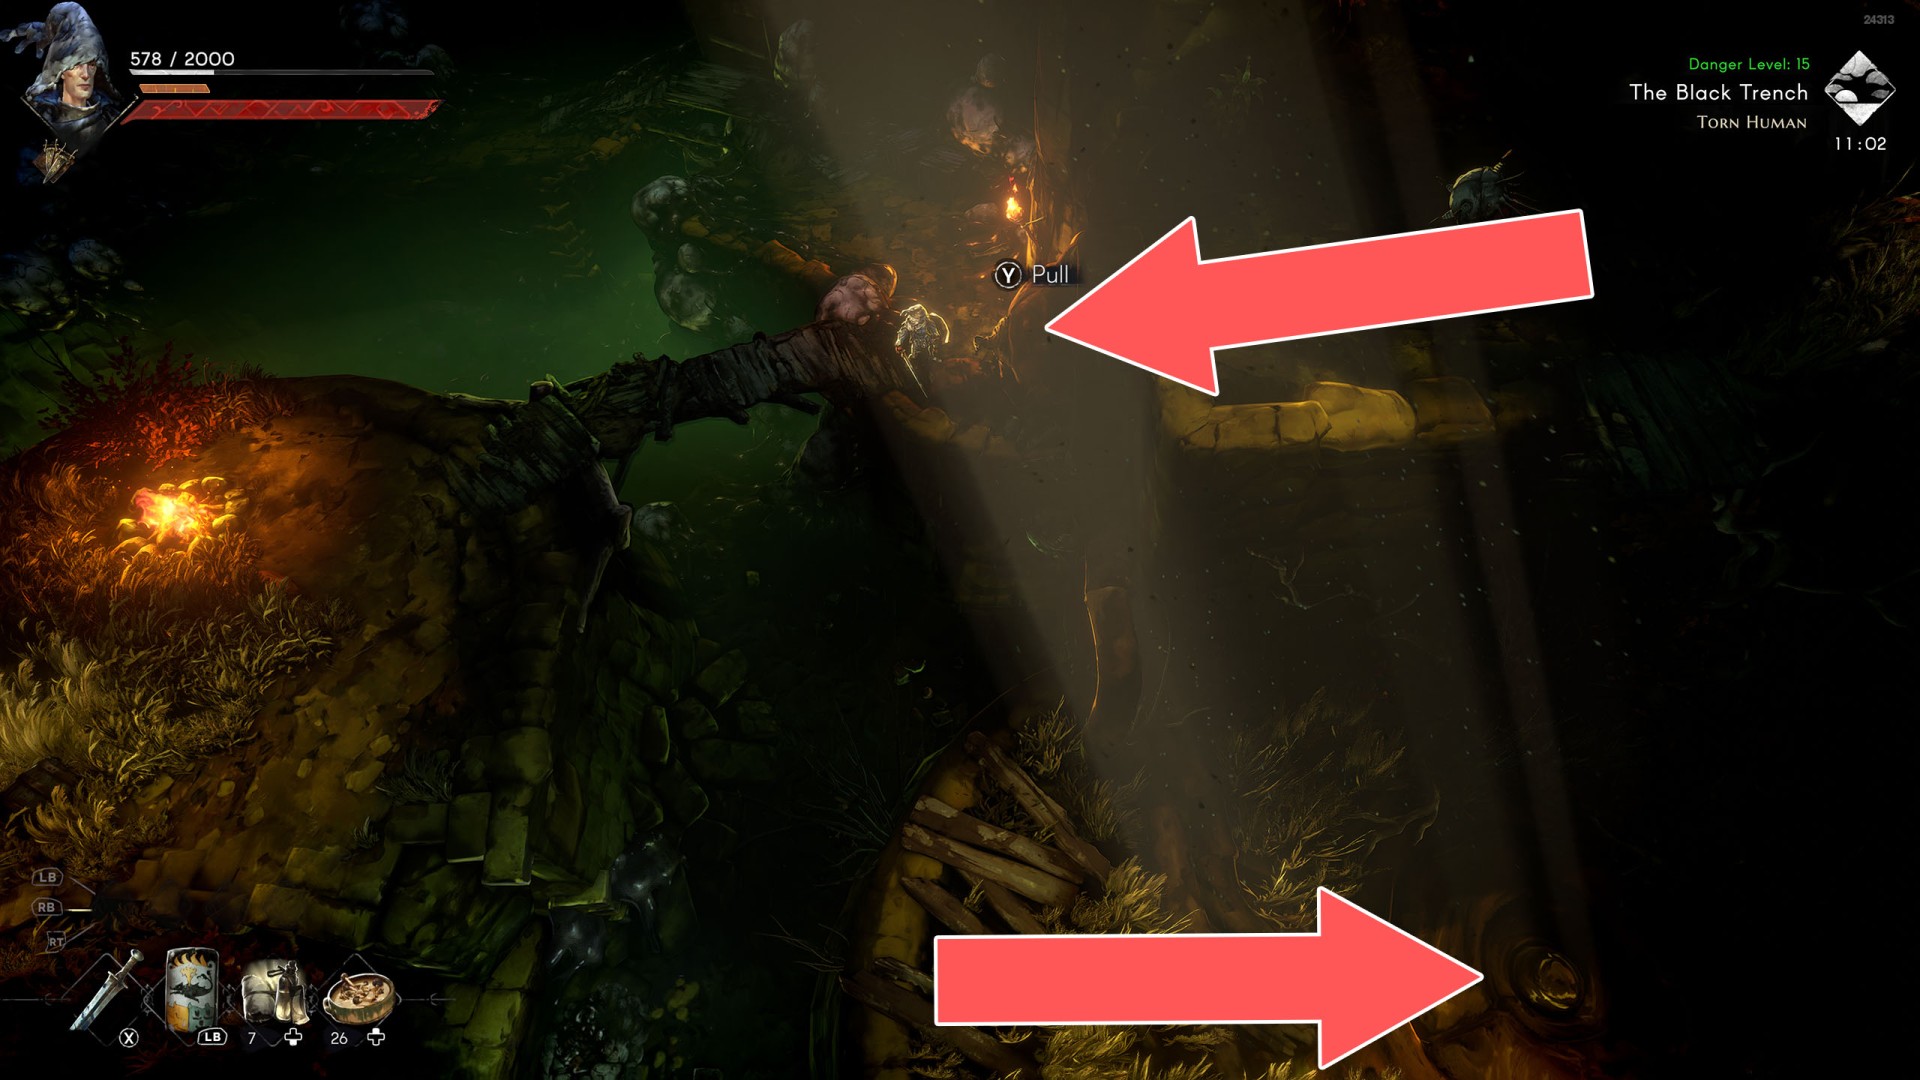
31Elevator Lever #2
To pull this lever you must have the Sewer Lever Handle. When you do this then after a while the elevator platform located to the southeast will slide up that will take you to a higher level. You must be very fast to reach it before it slides up. Walk across the narrow path, jump to the rock ledge and walk across the next narrow path.
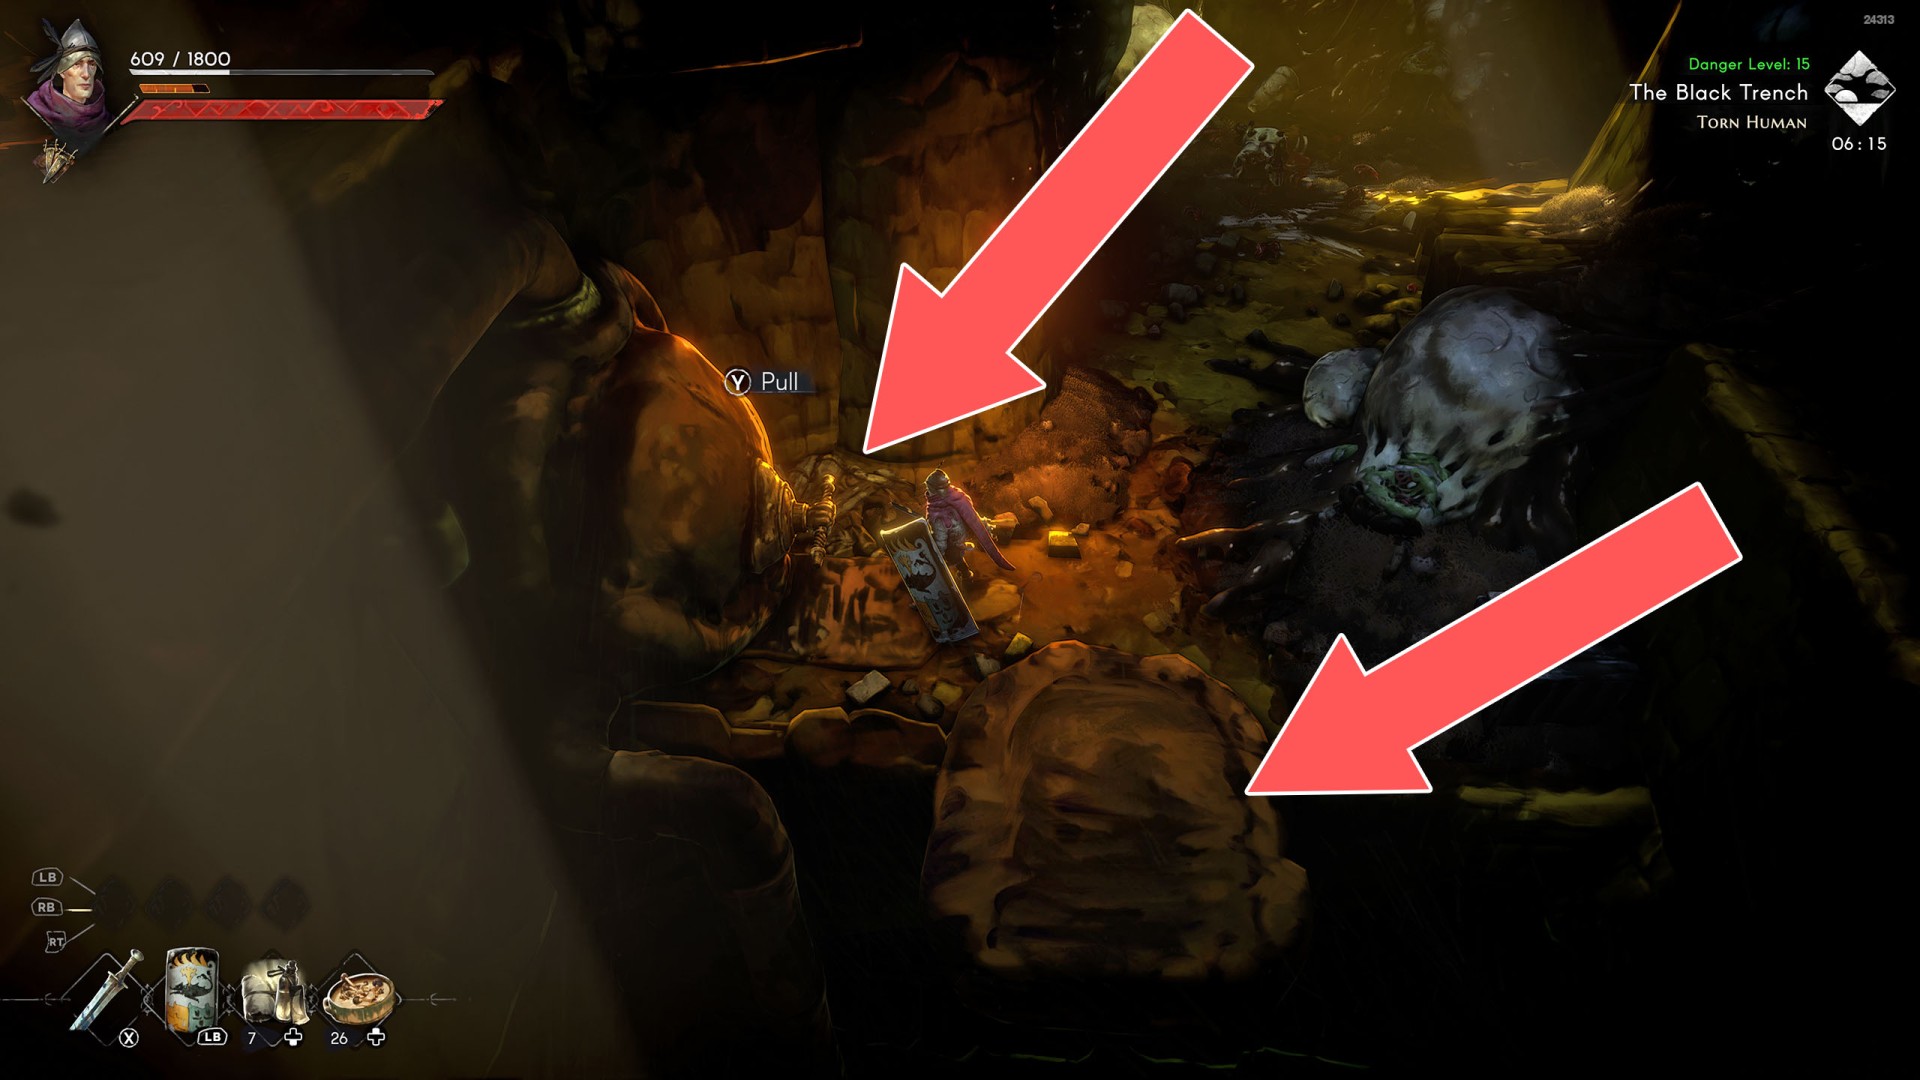
32Footbridge Lever #1
Use it to extend the nearby Footbridge #1, which you can use to cross to the other side.
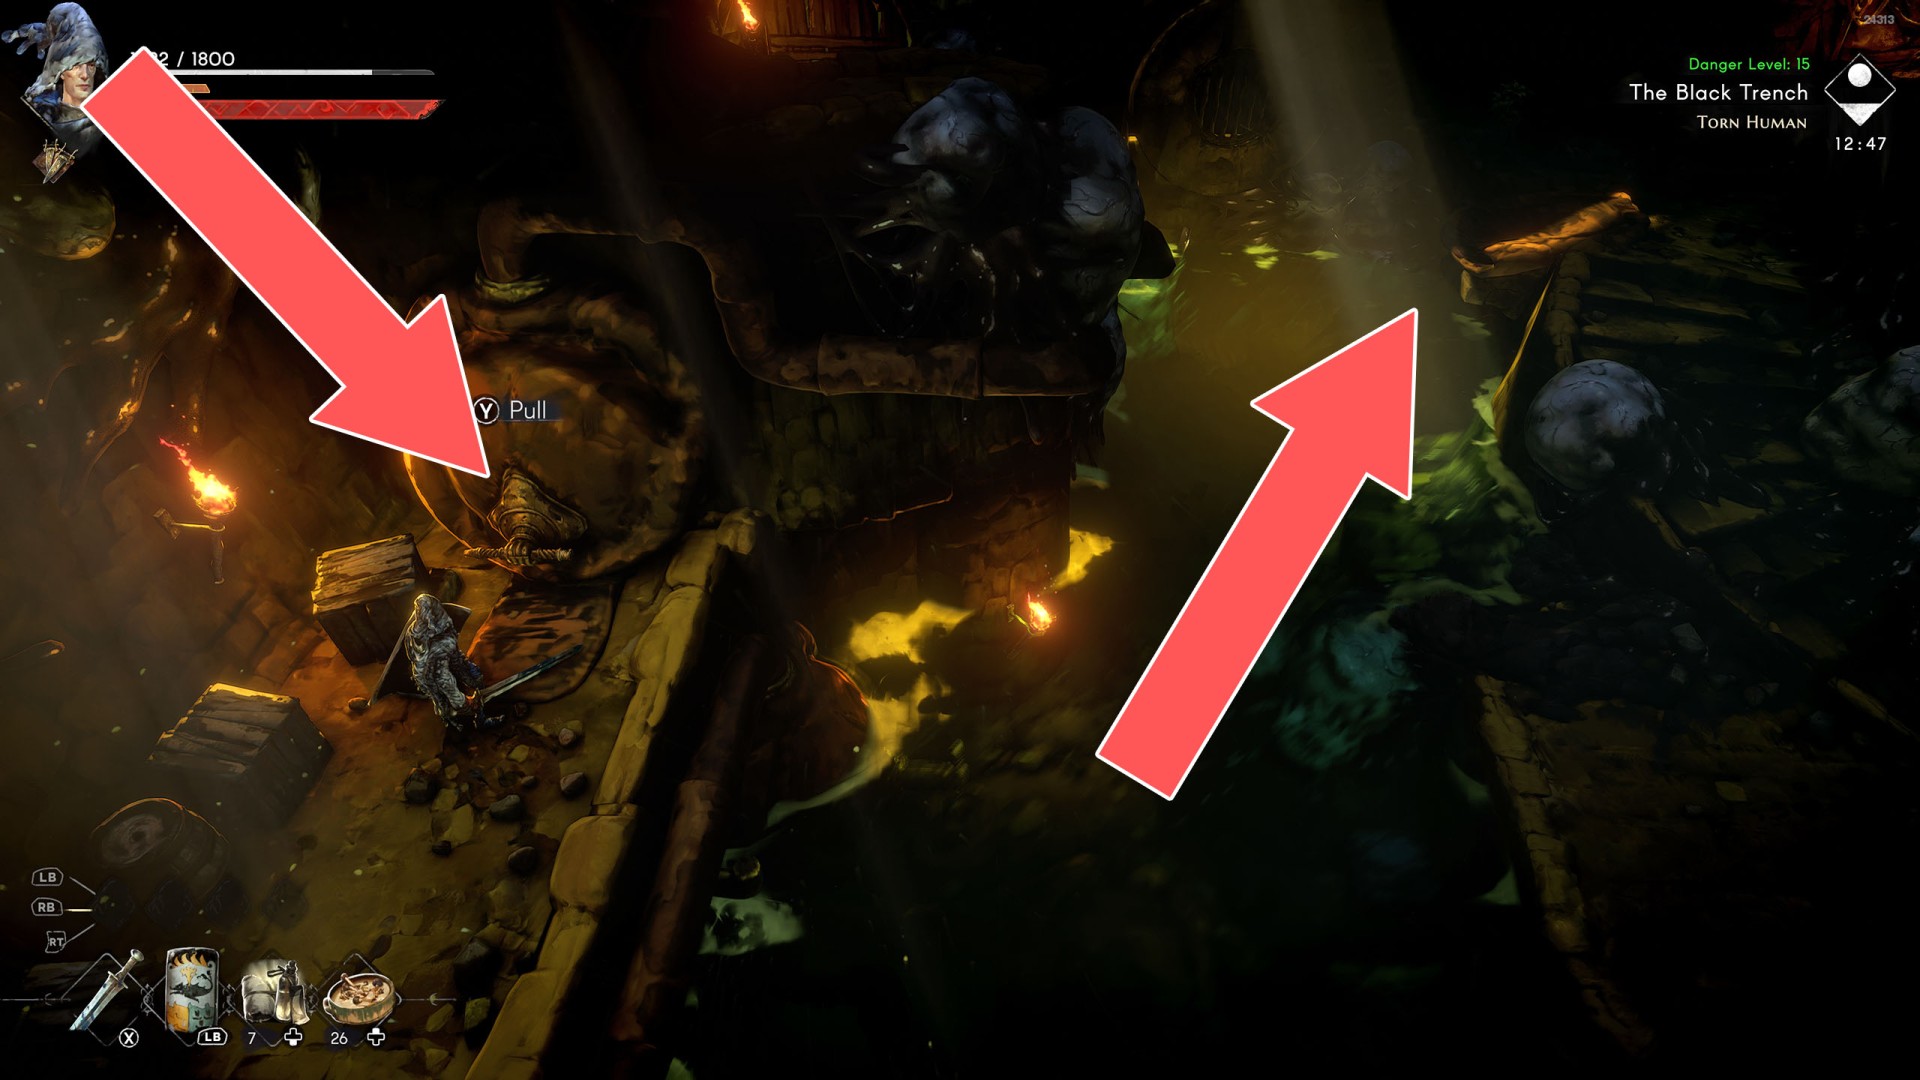
33Footbridge Lever #2
Use this this lever to extend the Footbridge #2.
34Footbridge Lever #3
Requires Sewer Lever Handle. Use this this lever to extend the Footbridge #3.
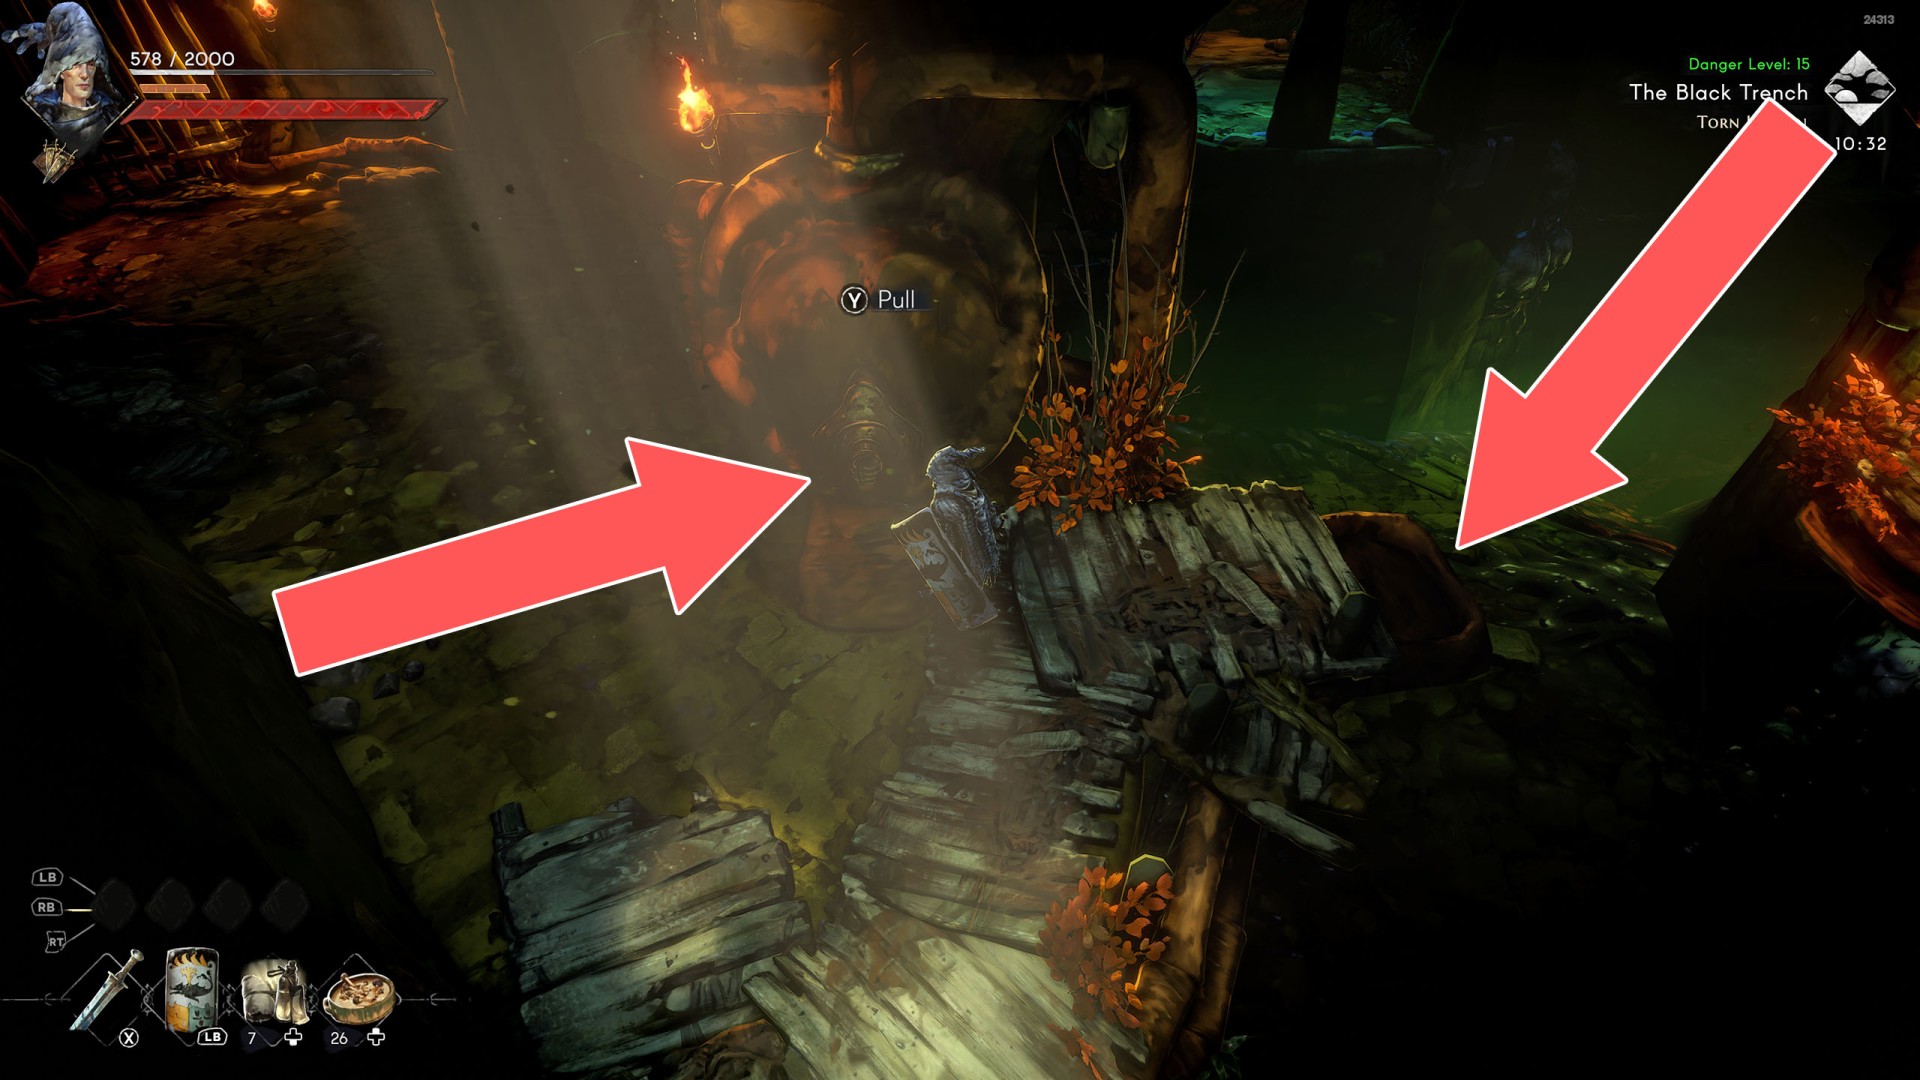
35Footbridge Lever #4
You need the Sewer Lever Handle to be able to pull it. When you do this a footbridge will extend, over which you can walk to the east side of the room.
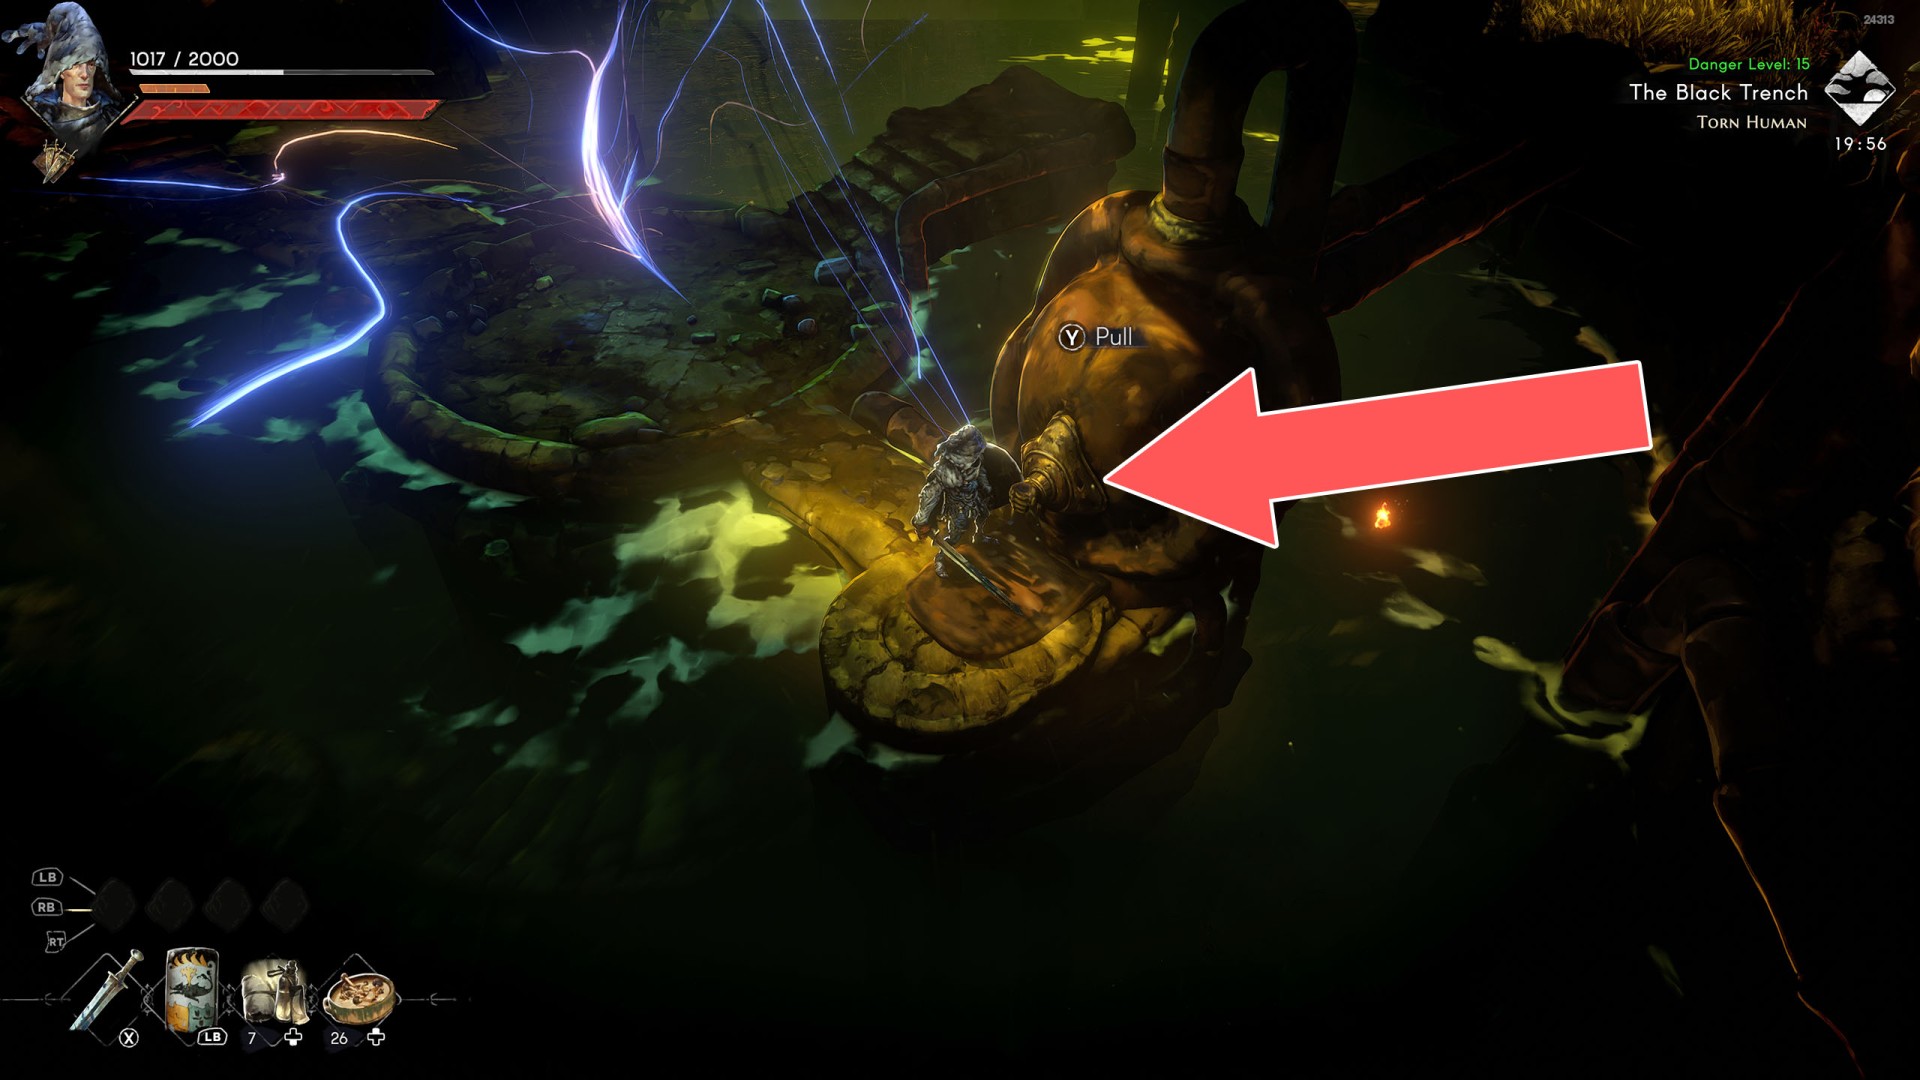
36Footbridge Lever #5
Use this this lever to extend the Footbridge #5.
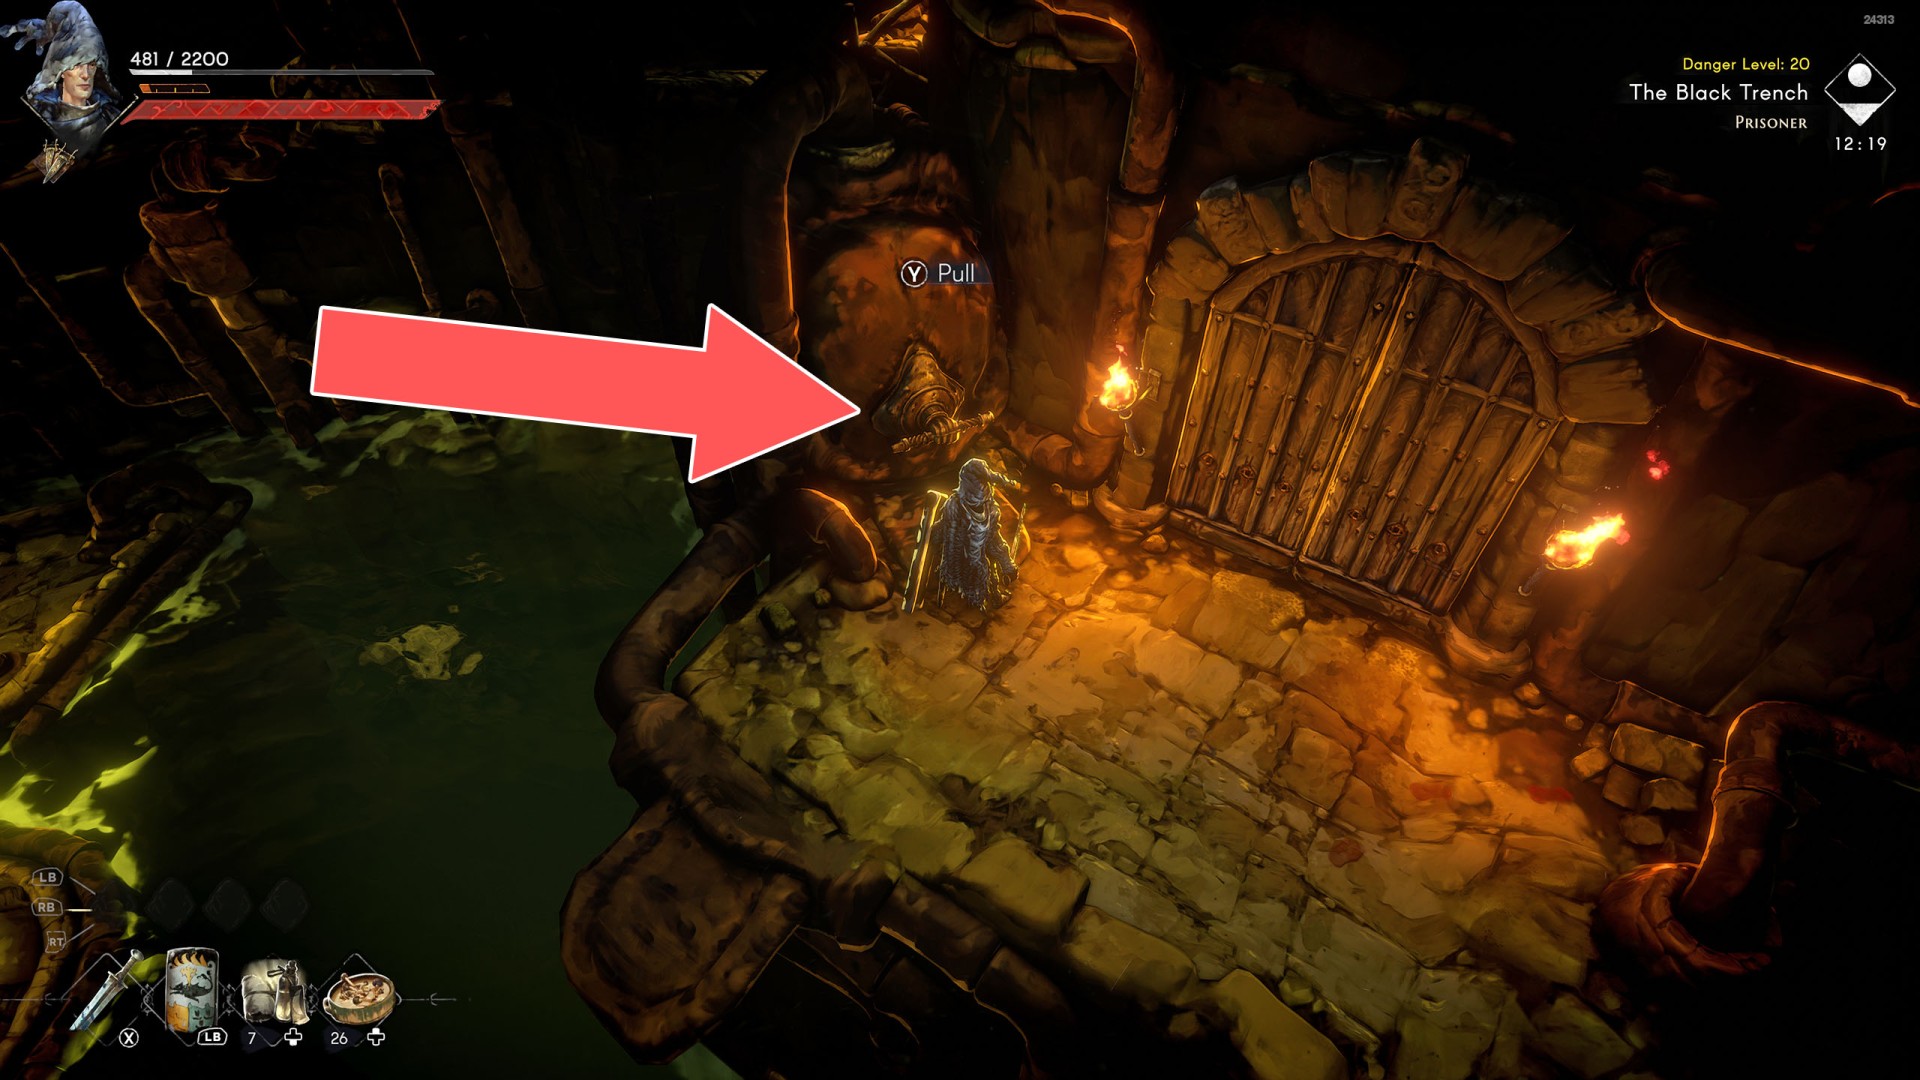
37Water Level Lever #1
To get to this lever, jump down here. When you use it, the room will fill with water, giving you access to previously inaccessible areas.
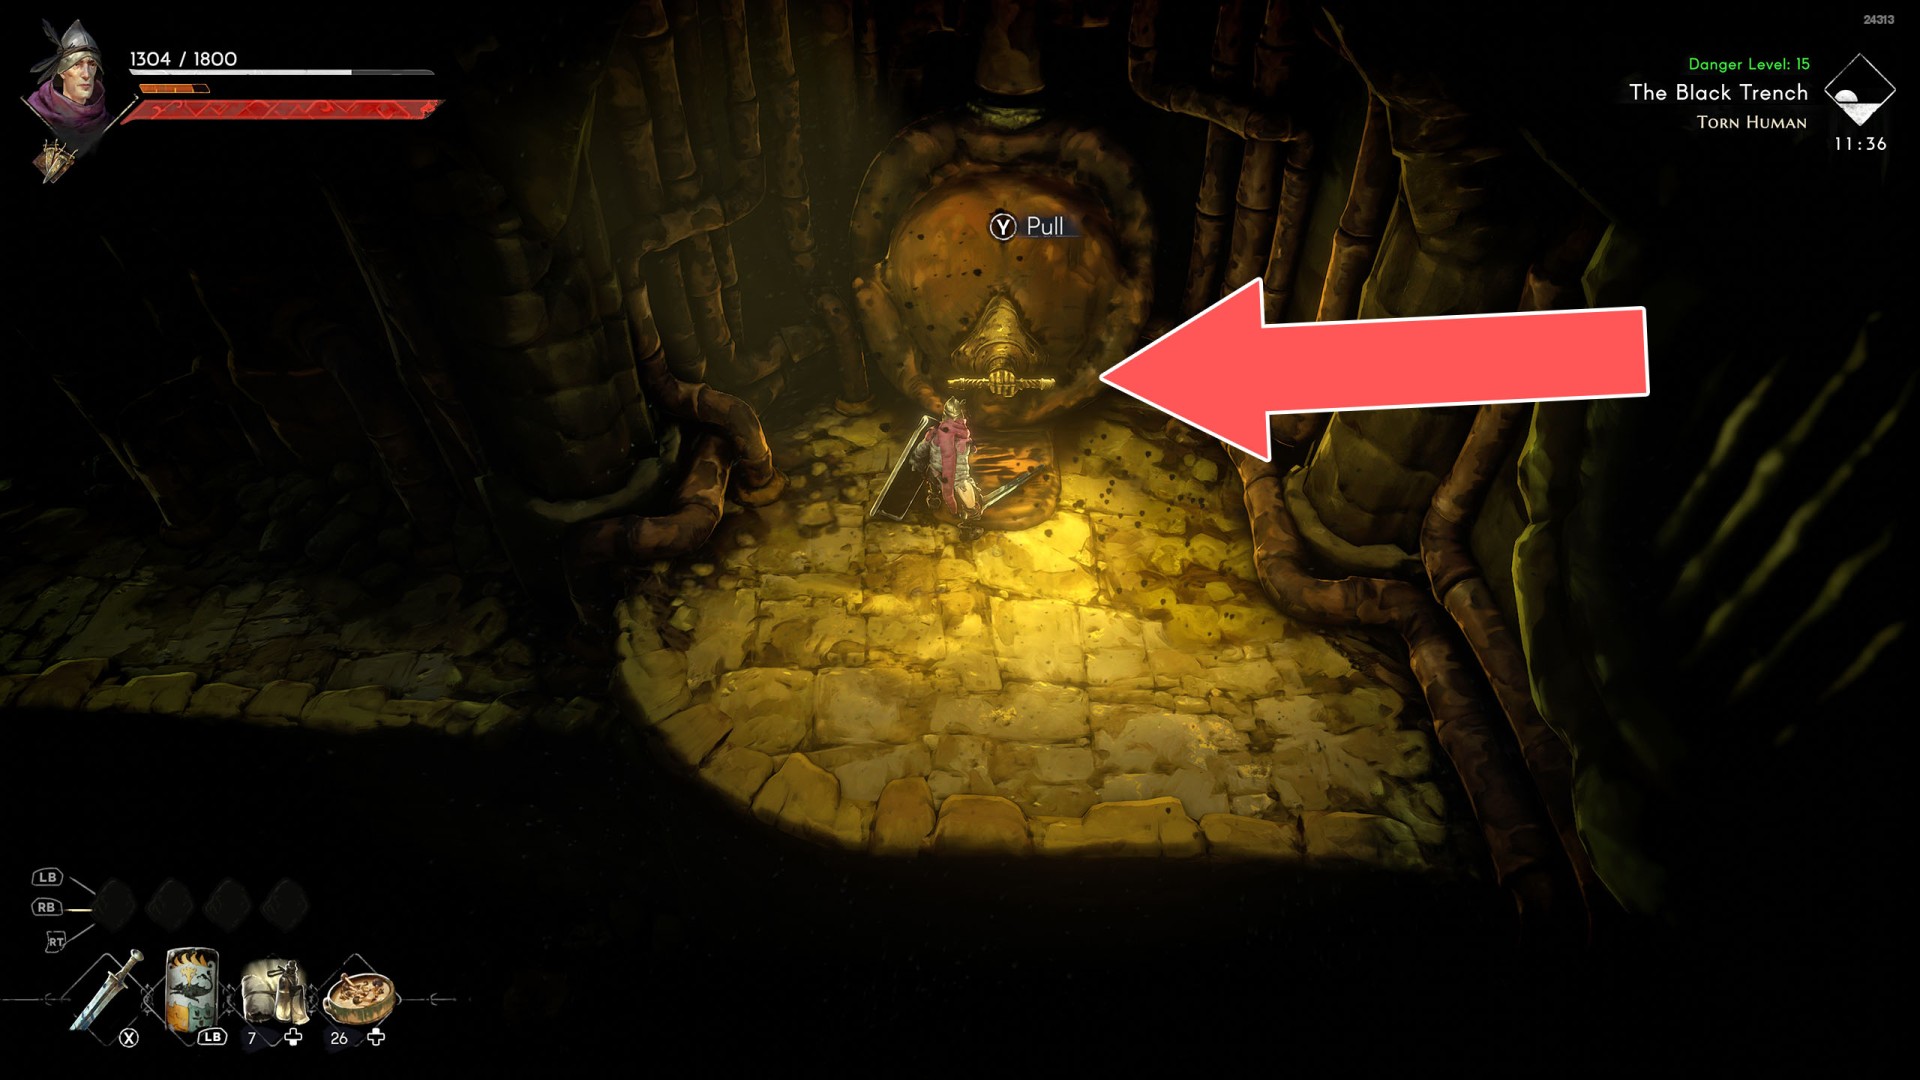
38Water Level Lever #2
Pull this lever to lower the water level so you can go further through the previously flooded passage.
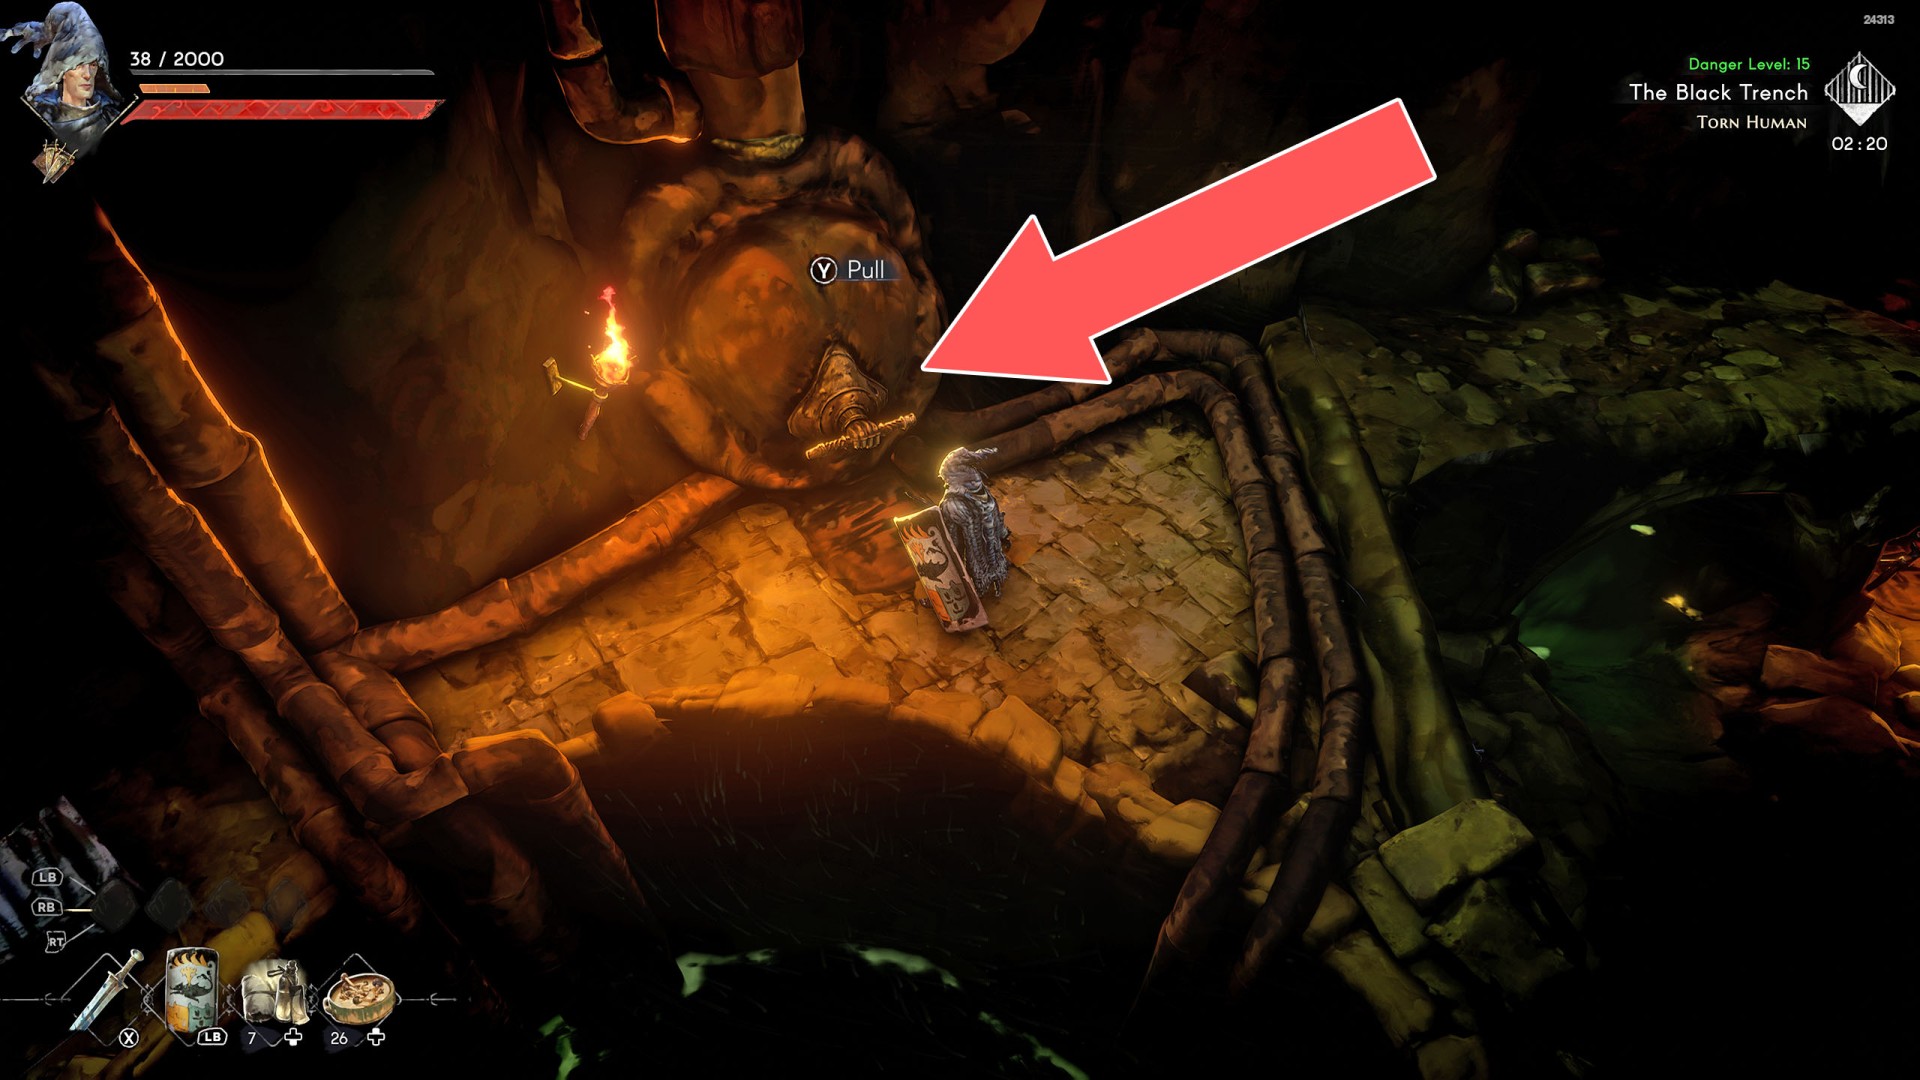
39Water Level Lever #3
Pull this lever to flood part of the room so you can swim further through.
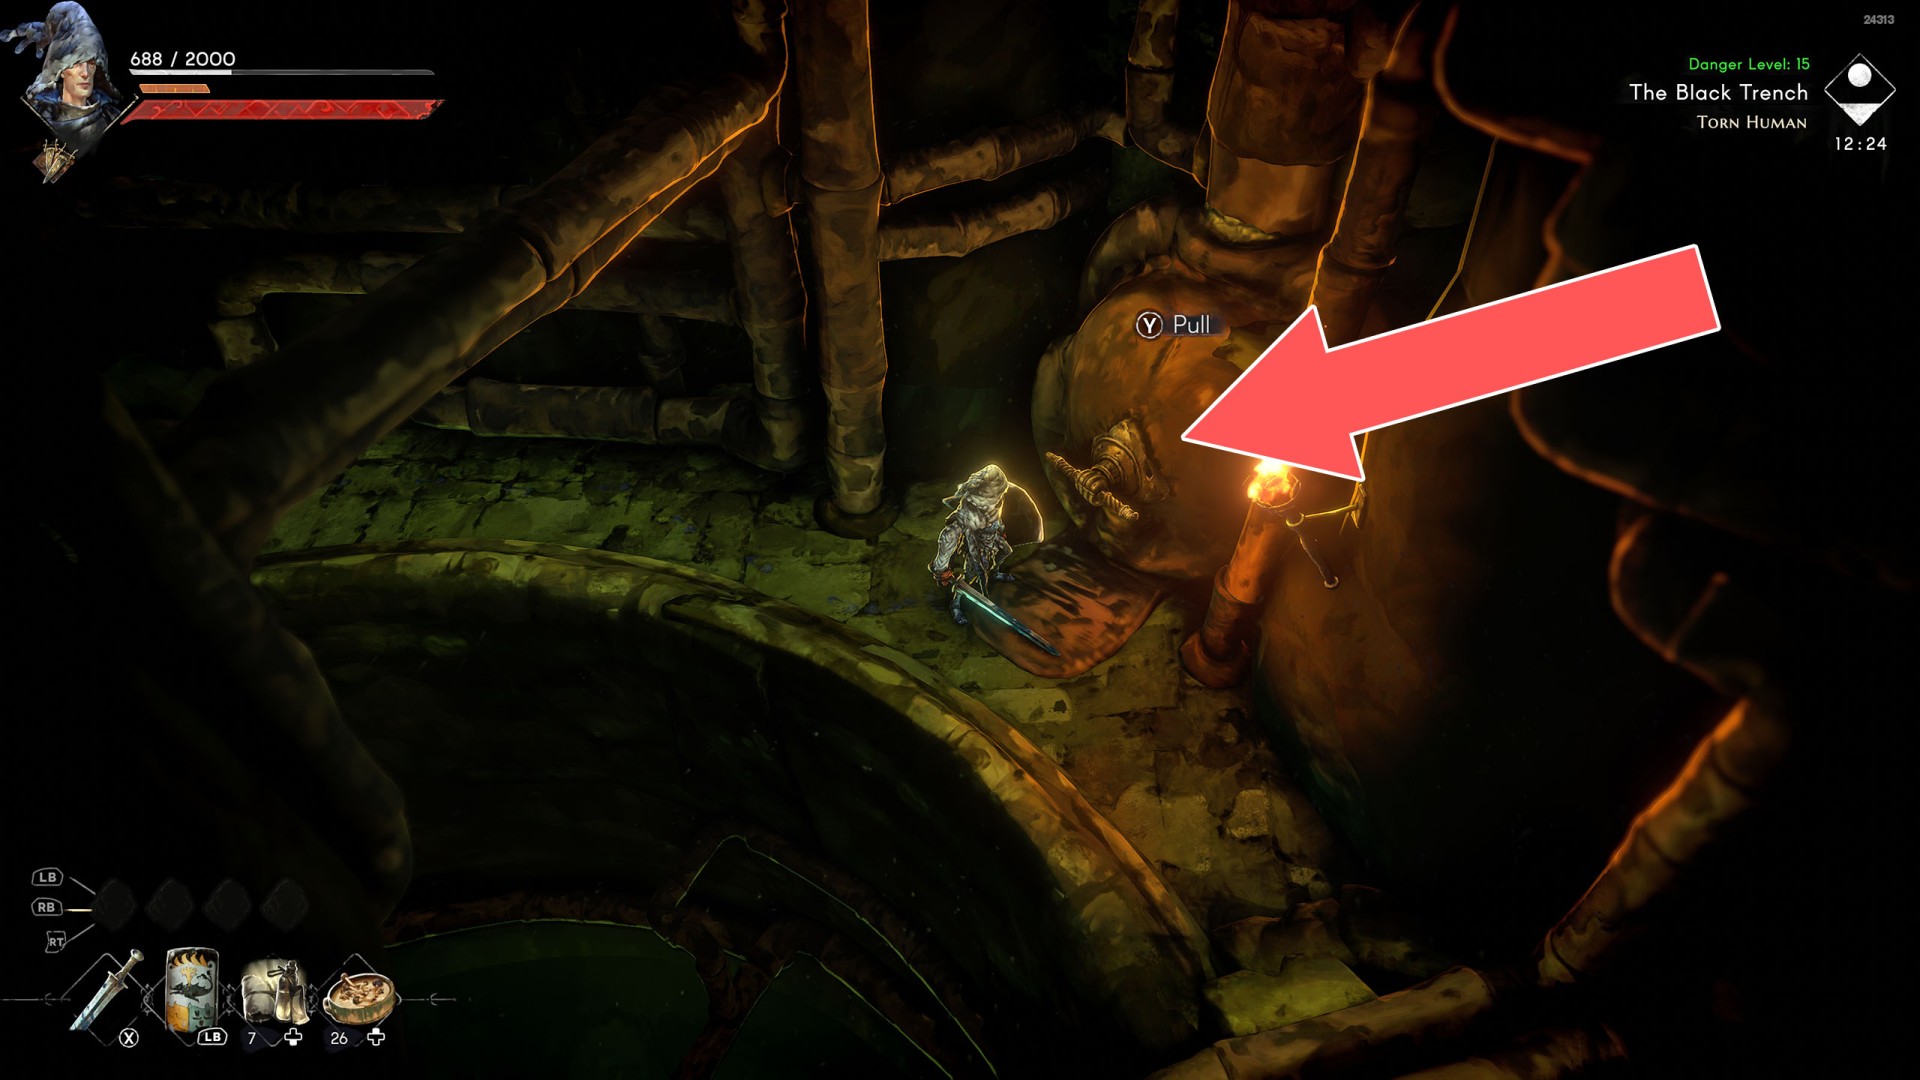
40Water Level Lever #4
Pulling the lever will flood the eastern part of the dungeon.
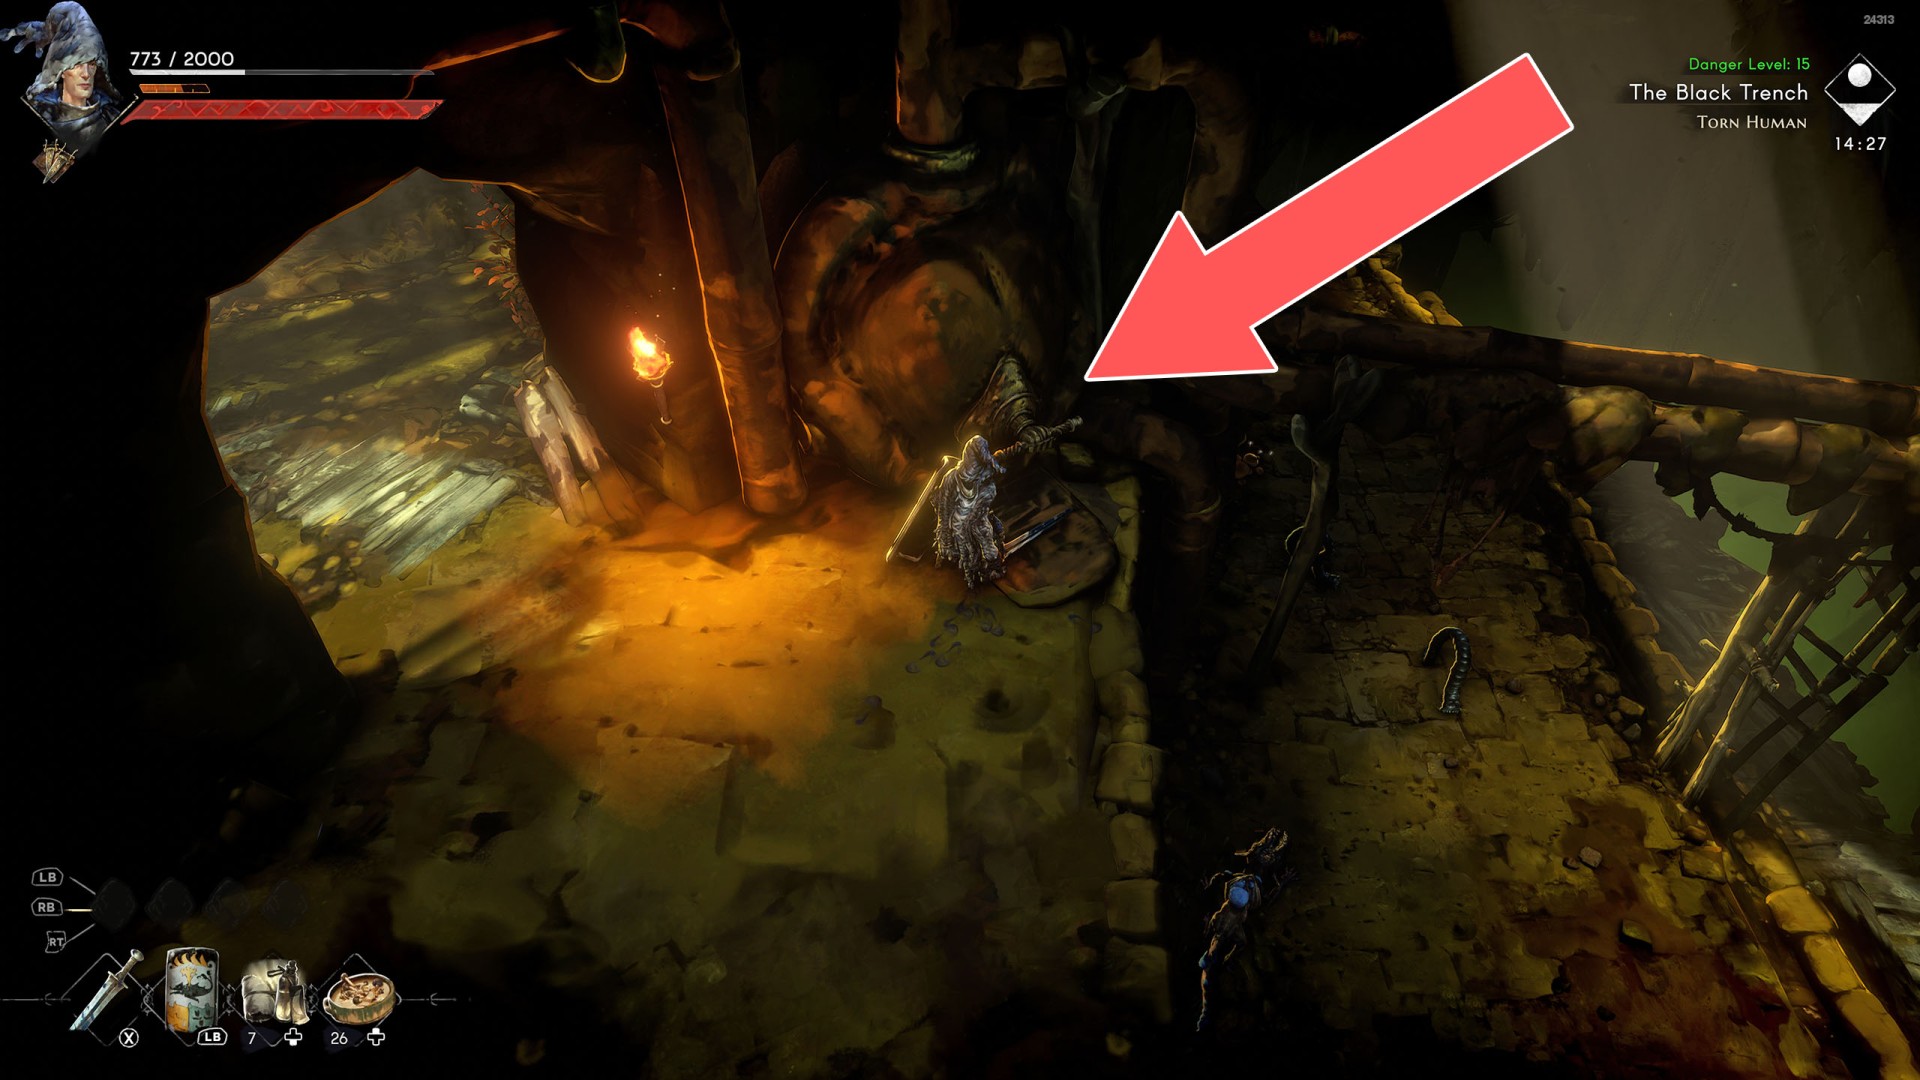
41Water Level Lever #5
You need the Sewer Lever Handle to be able to pull it. When you do this, the water level will rise.