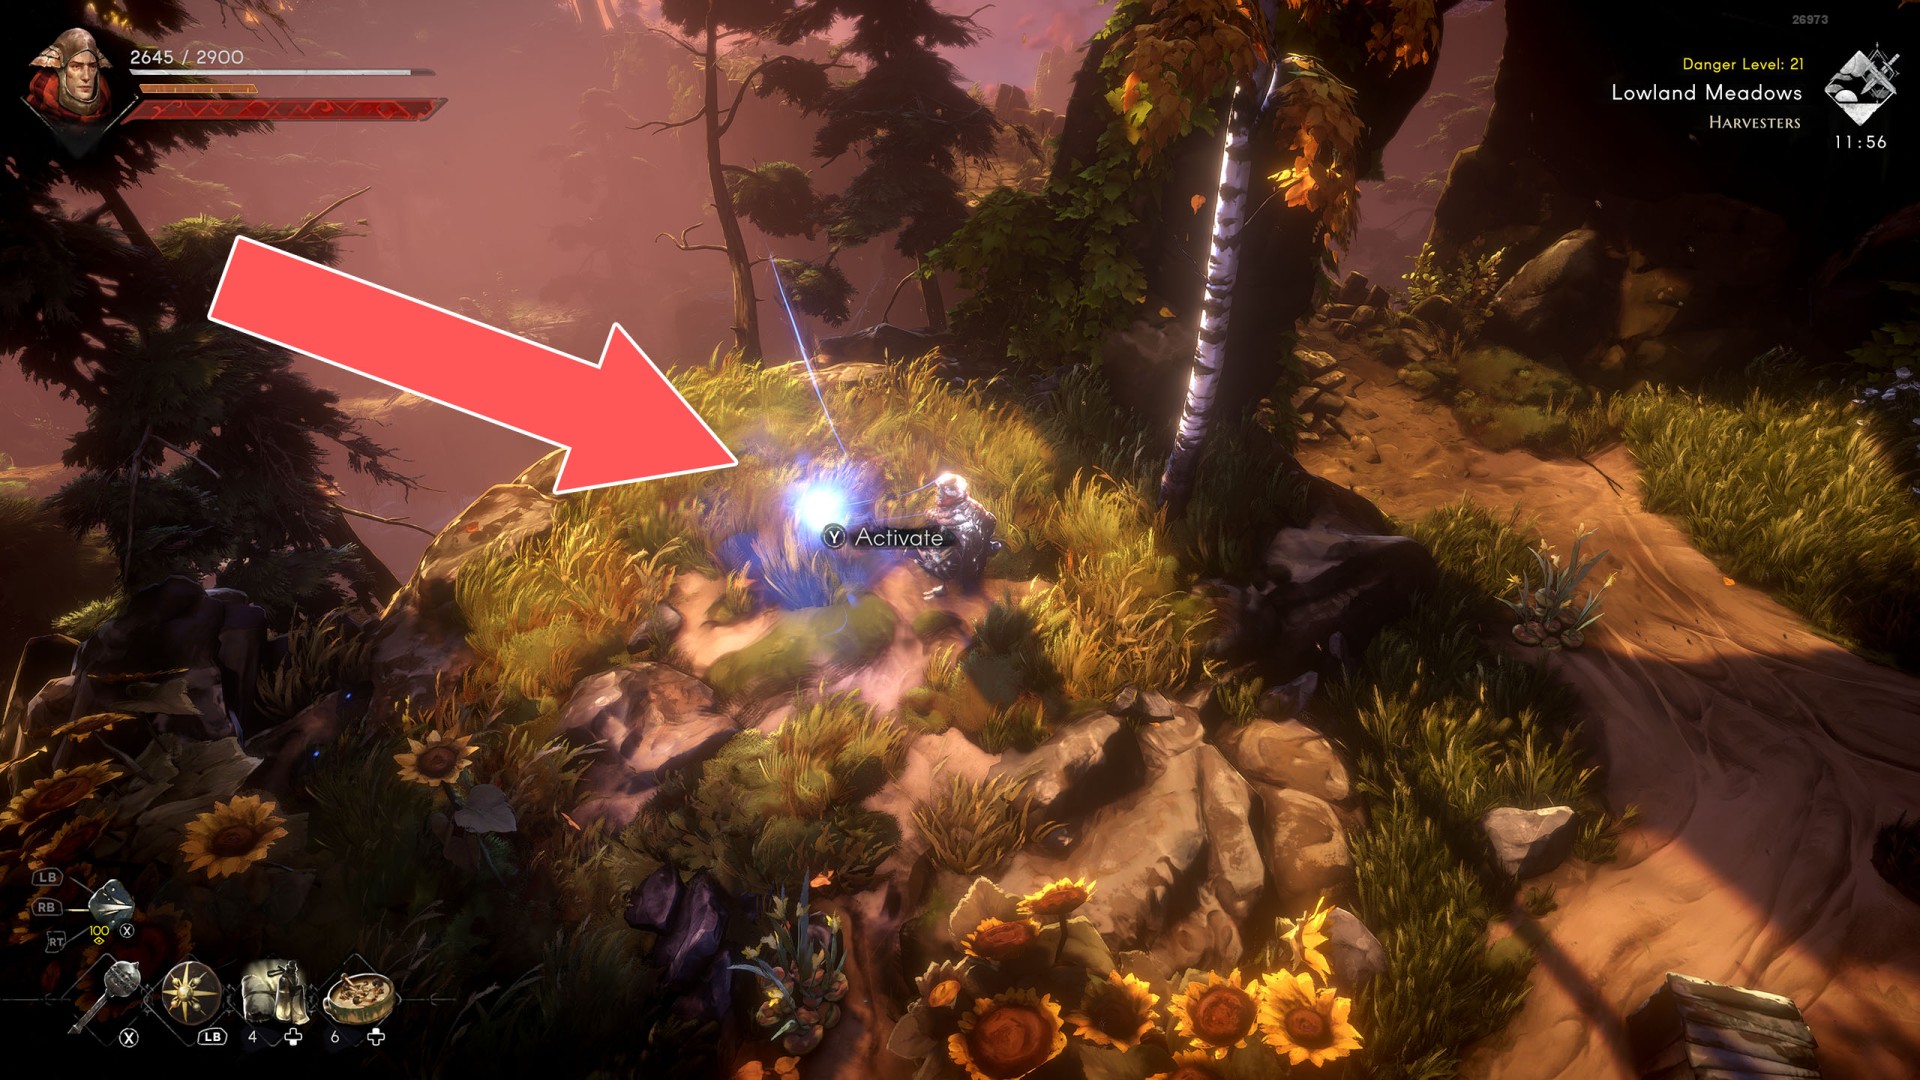
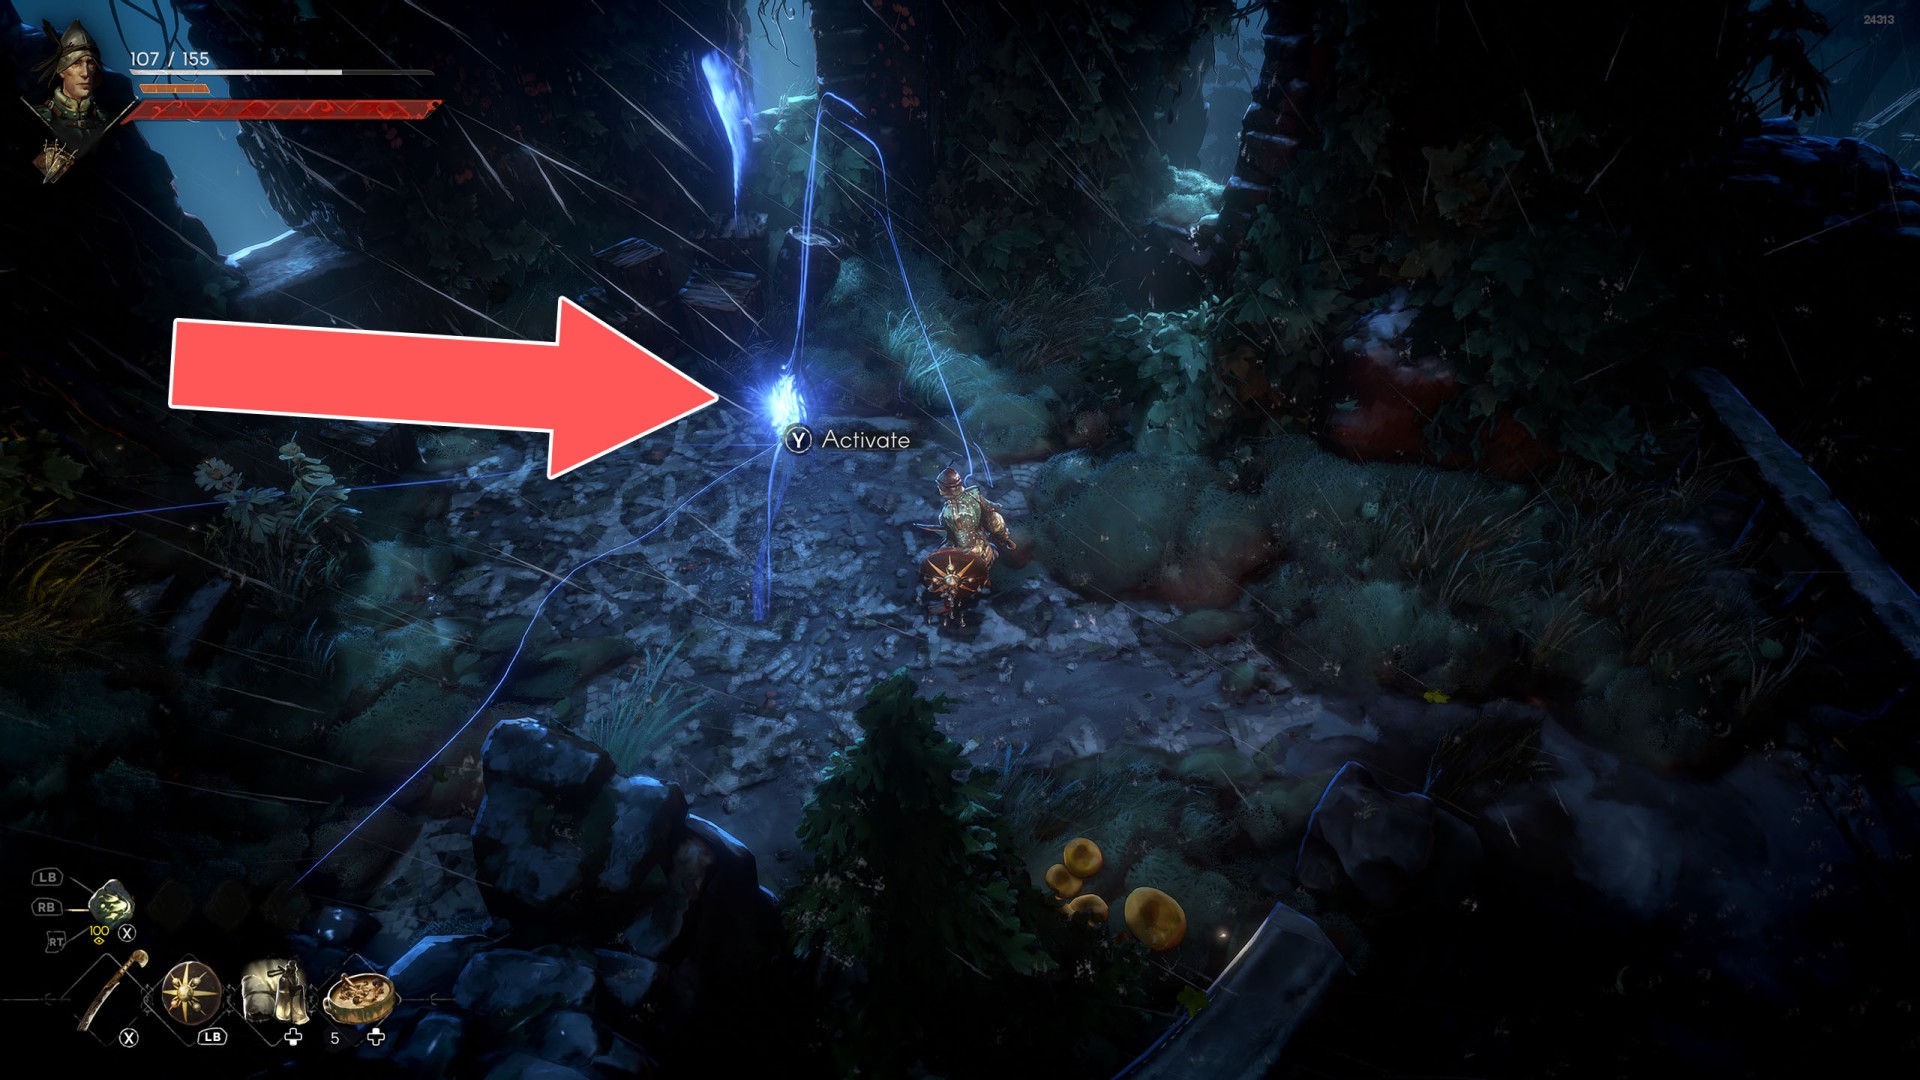
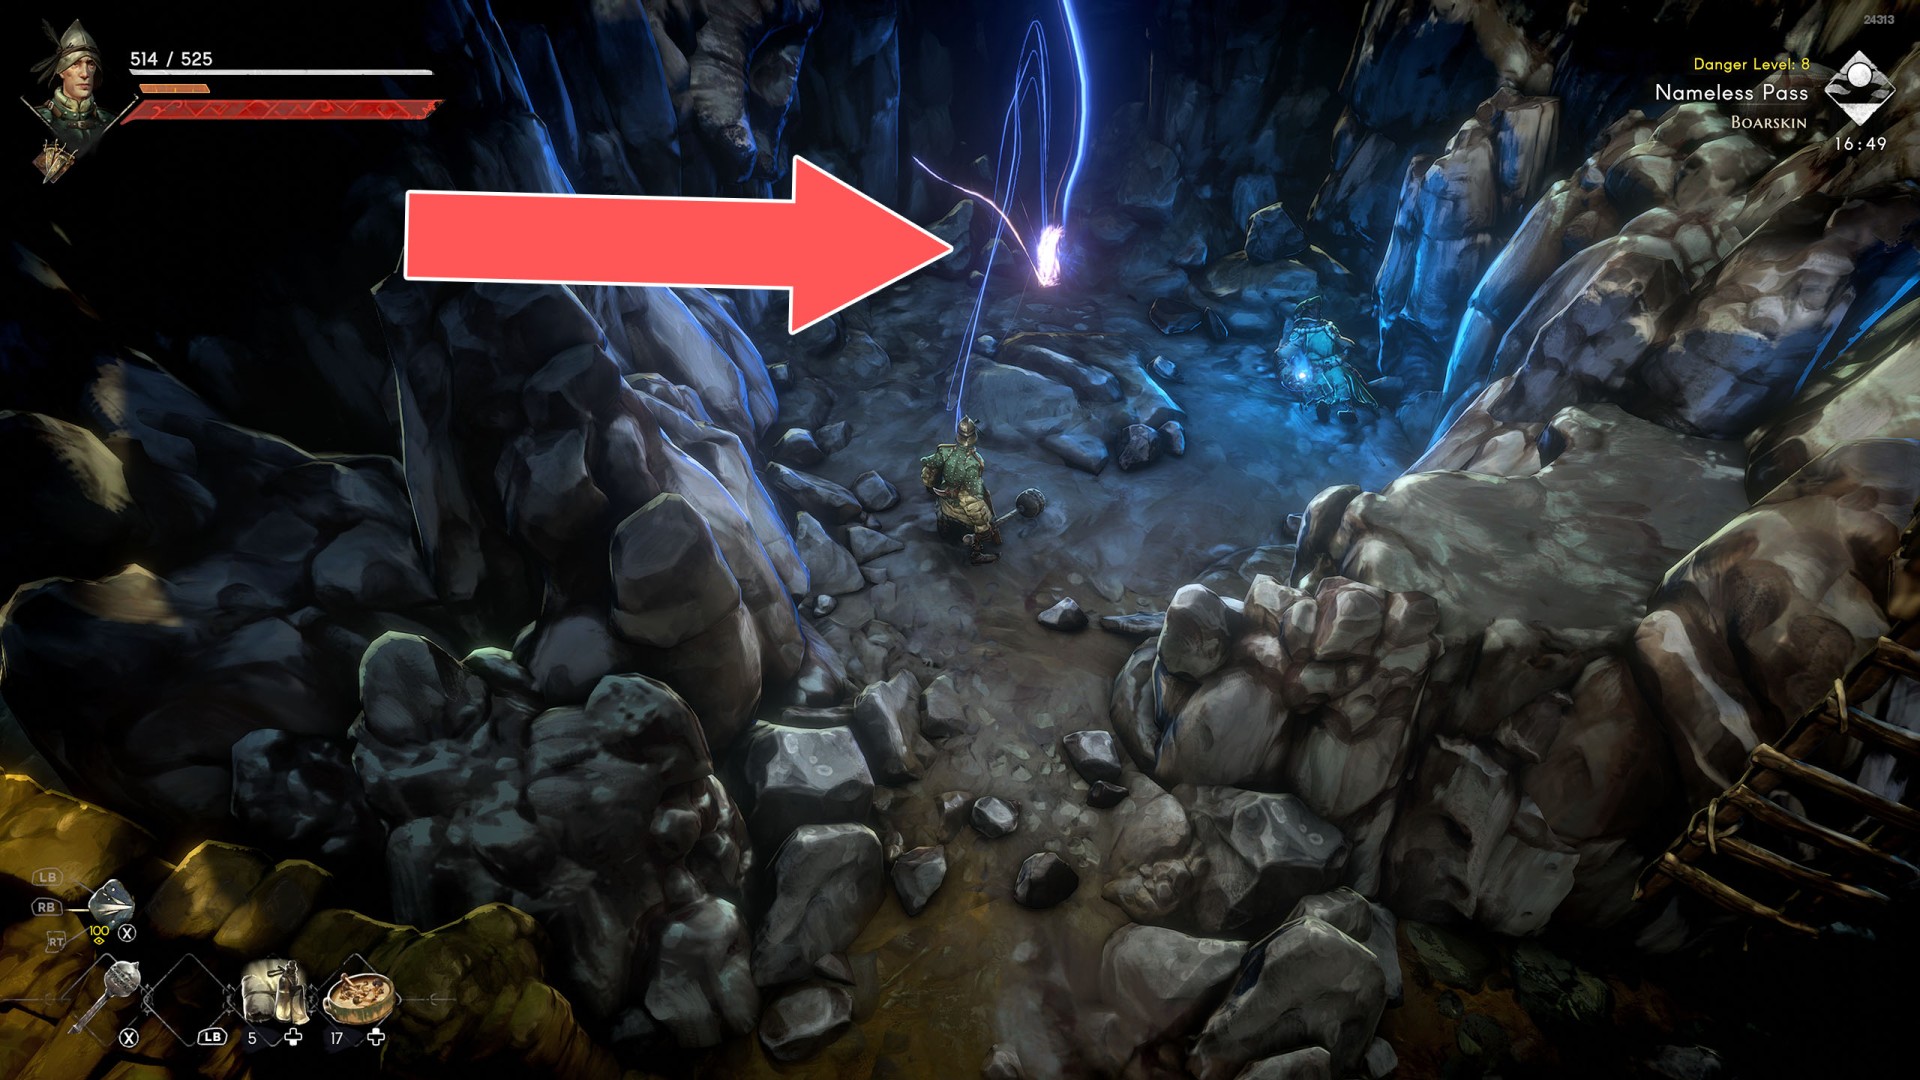
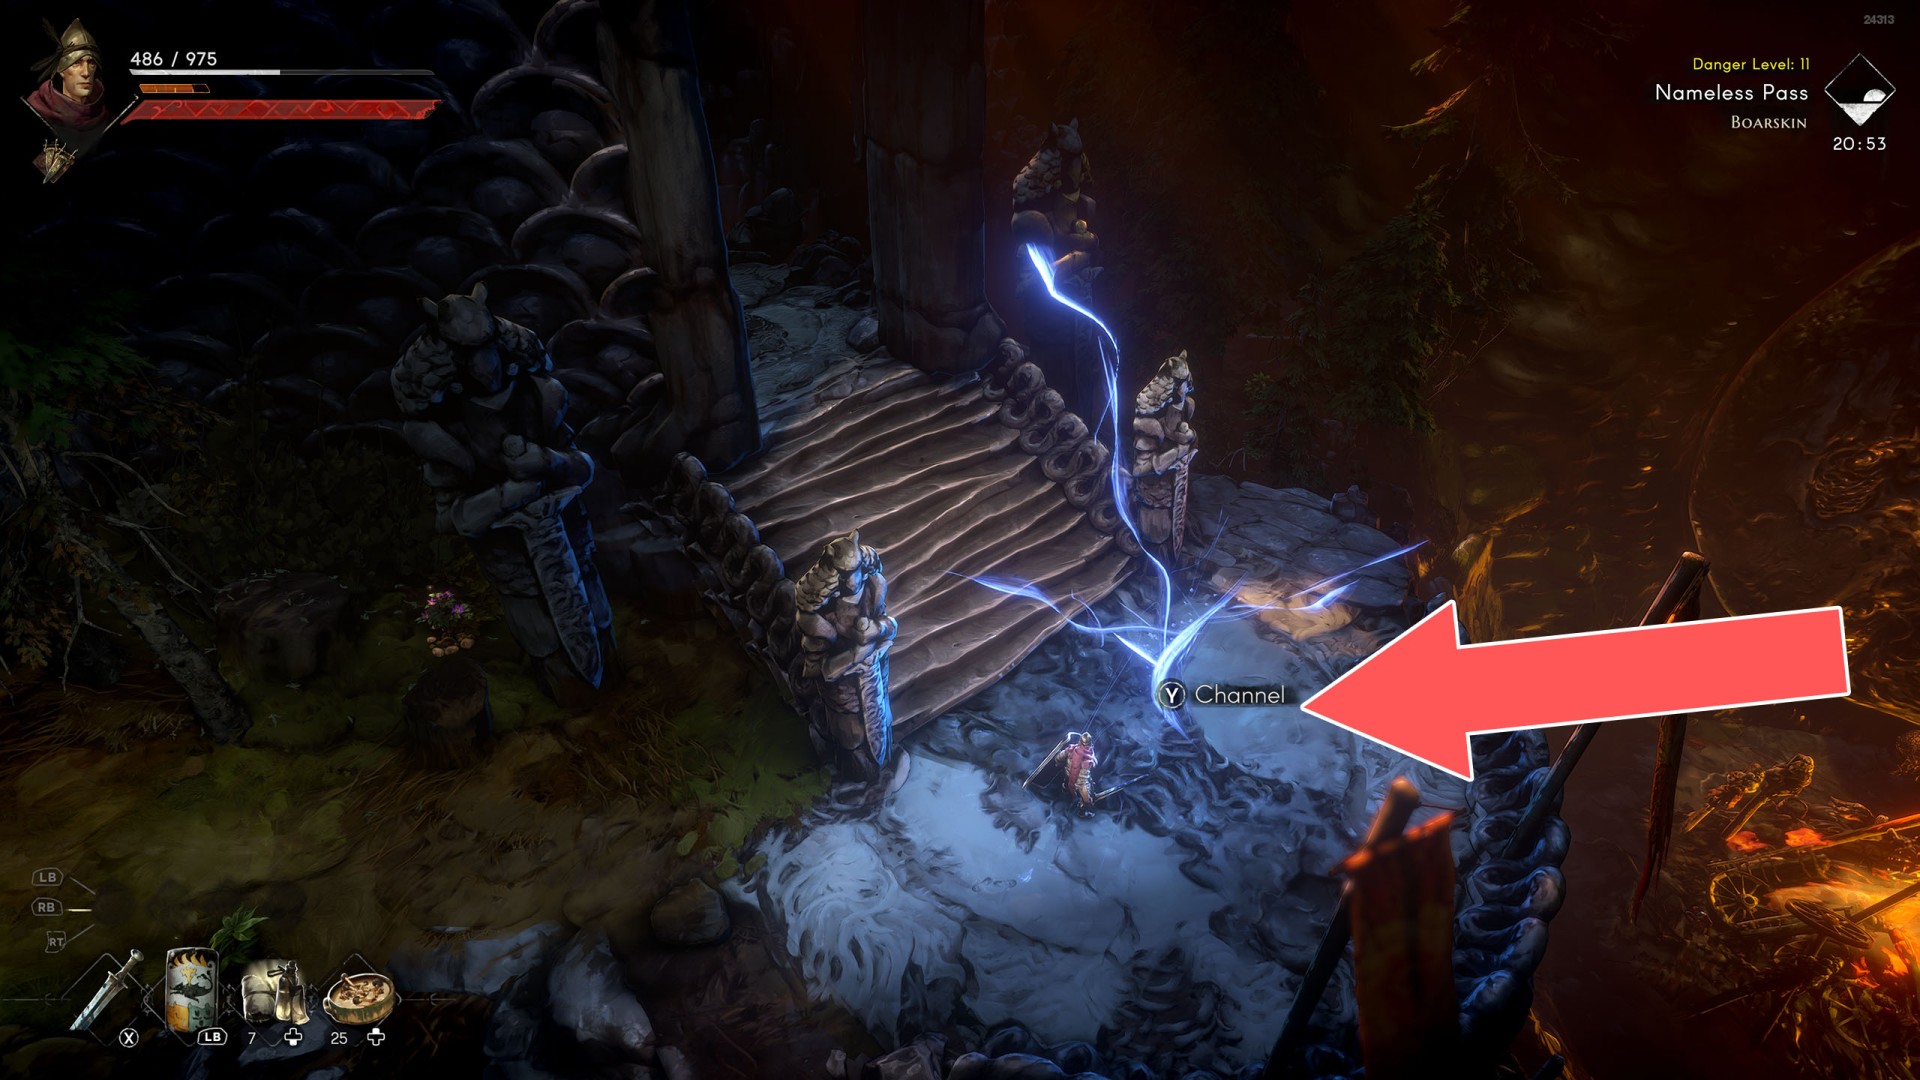
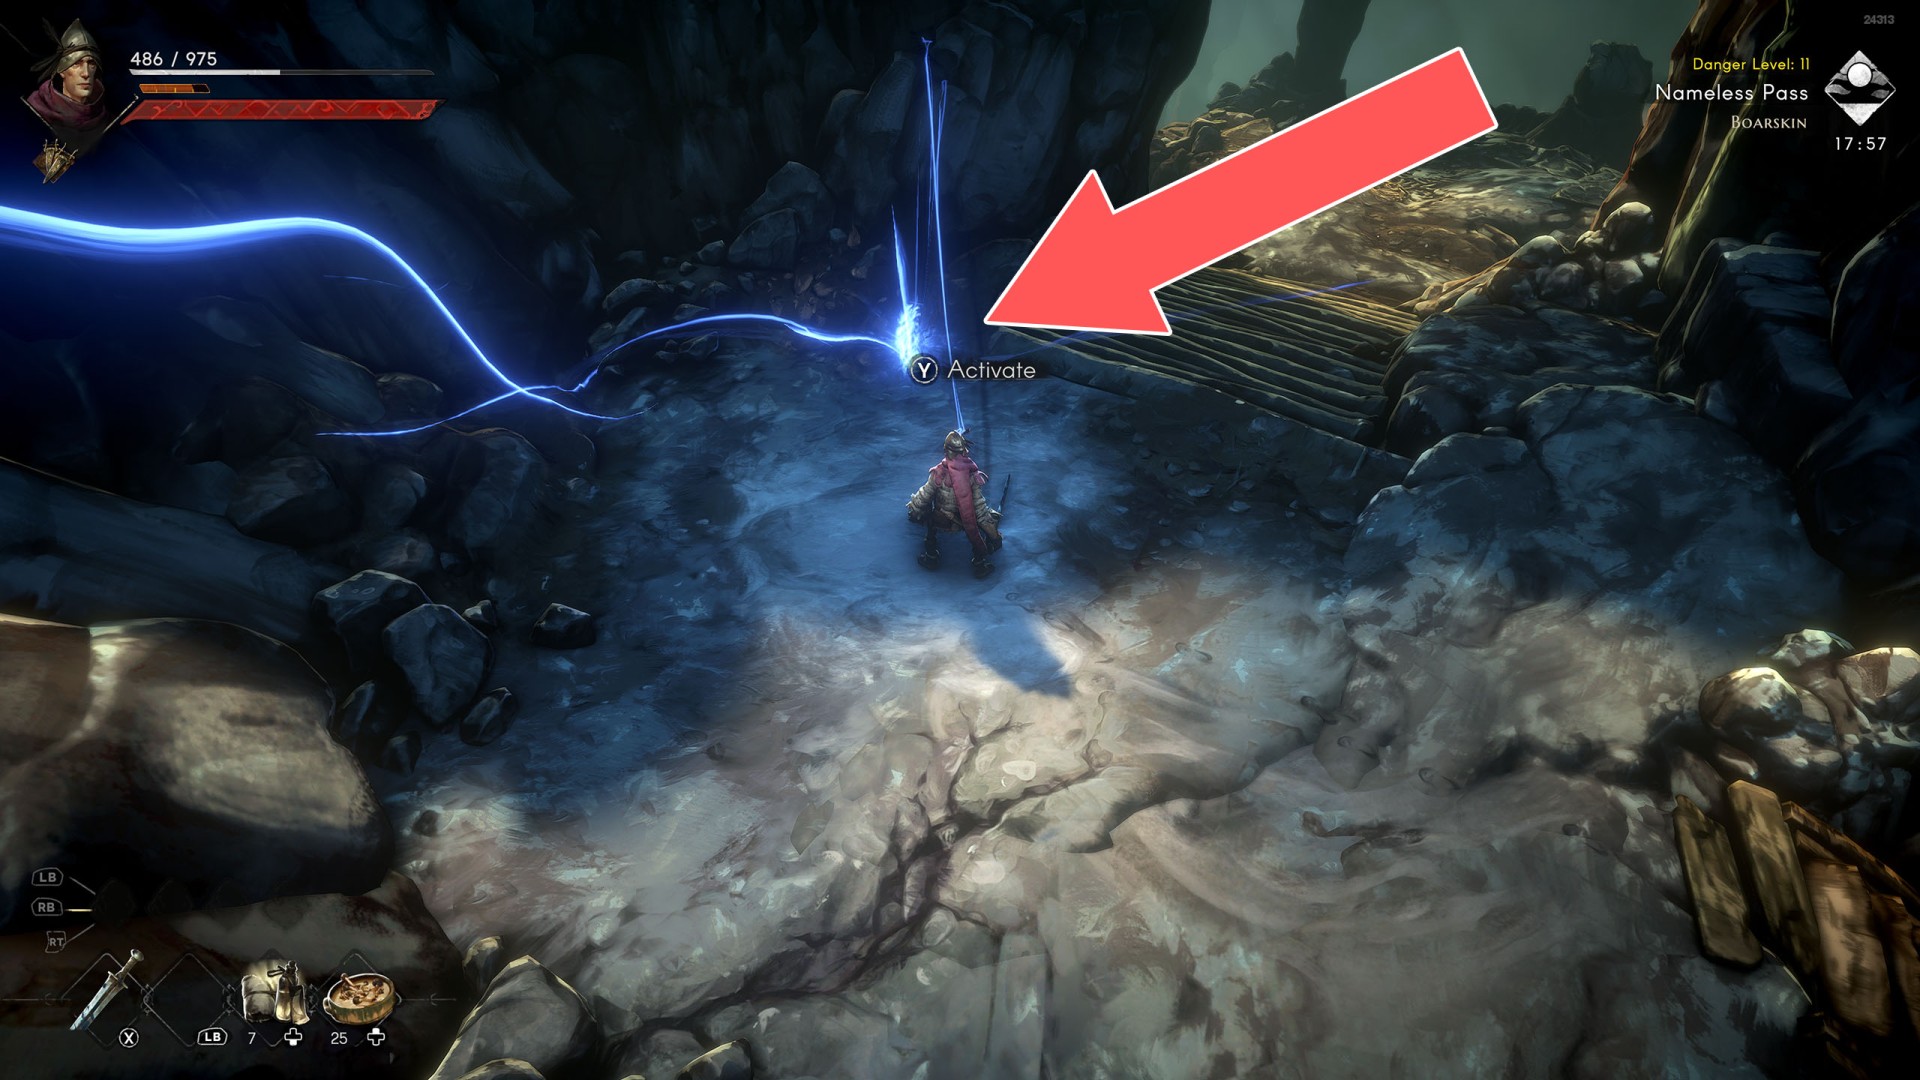
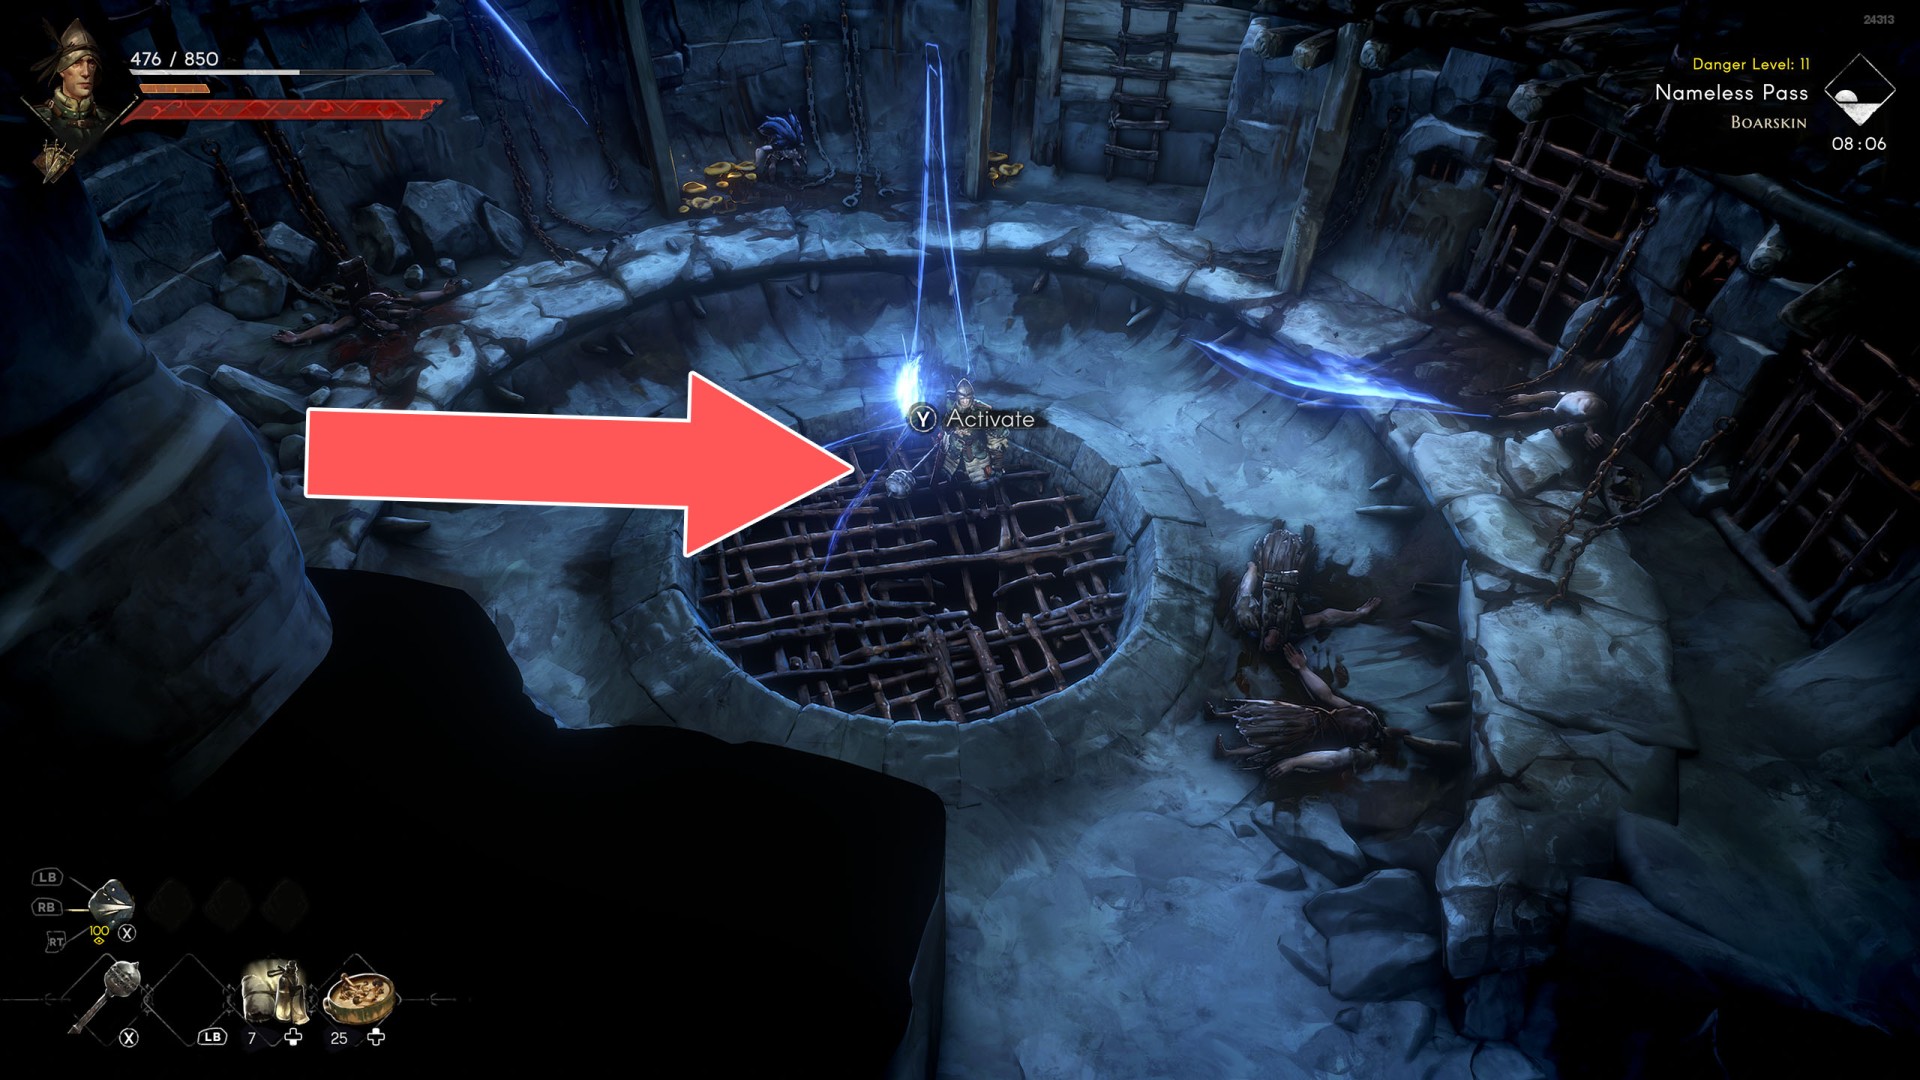
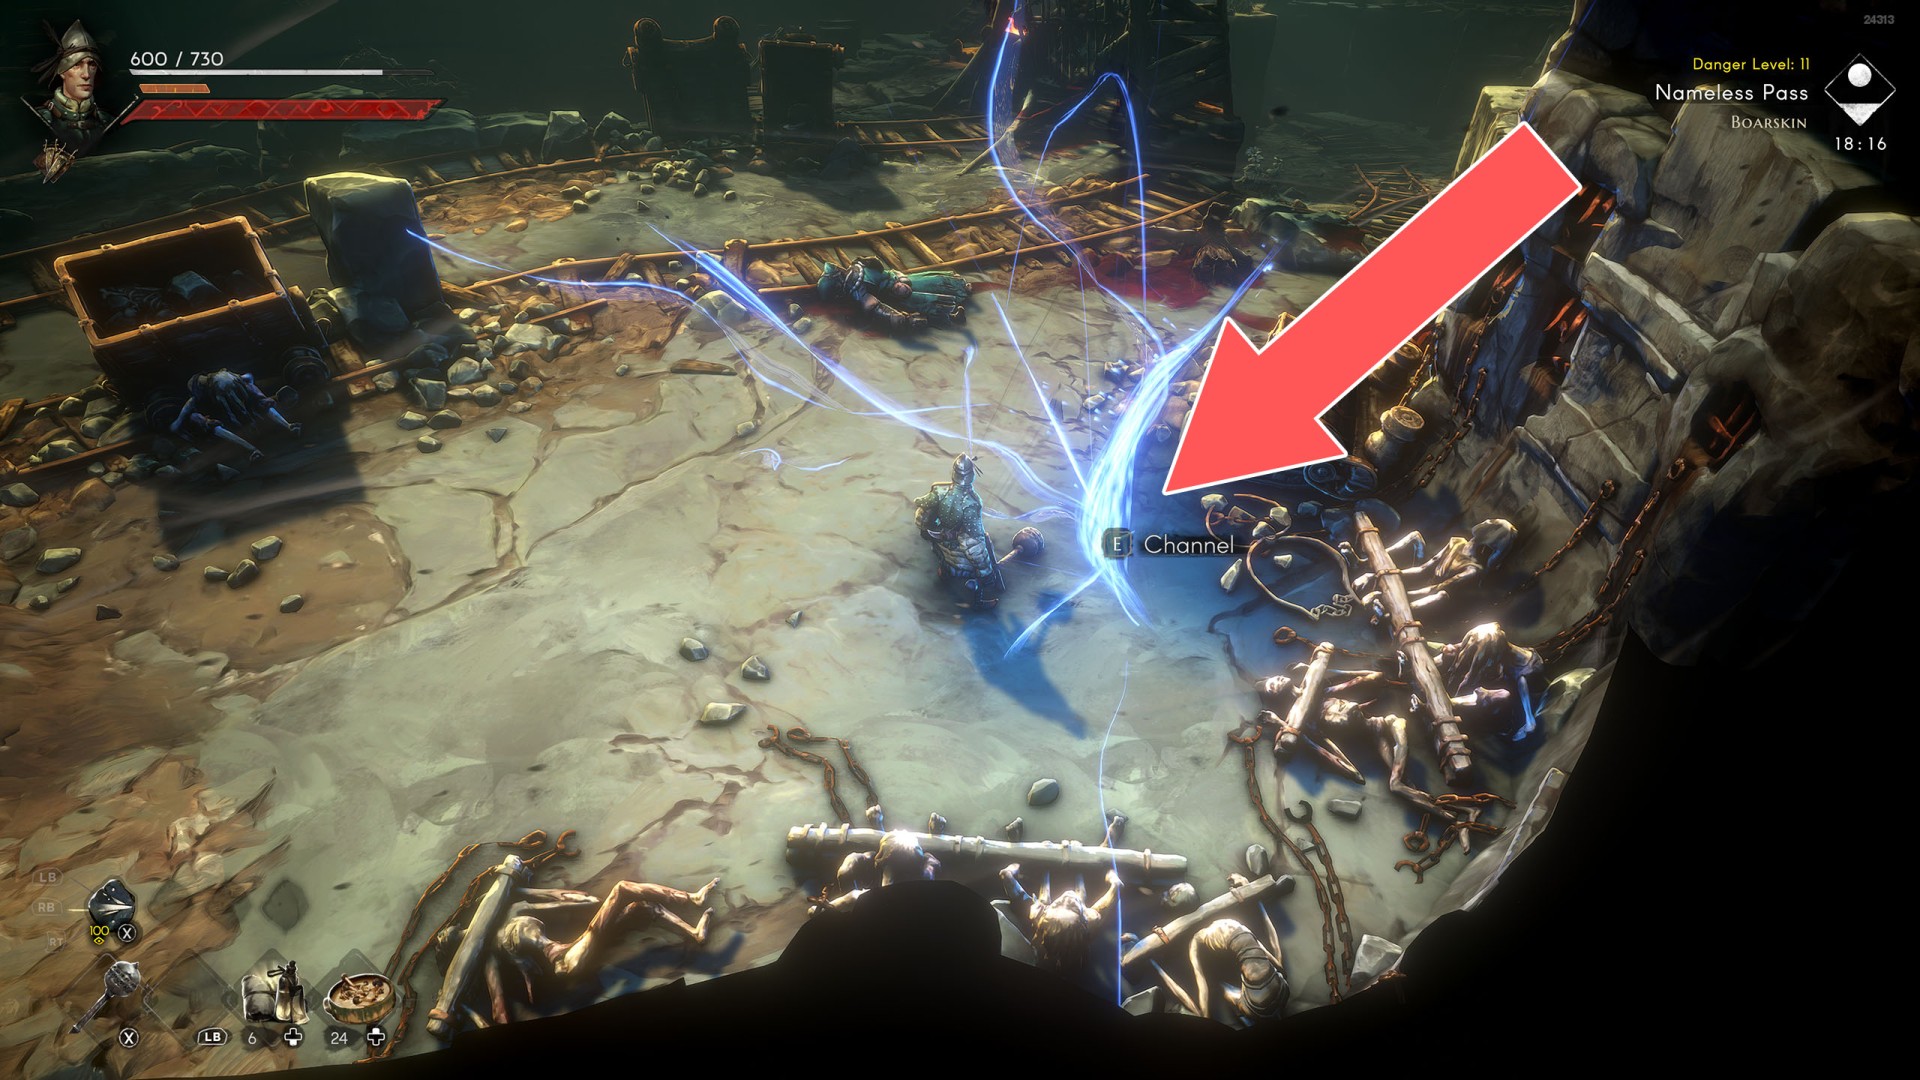
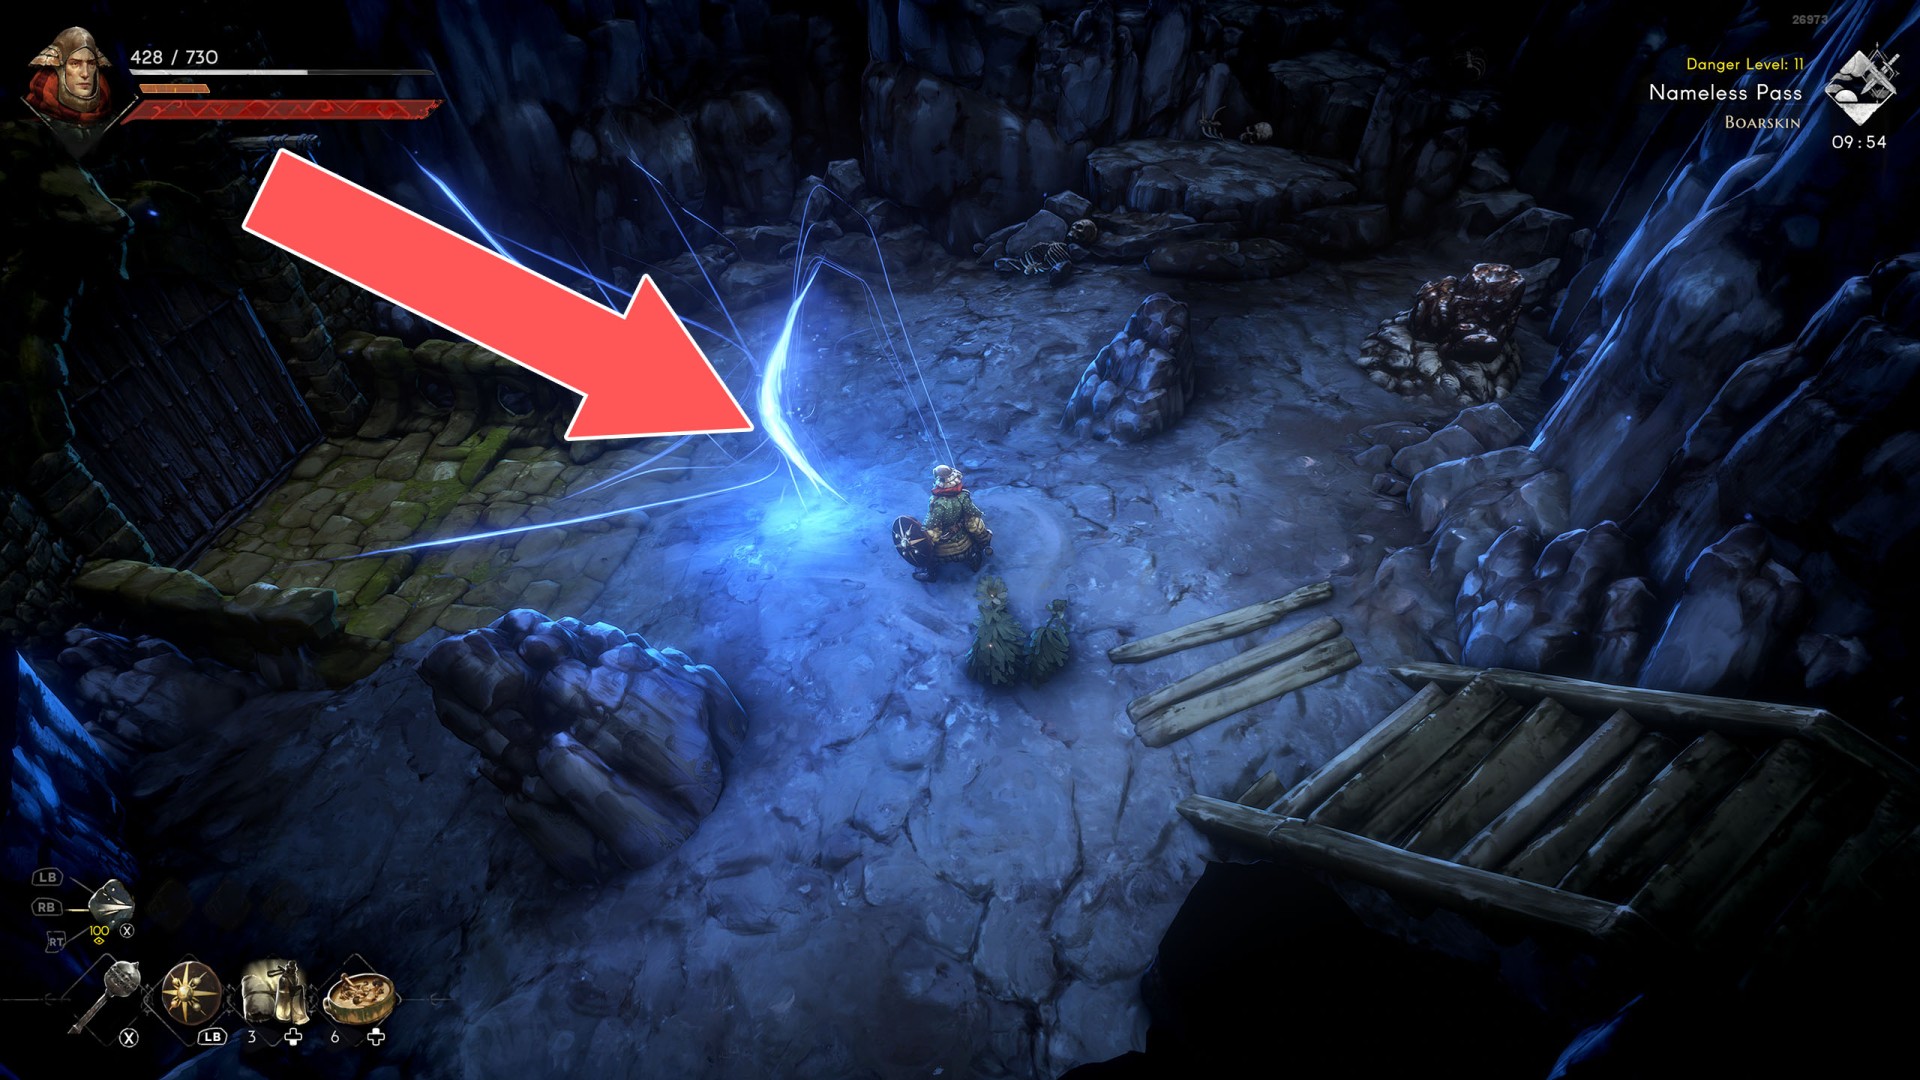
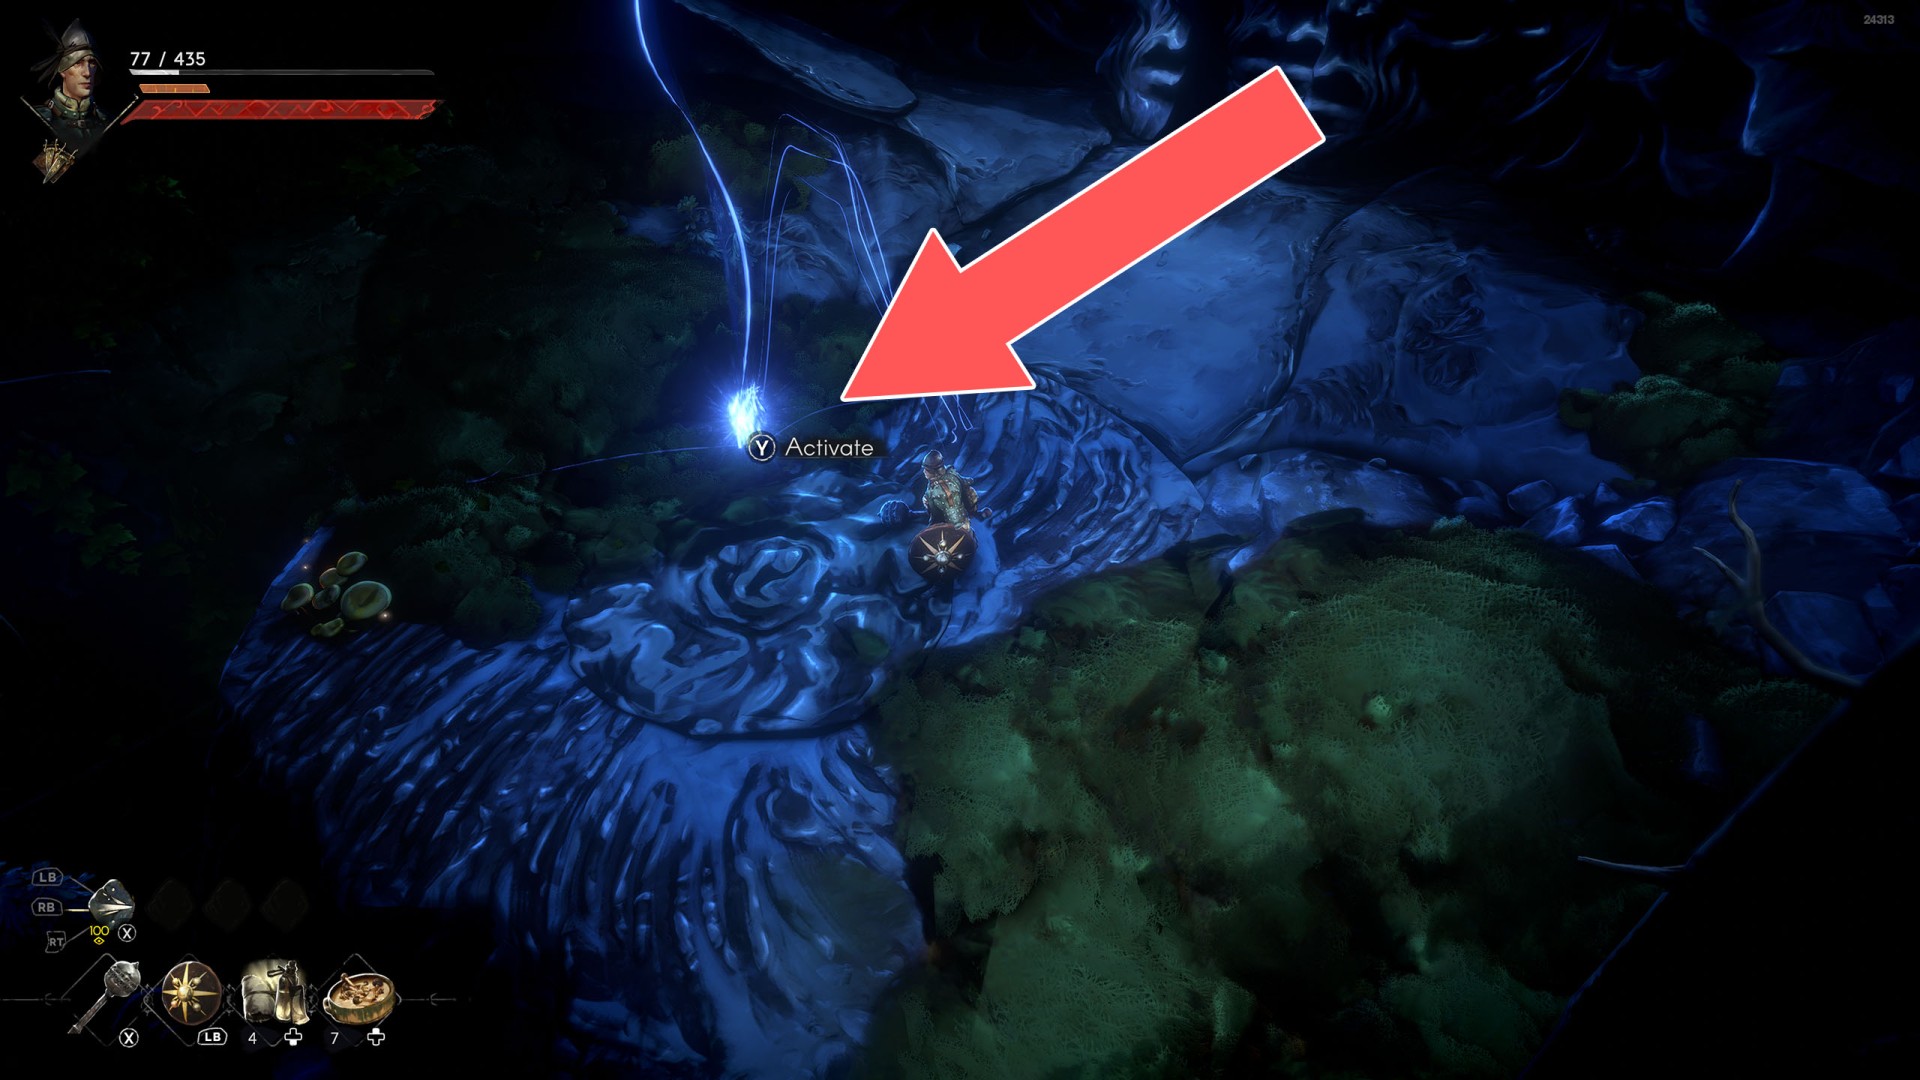
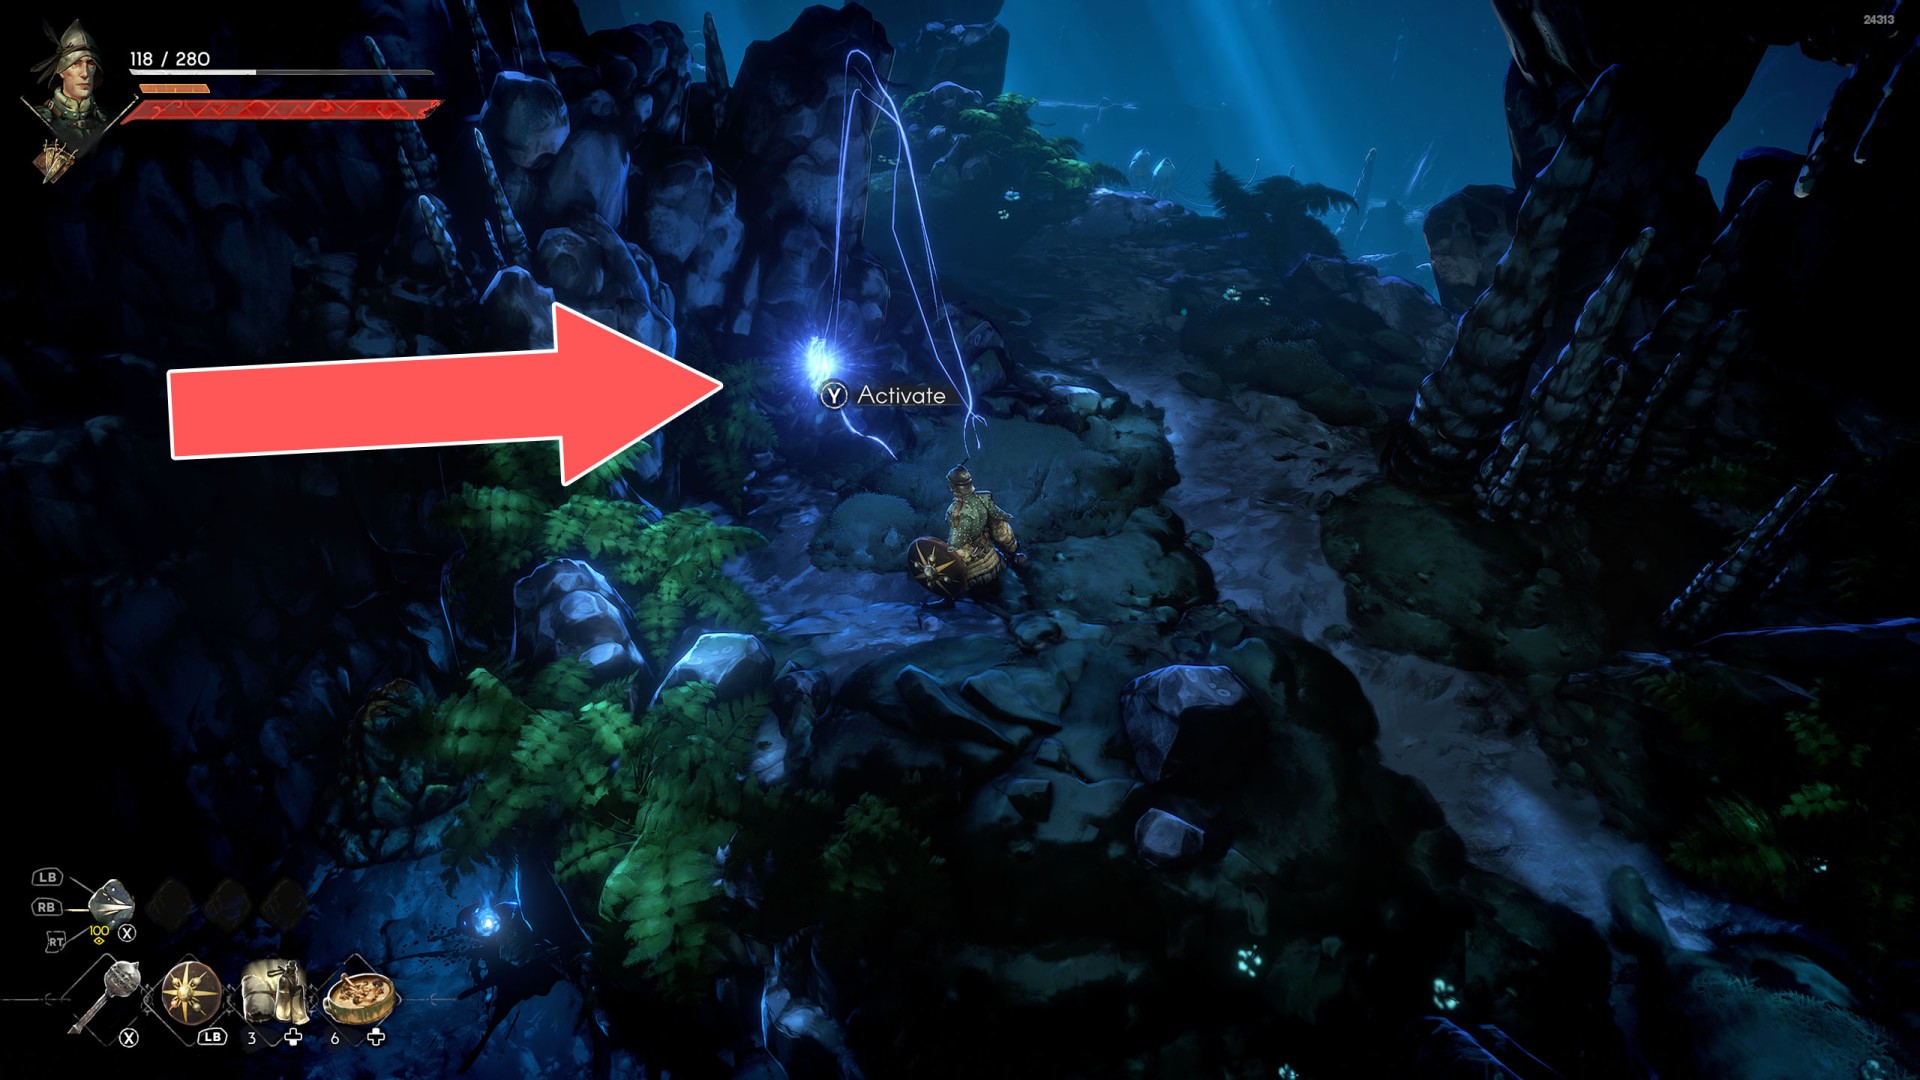
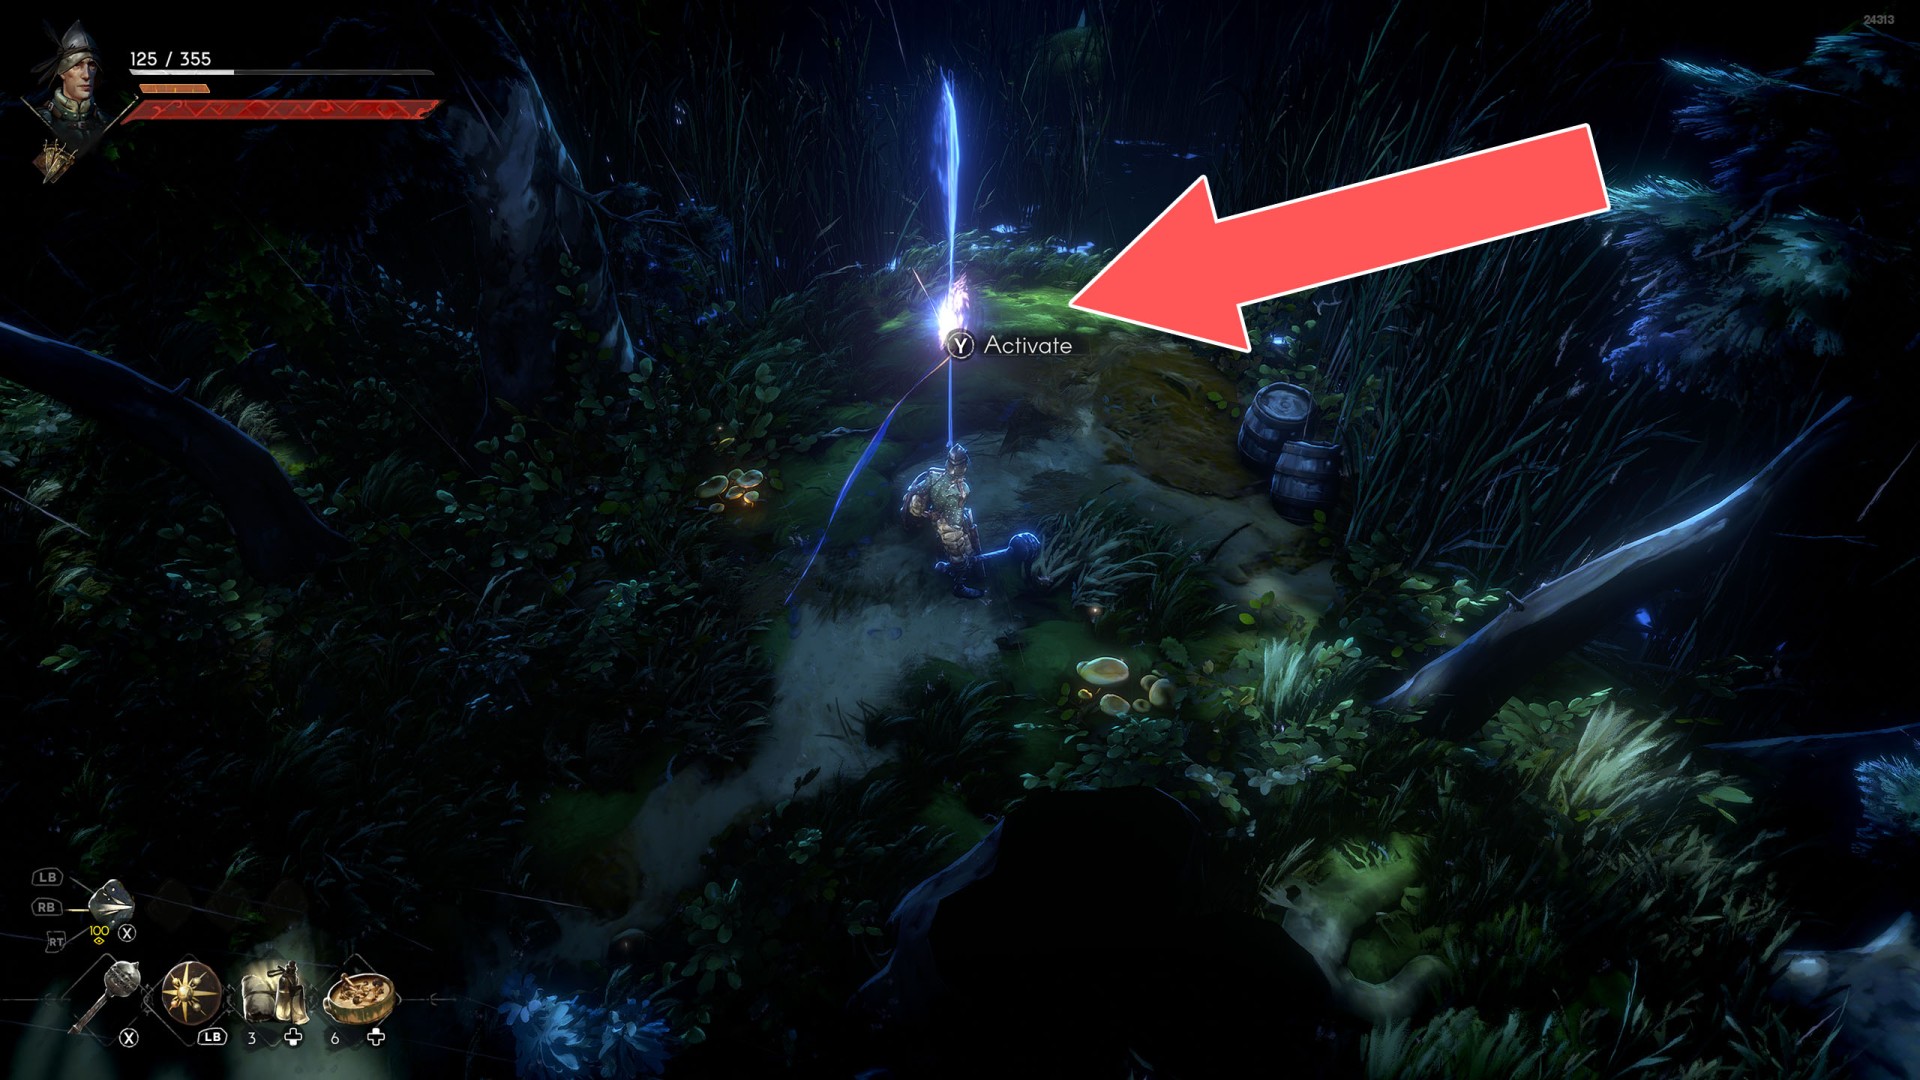
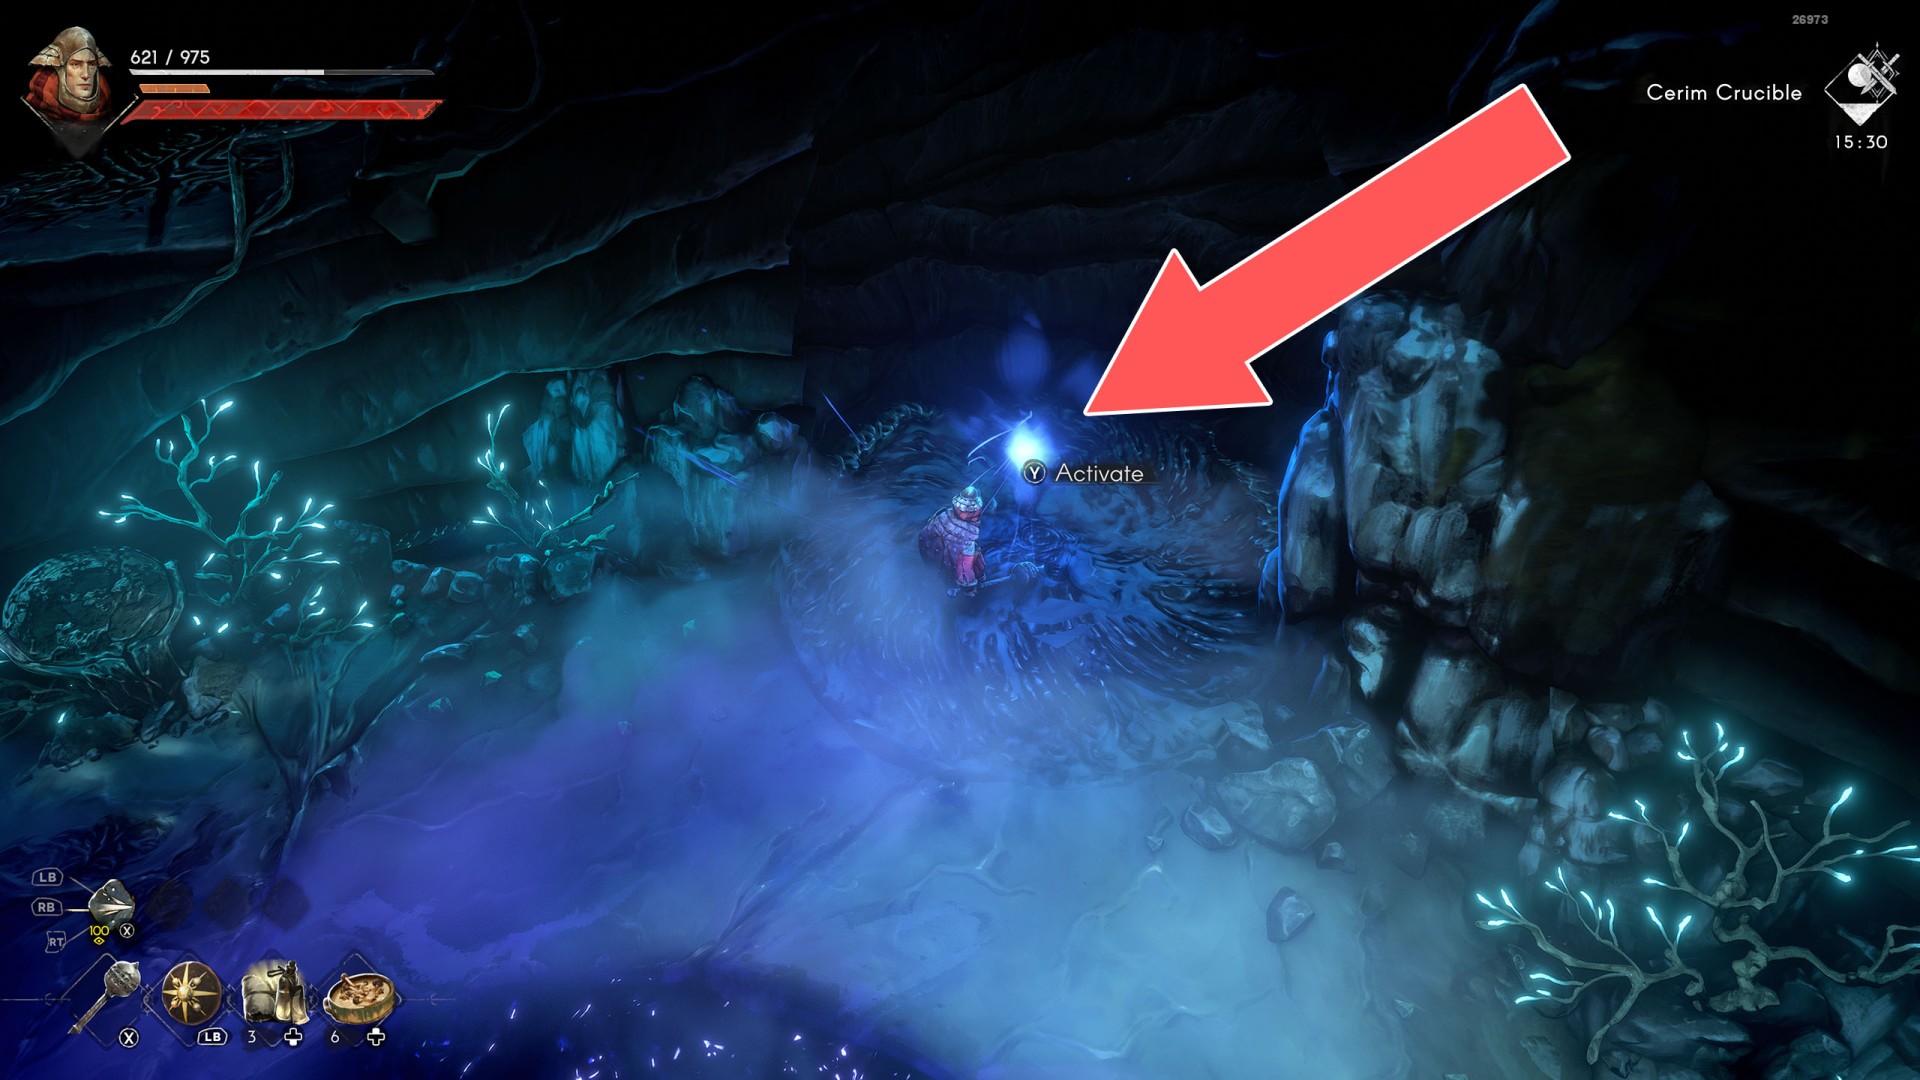
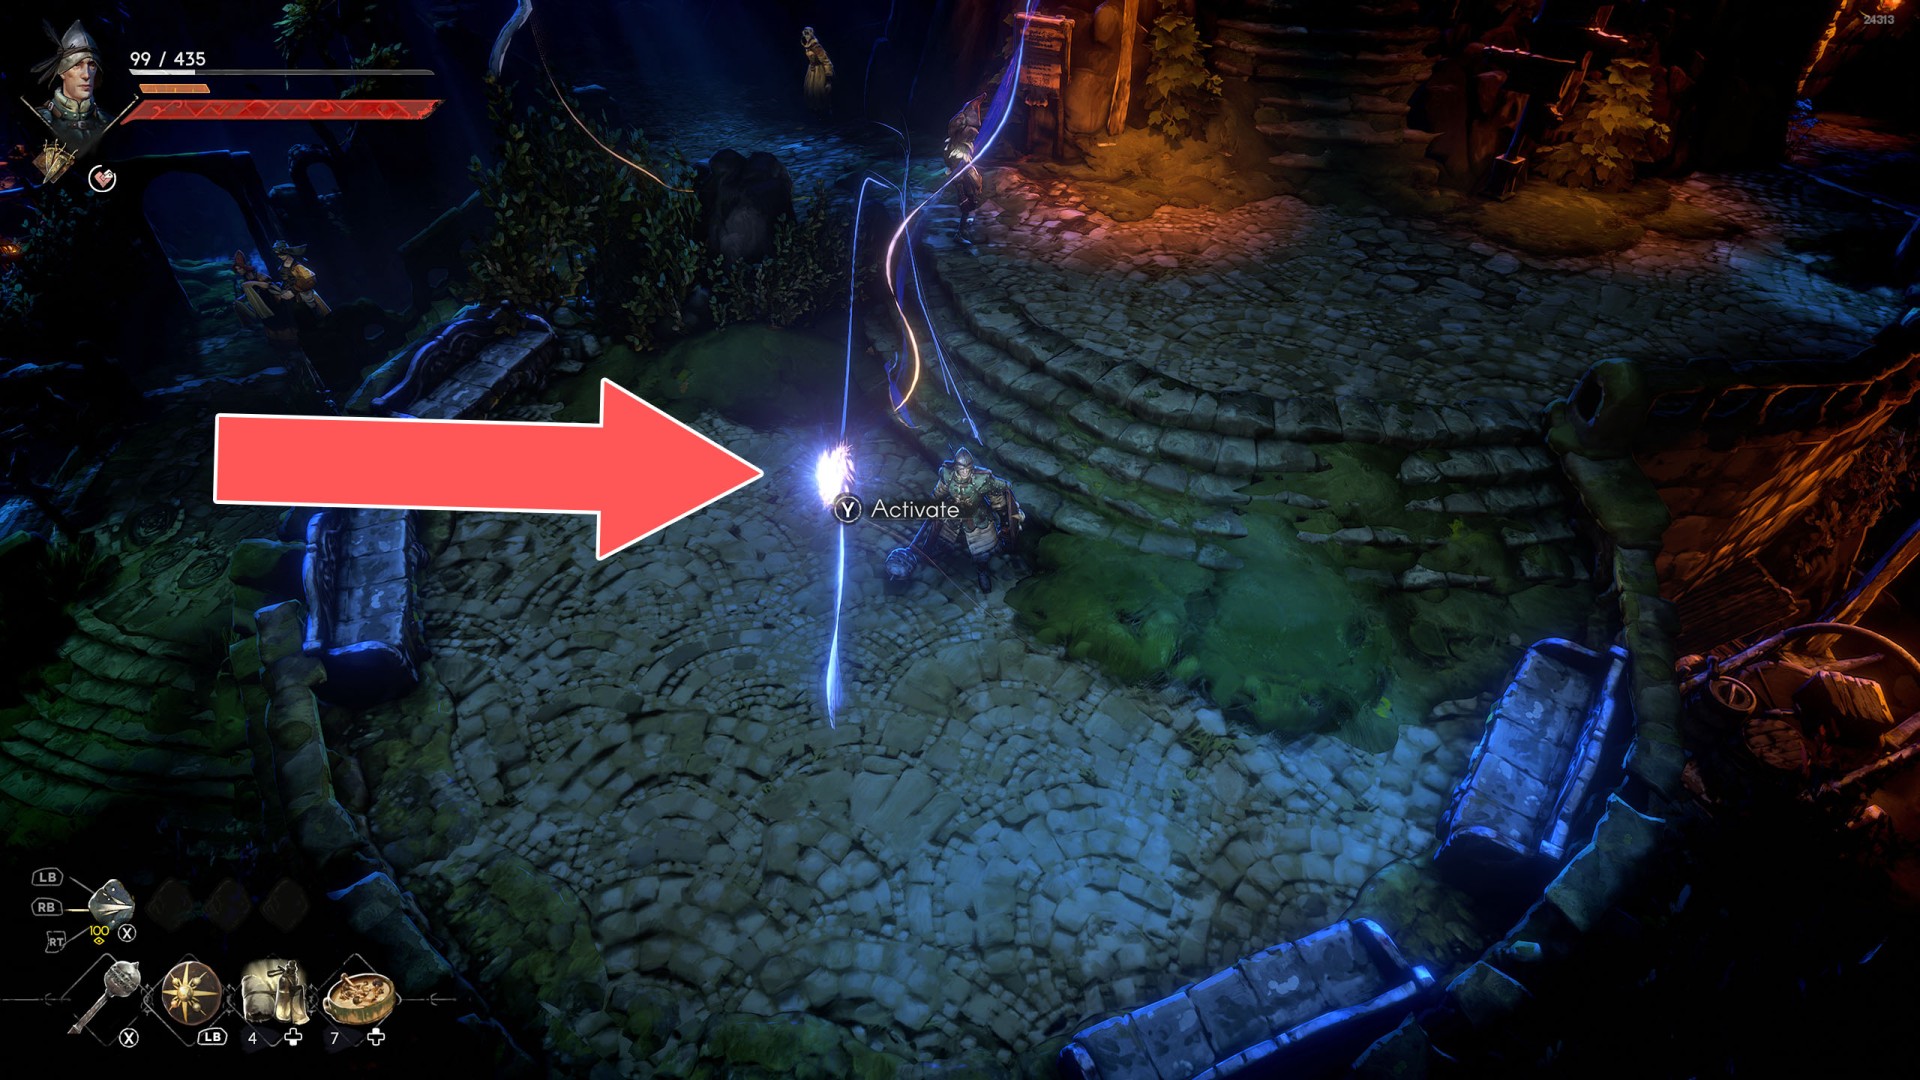
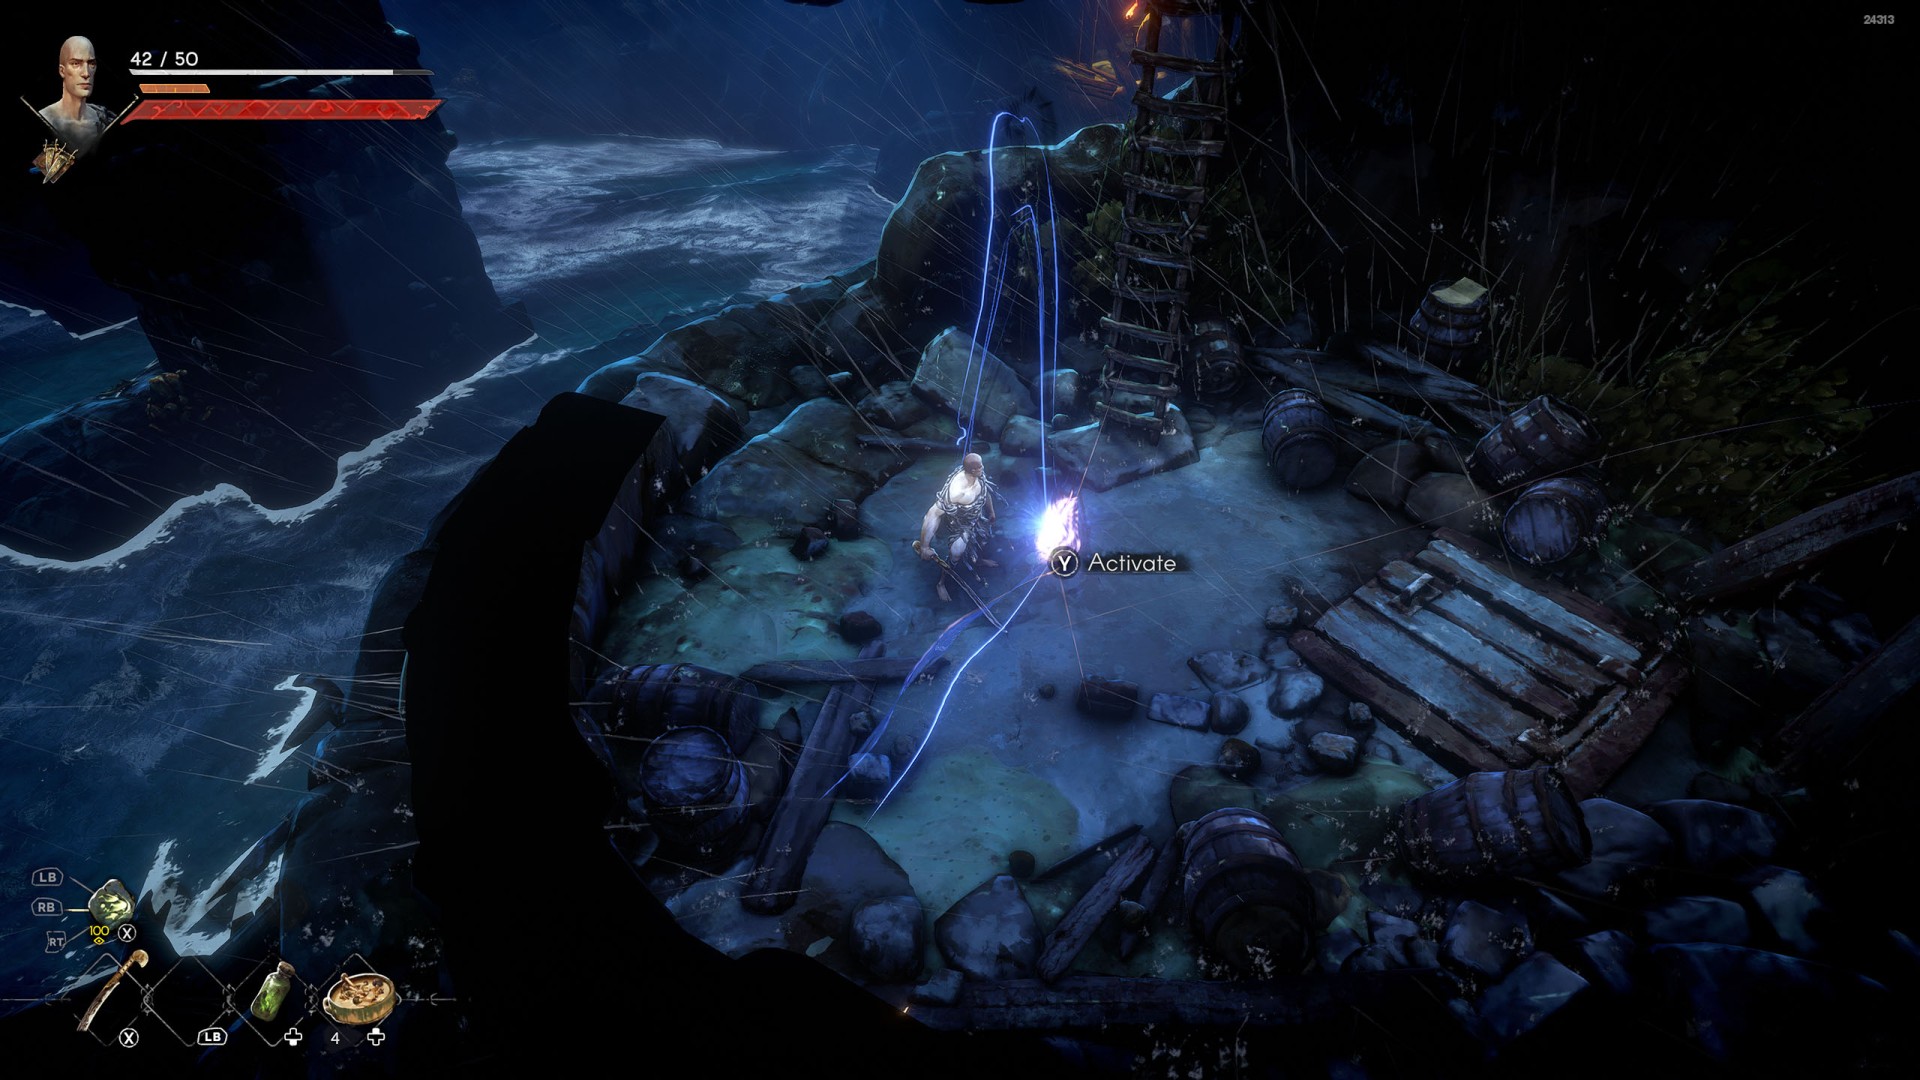
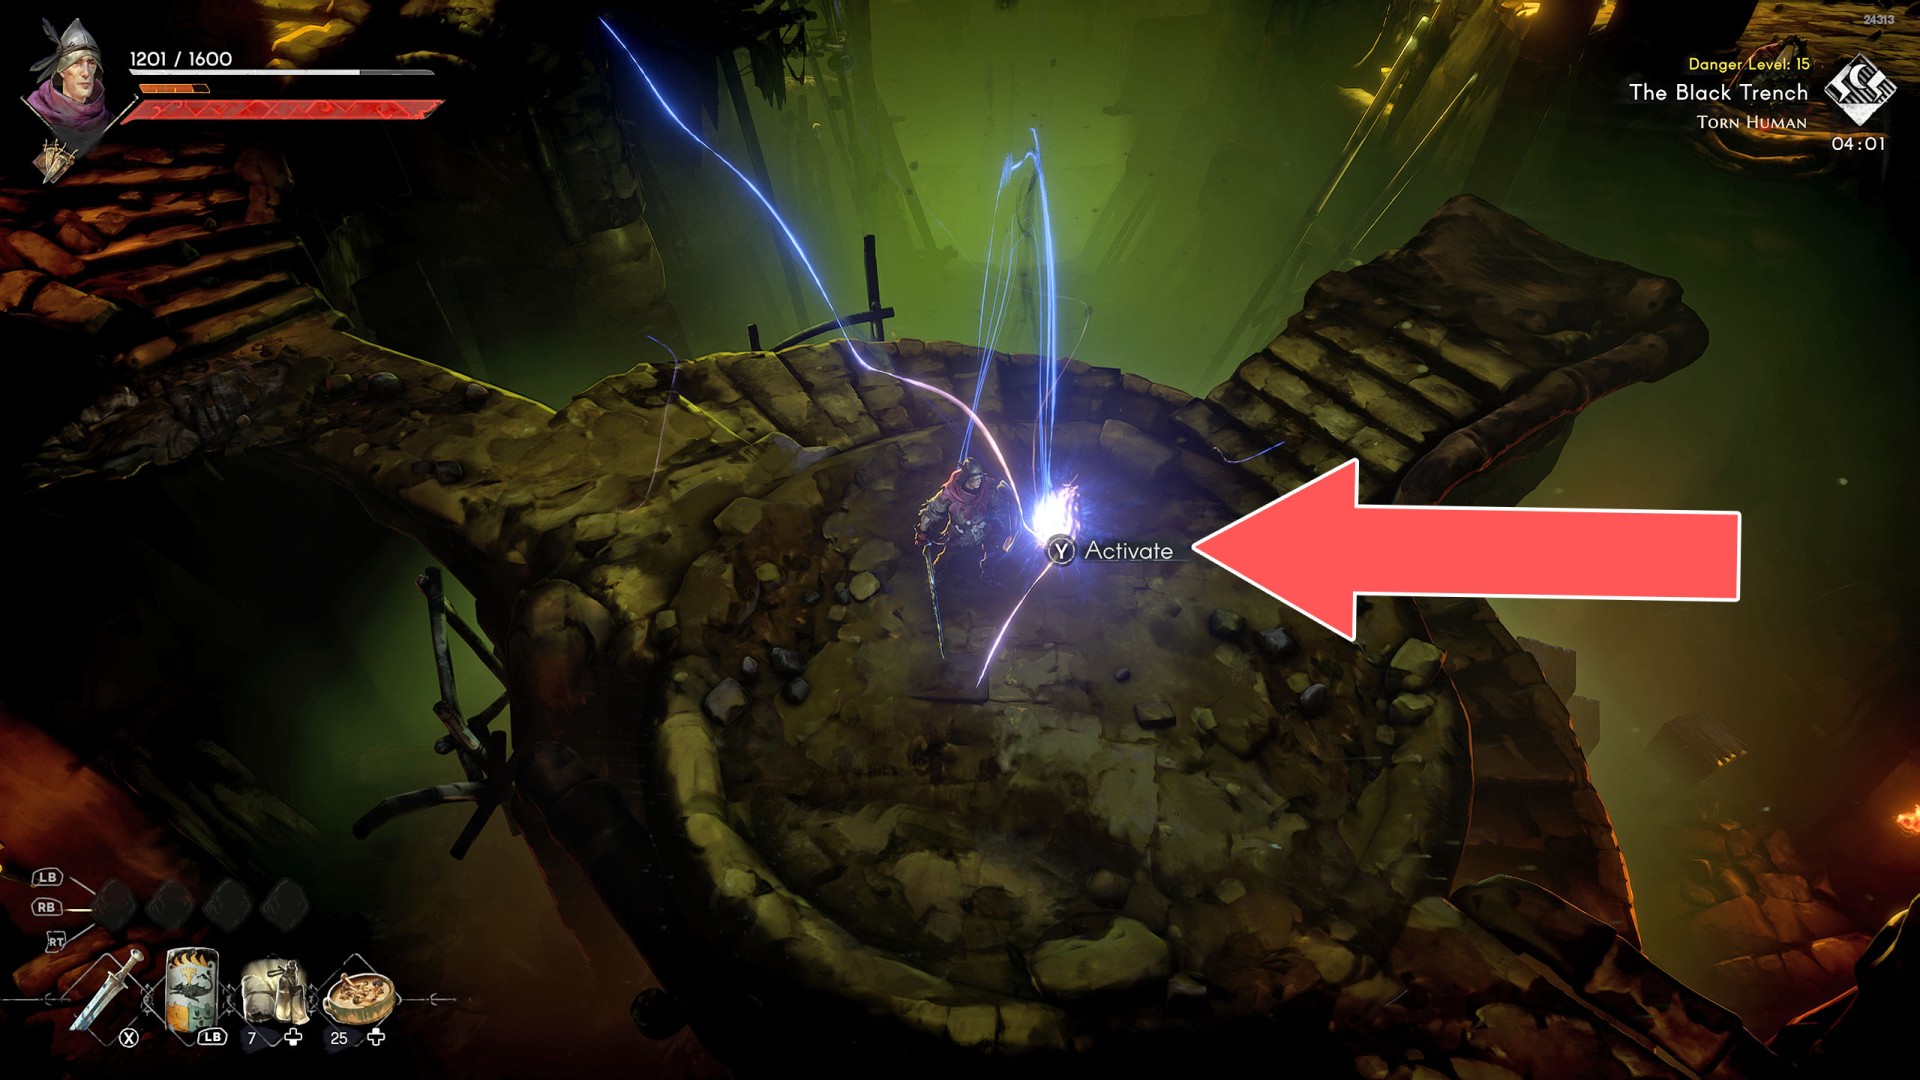
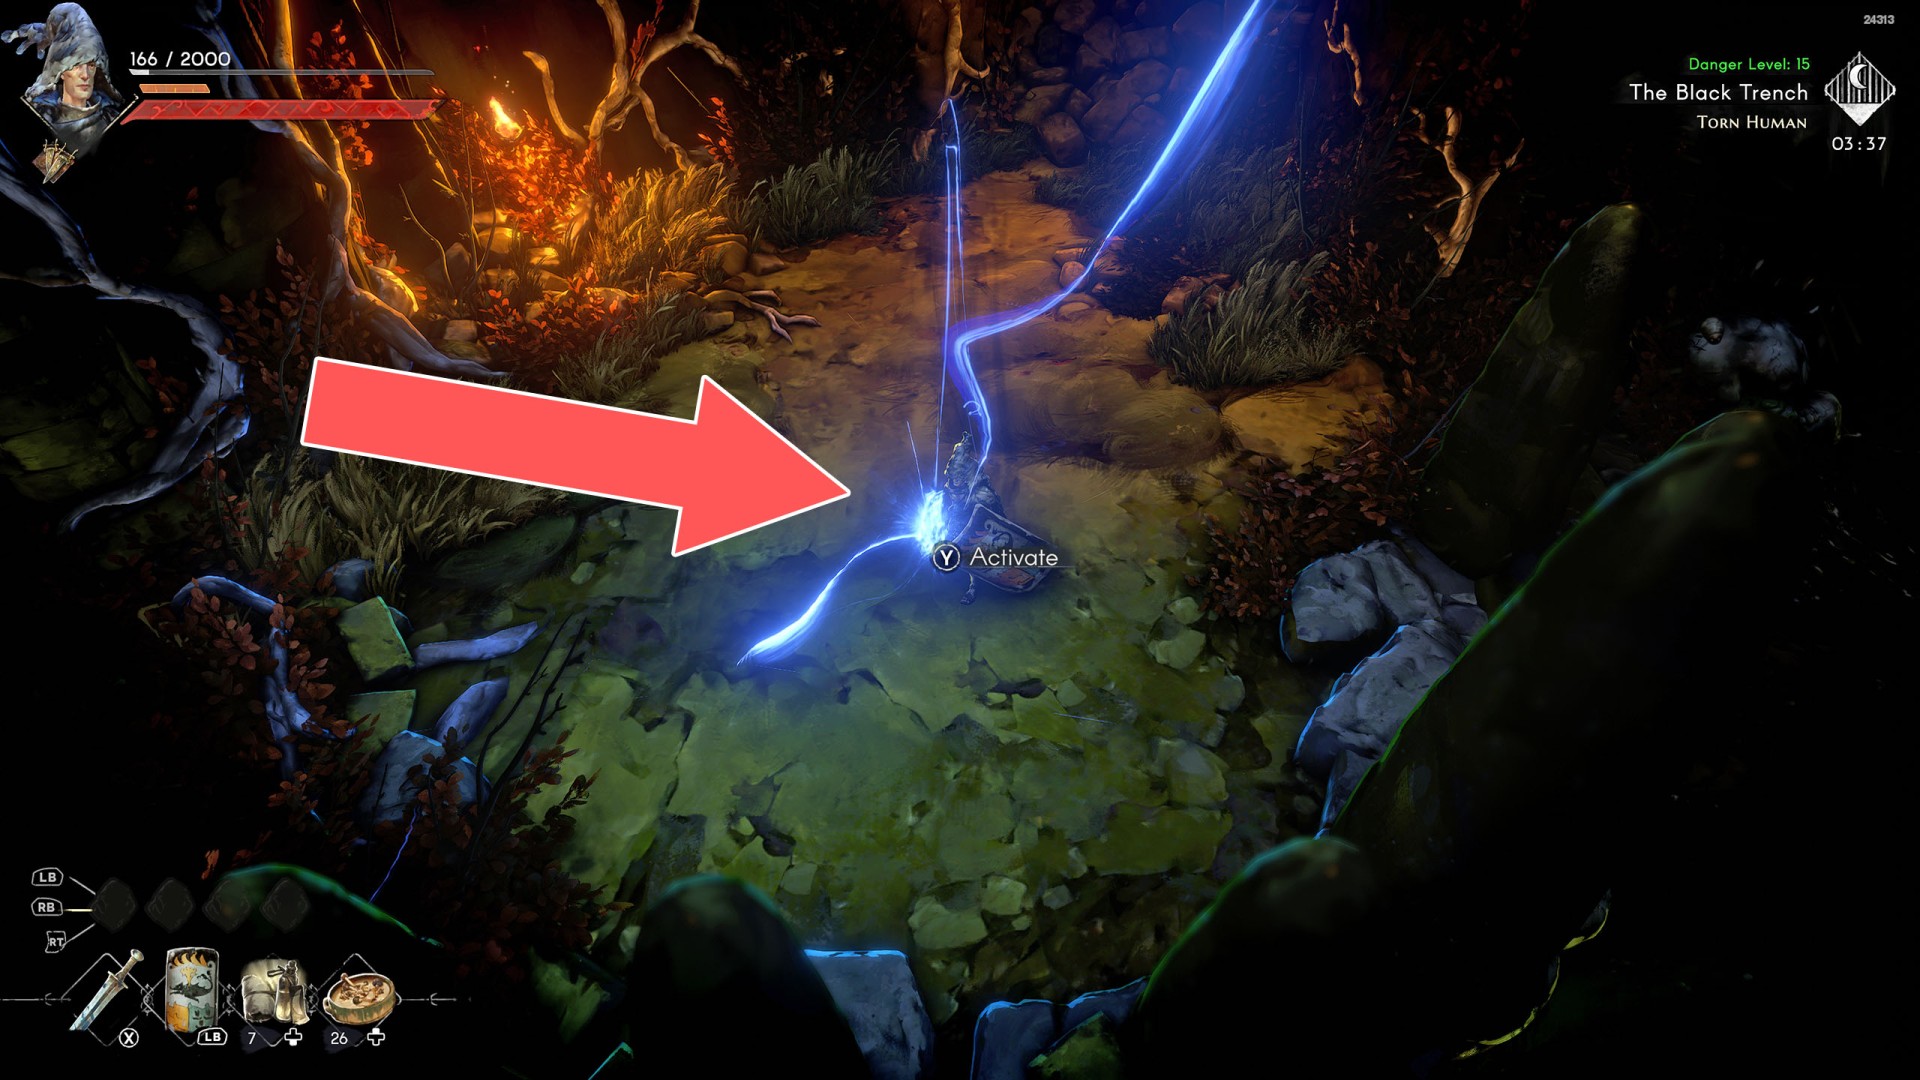
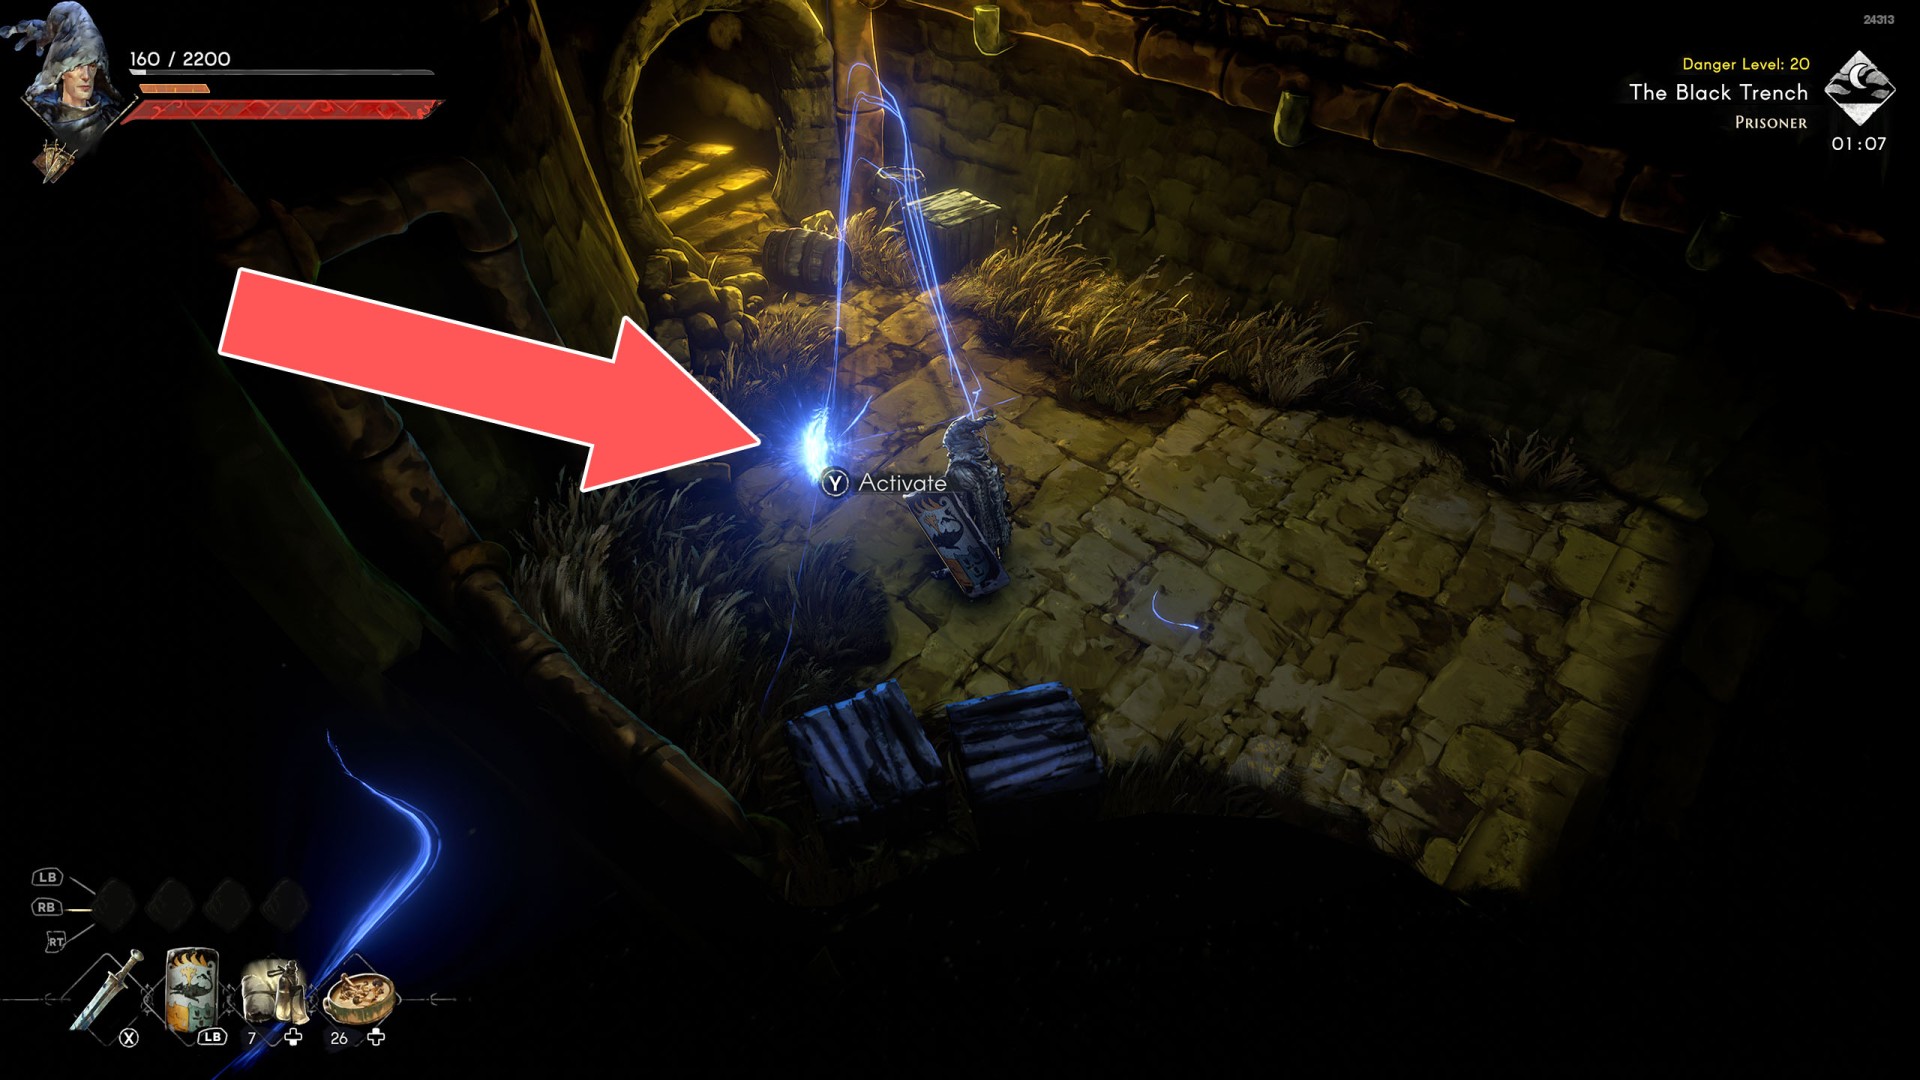
The Cerim Whispers in No Rest for the Wicked are special locations that play two important roles in the game. First, they serve as places where the game's progress is saved and as places where the player's character is respawned when it dies. Secondly, they serve as places used for fast travel. This feature becomes available after reaching the settlement of Sacrament.

At Cerim Whispers, you can rest and record your progress. If death should find you, you will incur a durability loss, but be spoken anew at the last Whisper you visited.

How to fast travel in No Rest for the Wicked?

No Rest for the Wicked features a fast-travel system that becomes available once you reach the settlement of Sacrament, which happens relatively early in the game. You can fast-travel between the whispers you've already visited and activated. The whisper located in Sacrament serves as the main one.

Whispers can be divided into greater and lesser ones. To fully use the lesser whispers, you must first fully activate them by donating a required number of items. Each lesser whisper must be fully unlocked individually.

From any whisper, you can fast-travel to any other fully unlocked whisper. From the central whisper in Sacrament, you can additionally fast-travel to the most recently used whisper - including lesser ones that haven't been fully unlocked yet.

Cerim Whispers

Locations on Isola Sacra

1Lowland Meadows - Hunters Vale

Lesser Whisper.

Show the map

2Lowland Meadows - Weeping Sisters

Lesser Whisper.

Show the map

3Lowland Meadows - Windmill

Lesser Whisper.

Lowland Meadows - Windmill

Show the map

4Lowlands Meadow - Lumber Mill

Greater Whisper.

Show the map

5Marin Woods - Balak Taw Roost

Lesser Whisper.

Show the map

6Marin Woods - Harvest Road

Greater Whisper.

Show the map

7Marin Woods - Marin Village

Greater Whisper.

Show the map

8Marin Woods - Seeker's Rest

Lesser Whisper.

Show the map

9Marin Woods - Temple of Day and Night

Lesser Whisper.

Show the map

10Marin Woods - Winged Door

Lesser Whisper.

Show the map

11Mariner's Keep - Ramparts

Lesser Whisper.

Mariner's Keep - Ramparts

Show the map

12Nameless Pass - Ashen Road

Greater Whisper.

Nameless Pass - Ashen Road

Show the map

13Nameless Pass - Cerim Chamber

Lesser Whisper.

Nameless Pass - Cerim Chamber

Show the map

14Nameless Pass - Mountain Gate

Lesser Whisper.

Nameless Pass - Mountain Gate

Show the map

15Nameless Pass - Quarry Dungeon

Lesser Whisper.

Nameless Pass - Quarry Dungeon

Show the map

16Nameless Pass - Quarry Elevator

Lesser Whisper.

Nameless Pass - Quarry Elevator

Show the map

17Nameless Pass - Shrouded Cavern

Lesser Whisper.

Nameless Pass - Shrouded Cavern

Show the map

18Nameless Pass - The Cauldron

Lesser Whisper.

Show the map

19Orban Glades - Forgotten Bridge

Lesser Whisper.

Orban Glades - Forgotten Bridge

Show the map

20Orban Glades - Iona's Cavern

Lesser Whisper.

Orban Glades - Iona's Cavern

Show the map

21Orban Glades - Sage Road

Greater Whisper.

Orban Glades - Sage Road

Show the map

22Sacrament - Crucible Atrium

Greater Whisper.

Sacrament - Crucible Atrium

Show the map

23Sacrament - Marketplace

Greater Whisper. It is a primary whisper that is a hub used for fast travel.

Sacrament - Marketplace

Show the map

24The Shallows - Saltborn Tower

Greater Whisper.

The Shallows - Saltborn Tower

Show the map

Locations on The Black Trench

25The Black Trench - Central Chamber

Greater Whisper.

The Black Trench - Central Chamber

Show the map

26The Black Trench - Fungal Shrine

Lesser Whisper.

The Black Trench - Fungal Shrine

Show the map

27The Black Trench - The Depths

Lesser Whisper.

The Black Trench - The Depths

Show the map