Transition Indiana Jones and the Great Circle Point of interest
Index
- Anchor Hole
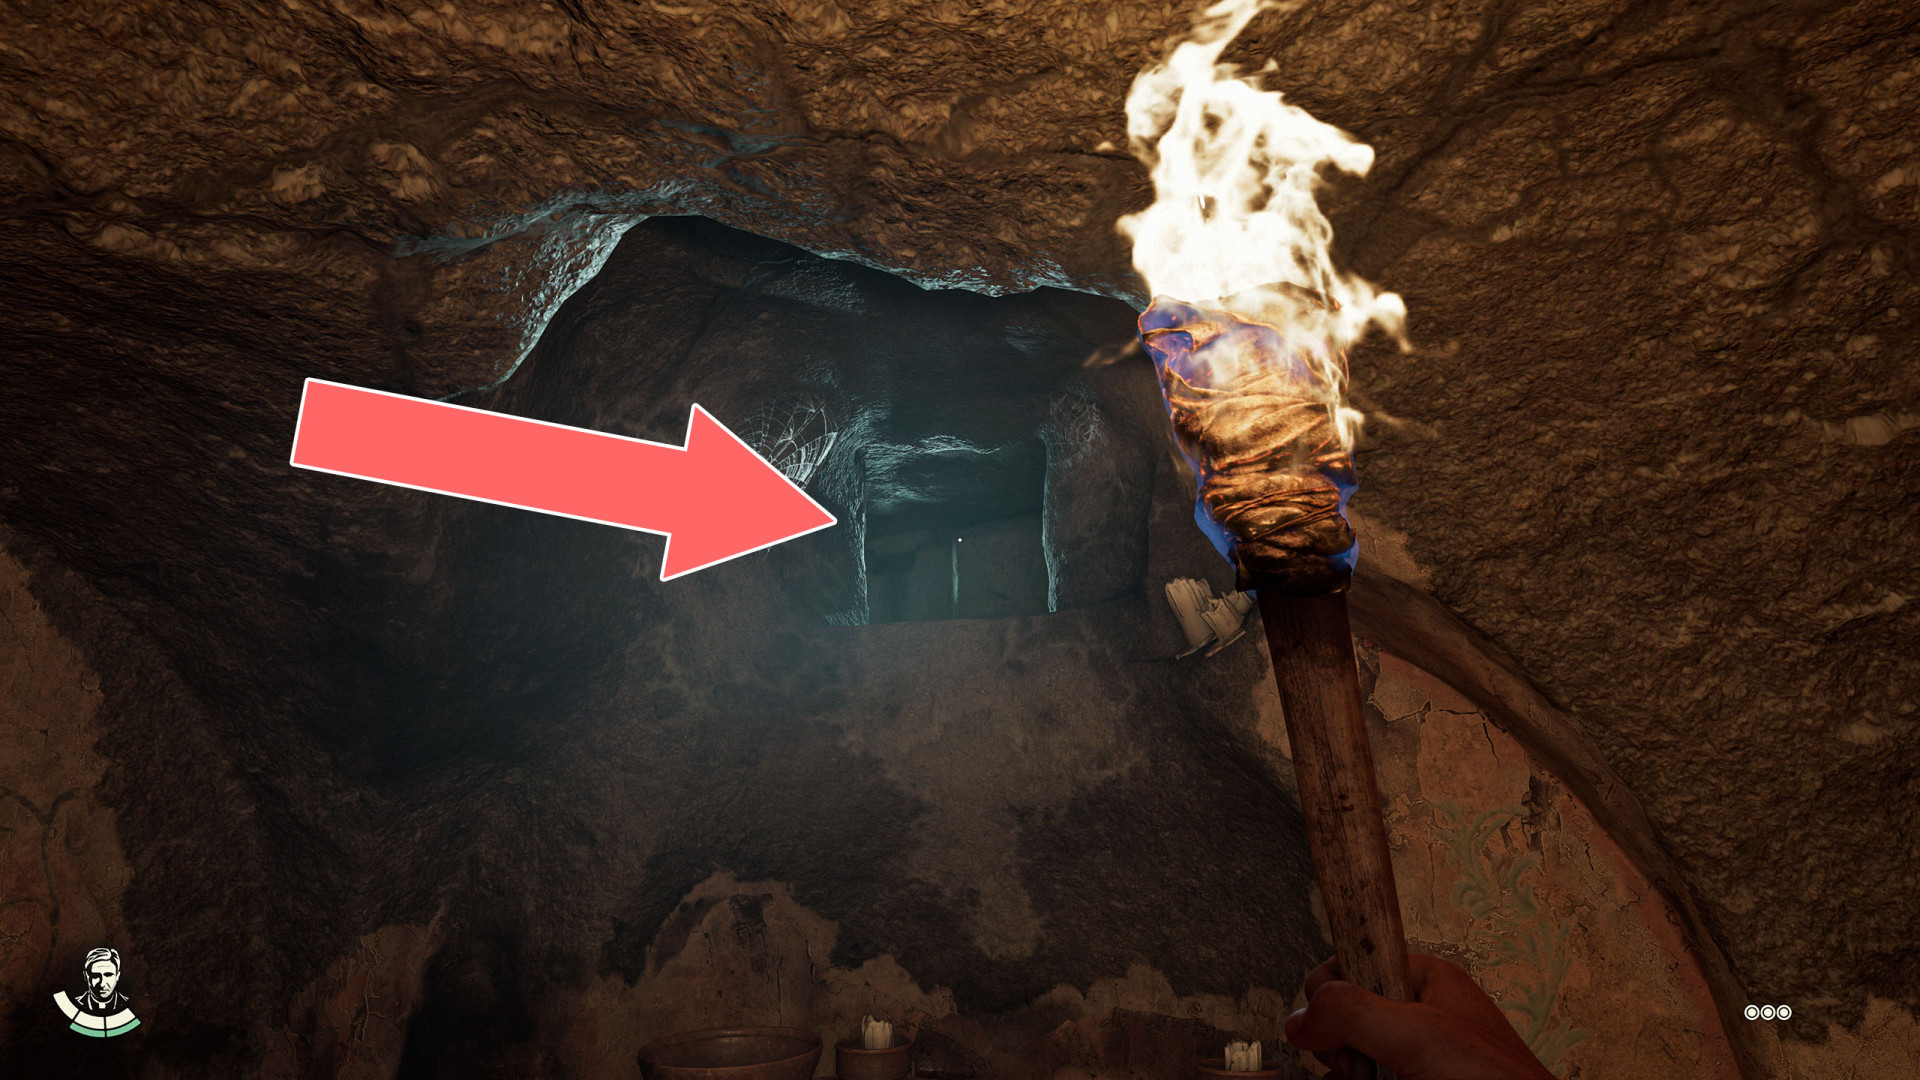
- Ancient Caves Entrance
- Ancient Caves Exit
- Apostolic Library
- Basement Entrance
- Biplane
- Breakable Wall
- Breakable Wall
- Breakable Wall
- Castle Window
- Climbing Spot
- Climbing Spot
- Climbing Spot
- Conning Tower Ladder
- Crawl Hole
- Crawl Hole
- Crawl Hole
- Crawl Hole
- Crawl Hole
- Crawl Hole
- Crawl Hole
- Crawl Hole
- Crawl Hole
- Crawl Hole
- Crawl Hole
- Crawl Hole
- Crawl Hole
- Crawl Hole
- Crawl Hole
- Crawl Hole
- Crawl Hole
- Crawl Space
- Crawl Space
- Crawl Space
- Crawl Space
- Crawl Space
- Diving Spot
- Diving Spot
- Door
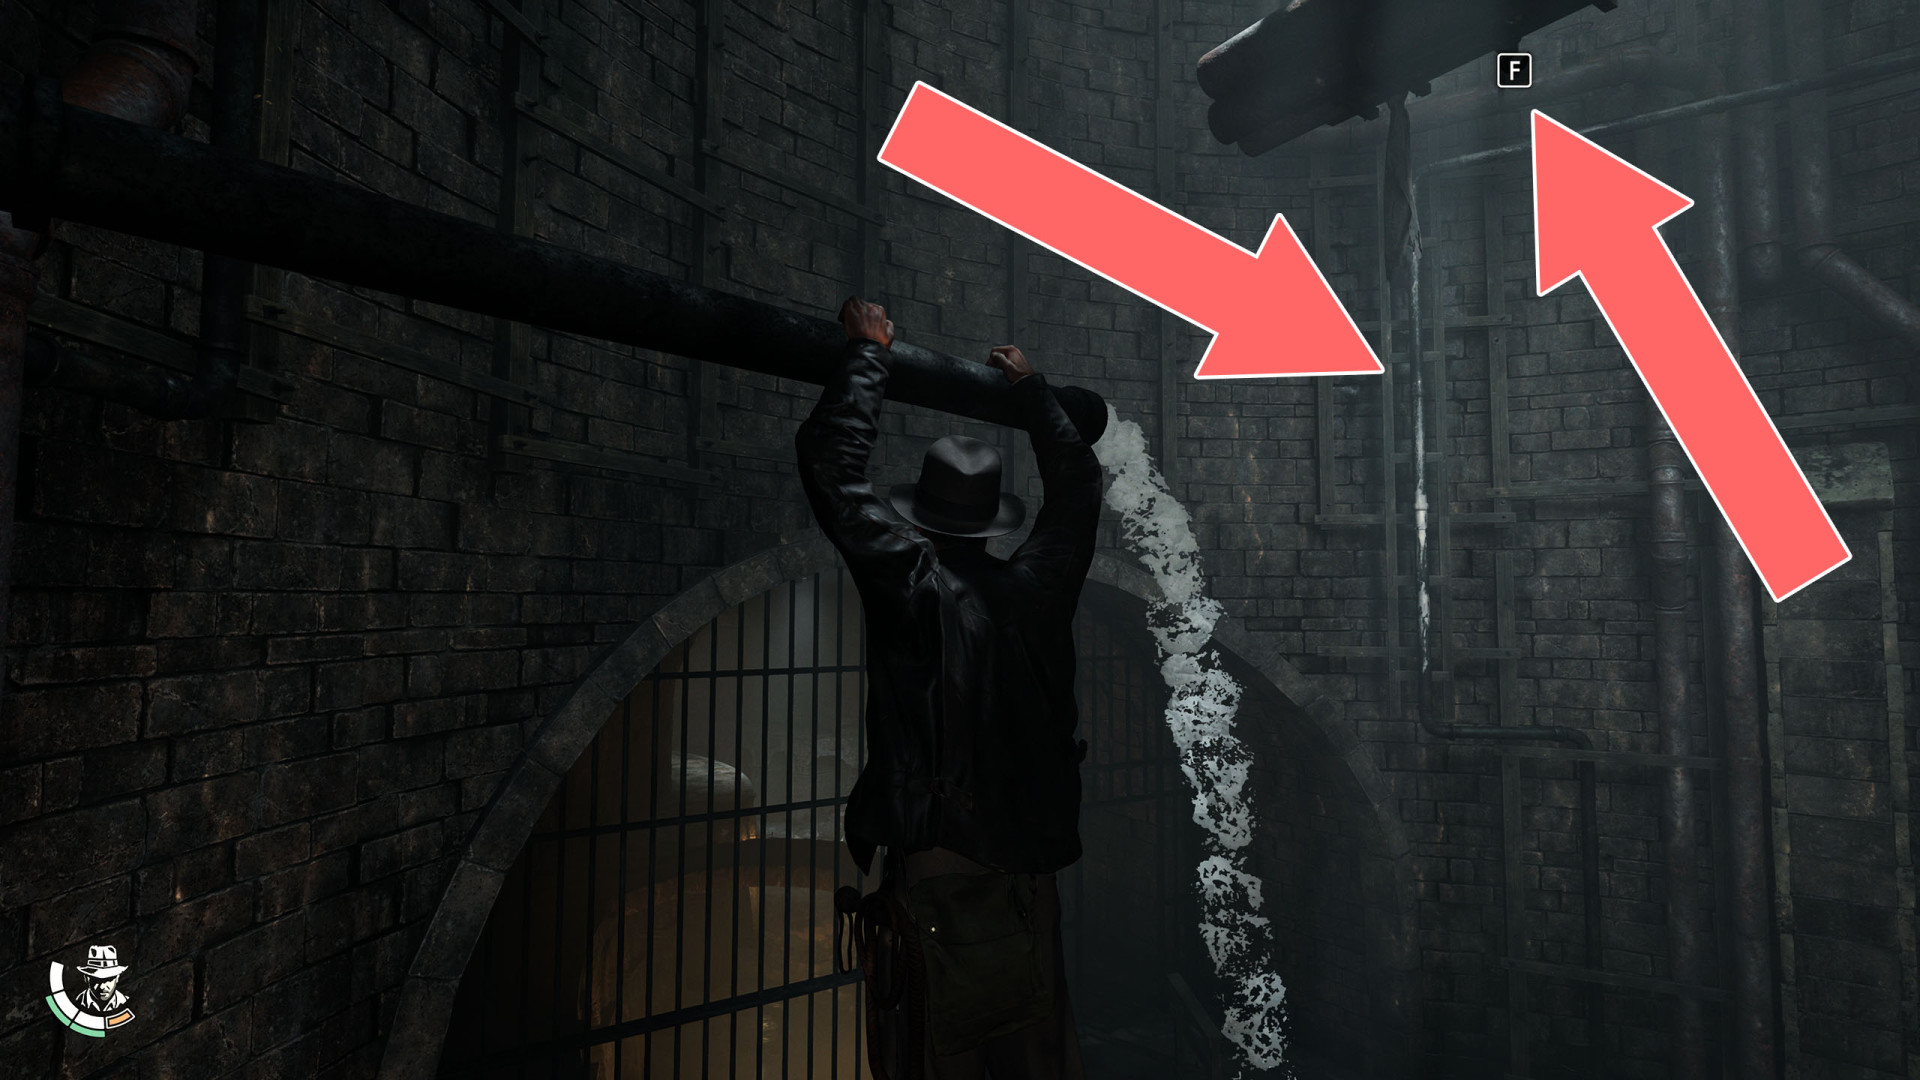
- Drainpipe
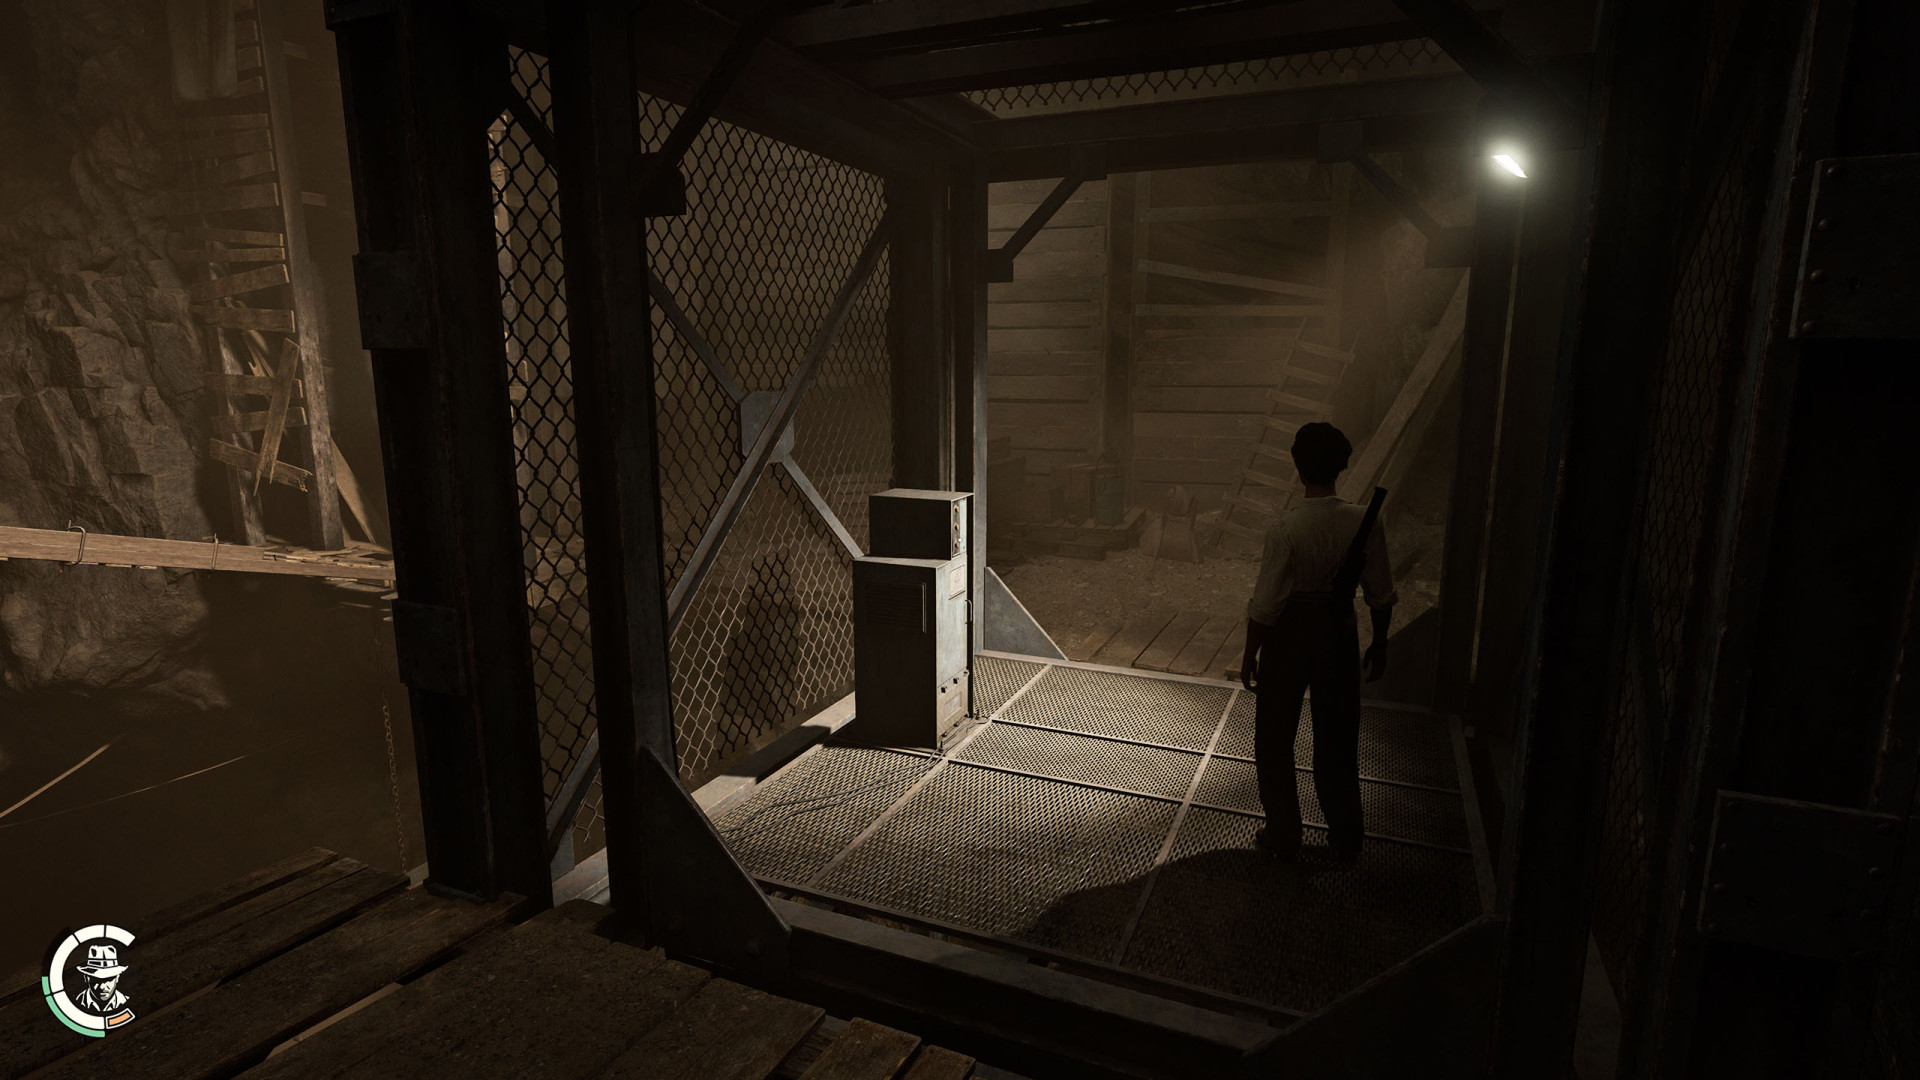
- Elevator
- Elevator
- Elevator
- Elevator
- Entry Under the Building
- Entry Under the Building
- Fence Hole
- Fence Hole
- Fence Hole
- Fence Hole
- Fence Hole
- Fence Hole
- Fence Hole
- Fence Hole
- Footbridge
- Fountain Underground Entrance
- Grappling Hook
- Grappling Point
- Grappling Point
- Grappling Point
- Grappling Point
- Grappling Point
- Grappling Point
- Grappling Point
- Grappling Point
- Grappling Point
- Grappling Point
- Grappling Point
- Grappling Point
- Grappling Point
- Grappling Point
- Grappling Point
- Grappling Point
- Grappling Point
- Grappling Point
- Grappling Point
- Grappling Point
- Grappling Point
- Grappling Point
- Grappling Point
- Grappling Point
- Grappling Point
- Grappling Point
- Grappling Point
- Grappling Point
- Grappling Point
- Grappling Point
- Grappling Point
- Grappling Point
- Grappling Point
- Grappling Point
- Grappling Point
- Grappling Point
- Grappling Point
- Grappling Point
- Grappling Point
- Grappling Point
- Grappling Point
- Grappling Point
- Grappling Point
- Grappling Point
- Grappling Point
- Grappling Point
- Grappling Point
- Grappling Point
- Grappling Point
- Grappling Point
- Grappling Point
- Grappling Point
- Grappling Point
- Grappling Point
- Grappling Point
- Grappling Point
- Grappling Point
- Grappling Point
- Grappling Point
- Grappling Point
- Grappling Point
- Grappling Point
- Grappling Point
- Grappling Point
- Grappling Point
- Grappling Point
- Grappling Point
- Grappling Point
- Grappling Point
- Grappling Point
- Grappling Point
- Grappling Point
- Grappling Point
- Grappling Point
- Grappling Point
- Grappling Point
- Grappling Point
- Grappling Point
- Grappling Point
- Grappling Point
- Grappling Point & Drainpipe
- Grappling Point & Hole
- Grappling Point (X)
- Grappling Point (Y)
- Grappling Point x 2
- Grappling Point x 2
- Grappling Point x 2
- Grappling Point x 2
- Grappling Point x 2
- Grappling Point x 2
- Great Sphinx Underground Entrance
- Guard House Window
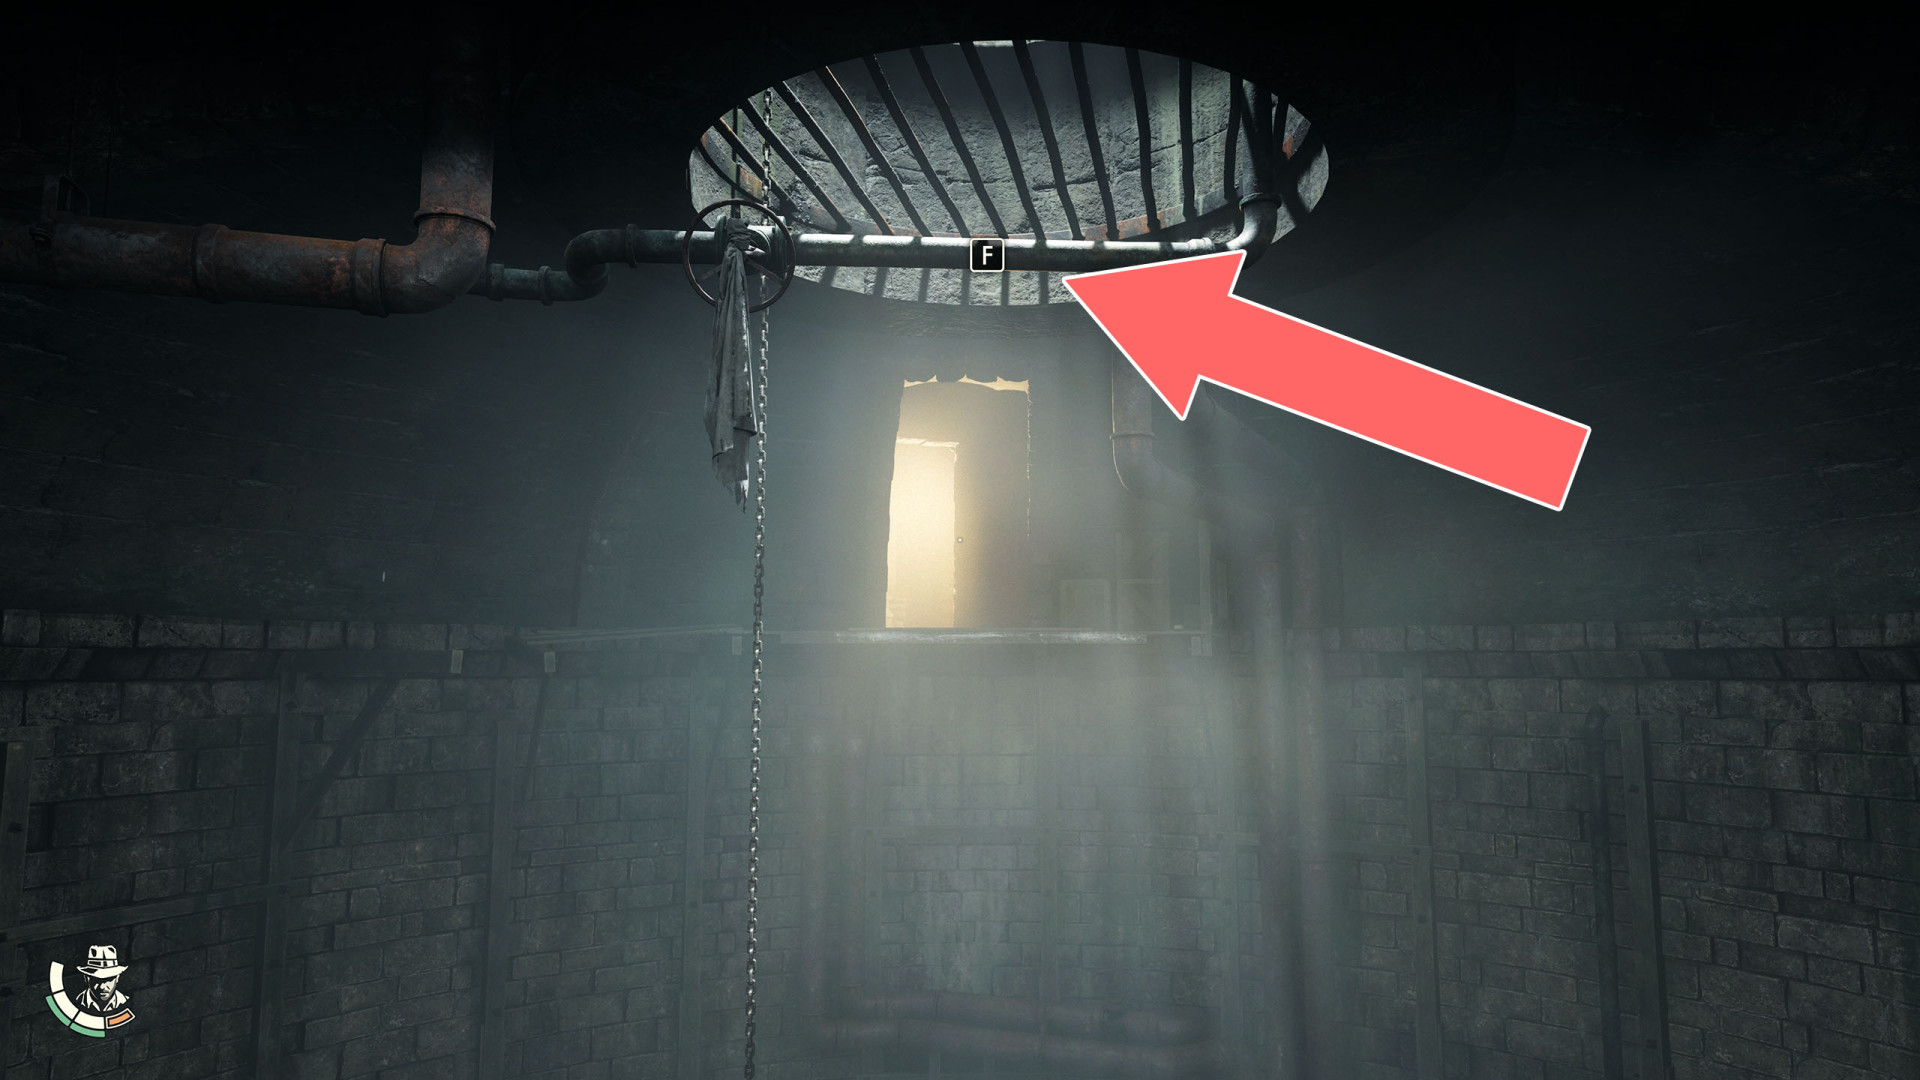
- Hatch
- Hatch
- Hidden Temple Entrance
- Hidden Temple Entrance
- Hole
- Hole
- Hole
- Hole in the Fence
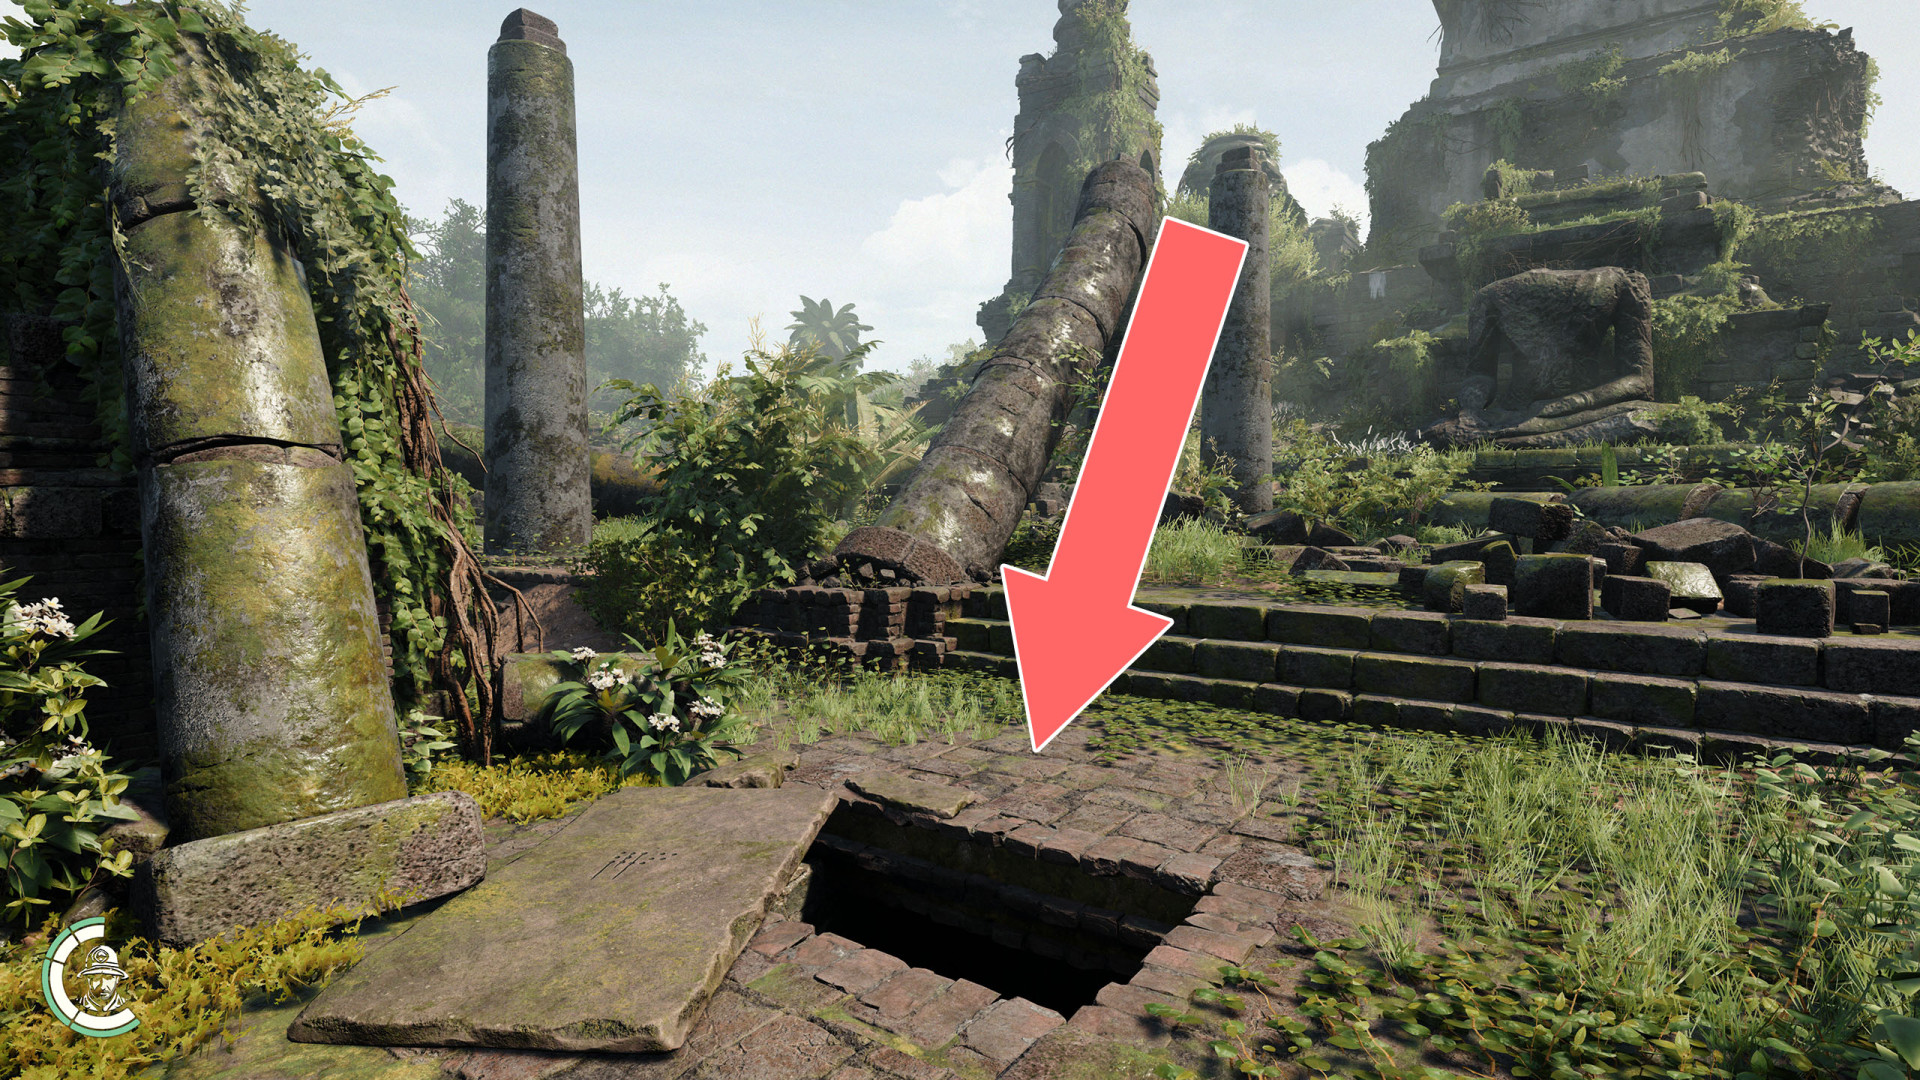
- Hole in the Floor
- Hole in the Floor
- Hole in the Wall
- Khmer Vault Entrance
- Khmer Vault Entrance
- Khmer Warrior Temple
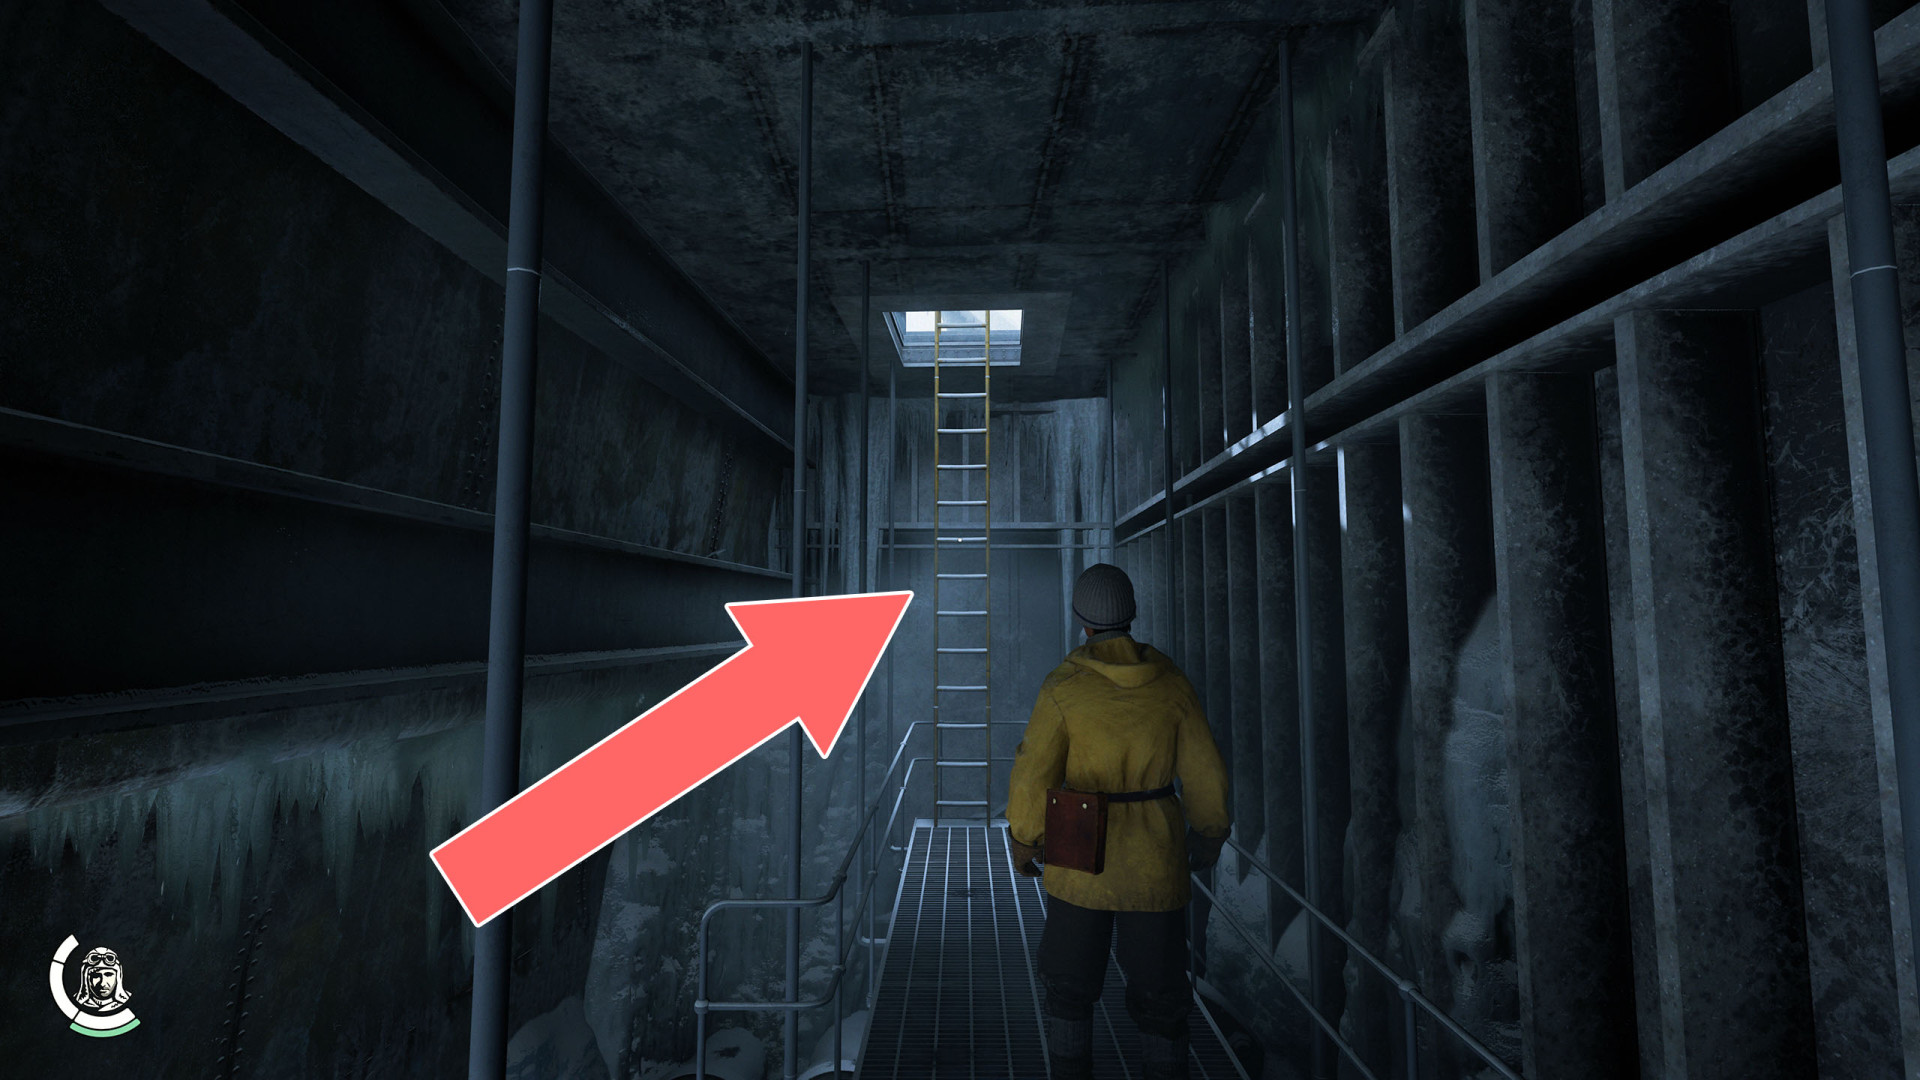
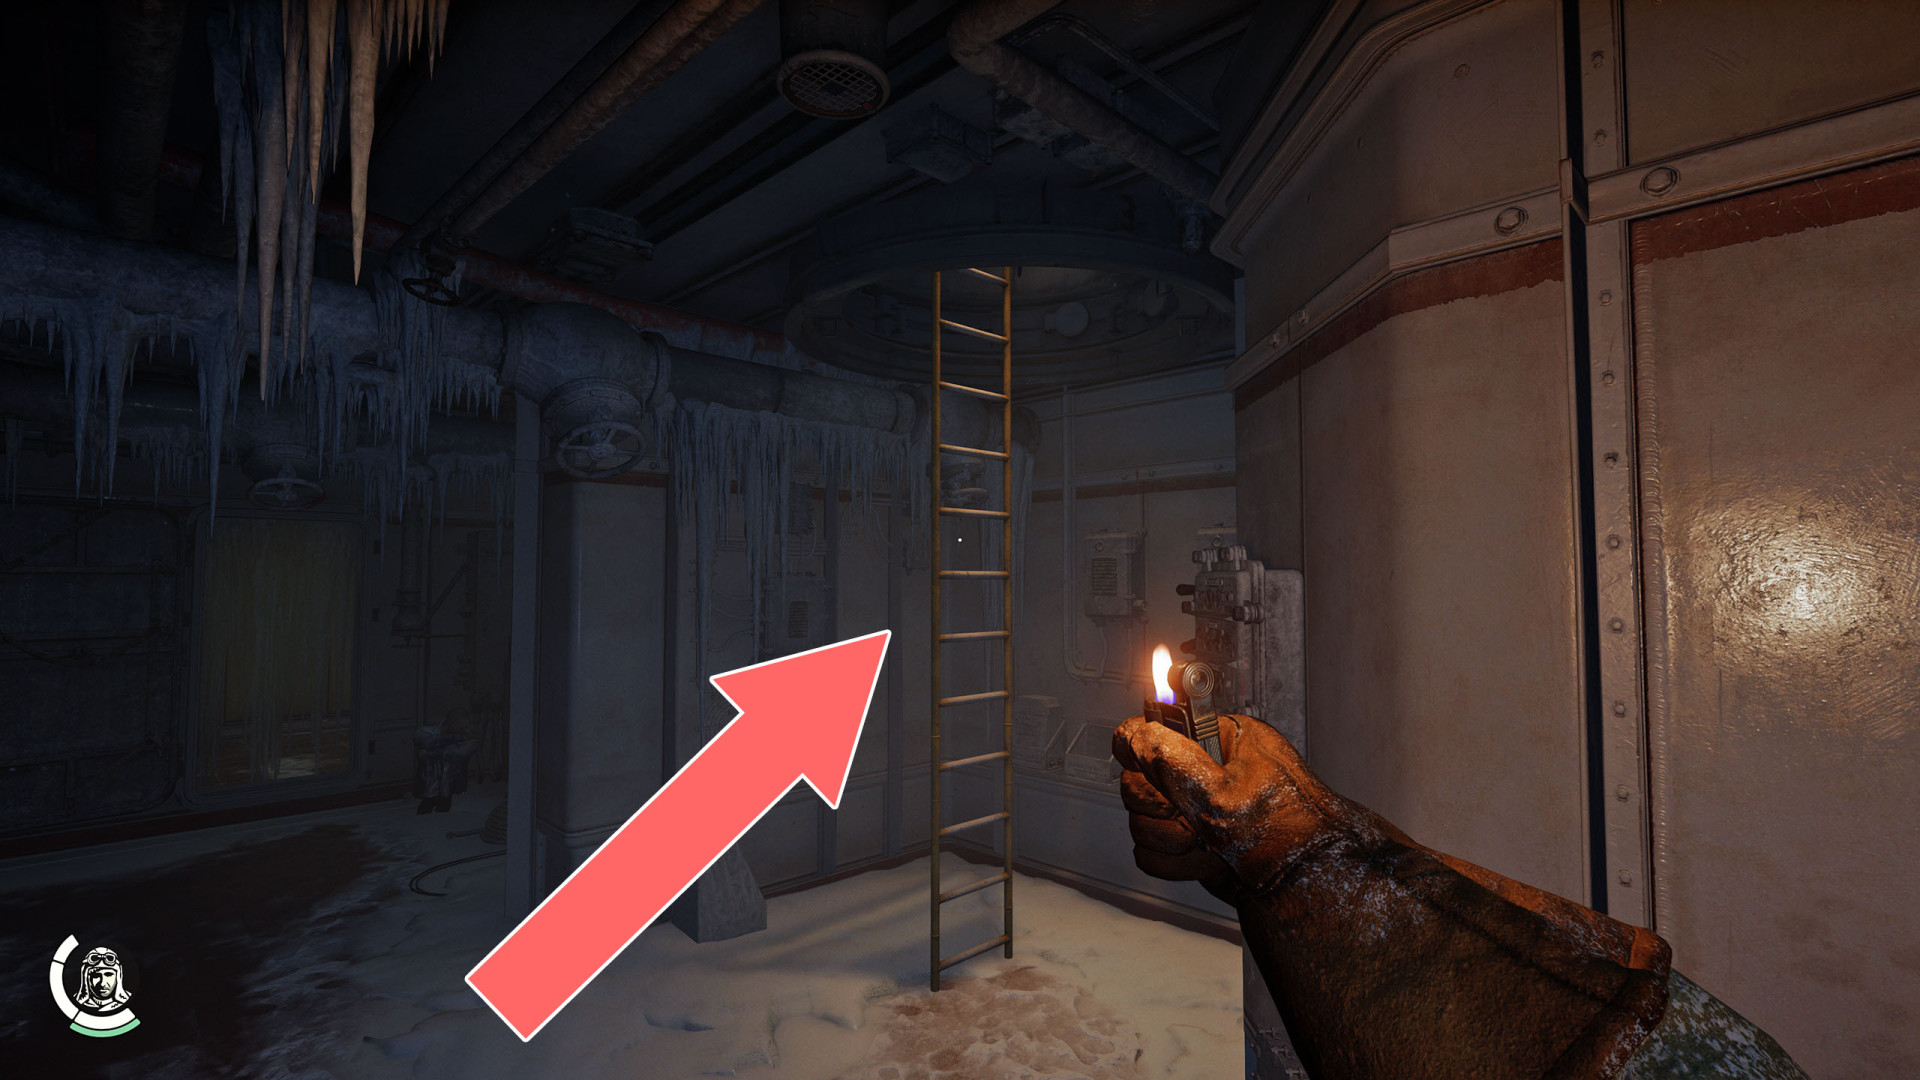
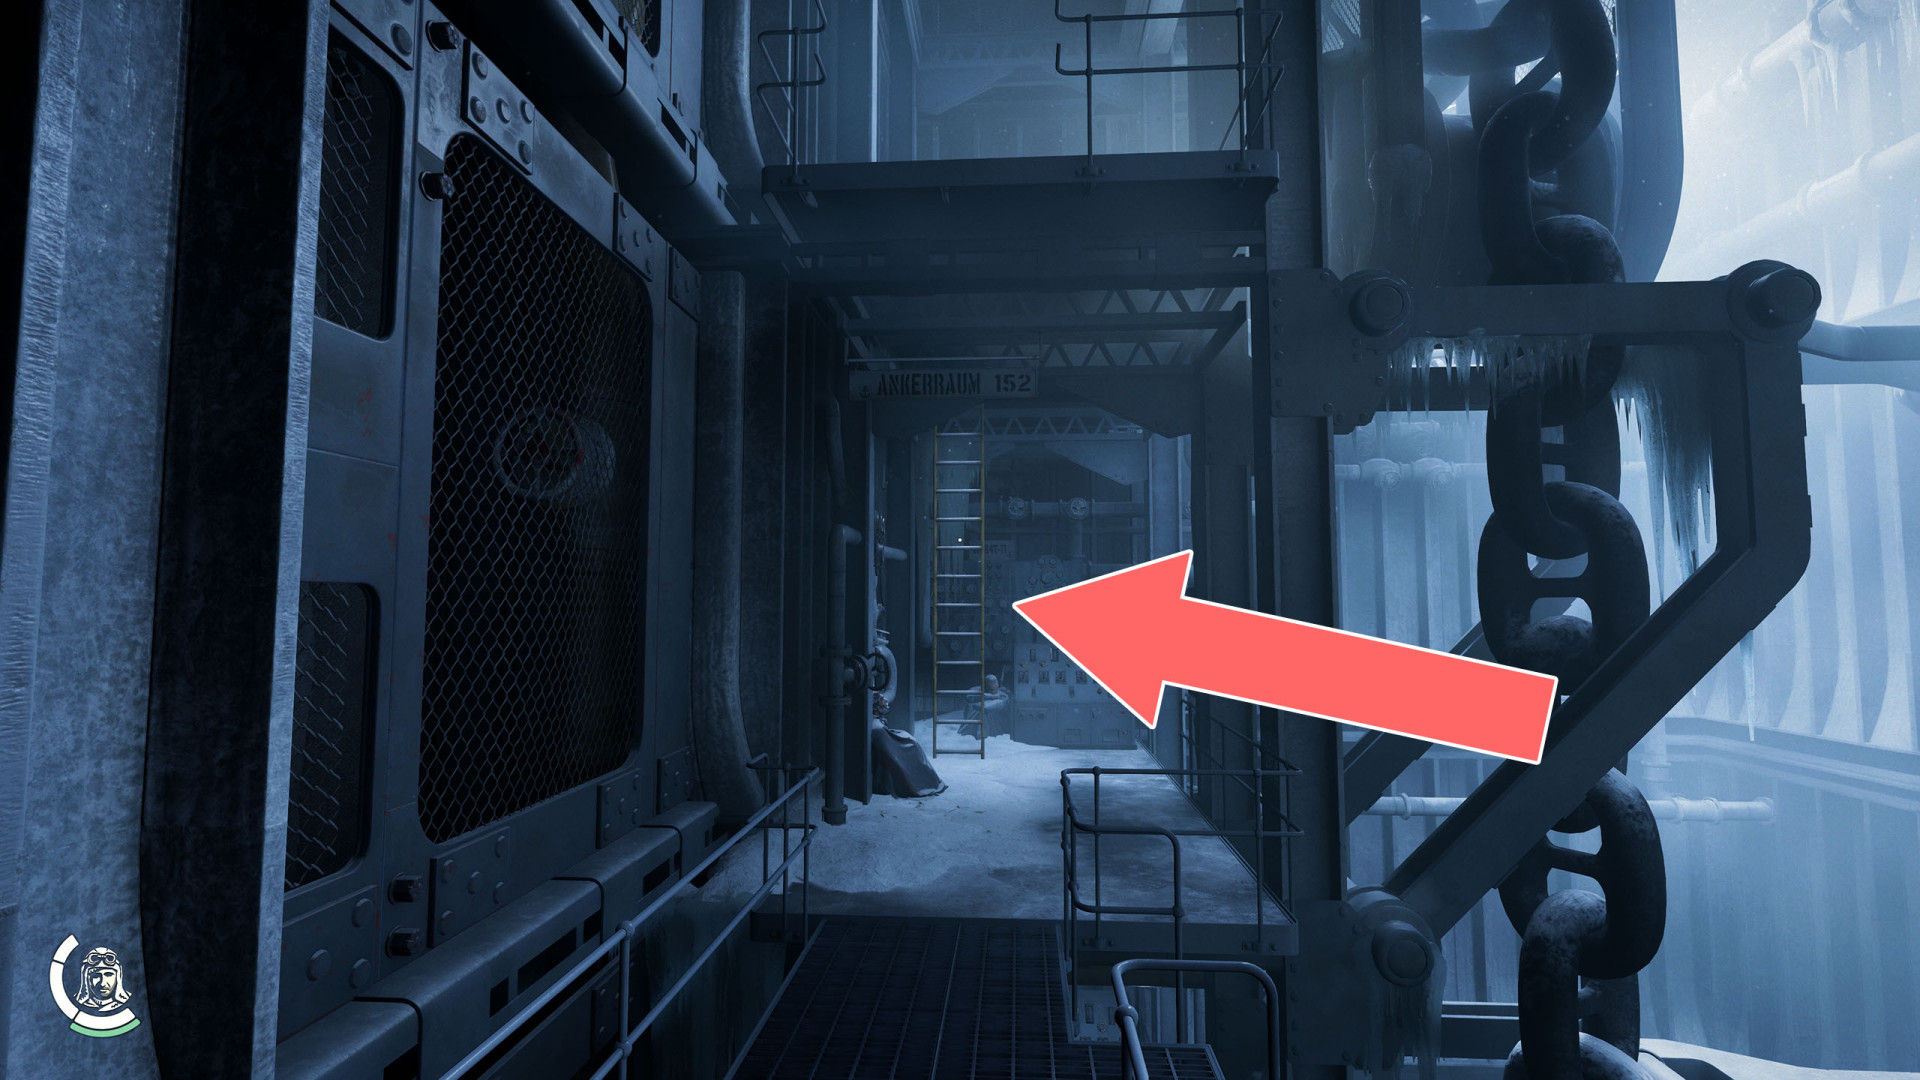
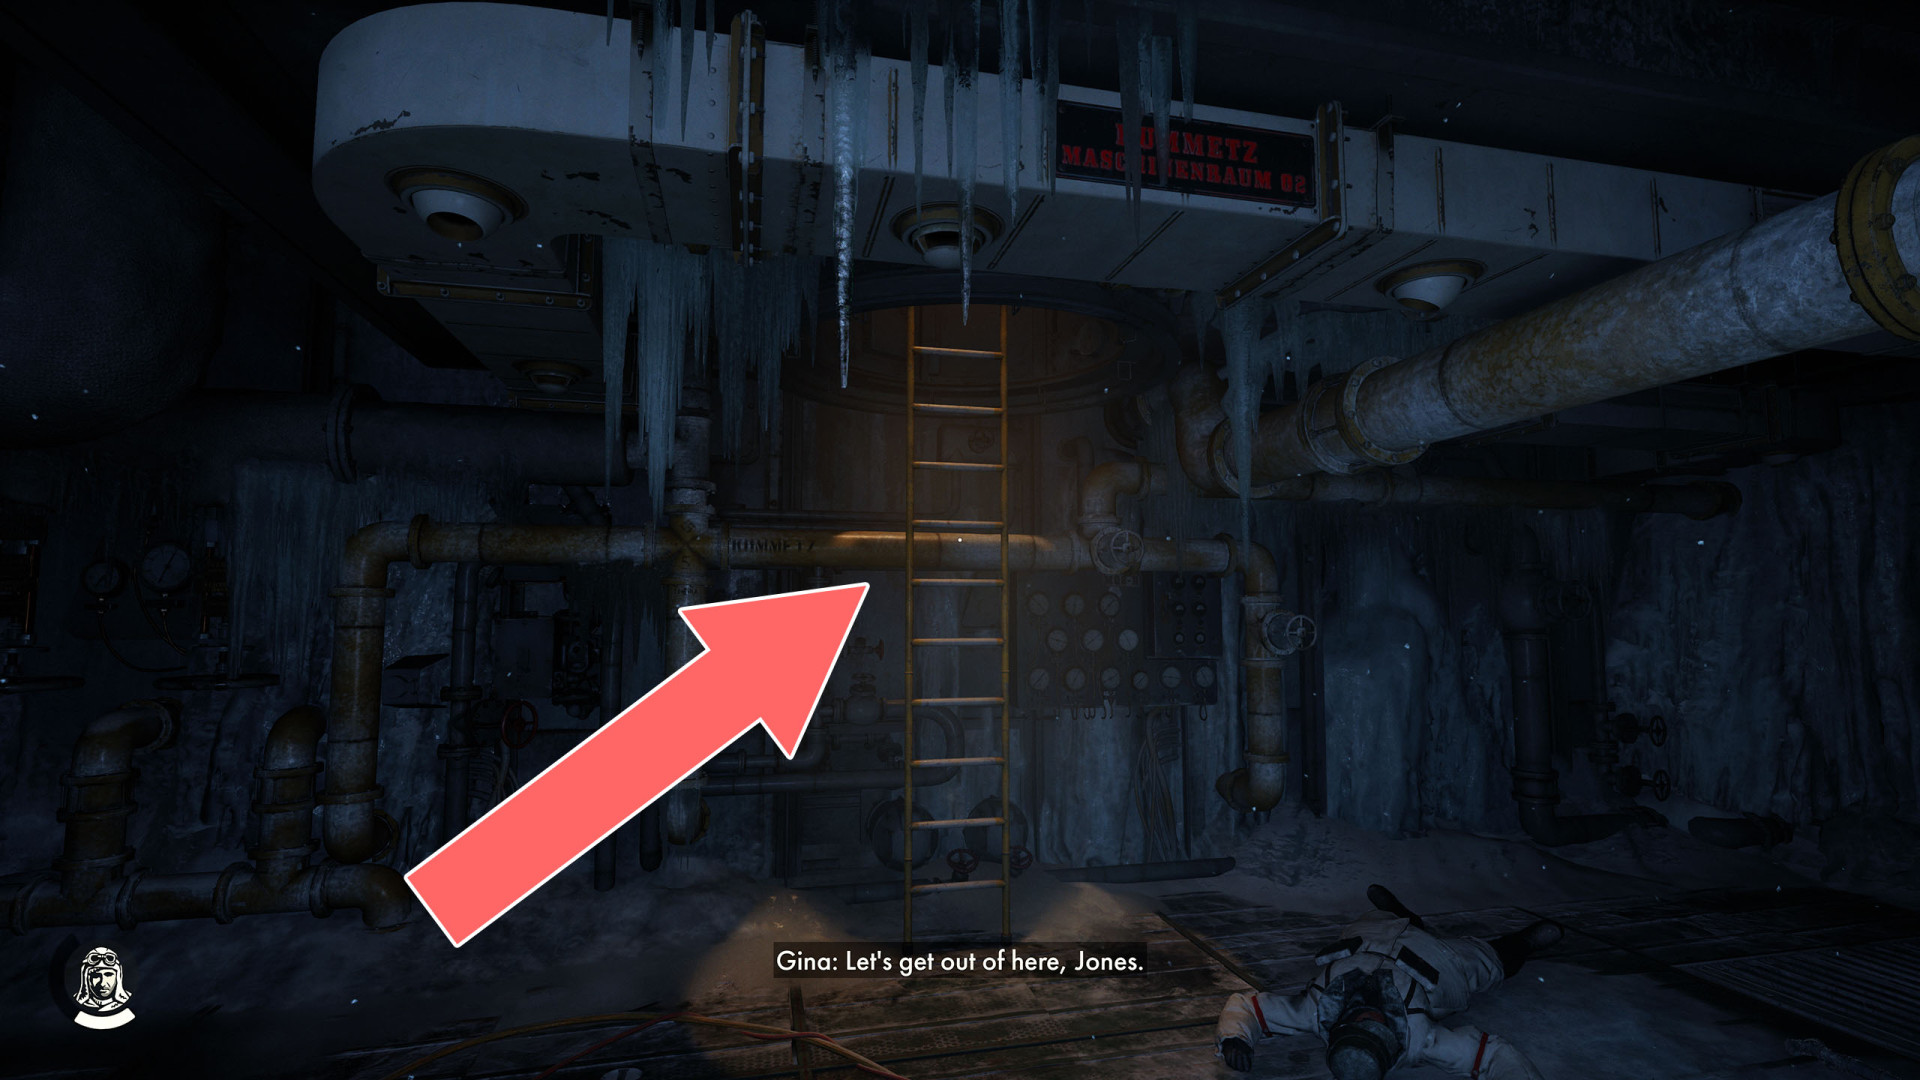
- Ladder
- Ladder
- Ladder
- Ladder
- Ladder
- Ladder
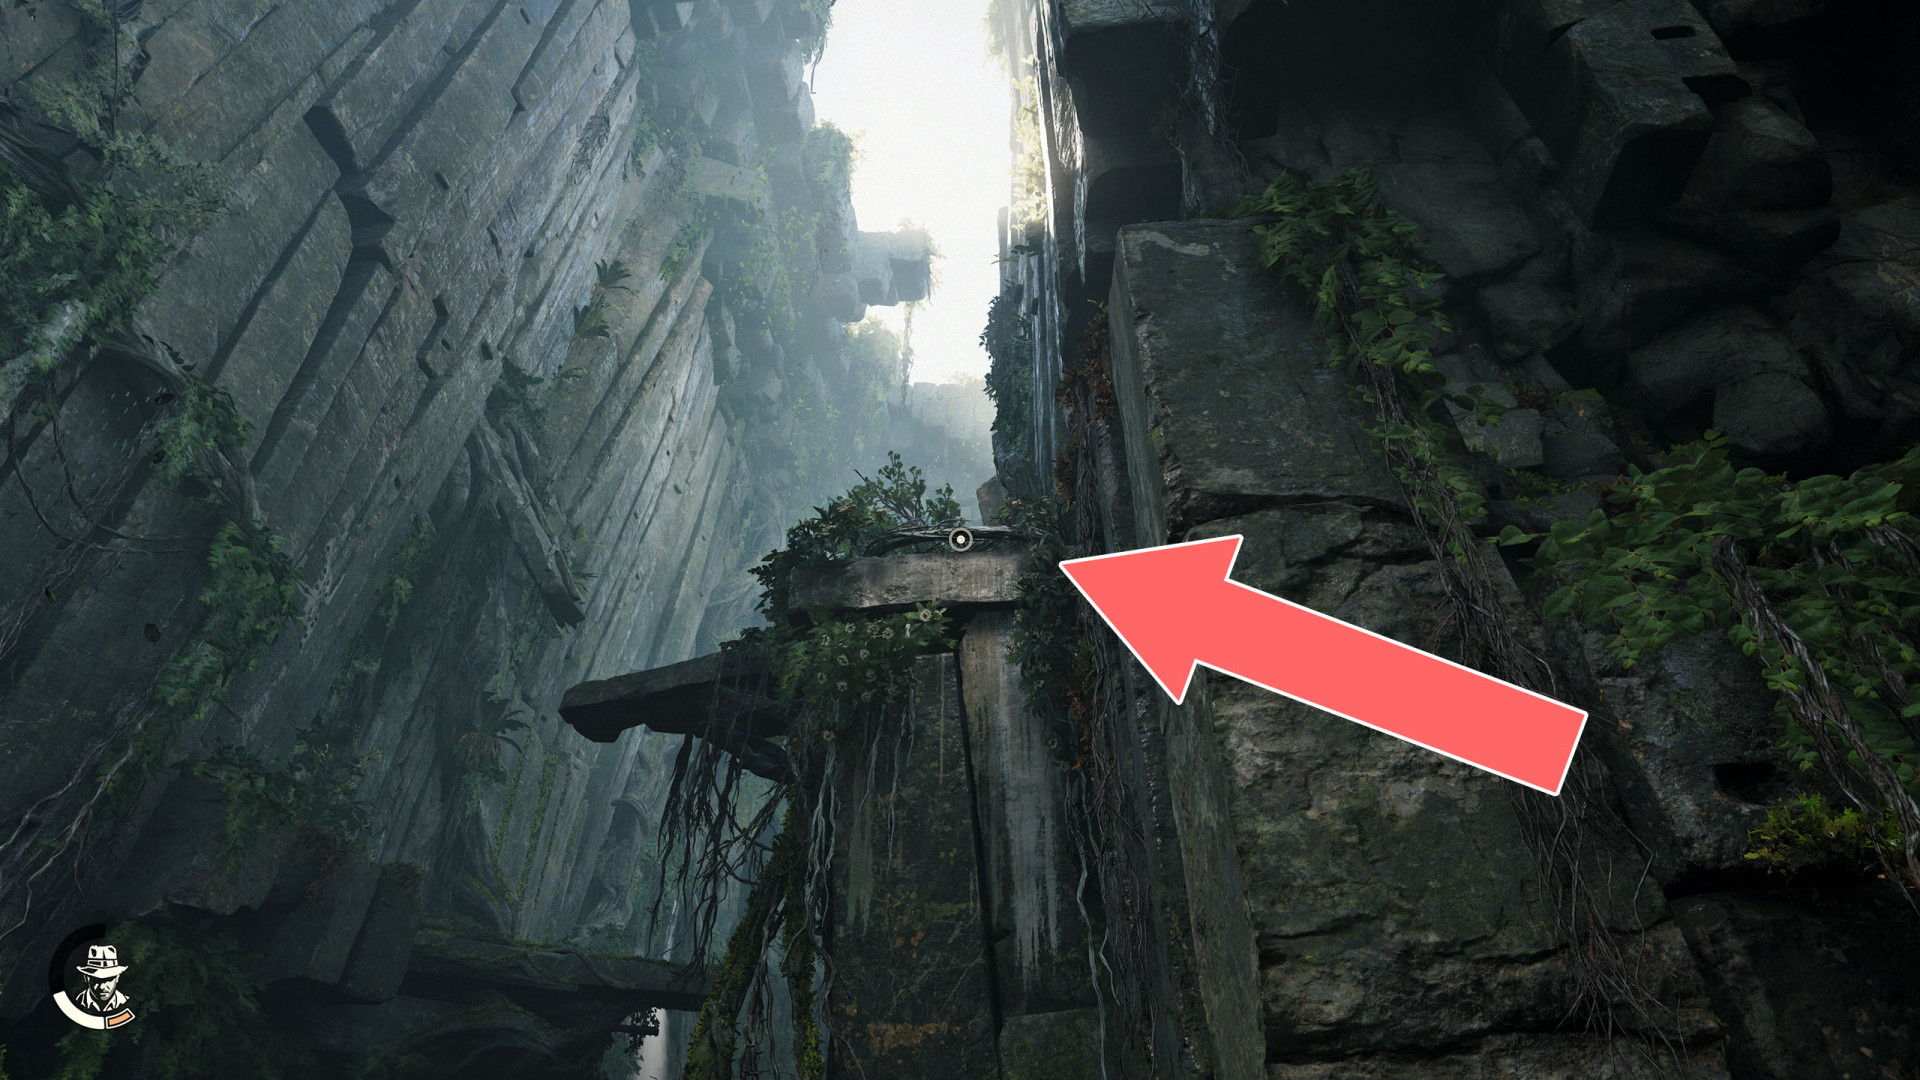
- Ledge
- Ledge
- Ledge
- Lever
- Lower Necropolis Starting Point
- Museum Entrance
- Museum Window
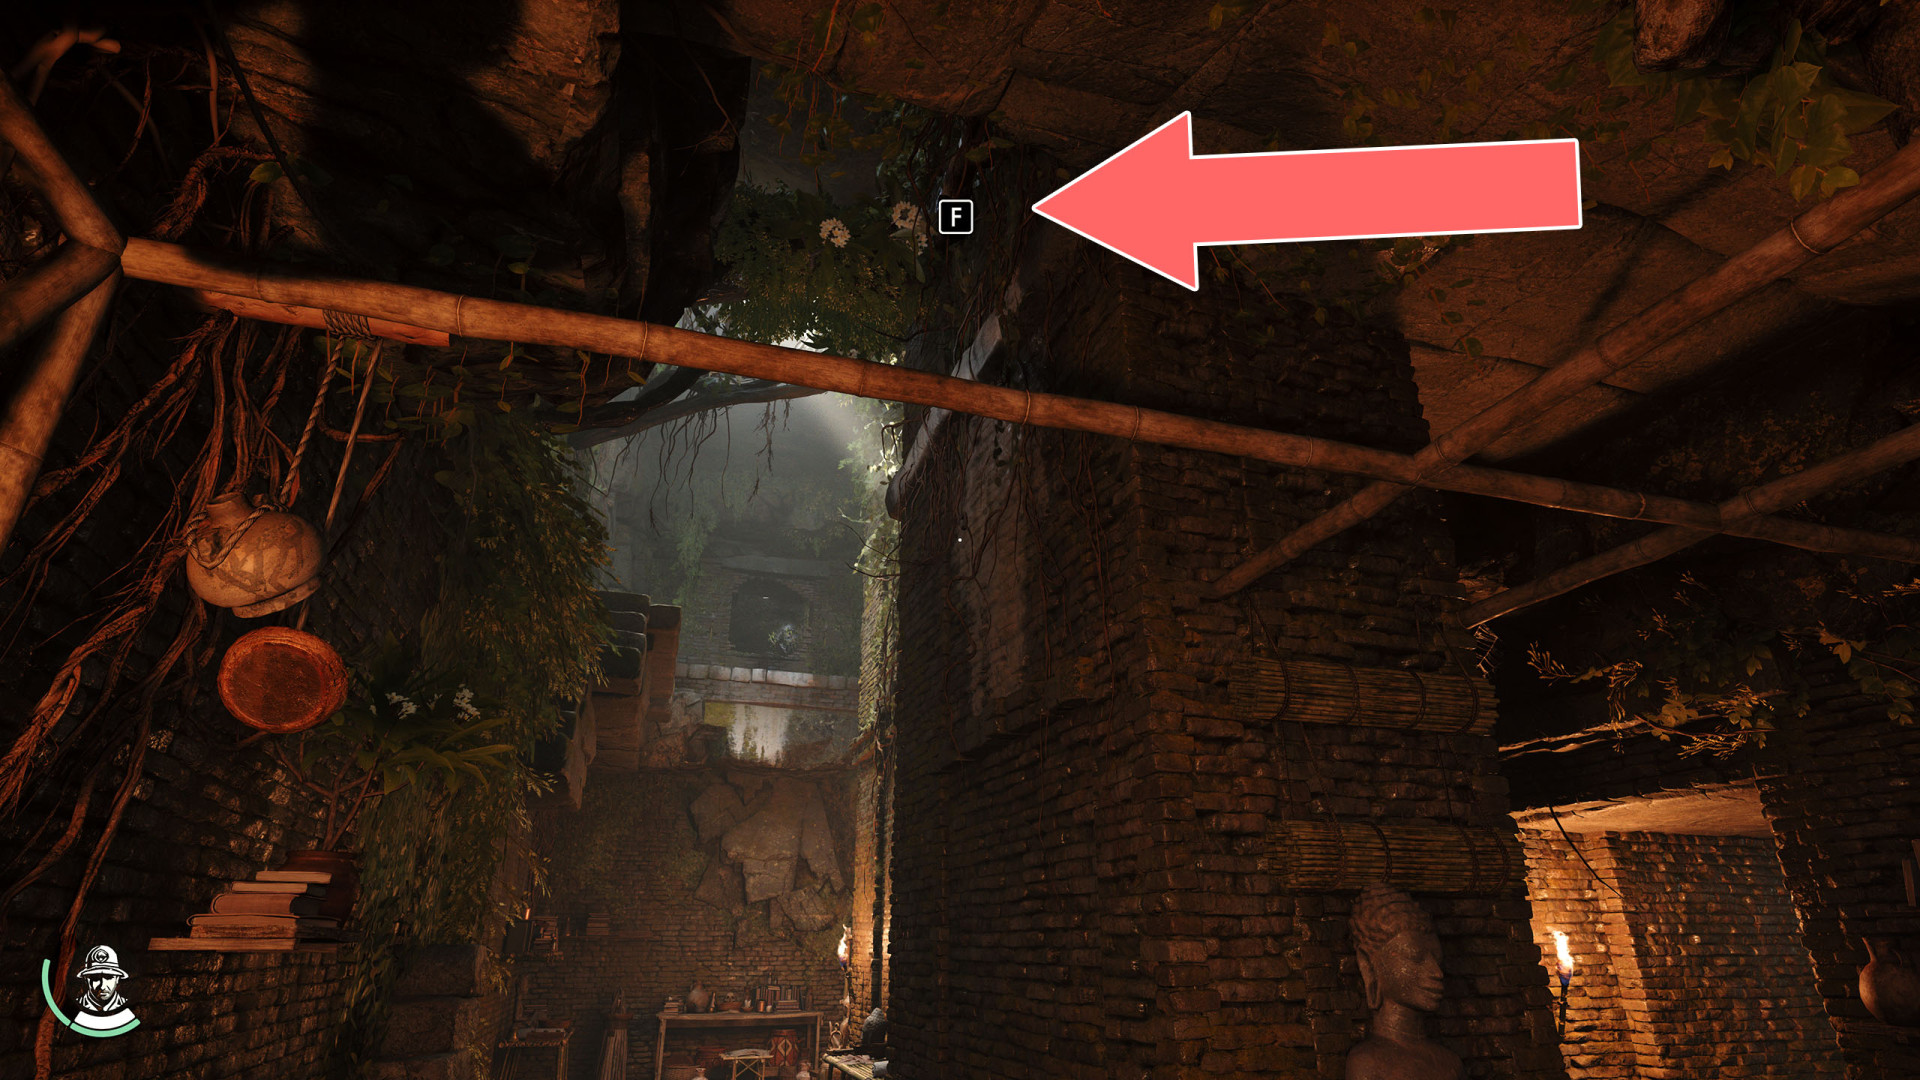
- Narrow Passage
- Narrow Passage
- Open Windows
- Post Office Window
- Sanctuary Door
- Sanctuary Entrance
- Scaffolding
- Scaffolding
- Scaffolding
- Secret Room Entrance
- Service Hatch
- Shaft
- Ship Entrance
- Sign / Bridge
- Sistine Chapel Back Entrance
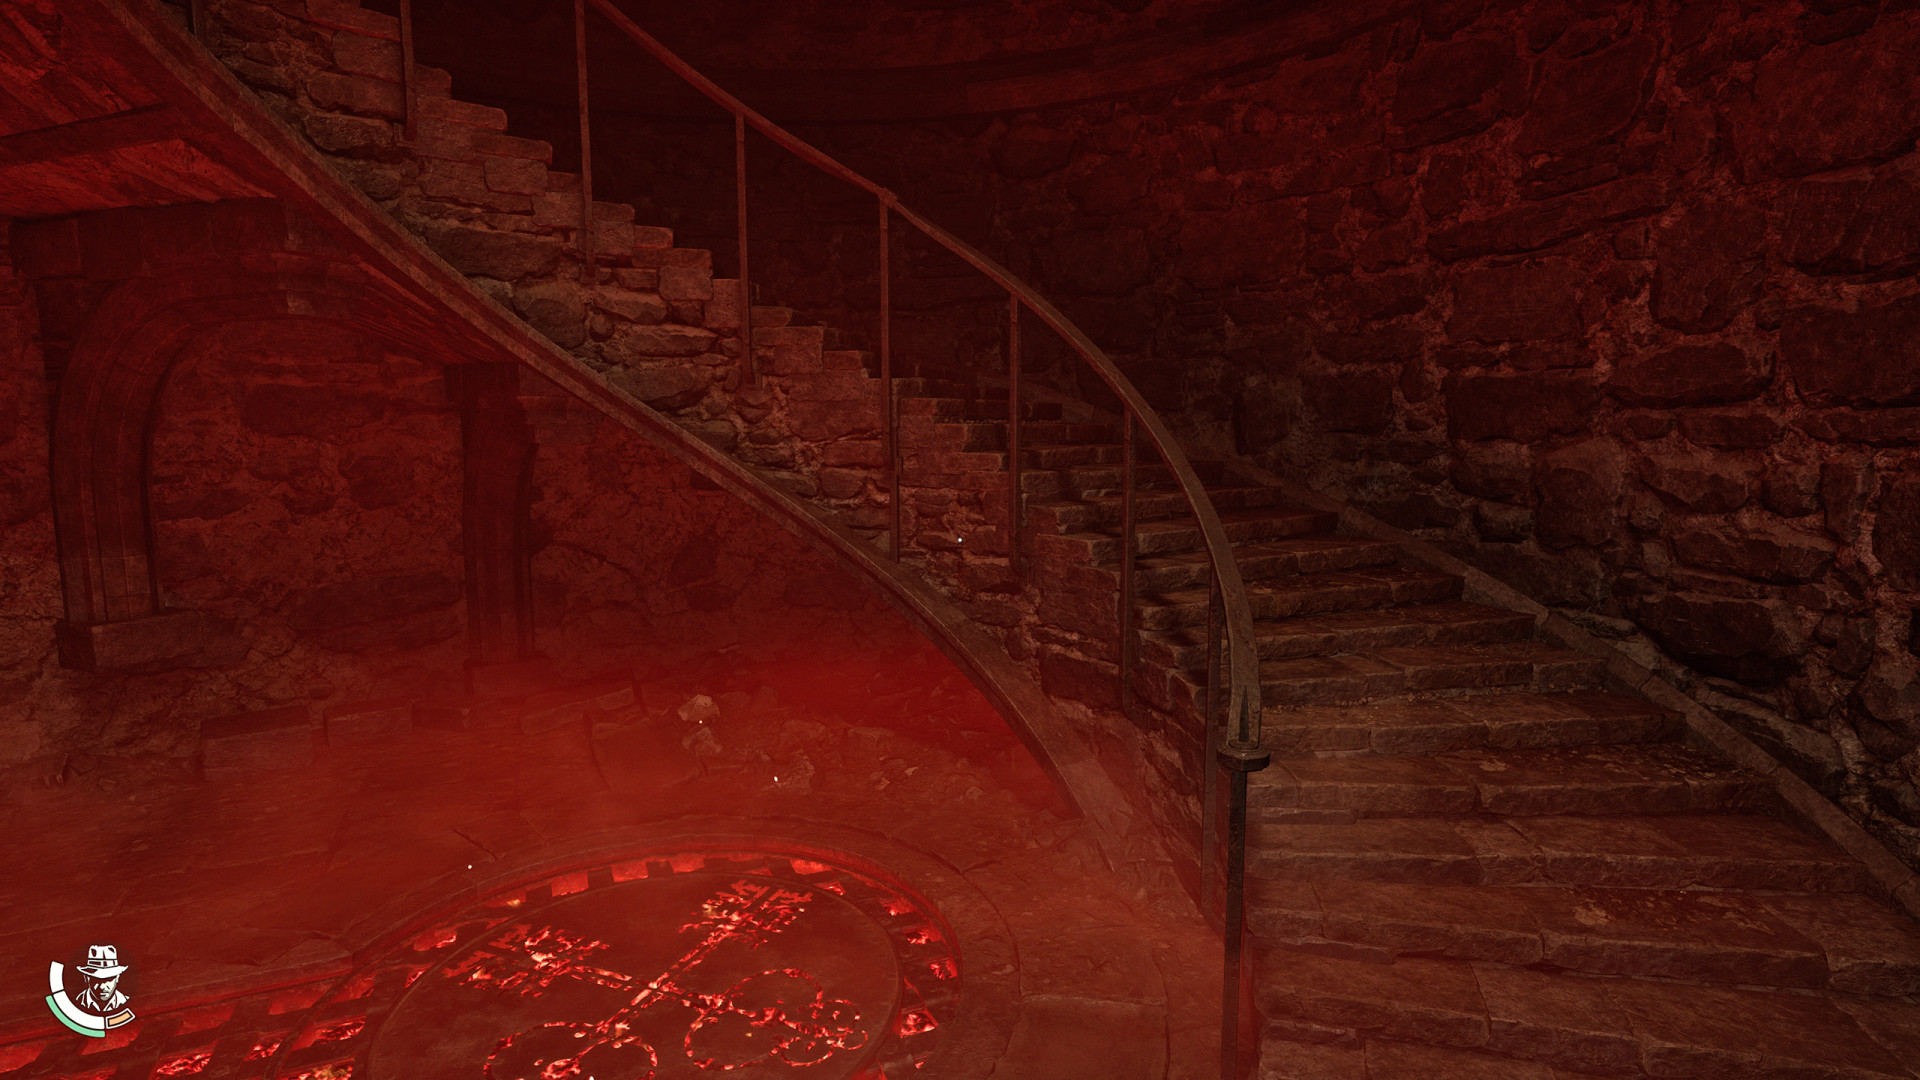
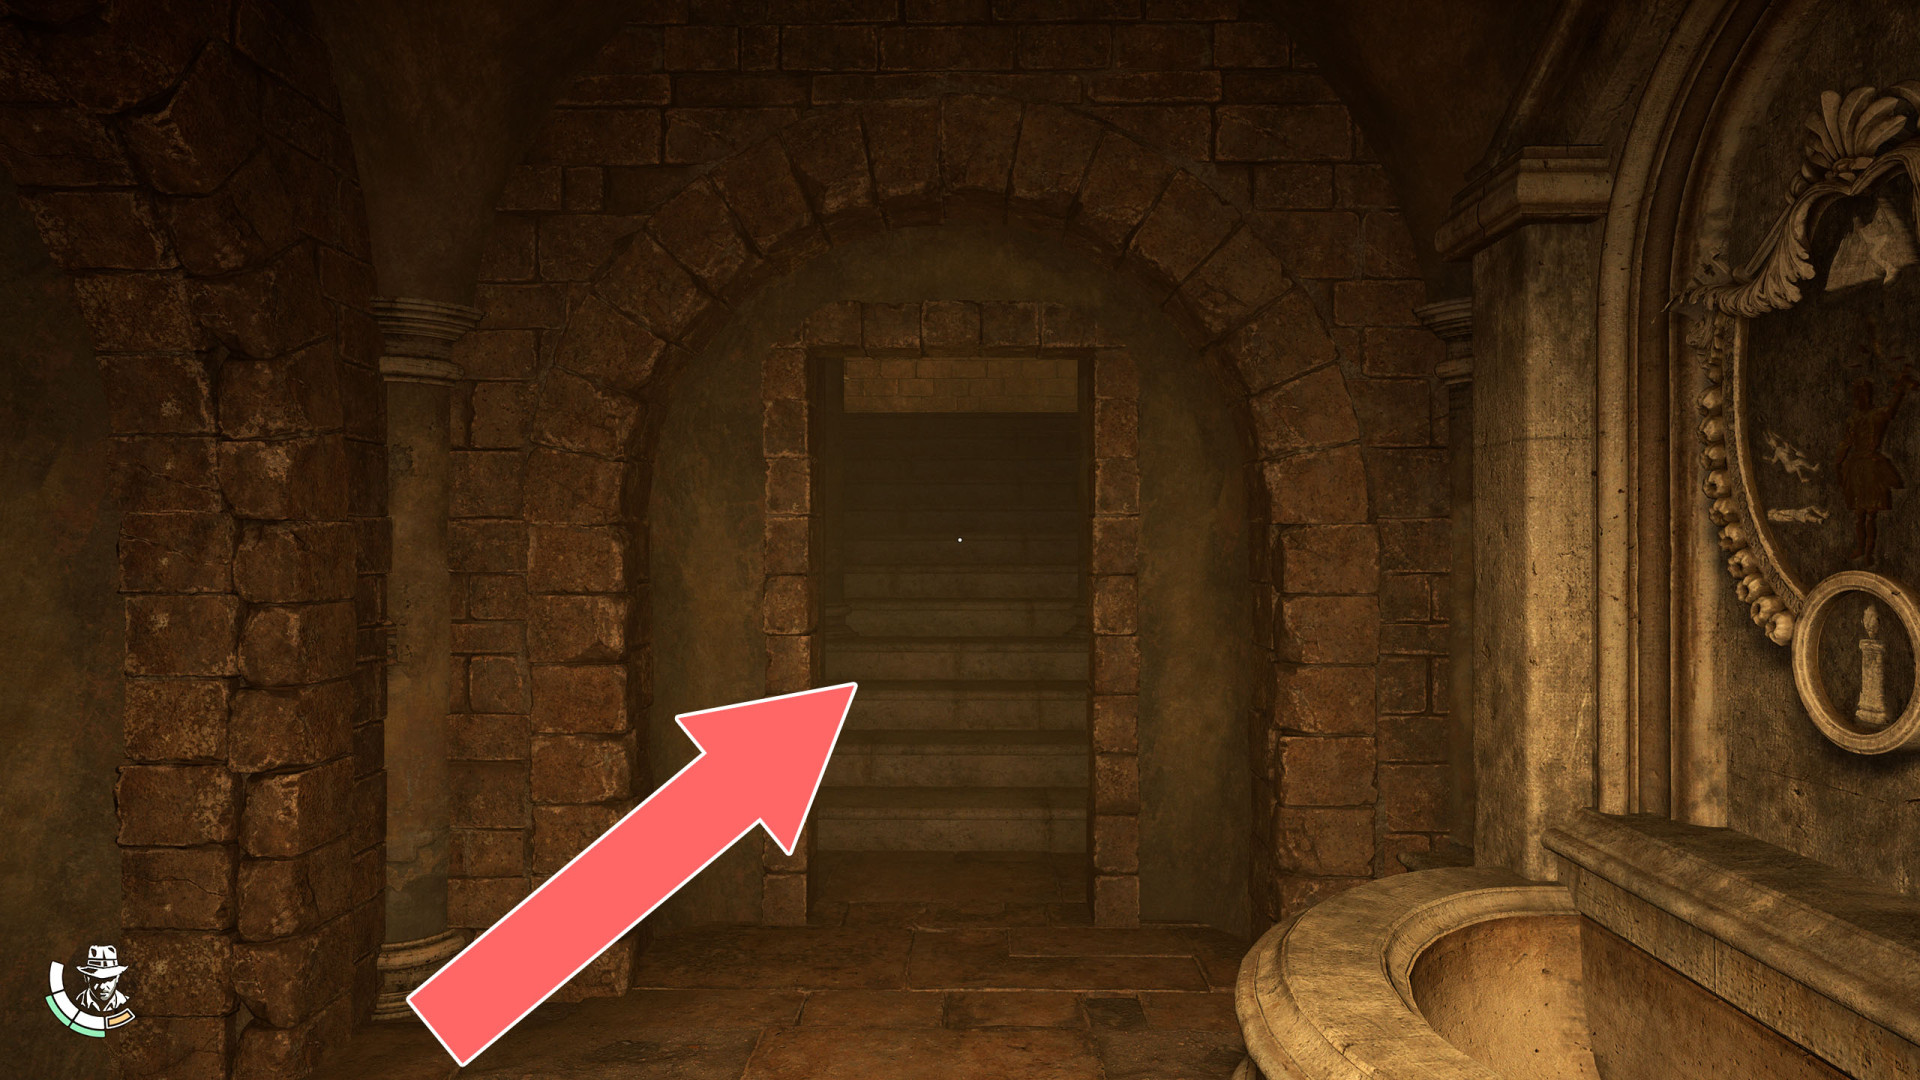
- Spiral Staircase
- Starting Point
- Swing Point
- Swing Point
- To Airship (Gizeh)
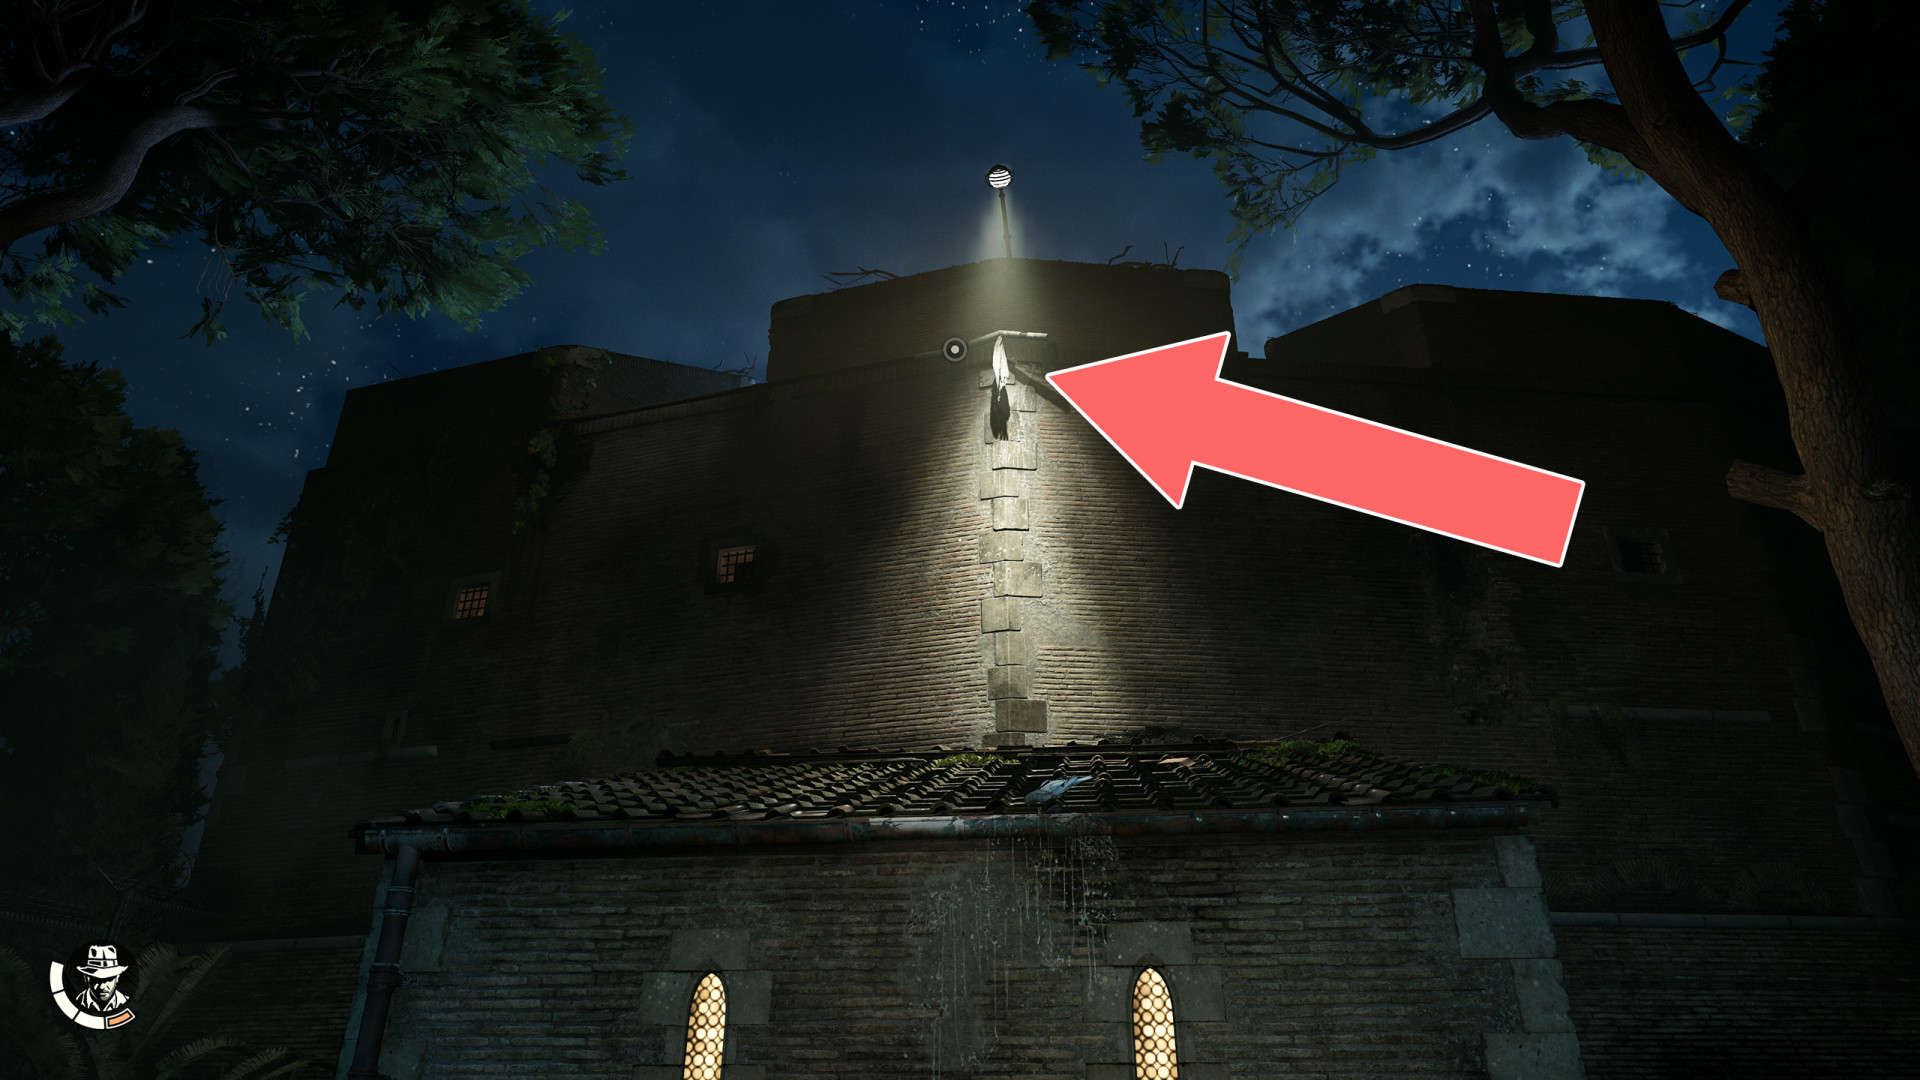
- To Castel Sant'Angelo
- To Lower Level
- To Lower Necropolis
- To Necropolis
- To Necropolis
- To Sukhothai
- To the Tower of Nicholas V
- To the Tower of Nicholas V (Scaffolding)
- To the Underworld
- To the Vatican
- To the Vatican (Apostolic Palace)
- To the Vatican (Main Entrance)
- To the Vatican (Museum Exit)
- To the Vatican (Scaffolding)
- To the Vatican City
- To the Village
- To Underworld
- To Vatican City
- Tomb Entrance
- Tower of Nicholas V Main Entrance
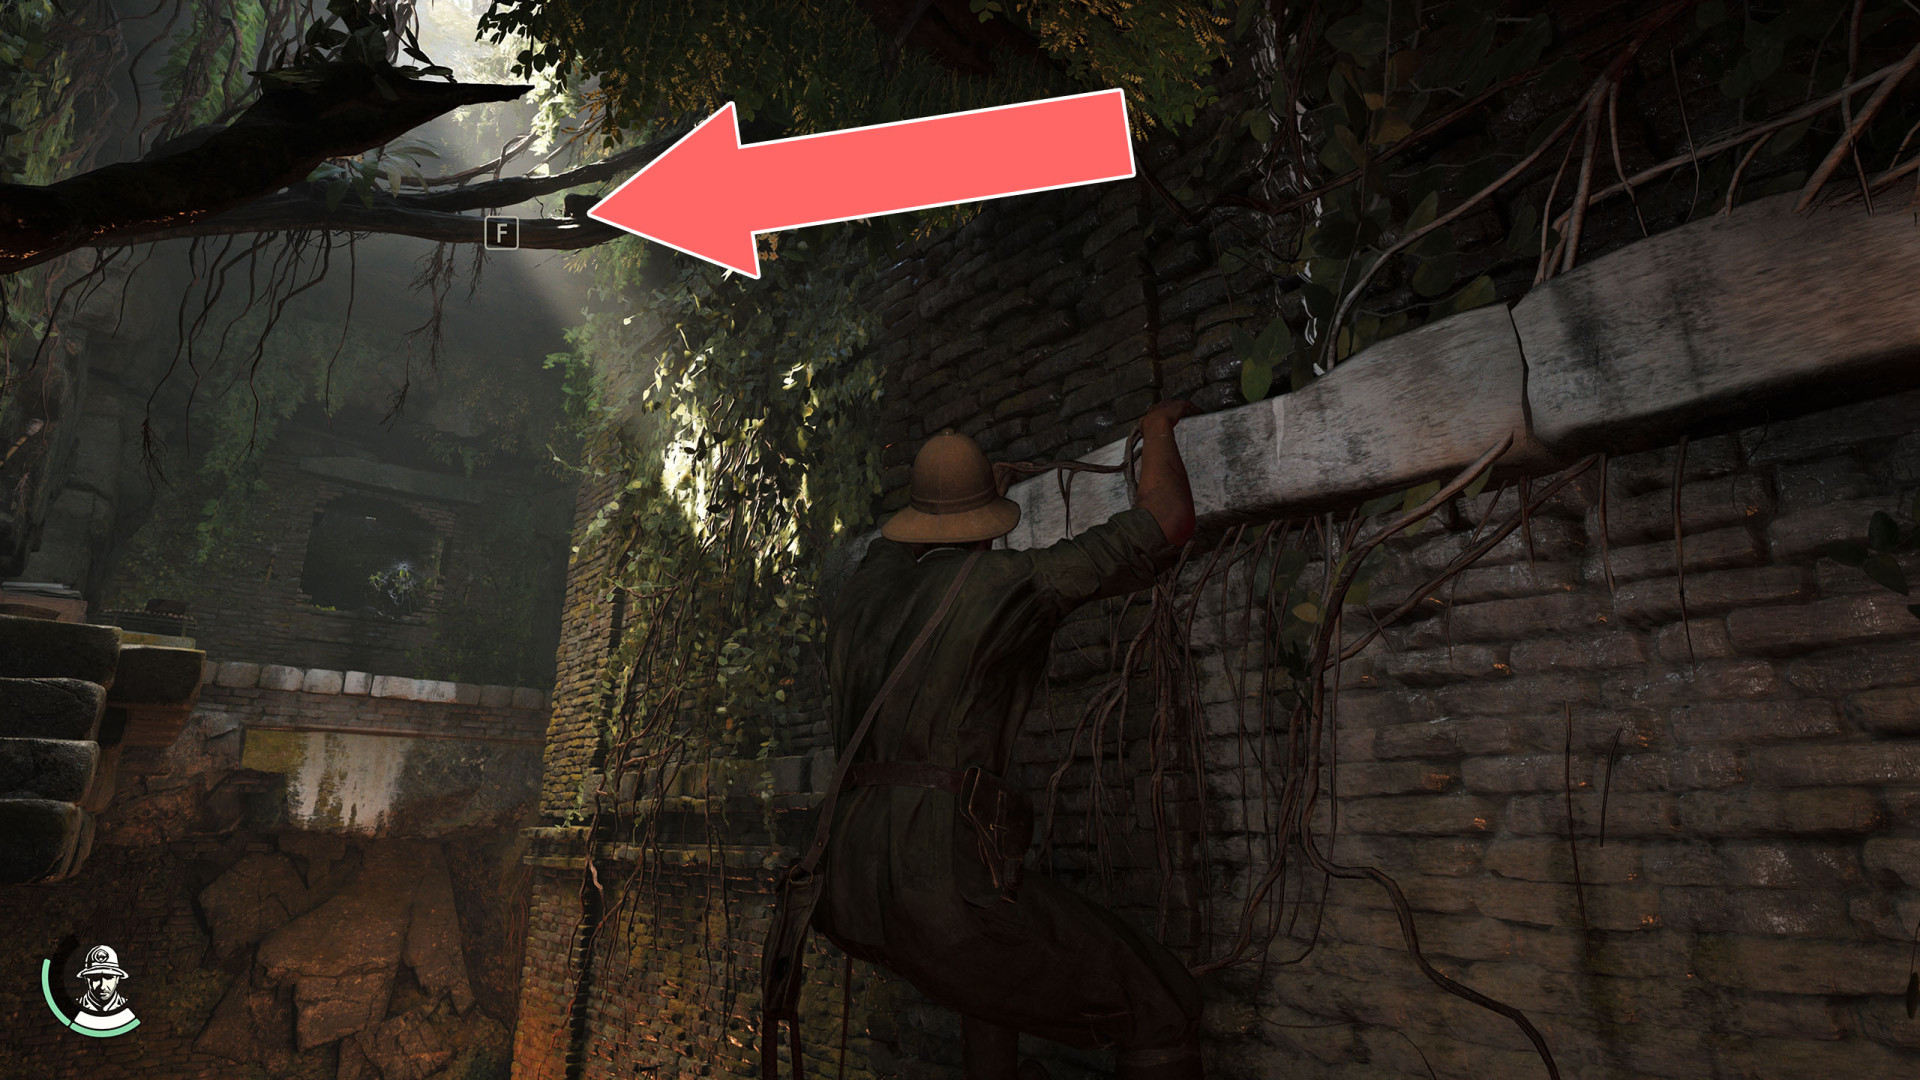
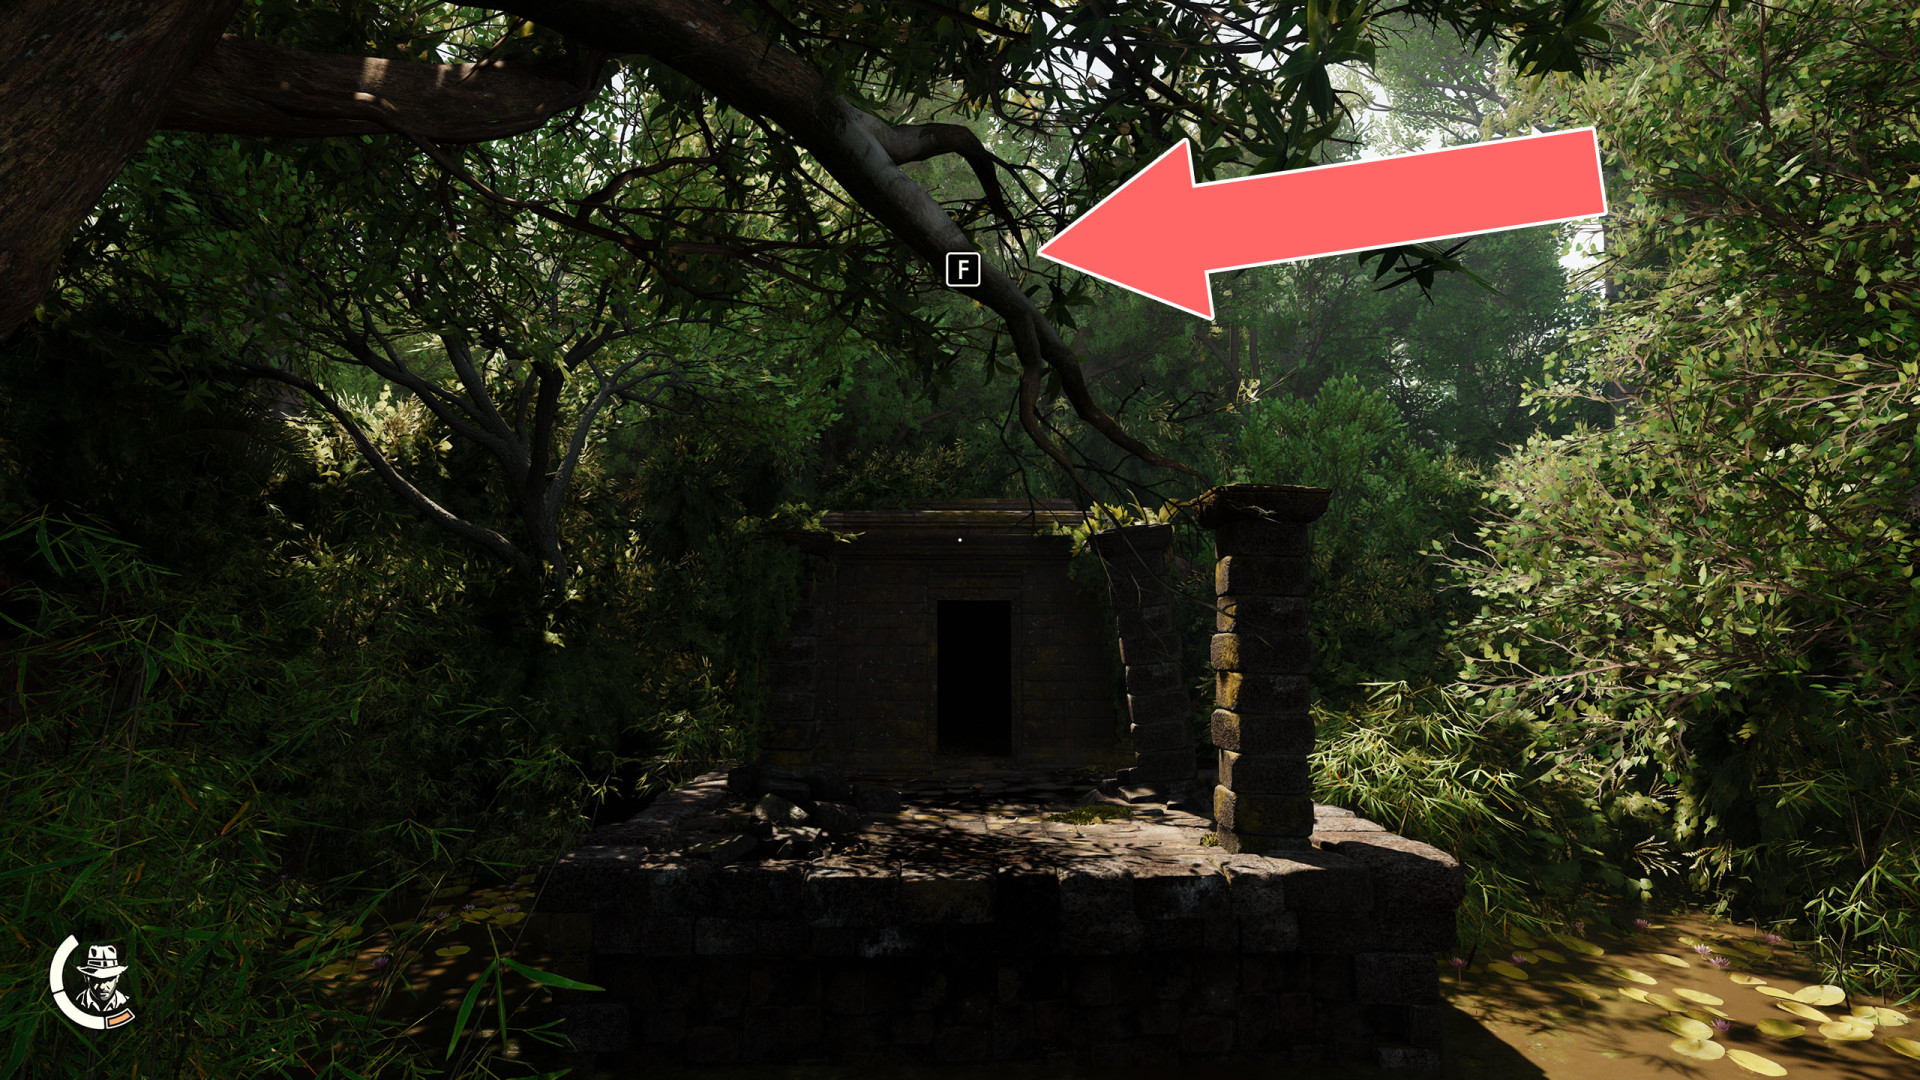
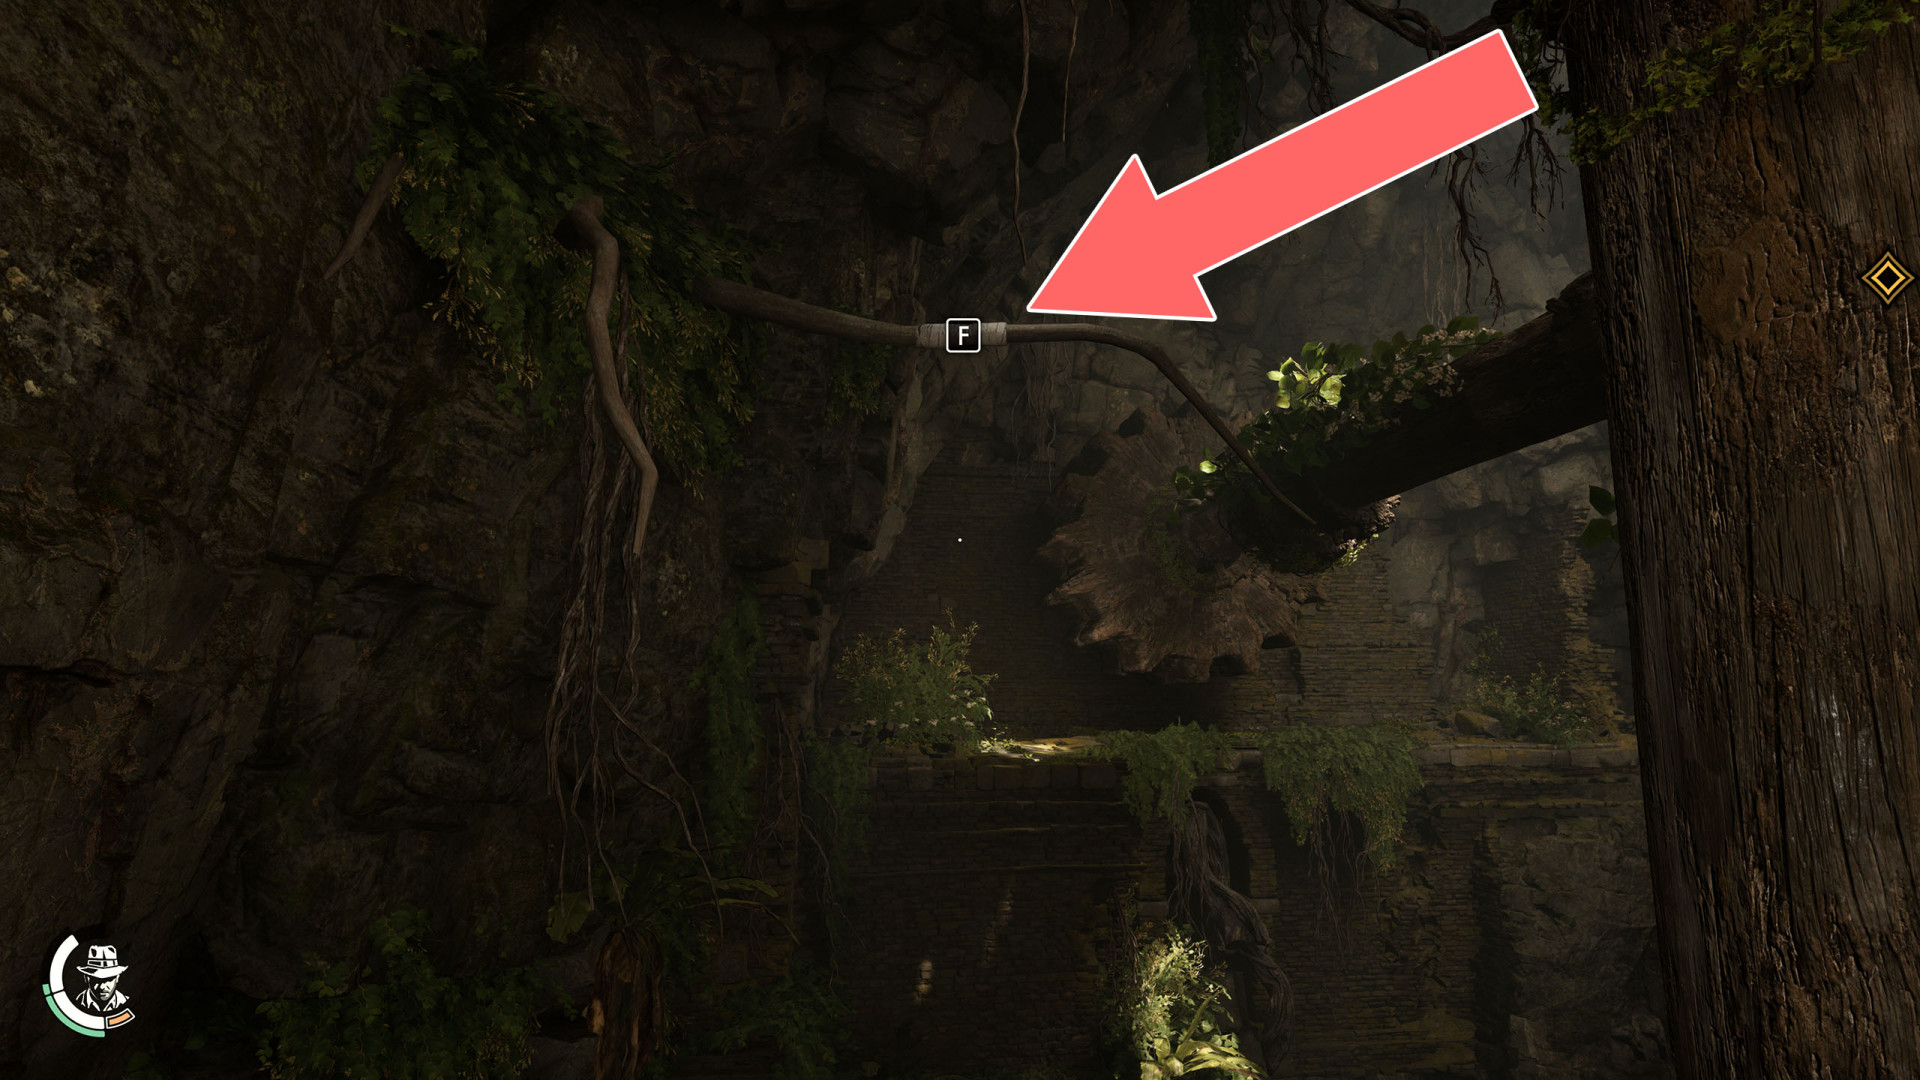
- Tree Branch
- Trident
- Trident
- Trident
- Trident
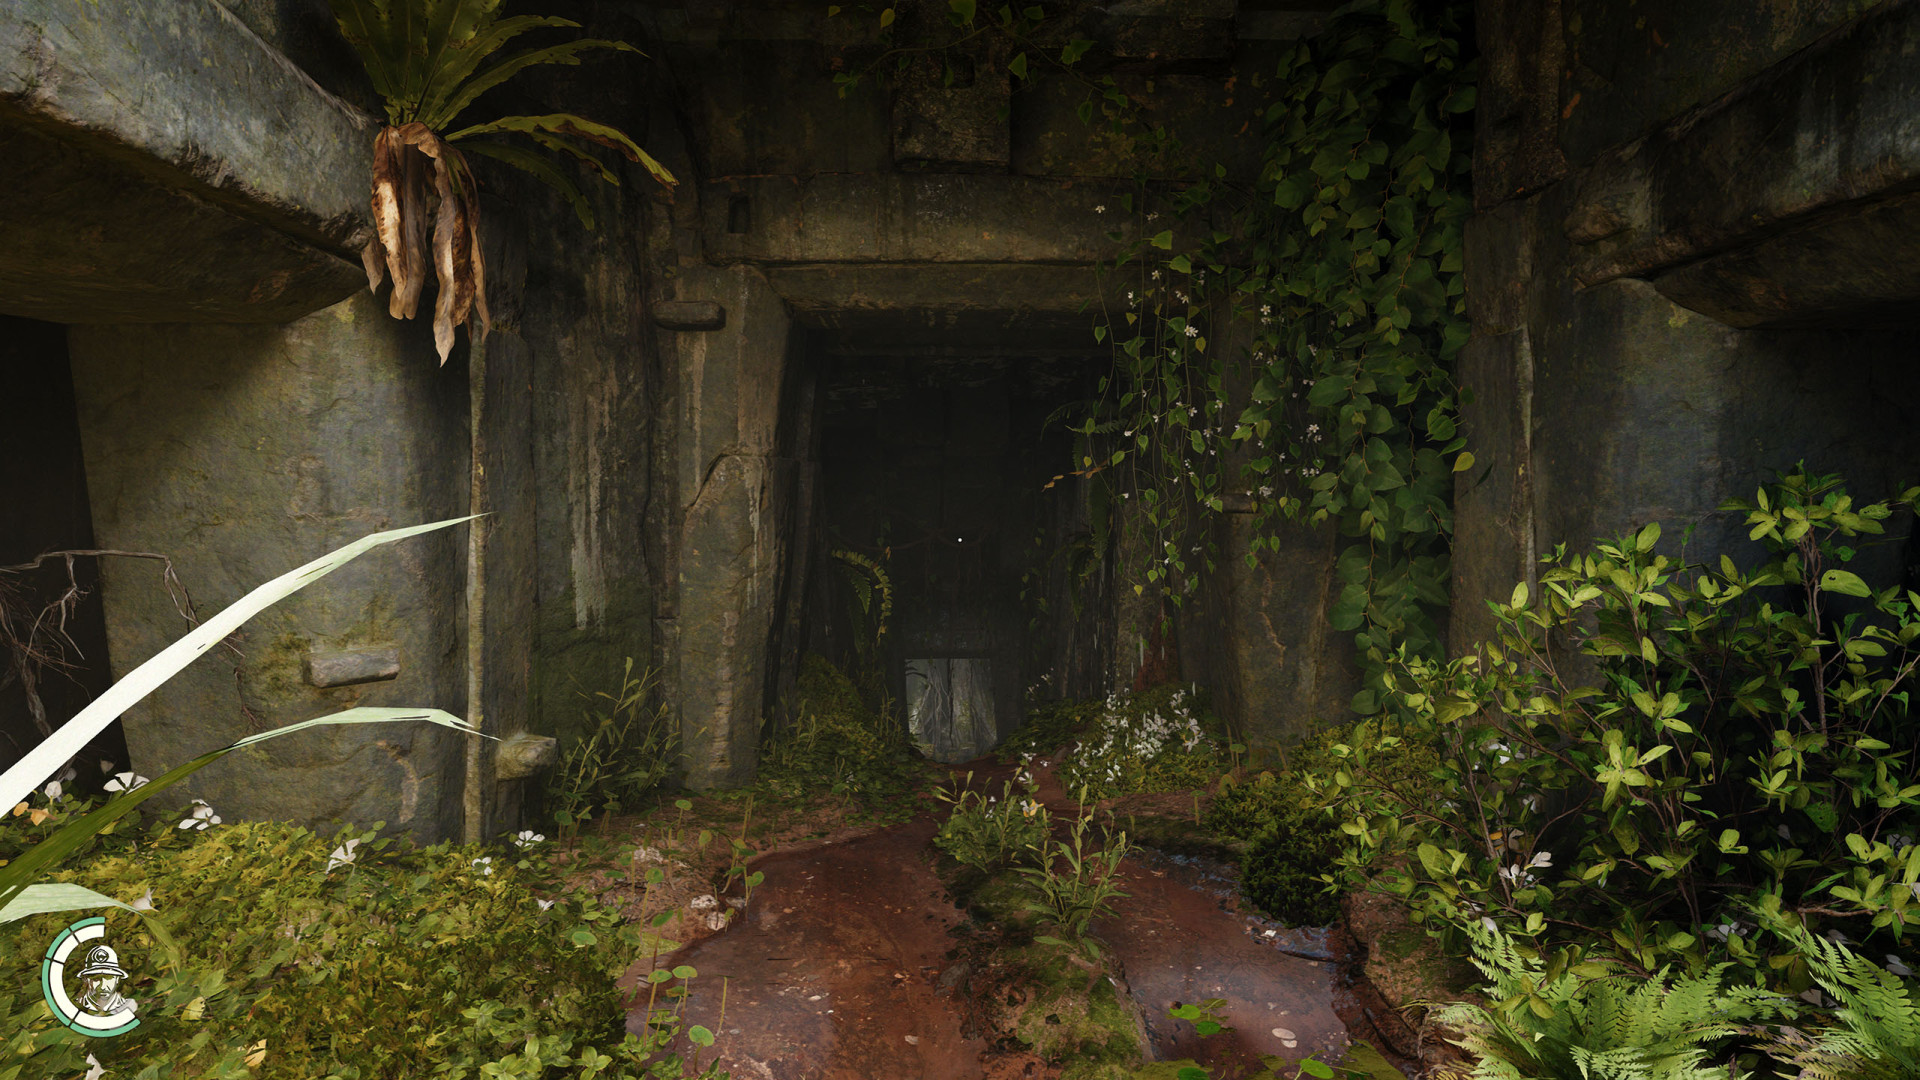
- Tunnel
- Tunnel Entrance
- Tunnel Entrance
- Tunnel Entrance
- Underground
- Underground Entrance
- Underground Entrance
- Underground Entrance
- Underground Entrance
- Underground Entrance
- Underground Entrance
- Underground Entrance
- Underground Entrance (Giant Stele)
- Underground Entrance (Sebek Stele)
- Underground Entrance (Sphinx Temple Ruins)
- Underwater Hole
- Underwater Paht (Start)
- Underwater Passage
- Underwater Passage
- Underwater Passage
- Underwater Path (End)
- Underwater Tunnel
- Underwater Tunnel
- Underwater Tunnel
- Underworld Entrance
- Upper Deck Entrance
- Upper Temple Entrance
- Vine & Grappling Point
- Wall Crack
- Wall Crack
- Warrior Temple Entrance
- Water Pumping Station
- Weak Wall
- Weak Wall
- Weak Wall
- Weak Wall
- Window
- Window
- Window
- Wooden Platforms
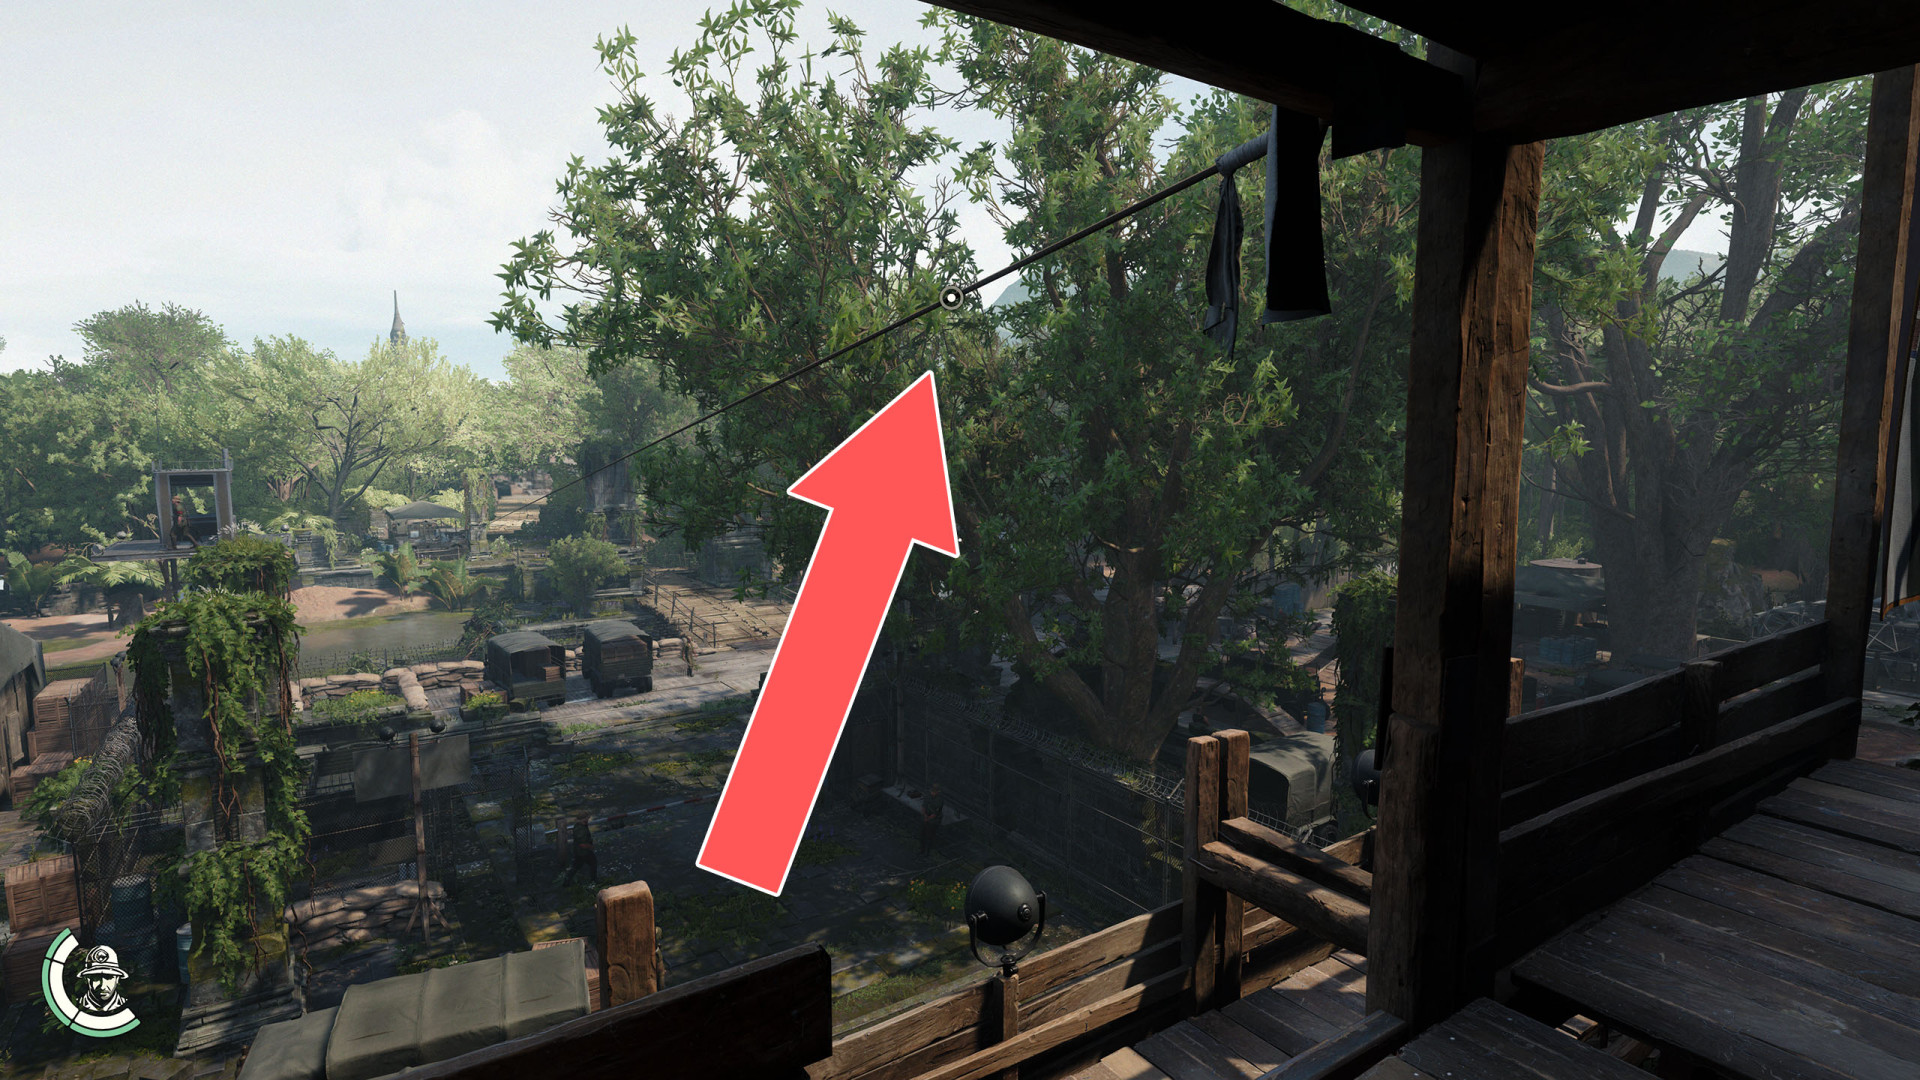
- Zipline
- Zipline
- Zipline
- Zipline
- Zipline
- Zipline
- Zipline
- Zipline
- Zipline
- Zipline
- Zipline
- Zipline
- Zipline
- Zipline
- Zipline
- Zipline
- Zipline
- Zipline
- Zipline
- Zipline
- Zipline
- Zipline
All known locations on the map The Vatican
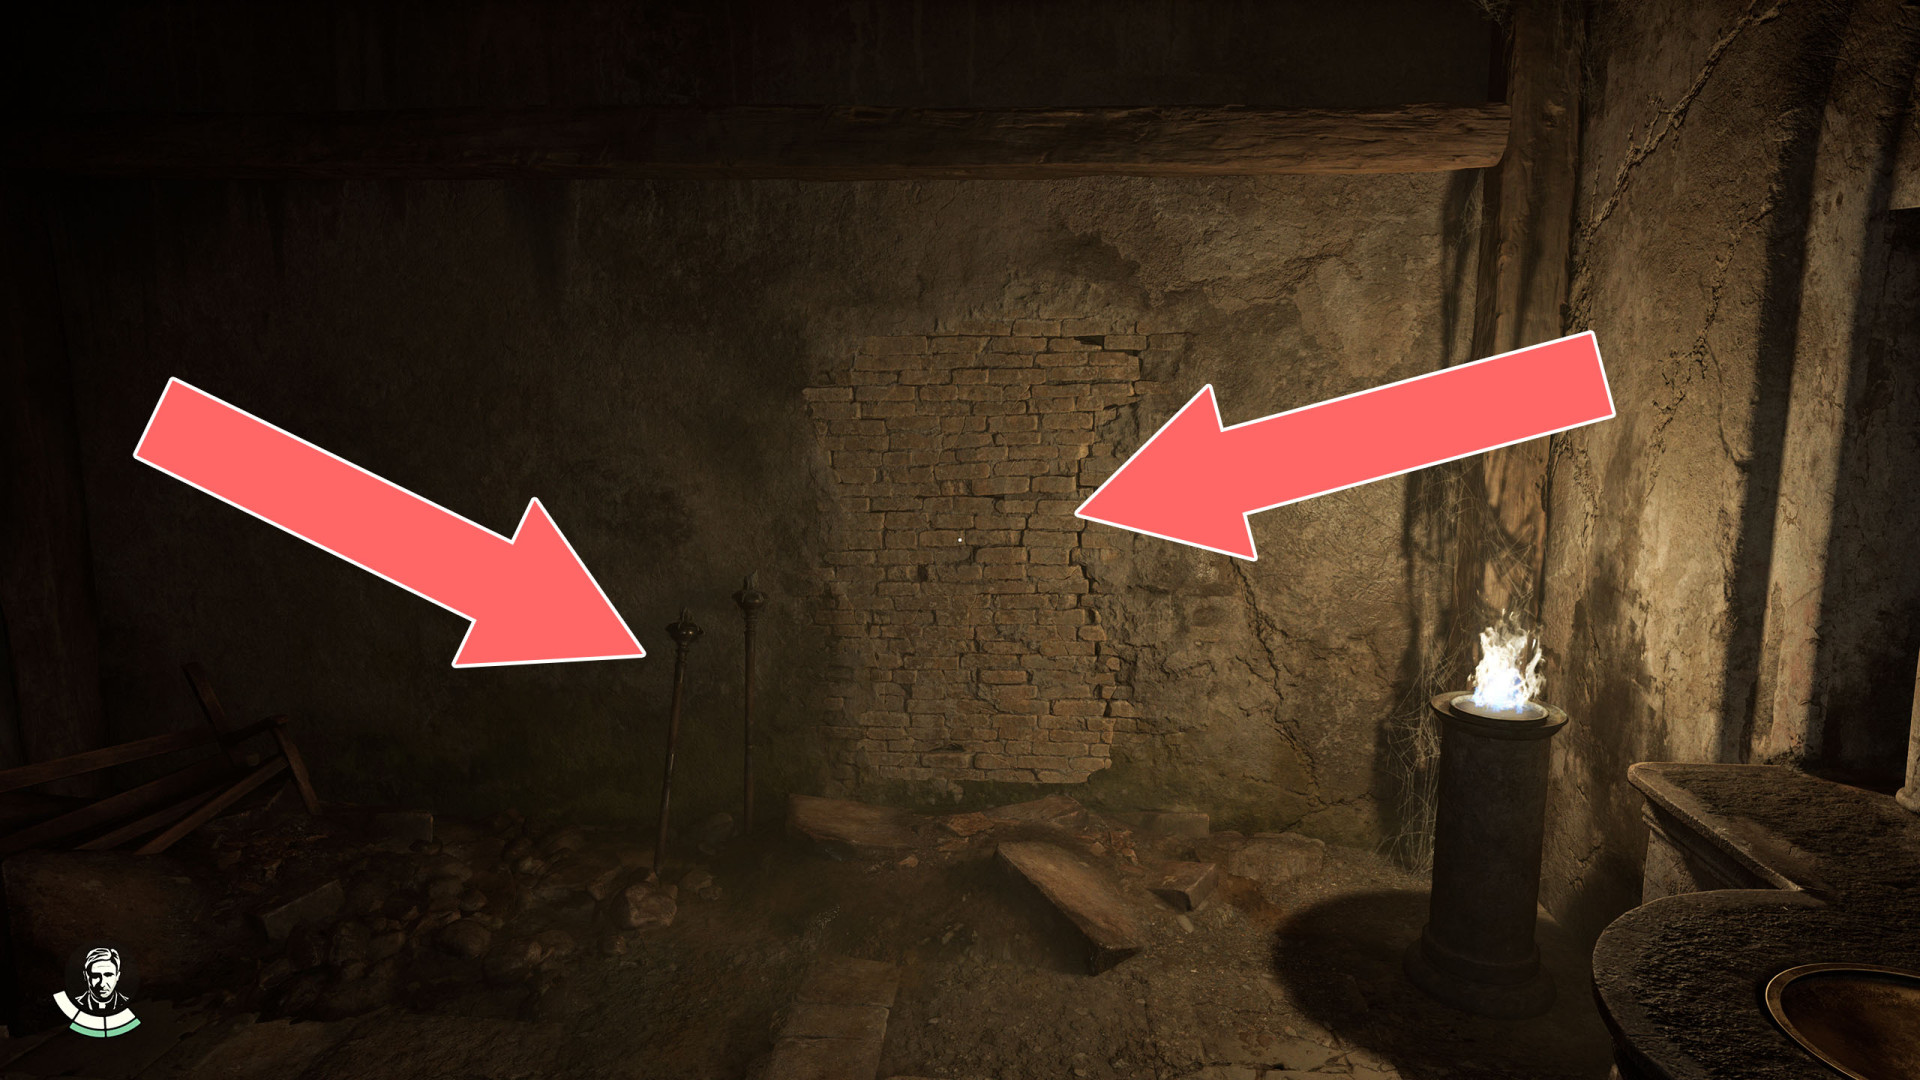
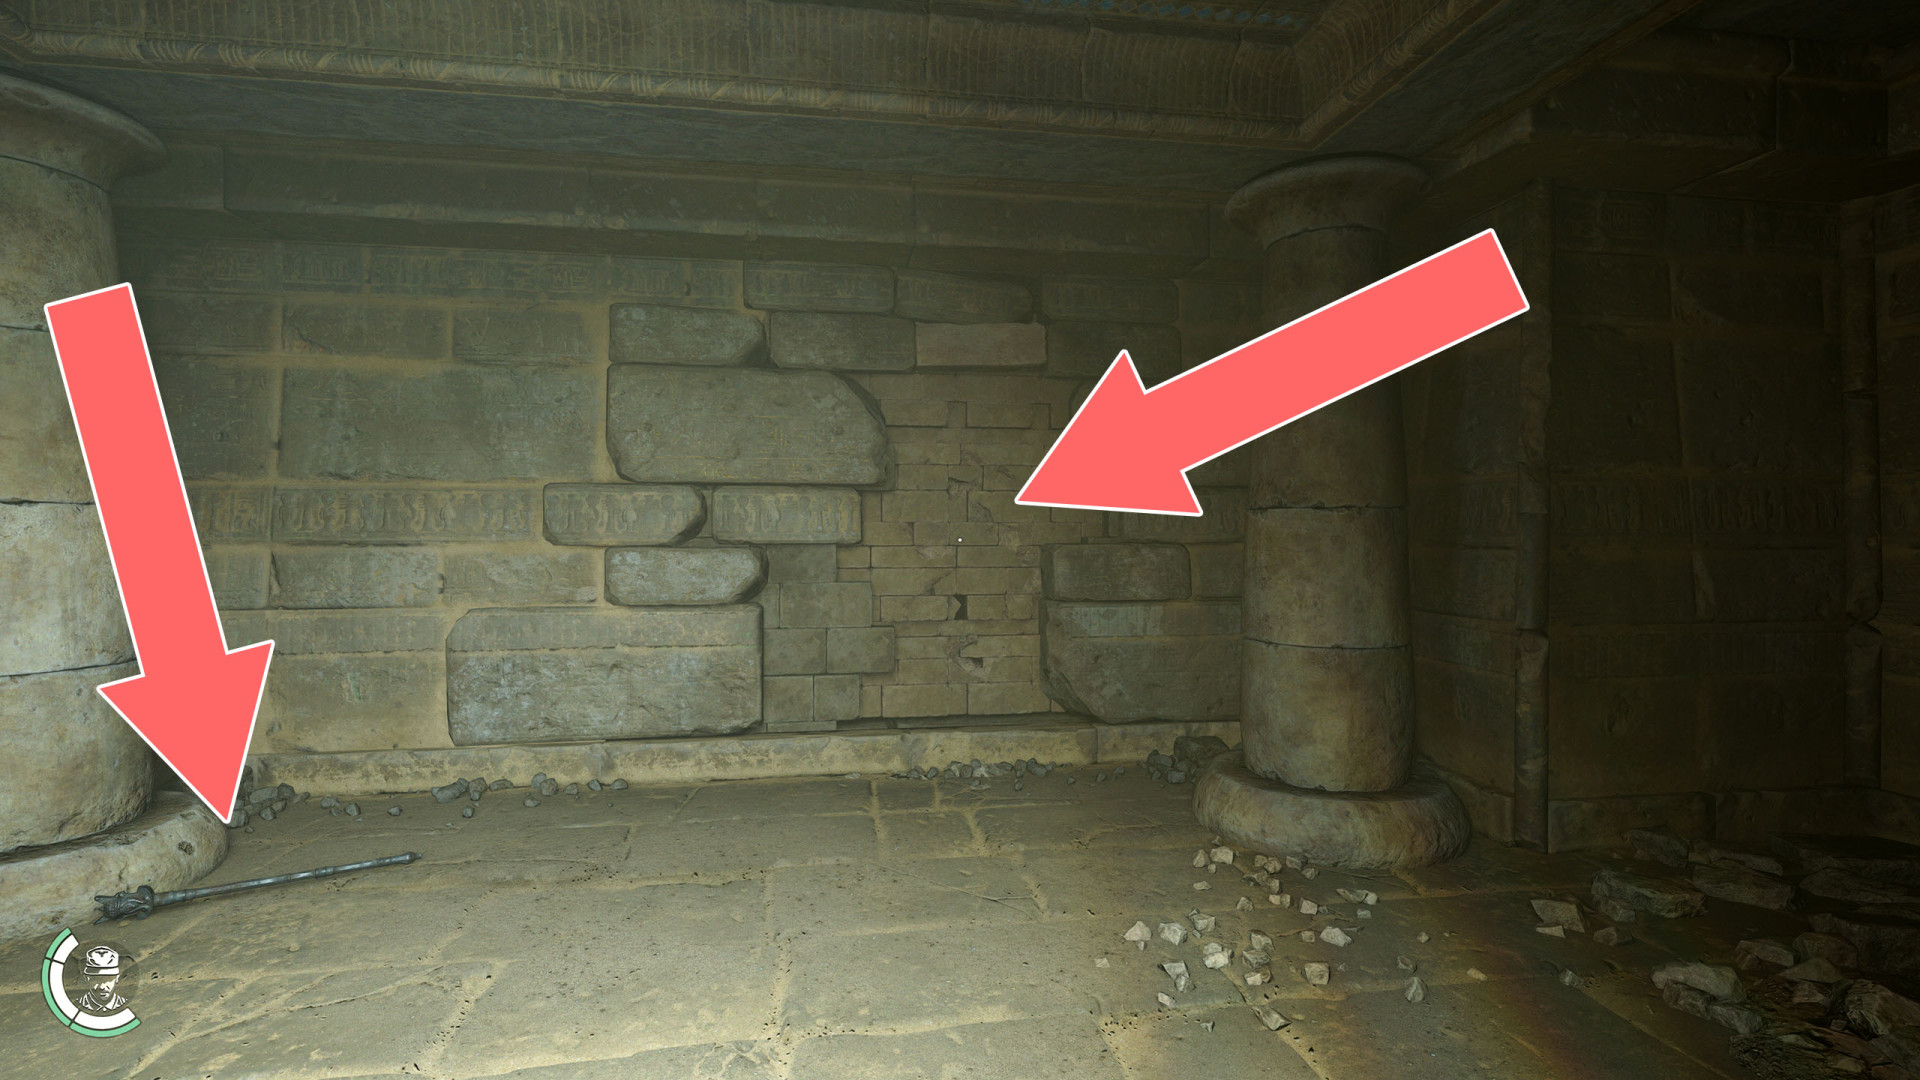
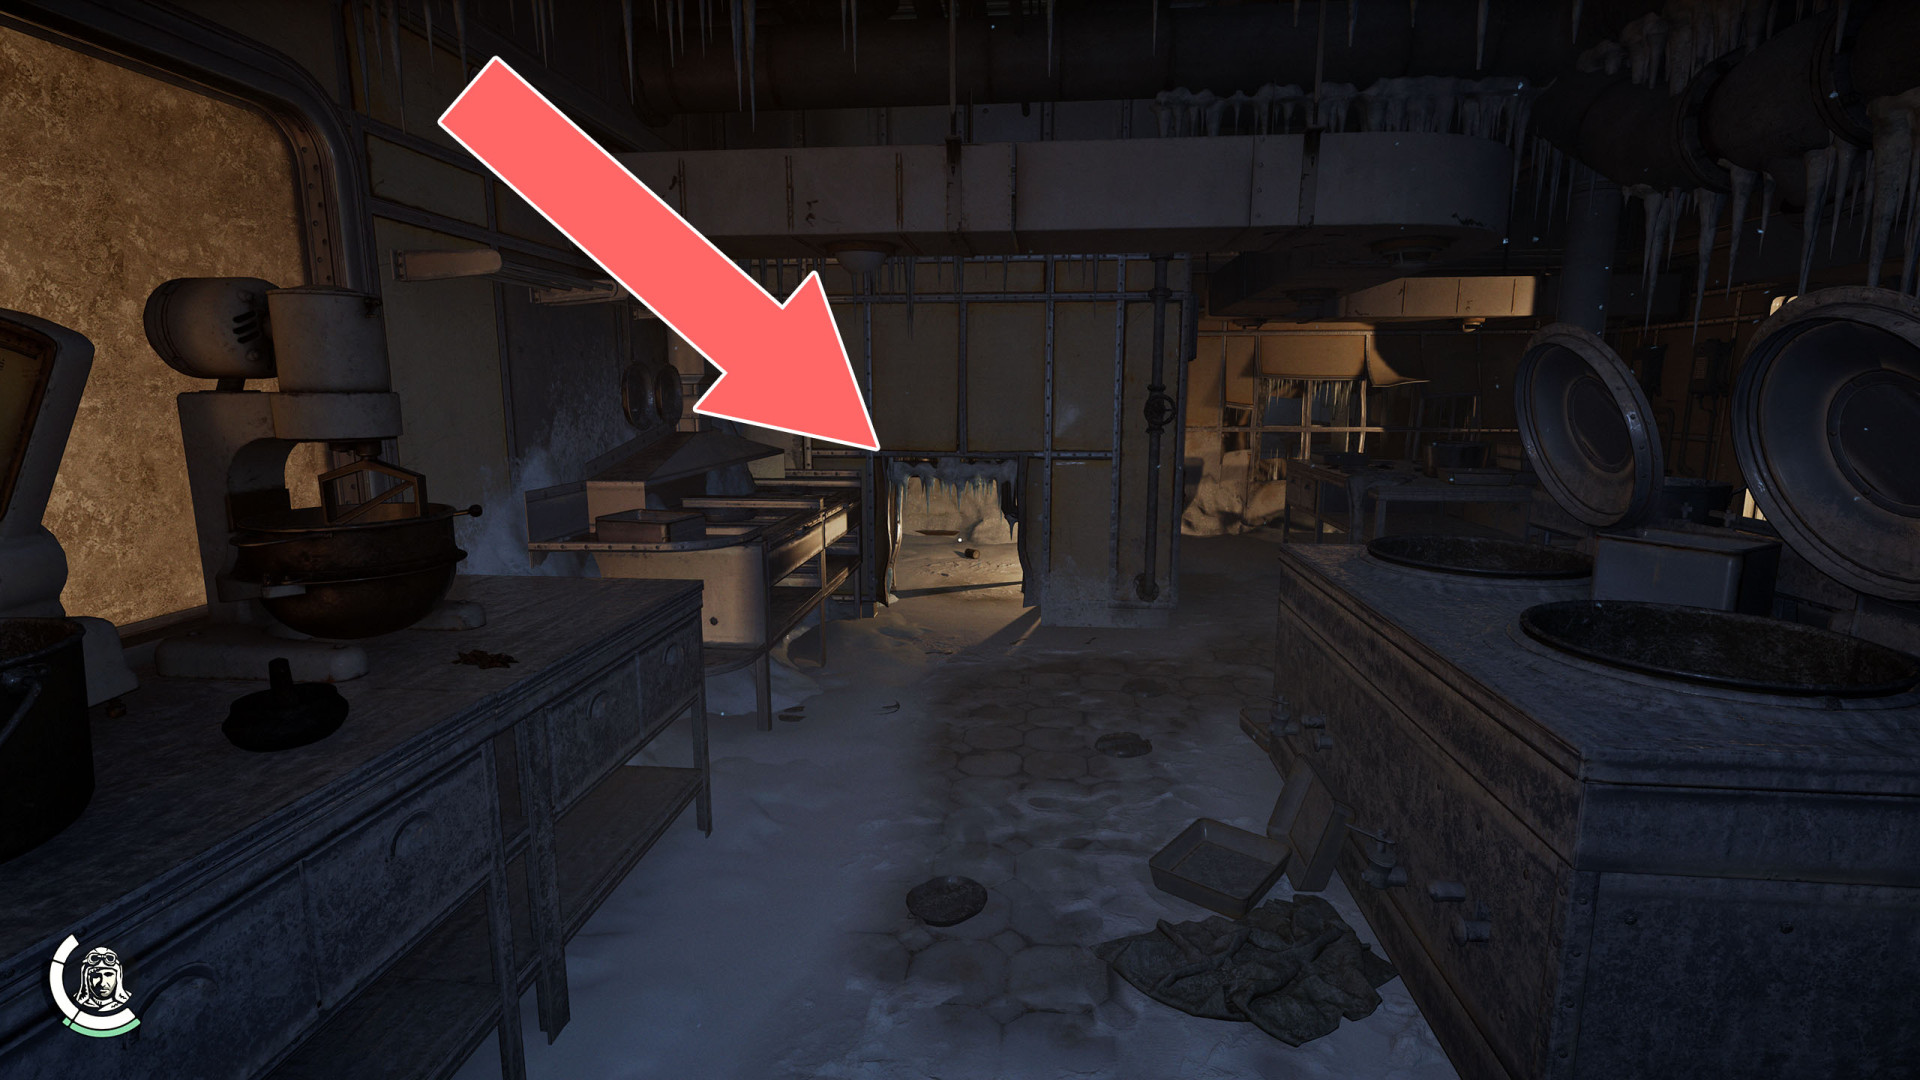
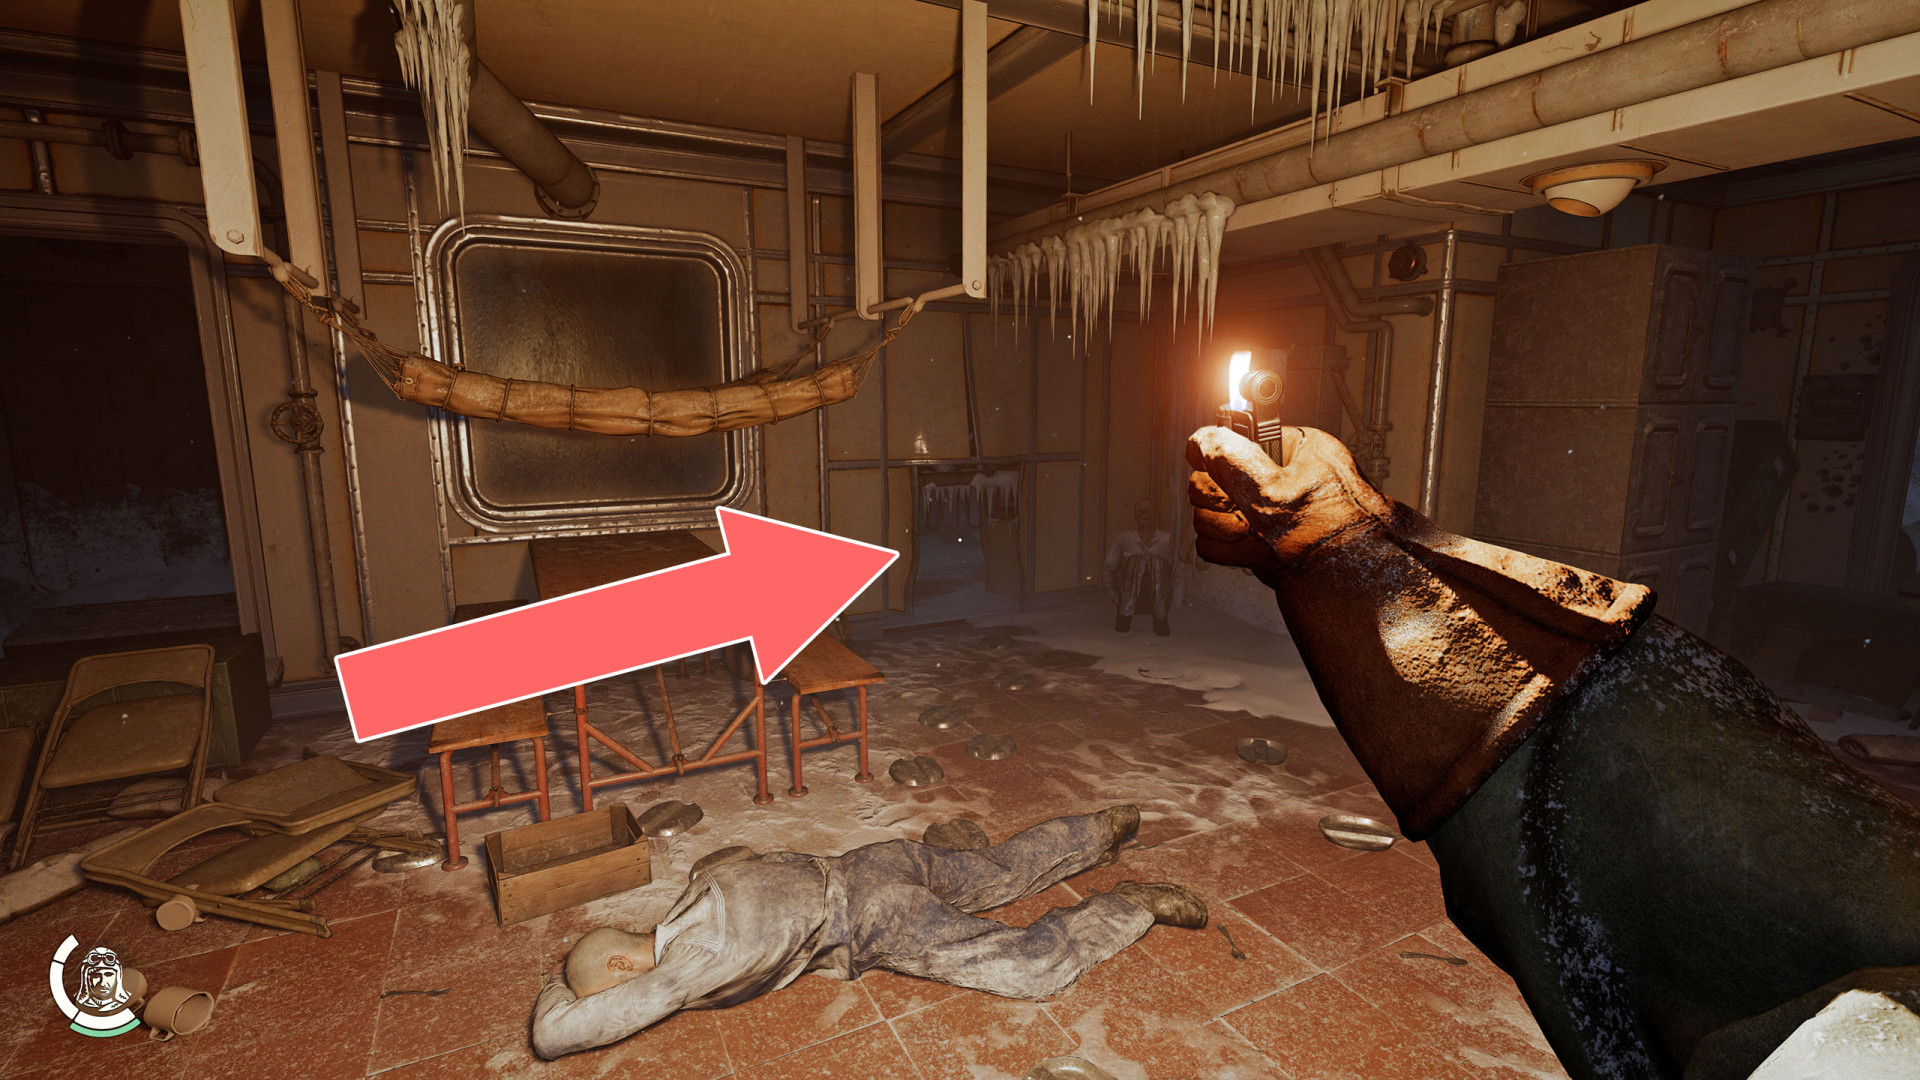
 Breakable Wall▶ show the map ◀
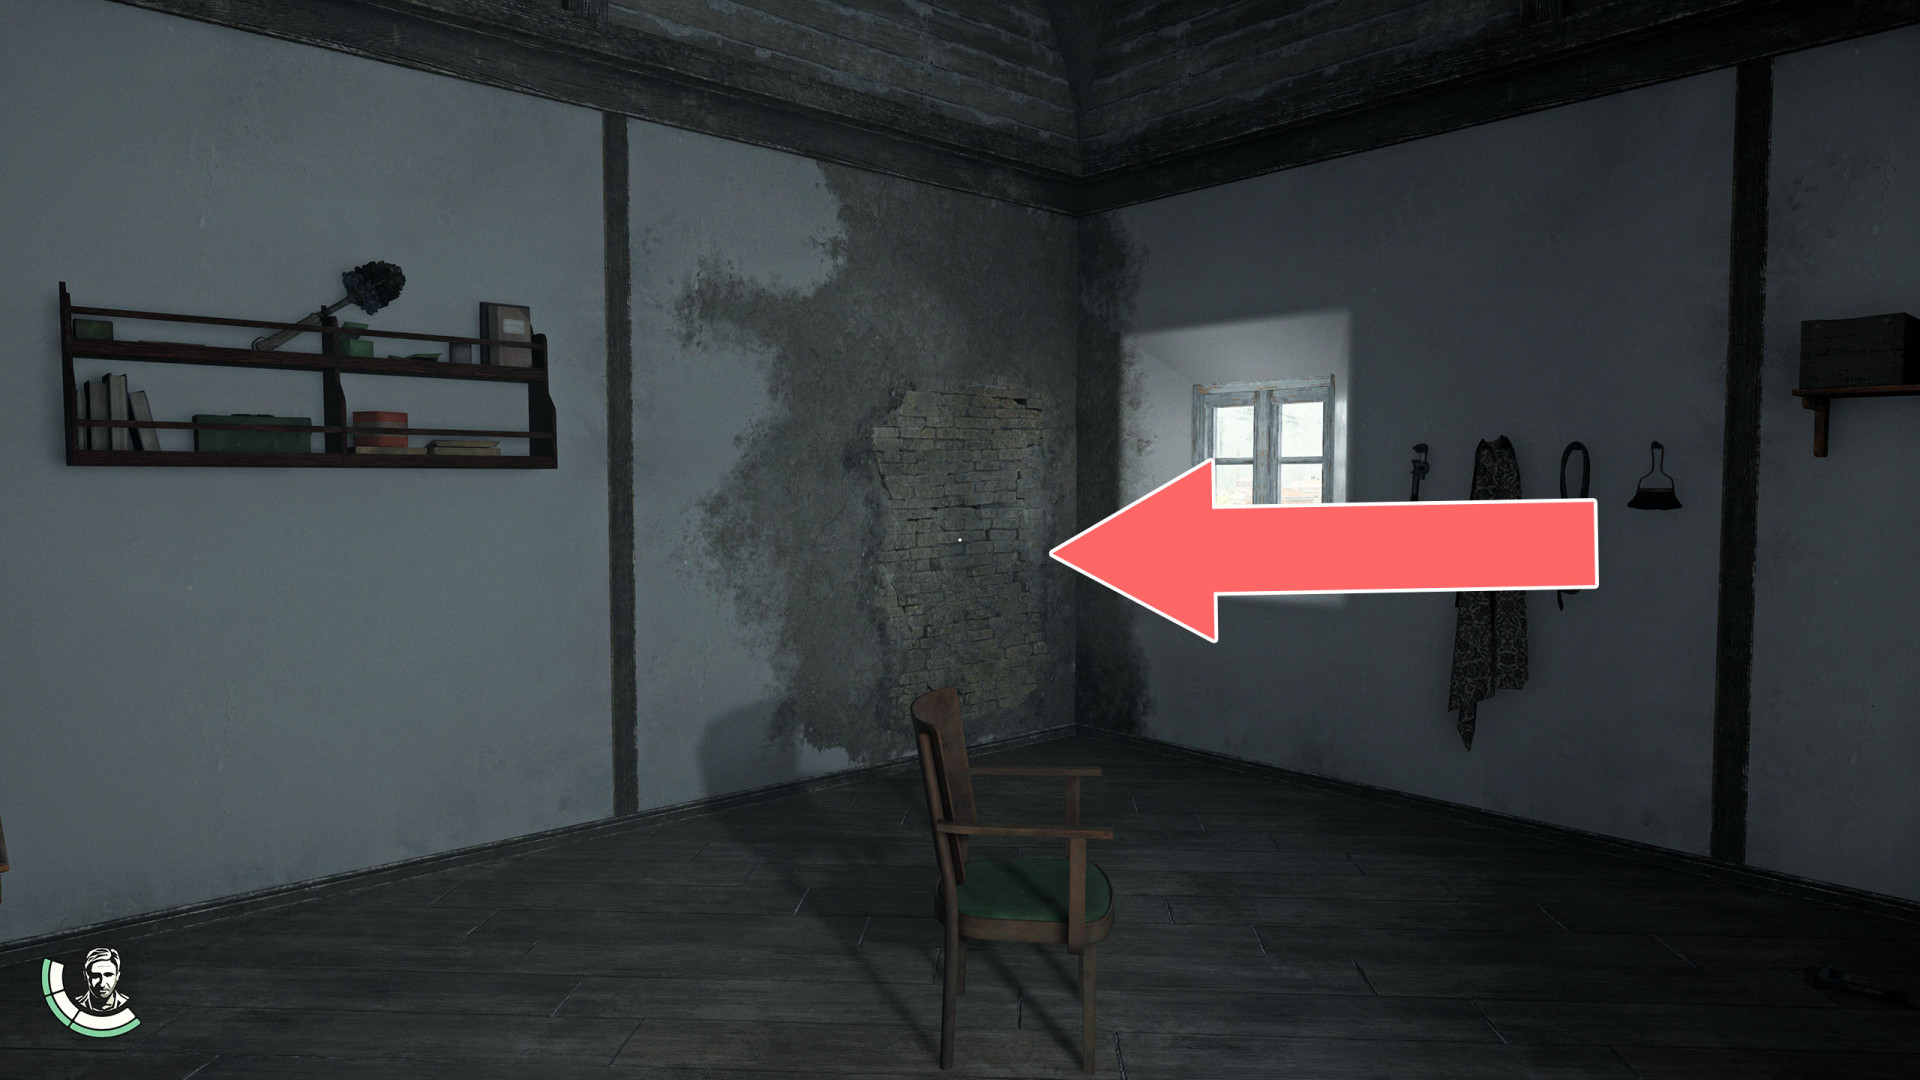
In the room where Giuliana was interrogated. In the adjacent room you will find a hammer that you can use to smash the wall.
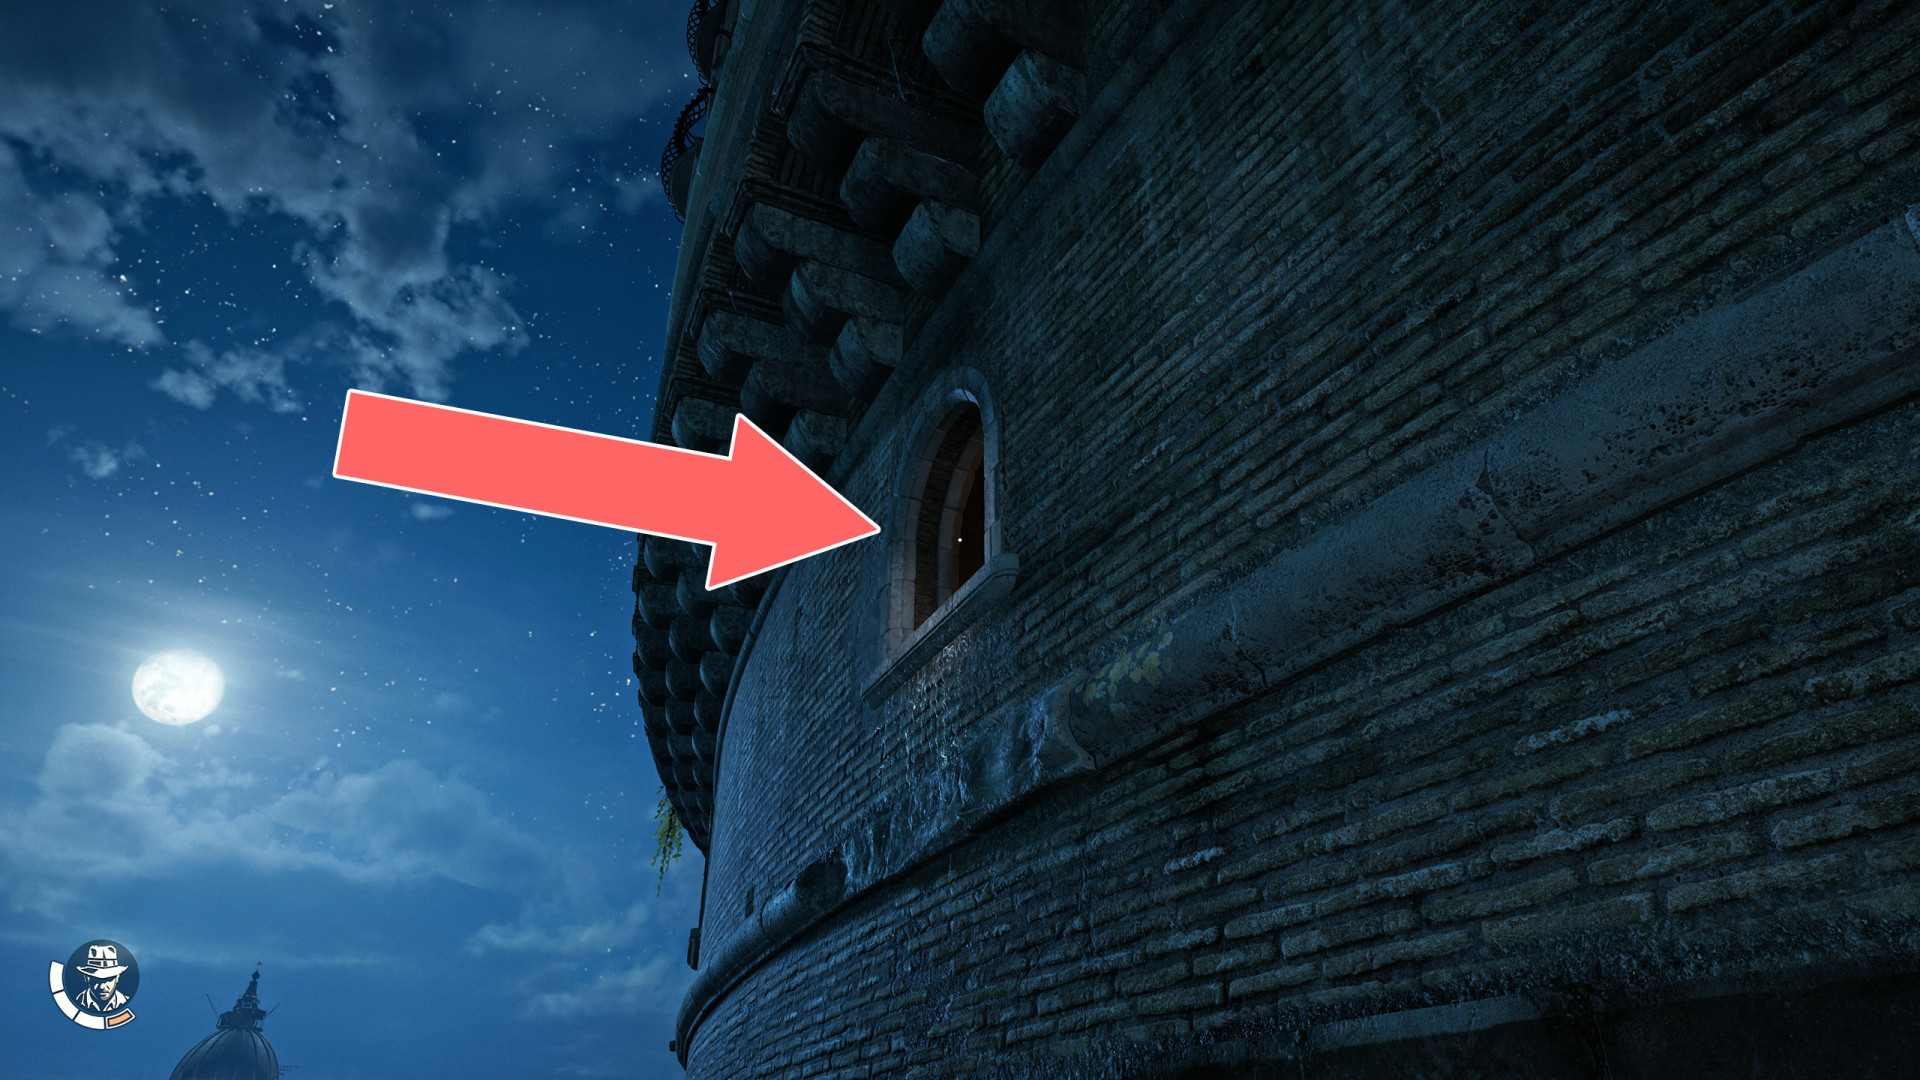
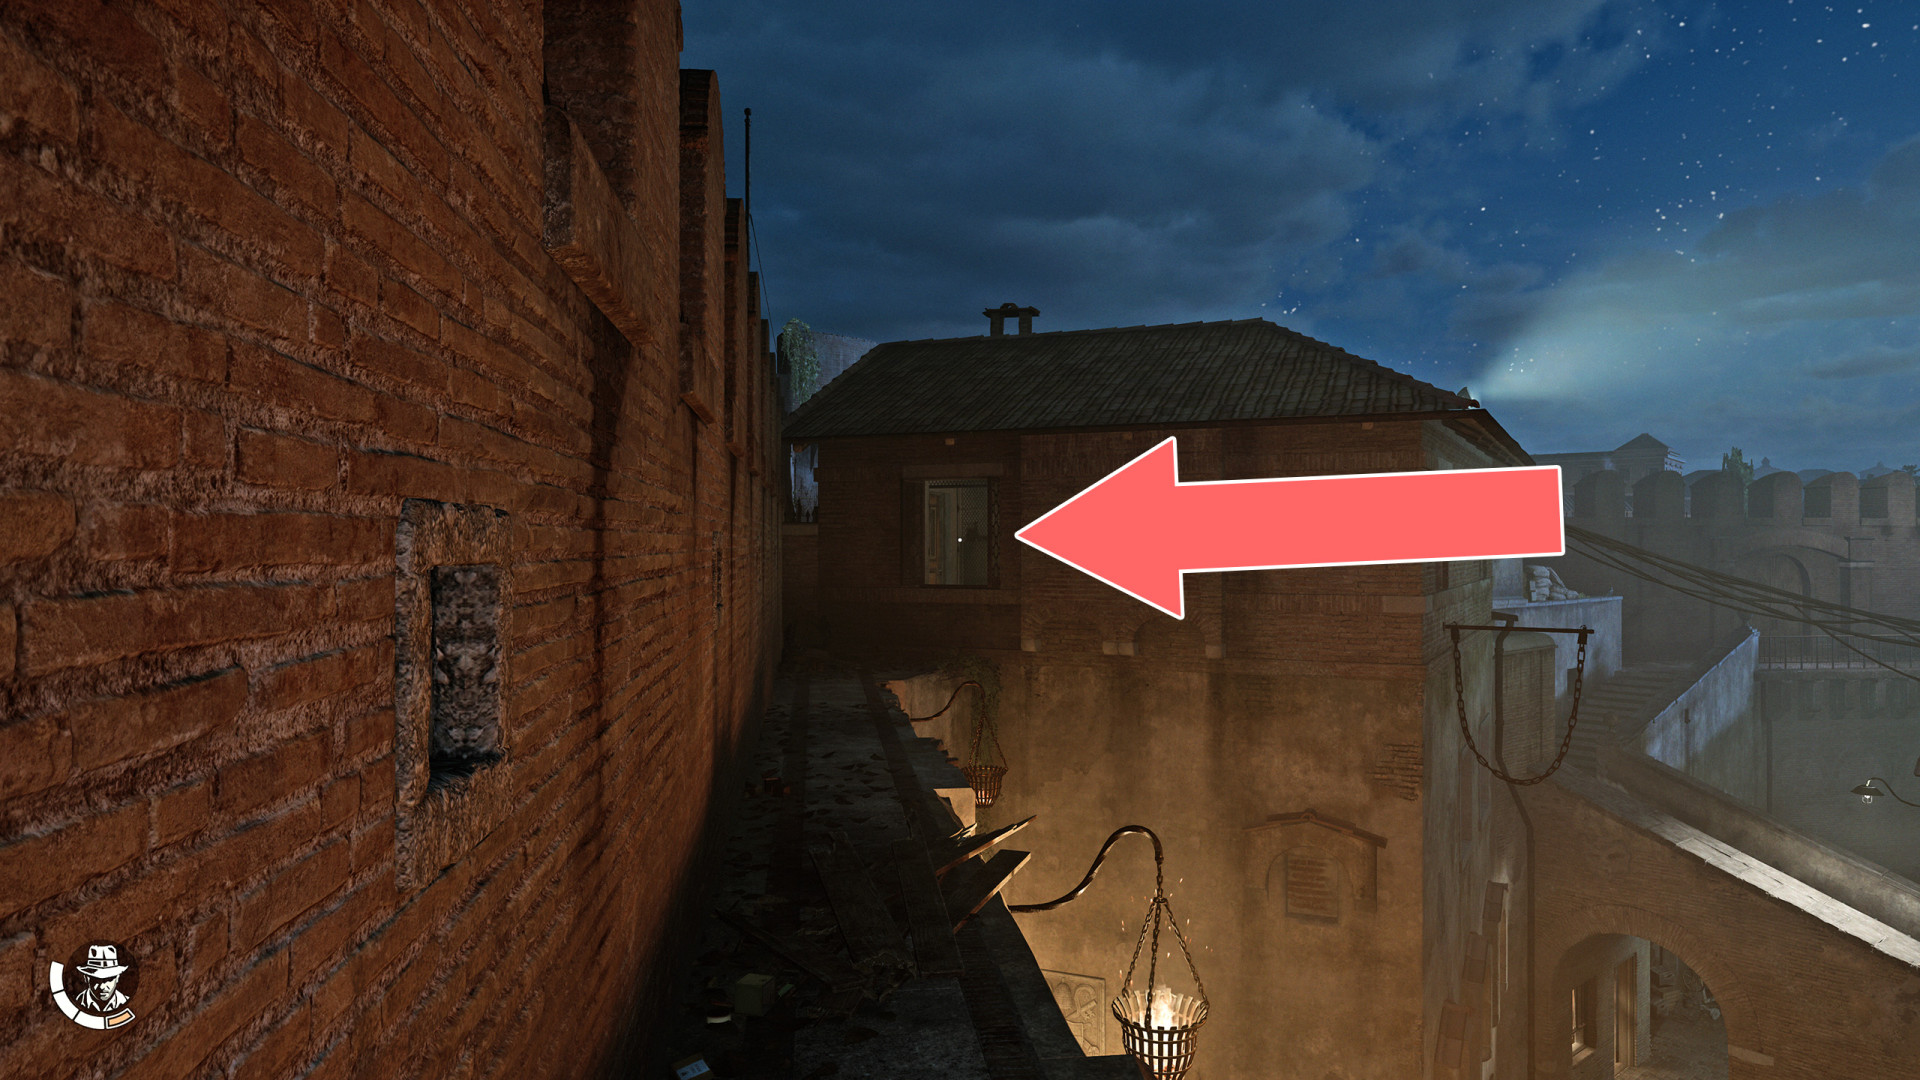
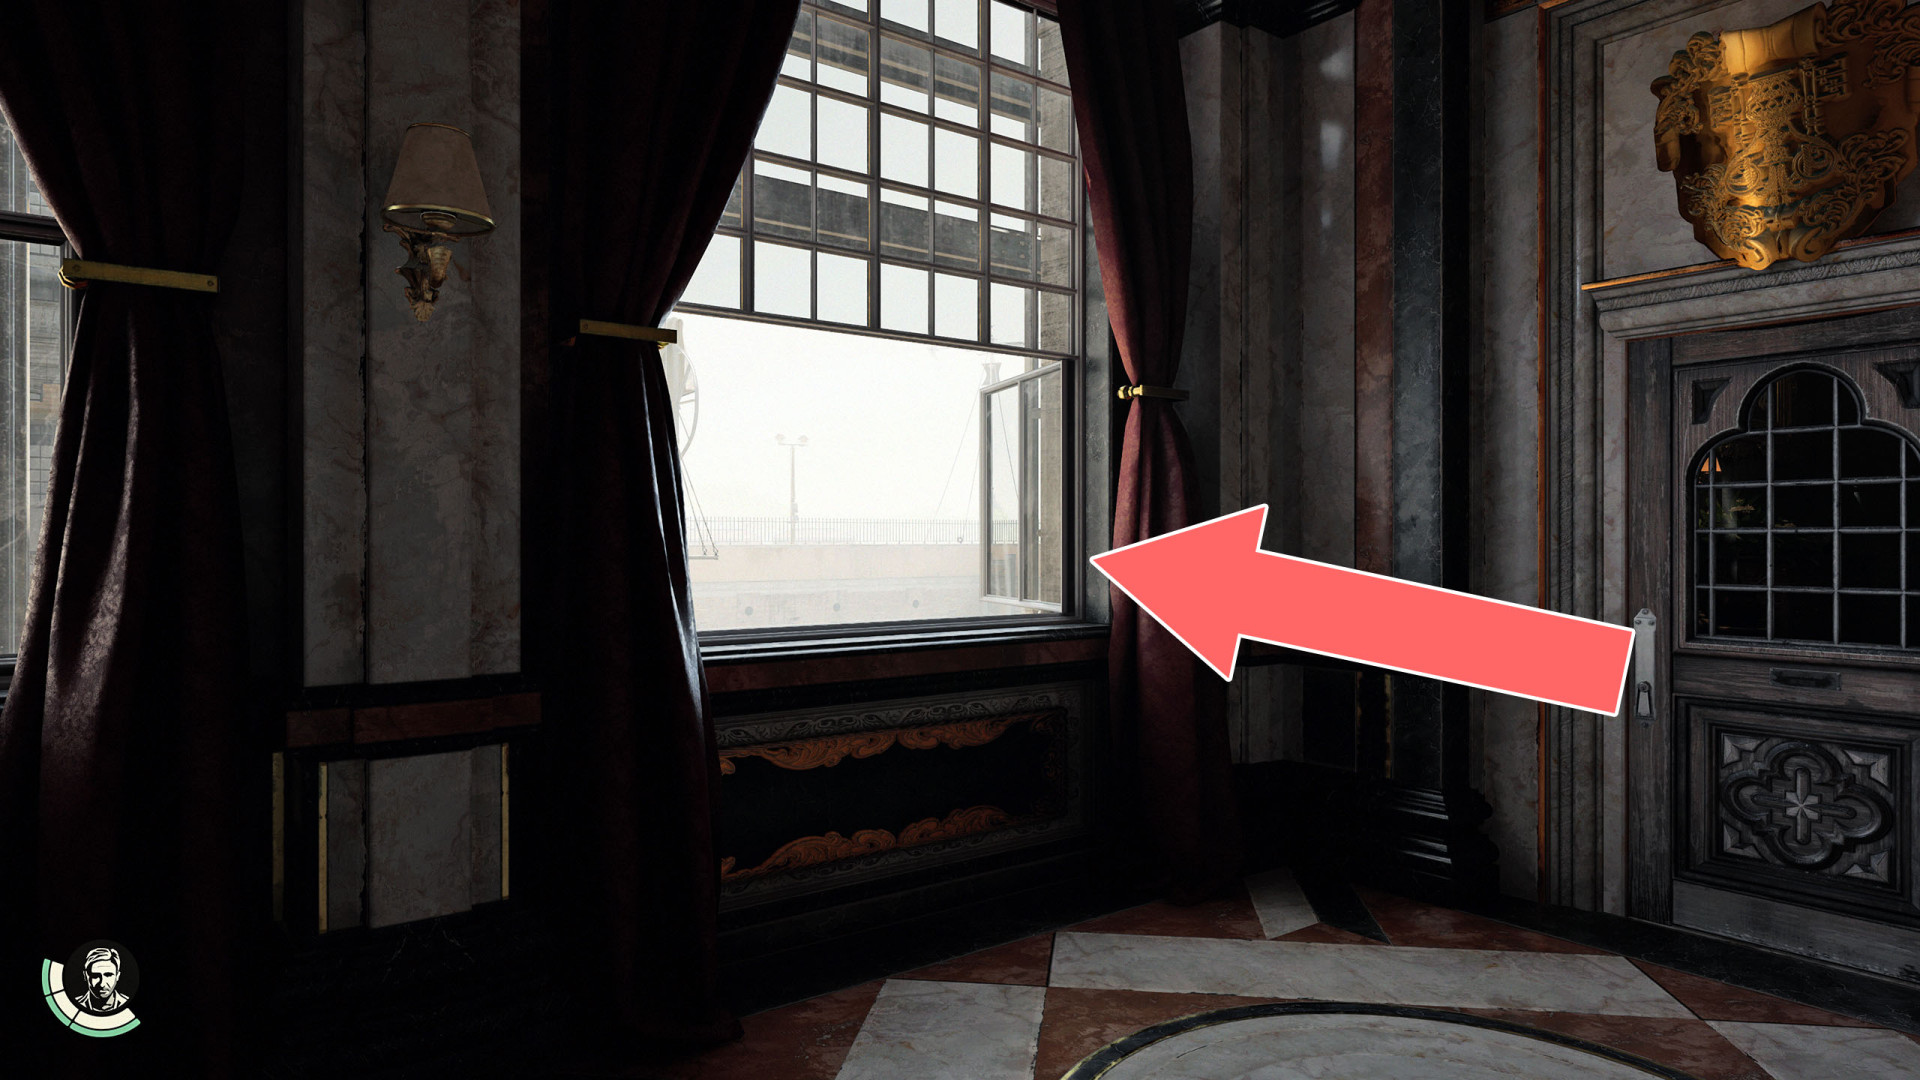
Castle Window▶ show the map ◀
Climbing Spot▶ show the map ◀
Climb to the roof of the small building, use the whip to hook into the grappling point, climb up and move to the left side.
Climbing Spot▶ show the map ◀
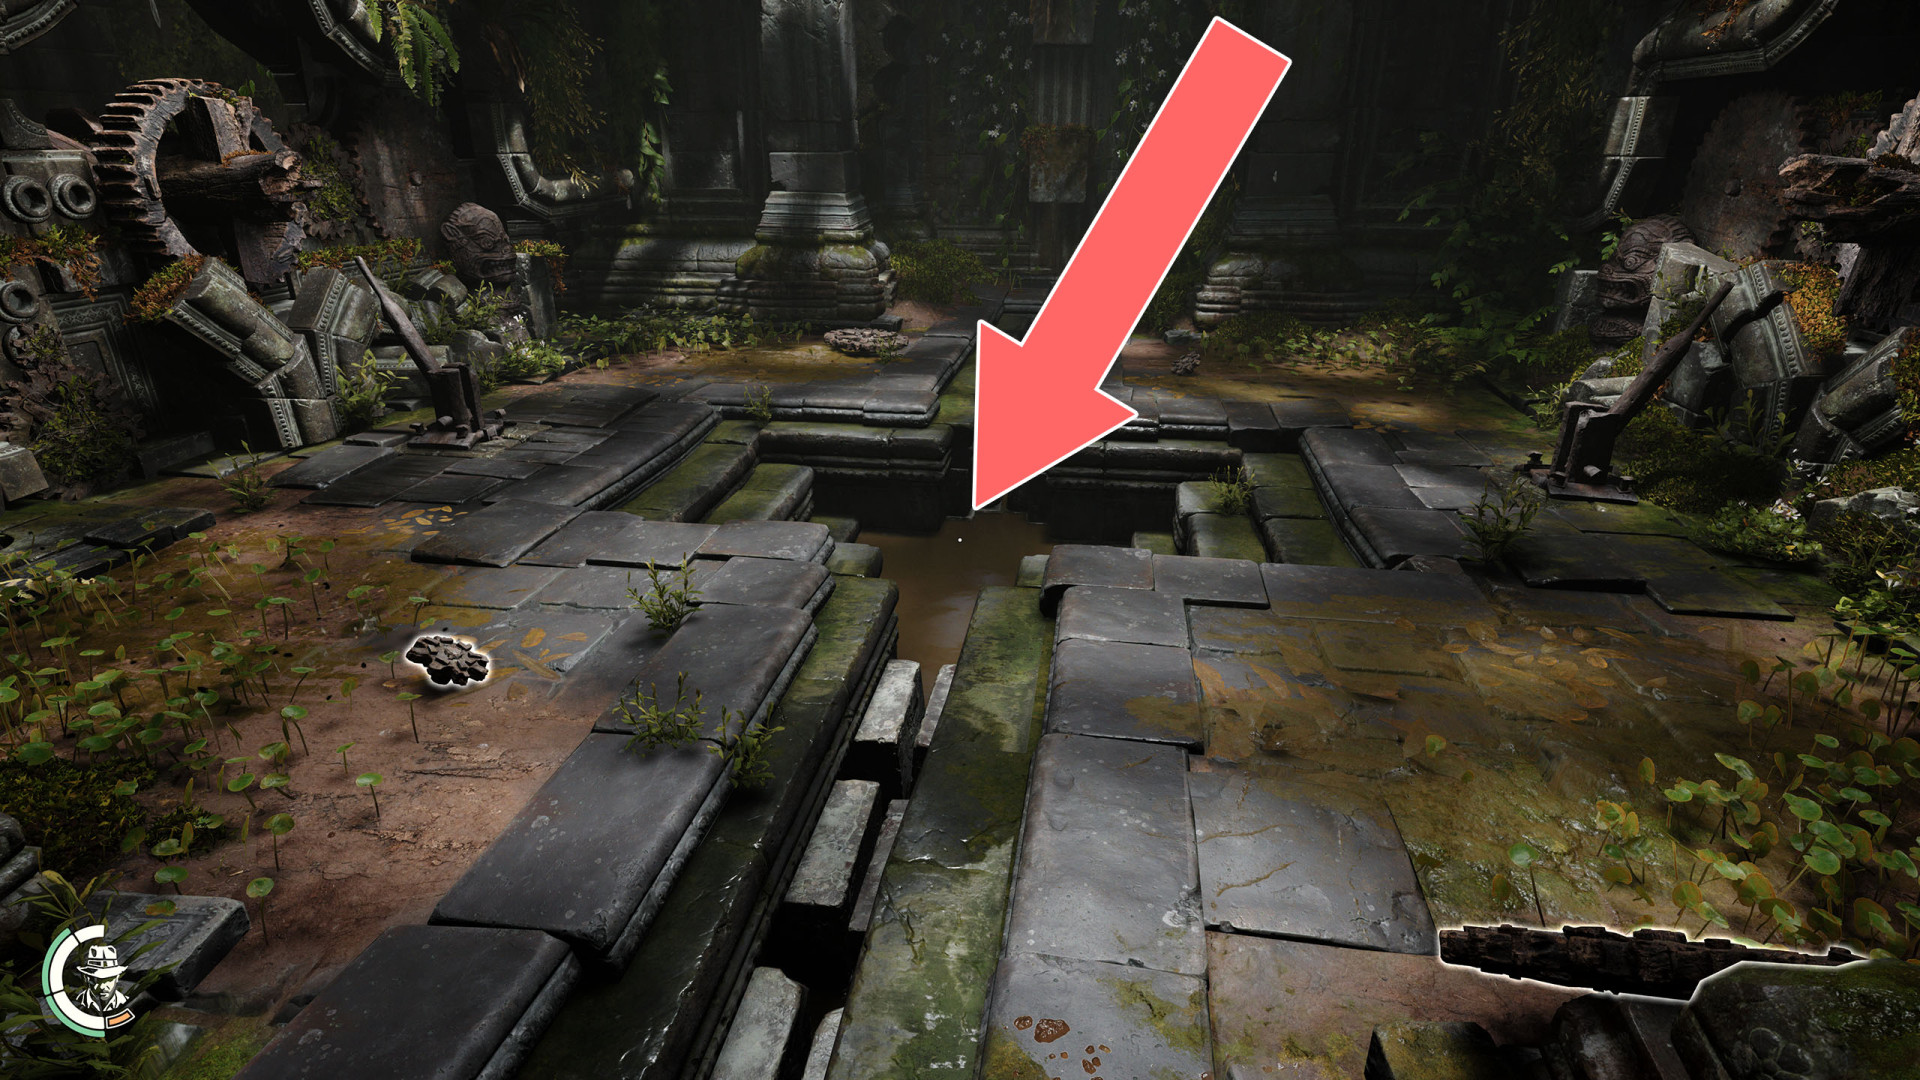
Diving Spot▶ show the map ◀
Diving Spot▶ show the map ◀
Jump into the water and swim through the tunnel to the room on the other side.

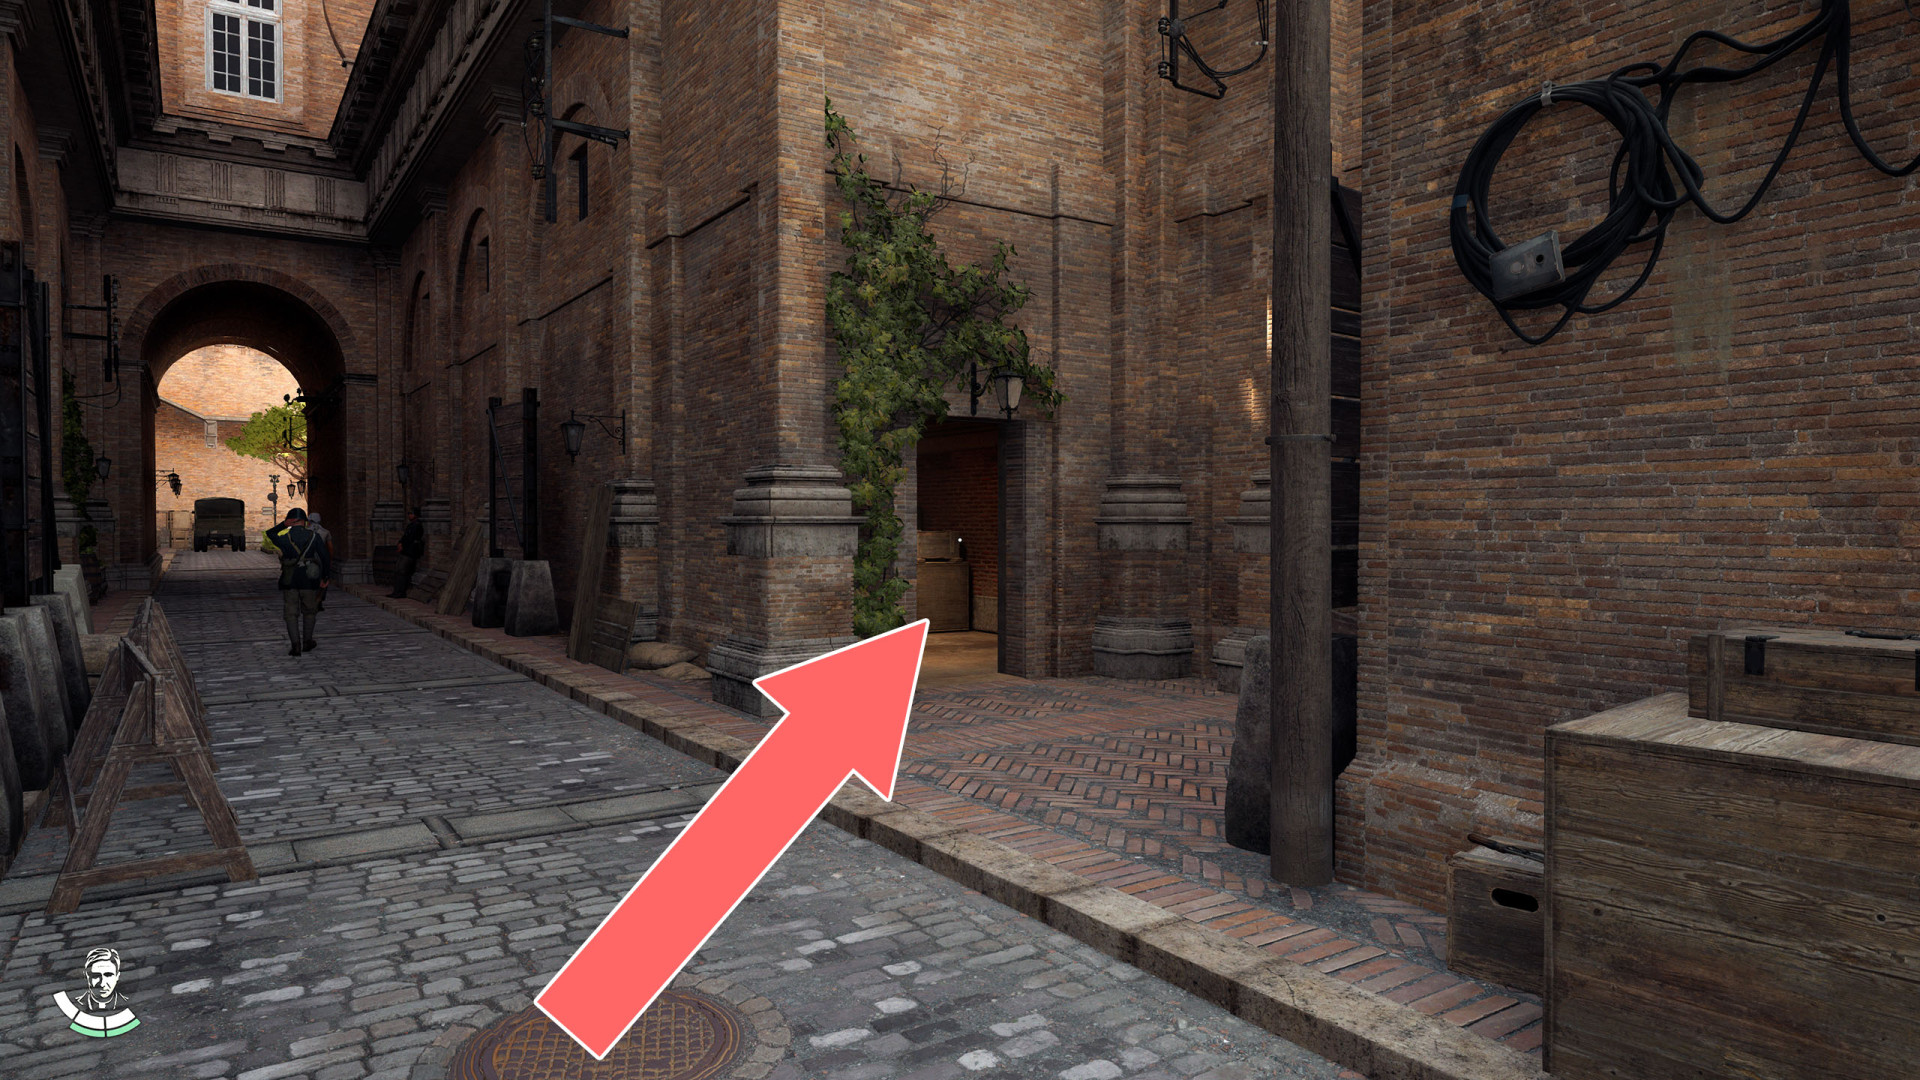
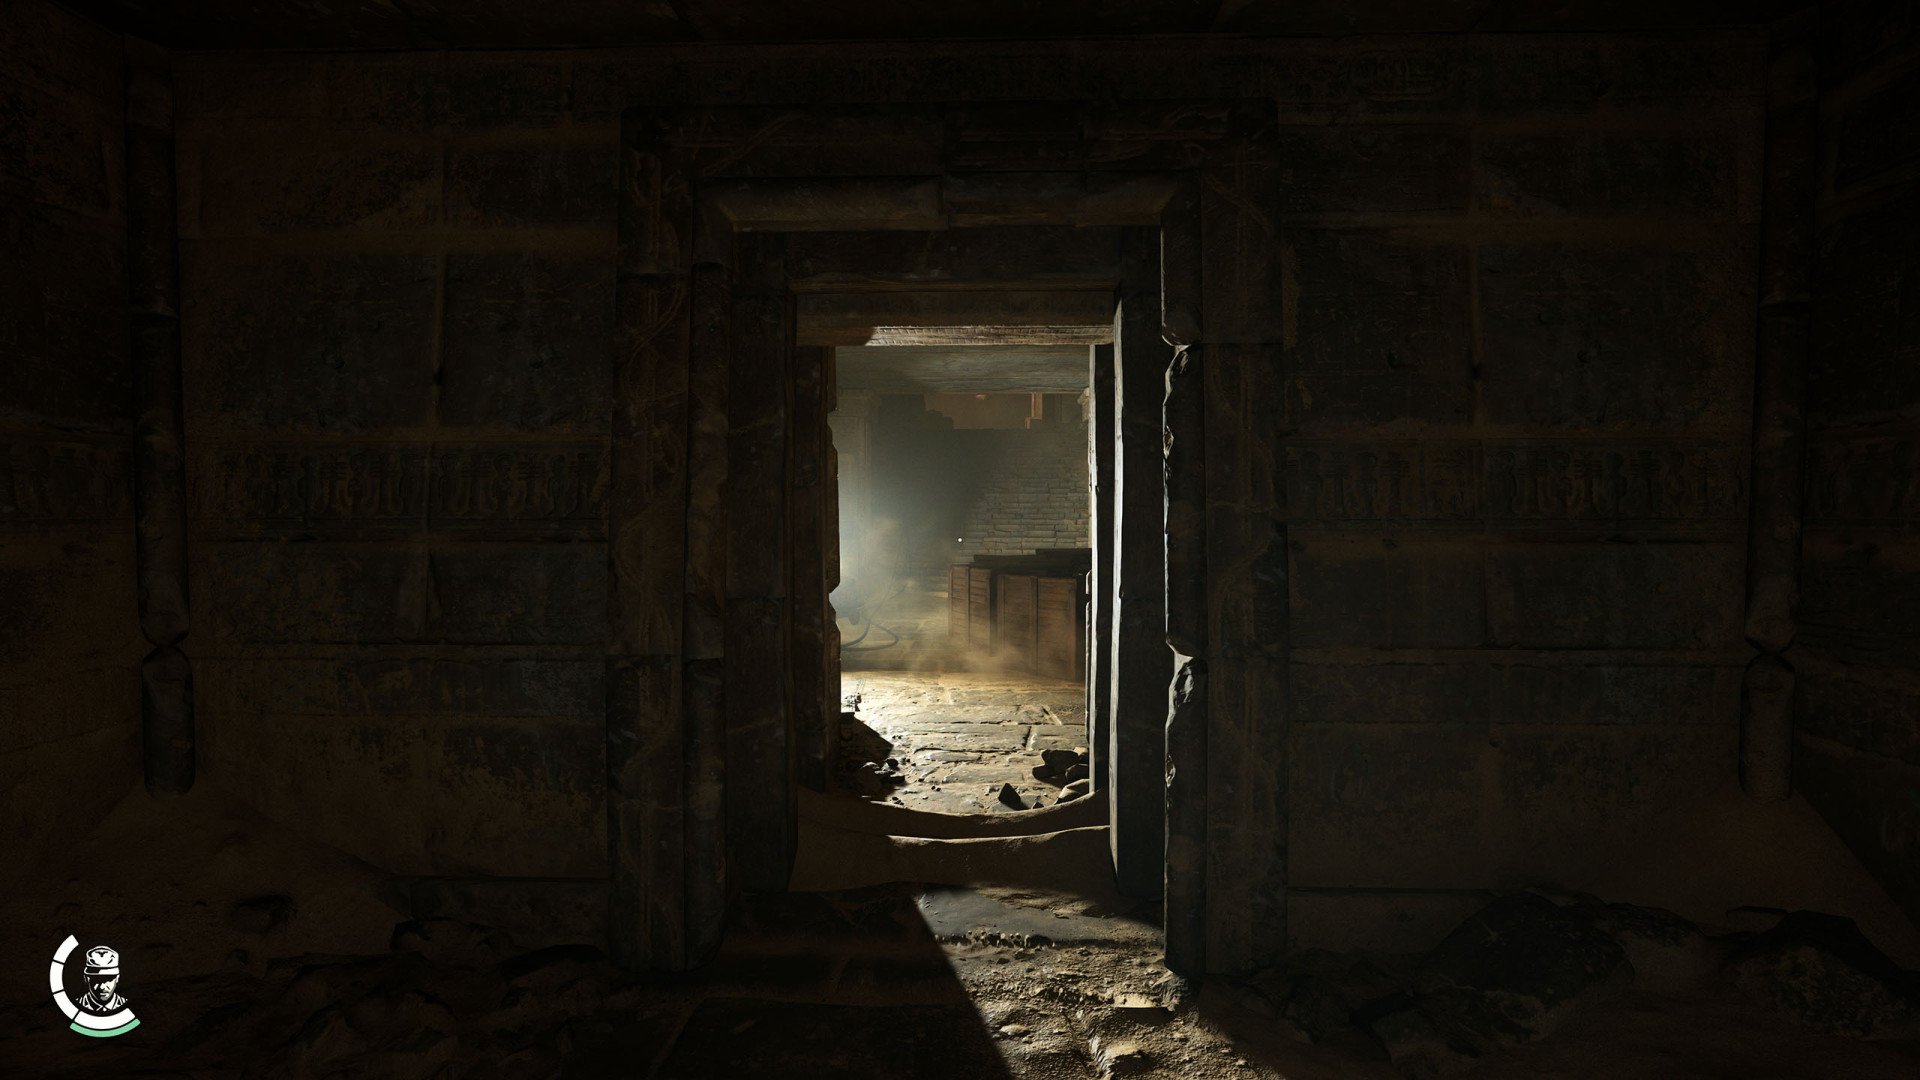
Entry Under the Building▶ show the map ◀
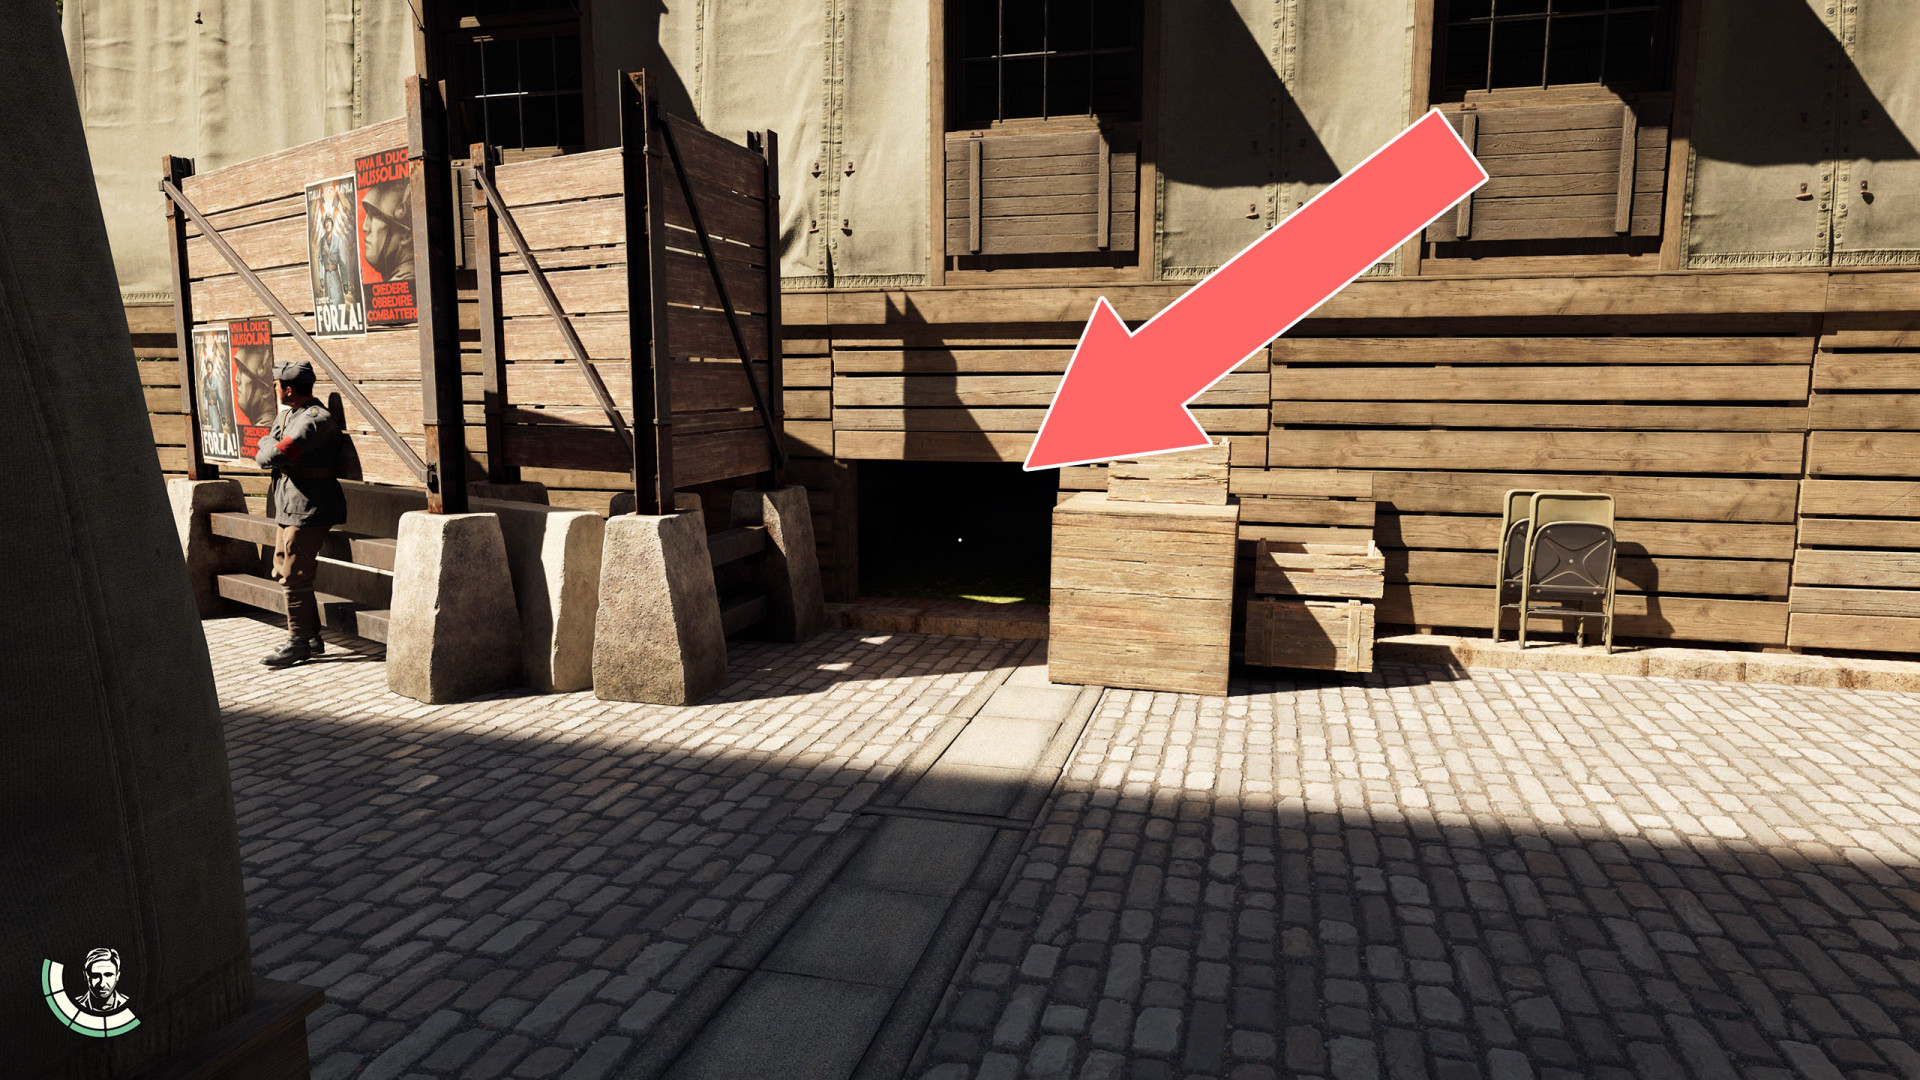
Entry Under the Building▶ show the map ◀
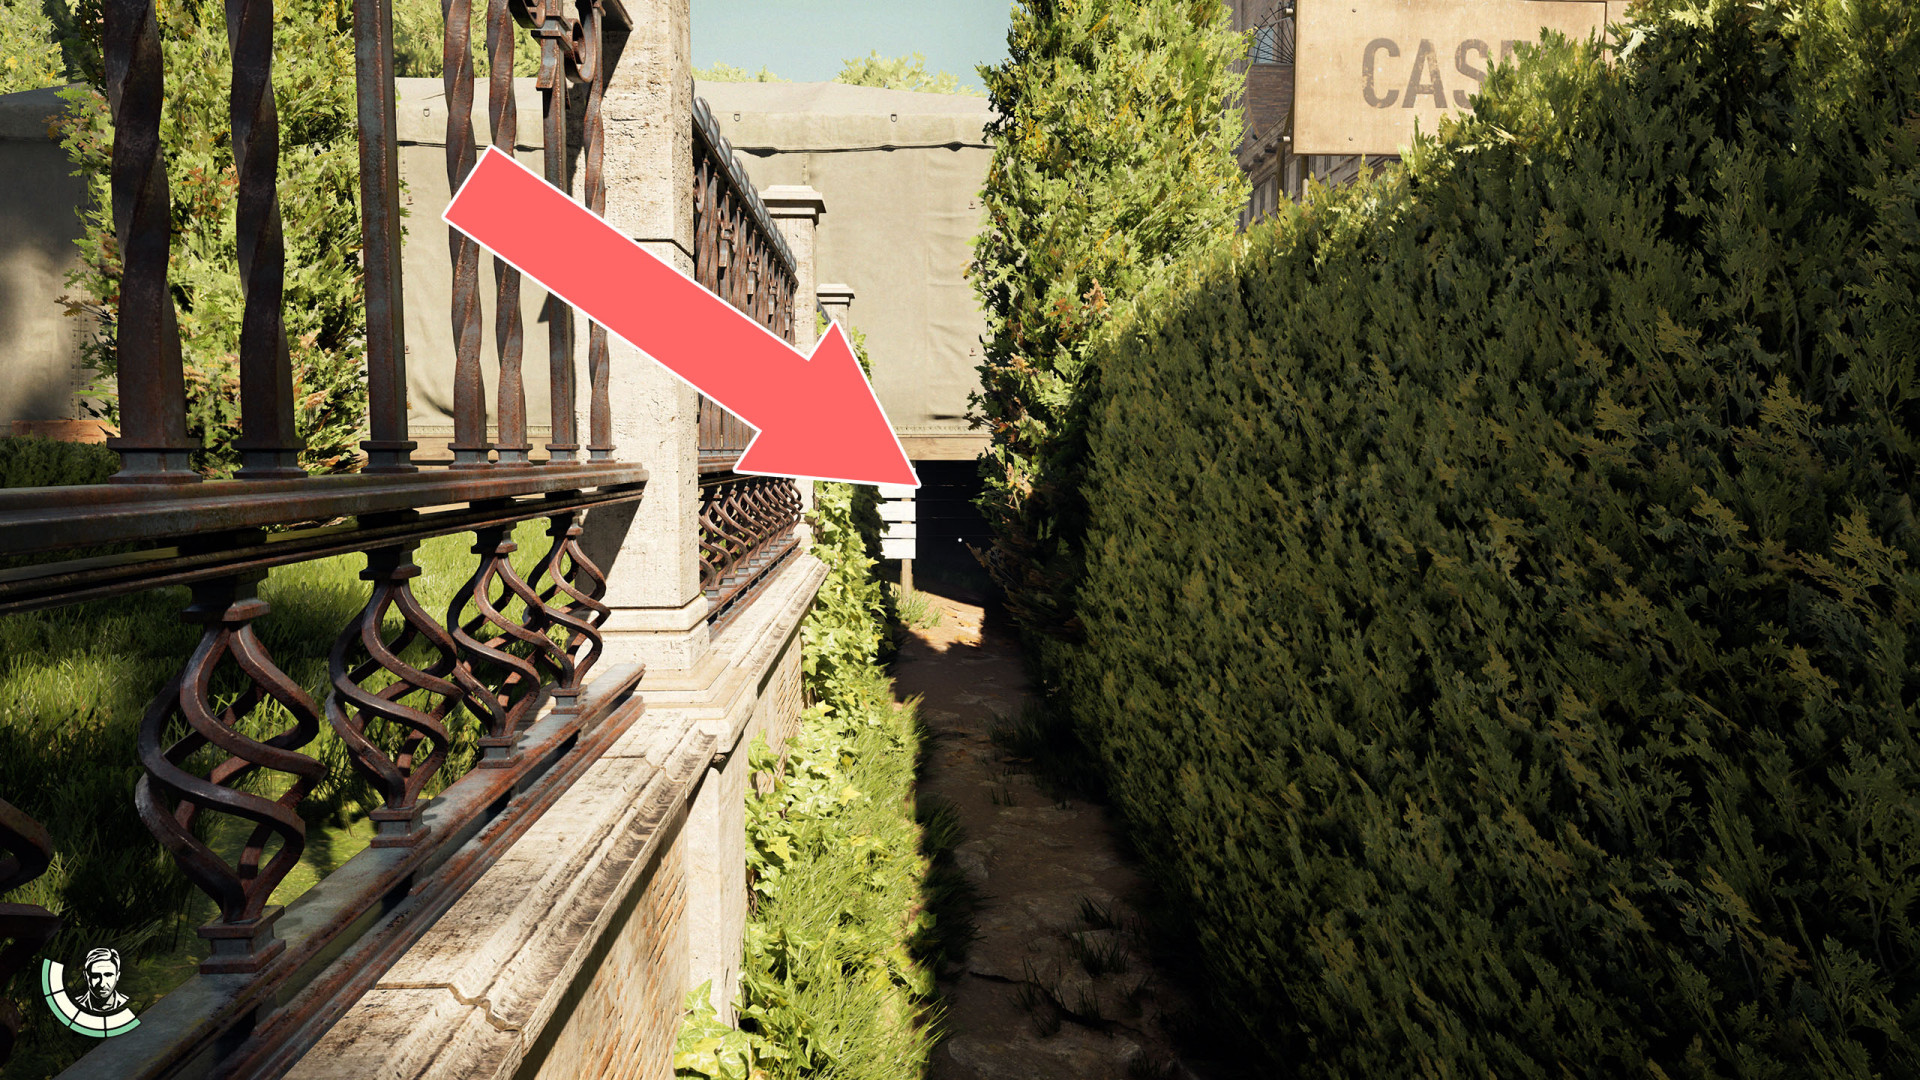
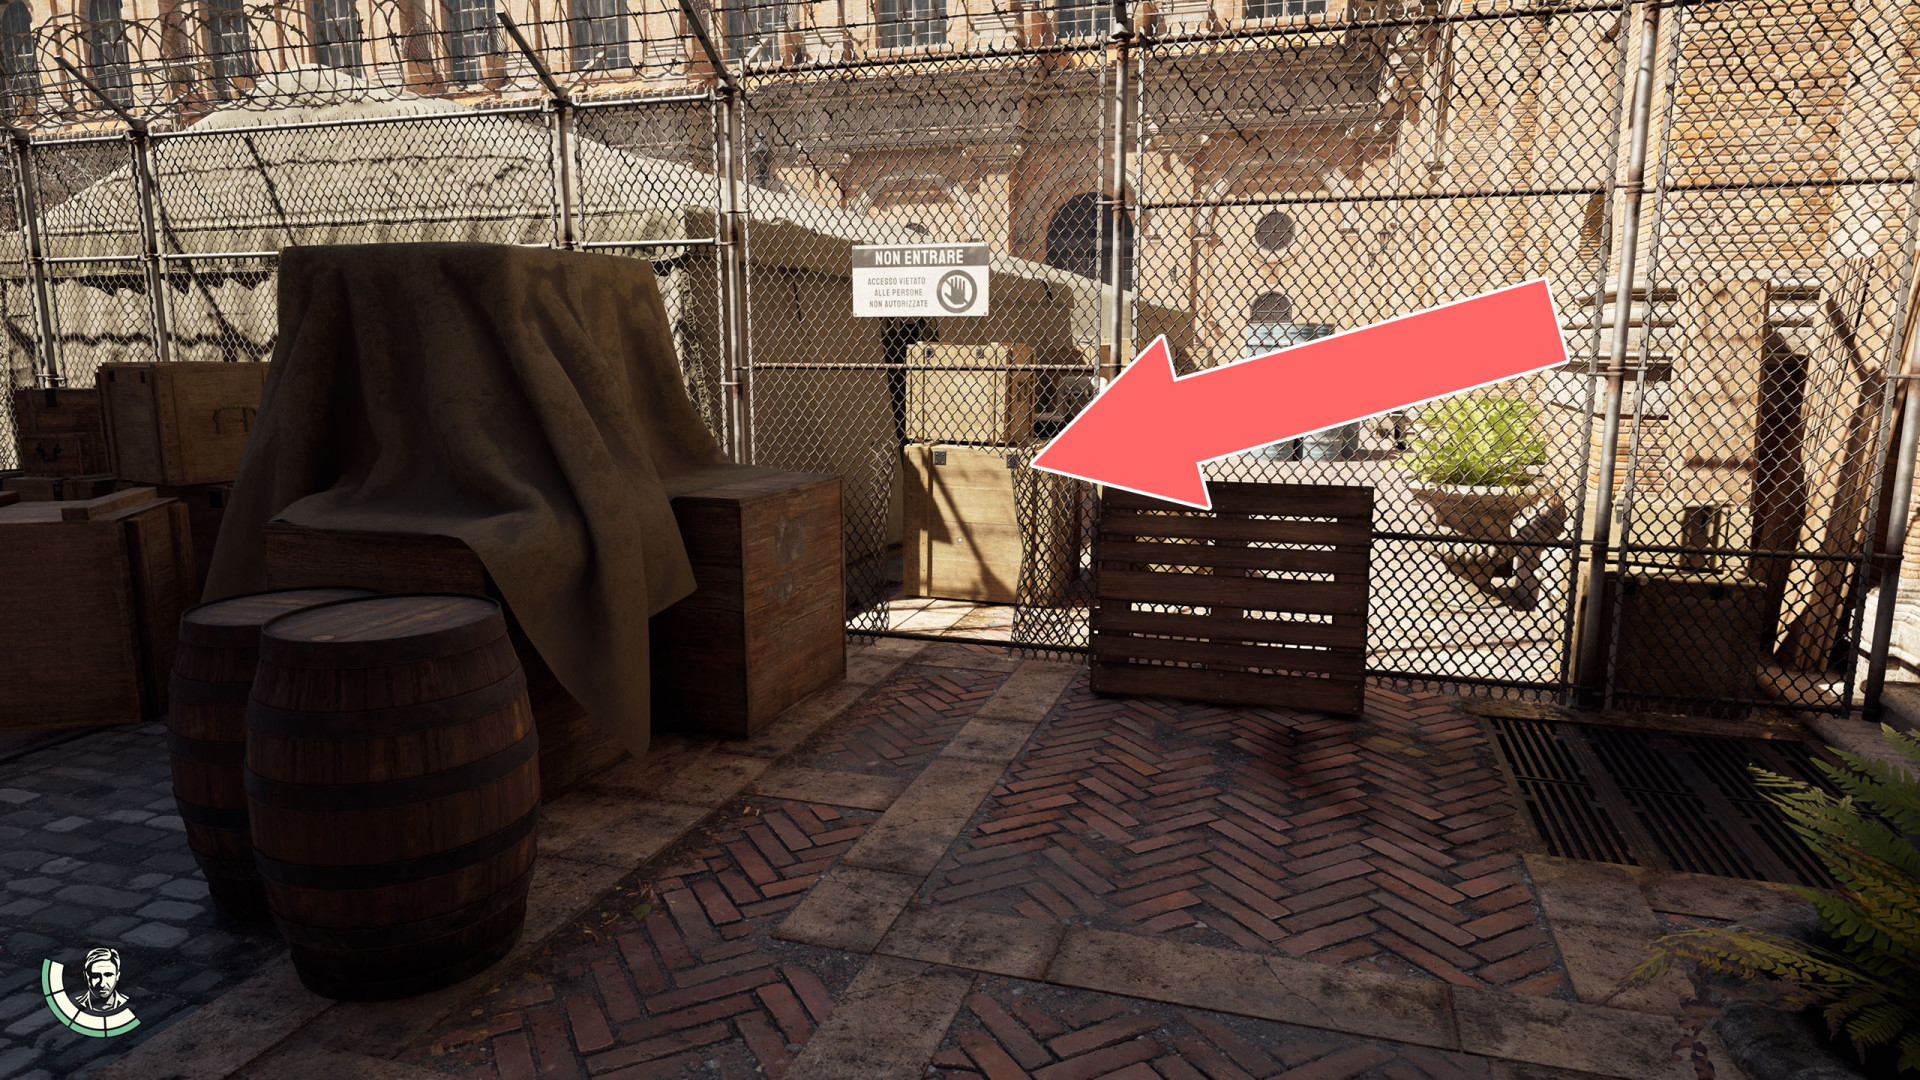
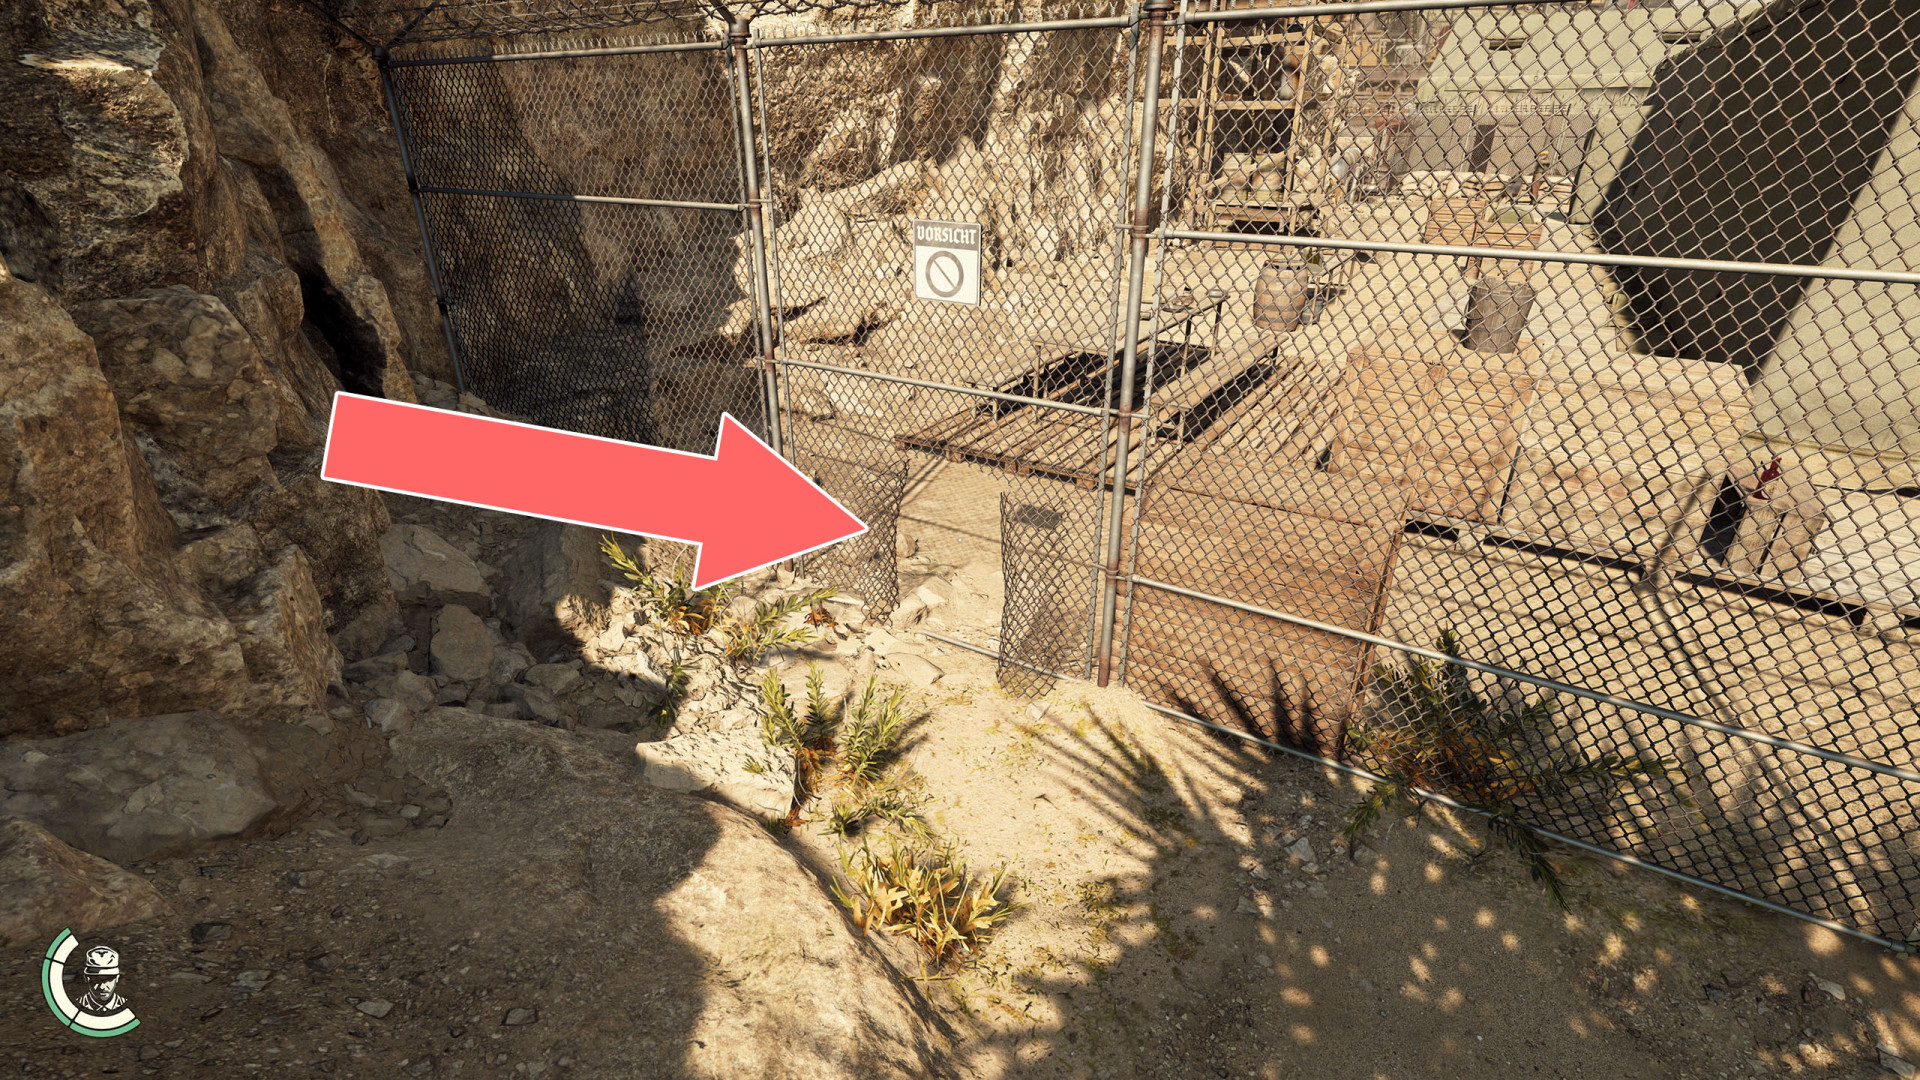
Fence Hole▶ show the map ◀

 Fountain Underground Entrance▶ show the map ◀
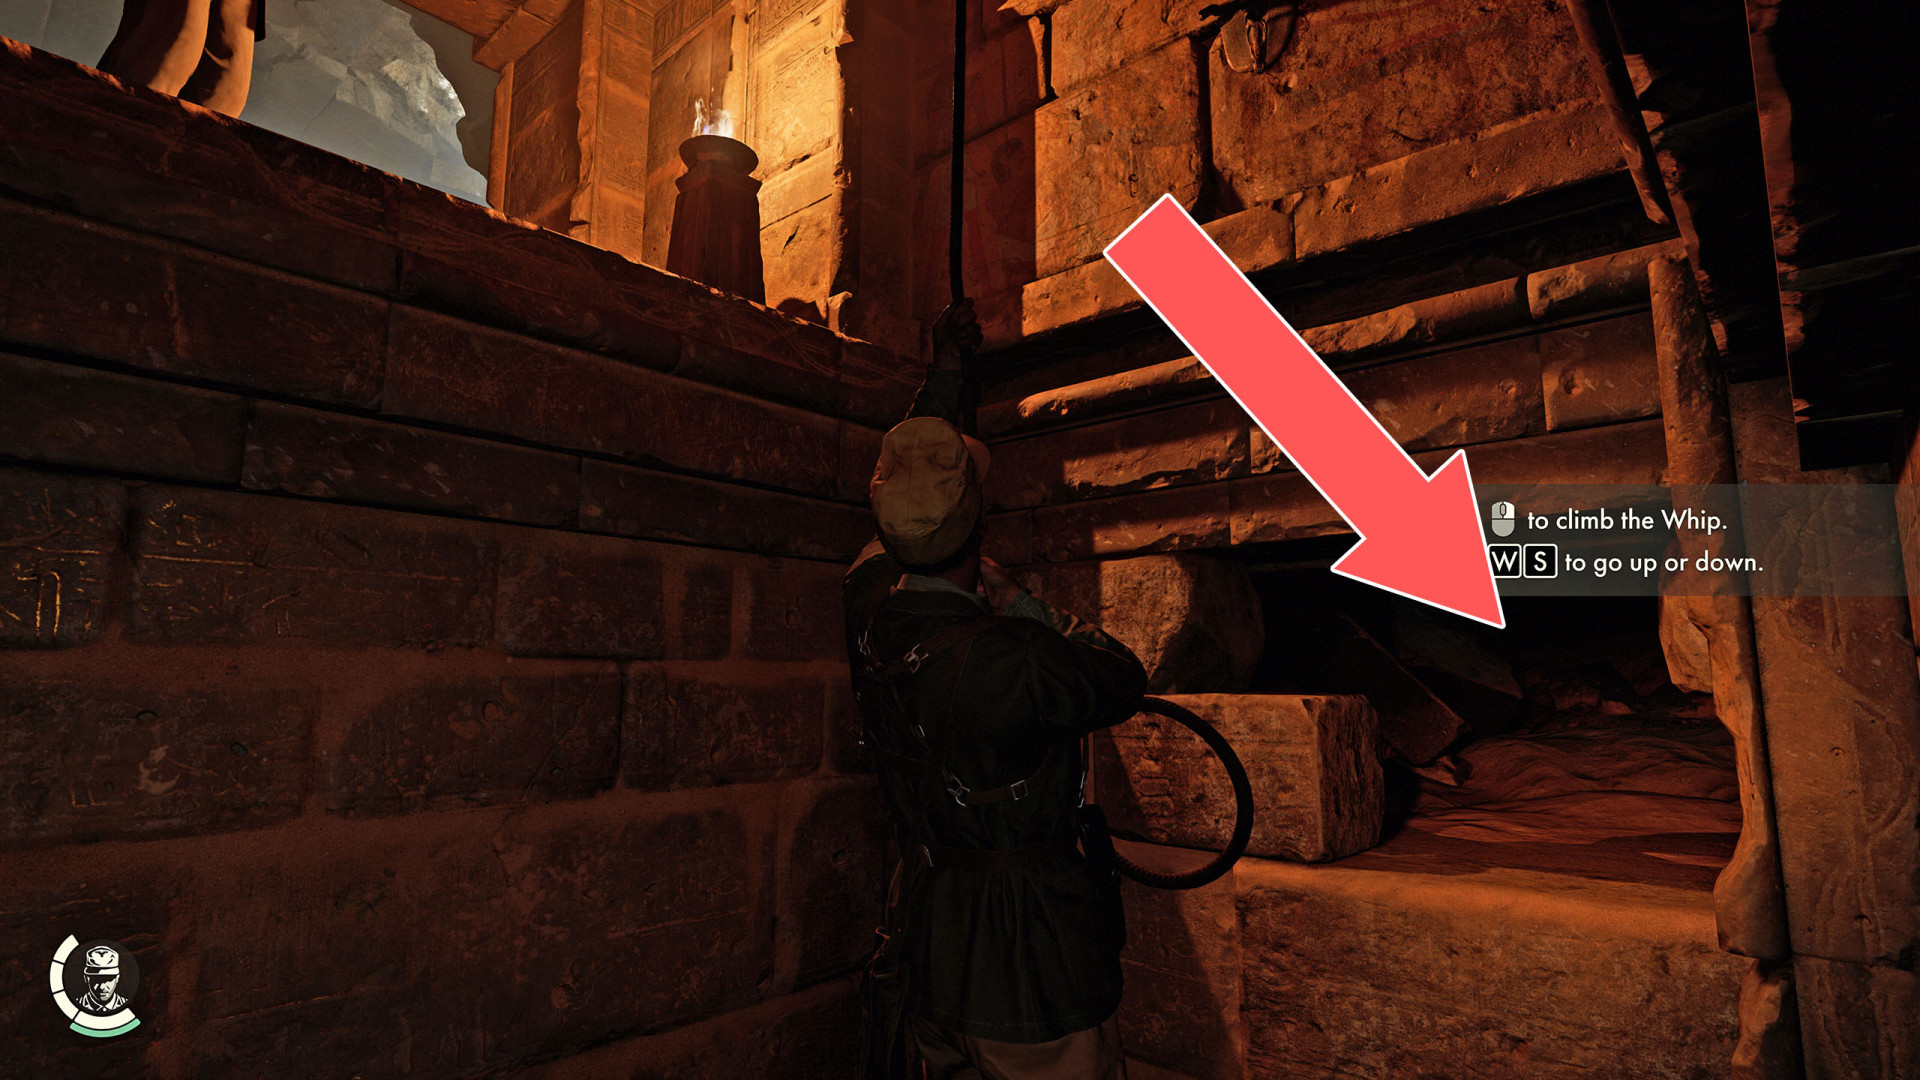
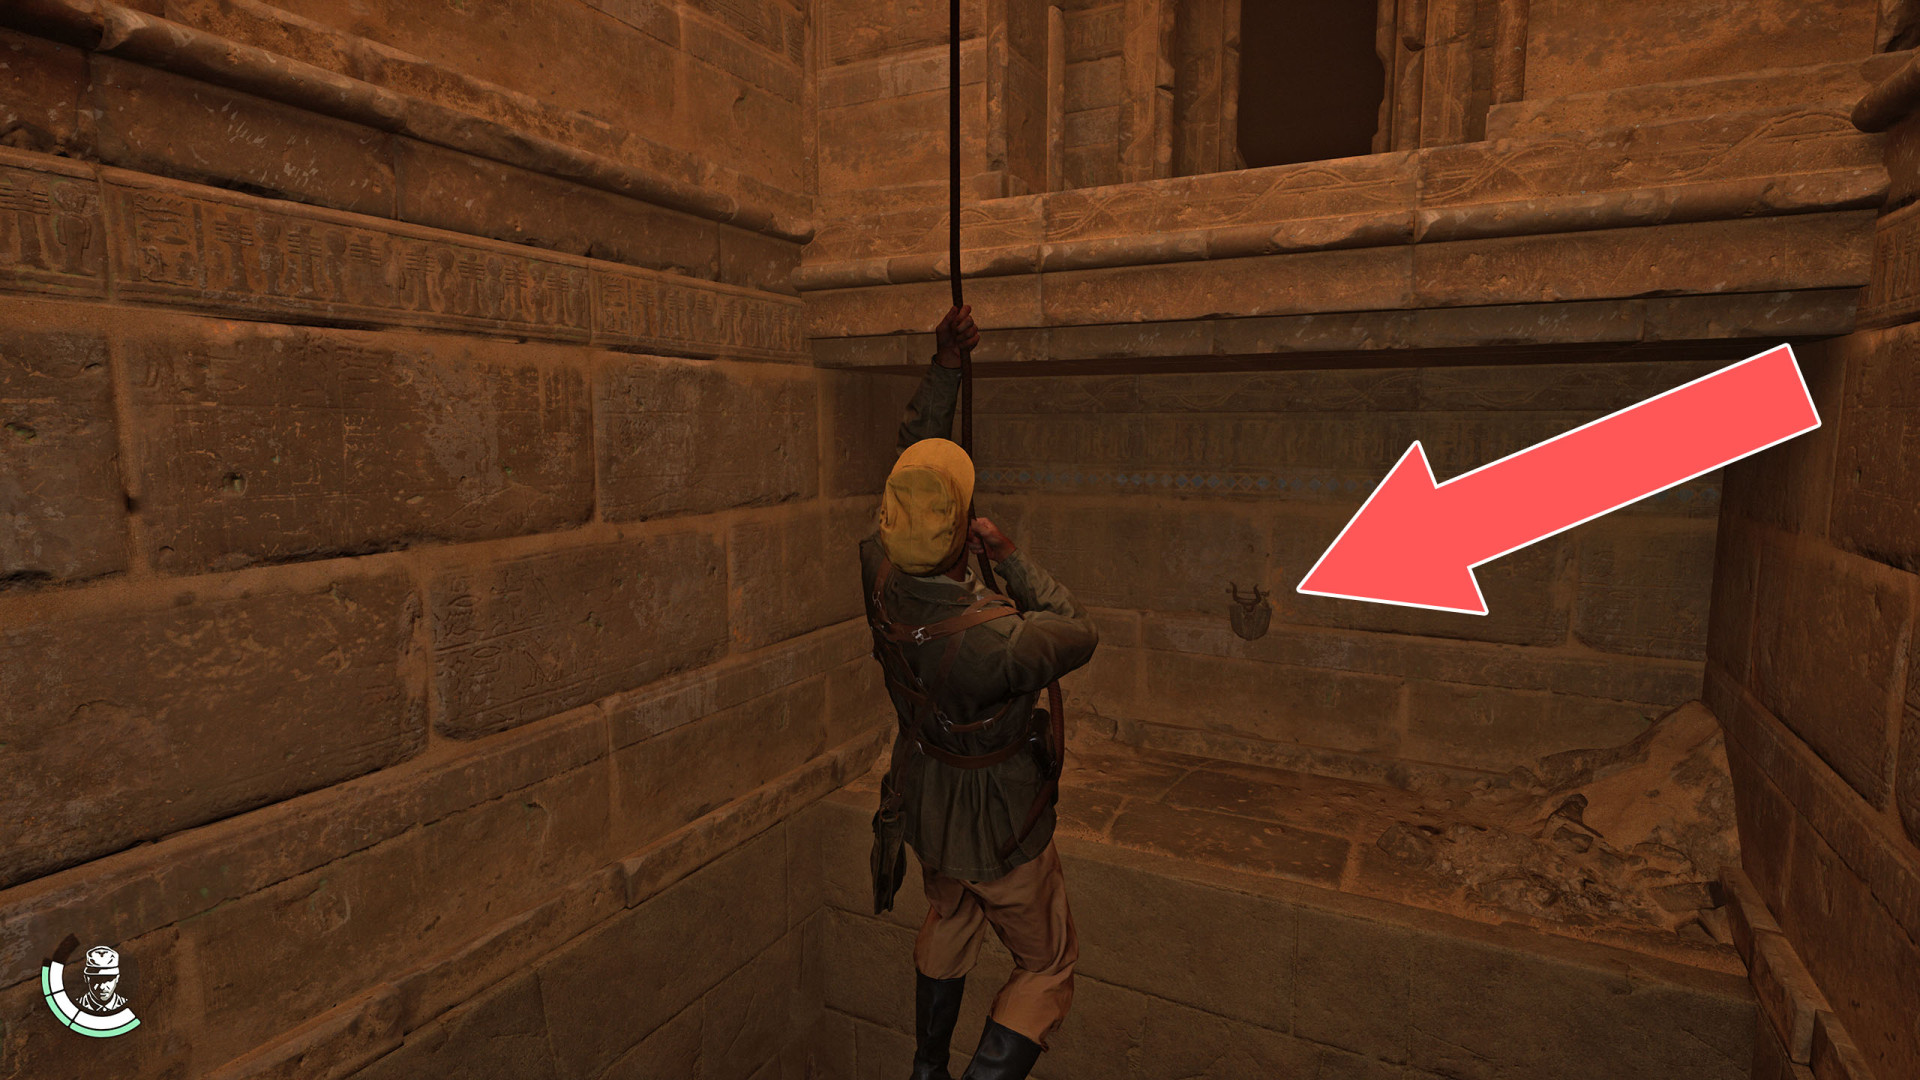
Grappling Hook▶ show the map ◀
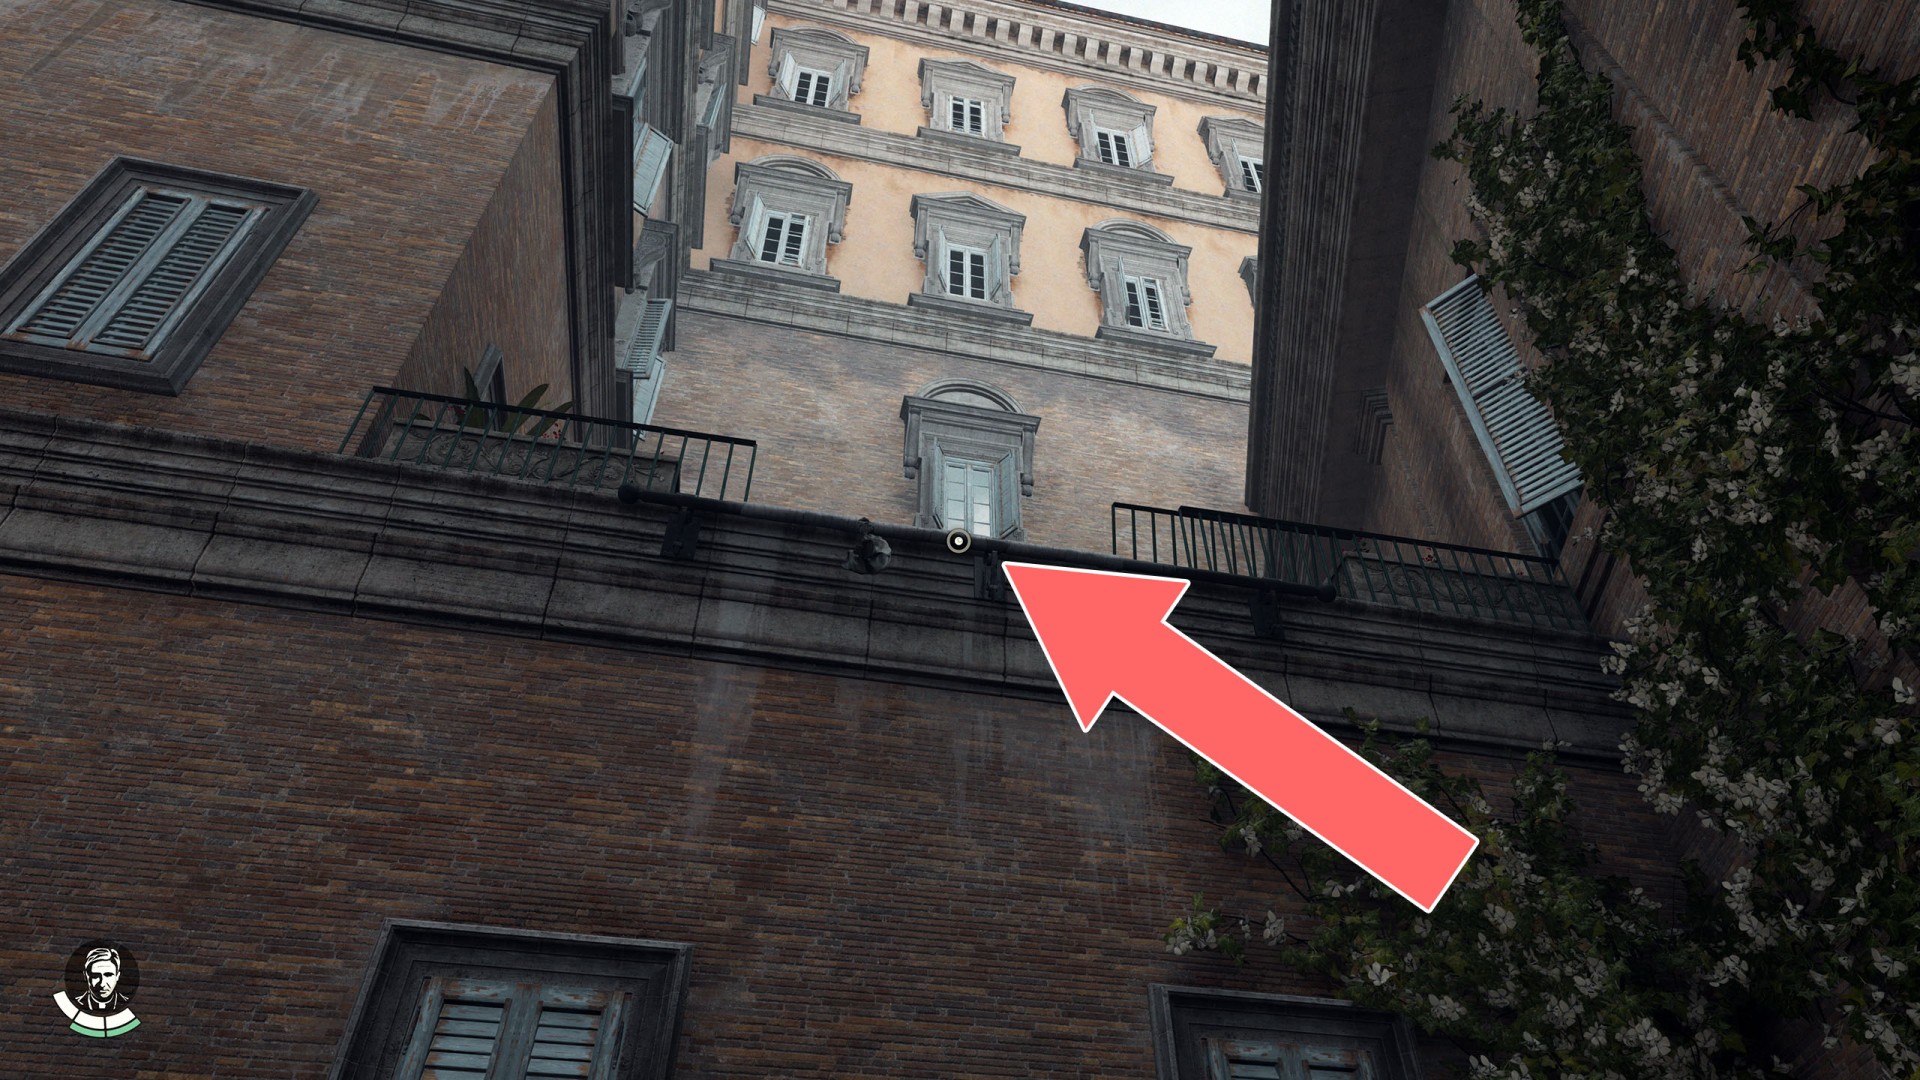
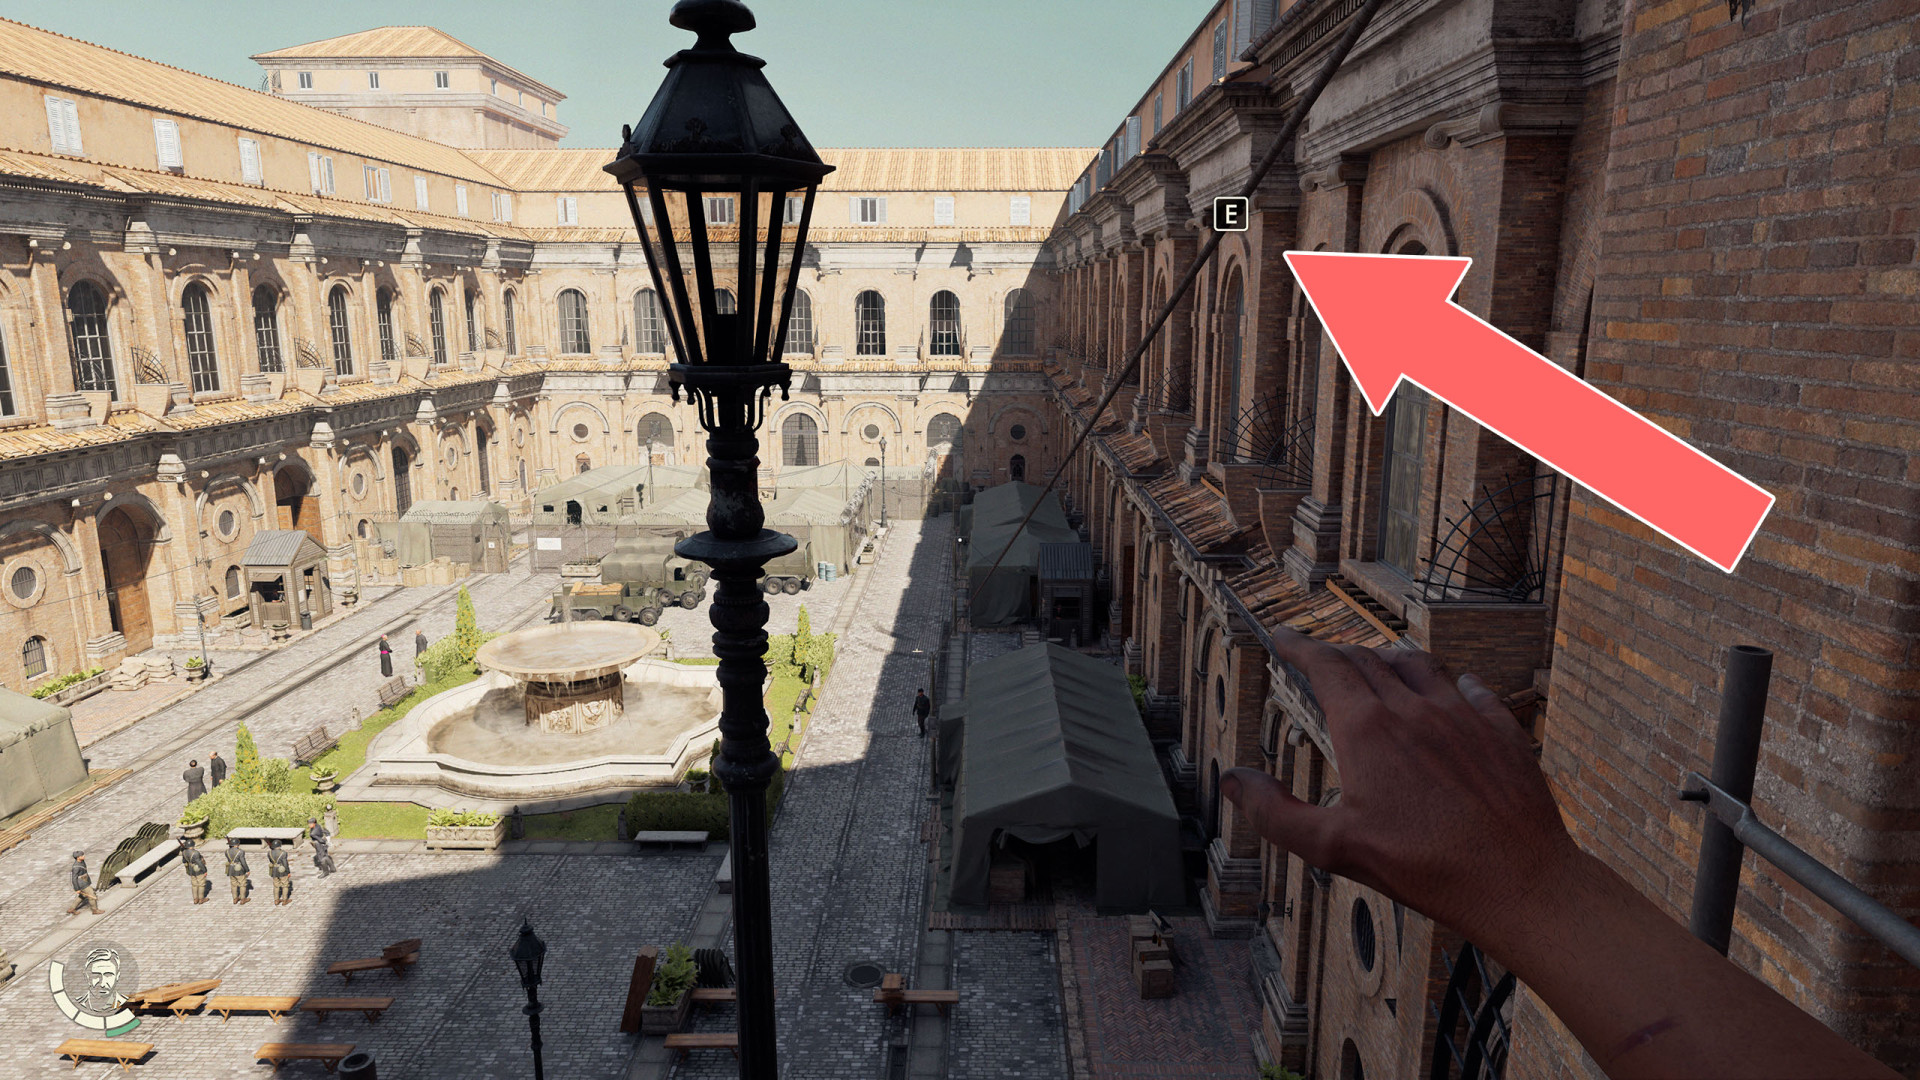
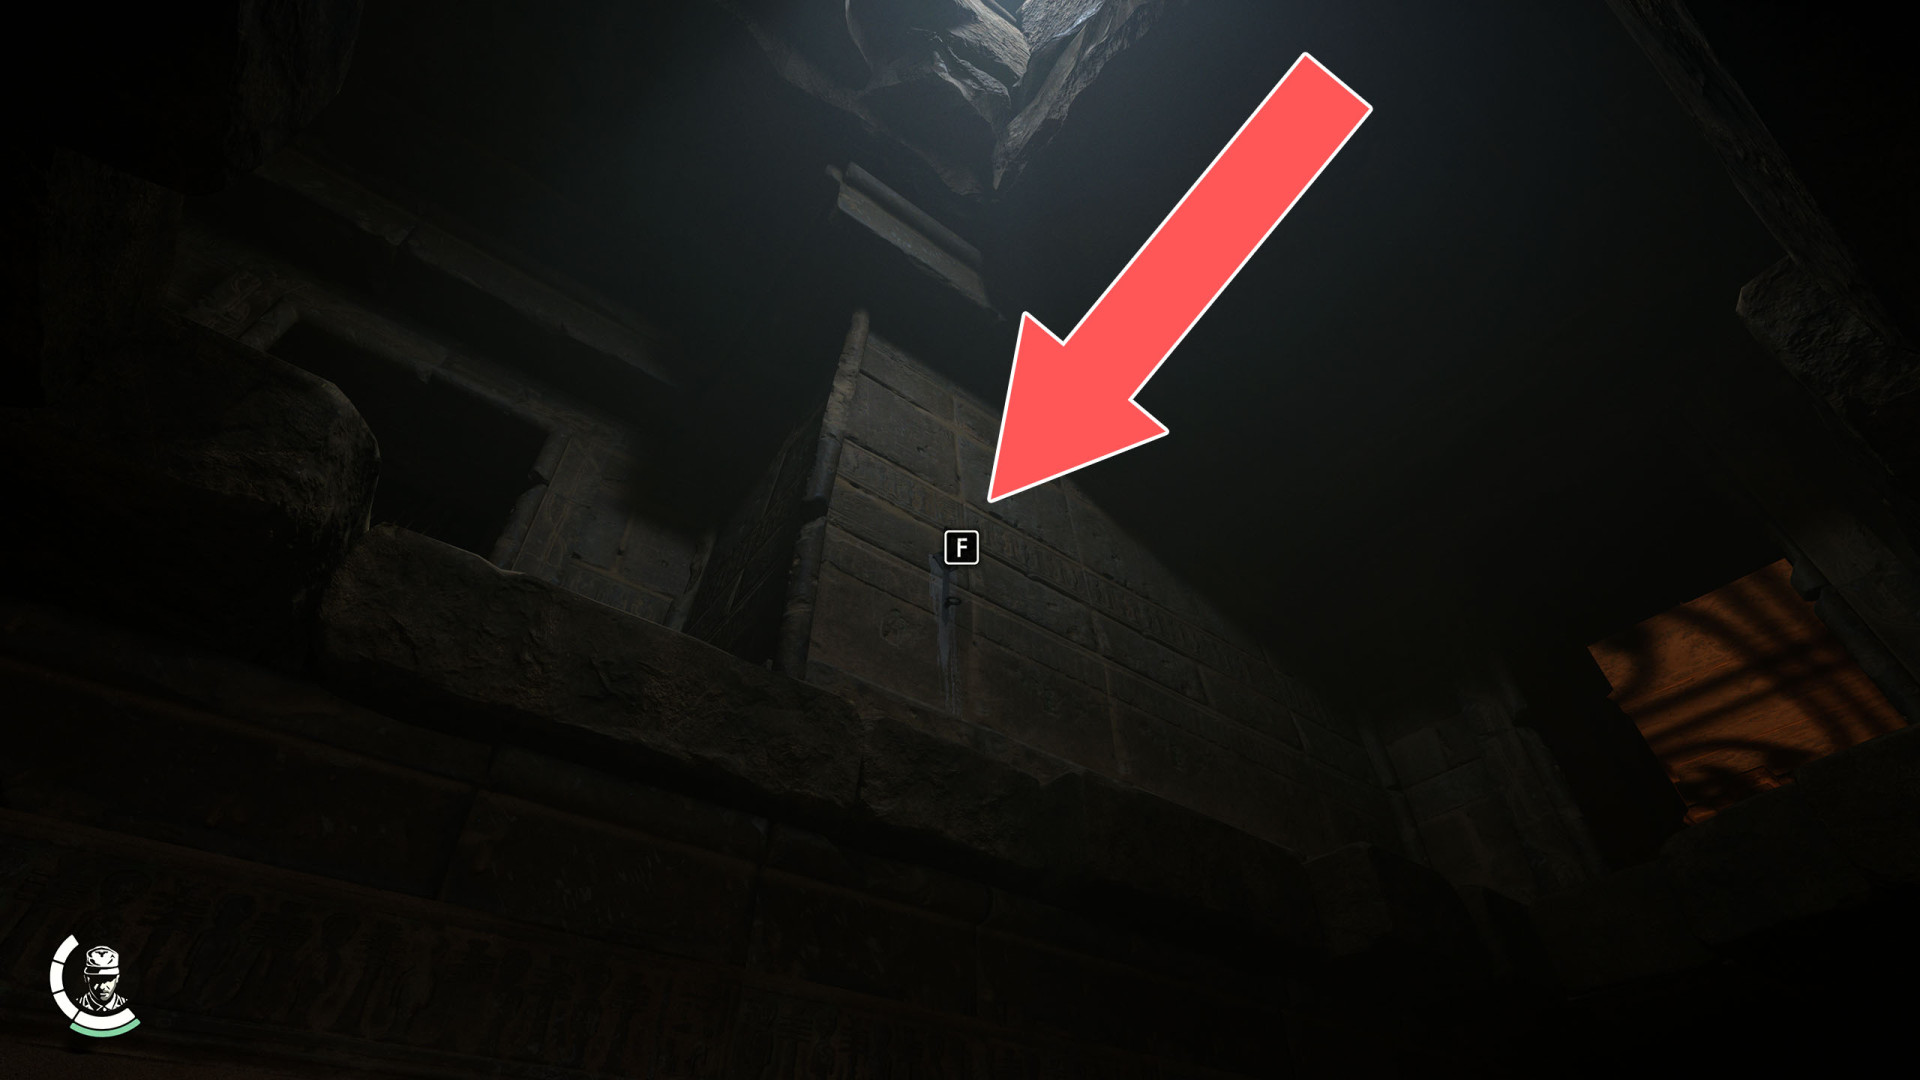
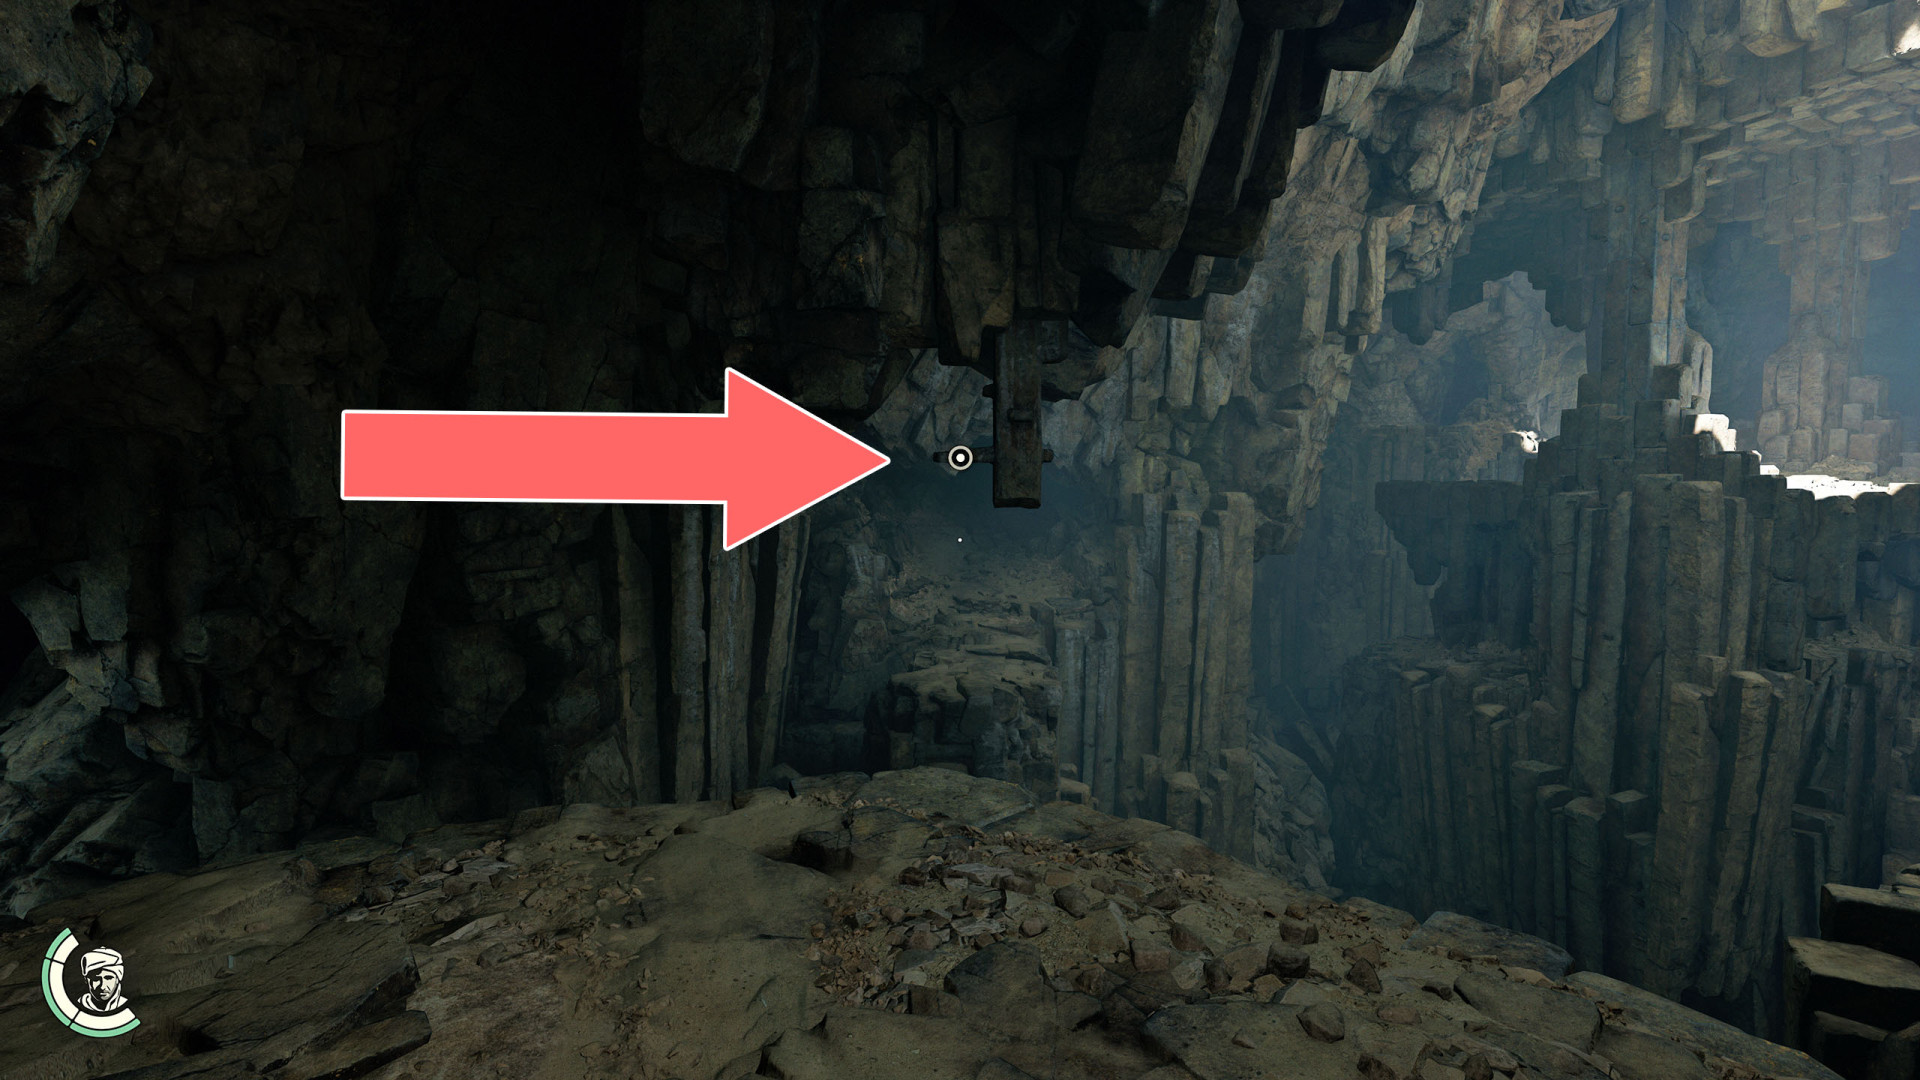
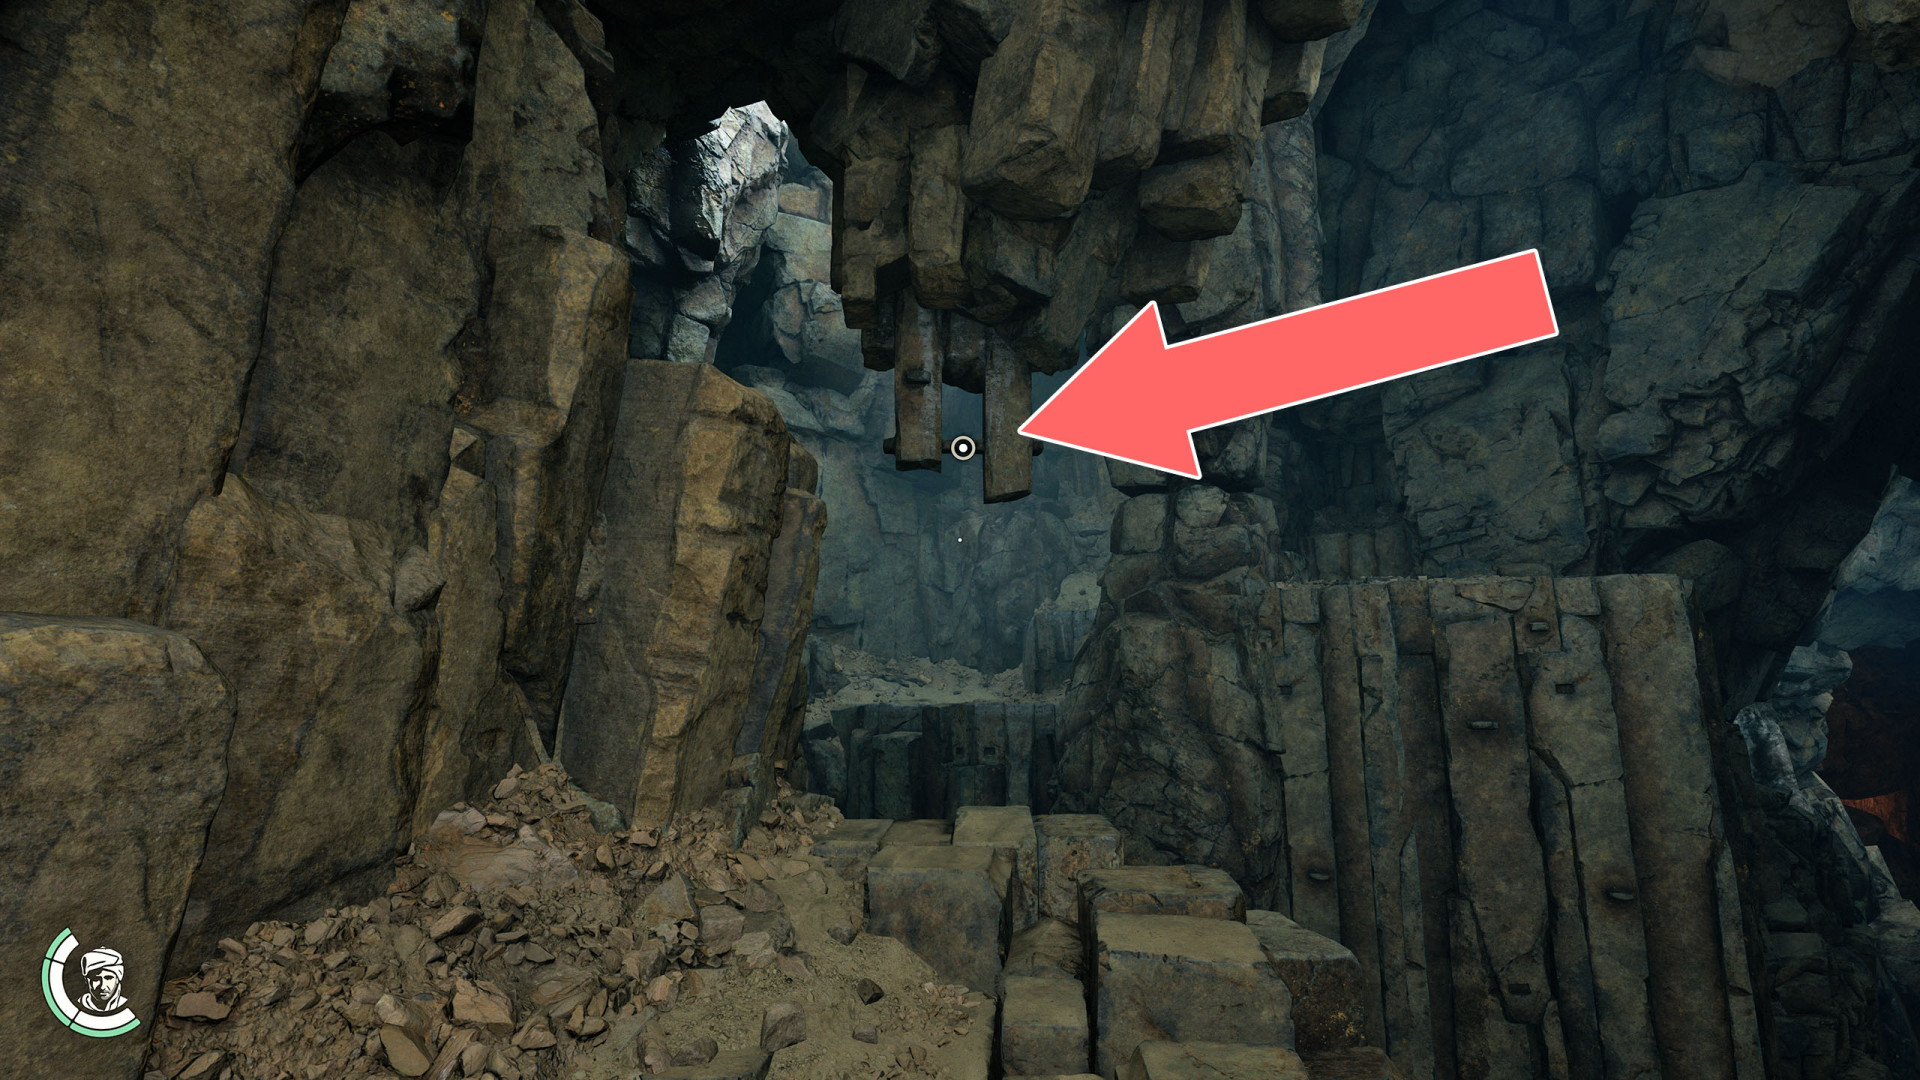
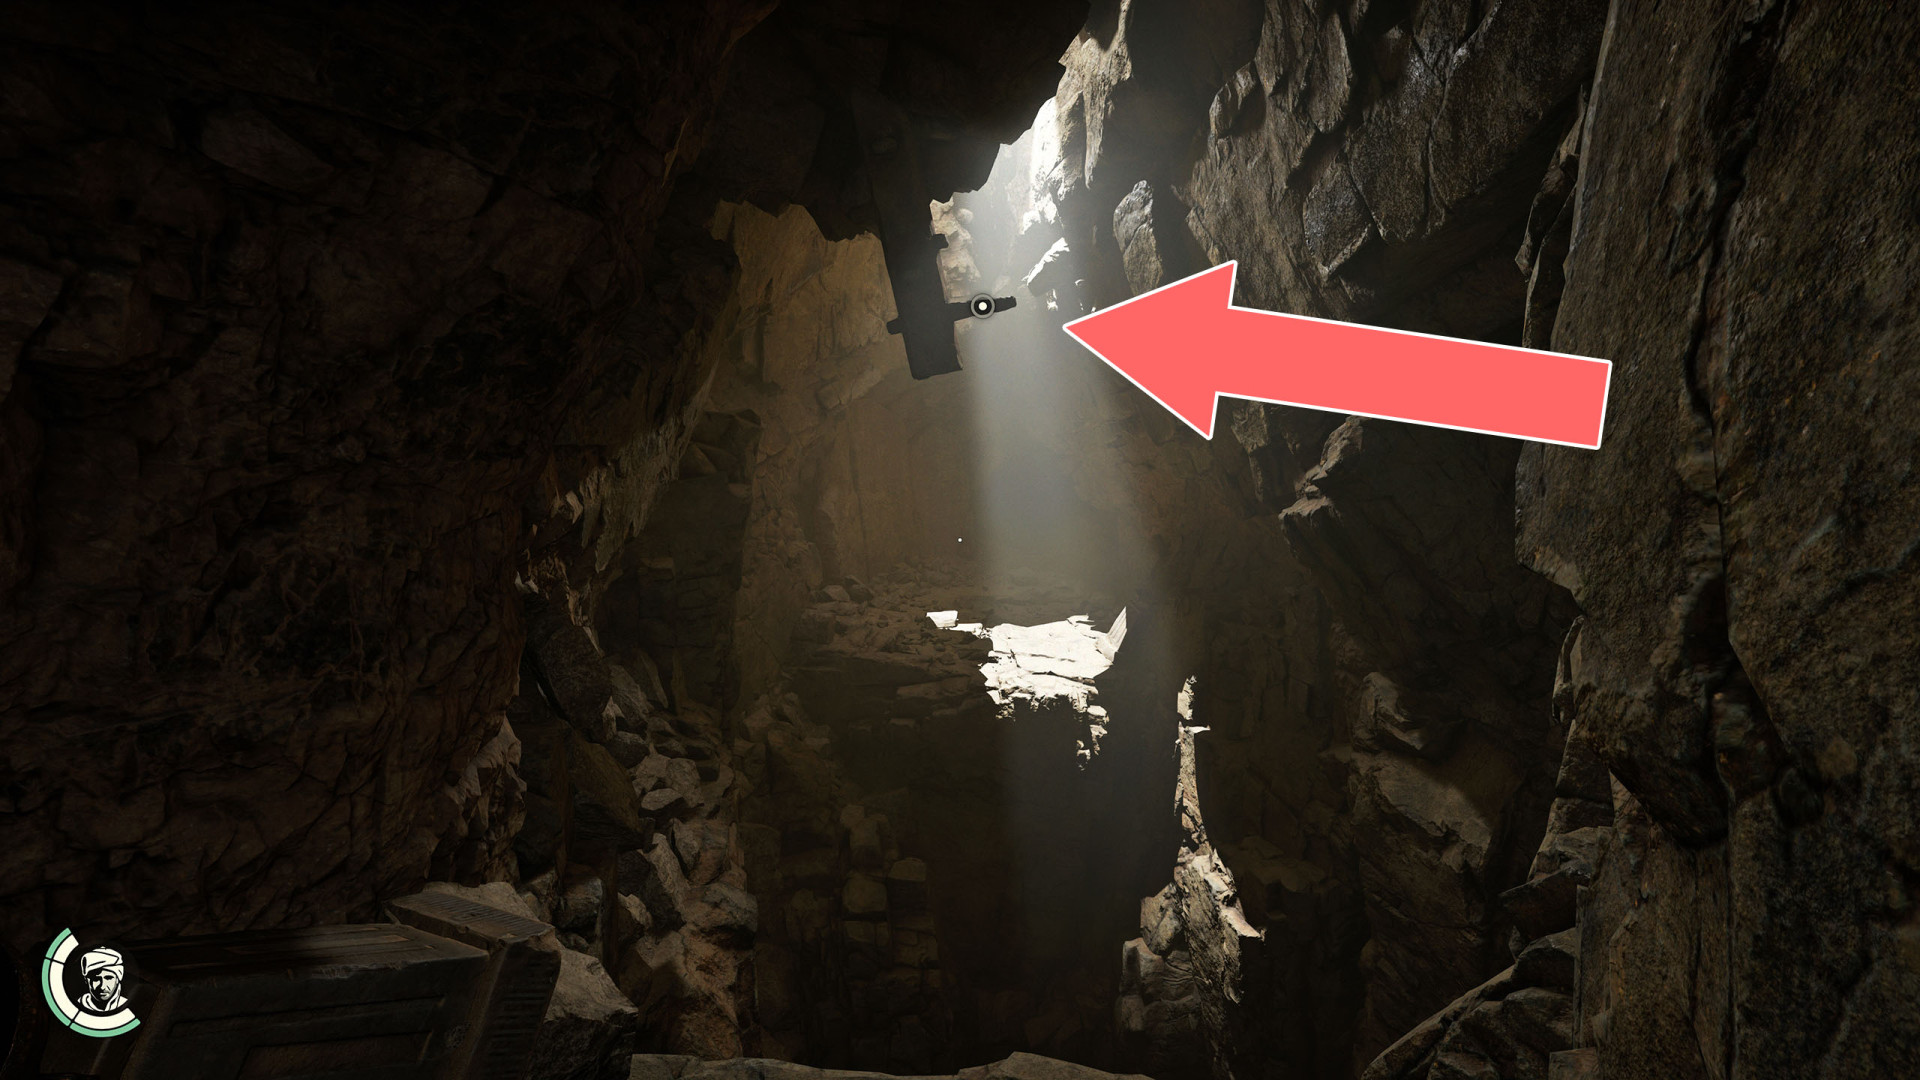
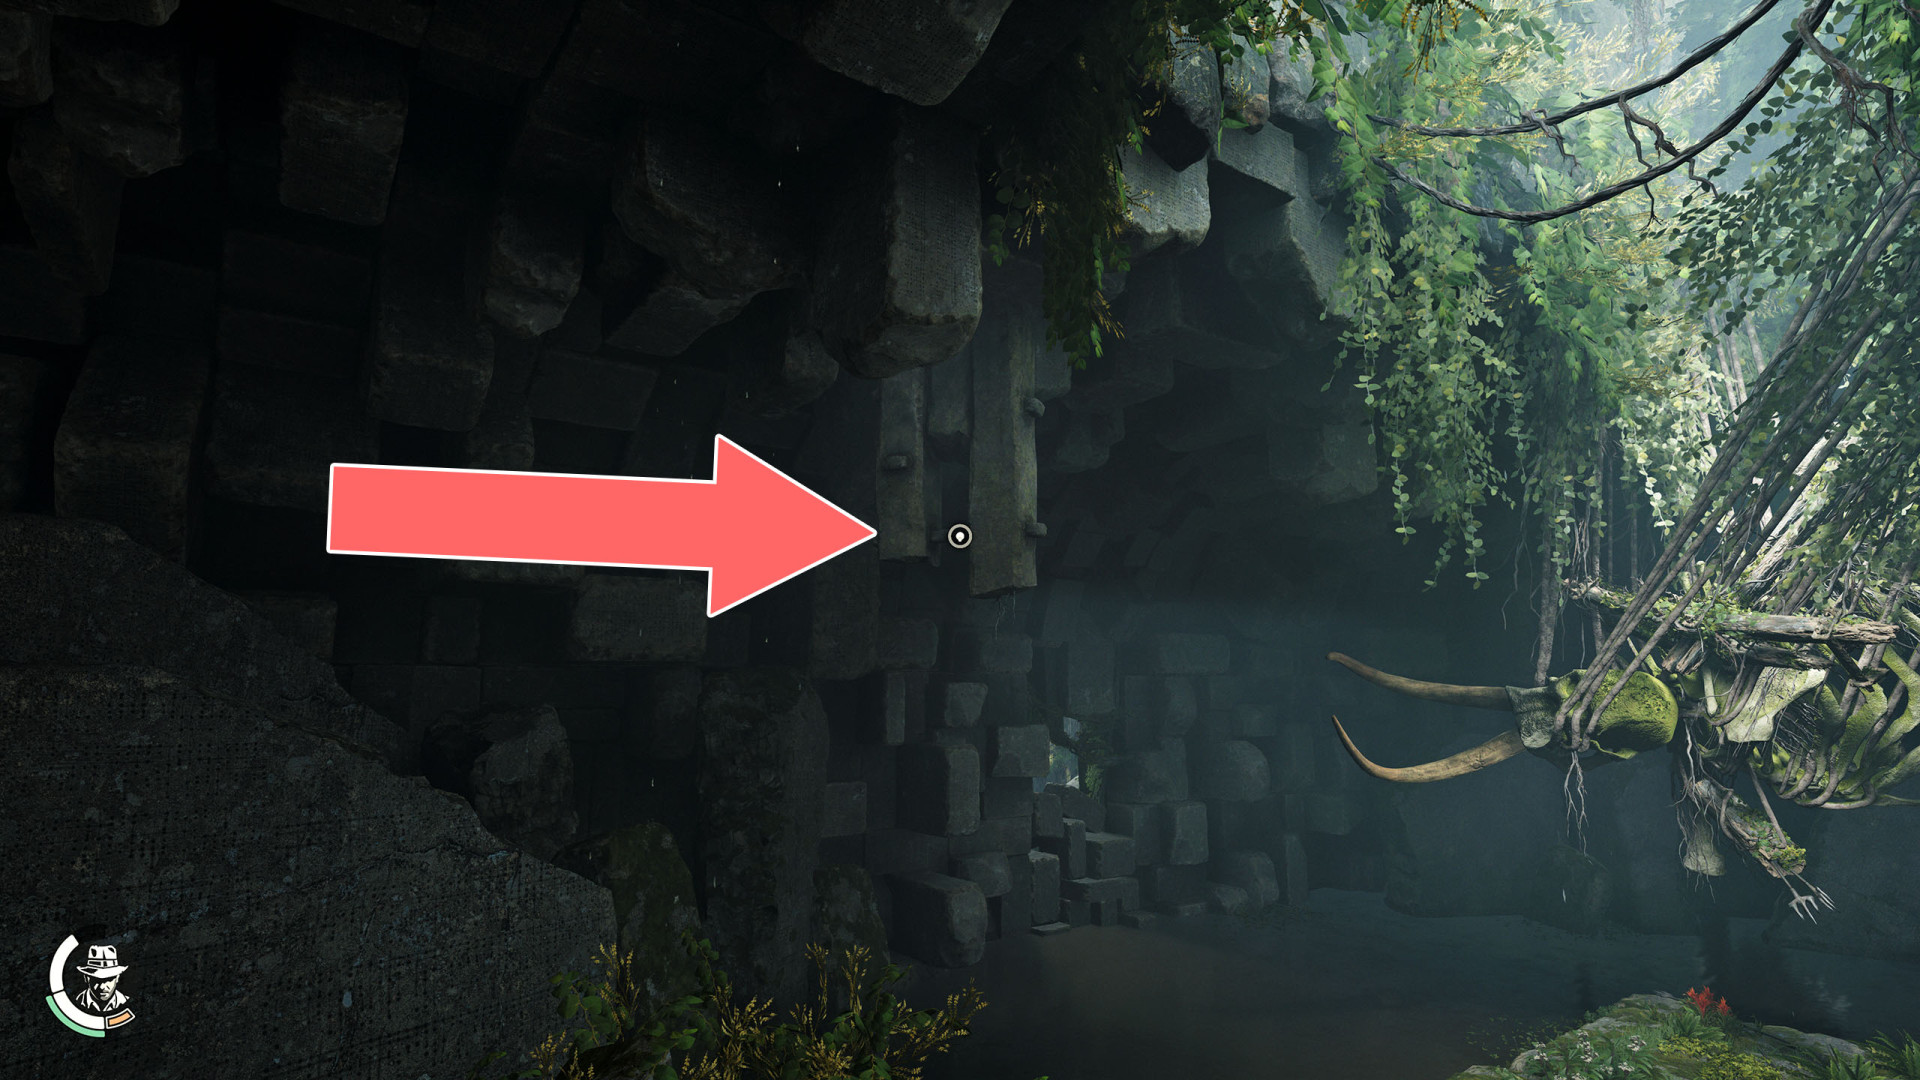
Grappling Point▶ show the map ◀
Grappling Point▶ show the map ◀
Grappling Point▶ show the map ◀
Grappling Point▶ show the map ◀
Grappling Point▶ show the map ◀
Grappling Point▶ show the map ◀
Grappling Point▶ show the map ◀
Grappling Point▶ show the map ◀
Grappling Point▶ show the map ◀
Grappling Point▶ show the map ◀
Grappling Point▶ show the map ◀
Grappling Point▶ show the map ◀
Grappling Point▶ show the map ◀
Grappling Point▶ show the map ◀
Grappling Point▶ show the map ◀
Grappling Point▶ show the map ◀
Grappling Point▶ show the map ◀
Grappling Point▶ show the map ◀
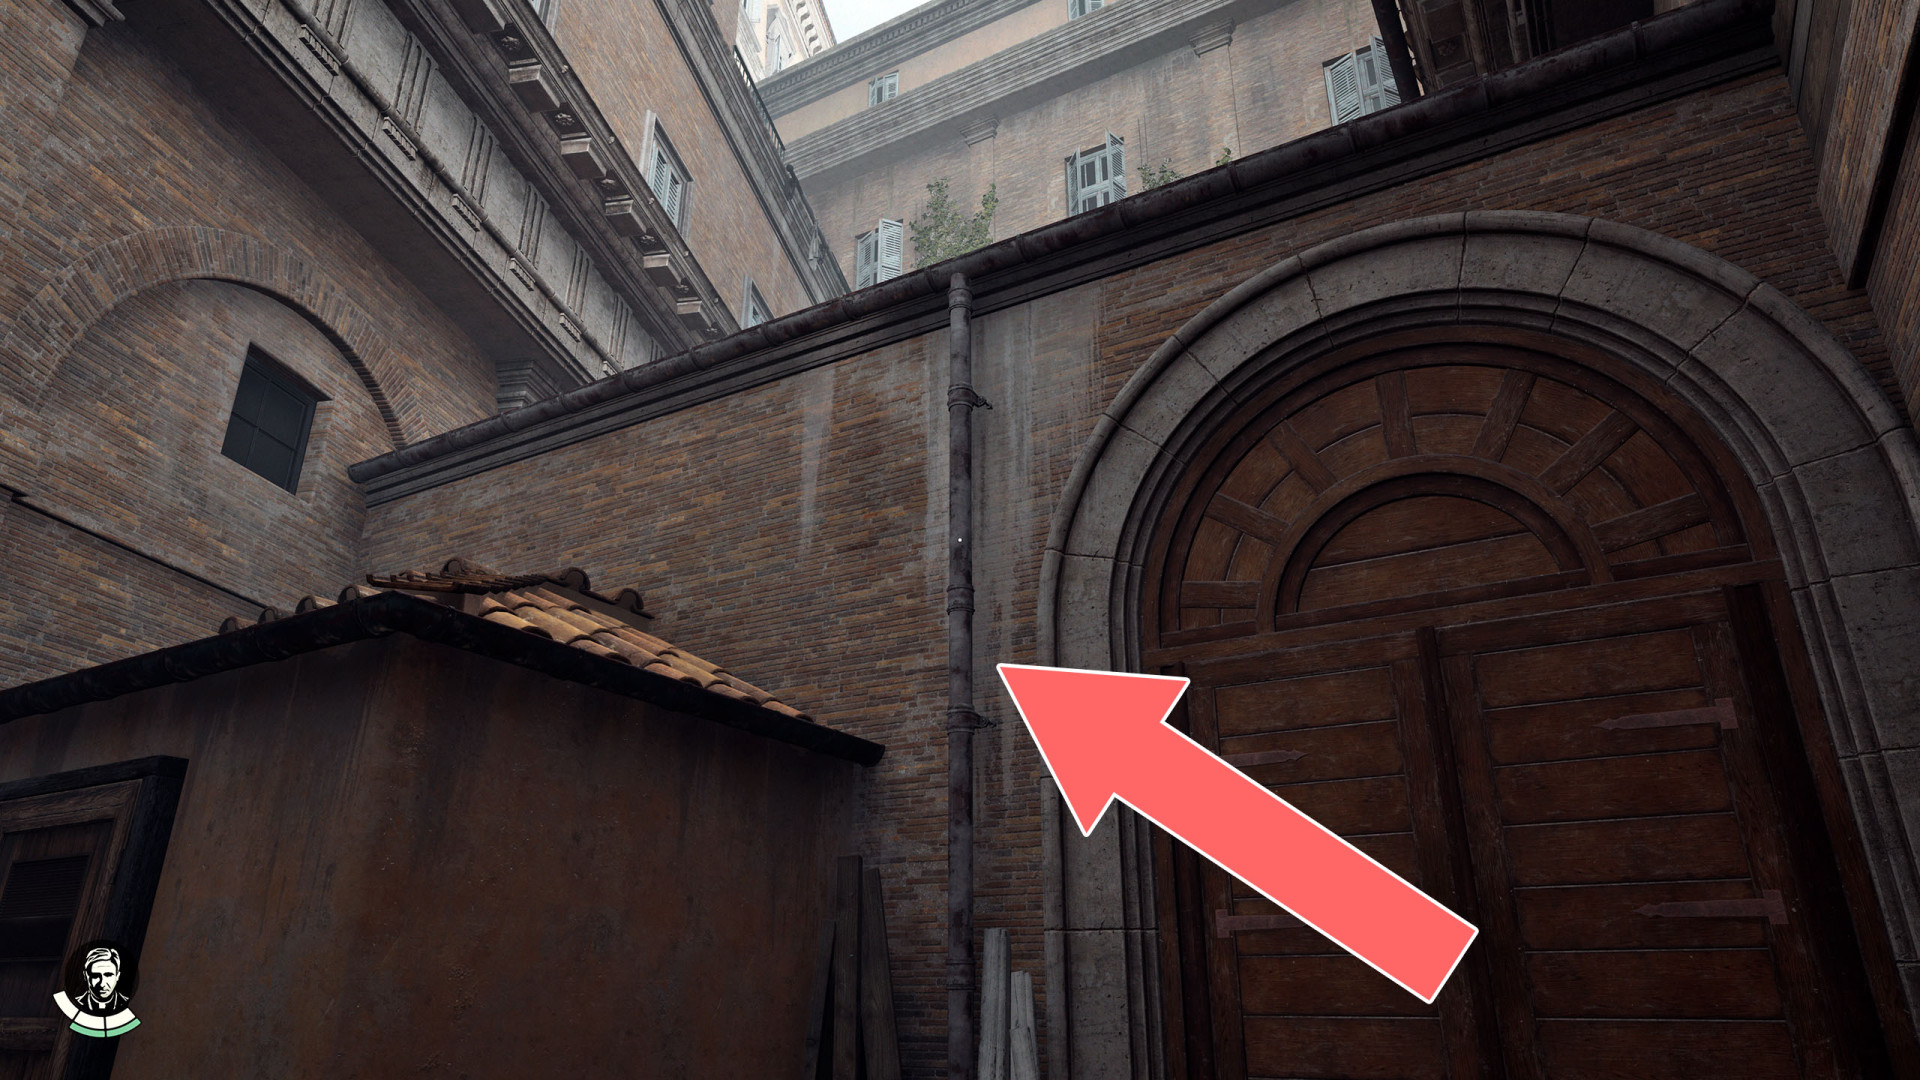
Grappling Point & Drainpipe▶ show the map ◀
Grappling Point & Hole▶ show the map ◀

Grappling Point x 2▶ show the map ◀
Grappling Point x 2▶ show the map ◀
Grappling Point x 2▶ show the map ◀
Grappling Point x 2▶ show the map ◀
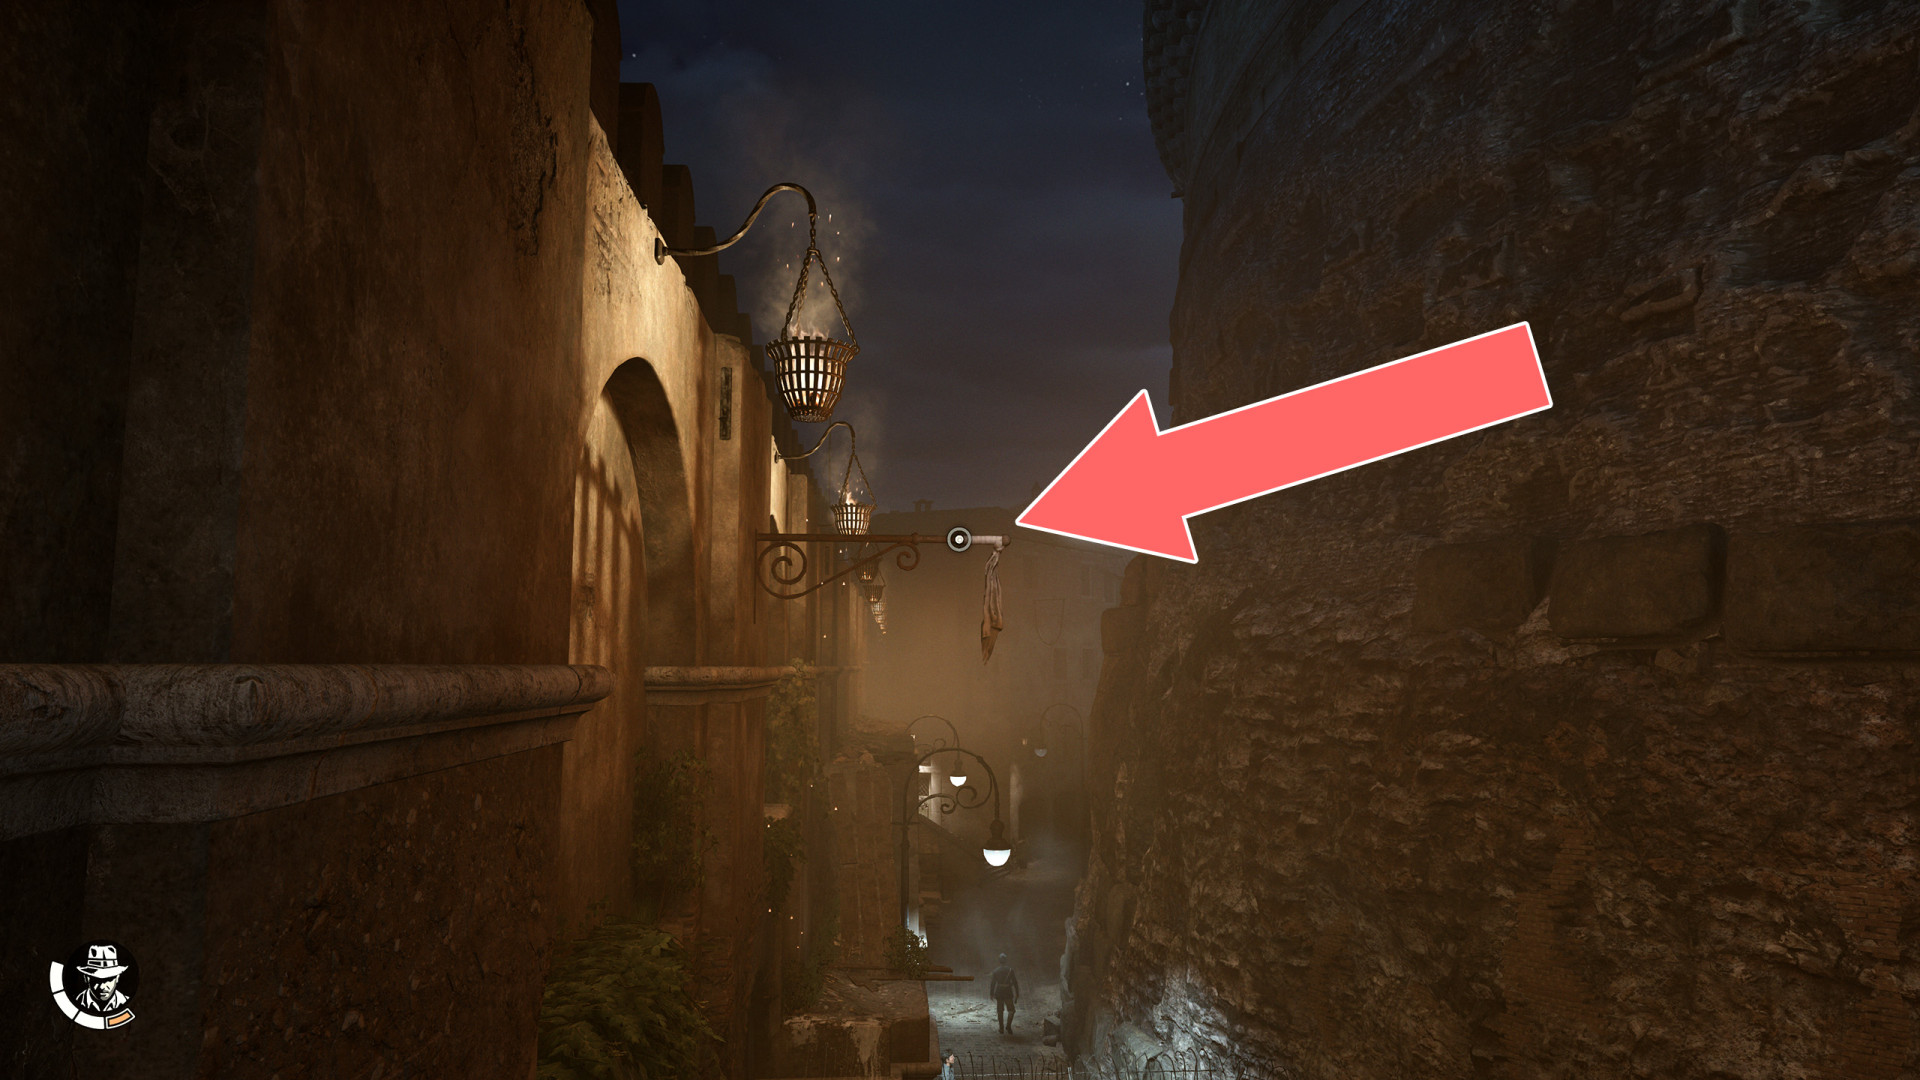
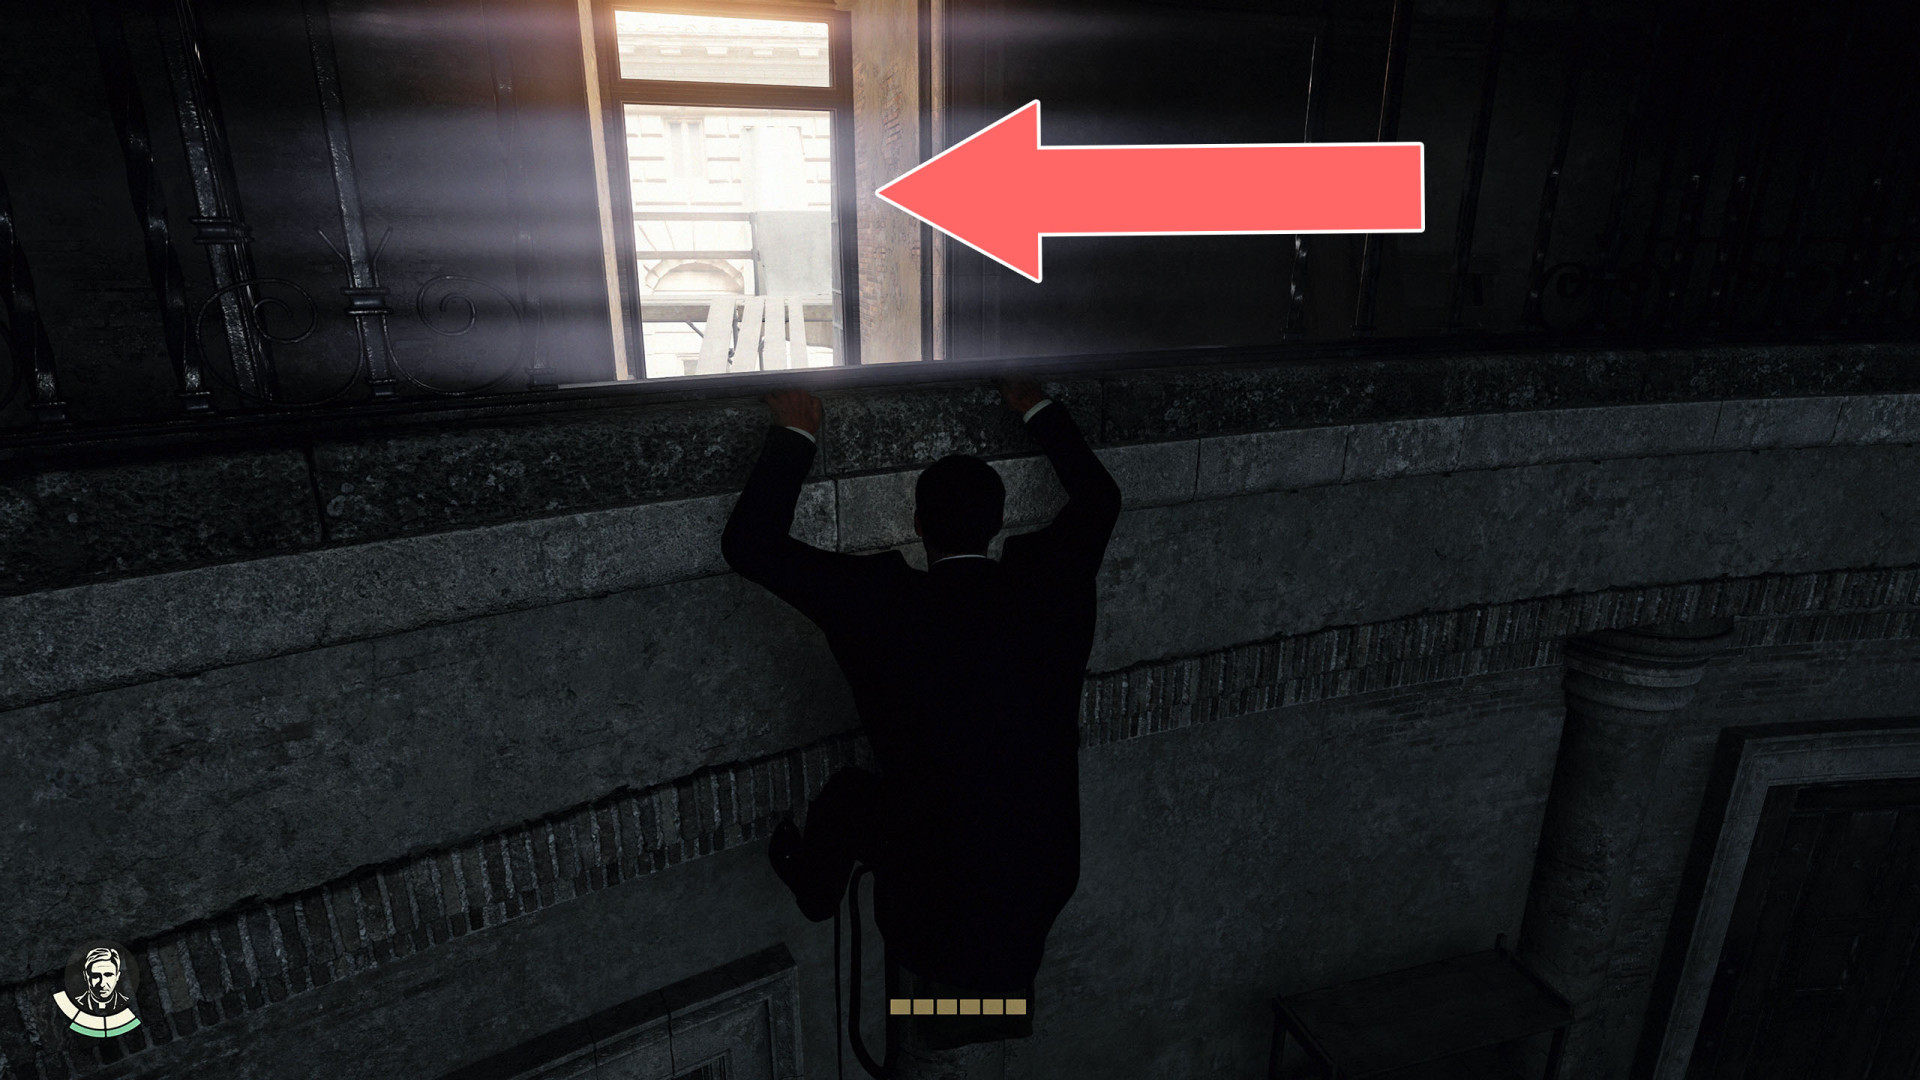
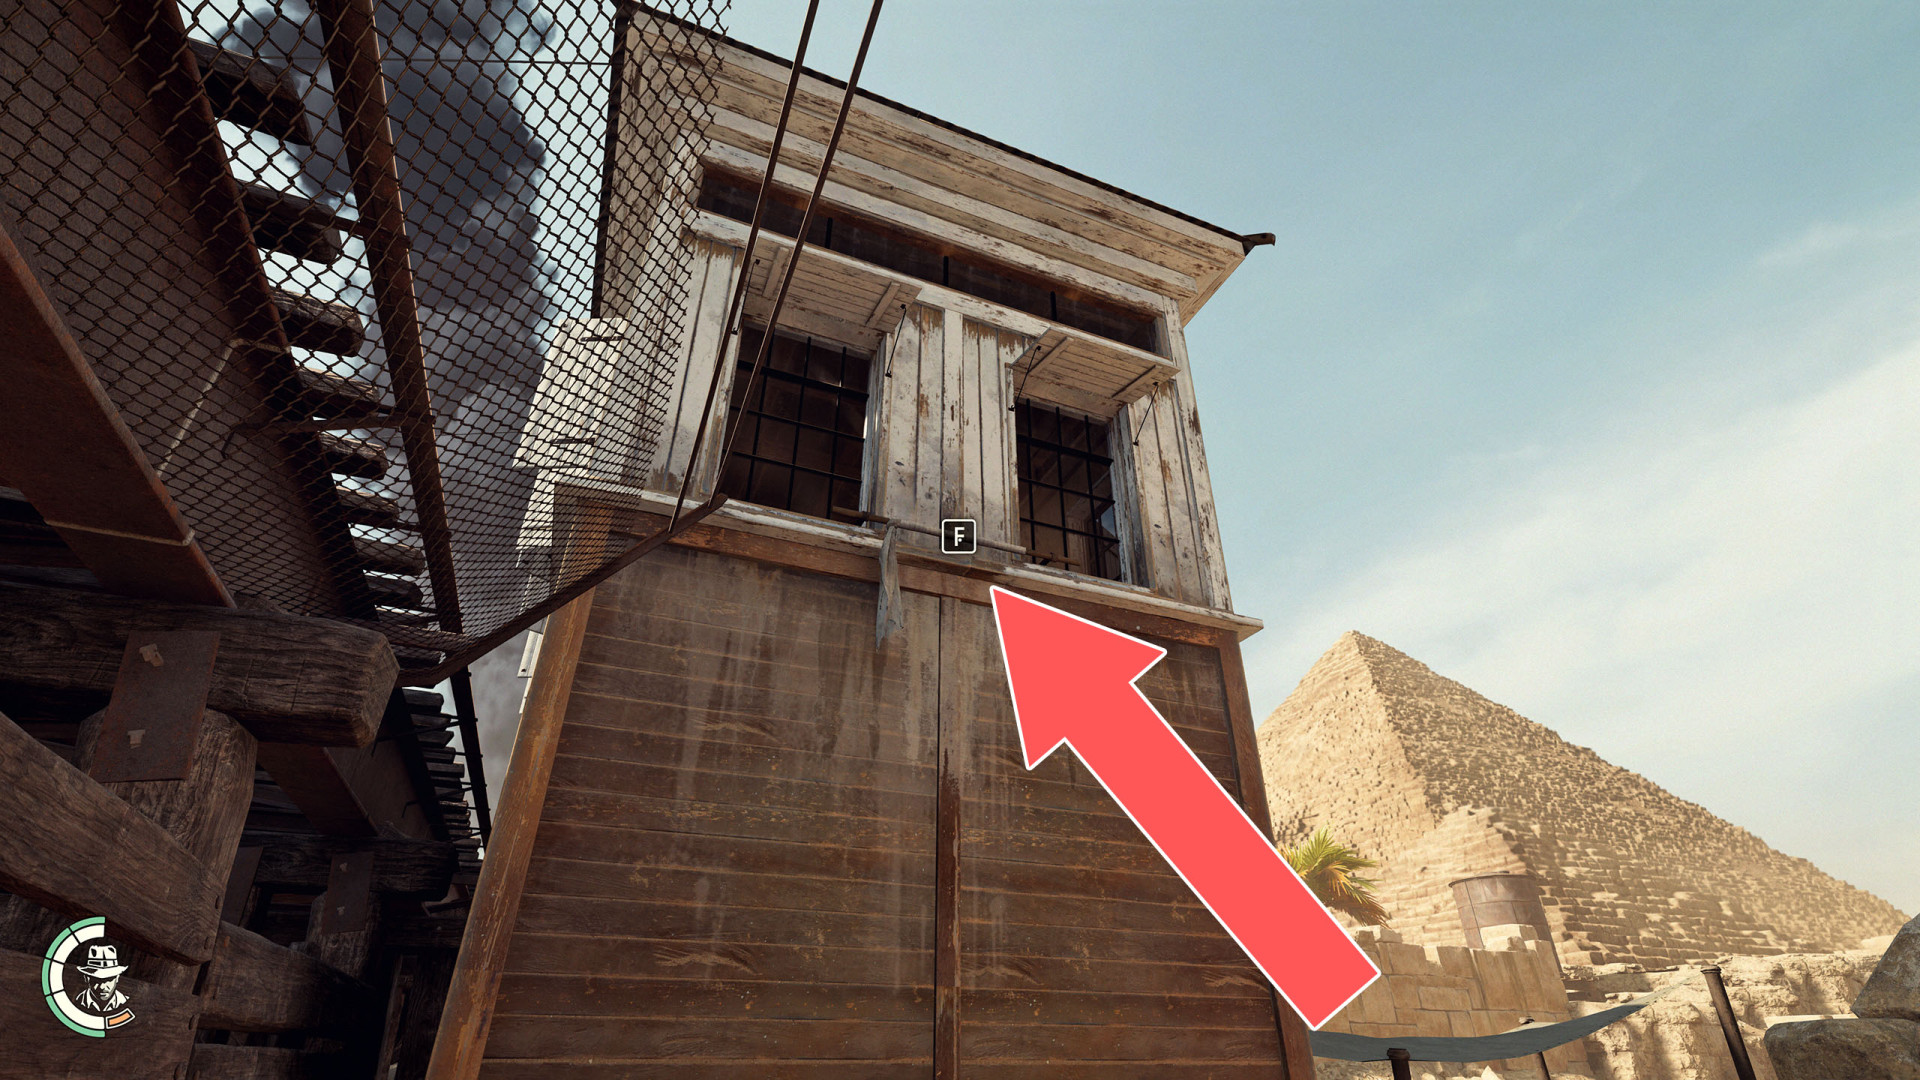
Guard House Window▶ show the map ◀
Through this window you can access the guard house from the ramparts.
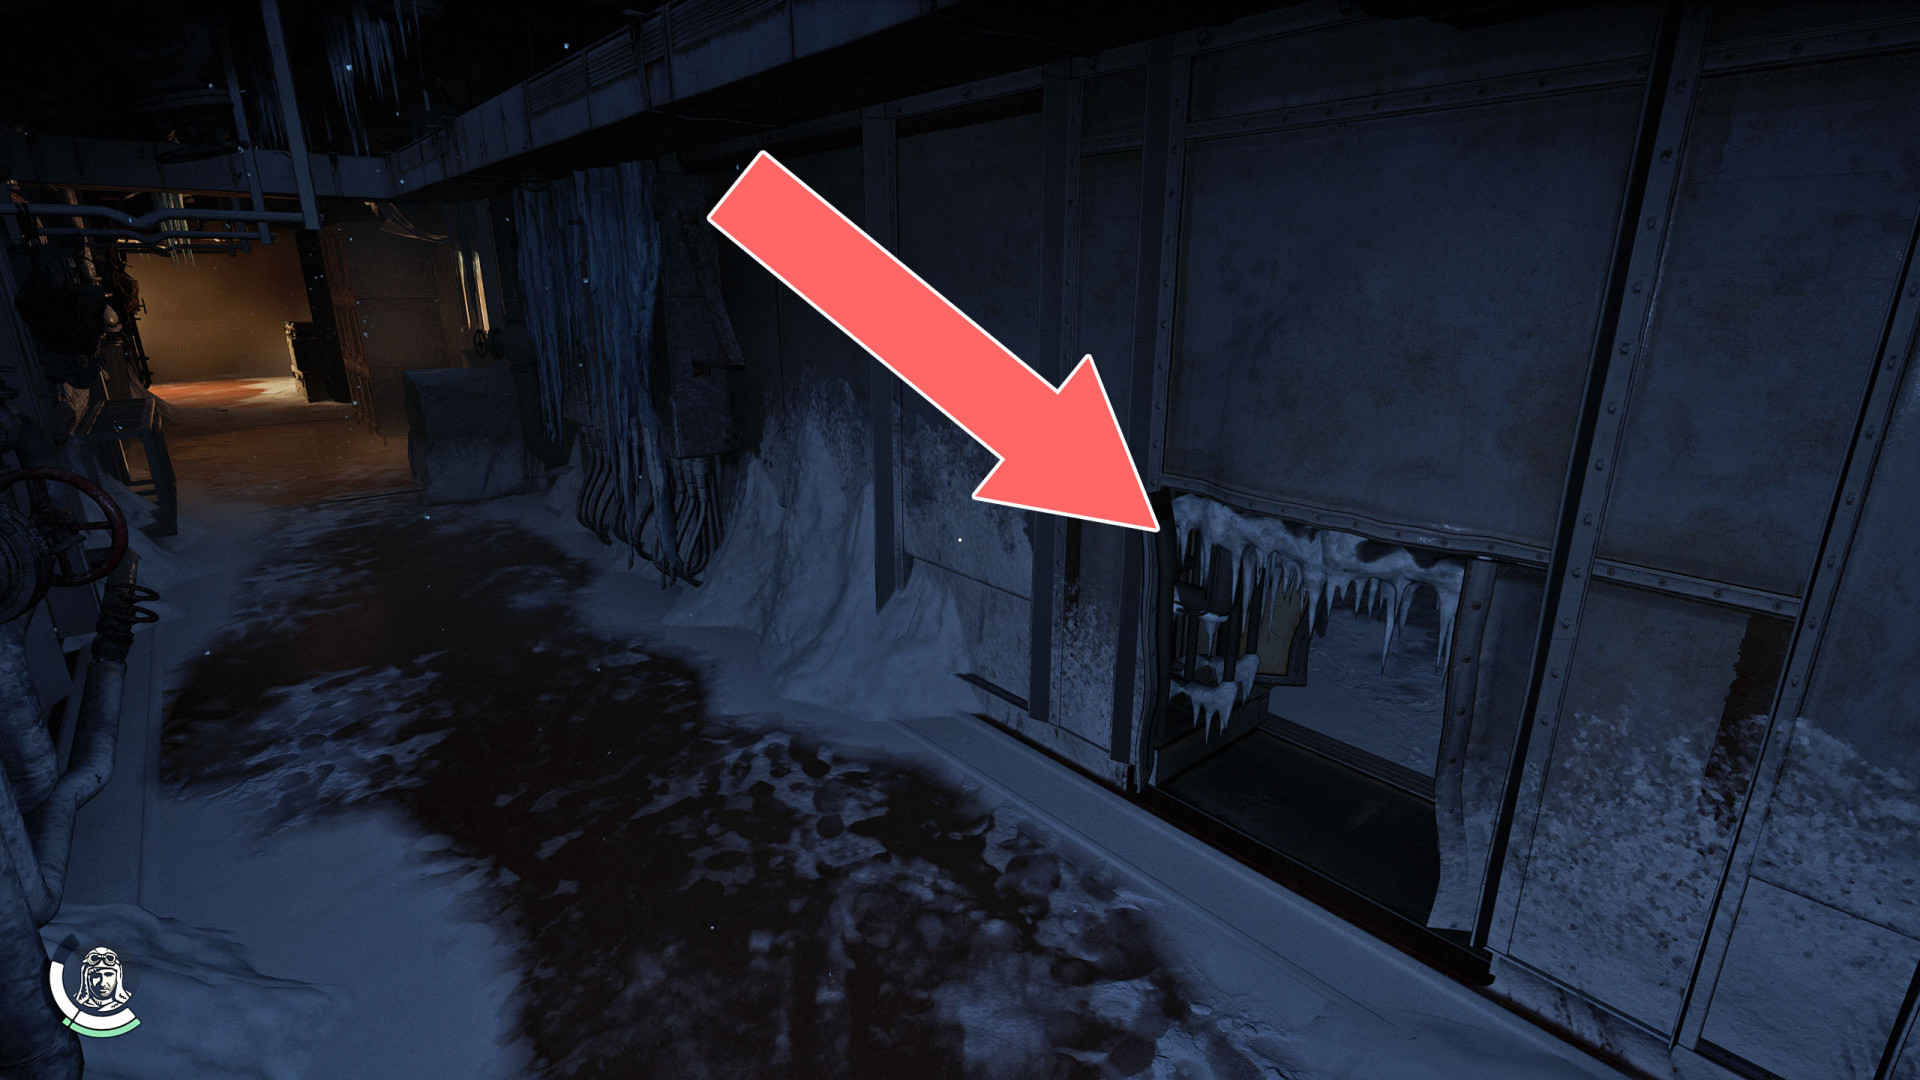
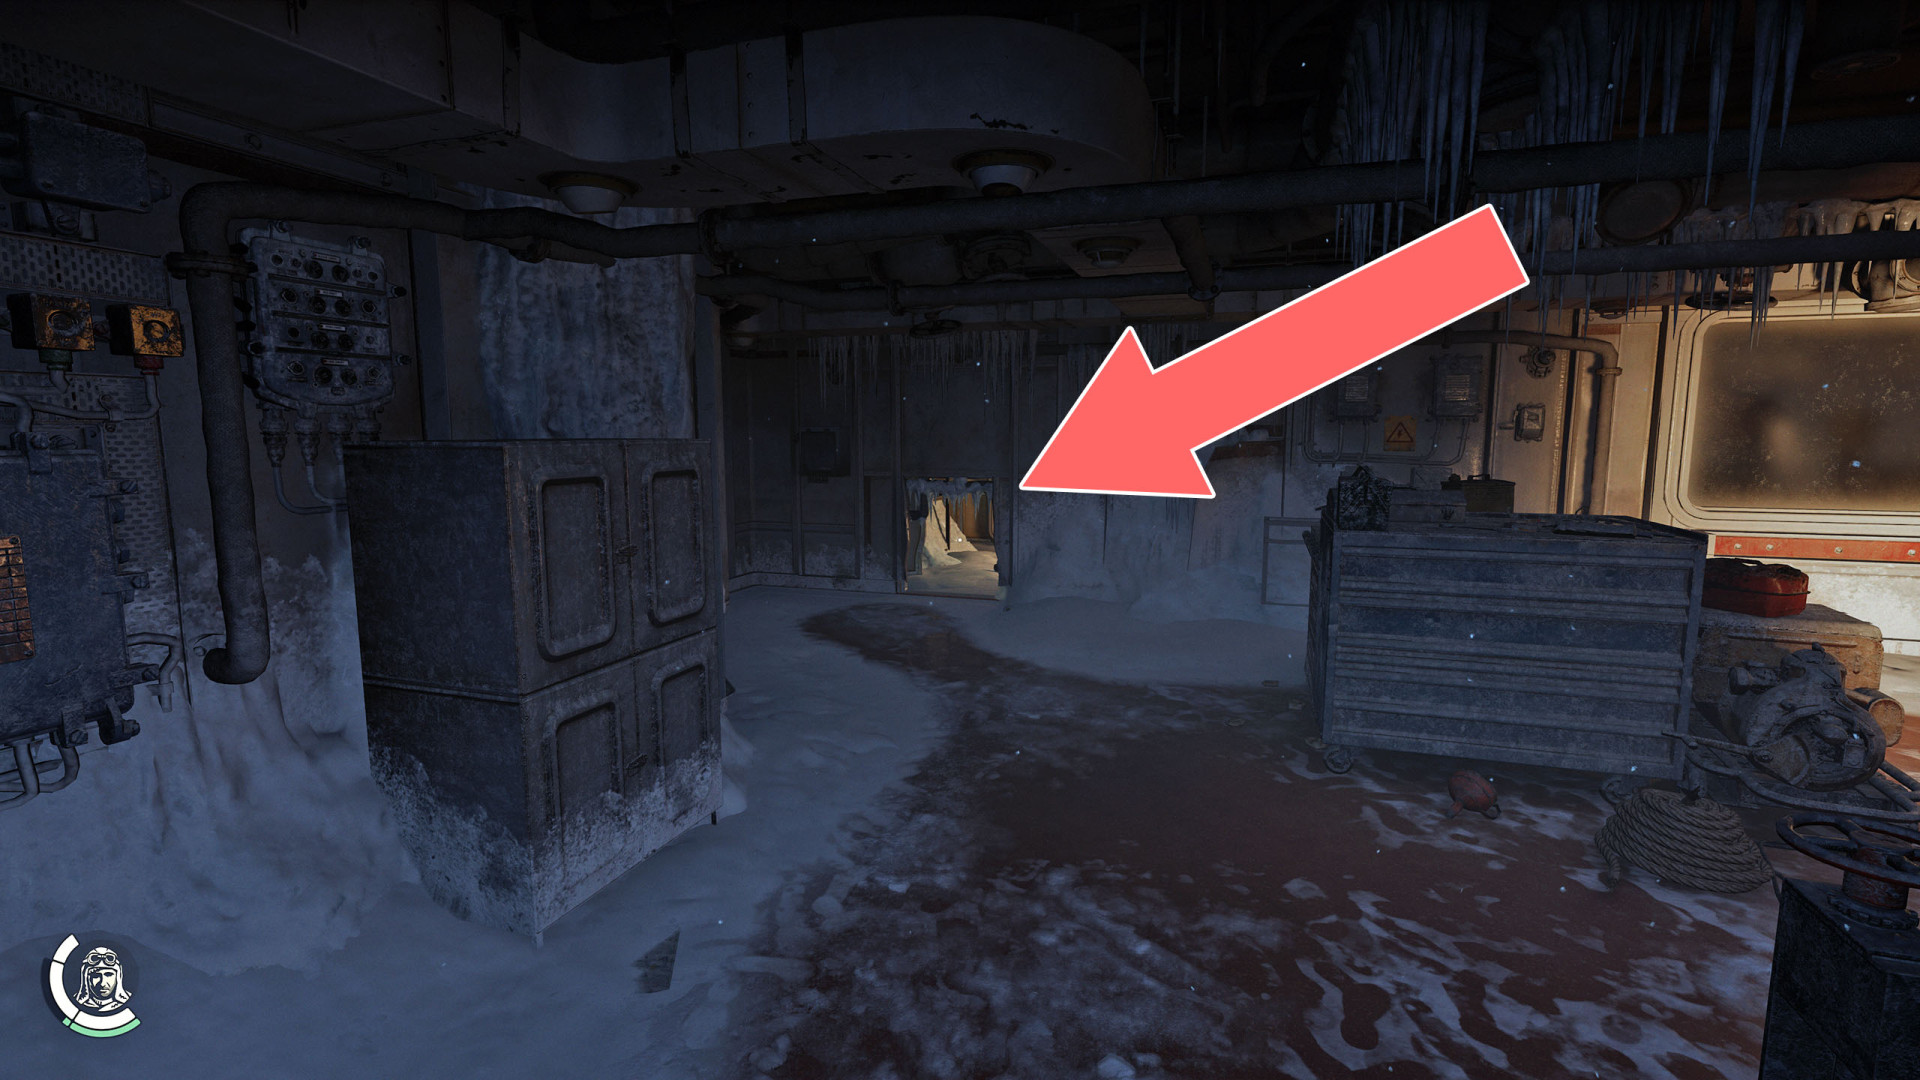
Hole▶ show the map ◀

Hole▶ show the map ◀
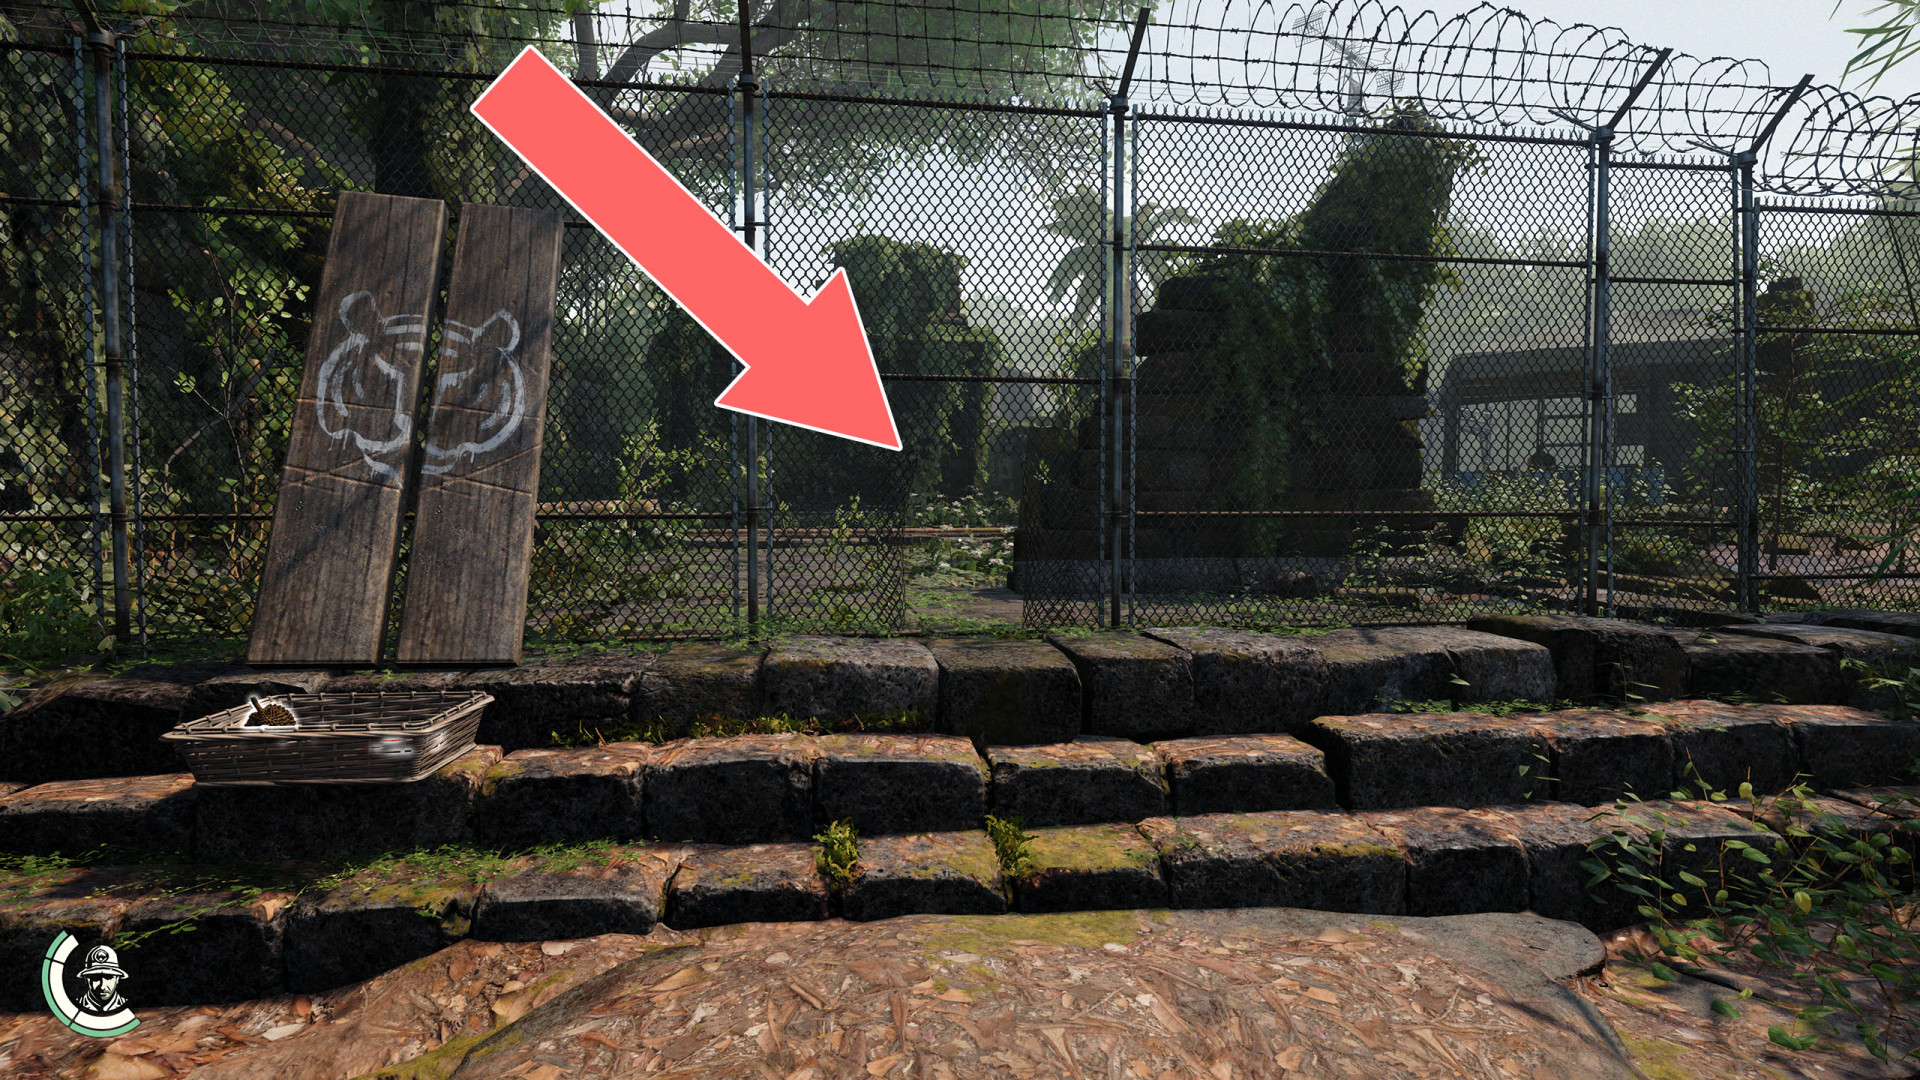
Hole in the Fence▶ show the map ◀
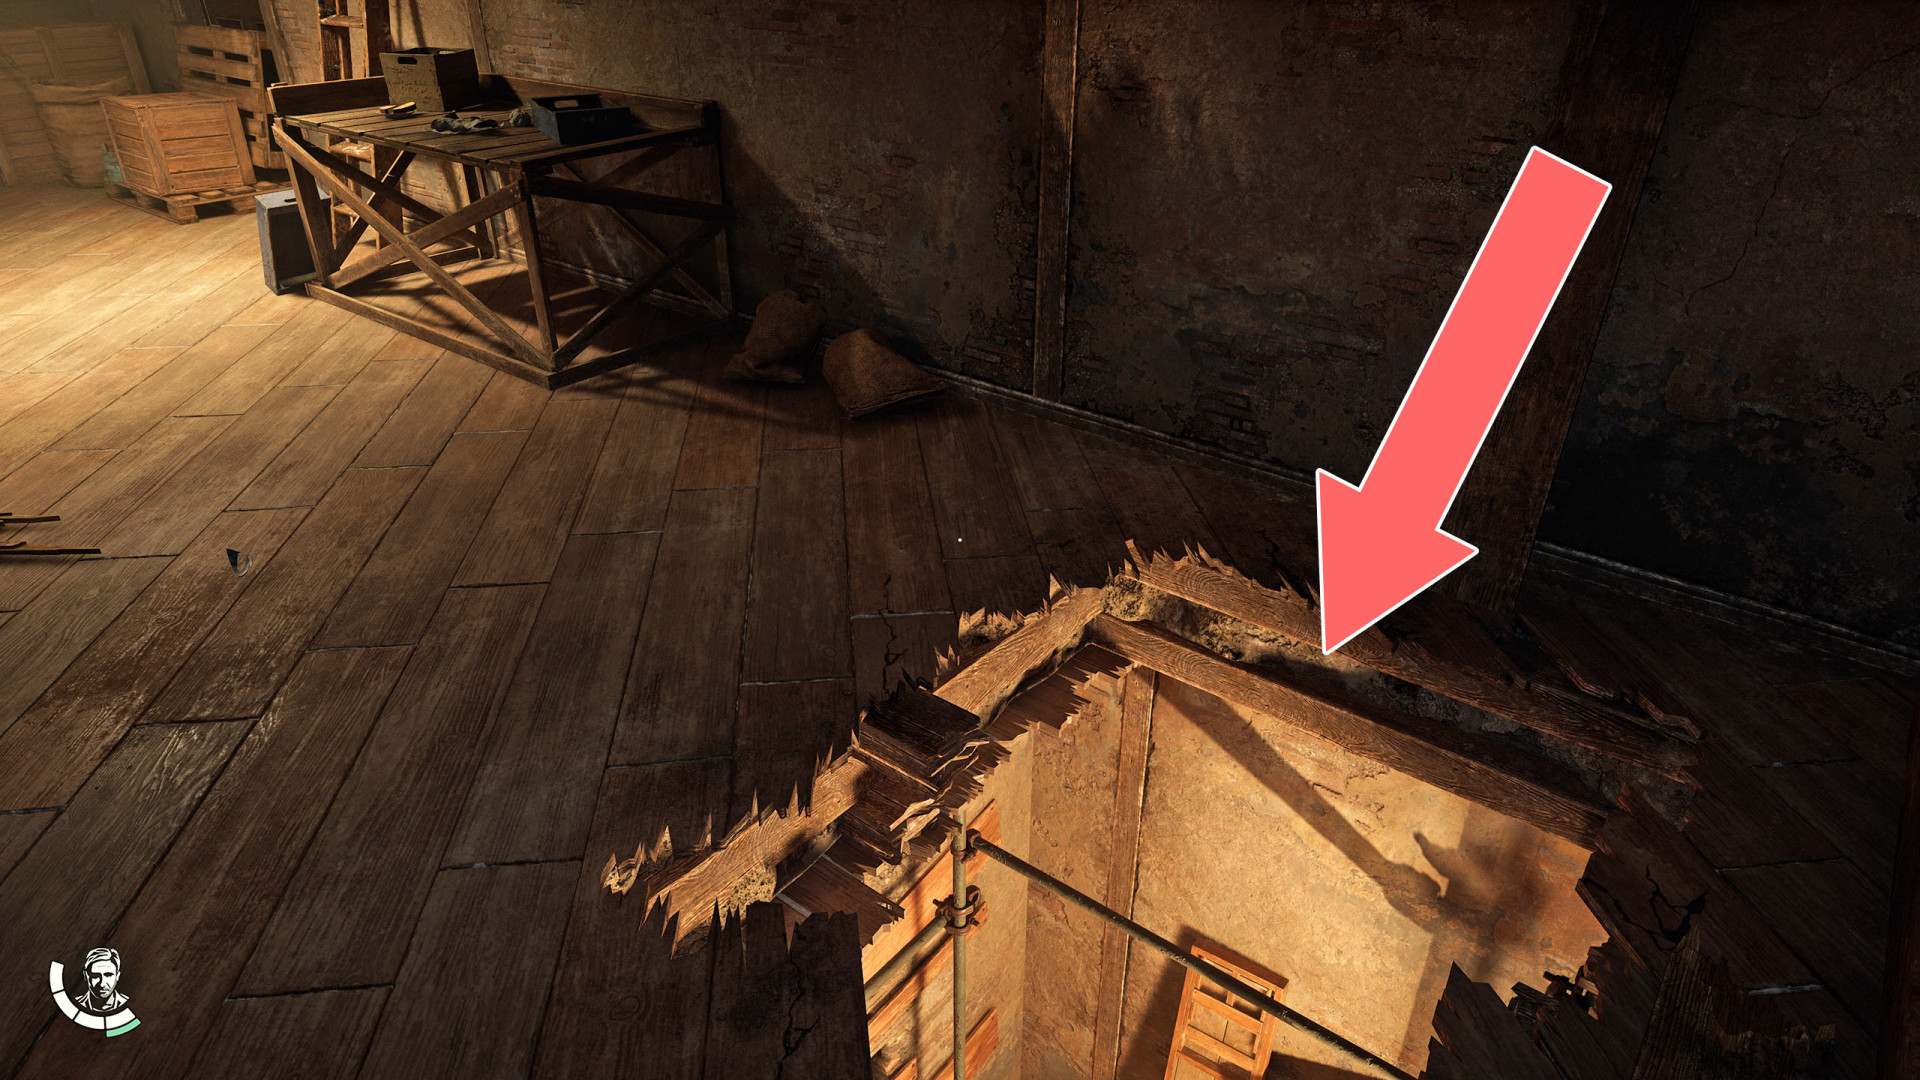
Hole in the Floor▶ show the map ◀

Hole in the Floor▶ show the map ◀
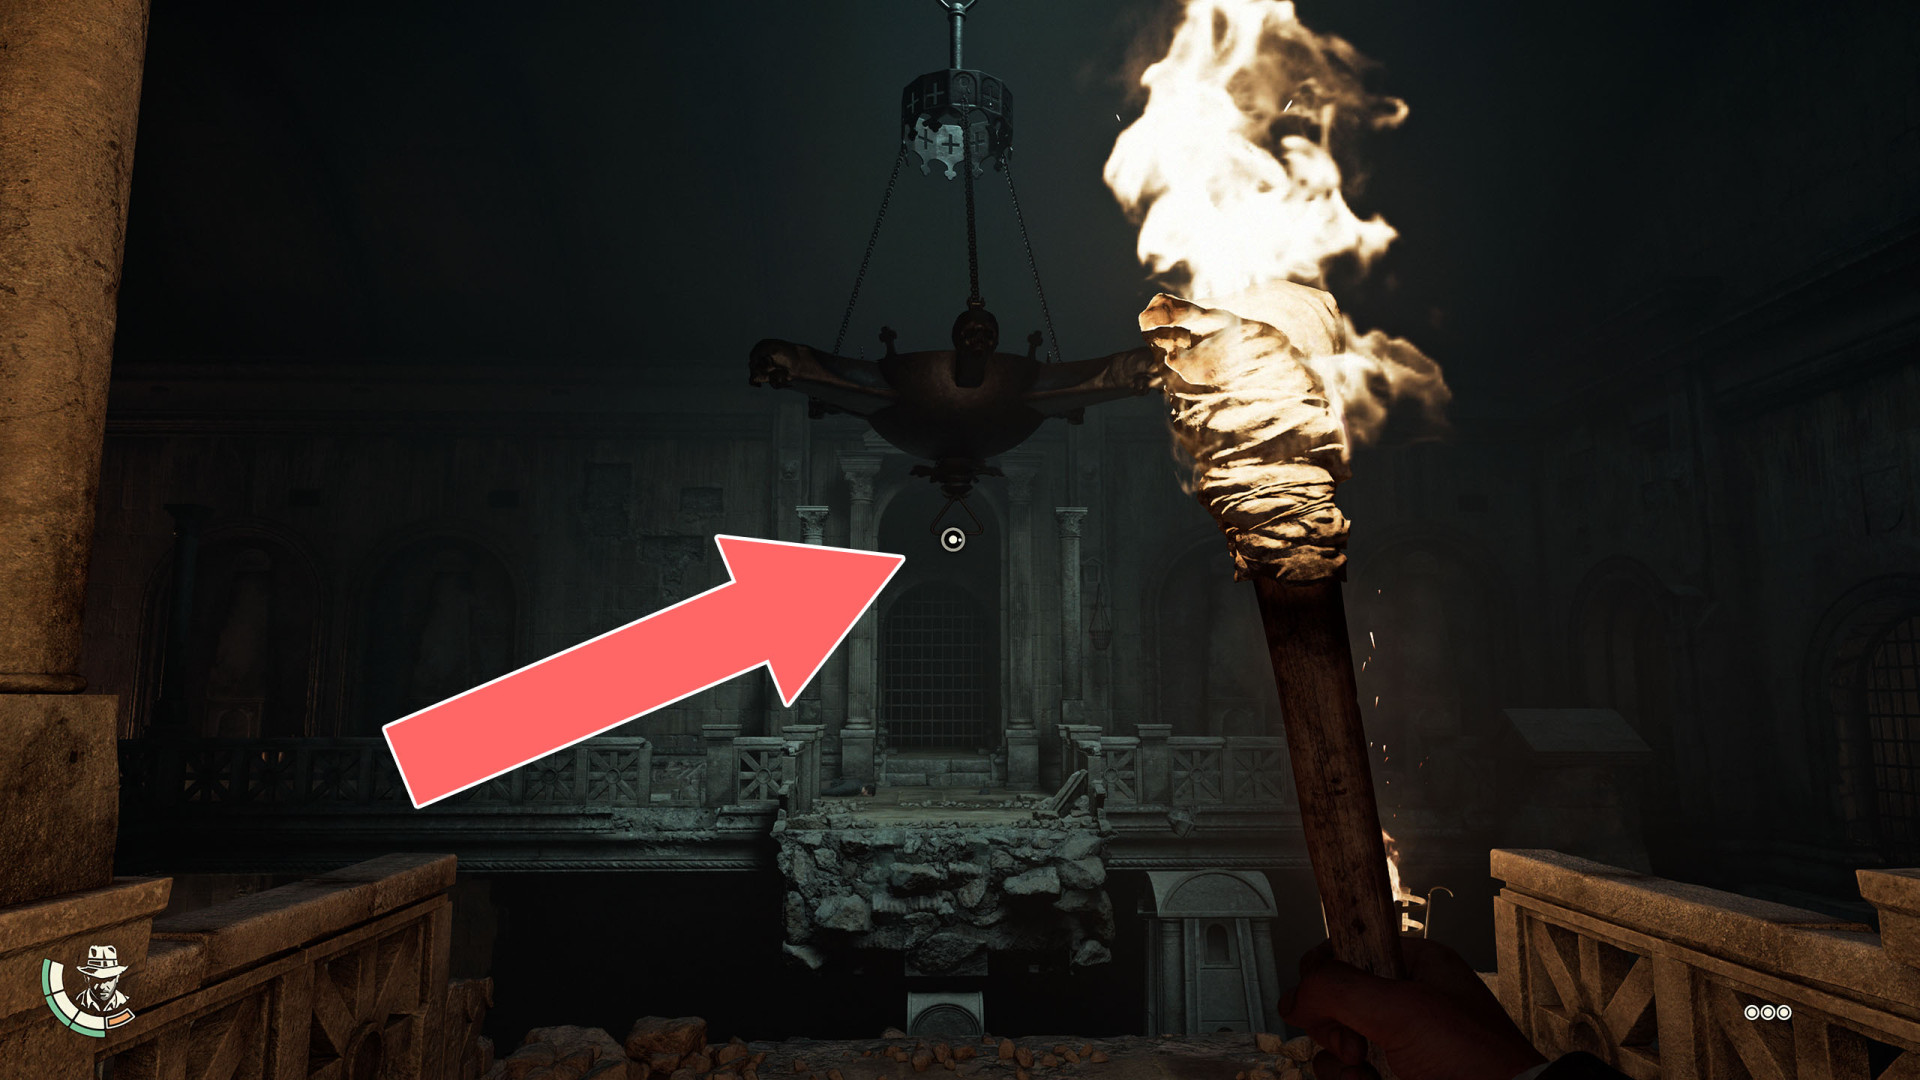
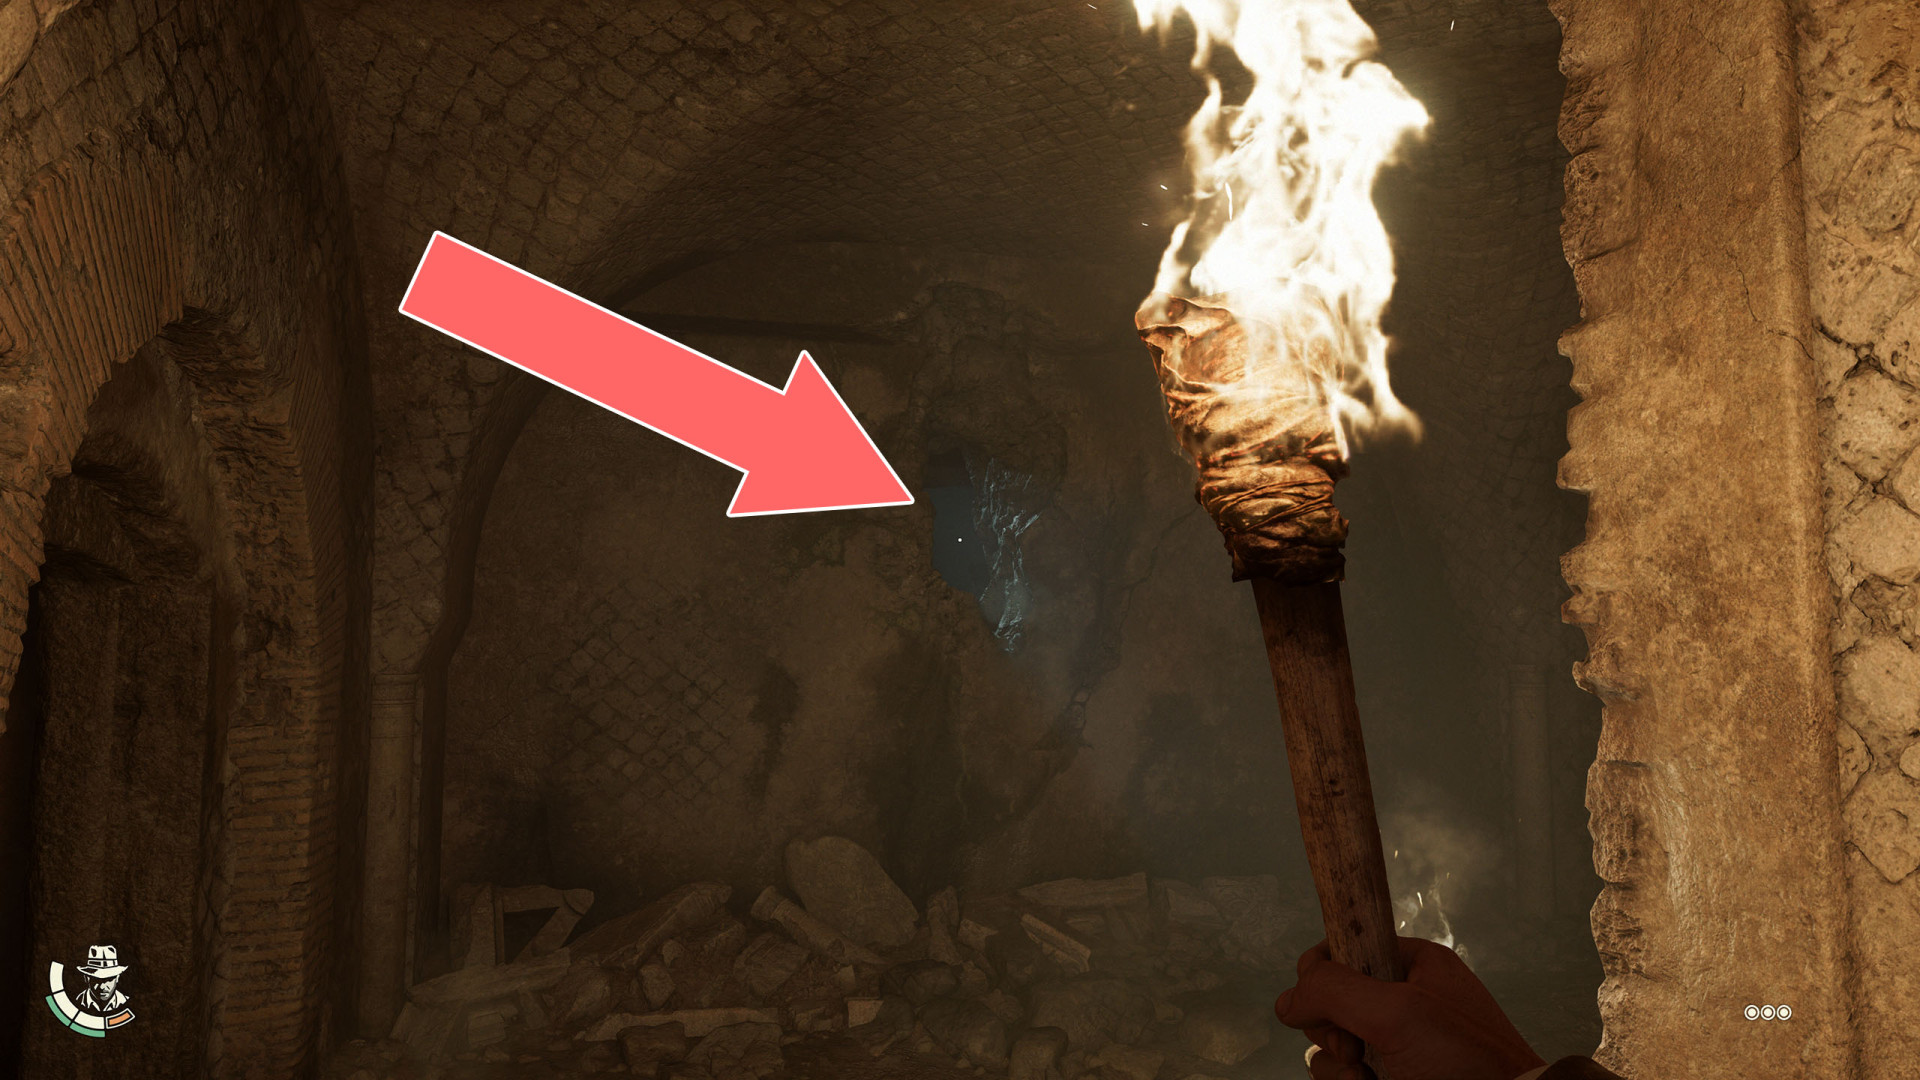
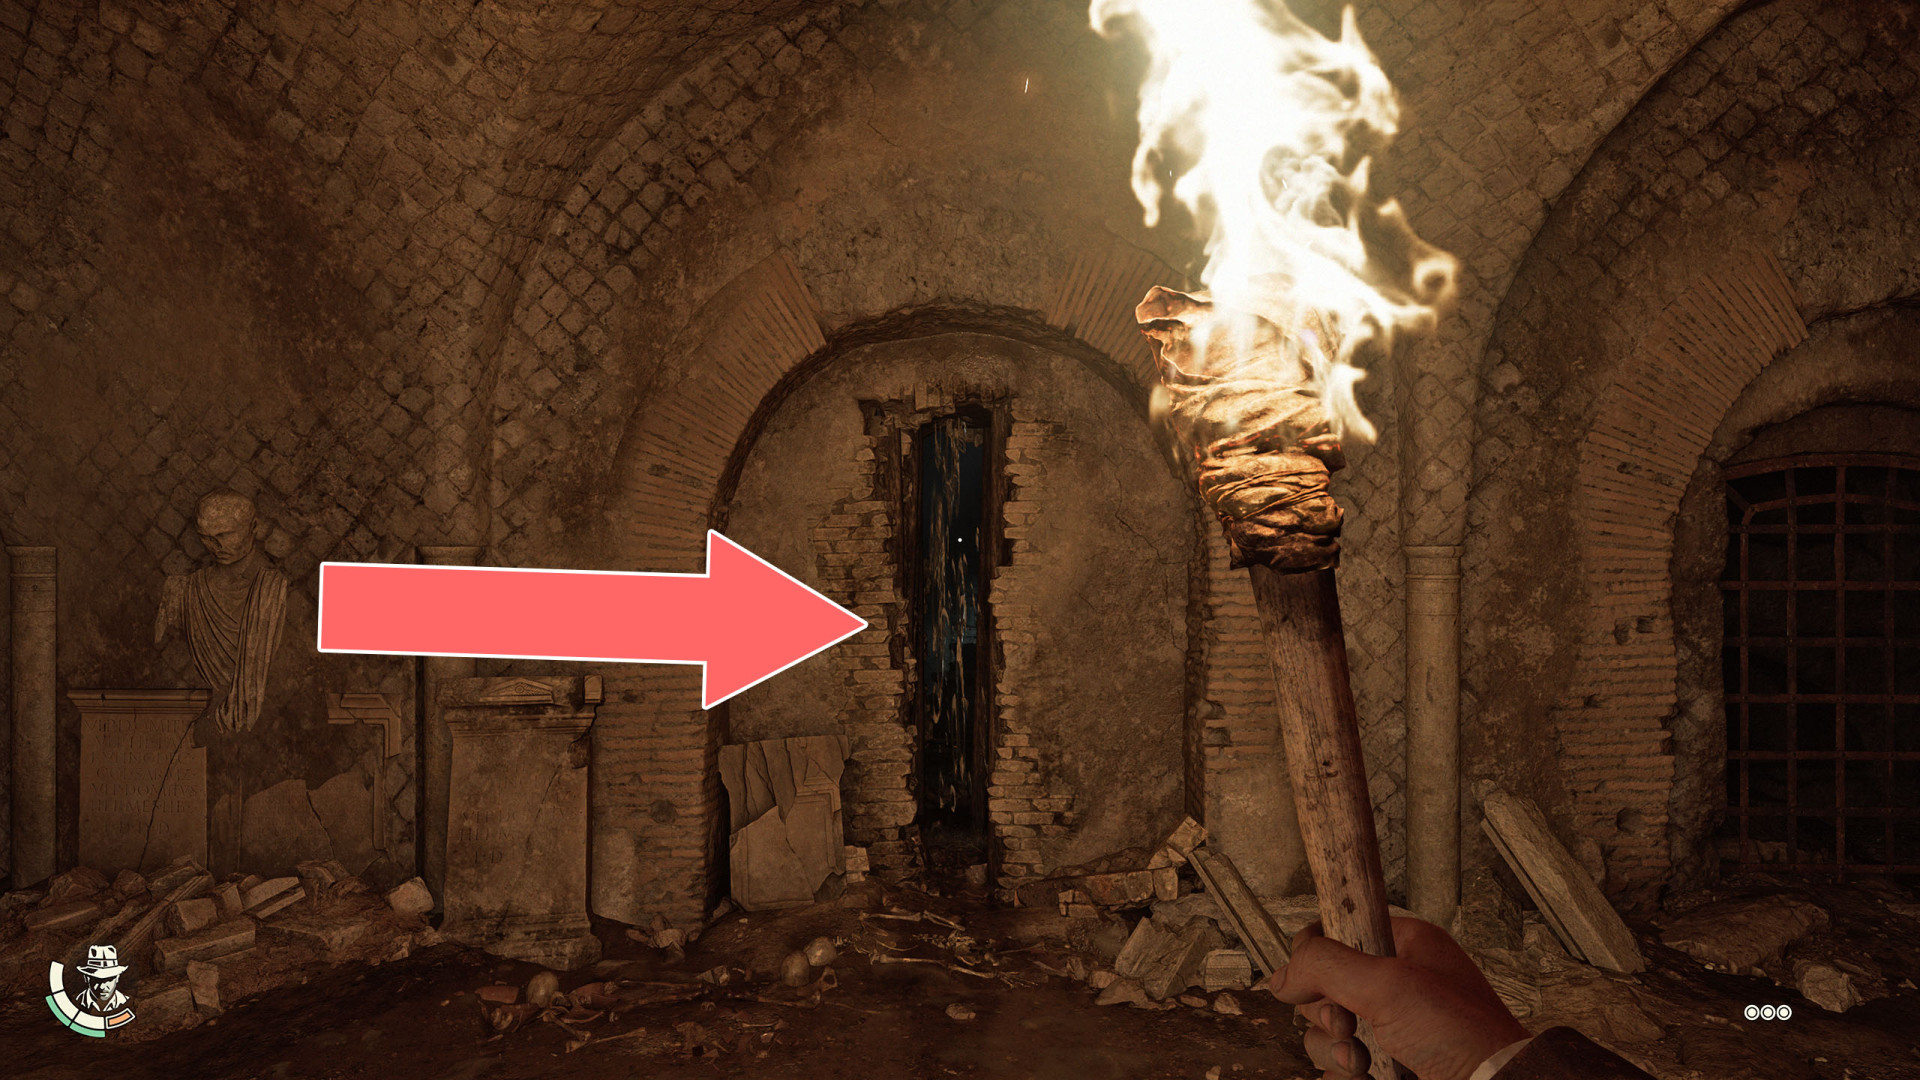
Hole in the Wall▶ show the map ◀
Through this hole you can throw a torch into the room on the other side. The torch will not go out so you will be able to use it to burn down the Burnable Door.
Lower Necropolis Starting Point▶ show the map ◀
This is where you will end up after destroying the Tomb of a Giant Warrior.
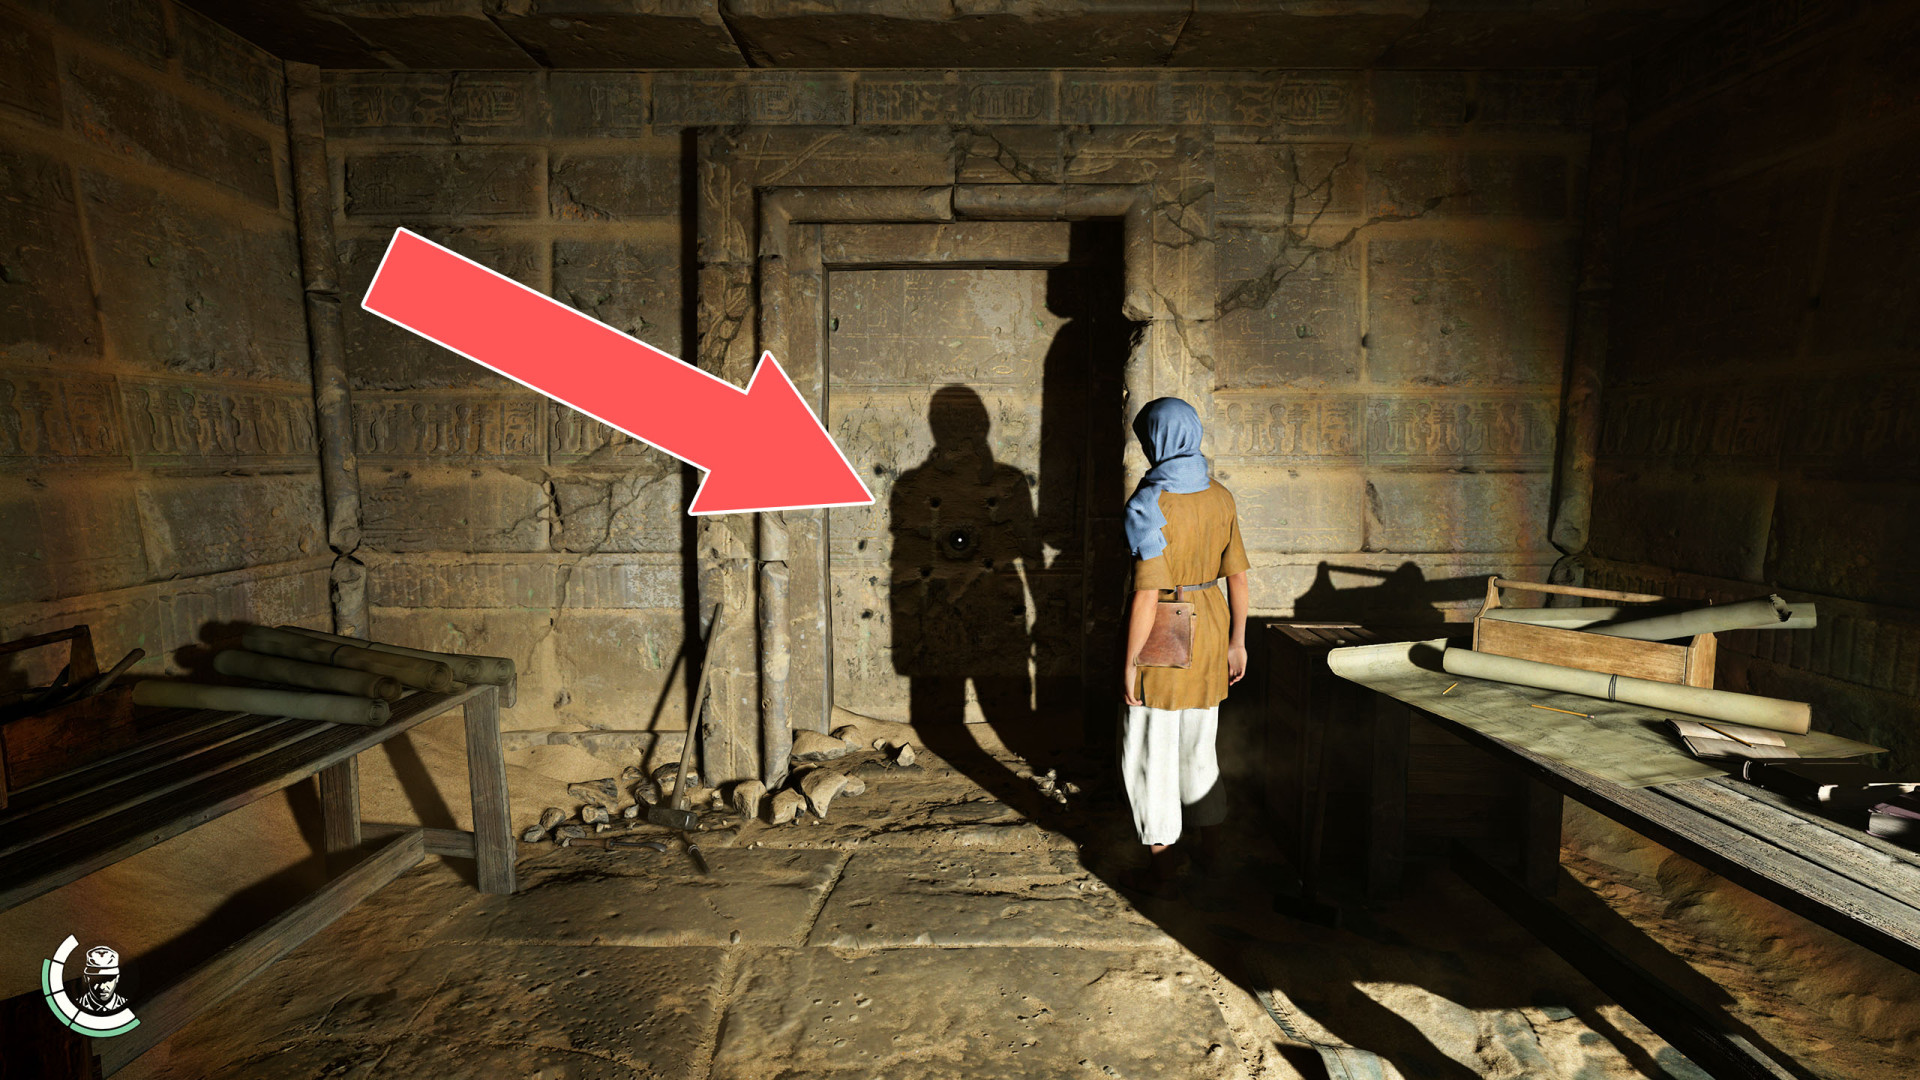
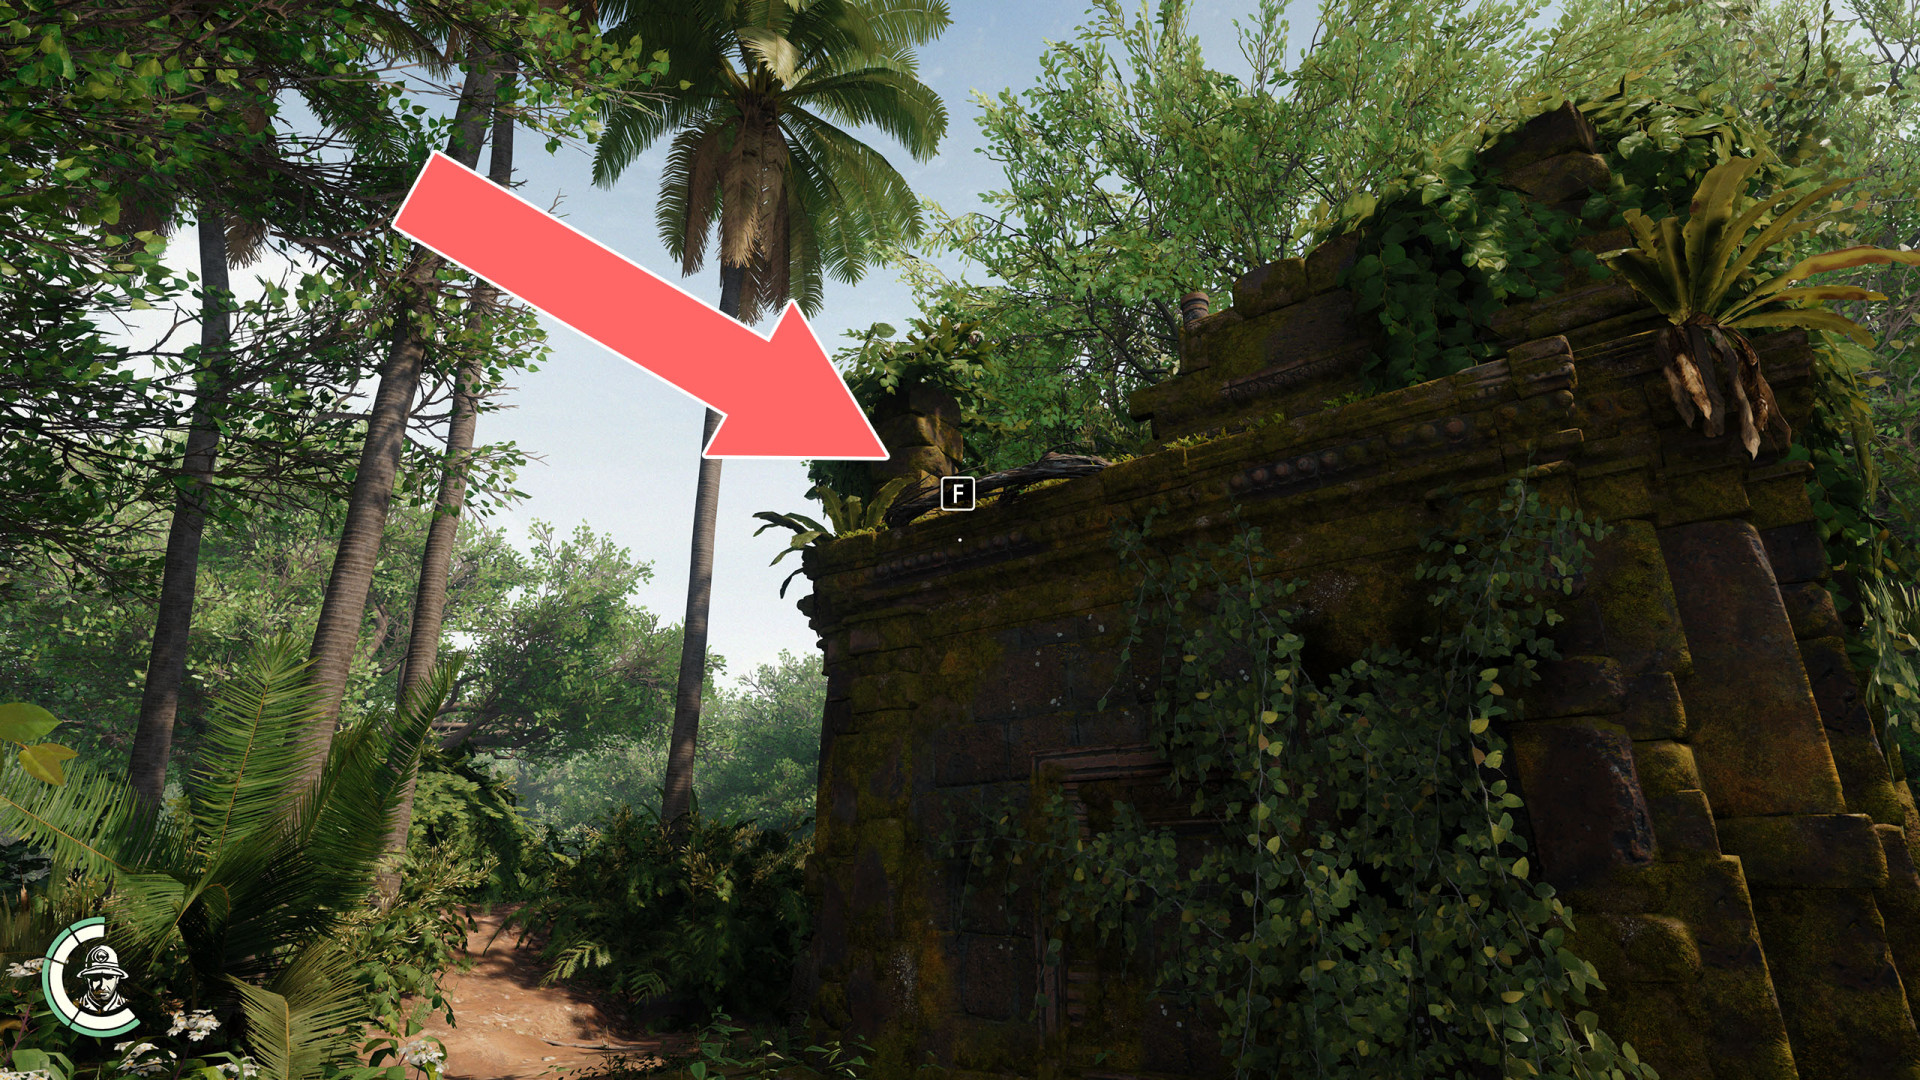
Museum Entrance▶ show the map ◀
Museum Window▶ show the map ◀
Open Windows▶ show the map ◀
Post Office Window▶ show the map ◀
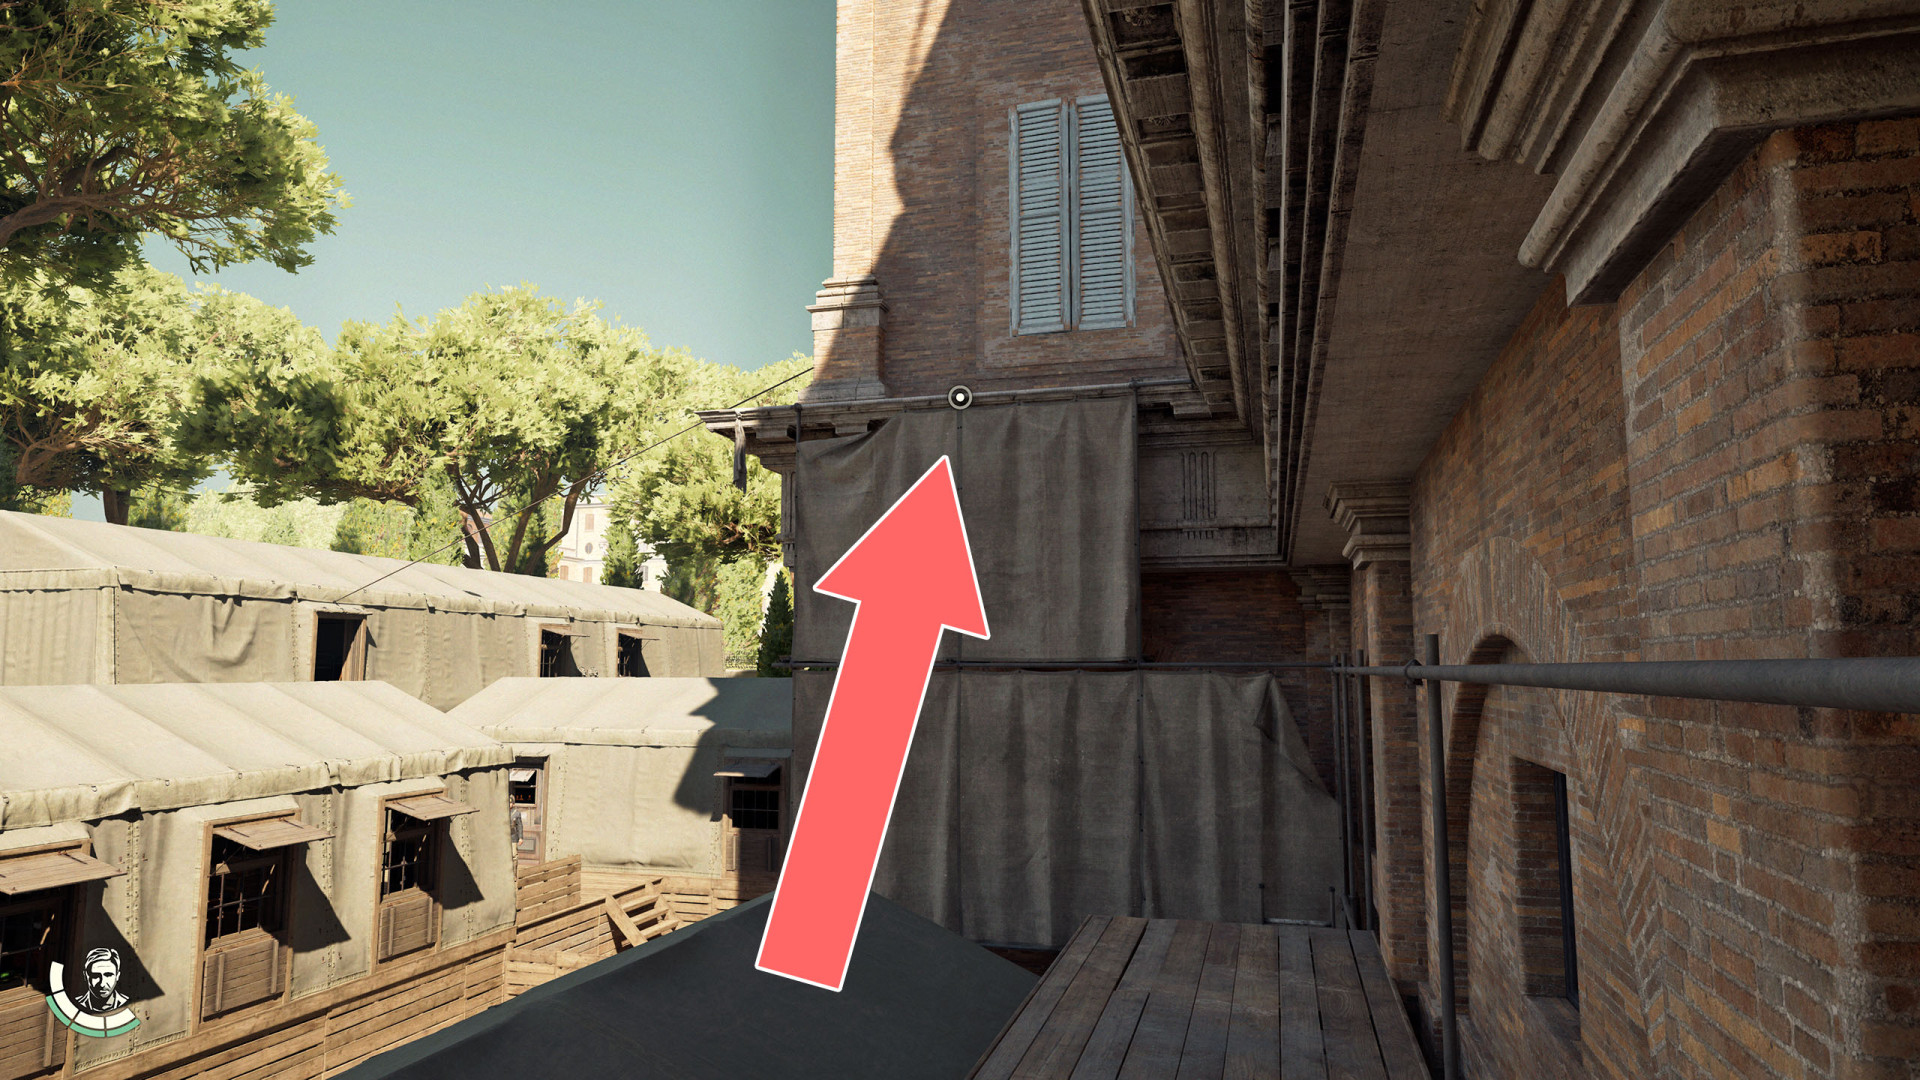
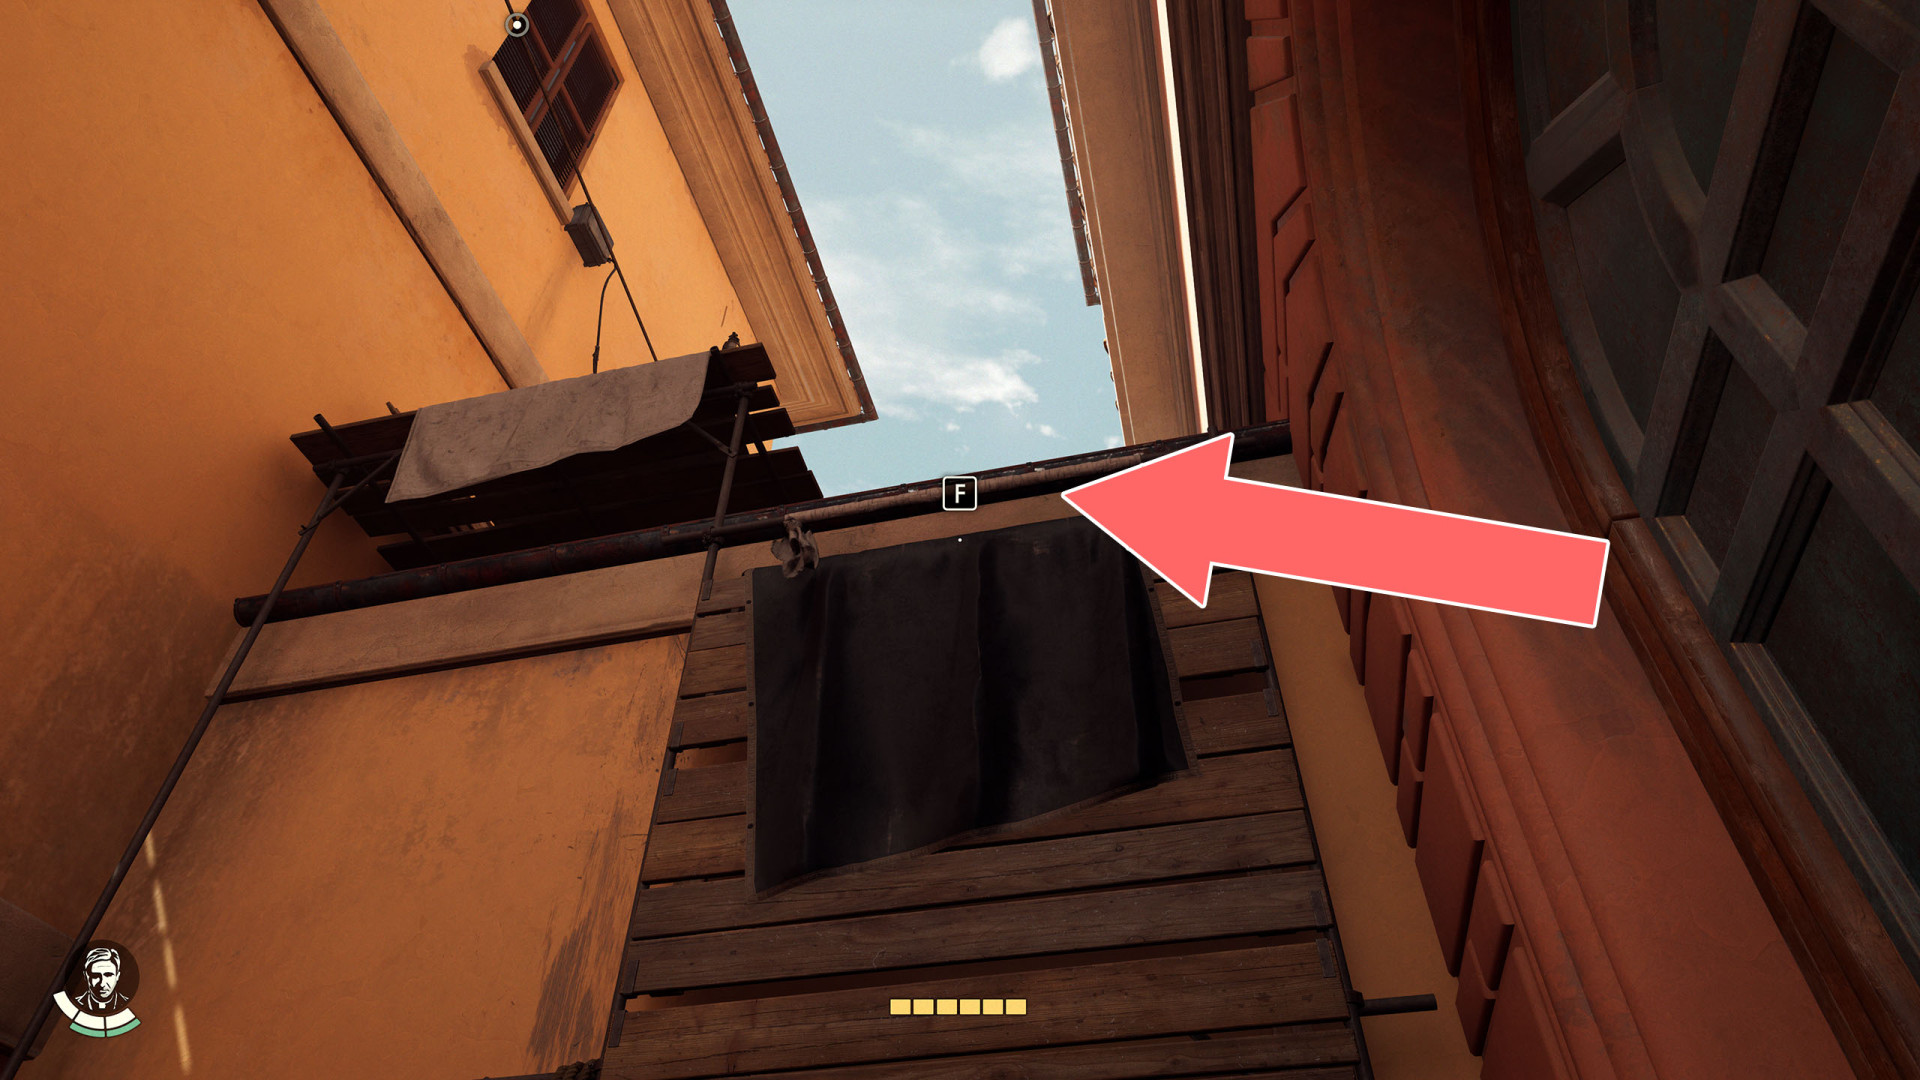
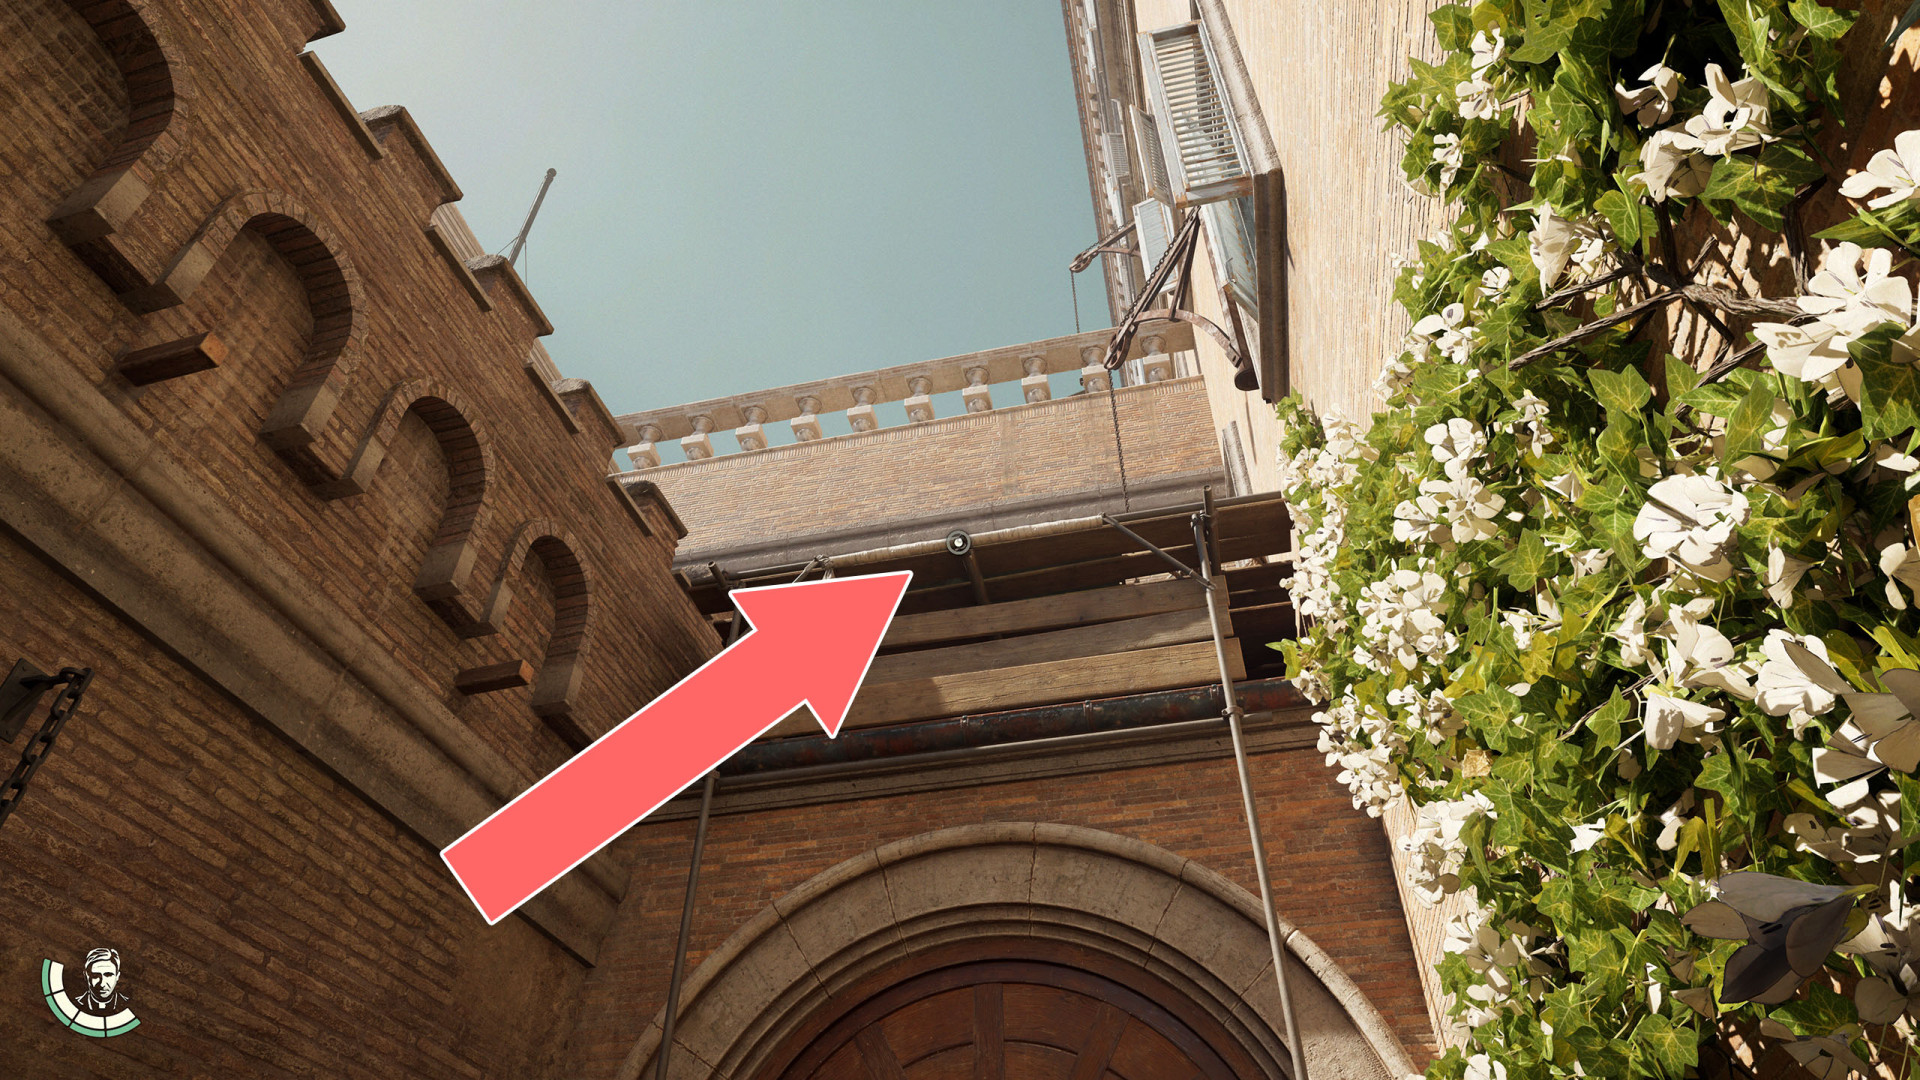
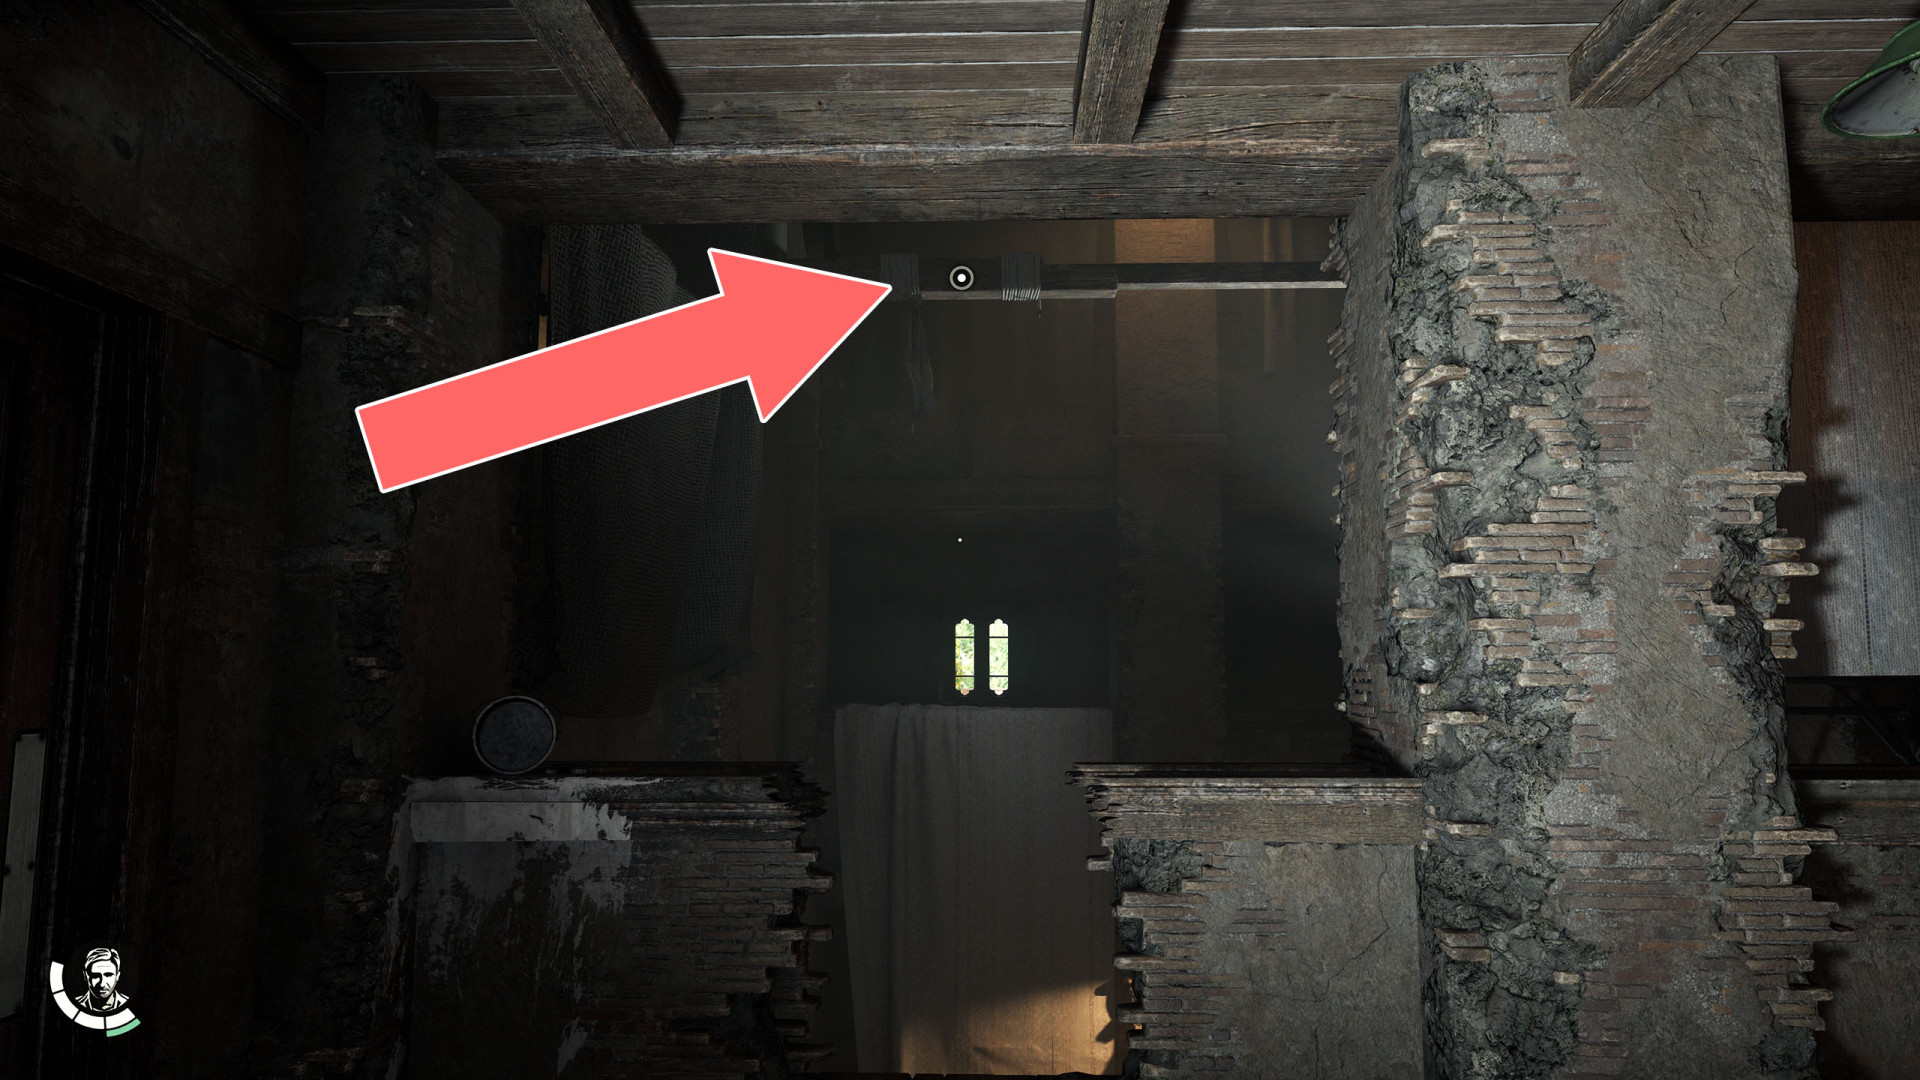
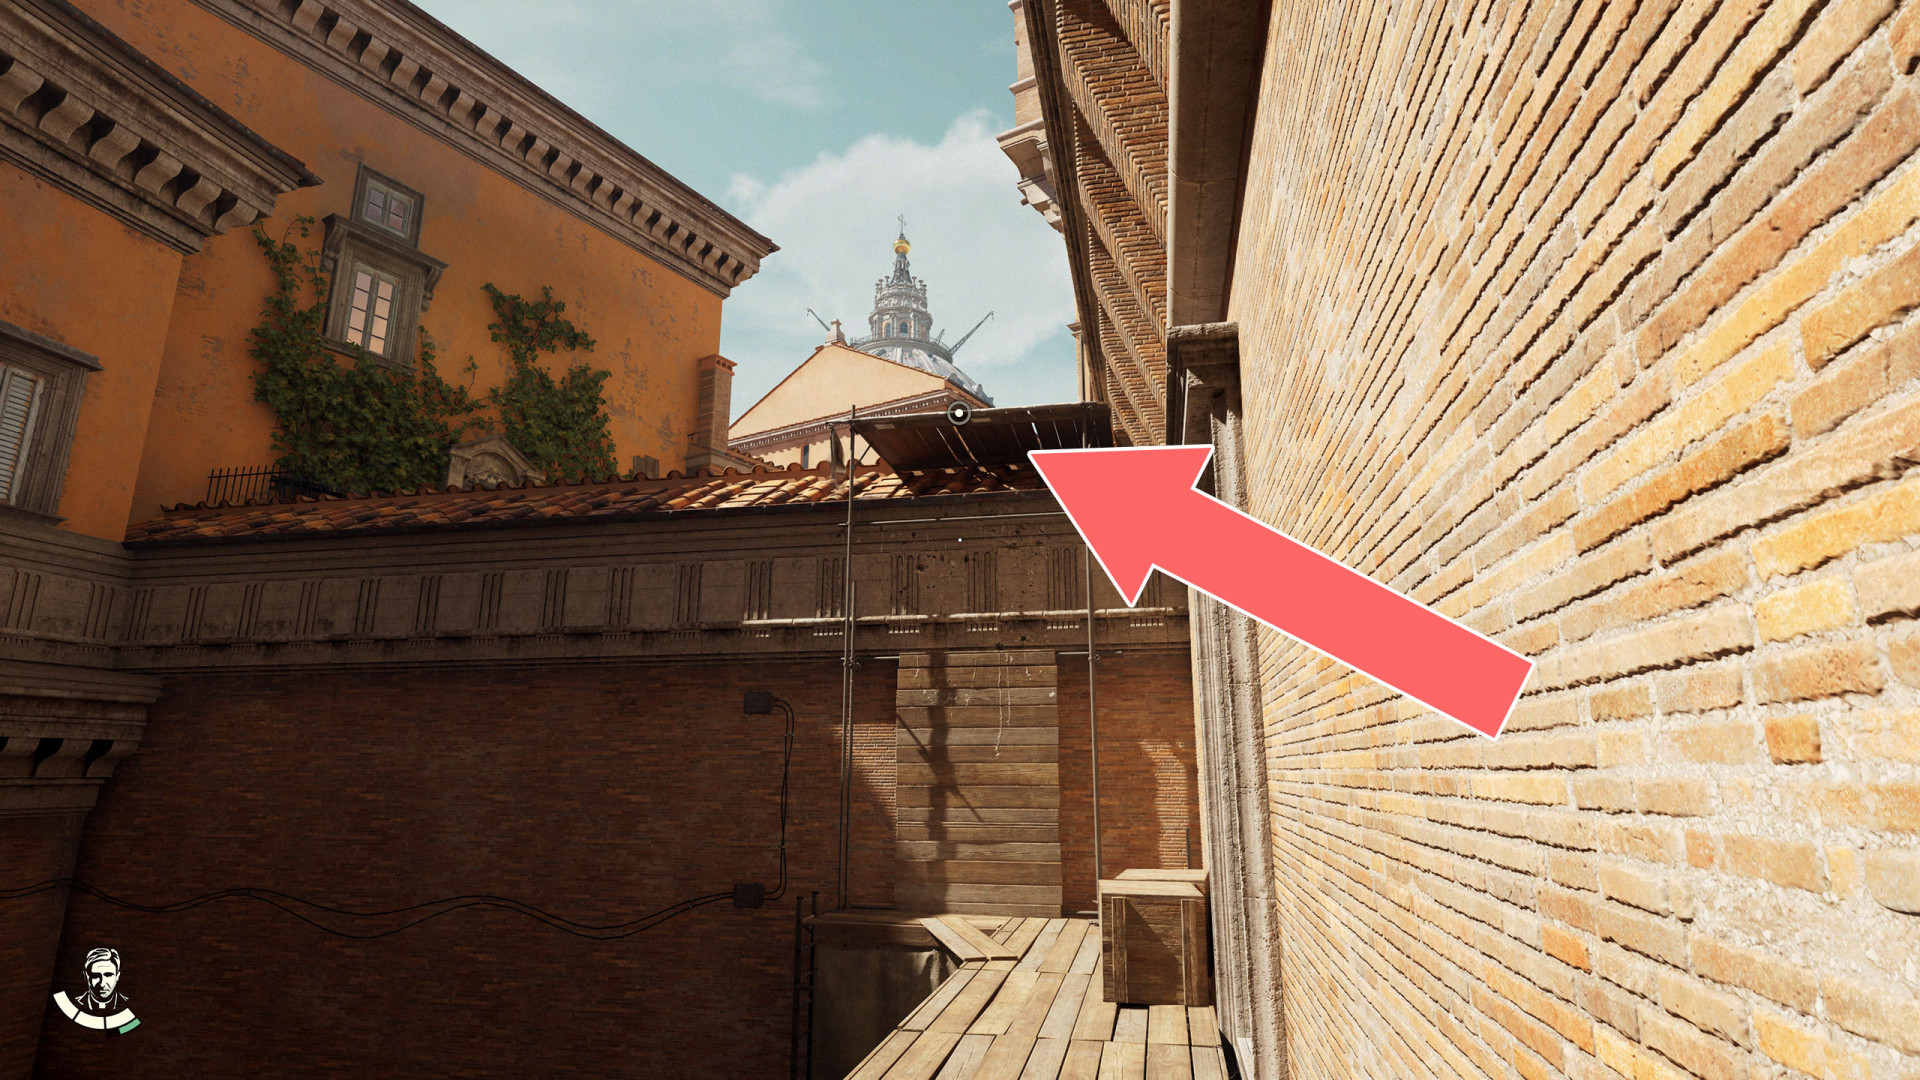
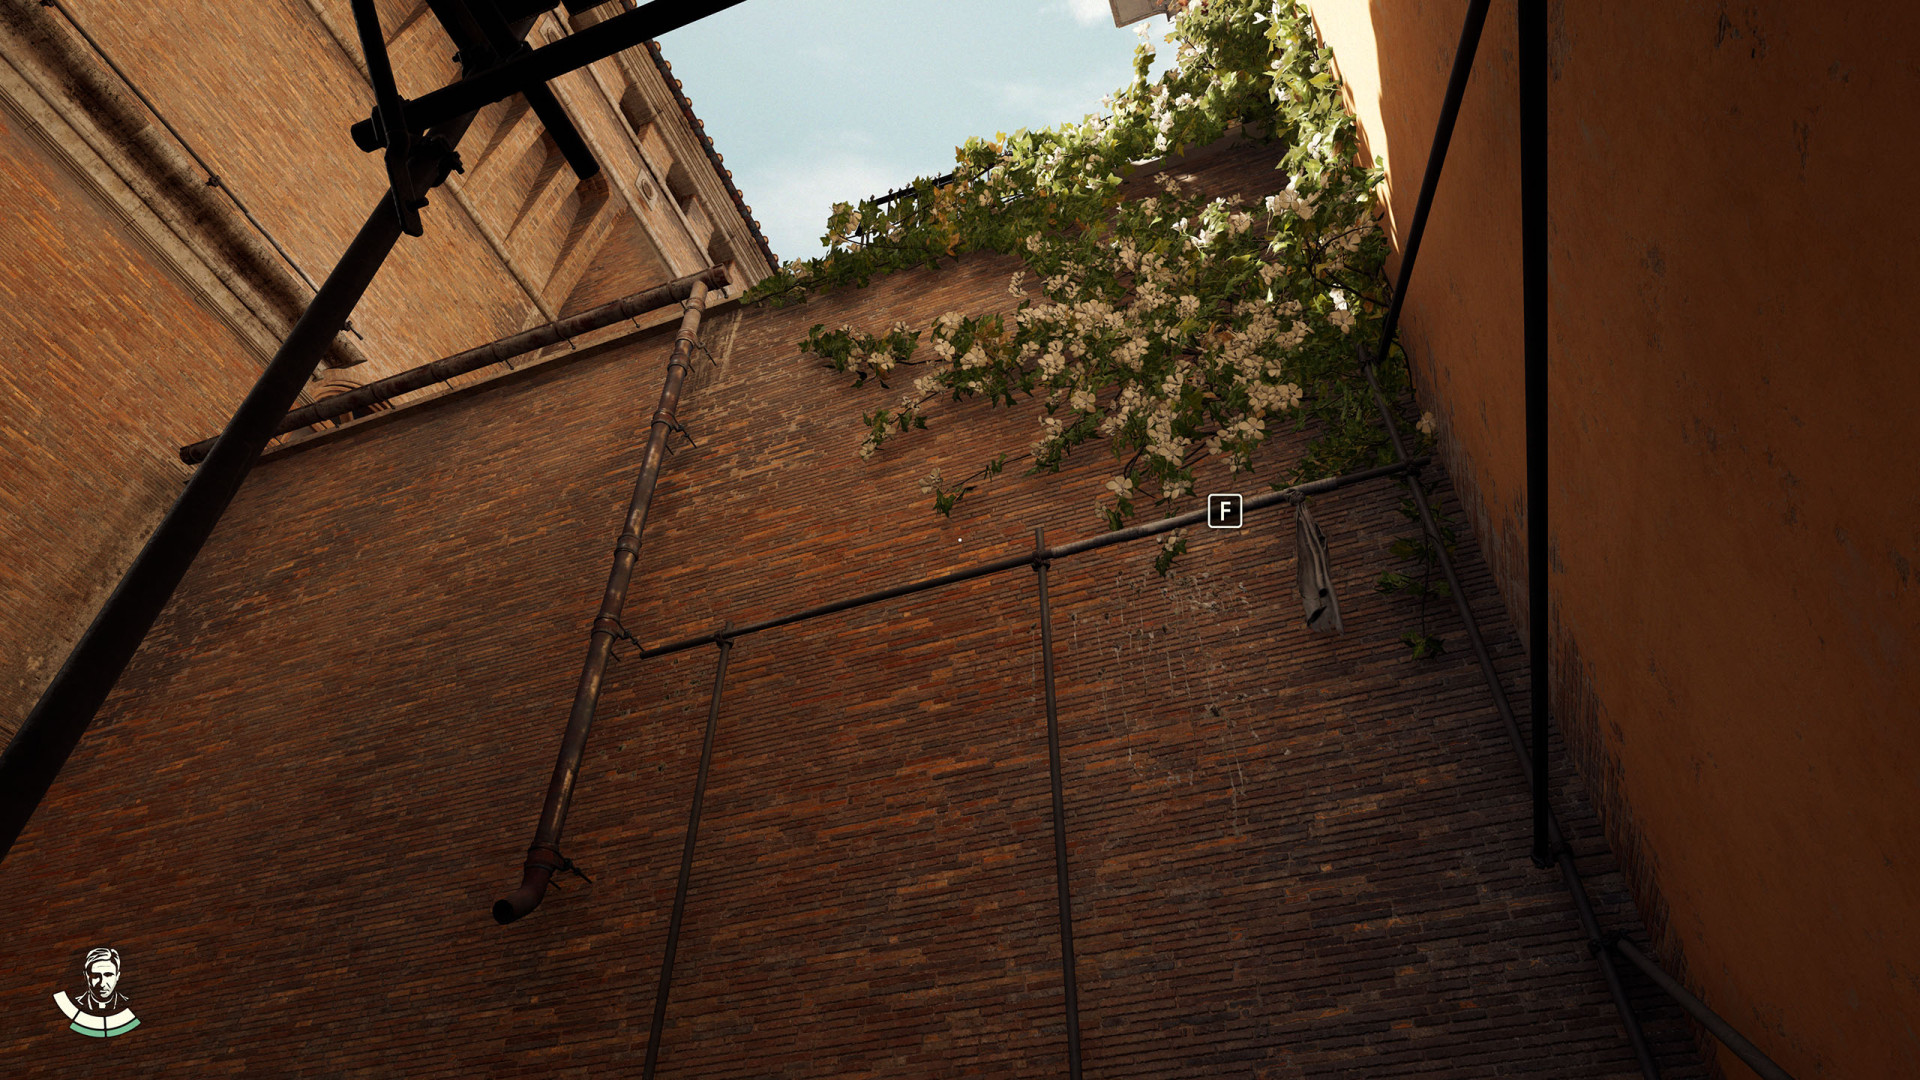
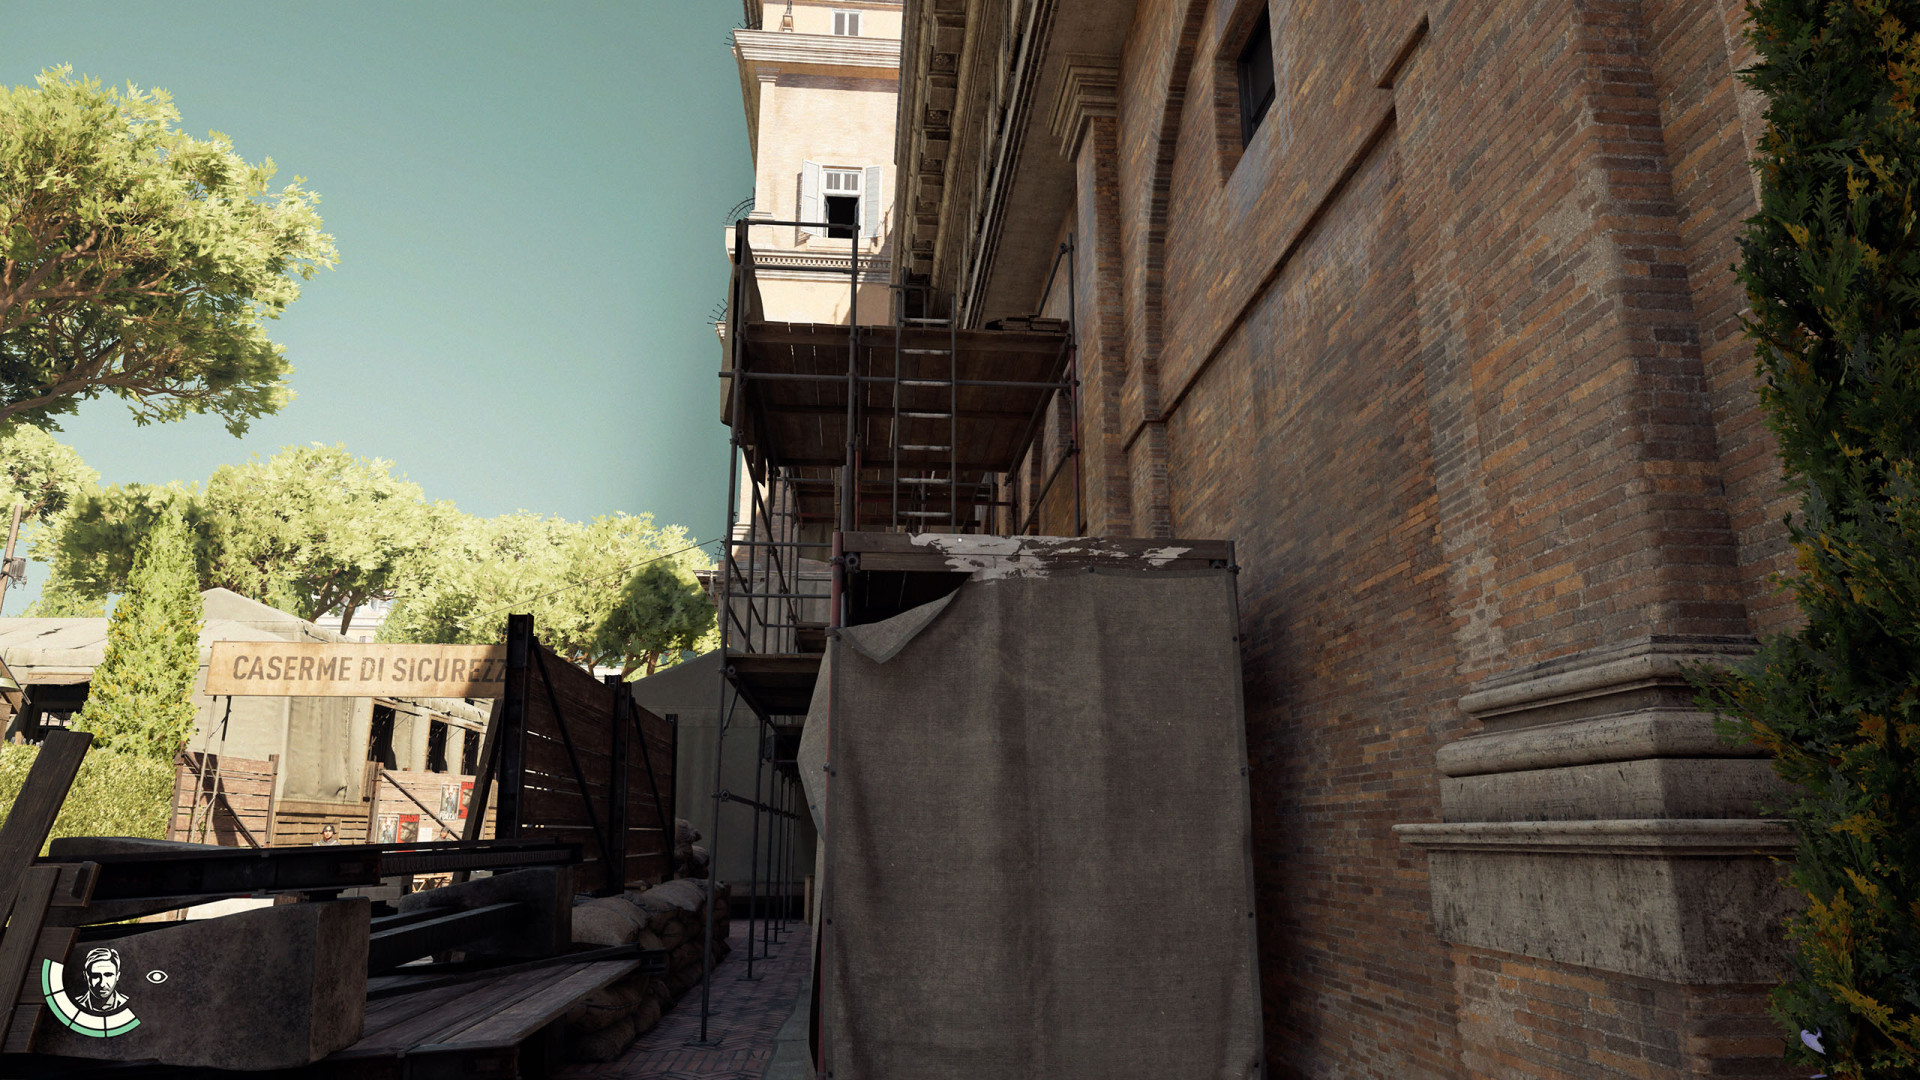
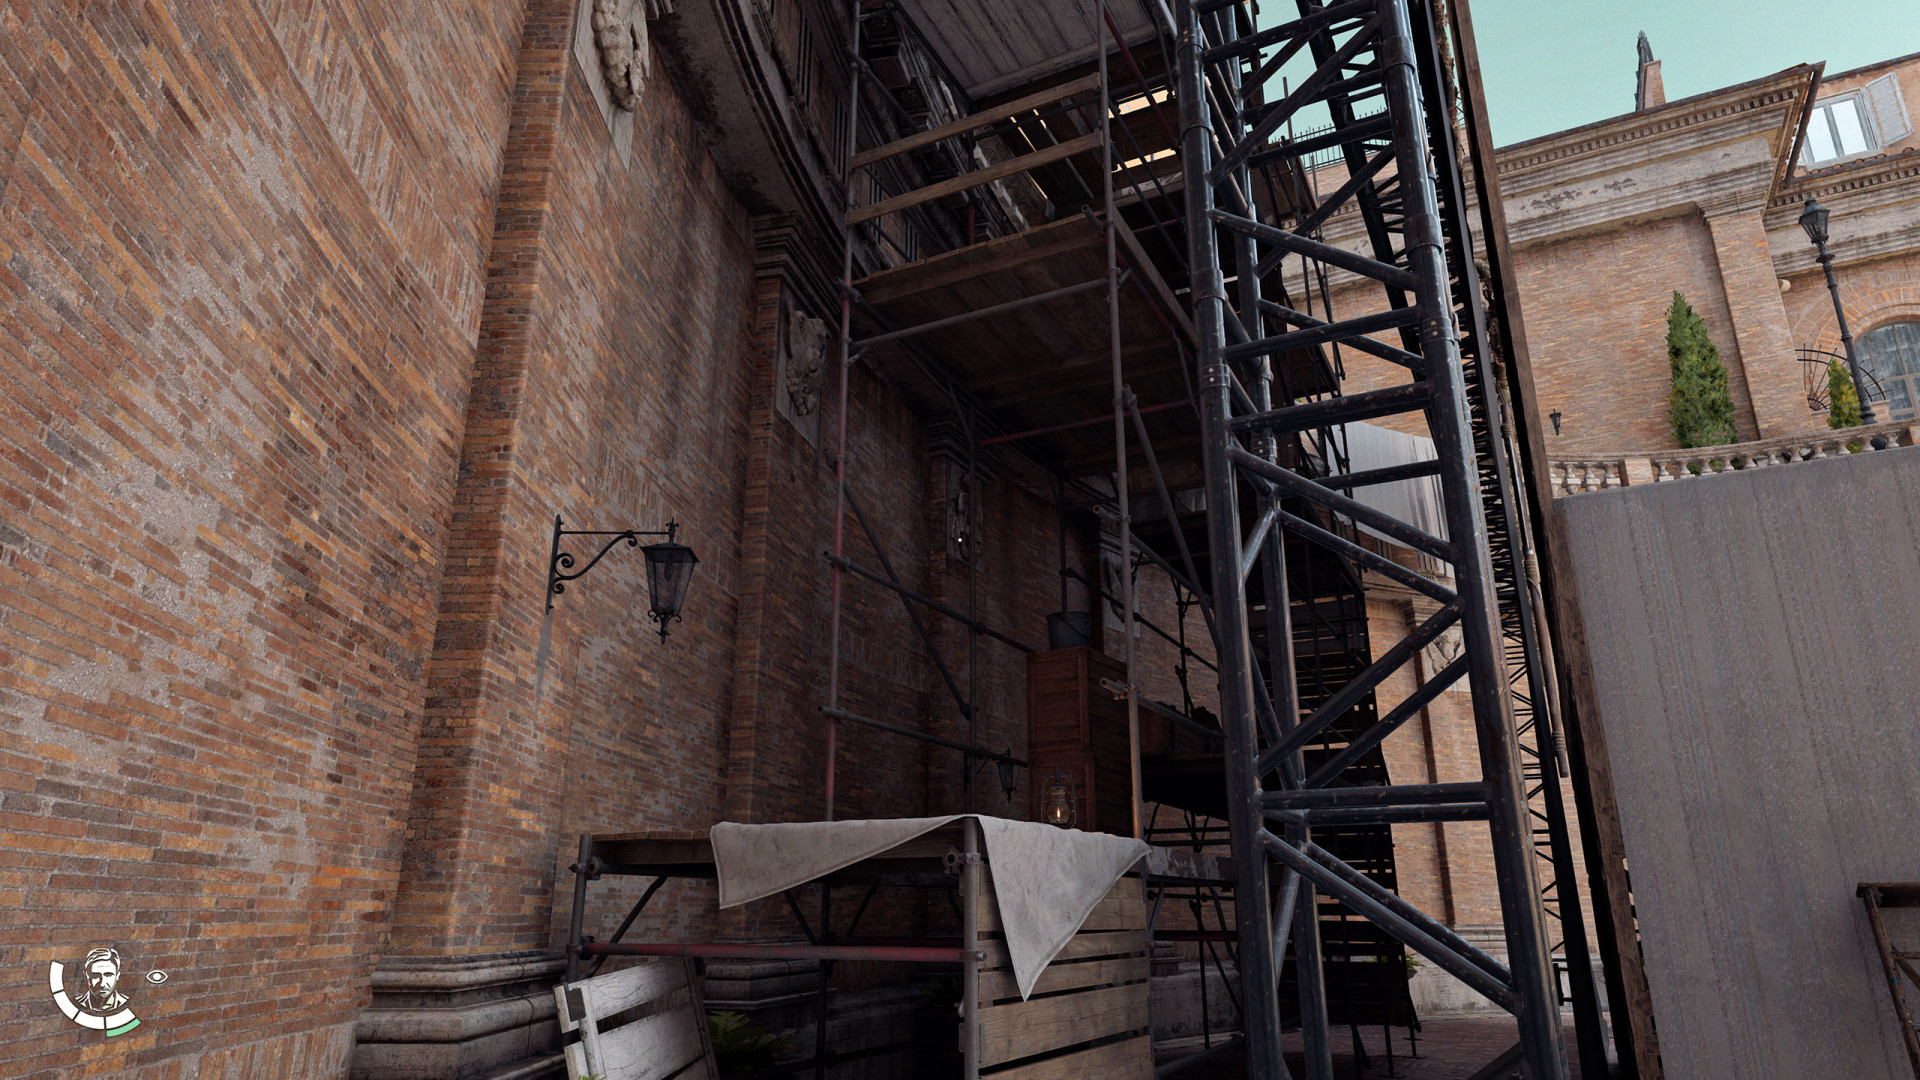
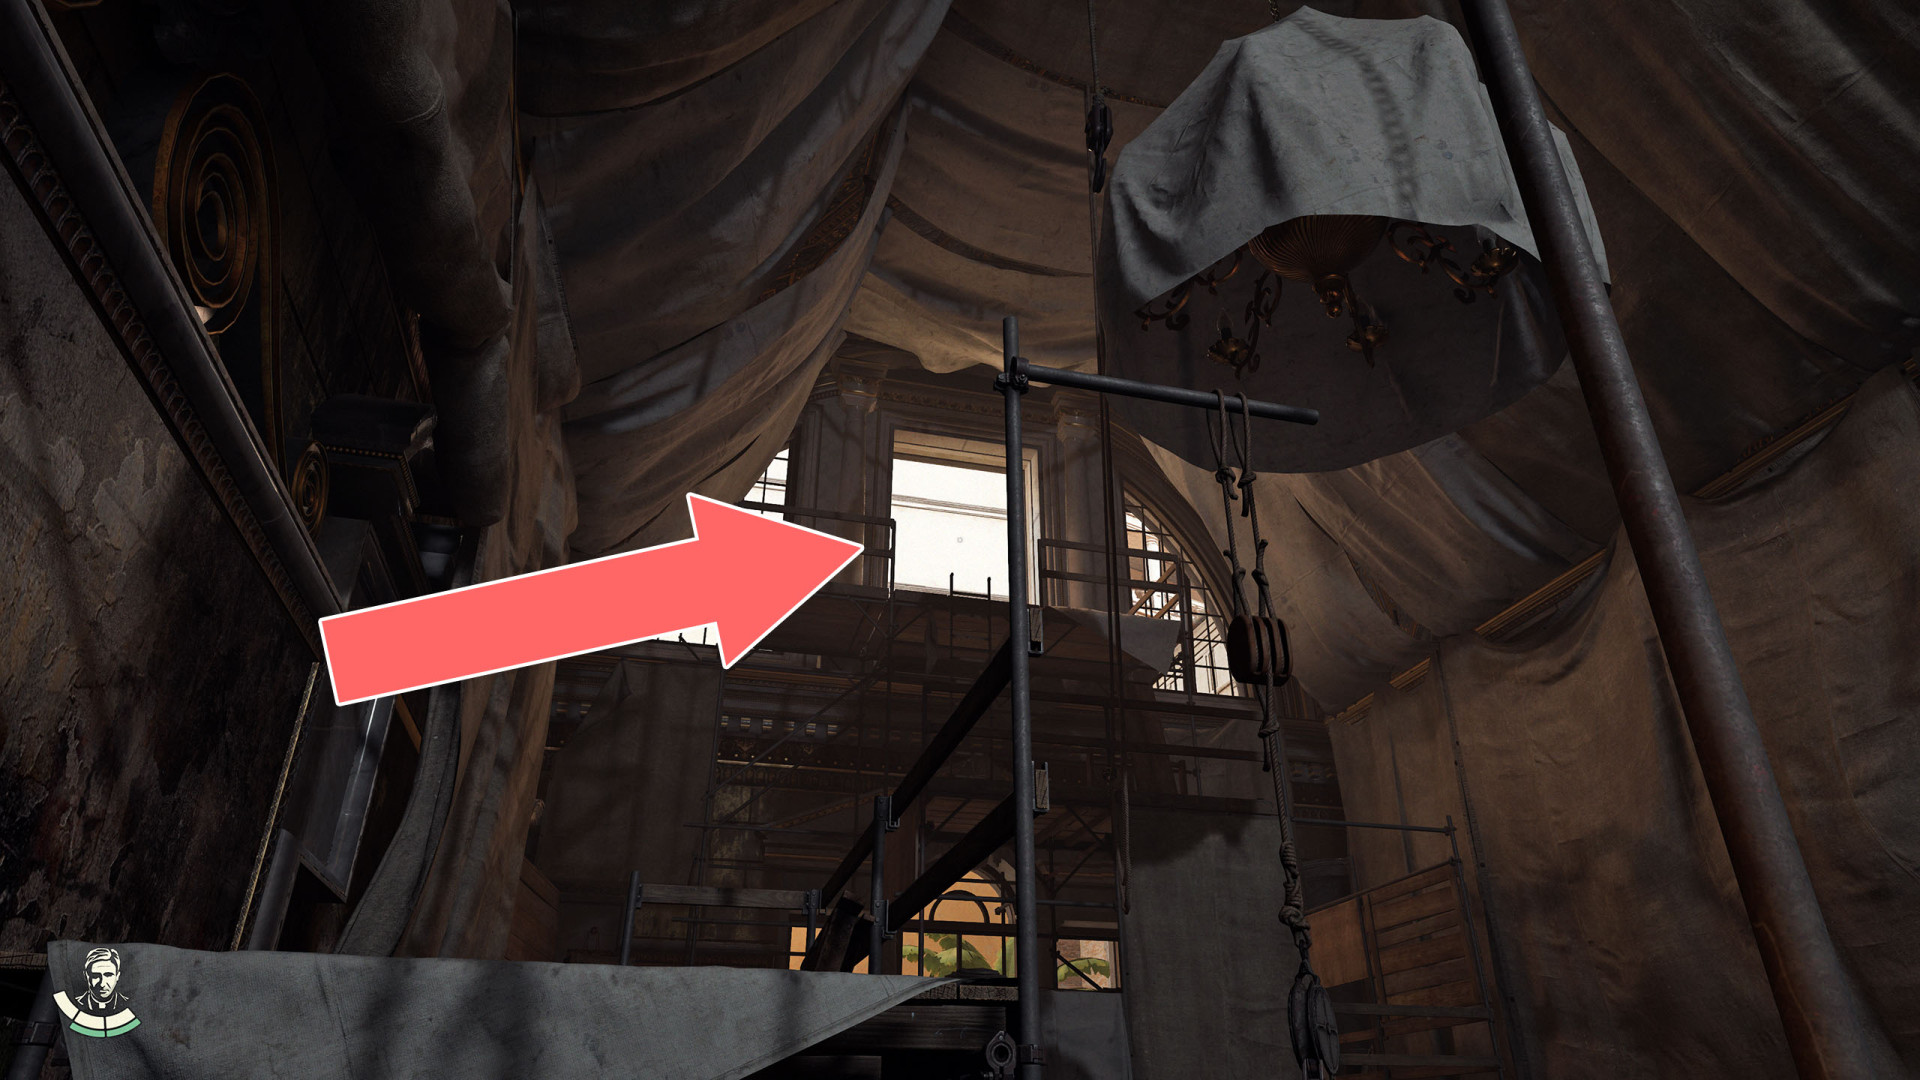
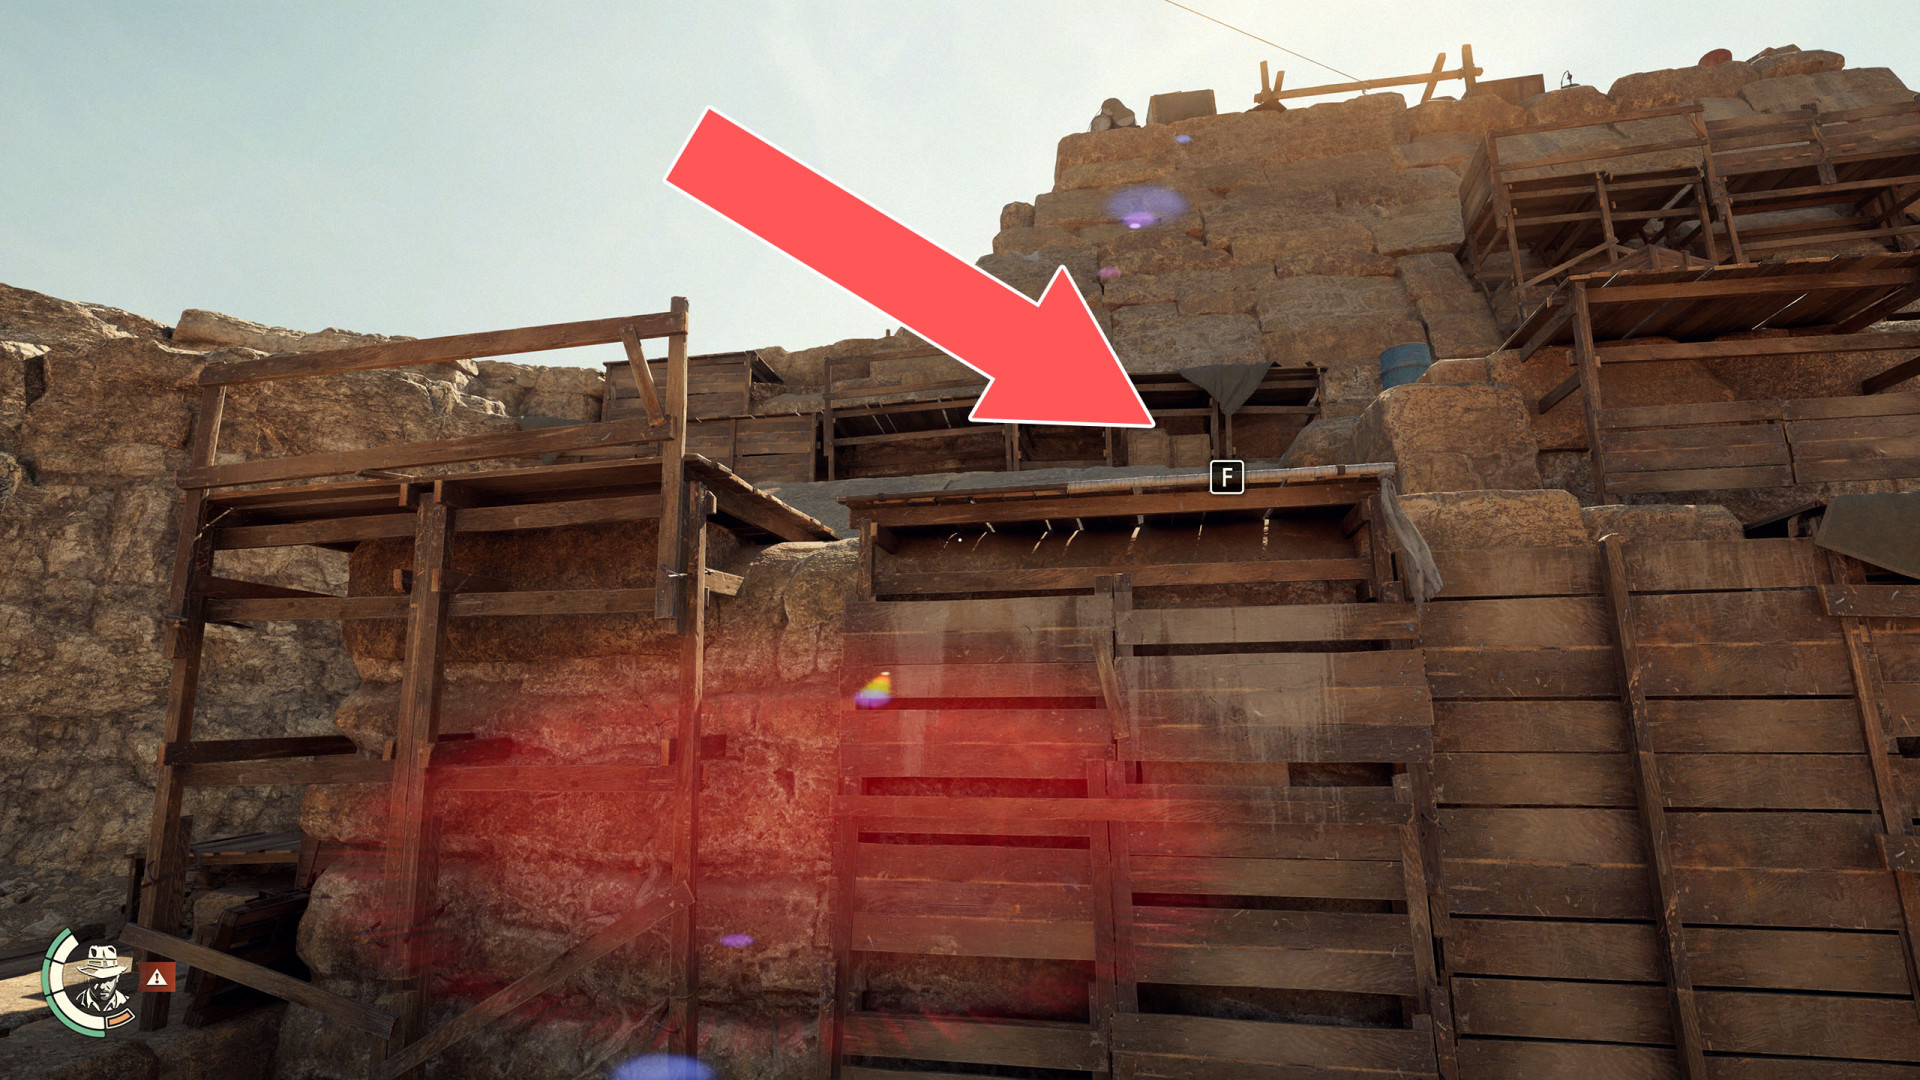
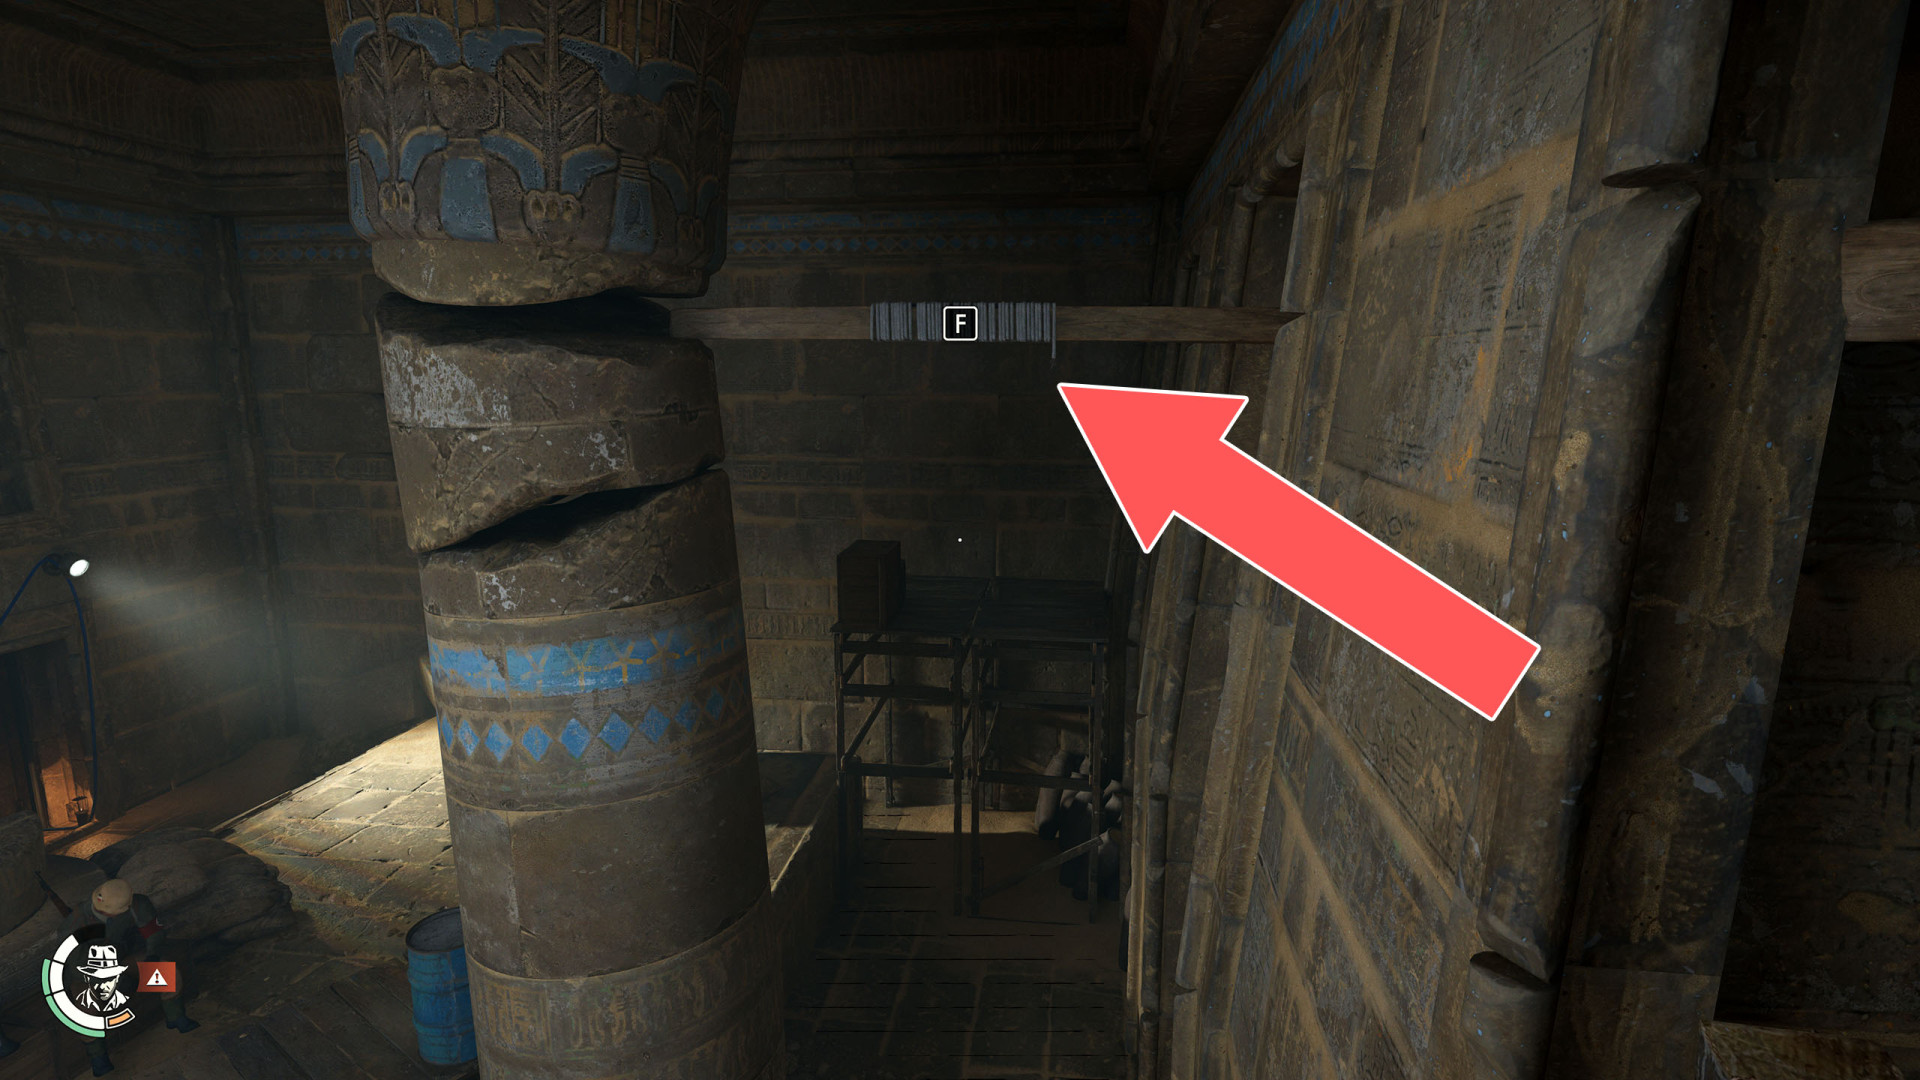
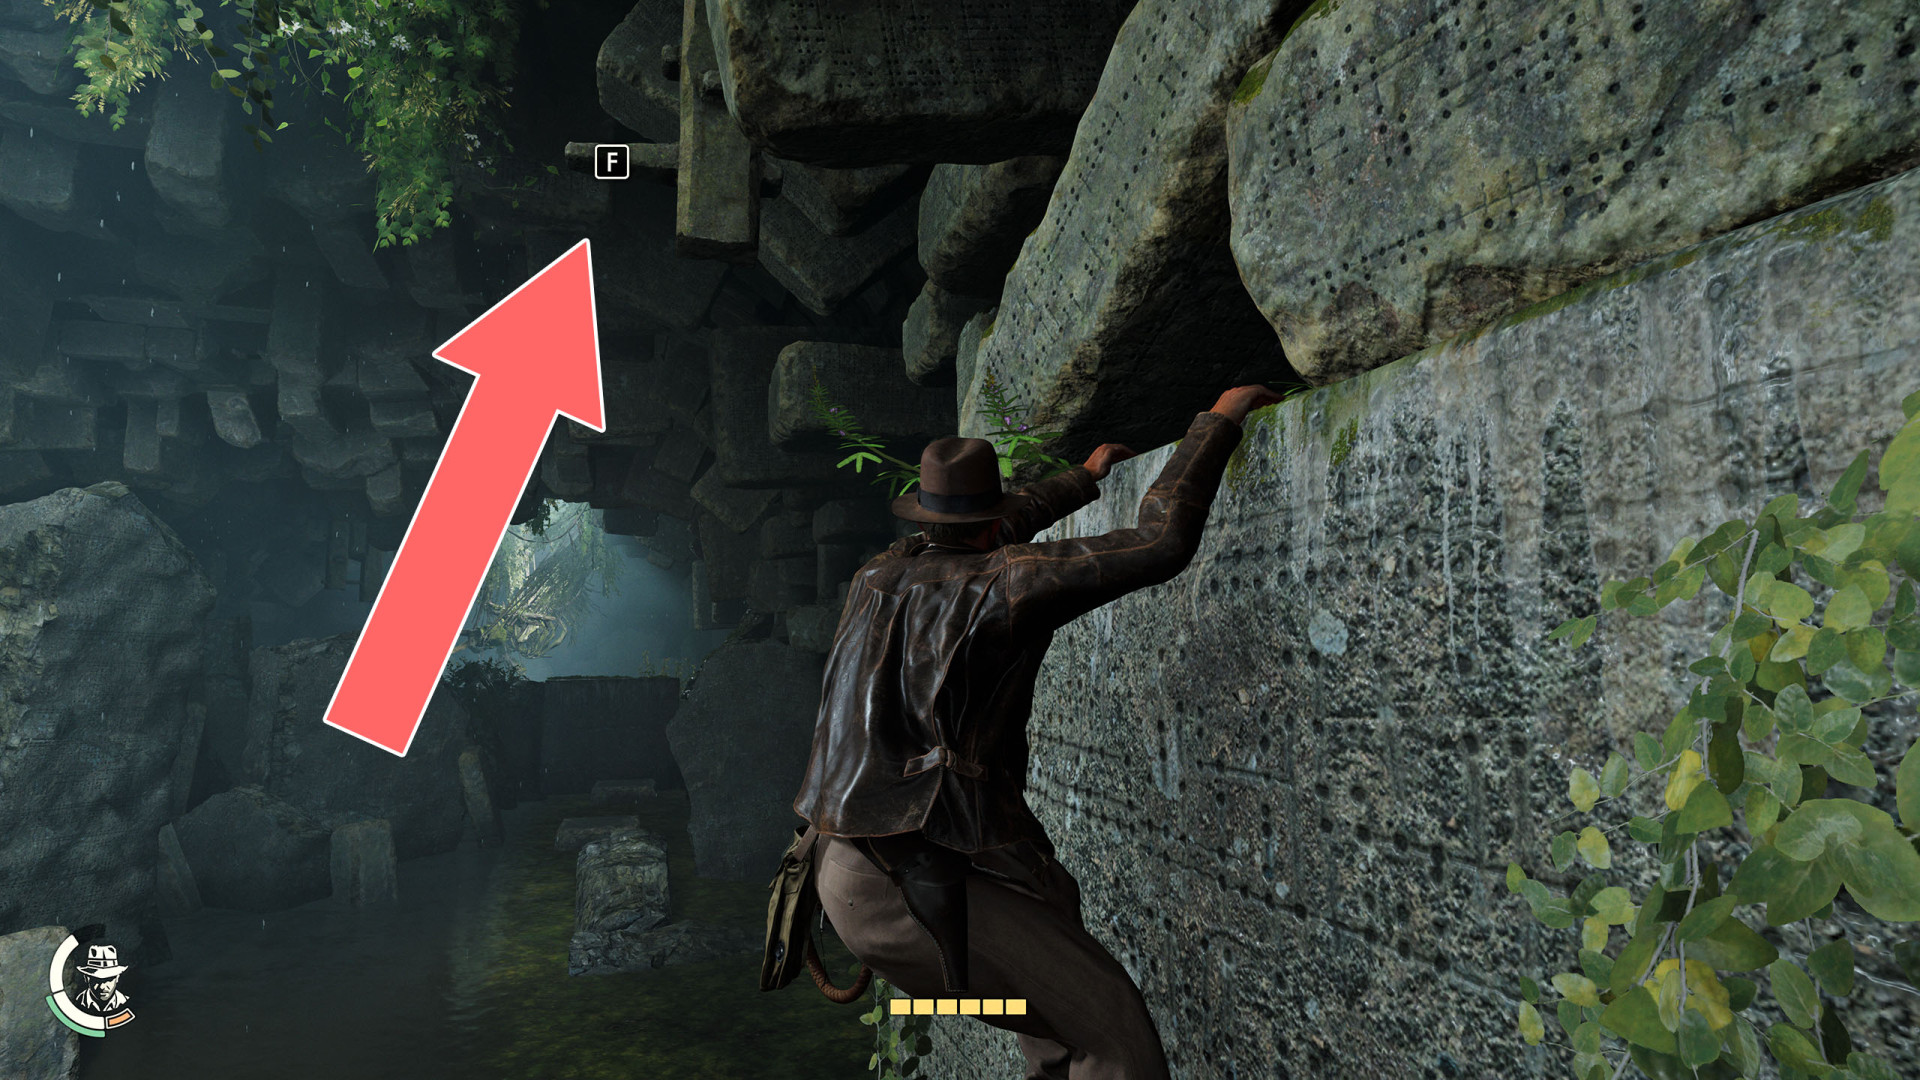
Scaffolding▶ show the map ◀
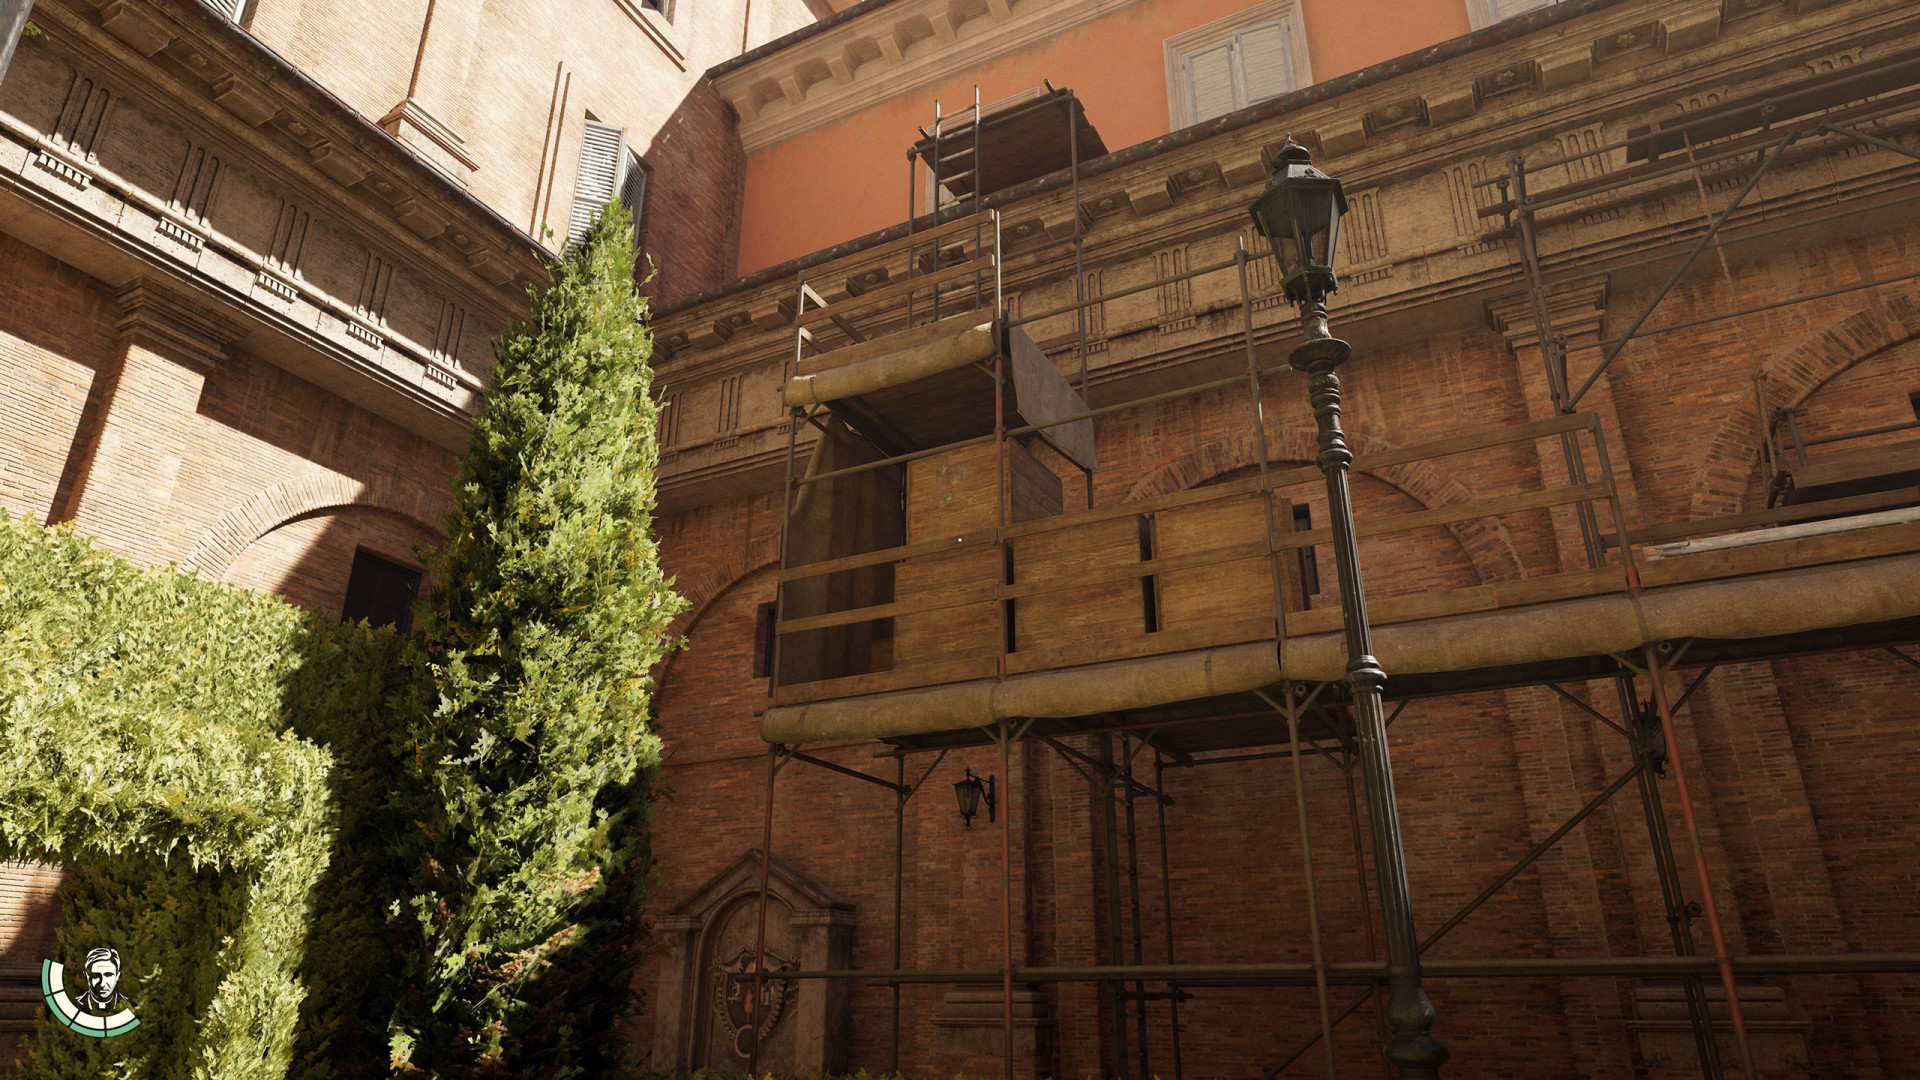
Scaffolding▶ show the map ◀
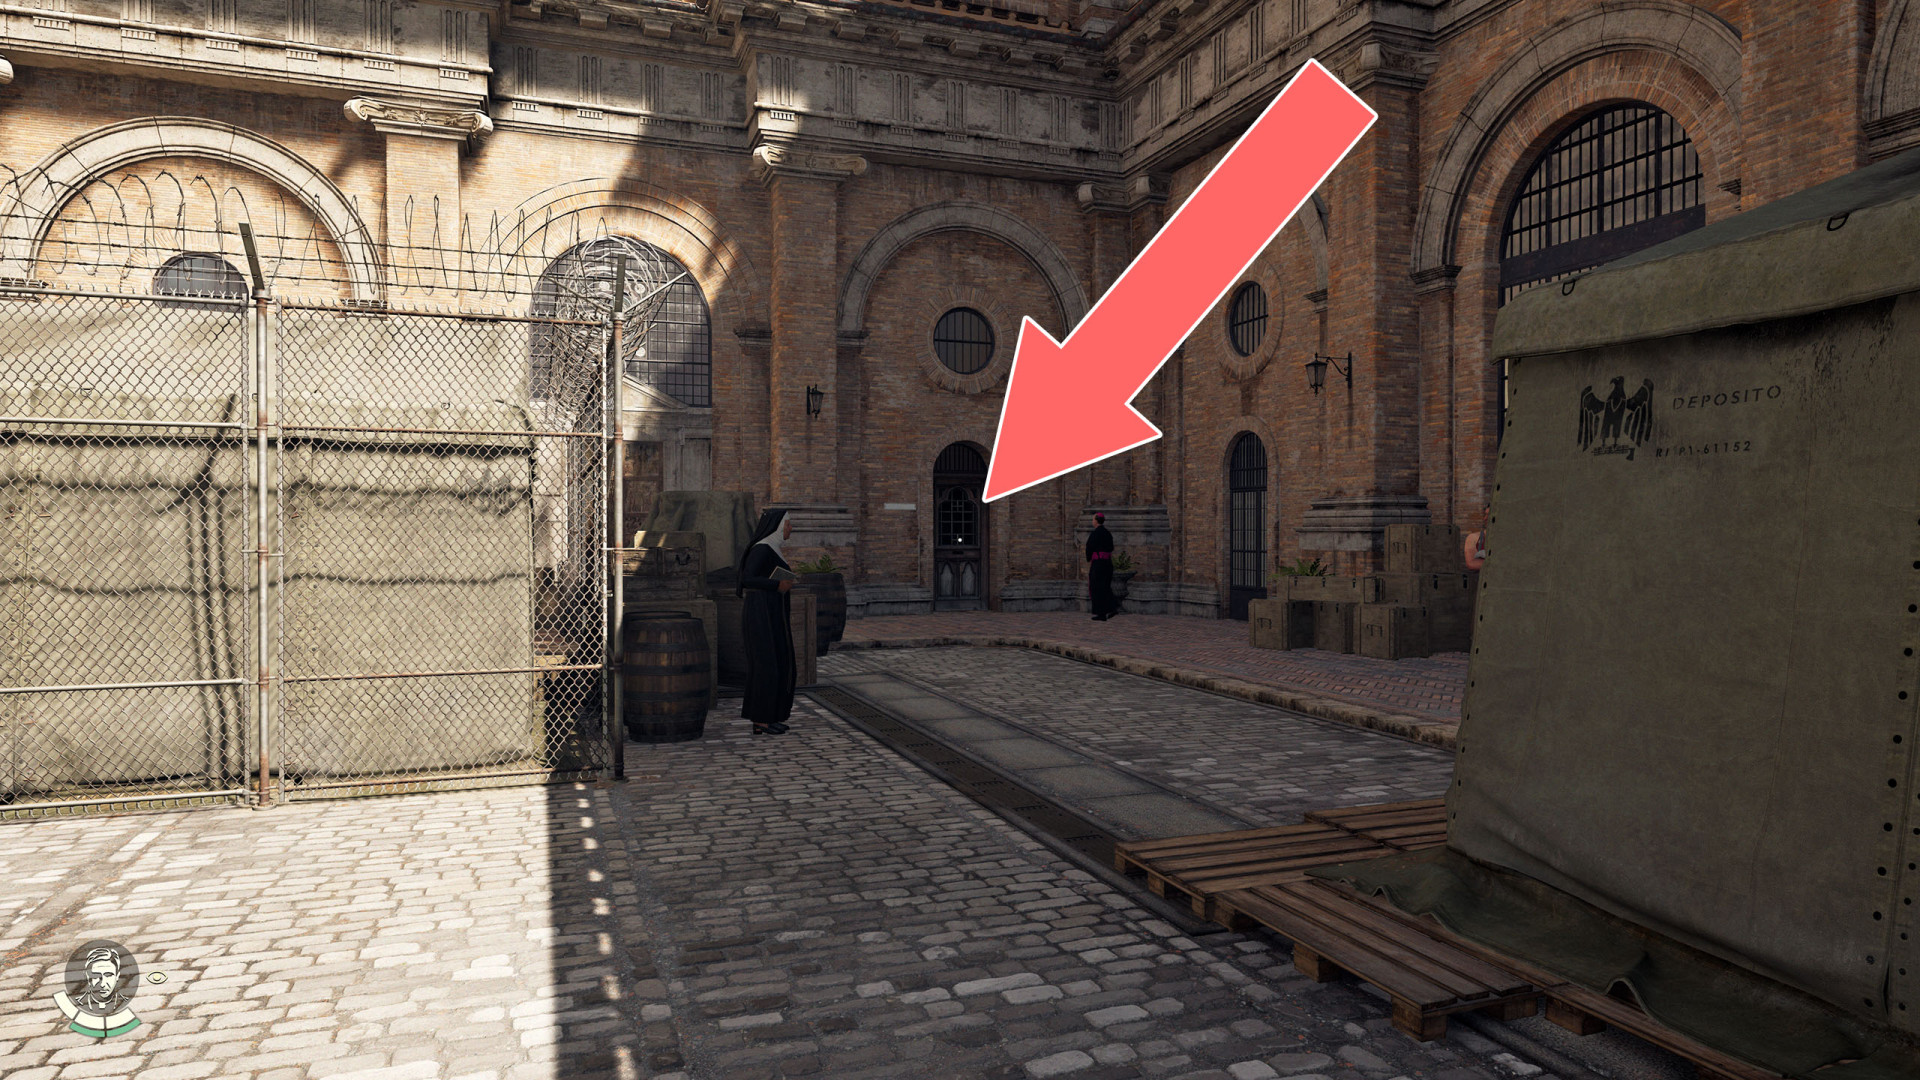
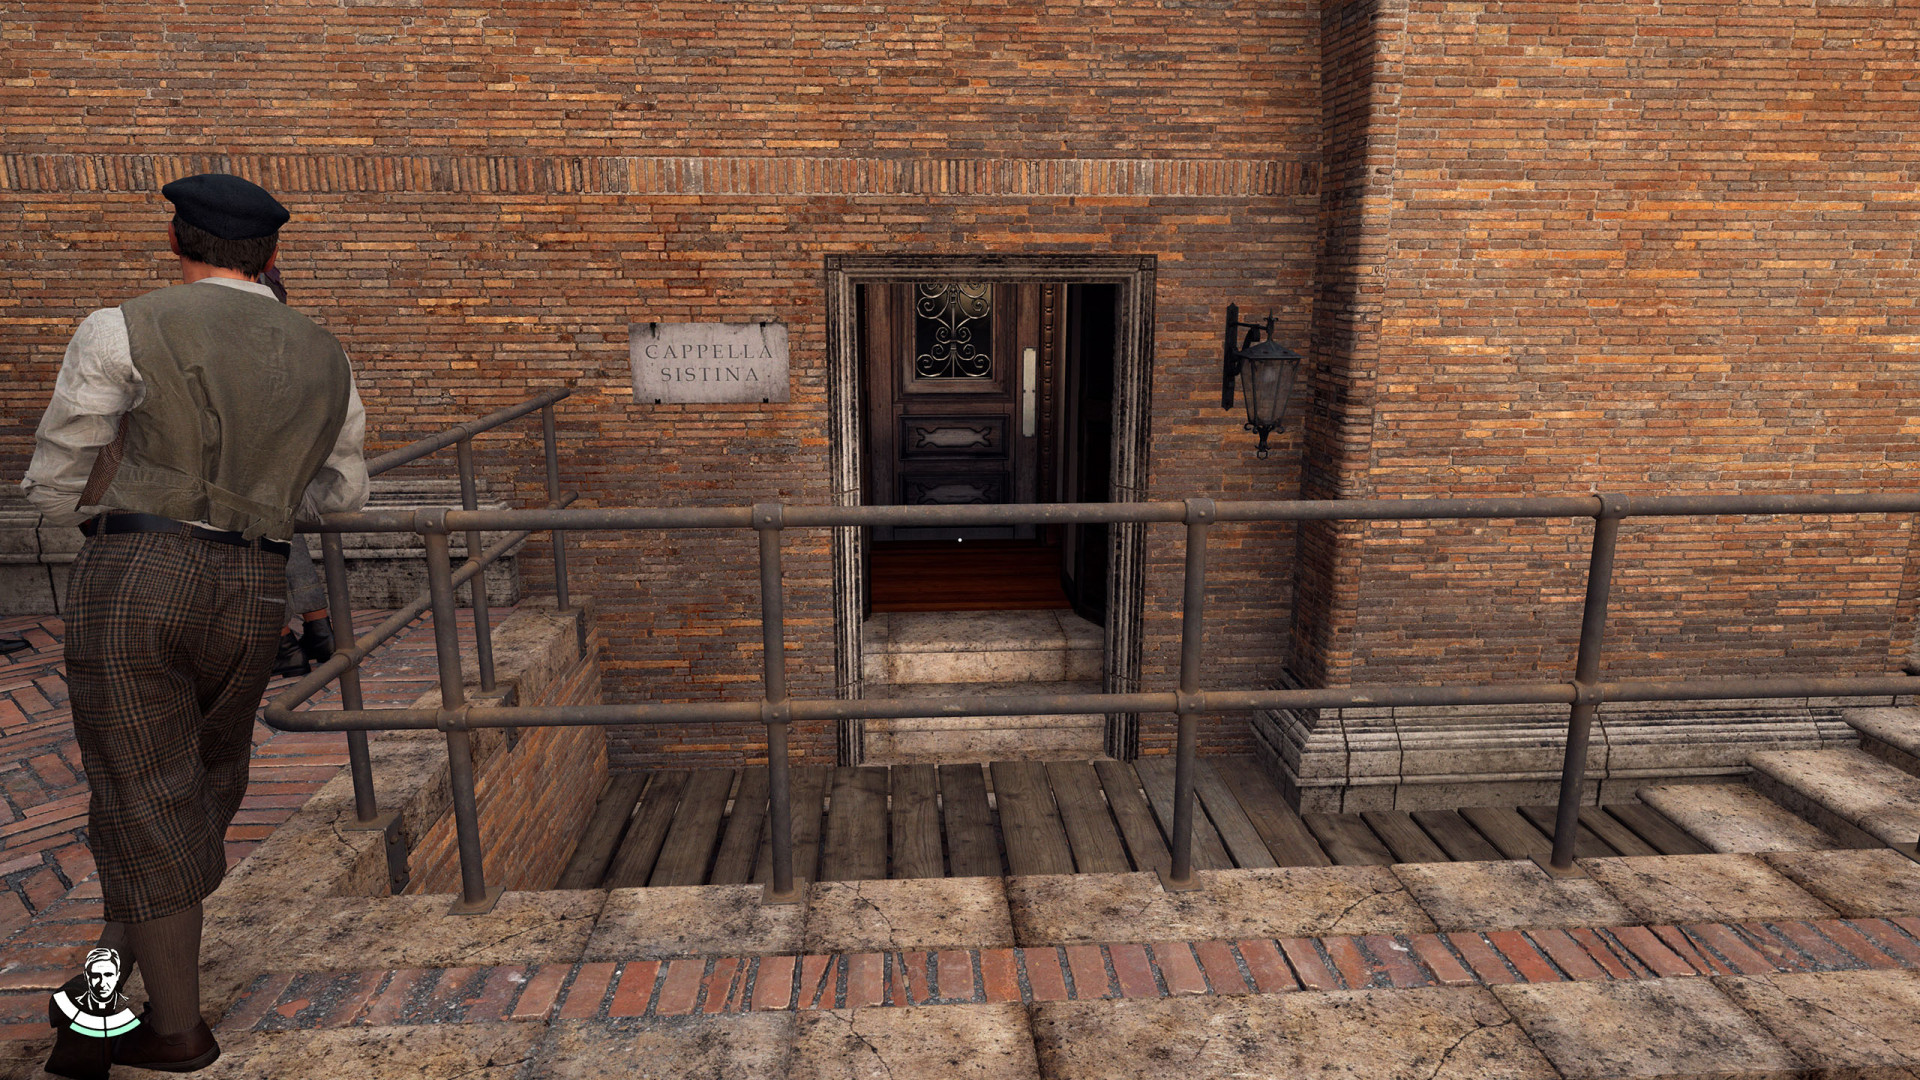
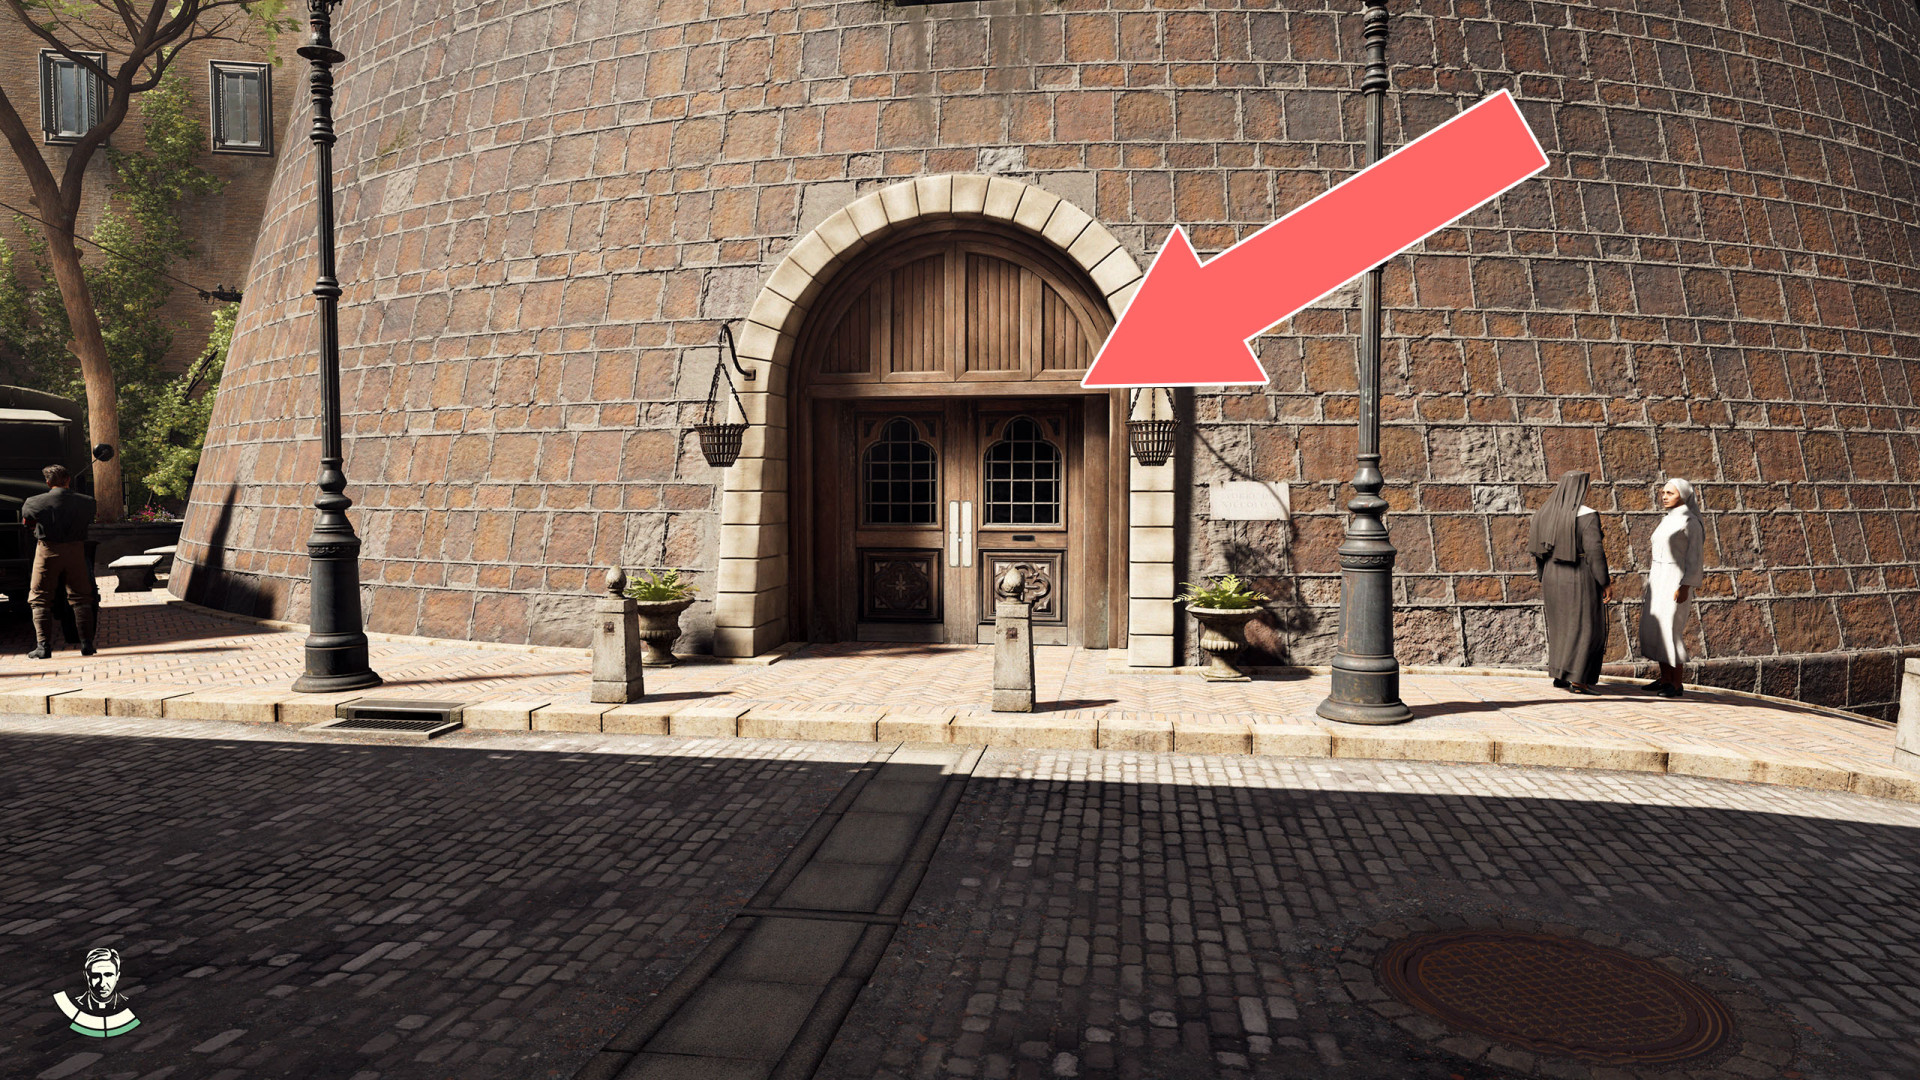
Sistine Chapel Back Entrance▶ show the map ◀
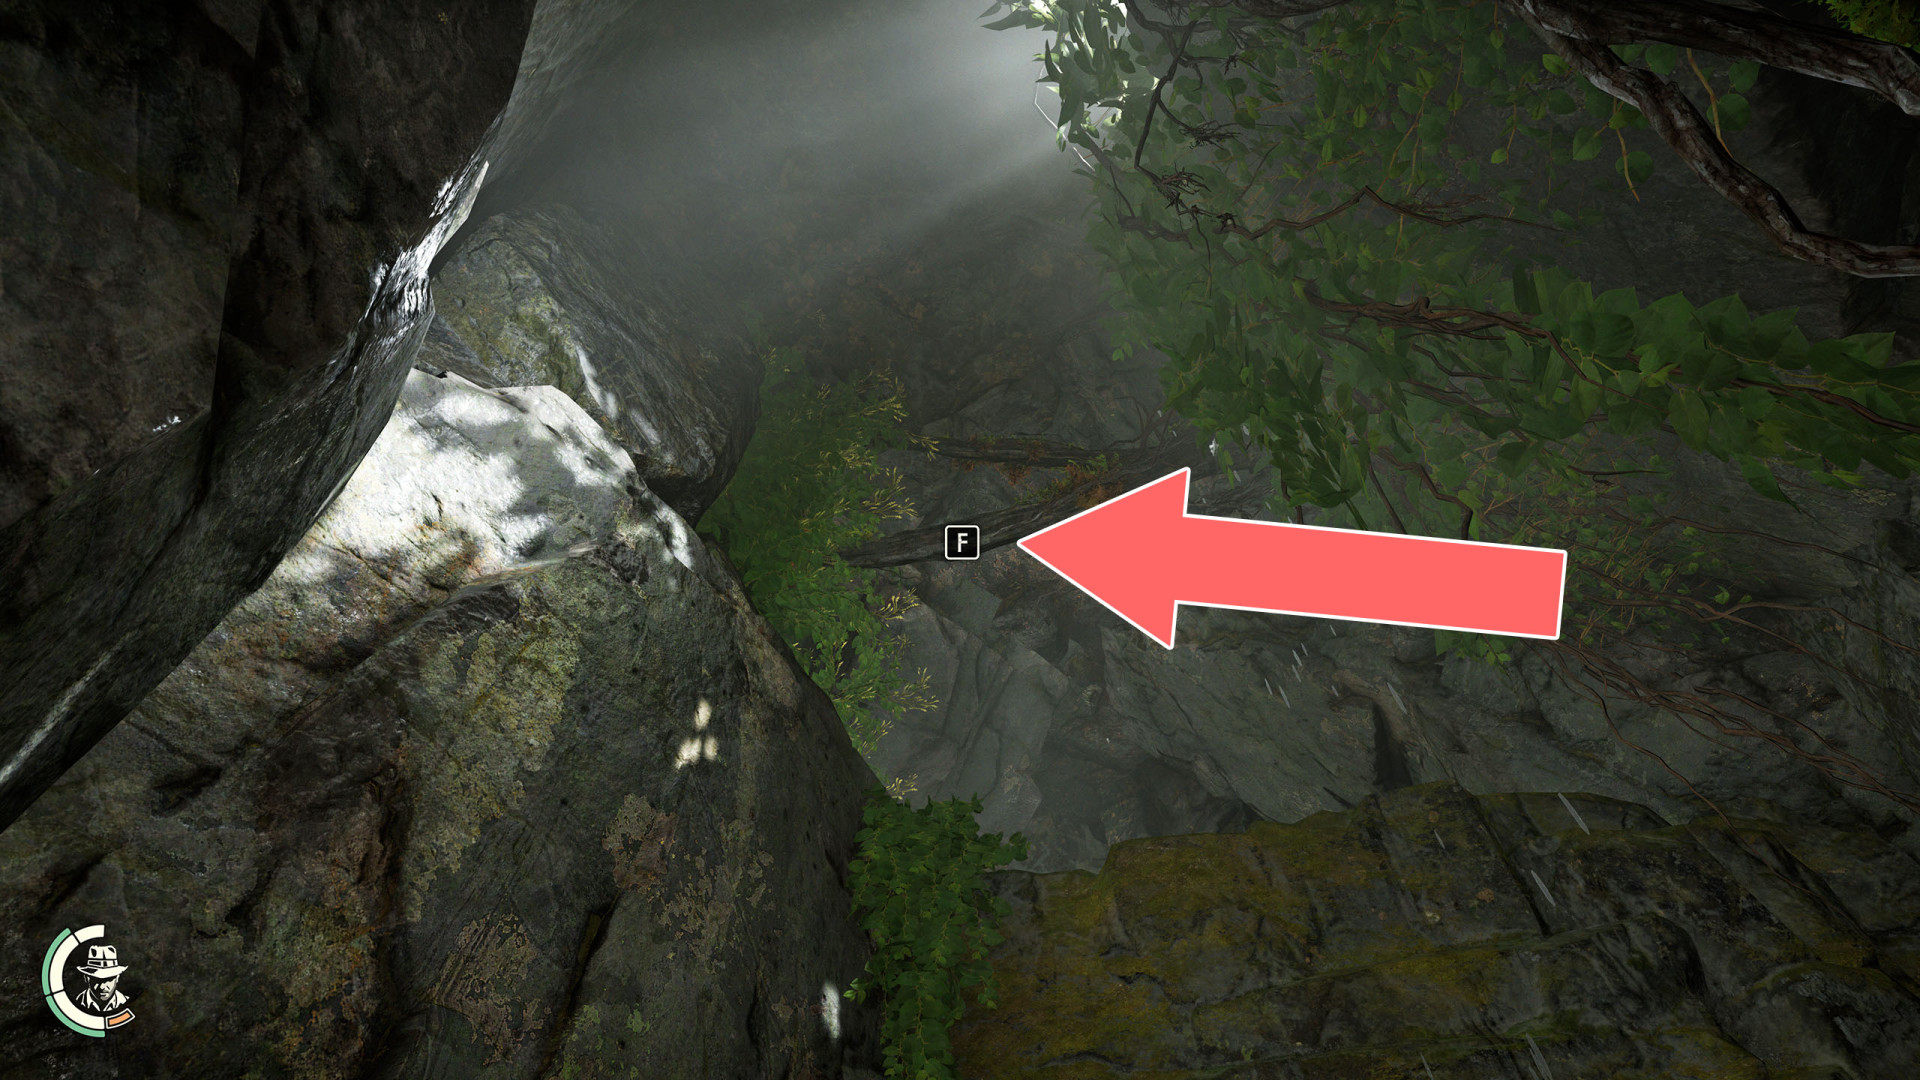
Swing Point▶ show the map ◀
To Airship (Gizeh)▶ show the map ◀
To Castel Sant'Angelo▶ show the map ◀

To Lower Necropolis▶ show the map ◀
To Necropolis▶ show the map ◀

To Necropolis▶ show the map ◀
To the Tower of Nicholas V▶ show the map ◀
To the Tower of Nicholas V (Scaffolding)▶ show the map ◀
To the Underworld▶ show the map ◀
To the Vatican (Apostolic Palace)▶ show the map ◀
To the Vatican (Main Entrance)▶ show the map ◀
To the Vatican (Museum Exit)▶ show the map ◀
To the Vatican (Scaffolding)▶ show the map ◀
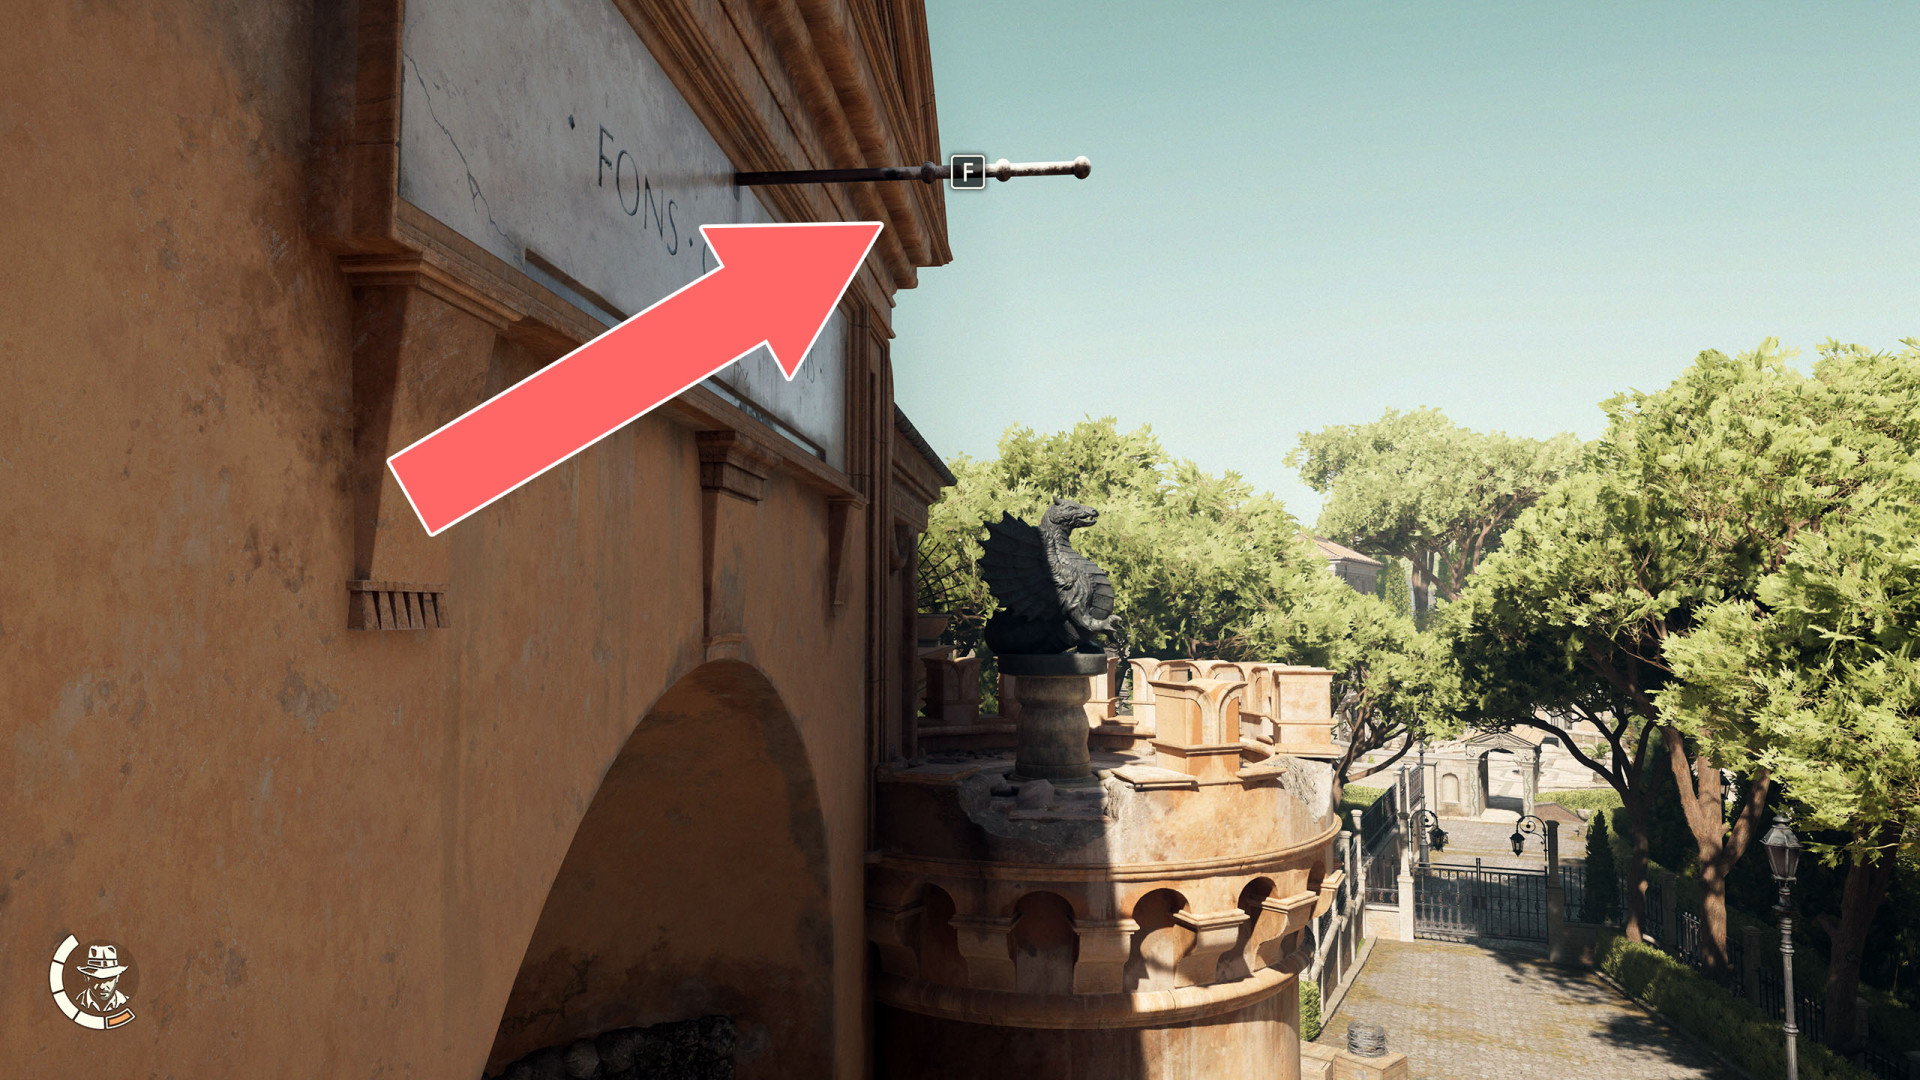
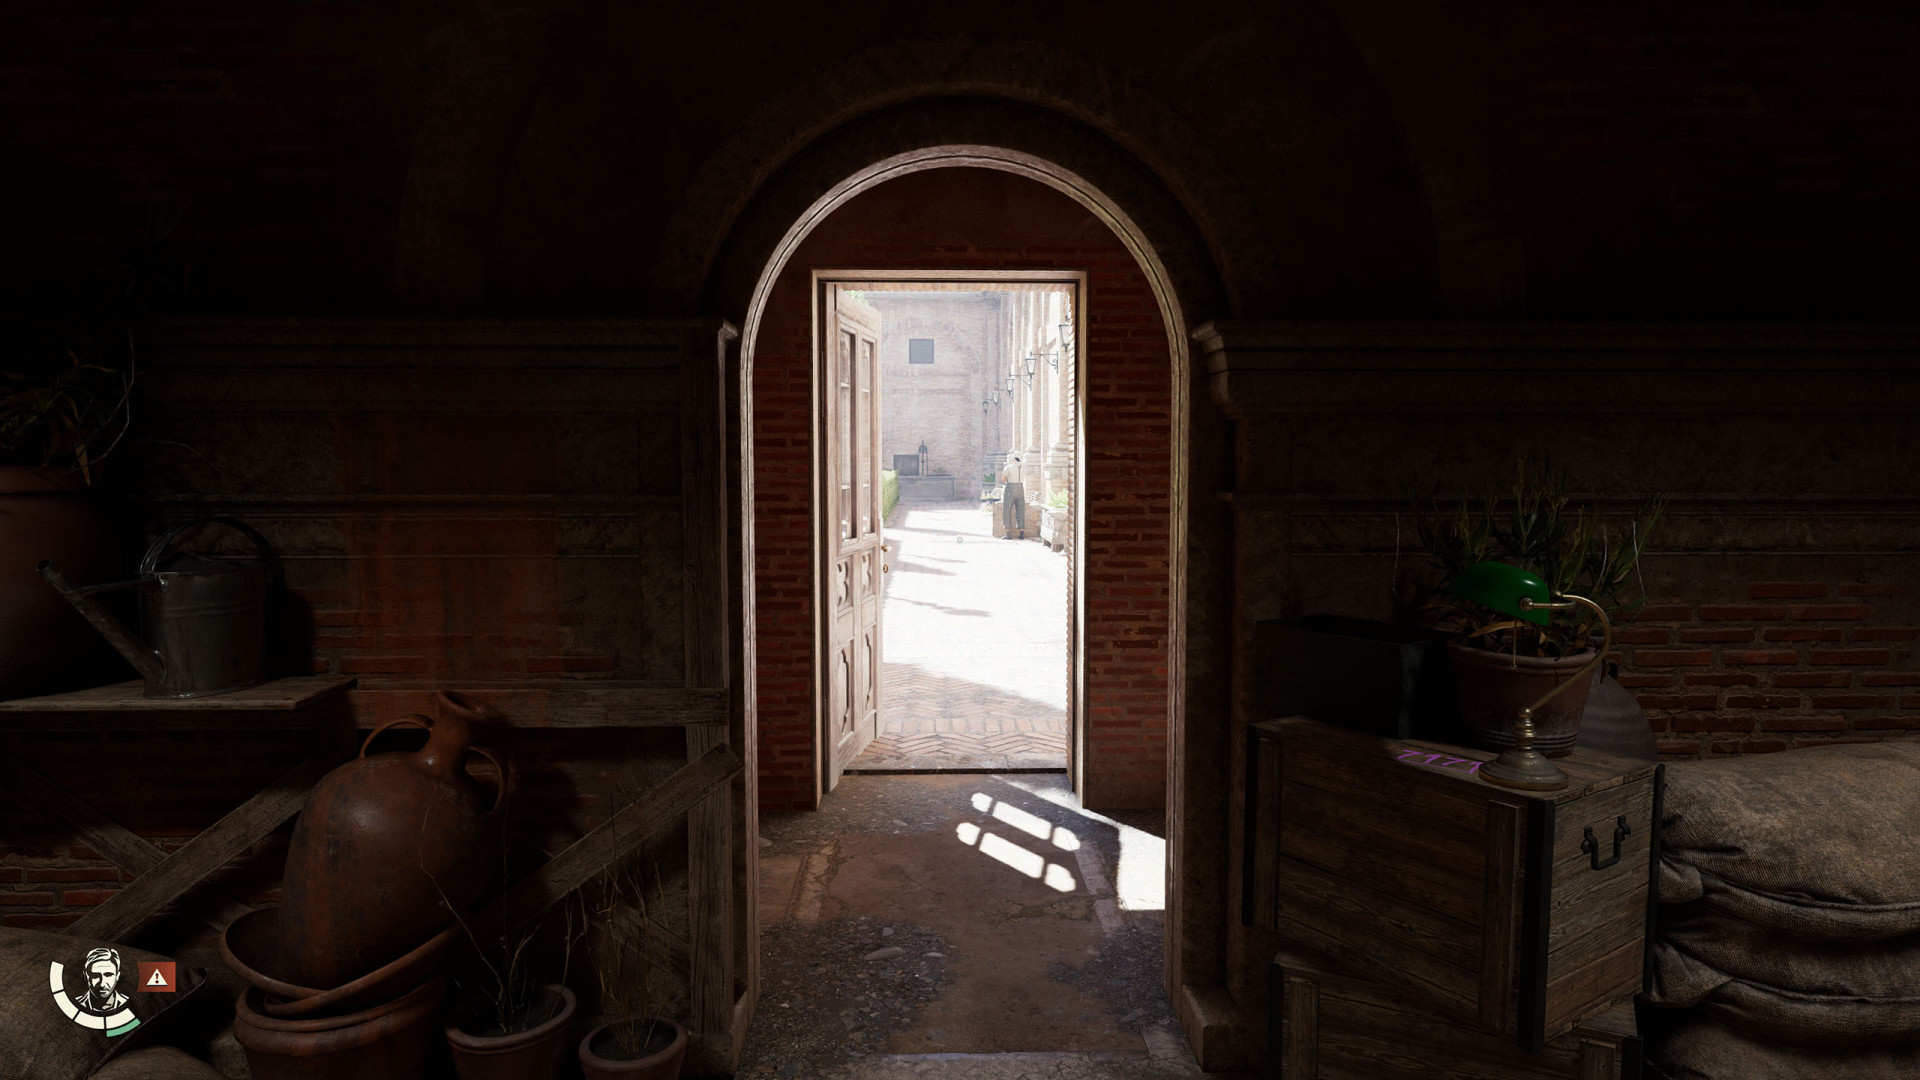
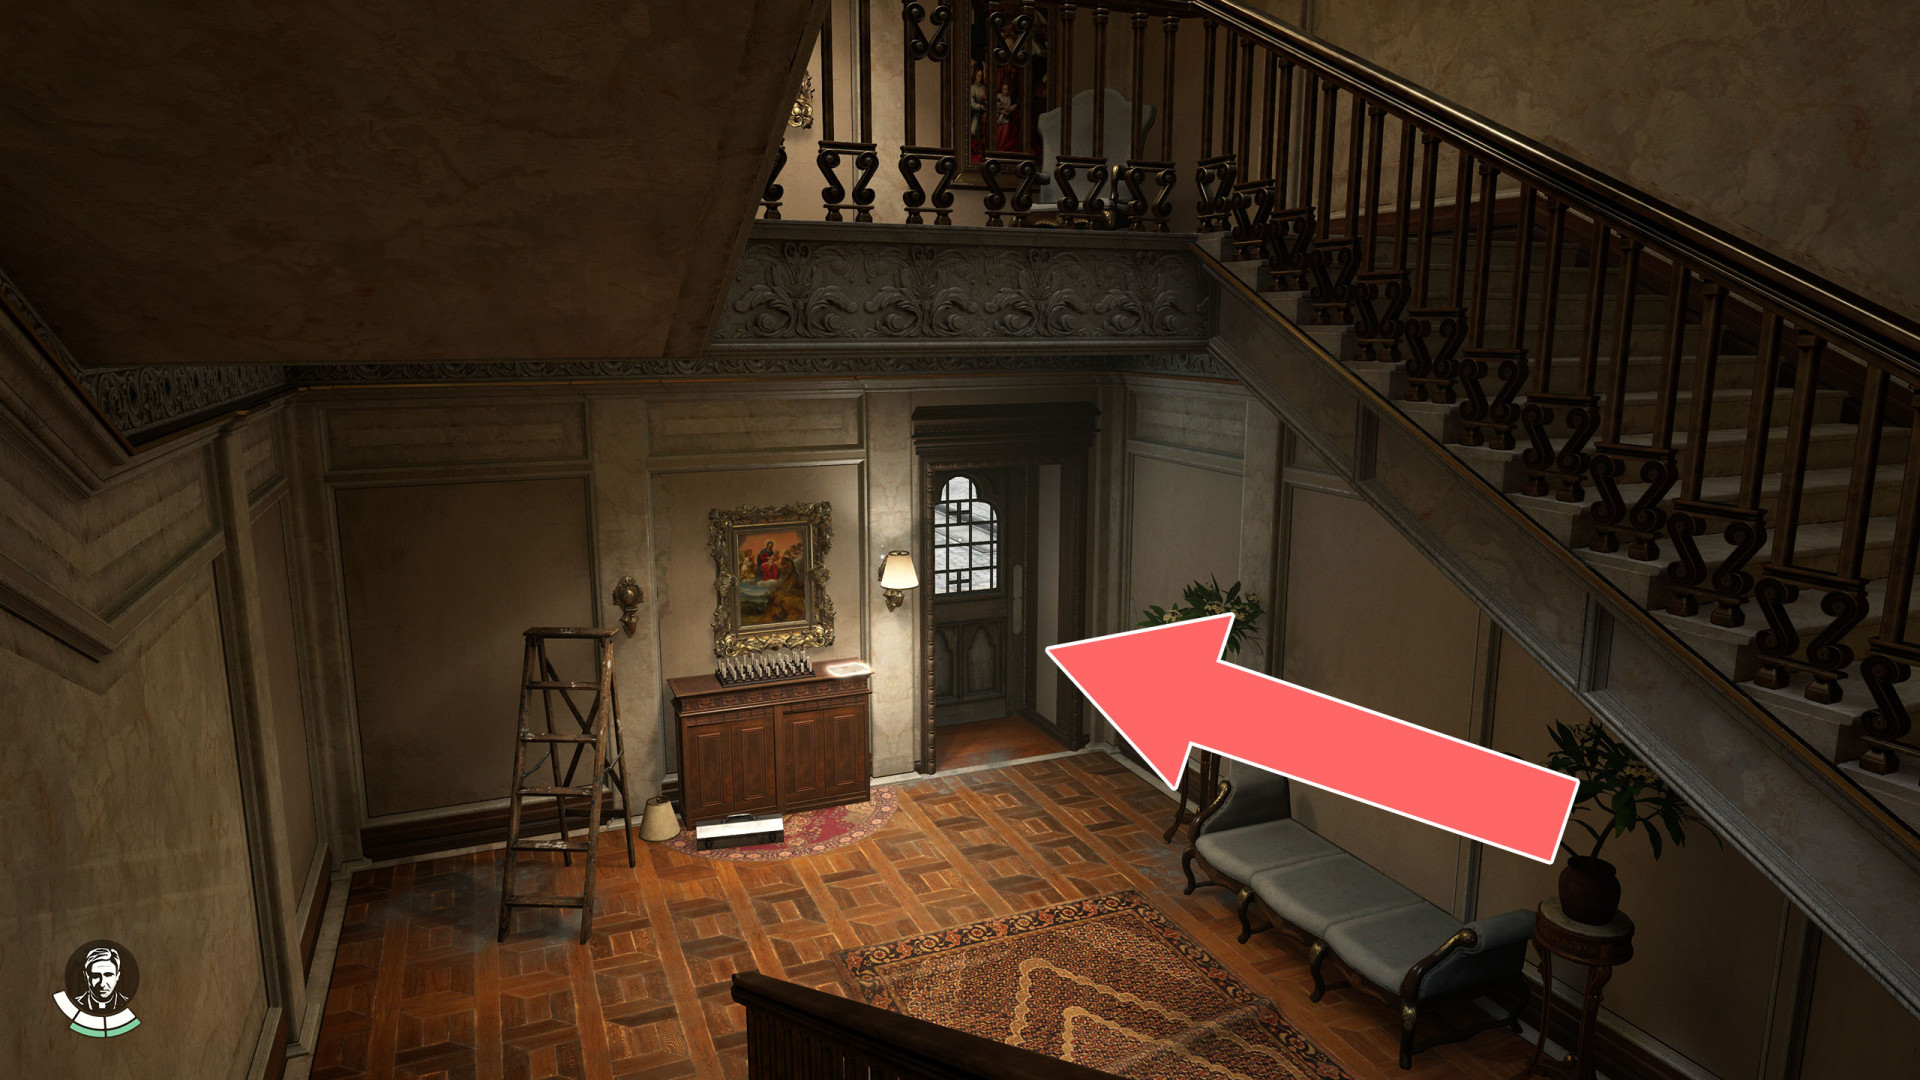
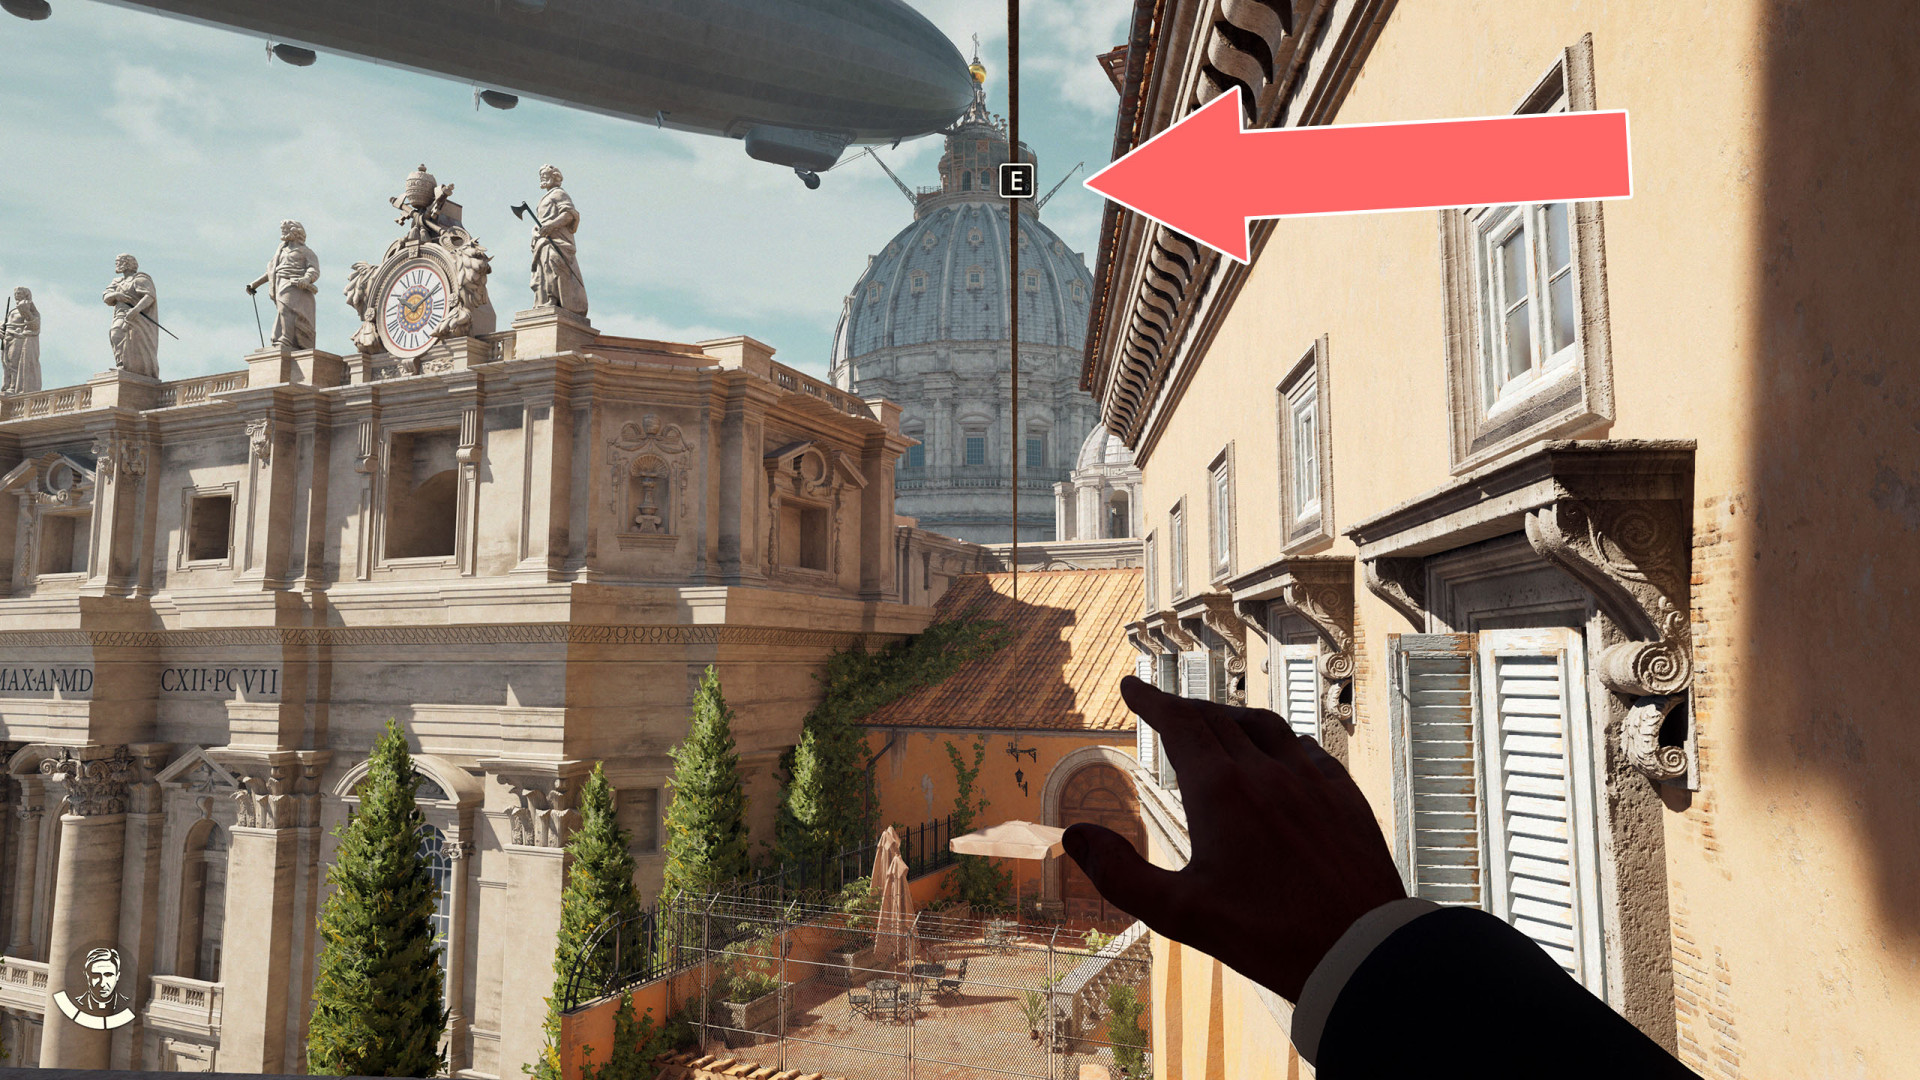
To the Vatican City▶ show the map ◀
Exit from the library to the city area. The door is located at the bottom of the staircase.
To Underworld▶ show the map ◀
Tower of Nicholas V Main Entrance▶ show the map ◀
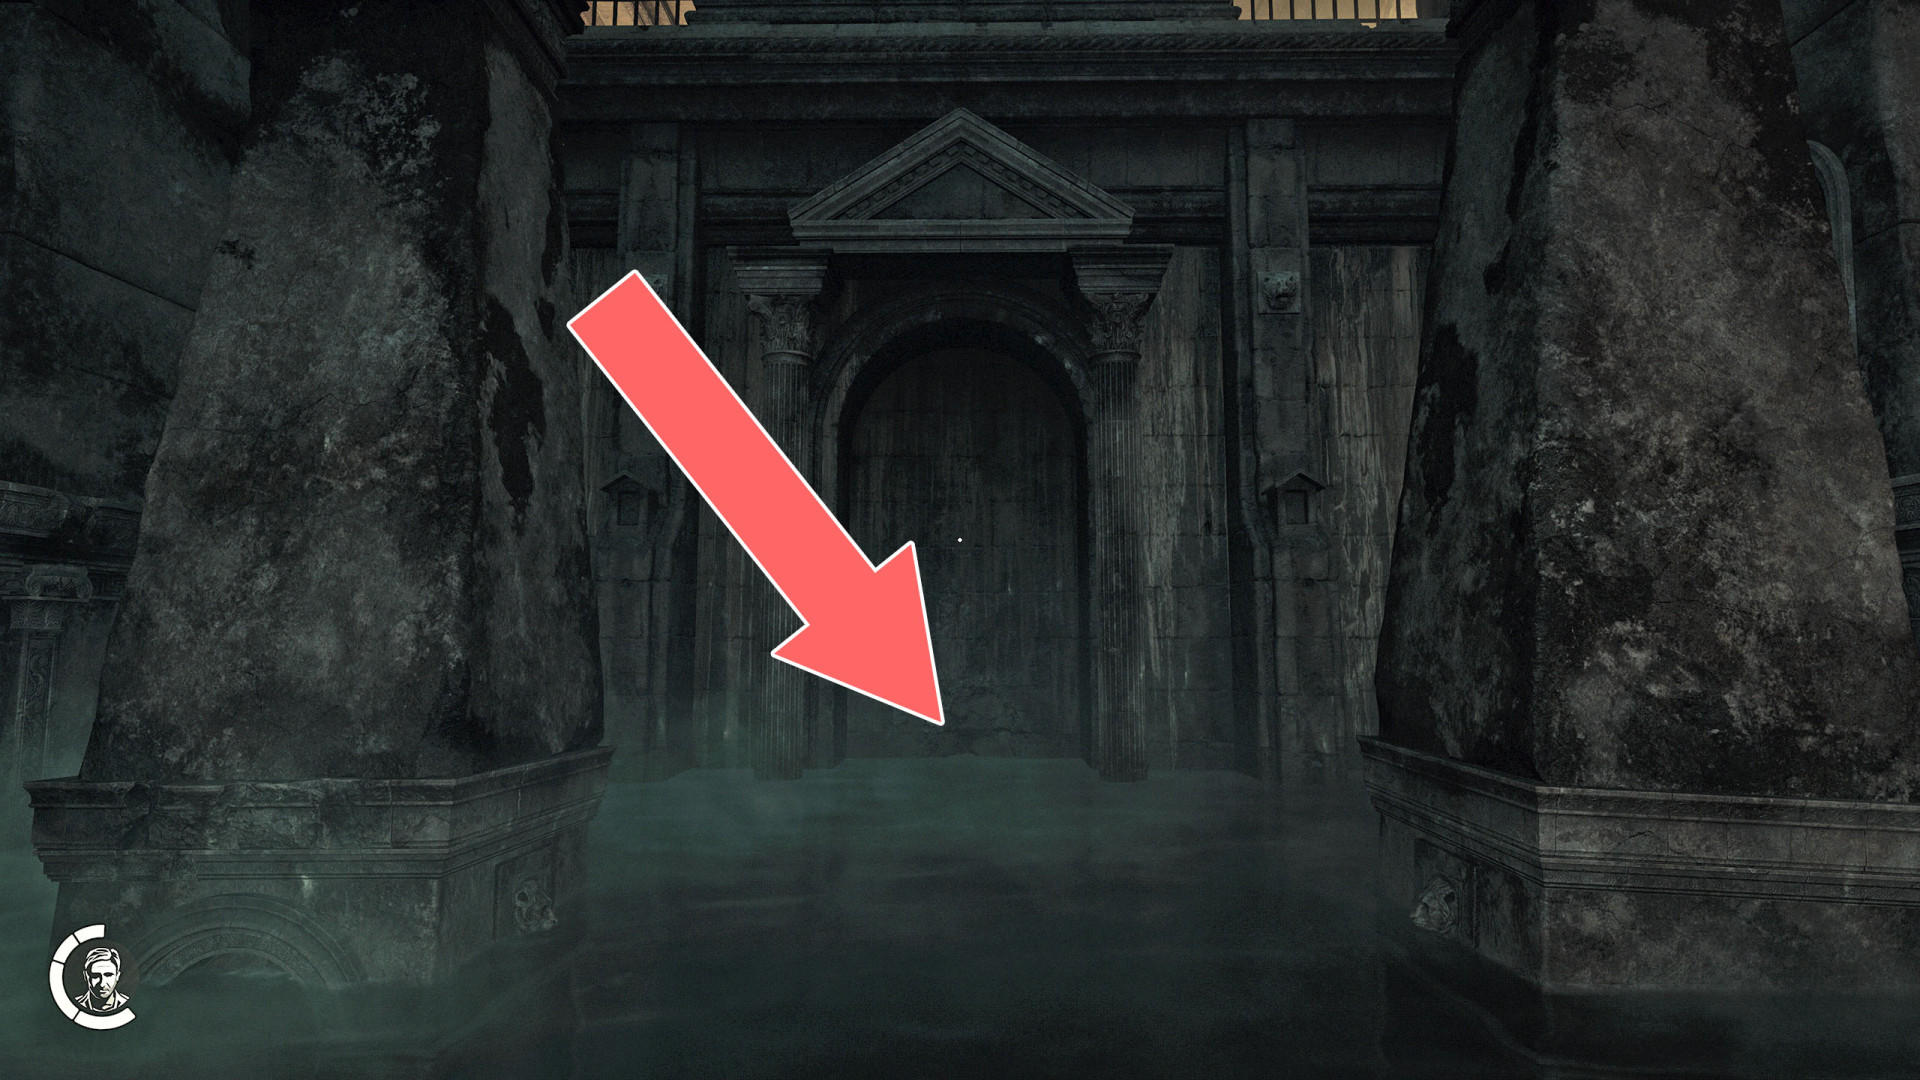
Underground▶ show the map ◀
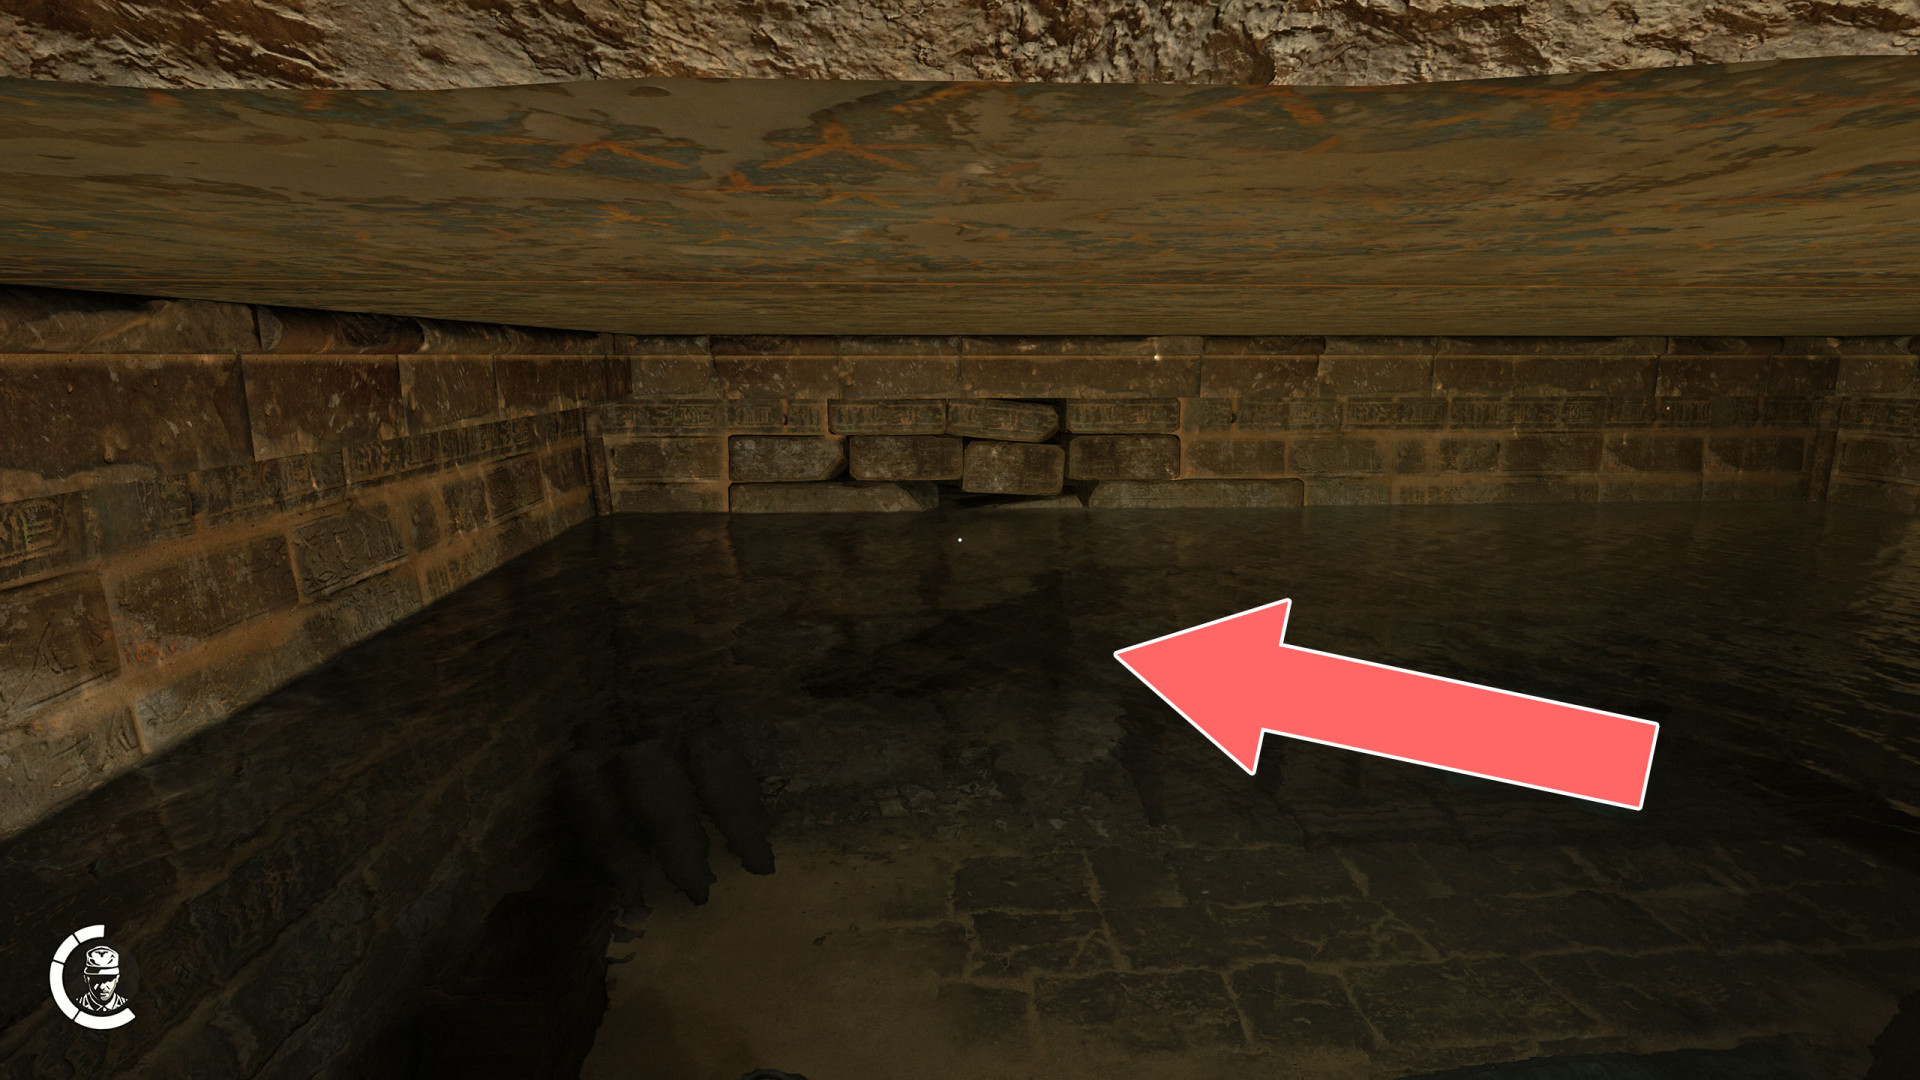
Underwater Passage▶ show the map ◀
To pass this way you need to revisit the Vatican after you reach the Sukhothai and buy the Rebreather. Dive, equip the Rebreather, swim inside, move the beam blocking the way and swim forward.
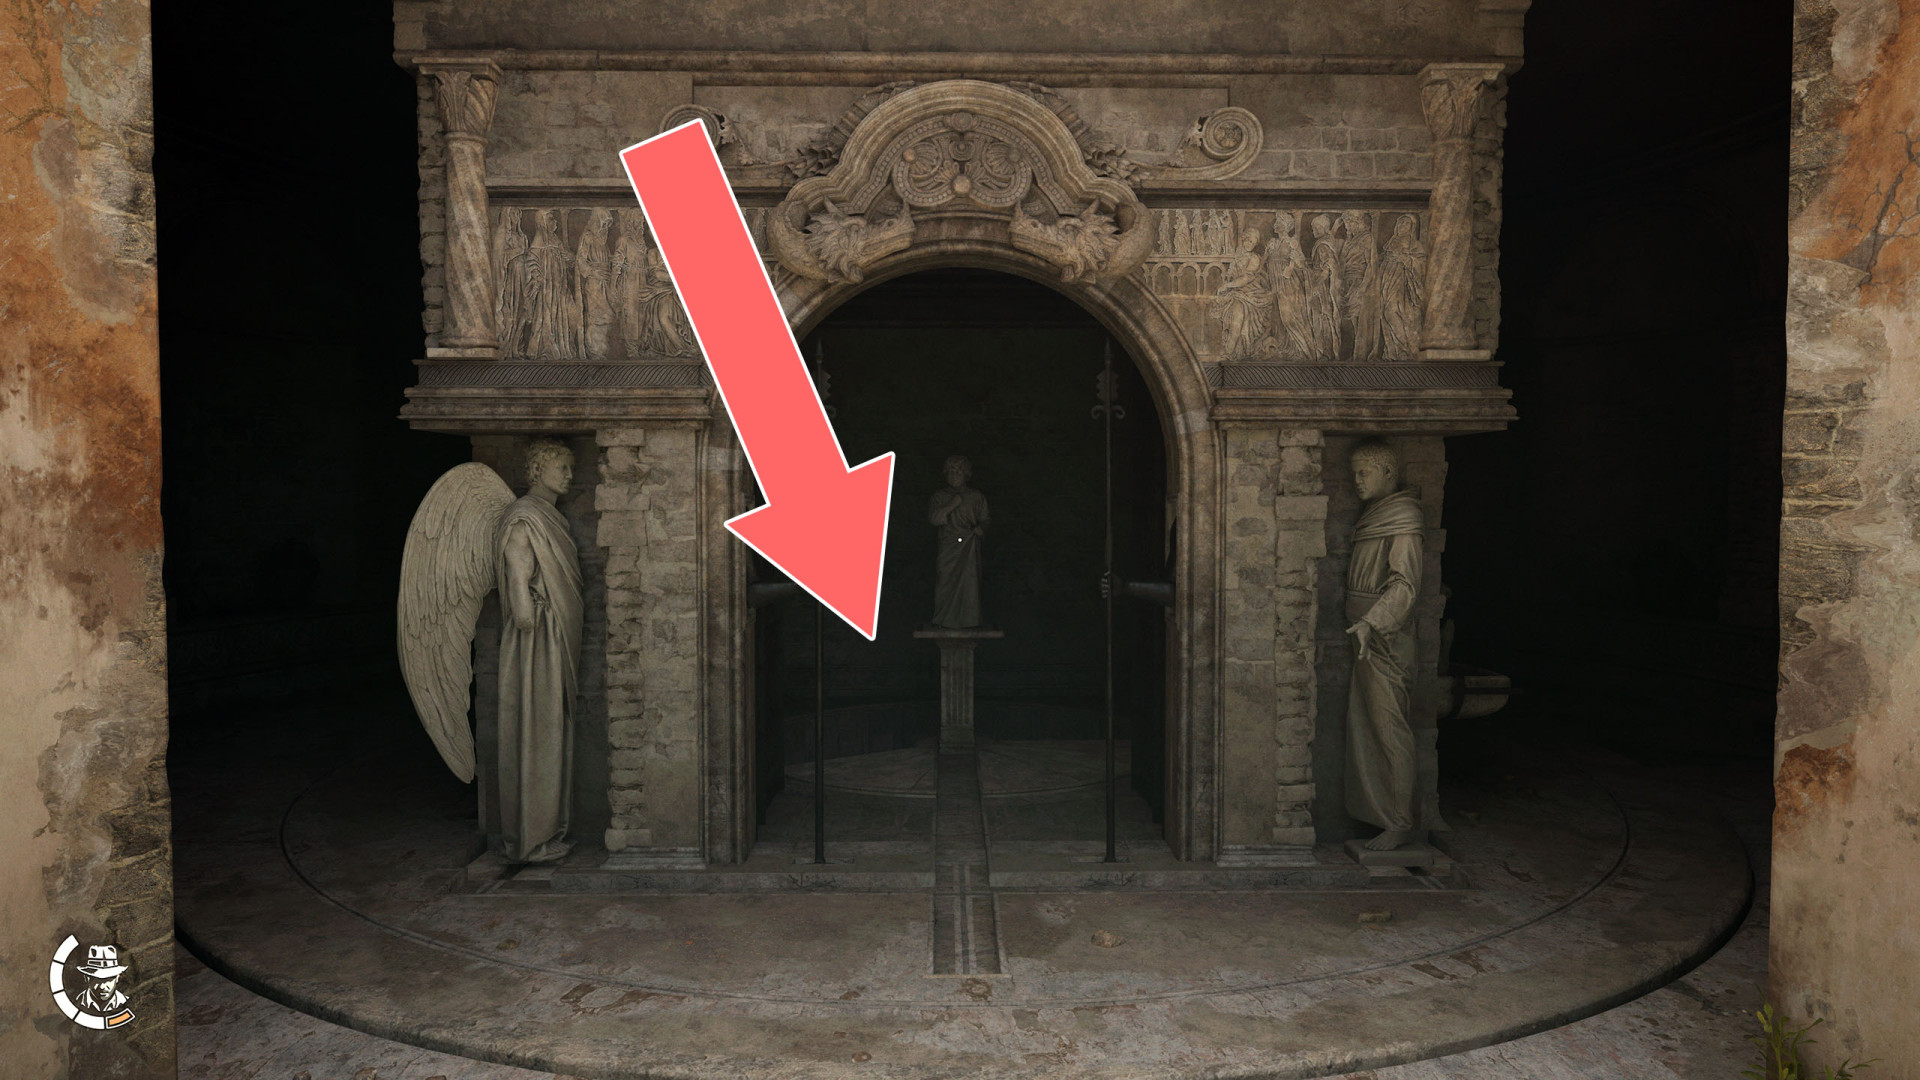
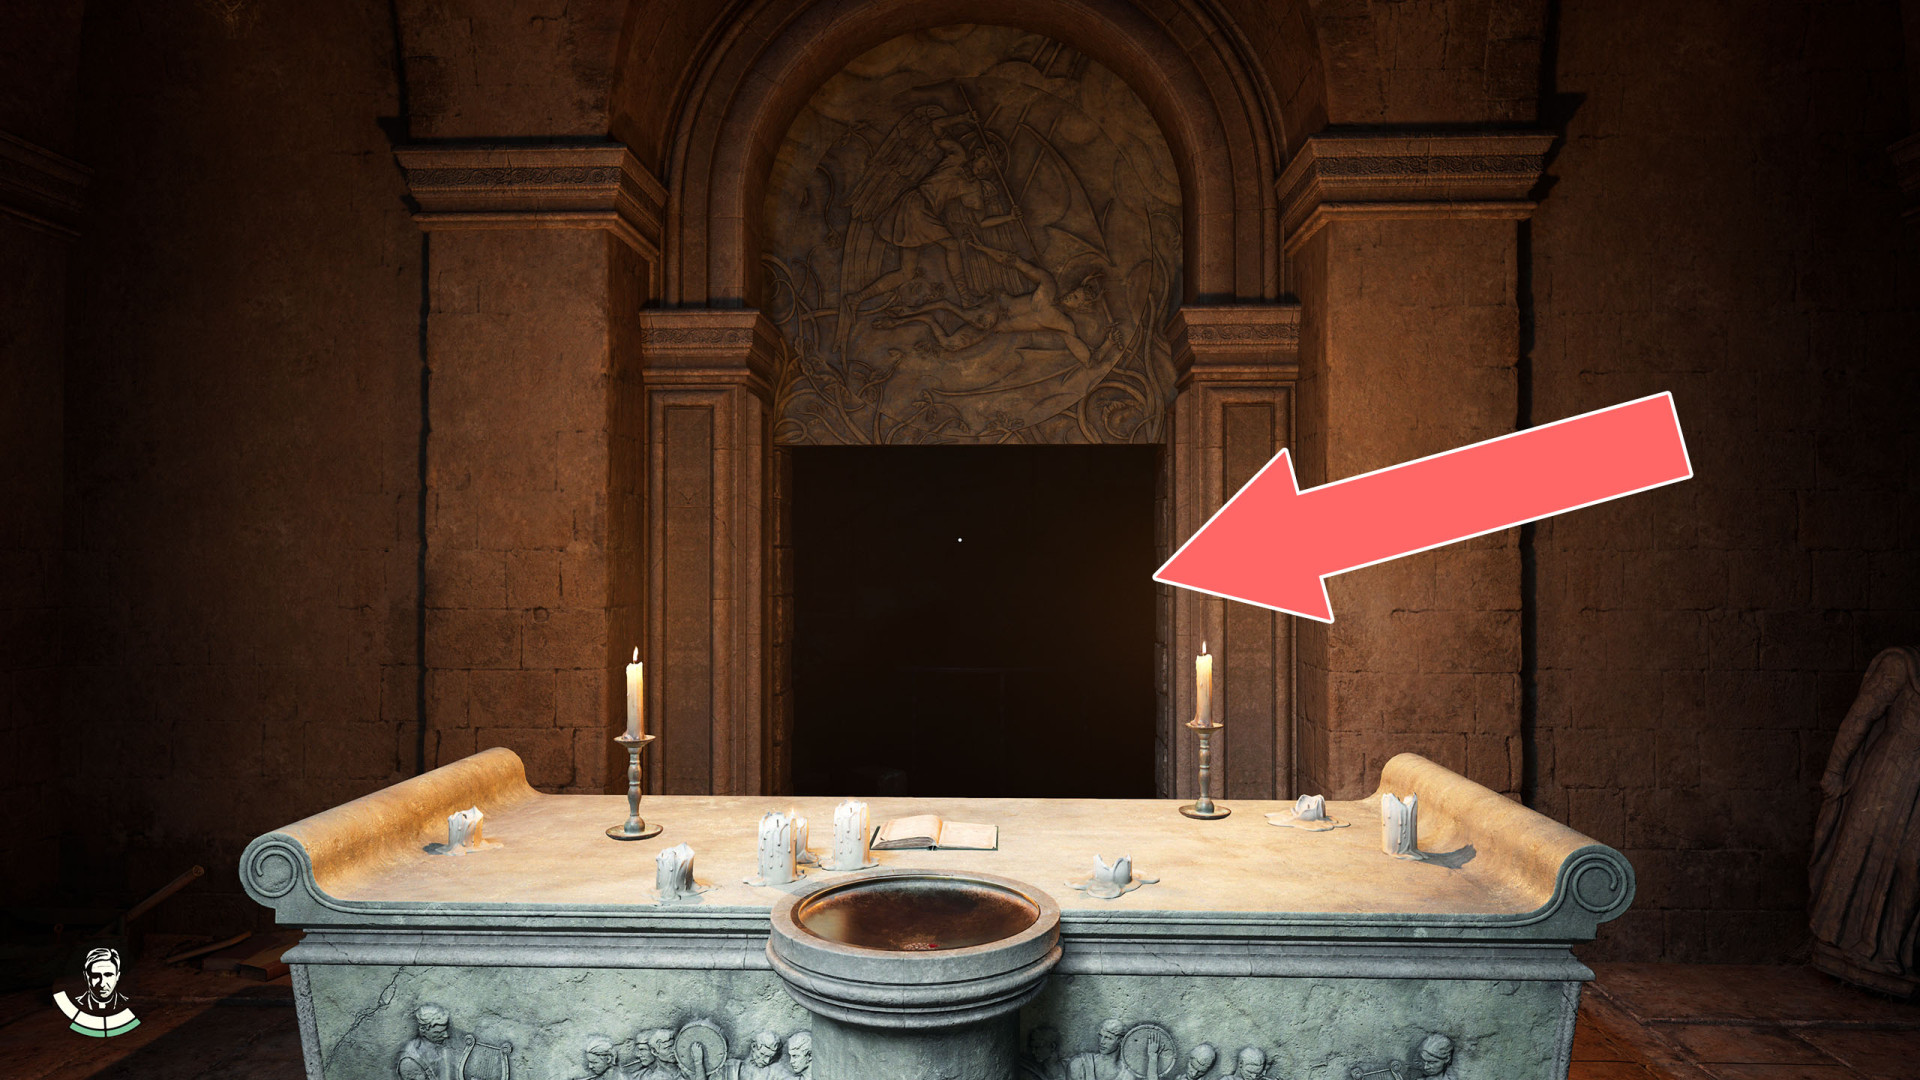
Underworld Entrance▶ show the map ◀
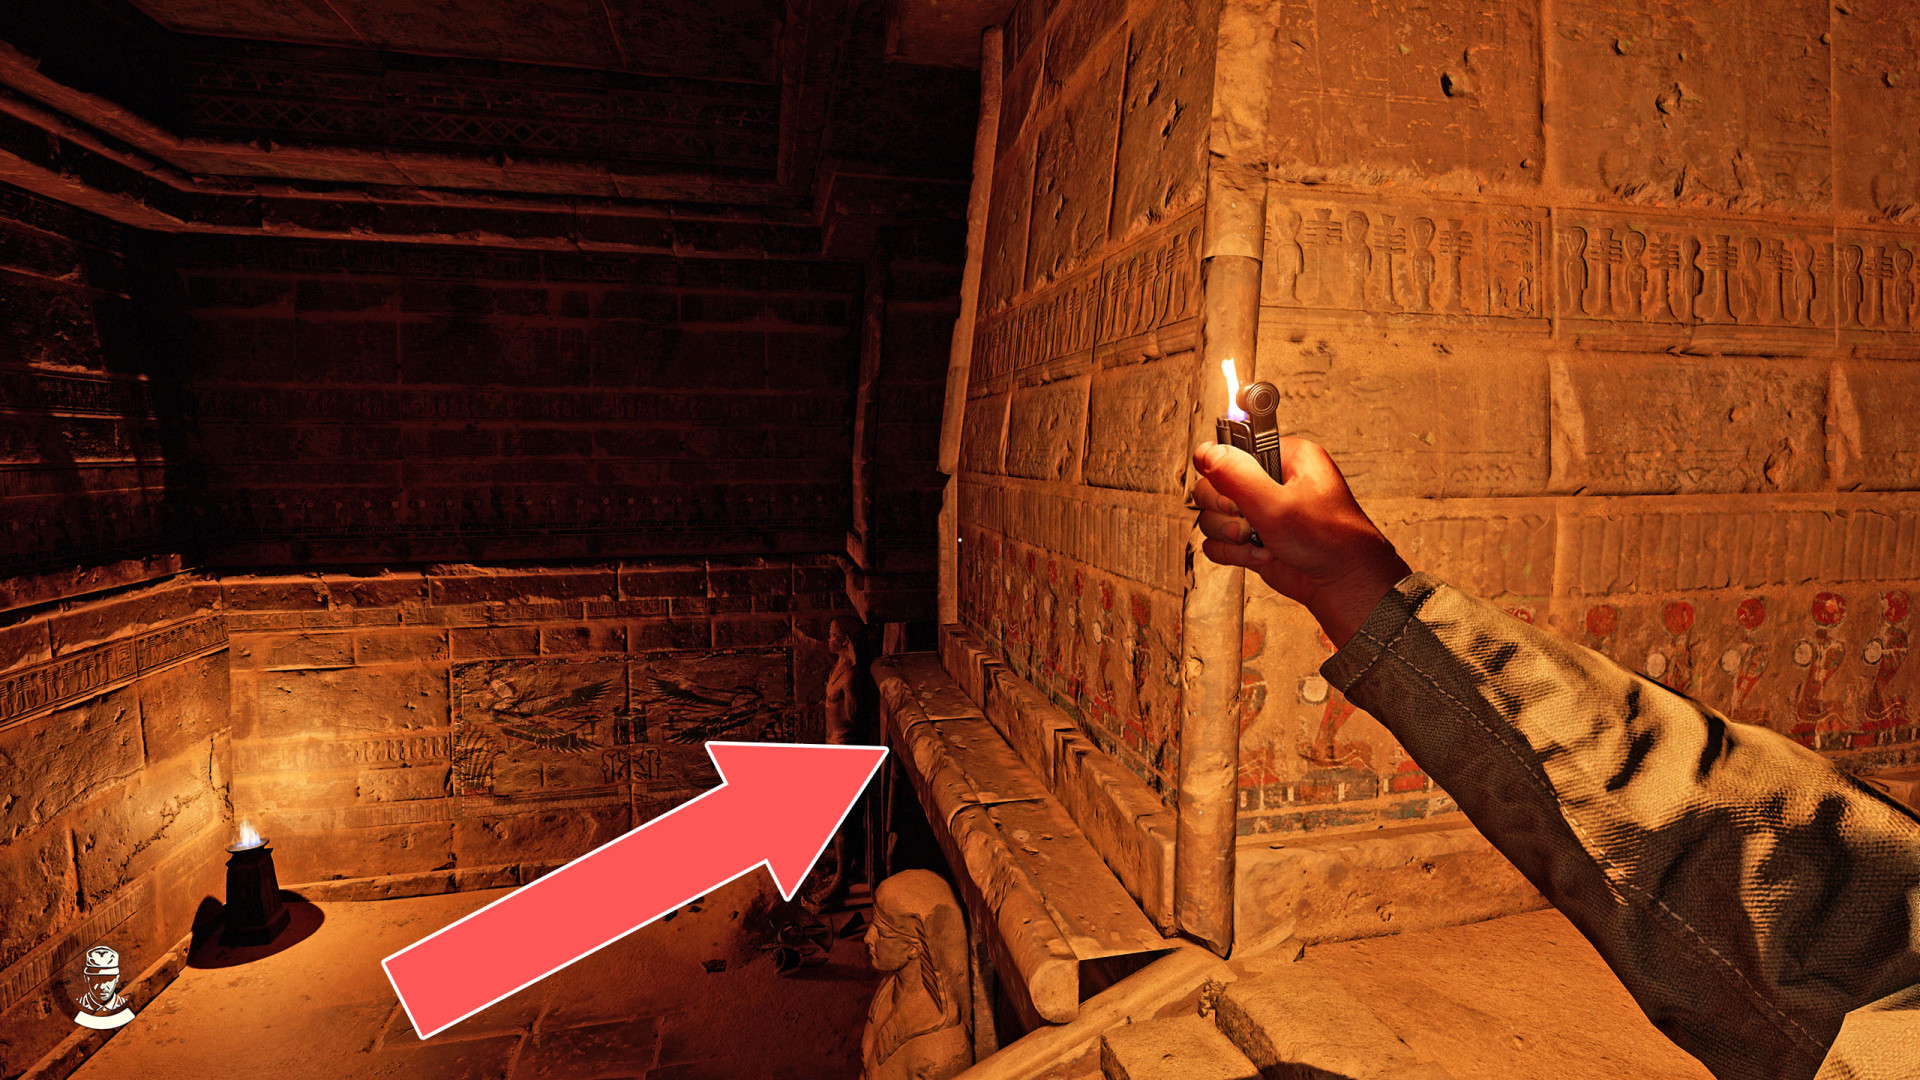
The door can be unlocked during the "The Stolen Cat Mummy" quest. Pour the wine that Antonio gave you into the bowl at the front of the altar and turn the large disk on the door until the angel is on top.
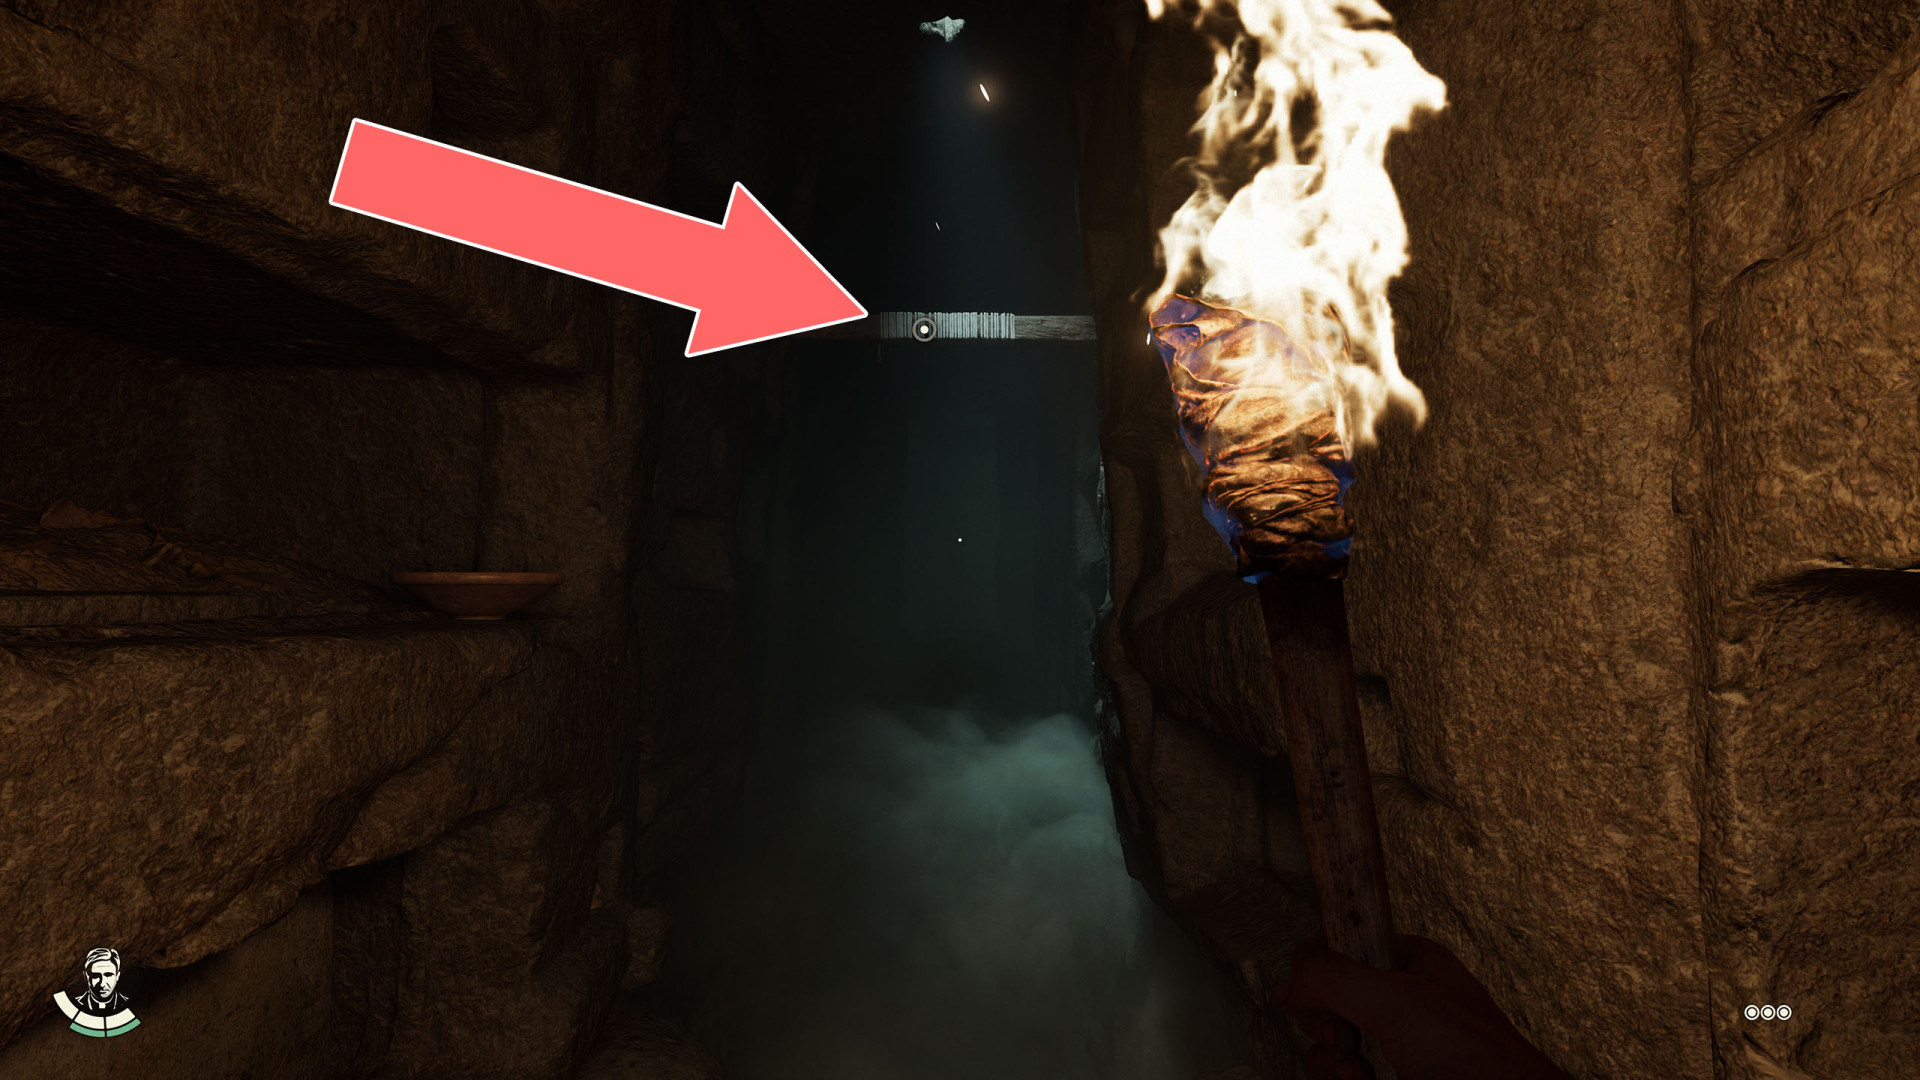
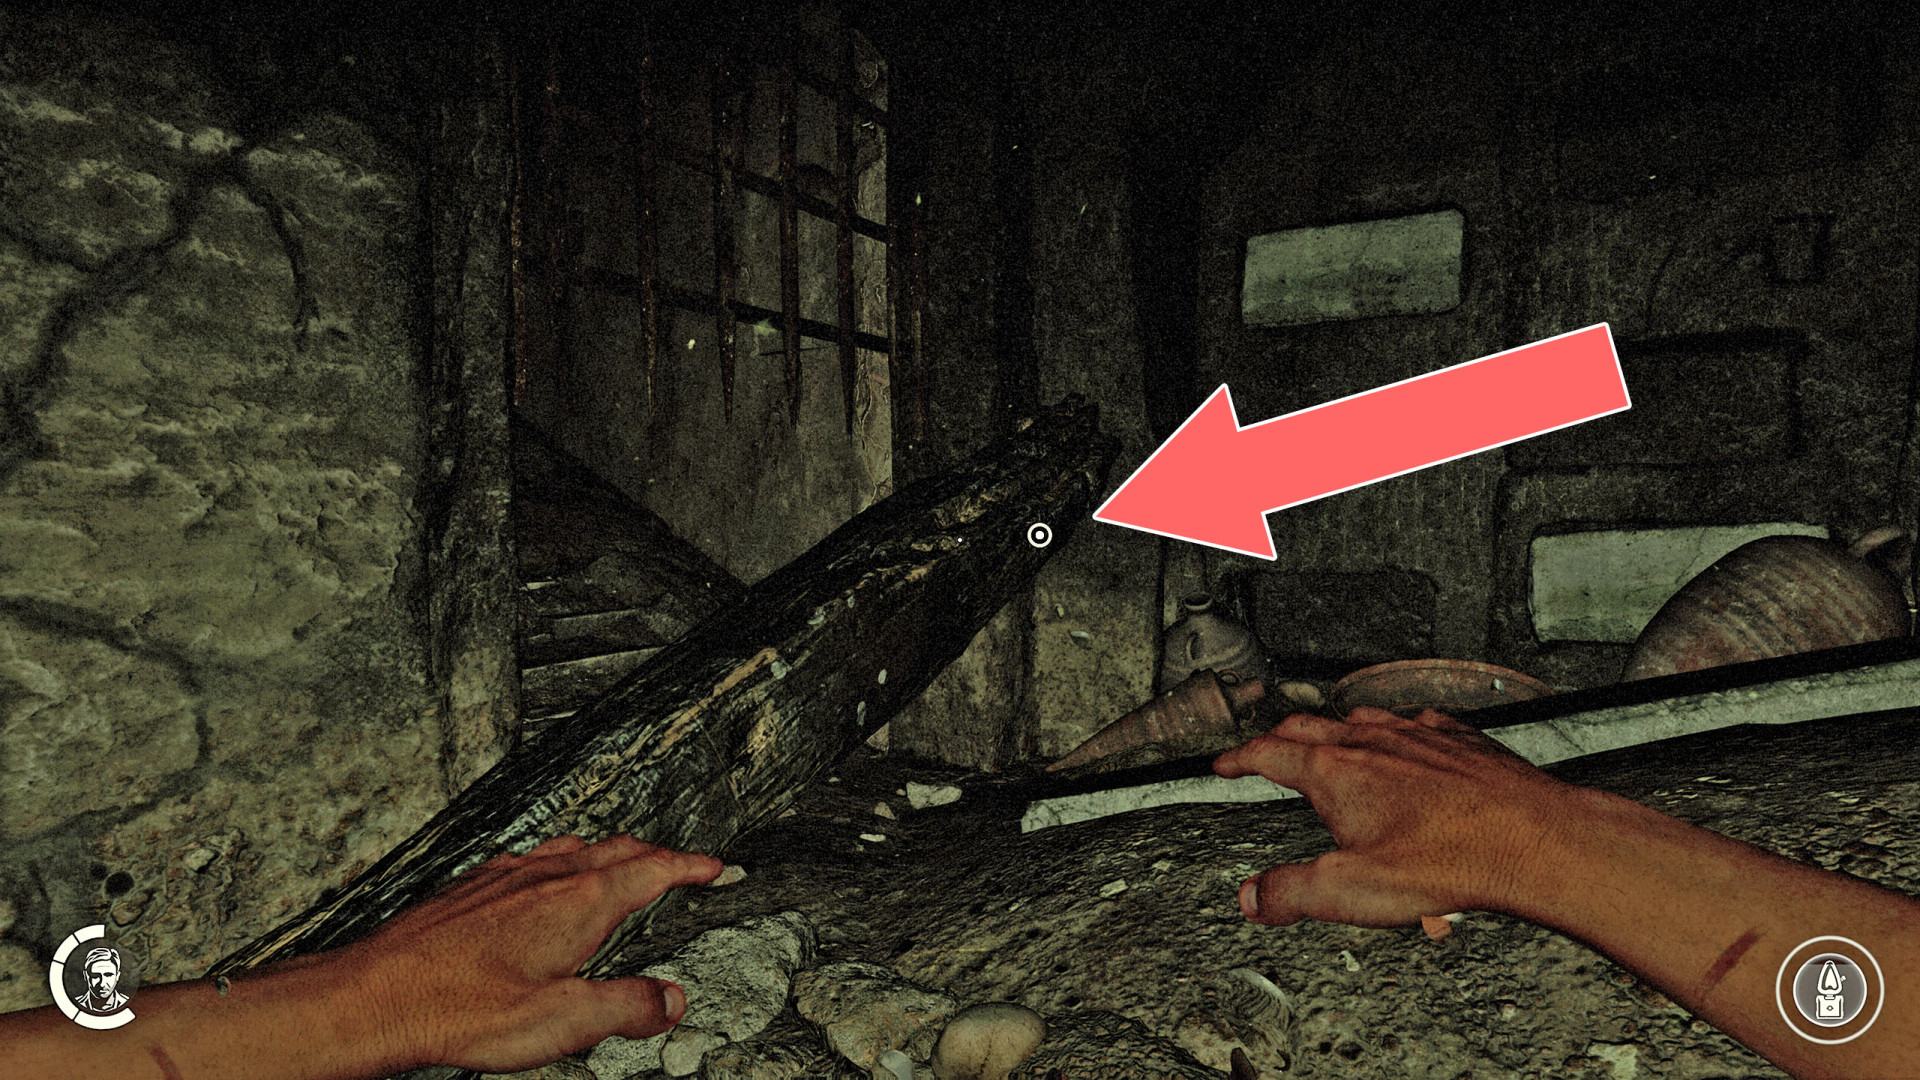
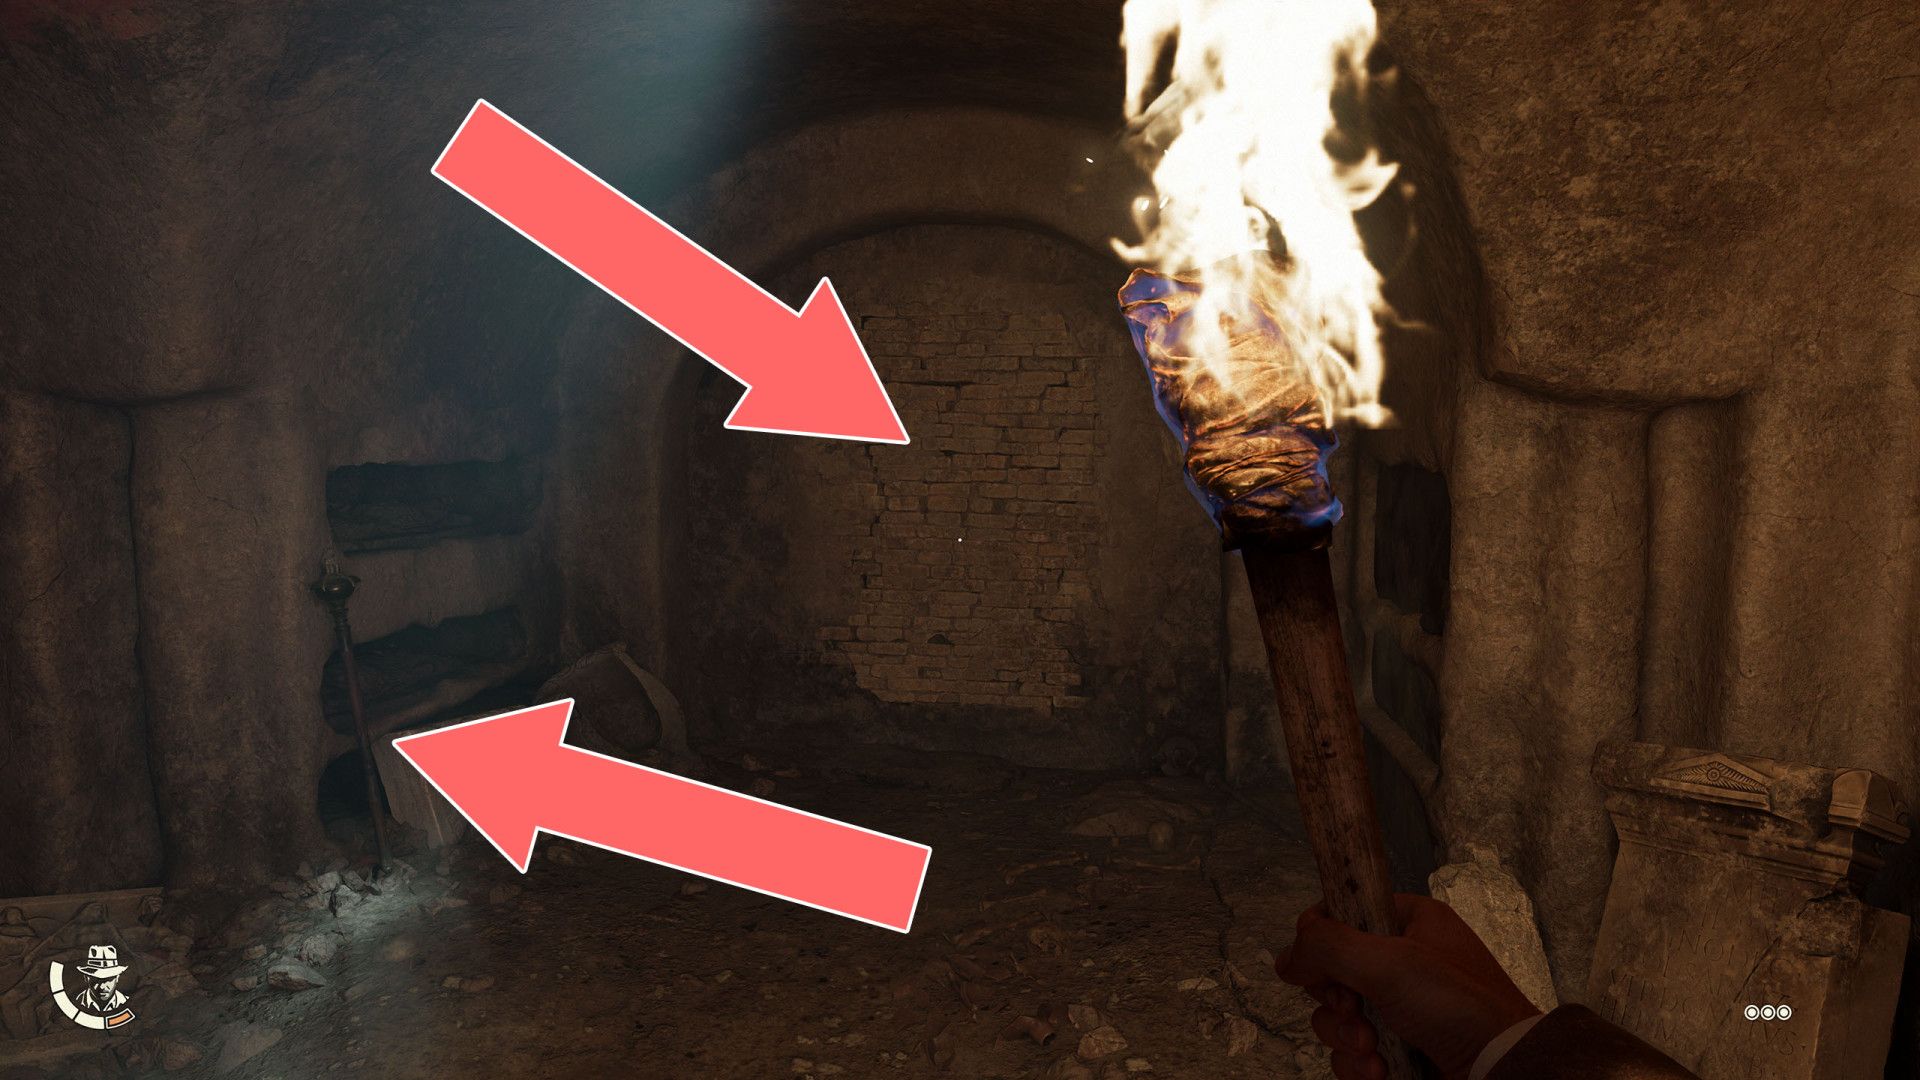
Wall Crack▶ show the map ◀
You can't walk this way with a torch because it will be extinguished by water.
Wall Crack▶ show the map ◀
Weak Wall▶ show the map ◀
Weak Wall▶ show the map ◀
To break down this wall, use the hammer that you can find a little further to the left on the ledge.
Weak Wall▶ show the map ◀
Window▶ show the map ◀
The window through which you get inside the museum during the "A Nun in Trouble" fieldwork. You cannot exit this way.
Window▶ show the map ◀
Window▶ show the map ◀
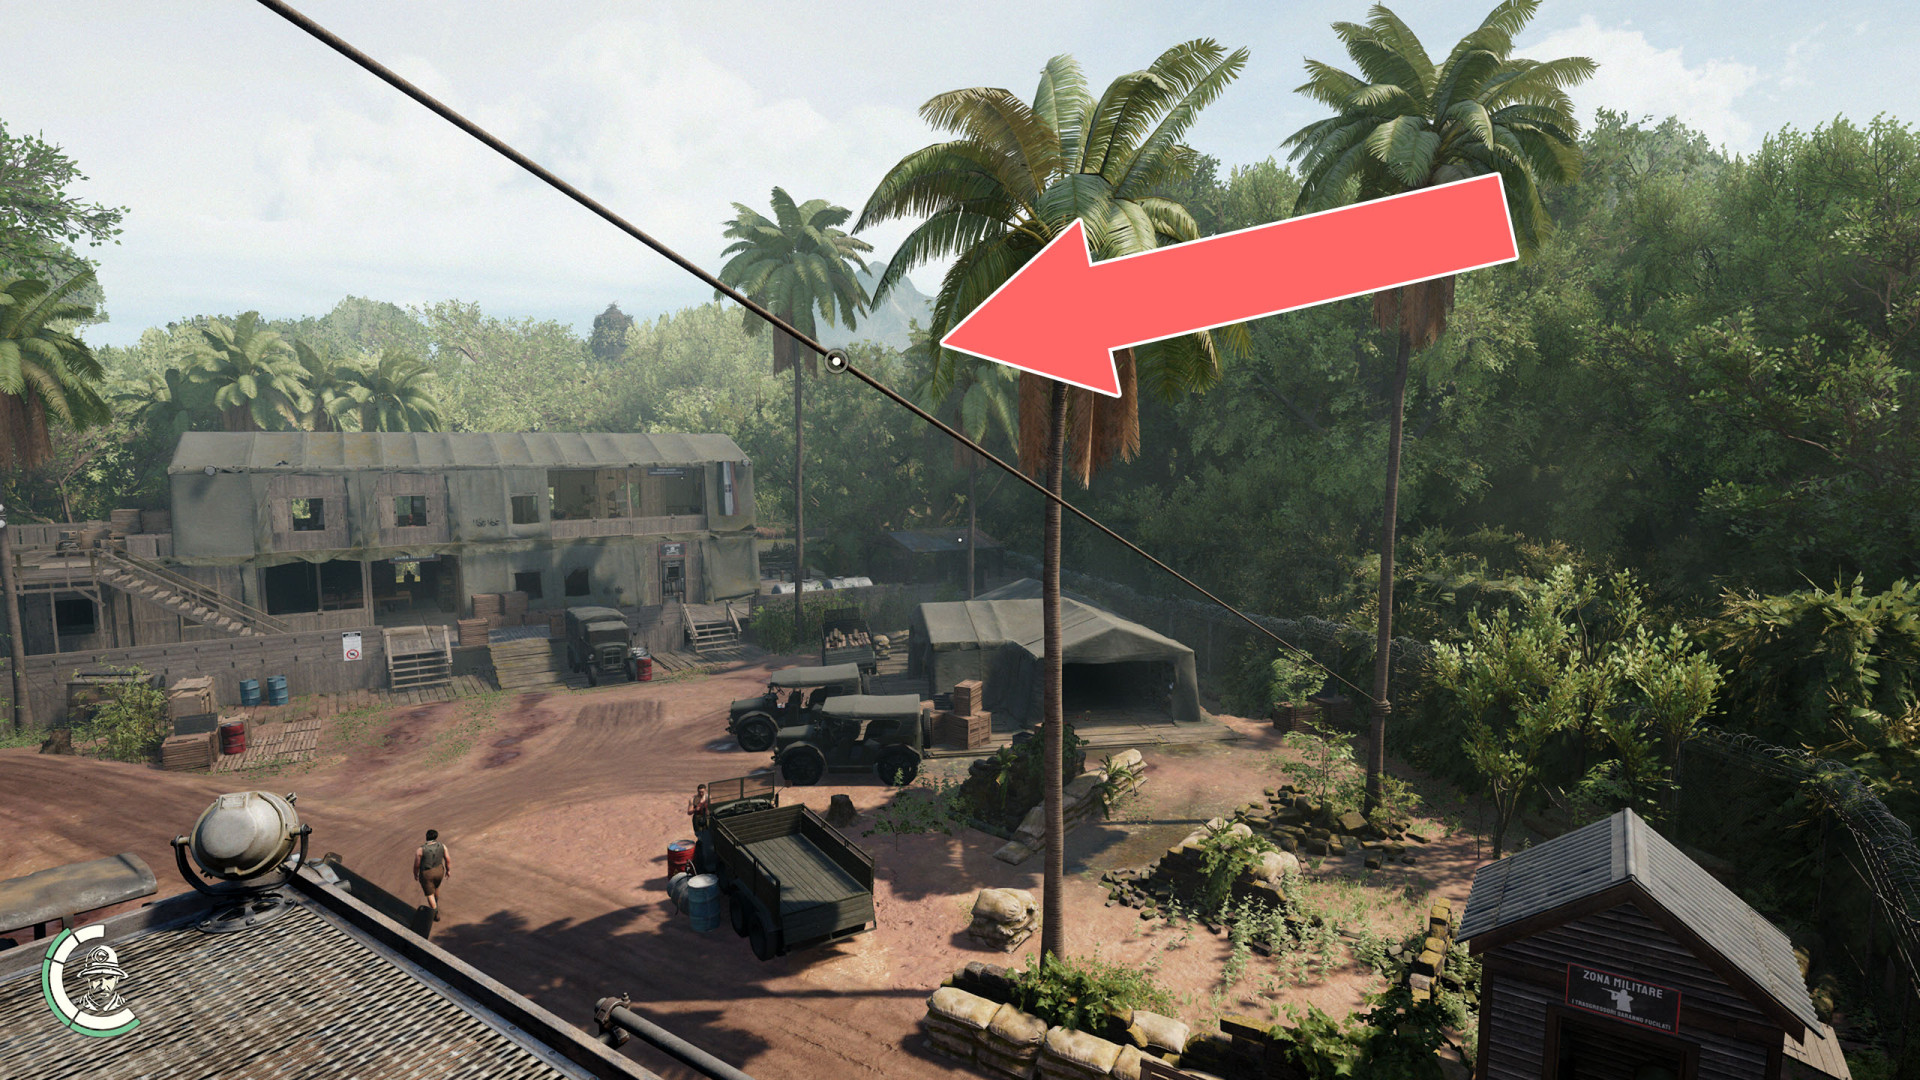
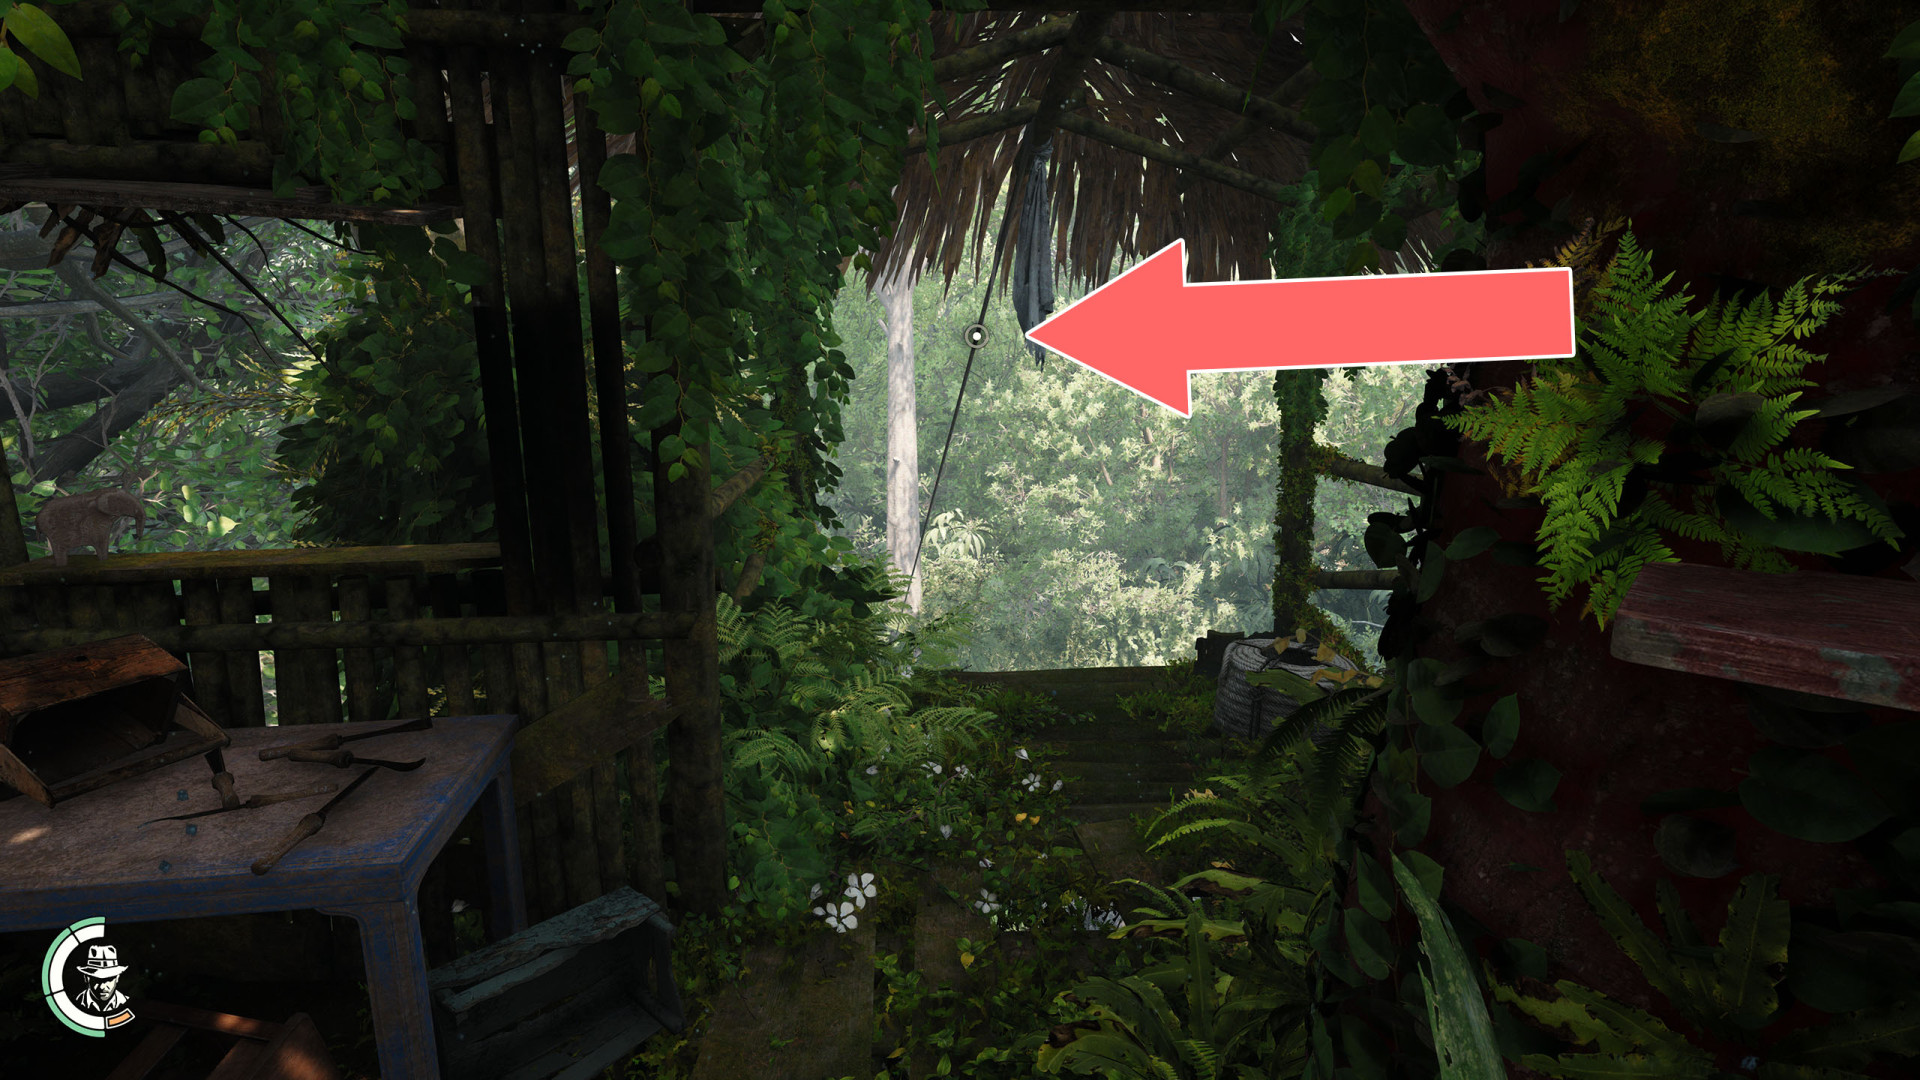
Zipline▶ show the map ◀
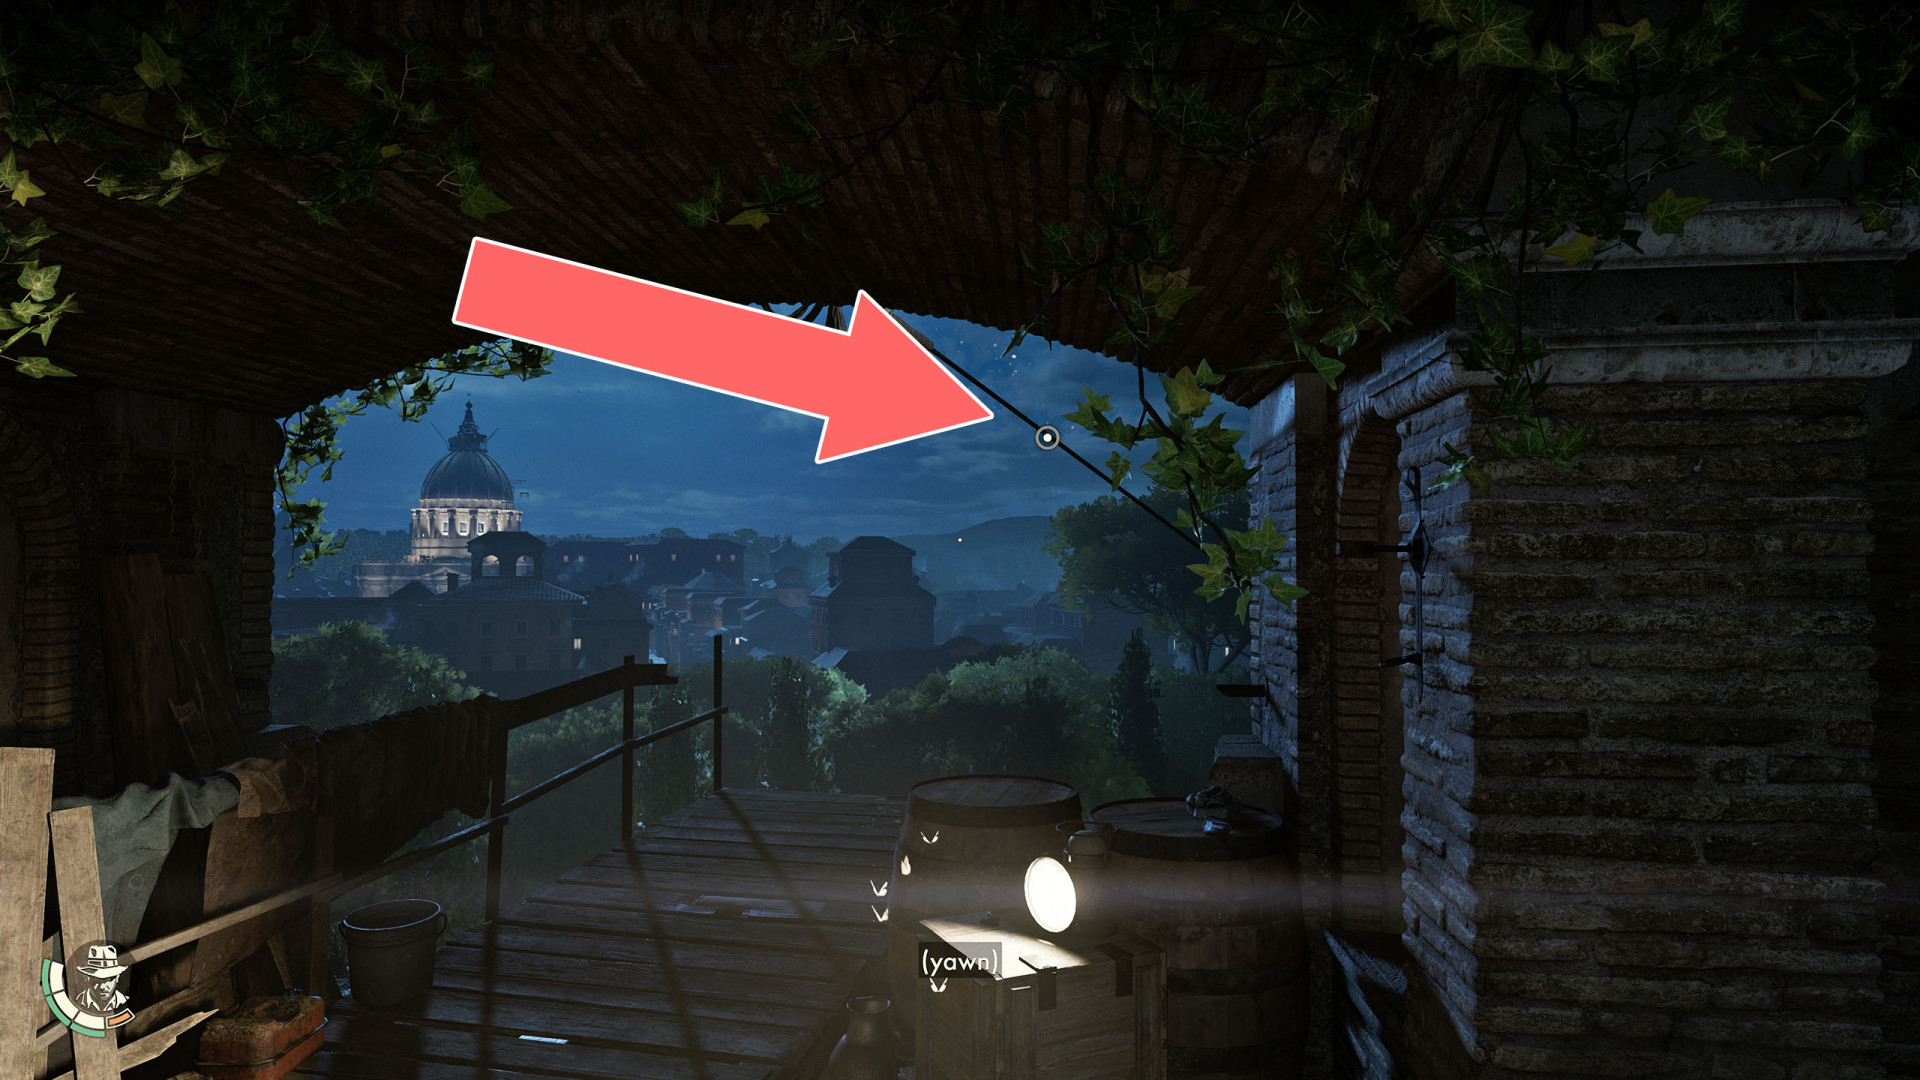
Zipline▶ show the map ◀
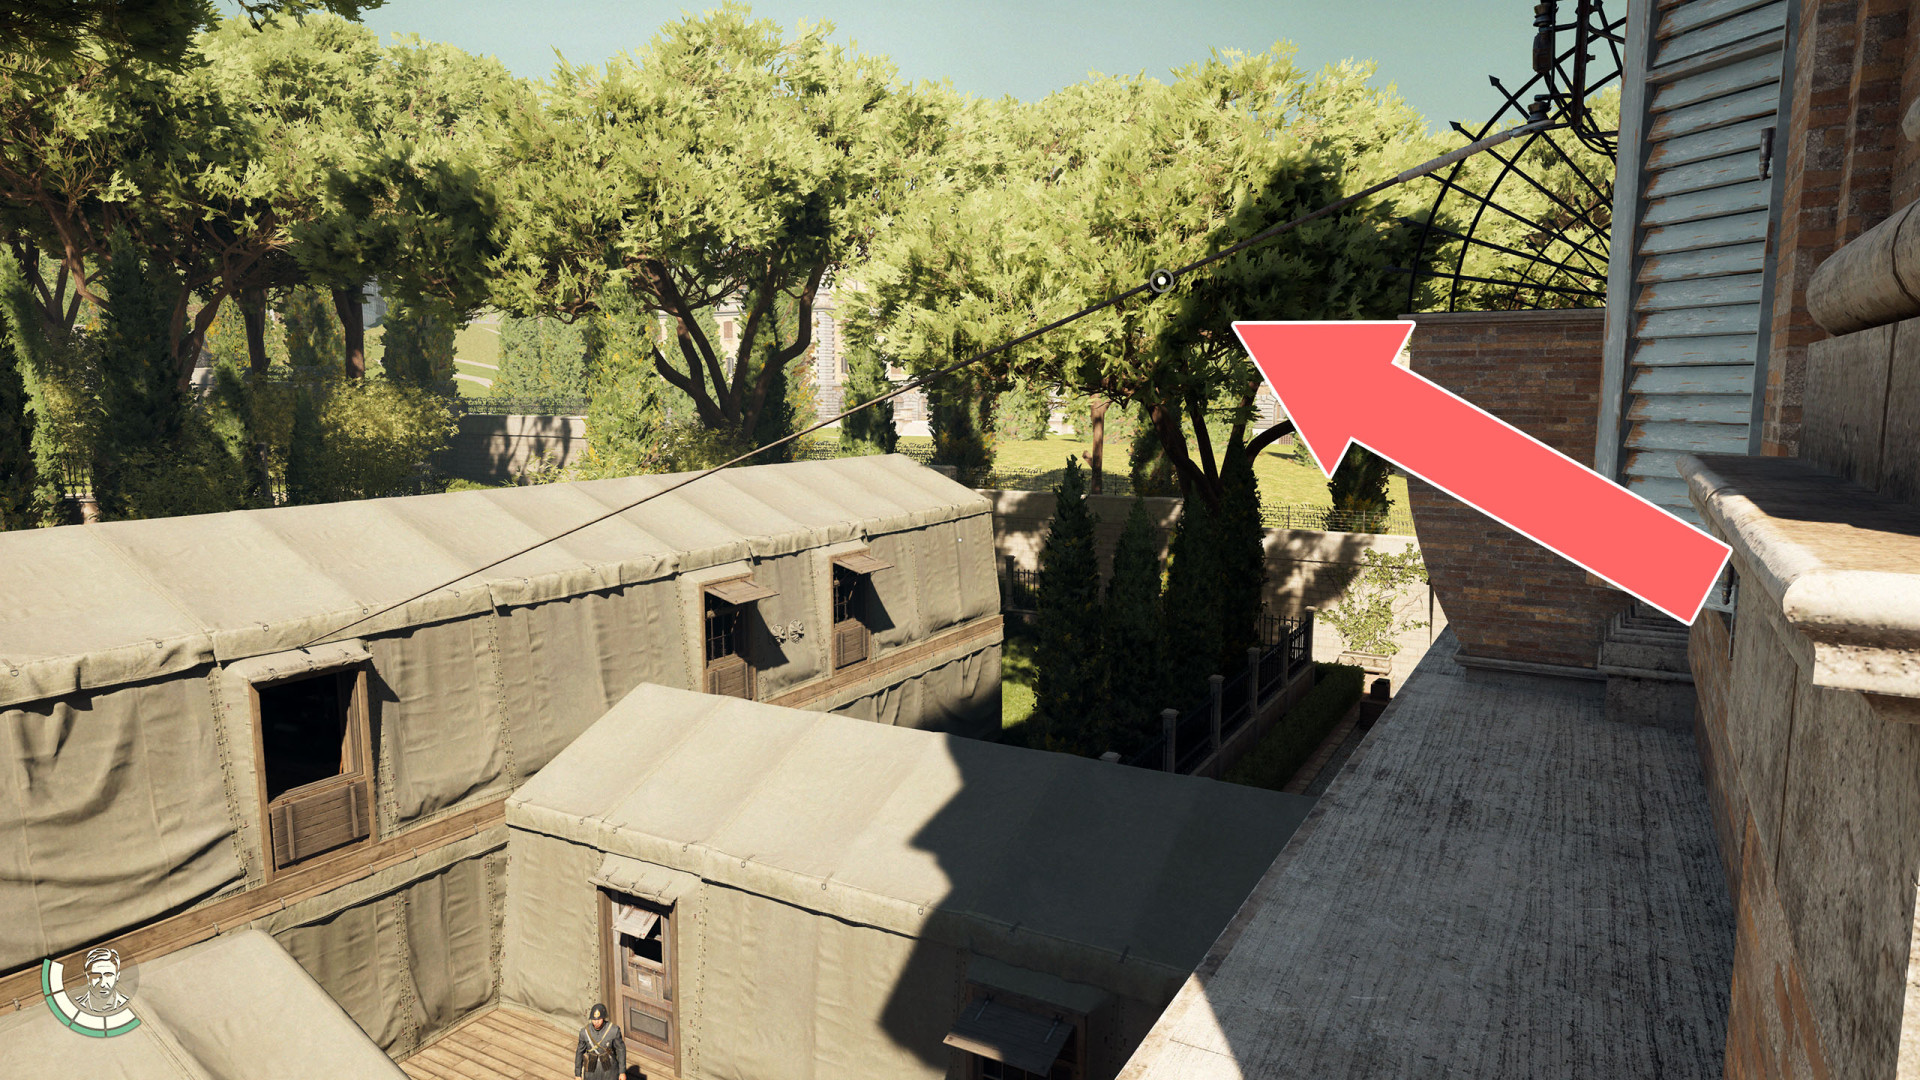
Zipline▶ show the map ◀
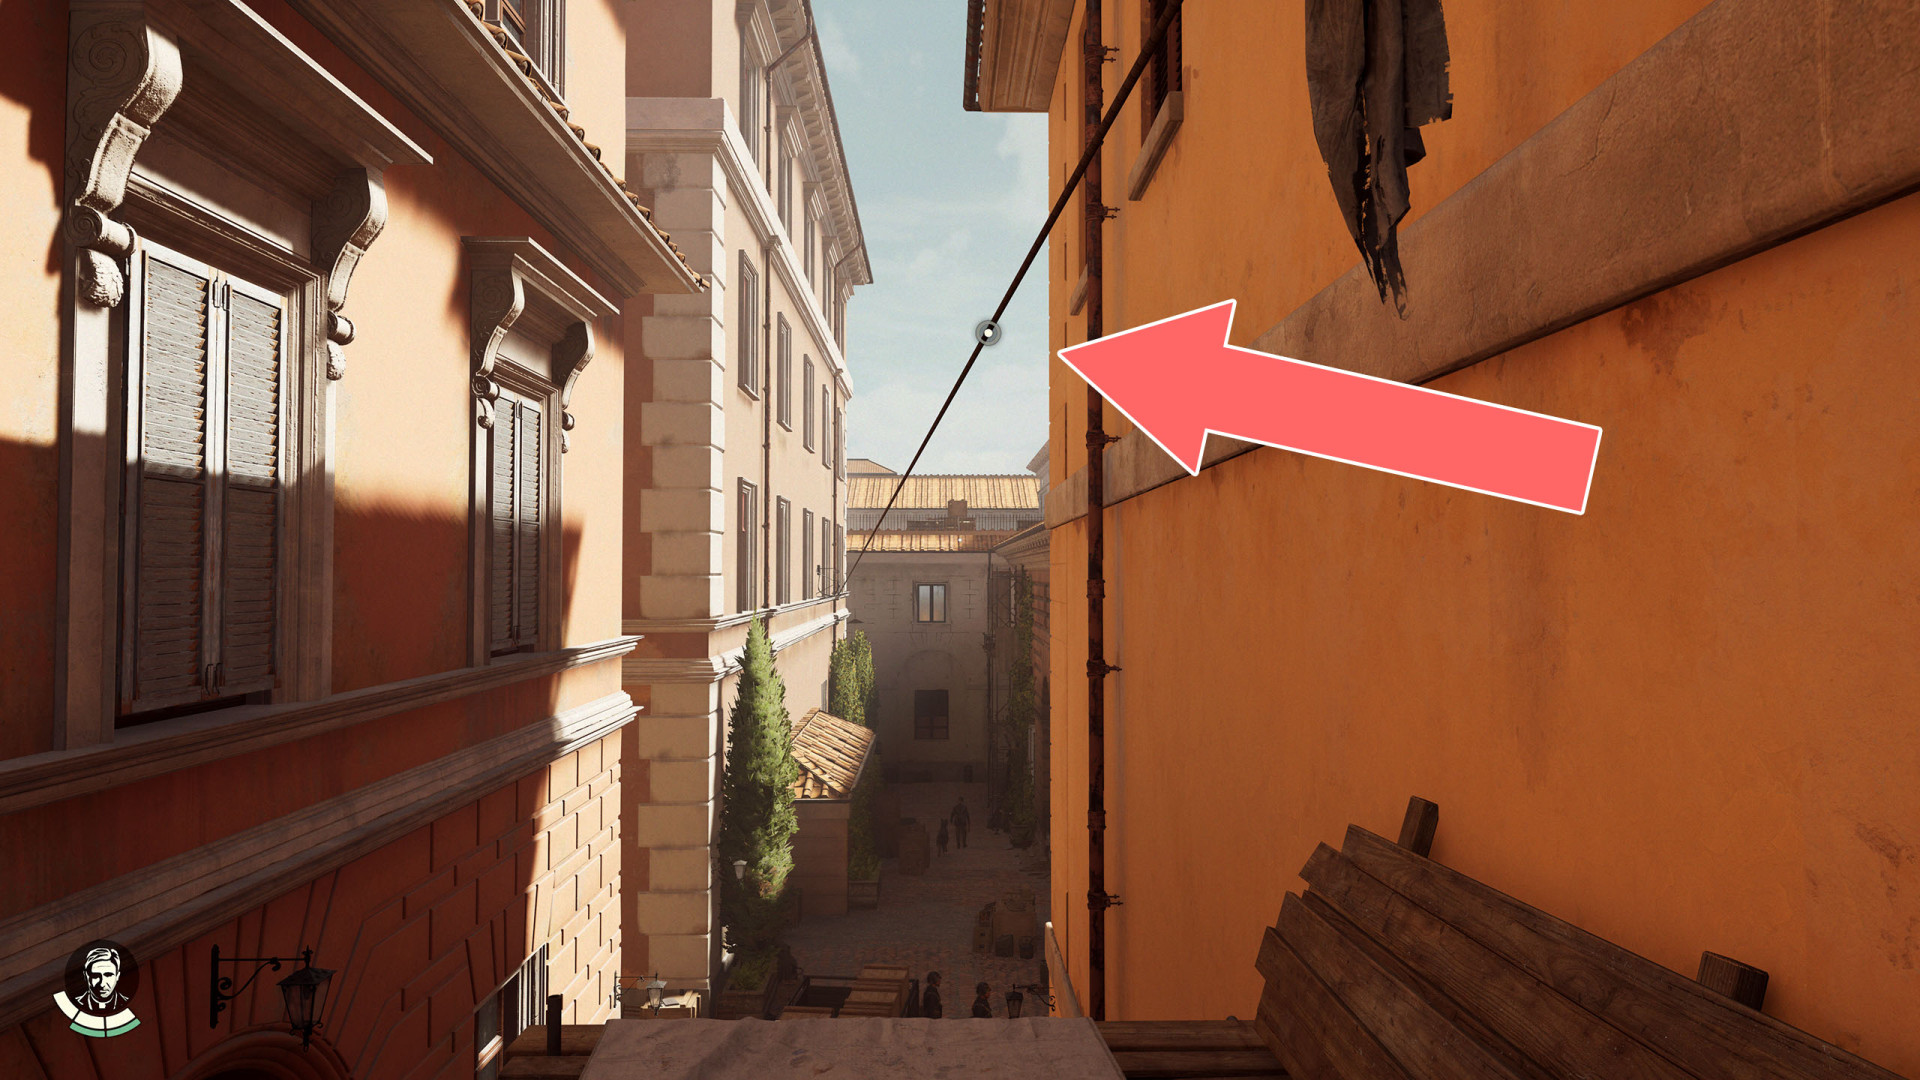
Zipline▶ show the map ◀
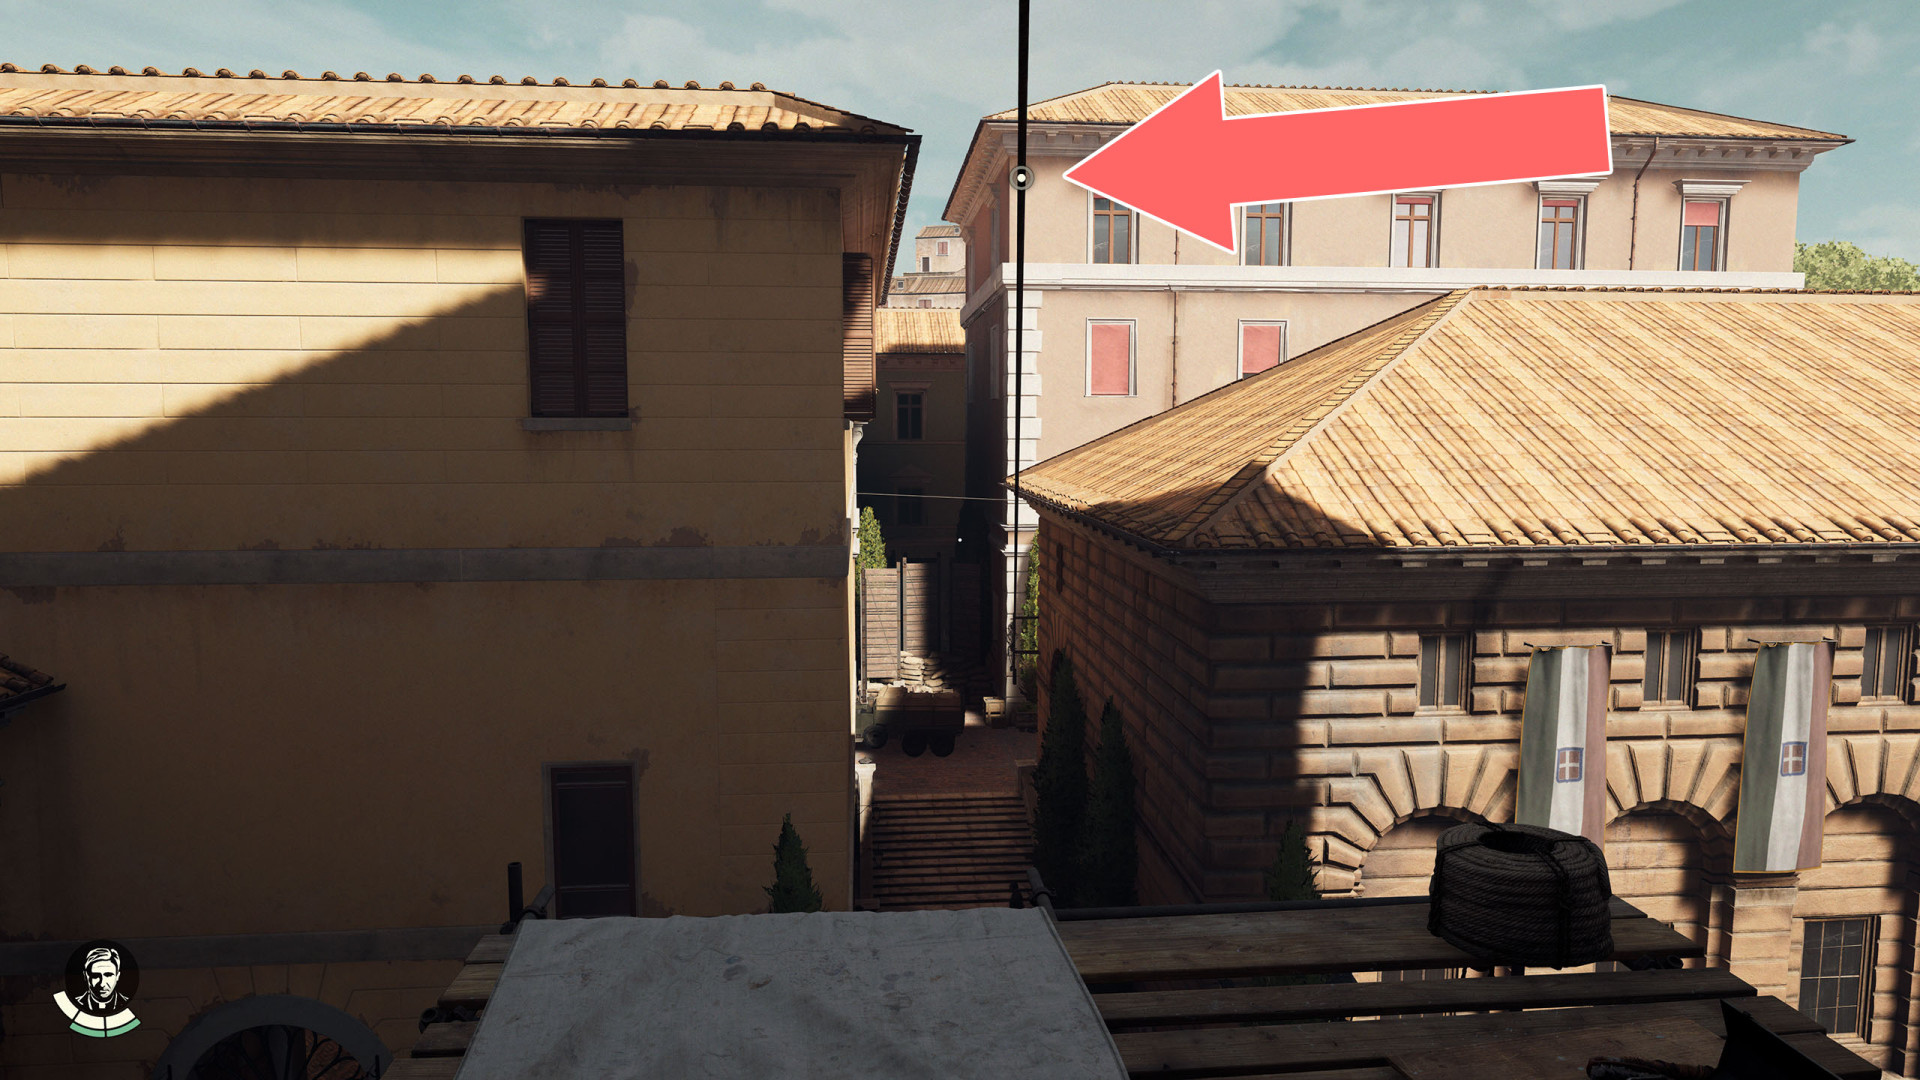
Zipline▶ show the map ◀
Zipline▶ show the map ◀
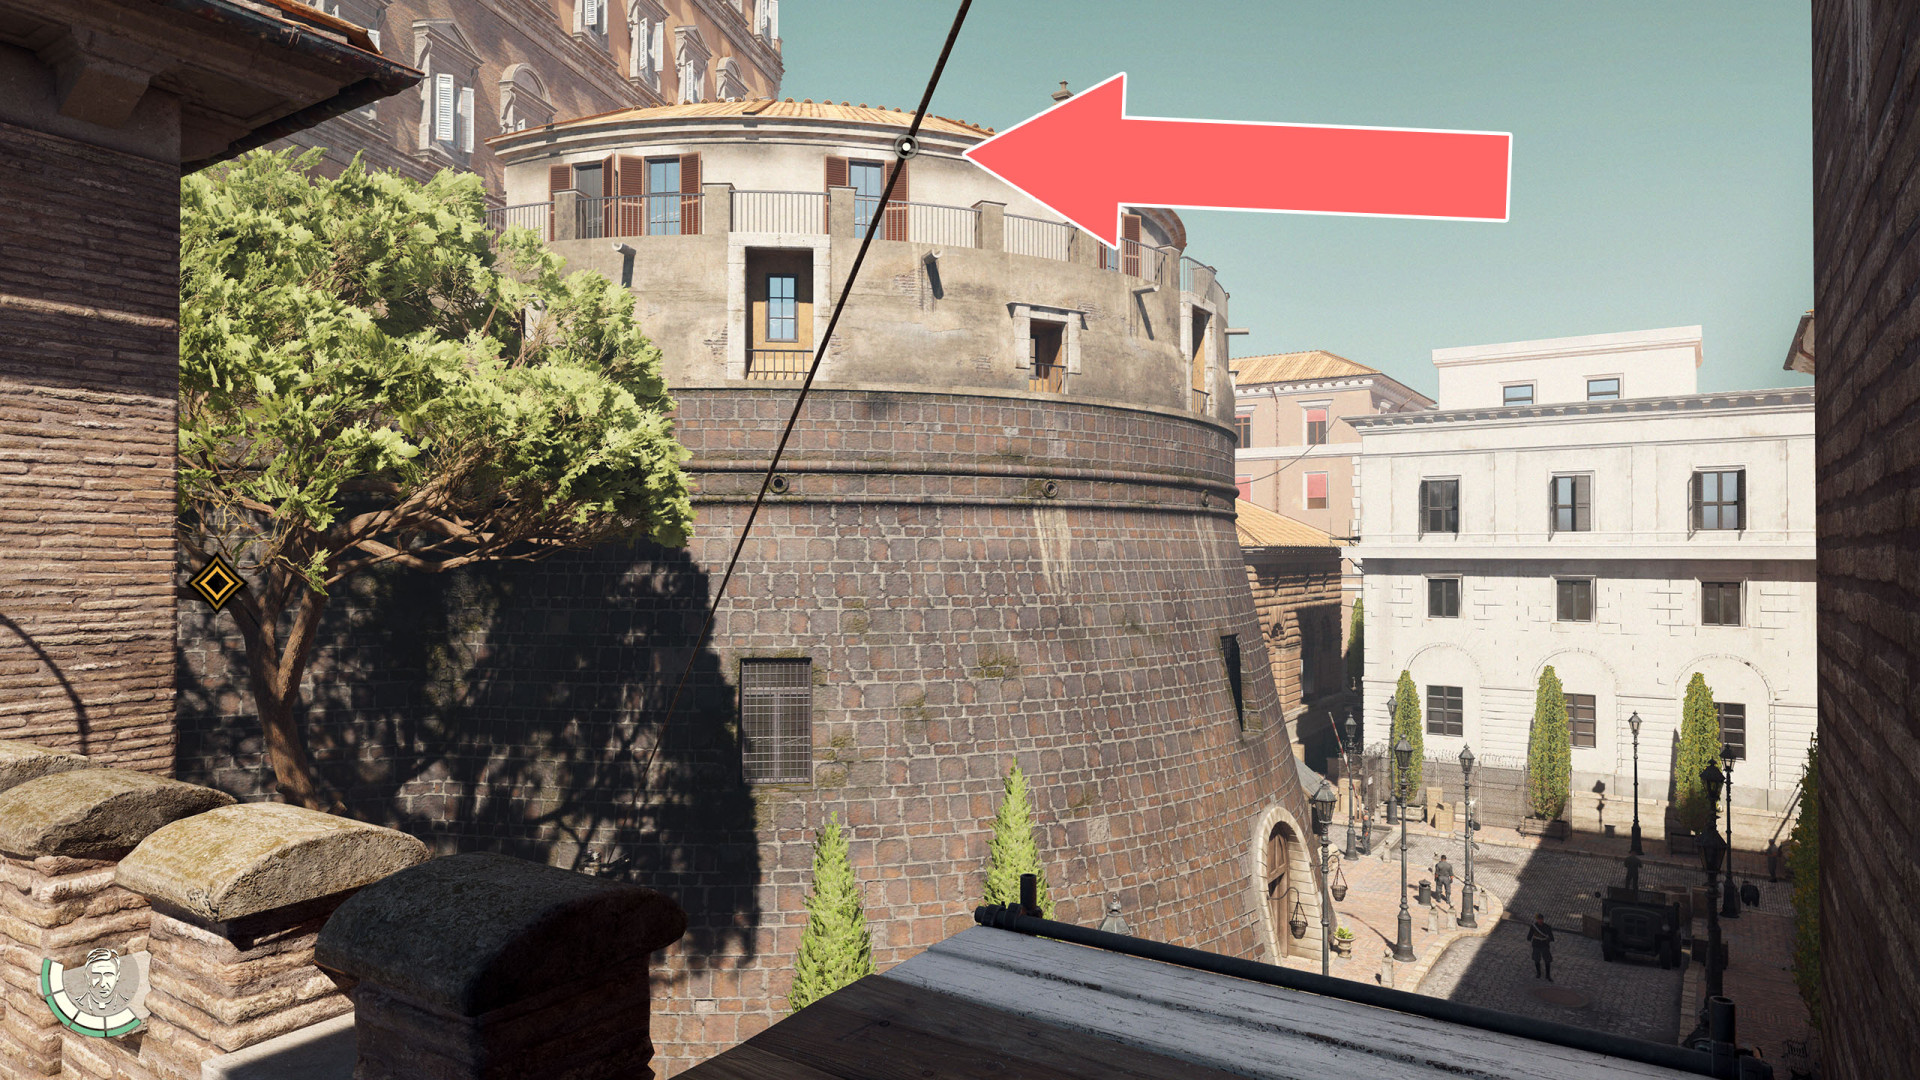
Zipline▶ show the map ◀
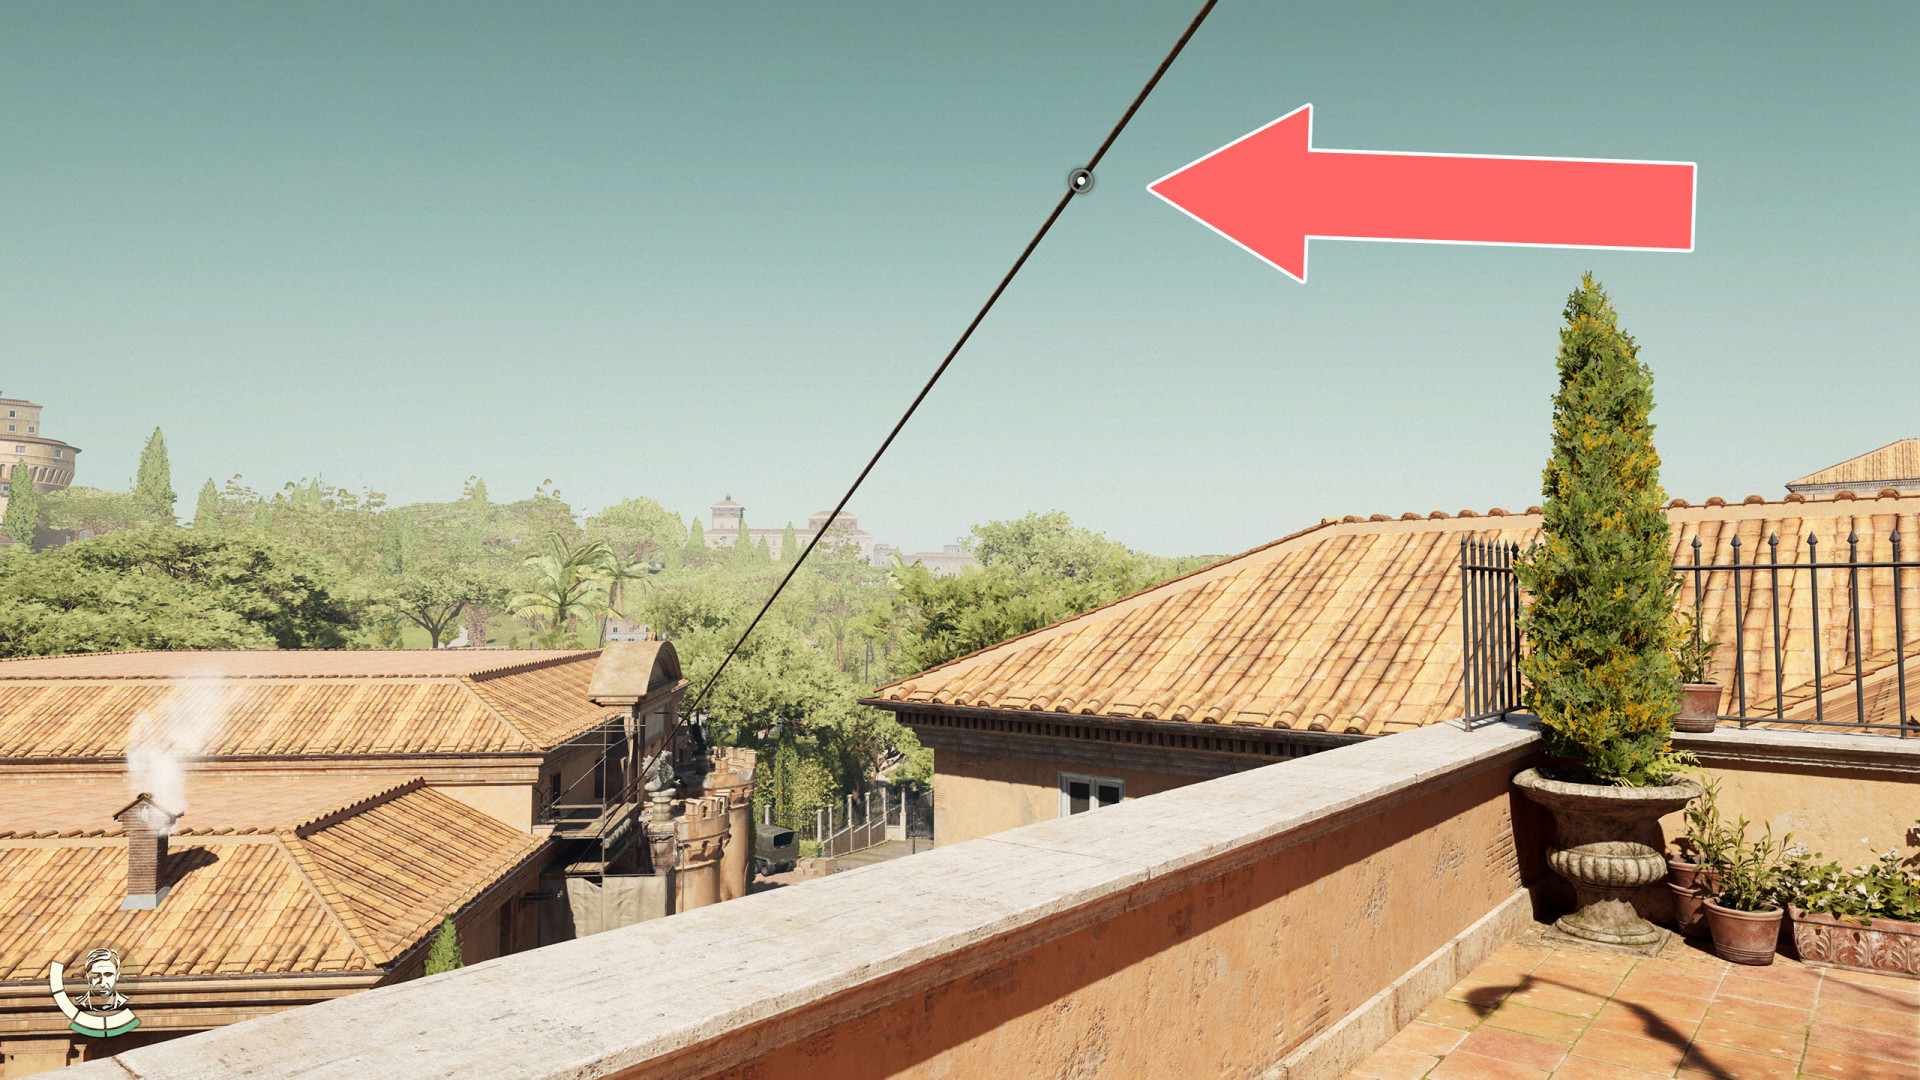
Zipline▶ show the map ◀
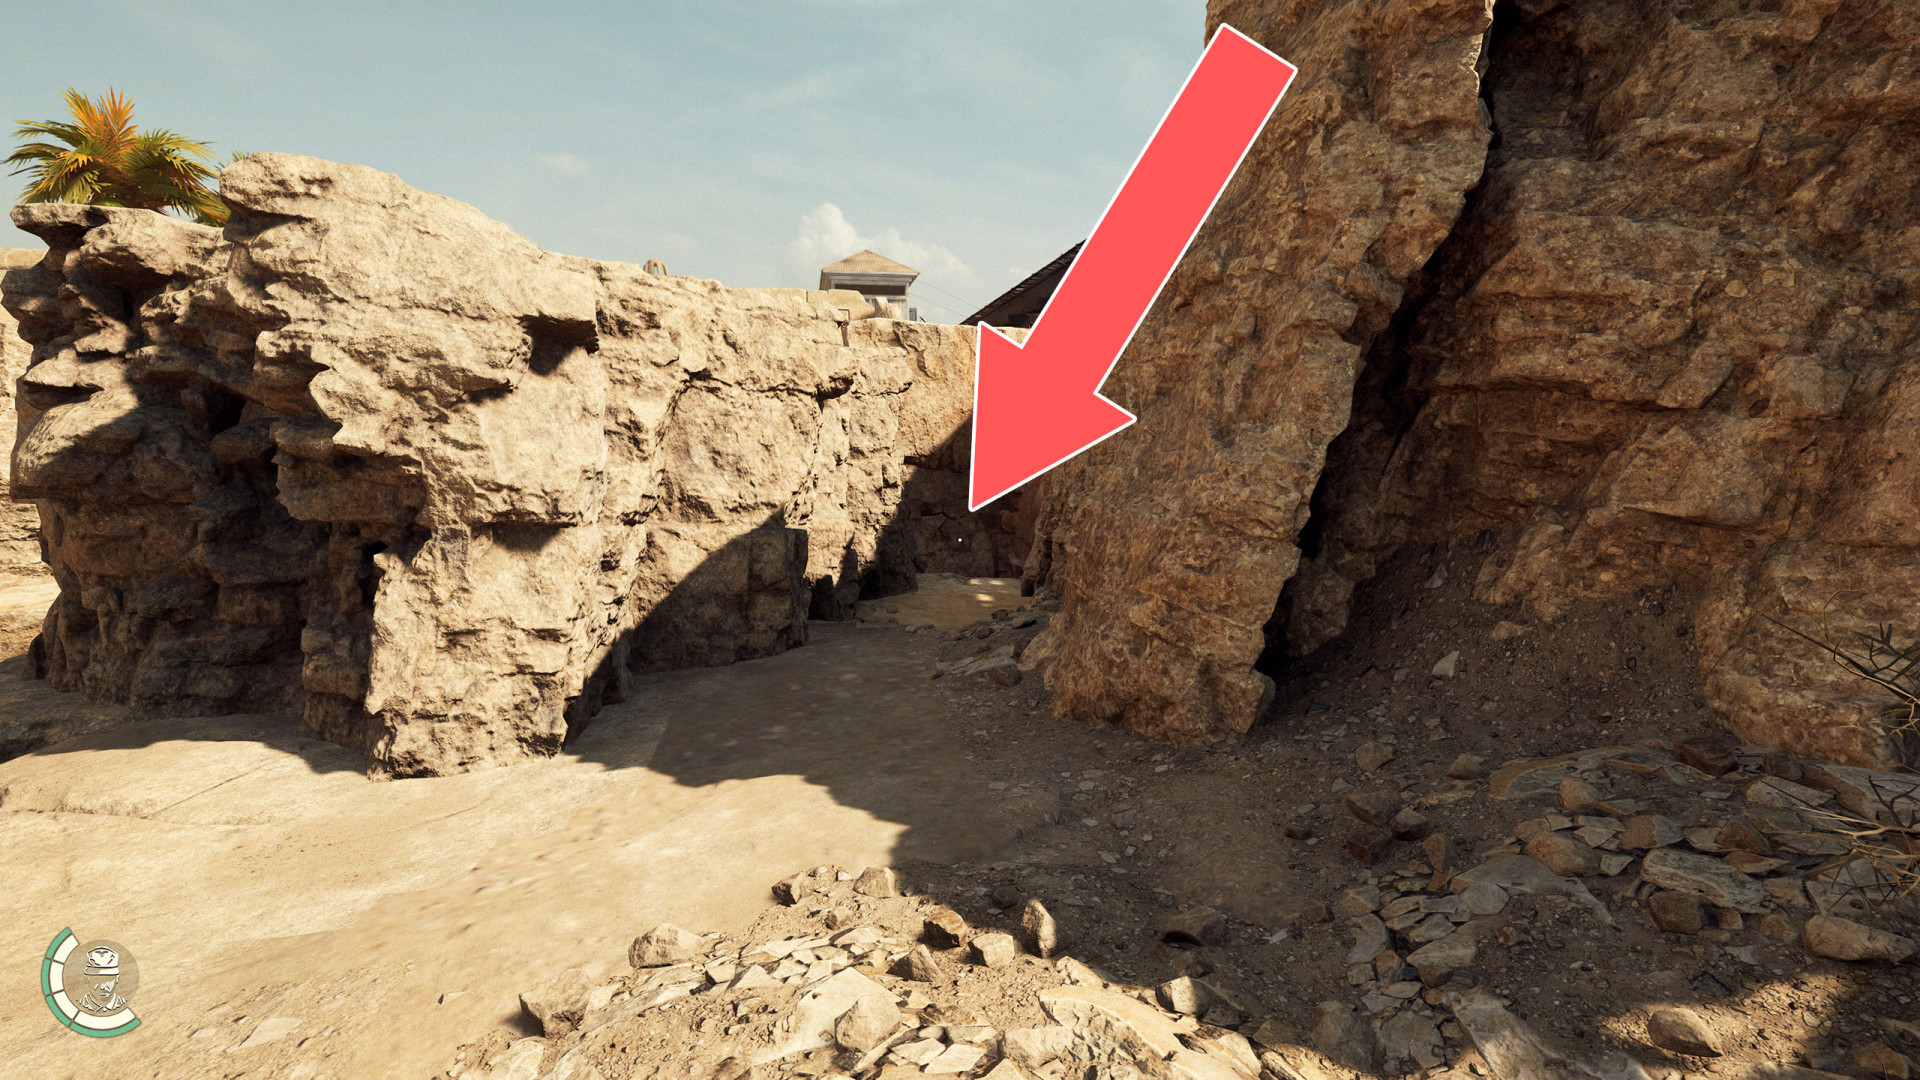
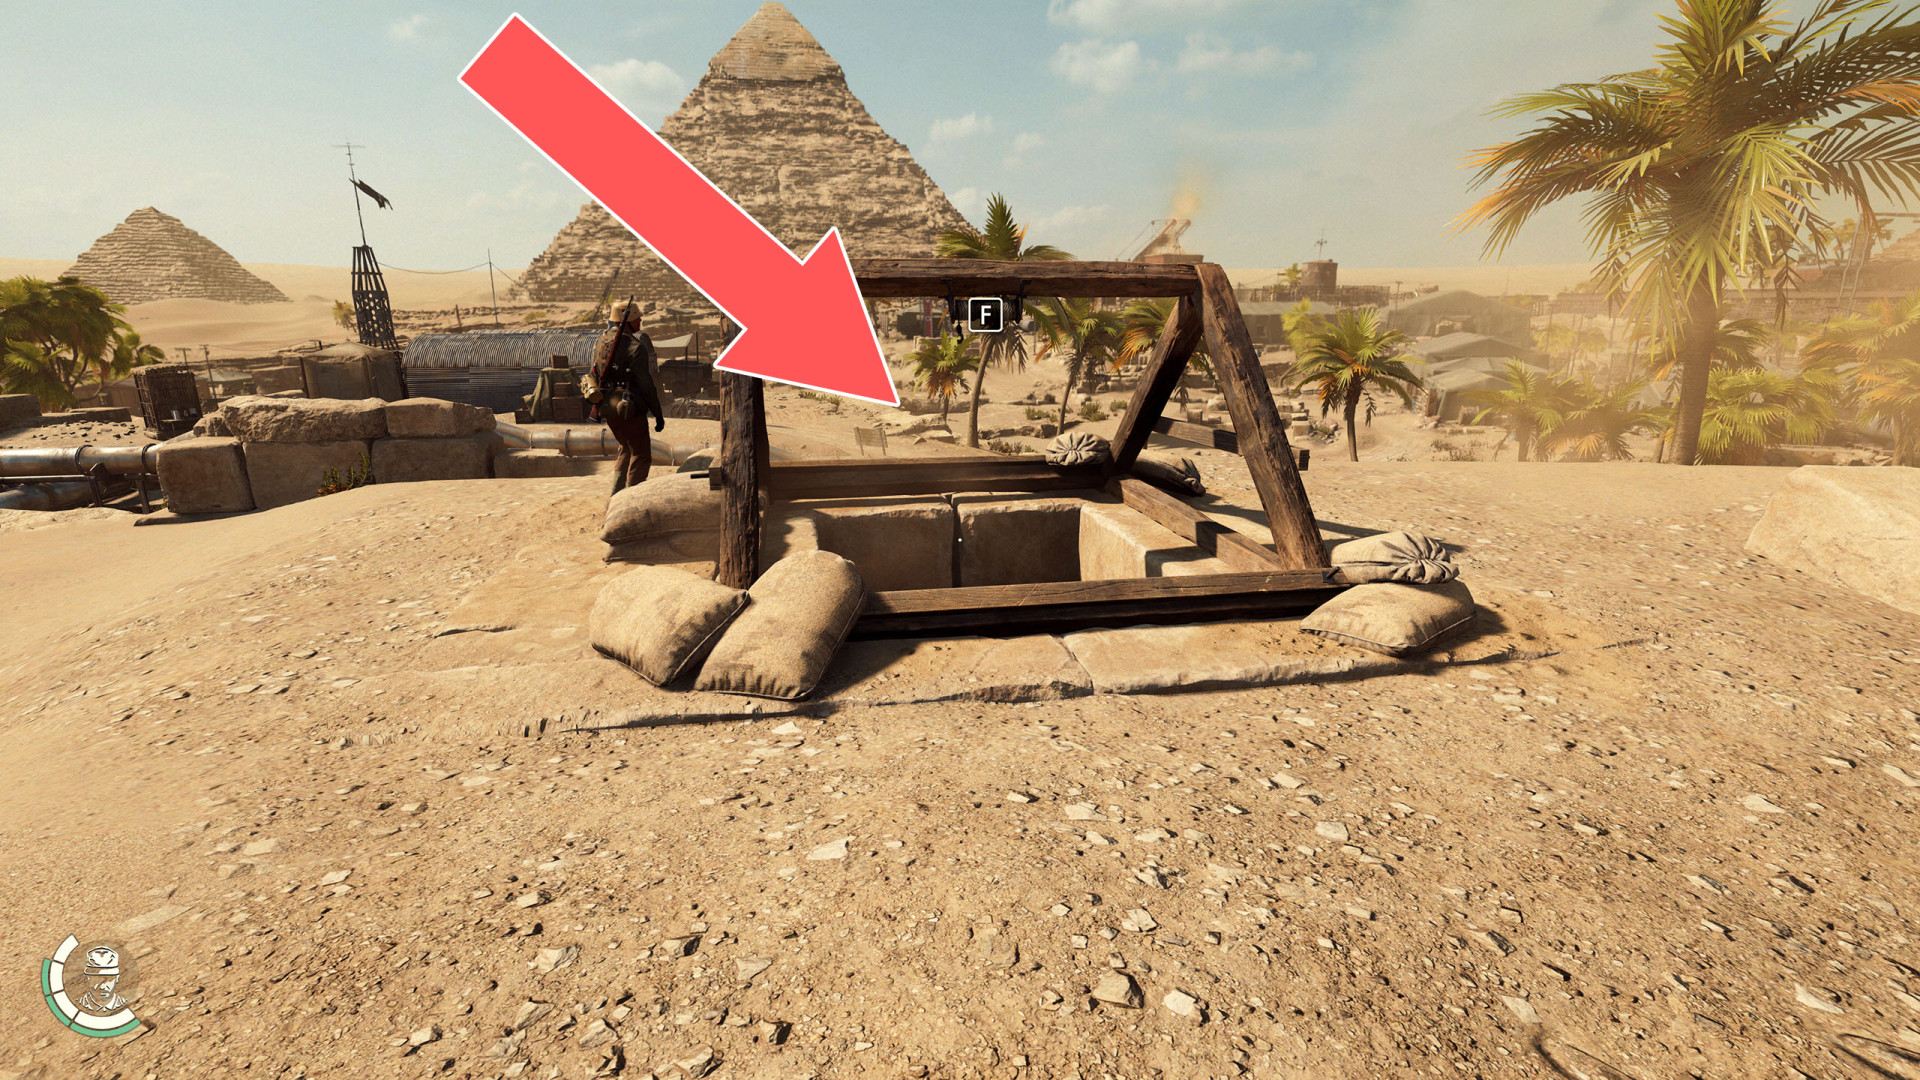
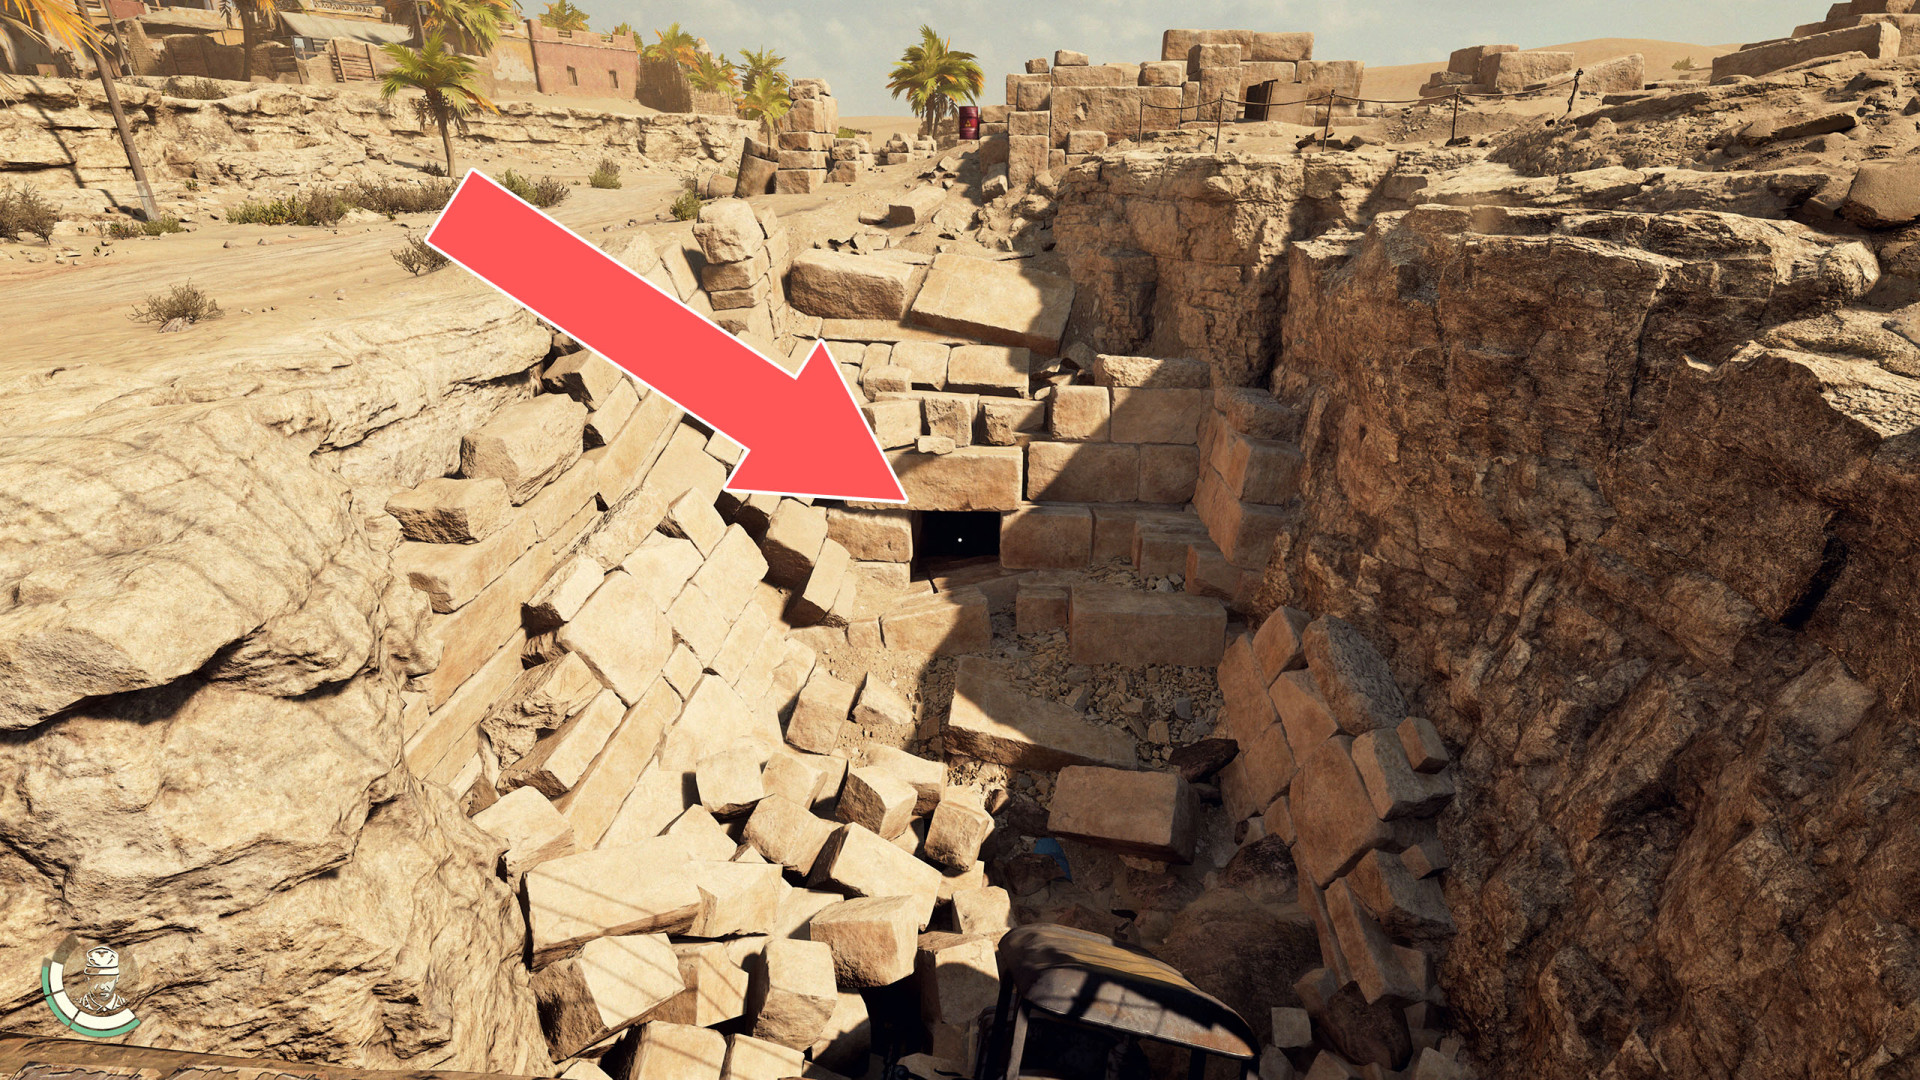
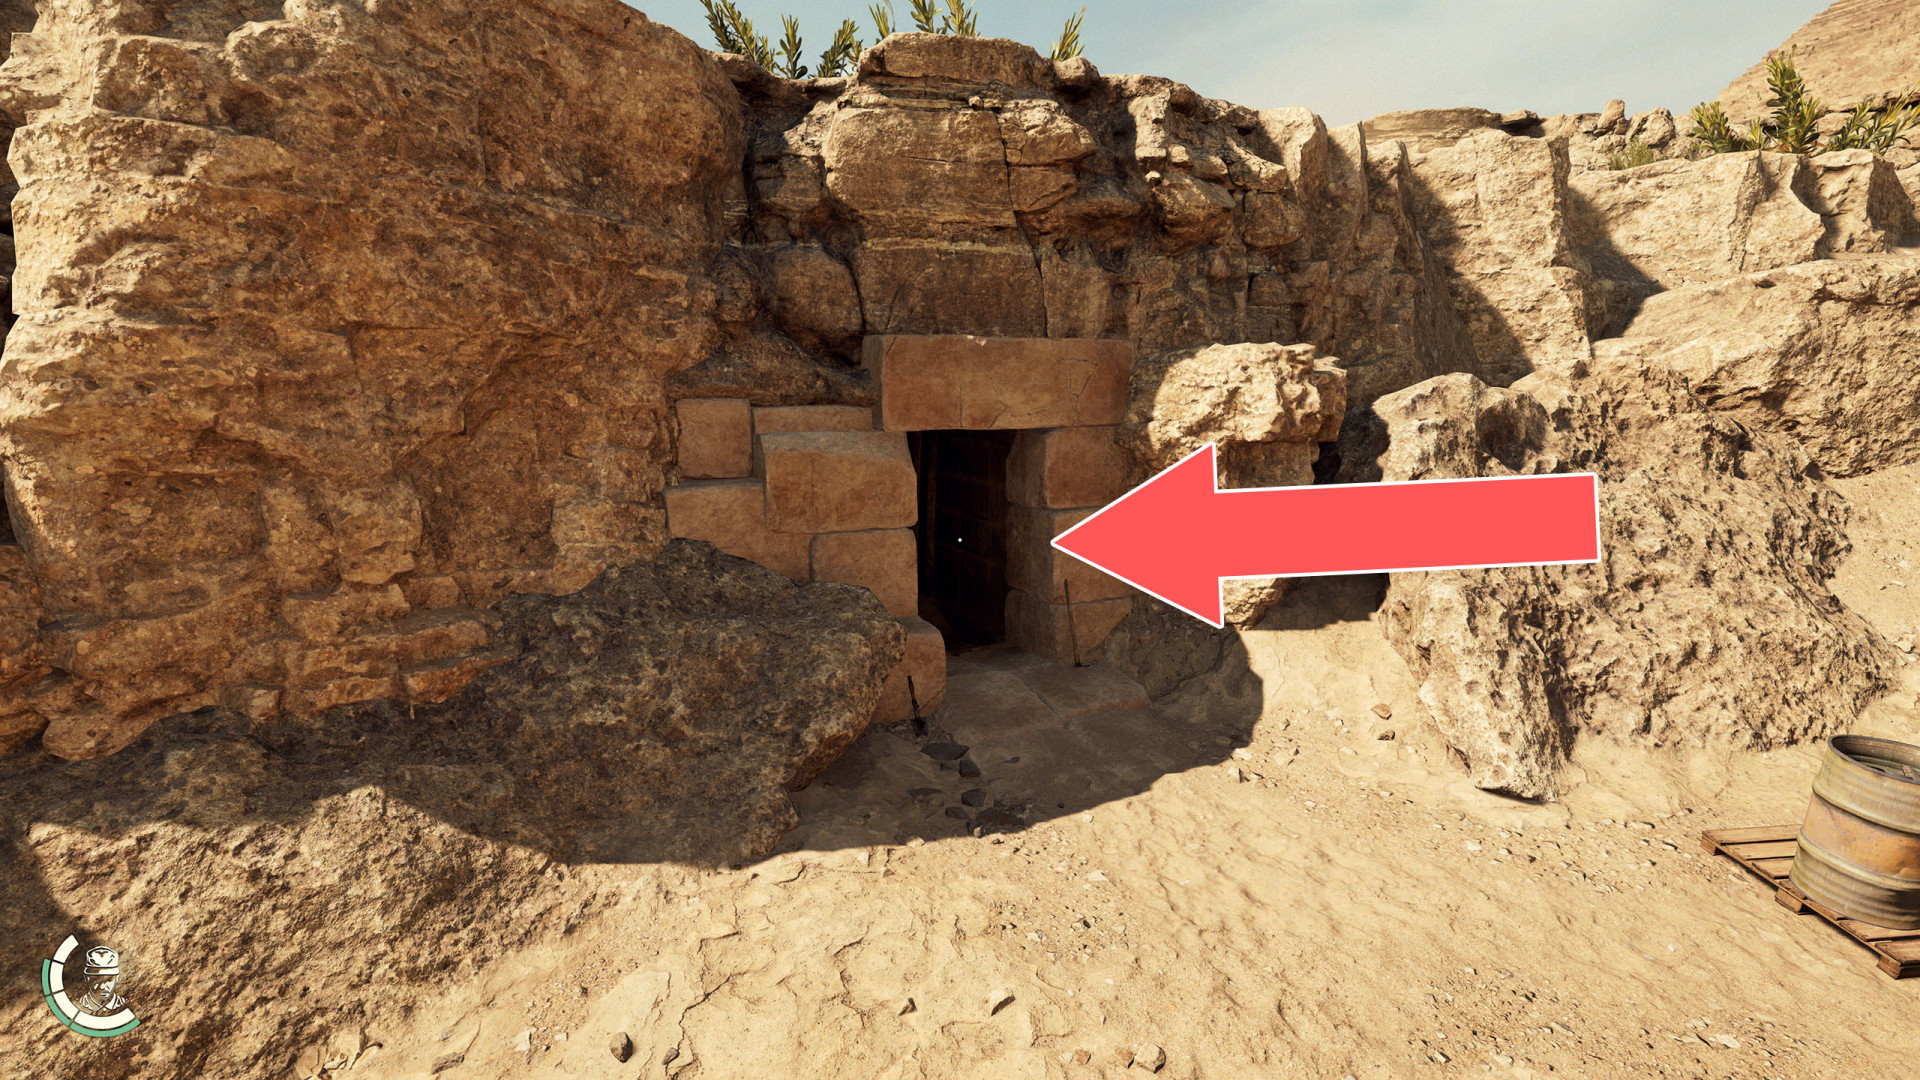
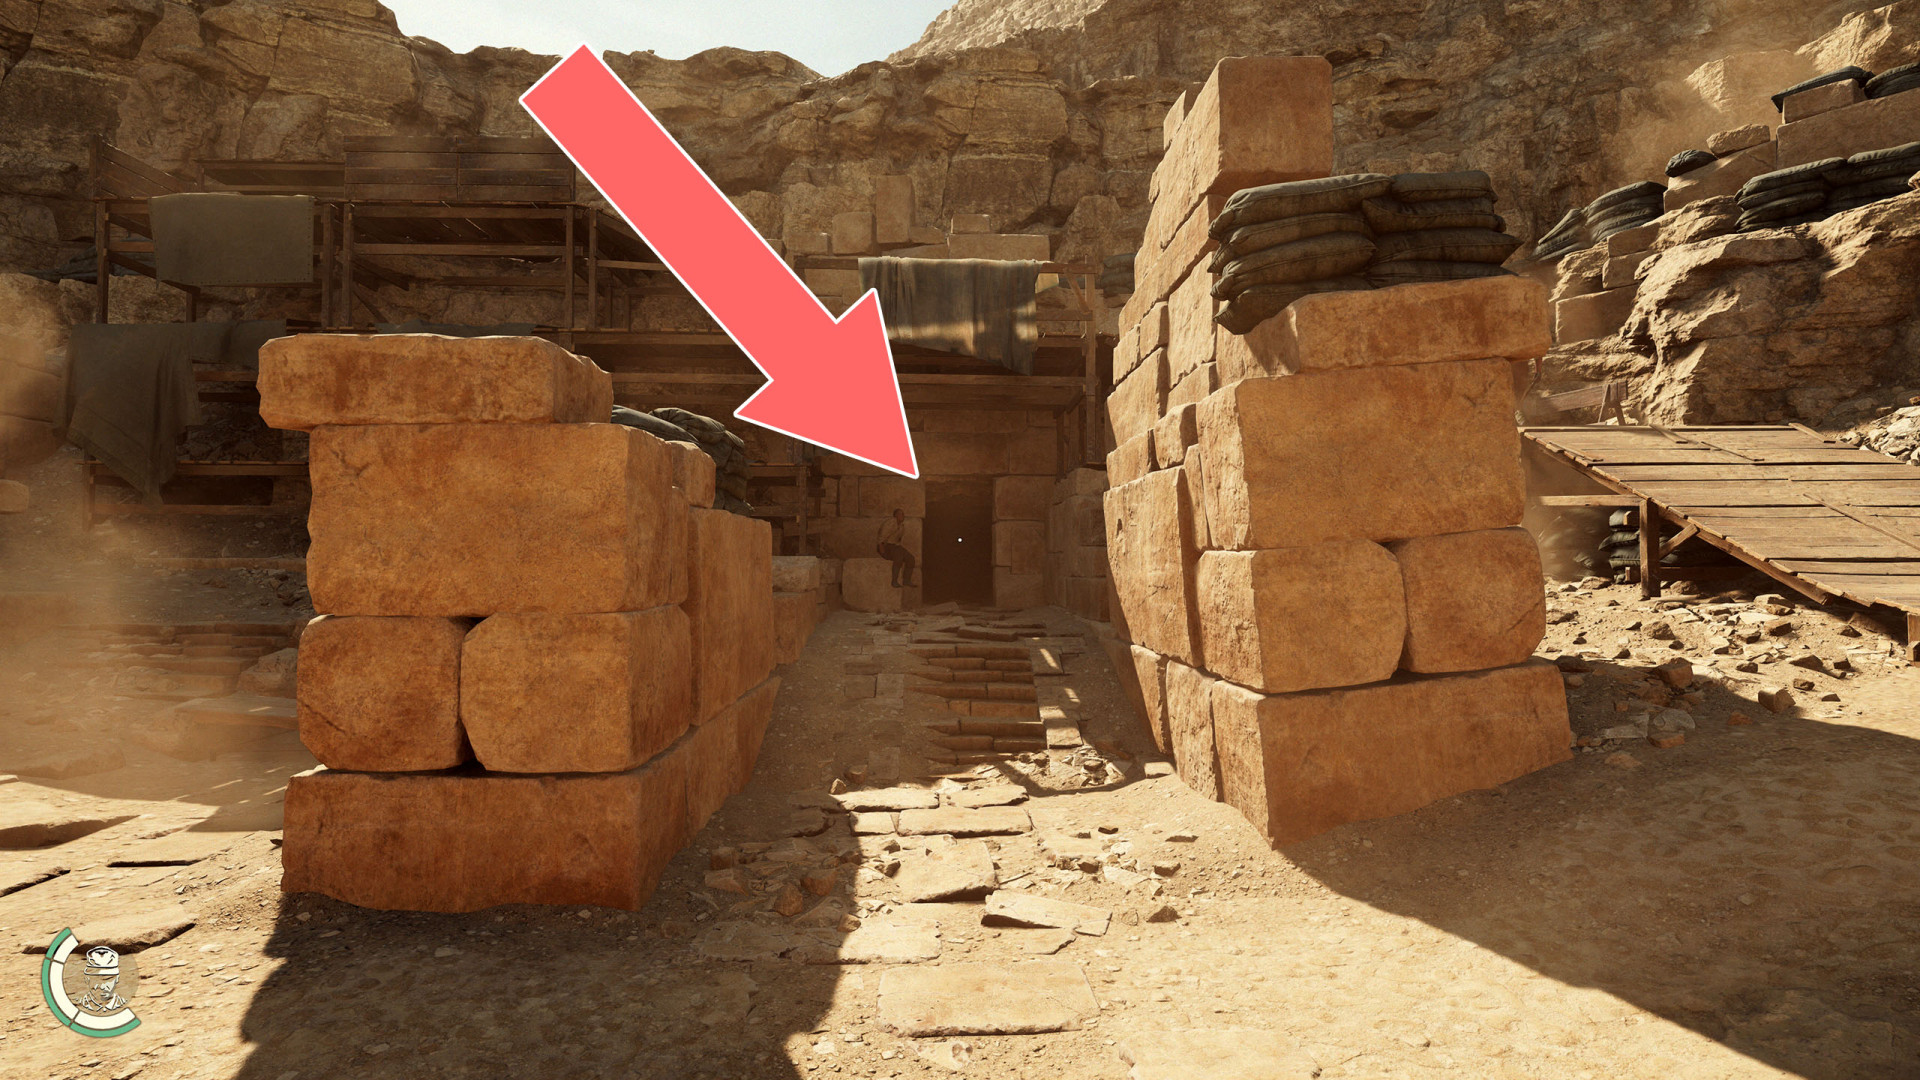
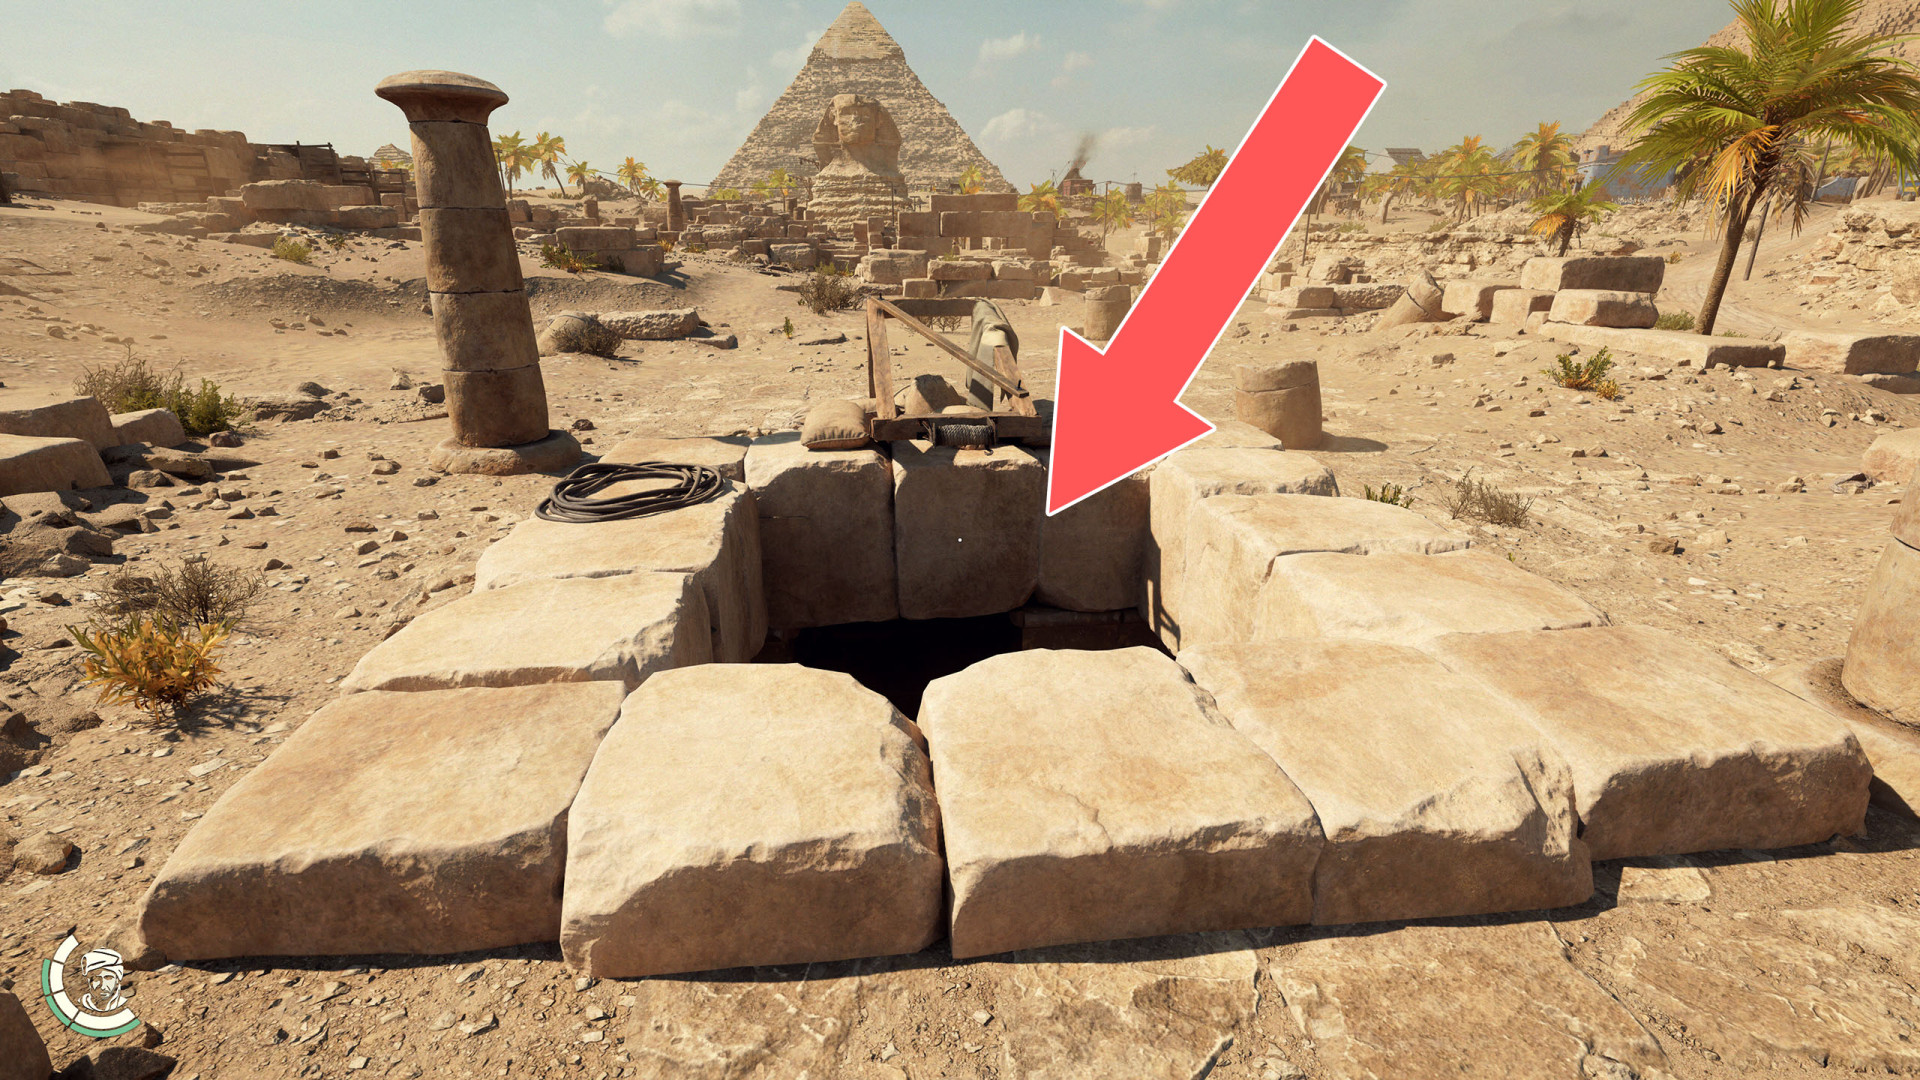
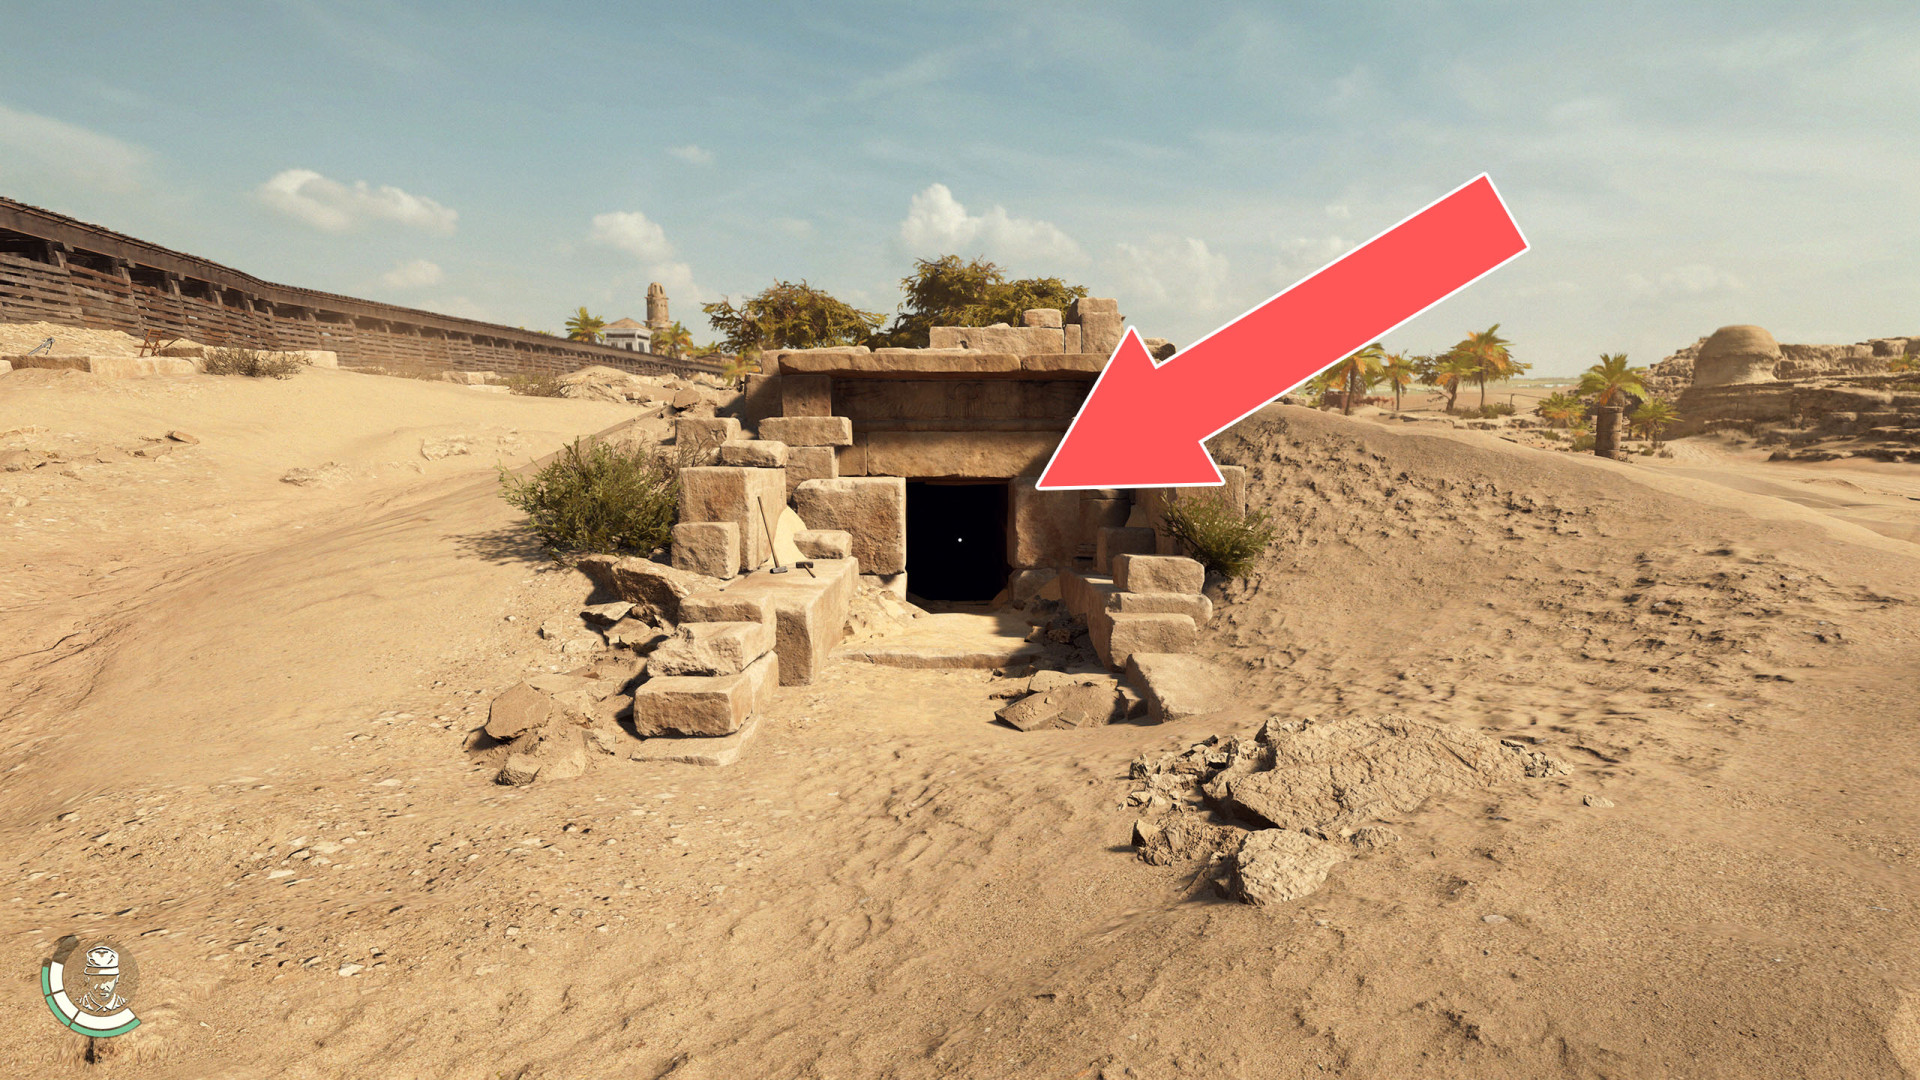
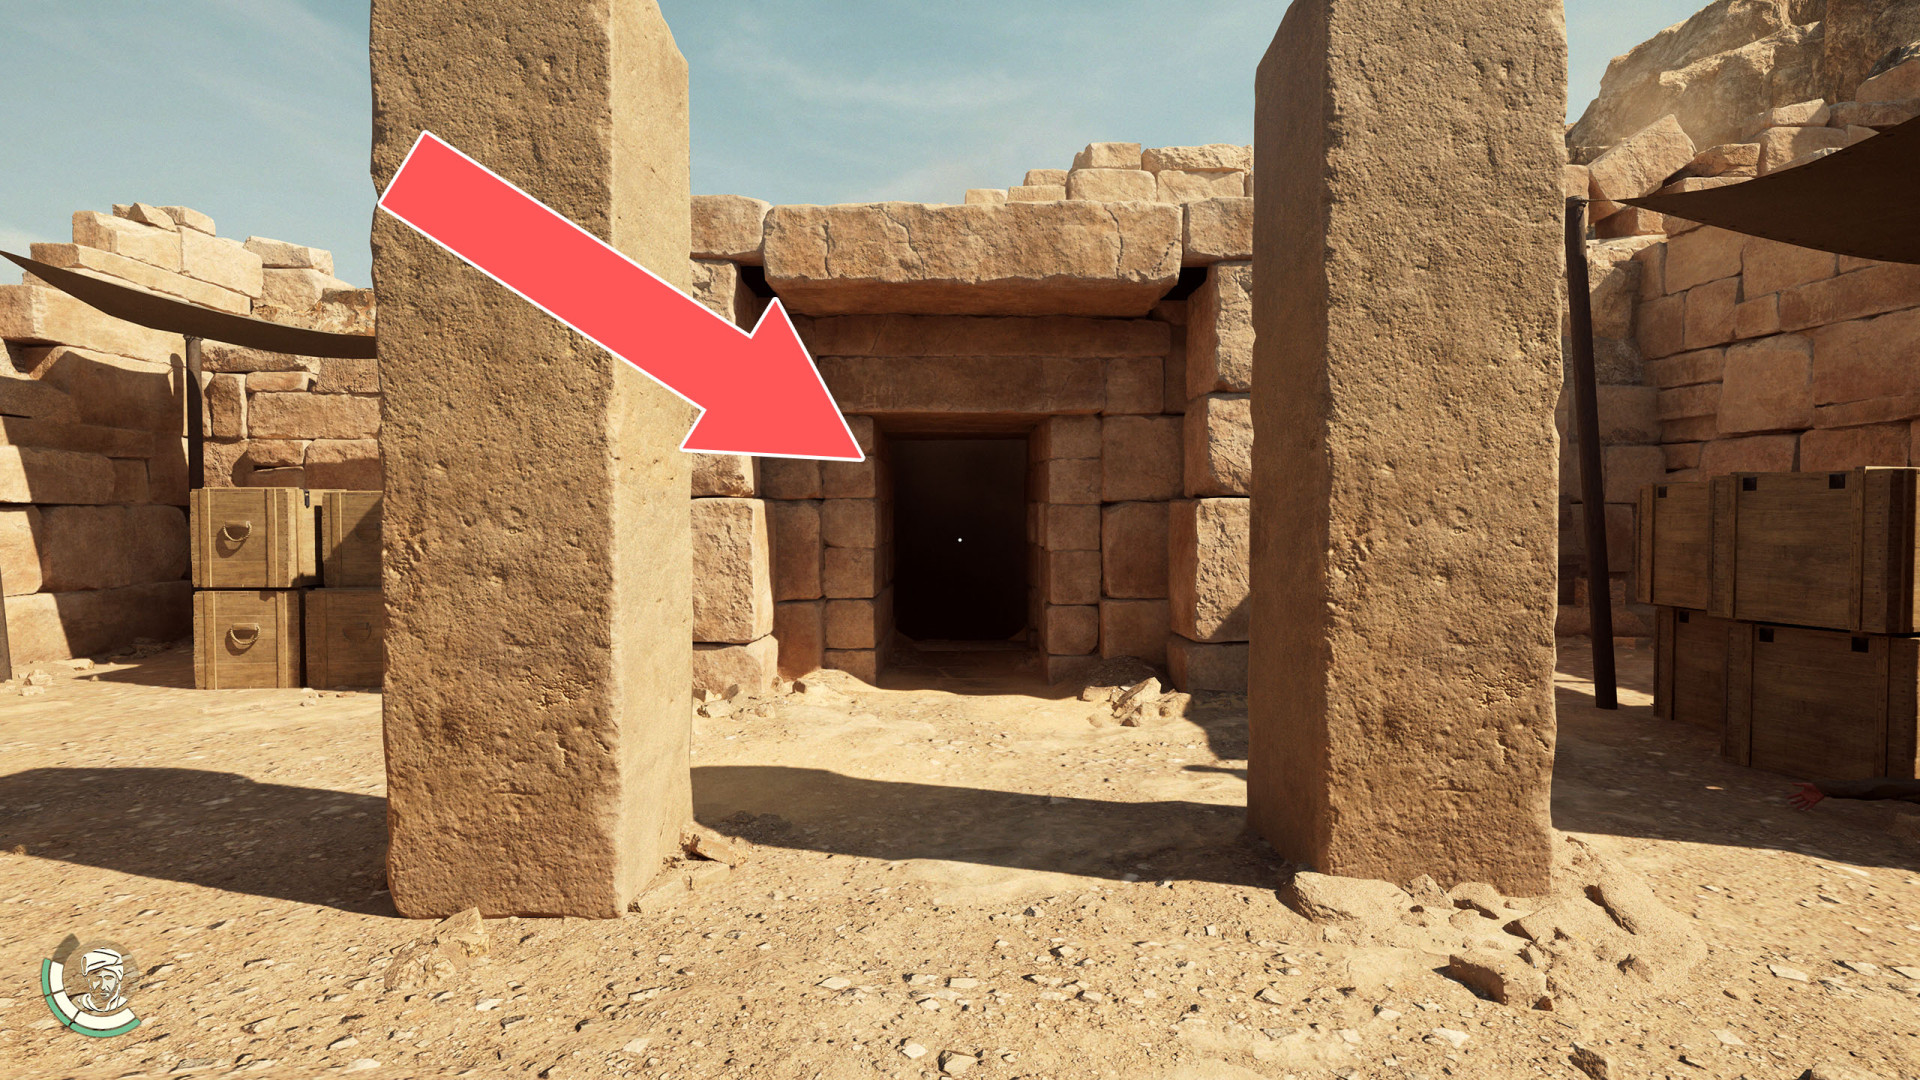
All known locations on the map Gizeh
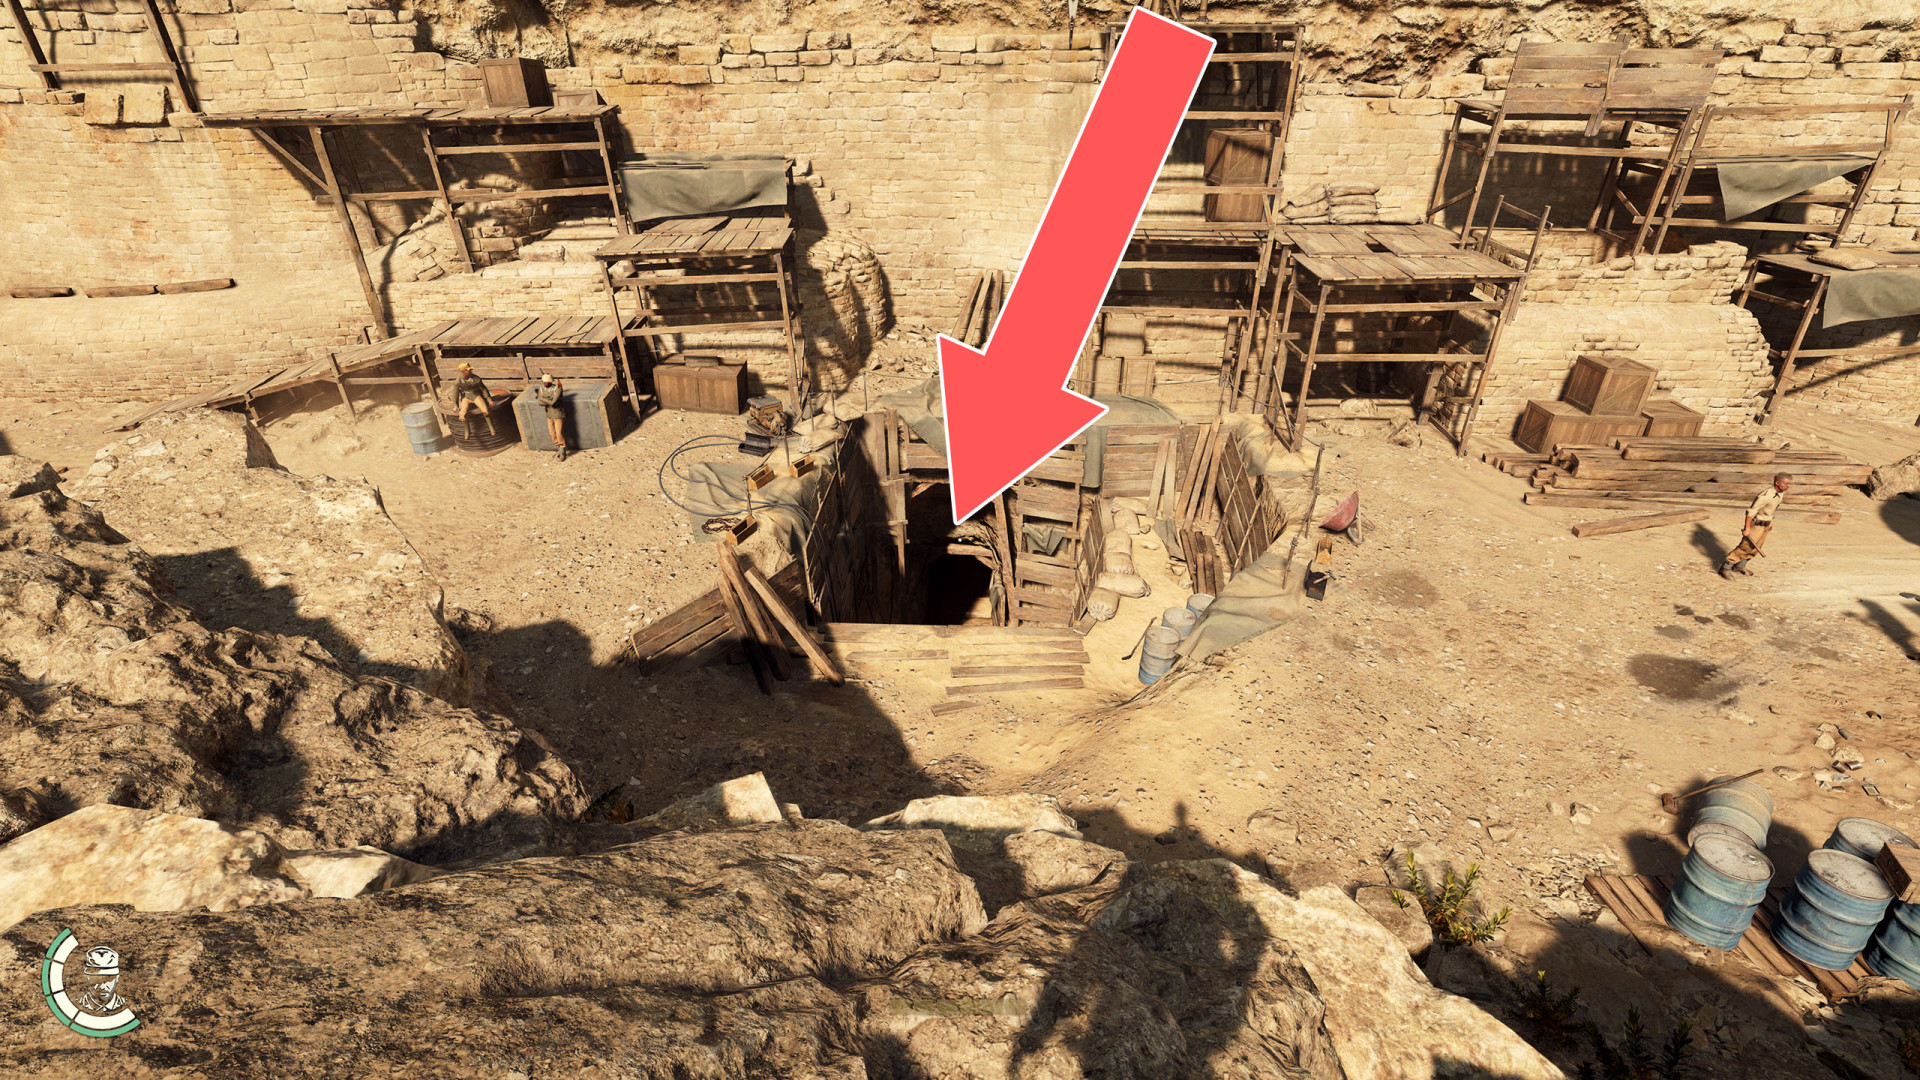
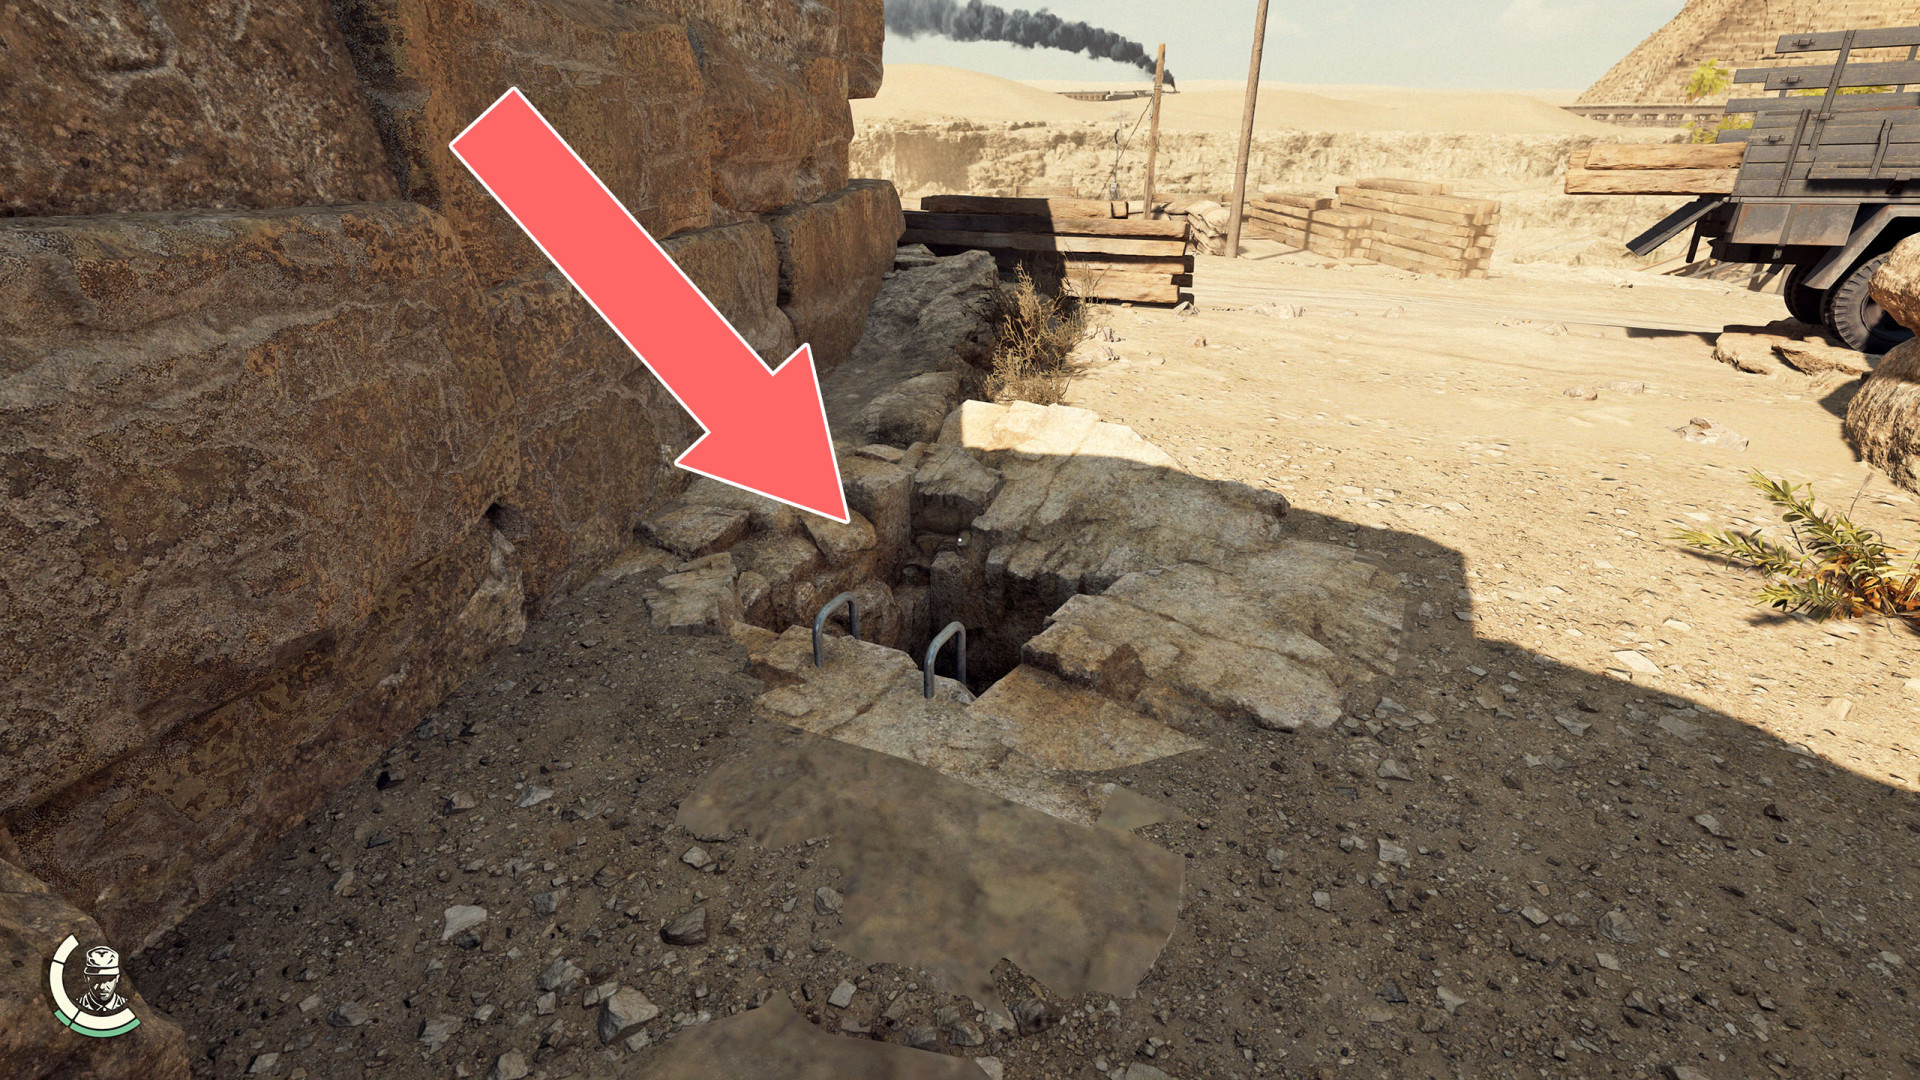
Basement Entrance▶ show the map ◀
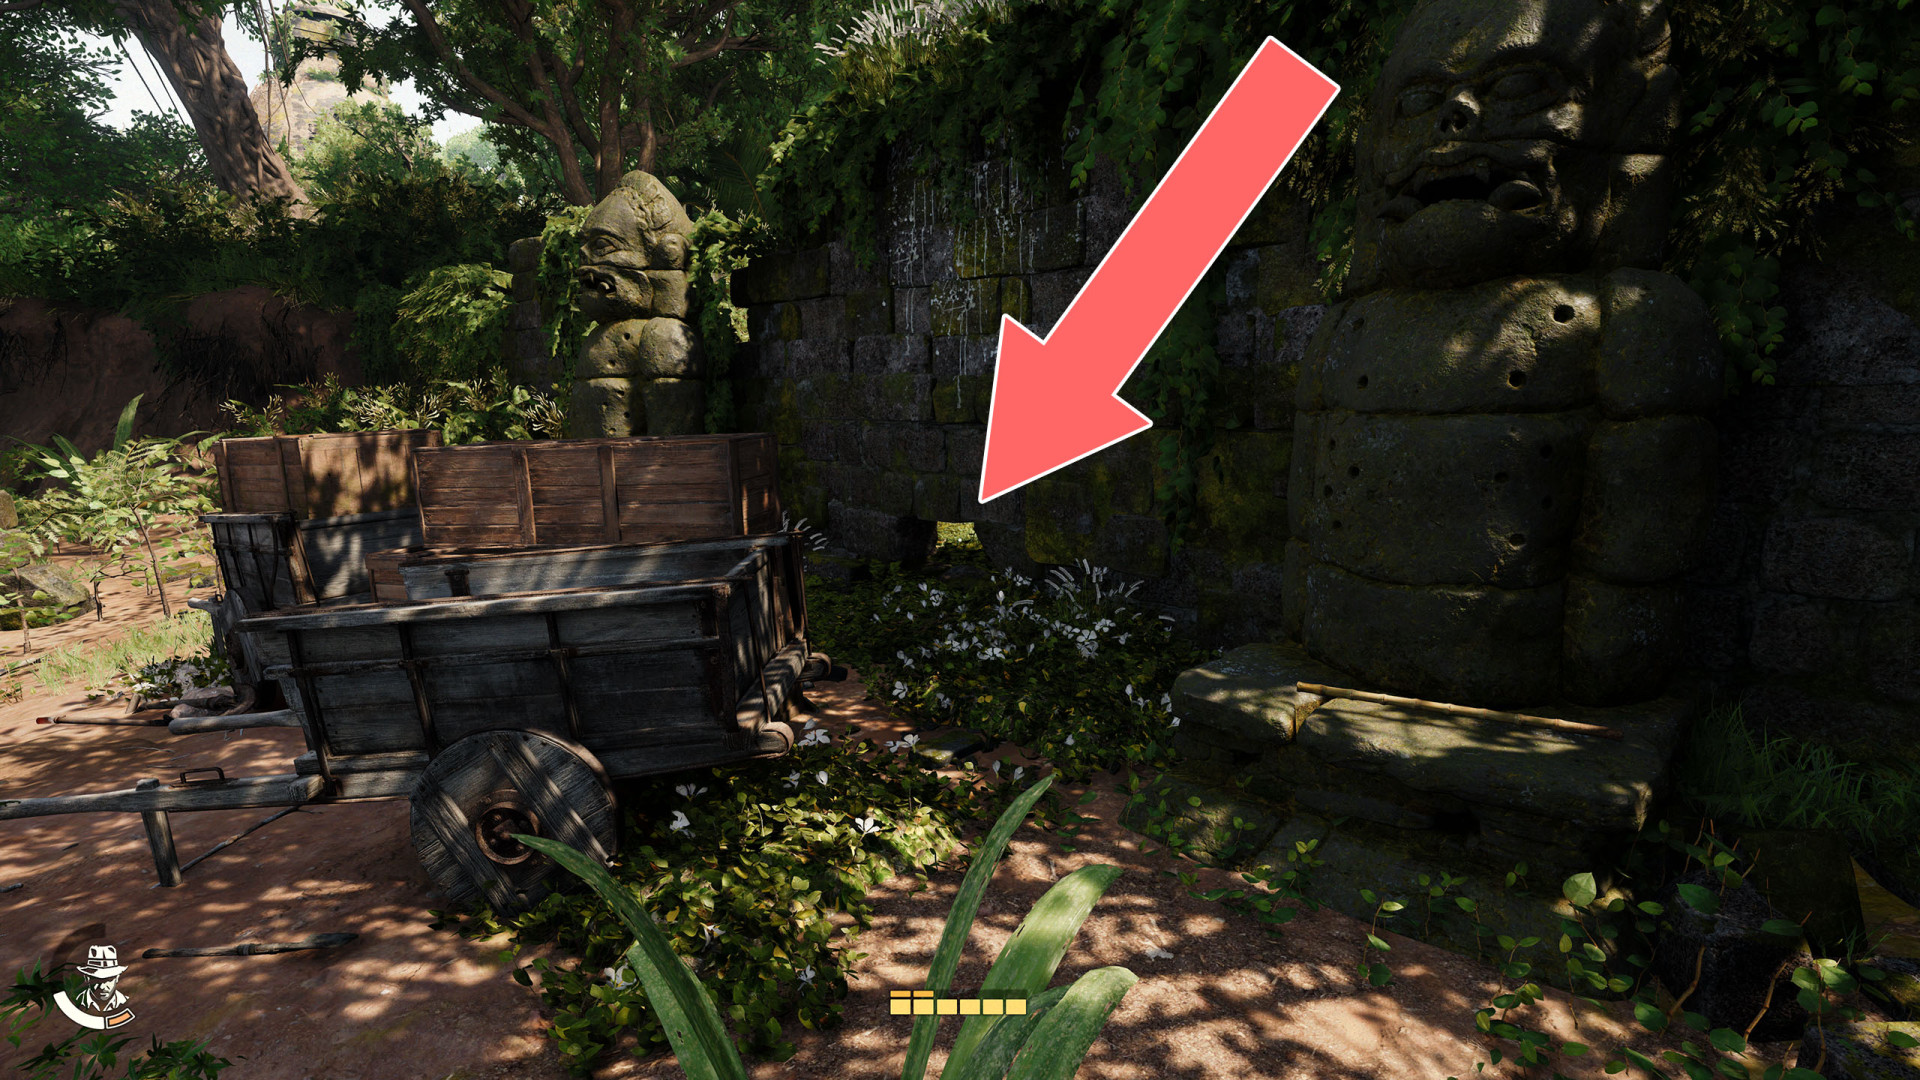
Breakable Wall▶ show the map ◀
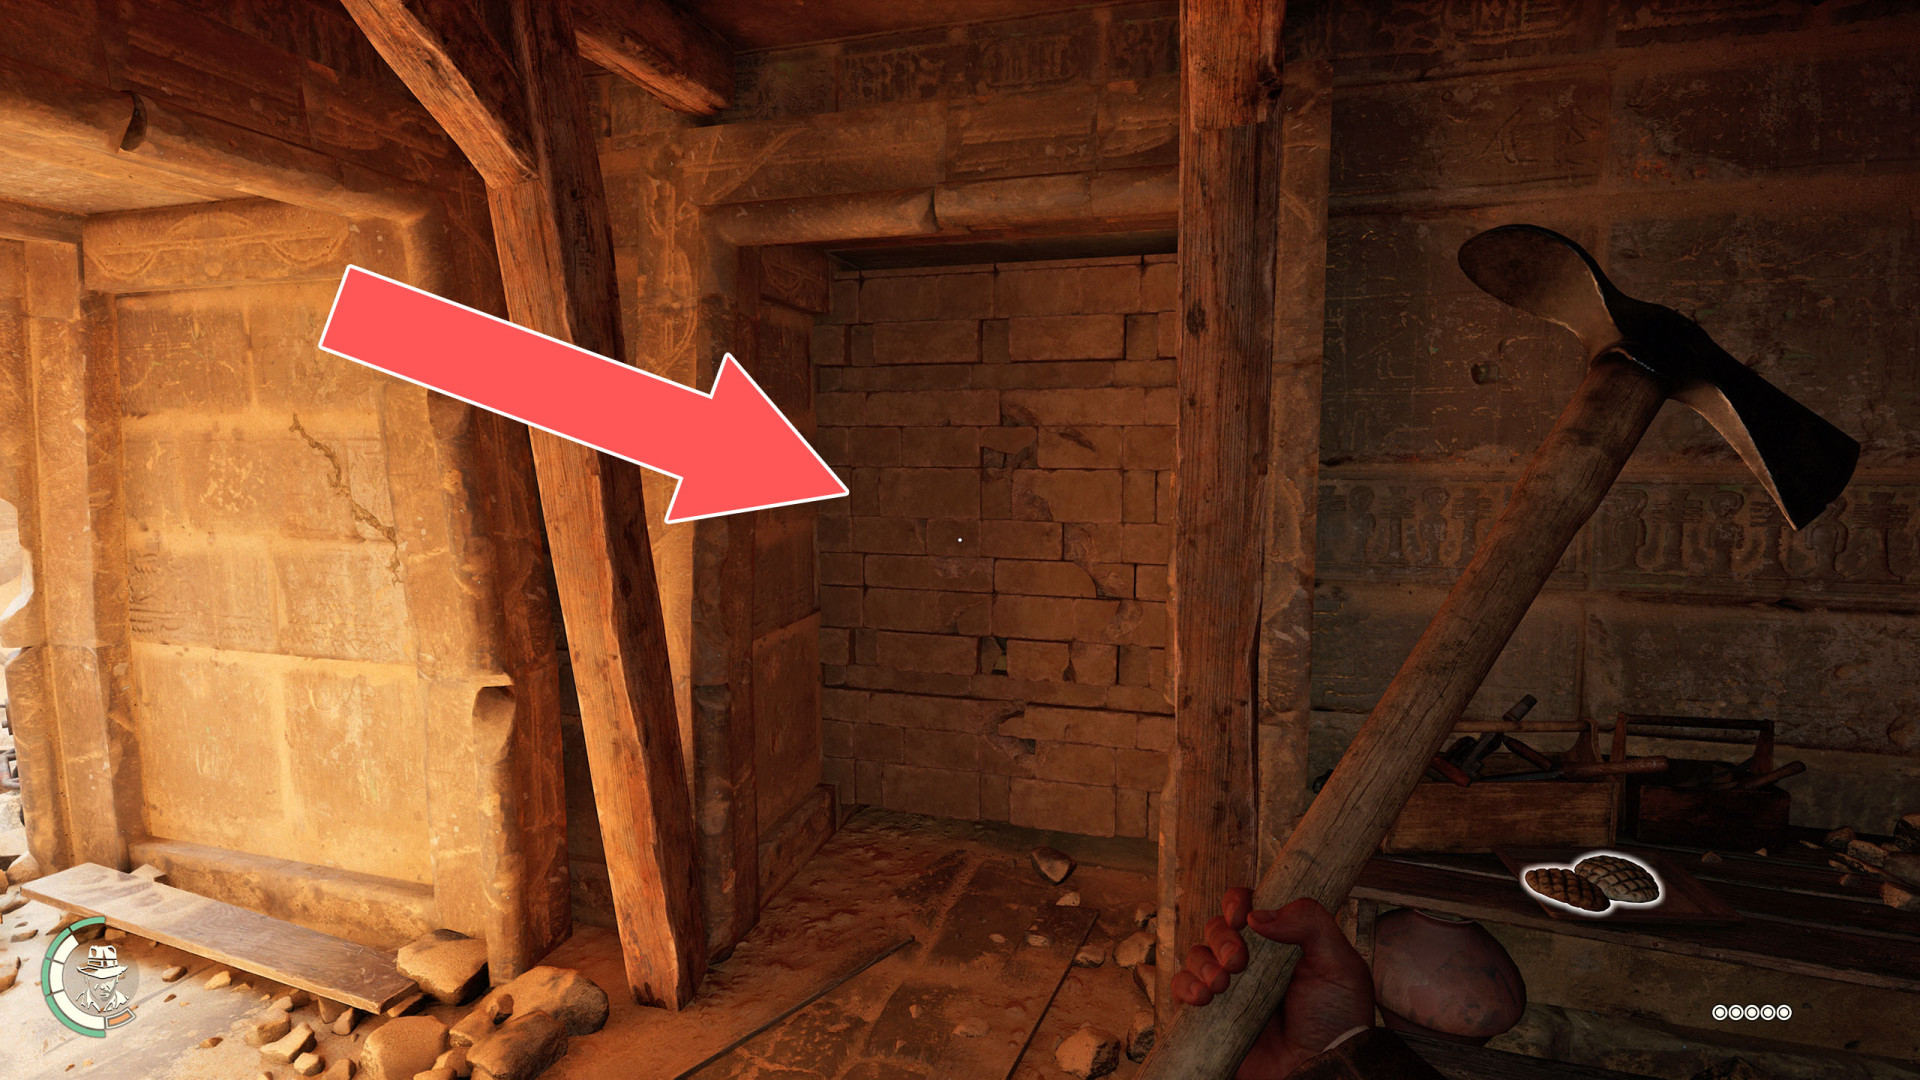
Breakable Wall▶ show the map ◀
Crawl Hole▶ show the map ◀
Crawl Hole▶ show the map ◀
Crawl Hole▶ show the map ◀
Crawl Hole▶ show the map ◀
Crawl Hole▶ show the map ◀
Crawl Hole▶ show the map ◀
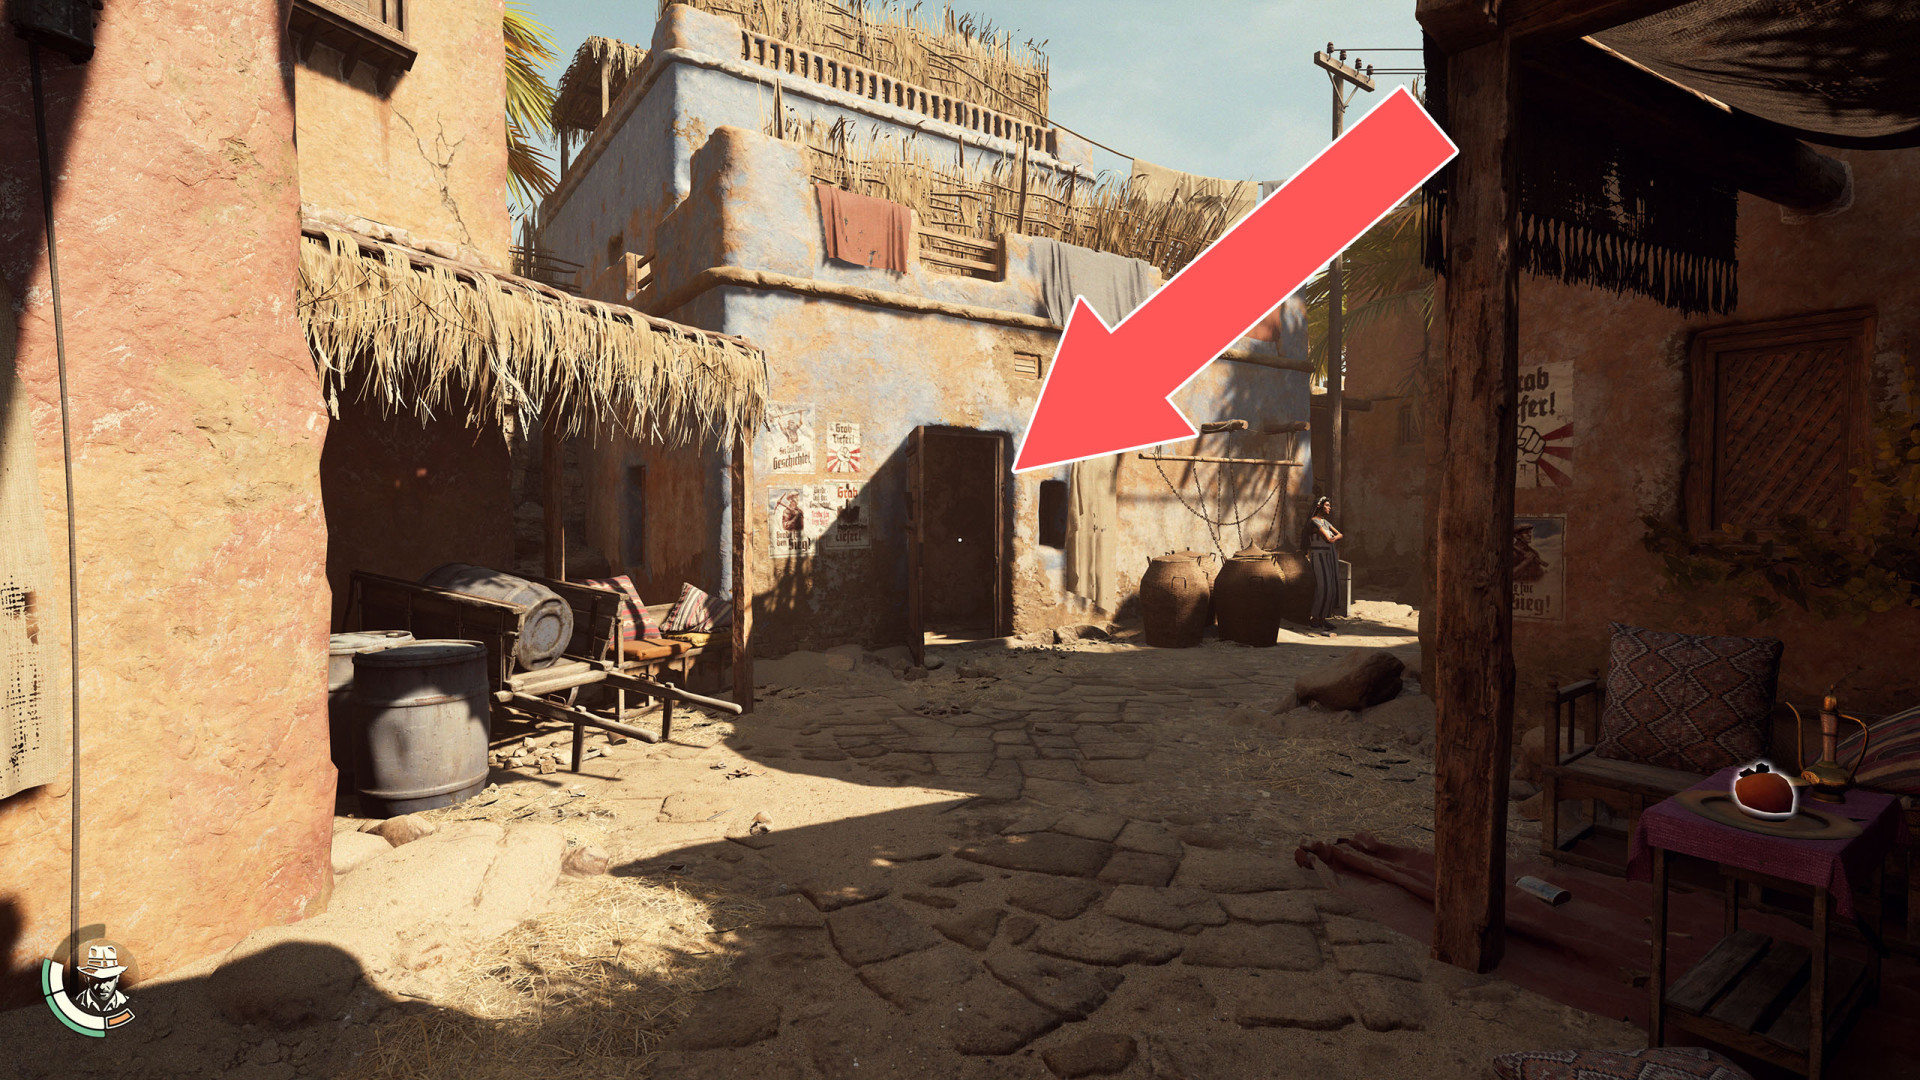
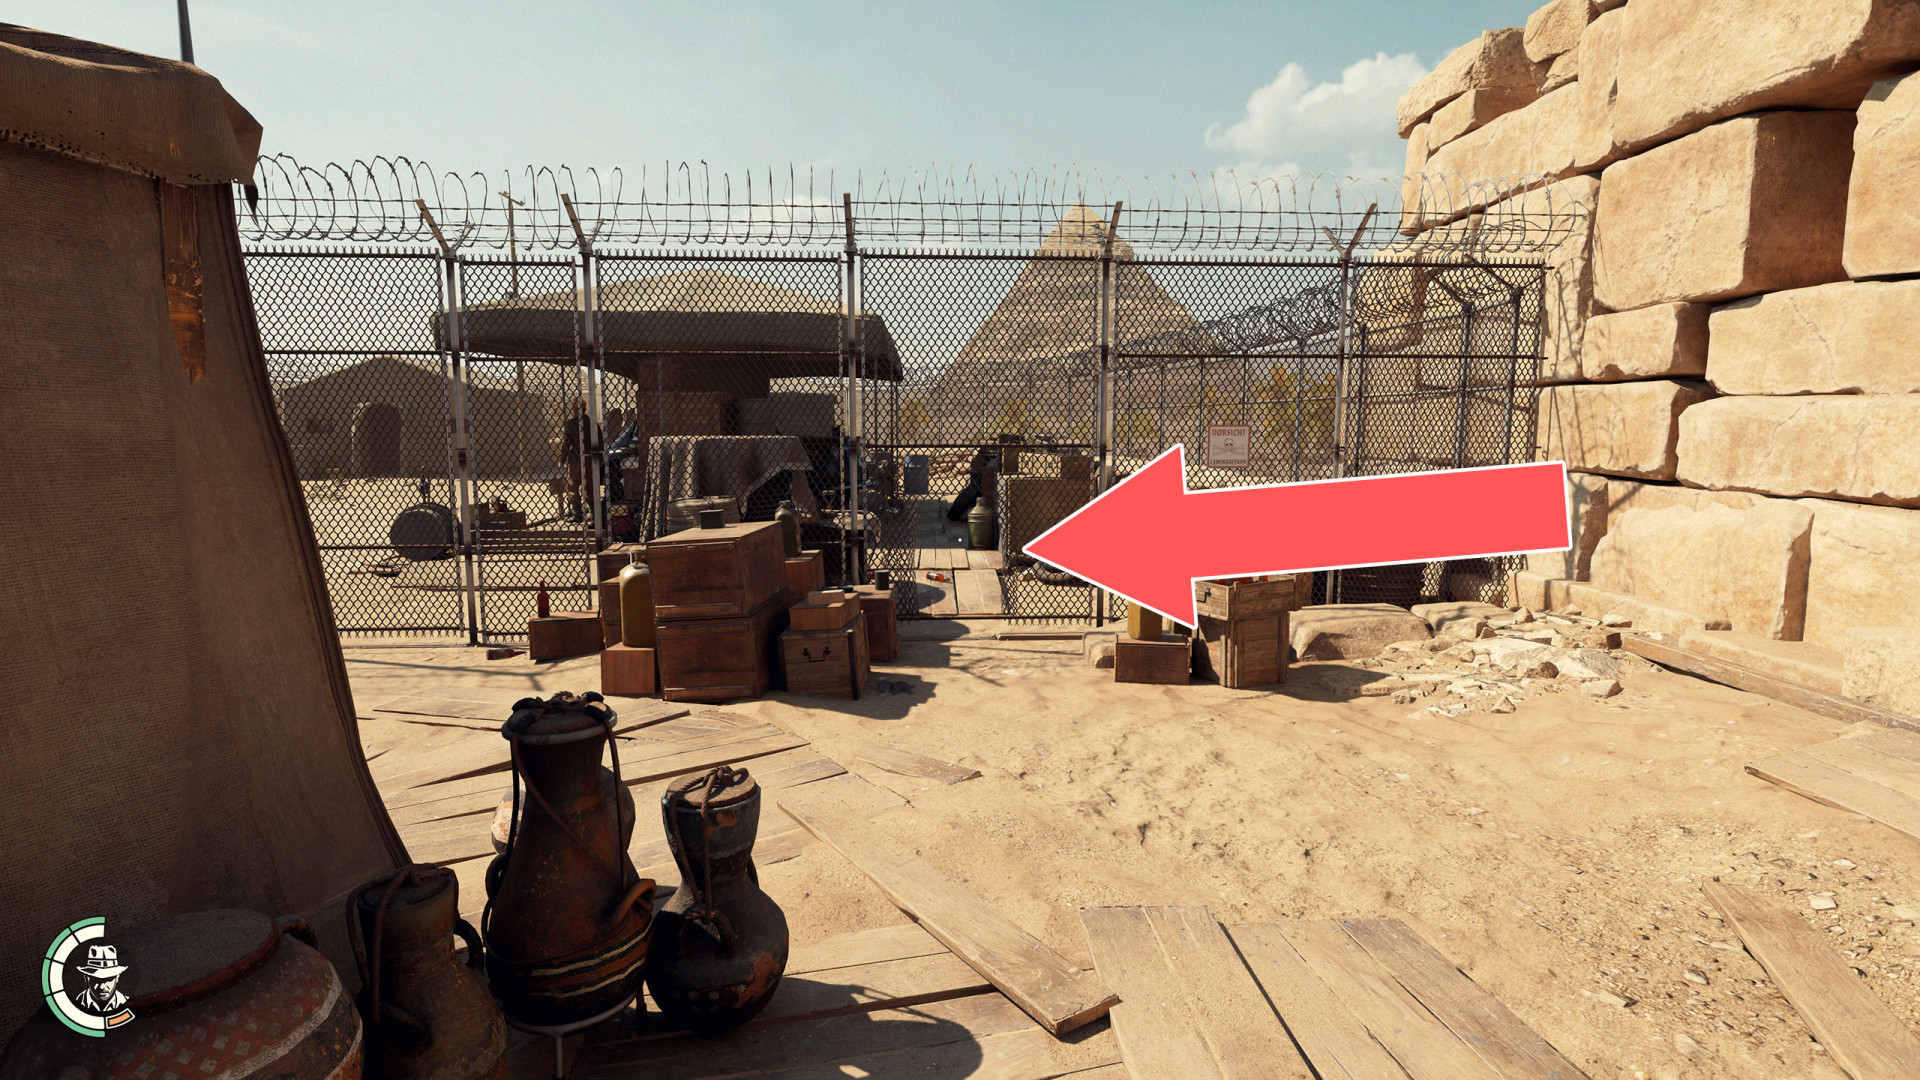
Fence Hole▶ show the map ◀
Fence Hole▶ show the map ◀
Fence Hole▶ show the map ◀
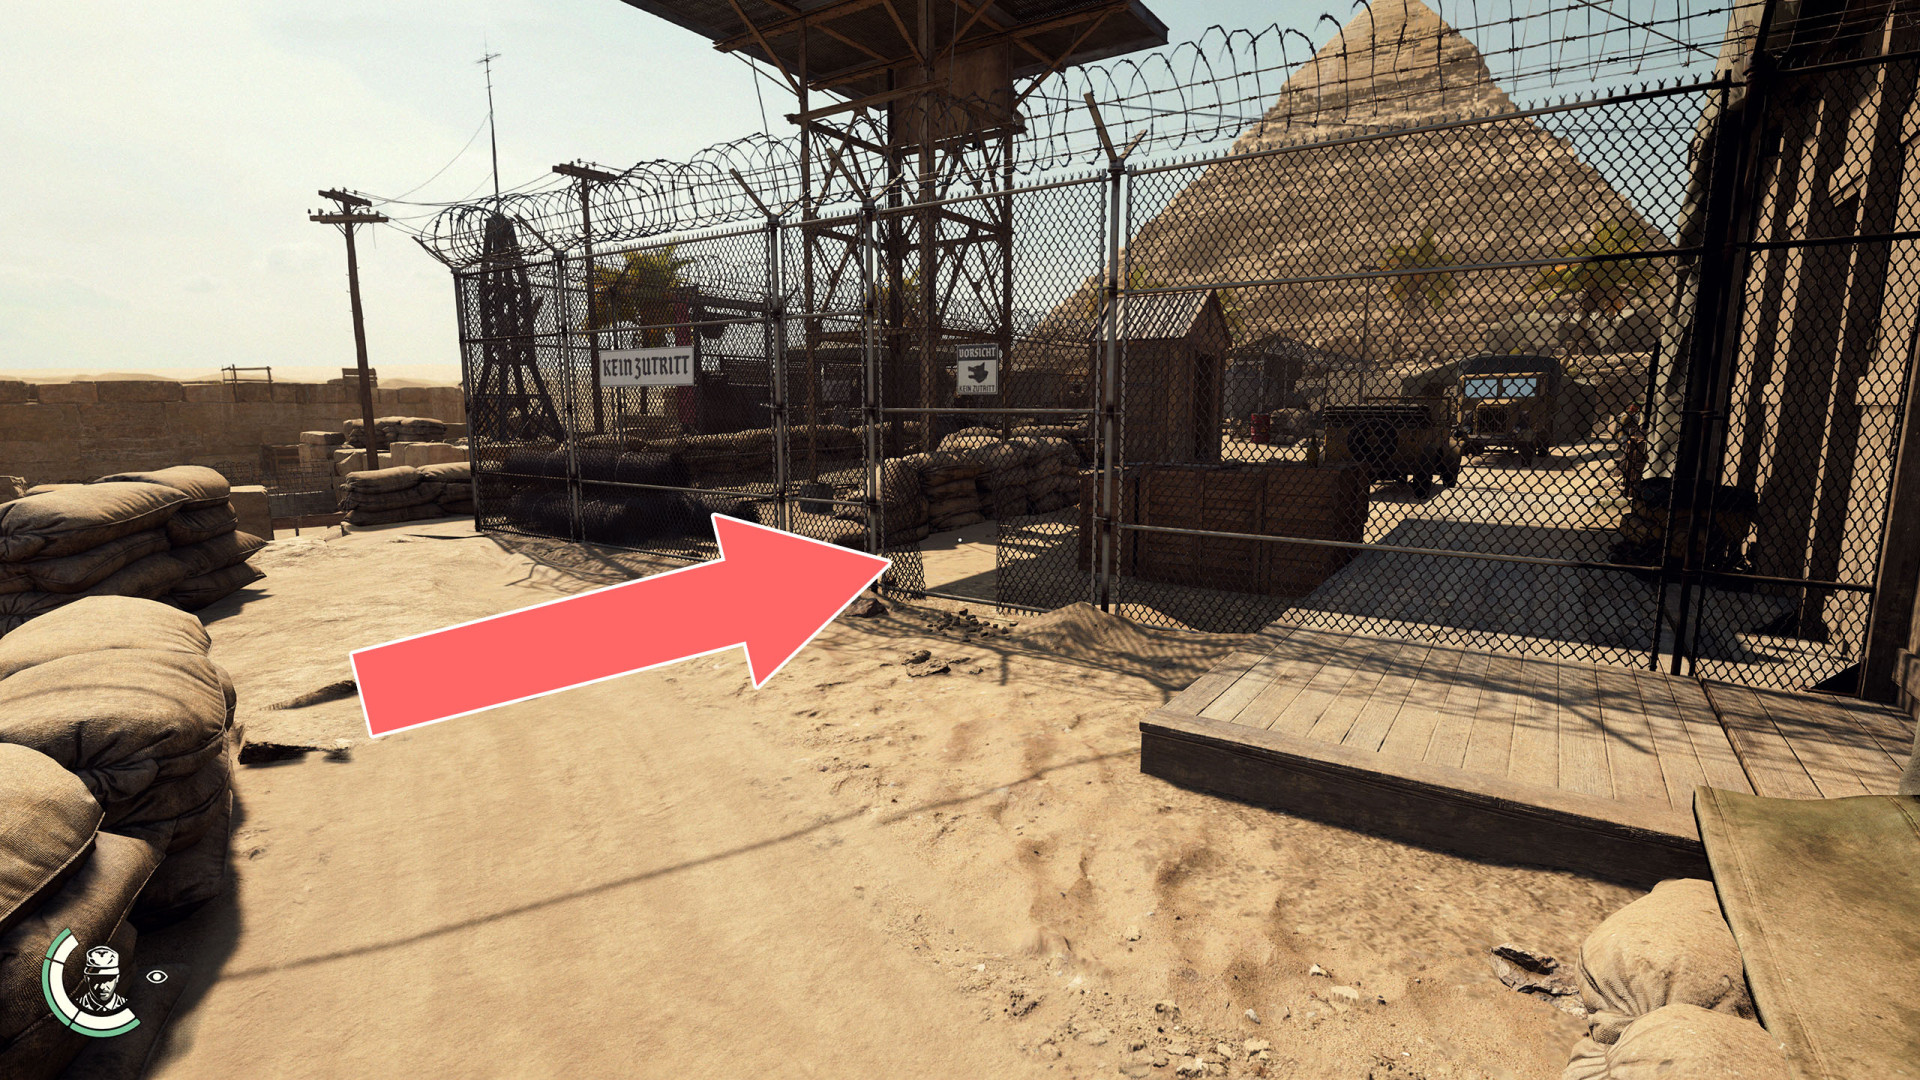
Fence Hole▶ show the map ◀
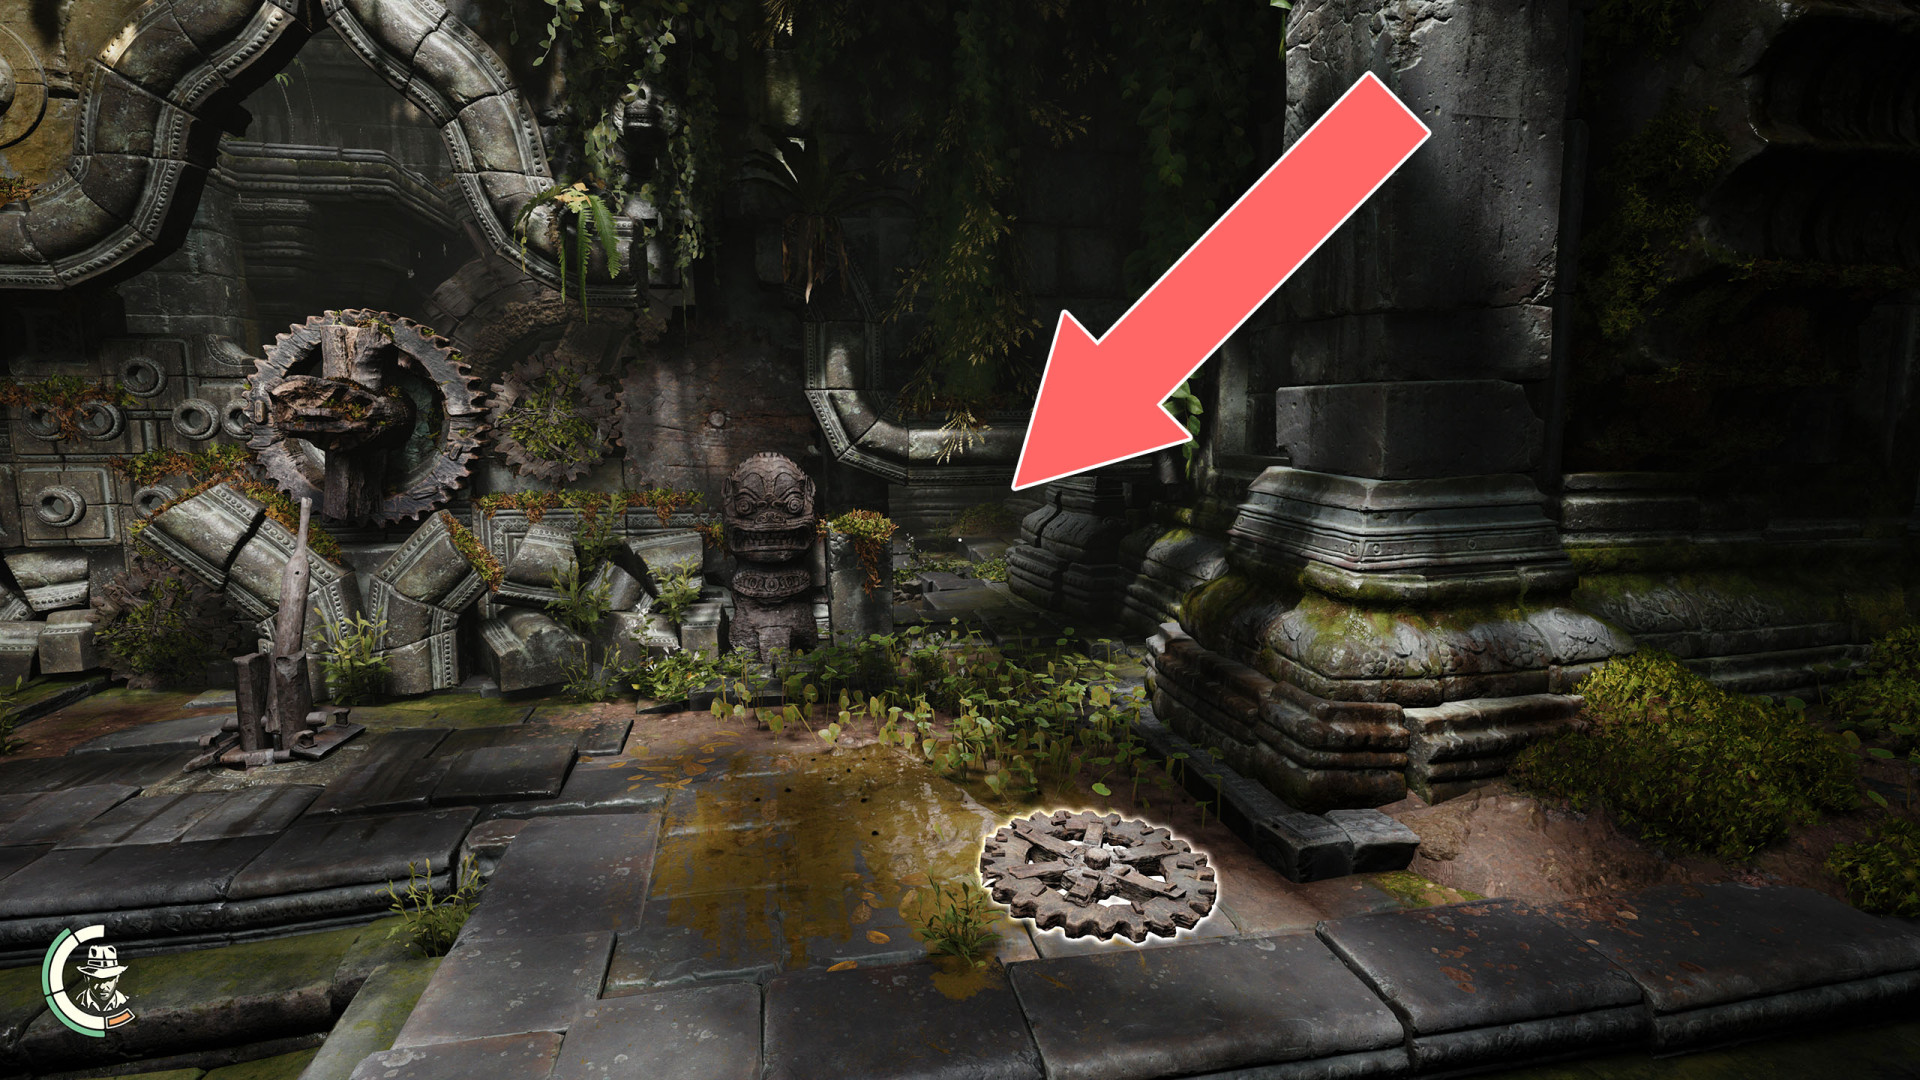
Grappling Point▶ show the map ◀
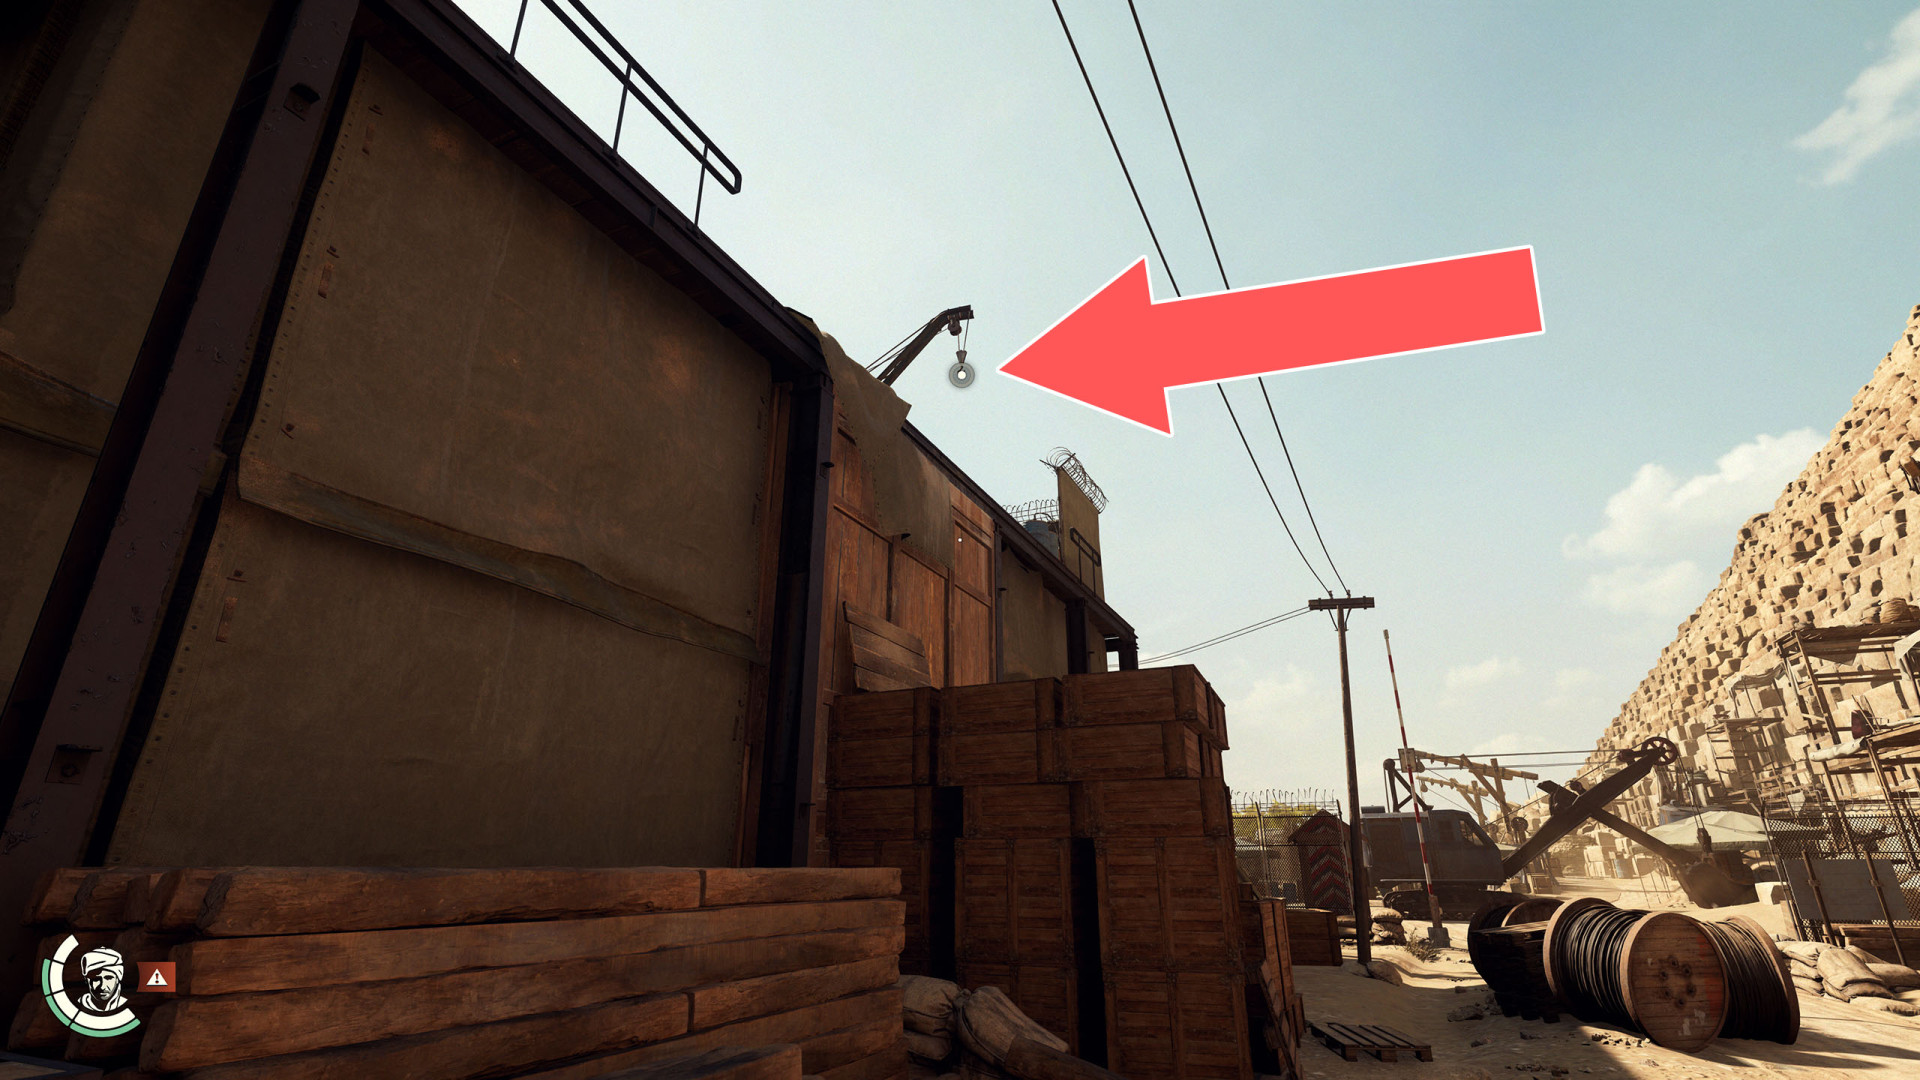
Grappling Point▶ show the map ◀
Grappling Point▶ show the map ◀
Grappling Point▶ show the map ◀
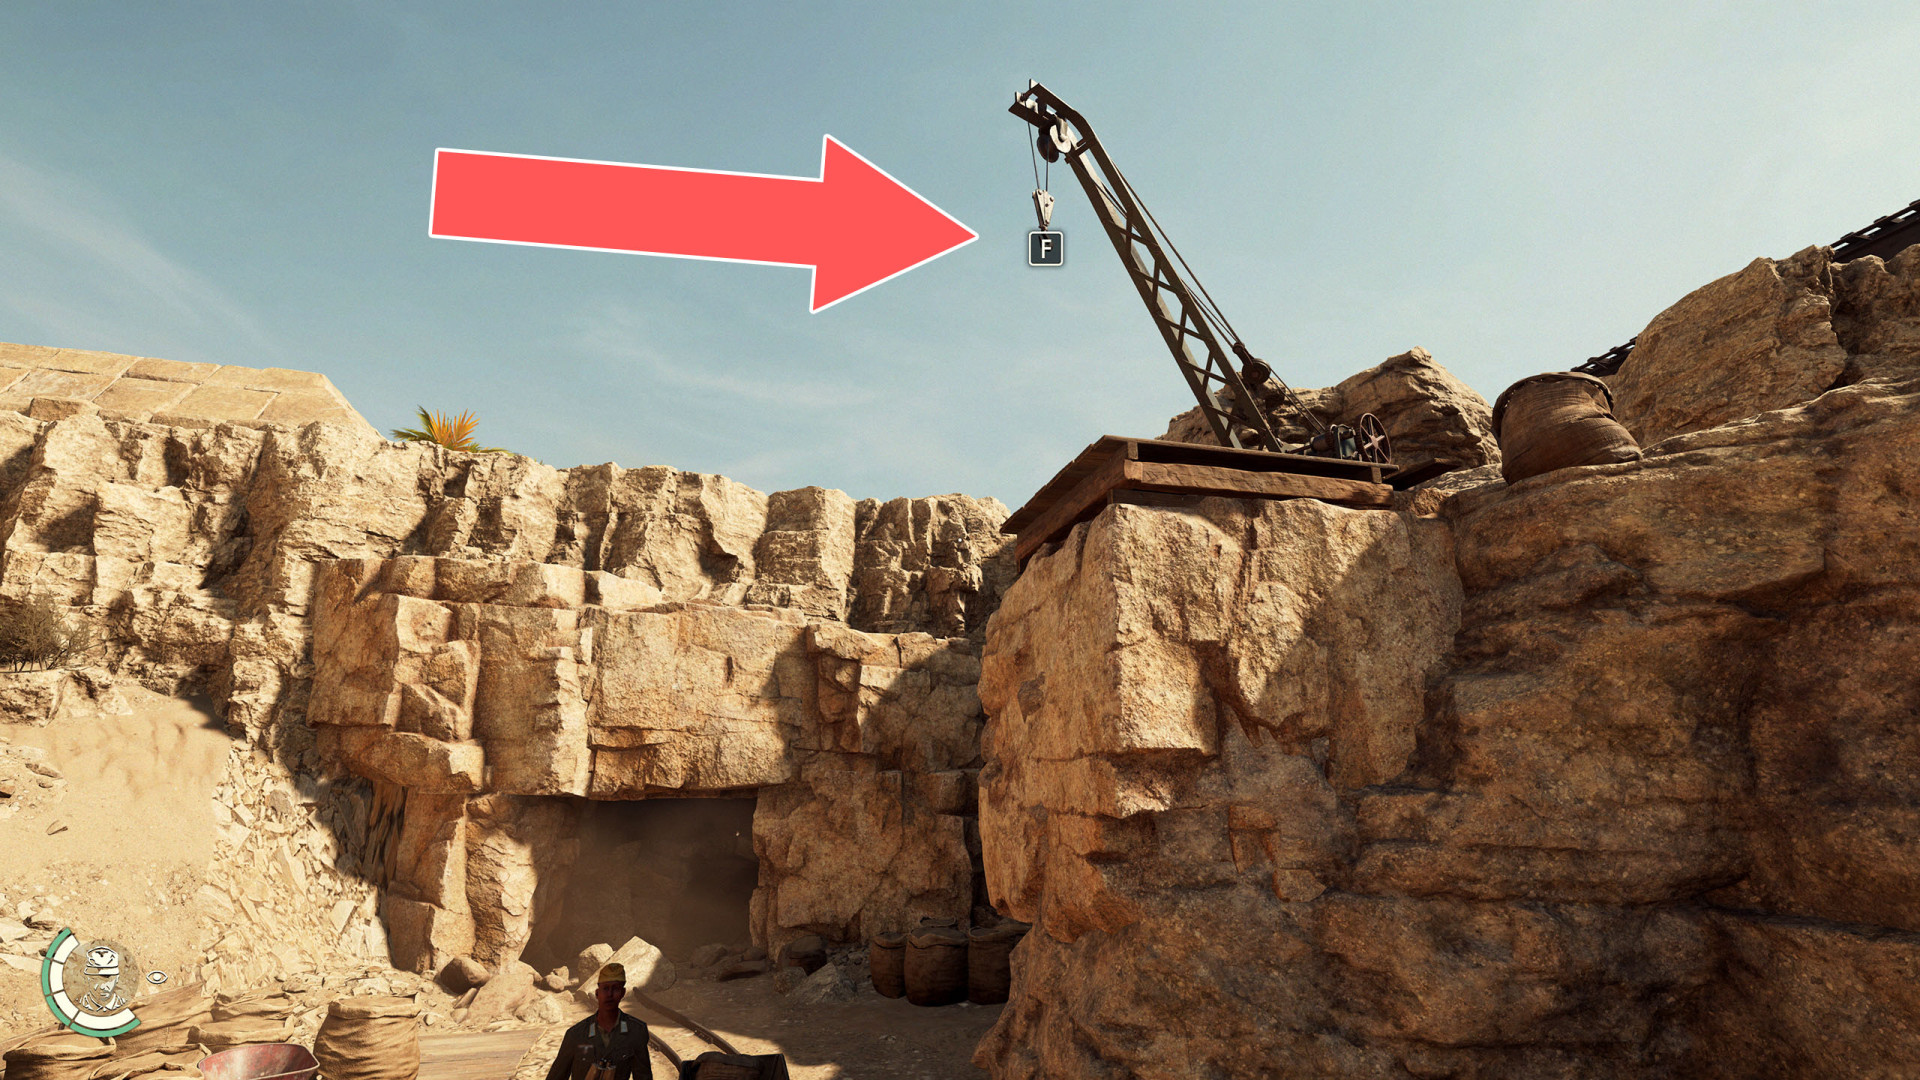
Grappling Point▶ show the map ◀
Grappling Point▶ show the map ◀
Grappling Point▶ show the map ◀
Grappling Point▶ show the map ◀
Grappling Point▶ show the map ◀
Grappling Point▶ show the map ◀
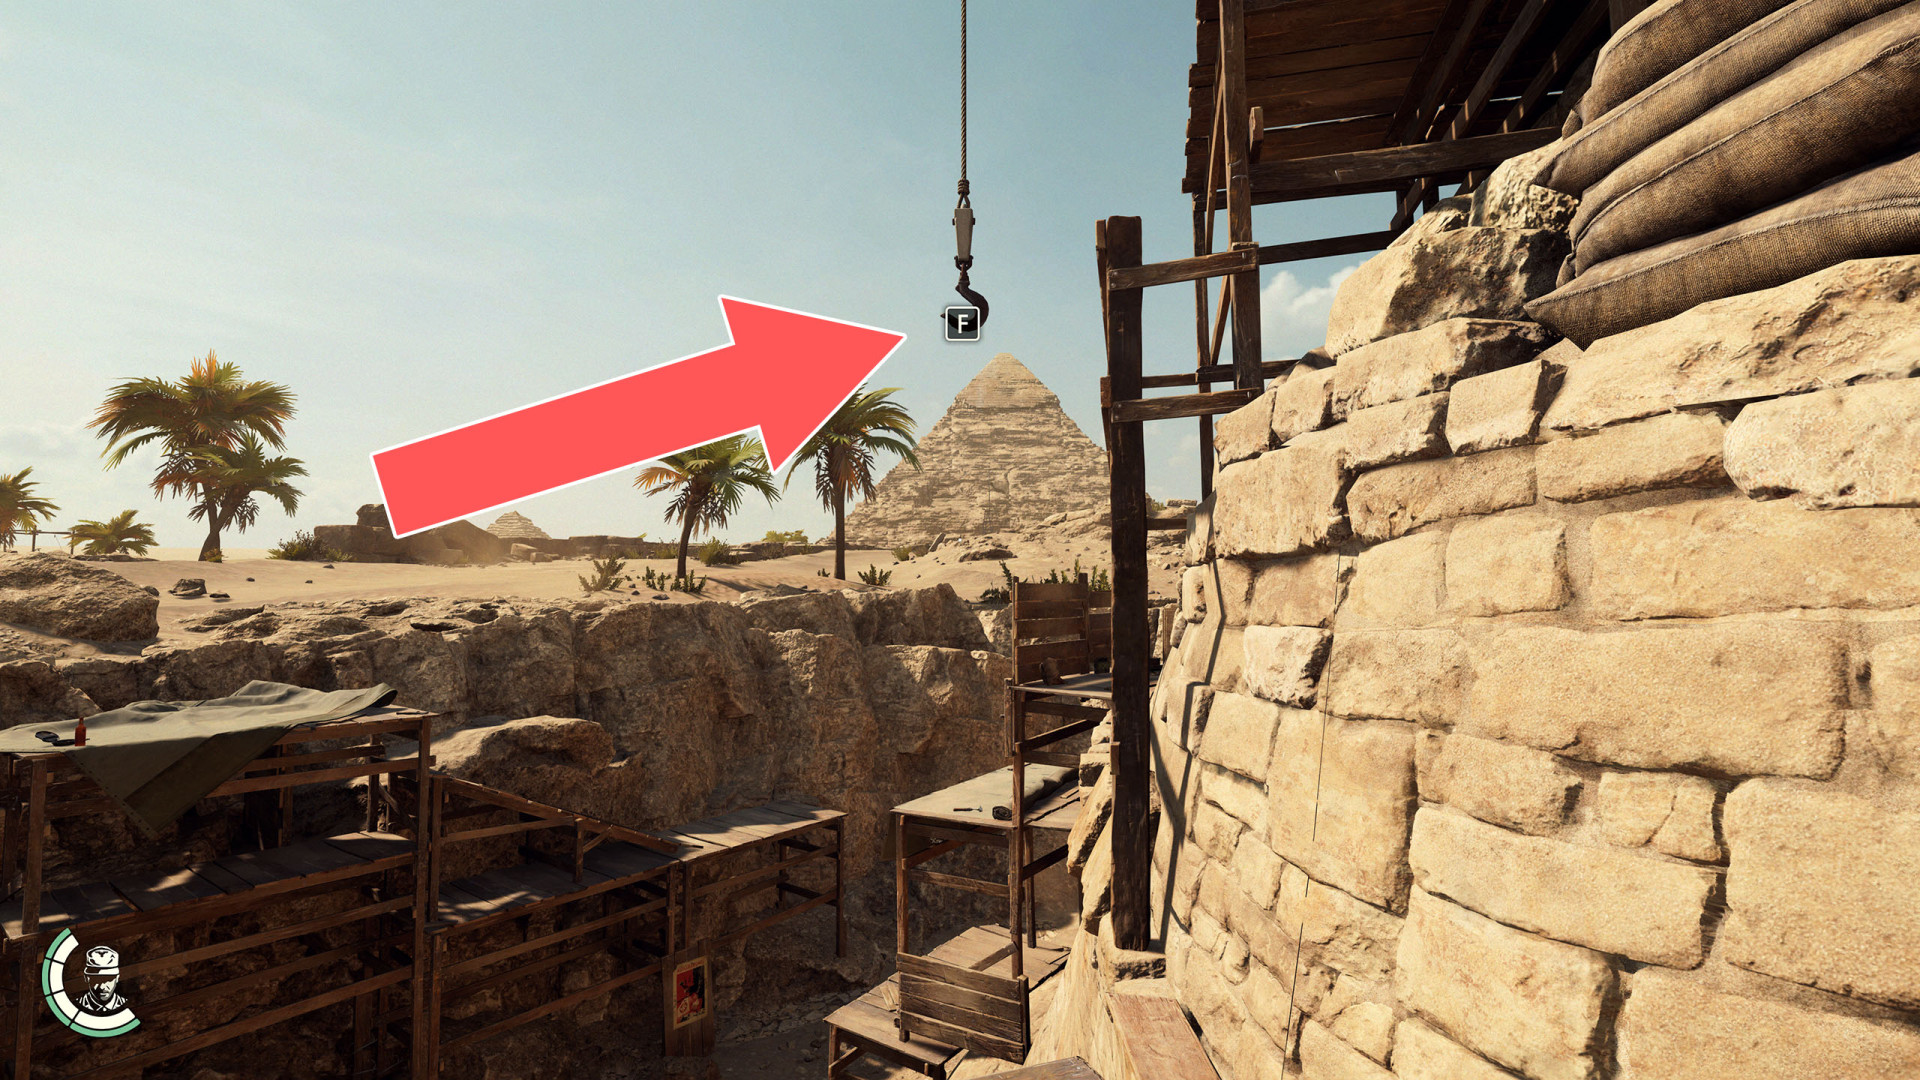
Grappling Point▶ show the map ◀
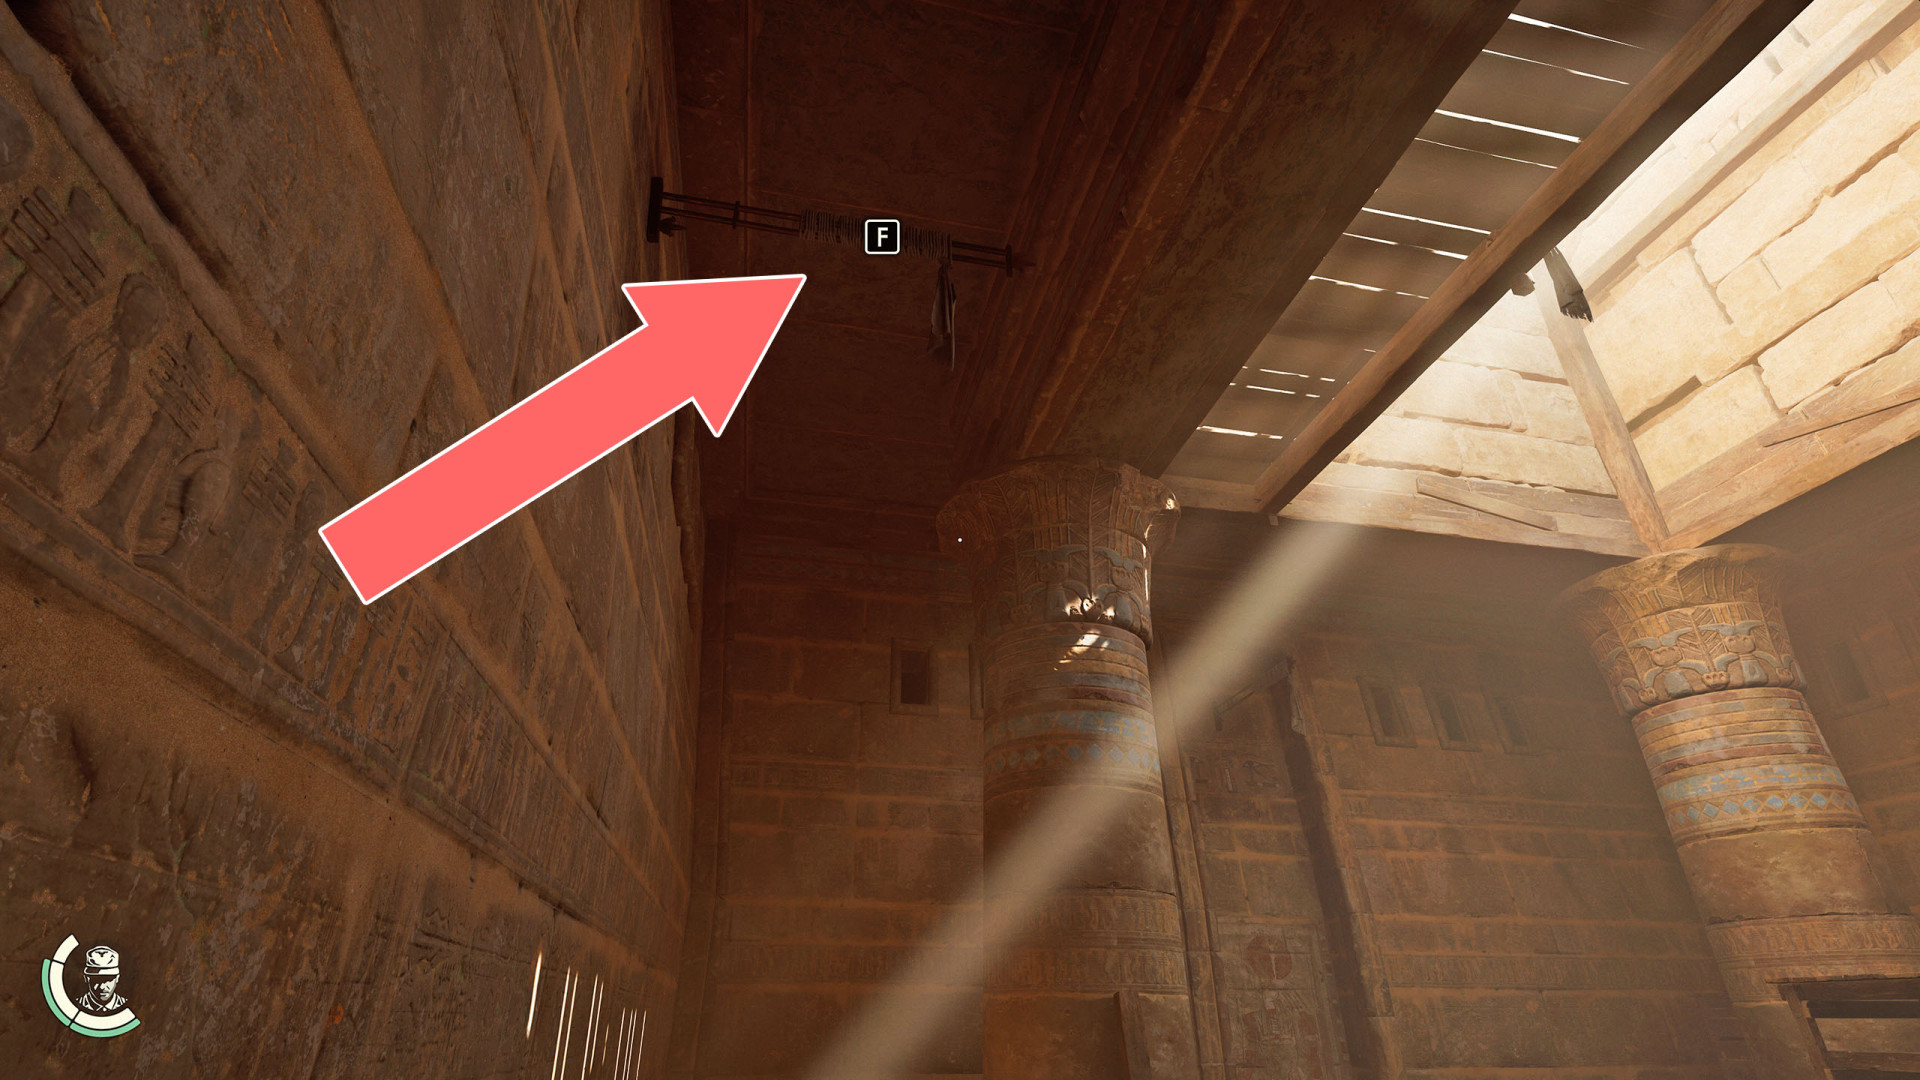
Grappling Point▶ show the map ◀

Grappling Point▶ show the map ◀
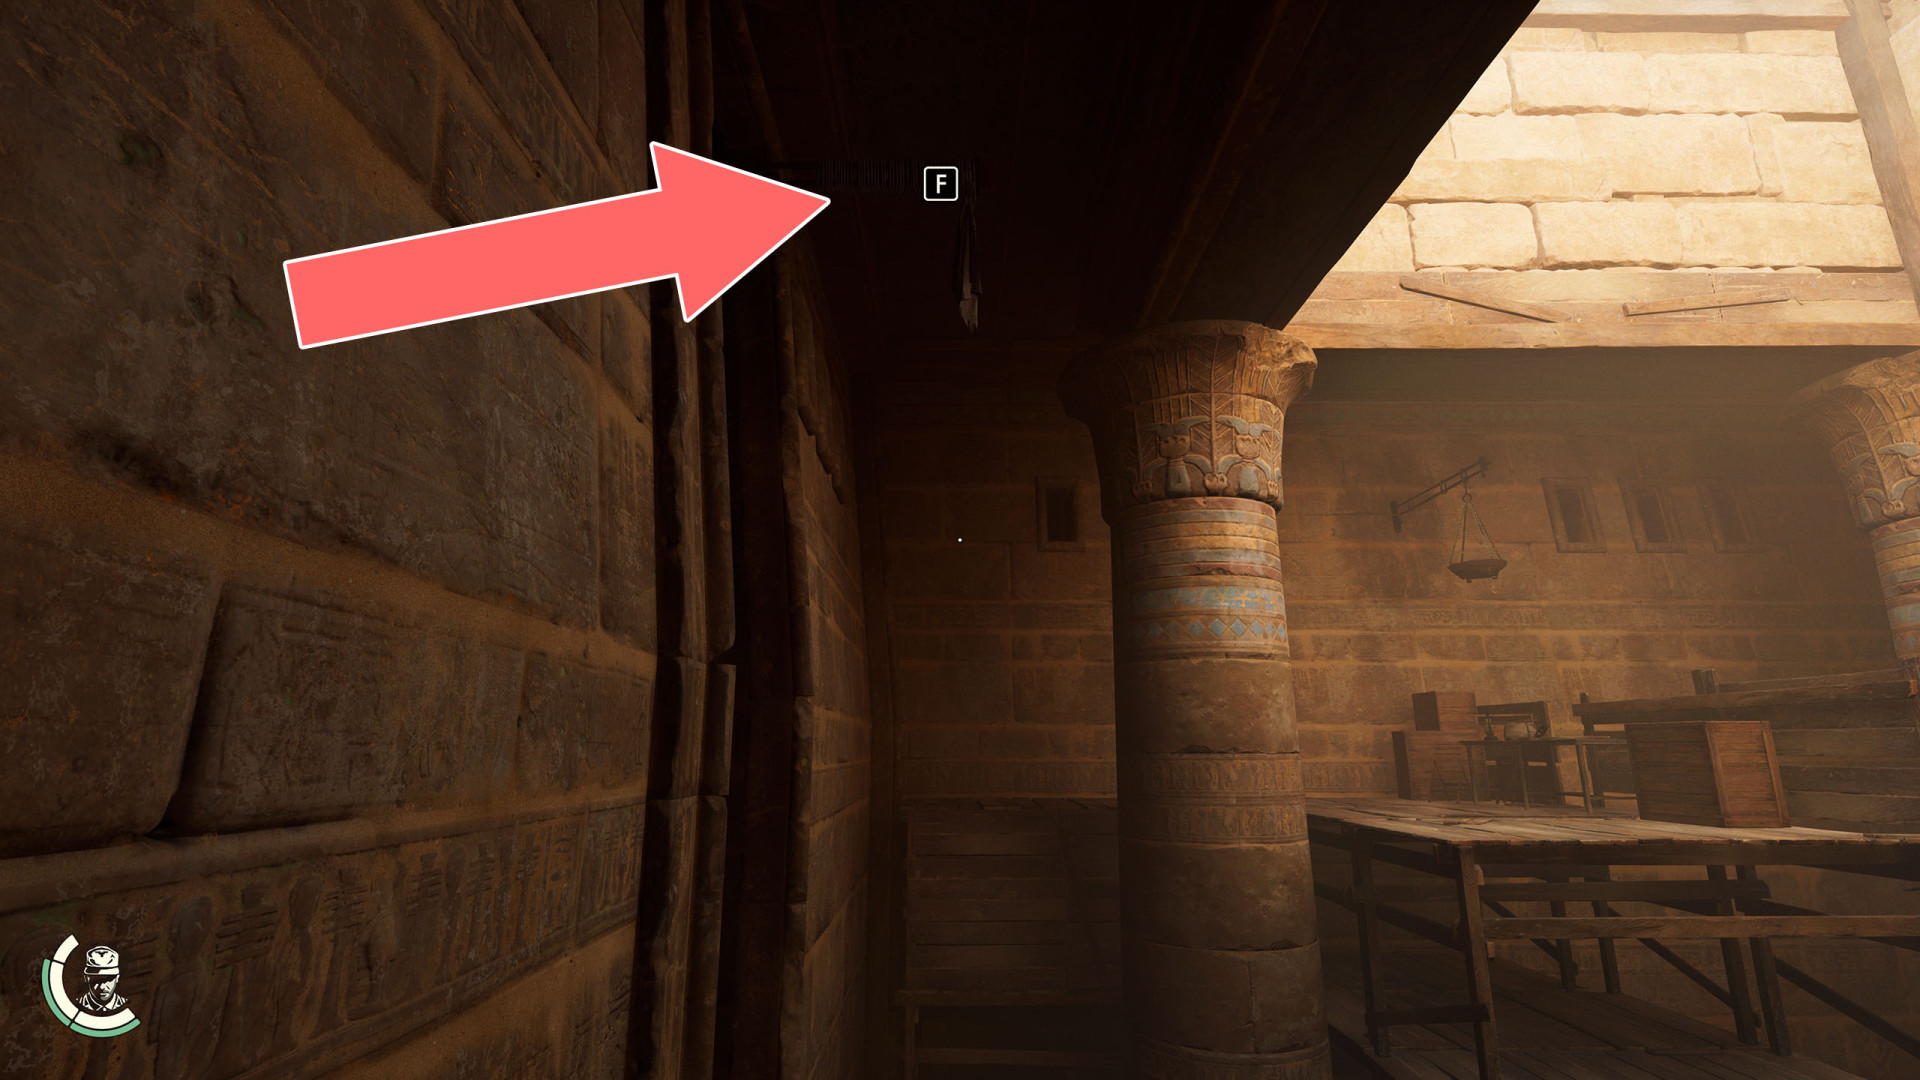
Grappling Point▶ show the map ◀
Grappling Point▶ show the map ◀
Grappling Point▶ show the map ◀
Grappling Point▶ show the map ◀
Grappling Point▶ show the map ◀
Grappling Point▶ show the map ◀
Grappling Point▶ show the map ◀
Grappling Point▶ show the map ◀
Grappling Point▶ show the map ◀
Grappling Point x 2▶ show the map ◀
Grappling Point x 2▶ show the map ◀
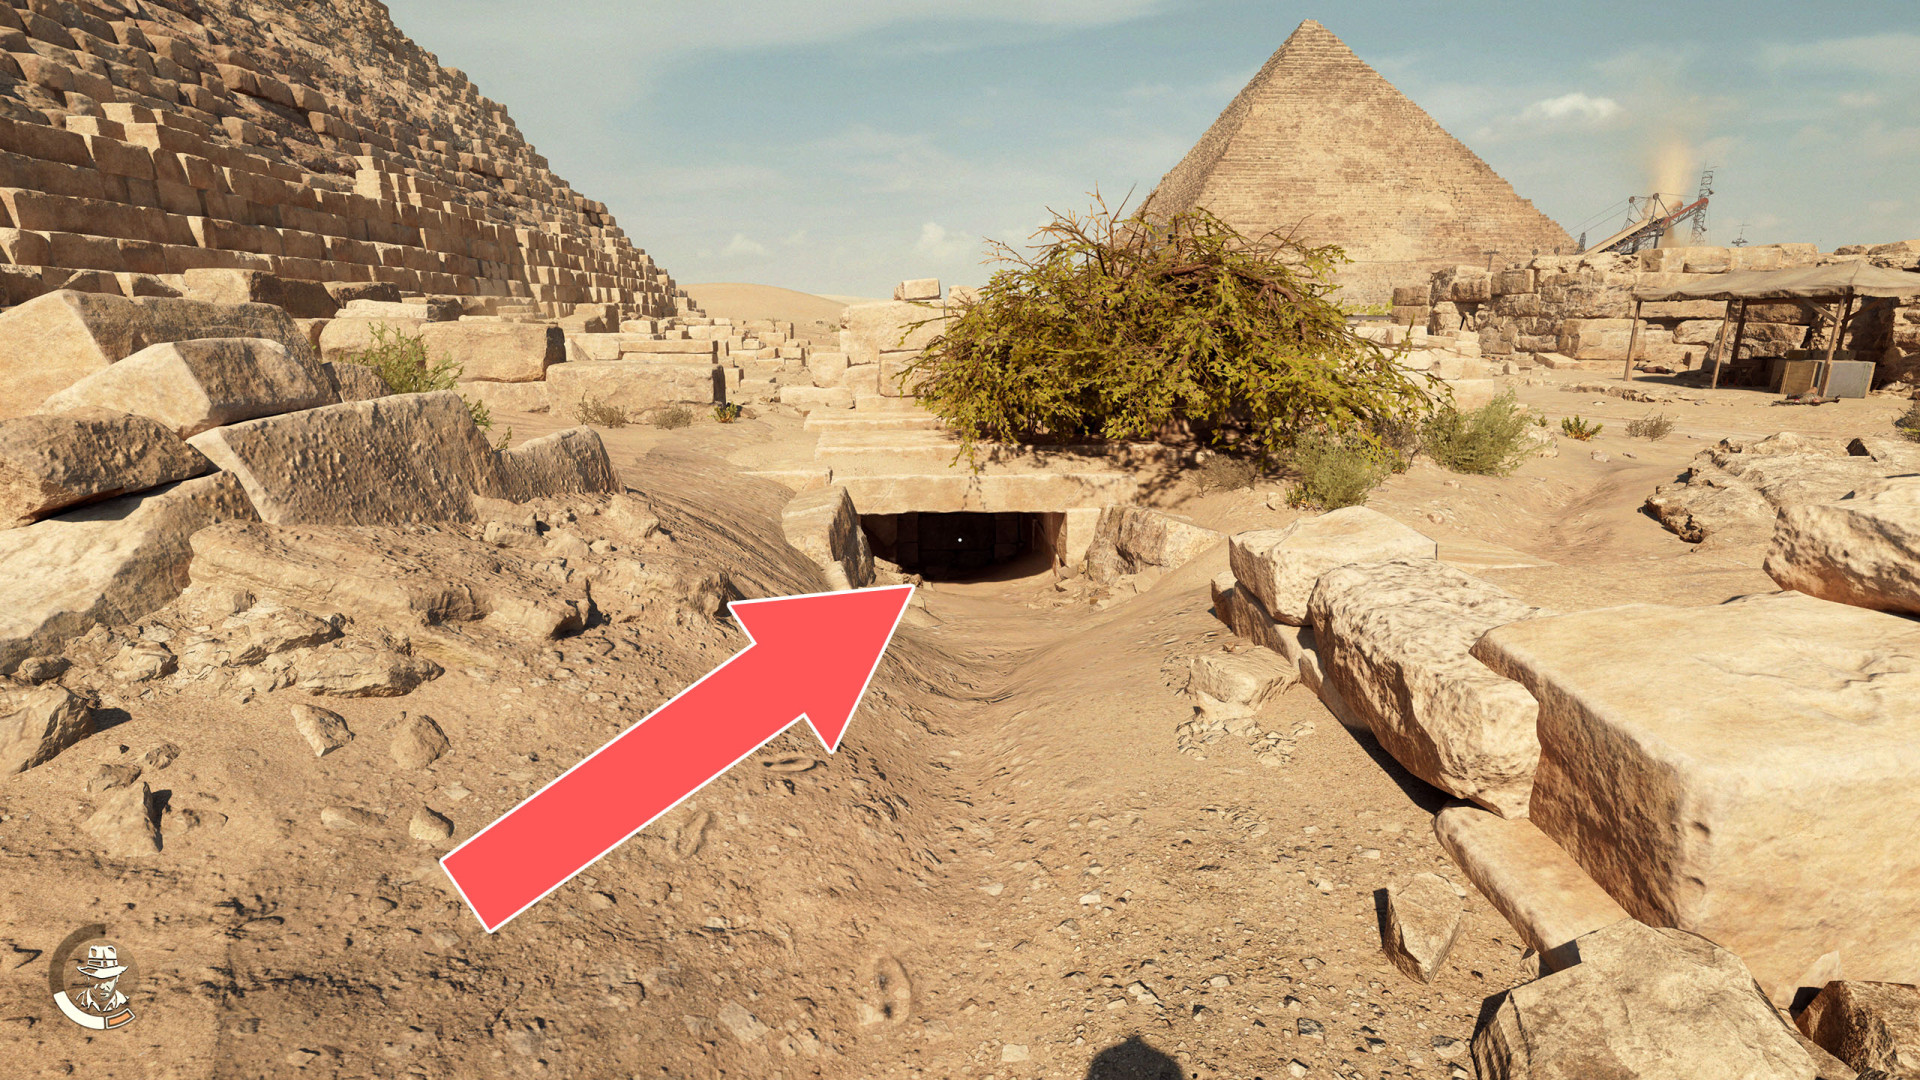
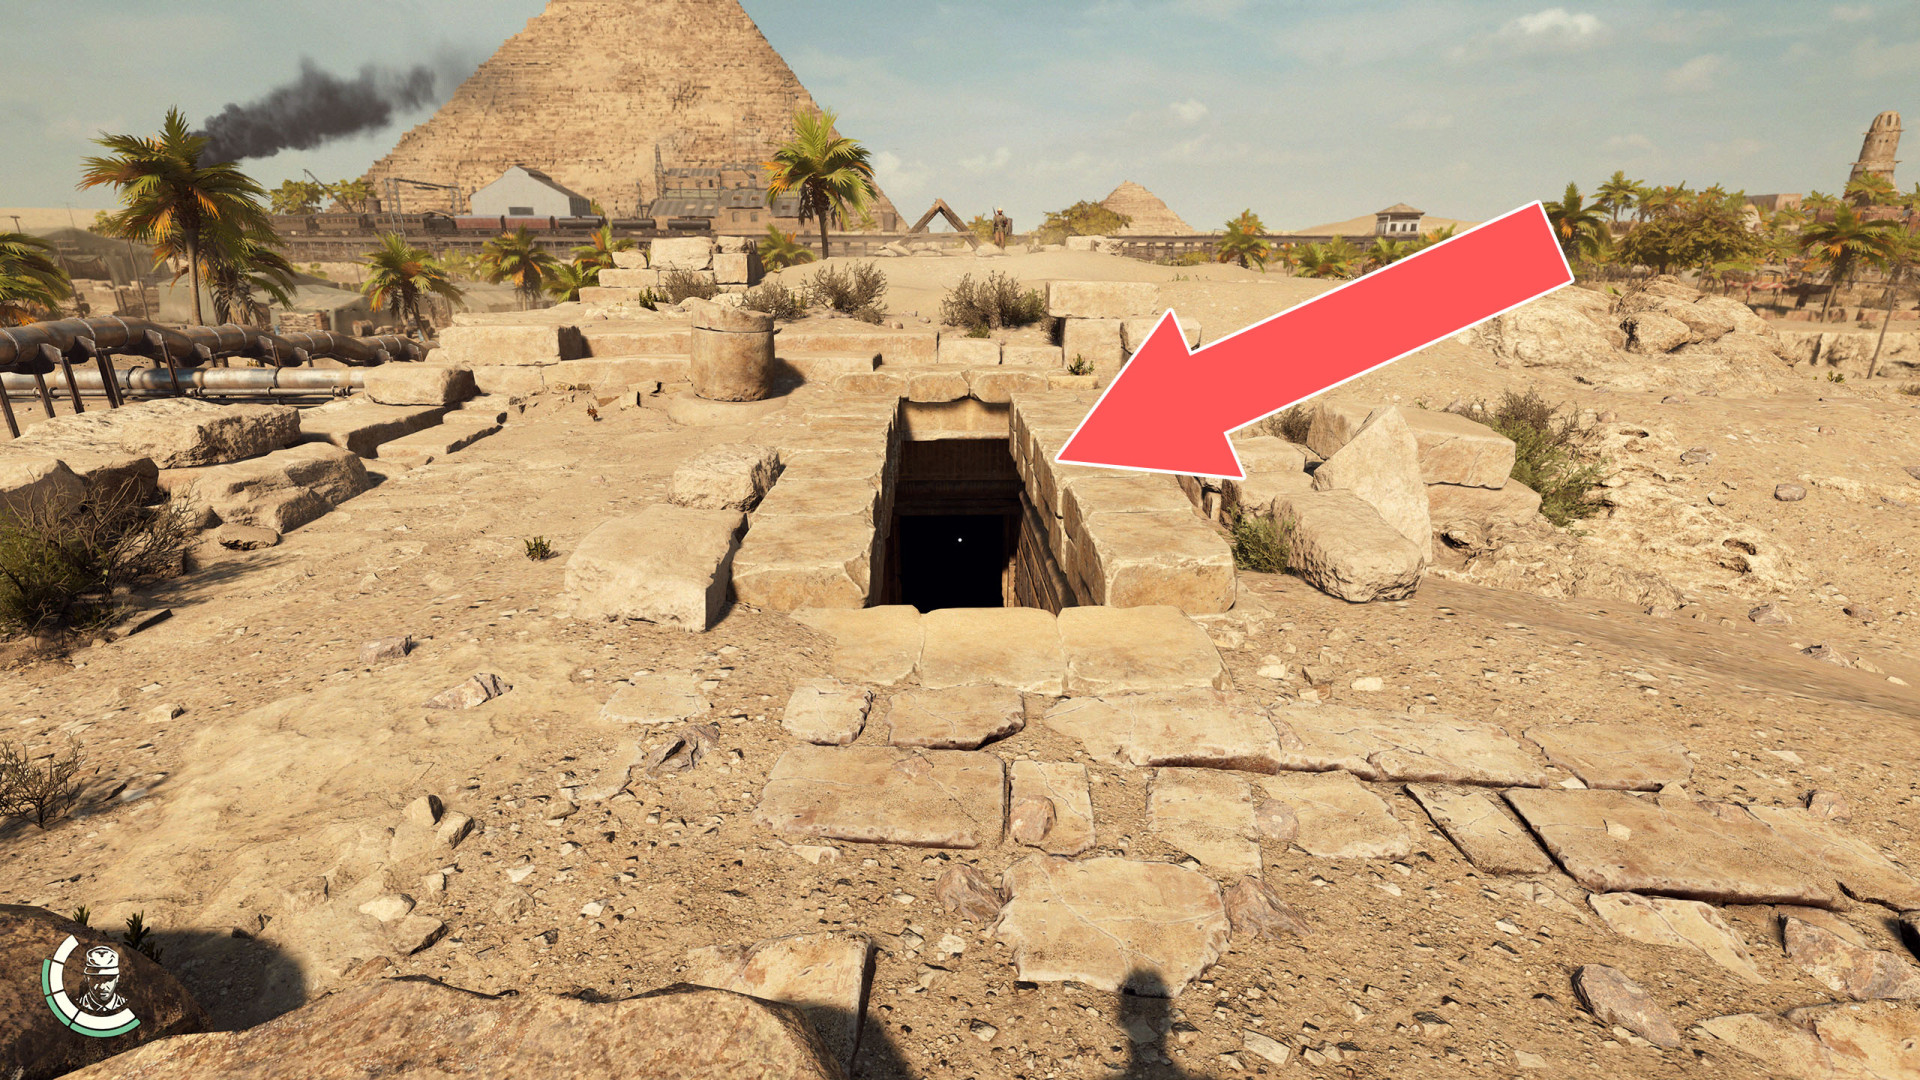
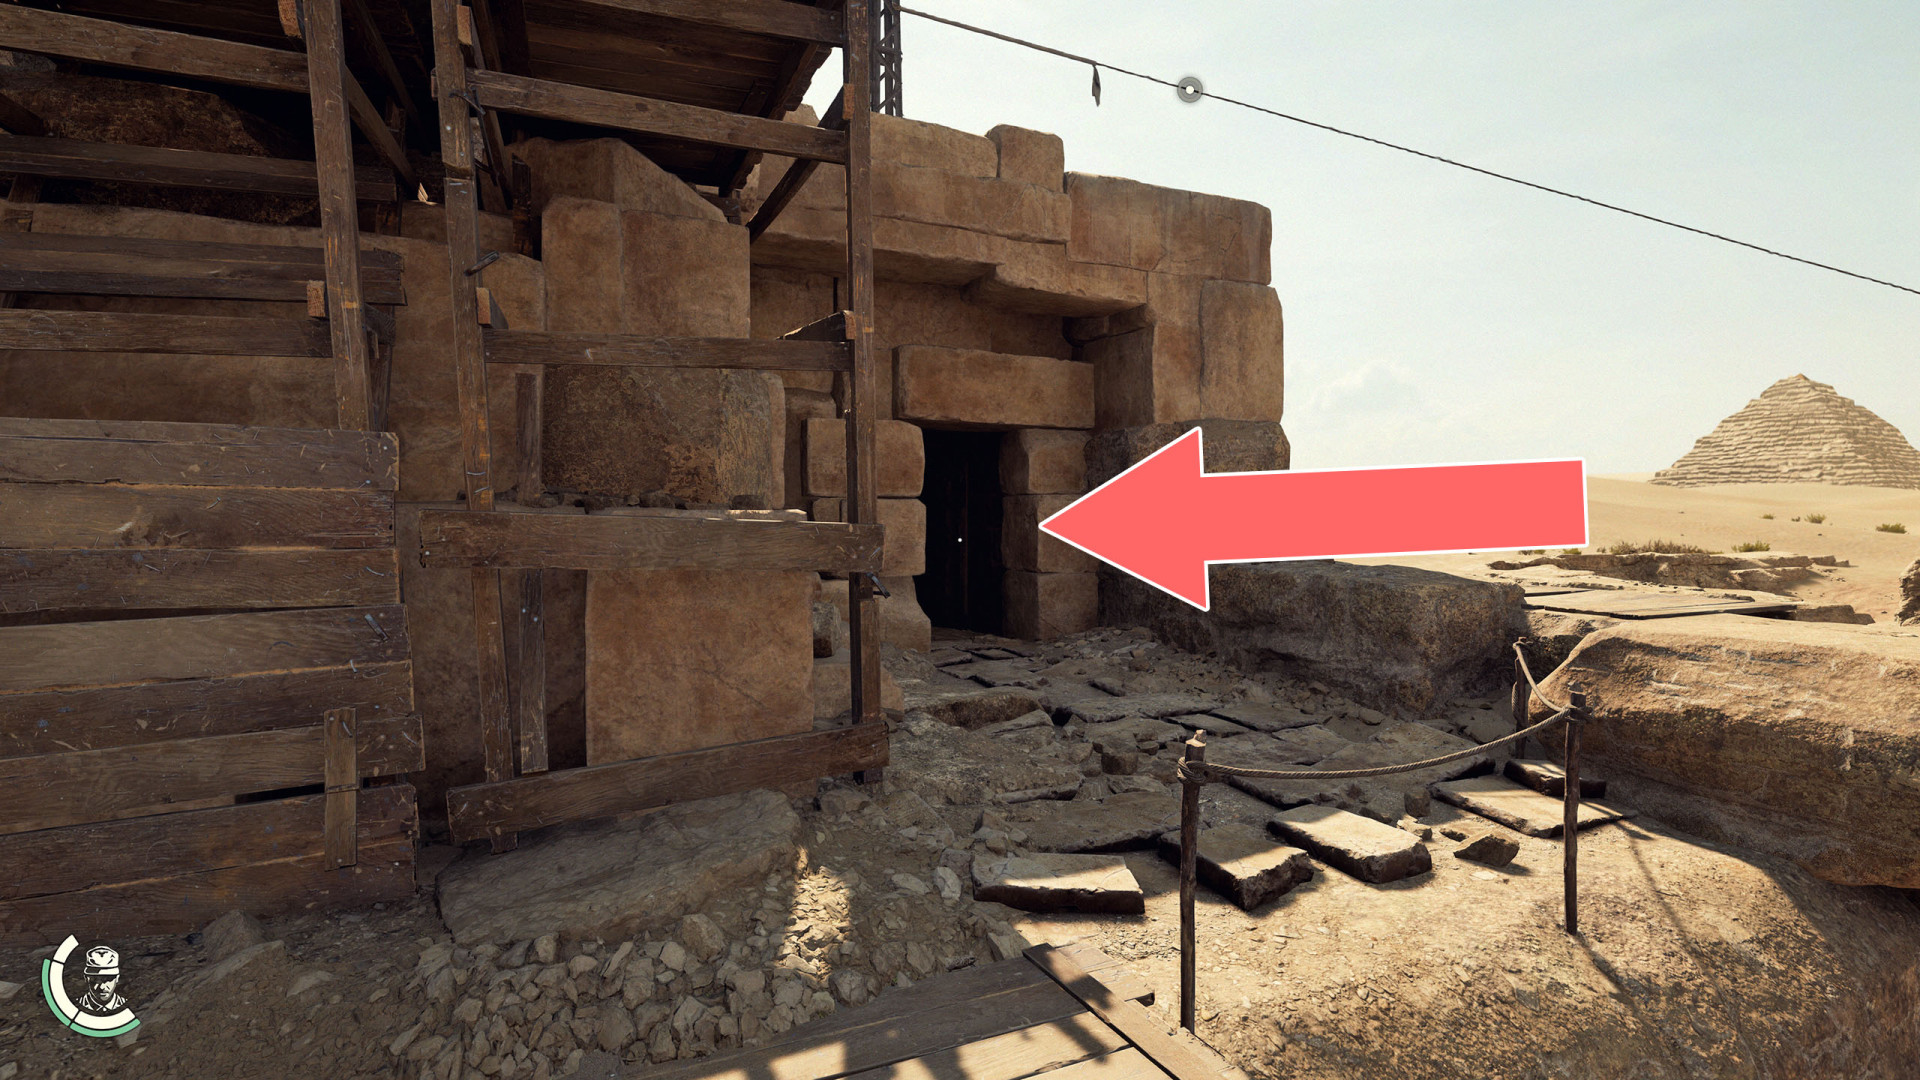
Great Sphinx Underground Entrance▶ show the map ◀
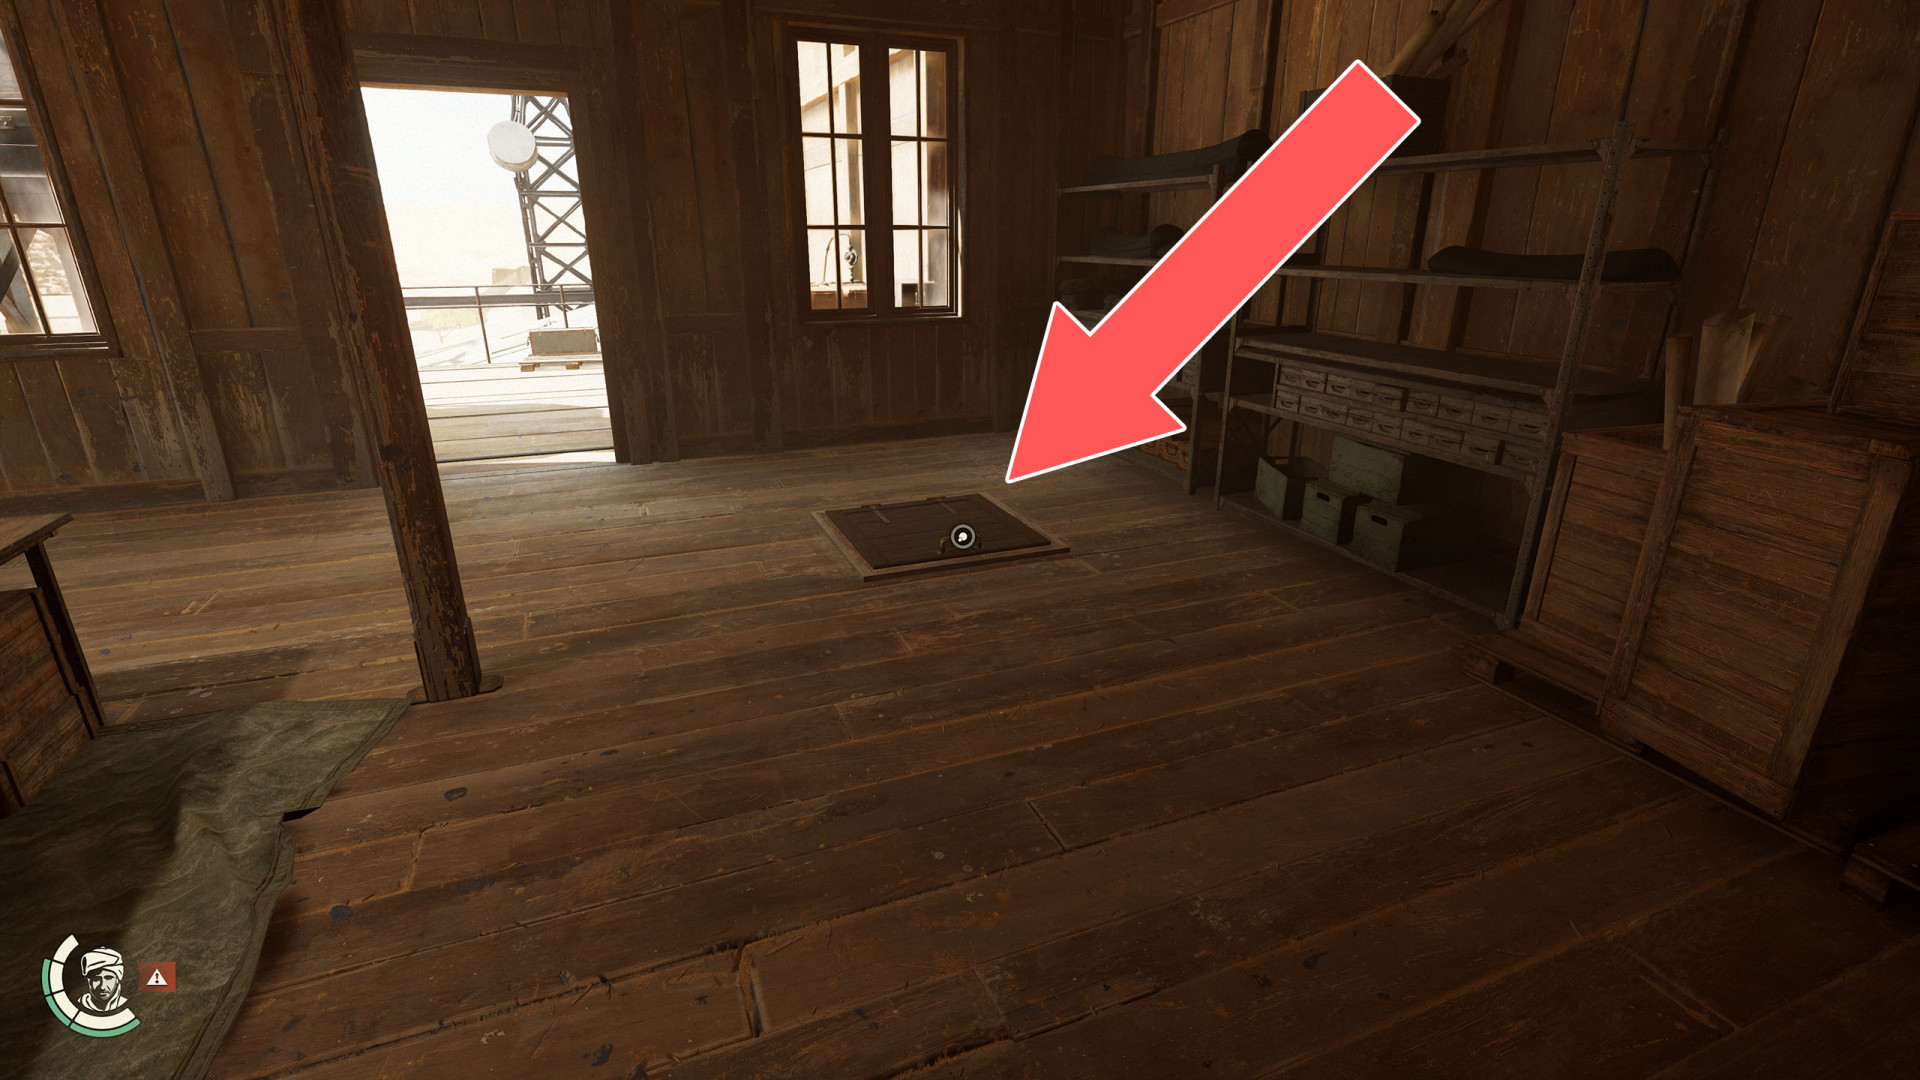
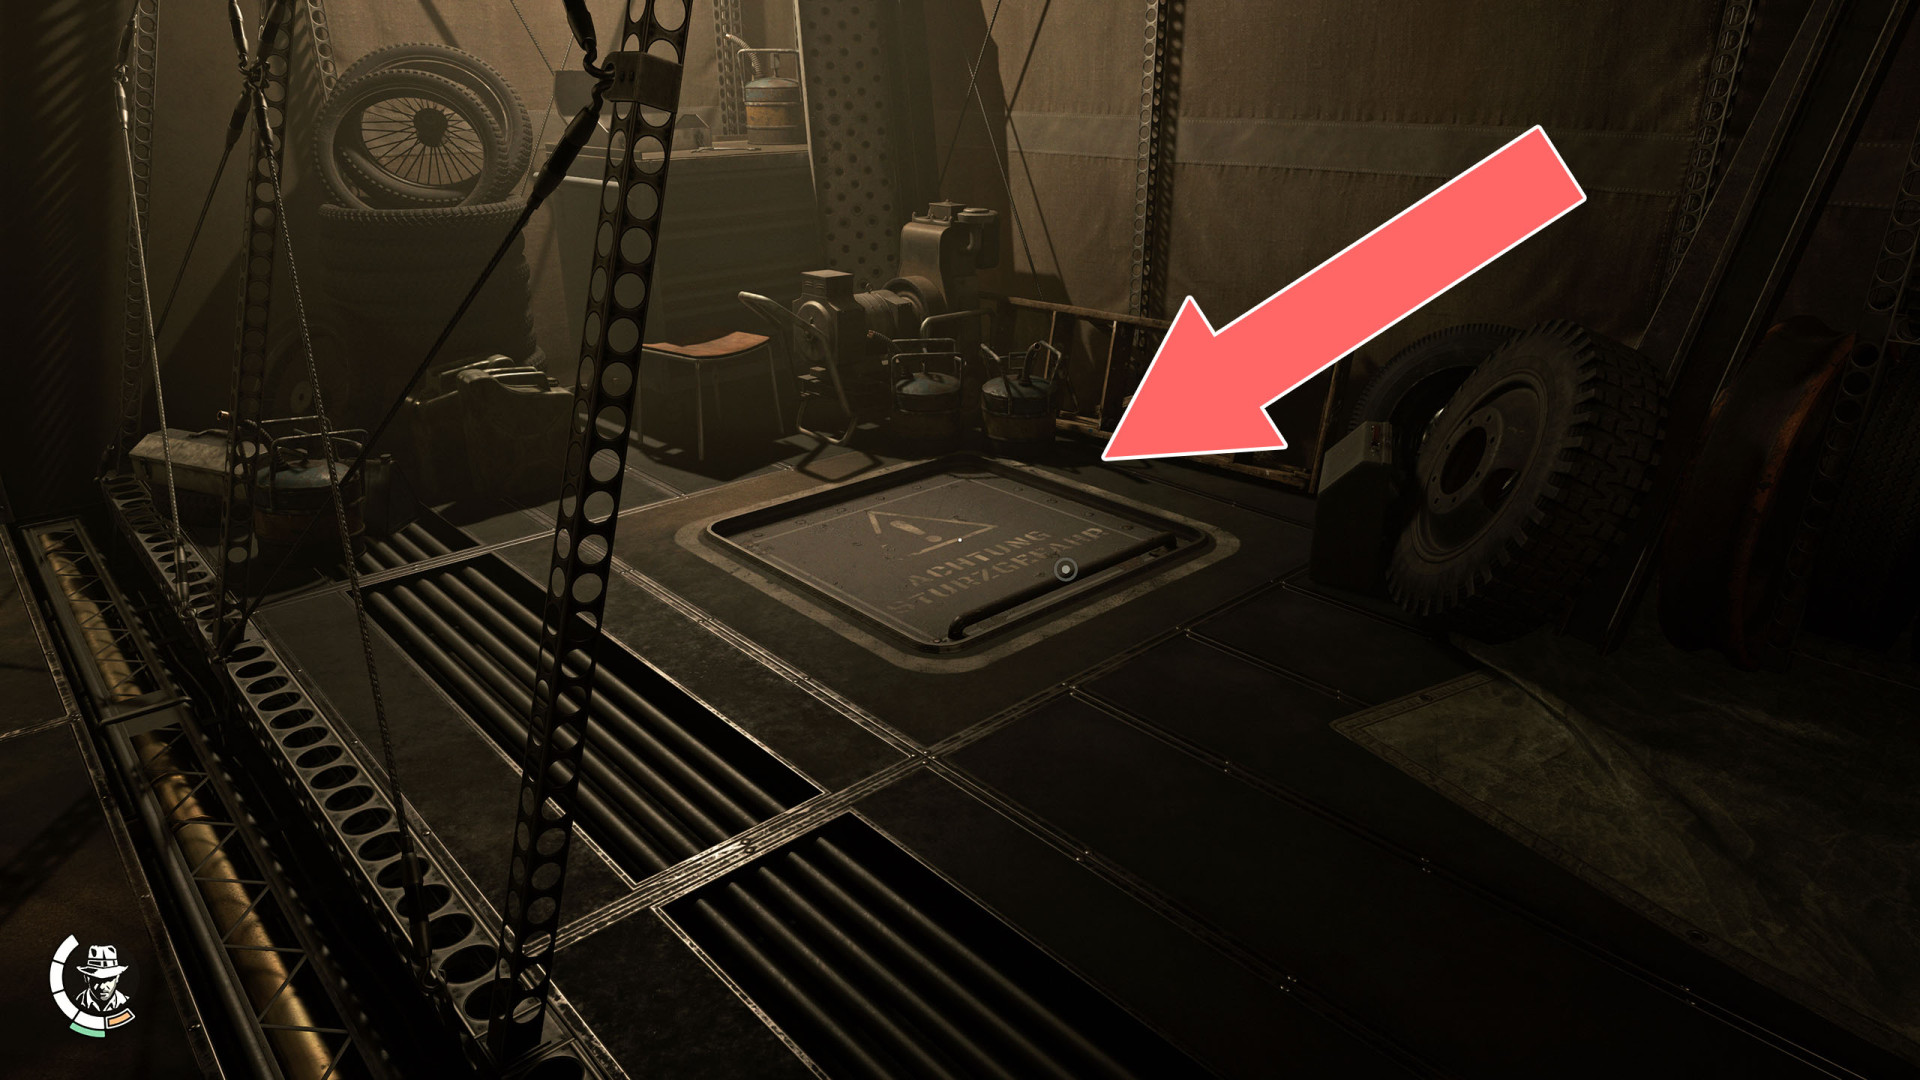
Hatch▶ show the map ◀
Ladder▶ show the map ◀
Ladder▶ show the map ◀
Ledge▶ show the map ◀
Lever▶ show the map ◀
Narrow Passage▶ show the map ◀
Sanctuary Entrance▶ show the map ◀
Secret Room Entrance▶ show the map ◀

Service Hatch▶ show the map ◀
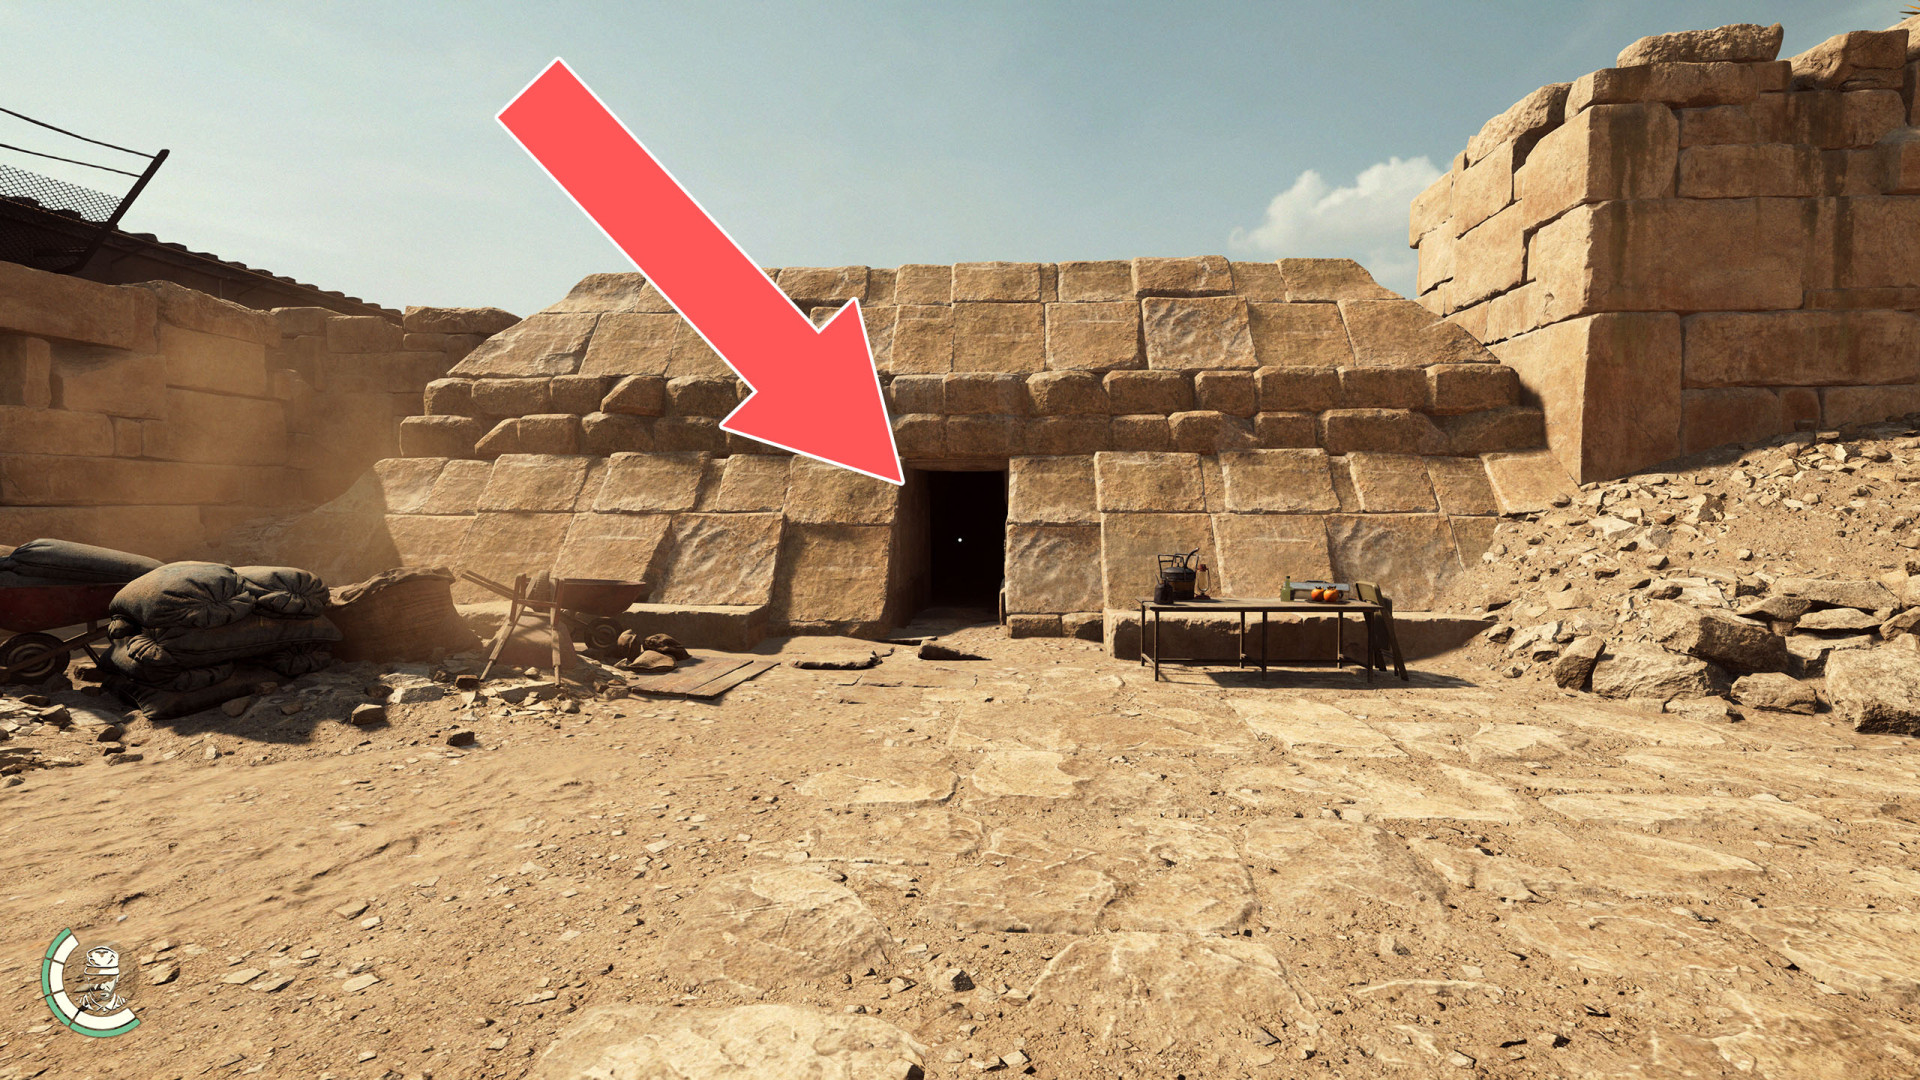
Tomb Entrance▶ show the map ◀
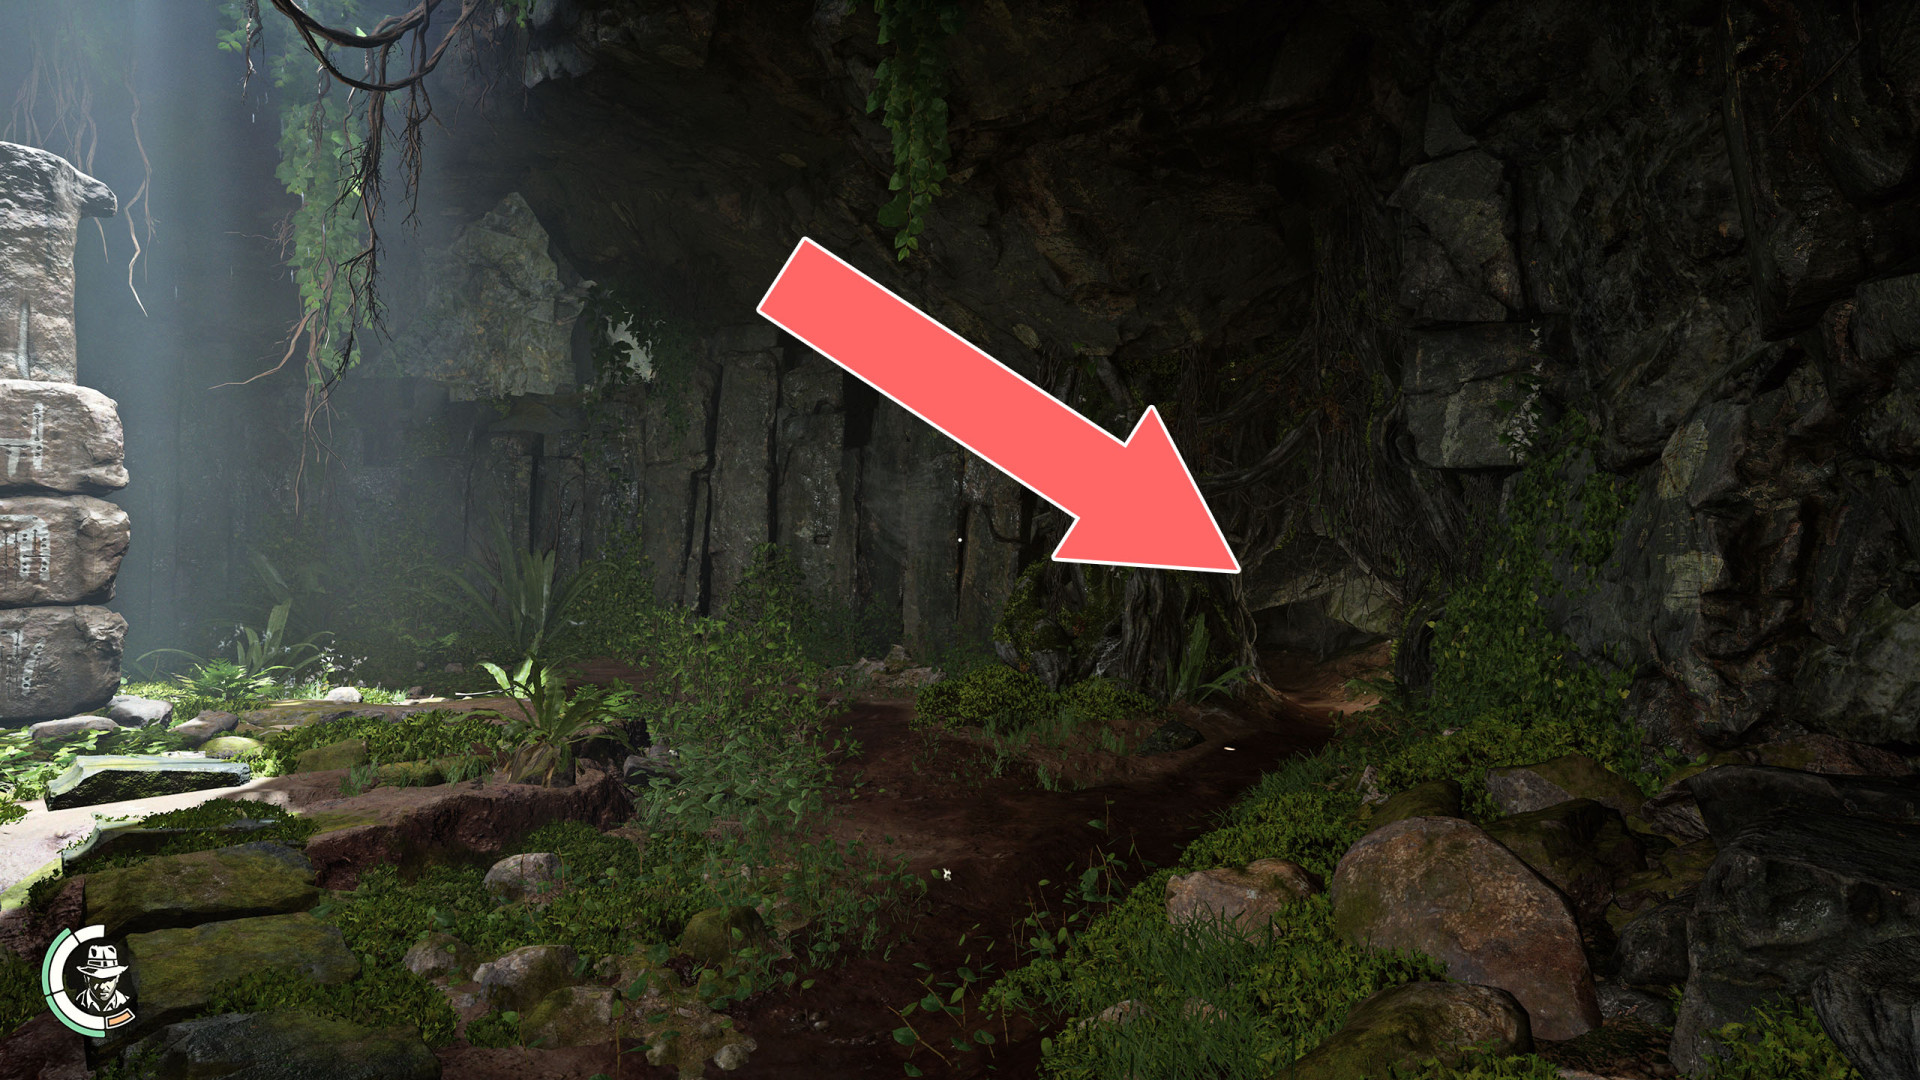
Tunnel Entrance▶ show the map ◀
Tunnel Entrance▶ show the map ◀
Tunnel Entrance▶ show the map ◀
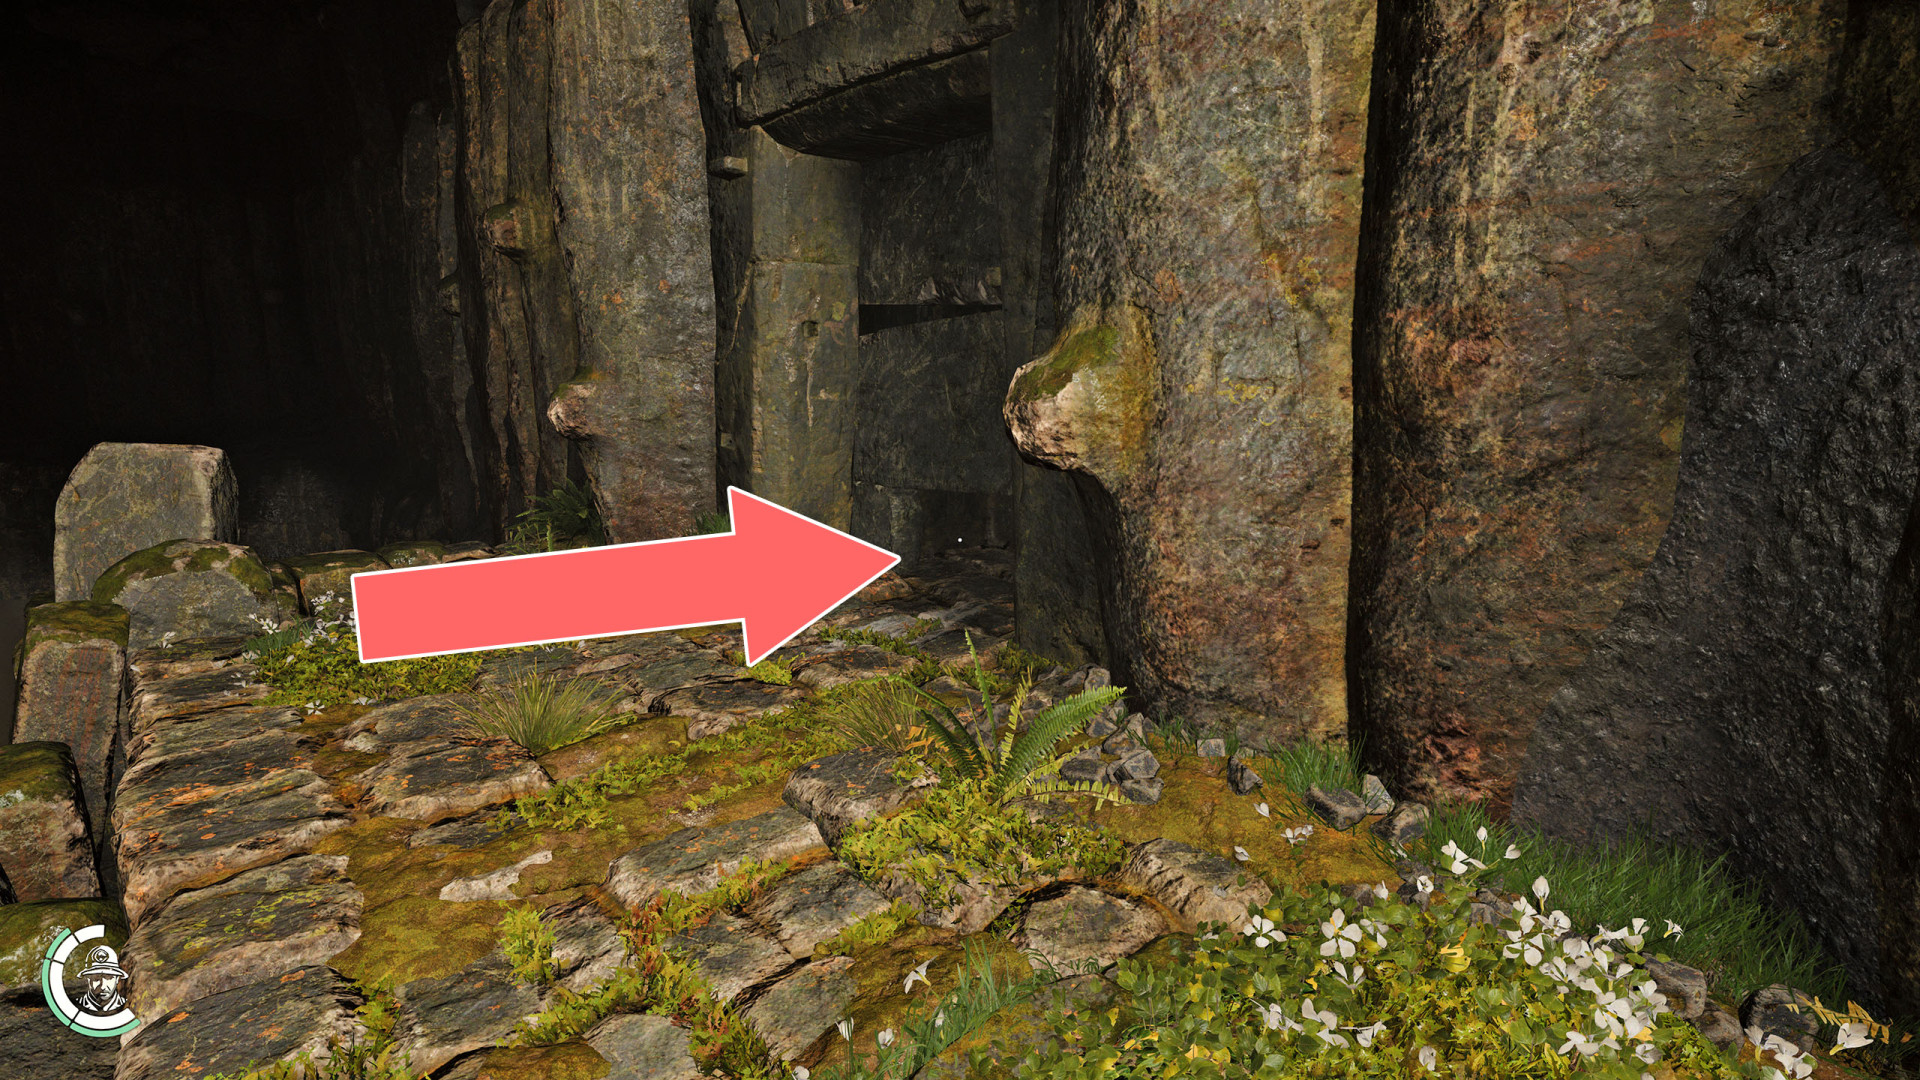
Underground Entrance▶ show the map ◀
Underground Entrance▶ show the map ◀
Underground Entrance▶ show the map ◀
Underground Entrance▶ show the map ◀
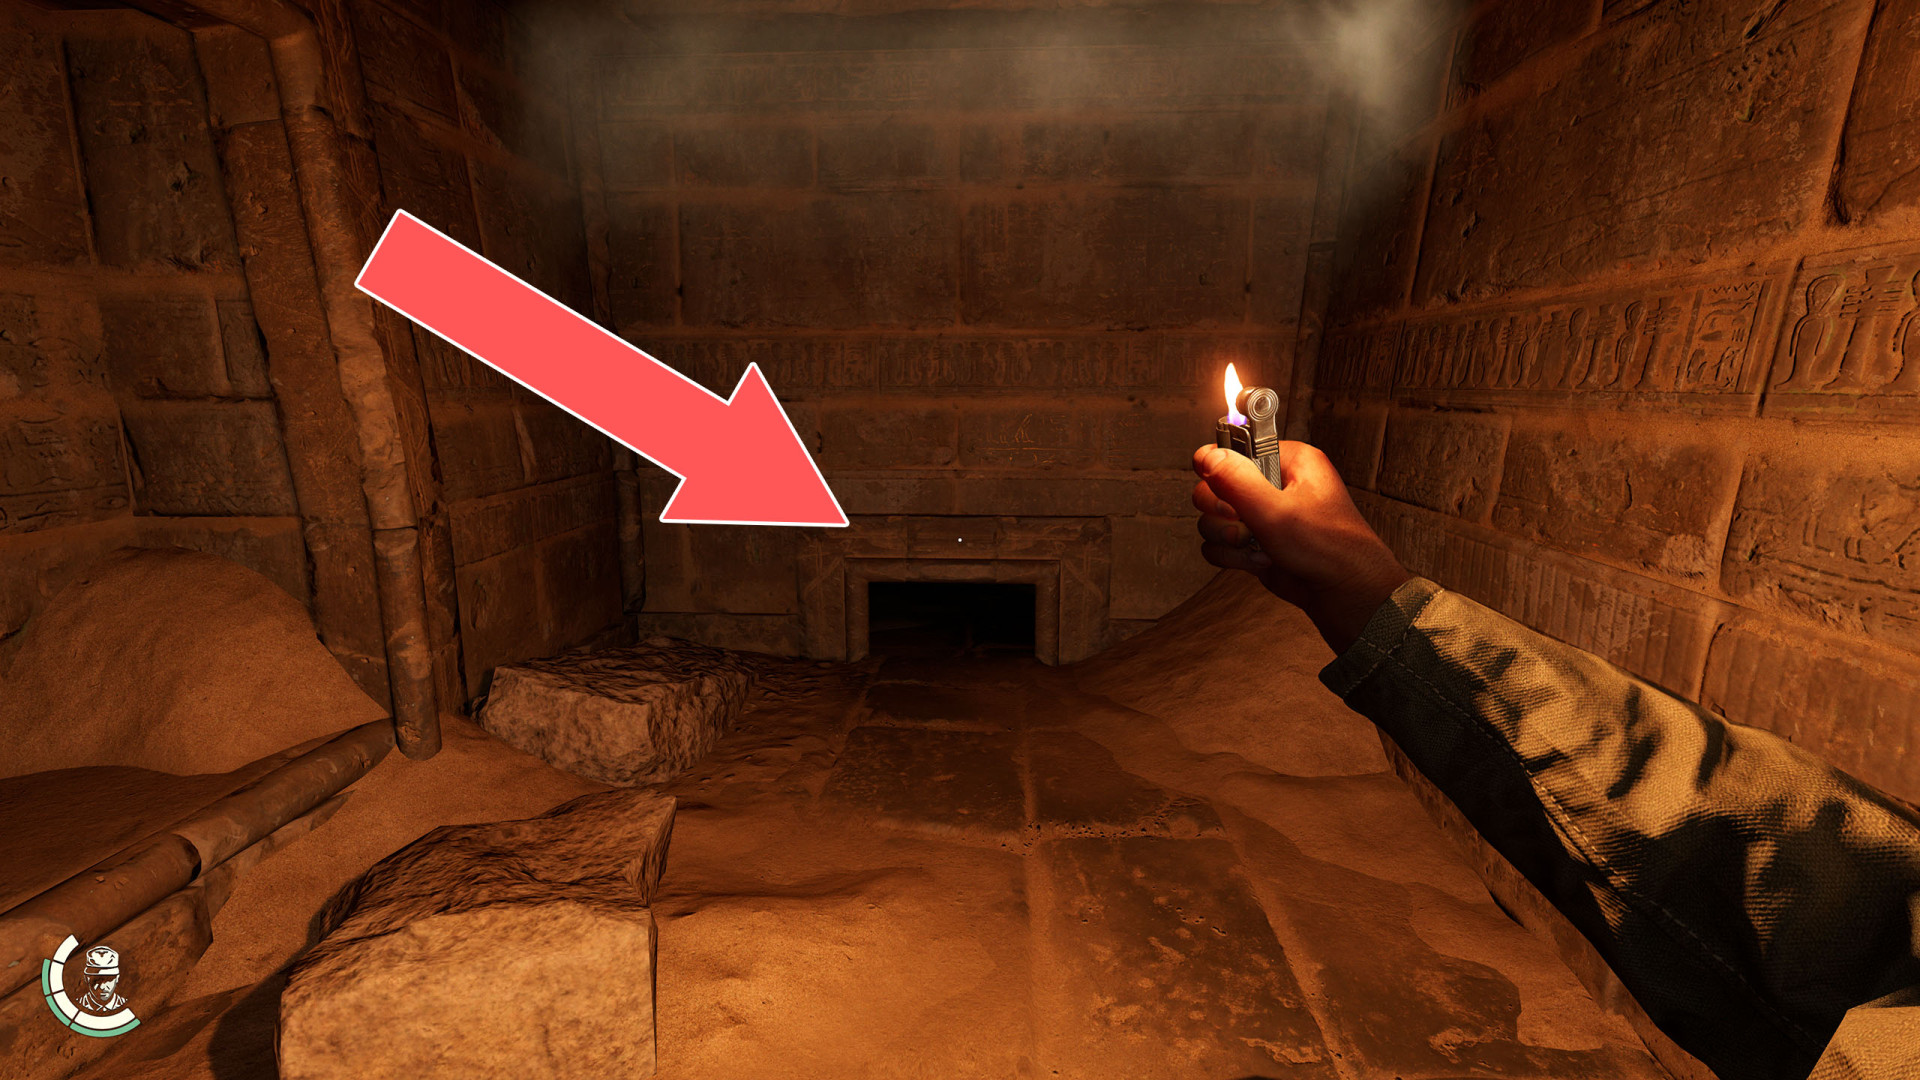
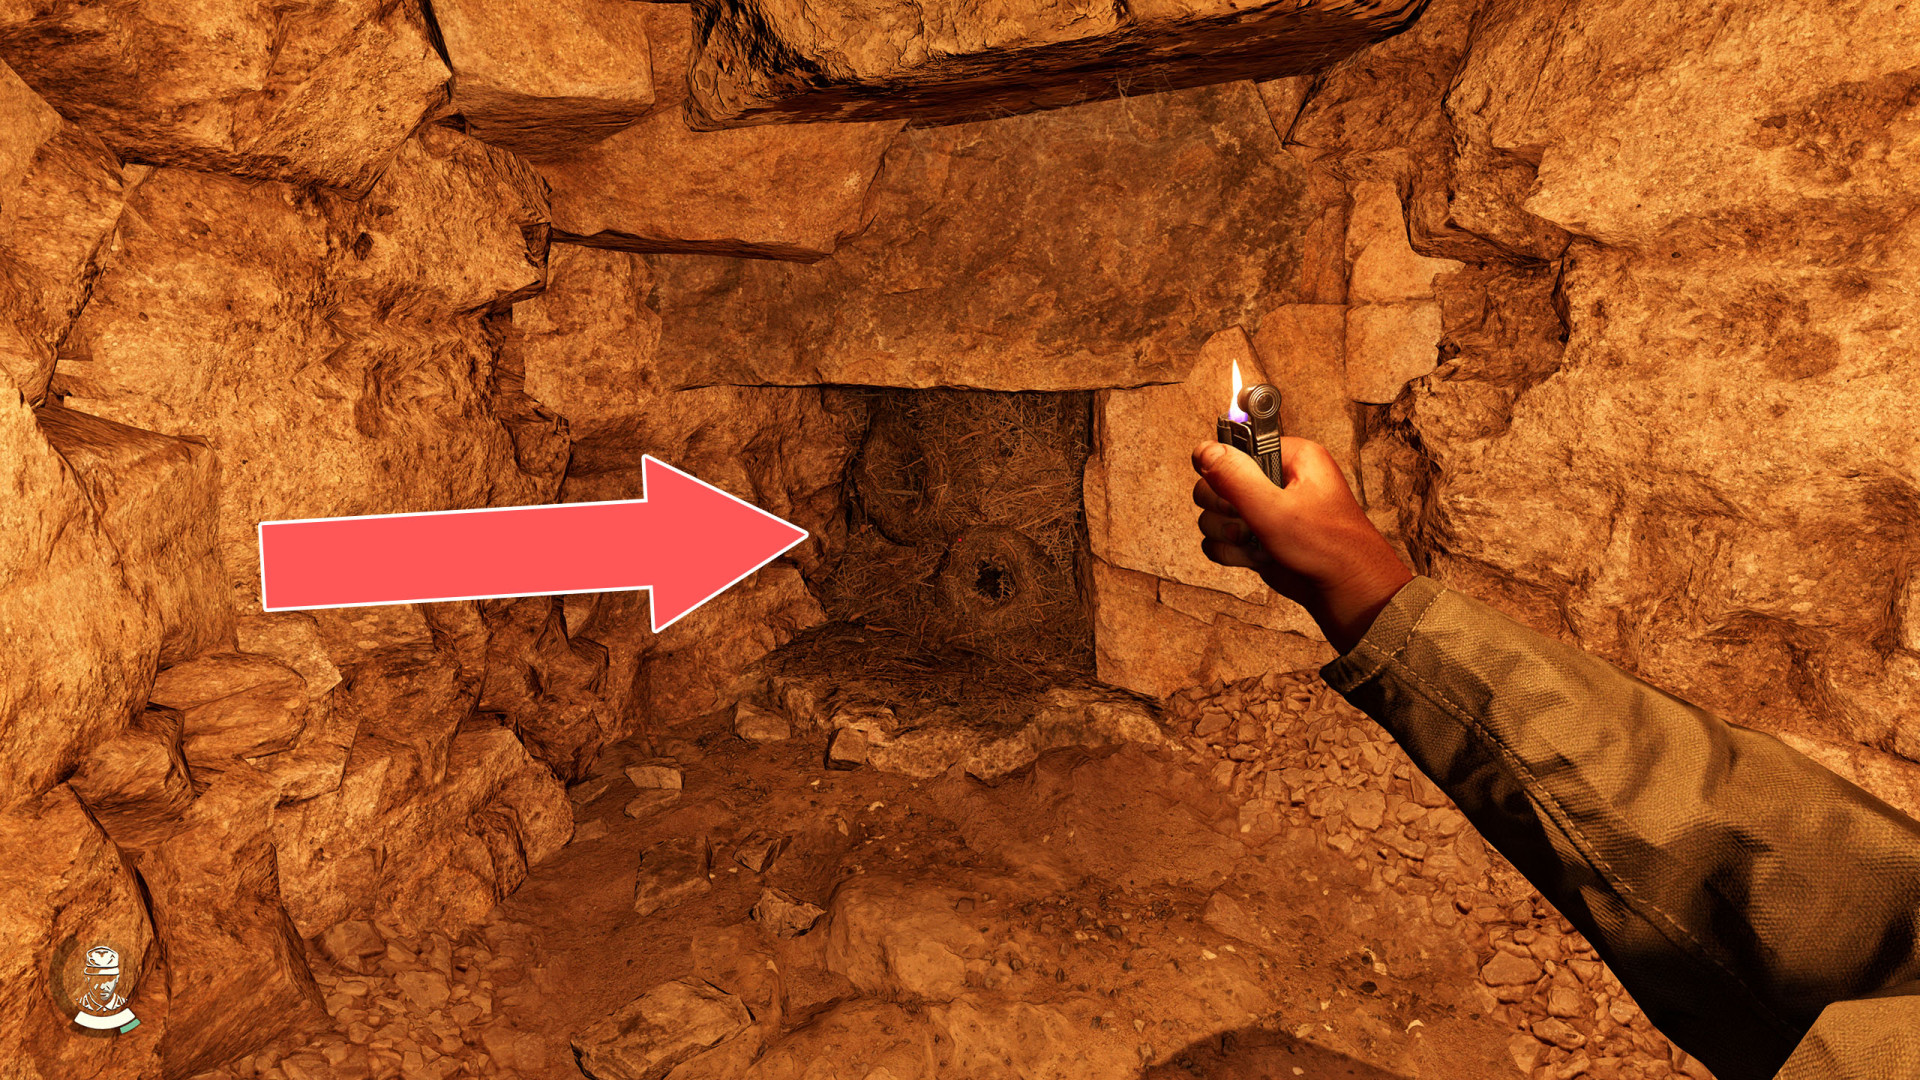
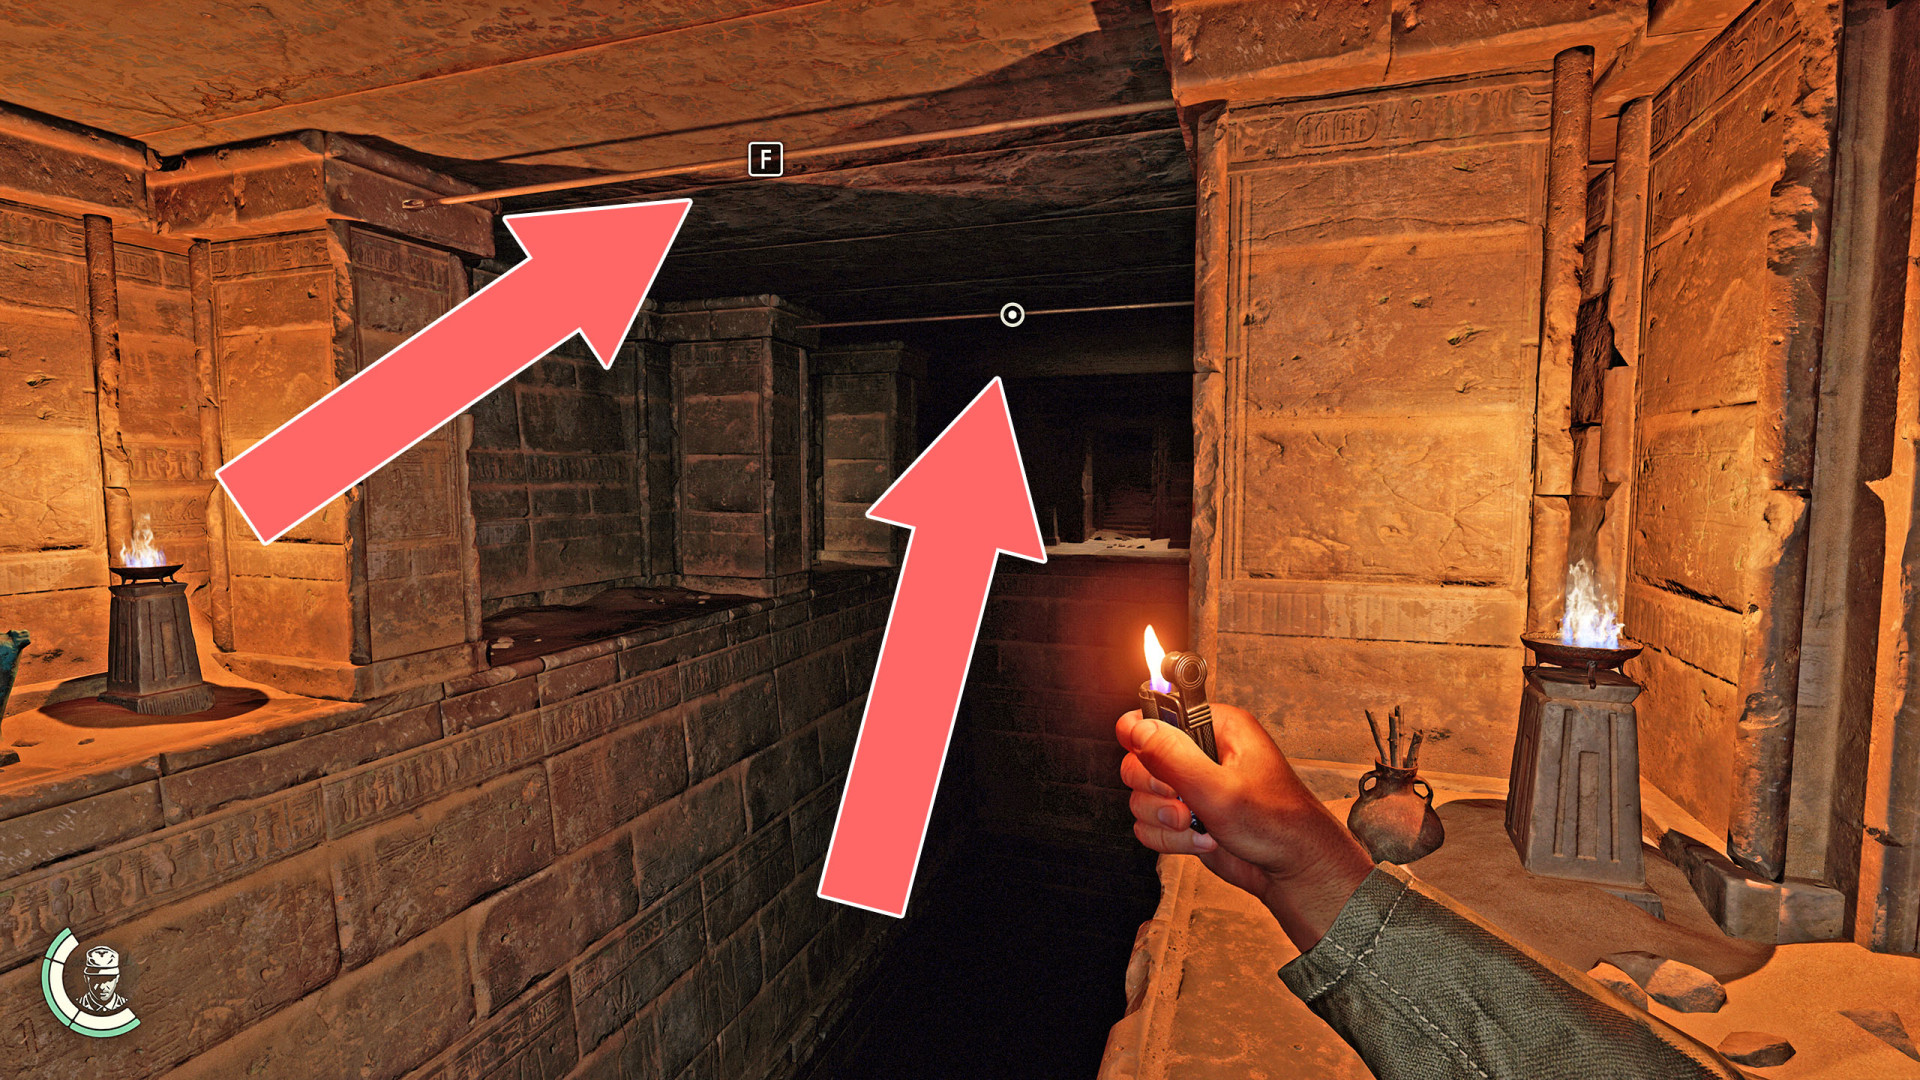
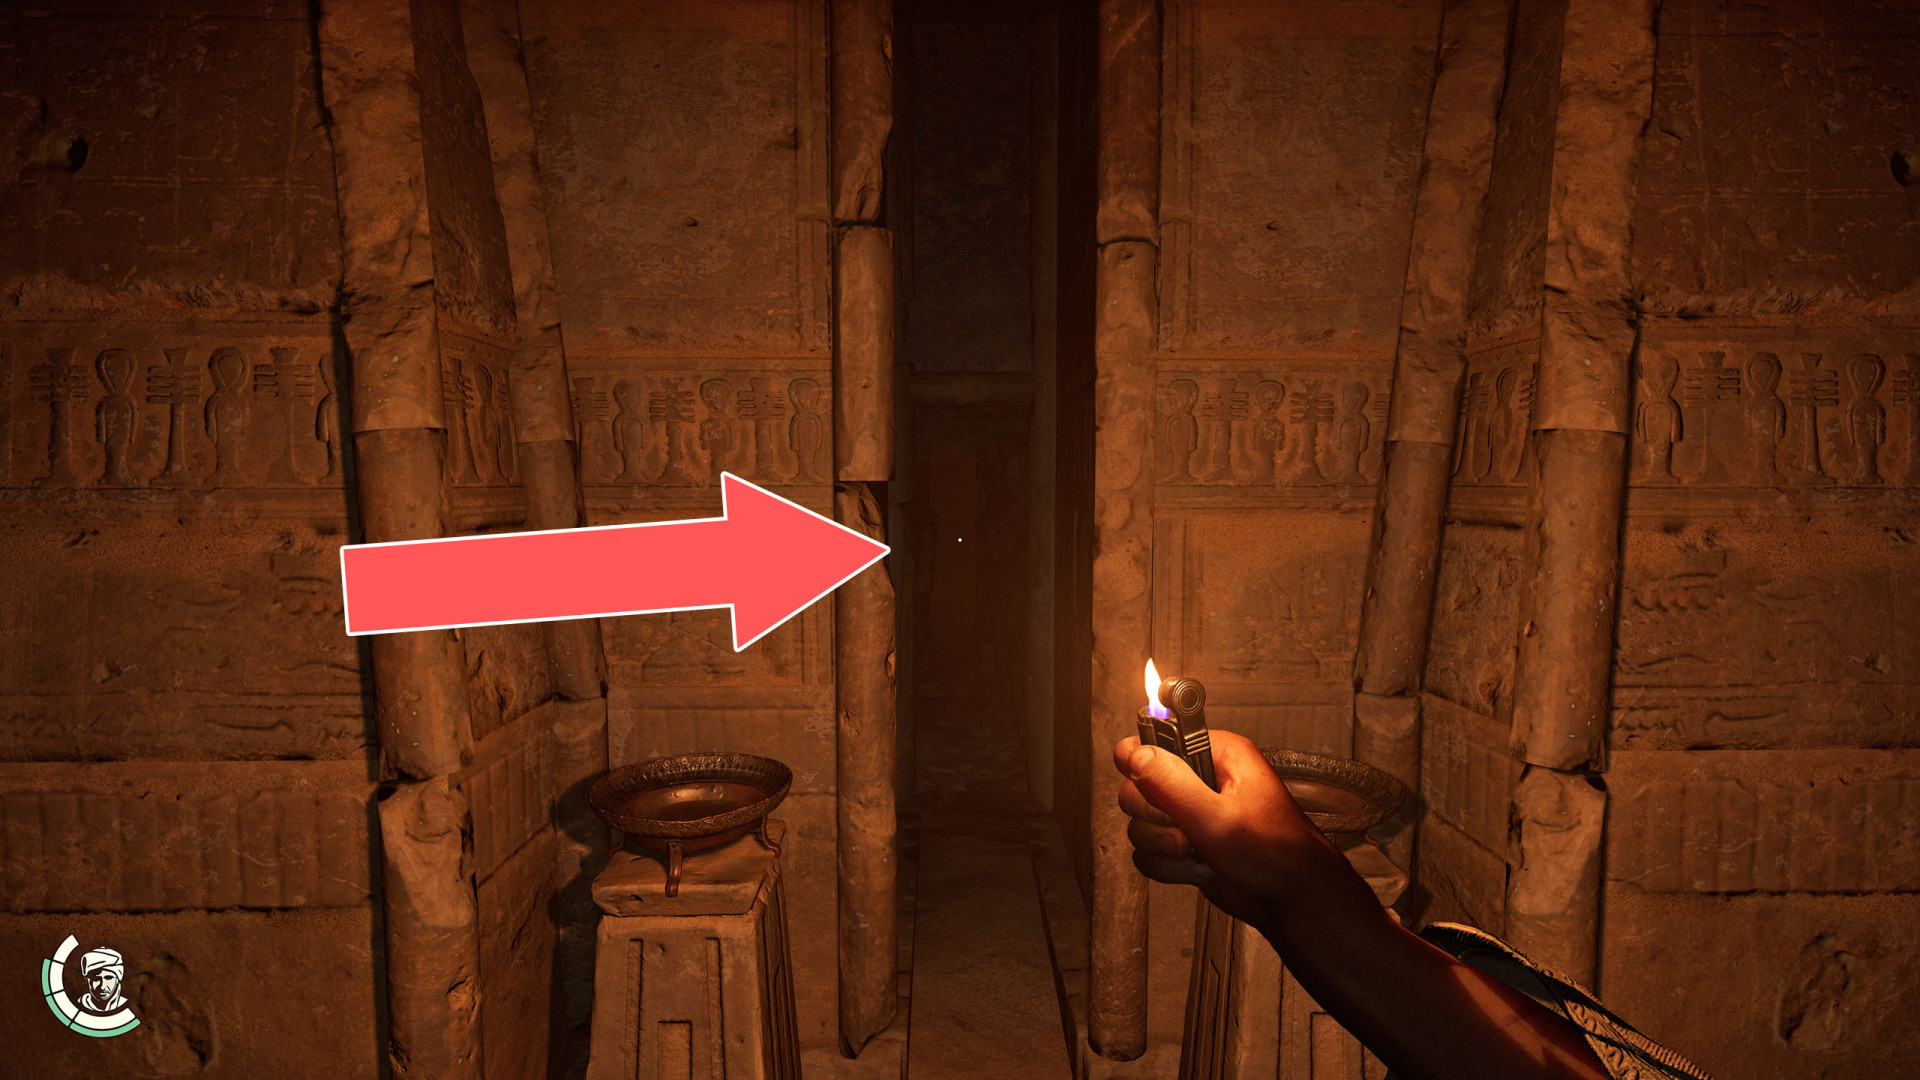
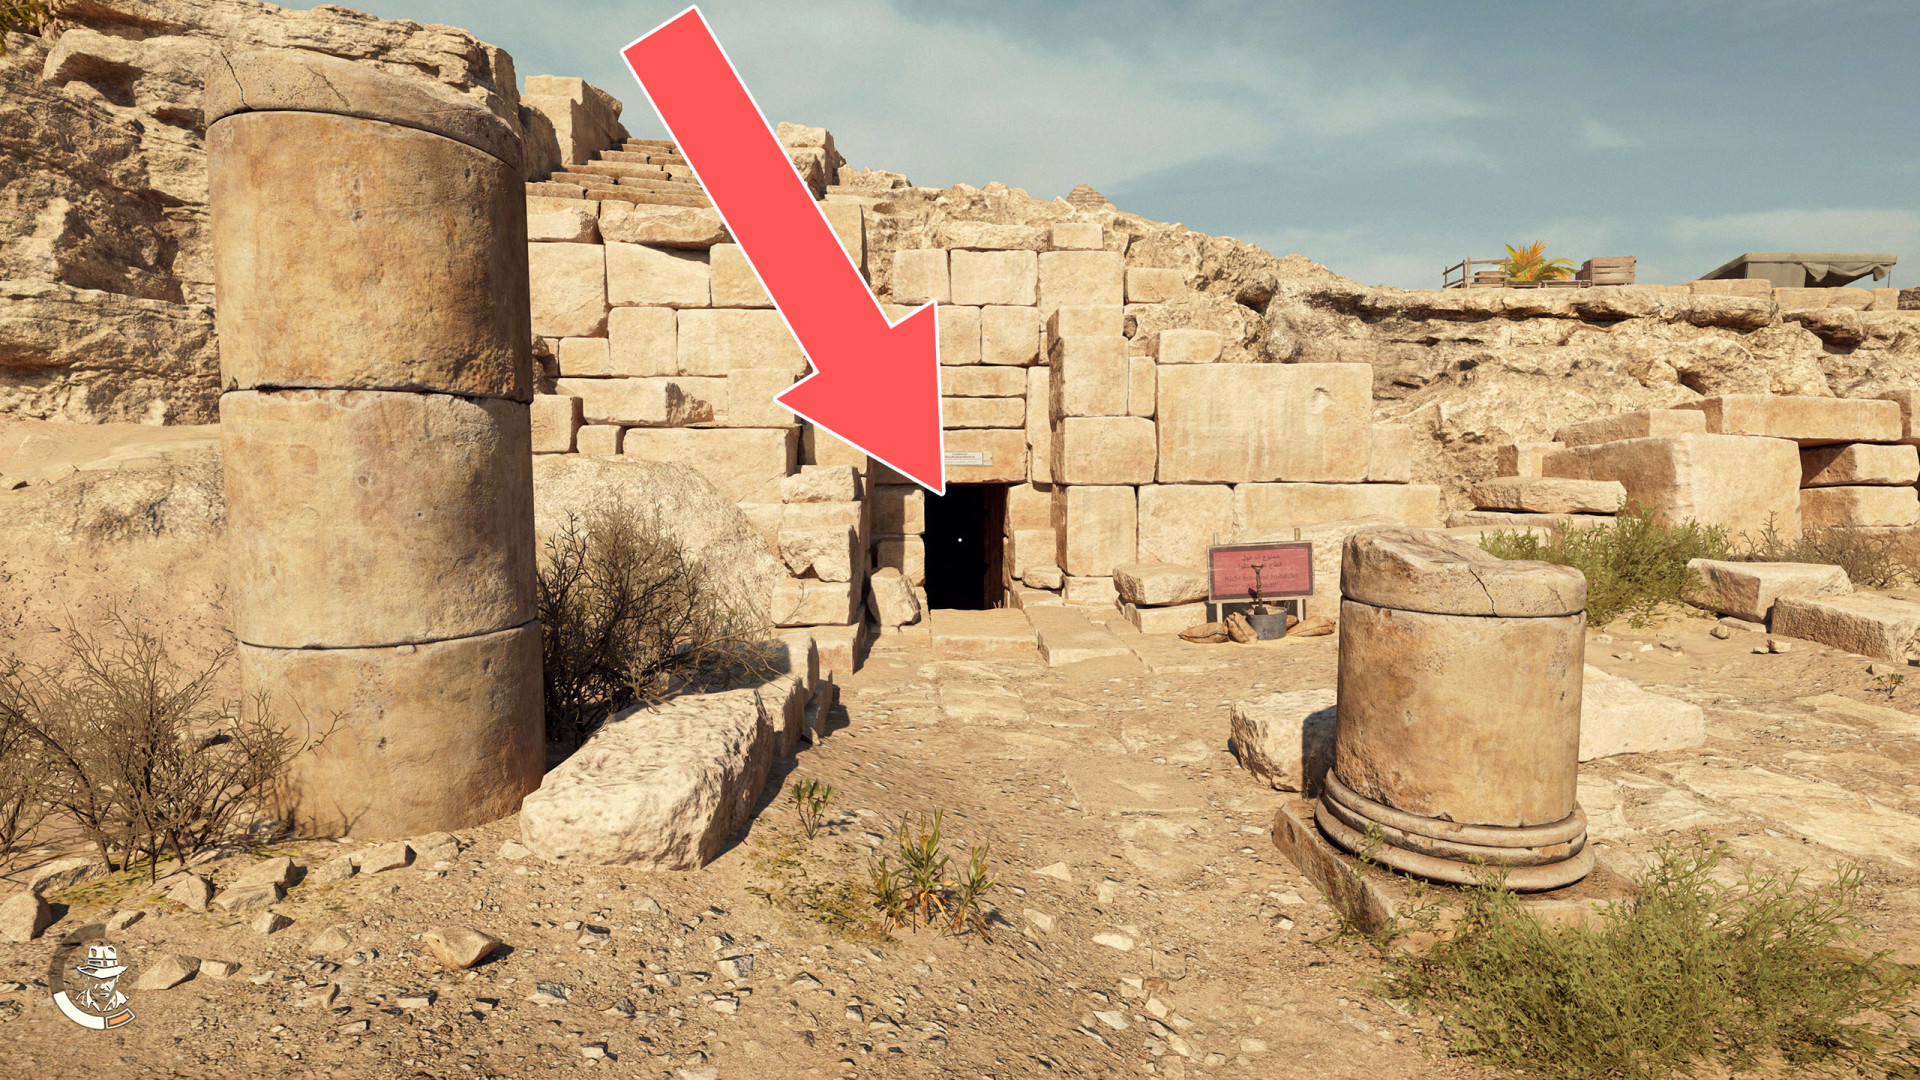
Underground Entrance▶ show the map ◀
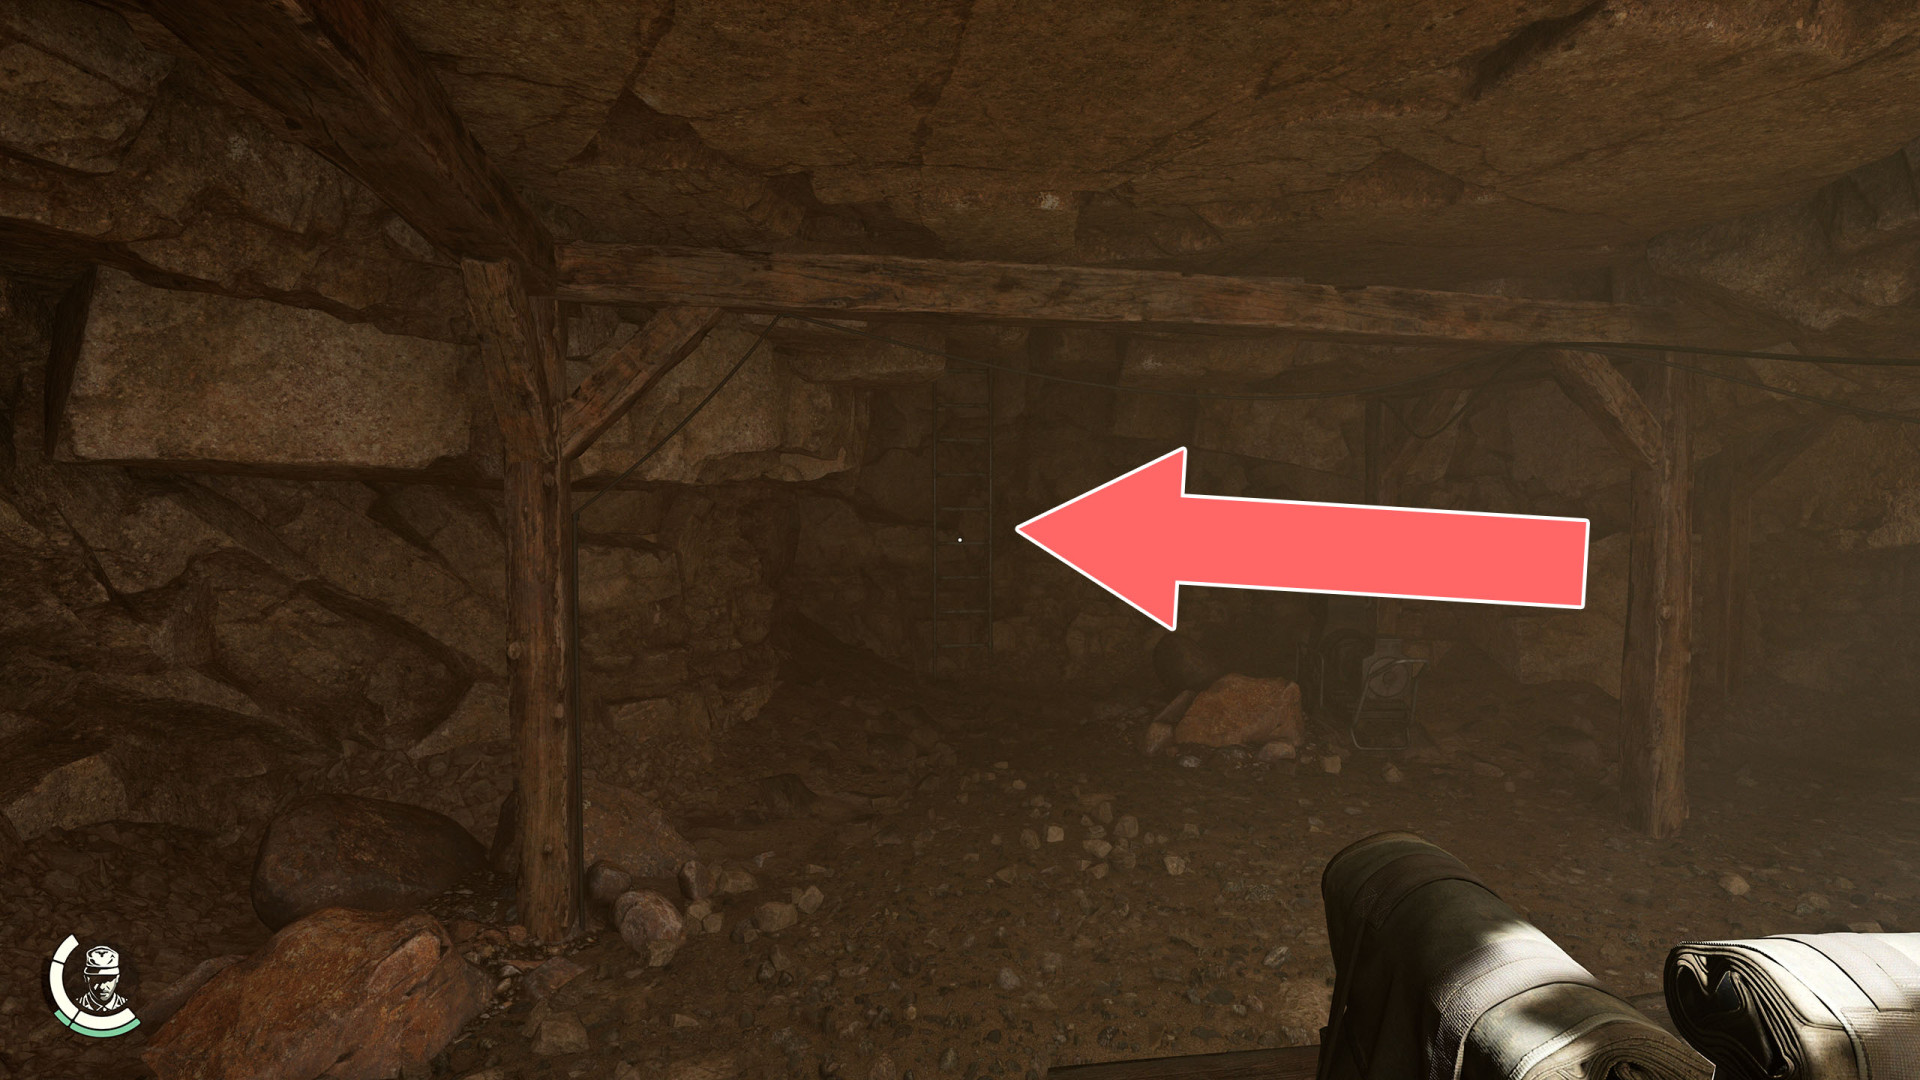
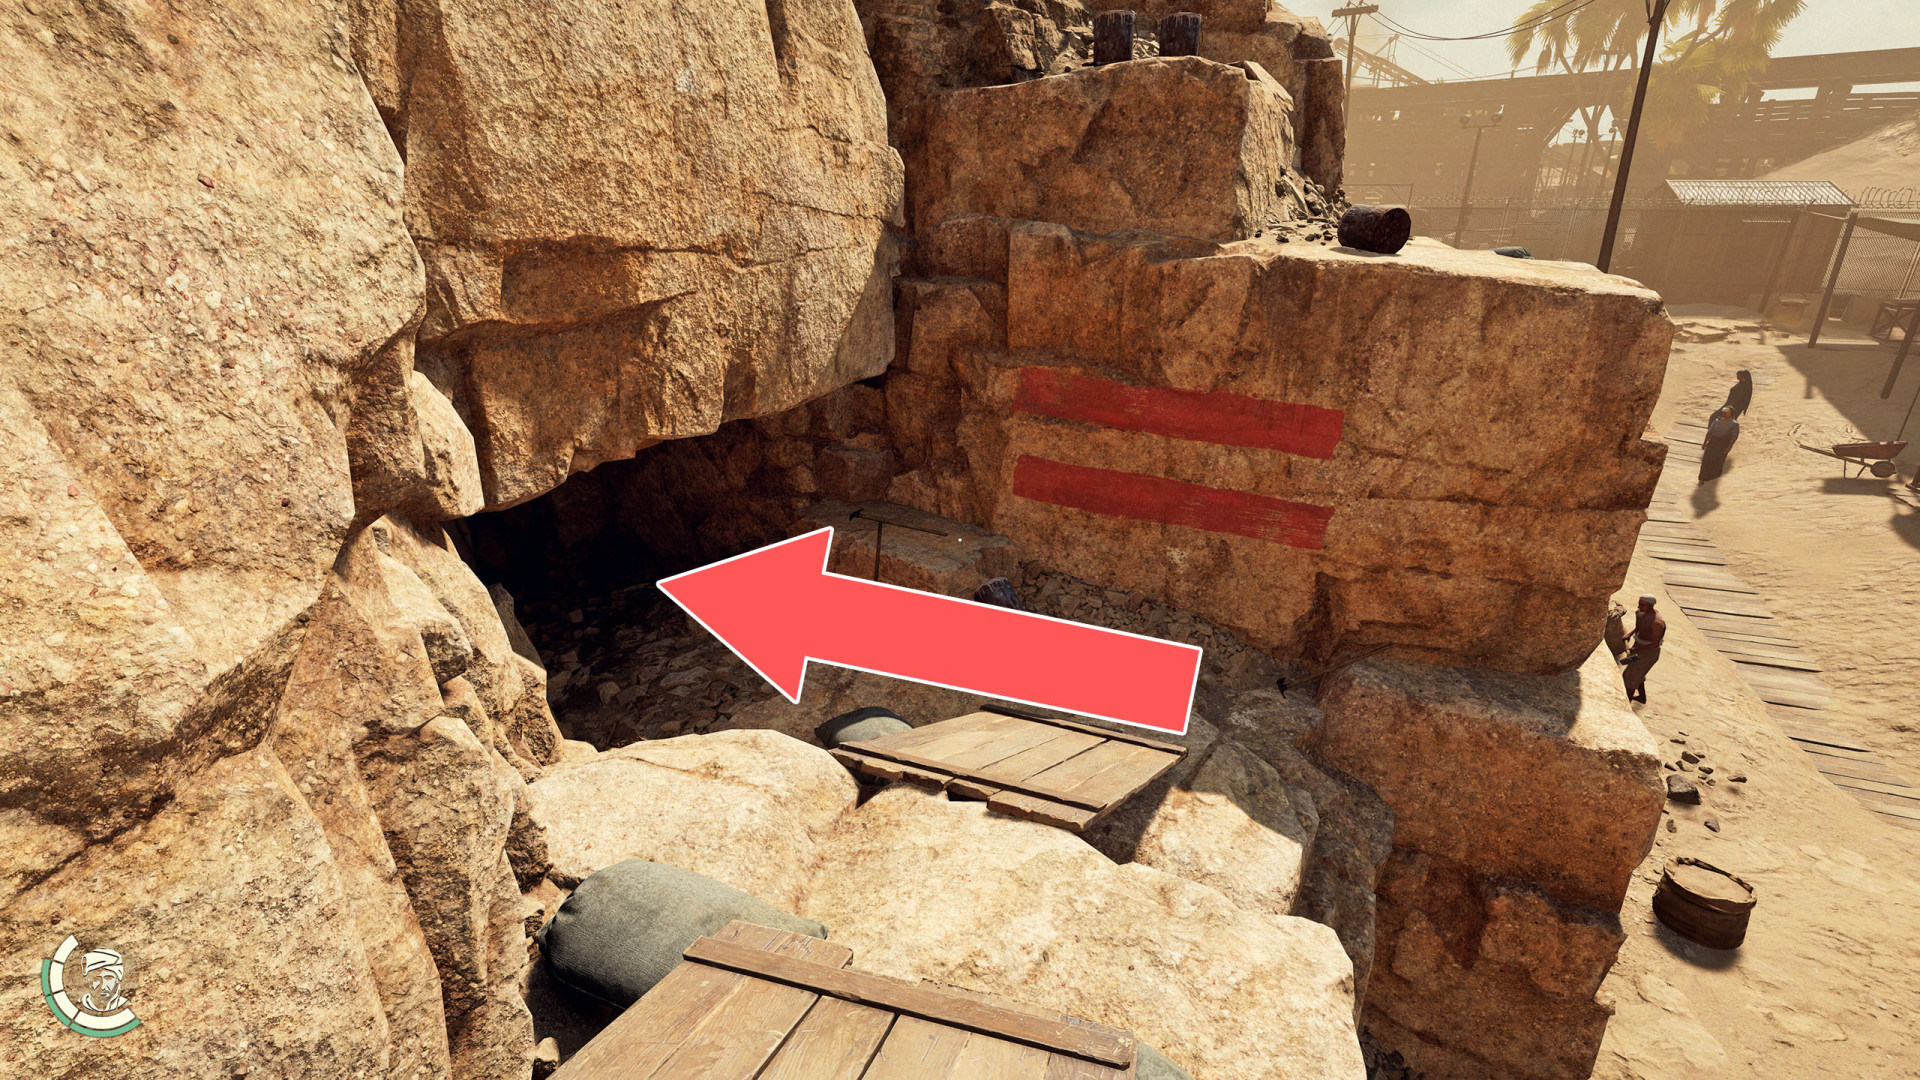
Before you go inside, buy a Lighter. Inside, approach the small opening near the floor. The grass blocking the passage will ignite from the lighter and you will be able to crawl further in.
Underground Entrance▶ show the map ◀
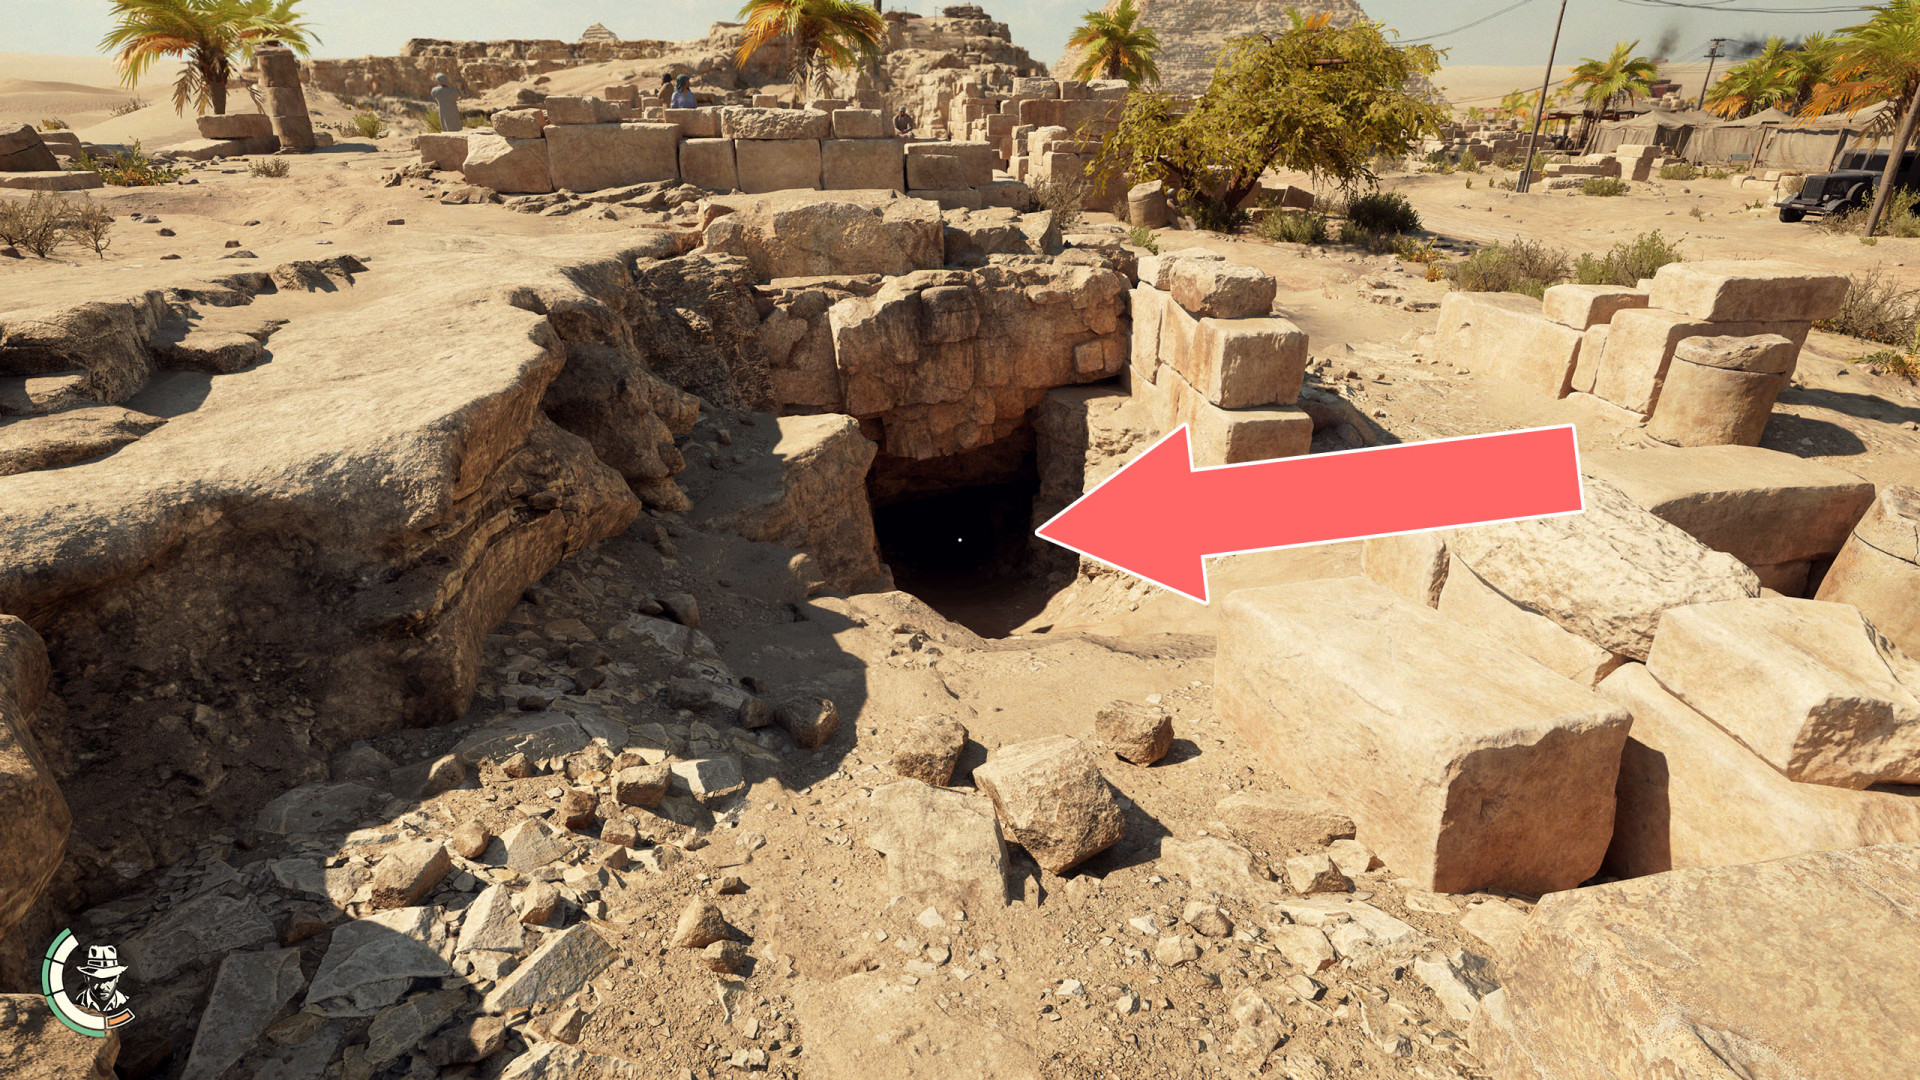
Underground Entrance▶ show the map ◀
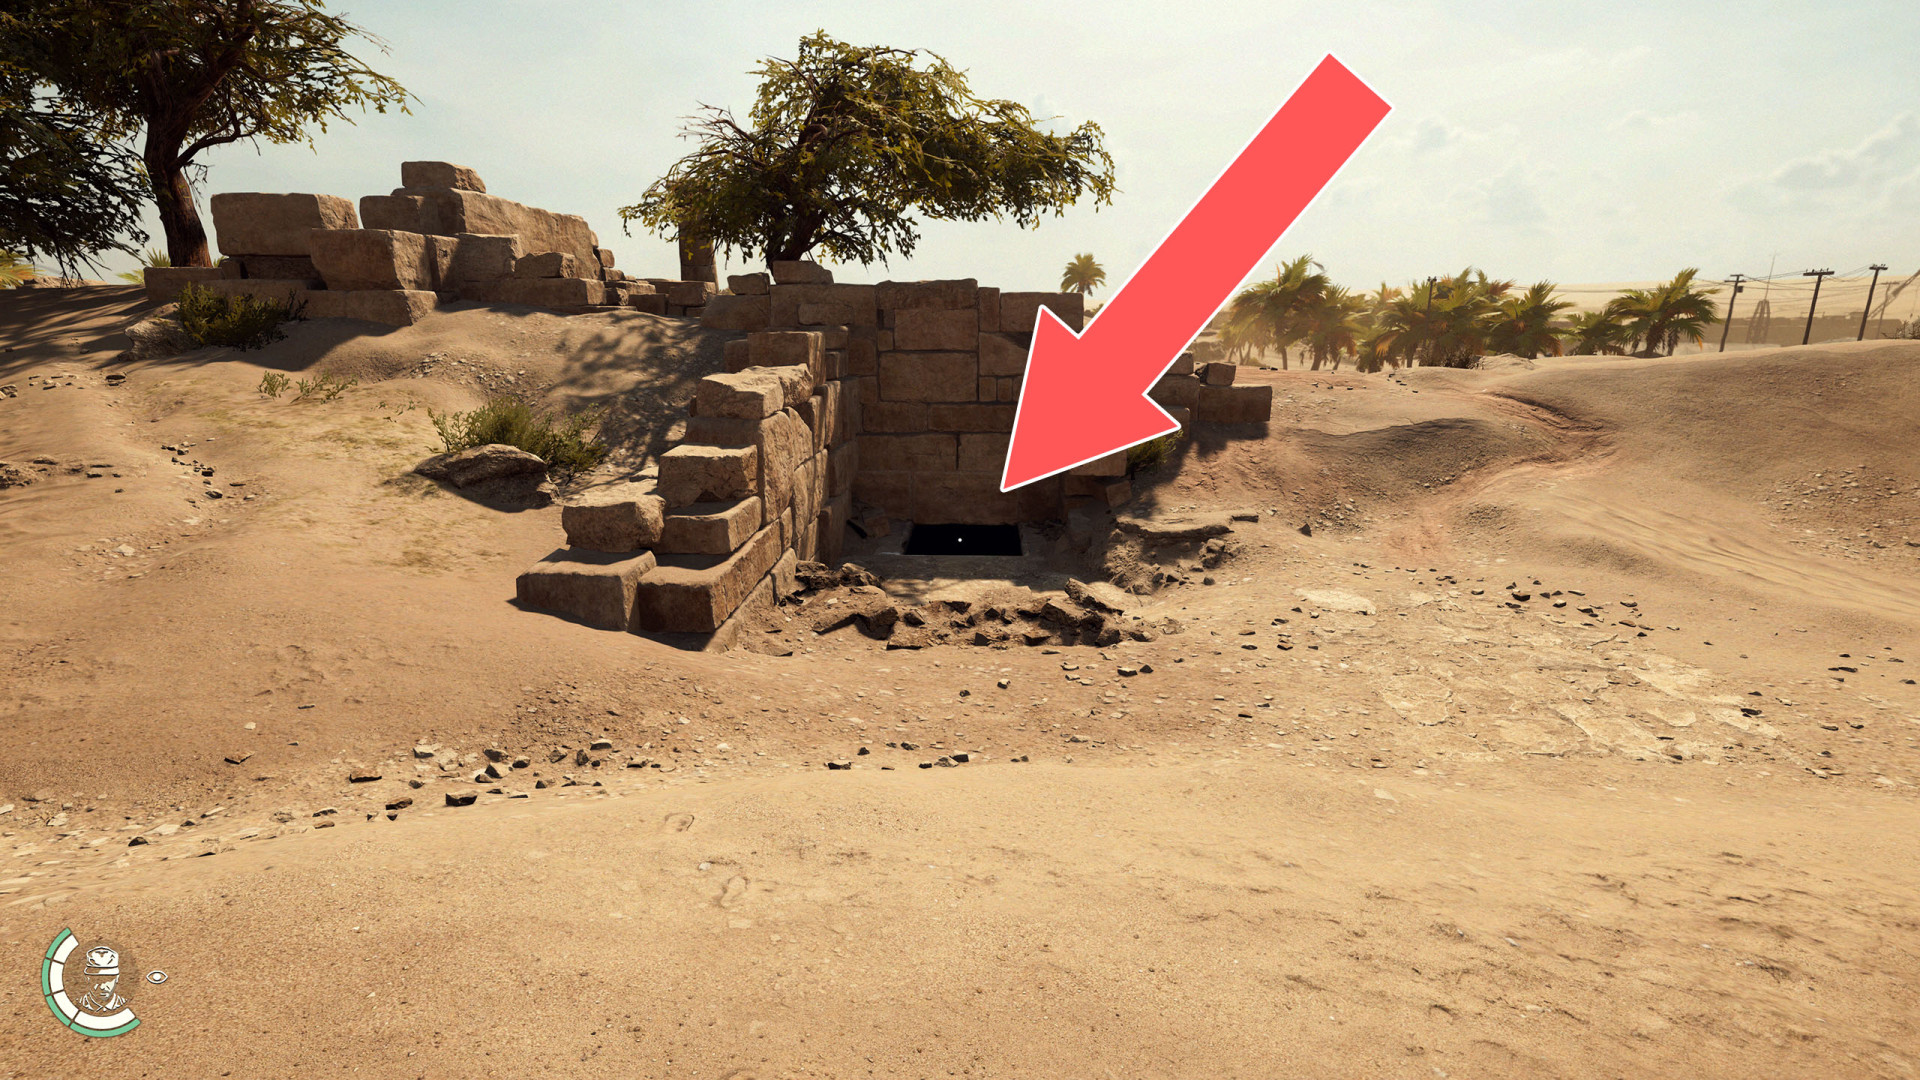
Underground Entrance (Giant Stele)▶ show the map ◀
Underground Entrance (Sebek Stele)▶ show the map ◀
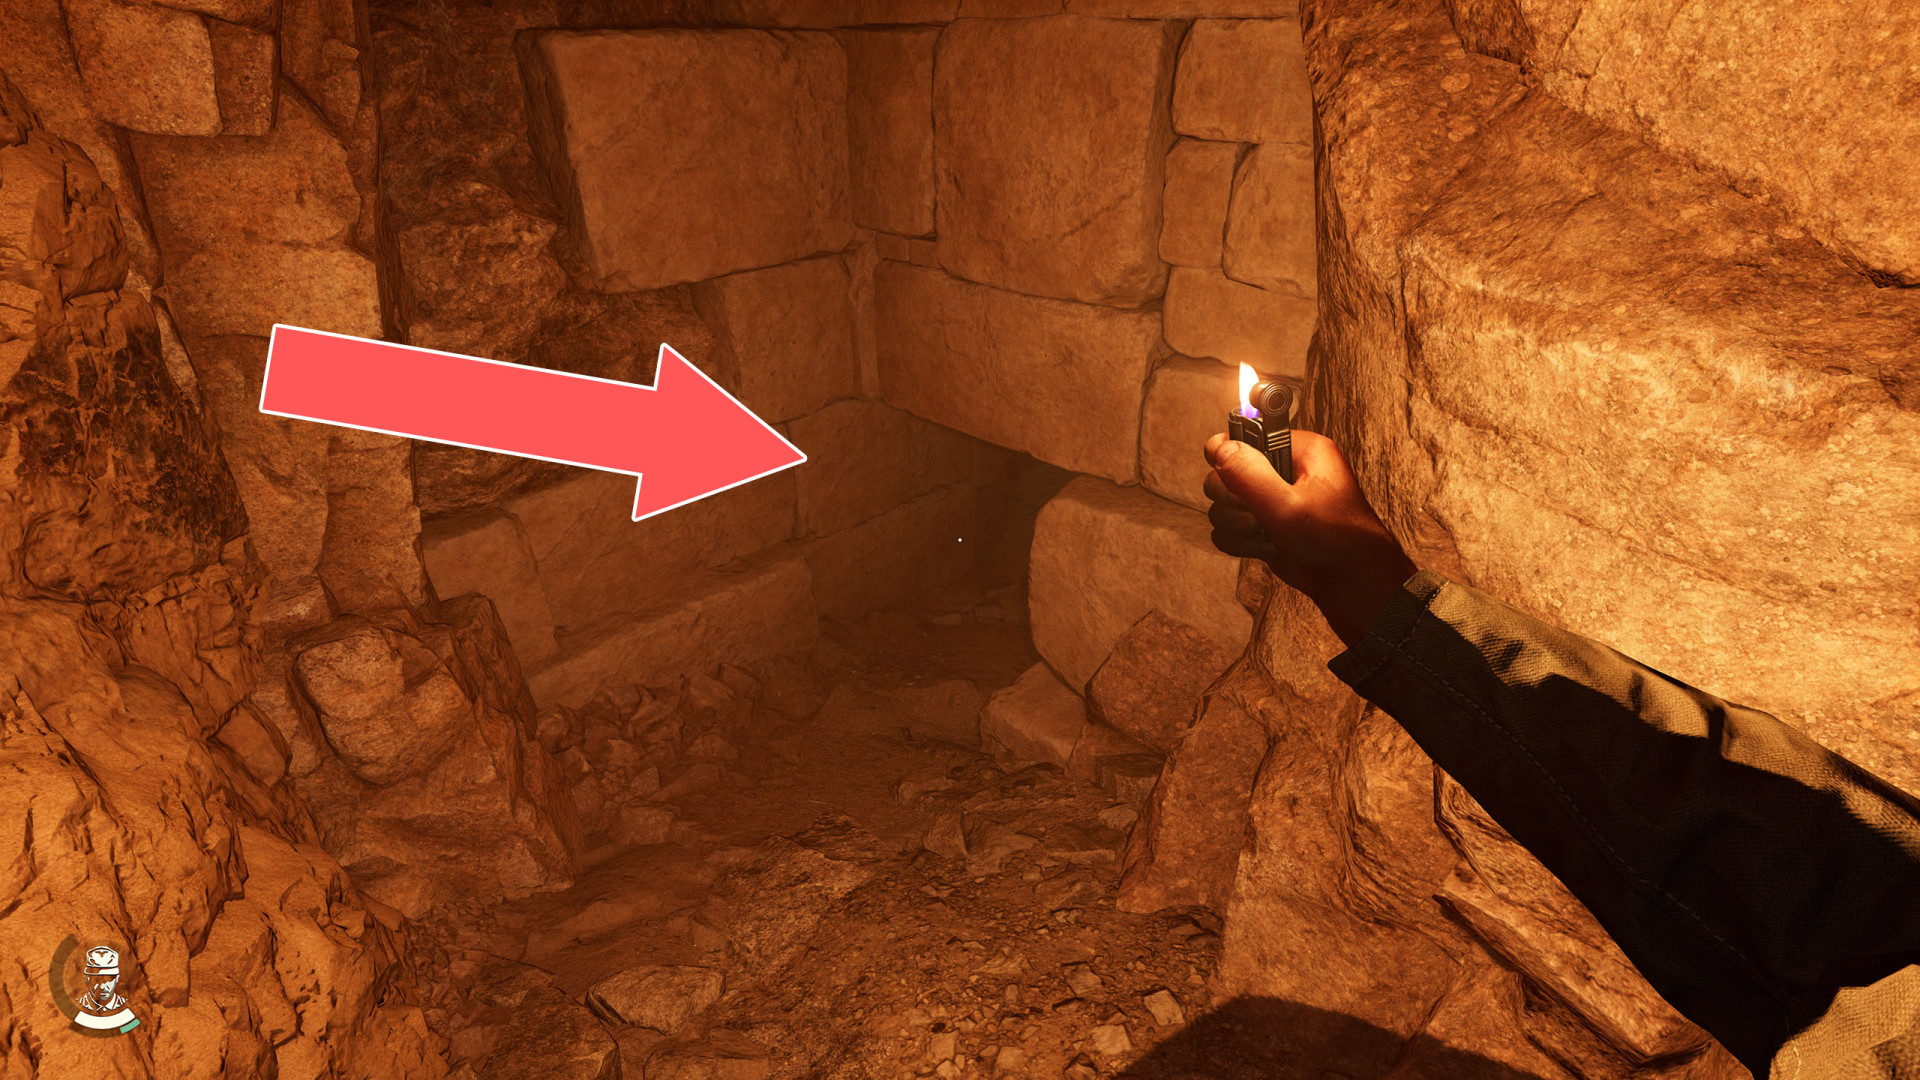
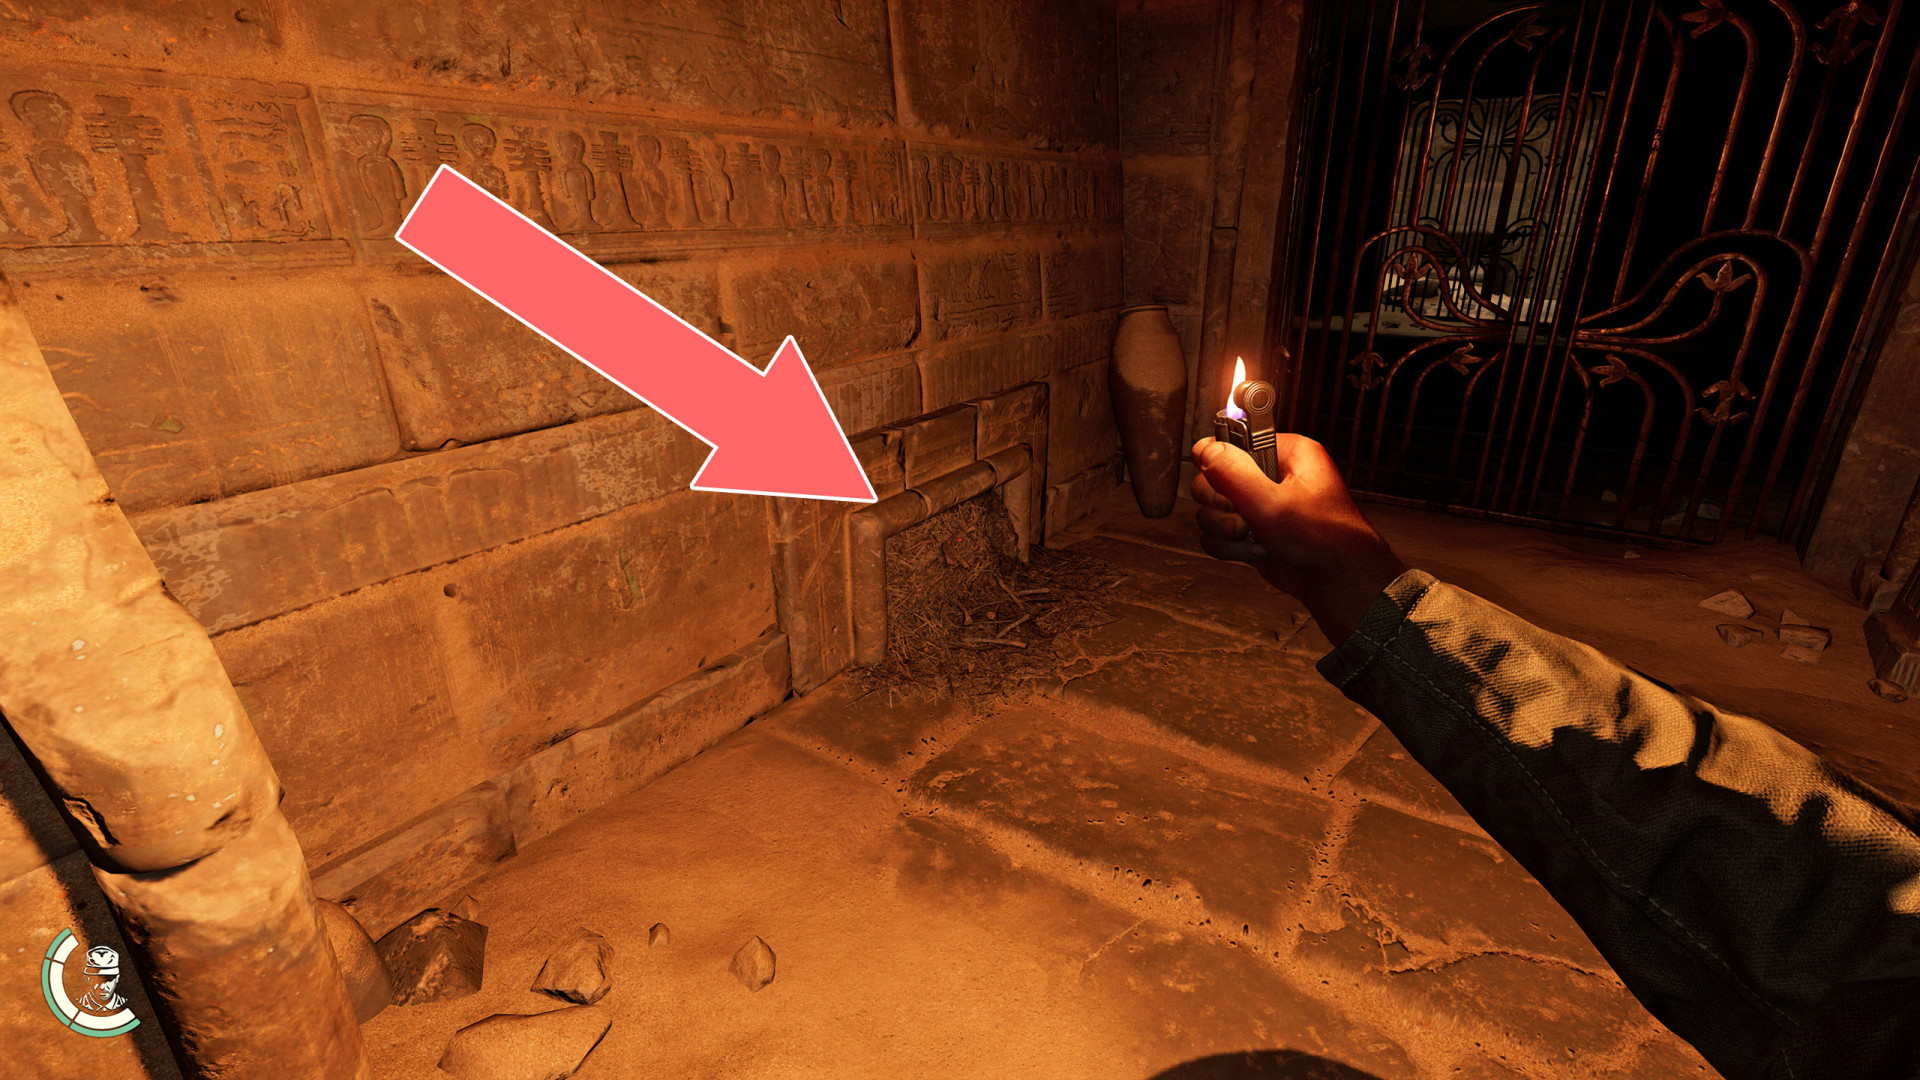
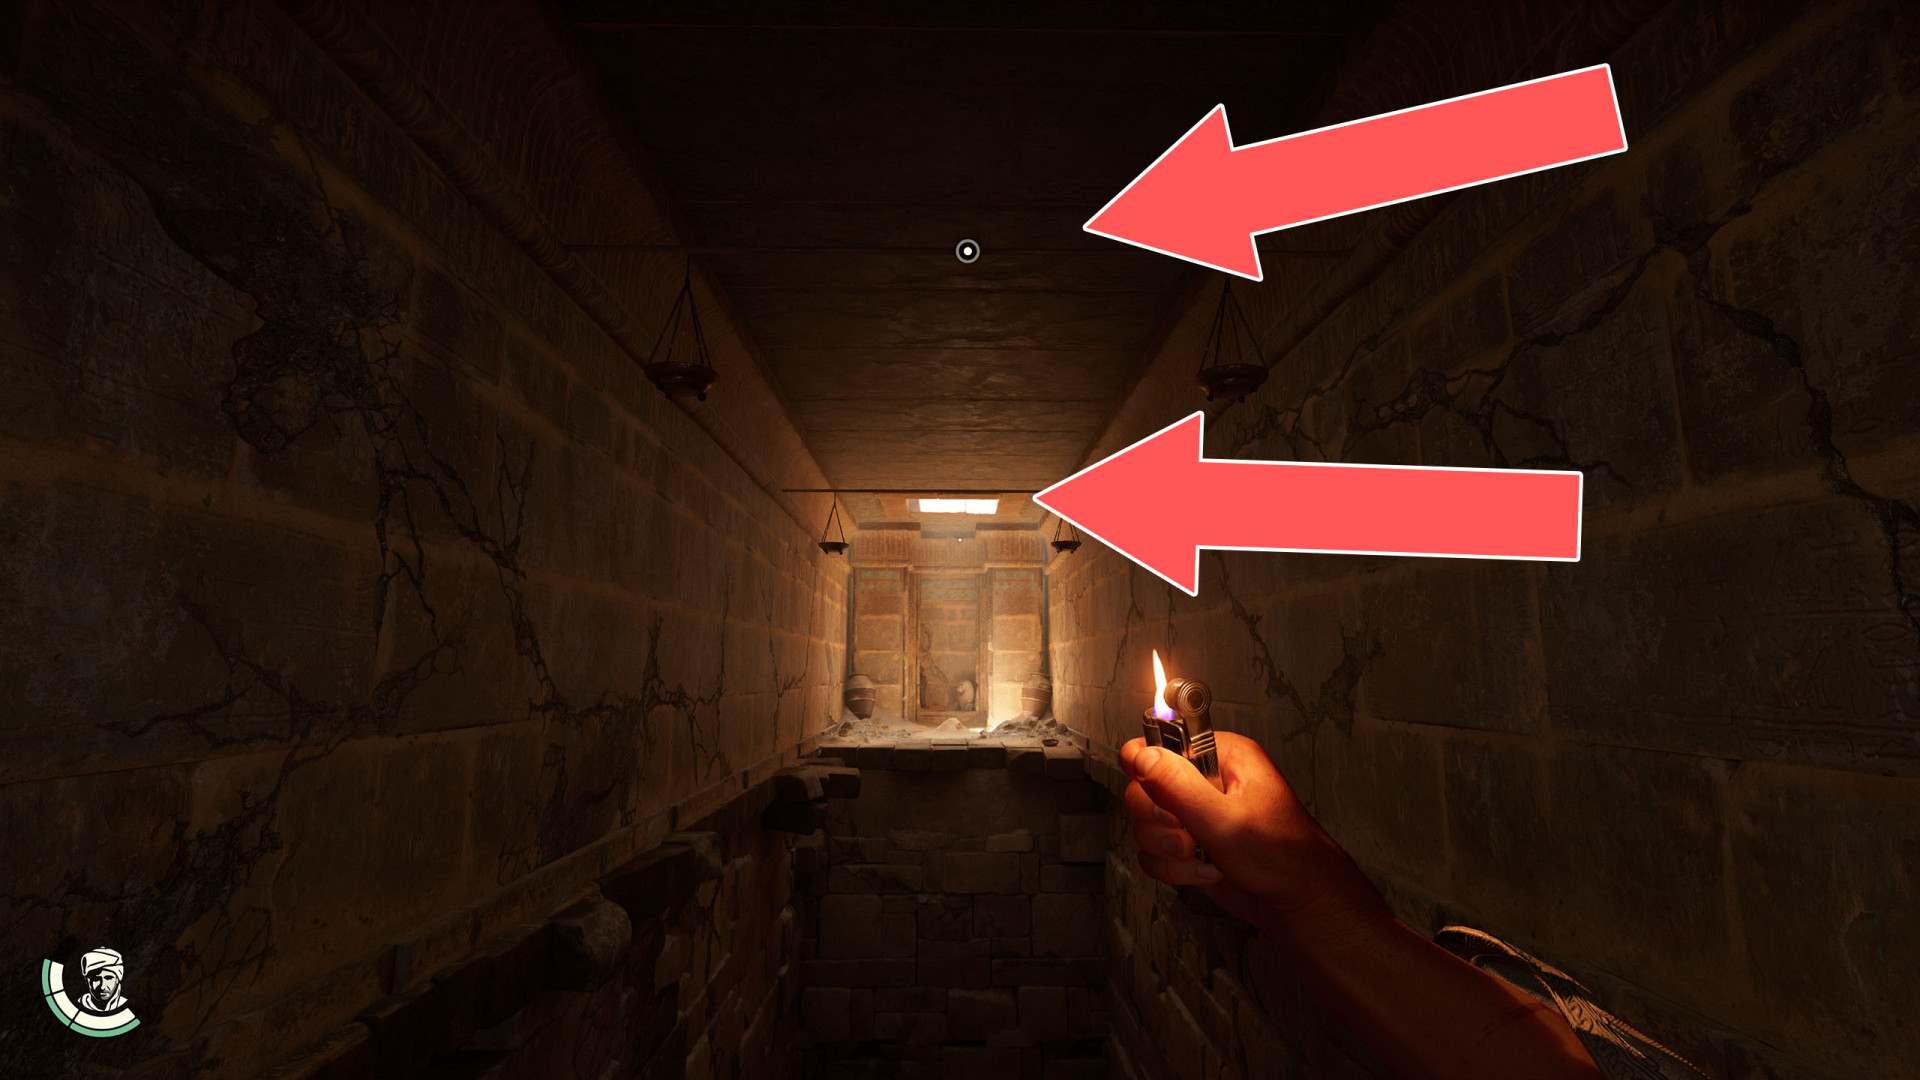
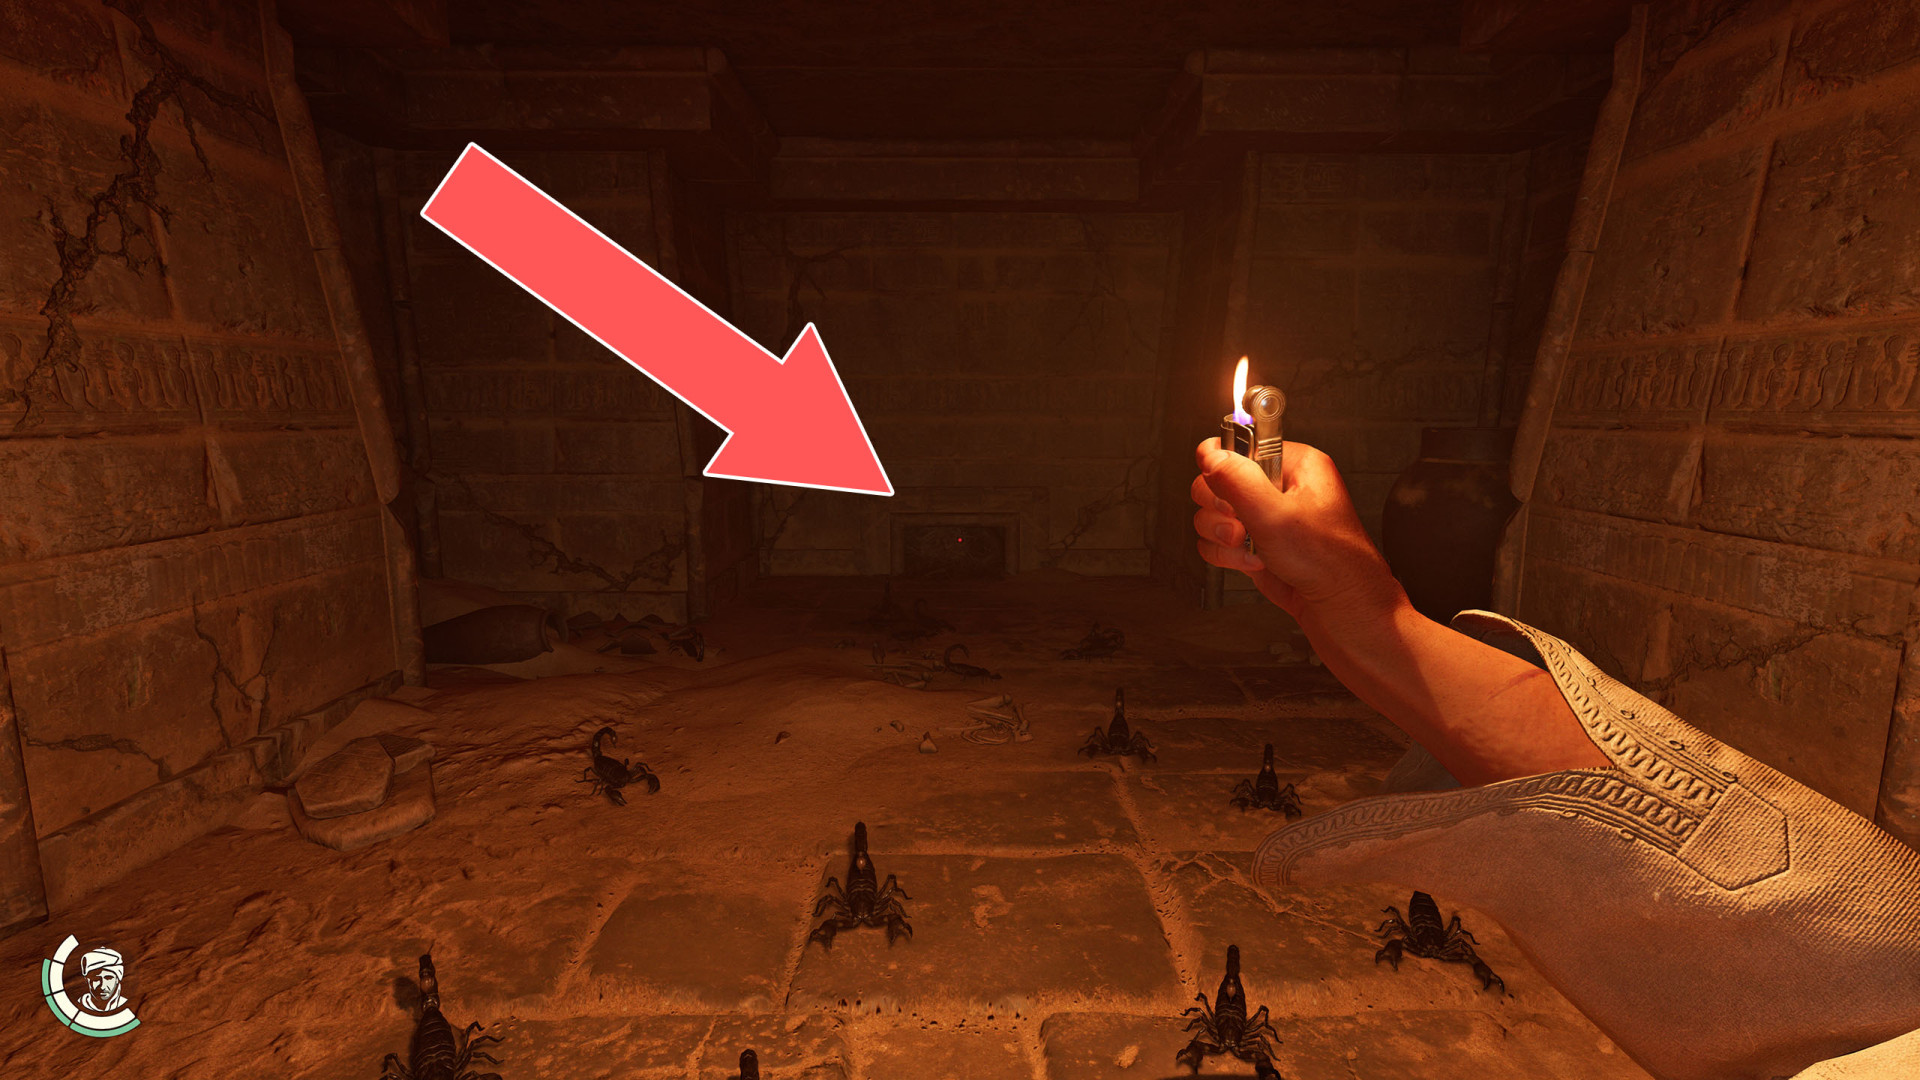
Underground Entrance (Sphinx Temple Ruins)▶ show the map ◀
You need a lighter to be able to explore this underground.
Underwater Passage▶ show the map ◀
To pass this way you need to revisit Gizeh after you reach the Sukhothai and buy the Rebreather. Dive, equip the Rebreather, move the beam blocking the way and swim through.
Upper Temple Entrance▶ show the map ◀
Water Pumping Station▶ show the map ◀
Zipline▶ show the map ◀
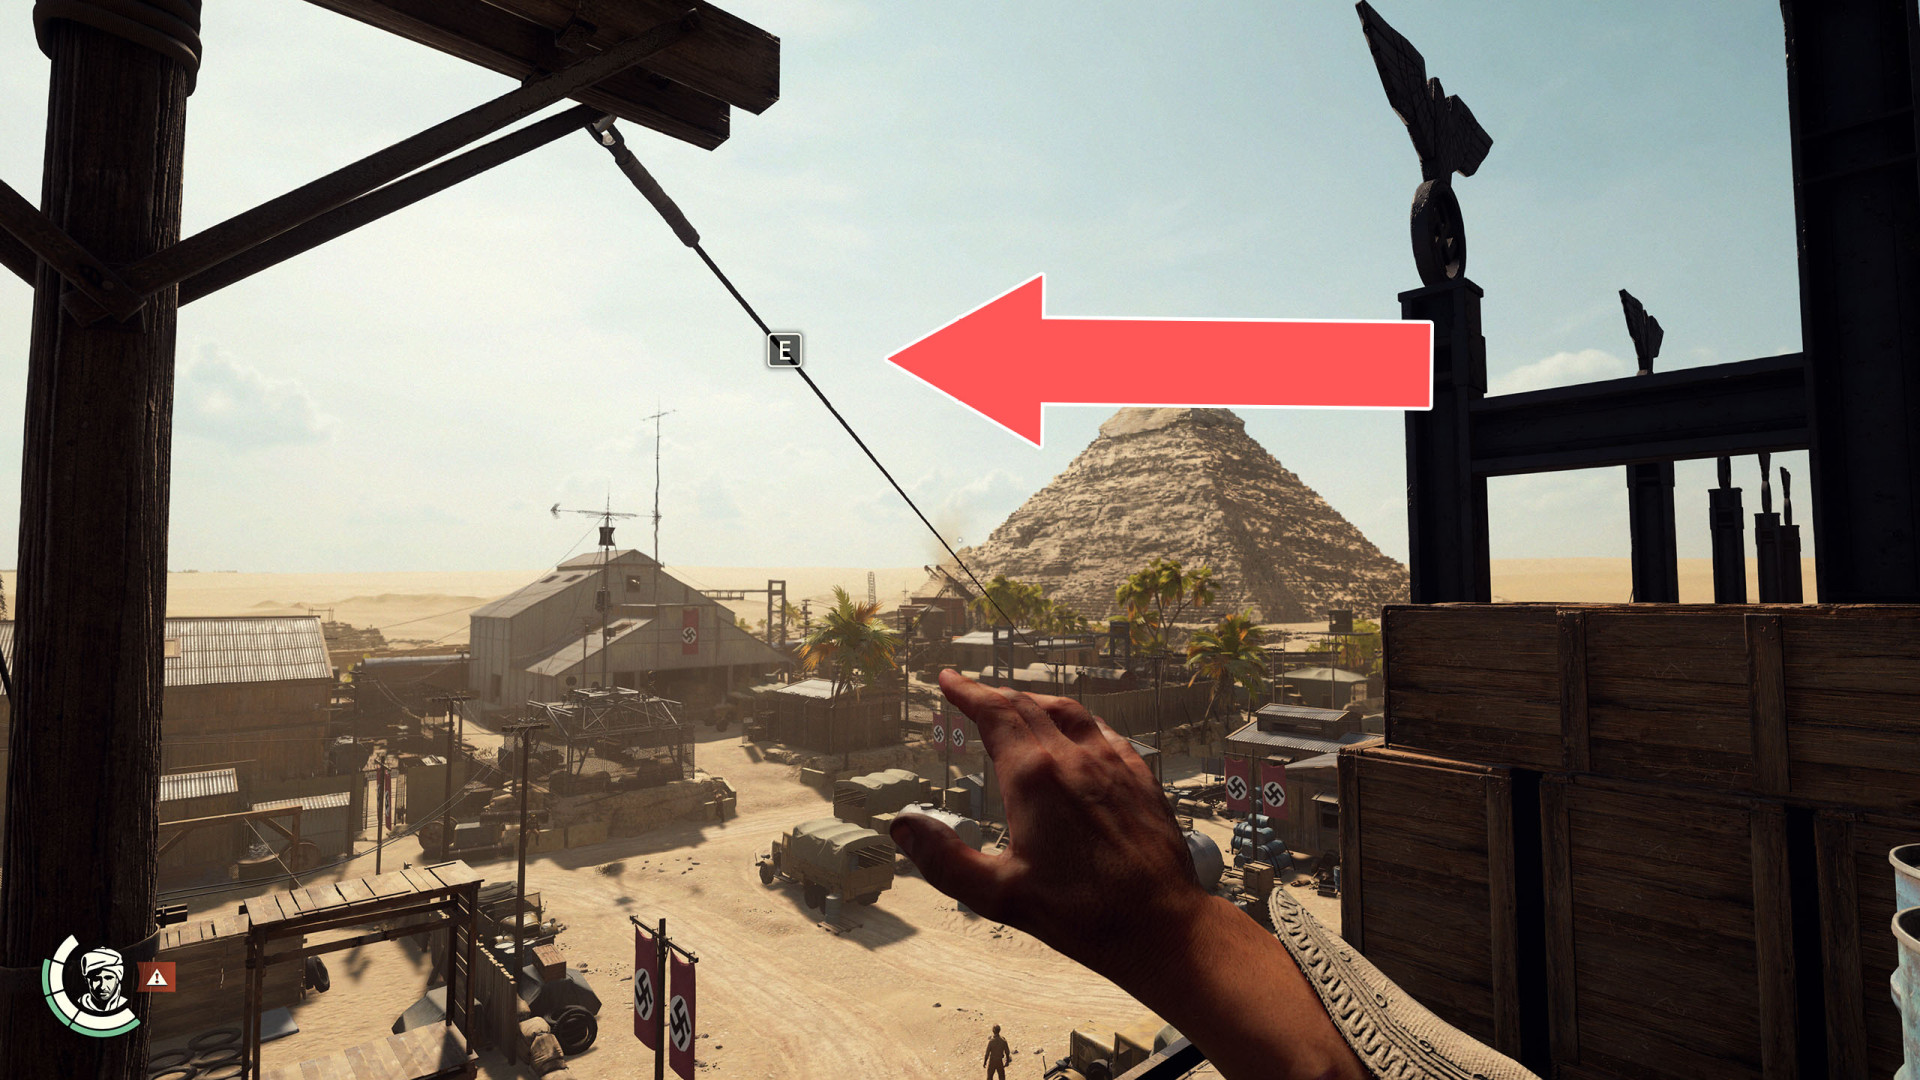
Zipline▶ show the map ◀

Zipline▶ show the map ◀
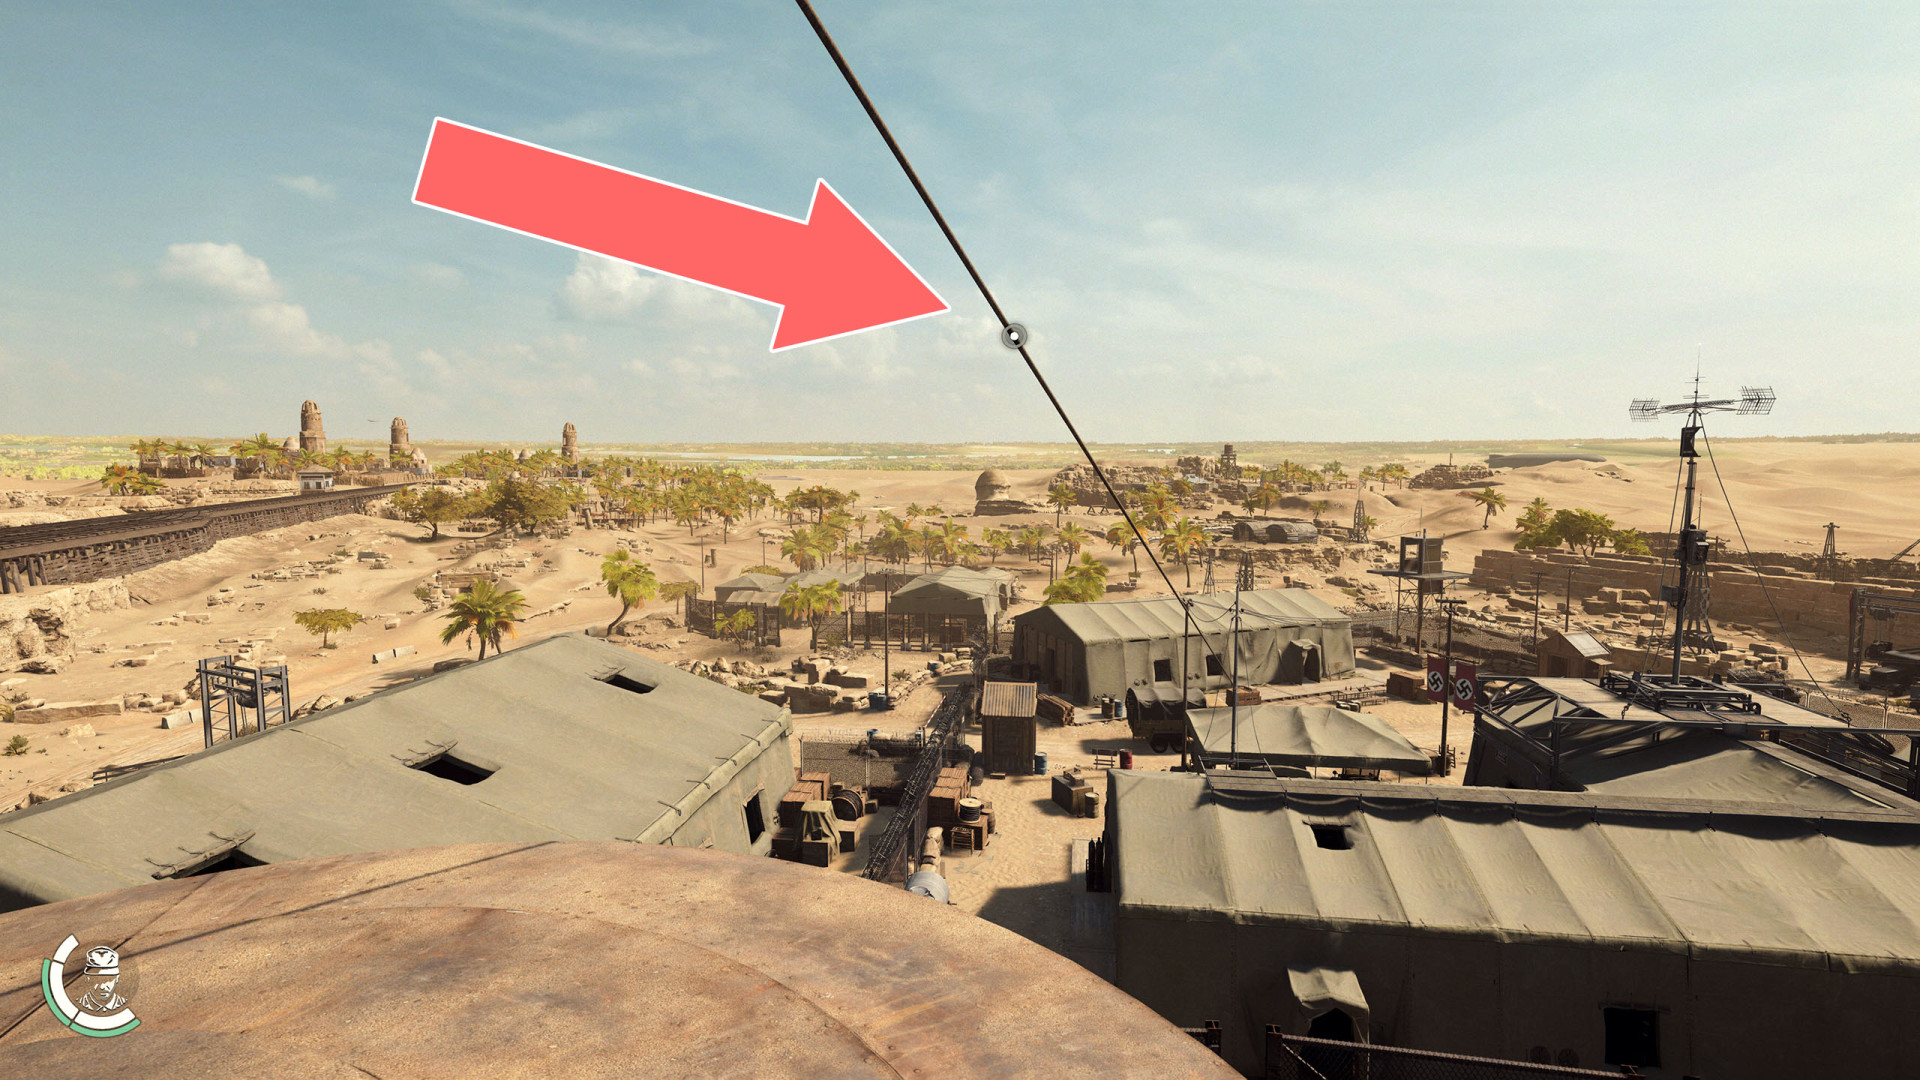
Zipline▶ show the map ◀
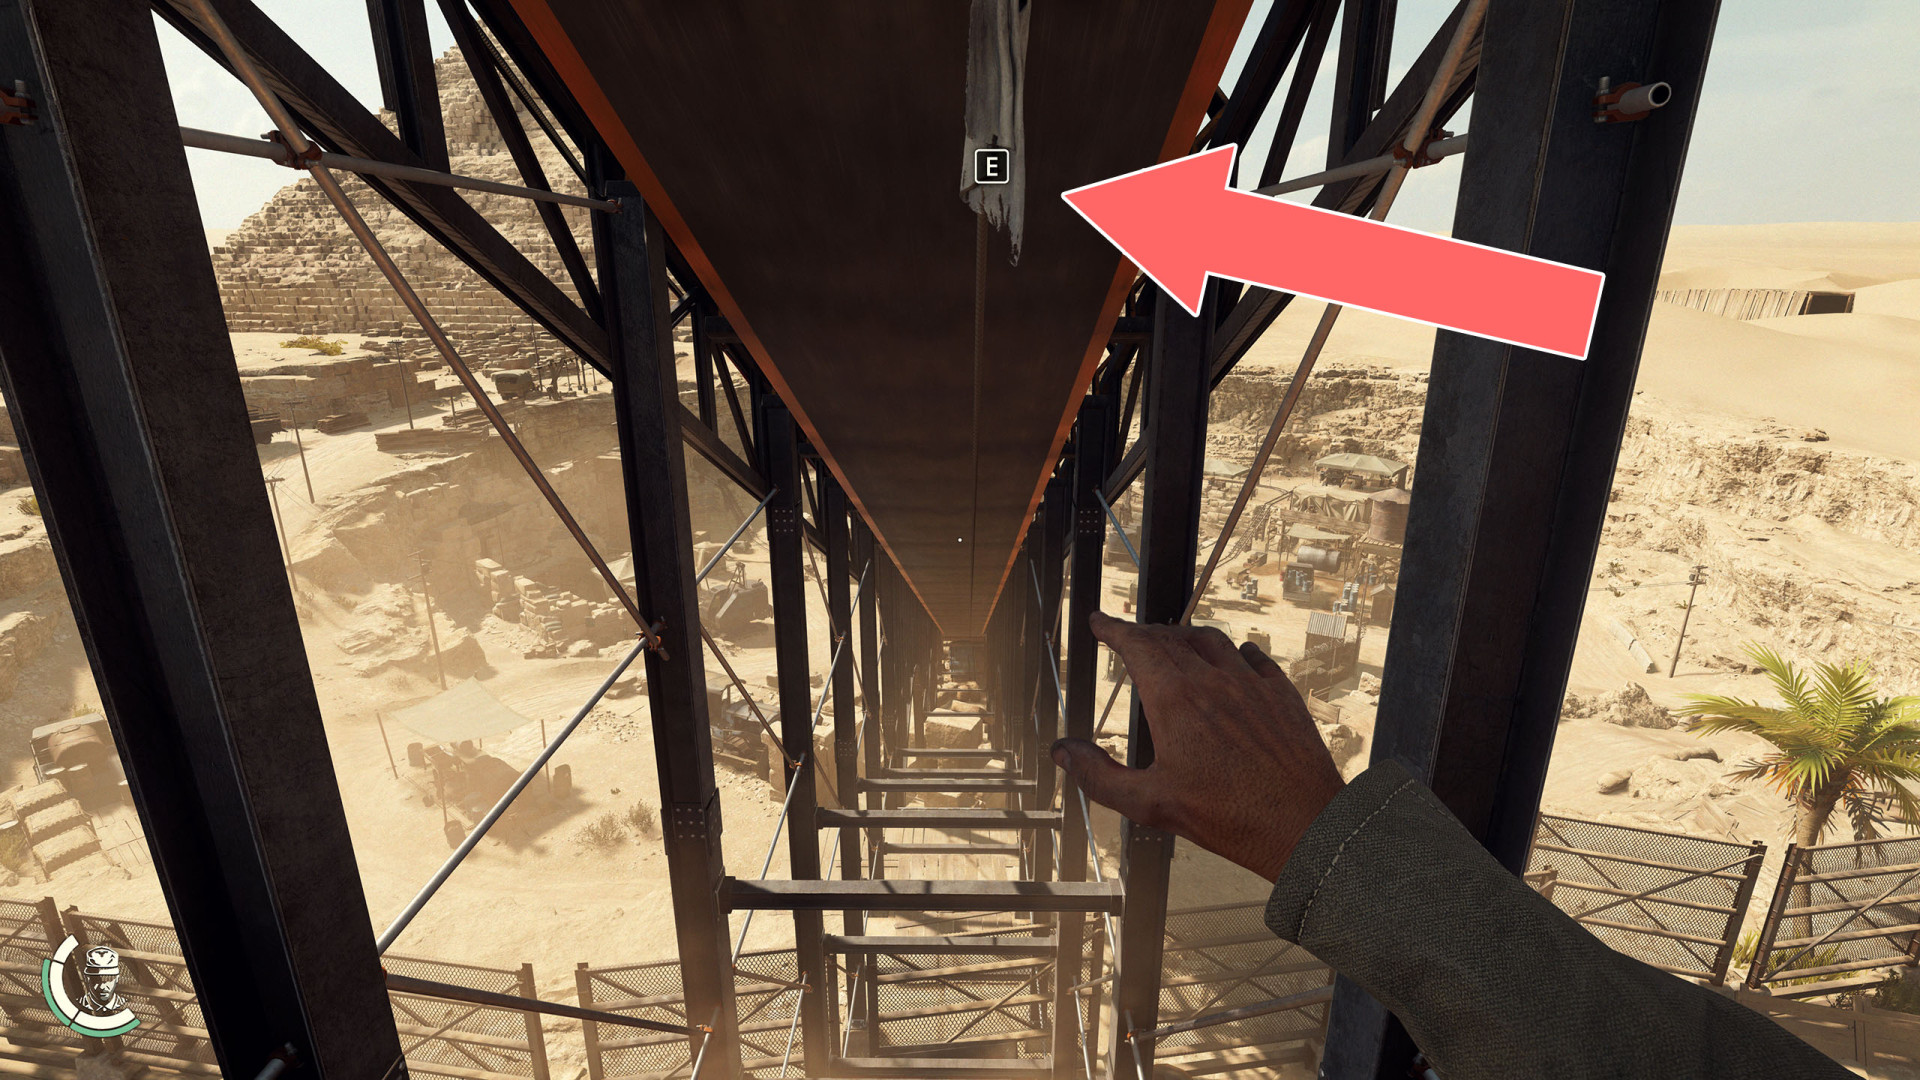
Zipline▶ show the map ◀
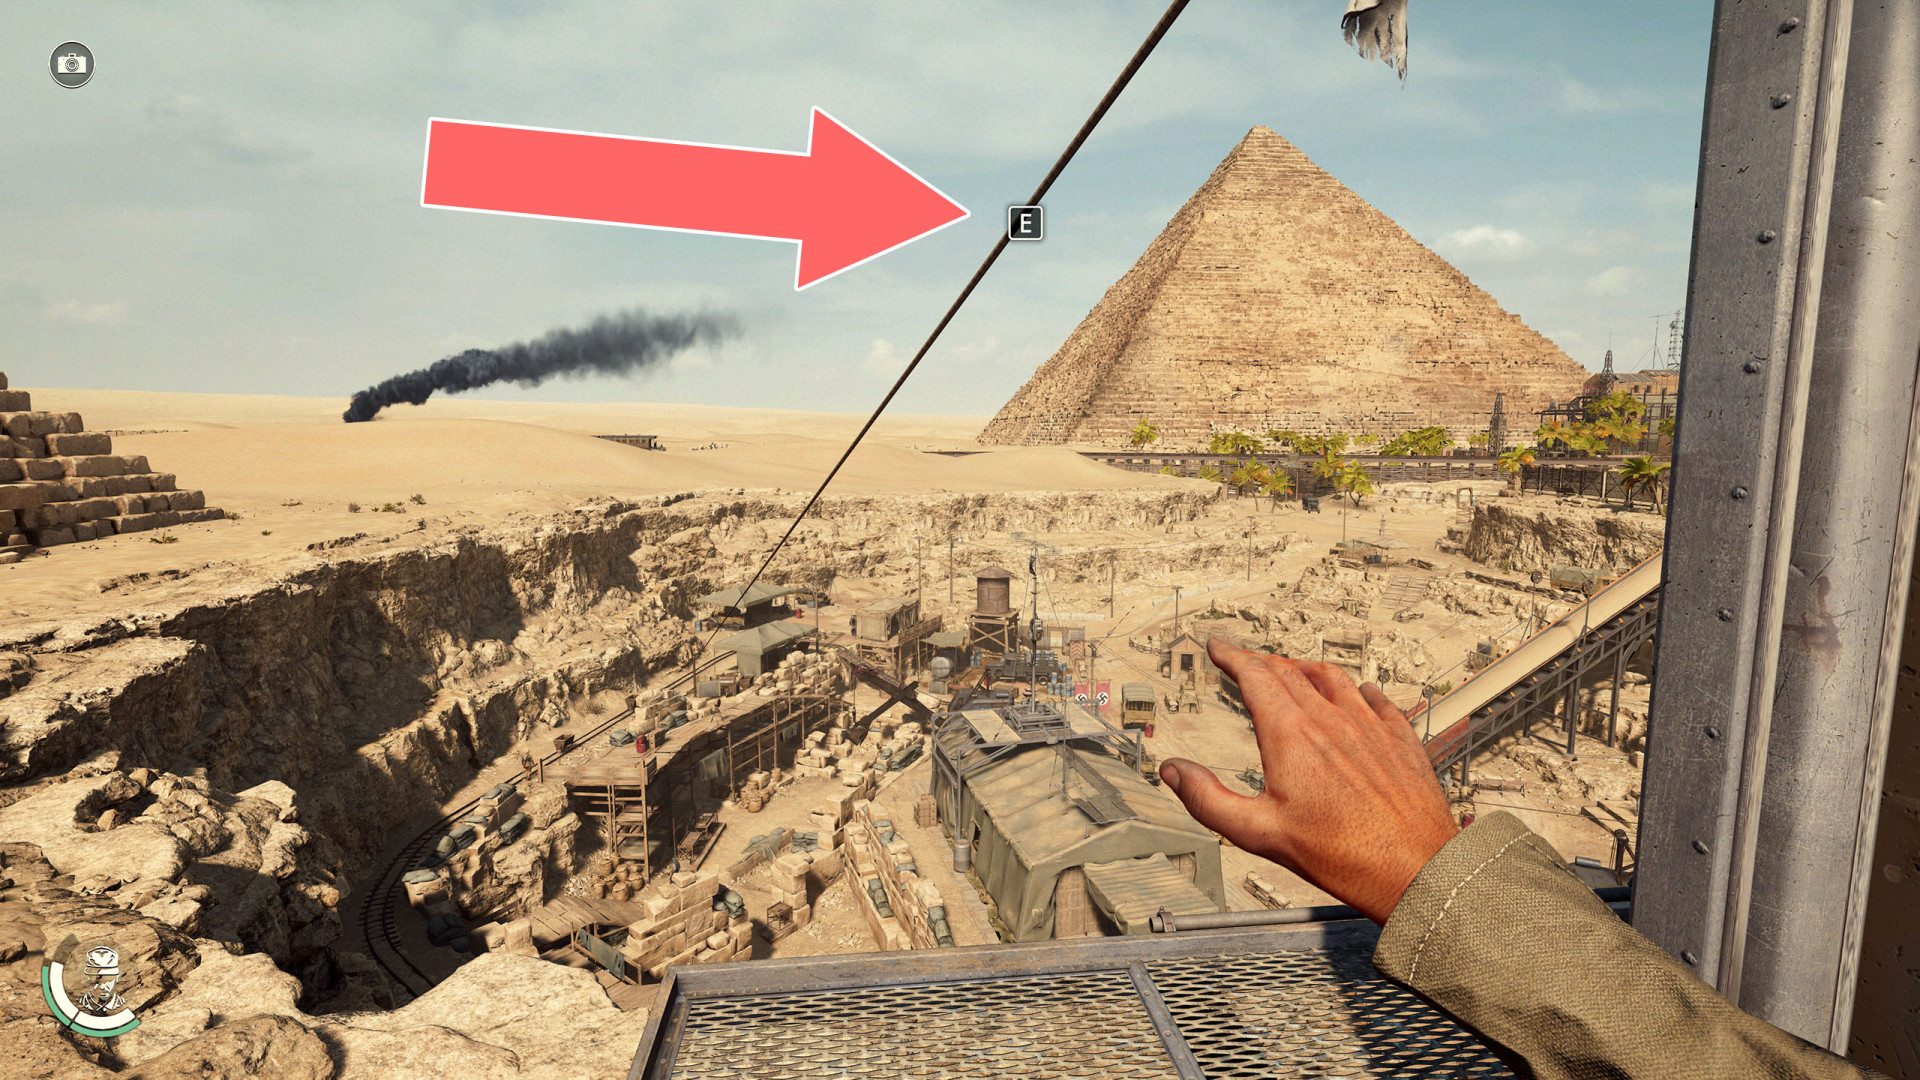
Zipline▶ show the map ◀
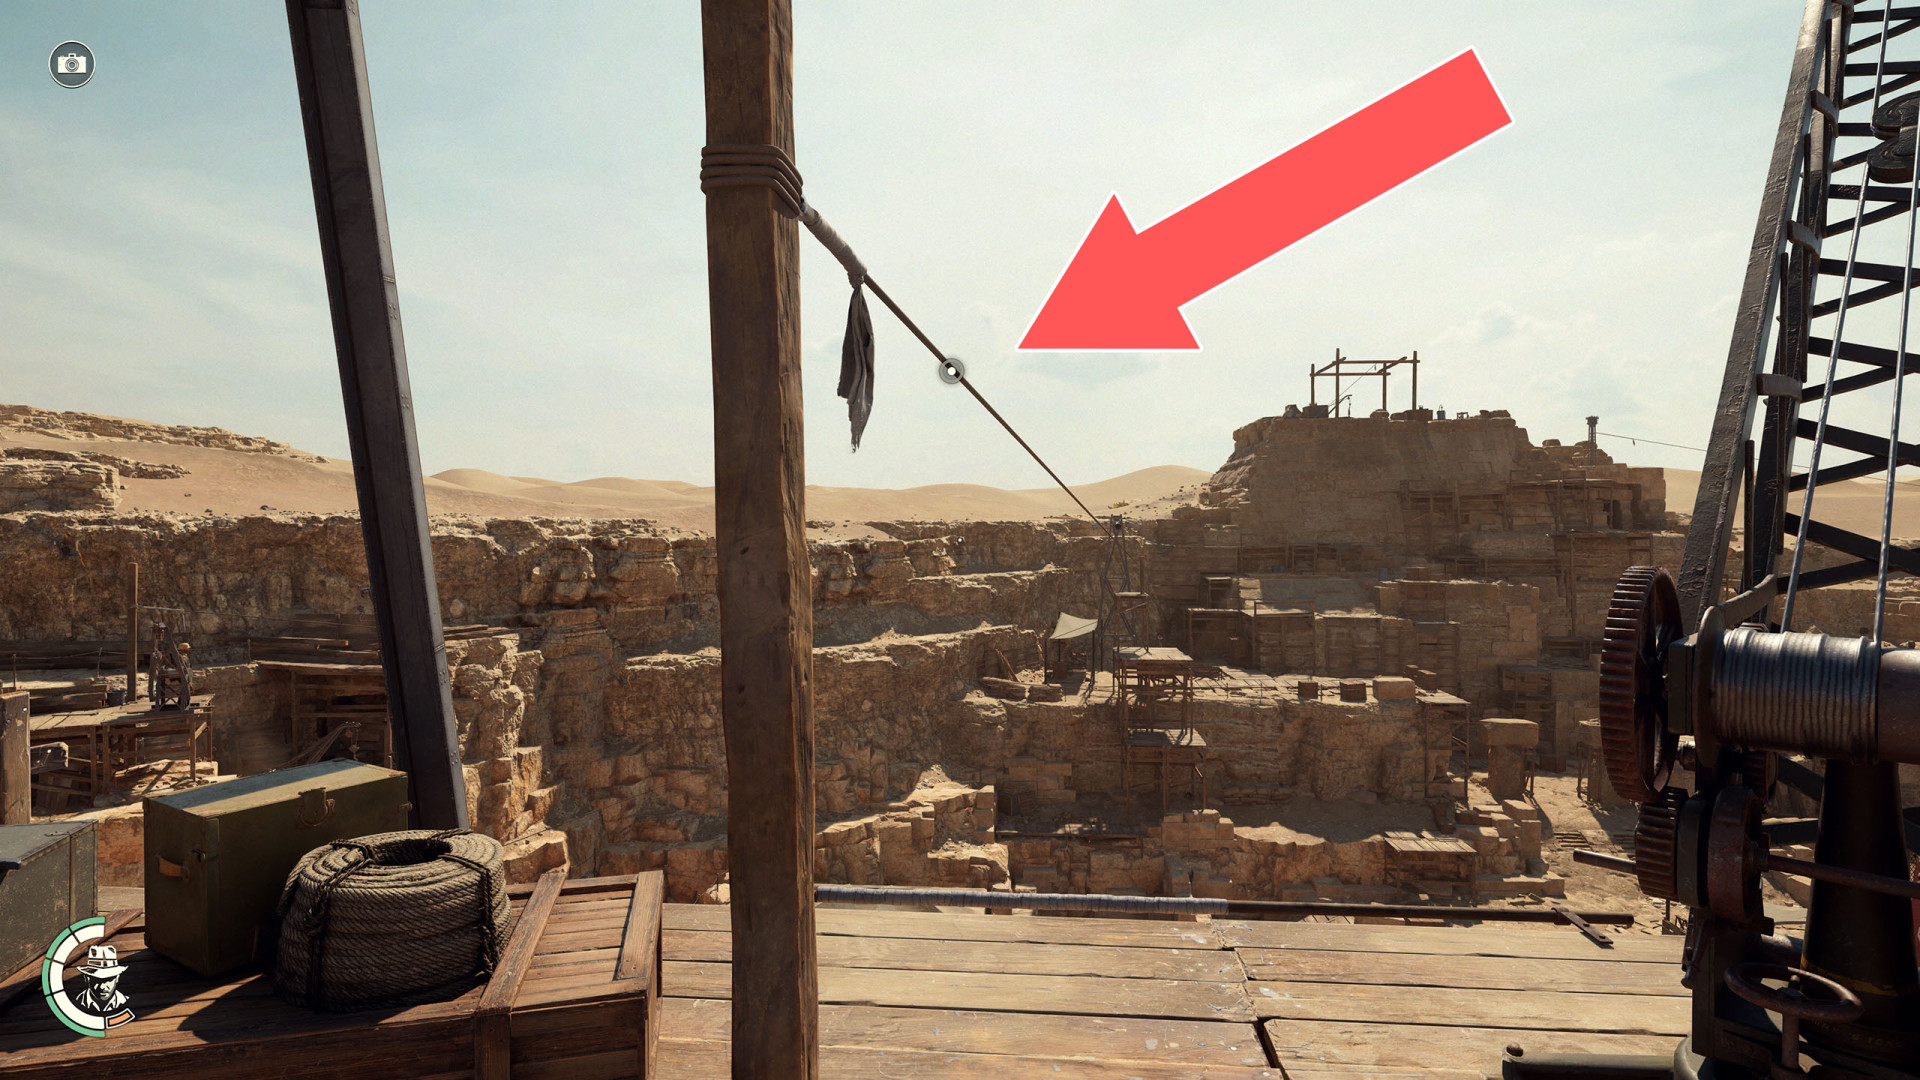
Zipline▶ show the map ◀
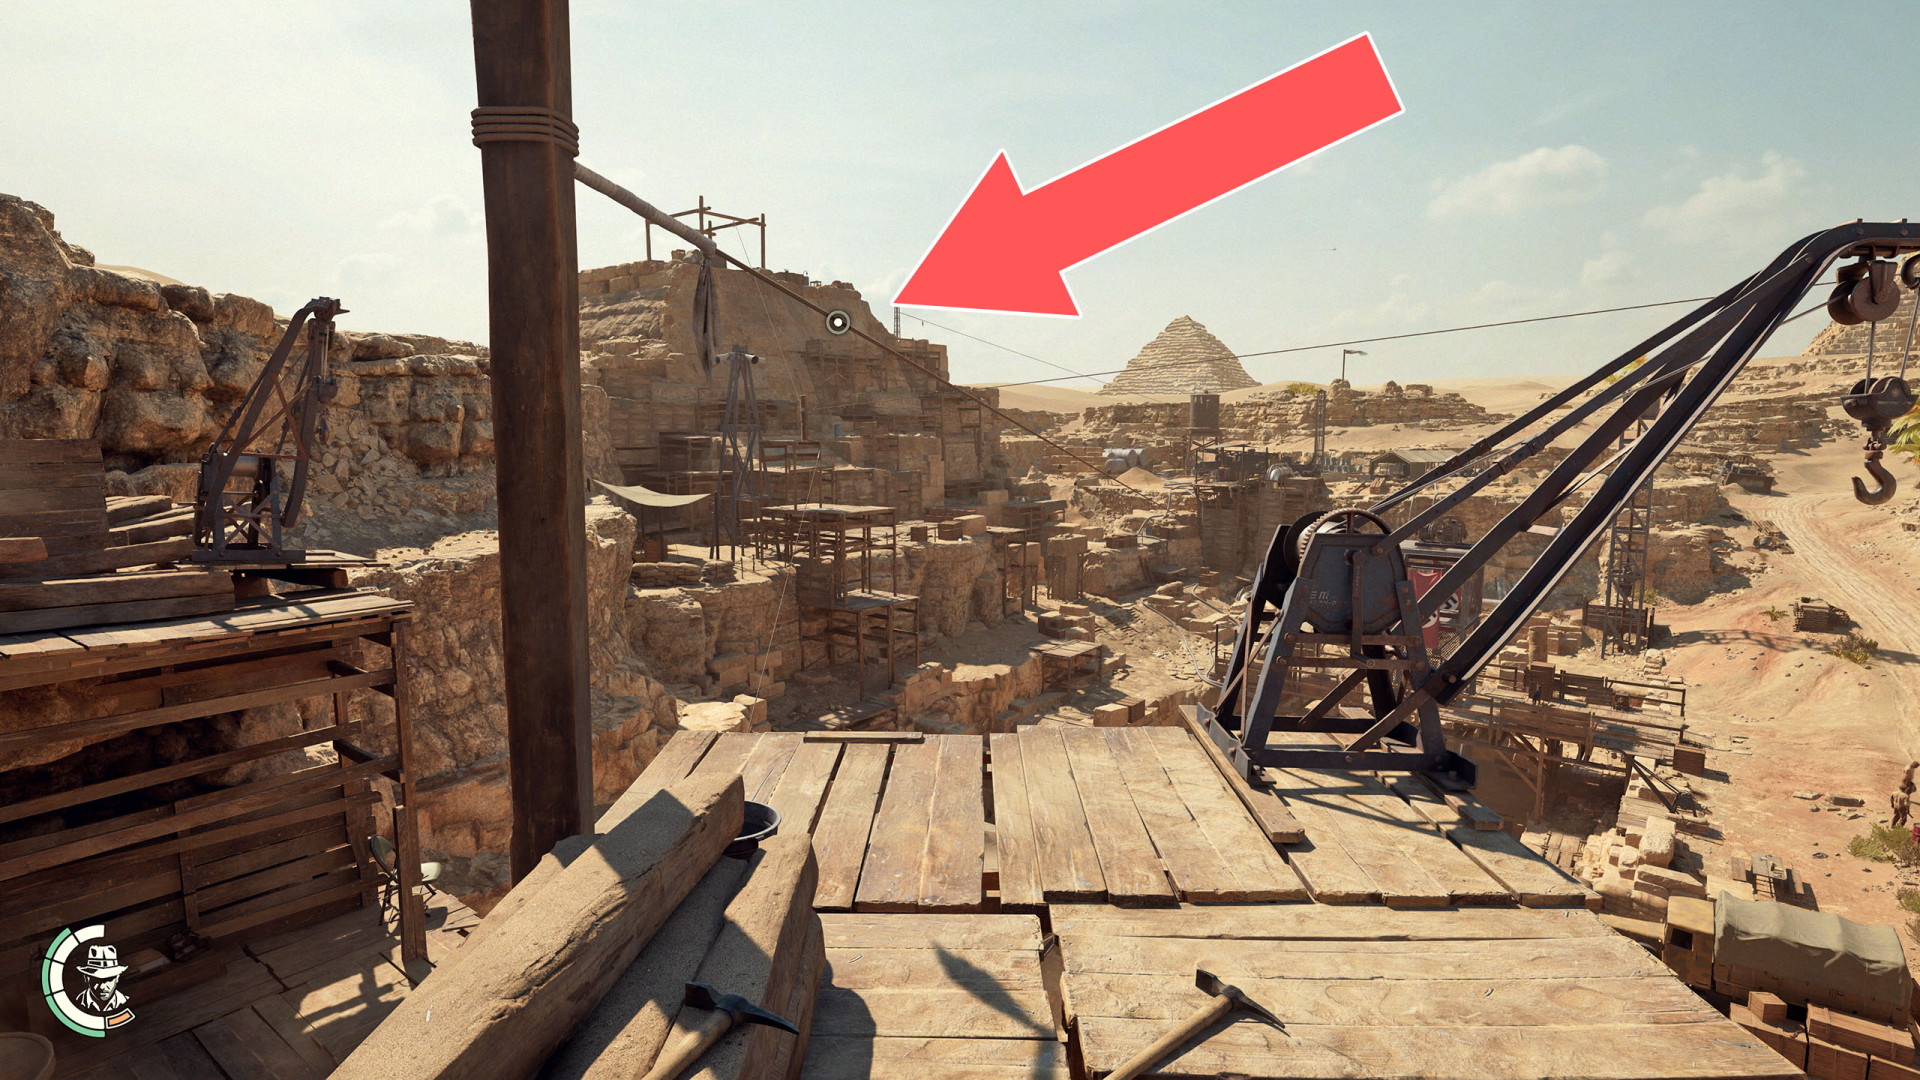
Zipline▶ show the map ◀
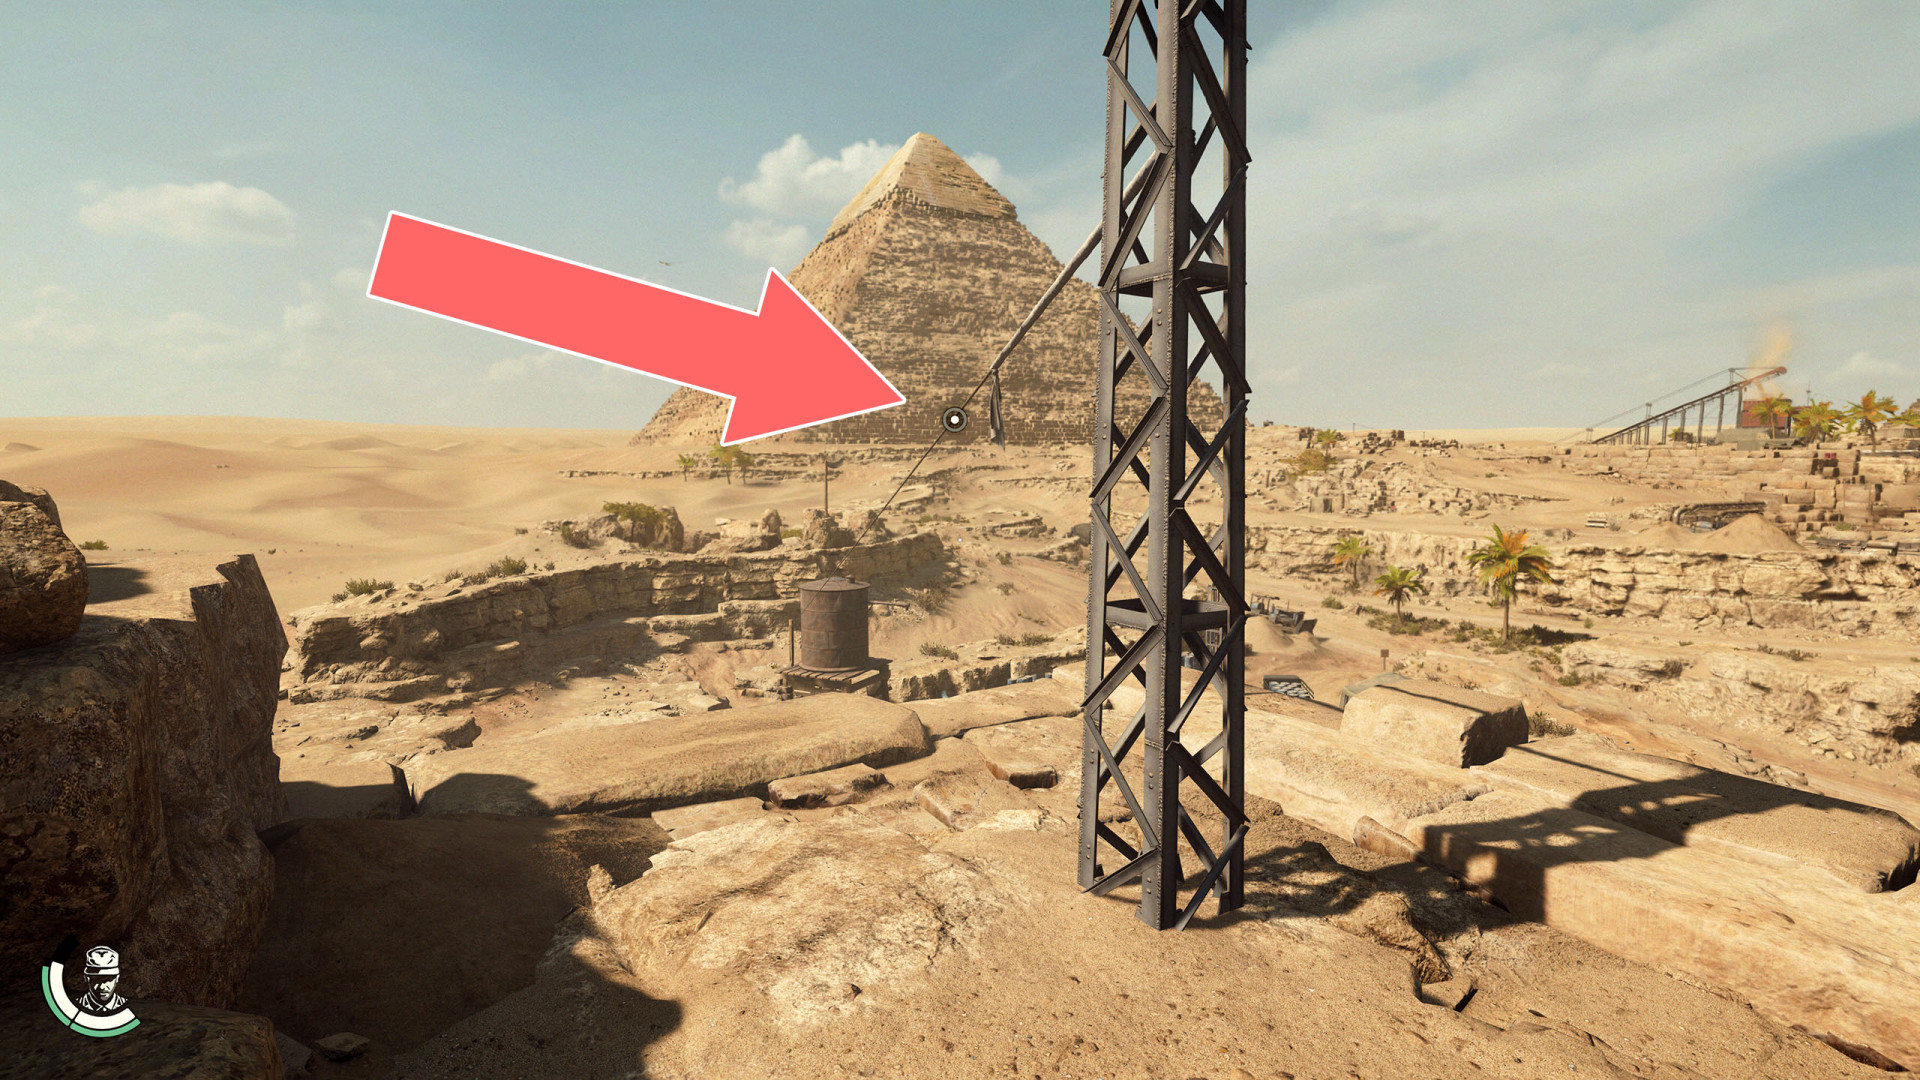
Zipline▶ show the map ◀
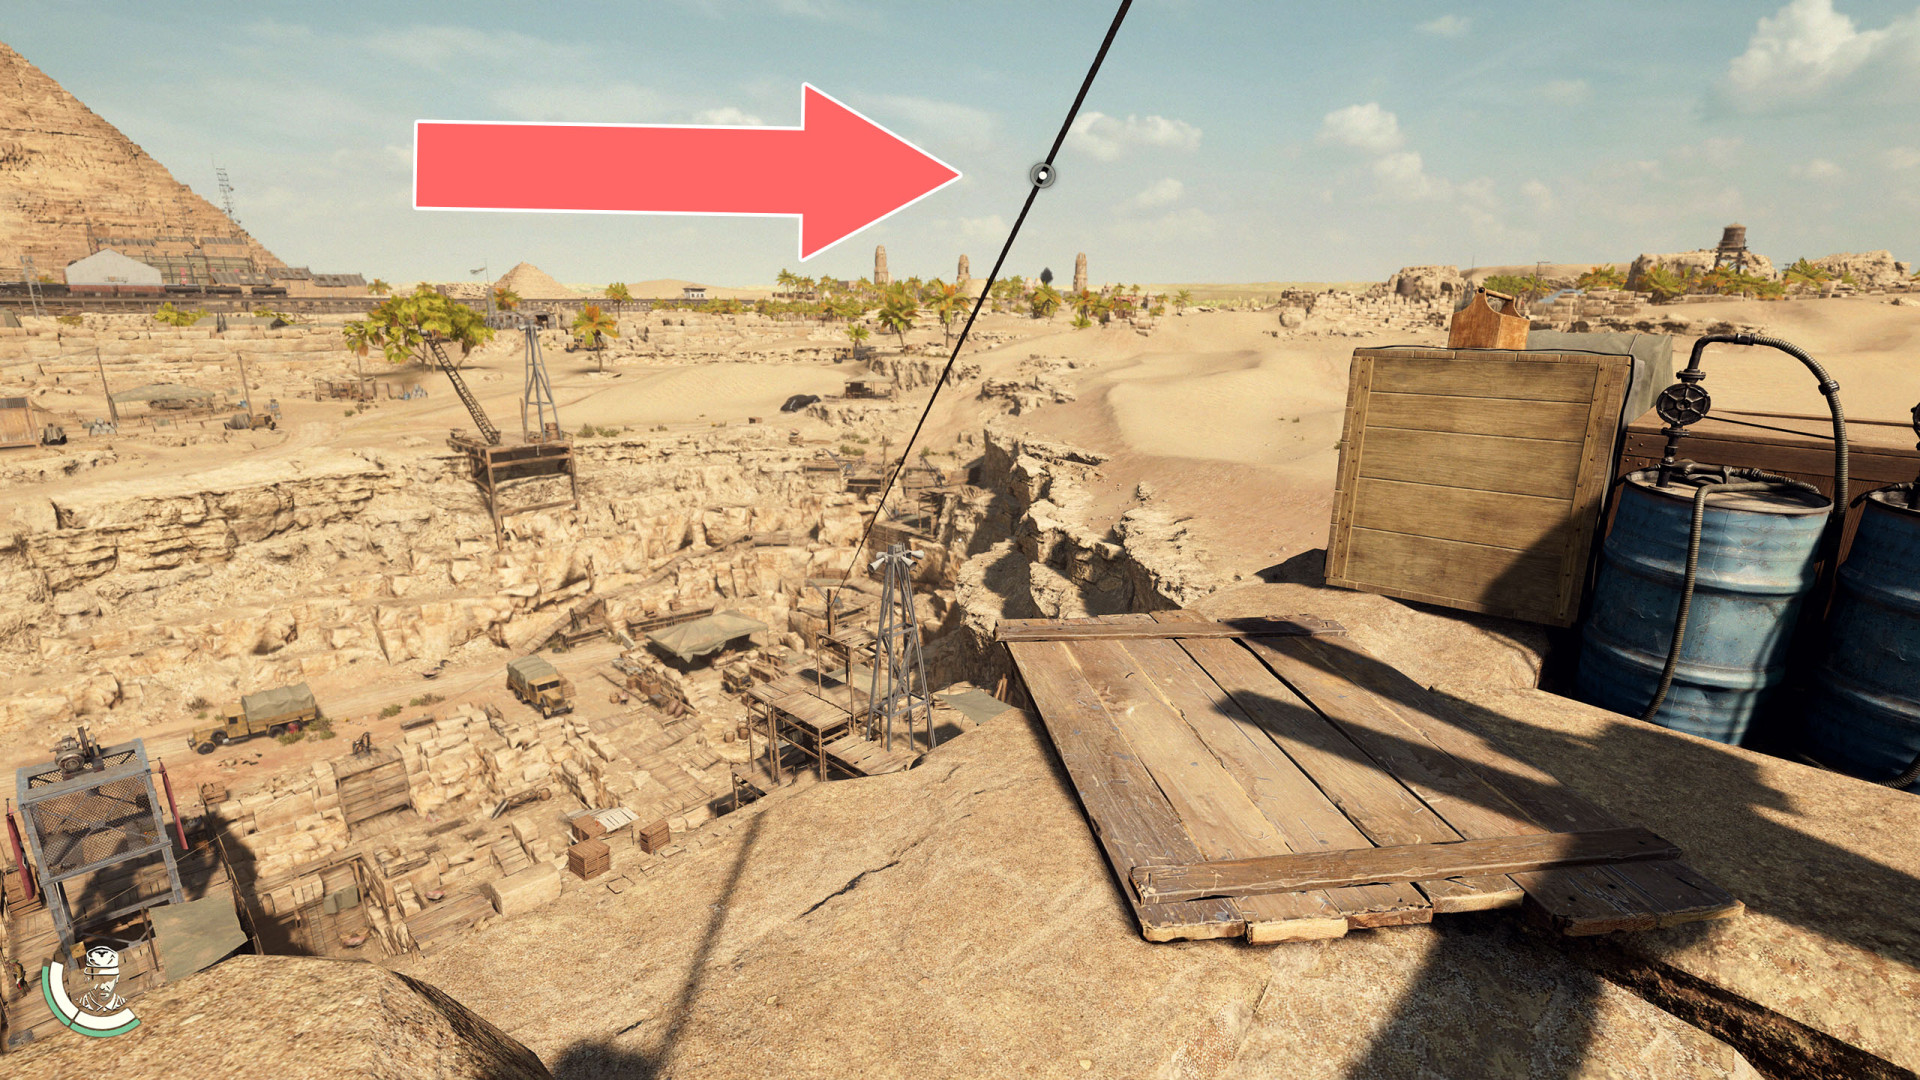
Zipline▶ show the map ◀

All known locations on the map The Himalayas
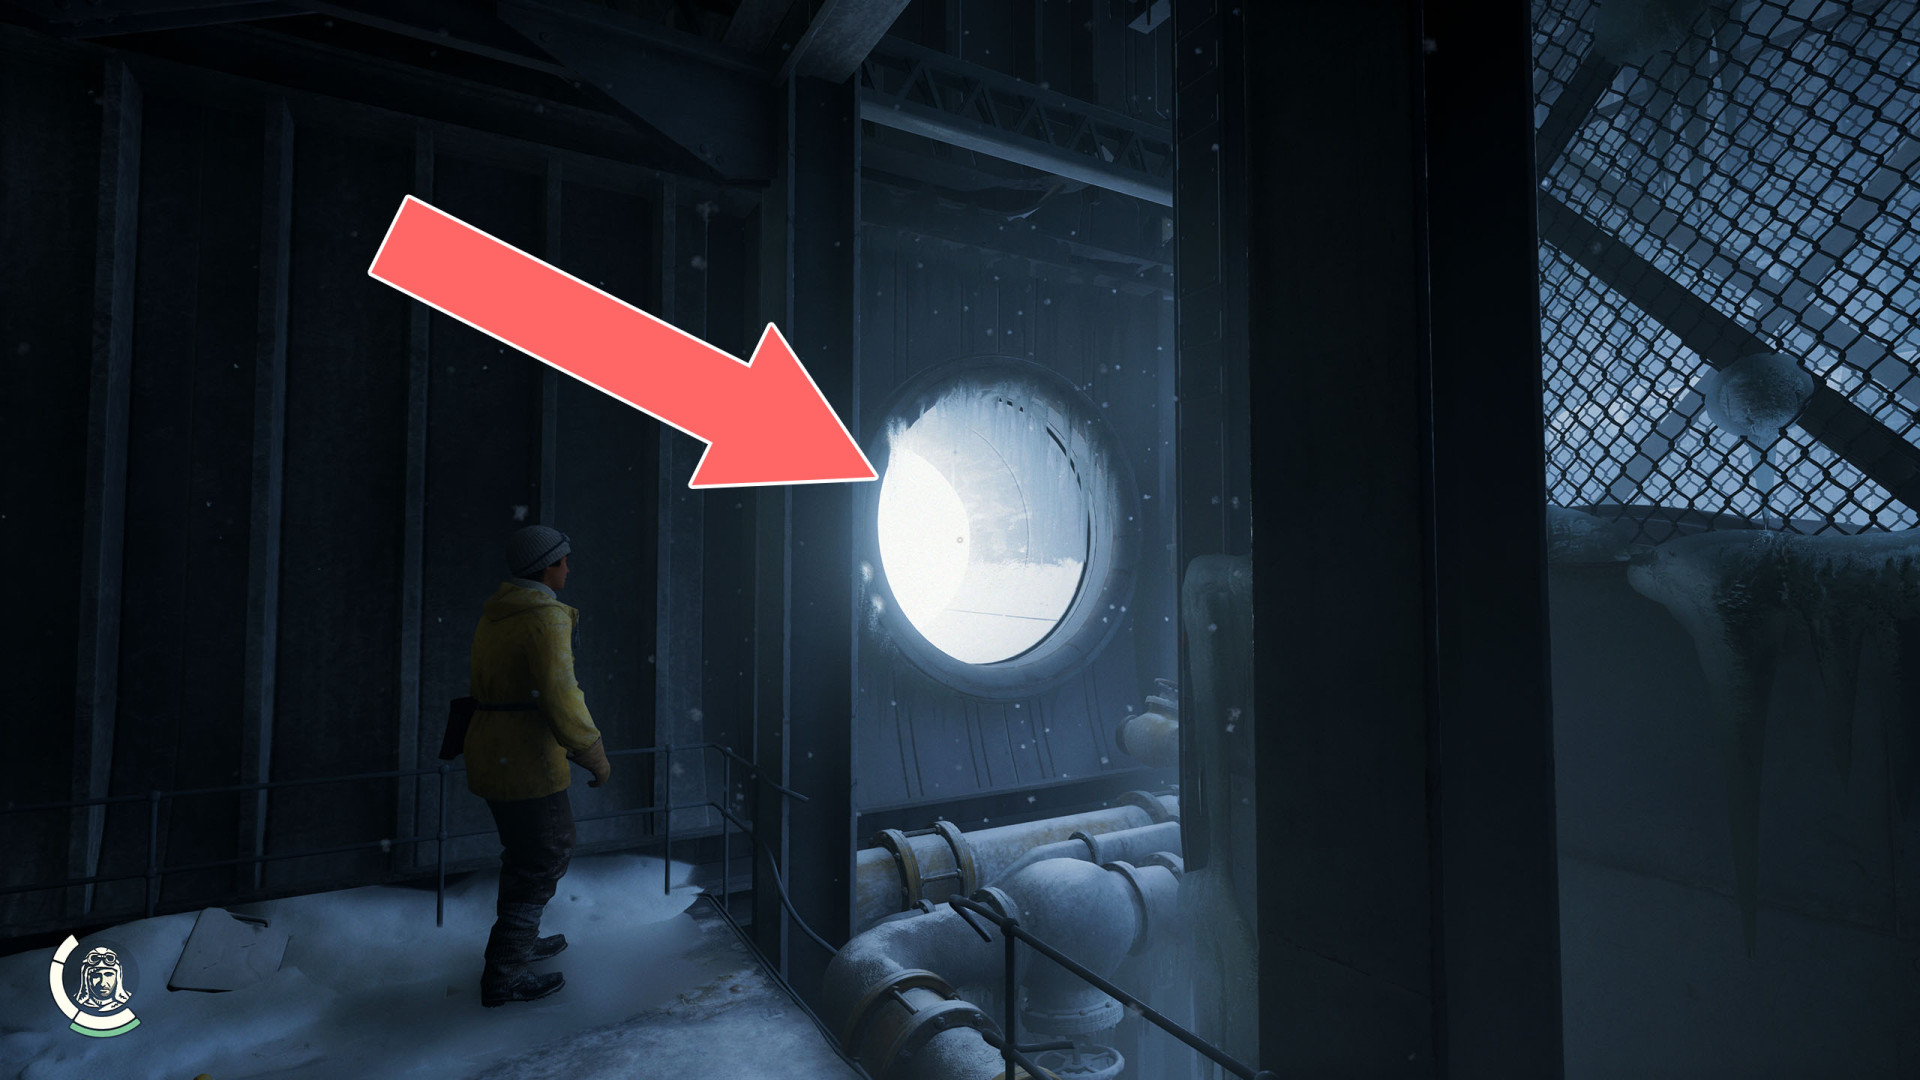
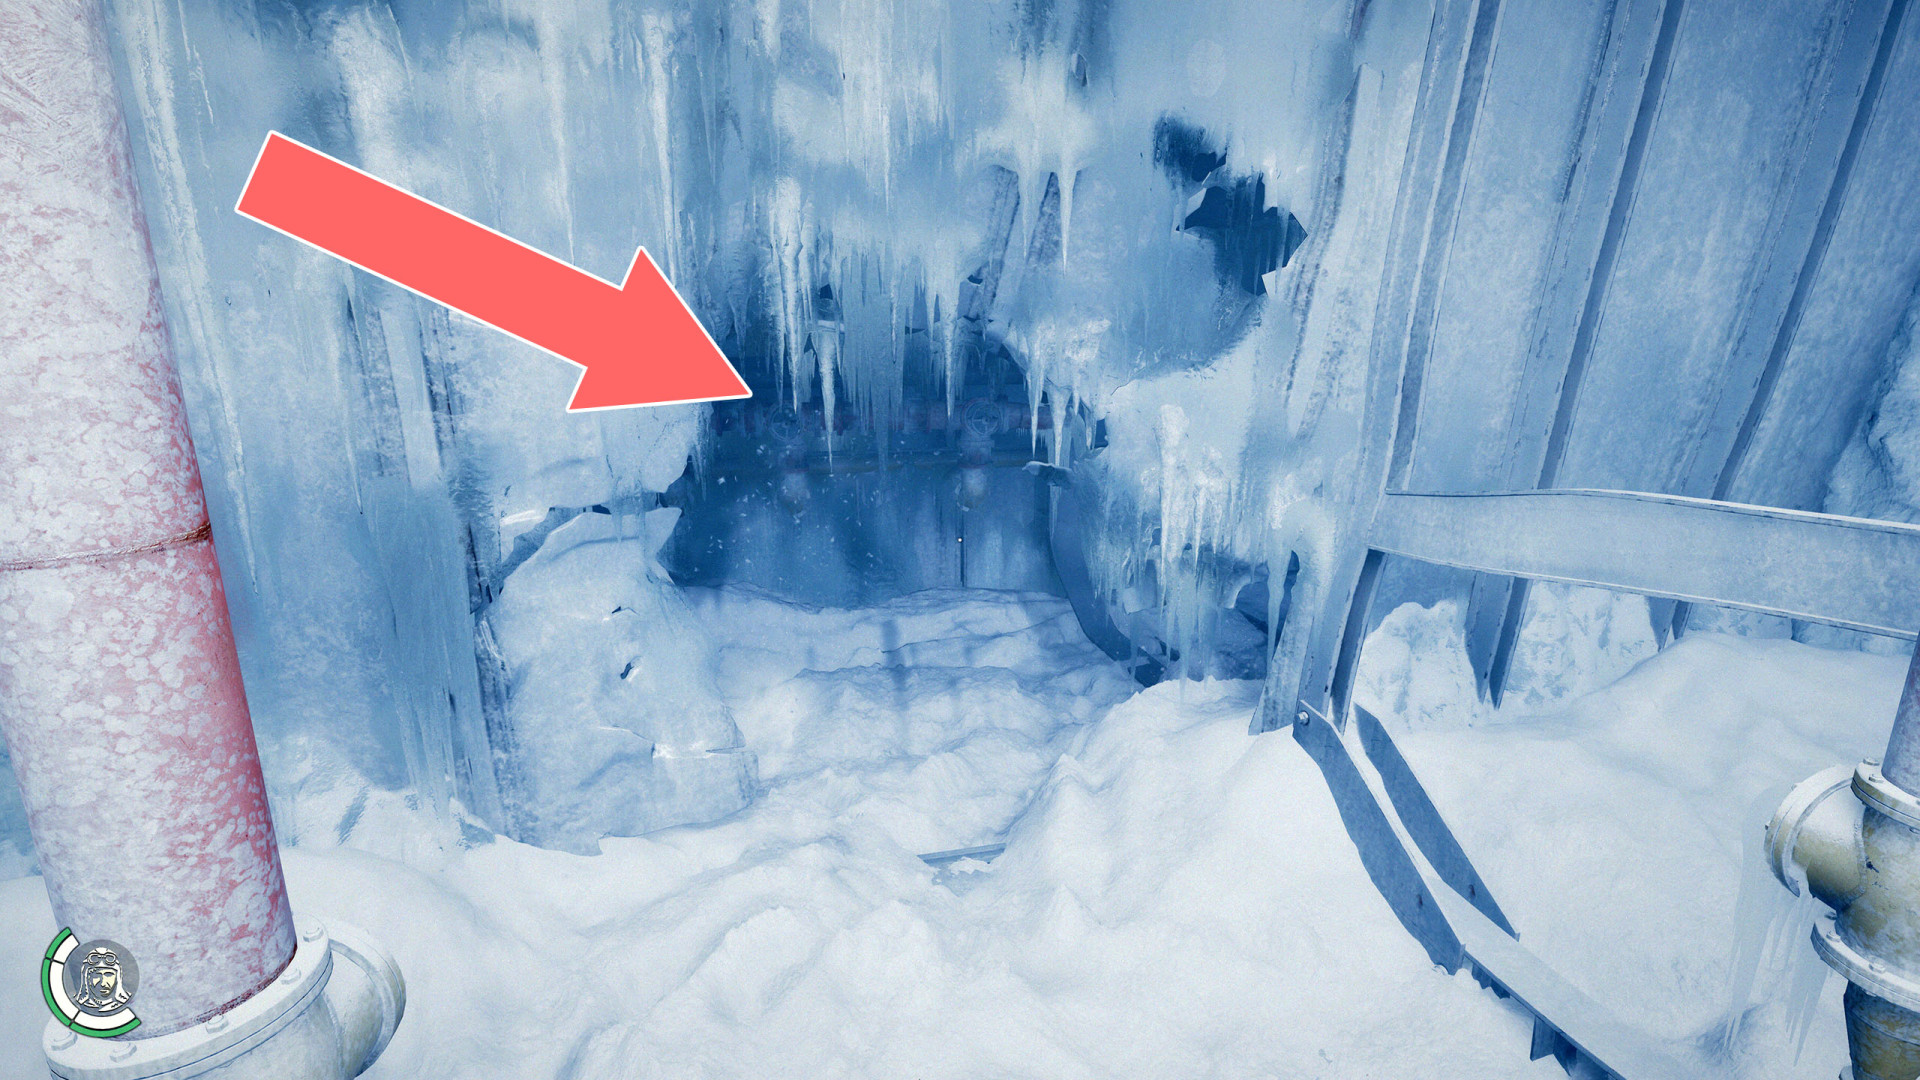
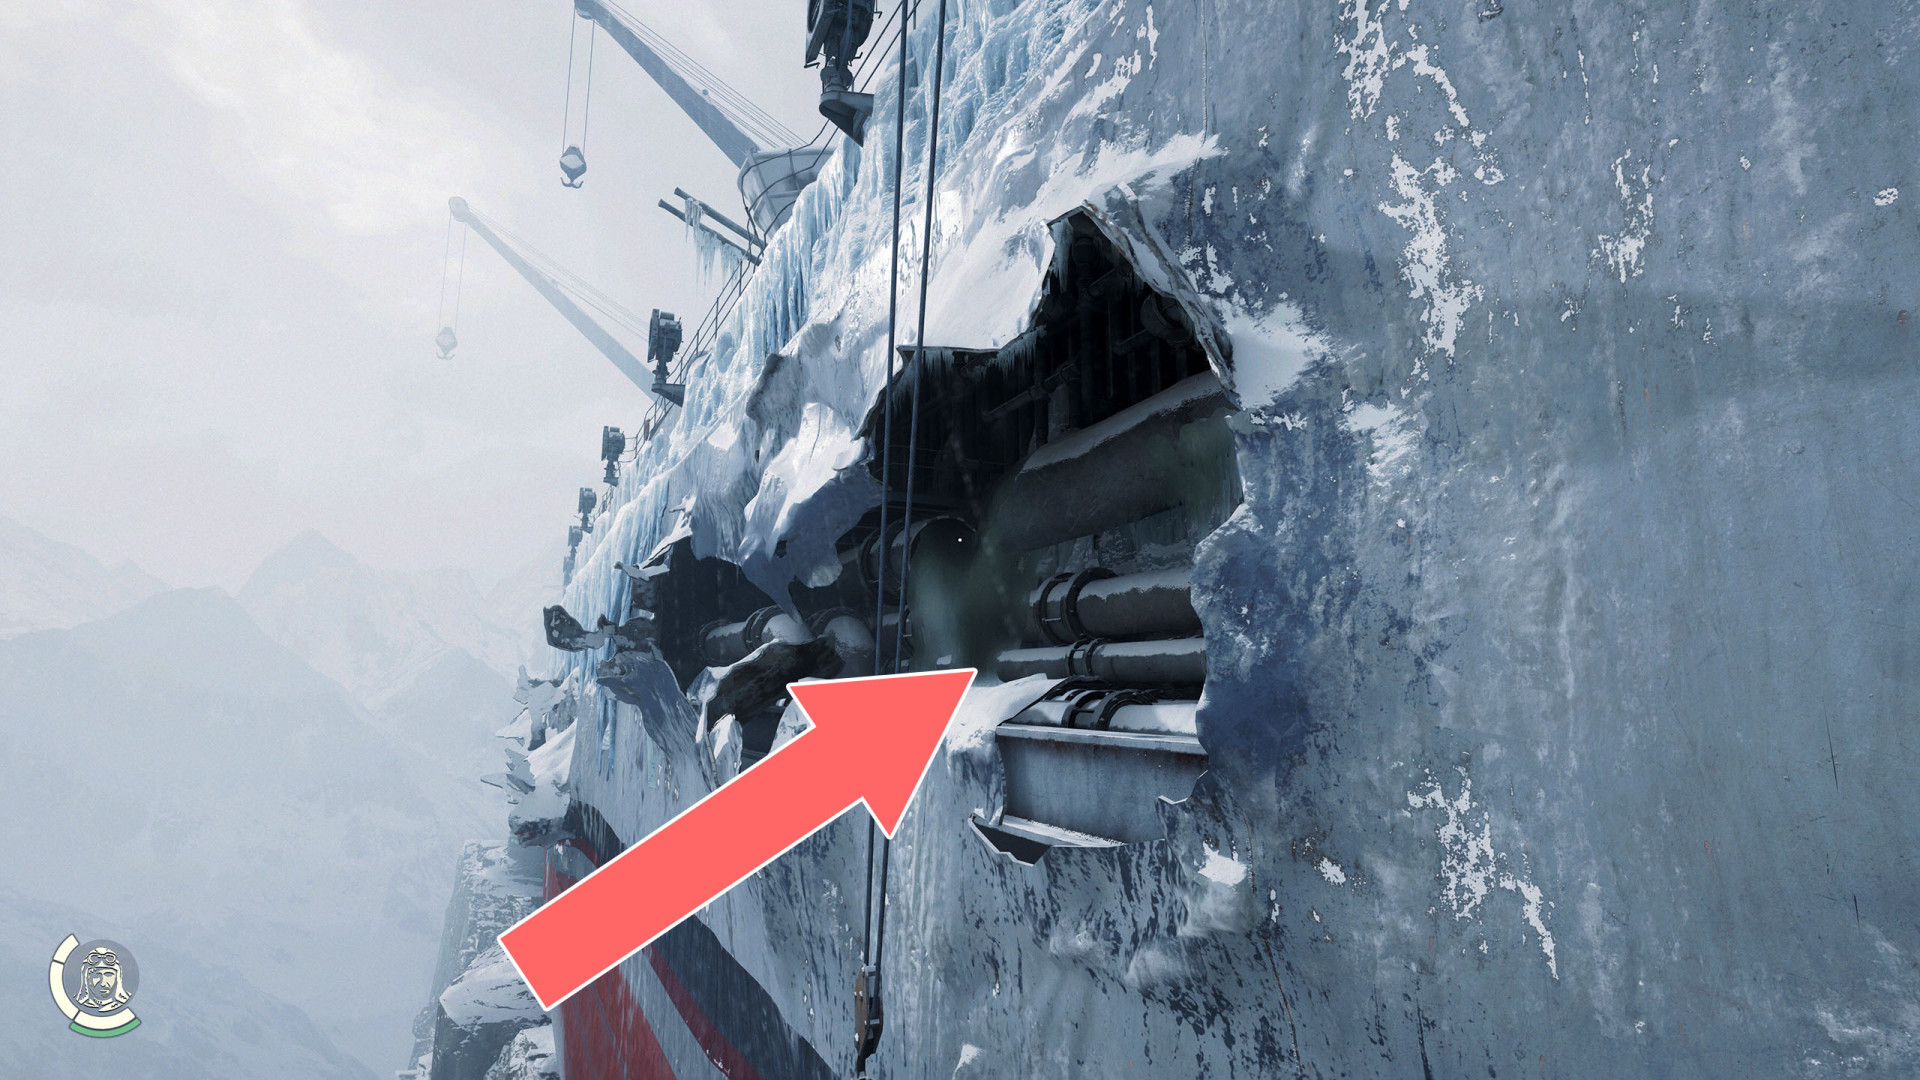
Anchor Hole▶ show the map ◀
In order to be able to walk thence you must lower the anchor by removing two rivets.
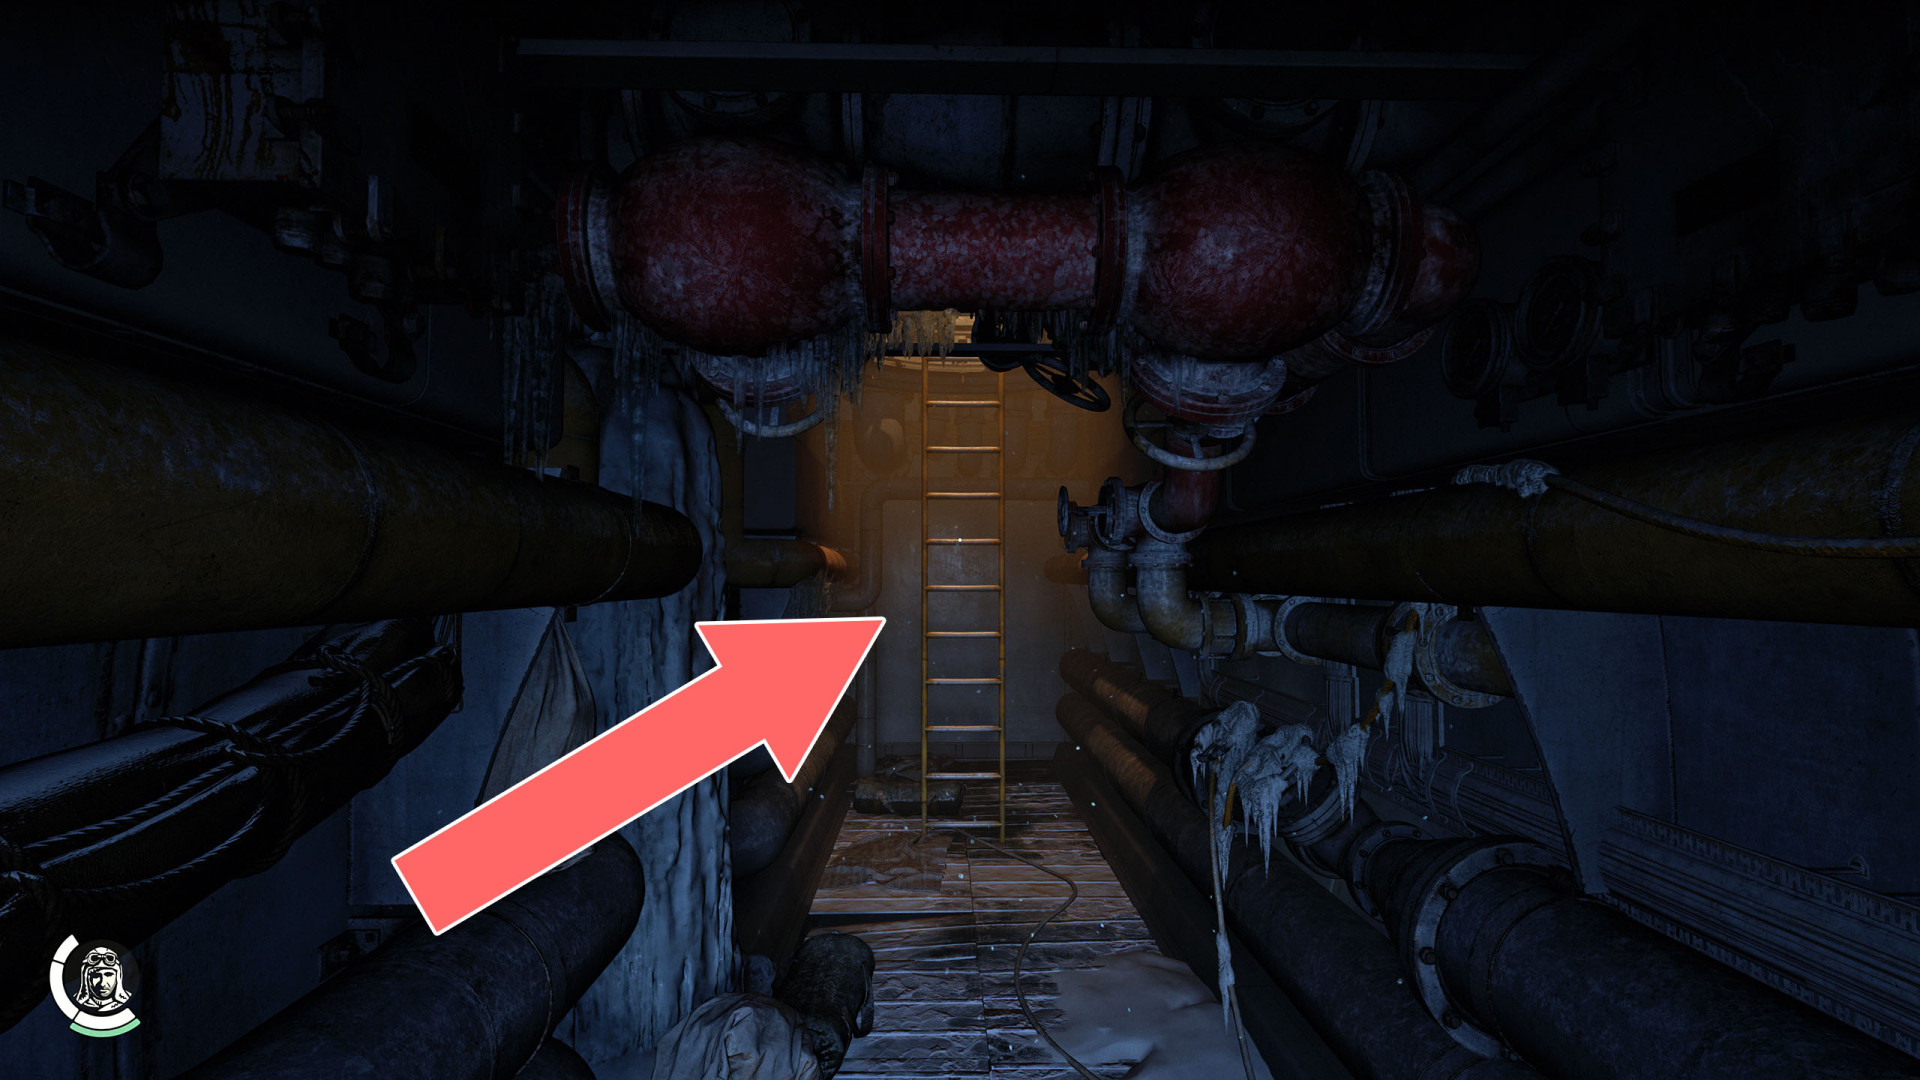
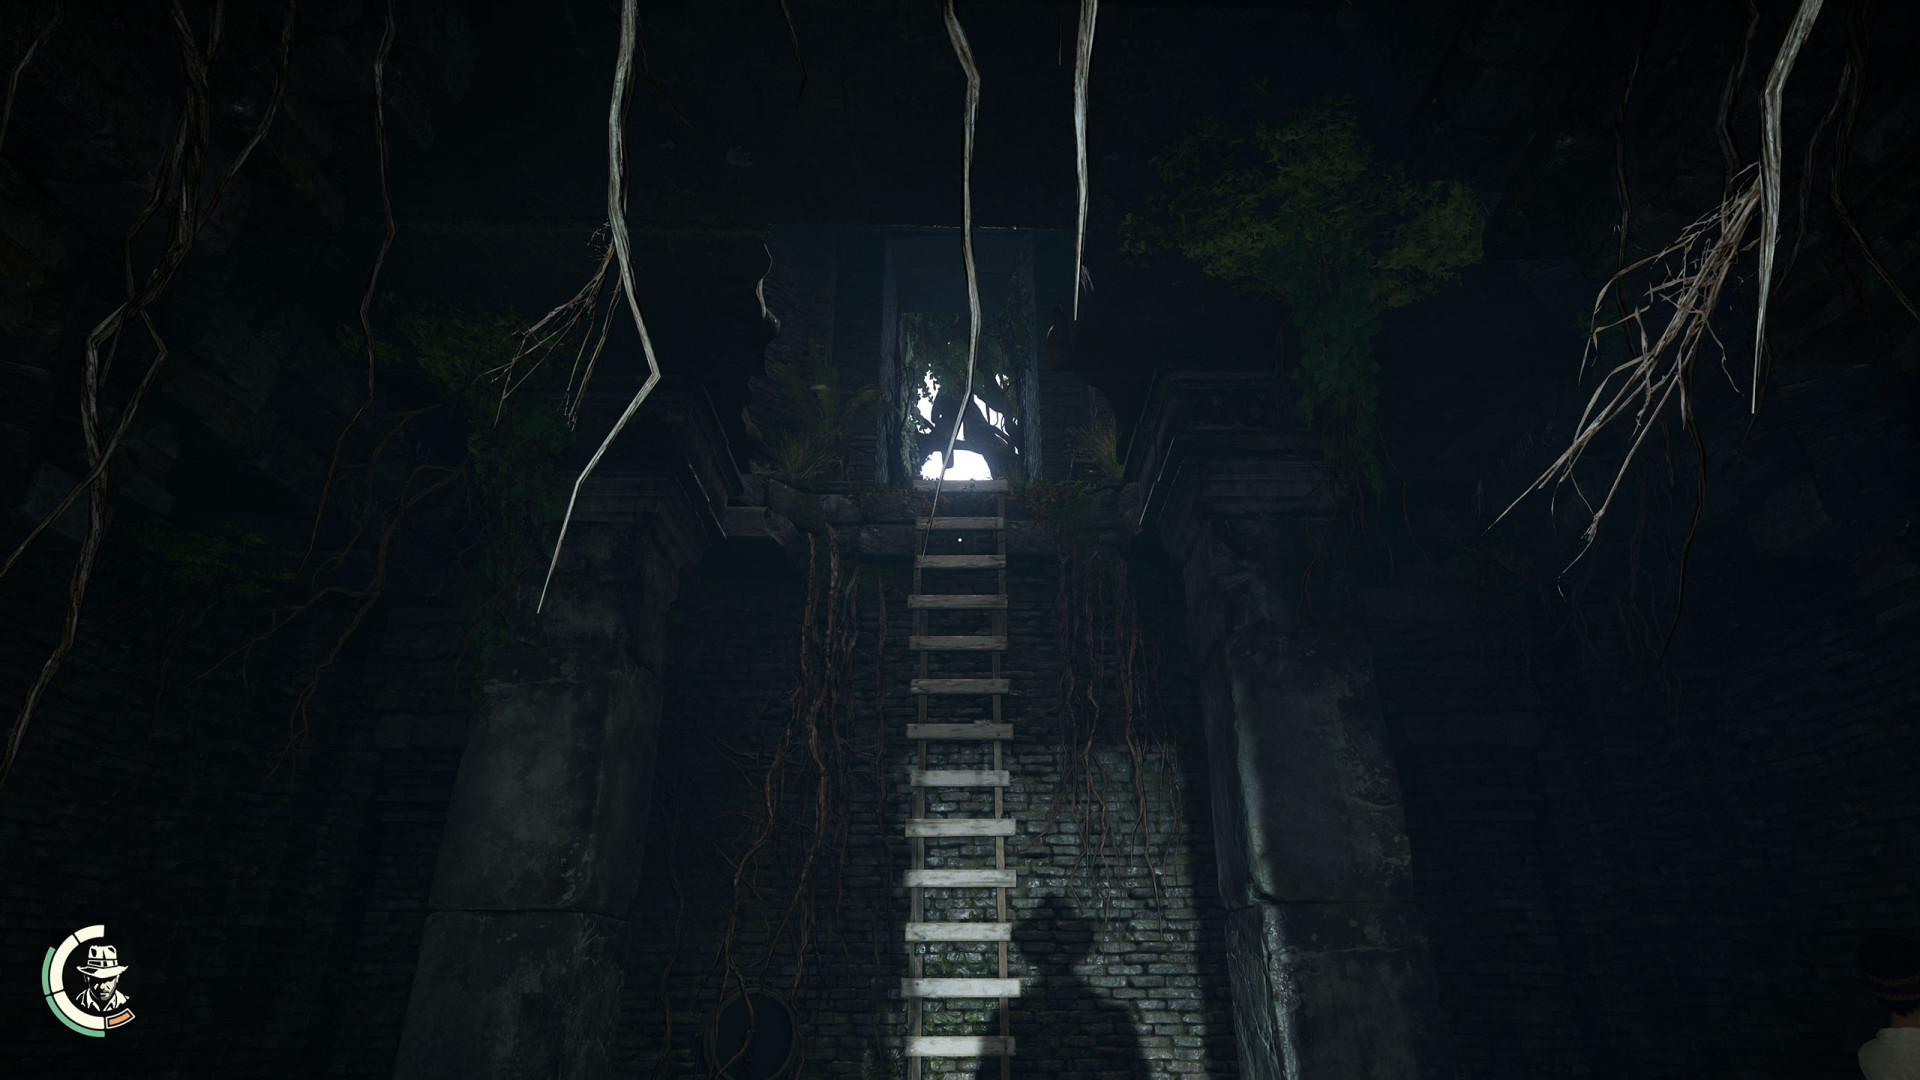
Conning Tower Ladder▶ show the map ◀
Crawl Hole▶ show the map ◀
Crawl Hole▶ show the map ◀
Crawl Hole▶ show the map ◀
Crawl Hole▶ show the map ◀
Crawl Hole▶ show the map ◀
Crawl Hole▶ show the map ◀
Crawl Hole▶ show the map ◀
Crawl Hole▶ show the map ◀
Crawl Hole▶ show the map ◀
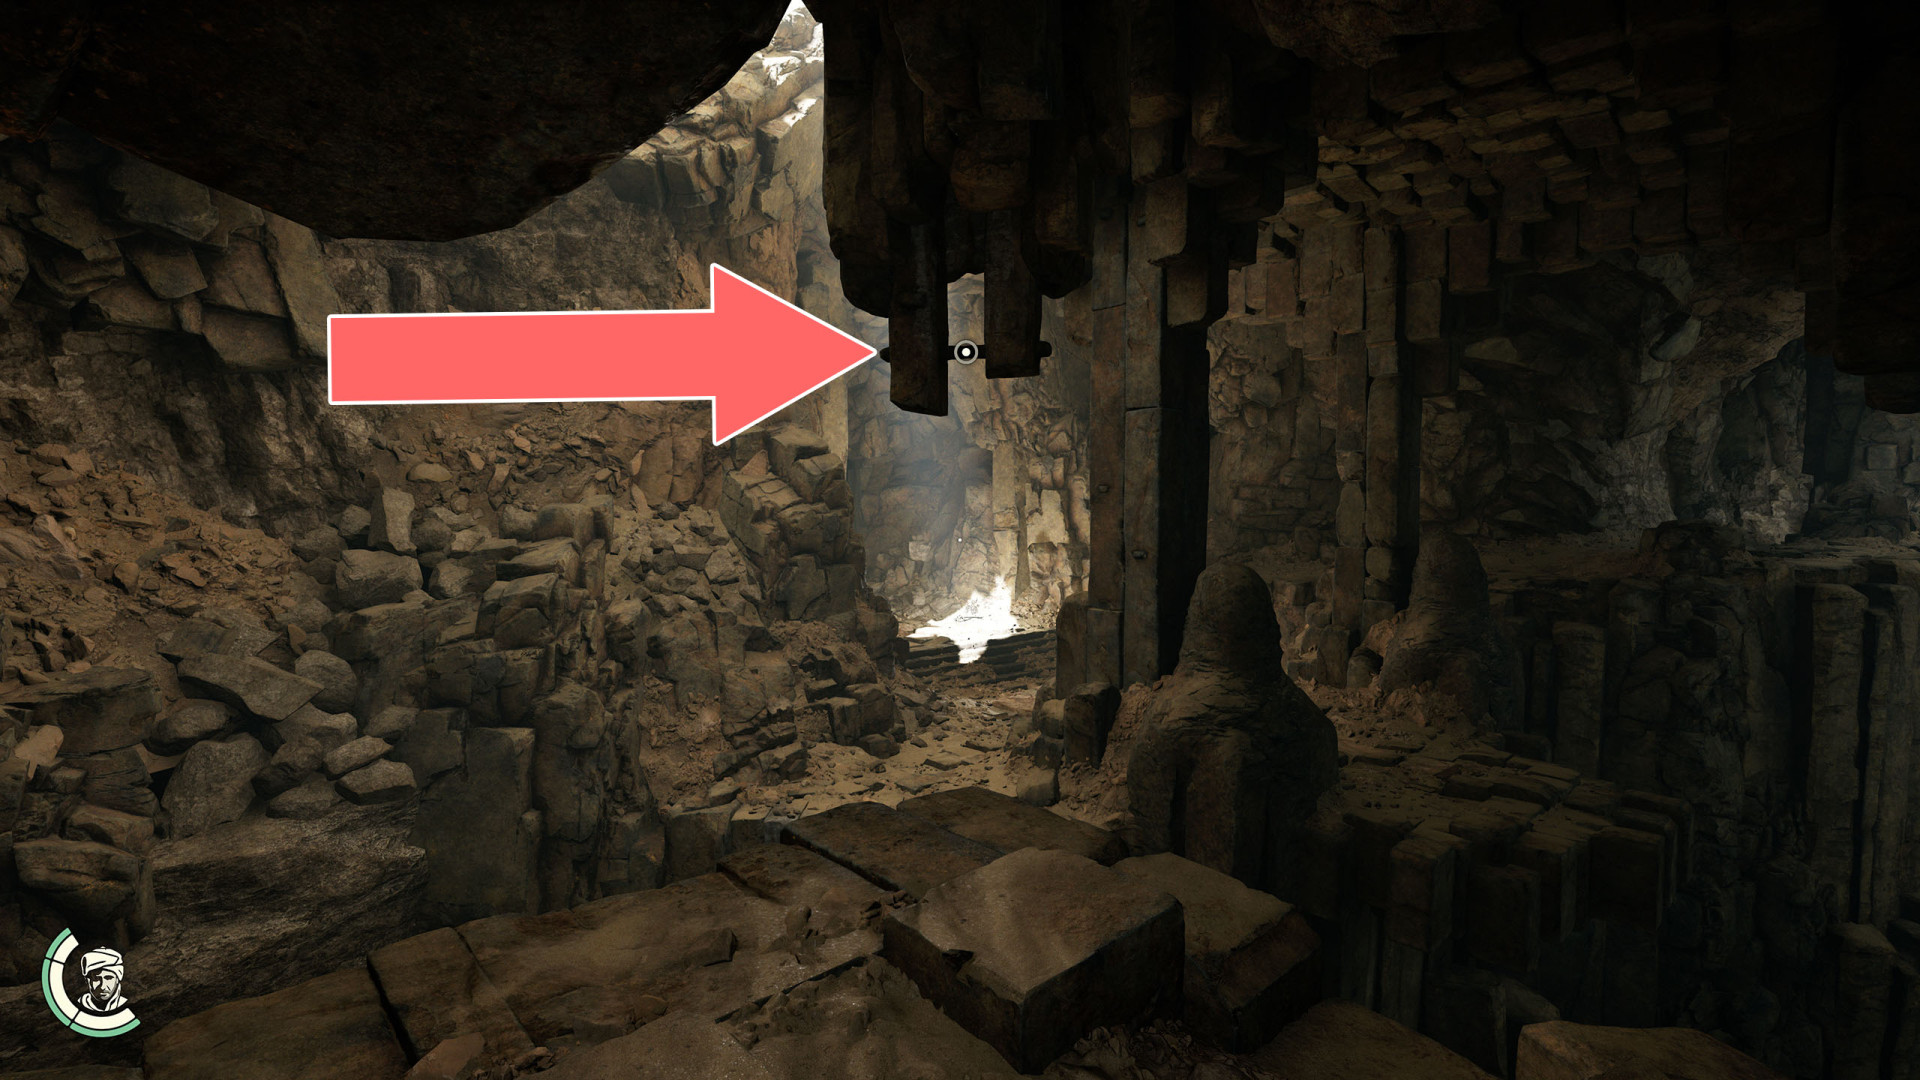
Grappling Point▶ show the map ◀

Hole▶ show the map ◀
Ladder▶ show the map ◀
Ladder▶ show the map ◀
Ladder▶ show the map ◀
Ladder▶ show the map ◀
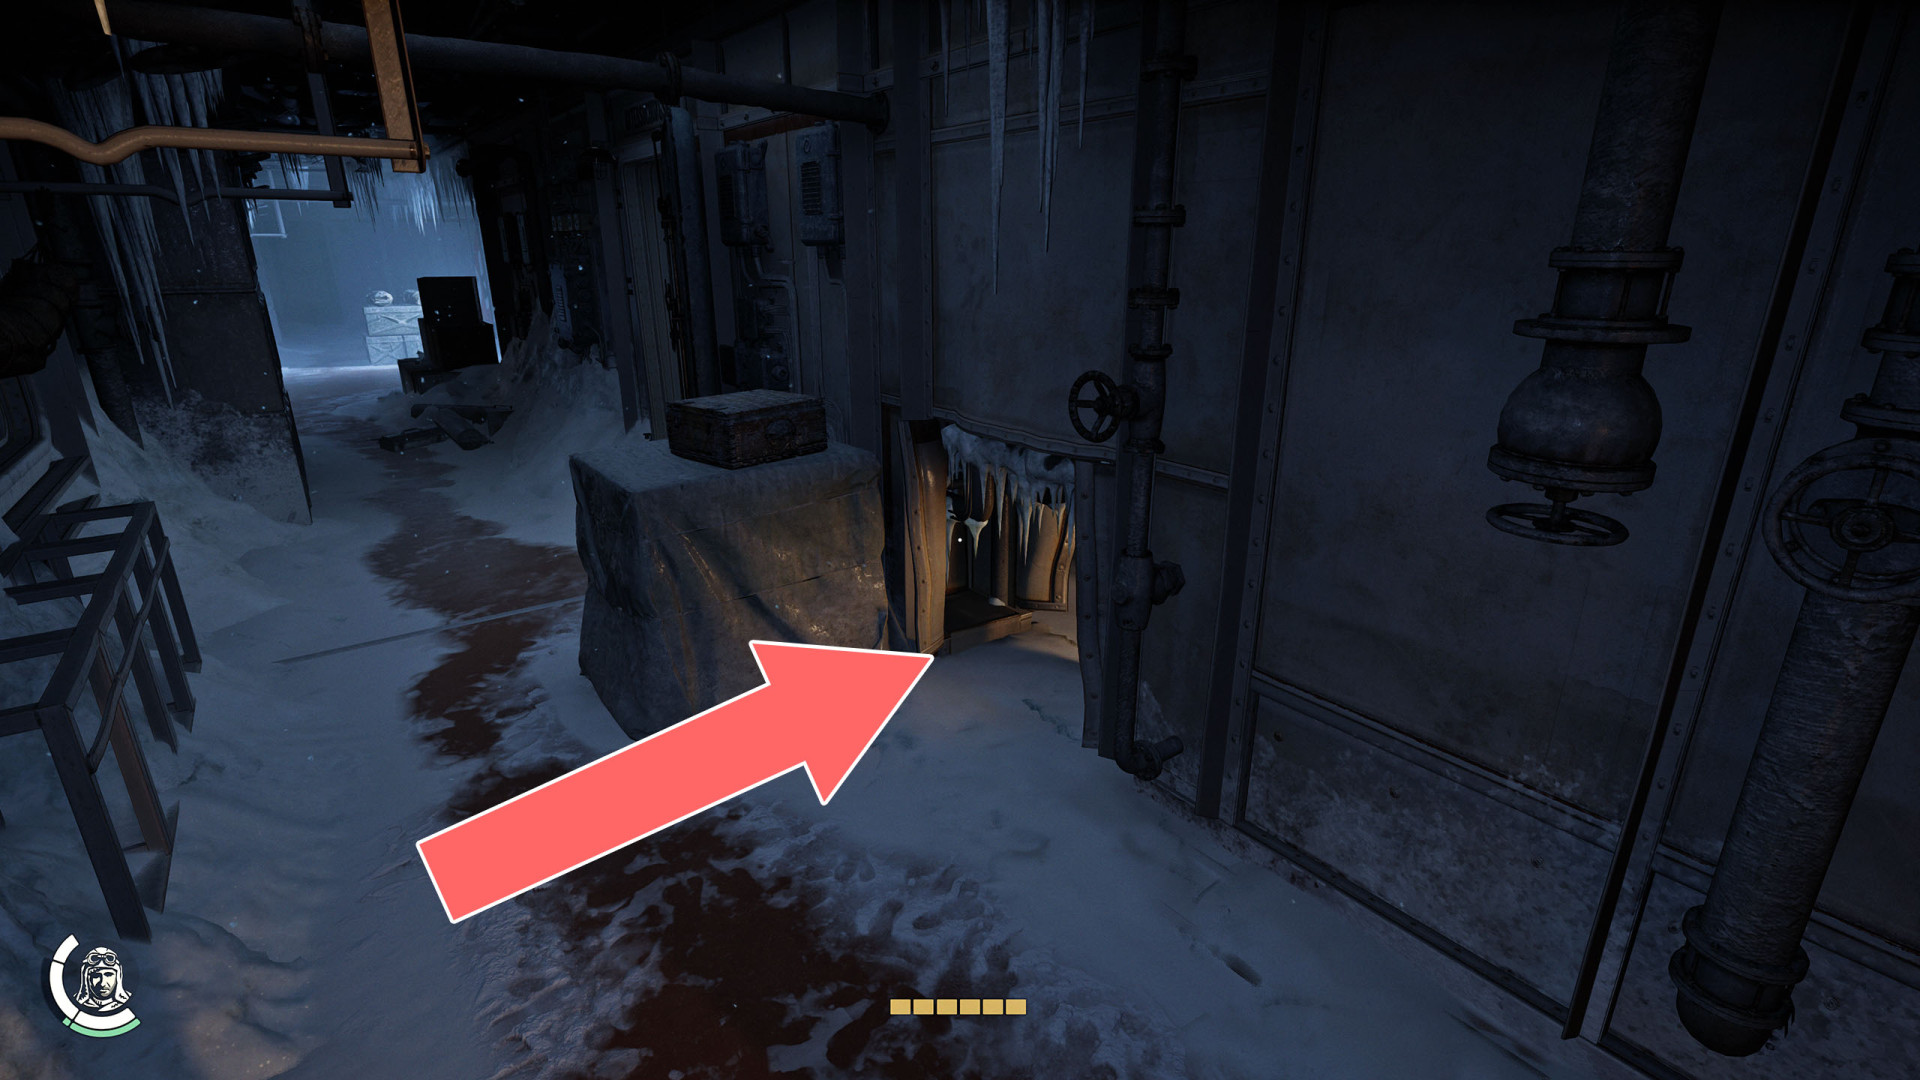
Upper Deck Entrance▶ show the map ◀
All known locations on the map Shanghai
Door▶ show the map ◀

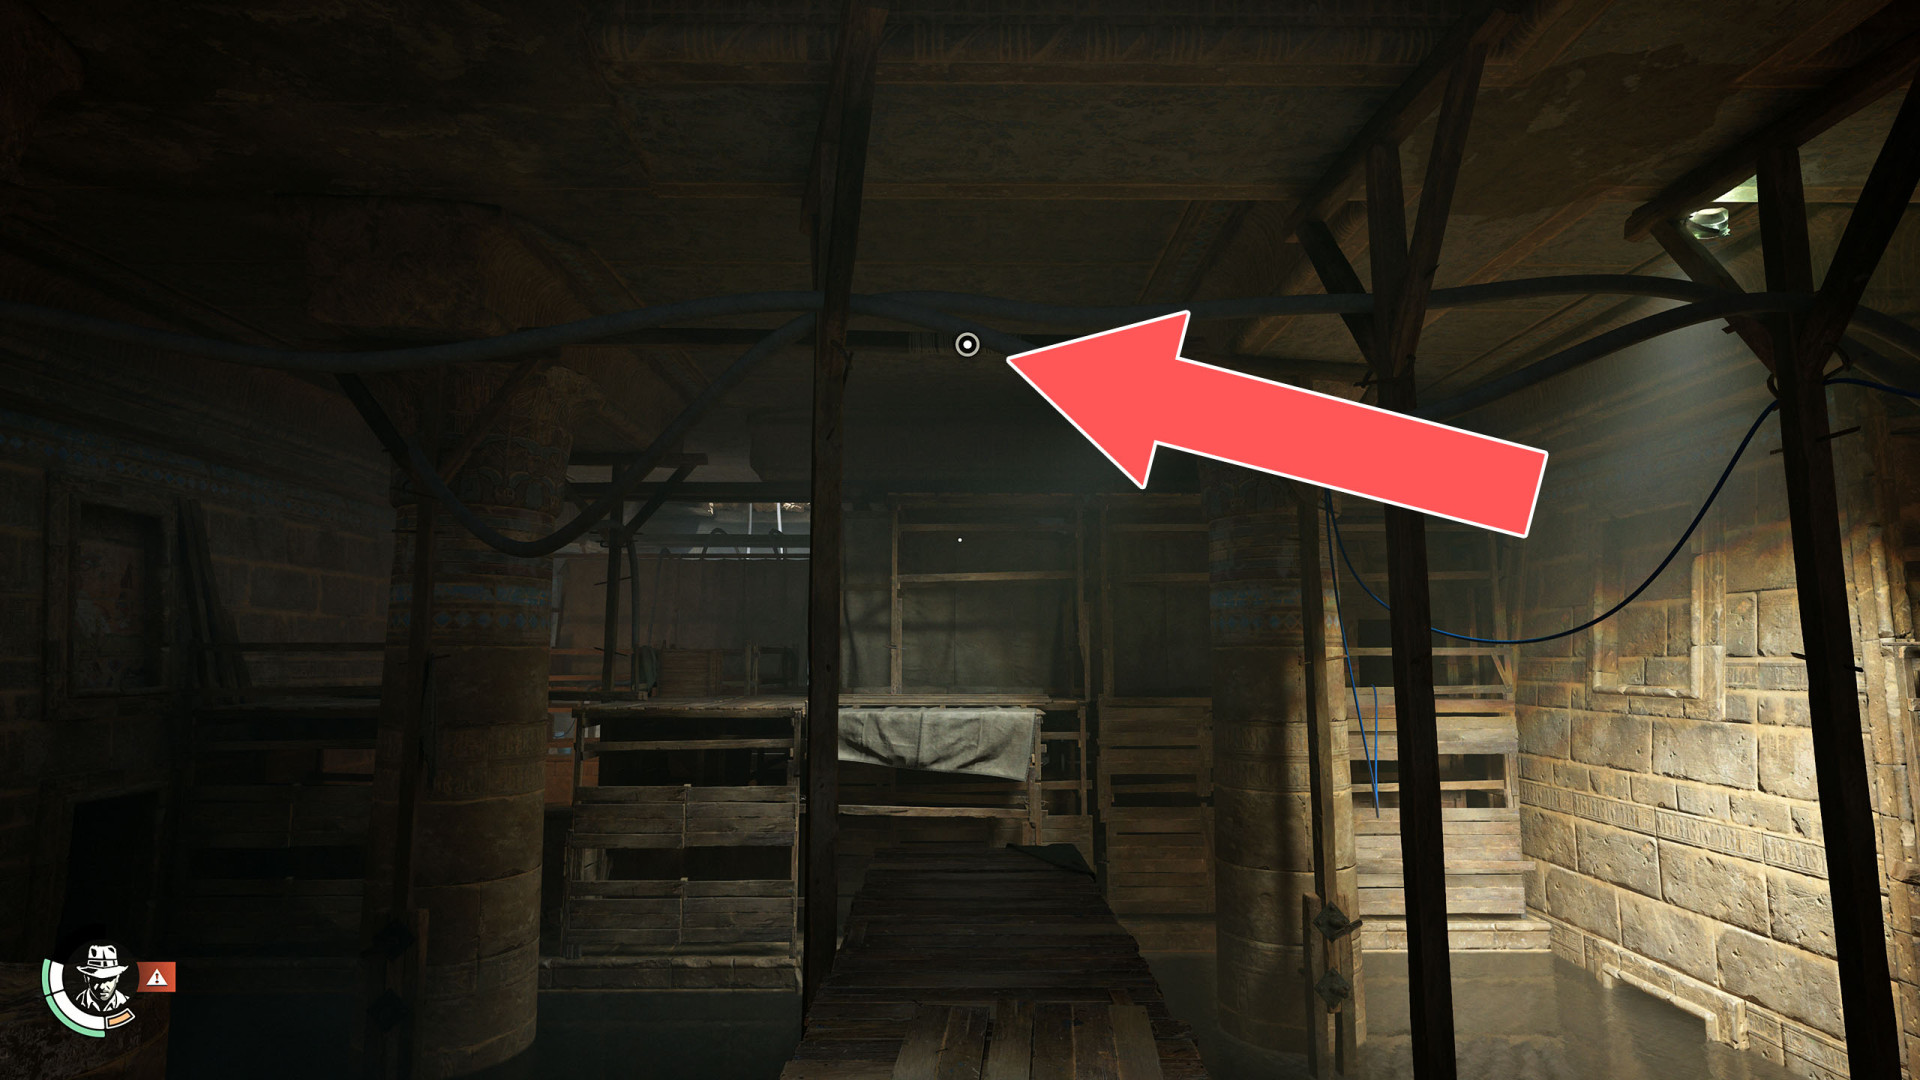
Grappling Point▶ show the map ◀
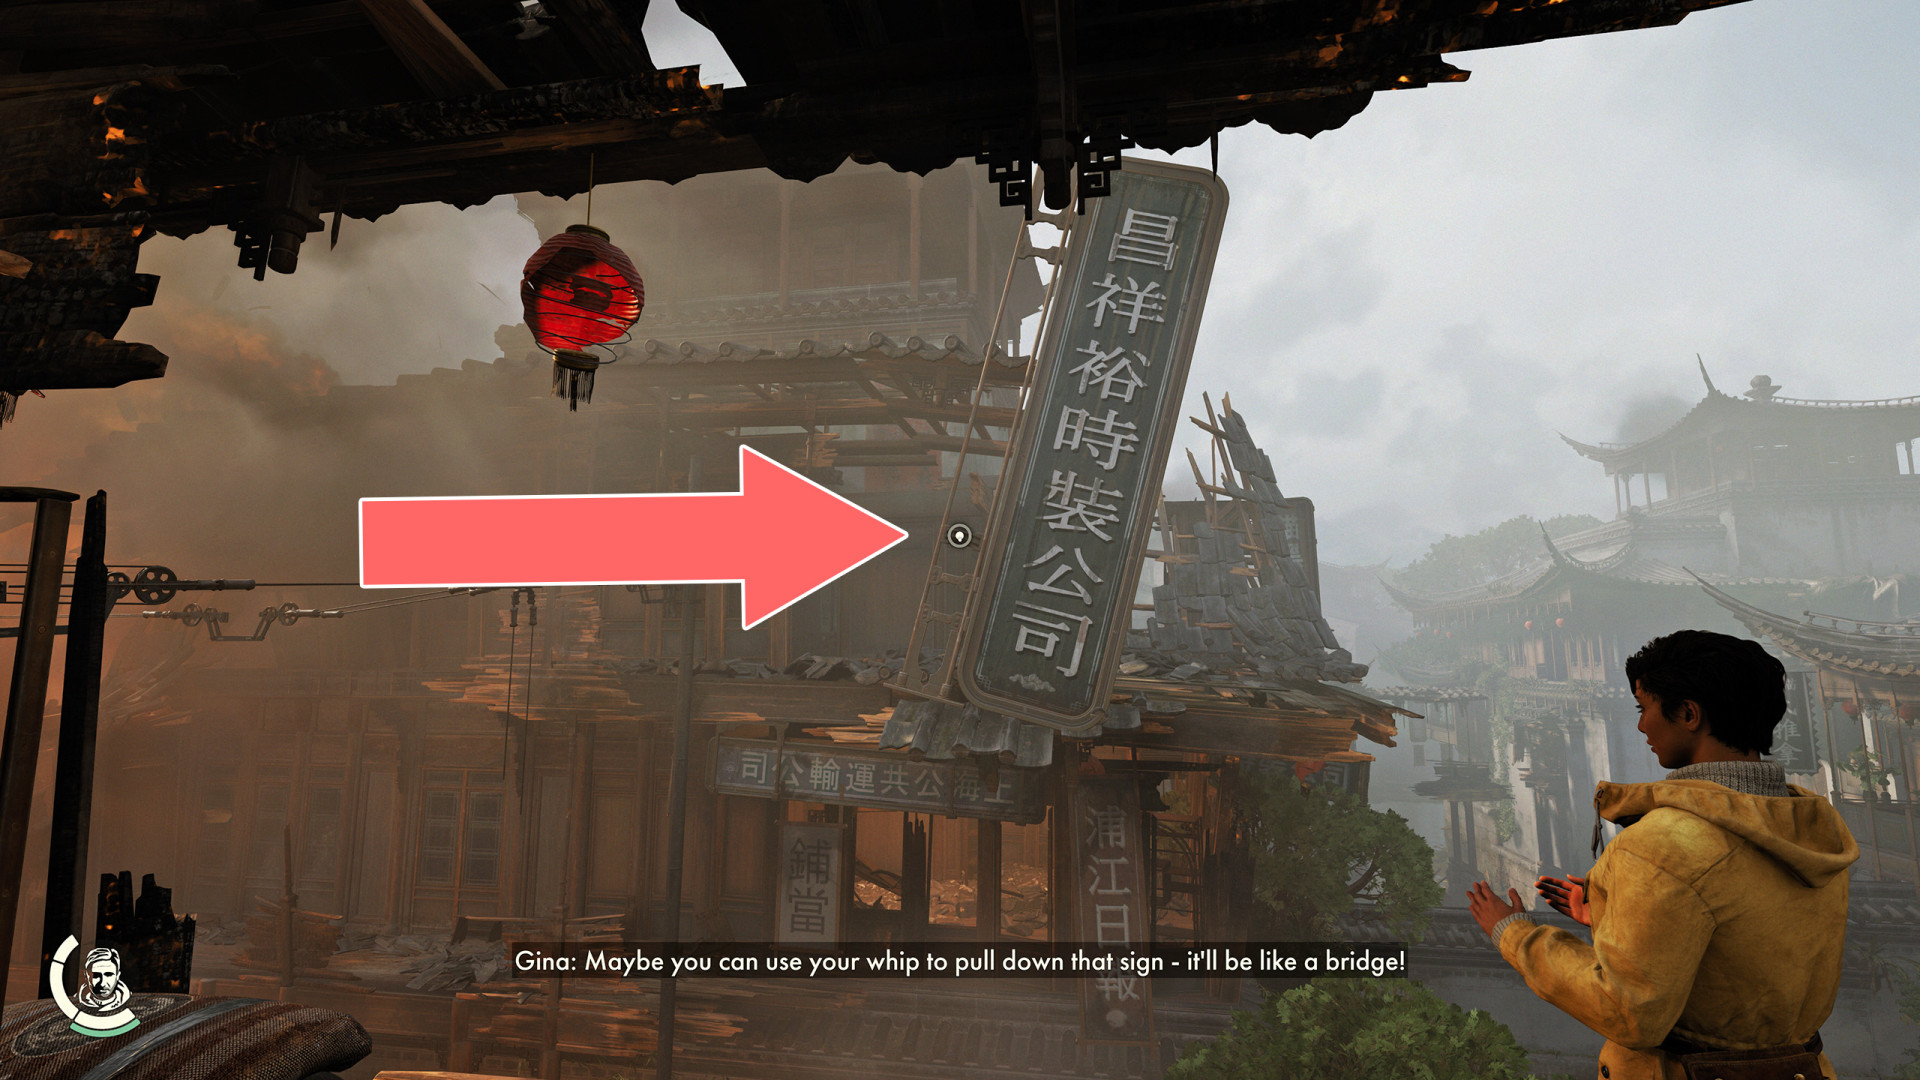
Sign / Bridge▶ show the map ◀
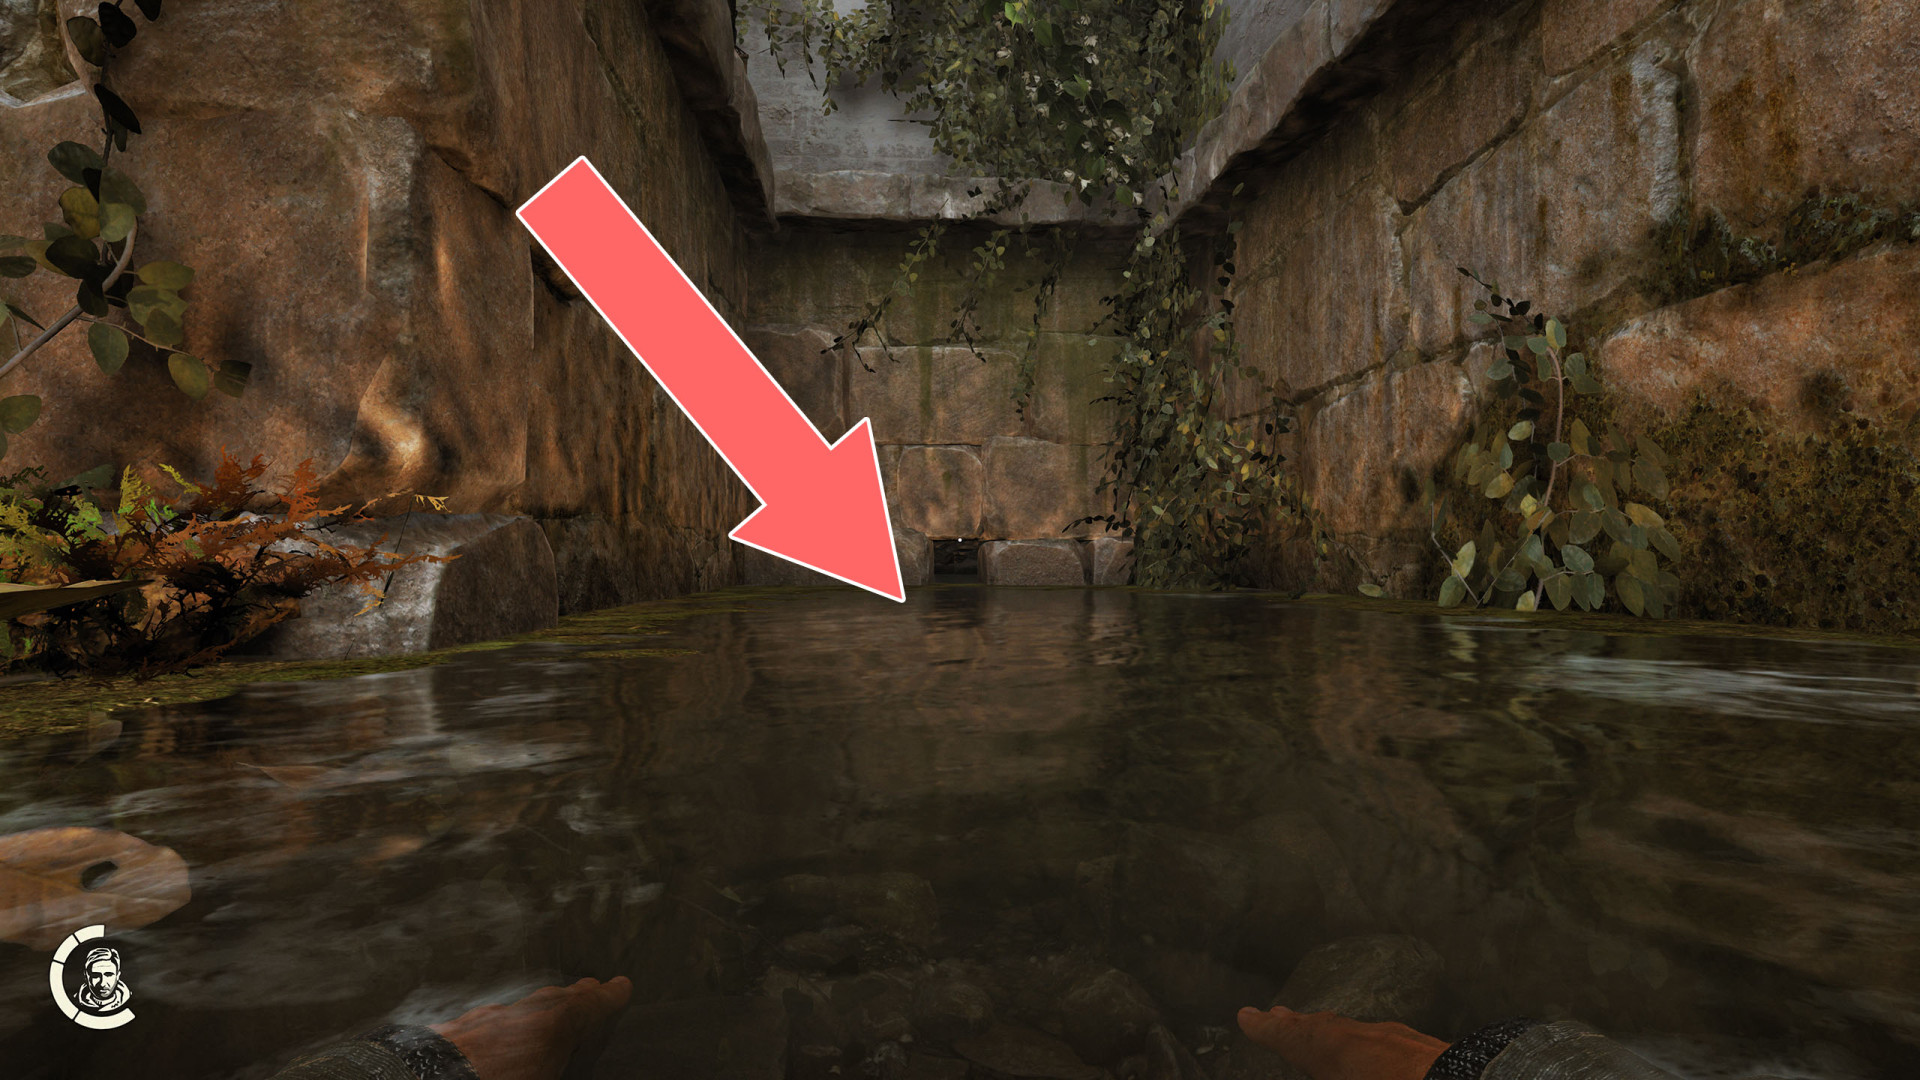
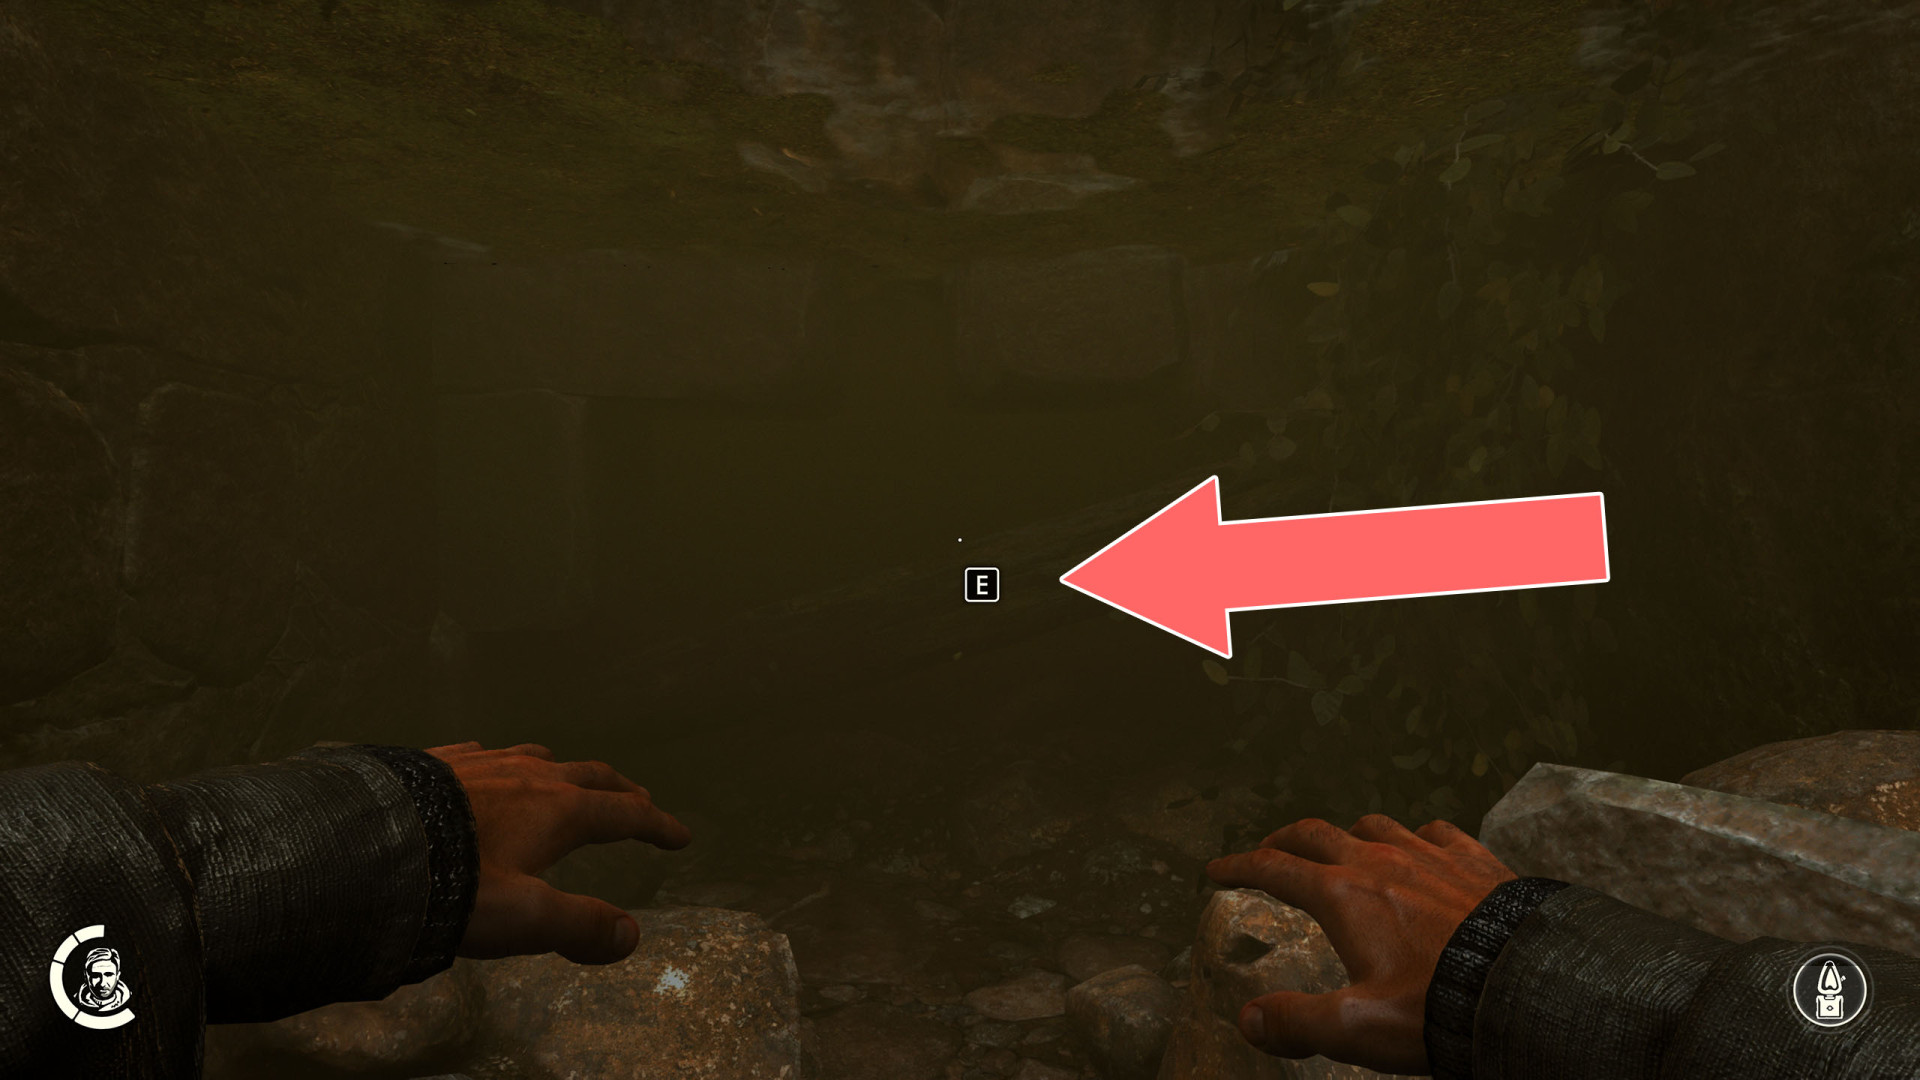
Underwater Passage▶ show the map ◀
To pass this way you need to revisit Shanghai after you reach the Sukhothai and buy the Rebreather. Dive, equip the Rebreather, move the beam blocking the way and swim inside.
All known locations on the map Sukhothai
Crawl Hole▶ show the map ◀
Crawl Hole▶ show the map ◀
Crawl Space▶ show the map ◀
Crawl Space▶ show the map ◀
Crawl Space▶ show the map ◀

Crawl Space▶ show the map ◀
Crawl Space▶ show the map ◀
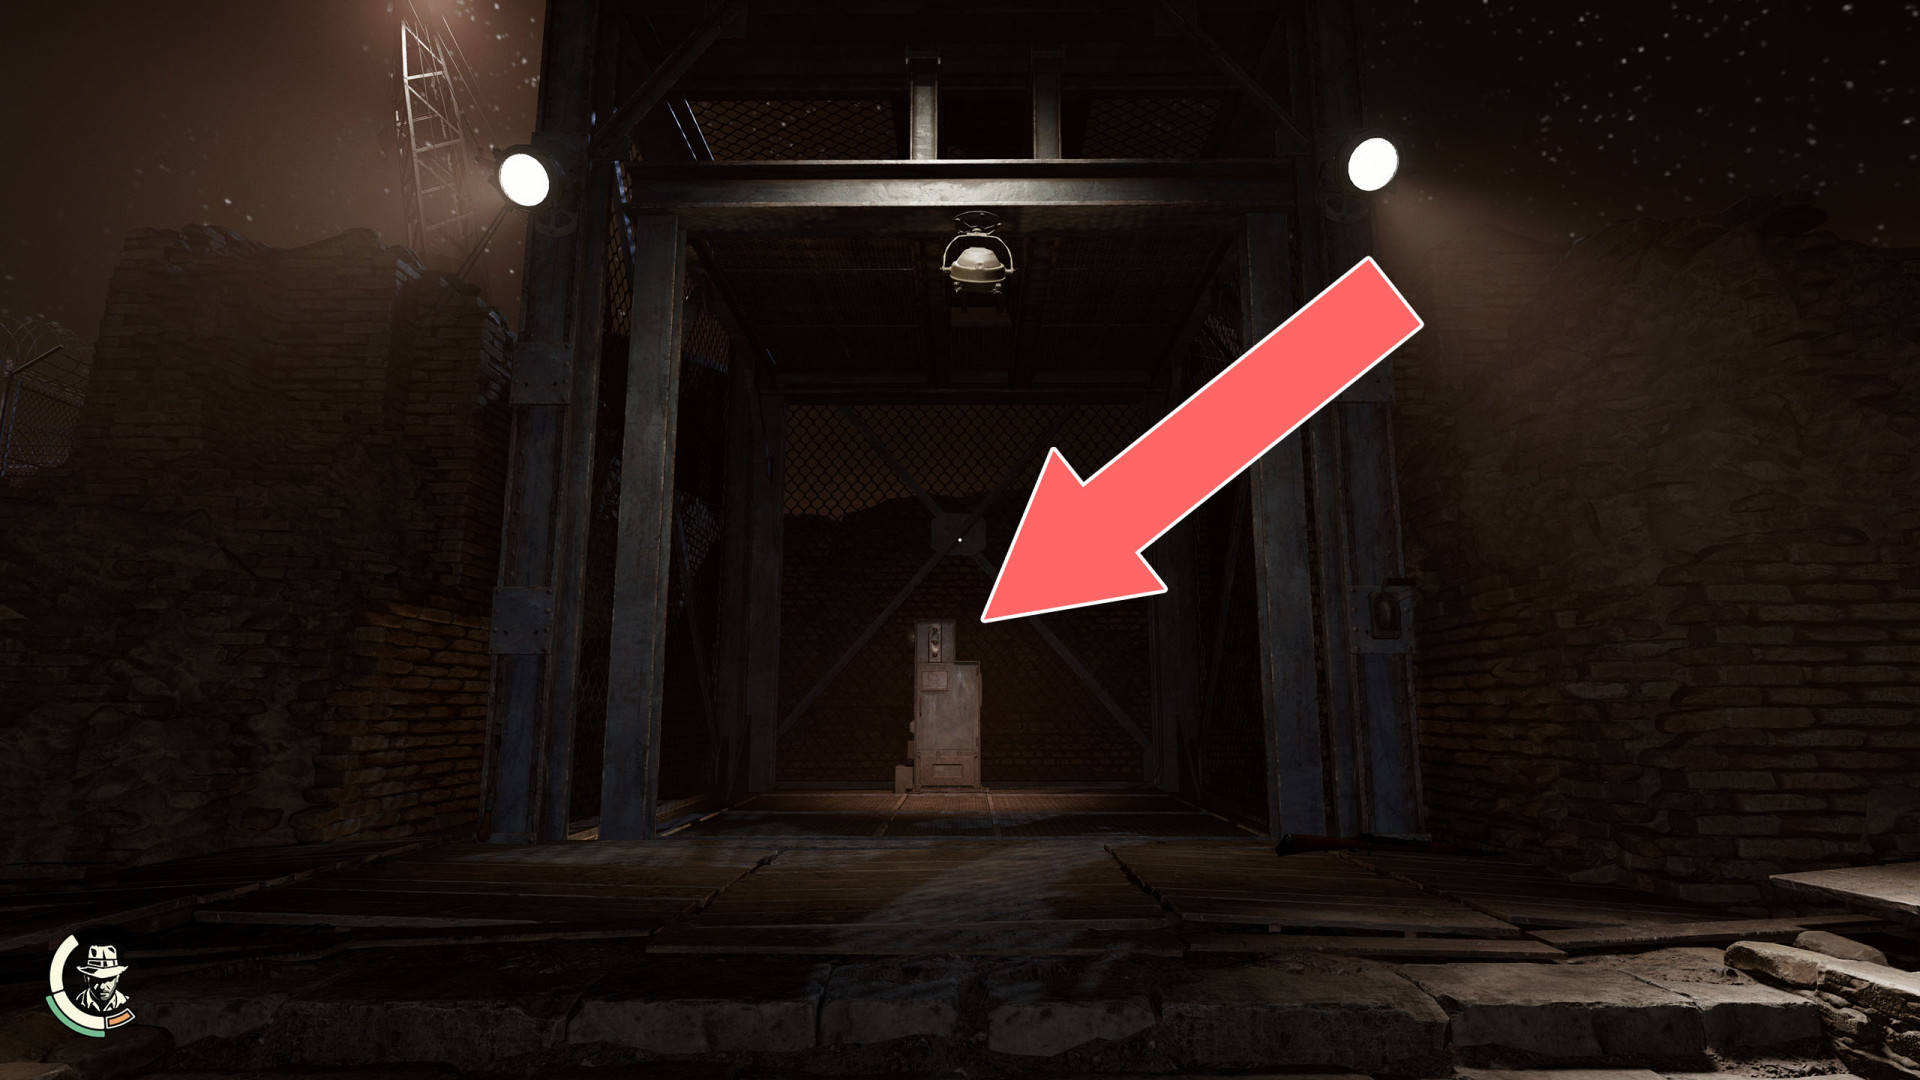
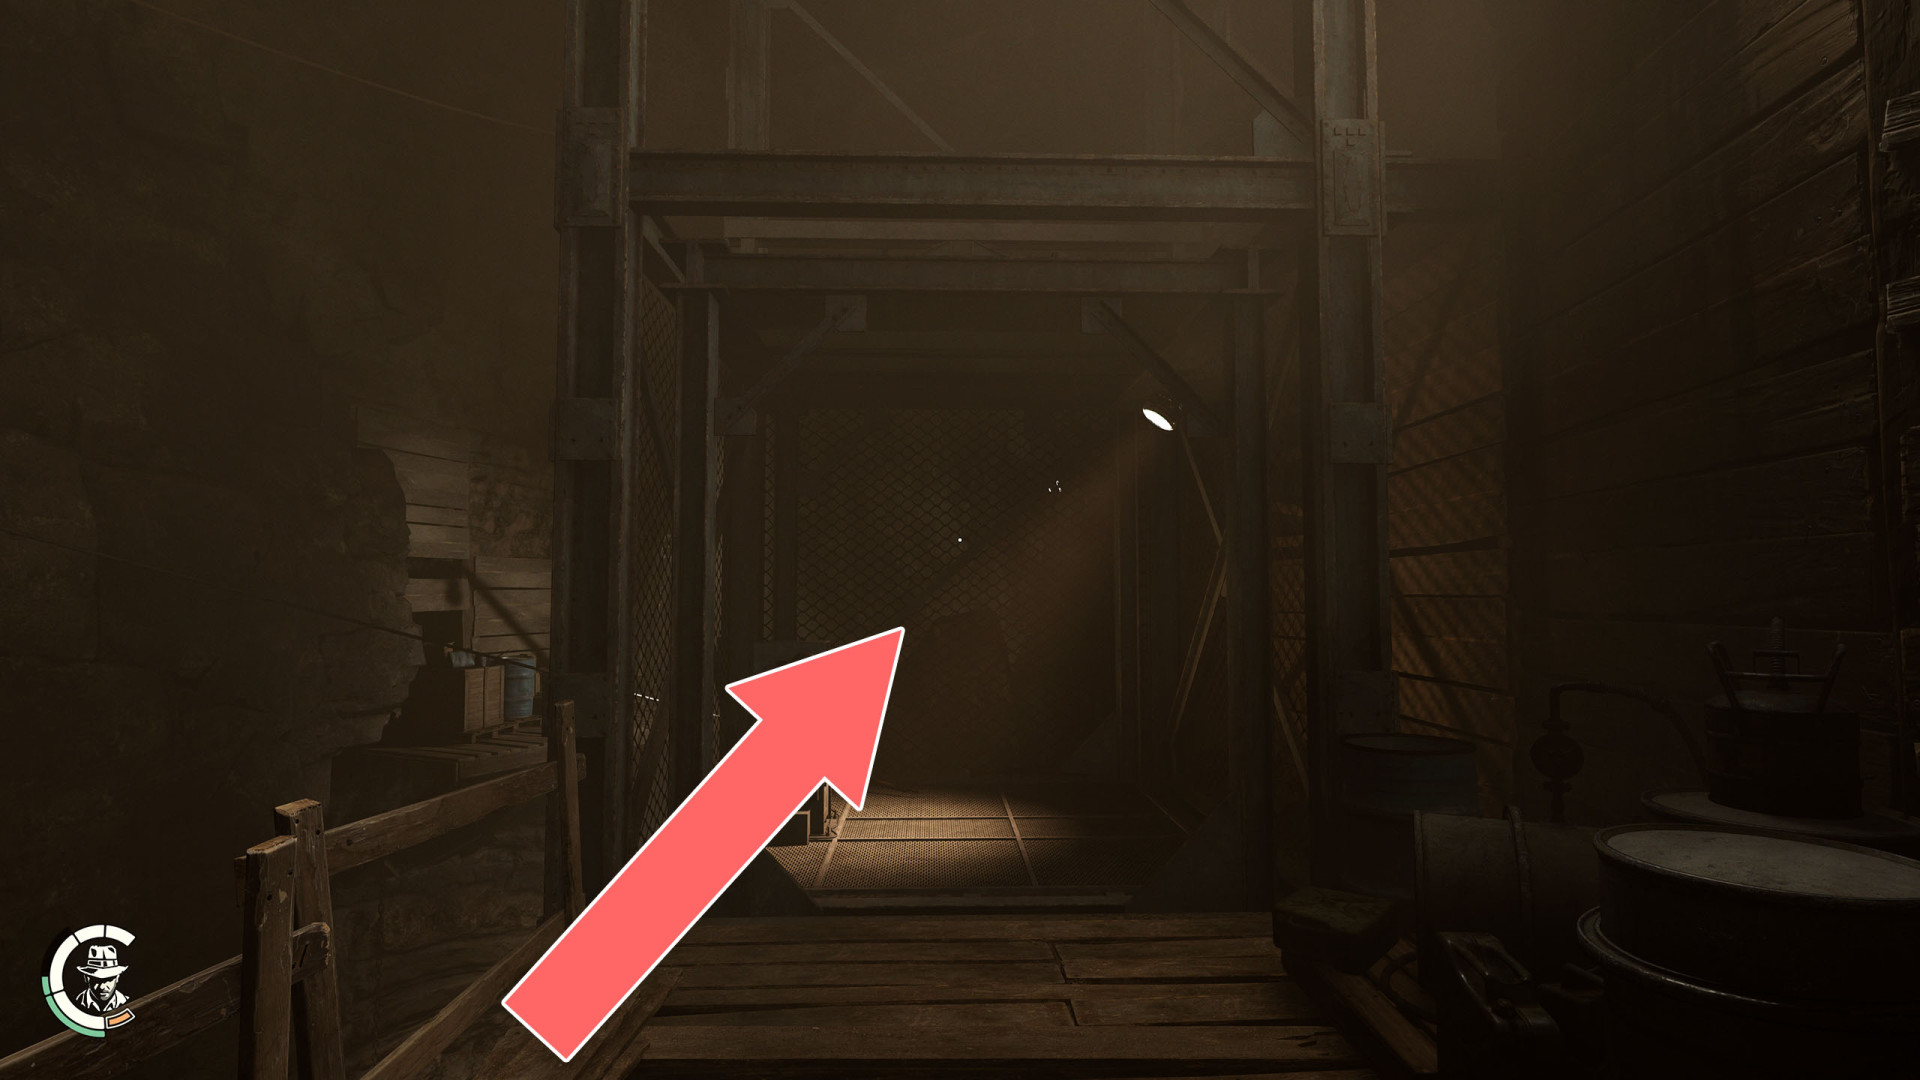
Elevator▶ show the map ◀
Fence Hole▶ show the map ◀
Fence Hole▶ show the map ◀
Fence Hole▶ show the map ◀
Grappling Point▶ show the map ◀
Grappling Point▶ show the map ◀
Grappling Point▶ show the map ◀
Grappling Point▶ show the map ◀
Grappling Point▶ show the map ◀
Grappling Point▶ show the map ◀
Grappling Point▶ show the map ◀
Grappling Point▶ show the map ◀
Grappling Point▶ show the map ◀
Grappling Point▶ show the map ◀
Grappling Point▶ show the map ◀
Grappling Point▶ show the map ◀
Grappling Point▶ show the map ◀
Grappling Point▶ show the map ◀
Grappling Point▶ show the map ◀
Grappling Point▶ show the map ◀
Grappling Point▶ show the map ◀
Grappling Point▶ show the map ◀
Grappling Point▶ show the map ◀
Grappling Point▶ show the map ◀
Grappling Point▶ show the map ◀
Grappling Point▶ show the map ◀
Grappling Point▶ show the map ◀
Grappling Point▶ show the map ◀
Grappling Point▶ show the map ◀
Grappling Point▶ show the map ◀
Grappling Point▶ show the map ◀
Grappling Point▶ show the map ◀
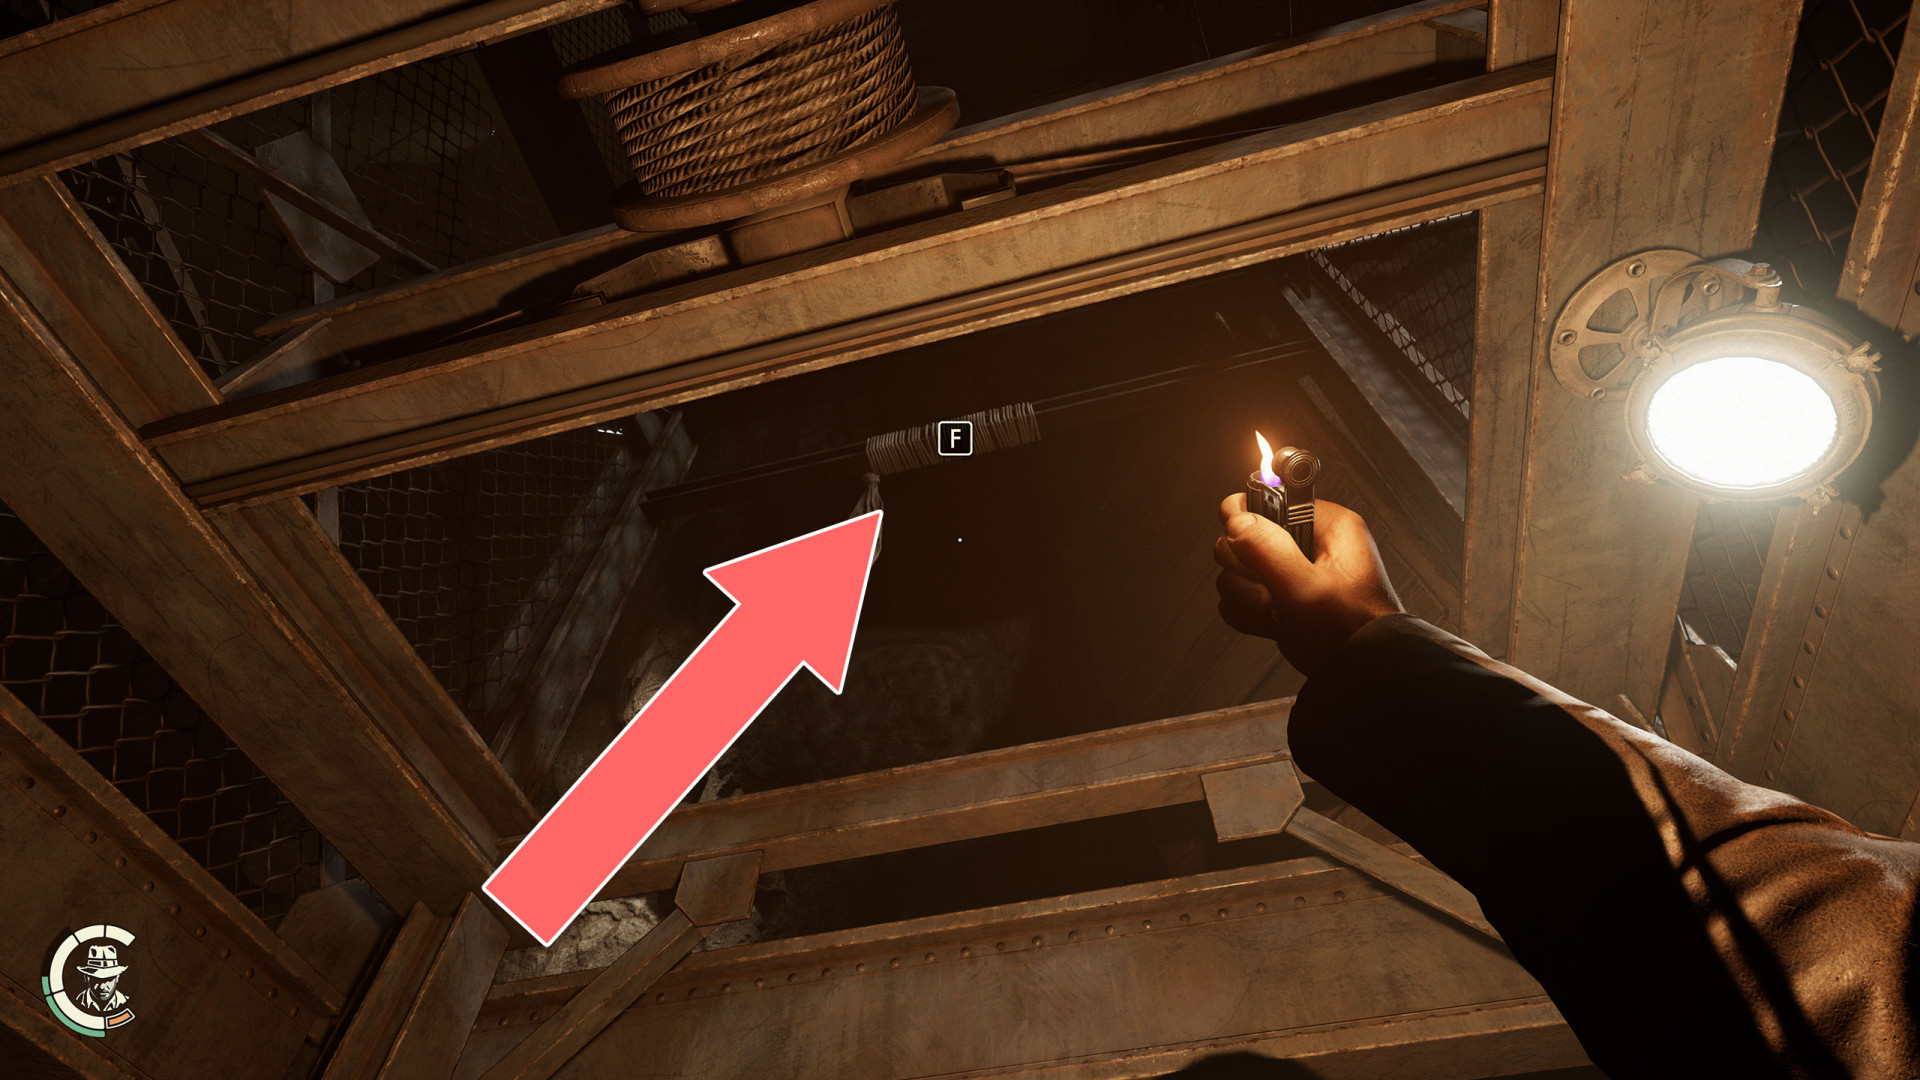
Grappling Point▶ show the map ◀
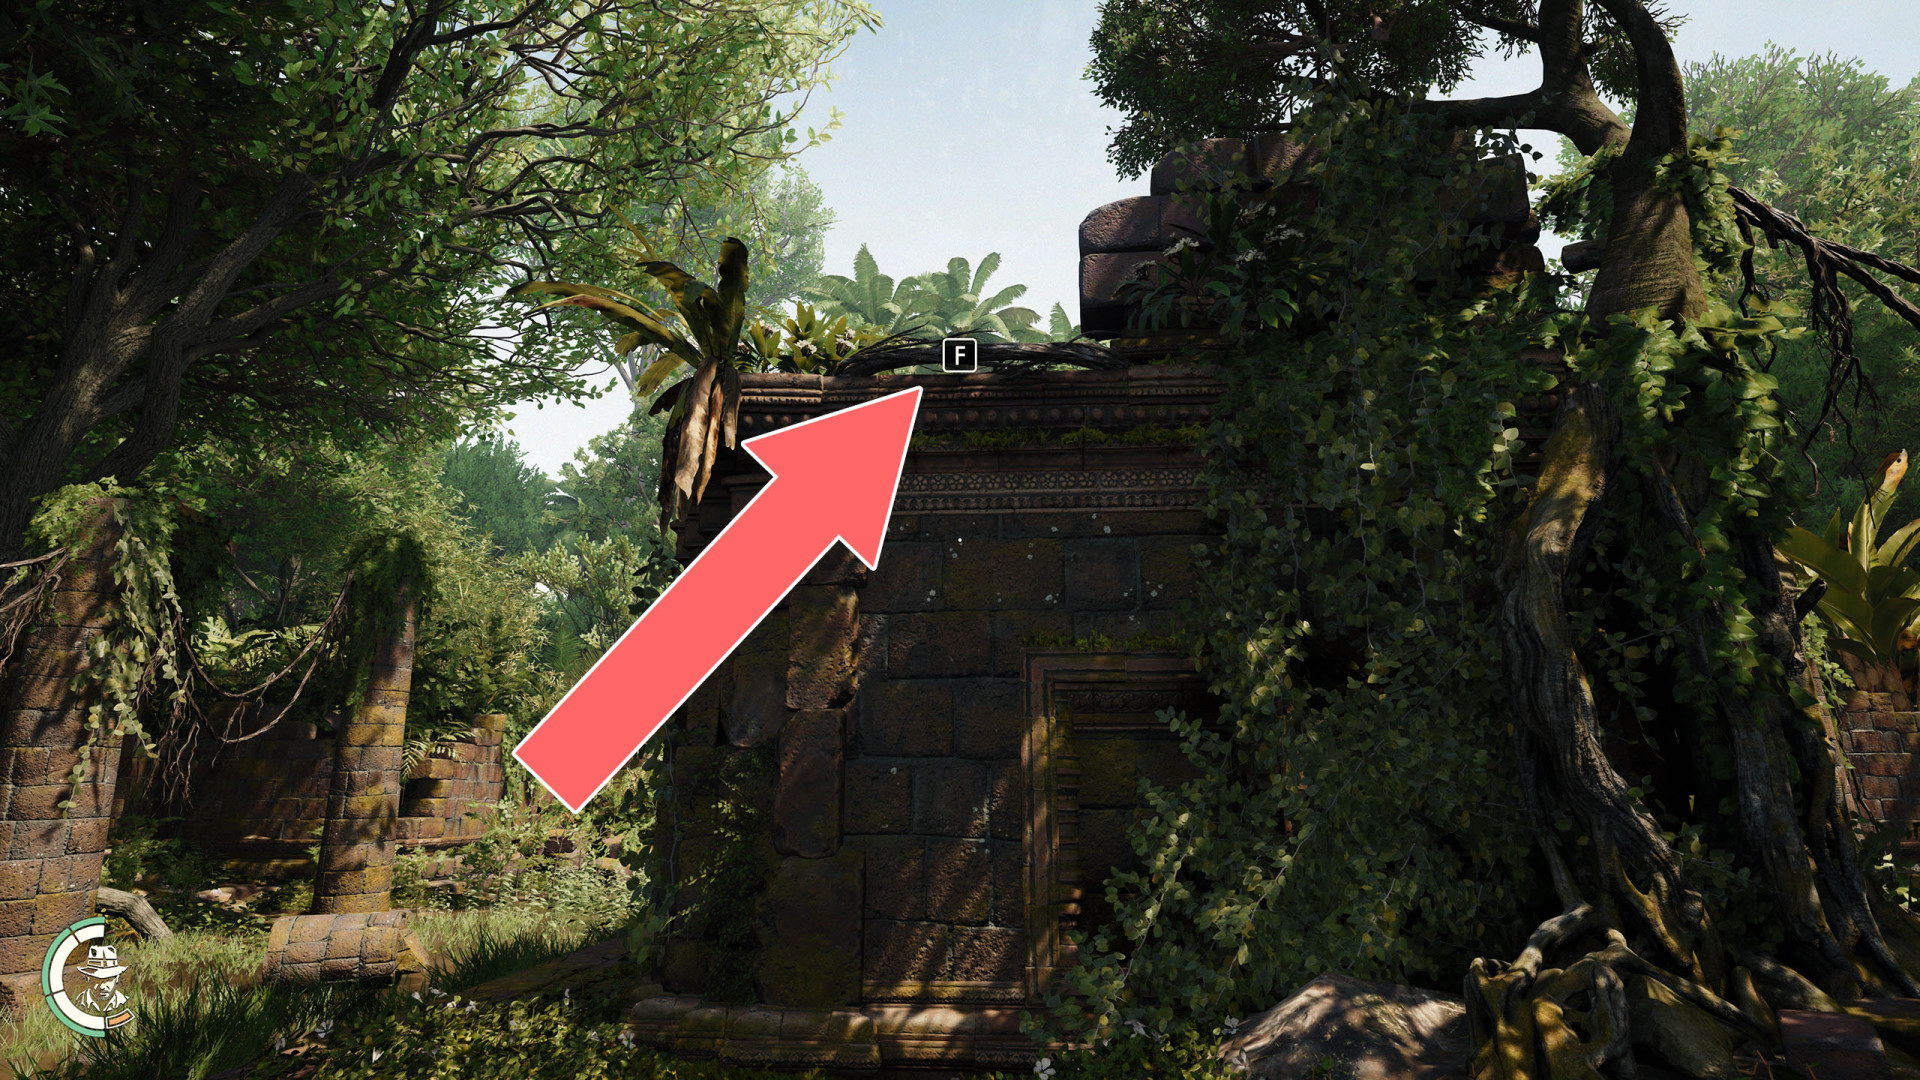
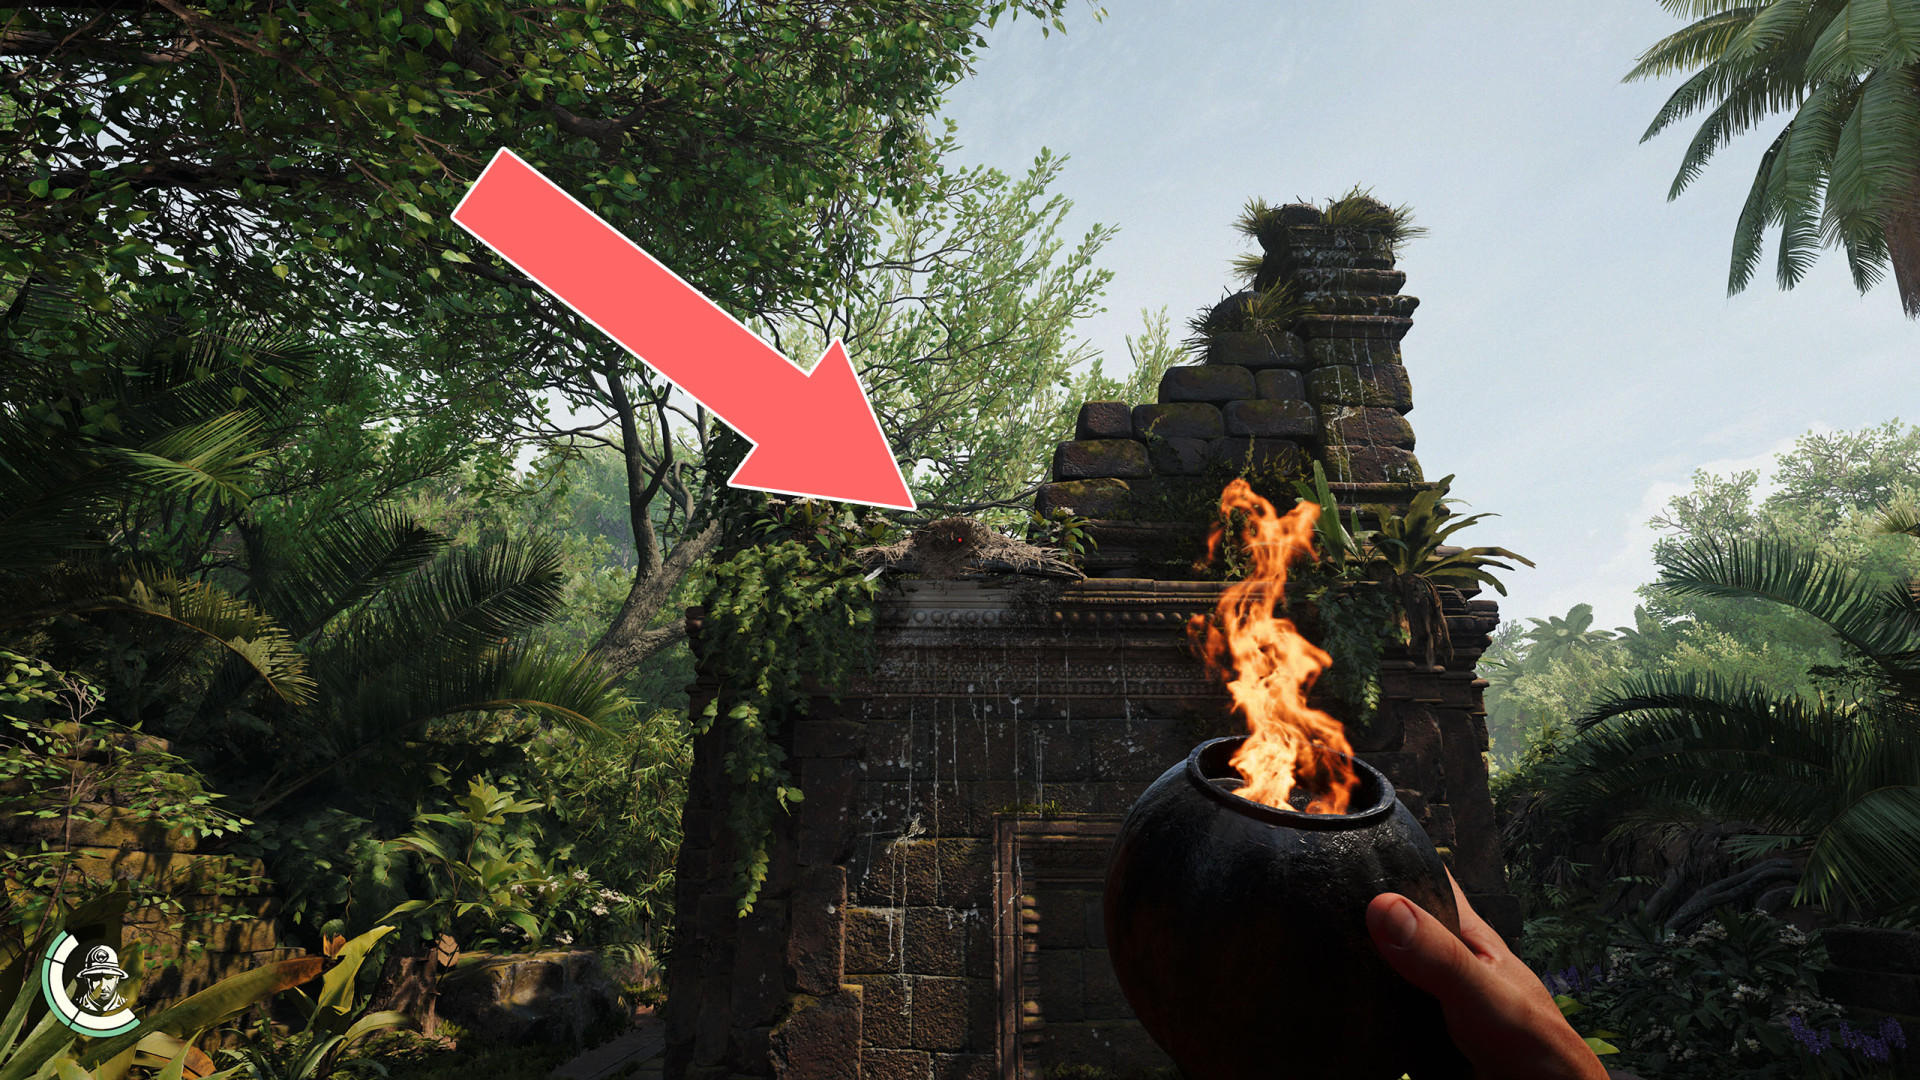
To unlock it, go around the room, approach it from the top and burn the hay covering it.

Grappling Point▶ show the map ◀
Grappling Point▶ show the map ◀
Get one of the Tar Jars, set it on fire and throw it to burn the hay covering the point.
Grappling Point▶ show the map ◀
Grappling Point▶ show the map ◀
Grappling Point (X)▶ show the map ◀

Grappling Point (Y)▶ show the map ◀
Hidden Temple Entrance▶ show the map ◀
Hidden Temple Entrance▶ show the map ◀
Khmer Vault Entrance▶ show the map ◀
Khmer Vault Entrance▶ show the map ◀
Khmer Warrior Temple▶ show the map ◀

Ledge▶ show the map ◀
Ledge▶ show the map ◀
Shaft▶ show the map ◀
To Sukhothai▶ show the map ◀
To the Village▶ show the map ◀
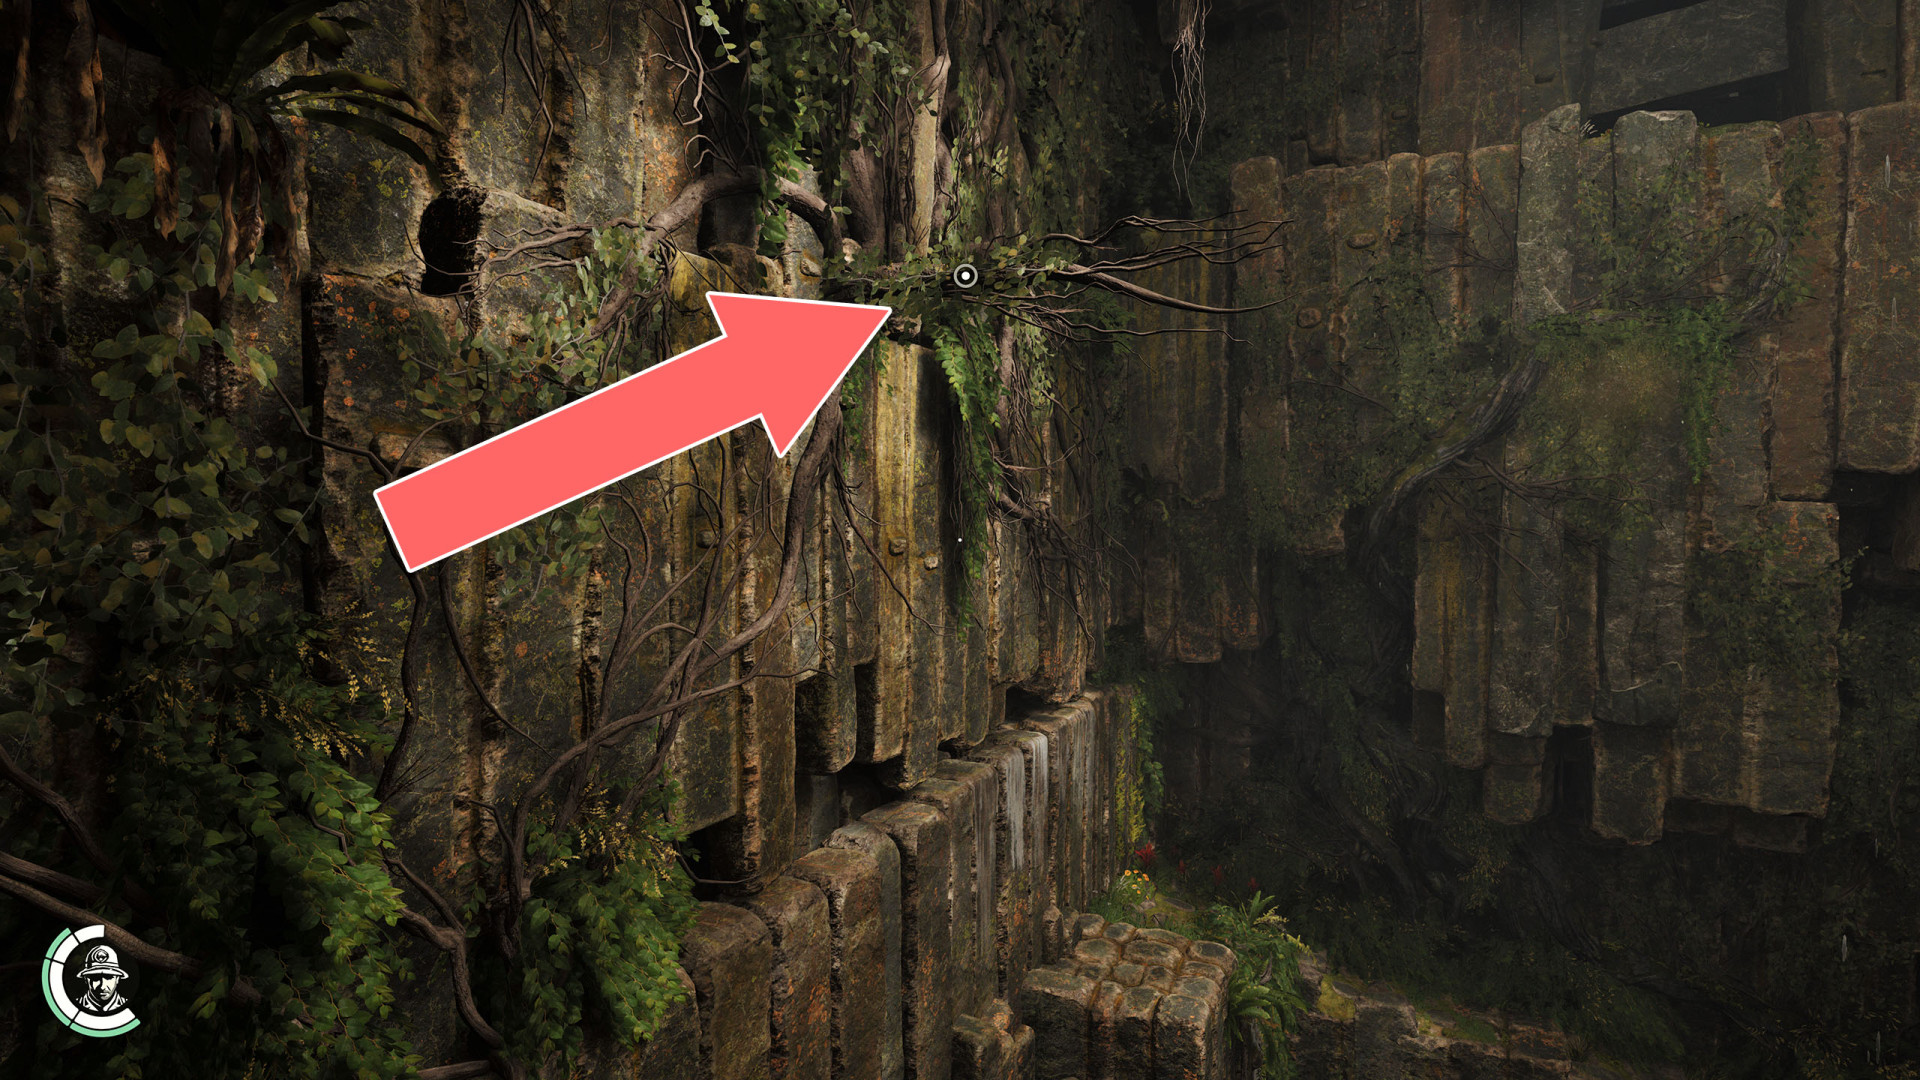
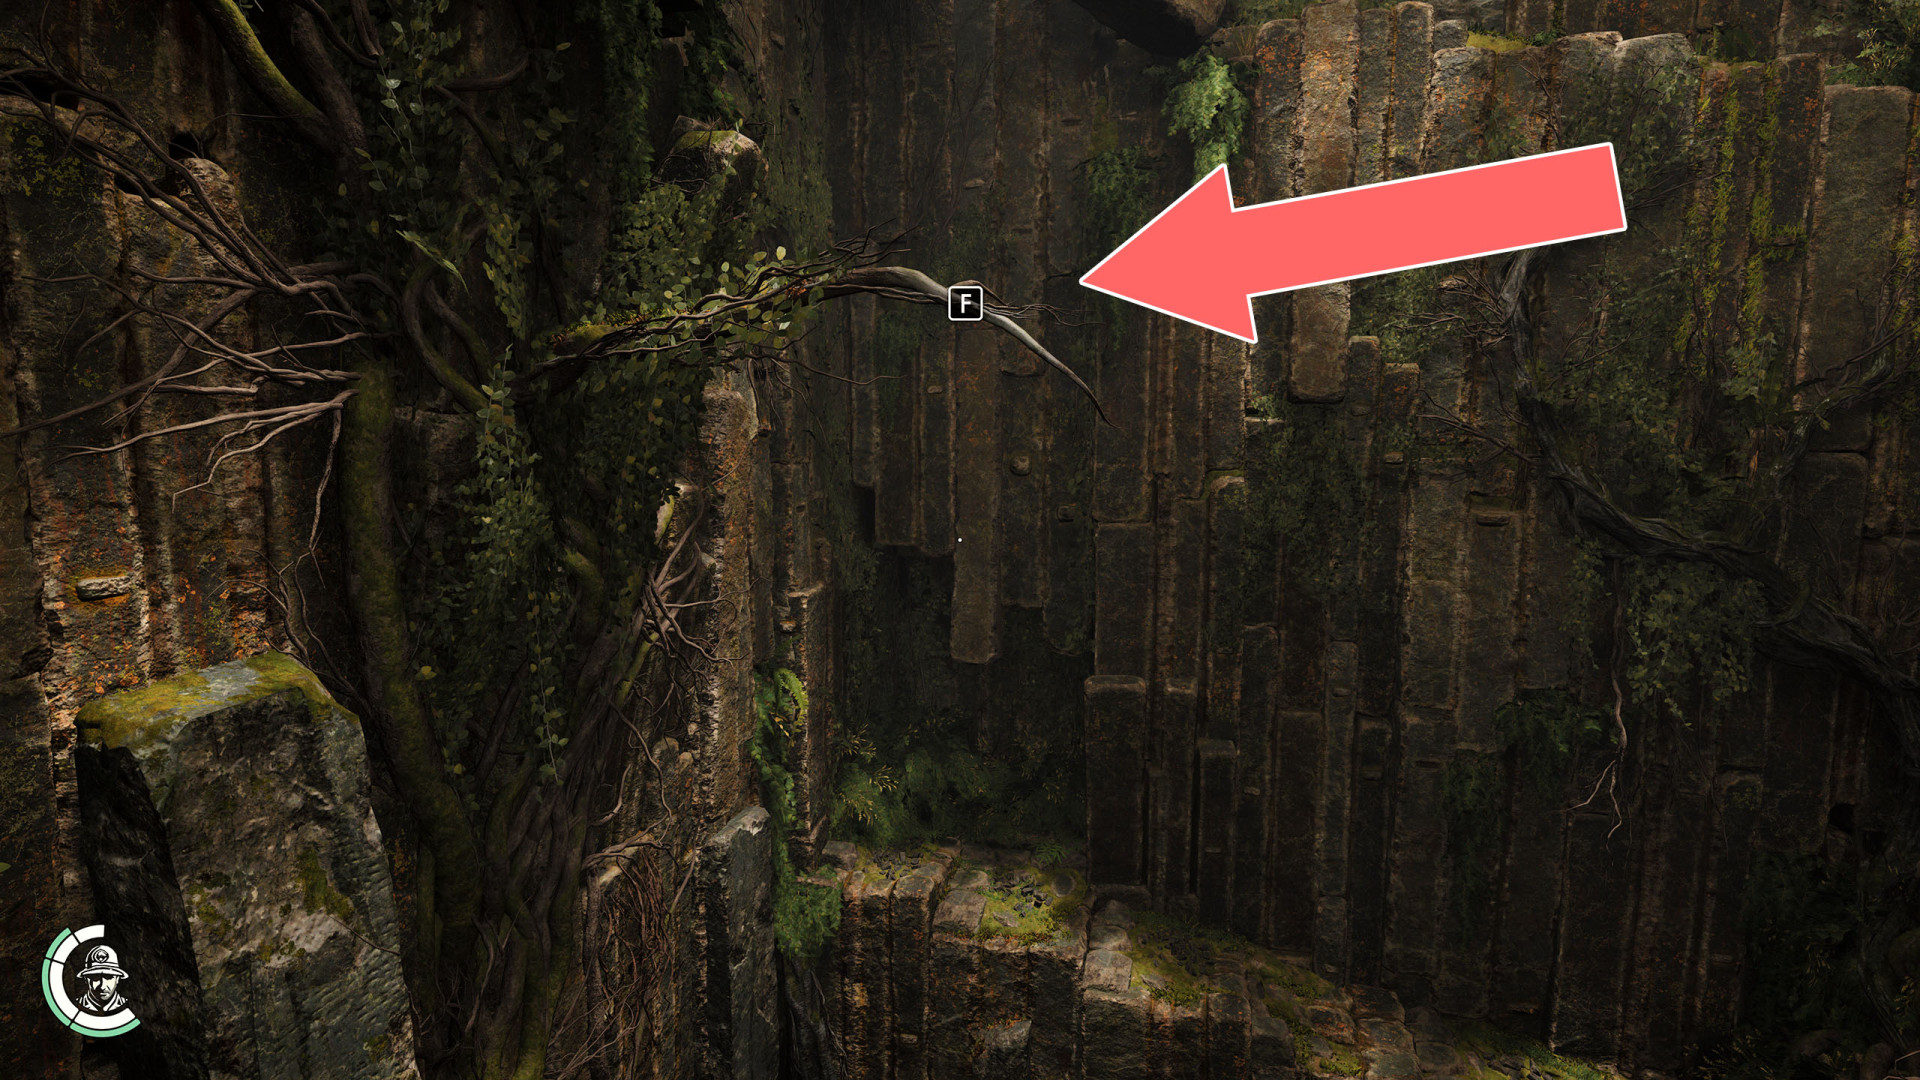
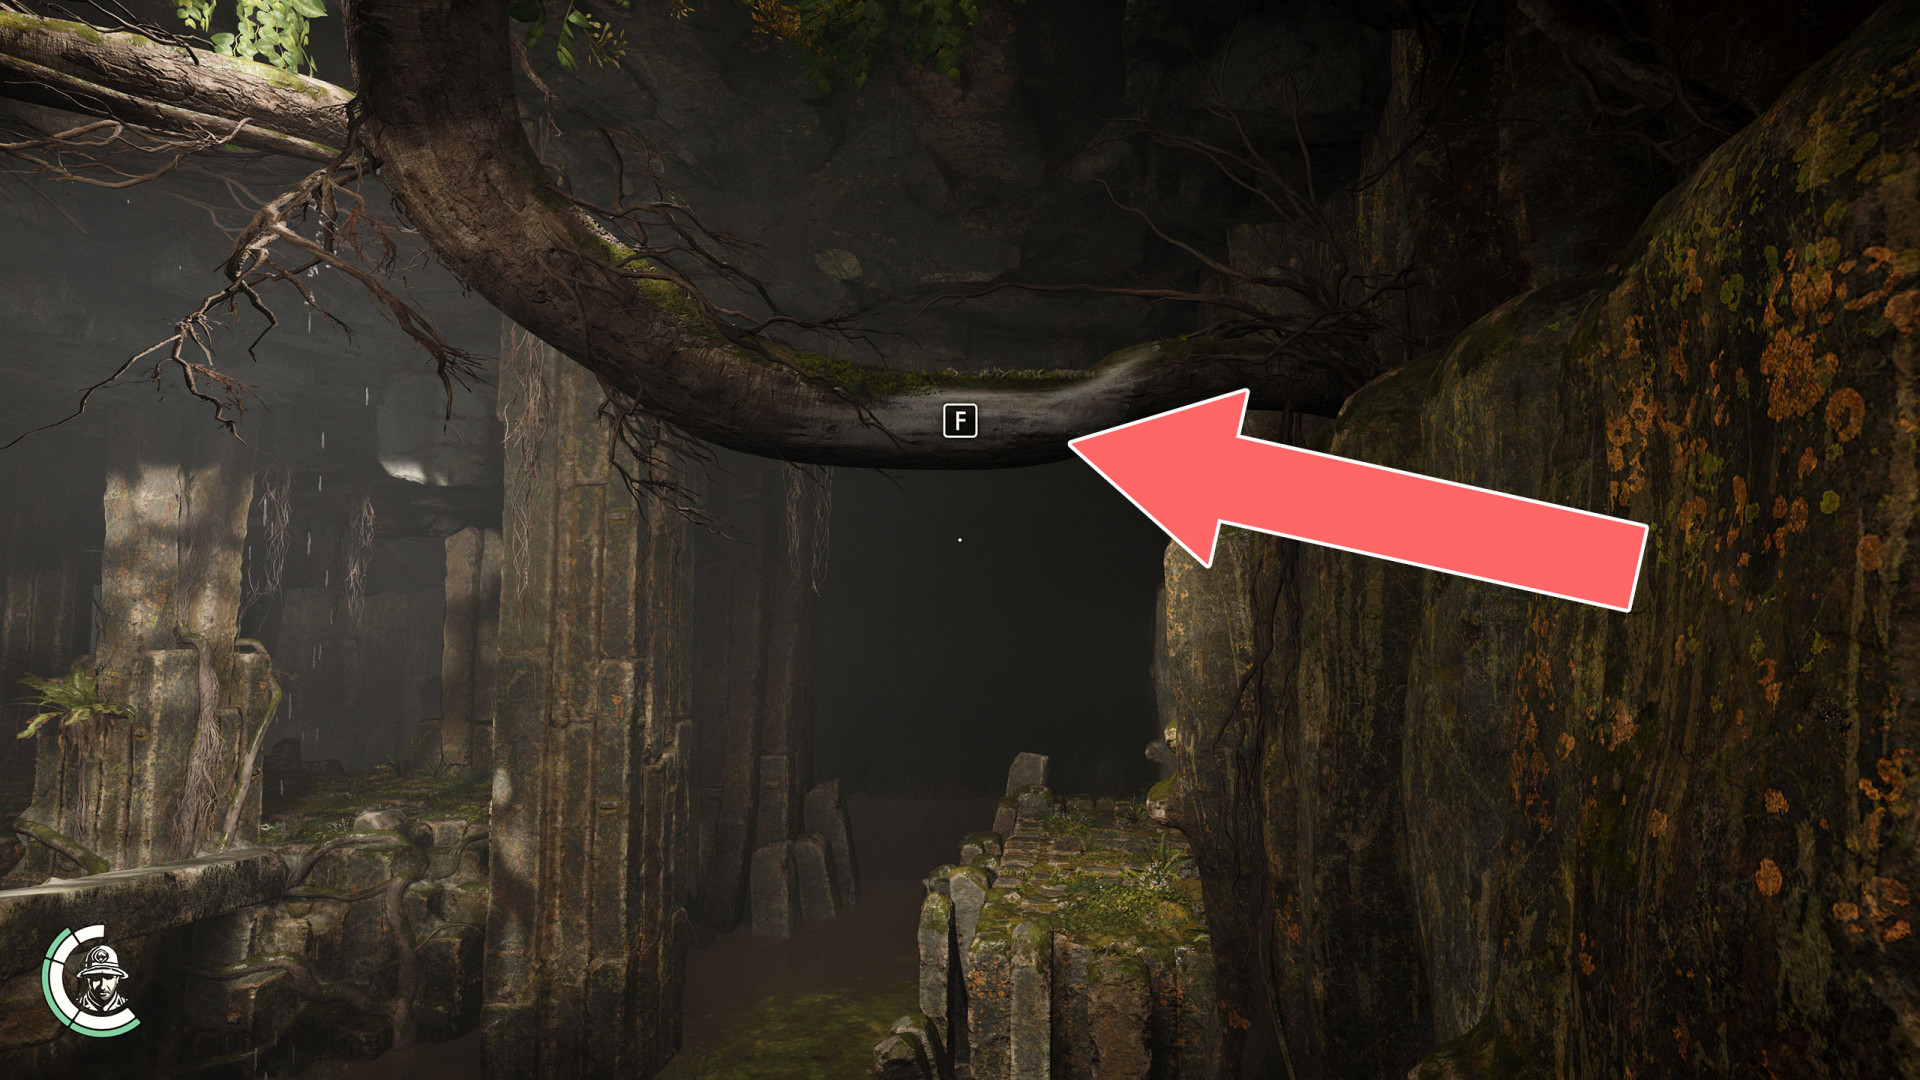
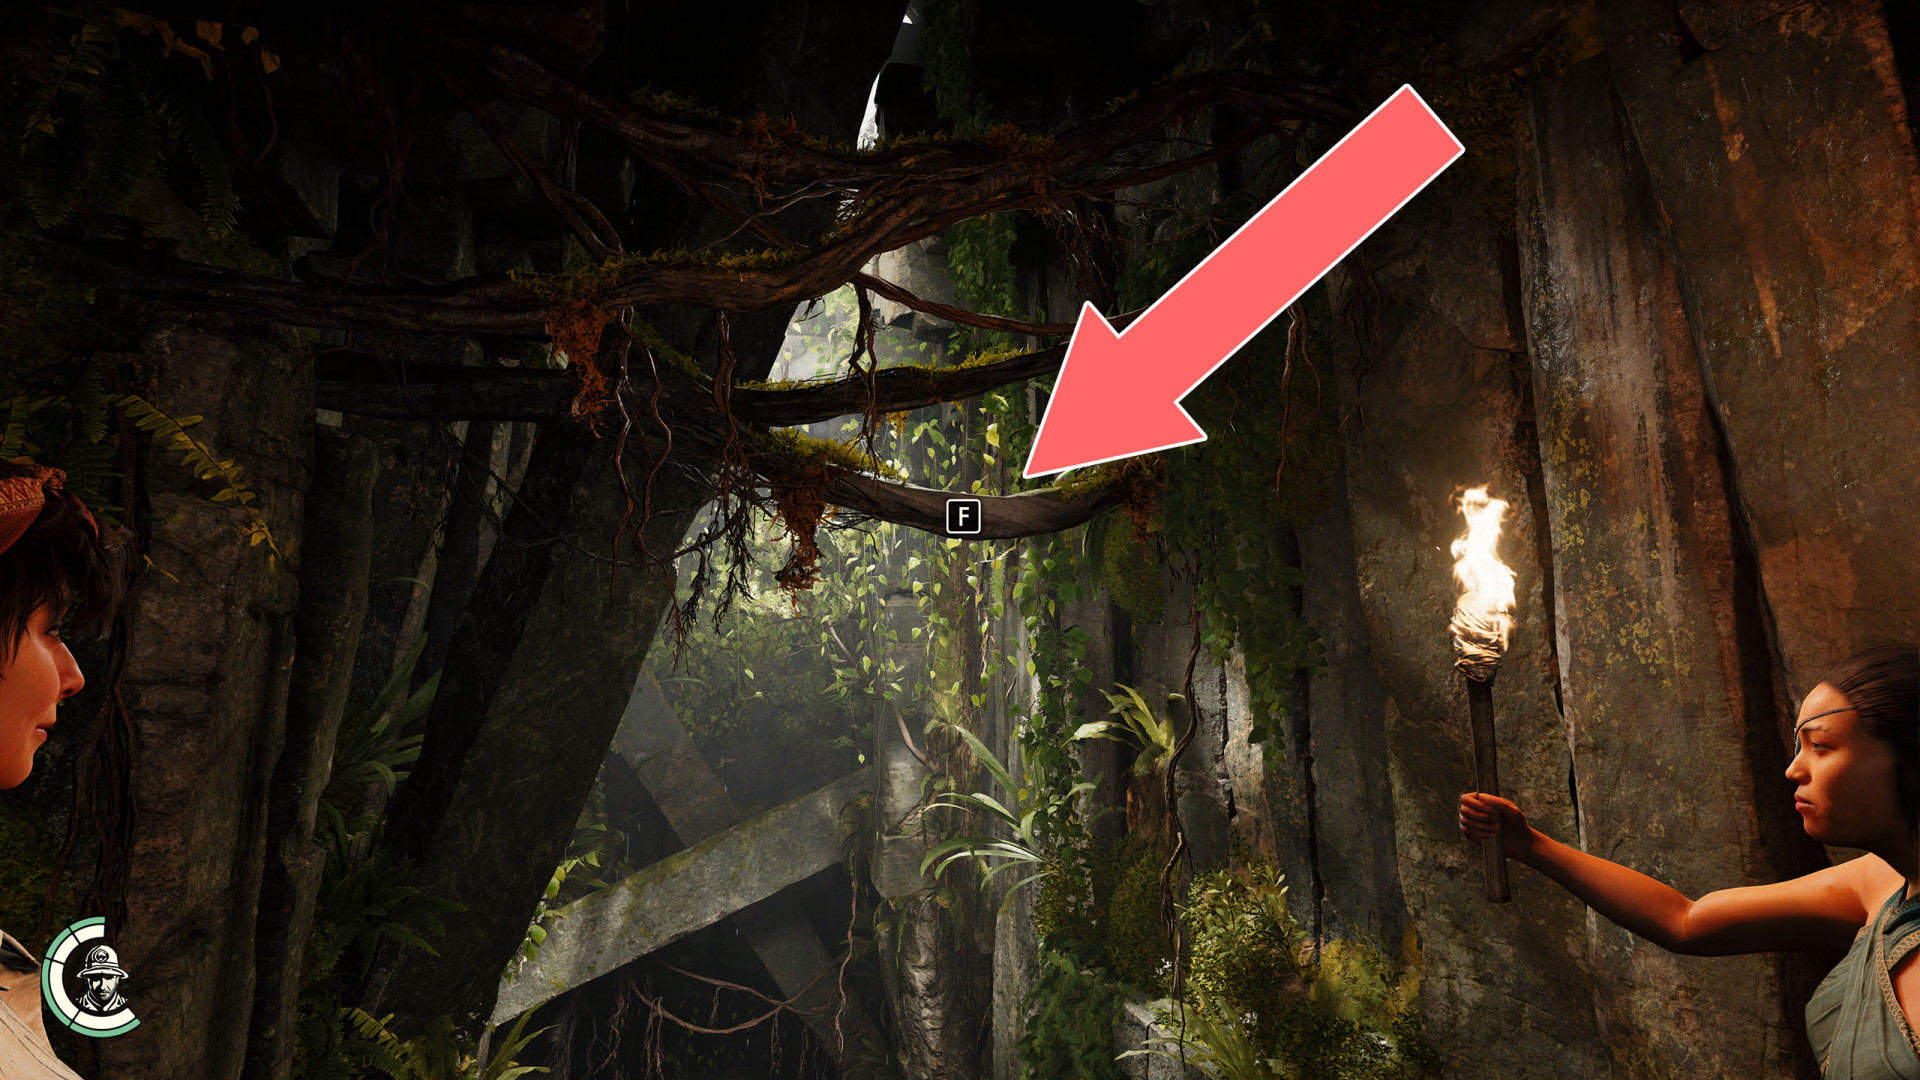
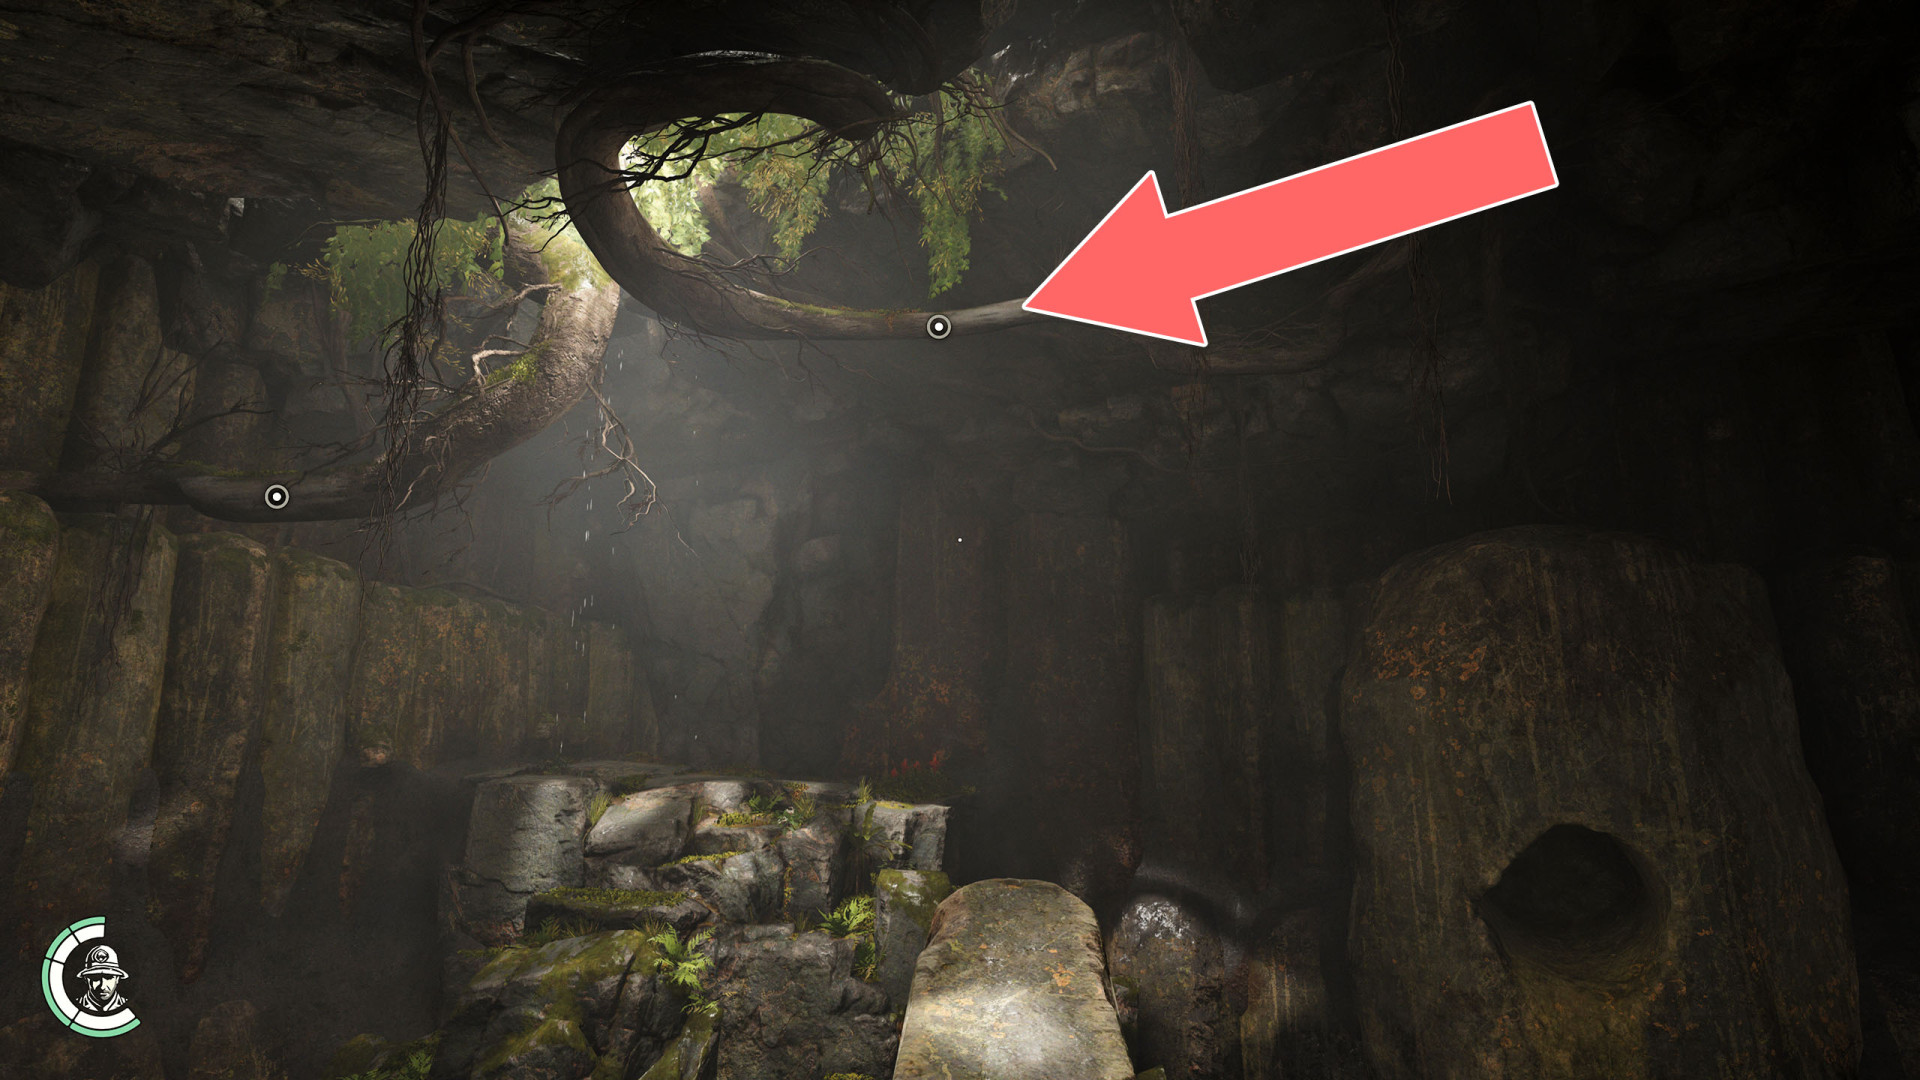
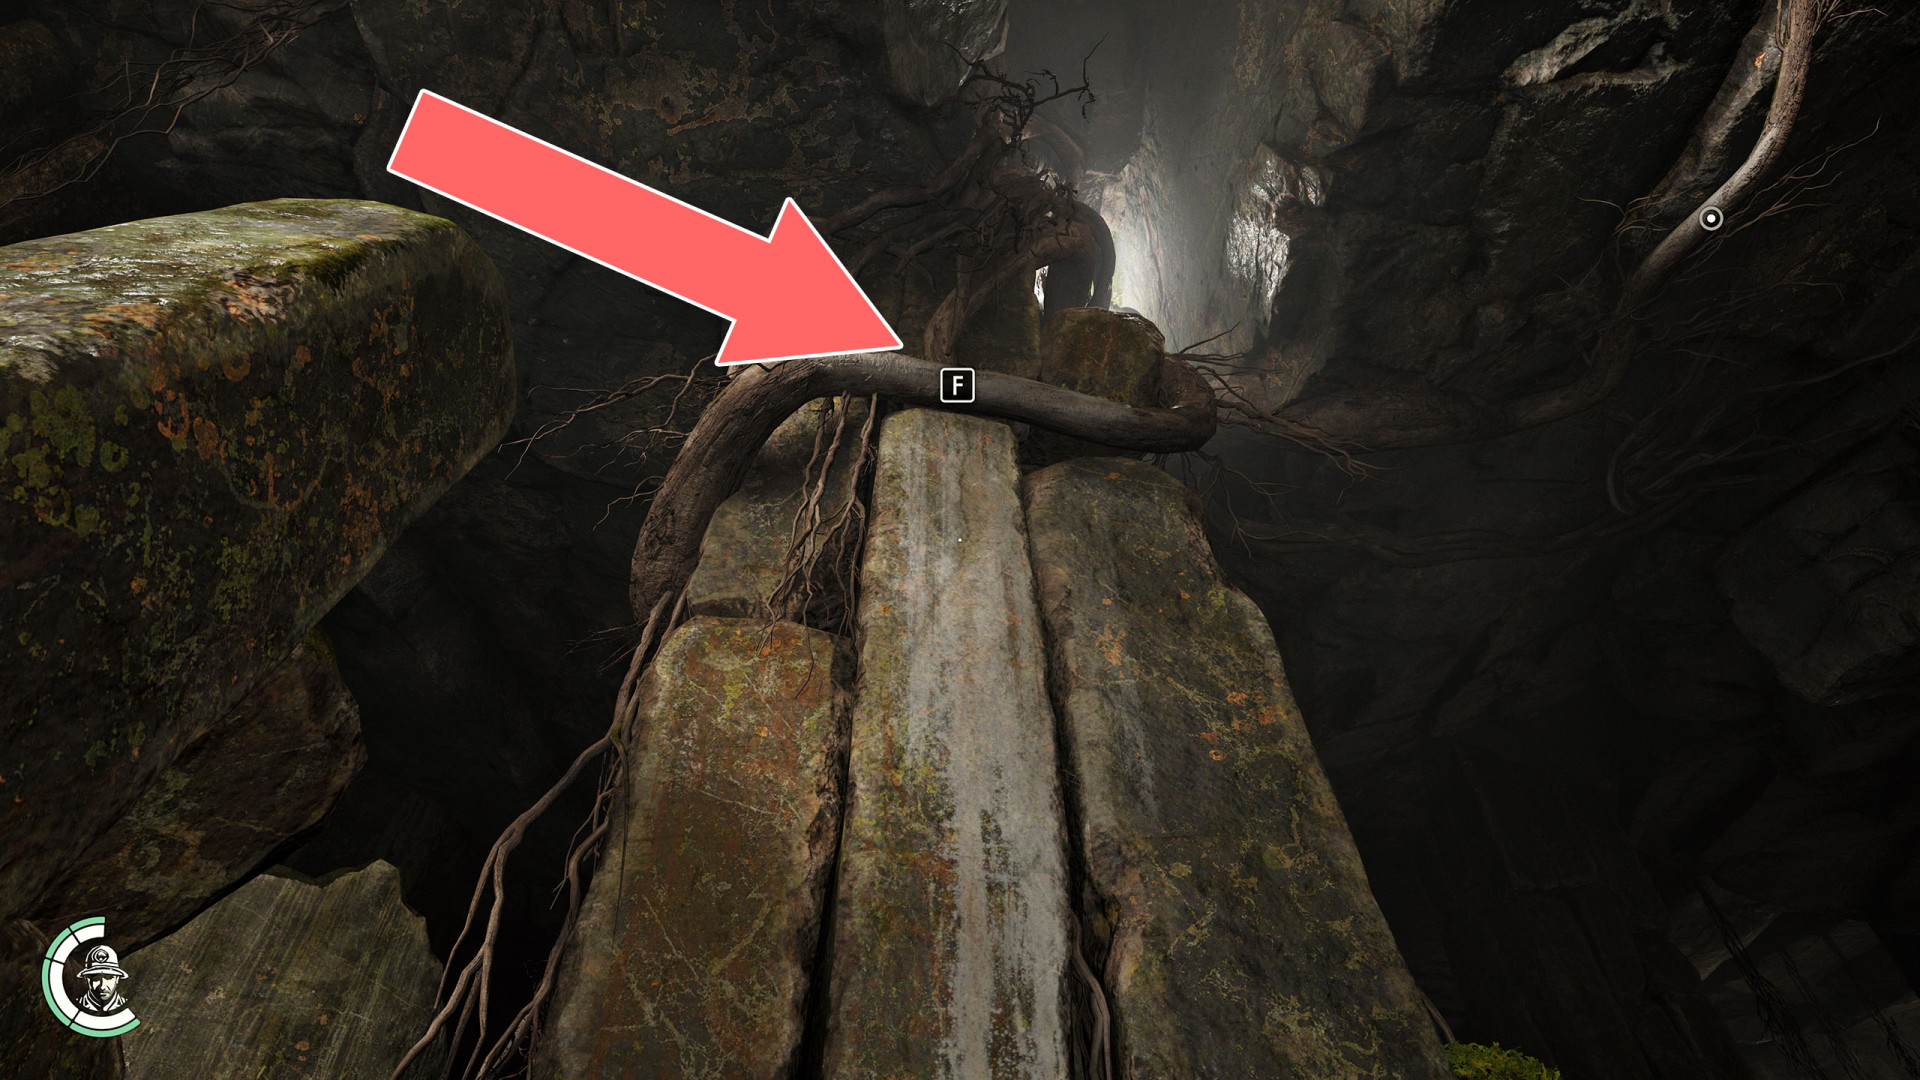
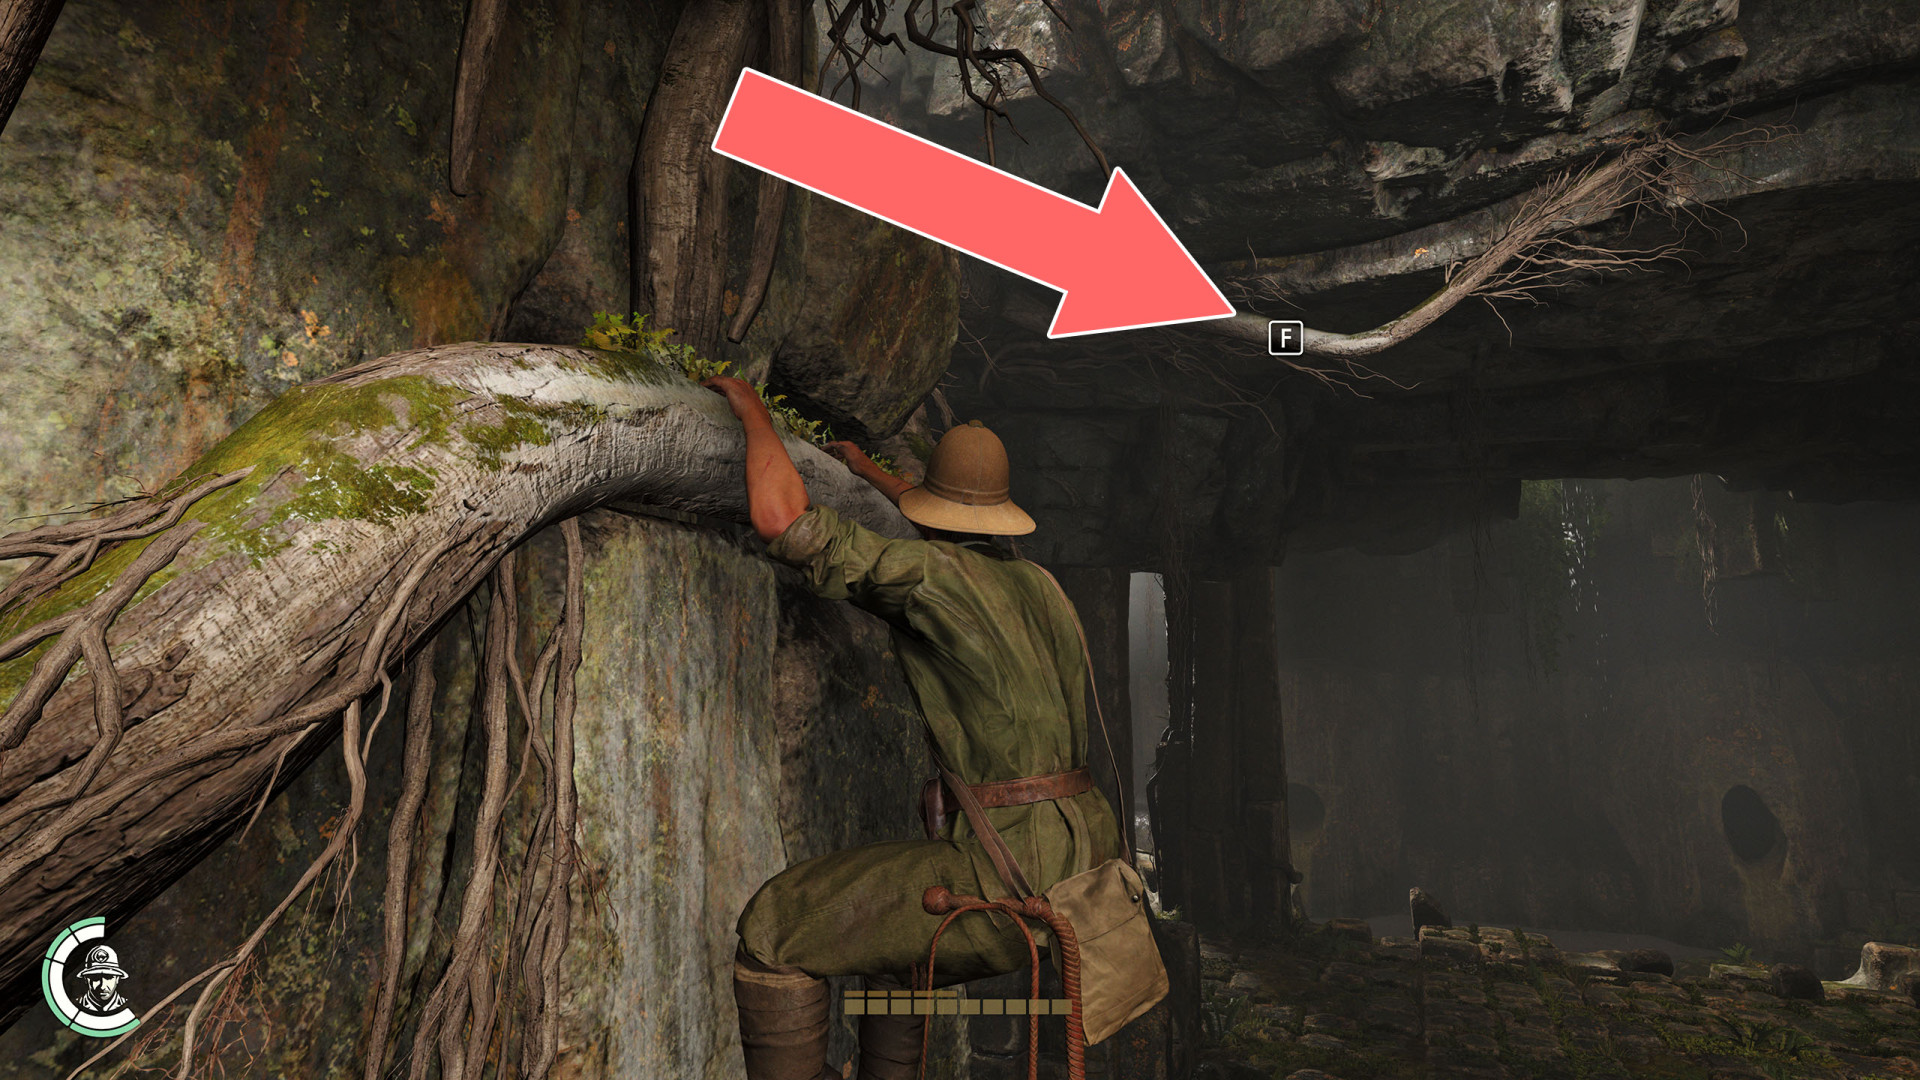
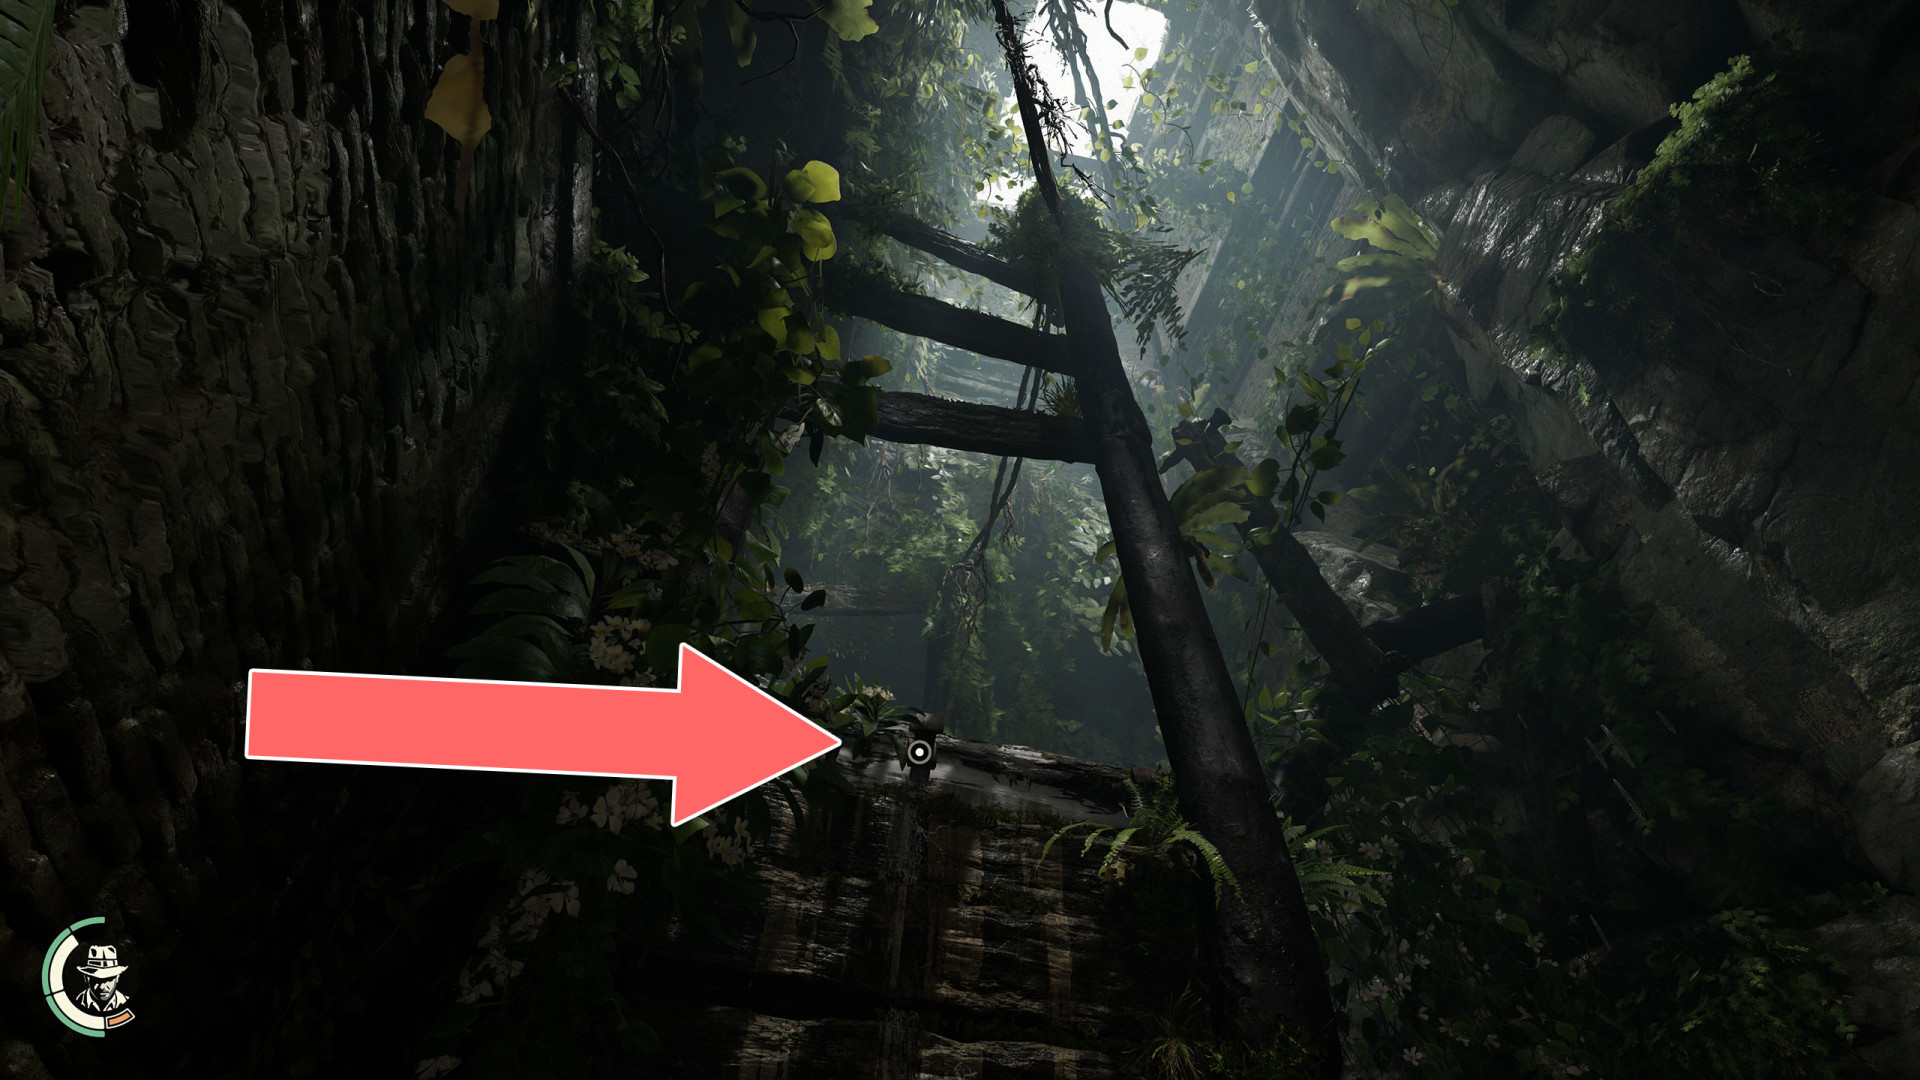
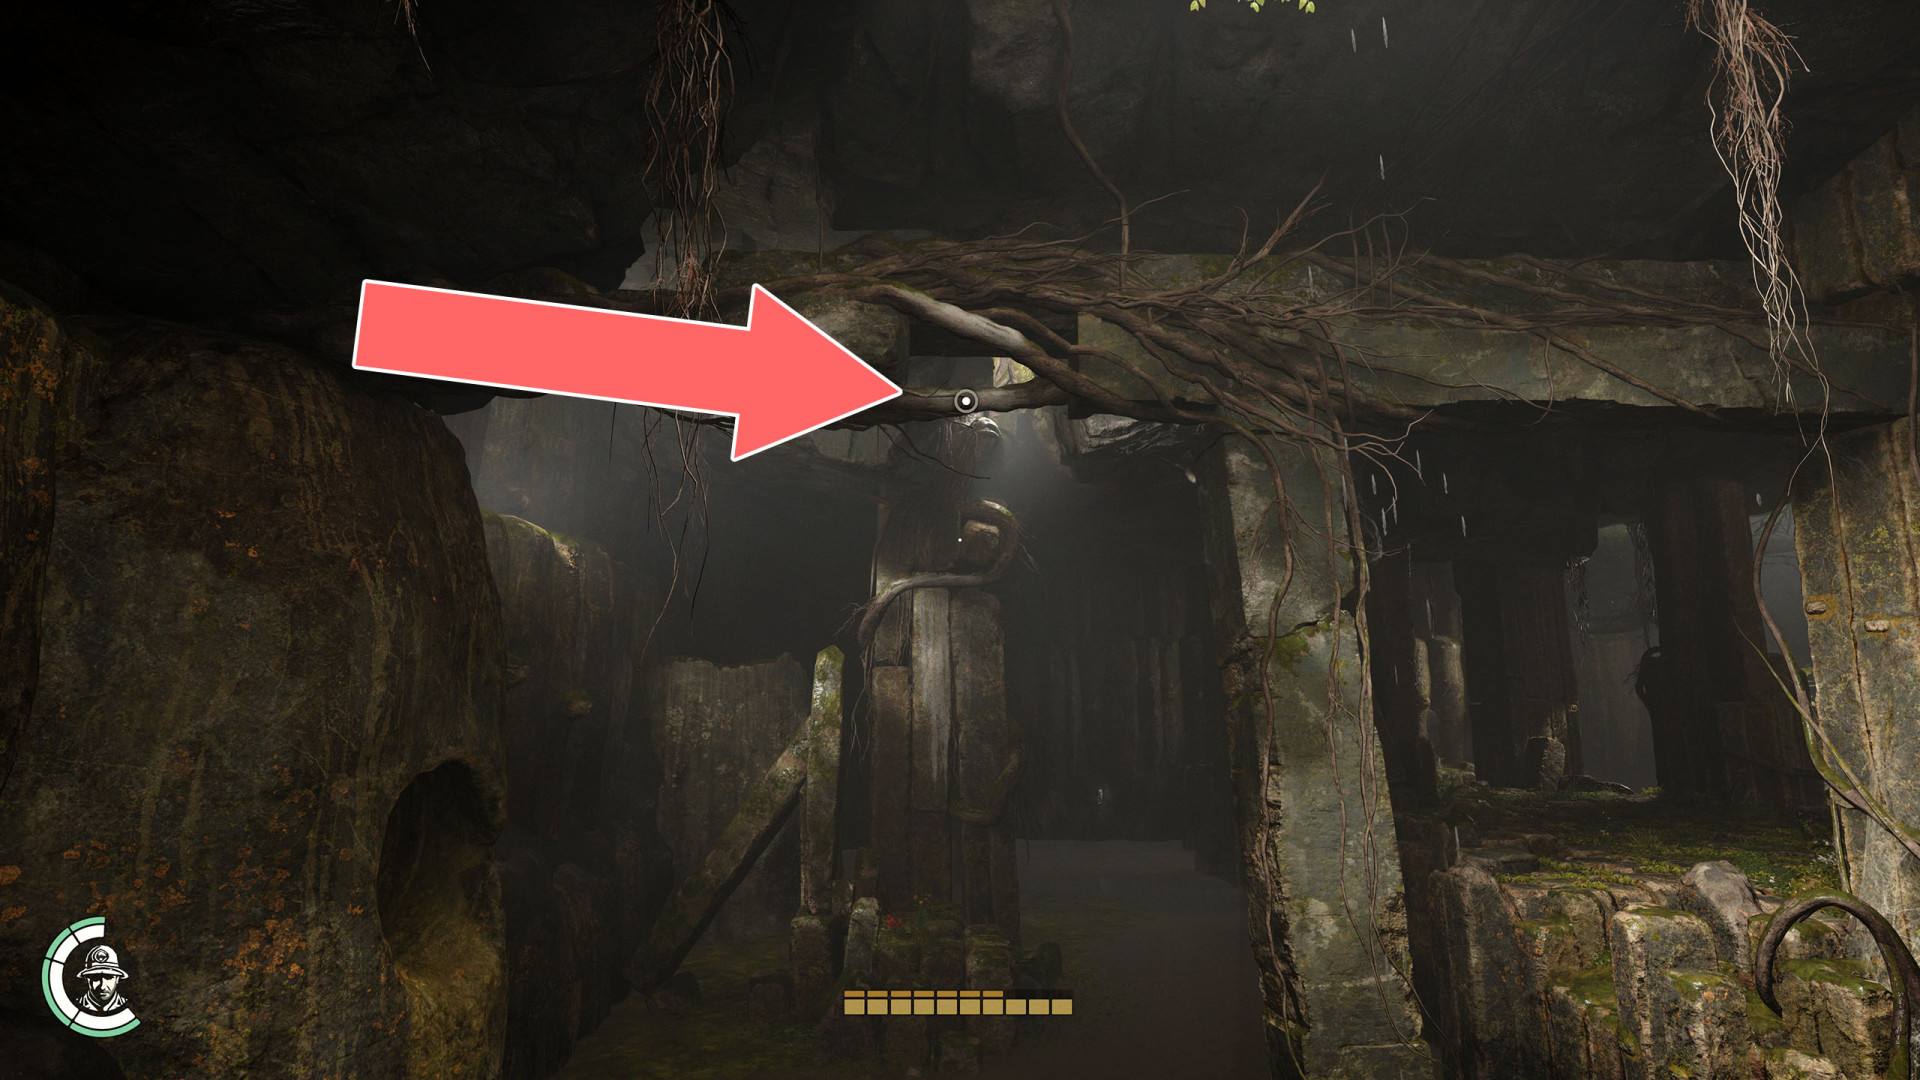
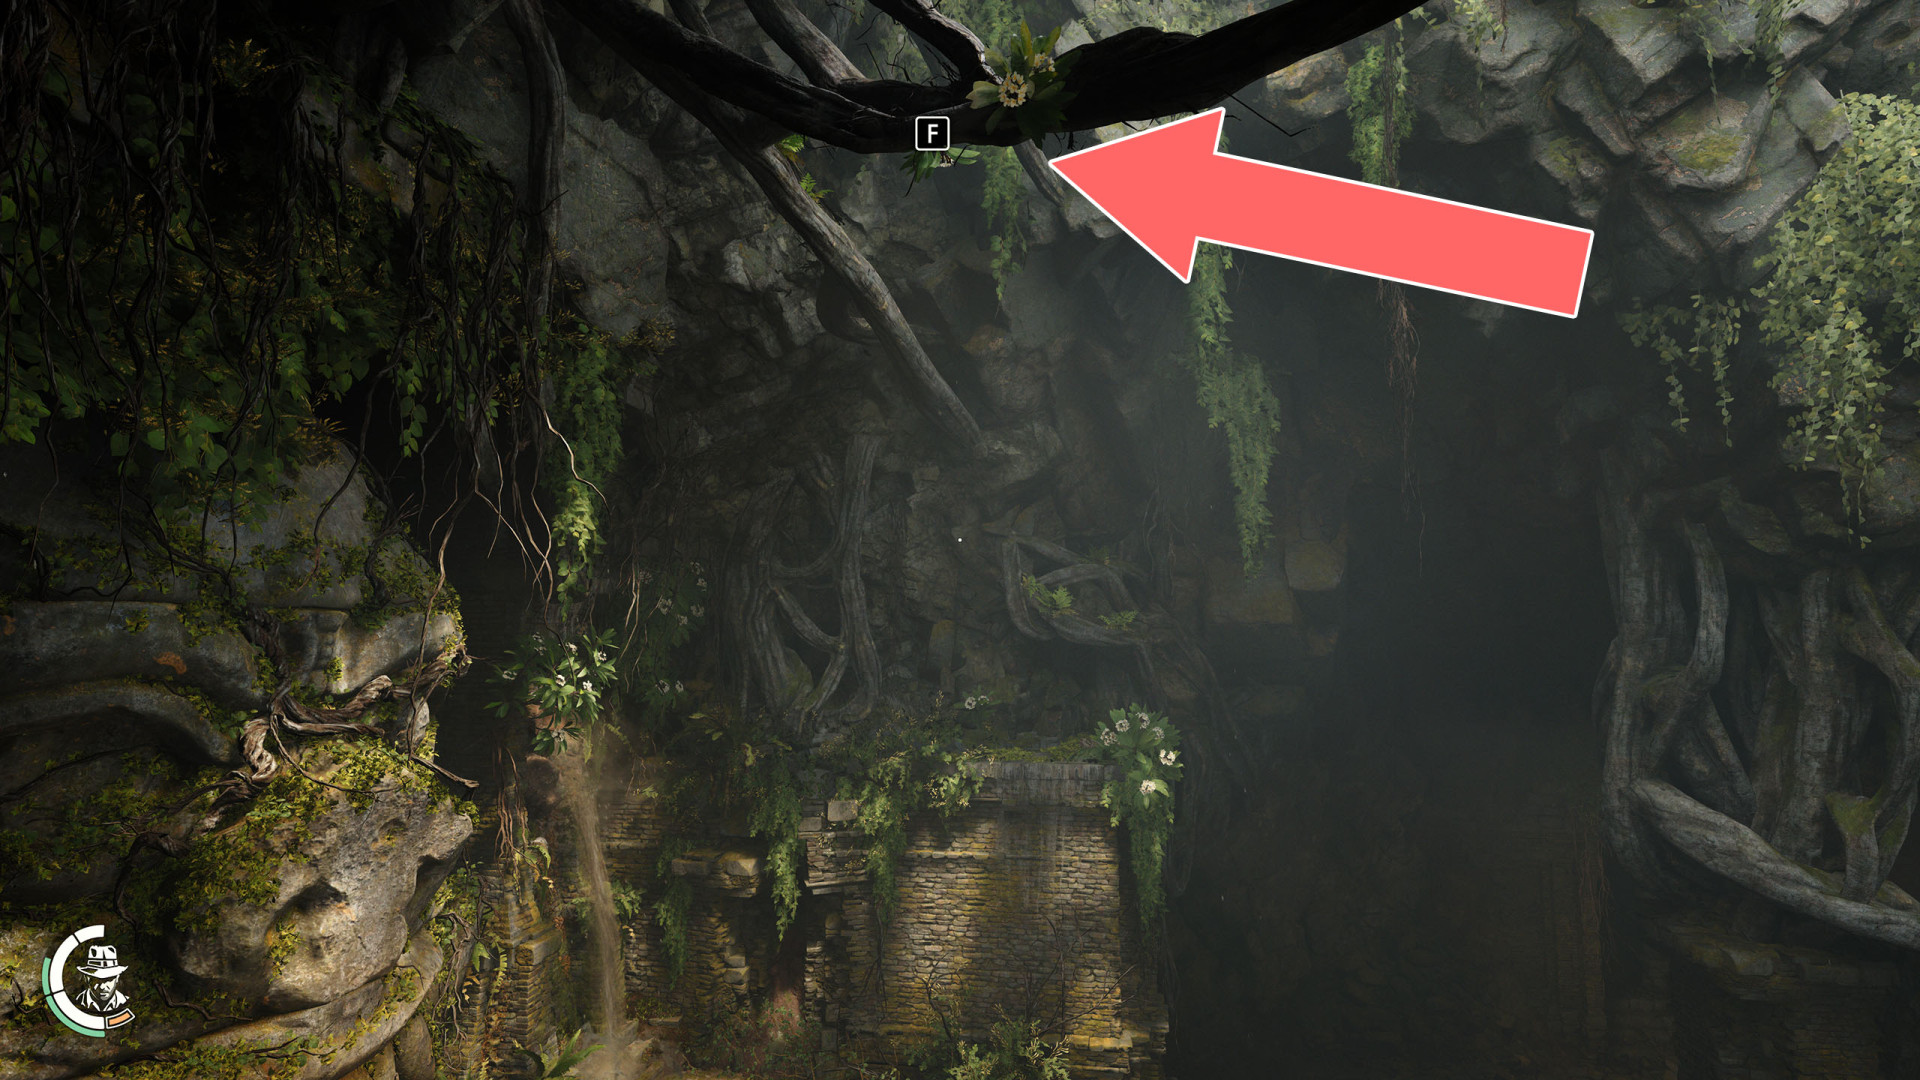
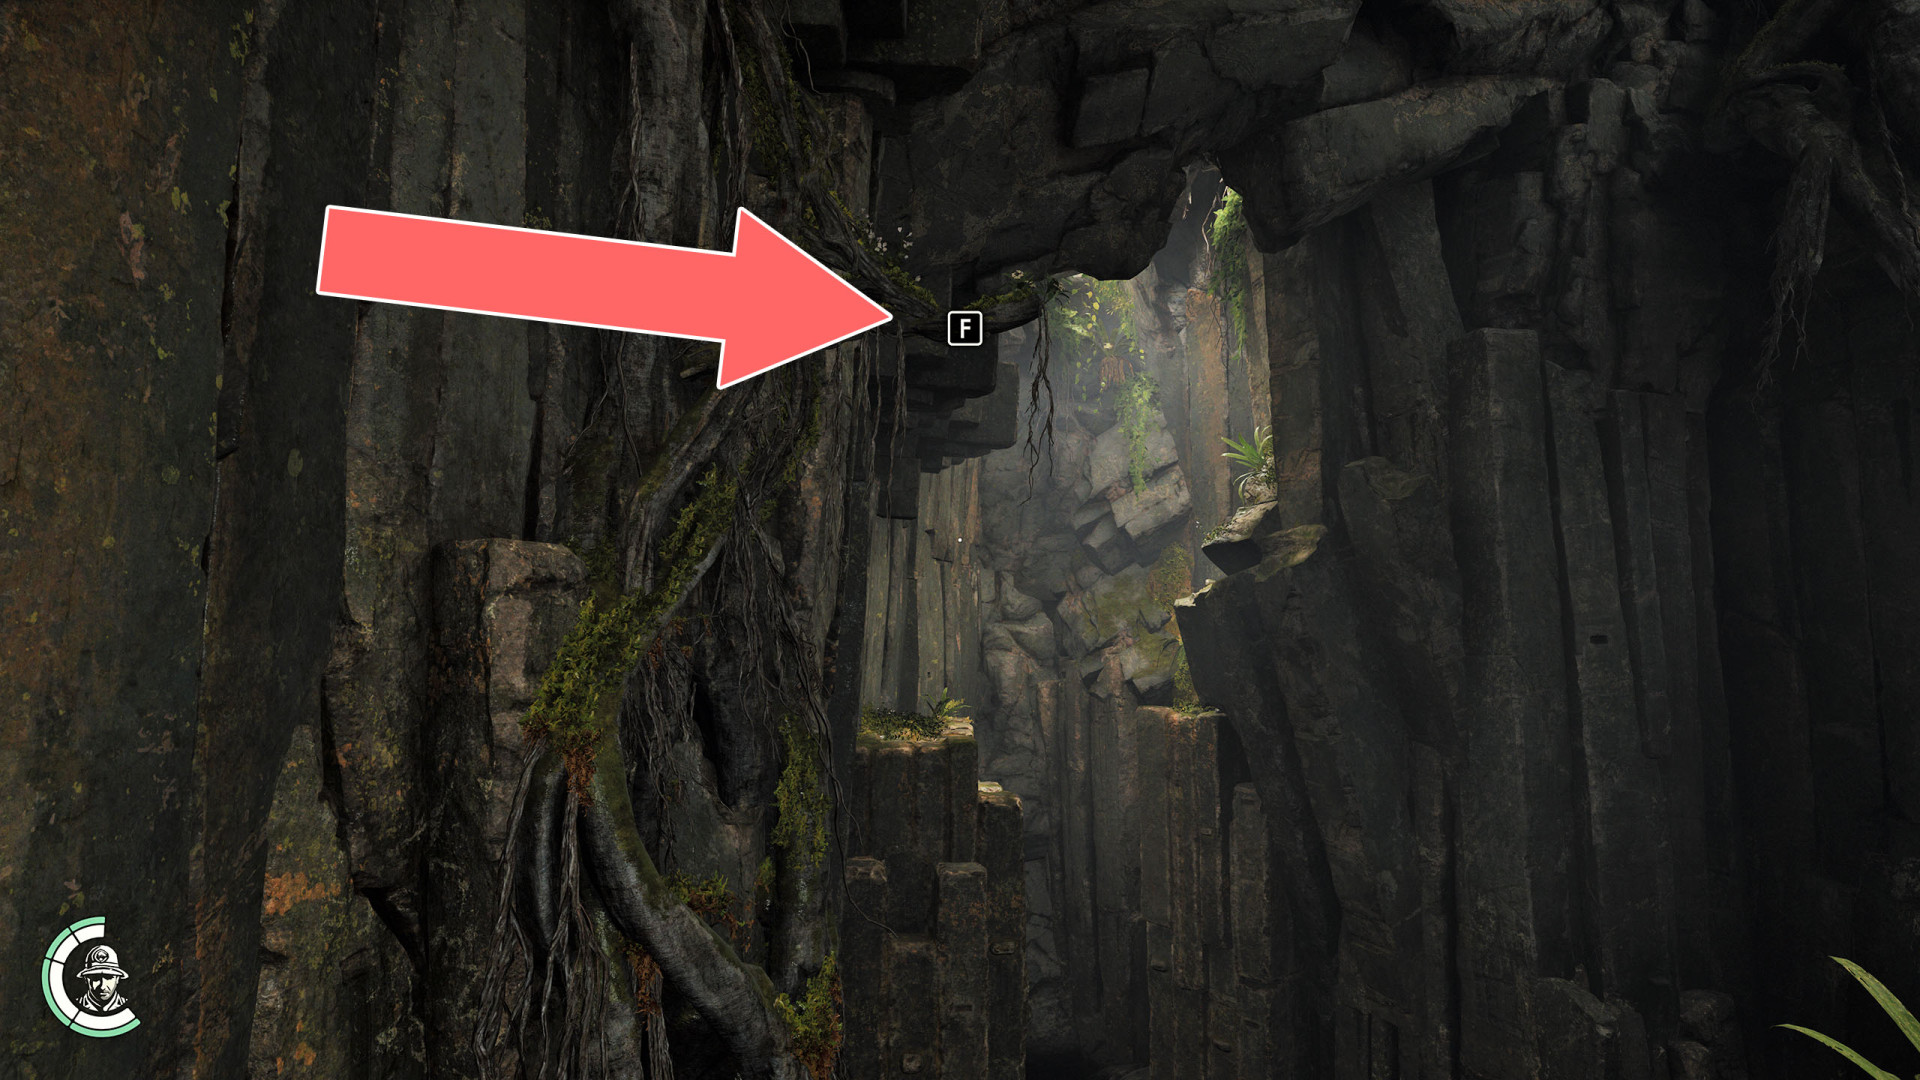
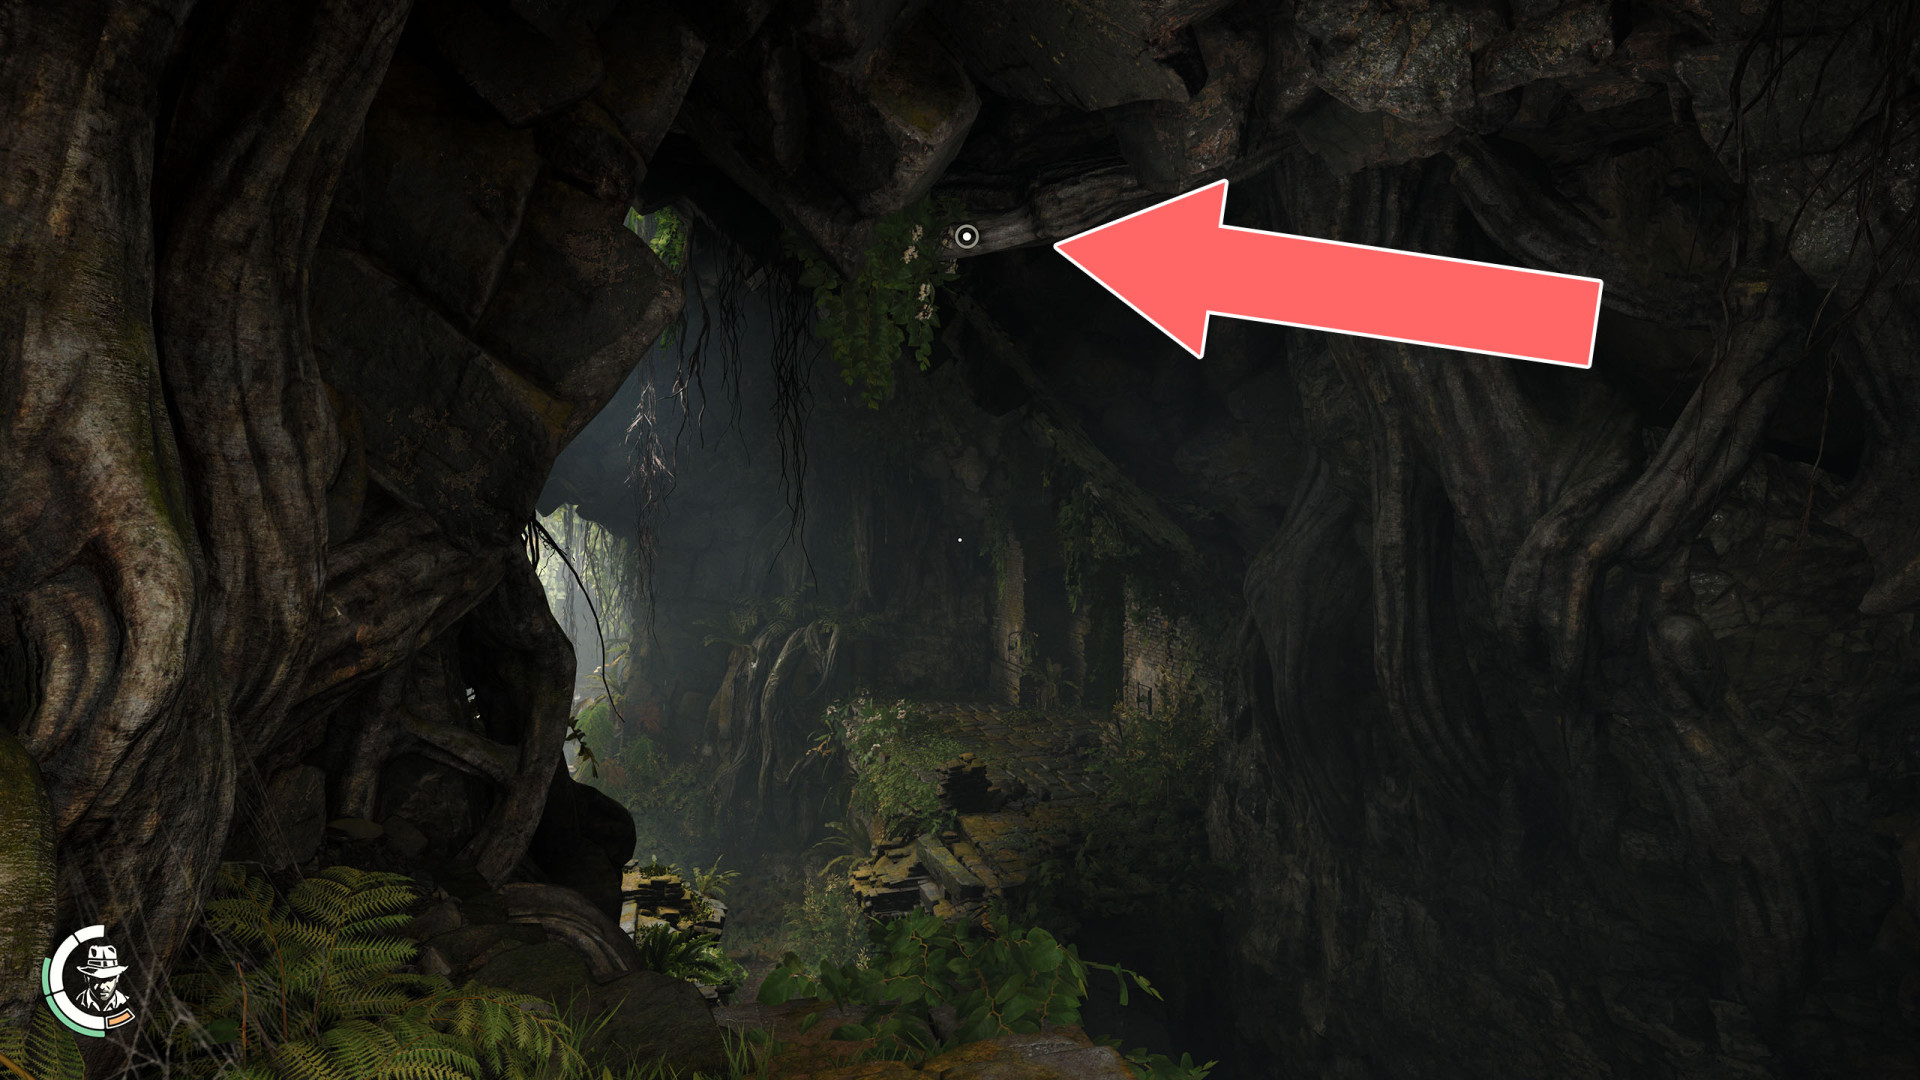
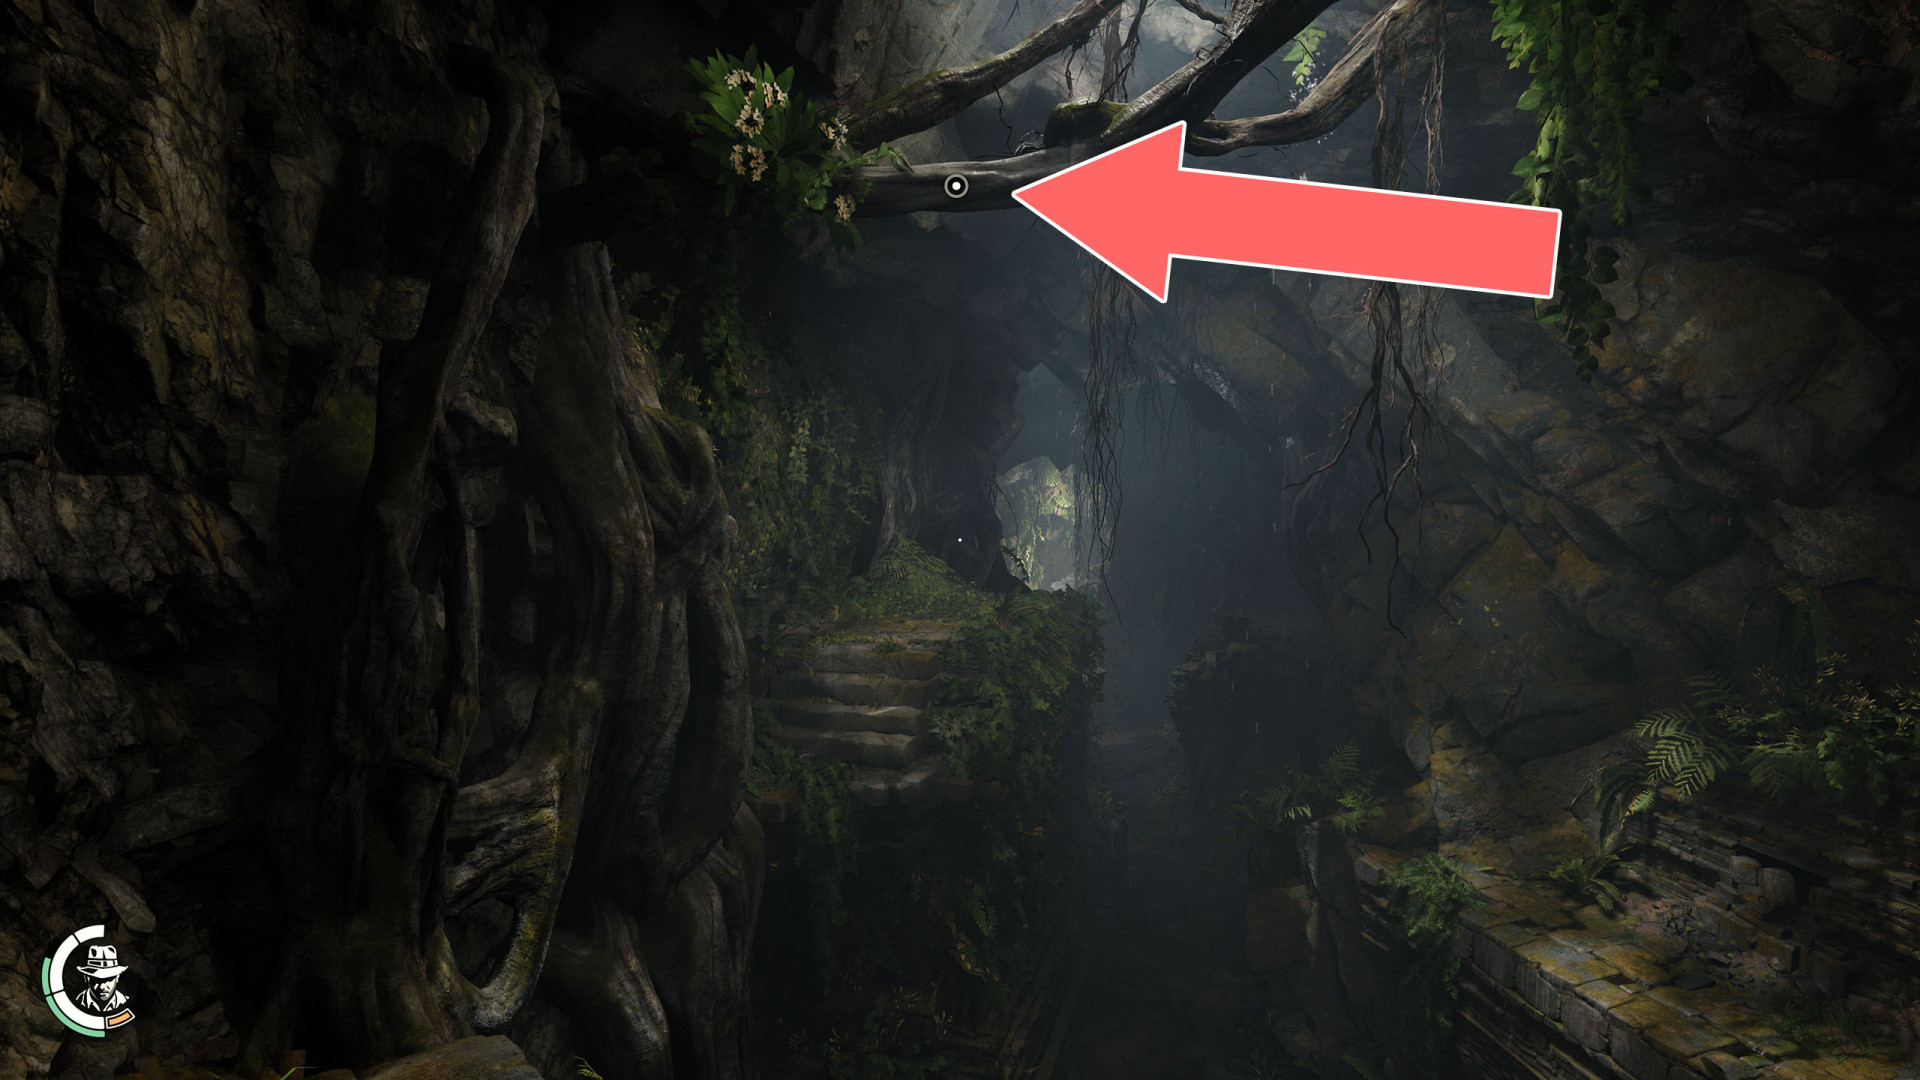
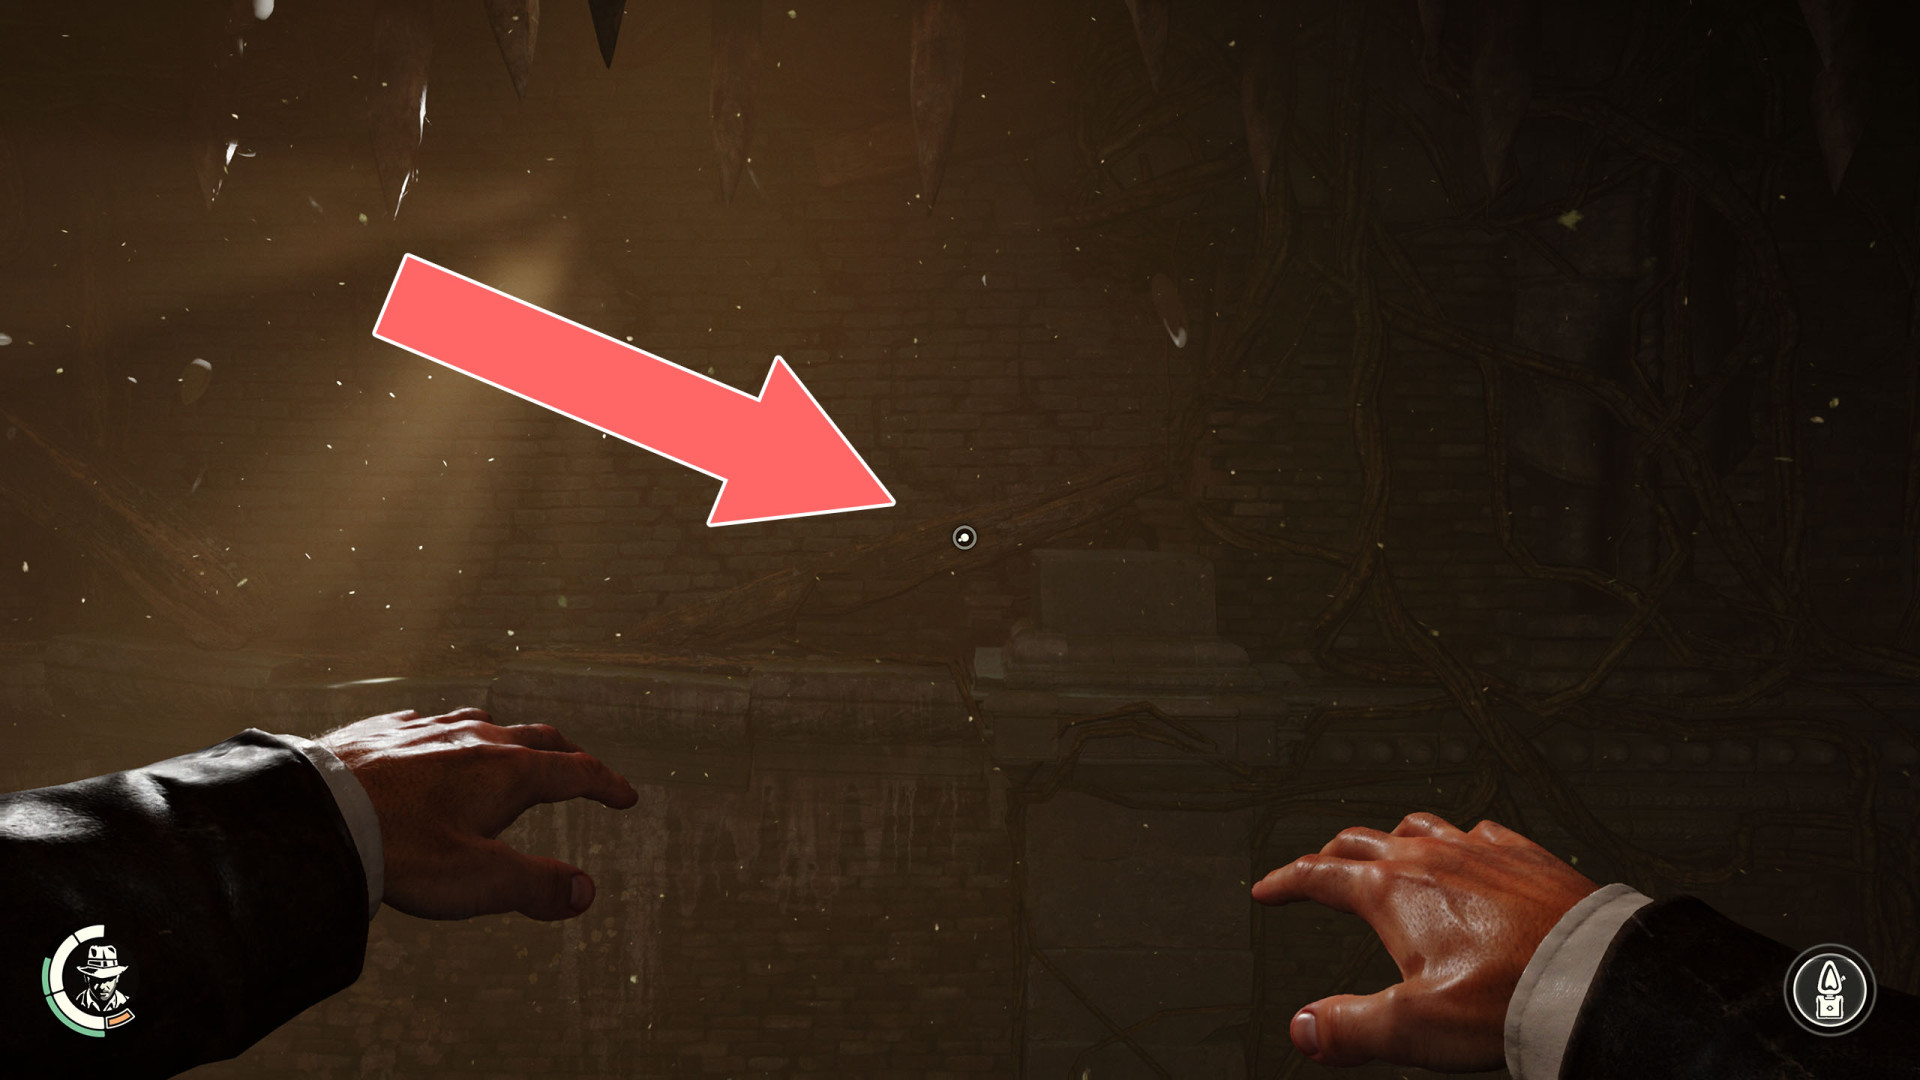
Tree Branch▶ show the map ◀
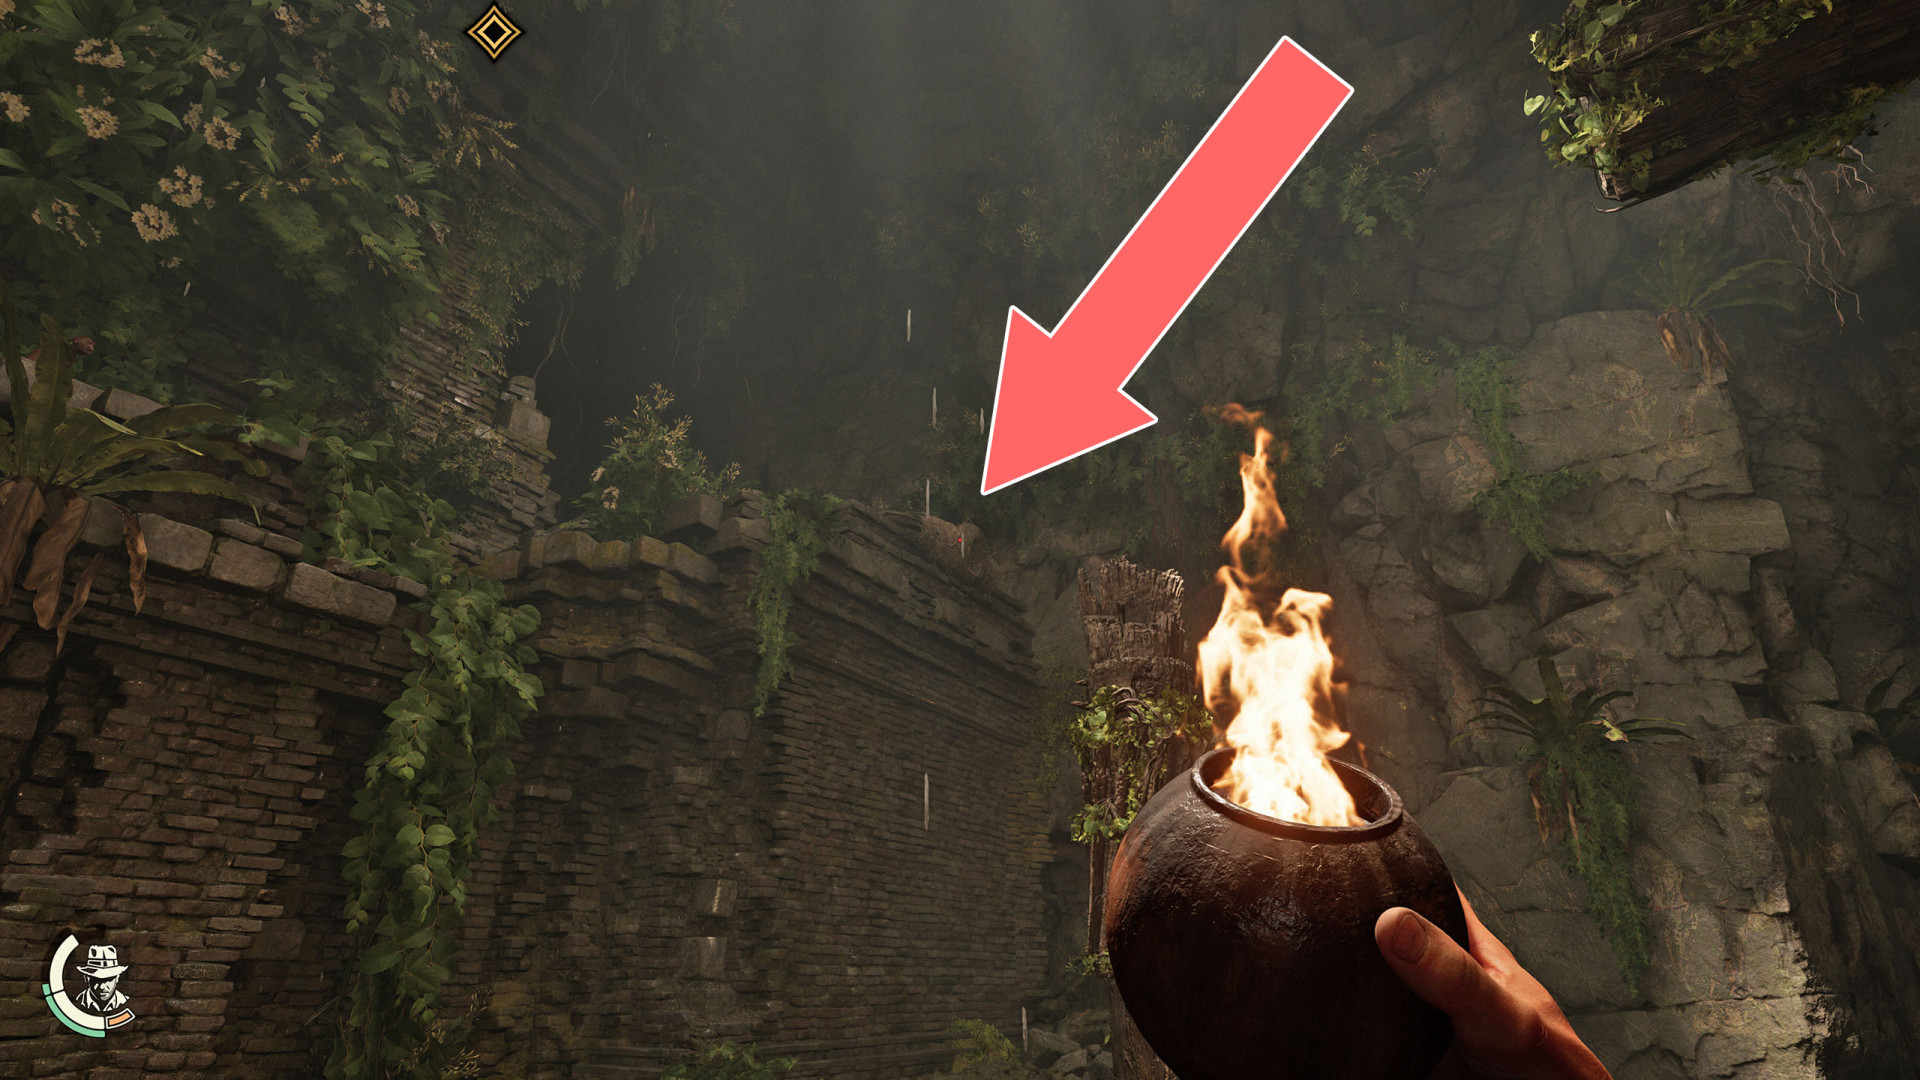
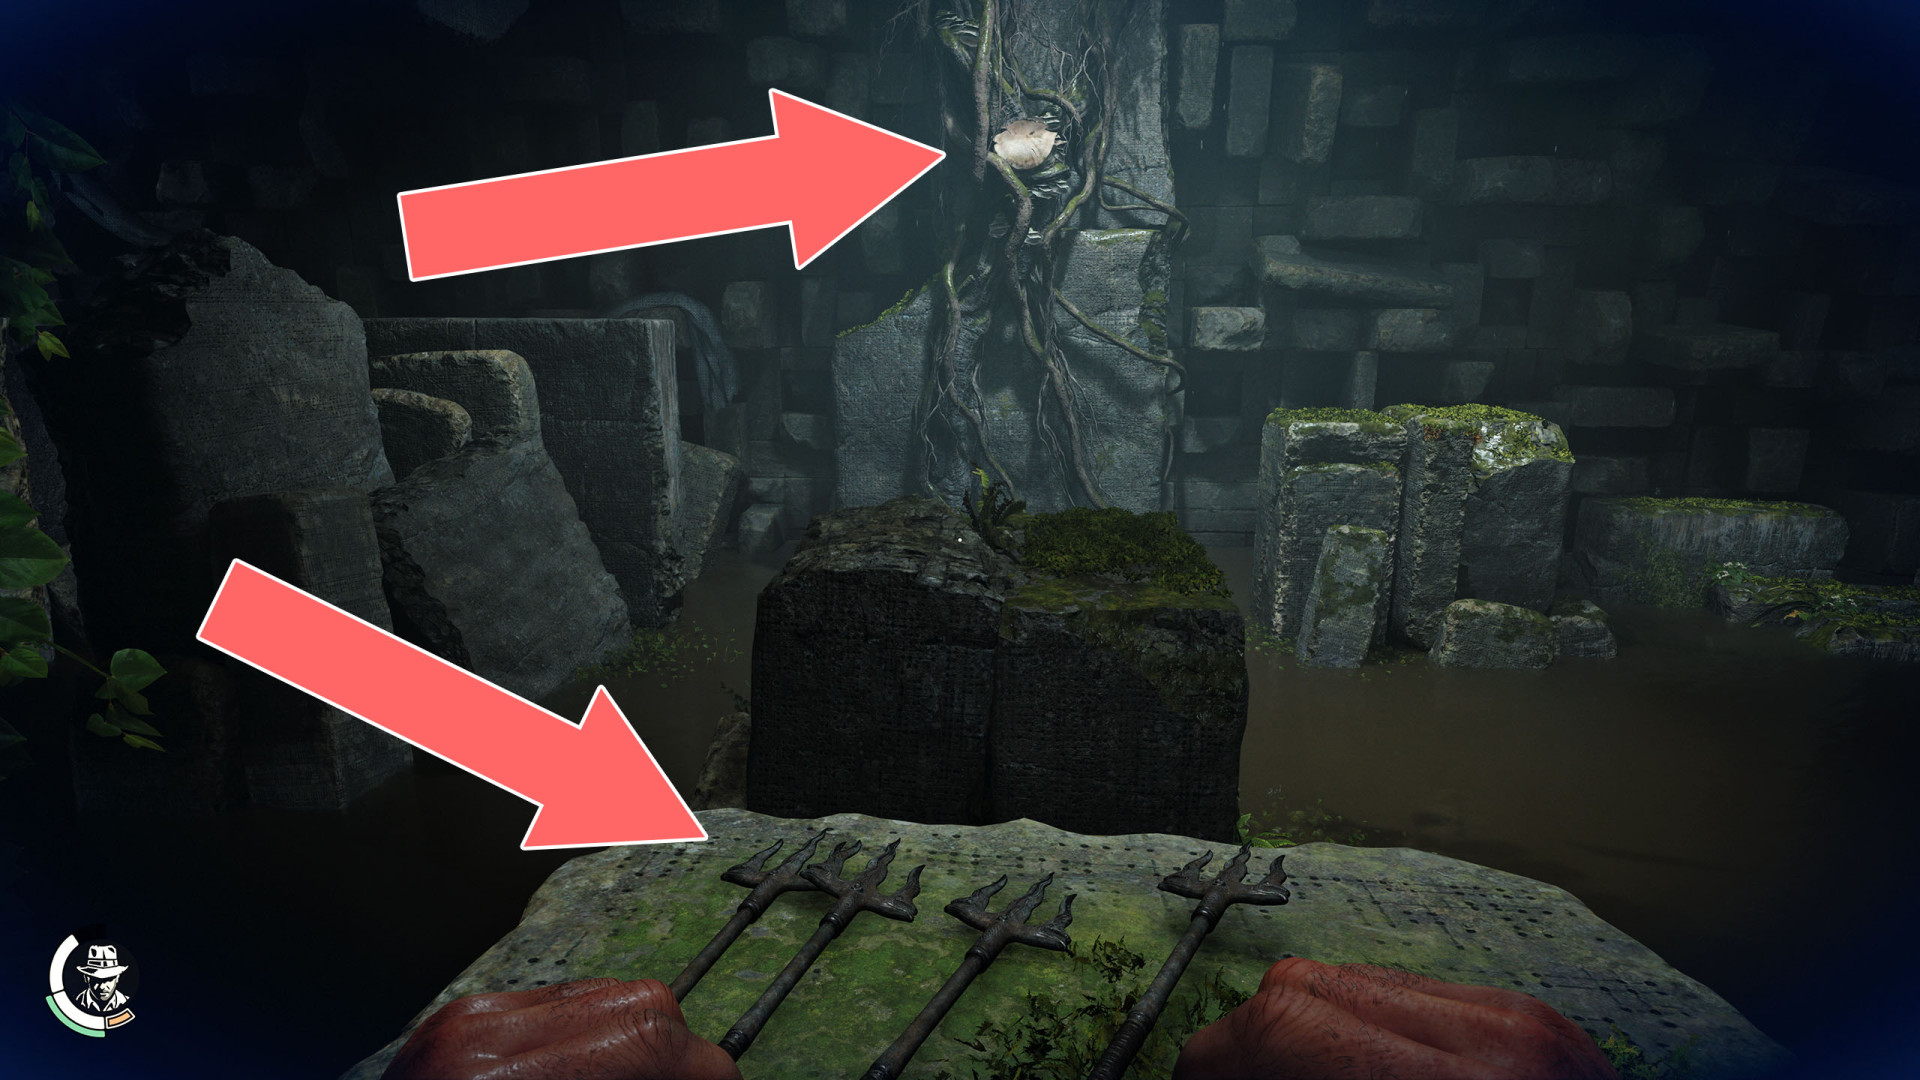
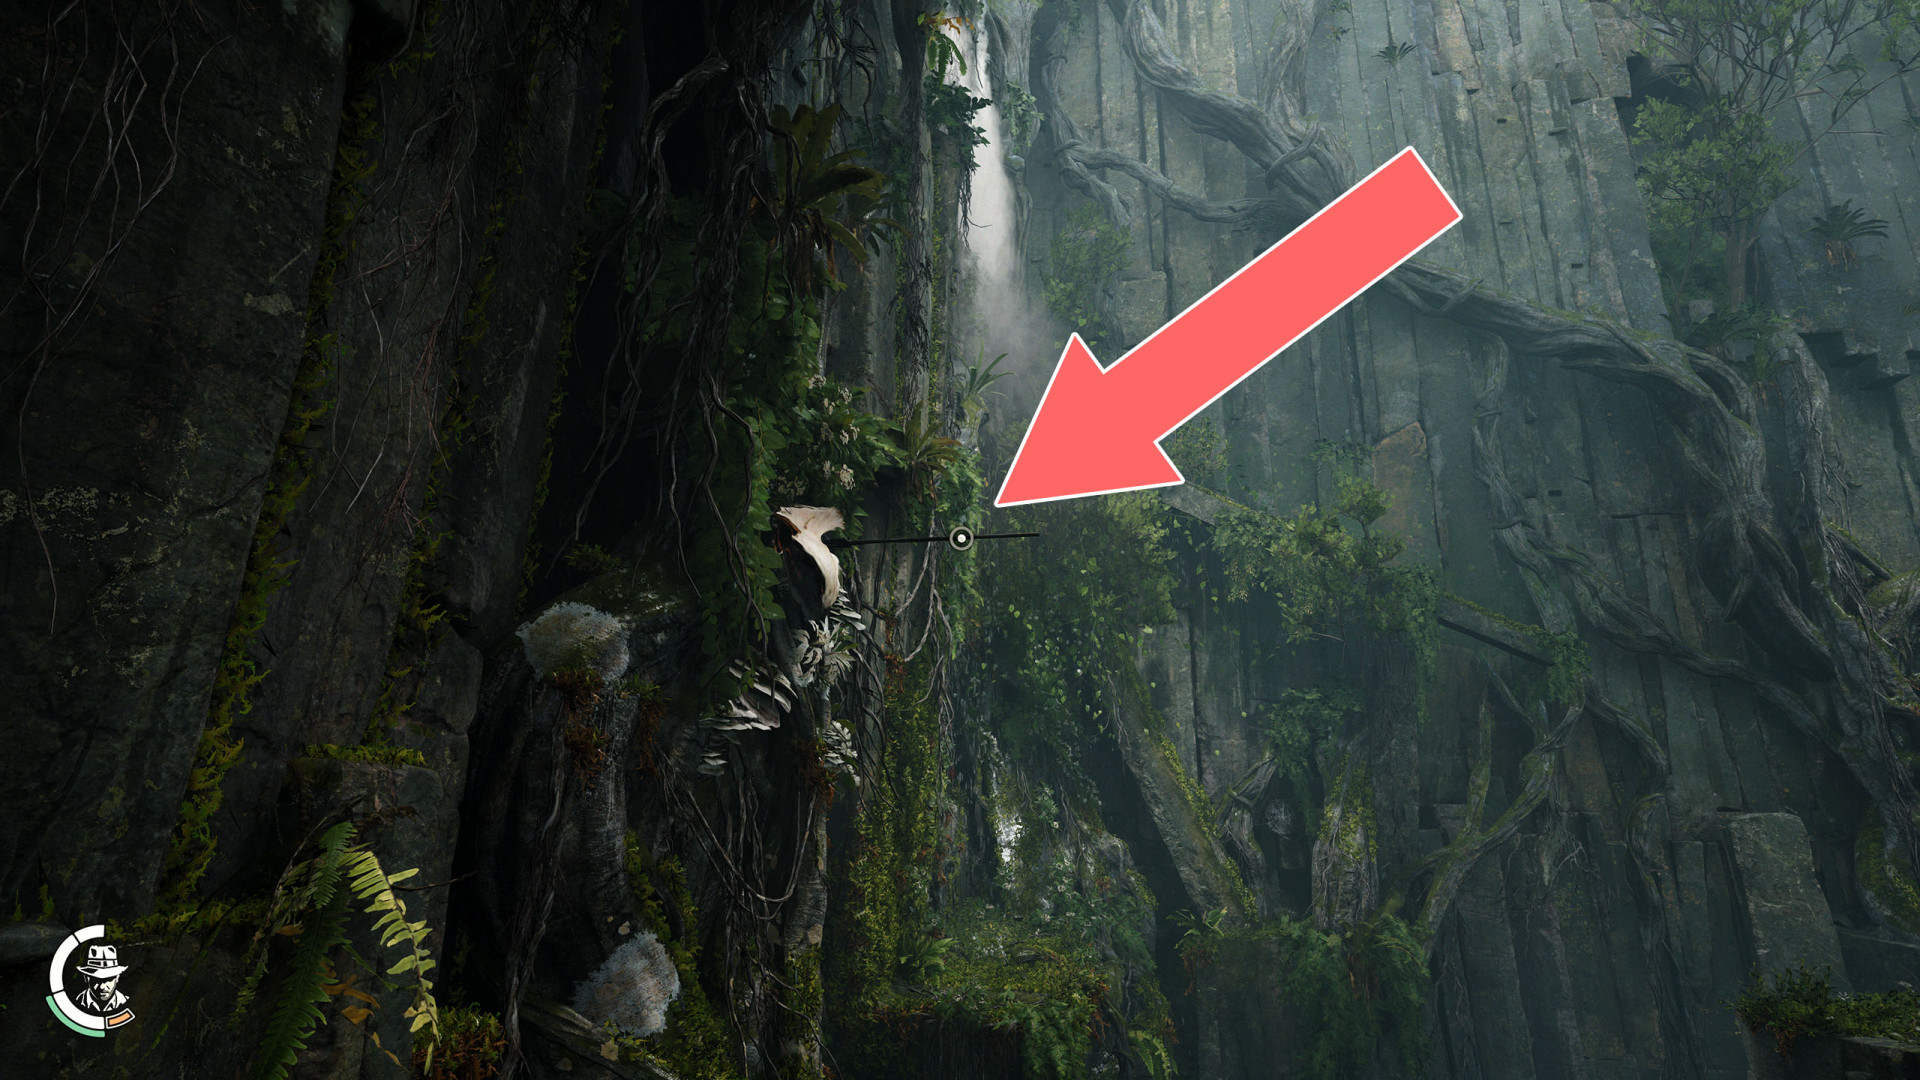
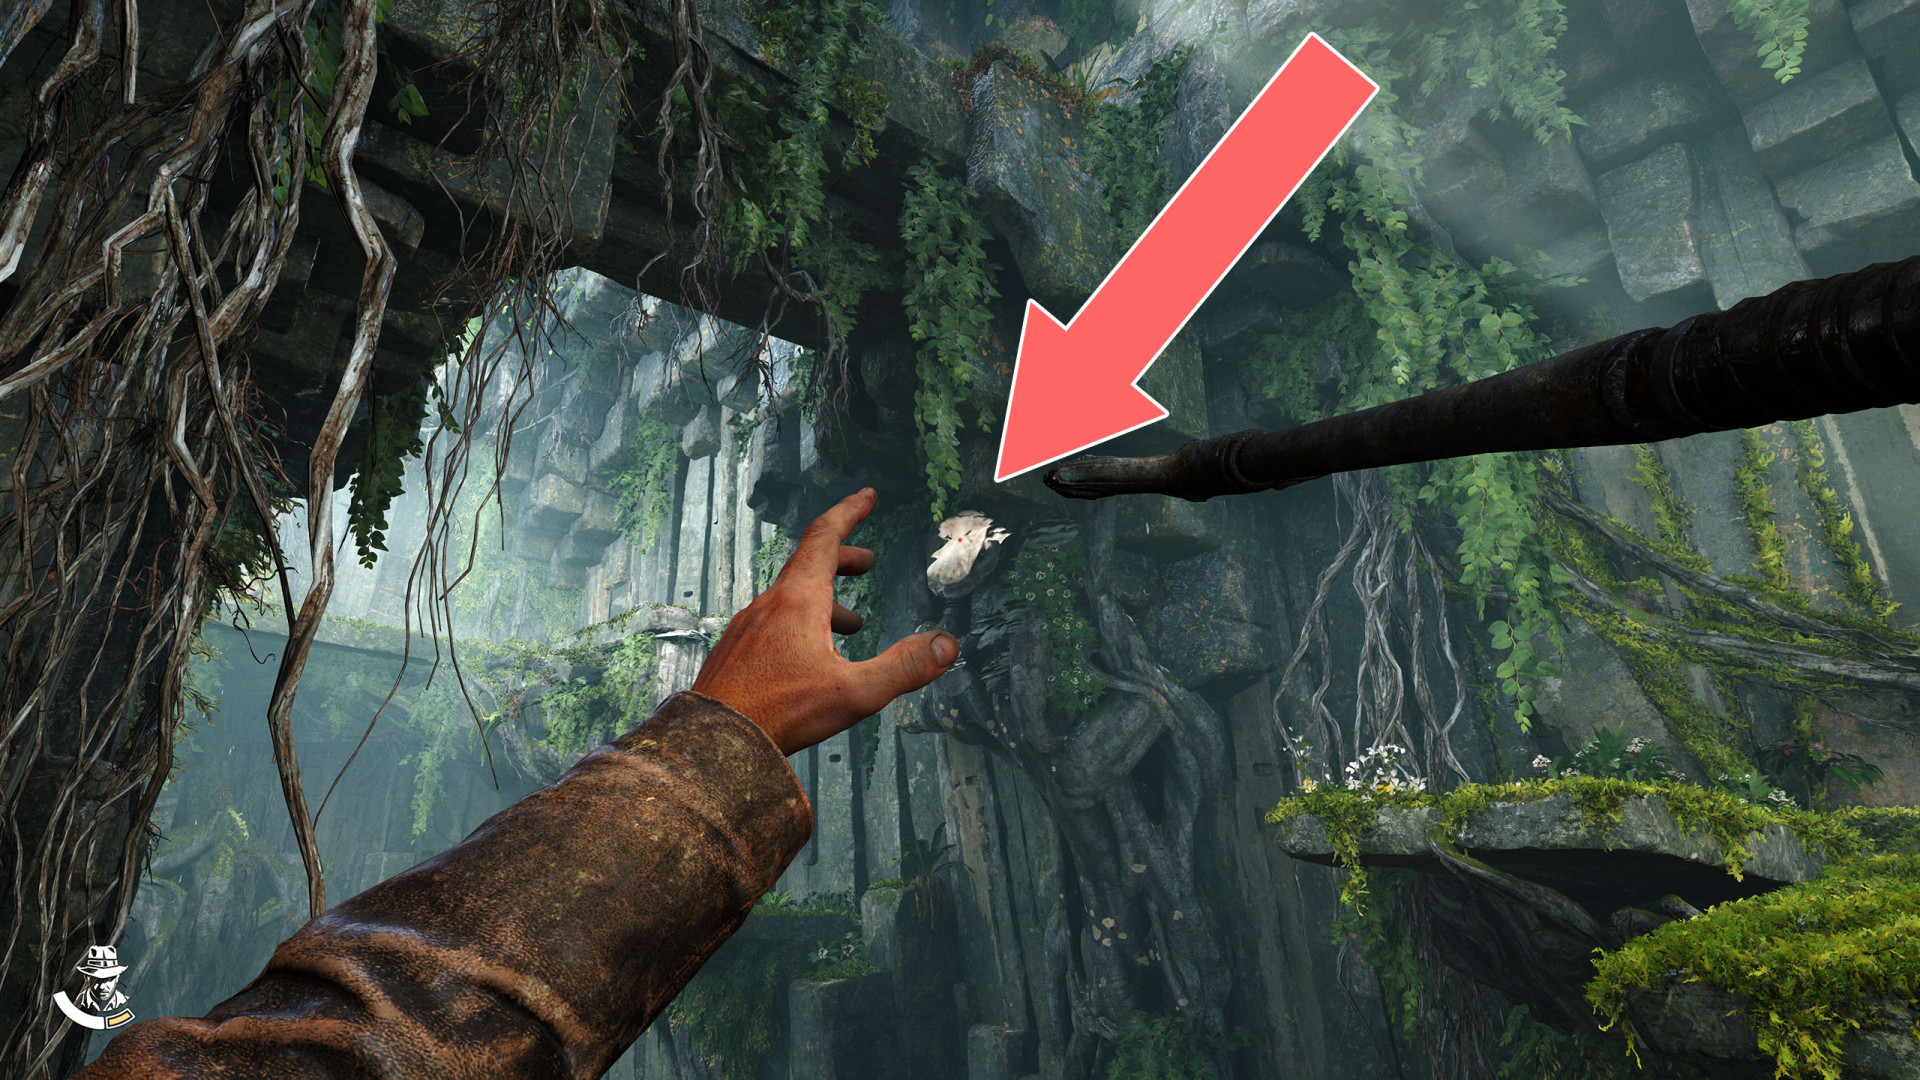
Trident▶ show the map ◀
To create this grappling point throw the trident into the mushroom on the other side.

Trident▶ show the map ◀
Trident▶ show the map ◀

Tunnel▶ show the map ◀
Underwater Hole▶ show the map ◀
Underwater Paht (Start)▶ show the map ◀
Underwater Path (End)▶ show the map ◀
Underwater Tunnel▶ show the map ◀
Underwater Tunnel▶ show the map ◀

Vine & Grappling Point▶ show the map ◀

Warrior Temple Entrance▶ show the map ◀
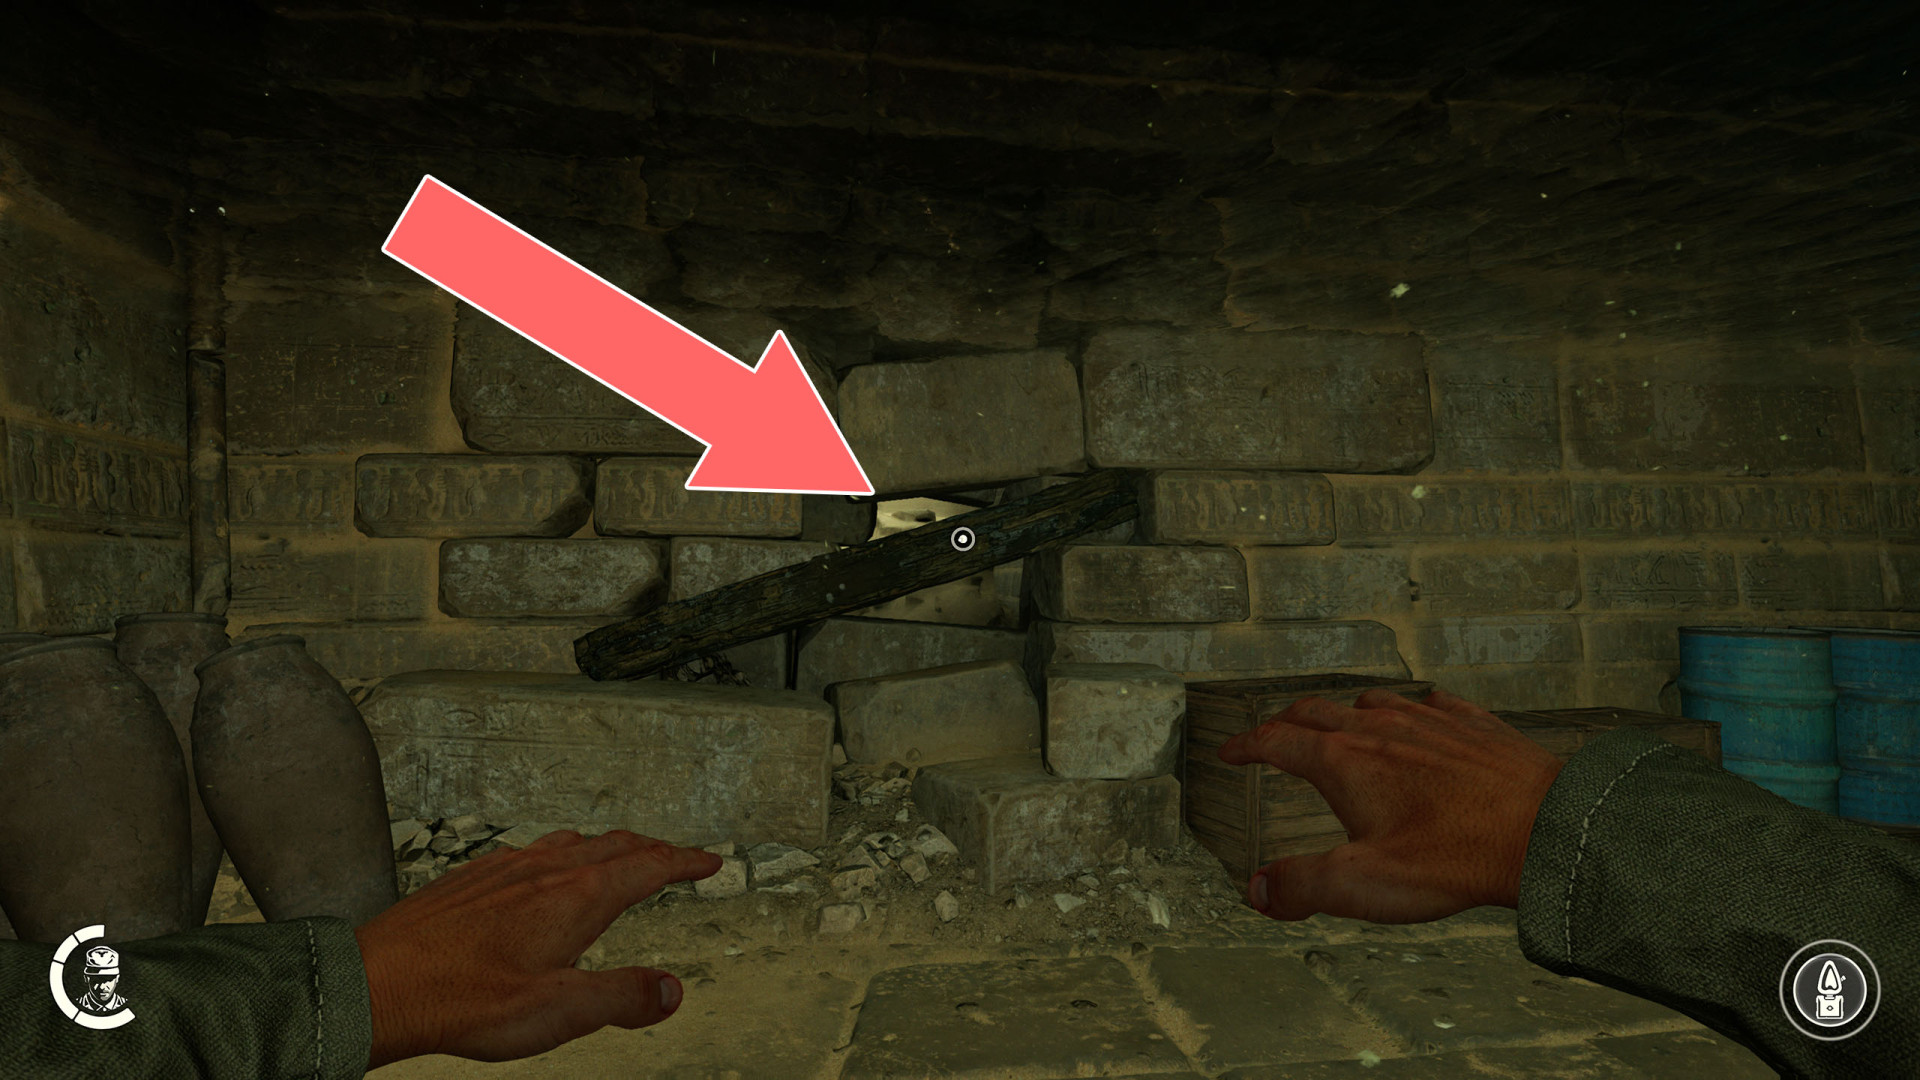
Weak Wall▶ show the map ◀
When the water floods the room remove the log and a passage will then be created.
Zipline▶ show the map ◀
Zipline▶ show the map ◀
Zipline▶ show the map ◀
All known locations on the map Iraq
Elevator▶ show the map ◀
Elevator▶ show the map ◀
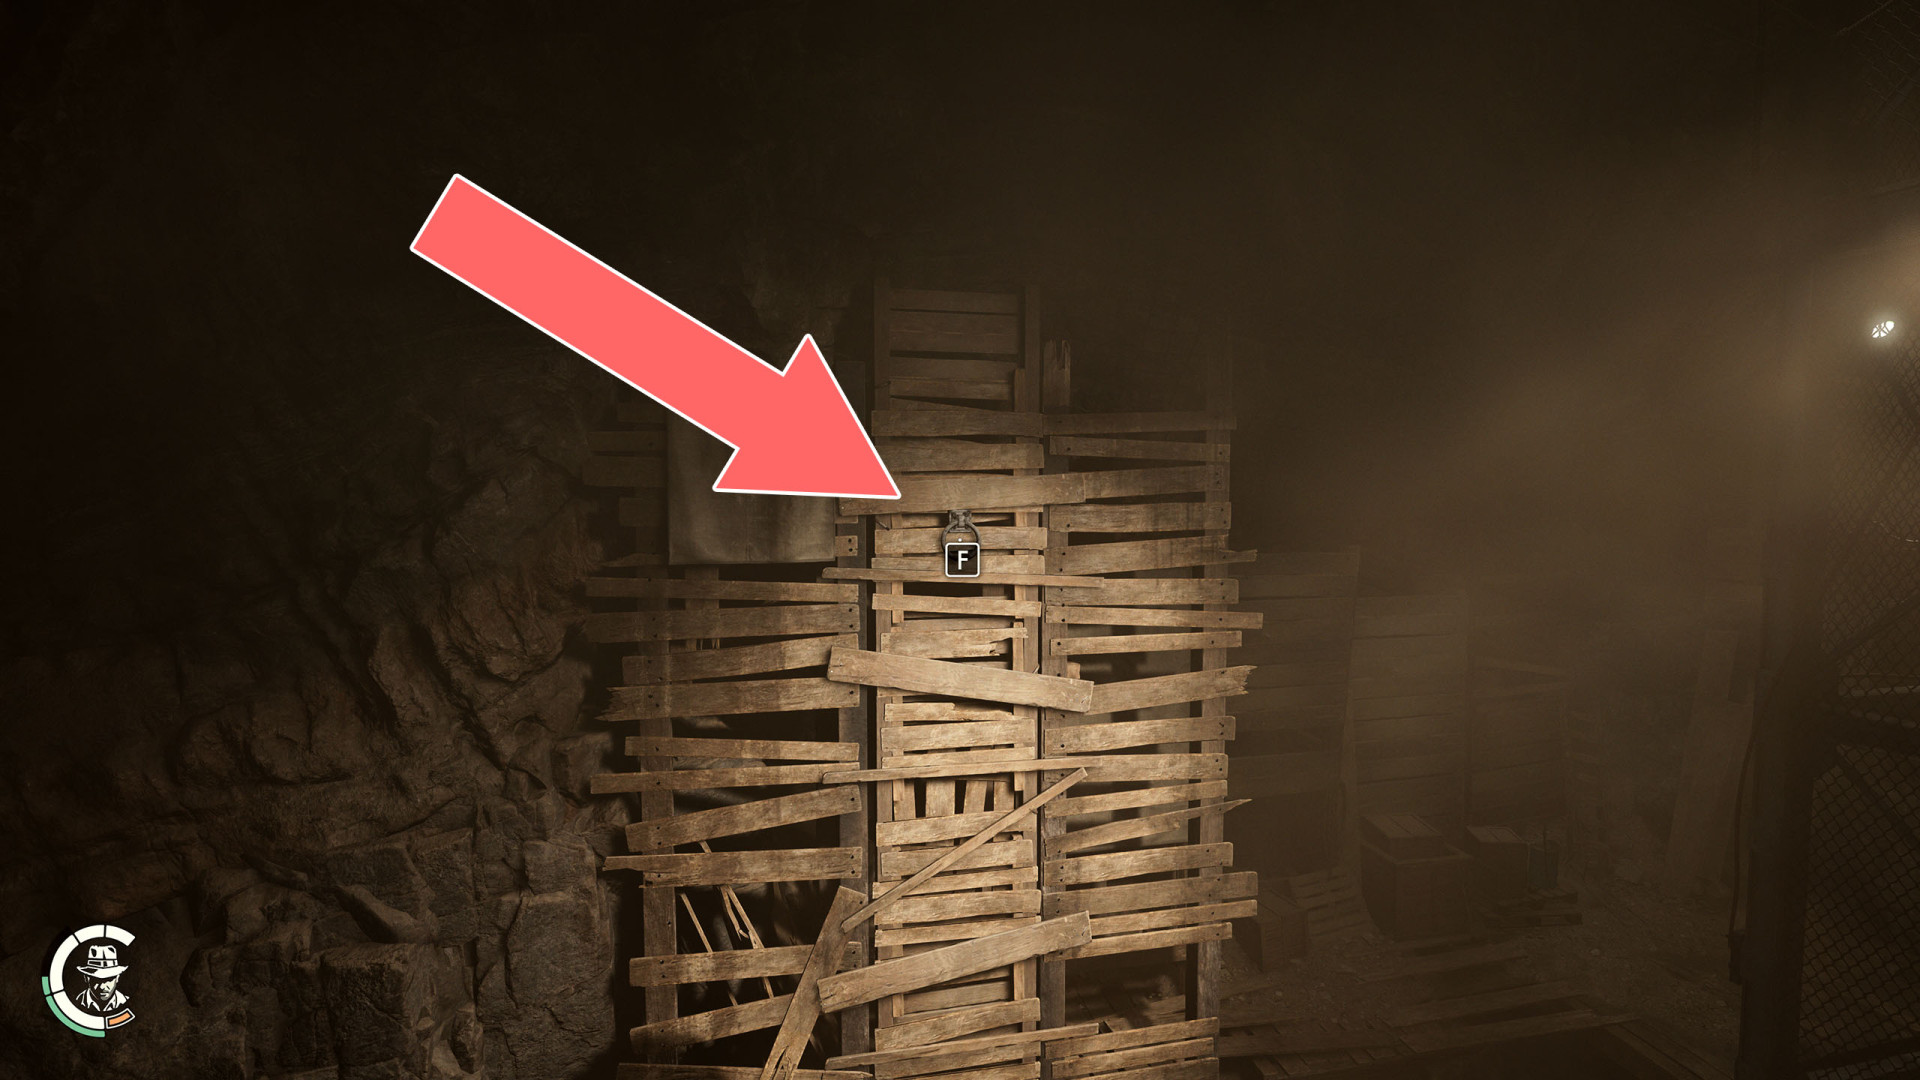
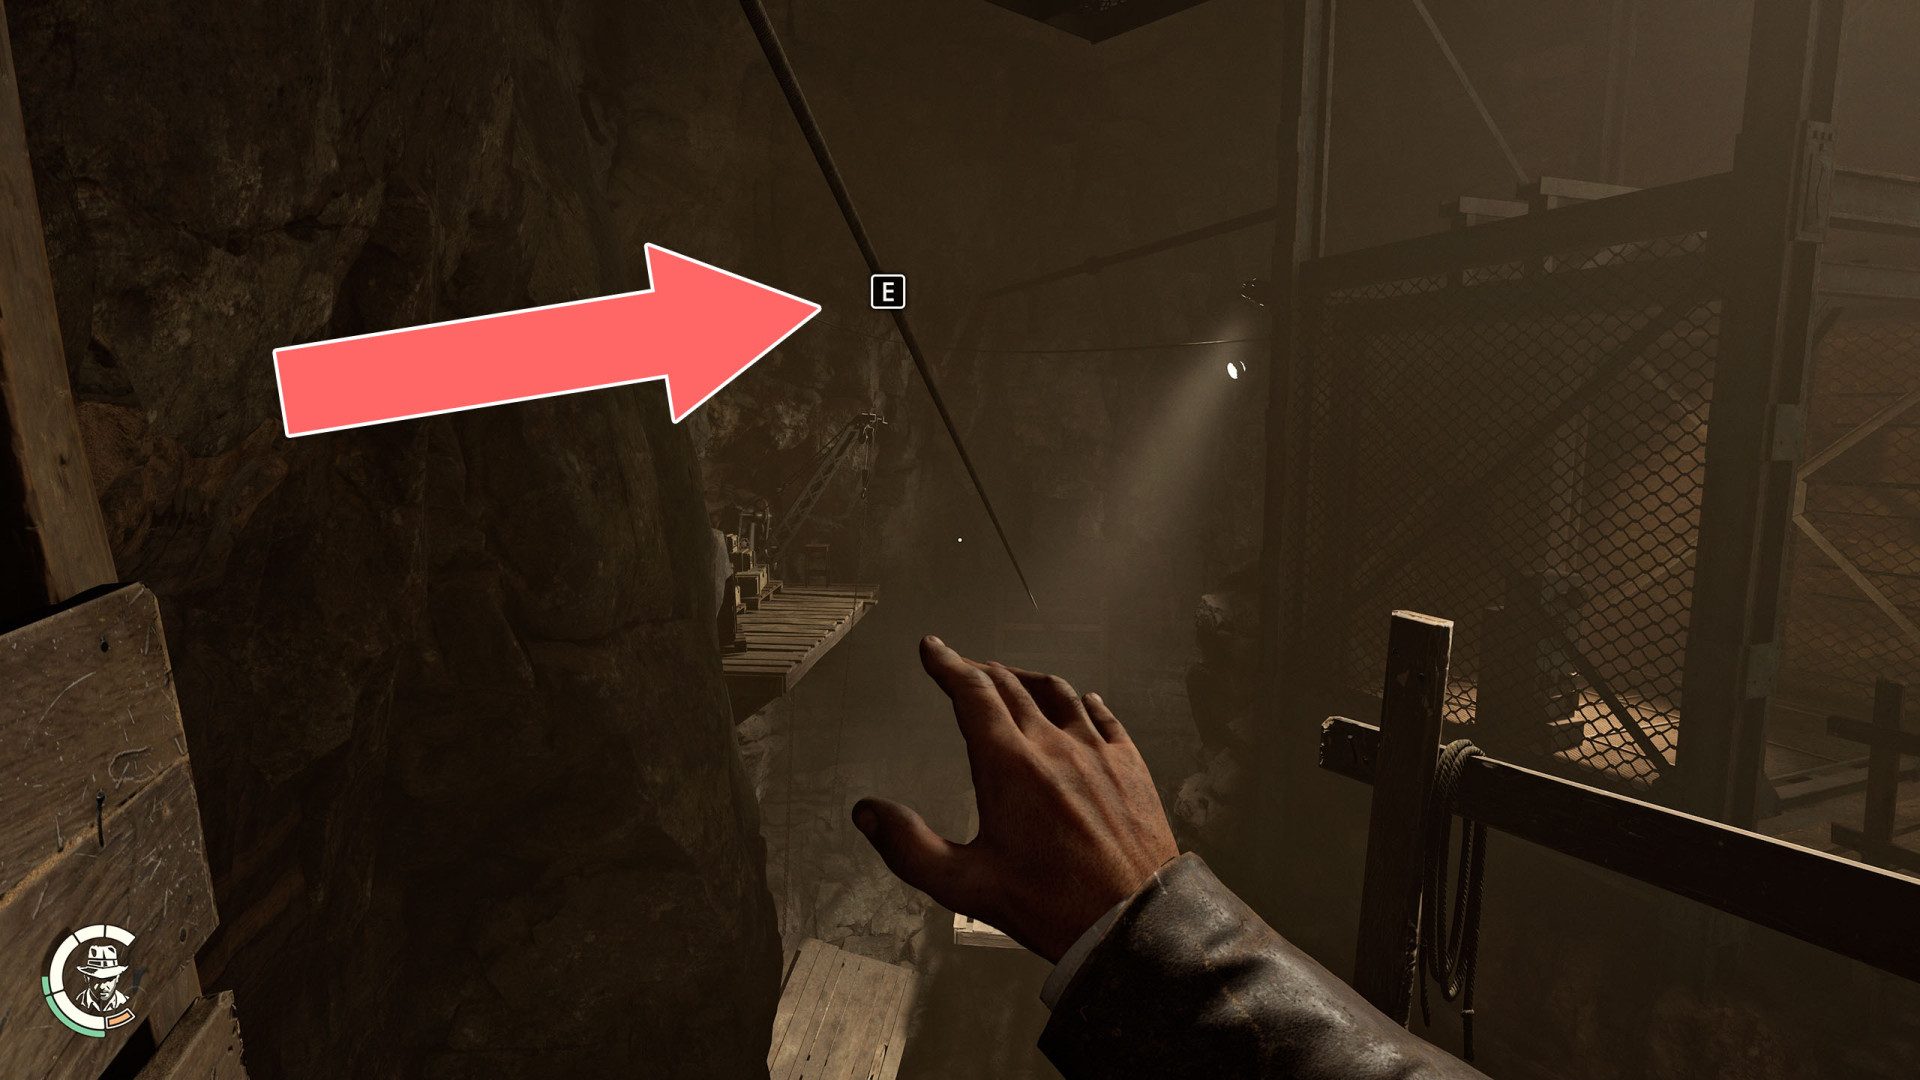
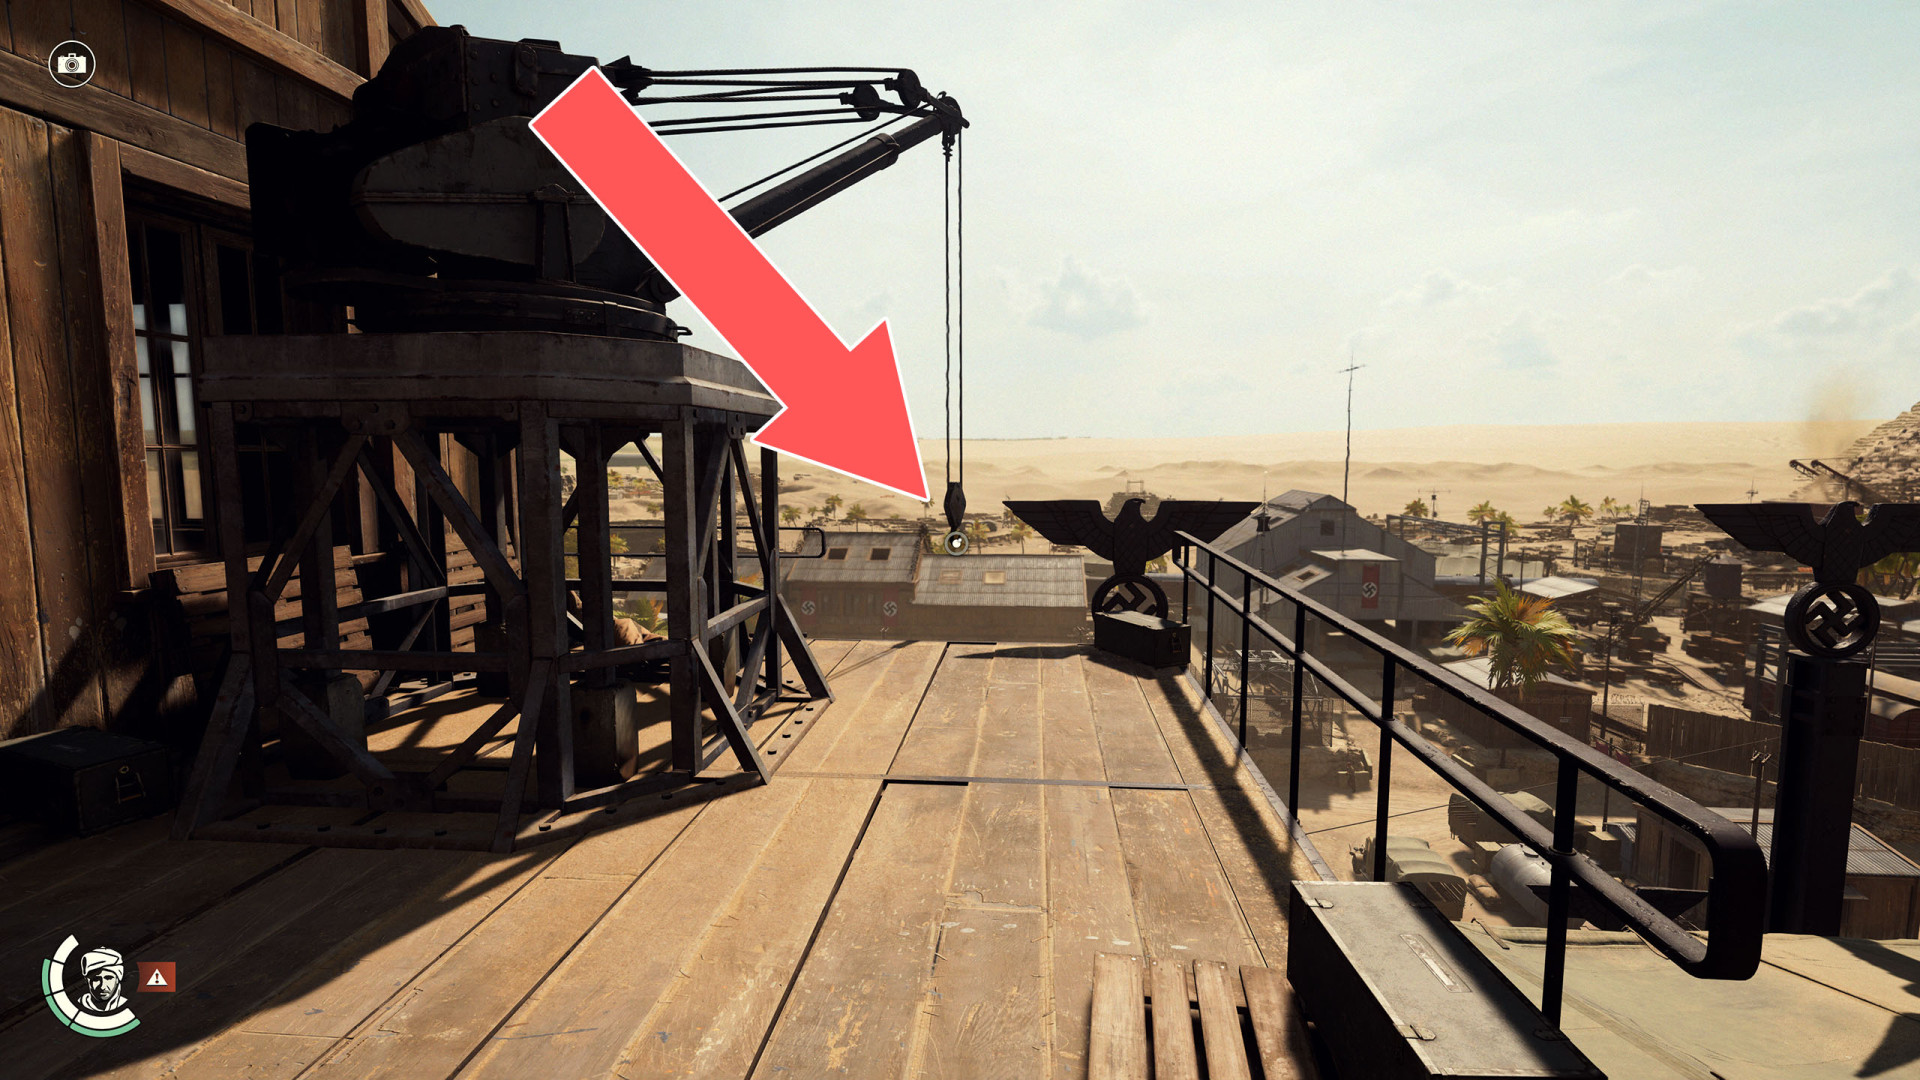
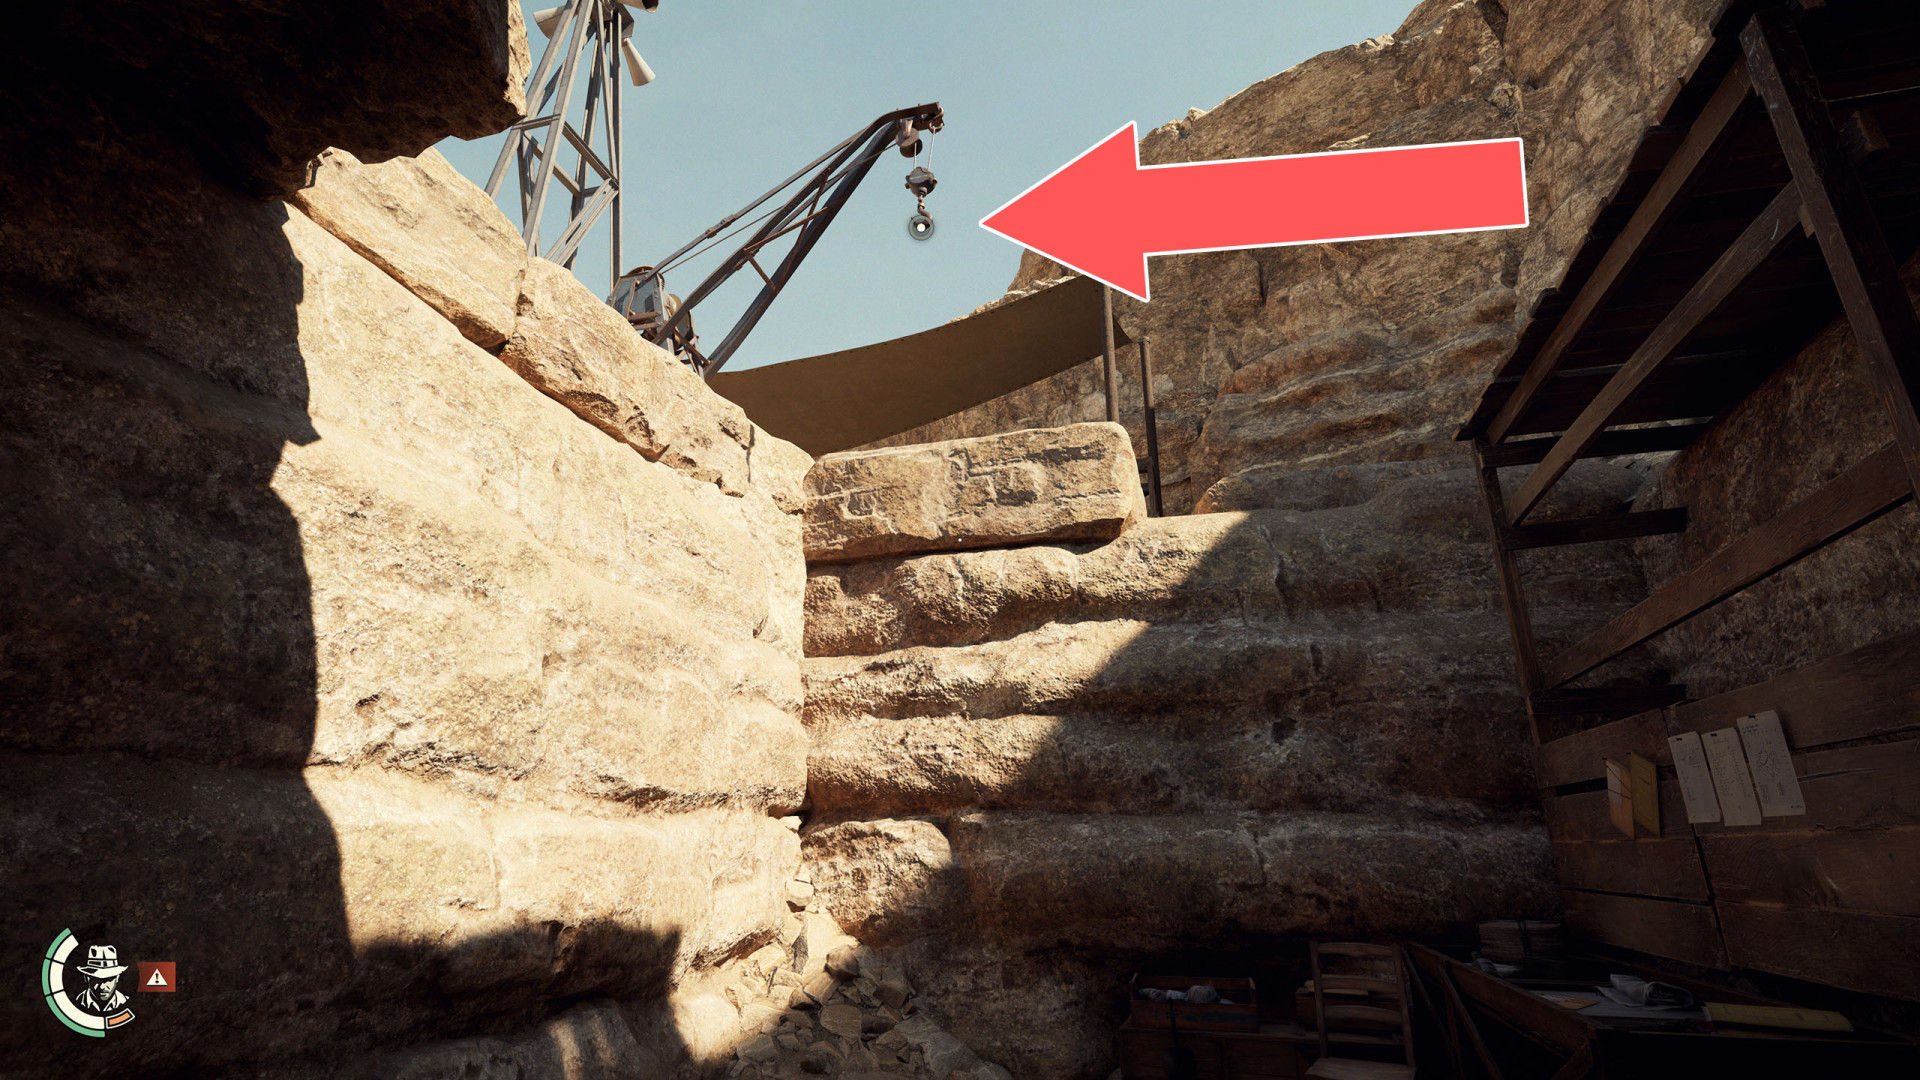
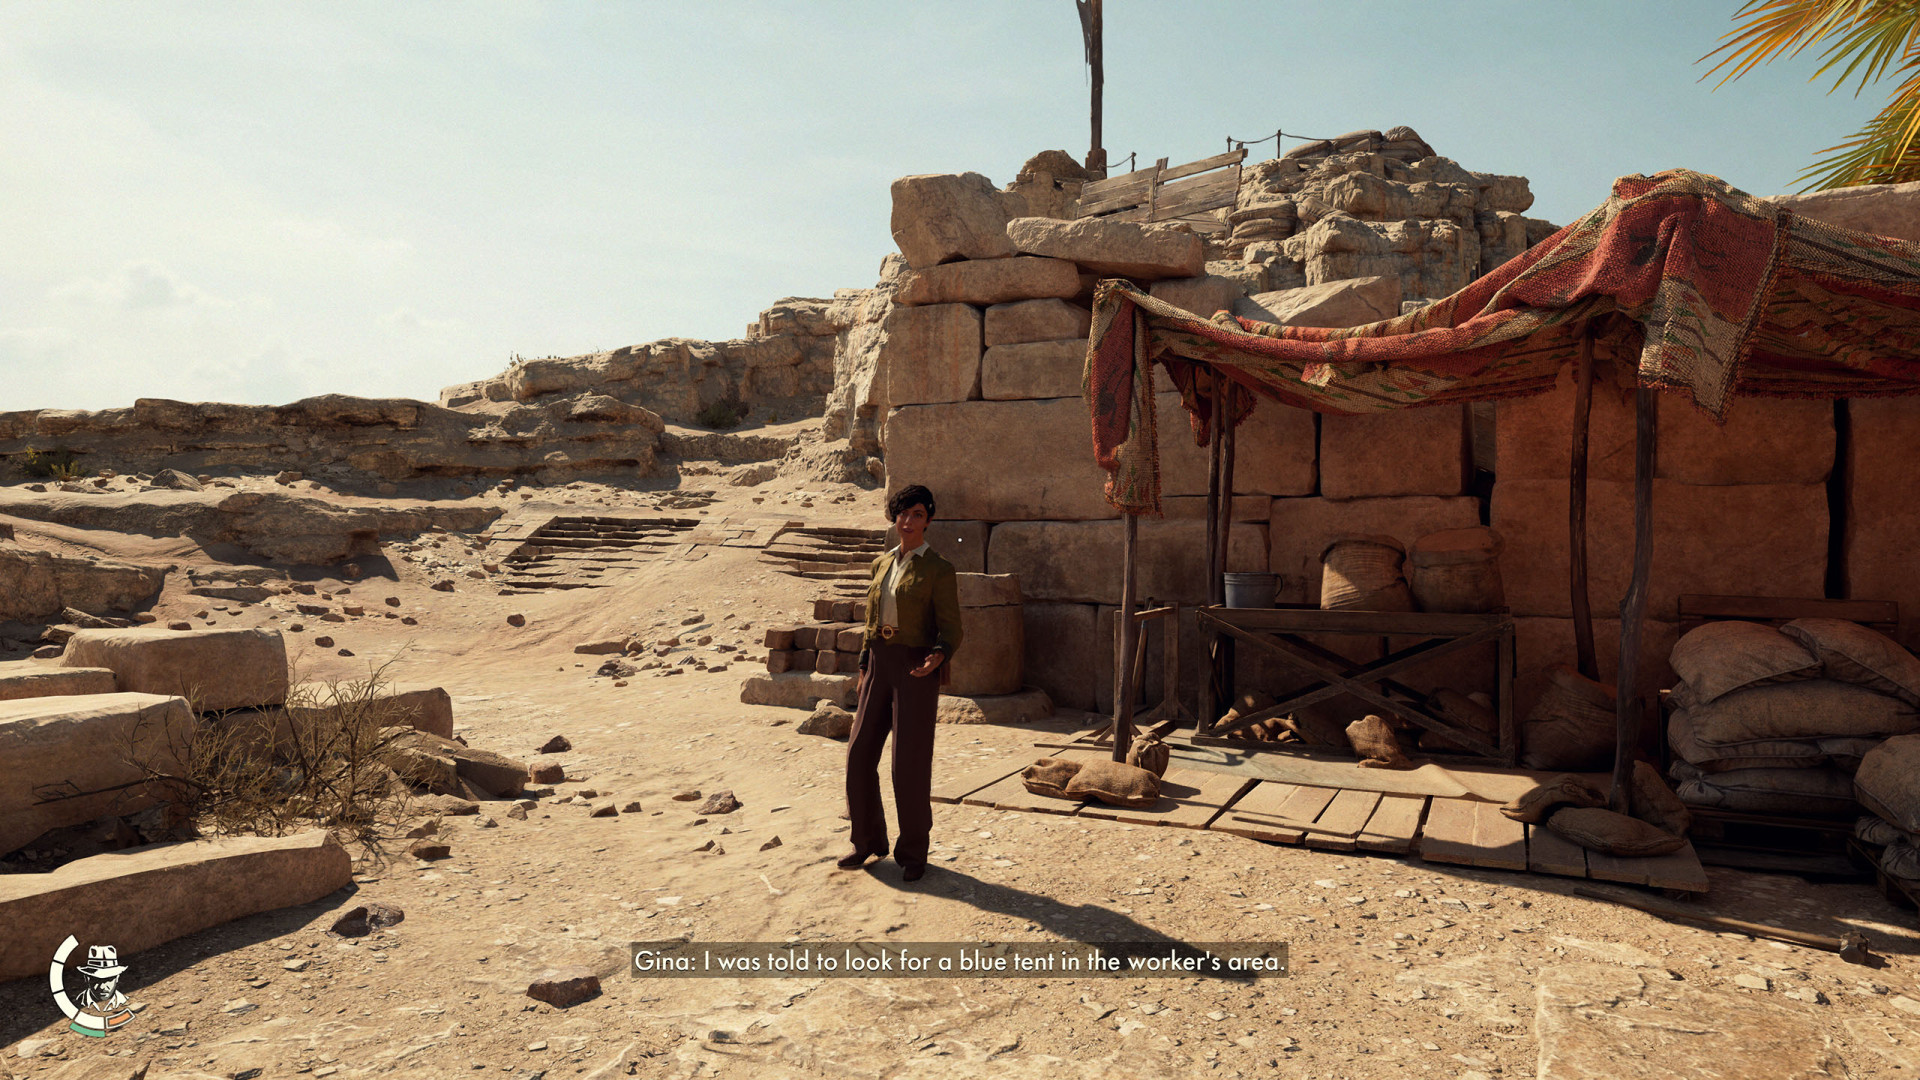
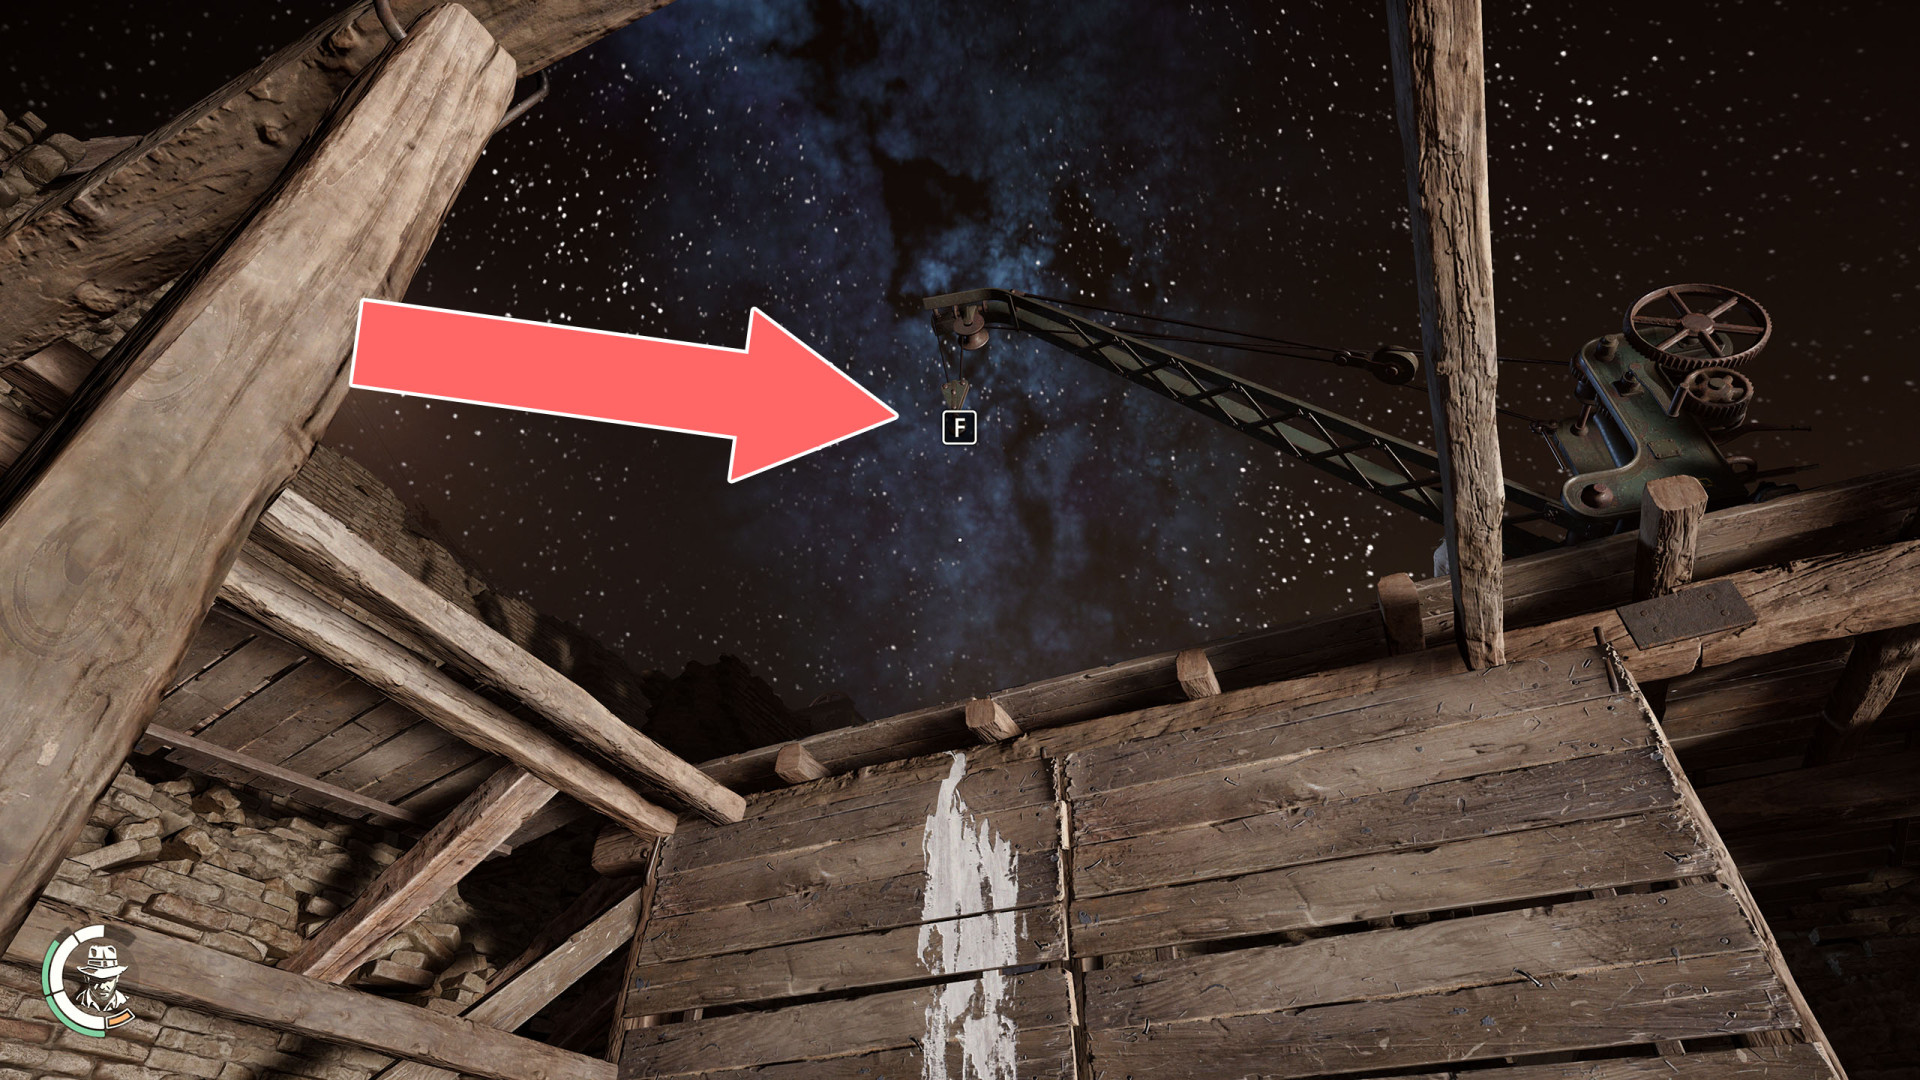
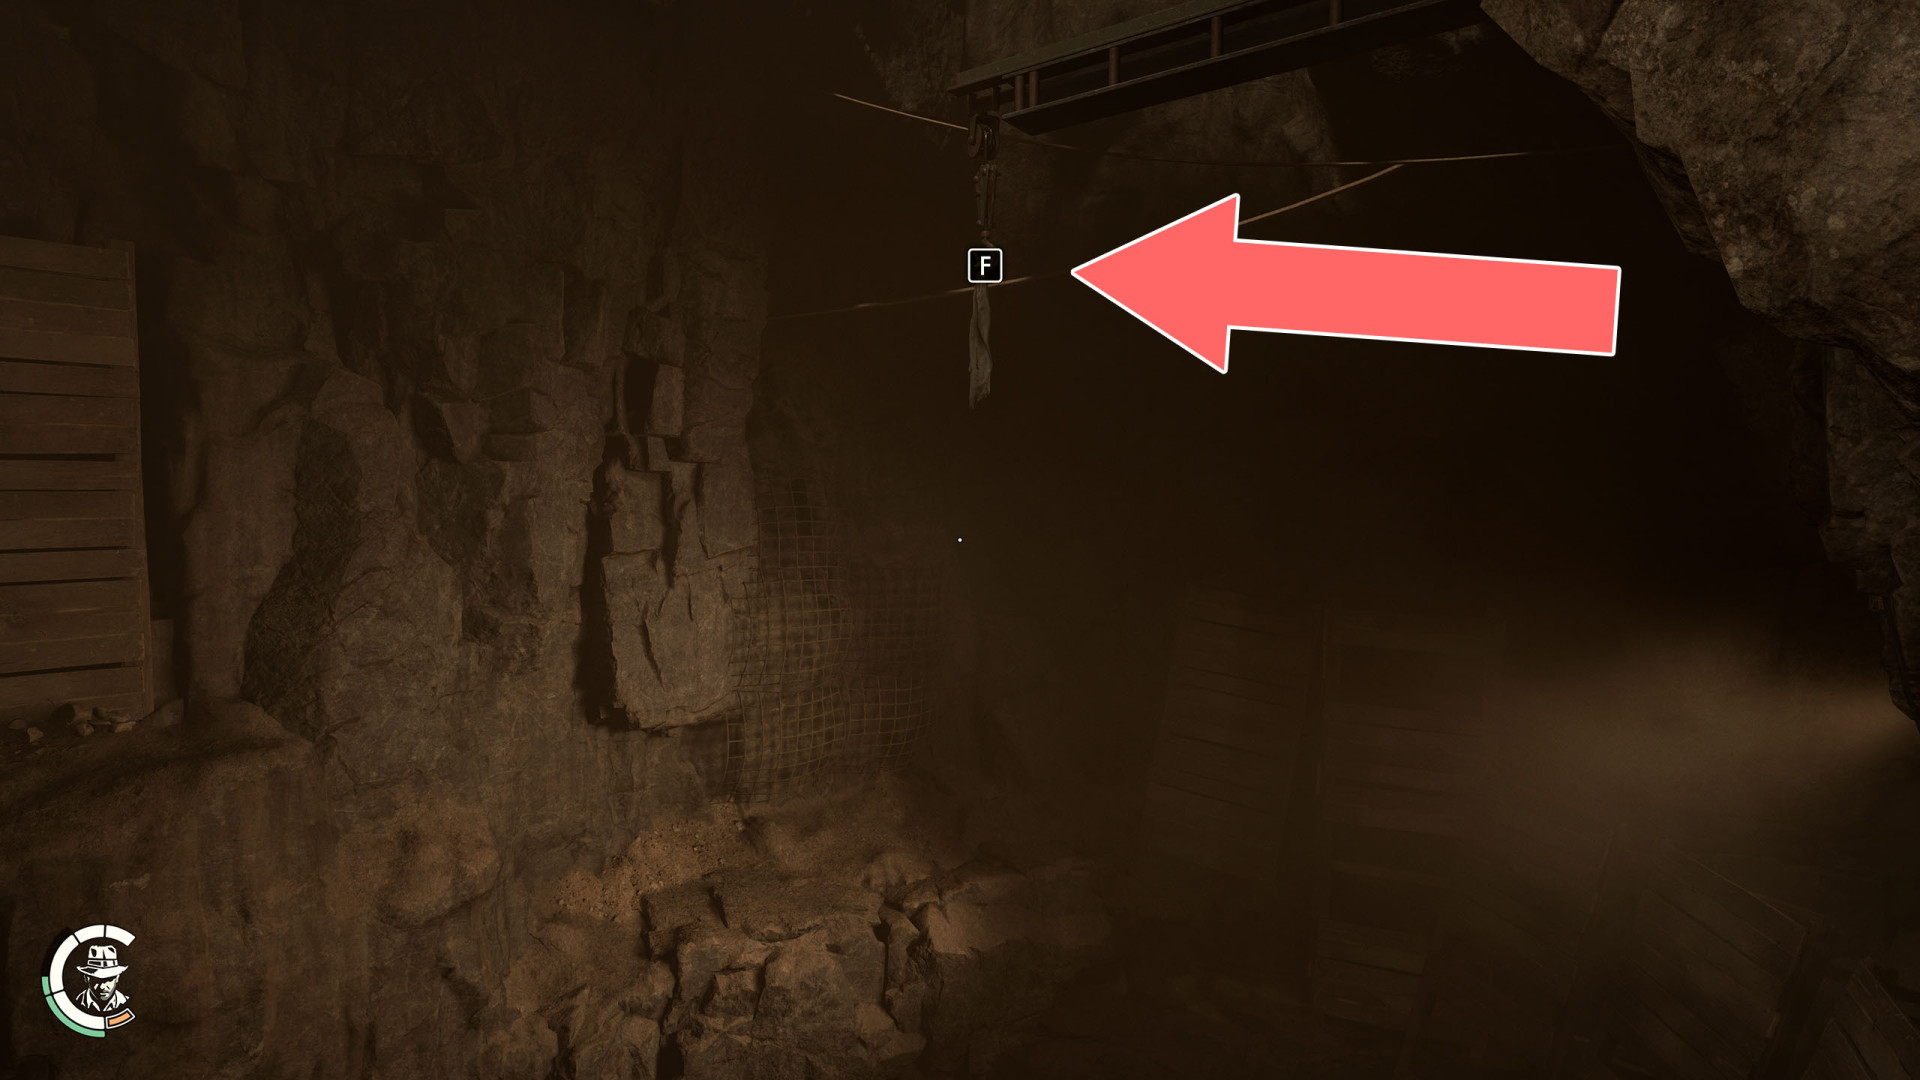
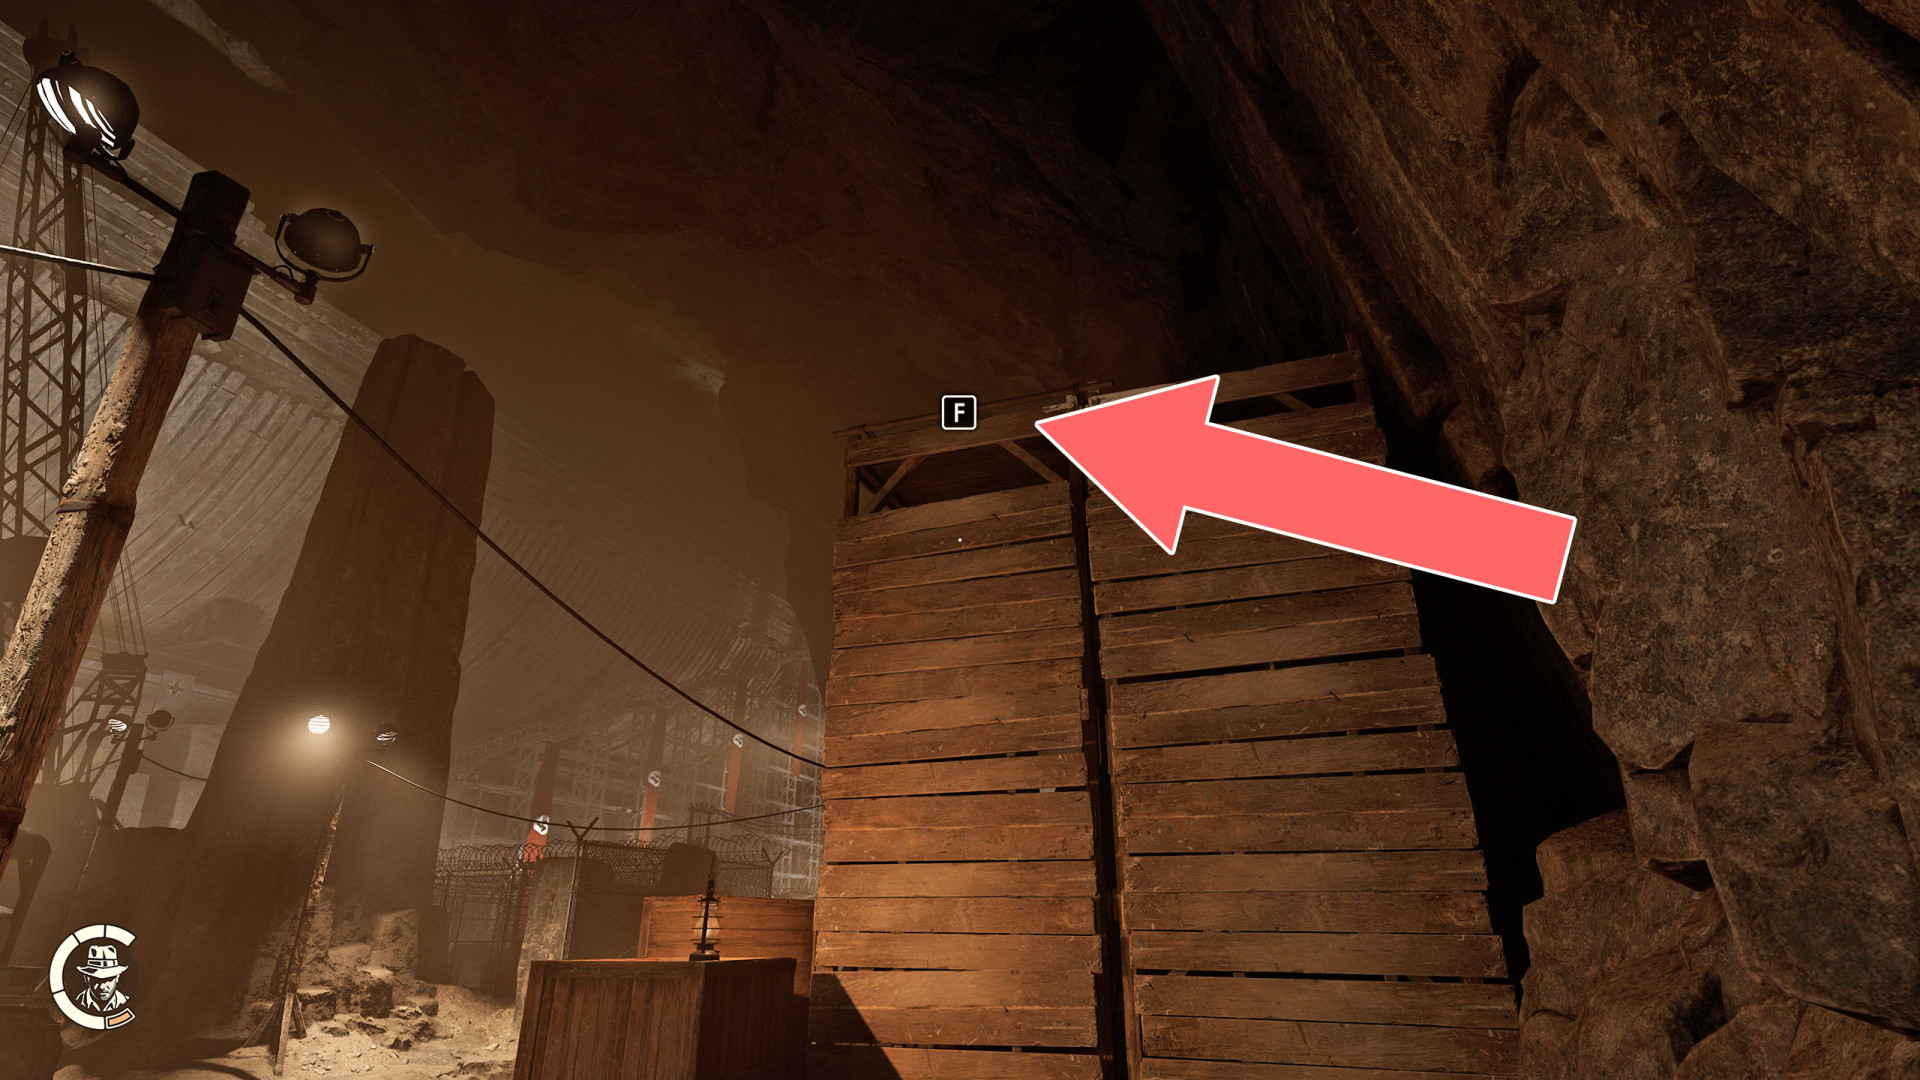
Grappling Point▶ show the map ◀
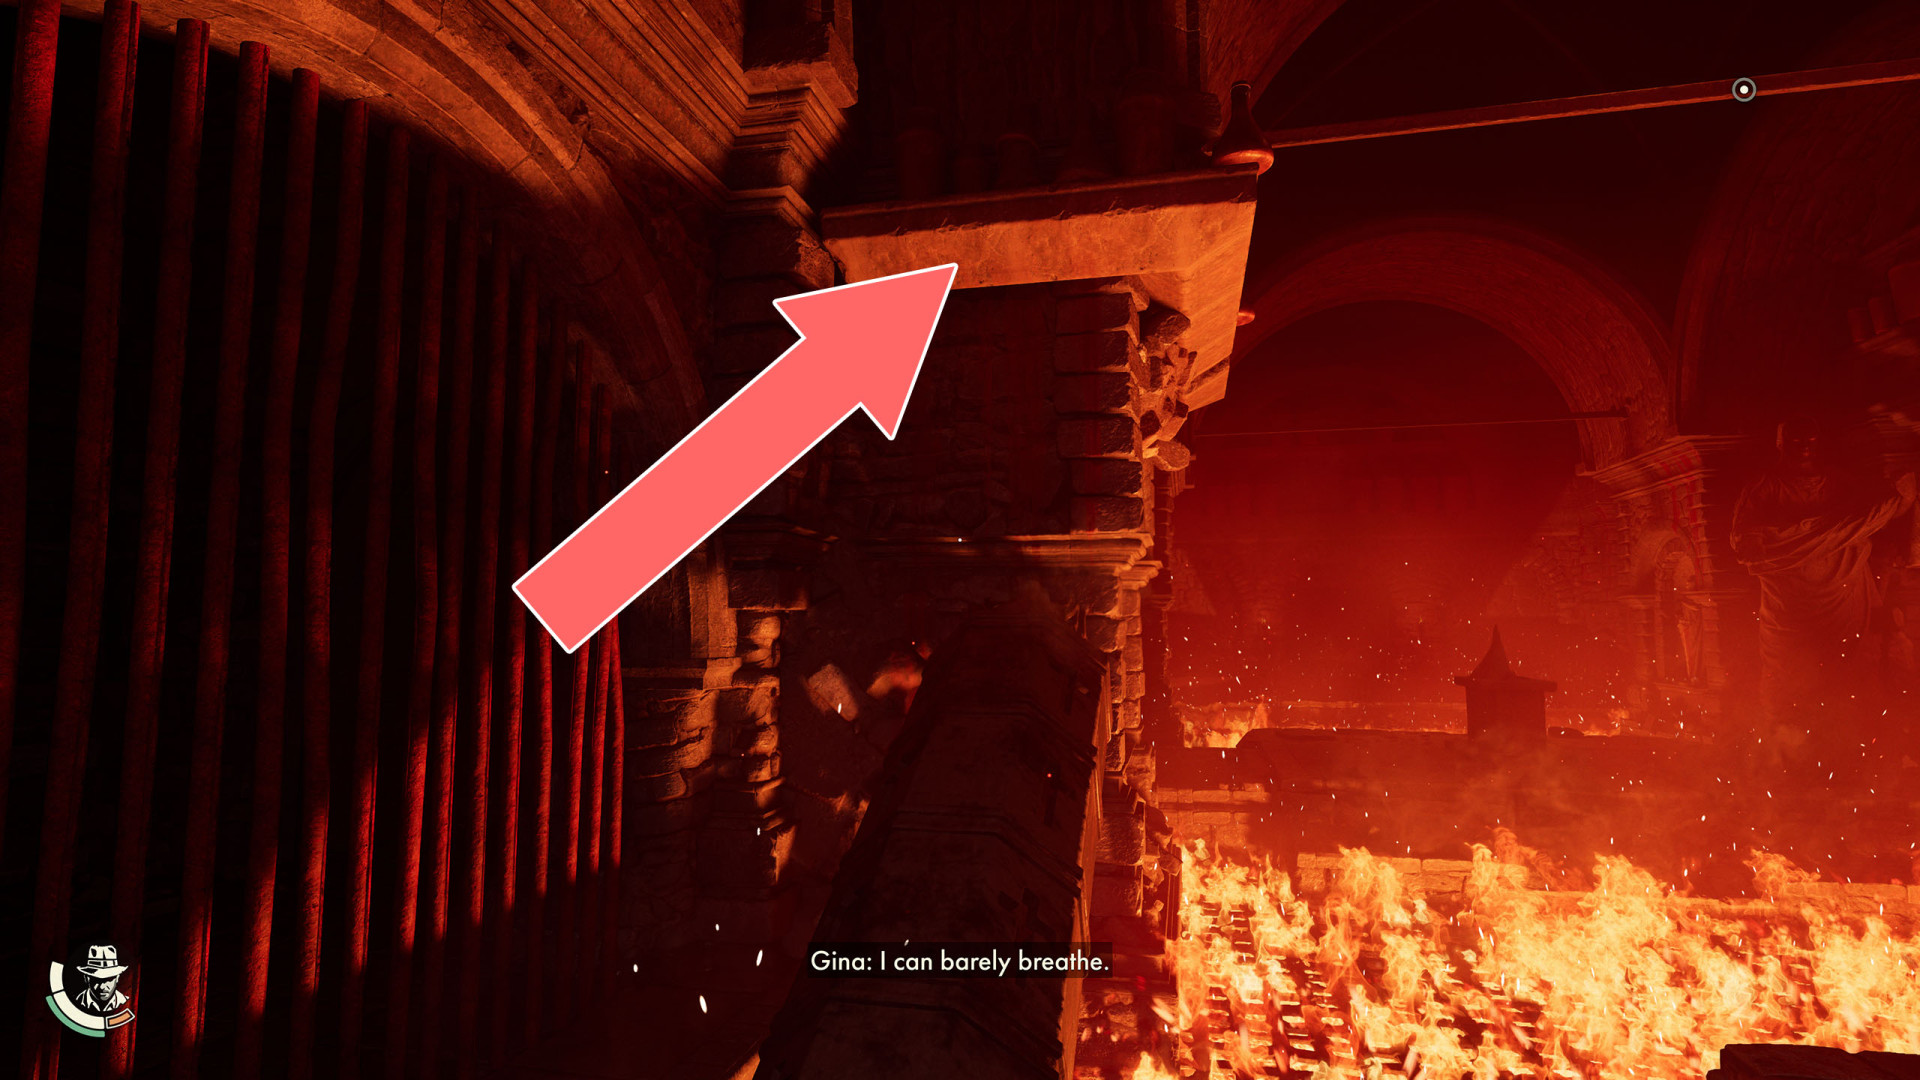
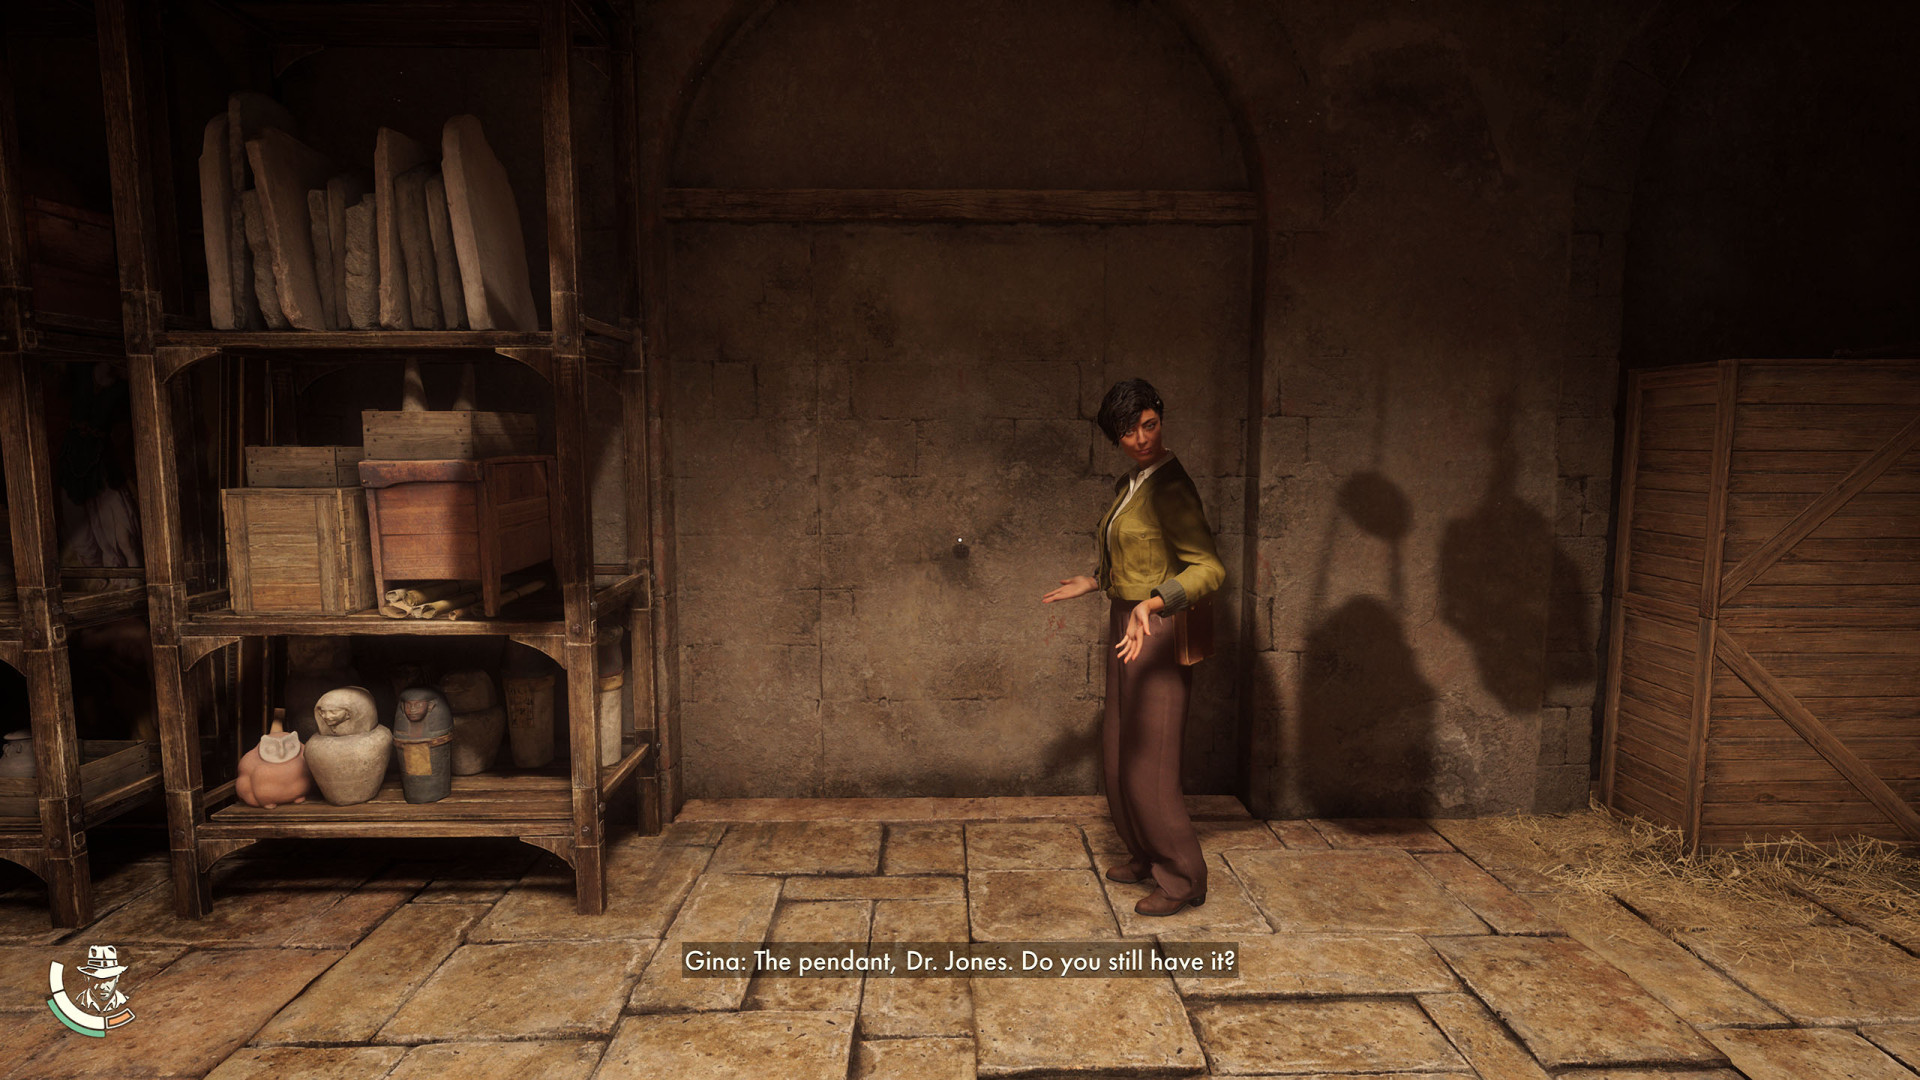
Help Gina get up here, and then she will move the crane so you can use it.
Grappling Point▶ show the map ◀
Grappling Point▶ show the map ◀
Grappling Point▶ show the map ◀
Hatch▶ show the map ◀
To Lower Level▶ show the map ◀
Wooden Platforms▶ show the map ◀
Zipline▶ show the map ◀