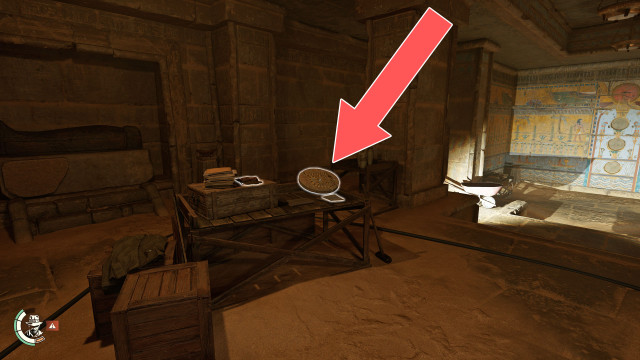
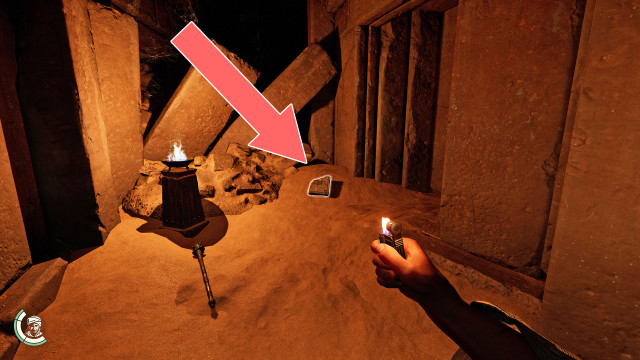
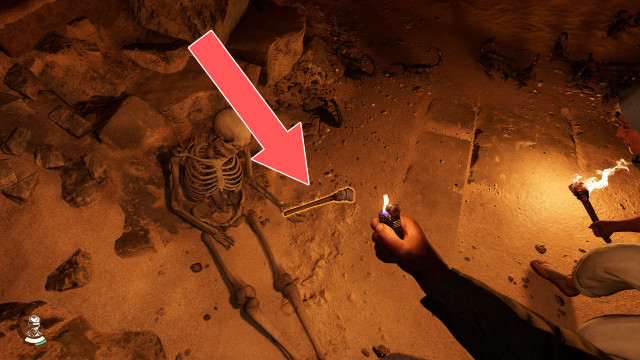
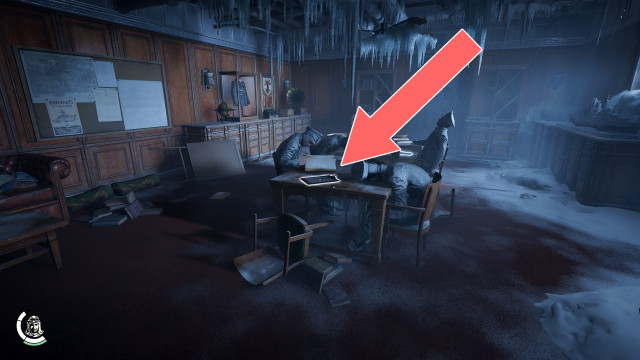
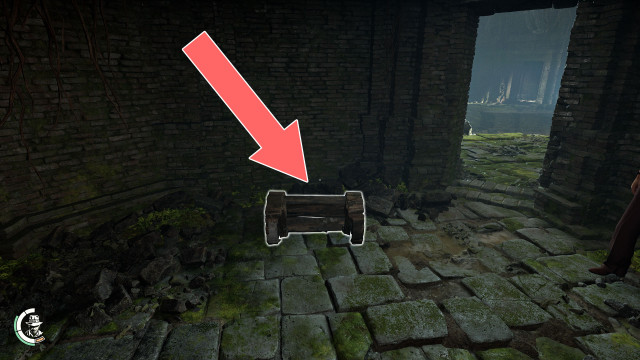
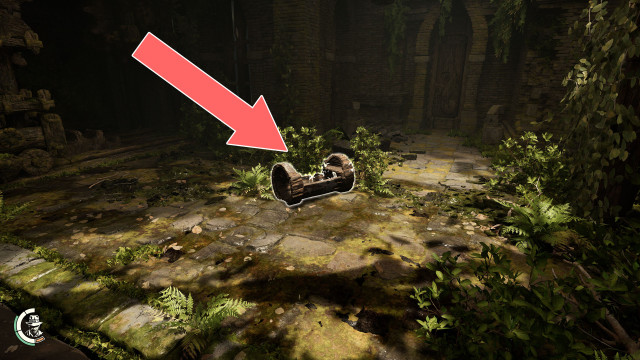
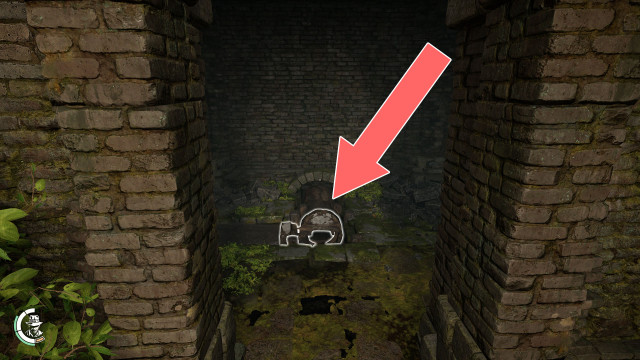
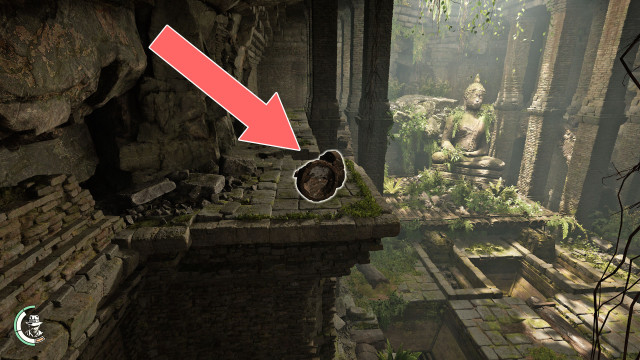
Key Items Indiana Jones and the Great Circle Points of interest
All sorts of other items that will be helpful or even necessary to us while playing.
Index
- Antique Bust
- Antique Bust (Necropolis #1)
- Antique Bust (Necropolis #2)
- Antique Bust (Underworld)
- Baboon Canopic Jar
- Bastet Statue
- Beam
- Big Cogwheel
- Big Cogwheel
- Blessed Pearl
- Blue Cable Power Switch
- Brass Mirror
- Bullwhip
- Camera
- Candle
- Canopic Jar
- Captain's Code
- Cat Mummy
- Chain Rivet #1
- Chain Rivet #2
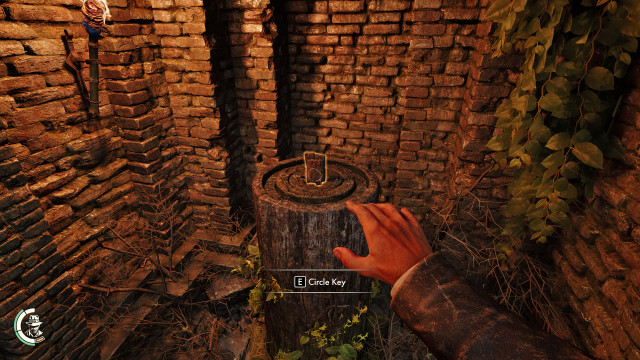
- Circle Key
- Code Table
- Code Table
- Code Wheel x 4
- Cross & Circle Key
- Cross & Diamond Key
- Crusader Shield / Hidden Lever
- Dragon Claw
- Egyptian Numeral Code
- Elephant Statuette #1
- Elephant Statuette #2
- Elephant Statuette #3
- Elevator Lever
- Elevator Power Switch
- Falcon Canopic Jar
- Fish Crate
- Flag
- Funerary Mask
- Game Piece x 2
- Game Piece x 3
- Giant's Pendant
- Gold Mask
- Golden Dragon Path Lever
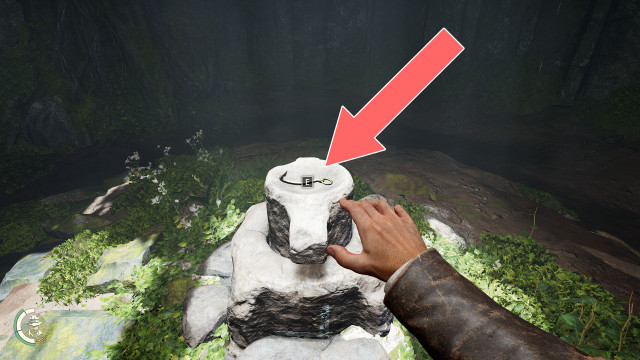
- Golden Fishing Hook
- Gramophone Record
- Guardian Pendant
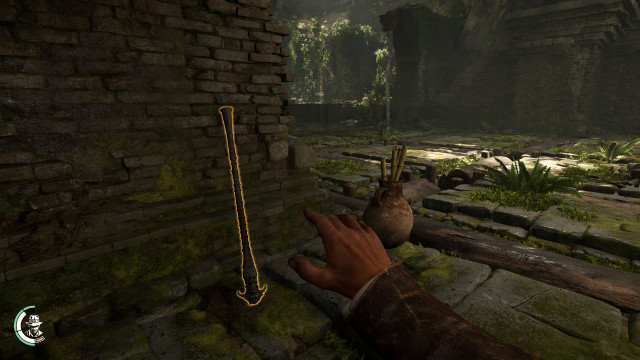
- Hammer
- Handle
- Handle
- Handle
- Handle (2)
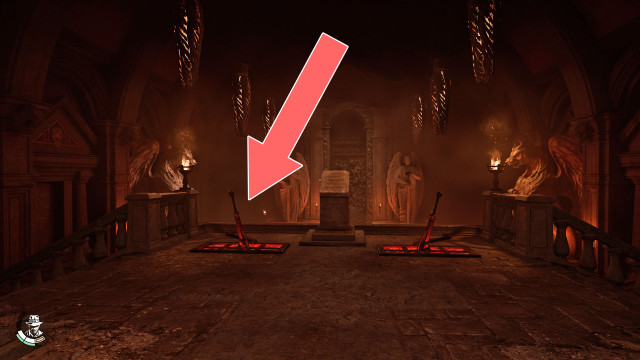
- Heavy Weapon
- Hidden Lever
- Human Canopic Jar
- Ivory Case
- Jackal Canopic Jar
- Journal
- Laura's Journal
- Lever
- Lever
- Lever
- Lever
- Lever
- Lever
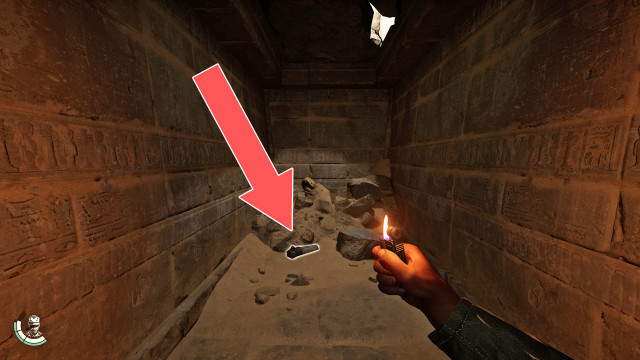
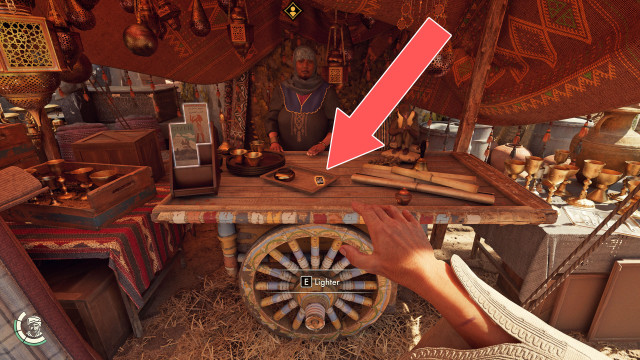
- Lighter
- Locked Crate
- Machu Picchu Stone
- Mirror #A1
- Mirror #A2
- Mirror #A3
- Mirror #A4
- Mirror #A5
- Mirror #A6
- Mirror #B1
- Mirror #B2
- Mirror #B3
- Mirror #B4
- Mirror #C1
- Mirror #C2
- Mirror #C3
- Mirror #C4
- Mirror #C5
- Missing Cat Flyer
- Pedestal (Fountain)
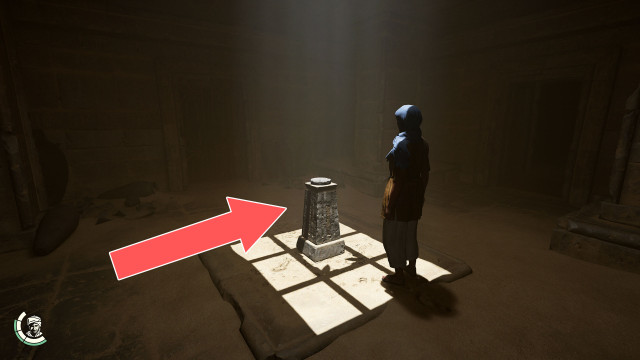
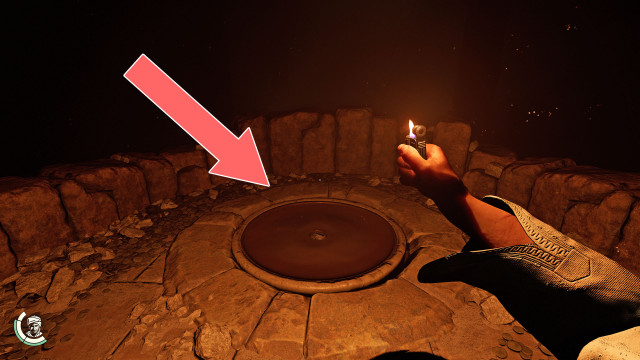
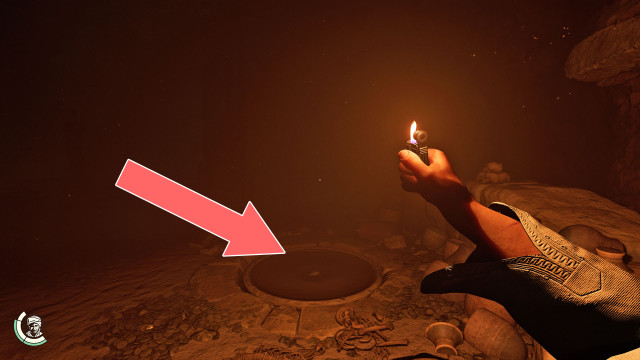
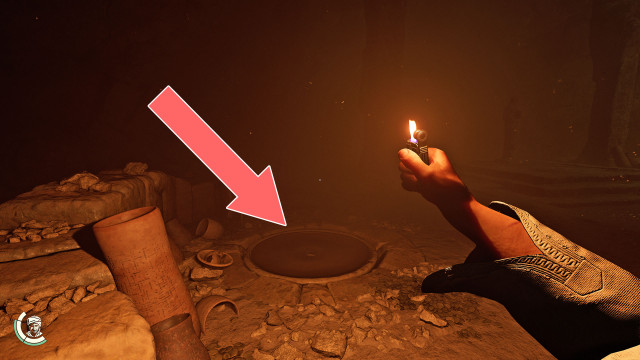
- Pedestal (Necropolis #1)
- Pedestal (Necropolis #2)
- Pedestal (Necropolis #3)
- Pedestal (Necropolis #3)
- Pedestal (Underworld)
- Pendant
- Pipe
- Pipe Segment (1)
- Pipe Segment (2)
- Pipe Segment (3)
- Pipe Segment (4)
- Pipe Segment (5)
- Pipe Segment (6)
- Pipe Segment (7)
- Pipe Slot #A1
- Pipe Slot #B1
- Pipe Slot #B2
- Pipe Slot #C1
- Pipe Slot #C2
- Pipe Slot #C3
- Pipe Slot #C4
- Platform
- Plugged Pipe
- Plugged Pipe
- Plugged Pipe
- Power Switch
- Pressure Plate #A1
- Pressure Plate #B1
- Pressure Plate #B2
- Pressure Plate #B3
- Rebreather
- Red Cable Power Switch
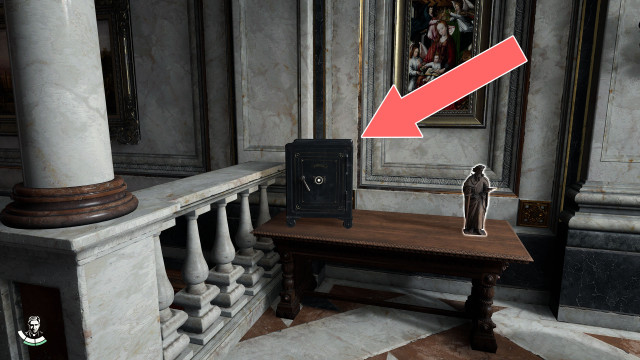
- Safe
- Safe
- Saint Paul Statue
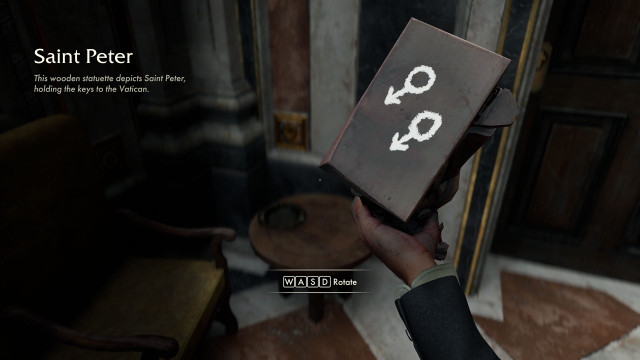
- Saint Peter Statue
- Secret of Secrets Safe
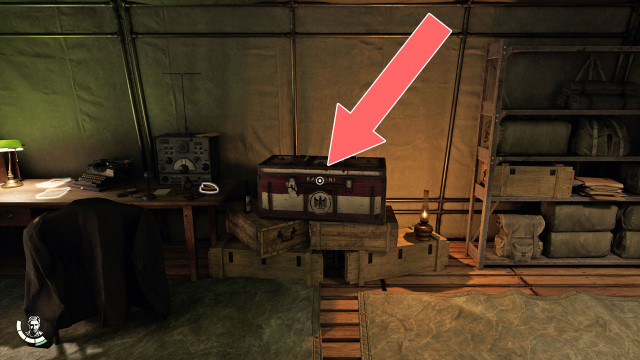
- Shipment Container
- Silver Dragon Path Lever
- Statue
- Stone Glyph (Bird)
- Stone Glyph (Fish)
- Stone Glyph (Snake)
- Stone Tablet
- Stone Tablet
- Symbol Pedestal #1
- Symbol Pedestal #2
- Symbol Pedestal #3
- Symbol Pedestal #4
- Symbol Pedestal #5
- Symbol Pedestal #6
- Tablet Piece
- Tar Jars
- Tar Jars
- Terracotta Relief
- The Stone Fragment
- Torch
- Torches
- Unknown Language Book
- Valve Wheel
- Ventura's Bookcase
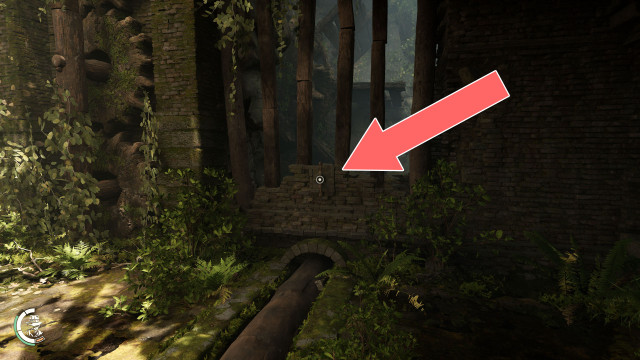
- Weak Wall
All known locations on the map Marshall College
 Bastet Statue▶ show the map ◀
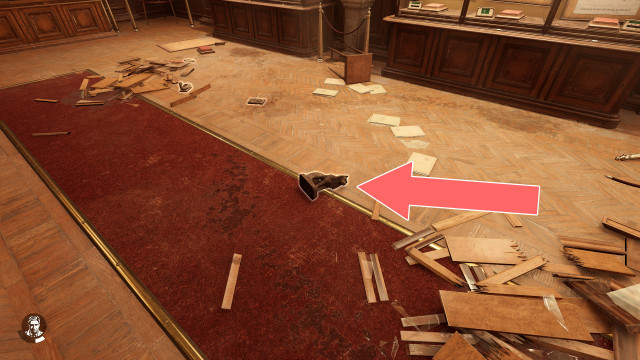
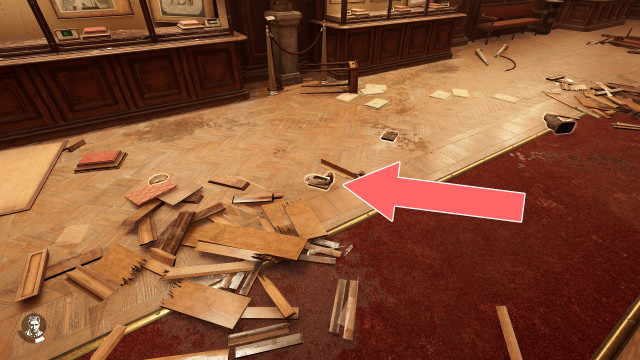
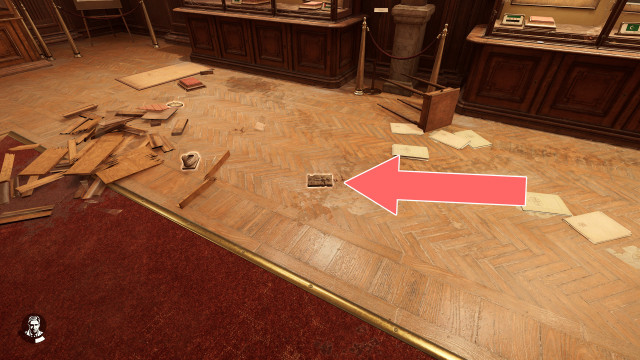
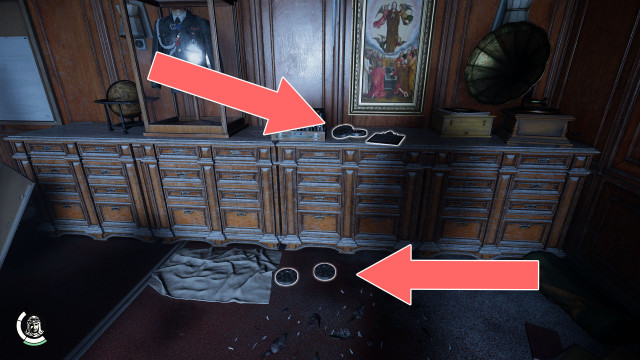
Lying on the floor. One of the items needed to solve the first puzzle. Related puzzle: The Exhibit.
 Funerary Mask▶ show the map ◀
Lying on the floor. One of the items needed to solve the first puzzle. Related puzzle: The Exhibit.
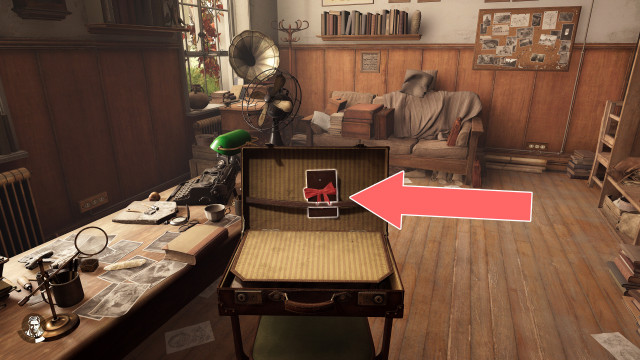
 Giant's Pendant▶ show the map ◀
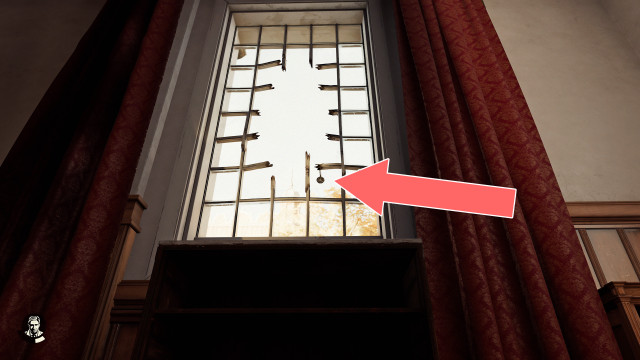
Lift the bookcase, climb on it and collect the pendant hanging on the broken window. Related adventure: The Break-in.
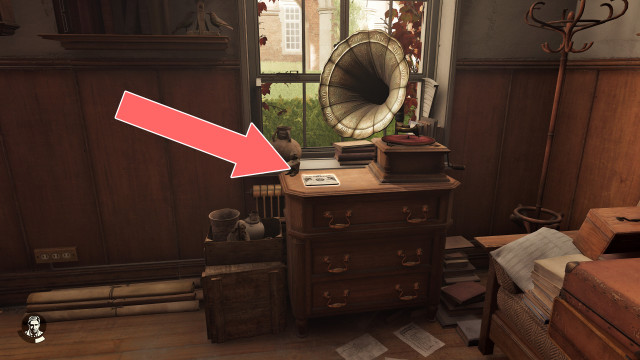
 Gramophone Record▶ show the map ◀
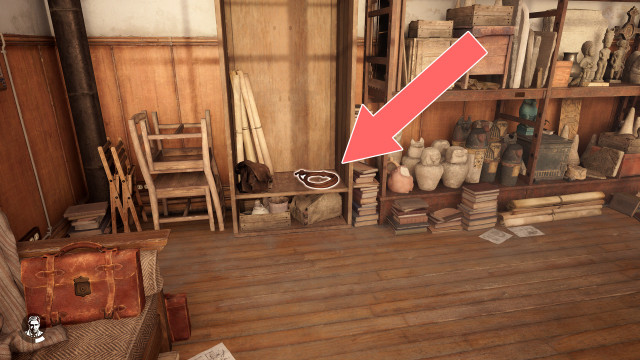
It is on the cabinet, next to the gramophone. Related adventure: The Adventure Begins.
 Ivory Case▶ show the map ◀
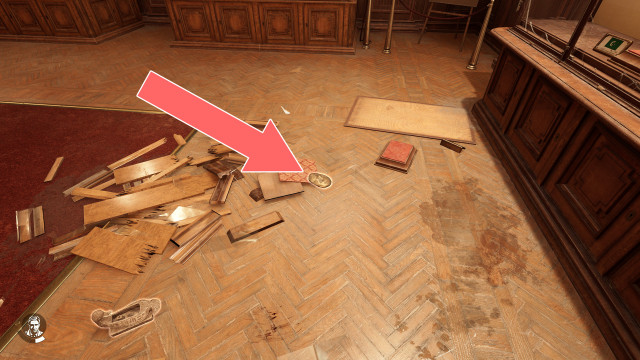
Lying on the floor. One of the items needed to solve the first puzzle. Related puzzle: The Exhibit.
 Terracotta Relief▶ show the map ◀
Lying on the floor. One of the items needed to solve the first puzzle. Related puzzle: The Exhibit.
All known locations on the map The Vatican
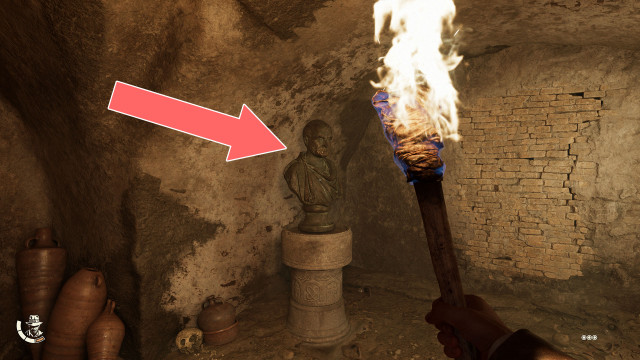
 Antique Bust▶ show the map ◀
 Antique Bust (Necropolis #1)▶ show the map ◀
 Antique Bust (Necropolis #2)▶ show the map ◀
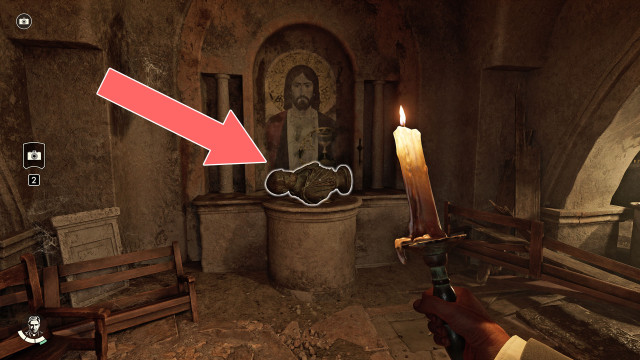
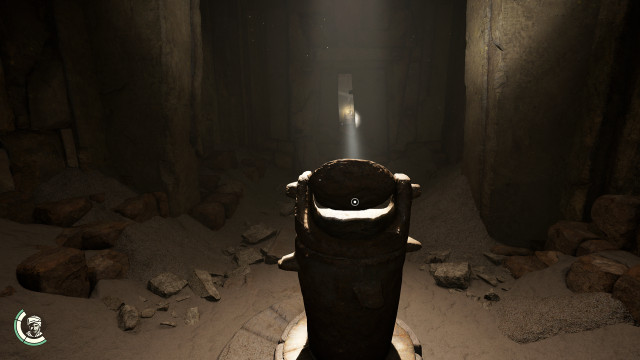
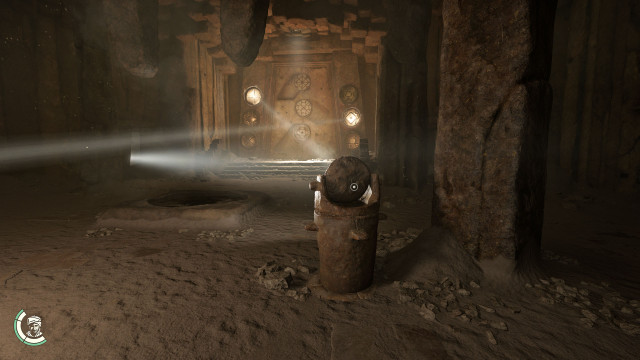
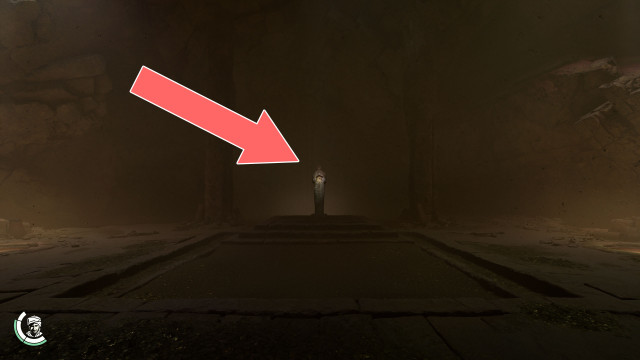
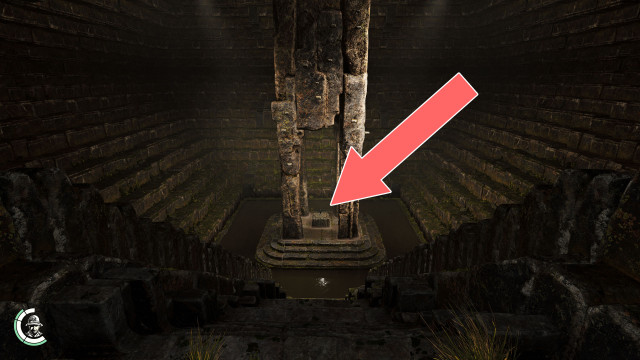
 Antique Bust (Underworld)▶ show the map ◀
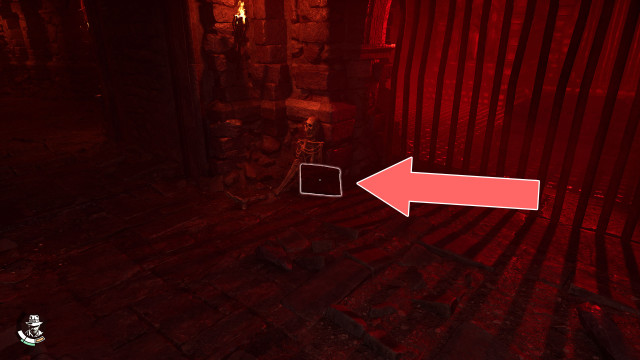
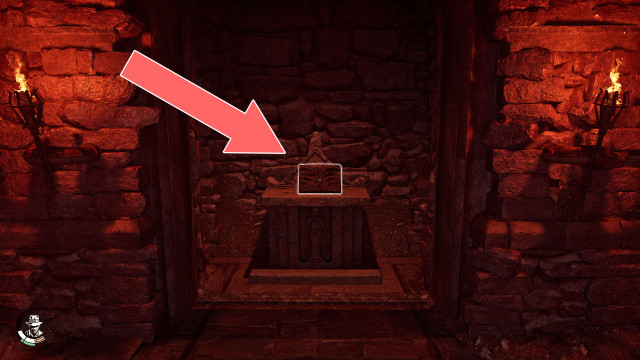
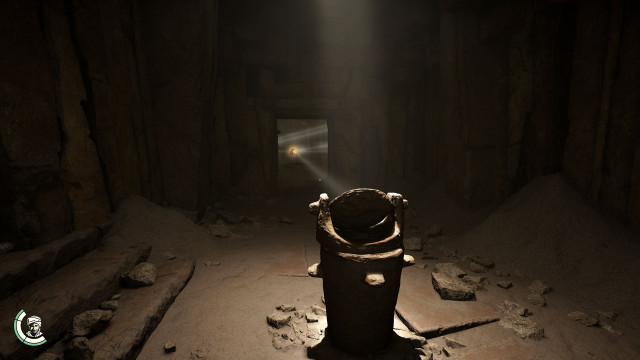
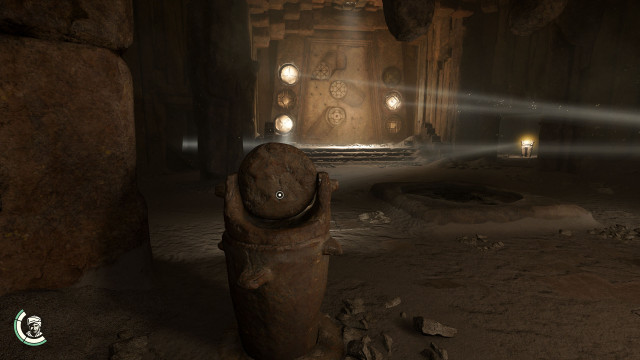
After solving the "Sacred Wounds" puzzle take it and place it on the Pedestal (Underworld).
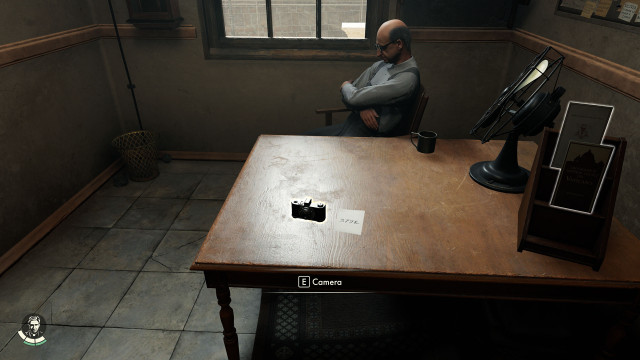
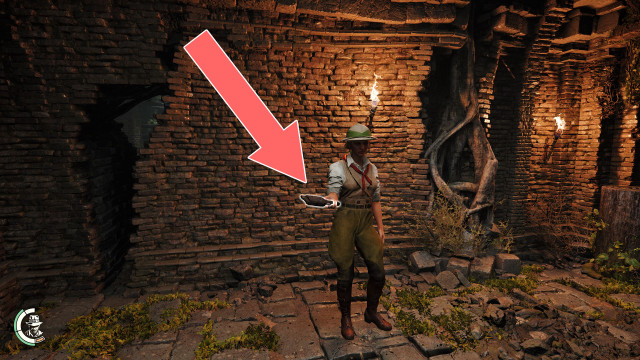
 Camera▶ show the map ◀
It will allow you to take photos that are both needed for the main storyline of the game as well as many side activities.
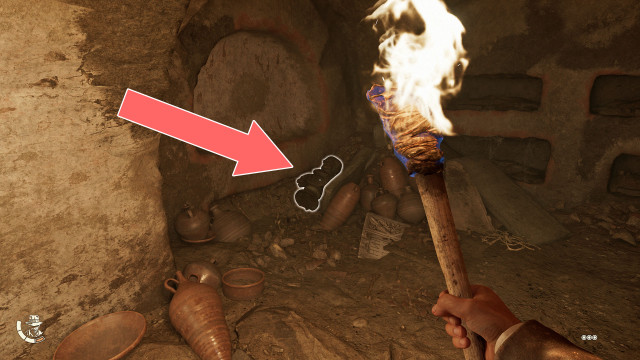
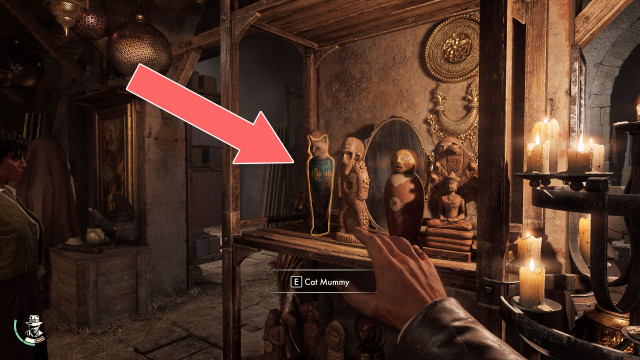
 Cat Mummy▶ show the map ◀
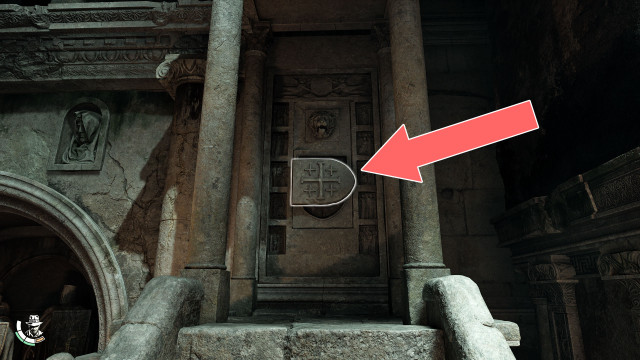
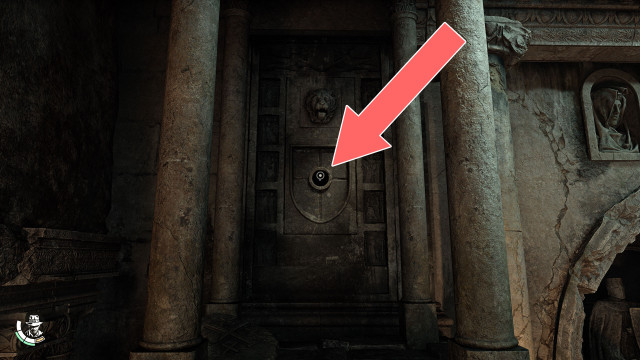
 Crusader Shield / Hidden Lever▶ show the map ◀
 Dragon Claw▶ show the map ◀
 Golden Dragon Path Lever▶ show the map ◀
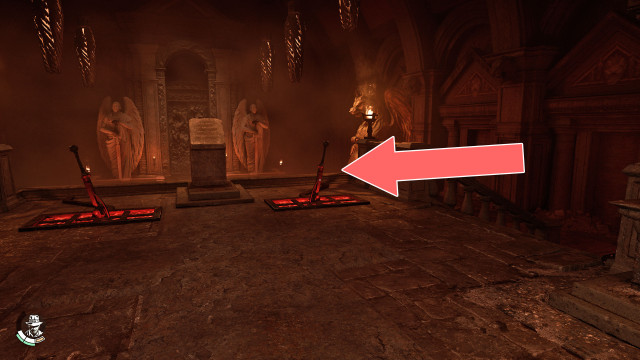
 Hidden Lever▶ show the map ◀
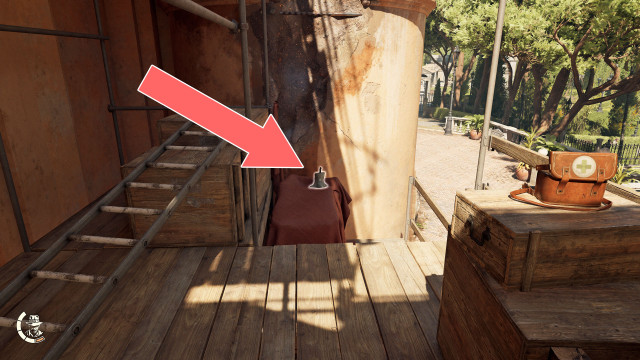
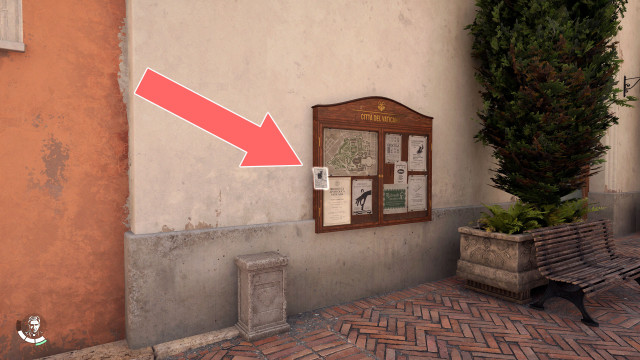
 Missing Cat Flyer▶ show the map ◀
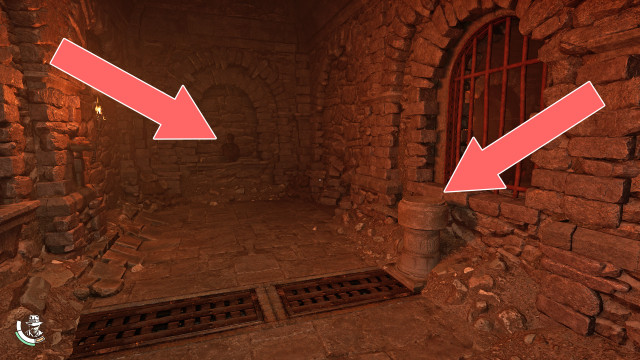
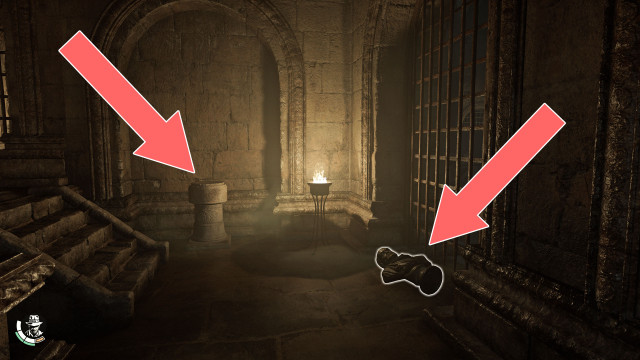
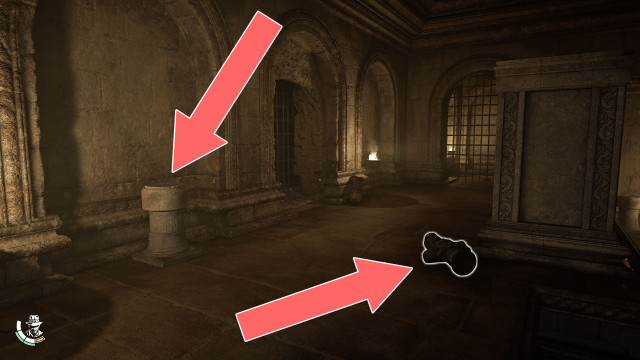
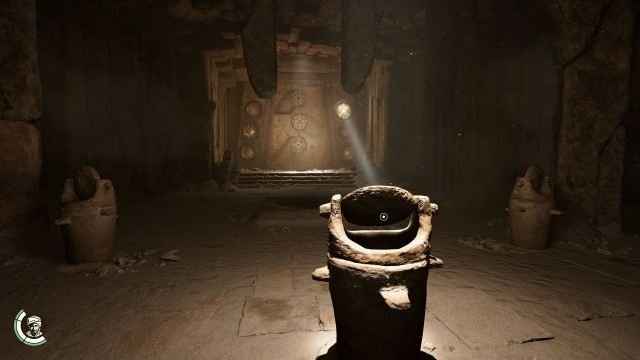
 Pedestal (Fountain)▶ show the map ◀
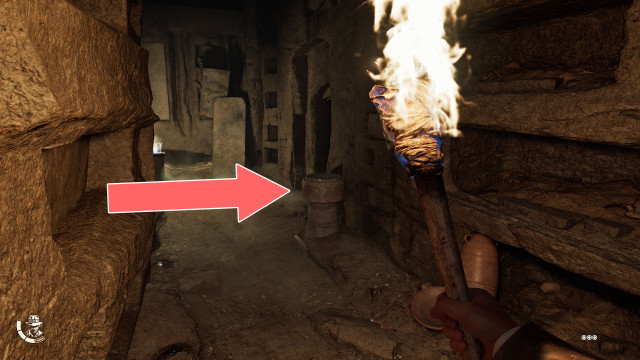
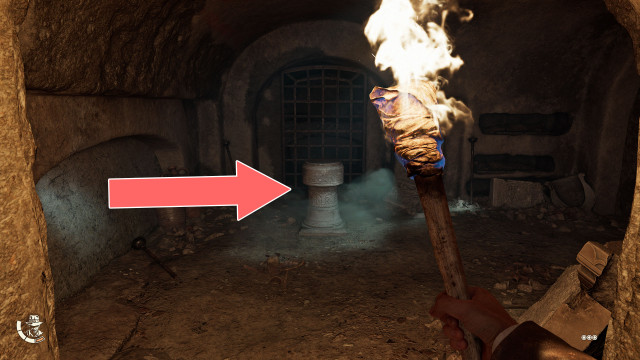
 Pedestal (Necropolis #1)▶ show the map ◀
 Pedestal (Necropolis #2)▶ show the map ◀
 Pedestal (Necropolis #3)▶ show the map ◀
 Pedestal (Necropolis #3)▶ show the map ◀
 Silver Dragon Path Lever▶ show the map ◀
 Stone Tablet▶ show the map ◀
 Stone Tablet▶ show the map ◀
 The Stone Fragment▶ show the map ◀
 Unknown Language Book▶ show the map ◀
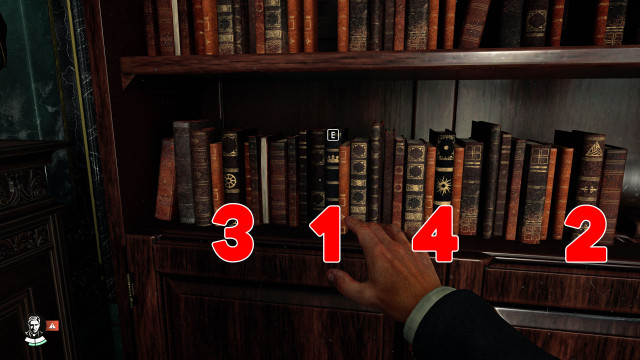
 Ventura's Bookcase▶ show the map ◀
All known locations on the map Gizeh
 Baboon Canopic Jar▶ show the map ◀
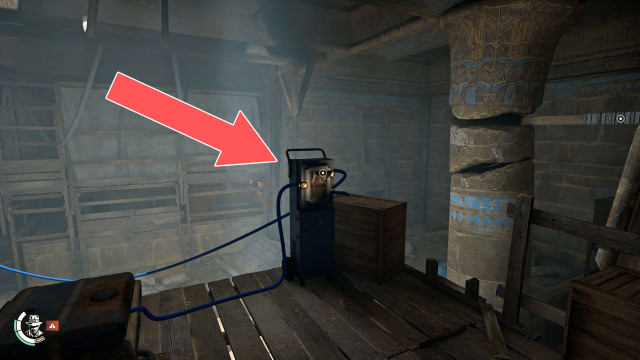
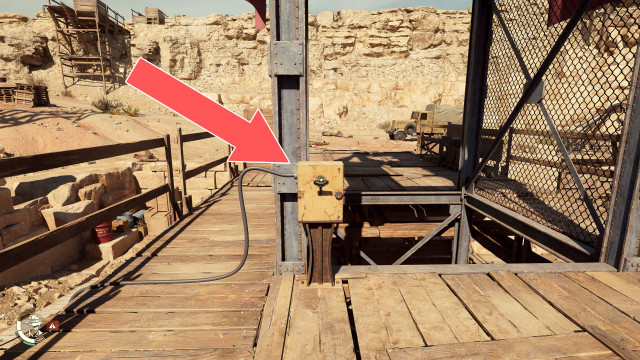
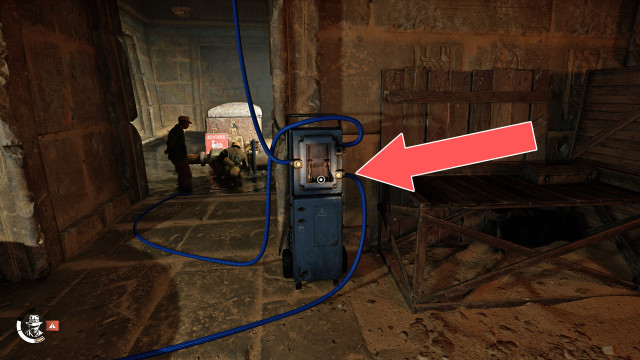
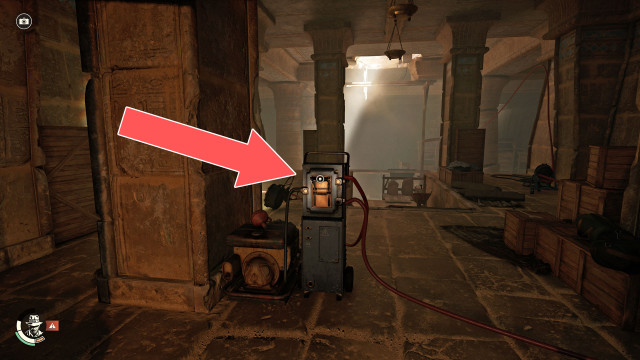
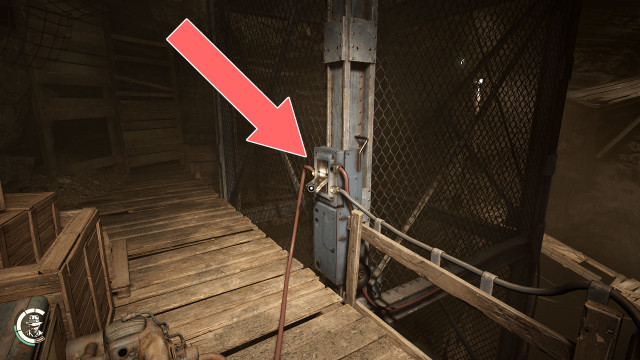
 Blue Cable Power Switch▶ show the map ◀
One of the switches that must be toggled to restore power to the elevator.
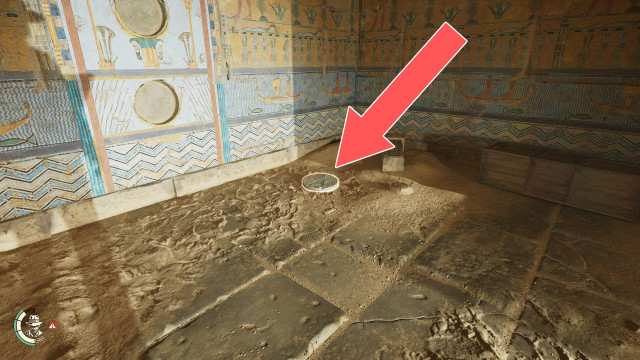
 Brass Mirror▶ show the map ◀
 Canopic Jar▶ show the map ◀
 Egyptian Numeral Code▶ show the map ◀
 Elevator Lever▶ show the map ◀
 Falcon Canopic Jar▶ show the map ◀
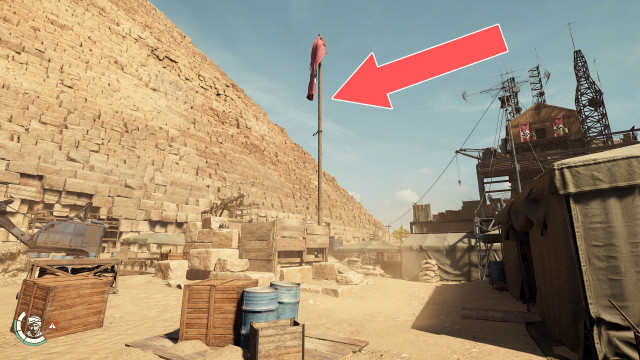
 Flag▶ show the map ◀
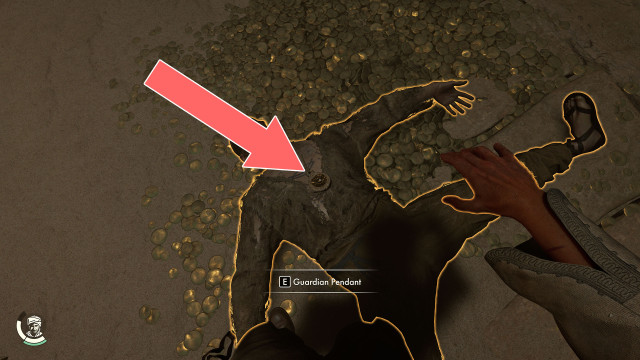
 Guardian Pendant▶ show the map ◀
 Heavy Weapon▶ show the map ◀
 Human Canopic Jar▶ show the map ◀
 Jackal Canopic Jar▶ show the map ◀
 Laura's Journal▶ show the map ◀
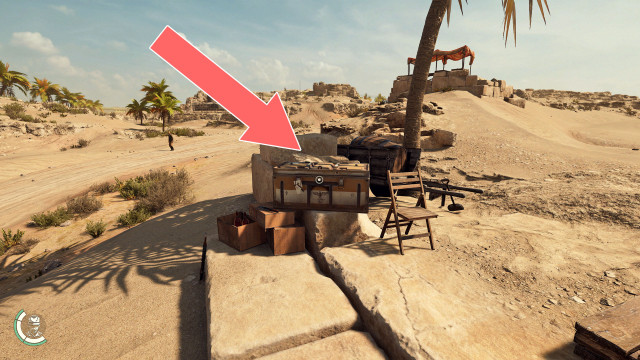
 Locked Crate▶ show the map ◀
Lock combination: 0926. It can be found on the Nazi Note. Related mystery: Bright Future.
 Mirror #A1▶ show the map ◀
 Mirror #A2▶ show the map ◀
 Mirror #A3▶ show the map ◀
 Mirror #A4▶ show the map ◀
 Mirror #A5▶ show the map ◀
 Mirror #A6▶ show the map ◀
 Mirror #B1▶ show the map ◀
 Mirror #B2▶ show the map ◀
 Mirror #B3▶ show the map ◀
 Mirror #B4▶ show the map ◀
 Mirror #C1▶ show the map ◀
 Mirror #C2▶ show the map ◀
 Mirror #C3▶ show the map ◀
 Mirror #C5▶ show the map ◀
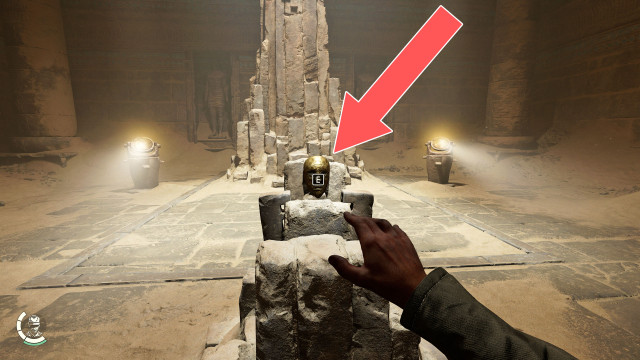
 Pendant▶ show the map ◀
 Power Switch▶ show the map ◀
When you toggle this switch, the enemies in the adjacent room will be electrocuted.
 Pressure Plate #A1▶ show the map ◀
 Pressure Plate #B1▶ show the map ◀
 Pressure Plate #B2▶ show the map ◀
 Pressure Plate #B3▶ show the map ◀
 Red Cable Power Switch▶ show the map ◀
One of the switches that must be toggled to restore power to the elevator.
 Statue▶ show the map ◀
 Stone Glyph (Bird)▶ show the map ◀
 Stone Glyph (Fish)▶ show the map ◀
 Stone Glyph (Snake)▶ show the map ◀
 Tablet Piece▶ show the map ◀
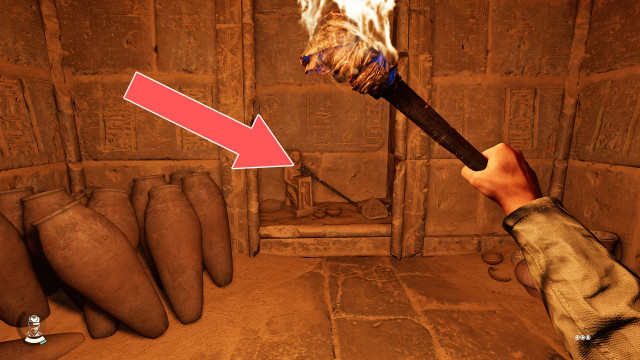
 Torch▶ show the map ◀
All known locations on the map The Himalayas
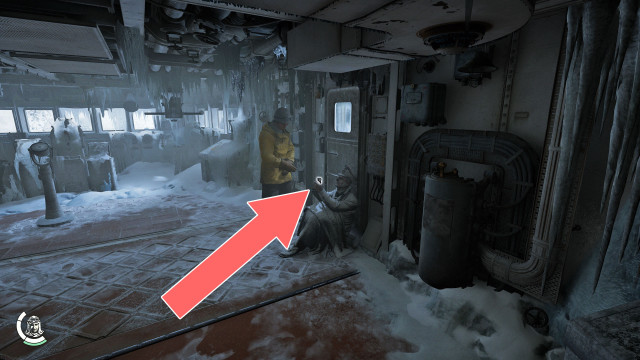
 Captain's Code▶ show the map ◀
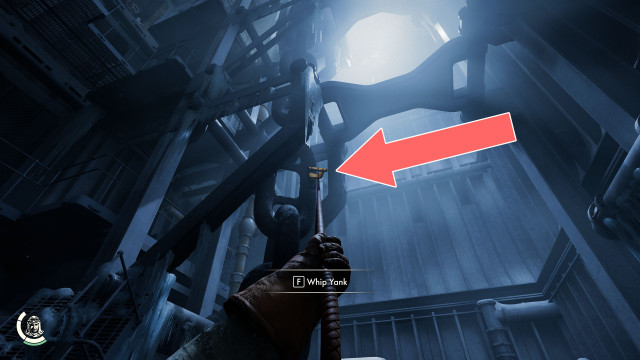
 Chain Rivet #1▶ show the map ◀
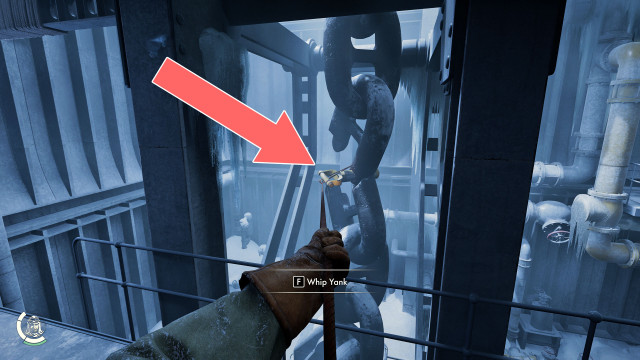
 Chain Rivet #2▶ show the map ◀
 Code Table▶ show the map ◀
 Code Table▶ show the map ◀
 Code Wheel x 4▶ show the map ◀
 Machu Picchu Stone▶ show the map ◀
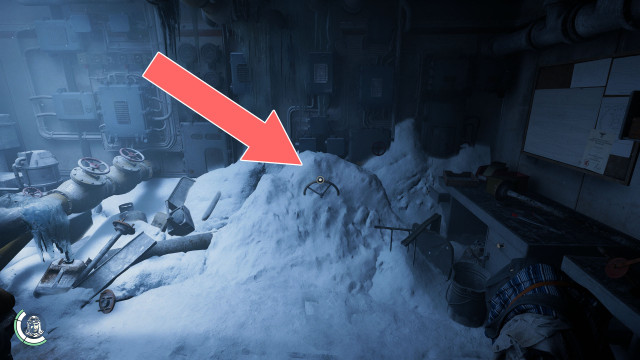
 Valve Wheel▶ show the map ◀
All known locations on the map Sukhothai
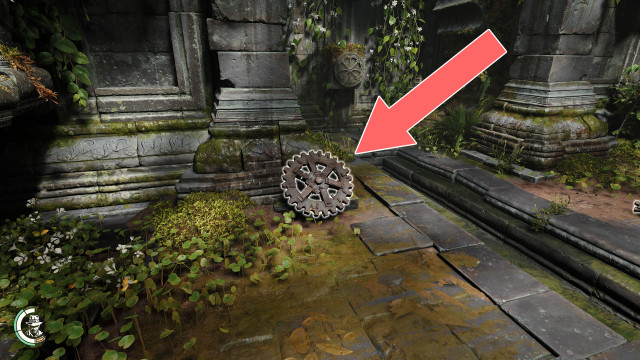
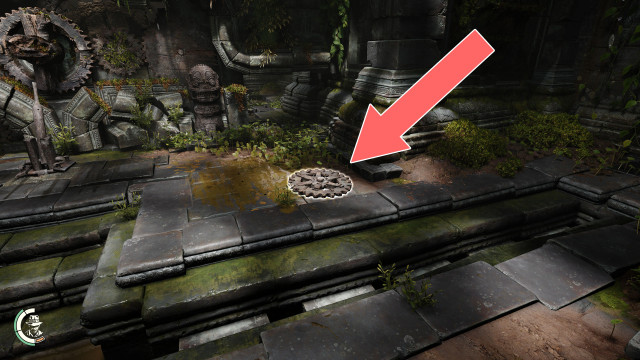
 Big Cogwheel▶ show the map ◀
 Big Cogwheel▶ show the map ◀
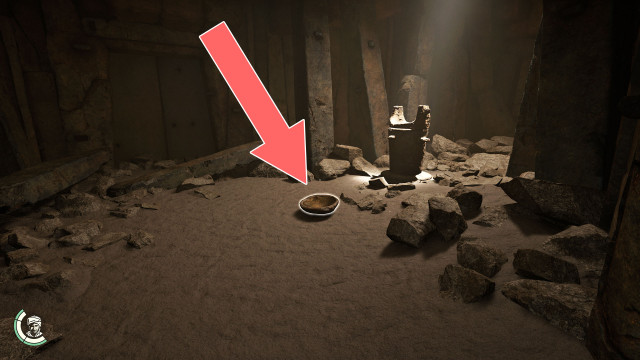
 Blessed Pearl▶ show the map ◀
You can reach this place after going all the way down in the northern shaft.
 Circle Key▶ show the map ◀
 Cross & Circle Key▶ show the map ◀
 Cross & Diamond Key▶ show the map ◀
 Elephant Statuette #1▶ show the map ◀
 Elephant Statuette #3▶ show the map ◀
 Fish Crate▶ show the map ◀
 Game Piece x 2▶ show the map ◀
 Game Piece x 3▶ show the map ◀
 Golden Fishing Hook▶ show the map ◀
 Hammer▶ show the map ◀
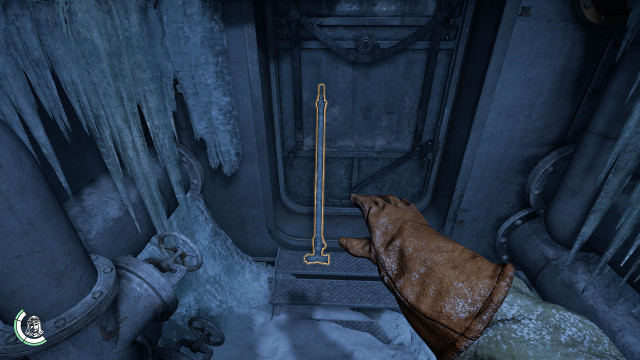
 Handle▶ show the map ◀
 Handle▶ show the map ◀
 Handle▶ show the map ◀
 Handle (2)▶ show the map ◀
 Lever▶ show the map ◀
 Lever▶ show the map ◀
When you turn it the trapdoor will open and you will slide down the ramp to the trap room.
 Lever▶ show the map ◀
 Lever▶ show the map ◀
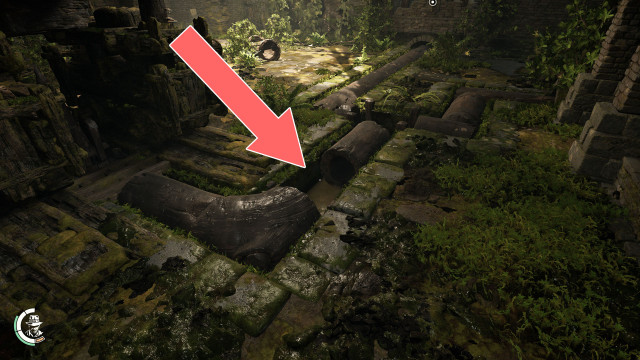
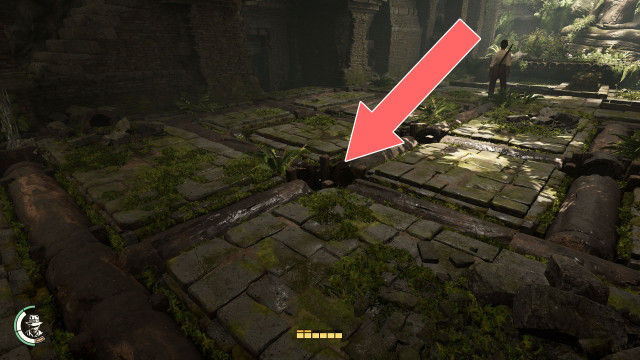
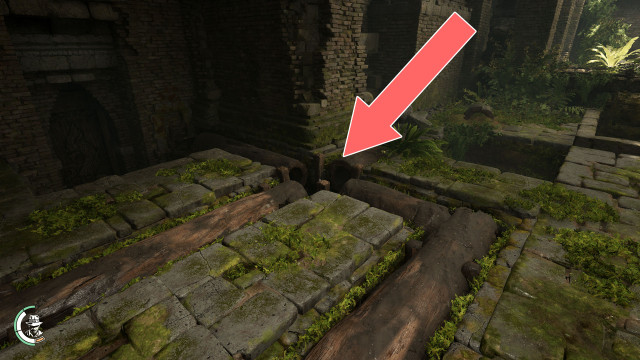
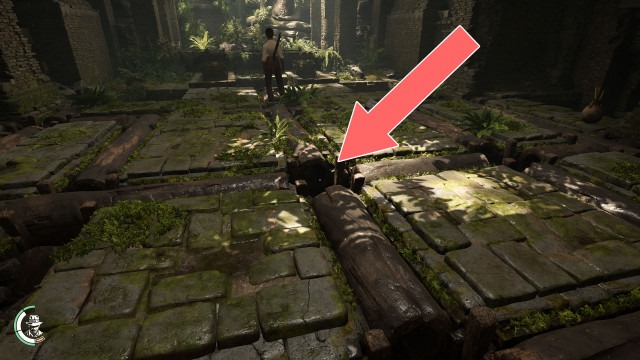
 Pipe Segment (1)▶ show the map ◀
 Pipe Segment (2)▶ show the map ◀
 Pipe Segment (3)▶ show the map ◀
 Pipe Segment (4)▶ show the map ◀
 Pipe Segment (5)▶ show the map ◀
 Pipe Segment (6)▶ show the map ◀
 Pipe Segment (7)▶ show the map ◀
 Pipe Slot #A1▶ show the map ◀
 Pipe Slot #B1▶ show the map ◀
 Pipe Slot #B2▶ show the map ◀
 Pipe Slot #C1▶ show the map ◀
 Pipe Slot #C2▶ show the map ◀
 Pipe Slot #C3▶ show the map ◀
 Pipe Slot #C4▶ show the map ◀
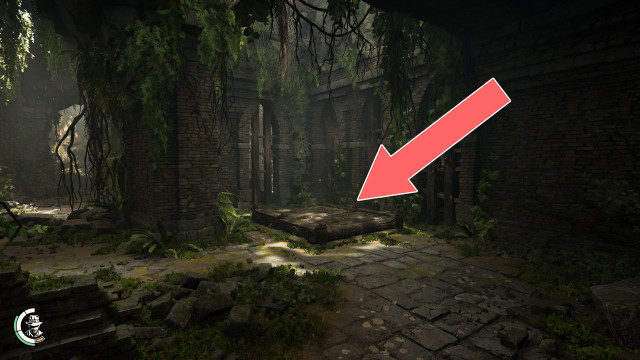
 Platform▶ show the map ◀
 Plugged Pipe▶ show the map ◀
 Plugged Pipe▶ show the map ◀
 Plugged Pipe▶ show the map ◀
 Symbol Pedestal #1▶ show the map ◀
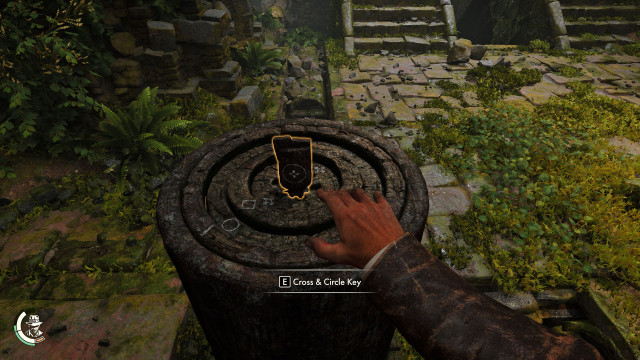
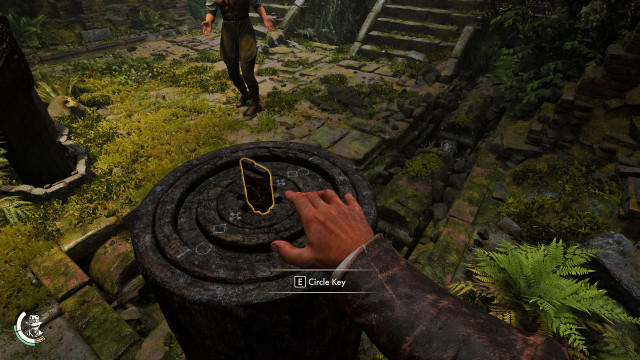
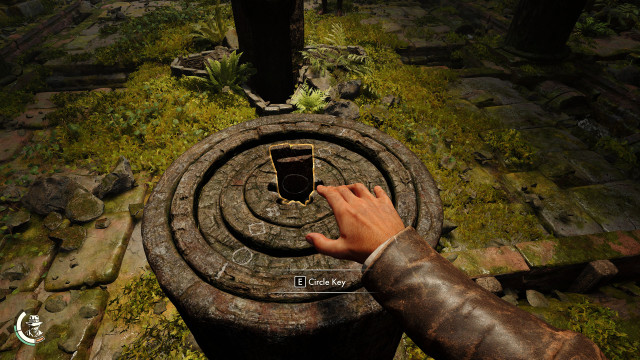
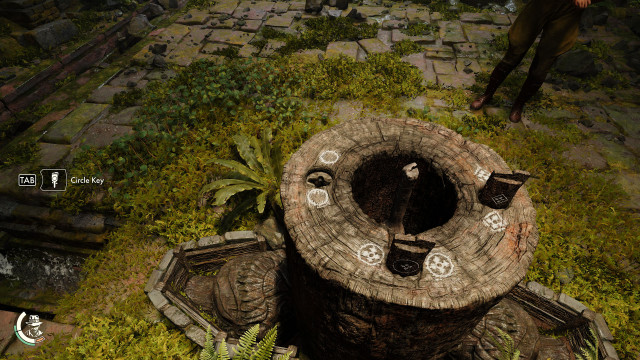
Insert the Circle Key and pull it out when all three symbols on the pedestal line up.
 Symbol Pedestal #2▶ show the map ◀
Use the Cross & Circle Key to line up diamond and cross symbols then pull it out. Then use the Circle Key to line up all three symbols.
 Symbol Pedestal #4▶ show the map ◀
Use the Cross & Circle Key to lineup cross and diamond symbols then use the Circle Key to line up all symbols.
 Symbol Pedestal #5▶ show the map ◀
Use the Cross & Diamond Key to line up diamond symbol with the line on the outer ring.
Use the Cross & Circle Keykey to line up dimond symbol and cross symbol.
Use the Circle Key to line up all symbols.
 Symbol Pedestal #6▶ show the map ◀
 Tar Jars▶ show the map ◀
 Tar Jars▶ show the map ◀
 Torches▶ show the map ◀
 Weak Wall▶ show the map ◀
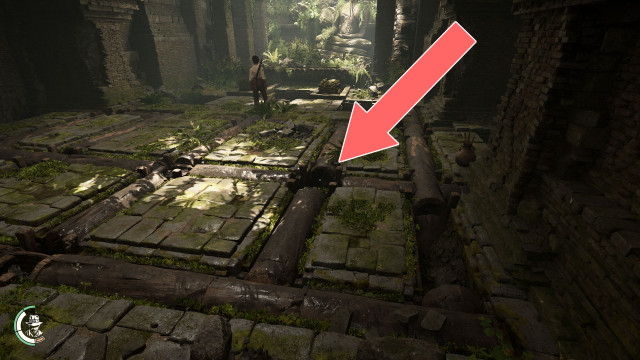
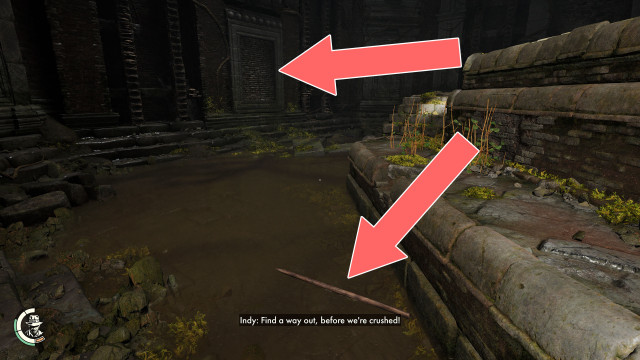
Destroy it with one of the wooden poles that will fall to the ground when the ceiling begins to lower when you open the sarcophagus. When you do this the water will start flooding the room.
