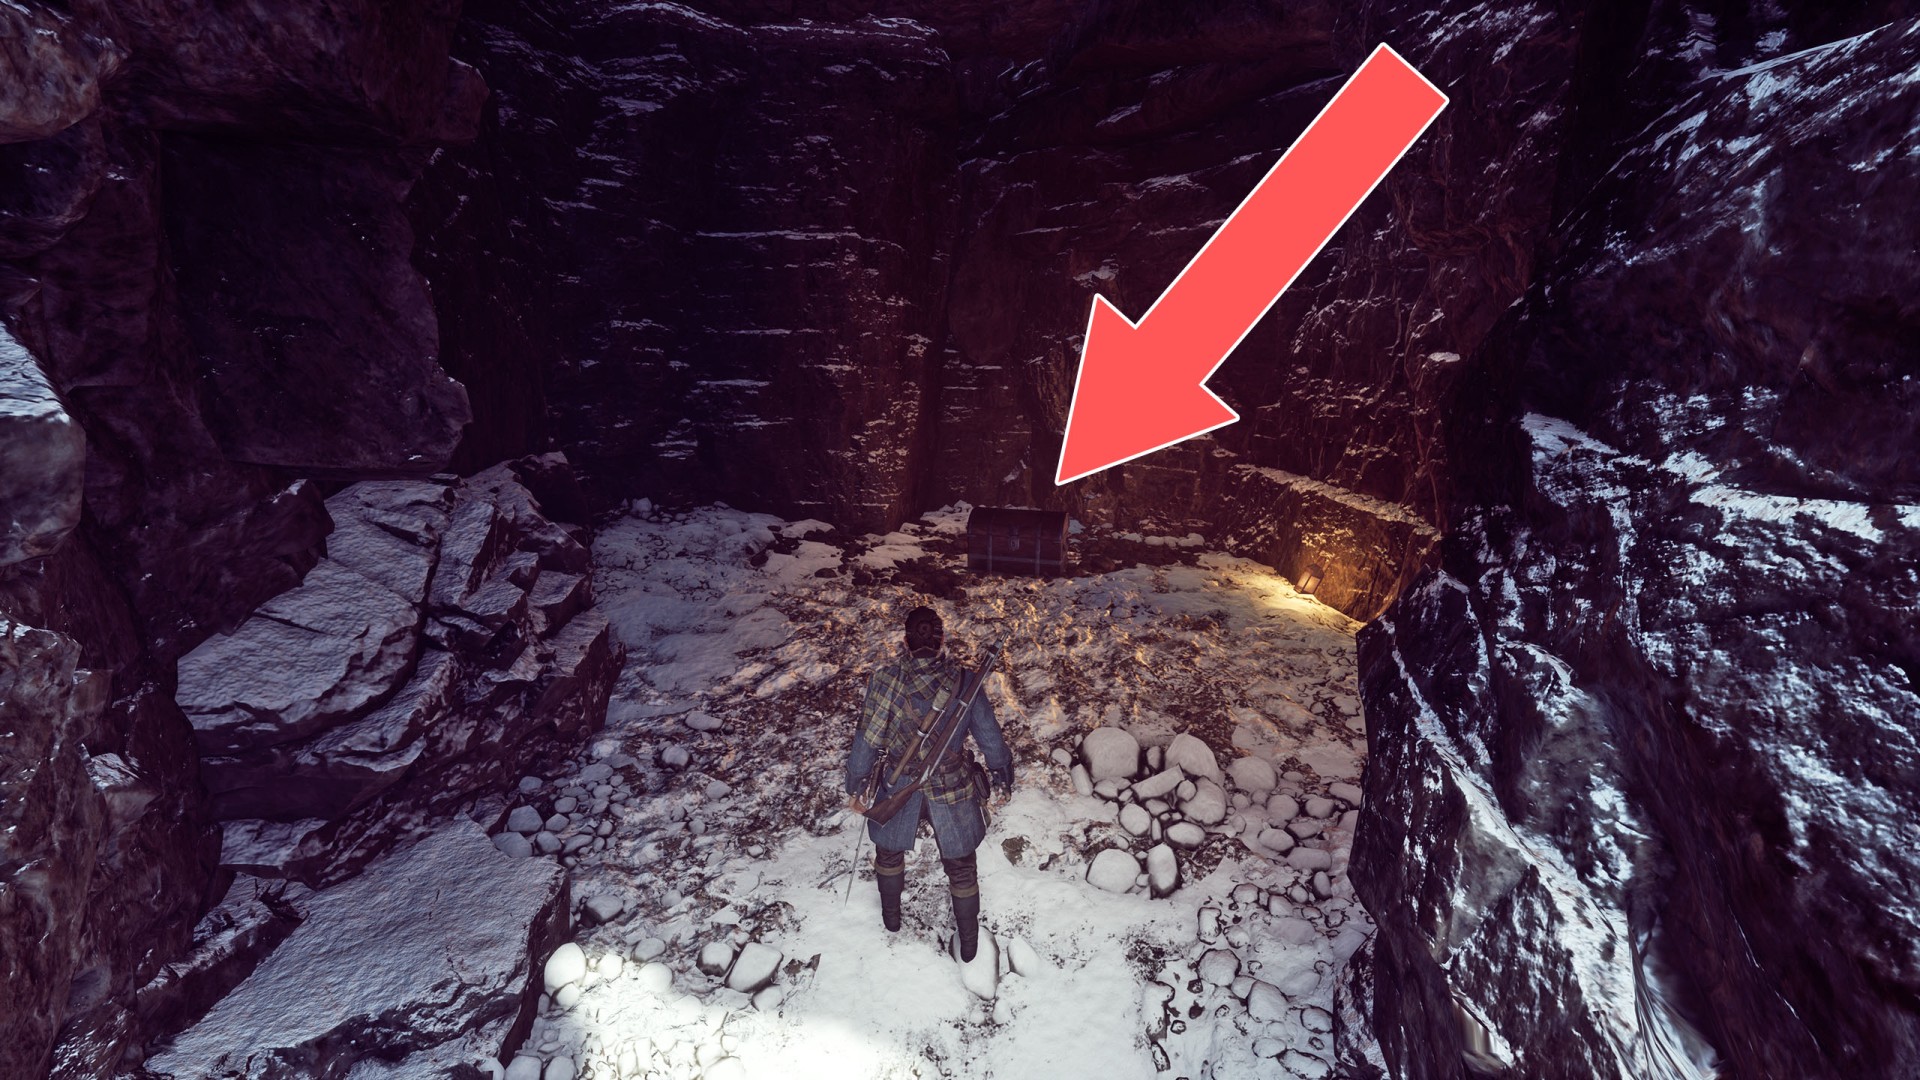
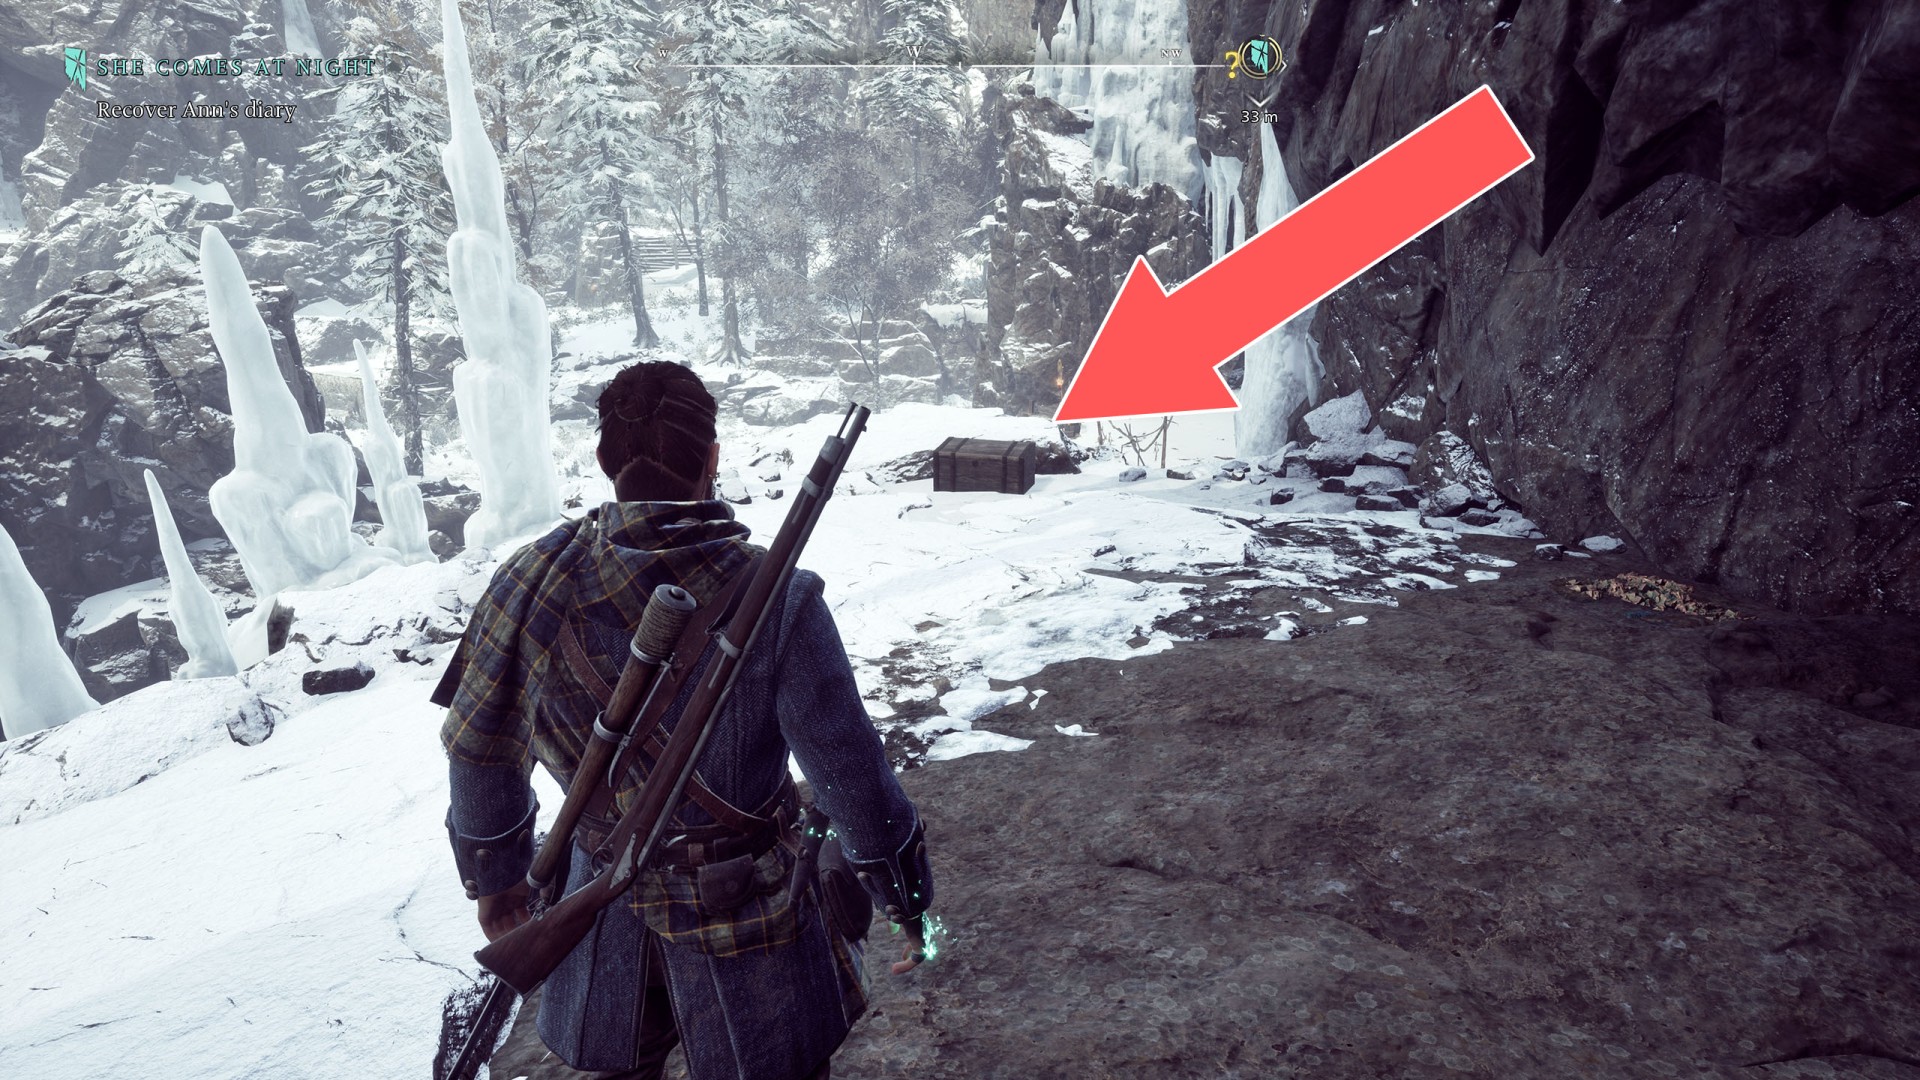
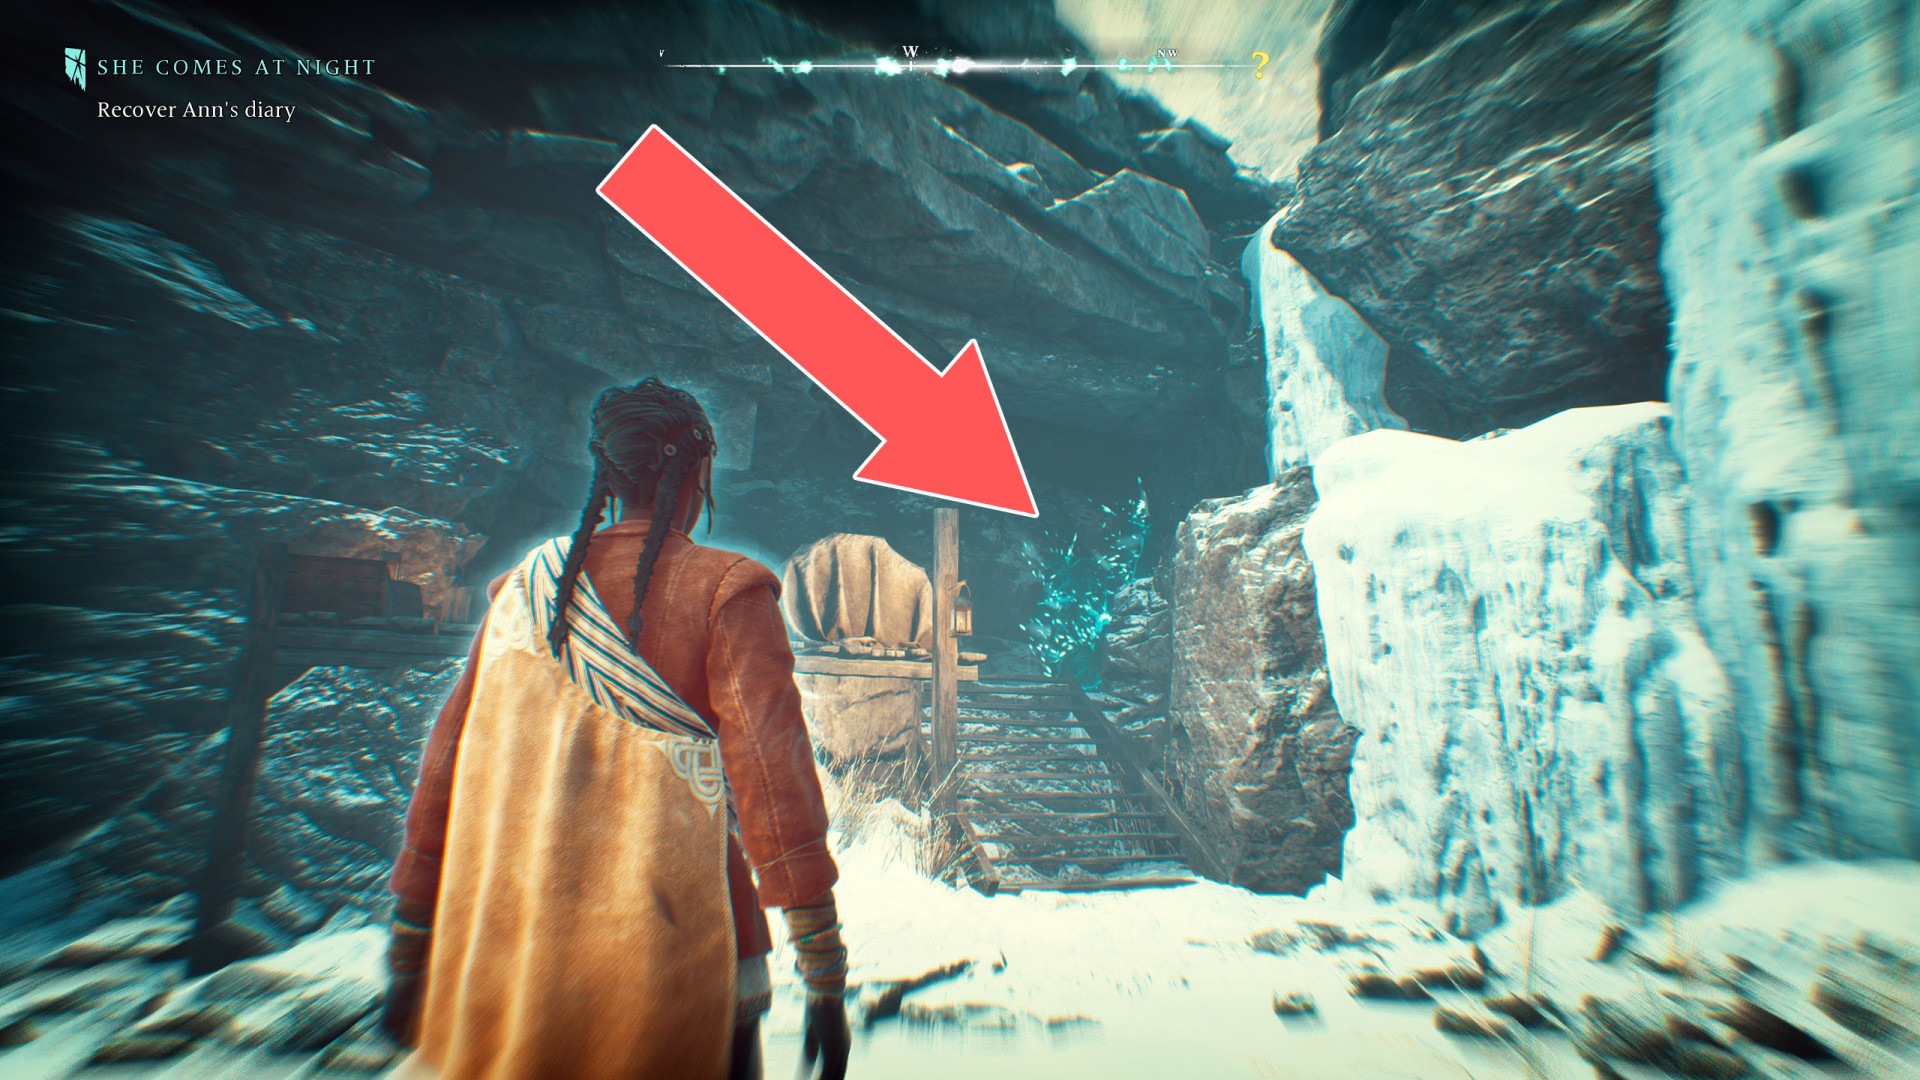
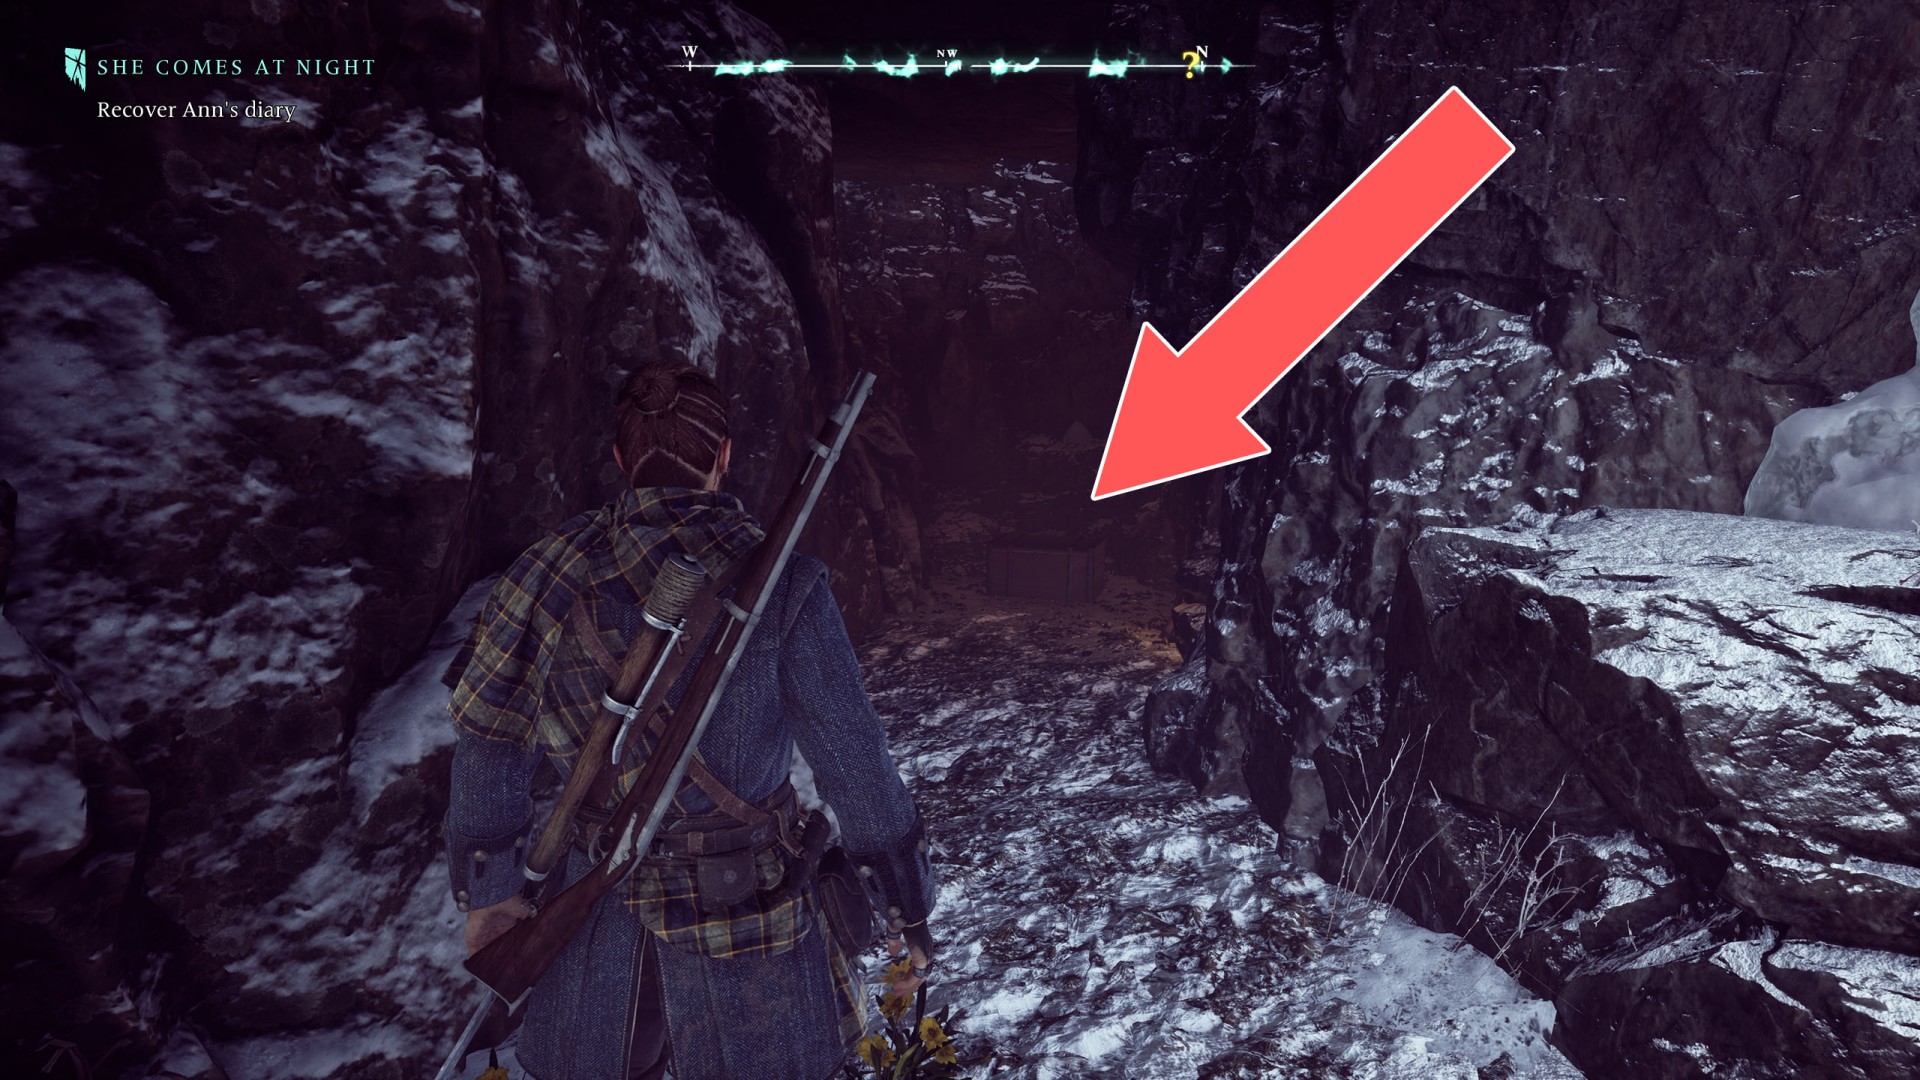
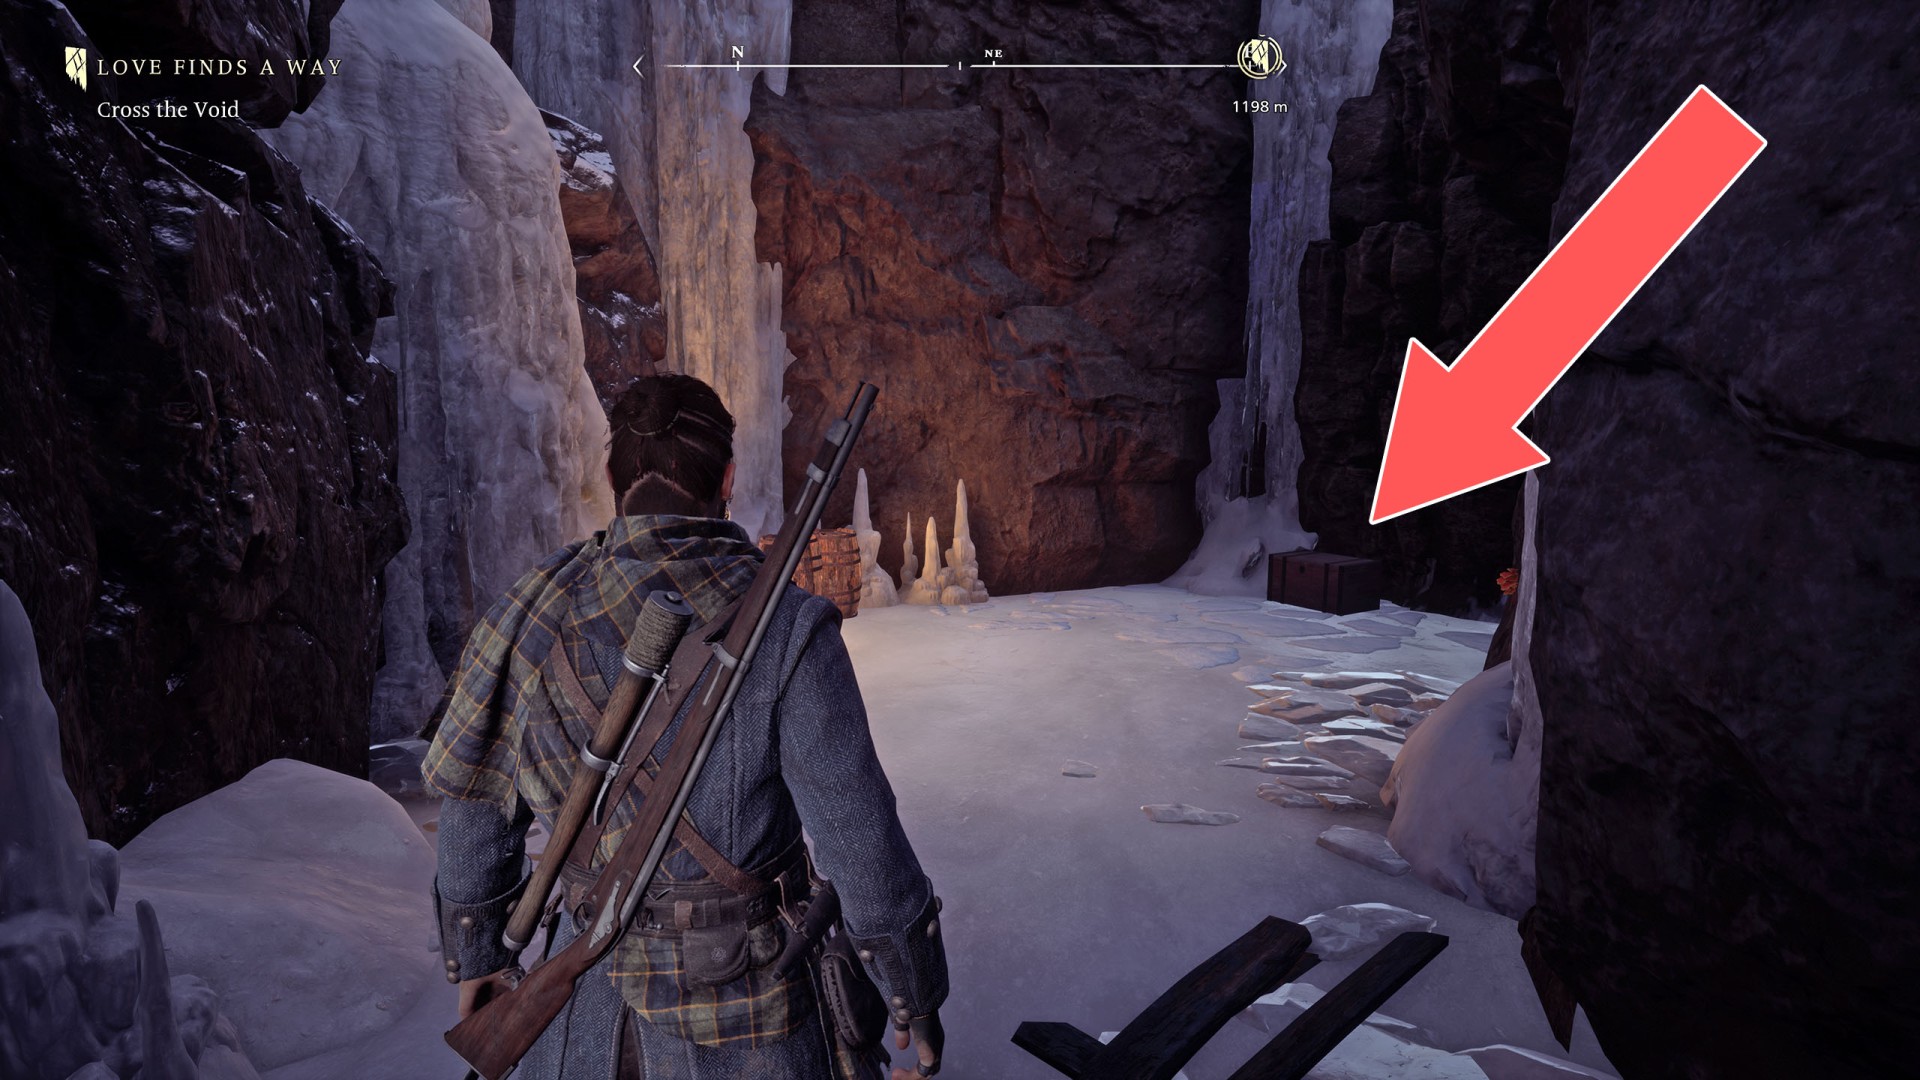
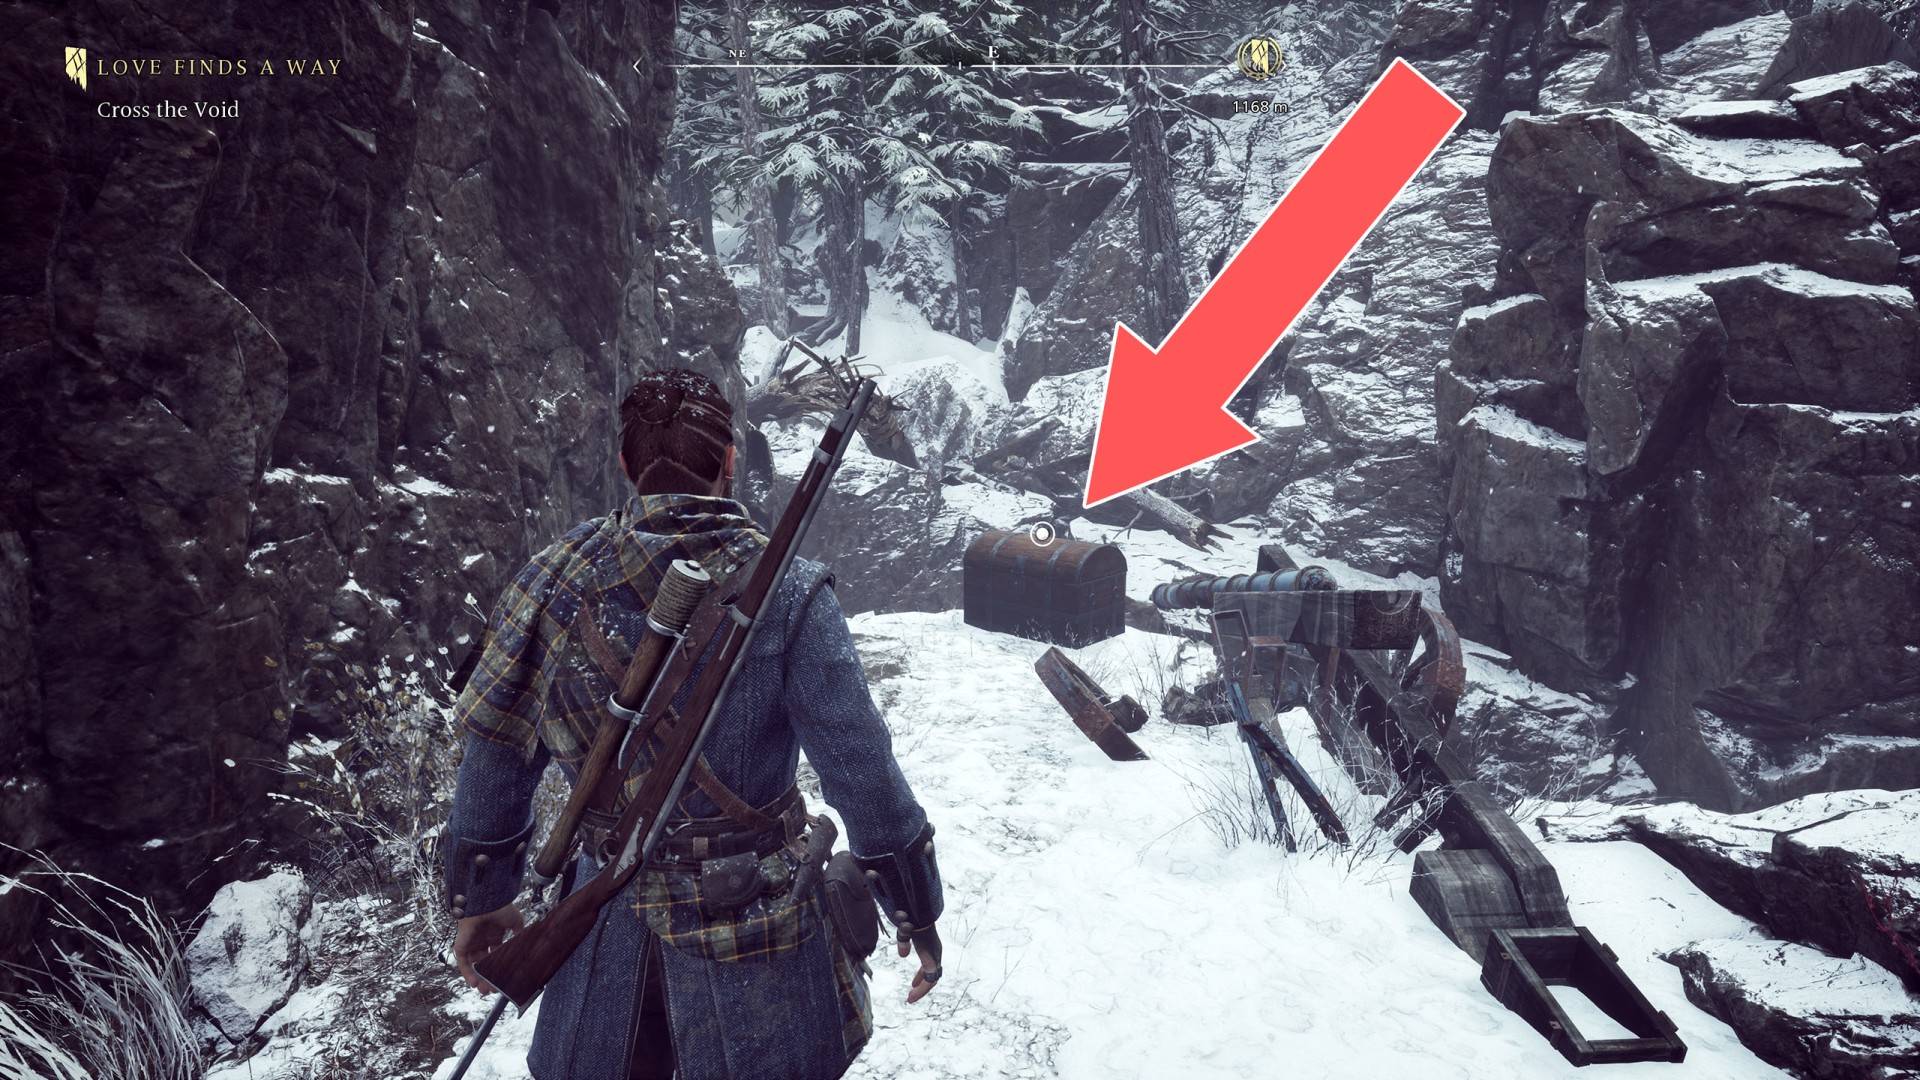
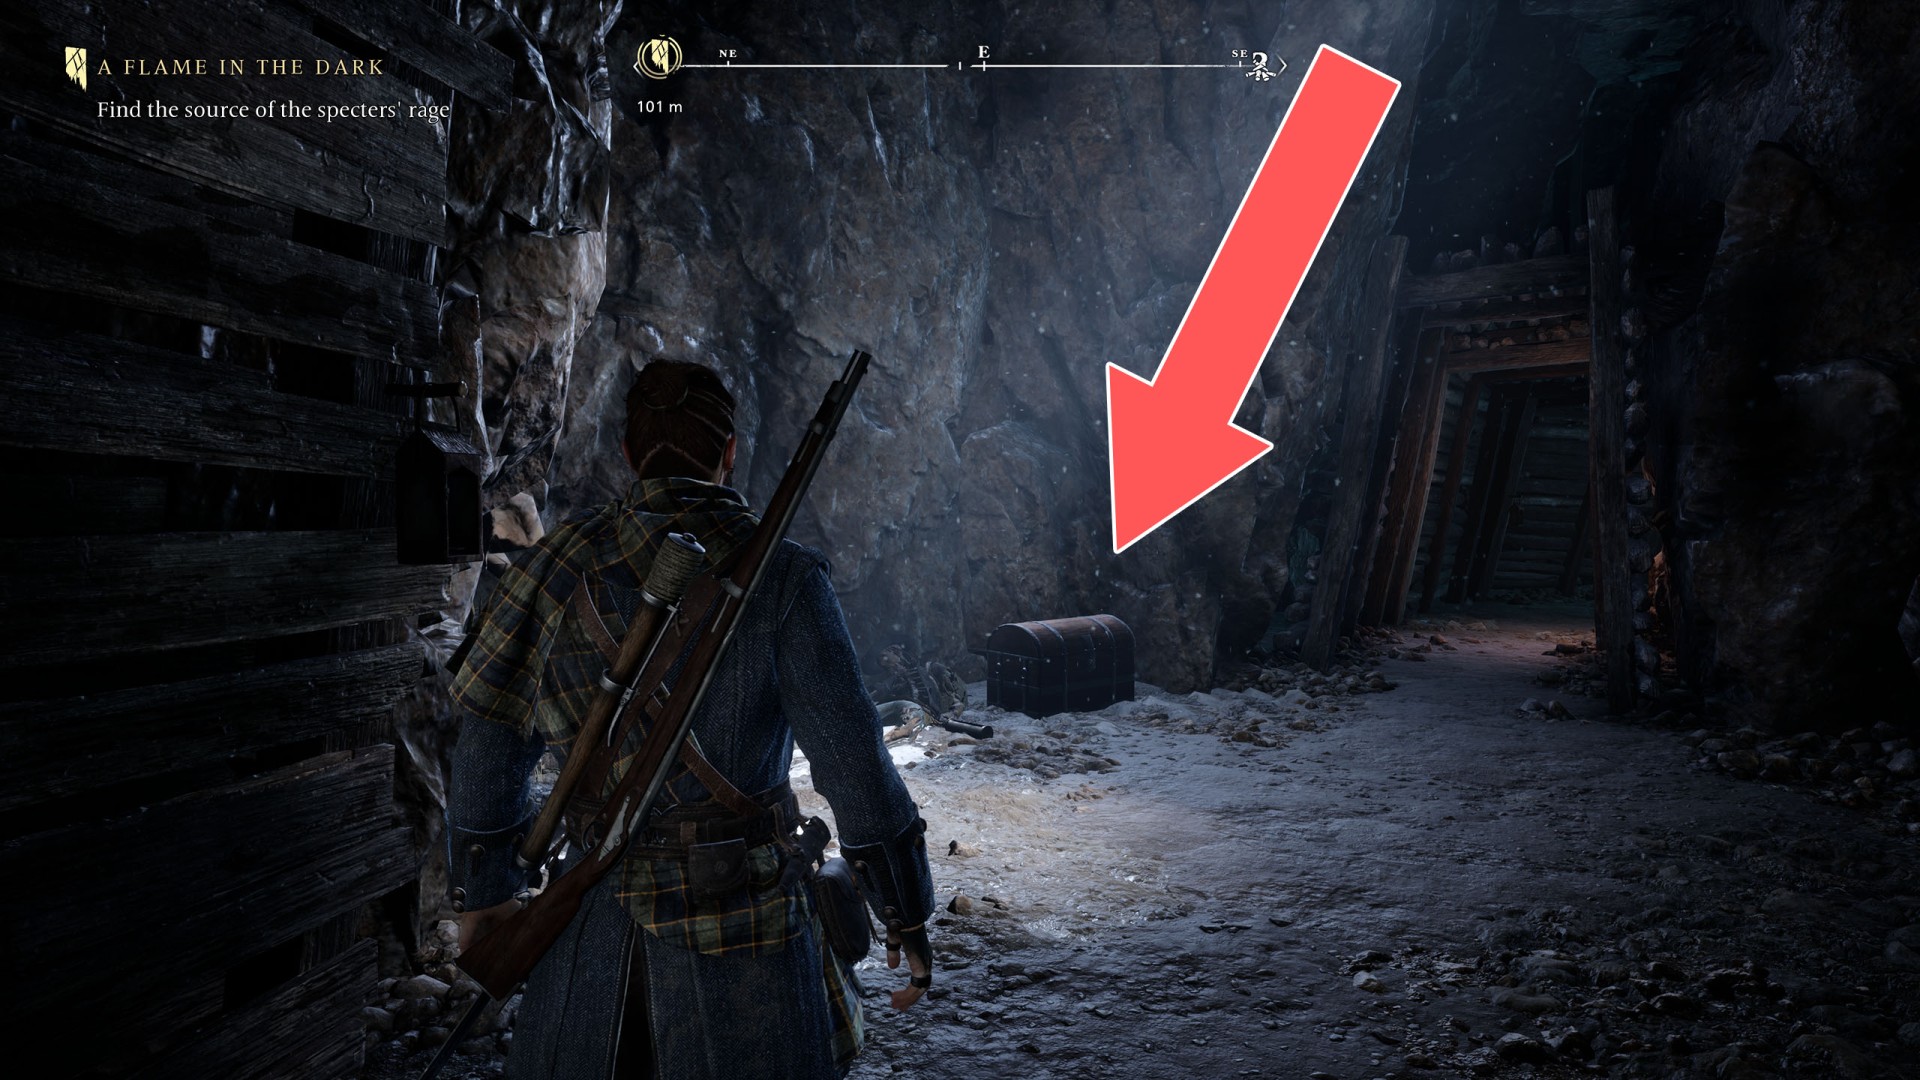
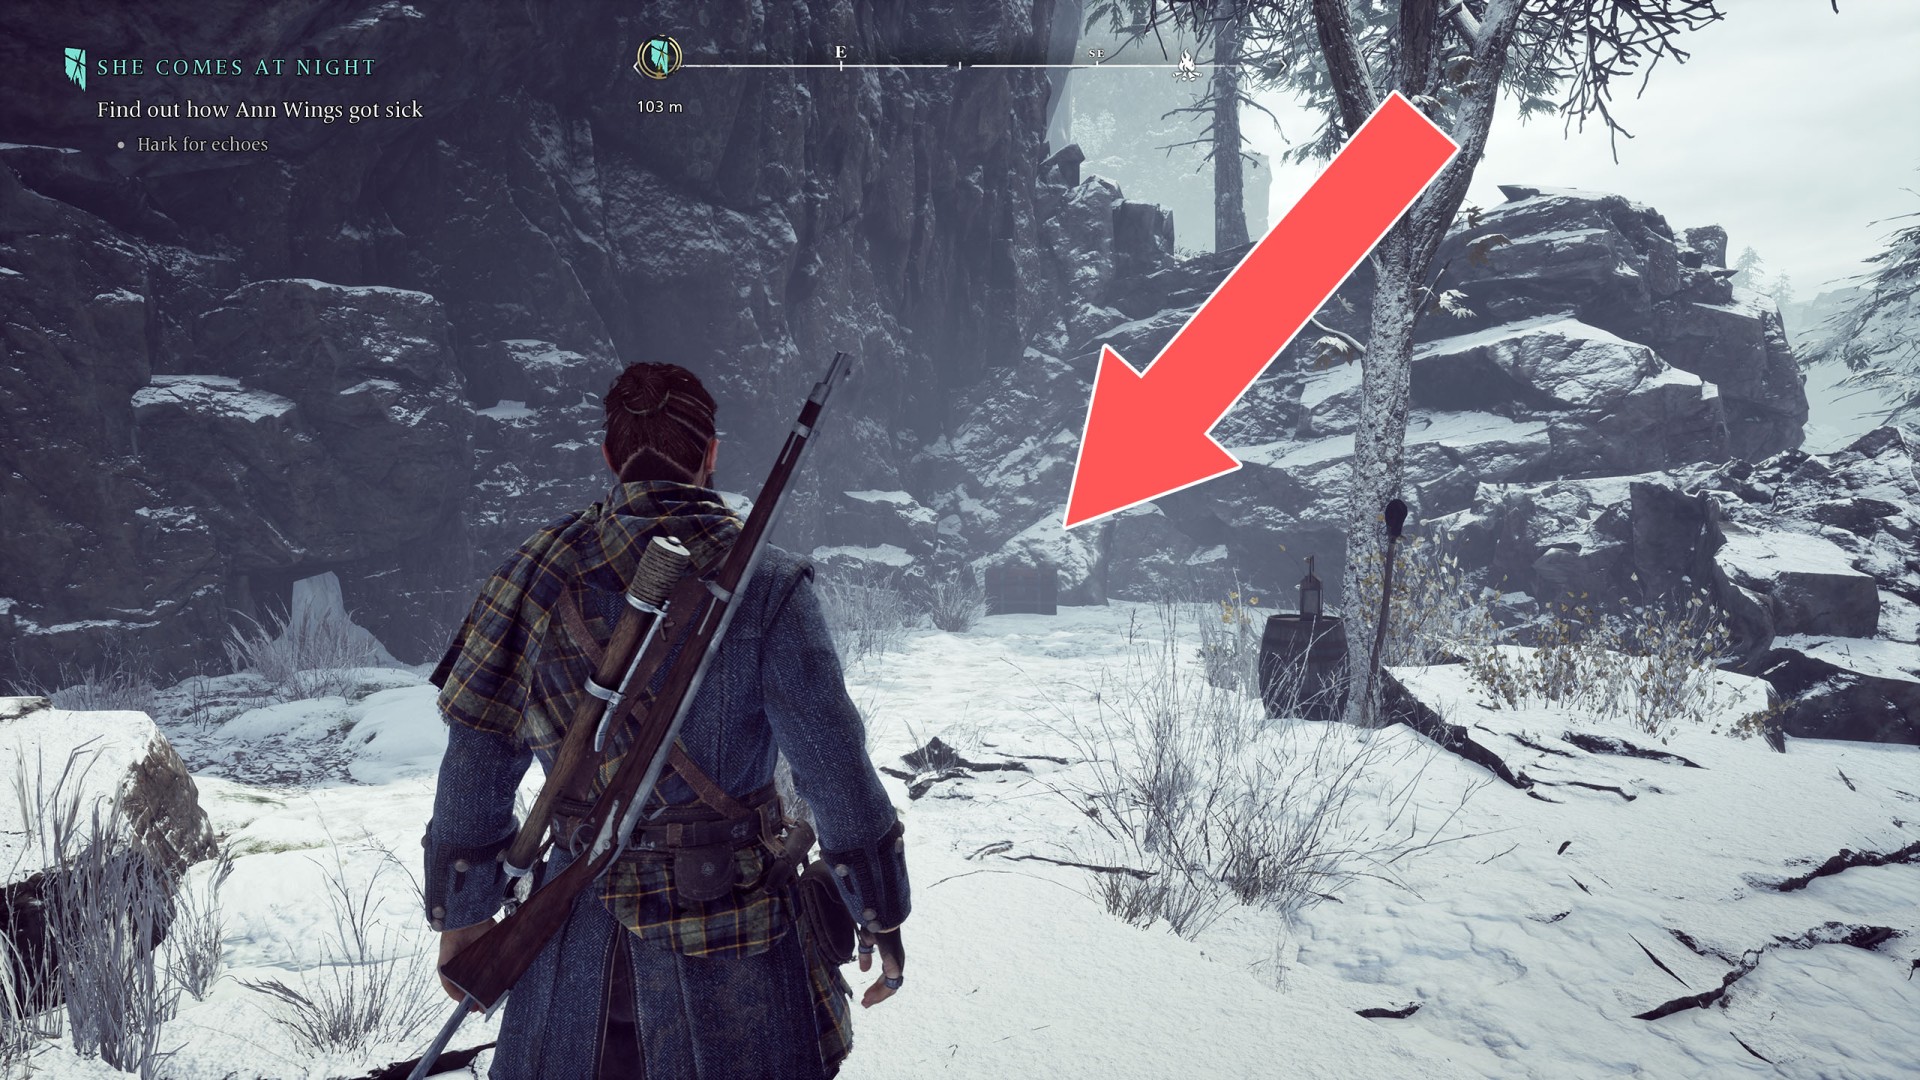
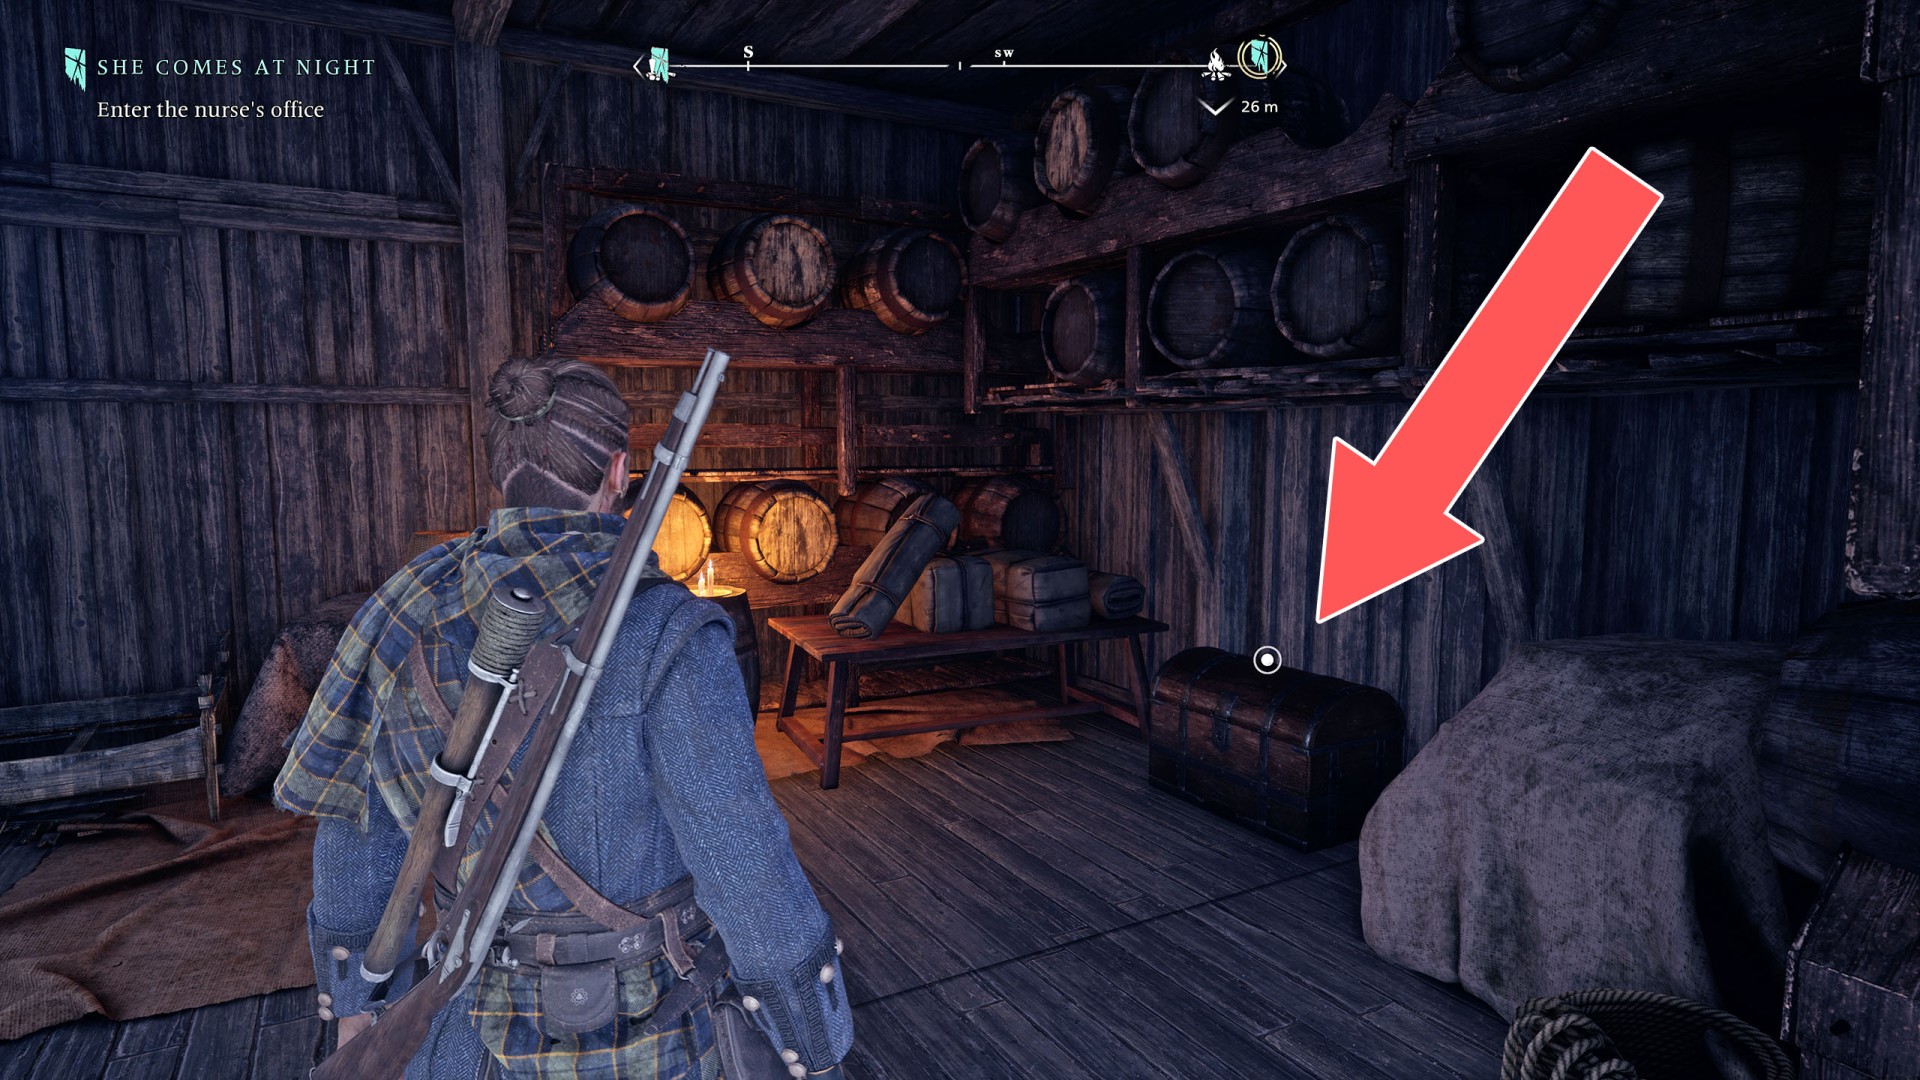
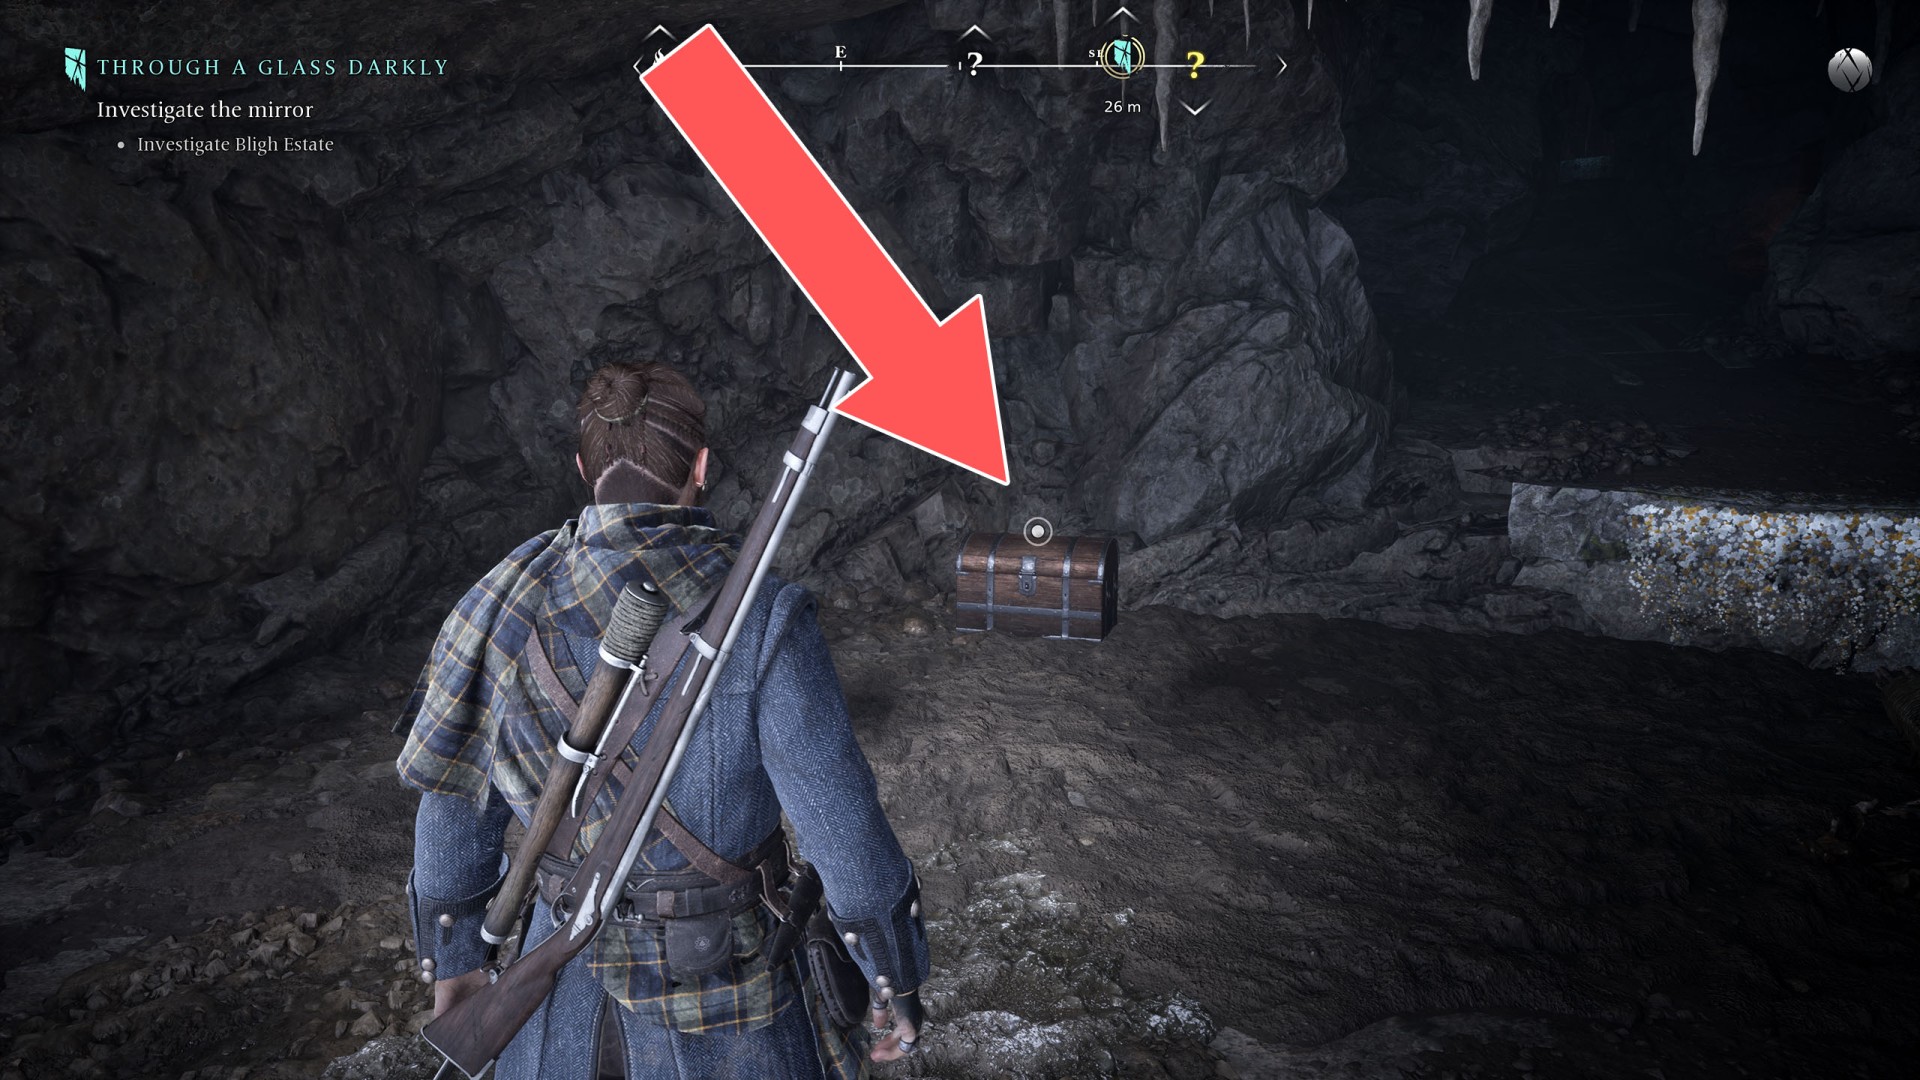
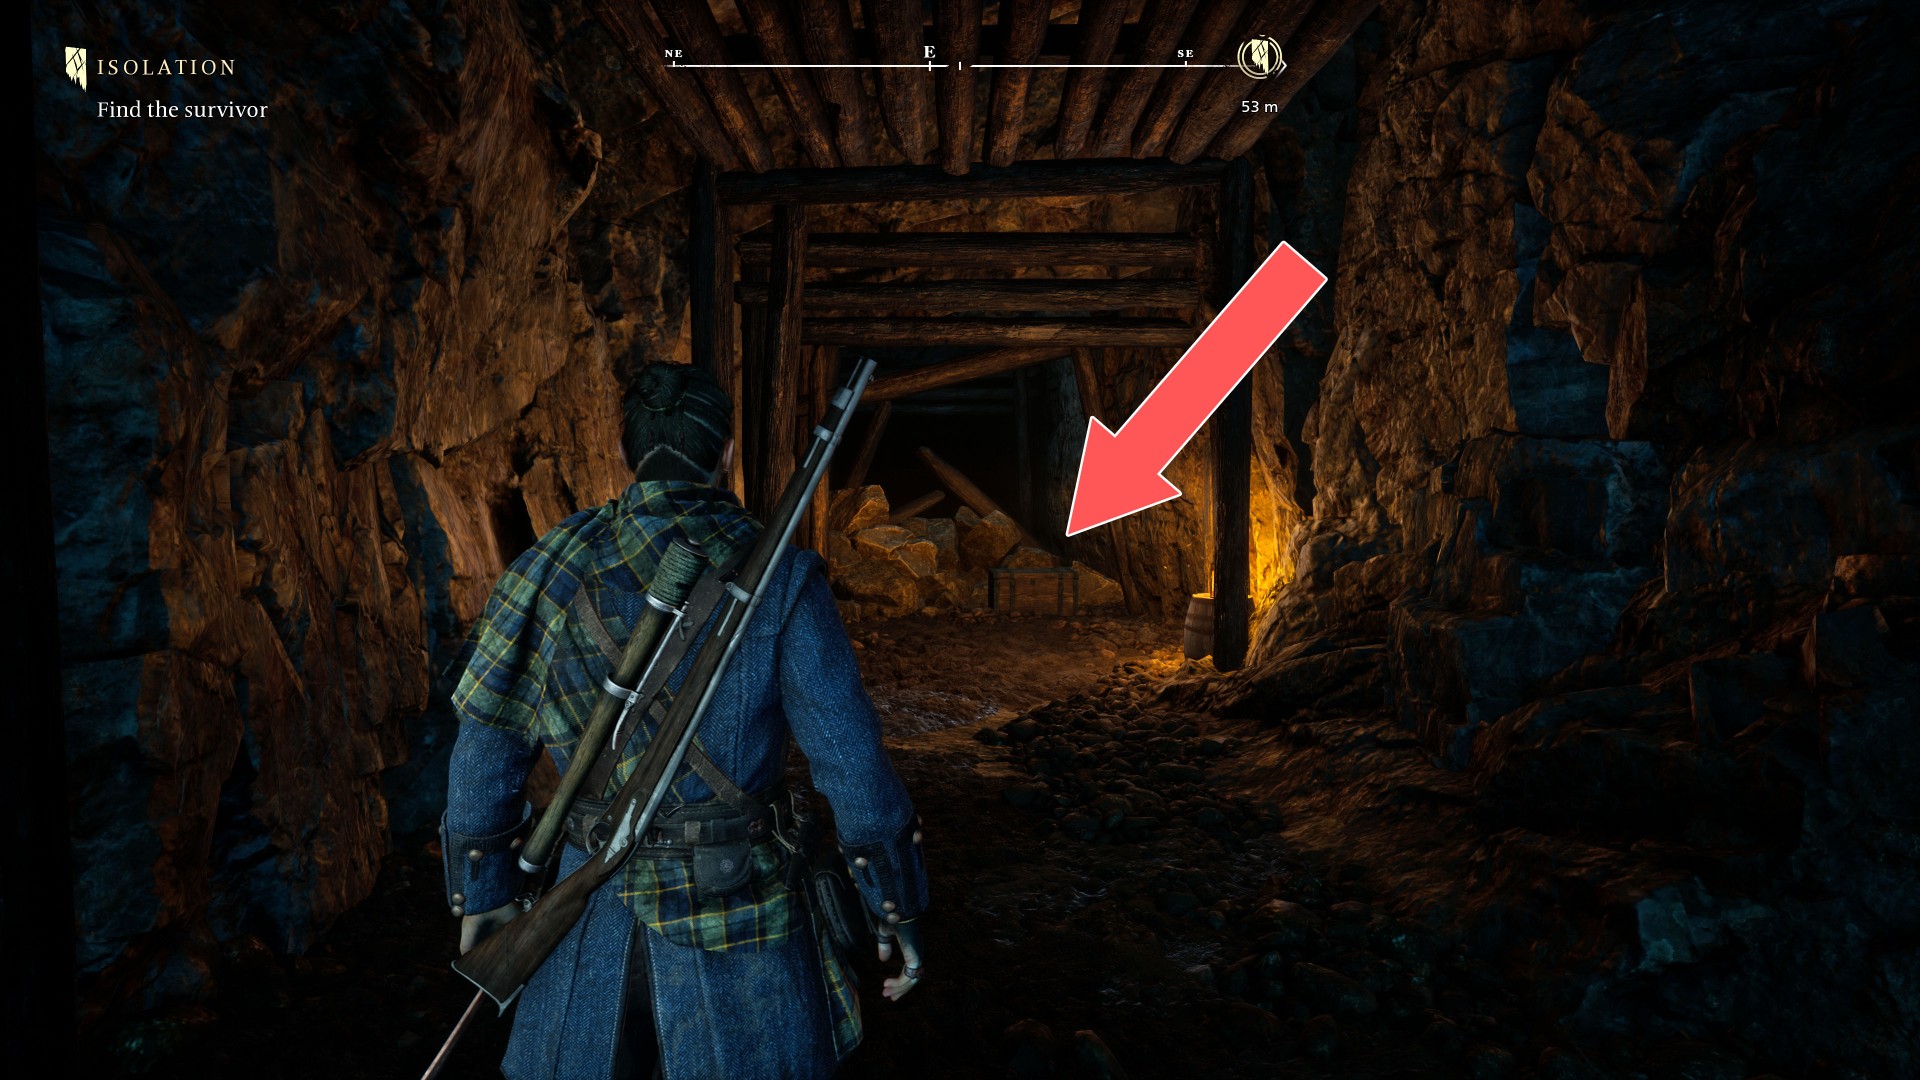
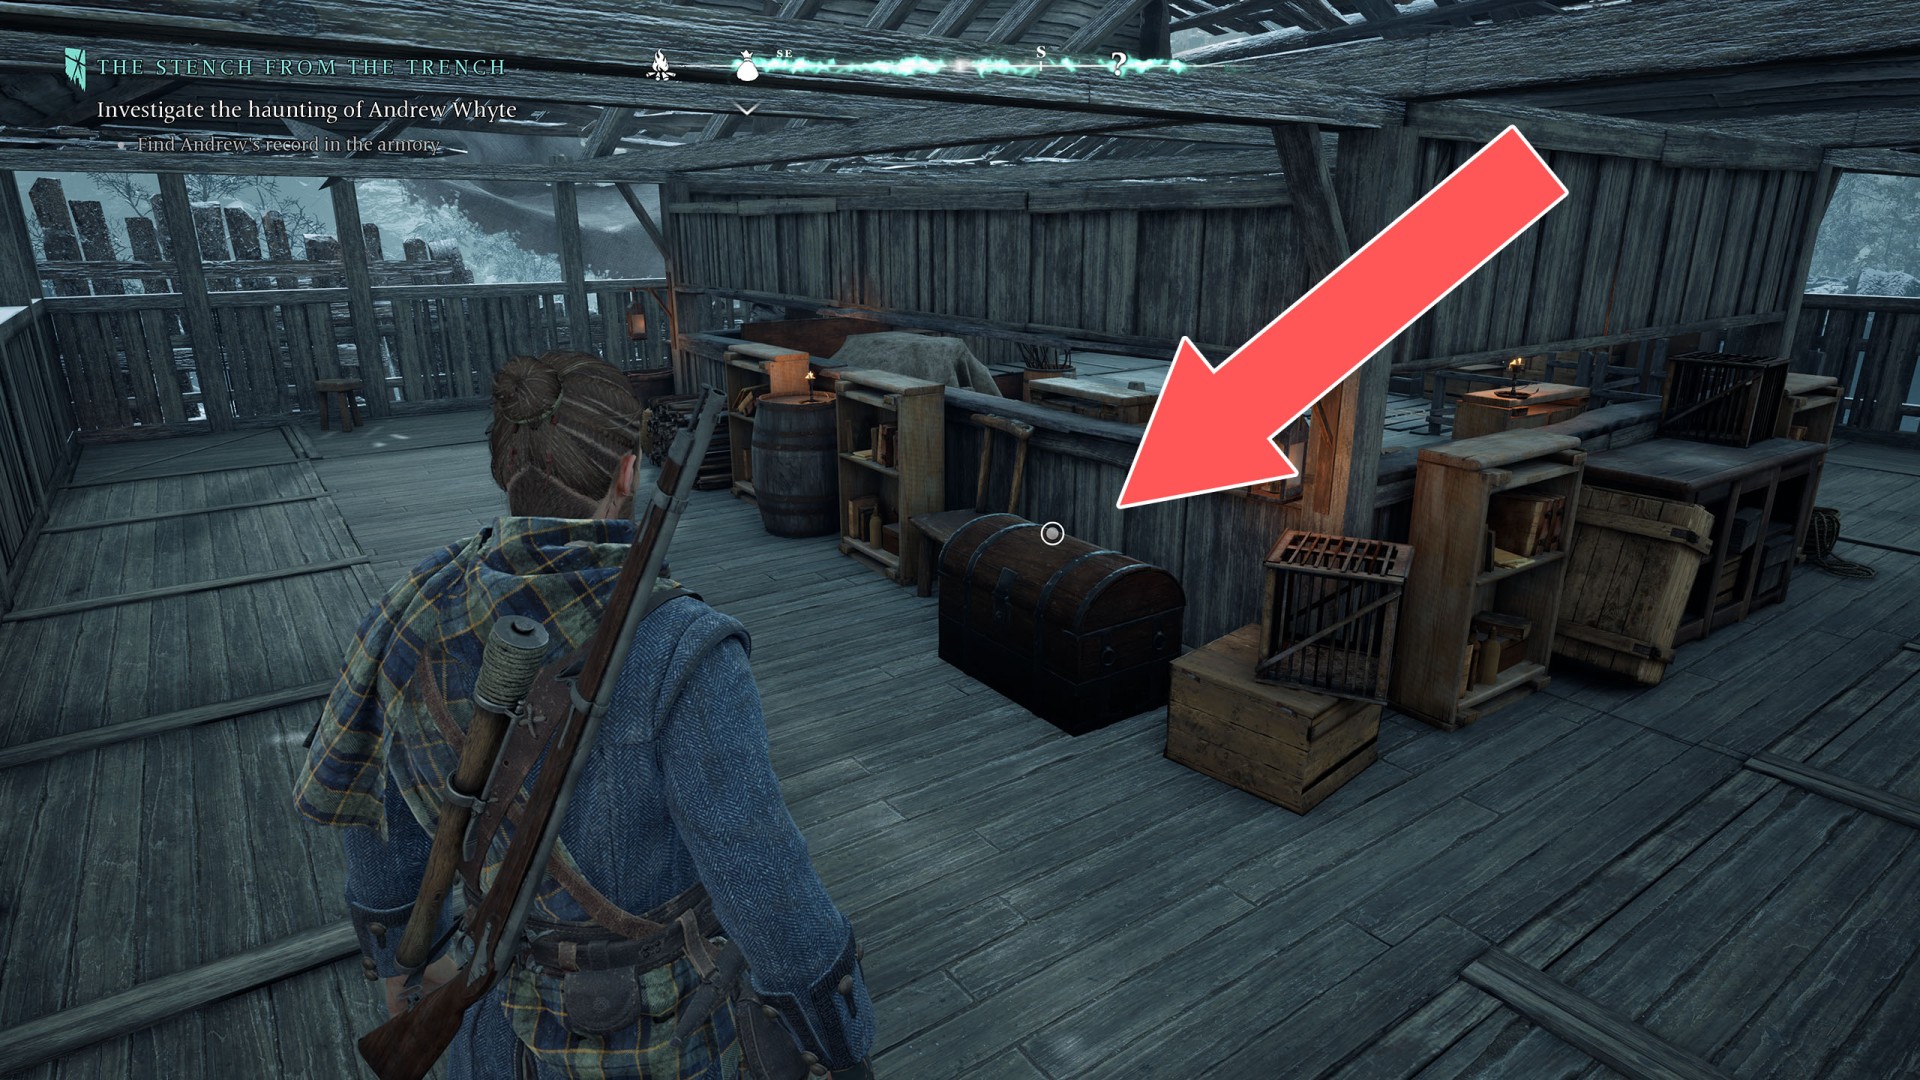
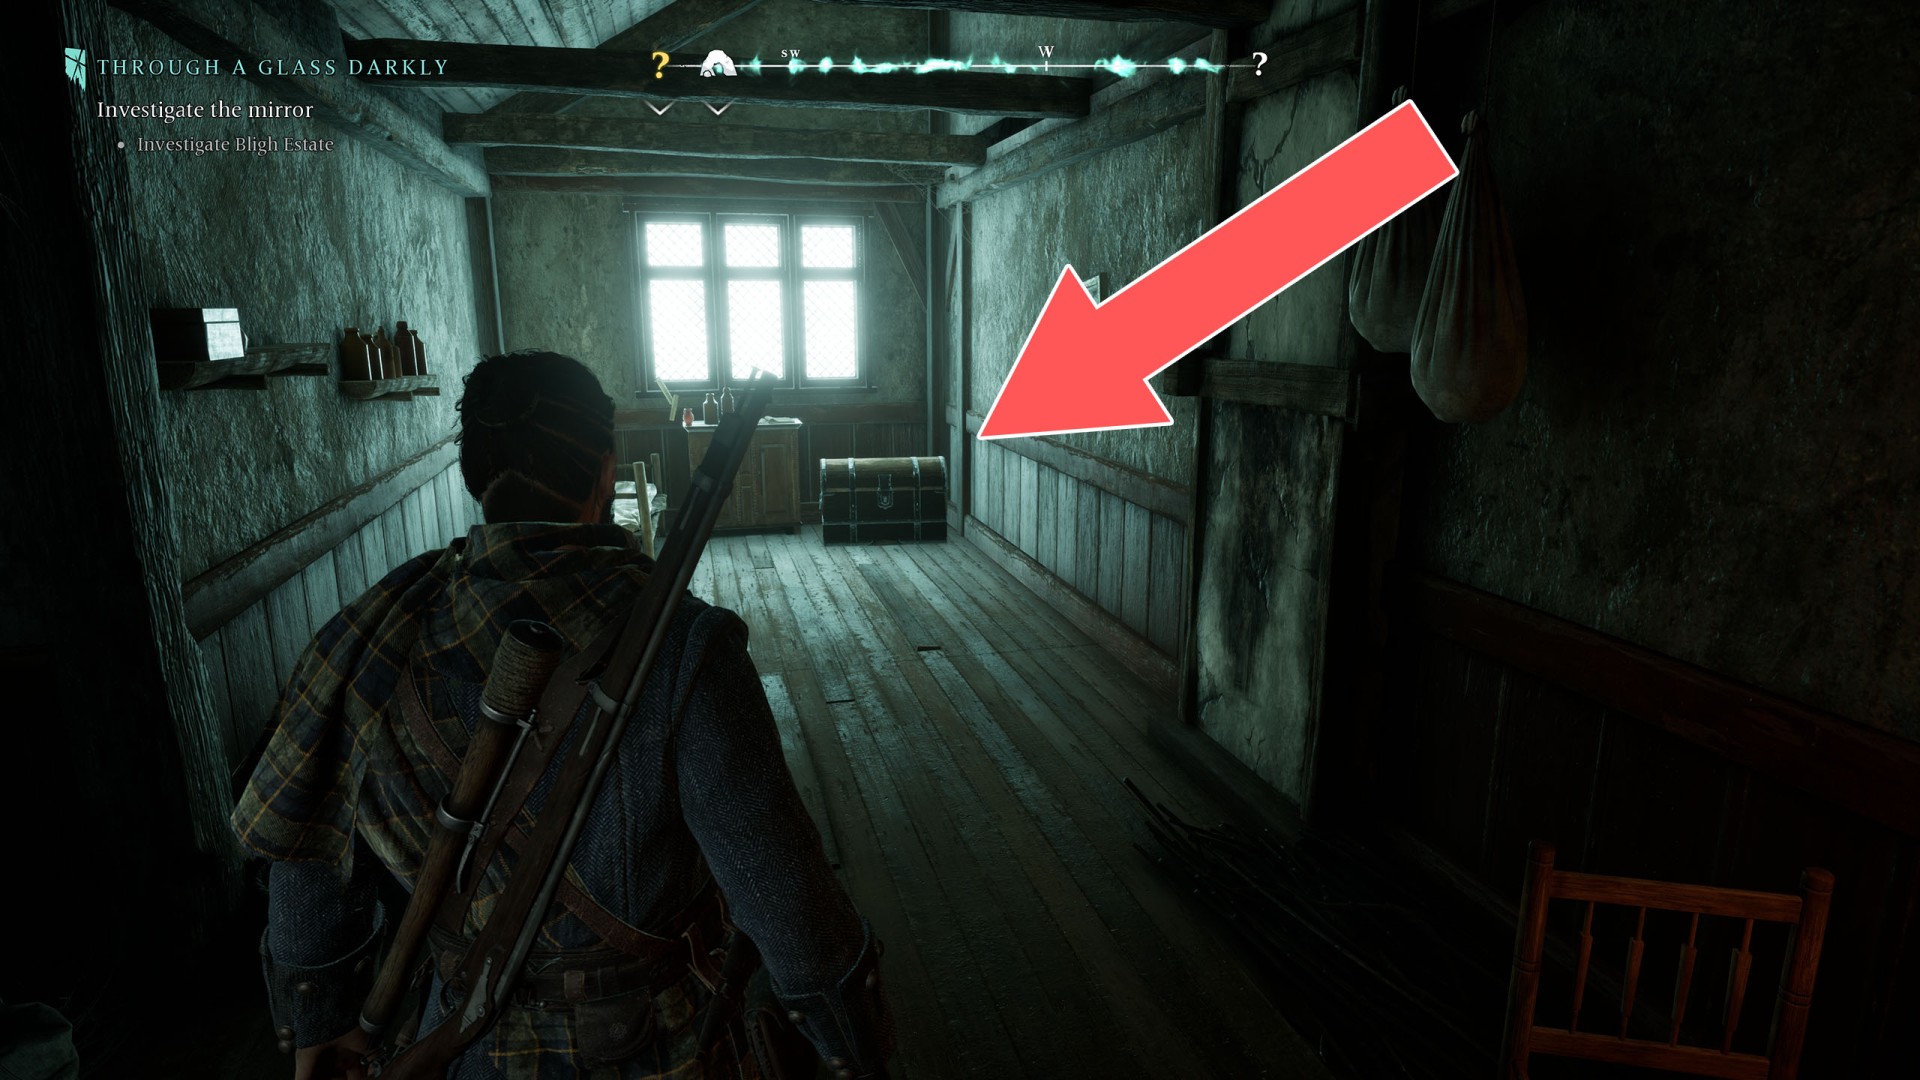
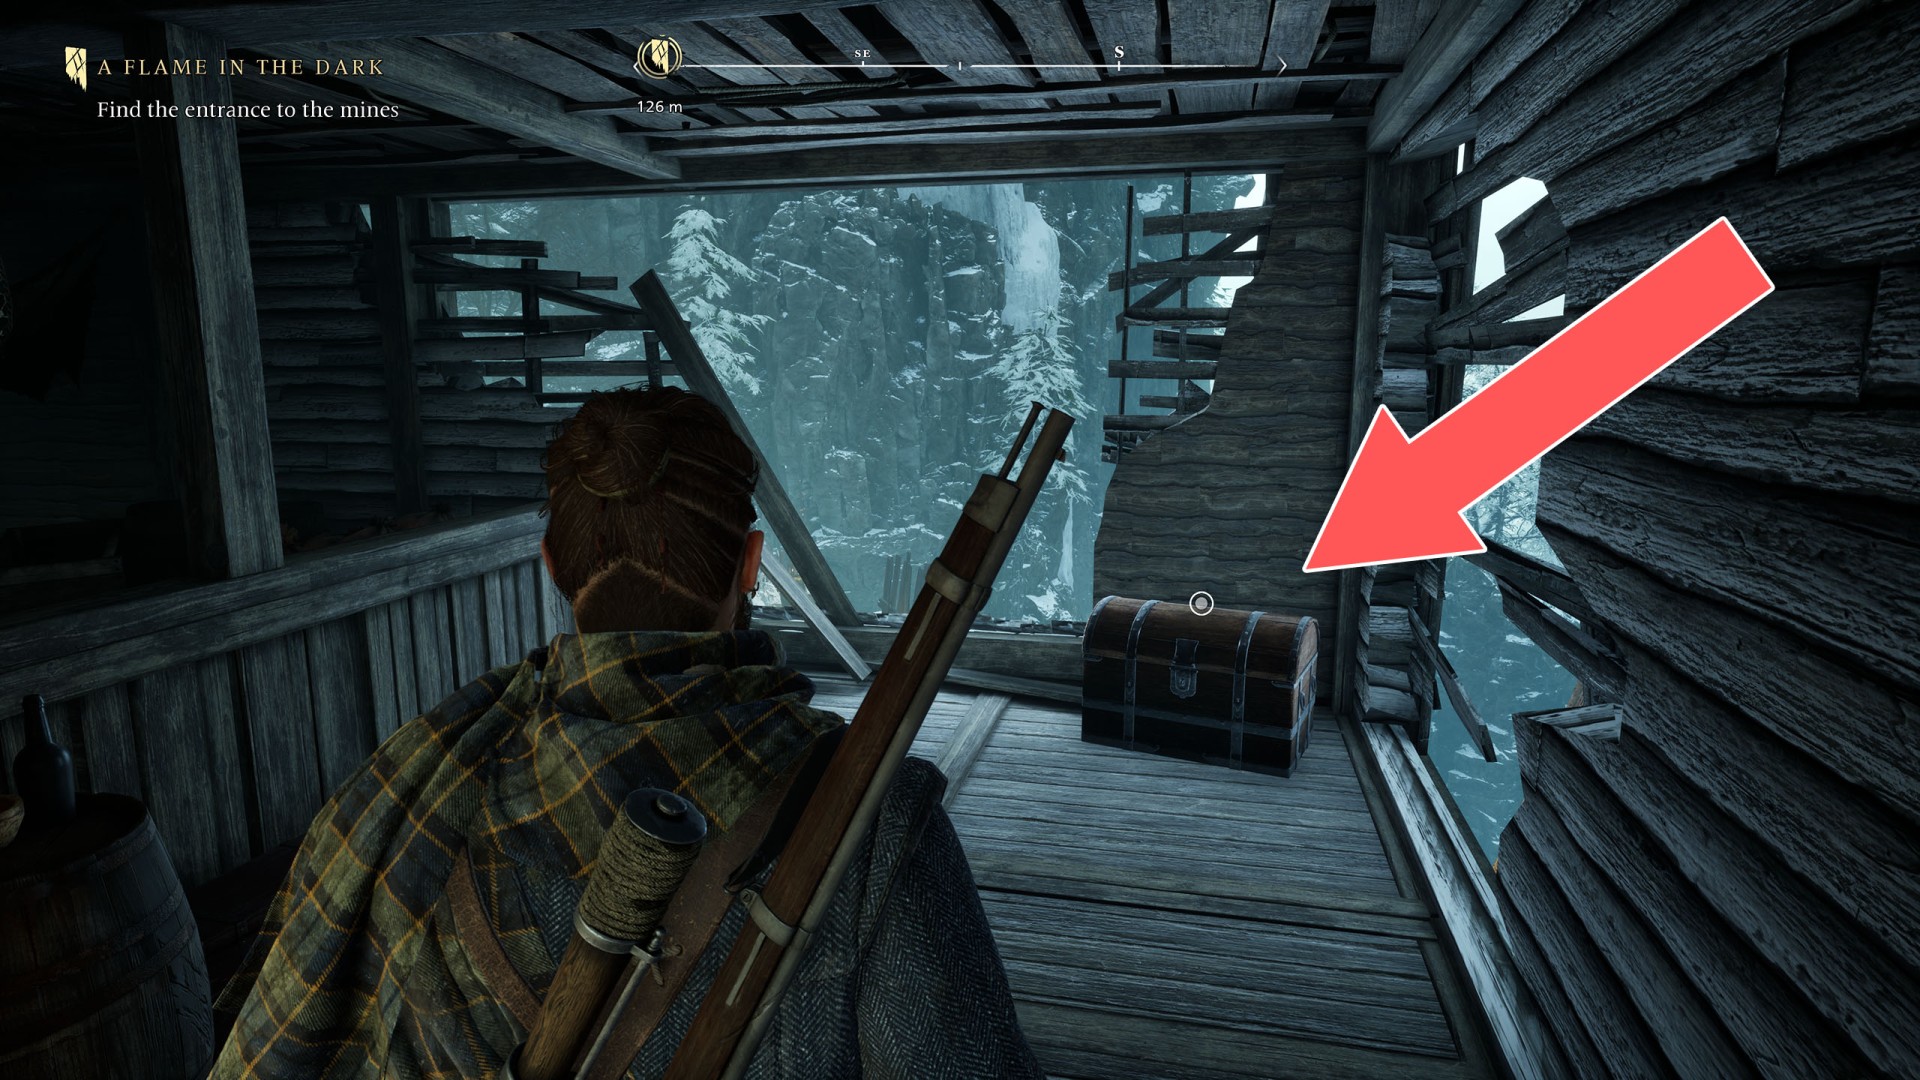
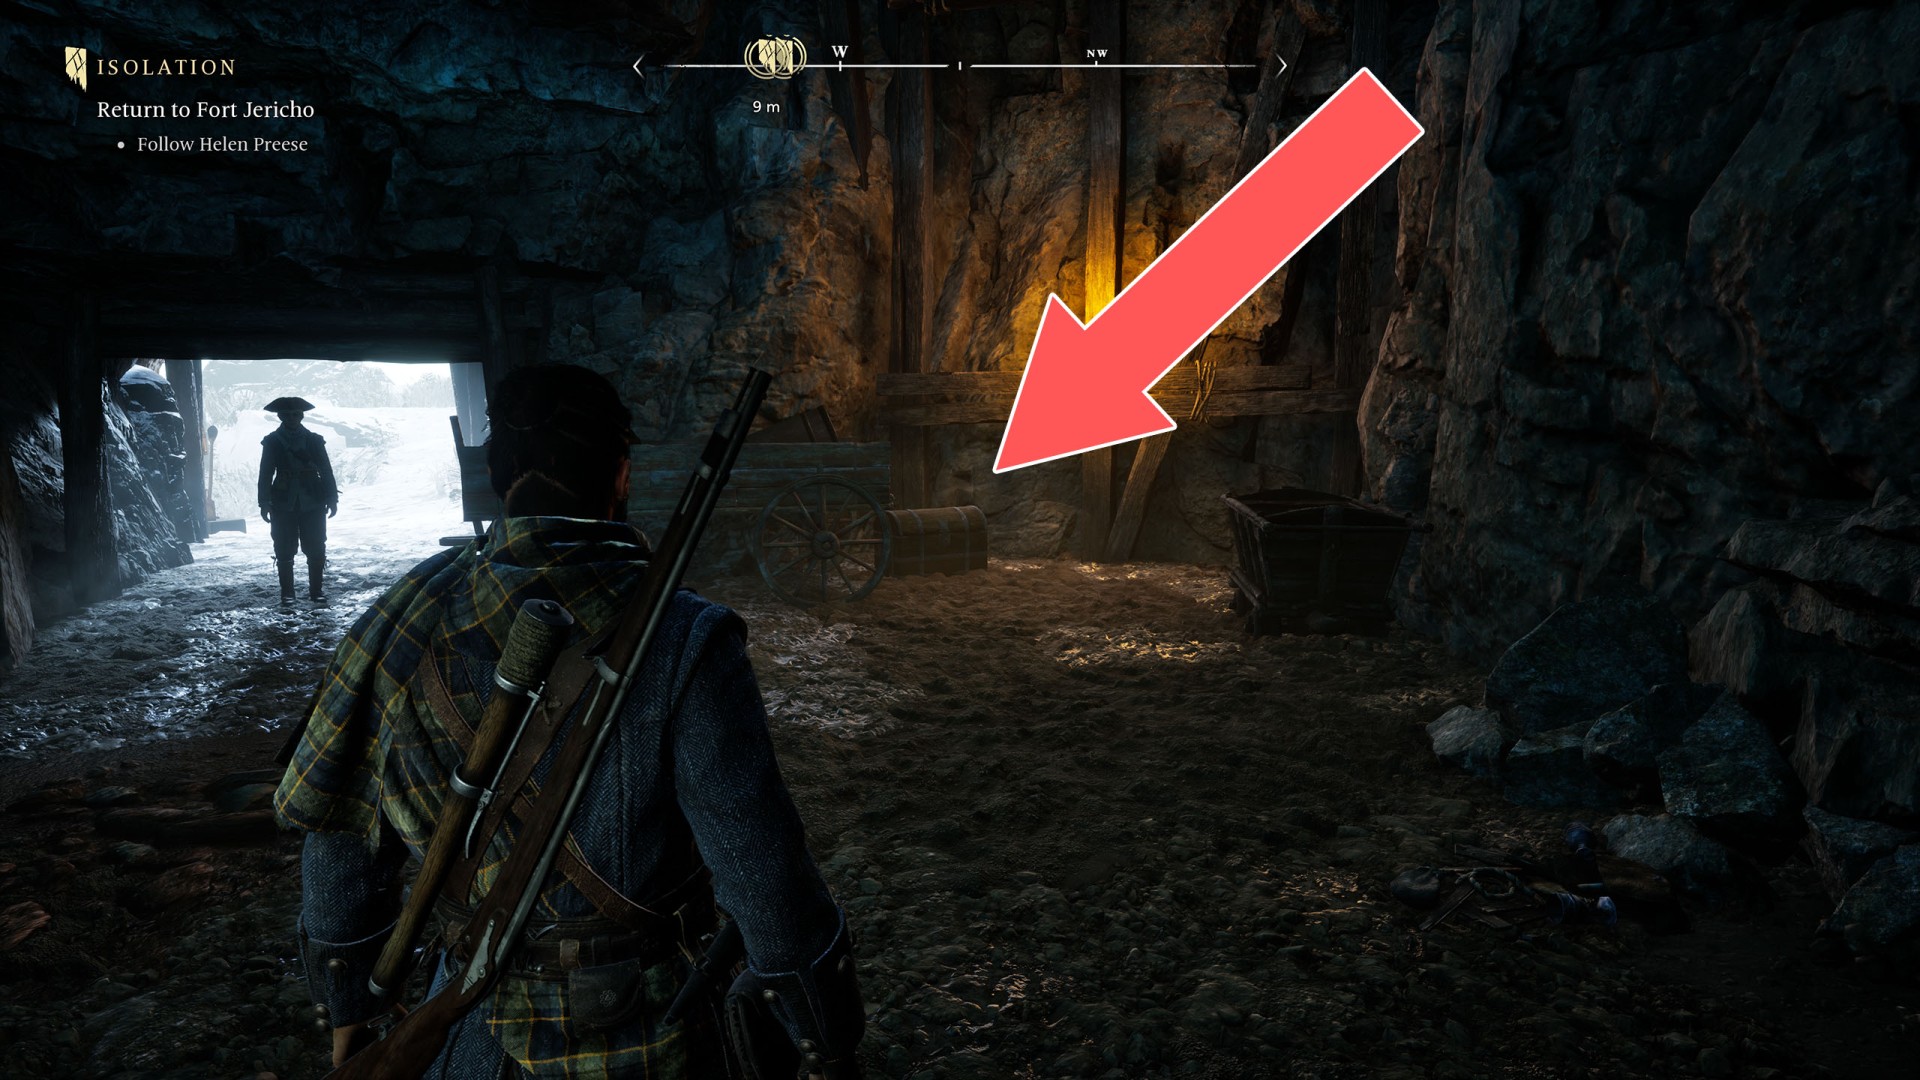
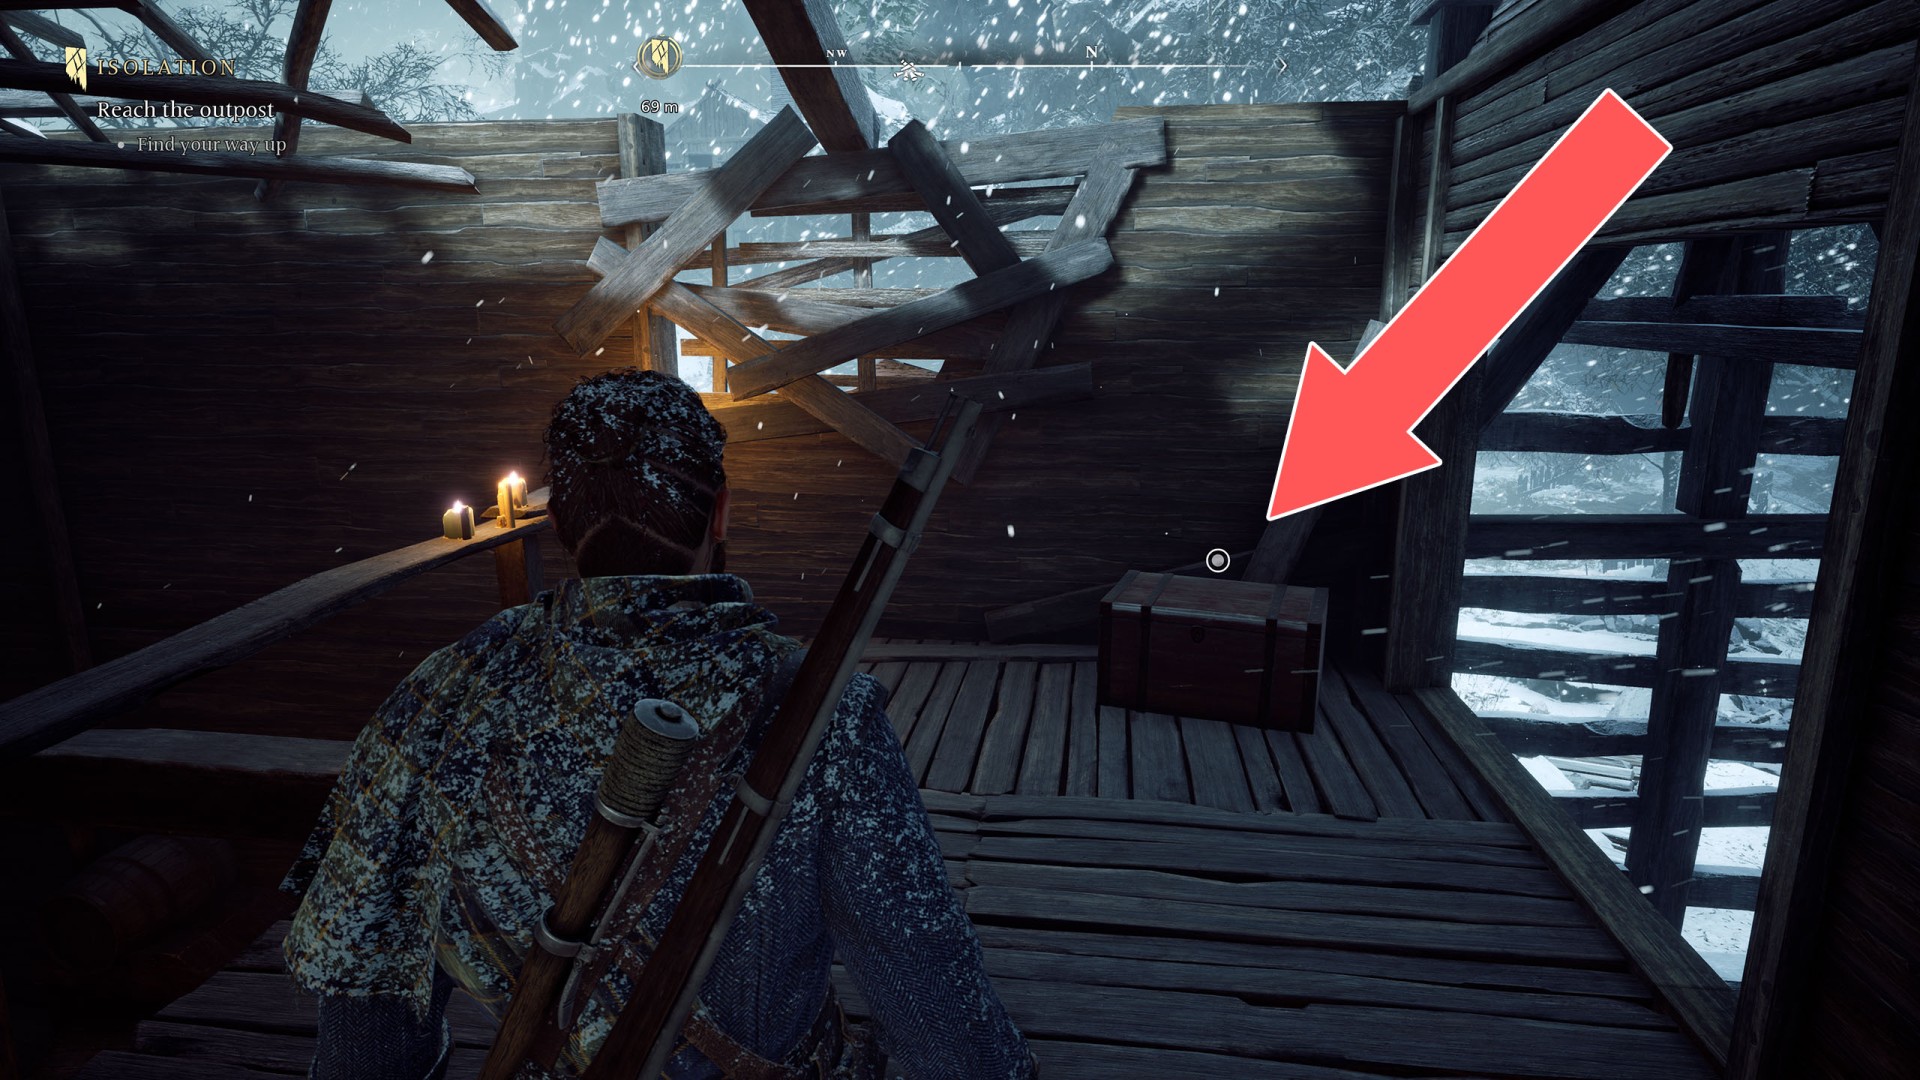
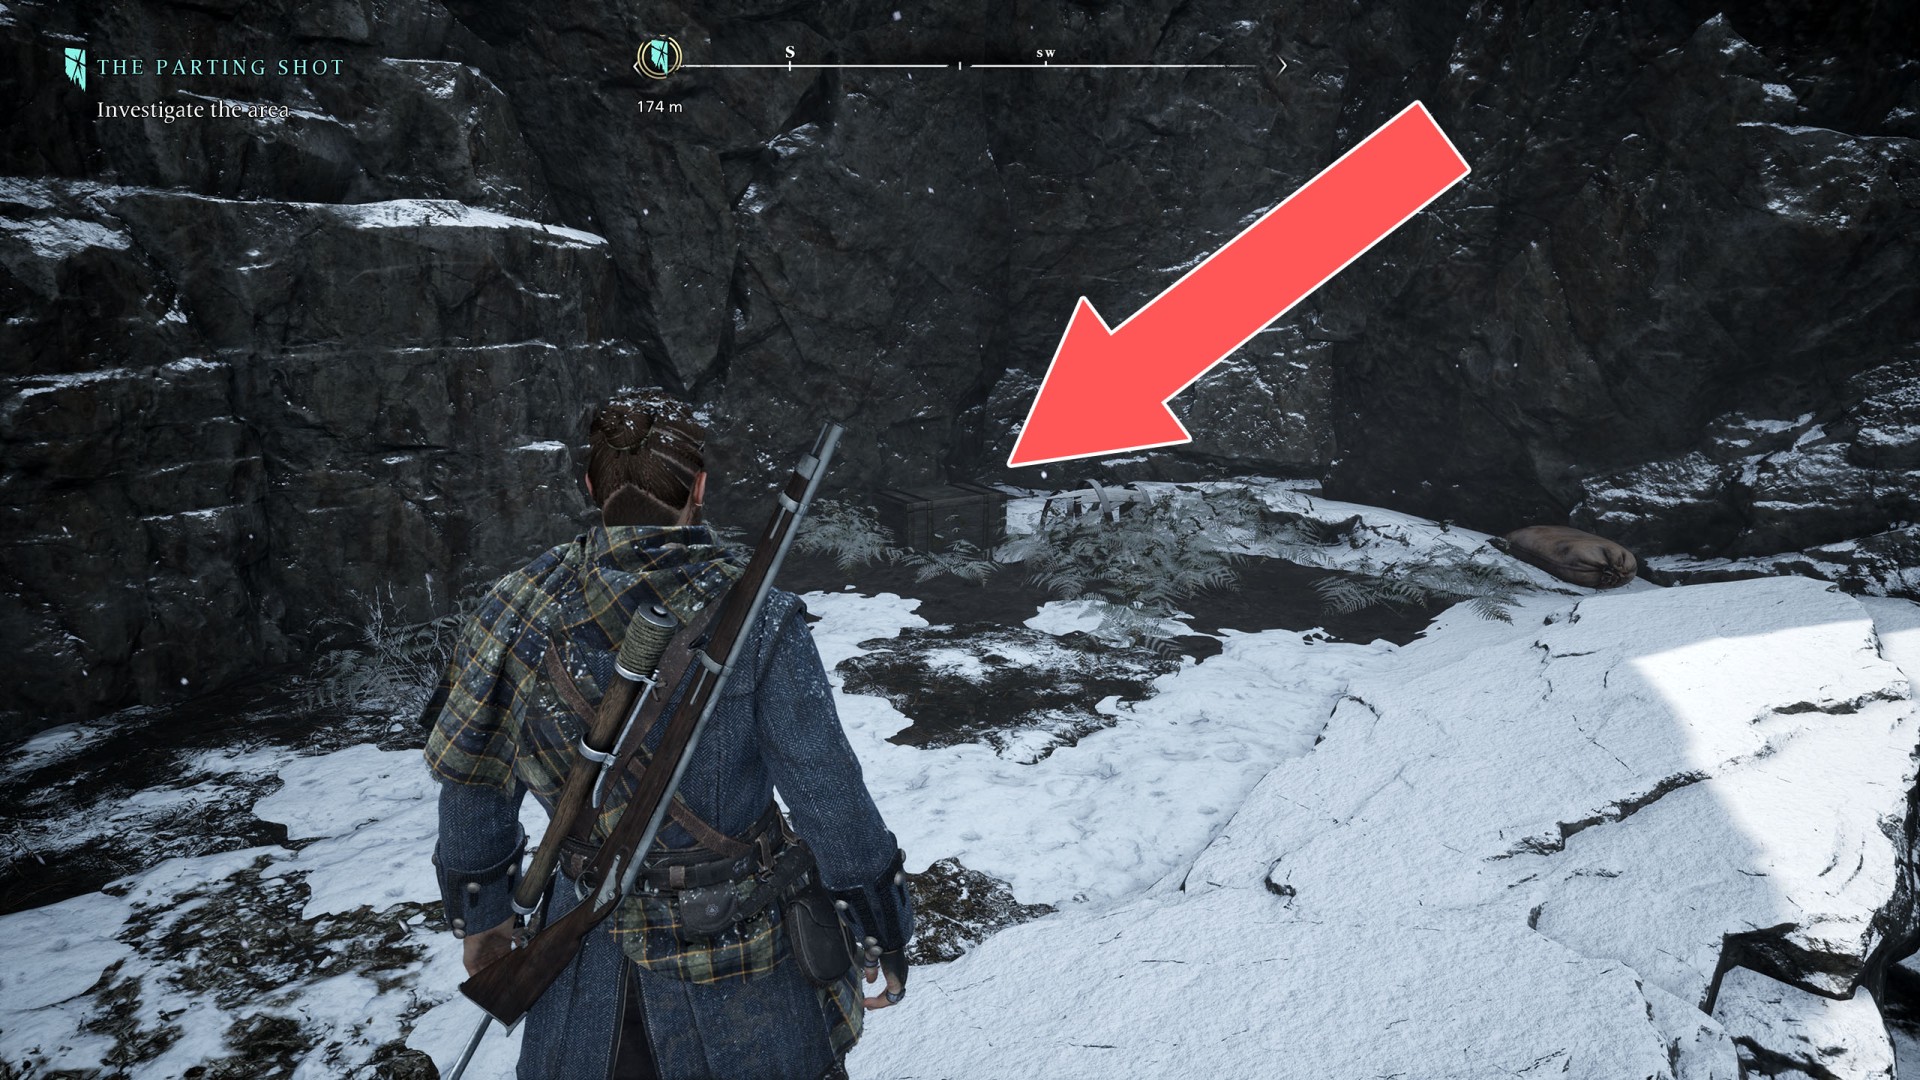
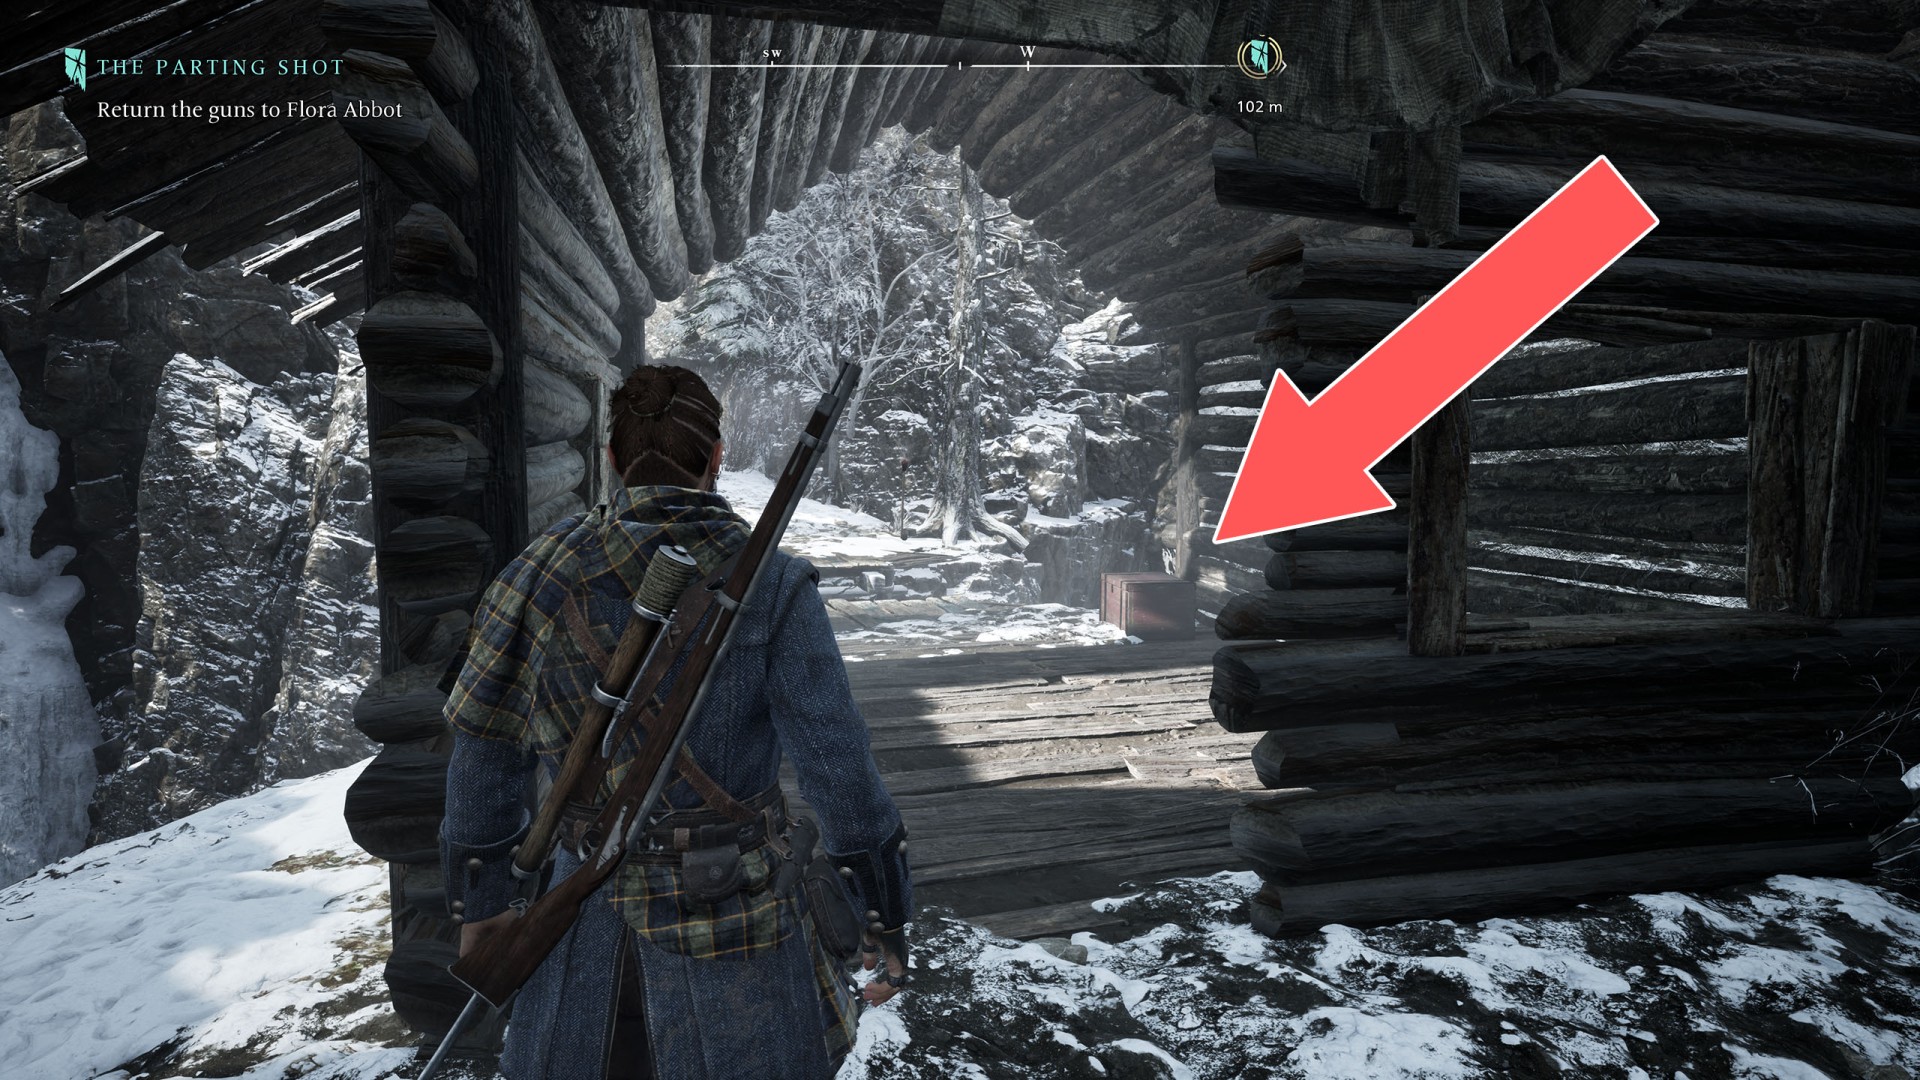
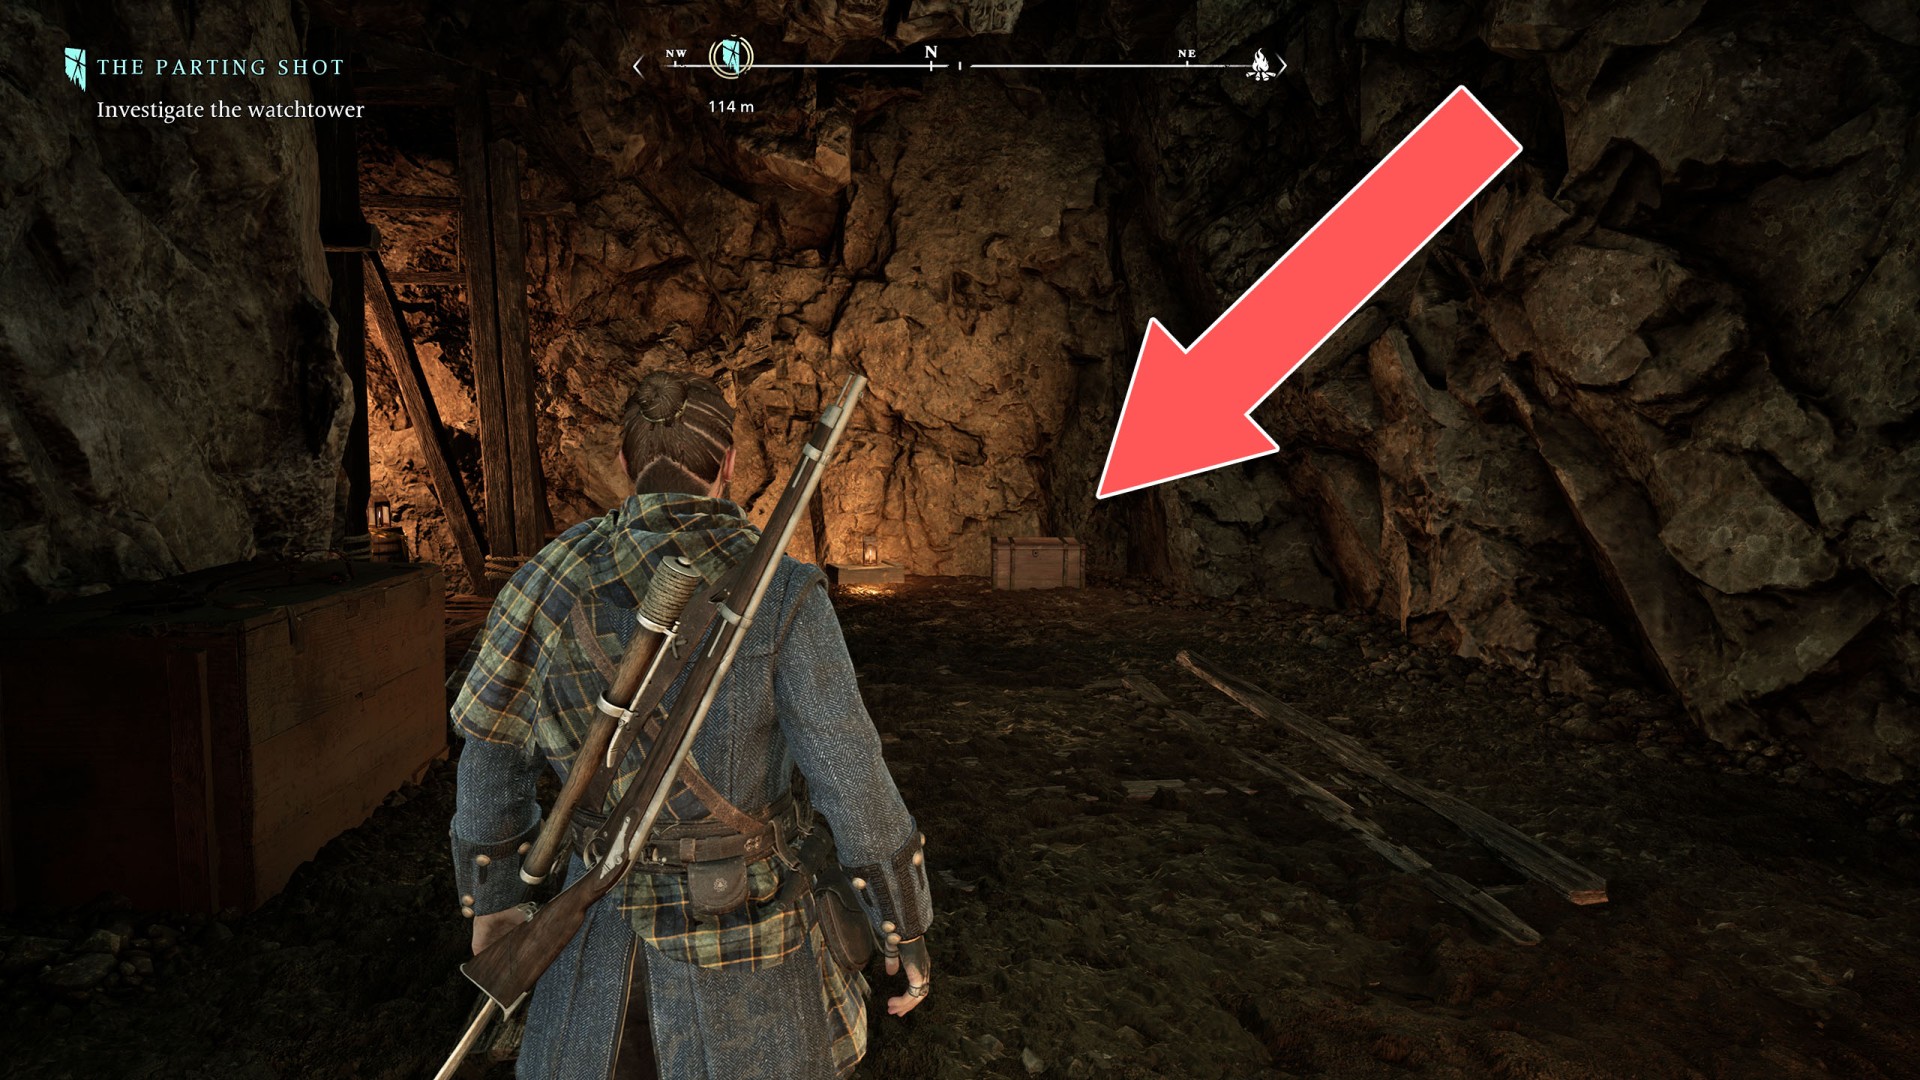
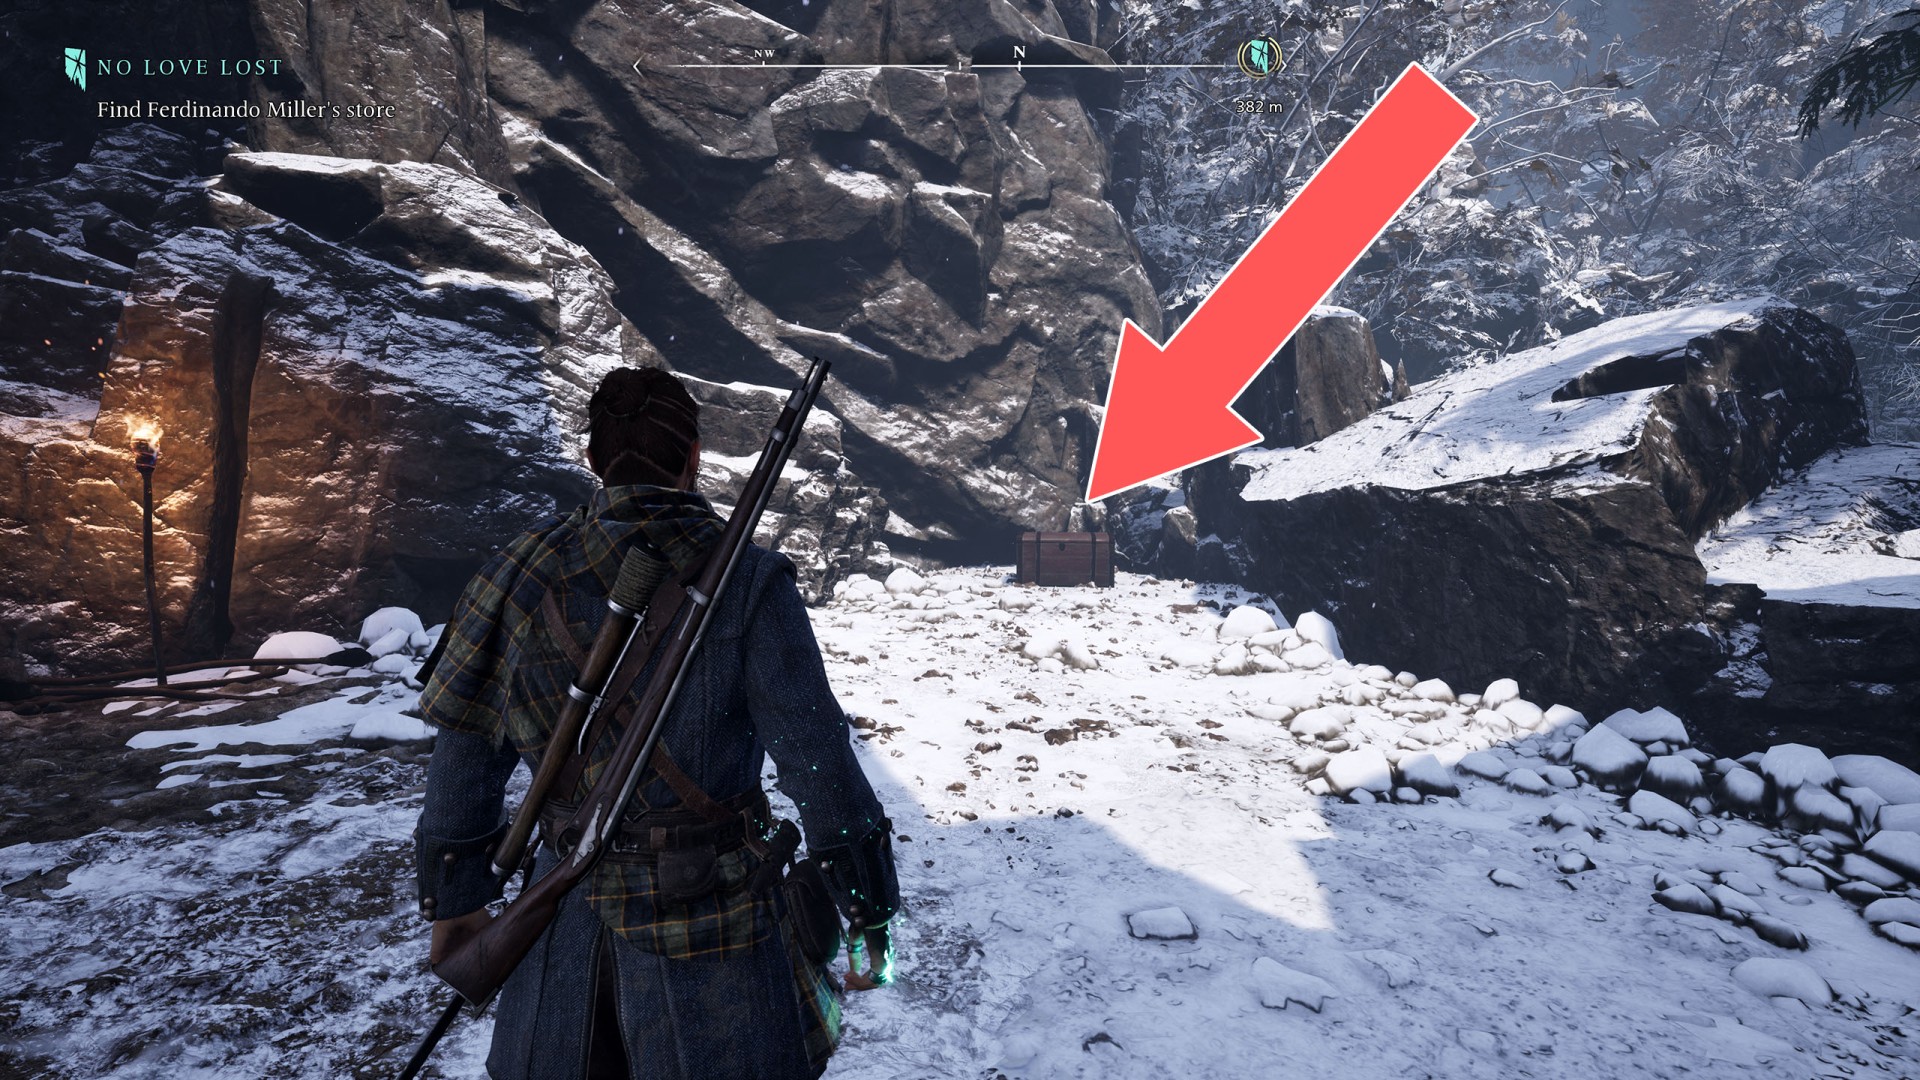
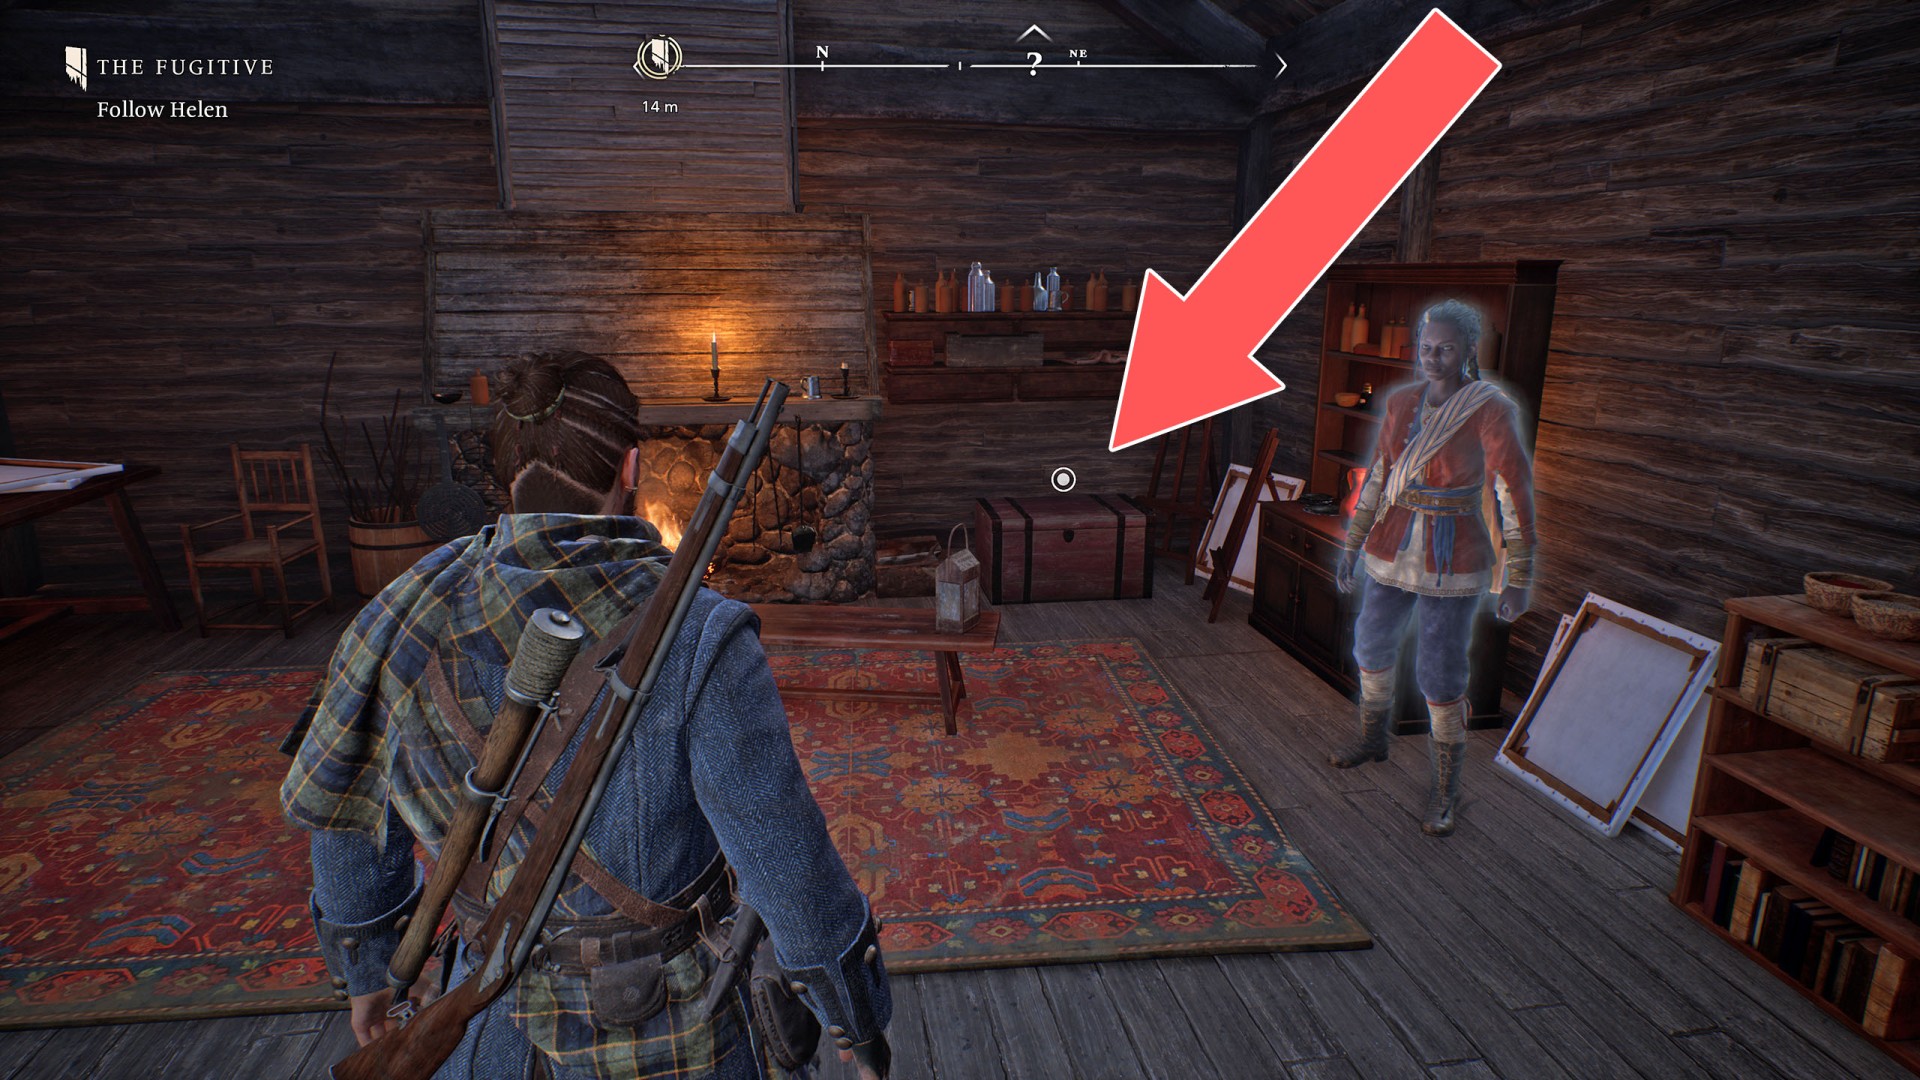
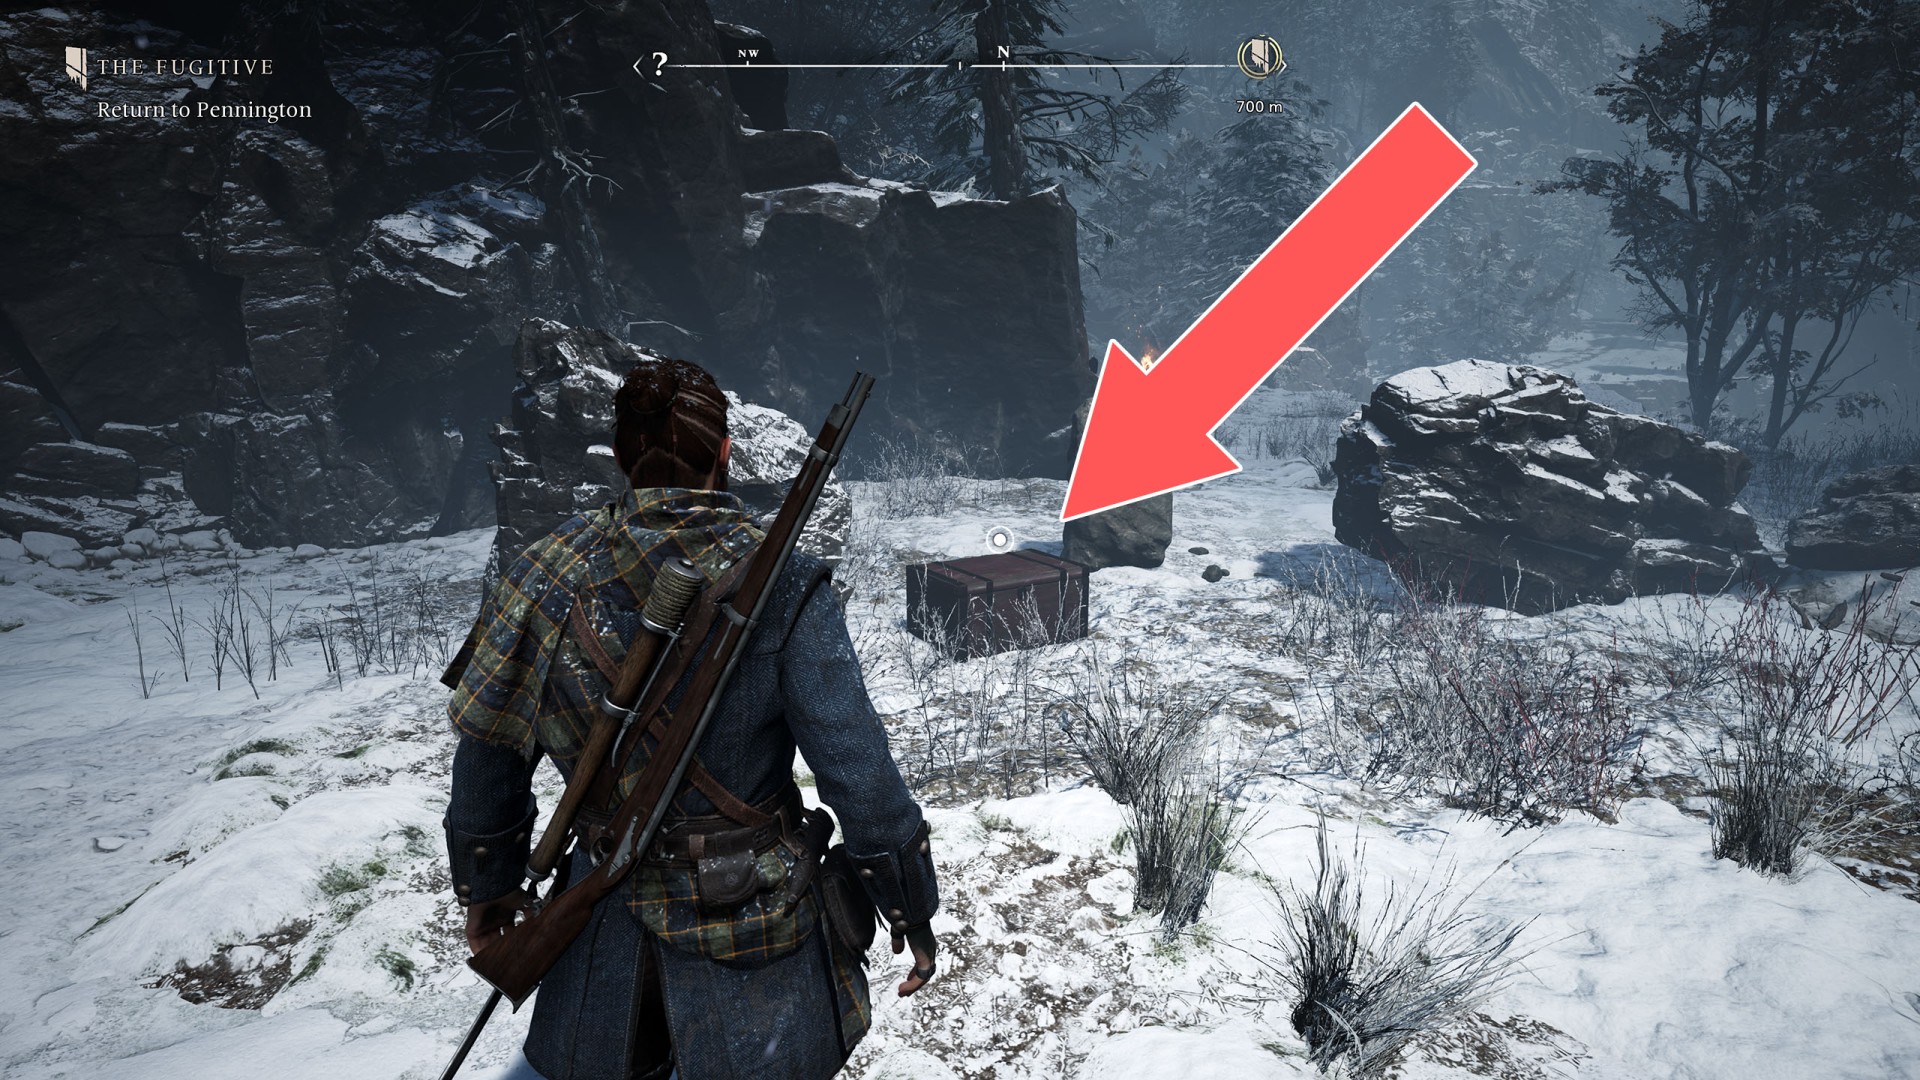
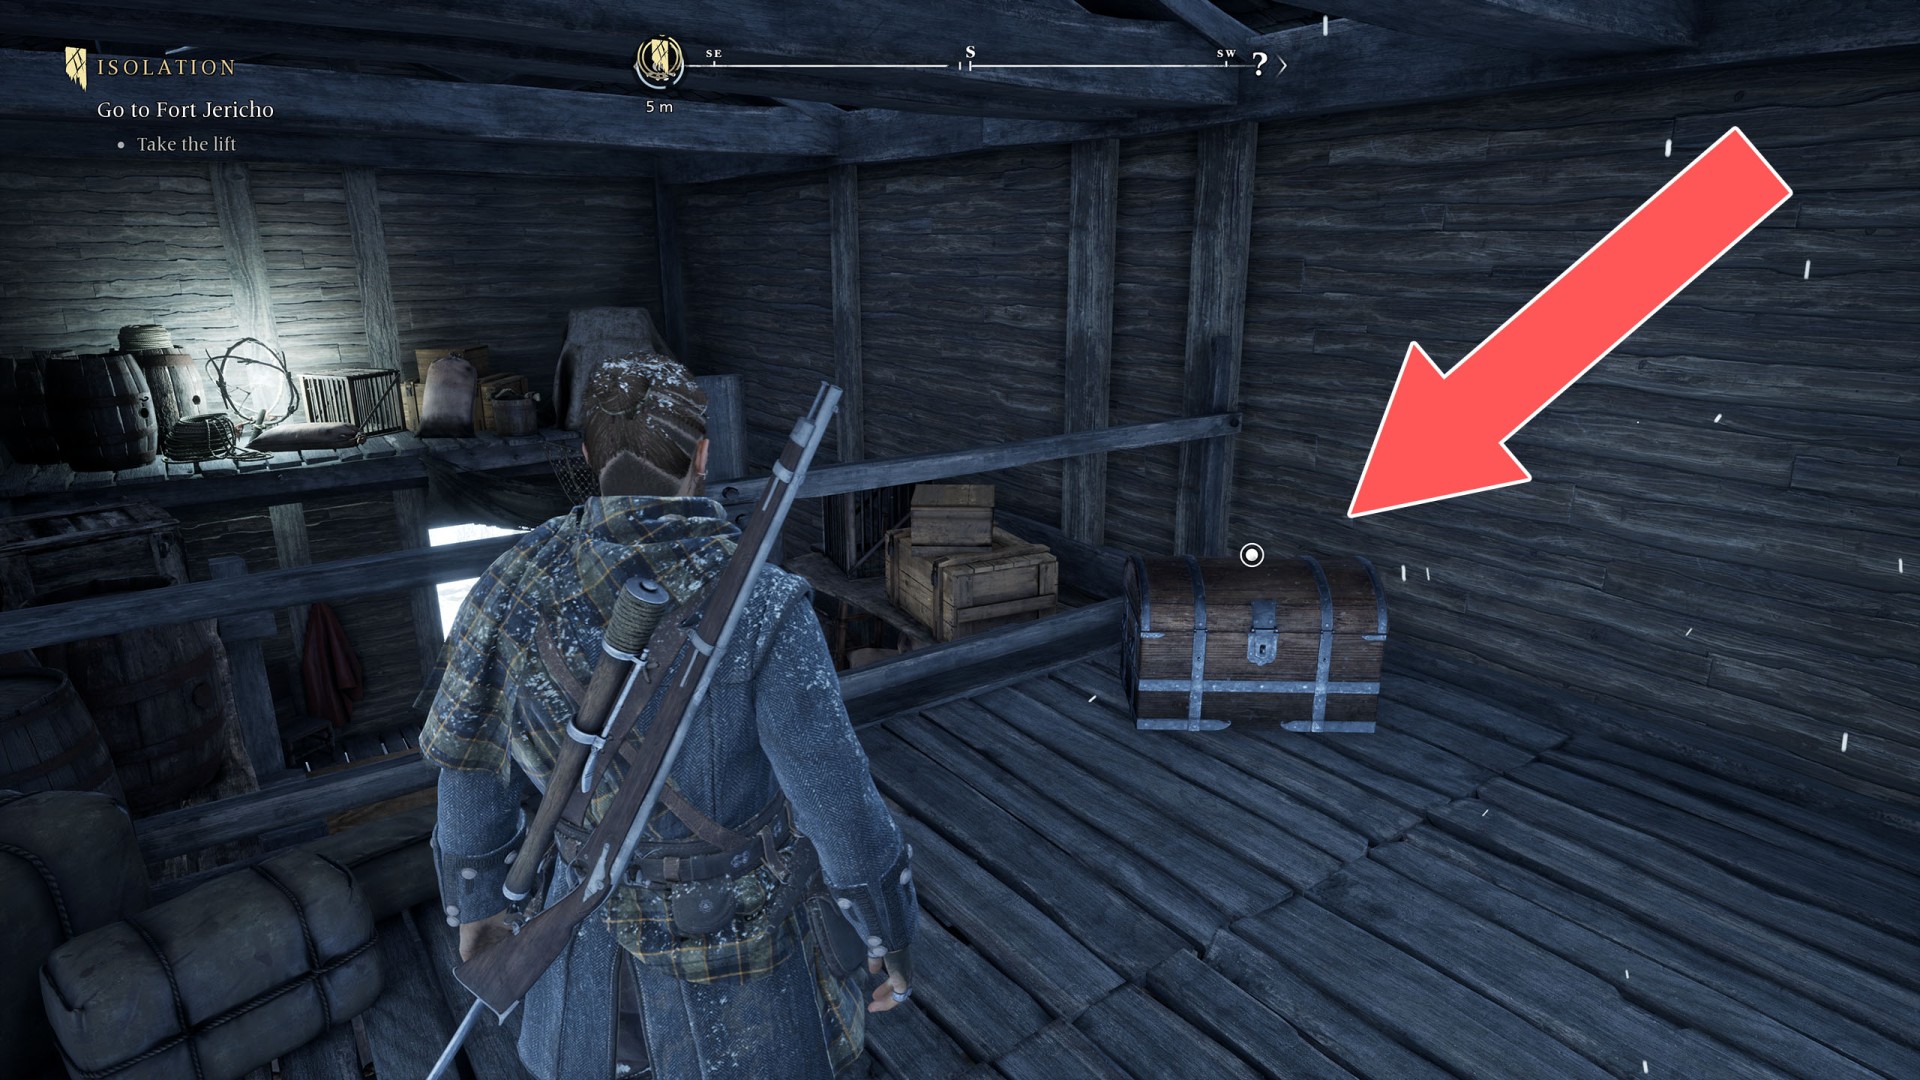
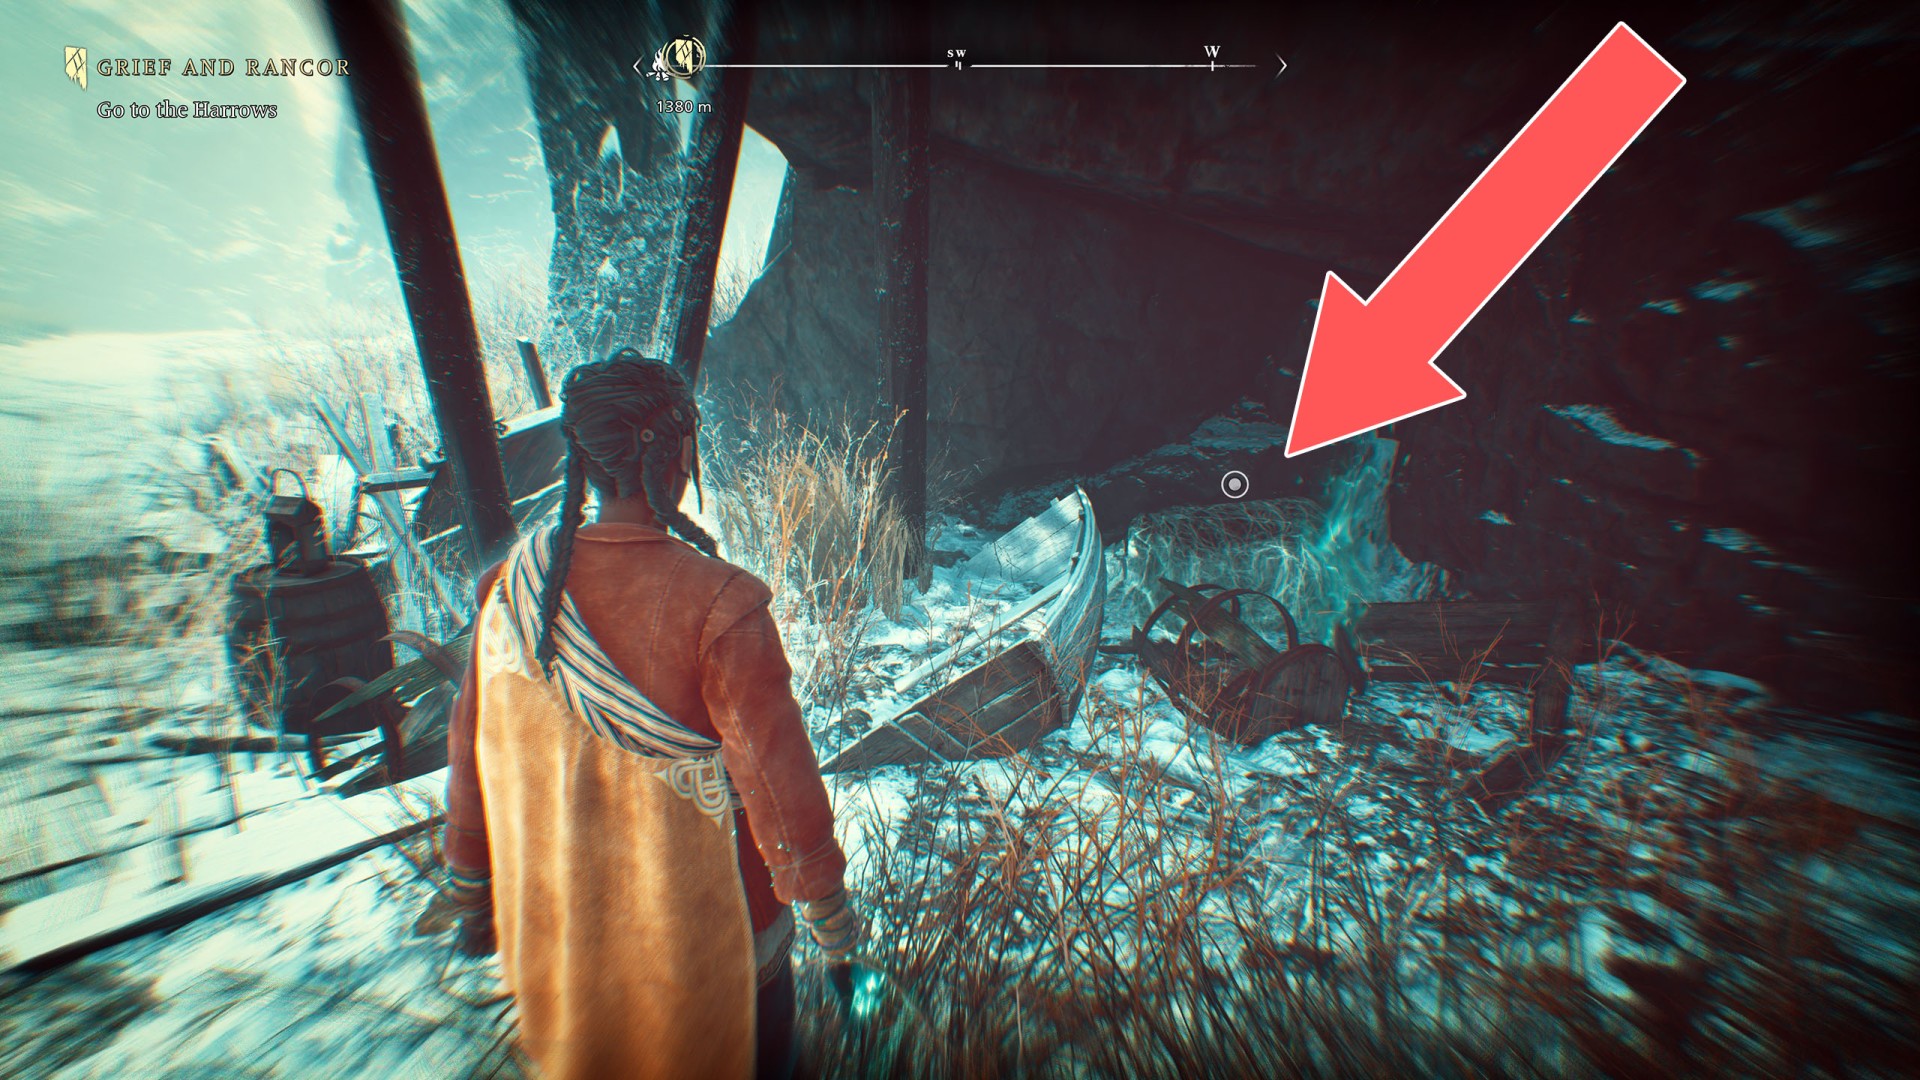
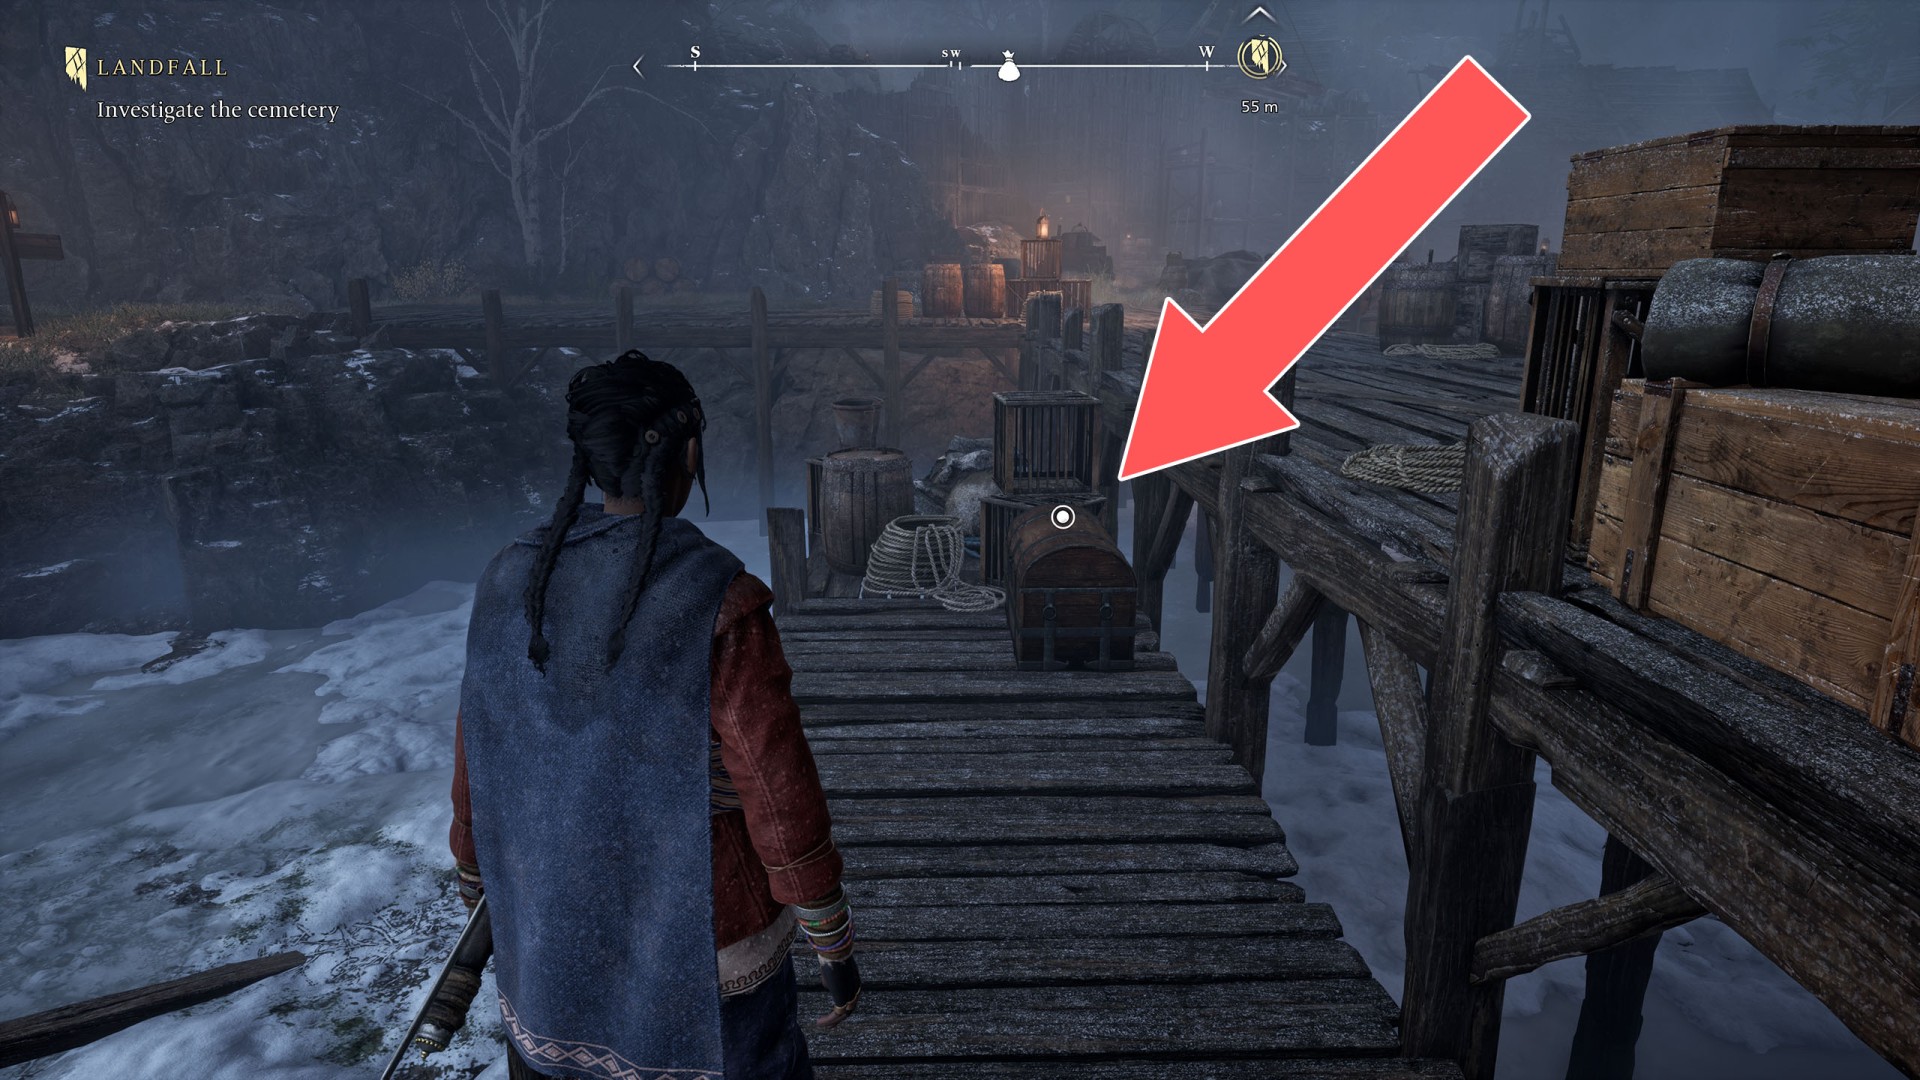
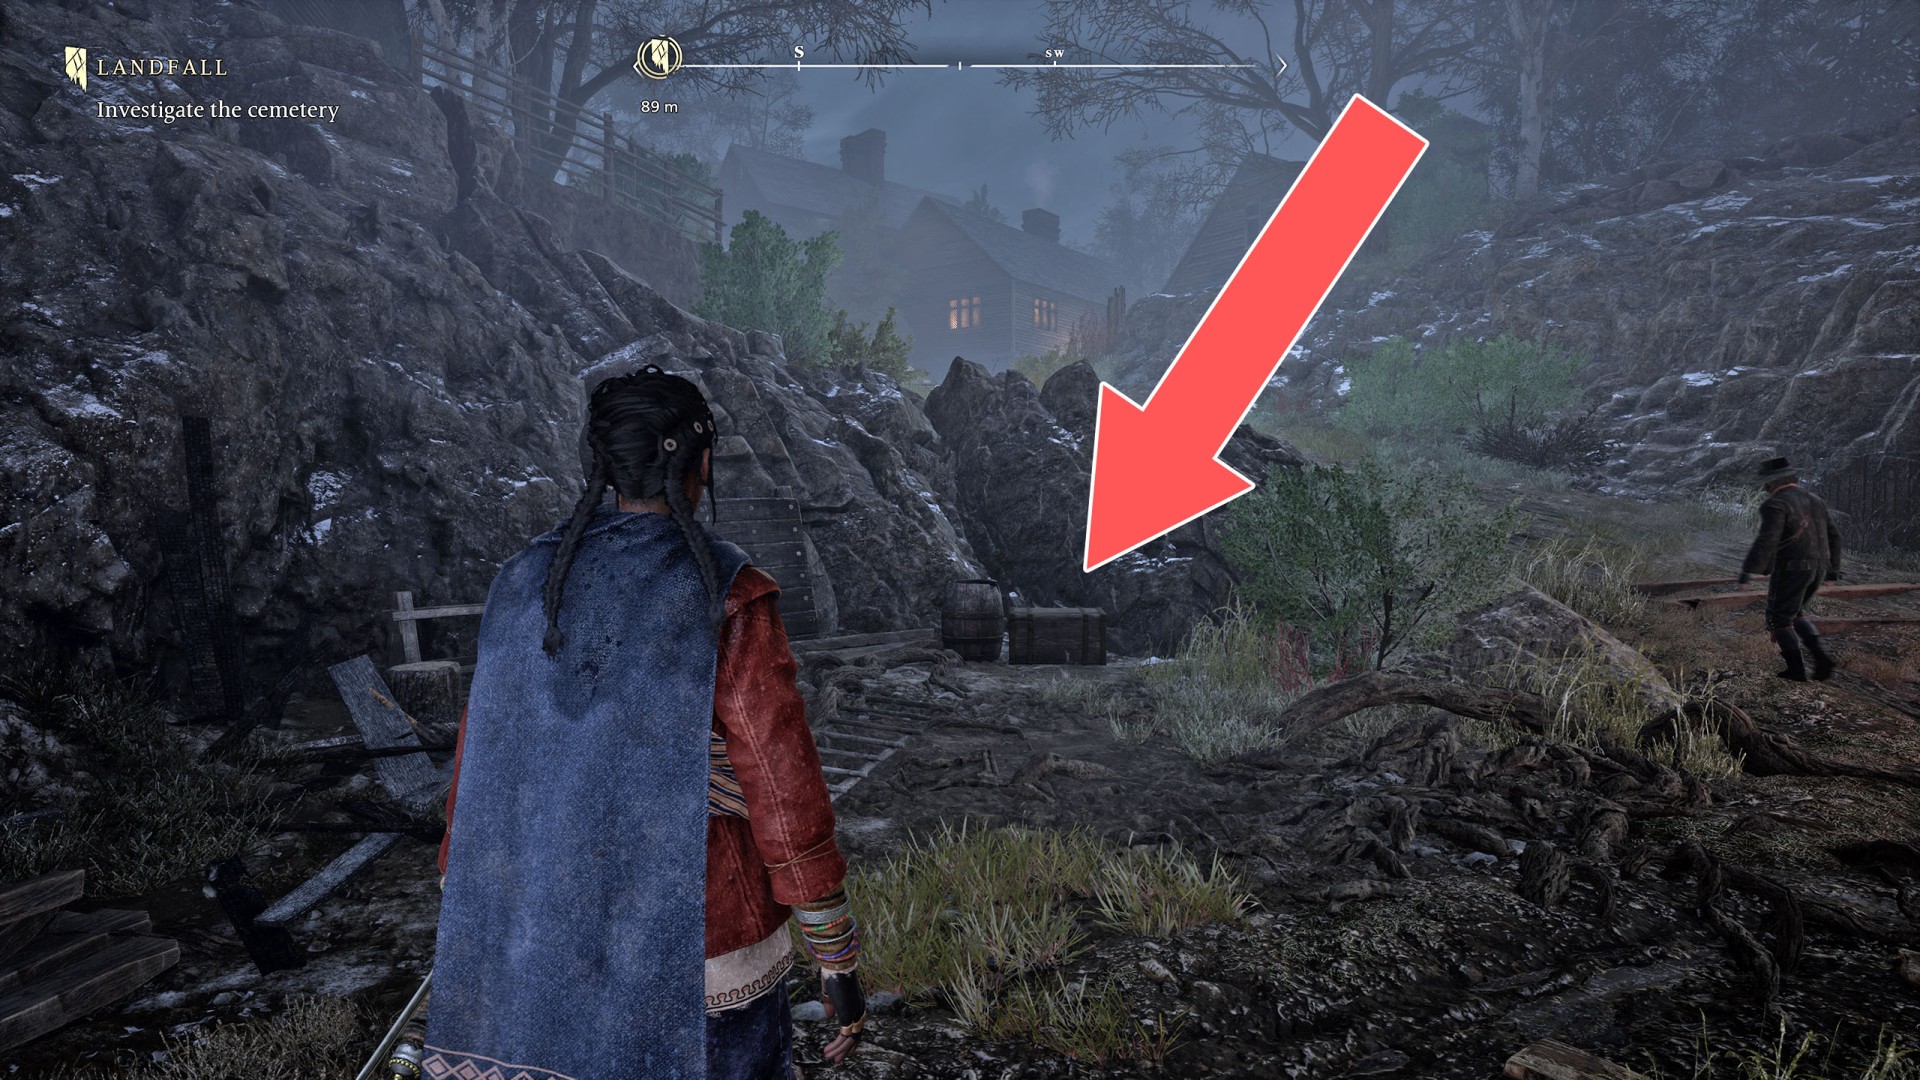
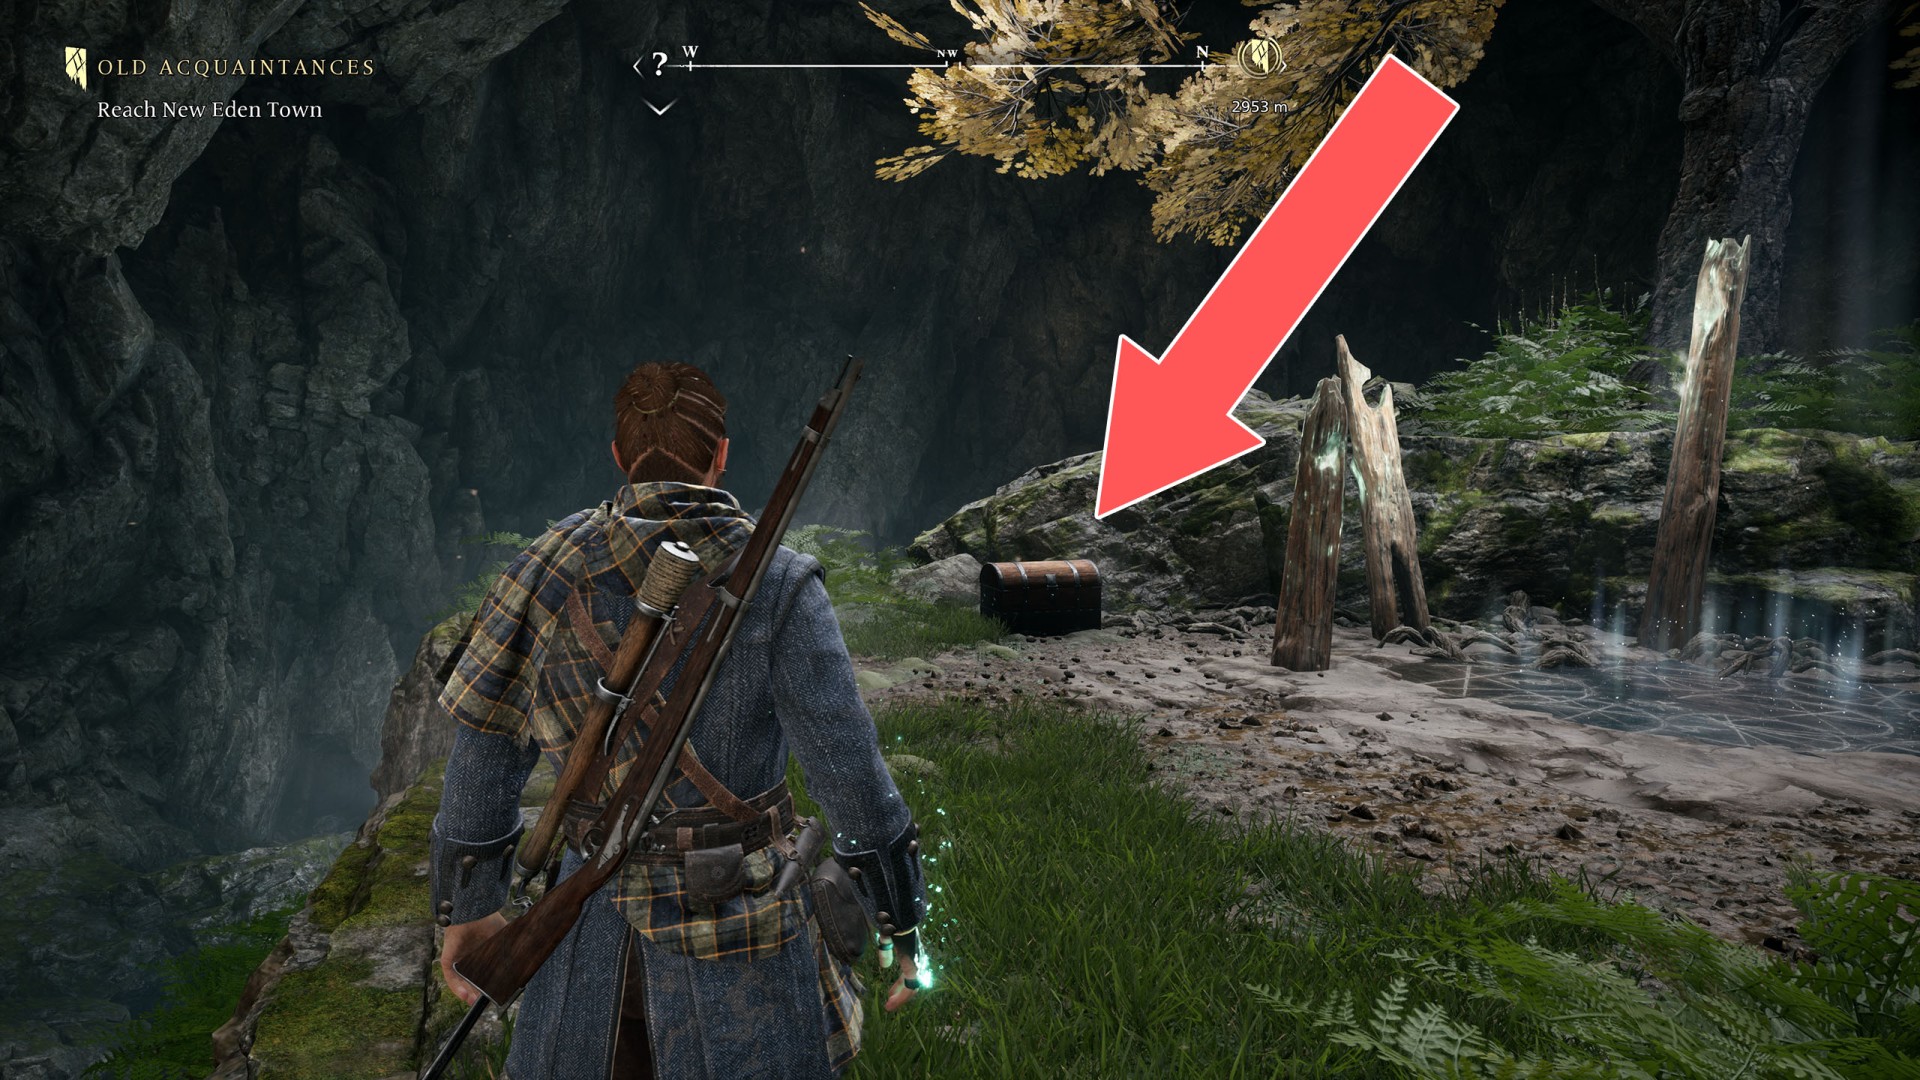
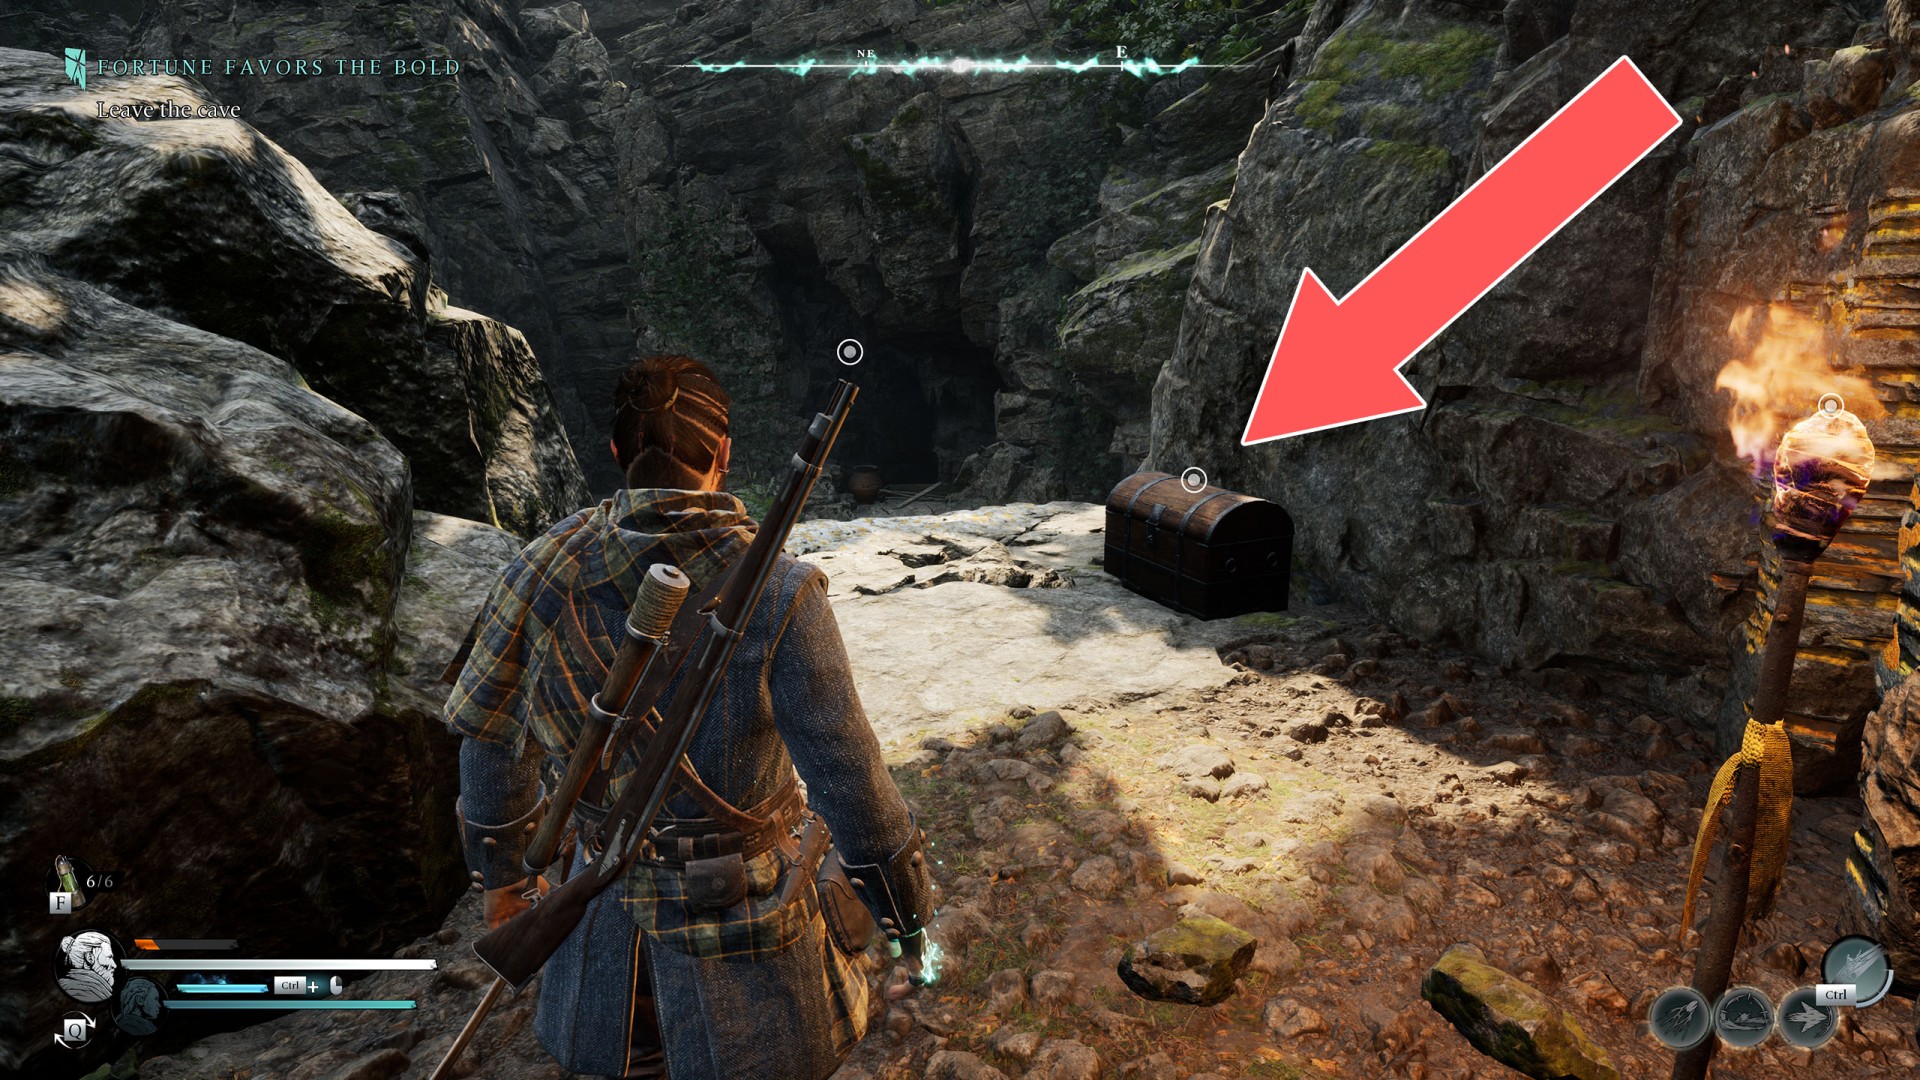
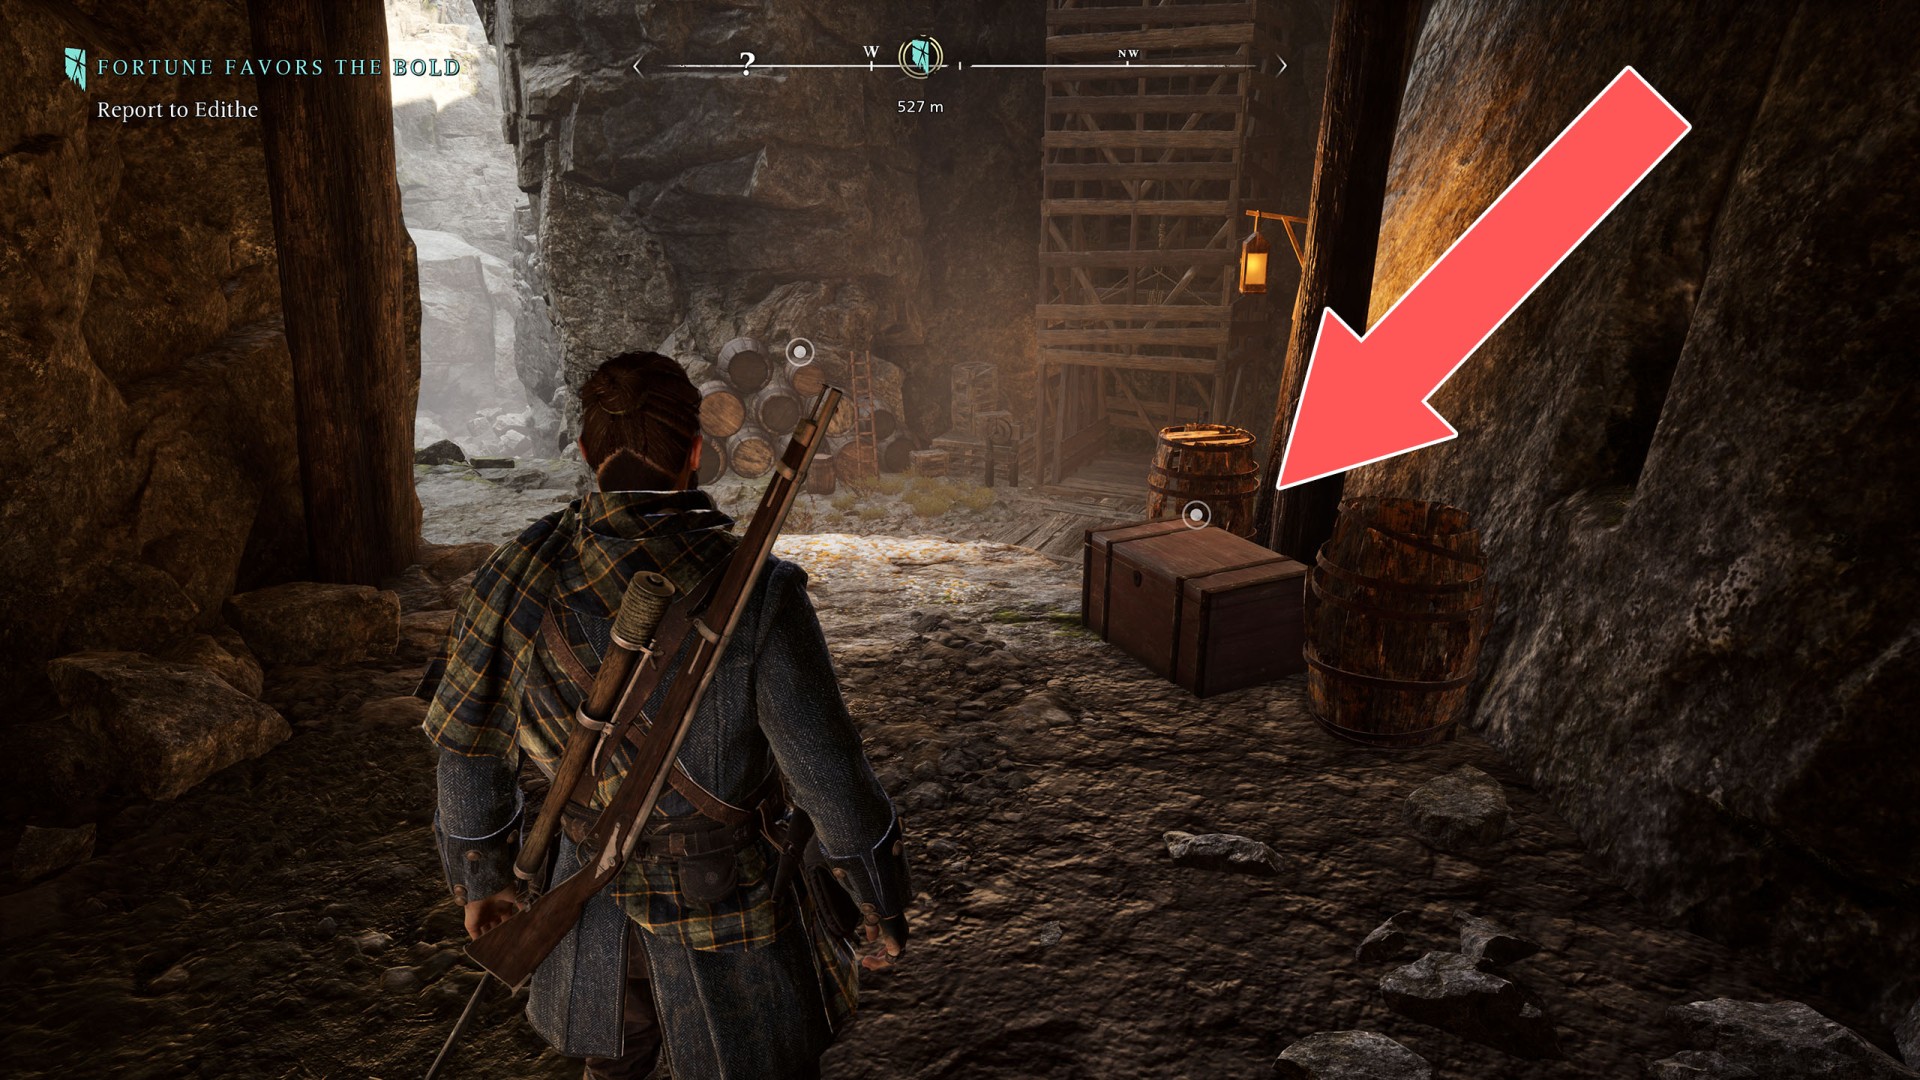
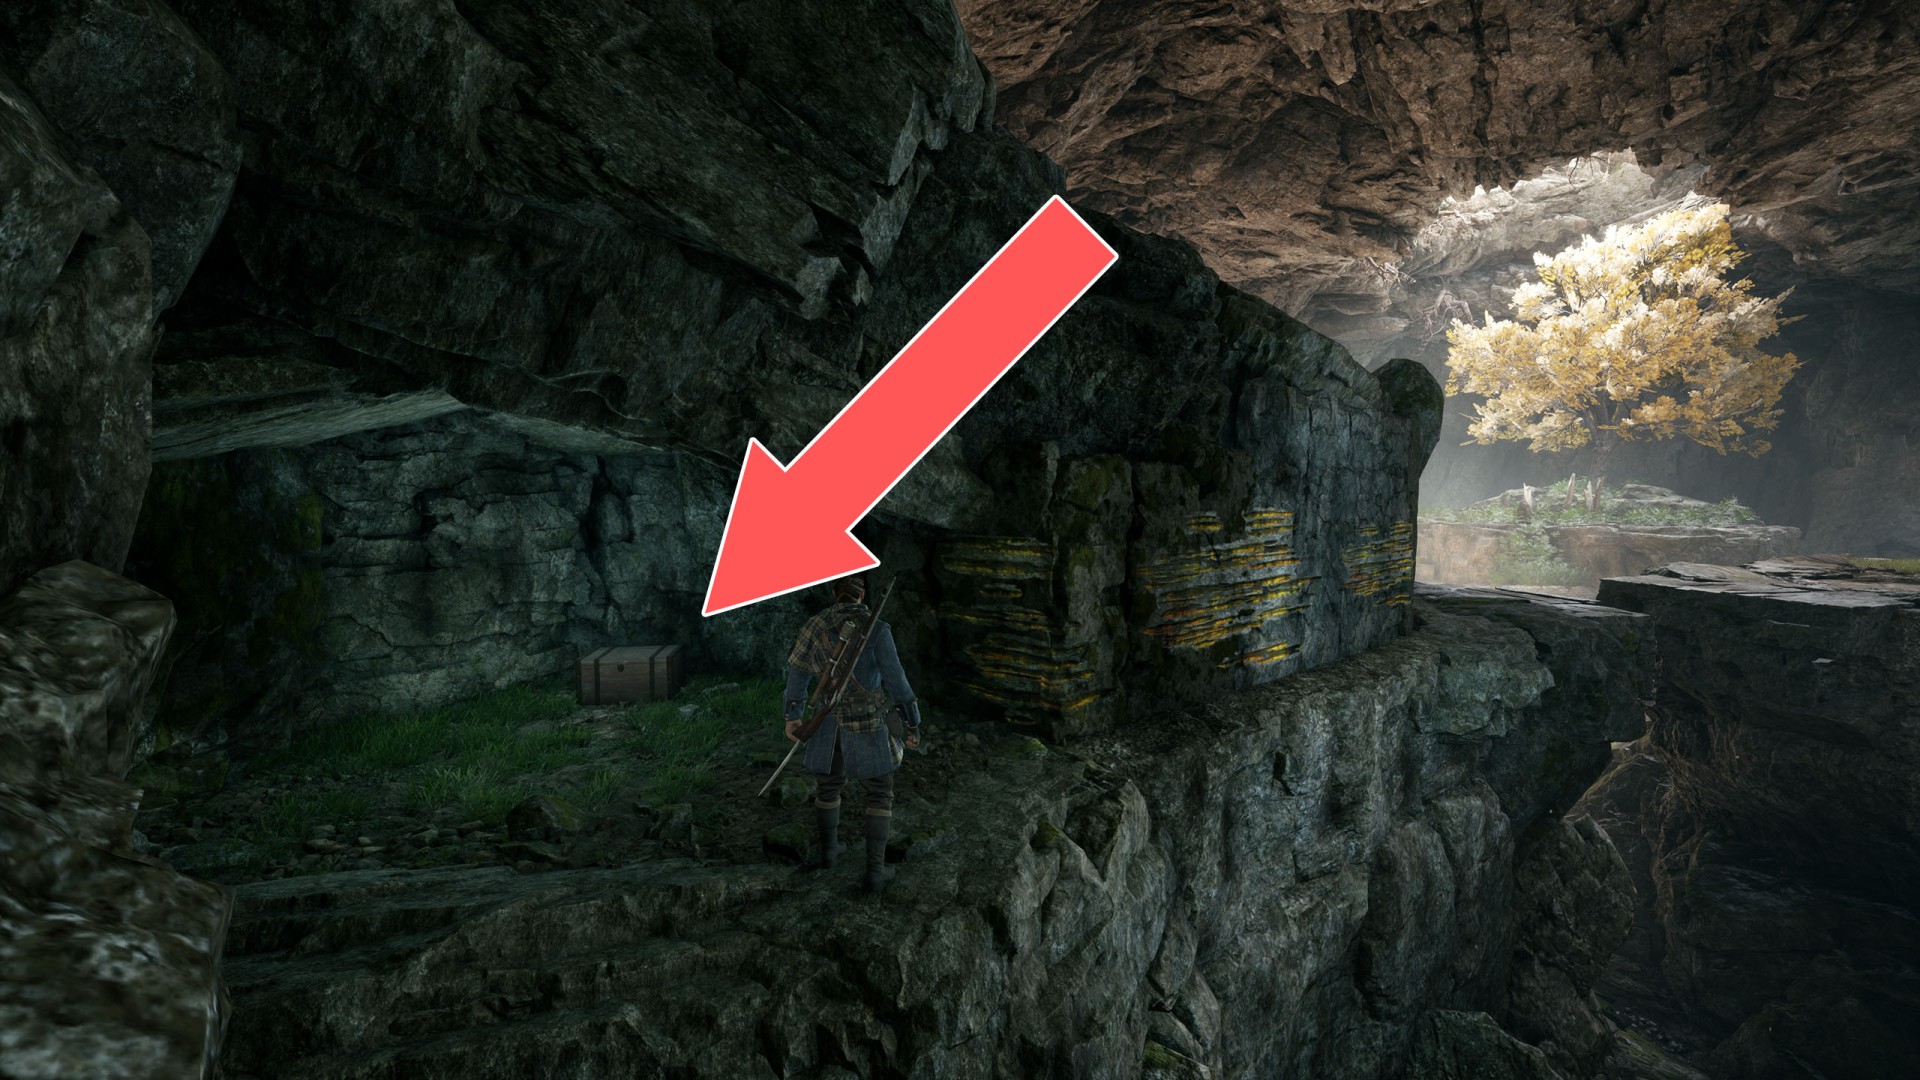
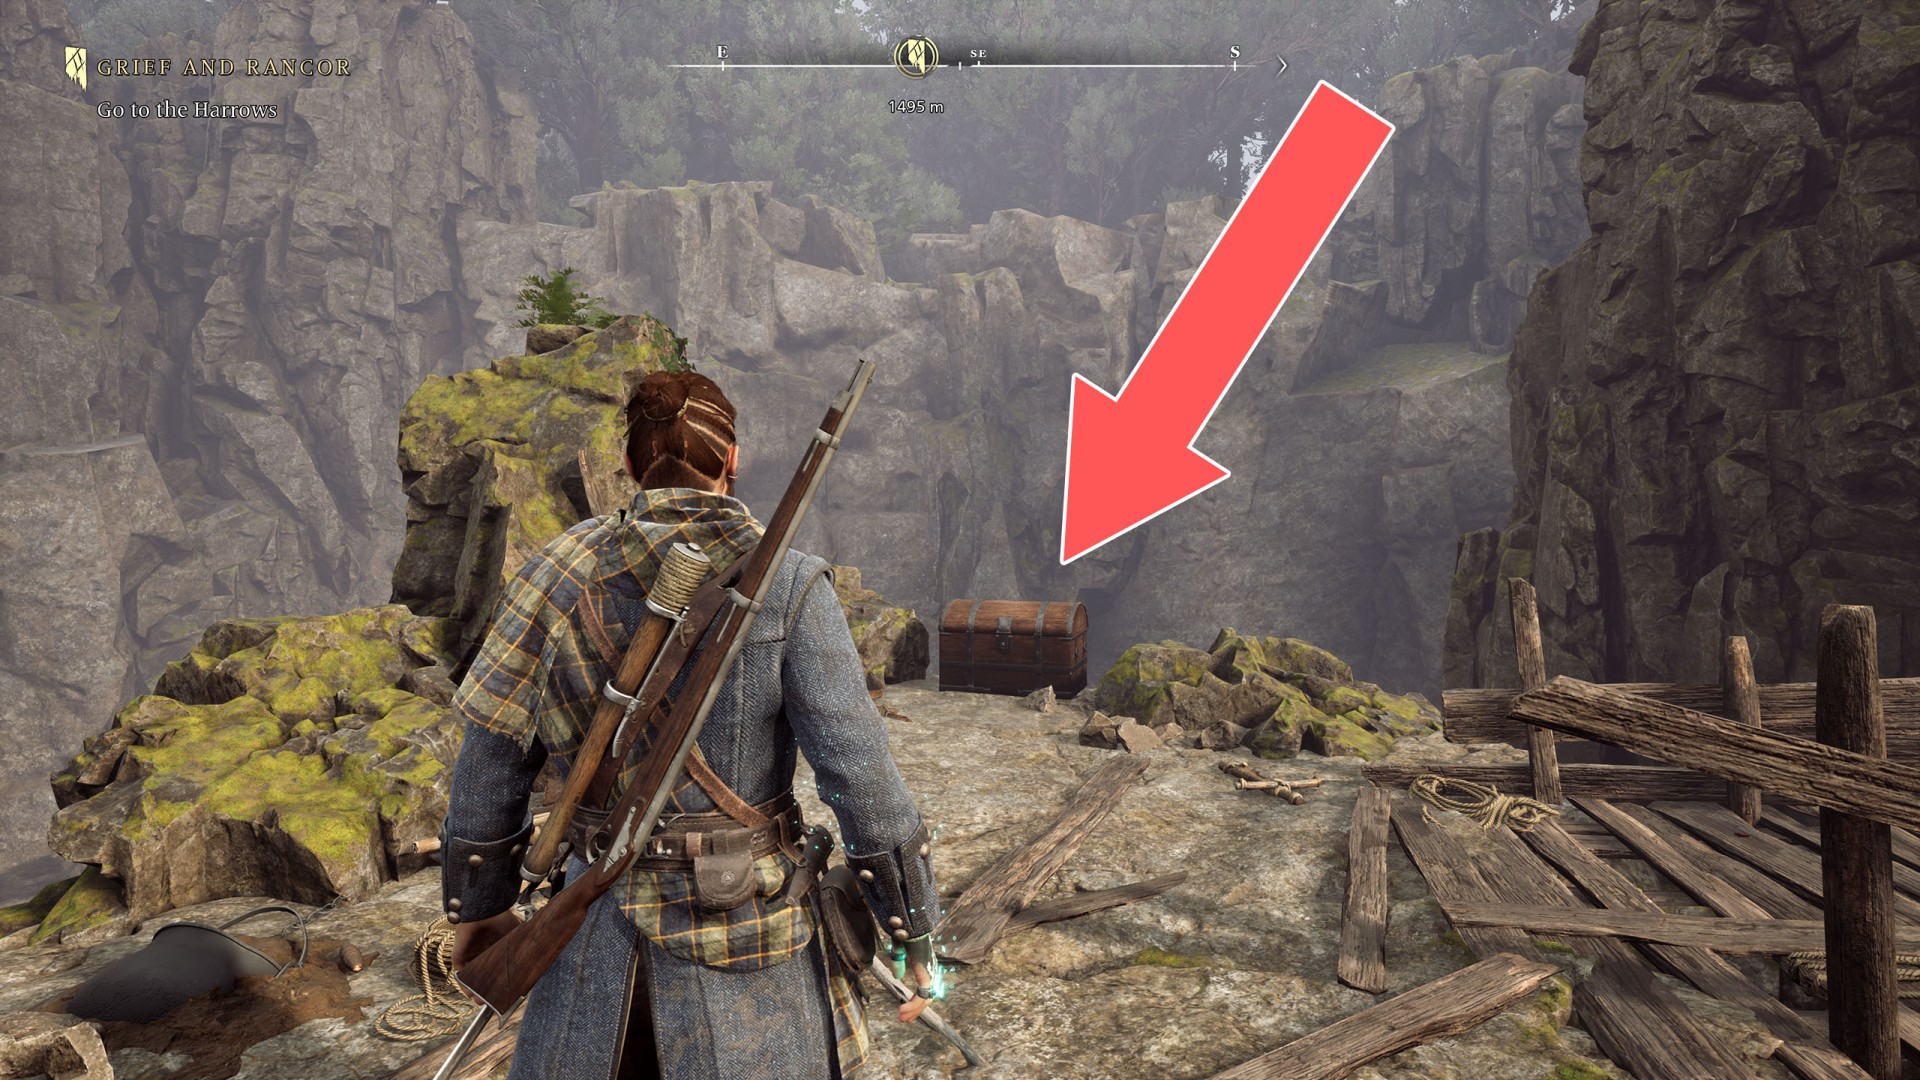
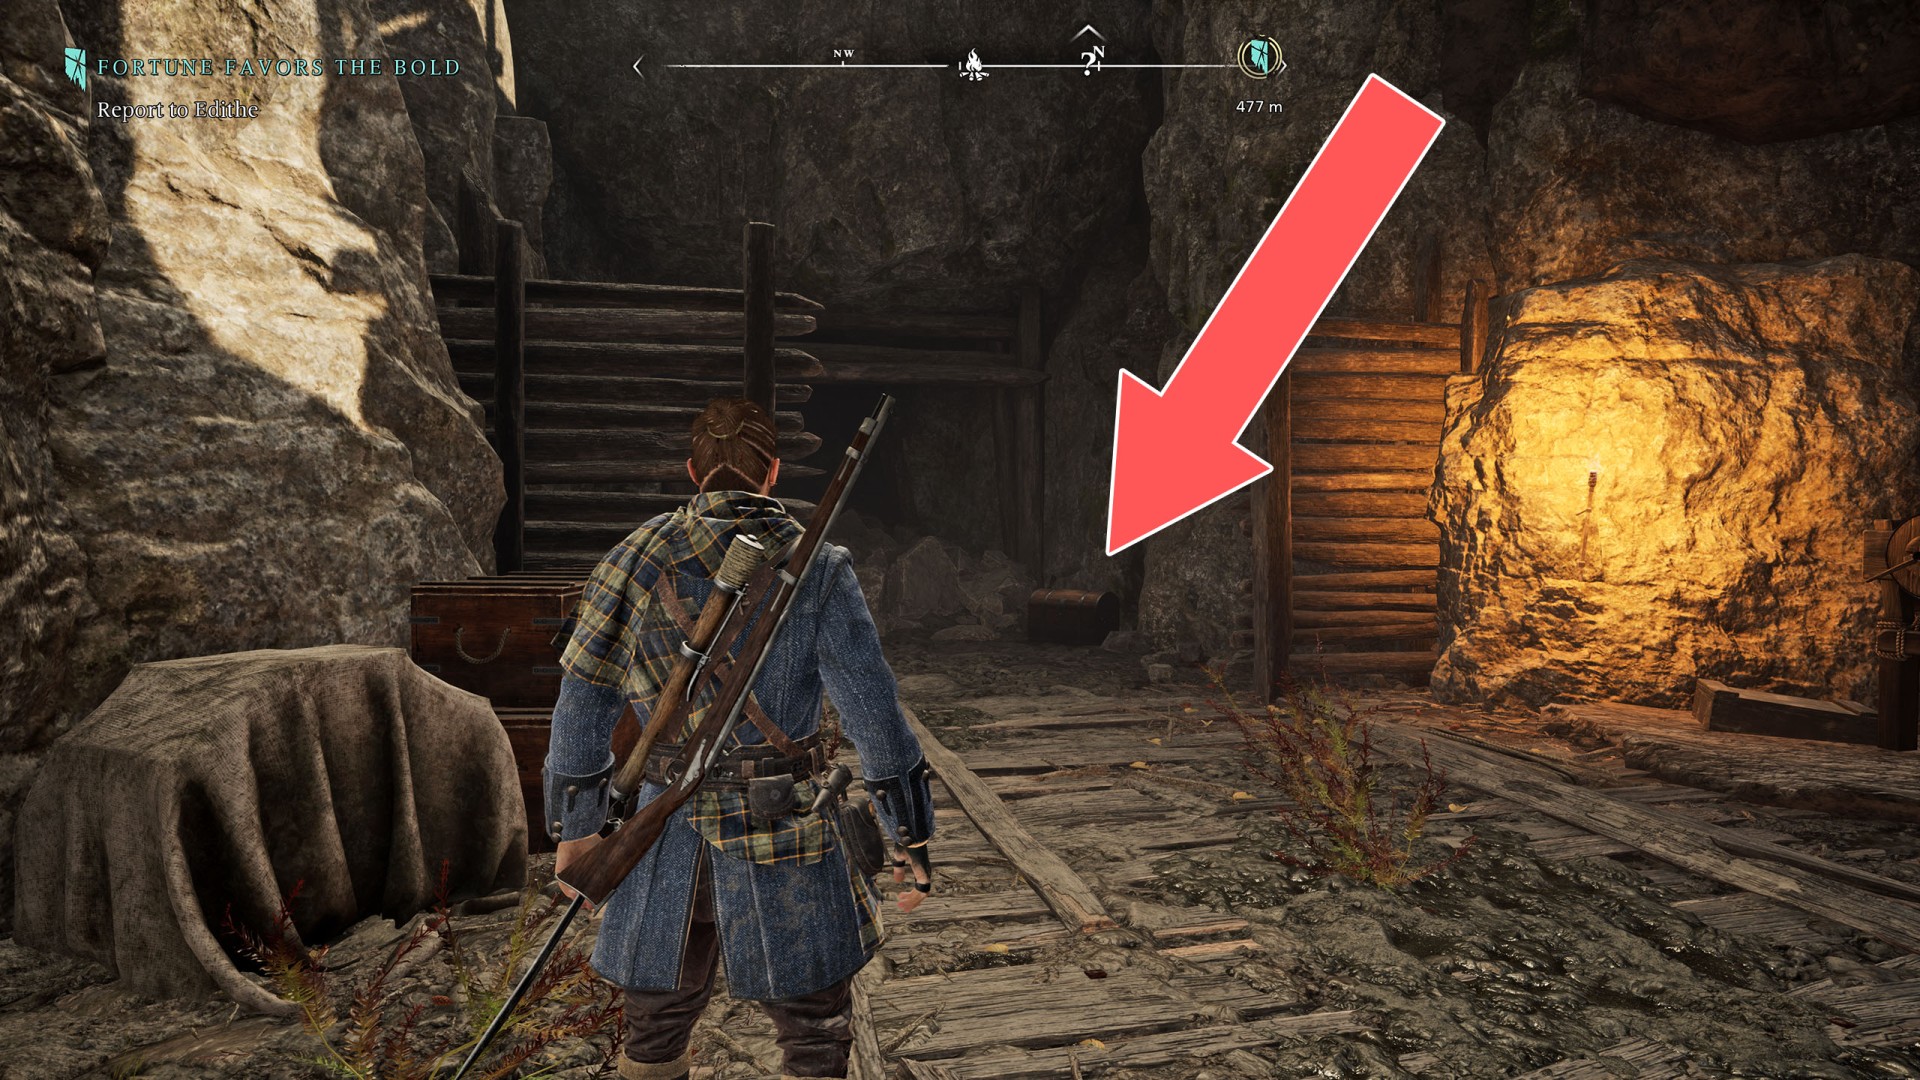
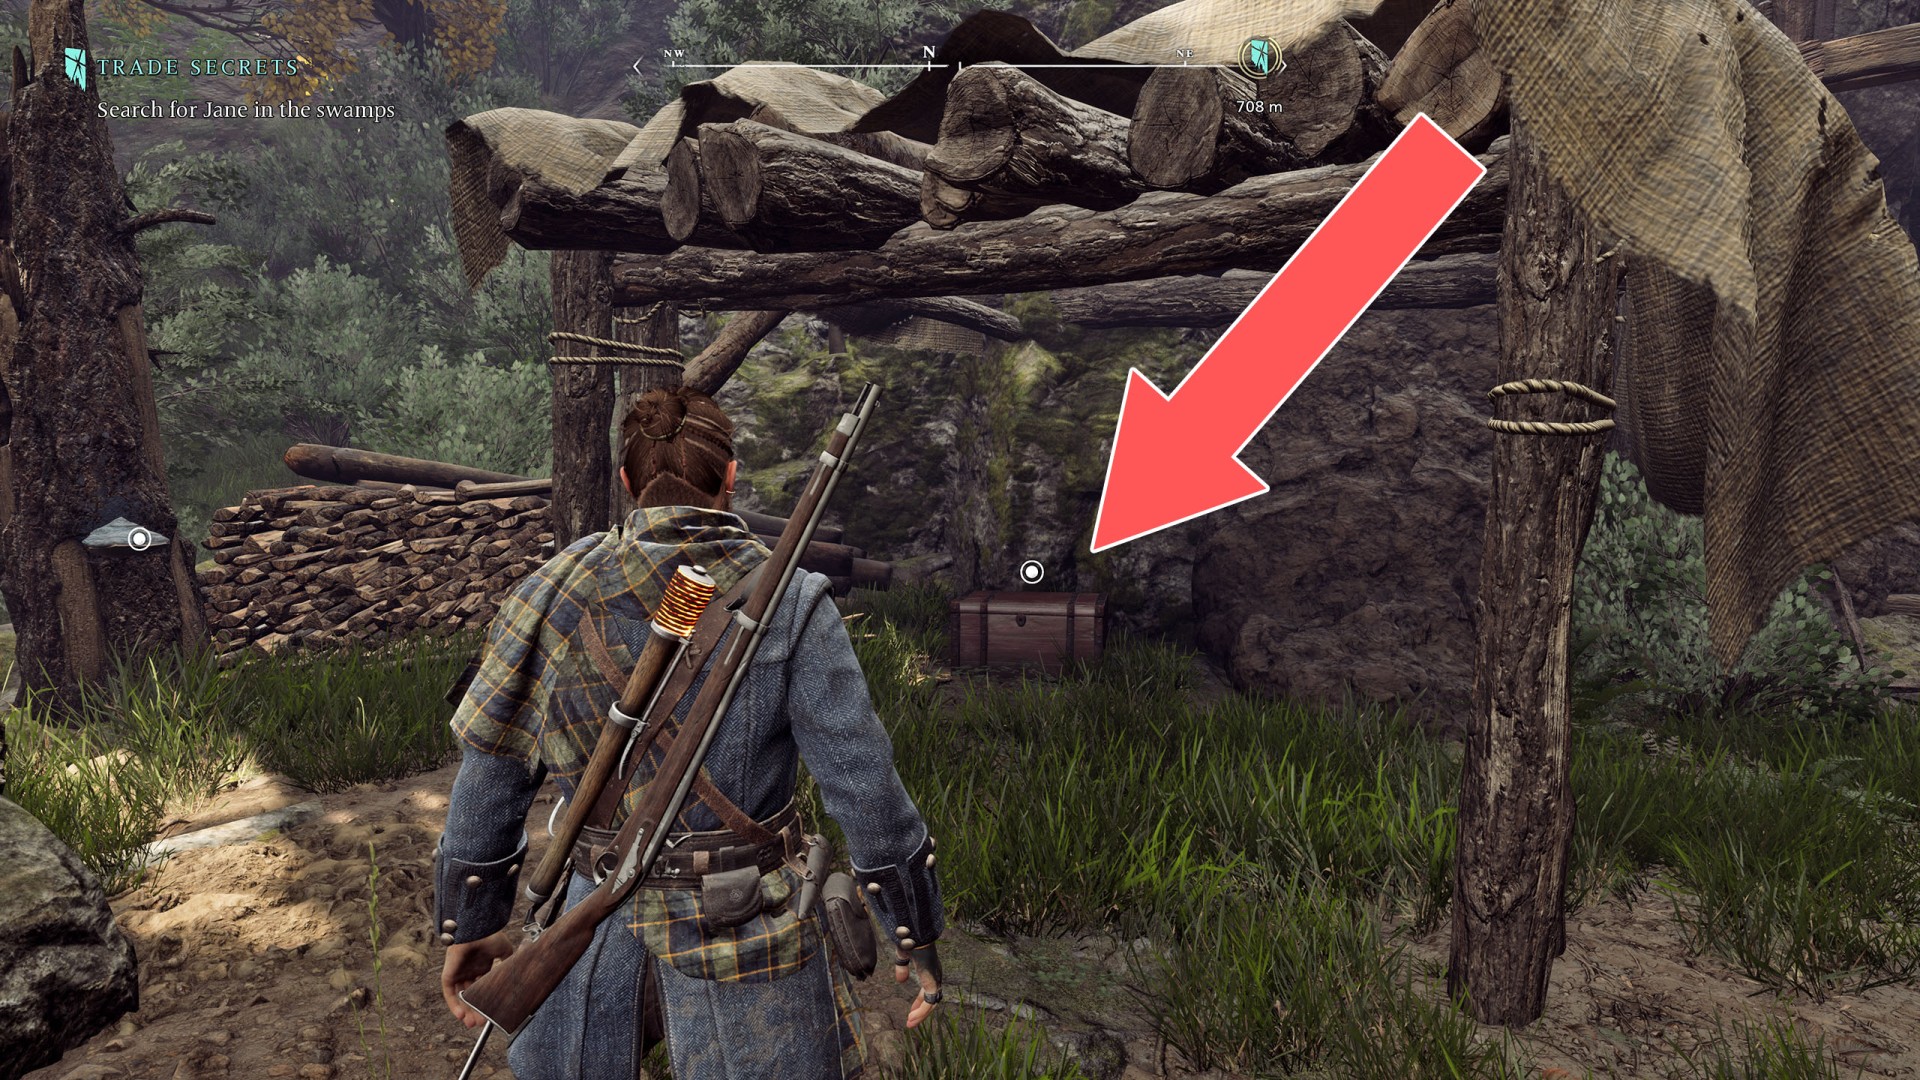
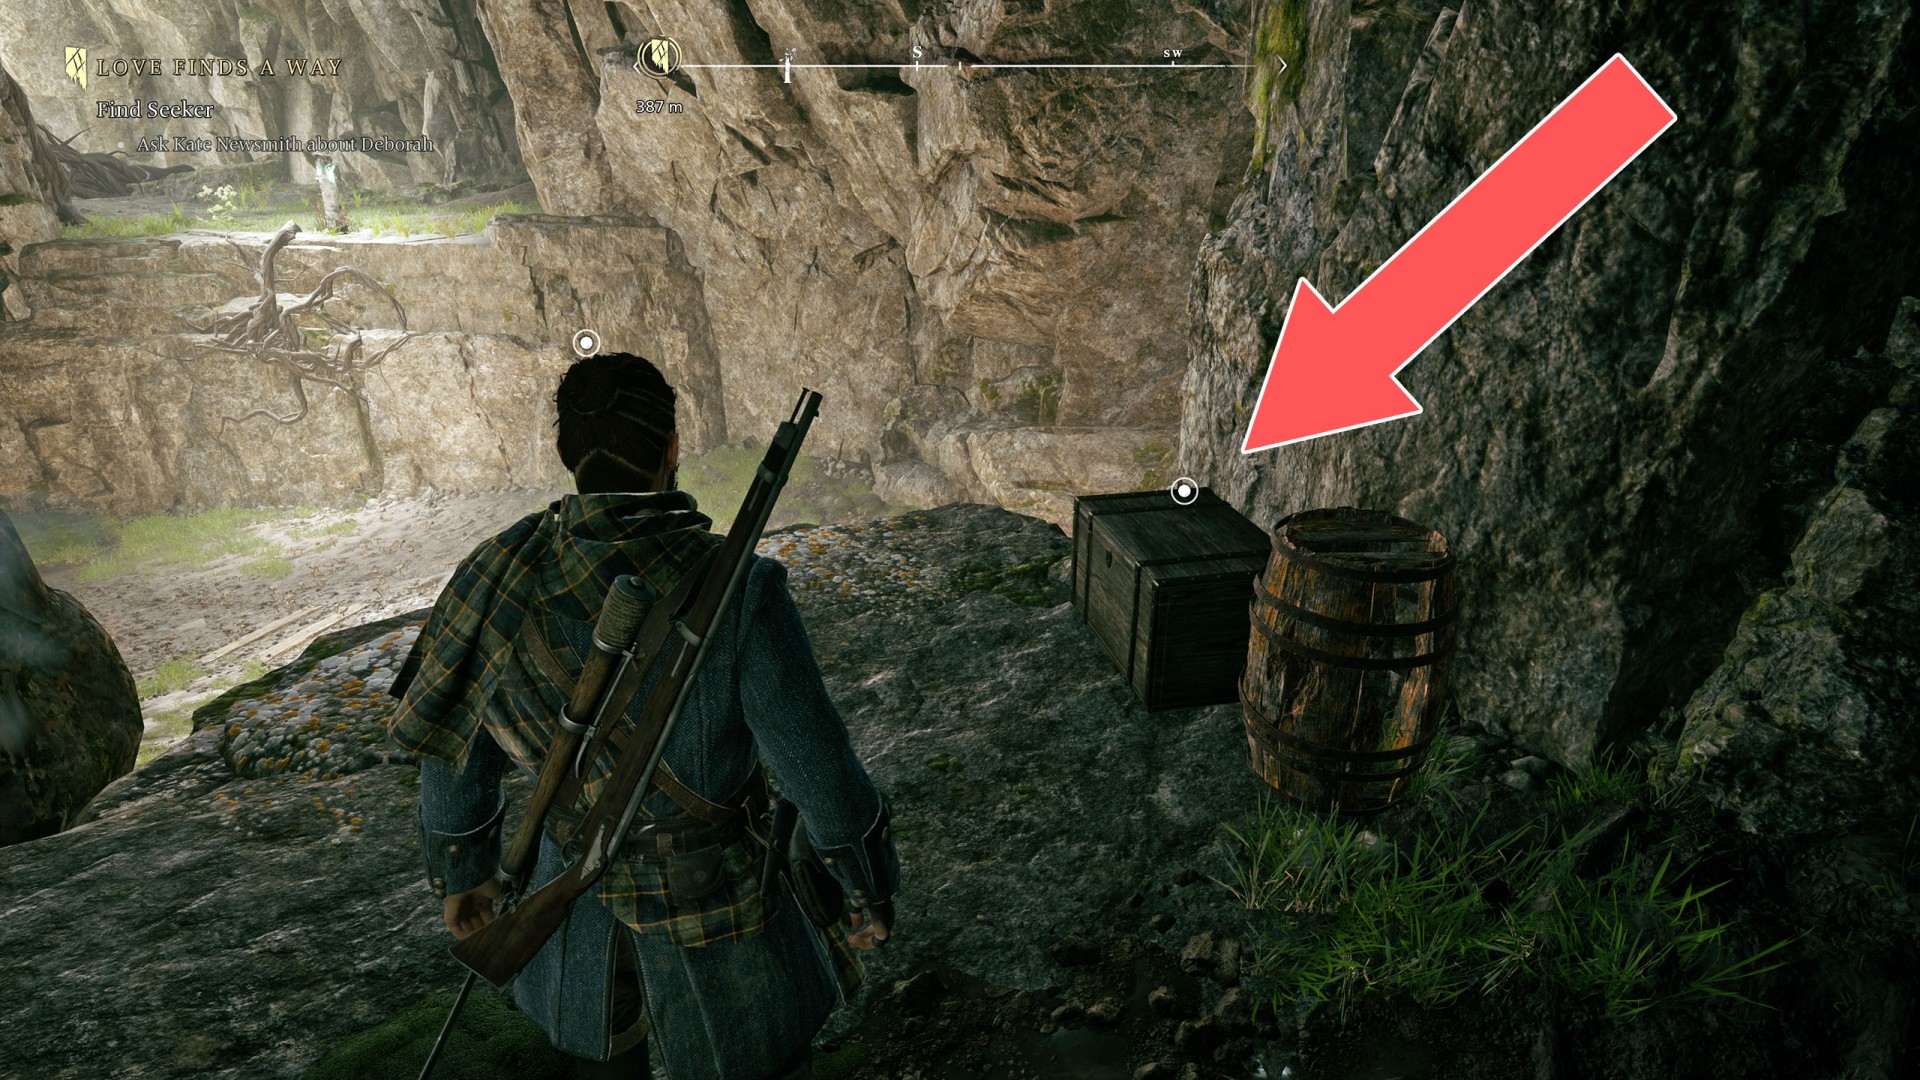
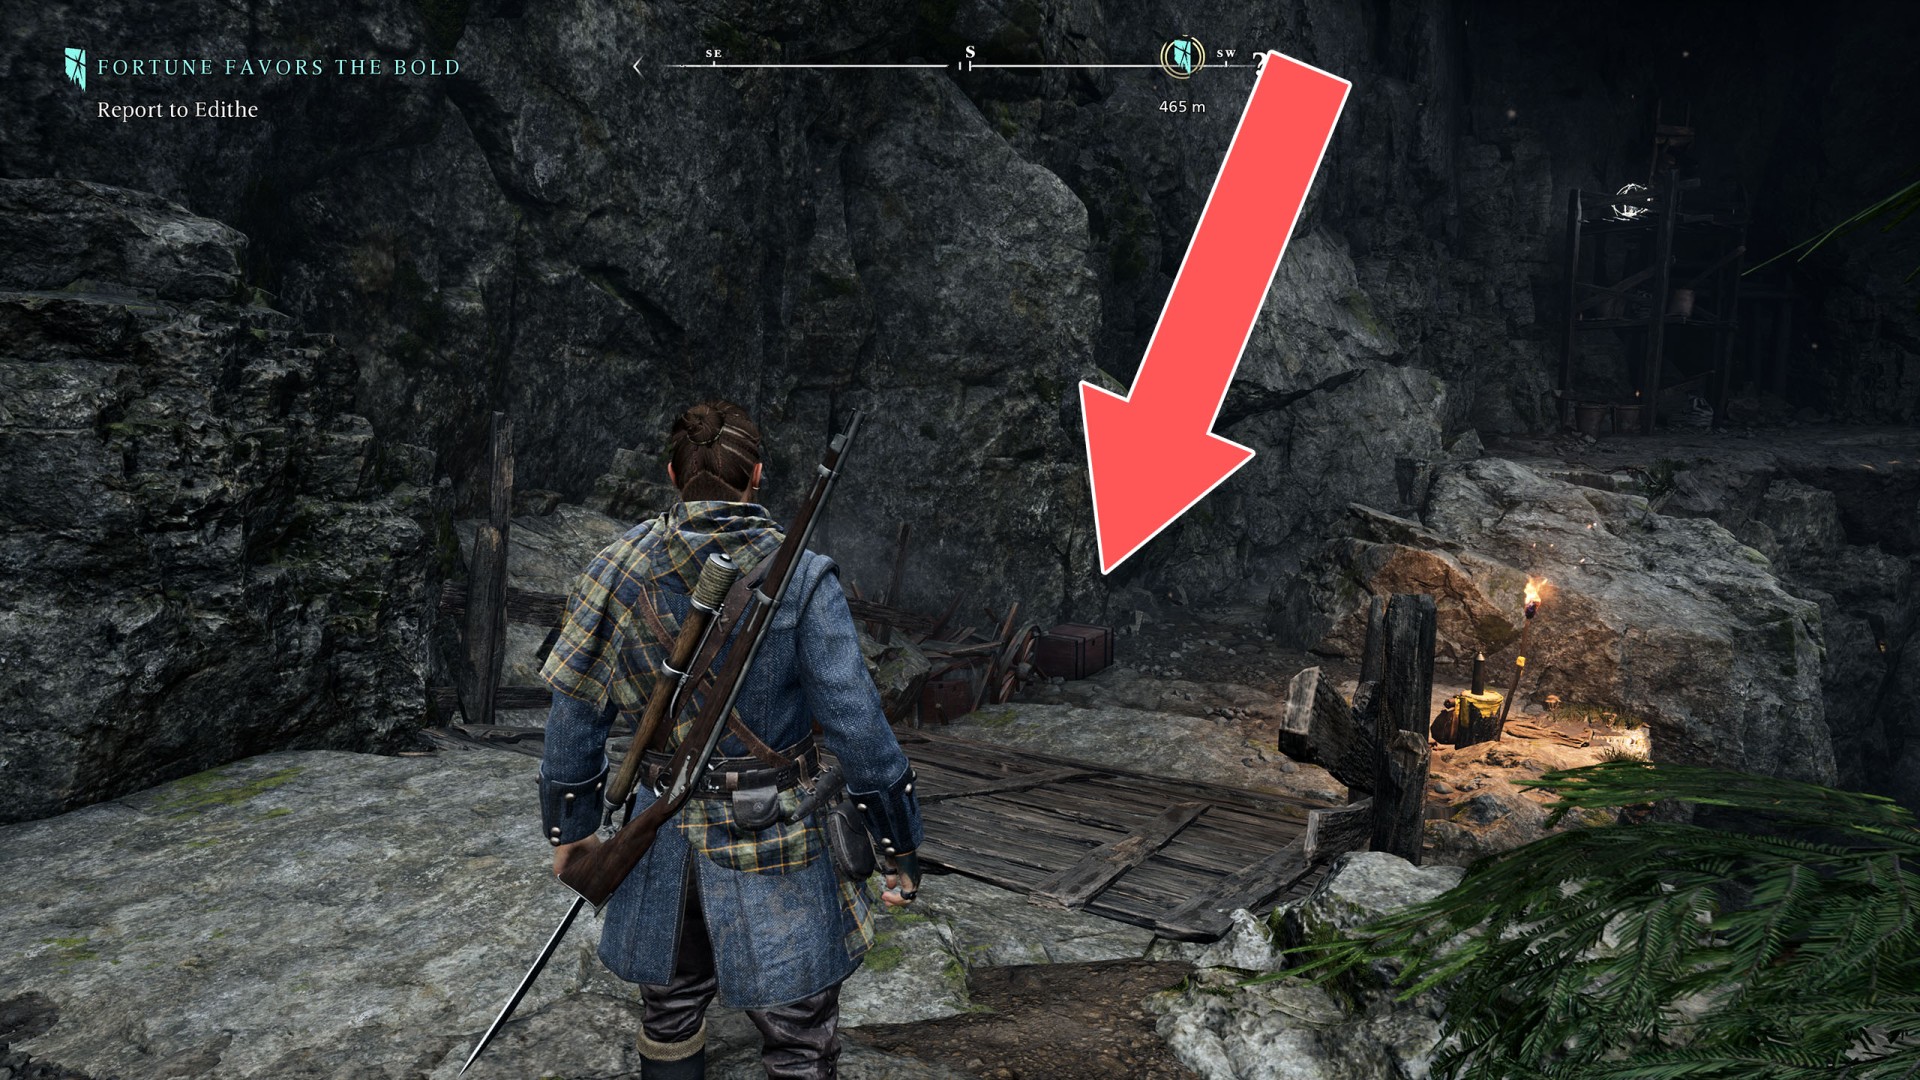
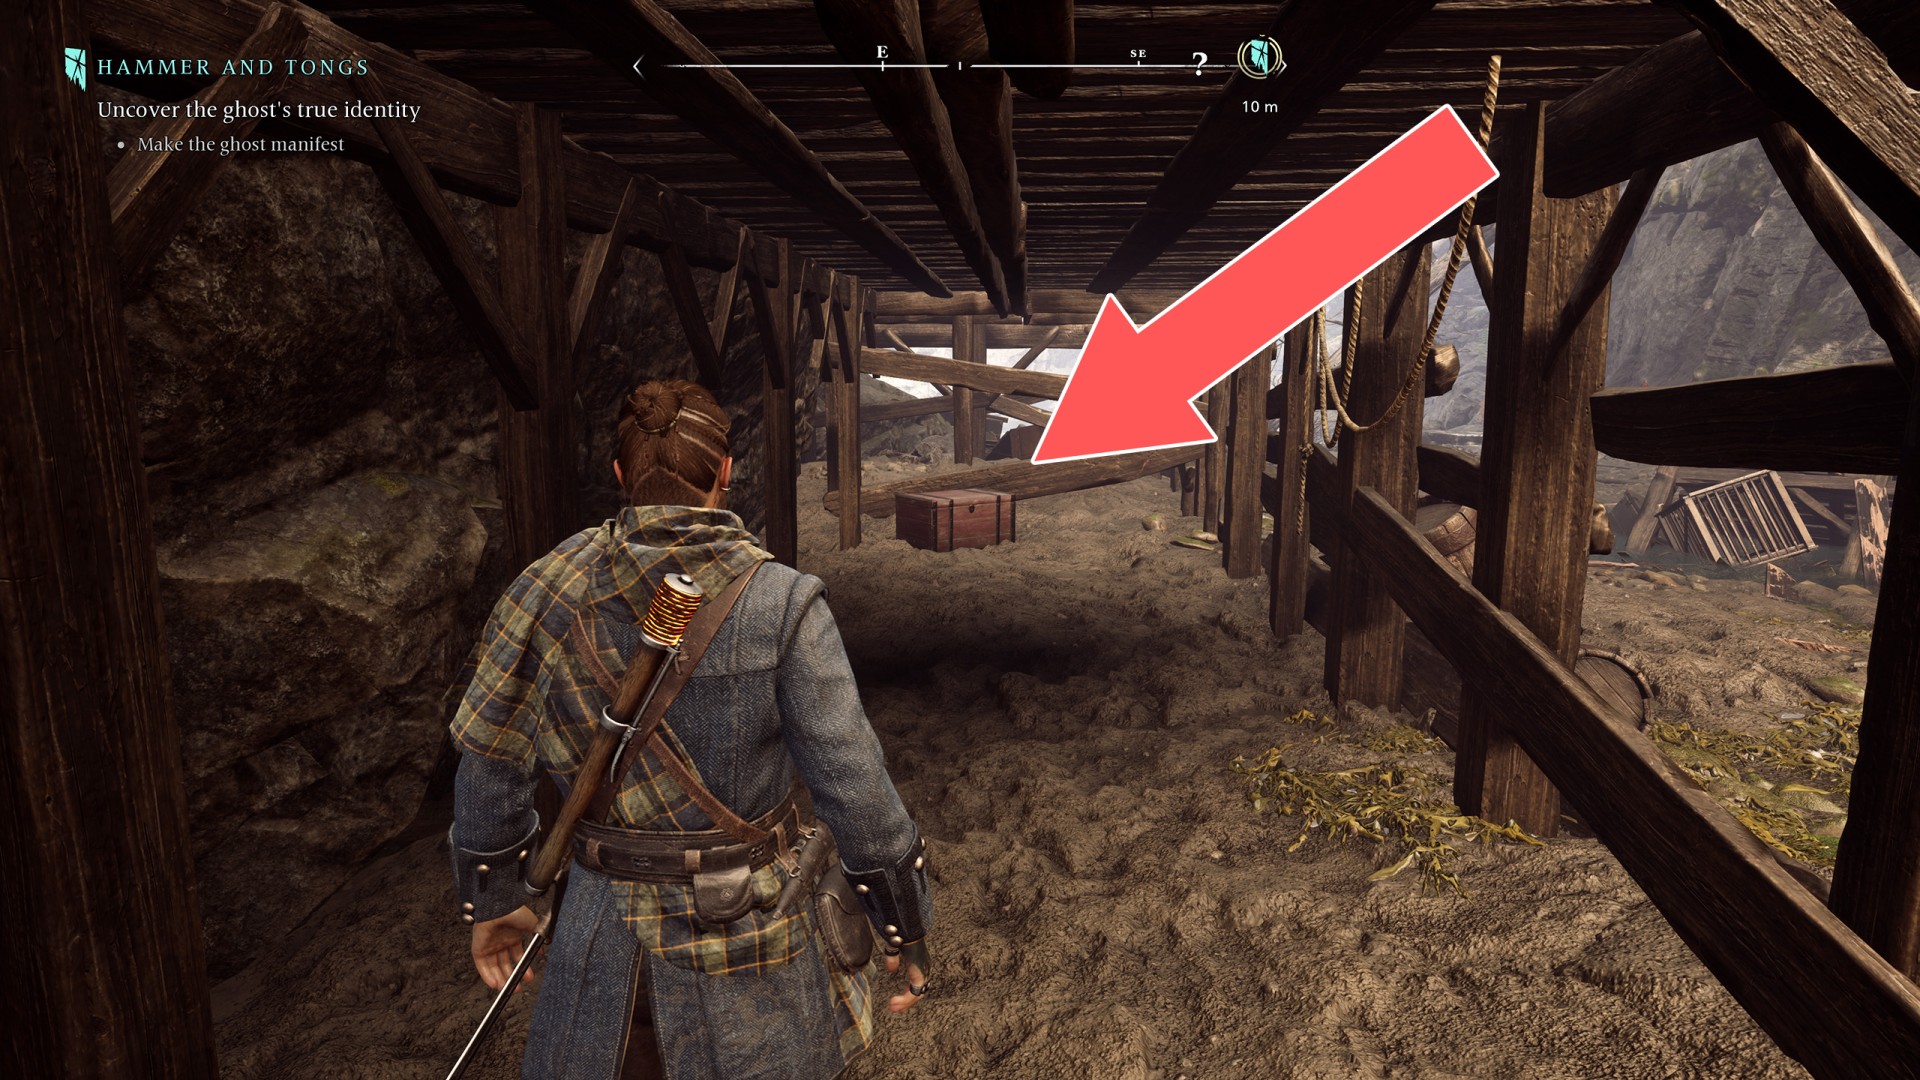
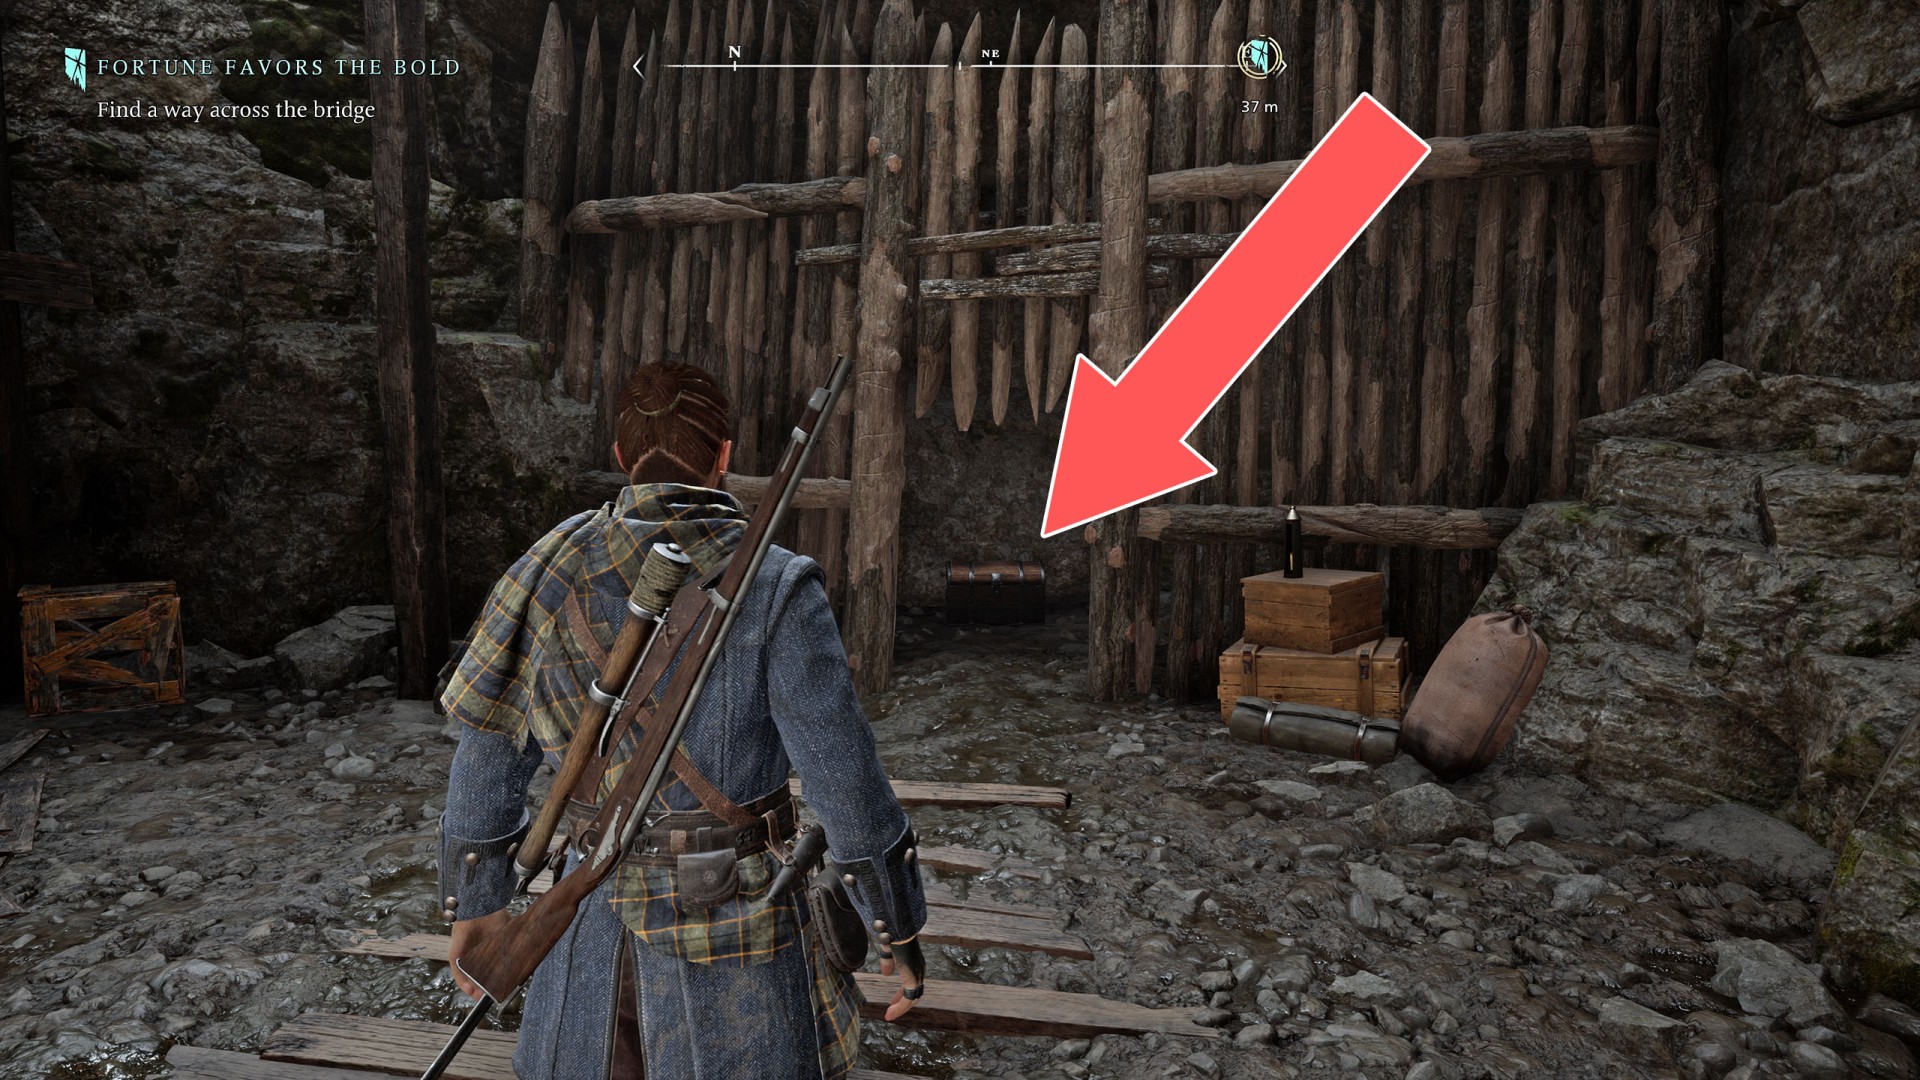
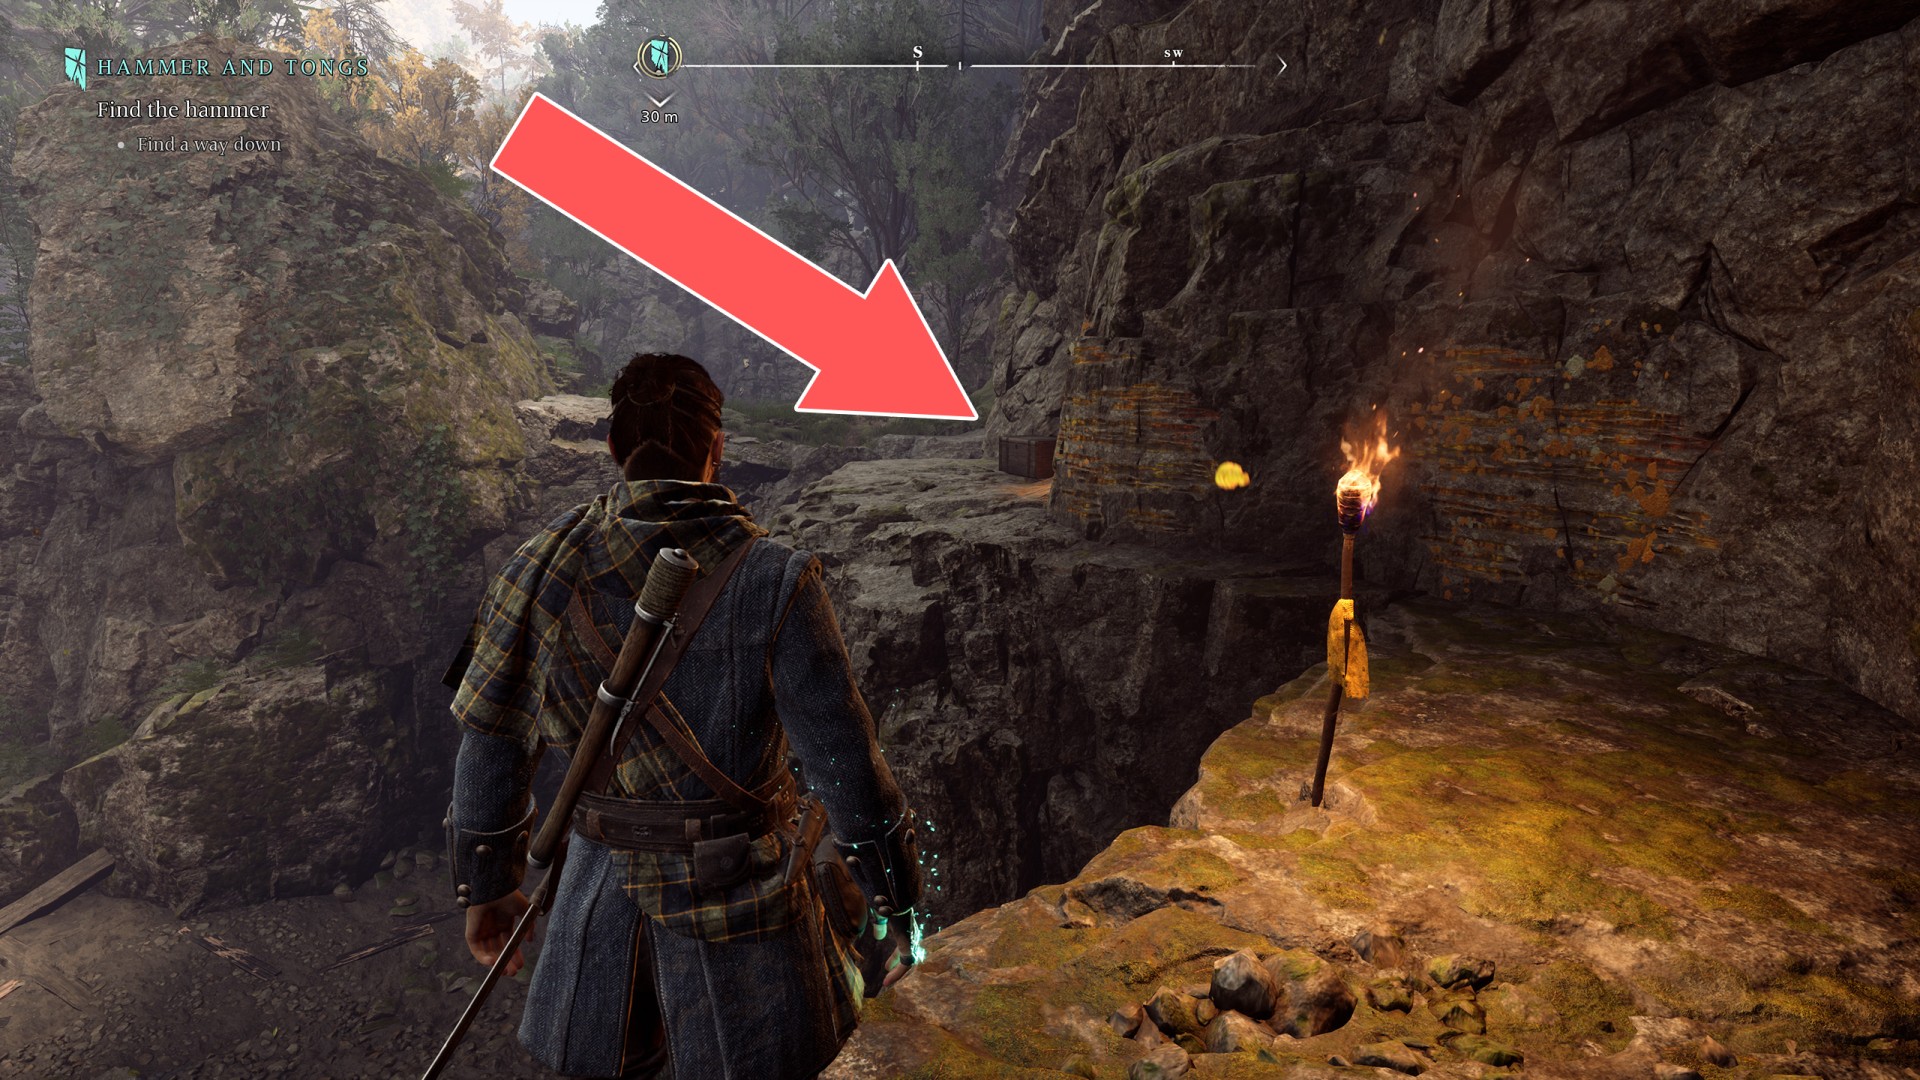
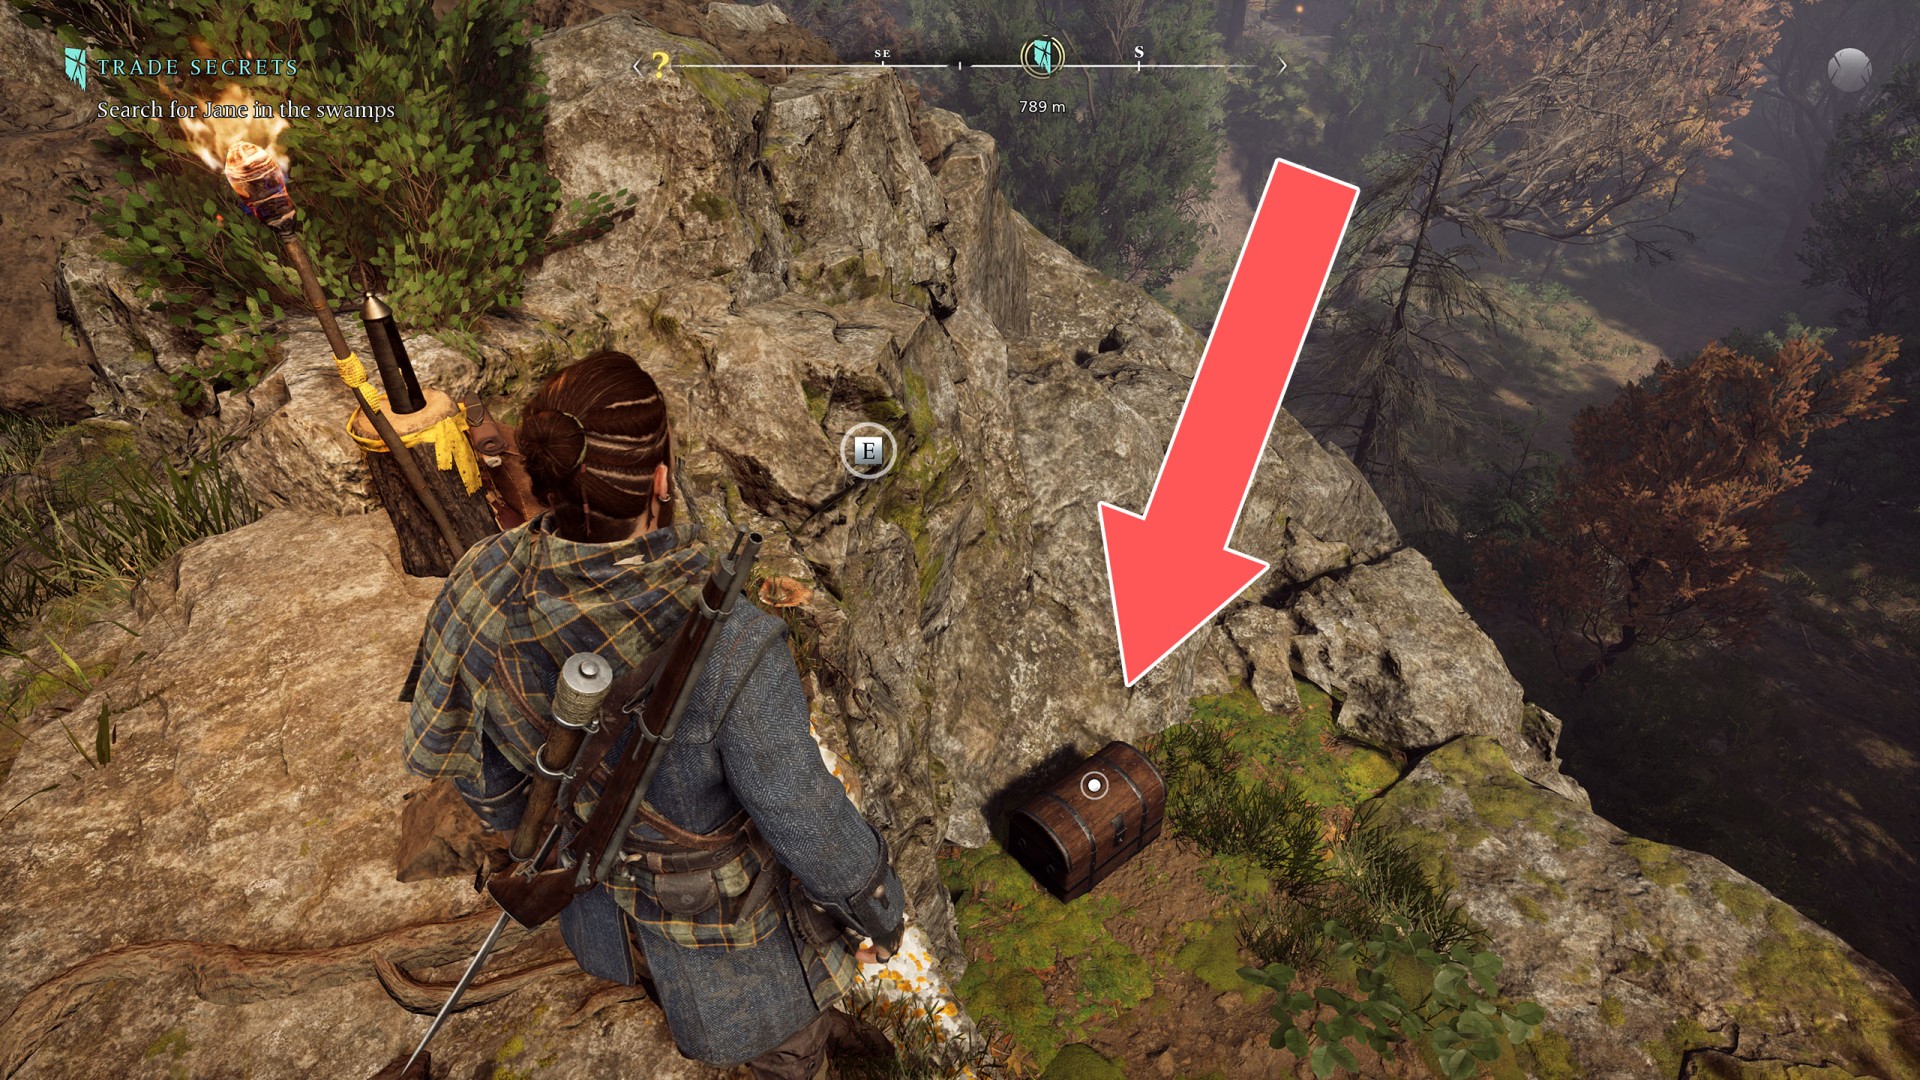
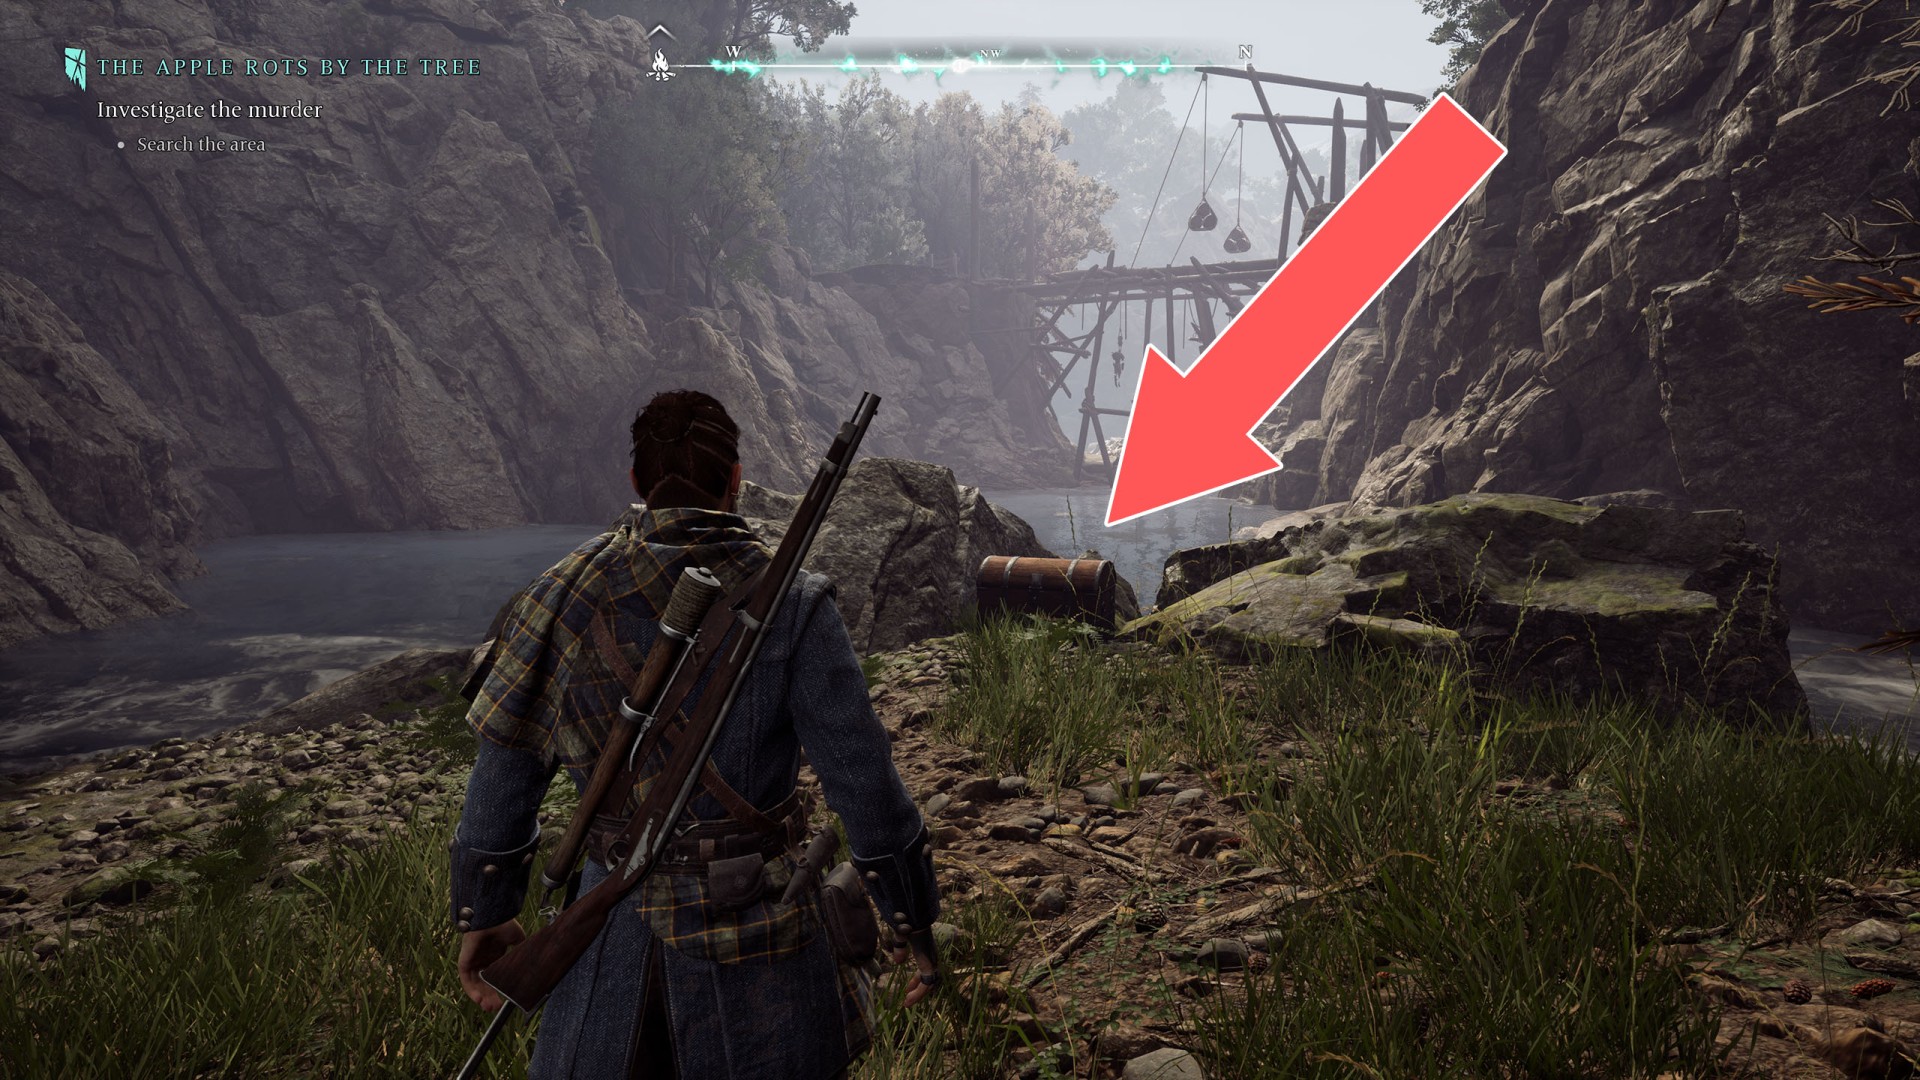
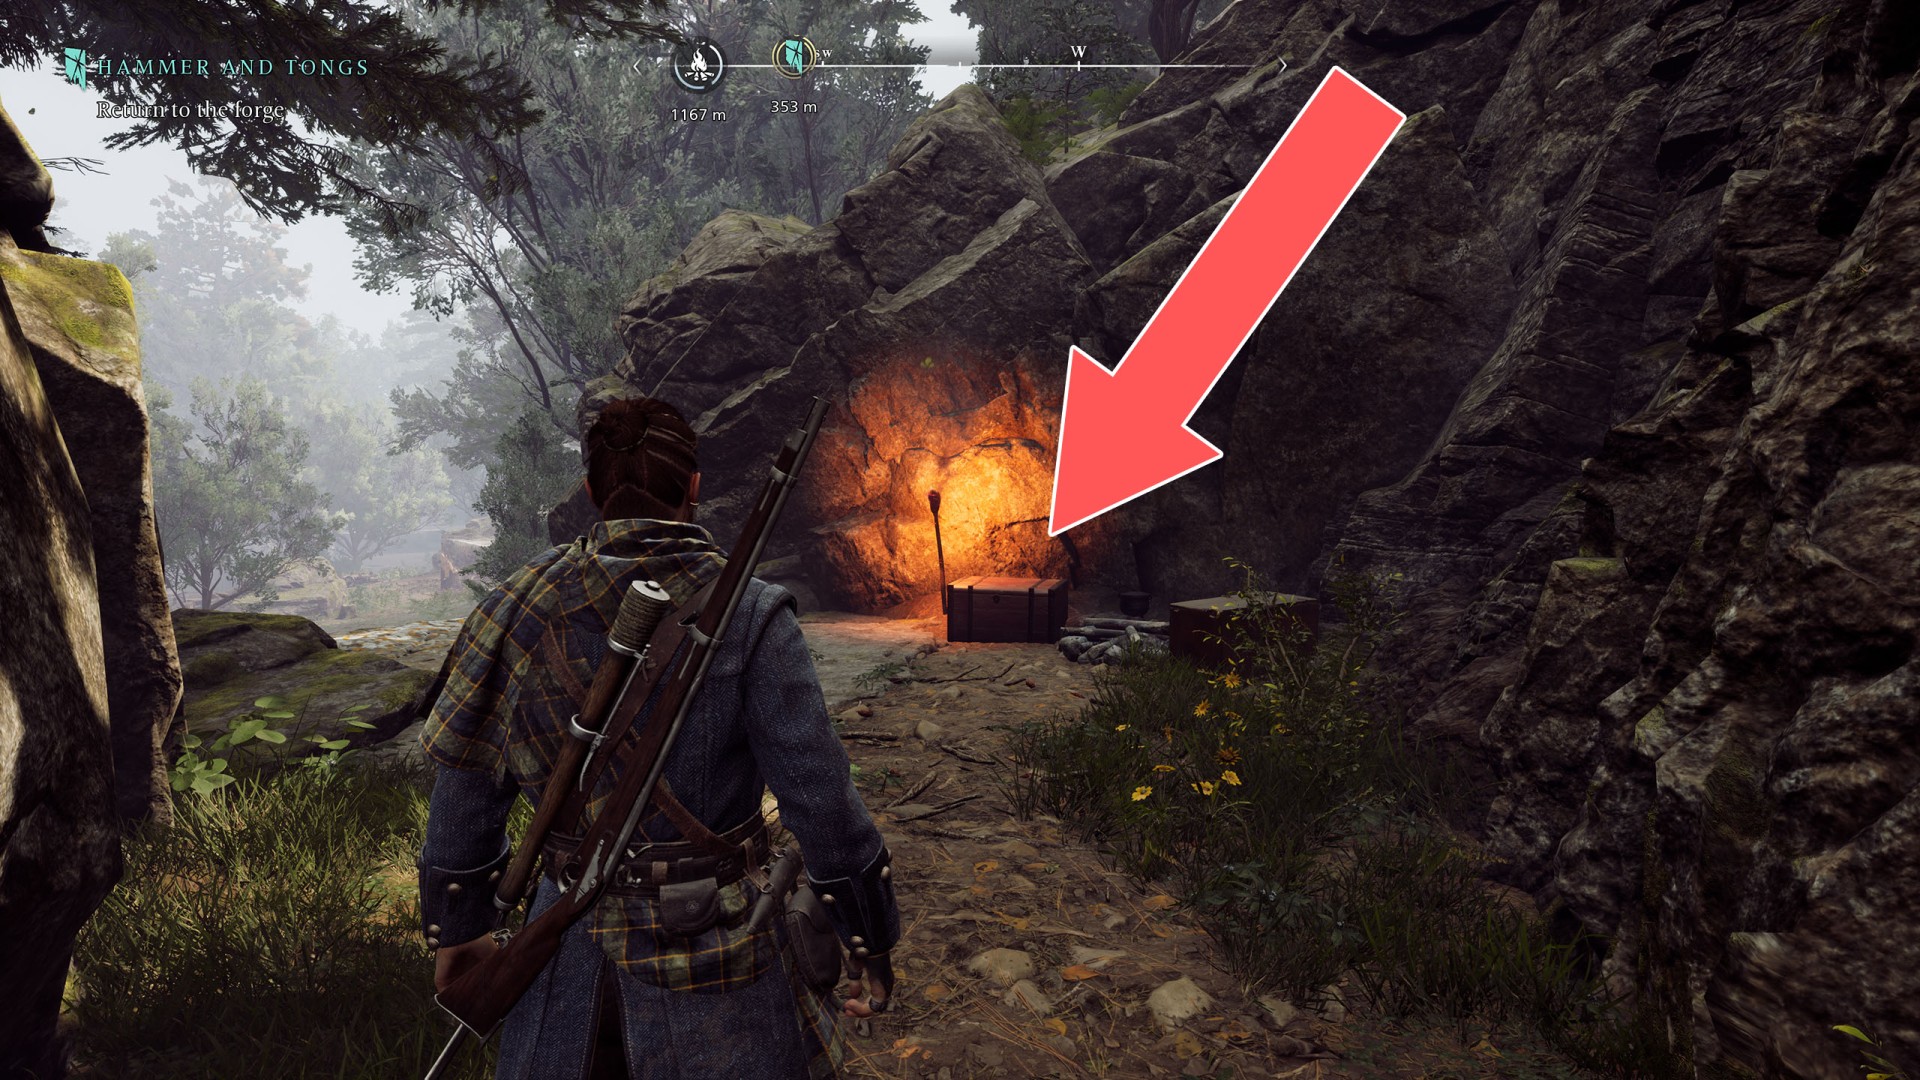
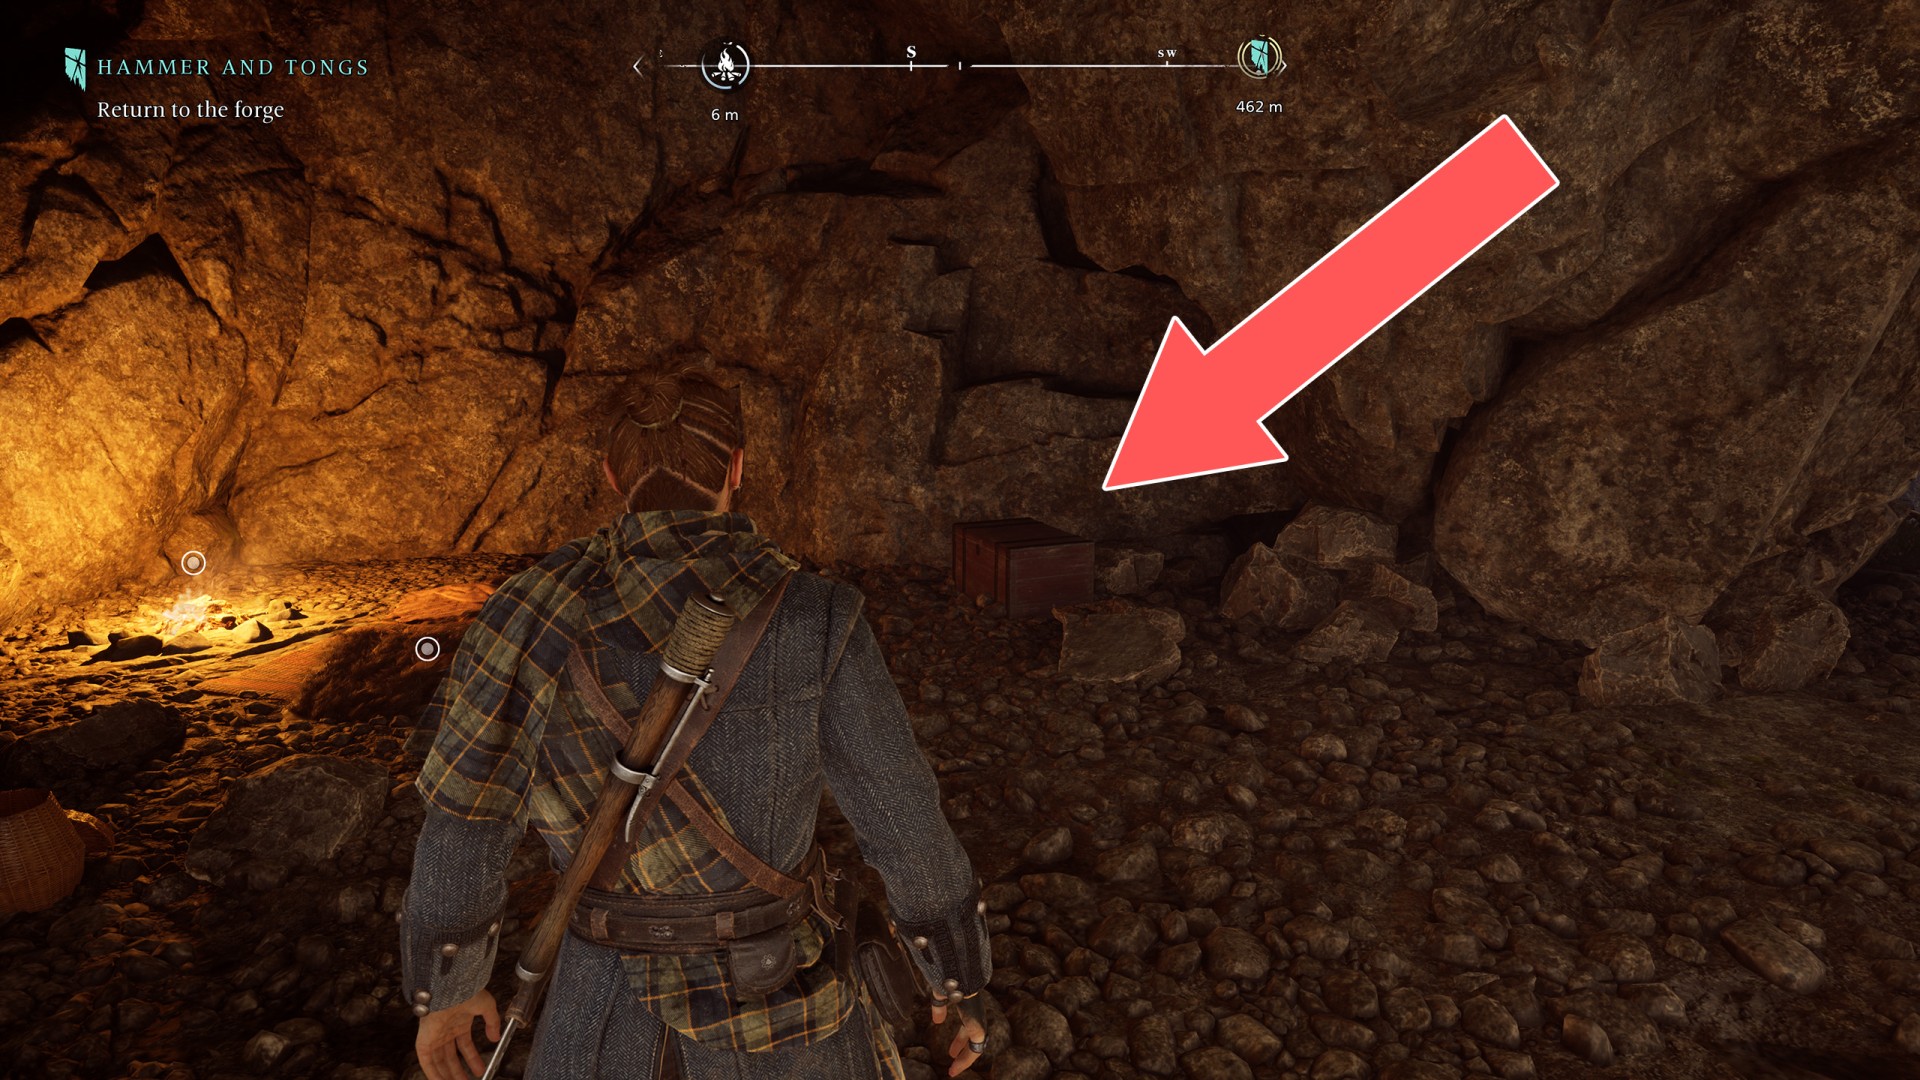
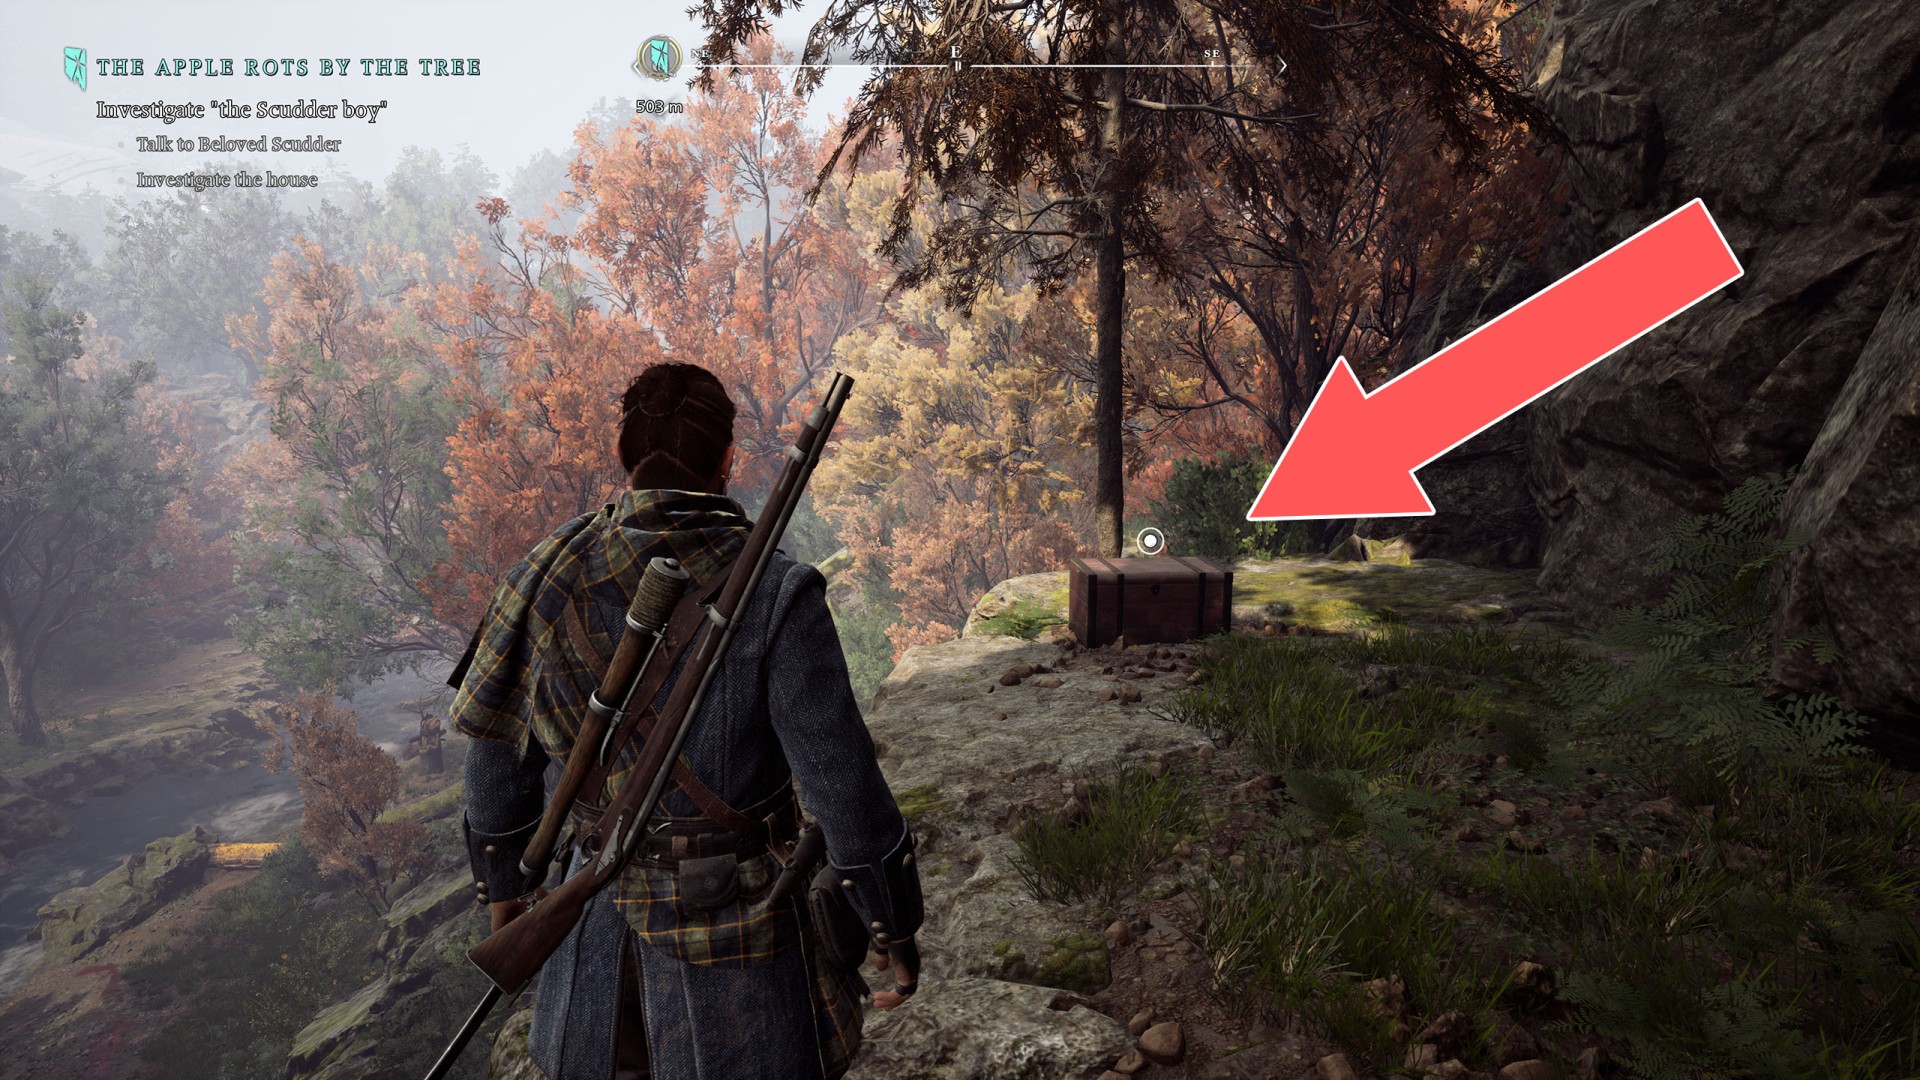
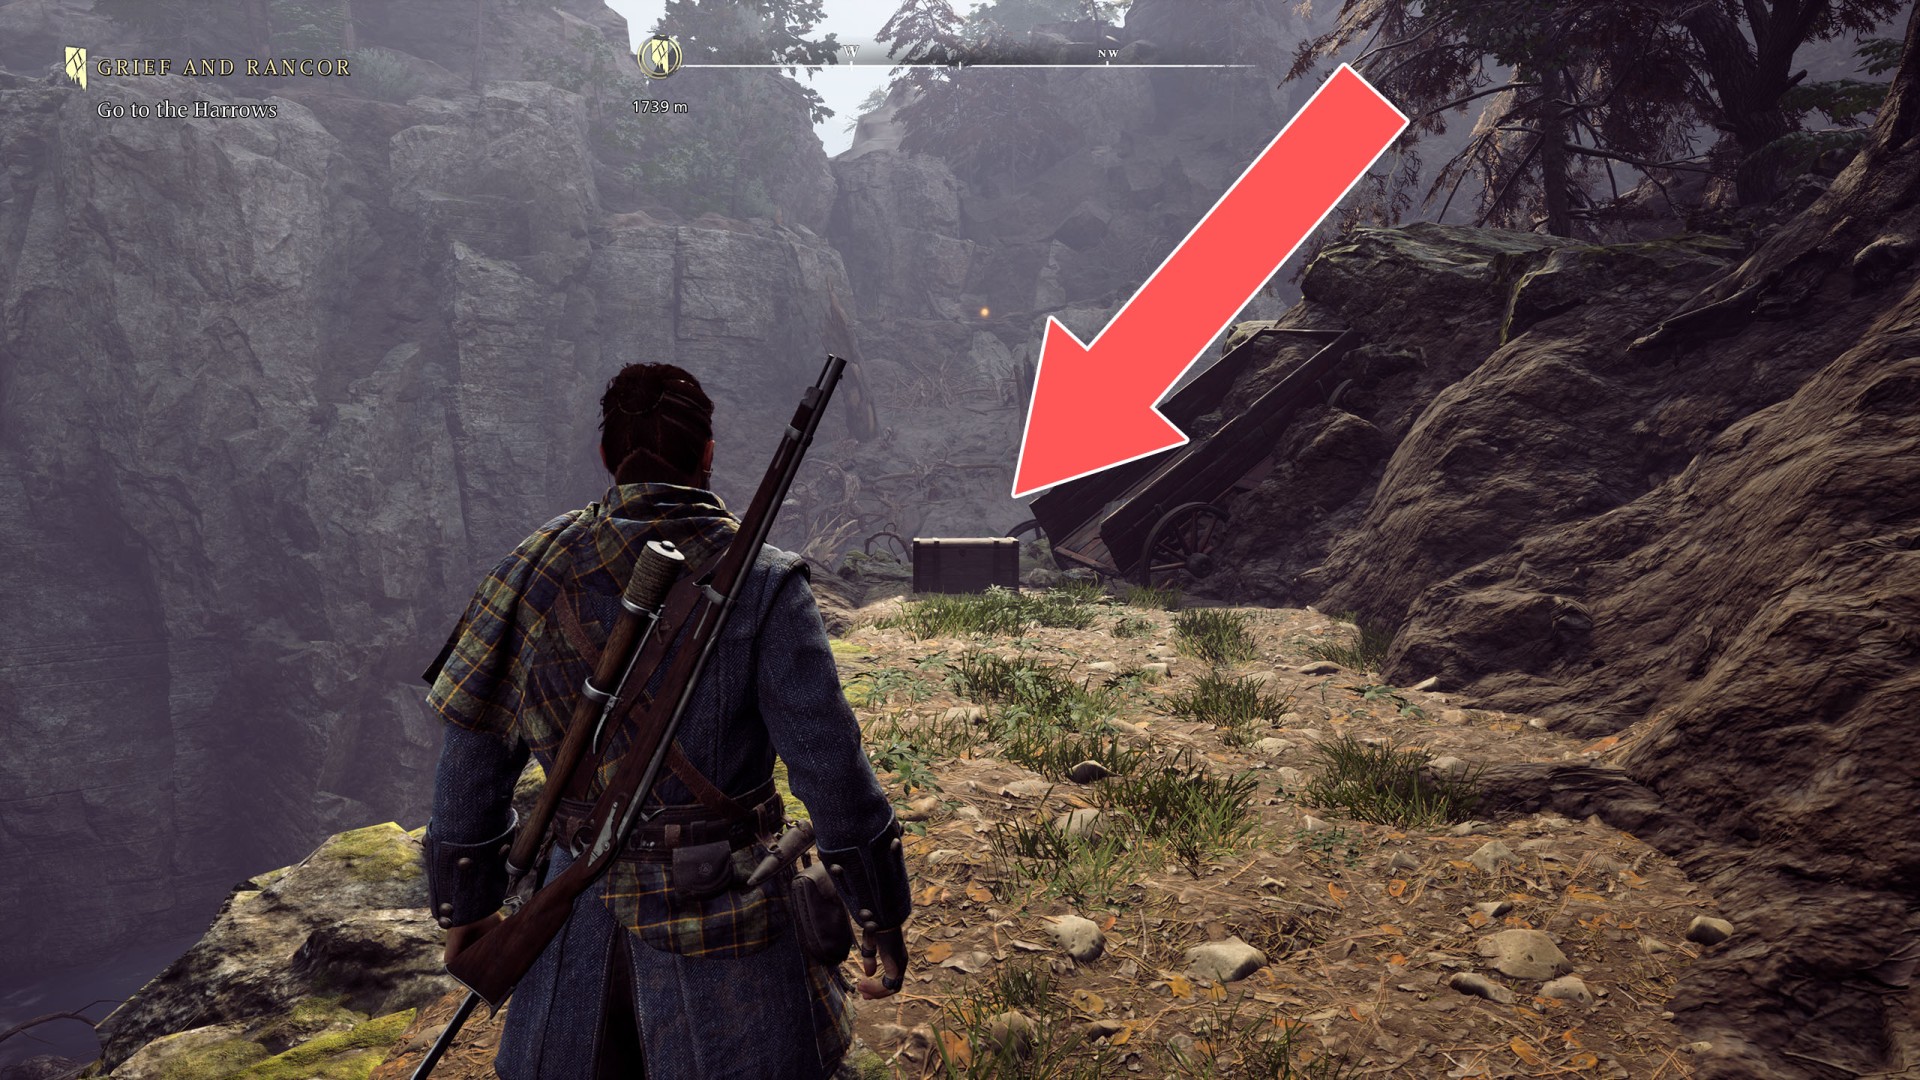
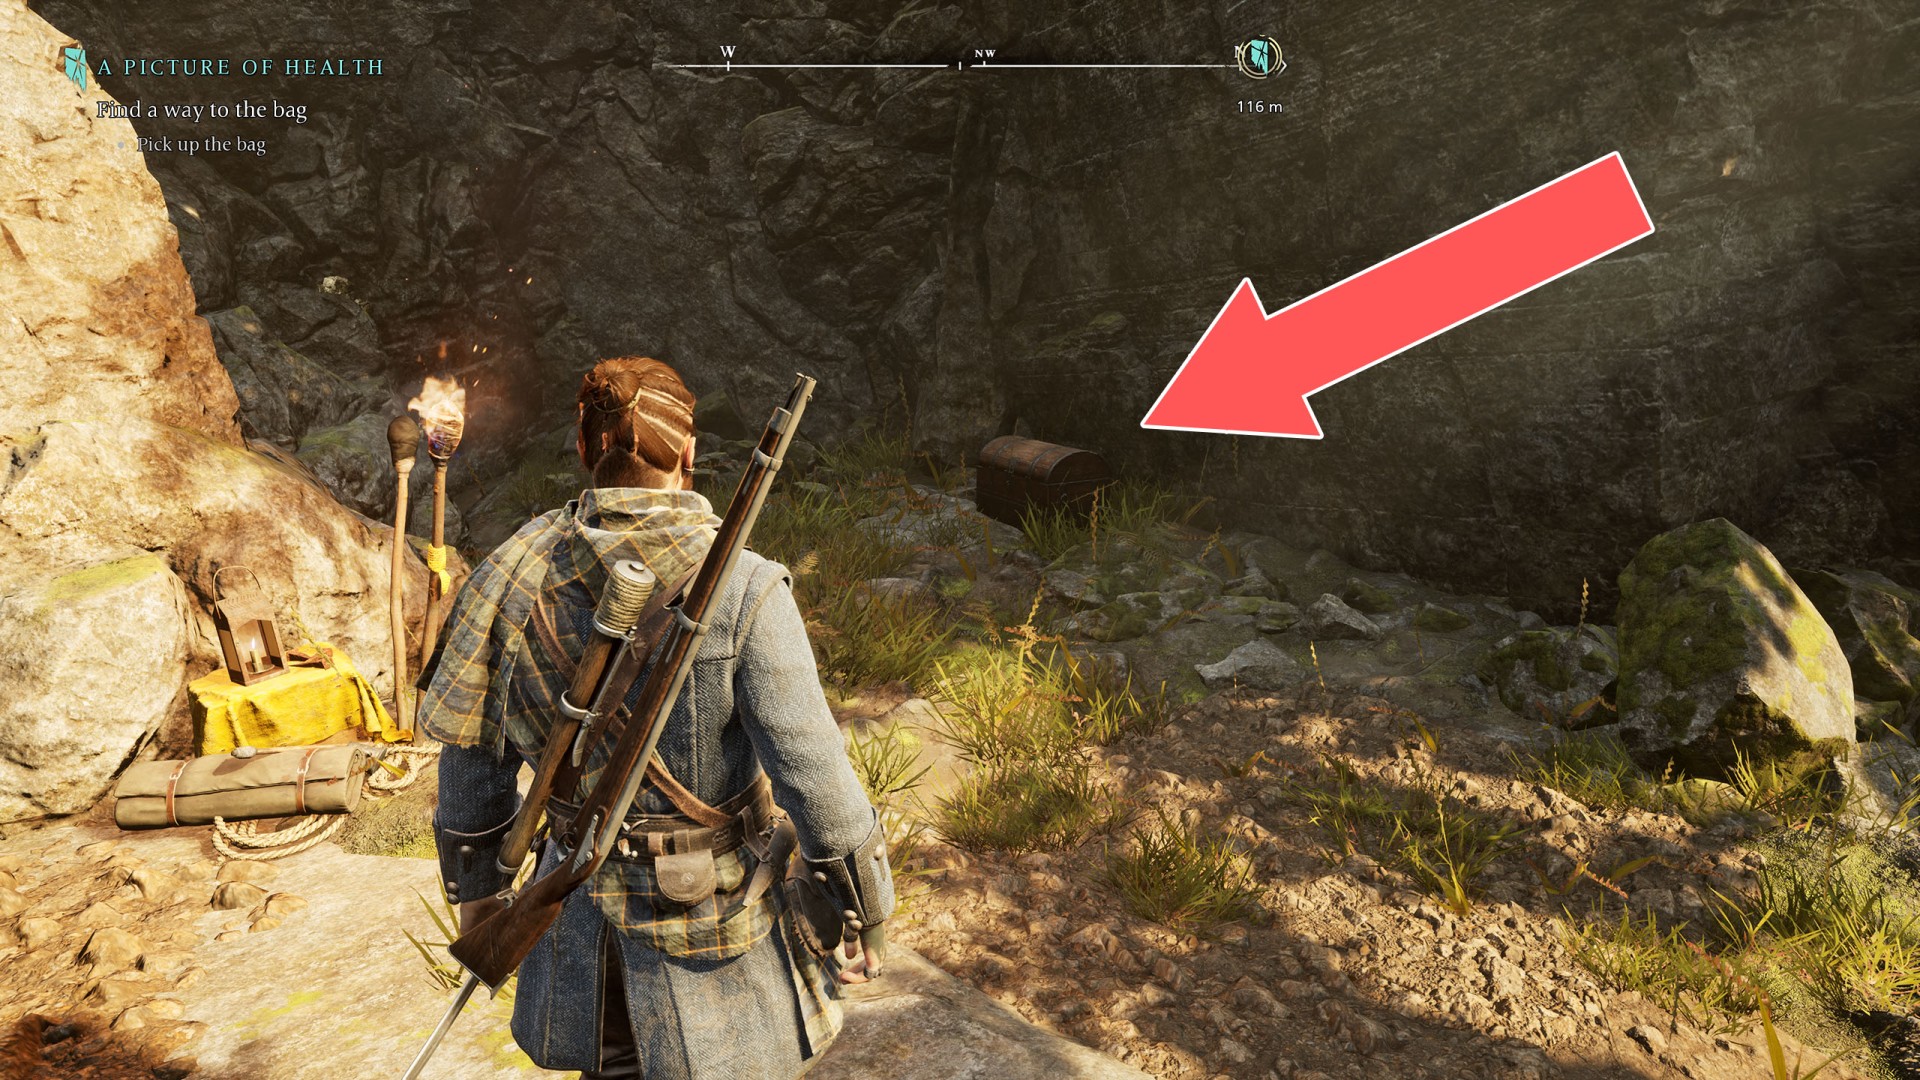
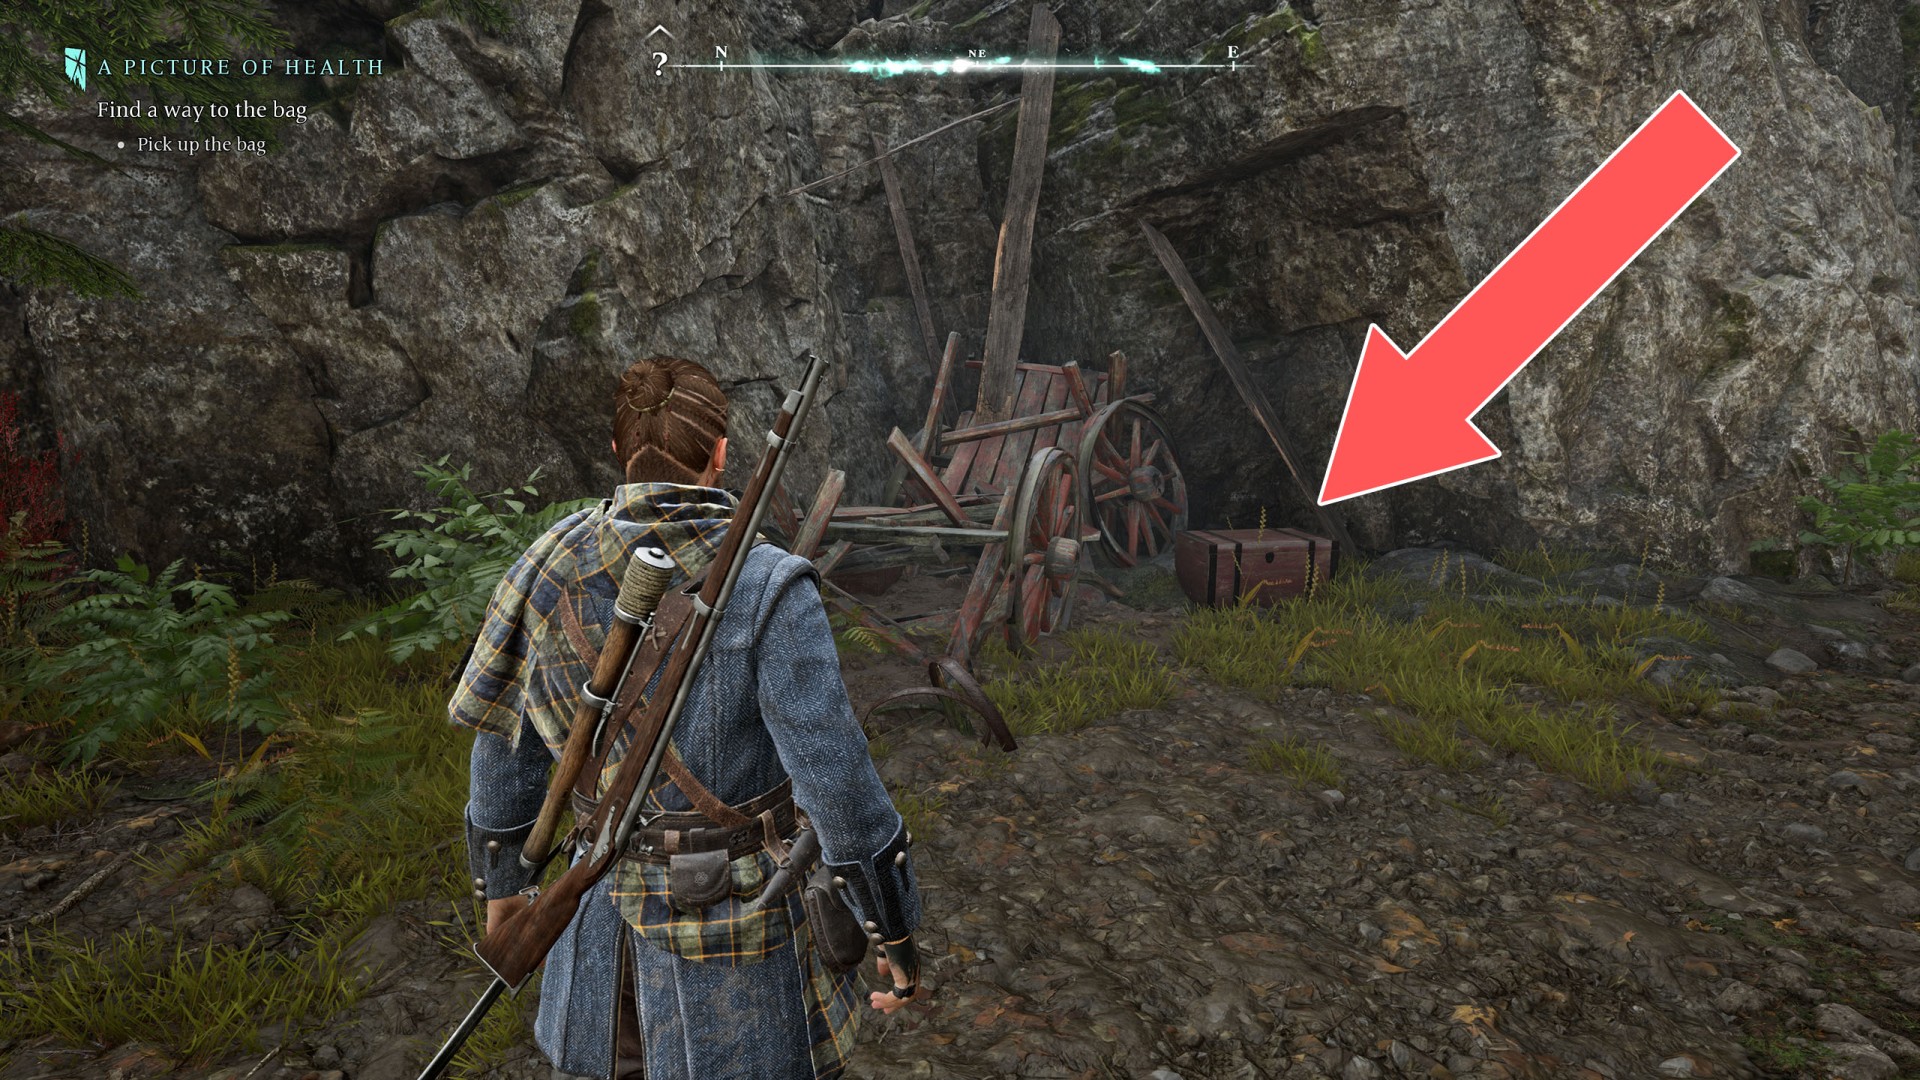
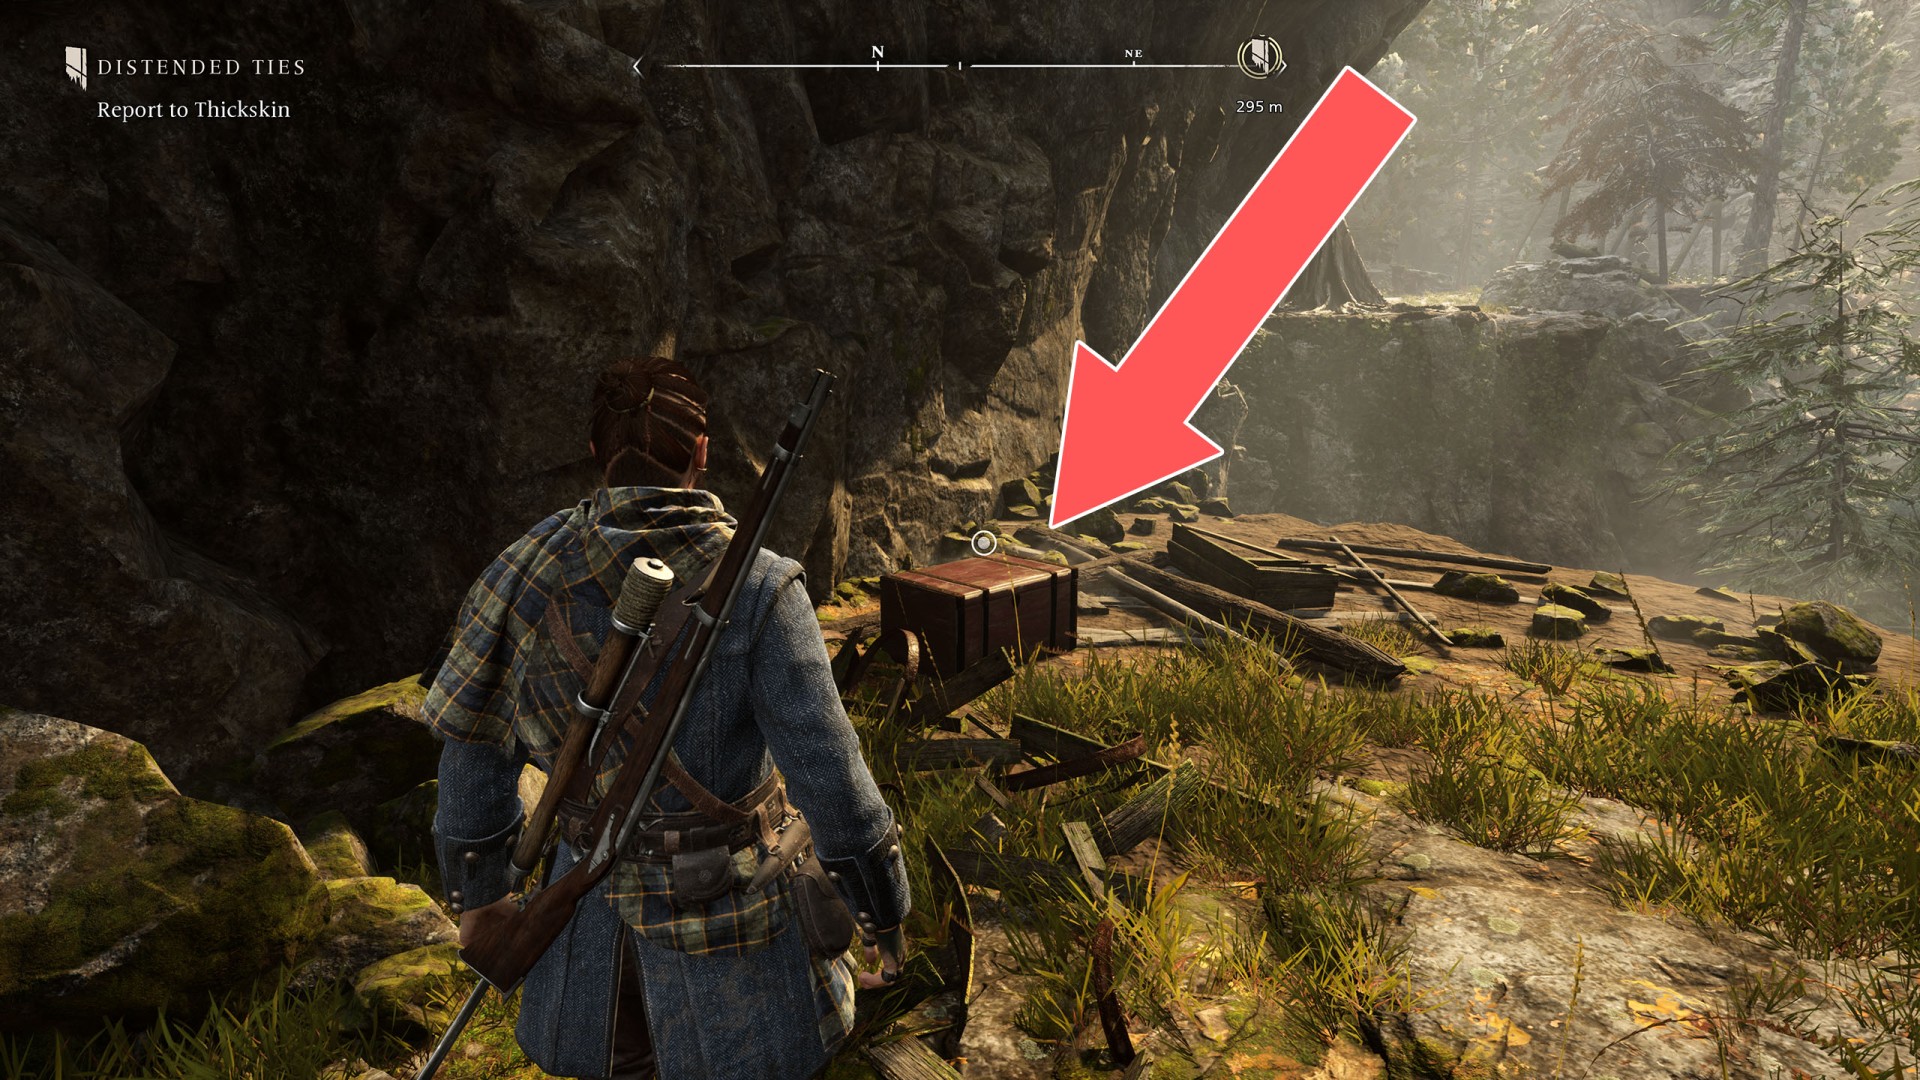
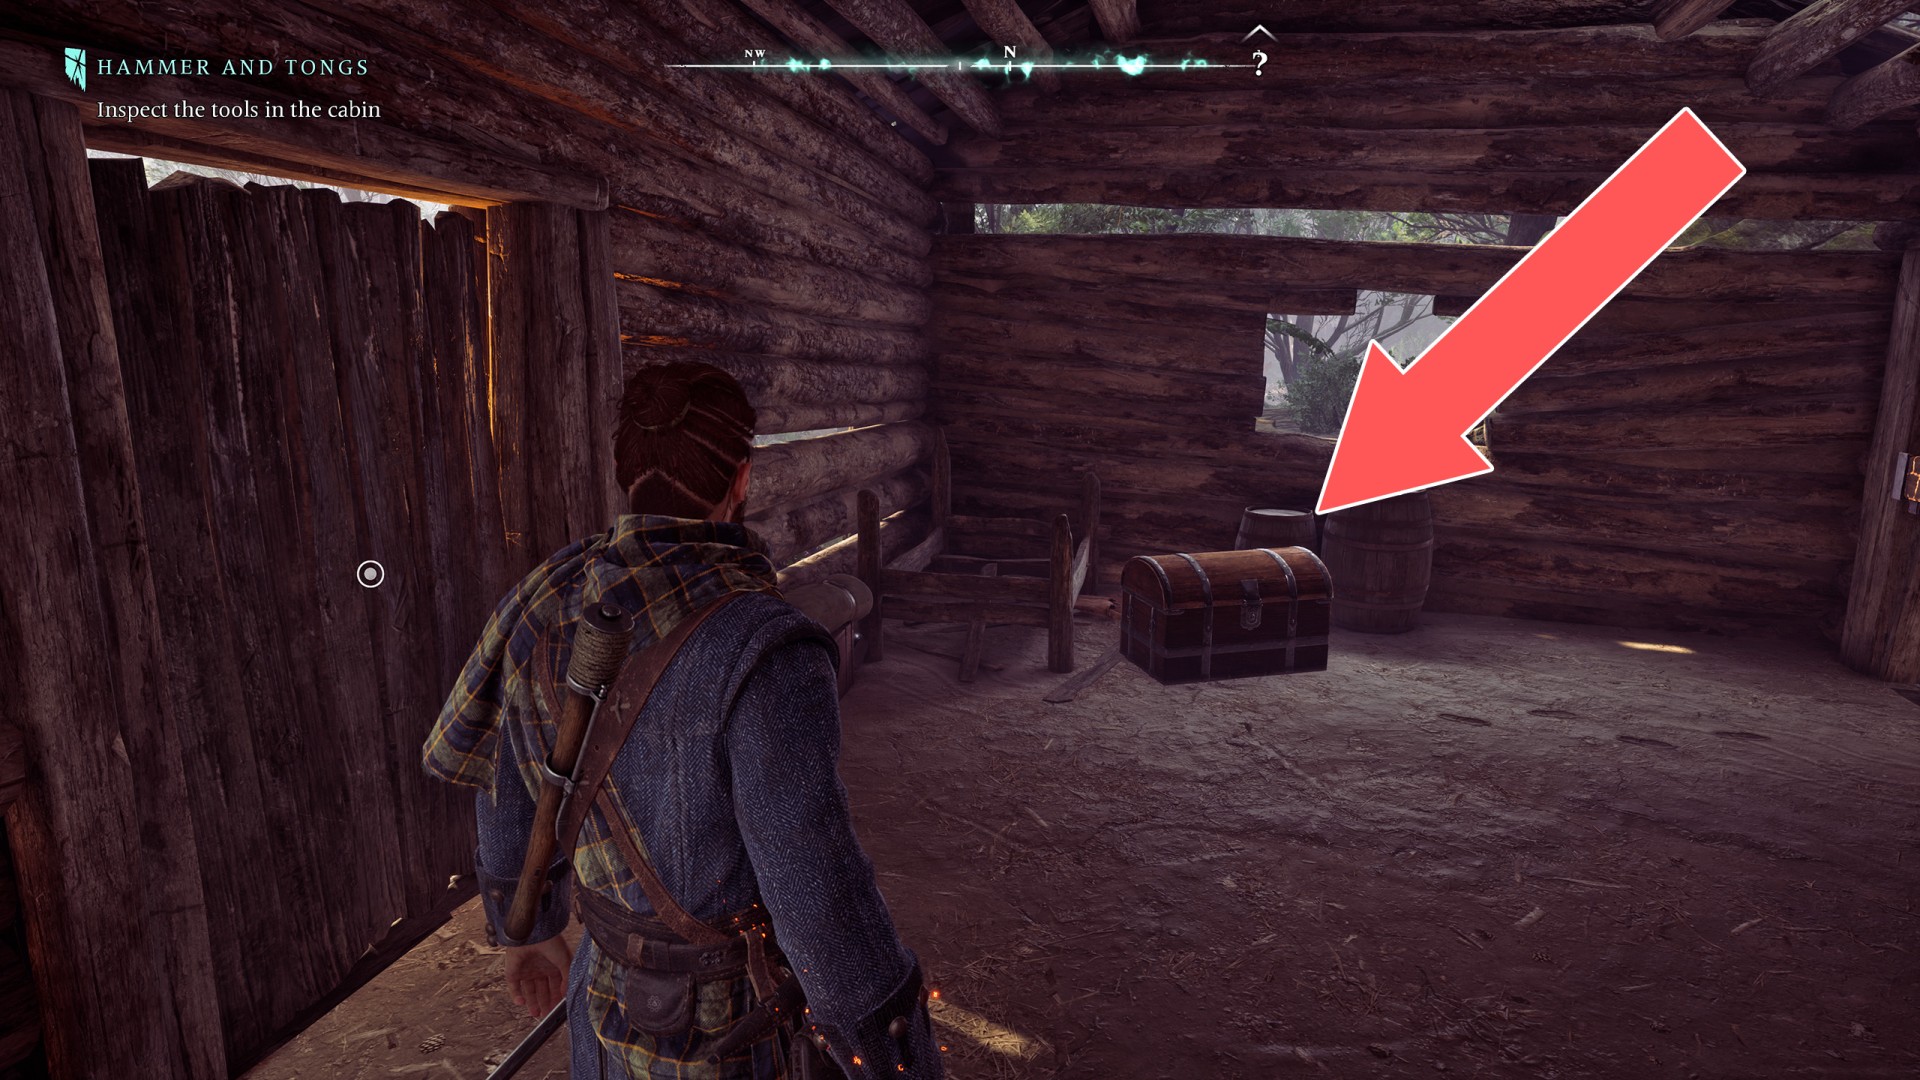
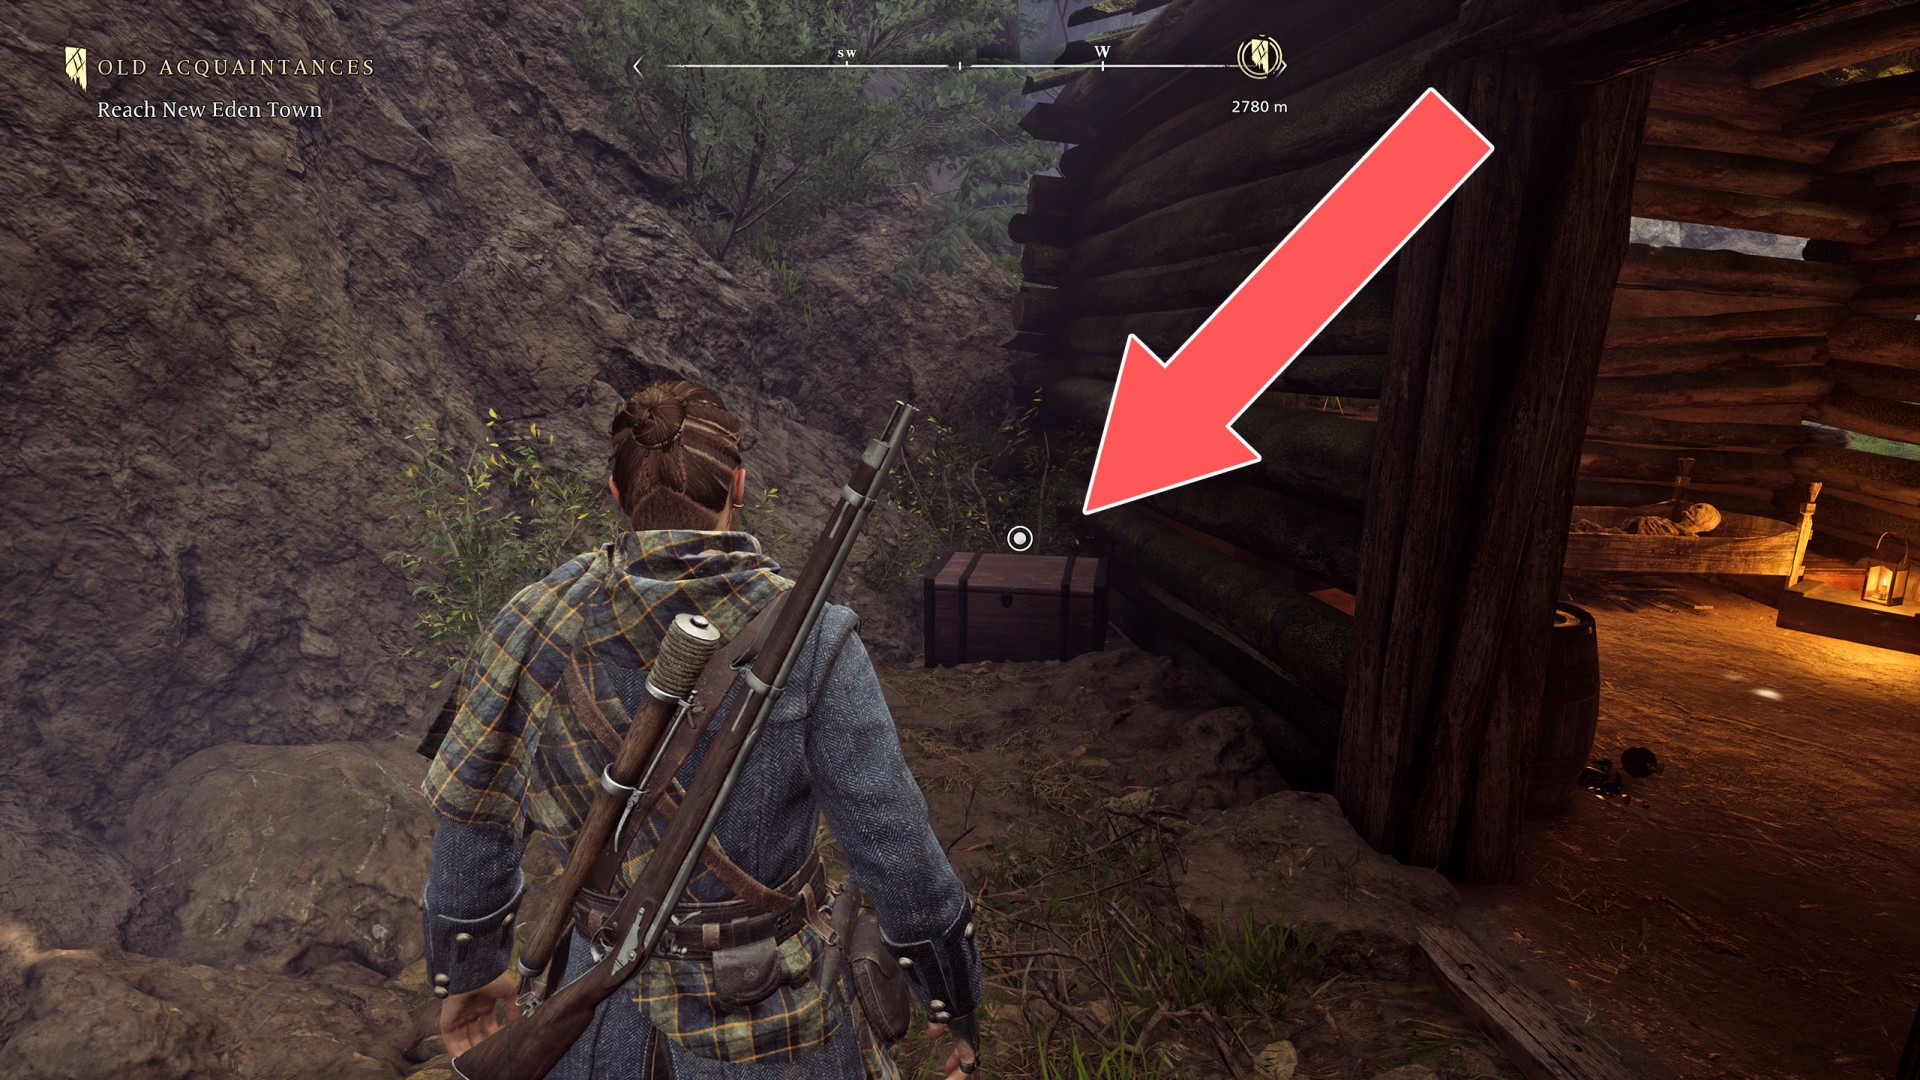
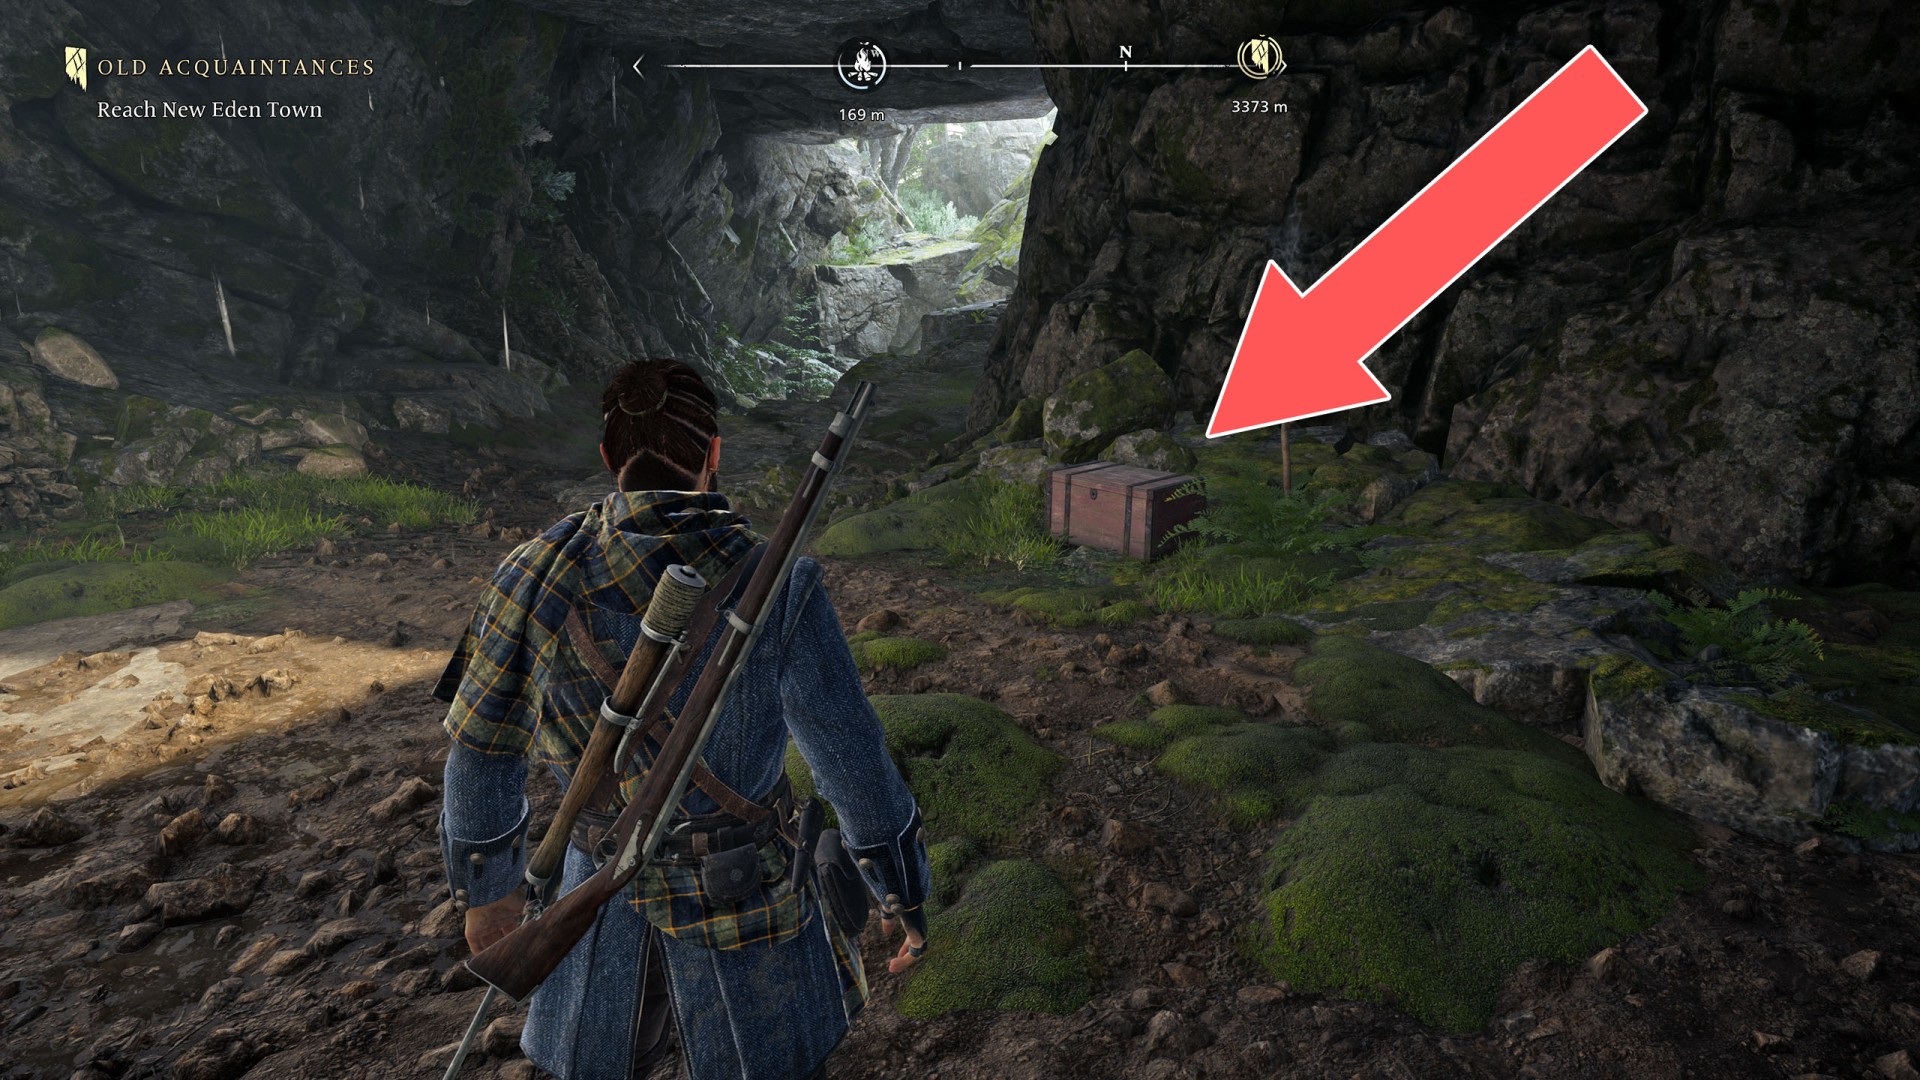
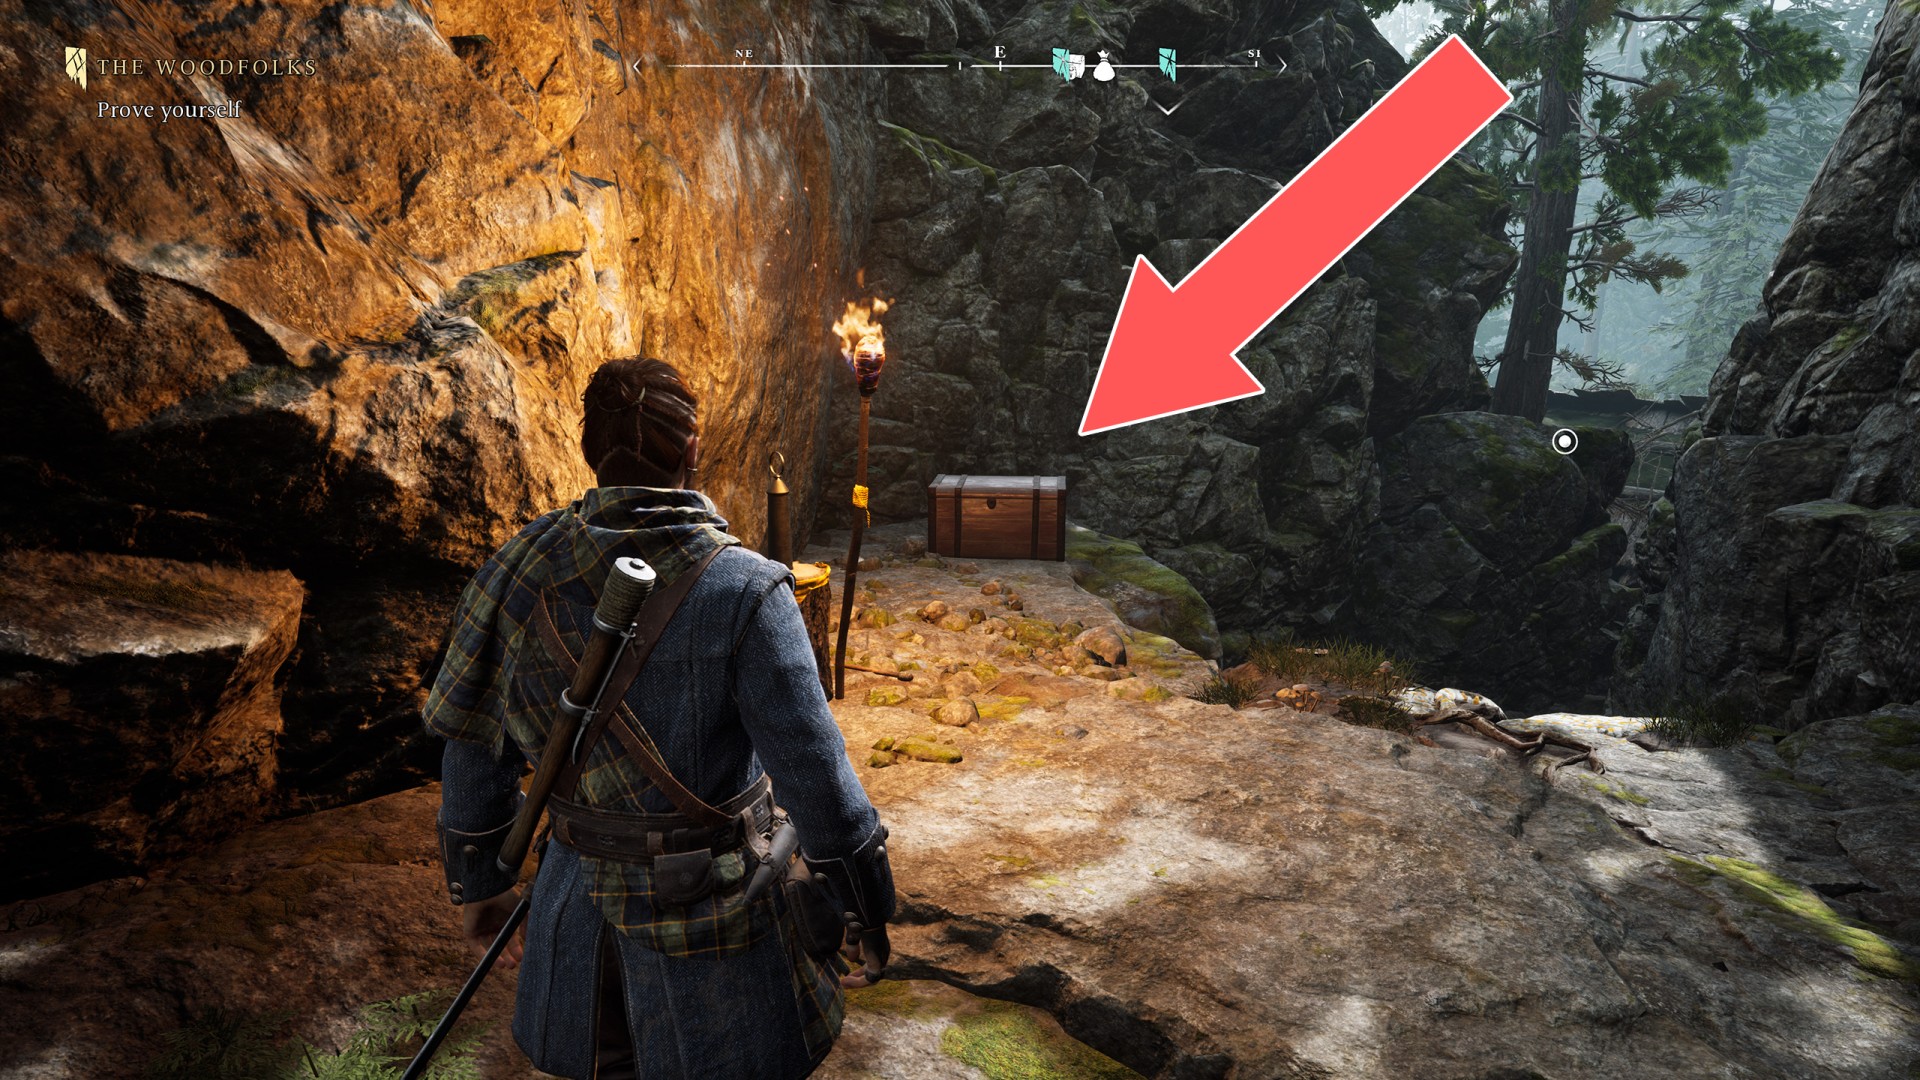
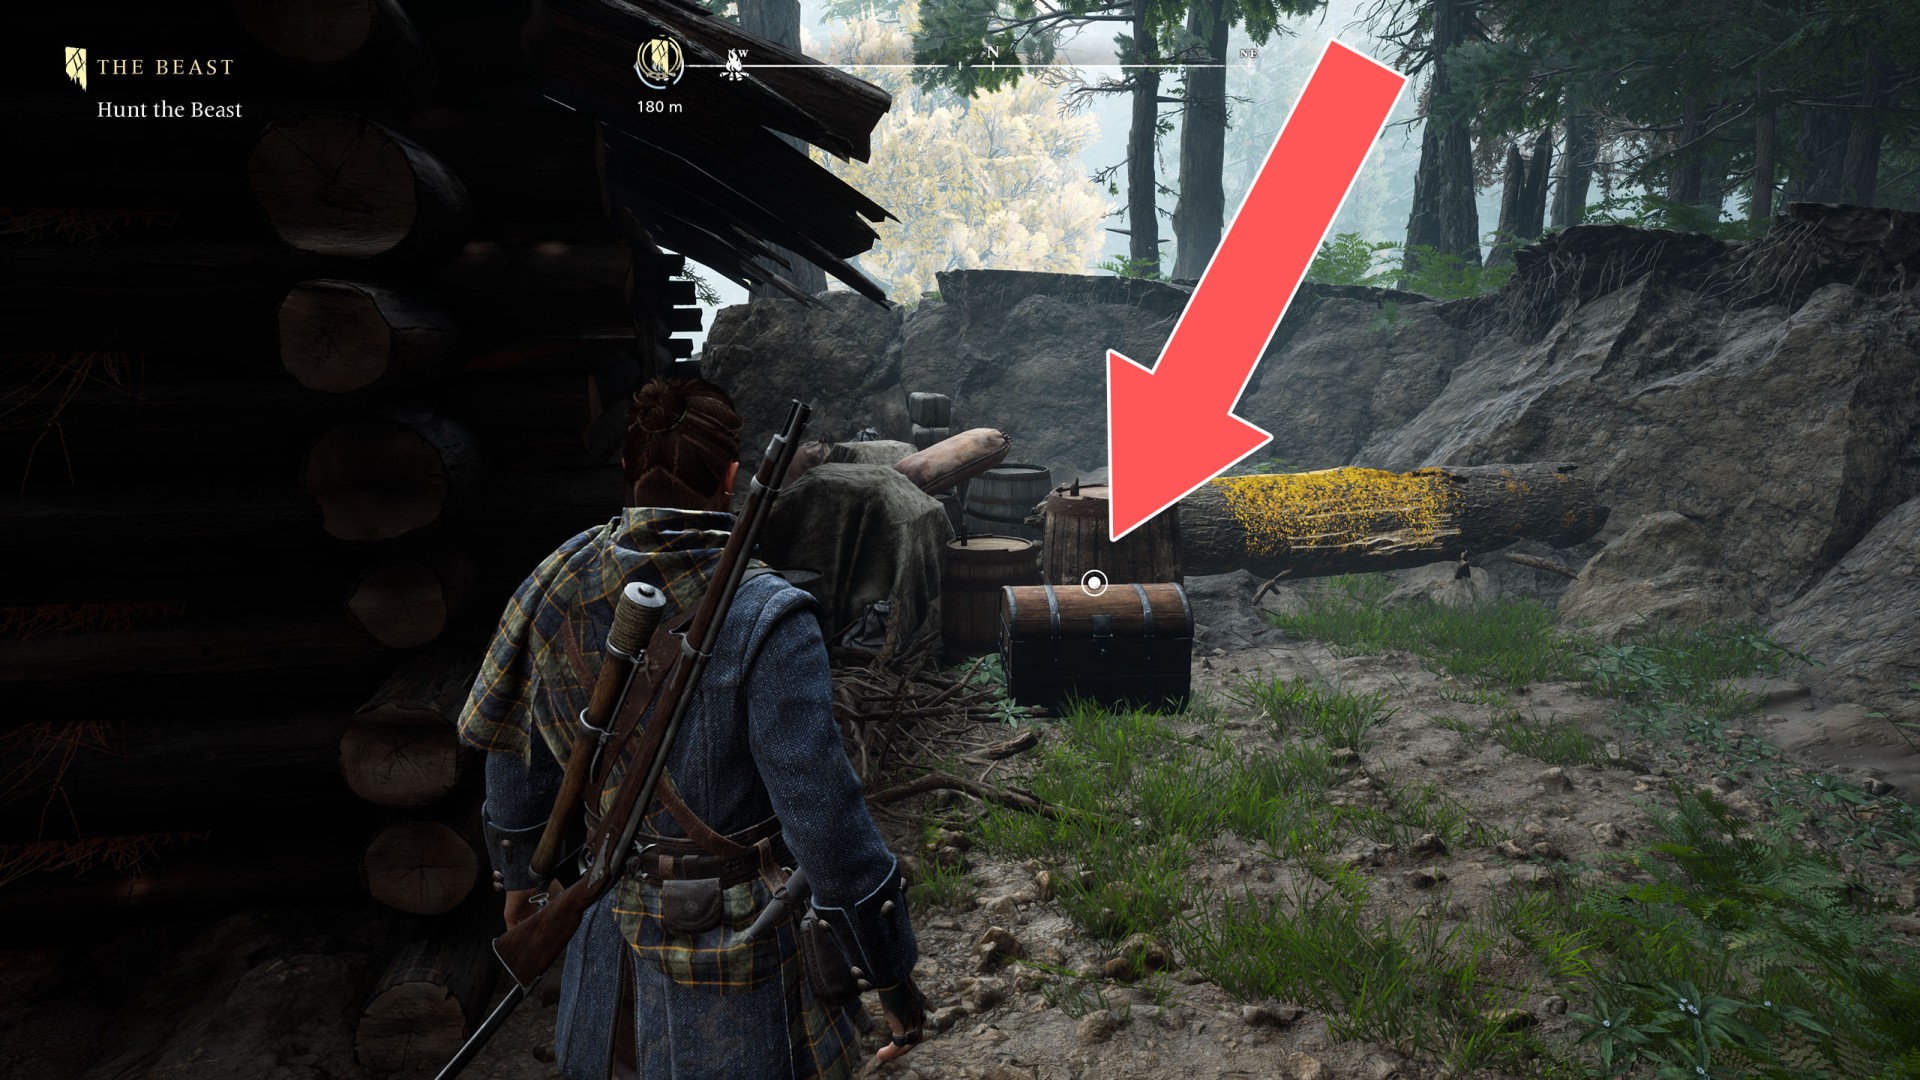
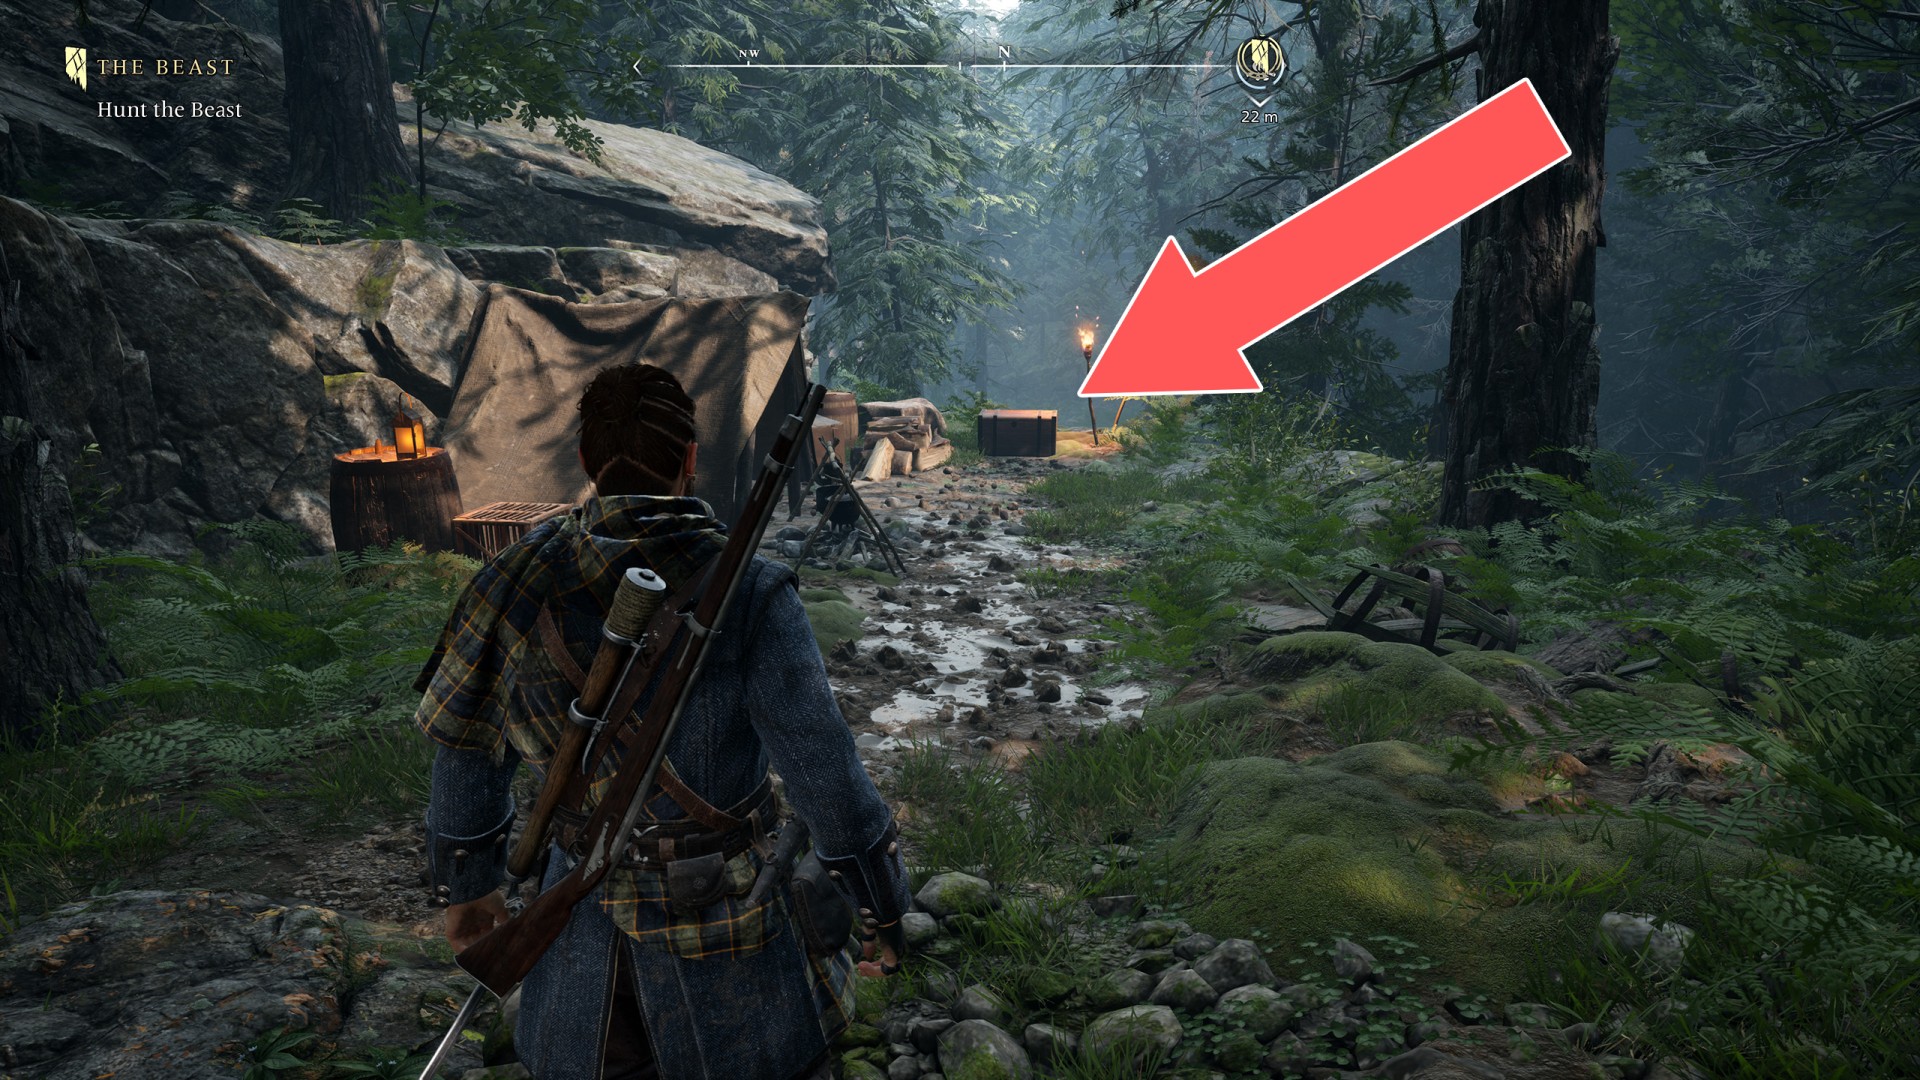
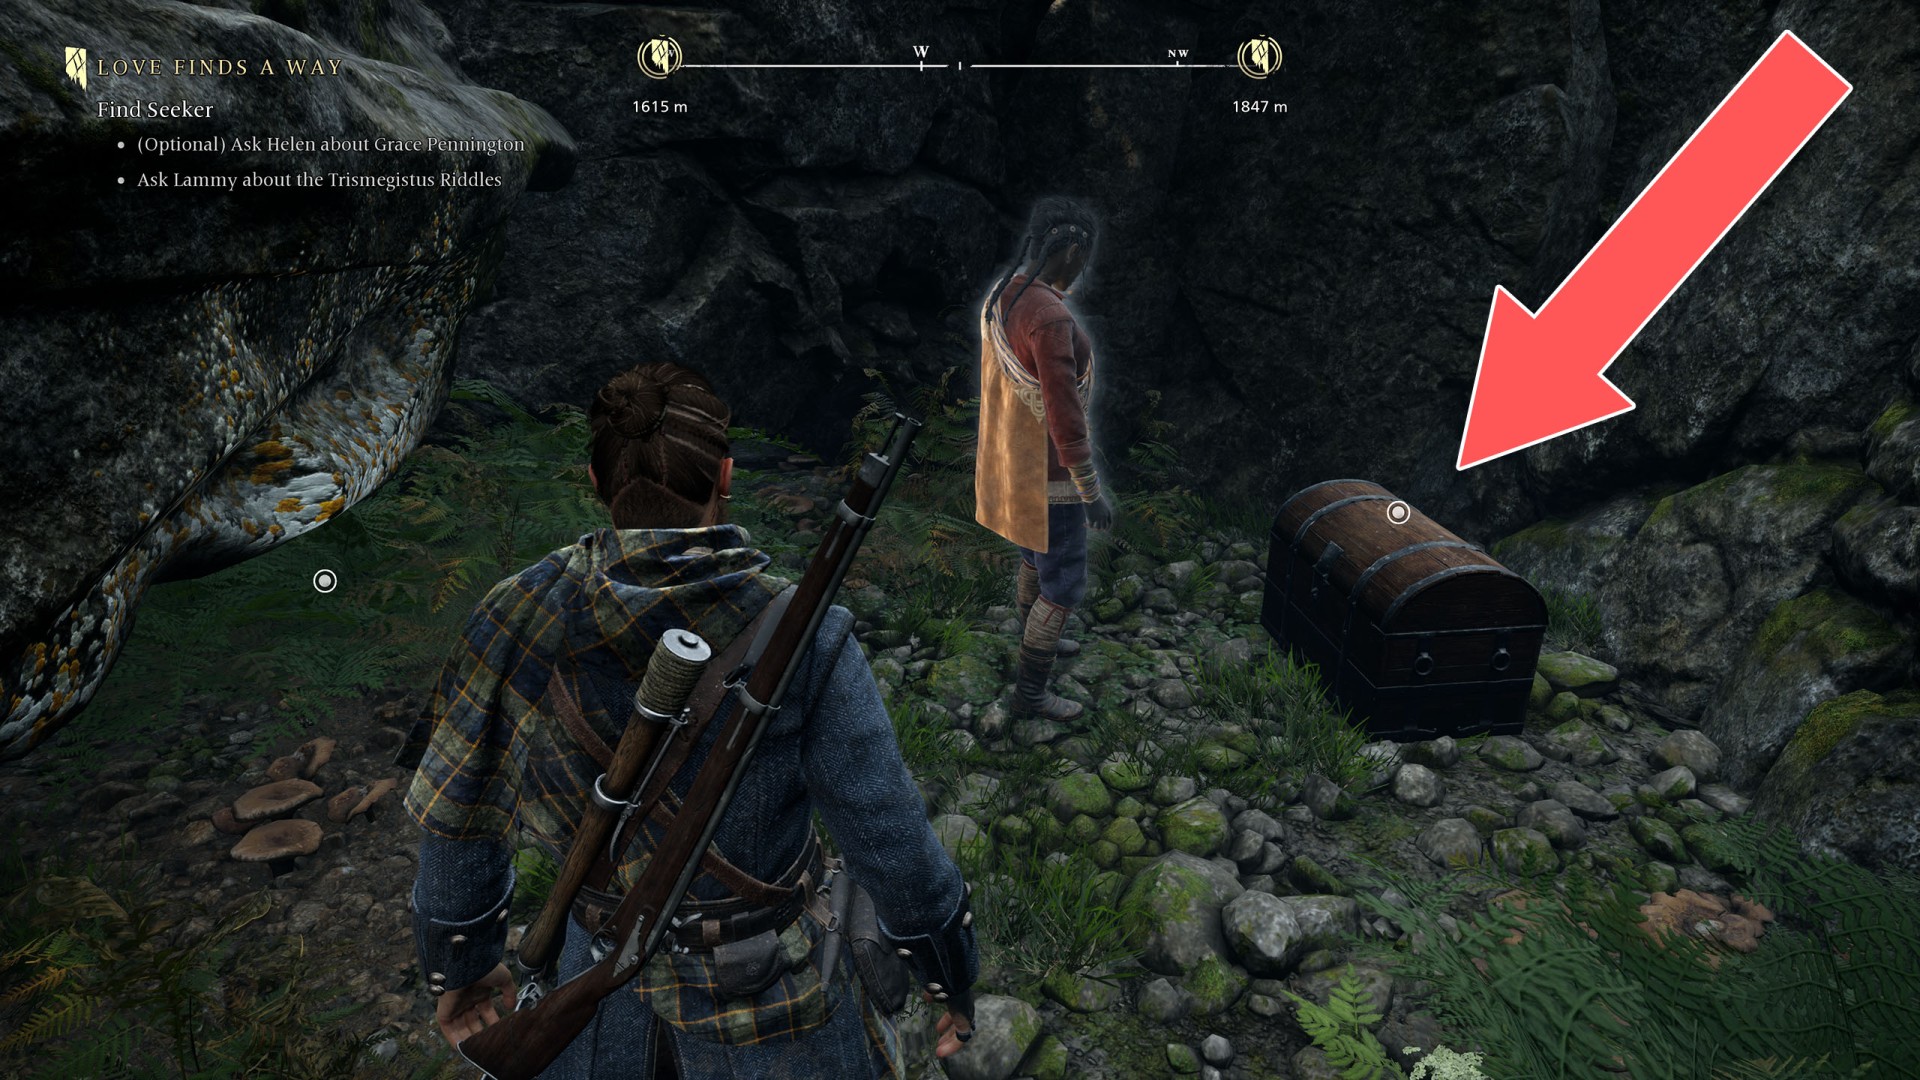
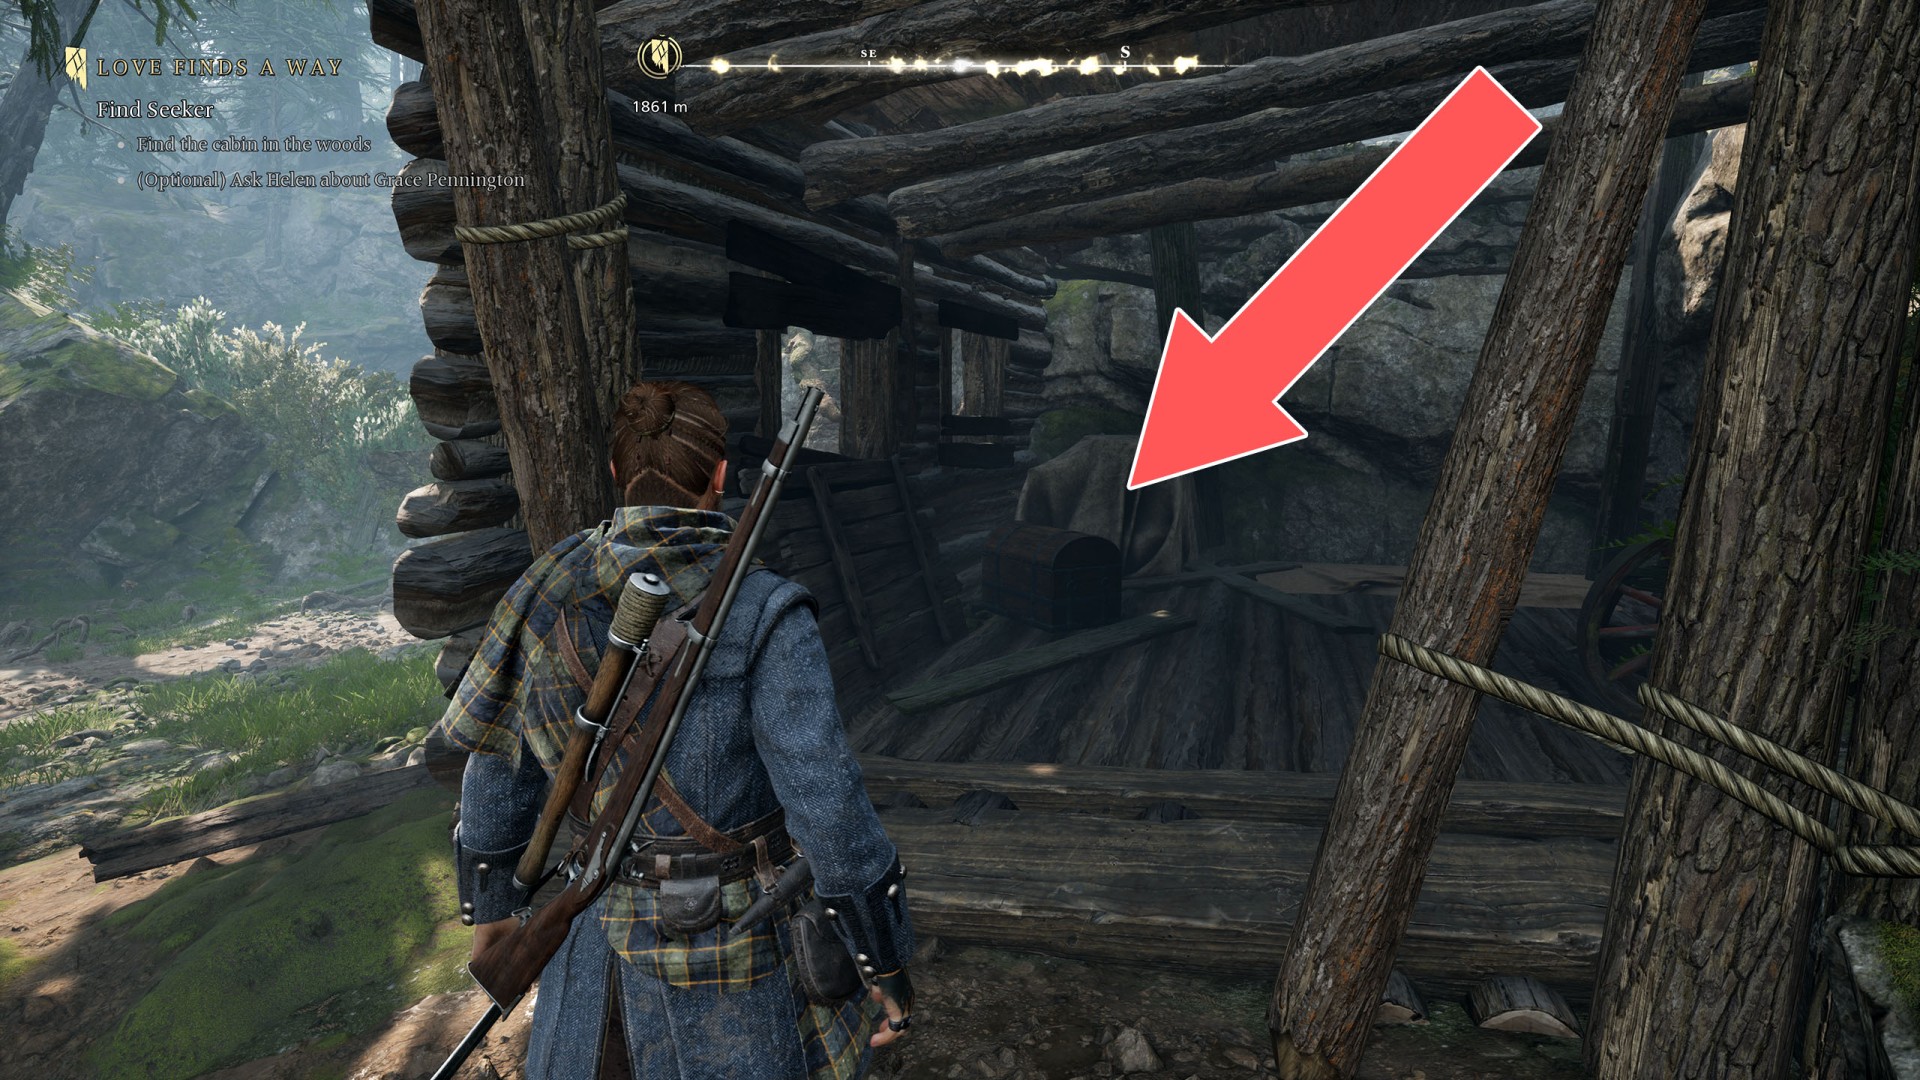
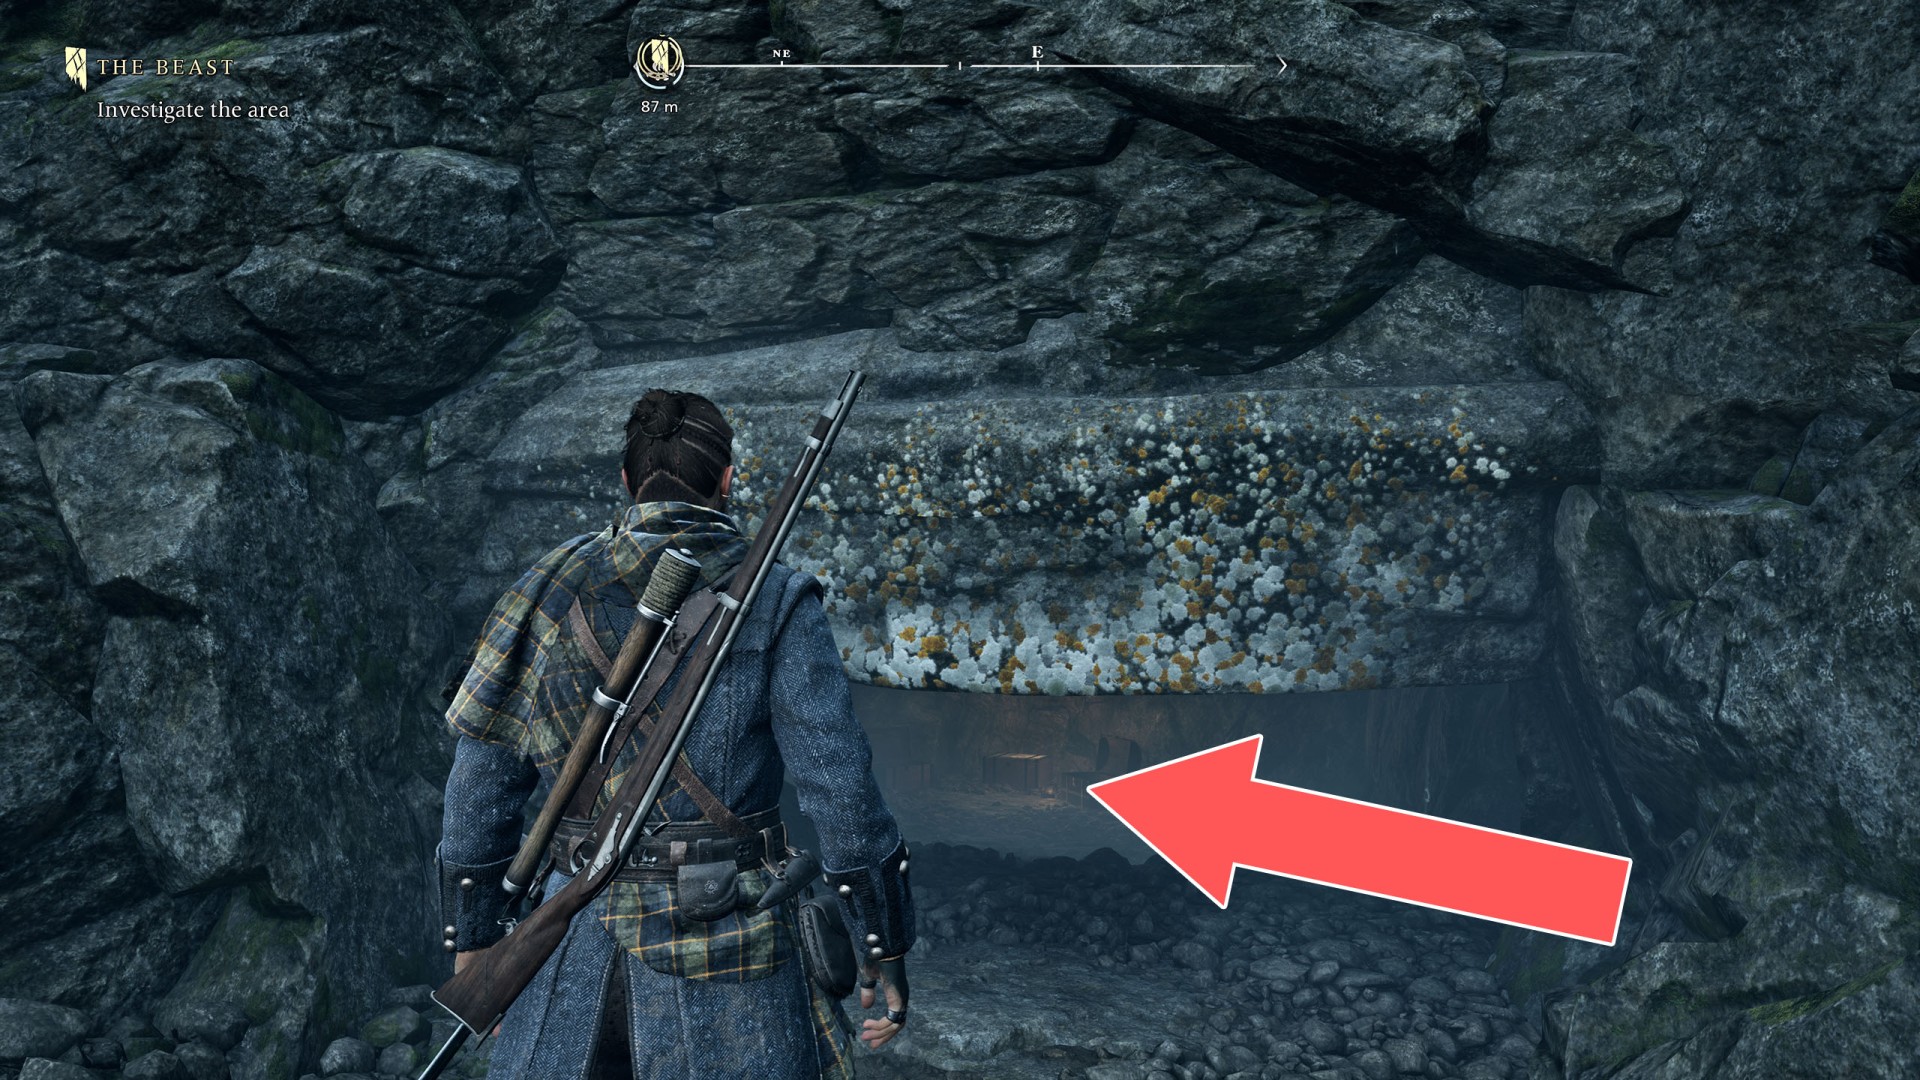
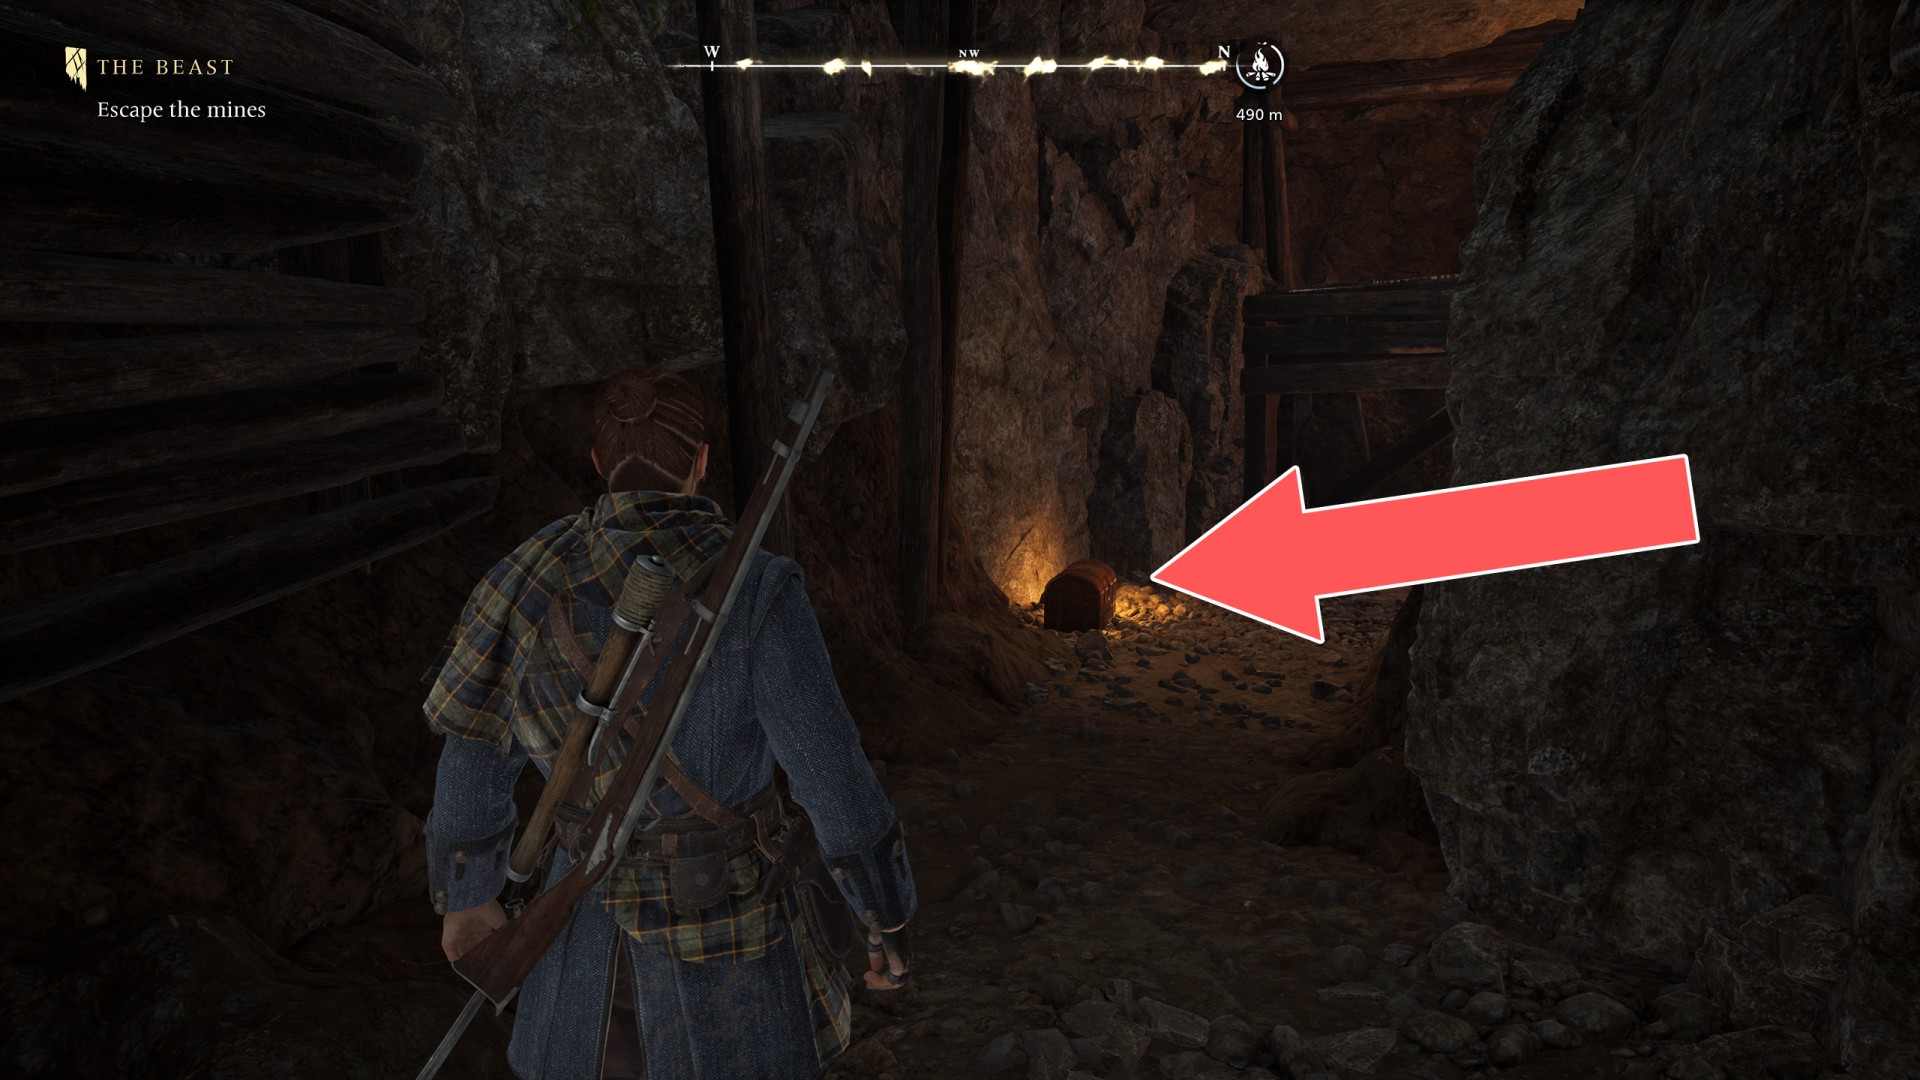
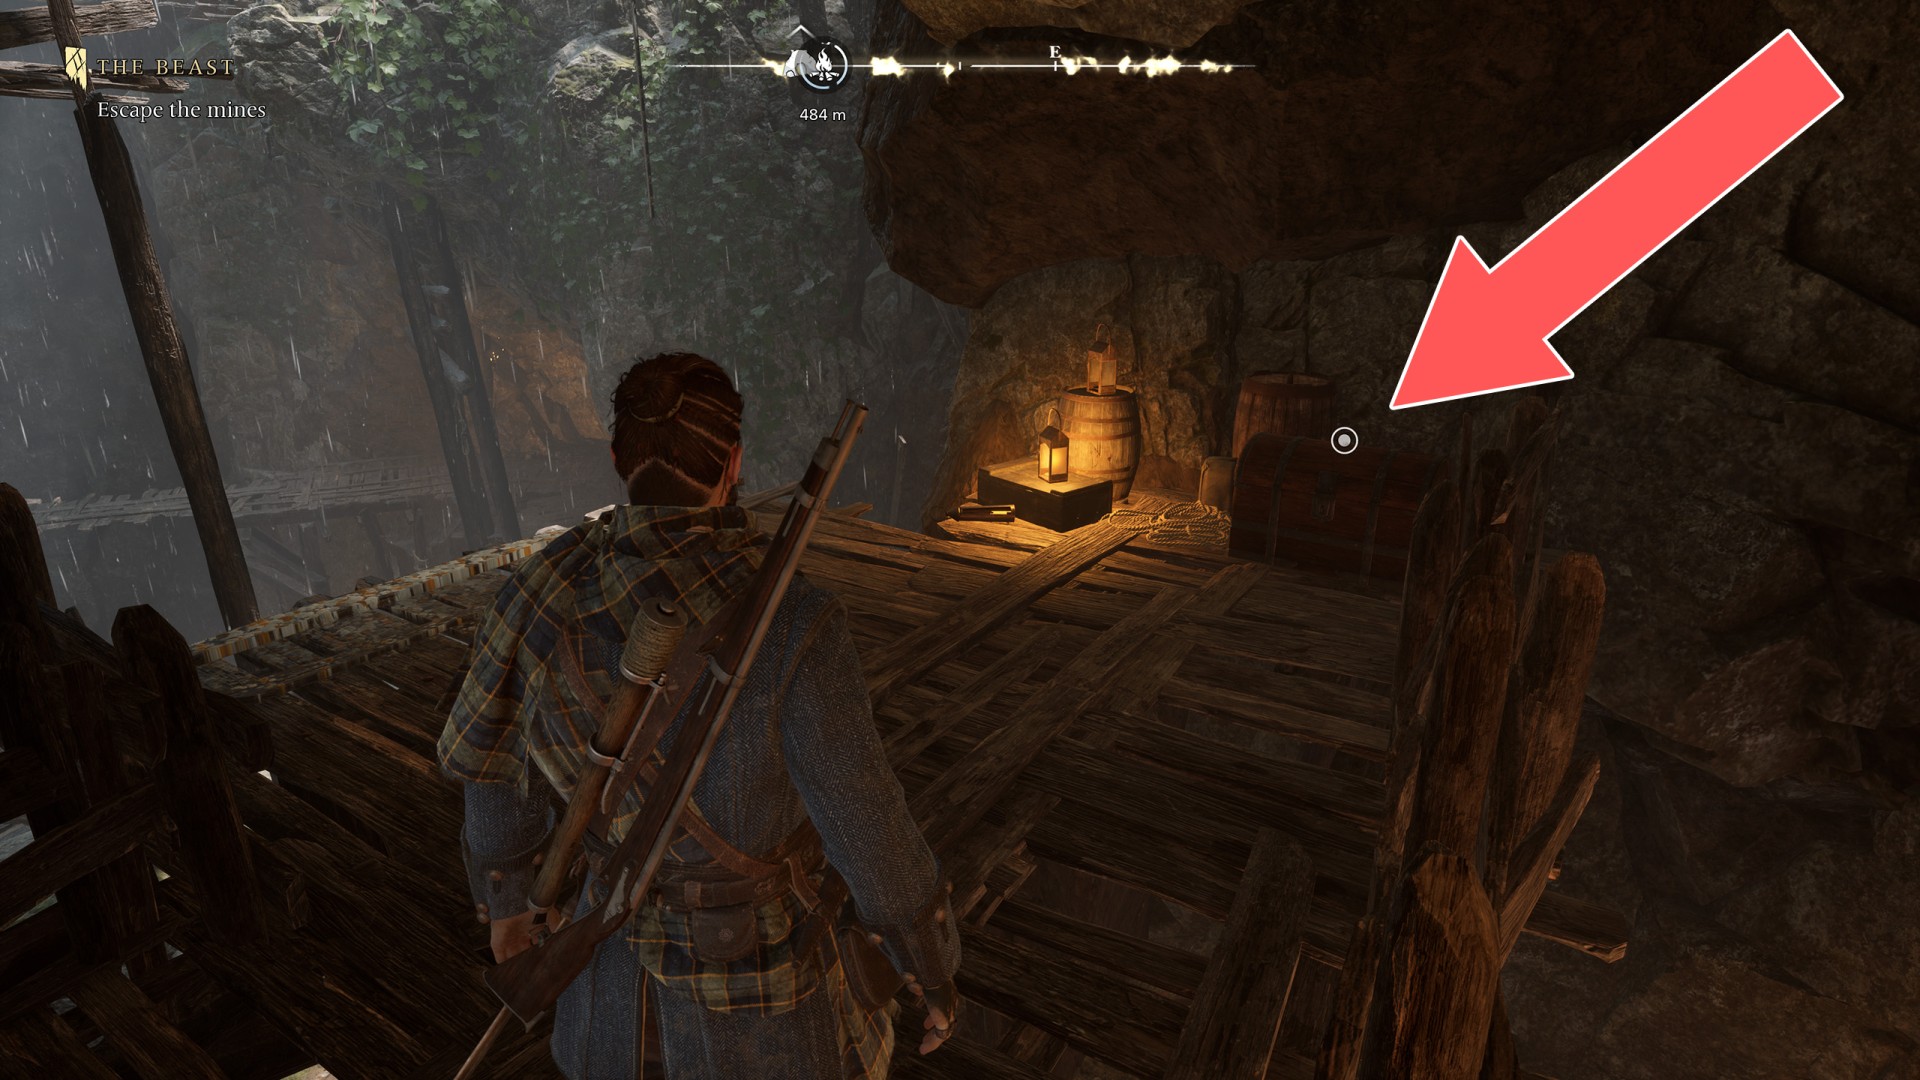
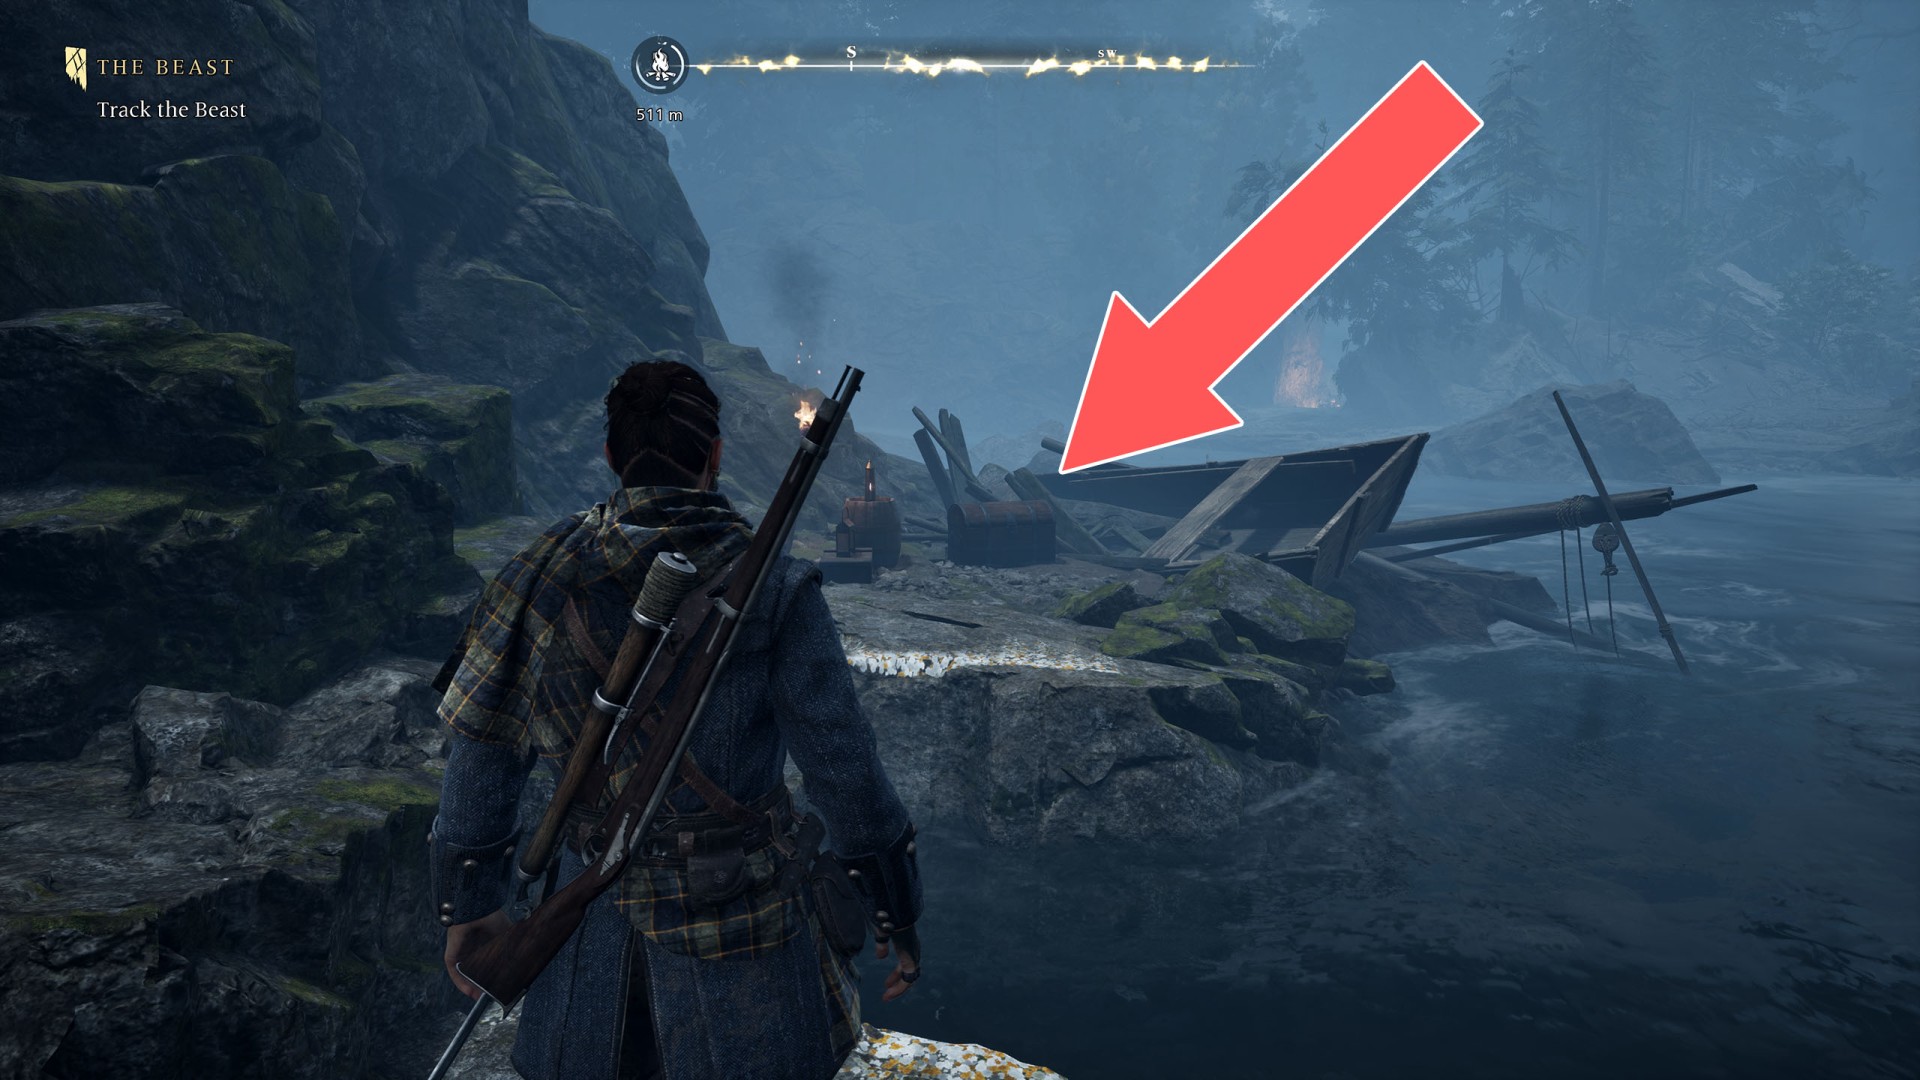
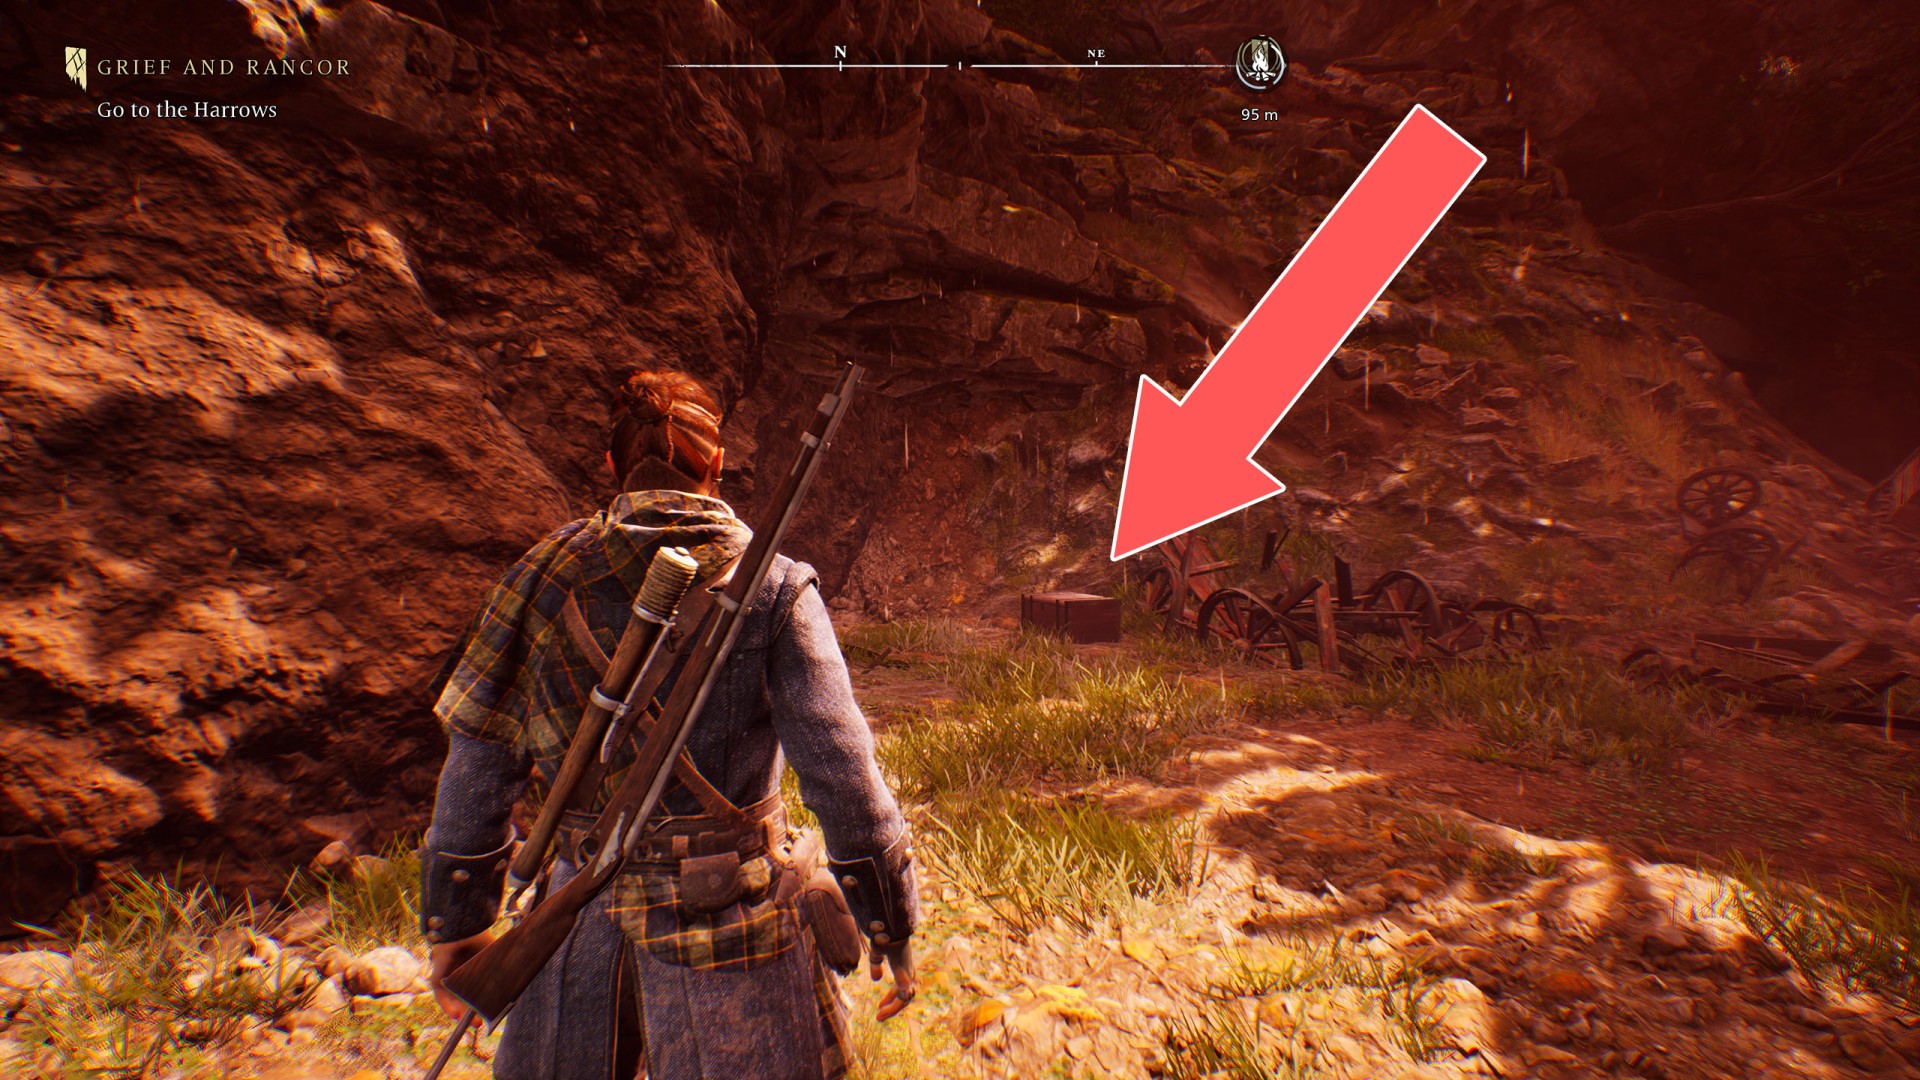
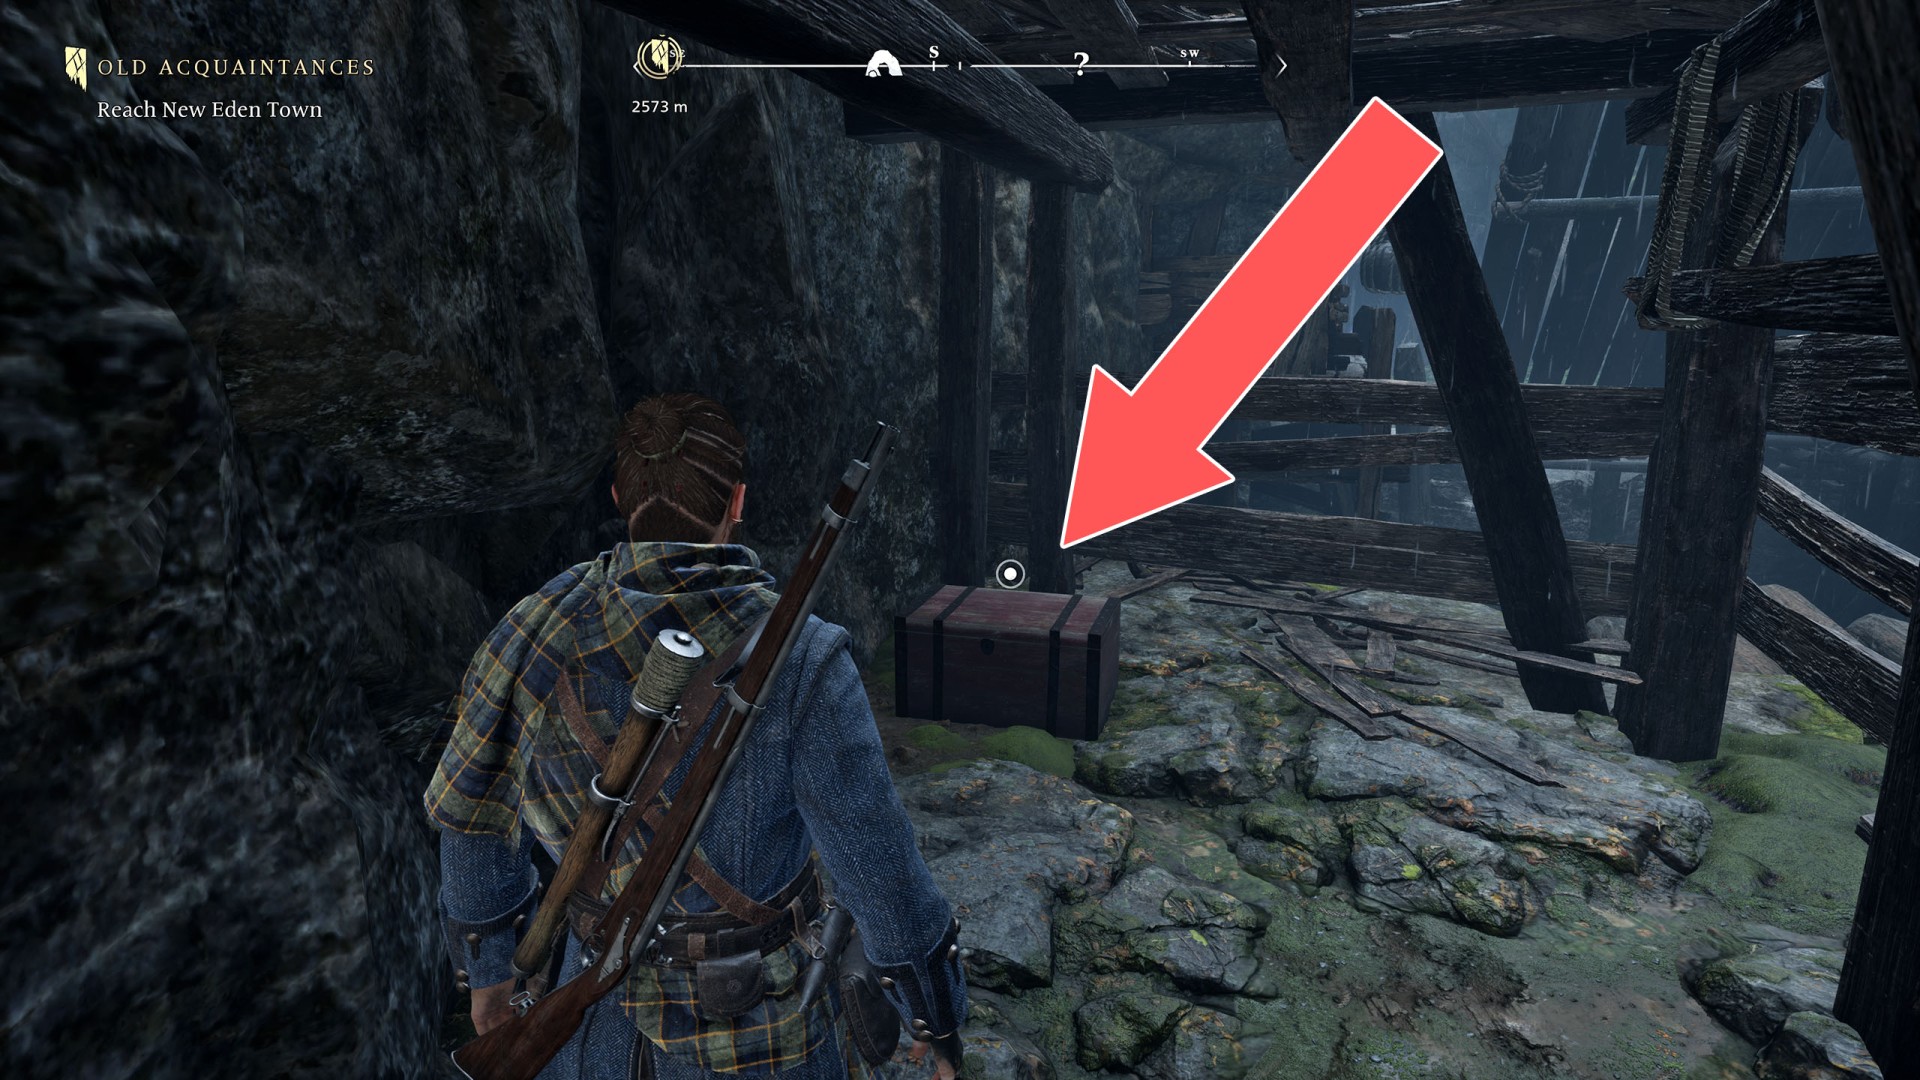
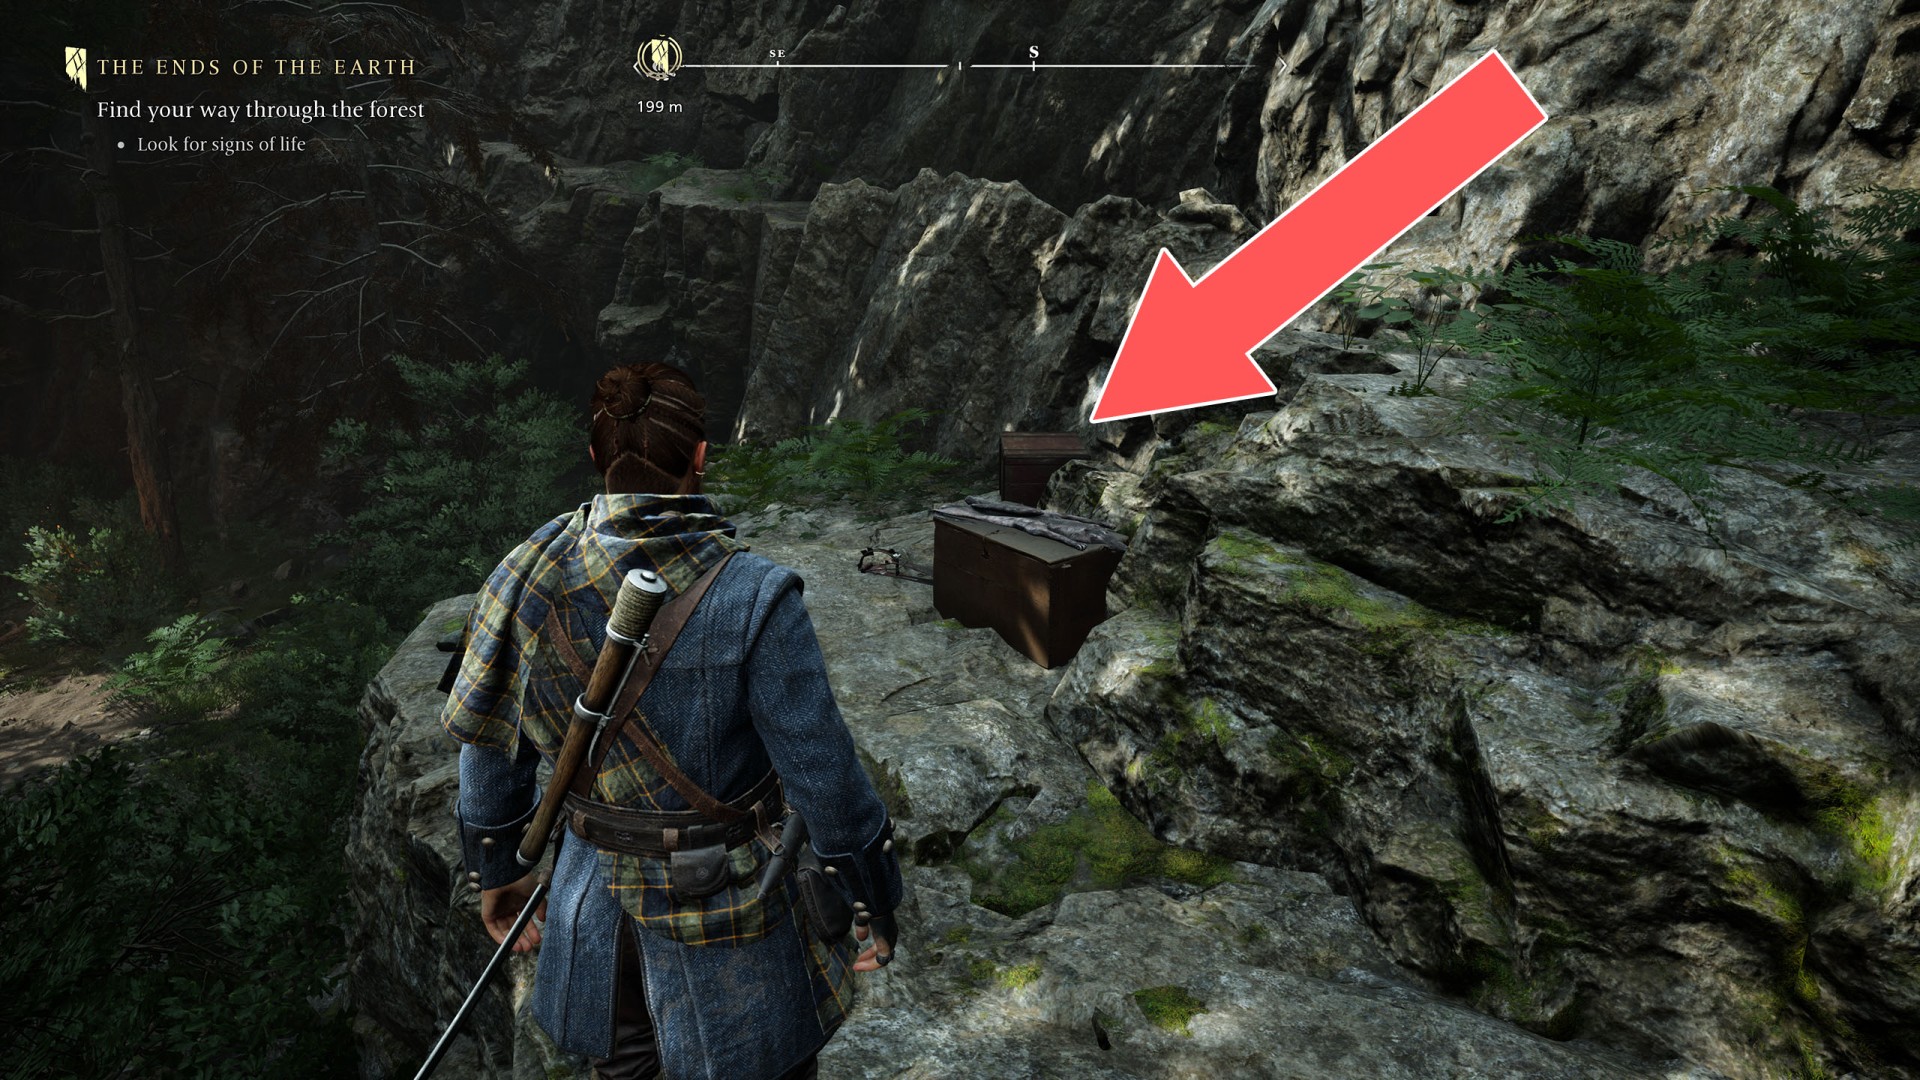
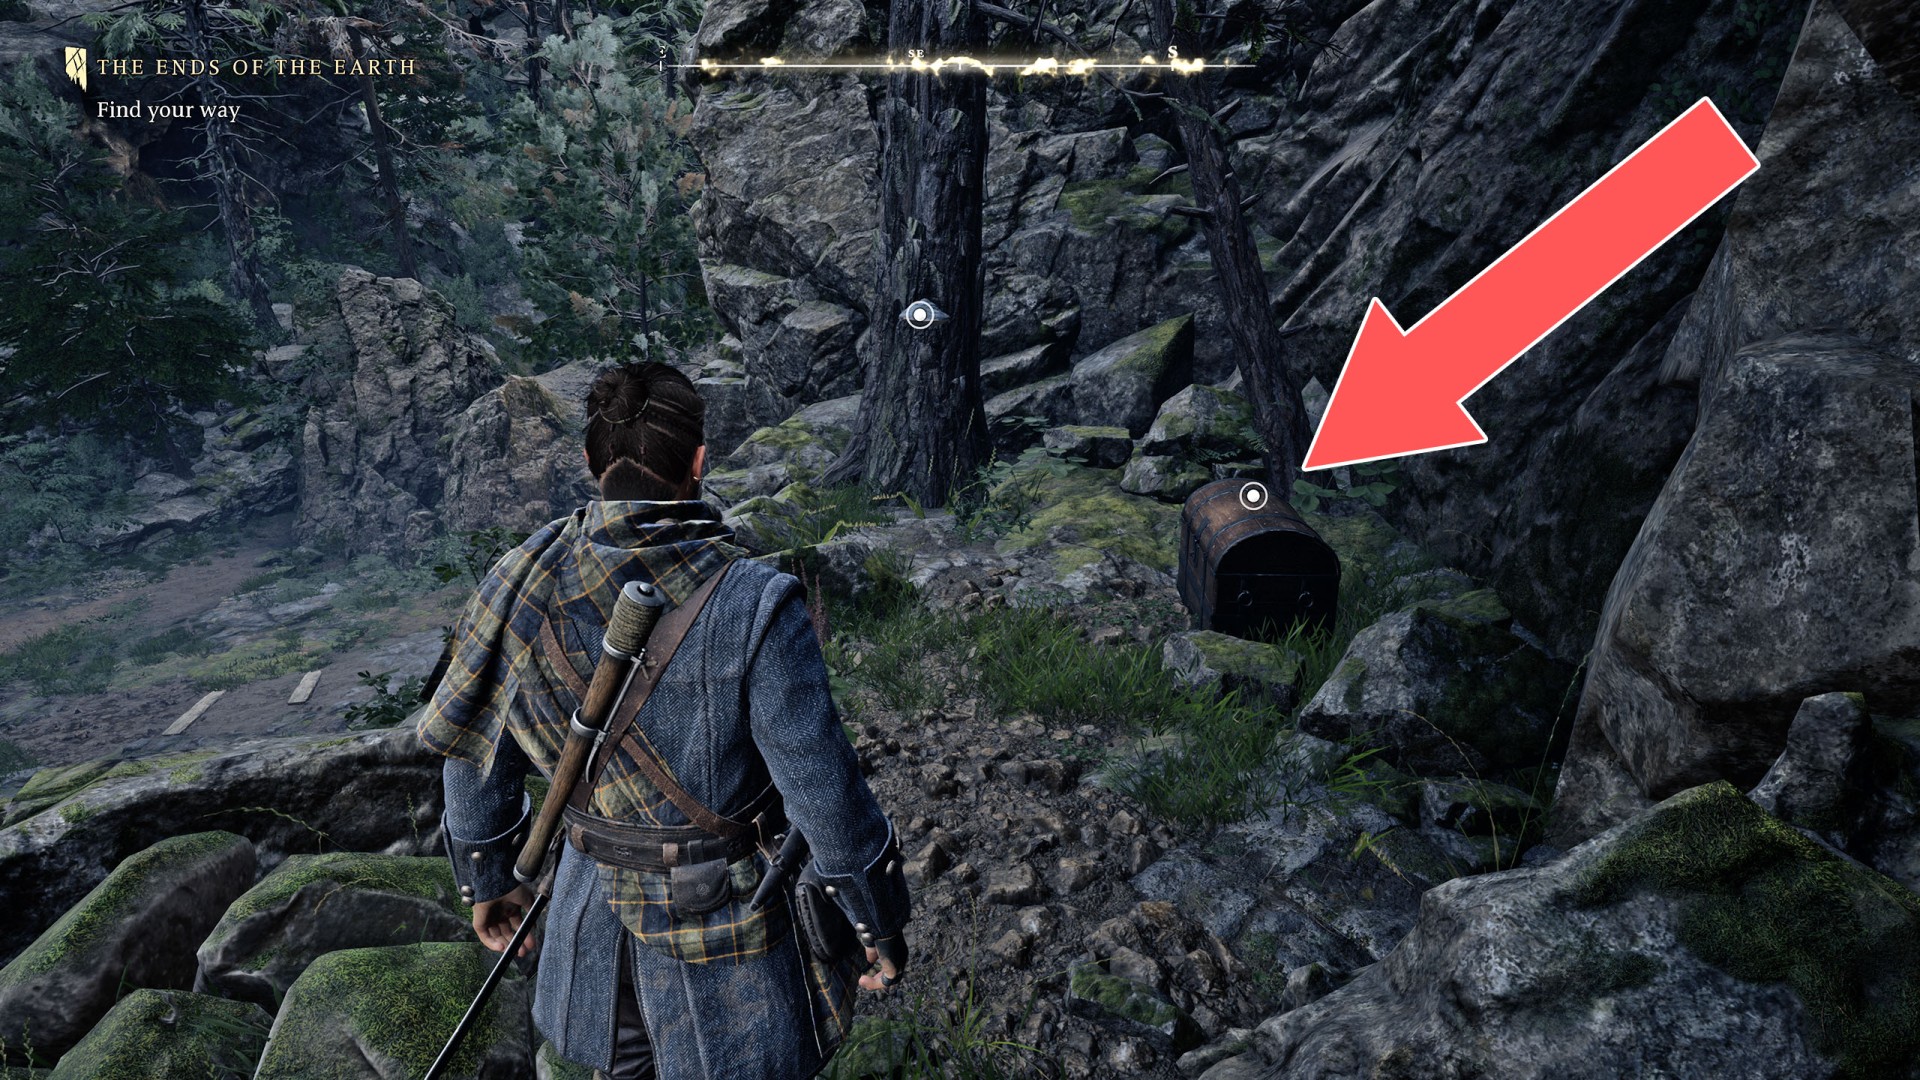
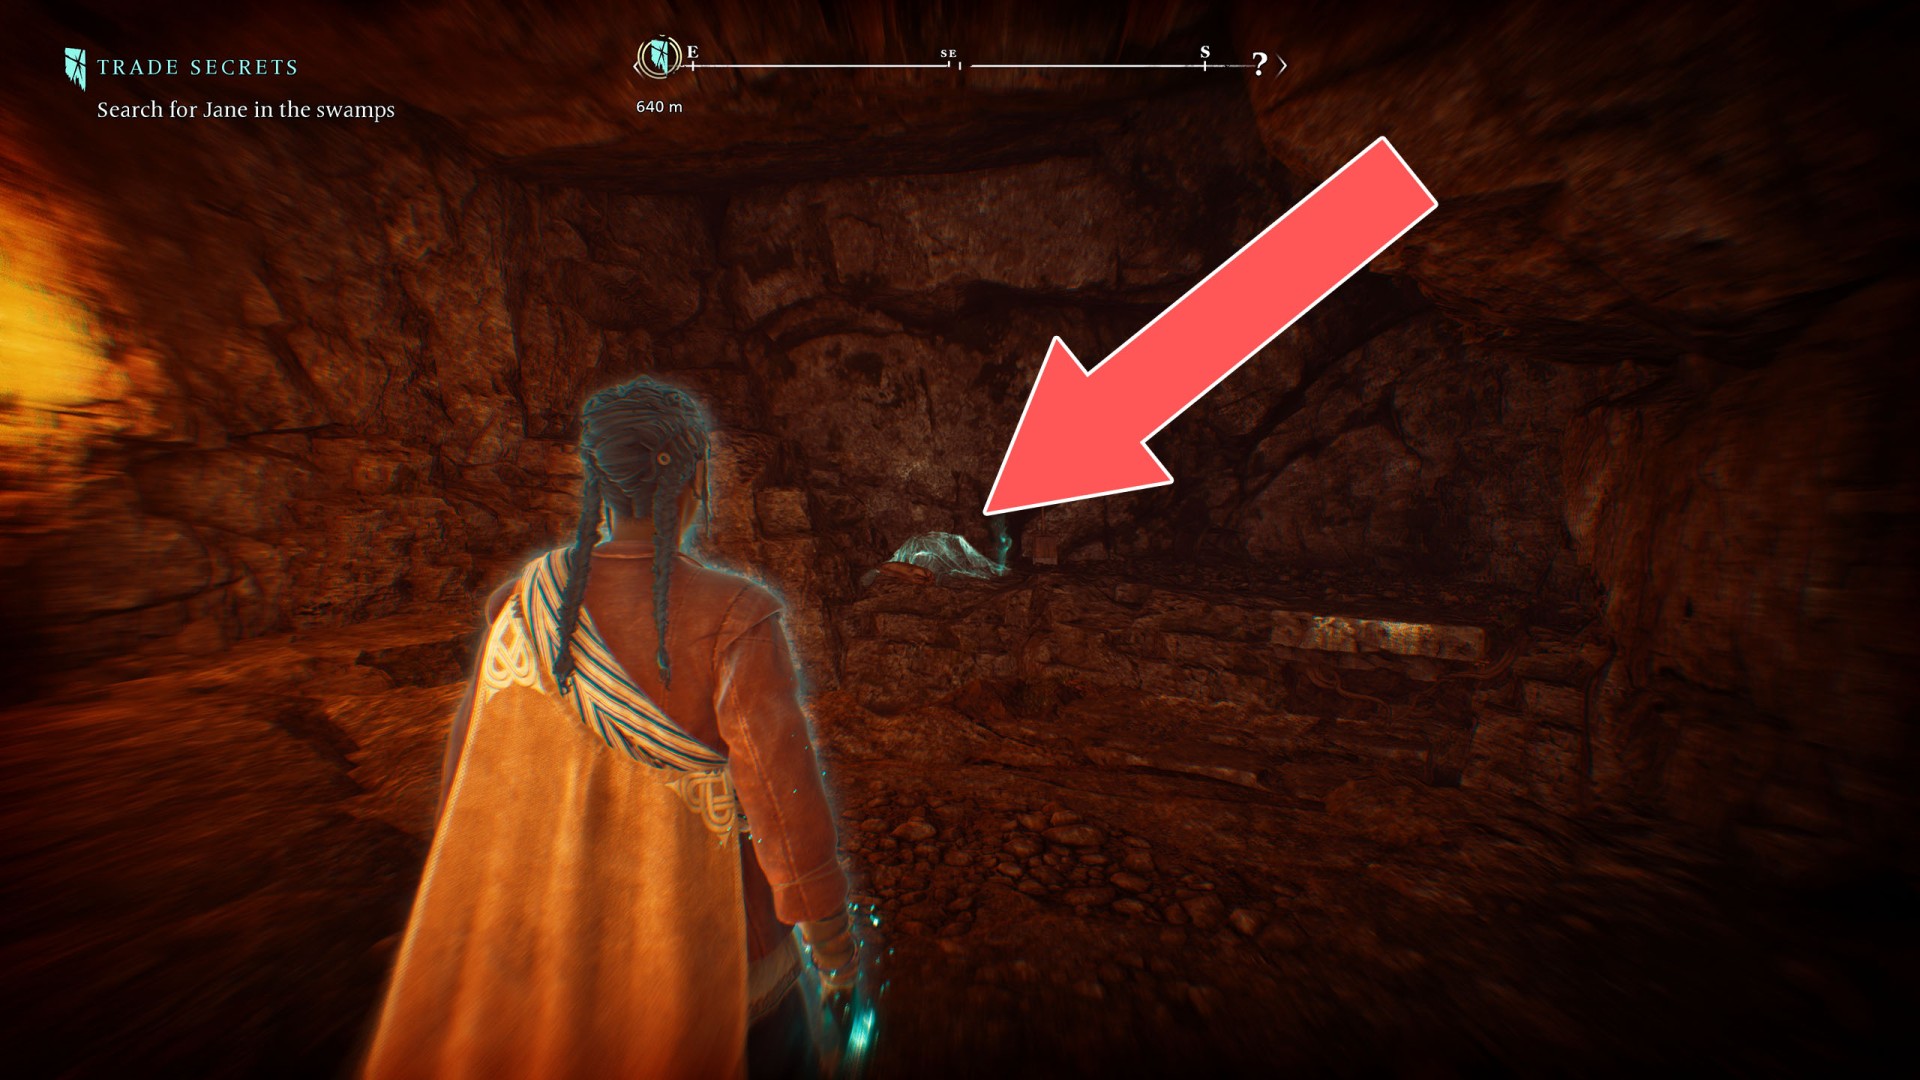
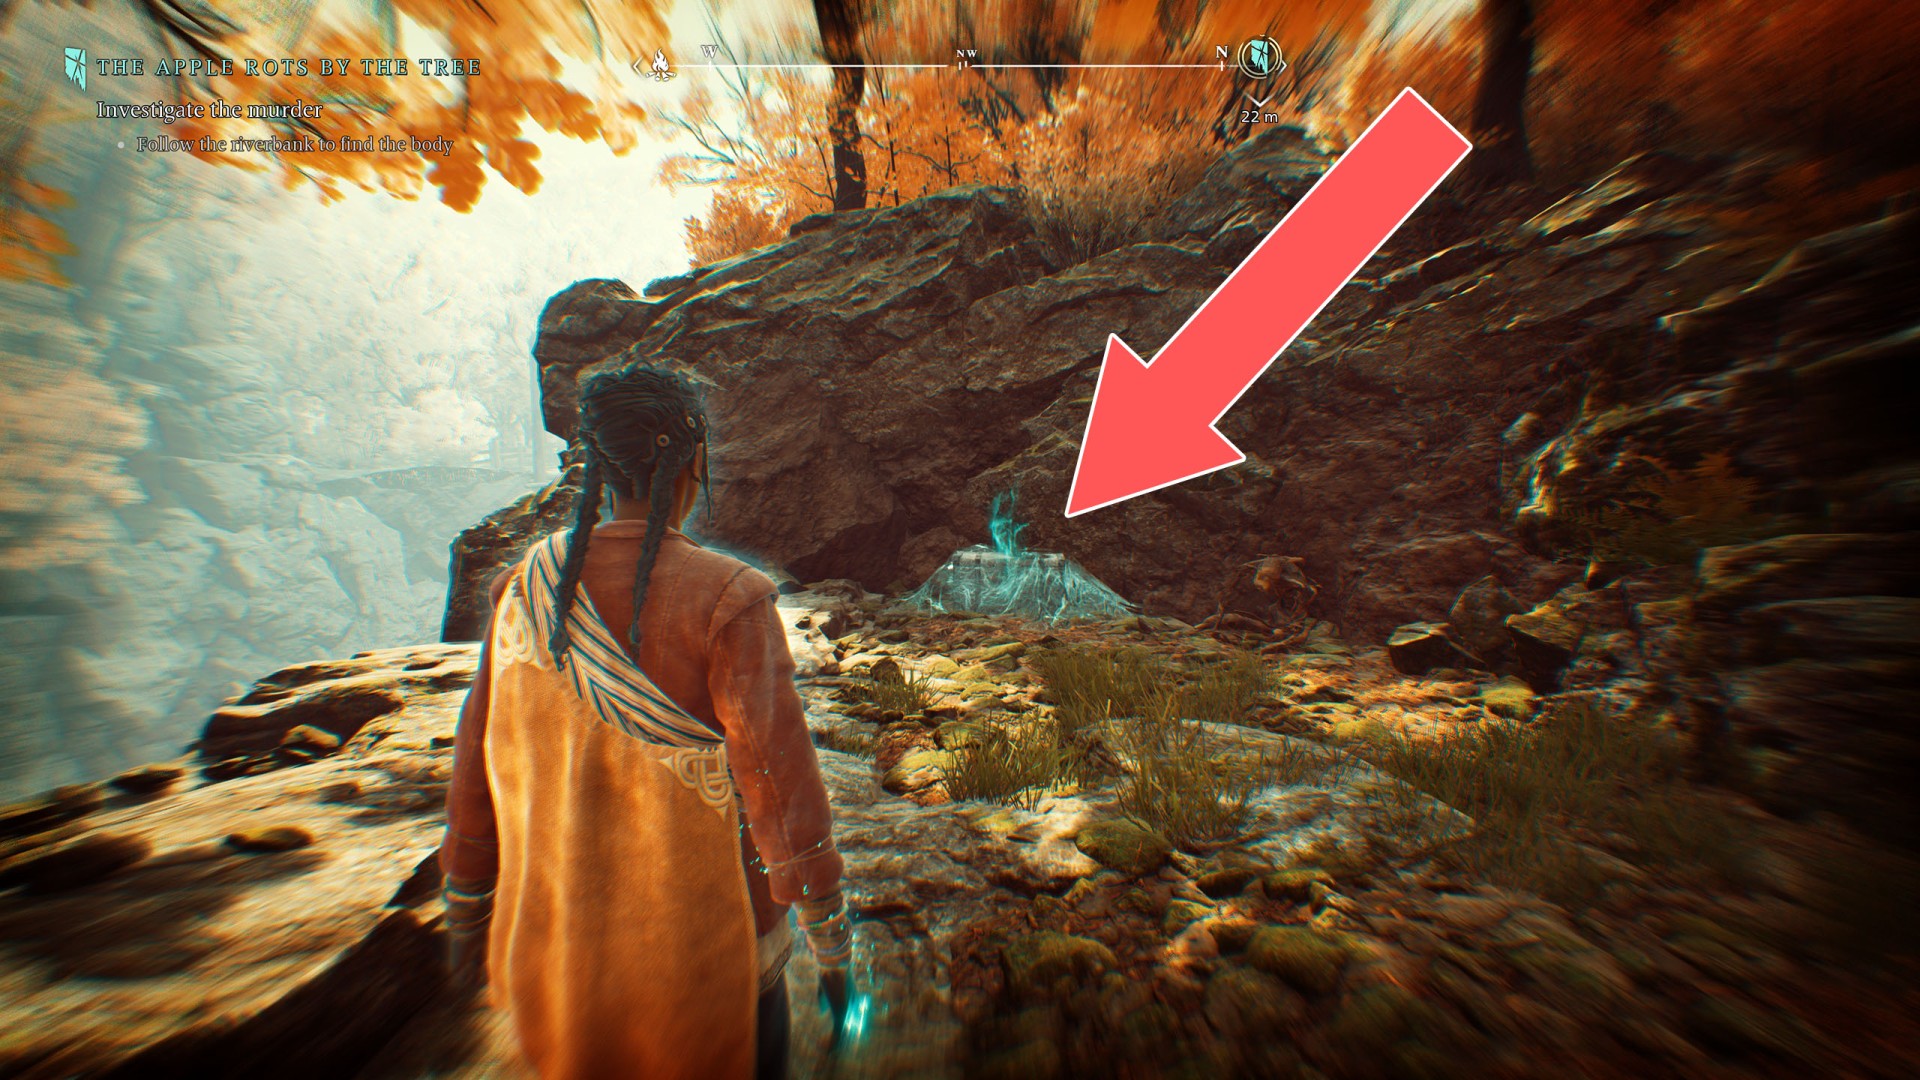
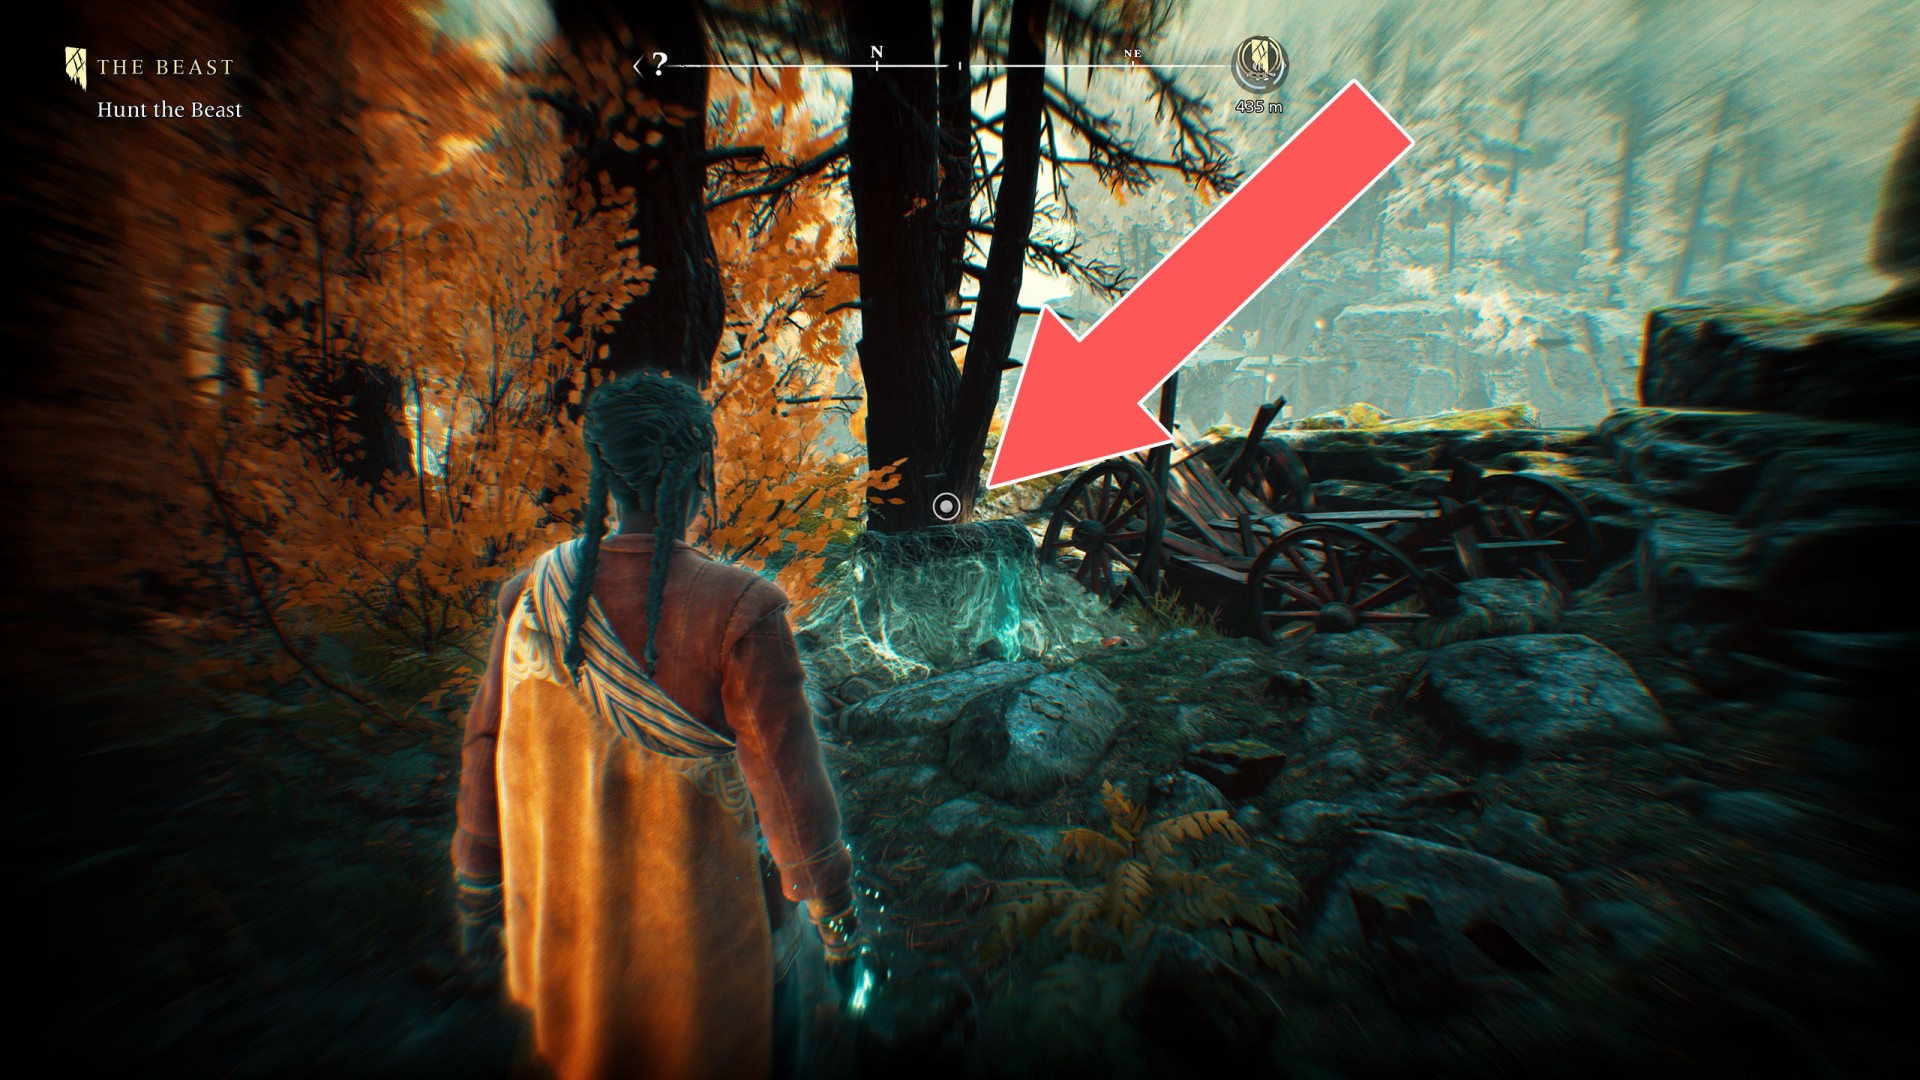
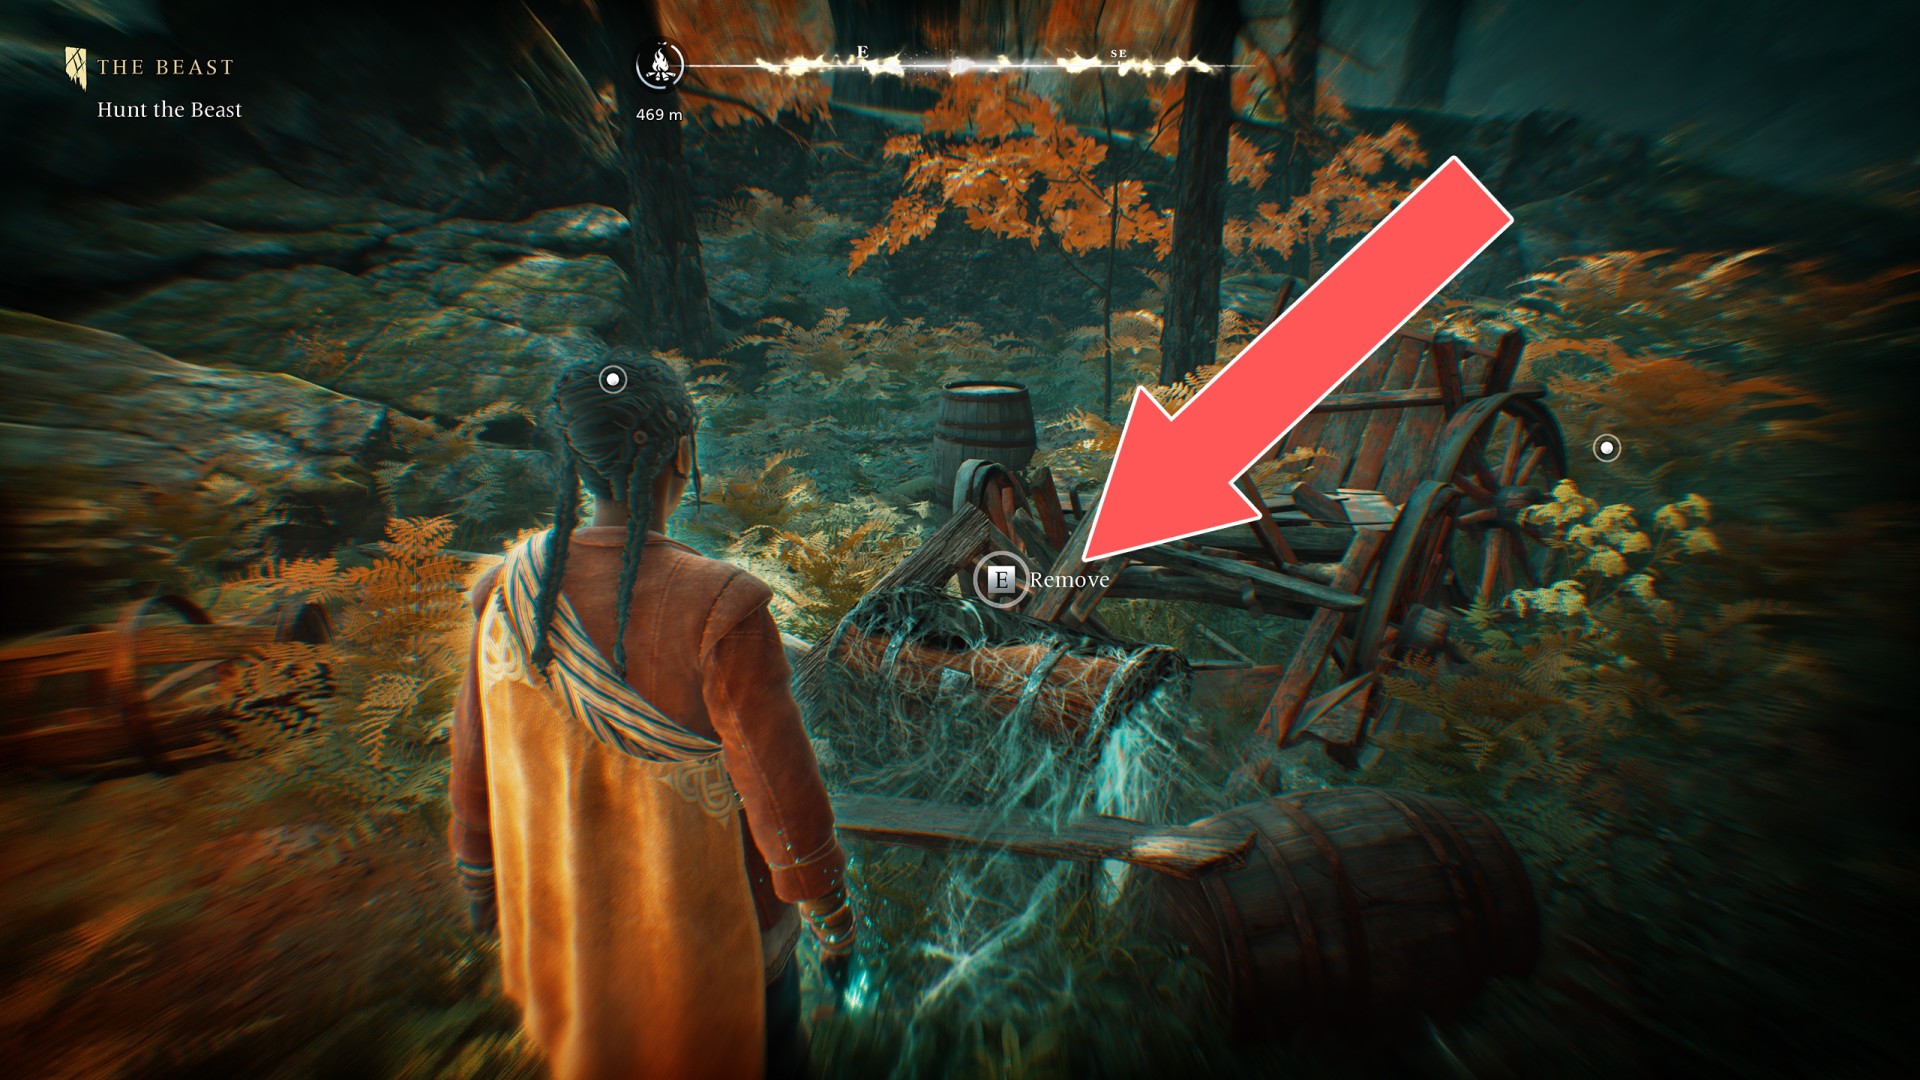
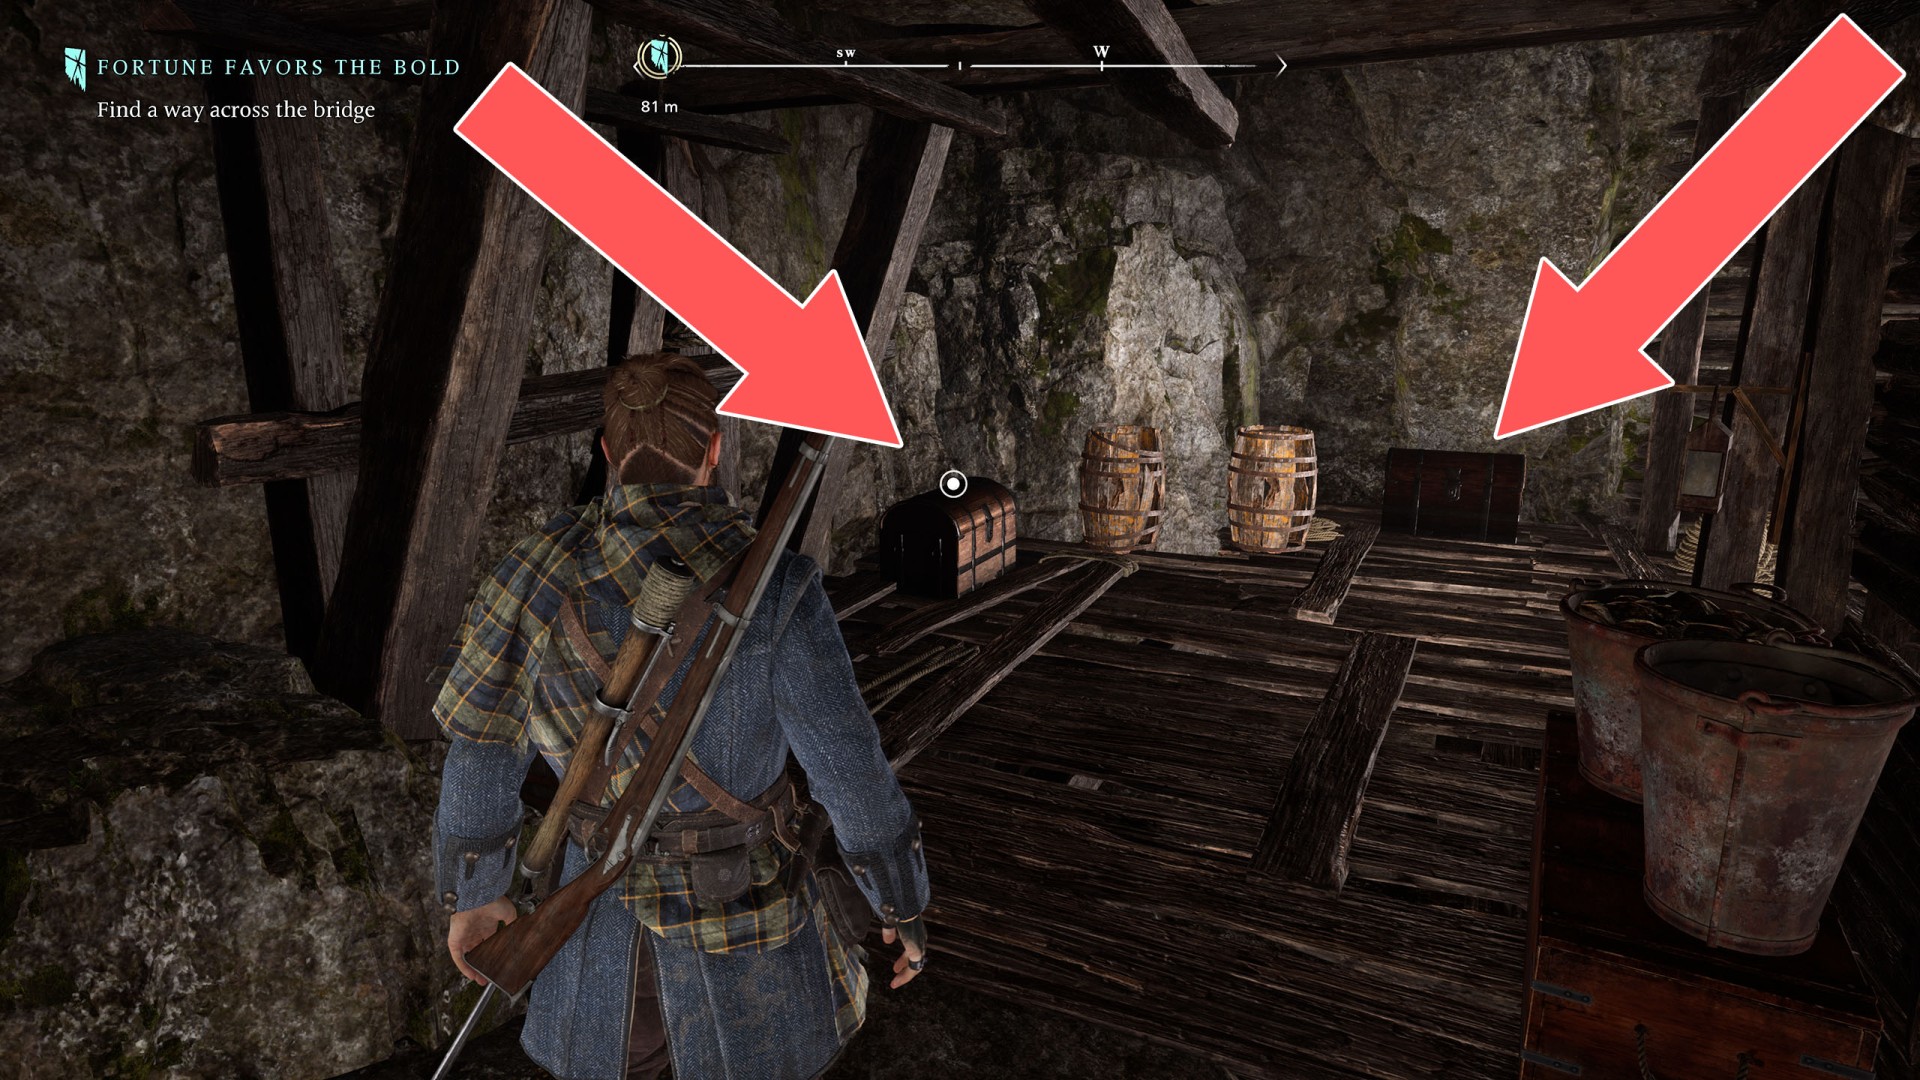
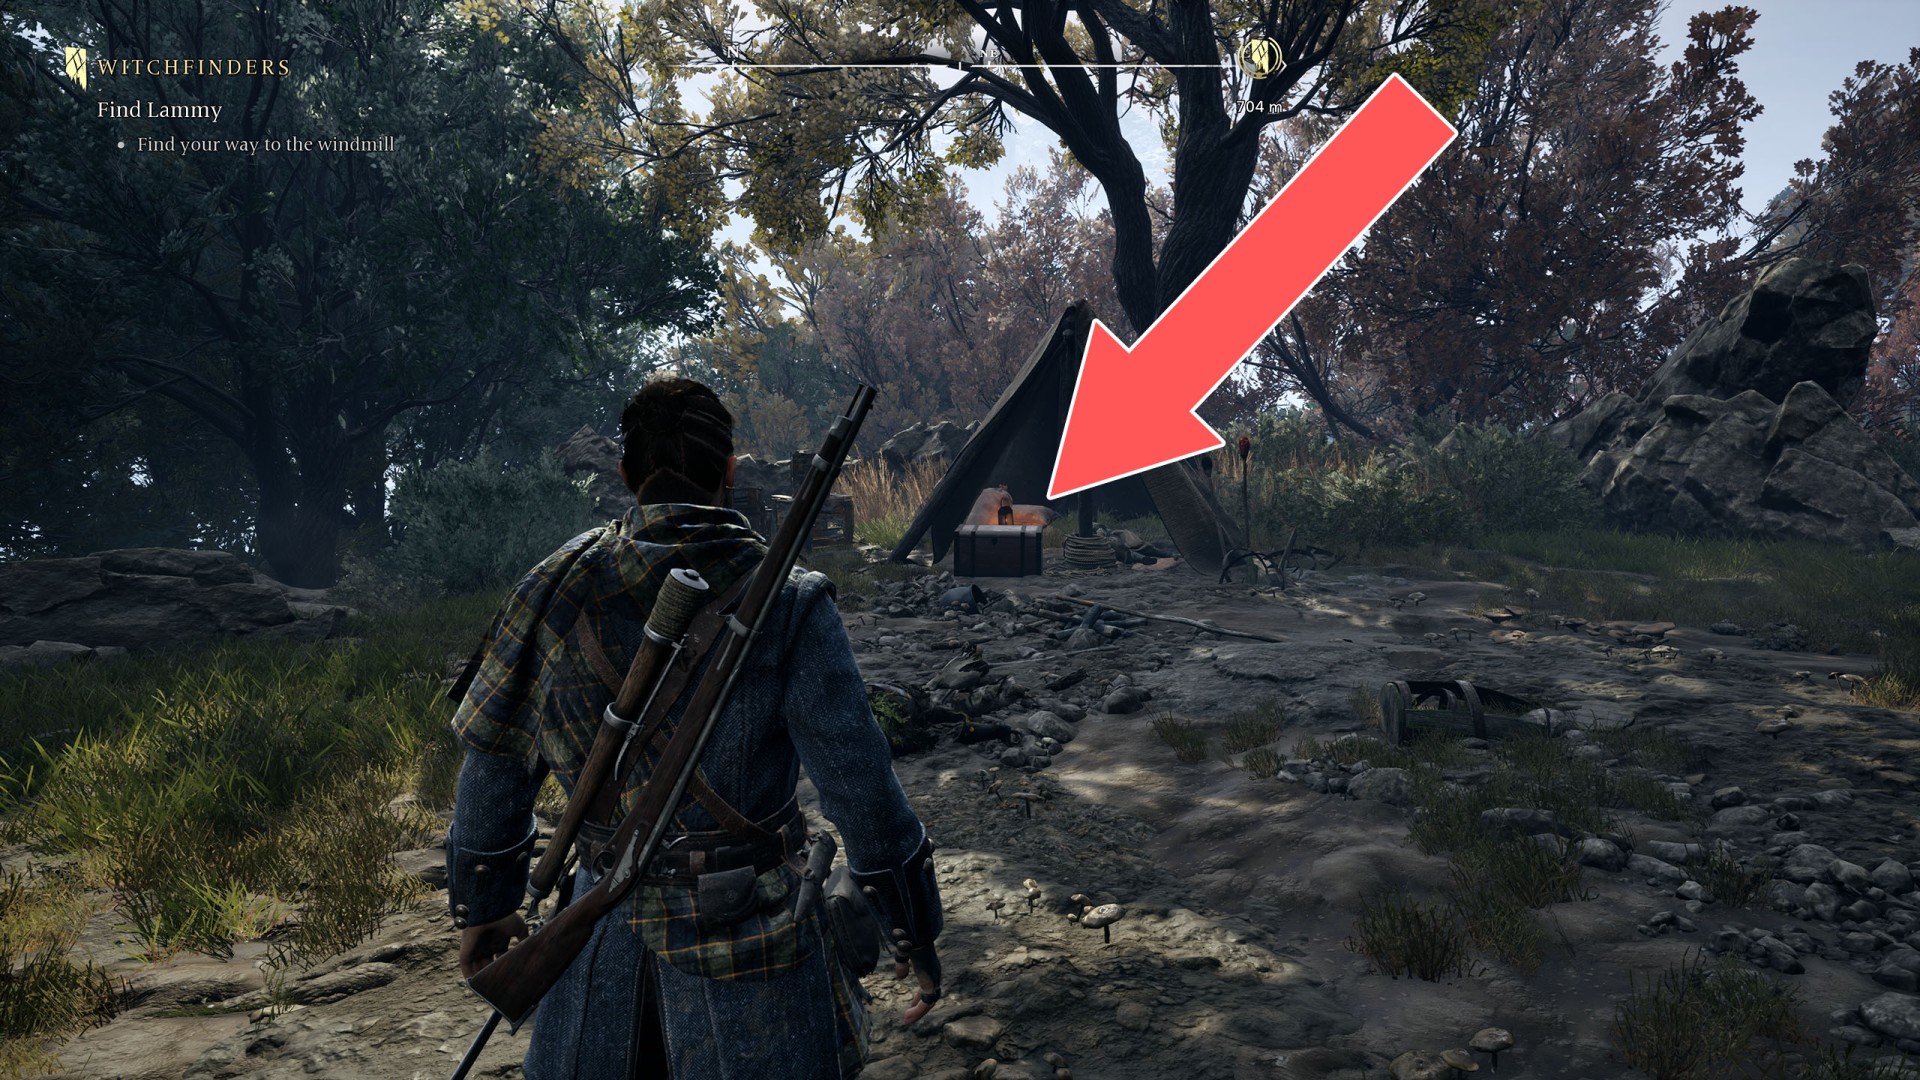
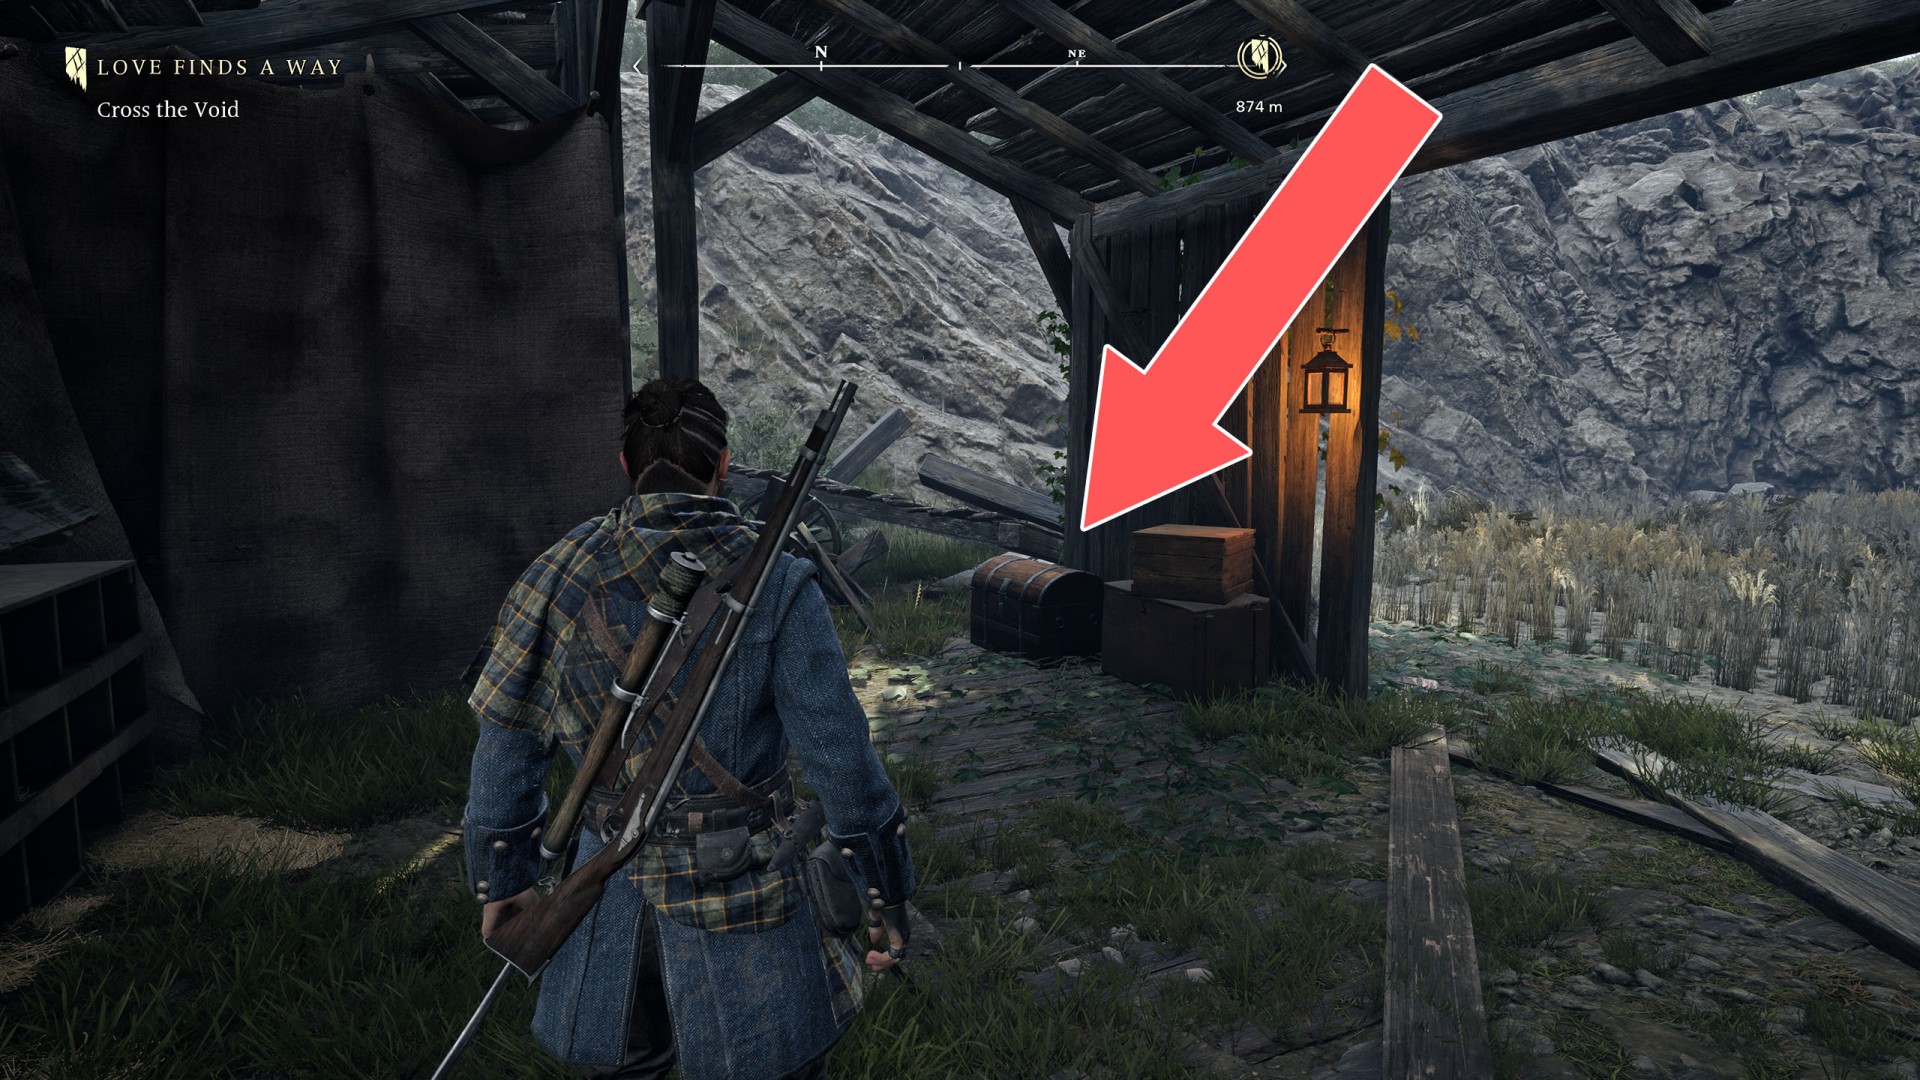
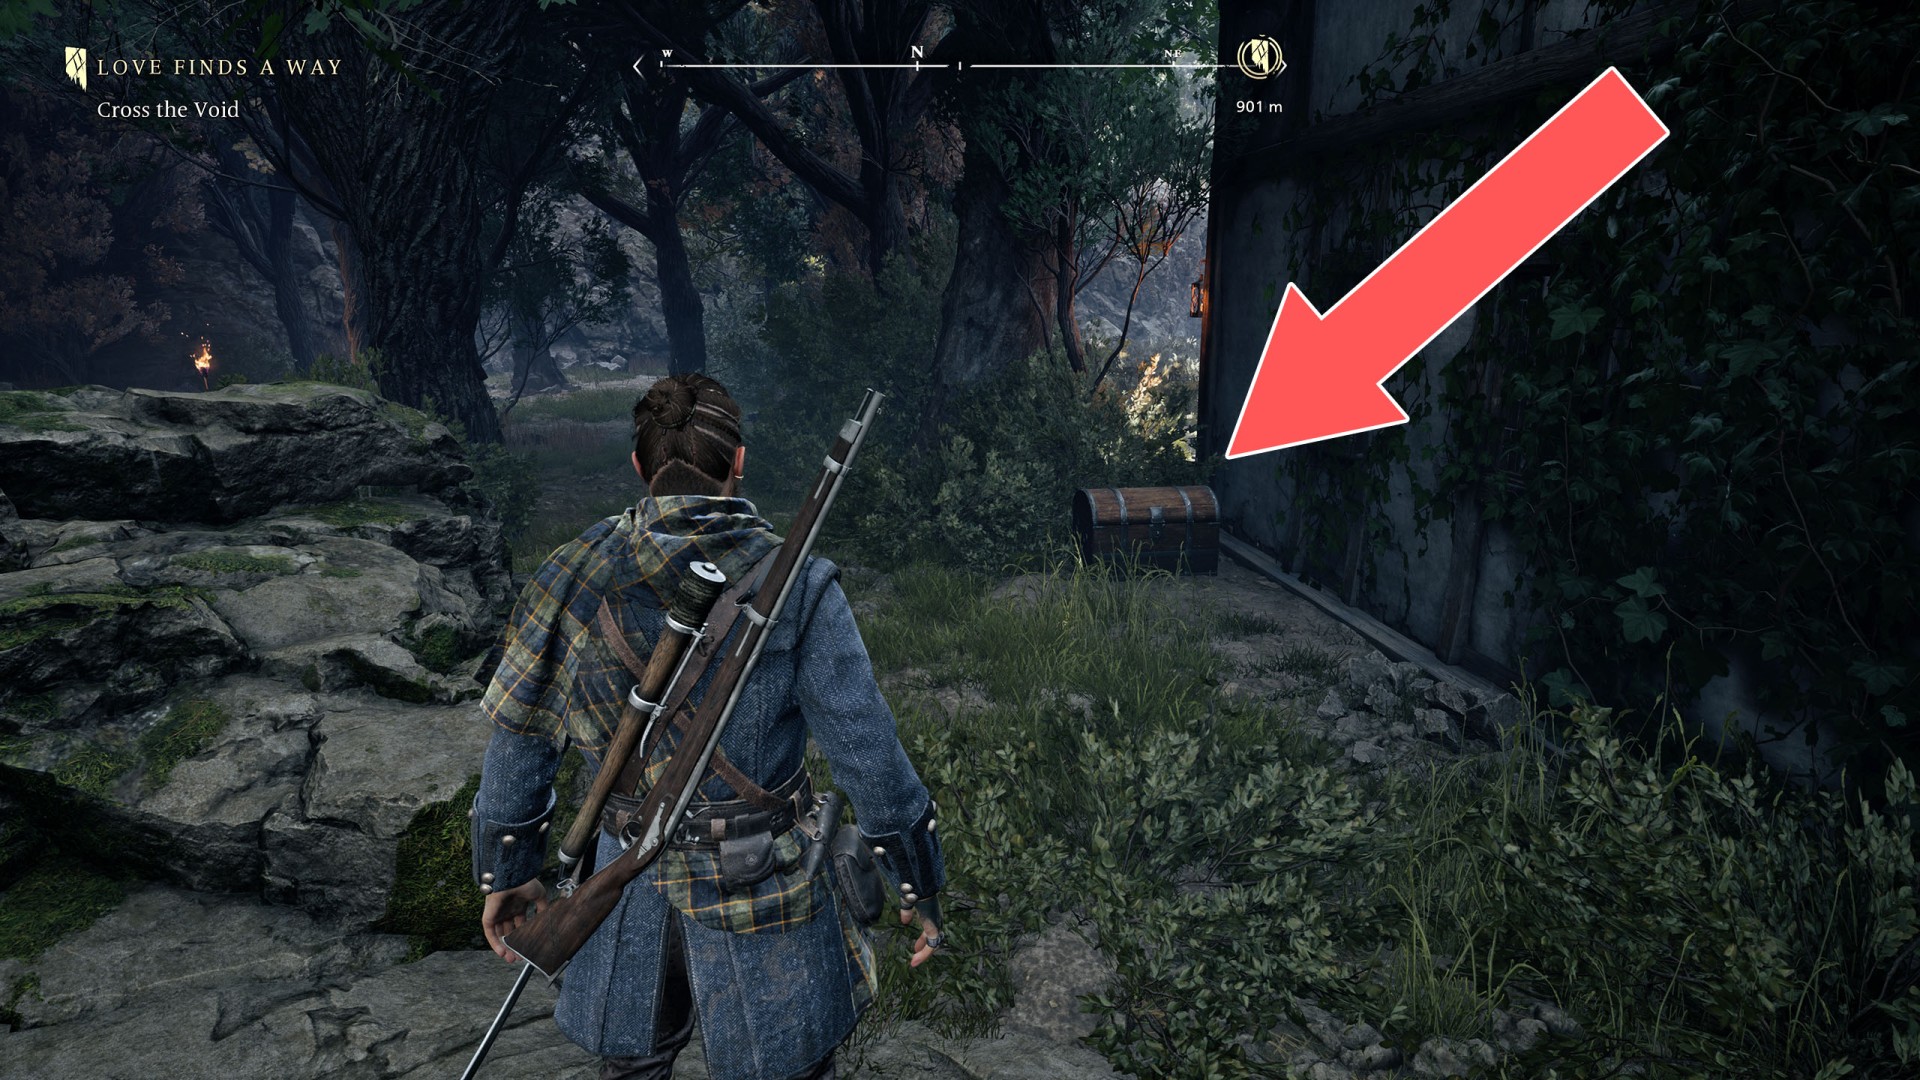
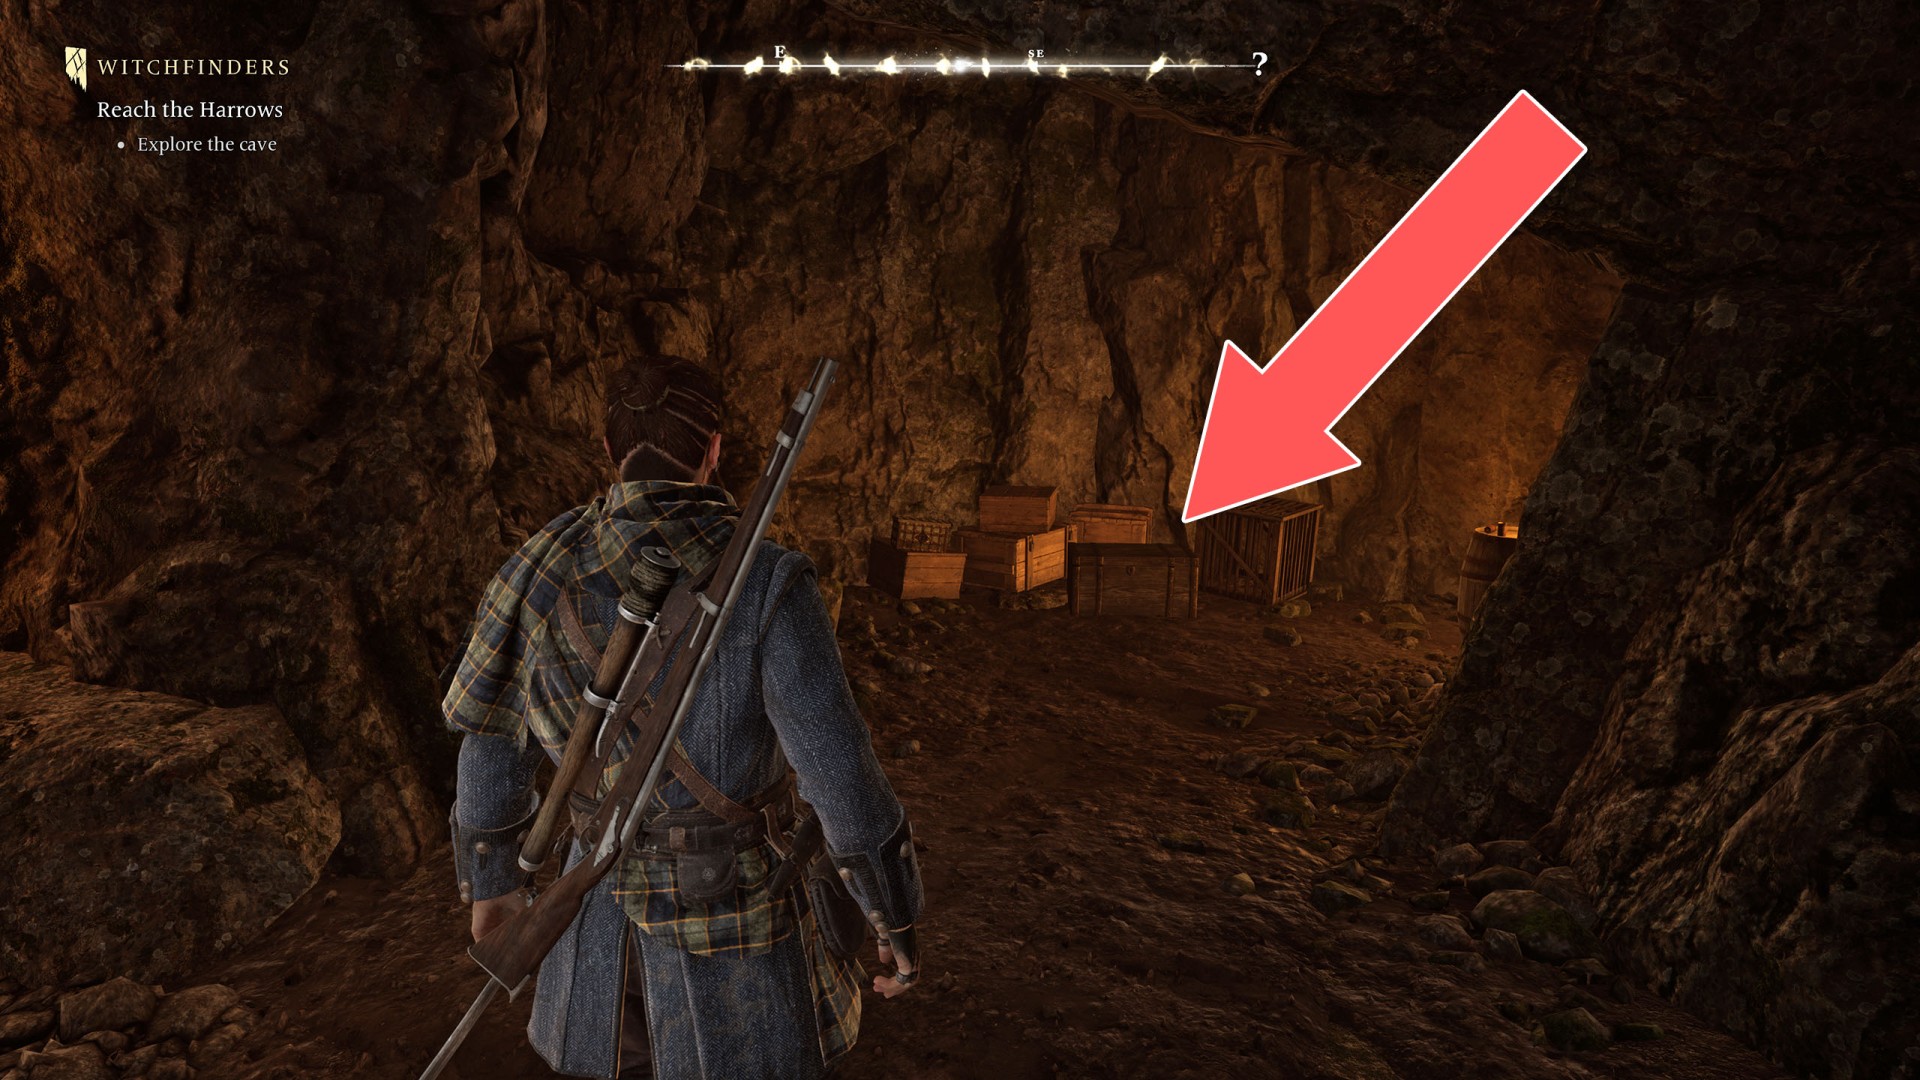
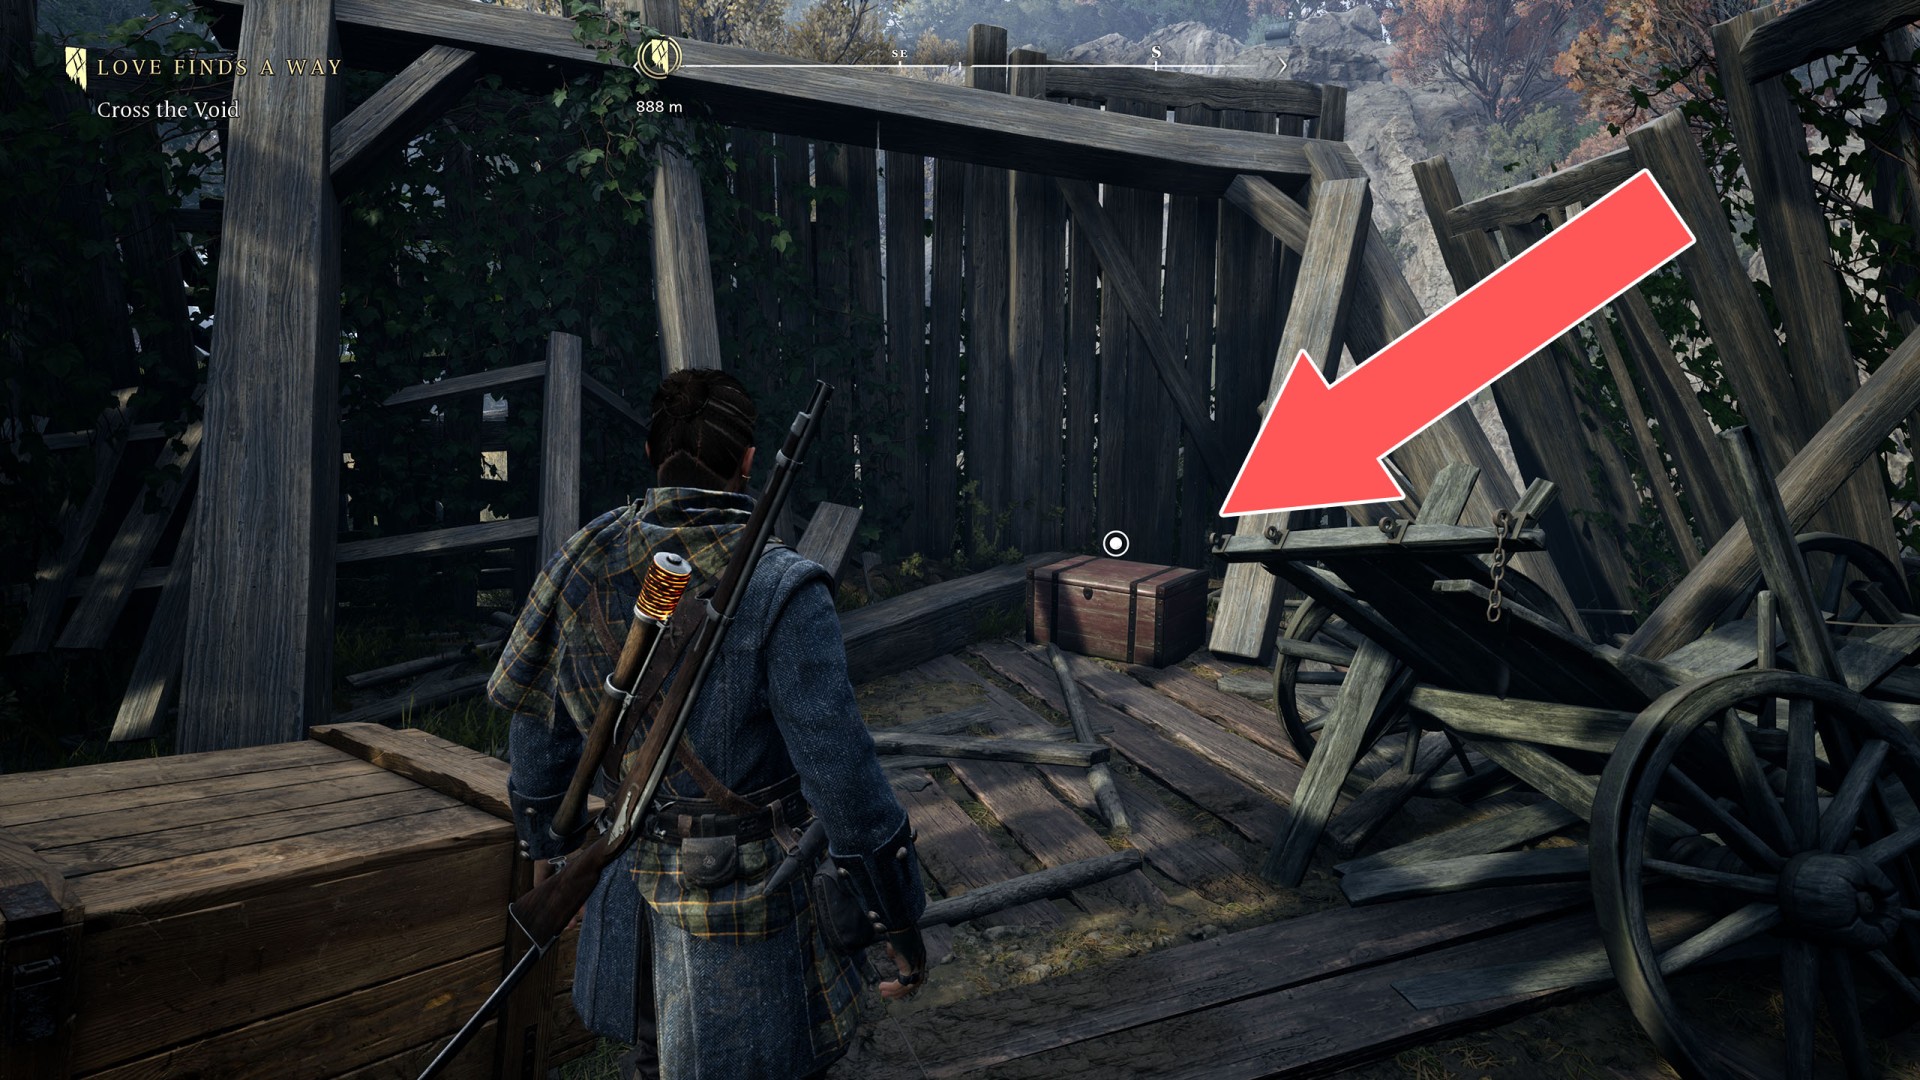
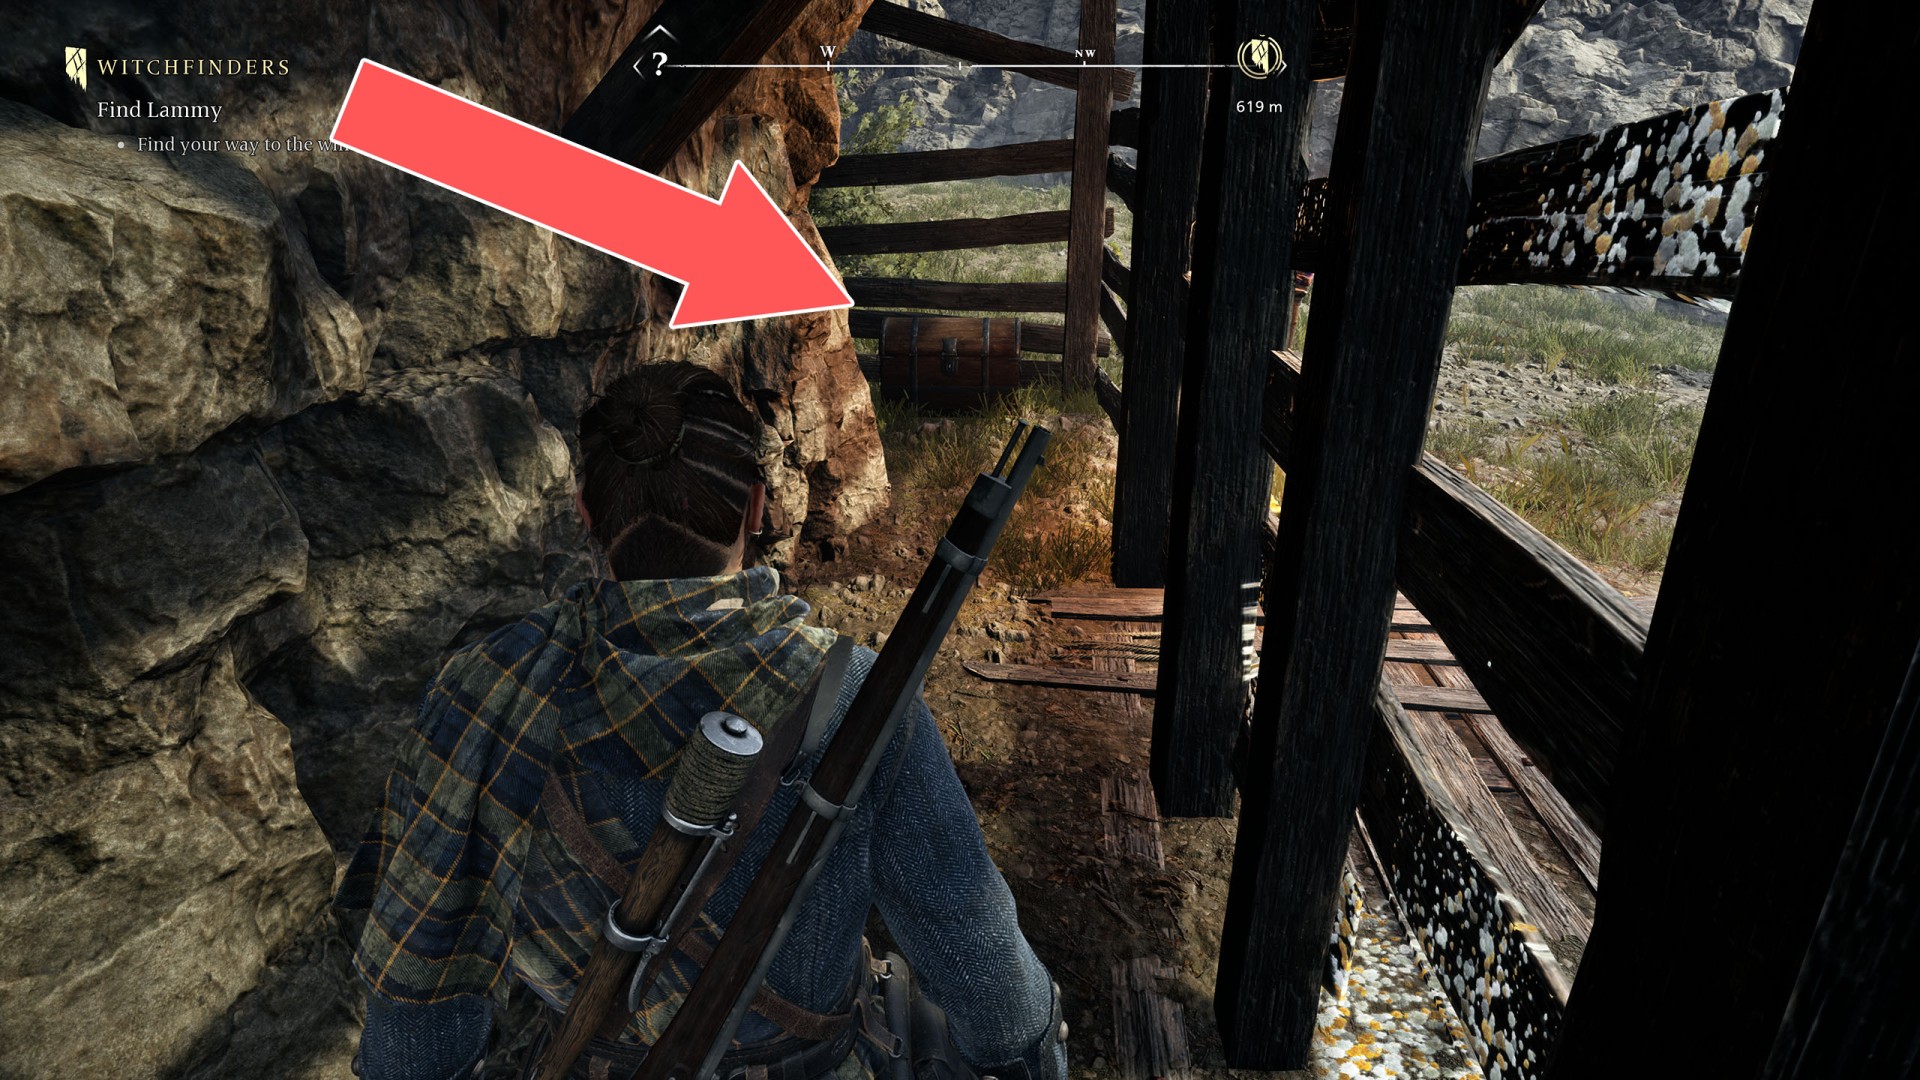
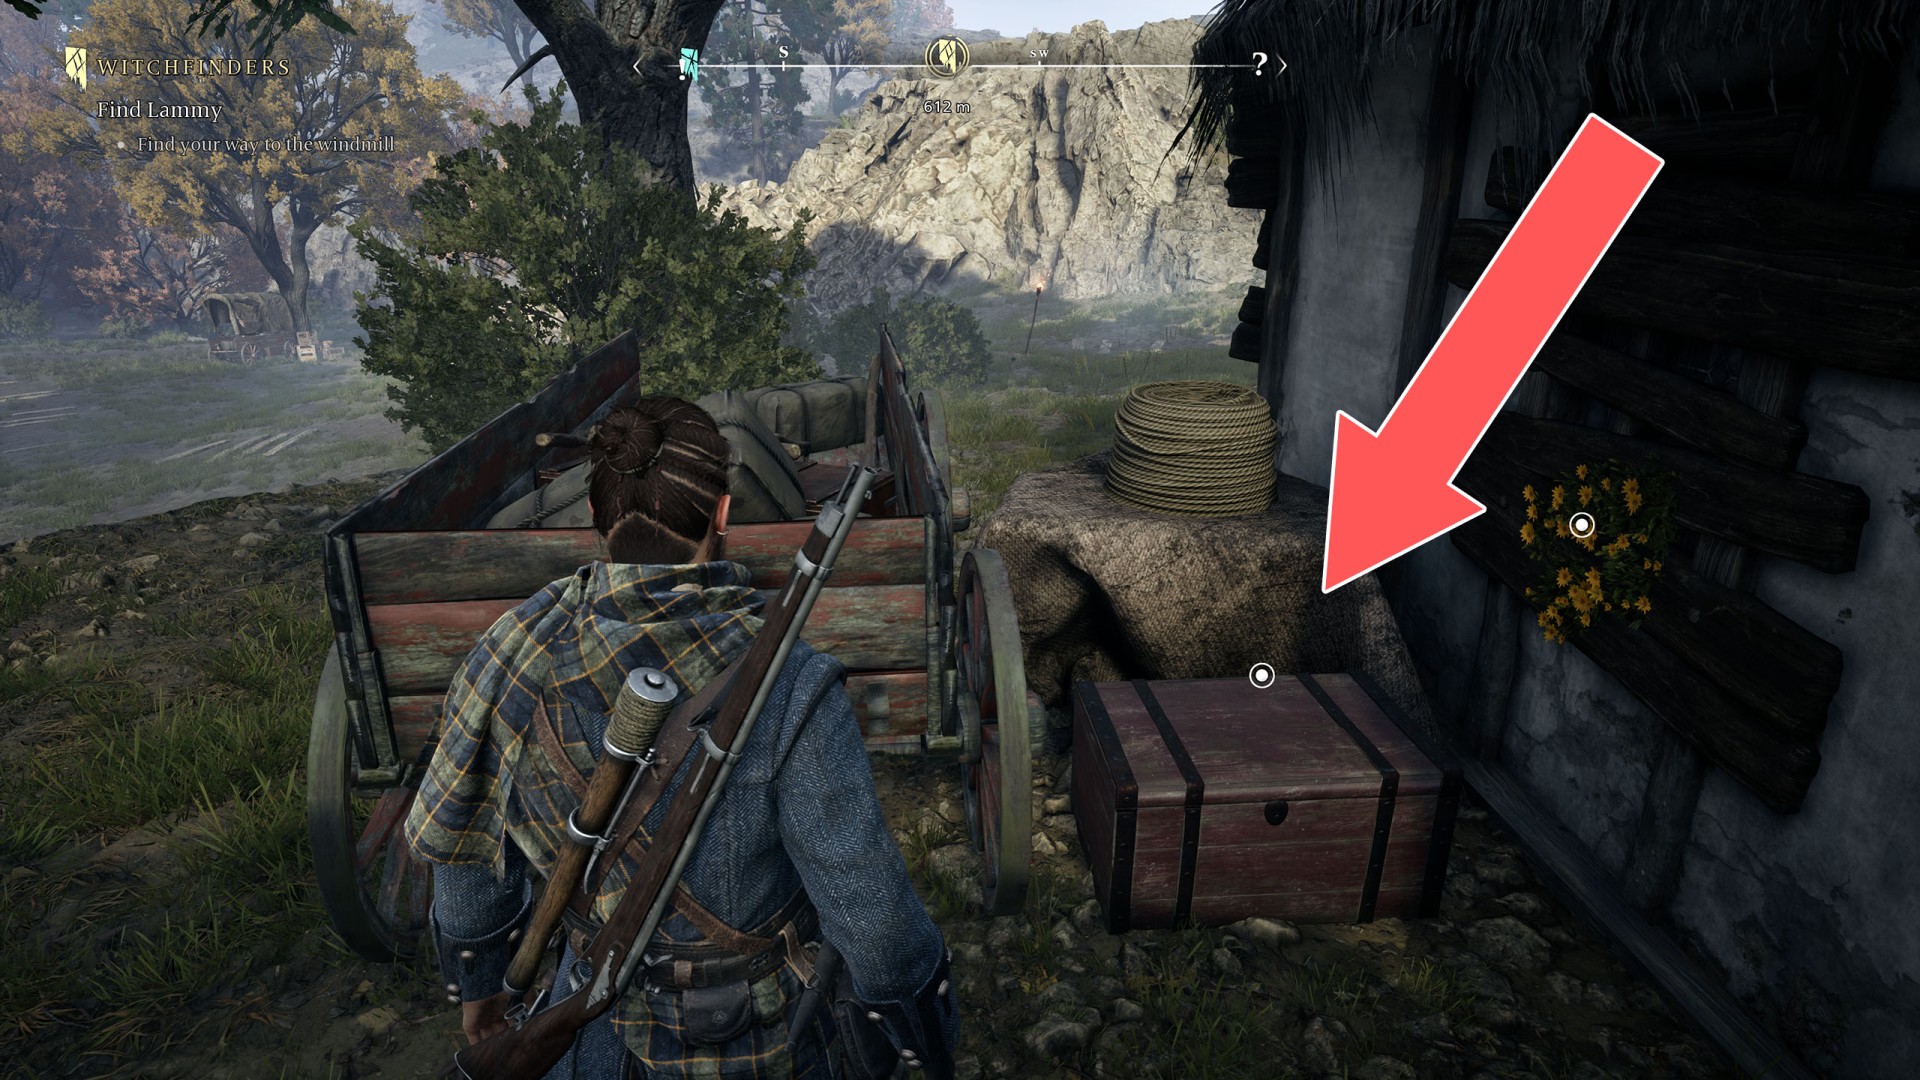
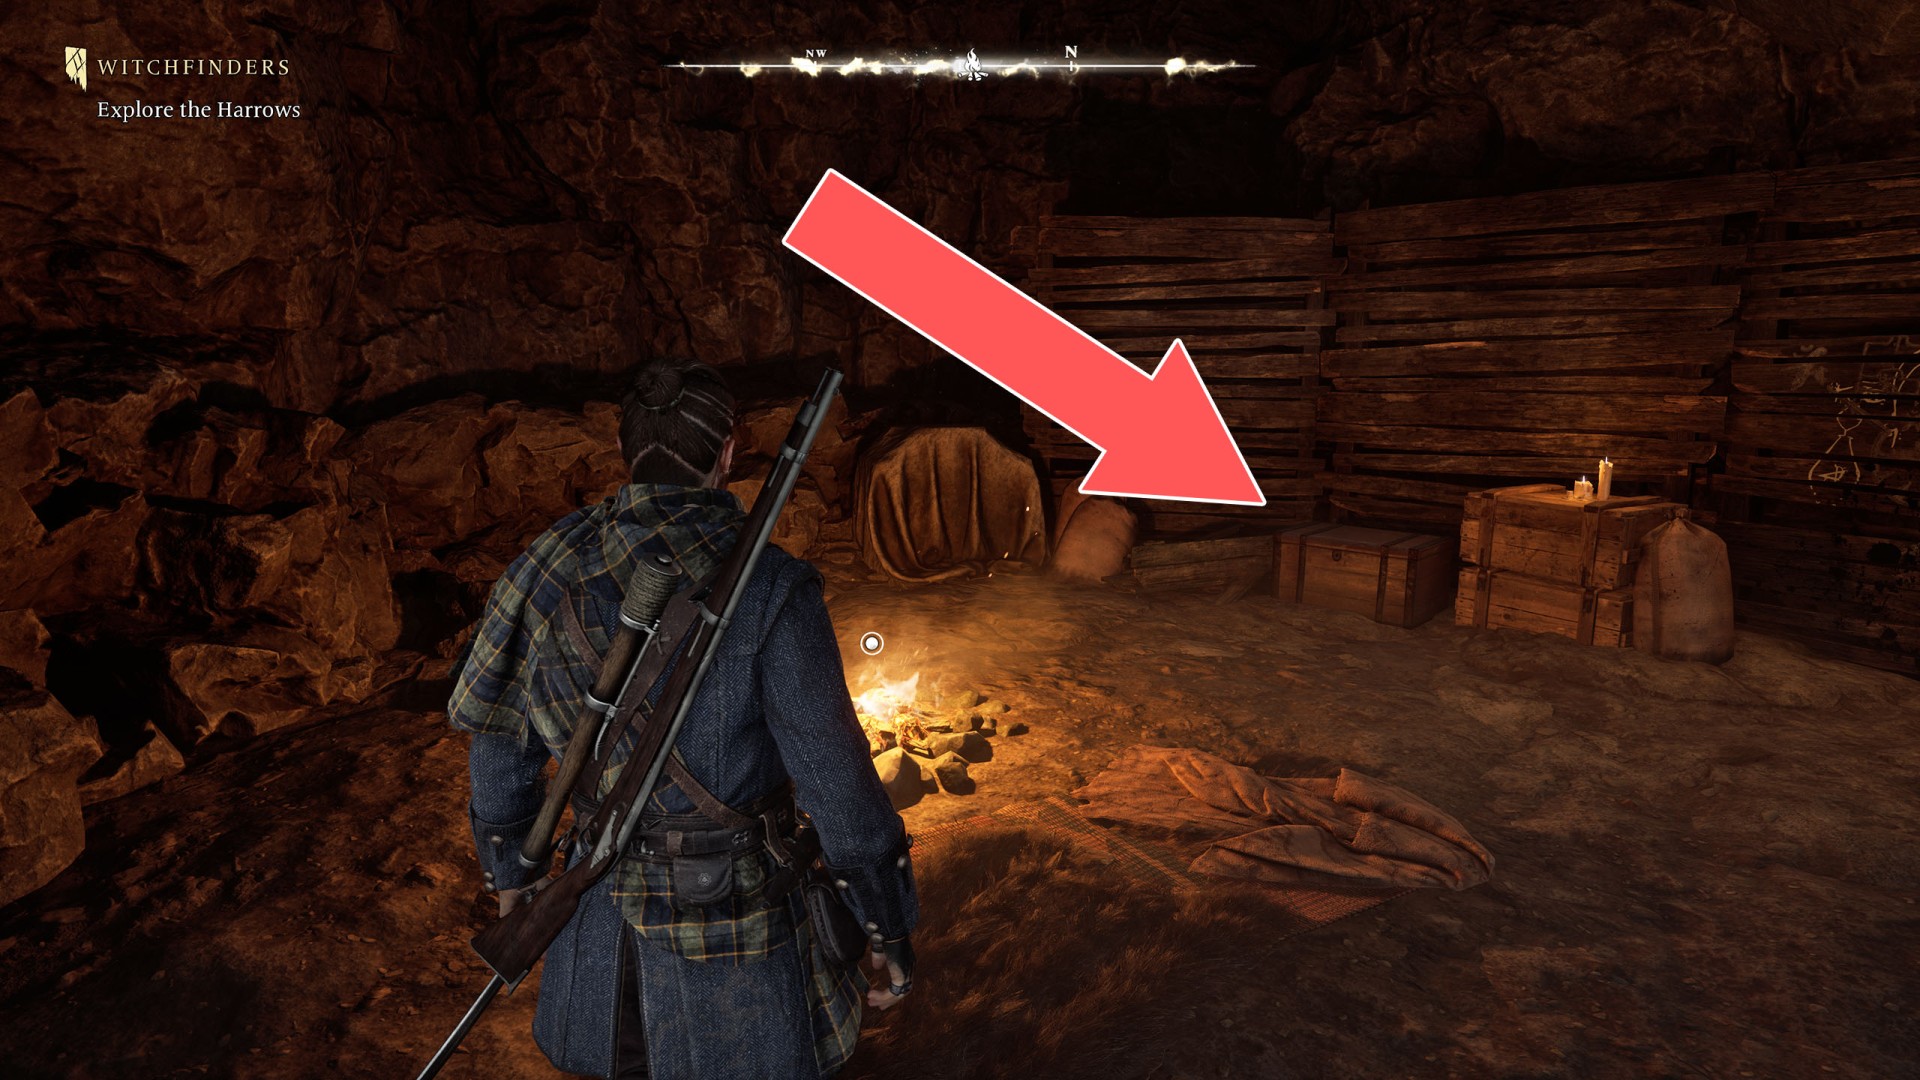
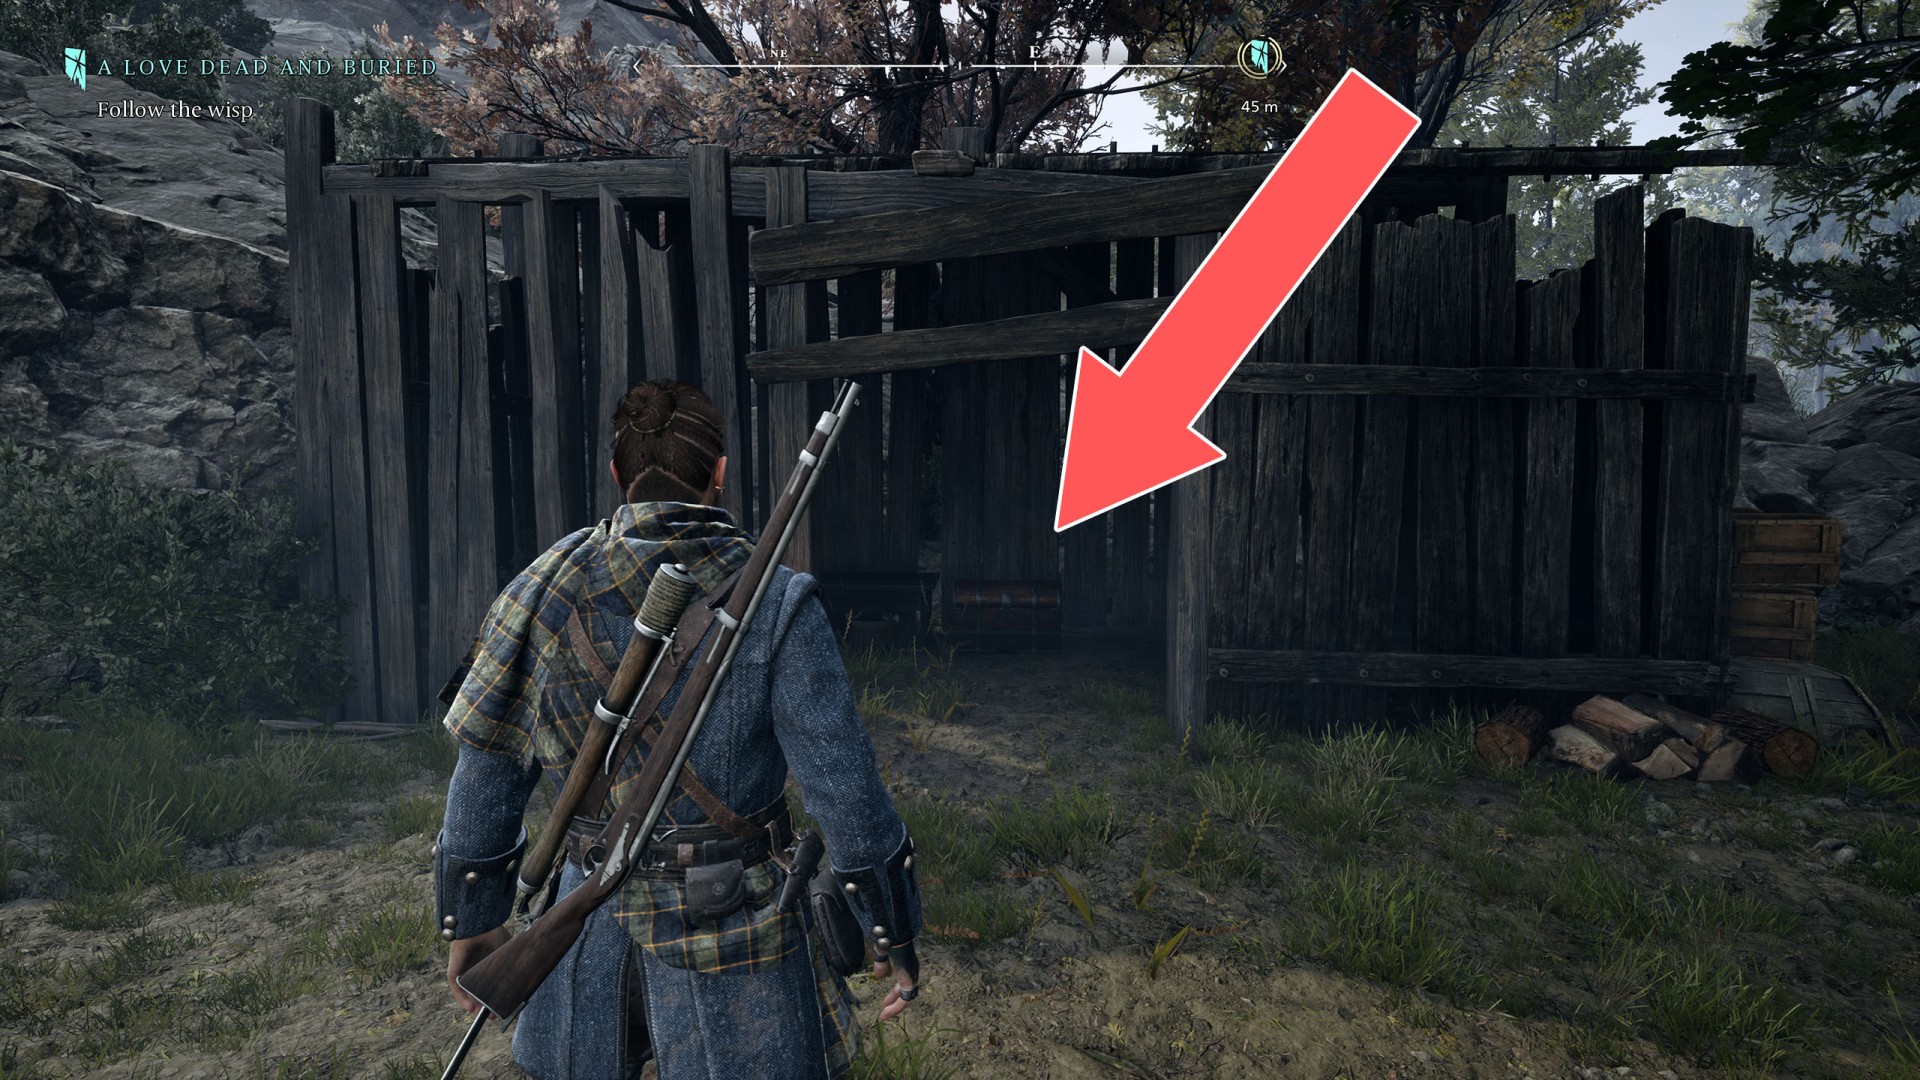
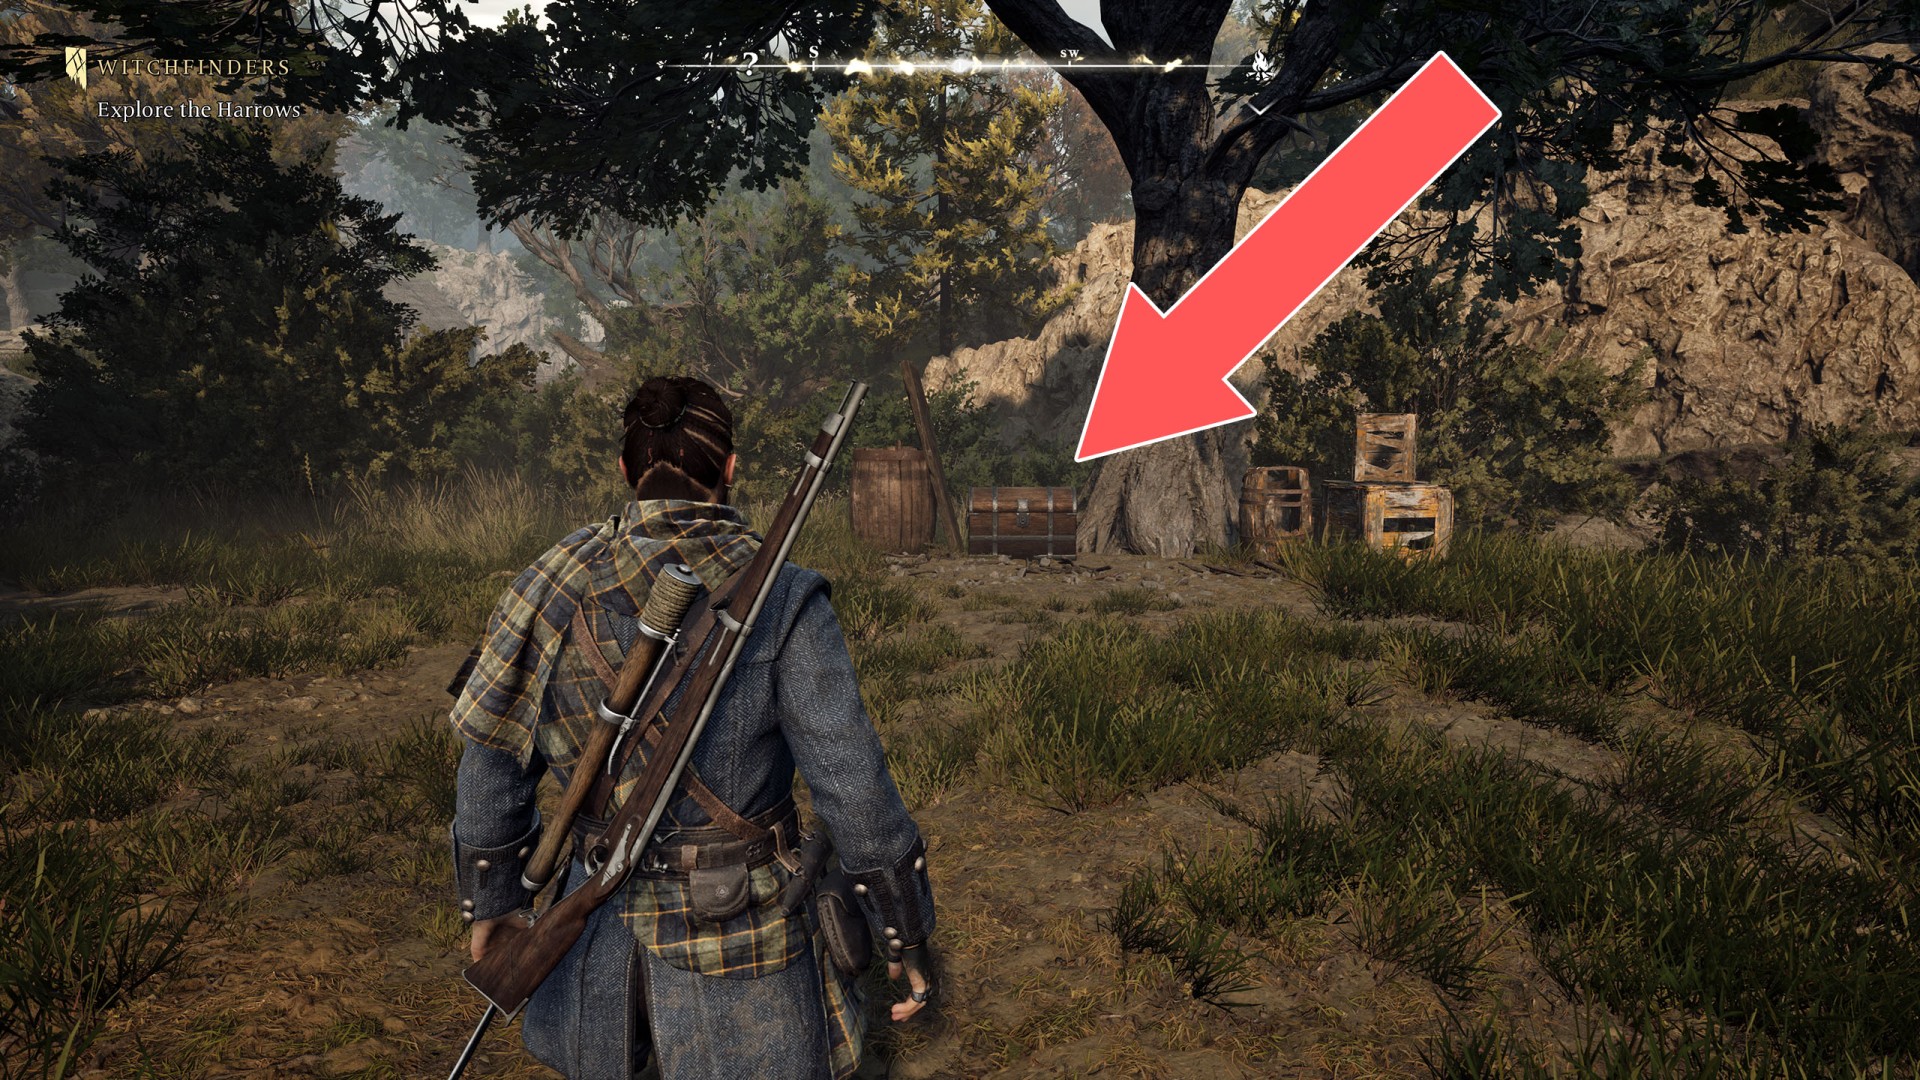
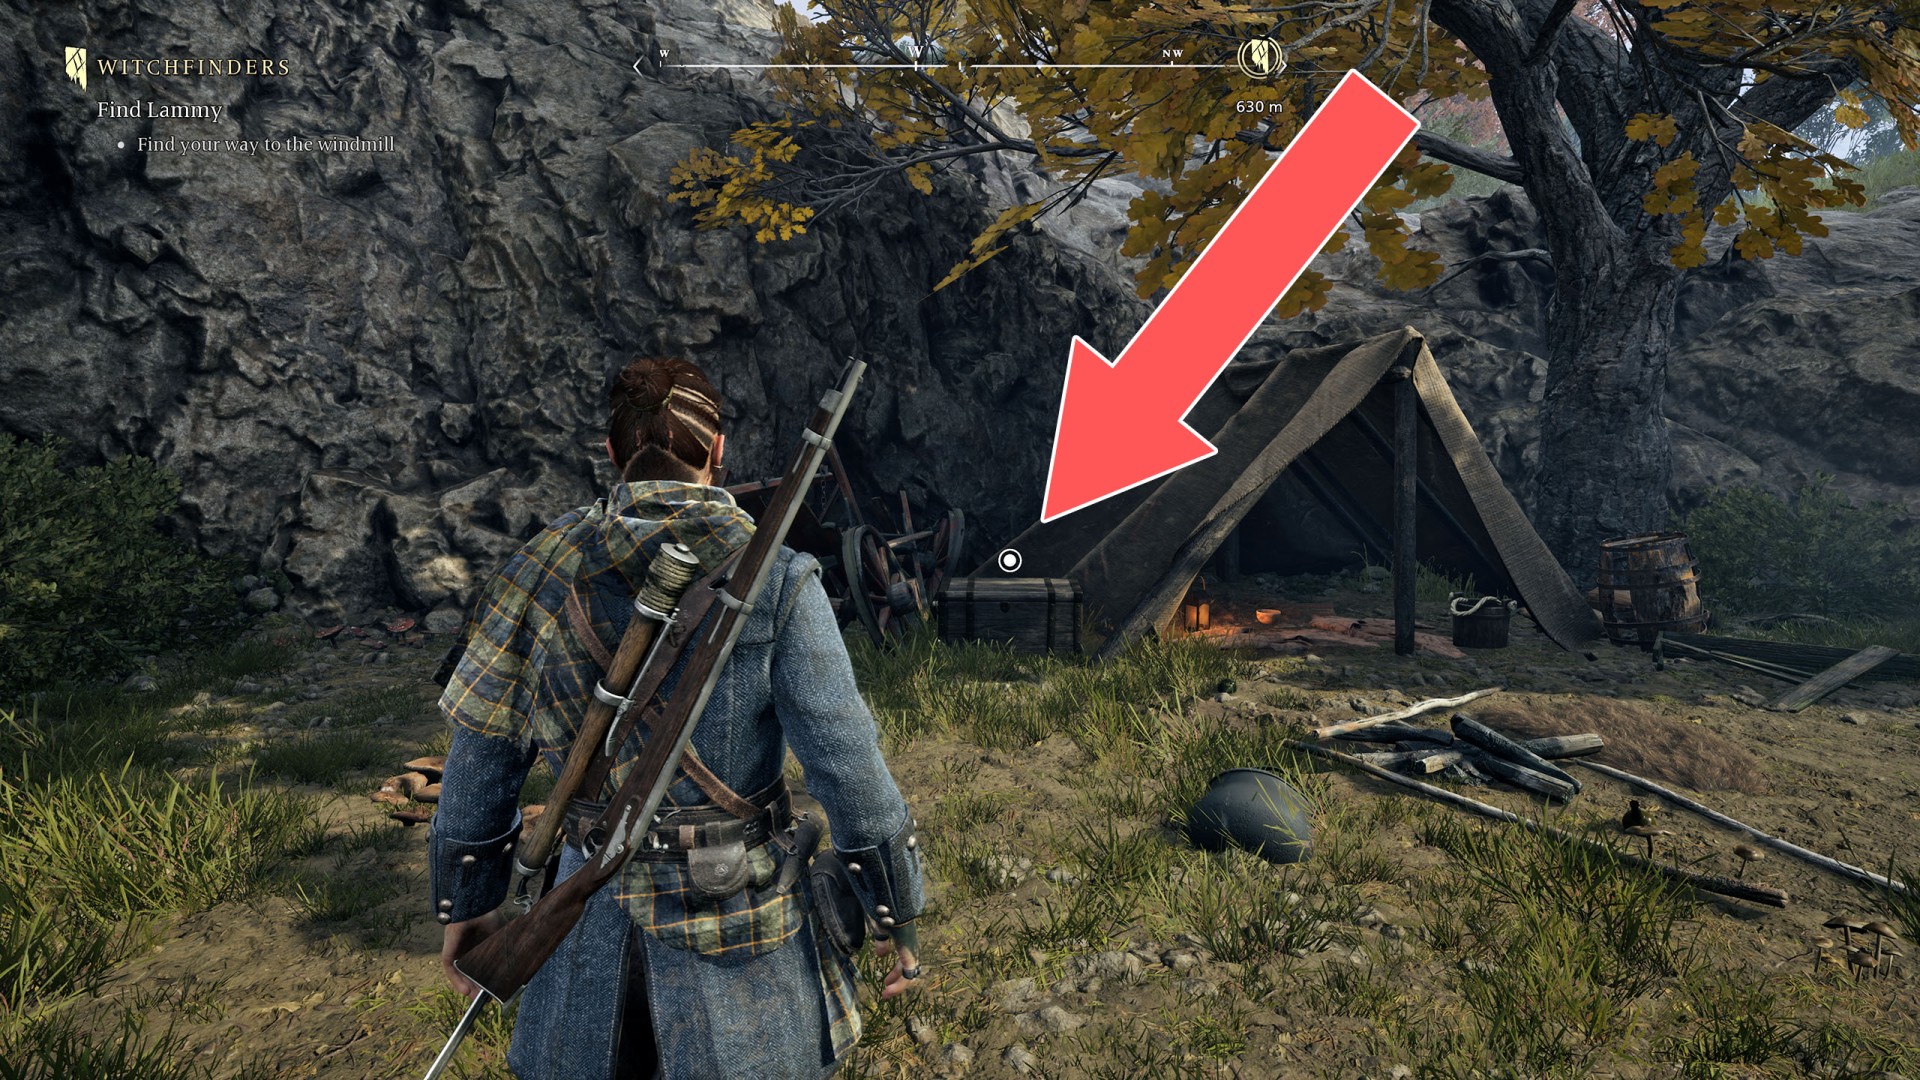
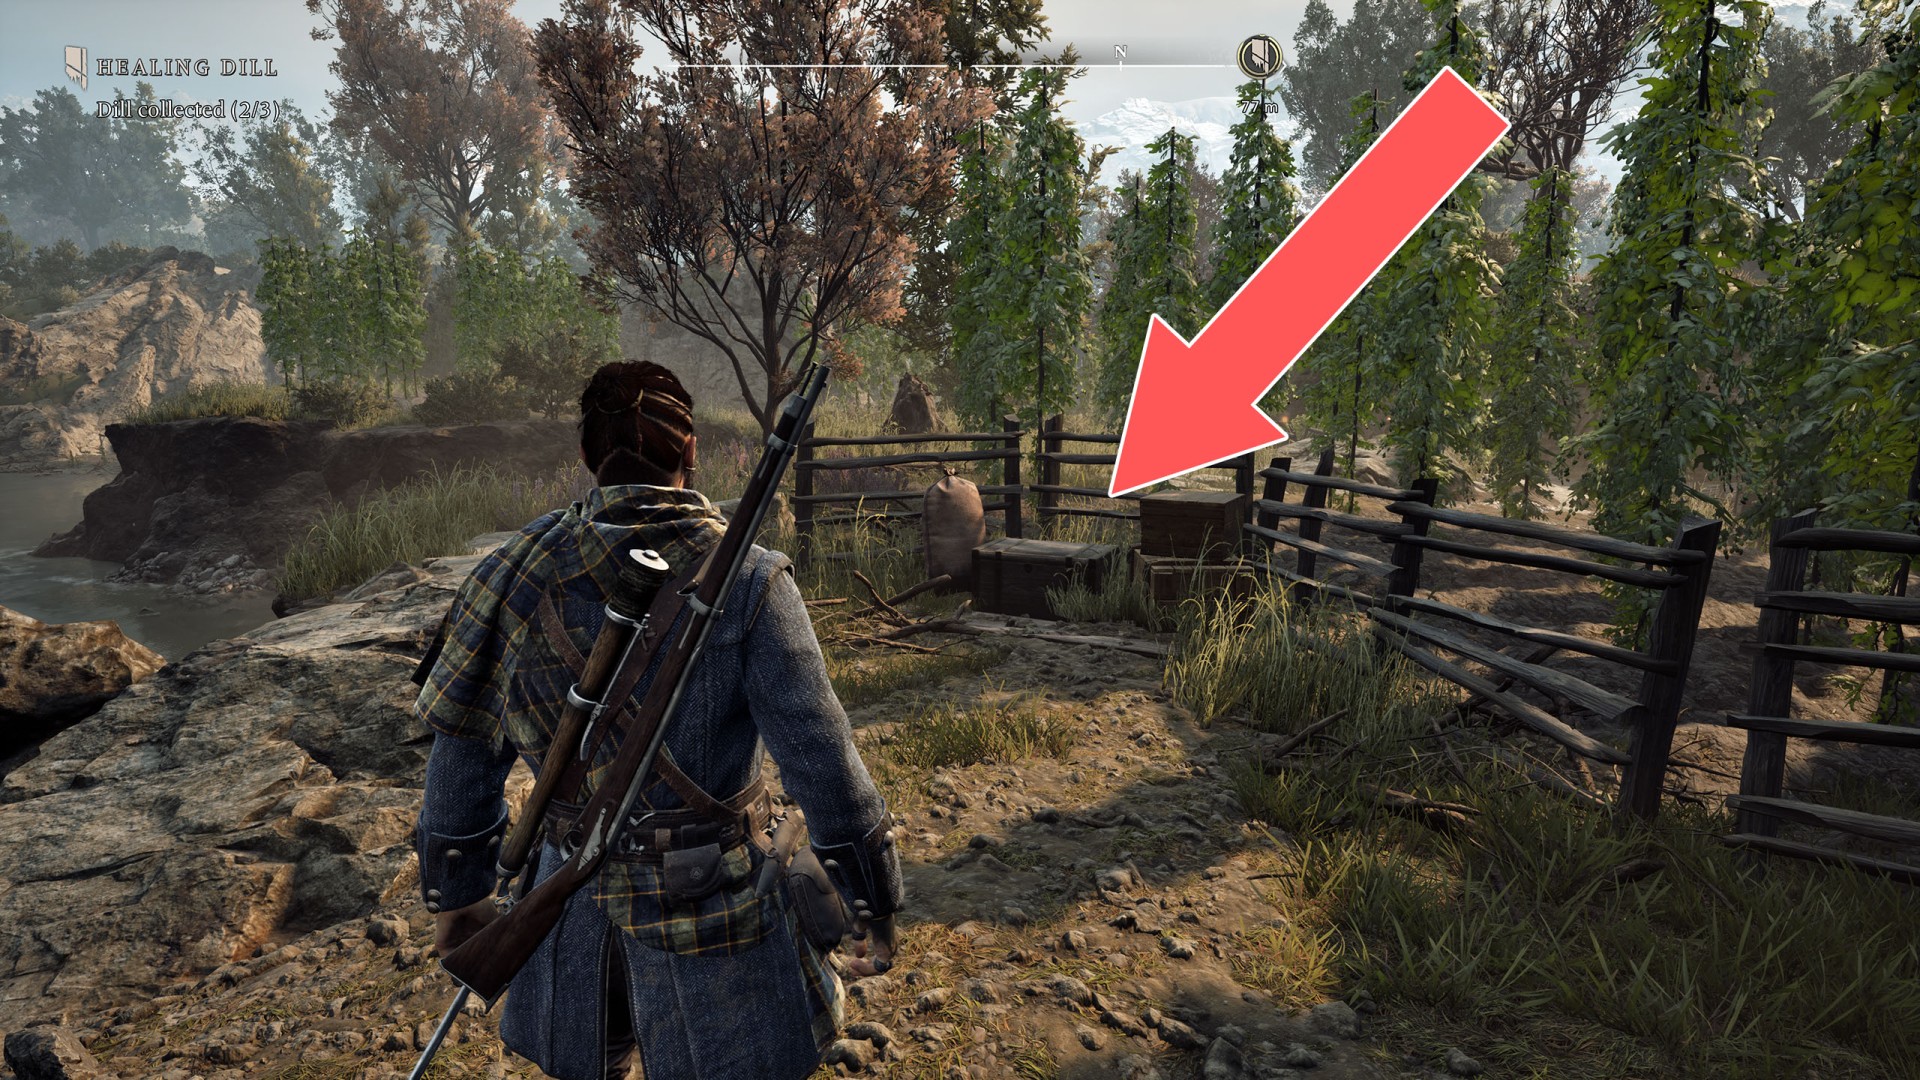
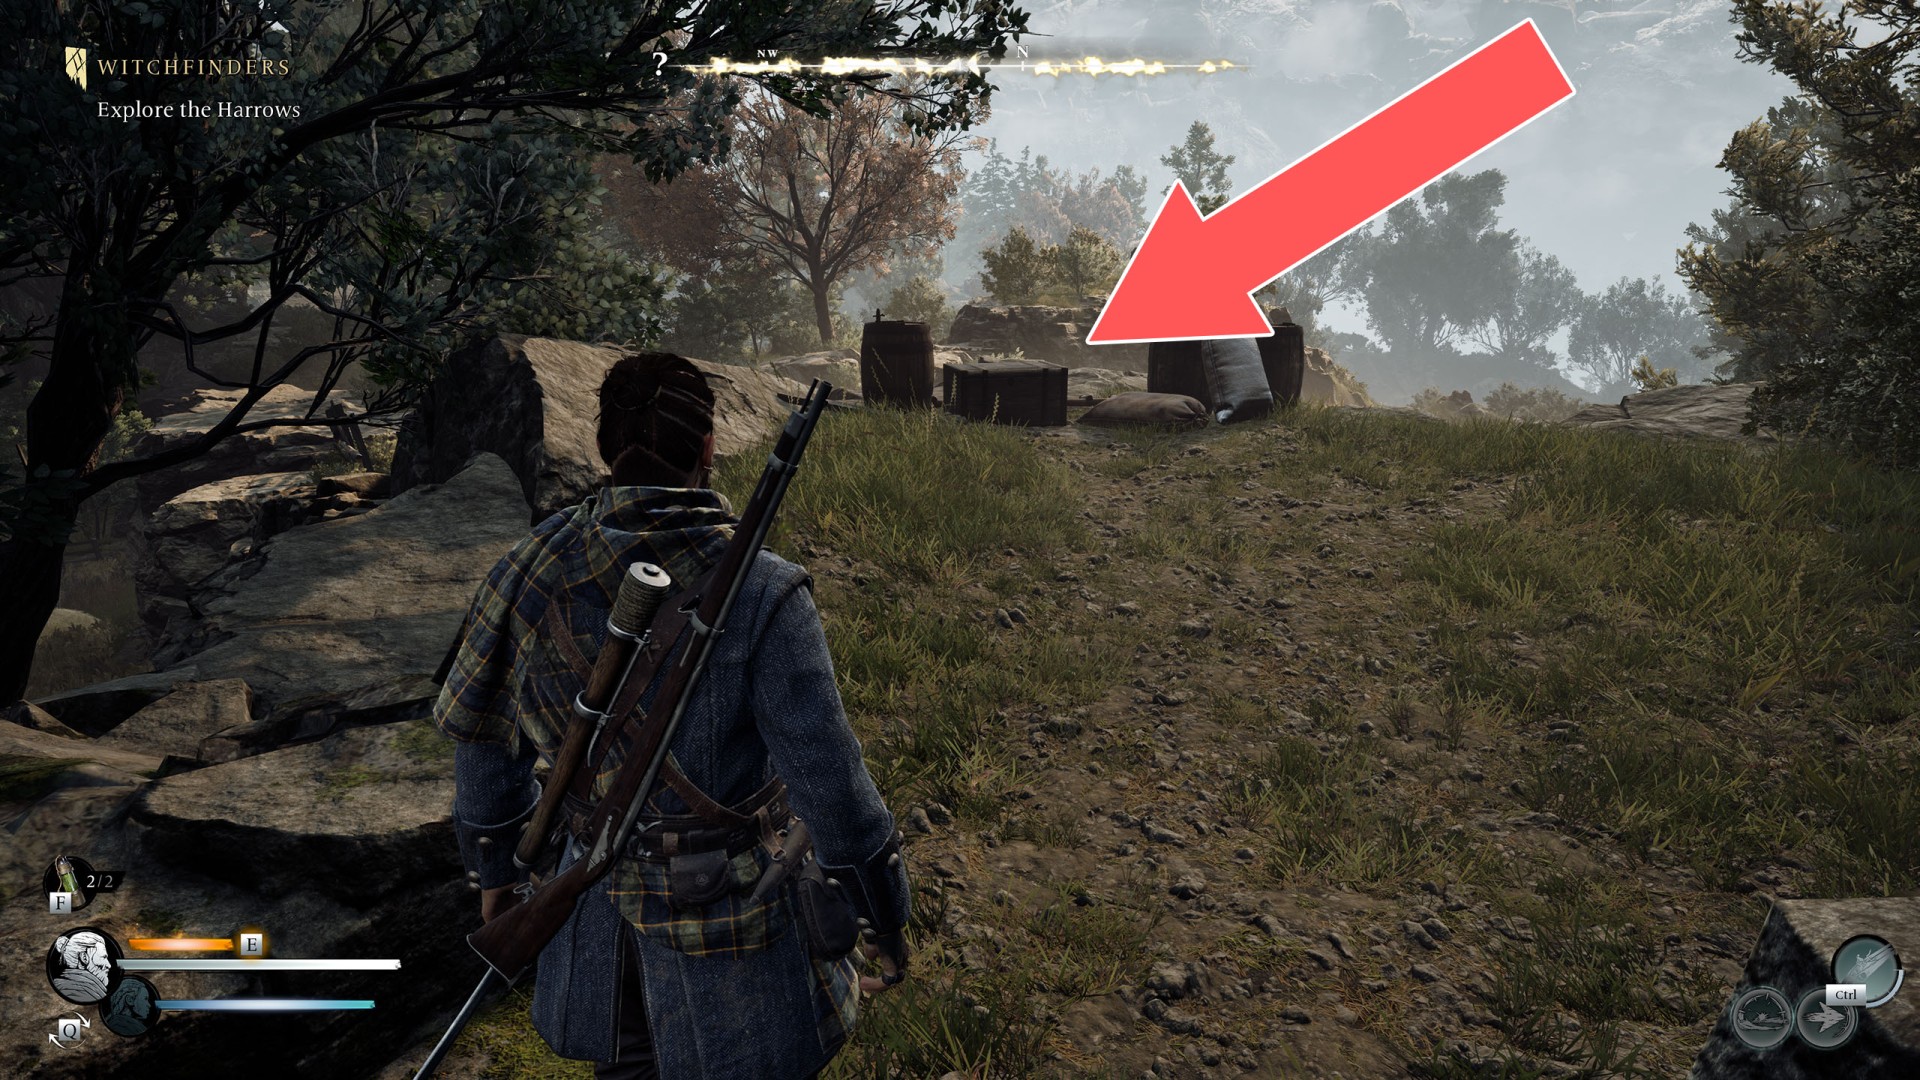
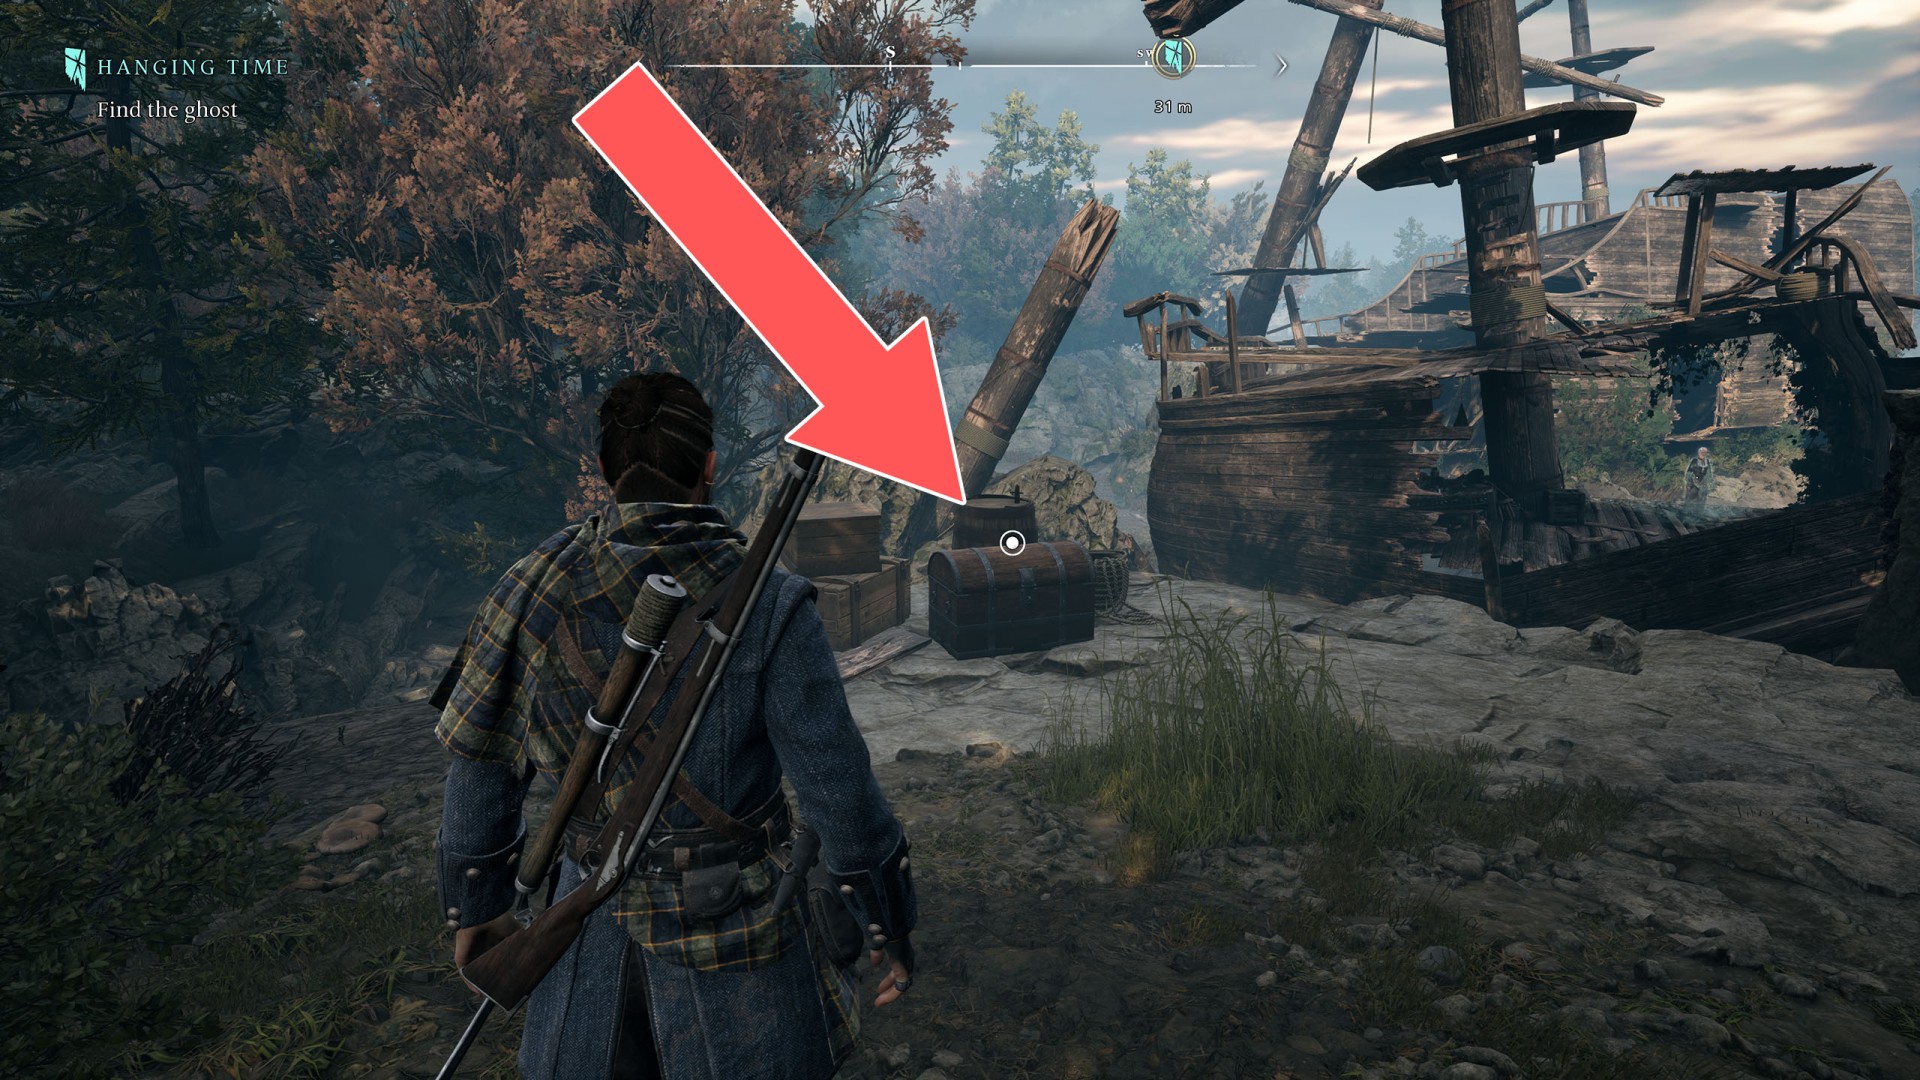
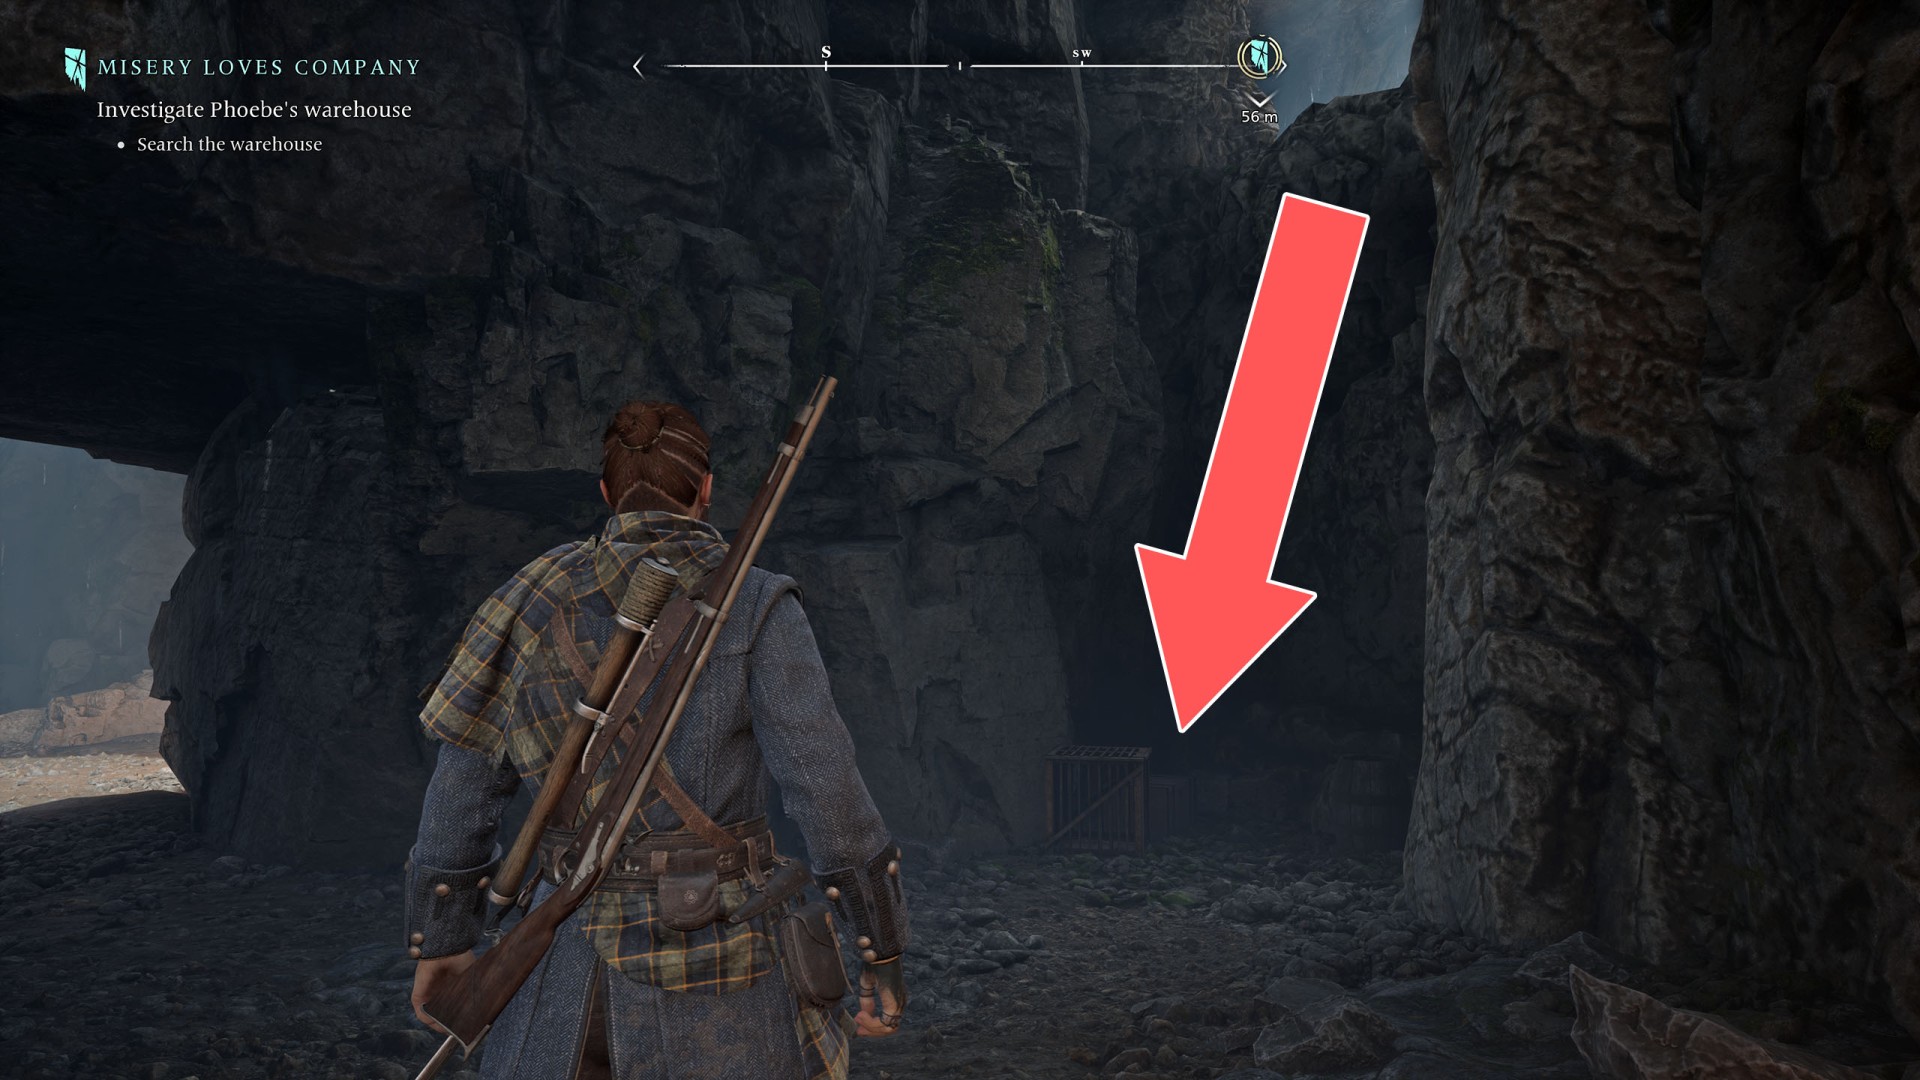
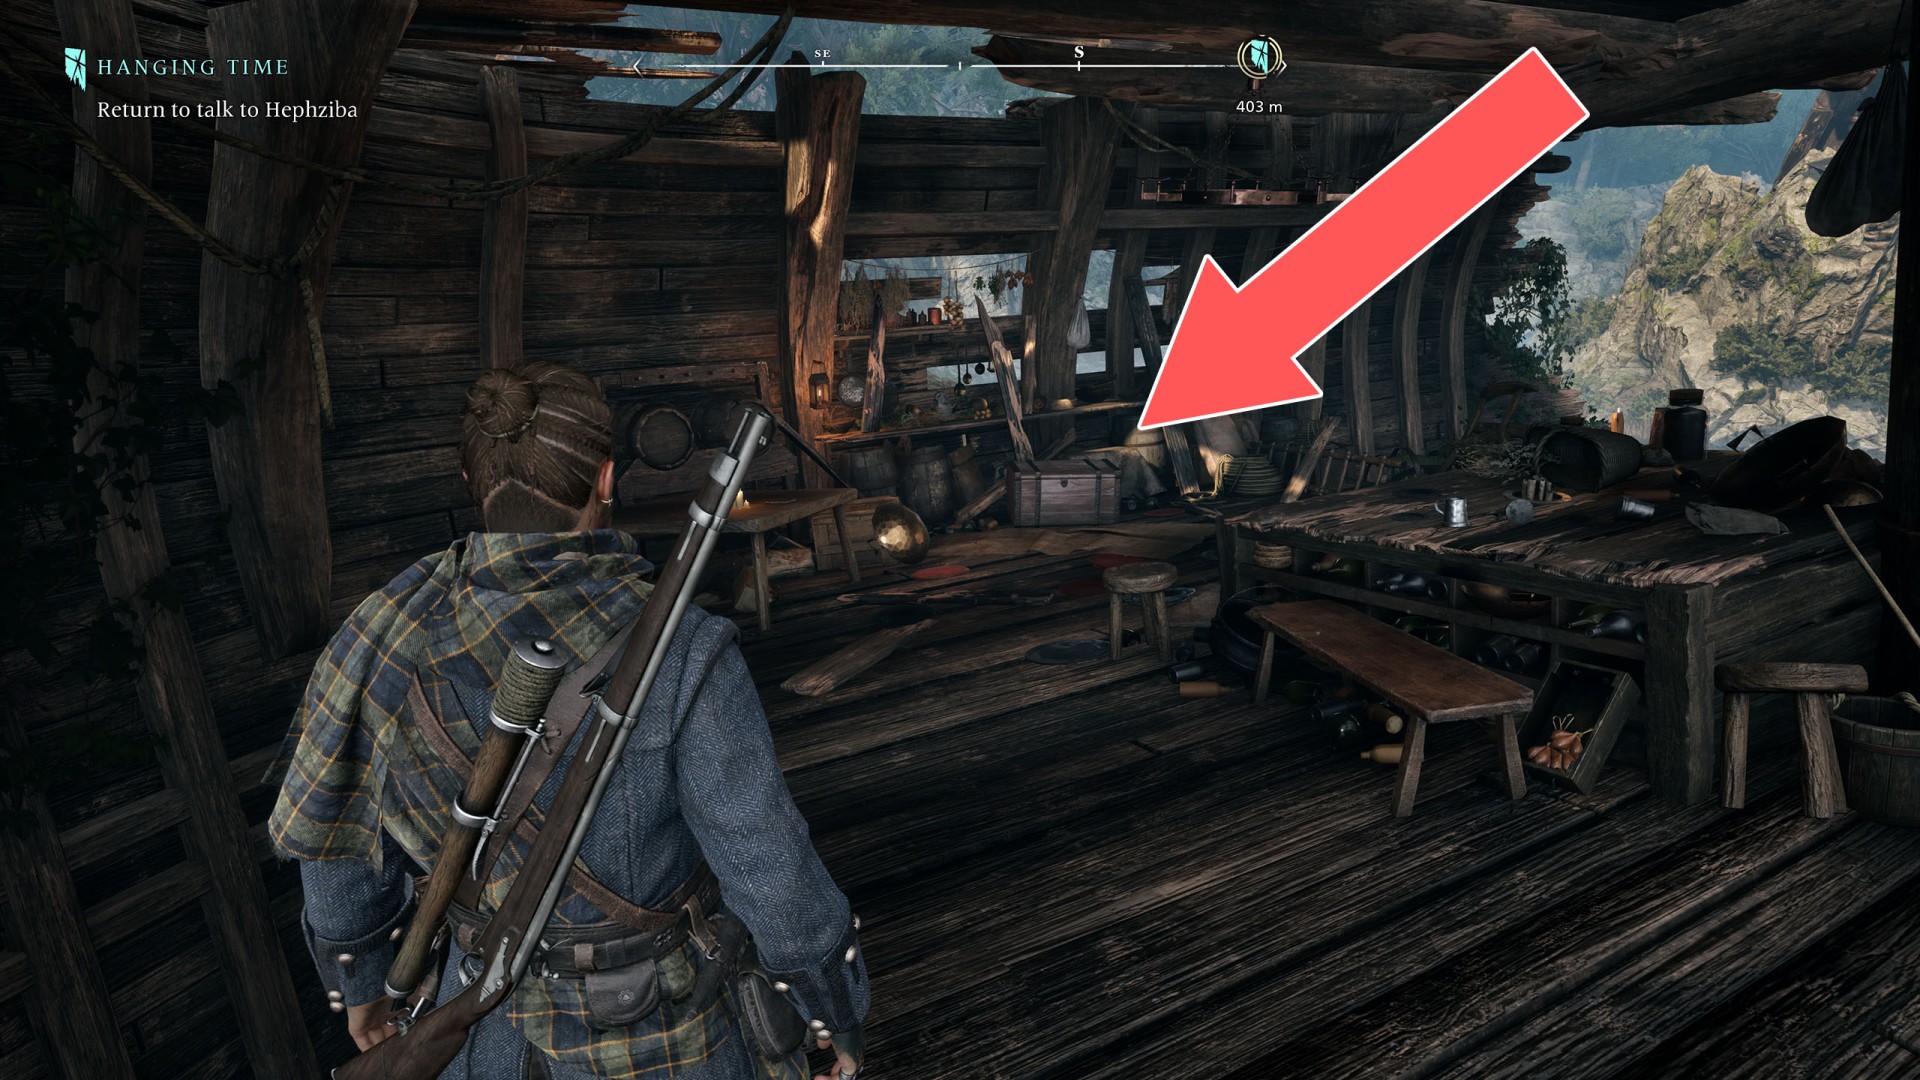
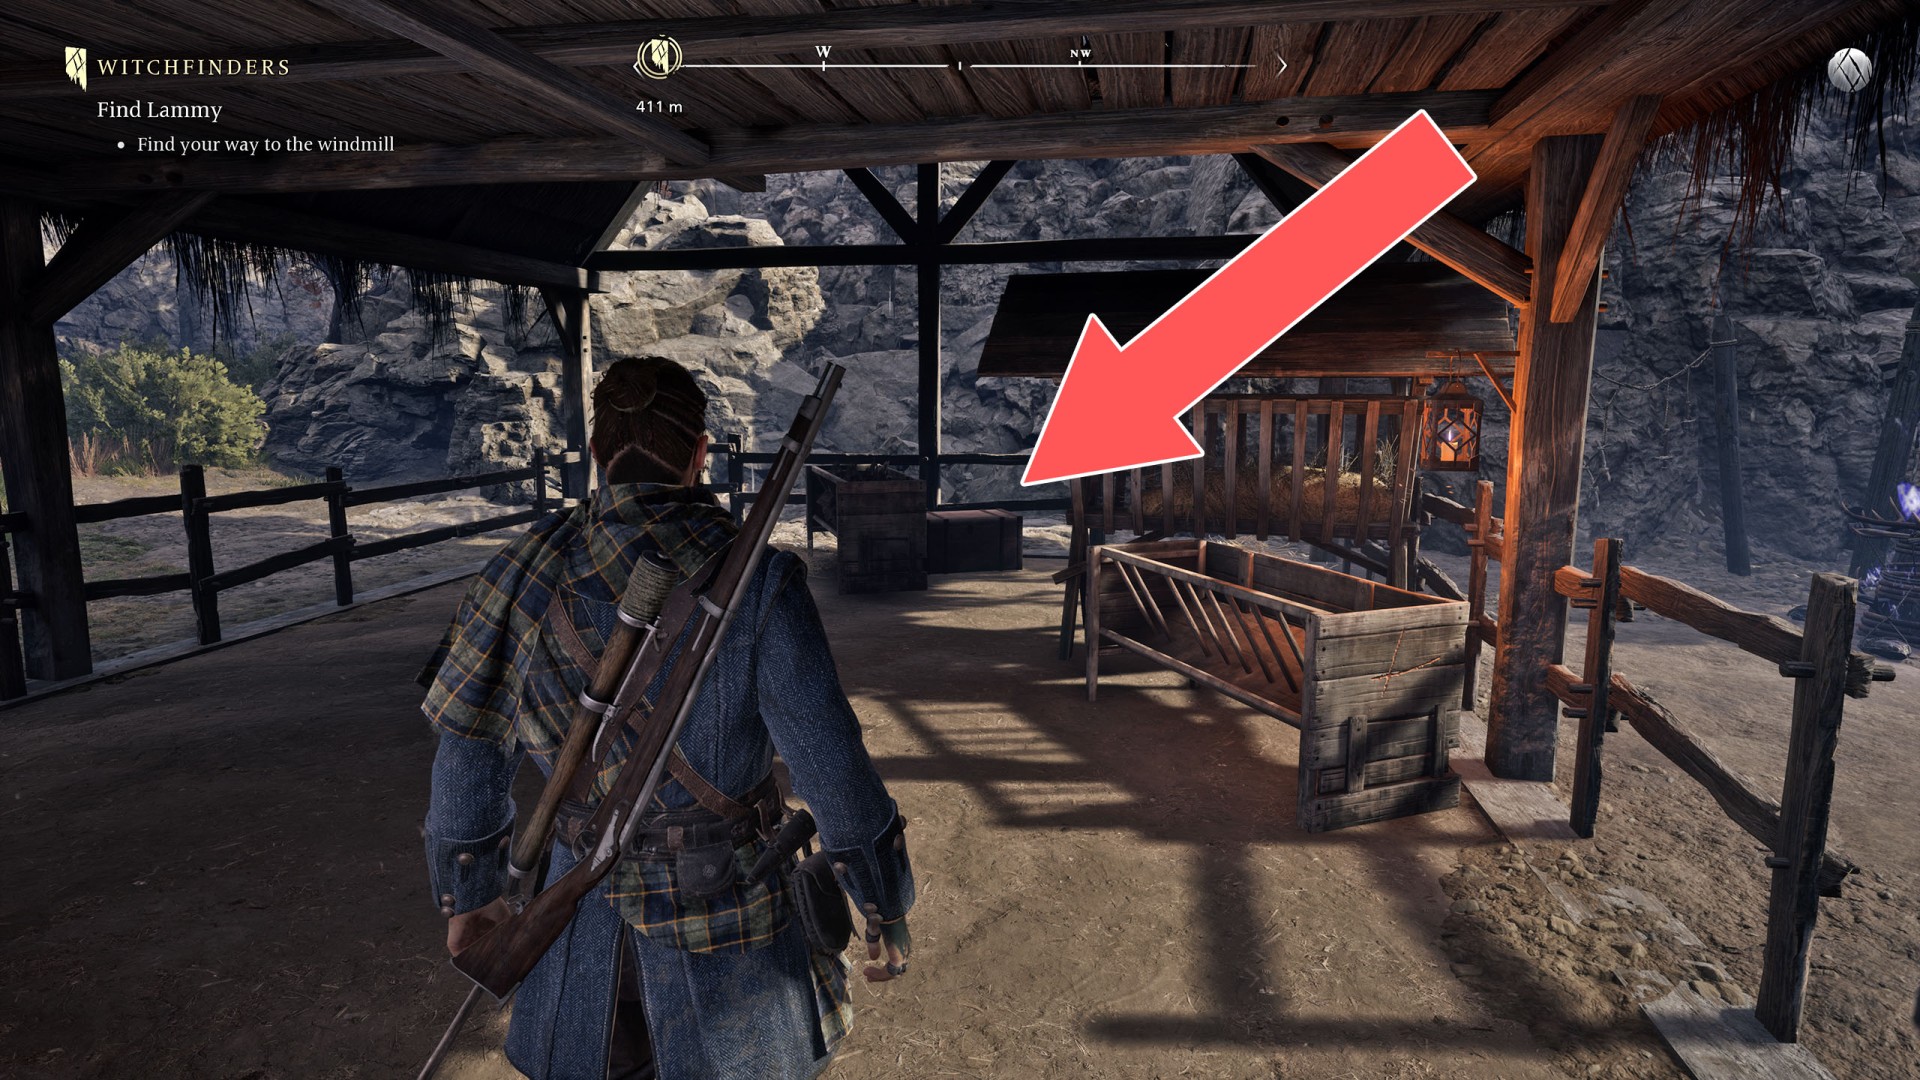
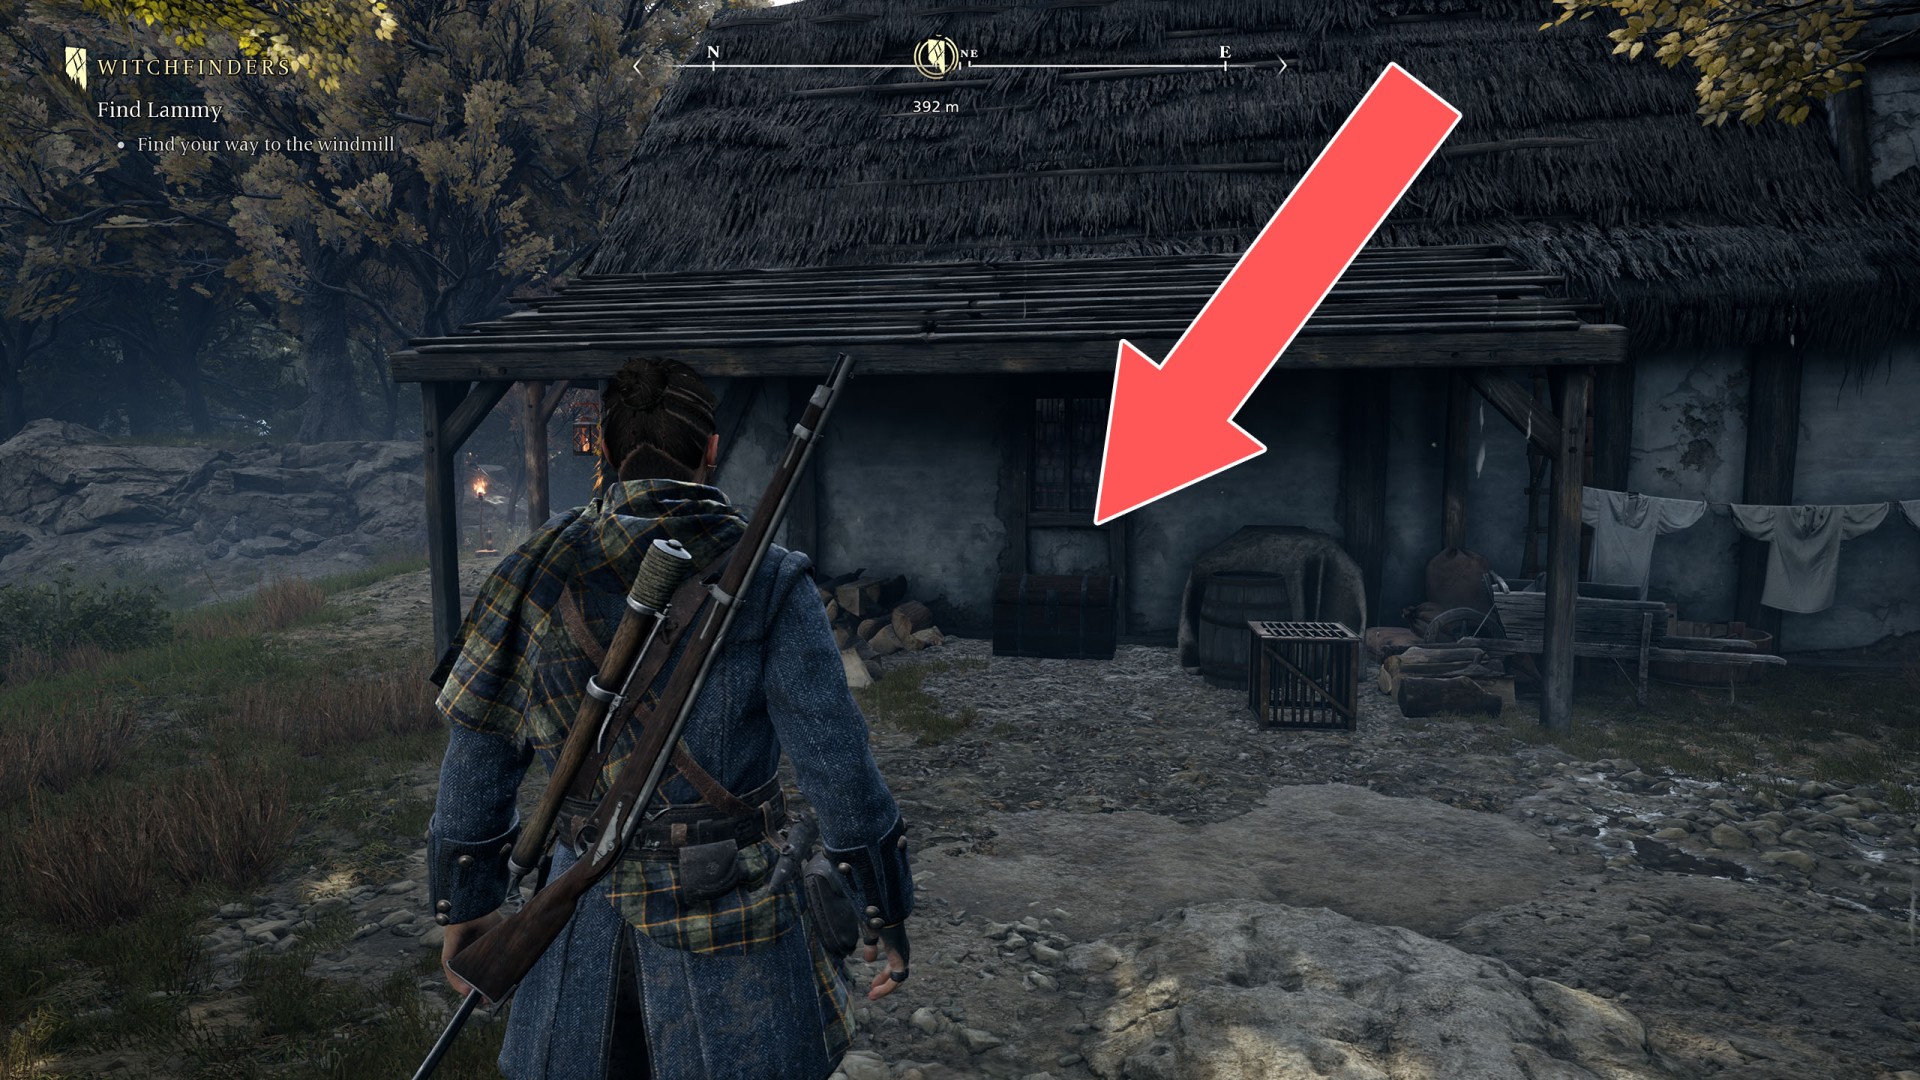
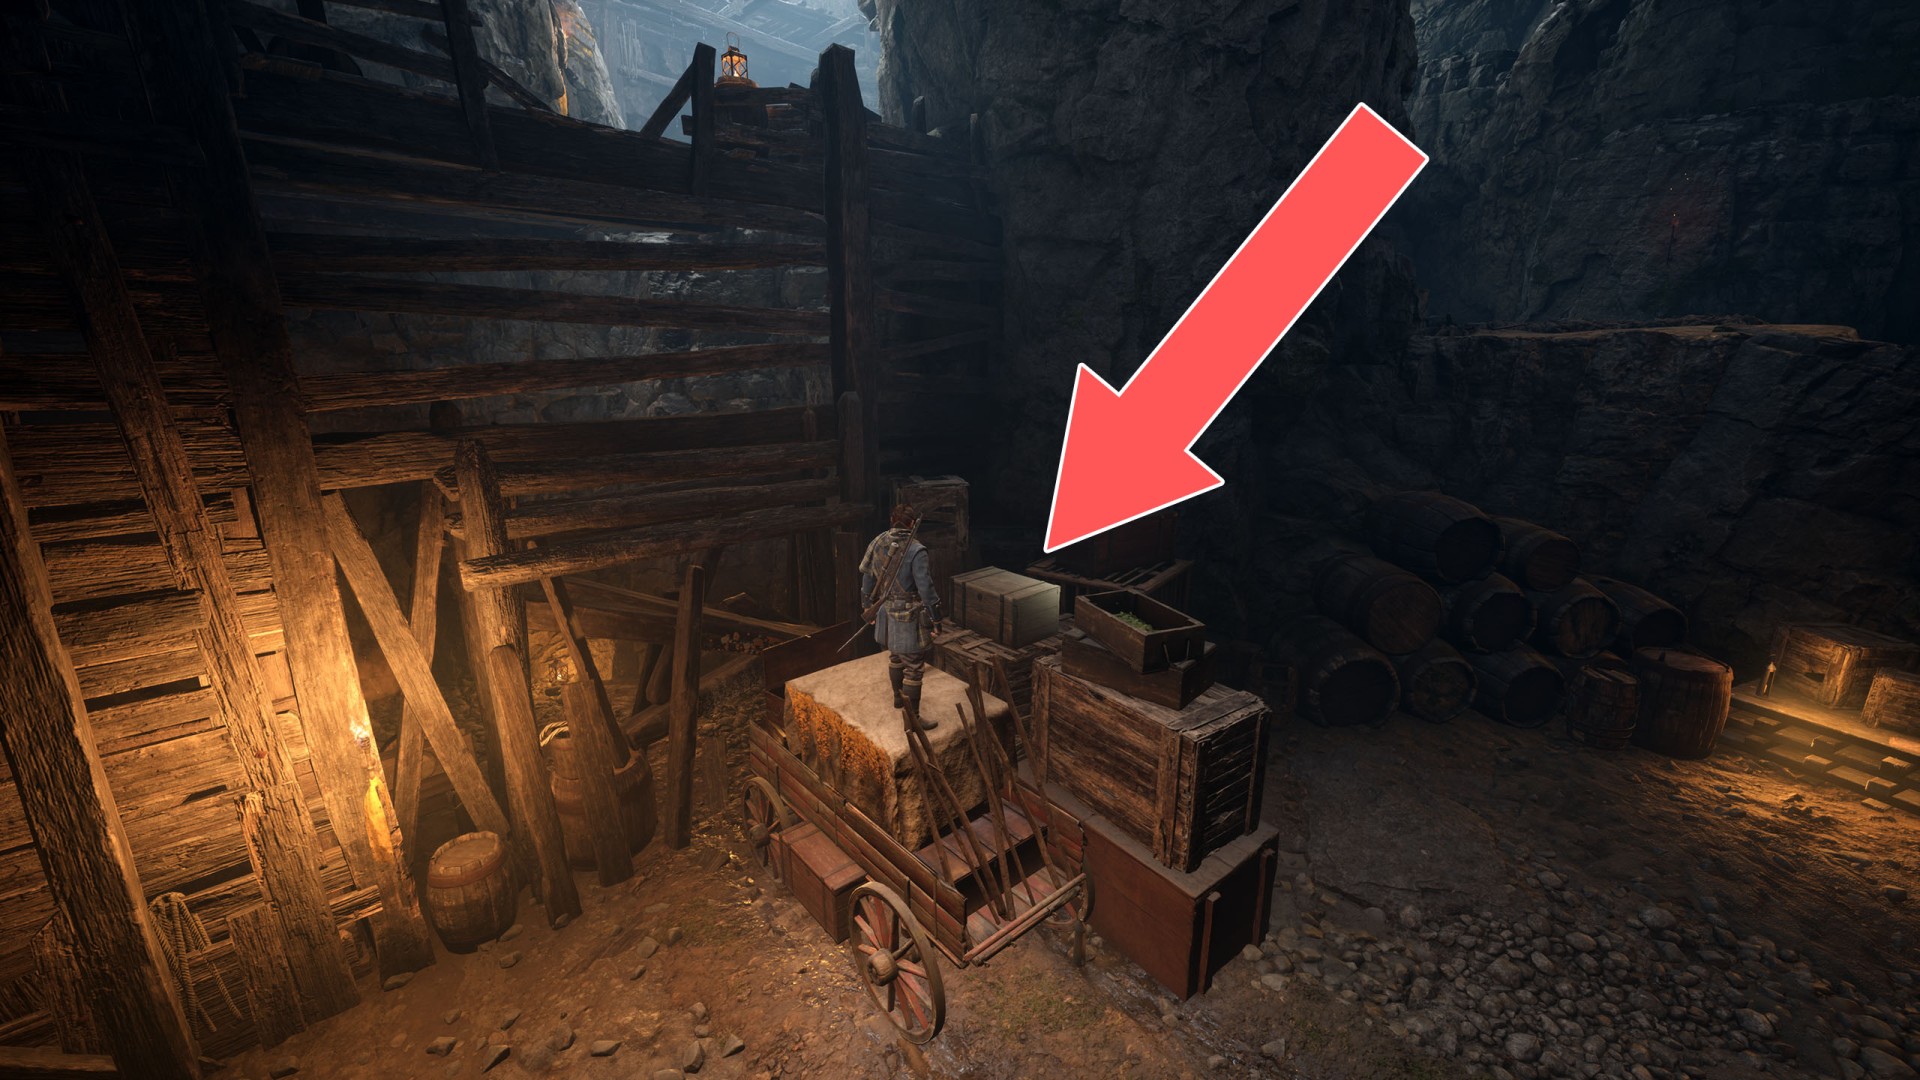
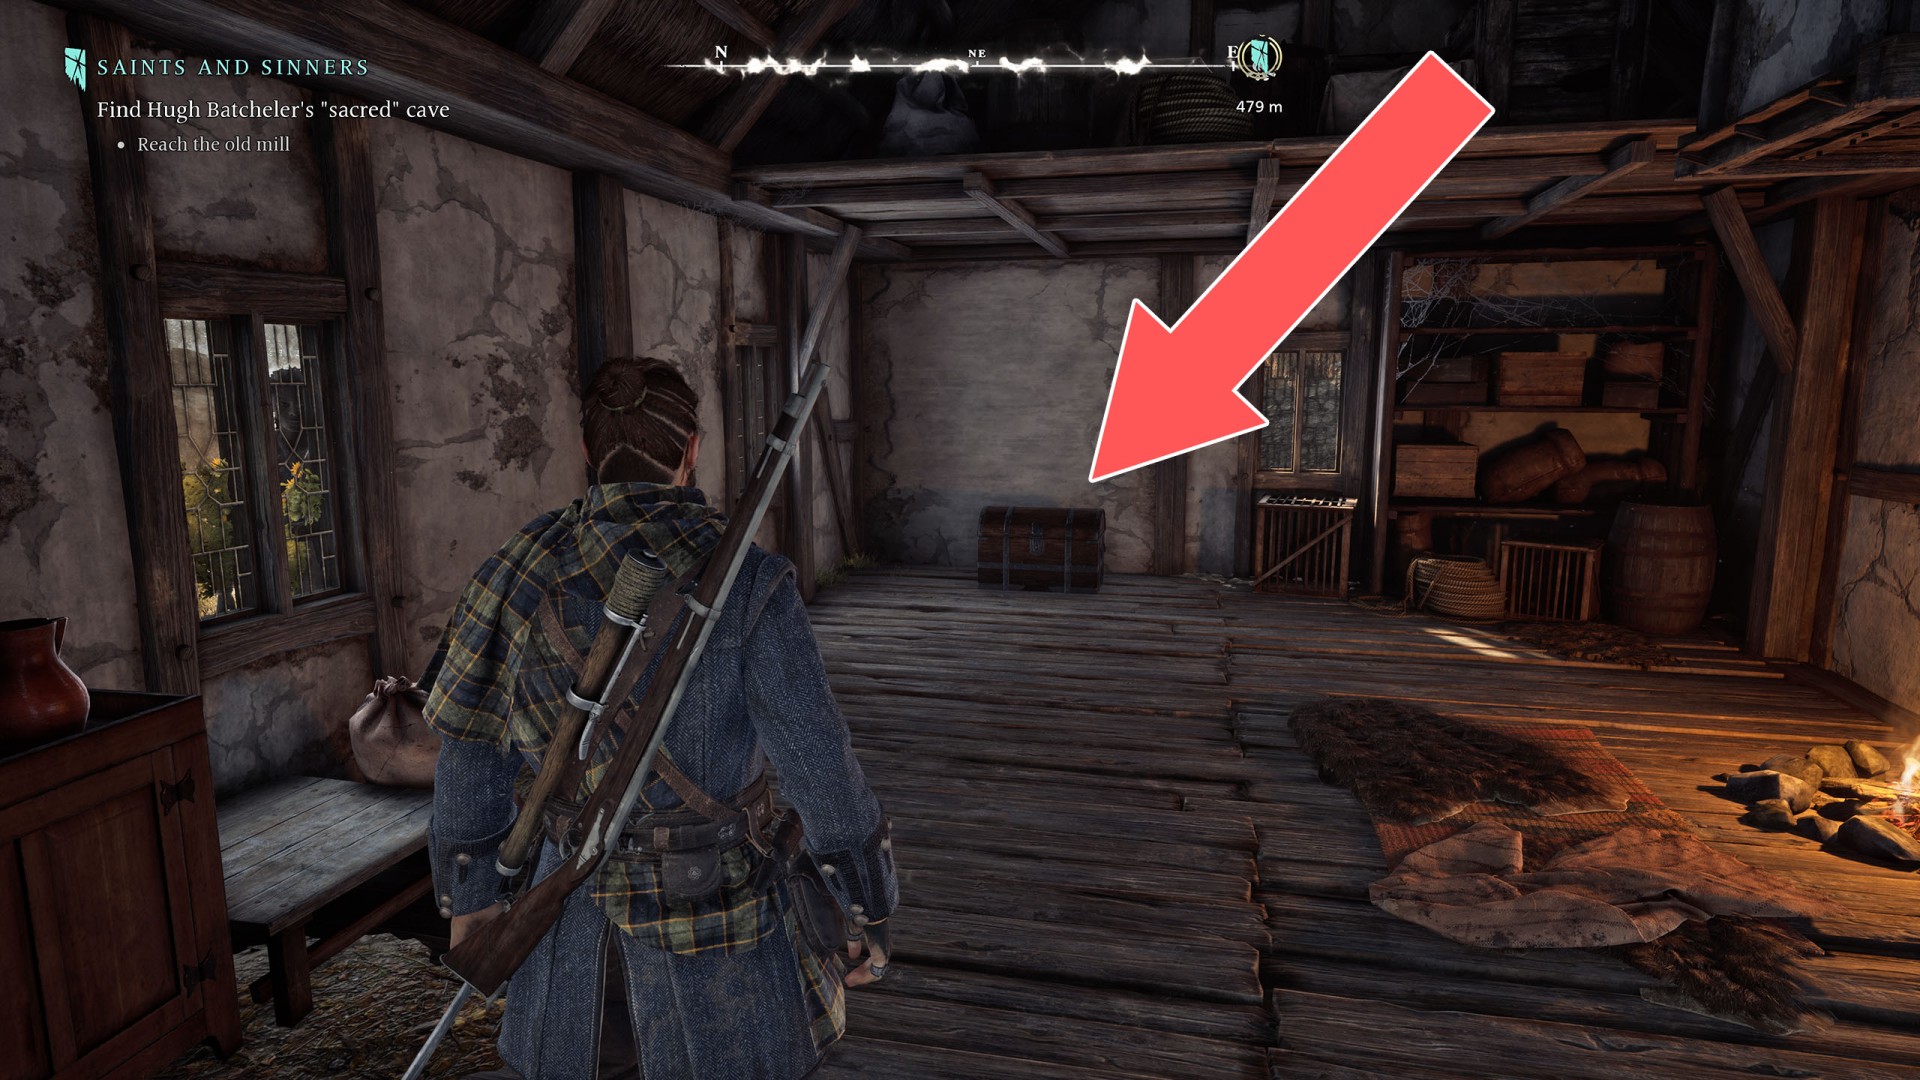
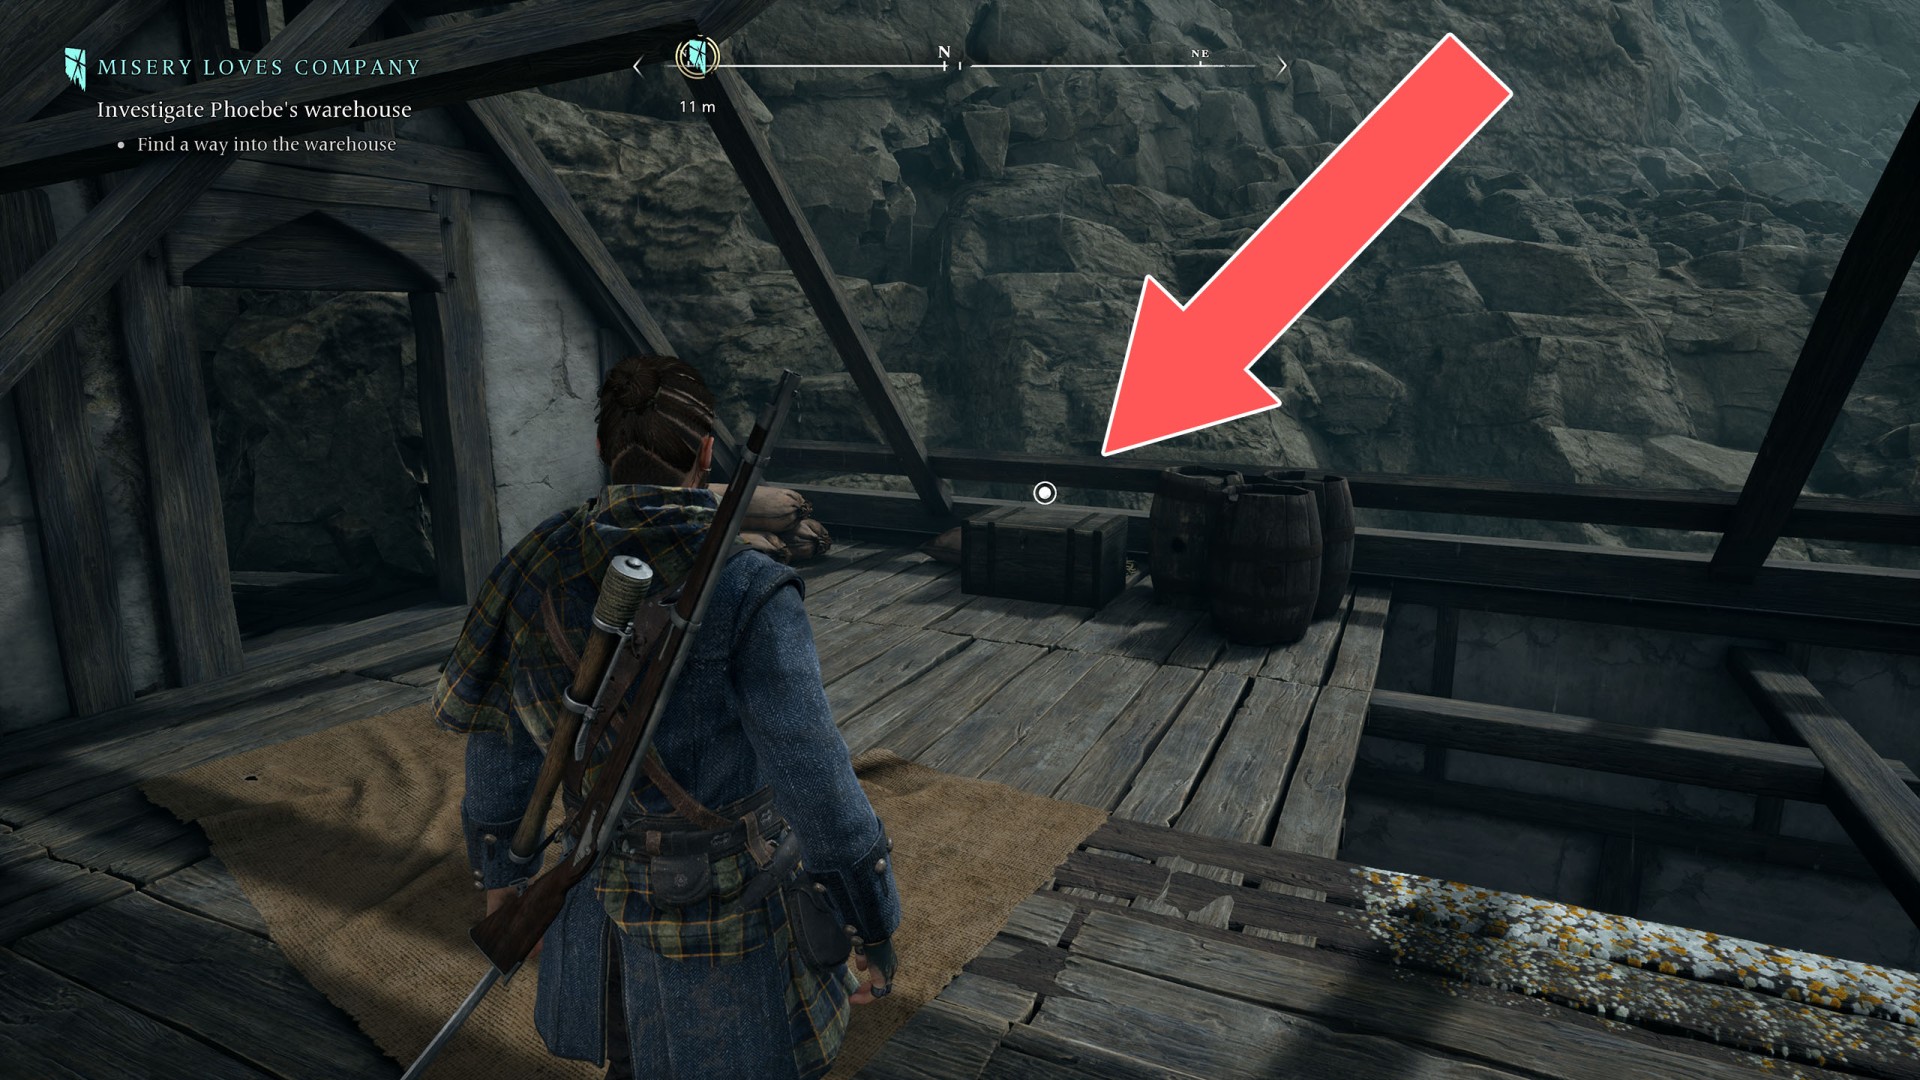
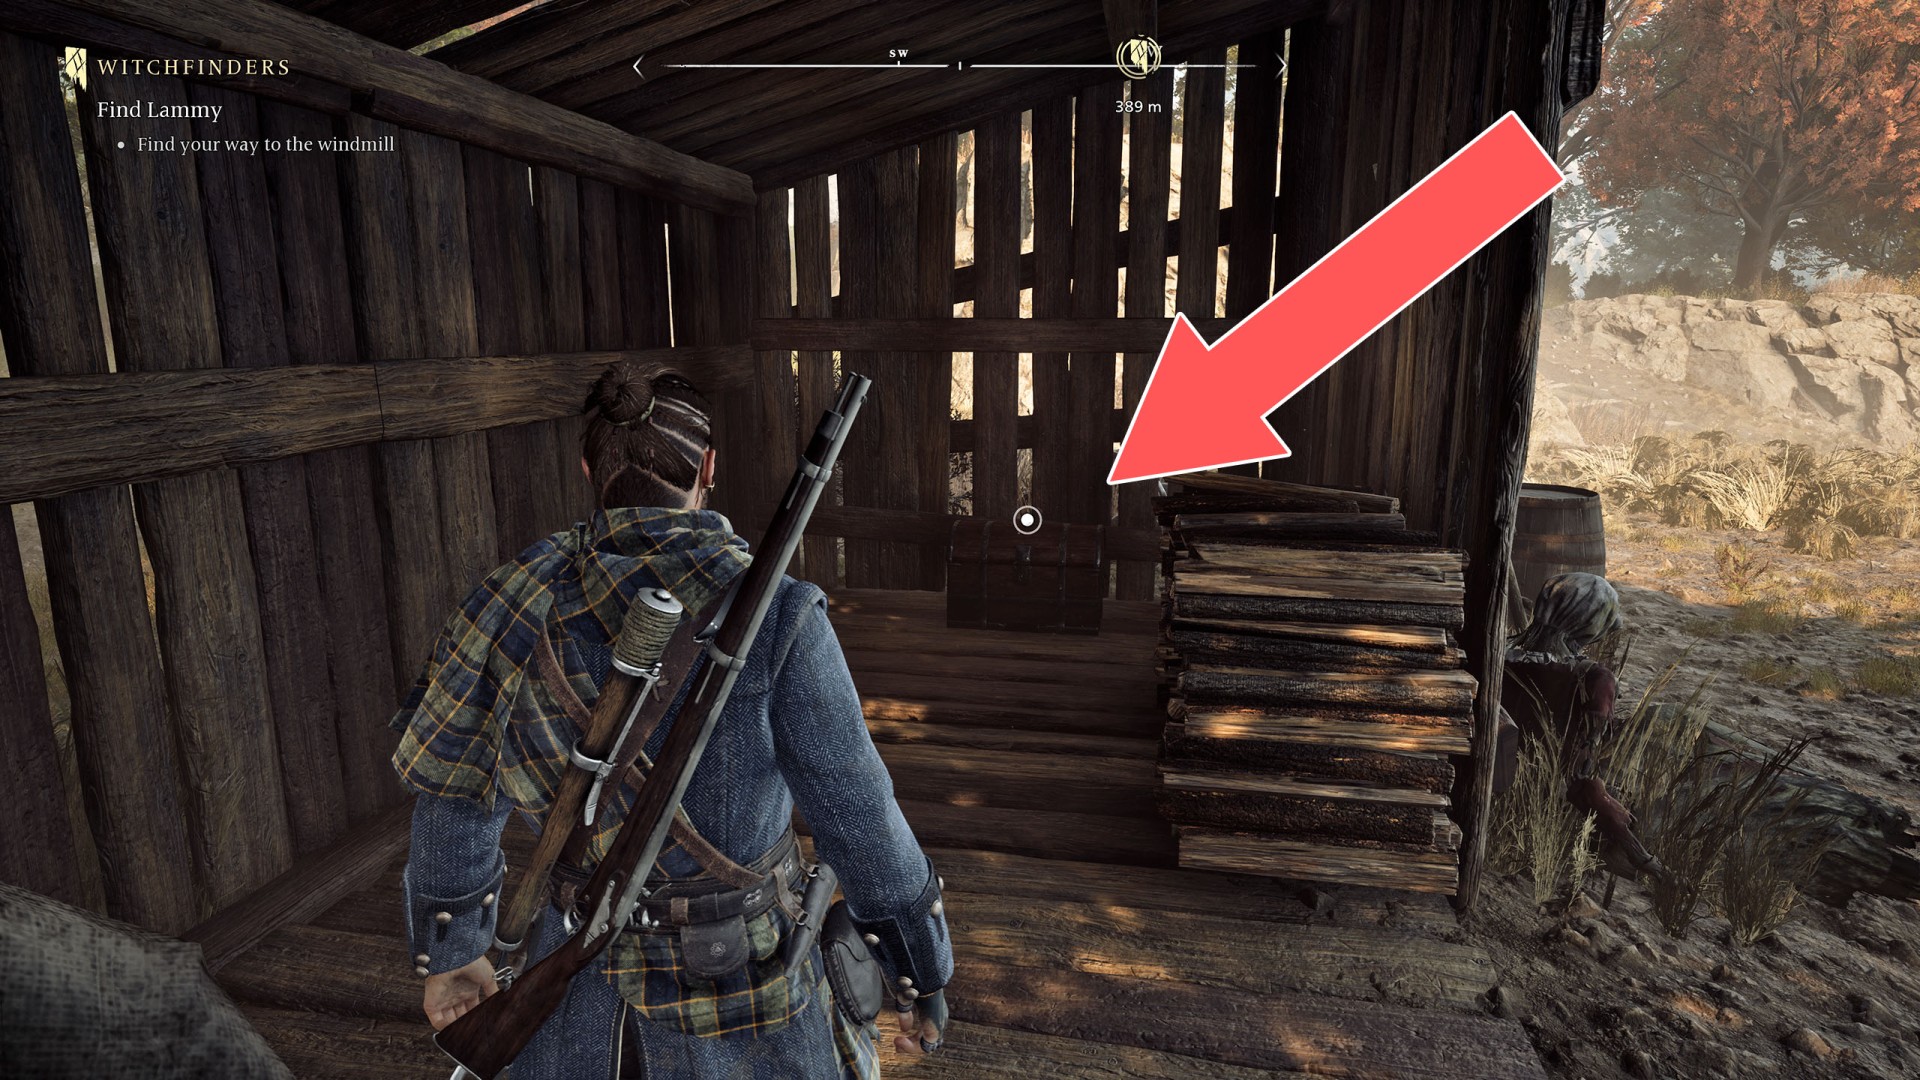
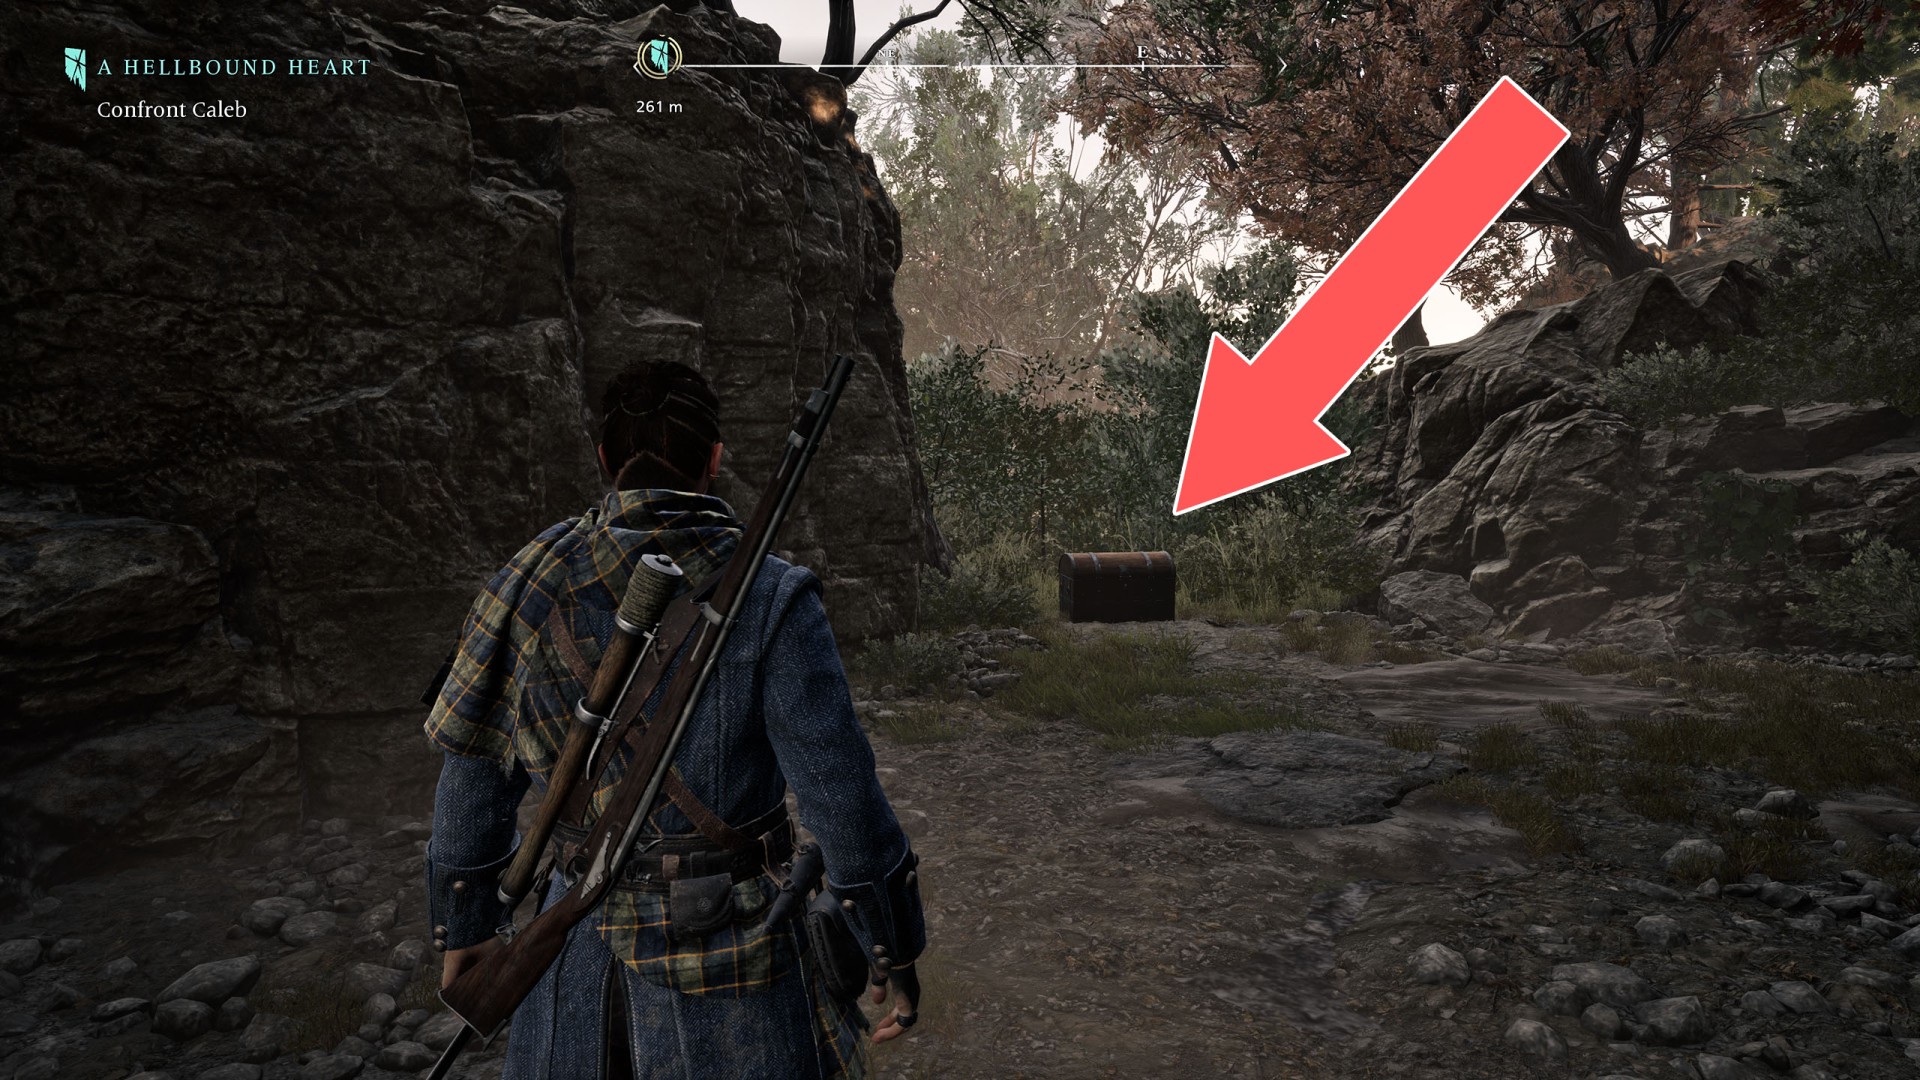
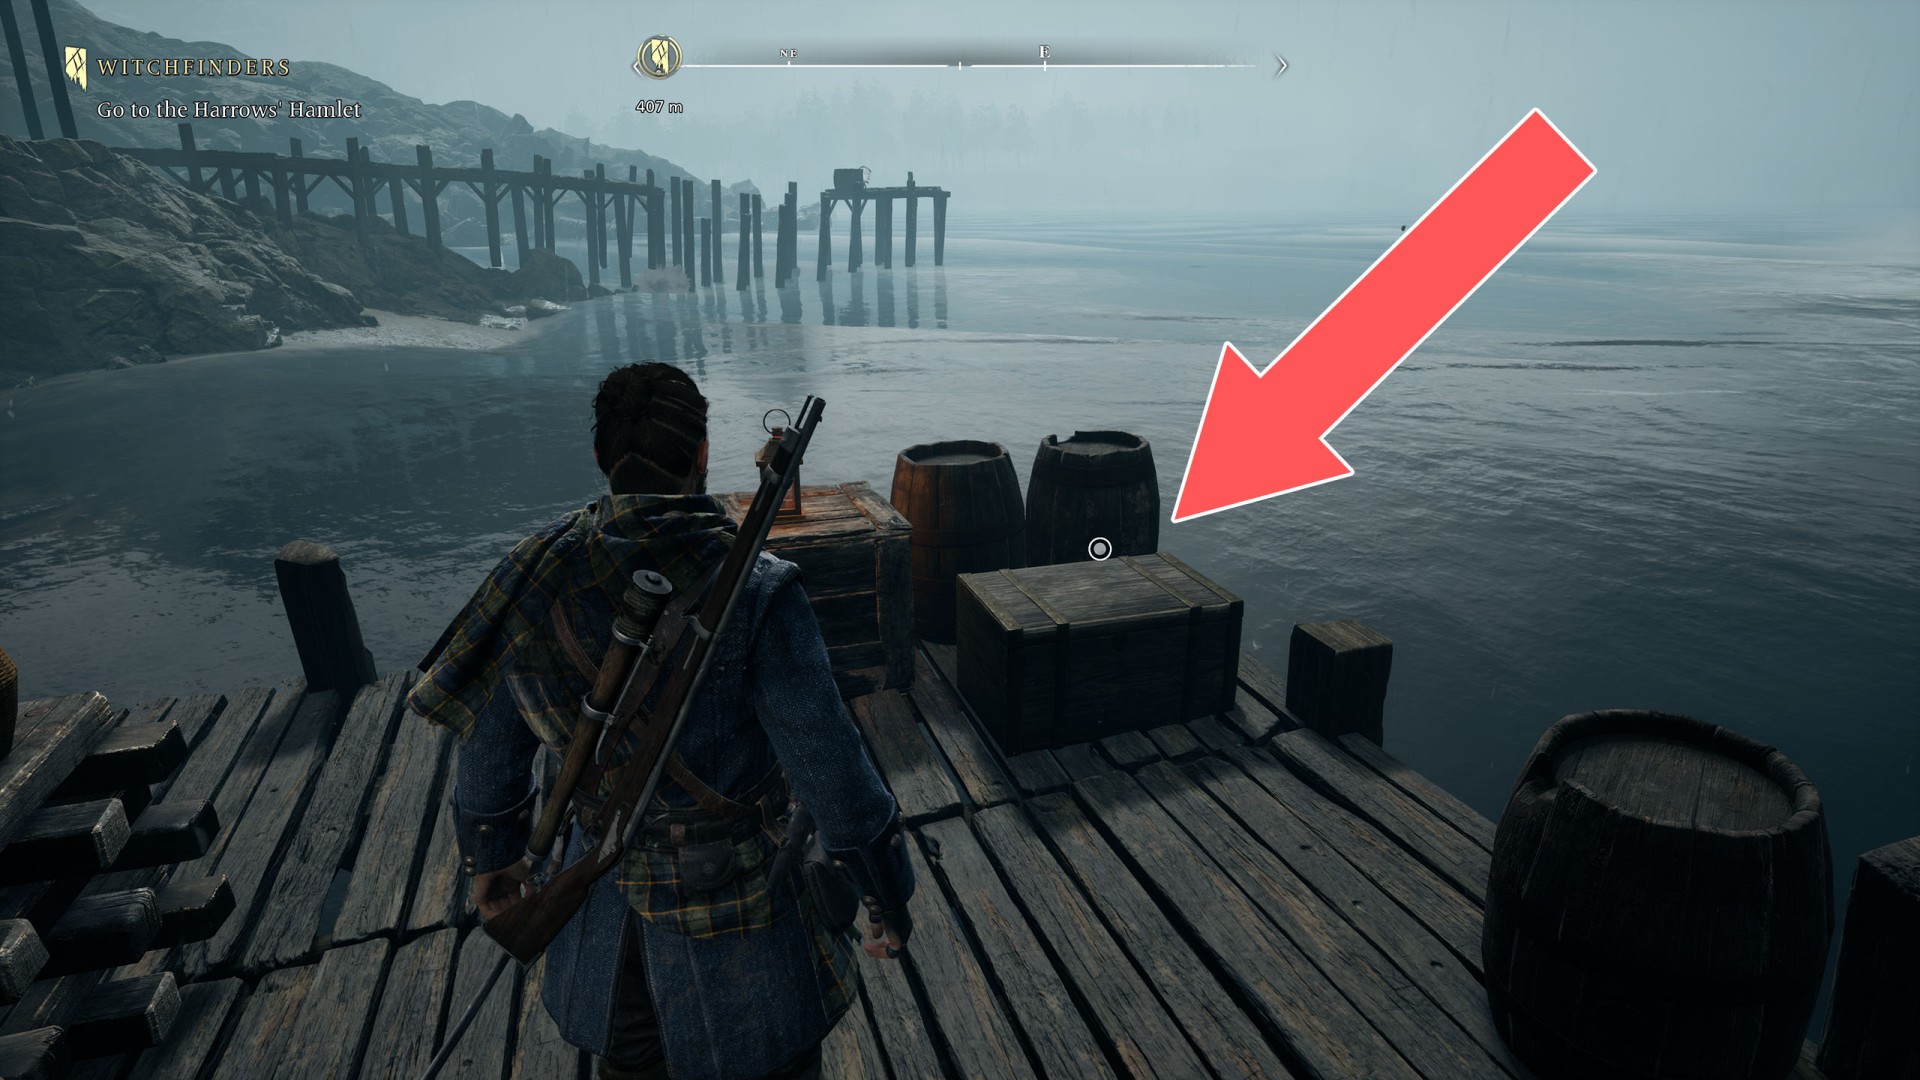
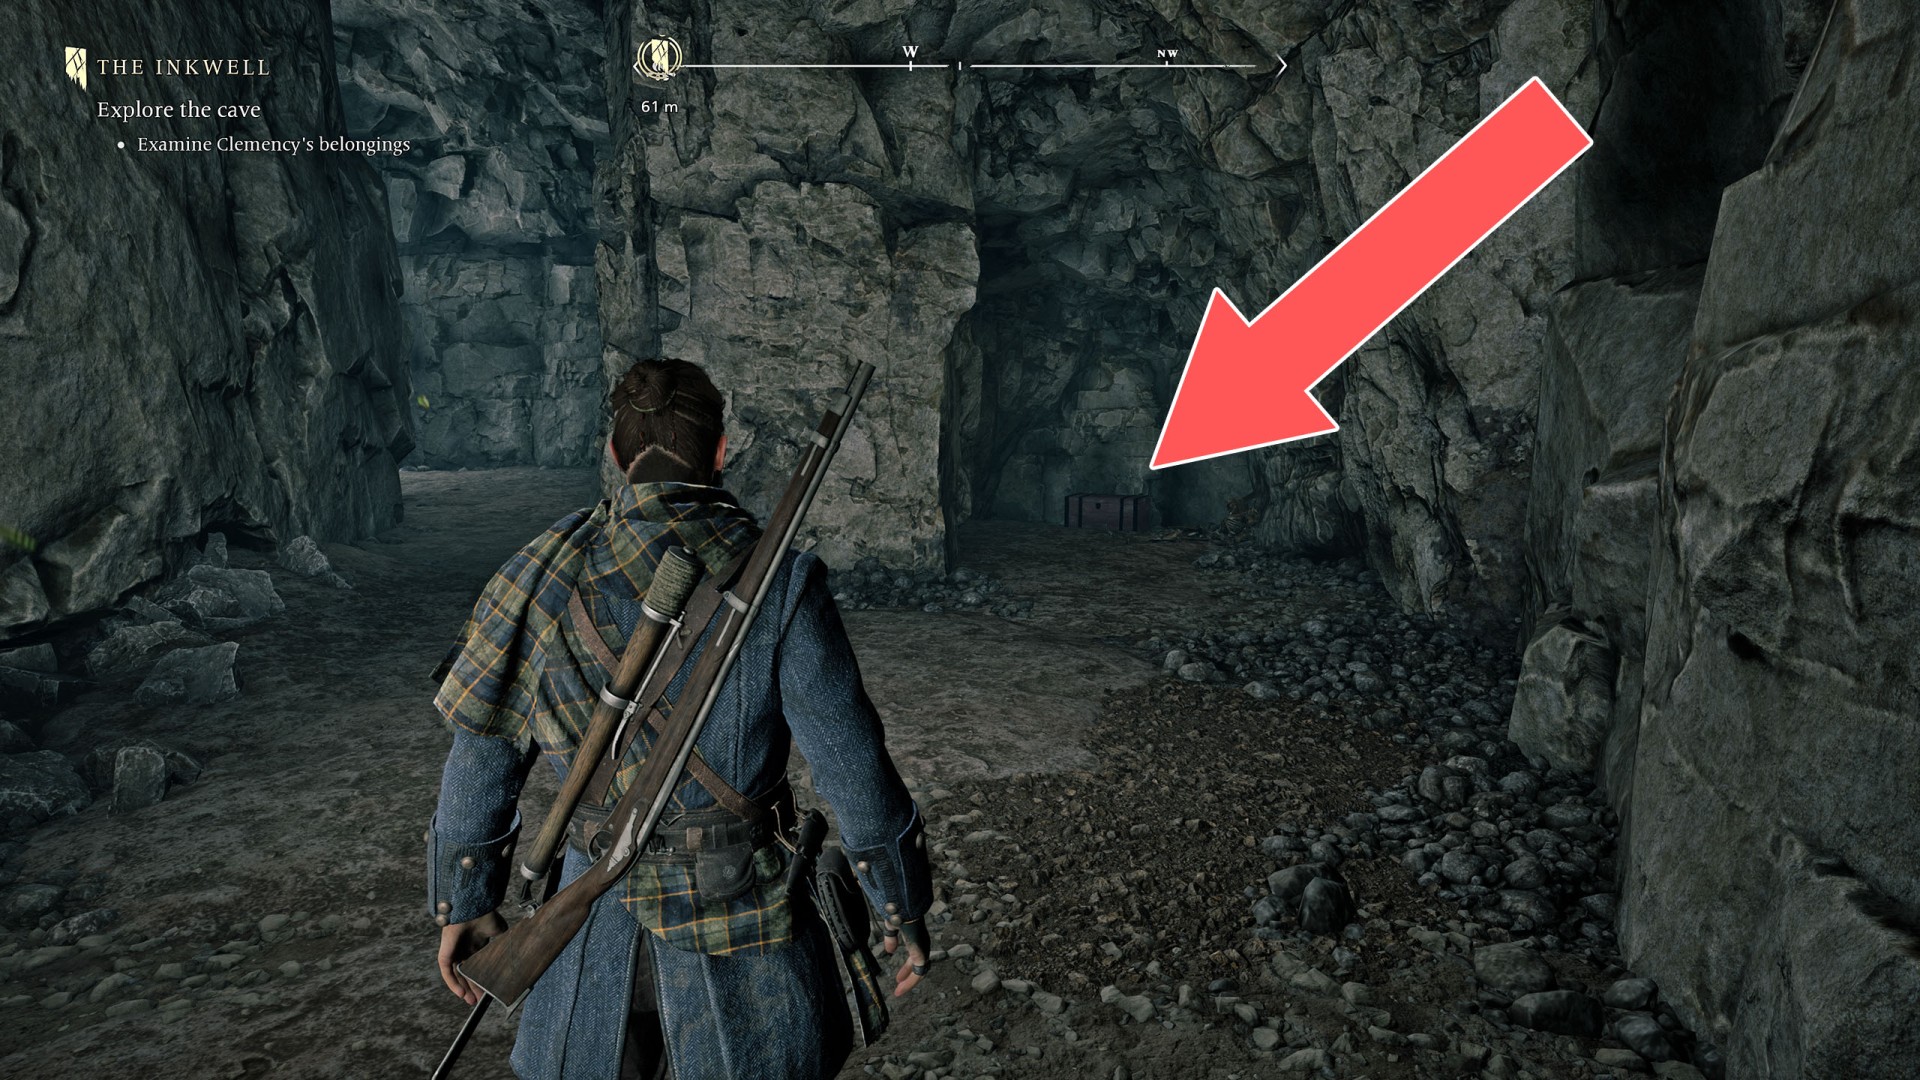
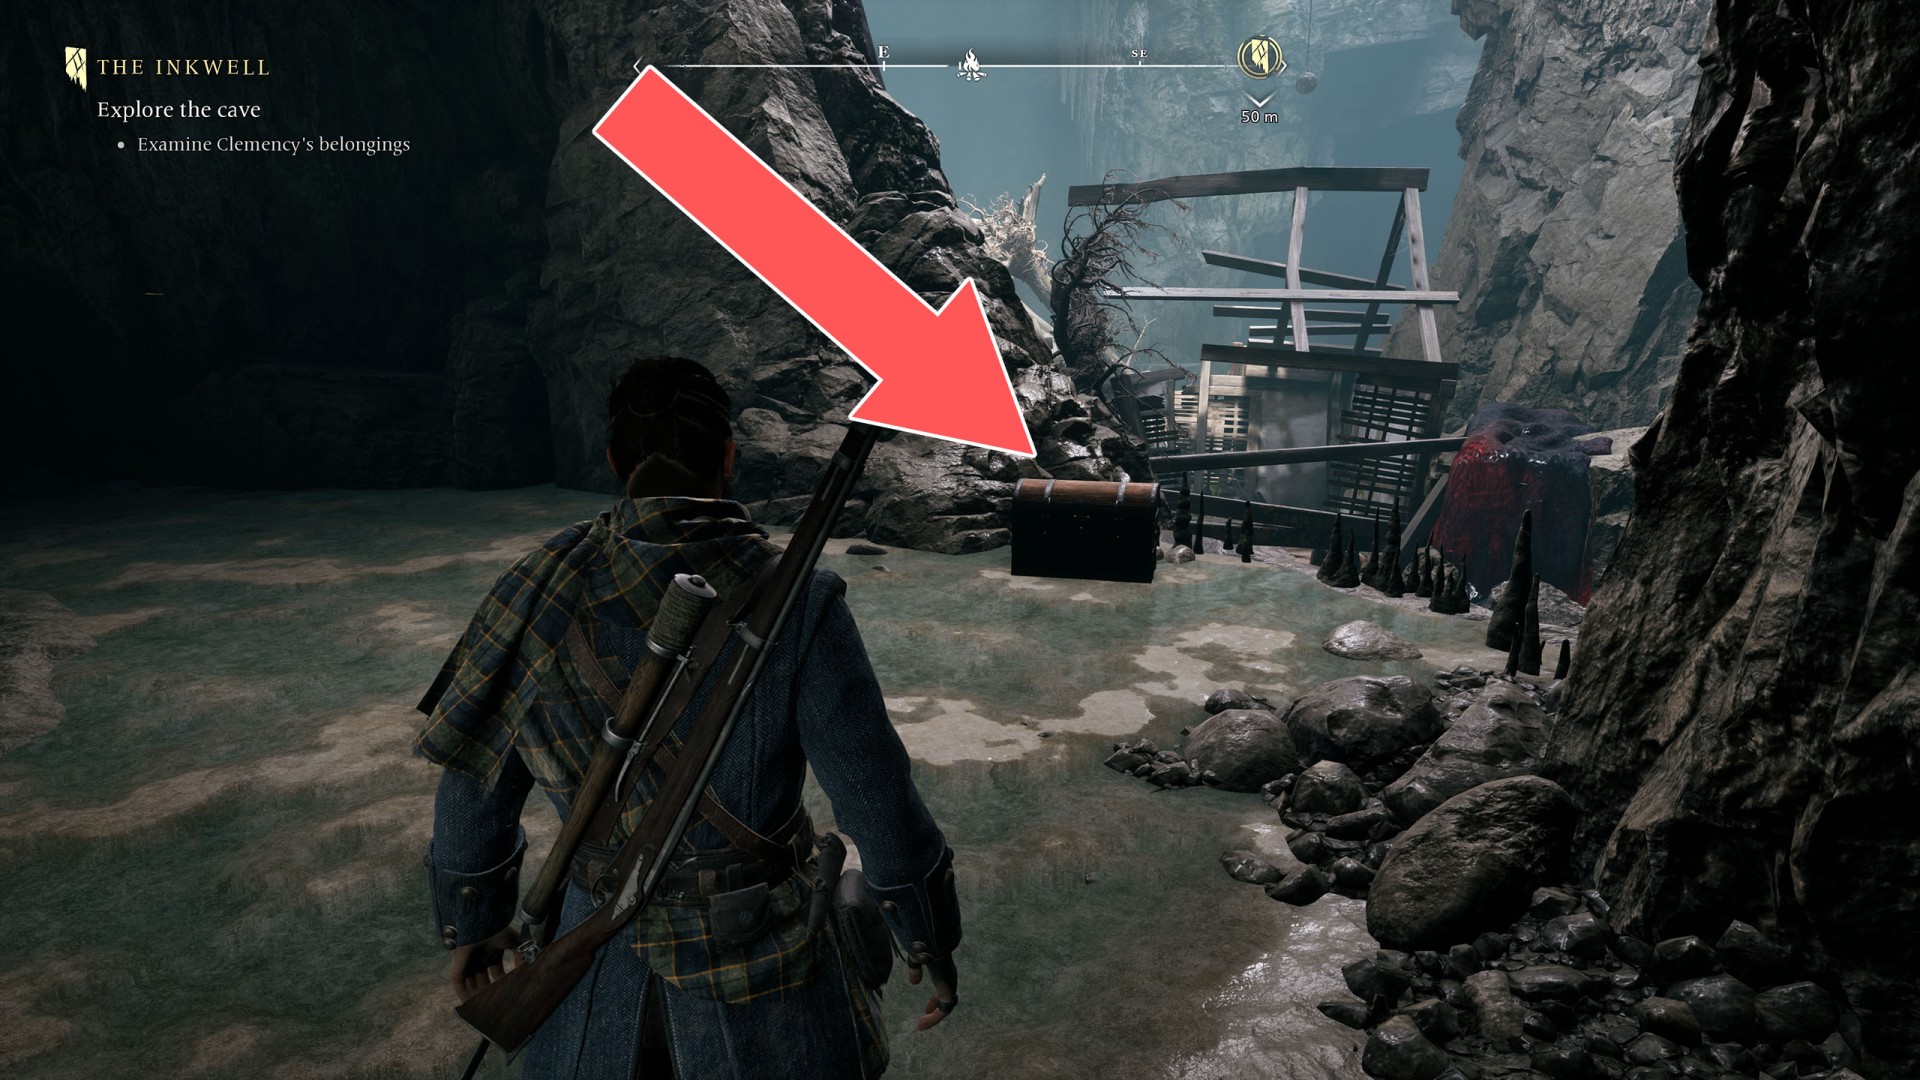
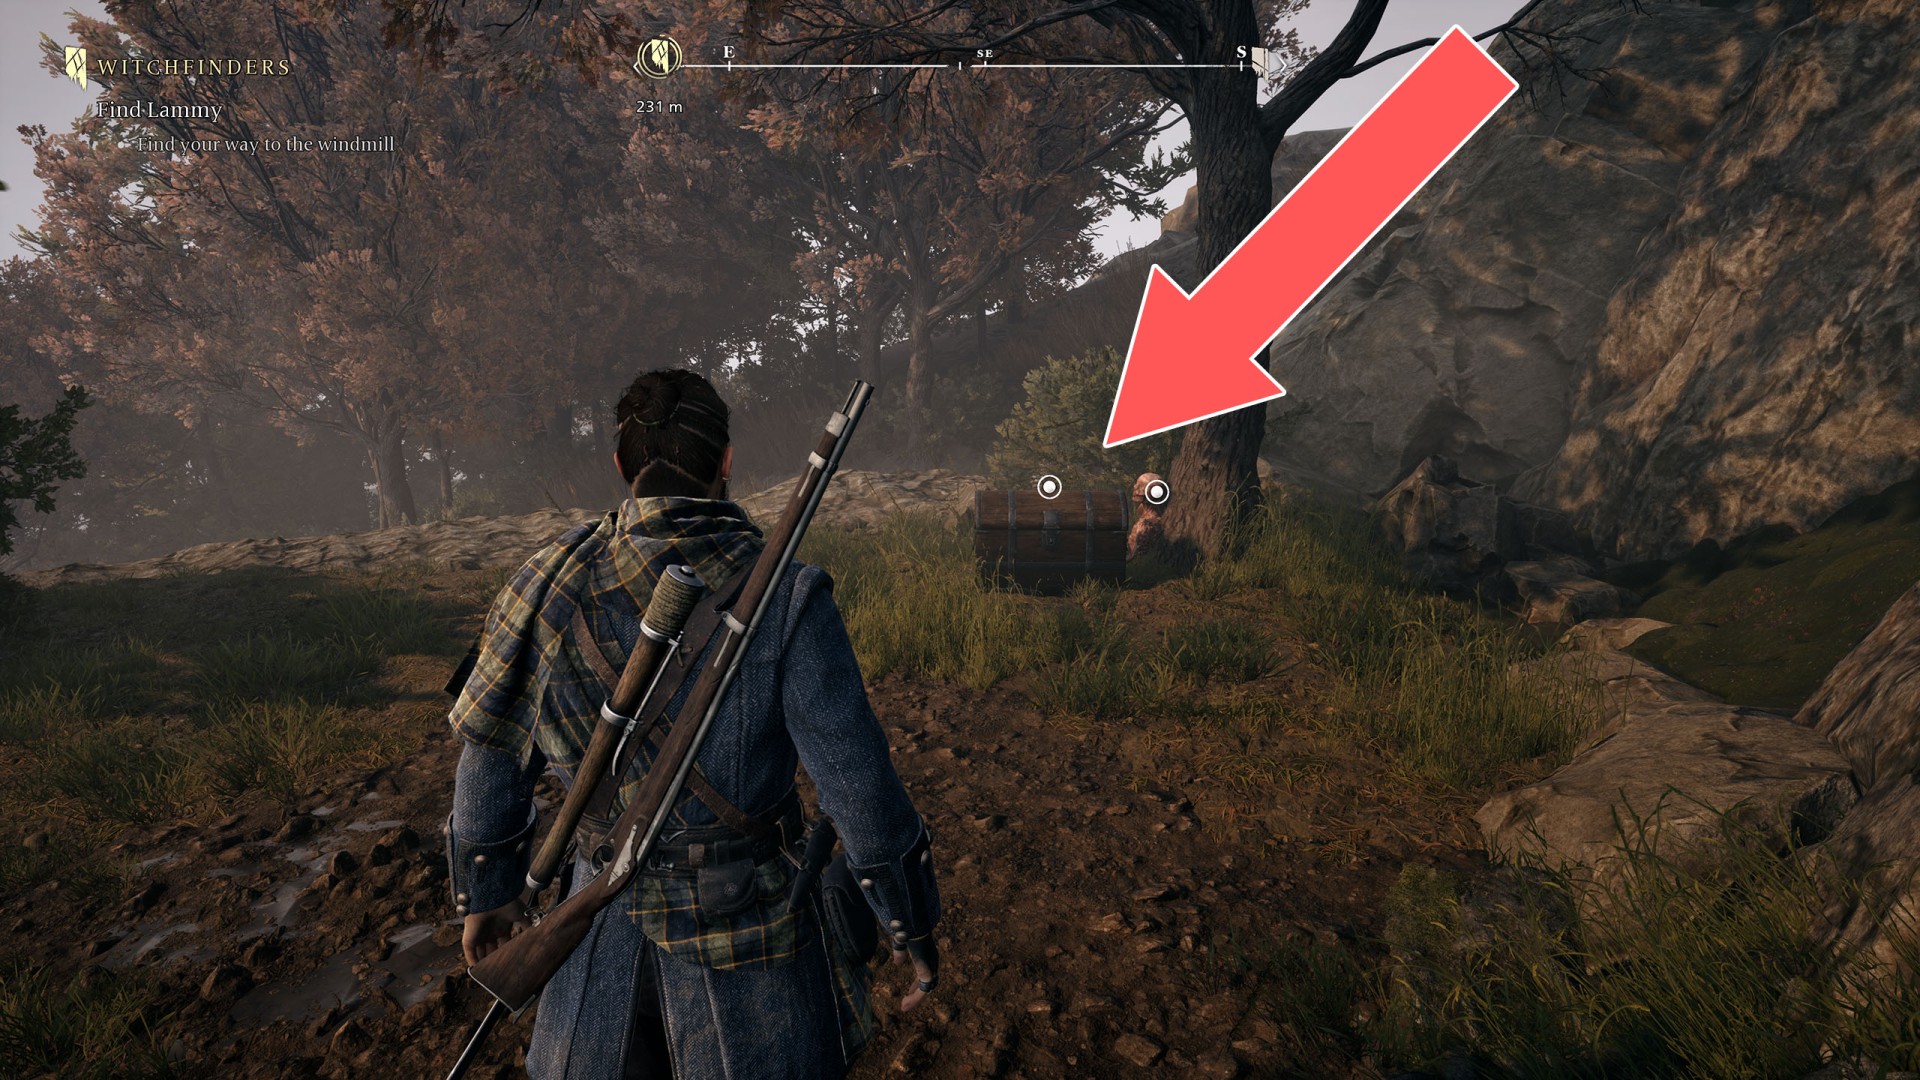
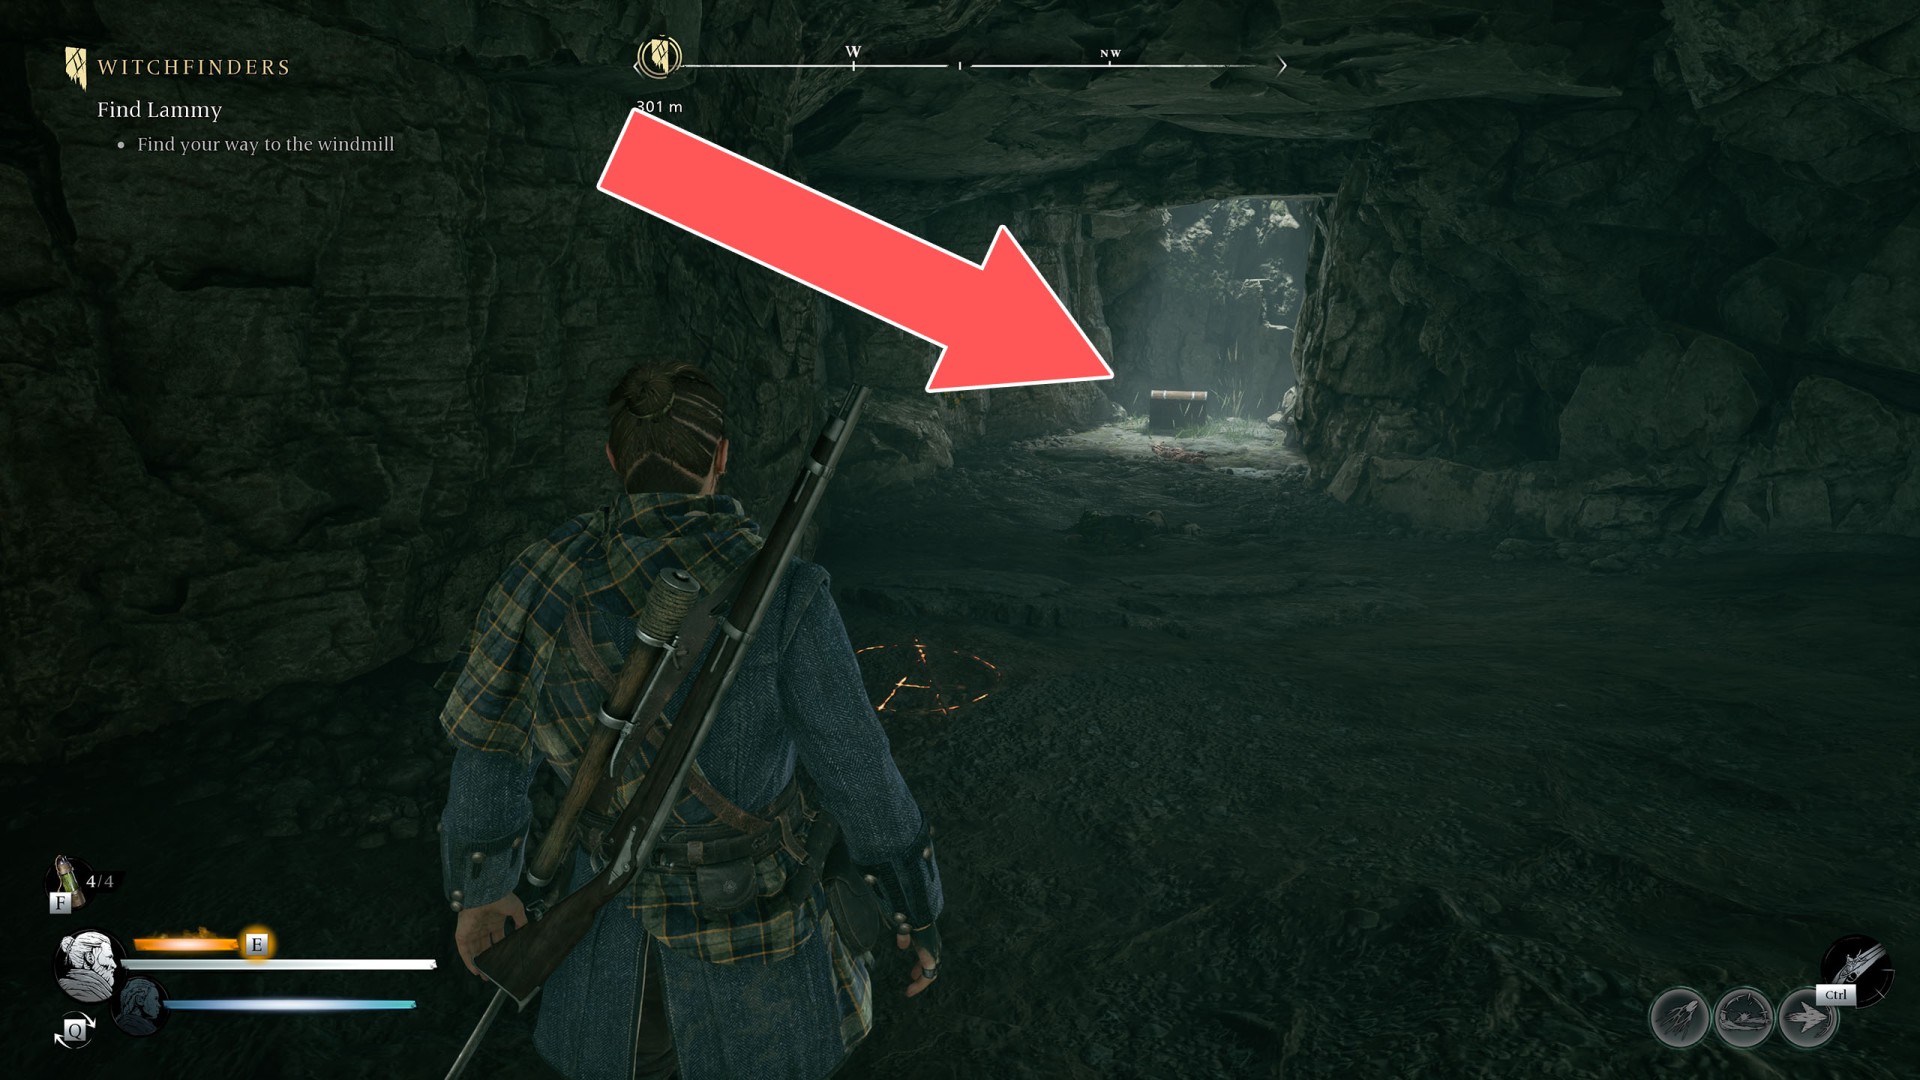
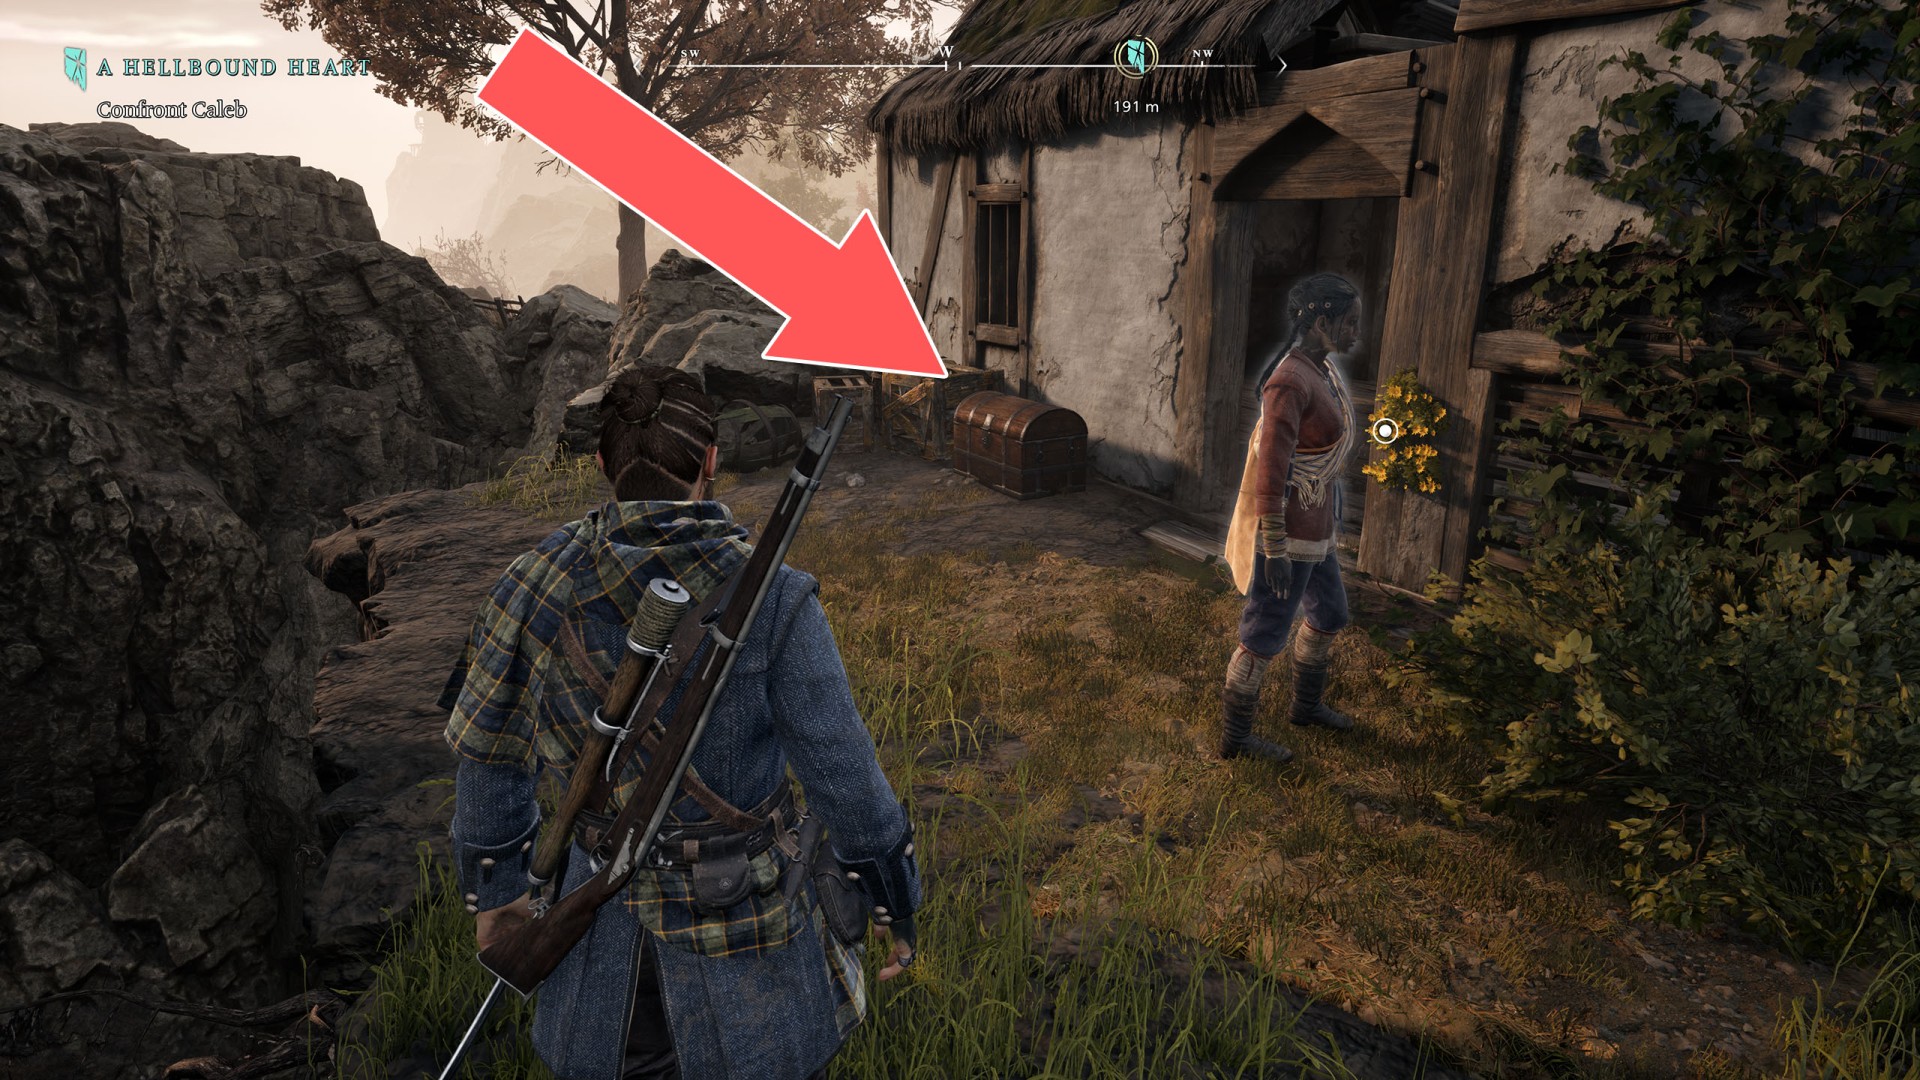
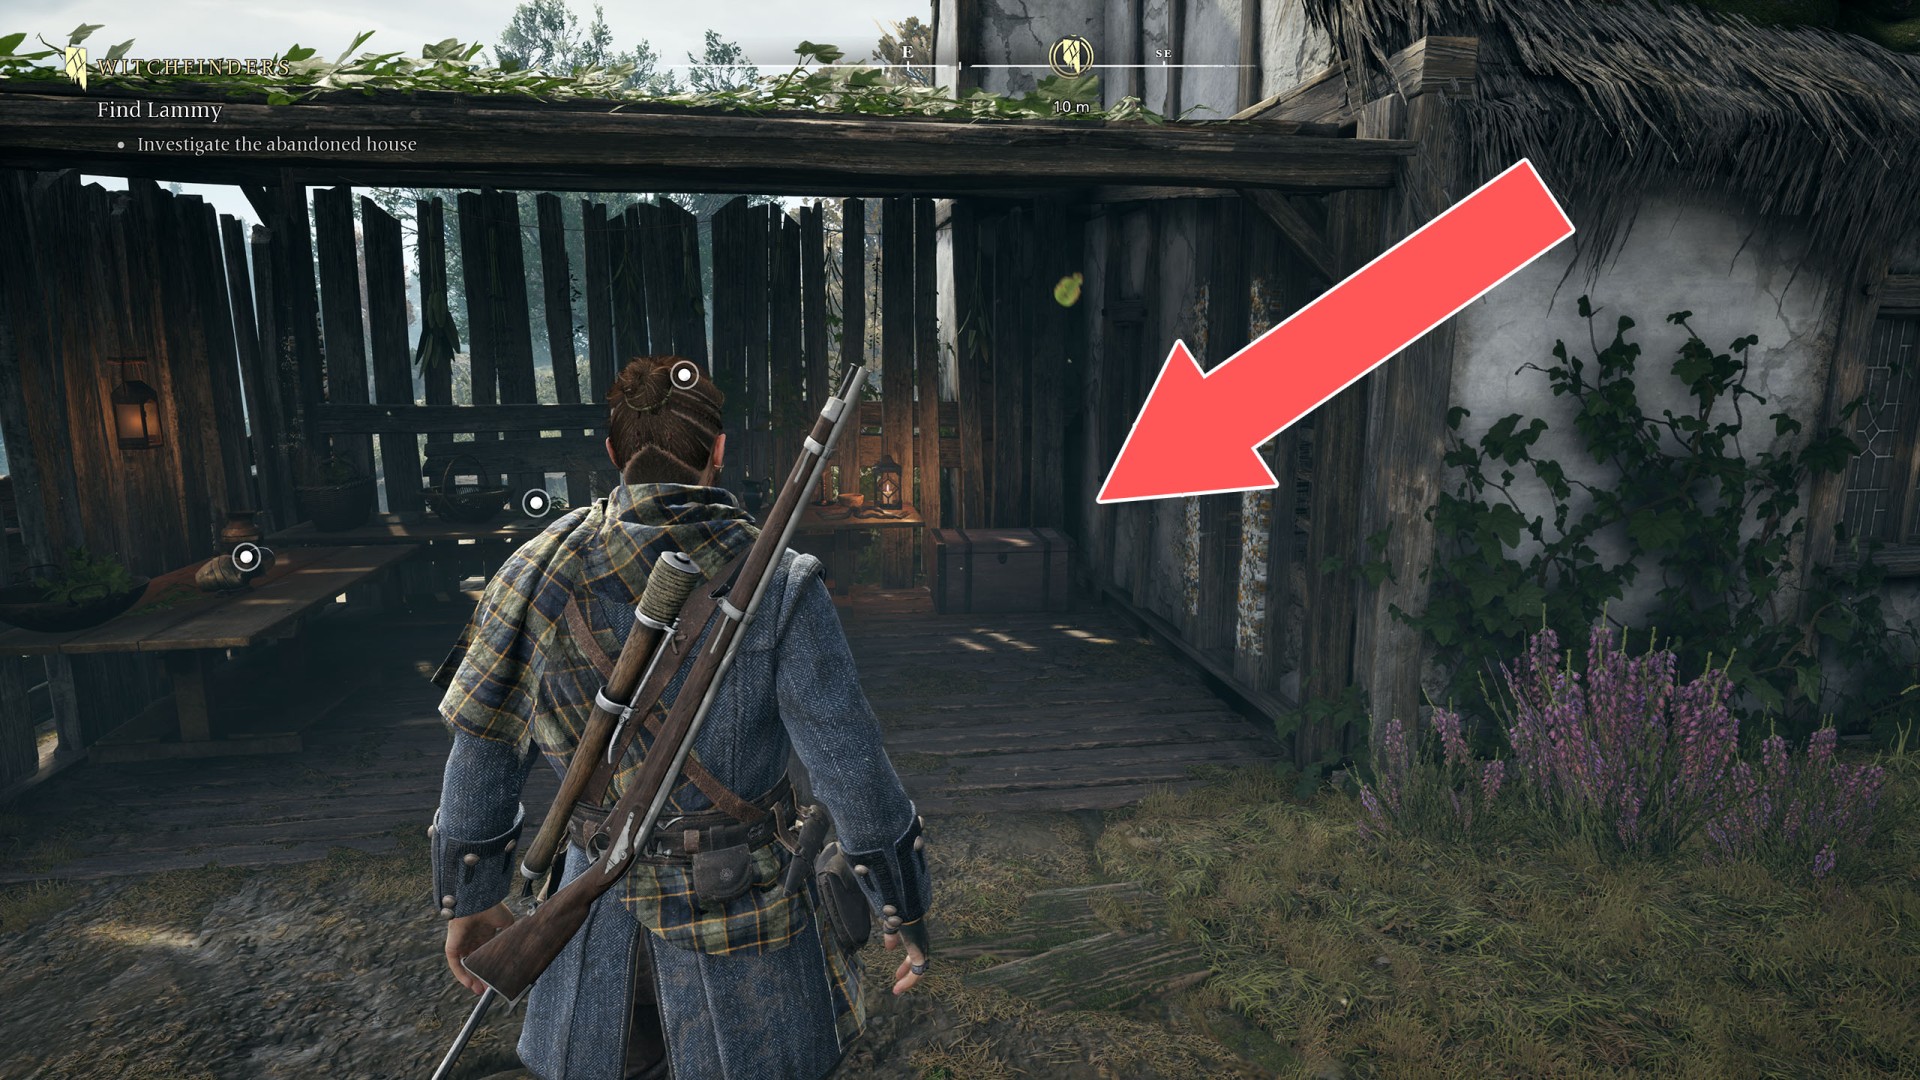
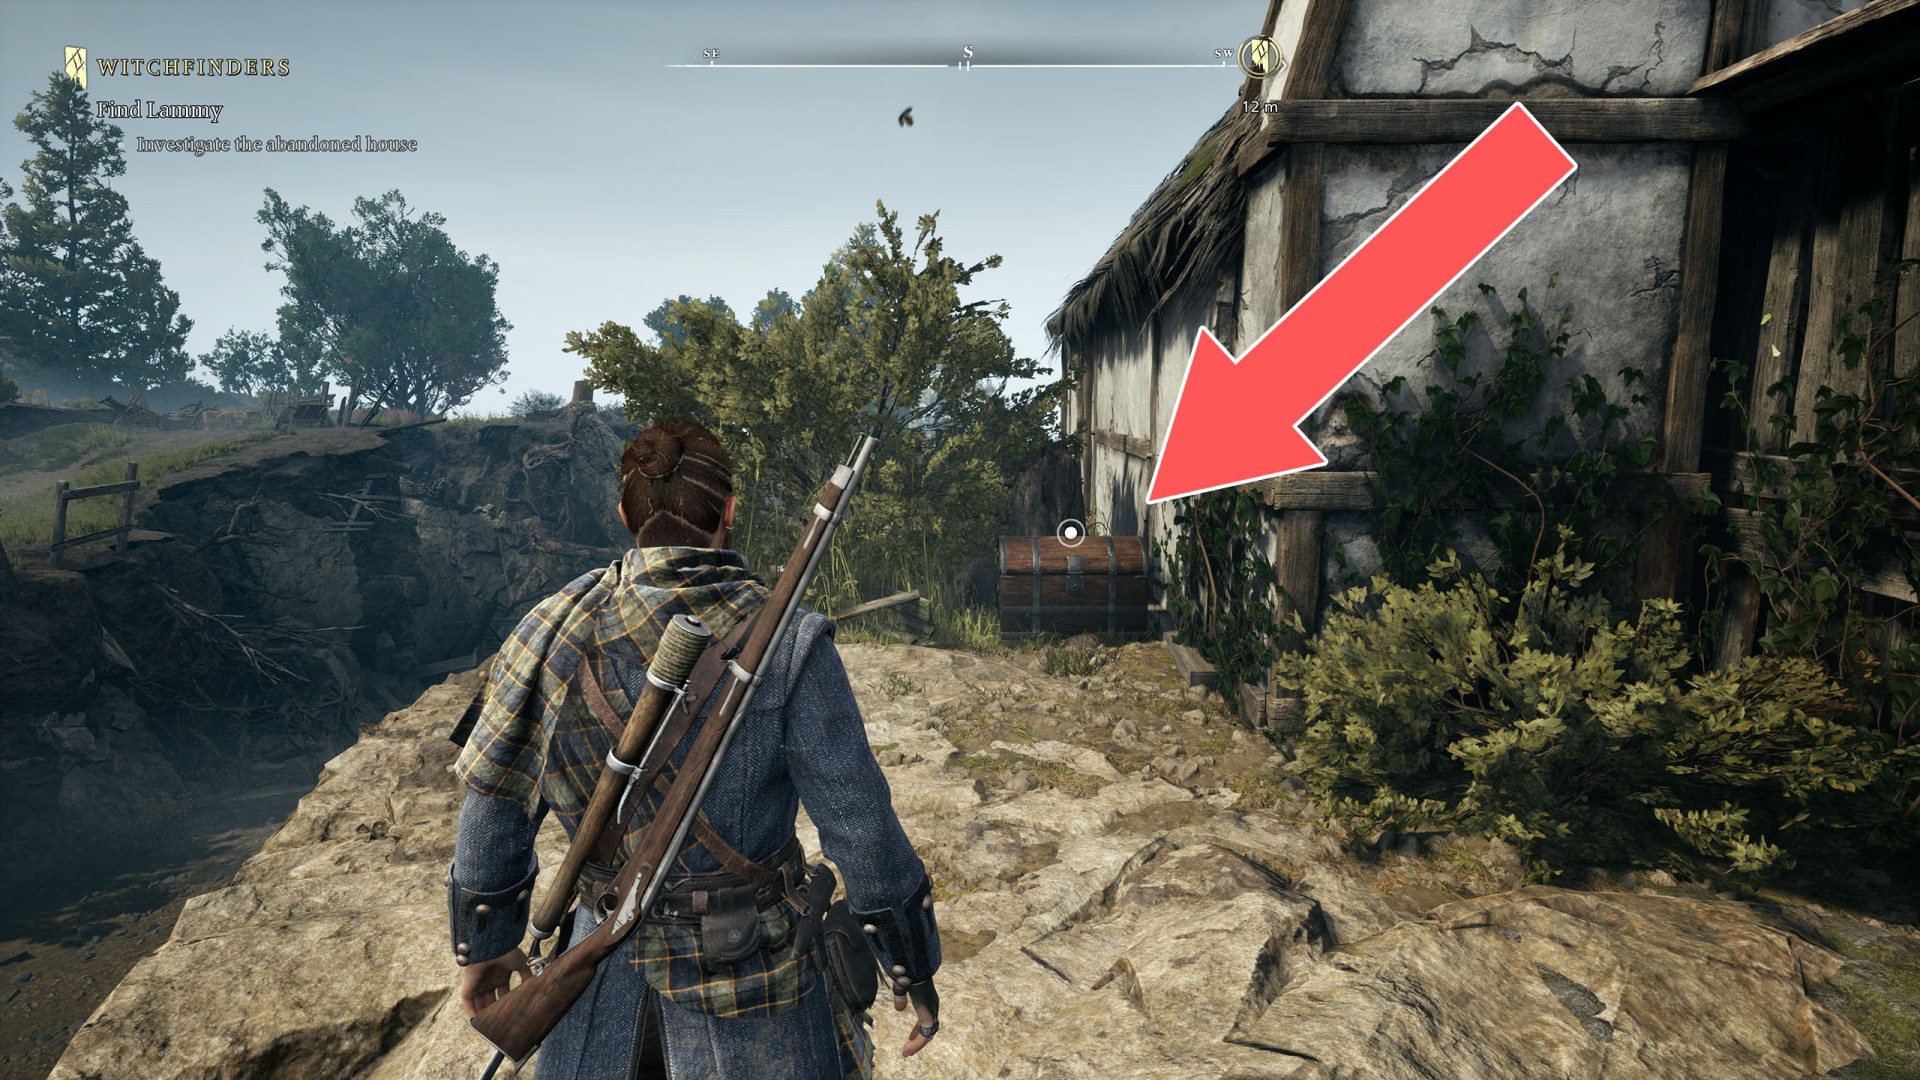
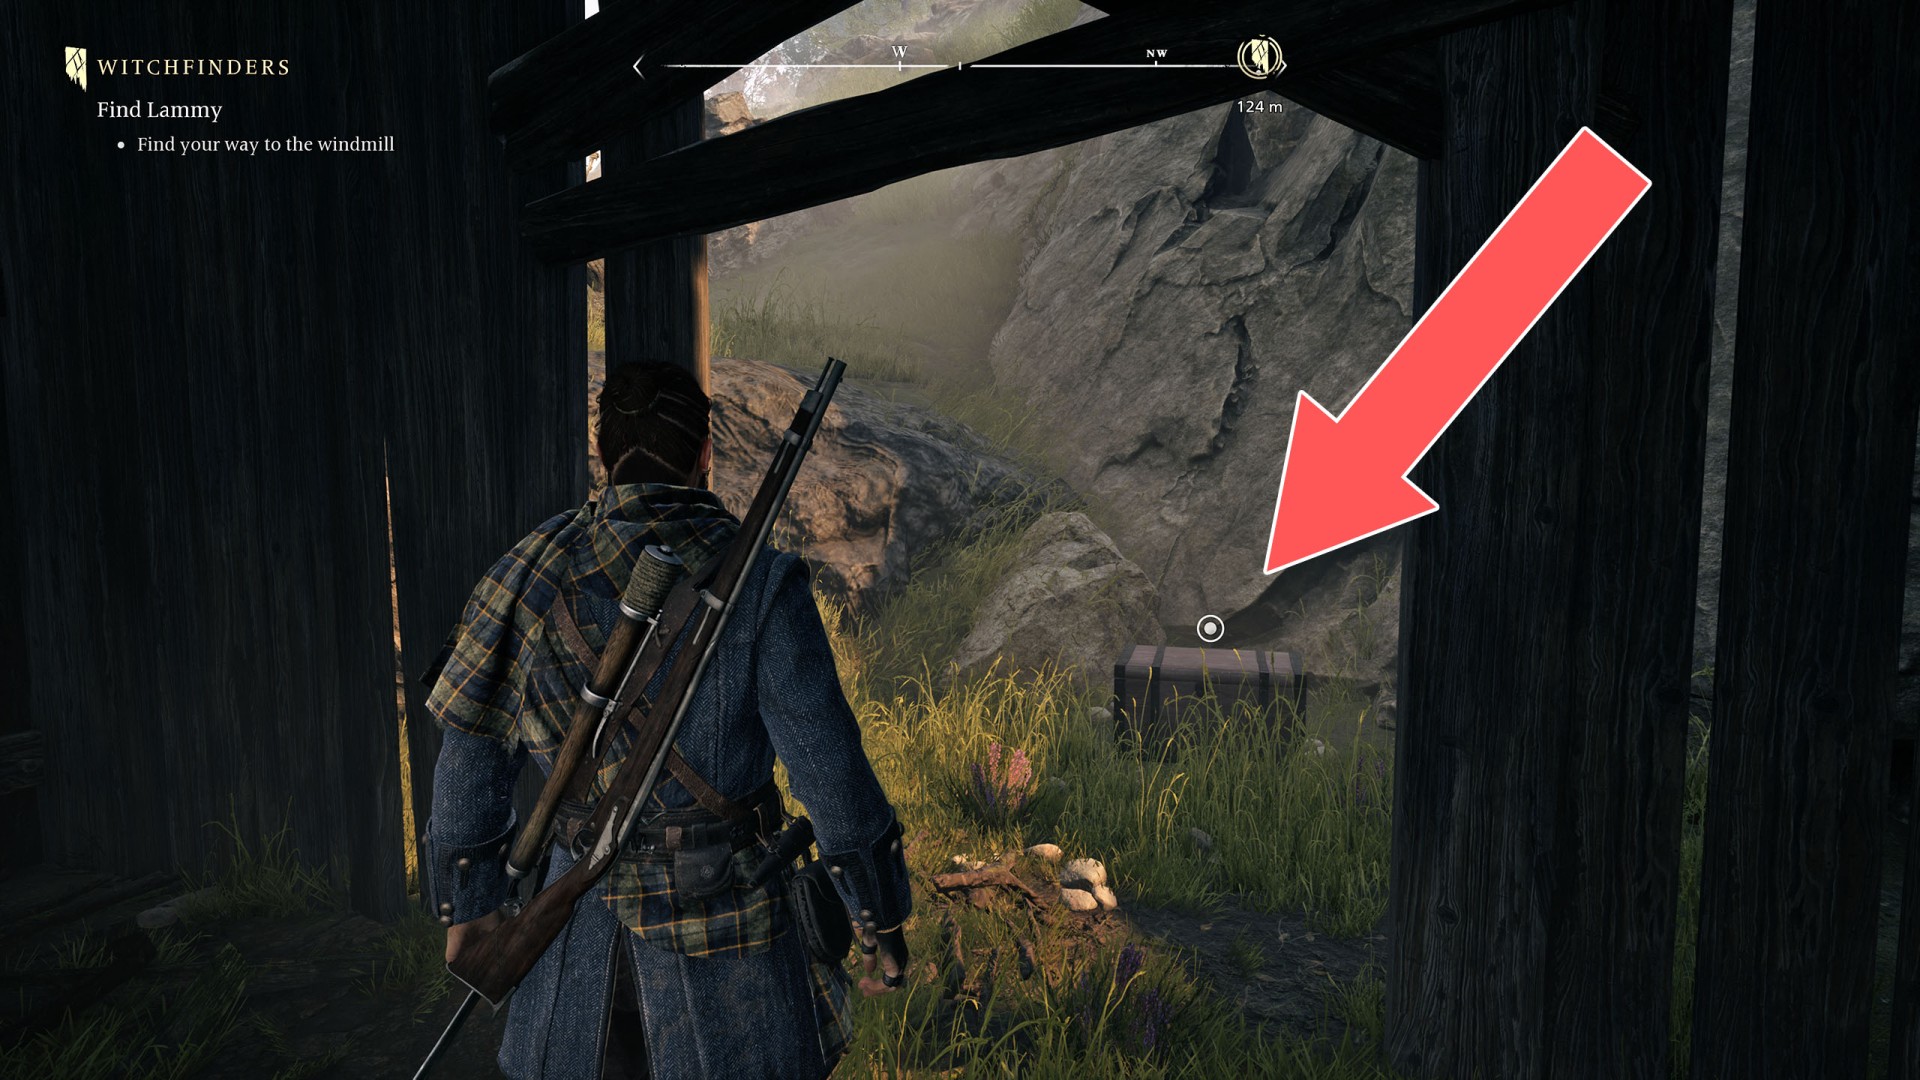
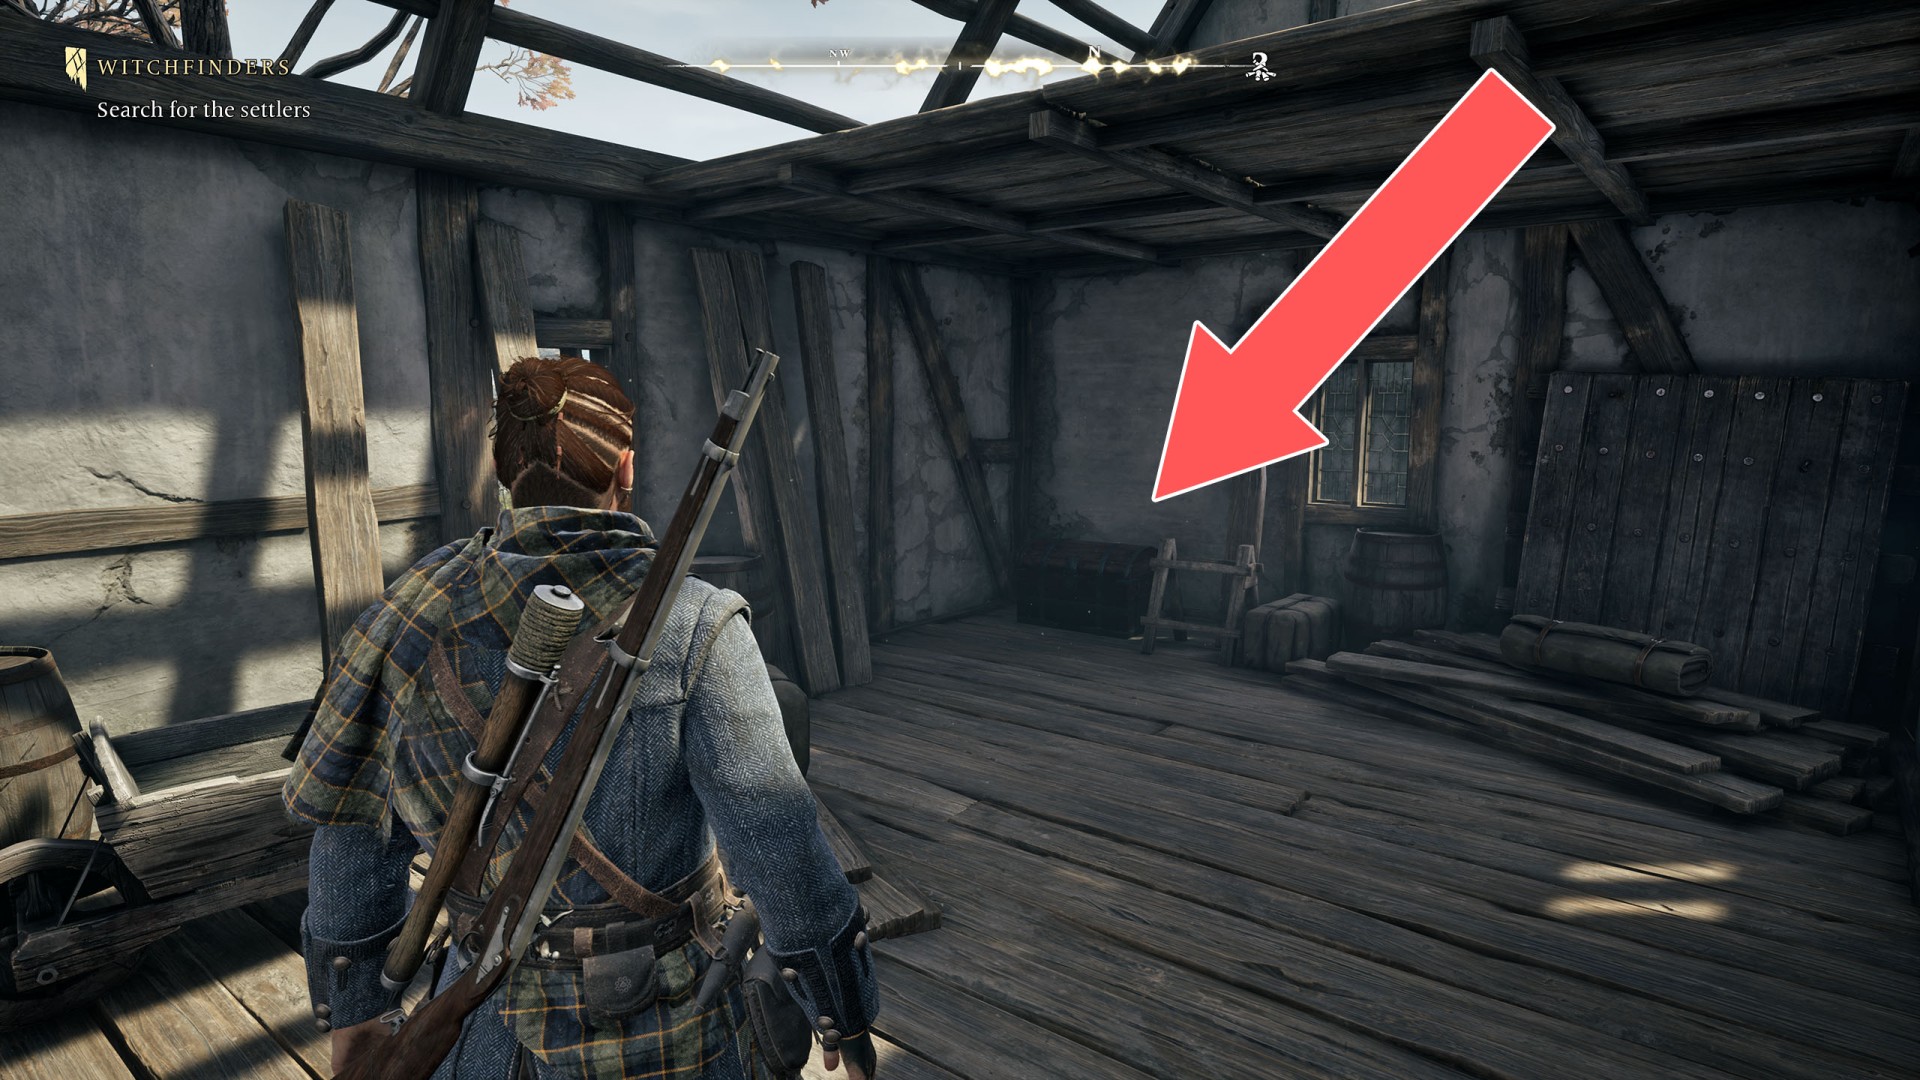
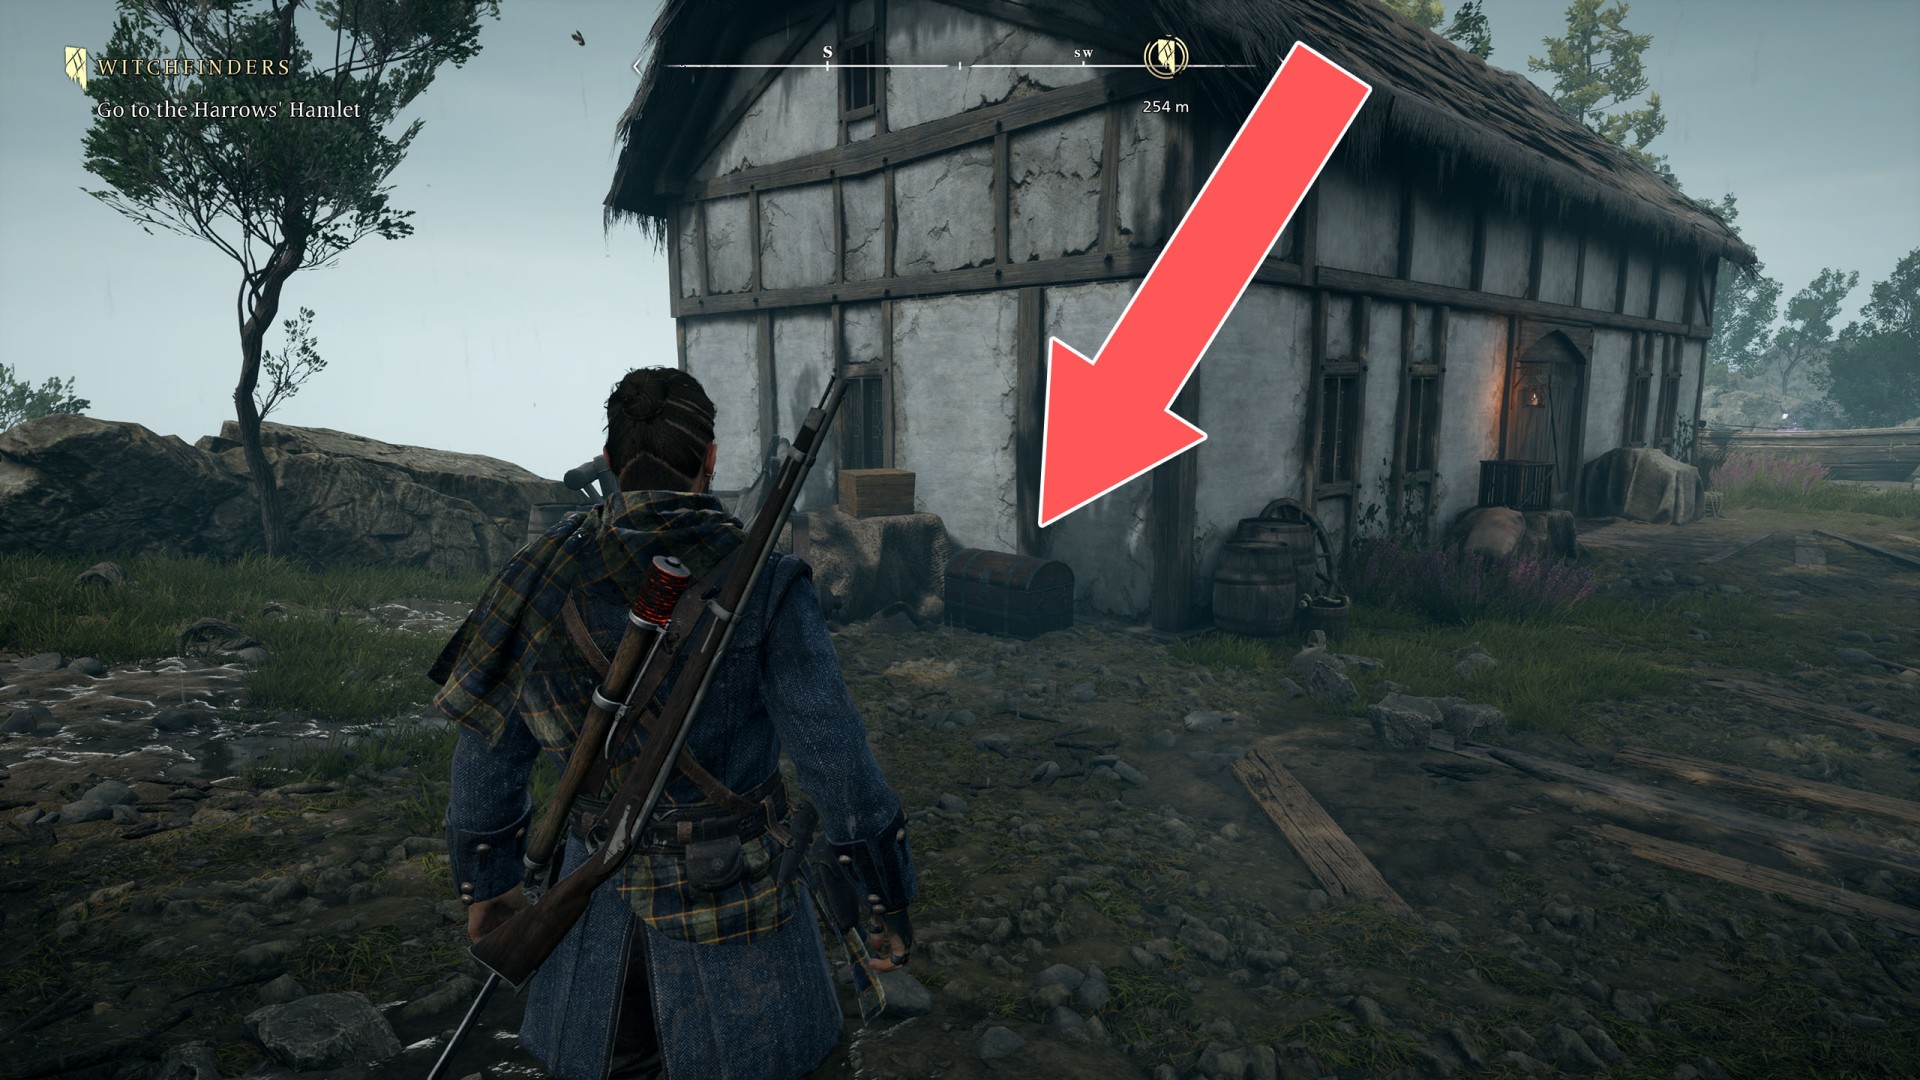
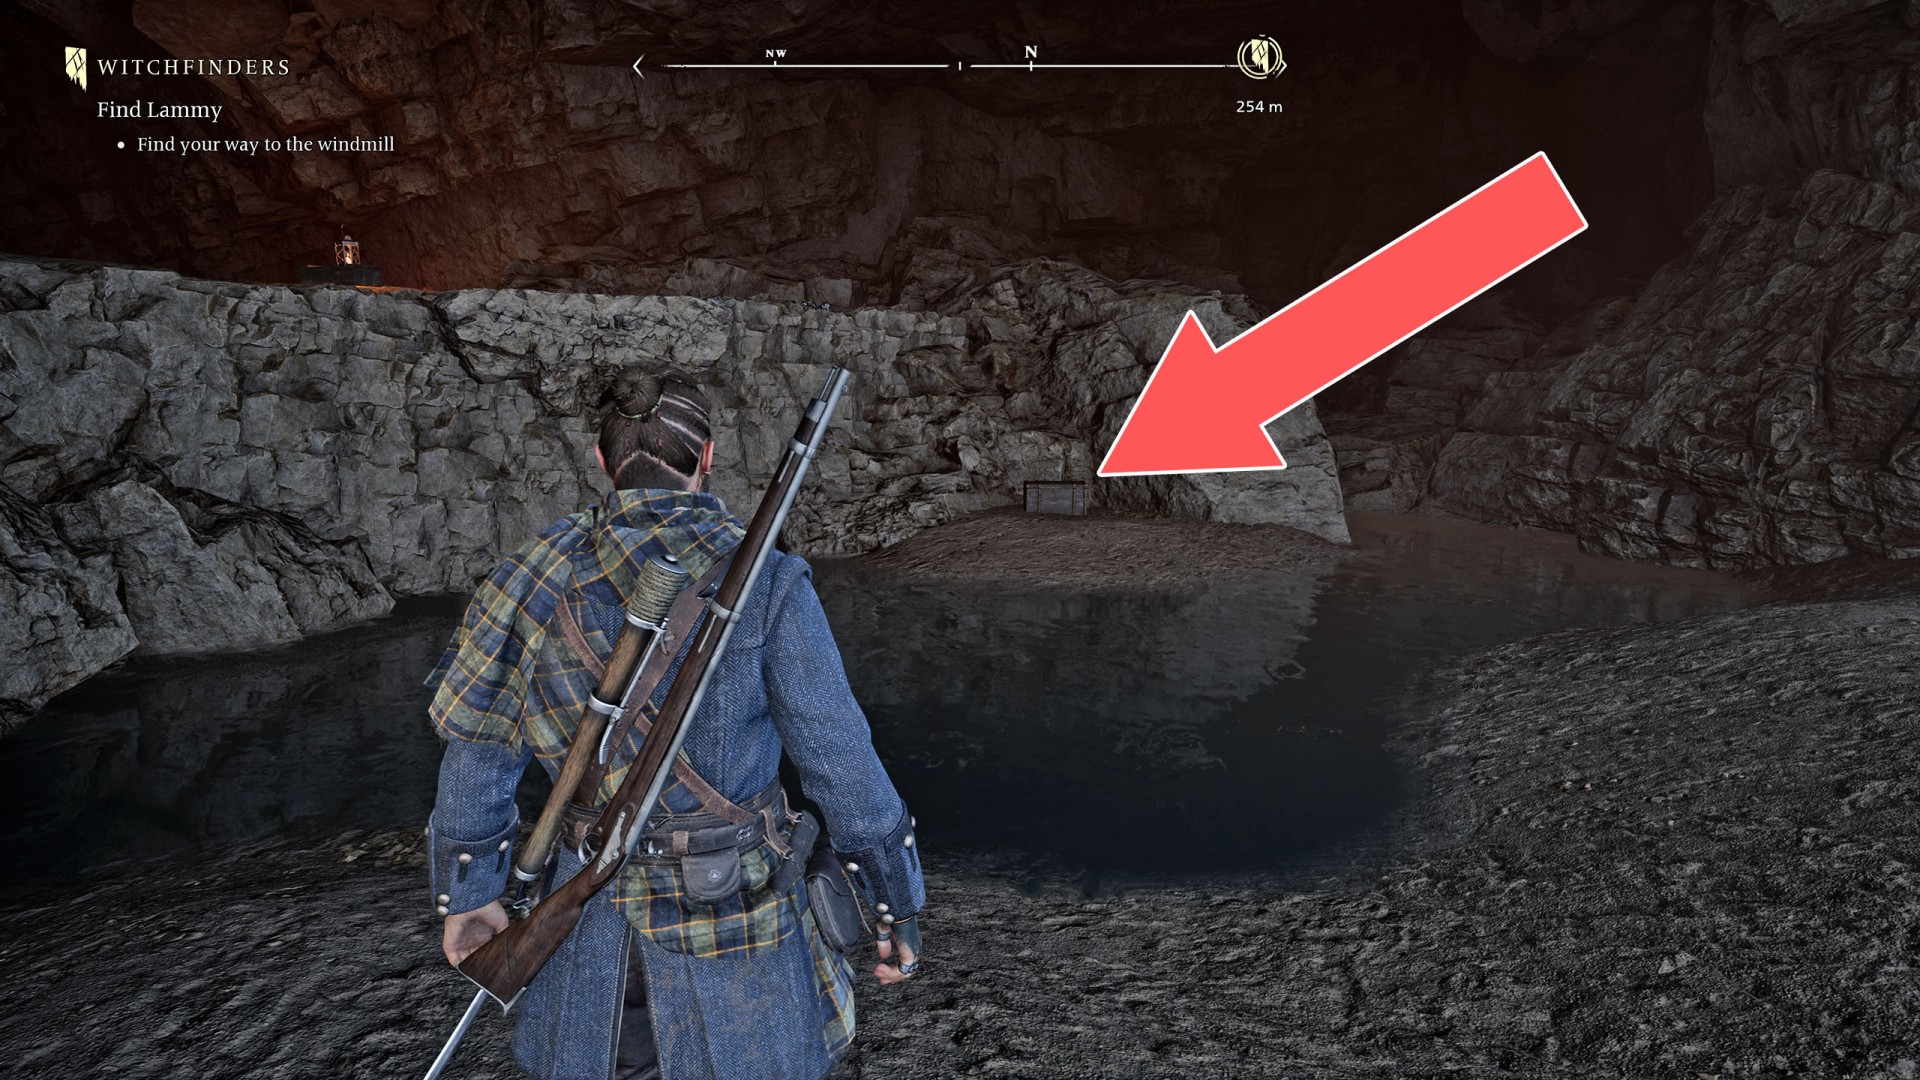
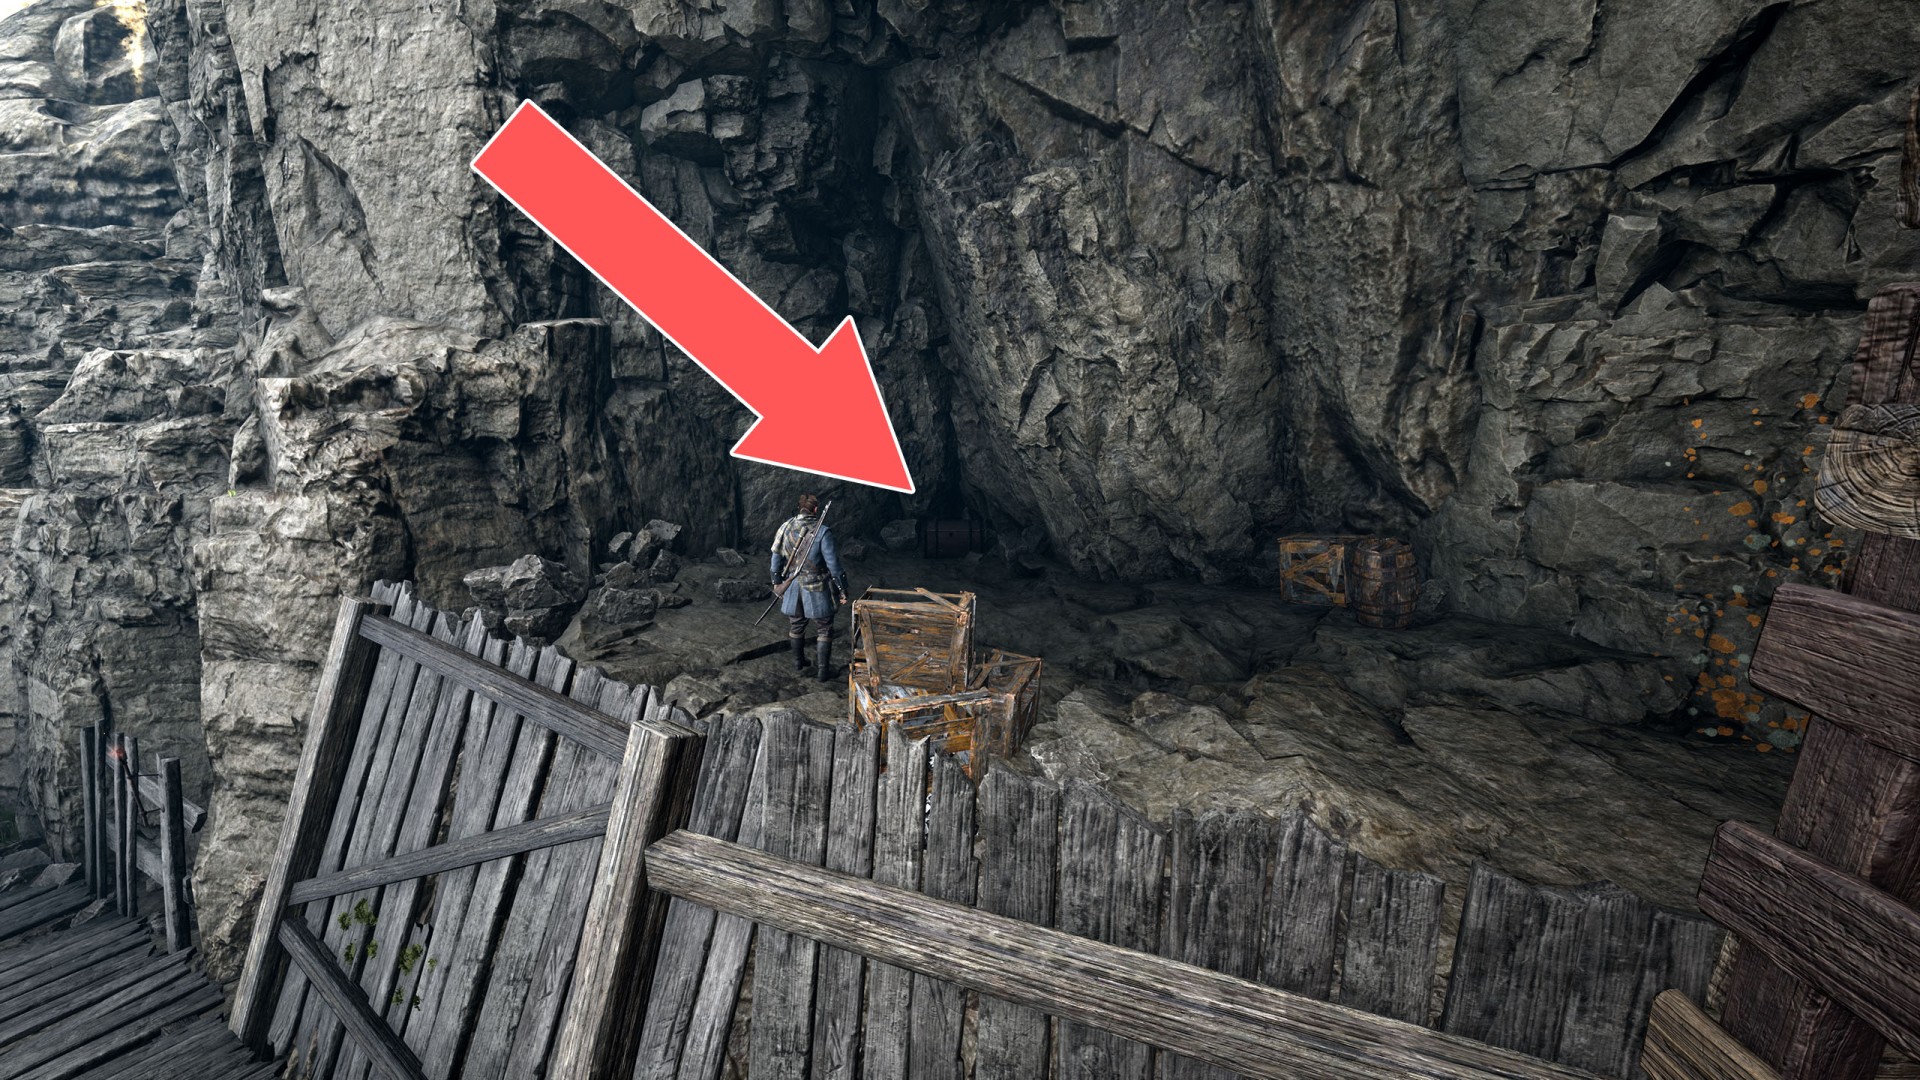
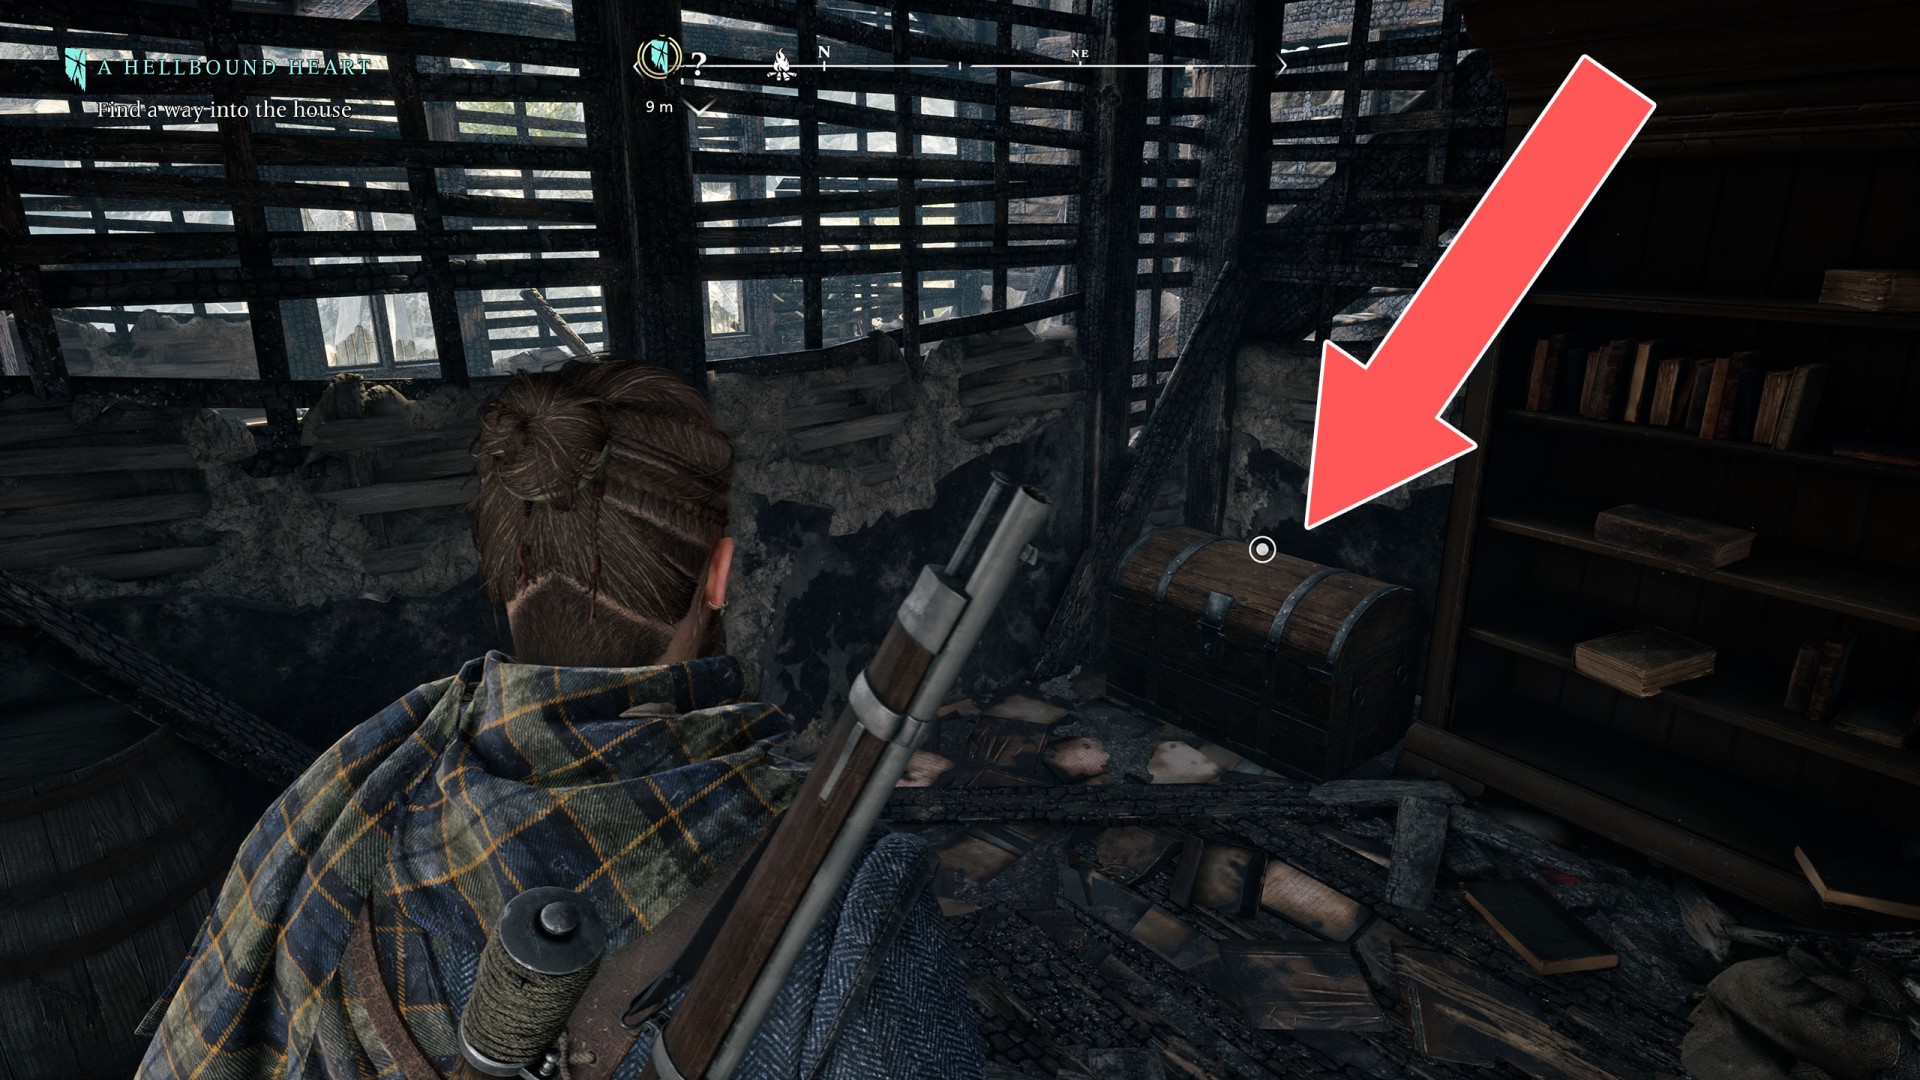
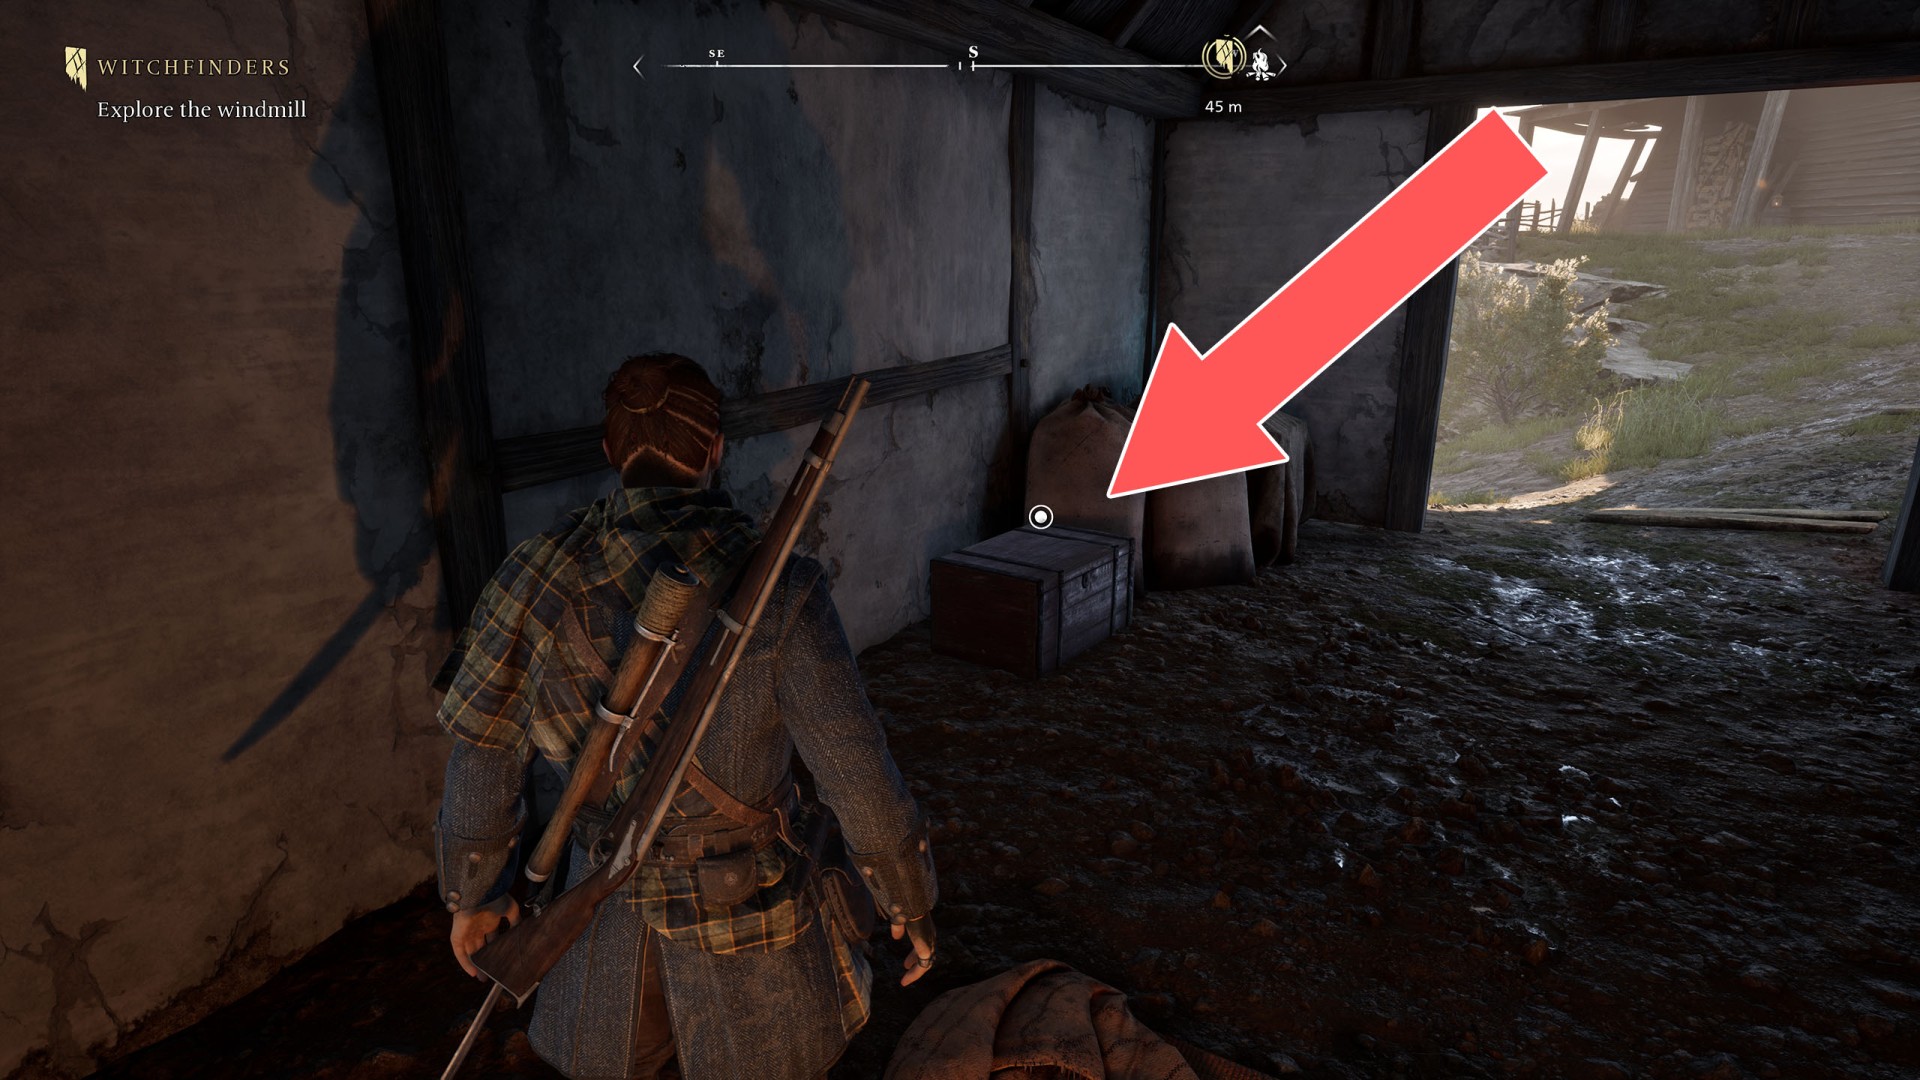
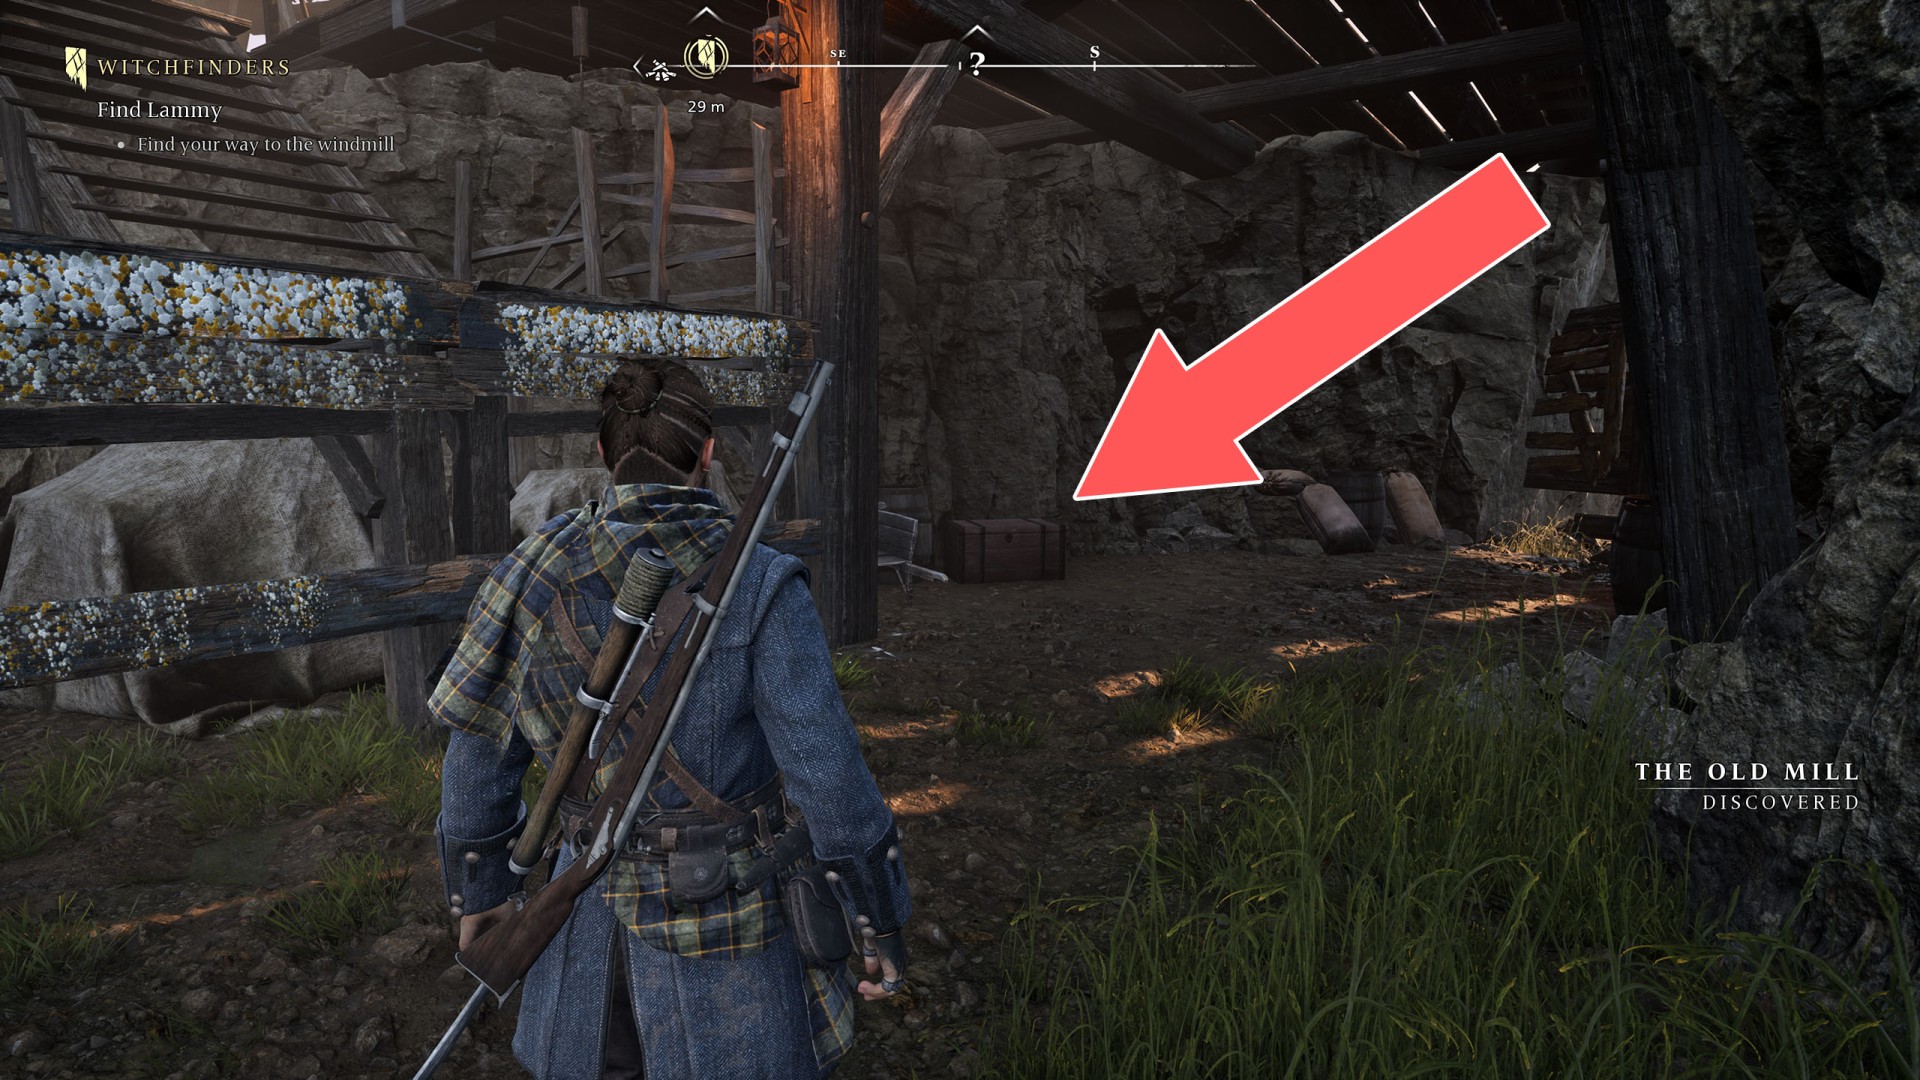
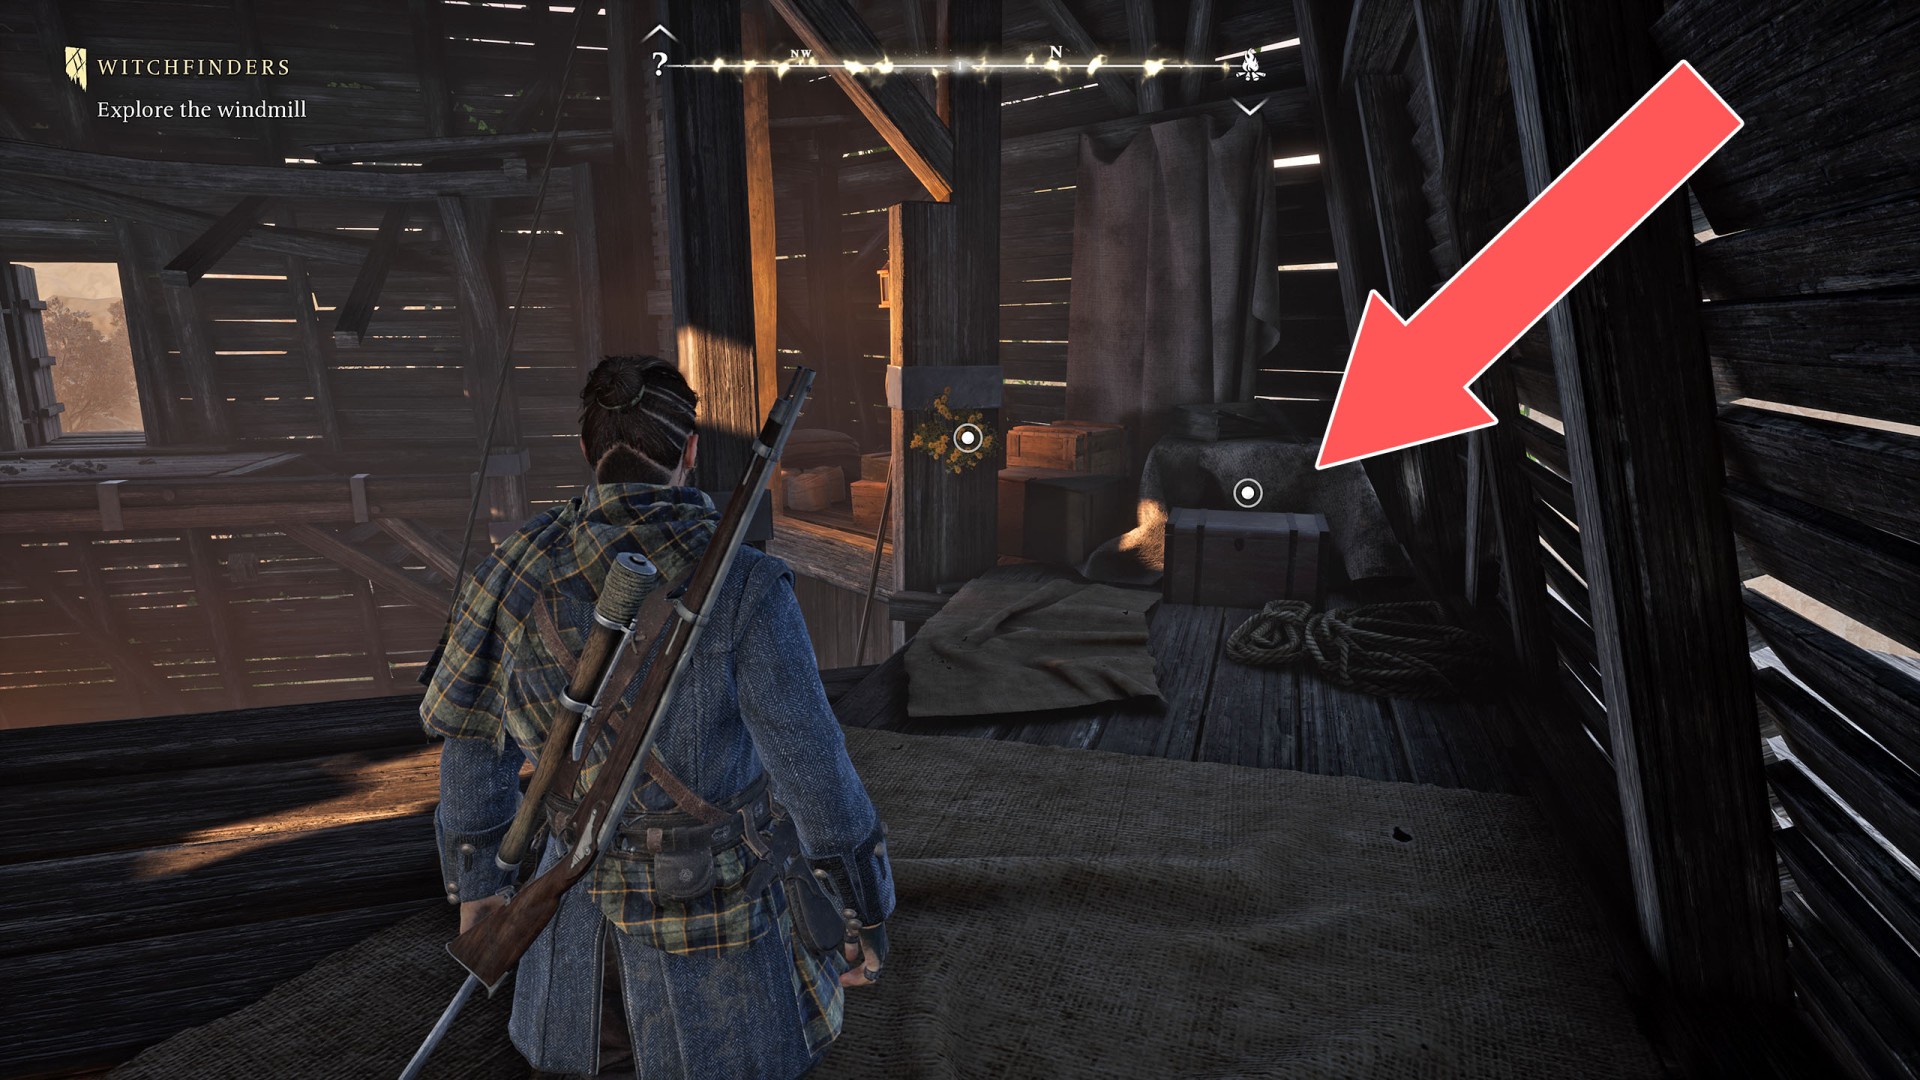
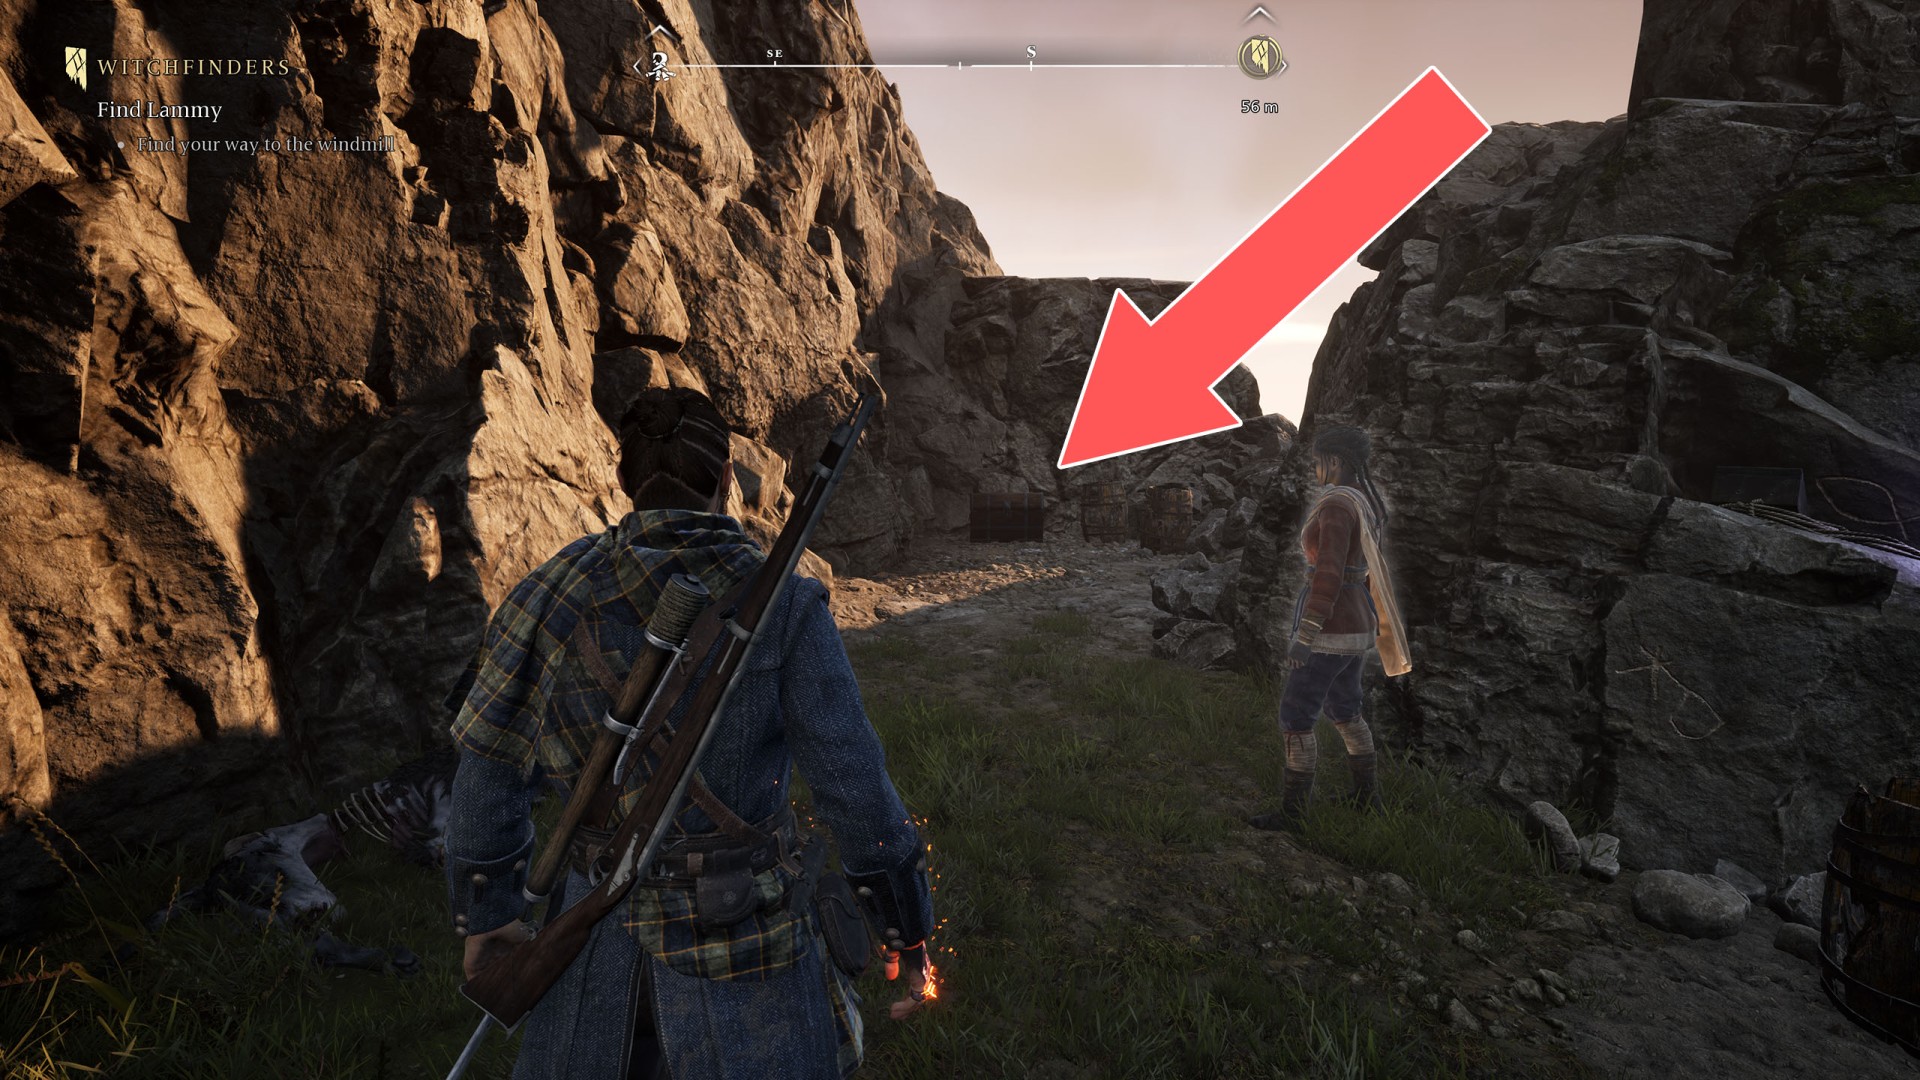
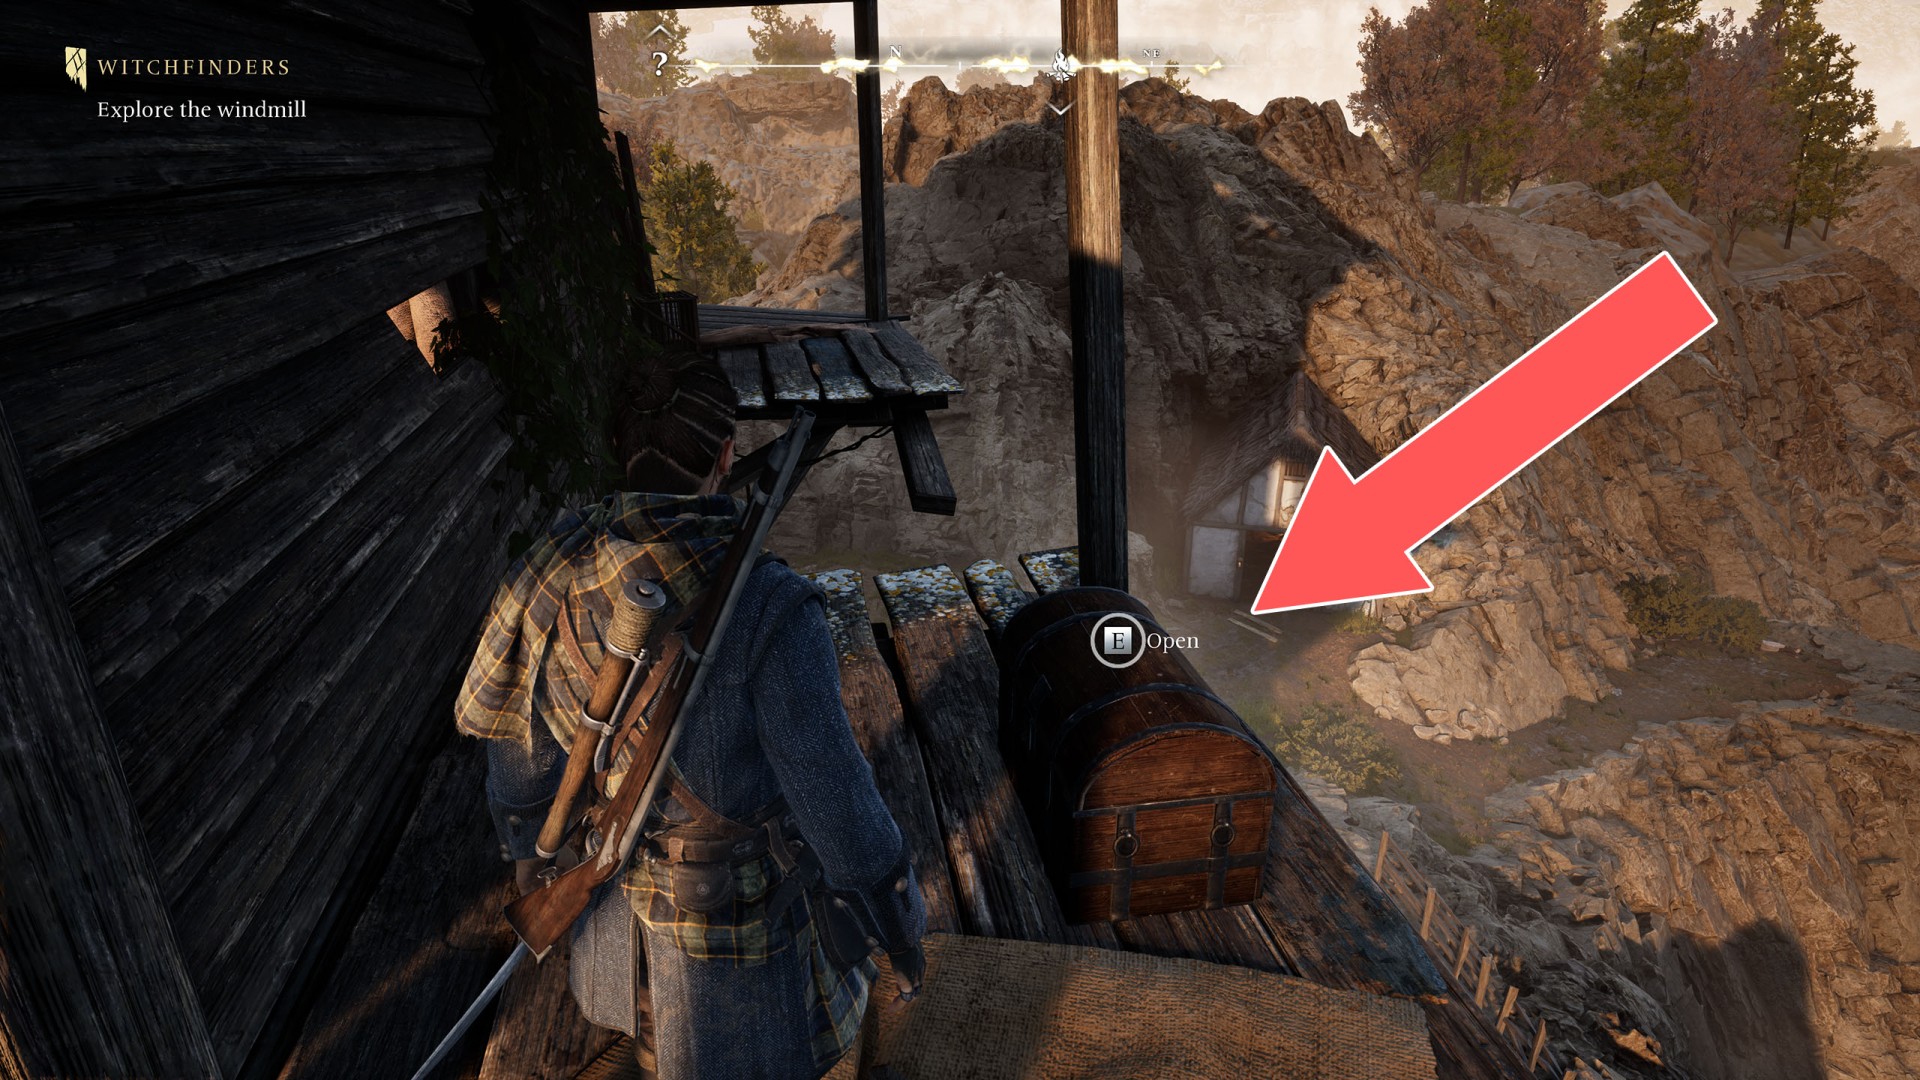
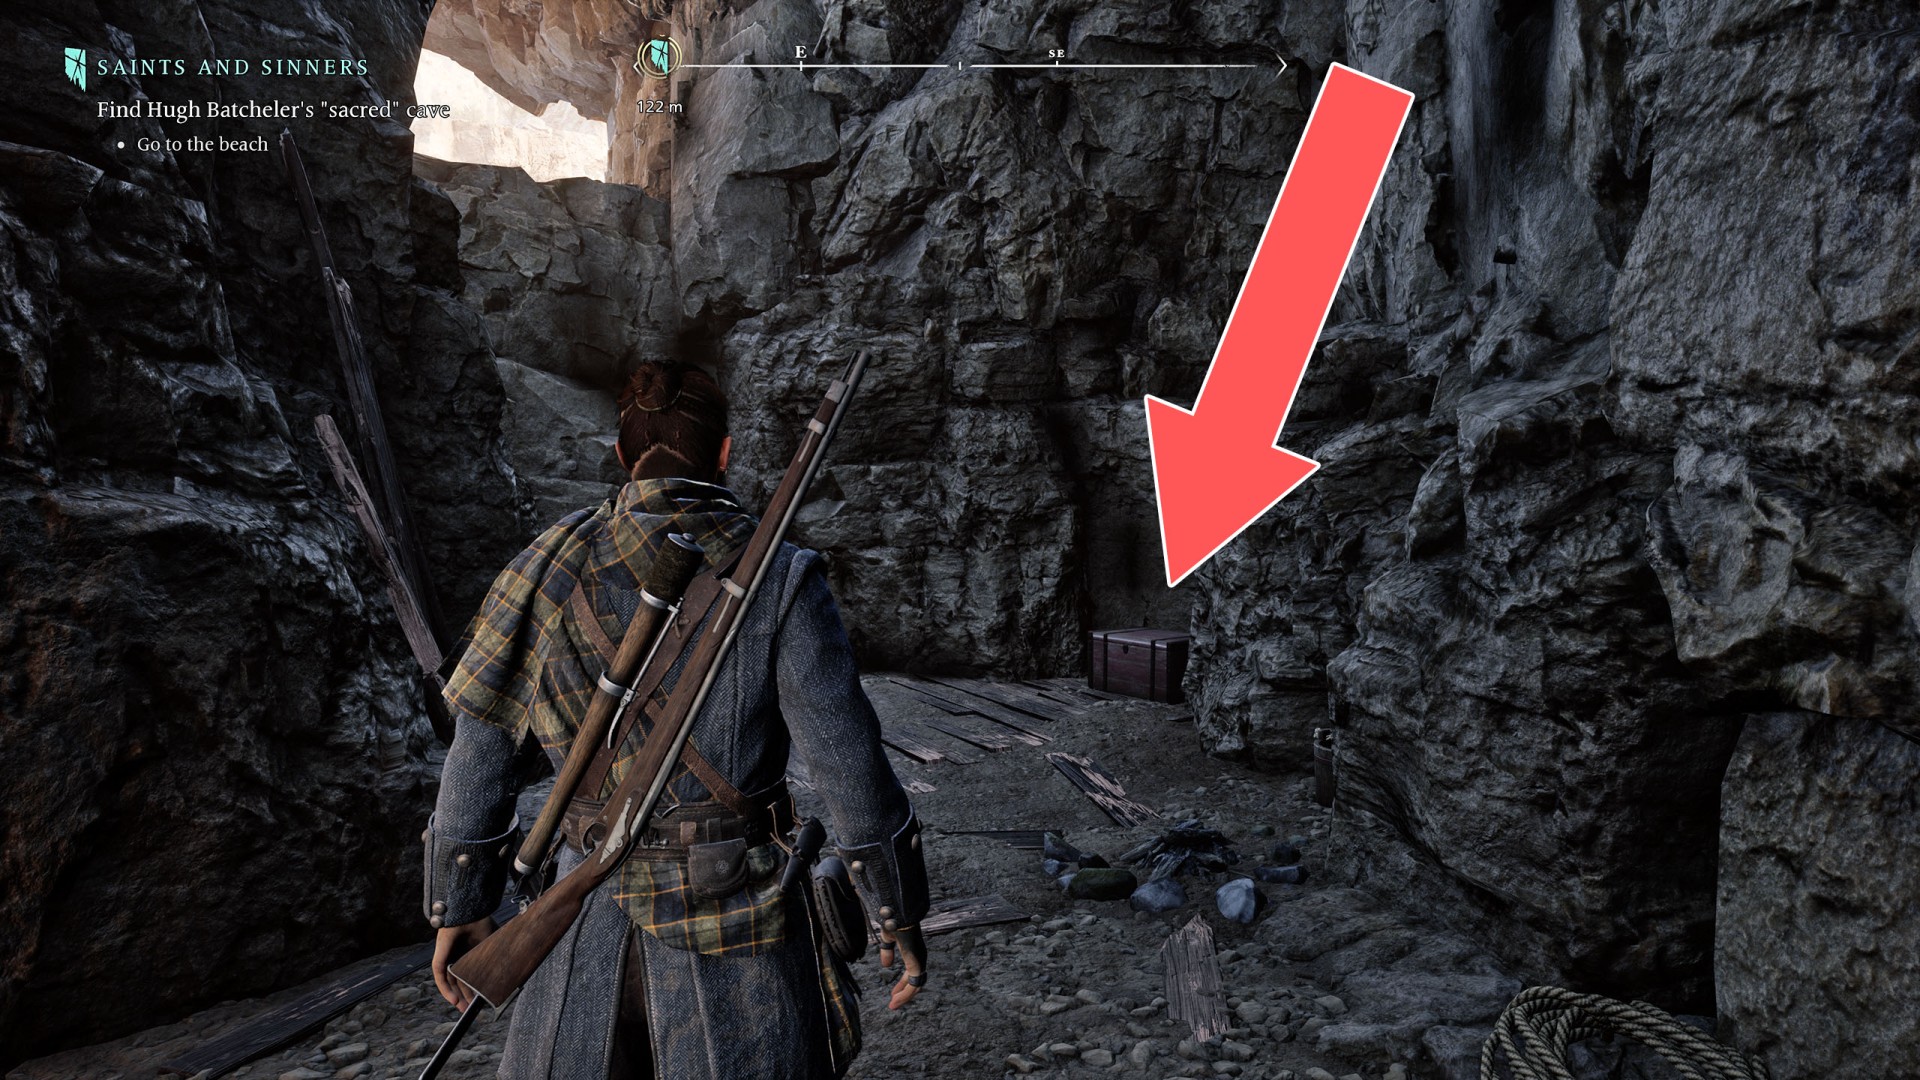
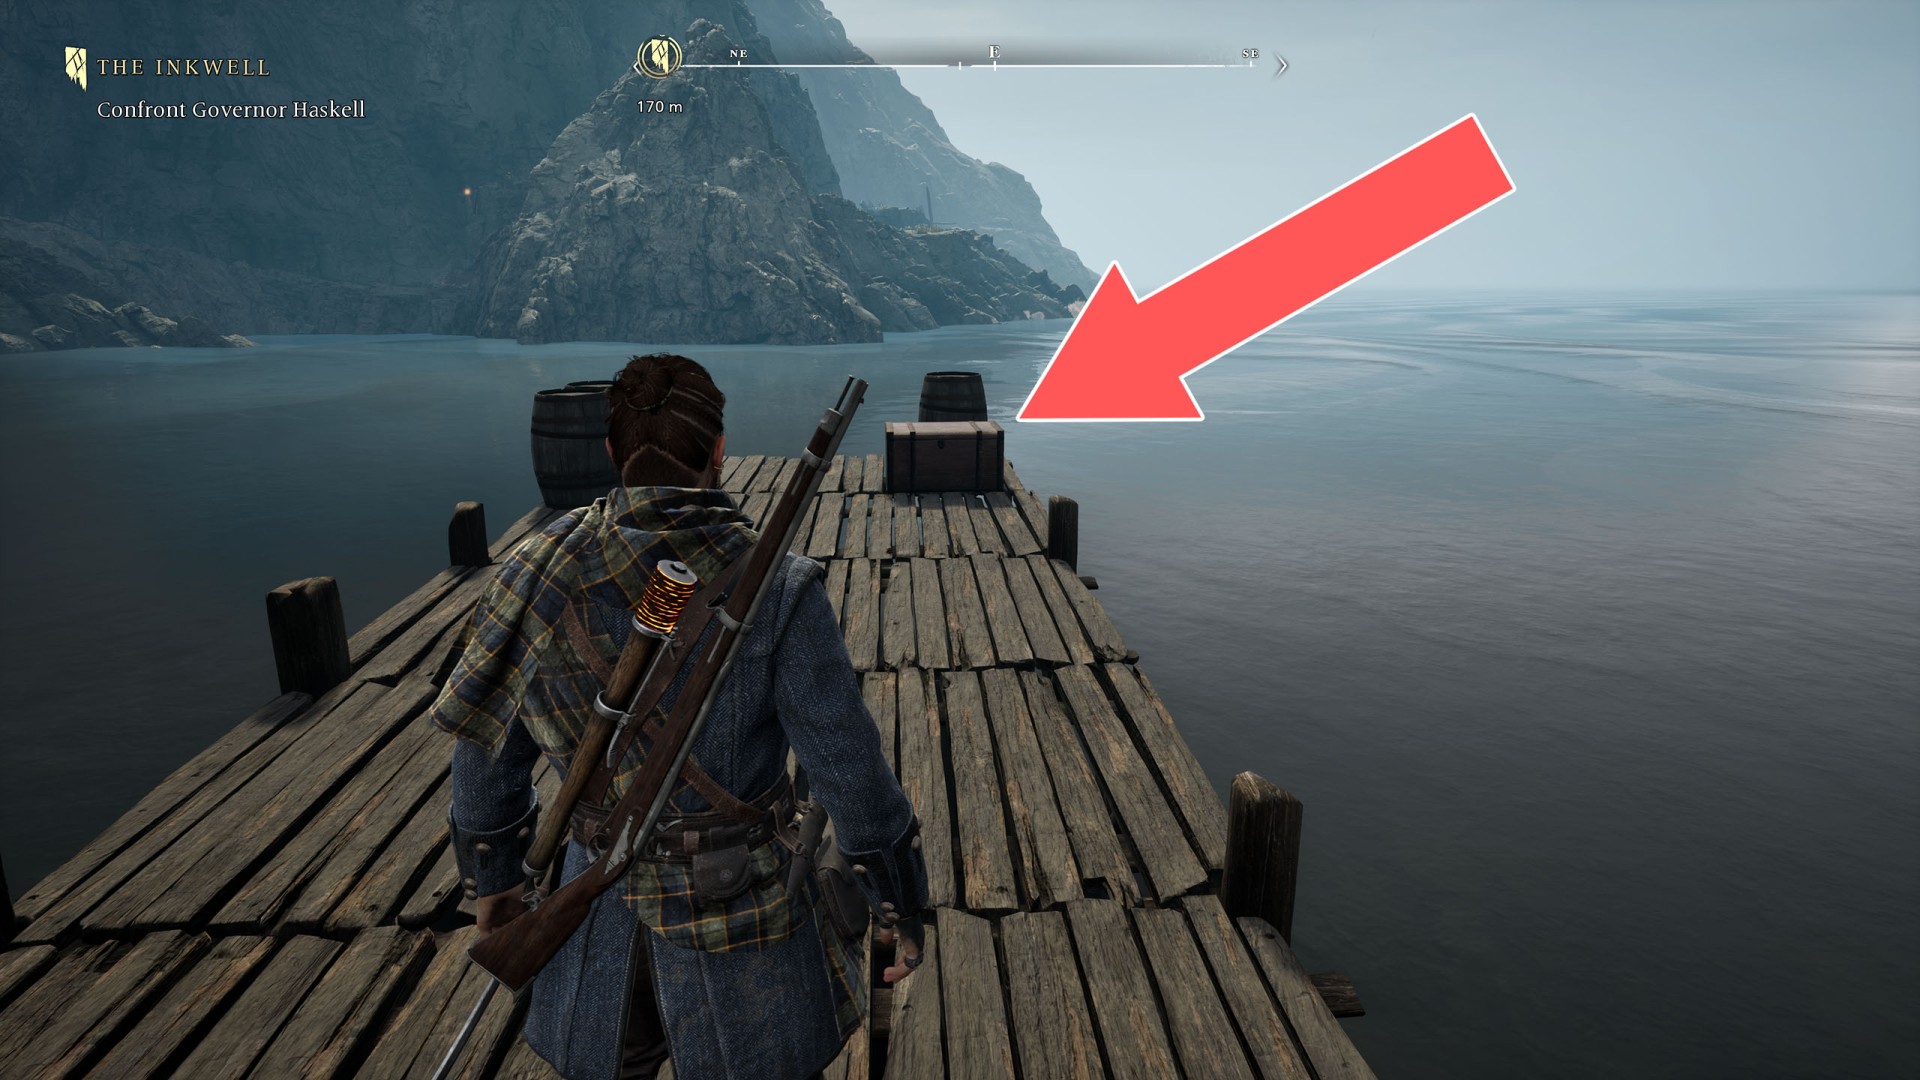
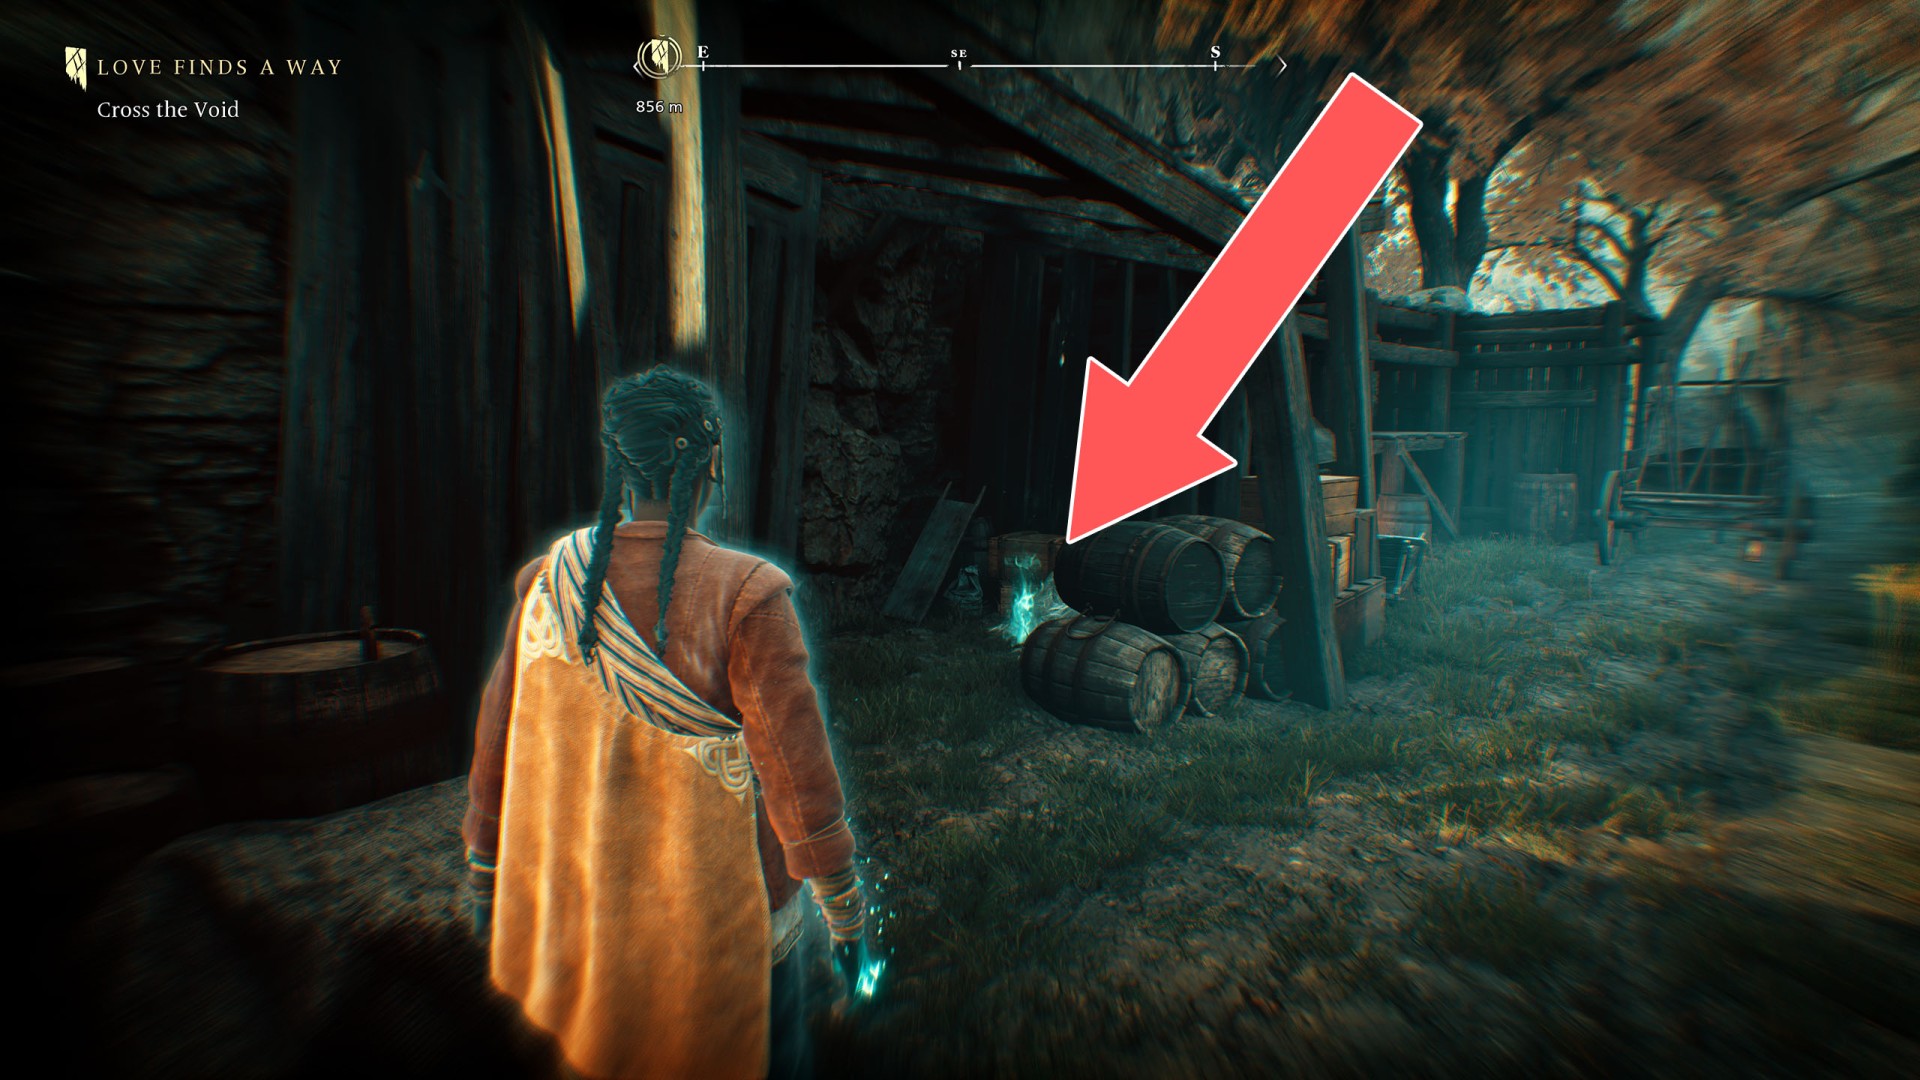
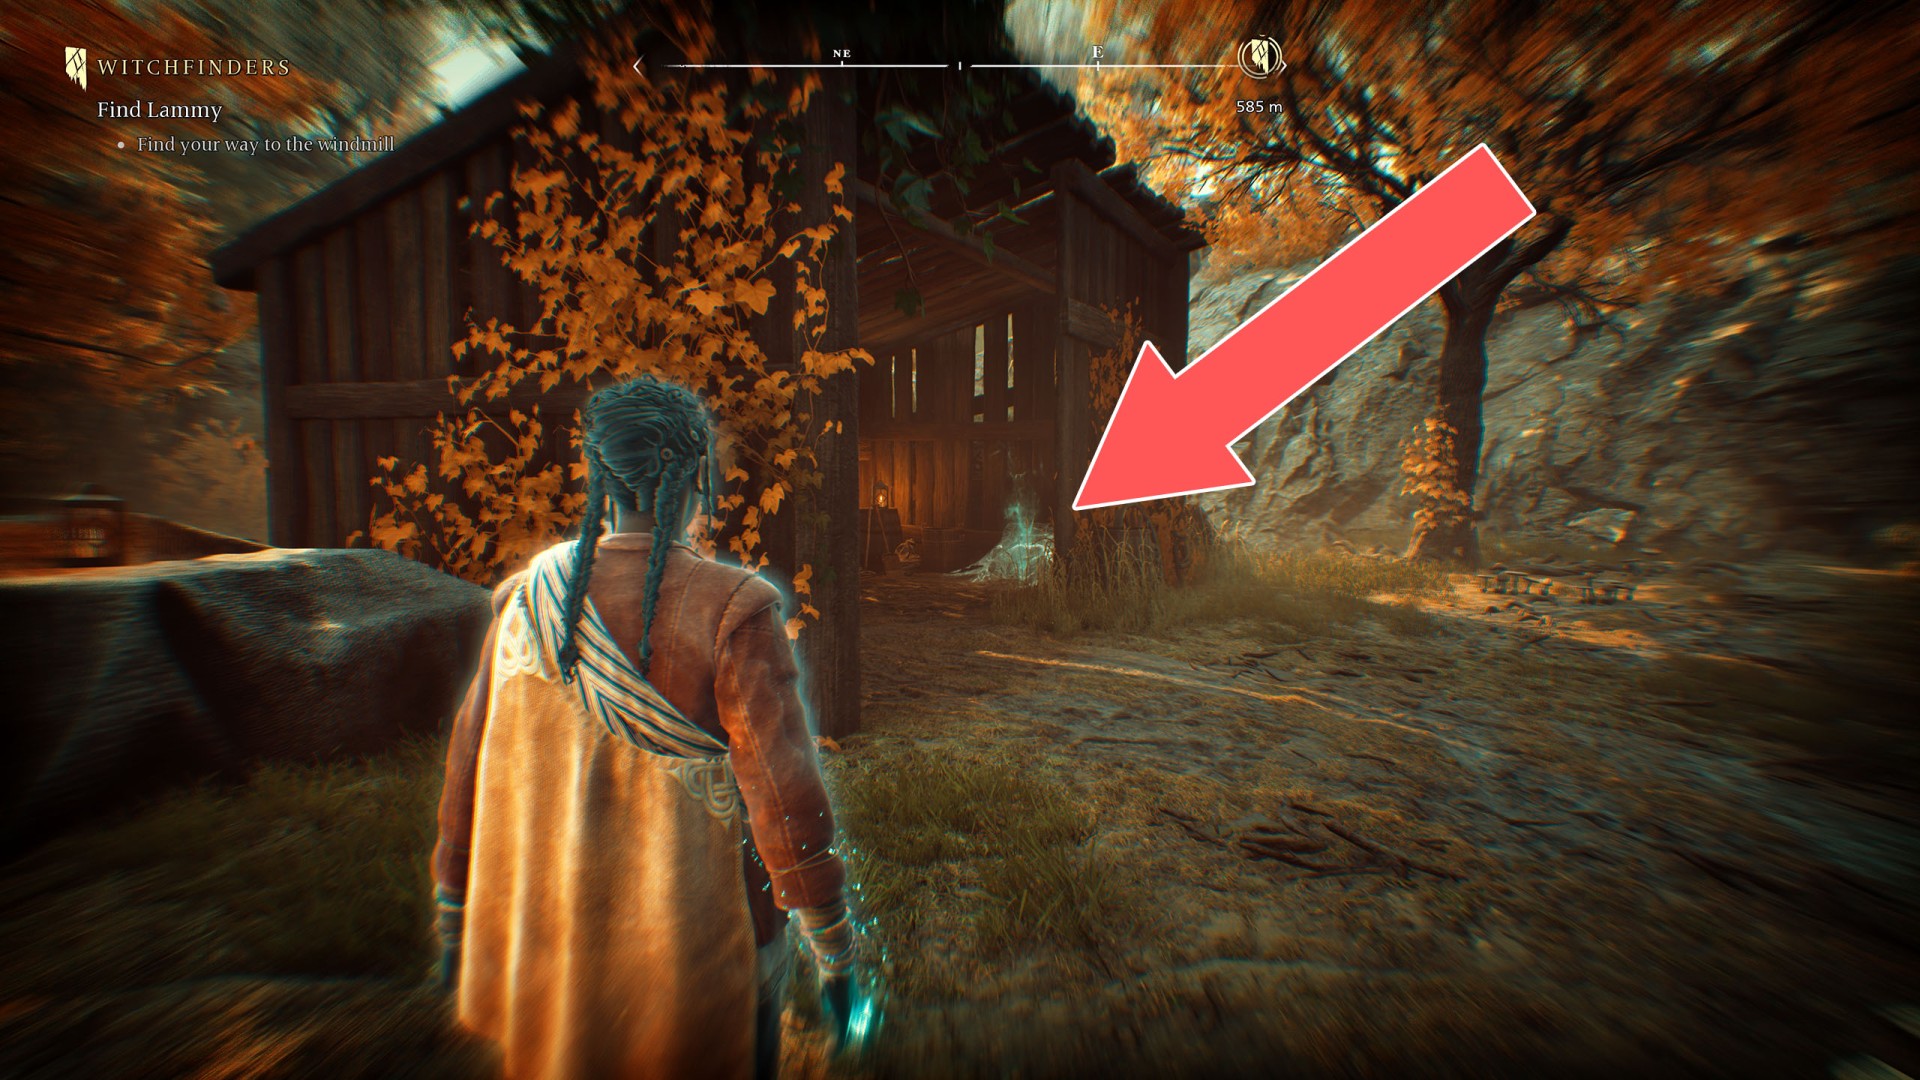
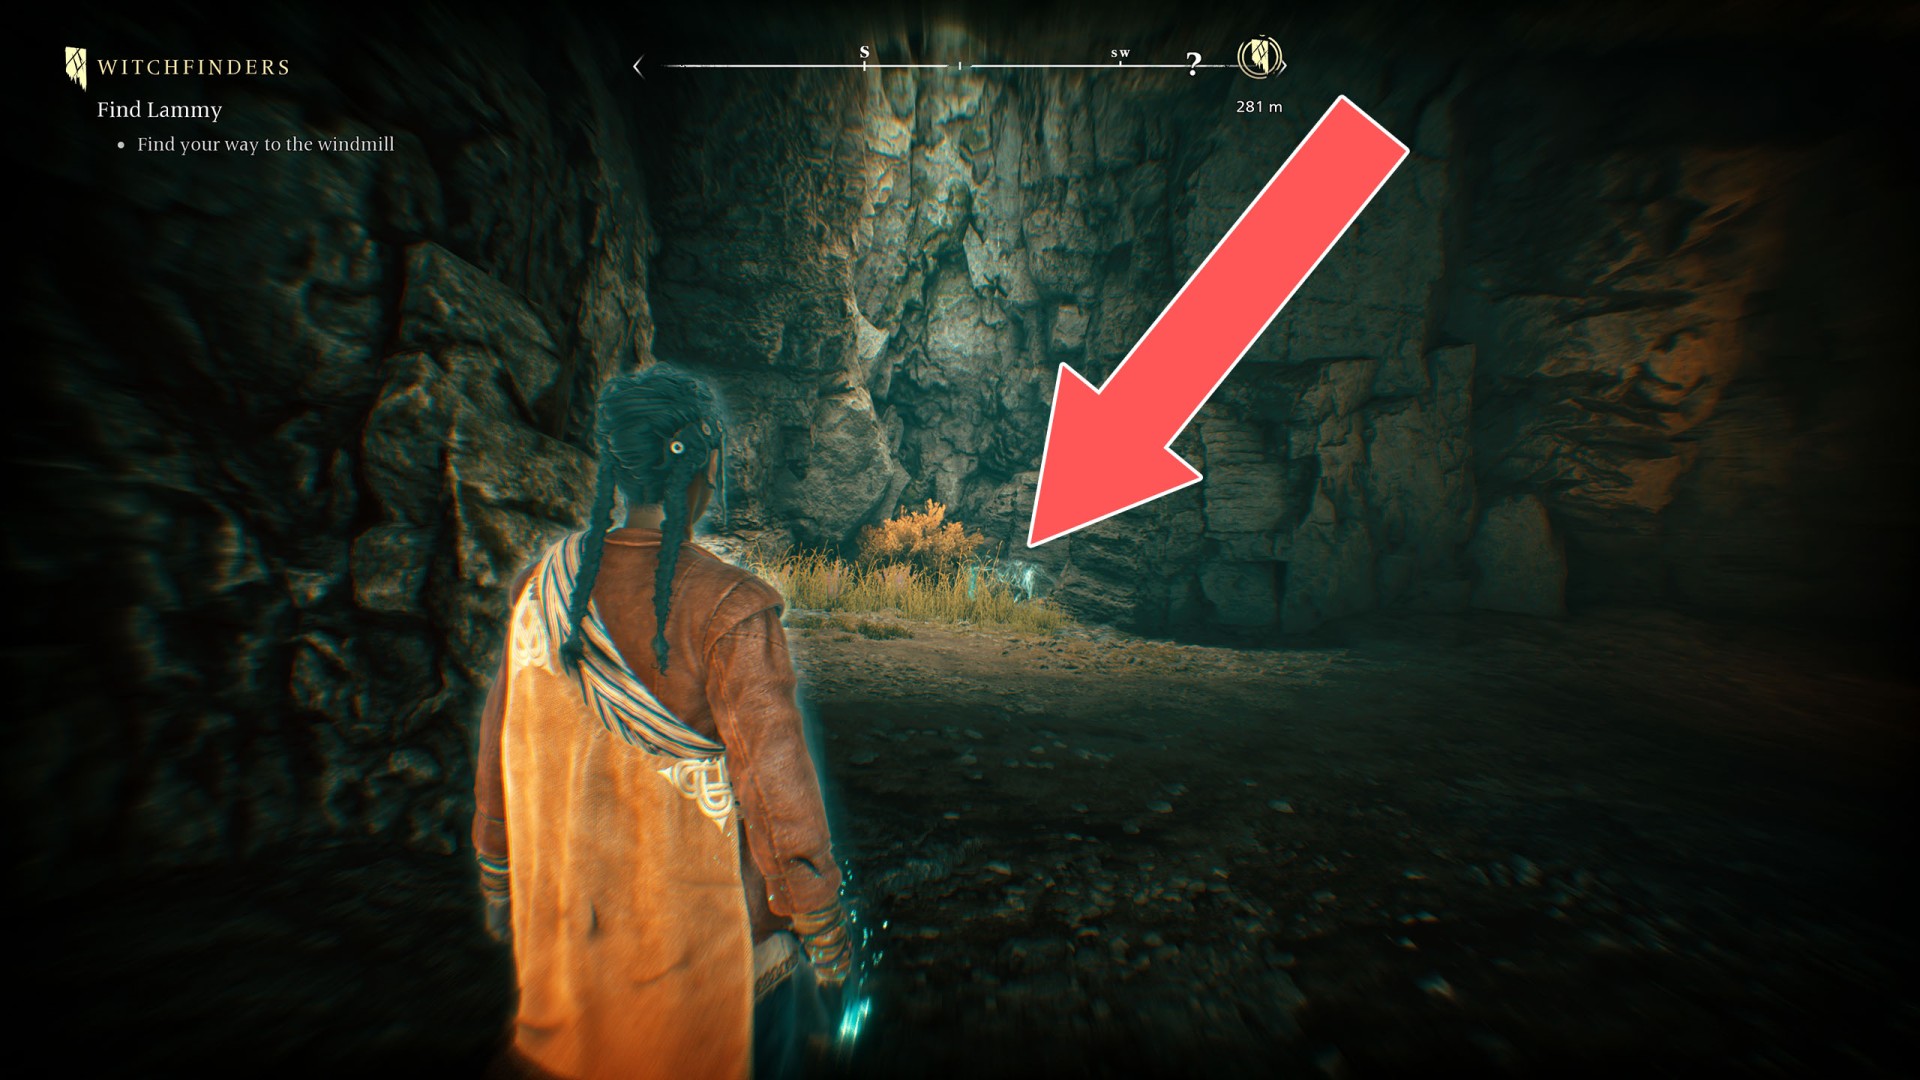
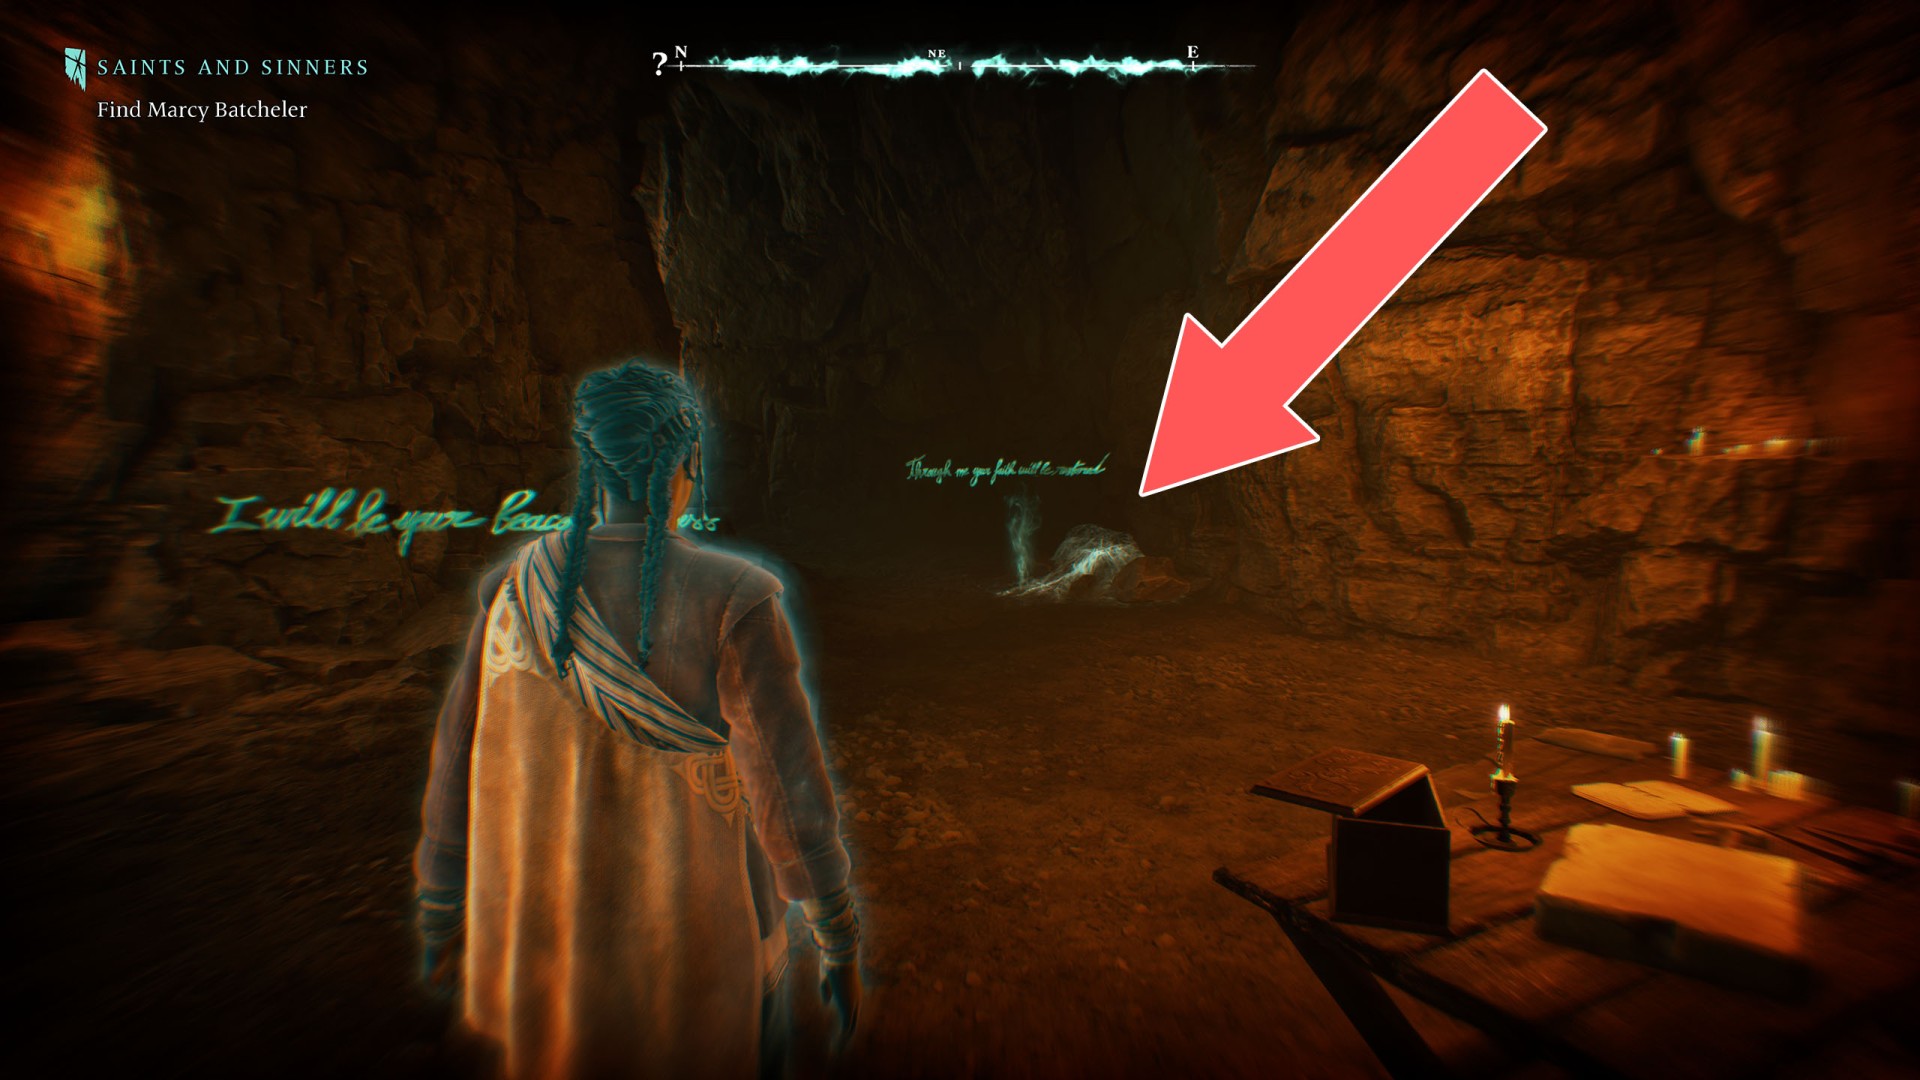
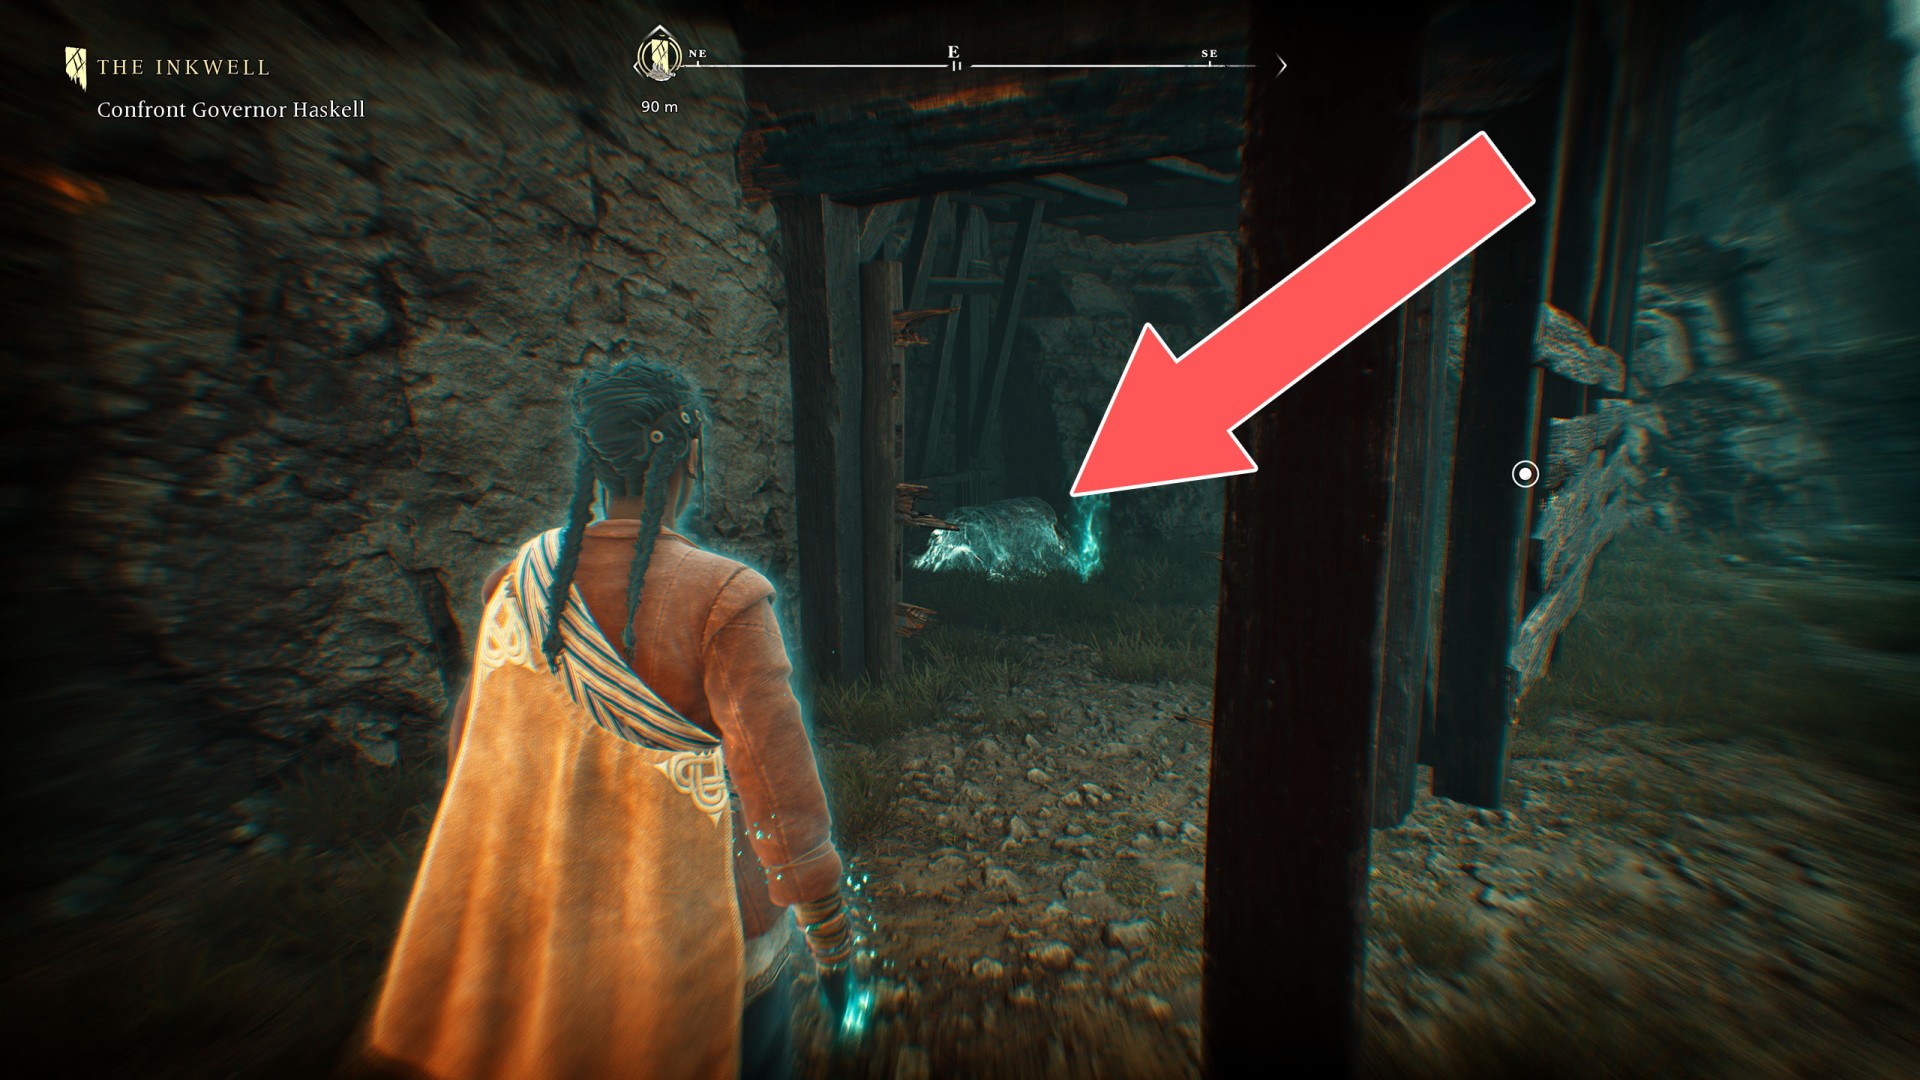
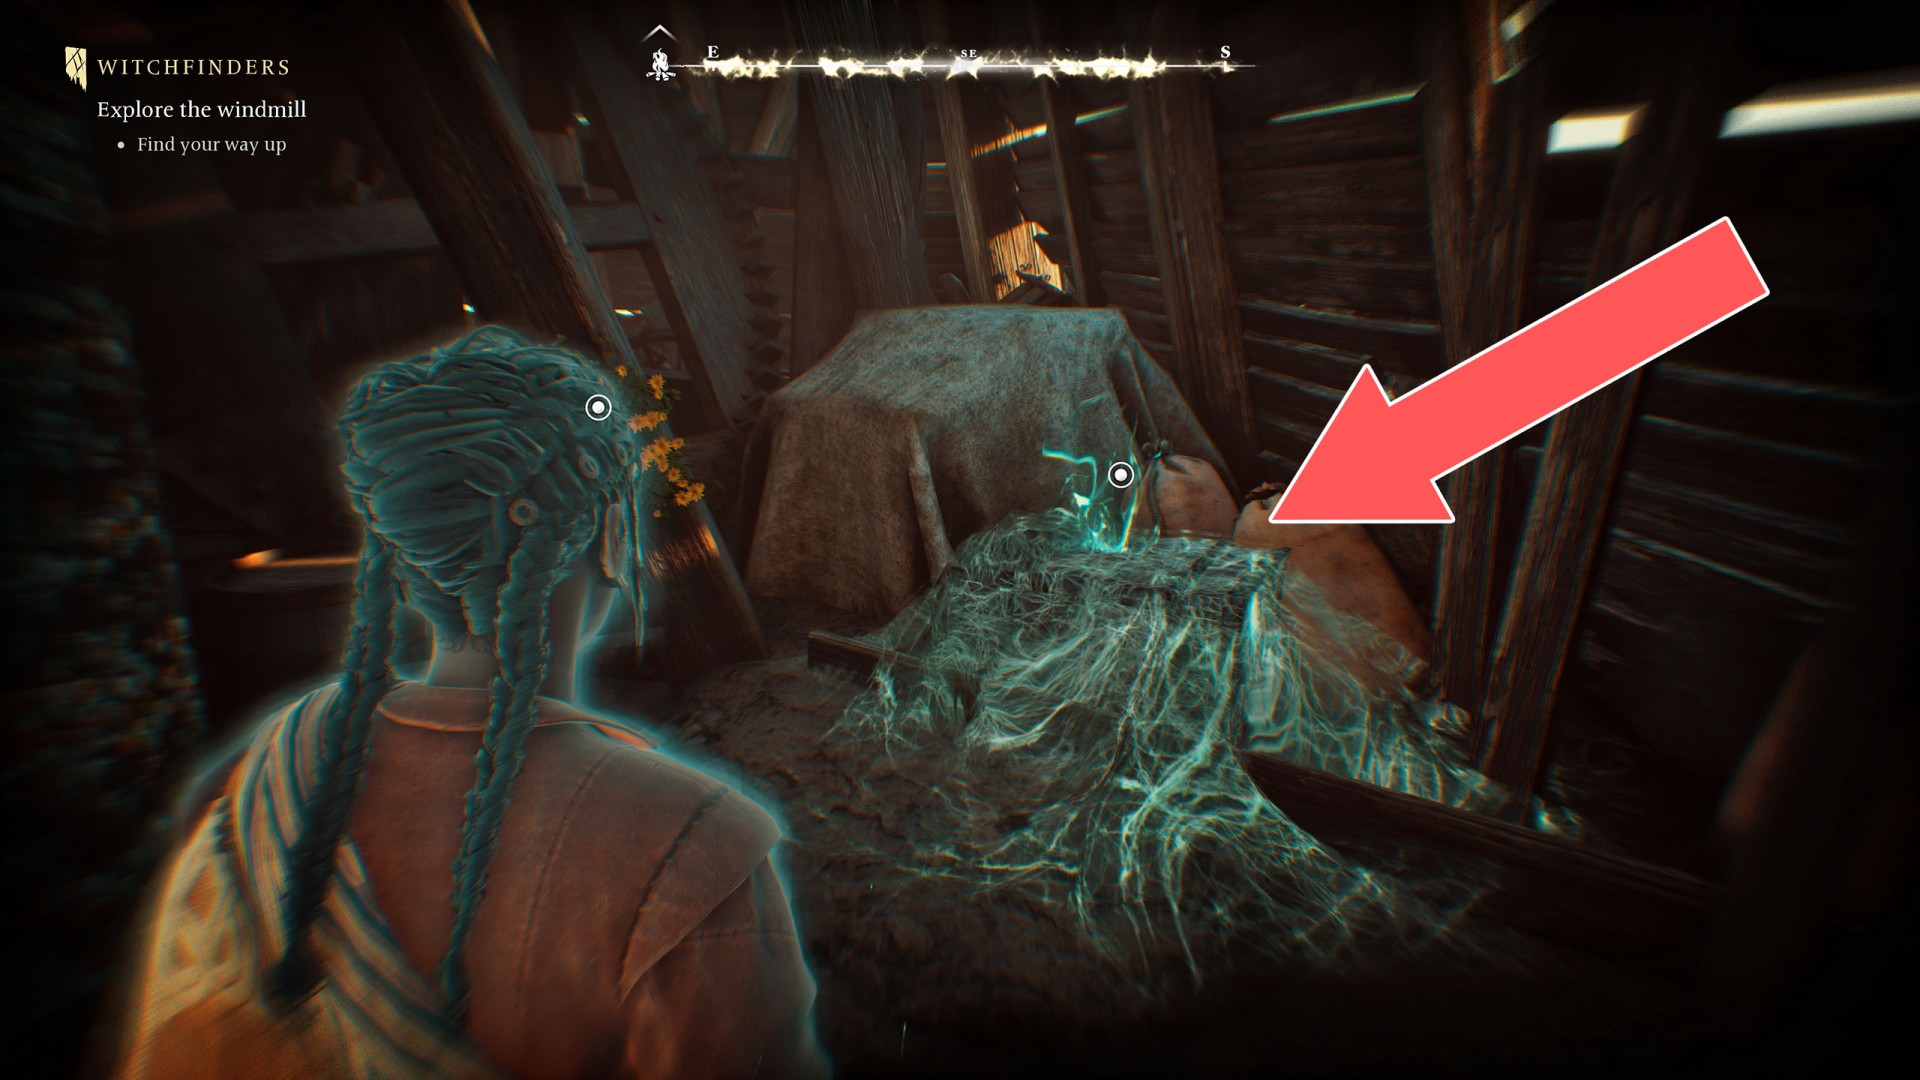
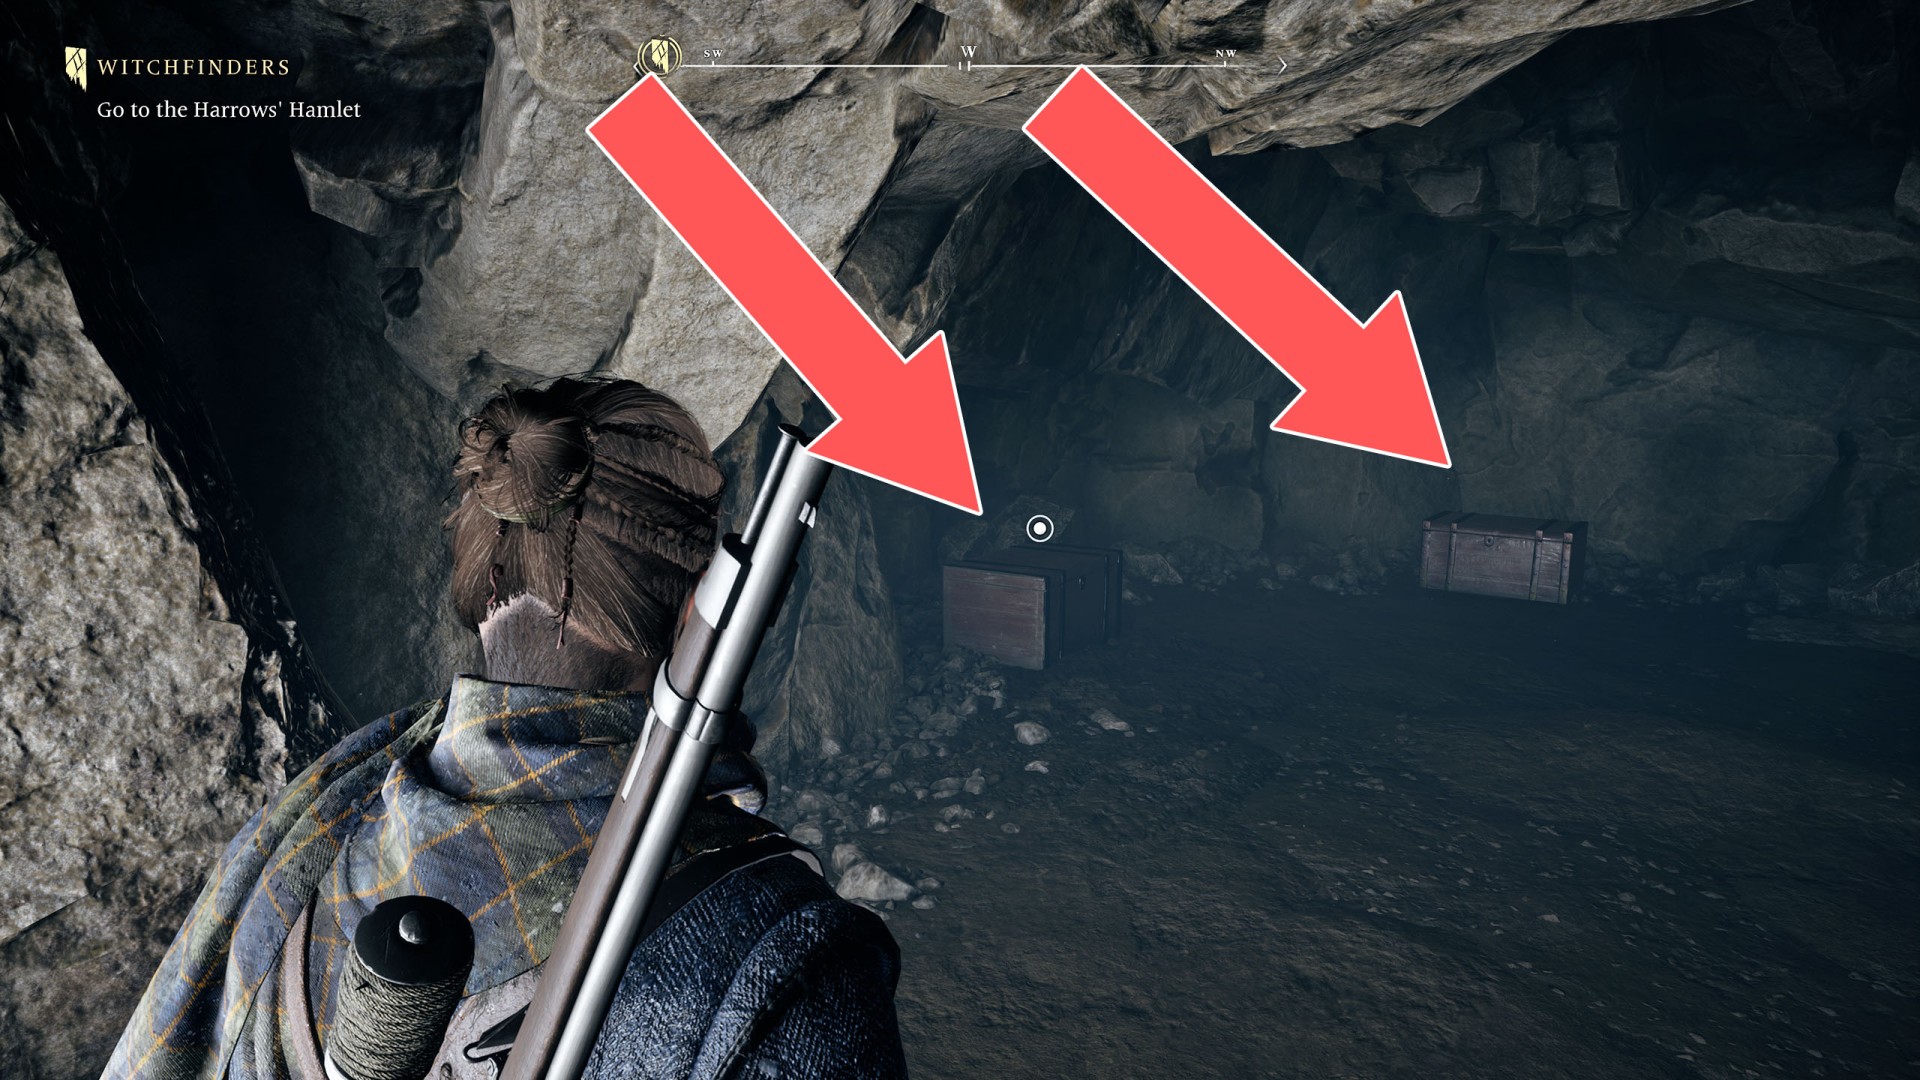
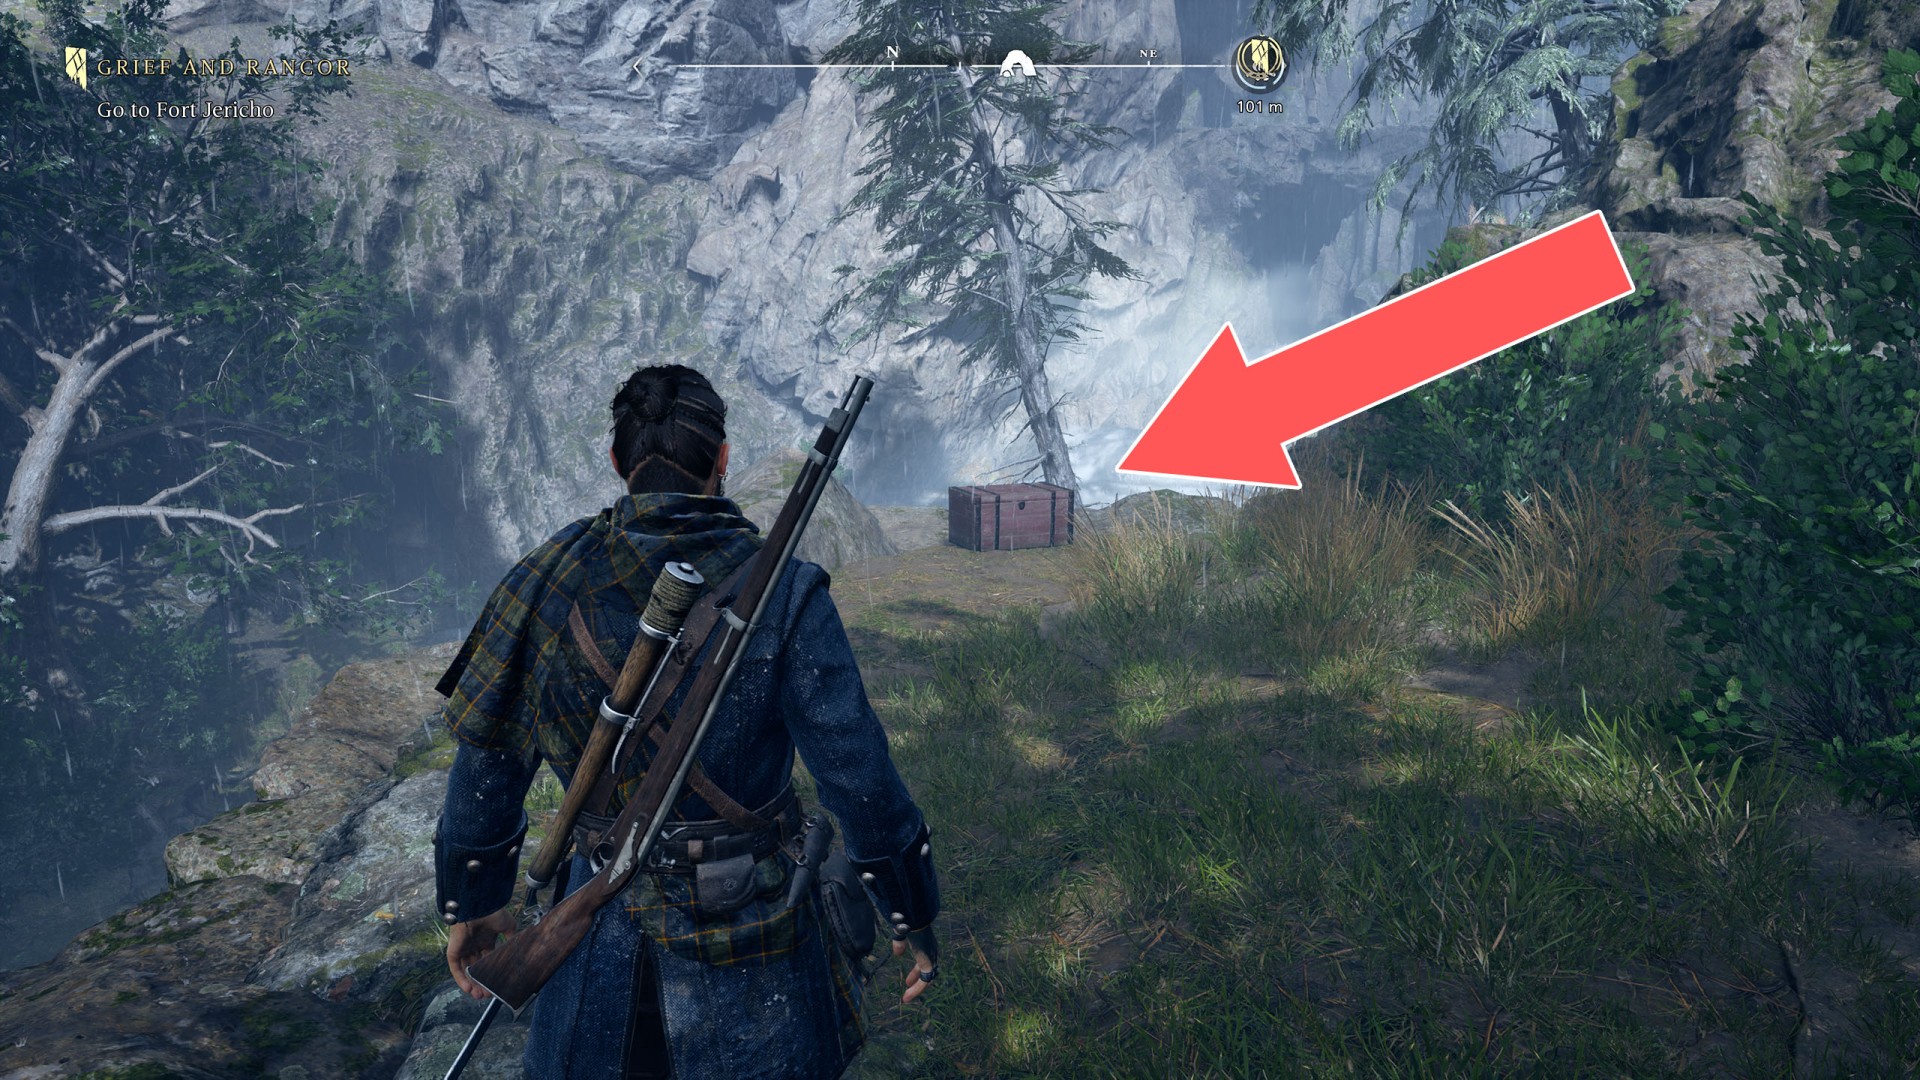
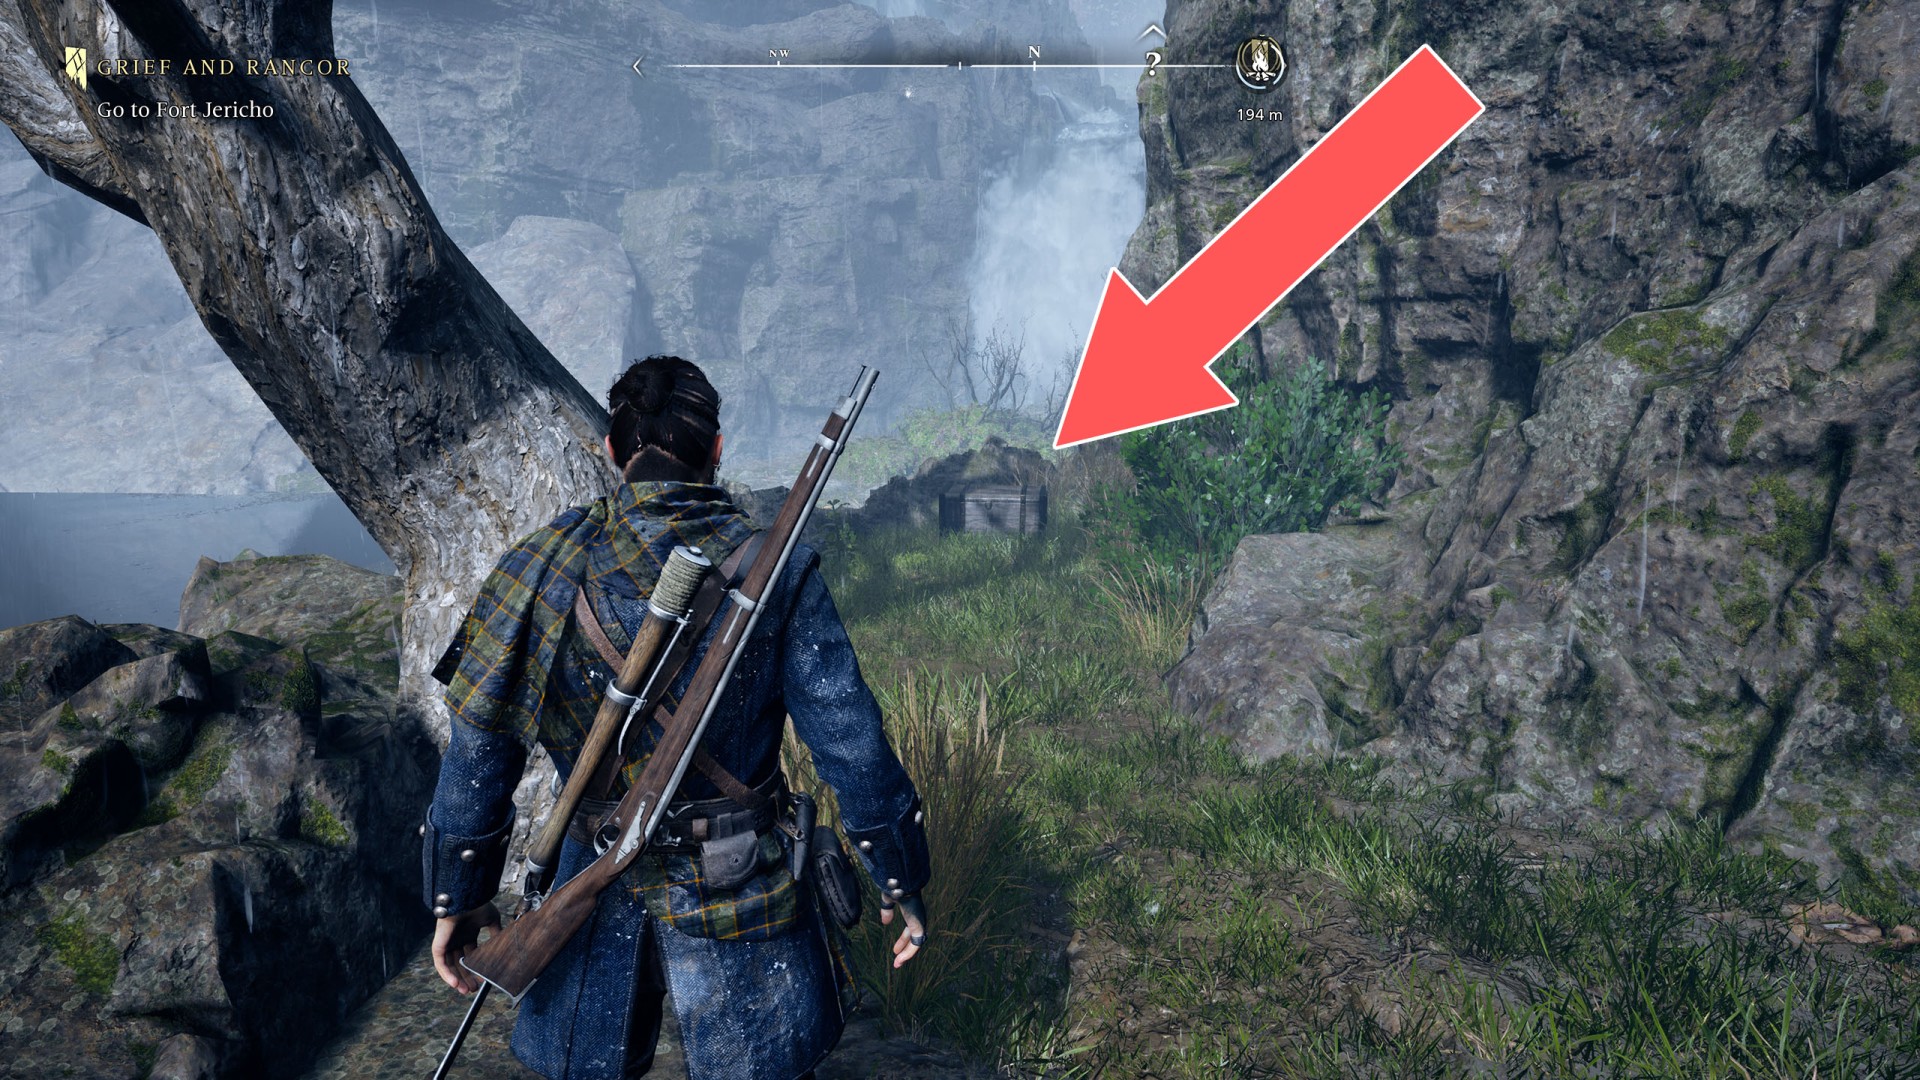
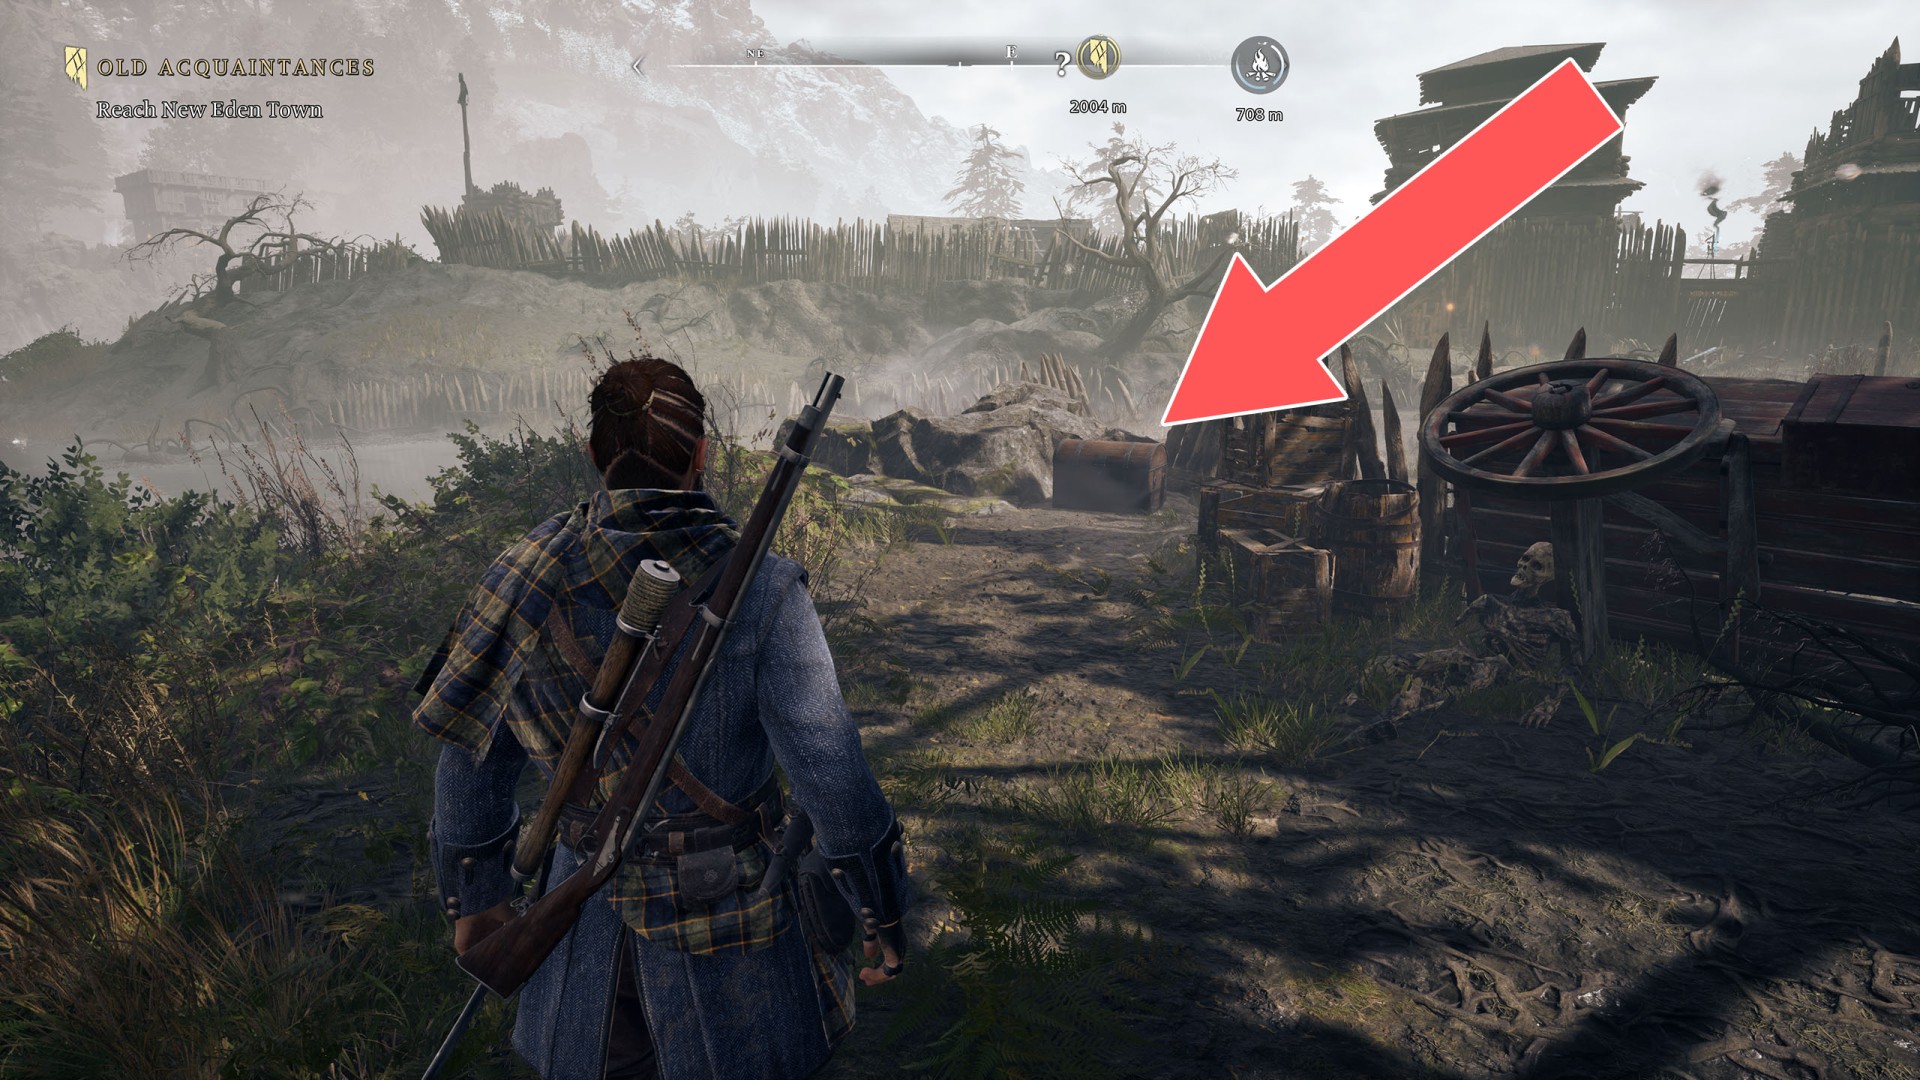
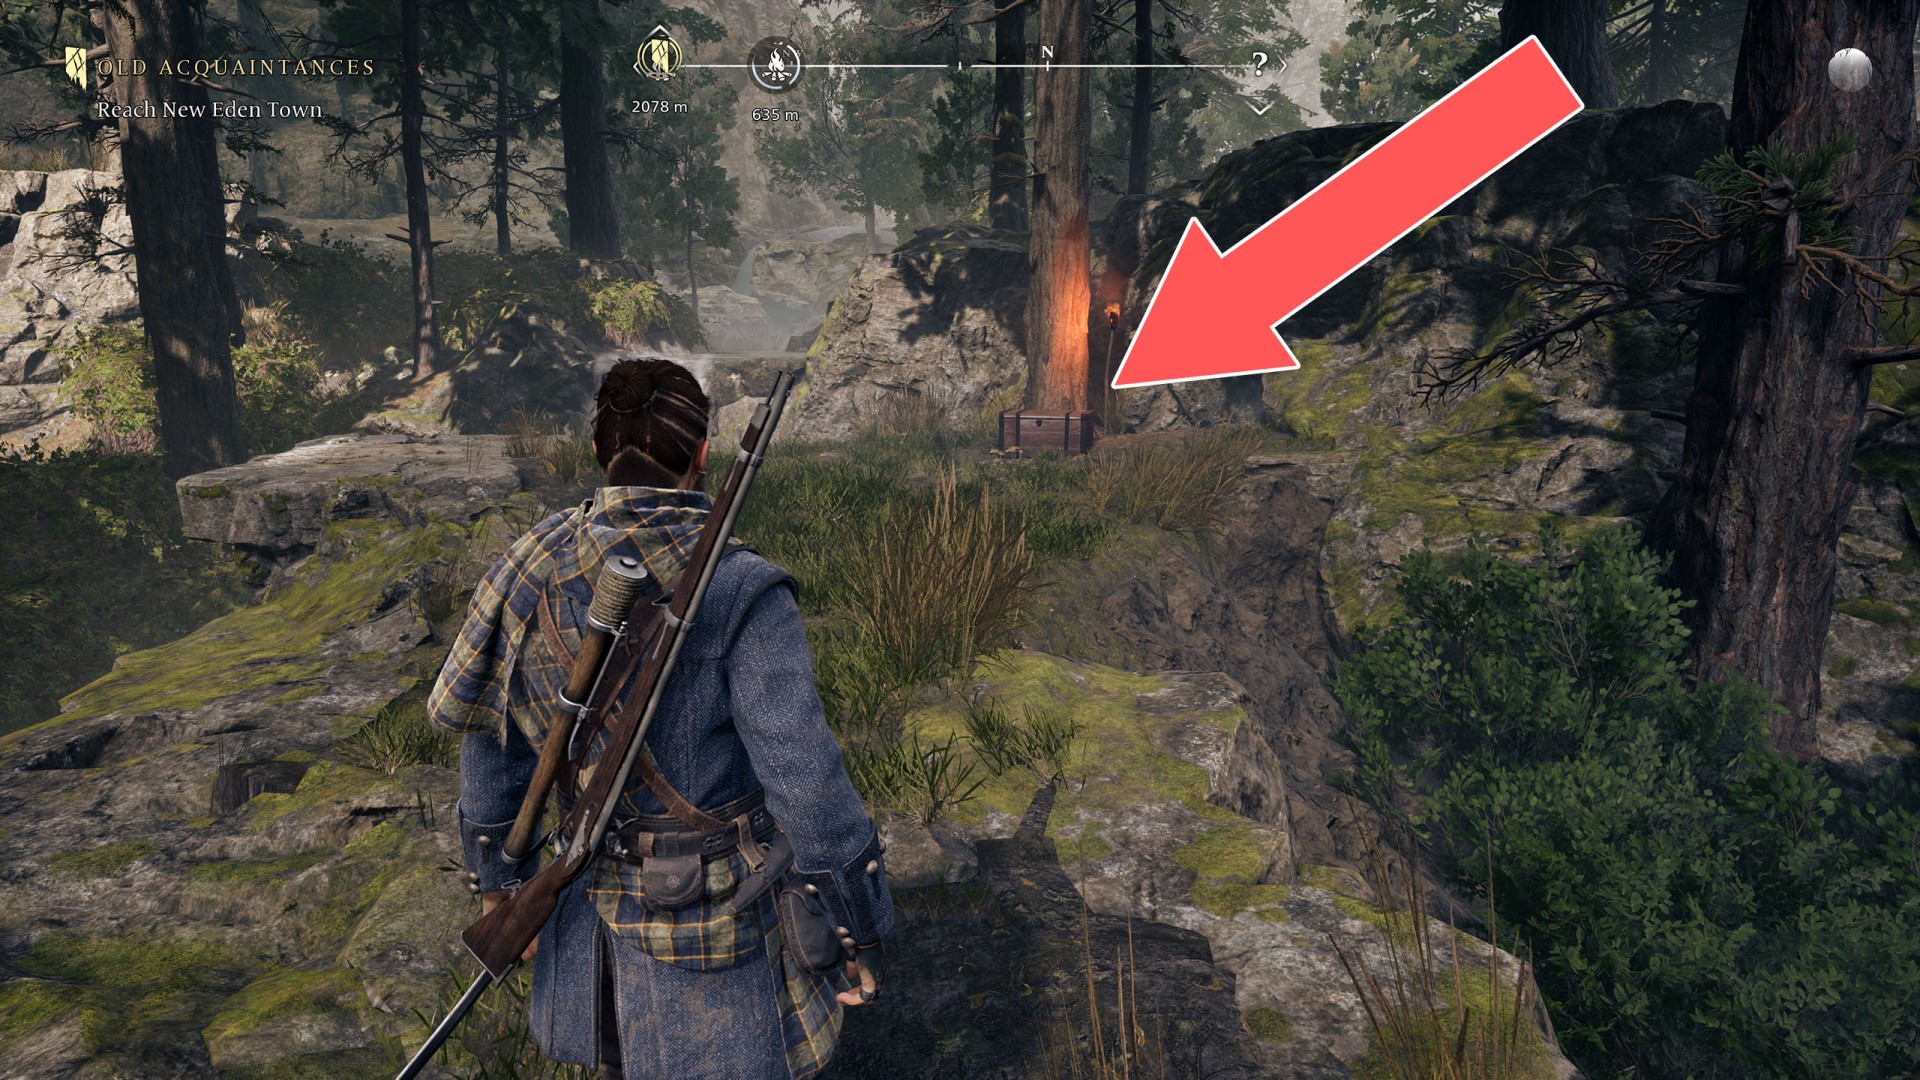
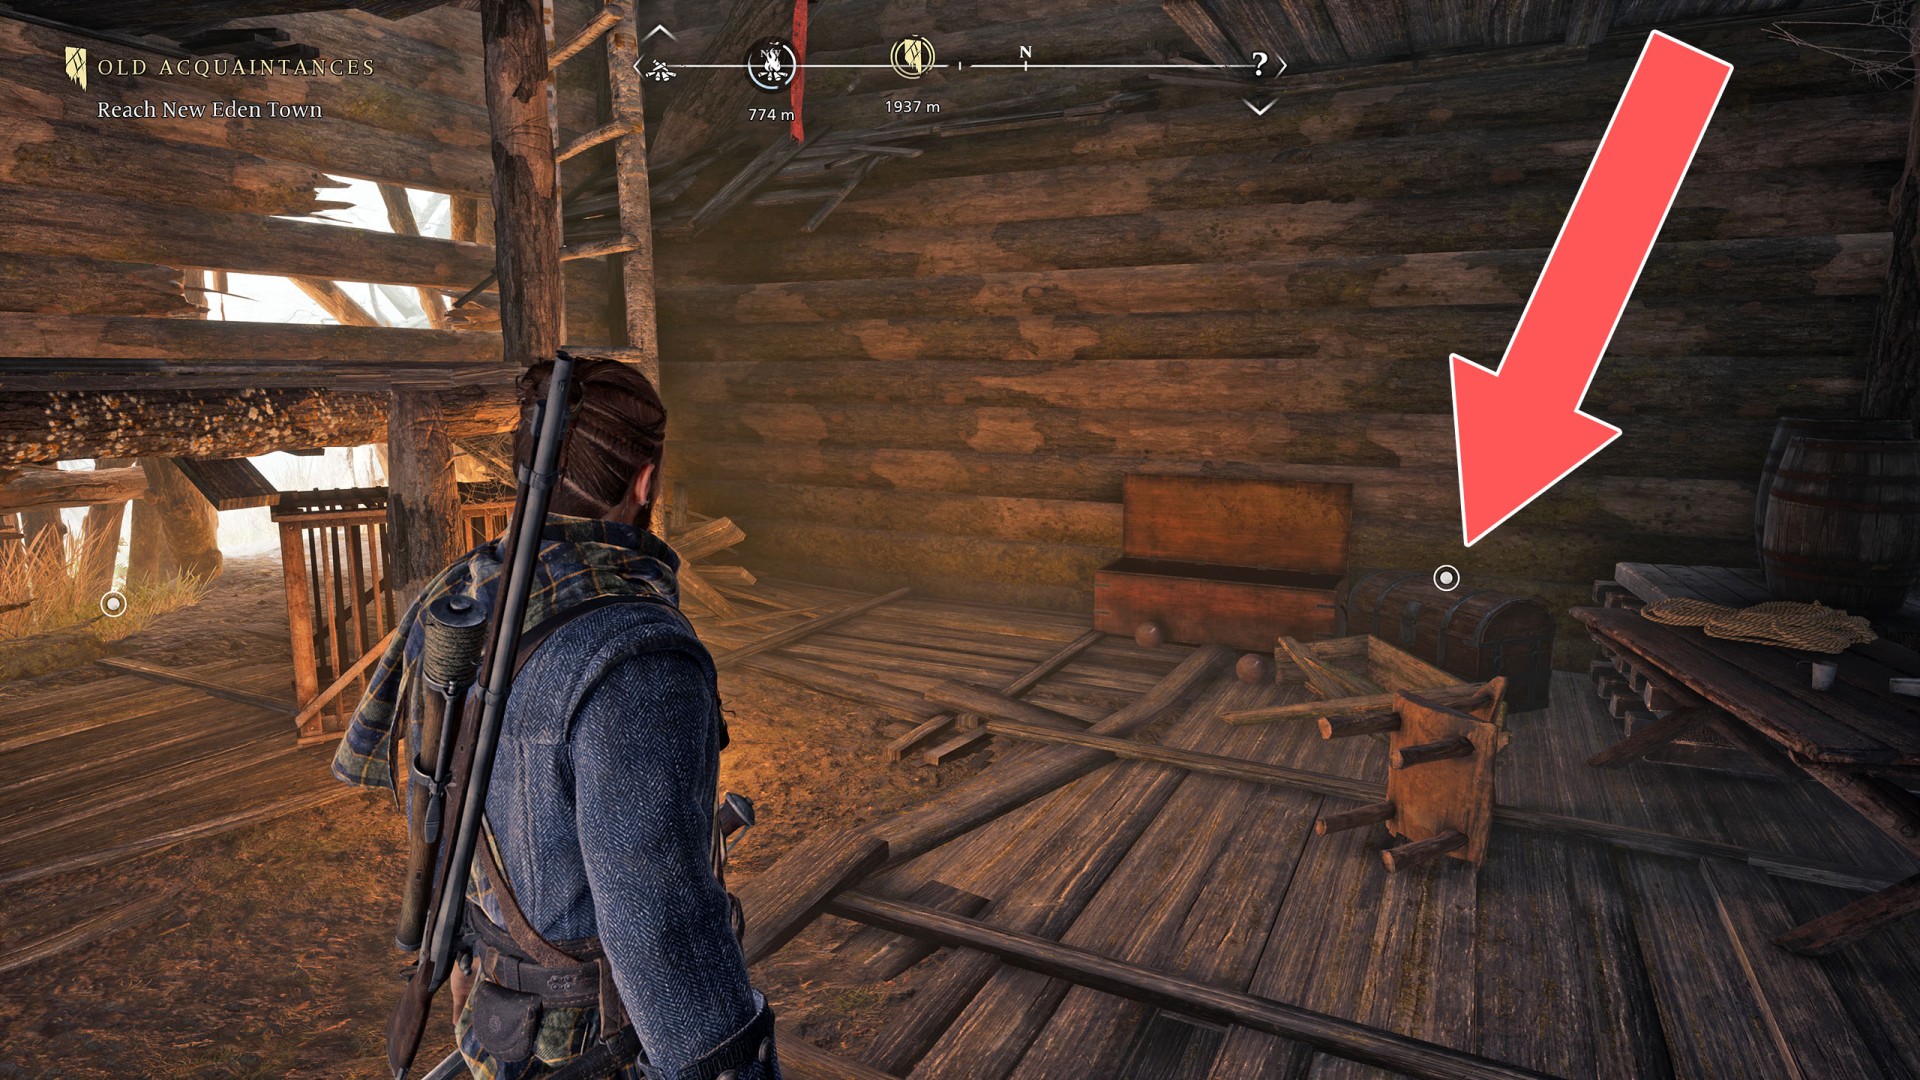
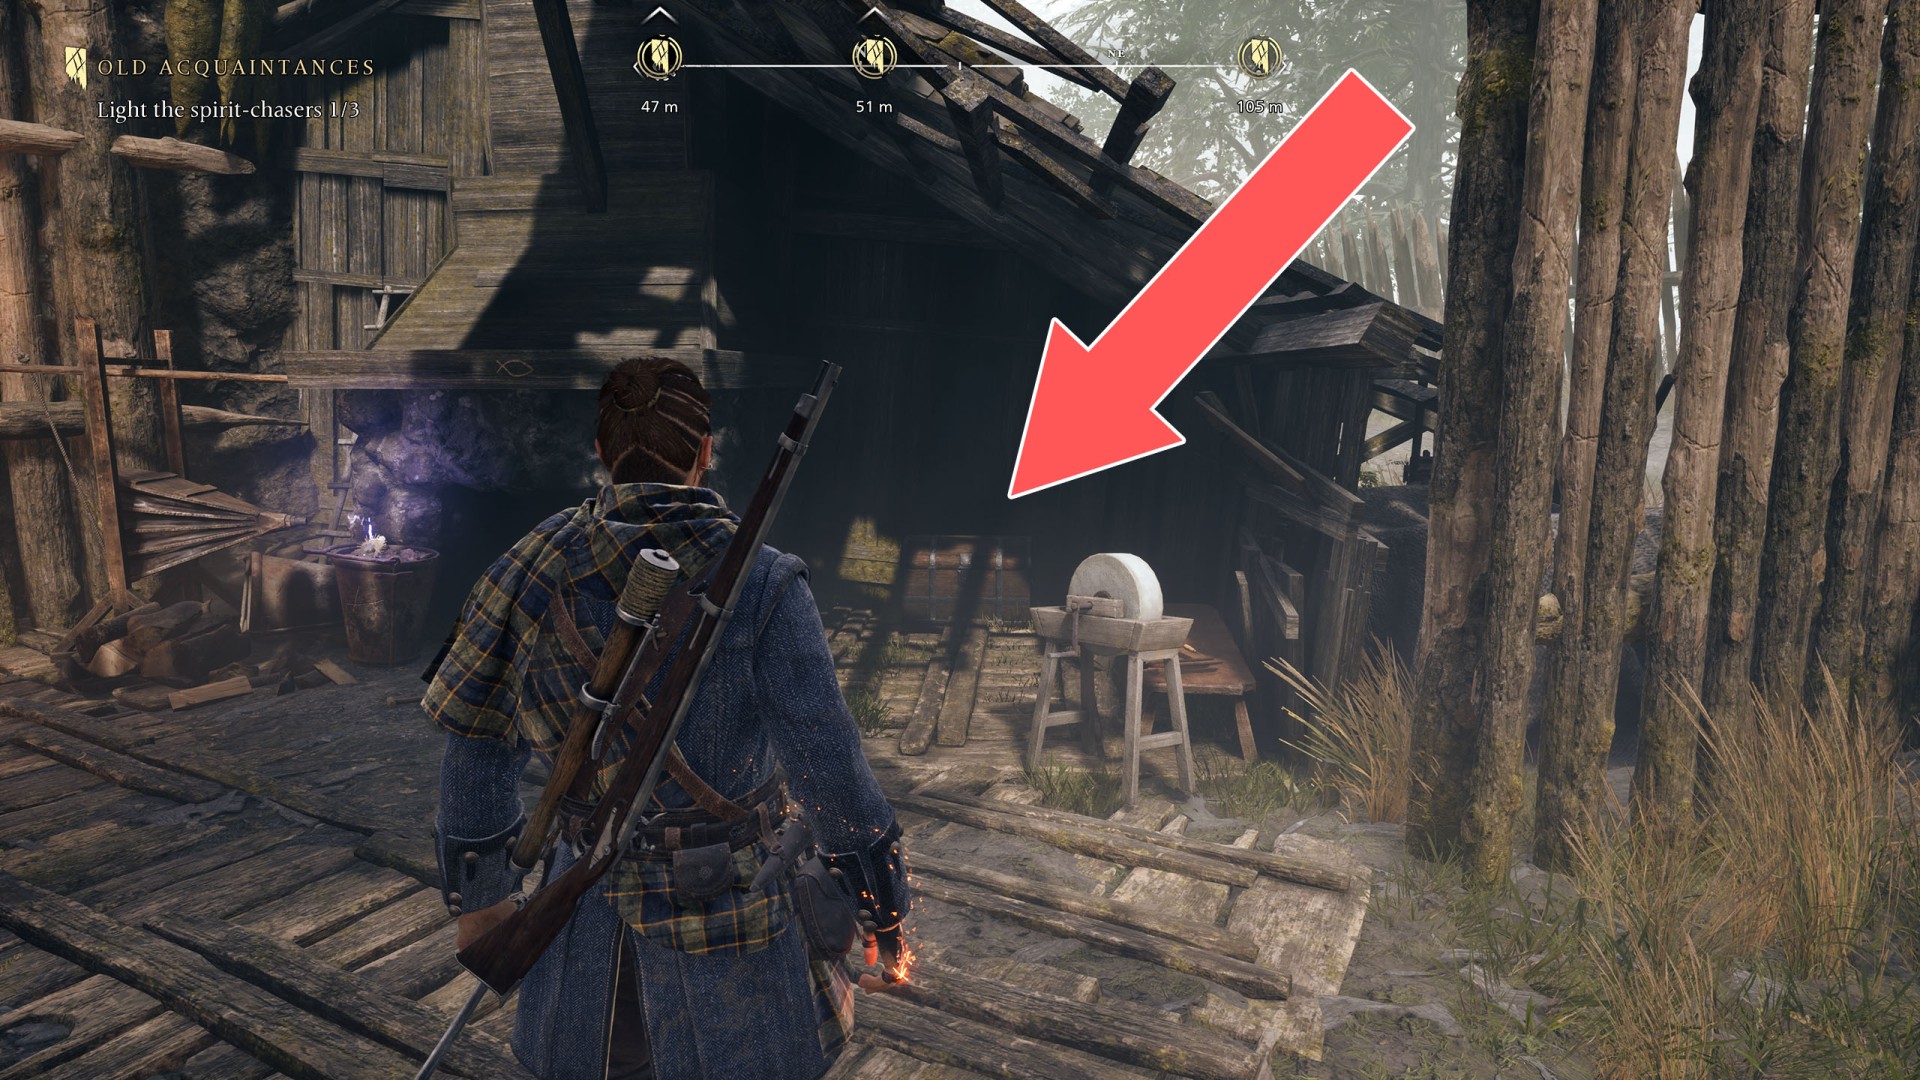
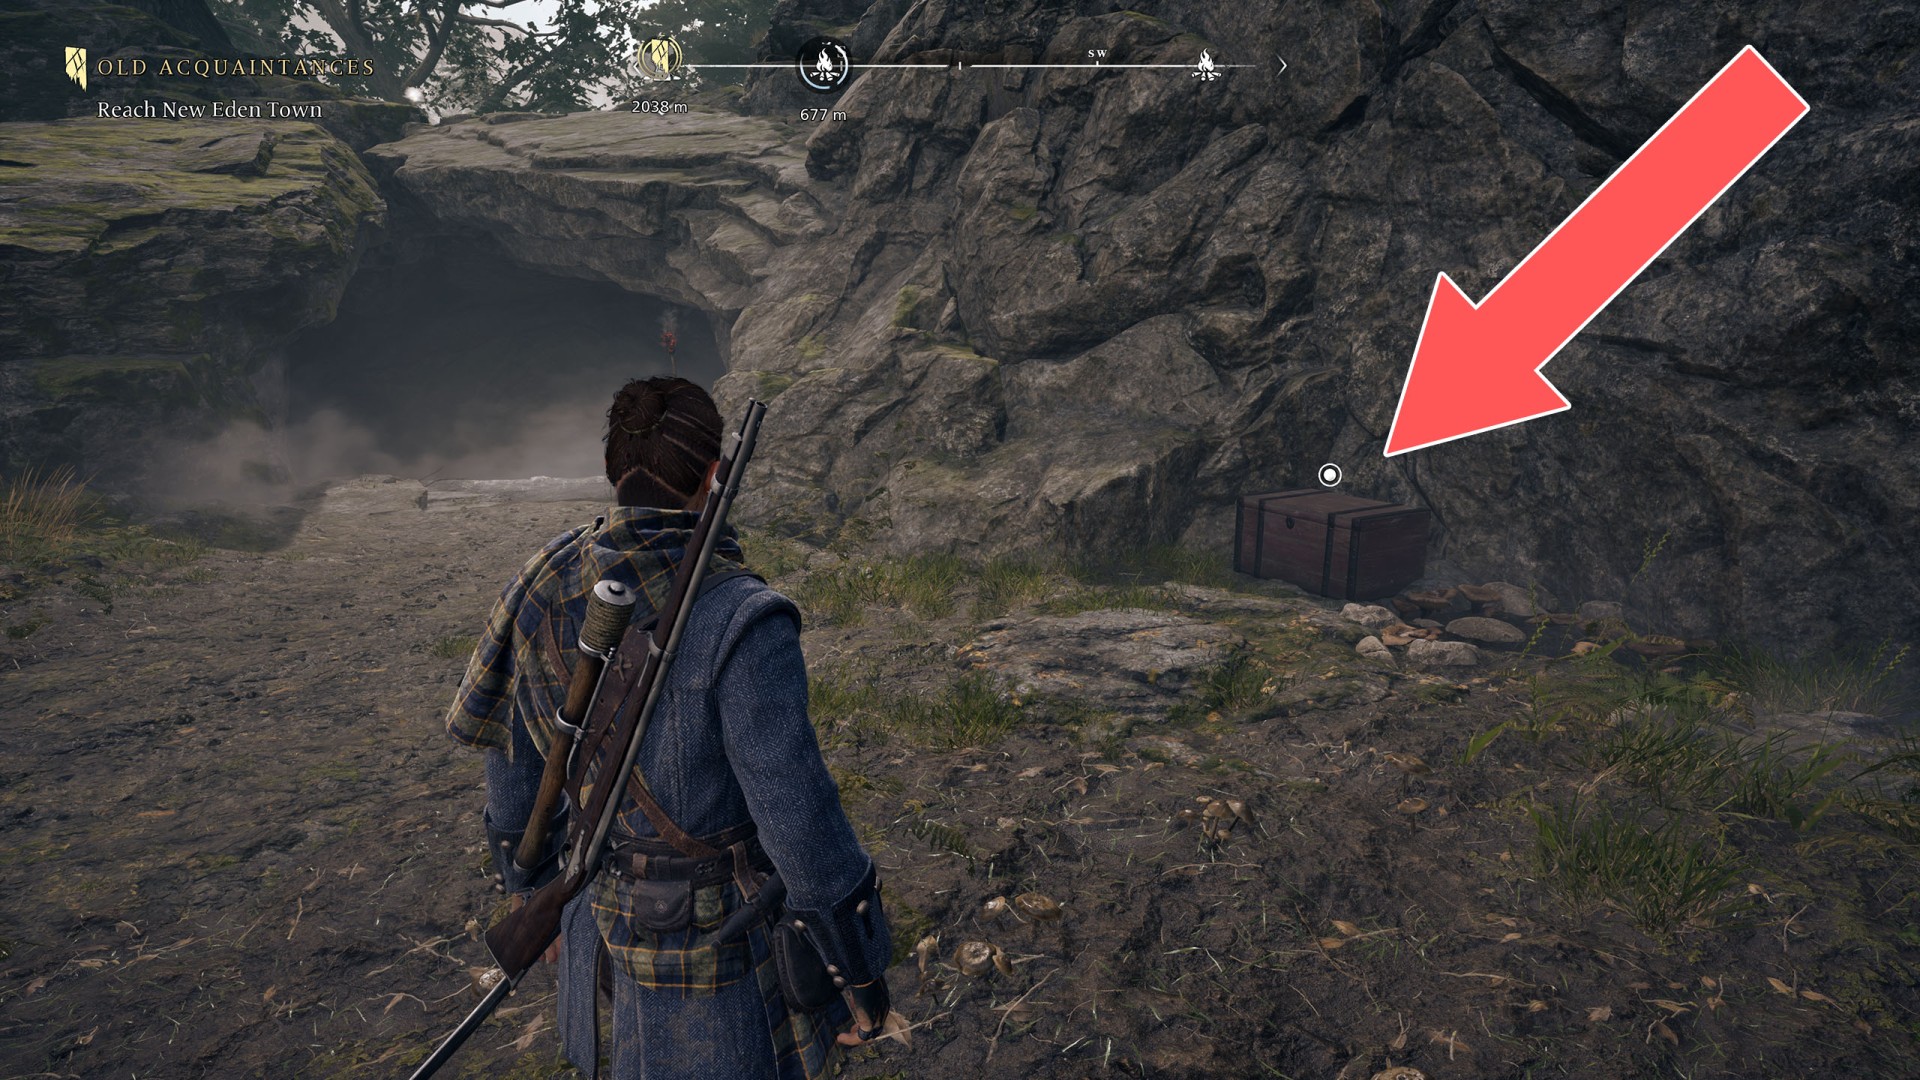
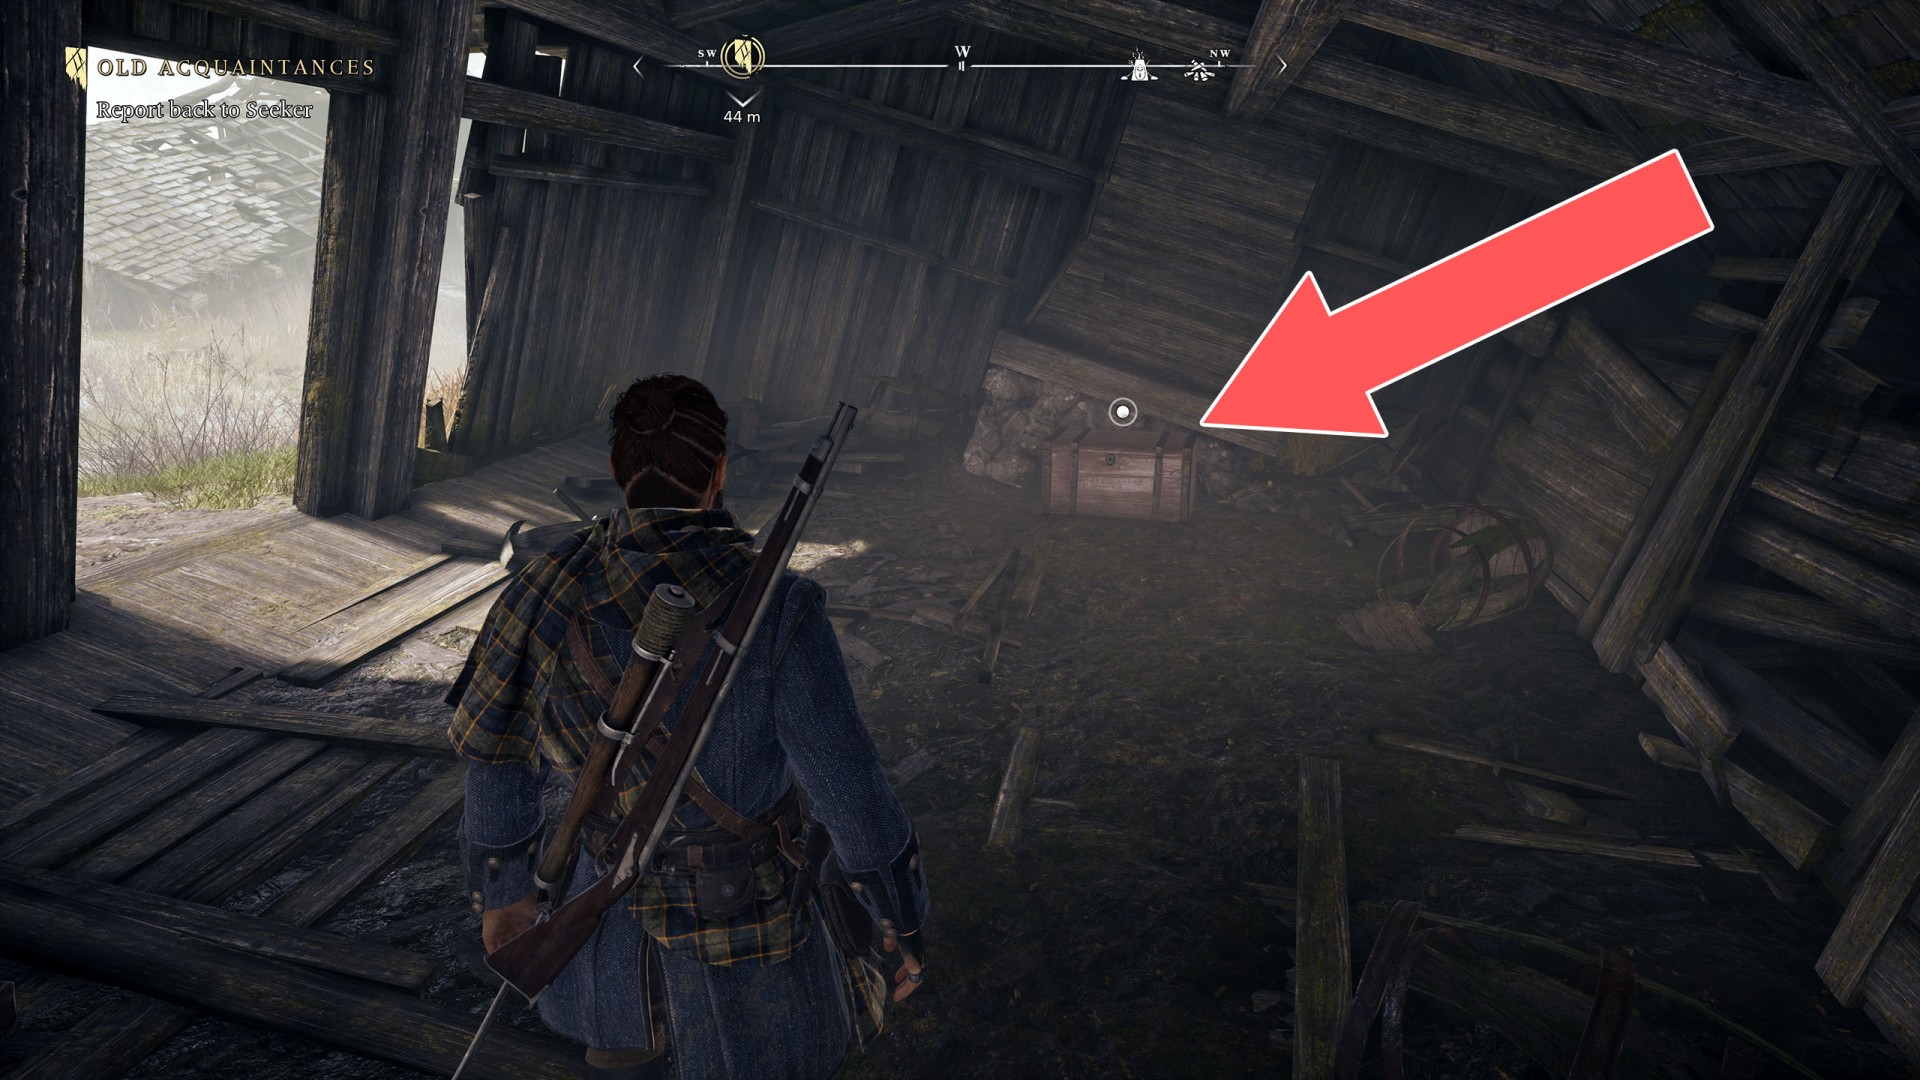
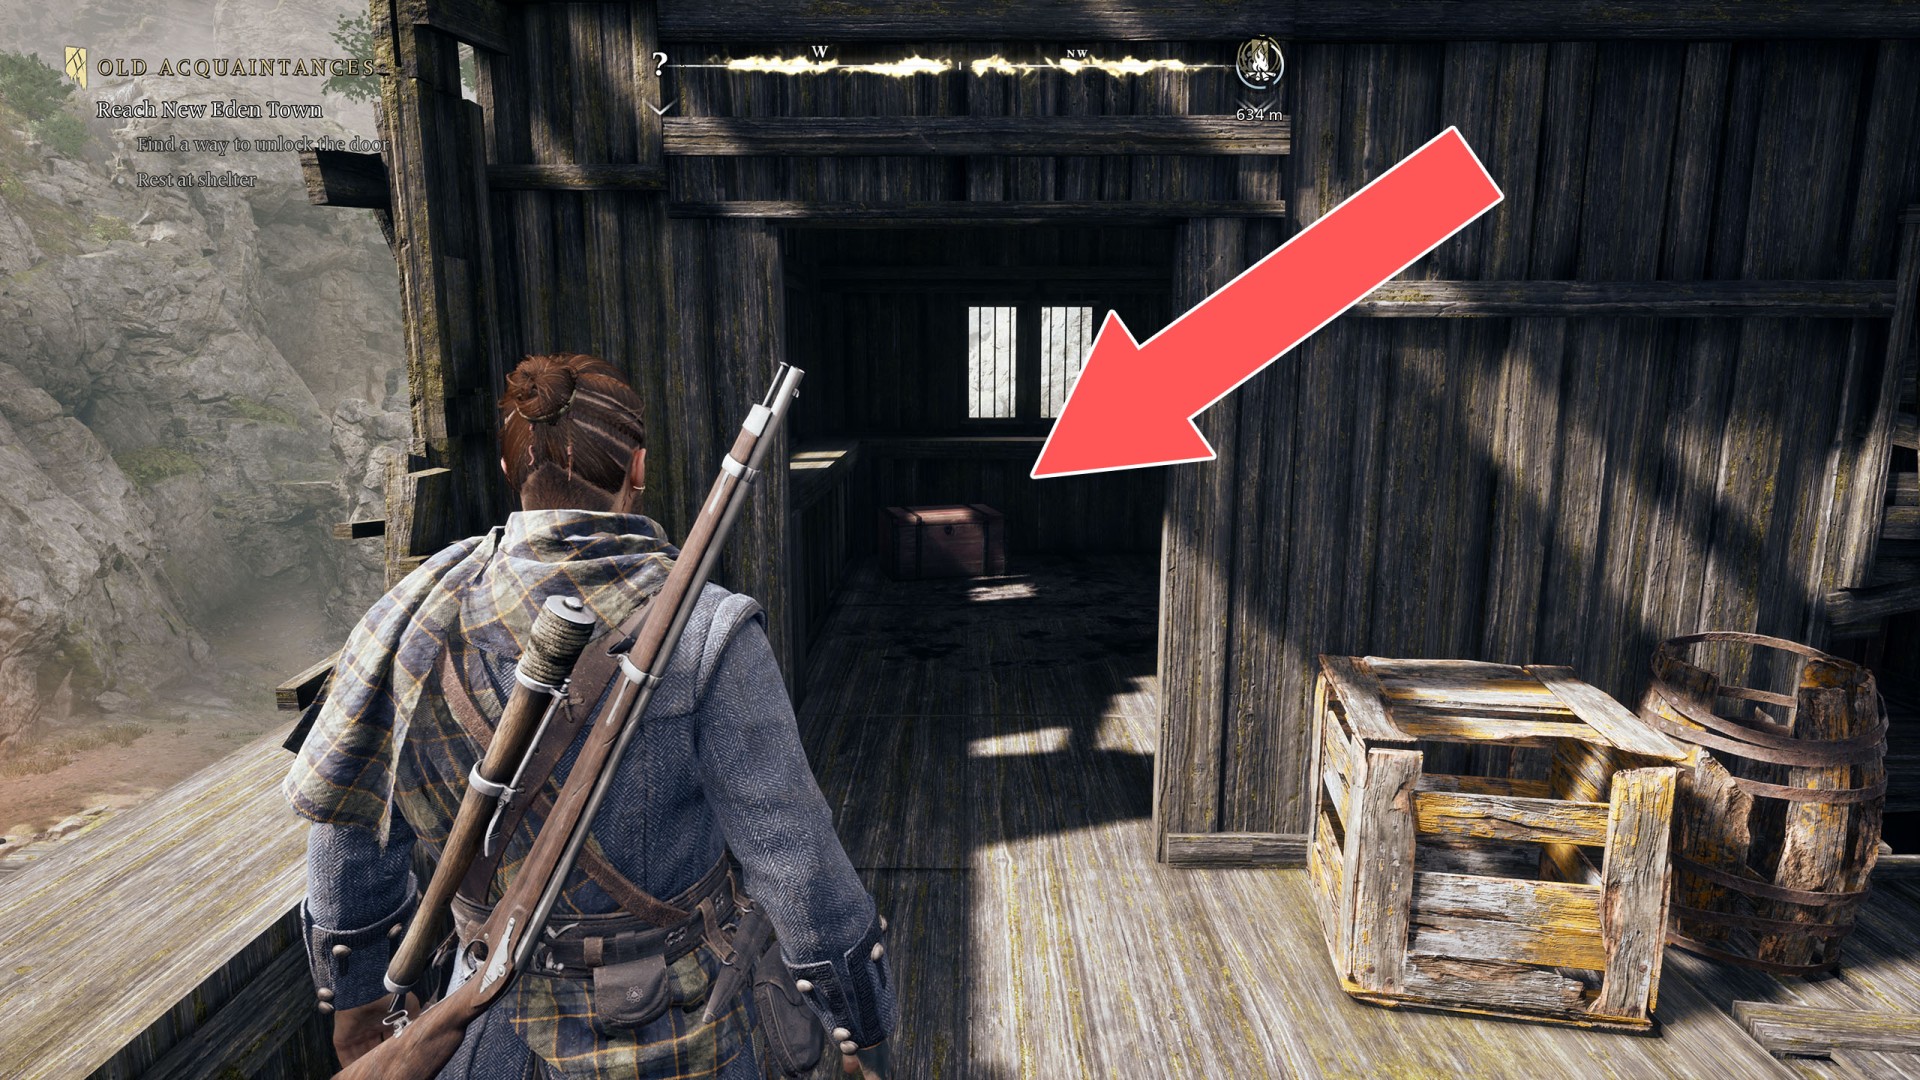
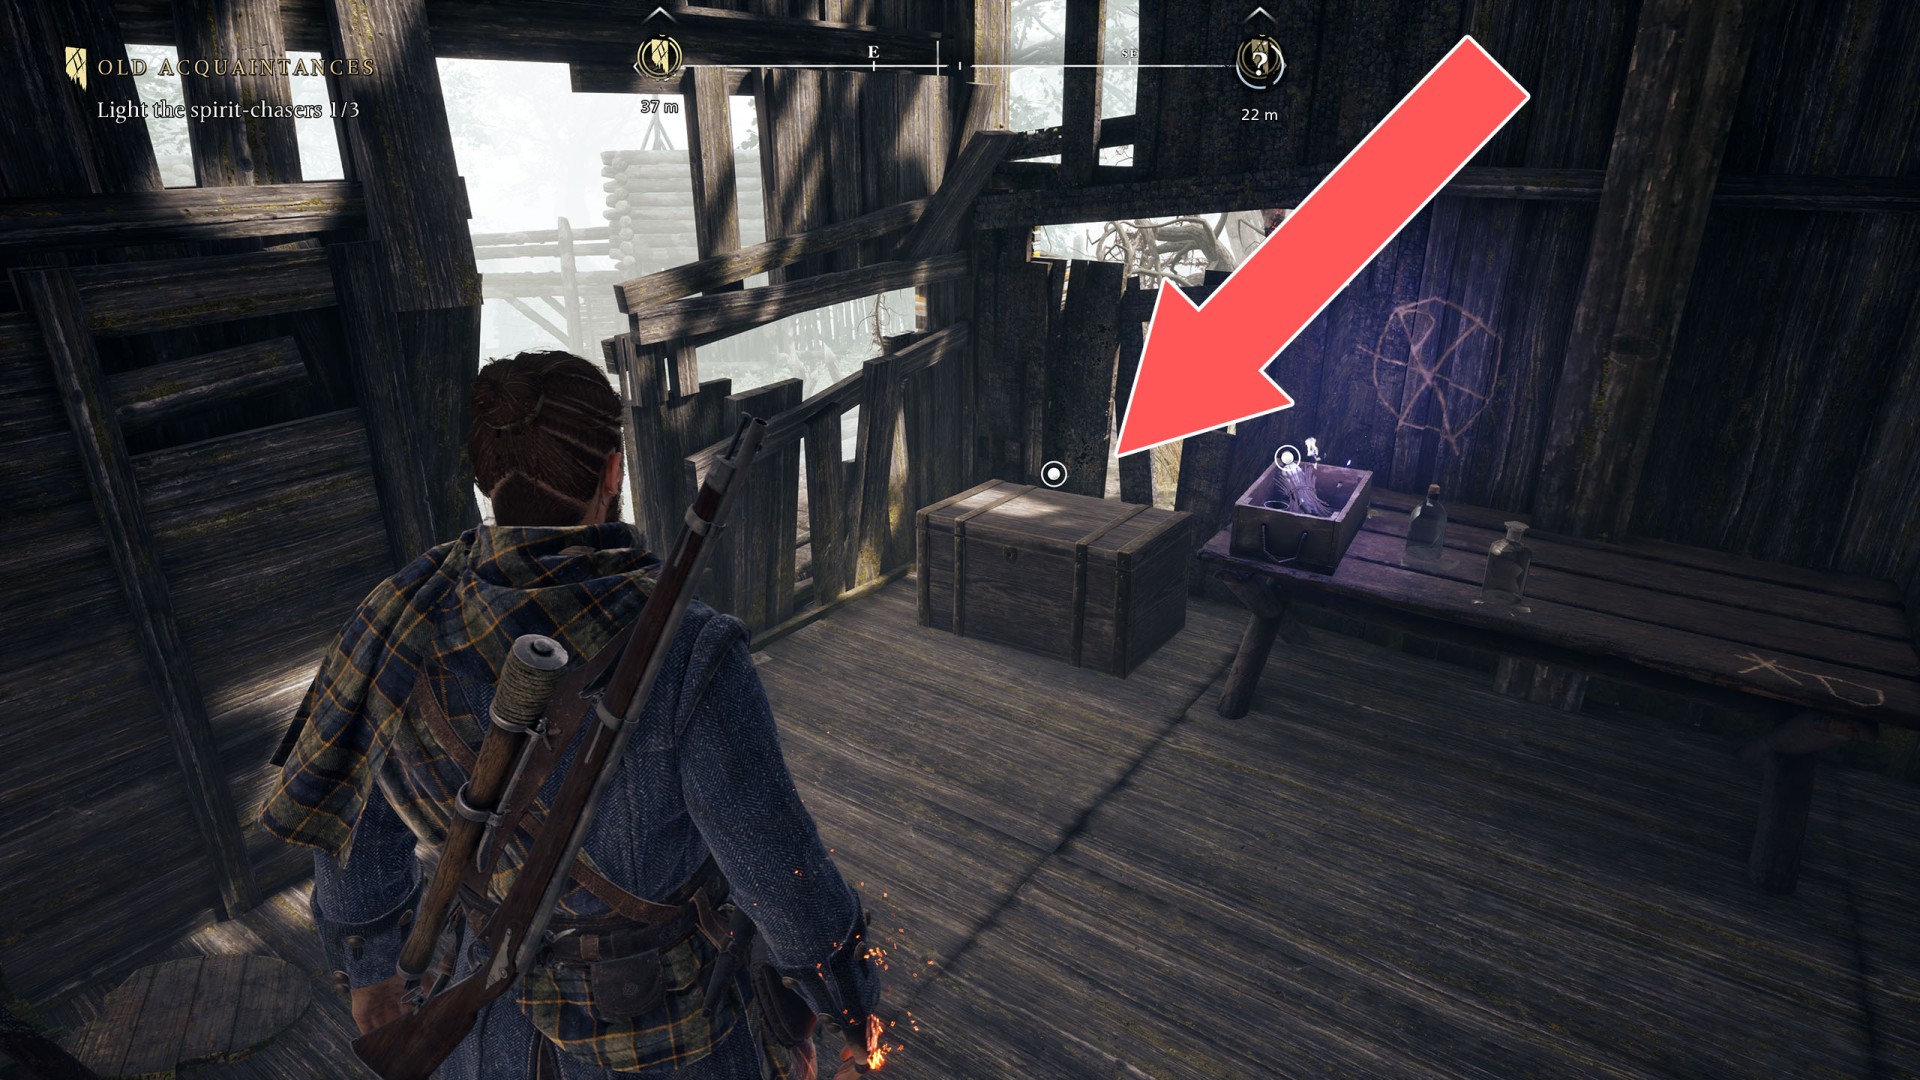
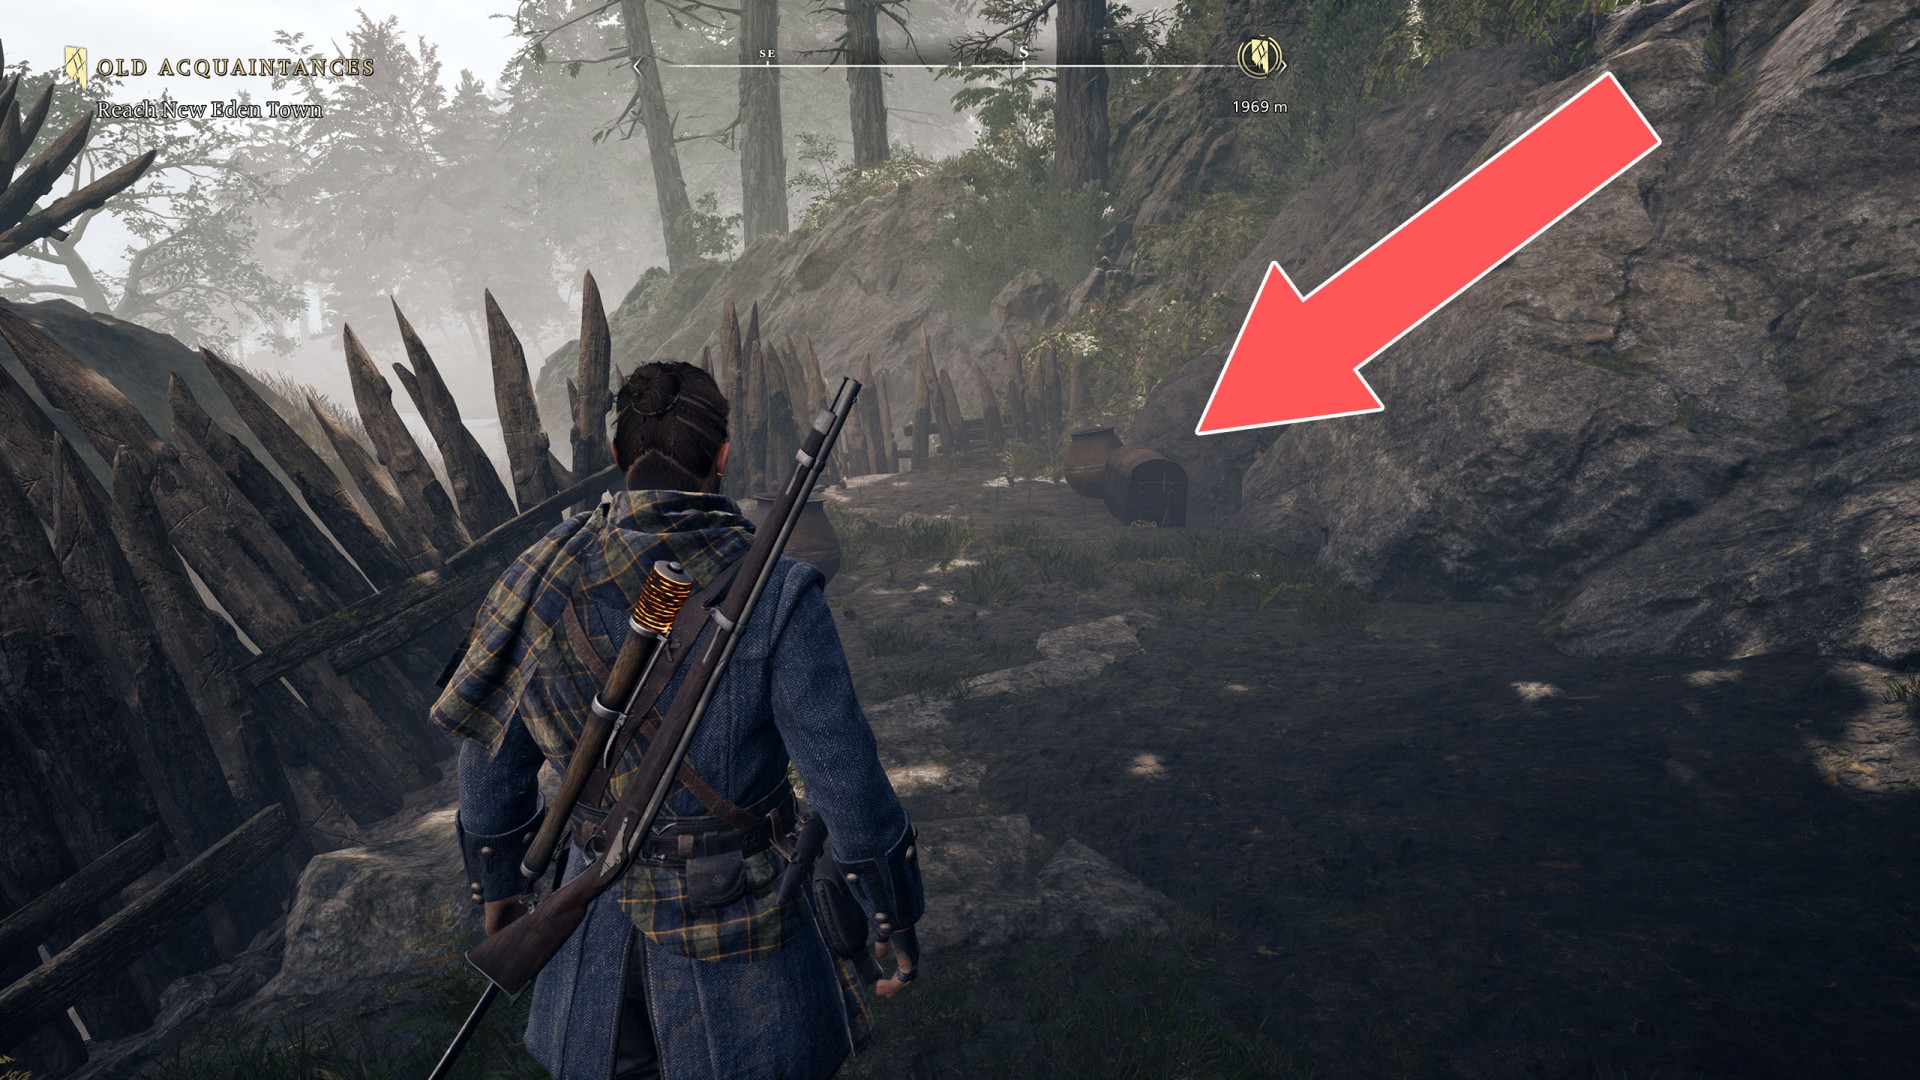
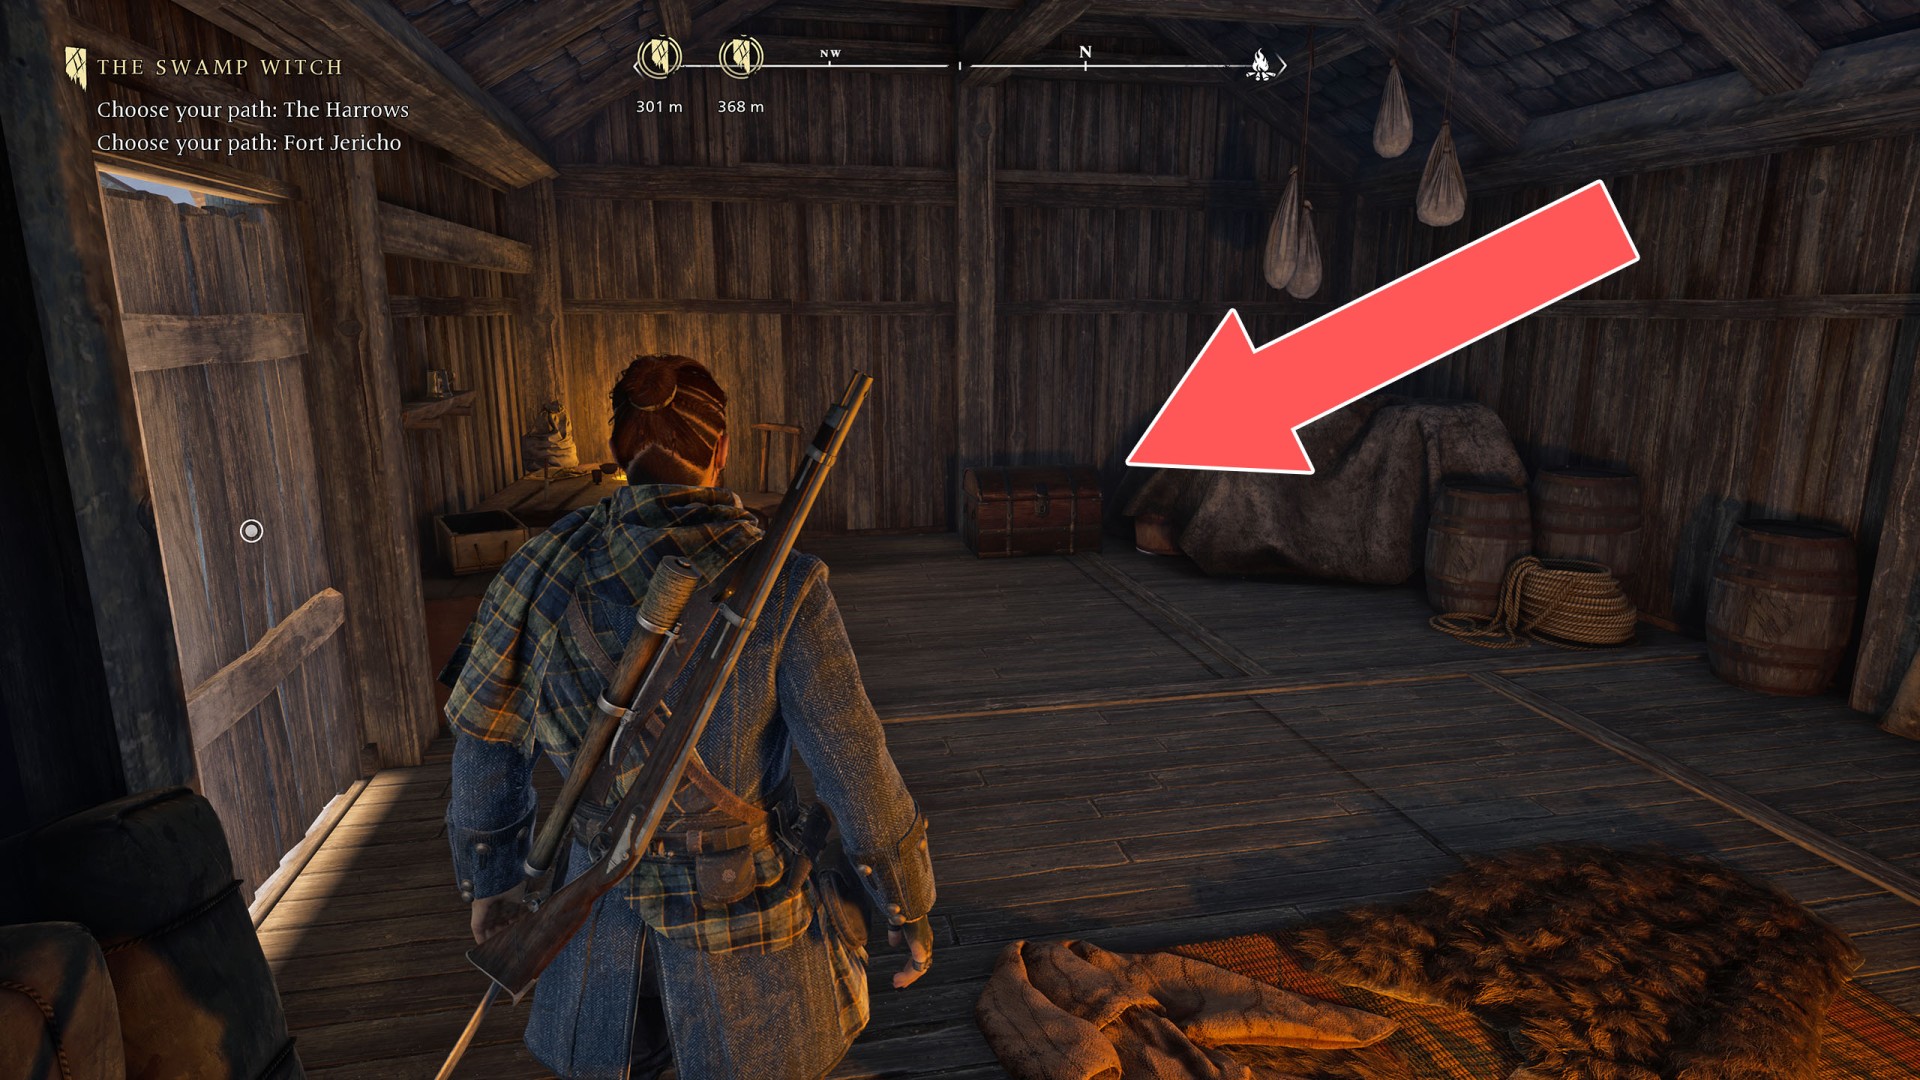
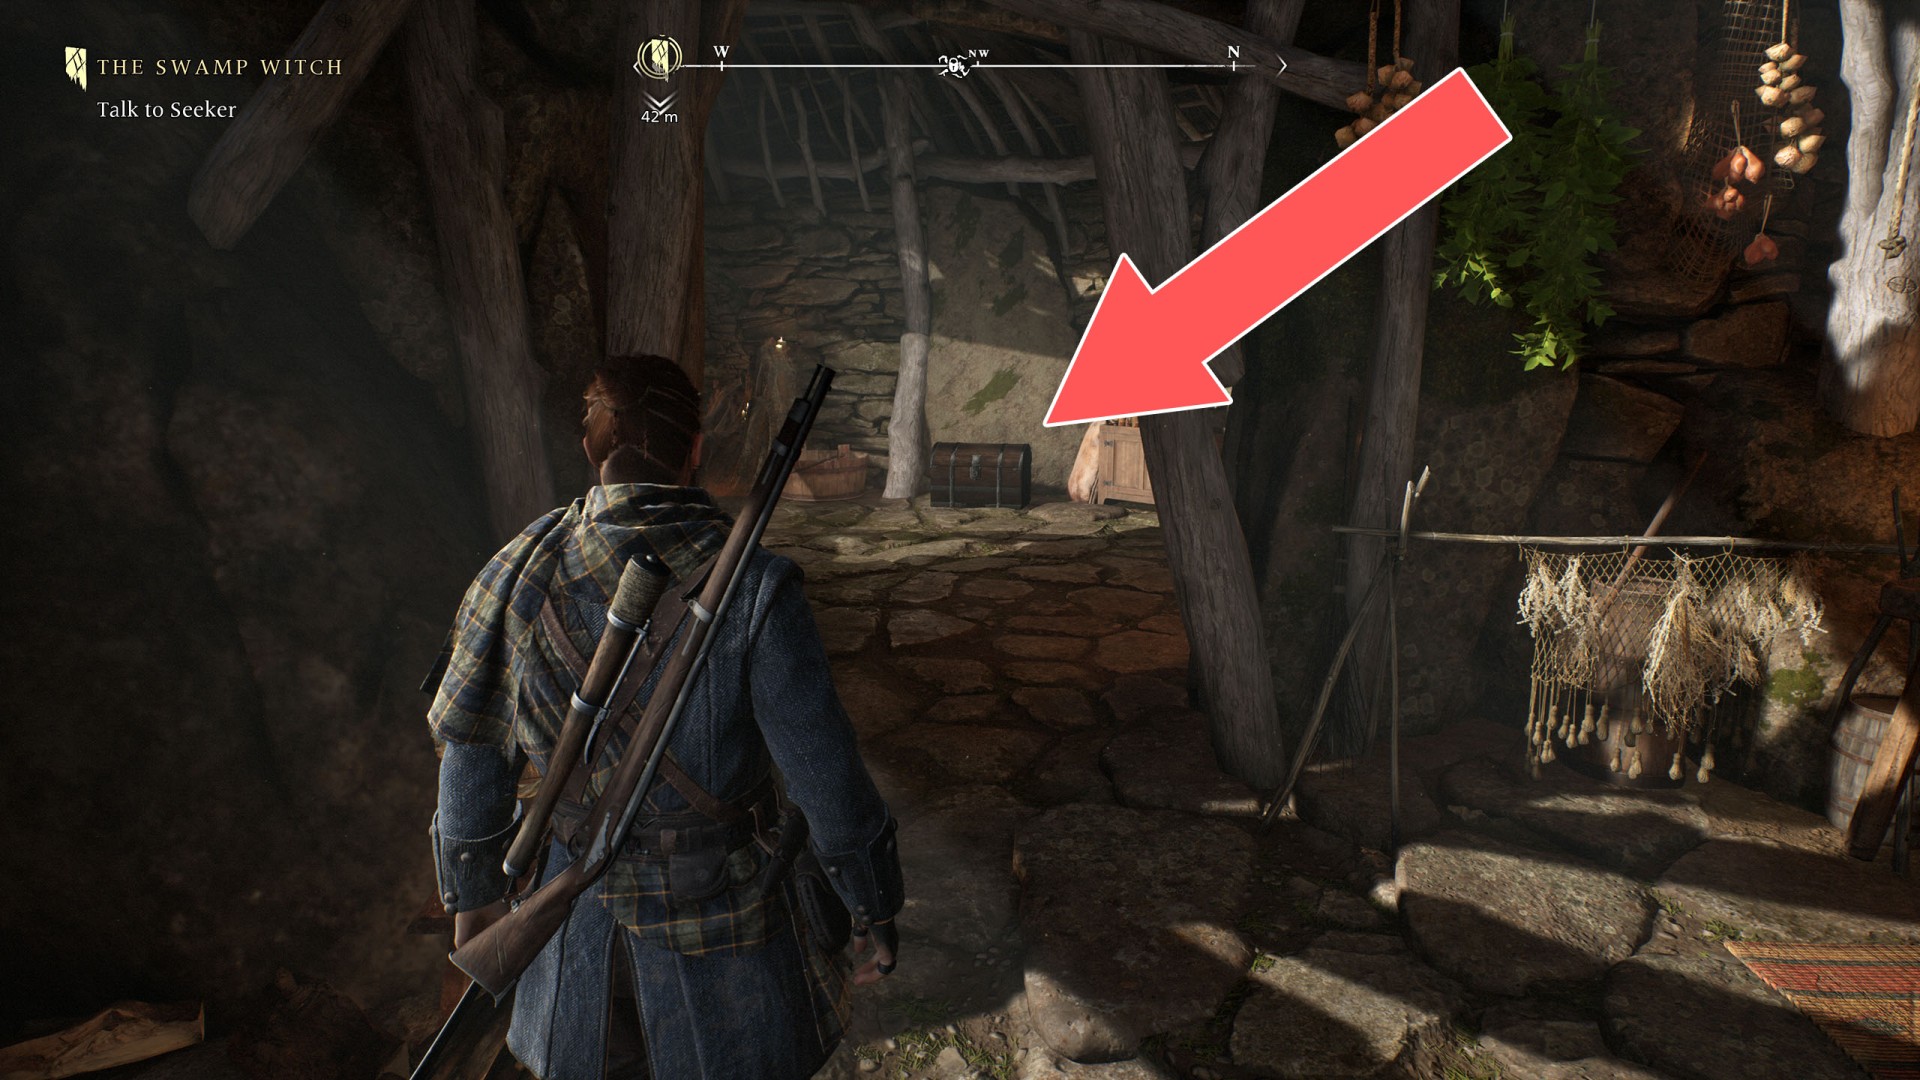
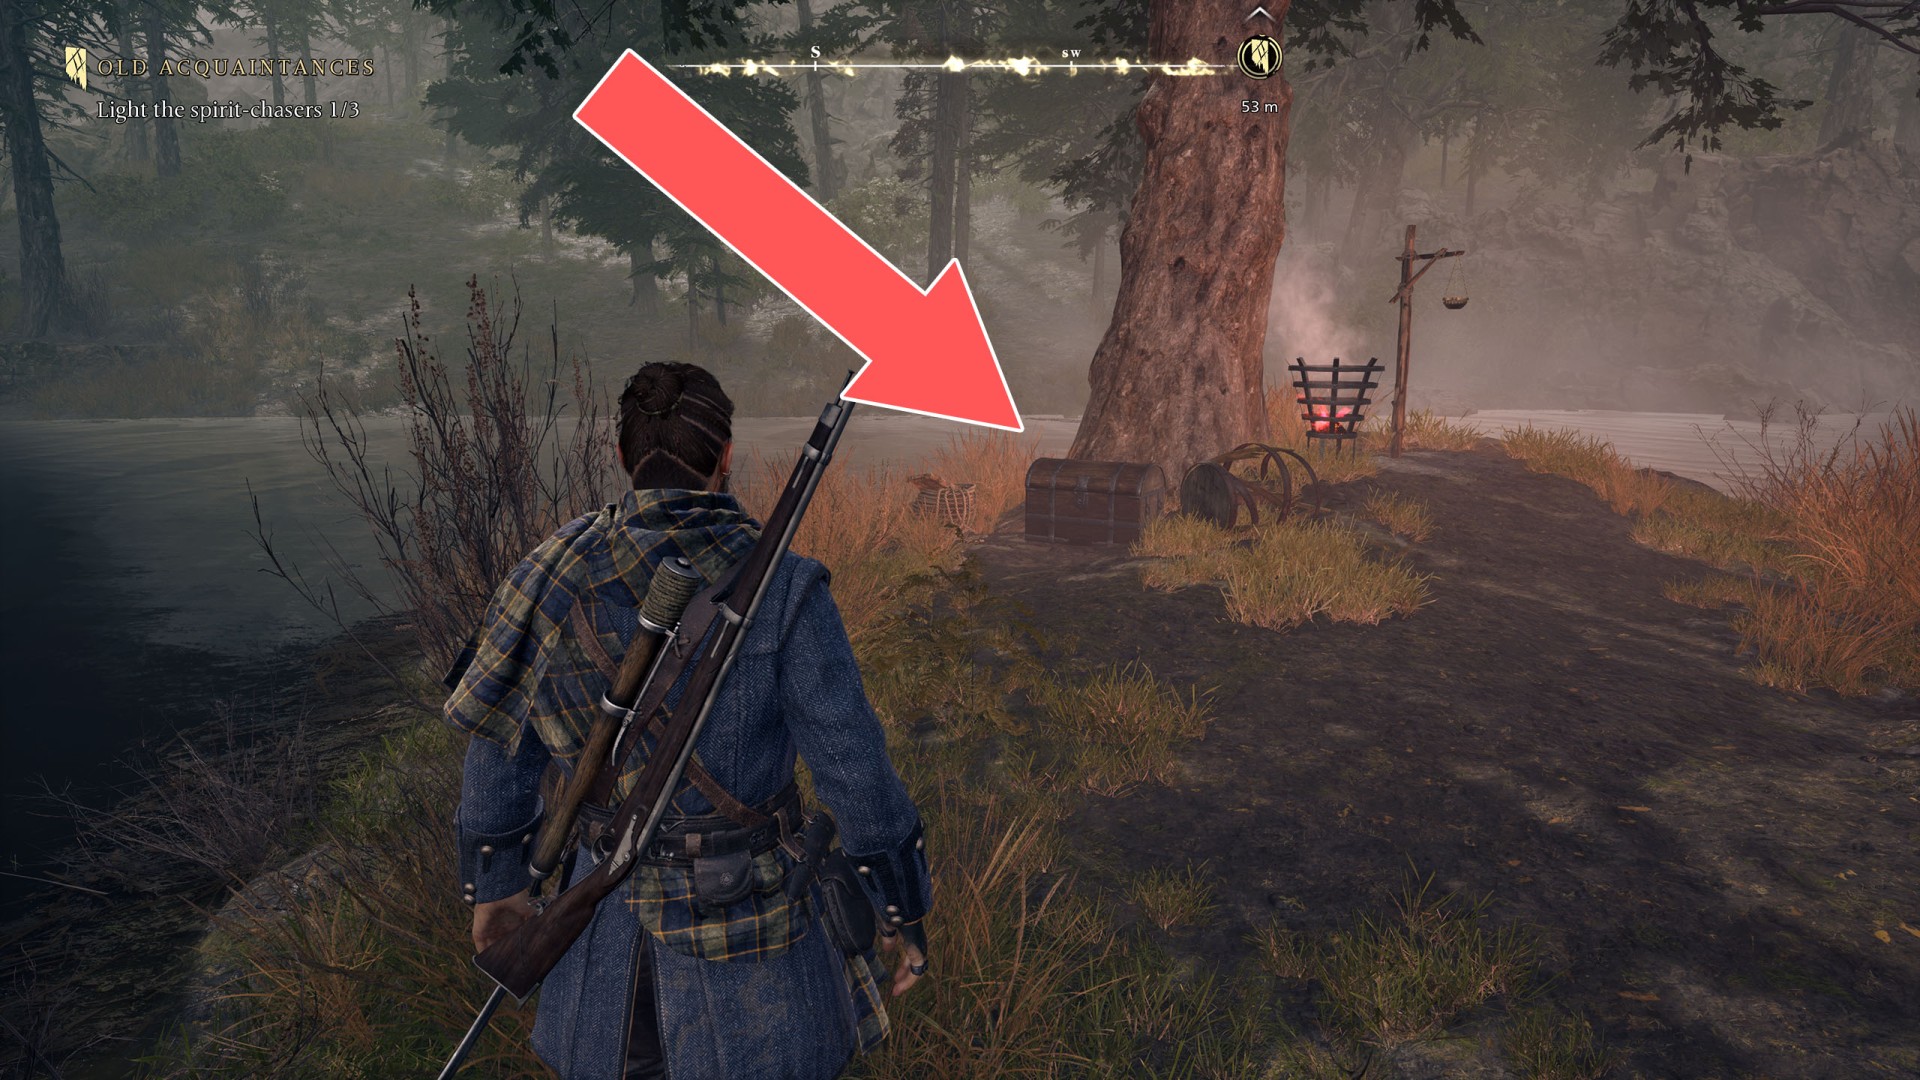
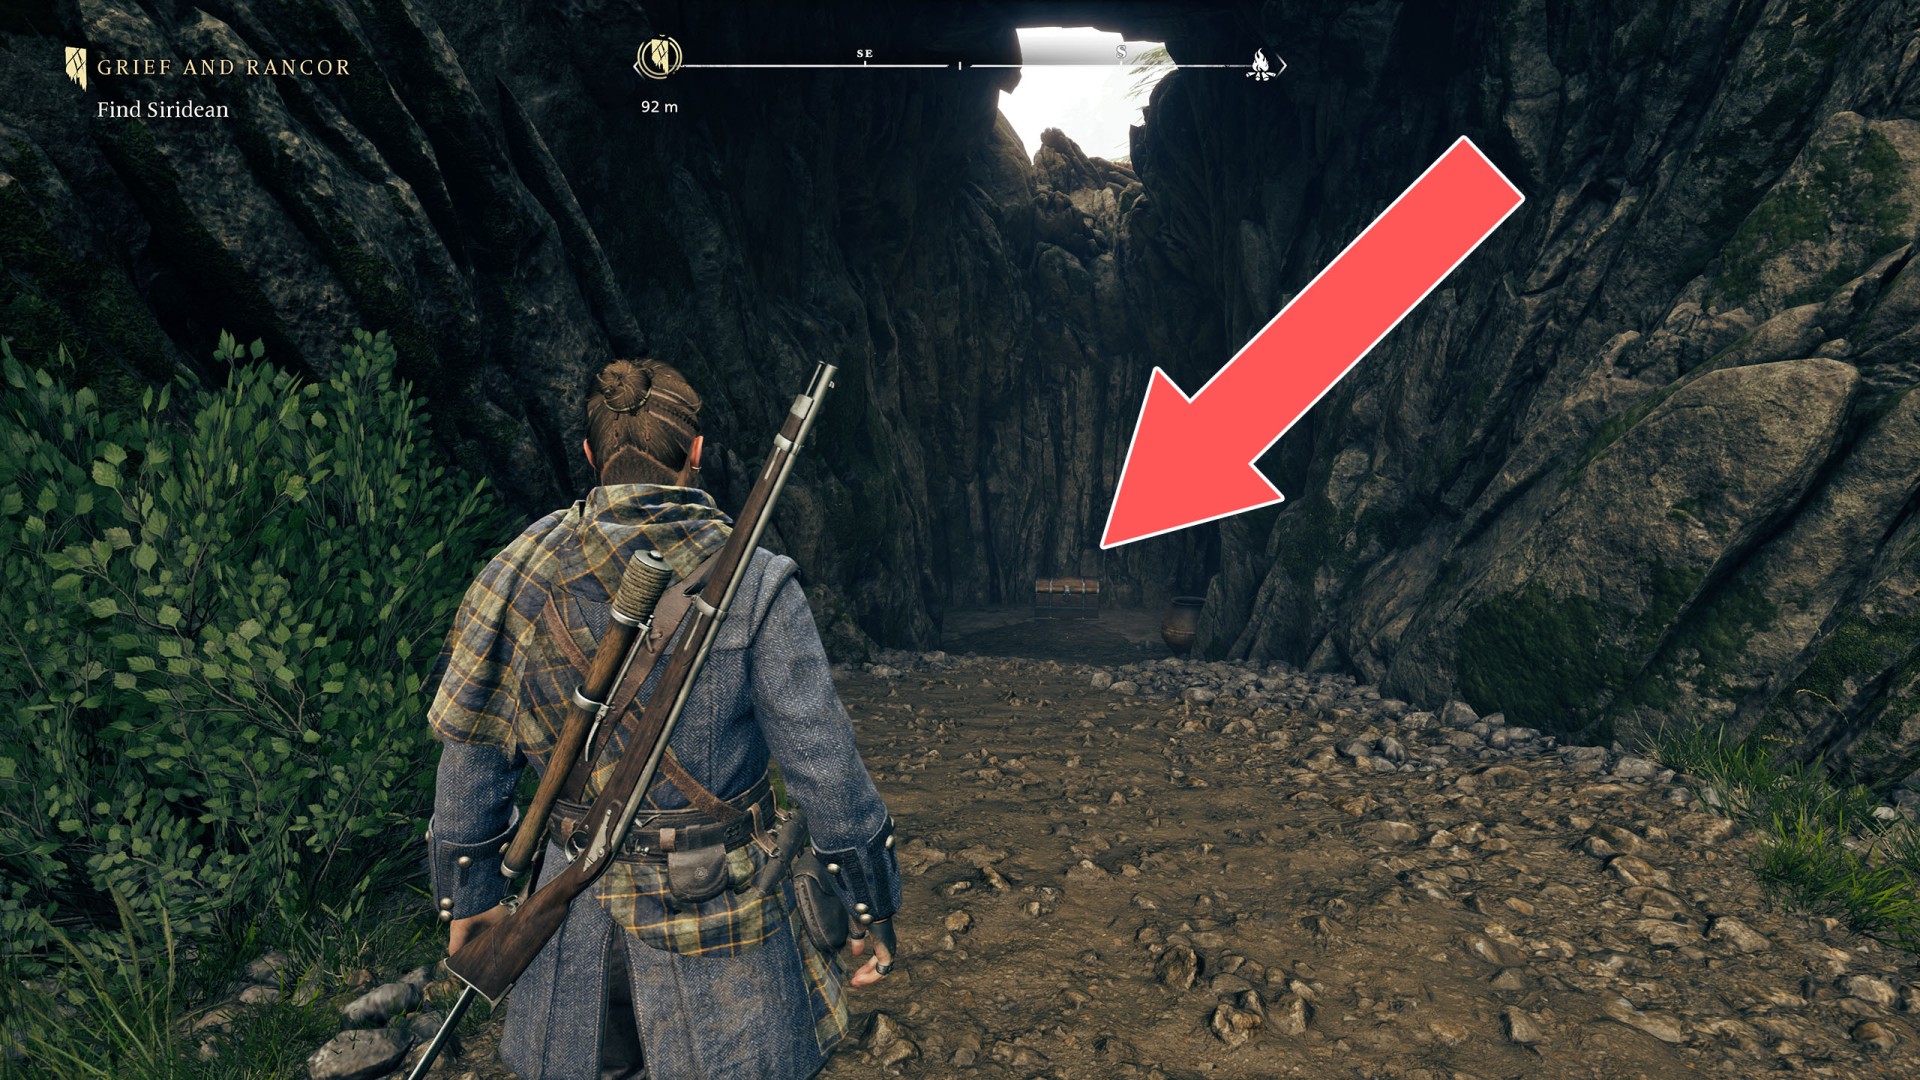
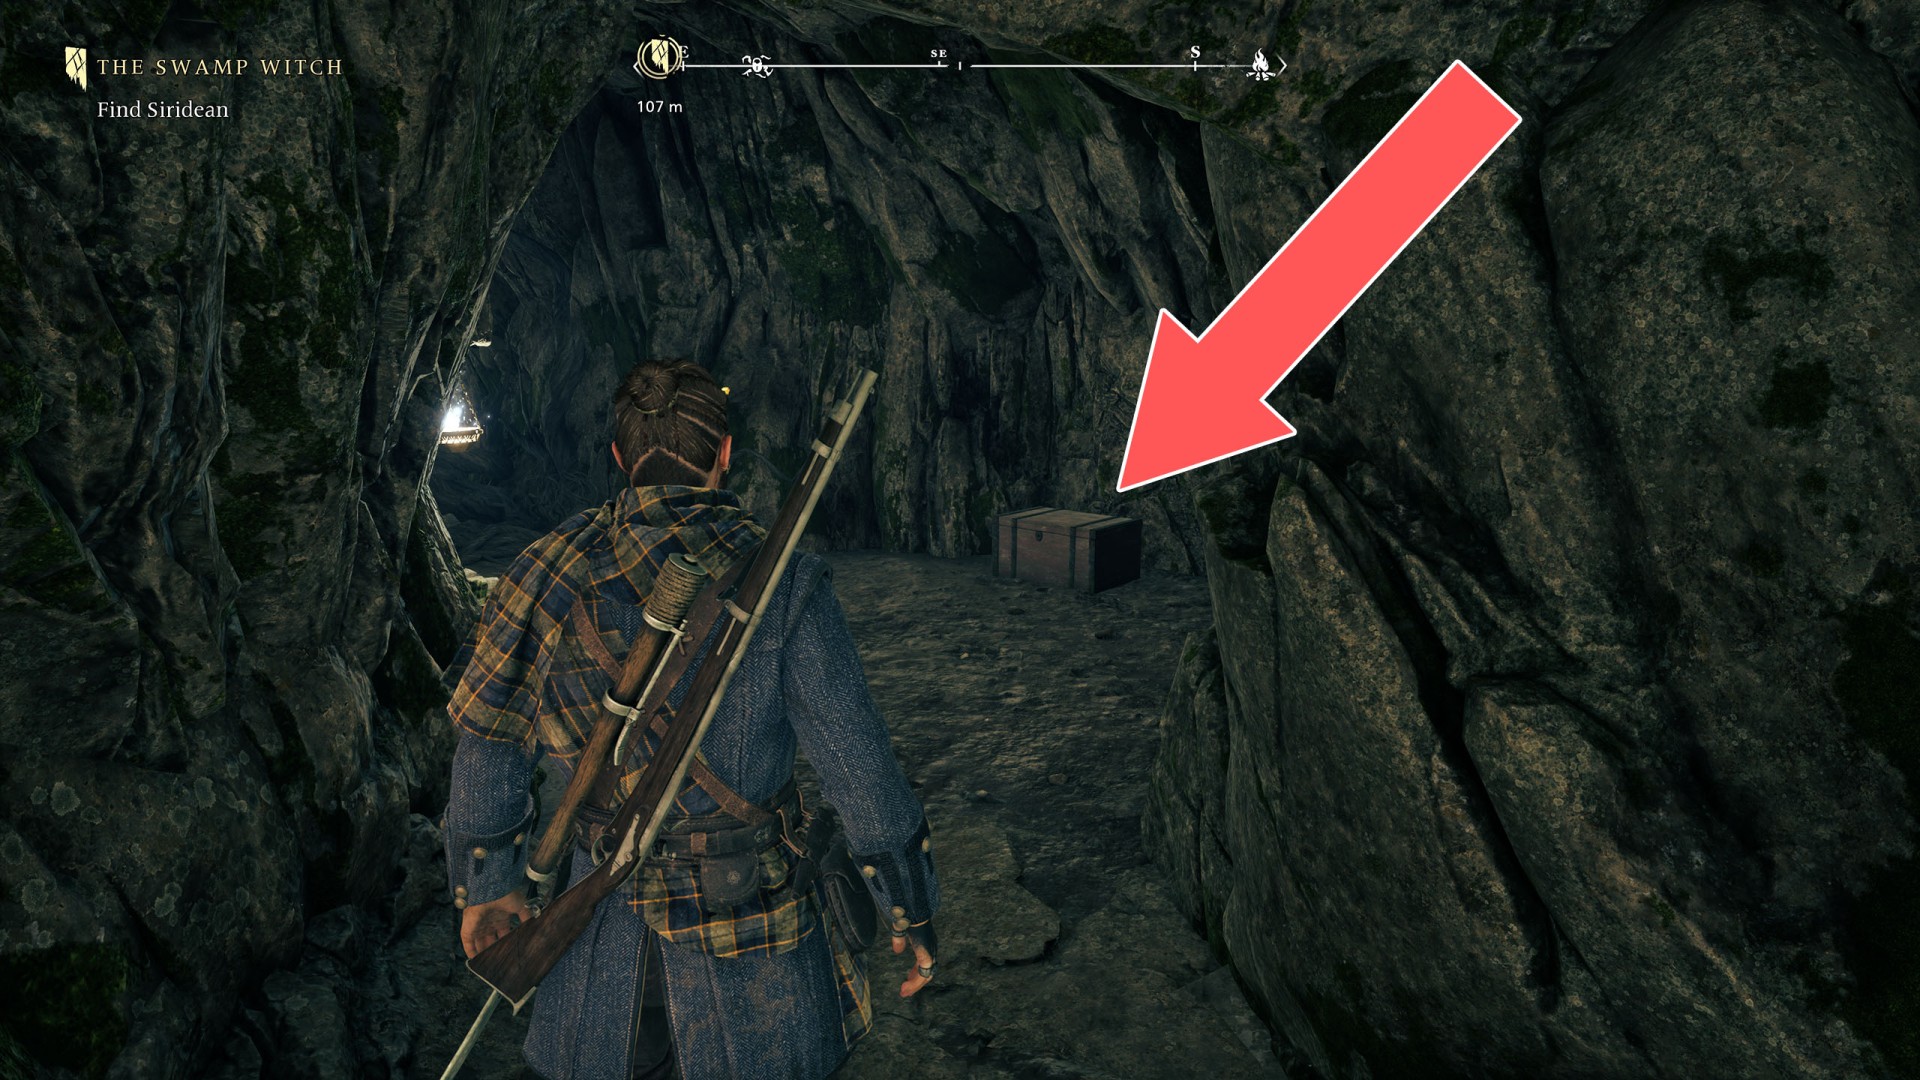
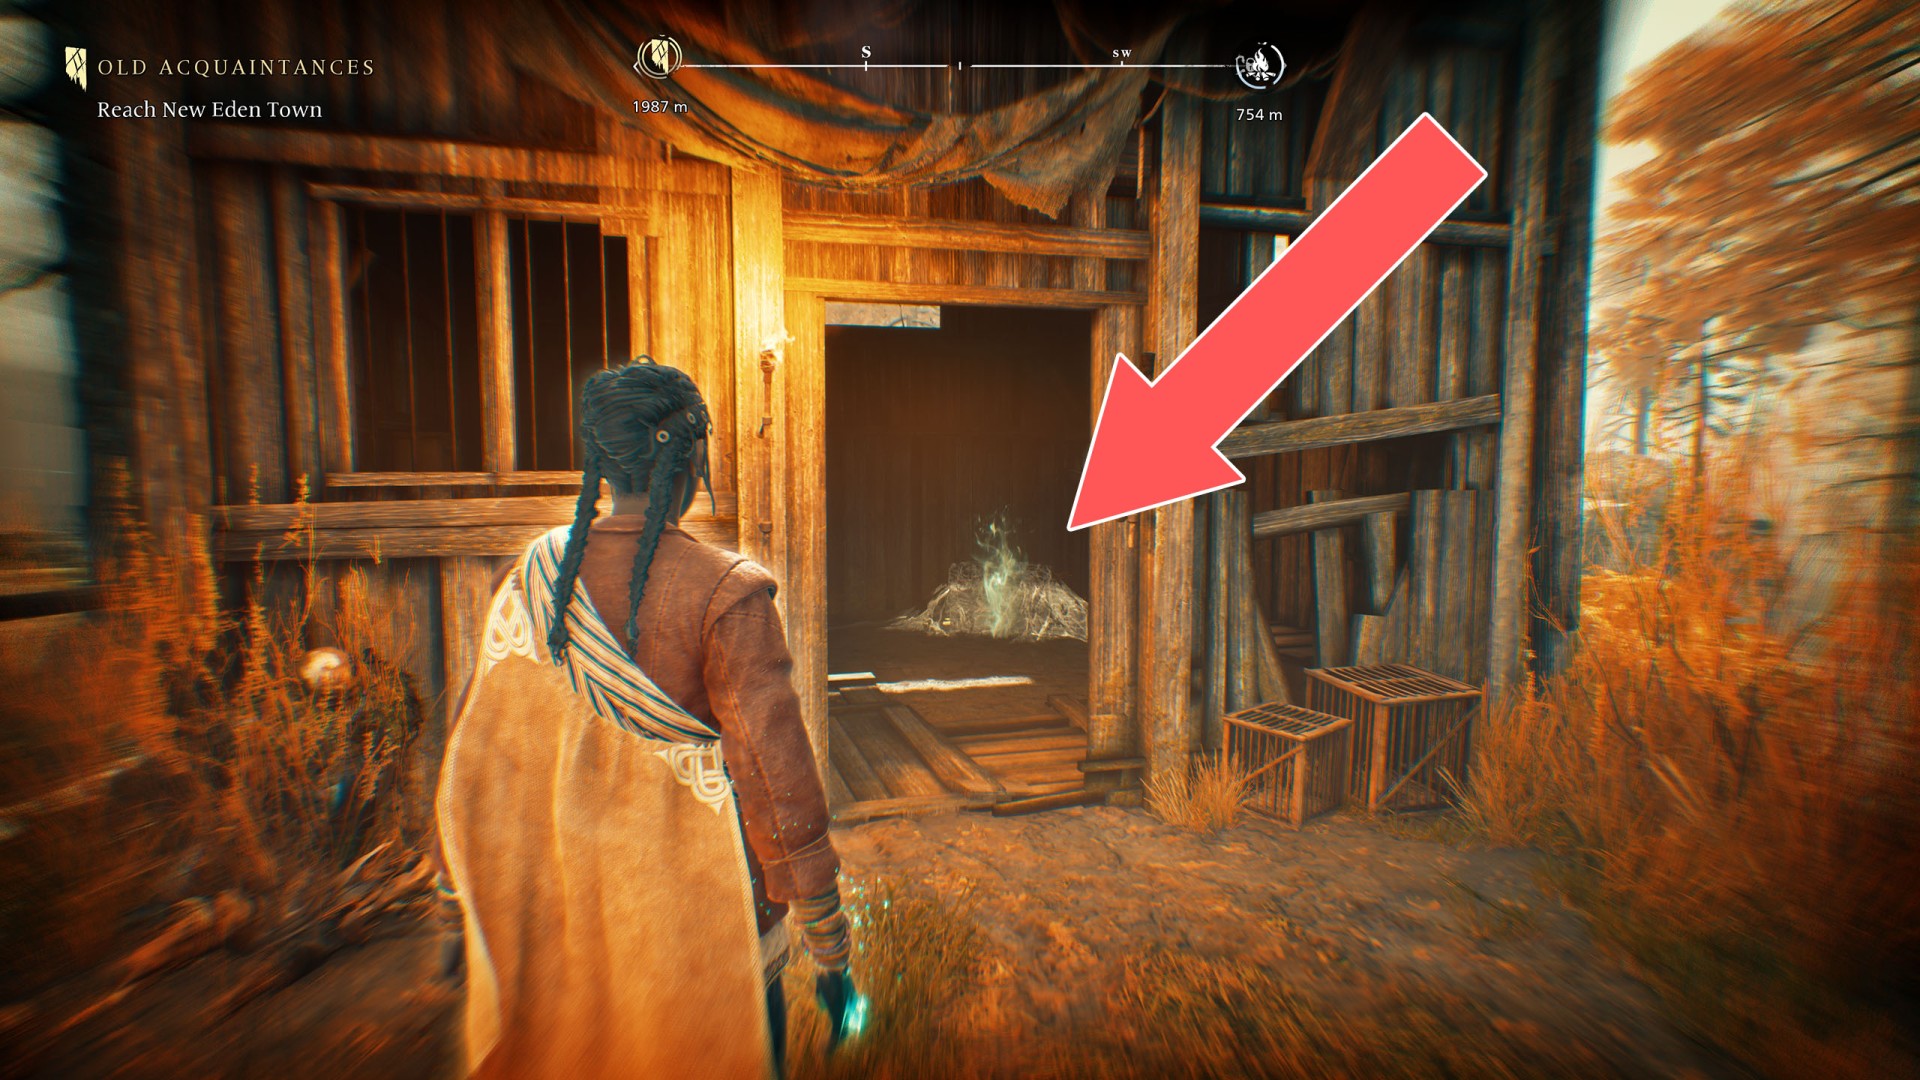
Chests containing the regular upgrade materials and some coin. Chests that are hidden contain spectral materials.

Locations on New Eden

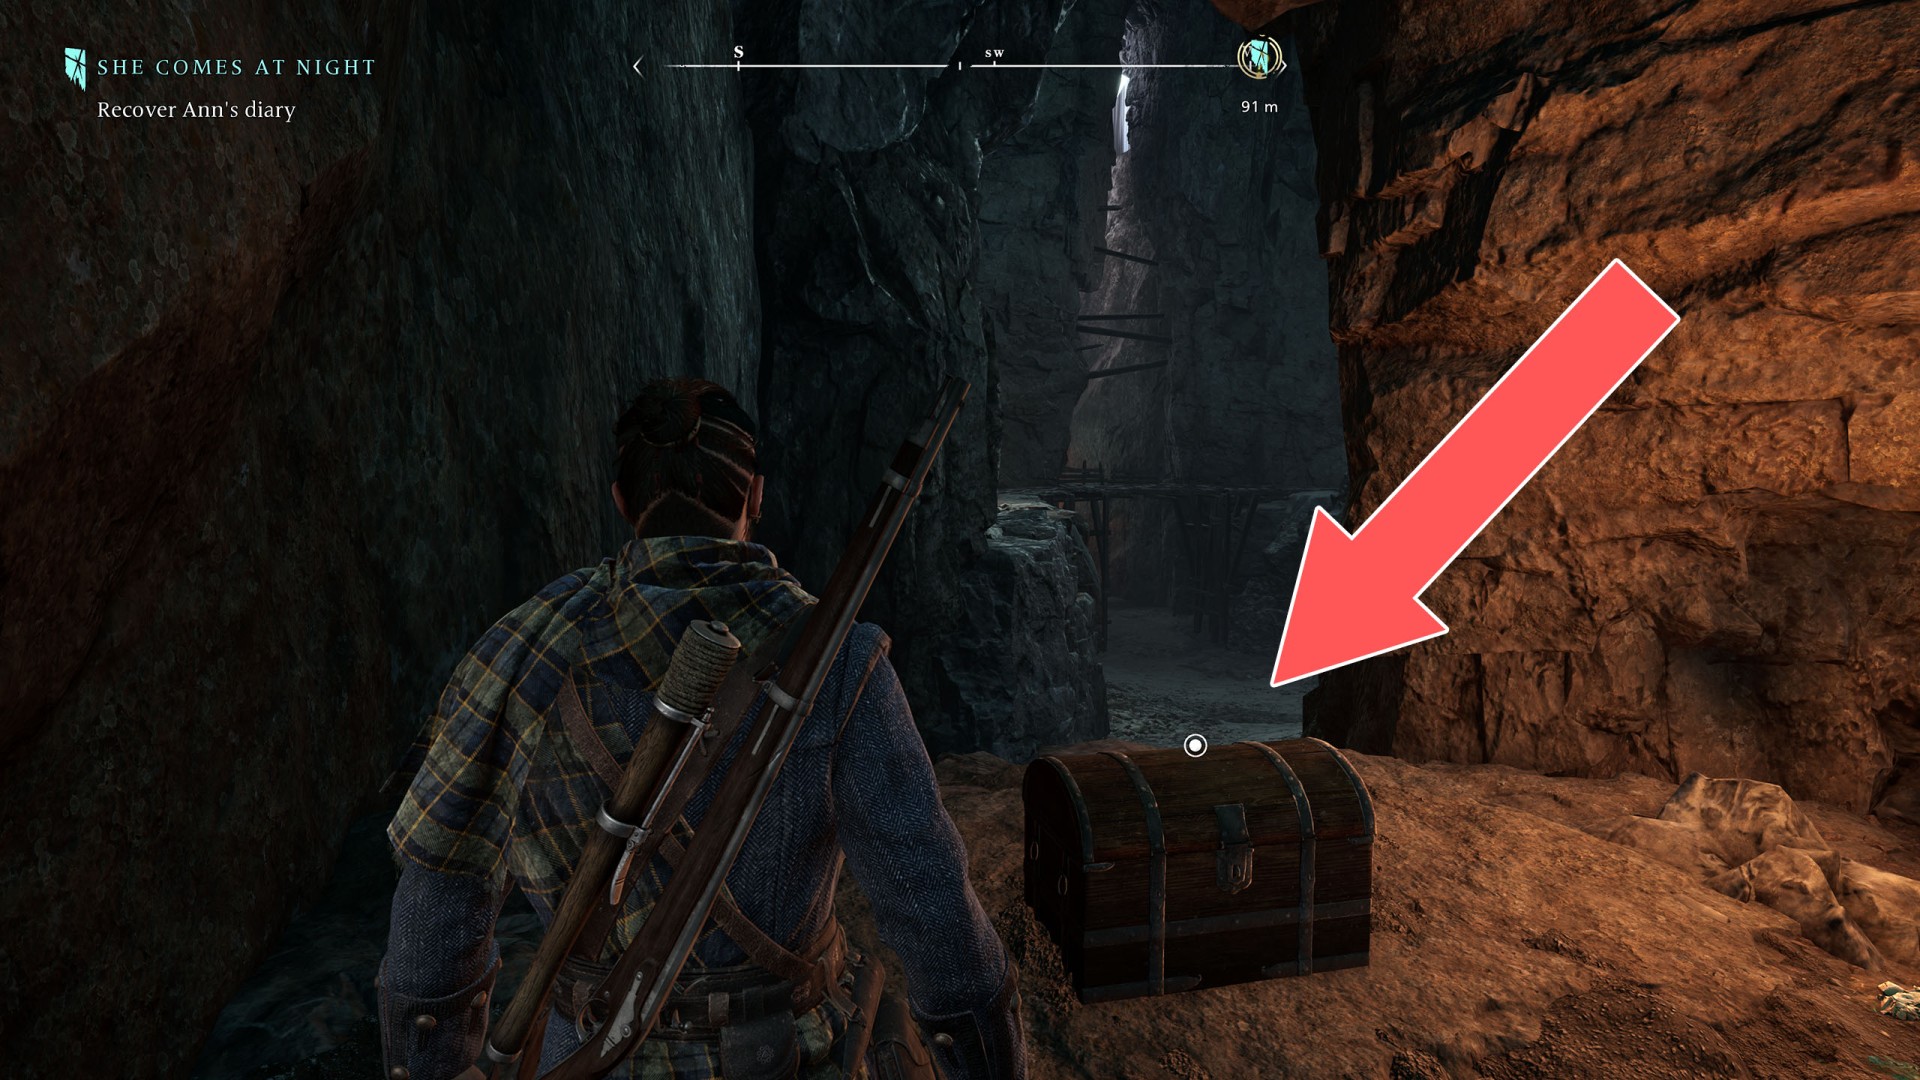
1Mount Pleasant Chest

Mount Pleasant Chest
Show the map

2Mount Pleasant Chest

Mount Pleasant Chest

Show the map

3Mount Pleasant Chest

Mount Pleasant Chest

Show the map

4Mount Pleasant Chest

Mount Pleasant Chest

Mount Pleasant Chest

Show the map

5Mount Pleasant Chest

It's in the mines.
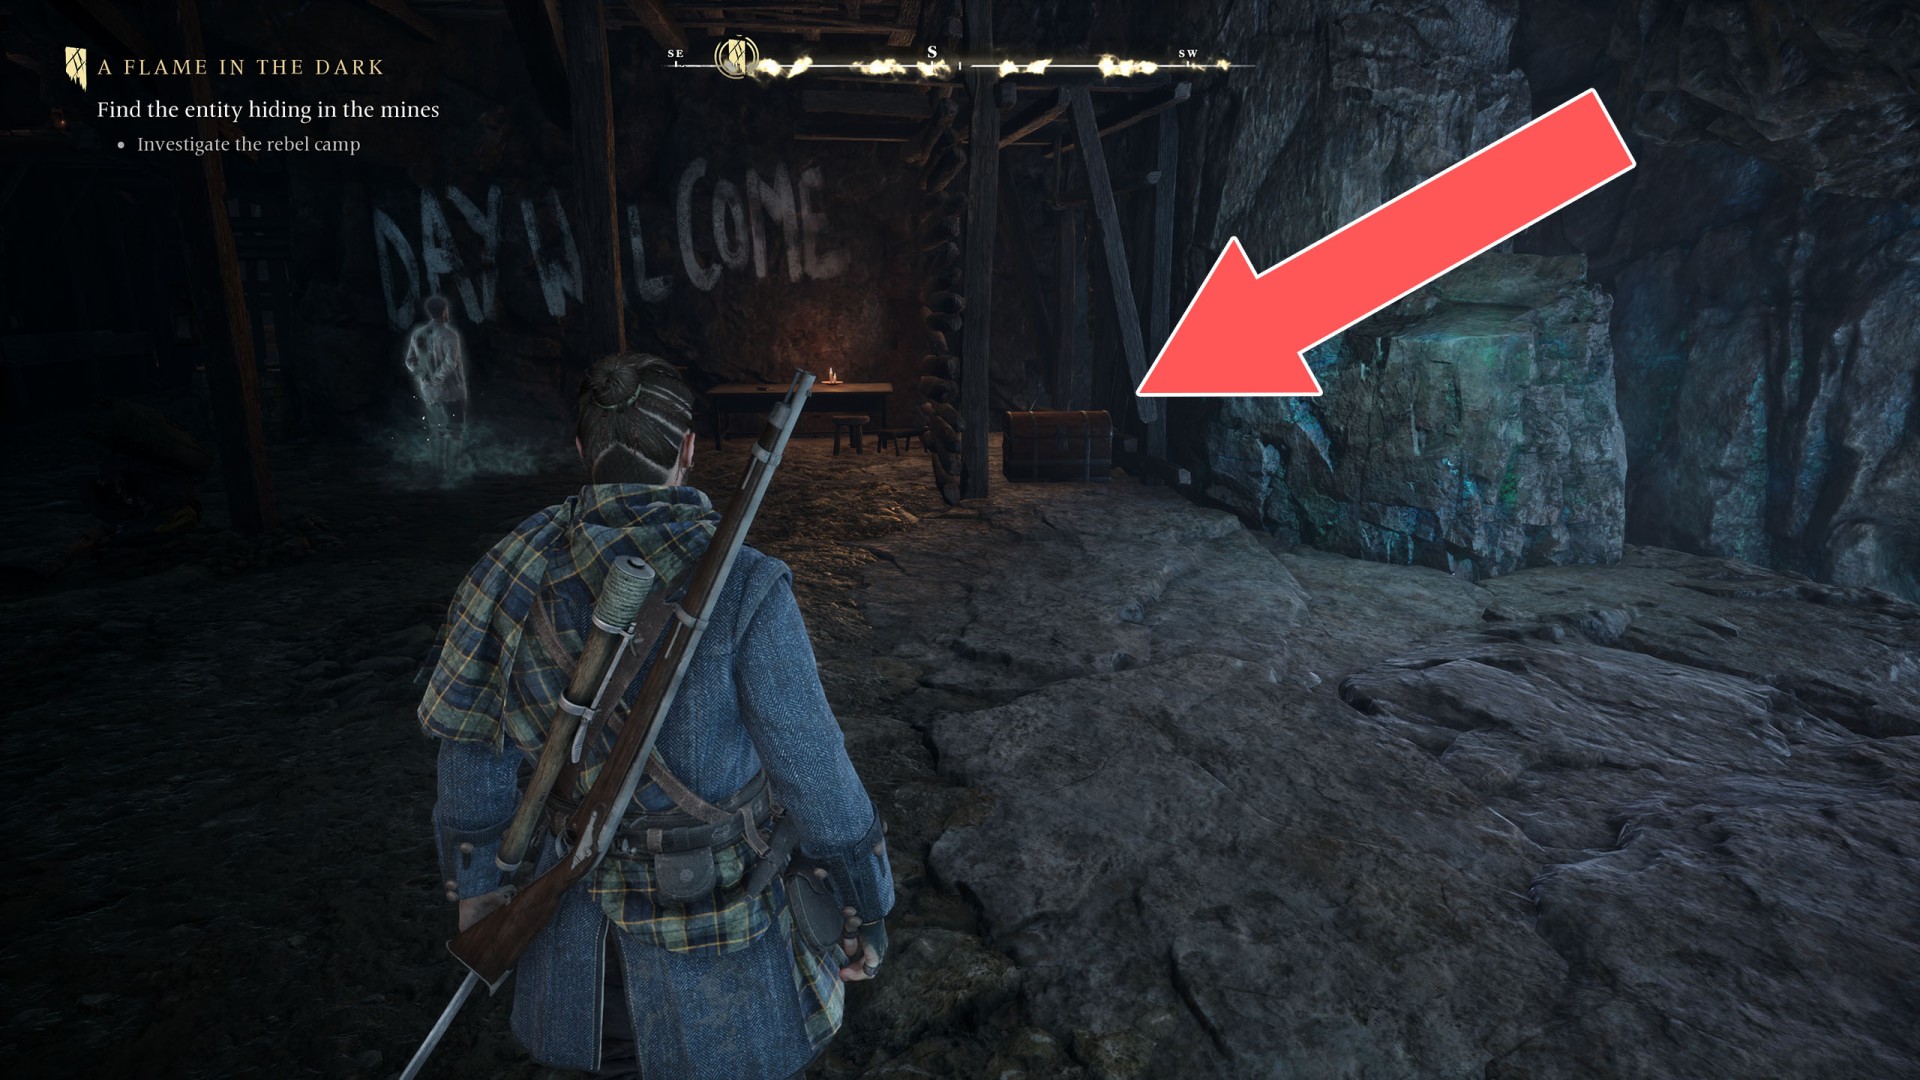
Mount Pleasant Chest

Show the map

6Mount Pleasant Chest

Mount Pleasant Chest

Show the map

7Mount Pleasant Chest

Mount Pleasant Chest

Show the map

8Mount Pleasant Chest

Mount Pleasant Chest

Show the map

9Mount Pleasant Chest

It's in the mines.
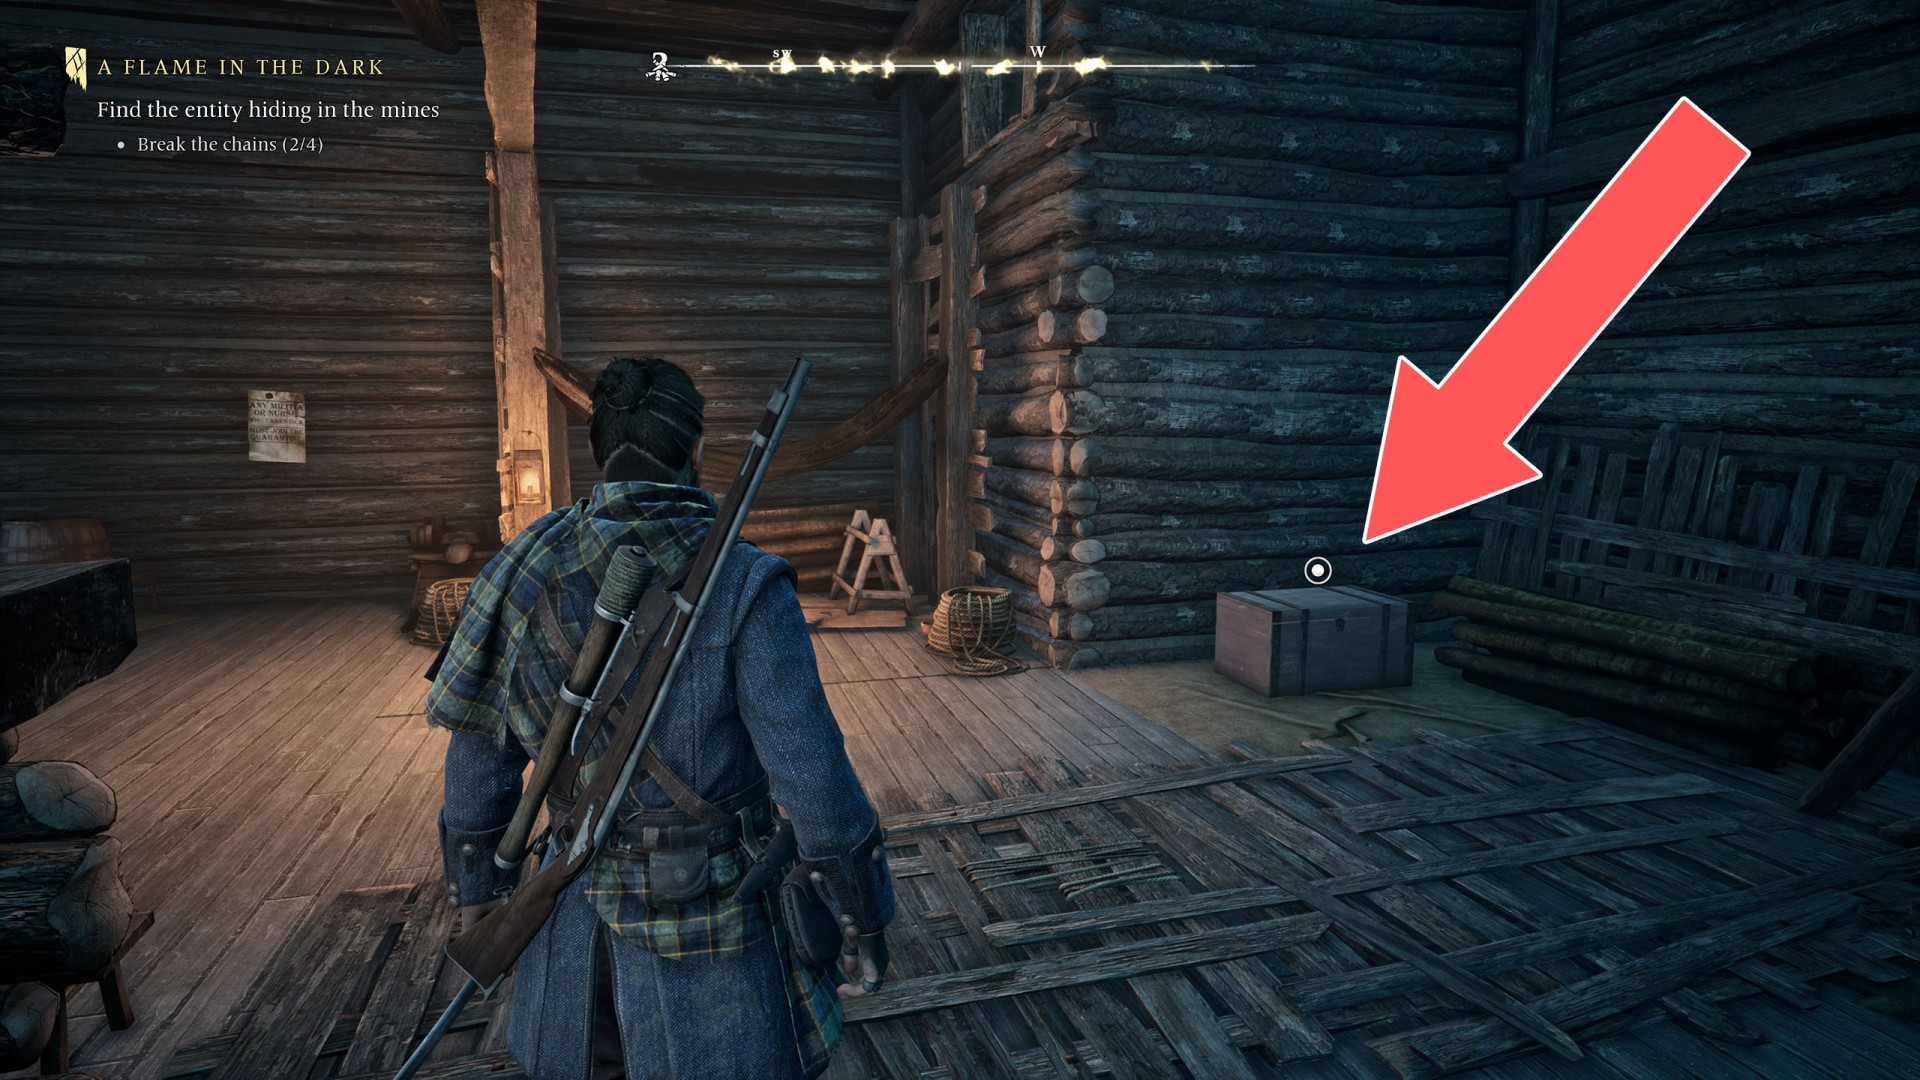
Mount Pleasant Chest

Show the map

10Mount Pleasant Chest

Mount Pleasant Chest

Show the map

11Mount Pleasant Chest

Mount Pleasant Chest

Show the map

12Mount Pleasant Chest

It's in the mines, right next to the elevator that will take you down to the bottom of the mines.
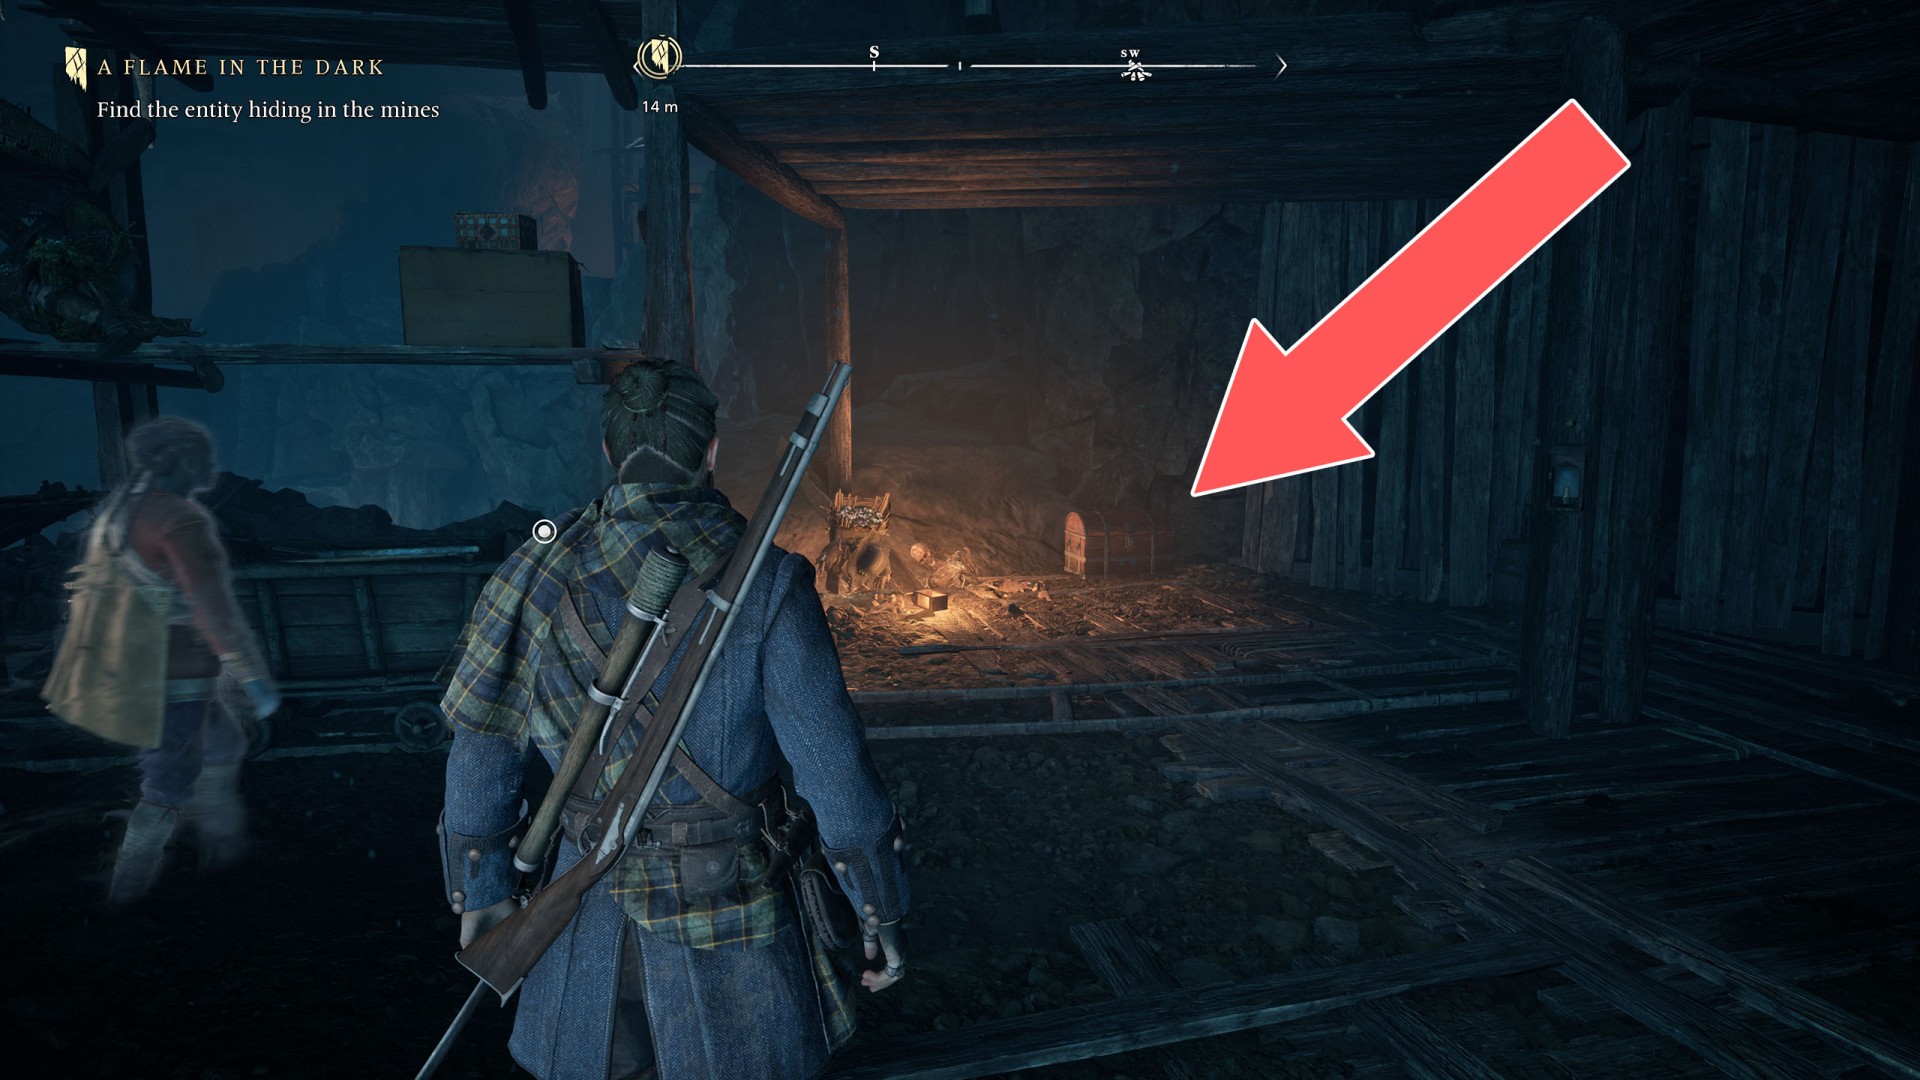
Mount Pleasant Chest

Show the map

13Mount Pleasant Chest

You will be passing by leaving the mines.
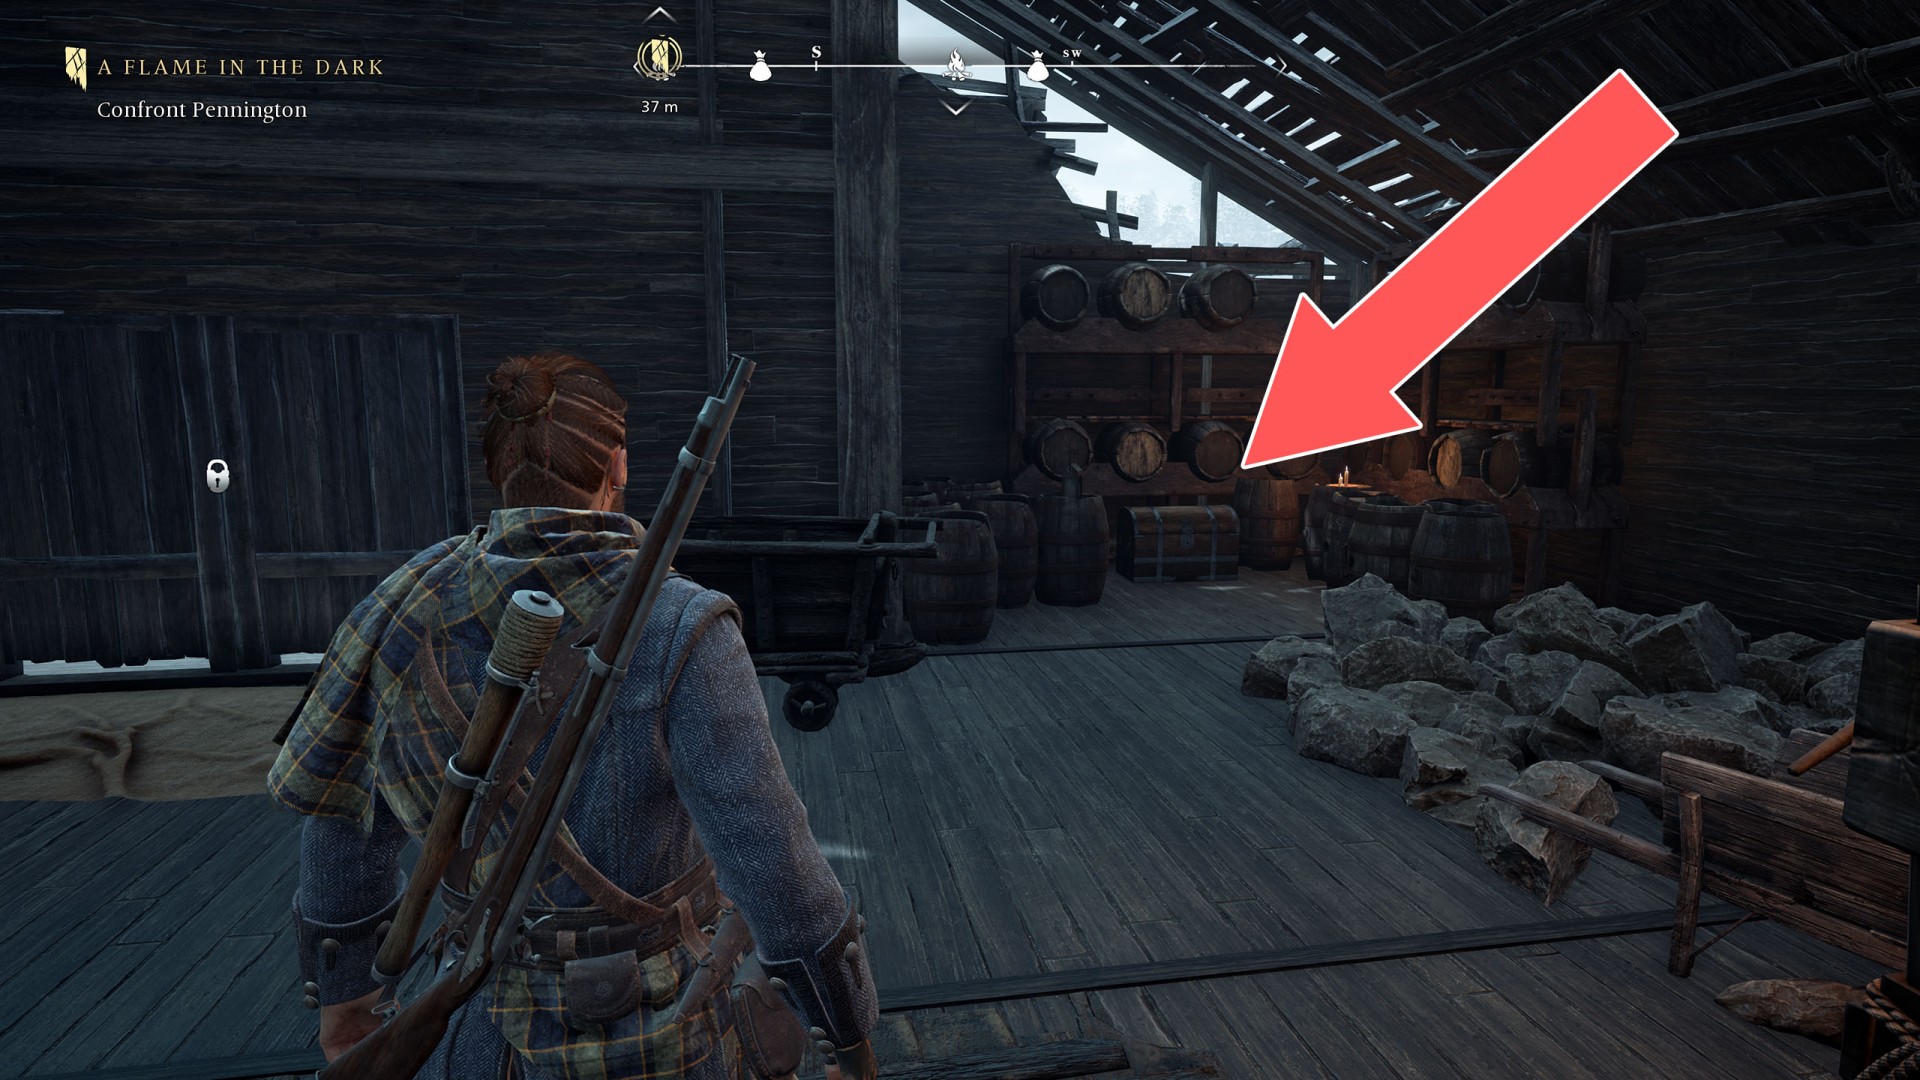
Mount Pleasant Chest

Show the map

14Mount Pleasant Chest

At the very bottom of the mines in the section behind the creeping ivy.
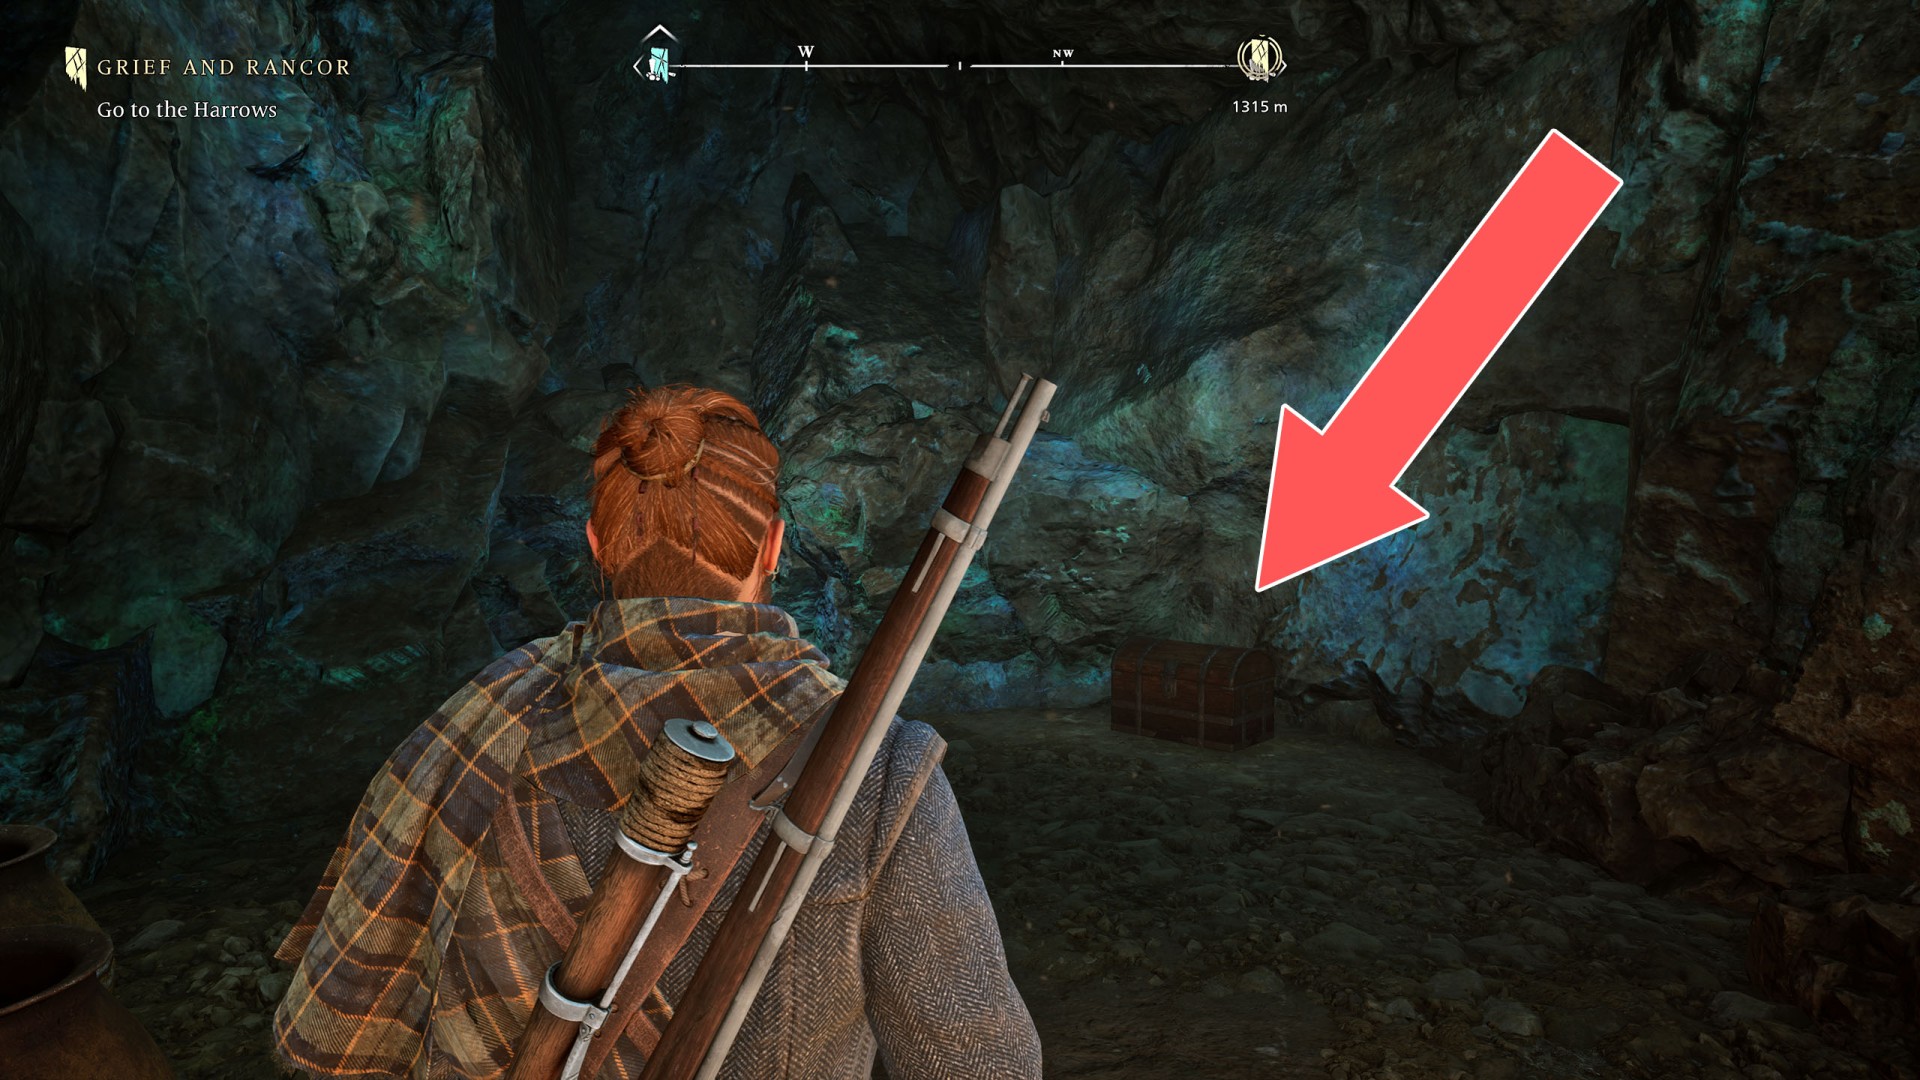
Mount Pleasant Chest

Show the map

15Mount Pleasant Chest

It's in the mines.
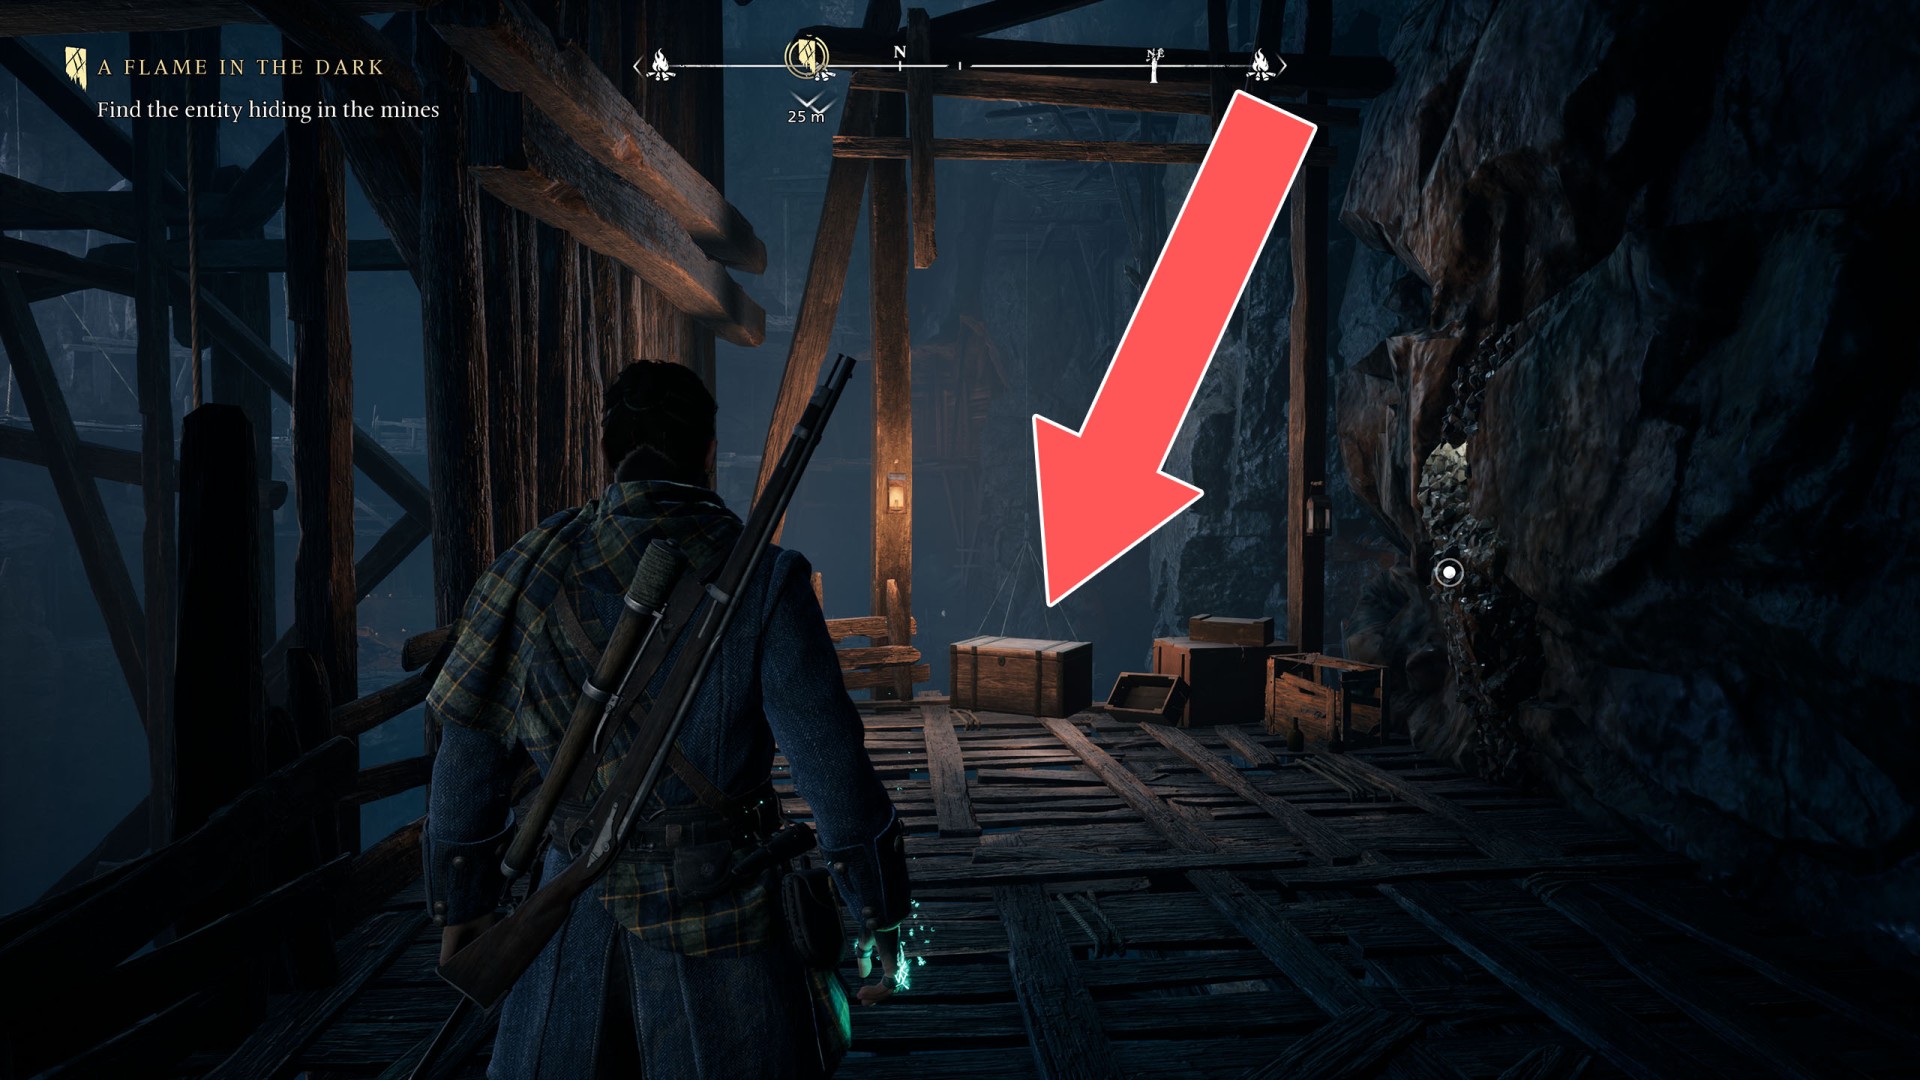
Mount Pleasant Chest

Show the map

16Mount Pleasant Chest

Mount Pleasant Chest

Show the map

17Mount Pleasant Chest

It's in the mines.
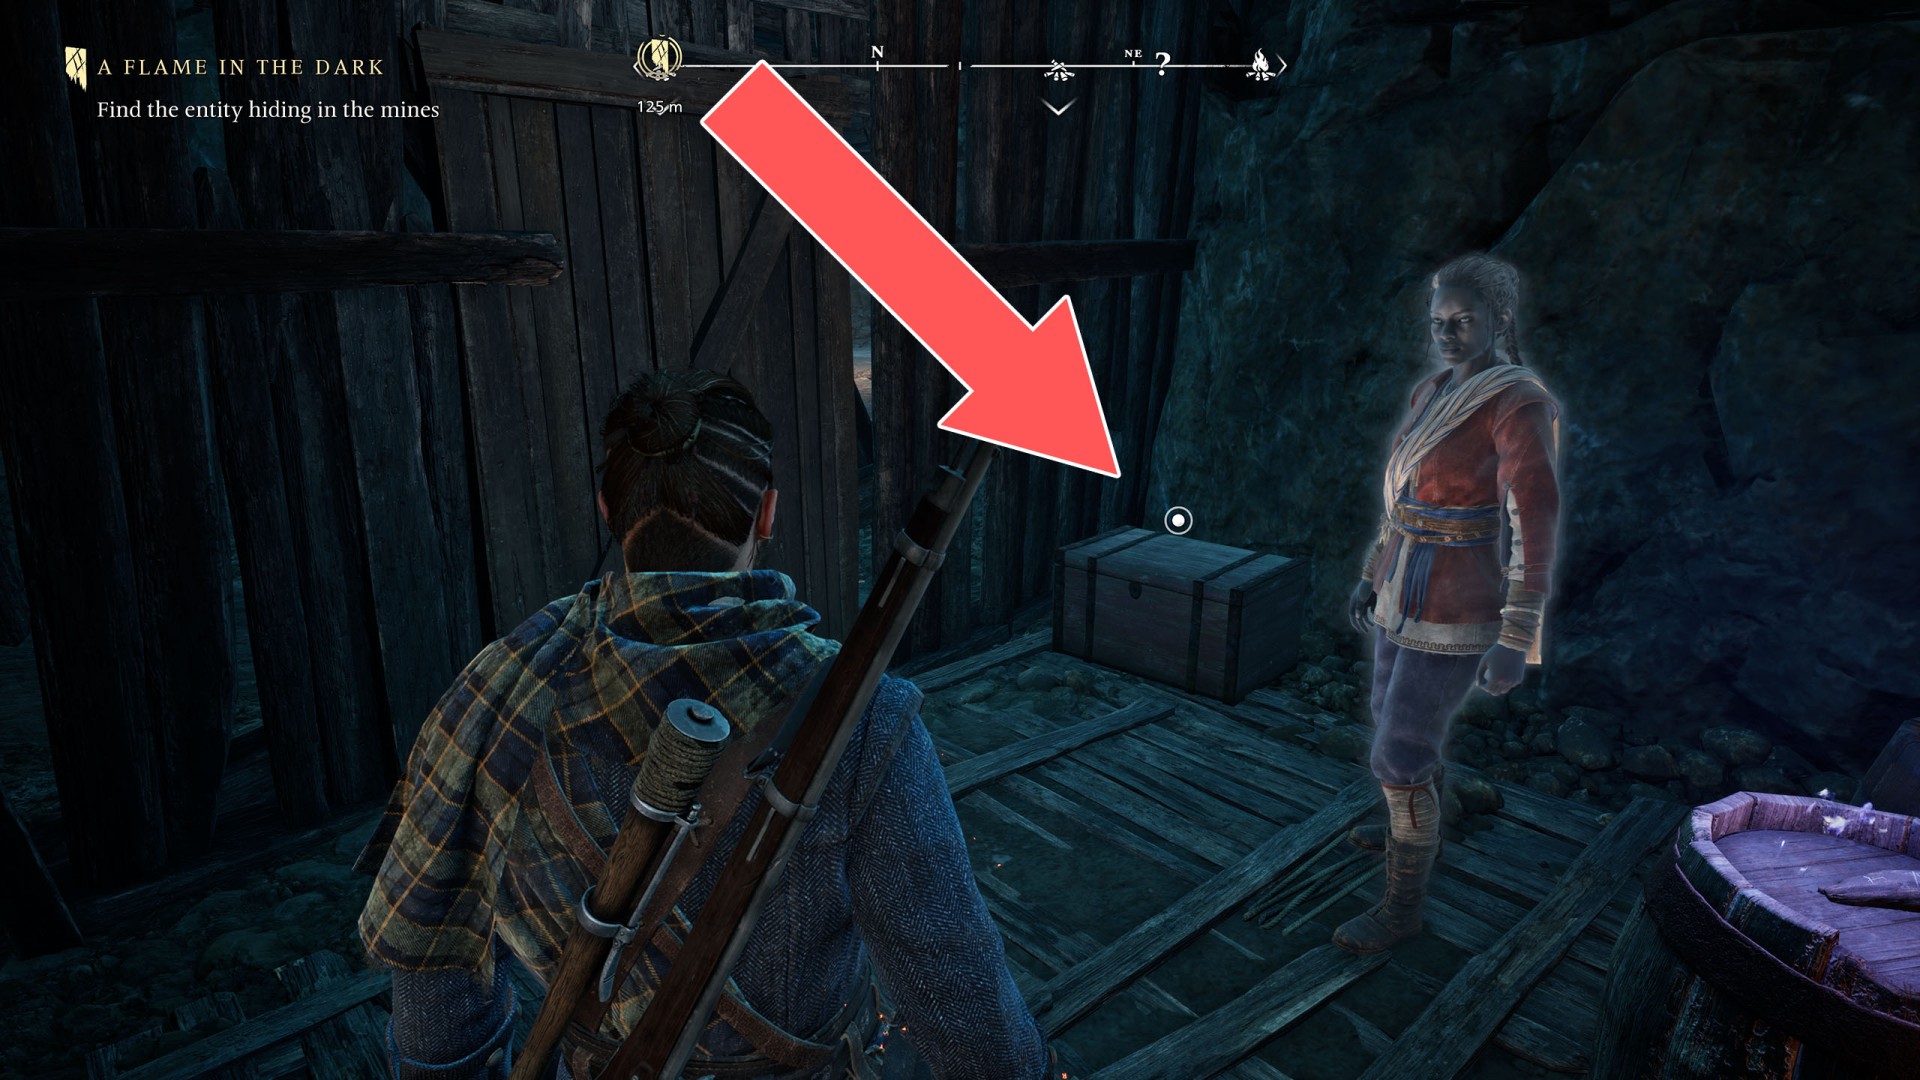
Mount Pleasant Chest

Show the map

18Mount Pleasant Chest

Mount Pleasant Chest

Show the map

19Mount Pleasant Chest

Mount Pleasant Chest

Show the map

20Mount Pleasant Chest

Mount Pleasant Chest

Show the map

21Mount Pleasant Chest

Mount Pleasant Chest

Show the map

22Mount Pleasant Chest

Mount Pleasant Chest

Show the map

23Mount Pleasant Chest

Mount Pleasant Chest

Show the map

24Mount Pleasant Chest

Mount Pleasant Chest

Show the map

25Mount Pleasant Chest

Mount Pleasant Chest

Show the map

26Mount Pleasant Chest

Mount Pleasant Chest

Show the map

27Mount Pleasant Chest

Mount Pleasant Chest

Show the map

28Mount Pleasant Chest

Mount Pleasant Chest

Show the map

29Mount Pleasant Chest

Mount Pleasant Chest

Show the map

30Mount Pleasant Chest

Mount Pleasant Chest

Show the map

31Mount Pleasant Chest

Mount Pleasant Chest

Show the map

32Mount Pleasant Chest (Hidden)

Mount Pleasant Chest (Hidden)

Show the map

33New Eden Town Chest

New Eden Town Chest

Show the map

34New Eden Town Chest

New Eden Town Chest

Show the map

35The Dark Woods Chest

The Dark Woods Chest

Show the map

36The Dark Woods Chest

The Dark Woods Chest

Show the map

37The Dark Woods Chest

The Dark Woods Chest

Show the map

38The Dark Woods Chest

The Dark Woods Chest

Show the map

39The Dark Woods Chest

The Dark Woods Chest

Show the map

40The Dark Woods Chest

The Dark Woods Chest

Show the map

41The Dark Woods Chest

The Dark Woods Chest

Show the map

42The Dark Woods Chest

To destroy the barrier you need the Outburst Manifestation.
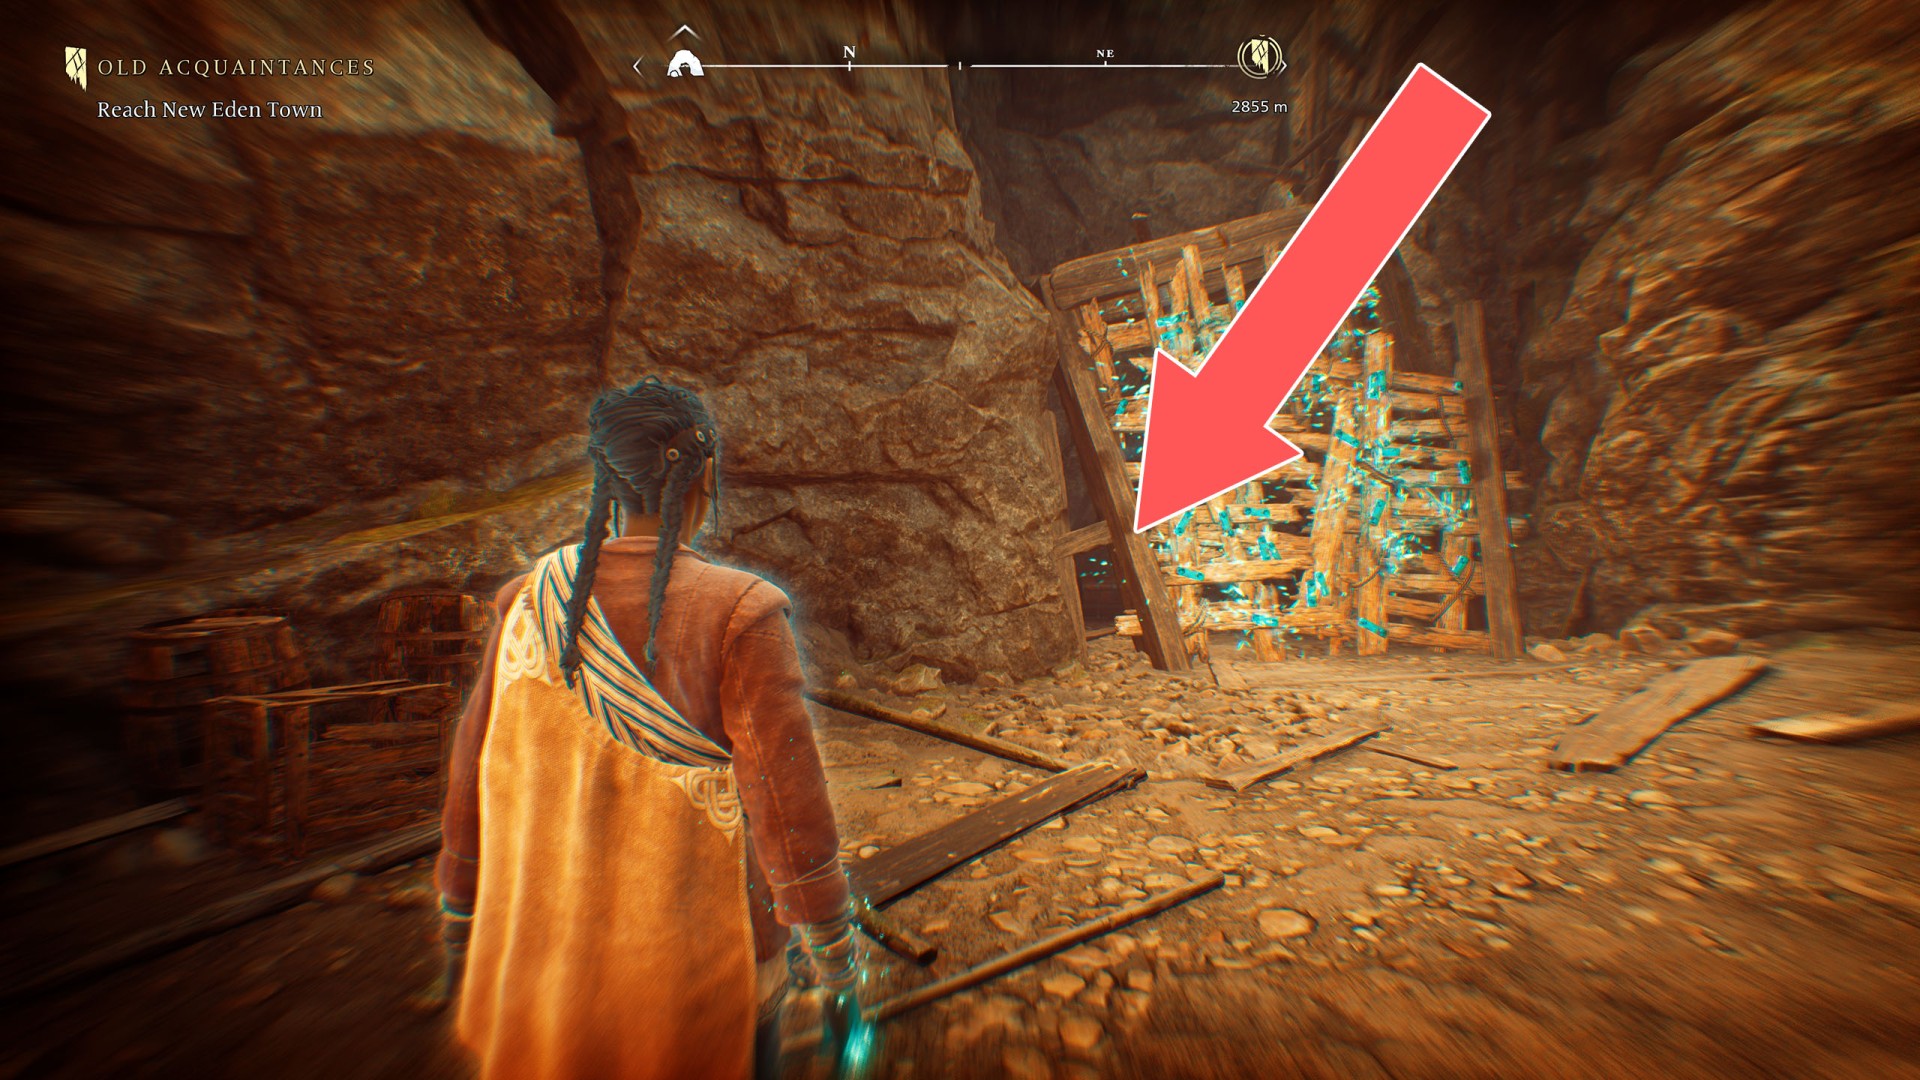
The Dark Woods Chest

Show the map

43The Dark Woods Chest

The Dark Woods Chest

Show the map

44The Dark Woods Chest

The Dark Woods Chest

Show the map

45The Dark Woods Chest

The Dark Woods Chest

Show the map

46The Dark Woods Chest

The Dark Woods Chest

Show the map

47The Dark Woods Chest

The Dark Woods Chest

Show the map

48The Dark Woods Chest

The Dark Woods Chest

Show the map

49The Dark Woods Chest

The Dark Woods Chest

Show the map

50The Dark Woods Chest

The Dark Woods Chest

Show the map

51The Dark Woods Chest

The Dark Woods Chest

Show the map

52The Dark Woods Chest

The Dark Woods Chest

Show the map

53The Dark Woods Chest

The Dark Woods Chest

Show the map

54The Dark Woods Chest

The Dark Woods Chest

Show the map

55The Dark Woods Chest

The Dark Woods Chest

Show the map

56The Dark Woods Chest

The Dark Woods Chest

Show the map

57The Dark Woods Chest

The Dark Woods Chest

Show the map

58The Dark Woods Chest

The Dark Woods Chest

Show the map

59The Dark Woods Chest

The Dark Woods Chest

Show the map

60The Dark Woods Chest

The Dark Woods Chest

Show the map

61The Dark Woods Chest

The Dark Woods Chest

Show the map

62The Dark Woods Chest

The Dark Woods Chest

Show the map

63The Dark Woods Chest

The Dark Woods Chest

Show the map

64The Dark Woods Chest

The Dark Woods Chest

Show the map

65The Dark Woods Chest

The Dark Woods Chest

Show the map

66The Dark Woods Chest

The Dark Woods Chest

Show the map

67The Dark Woods Chest

The Dark Woods Chest

Show the map

68The Dark Woods Chest

The Dark Woods Chest

Show the map

69The Dark Woods Chest

The Dark Woods Chest

Show the map

70The Dark Woods Chest

The Dark Woods Chest

Show the map

71The Dark Woods Chest

The Dark Woods Chest

Show the map

72The Dark Woods Chest

The Dark Woods Chest

Show the map

73The Dark Woods Chest (Hidden)

The Dark Woods Chest (Hidden)

Show the map

74The Dark Woods Chest (Hidden)

The Dark Woods Chest (Hidden)

Show the map

75The Dark Woods Chest (Hidden)

The Dark Woods Chest (Hidden)

Show the map

76The Dark Woods Chest (Hidden)

The Dark Woods Chest (Hidden)

Show the map

77The Dark Woods Chest (Hidden)

This chest is in a small cave you will enter through a small entrance located to the right of the waterfall.
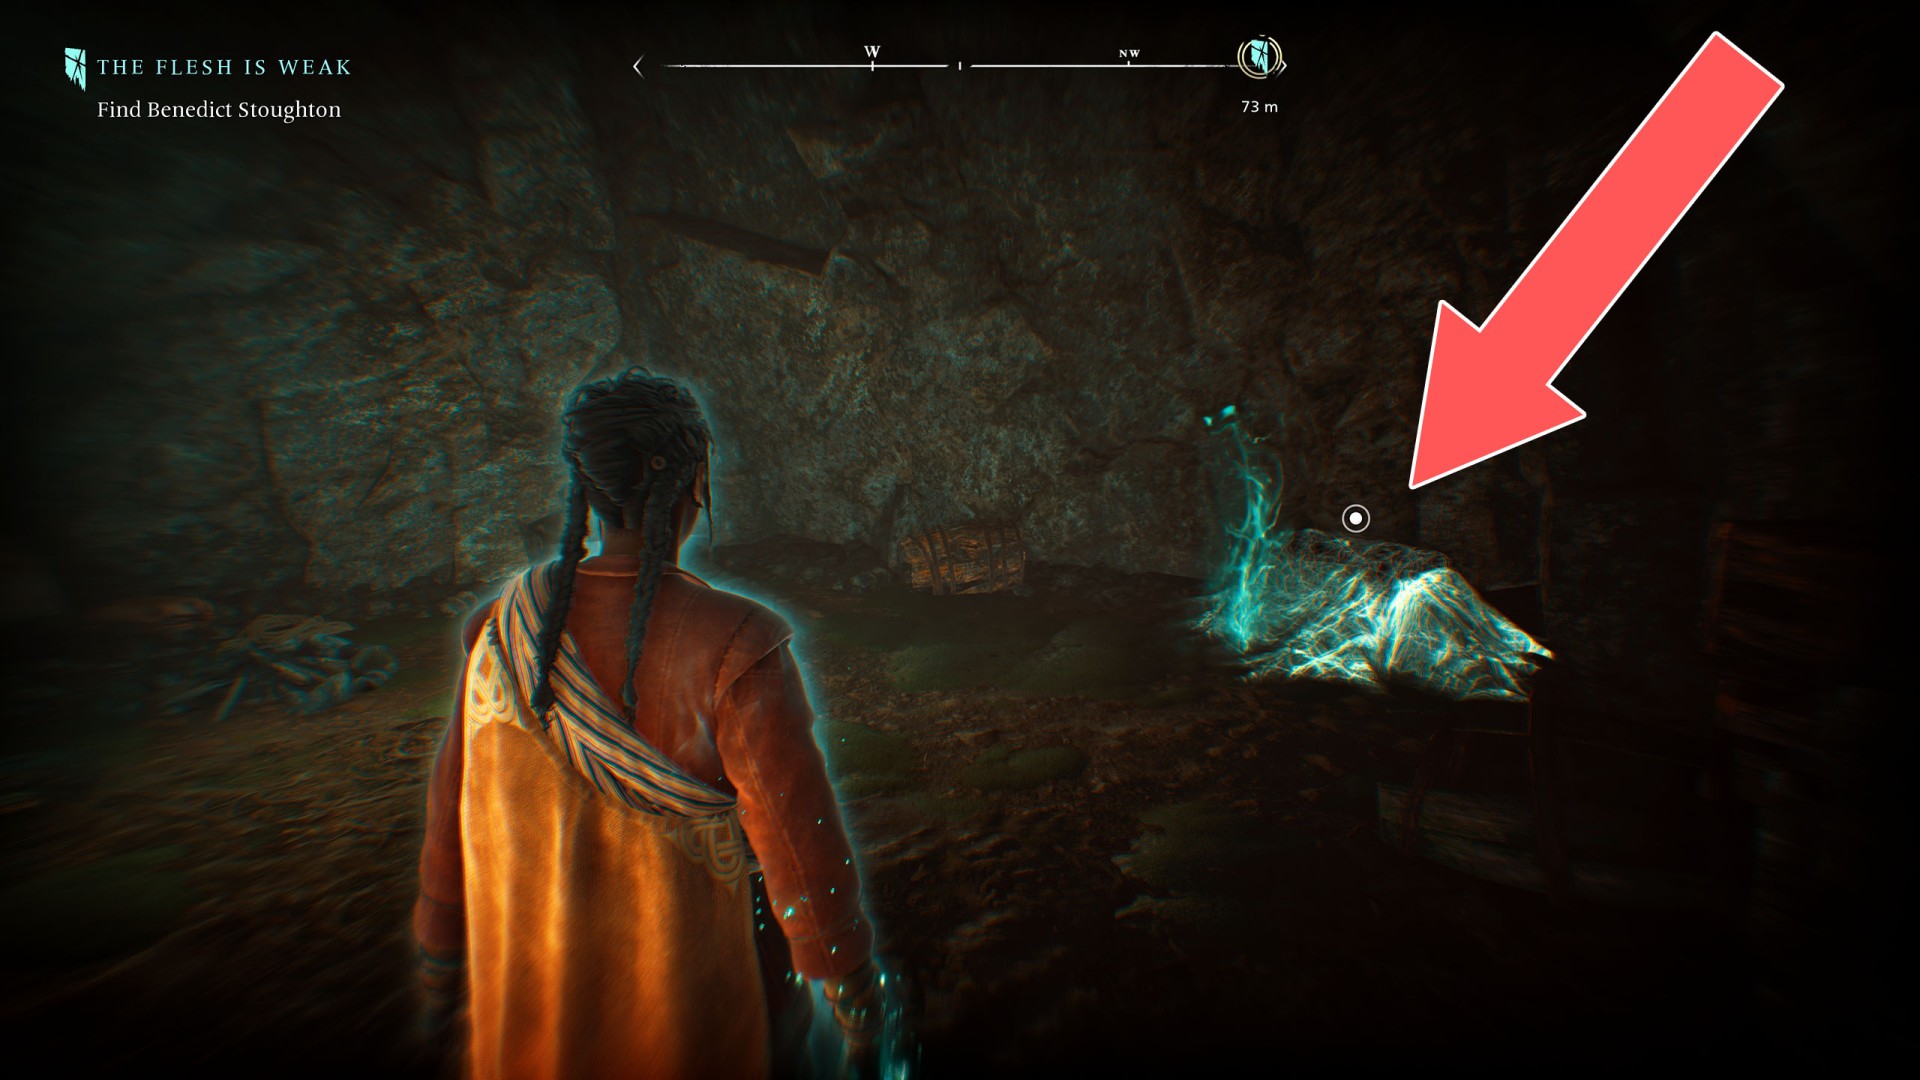
The Dark Woods Chest (Hidden)

Show the map

78The Dark Woods Chest (Hidden)

This is the first of the hidden chests you will come across and which you can reveal using the ability Antea has.
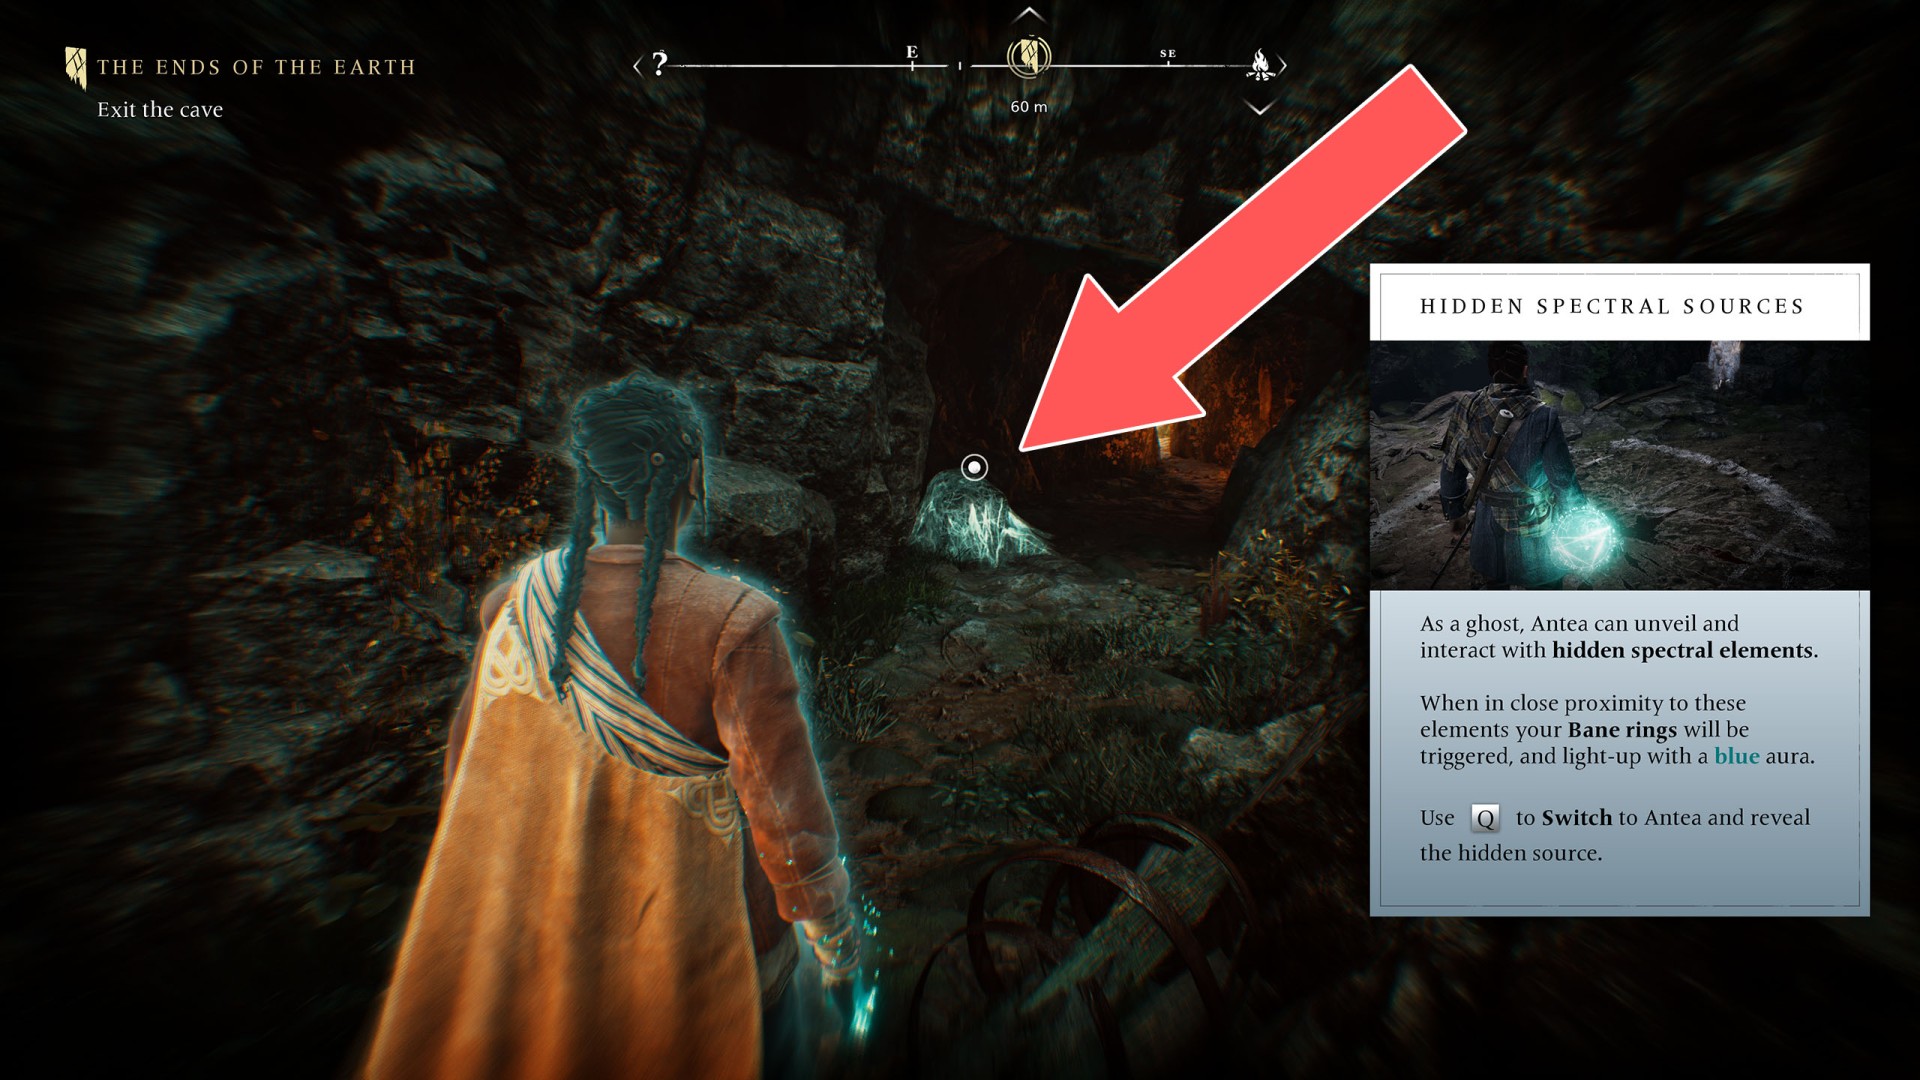
The Dark Woods Chest (Hidden)

Show the map

79The Dark Woods Chest x 2

The Dark Woods Chest x 2

Show the map

80The Harrows Chest

The Harrows Chest

Show the map

81The Harrows Chest

The Harrows Chest

Show the map

82The Harrows Chest

The Harrows Chest

Show the map

83The Harrows Chest

The Harrows Chest

Show the map

84The Harrows Chest

The Harrows Chest

Show the map

85The Harrows Chest

The Harrows Chest

Show the map

86The Harrows Chest

The Harrows Chest

Show the map

87The Harrows Chest

The Harrows Chest

Show the map

88The Harrows Chest

The Harrows Chest

Show the map

89The Harrows Chest

The Harrows Chest

Show the map

90The Harrows Chest

The Harrows Chest

Show the map

91The Harrows Chest

The Harrows Chest

Show the map

92The Harrows Chest

The Harrows Chest

Show the map

93The Harrows Chest

The Harrows Chest

Show the map

94The Harrows Chest

The Harrows Chest

Show the map

95The Harrows Chest

The Harrows Chest

Show the map

96The Harrows Chest

The Harrows Chest

Show the map

97The Harrows Chest

The Harrows Chest

Show the map

98The Harrows Chest

The Harrows Chest

Show the map

99The Harrows Chest

The Harrows Chest

Show the map

100The Harrows Chest

The Harrows Chest

Show the map

101The Harrows Chest

The Harrows Chest

Show the map

102The Harrows Chest

The Harrows Chest

Show the map

103The Harrows Chest

The Harrows Chest

Show the map

104The Harrows Chest

The Harrows Chest

Show the map

105The Harrows Chest

The Harrows Chest

Show the map

106The Harrows Chest

It's in the Cliff-side Cave.
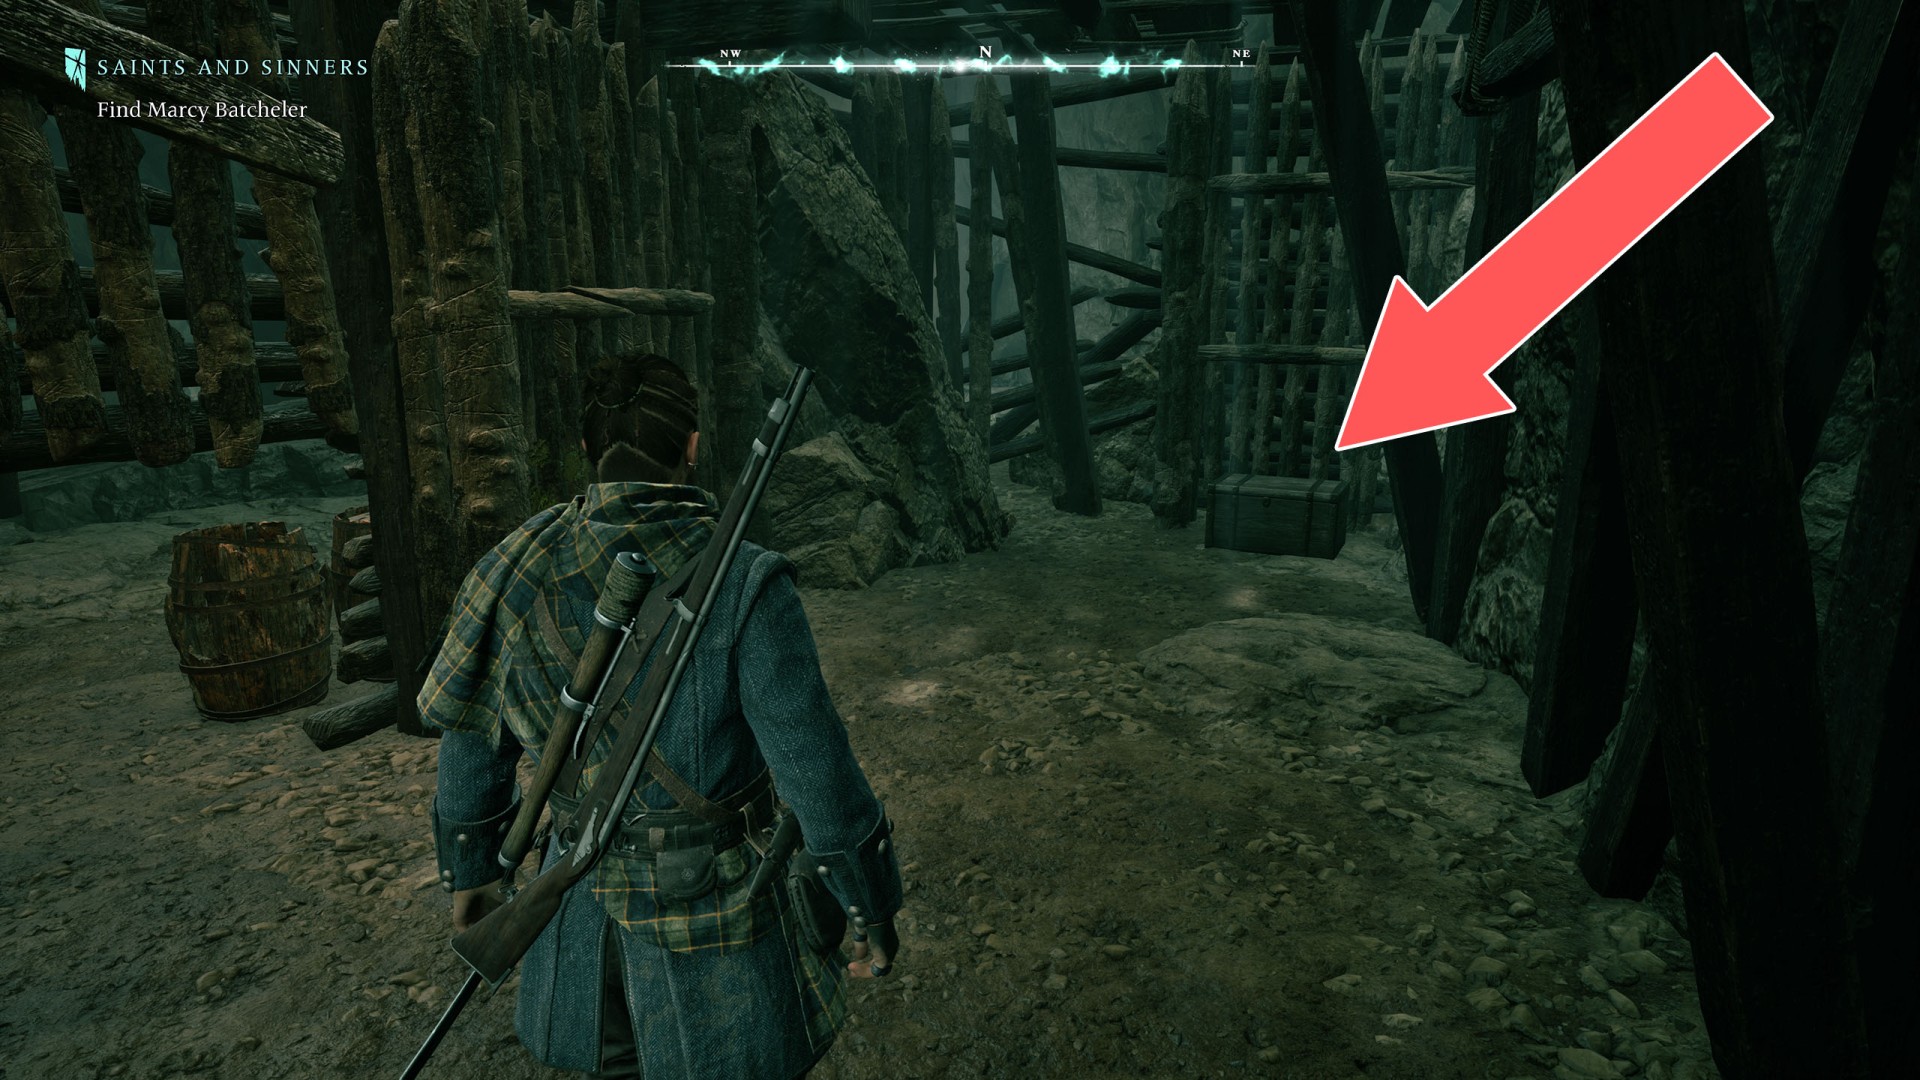
The Harrows Chest

Show the map

107The Harrows Chest

The Harrows Chest

Show the map

108The Harrows Chest

The Harrows Chest

Show the map

109The Harrows Chest

The Harrows Chest

Show the map

110The Harrows Chest

The Harrows Chest

Show the map

111The Harrows Chest

The Harrows Chest

Show the map

112The Harrows Chest

The Harrows Chest

Show the map

113The Harrows Chest

The Harrows Chest

Show the map

114The Harrows Chest

The Harrows Chest

Show the map

115The Harrows Chest

The Harrows Chest

Show the map

116The Harrows Chest

The Harrows Chest

Show the map

117The Harrows Chest

The Harrows Chest

Show the map

118The Harrows Chest

You can reach this cave after activating the elevator located inside the windmill.
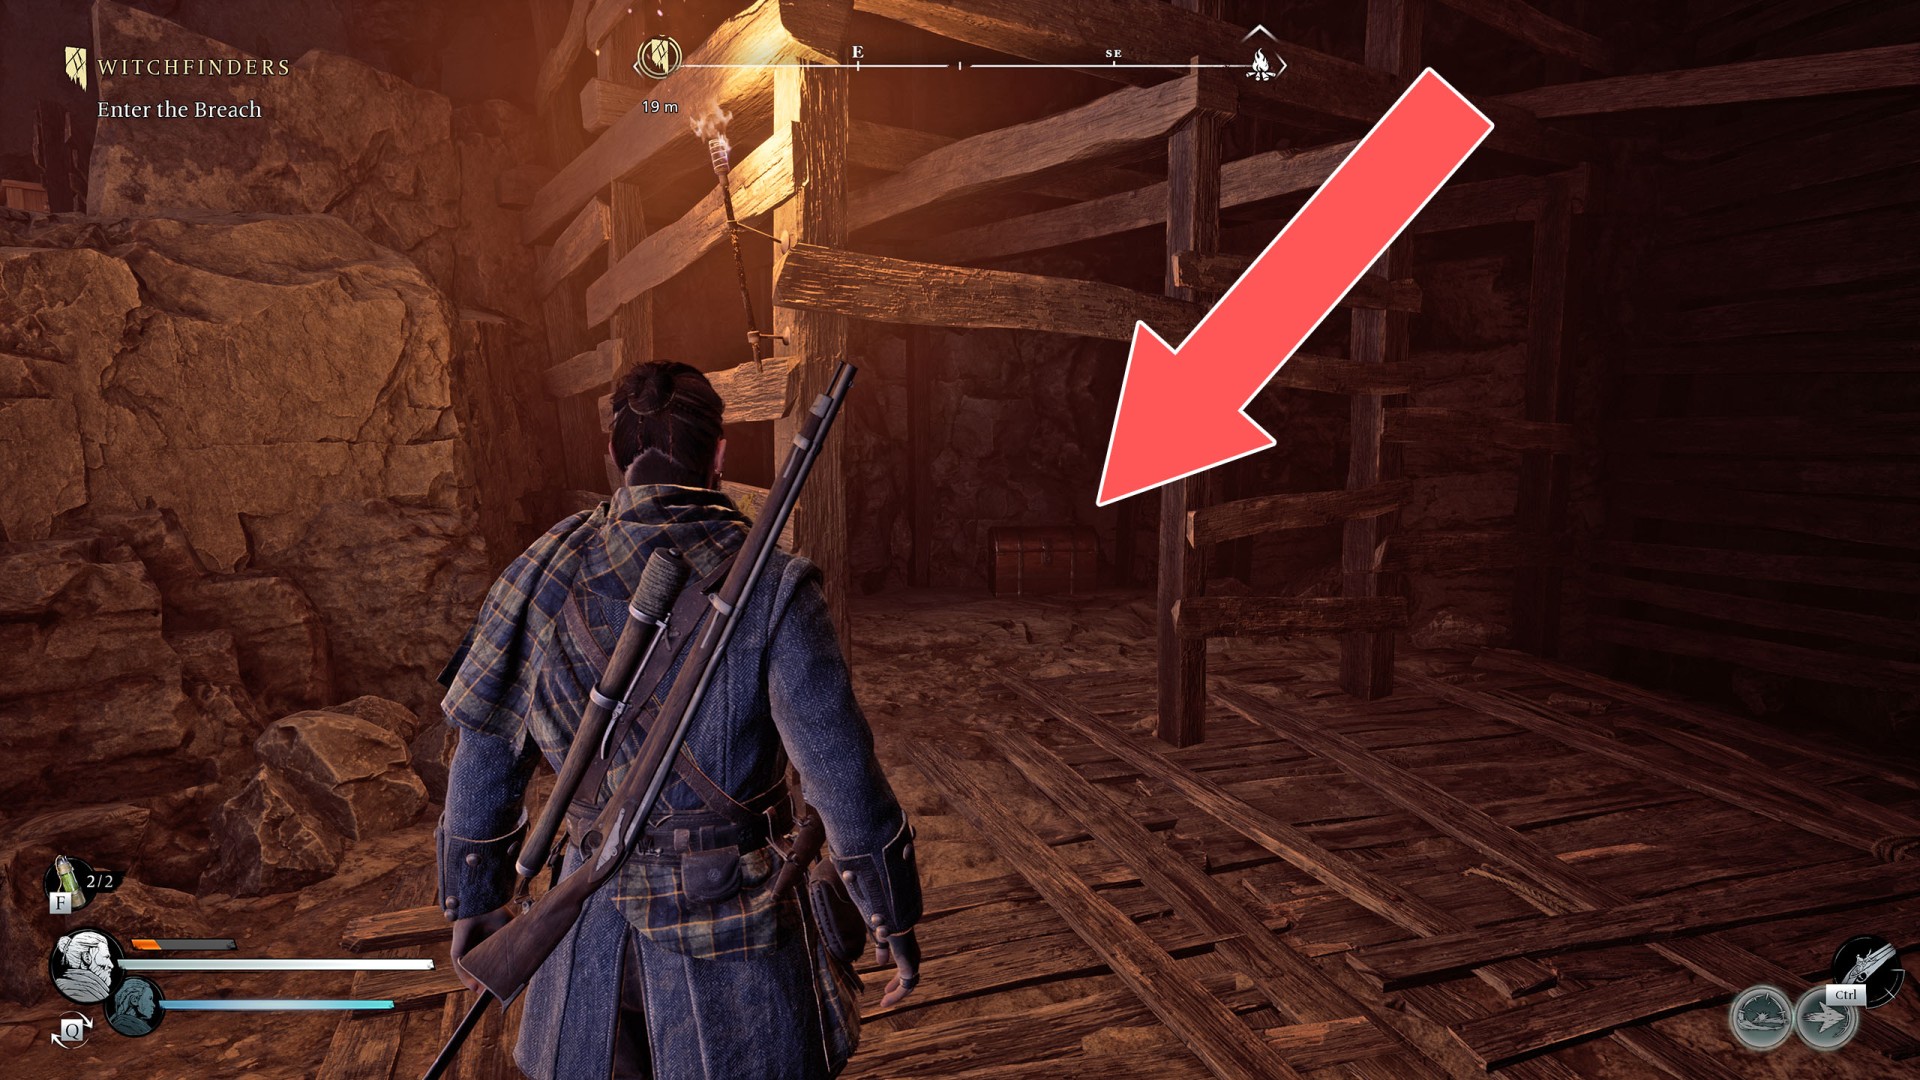
The Harrows Chest

Show the map

119The Harrows Chest

The Harrows Chest

Show the map

120The Harrows Chest

The Harrows Chest

Show the map

121The Harrows Chest

The Harrows Chest

Show the map

122The Harrows Chest

The Harrows Chest

Show the map

123The Harrows Chest

The Harrows Chest

Show the map

124The Harrows Chest

The Harrows Chest

Show the map

125The Harrows Chest

You can reach this place after activating the elevator located inside the windmill.
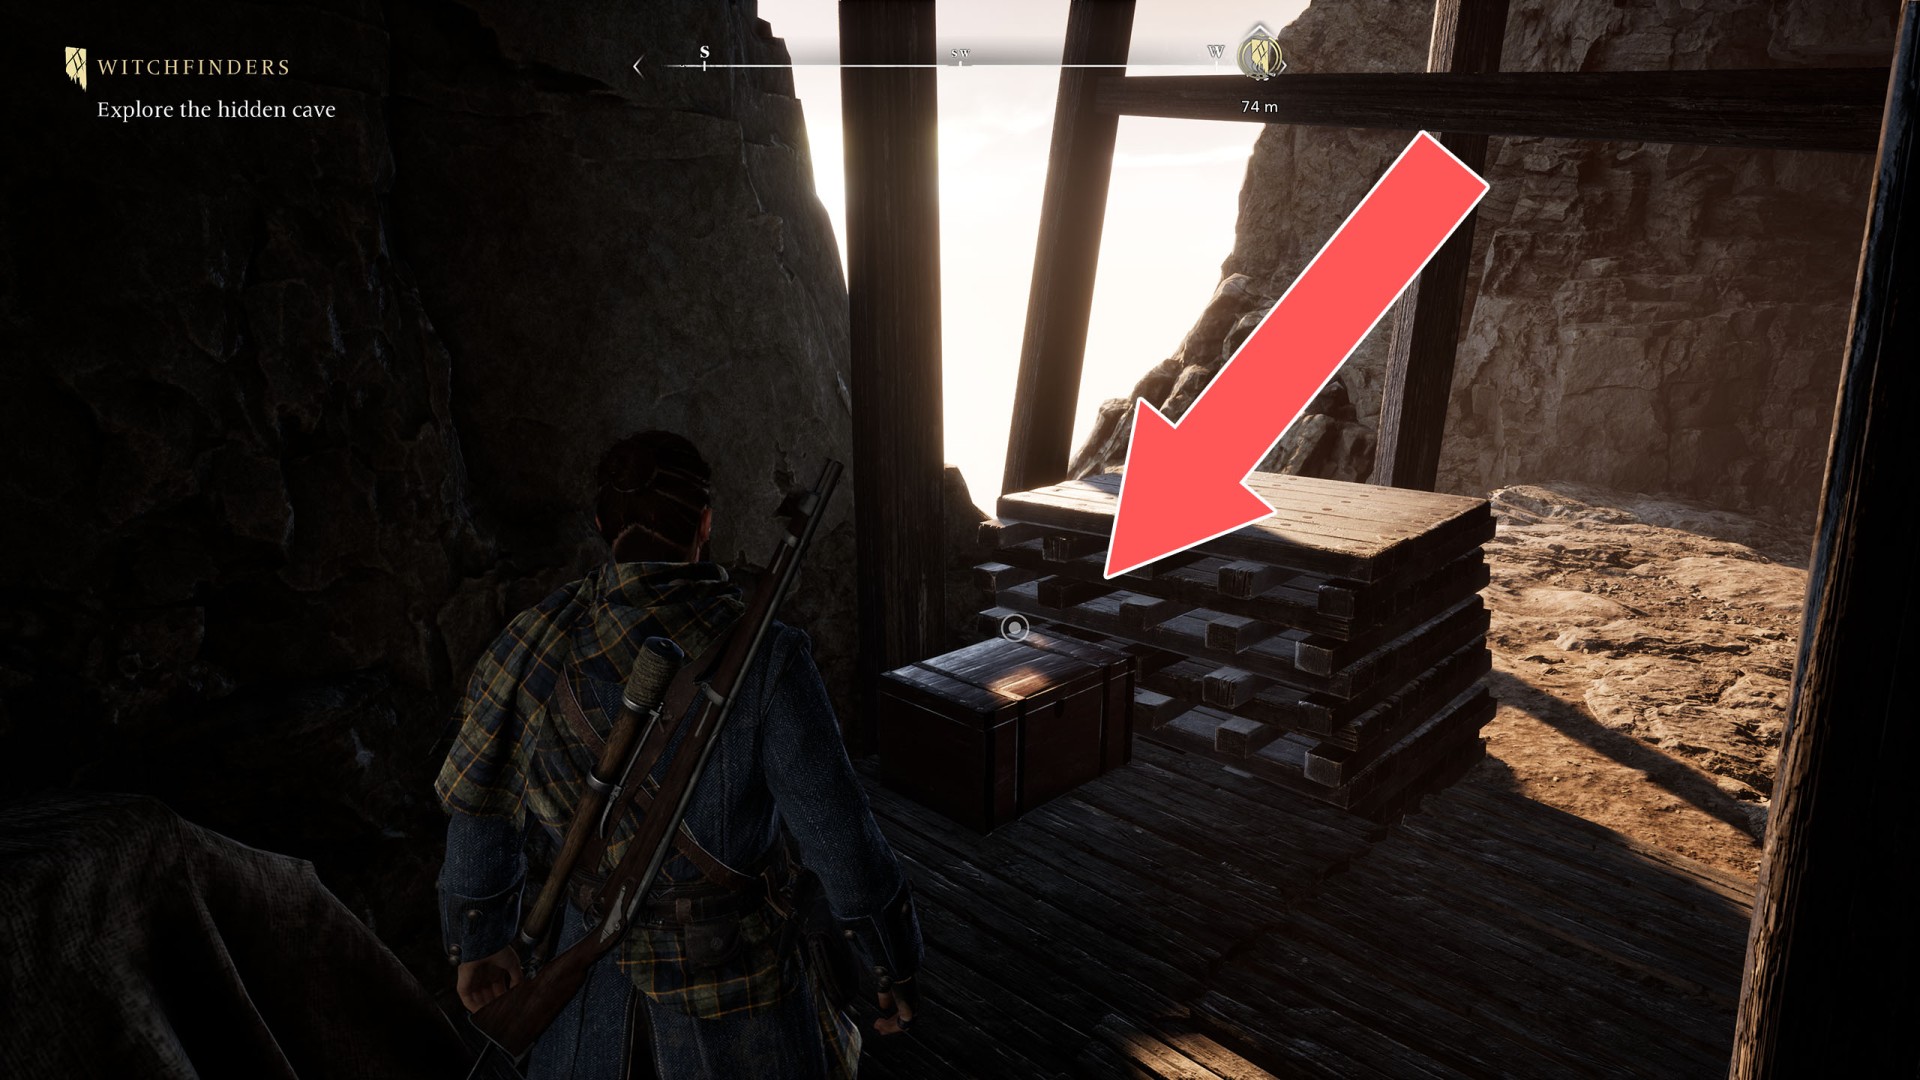
The Harrows Chest

Show the map

126The Harrows Chest

The Harrows Chest

Show the map

127The Harrows Chest (Hidden)

The Harrows Chest (Hidden)

Show the map

128The Harrows Chest (Hidden)

The Harrows Chest (Hidden)

Show the map

129The Harrows Chest (Hidden)

The Harrows Chest (Hidden)

Show the map

130The Harrows Chest (Hidden)

The Harrows Chest (Hidden)

Show the map

131The Harrows Chest (Hidden)

The Harrows Chest (Hidden)

Show the map

132The Harrows Chest (Hidden)

The Harrows Chest (Hidden)

Show the map

133The Harrows Chest x 2

The Harrows Chest x 2

Show the map

134The Mire Marshes Chest

The Mire Marshes Chest

Show the map

135The Mire Marshes Chest

The Mire Marshes Chest

Show the map

136The Mire Marshes Chest

The Mire Marshes Chest

Show the map

137The Mire Marshes Chest

The Mire Marshes Chest

Show the map

138The Mire Marshes Chest

The Mire Marshes Chest

Show the map

139The Mire Marshes Chest

The Mire Marshes Chest

Show the map

140The Mire Marshes Chest

The Mire Marshes Chest

Show the map

141The Mire Marshes Chest

The Mire Marshes Chest

Show the map

142The Mire Marshes Chest

The Mire Marshes Chest

Show the map

143The Mire Marshes Chest

The Mire Marshes Chest

Show the map

144The Mire Marshes Chest

The Mire Marshes Chest

Show the map

145The Mire Marshes Chest

The Mire Marshes Chest

Show the map

146The Mire Marshes Chest

The Mire Marshes Chest

Show the map

147The Mire Marshes Chest

The Mire Marshes Chest

Show the map

148The Mire Marshes Chest

The Mire Marshes Chest

Show the map

149The Mire Marshes Chest

The Mire Marshes Chest

Show the map

150The Mire Marshes Chest (Hidden)

The Mire Marshes Chest (Hidden)

Show the map