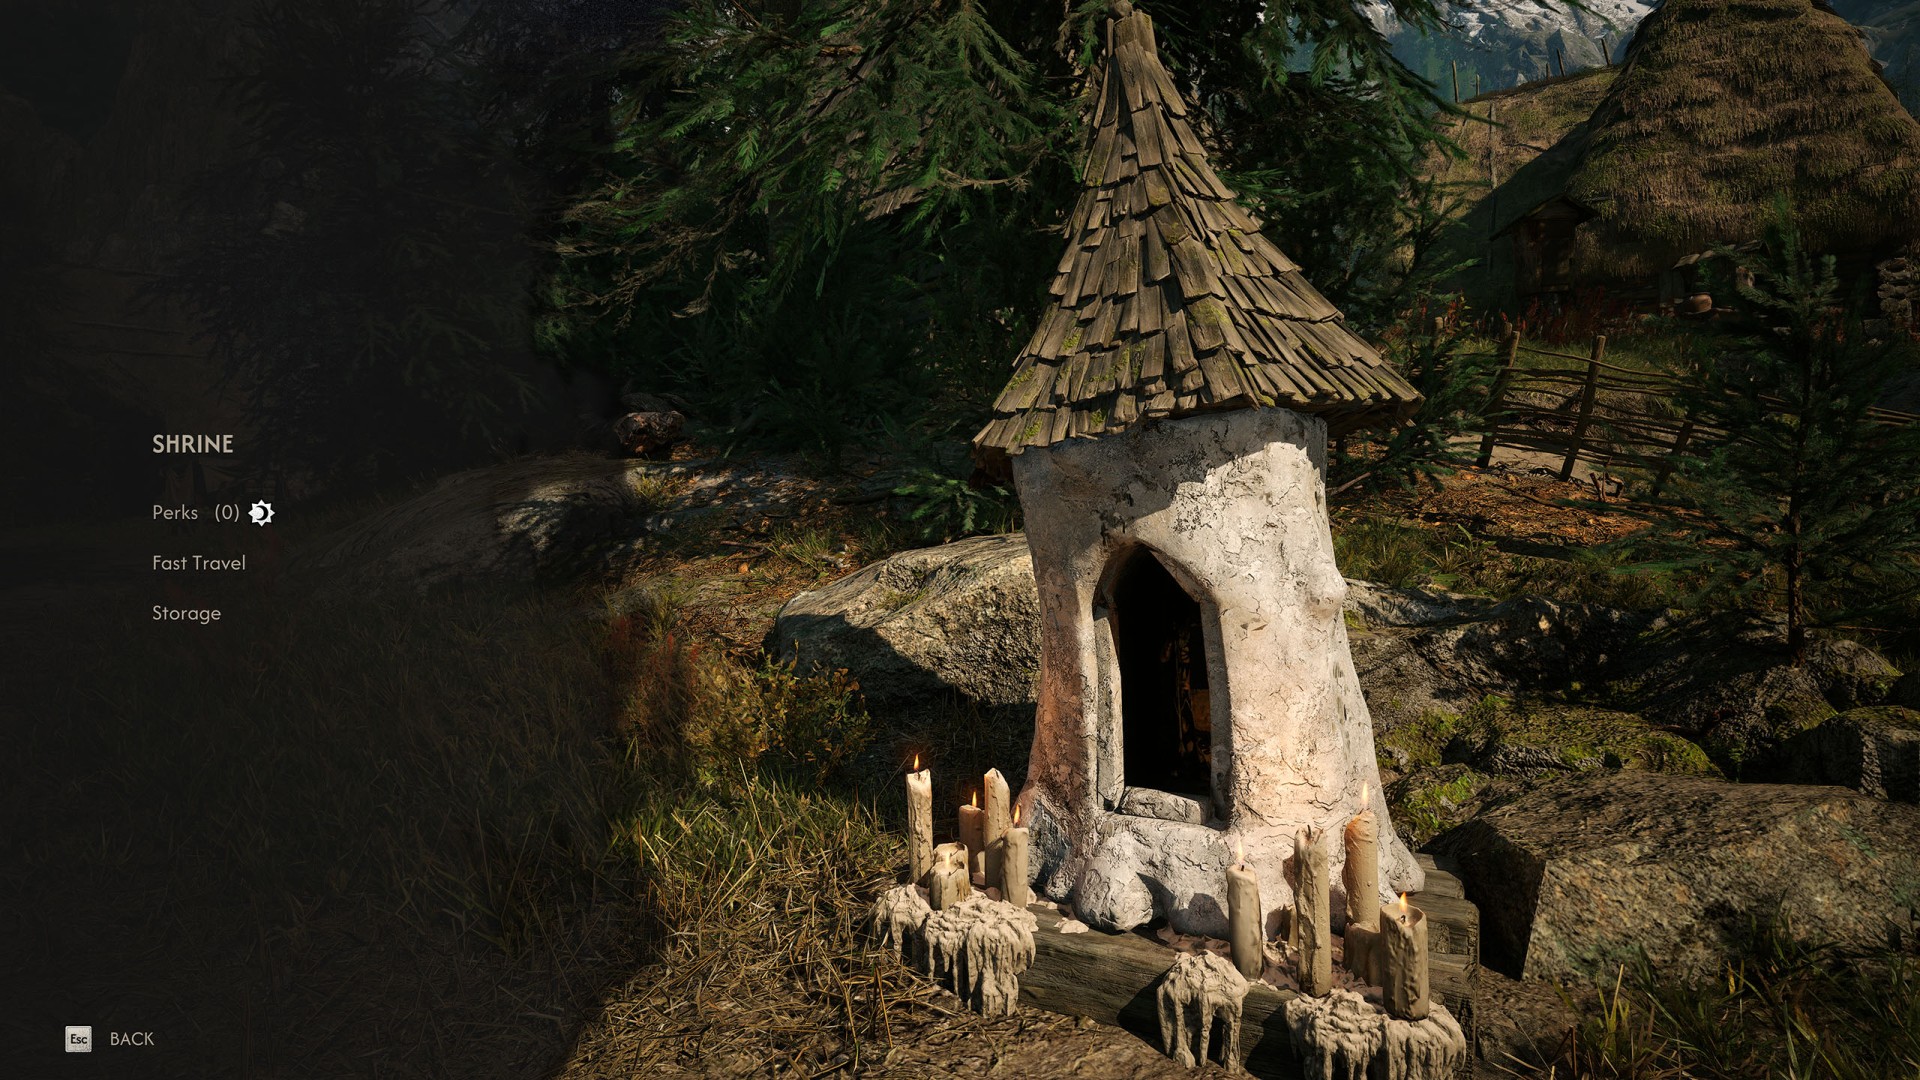
In The Blood of Dawnwalker, Shrines are important locations that act as hubs for several useful gameplay functions. Once you discover and activate a Shrine, you can use it as a fast-travel point to move between other discovered Shrines.

Shrines are also where you can spend your skill points to unlock abilities in Coen's three main skill trees: Swordmastery, Witchcraft, and Vampirism. Certain abilities require you to find specific manuals before you can unlock them.

You can also use Shrines to access your item storage, which is helpful when your inventory becomes full. In addition, Shrines can be used to manage the passage of time, allowing you to rest and advance the day or night cycle when necessary for certain quests.
Locations on Vale Sangora

1Altenmarkt

Show the map

2Anca's Hut

Show the map

3Aurelius's Tower

Show the map

4Birch Woodlet

Show the map

5Blackwater Hollow

Show the map

6Borescu Commons

Show the map

7Briar Slough Hillock

Show the map

8Briar Sloughs Crossing

Show the map

9Briar Sloughs South

Show the map

10Briar Sloughs Watchtower

Show the map

11Codrin's Hunting Lodge

Show the map

12Constantin's Camp

Show the map

13Coward's Path

Show the map

14Drunken Bear Inn

Show the map

15Eastern Road to Oghasti

Show the map

16Eerie Knoll

Show the map

17Giant's Pawns

Show the map

18Gravel Lea

Show the map

19Howling Keep

Show the map

20Hunters' Camp

Show the map

21Jagged Rocks

Show the map

22Knyaz's Road

Show the map

23Laslea Centre

Show the map

24Laslea Gate

Show the map

25Little Lupila Crossing

Show the map

26Lower Maragir Wealds

Show the map

27Lunar Manor

Show the map

28Maragir Crossroads

Show the map

29Maragir Road

Show the map

30Maragir Wealds Watchtower

Show the map

31Merchant Trail

Show the map

32Mount Balaur

Show the map

33Muddy Trail

Show the map

34Northern Foothills

Show the map

35Oghasti

Show the map

36Outlaw's Gorge

Show the map

37Ovidiu's Thicket

Show the map

38Parlita

Show the map

39Parlita Woods

Show the map

40Pilgrim's Trail

Show the map

41Riverside Trail

Show the map

42Rock-Strewn Road

Show the map

43Rocky Glade

Show the map

44Ruined Hut

Show the map

45Sandy Gorge

Show the map

46Shepherd's Rest

Show the map

47Shrike's Crag

Show the map

48Shrike's Crag Road Fork

Show the map

49Silberstein

Show the map

50Silty Mug Inn

Show the map

51Silver Mines

Show the map

52Sloughside Mill

Show the map

53Southern Swampside

Show the map

54St. Mihai's Road

Show the map

55St. Tobias's Bridge

Show the map

56St. Tyna's Bosk

Show the map

57St. Tyna's Chapterhouse

Show the map

58St. Tyna's Grove Tower

Show the map

59Steep Steps Way

Show the map

60Stelian's Redoubt

Show the map

61Stoneward Post

Show the map

62Stuga Bridge

Show the map

63Stuga Marshes

Show the map

64Stuga Twin Falls

Show the map

65Svartrau Bridge

Show the map

66Svartrau North East

Show the map

67Svartrau North West

Show the map

68Svartrau Northern Crossroads

Show the map

69Svartrau South

Show the map

70Svartrau West

Show the map

71Tantari

Show the map

72Tantari Bog

Show the map

73Tantari Foothills

Show the map

74Tantari Twin Rocks

Show the map

75Tantari Watermill

Show the map

76The Middens

Show the map

77The Silts

Show the map

78The Swamp Menhirs

Show the map

79The Wallows

Show the map

80Ticha Spring

Show the map

81Turtle Rock

Show the map

82Upper Maragir Wealds

Show the map

83Uriash Village

Show the map

84Uriashi Hermitage

Show the map

85Vedera Marsh Guardpost

Show the map

86Vedera Shallows

Show the map

87Vedera Spring

Show the map

88Vera's Hut

Show the map

89Westridge Outpost

Show the map

90Whispering Bogs

Show the map

91Withered Gorge

Show the map

92Woodcutters's Camp

Show the map

93Woodland Outpost

Show the map